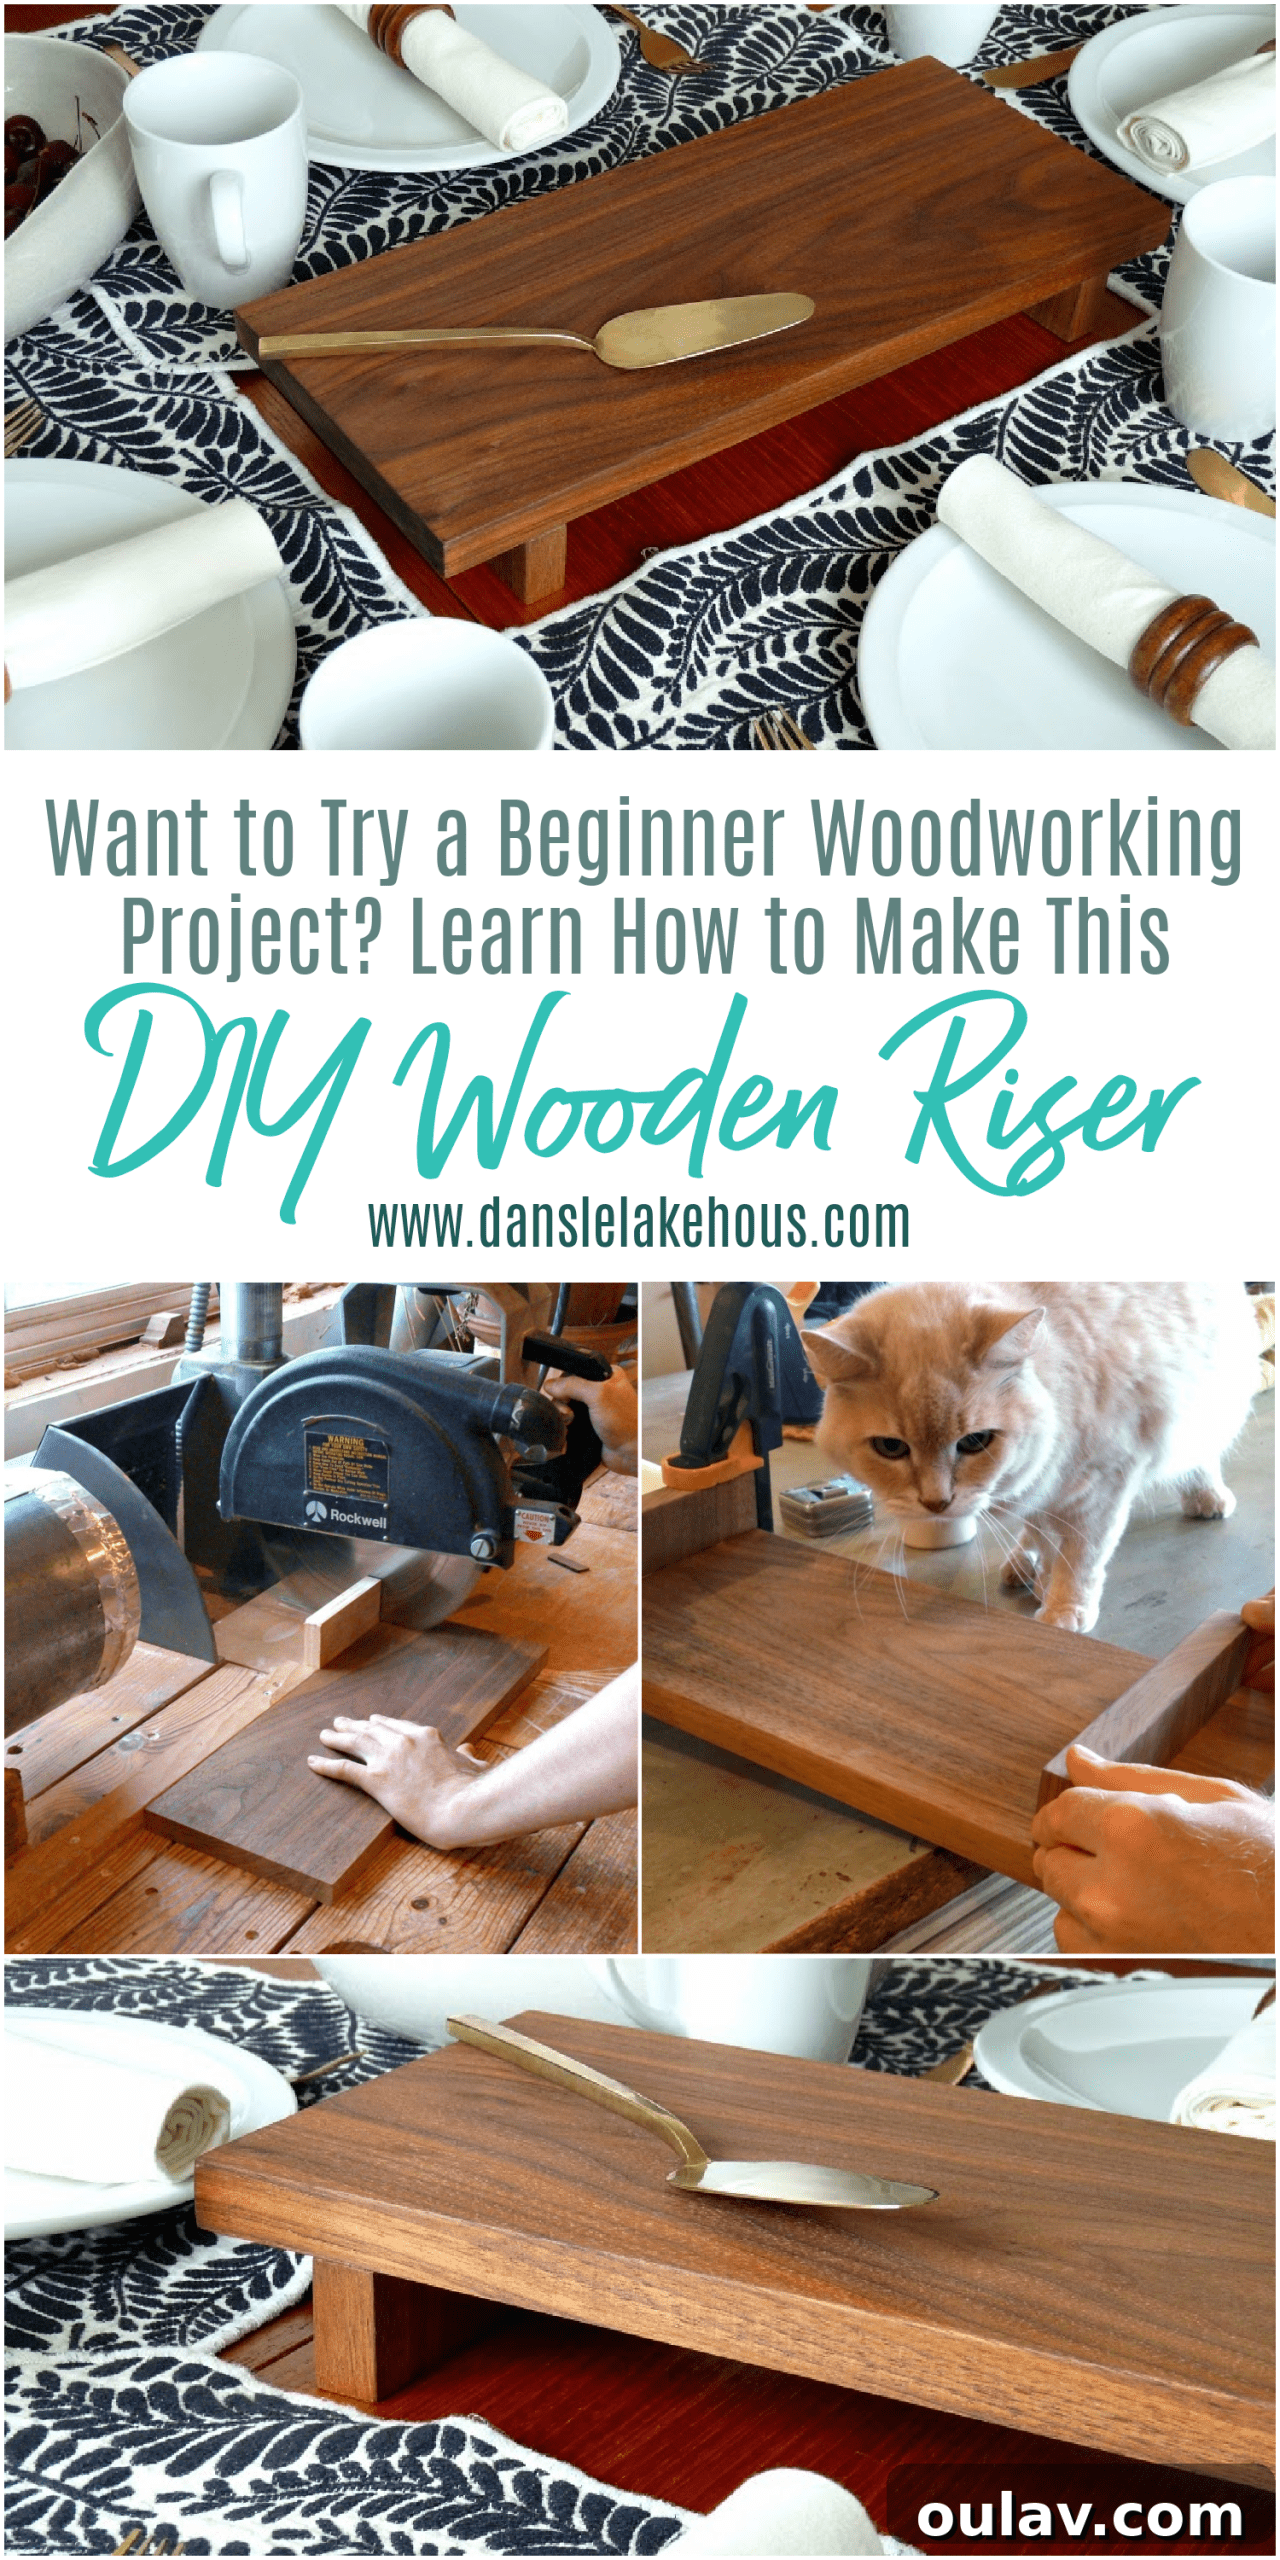
Embark on a delightful woodworking journey with this incredibly simple yet elegant DIY solid wood trivet on legs, also known as a DIY wooden riser. Whether you’re a seasoned woodworker or just dipping your toes into the craft, this project is a fantastic way to create a functional and beautiful piece for your home. It’s surprisingly easy to make, and we’re here to guide you through every step.
The inspiration for this particular project came during a lovely week spent house-sitting for my in-laws. With access to my father-in-law’s impressive woodworking shop, it was the perfect opportunity to tackle some creative projects. Despite the potential for allergy flare-ups from the aggressively pollinating trees on their 80-acre property (not to mention the two dogs and three cats!), the lure of free rein in a fully equipped shop was irresistible. My handy husband and I managed to complete four easy woodworking projects during our stay, but this solid walnut trivet (which can also serve as a cutting board or a stylish wood riser) quickly became my favorite. It was destined to be a special gift for my Mom!
Why Build Your Own DIY Wood Riser?
A DIY wood riser is more than just a place to rest hot dishes. It’s a versatile home accessory that can elevate your decor in countless ways. Use it to display plants, organize kitchen essentials, add height to decorative vignettes, or even as a unique serving board. Crafting it yourself means you get to choose the perfect wood, size, and finish to match your personal style and needs. It’s a rewarding project that combines practicality with aesthetic appeal, offering a touch of handmade warmth to any room.
Supplies for Your DIY Wooden Riser:
Before diving into the construction, gather your materials. Quality supplies will ensure a beautiful and durable finished product. Here’s what you’ll need:
- Solid Walnut Lumber: We chose walnut for its rich color and beautiful grain, but you can select any hardwood like oak, maple, cherry, or even teak. The key is to find a piece that is relatively flat and free of major defects.
- Sandpaper: You’ll need a variety of grits, specifically 120-grit for initial shaping and smoothing, and 220-grit for a fine, silky finish. A sandpaper multi-pack is always a good investment for various woodworking projects.
- Sanding Block: Essential for achieving even pressure and a consistent finish when hand-sanding.
- Tape Measure: For accurate measurements and marking cuts.
- Table Saw or Chop Saw: For precise straight cuts. A circular saw can also work with a good guide.
- Wood Oil: Teak oil, Danish oil, or even food-grade mineral oil are excellent choices for nourishing the wood and enhancing its natural beauty.
- Waterproof Wood Glue: A strong adhesive is crucial for securely attaching the legs. Opt for a waterproof type for added durability and peace of mind, especially if it might be exposed to moisture.
- Project Clamps: Essential for holding glued pieces firmly in place while the glue dries, ensuring a strong bond.
Notes on Wood Selection: While solid wood offers unparalleled beauty and durability, this project is also achievable with veneered wood. Solid planks, like the beautiful walnut we used, showcase rich grain patterns throughout the piece. However, if budget or availability is a concern, high-quality veneered plywood can create an equally stunning riser. Later in this tutorial, you’ll even find a video demonstrating a version I made for myself using veneered walnut, proving its versatility.
How to Make Your Solid Wood Trivet on Legs: Step-by-Step Guide
Step 1: Preparing Your Lumber
The first step in any woodworking project is proper lumber preparation. We started by trimming the edges of our solid walnut plank. One edge was rough from the mill, requiring a clean, straight cut. A radial arm saw was used for this, but a table saw or even a circular saw with a reliable guide would achieve the same result. If your lumber is rougher, you might need to plane it or at least use a belt sander to smooth out the surfaces before proceeding. Alternatively, you can save time by asking your local lumber yard for pre-planed and ready-to-use wood. Fortunately for us, this particular piece was already planed, simplifying the initial steps.
Step 2: Cutting the Main Board and Legs
Once the edges were clean, we proceeded to cut the main body of the trivet and its legs. We carefully cut off two identical strips, each approximately 1 1/2 inches wide. These strips will form the legs of the trivet. The remaining larger piece became the main surface, sized precisely to my Mom’s request. Accurate measurements are critical here to ensure everything aligns perfectly. Double-check your measurements before making any cuts to avoid errors.
Step 3: Extensive Sanding for a Smooth Finish
After cutting, the most labor-intensive, yet crucial, step is sanding. This process transforms rough wood into a smooth, touchable surface, ready for finishing. I began with 120-grit sandpaper on a sanding block to remove any saw marks, minor imperfections, and to start softening the edges. My husband suggested using a router to create a more defined edge, but I preferred a clean, blocky look, which could be achieved simply with thorough sanding. I dedicated extra time to carefully round over the sharp corners and edges by hand. Once the entire piece felt smooth to the touch with 120-grit, I switched to 220-grit sandpaper. This finer grit refines the surface, eliminating any remaining scratches from the coarser grit and preparing the wood to absorb the finish beautifully. After all the sanding was complete, we meticulously wiped down all the pieces with a clean cloth to remove every trace of sanding dust, ensuring a pristine surface for gluing and finishing.
Step 4: Assembling the Trivet with Waterproof Wood Glue
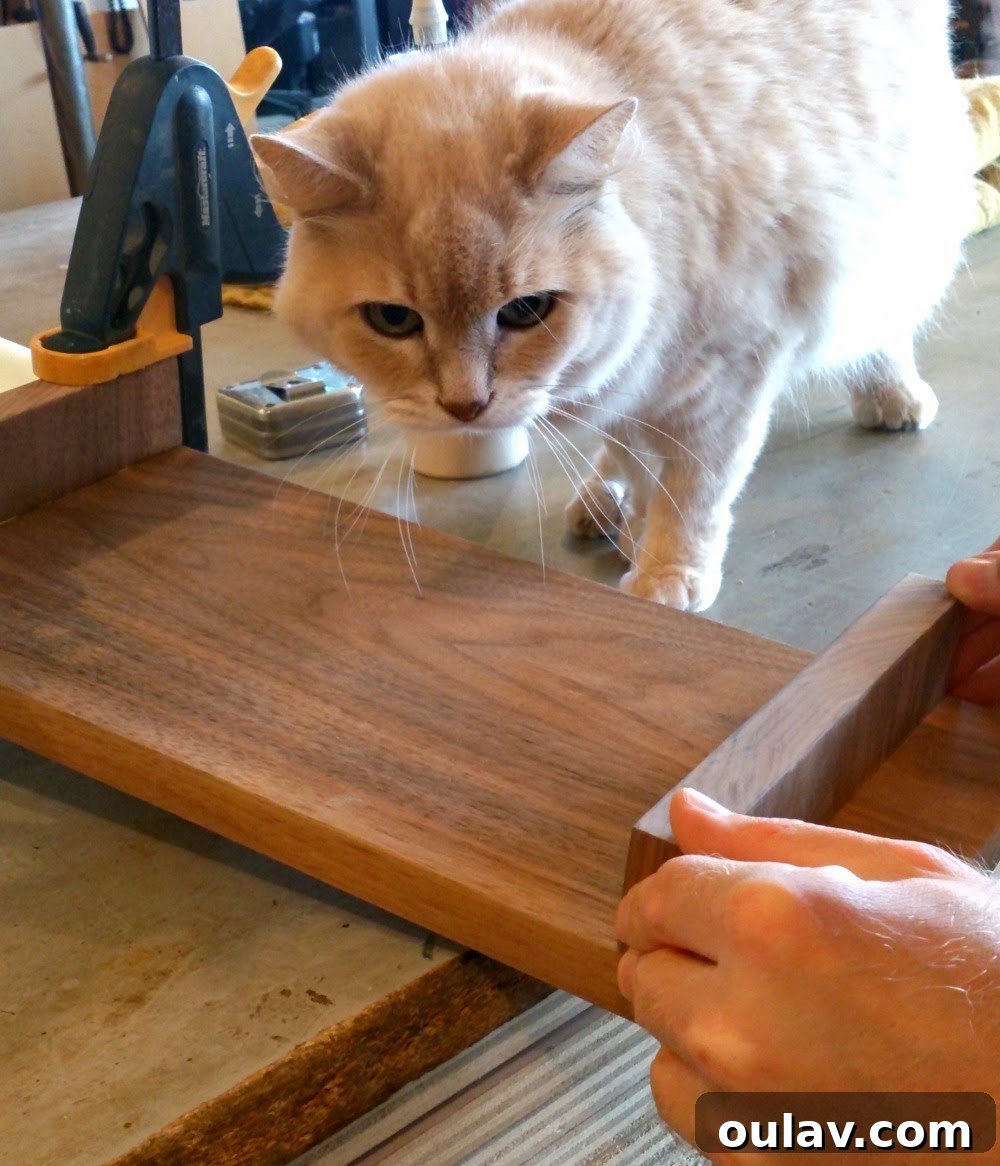
With the pieces meticulously sanded and cleaned, it was time for assembly. We carefully affixed the two leg strips to the underside of the main trivet board using waterproof wood glue. The waterproof glue provides an extra layer of protection against moisture, which is beneficial for a kitchen item, though it’s important to remember that the trivet should not be submerged in water. We precisely positioned the legs so they were inset from the edges, with the inset distance matching the height of the legs – a subtle design touch we thought was quite clever! Before clamping, it’s always a good idea to have a resident kitty inspector ensure all your joints are perfectly aligned! (Just kidding, but supervision is always welcome.)
Step 5: Clamping and Drying
Once the legs were glued in place, we used project clamps to apply even pressure across the glued joints. This ensures maximum surface contact and a strong, durable bond. We let the clamps do their work, allowing the glue to dry completely overnight. For this particular project, we opted to skip screws or nails. Since a trivet isn’t subjected to high stress or heavy loads, the strong wood glue alone provides sufficient hold and results in a much cleaner, seamless appearance, highlighting the natural beauty of the wood.
Step 6: Applying the Wood Finish
With the glue fully cured, the final step was to apply a protective and beautifying finish. I chose teak oil, which is renowned for bringing out the rich tones of wood while offering excellent protection. The application process for wood oil is wonderfully simple:
- Preparation: Ensure the surface is absolutely free of dust or debris.
- Application: Apply a generous amount of teak oil with a clean, lint-free cloth, rubbing it into the wood grain.
- Soak Time: Allow the oil to soak into the wood. Manufacturer’s suggestions for soak time can vary significantly, from a few minutes to several hours, so always check the product label.
- Wipe Off Excess: After the recommended soak time, use a clean, dry cloth to thoroughly wipe off any excess oil from the surface. This is crucial to prevent a sticky residue.
- Repeat: For optimal protection and a deeper luster, apply several thin coats, allowing adequate drying time (typically 6-12 hours) between each coat before lightly buffing.
Food-safe Danish oil is another fantastic option, especially if you intend for your riser to double as a cutting board. I’ve become quite fond of oiling wood – it’s an incredibly easy way to enhance its natural beauty and protect it. Remember when I revived that Danish teak tray or finished the arms for the velvet garbage chair? They still look absolutely incredible. Oiling wood not only protects it but also nourishes it, making the grain truly pop and giving the wood a soft, inviting sheen.
The Versatility and Joy of Your New Wood Riser
This was truly a fun and remarkably simple project – ideal for anyone new to woodworking. The beauty of this DIY wood riser is not just in its ease of construction but also in its versatility. You can make these charming trivets from scrap wood left over from other woodworking DIY projects, making them a sustainable and cost-effective craft. Imagine a collection of these risers around your home, each showcasing a different wood grain or size, adding functional elegance wherever they’re placed.
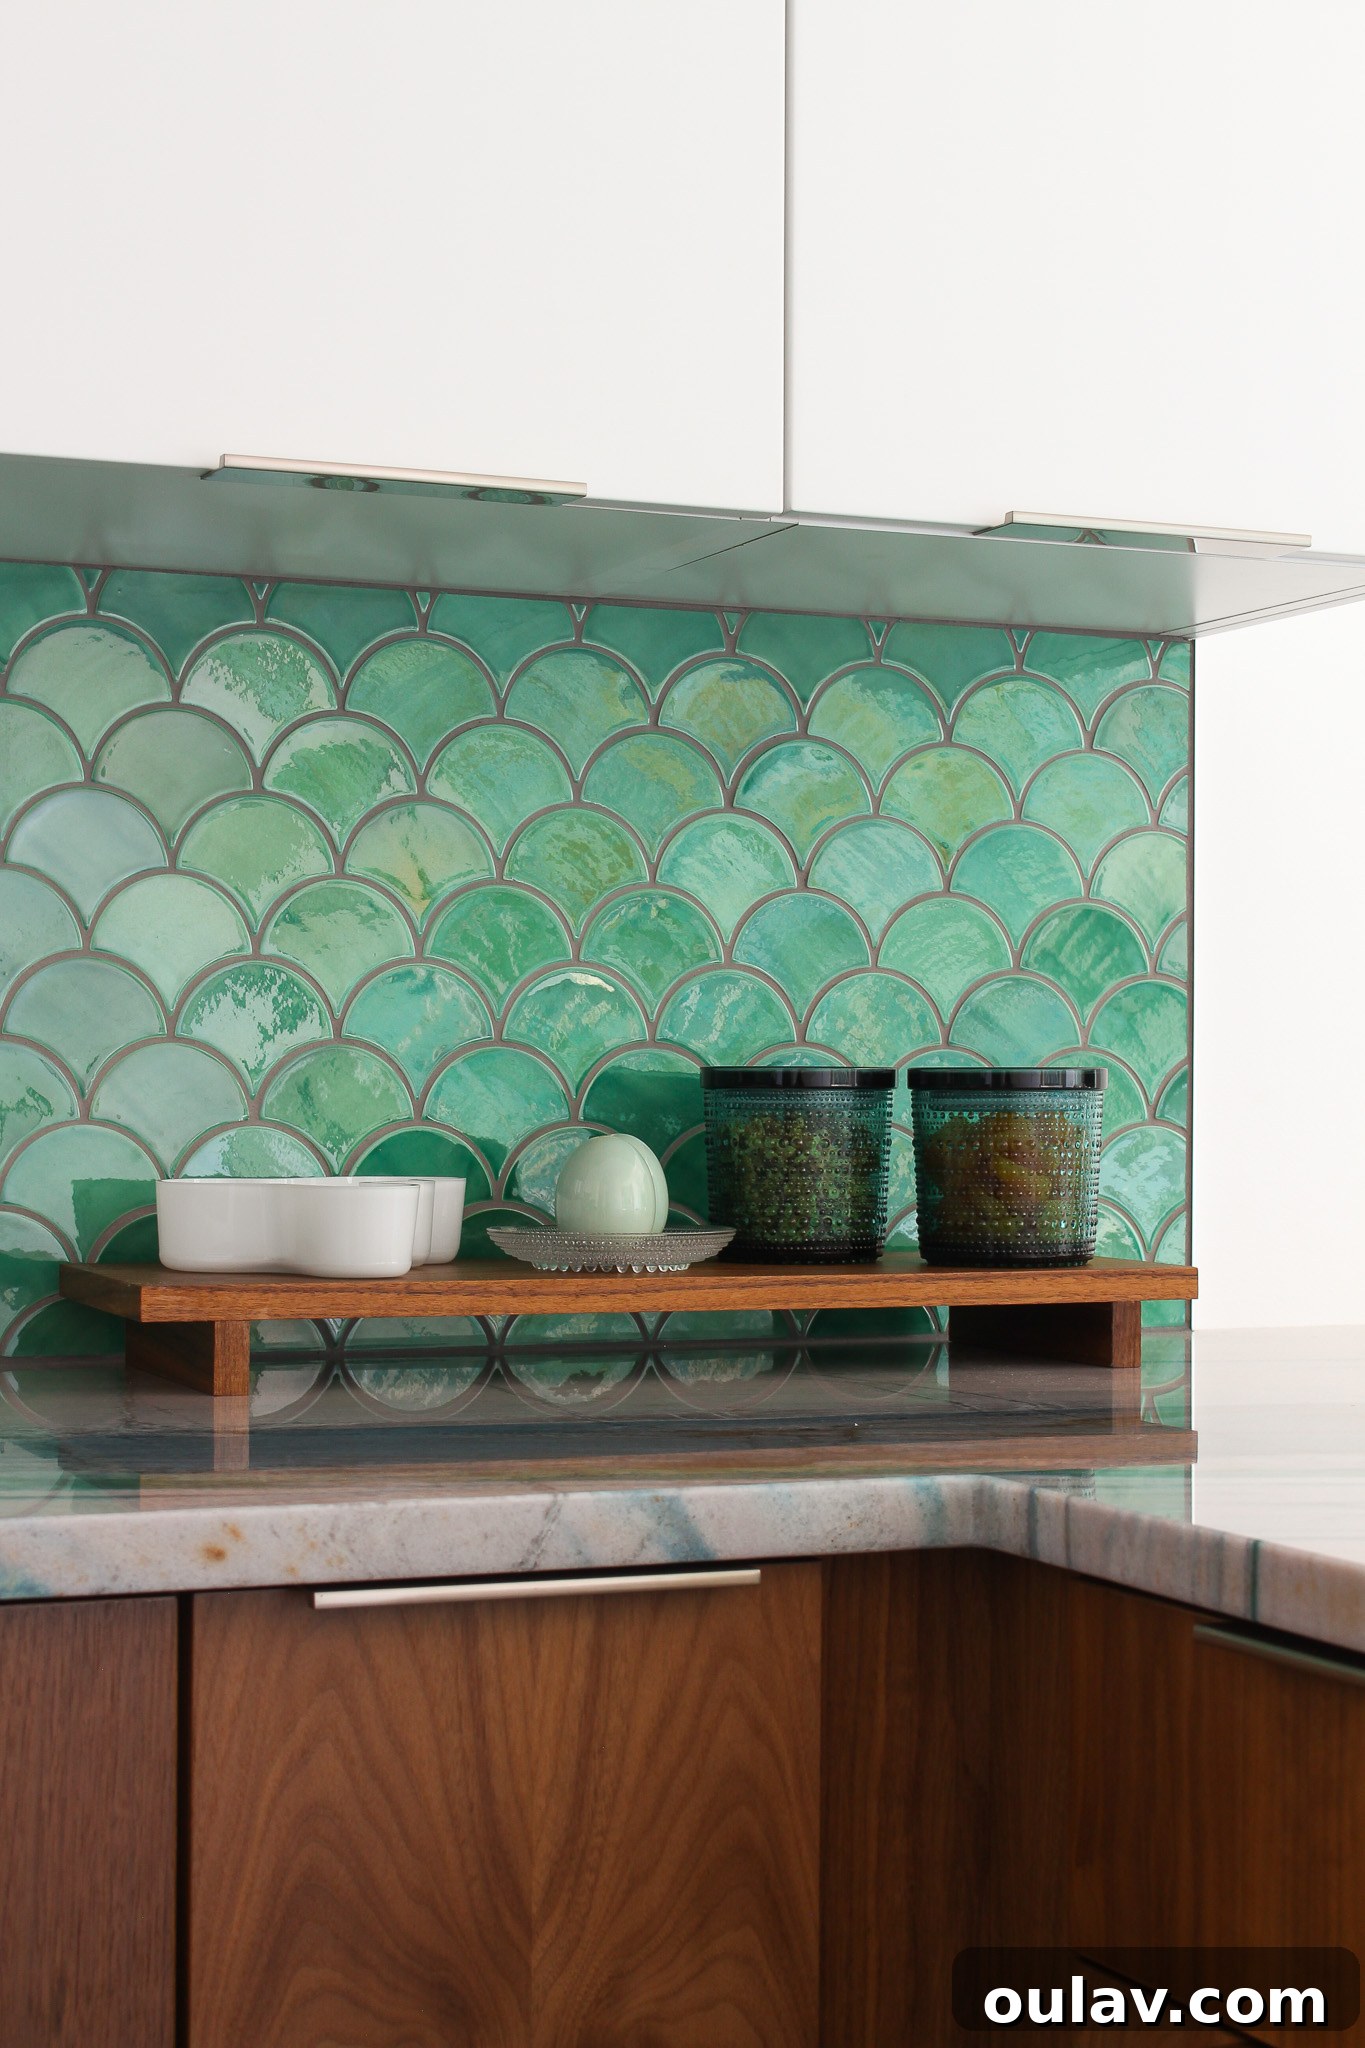
- For the Kitchen: Protect your countertops from hot pots and pans, or use it to display spice jars or fruit.
- For Decor: Elevate a small plant, sculpture, or a stack of books for added visual interest on a shelf or tabletop.
- For Organization: Create a designated spot for keys, jewelry, or office supplies on an entryway table or desk.
- For Serving: A food-safe oiled riser can make for a beautiful presentation of cheeses, appetizers, or desserts.
Video Tutorial: Learn How to Make a Wood Riser
Several years after crafting this DIY wood riser for my Mom, I found myself longing for one of my own! After successfully building DIY nightstands with drawers, we had some beautiful walnut veneered plywood scraps left over. This provided the perfect opportunity to create another riser, and this time, I documented the entire process in a detailed video tutorial:
Ready to Start Your Woodworking Journey?
This simple DIY solid wood trivet on legs is an excellent entry point into the rewarding world of woodworking. It doesn’t require extensive experience or a vast array of expensive tools, making it accessible for almost anyone. By following these steps, you’ll not only create a beautiful and practical item for your home or as a thoughtful gift, but you’ll also gain confidence and skills that can be applied to countless other DIY projects. So, pick out your favorite piece of wood, gather your supplies, and get ready to create something truly special!
P.S. Don’t Forget to Pin for Later!