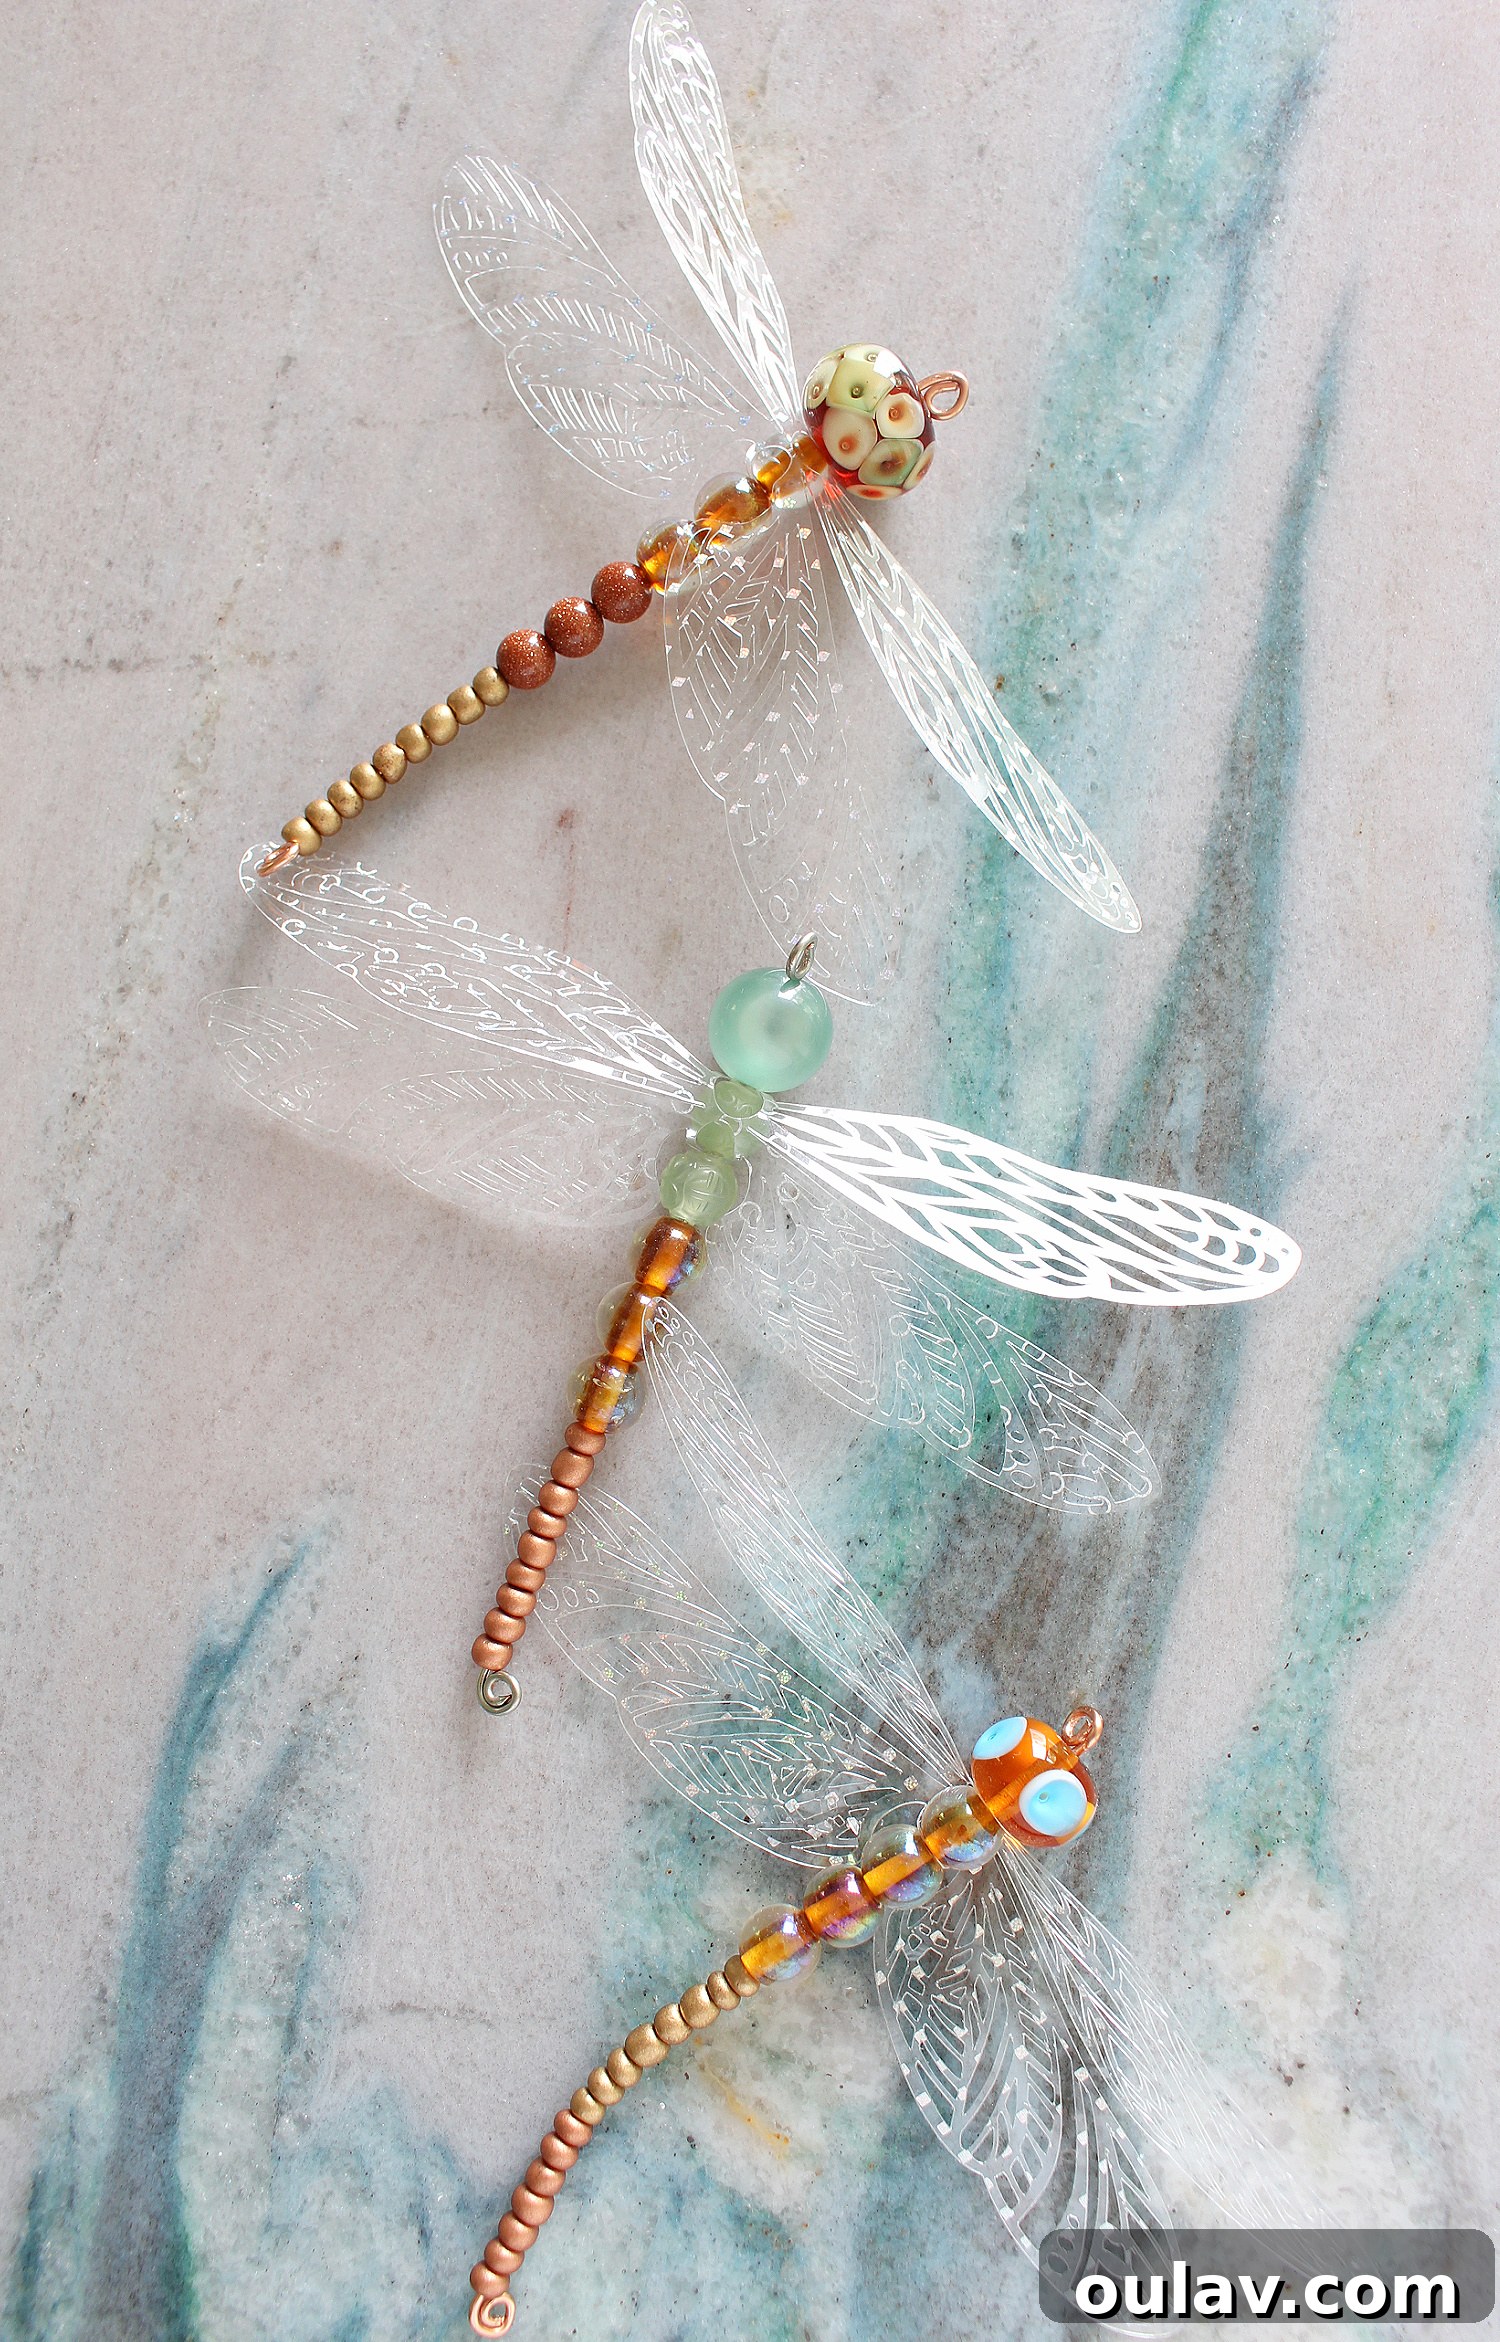
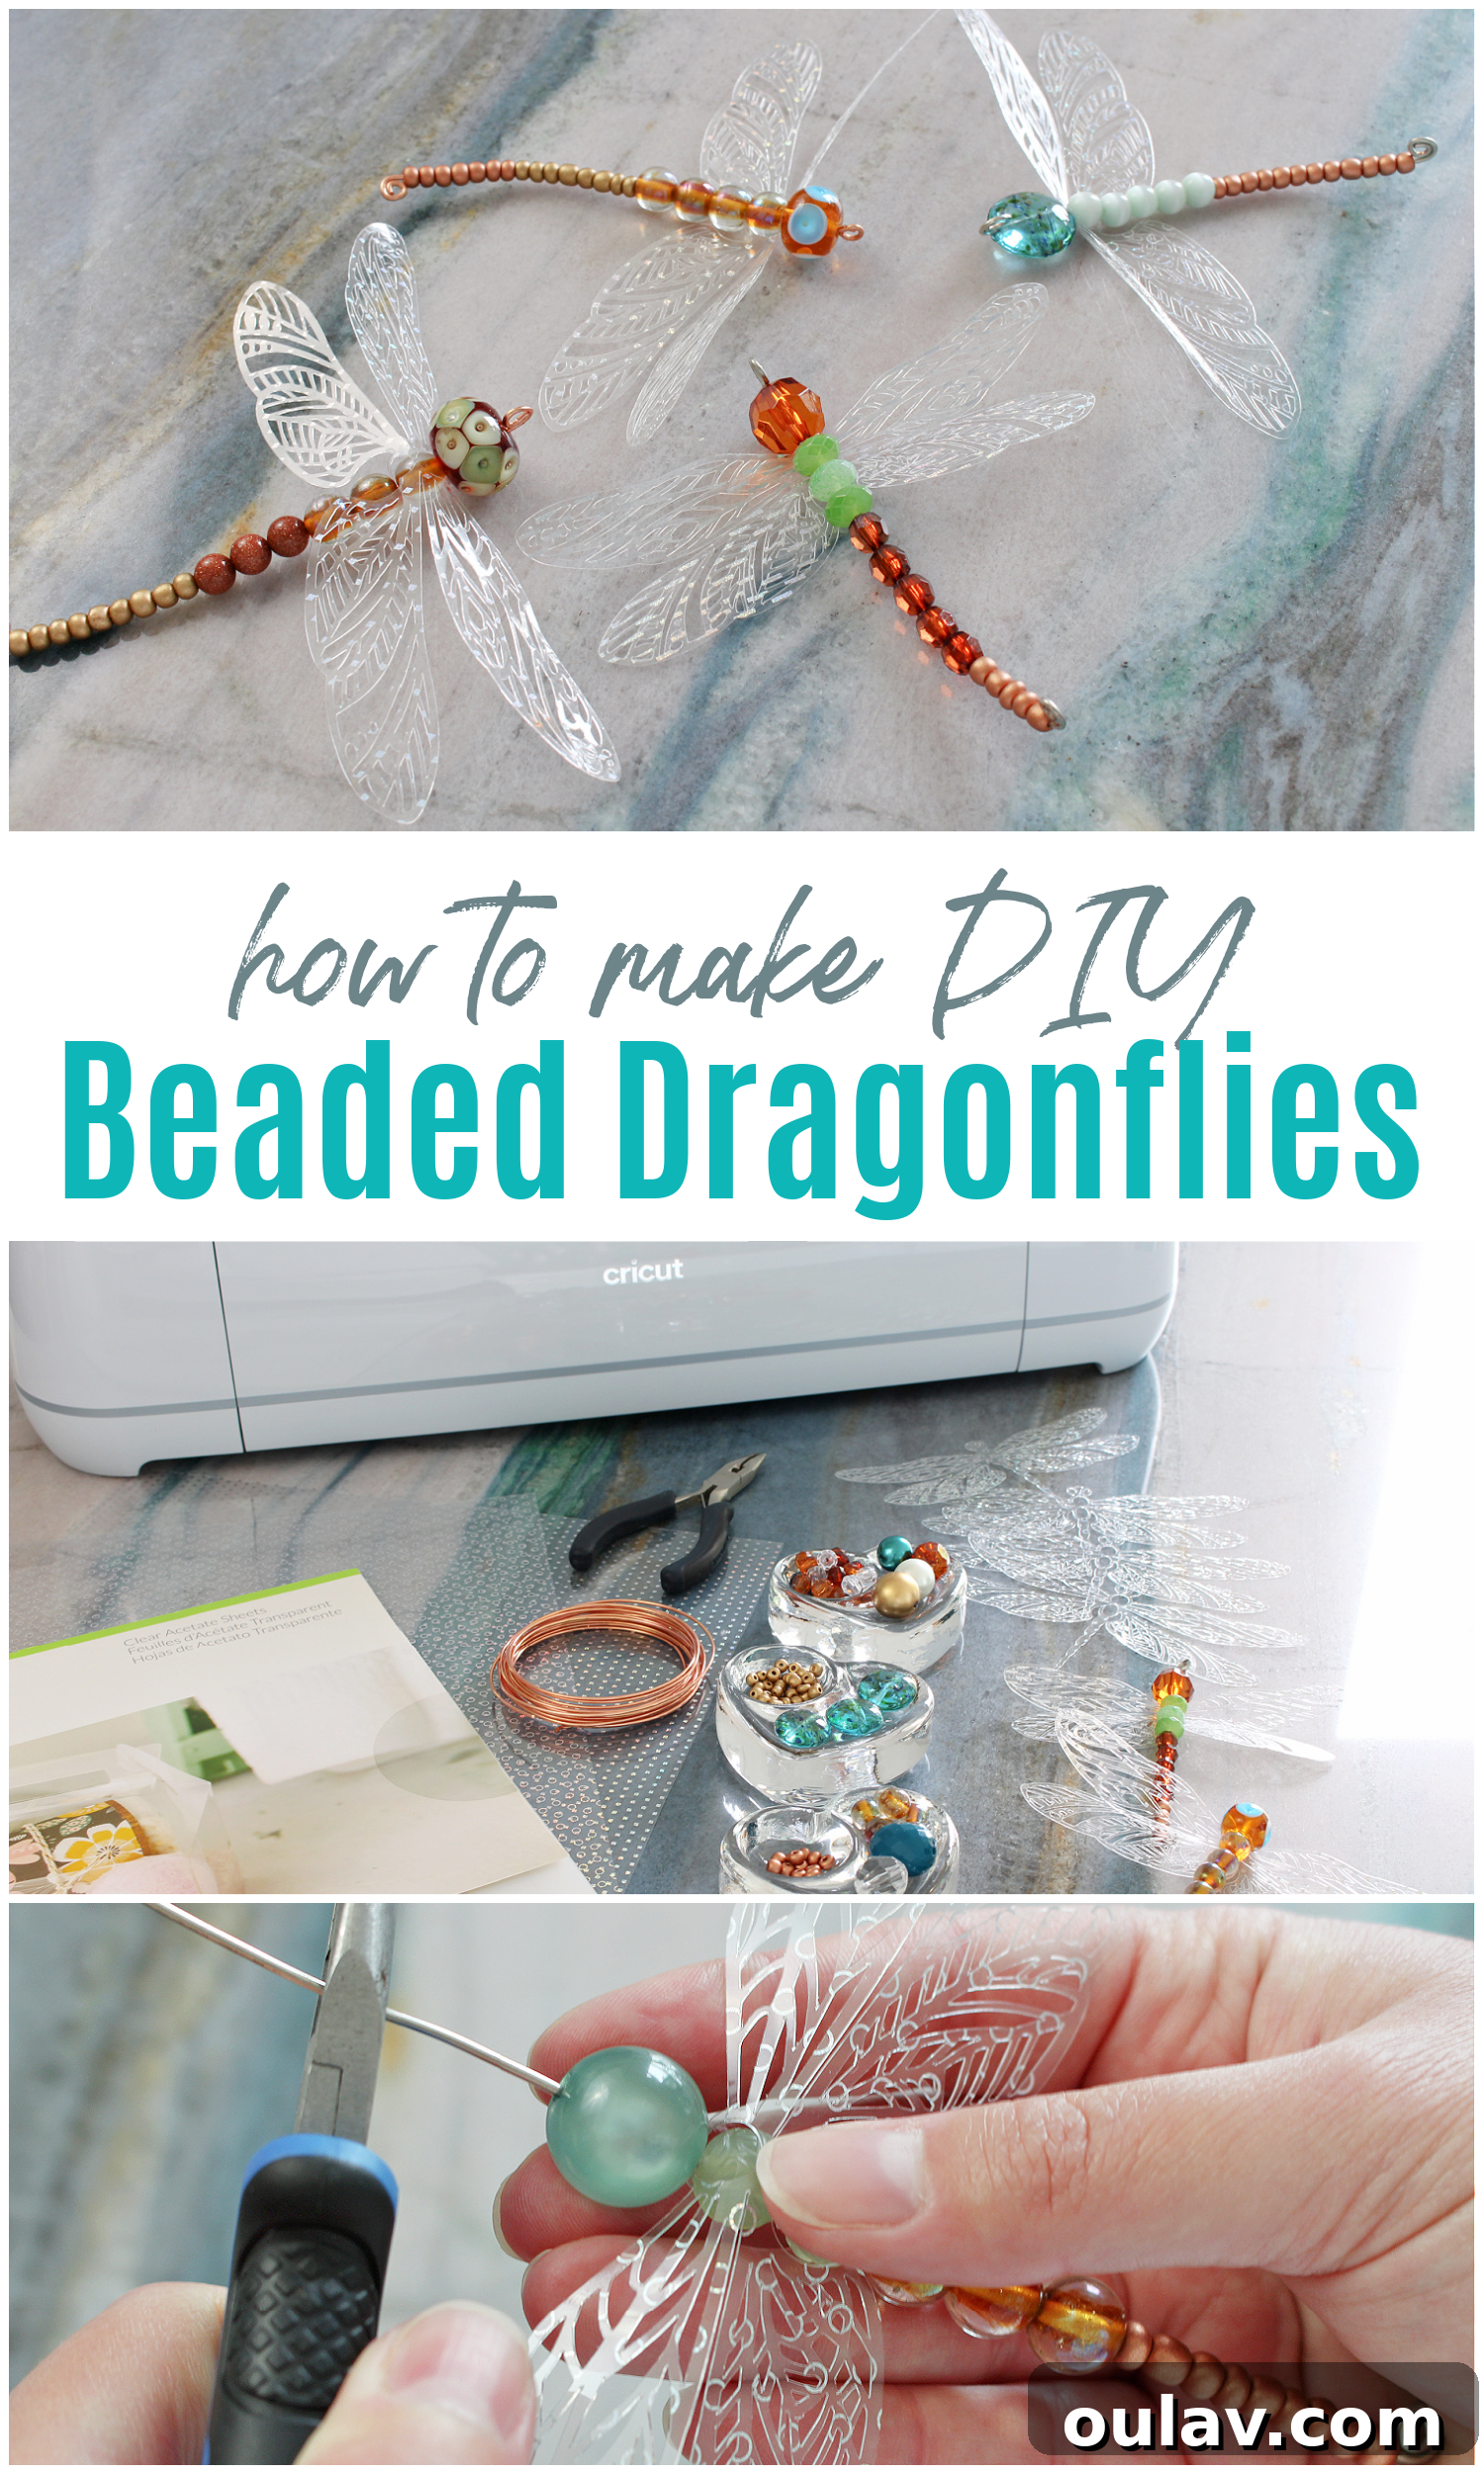
If you’ve enjoyed delving into the creative world of my past DIY beaded spiders, elegant DIY beaded leaves, and enchanting DIY beaded crescent moons, then prepare to be captivated by my latest handcrafted gem: a stunning DIY beaded dragonfly ornament. This project combines intricate beading with the magic of modern crafting technology, making it both simple and incredibly rewarding. Thanks to a generous gift from Cricut, I was able to utilize their phenomenal Cricut Maker 3 machine to craft the delicate, ethereal wings that truly bring these dragonflies to life. The results were absolutely perfect, exceeding all my expectations for their precision and beauty.
While these sparkling dragonflies were initially conceived to adorn my Mom’s uniquely themed “A Midsummer Night’s Dream” Christmas tree – a truly whimsical concept (learn more about the theme here) – their versatility shines far beyond holiday decor. Imagine them catching the light in a sun-drenched window during spring, or fluttering charmingly as part of your summer patio decorations. Their timeless appeal makes them a wonderful addition to any home, any season. This tutorial will guide you through every step, ensuring you can create your own collection of these delightful beaded dragonflies.
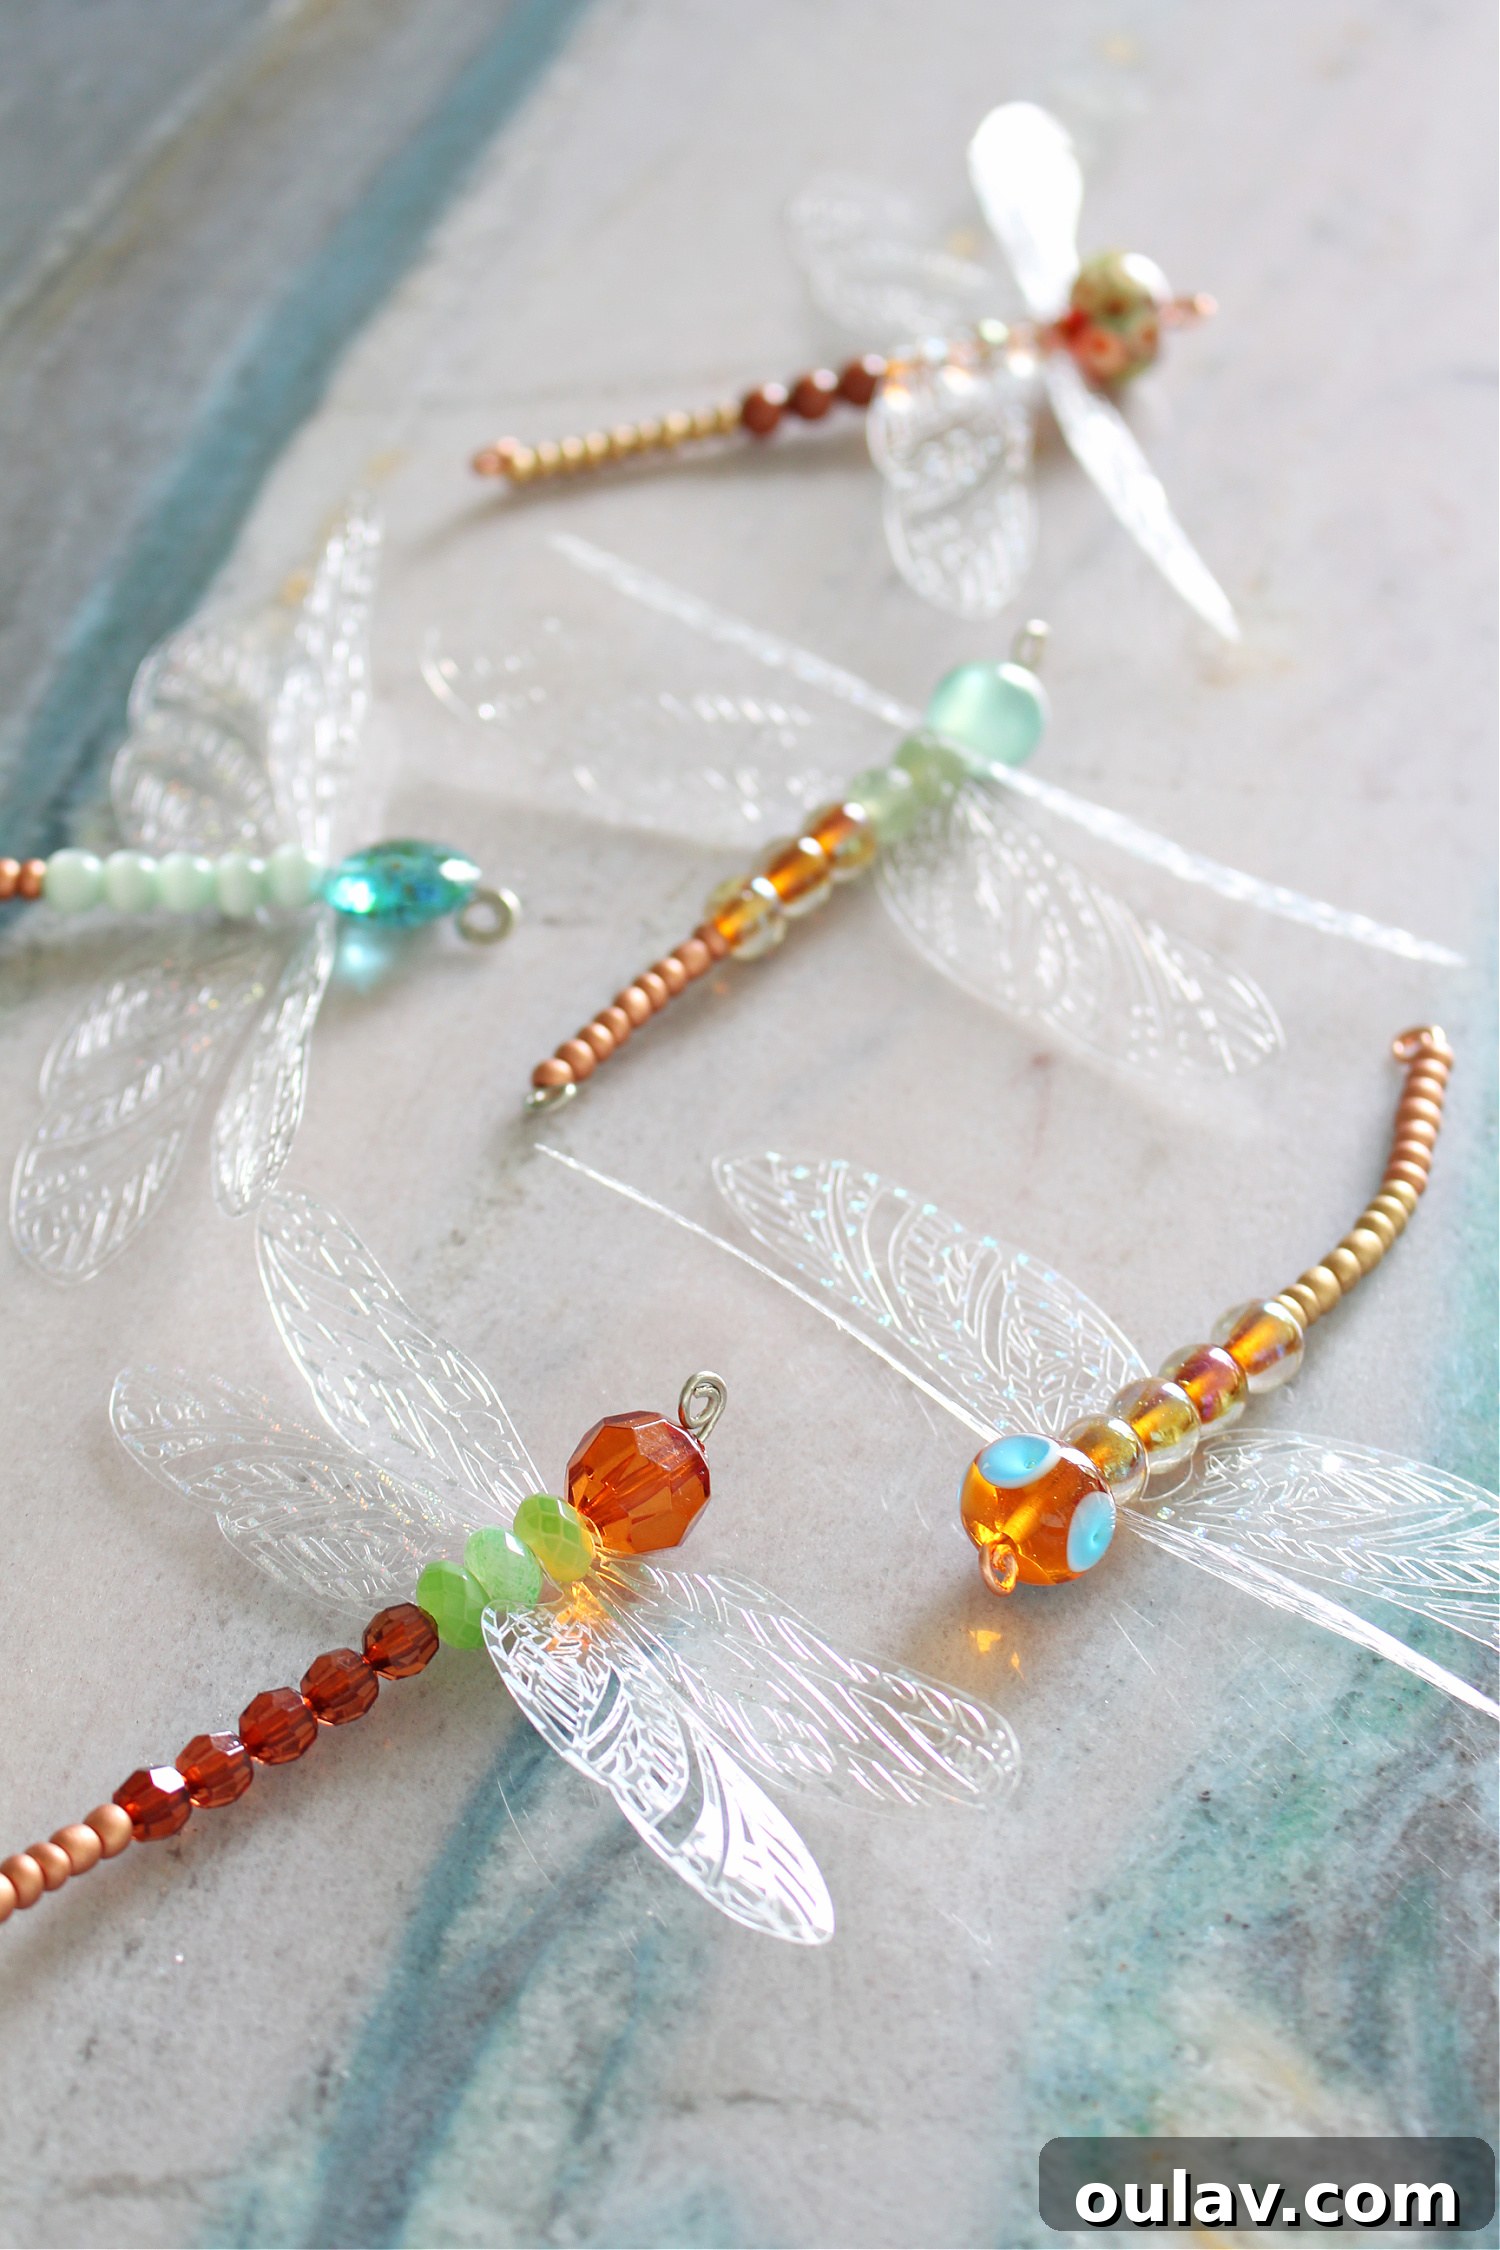
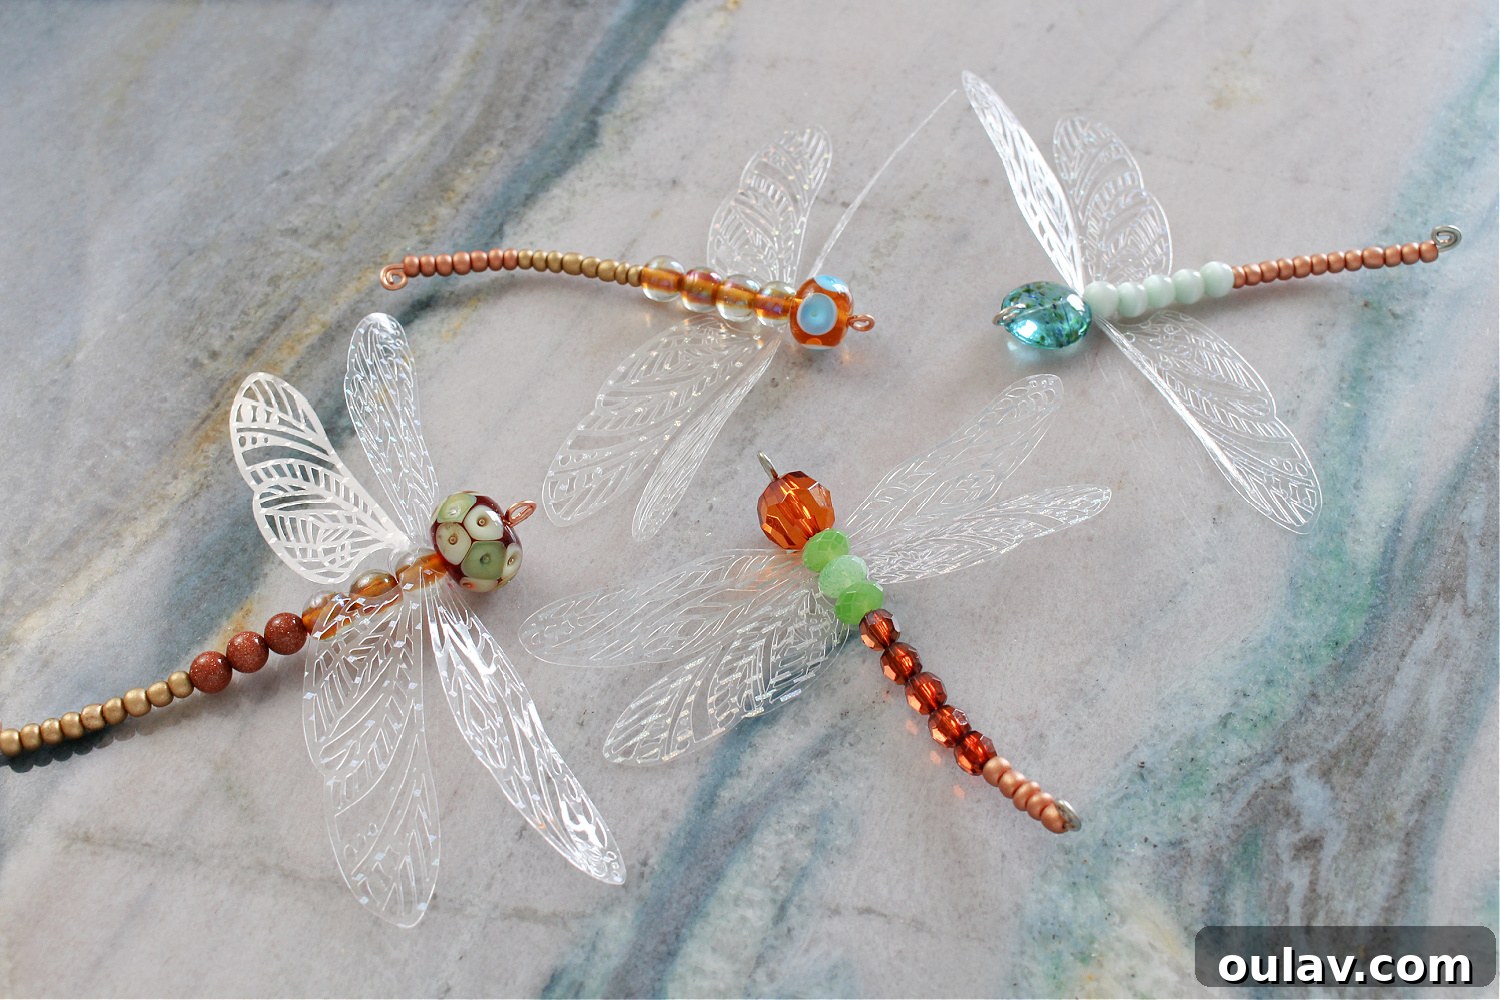
These exquisite beaded dragonflies are more than just ornaments; they are tiny works of art that bring a touch of magic wherever they are placed. Suspend a few in a sunlit window to create dazzling reflections and a play of light, or string them together to craft a breathtaking, bedazzled garland for your mantelpiece, adding a whimsical touch to your living space. Personally, I’m excited to integrate them into a beautifully lush, faux flower wreath, enhancing its natural charm with a pop of sparkle – at least until it’s time to lovingly hand them over to my Mom for her themed tree! Crafting these unique pieces is a joyous process, and I’m thrilled to share all the details. Below, you’ll find a comprehensive list of everything you’ll need to embark on your own beaded dragonfly adventure.
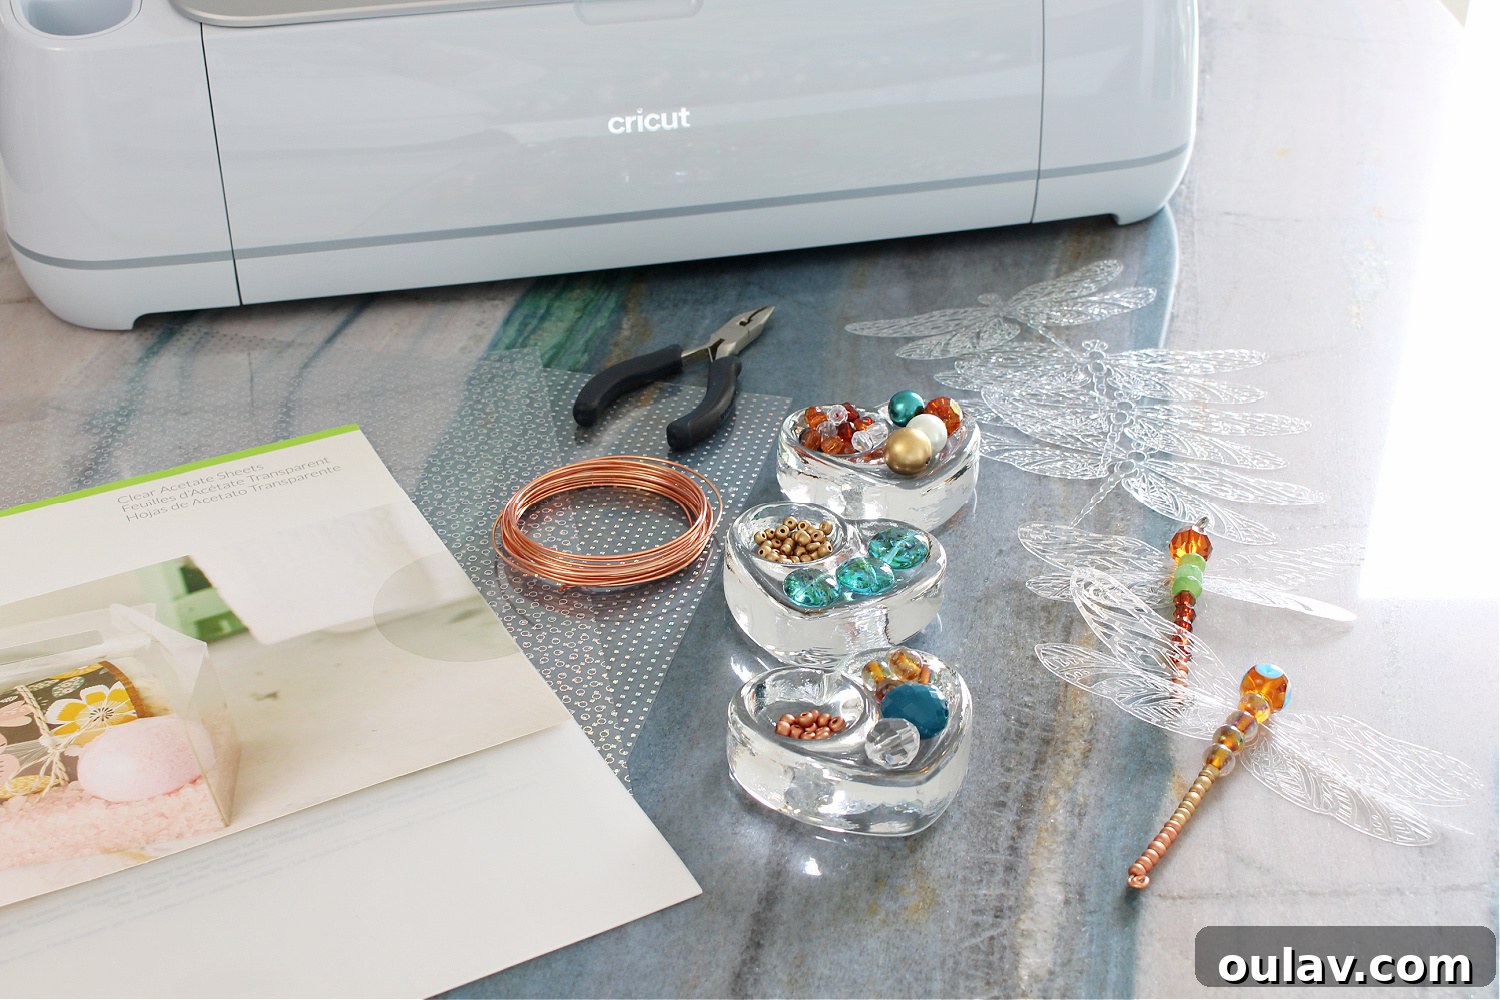
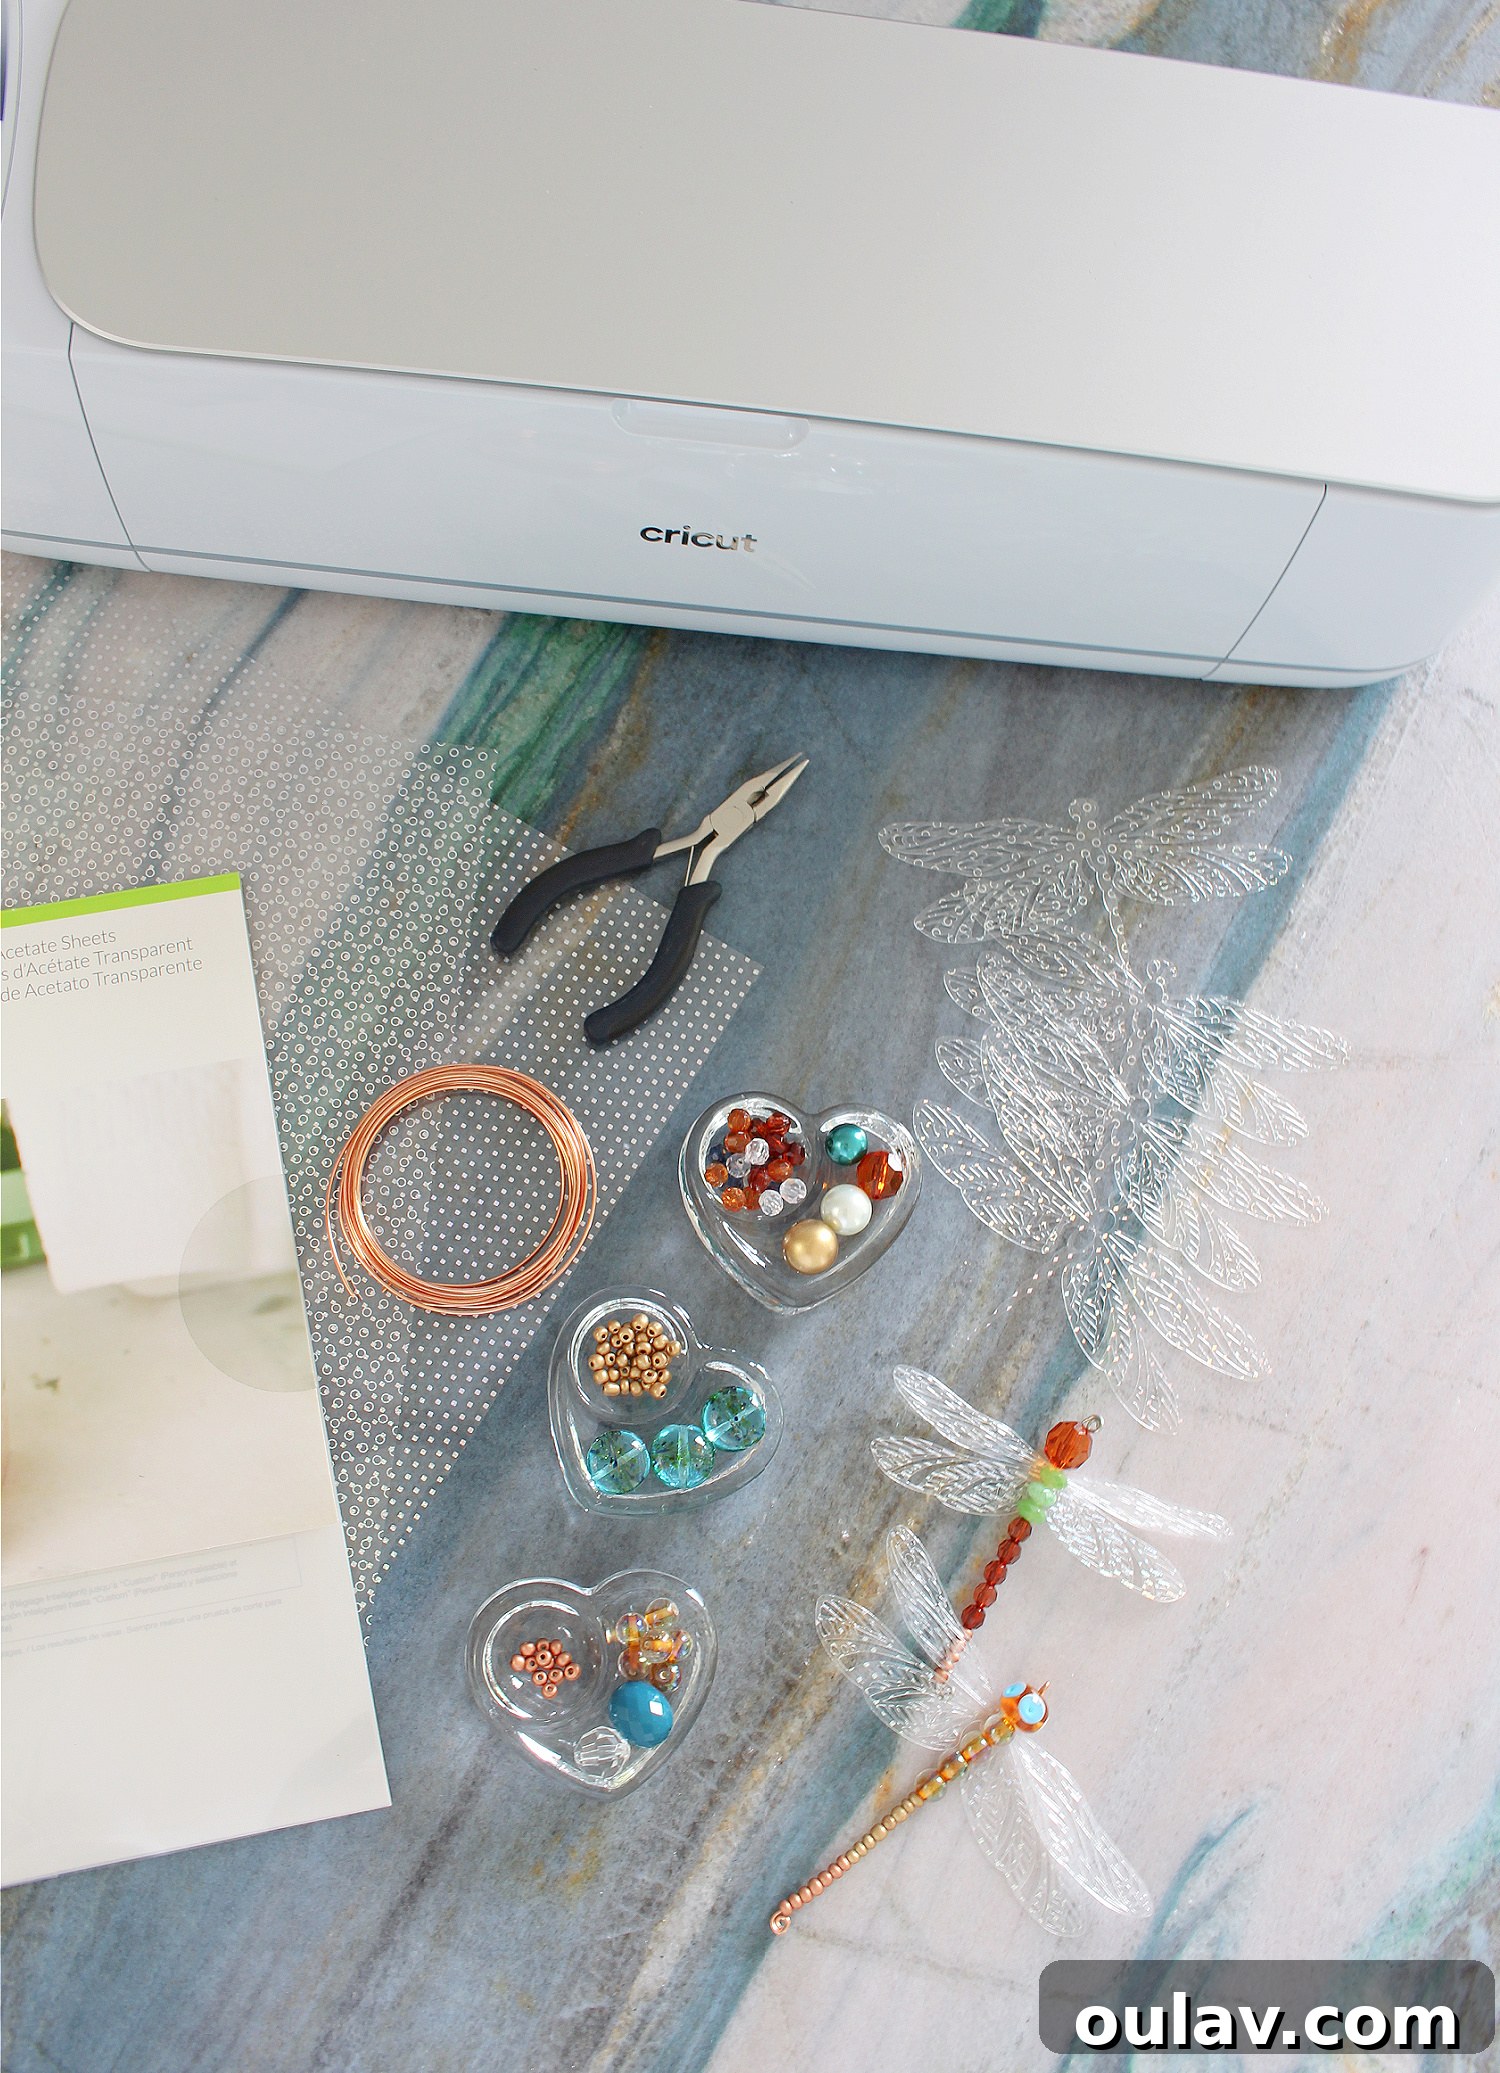
Essential Supplies for Your Beaded Dragonfly Project:
Gathering your materials is the first exciting step in any DIY project. For these captivating beaded dragonflies, you’ll need a few key items, some of which you might already have in your craft arsenal, and others that are easily obtainable. Remember, quality tools make for a smoother crafting experience and more beautiful results.
- 16 Gauge Wire: This is the backbone of your dragonfly. A 16 gauge wire offers the perfect balance of flexibility for shaping and rigidity to hold the beads securely. It’s strong enough to maintain its form but pliable enough to bend with pliers.
- Needle Nose Pliers: Indispensable for wirework, needle nose pliers allow you to create precise loops and bends, securing your beads and forming the dragonfly’s hanging loop.
- Scissors: A good pair of sharp scissors will be useful for any general crafting needs, especially for trimming the acetate wings if needed.
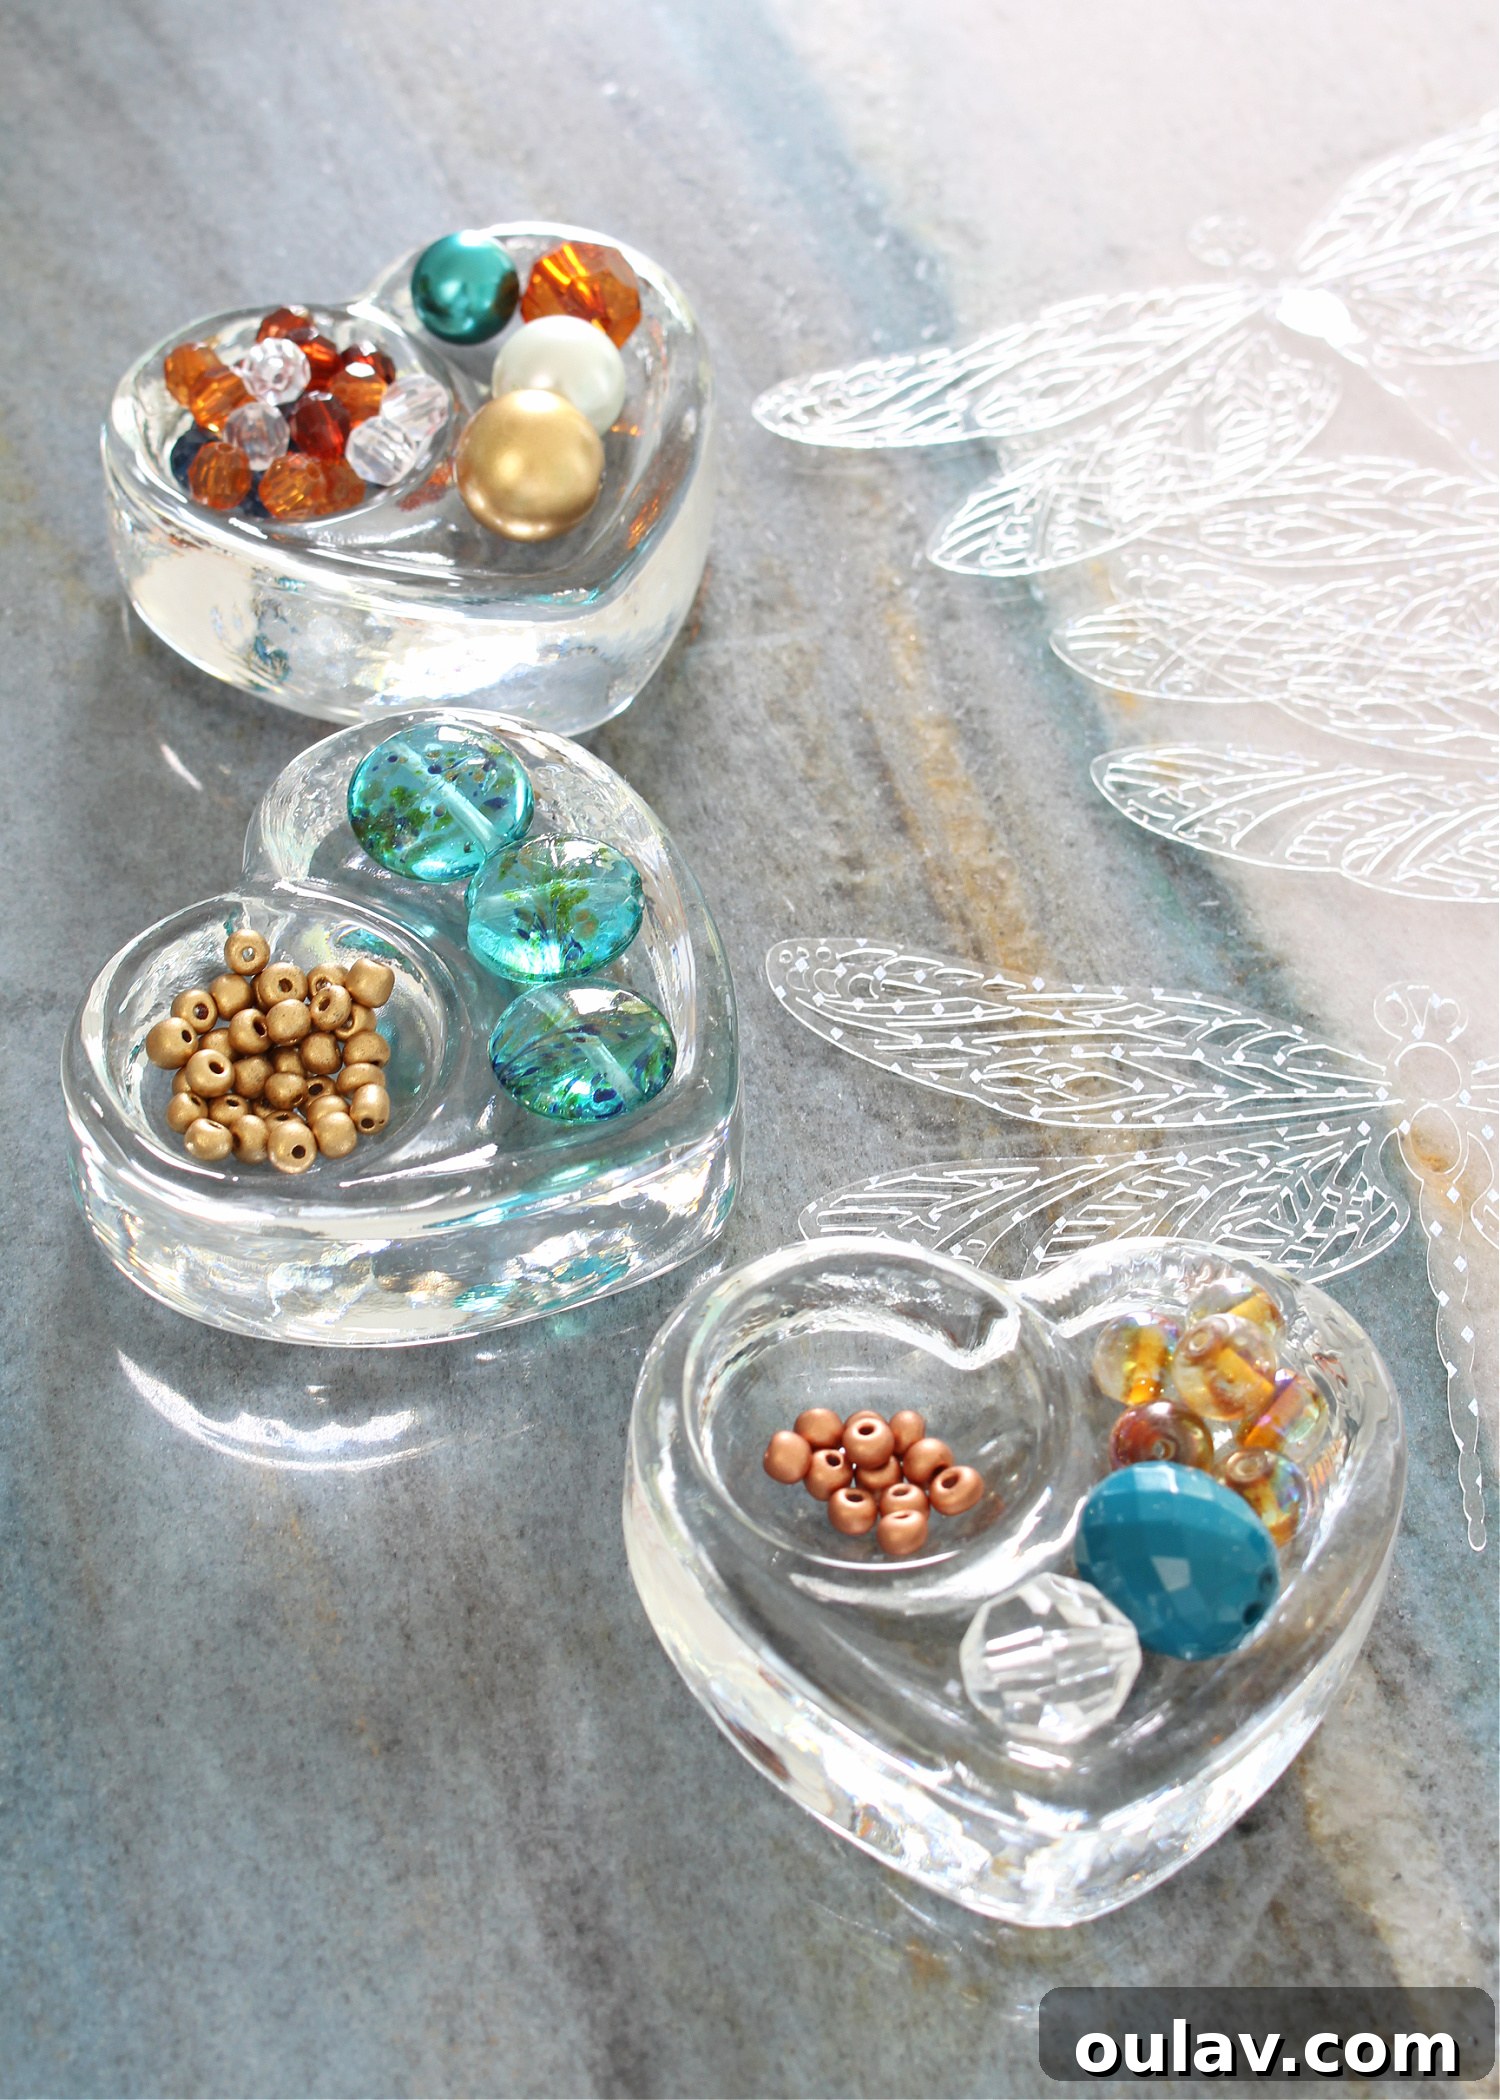
- Beads of Various Sizes: This is where your creativity truly comes alive! The beauty of these dragonflies lies in the diverse array of beads. You’ll want a selection of shapes, colors, and sizes to create a tapered body, from small beads at the tail to larger ones for the head.
- Cricut Acetate: This specialized material from Cricut Acetate is key to creating the shimmering, translucent wings that give the dragonflies their magical quality. Its ability to be cut with incredible detail makes it ideal.
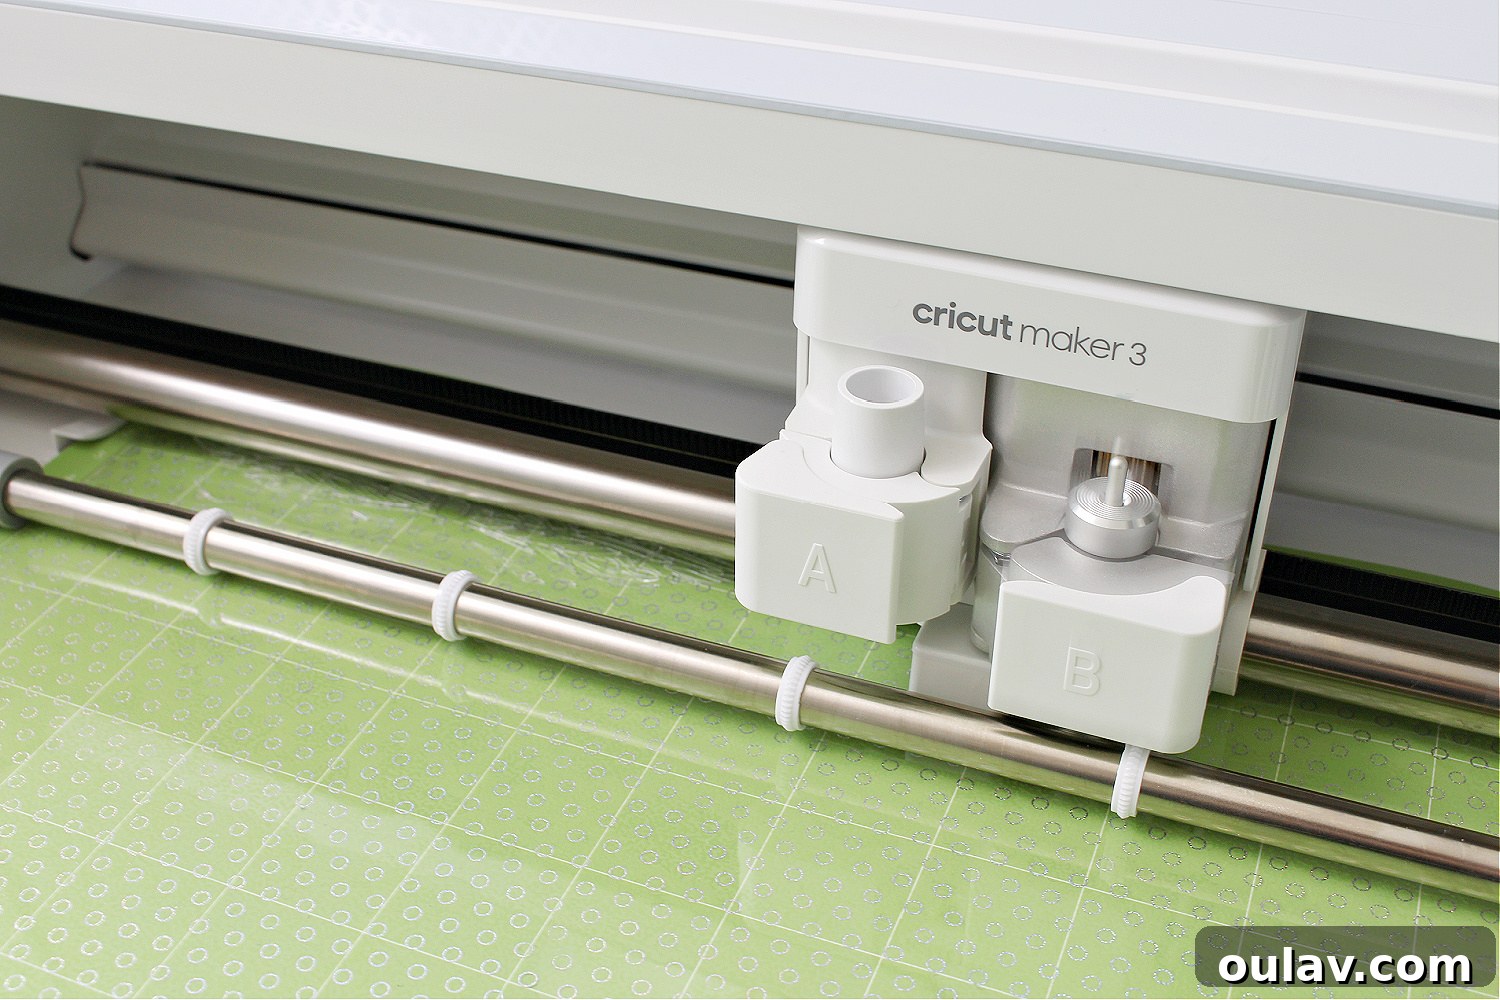
- Cricut Cutting Machine: The star of the show for crafting the wings! I personally used my fantastic new Cricut Maker 3, which offers unparalleled precision and speed. Any Cricut Explore or Maker machine will work wonderfully.
- Cricut Standard Grip Cutting Mat: Essential for holding your acetate securely in place during the cutting process. A Cricut standard grip mat ensures clean cuts and easy removal of your delicate designs.
A Special Note on Beads: When selecting your beads, the most crucial consideration is ensuring they can comfortably fit onto your 16 gauge wire. I love raiding my existing craft stash for projects like this, utilizing all sorts of delightful odds and ends. This is a brilliant opportunity to give new life to old jewelry pieces or single orphaned beads! If you’re in the market for new beads, I highly recommend exploring lampwork beads – they have a beautiful depth and artistry (consider these vibrant options or even these enchanting glow-in-the-dark ones for an extra touch of whimsy). Don’t be afraid to mix materials and textures; pearls, glass, acrylic, and even small metal beads can all contribute to a truly unique and personalized dragonfly.
Crafting Ethereal Acetate Wings with Your Cricut Maker 3:
The wings are arguably the most captivating element of these beaded dragonflies, giving them their characteristic lightness and shimmer. When I initially envisioned this project, I considered various methods for creating the wings, from delicate resin castings to intricate wirework. However, I quickly realized that the precision and ease of a Cricut cutting machine would be an absolute game-changer. It allowed me to cut incredibly intricate and truly ethereal wings with minimal effort, transforming a potentially complex step into a straightforward joy.
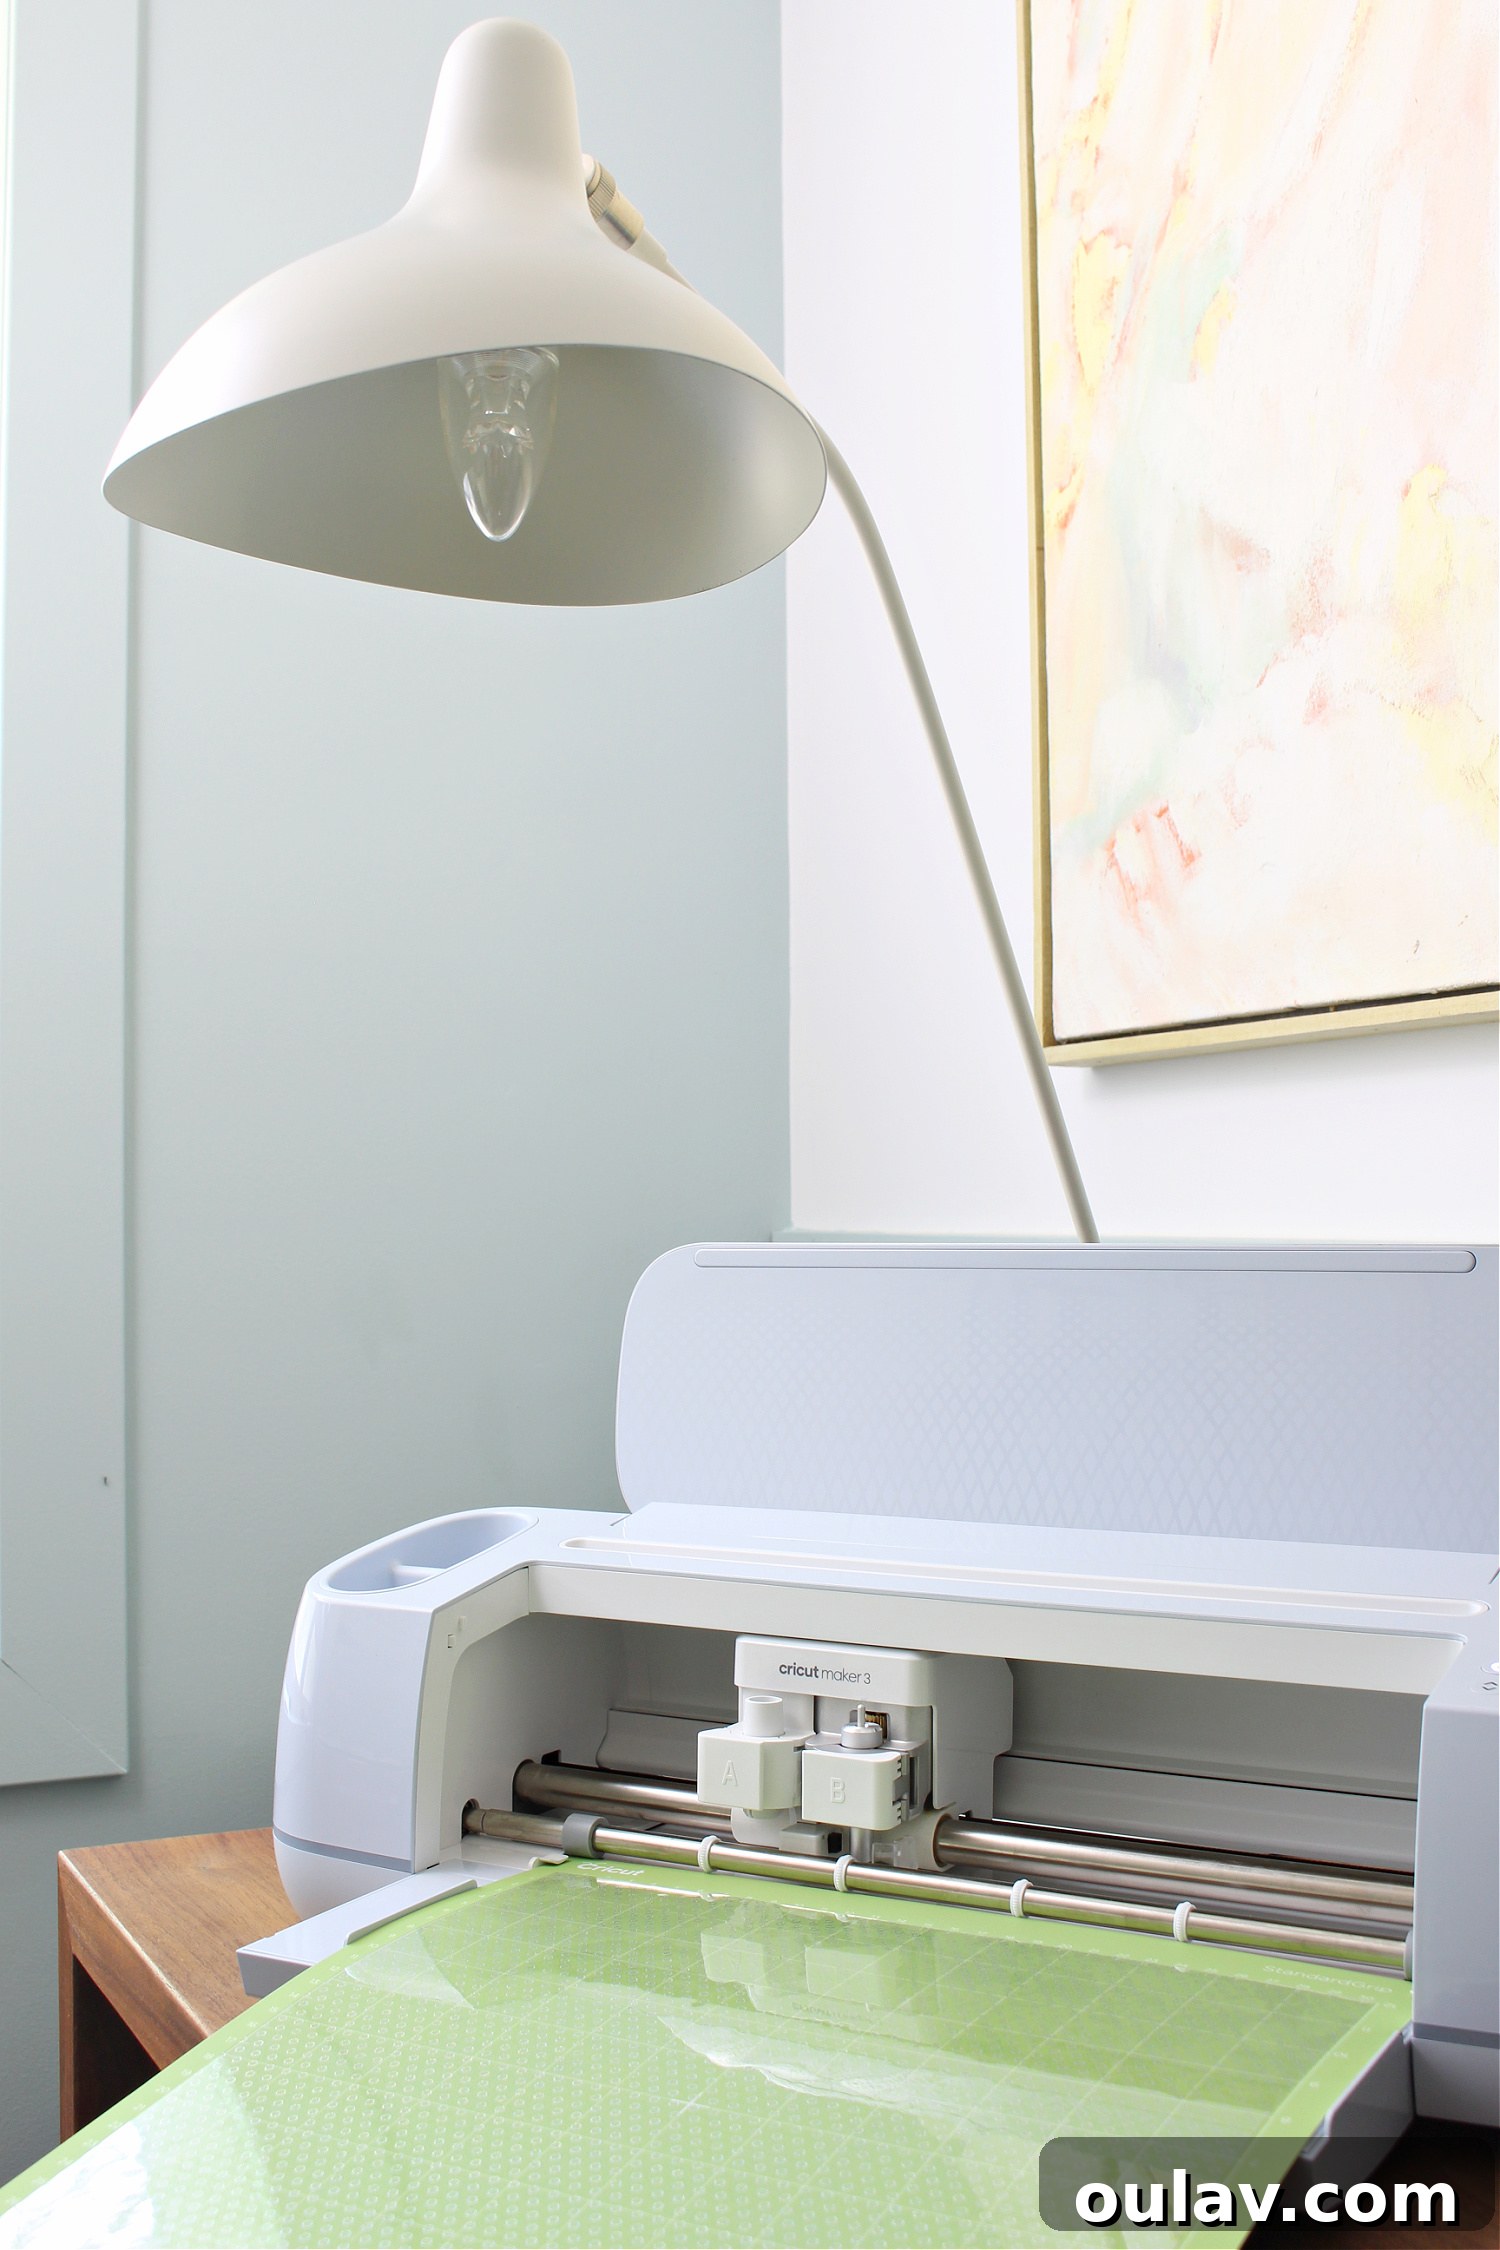
I specifically used Cricut Foil Acetate and my powerful Cricut Maker 3 to cut out these exquisite wings. The secret to the simplicity of this step lies in Cricut Design Space’s vast library of ready-made designs. I didn’t need to spend hours designing intricate wing patterns; I simply selected an existing dragonfly design, adjusted its size to my preference, and clicked “Make It.” It’s truly a “click and cut” process, making it incredibly accessible even for those new to Cricut. The beauty of Cricut Design Space is its intuitive interface and the sheer variety of projects at your fingertips. You can access the exact project link I used here, making it even easier for you to replicate these beautiful wings for your DIY beaded dragonfly ornaments!
Once the design was cut, I simply used scissors to snip away the body and head portions of the design, as I only needed the wings. I deliberately chose a dragonfly design that featured small holes within the body section. This thoughtful detail proved invaluable, allowing me to effortlessly wrap the wing base around a bead and then thread it securely onto my wire. This method ensures a strong, integrated attachment that looks professional and polished. Ready to experience the magic of creating your own Cricut dragonfly wings? Let’s start with preparing the acetate:
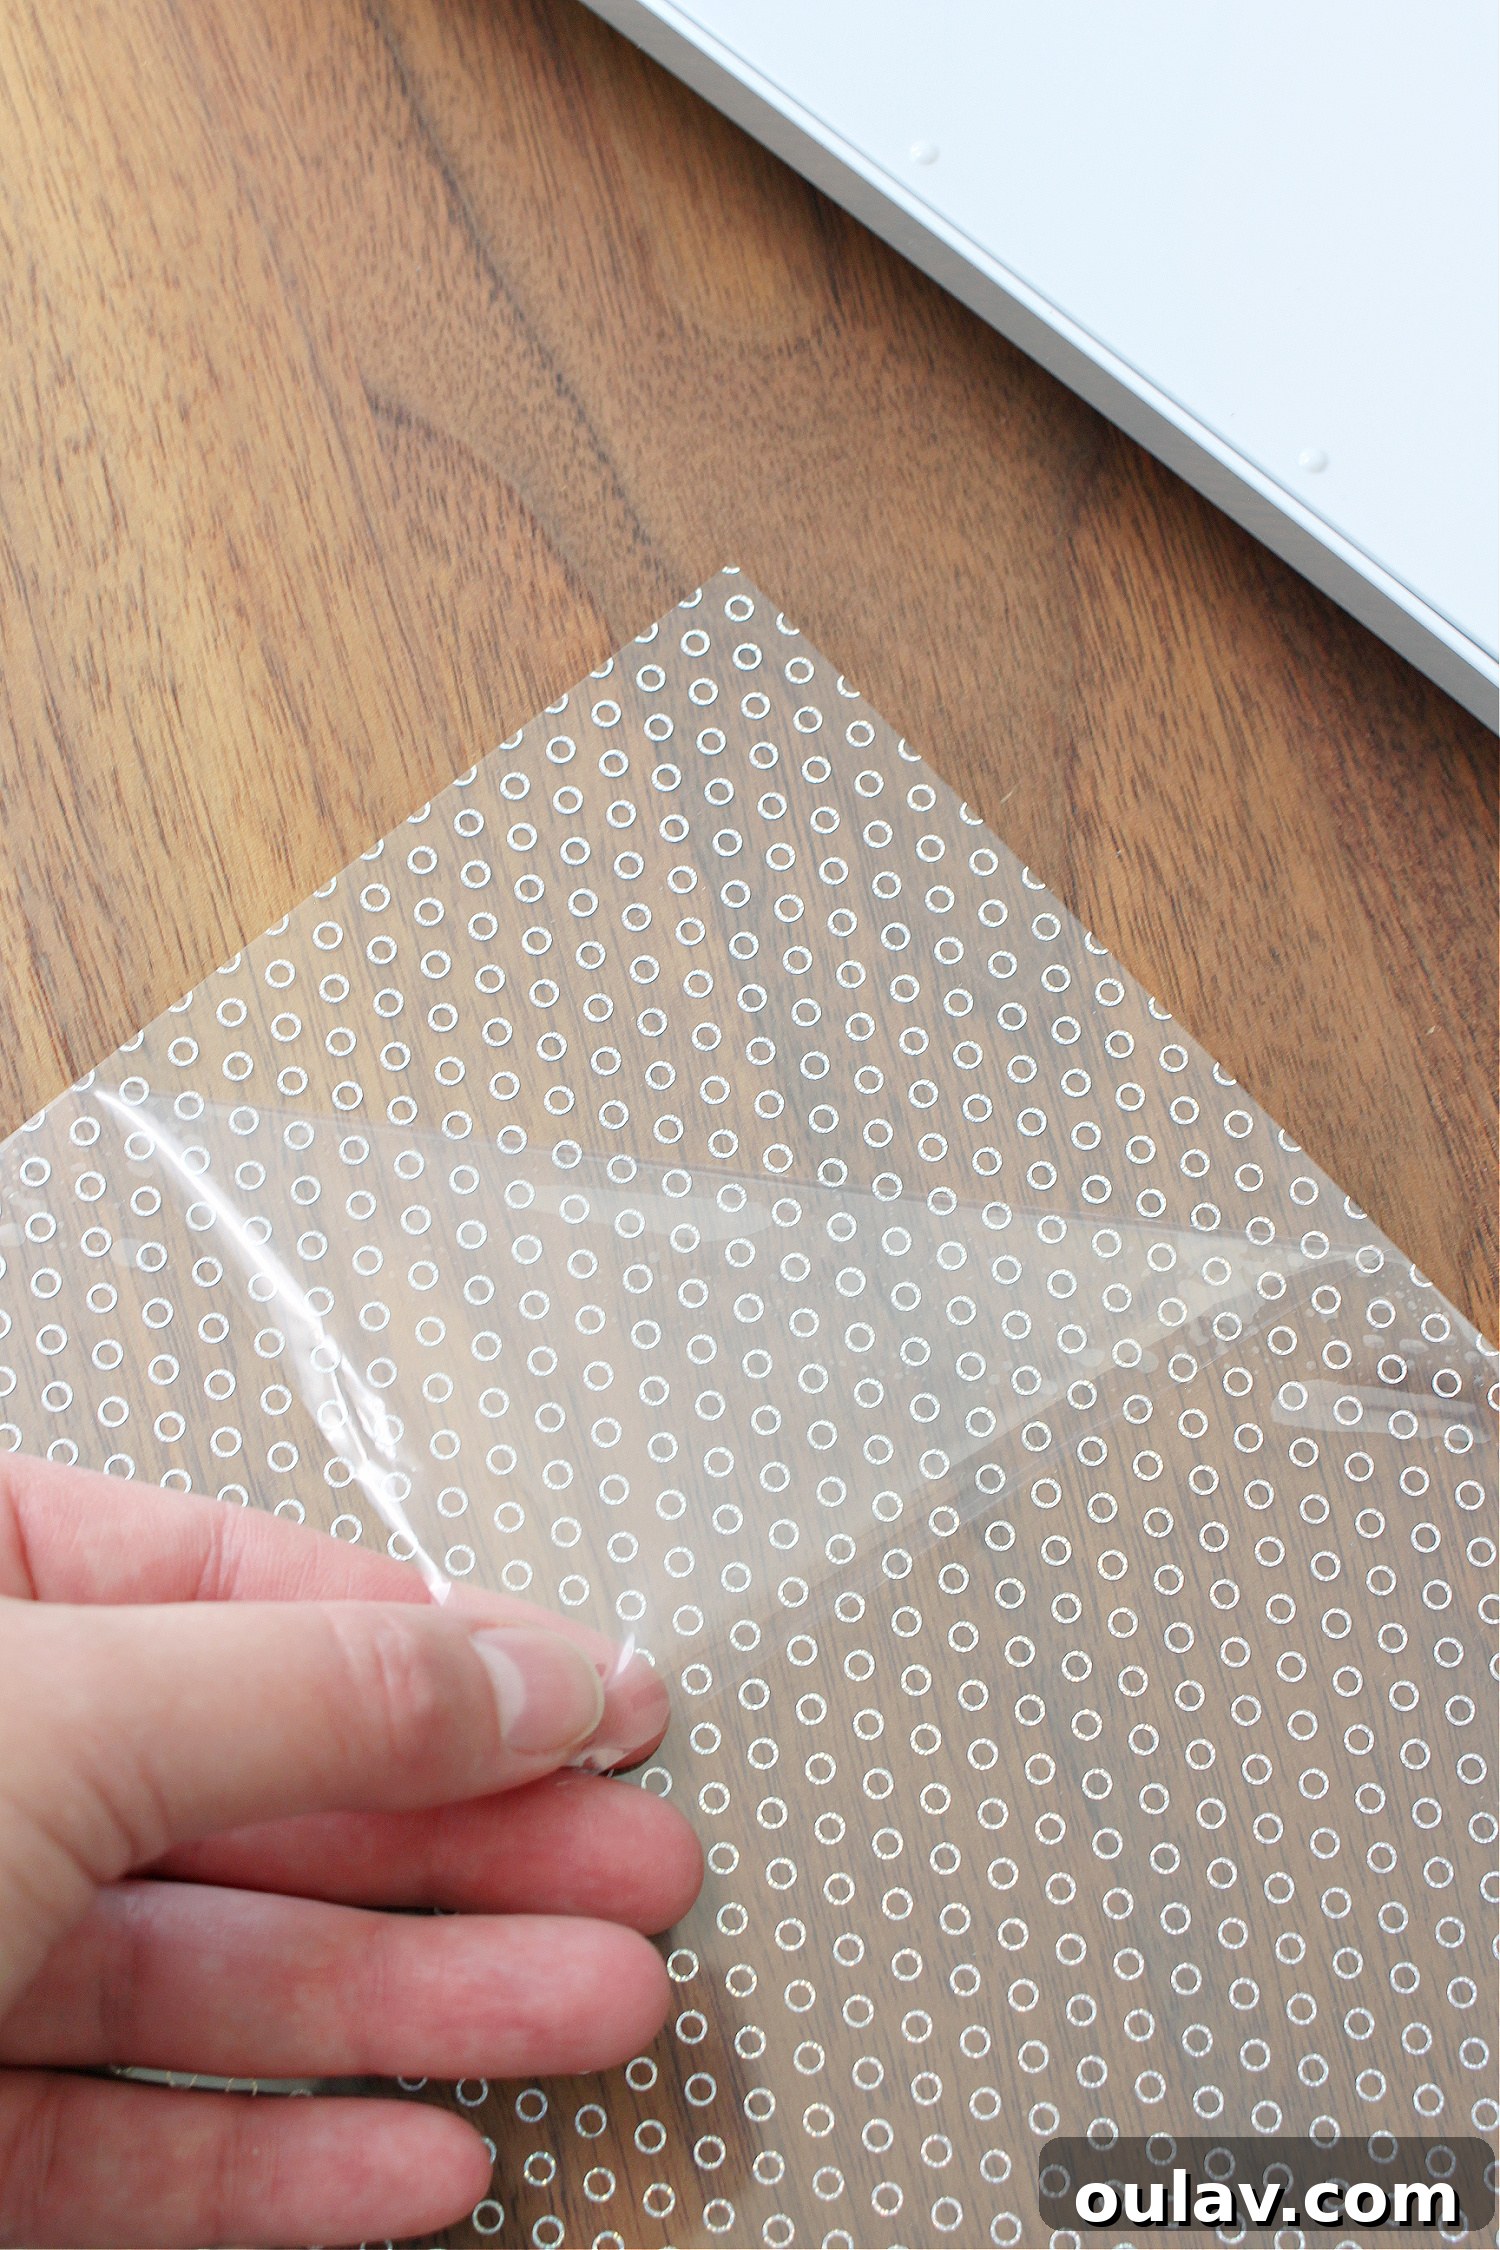
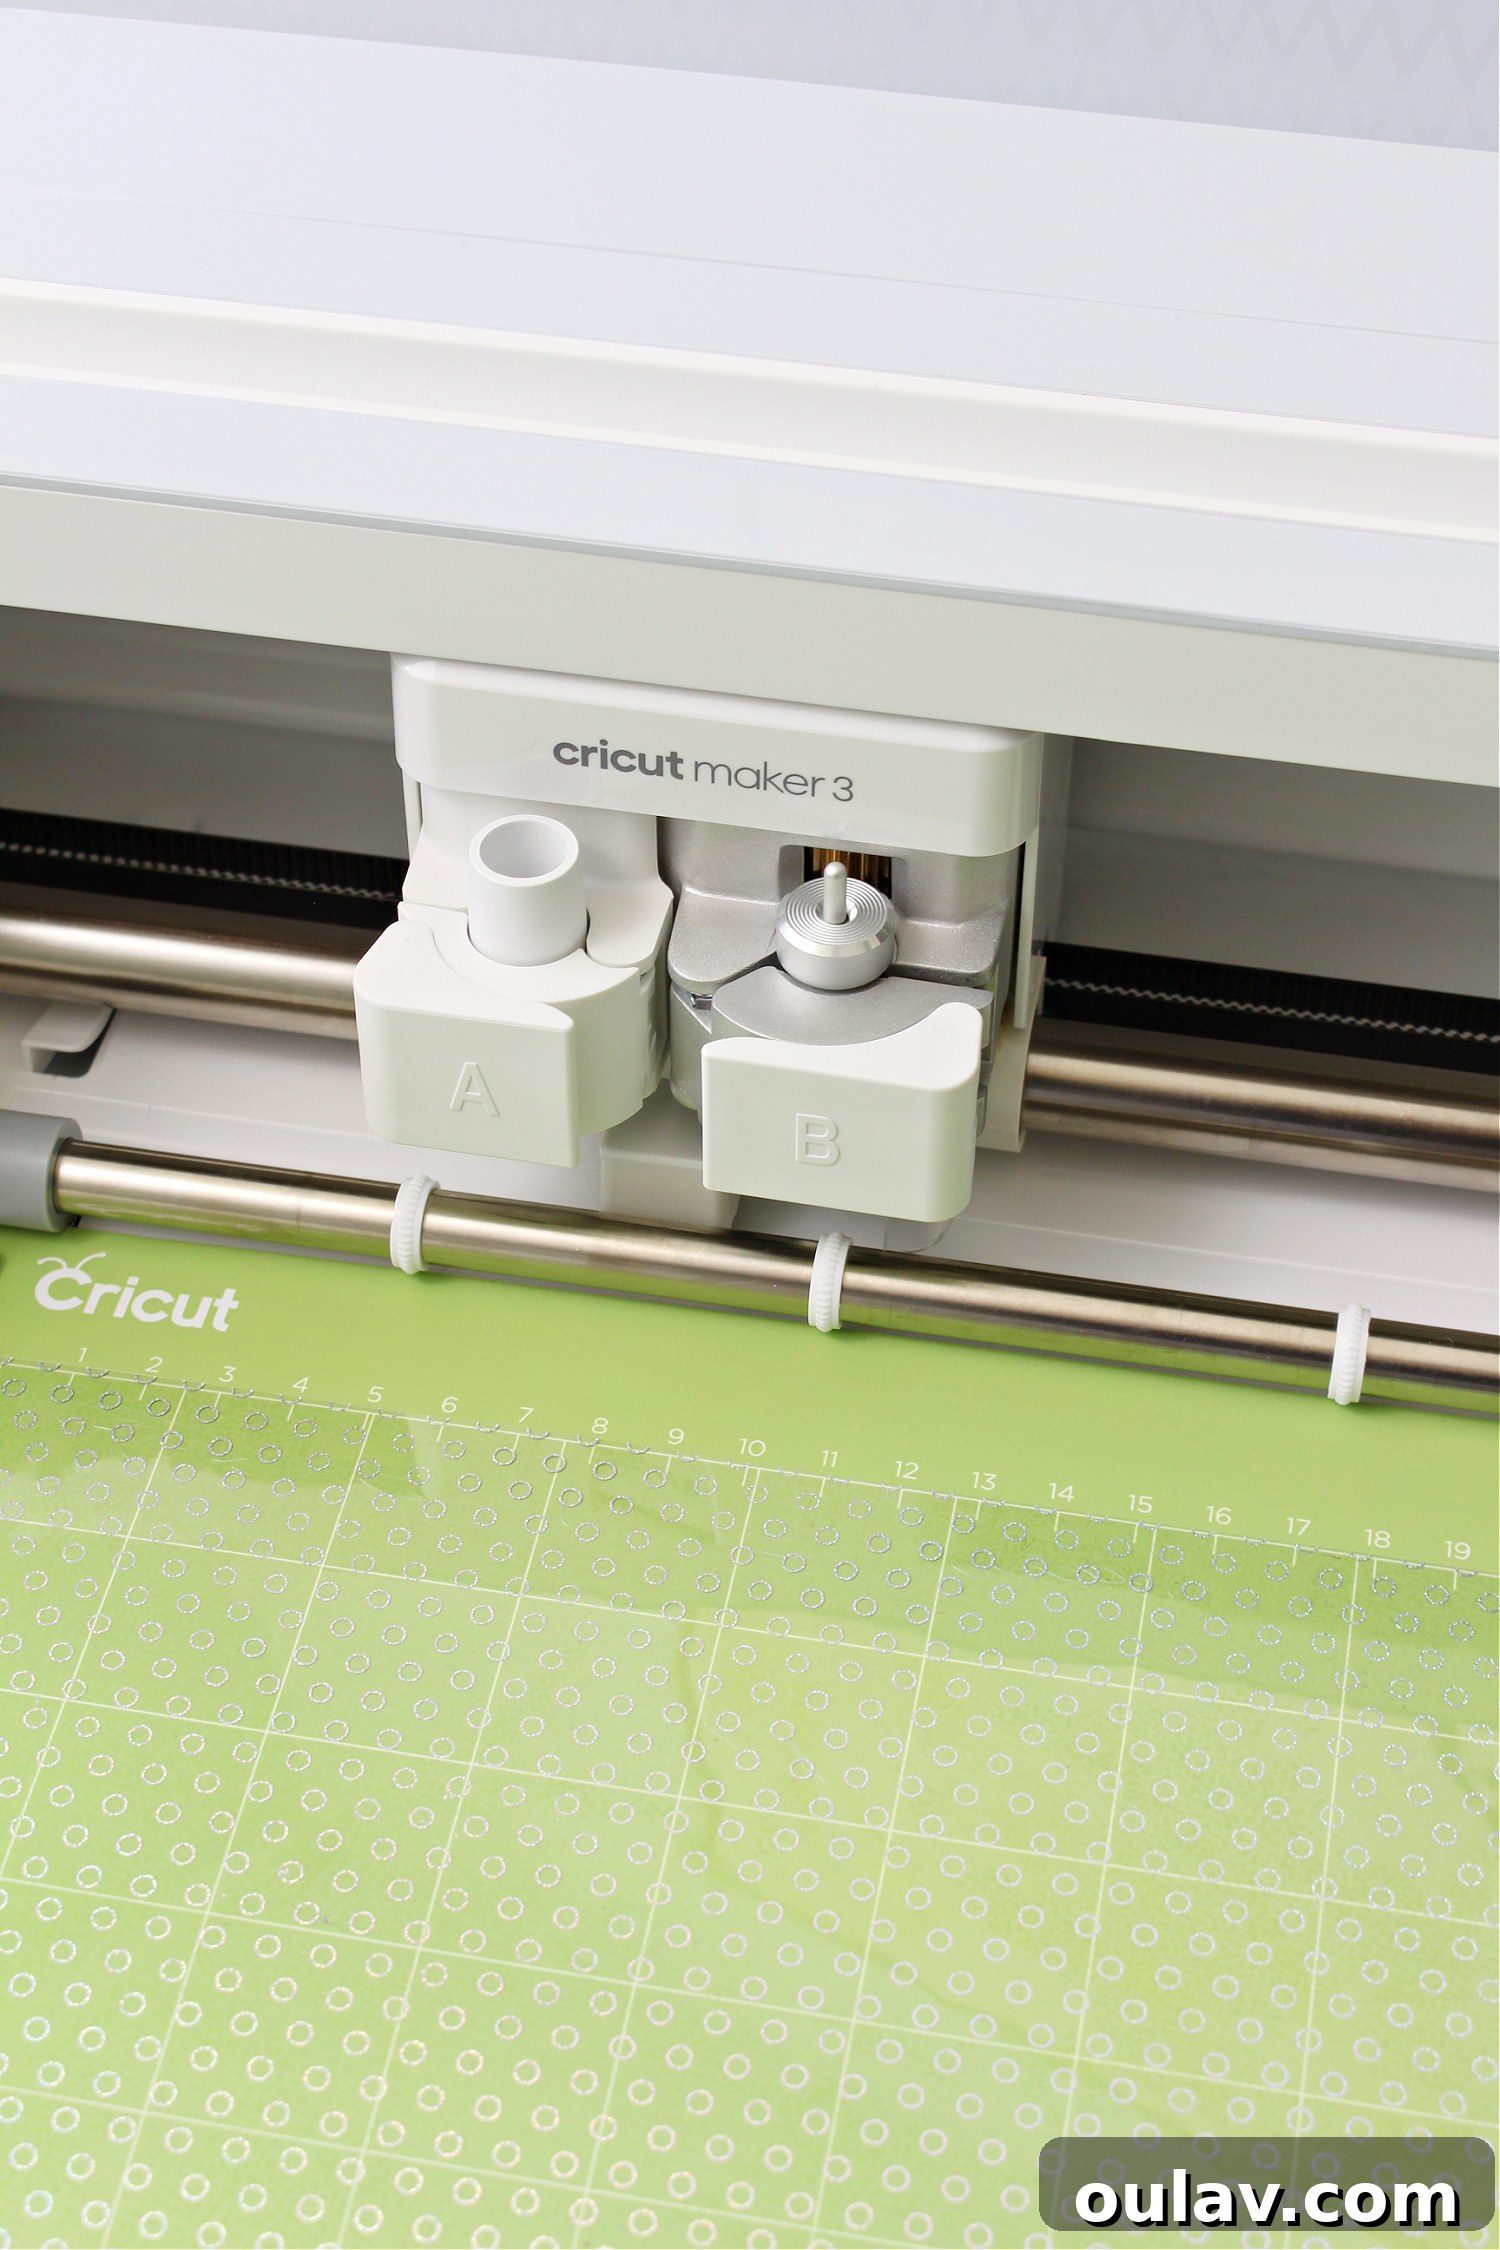
First, carefully peel off the protective film from your Cricut acetate sheet. This ensures a clean cut and reveals the beautiful shine or transparency of the material. Next, precisely place the acetate onto a standard grip cutting mat. If you are using Cricut’s foil acetate sheets, ensure the shimmering foil side is facing upwards on the mat for the best results. Within Cricut Design Space, select your desired dragonfly design and resize it to approximately 6 inches wide for a nicely proportioned ornament (here’s the direct link to the design again). Once sized, click “Make It” and carefully follow the on-screen prompts from Design Space, making sure to select “Acetate” as your material setting. This step is crucial for your Cricut machine to apply the correct pressure and blade depth. Then, simply sit back and allow your Cricut cutting machine to work its incredible magic, transforming a flat sheet of acetate into delicate, intricate wings.
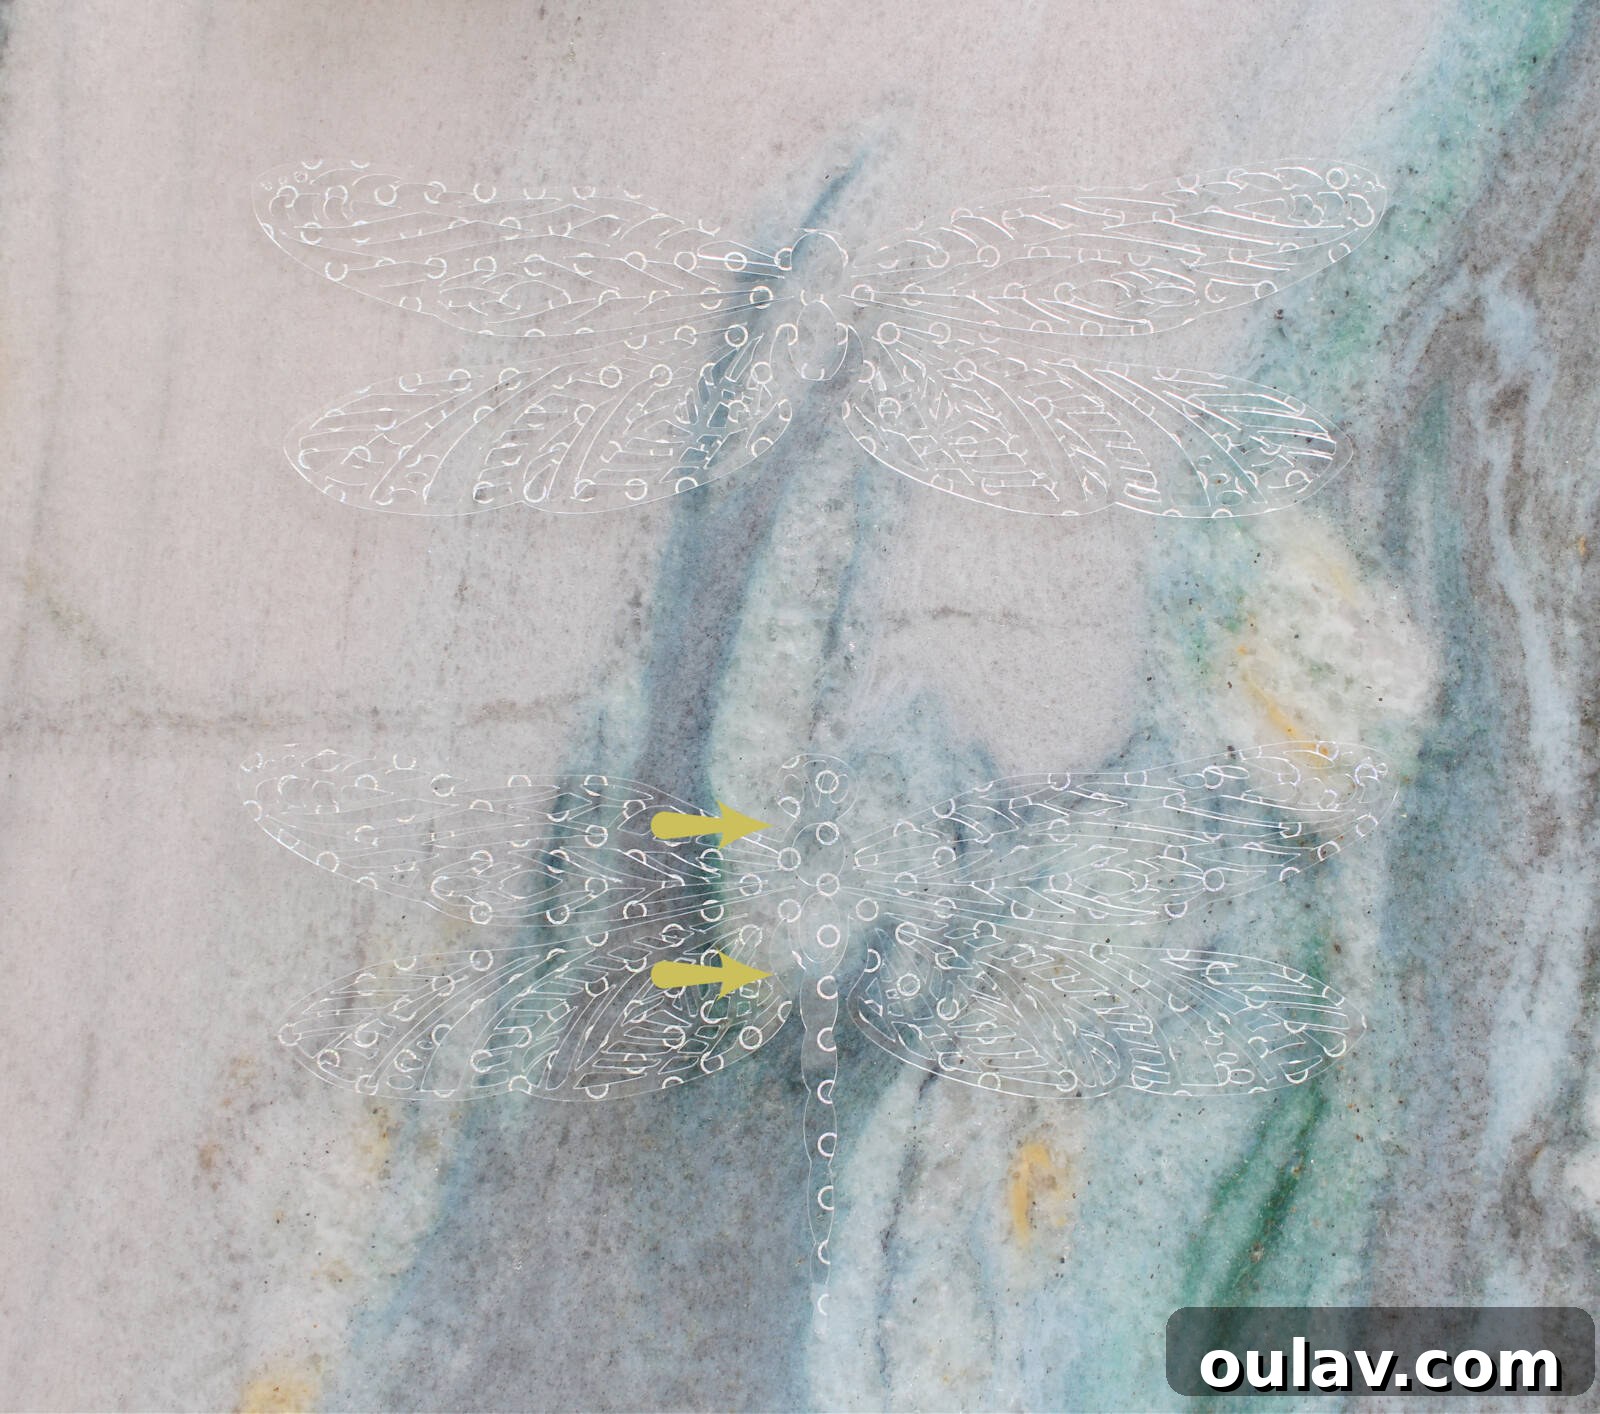
Once the cutting is complete, gently peel the intricate design from the cutting mat. You’ll find that the finely cut pieces will pop right out with ease, revealing their delicate detail. Using your sharp scissors, carefully snip off the head and tail sections of the cut design. I’ve highlighted these areas with arrows in the photo below to guide you. This leaves you with only the beautiful, intricate wing structure, perfectly shaped and ready to be integrated into your beaded dragonfly body.
Assembling Your DIY Beaded Dragonfly Ornament: Step-by-Step Guide
With your stunning Cricut acetate wings ready, it’s time to bring your dragonfly to life by creating its beaded body. The core concept is wonderfully straightforward: a string of artfully arranged beads on wire, beautifully embellished with the delicate wings you just crafted. This step allows for a great deal of personal expression through bead selection and arrangement.
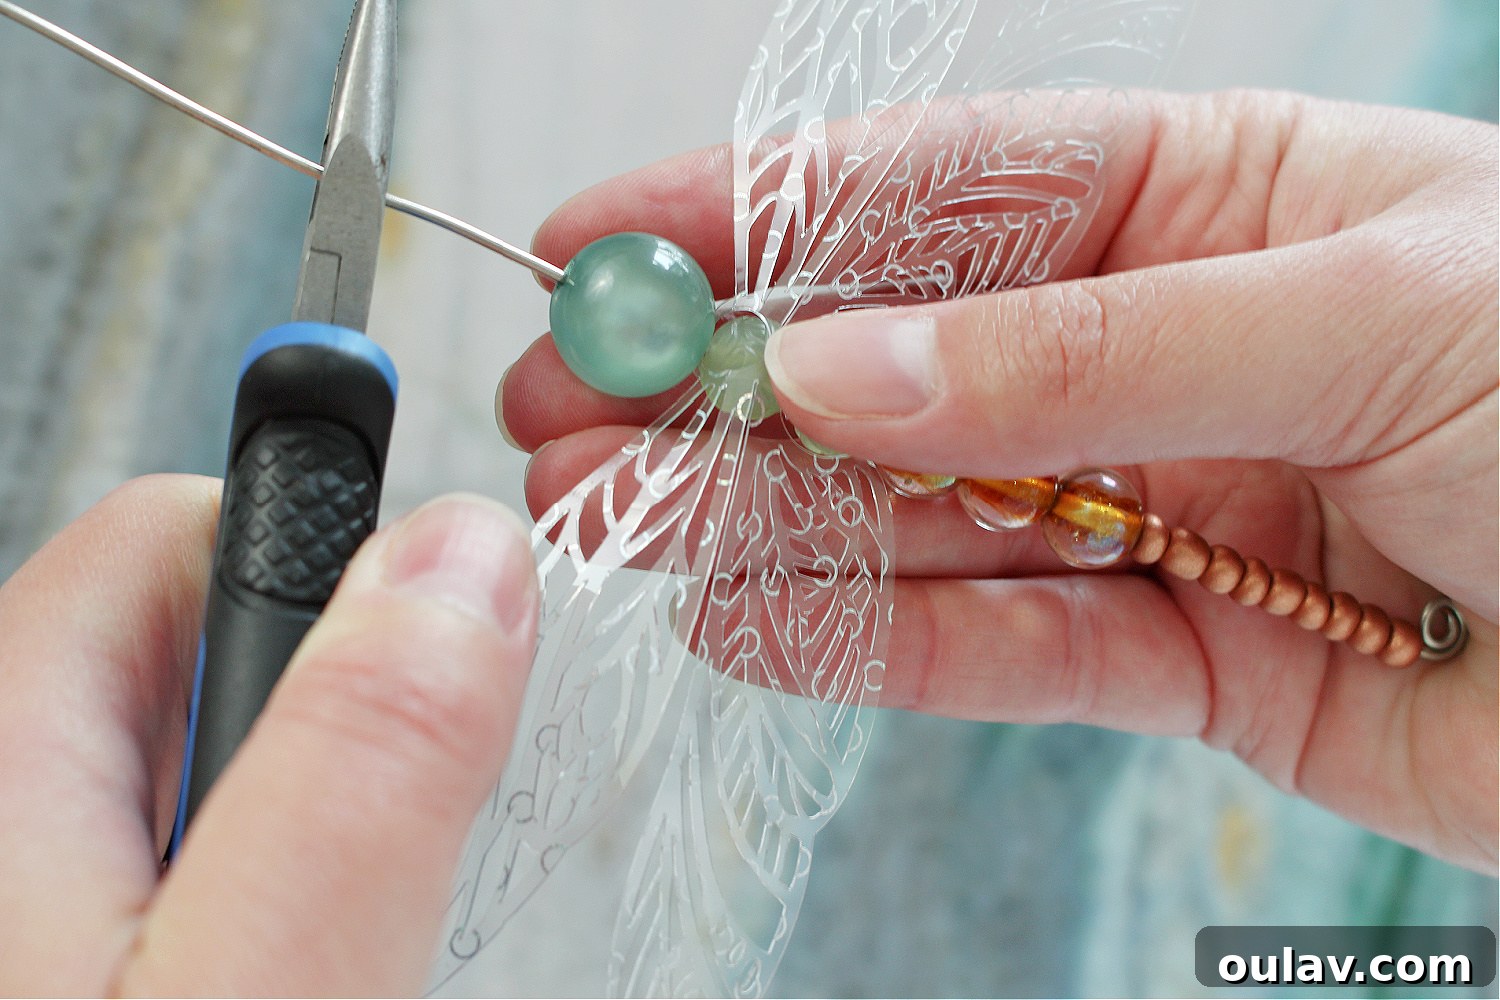
Begin by cutting a piece of your 16 gauge wire to an approximate length of 6 inches. This length provides enough working room while still being manageable. Using your needle nose pliers, carefully form a small, decorative curlicue or a secure loop at one end of the wire. This initial loop is vital as it will prevent your beads from sliding off the wire during assembly. Once the loop is formed, gently straighten the remaining length of the wire, ensuring it’s ready for bead threading. Now, start sliding your chosen beads onto the wire. For a realistic and elegant dragonfly body, it’s best to arrange the beads from smallest to largest, creating a natural taper towards what will become the dragonfly’s head. Experiment with different colors and textures to make each dragonfly unique!
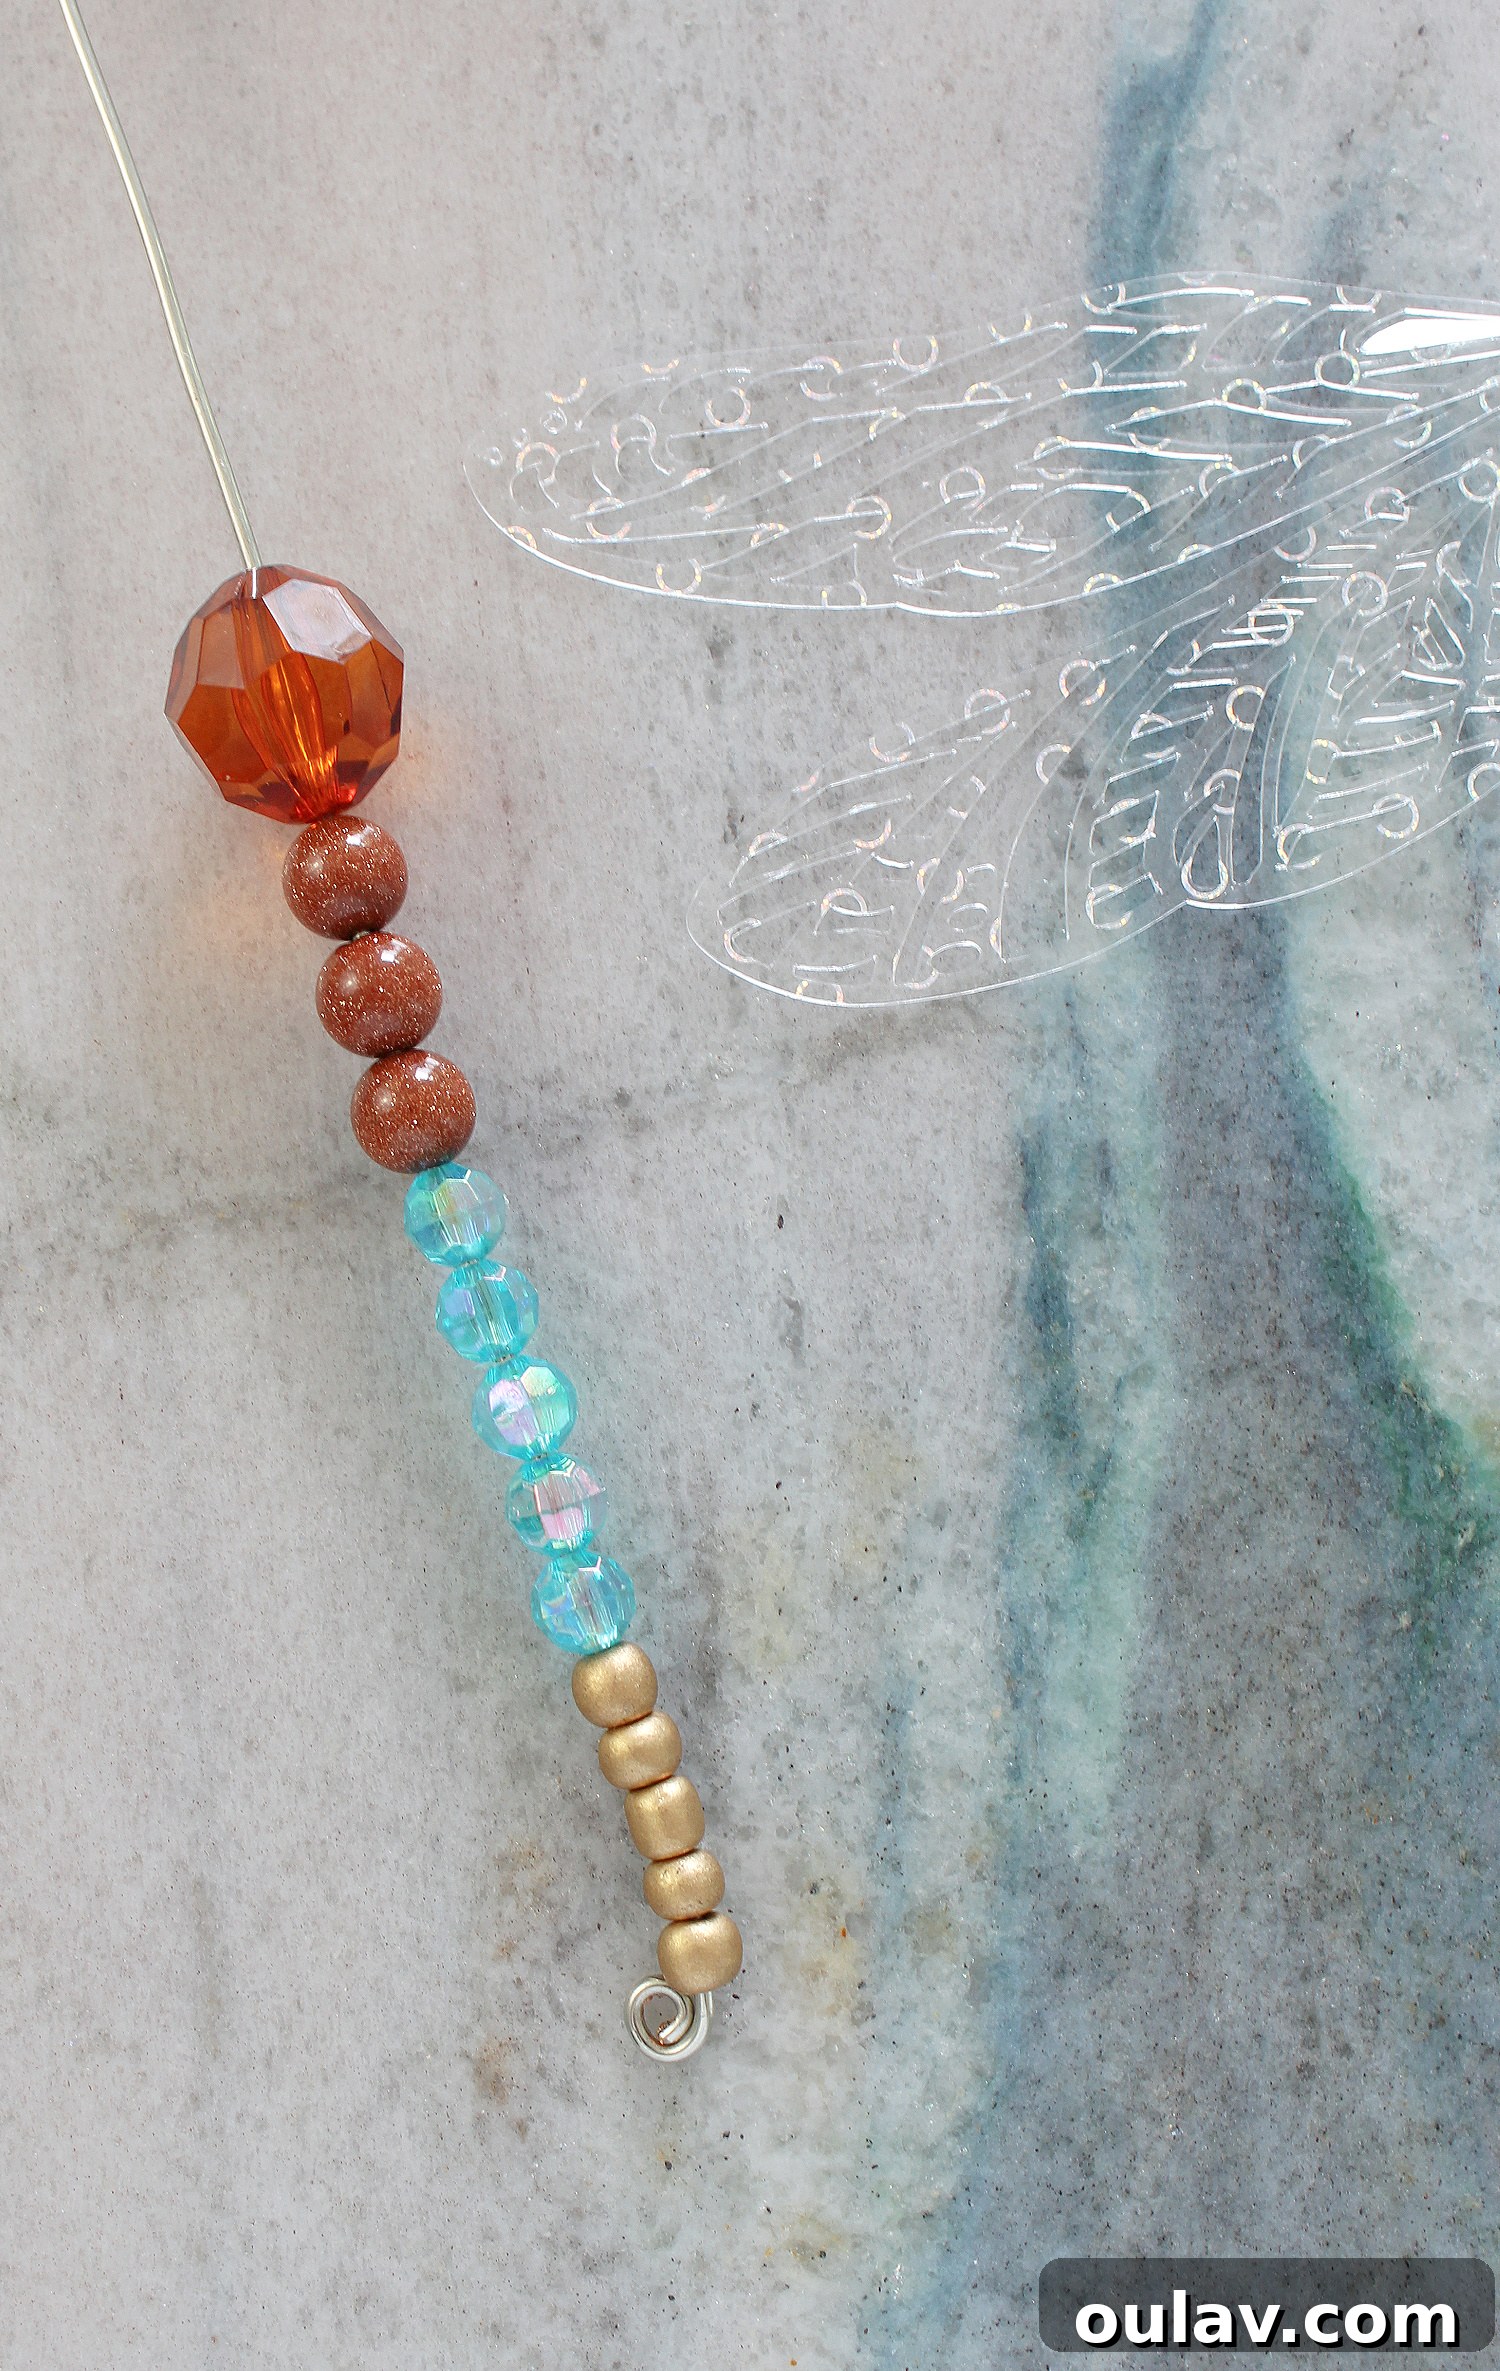
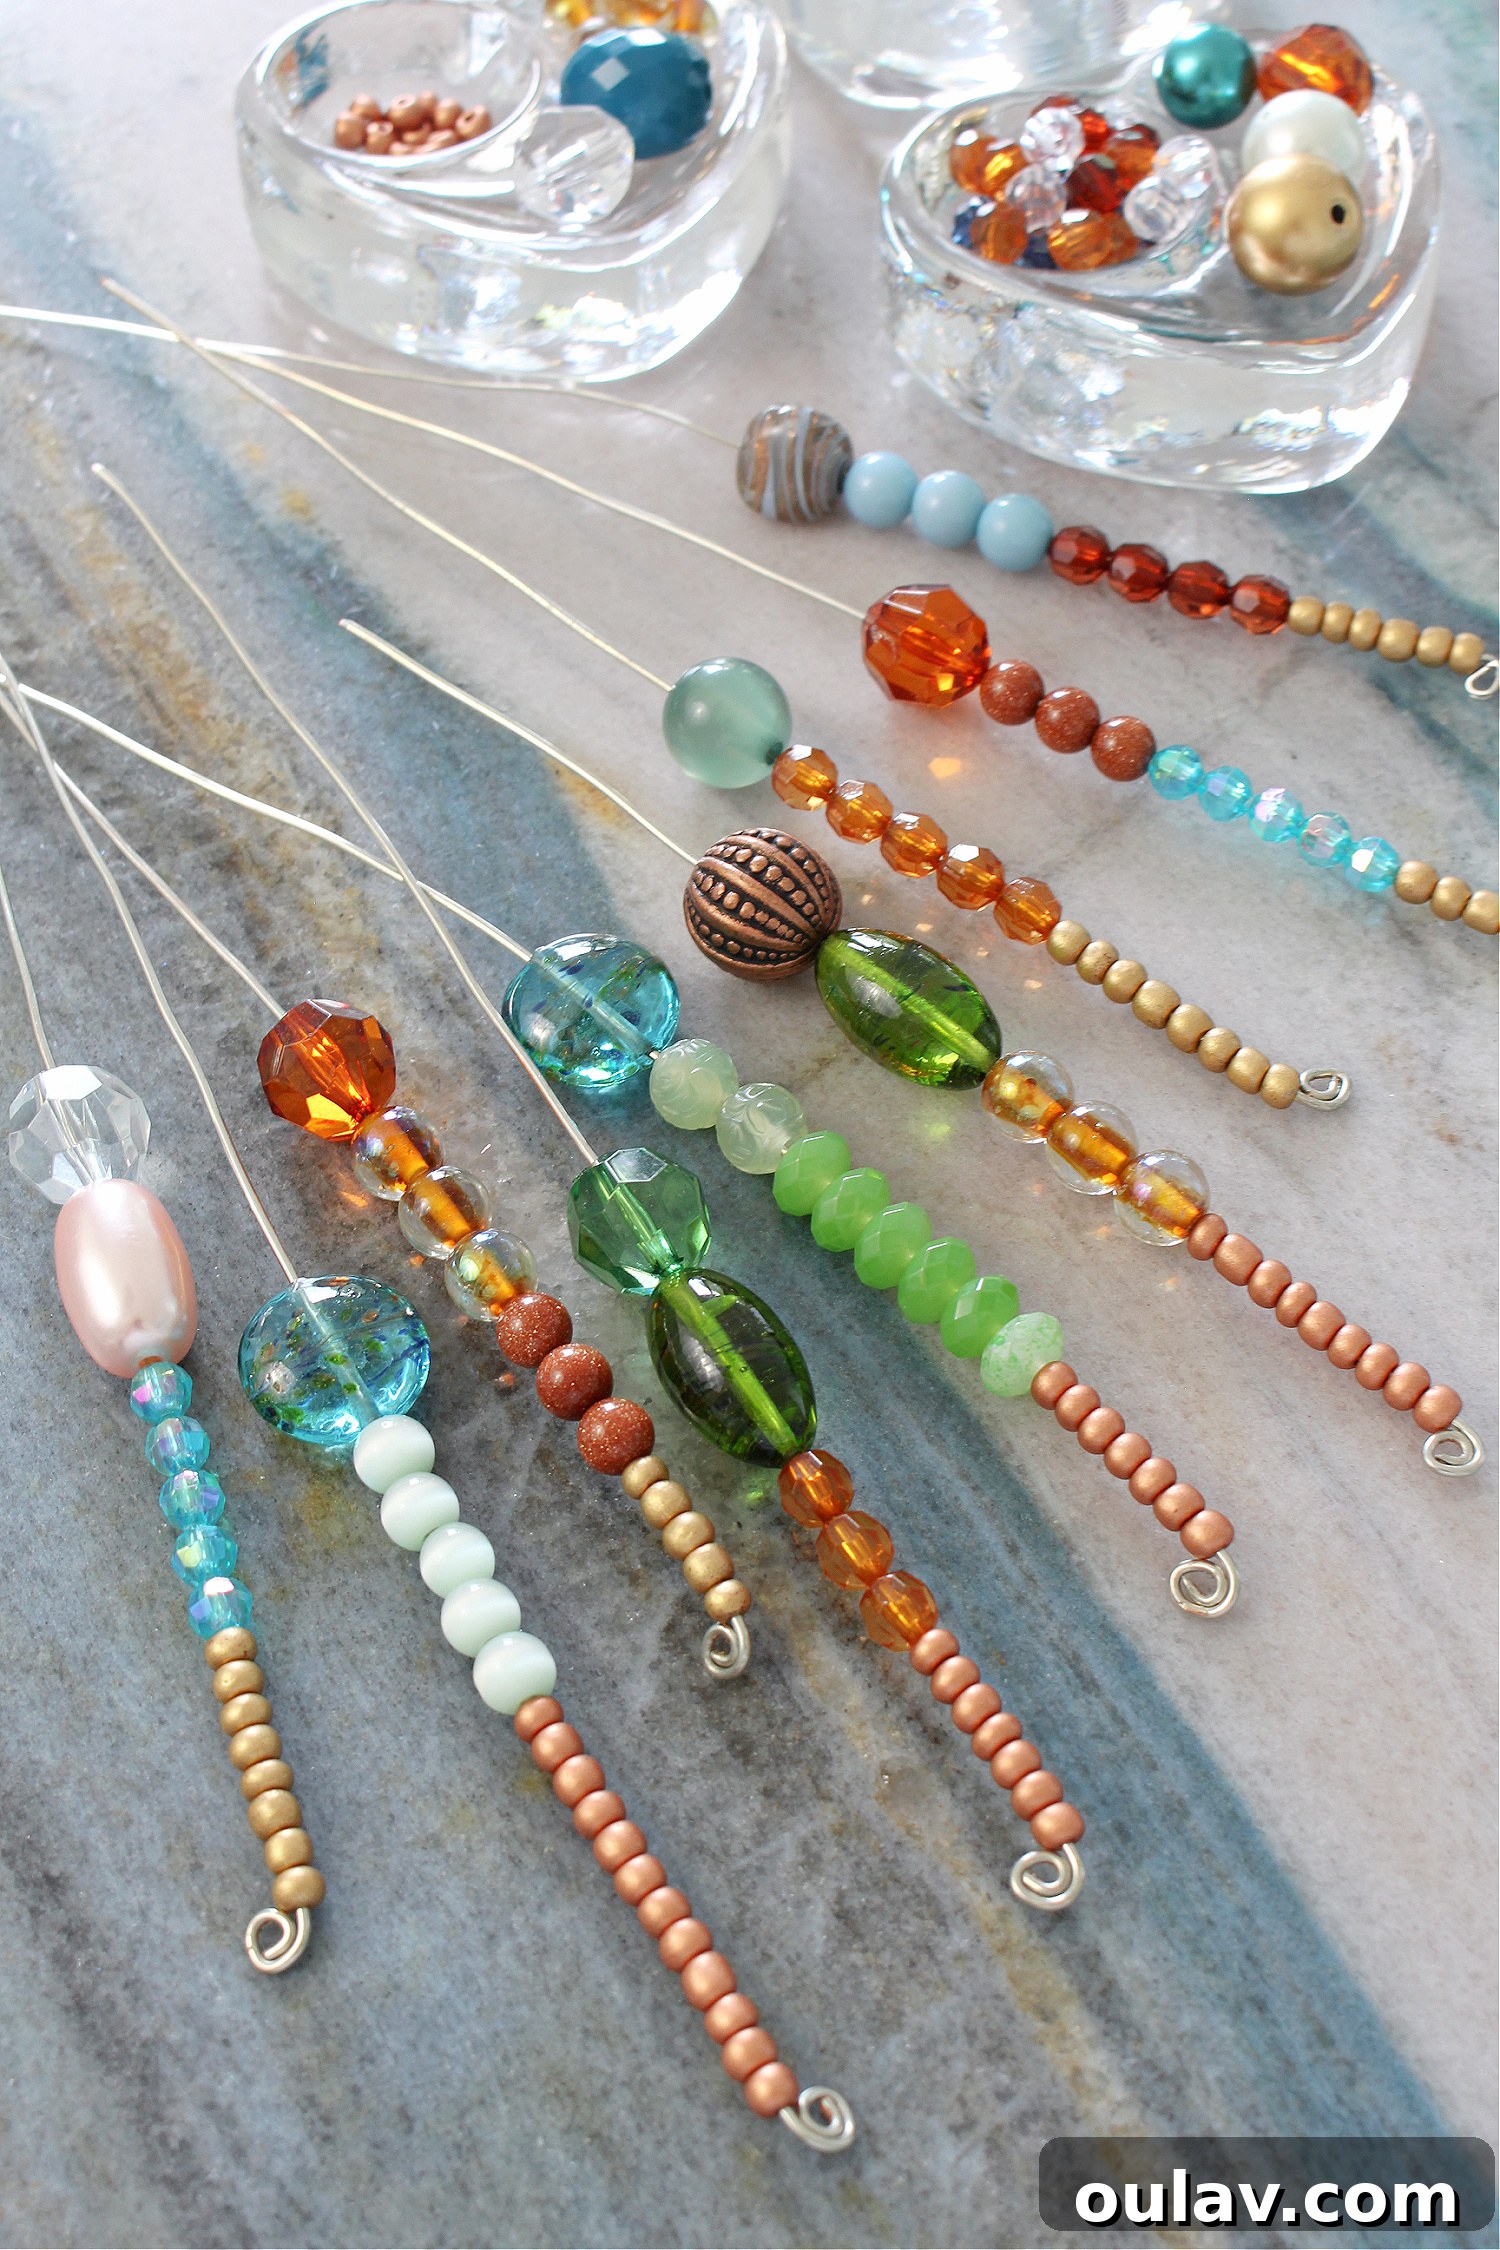
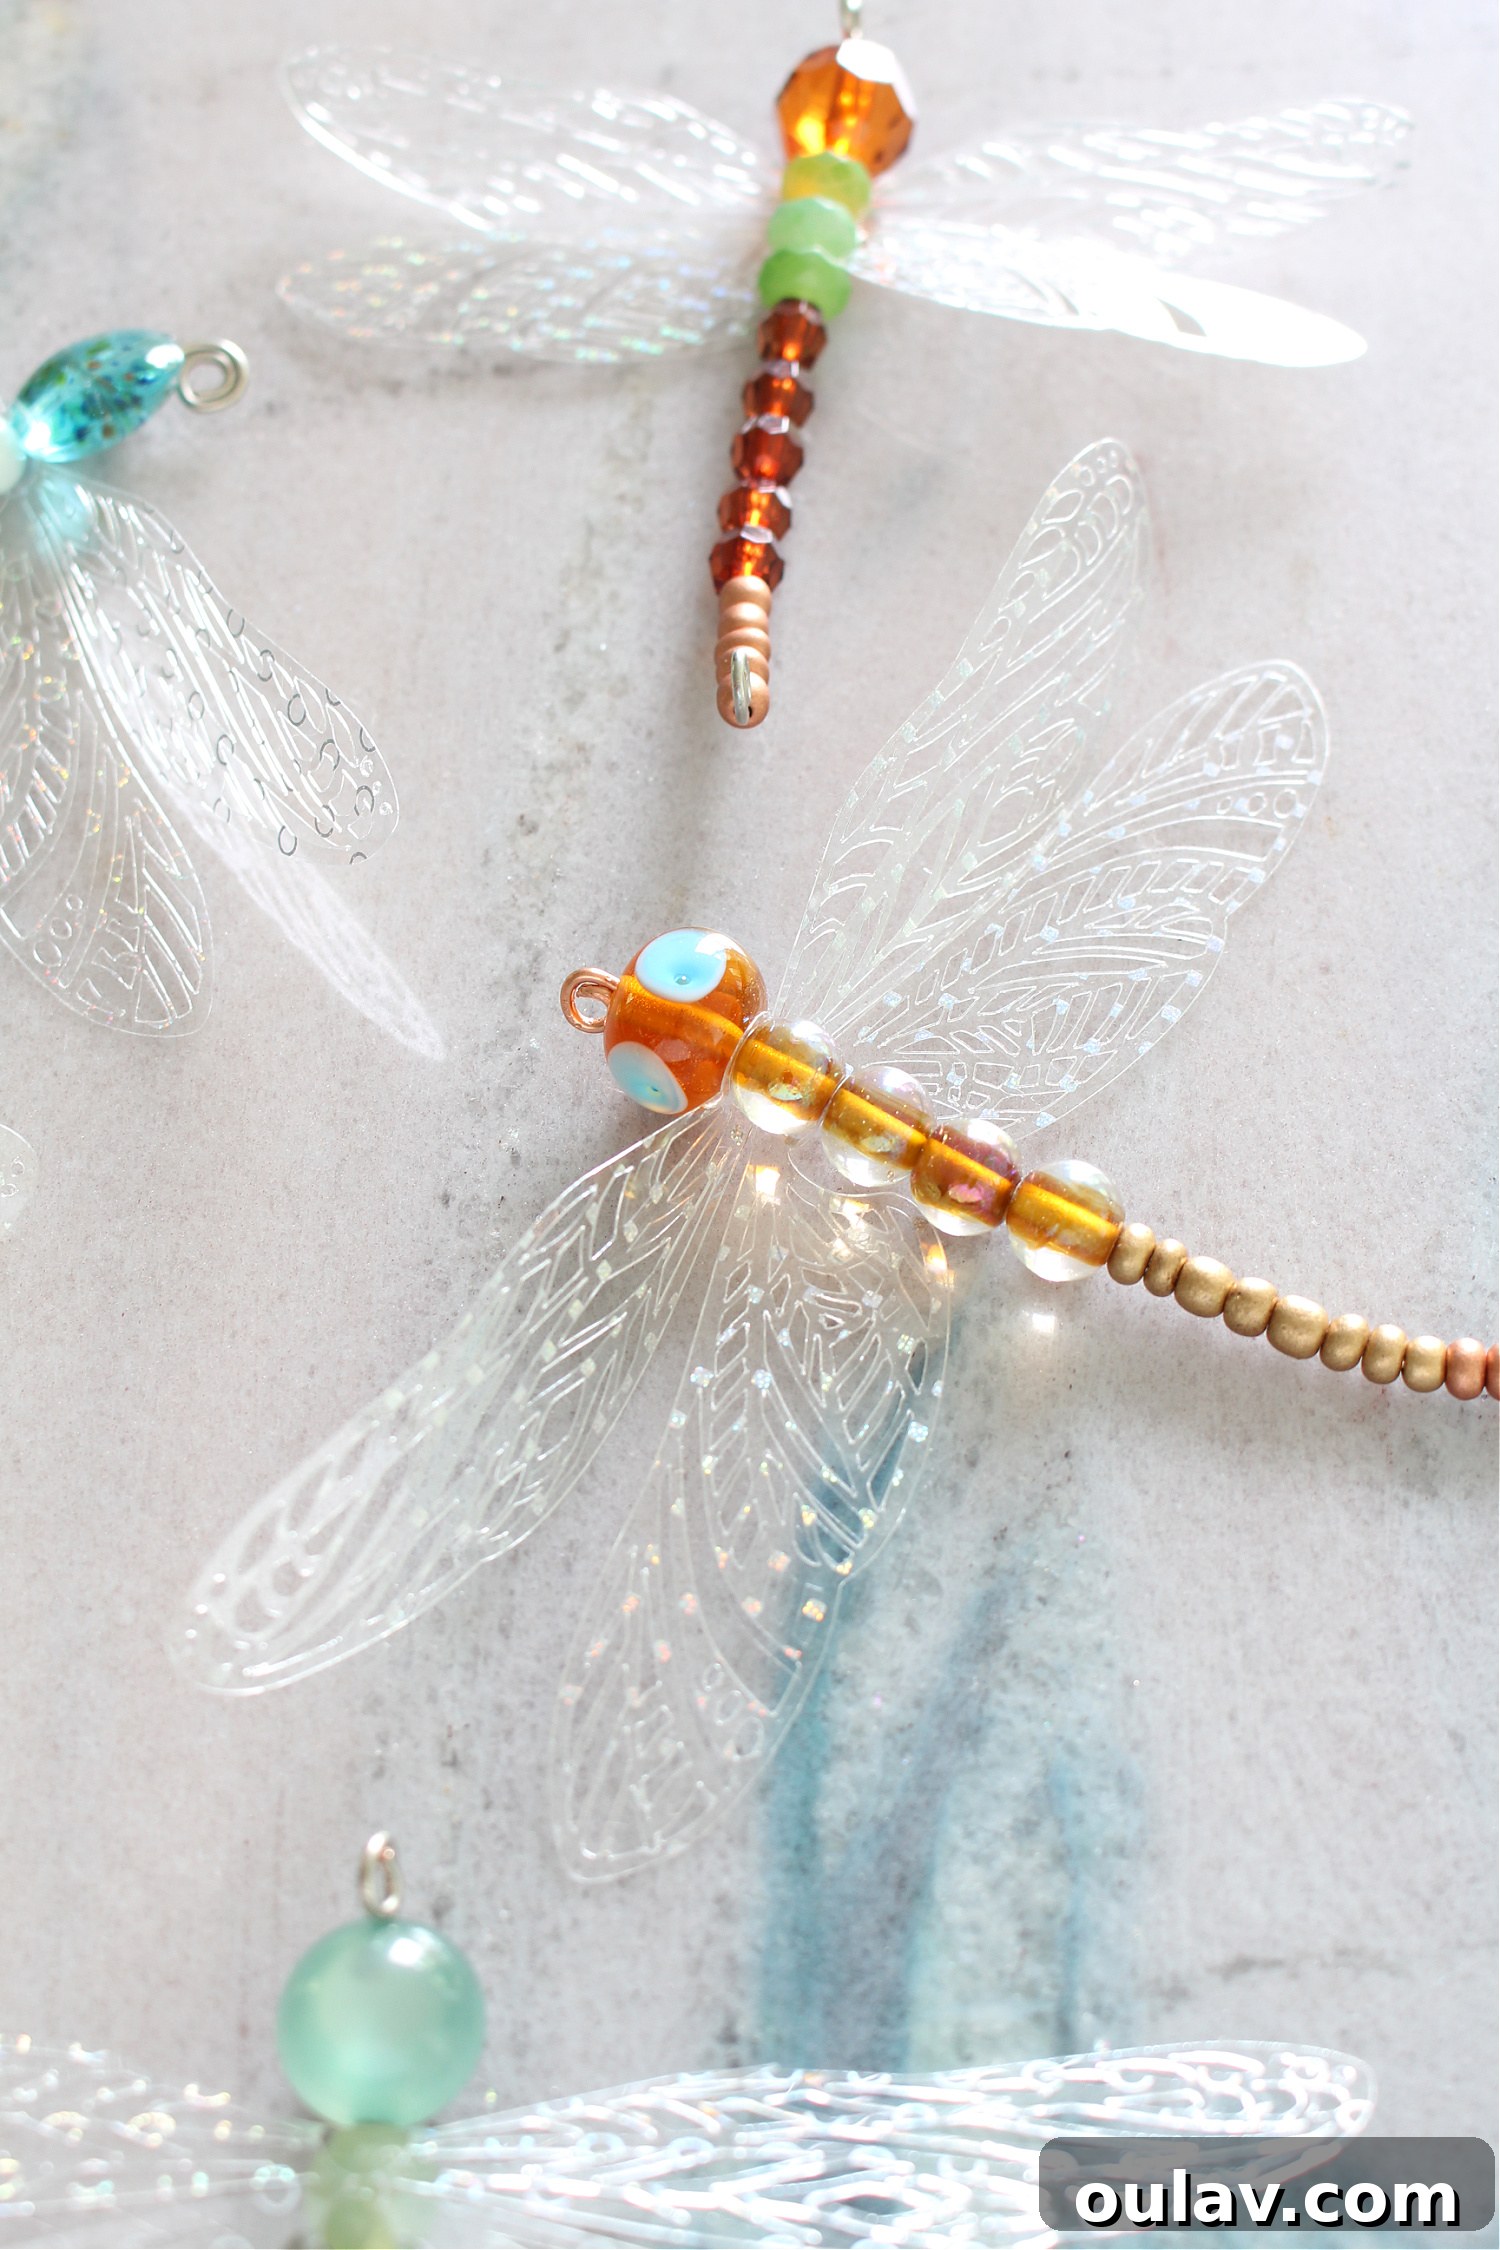
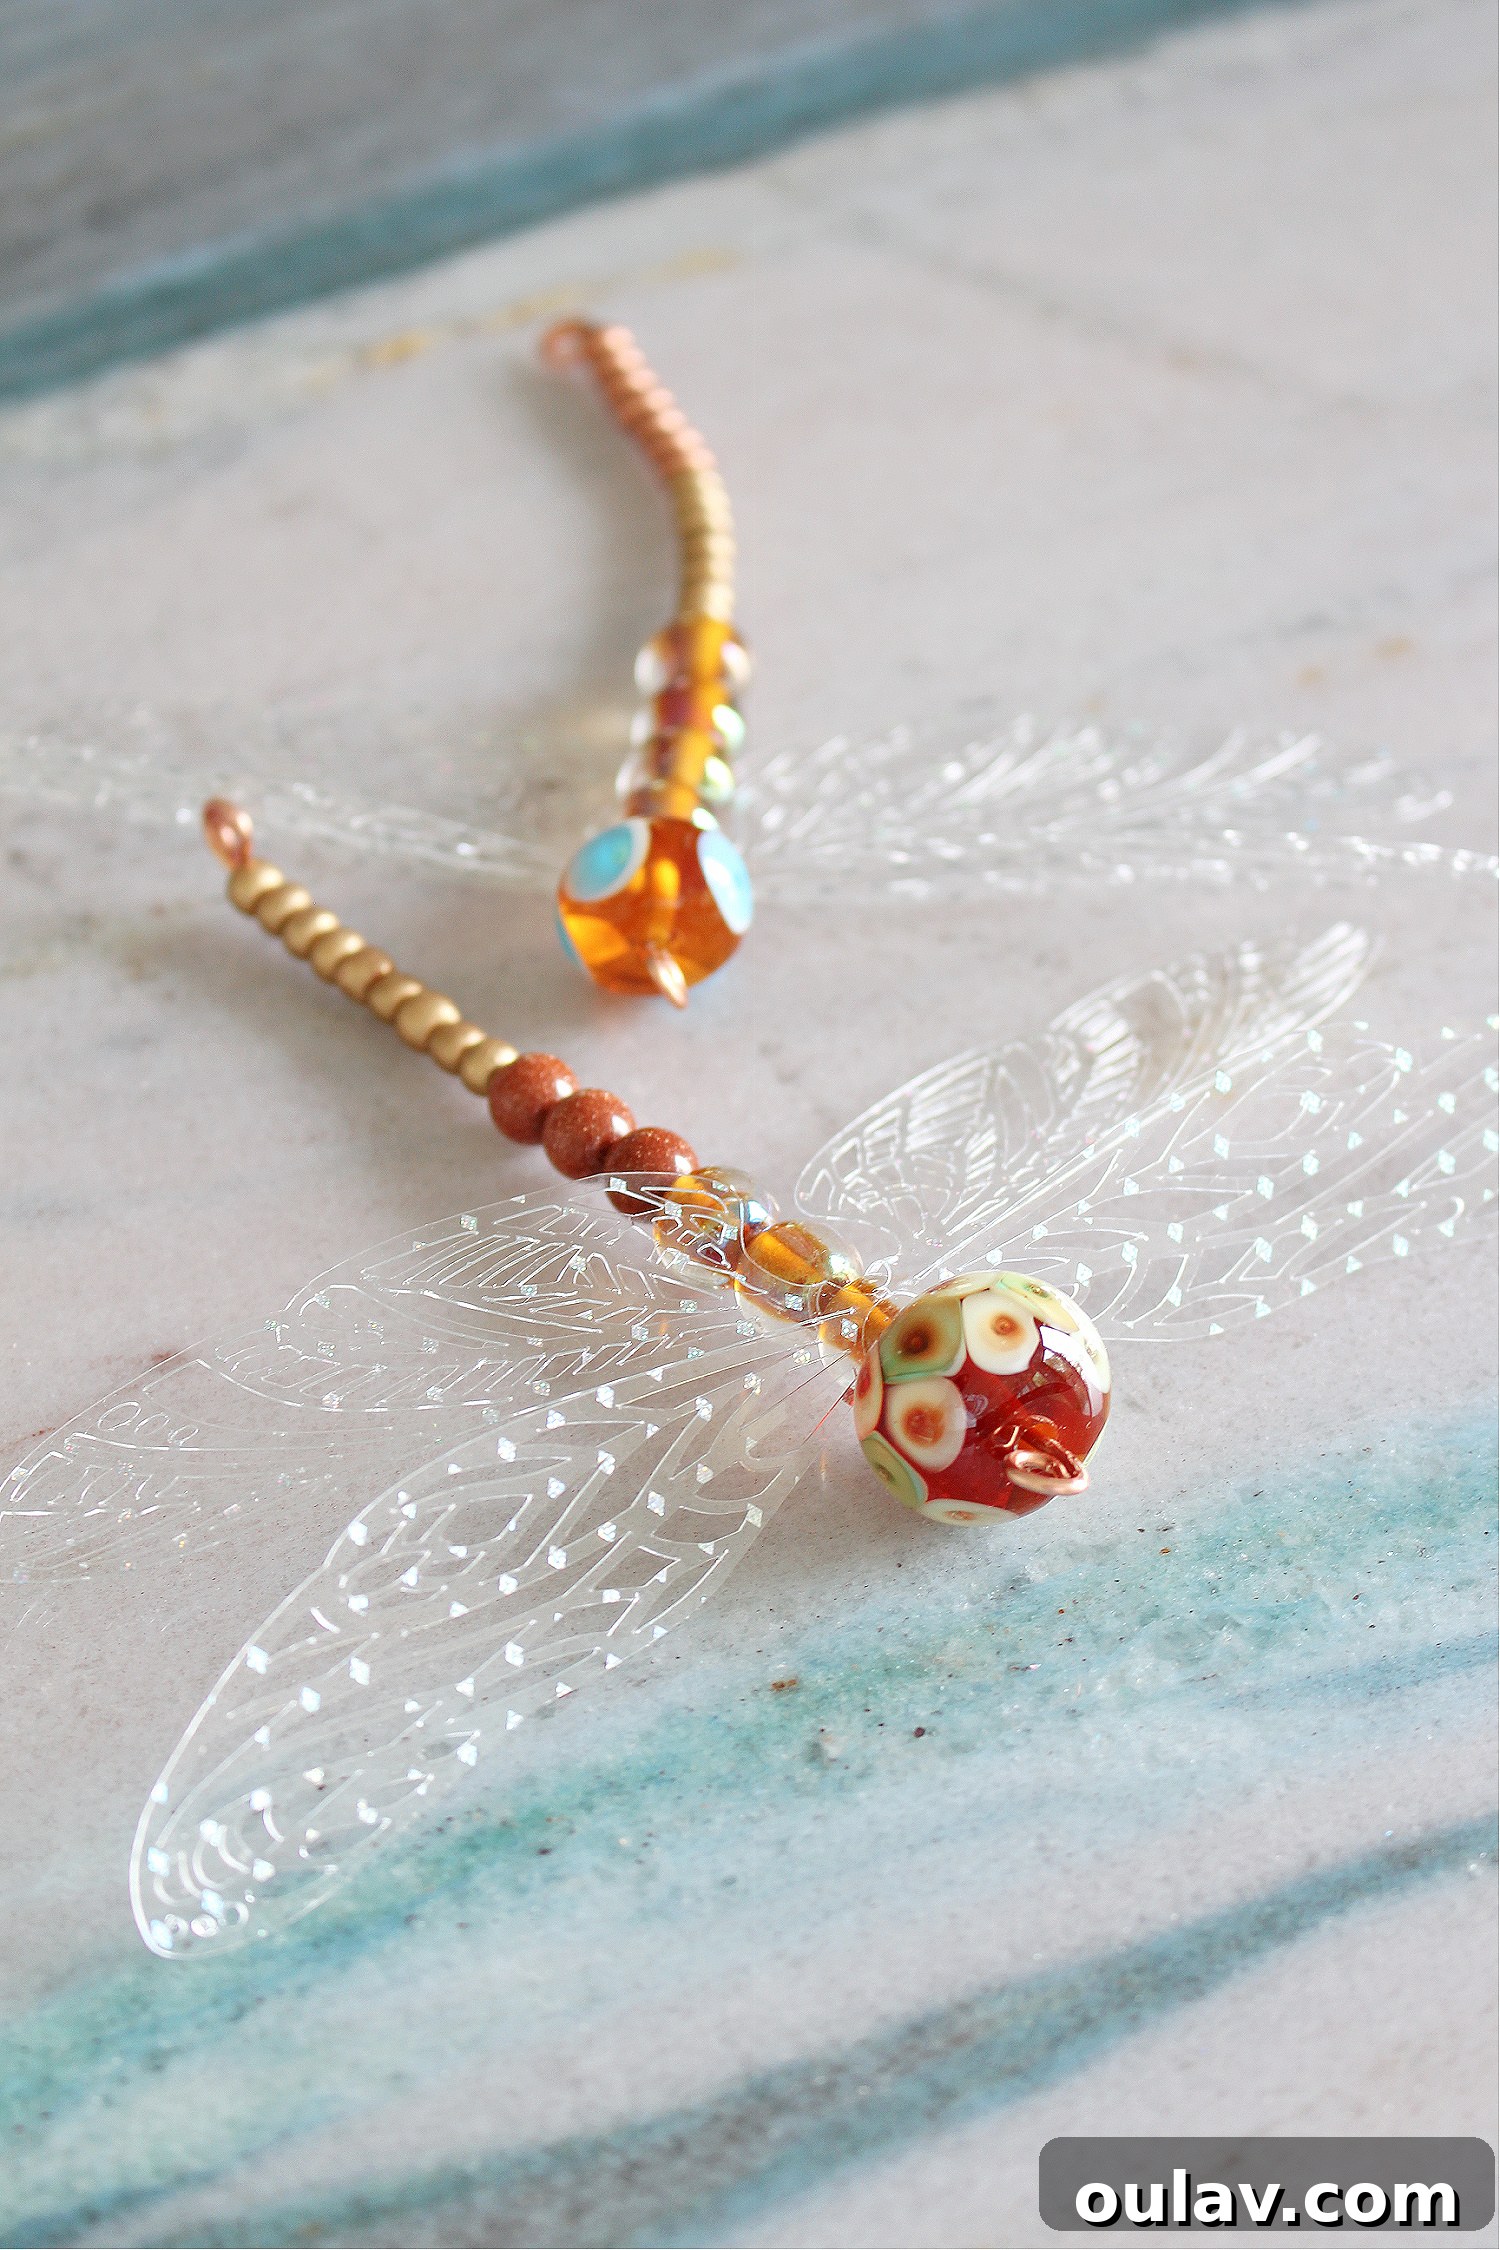
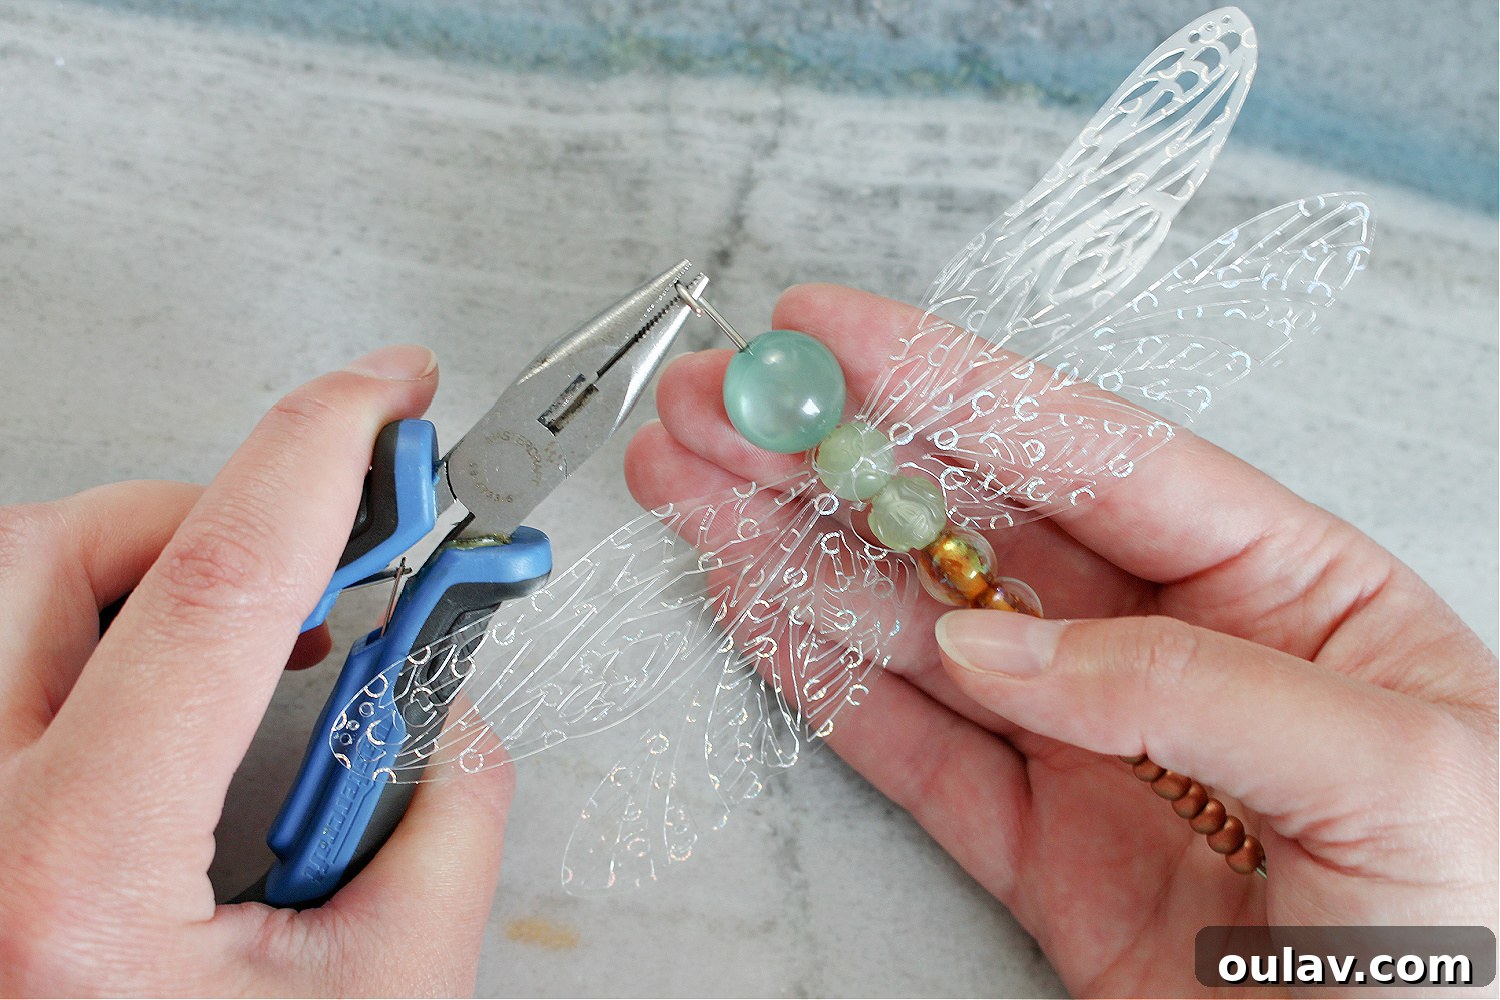
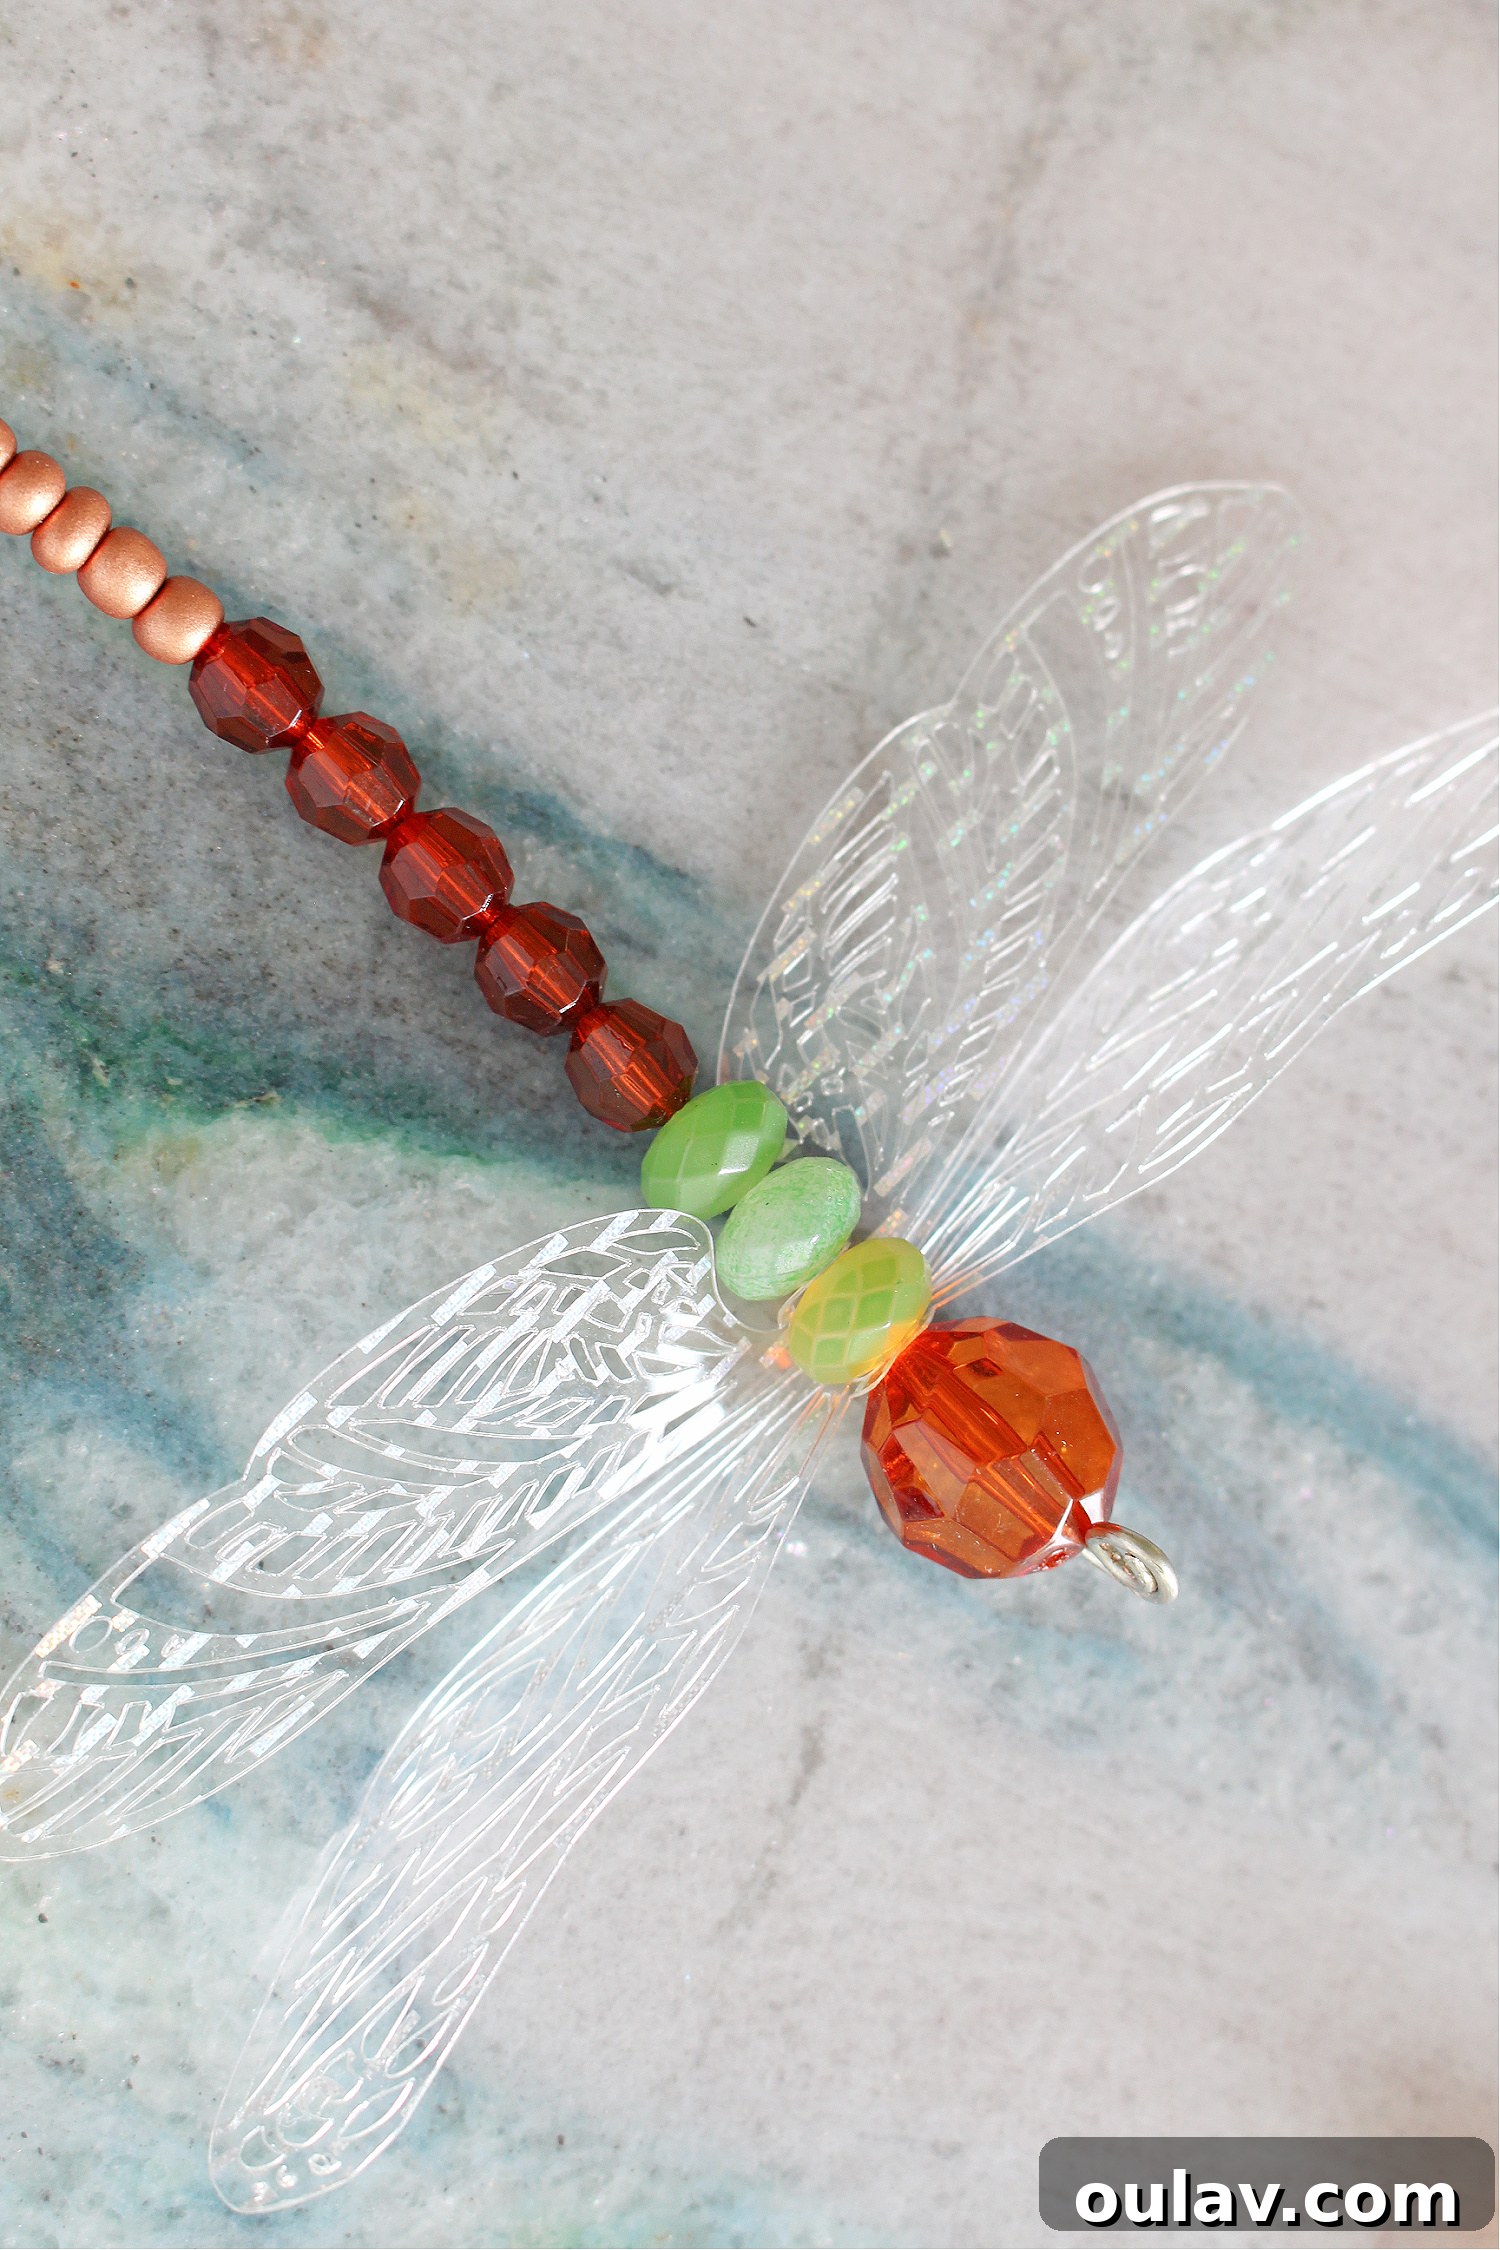
Continue adding beads, progressing from smaller to larger sizes, until you reach the point where the wings will be attached. This is typically just before the largest bead that will form the dragonfly’s head. At this crucial juncture, carefully thread on the Cricut acetate wings. Remember, the design you chose has small holes in the central body area, making it easy to integrate the wings directly onto the wire. After the wings are securely in place, add the largest bead to serve as the dragonfly’s distinct head. Take a moment to examine the detailed close-up images provided below; they clearly illustrate how the Cricut dragonfly wings are perfectly attached, ensuring both stability and a graceful appearance. This integration of beads and wings creates a seamless and artistic transition, truly bringing your ornament to life.
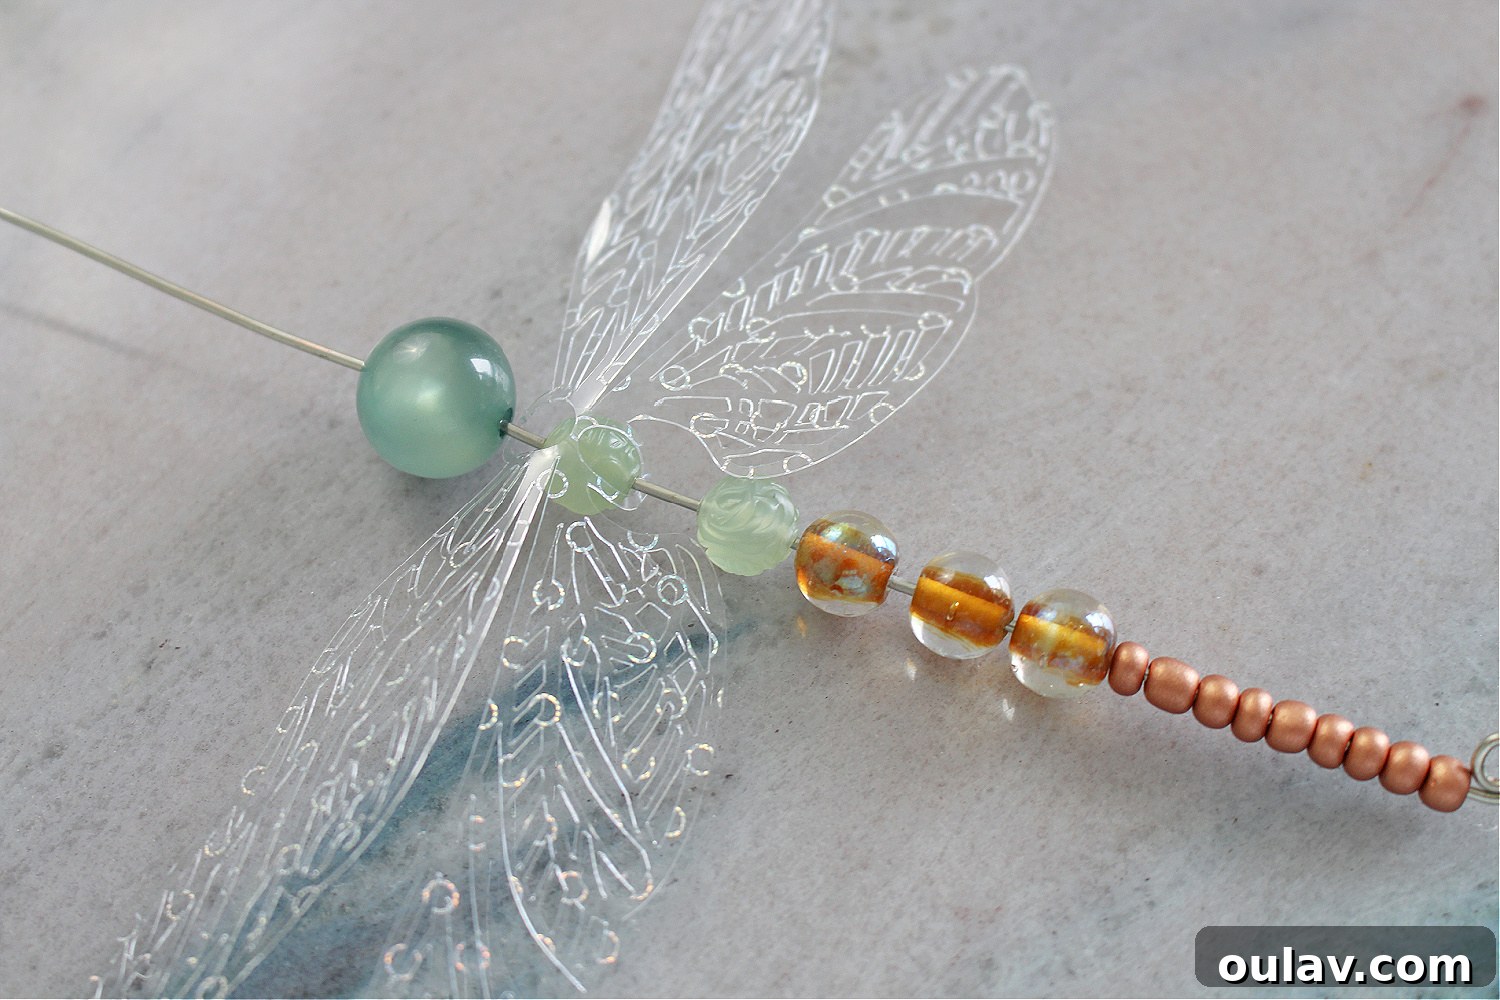
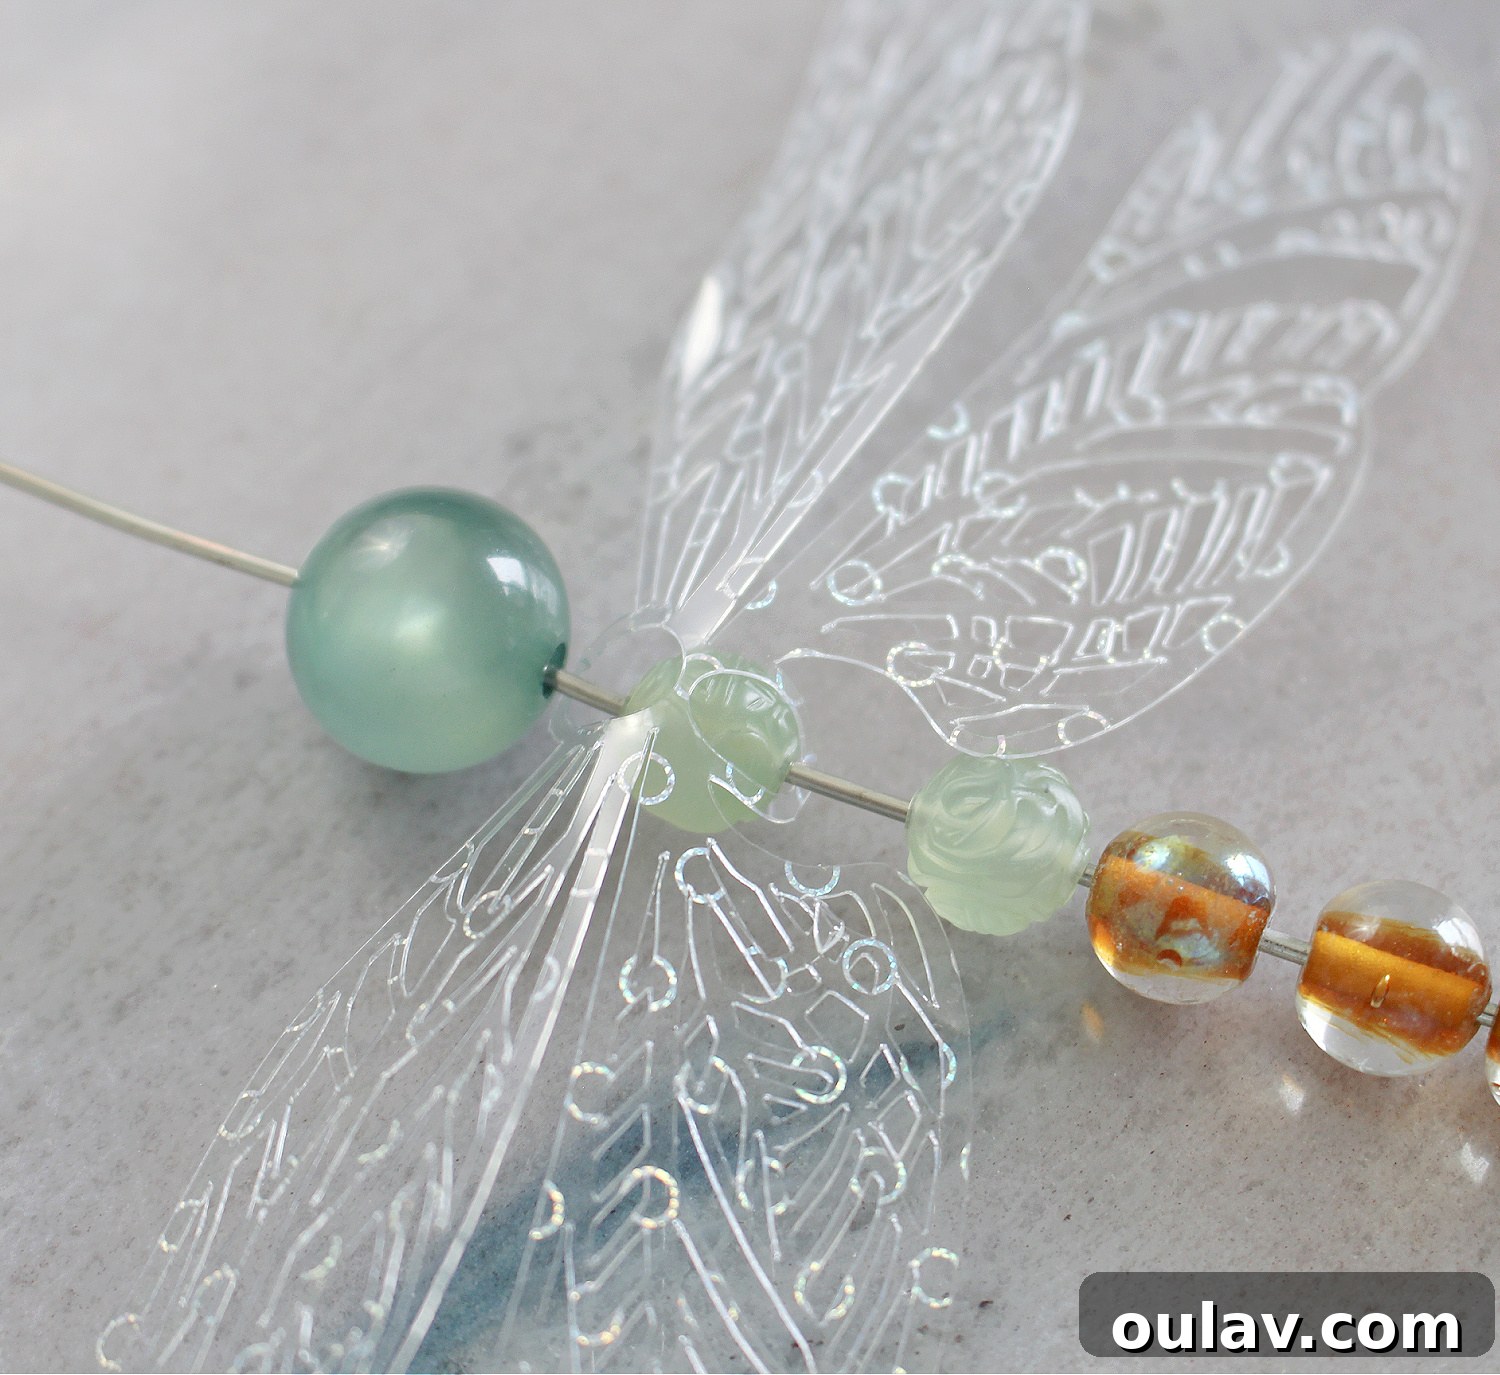
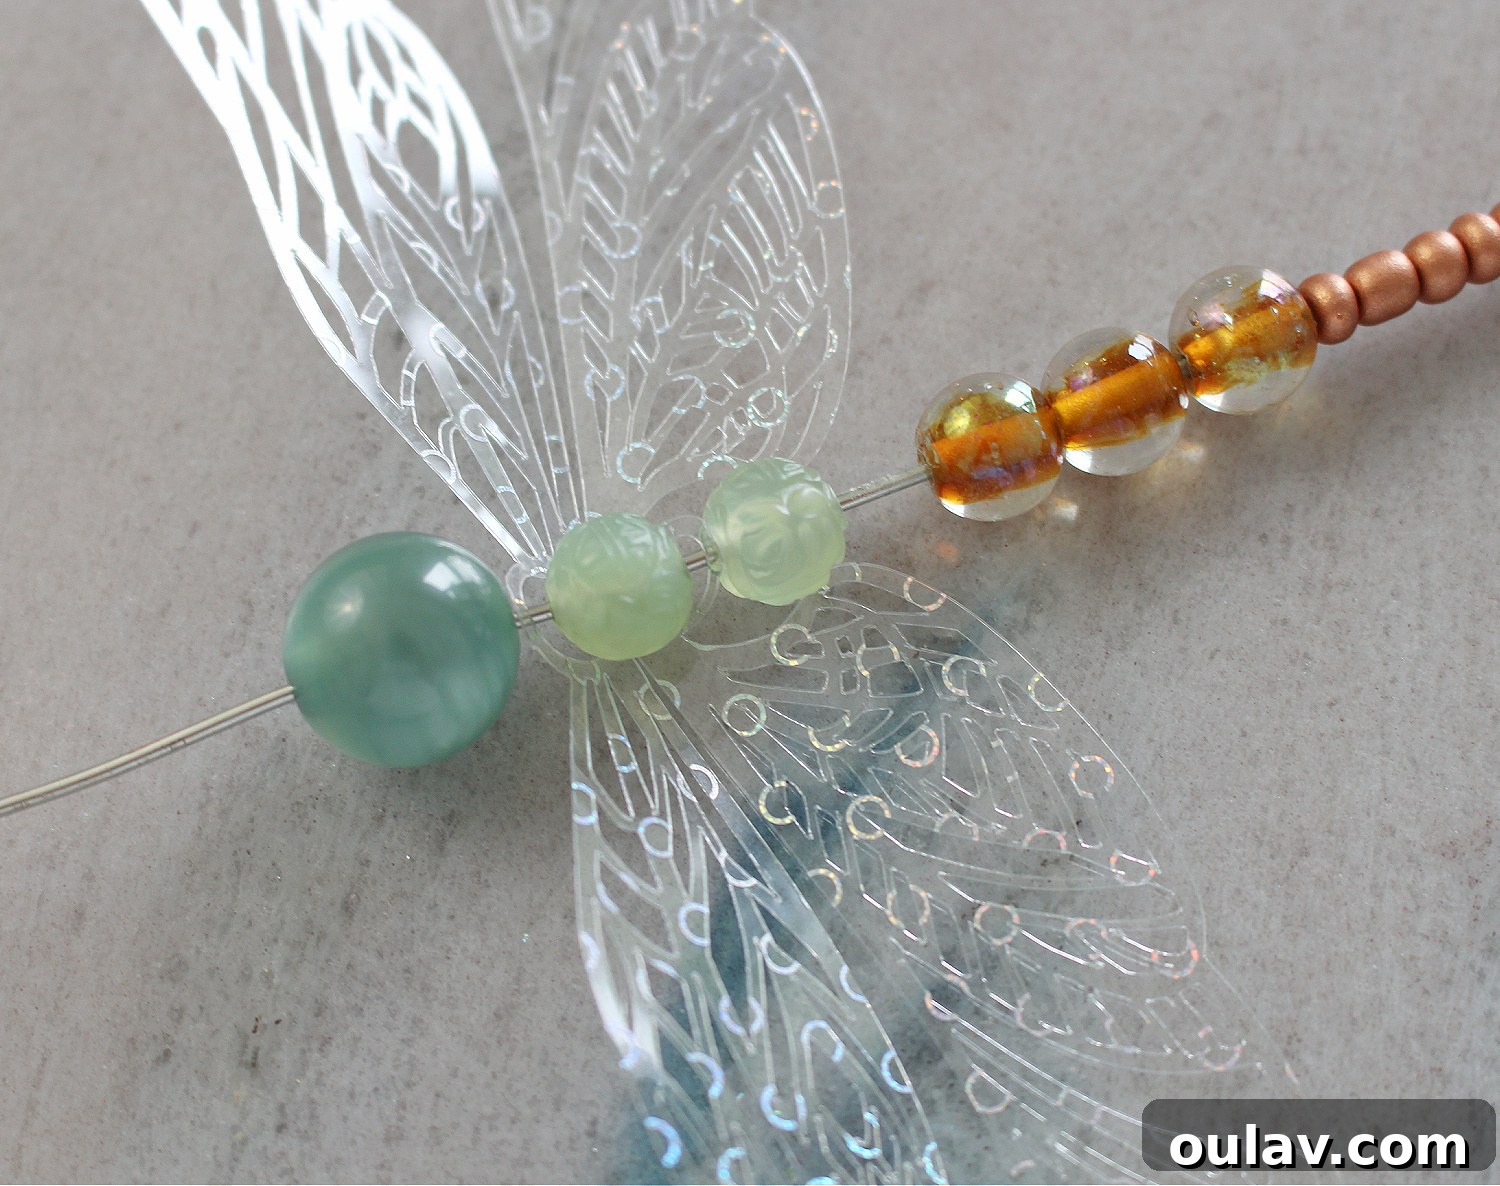
As the final touch, carefully trim any excess wire, leaving just enough length to create a secure finish. With your needle nose pliers, form another loop or decorative curlicue at this end, effectively securing all the beads in place and preventing them from sliding off. This final loop serves a dual purpose: it not only completes the structural integrity of your dragonfly but also acts as a convenient hanging point. You can use this loop to elegantly suspend your finished beaded dragonfly in a window, allowing it to shimmer in the sunlight, or hang it on a Christmas tree as a unique ornament. Alternatively, you can easily stitch through this loop to affix it to other decorative elements, such as a festive garland or a lush wreath, integrating it seamlessly into larger arrangements. This careful finishing touch ensures your handmade creation is both beautiful and functional.
Your Masterpiece: The Finished Beaded Dragonfly Ornament
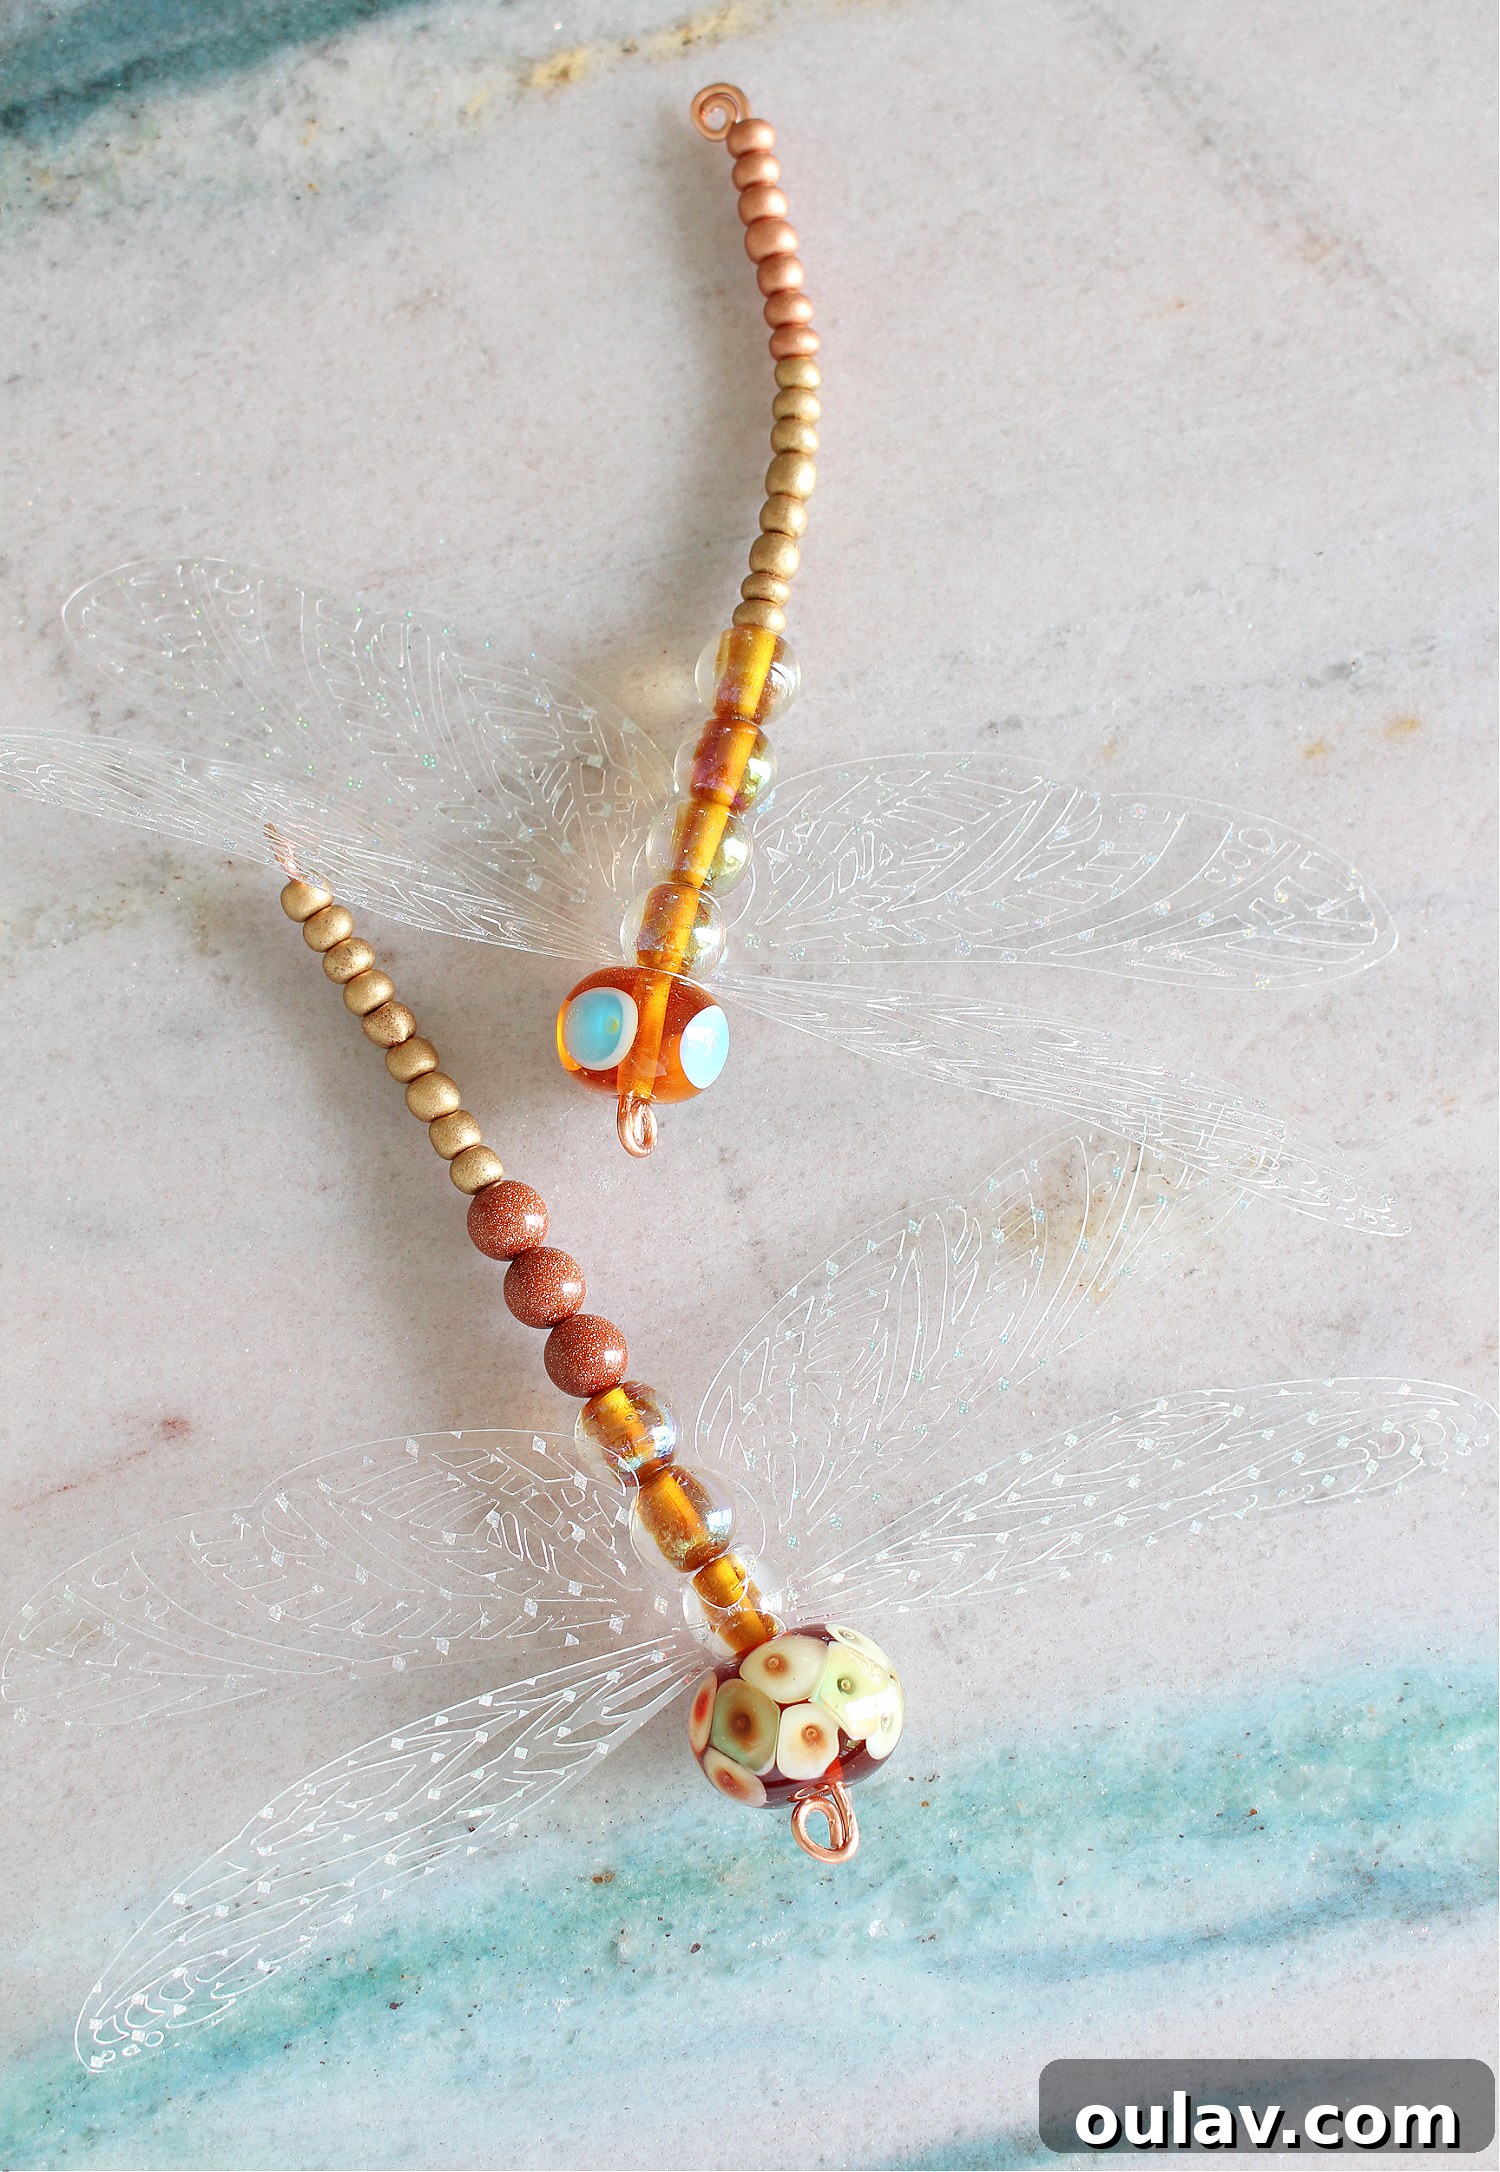
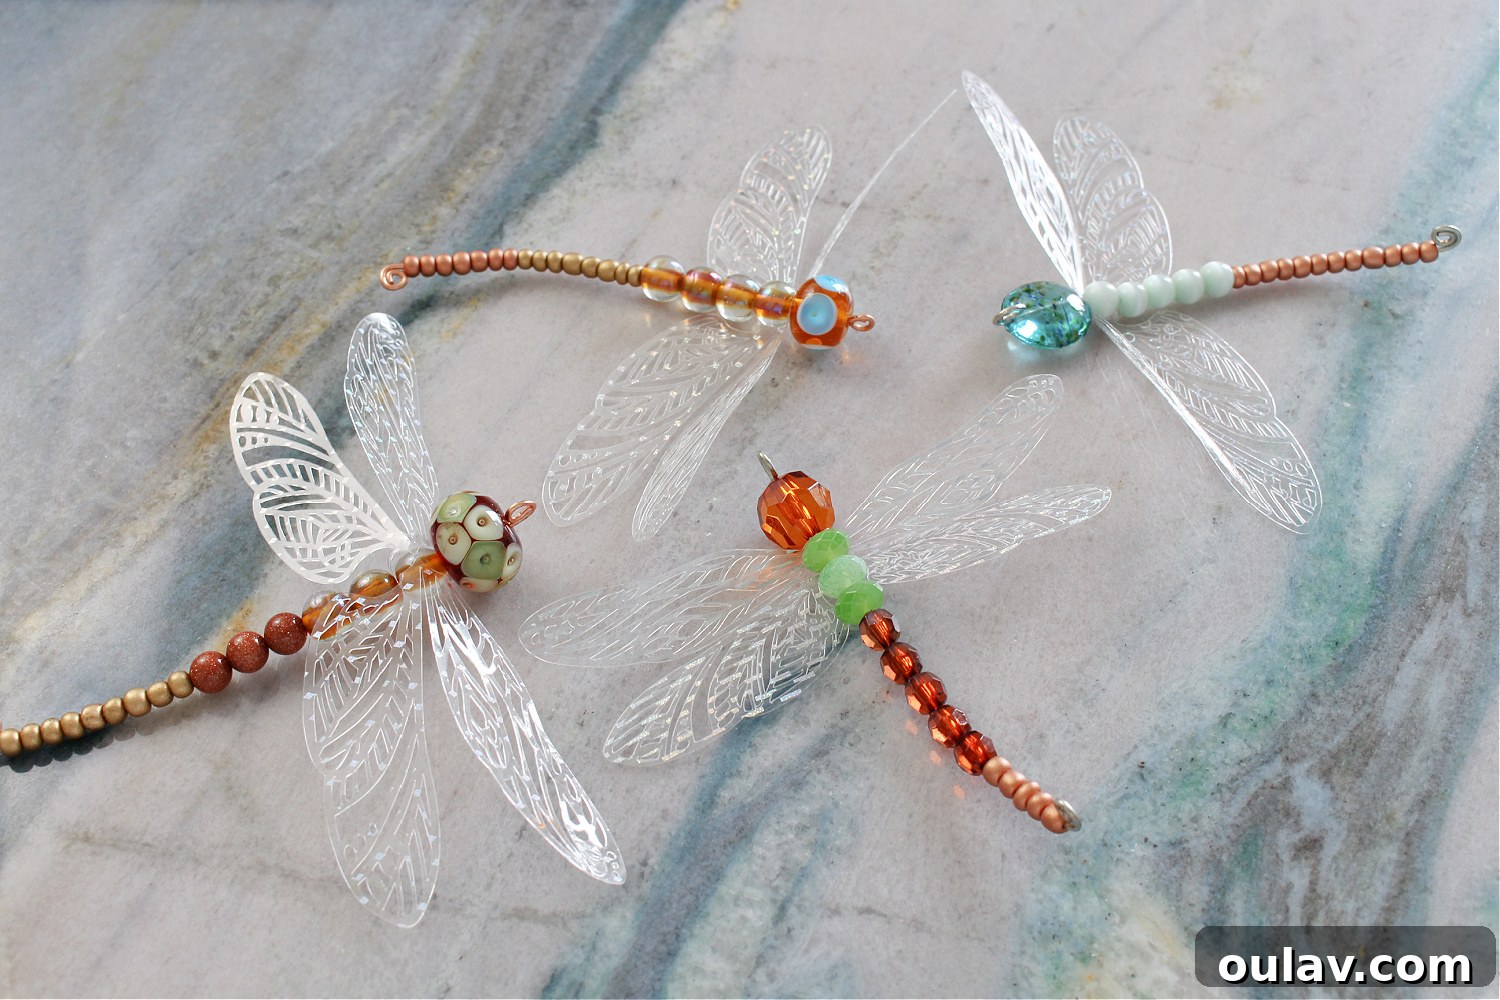
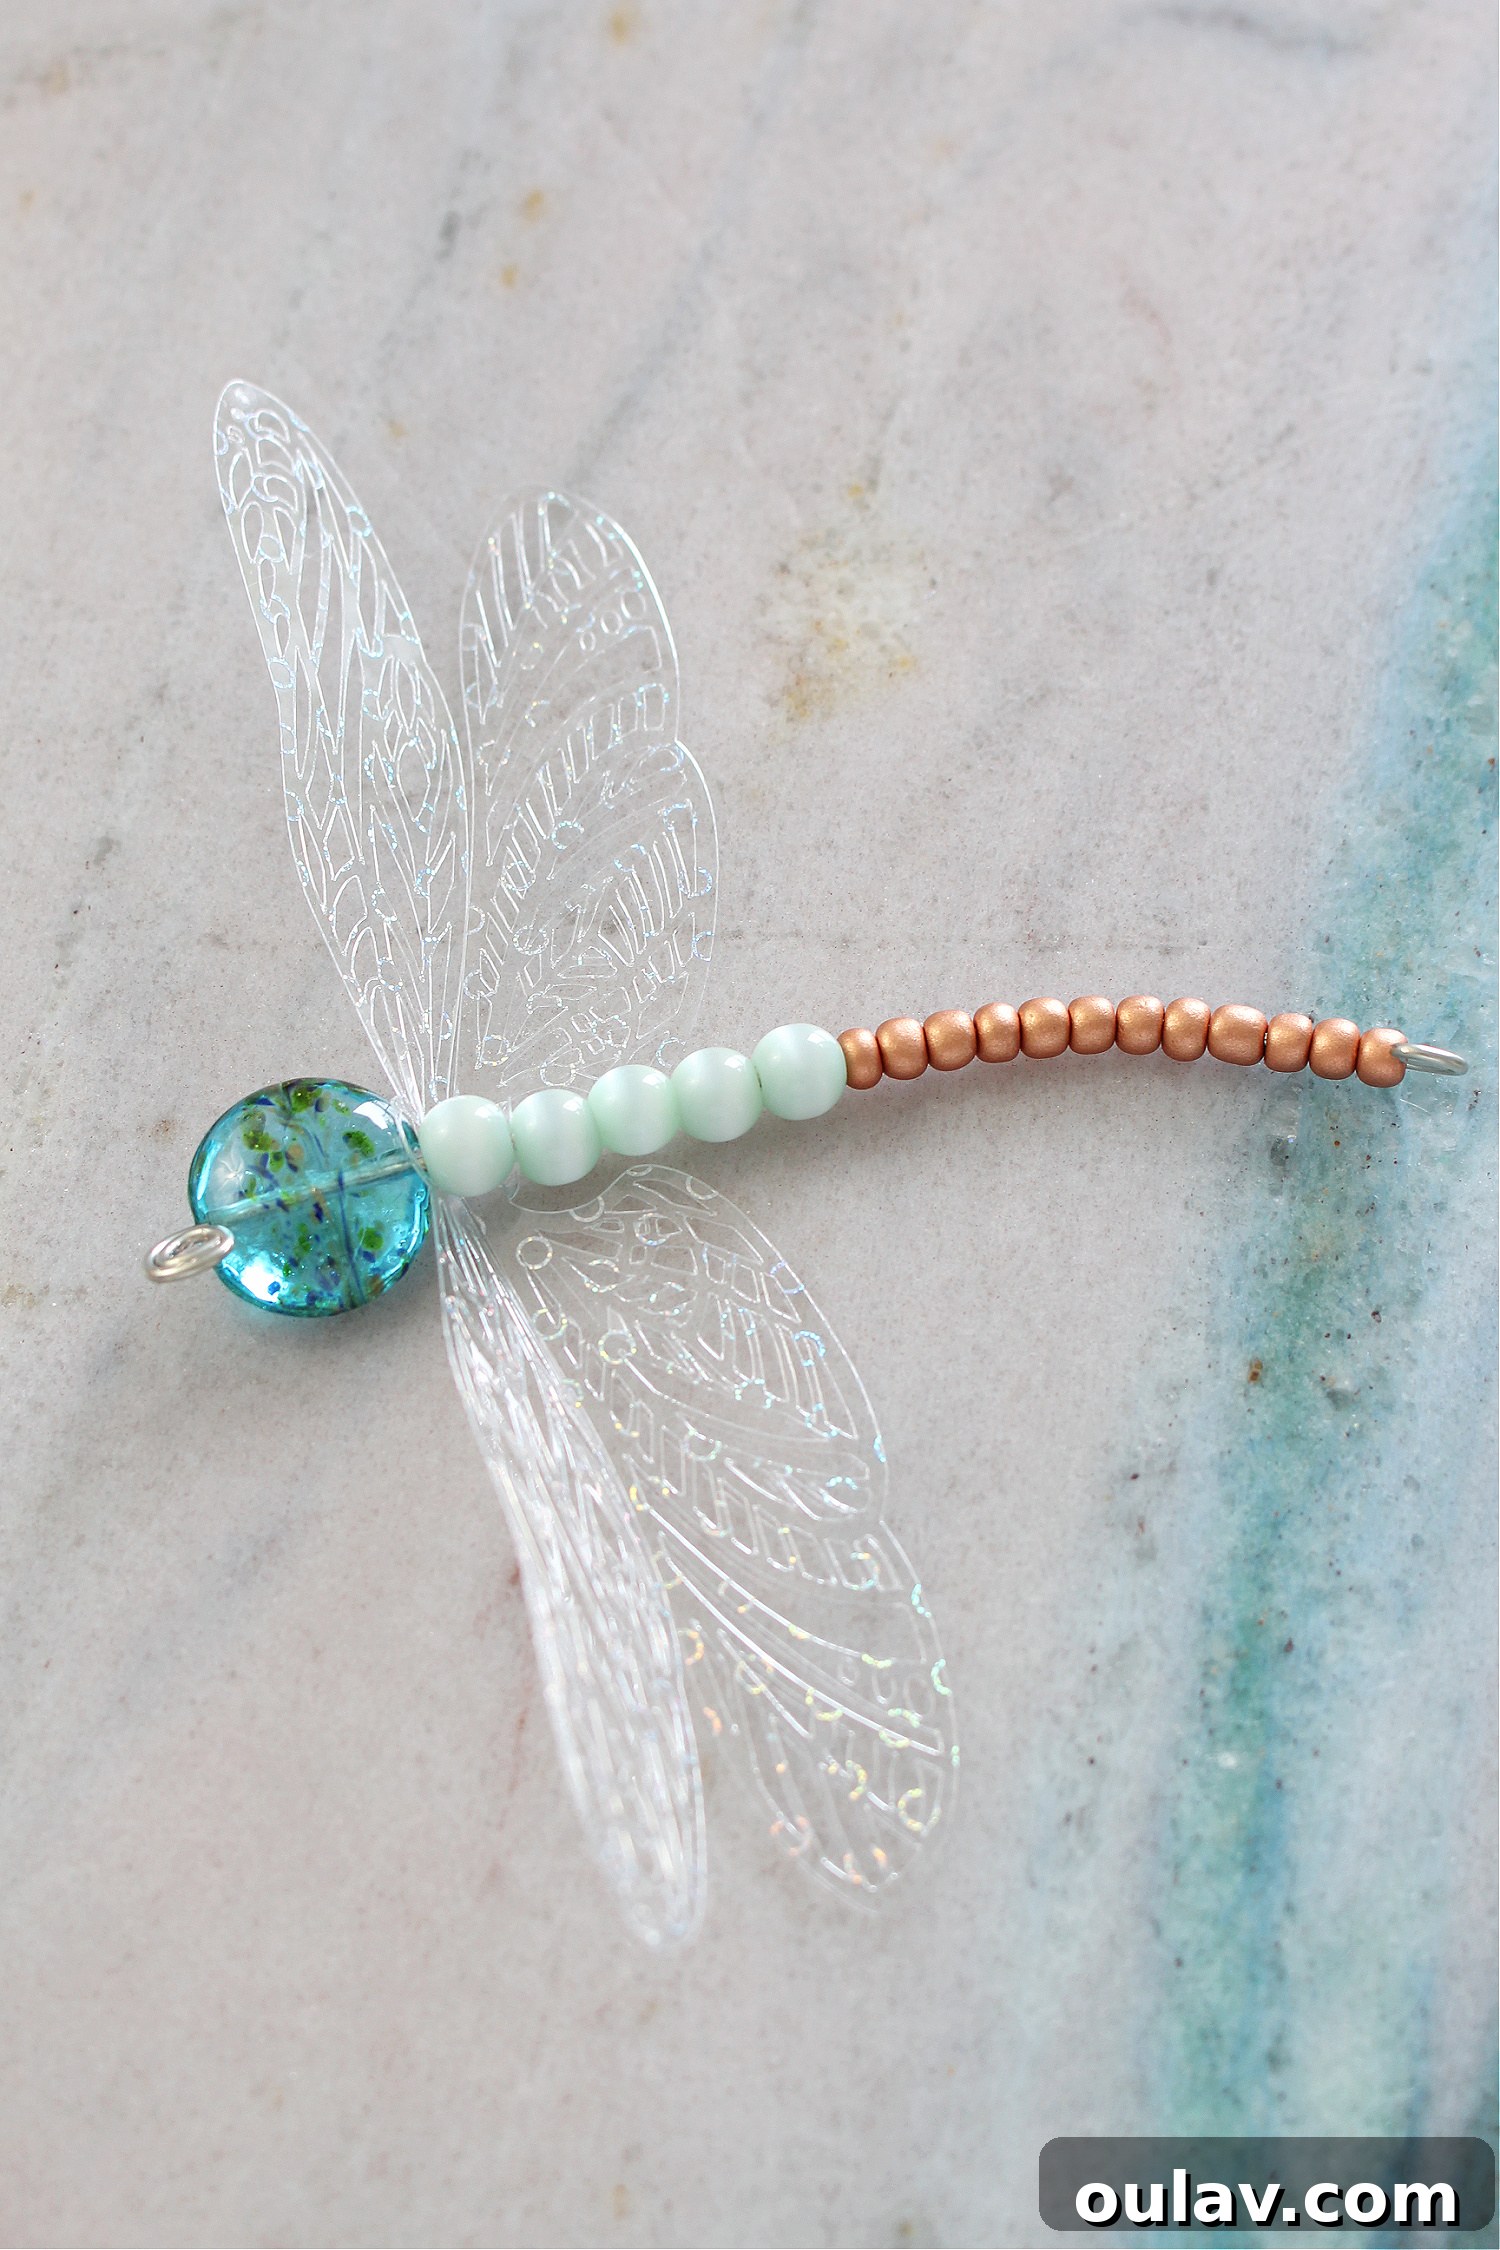
And there you have it – your very own stunning DIY beaded dragonfly ornament, a testament to your creativity and crafting skill! Once completed, take a moment to admire its delicate beauty. You can further personalize your dragonfly by gently shaping the wire body. Try bending the “tail” section ever so slightly to introduce a gentle curve, softening the straightness and creating a more organic, realistic beaded dragonfly silhouette. This subtle touch adds an extra layer of artistry and movement to your creation.
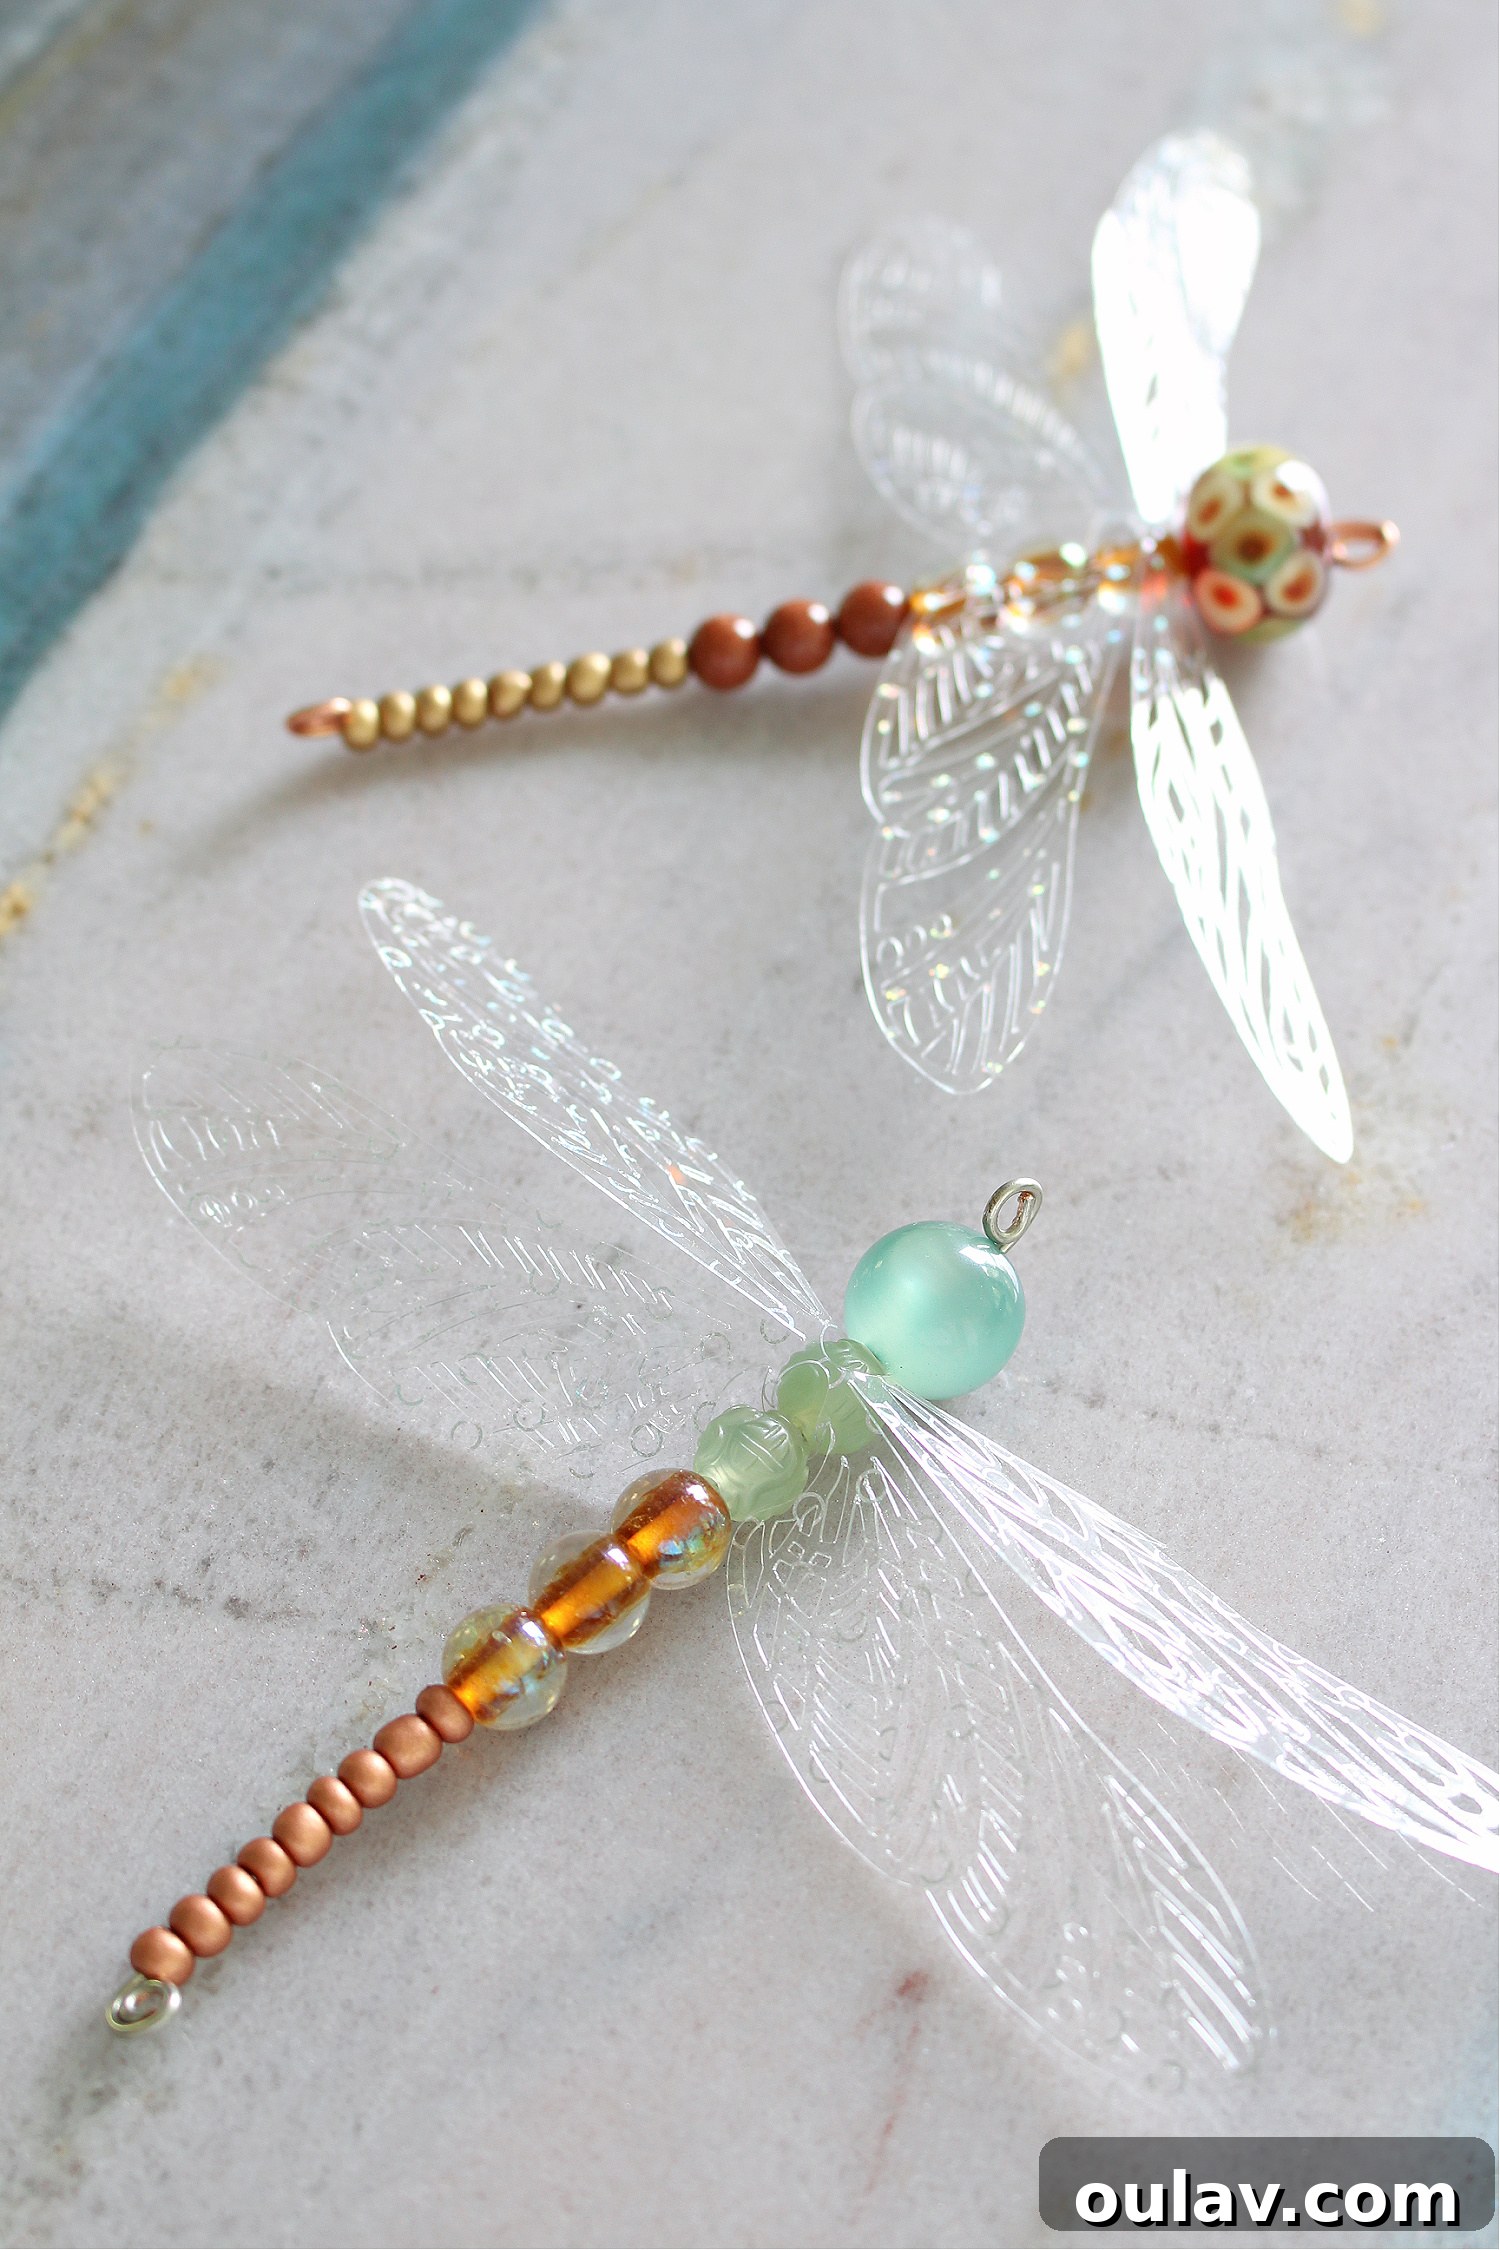
One of my favorite aspects of these ornaments is how the Cricut acetate wings delicately flutter with even the slightest breeze or movement. This adds a captivating, dynamic element that truly makes them come alive. Furthermore, the acetate material is exceptional at catching and reflecting light, creating a beautiful sparkle that enhances their ethereal quality. Thanks to the remarkable precision and efficiency of my new Cricut Maker 3, each of these intricate dragonflies takes only a few minutes to create once the design is set up. This means you can easily craft a whole swarm of these magical creatures to decorate your home or give as thoughtful, handmade gifts. The joy of seeing them dance and shimmer is truly unmatched.
These beaded dragonflies are incredibly versatile for home decor. Beyond Christmas trees and wreaths, consider hanging them from indoor plants to add a whimsical touch, using them as unique gift toppers for special occasions, or even incorporating them into a beautiful mobile for a child’s room. Their iridescent wings and sparkling beaded bodies make them perfect for brightening up any corner of your home, year-round. They are a constant reminder of nature’s beauty and the joy of handmade crafts.
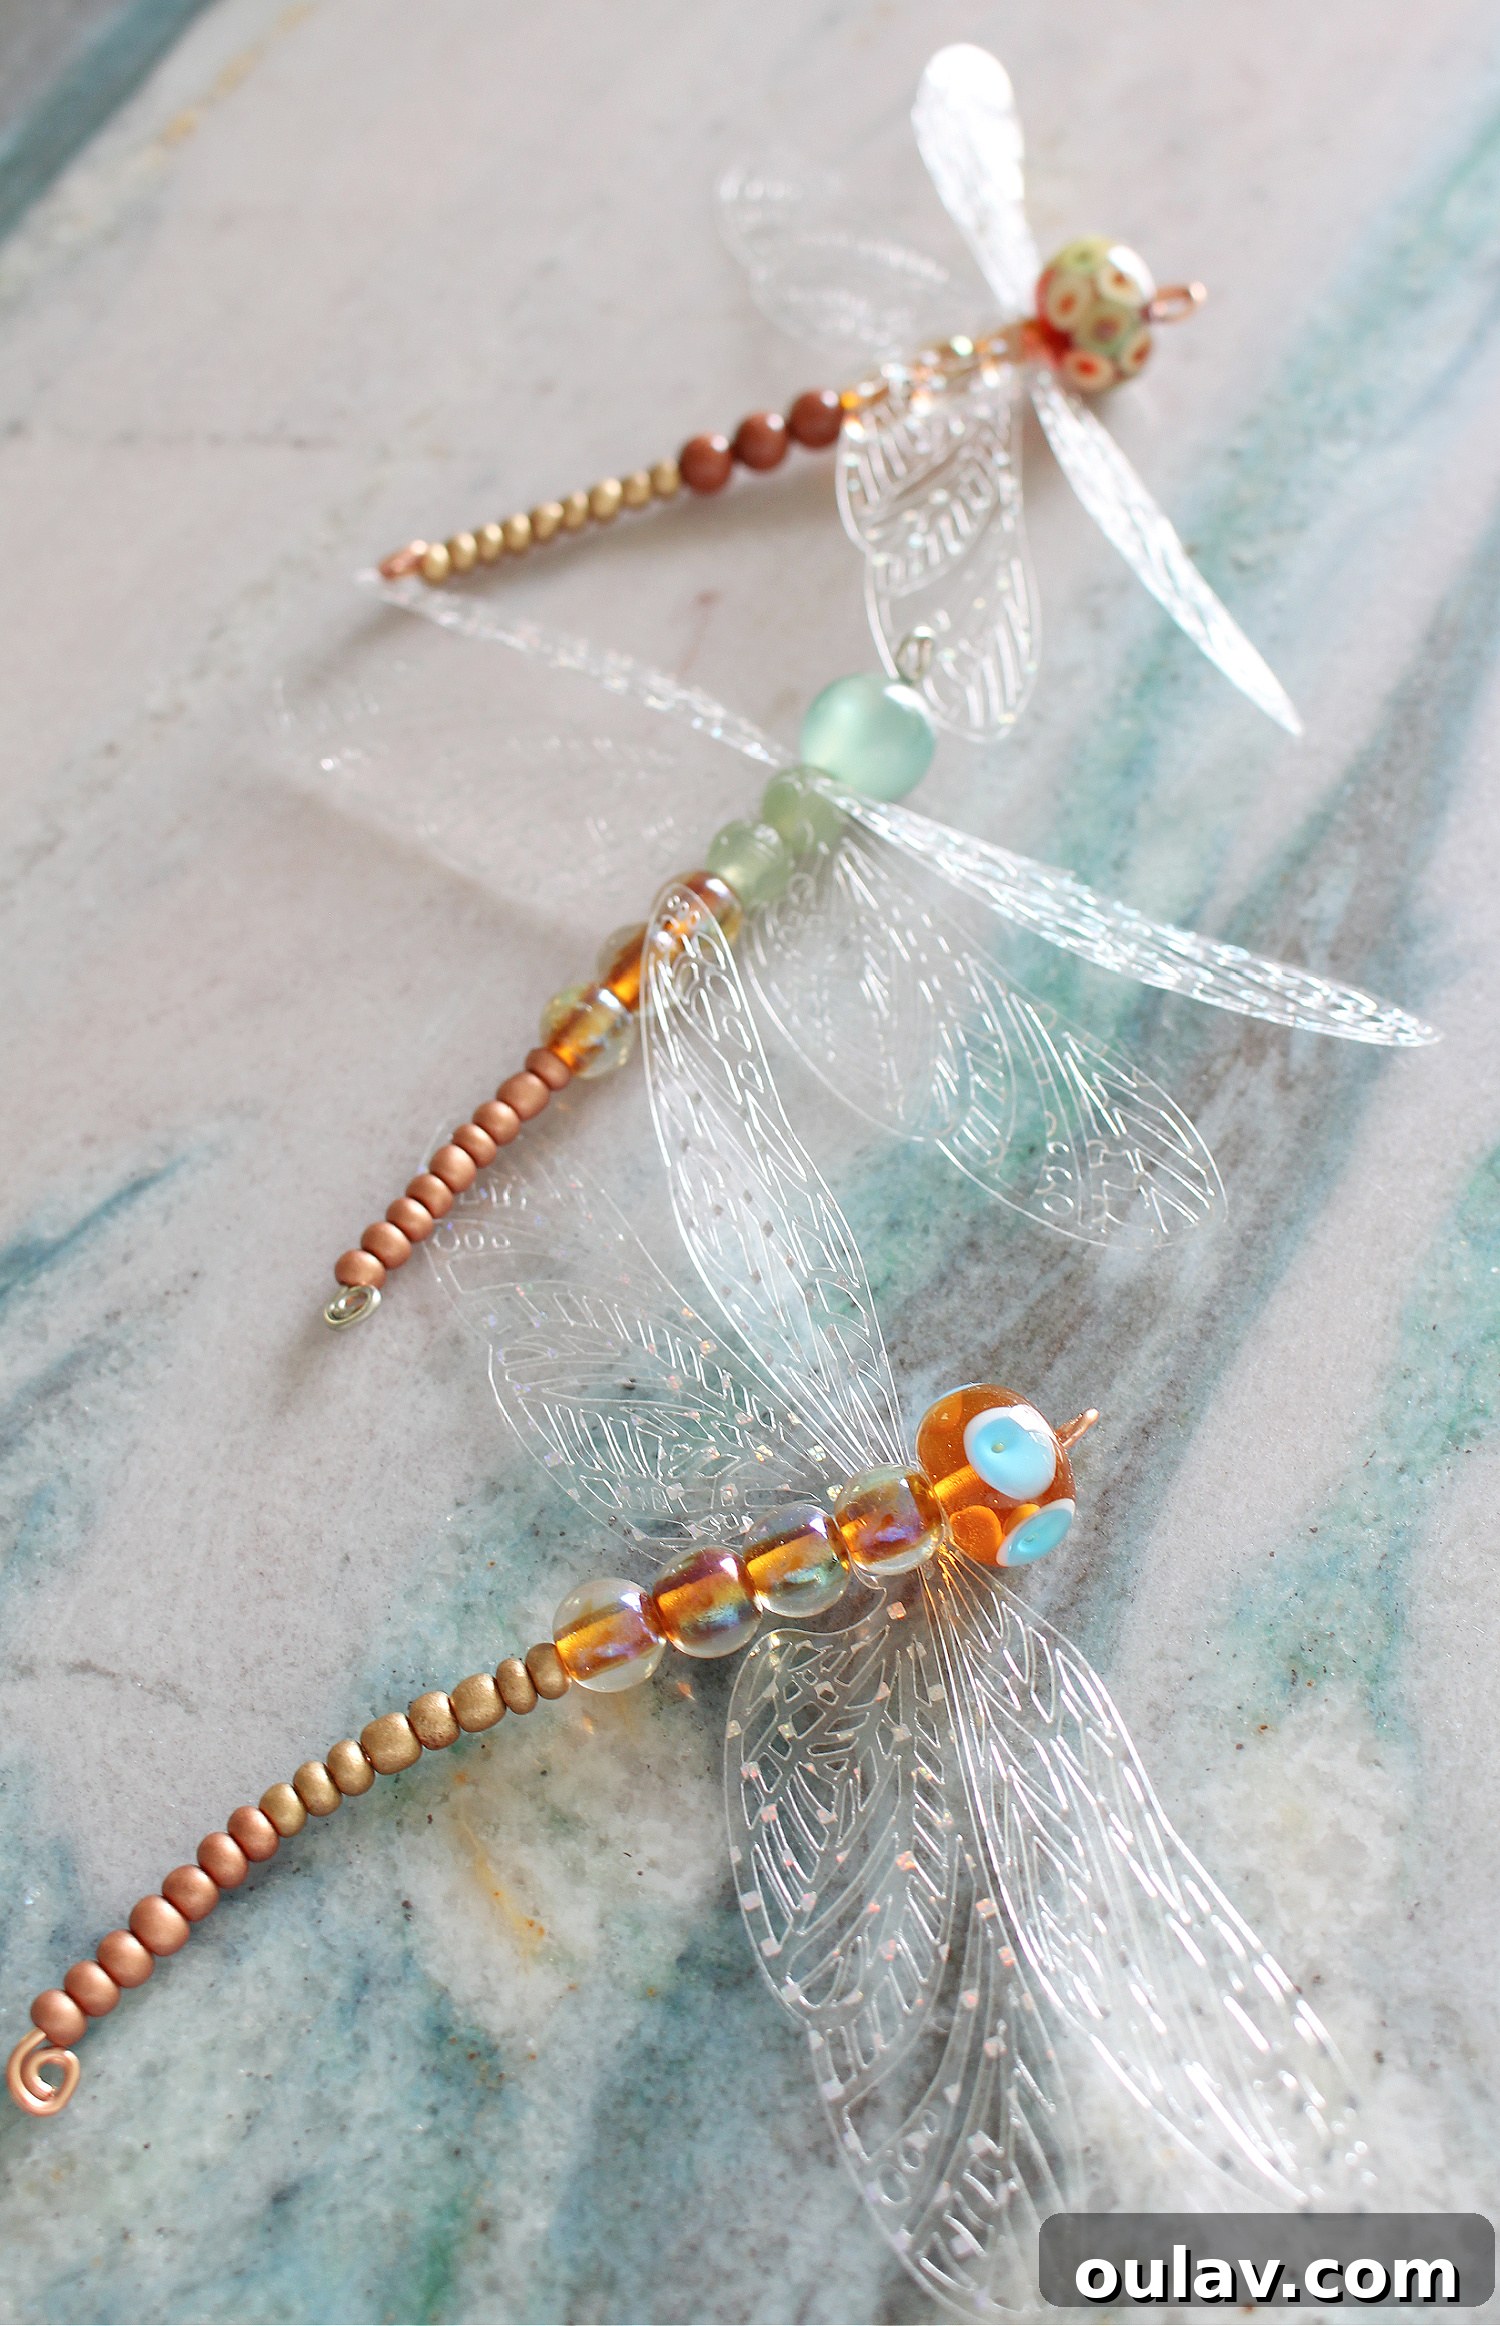
P.S. Pin This DIY Project for Future Inspiration!
Loved this tutorial? Don’t let these beautiful beaded dragonfly ornament ideas fly away! Save this project for later by pinning it to your favorite craft, DIY, or home decor boards on Pinterest. It’s the perfect way to keep creative inspiration at your fingertips and share it with friends and fellow crafters. Happy making!