
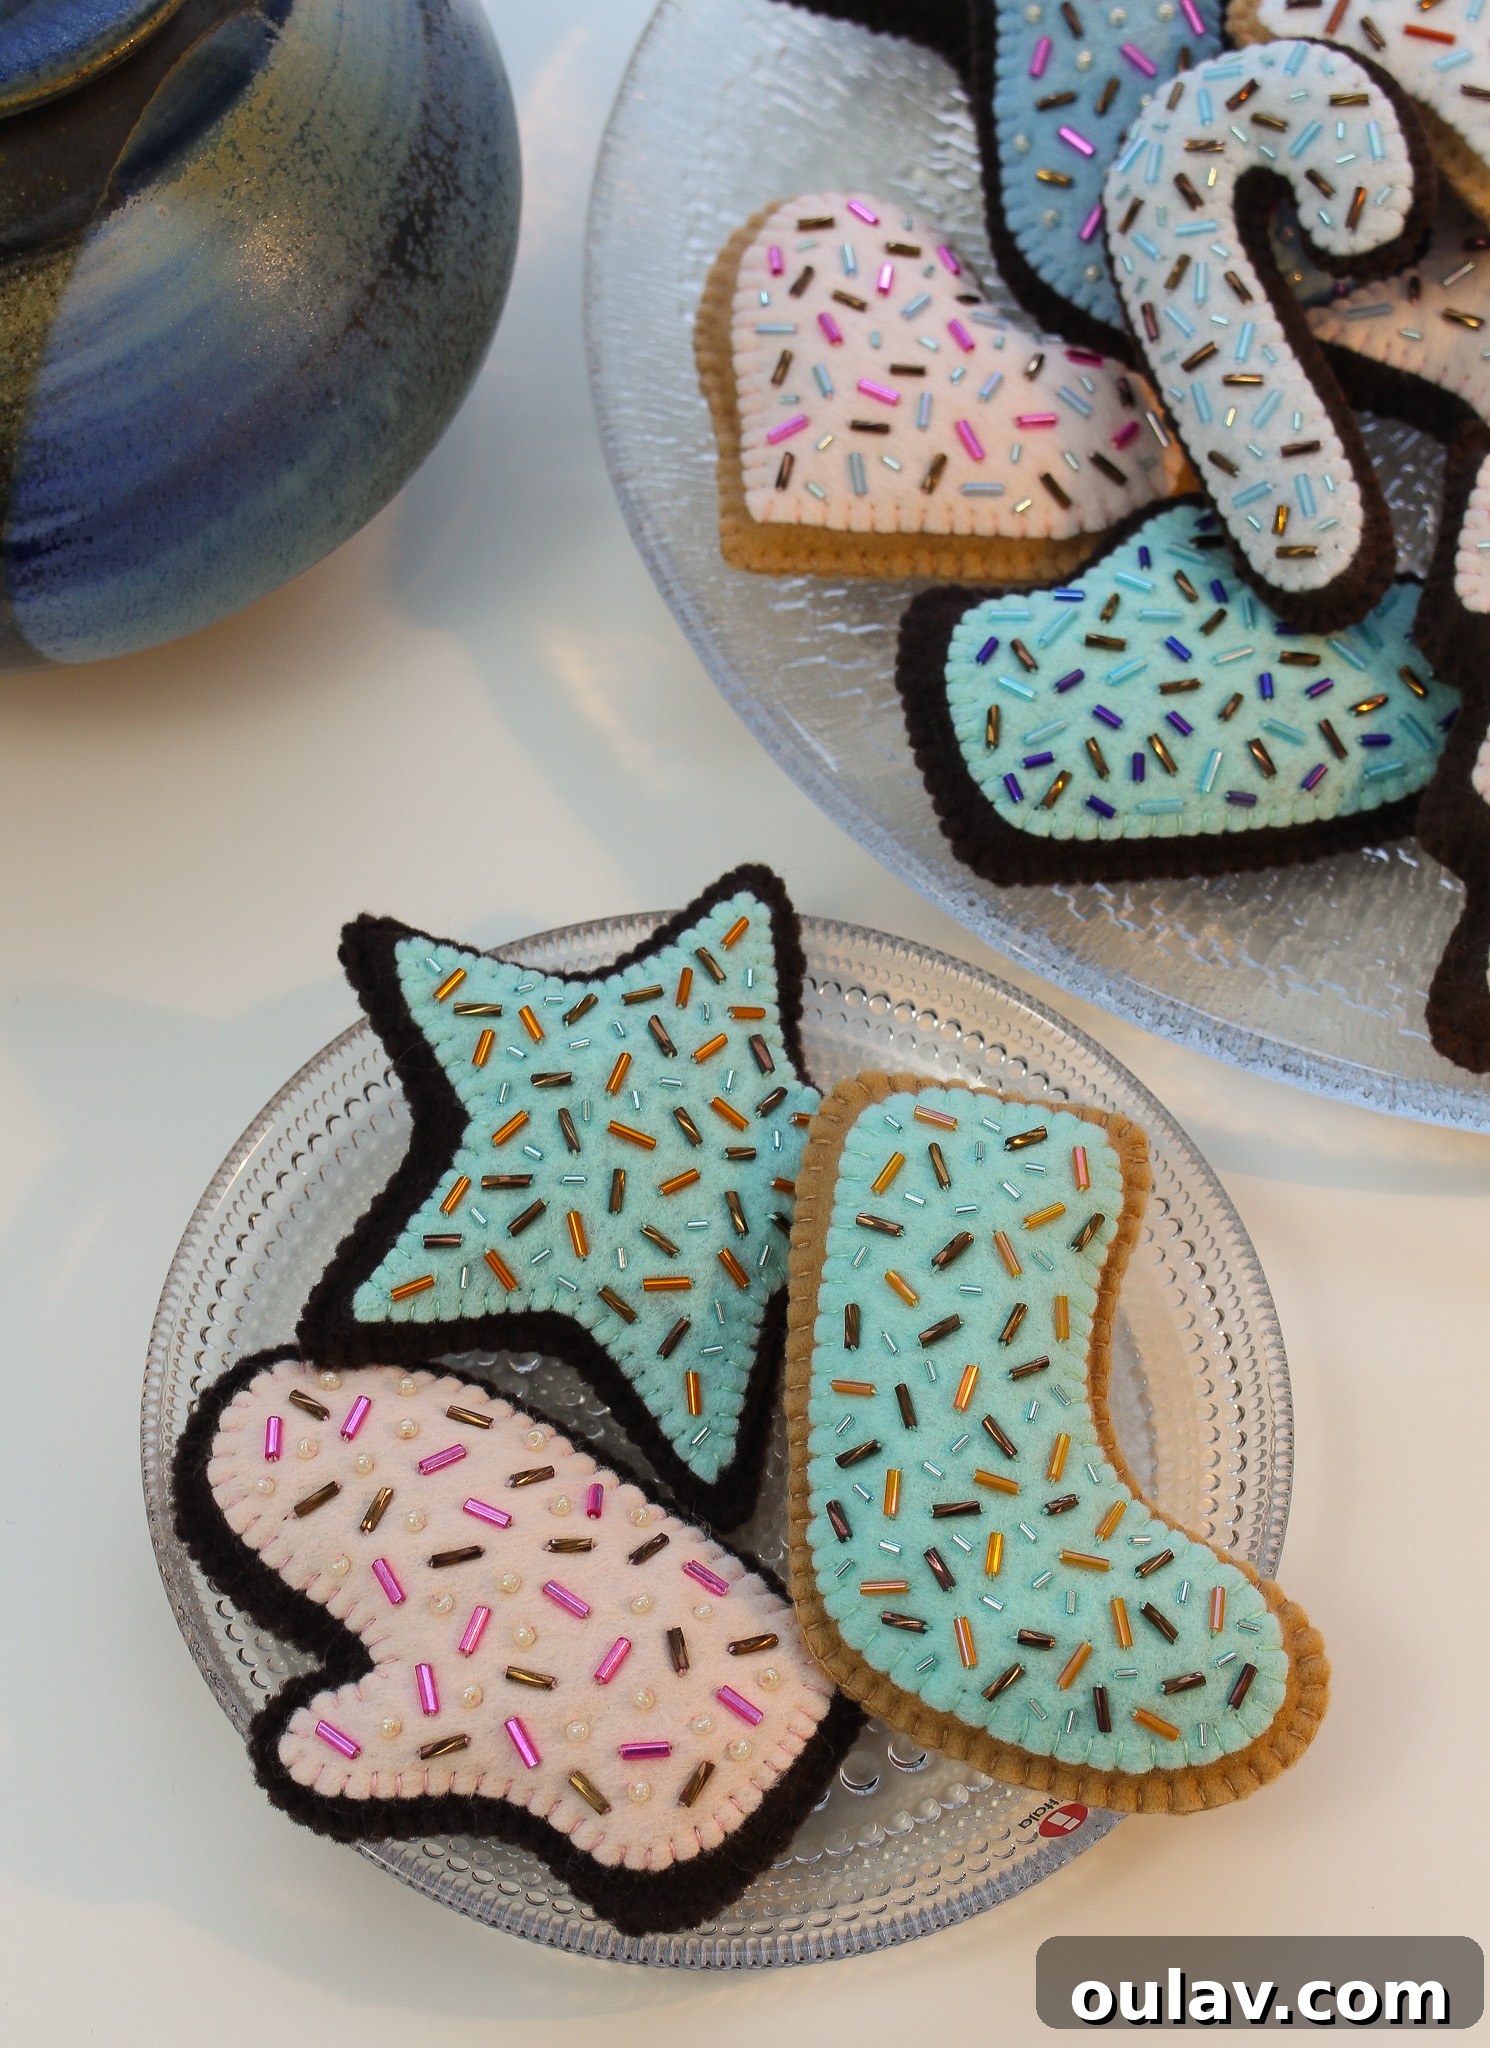
Embark on a delightful crafting journey this season by transforming simple felt shapes into charming holiday decorations. If you’re looking for versatile patterns that offer endless creative possibilities, you’ve come to the right place! We’re diving into an exciting “remix” project, taking our popular second batch DIY felt cookie ornament pattern set—which thoughtfully includes festive stocking, cozy mitten, and radiant star shapes—and repurposing it to create an adorable DIY Mittens on a String Felt Ornament. This project is perfect for adding a touch of handmade warmth to your home or gifting a truly special, personalized treasure. Get ready to discover how easy it is to breathe new life into your digital patterns!

The beauty of digital patterns lies in their adaptability, and this project truly showcases that flexibility. While the original design for our cookie ornament patterns was intended for sweet, treat-inspired decorations (and you can find full instructions on how to make DIY felt cookie ornaments here), we’re going to cleverly modify the mitten shape for a distinctively different, yet equally enchanting, ornament. For this specific felt mitten ornament, you’ll simply set aside the “icing” piece from the template. Focus solely on the two “cookie colored” templates – these will form the main body of your mittens. To give them that classic, cozy look, you’ll add a contrasting felt rectangle measuring approximately 5.5 inches in length by 1.25 inches in width, which will serve as a charming mitten “cuff.” This simple alteration transforms a delicious cookie into a delightful winter accessory, proving just how much creative freedom these patterns provide.
Pattern Usage Rights: Unlocking Your Creative Potential Responsibly
Your passion for crafting and dedication to handmade projects are truly inspiring! As a fellow creator, I kindly ask you to observe the following important guidelines regarding the usage of this pattern. Please note that this pattern is copyright protected and is exclusively intended for your PERSONAL USE ONLY. This means you’re welcome to create as many beautiful ornaments as you wish for yourself, your family, or as heartfelt gifts for friends. However, to respect intellectual property and support independent designers, it is not licensed for sharing online, distributing digitally or physically, using for any commercial purposes, or reselling in any form. Your understanding and adherence to these terms allow me to continue creating and sharing unique designs for the crafting community. Thank you for valuing and supporting original artistry!
Mastering Your Felt Ornament Patterns: A Comprehensive Guide to Digital Templates
One of the greatest advantages of using digital patterns like this one is the immediate access they provide to your creative projects. This pattern is delivered as a digital download, meaning you can begin crafting almost instantly after purchase. It’s meticulously scaled to standard 8.5 x 11-inch dimensions, ensuring easy compatibility with any home printer. Simply print the pattern onto your preferred paper, carefully cut out the shapes, and then trace them onto your felt fabric. This traditional method is straightforward and effective, requiring minimal additional supplies. However, for those seeking enhanced precision or a more streamlined process, there are excellent alternative materials available. Consider investing in Gypsy Quilter Freezer Paper or Stick N Stitch Self Adhesive Wash Away Stabilizer. Both options allow you to print the pattern directly onto the material, providing a cleaner and often more accurate way to cut your felt pieces. Each method offers unique benefits, catering to different crafting preferences and project needs. Here’s a detailed rundown to help you choose the best approach for your next felt masterpiece:
- Printing on Standard Printer Paper: The Accessible Method
For this method, you’ll simply print your digital pattern onto regular printer paper. Once printed, carefully cut out each template shape using a pair of sharp scissors. Then, place these paper templates onto your chosen felt fabric and trace around them using a thin, sharp fabric marker or a fine-tipped sharpie. This method is incredibly cost-effective and doesn’t require any special tools beyond what you likely already have. It’s an excellent starting point for beginners or for quick projects where precision isn’t paramount. - The Magic of Freezer Paper: Precision and Ease
Freezer paper is a game-changer for felt crafting, especially when you desire crisp, clean edges without the hassle of tracing. Print your pattern directly onto the matte side of the freezer paper. Cut out the shapes, making sure to cut just inside the lines for the most accurate sizing. Next, iron the shiny side of the freezer paper onto your felt fabric using a warm, dry iron. The paper will temporarily adhere to the felt, creating a stable, easy-to-cut surface. Cut precisely around the freezer paper template, and once your felt shape is cut, simply peel off the freezer paper. It leaves no residue and can often be reused multiple times, making it both efficient and economical. This method is highly recommended for its precision and ease of use, eliminating the need to draw on your felt. - Wash Away Stabilizer: For Intricate Designs and Clean Lines
Self-adhesive wash-away stabilizer is ideal for very intricate patterns or for those who prefer not to mark their felt at all. Print the pattern onto the stabilizer, then roughly cut around each shape, leaving a small border. Peel off the backing and stick the stabilizer directly onto your felt. Stitch through both layers (felt and stabilizer) if your project involves embroidery, or simply cut out the felt shape with the stabilizer still attached. Once your crafting is complete, dissolve the stabilizer by rinsing it gently with water, following the manufacturer’s instructions. Allow your felt to dry completely. This method is fantastic for projects that require clean, unmarked felt, but it does add an extra drying step to your process.
For this specific mitten on a string pattern, since I haven’t marked any spots for beading directly on the template (unlike some of my other more intricate felt ornament patterns), you’ll find the freezer paper method to be particularly advantageous! While I don’t always recommend it as my primary preference for all my designs due to the way I typically incorporate embellishment guides, for this particular project, it would indeed work beautifully and offer a cleaner, more efficient cutting experience compared to the wash-away stabilizer or traditional tracing. Experiment with these techniques to discover your preferred way of working with felt patterns!
Essential Supplies for Your DIY Felt Ornament Project
Gathering the right materials is the first exciting step in any creative endeavor. For these charming DIY felt mittens, you’ll need a few key items. Remember, creativity often thrives on resourcefulness, so feel free to adapt and substitute where possible! Here’s a comprehensive list of what I use and recommend:
- Versatile Mitten Pattern: This is the digital pattern set that serves as the foundation for your mittens. Having the original pattern ensures consistent sizing and shape, making your crafting process smooth and enjoyable.
- Premium Soft Felt in Vibrant Colors: While I’ve linked a beautiful brand known for its lovely softness and rich hues, don’t feel limited. For this specific project, I personally used inexpensive craft store felt, demonstrating that stunning results are achievable with various felt qualities. Choose colors that evoke warmth and winter cheer!
- Crisp White Felt for Contrasting Details: White felt is essential for crafting those classic mitten cuffs, providing a lovely visual contrast against your chosen mitten color and adding a touch of traditional winter charm.
- Sparkling Sequins & Beads for Embellishment: Embellishments add personality and sparkle to your ornaments. The linked kit is an excellent starter set, offering a variety of shapes and colors to inspire your designs. These small details can truly bring your mittens to life.
- Fine Beading Needle: A specialized beading needle is crucial for working with tiny beads and sequins, allowing you to easily pass through their small holes and secure them precisely onto your felt.
- Standard Hand Sewing Needle: A basic hand sewing needle will be your primary tool for stitching the felt pieces together, making clean and sturdy seams.
- Durable Hand Quilting Thread: This type of thread is stronger and less prone to tangling than regular sewing thread, making it ideal for hand-stitching felt ornaments that need to withstand handling and last for seasons to come. It comes in various quantities and colors to match your felt.
- Elegant Thin Fabric Ribbon: A thin, flexible ribbon is perfect for creating the “string” that connects your mittens, or for forming hanging loops. Choose a color that complements your felt and beads.
- Reliable Freezer Paper: As discussed, freezer paper is highly recommended for accurately transferring your pattern to felt, ensuring neat cuts and reducing tracing efforts.
- Fluffy Poly-fill Stuffing: This provides the plump, three-dimensional quality of your ornaments. Alternatively, you can repurpose stuffing from old pillows, or even use felt or fabric scraps for a more eco-friendly approach.
- Iron & Ironing Board: Essential for the freezer paper method, ensuring the pattern adheres smoothly to the felt for precise cutting.
- Handy Stuffing Tool (Optional): While optional, a stuffing tool can be incredibly helpful for pushing poly-fill into small, intricate areas like the mitten thumb, ensuring your ornaments are evenly and firmly stuffed.
For even more options and specialized tools, you can find a comprehensive list of felt ornament supplies here! However, please note that it is absolutely NOT necessary to purchase every single item on this list to create beautiful ornaments. Embrace your existing craft stash! For example, if you prefer, you can easily skip the beading step and instead add intricate embroidered details using thread you already own. Repurpose stuffing from an old, clean pillow, or gather felt and fabric scraps to give your ornaments a lovely, eco-conscious fill. If you’re opting for the traditional tracing method, a thin sharpie works perfectly, and that same sharpie can even double as a makeshift stuffing tool if you don’t wish to purchase a dedicated one or the stick-on stabilizer. The wonderful thing about making DIY felt animal ornaments, or any felt ornaments for that matter, is that it CAN be a very economical and accessible craft. Don’t feel pressured to buy it all, or to buy it all at once. Start with what you have, enjoy the process, and build your supplies as your passion grows!

Step-by-Step Video Tutorial: Crafting Your DIY Mittens on a String Felt Ornament
While many of my DIY felt ornament tutorials typically feature detailed step-by-step photos, this time I’m excited to share a comprehensive video guide! This visual aid is perfect for seeing each technique in action, ensuring clarity and confidence as you create. If you’re already familiar with my other DIY felt ornament tutorials, you’ll recognize many of the fundamental stitching and assembly steps. However, this particular project introduces a delightful new element: the method for stitching on the mitten cuff, which has a slightly unique approach. The video will clearly demonstrate this new technique, along with all the familiar steps. Keep scrolling just below the video for detailed written instructions that perfectly complement this DIY felt ornament video tutorial, allowing you to follow along at your own pace and reference key points as needed.
Comprehensive Written Instructions: Creating Charming Felt Mittens on a String
Ready to bring your felt mittens to life? Follow these detailed instructions to craft your very own DIY Mittens on a String Felt Ornaments. Each step is designed to guide you through the process, ensuring a beautiful and durable finished product:
- Prepare Your Mitten Template: Begin by printing out your chosen mitten template. For optimal precision and ease, I highly recommend printing it directly onto freezer paper. This method simplifies cutting and ensures clean lines for your felt pieces.
- Precision Cutting of Template: Carefully cut out the mitten shape from the freezer paper template. If you are using my exact pattern, cut just inside the lines to ensure your felt pieces are accurately sized. This meticulous cutting of the template itself is key to the final shape of your mittens.
- Secure Transfer to Felt: With the pattern cut, iron the shiny side of the freezer paper template onto your desired felt color. The heat will temporarily adhere the paper to the felt, creating a stable surface for cutting. A significant advantage of freezer paper is its reusability; you only need to print one set of shapes per pattern and can reuse it multiple times for different felt pieces.
- Cut Your Felt Mitten Shapes: Now, with the template firmly attached, cut out four identical mitten shapes from your felt. These four pieces will create two complete mittens – two for the front of each mitten and two for the back, ensuring a symmetrical and polished pair.
- Embellish Your Mitten Fronts: Before assembling, take this opportunity to add decorative beads and sequins to the front side of each of your four felt mitten pieces. This is where your creativity truly shines! Experiment with different patterns, colors, and arrangements to give each mitten a unique and festive flair.
- Prepare Your Connecting Ribbon: Cut a length of thin fabric ribbon, approximately 11 inches long. This ribbon will serve as the “string” that connects your two mittens, giving the ornament its charming “mittens on a string” appeal.
- Begin Stitching Your Mittens: Take two felt mitten pieces (one front, one back) and align them perfectly. Using a blanket stitch – a strong and decorative stitch perfect for felt edges – begin sewing the two pieces together. Start from one side of the top opening, sew all the way around the outer edge, and stop when you reach the other side of the top opening, leaving the very top edge open for stuffing.
- Stuffing for Fullness: Once the outer edges are mostly stitched, gently stuff the felt mitten with poly-fill. Use a stuffing tool (or even the blunt end of a sharpie) to carefully push the stuffing into all areas, especially into the mitten’s thumb, ensuring a plump and even fill without lumps.
- Closing the Mitten and Attaching Ribbon: Continue sewing the top opening of the first mitten closed with your blanket stitch. As you sew across the top, securely attach one end of your prepared 11-inch ribbon. Position the ribbon end neatly between the felt layers at one corner of the top opening, stitching it firmly in place as you complete the seam. Repeat steps 7, 8, and 9 for the second mitten, attaching the other end of the ribbon to the second mitten as you close its top opening.
- Crafting the Mitten Cuff: Cut a contrasting piece of felt, typically white, measuring 5.5 inches in length by 1.25 inches in width (this dimension is specifically designed to fit my mitten template). This will form the cozy cuff for each mitten.
- Attaching the Cuff: Wrap this felt strip around the “cuff” area of your already stuffed and stitched mitten. Ensure it fits snugly. Using a whip stitch – a neat, almost invisible stitch – sew the short ends of the felt strip together along the seam, securing the cuff in place around the mitten.
- Mirroring the Second Mitten: When attaching the cuff to the second mitten, you may wish to flip the mitten shape over so that both mittens face the same direction when hung or are mirror images of each other, depending on your desired aesthetic. This ensures a cohesive look for your “mittens on a string.”
- Finishing the Cuff Edges: To give the cuff a clean, finished appearance and add another decorative touch, sew along the top edge of each felt cuff strip using a blanket stitch. This not only secures the cuff further but also adds a professional, handcrafted detail.
Here’s a closer look at the back of the finished mitten cuff. You’ll notice how seamlessly it integrates with the main body of the mitten. There isn’t a strict “front” and “back” to these adorable mittens once they’re embellished, which is precisely why I chose to bead both sides – ensuring they look fantastic from every angle as they twirl on your tree or hang in your home:


Detailed Guide: Seamlessly Integrating Ribbon into Your Felt Ornaments
Attaching ribbon to your felt ornaments is a key step for creating hanging loops or, in the case of our charming “mittens on a string,” connecting individual pieces. If you’re looking for a more in-depth, visual demonstration on precisely how to sew ribbon into felt ornaments – a technique that can be universally applied whether you’re creating a simple hanging loop or securing a single end of ribbon like for these mitten ornaments – I’ve prepared a dedicated video for you. This tutorial breaks down the process, offering clear guidance to ensure your ribbon attachments are secure, neat, and beautifully integrated into your finished felt pieces. Watch the video below for expert tips and a visual walkthrough.
Creative Display Ideas: Showcasing Your Mittens on a String Ornaments
Once your beautiful DIY Mittens on a String Felt Ornaments are complete, the fun continues with discovering creative ways to display them! Their unique design offers a multitude of charming possibilities for enhancing your holiday decor or adding a touch of winter wonder to any space. You can choose to leave the connecting ribbon long, allowing you to elegantly loop the mittens over Christmas tree branches, draping them gently for a whimsical effect. Alternatively, tie the ribbon in a cute, snug bow to keep the mittens closer together, creating a compact and sweet display. These versatile ornaments are not limited to the Christmas tree; consider hanging them in the center of a festive Christmas wreath for a welcoming focal point on your front door or above your mantel. For a playful touch, add small bells to the ribbon and loop them around a doorknob, instantly spreading a little Christmas cheer with every opening and closing of the door. Imagine them as part of a homemade garland, strung with pinecones and berries, or even as delightful gift toppers for a truly personalized present. Their simple charm makes them perfect for any winter-themed decoration!


Beyond Mittens: A Festive DIY Beaded Felt Stocking Ornament Remix
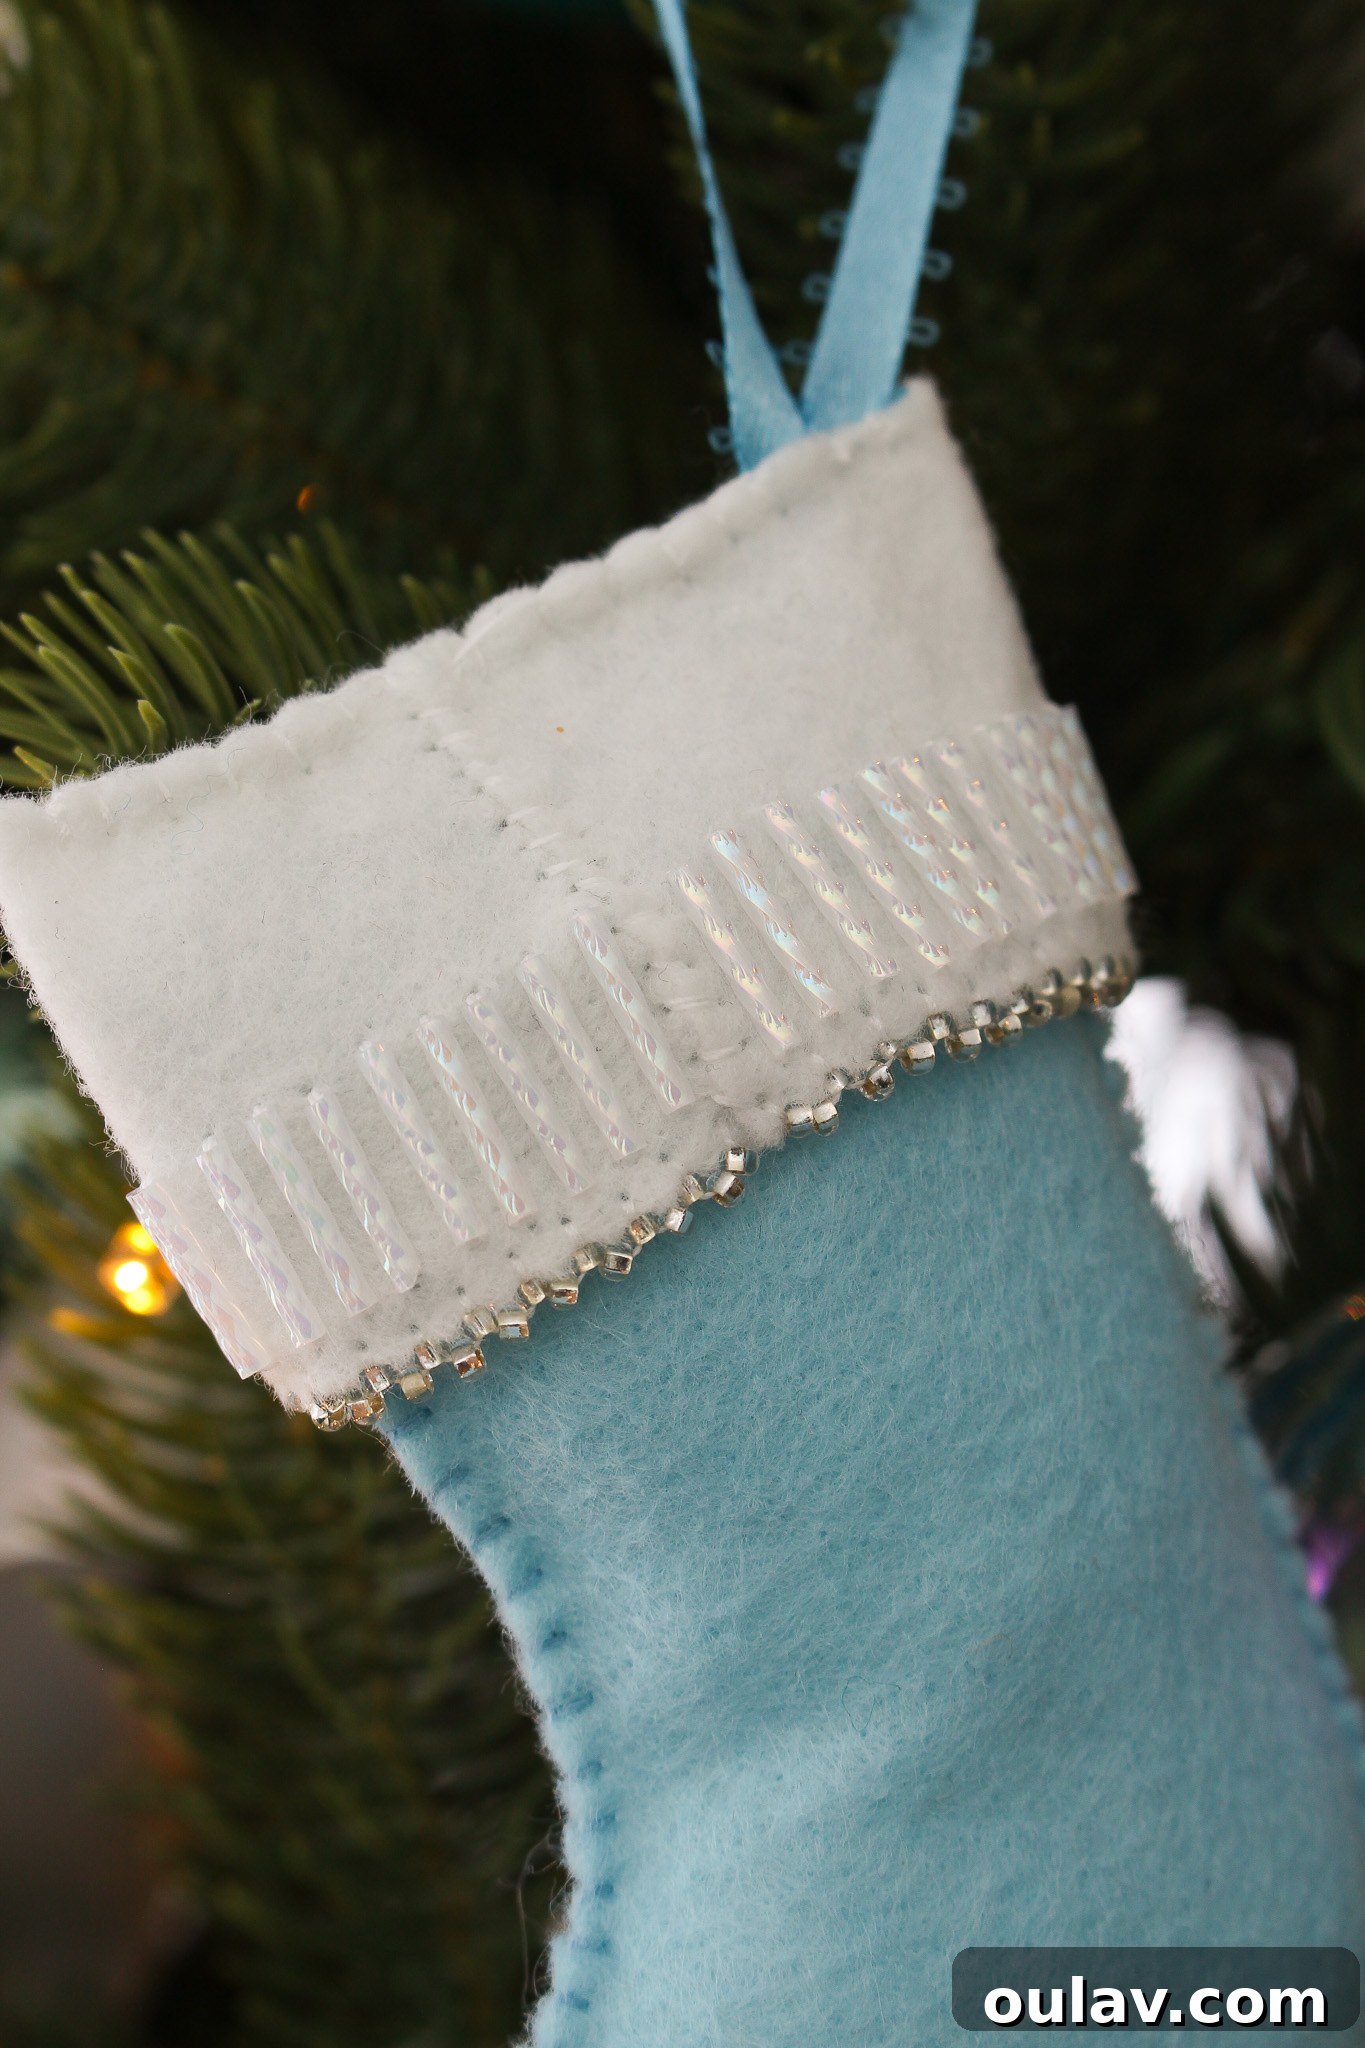
The versatility of our felt cookie ornament pattern set truly knows no bounds! If you’ve enjoyed creating the mittens, you’ll love exploring another fantastic way to repurpose these patterns: crafting a beautifully decorated DIY felt stocking ornament. This project follows a similar creative approach to the mittens, demonstrating how easily you can adapt the original designs. I began by printing the larger “cookie” shapes from the pattern set (again, omitting the icing pieces) and carefully tracing them onto my chosen felt fabric. For this particular stocking, I decided to focus the embellishment on one side only, creating a distinct “front.” After stitching the stocking pieces together and stuffing them for a lovely plump shape, I carefully affixed a ribbon loop into one corner as I was sewing the final seam, perfect for hanging. Just like with the mittens, I added a classic white felt “cuff” to the top, using the same attachment method. However, for an extra touch of elegance and sparkle, I adorned this cuff with a stunning array of bugle beads and smaller seed beads *before* attaching it to the stocking, creating a more intricate and sophisticated finish. This remix showcases how subtle changes in embellishment and assembly can yield entirely different, yet equally enchanting, results!

Here’s a detailed look at the back of the felt stocking ornament, showcasing the clean lines and craftsmanship, especially since for this specific design, the embellishments were concentrated on the front. This approach allows for a more streamlined look on the reverse side, highlighting the beauty of the felt itself and the neat stitching. It demonstrates how you can consciously choose where to focus your decorative efforts, creating varied visual interest depending on how the ornament will be displayed. This intentional design choice contributes to the overall elegance and thoughtfulness of the handmade piece.

Conclusion: Embrace the Joy of Creative Felt Crafting
I genuinely hope these creative “remixes” of my felt cookie ornament patterns have sparked joy and inspiration for your own felt ornament-making adventures! Whether you’re drawn to the cozy charm of the Mittens on a String or the festive elegance of the Beaded Felt Stocking, the possibilities for customization are truly limitless. I am incredibly grateful that my felt ornament patterns have been downloaded and enjoyed by so many passionate crafters like you. It brings me immense satisfaction to not only provide unique designs but also to continually show you fresh and innovative ways to use them, ensuring you get the maximum value and creative mileage from your felt ornament templates. Don’t hesitate to share which felt cookie ornament “remix” has captured your heart – I love hearing about your favorites! I am also eagerly looking forward to continuing to share new designs, exciting variations, and more comprehensive DIY felt ornament tutorials with you in the future. Keep crafting, keep creating, and let your imagination soar!