
Suffering from persistent nasal congestion can be incredibly frustrating, especially when allergies or a common cold take hold. For years, I struggled with a chronic stuffy nose, often waking up feeling blocked and uncomfortable. The quest for effective, natural relief led me down a winding path of countless DIY remedies, many of which promised much but delivered little – or worse, posed unexpected hazards. After numerous trials and errors, sifting through a myriad of online recipes that were either ineffective or outright dangerous (I’m looking at you, exceptionally volatile citric acid concoctions!), I finally discovered a truly exceptional method for creating DIY sinus-clearing shower melts. This particular recipe, adapted from a trusted source, has become my go-to solution, offering soothing aromatherapy and remarkable decongestant benefits. It’s a simple, natural way to transform your daily shower into a spa-like experience, helping to clear your airways and provide much-needed respiratory comfort. If you’re tired of wasted time and ingredients, join me in exploring this foolproof recipe that will revolutionize your approach to natural sinus relief.
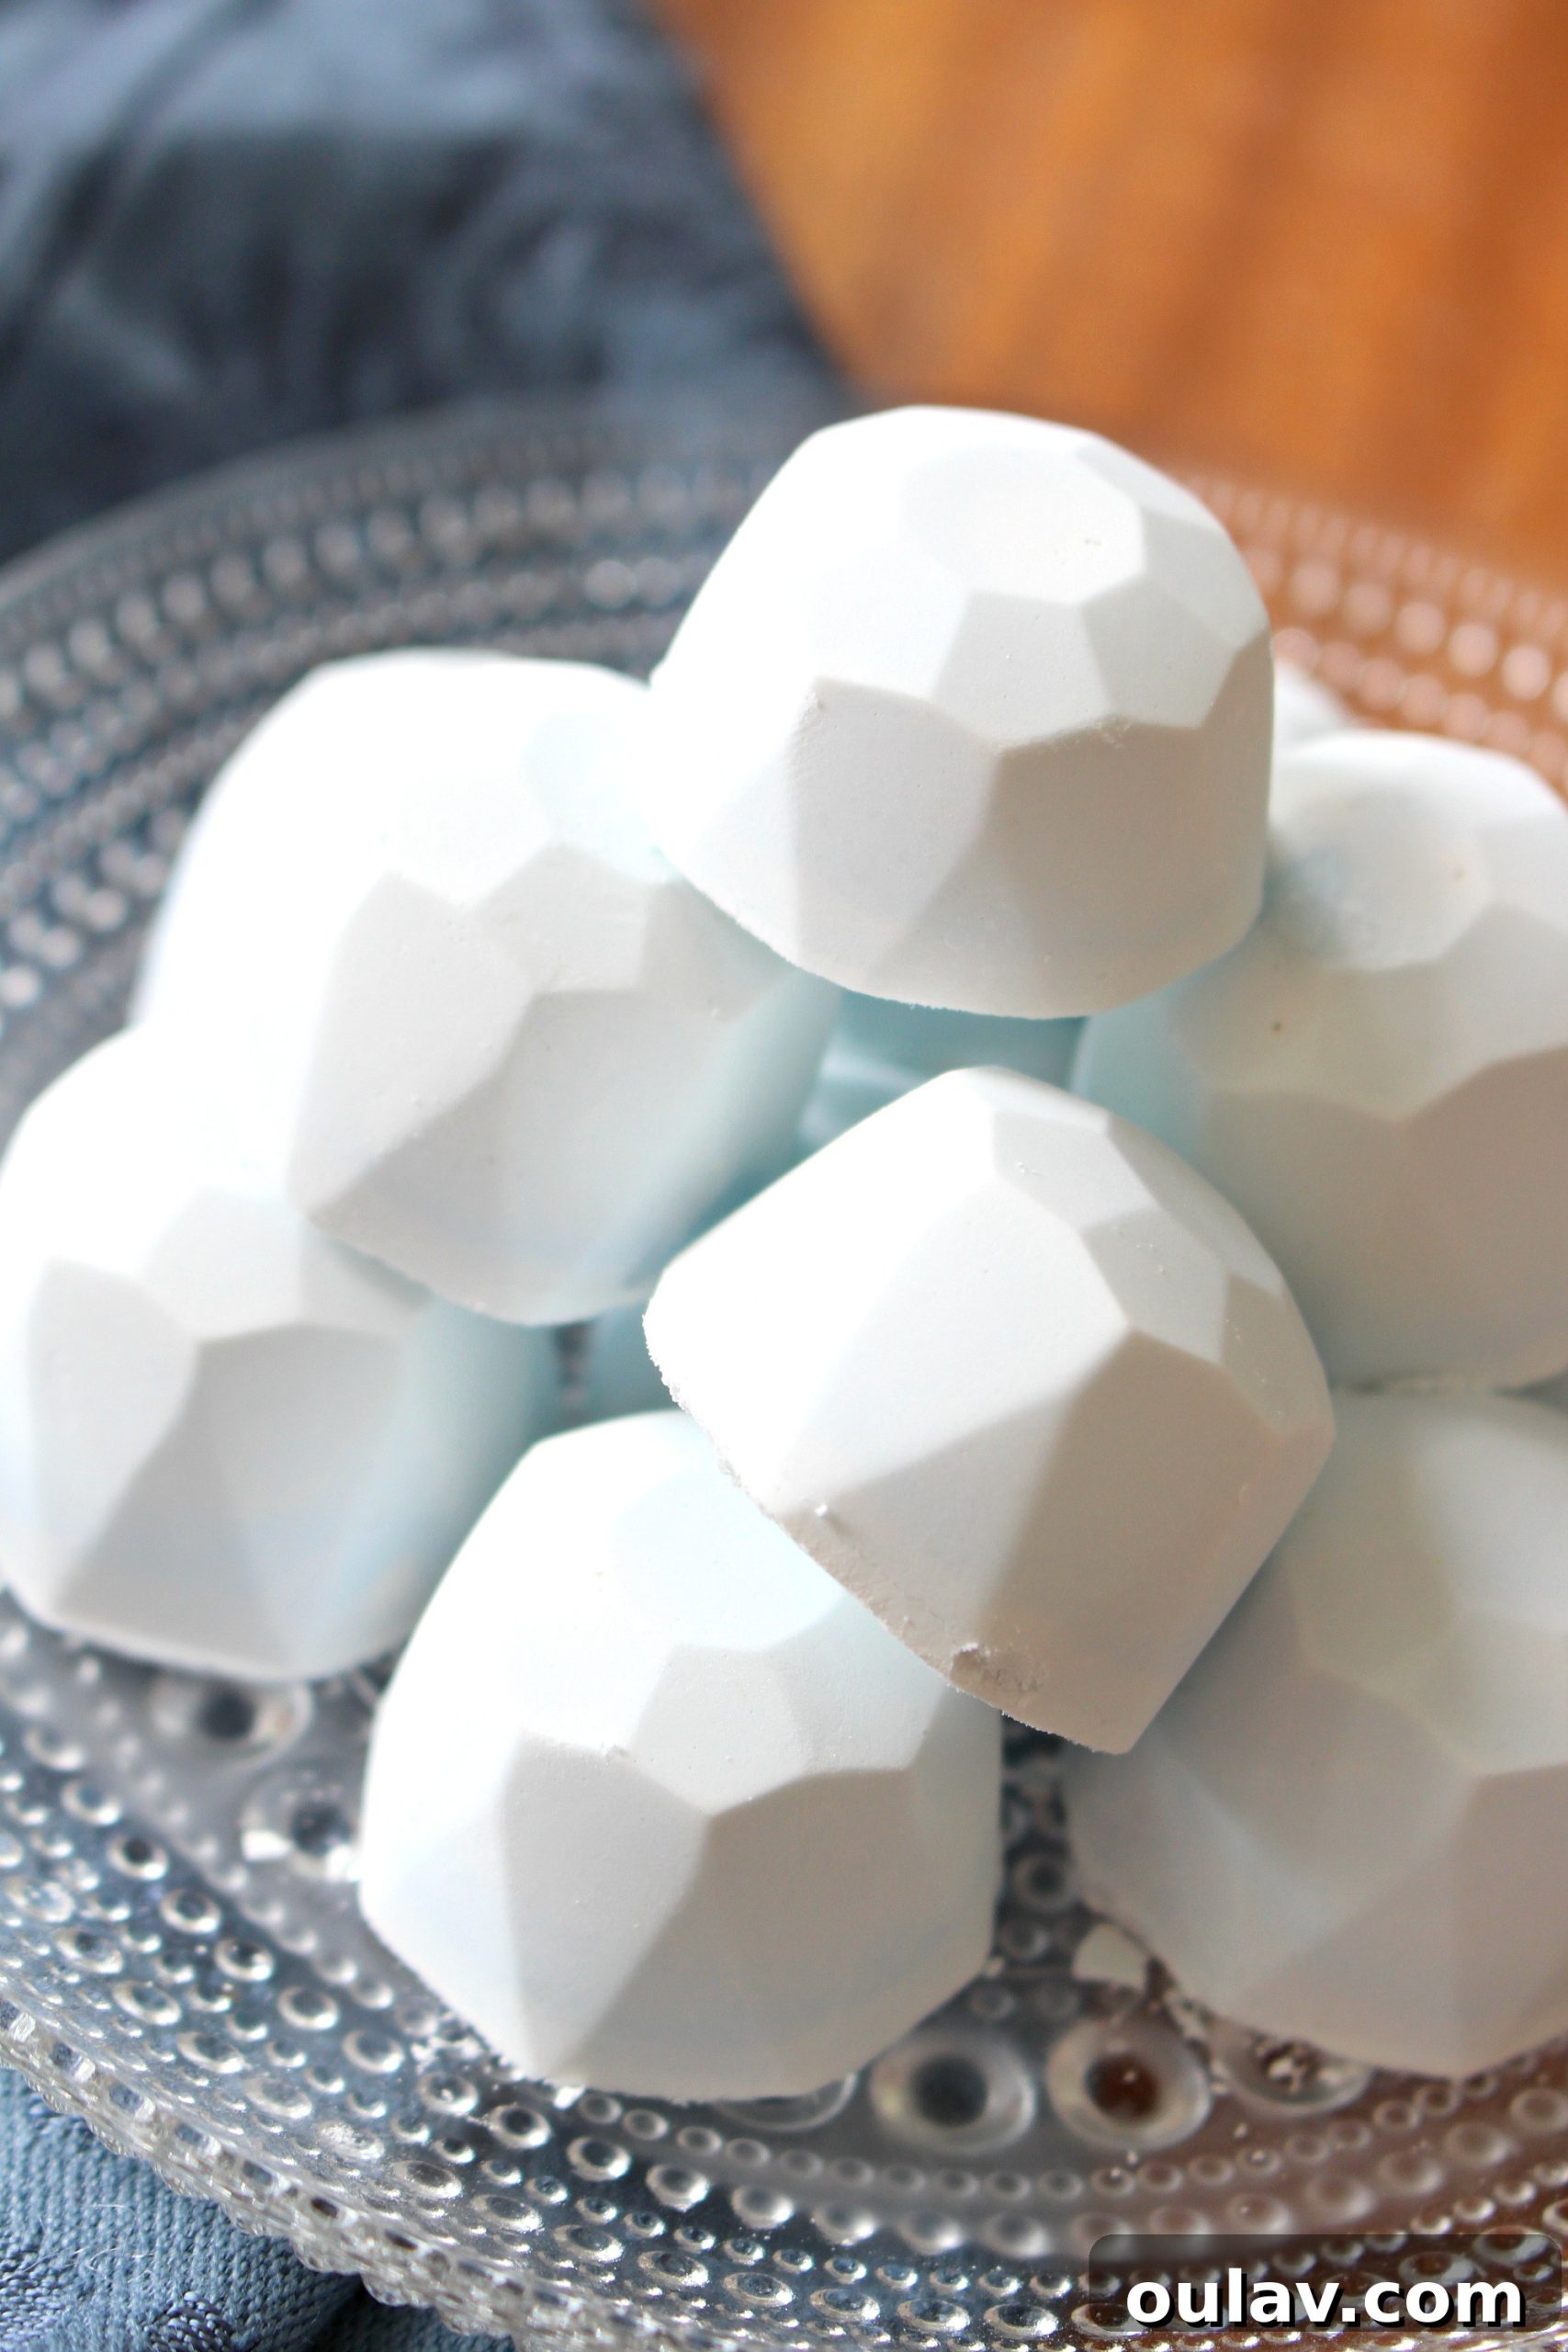
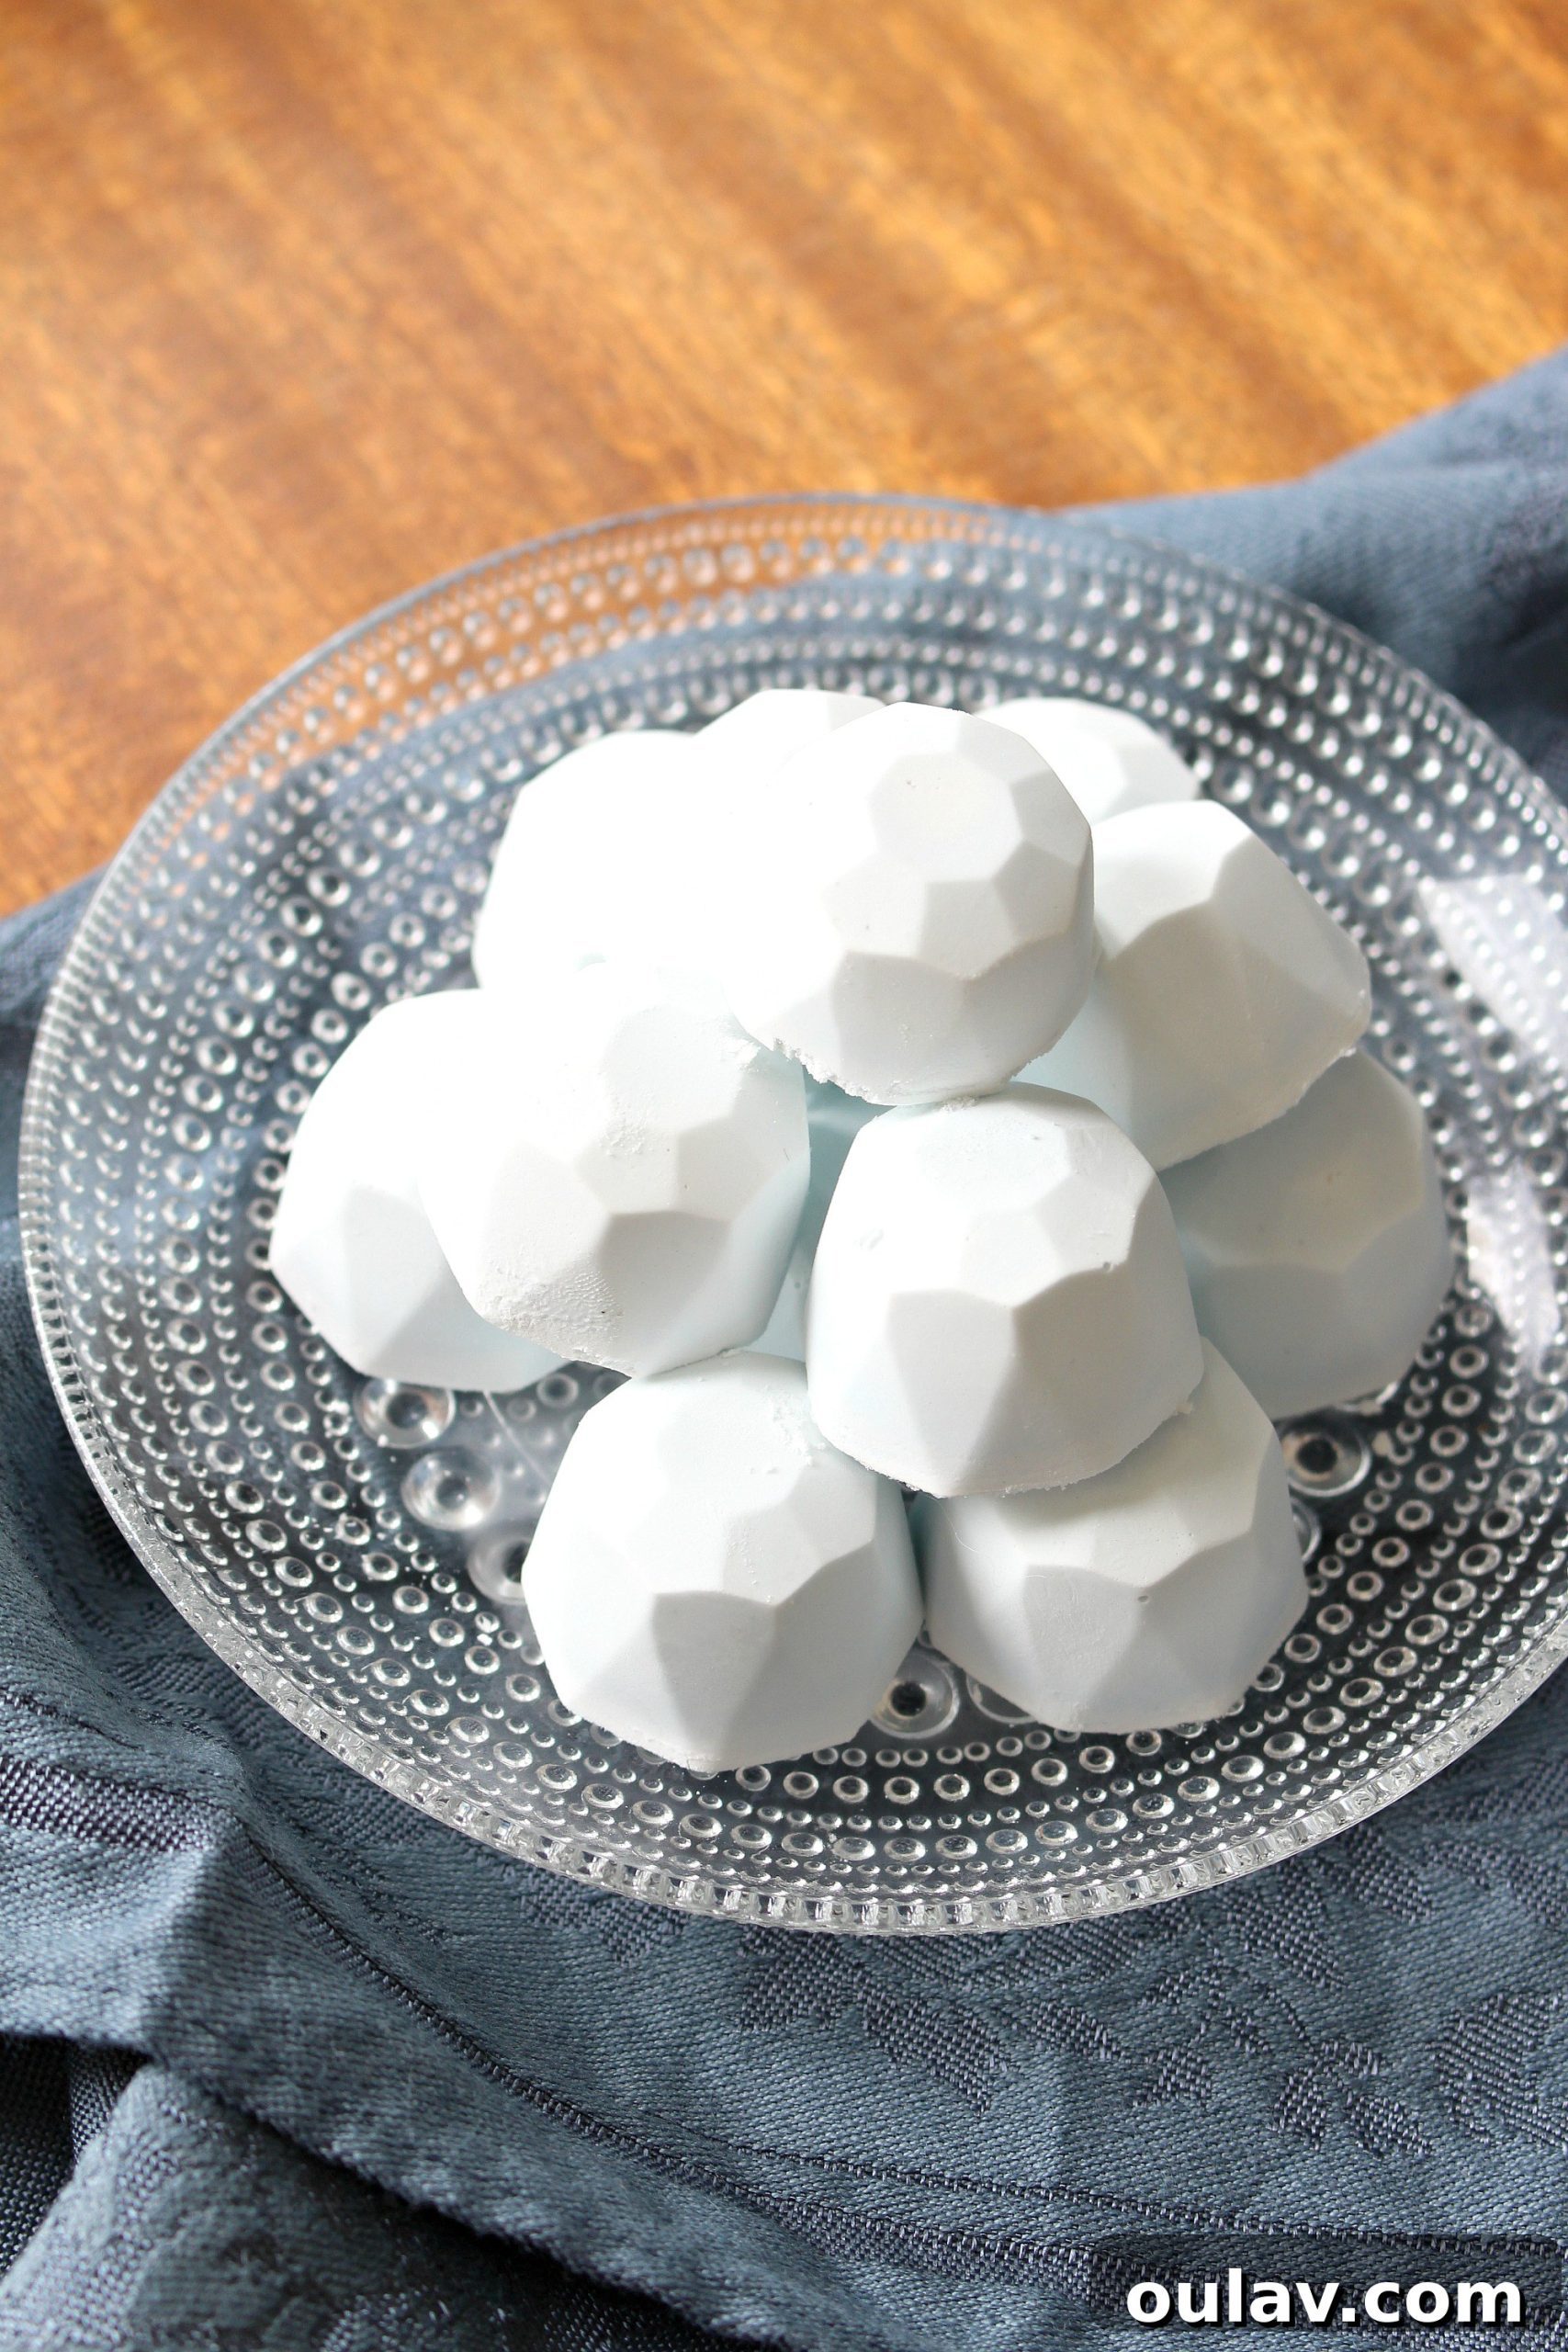
Why DIY Shower Melts Are Your Sinus-Clearing Secret Weapon
In a world full of over-the-counter remedies, why choose homemade shower melts? The answer lies in their simplicity, natural composition, and the incredible synergy between warm steam and potent essential oils. These homemade shower steamers offer a holistic approach to tackling sinus congestion and allergy symptoms. Unlike pills or sprays, they work by creating an aromatic, therapeutic steam environment right in your own bathroom. The warm vapor helps to loosen mucus and soothe inflamed nasal passages, while the carefully selected essential oils provide powerful decongestant and anti-inflammatory properties through inhalation.
Moreover, crafting your own shower melts means you have complete control over the ingredients. You can avoid harsh chemicals, artificial fragrances, and unnecessary additives often found in commercial products. This makes them an ideal choice for those with sensitive skin or who prefer a more natural wellness routine. They are also incredibly cost-effective, allowing you to produce a batch of relief-providing melts for a fraction of the price of store-bought alternatives. Beyond the practical benefits, there’s a unique satisfaction in creating something effective and beneficial with your own hands. It’s not just a remedy; it’s a small act of self-care that elevates your daily routine, transforming a mundane shower into a restorative, sinus-clearing escape.
Supplies for Crafting Effective DIY Sinus Clearing Shower Melts
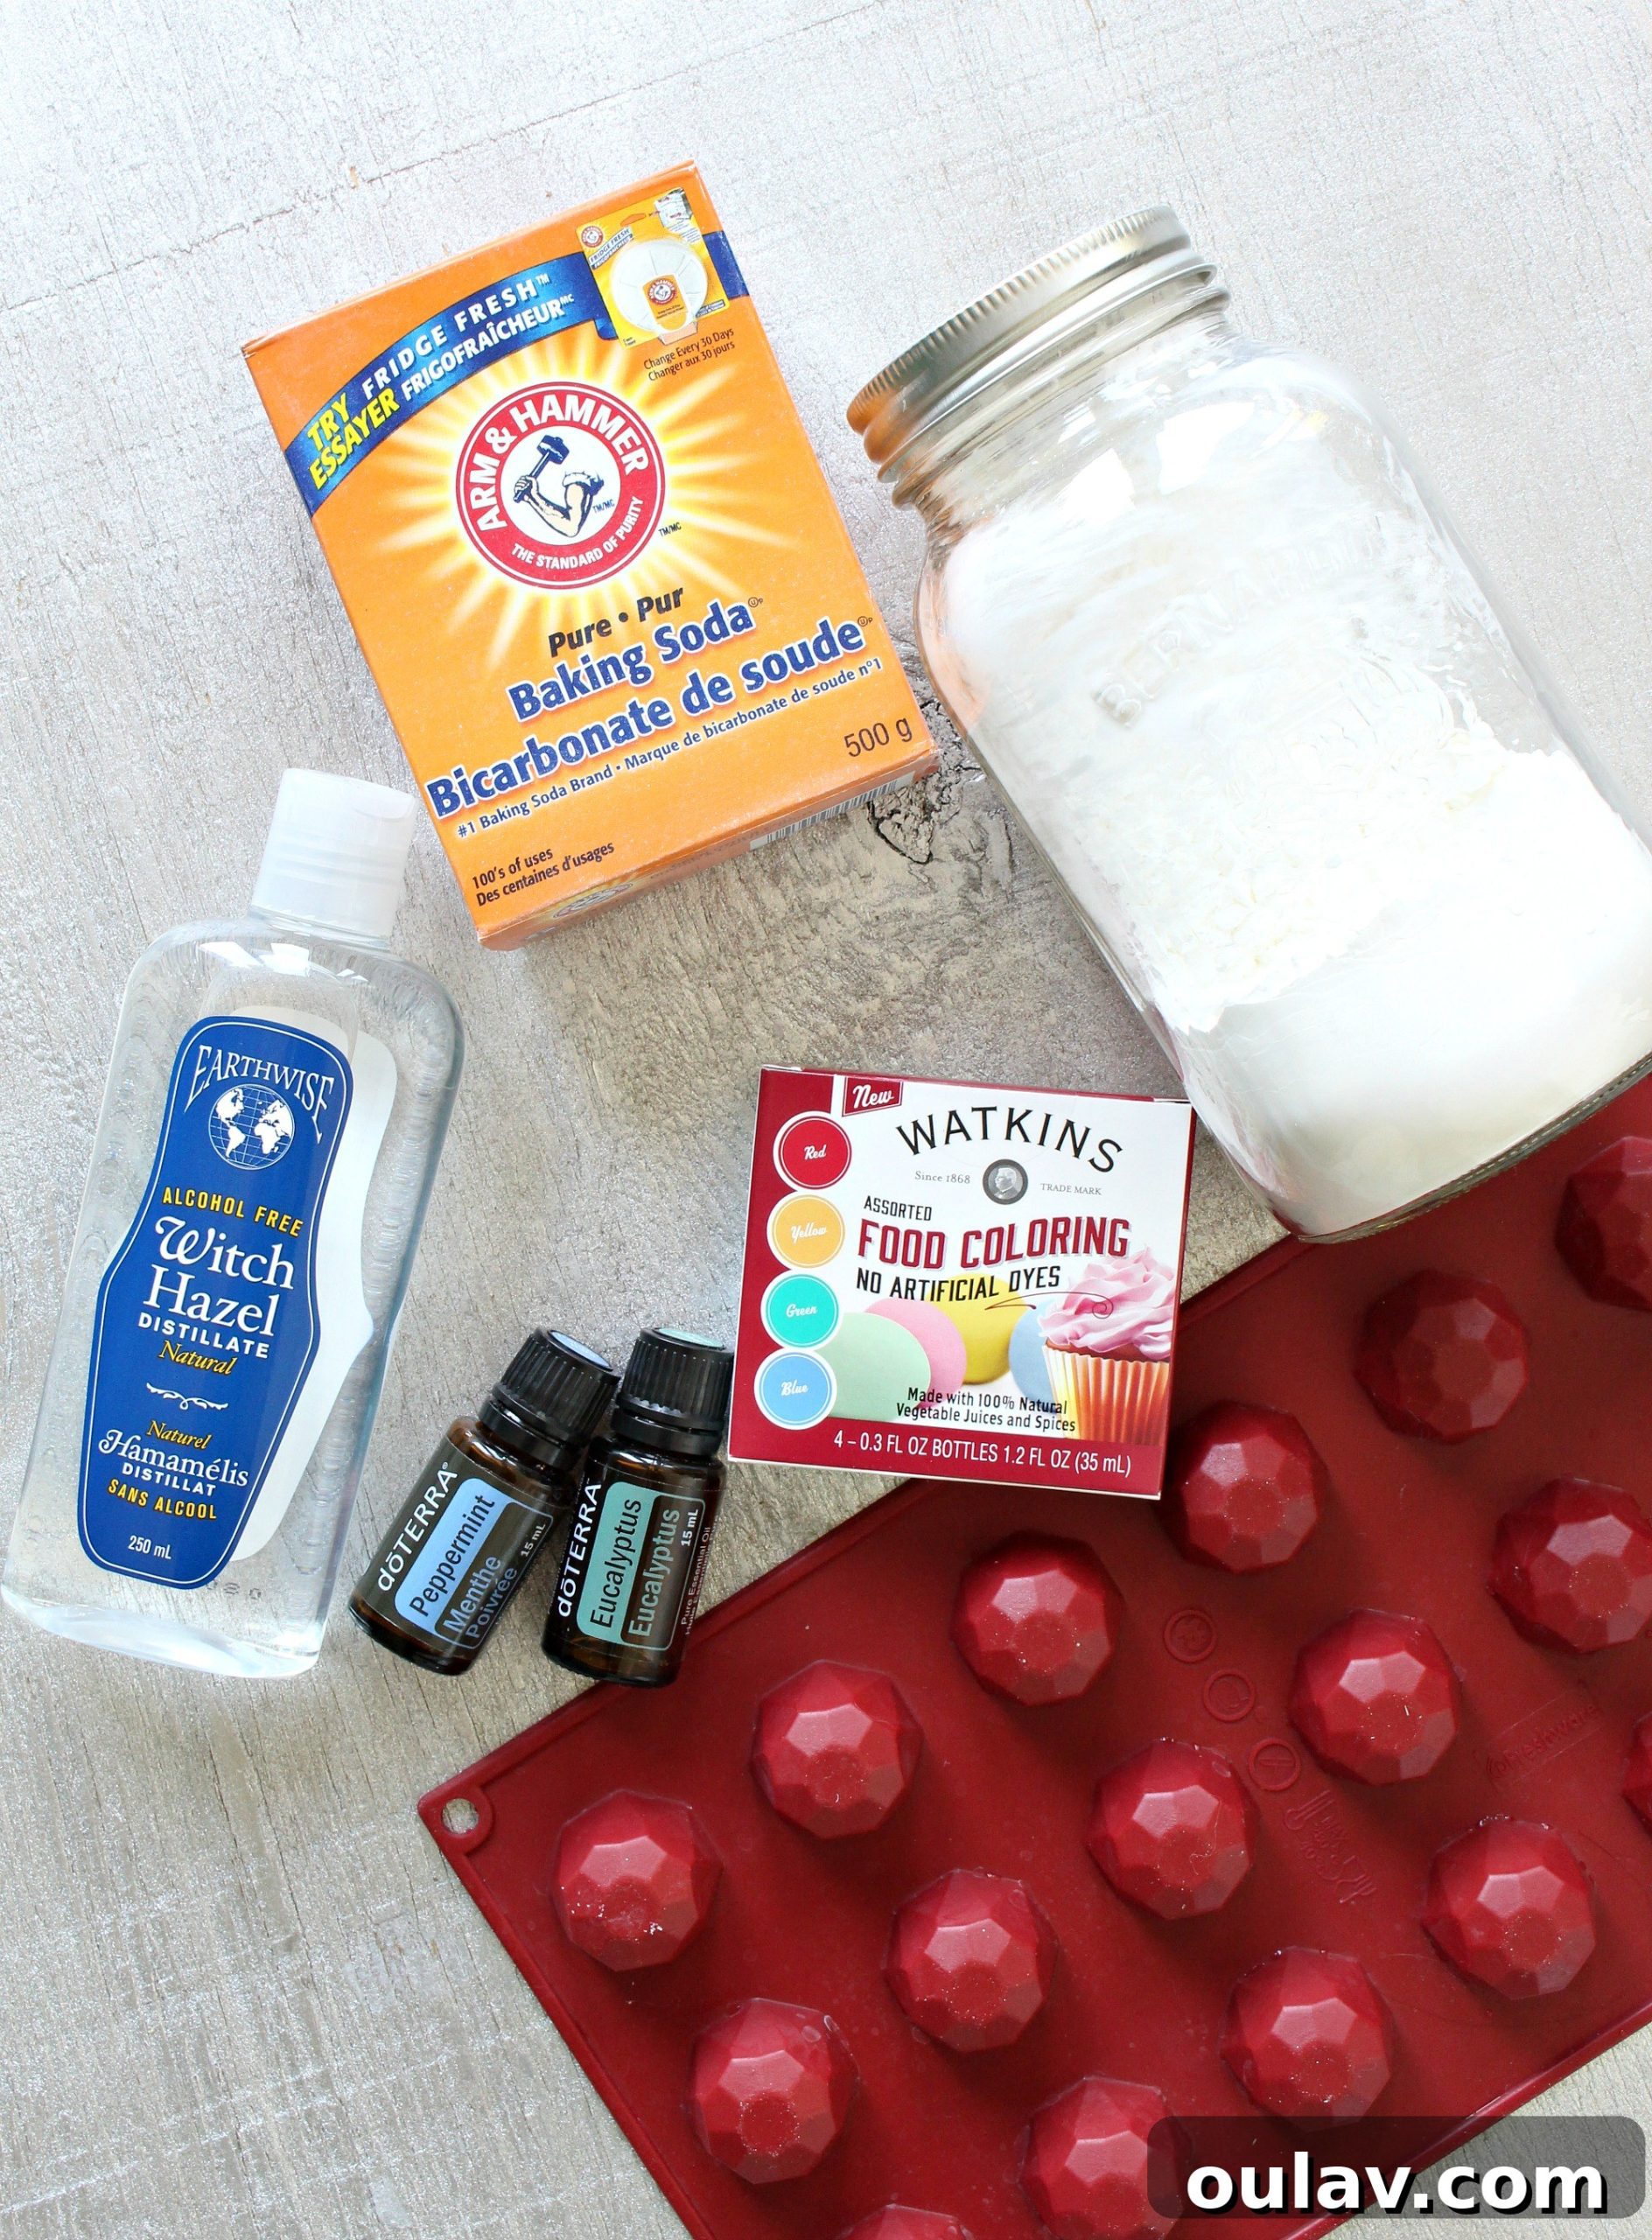
Gathering the right supplies is the first step to creating your very own batch of natural decongestant shower melts. The beauty of this recipe lies in its use of common, readily available ingredients that are safe and effective. You won’t need any complex equipment, just a few basics to get started on your journey to clearer breathing. Each component plays a crucial role in creating a melt that holds its shape, slowly dissolves, and releases a powerful aromatic blend when exposed to shower steam.
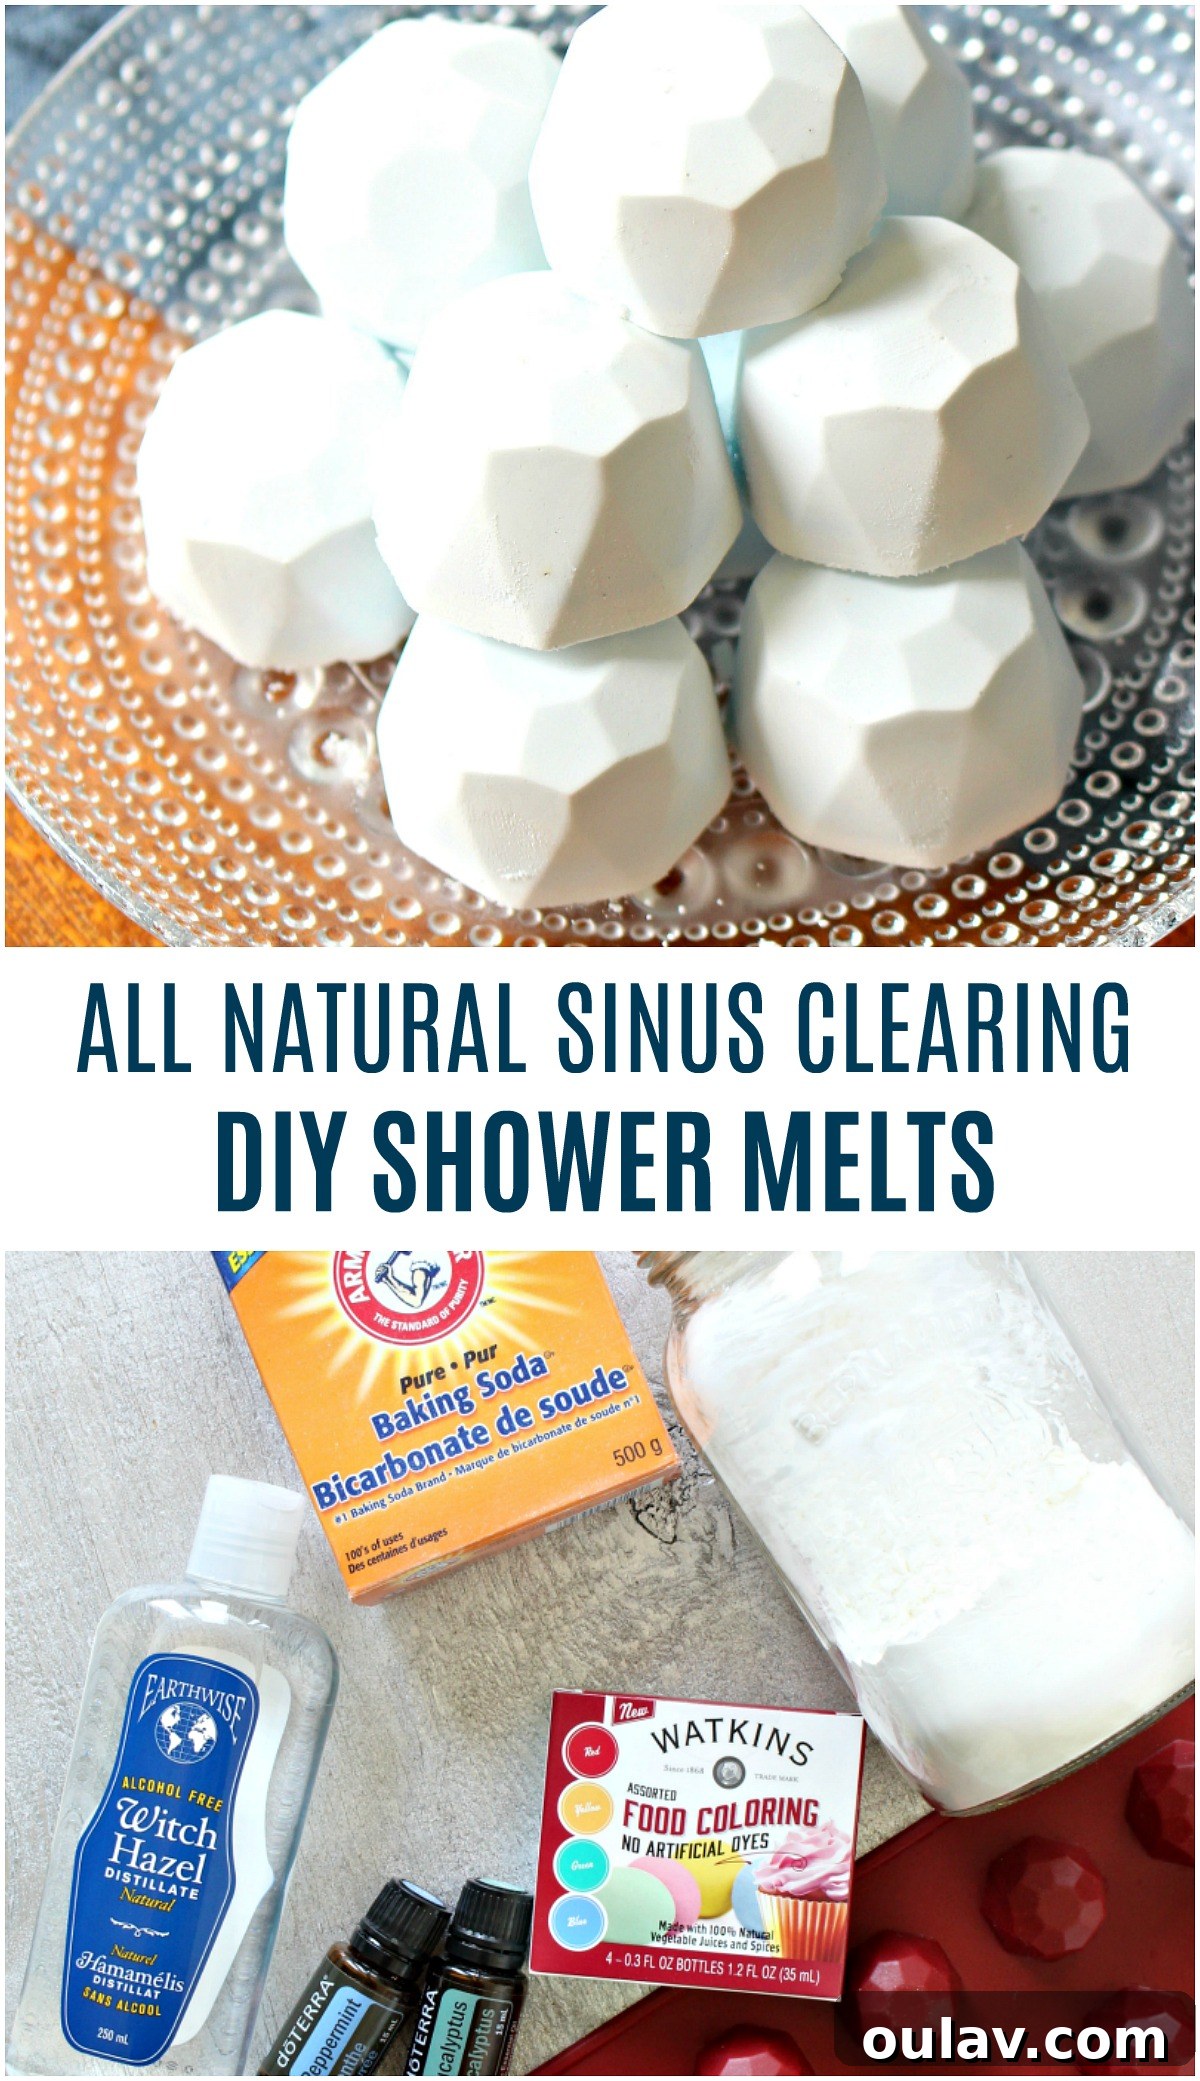
- 1/2 cup Baking Soda: A staple in many DIY projects, baking soda acts as a binder and helps create the ideal texture for our melts. While it’s often combined with citric acid for effervescent bath bombs, in this recipe, it contributes to the overall stability and slow release of essential oils in the steamy environment.
- 1/2 cup Cornstarch: Cornstarch is essential for giving the shower melts their structural integrity and smooth consistency. It helps to absorb moisture, preventing the melts from crumbling and ensuring they maintain their shape until they’re ready to be used in the shower.
- Approx 5 tablespoons Witch Hazel: This natural astringent is our liquid binder, gently holding the dry ingredients together without causing premature fizzing or dissolving. Unlike water, witch hazel evaporates cleanly and helps to create a firm, long-lasting melt. Start with a smaller amount and add gradually to achieve the perfect damp-sand consistency.
- Few drops of food coloring (optional): For a touch of visual appeal, a few drops of food coloring can be added. This is purely aesthetic and doesn’t affect the therapeutic properties, allowing you to customize your melts with calming blues or greens to match their refreshing scent.
- 10-15 drops Essential Oils (Eucalyptus and Peppermint): These are the star ingredients for sinus relief. Eucalyptus essential oil is renowned for its cineole content, which helps open airways and reduce inflammation. Peppermint essential oil, rich in menthol, provides a cooling sensation and aids in clearing congestion. This powerful duo creates an invigorating and highly effective aromatic blend for respiratory support. I often use a mix of both for maximum impact.
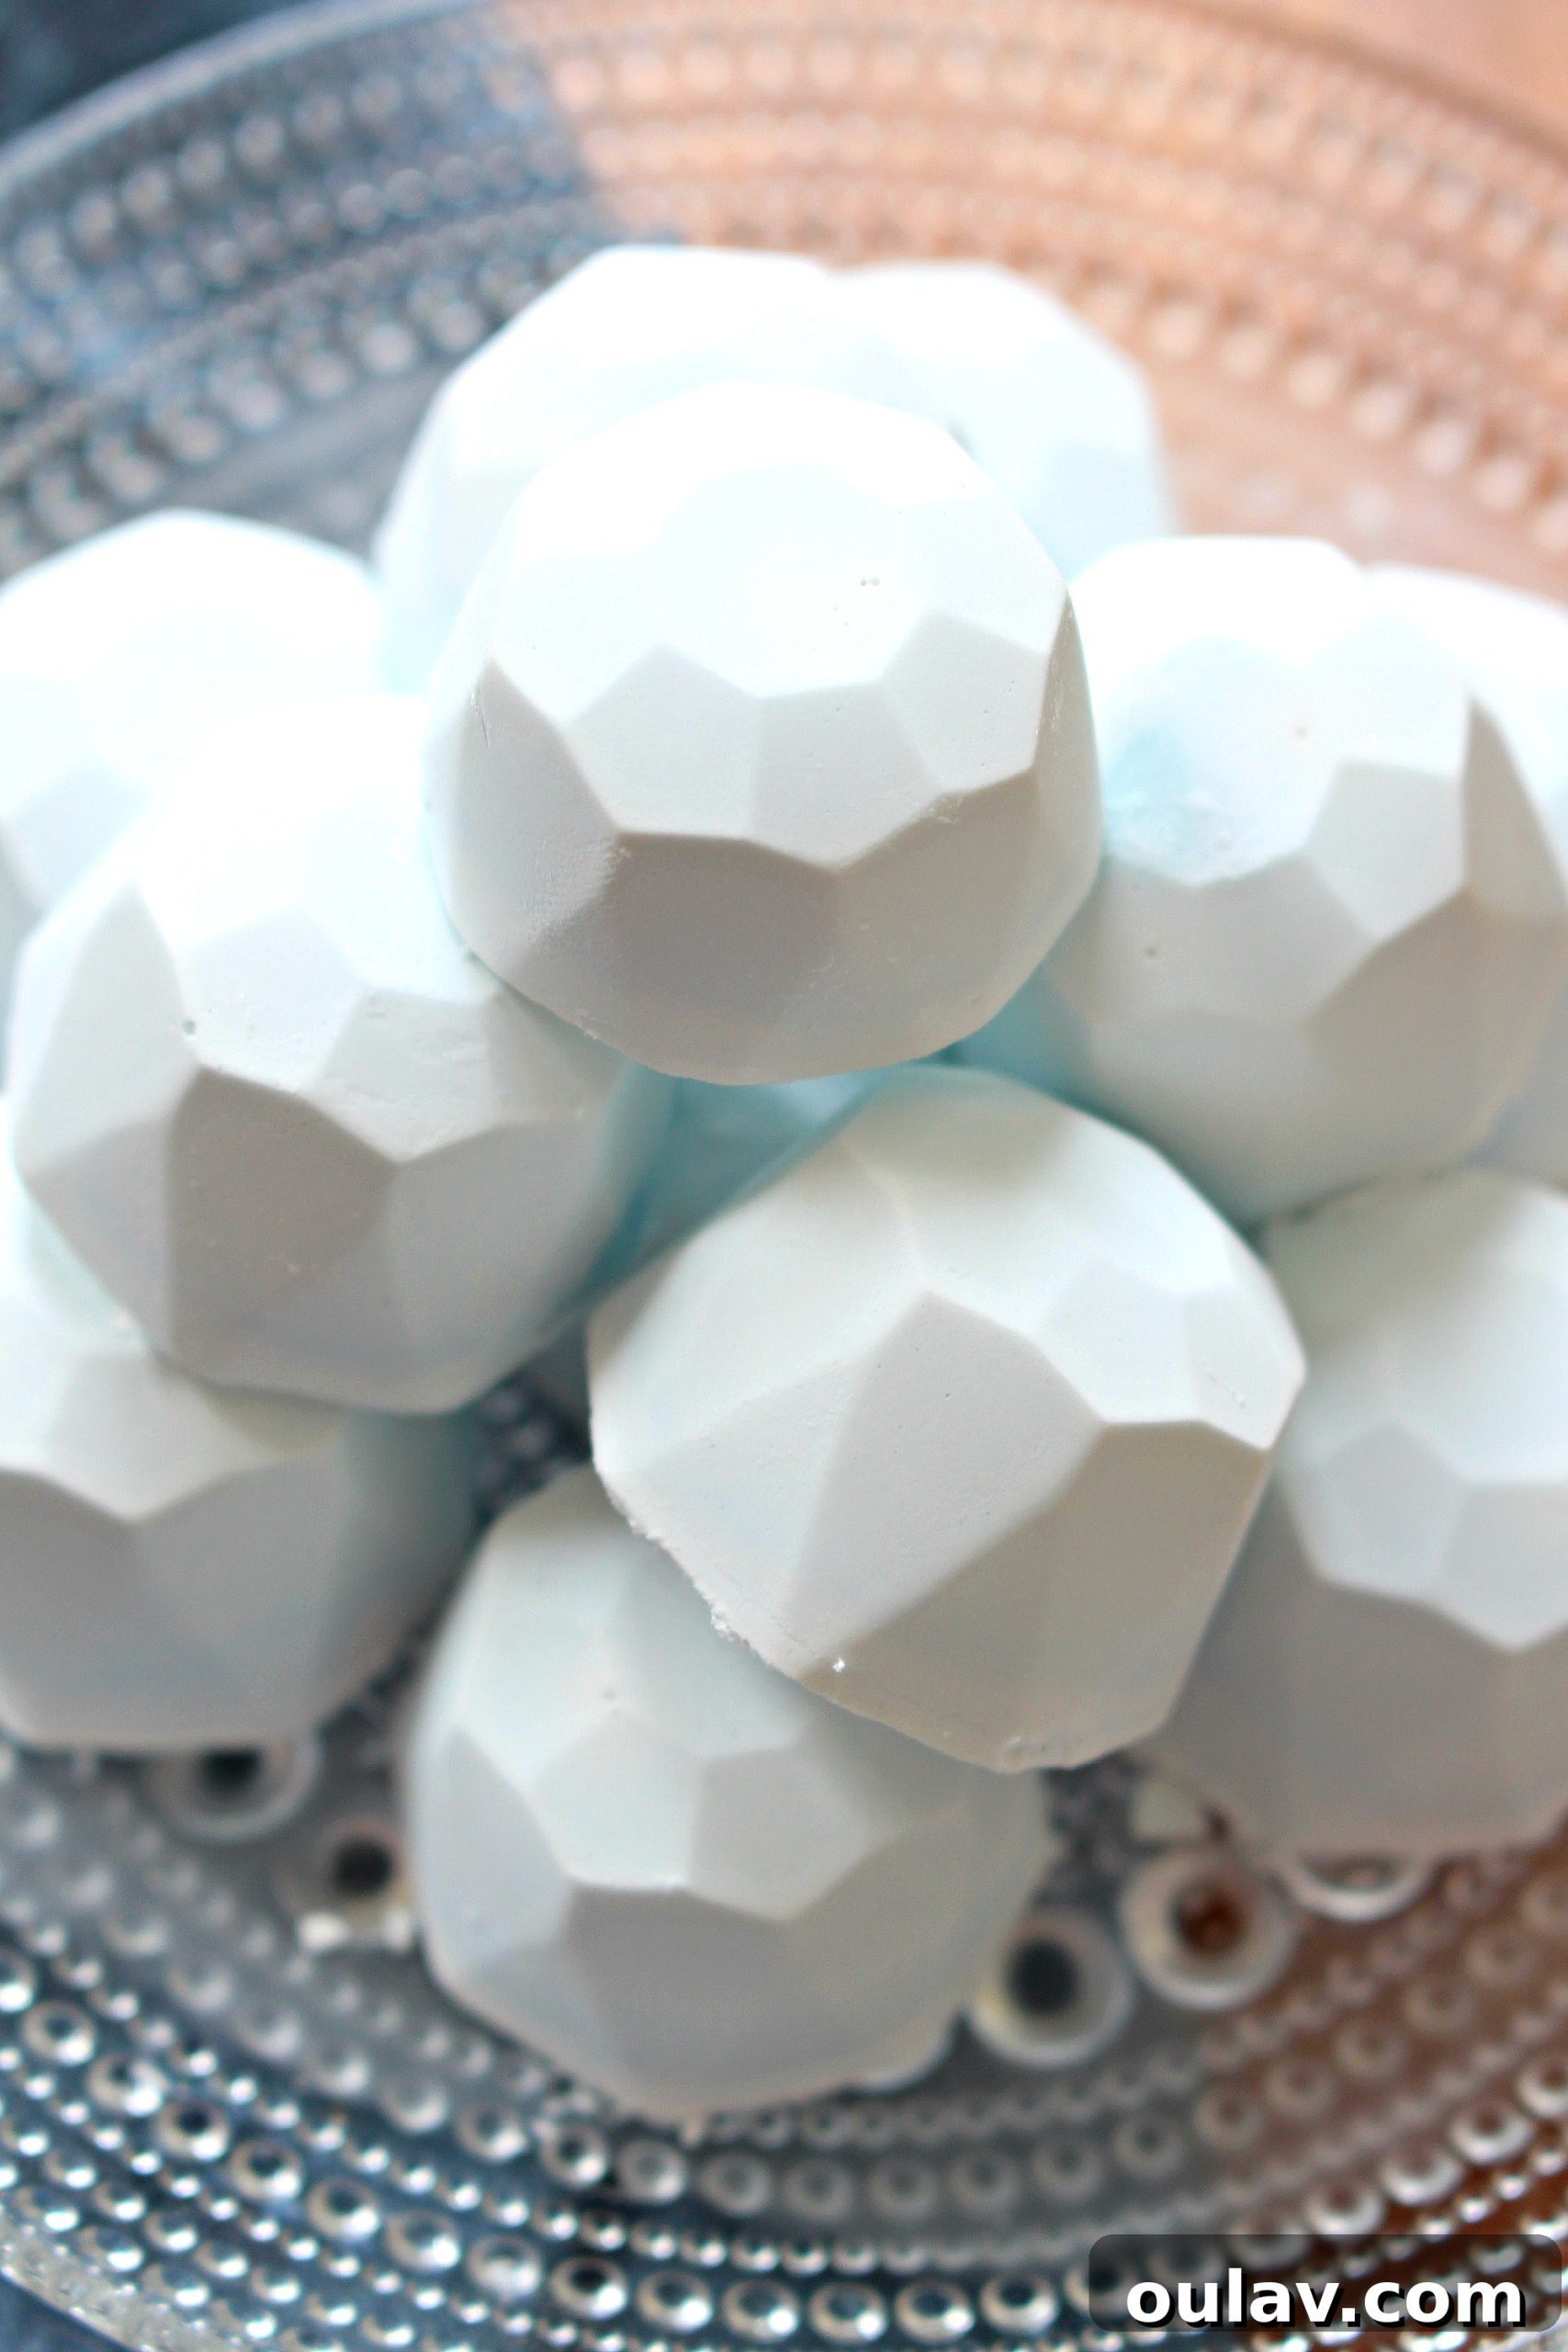
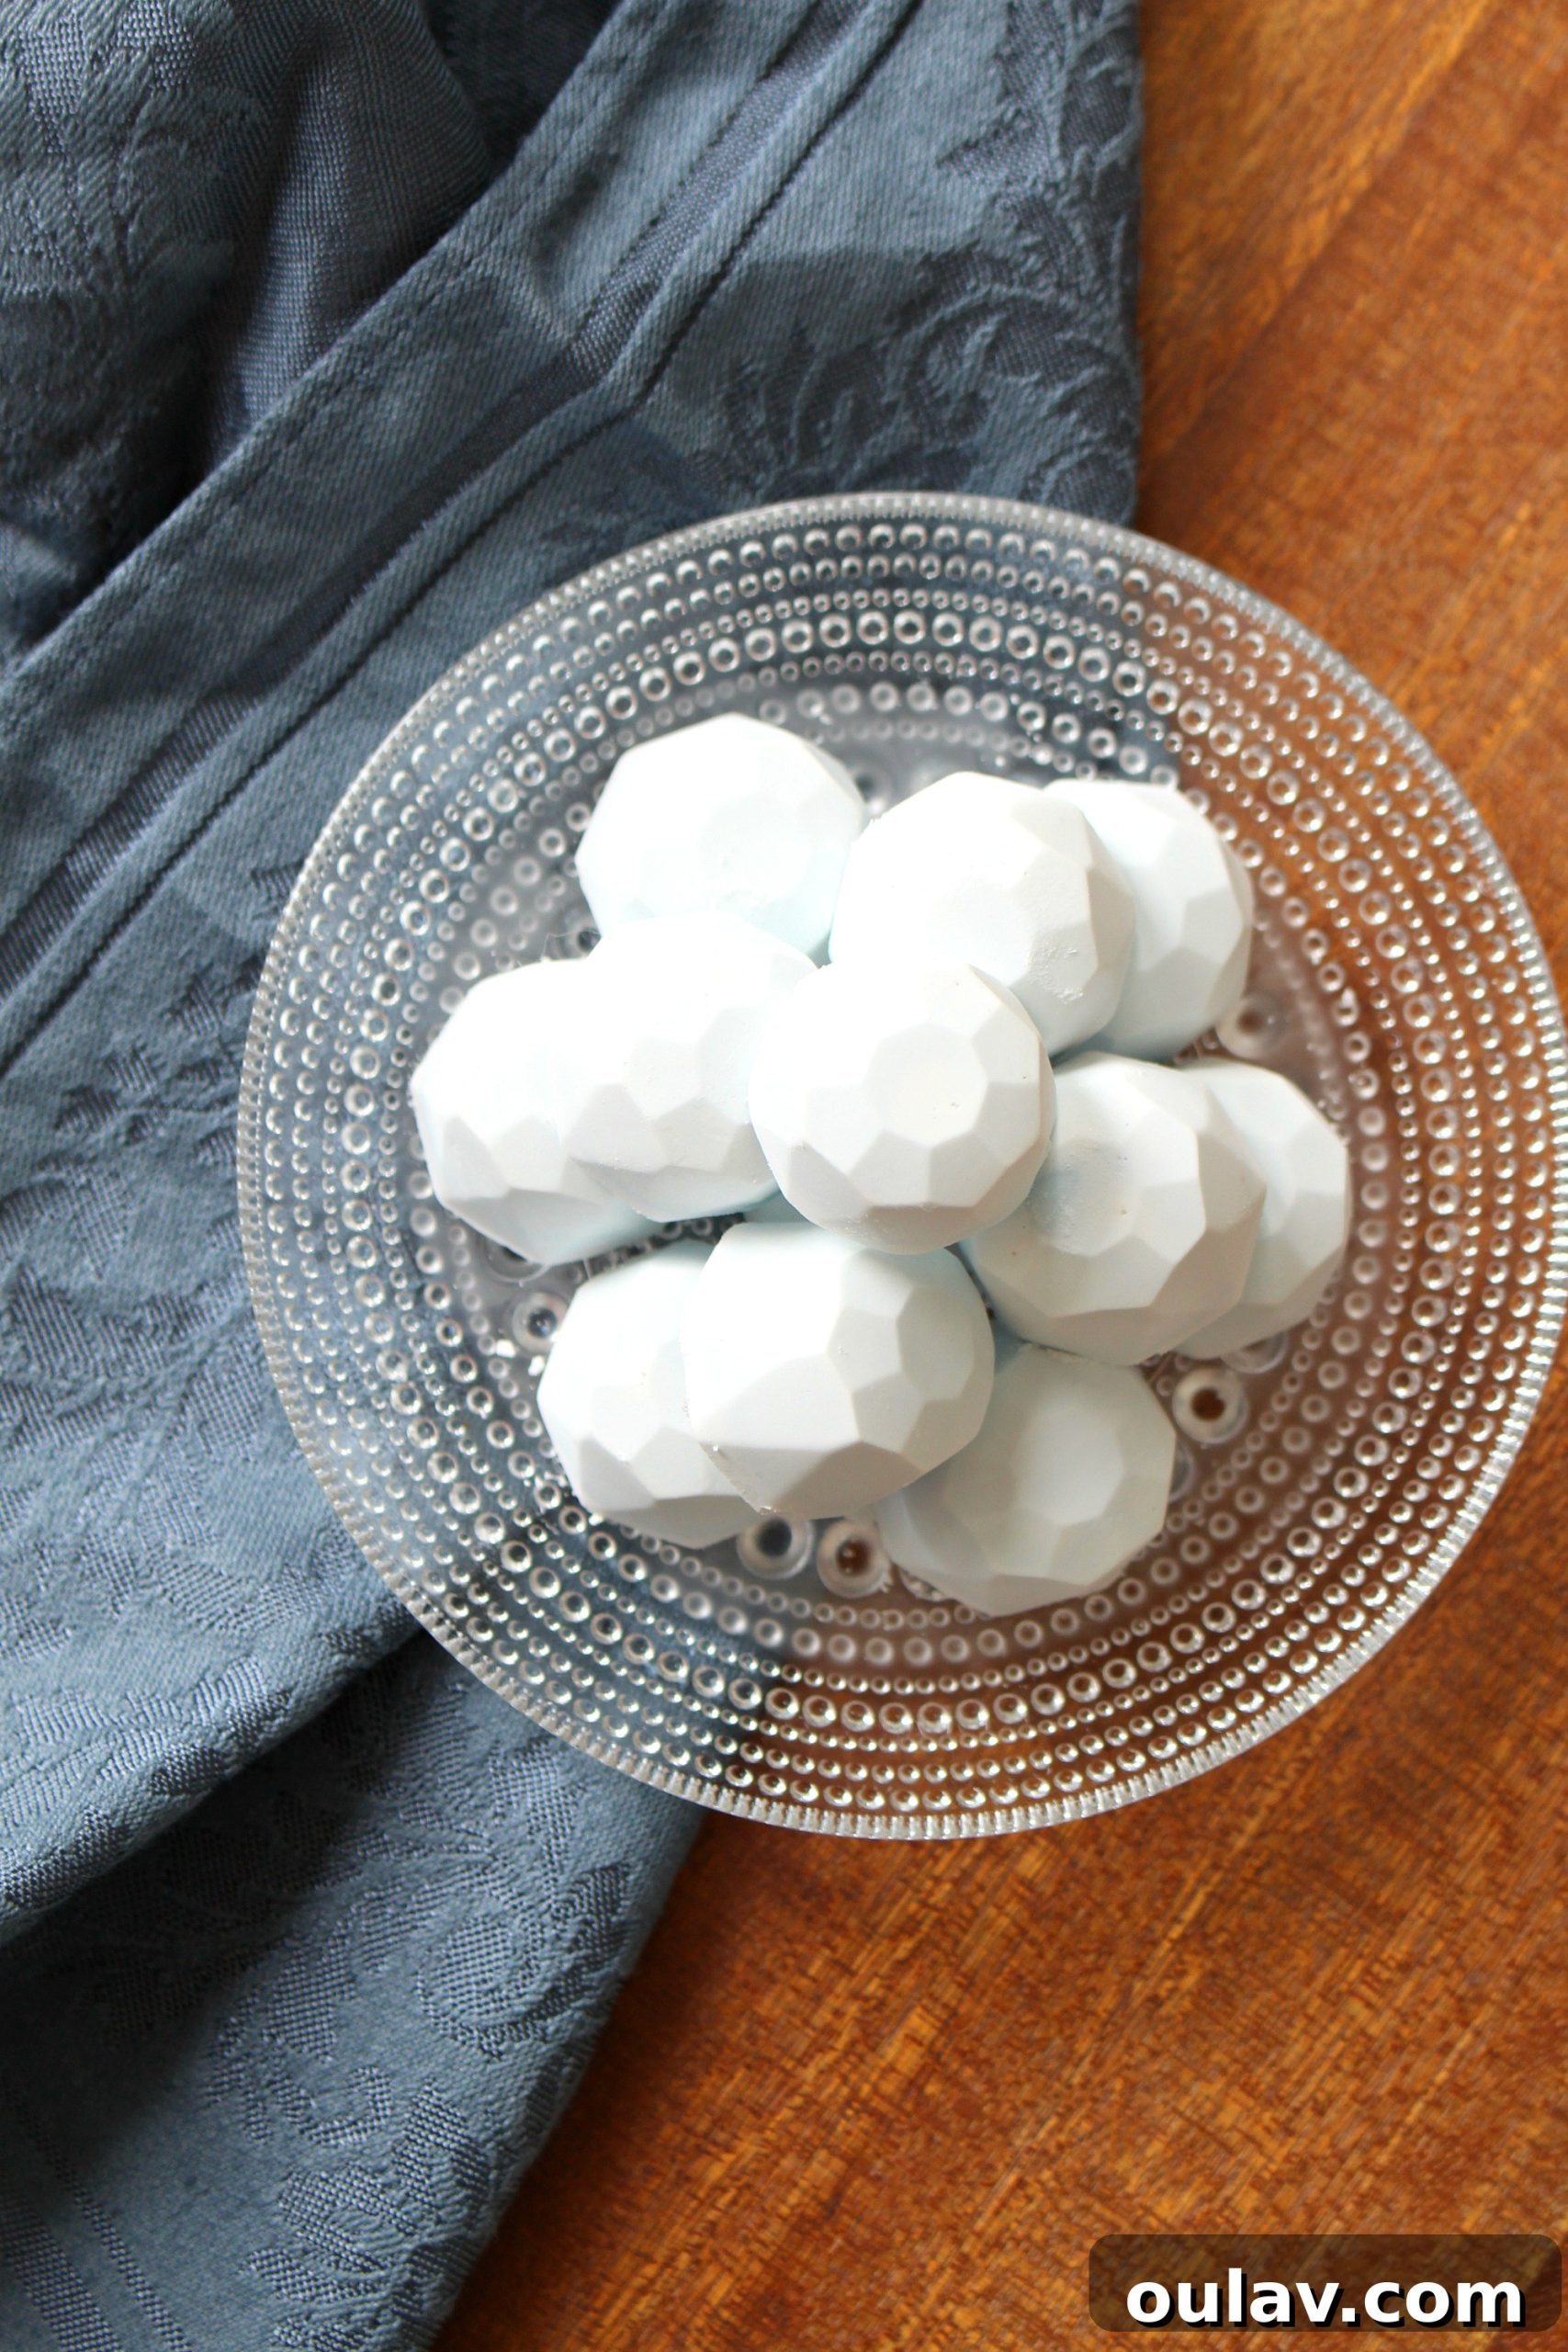
- Silicone mold (edit: here’s a larger one if you prefer): A flexible silicone mold is perfect for shaping your shower melts and makes for incredibly easy removal once they’re set. You can choose any shape or size, from simple rounds to intricate designs. The gemstone mold I use here adds a lovely touch, but any mold will do the trick.
Step-by-Step Guide: How to Make Your Own DIY Sinus Clearing Shower Melts
Making these homemade shower steamers is an incredibly straightforward process, requiring minimal effort for maximum sinus relief. Follow these simple steps to create your natural decongestant powerhouses:
- Prepare Your Dry Ingredients: In a medium-sized mixing bowl, combine the 1/2 cup of baking soda and 1/2 cup of cornstarch. Use a whisk or a fork to thoroughly mix these dry ingredients, ensuring there are no lumps and they are evenly distributed. A well-mixed base will lead to a more consistent and effective shower melt.
- Incorporate the Witch Hazel: Begin adding the witch hazel slowly, approximately one tablespoon at a time, mixing well after each addition. The key here is patience. You want to achieve a consistency similar to damp sand – moist enough to hold its shape when pressed, but not so wet that it becomes mushy. Carefully work out any lumps that form during this process to ensure a smooth, uniform mixture. You might not use all 5 tablespoons, or you might need a tiny bit more; adjust as necessary until the mixture easily clumps together when squeezed.
- Add a Pop of Color (Optional): If you desire a visually appealing melt, now is the time to add a touch of food coloring. Start with just a drop or two and mix thoroughly to distribute the color evenly. You can always add more if you want a deeper hue. This step is purely for aesthetics and does not impact the efficacy of the shower melts.
- Infuse with Essential Oils: This is where the magic happens for sinus relief. Add 10-15 drops of your chosen essential oils – I highly recommend the powerful combination of Eucalyptus and Peppermint. Adjust the number of drops based on your personal preference for scent strength and therapeutic intensity. Mix the oils thoroughly into the mixture, ensuring they are evenly incorporated throughout to provide consistent aromatherapy.
- Mold and Freeze for Perfection: Scoop the well-mixed essential oil mixture into your chosen silicone mold. Press the mixture firmly into each cavity, ensuring it is tightly packed and fills the mold completely, leaving no air pockets. This compactness helps the melts maintain their shape and ensures a slow, even dissolve. Once all cavities are filled, place the silicone mold in the freezer overnight. Freezing helps the melts solidify completely, making them durable and ready for effective use.
Note on Essential Oils: For these homemade sinus clearing shower melts, the choice of essential oils is paramount. I typically opt for a blend of Peppermint and Eucalyptus essential oils due to their well-documented benefits for respiratory health. While I’ve used DoTerra brand simply because it was readily available from a friend, I personally prefer and highly recommend the Edens Garden brand, which is easily accessible online and offers excellent quality. However, most reputable health food stores and even many grocery stores now carry a good selection of these basic, yet incredibly effective, essential oils. Always ensure you are using pure, therapeutic-grade essential oils for the best results and safety.
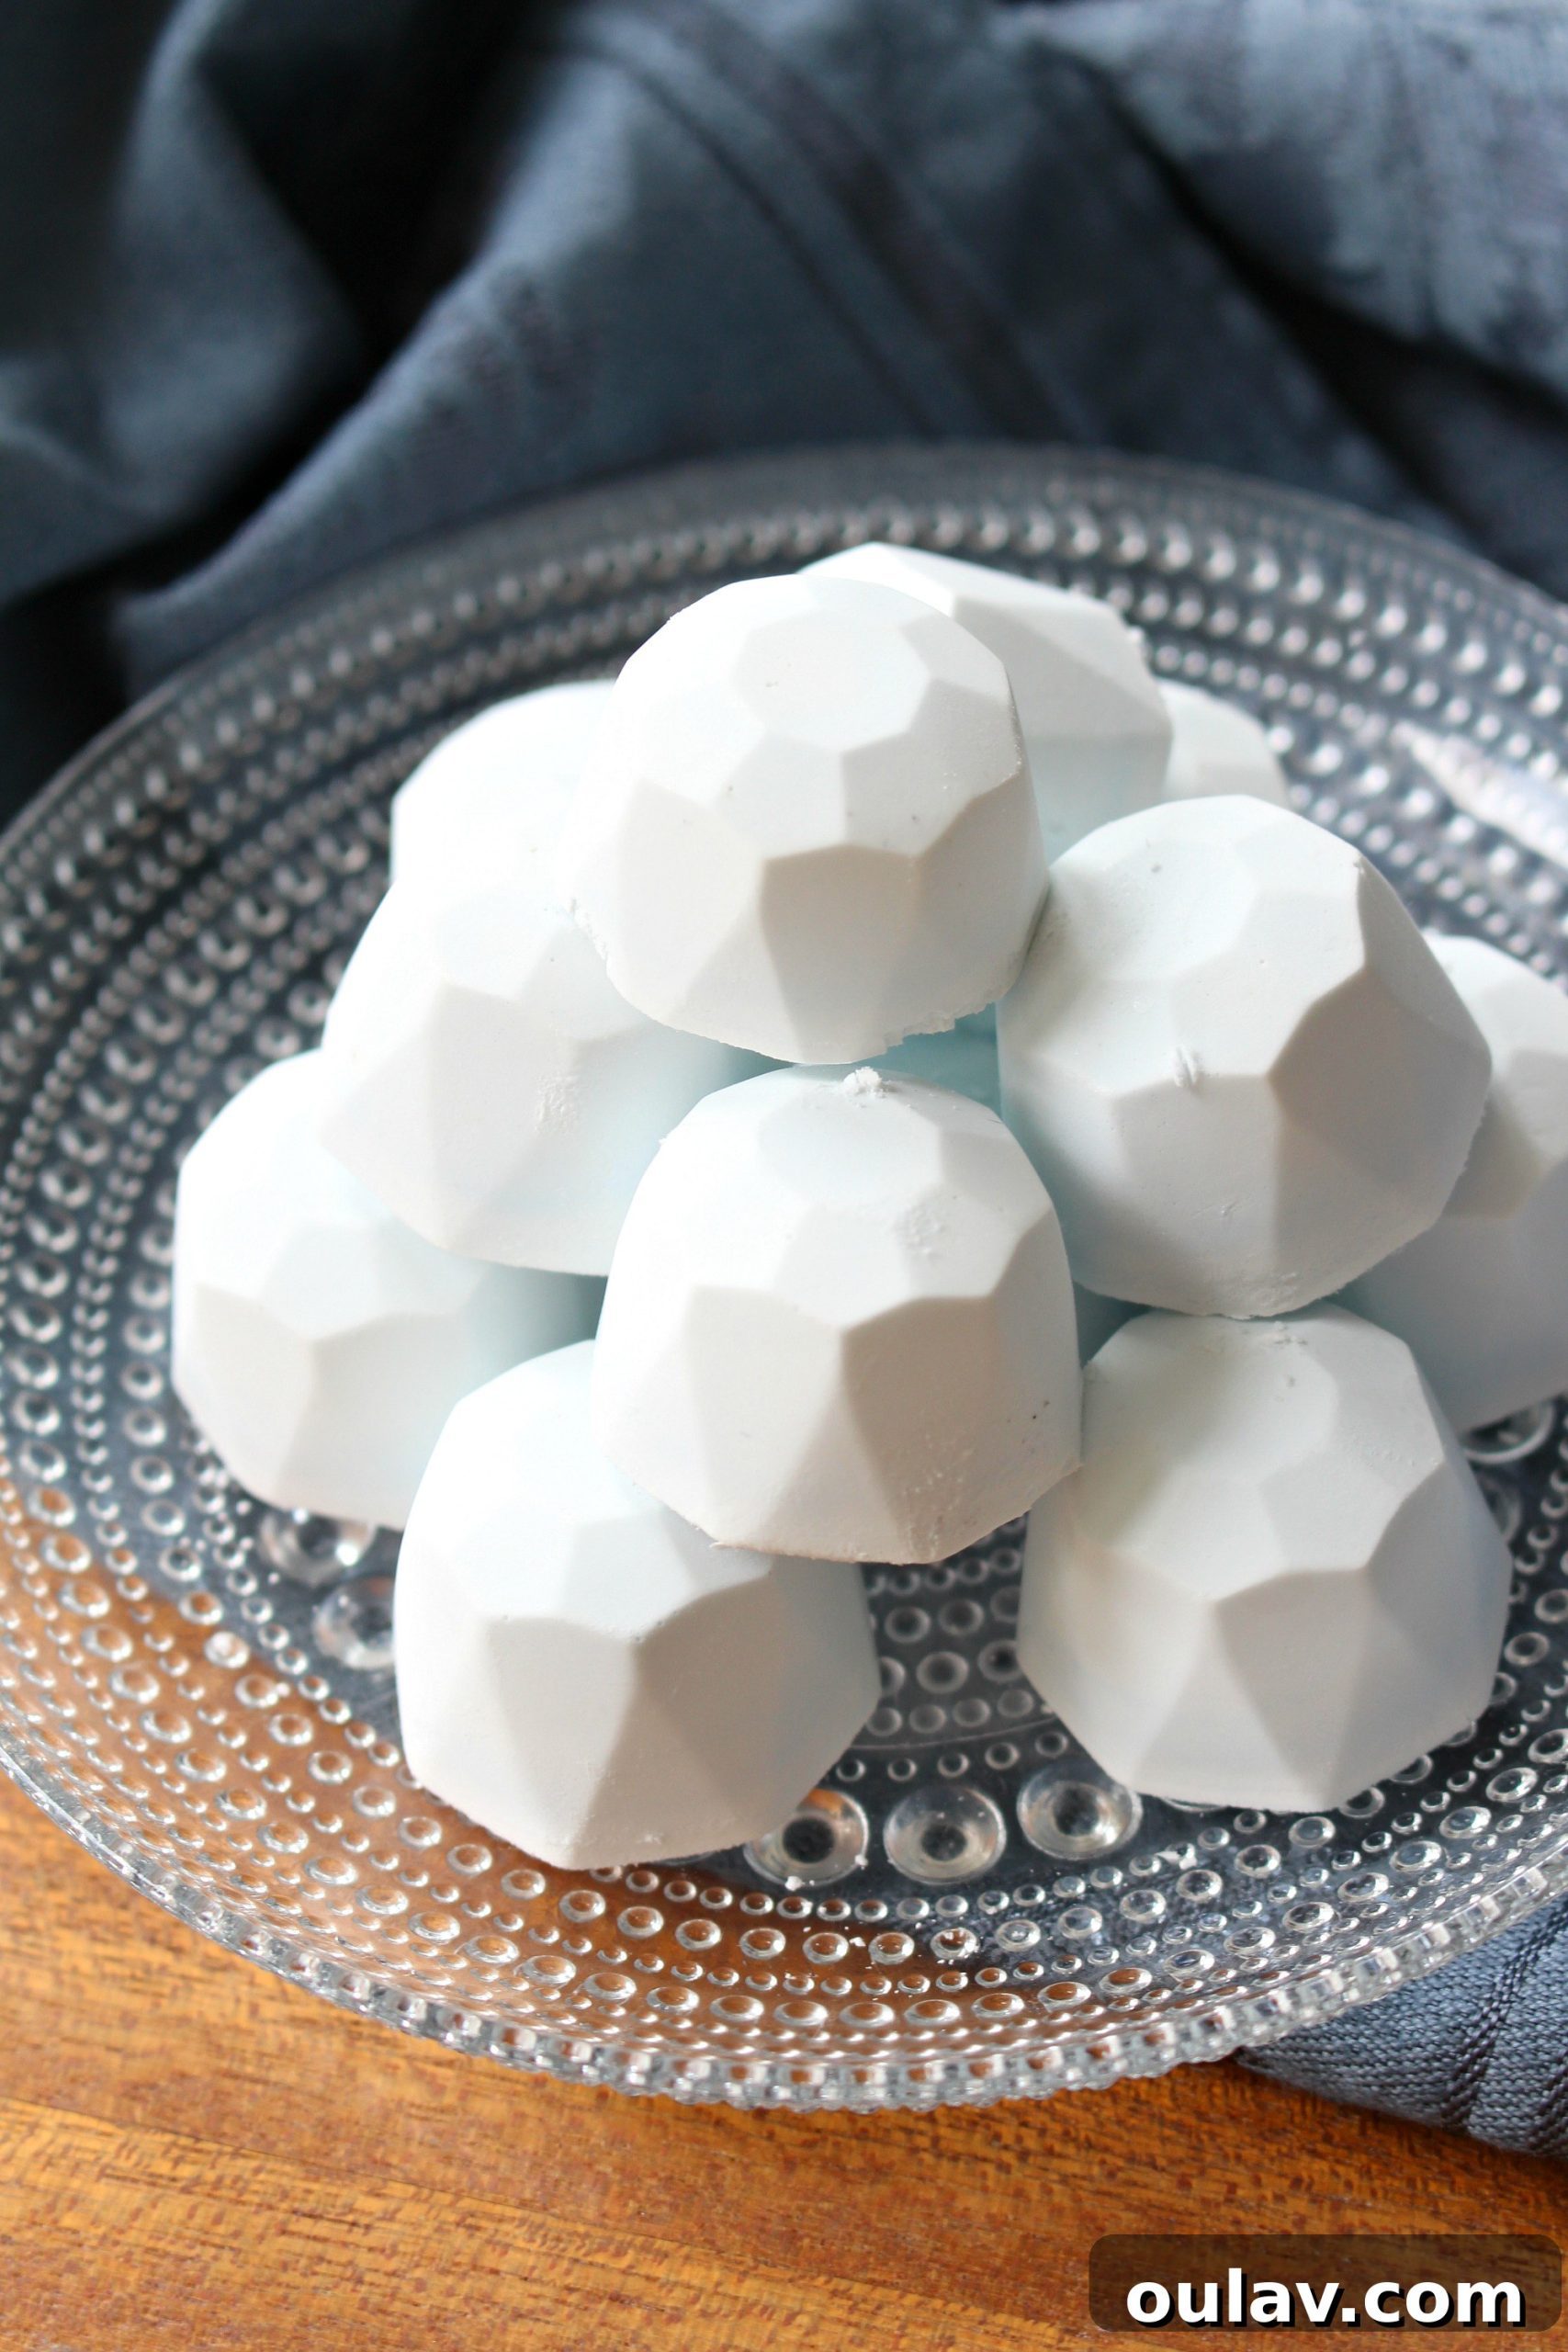
Maximizing Your Experience: How to Store & Use DIY Sinus Clearing Shower Melts
Once your DIY sinus clearing shower steamers are perfectly crafted, knowing how to store them to maintain their potency and how to use them effectively will ensure you get the most out of your efforts. These natural decongestants are not only quick and easy to make but also incredibly effective when used correctly.
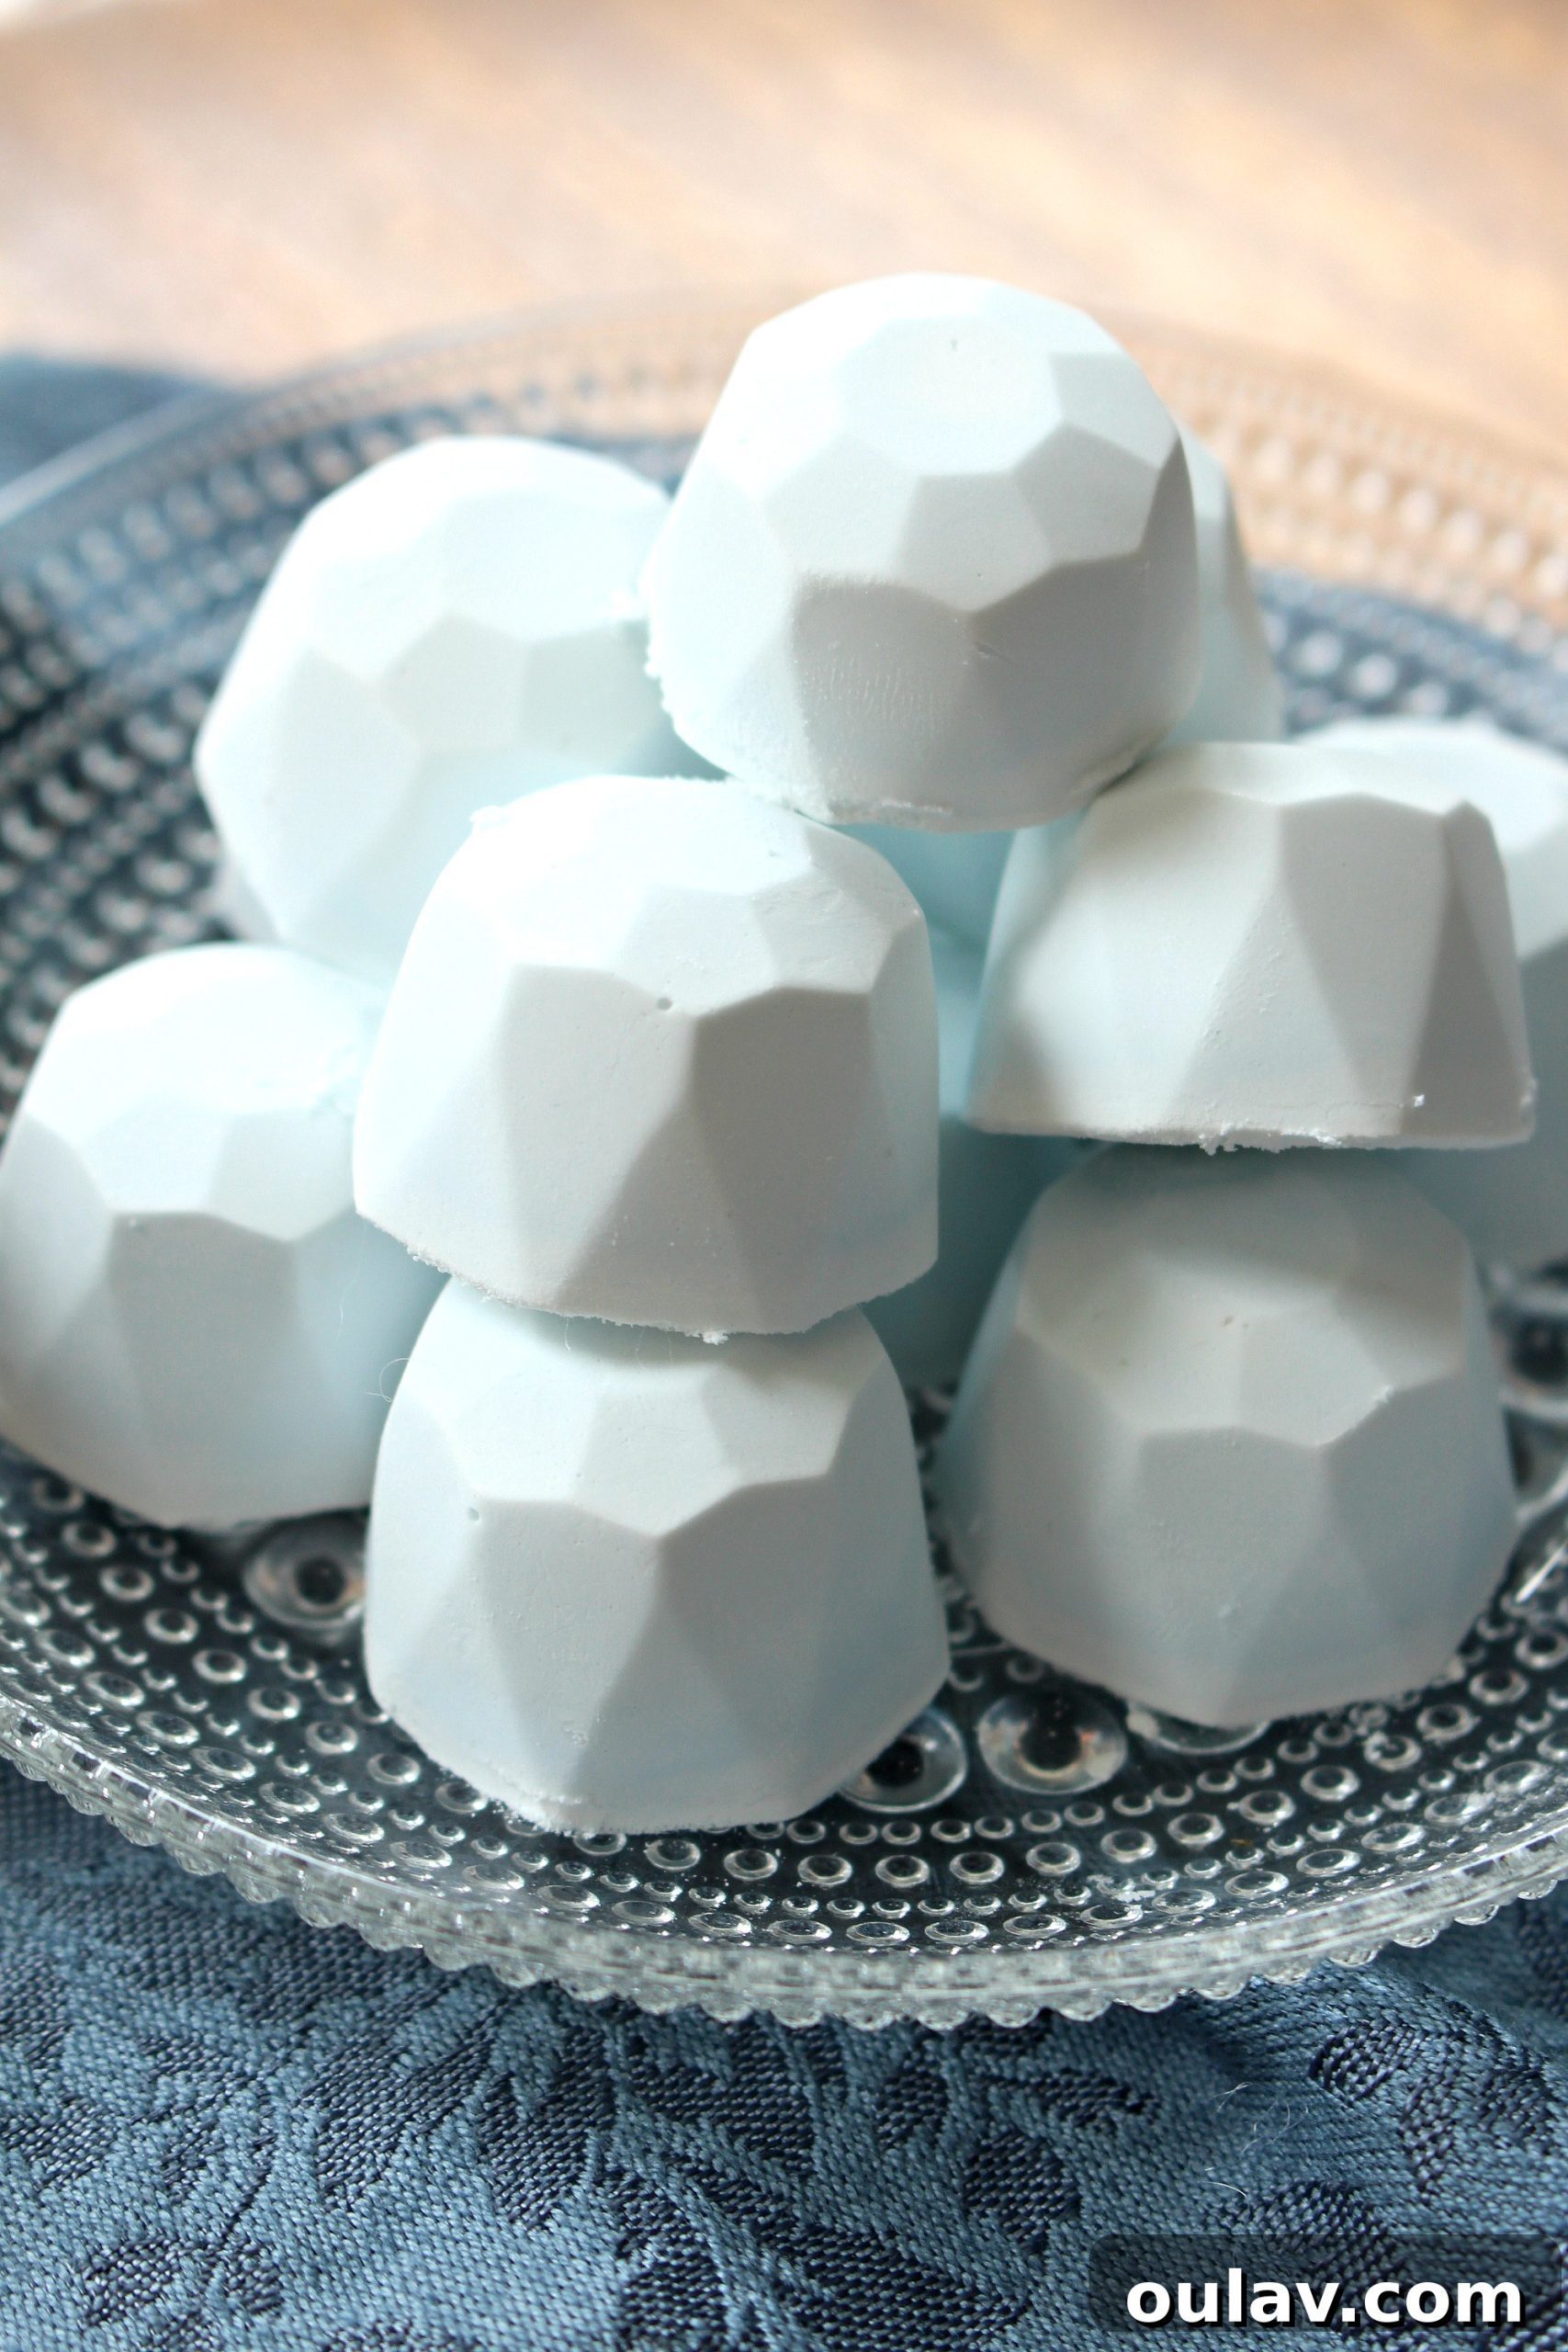
Storage: To preserve the freshness and aromatic intensity of your essential oils, it’s best to store these shower melts in the fridge. Place them in an airtight container or a sealed bag to prevent moisture absorption and keep the essential oils from evaporating too quickly. Storing them in a cool, dry environment, like the refrigerator, will significantly extend their shelf life and ensure they remain potent for whenever you need a burst of sinus relief.
Usage: When you’re ready for a therapeutic shower experience, simply grab one melt from the fridge. The key to effective use is strategic placement. Do not place the shower melt directly in the stream of water. Instead, position it on the floor of your shower, near the drain, or on a shelf where it will be exposed to the warm steam but not directly hit by a constant gush of water. This allows the melt to slowly dissolve from the ambient steam, gradually releasing its aromatic essential oils into the air. As the steam rises, it carries the decongestant properties of eucalyptus and peppermint, creating a powerful, all-natural aromatherapy session that helps to clear your nasal passages and soothe your respiratory system. Enjoy the invigorating scent and breathe deeply for maximum relief. Each melt should provide a sustained aromatic experience throughout your shower, making it an indispensable part of your wellness routine.
The Science Behind the Steam: Do Shower Steamers Really Help Sinuses?
The question of whether shower steamers genuinely help clear sinuses is a common one, and the answer is a resounding yes! The effectiveness of these simple homemade remedies lies in the powerful combination of warm steam and specific essential oils, particularly eucalyptus and peppermint. While I’ve never considered myself a fervent essential oils enthusiast, even I can attest to the profound relief they offer. Simply diffusing eucalyptus essential oil, for instance, significantly alleviates my sinuses, whether I’m battling a cold or experiencing seasonal allergies. For those interested in exploring this further, you can check out my top picks for stylish essential oil diffusers for every budget.
Here’s how the magic happens: Warm, moist steam naturally helps to thin mucus in your nasal passages and airways, making it easier to expel. This soothing vapor also helps to reduce inflammation and irritation in your sinus cavities. When this steam is infused with essential oils like eucalyptus and peppermint, their active compounds are inhaled directly into your respiratory system. Eucalyptus essential oil contains cineole, a compound known for its ability to open up airways, reduce inflammation, and act as a natural expectorant. Peppermint essential oil, rich in menthol, creates a cooling sensation that provides immediate relief from stuffiness and can help to clear congested nasal passages. This synergistic effect makes shower steamers an incredibly effective, all-natural method for providing symptomatic relief from sinus congestion, enabling you to breathe more easily and feel more comfortable. It’s a simple yet powerful natural remedy for those seeking respiratory support.
Pin This Project For Later!
Don’t let this fantastic natural remedy slip your mind! Pin this DIY sinus-clearing shower melt project to your favorite Pinterest board so you can easily find it whenever you need a quick and effective solution for congestion. Share the relief with friends and family!
Looking for More DIY Essential Oil and Craft Projects?
If you’ve enjoyed the process of creating these natural shower melts, you’ll love exploring other handmade projects that harness the power of essential oils and simple craft techniques. Dive deeper into the world of DIY with these fun and rewarding endeavors:
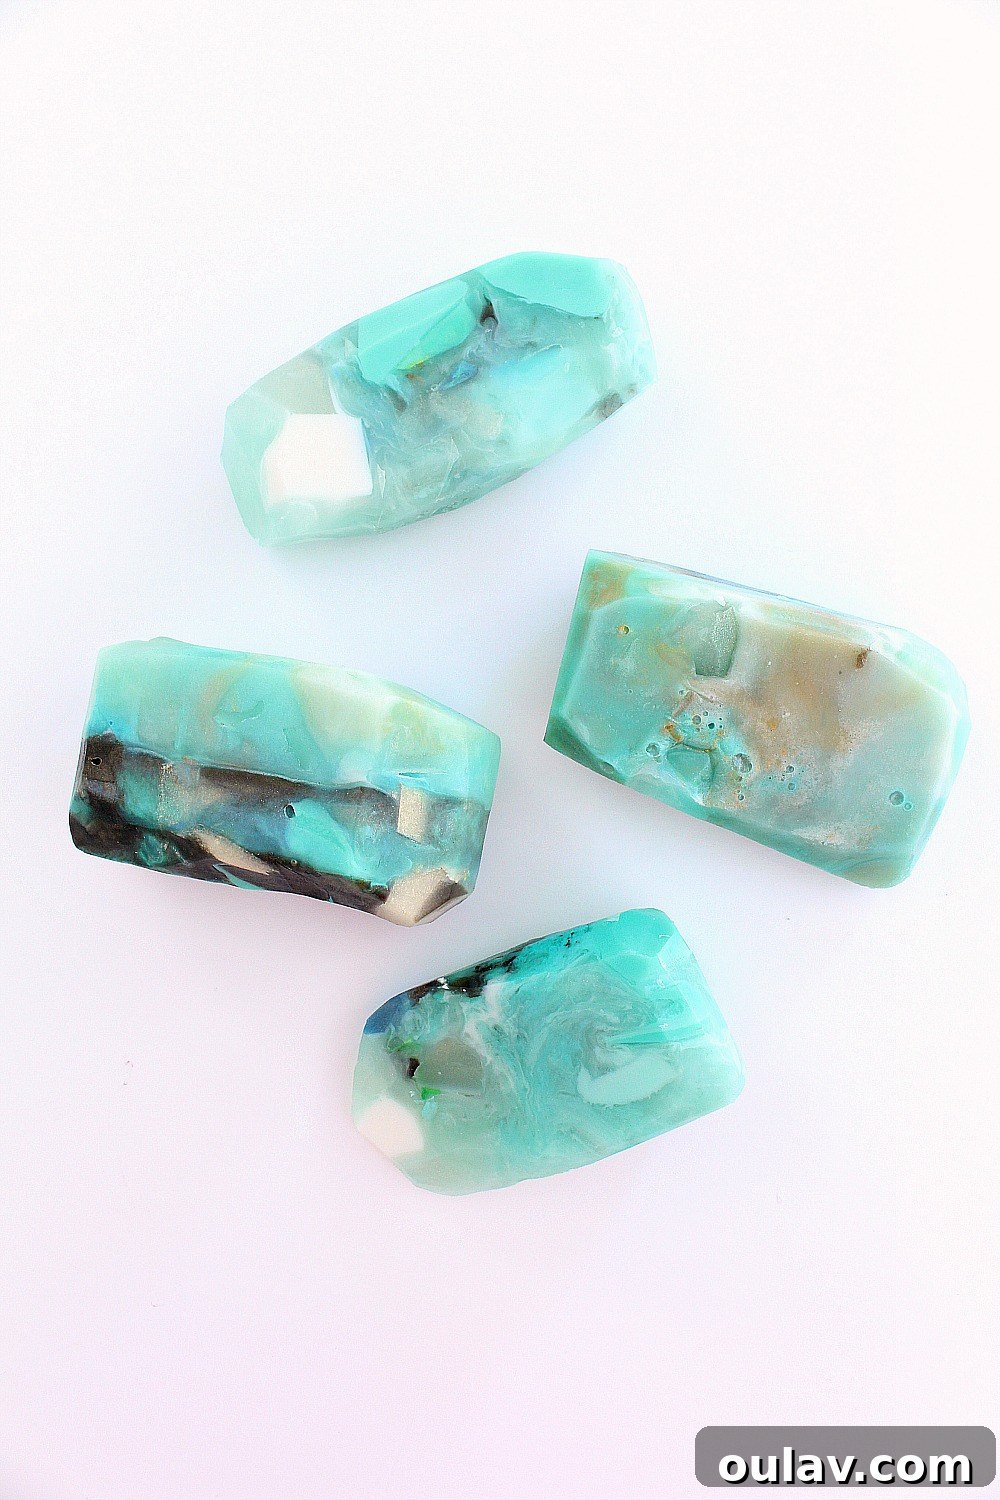
Discover my recipe for DIY gemstone soap, crafted using an organic glycerine base for a luxurious and beautiful cleansing experience:
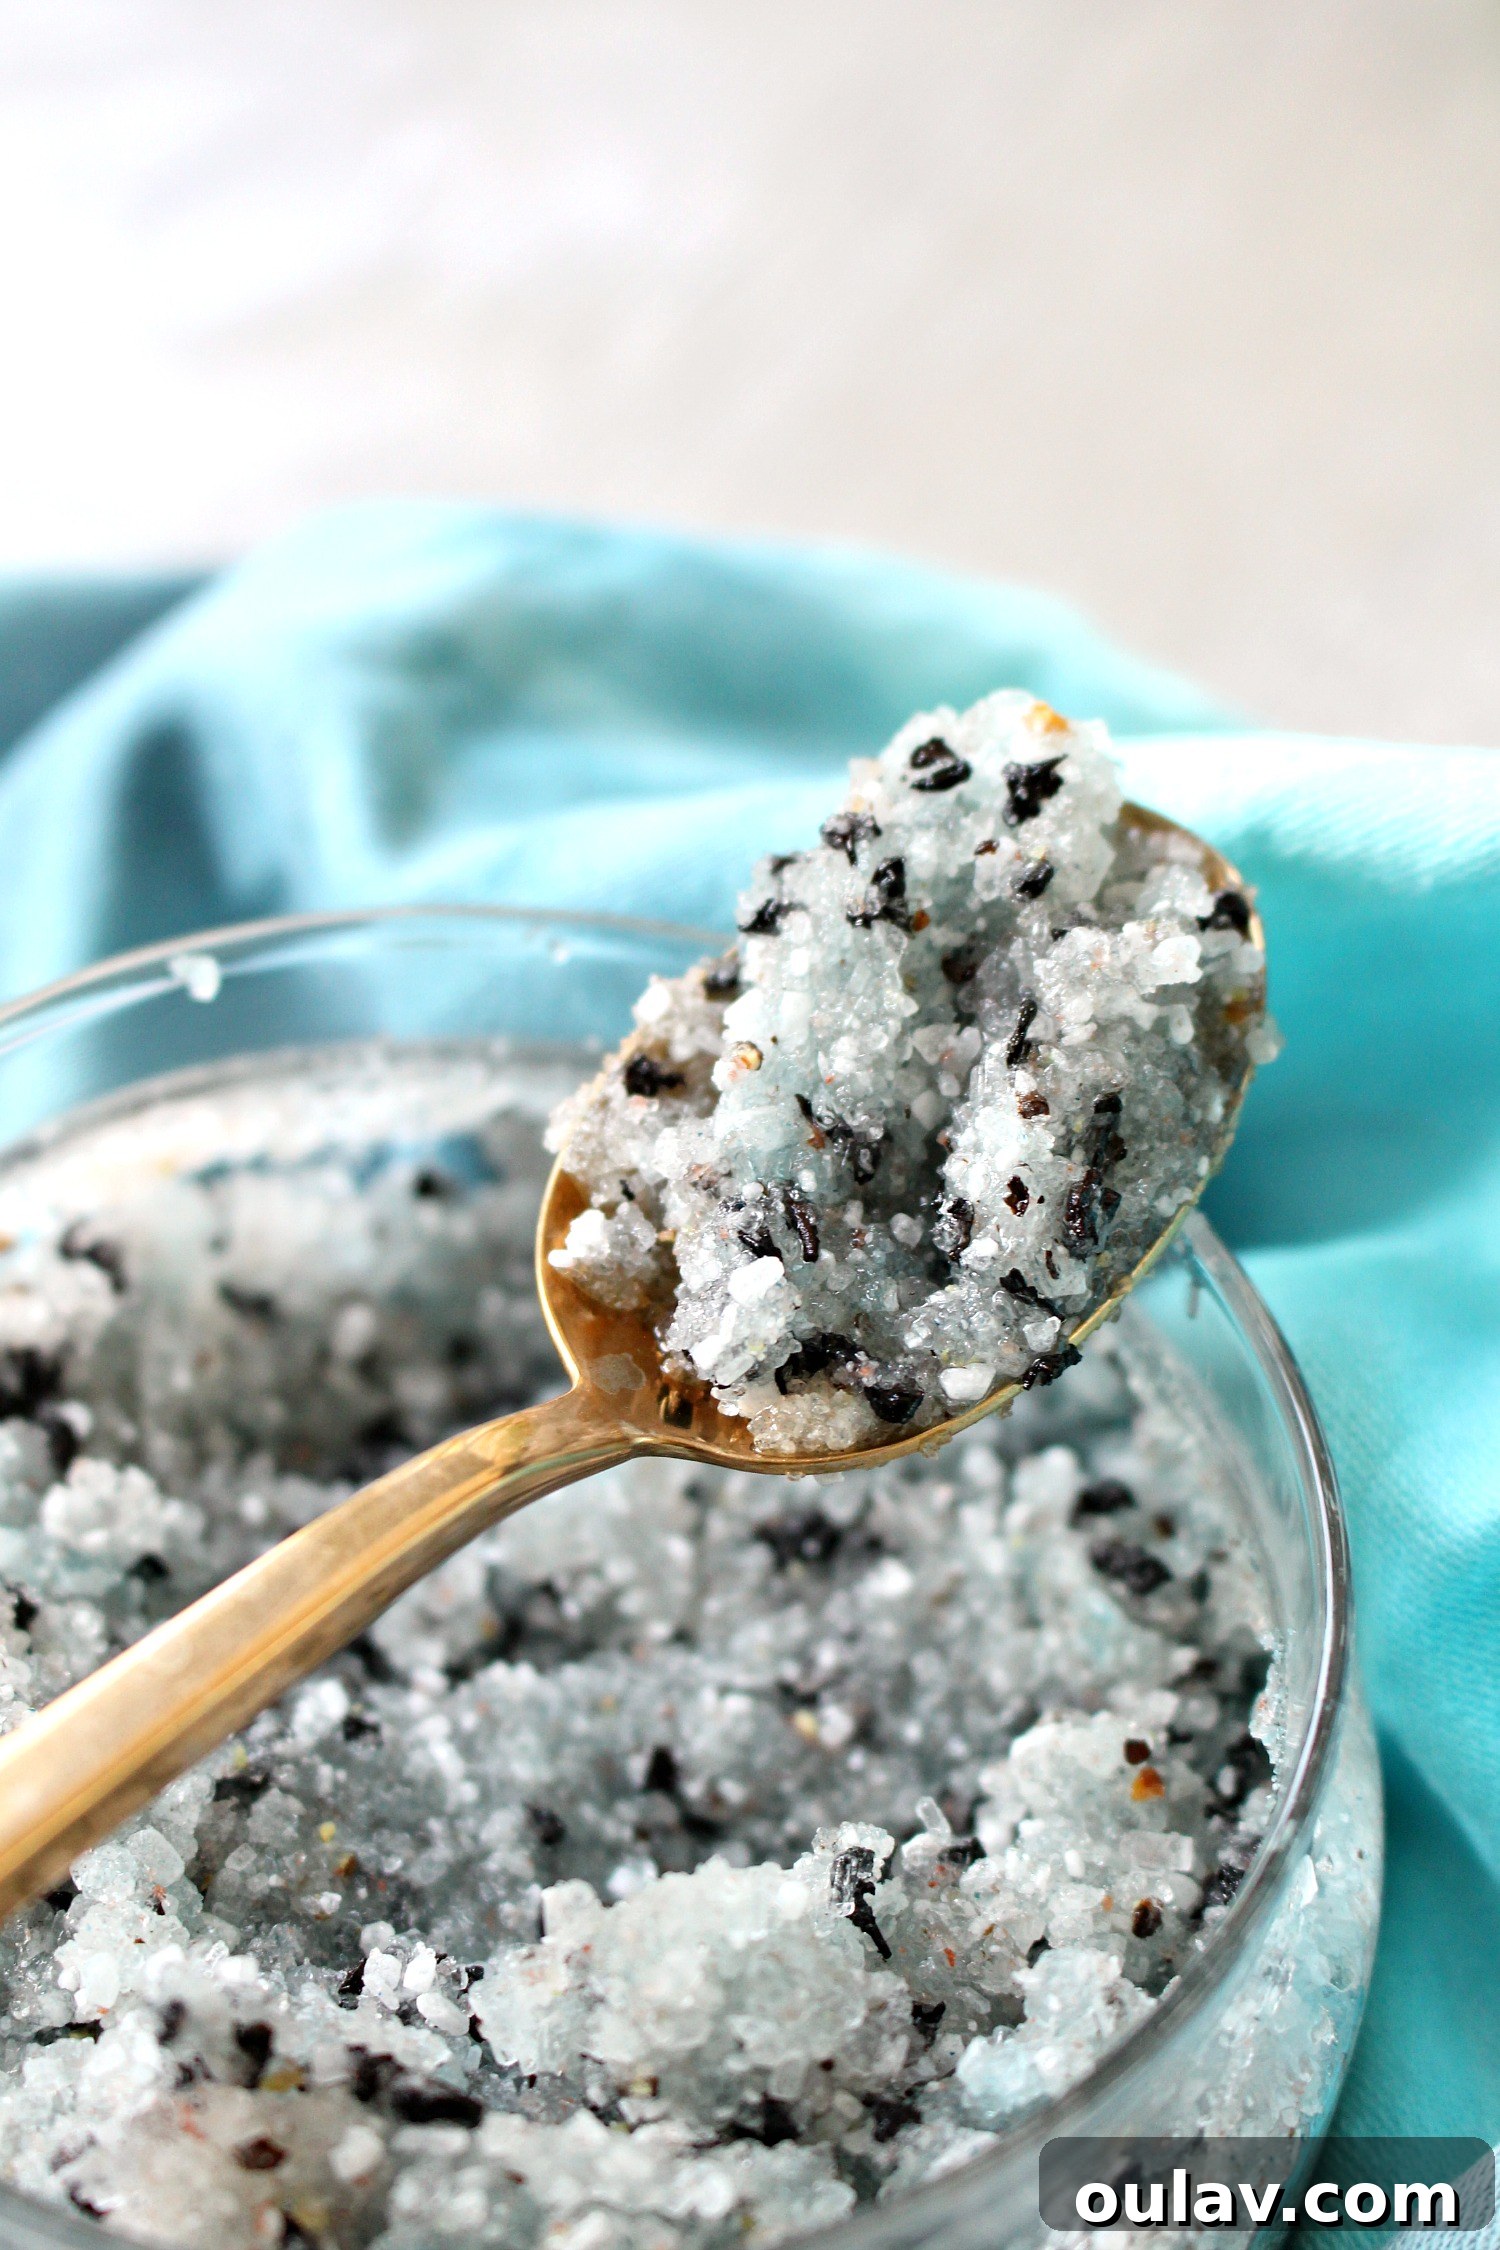
Treat your feet to some pampering with my easy recipe for an all-natural foot scrub, perfect for exfoliating and softening:
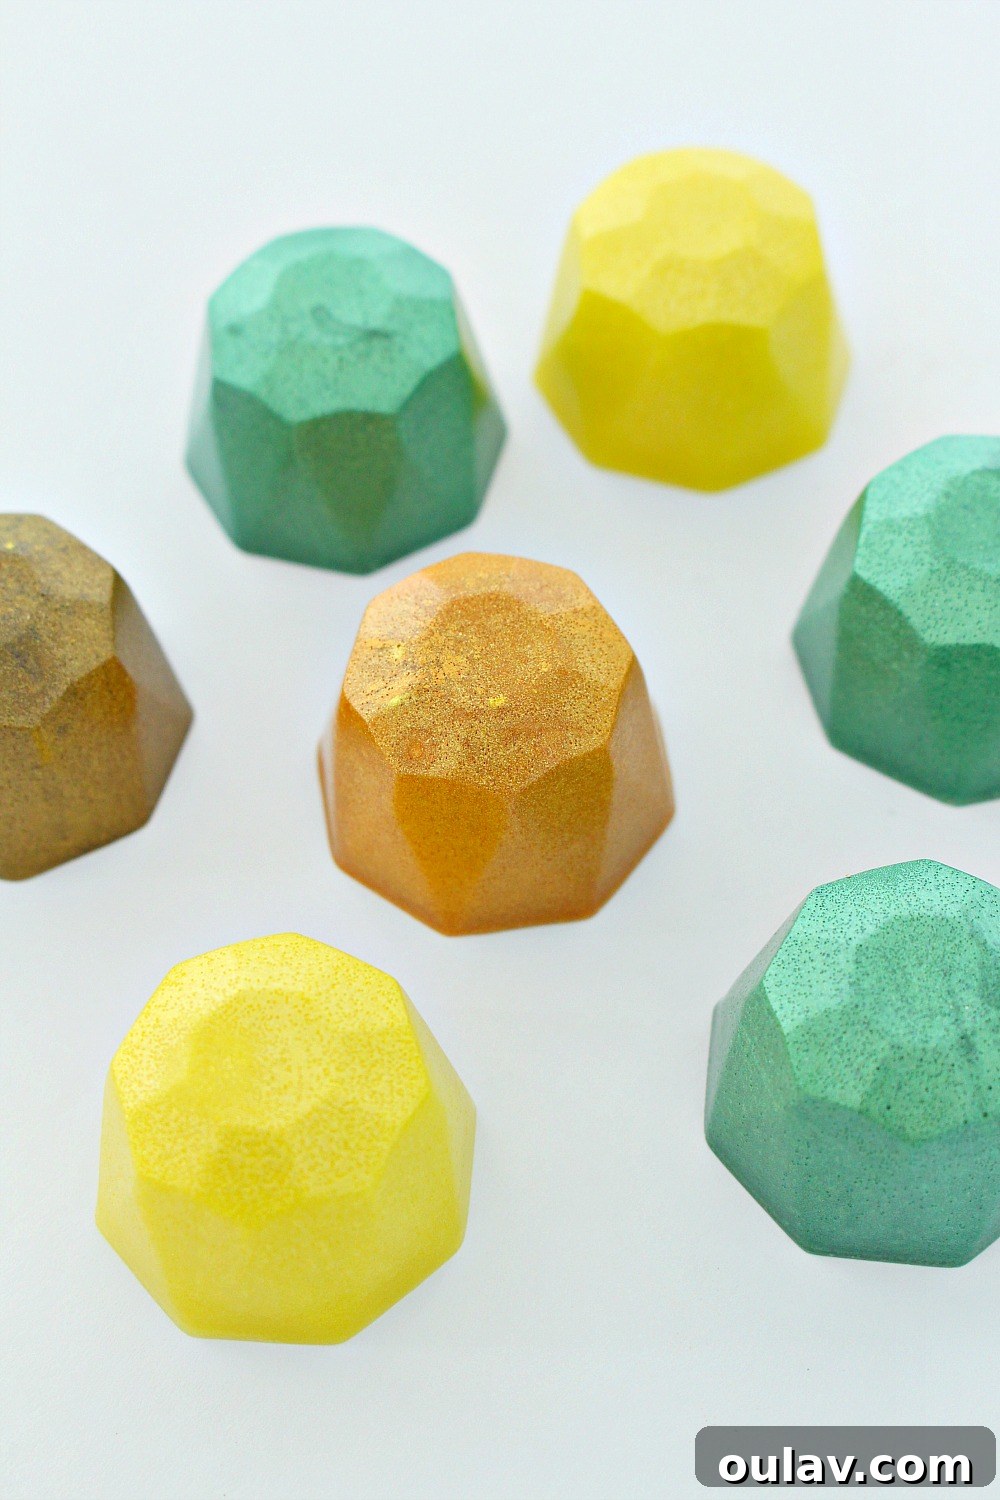
Speaking of homemade soaps and creative molds, if you fell in love with the unique gemstone mold I used for these shower melts, you’ll be delighted to see how versatile it is! I’ve reused it to make adorable little DIY melt & pour soap gemstones:
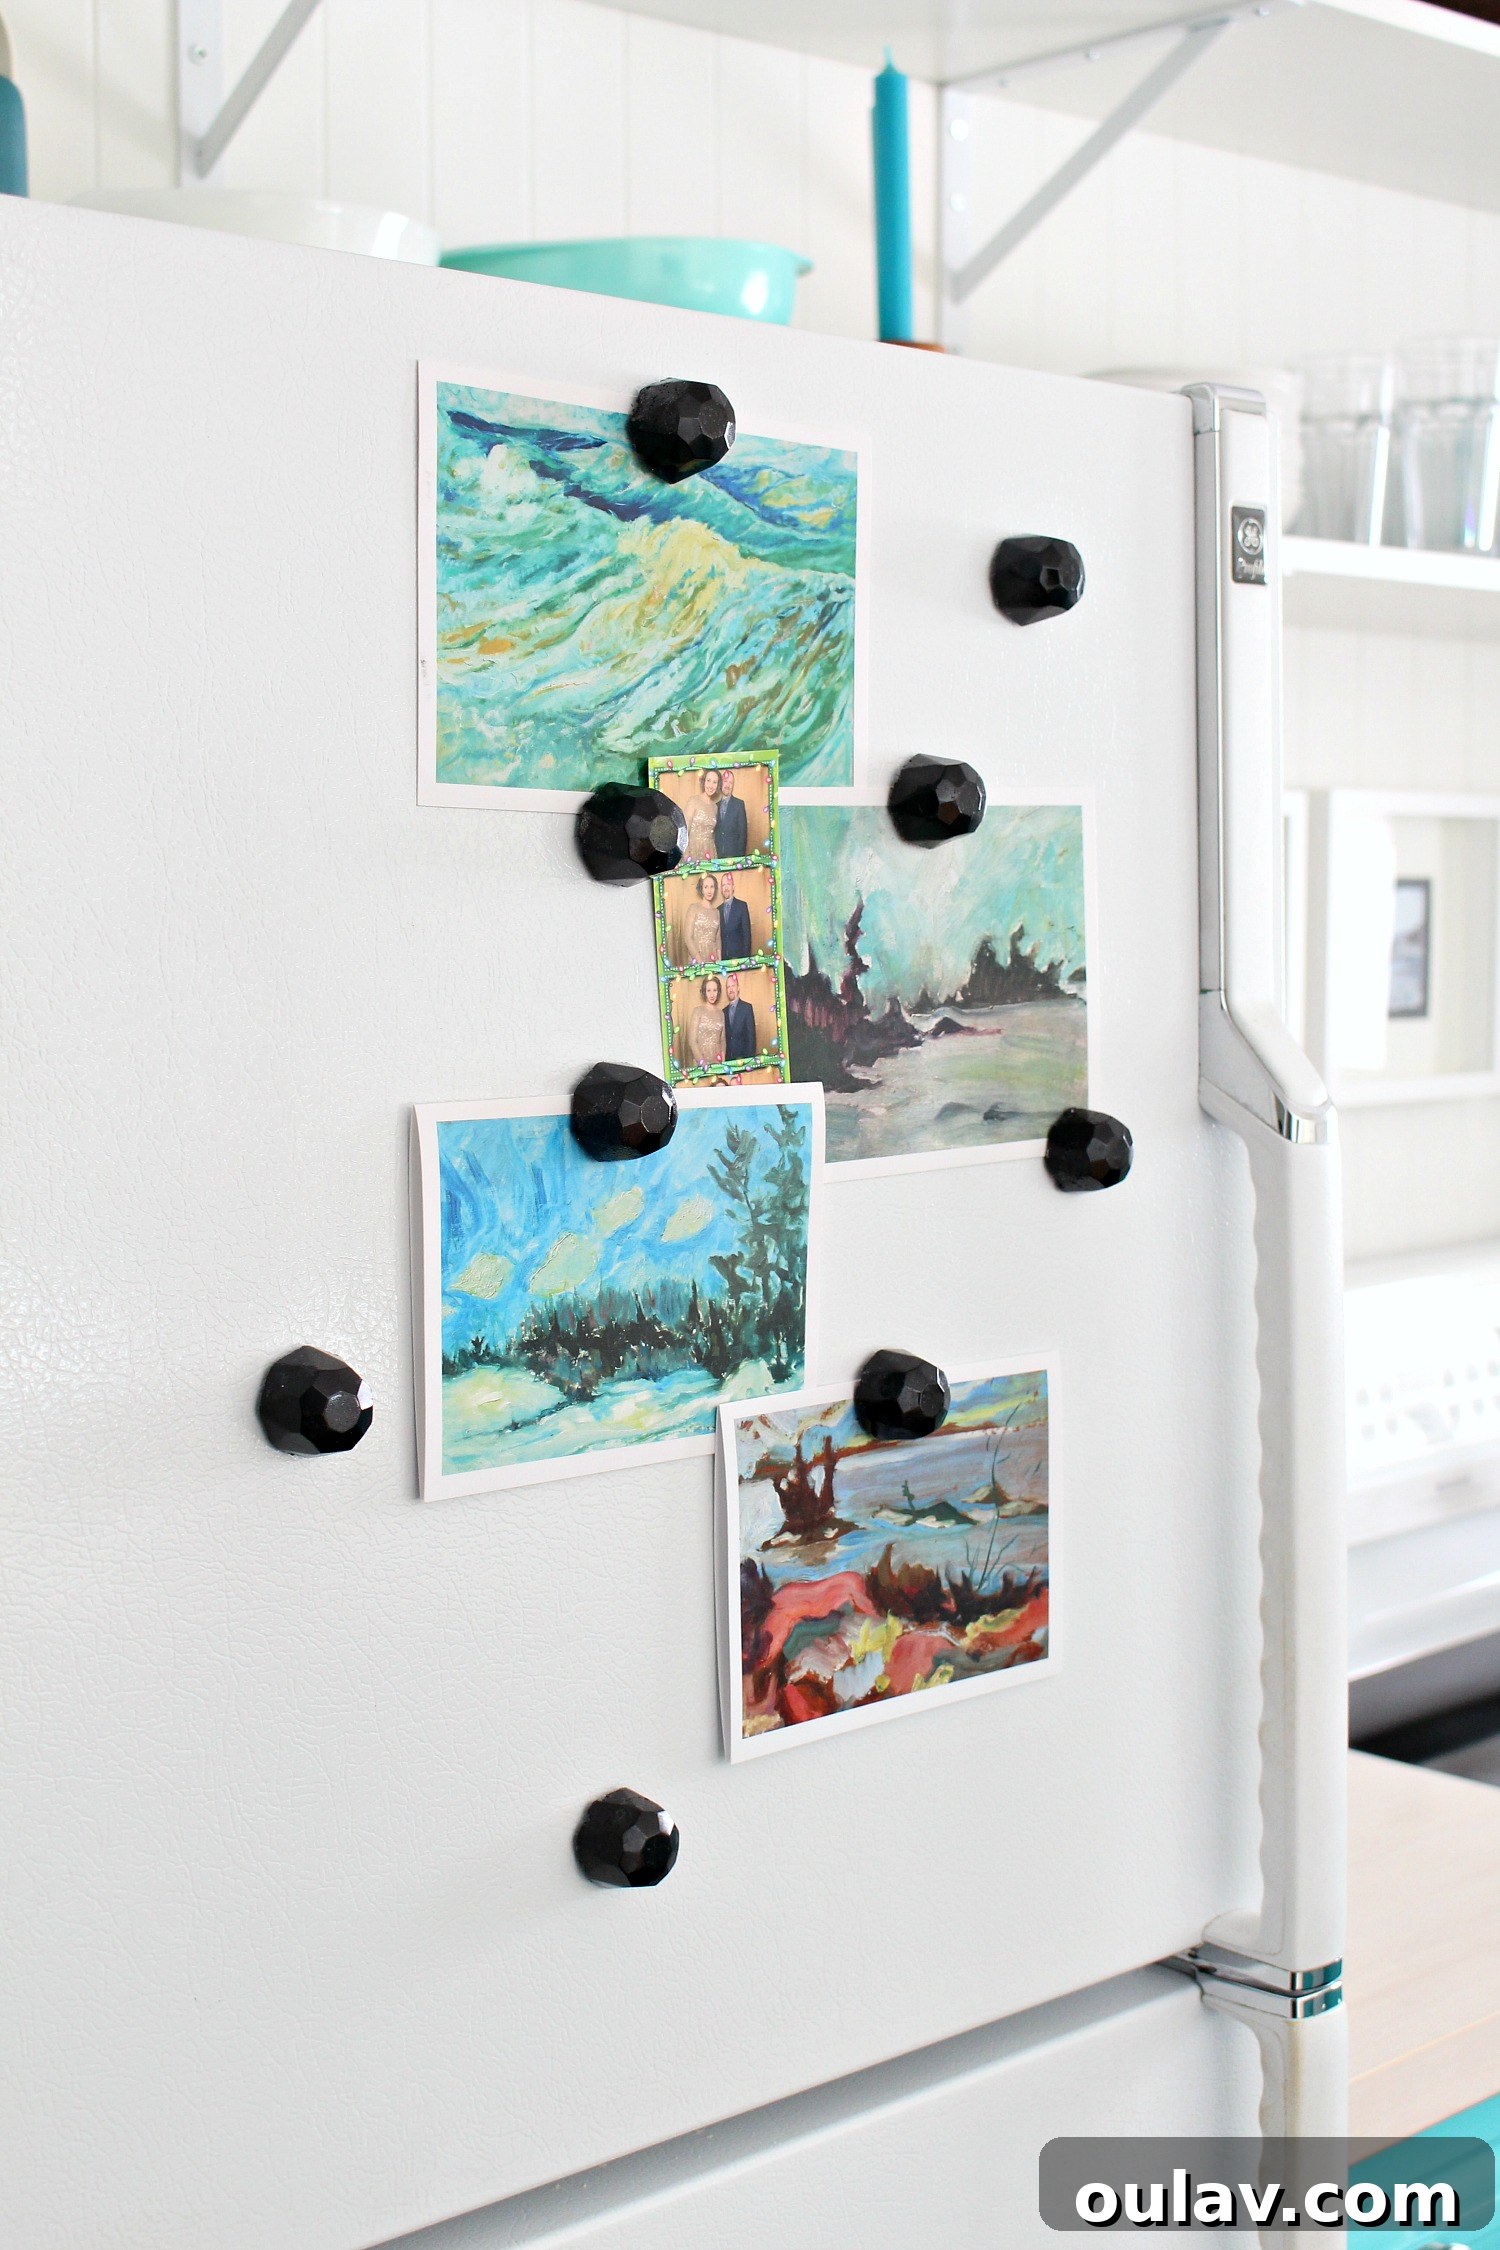
And then, I put that very same gem-shaped mold to use again to craft beautifully faceted gemstone resin magnets that add a touch of sparkle to any surface:
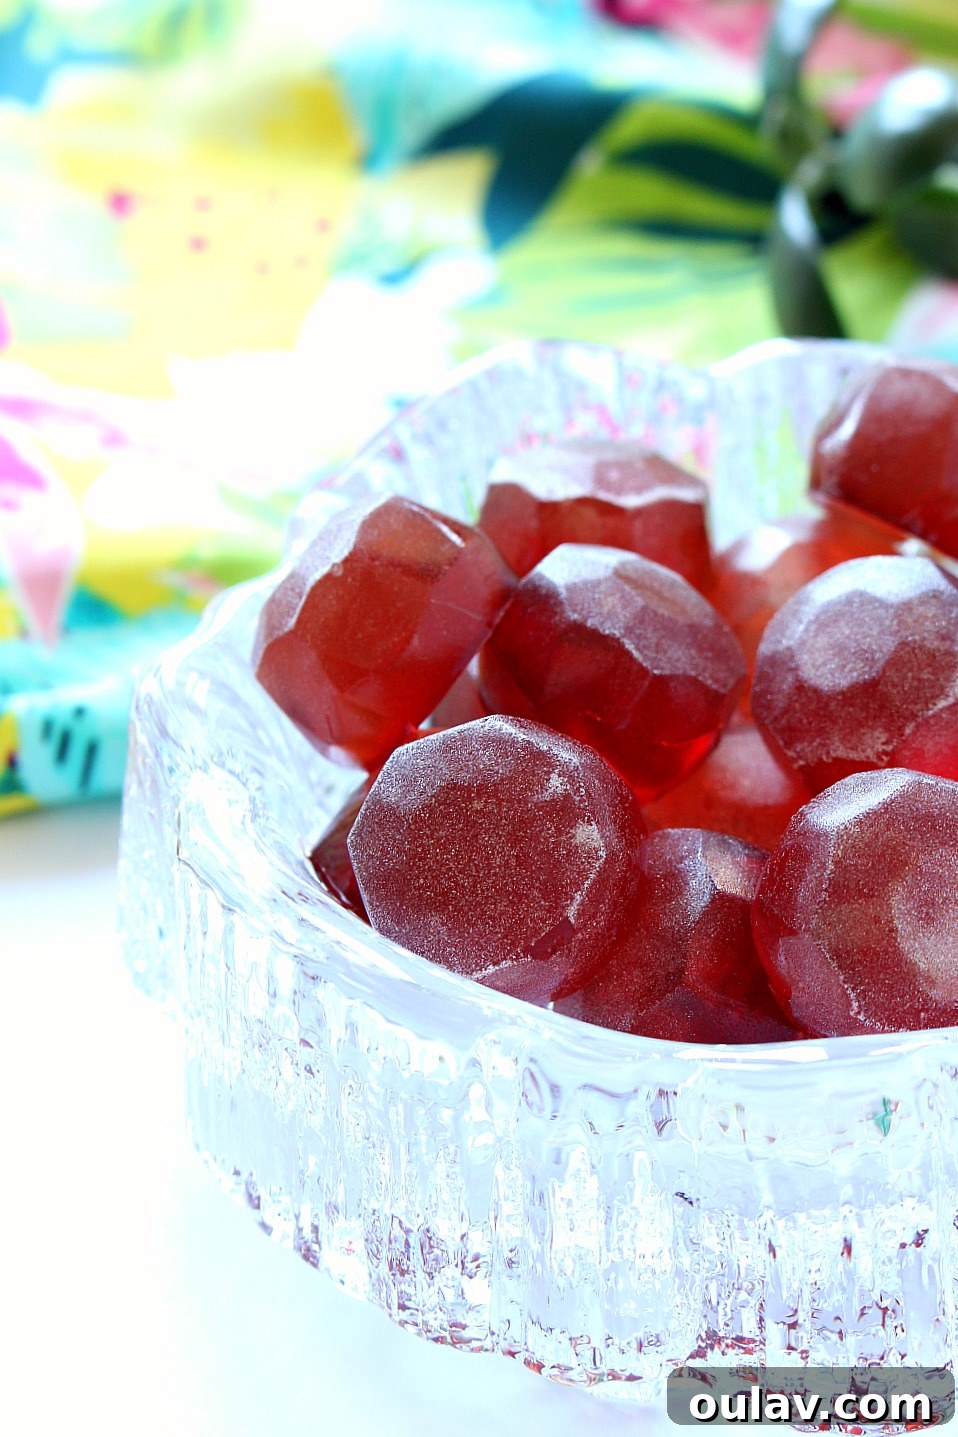
And yes, I utilized this incredibly versatile mold yet again – this time to create delicious and healthy gemstone-shaped all-natural homemade gummies, proving that one mold can indeed spark endless creativity across various DIY projects:
Explore My Complete DIY and Craft Project Gallery!
Ready to unleash your creativity further? You can find an extensive collection of all my DIY and craft projects, offering inspiration and step-by-step guides for various interests, by visiting my project gallery right here. Happy crafting!