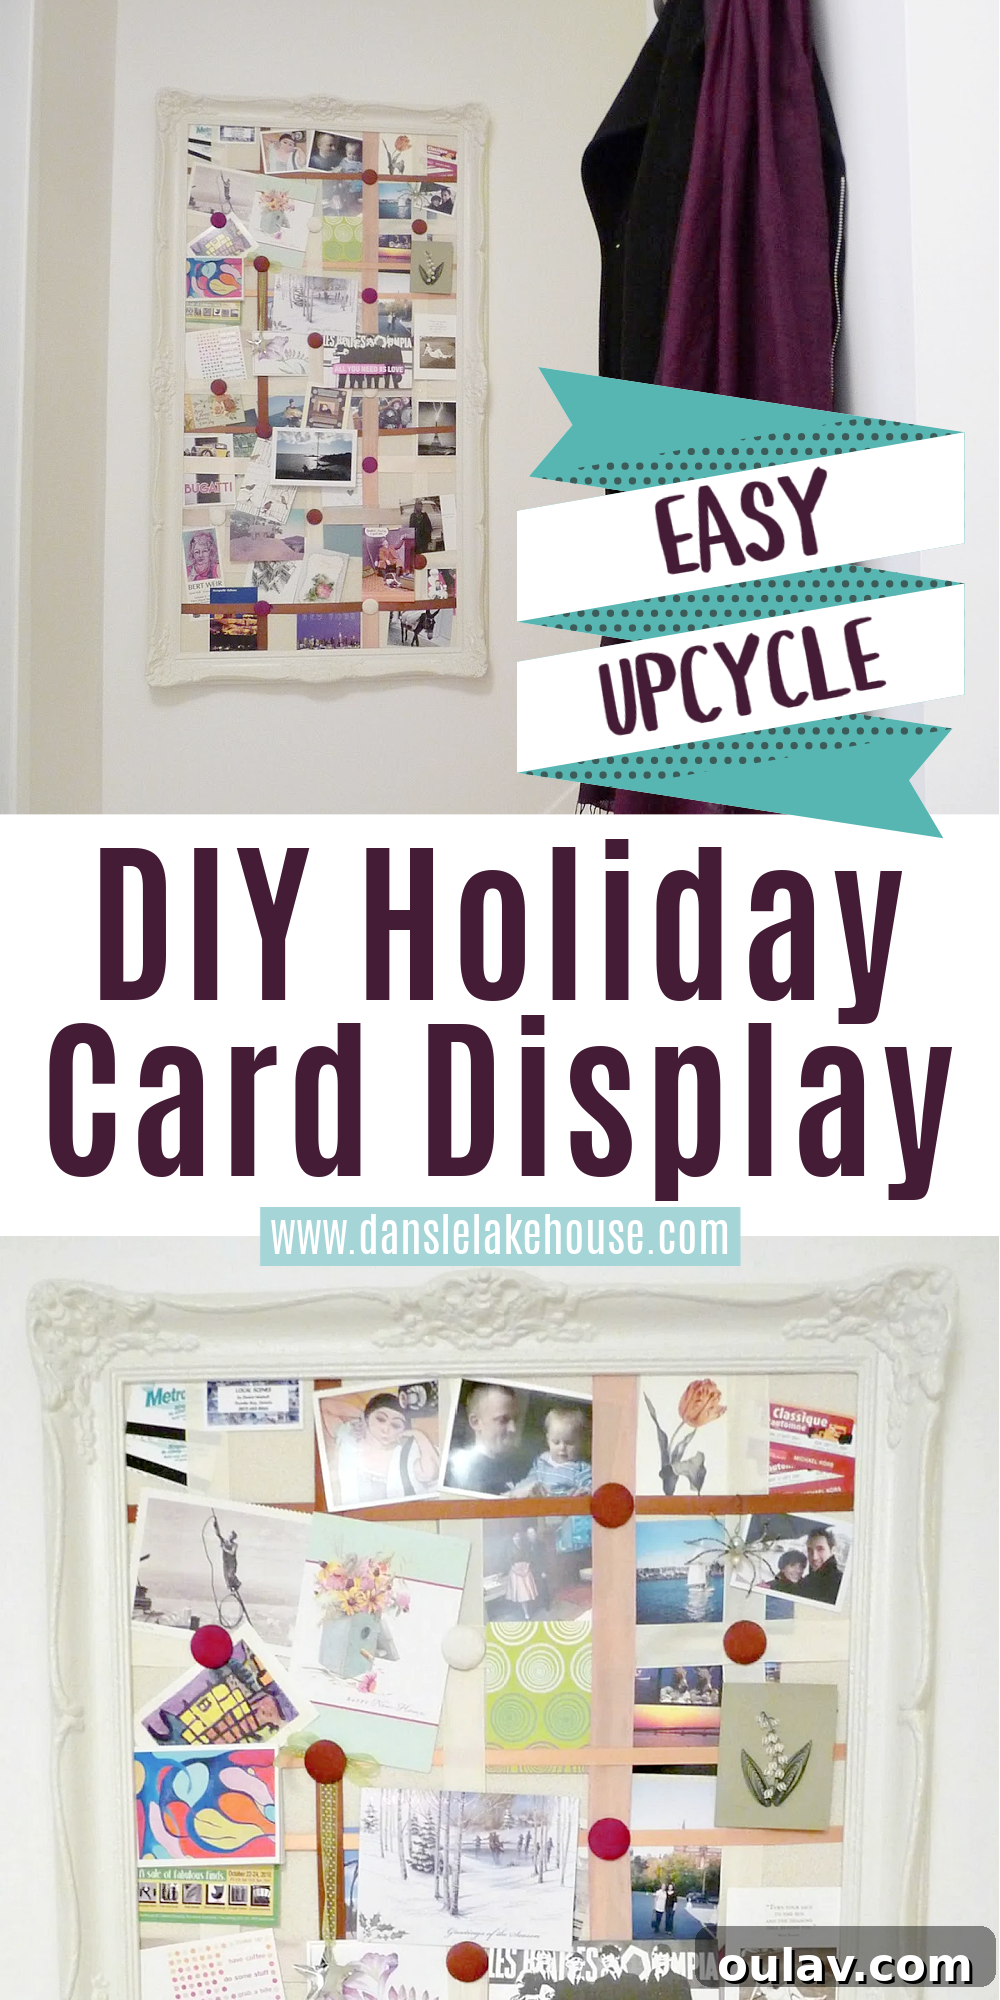
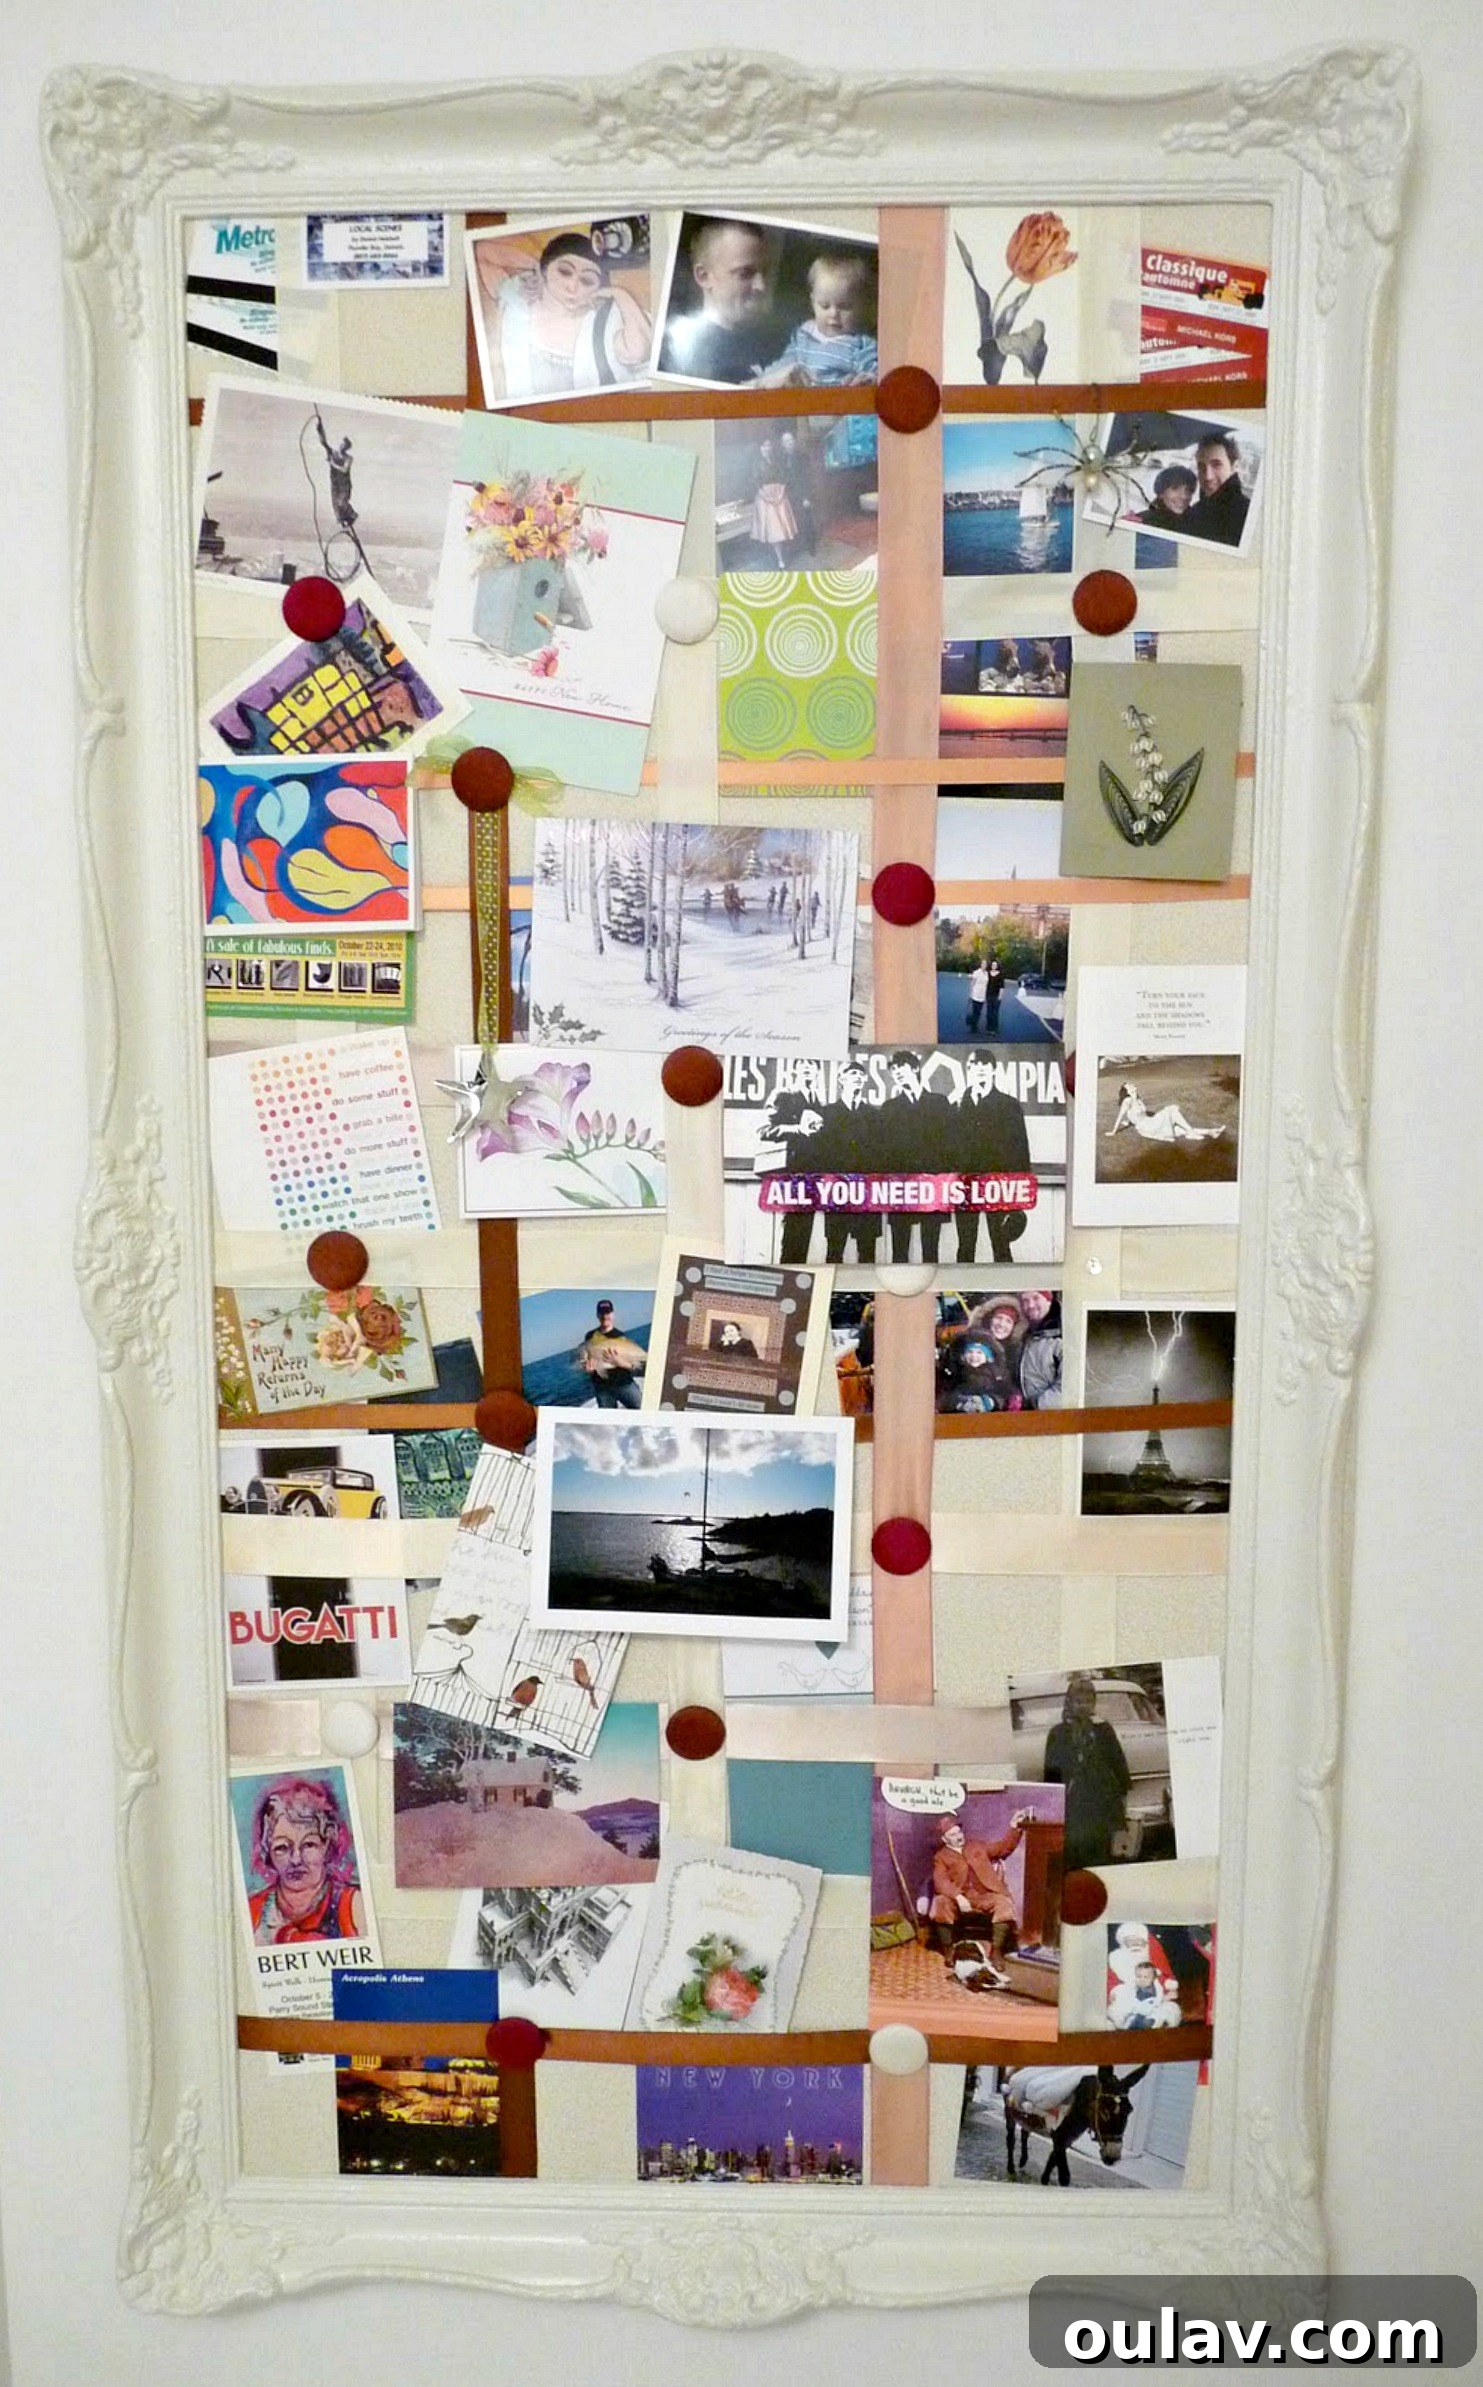
There’s a special joy that comes with receiving a handwritten card or a thoughtful note, especially when it’s from loved ones who live far away. In a world increasingly dominated by digital communication, the tangible warmth of a holiday card or a heartfelt letter truly stands out. But once these treasured messages arrive, the question often becomes: how do you display them without creating clutter or damaging their sentimental value? Today, we’re thrilled to share the detailed guide to crafting a beautiful and functional DIY holiday card display, a project so beloved it has become a permanent fixture in our home for over three years.
This isn’t just for holiday cards; it’s a versatile piece that can showcase photos, small mementos, or children’s artwork year-round. It’s a wonderful way to keep those precious memories visible and organized, transforming a simple collection of cards into an artful display. The best part? This project offers ample opportunity for personalization. You can create your own unique display in any size, color, or style to perfectly complement your home decor and celebrate your cherished connections.
Why Choose a DIY Holiday Card Display?
Before diving into the “how-to,” let’s explore why a DIY approach to displaying your cards is such a fantastic idea. Firstly, it offers a personalized touch that store-bought options simply can’t match. You get to choose every element, from the frame’s finish to the fabric’s texture and the ribbon’s color, ensuring it perfectly fits your aesthetic.
Secondly, it’s incredibly practical. Unlike traditional bulletin boards, this design eliminates the need to puncture holes in your precious cards or photos, preserving their pristine condition. Cards are held securely by friction within the ribbon grid, or can be draped over the ribbons for landscape orientations. This also makes it easy to swap out cards and update your display as new ones arrive or as seasons change.
Finally, it’s a wonderfully sustainable project. It encourages repurposing old frames, giving them a new lease on life and reducing waste. This creates a meaningful piece of home decor that tells a story, not just through the cards it holds, but through its very creation.
Selecting Your Frame: The Canvas for Your Creativity
The foundation of your DIY card display is a frame, and the beauty of this project is its adaptability. You can use virtually any frame that catches your eye and fits your desired style. I started with a cheap, thrifted retro gold frame, which I transformed with a coat of warm white paint to better suit my decor. Here’s a glimpse of its “before” state:
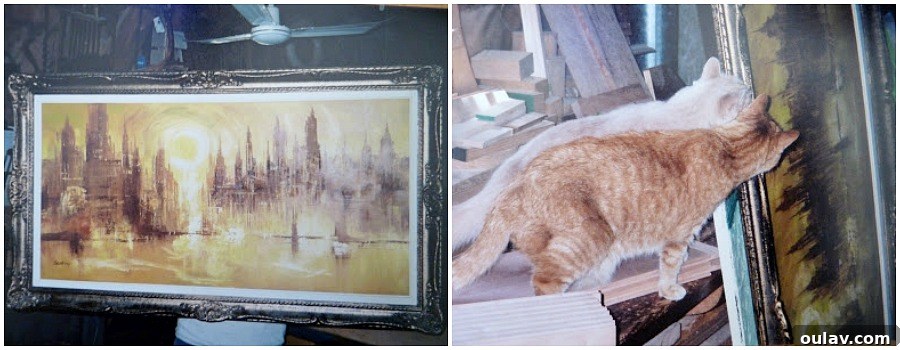
Choosing a frame is an opportunity to let your creativity shine. Consider:
- Size: A larger frame allows for a grander display, accommodating more cards and creating a more impactful statement piece. Smaller frames are perfect for intimate displays in cozier spaces.
- Material: Wooden frames offer a classic, warm feel, while metal frames can lean more modern or industrial. Vintage frames often come with intricate details that add character.
- Condition: Don’t shy away from frames that look a bit worn. A little sanding and paint can work wonders. This is an excellent way to re-purpose a frame you already have on hand, perhaps one salvaged from an old piece of art found at a thrift store or a yard sale.
- Style: Think about your home’s existing decor. Do you prefer a rustic, modern, shabby chic, or minimalist look? Your frame choice will set the tone for the entire display.
| A beautifully transformed vintage frame, showcasing the potential of repurposing. |
Supplies for a Beautiful DIY Holiday Card Display:
Gathering your materials is the first concrete step in bringing your vision to life. Here’s a detailed list of what you’ll need, along with some tips for selection:
- Frame: As discussed, any size will do, but for maximum impact and card capacity, I find that the bigger, the better! Ensure it’s sturdy enough to hold your finished display.
- Piece of Foam Core: This will serve as the rigid backing for your display. It needs to be cut precisely to fit snugly inside your chosen frame. Alternatives include thin cardboard (from a large box), cork board for added grip, or even the original old art backing if your thrifted frame came with one and it’s suitable to be covered. Foam core is lightweight and easy to cut.
- Fabric: This will cover your foam core, providing the background for your cards. Choose a fabric that complements your frame and home decor. Consider texture (cotton, linen, velvet), pattern (solids, subtle prints, festive designs), and color. You’ll need enough to cover the front of the foam core and wrap around the edges to the back.
- Ribbons: These are the key elements that will hold your cards. I used a mix of different ribbons, but mostly a wide, wired ribbon as it offers excellent structure and grip. Wired ribbons are fantastic because they can be shaped and hold their form. I particularly love this aqua chiffon one for its delicate appearance. Varying widths and textures can add visual interest.
- Buttons: These act as decorative accents where ribbons intersect and also help secure the ribbons. Any kind of button can work; choose ones that match your aesthetic. I used self-covered shank buttons for a cohesive, understated look, but decorative vintage buttons or colorful craft buttons can add a pop of personality.
- Thin Gauge Wire/Carpet Thread/Embroidery Floss: This is used to “sew” the buttons onto the foam core, ensuring they are securely fastened. The material needs to be strong enough to hold the button firmly.
- Large Needle or Awl: Essential for piercing through the foam core, making holes for your wire or thread to pass through when attaching buttons.
- Glue: You’ll need a strong adhesive to secure the fabric and ribbons. Options include fabric glue (ideal for fabric), all-purpose craft glue, or a hot glue gun with glue sticks (fast-drying and very effective for securing edges).
- Small Framing Nails or Staples: These will be used to secure the finished upholstered board back into the frame. A staple gun is very efficient for this, but small nails and a hammer work just as well.
How-to Make a DIY Holiday Card Display: Step-by-Step Guide
Now that you have all your supplies, let’s get crafting! This project is surprisingly straightforward, even for beginner DIYers. Just follow these steps carefully:
- Prepare Your Frame: If your frame isn’t already perfect, it’s time for a transformation. Lightly sand the entire frame to create a smooth surface and help paint adhere better. Apply a coat of primer, especially if you’re painting over a dark finish or an unknown material, to ensure even color and durability. Finally, paint your frame in your chosen color to suit your decor. Allow adequate drying time between coats and before handling.
- Cut Your Foam Core: Carefully measure the inside dimensions of your frame where the backing would sit. Cut your foam core (or chosen backing material) to fit precisely. A snug fit is important for stability. If your frame already comes with an existing ugly art piece or backing that you can cover, you might be able to skip the cutting step for the foam core, saving time and effort.
- Cut the Fabric to Size: Lay your chosen fabric flat. Place the cut foam core on top and cut the fabric so that it’s slightly larger than the foam core on all sides – roughly 1-2 inches extra on each edge. This allowance is crucial for wrapping the fabric tightly around the edges and gluing it securely to the back of the foam core.
- “Upholster” the Foam Core: This step gives your display its finished look. Center the foam core on the wrong side of your cut fabric. Starting from one side, pull the fabric tightly over the edge of the foam core and glue it in place on the back. Work your way around, pulling the fabric tautly and smoothly to avoid wrinkles or sagging on the front. Pay special attention to the corners, folding them neatly like you would when wrapping a present, and secure with glue. The goal is a drum-tight, smooth fabric surface on the front.
- Arrange and Affix Ribbons: Now for the heart of the display! Plan your ribbon pattern. A simple grid (vertical and horizontal), diagonal criss-cross, or a more random pattern can all look great. Once you have your desired pattern, lay the ribbons across the upholstered foam core. When you’re happy with the arrangement, flip the board over. Pull each ribbon very tautly across the back and affix it securely with glue. Overlap the ribbon ends slightly and ensure they are firmly glued down to prevent any loosening. The tension of the ribbons is key to holding your cards in place.
- Select Button Placement and Pierce: Decide where you want your decorative buttons to go. Typically, they look best where two ribbons cross, adding both aesthetic appeal and an extra layer of security. Once decided, use a large needle or an awl to carefully pierce a small hole through the fabric and foam core at each chosen spot.
- “Sew” on the Buttons: Using your thin gauge wire, carpet thread, or embroidery floss, thread it through the shank of your button and then through the holes you just pierced in the foam core. Bring the ends of the thread/wire to the back of the foam core. Pull them tightly and tie them off securely with a double knot. Trim any excess thread/wire. This will pull the button slightly into the foam core and firmly secure the ribbons beneath it.
- Insert Finished Board into Frame: Carefully place your completed upholstered and ribbon-adorned board into your prepared frame. Ensure it fits snugly. Once in place, use small framing nails or a staple gun to affix the board securely to the back of the frame. Make sure it’s firmly held so it won’t shift or fall out.
While I don’t have step-by-step progress photos (as I made this display years before starting this blog!), the process is quite simple. You can easily understand the “construction” and how the ribbons are secured by looking at the back of the finished board:
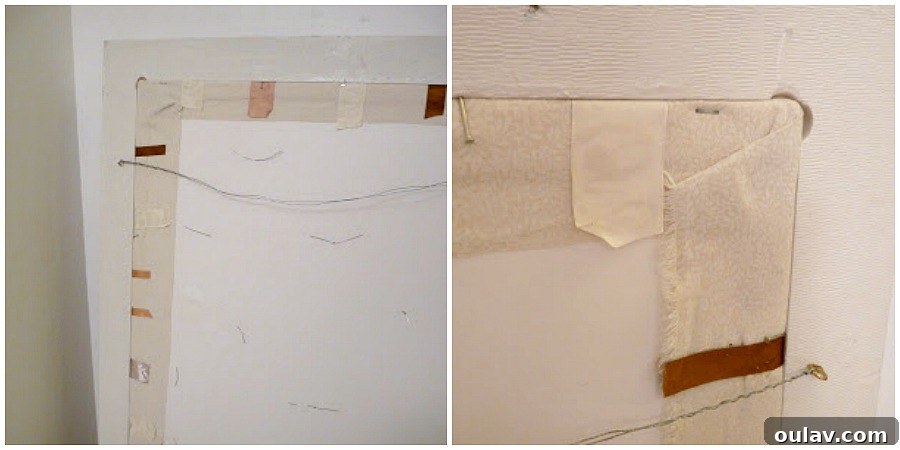
The Enduring Charm and Versatility of Your Display
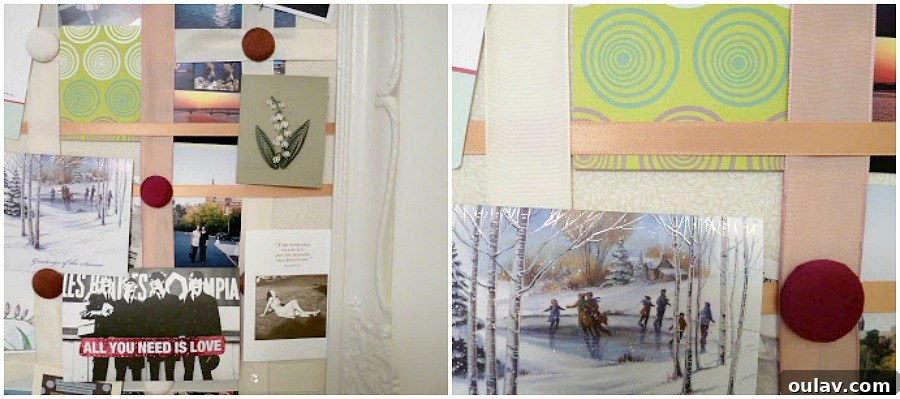
One of the most appealing aspects of this DIY holiday card display is its fundamental design advantage: you don’t need to puncture holes in sentimental cards and photos! The ribbons hold them securely in place with friction, protecting your cherished memories from damage. For landscape-oriented cards, you can simply drape them over the ribbons, creating a layered and dynamic look. This system makes it incredibly easy to rotate cards, update photos, or add new mementos as they arrive, keeping your display fresh and engaging.
Beyond its practicality, this display offers wonderful opportunities for personalization. I love to hang little ornaments, tiny clips, or even small handwritten tags on the buttons, adding an extra layer of charm and seasonality. Clearly, I’m a bit sentimental, but with everything beautifully corralled in one elegant spot, these little bits and pieces don’t take over the entire house. It looks far less cluttered this way, and these carefully curated mementos almost feel like a cohesive work of art, adding warmth and personality to any room.
| The finished display looks absolutely charming, enhancing the hallway with personal touches! |
Beyond the Holidays: A Year-Round Memento Display
While perfect for holiday cards, don’t limit this beautiful creation to just one season! This versatile display can easily transition into a year-round memento holder. Imagine using it to:
- Showcase Family Photos: Easily swap out prints to highlight recent vacations, family milestones, or rotating portraits.
- Display Children’s Artwork: Give your kids’ masterpieces a place of honor without needing tape or pins.
- Organize Invitations and Notes: Keep wedding invitations, party invites, or important handwritten notes visible and accessible.
- Create a Vision Board: Pin inspirational quotes, magazine clippings, or personal goals to keep them top of mind.
- Seasonal Decor: Change out the cards and small ornaments to match spring blossoms, summer adventures, or autumn leaves.
Its clean design ensures it blends seamlessly with any decor, making it a functional and beautiful addition to your home every day of the year.
Care and Maintenance for Your DIY Display
To keep your DIY card display looking its best for years to come, a little care goes a long way. Dust the frame and ribbons regularly with a soft cloth or a feather duster. If the fabric becomes slightly dusty, a lint roller can work wonders. Avoid direct sunlight to prevent fabric fading. When the holiday season ends and you’re ready to store it, ensure all cards are removed, and the display is placed in a protective bag or box to prevent dust accumulation and damage. Its durable construction means it will be ready to bring joy again next year.
This DIY holiday card display is more than just a craft project; it’s an investment in showcasing your memories and adding a unique, personal touch to your home. It’s easy to make, highly customizable, and brings a special kind of warmth to any space. We hope you feel inspired to create your own!
Looking for even more creative ideas to brighten your home during the festive season and beyond? Check out my extensive DIY projects gallery for a treasure trove of inspiration!
P.S. Don’t Forget to Pin for Later!
Loved this project? Make sure to save it for future reference or to inspire others! Pin this image to your favorite Pinterest board so you can easily find this guide whenever you’re ready to get crafty!