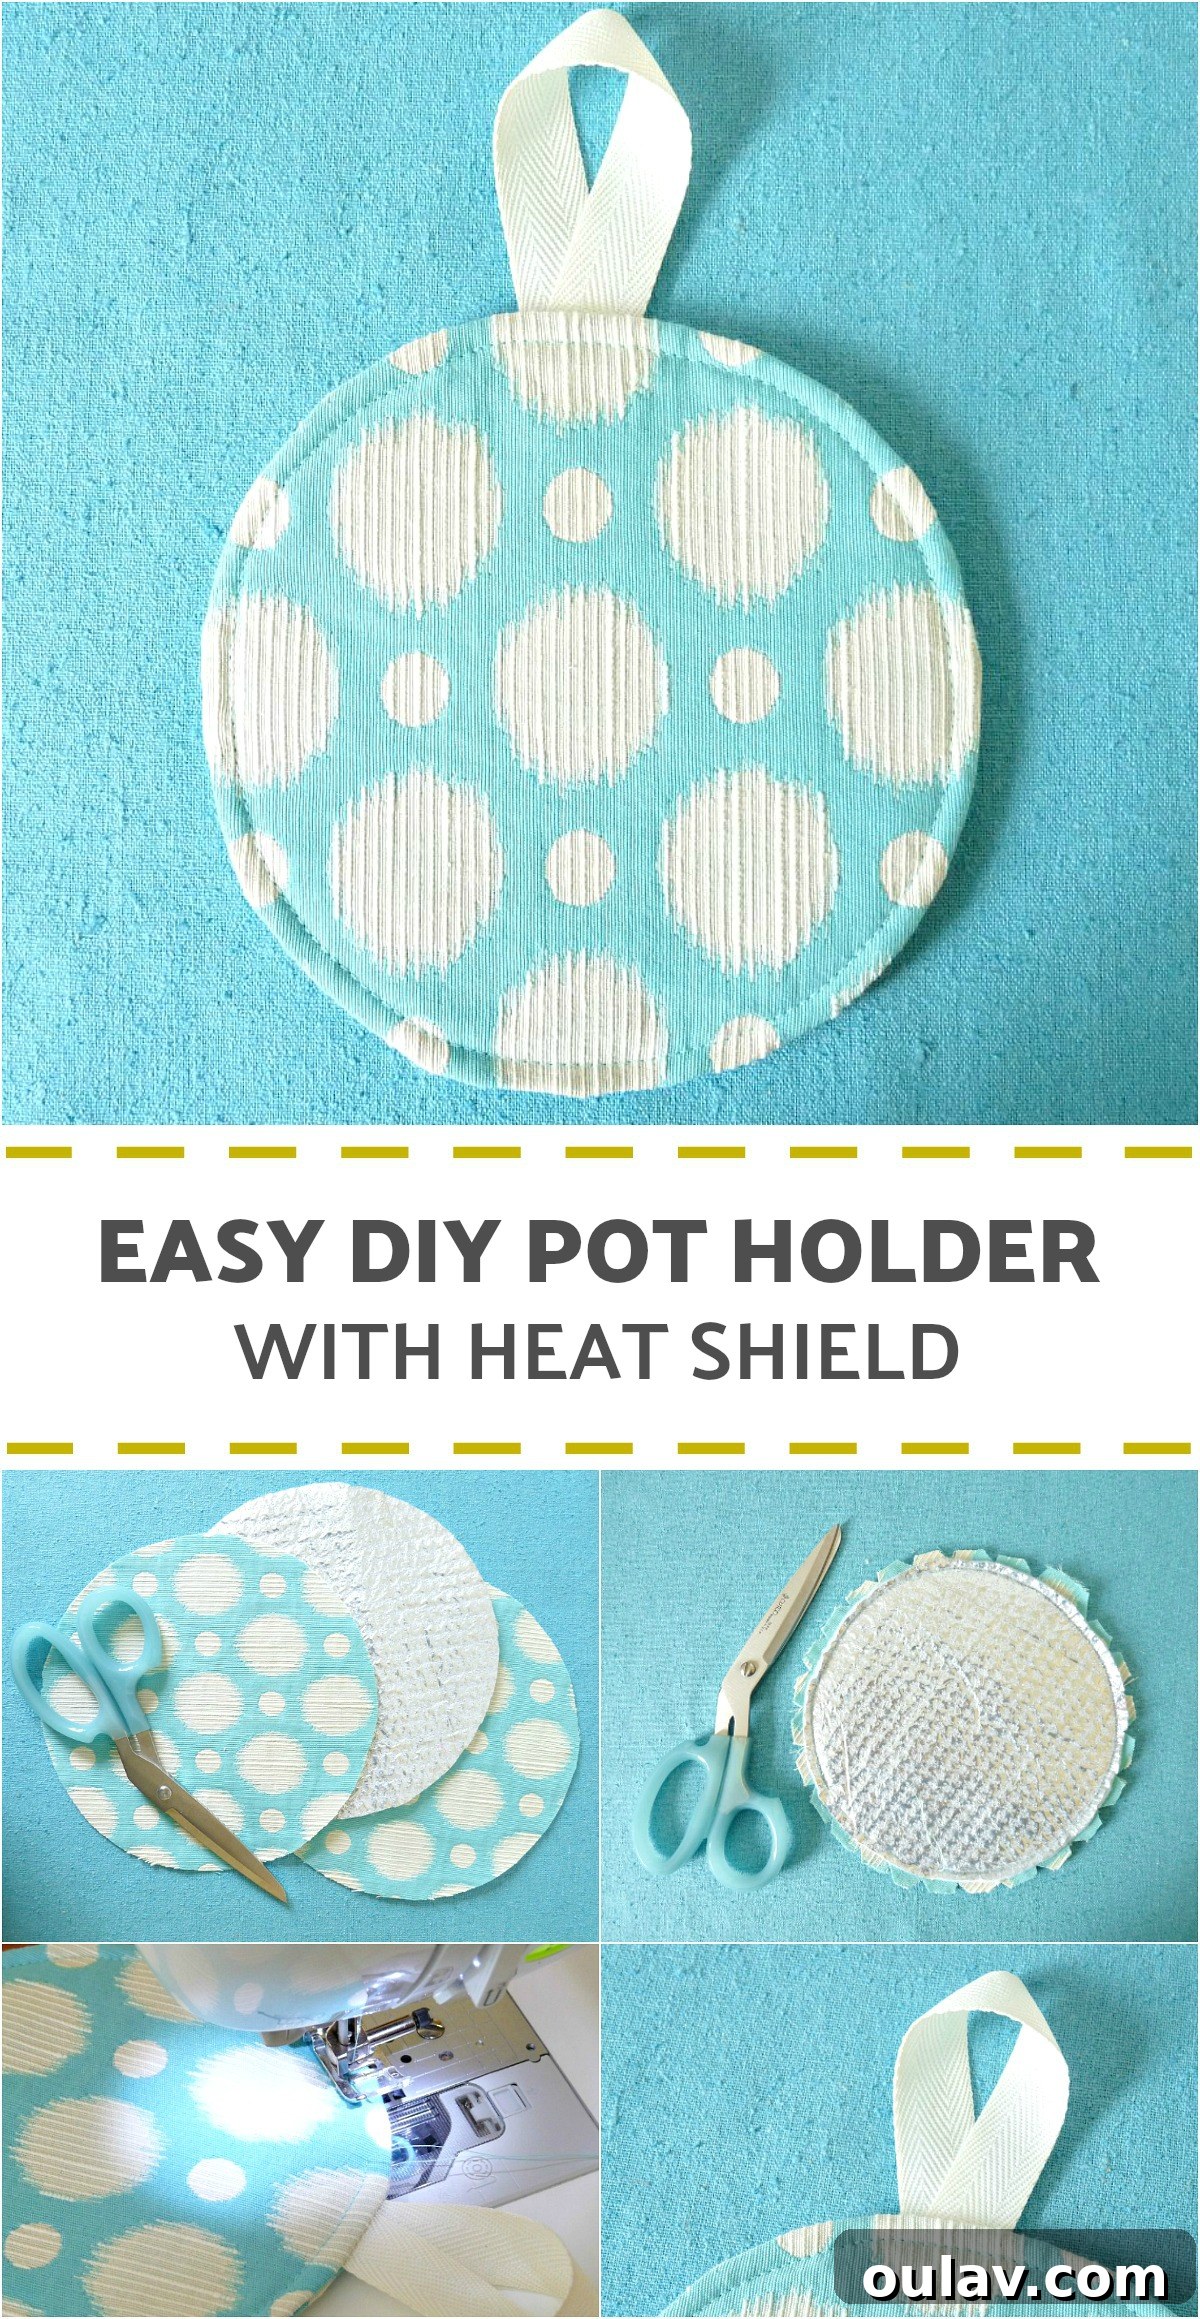
Welcome to a delightful and practical DIY project that will revolutionize your kitchen experience: crafting your very own pot holder with an integrated heat shield. If you’re tired of flimsy pot holders that barely protect your hands, or you simply love adding a personal touch to your home, this tutorial is for you. Today, we’re diving into the simple steps of making a round pot holder that’s not only adorable but also incredibly safe and effective, thanks to a special heat-reflective lining. Get ready to transform some fabric scraps into a kitchen essential that combines style, safety, and functionality.

The Inspiration: My Pyrex Flameware Journey and the Need for Superior Heat Protection
Every great DIY project often stems from a specific need, and for me, it began with a nostalgic trip down memory lane and a practical problem in my kitchen. For years, my mother and I shared a passion for collecting vintage Pyrex. While we often bonded over the vibrant colors and iconic patterns, there was one collection where our tastes diverged: Pyrex Flameware. These clear glass pots, double boilers, coffee makers, and tea kettles seemed rather unexciting to me at first glance. However, my Mom, ever the pragmatist, discovered their undeniable advantage on glass-top stoves – their perfectly flat bottoms ensured even heat distribution, a crucial factor for optimal cooking.
When I finally got my own glass-top stove after several moves and many years, I inherited some of her older, less-than-flat pots and pans. It didn’t take long for me to understand her appreciation for Flameware. The stability and efficient heating provided by those flat-bottomed glass vessels were a revelation. Suddenly, the “boring” clear glass became utterly appealing. This shift in kitchen dynamics highlighted a critical need: while the Flameware itself was incredible, its glass lids and handles could become intensely hot, necessitating a pot holder that offered exceptional thermal protection beyond what conventional ones typically provide.
(The beautiful historical photos below are from Pyrex: The Unauthorized Collector’s Guide, by Barbara Mauzy, offering a glimpse into the timeless appeal of this iconic brand.)


The Genius of Pyrex Flameware: A Personal Favorite
Among my growing collection of vintage Pyrex Flameware, the tea pot/kettle stands out as a true stroke of genius. It’s a marvel of design and efficiency. Imagine being able to boil water and steep your tea all in one elegant vessel – it’s a game-changer, especially for those with compact kitchens like mine. This single piece of cookware eliminated the need for a separate kettle and teapot, streamlining my kitchen counter and simplifying my daily tea ritual. Its clear glass allows you to watch your tea steep to perfection, and the ability to gently reheat tea directly on the stove is a huge plus, particularly for those of us who prefer to avoid microwaves.


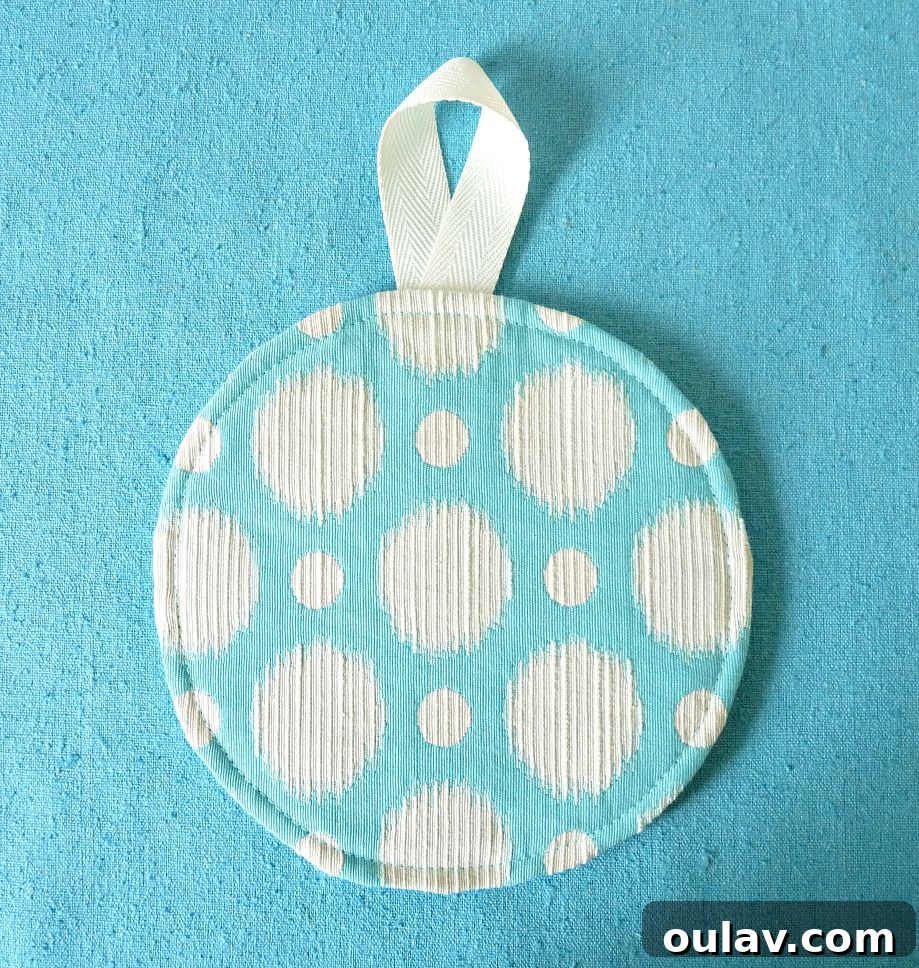
However, this beloved teapot presented a minor challenge: its glass lid gets incredibly hot. While traditional pot holders might offer some protection, I wanted something that provided superior heat resistance and, let’s be honest, matched my kitchen’s aesthetic. My mom and I decided to tackle this dilemma by creating a custom aqua pot holder with a specialized heat shield. We used leftover fabric from our polka dot laundry room curtains, ensuring a cohesive and charming look throughout my home.

Why a Heat Shield? Understanding the Power of Poly-Therm Fleece
Before we dive into the “how-to,” let’s talk about the “why.” What makes this pot holder truly special is the inclusion of heat shield fabric, often referred to as heat reflective fabric or poly-therm fleece. Unlike conventional cotton batting or felt, this innovative material is designed to reflect heat, preventing it from transferring through to your hands. It typically features a metallic, often silver, surface that acts as a thermal barrier, capable of withstanding much higher temperatures. This makes it ideal for handling incredibly hot items like cast iron skillets, glass lids from boiling pots, or baking dishes straight out of a scorching oven.
Using a heat shield fabric significantly enhances the safety and effectiveness of your pot holder, providing peace of mind when dealing with extreme heat. It’s a crucial upgrade for any kitchen enthusiast who values both protection and durability in their kitchen textiles. When choosing your heat shield fabric, ensure it’s specifically designed for high-heat applications and follow the manufacturer’s recommendations for heat resistance. This small addition makes a monumental difference in performance.
Supplies for Your DIY Heat Shield Pot Holder
Gathering the right materials is the first step to a successful and enjoyable sewing project. Here’s everything you’ll need to create your own effective and stylish pot holder:
- Cotton Fabric: Choose two coordinating 100% cotton fabrics for the outer layers. Cotton is essential because synthetic fabrics can melt under high heat. A fun pattern like polka dots (like this one) can add a cheerful touch to your kitchen.
- Matching Thread: High-quality polyester thread will ensure durable seams.
- Sewing Machine: A basic sewing machine is all you need for this project.
- Ribbon or Twill Tape for Loop: A 5-6 inch piece of durable ribbon or twill tape (1/2 to 1 inch wide) will create a convenient hanging loop.
- Heat Shield Fabric: This is the star of the show! Look for “heat reflective fabric” or “poly-therm fleece” (like this specific type). Ensure it’s suitable for pot holders and has good heat-resistant properties.
- Fabric Scissors: Sharp scissors are crucial for clean, precise cuts.
- Paper for Circle Template: Graph paper works well for precision, or any sturdy paper.
- Round Object to Trace: A dinner plate, a large bowl, or a pot lid can serve as an excellent guide for your circular template. Choose an object slightly larger than your desired finished pot holder size to account for seam allowances.
- Fabric Pins: Essential for holding your fabric layers securely in place.
- Iron and Ironing Board: For pressing seams and achieving a professional finish.
How to Make Your DIY Pot Holder with Heat Shield: A Step-by-Step Guide
Creating your own pot holder is a rewarding and relatively quick sewing project. Follow these detailed steps to craft a durable, heat-resistant pot holder that will serve you well for years to come.
Step 1: Create Your Circular Template
First, we need to create a perfect circle template for our pot holder. Select a round object, such as a dinner plate, that is slightly larger than the finished size you envision for your pot holder. This extra size will account for seam allowances. Place your chosen object onto a piece of graph paper (or any sturdy paper) and carefully trace around it to create a precise circle. This paper circle will be your cutting guide.


Step 2: Cut Your Fabric Circles
Carefully pin your paper template onto your chosen fabrics. You will need to cut three circular pieces: two from your 100% cotton outer fabric (e.g., the polka dot fabric) and one from the heat shield fabric. Ensure your cuts are clean and precise for the best results. If your cotton fabric has a distinct “right” and “wrong” side, keep this in mind for the next step.

Step 3: Prepare the Hanging Loop
Take your ribbon or twill tape and cut a piece approximately 5 to 6 inches long. This will form the convenient loop for hanging your finished pot holder. Fold it in half to create a loop, ensuring the raw ends meet.

Step 4: Layer the Fabrics and Pin Together
Now it’s time to assemble your pot holder “sandwich.” Lay one piece of your cotton outer fabric flat, with the “right side” (the side you want to be visible) facing up. Place the heat shield fabric on top of this first cotton layer. Finally, place the second piece of cotton outer fabric on top of the heat shield, with its “right side” facing down. This means the two “right” sides of your cotton fabric should be facing each other, with the heat shield sandwiched in between. Carefully pin all three layers together around the circumference, ensuring they are perfectly aligned. This layering technique, with right sides together, will ensure a clean finish once the pot holder is turned inside out.

Step 5: Insert the Loop and Sew
Before you start sewing, take your folded loop and tuck its raw ends between the two cotton fabric circles, roughly 1/2 inch from the edge. Make sure the loop itself is facing inwards, towards the center of the pot holder, so it won’t be caught in your stitches as you sew the main seam. Pin it securely in place. Using your sewing machine, stitch around the entire circumference of the circle with a 1/2-inch seam allowance. Remember to leave a 2-3 inch opening along one edge – this unstitched section is crucial for turning your pot holder right side out later. Don’t forget to backstitch at the beginning and end of your seam to secure the stitches.

Step 6: Notch the Curves for a Smooth Finish
To ensure your pot holder has a beautifully smooth, round shape once turned, you need to “notch” the curved edges. With your fabric still wrong side out, use your scissors to cut small, triangular notches all around the seam allowance, being careful not to cut through your stitch line. These notches allow the fabric to spread out when turned, preventing puckering and creating a perfect curve. For inward curves, you would clip; for outward curves like this, you notch.

Step 7: Turn Right Side Out and Close the Opening
Carefully turn your pot holder right side out through the opening you left. Gently push out the curved edges with a blunt object (like a chopstick or the back of a pen) to achieve a perfectly round shape. Once turned, press the entire pot holder with an iron, ensuring the edges are crisp and the unstitched opening is neatly folded inwards. You can then close this opening using either a discreet hand-sewn ladder stitch (also known as a slip stitch) for an invisible finish or by topstitching very close to the edge of the pot holder with your sewing machine.

Step 8: Optional Topstitching for Durability and Style
For an even more professional look and added durability, consider topstitching around the entire circumference of your pot holder. This not only secures the raw edges of the opening if you opted for machine closure but also helps to flatten the pot holder and prevent the layers from shifting during use and washing. Stitch about 1/4 inch from the outer edge, creating a neat border. You could even add a simple quilting pattern across the center of the pot holder to further secure the heat shield layer and add visual interest.
Voila! Your Custom Heat Shield Pot Holder
And just like that, you’ve created a perfectly sized, highly functional pot holder designed to tackle even the hottest kitchen dilemmas. This isn’t just any pot holder; it’s a testament to practical craftsmanship, born from a specific need and elevated with superior heat protection. Now, you can confidently handle hot Pyrex Flameware lids, sizzling baking dishes, and any other scorching cookware, all while adding a charming, handmade touch to your kitchen decor.


Care and Customization Tips
To keep your new pot holder in top condition, wash it with similar colors on a gentle cycle and tumble dry on low. Avoid excessive heat in the dryer, especially for the heat shield fabric, to prolong its life. For customization, experiment with different fabric patterns, try a square or rectangular shape, or even add a decorative embroidery detail. You could make a set of these pot holders in varying sizes to match different pots and pans, or create smaller versions for use as coasters or trivets.
This project brings immense satisfaction, echoing the joy we found years ago when making adorable, child-sized pot holders and itty bitty tea towels for the play kitchen we built. There’s truly nothing like the pride of using something you’ve crafted with your own hands. Happy sewing, and enjoy your safer, more stylish kitchen!