This DIY mural project was created in collaboration with Rust-Oleum. All creative concepts, insights, and opinions expressed are entirely my own.
Transform Your Garage: A Stunning DIY Coastal Vibes Mural
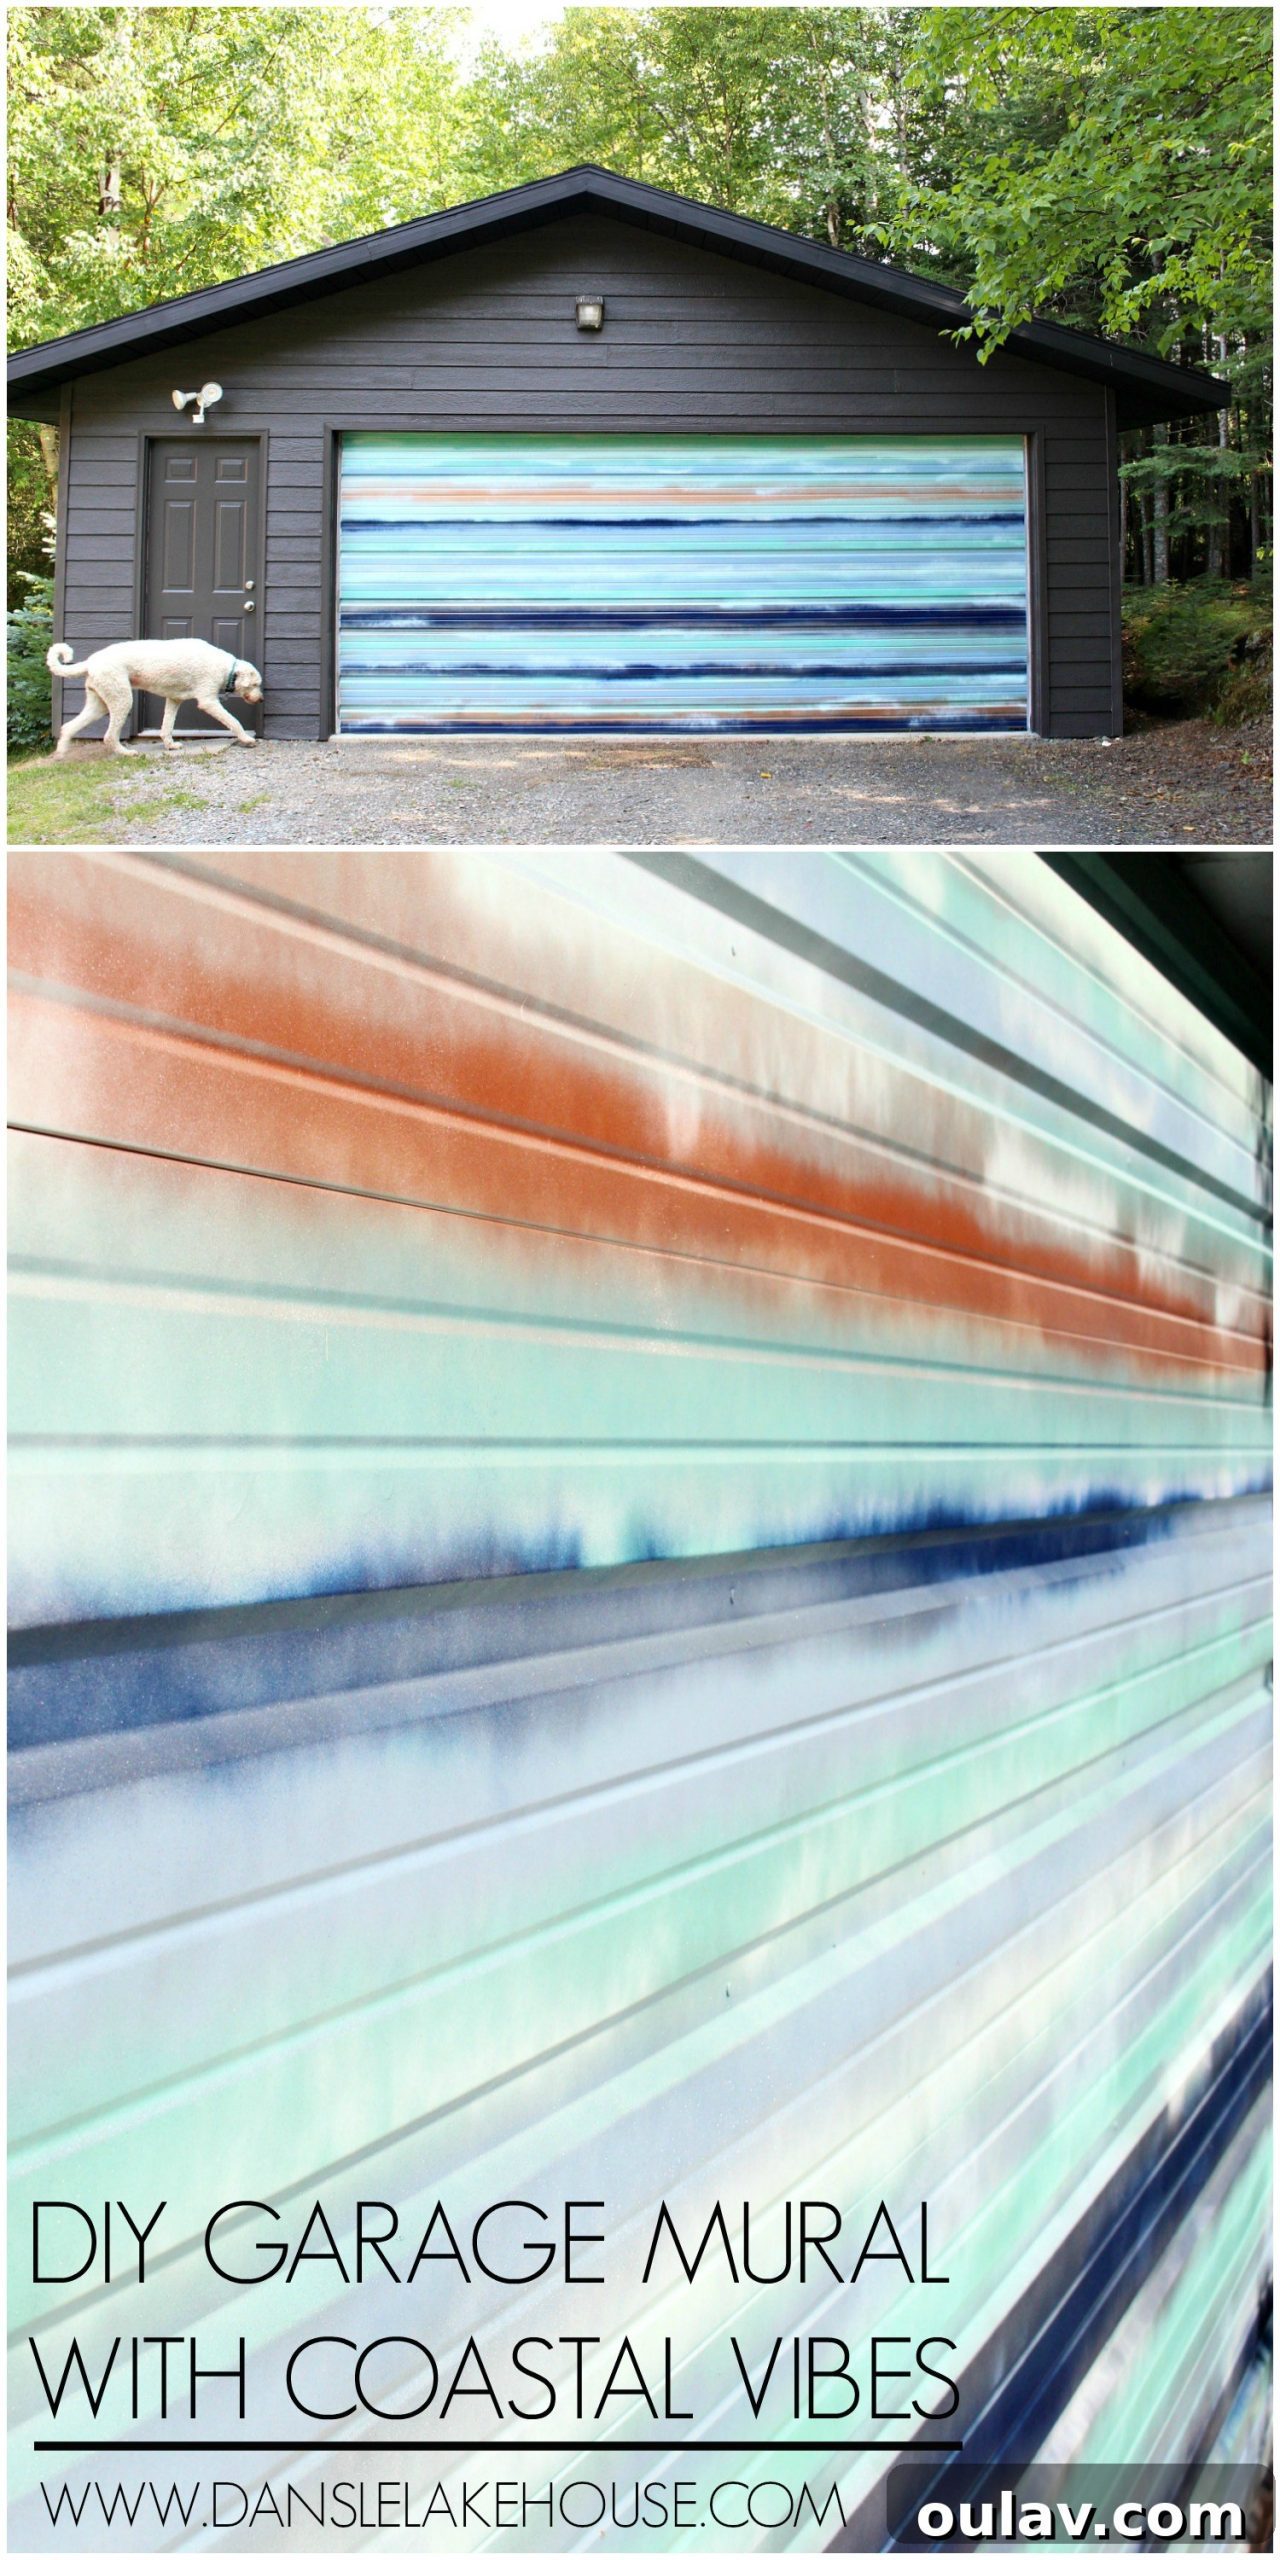
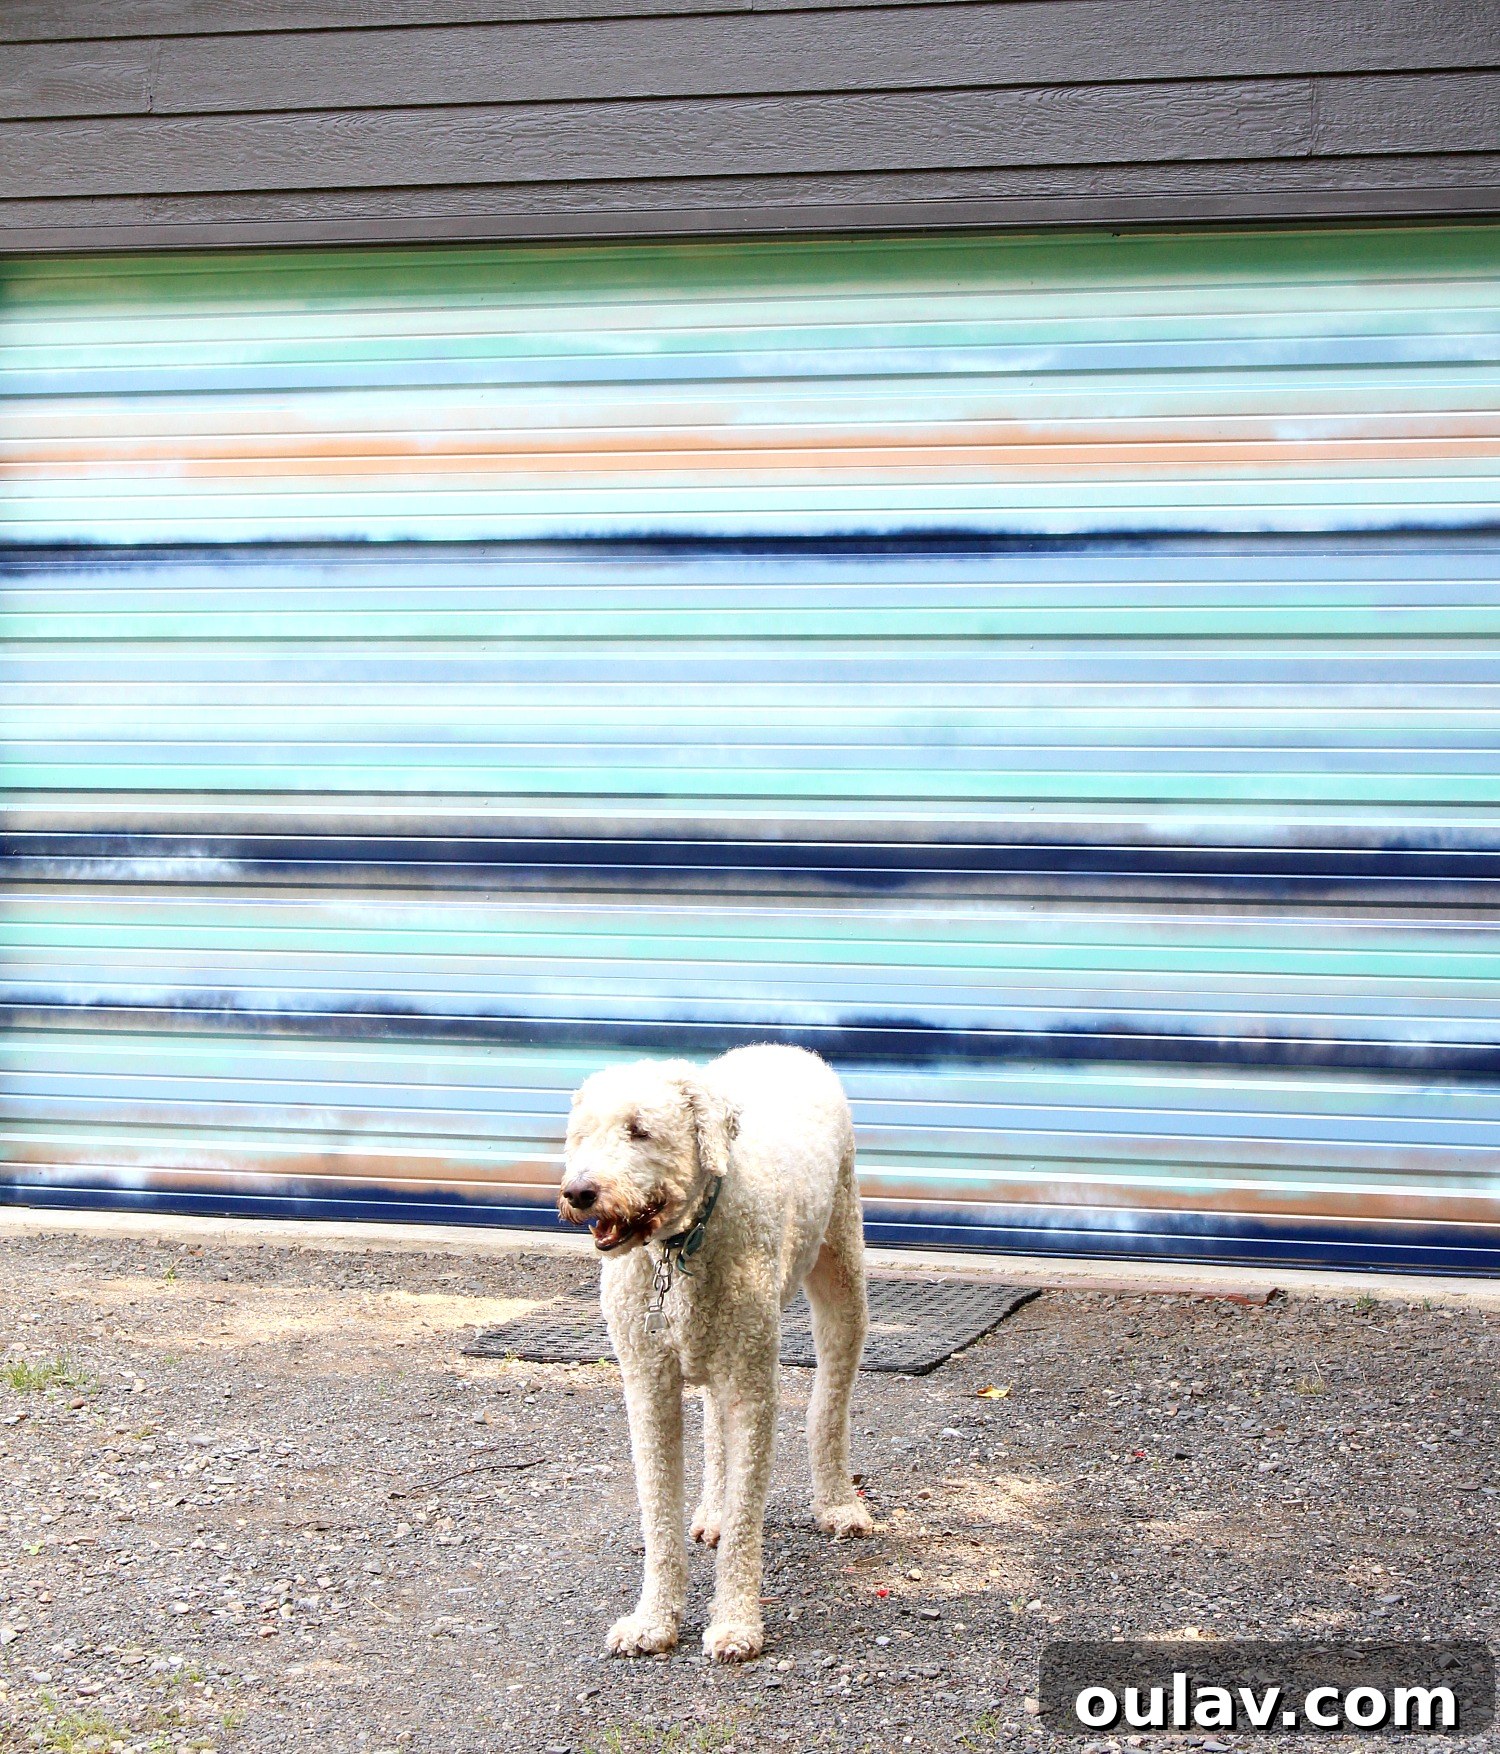
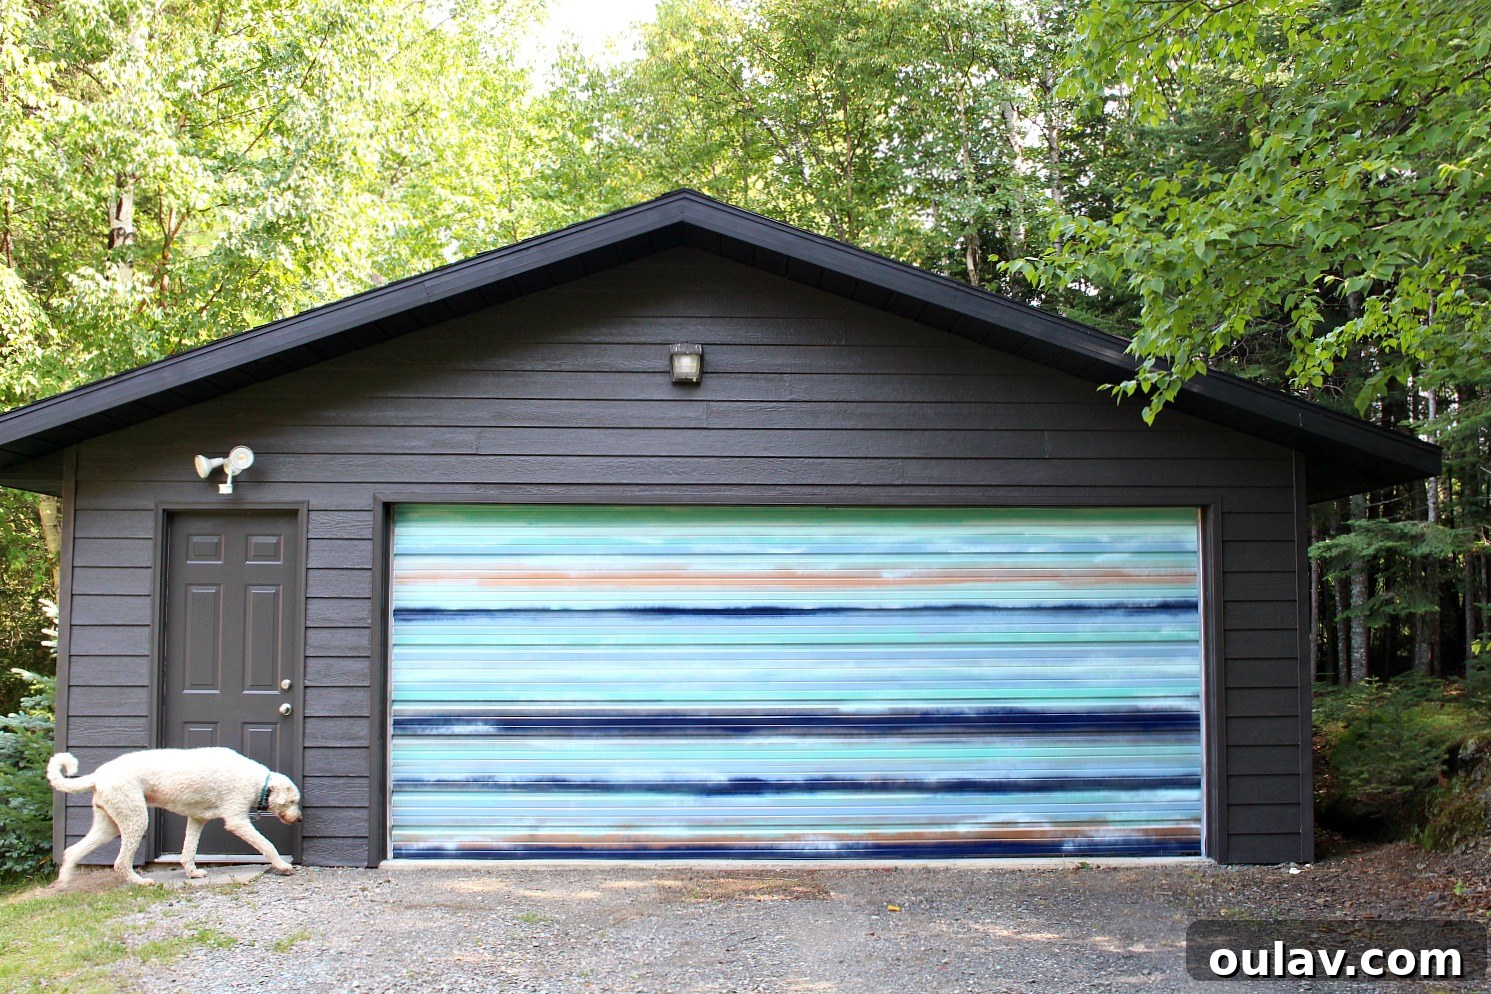
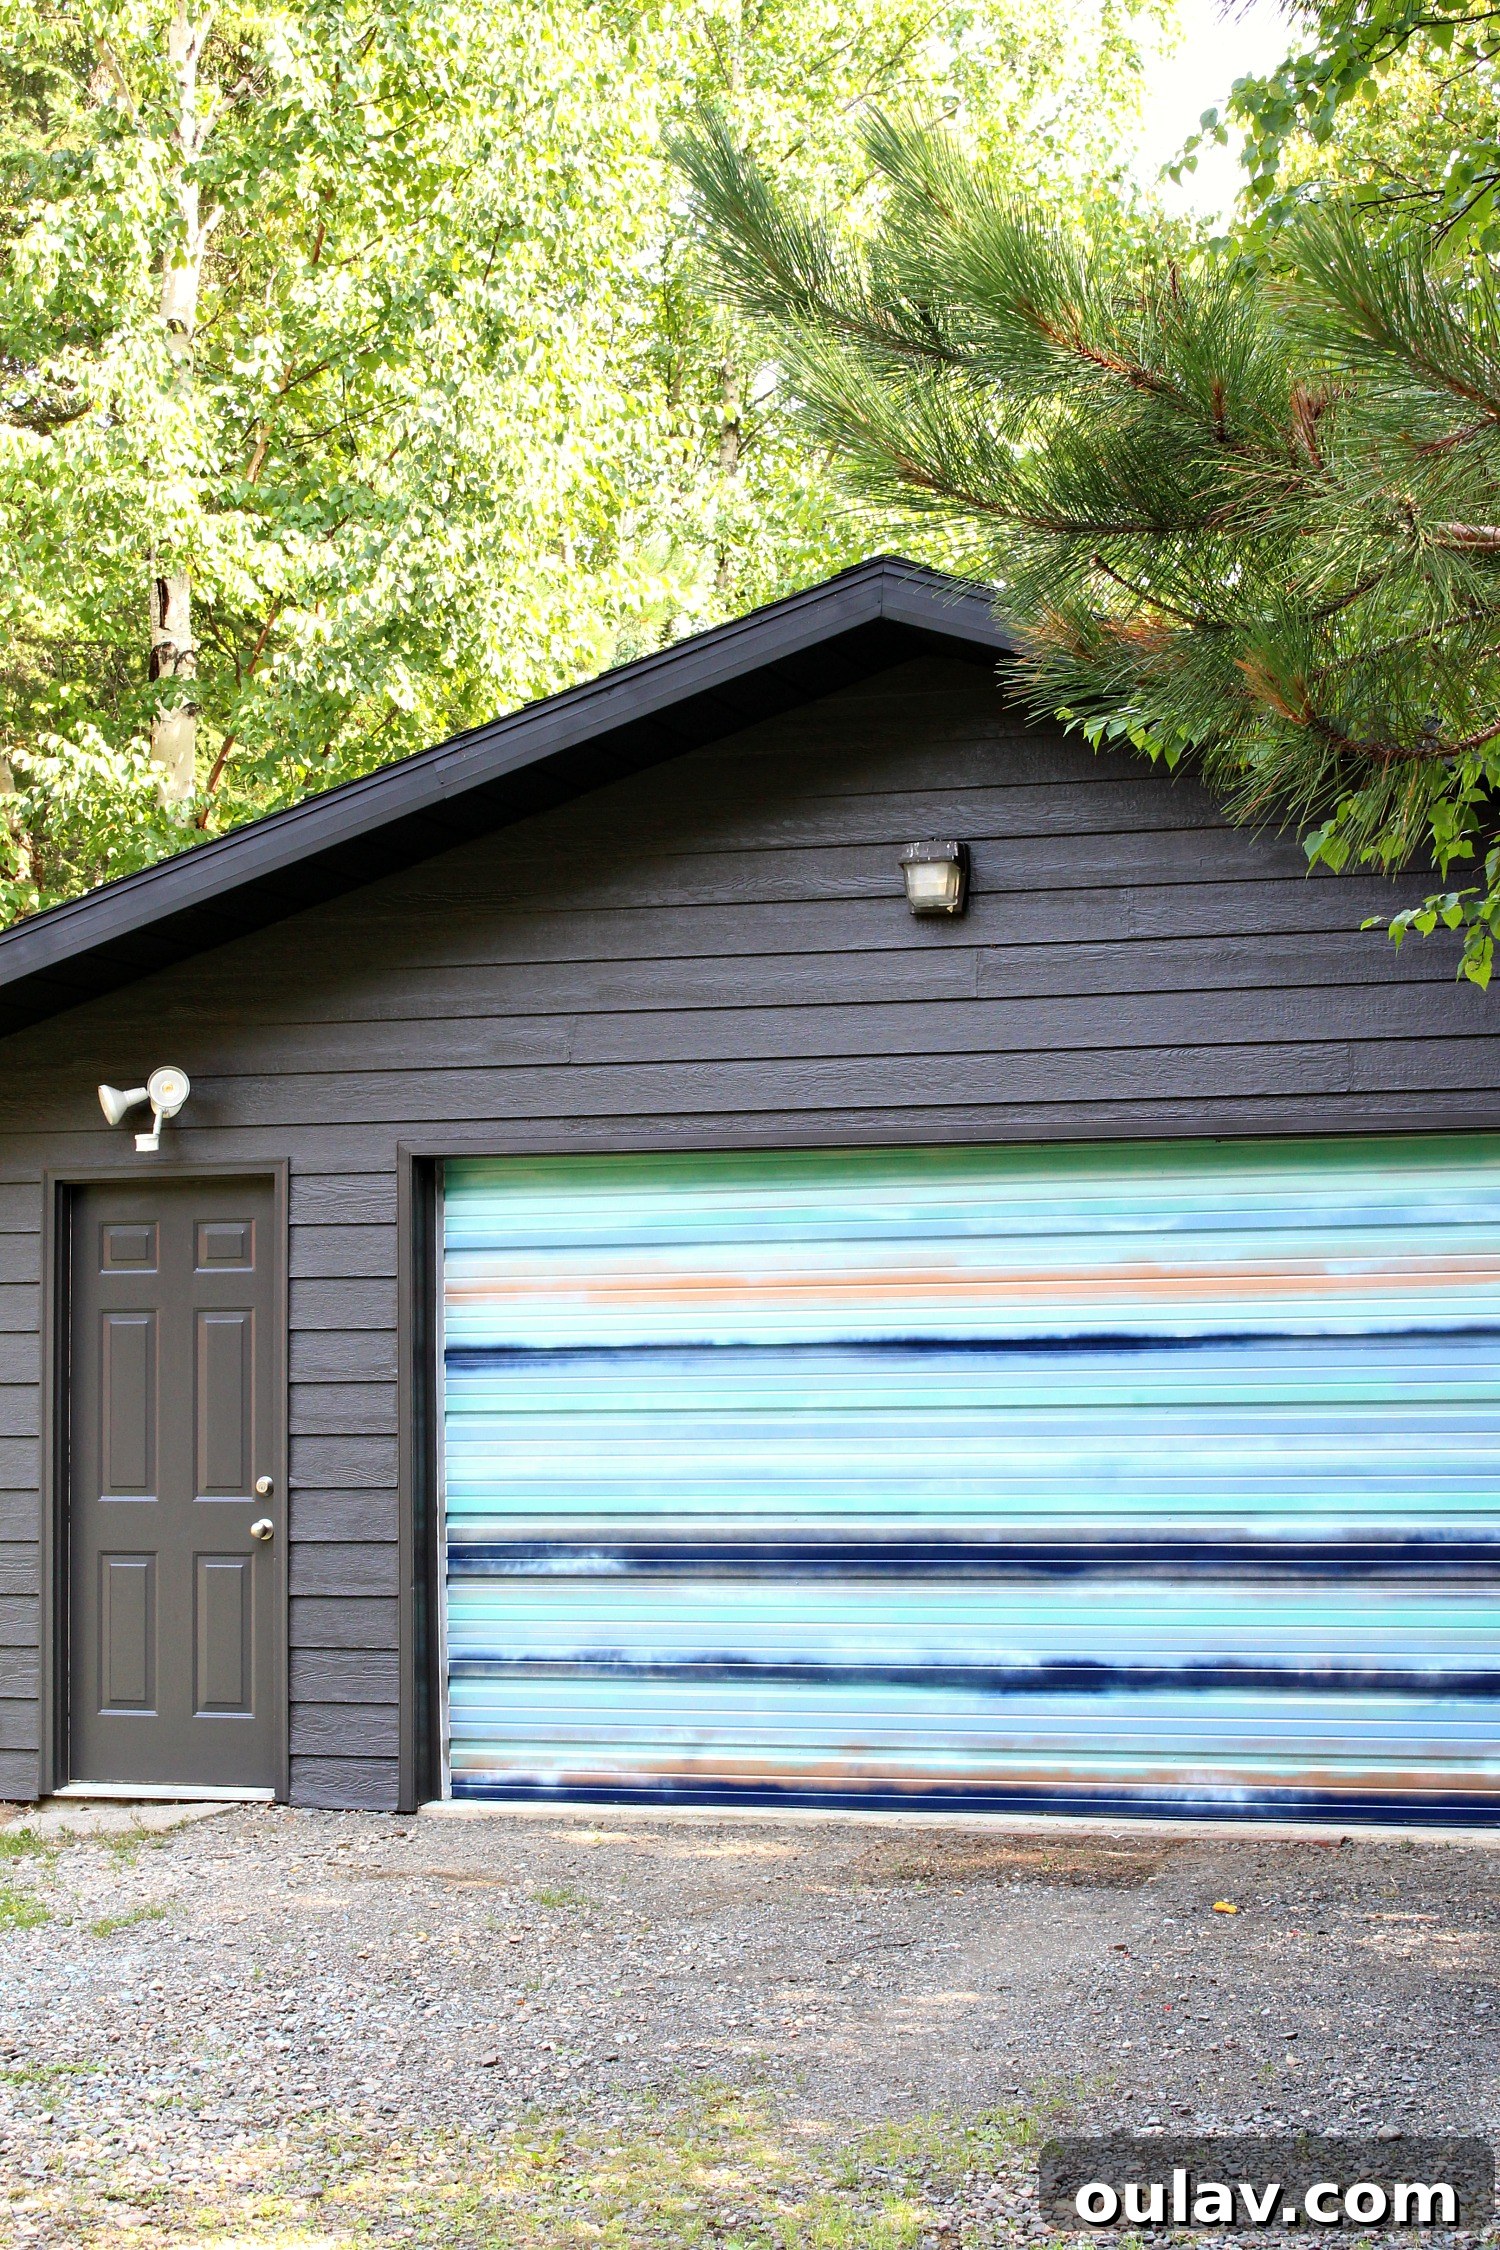
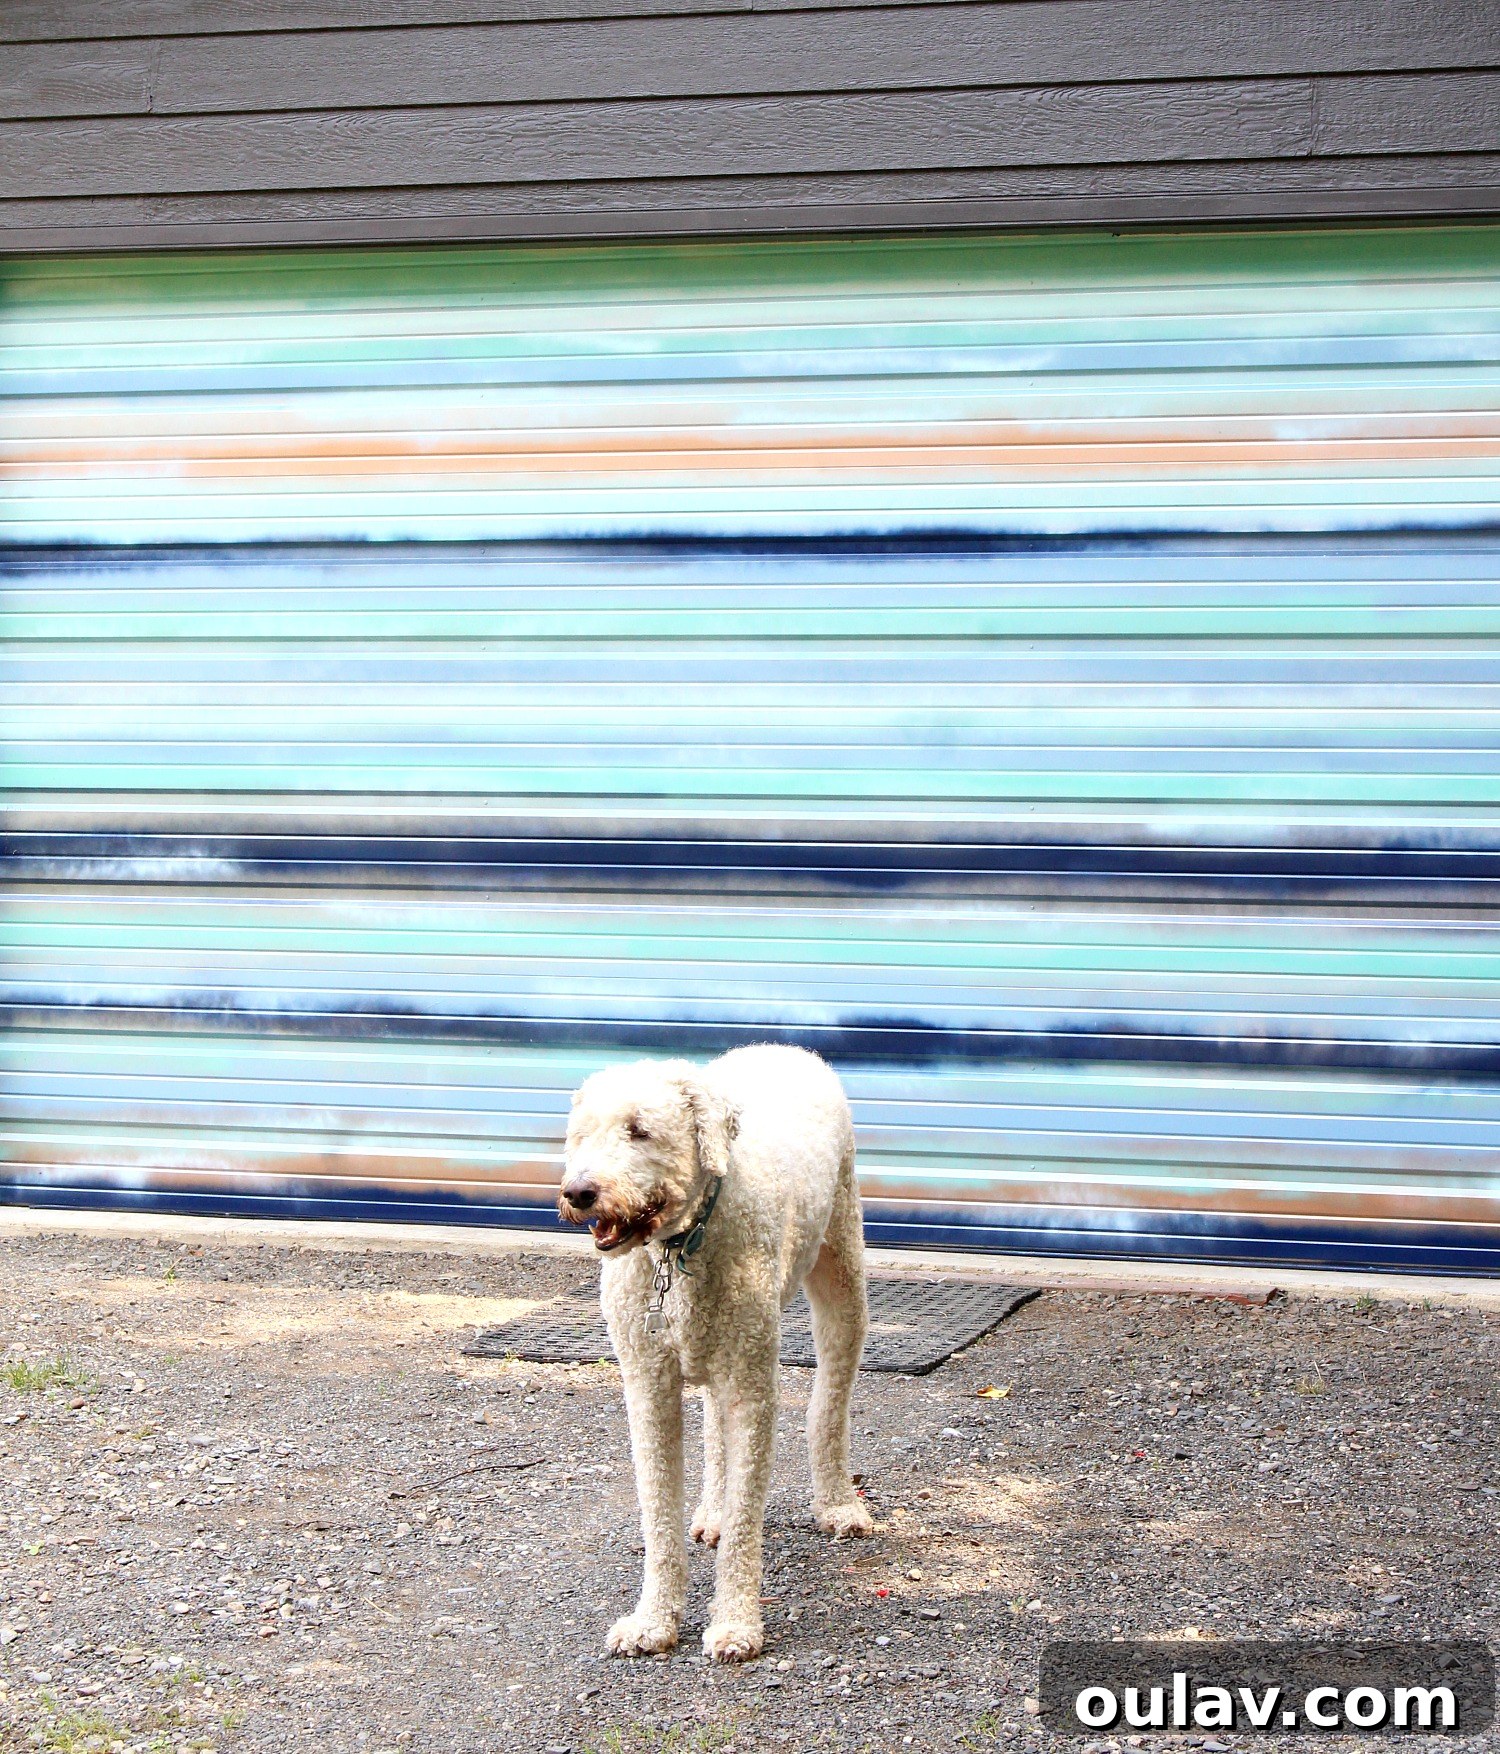
Following our recent home improvement venture where my partner and I painted our soffit and fascia a striking black, I’m thrilled to unveil an even more captivating transformation: the DIY mural I meticulously crafted on our garage door. This project has exceeded all my expectations, turning a mundane surface into a vibrant statement piece. While photos can only capture a fraction of its true beauty, I’ve done my best to showcase this shimmering, lake-inspired artwork in all its glory.
From Blank Canvas to Artistic Expression: The Genesis of the Coastal Mural
The idea of adorning our garage door with a mural had been percolating for quite some time, but settling on a specific design proved to be the longest part of the journey. Before any serious painting began, the garage door became my experimental canvas. I spent weeks trying out various shapes, colors, and even taped off sections to explore a more geometric aesthetic. Crafting a mural with spray paint presents a unique set of challenges, and it quickly became apparent that this medium required both precision and a willingness to embrace imperfection. Ultimately, my inspiration coalesced around a captivating wallpaper design, serving as a very loose but powerful muse for the final look.
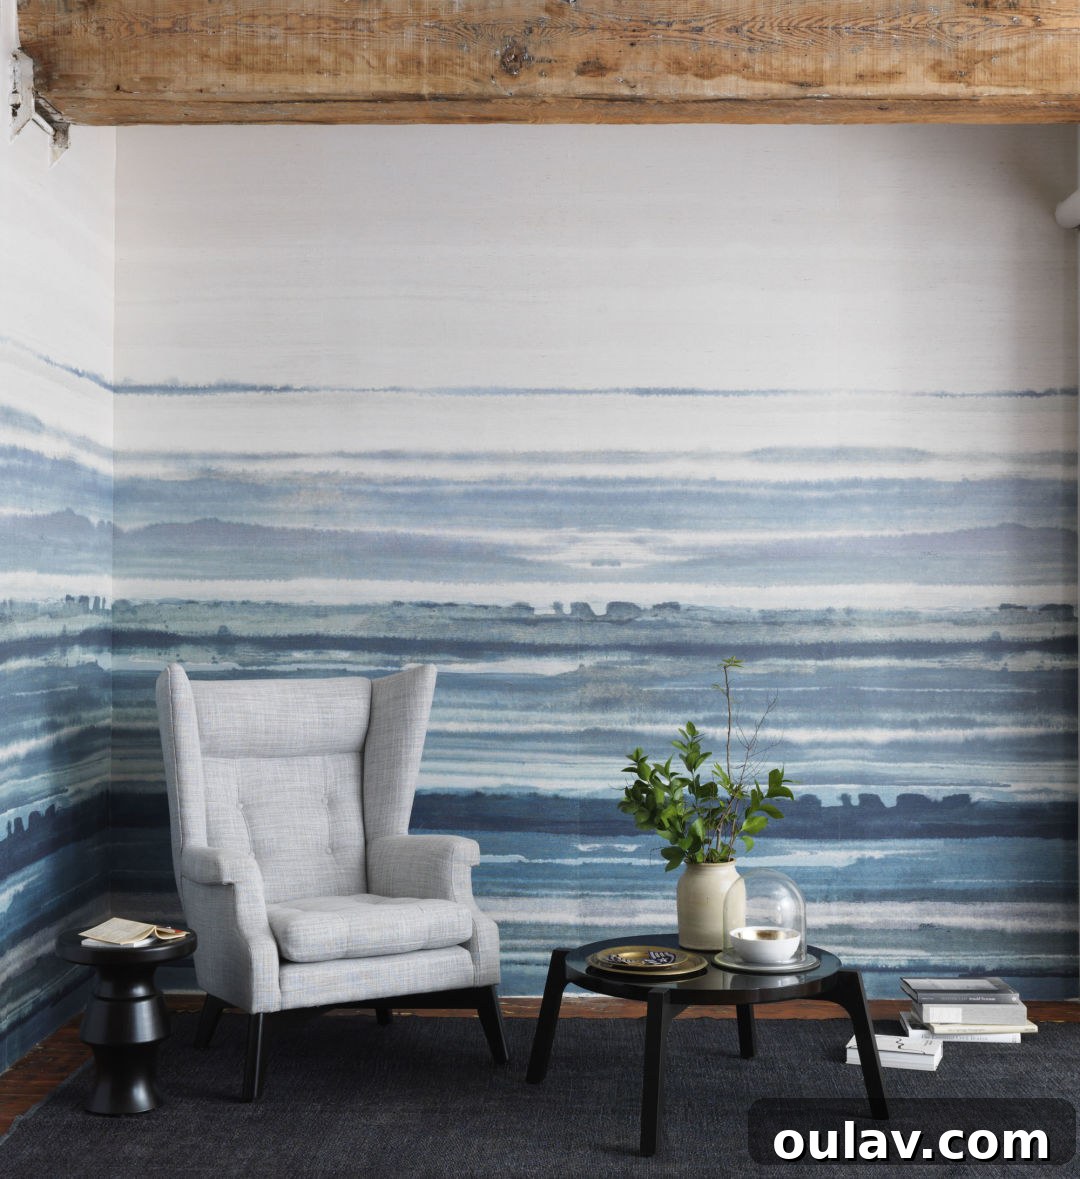
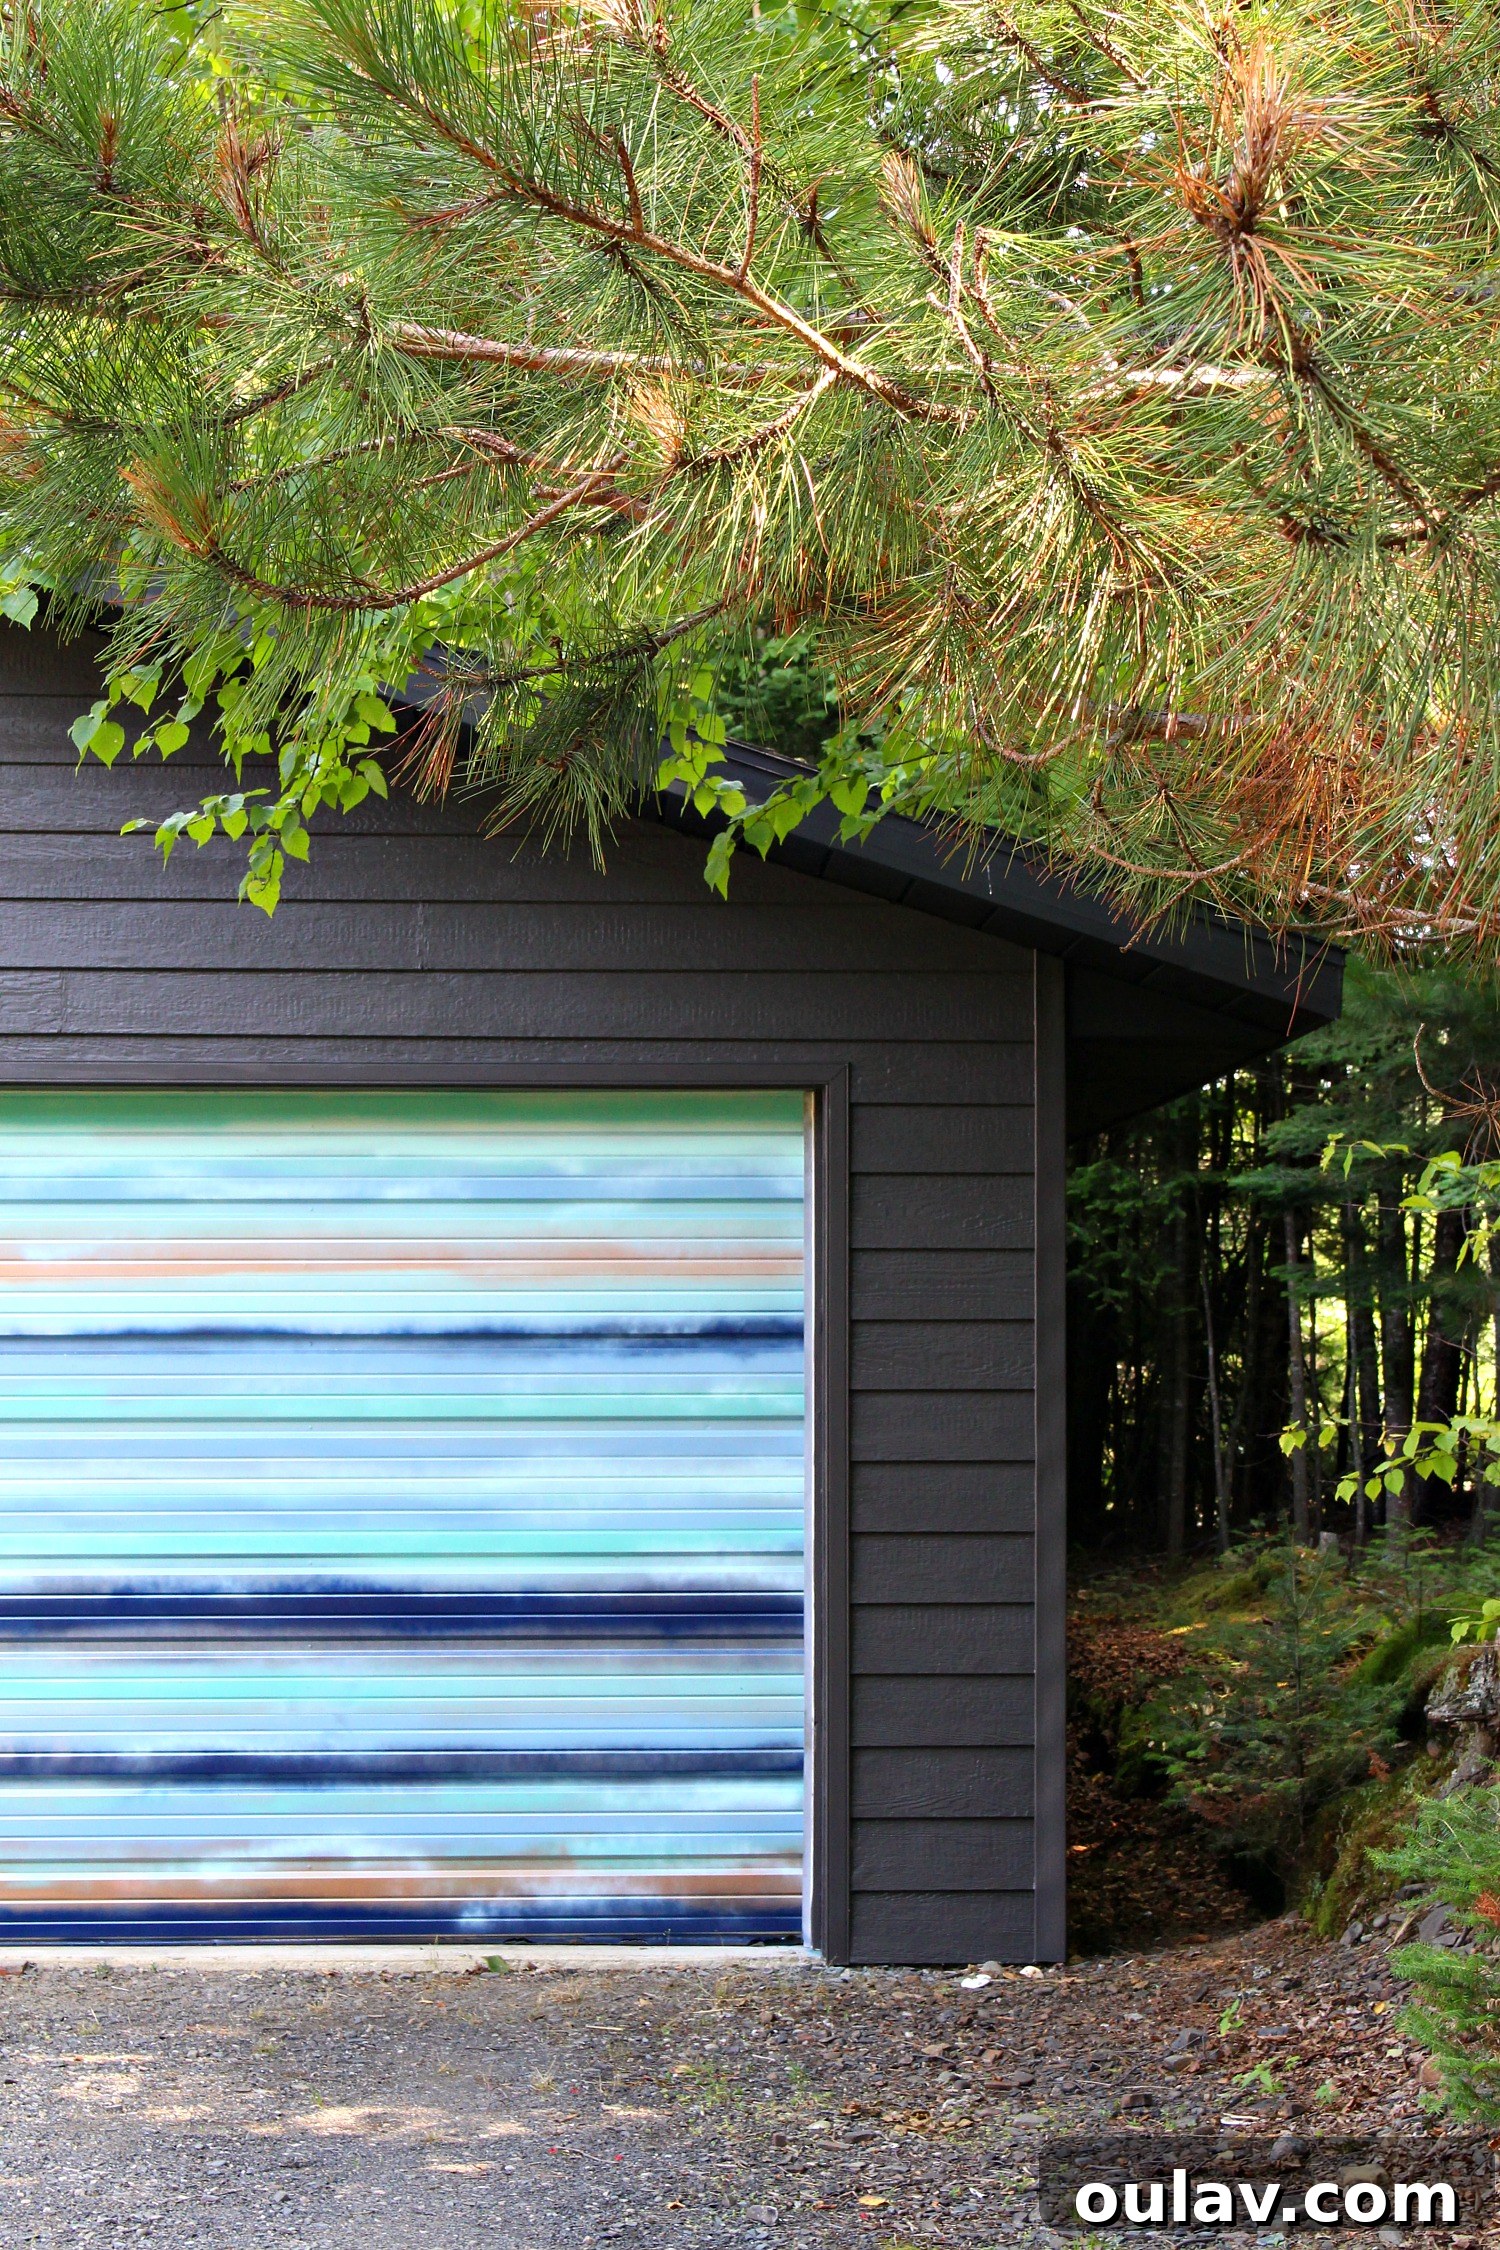
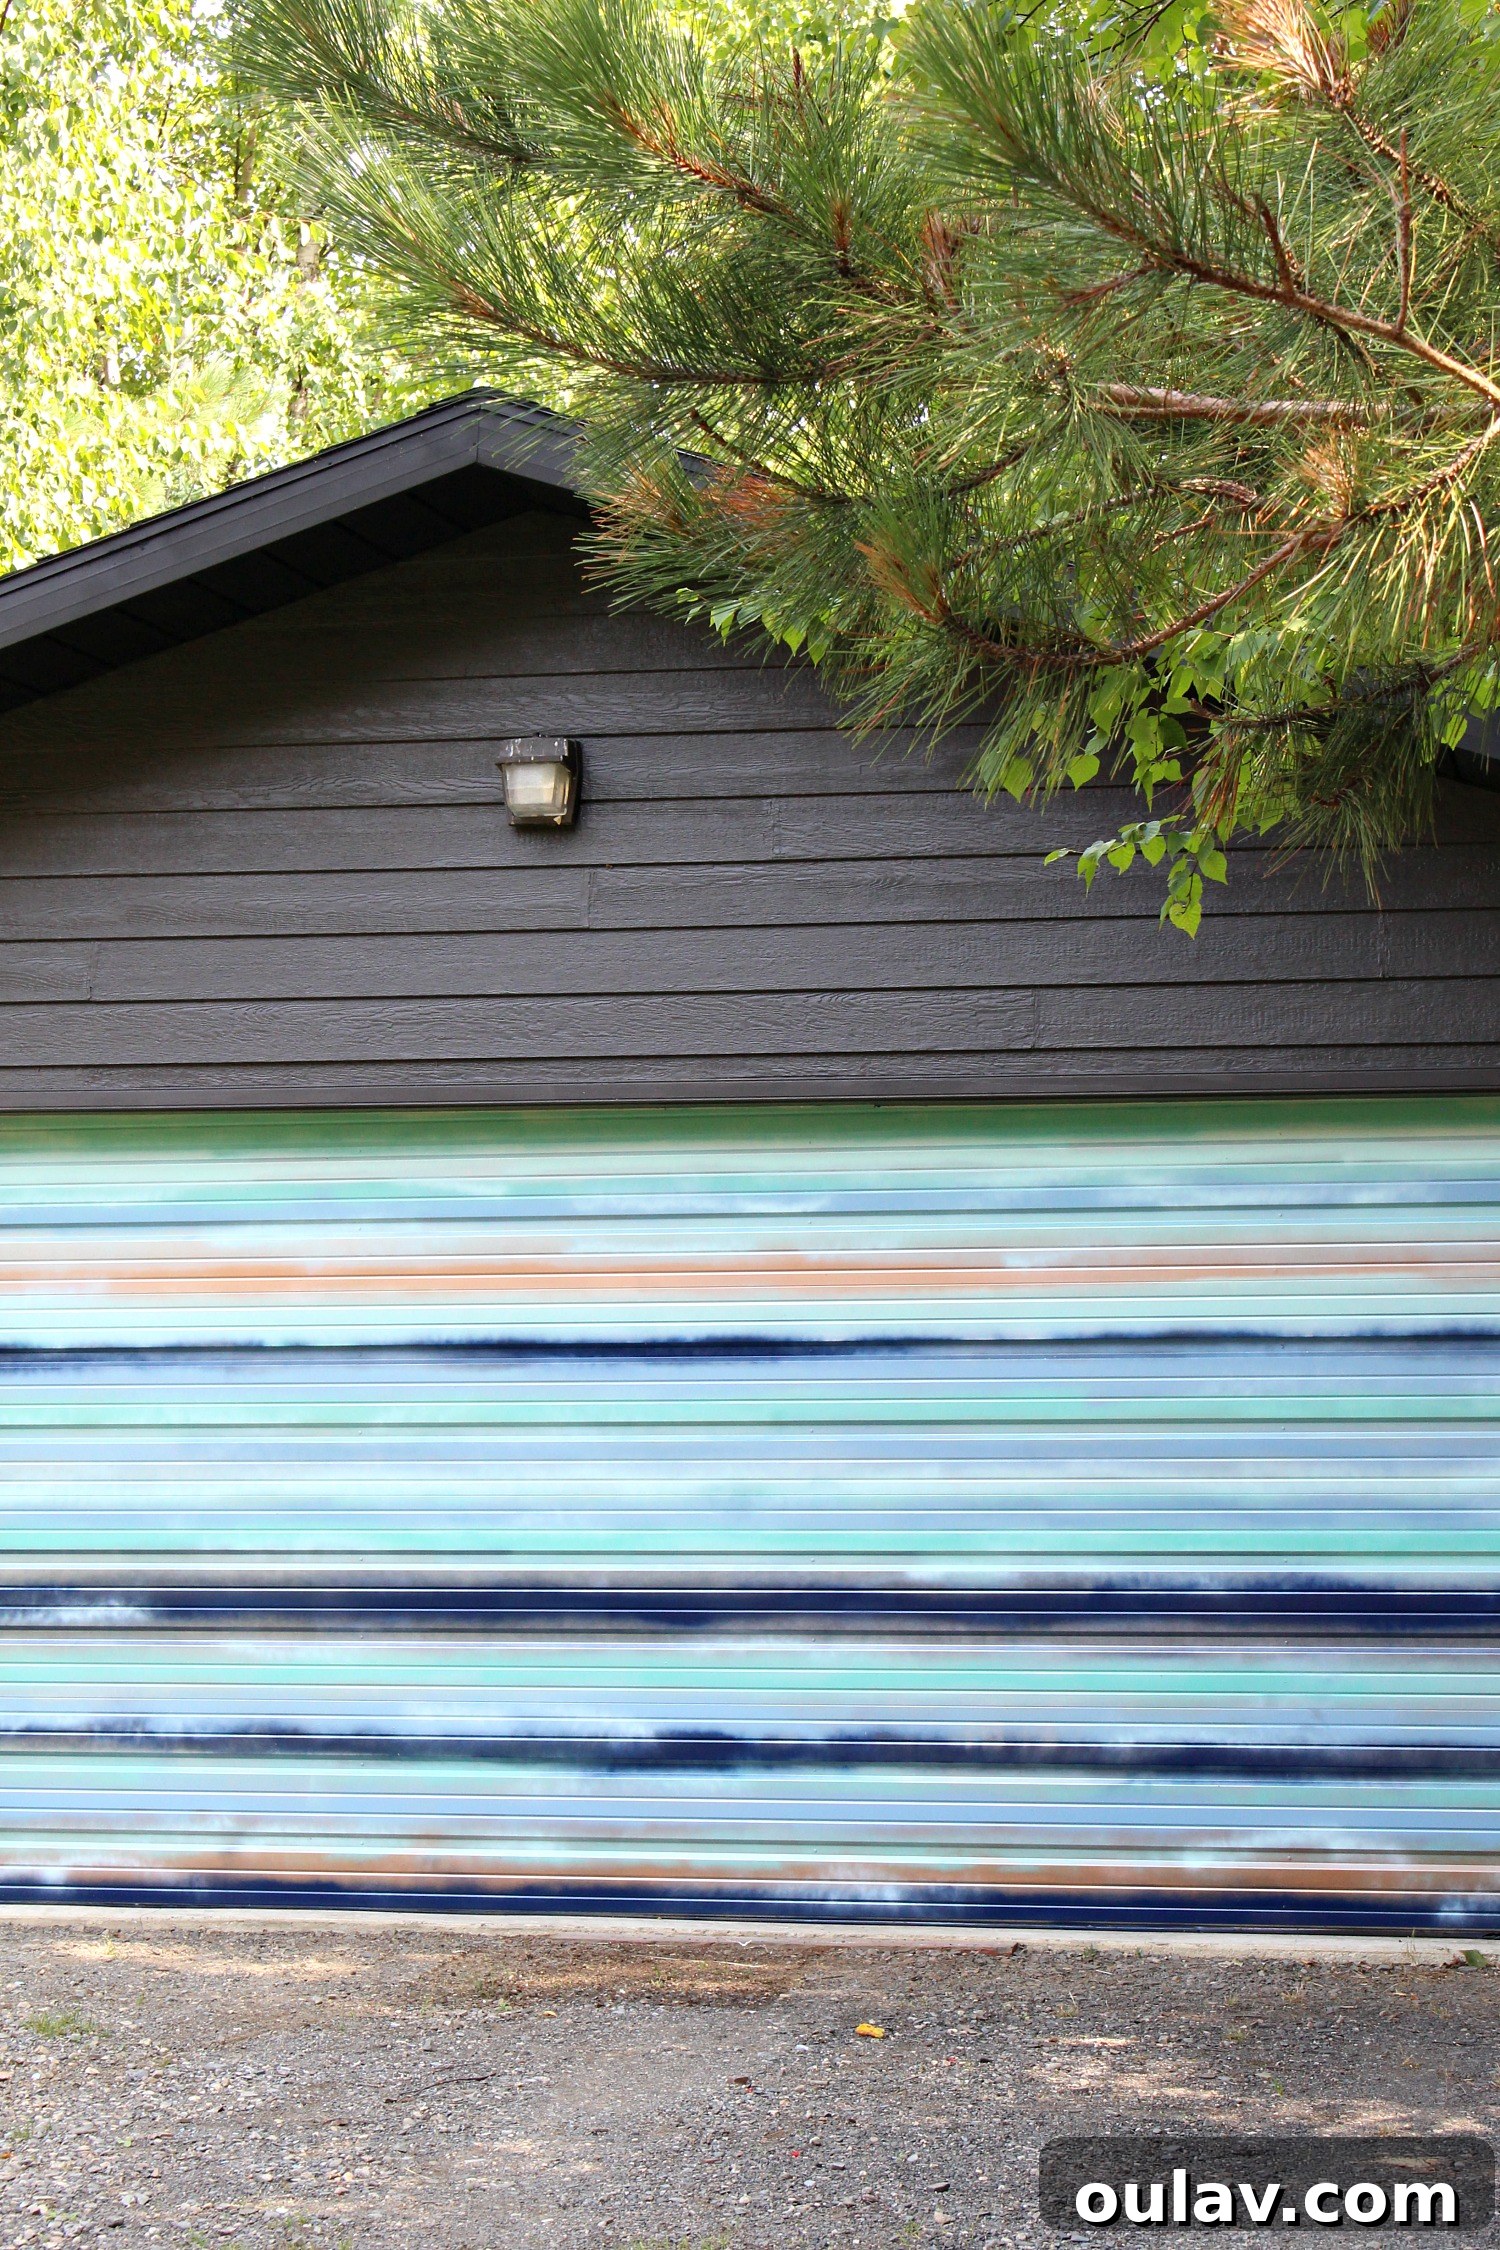
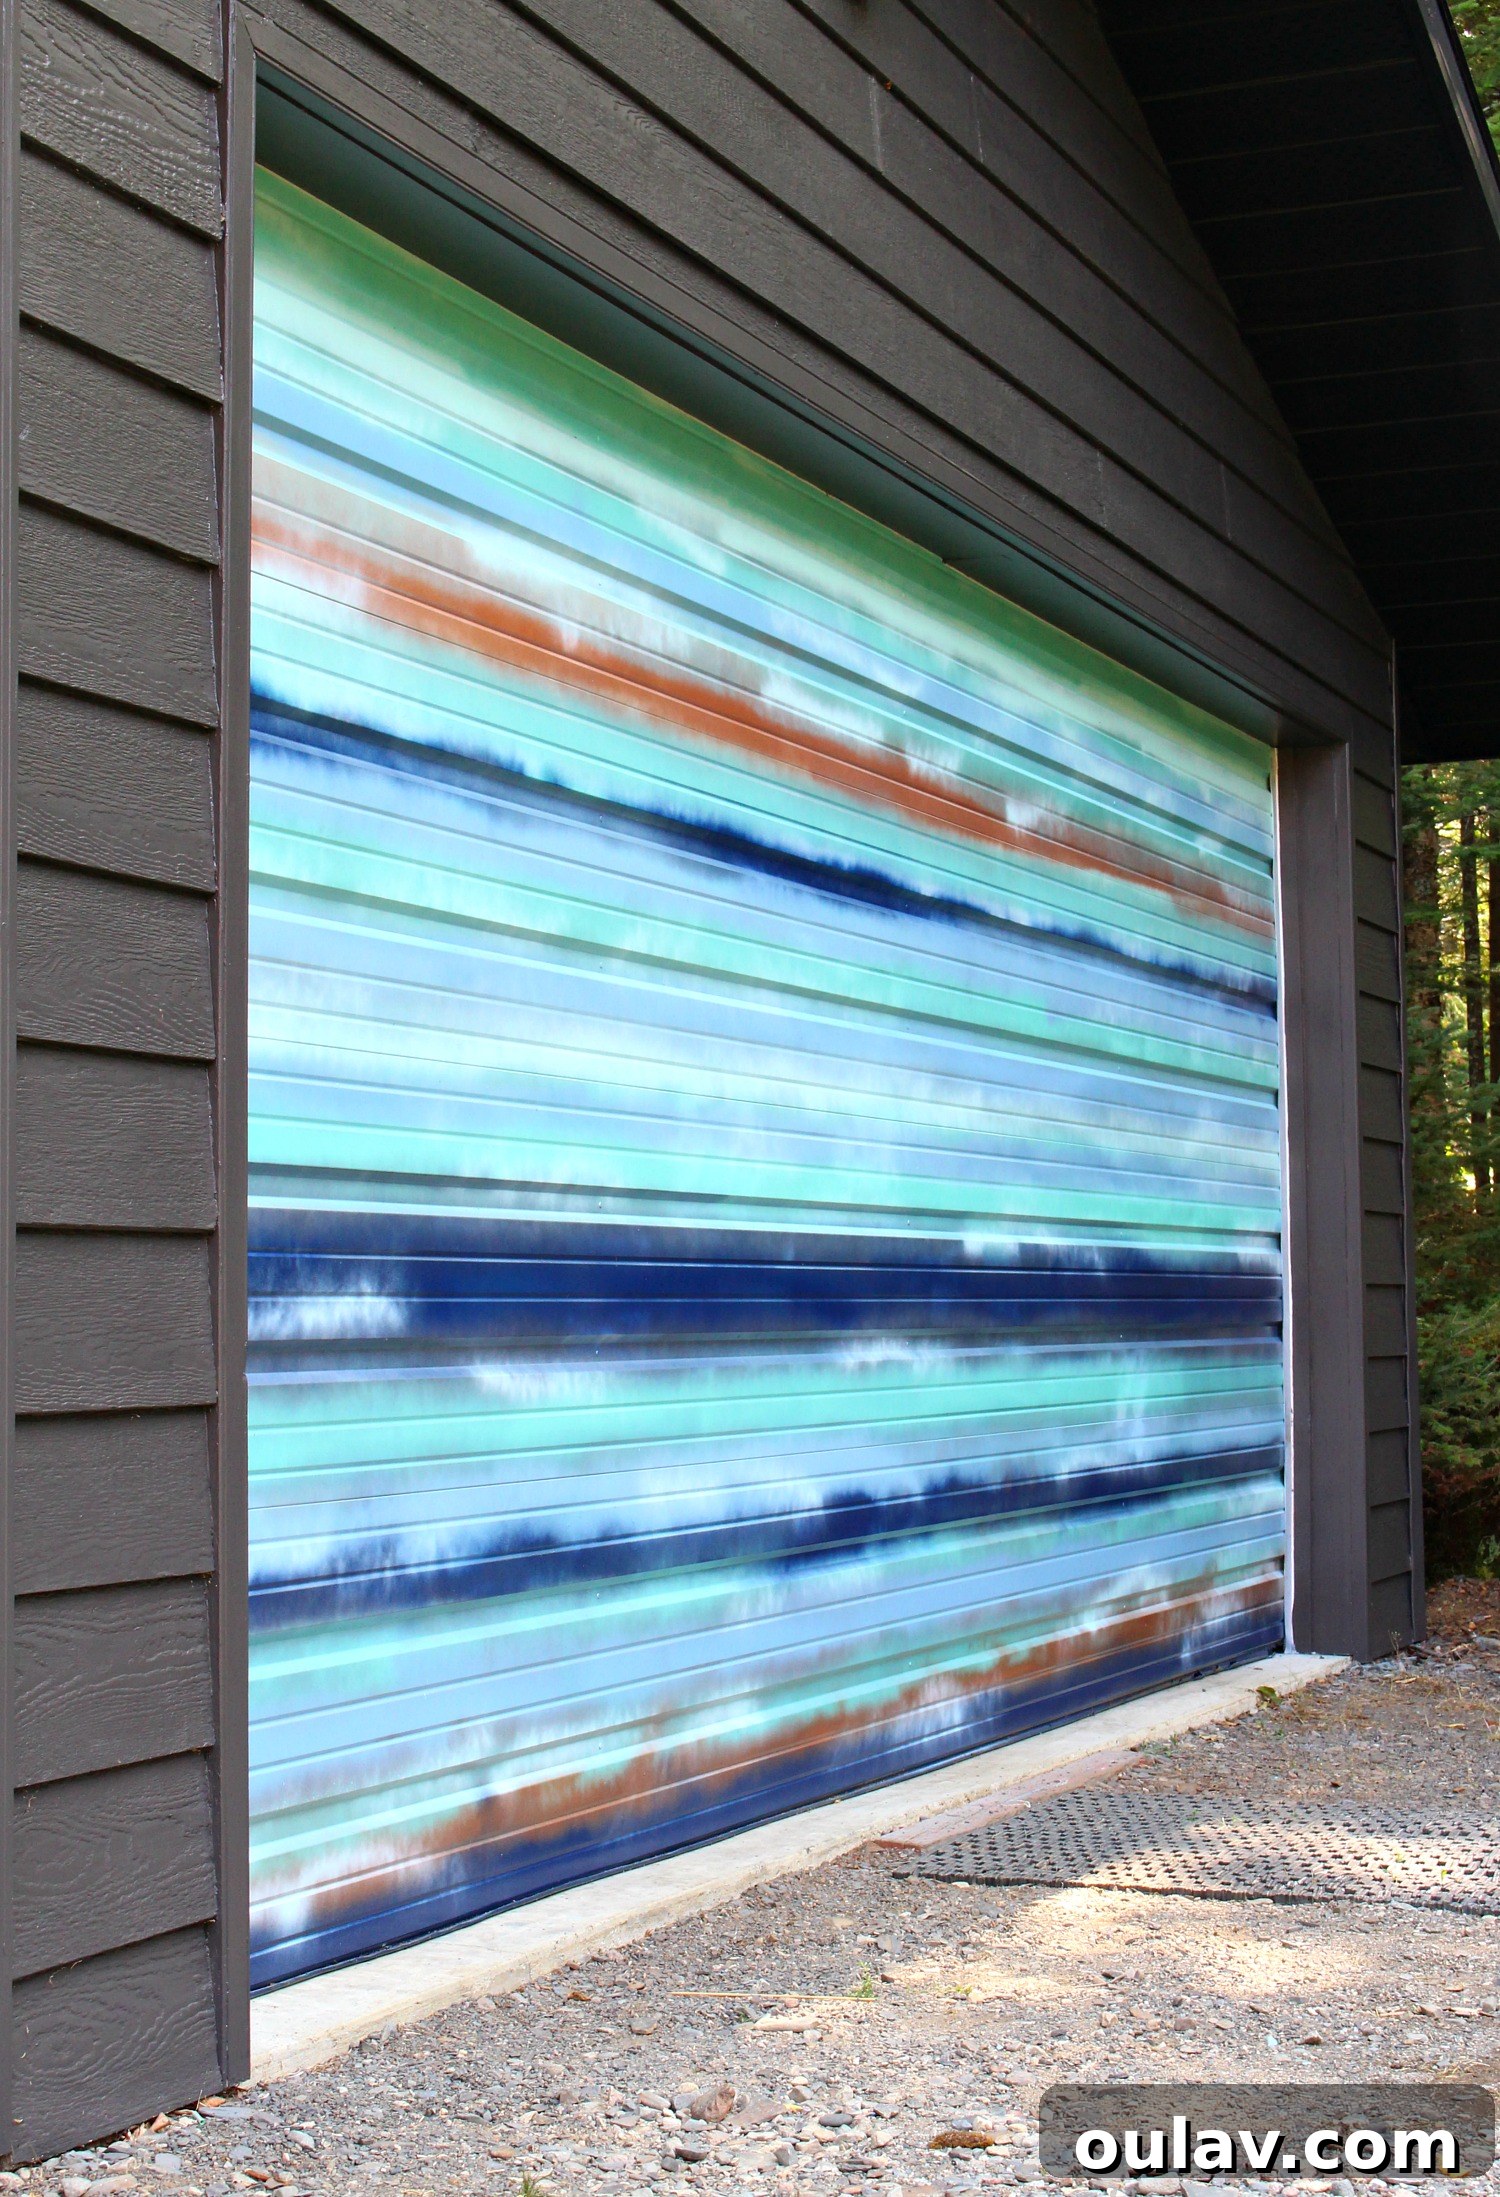
The design principles guiding my DIY mural were both practical and deeply aesthetic. I envisioned a horizontal design that would complement, rather than clash with, the inherent horizontal panels of the garage door. This visual harmony was key. Furthermore, I wanted a design that would be forgiving and easy to touch up should any imperfections arise. My initial test design remained untouched for months, a testament to the door’s smooth operation, yet the fluid, organic nature of this “wishy-washy” design offered the reassurance of effortless repairs. Most importantly, I aimed to amplify our home’s coastal, lakefront, and cottage charm. The chosen design evocatively mirrors aerial beach photographs – an abstract rendition, of course, but undeniably imbued with a distinctly beachy feel. While my initial wallpaper inspiration leaned heavily into various shades of blue, my choice of spray paints offered a slightly different palette. To perfectly integrate the mural with our home’s existing features, I strategically introduced copper, echoing our new metal roof. The blues in the mural also harmoniously connect with our vibrant front door color, creating a cohesive and thoughtful exterior aesthetic.
Preparing Your Canvas: Essential Steps for a Lasting DIY Mural
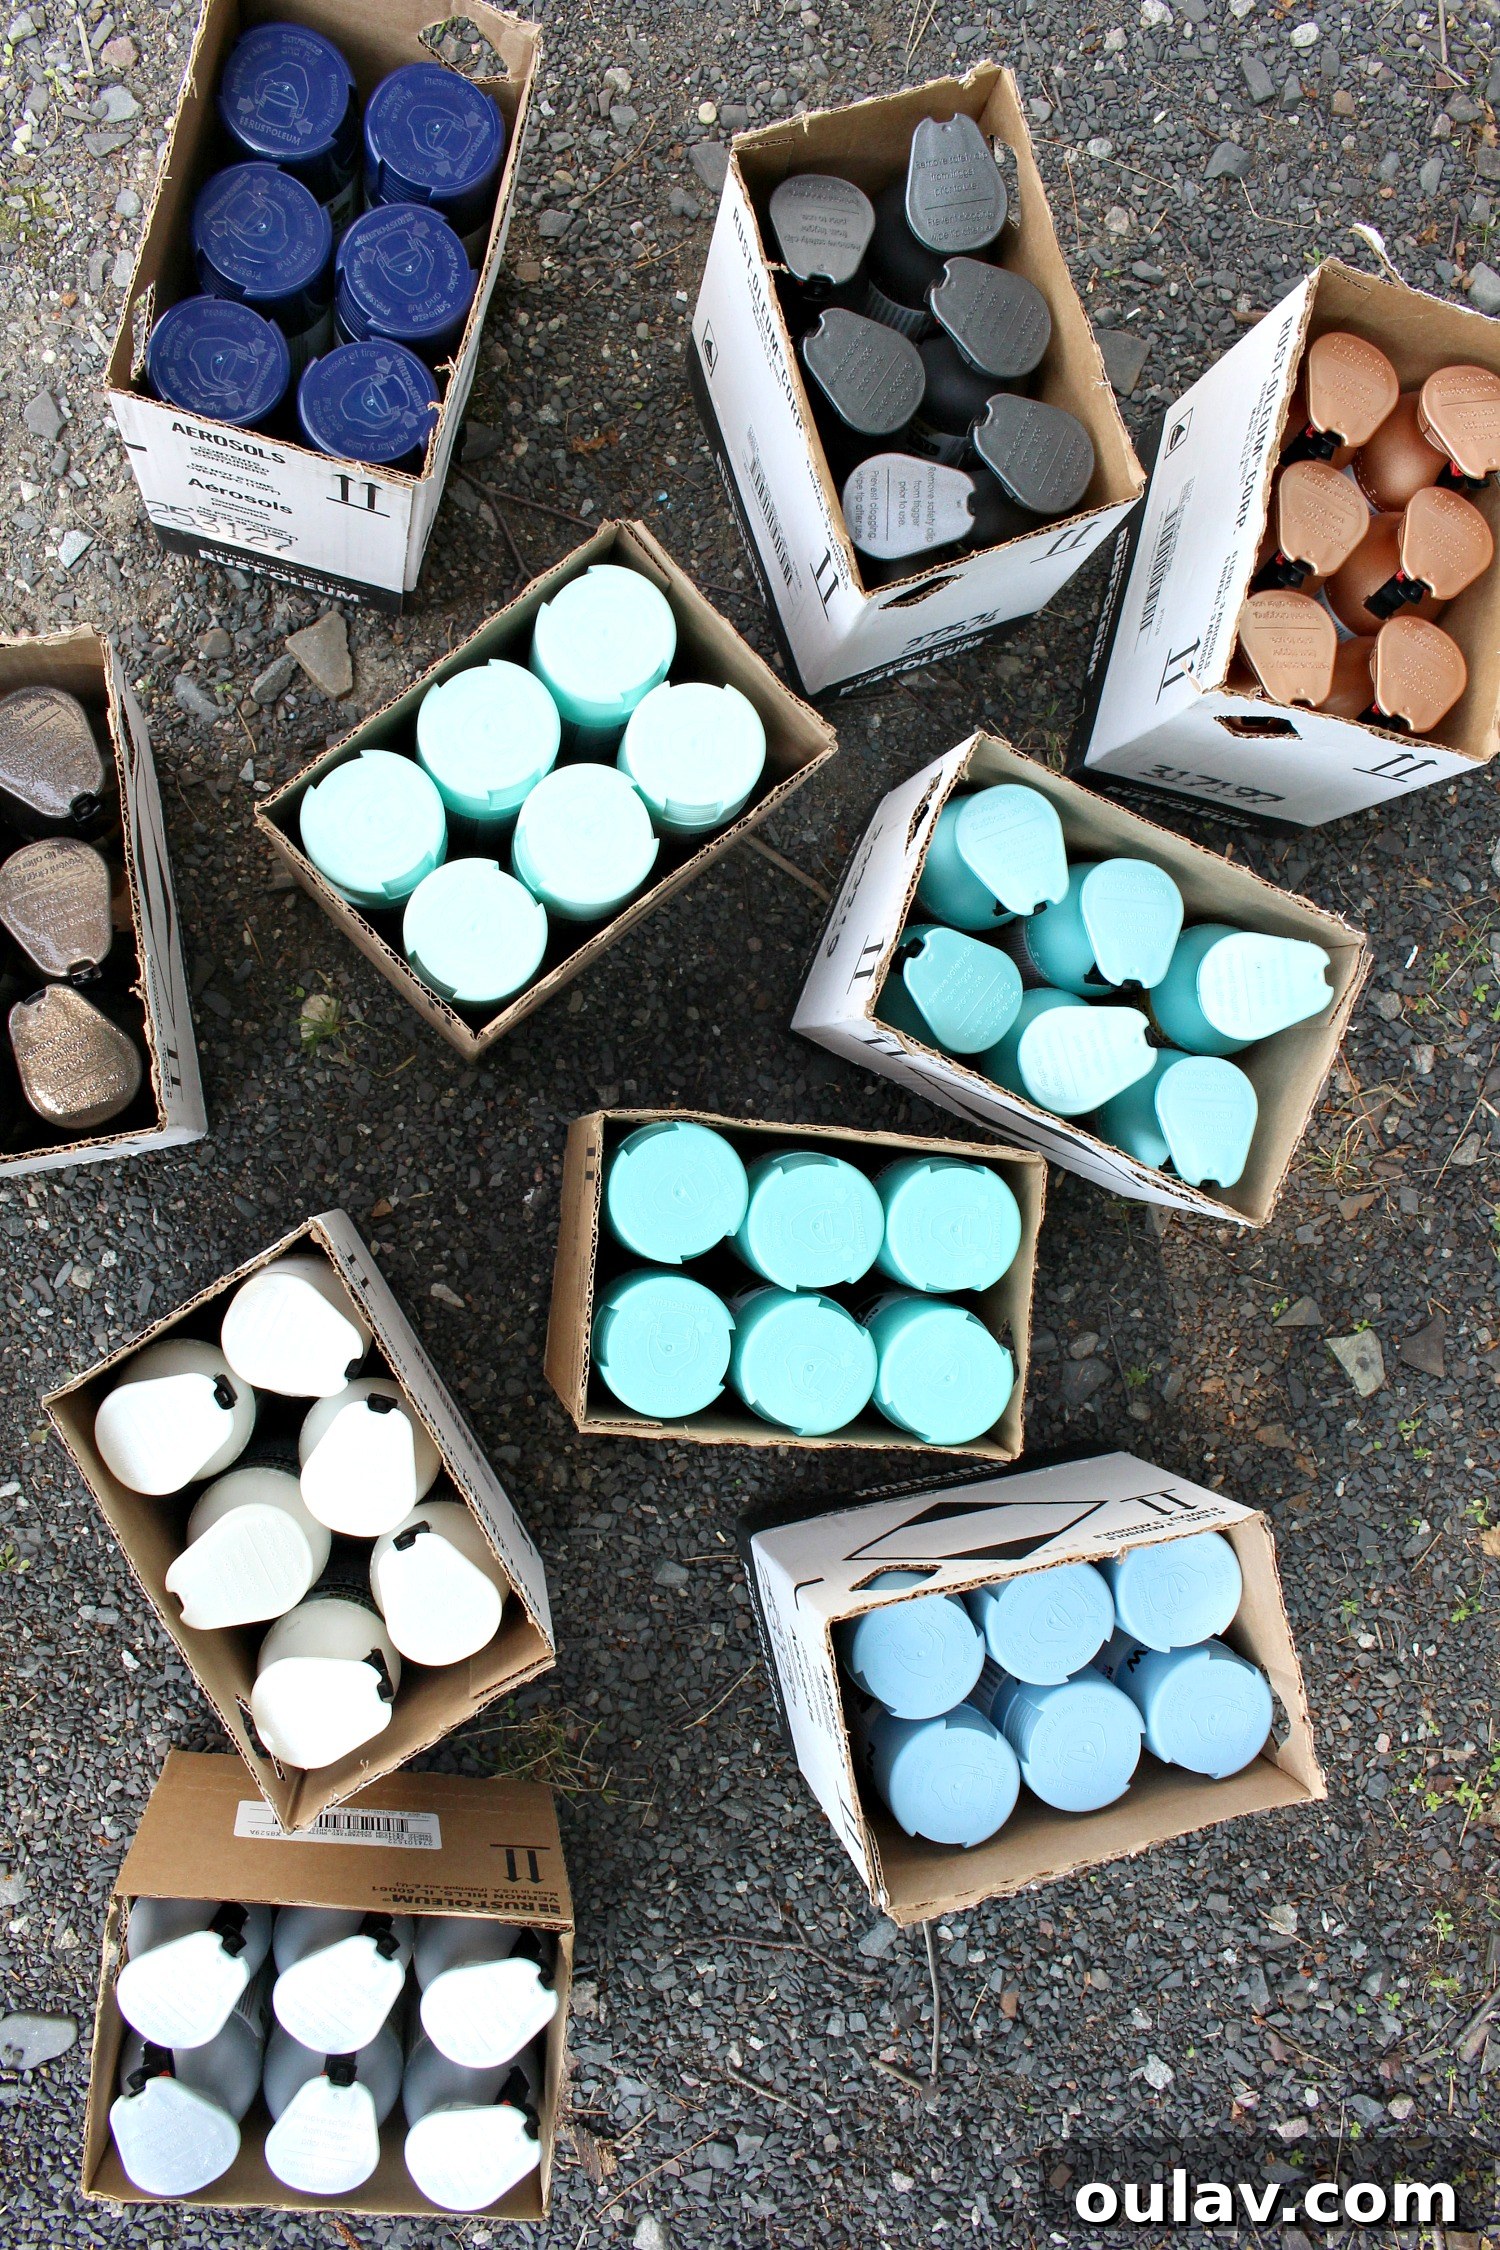
The foundation of any successful painting project, especially an exterior mural, is meticulous surface preparation. My first step involved thoroughly scrubbing the garage door with a TSP (trisodium phosphate) solution and a stiff bristle brush. This powerful cleaner is excellent for removing stubborn dirt, grime, and grease, ensuring optimal adhesion for the paint. Following the scrub, I rinsed the entire surface meticulously with a pressure washer. This step is crucial not only for removing all traces of the cleaning solution but also for dislodging any remaining loose debris. I then allowed the door to dry completely for several days, guaranteeing a dry, clean, and ready canvas. During the actual painting process, I kept a small dust broom handy to sweep away any persistent cobwebs – those industrious spiders seemed determined to rebuild their homes even as I worked! Rust-Oleum graciously provided me with a generous supply of each color I requested. While I initially overestimated the quantity needed, particularly for the darker charcoal greys and browns, the surplus simply means I’ll have plenty of spray paint for exciting makeovers this fall! In total, this particular mural utilized approximately 10-12 spray cans.
A Symphony of Shades: Choosing Your Rust-Oleum Palette
My preferred palette for this project revolved around a harmonious blend of blues, augmented by metallic accents. To achieve dynamic depth and visual interest, I carefully selected paints with varying finishes: rich glosses, smooth lacquers, and captivating shimmery metallics. Here’s the complete list of Rust-Oleum paints and colors that brought this vision to life:
- Rust-Oleum Lacquer (new!): Turquoise – A vibrant, fresh blue that adds a pop of bright color.
- Rust-Oleum Painter’s Touch: Gloss Ocean Mist – A beautiful, soft blue with a glossy finish, evoking serene waters.
- Rust-Oleum Painter’s Touch: Satin French Blue – A sophisticated, muted blue with a satin sheen for understated elegance.
- Rust-Oleum Painter’s Touch: Gloss Navy Blue – A deep, classic navy that provides dramatic contrast and depth.
- Rust-Oleum Universal Metallic: Pearl Mist – An incredibly sheer, shimmering white that proved indispensable for blending and adding an ethereal glow.
- Rust-Oleum Universal Metallic: Titanium Silver – A bright, cool silver metallic that enhances the light and adds a modern touch.
- Rust-Oleum Universal Metallic: Copper Rose – A warm, lustrous copper metallic, tying the mural into our home’s metal roof and adding a unique earthy element.
- Rust-Oleum Universal Metallic: Sea Mist – A pale mint with significant sparkle, perfect for creating foamy, frothy textures reminiscent of ocean whitecaps.
For those starting a DIY mural on a very dark garage door, applying a thin layer of spray rust primer can be beneficial. In my case, I primarily used primer to cover my test swatches, ensuring those areas wouldn’t muddy the purity of my final design. Many of these Rust-Oleum spray paints boast a primer+paint in one formula. Therefore, if your garage door is already white, or if you don’t mind a slight hint of a darker base color showing through, you can often skip the priming step altogether, simplifying your DIY mural process.
Bringing the Waves to Life: A Step-by-Step Guide to Your Coastal Mural
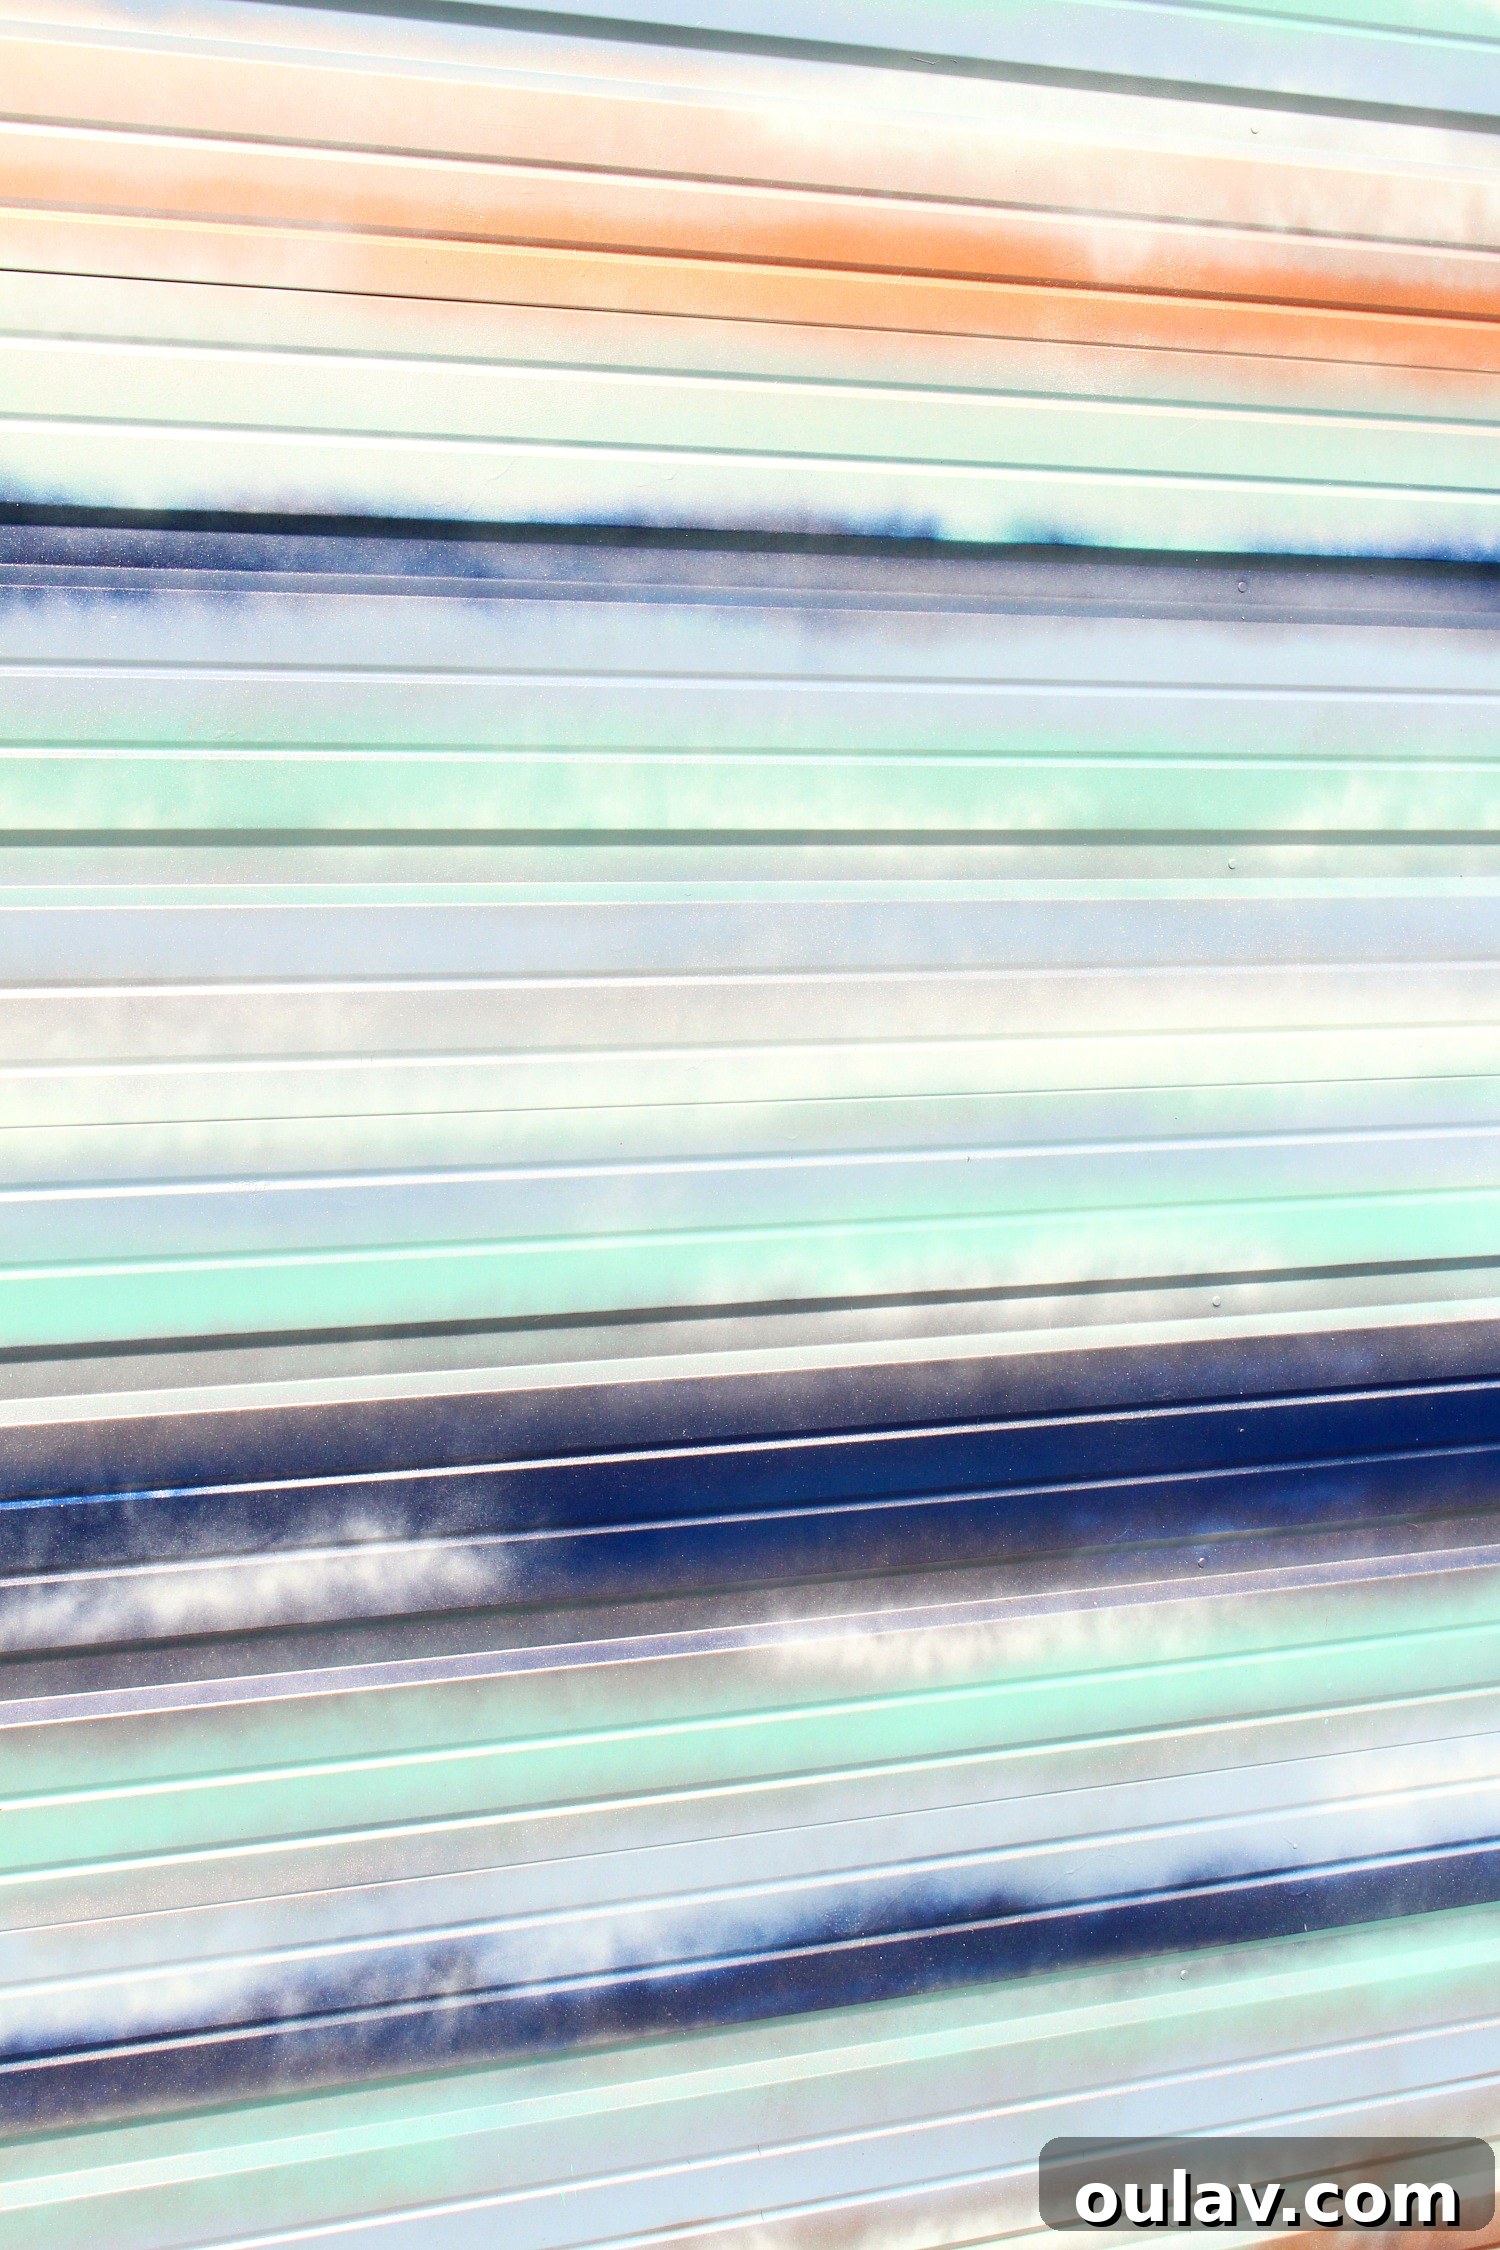
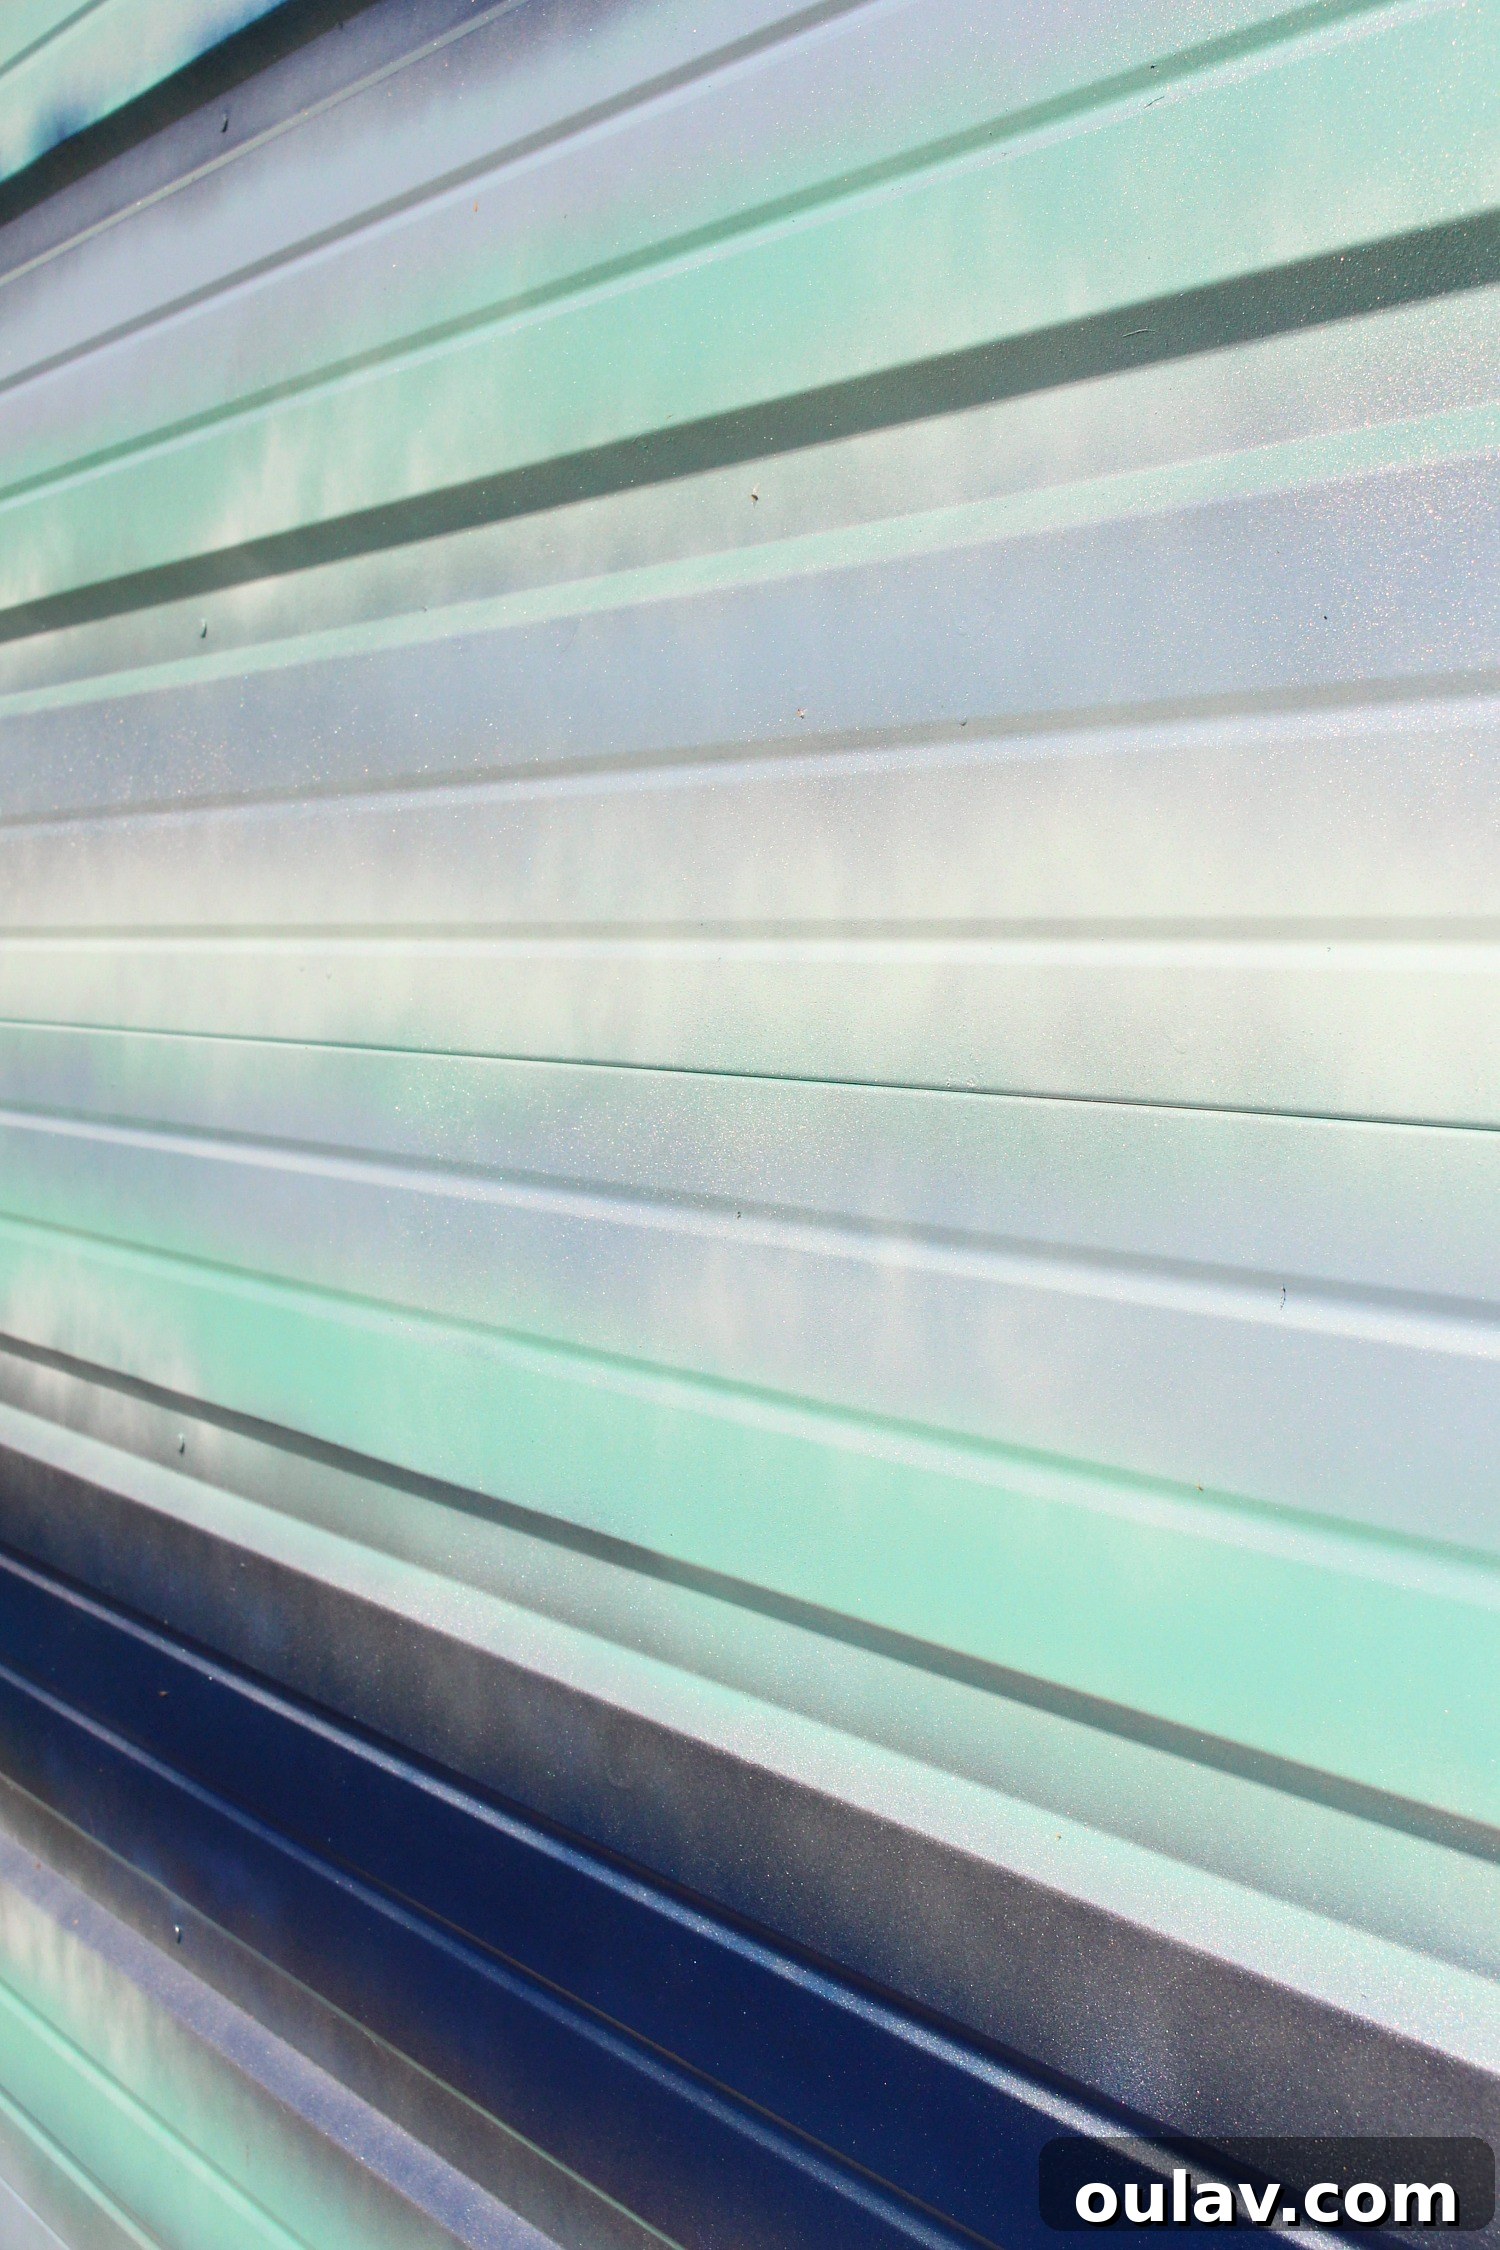
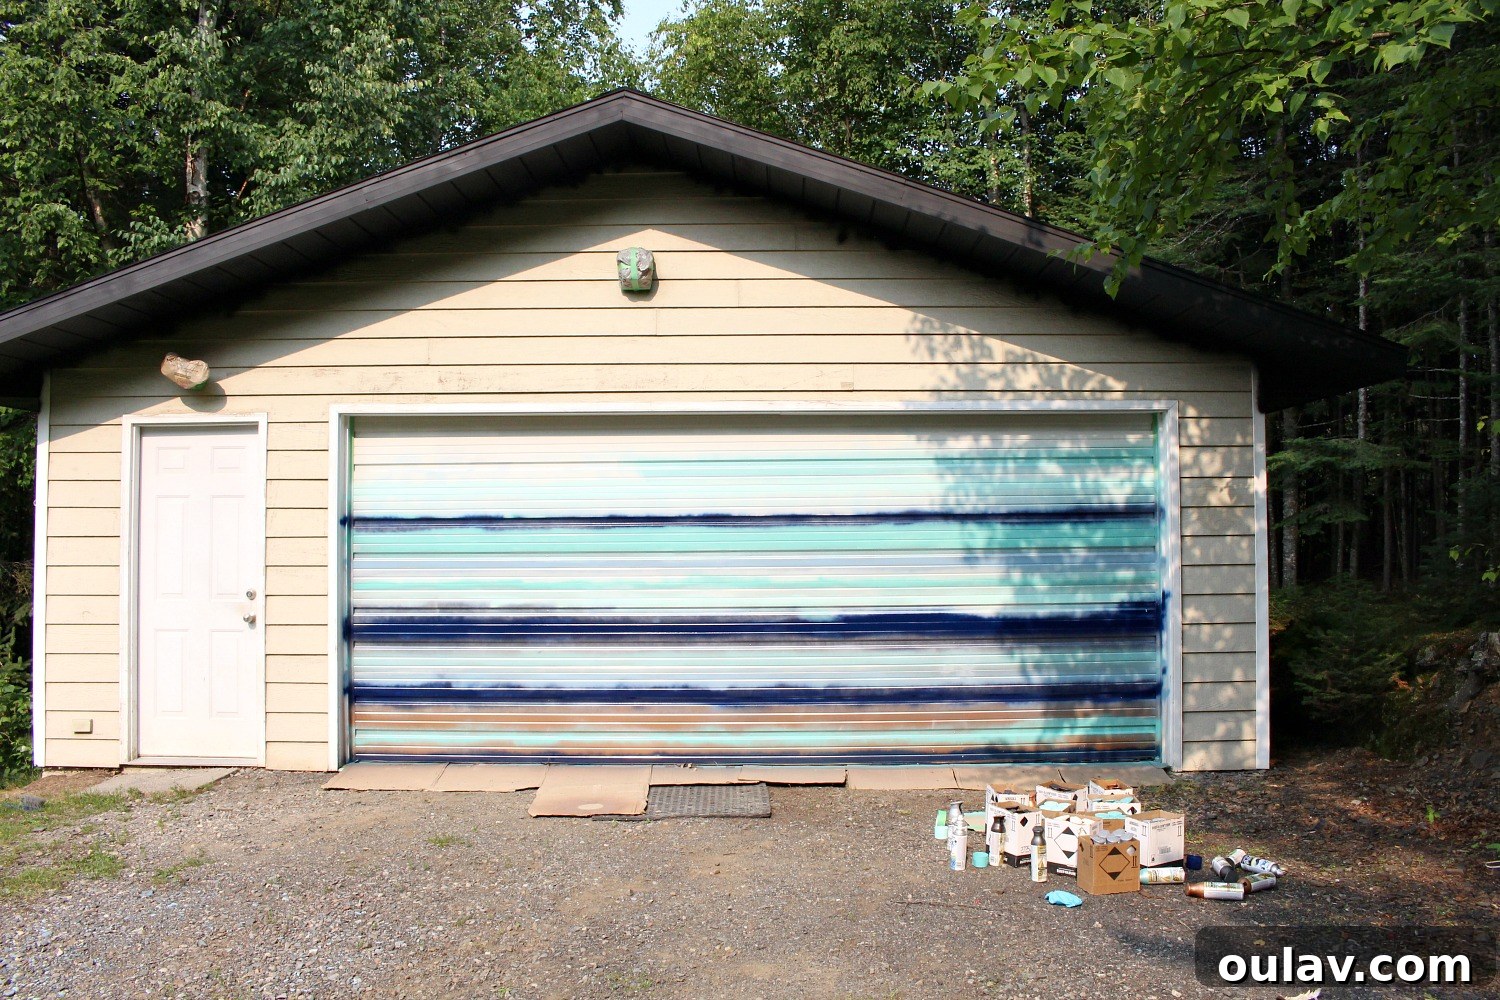
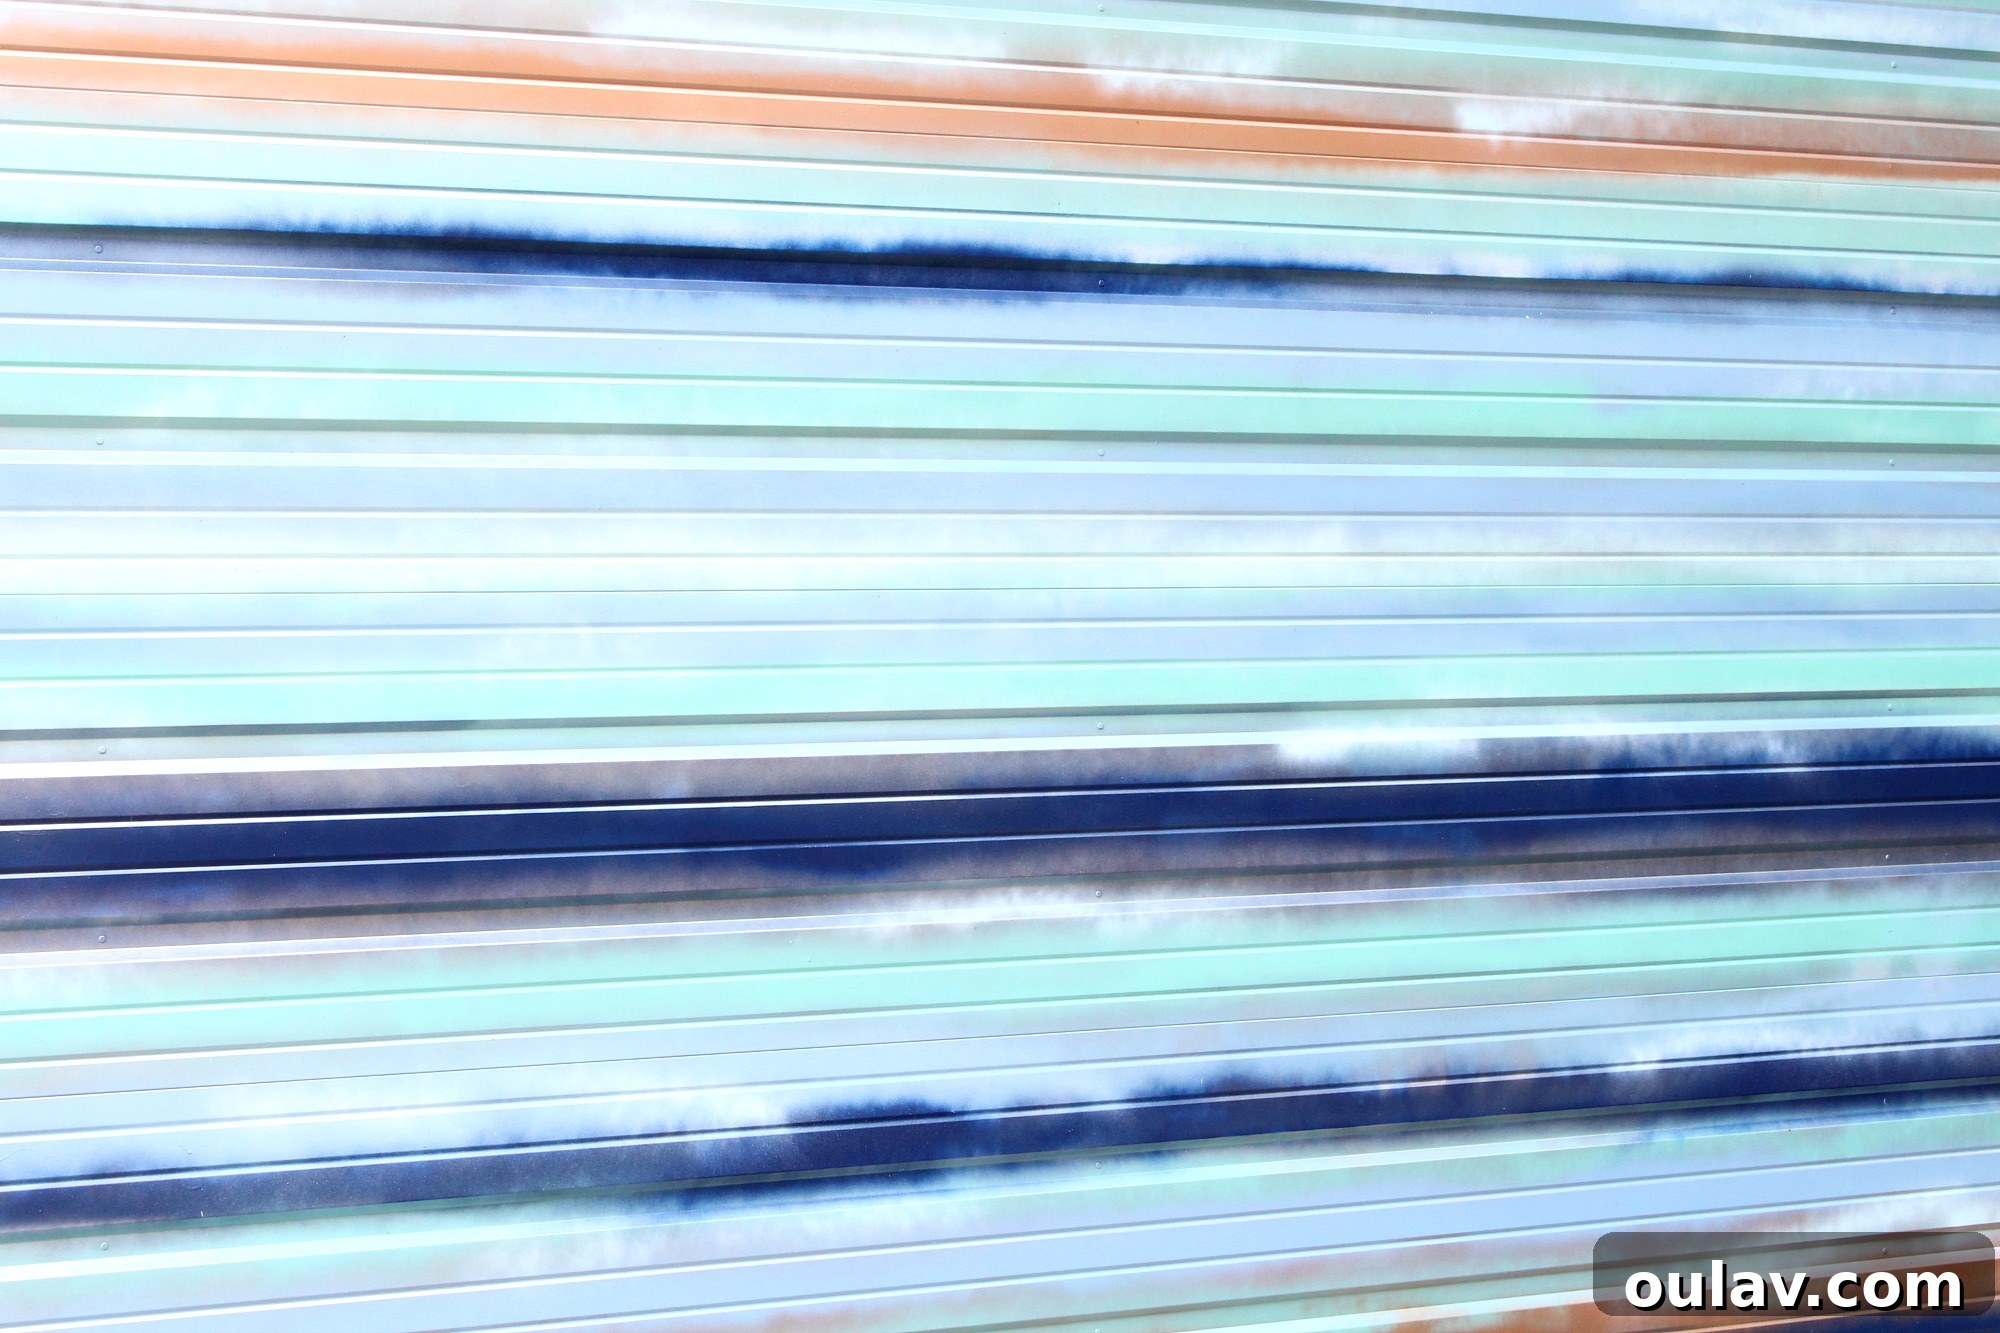
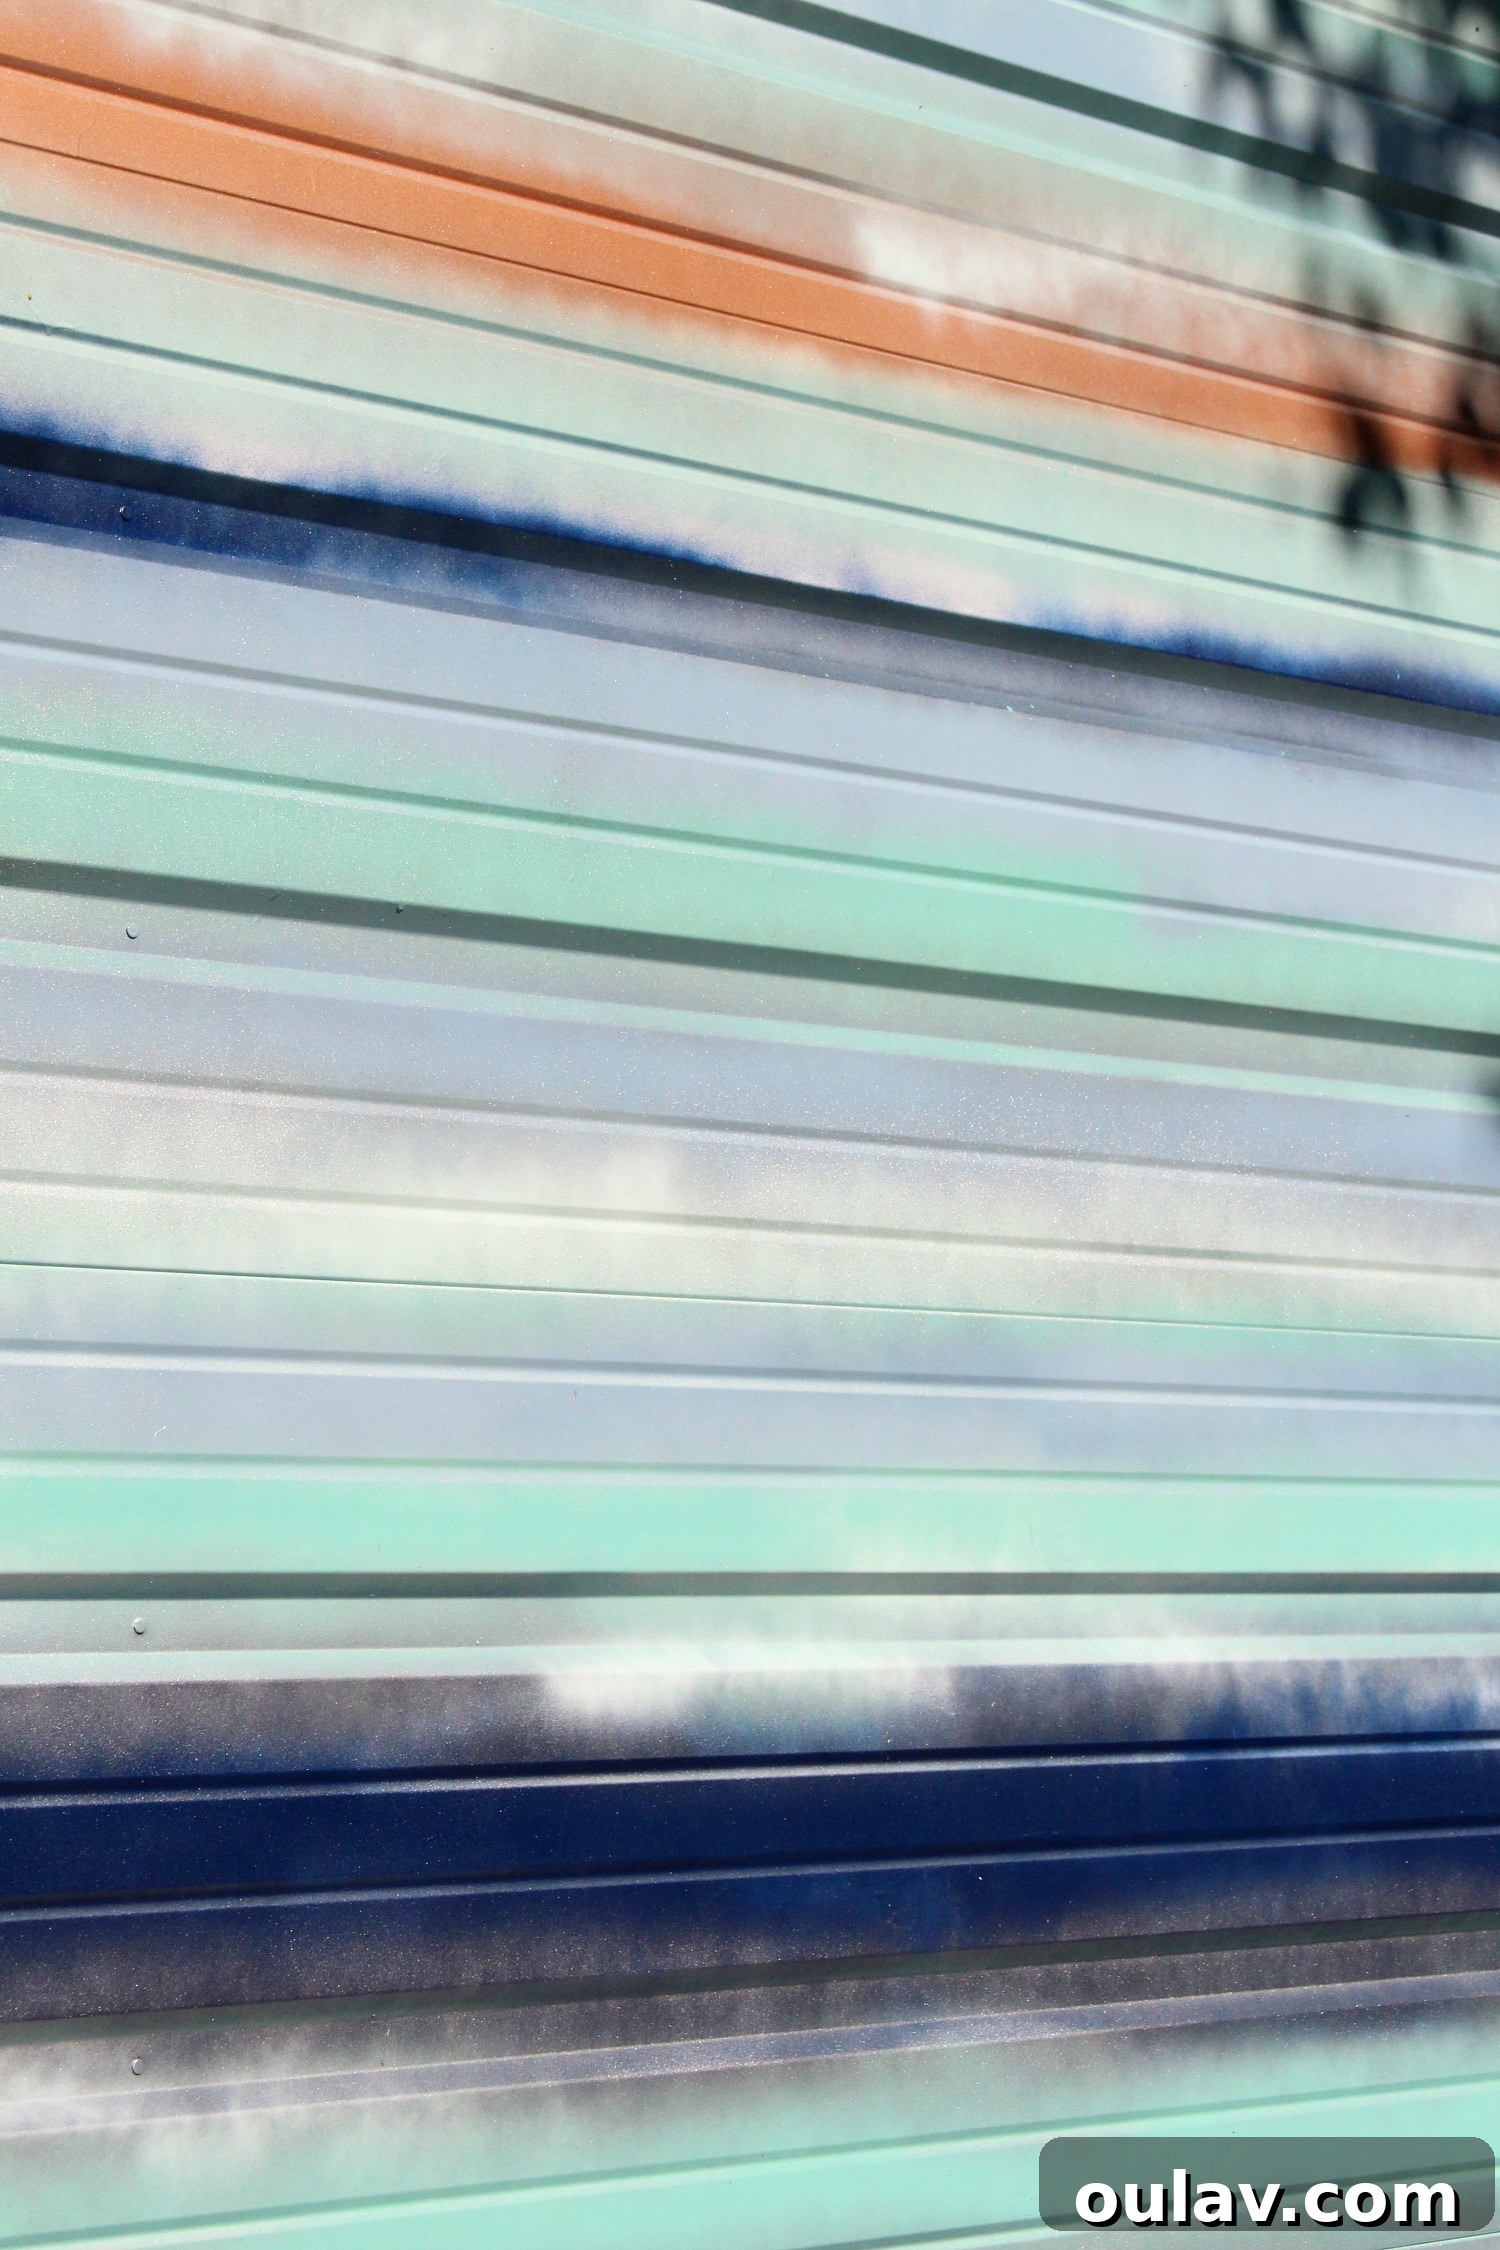
Through a process of trial and error, I discovered the most effective technique for achieving the desired layered effect. I began by spraying broad bands of color block, primarily focusing on the deeper navy, mid-tone blues, vibrant turquoise, and warm copper. These darker and bolder hues formed the underlying structure of the design. Subsequently, I introduced the lighter colors, carefully overspraying them slightly onto the darker sections to create a seamless transition and build dimension. This iterative layering process was key. I constantly stepped back, observing the mural from the driveway to assess its appearance from a distance and make adjustments. To achieve a dreamy, ethereal quality in my DIY mural, I extensively used Rust-Oleum Universal Metallic: Pearl Mist and Rust-Oleum Universal Metallic: Titanium Silver. These metallics were instrumental in blurring and blending the distinct color bands, softening edges and creating a fluid, almost watercolor-like effect. The Pearl Mist, being incredibly sheer, proved to be a surprisingly effective tool in my arsenal. It added a subtle hint of shimmer and perfectly diffused the colors, allowing them to flow into one another. While its delicate layering is somewhat diminished in photographs, in real life, it truly elevates the mural, giving it the depth and nuance of a fine painting. Once I was satisfied with the color blocking and the overall layering, I added the final touch: frothy, random strips of Rust-Oleum Universal Metallic: Sea Mist. This pale mint color, with its abundance of sparkle, was perfect for creating the illusion of delicate “white caps” dancing across the waves, adding a dynamic finish to the coastal scene.
The Shimmering Finish: The Magic of Metallic Spray Paints
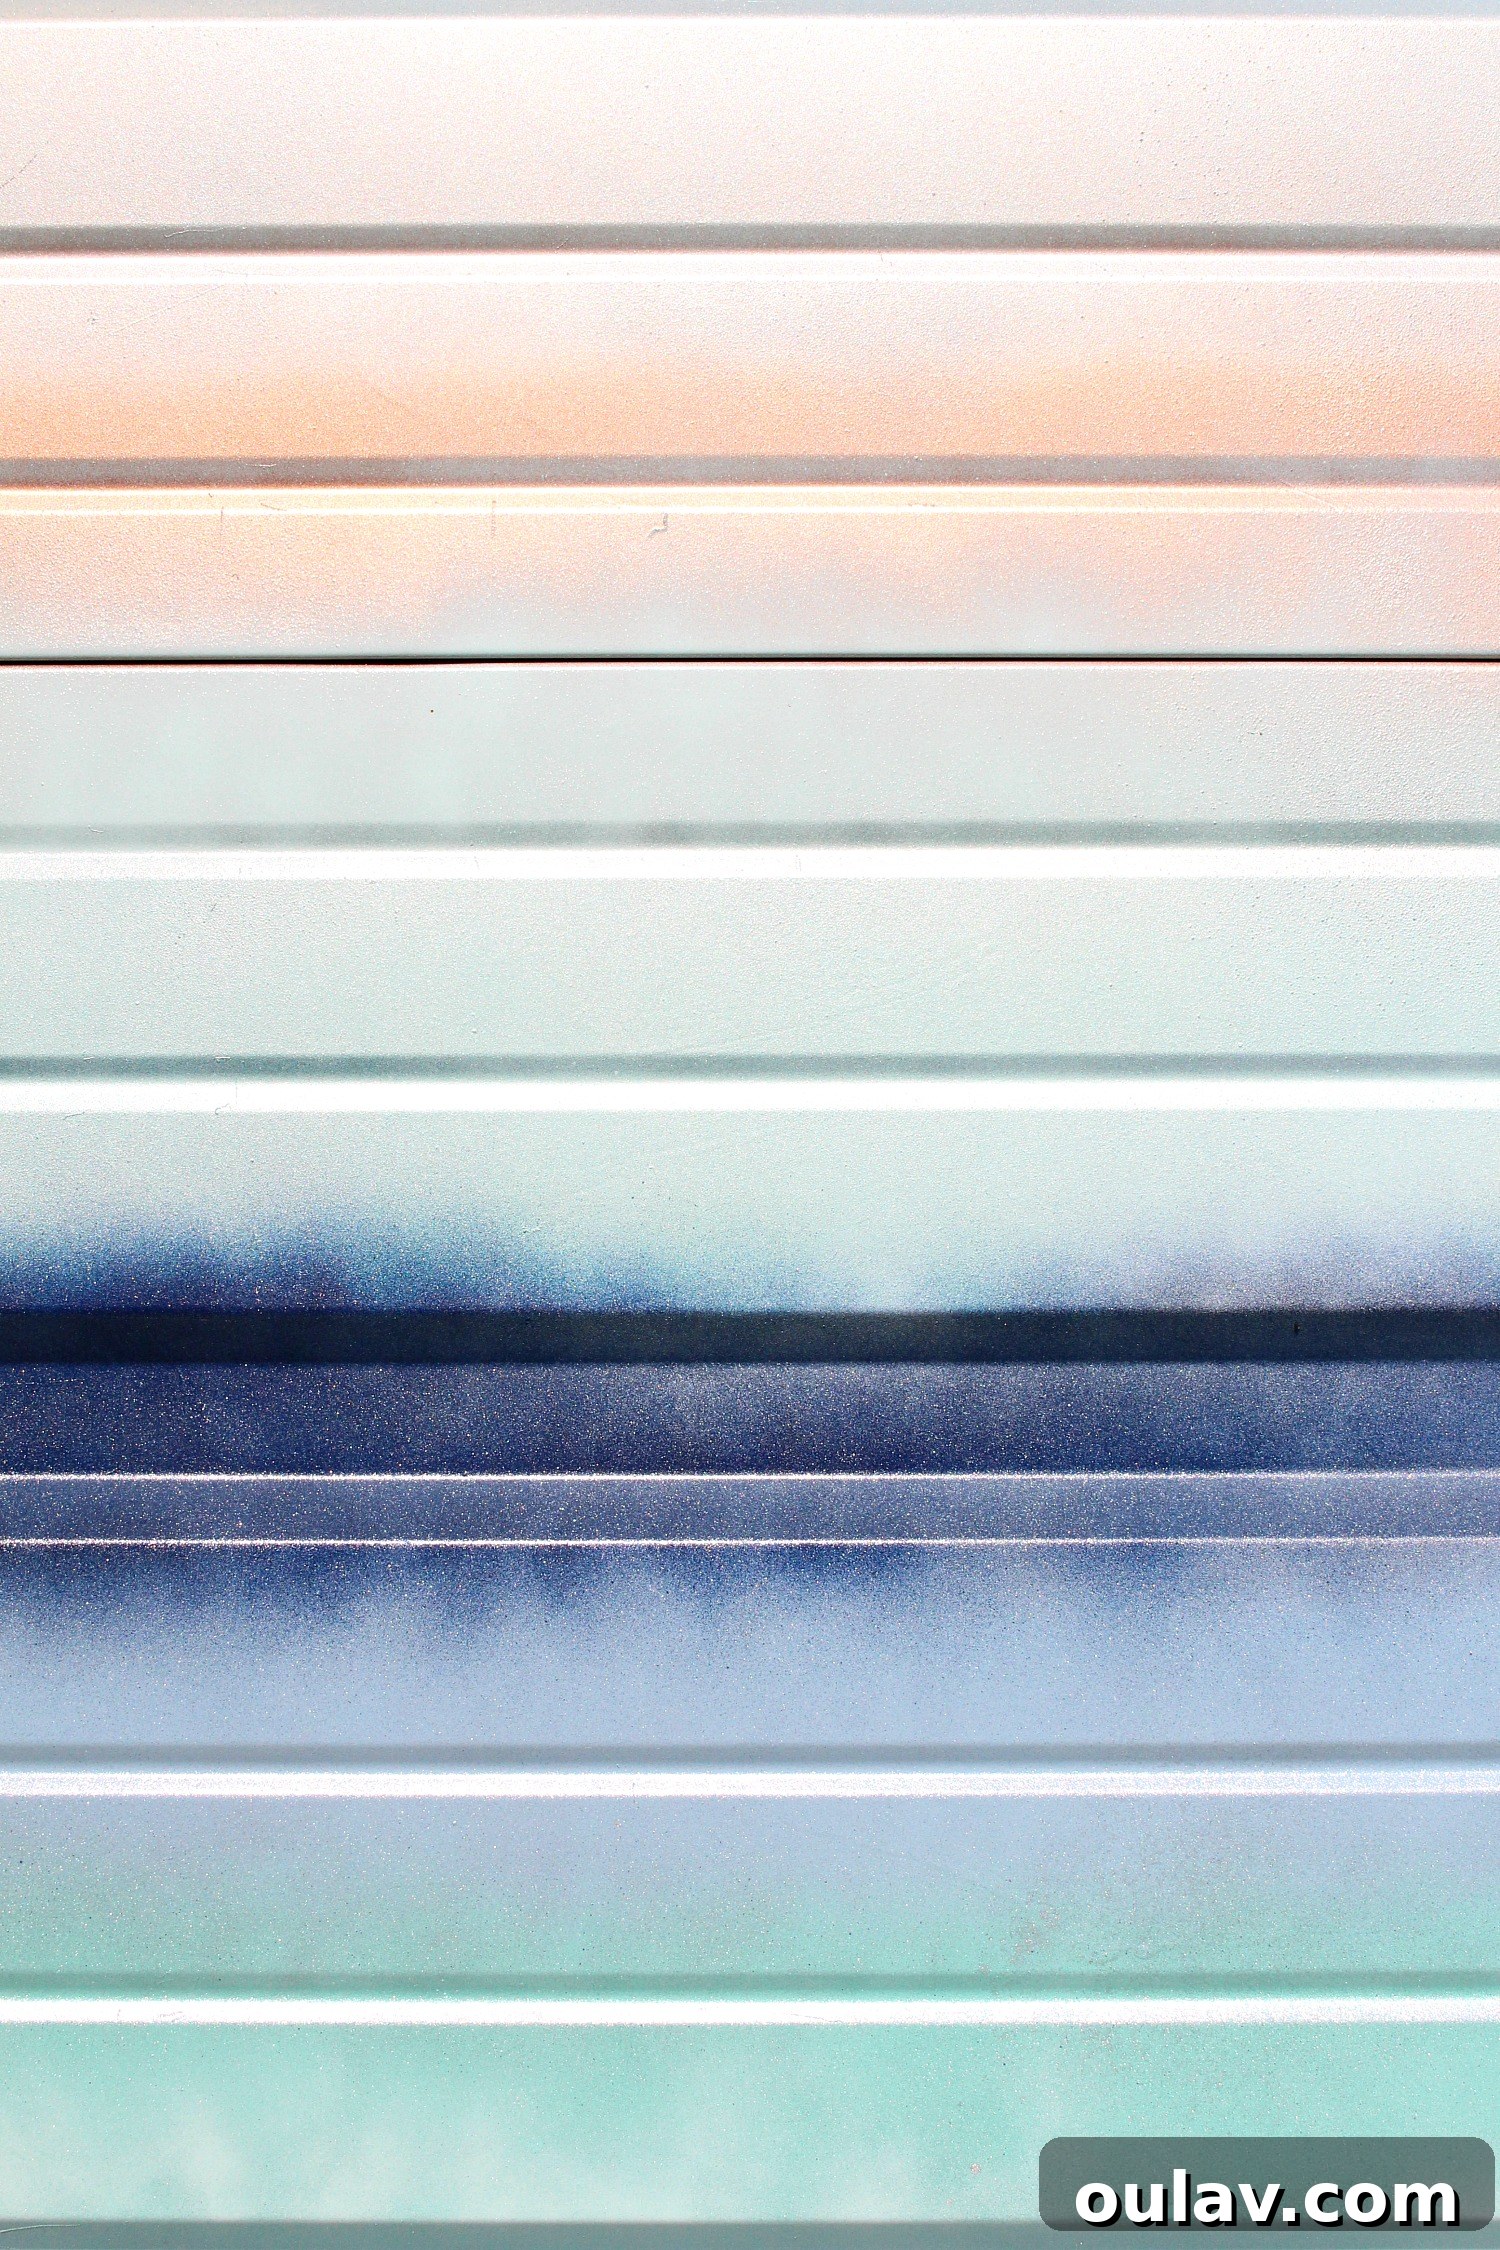
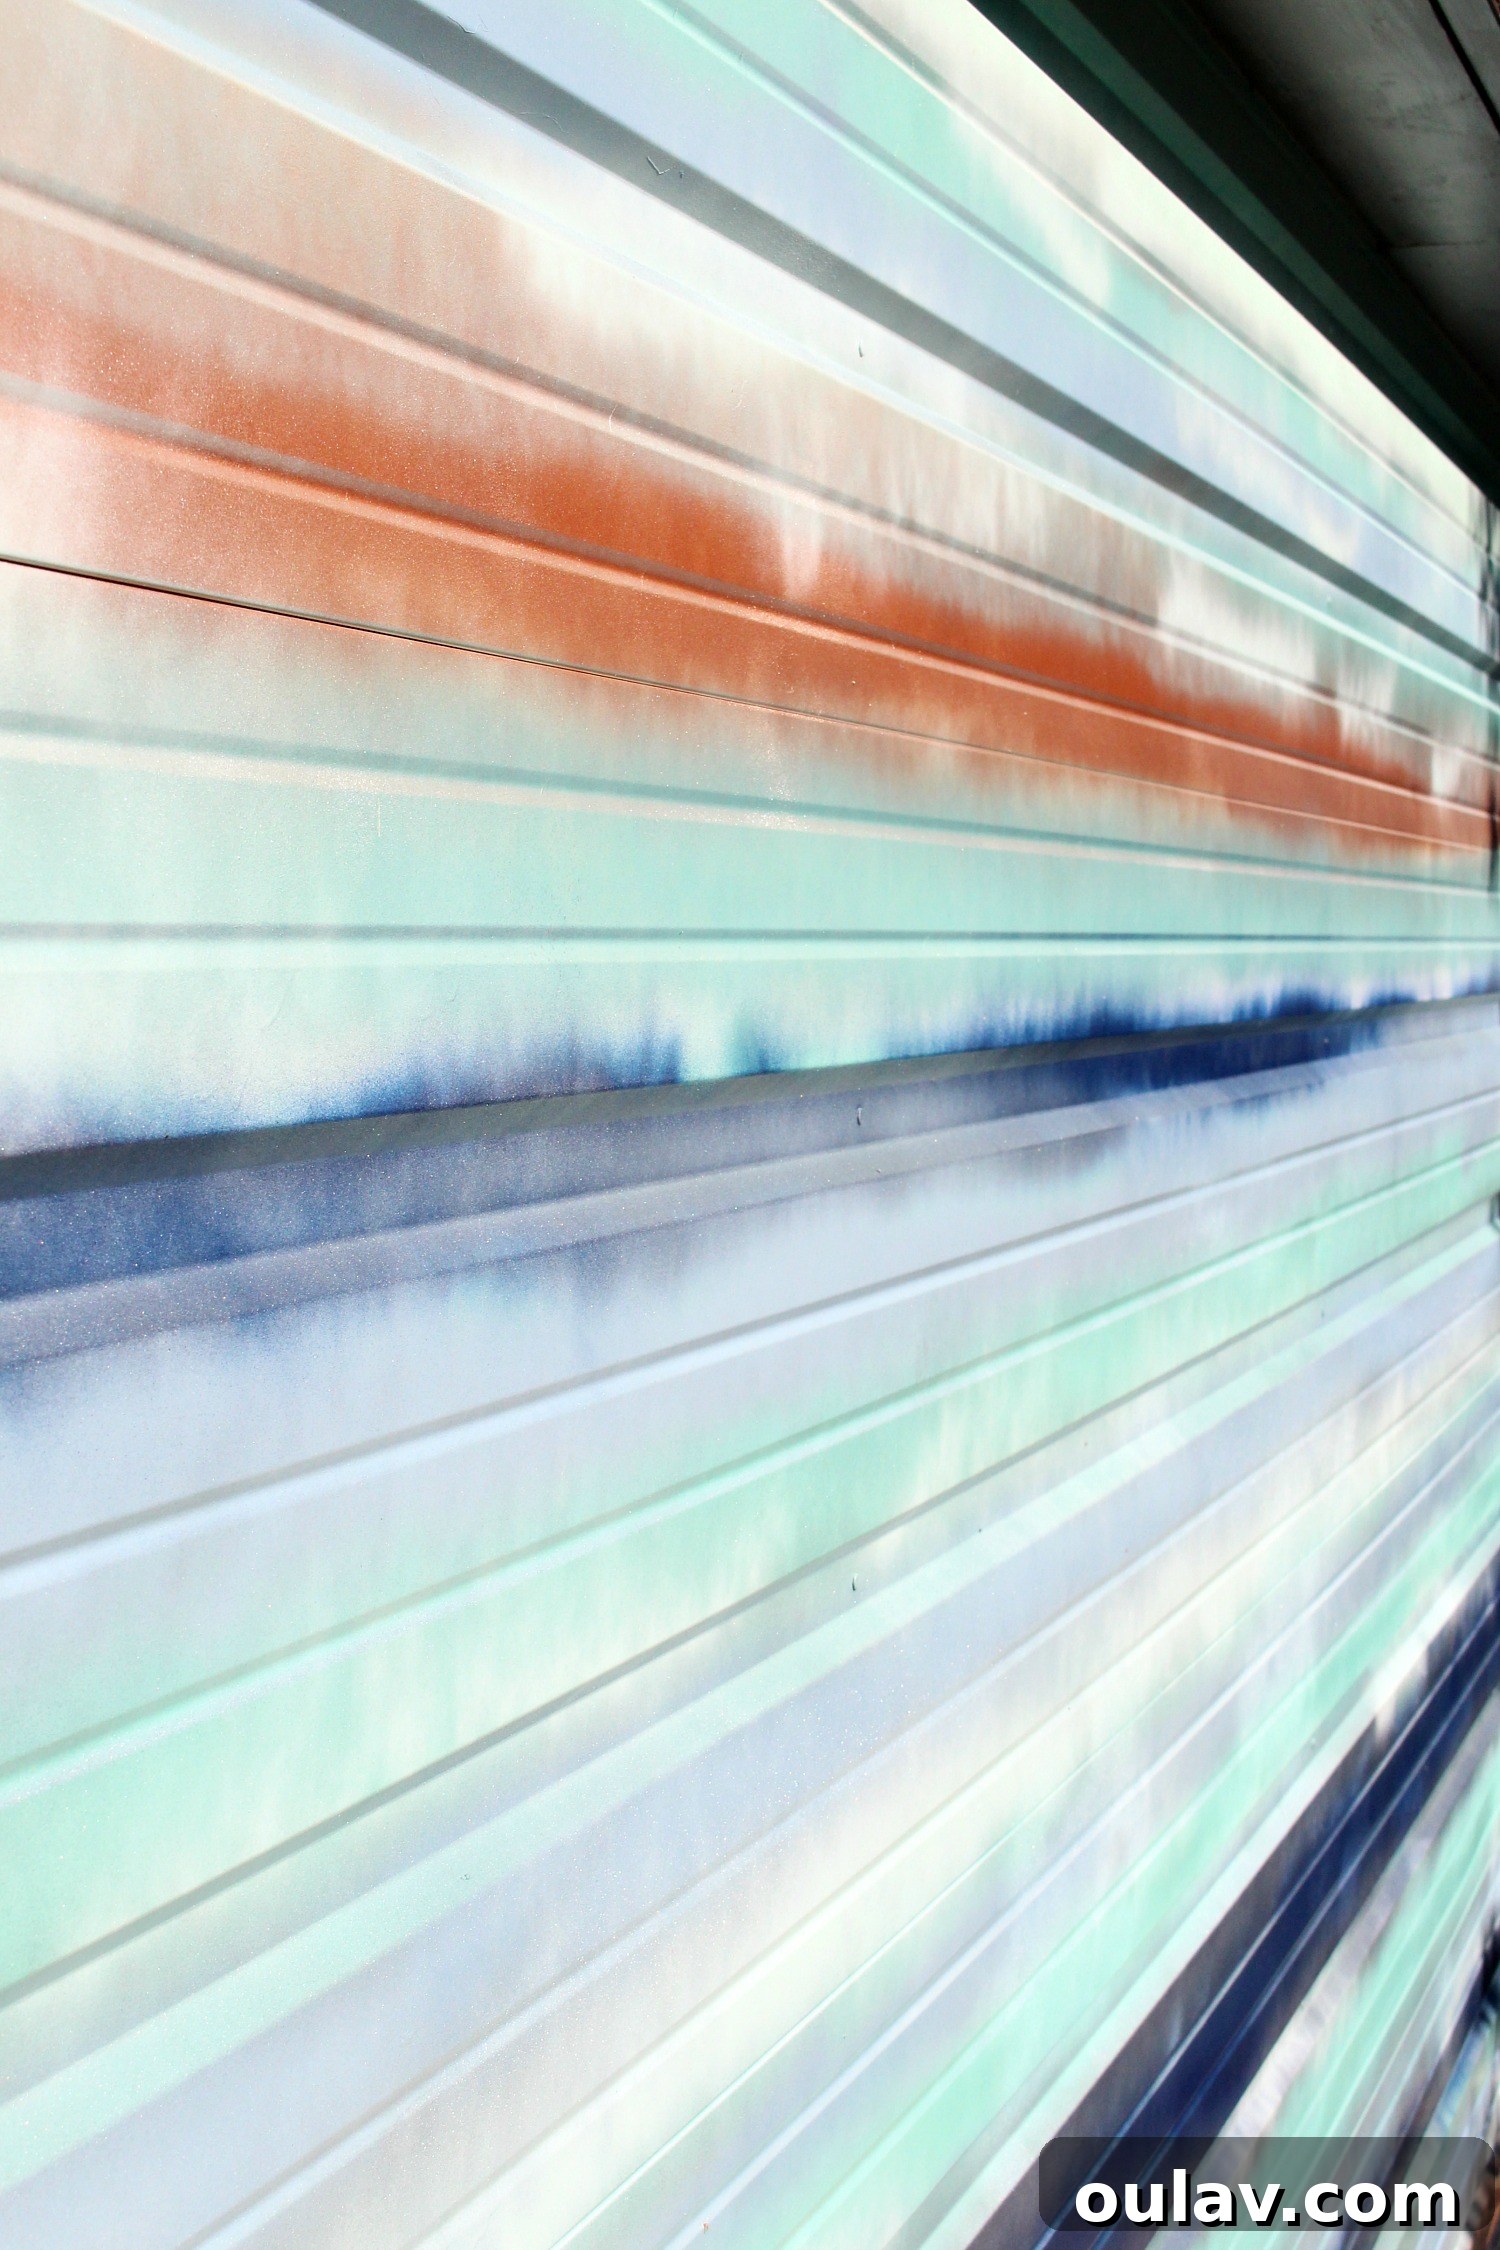
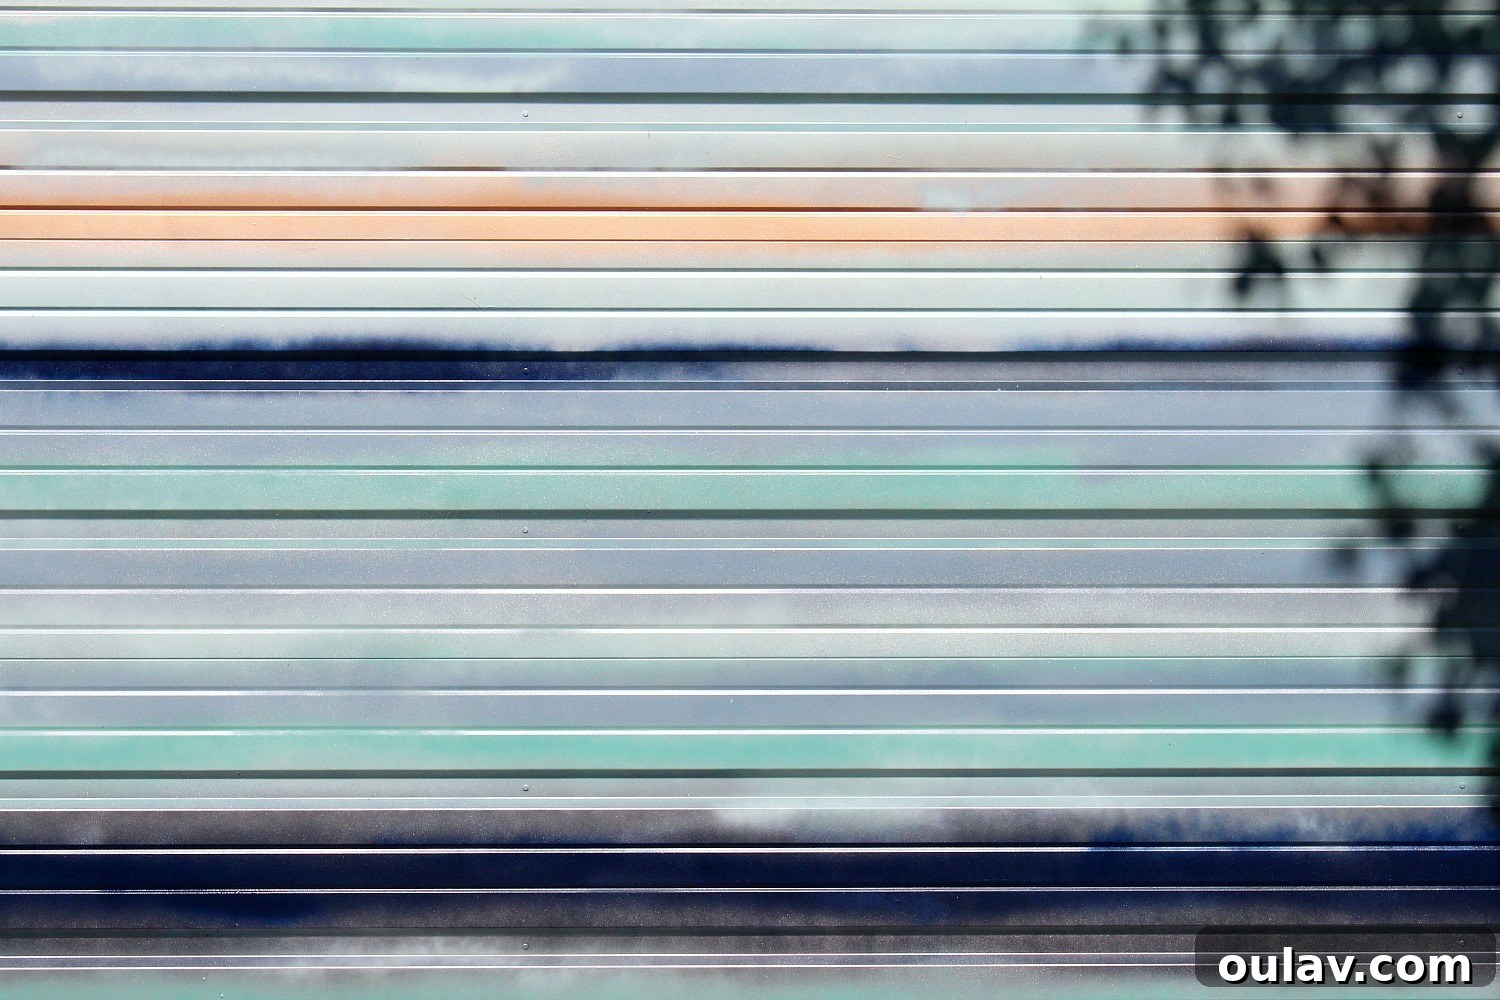
While some of the spray paints I selected, such as the navy and the new turquoise lacquer, provided a beautiful glossy finish, the true transformative power of this mural lies in the metallic paints. These special finishes possess an unparalleled ability to catch and reflect light, creating a dynamic shimmer that lends movement and life to the artwork. It’s challenging to fully capture this stunning effect in still photography, which often renders metallics flatter than they appear. However, in person, the garage door truly comes alive, sparkling and shifting with the ambient light, showcasing a depth and vibrancy that photos simply cannot convey. This subtle interplay of light and texture is what makes the mural so captivating in real life, adding an unexpected layer of sophistication and artistry.
Reflections and Future Artistic Adventures
Working with spray paint is undeniably challenging, and this project has given me a newfound appreciation for the skill and artistry of graffiti artists. The control, precision, and vision required are truly remarkable. Despite the learning curve, this endeavor was immensely rewarding and incredibly fun. I’m now eager to experiment further with this medium. If anyone out there has a blank garage door and a shared passion for whimsical, custom artwork, feel free to reach out! You’d just need to cover my airfare, and I’d be perfectly content to accept payment in brie and wine – perhaps with a preference for locations like California, Hawaii, Australia, Mexico, or Punta Cana. You get the drift! My neighbors have expressed their love for the new DIY mural, though I often wonder if their enthusiasm stems purely from the finished piece or if it’s partly relief that I finally painted over my initial rough draft. That preliminary sketch, you see, may or may not have contained a rather phallic shape – a daring challenge from my partner that I, of course, couldn’t resist!
Your Turn: Embrace the Art of the DIY Garage Mural
This project has proven that a garage door is far more than just a functional entry point; it’s an expansive canvas awaiting creative expression. The transformation it brings to our home’s curb appeal is undeniable, infusing our exterior with character and a personal touch. I’m truly curious to hear your thoughts: Would you ever consider painting a mural on your garage door? On a scale of 1 to “Tanya” (a nod to a truly wild idea), how adventurous do you find this project? Share your ideas and let’s inspire more homeowners to embrace the power of DIY art!