
Get ready to infuse your home with a touch of whimsical Scandinavian charm! I am absolutely thrilled to share this comprehensive DIY felt tomte tutorial with you today. Whether you’re aiming to create festive decorations that stand proudly on your mantelpiece or craft unique DIY gnome ornaments to adorn your Christmas tree, the possibilities are truly endless. These adorable little figures, often referred to as gnomes, are not just incredibly cute but also surprisingly simple to bring to life, making them a perfect project for crafters of all skill levels.
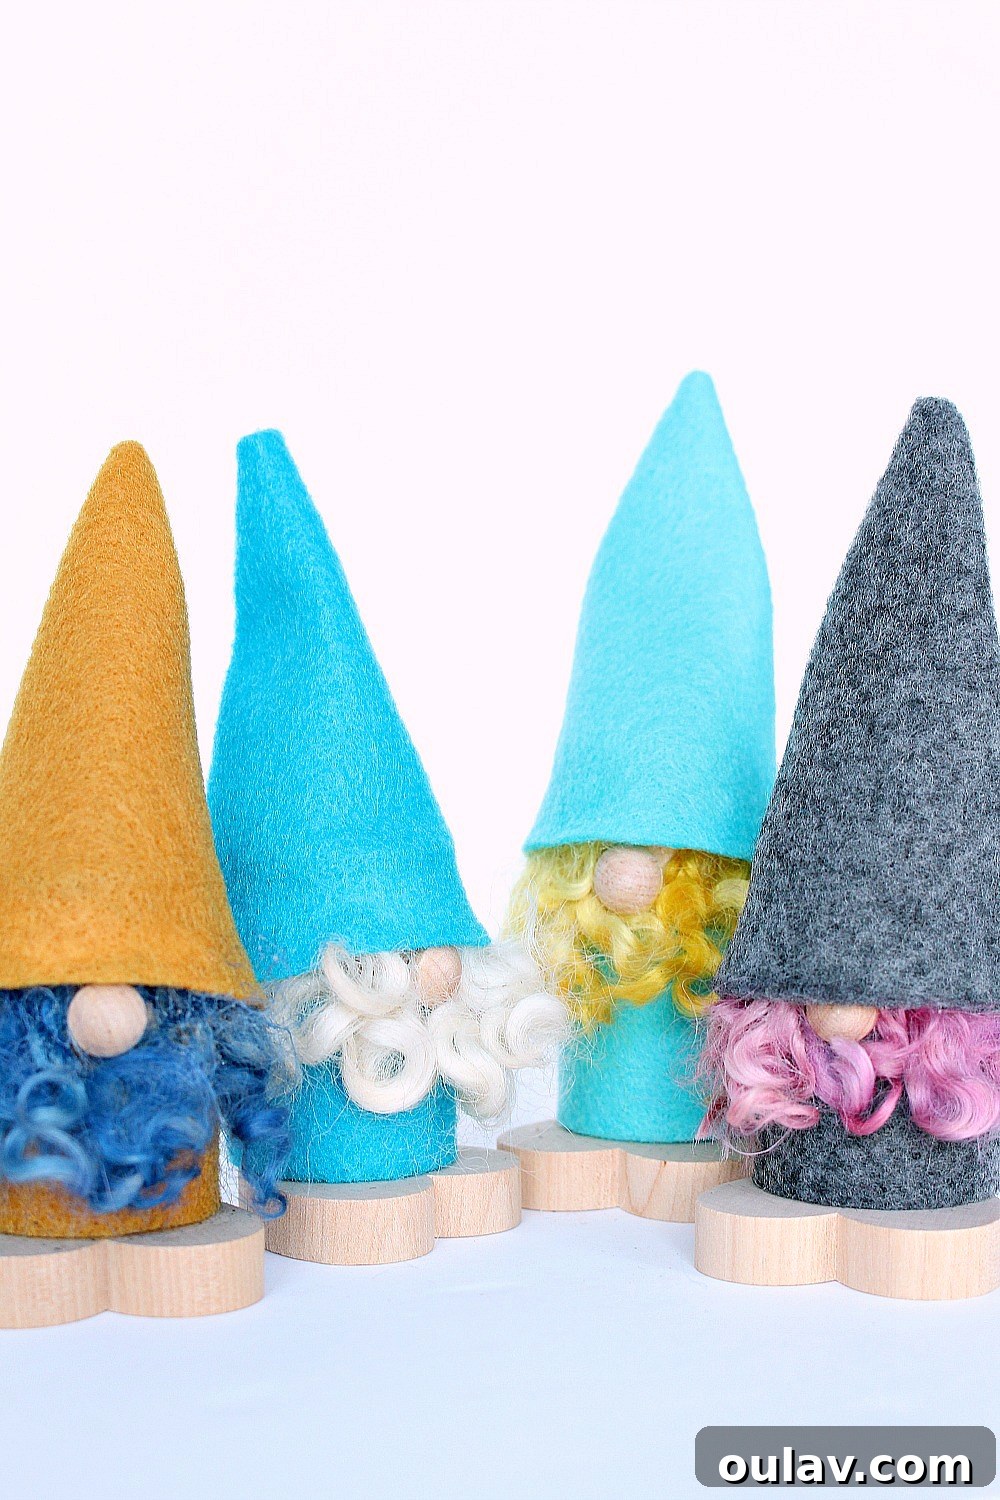
The Enchanting Story Behind These Tomte & Gnomes
My journey with these delightful creatures began over a decade ago when a pair of red felted tomte became a beloved holiday tradition in our home. For those unfamiliar, a tomte is a mythical creature deeply rooted in Scandinavian folklore. Known as a “tonttu” in Finland and a “nisse” in Denmark and Norway, these benevolent spirits are believed to protect farms and families, especially during the winter months. They are often depicted as small, elderly men with long white beards and conical hats, always ready to lend a helping hand, provided they are treated with respect and kindness.
Every year, friends and family would inquire about a DIY felt tomte tutorial, eager to replicate the magic these figures brought. To their surprise, my cherished tomte were actually a thoughtful gift from my Mom. (I confess, I originally, and mistakenly, referred to them as Joulupukki – the Finnish Santa Claus!) She playfully assigned personalities to them: the one with the dark grey hair representing me, and the one with the lighter grey hair being my husband. These particular gnomes, crafted in Sweden, possess an irresistible charm stemming from their small stature and enigmatic hidden faces. For several years, my husband would secretly move them to different spots around the house, a testament to even his appreciation for their decorative appeal.
And yes, for the record, I may or may not possess a matching tomte table runner, further solidifying their status as a true holiday staple!
Crafting My Own DIY Gnome Ornament Collection
Inspired by these beloved family heirlooms, this year I decided it was time to embark on my own crafting adventure: creating a vibrant collection of DIY felt tomte. While I’ll humbly admit that my handmade versions may not perfectly match the intricate charm of the original Swedish gnomes, they undeniably possess their own unique and endearing adorableness. There’s something incredibly rewarding about bringing these cheerful figures to life with your own hands, especially when you can customize them with a splash of color and personality.
Crafting your own gnomes allows for a personal touch that store-bought decorations simply can’t replicate. Each stitch, each carefully placed nose, and each whimsical hat contributes to a one-of-a-kind creation that tells its own story. These aren’t just decorations; they’re tiny expressions of joy and creativity, perfect for brightening up any corner of your home or gifting to loved ones, making them ideal DIY gnome ornaments or cheerful decor.
To give you a better idea of their size, here’s a quarter for scale. It’s important to remember that traditional tomte are generally modest in stature, never typically exceeding three feet tall, fitting perfectly into their role as subtle guardians of the home.
Sourcing Your DIY Felt Gnome Supplies
Crafting these endearing little felt gnomes is a wonderfully straightforward process, and gathering the necessary materials is equally simple. With just a few basic and inexpensive supplies, you can effortlessly create a charming batch of these figures. They are perfect for various uses: as delightful gift toppers that add a handmade touch to presents, as unique DIY gnome ornaments for your holiday tree, or simply as cute DIY woodland Christmas decor to scatter around your home. The beauty of this project lies in its accessibility and the affordability of the materials.
I personally had great success finding my supplies at a few key retailers. Windsor Plywood proved to be a treasure trove, offering an abundance of small wood hearts perfect for the gnome’s feet, alongside tiny wood button “noses” that add character. For the foundational wood dowels, Lowe’s was excellent, boasting a comprehensive selection of various sizes. Lastly, Michael’s was my go-to for additional wood bits and bobs, and, crucially, a fantastic assortment of inexpensive felt sheets, many of which are eco-friendly as they’re made from recycled plastic bottles. Choosing felt with a little more substance will ensure your gnomes hold their shape beautifully.
The flexibility in material sourcing means you can often use items already in your craft stash or find suitable alternatives at local craft stores, hardware stores, or even online marketplaces. Don’t be afraid to explore different textures and colors to make your gnomes truly unique!
Complete Supply List for Your Felt Tomte Project:
- Small wood hearts (these will form the stable and adorable feet of your tomte)
- Small wood balls (essential for the distinctive gnome nose)
- Wood dowel (I used 1 1/4″, a versatile size for various gnome builds)
- Felt(opt for a medium-weight felt; something with a little more substance works best for structure and durability)
- Wool rovings(perfect for creating fluffy beards and hair)
- Wood glue (for strong bonds between wood components)
- Craft glue (ideal for felt and rovings)
- Sewing needle and thread (for the hat construction)
- Chop saw or hand saw (for precise dowel cutting)
Quick Guide: How to Make DIY Gnome Ornaments
For those who prefer a concise overview, here’s a step-by-step summary of the tomte-making process. Dive into the detailed instructions below for more in-depth guidance and tips!
- Cut the wood dowel to your desired length, typically between 2″ and 3″.
- Smooth any rough edges with fine-grit sandpaper.
- Affix one end of the dowel to a wood heart using wood glue to create the feet.
- Attach the wood ball (nose) to the dowel, positioned about one-third to one-half down from the top.
- Allow all glued wood components to dry thoroughly.
- Measure the dowel’s circumference and the height from the feet to the bottom of the nose.
- Cut a piece of felt based on these measurements and secure it around the dowel with craft glue, ensuring the seam is at the back.
- Let the felt body dry completely.
- Cut the wool rovings to an appropriate length for the beard and hair, aligning the ends.
- Apply a bead of craft glue along the dowel’s top and under the nose, then carefully press the rovings into place.
- Allow the rovings to dry and set.
- Create a paper template for the hat by cutting roughly one-quarter of a circle and testing its fit on the gnome.
- Trace your finalized hat template onto felt and cut it out.
- Stitch the hat edges together with a blanket stitch, right sides facing.
- Turn the hat right side out and glue it onto the gnome’s head.
- Let the hat dry securely.
Detailed DIY Felt Tomte Instructions: Step-by-Step
Now, let’s dive into the specifics, ensuring every step is clear and your crafting experience is enjoyable and successful.
Step 1: Preparing the Wood Base, Feet, and Nose
Begin by cutting your wood dowel to the desired length. I found that lengths between 2″ and 3″ work perfectly for a variety of charming gnome sizes, ideal for both standing decor and hanging ornaments. Once cut, it’s crucial to gently sand all cut edges using fine-grit sandpaper. This not only prevents splinters, making the wood safer to handle, but also creates a smoother surface for better glue adhesion and a more polished final look. Next, apply a generous but not excessive amount of wood glue to one end of a dowel piece and firmly attach it to the center of a small wood heart. This wood heart will serve as the stable and adorable feet for your tomte. Finally, take a small wood ball (your gnome’s nose) and glue it to the dowel. Position it strategically: aim for somewhere between one-third and one-half of the way down from the opposite, unsanded end of the dowel. This placement is key to achieving that classic gnome aesthetic where the nose peeks out just above the beard. Set these components aside and allow the wood glue to dry completely, following the manufacturer’s instructions for optimal curing time. Patience here ensures a sturdy foundation for your little gnome.
Step 2: Crafting the Felt Body for Your Gnome
While your wood glue is busy curing, you can prepare the felt body that will cover the dowel and give your tomte its signature colorful outfit. First, accurately measure the circumference of your wood dowel. Then, measure the height required: this will be the distance from the top of the wood feet (where the dowel meets the heart) up to the very bottom edge of the wood nose. Using these precise measurements, cut a rectangular piece of felt. This piece should be just wide enough to wrap snugly around the dowel without overlapping too much, and its height should perfectly span the measured distance. Apply a thin, even layer of craft glue along one long edge of the felt piece, wrap it around the dowel, and press the edges together to create a neat seam. Strategically place this seam at the back of the tomte to keep it hidden and maintain a clean appearance from the front. Allow this felt body to dry completely as well. A medium-weight felt will provide the best structure, helping your gnome maintain its shape.
Step 3: Adding the Fluffy Beard and Hair with Wool Rovings
Now for the fun part: giving your gnome its iconic beard and hair! Take your wool rovings and cut them to a uniform length. The exact length will depend on how long and full you want your gnome’s beard to be, but typically, enough to cover the dowel and extend a little past the feet. Line up the cut ends of the rovings; these ends will be tucked neatly under the gnome’s hat later, ensuring a seamless finish. To secure them, apply a thin, continuous bead of craft glue along the top edge of the wood dowel, where the hat will rest, and also place a small dab of glue directly underneath the wood nose. Carefully position the rovings, pressing them down firmly onto the glue. Make sure they are glued securely and as snug to the dowel as possible to create a full, natural-looking beard and sideburns. You can gently shape the rovings as they dry to achieve your desired fullness and style. Allow ample time for the glue to dry completely before moving on, as the rovings need to be firmly attached.
For a truly secure attachment, don’t be shy about pressing down on the rovings. The more firmly they adhere to the dowel, the less likely they are to shift or come loose over time. This step truly brings your DIY felt gnome to life, giving it its charming, mysterious character.
Step 4: Designing and Attaching the Gnome Hat
Creating the perfect gnome hat doesn’t require advanced geometry; it’s more about trial and error to get the right fit and whimsical shape. I skipped the complex math and simply cut out roughly one-quarter of a circle from a piece of paper. This initial paper template allows for easy adjustments. Test it on your tomte, draping it over the newly attached hair and beard. Trim it a little at a time until you achieve a fit that is slightly loose; this ensures it will sit comfortably over the fluffy rovings without being too tight. Once you’re satisfied with your paper template, trace it onto your chosen felt fabric. Cut out the felt pieces for all your tomte hats, paying attention to clean lines for a professional finish.
To assemble each hat, fold the felt piece with the right sides facing together. Using a sewing needle and thread, quickly stitch along the curved edge with a blanket stitch. The blanket stitch not only creates a strong, durable seam but also adds a lovely decorative edge, especially if you use contrasting thread. Once stitched, turn the hat right side out. Apply a bead of craft glue along the inner brim of the hat and carefully place it onto your gnome’s head, ensuring it covers the top of the dowel and the upper edges of the rovings. Gently press down to secure it, shaping it as needed. Allow the hat to dry completely and firmly adhere to the gnome.
Here’s a peek at what the back of a finished tomte looked like, showcasing the neat seam and the secure attachment of the hat:
And with that final touch, your charming DIY felt tomte is complete! It’s incredible how these simple steps transform basic supplies into such captivating characters, ready to bring cheer to your home.
Customization Ideas for Your DIY Gnomes!
One of the most exciting aspects of making your own DIY felt tomte is the endless potential for personalization. While my original Swedish tomtes feature a tidier, pre-attached “hair” element that resembles a leather band, I’ve truly embraced the playful, wilder look of my handmade gnomes, especially with their colorful garb and wool rovings from my existing craft stash. Don’t be afraid to let your creativity flow and make each gnome truly your own!
Consider these fantastic customization ideas to make your felt gnomes stand out:
- Feet Variations: Paint the wood heart feet in festive colors, metallic shades, or patterns. You could even use different shapes of wood cutouts, like stars or circles, for a unique base. Experiment with smaller or larger hearts to alter the gnome’s overall stability and aesthetic.
- Dowel Dimensions: Change the size of your wood dowel. A thinner dowel might create a more slender gnome, while a thicker one results in a sturdier, broader figure. This can significantly change the scale and presence of your tomte, from miniature ornaments to grander decor pieces.
- Felt Fabrics: Explore a wider array of felt types. While recycled plastic felt is eco-friendly, consider using wool felt for a more luxurious feel. Wool felt is often sturdier, holds its shape better, and can be easier to work with, especially for intricate cuts or stitching. You can also experiment with patterned felt for hats or bodies, or even felt in ombre shades to add visual interest.
- Hair and Beard Styles: The wool rovings offer incredible versatility. You can use different colors for the hair and beard, or even blend multiple shades for a more natural, multi-toned effect. For a tidier look, you could braid the rovings or create specific hairstyles. Alternatively, explore doll-making supplies for hair, such as faux fur strips or synthetic doll hair, which offer different textures and levels of wildness.
- Hat Embellishments: Go beyond a plain felt hat! Add small bells, tiny buttons, decorative stitches, miniature pom-poms, or even a tiny felt flower. You could also experiment with different hat shapes – perhaps a floppy hat, a pointed wizard hat, or one with a curved tip for extra character.
- Accessories: Give your gnome a personality! Tie a tiny scarf around its neck, attach a small wooden star or snowflake to its hat, or give it a miniature craft tool (like a tiny axe or shovel) for a truly whimsical touch. Small beads or sequins can also add a touch of sparkle.
- Weighting for Stability: If your gnomes are tall or you want them to be extra stable (especially if you have pets or small children), consider adding some weight to the base. A few pebbles or rice grains sealed in a small bag and glued under the felt body, on top of the wood feet, can make them much more robust and less prone to tipping over.
The only stipulation I have is this: if you create some of your own delightful DIY felt tomte, you absolutely must share them with me! I love seeing your unique interpretations and creative flair. Tag me on Instagram with your creations or simply share a link to your photos in the comments below. Let’s inspire each other with our gnome-making adventures!
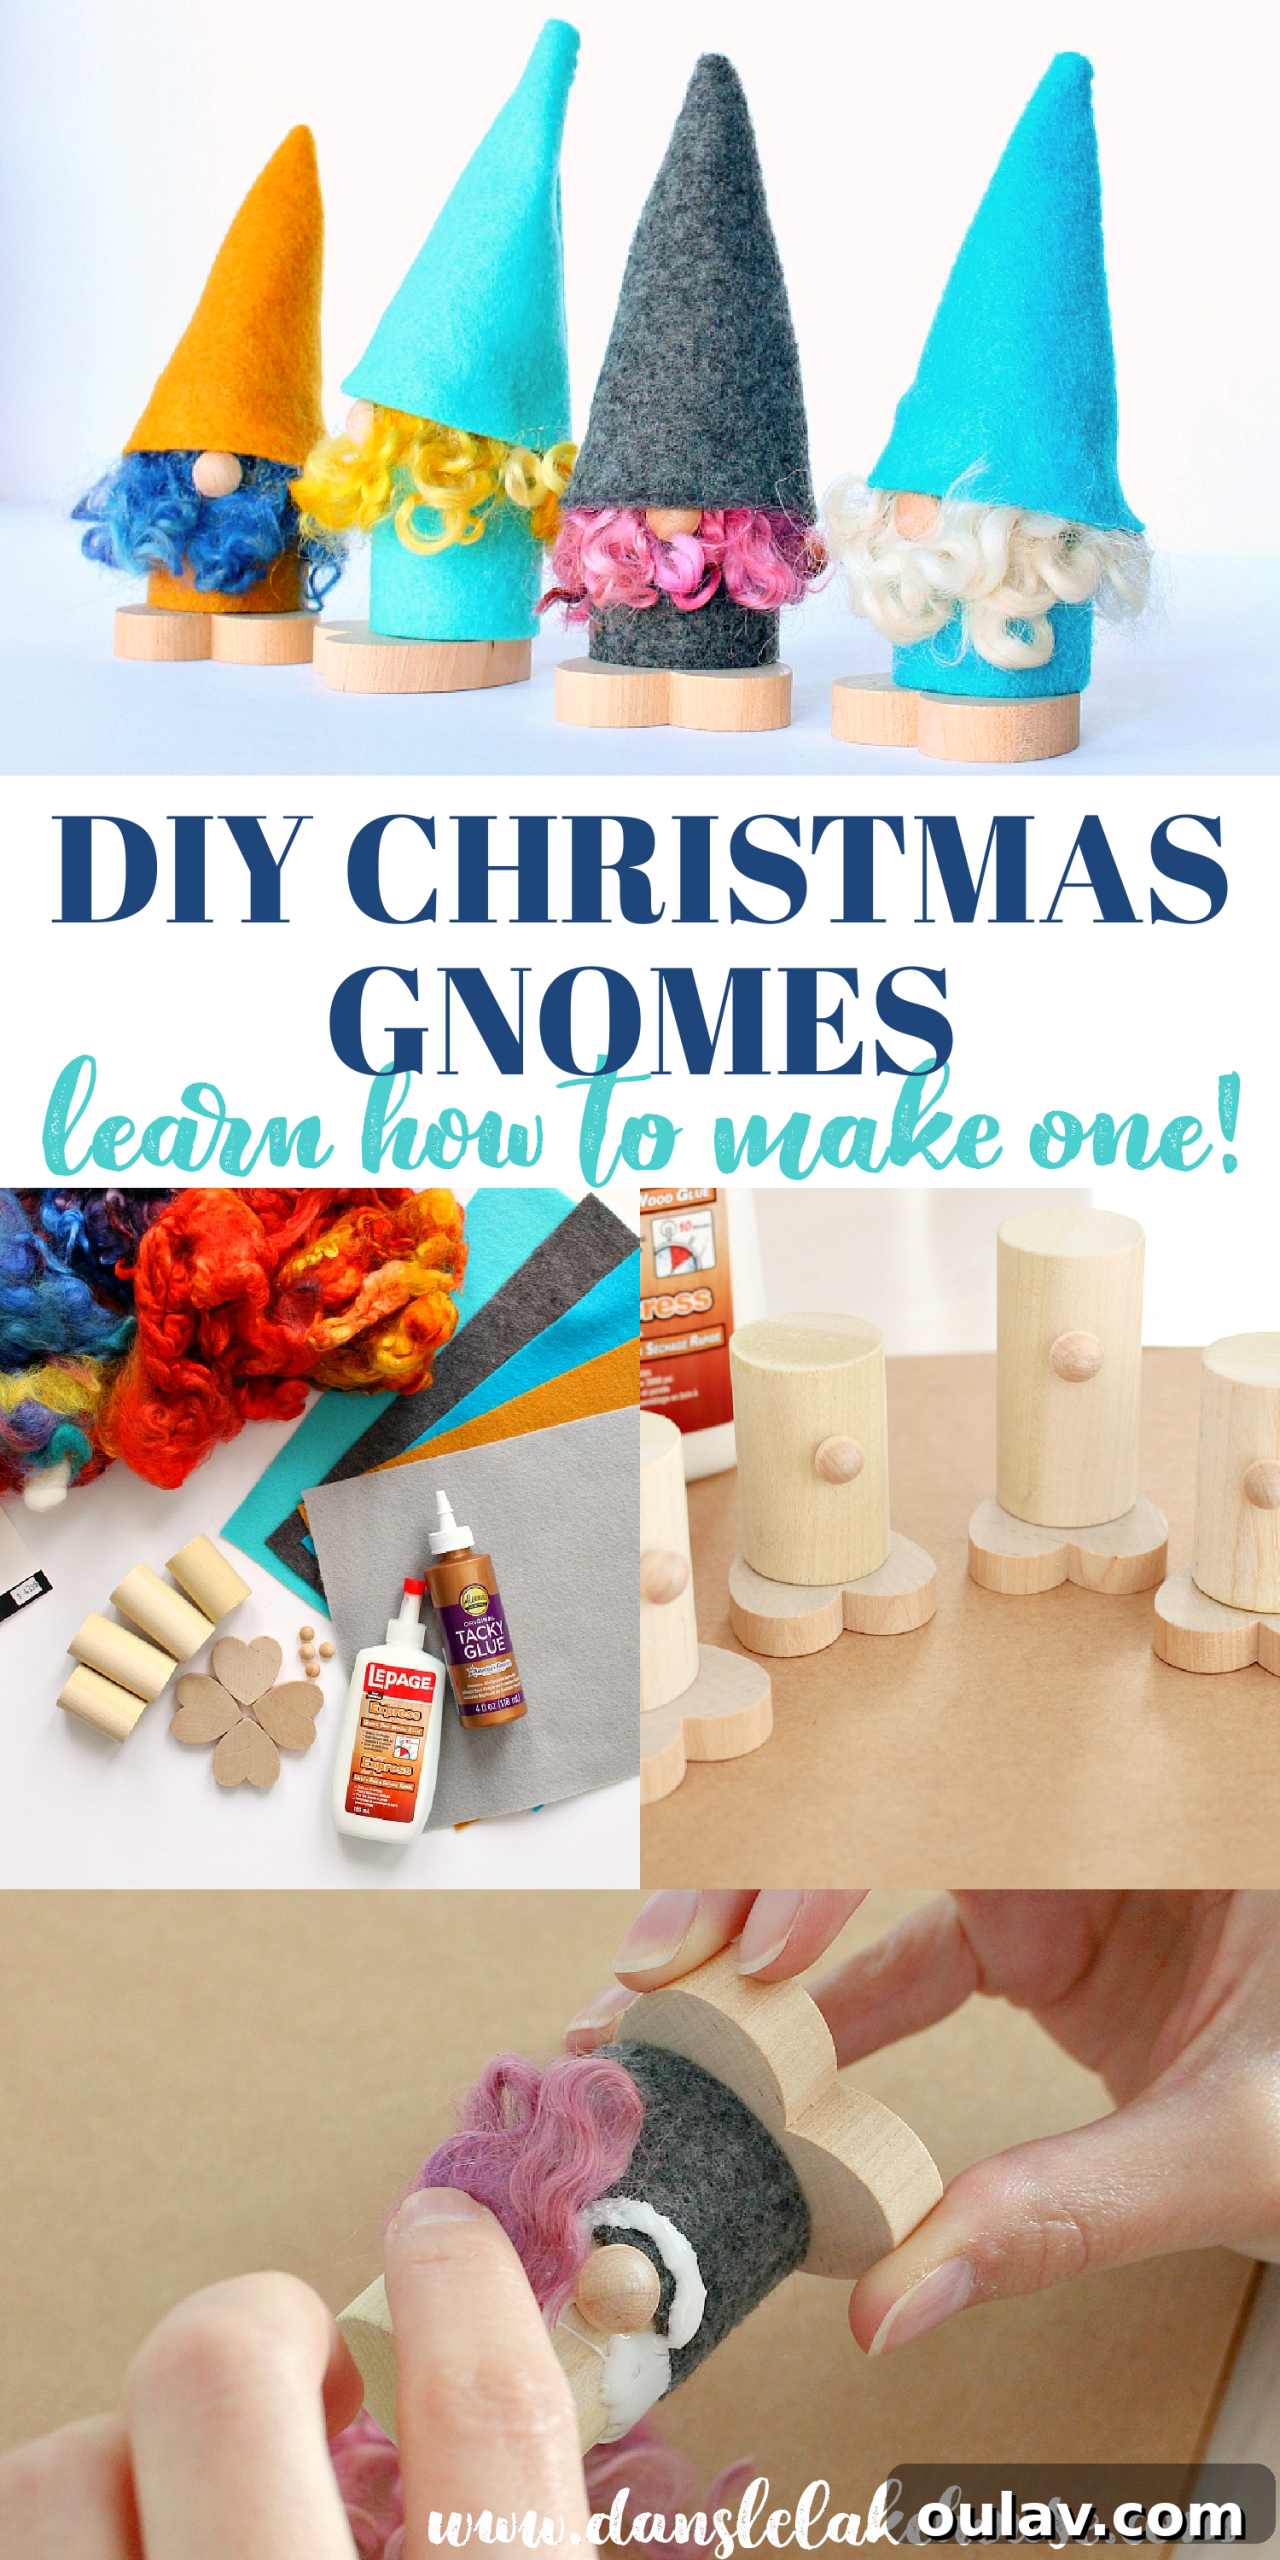
P.S. Don’t Forget to Pin for Later!
Thank you for joining me on this delightful crafting journey. Happy holidays to all my gnomies! May your homes be filled with handmade cheer and festive spirits. 😉