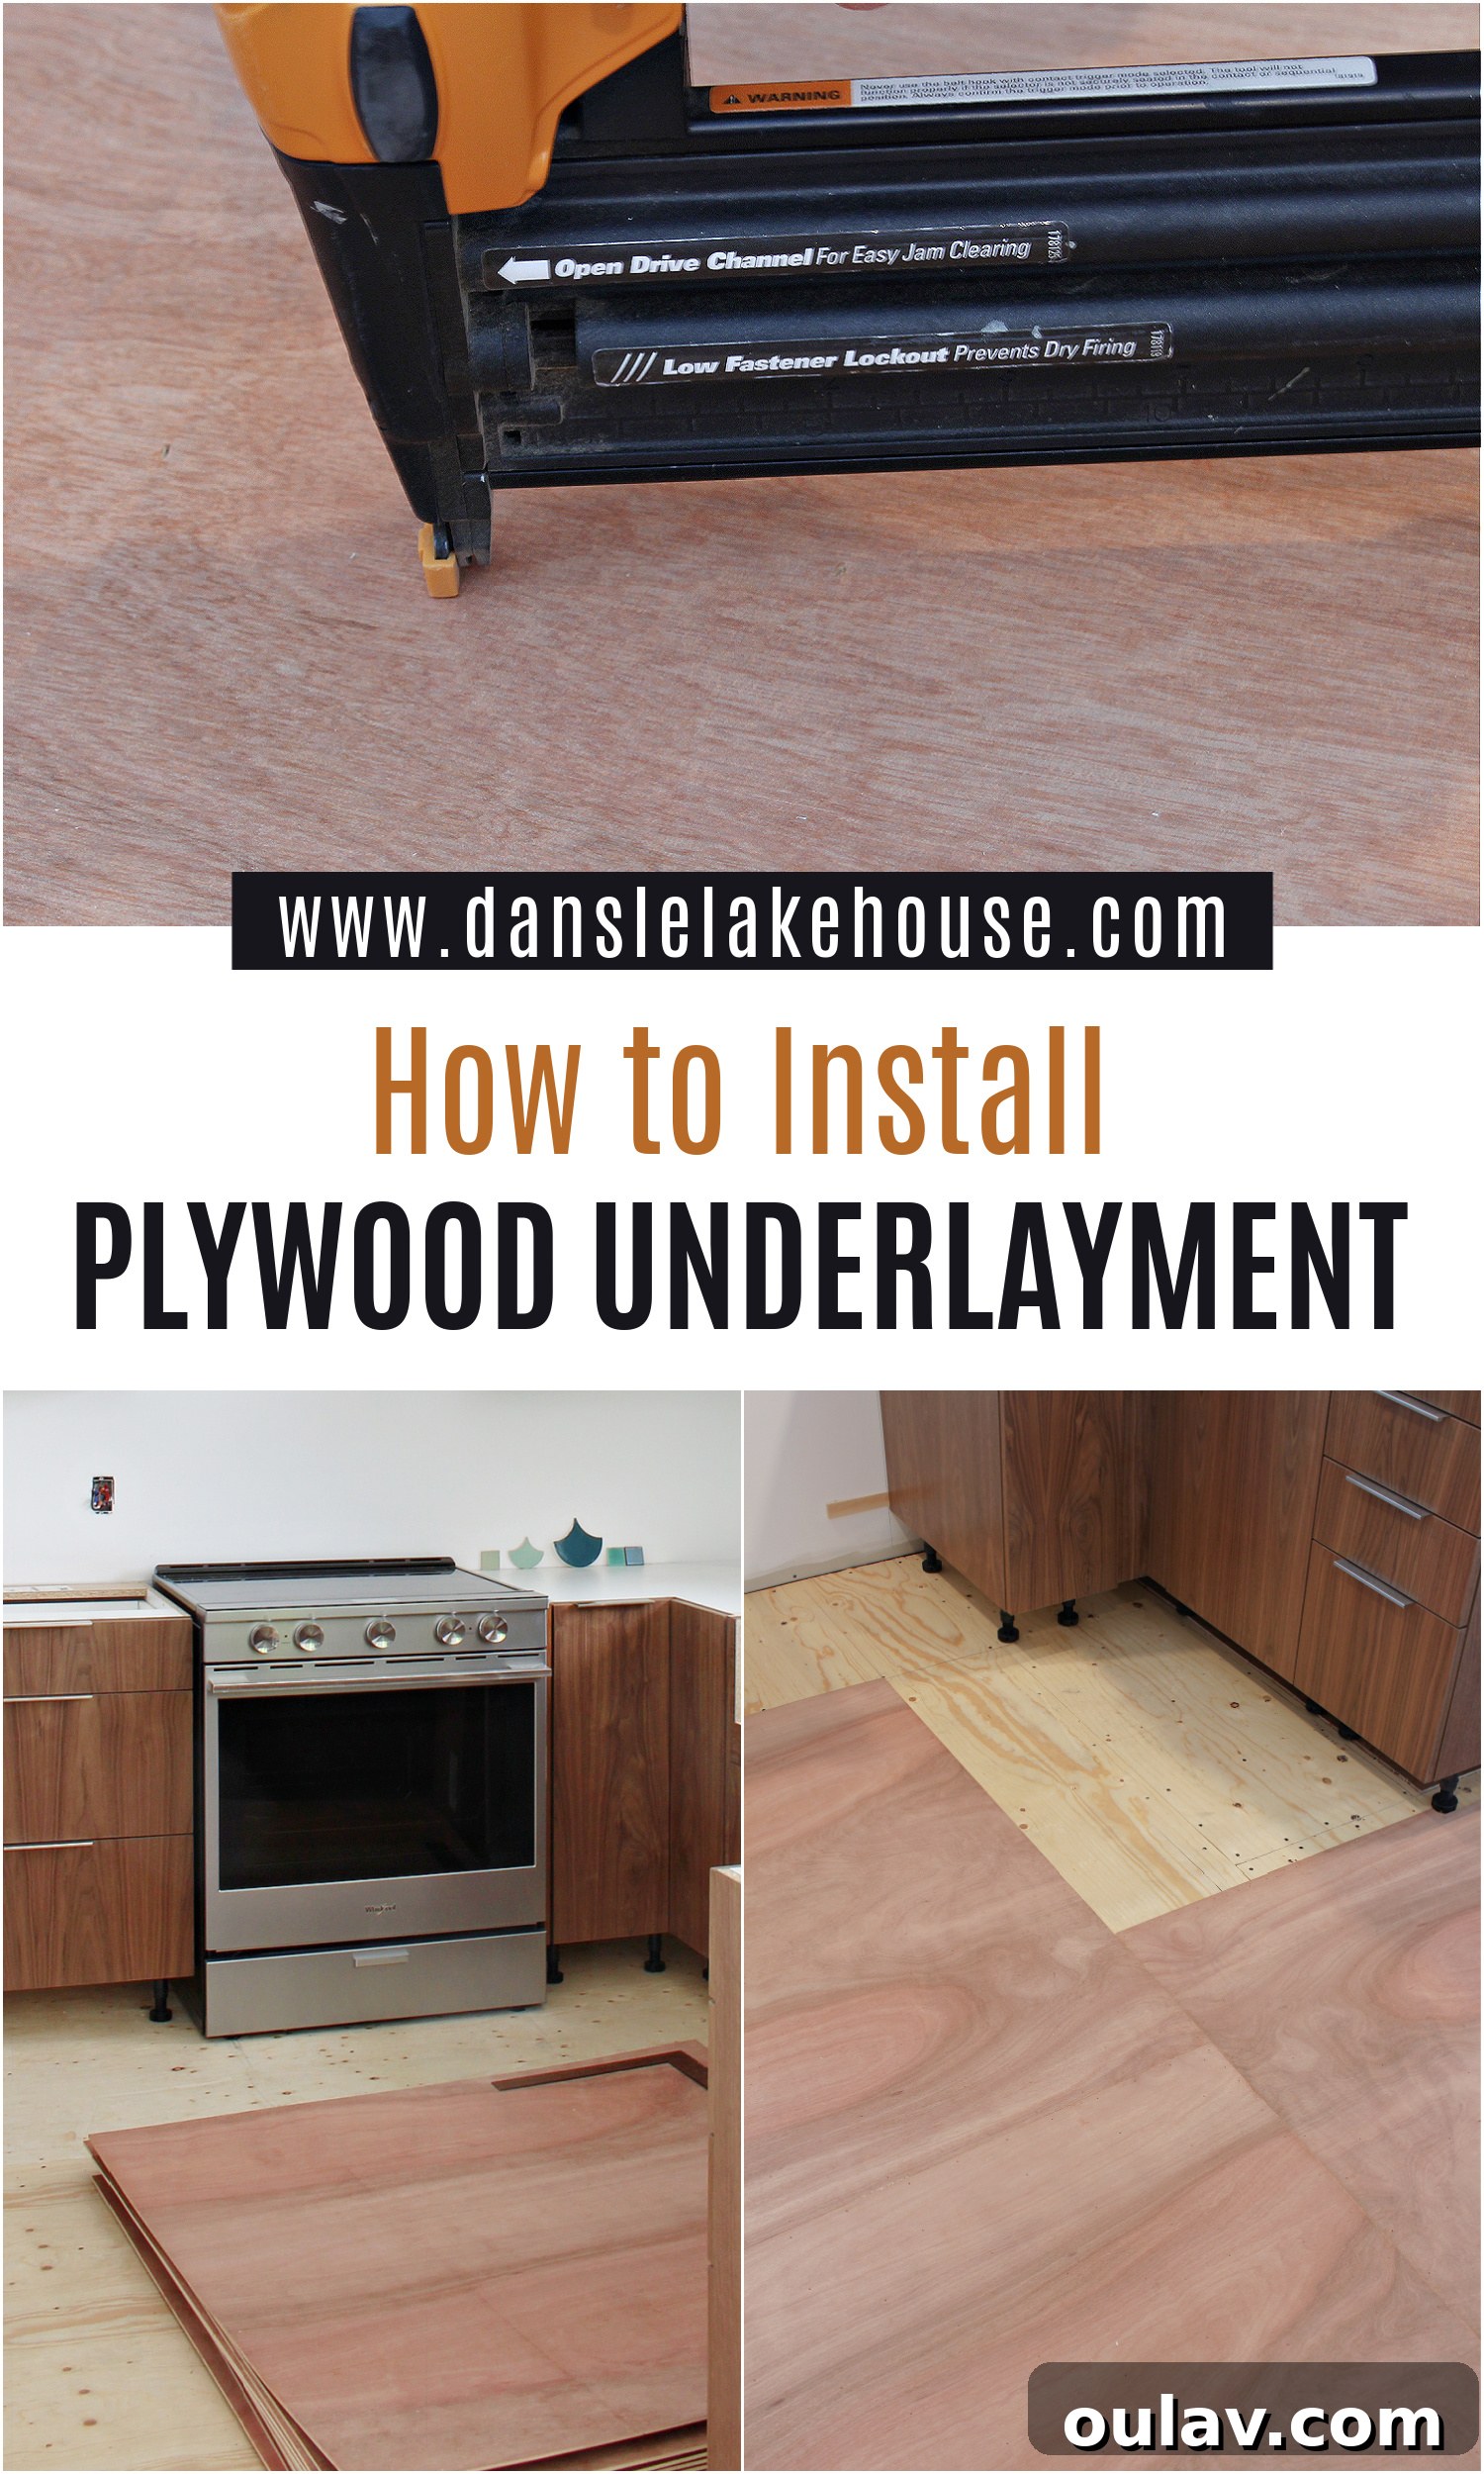
Embarking on a kitchen renovation is an exciting journey, and for us, it involved transforming the space from the ground up, quite literally. While the glamorous glue-down luxury vinyl tile (LVT) installation is the final reveal, the real secret to a stunning and durable floor lies in meticulous preparation. This guide will walk you through the essential steps for installing plywood underlayment for vinyl flooring, a critical foundation that often goes overlooked. We’ll also chronicle our specific project where we significantly increased our kitchen floor height by installing a second subfloor, a common solution for achieving seamless transitions between rooms.
Understanding the Foundation: Plywood Underlayment vs. Subfloor
Before diving into the installation process, it’s vital to clarify the roles of subfloors and underlayment. These terms are often used interchangeably, but they serve distinct purposes in your home’s flooring system.
The **subfloor** is the structural layer of your floor. It’s typically made of thick plywood or OSB (oriented strand board) sheeting that is directly attached to the floor joists. Its primary function is to provide structural support for your home, carrying the load of furniture, appliances, and people. Subfloors are inherently robust but often rough, full of knots, seams, and imperfections that are unsuitable as a direct surface for many finished flooring materials.
**Plywood underlayment**, on the other hand, is a much thinner layer installed directly on top of the subfloor. Its purpose is to create a smooth, stable, and uniform surface, free of any structural irregularities, that is ideal for specific types of finished flooring. For vinyl and linoleum, a perfectly smooth surface is paramount, as even minor imperfections in the subfloor can “telegraph” through the thin flooring material over time, creating an uneven look or even damaging the vinyl. Underlayment, usually 1/4 inch (6mm) or 5mm thick, acts as a critical buffer, providing that pristine canvas. It cannot be used as a structural replacement for a subfloor due to its thinness and different material properties.
While plywood underlayment is essential for resilient floor coverings like vinyl and linoleum, it’s generally not required for hardwood flooring or carpet. These materials have different installation requirements and often use other types of underlayment, such as felt paper or foam padding, primarily for moisture control, sound dampening, or comfort.
The Right Method: How to Secure Plywood Underlayment to Subfloor
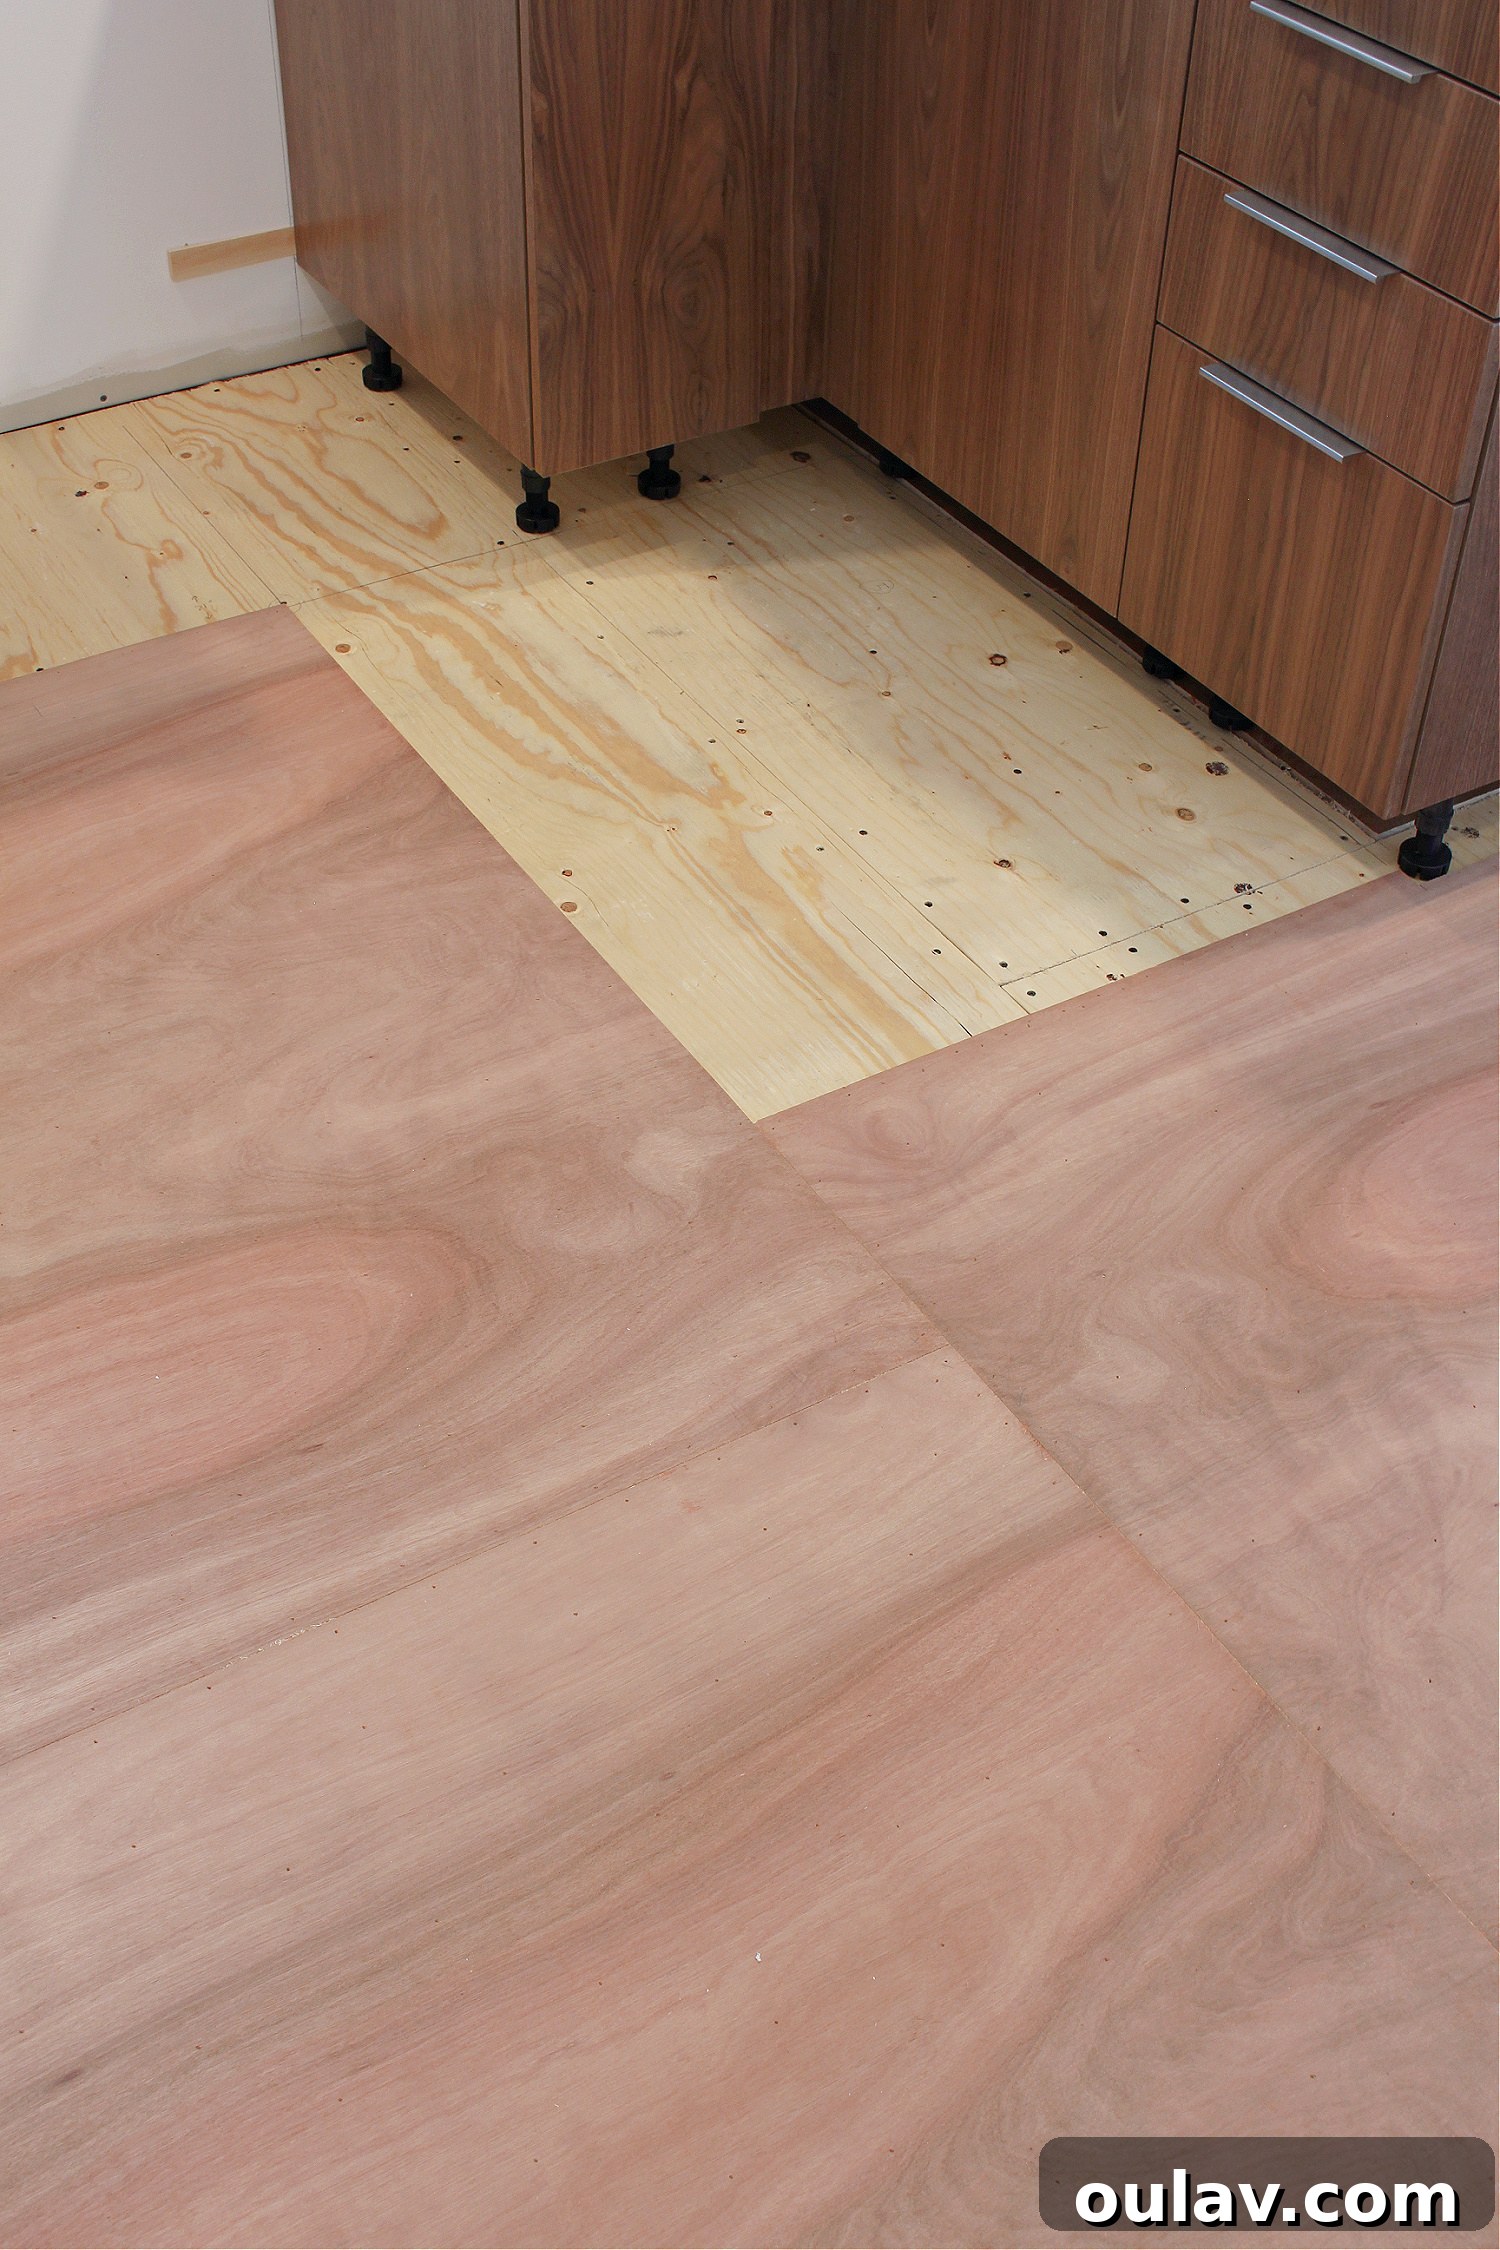
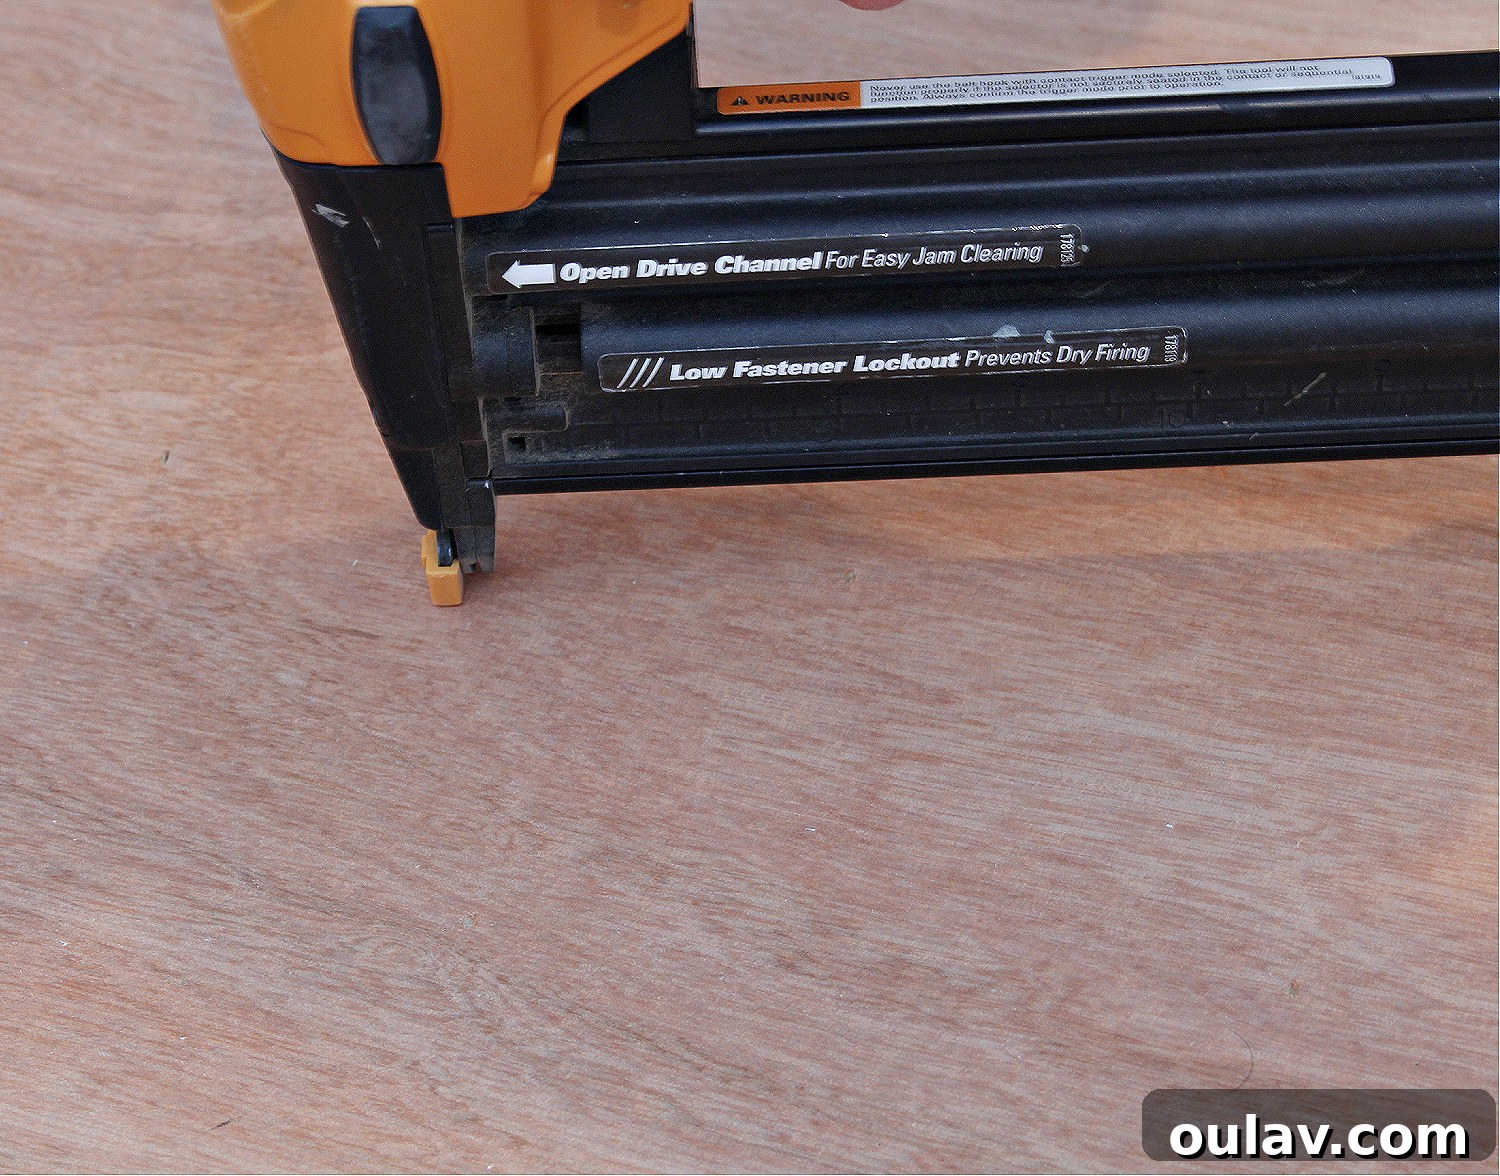
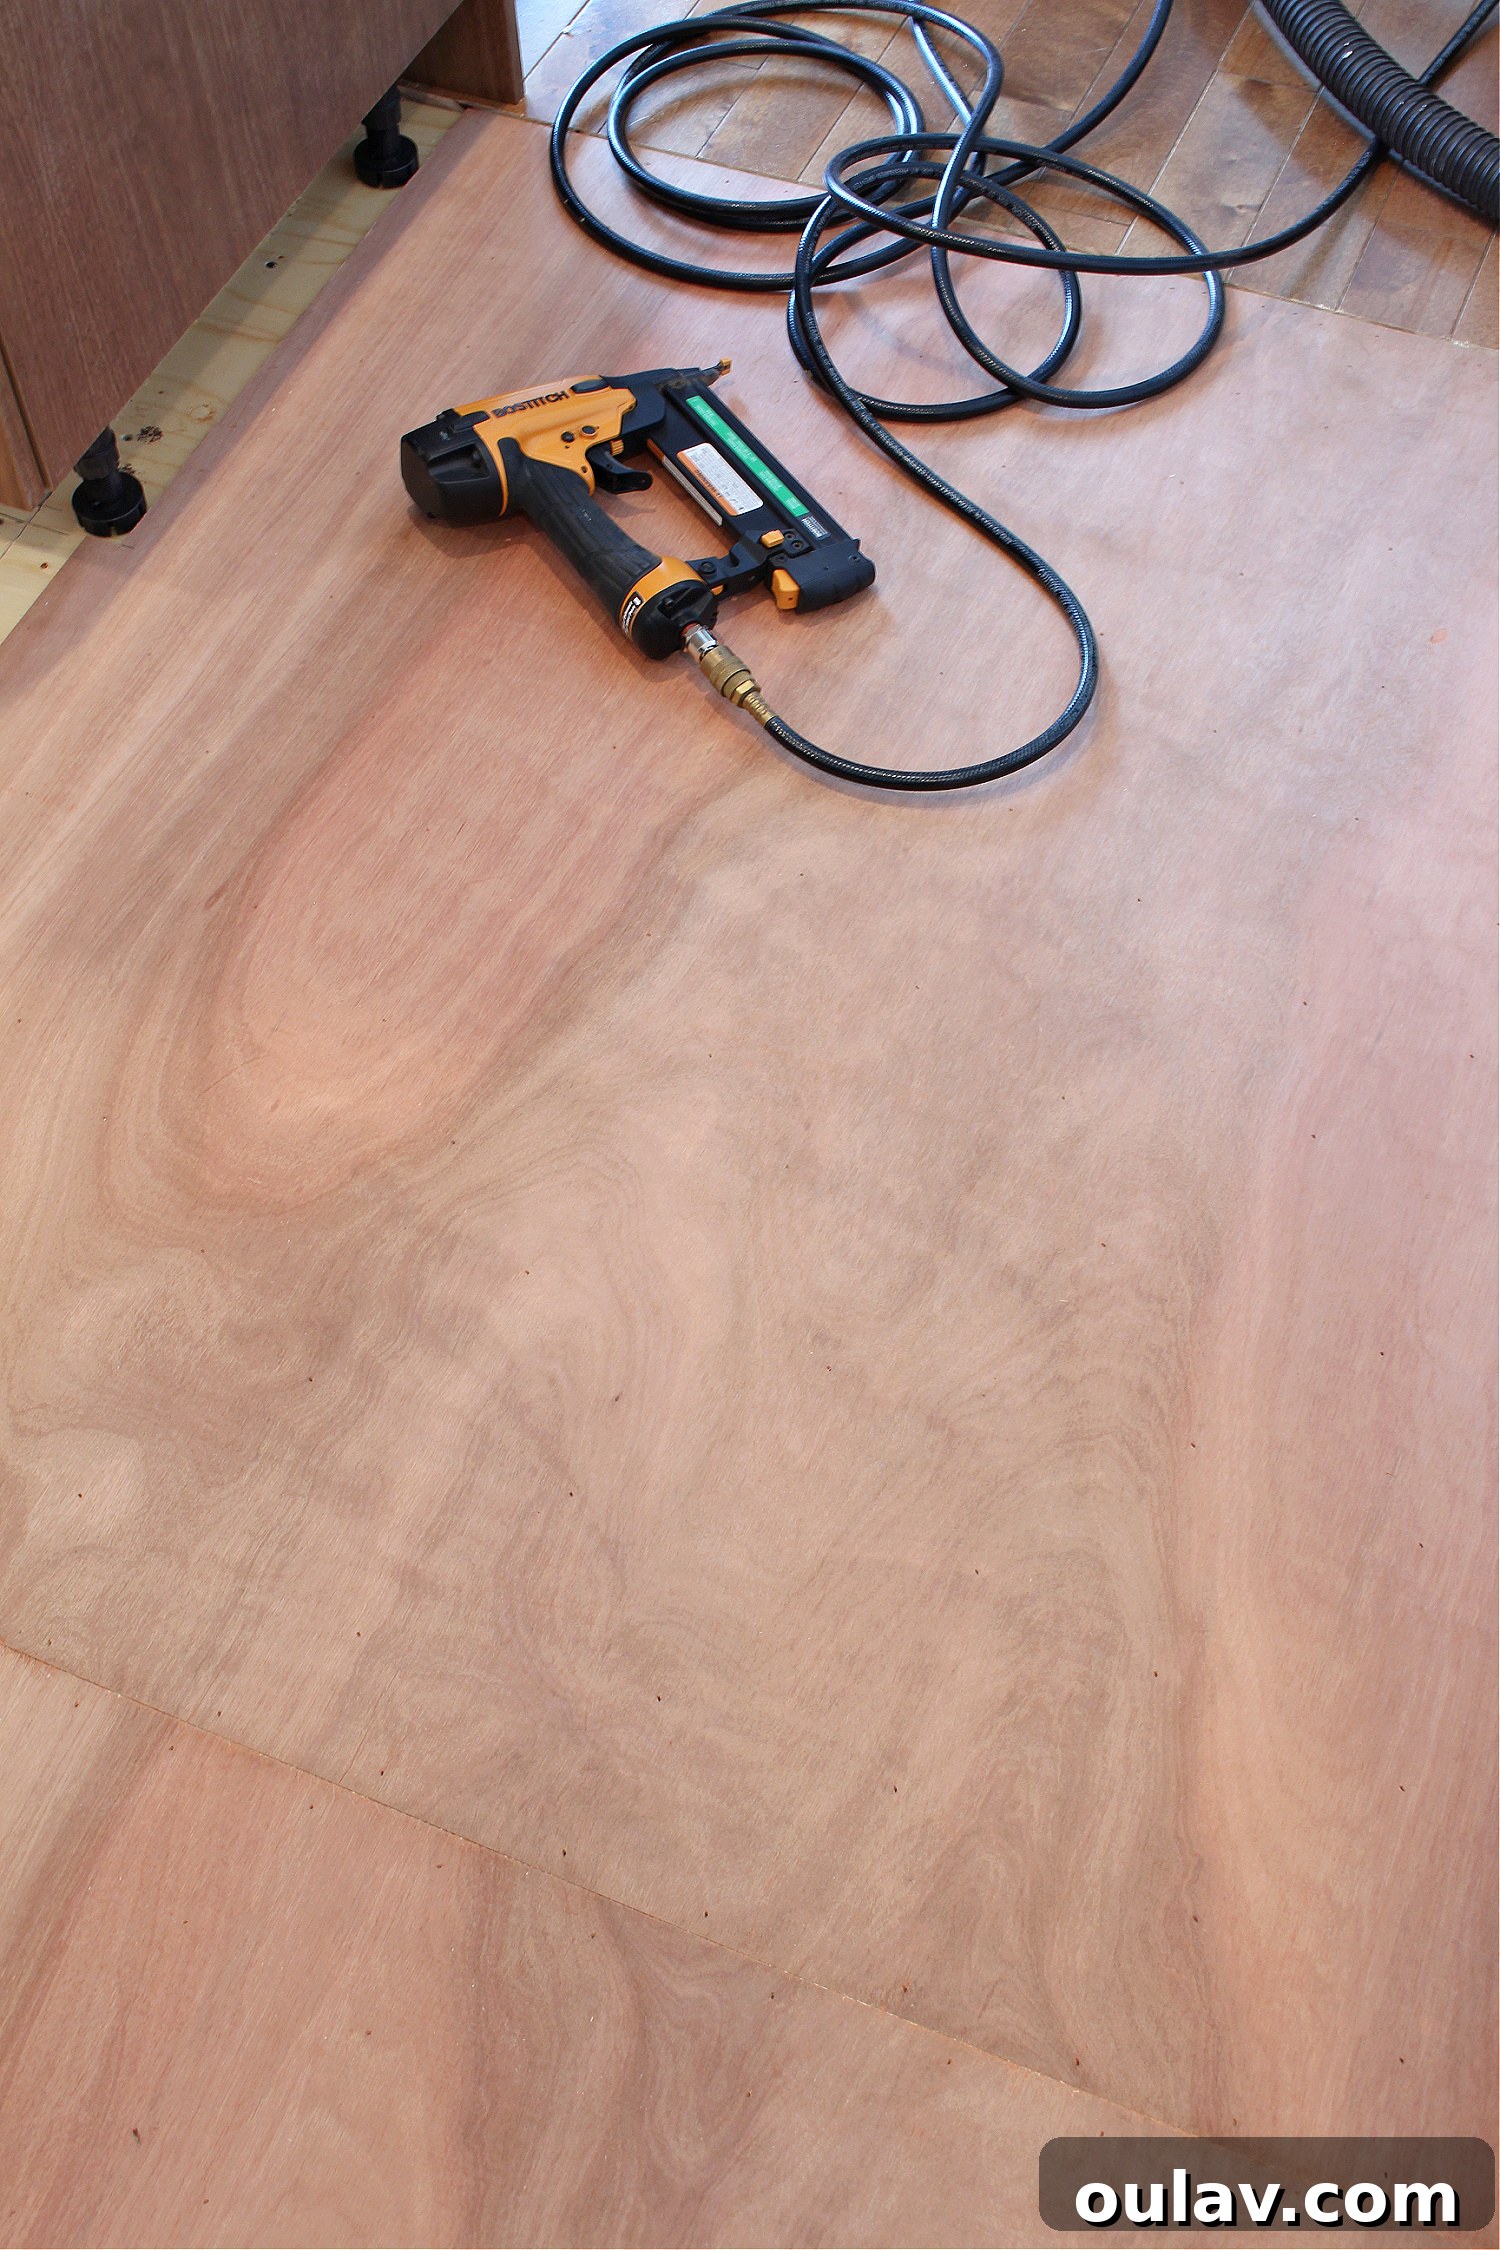
Properly attaching plywood underlayment to the subfloor is crucial for preventing movement, squeaks, and potential flooring failures. While you can use nails or staples, we found that an air nailer with 3/4-inch nails offered the most efficient and secure method for our project. Air tools significantly speed up the process and ensure consistent fastener depth.
When laying out your underlayment sheets, you have a couple of options for the seams: either butt them tightly together or leave a small 1/8-inch expansion gap. For luxury vinyl tile (LVT), which requires a very stable and gap-free surface to prevent adhesive failure or tile lifting, we opted to butt the sheets together as snugly as possible without forcing them. This creates a more unified surface, which we then addressed with leveling compound.
The nailing pattern is perhaps the most critical aspect of securing underlayment to prevent bowing or warping. Do not just randomly nail the sheets down. Follow this strategic pattern:
- Start in the middle: Begin by placing nails diagonally across the center of the plywood underlayment sheet, spacing them approximately 4 inches apart. This central anchoring helps to flatten the sheet evenly.
- Work outwards diagonally: From this initial diagonal centerline, continue nailing outwards towards the edges, maintaining the diagonal pattern. This technique helps distribute tension and minimize the chance of the plywood bowing or buckling as it’s secured.
- Finish the edges: Once the main body of the sheet is secured, nail along the perimeter edges, placing fasteners approximately 2 inches apart. Ensure that you hit the subfloor beneath consistently.
This systematic approach ensures the underlayment is uniformly secured, providing an exceptionally stable and flat base for your new vinyl flooring. Always wear appropriate safety gear, including eye protection, when operating power tools like an air nailer.
Essential Supplies for a Flawless Underlayment Installation
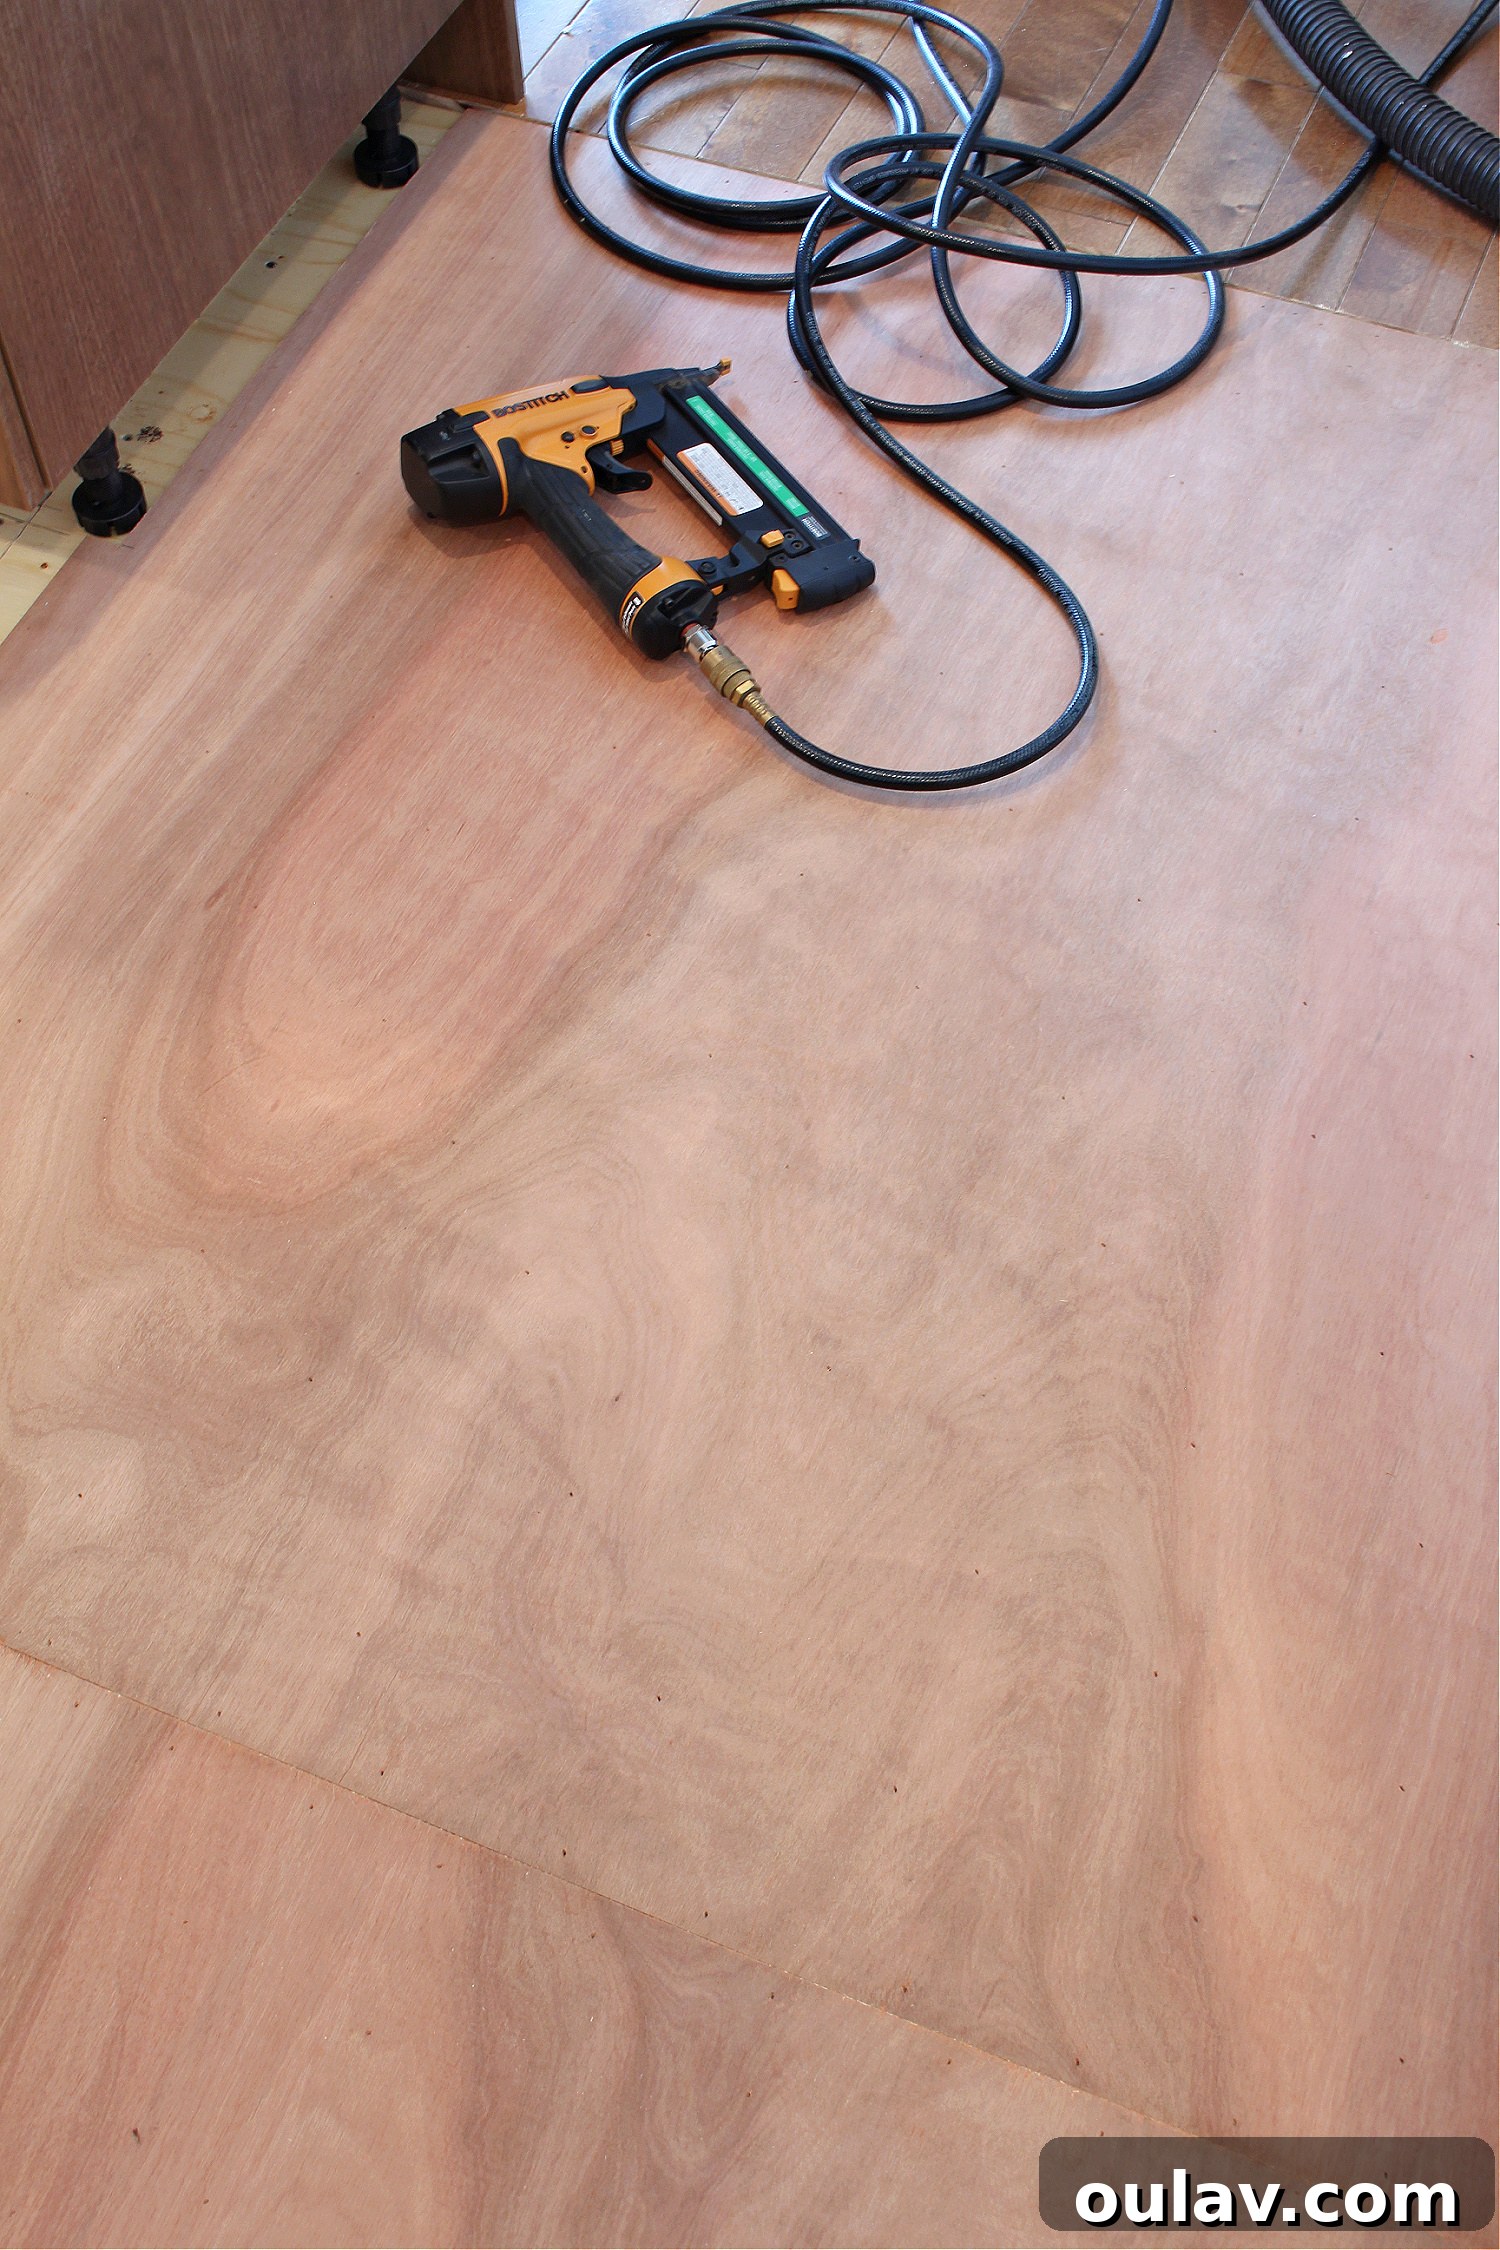
Having the right tools and materials on hand will make your underlayment installation significantly smoother and more professional. Here’s a comprehensive list of what you’ll need:
- Plywood Underlayment Sheets: Ensure you purchase proper underlayment grade plywood, which is specifically manufactured for smoothness and stability.
- Compressor & Air Nailer (or Air Stapler): An air nailer with a compressor is ideal for quick and secure fastening. An air stapler can also be used, but nails typically offer greater holding power.
- 3/4″ Nails: Choose ring-shanked or screw-shanked nails for superior grip and to prevent nail pops.
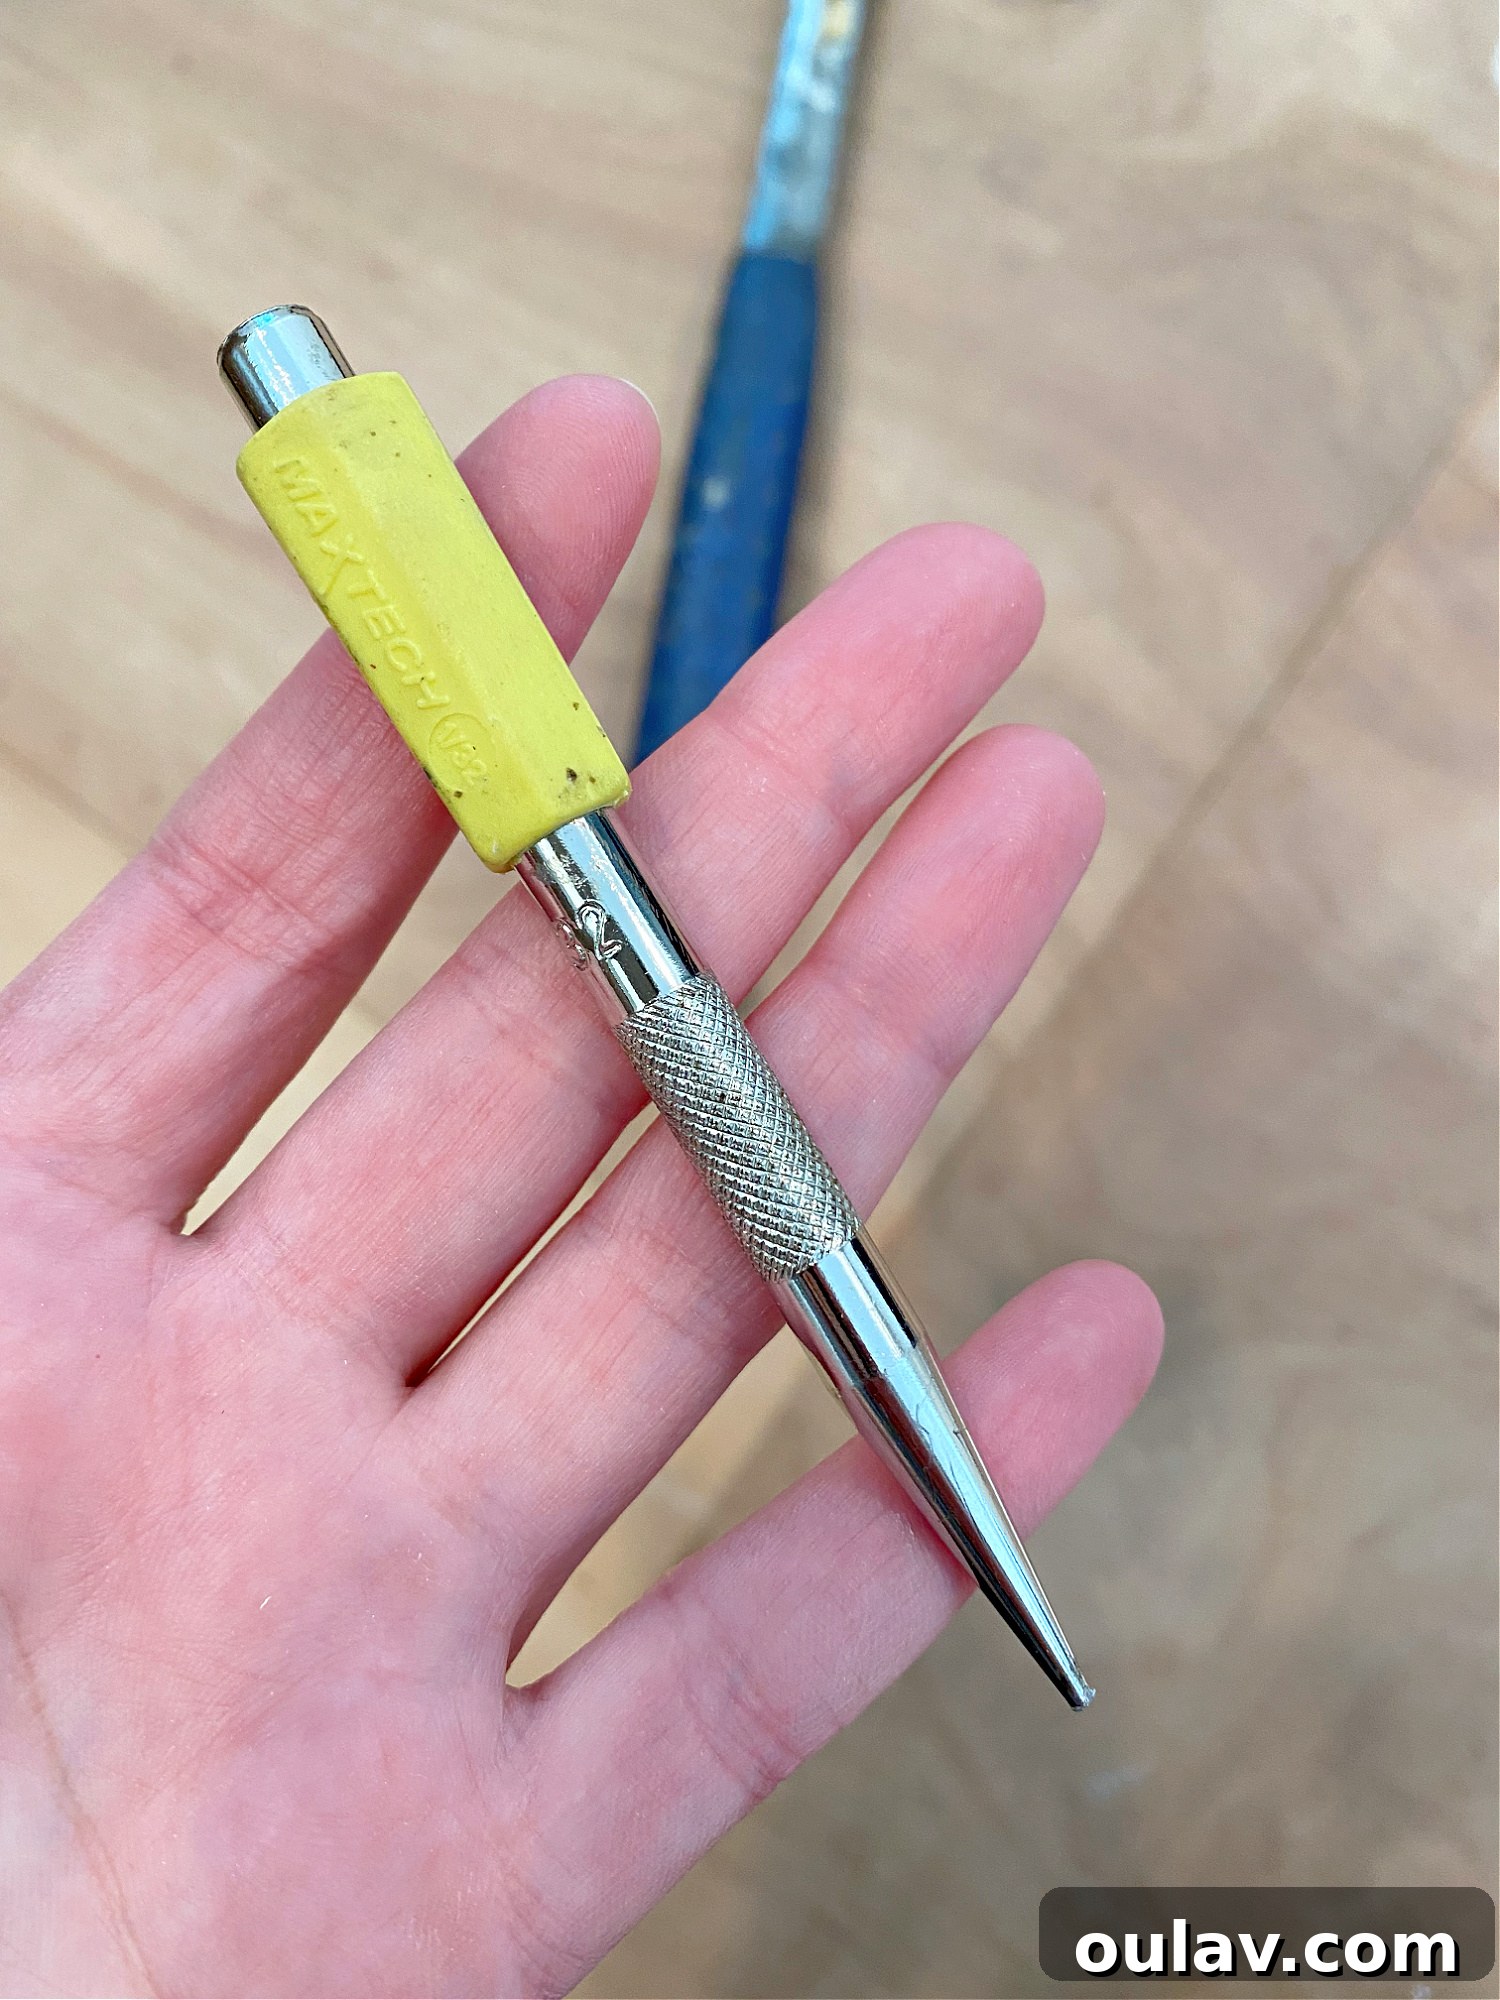
- Nail Setter: Crucial for countersinking any nails that don’t sit flush with the surface, preventing bumps under your finished floor.
- Hammer: For use with the nail setter and for any manual adjustments.
- Floor Patch & Levelling Compound: Essential for addressing minor dips, seams, and imperfections for a truly level surface.
- 6″ Drywall Knife: Perfect for applying leveling compound smoothly and evenly.
- 150 Grit Sandpaper & Sanding Block (optional): For smoothing out dried leveling compound and ensuring a perfectly flat surface.
- Shop Vacuum & Swiffer Sweeper: For thoroughly cleaning the subfloor before installation and removing dust after sanding.
- Dark Colored T-Shirt Rags: Excellent for a final dust wipe-down, as dark fabric helps reveal any lingering light-colored dust.
- Measuring Tape, Pencil, Utility Knife: For accurate measurements and marking.
- Circular Saw, Jig Saw, or Hand Saw: For cutting underlayment sheets to size and shape.
- Safety Glasses and Hearing Protection: Always prioritize personal safety when working with power tools.
Elevating the Kitchen: Our Journey to Raising the Floor Height
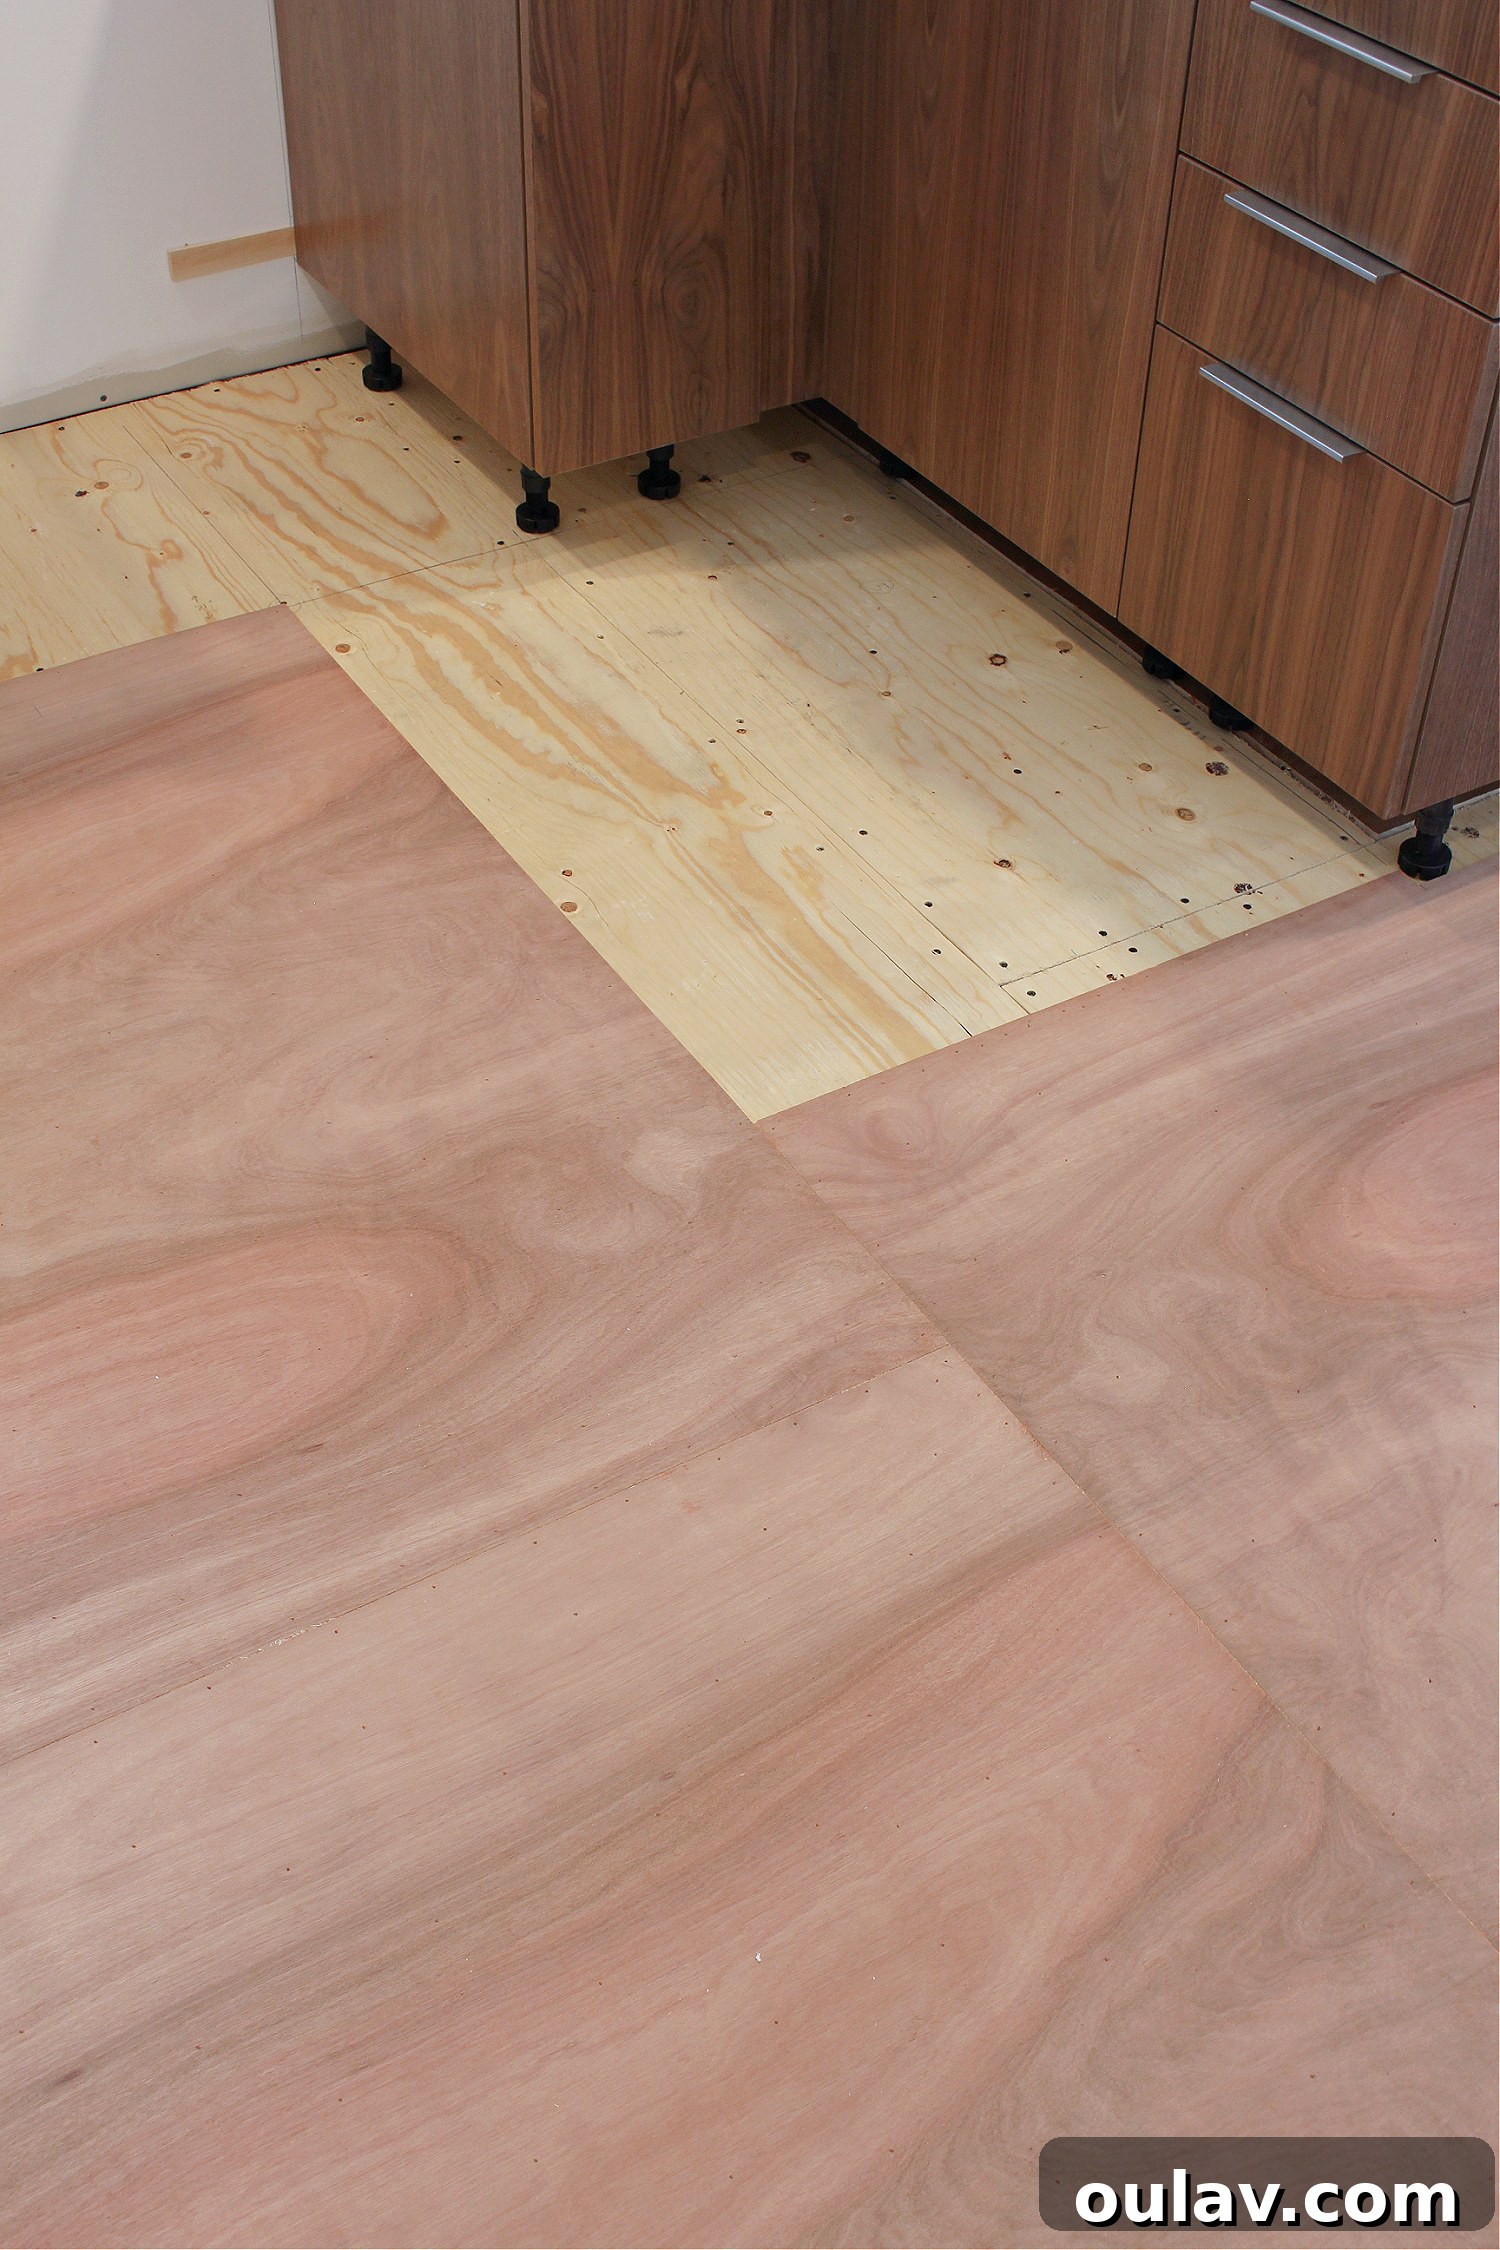
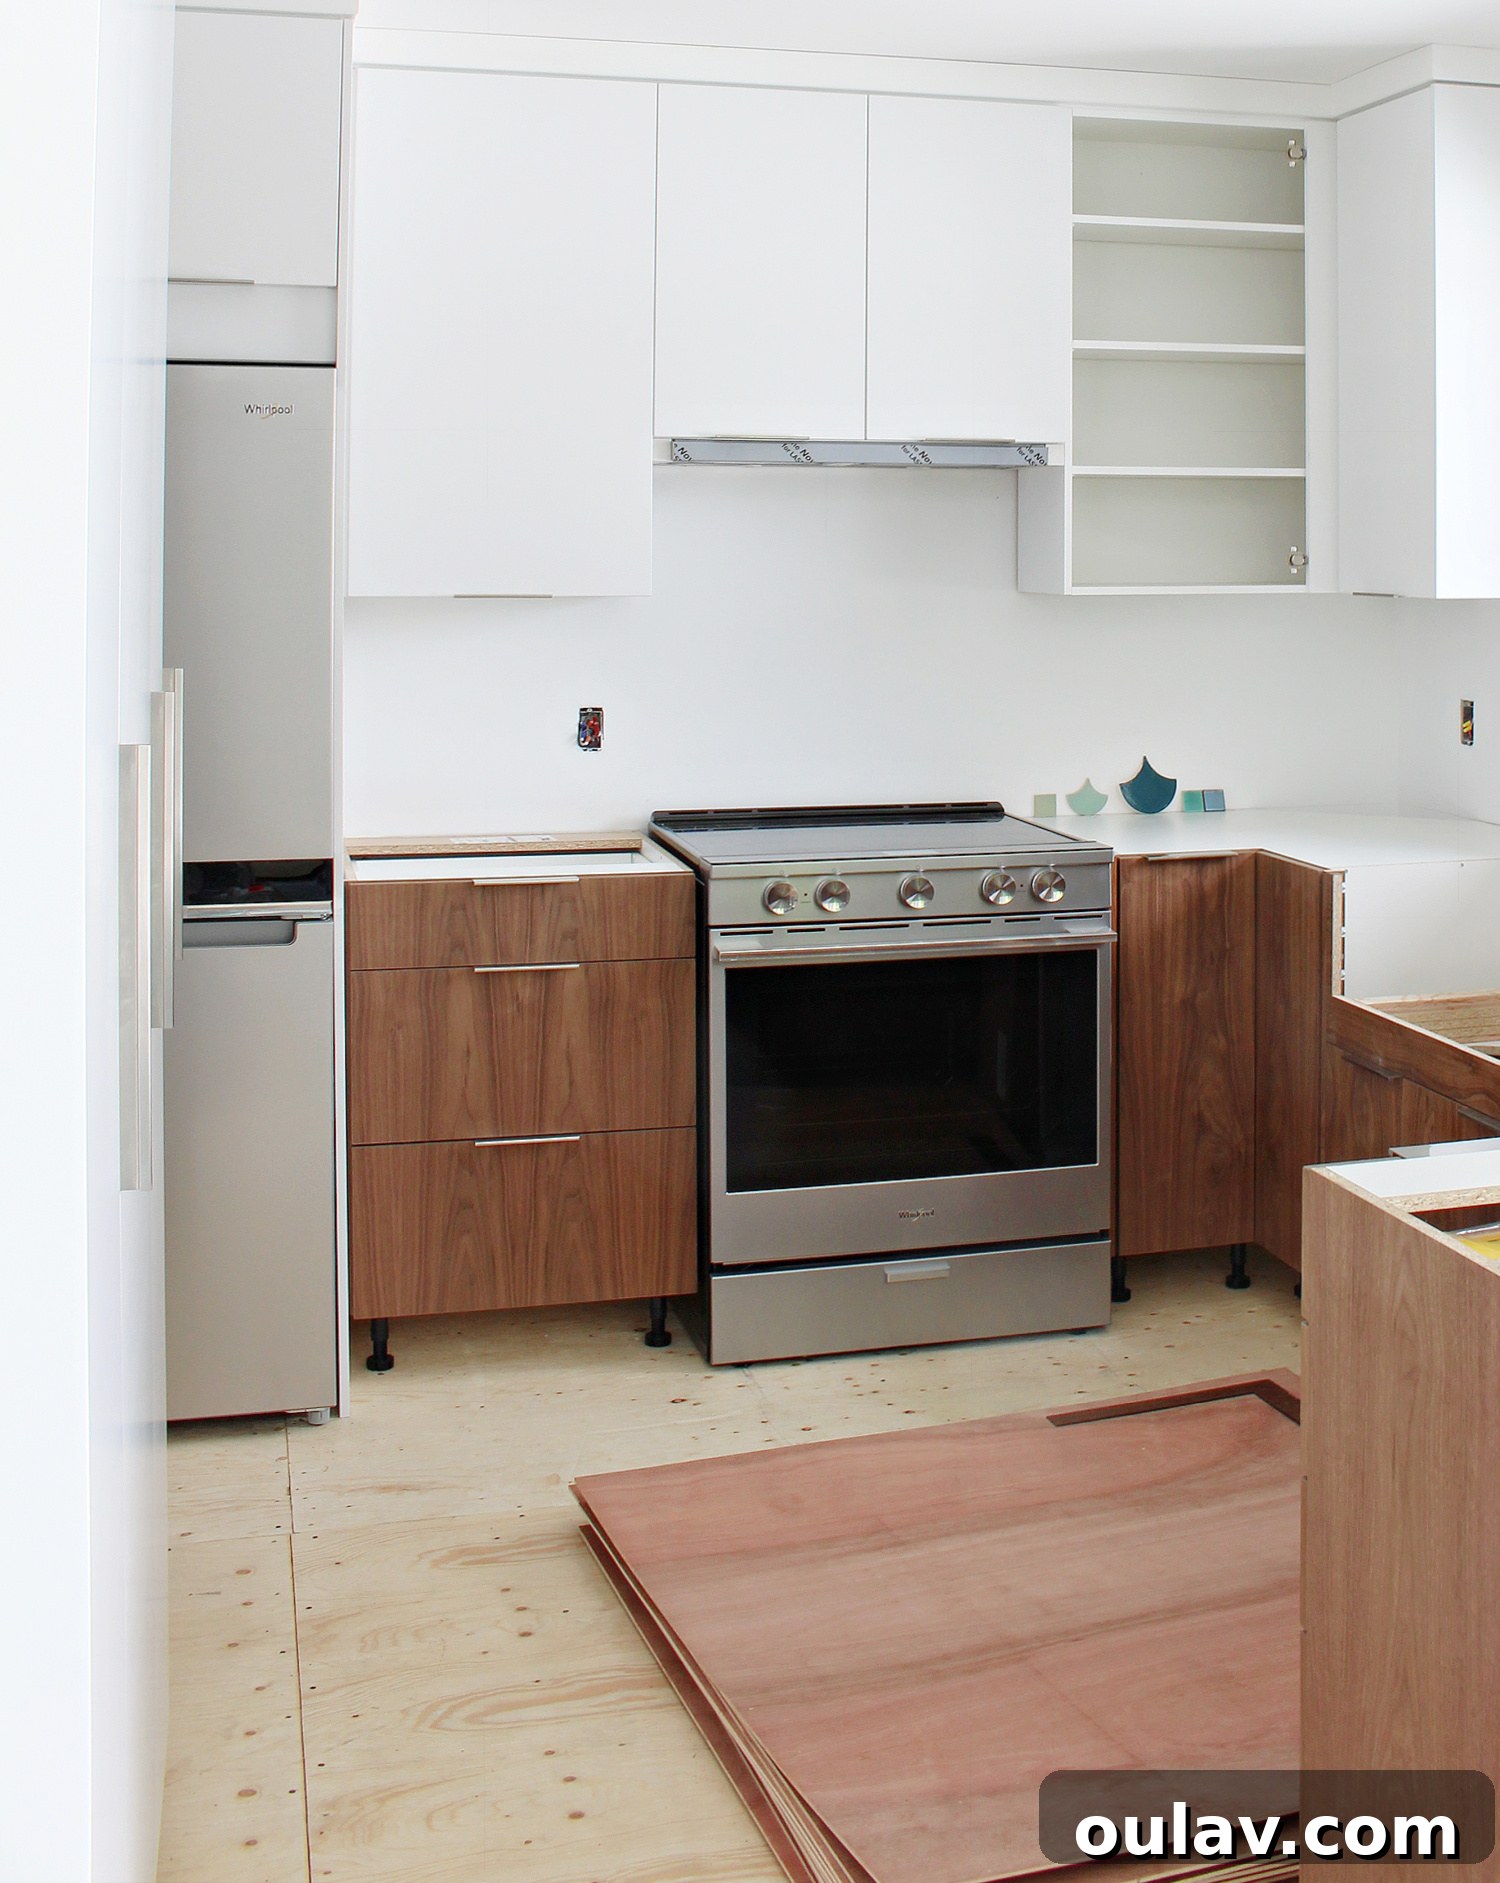
Our kitchen renovation presented a unique challenge: raising the floor height to seamlessly match the adjacent dining room and living room hardwood flooring. Historically, there was an awkward step down into the kitchen, a design flaw we were determined to correct for both aesthetics and functionality. This meant adding an entire additional layer of subfloor before installing the underlayment.
Once we completed the initial demolition – removing old cabinetry and making necessary drywall repairs – the kitchen was a blank slate. The existing floor consisted of old vinyl sheet flooring directly on top of the original subfloor. While we *could* have laid the new subfloor directly over the old vinyl, we opted to peel it off. This was a purely aesthetic choice, driven by a desire to avoid seeing the “crusty old floor” lurking beneath our brand-new foundation. It also allowed us to thoroughly inspect the original subfloor for any major issues.
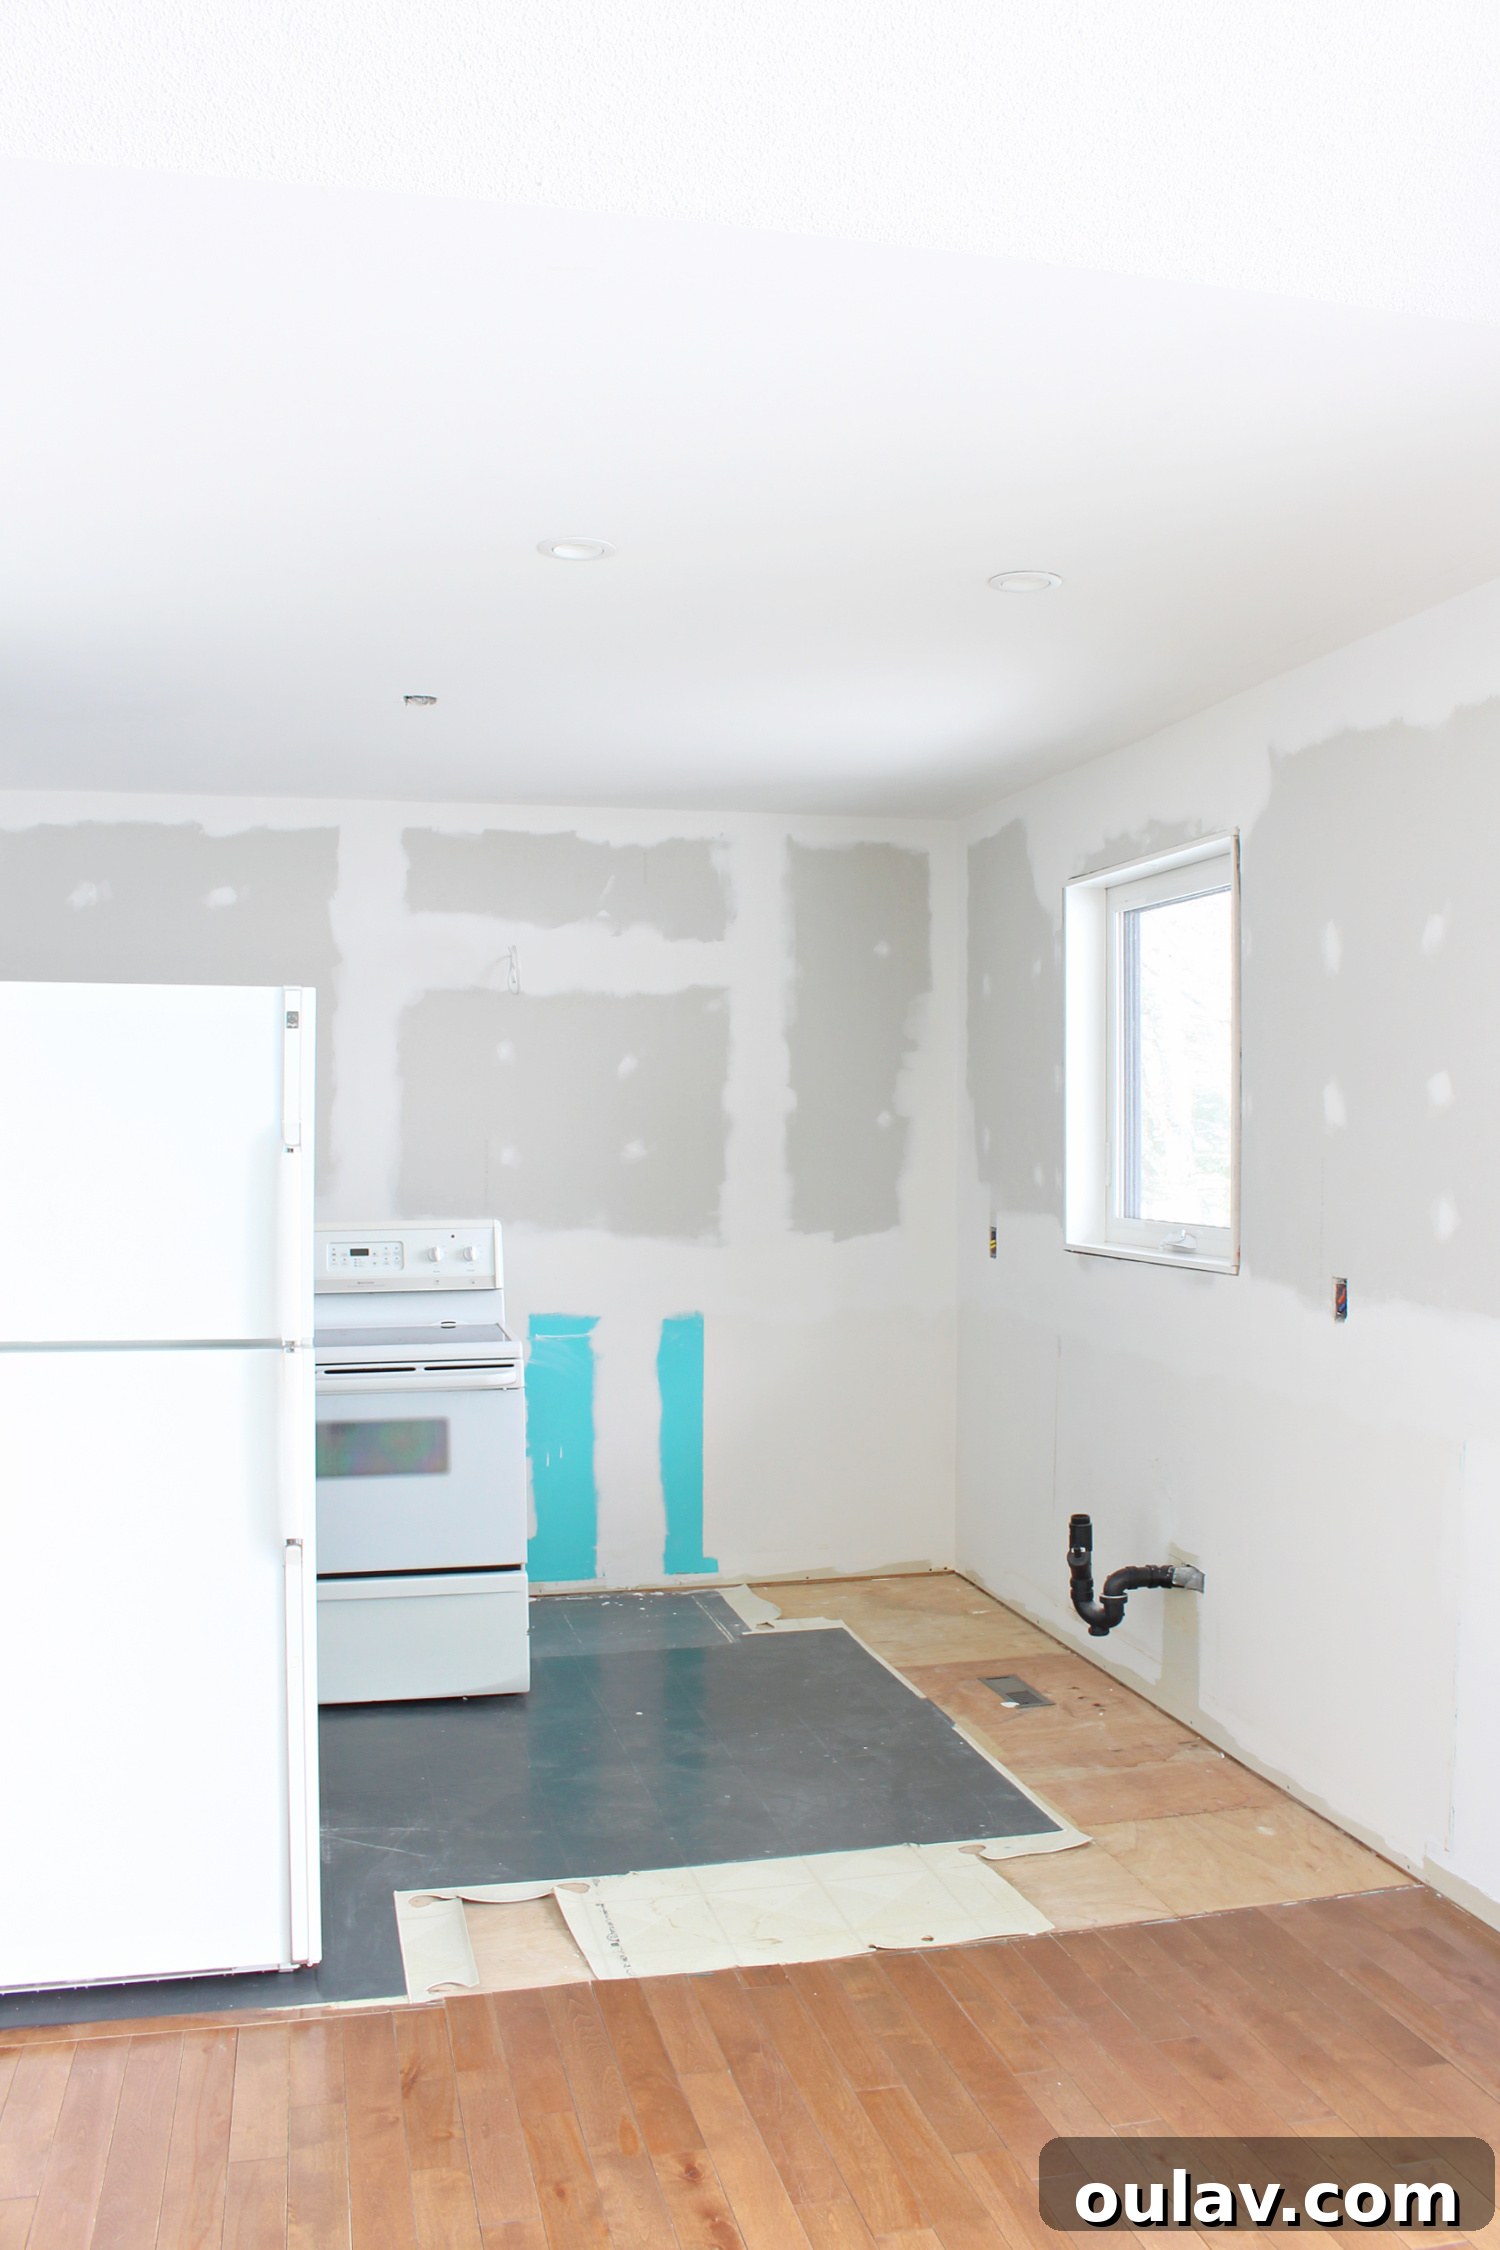
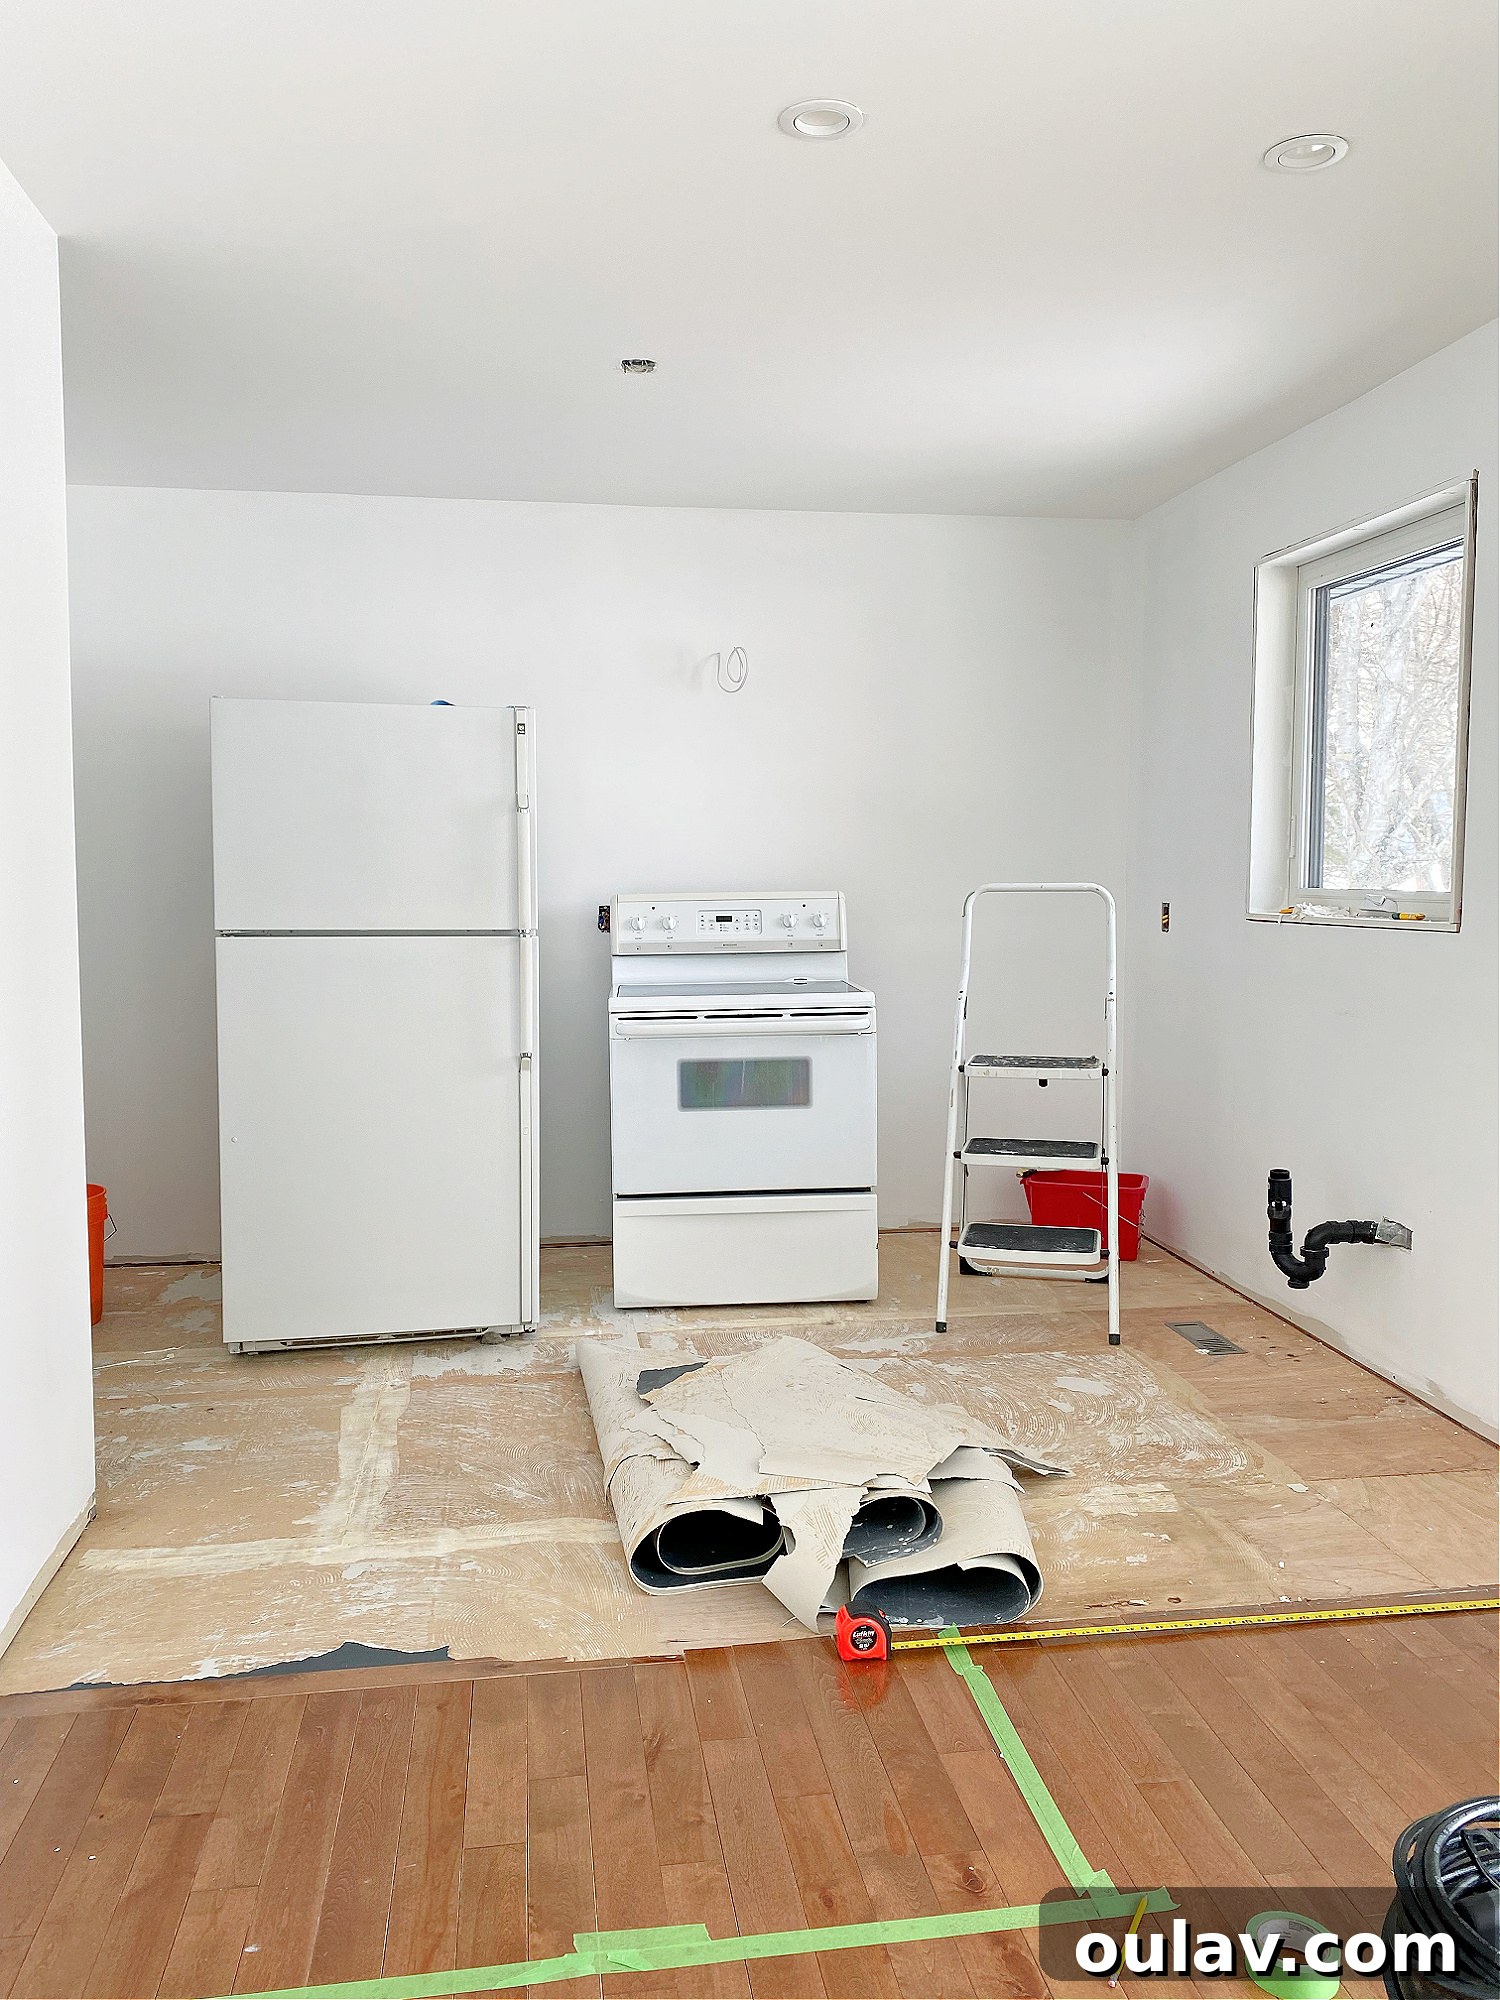
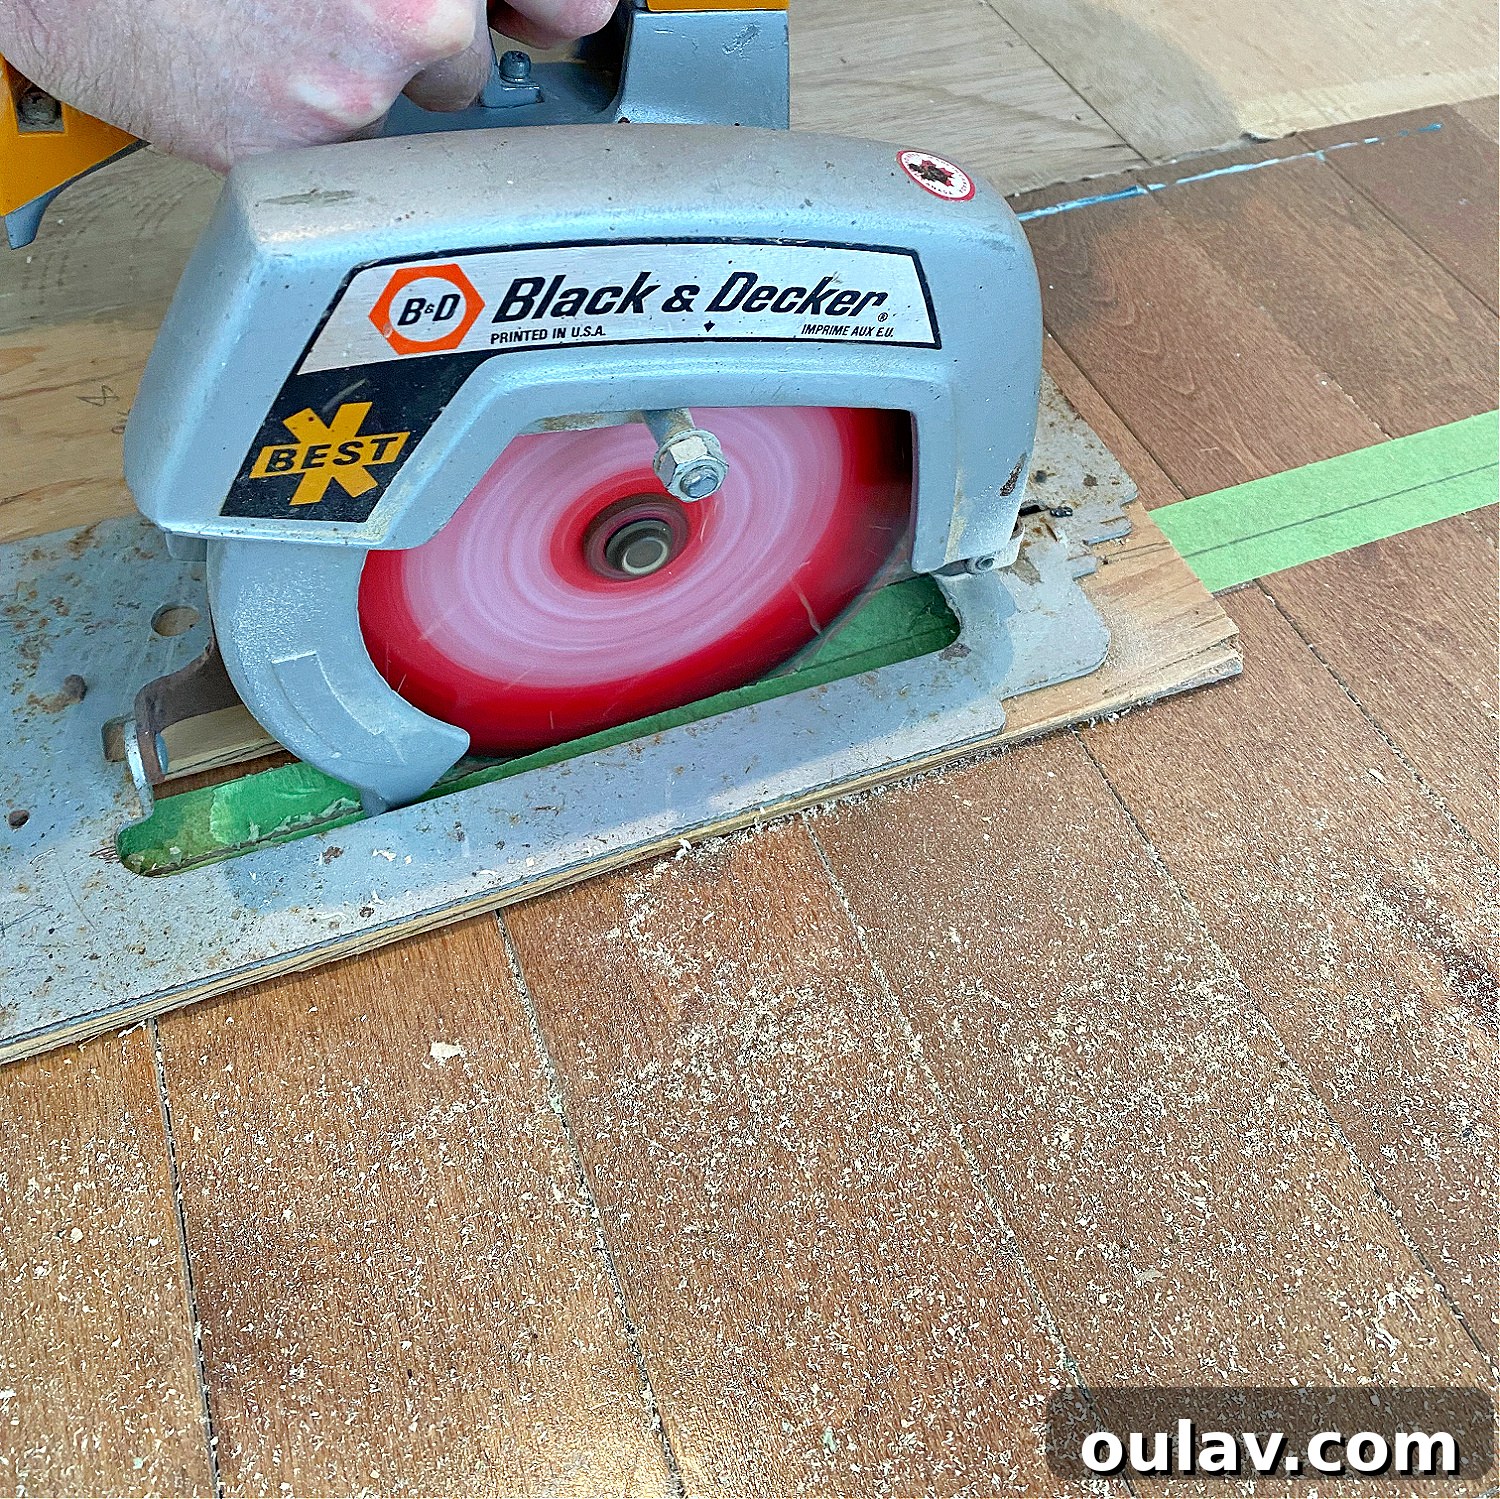
A more daunting task involved expanding the kitchen footprint. We bravely cut away sections of the dining room hardwood flooring. This was a last-minute decision – a mere 24 hours before our cabinet installers were due – born from realizing that a new wall-to-wall pantry would awkwardly straddle both the kitchen tile and dining room hardwood. Taking the plunge to cut into existing hardwood was nerve-wracking but ultimately yielded a much more cohesive and spacious kitchen design.
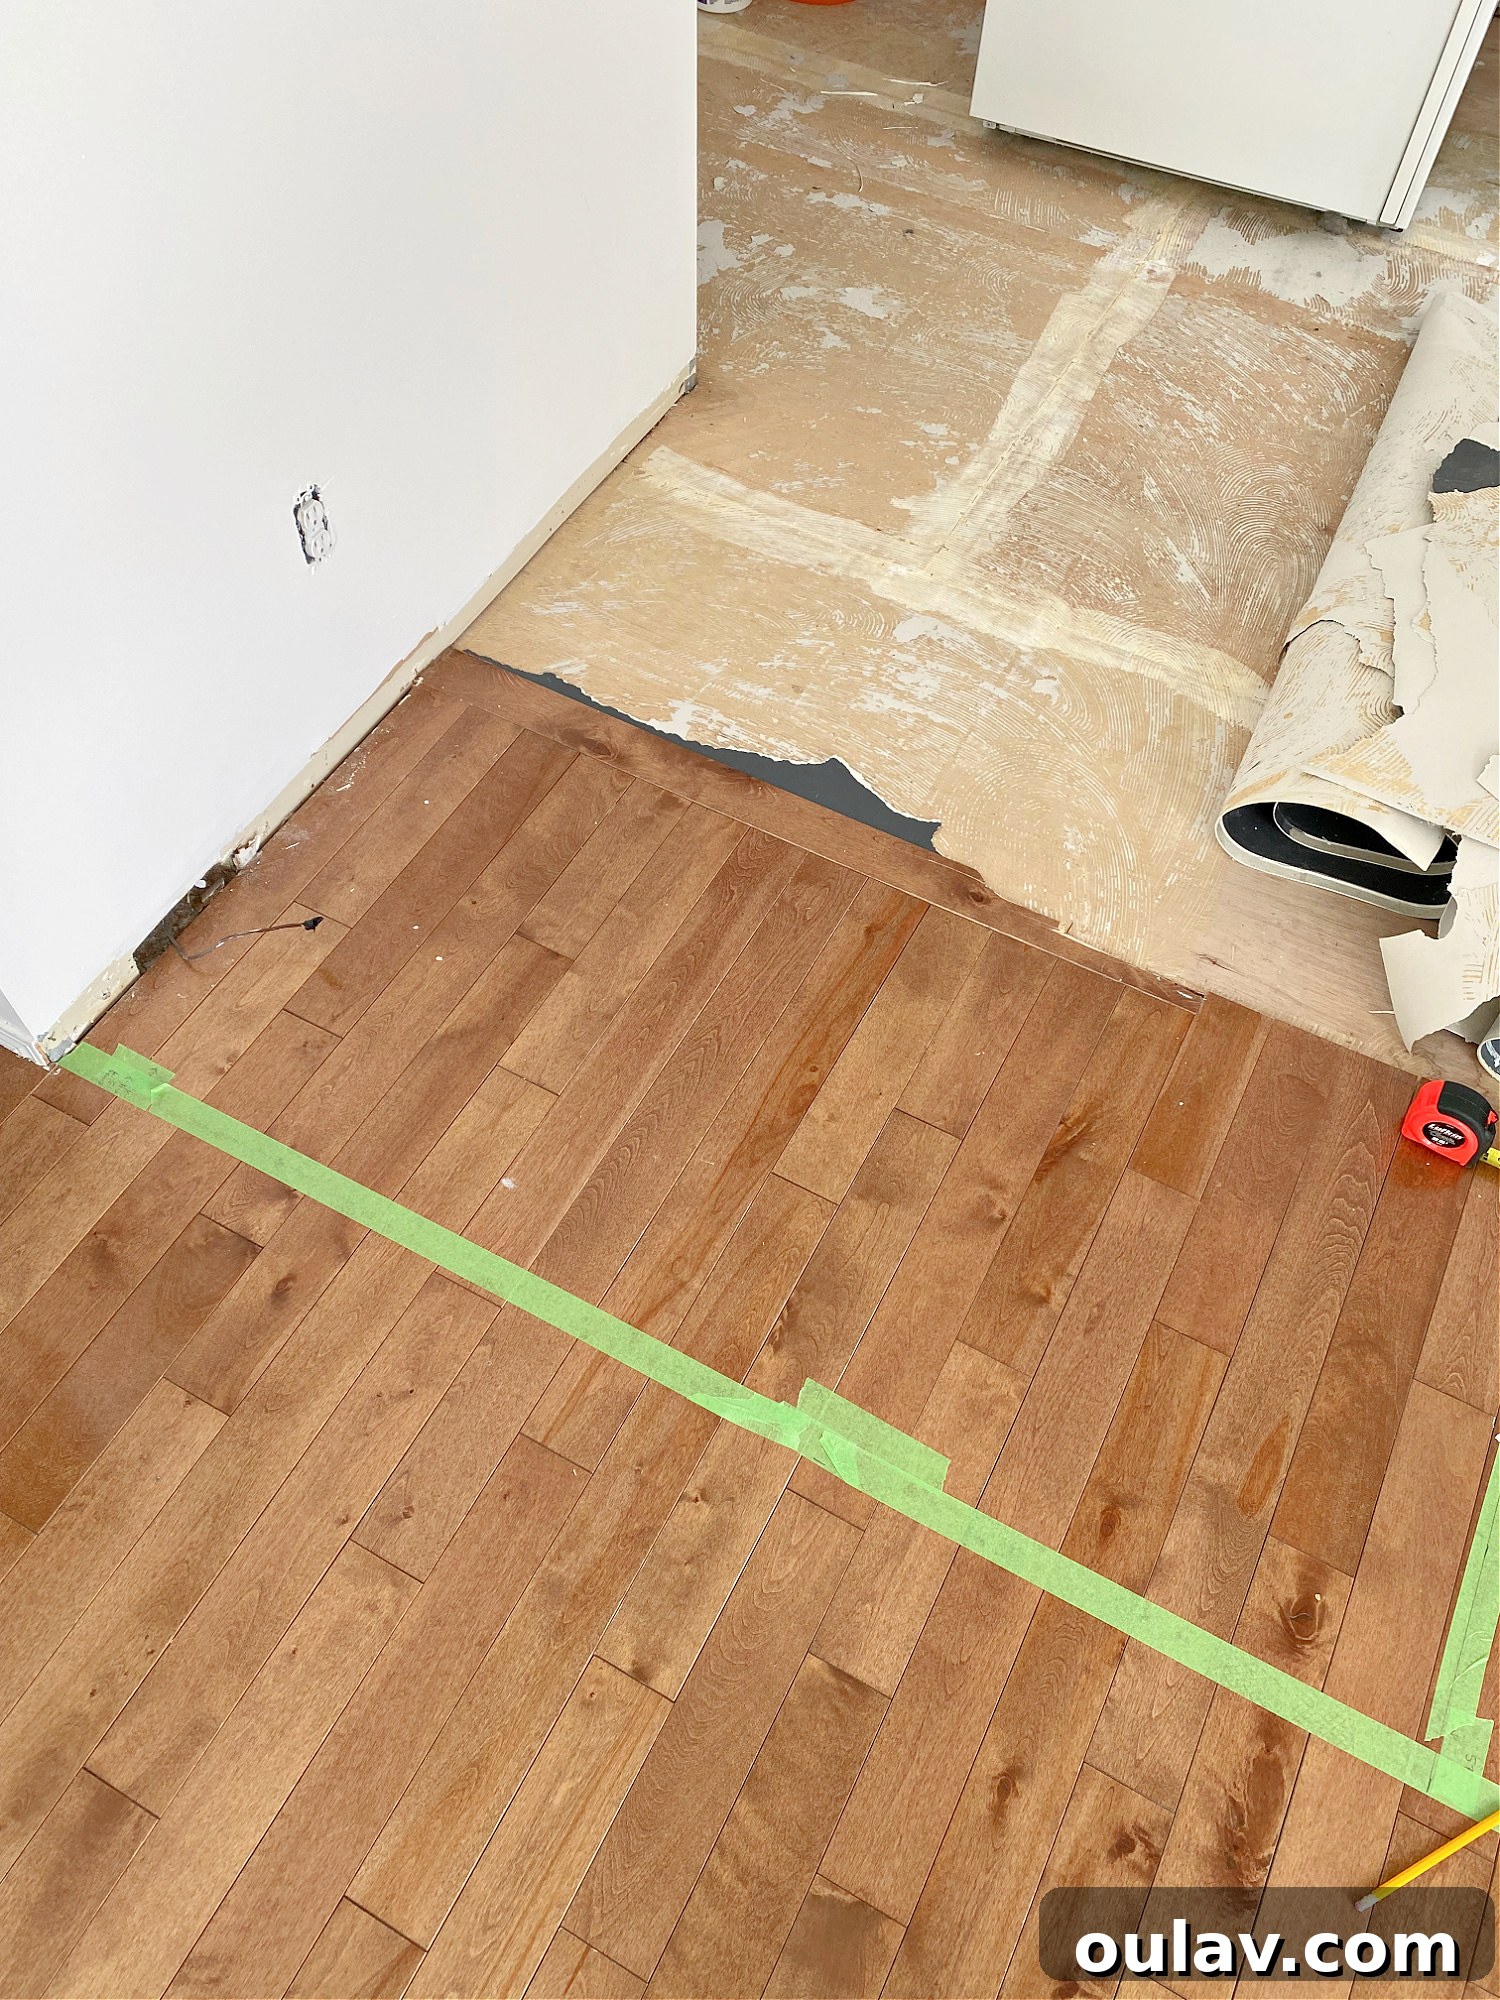
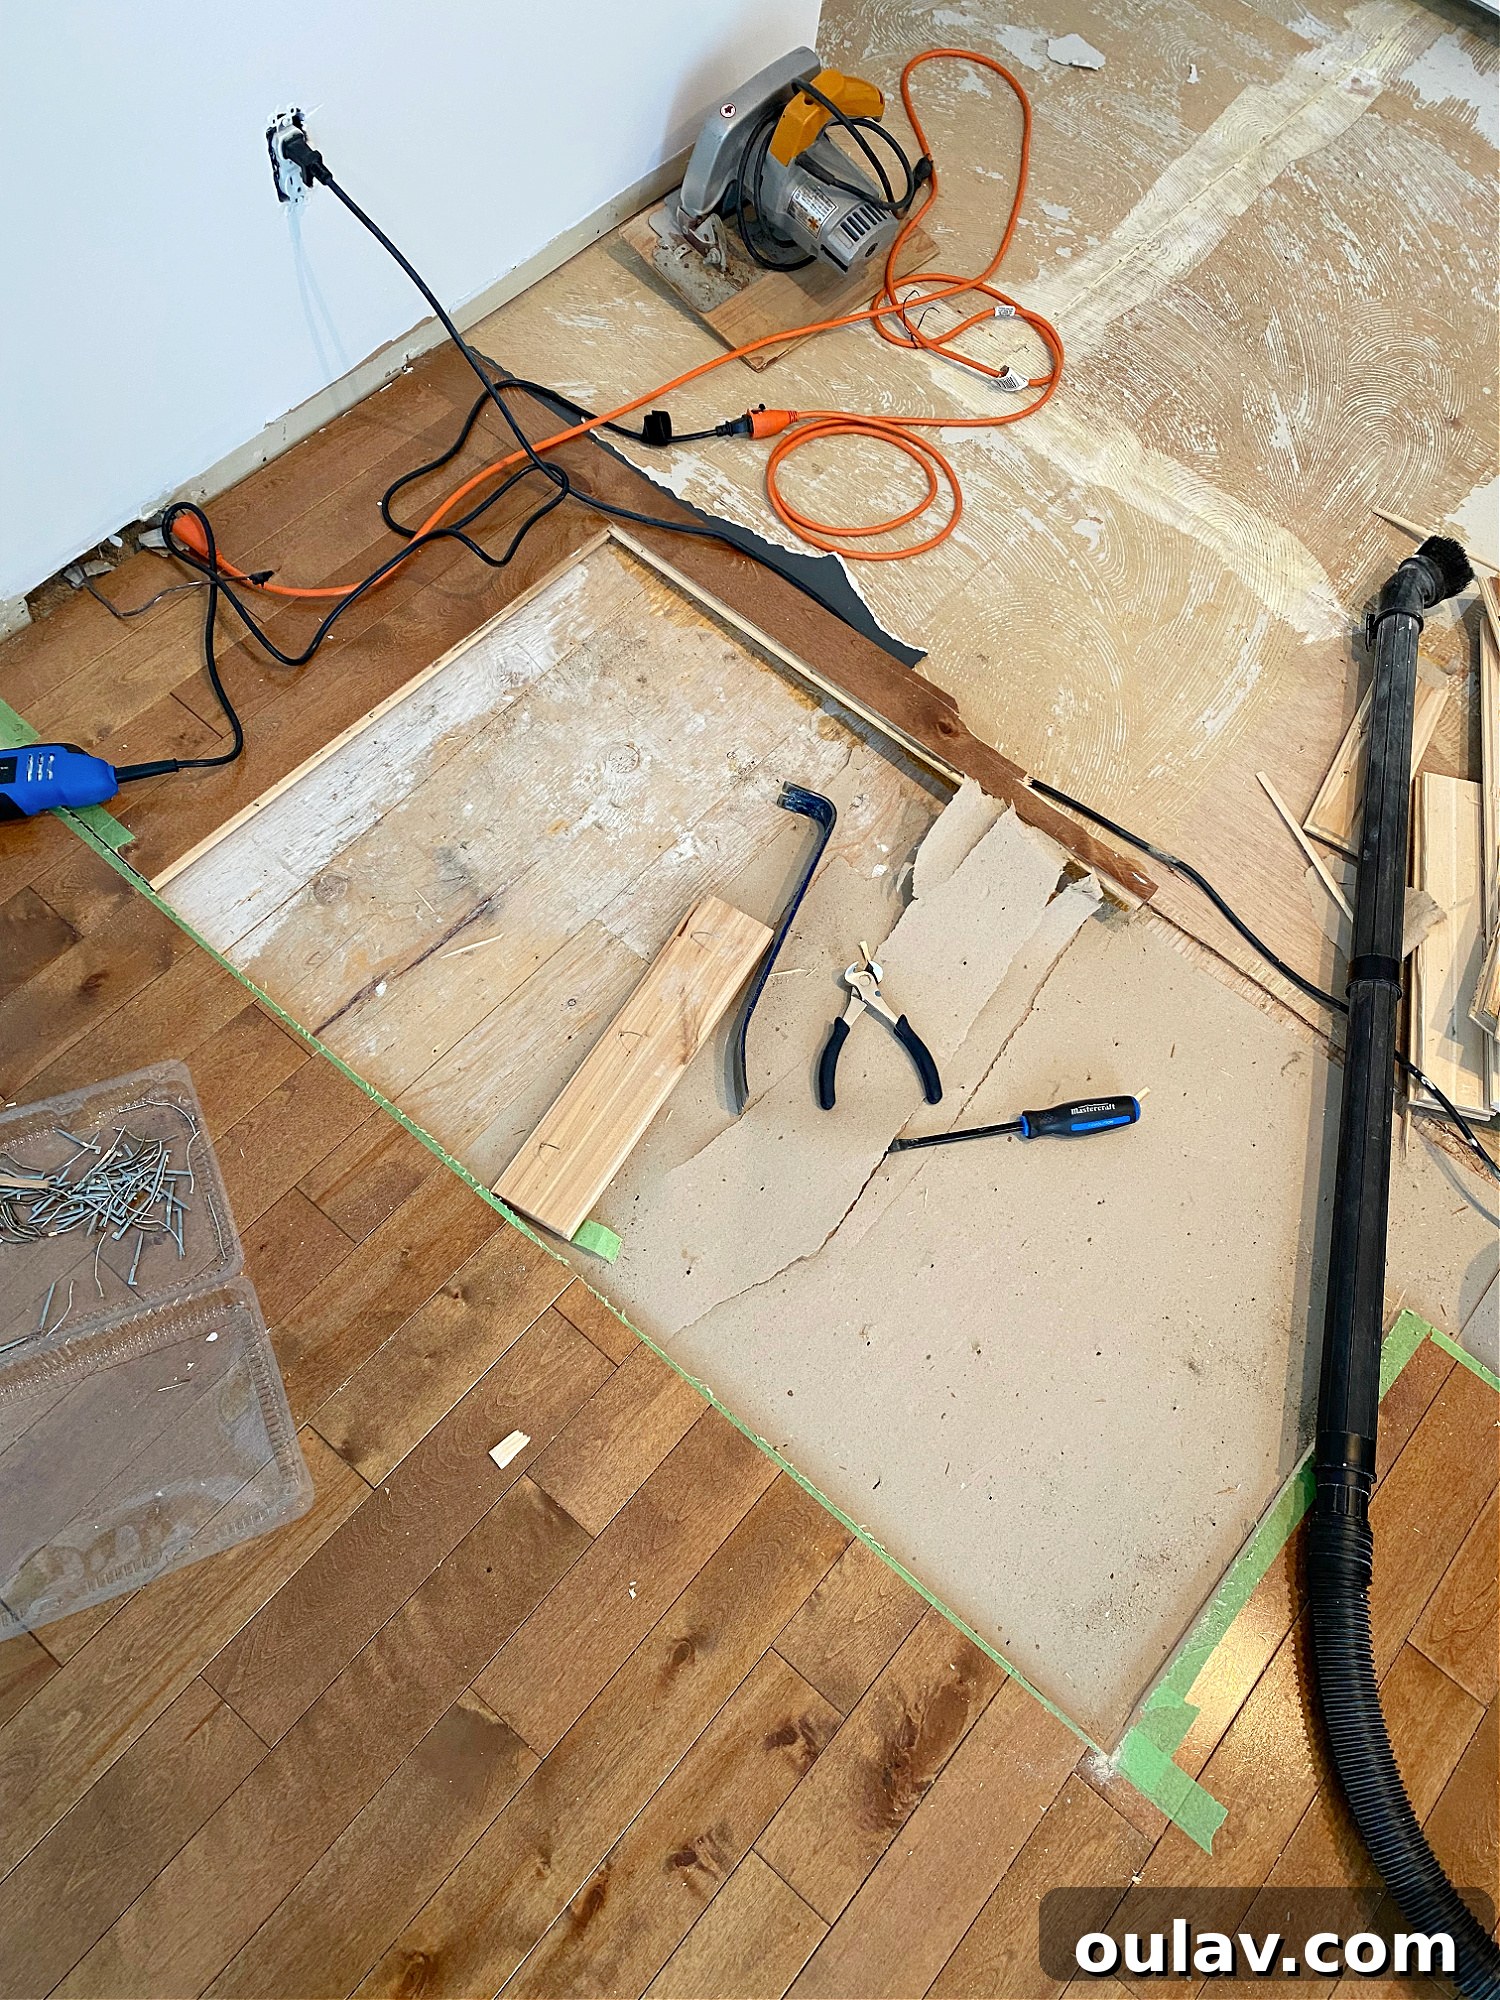
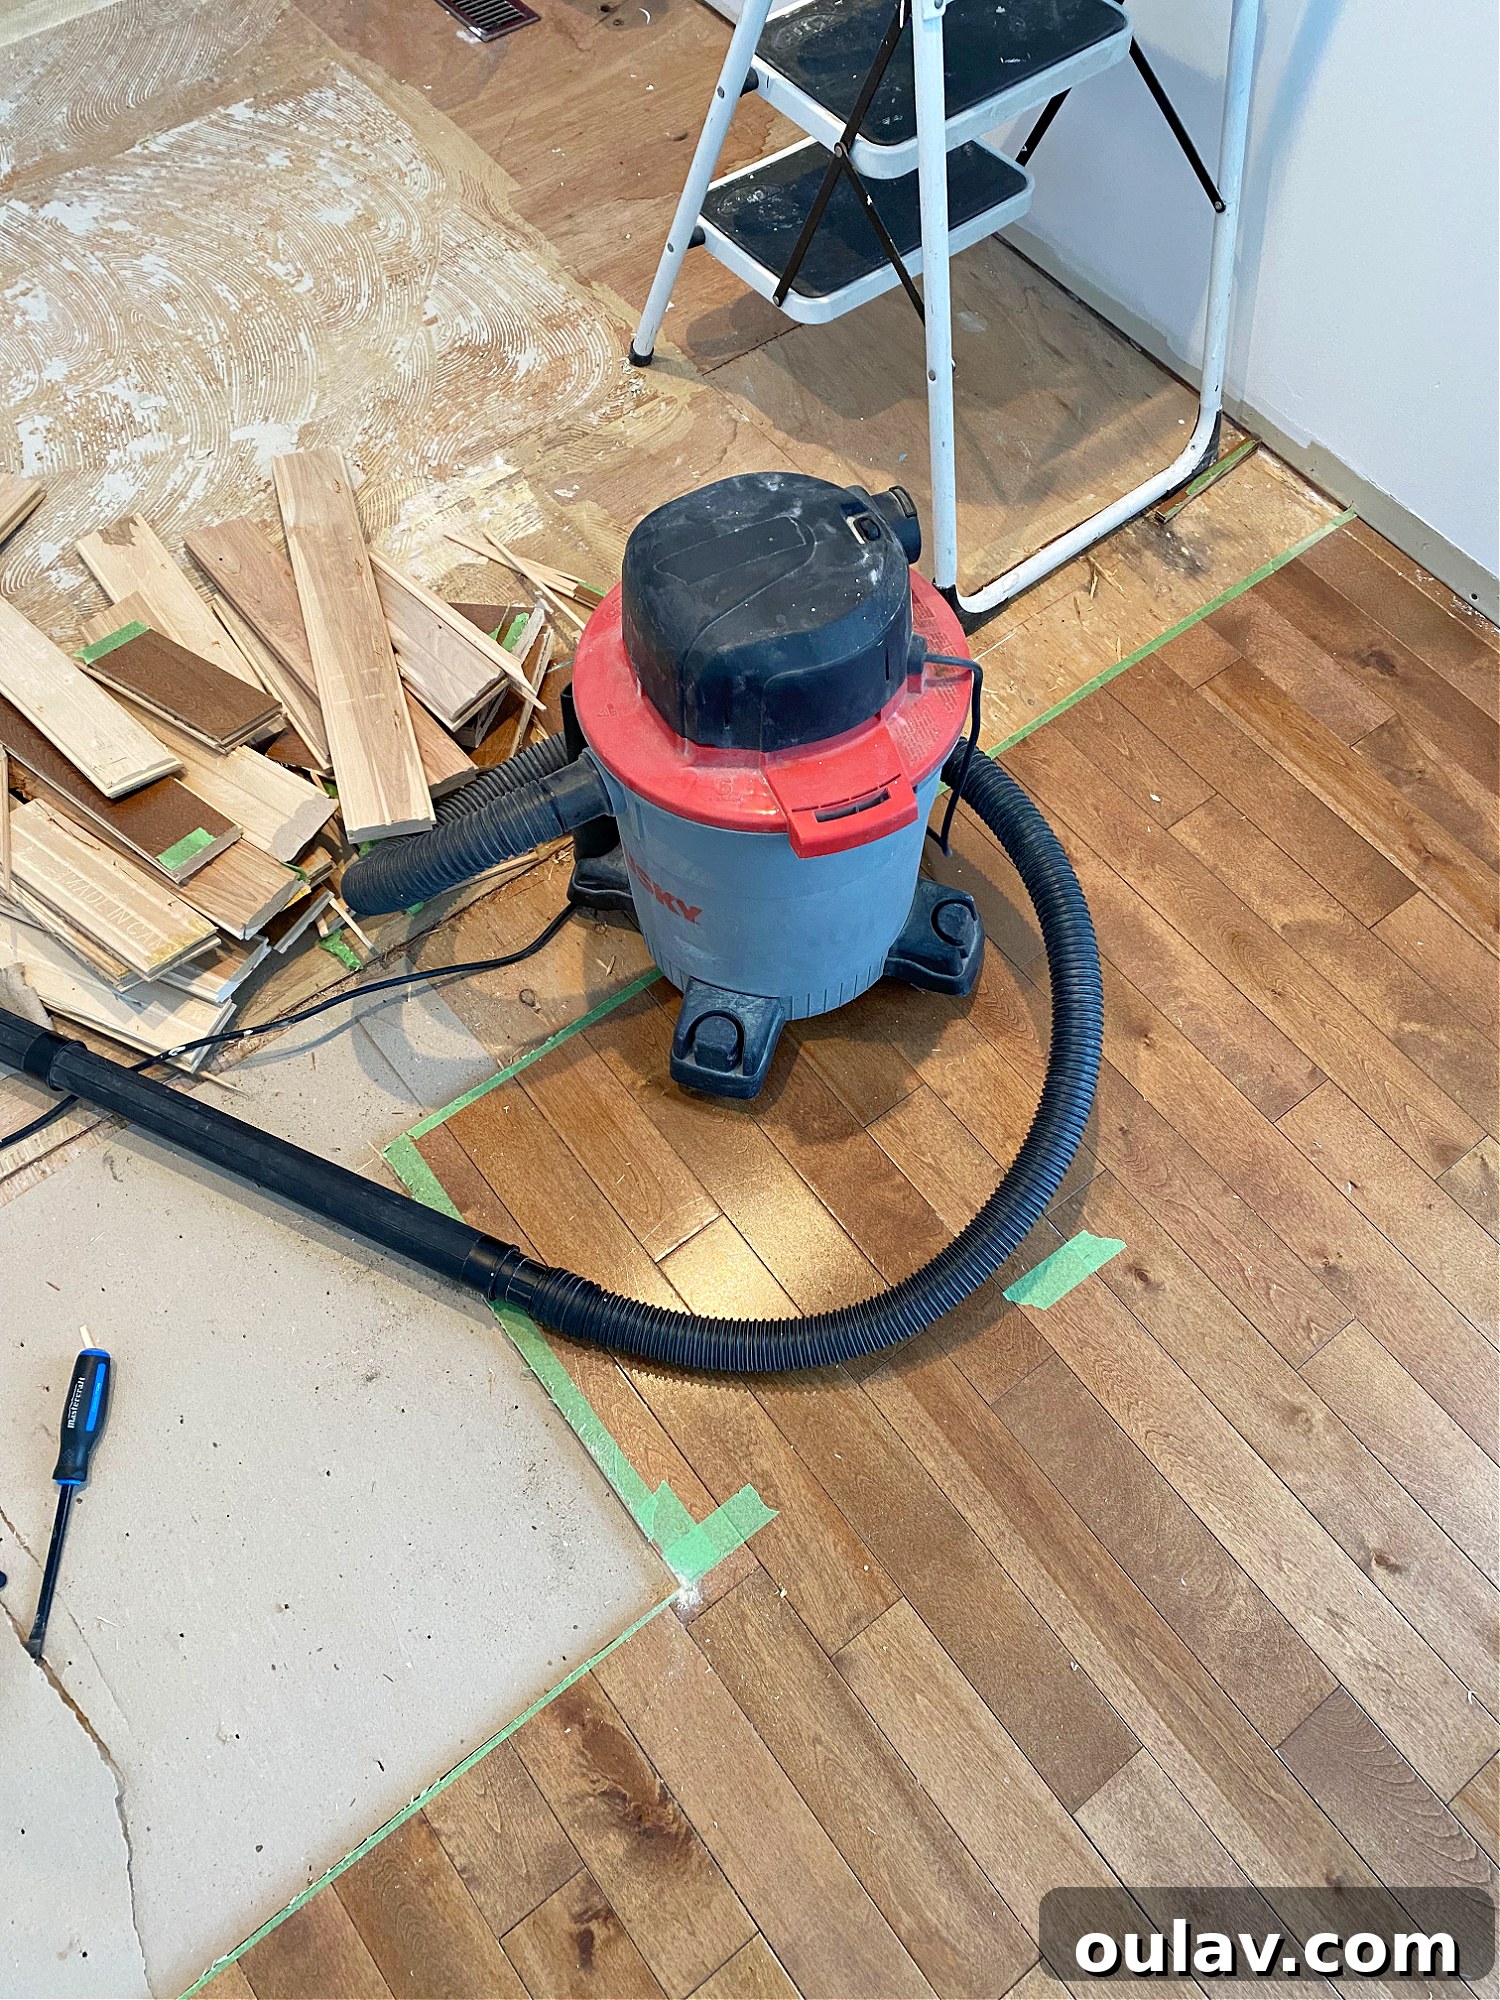
With the old flooring removed and the kitchen expanded, we then screwed down sheets of 5/8-inch plywood as our new subfloor layer, using specialized floor screws designed to prevent squeaks. This extra layer was specifically chosen to precisely match the height of the existing hardwood flooring in the dining room and living room, which extends throughout our hallway and bedrooms. The goal was to eliminate the long-standing elevation difference and create a smooth, continuous floor level across the main living areas.
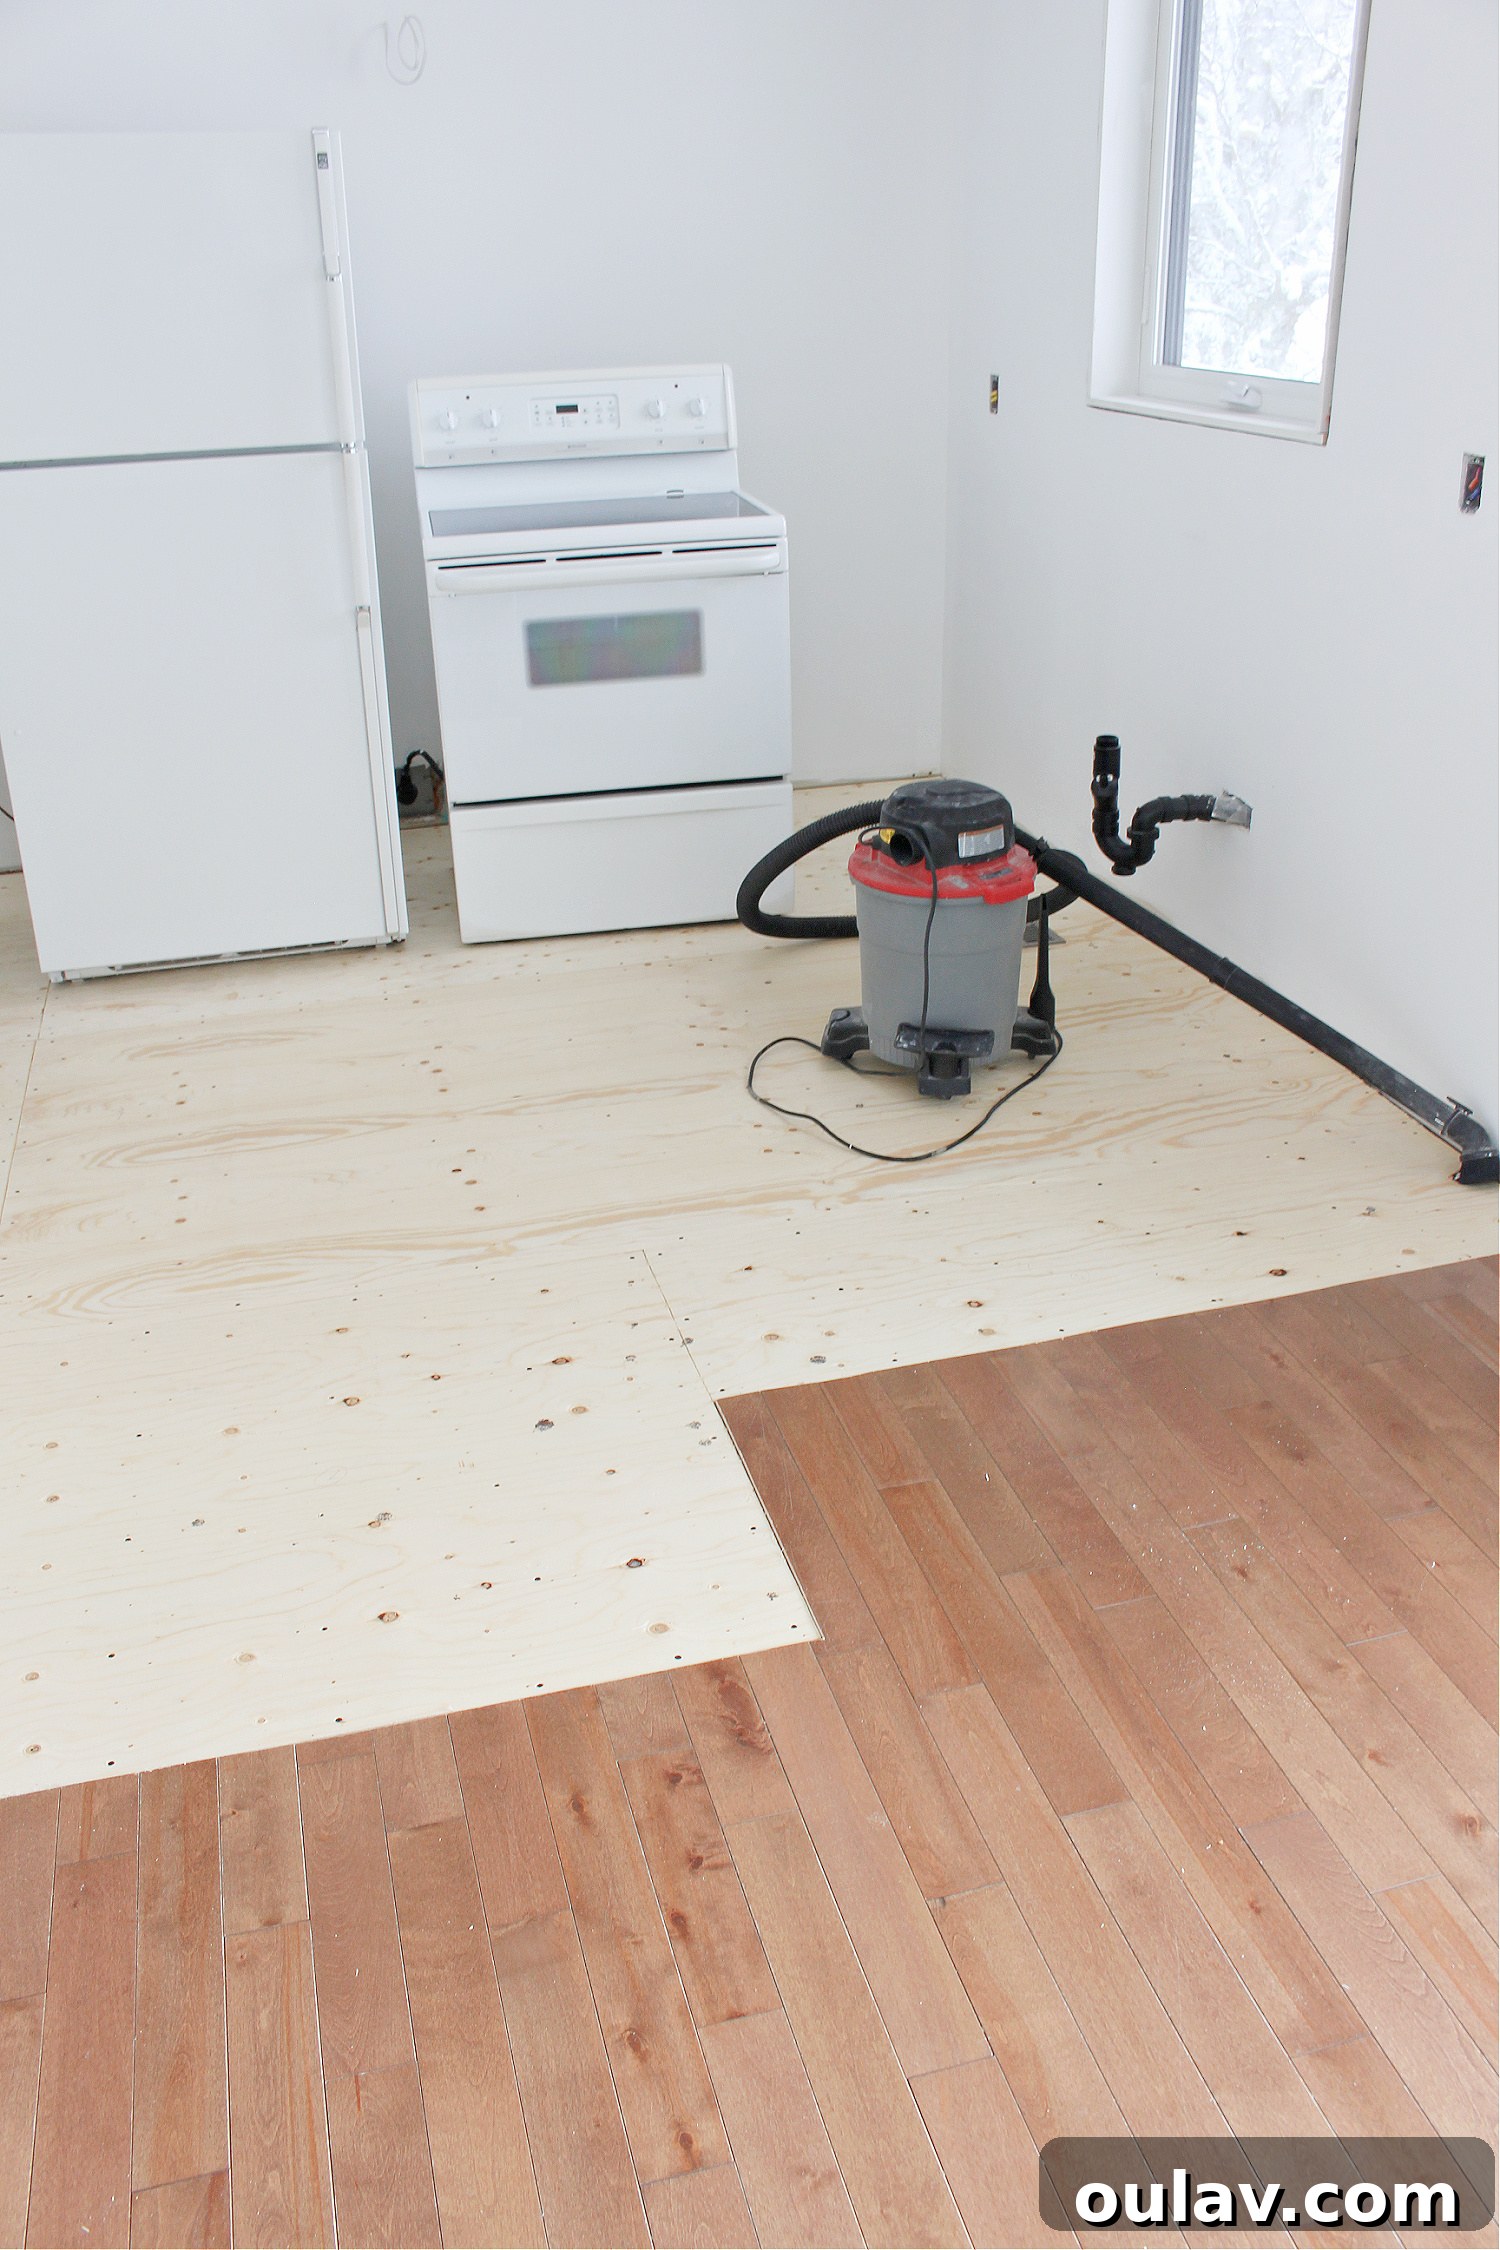
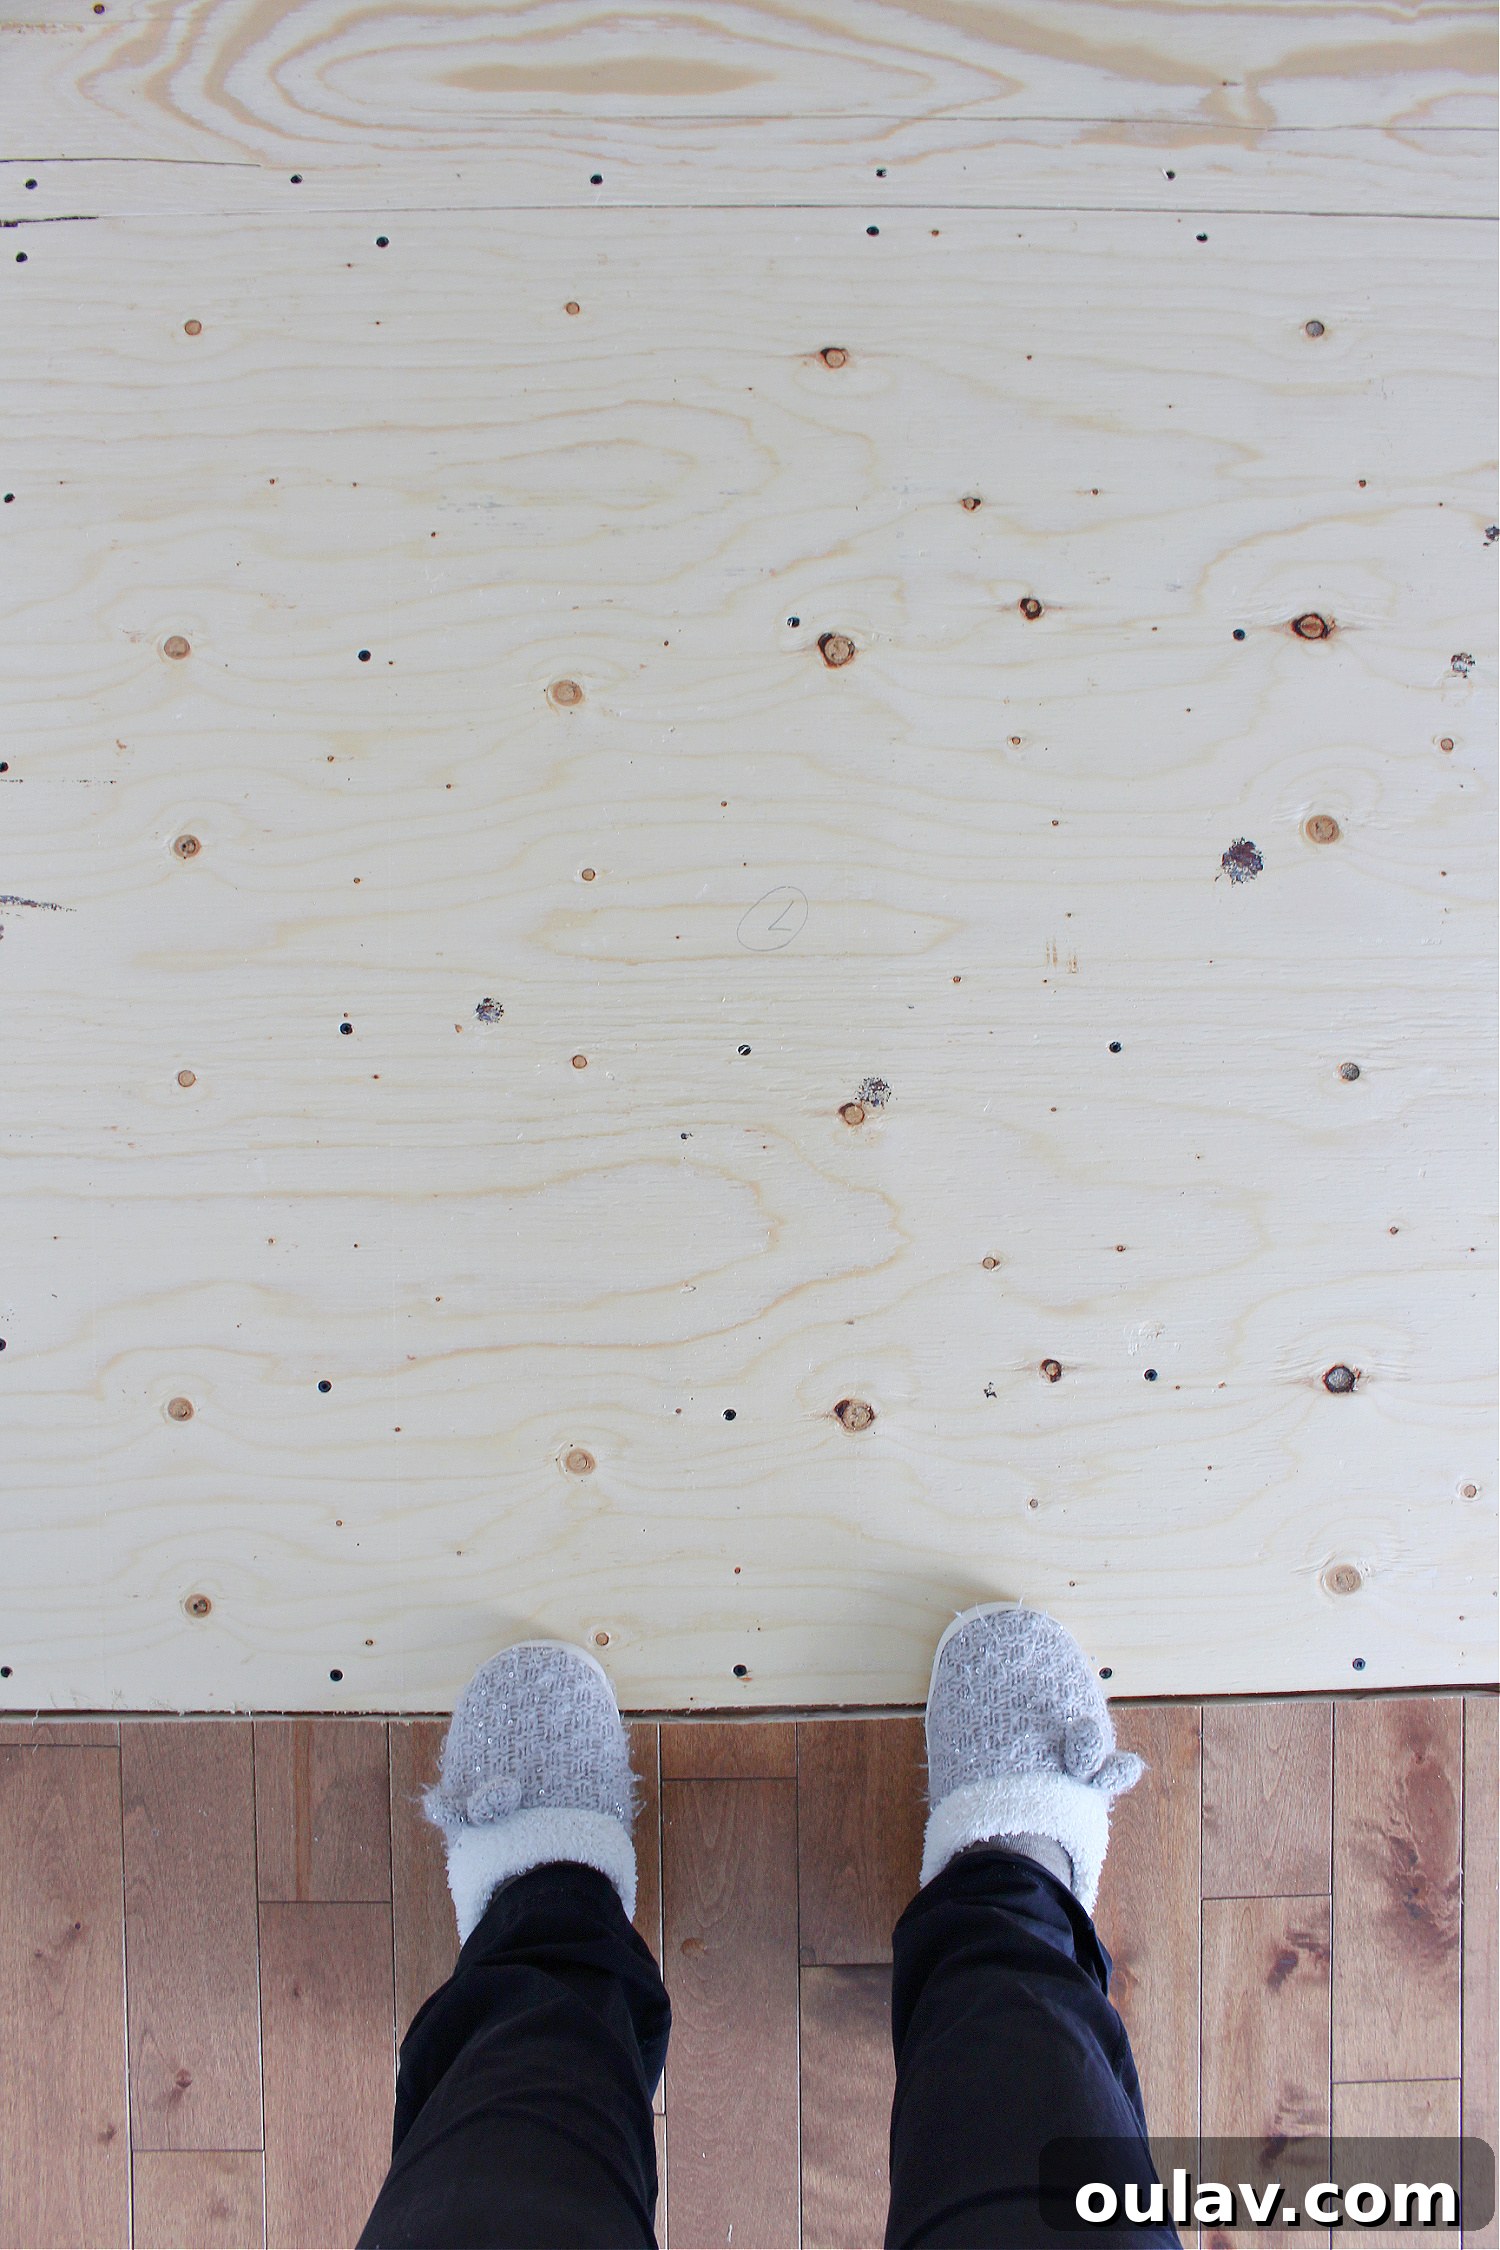
Only after this extensive preparation of leveling and reinforcing the subfloor were we truly ready to install the plywood underlayment, which would serve as the final, perfectly smooth foundation for our new luxury vinyl tile.
Step-by-Step: How to Install Plywood Underlayment for Vinyl Flooring
Installing plywood underlayment is a critical step that directly impacts the finished look and longevity of your vinyl floor. Follow these steps for a professional result:
1. Acclimation is Key
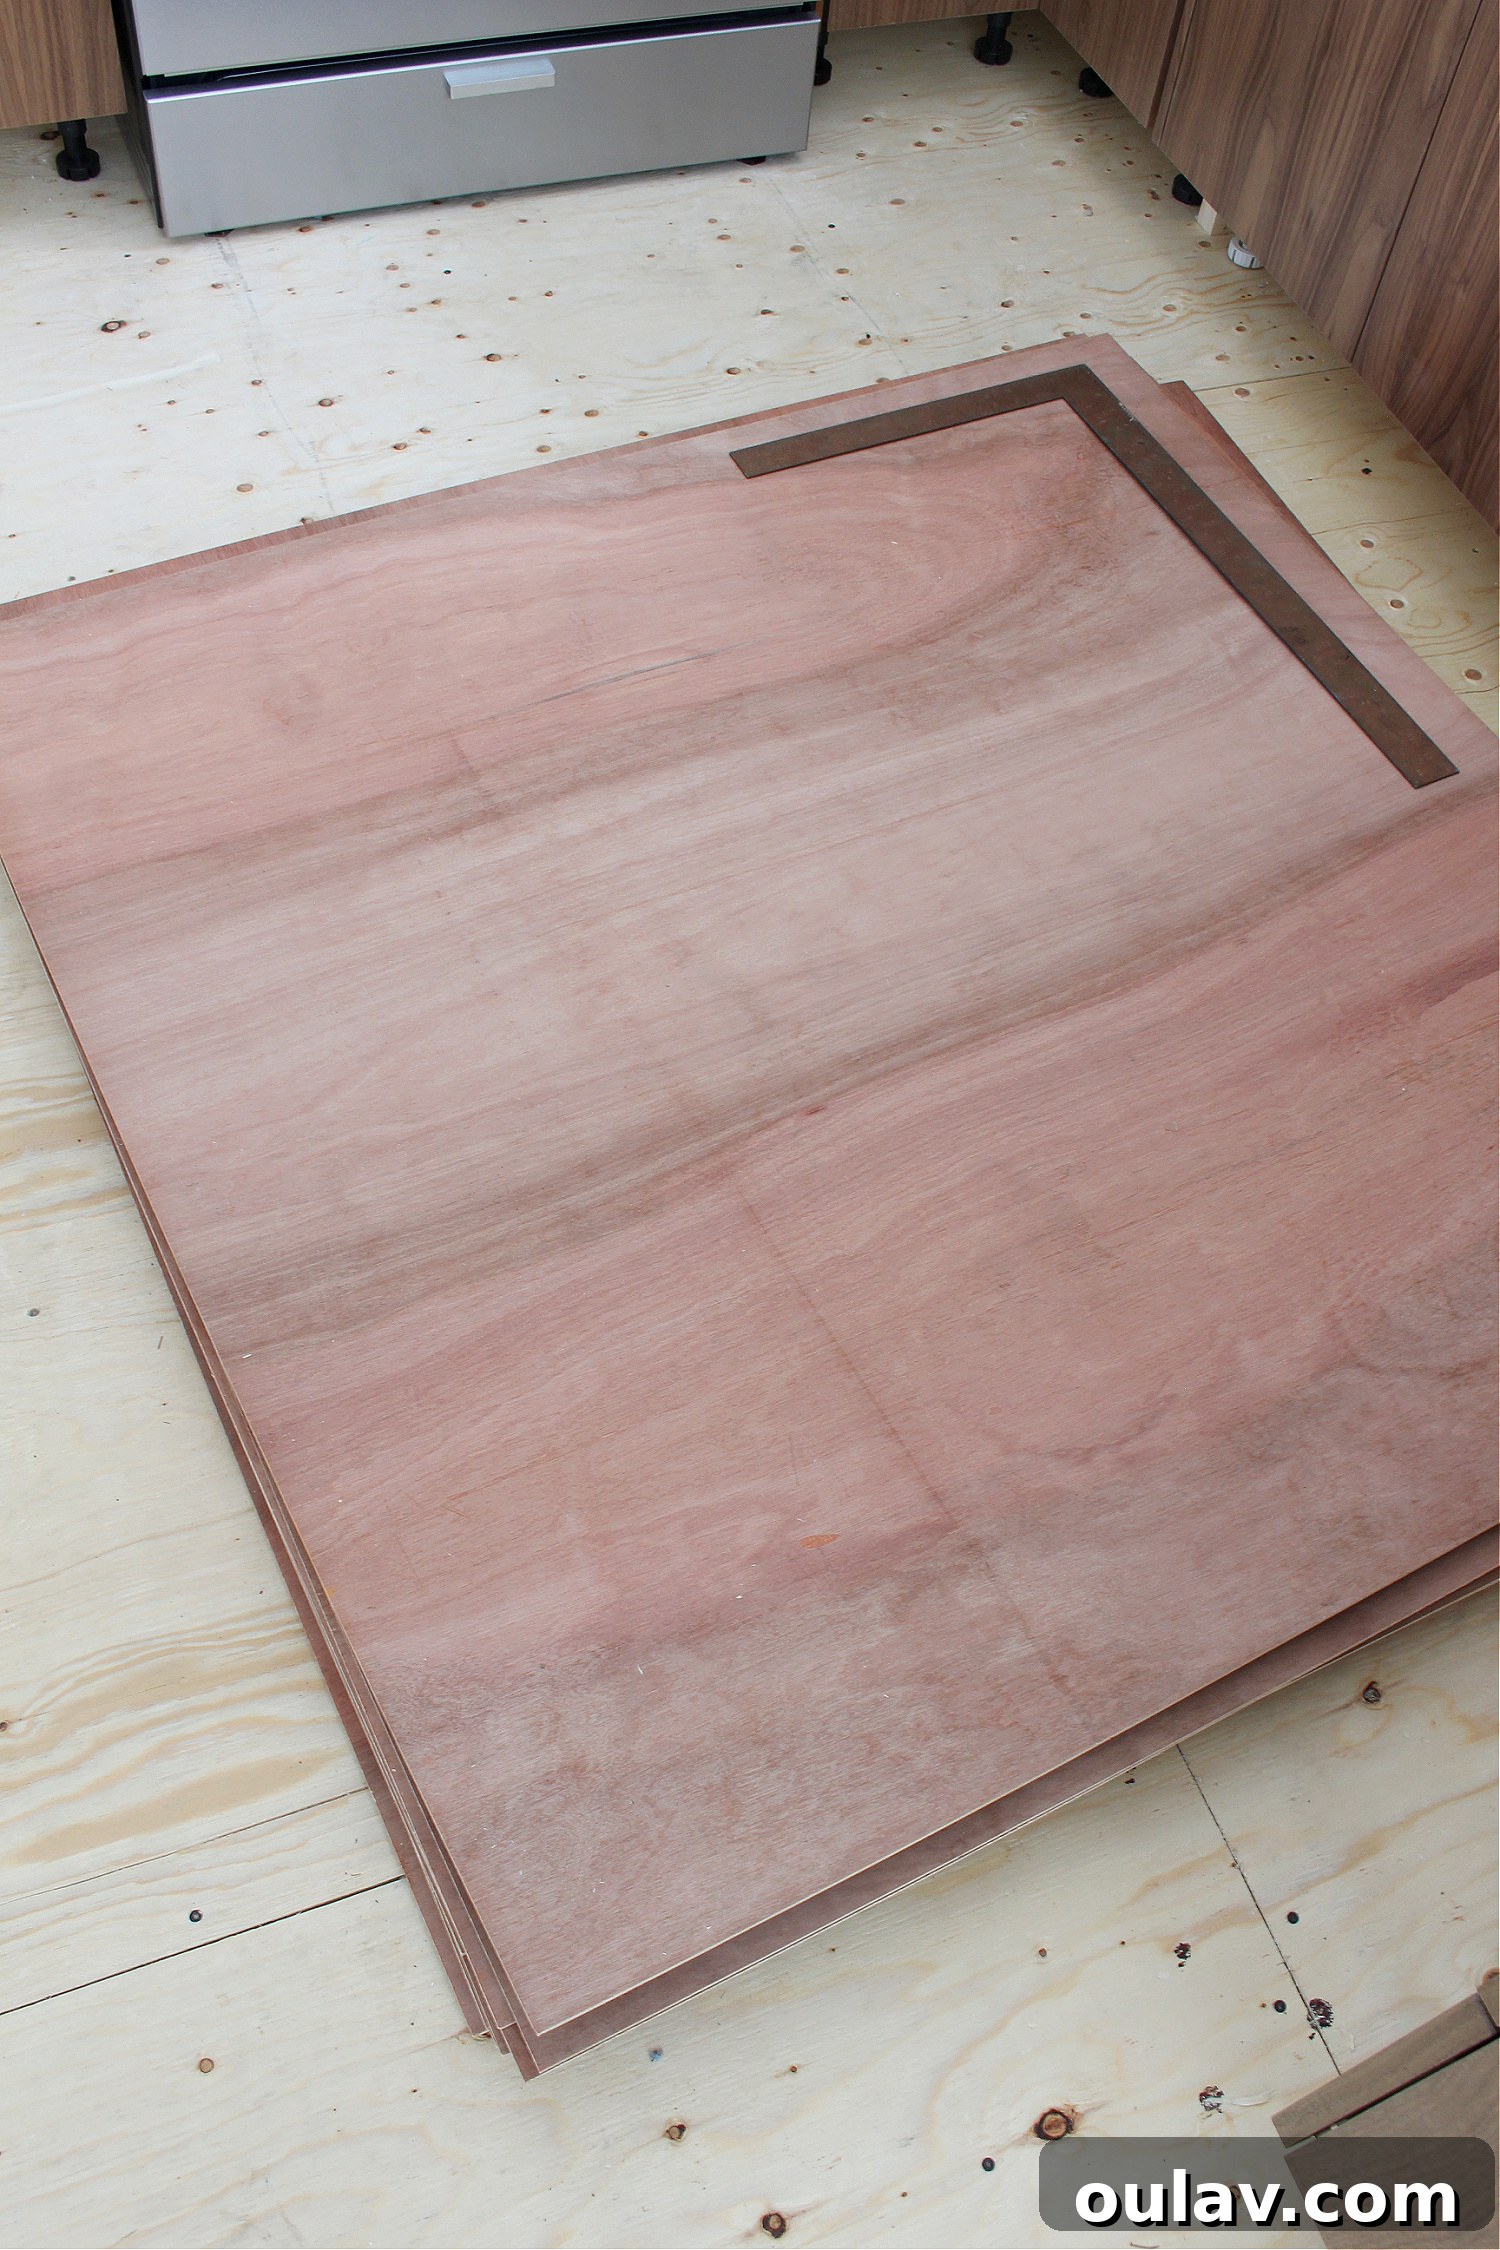
Like any wood product, plywood underlayment needs time to adjust to the ambient temperature and humidity of its new environment. Bring the sheets into the room where they will be installed at least 72 hours (or preferably longer, up to a week) before you plan to begin. Stack them loosely with spacers if possible, or lean them against a wall to allow air circulation. This acclimation period minimizes the chances of expansion, contraction, or warping after installation, which could lead to unsightly gaps or bulges in your finished floor.
2. Prepare and Clean the Subfloor
A clean subfloor is non-negotiable. Even small pieces of grit, dirt, or debris can create tiny bumps that will eventually show through thin vinyl flooring. Thoroughly clean the entire subfloor surface with a powerful shop vacuum, ensuring all dust, sawdust, and particles are removed. Pay extra attention to corners and edges. A completely clean surface ensures the underlayment lays perfectly flat and prevents any interference with its stability.
3. Laying Out the Underlayment Sheets
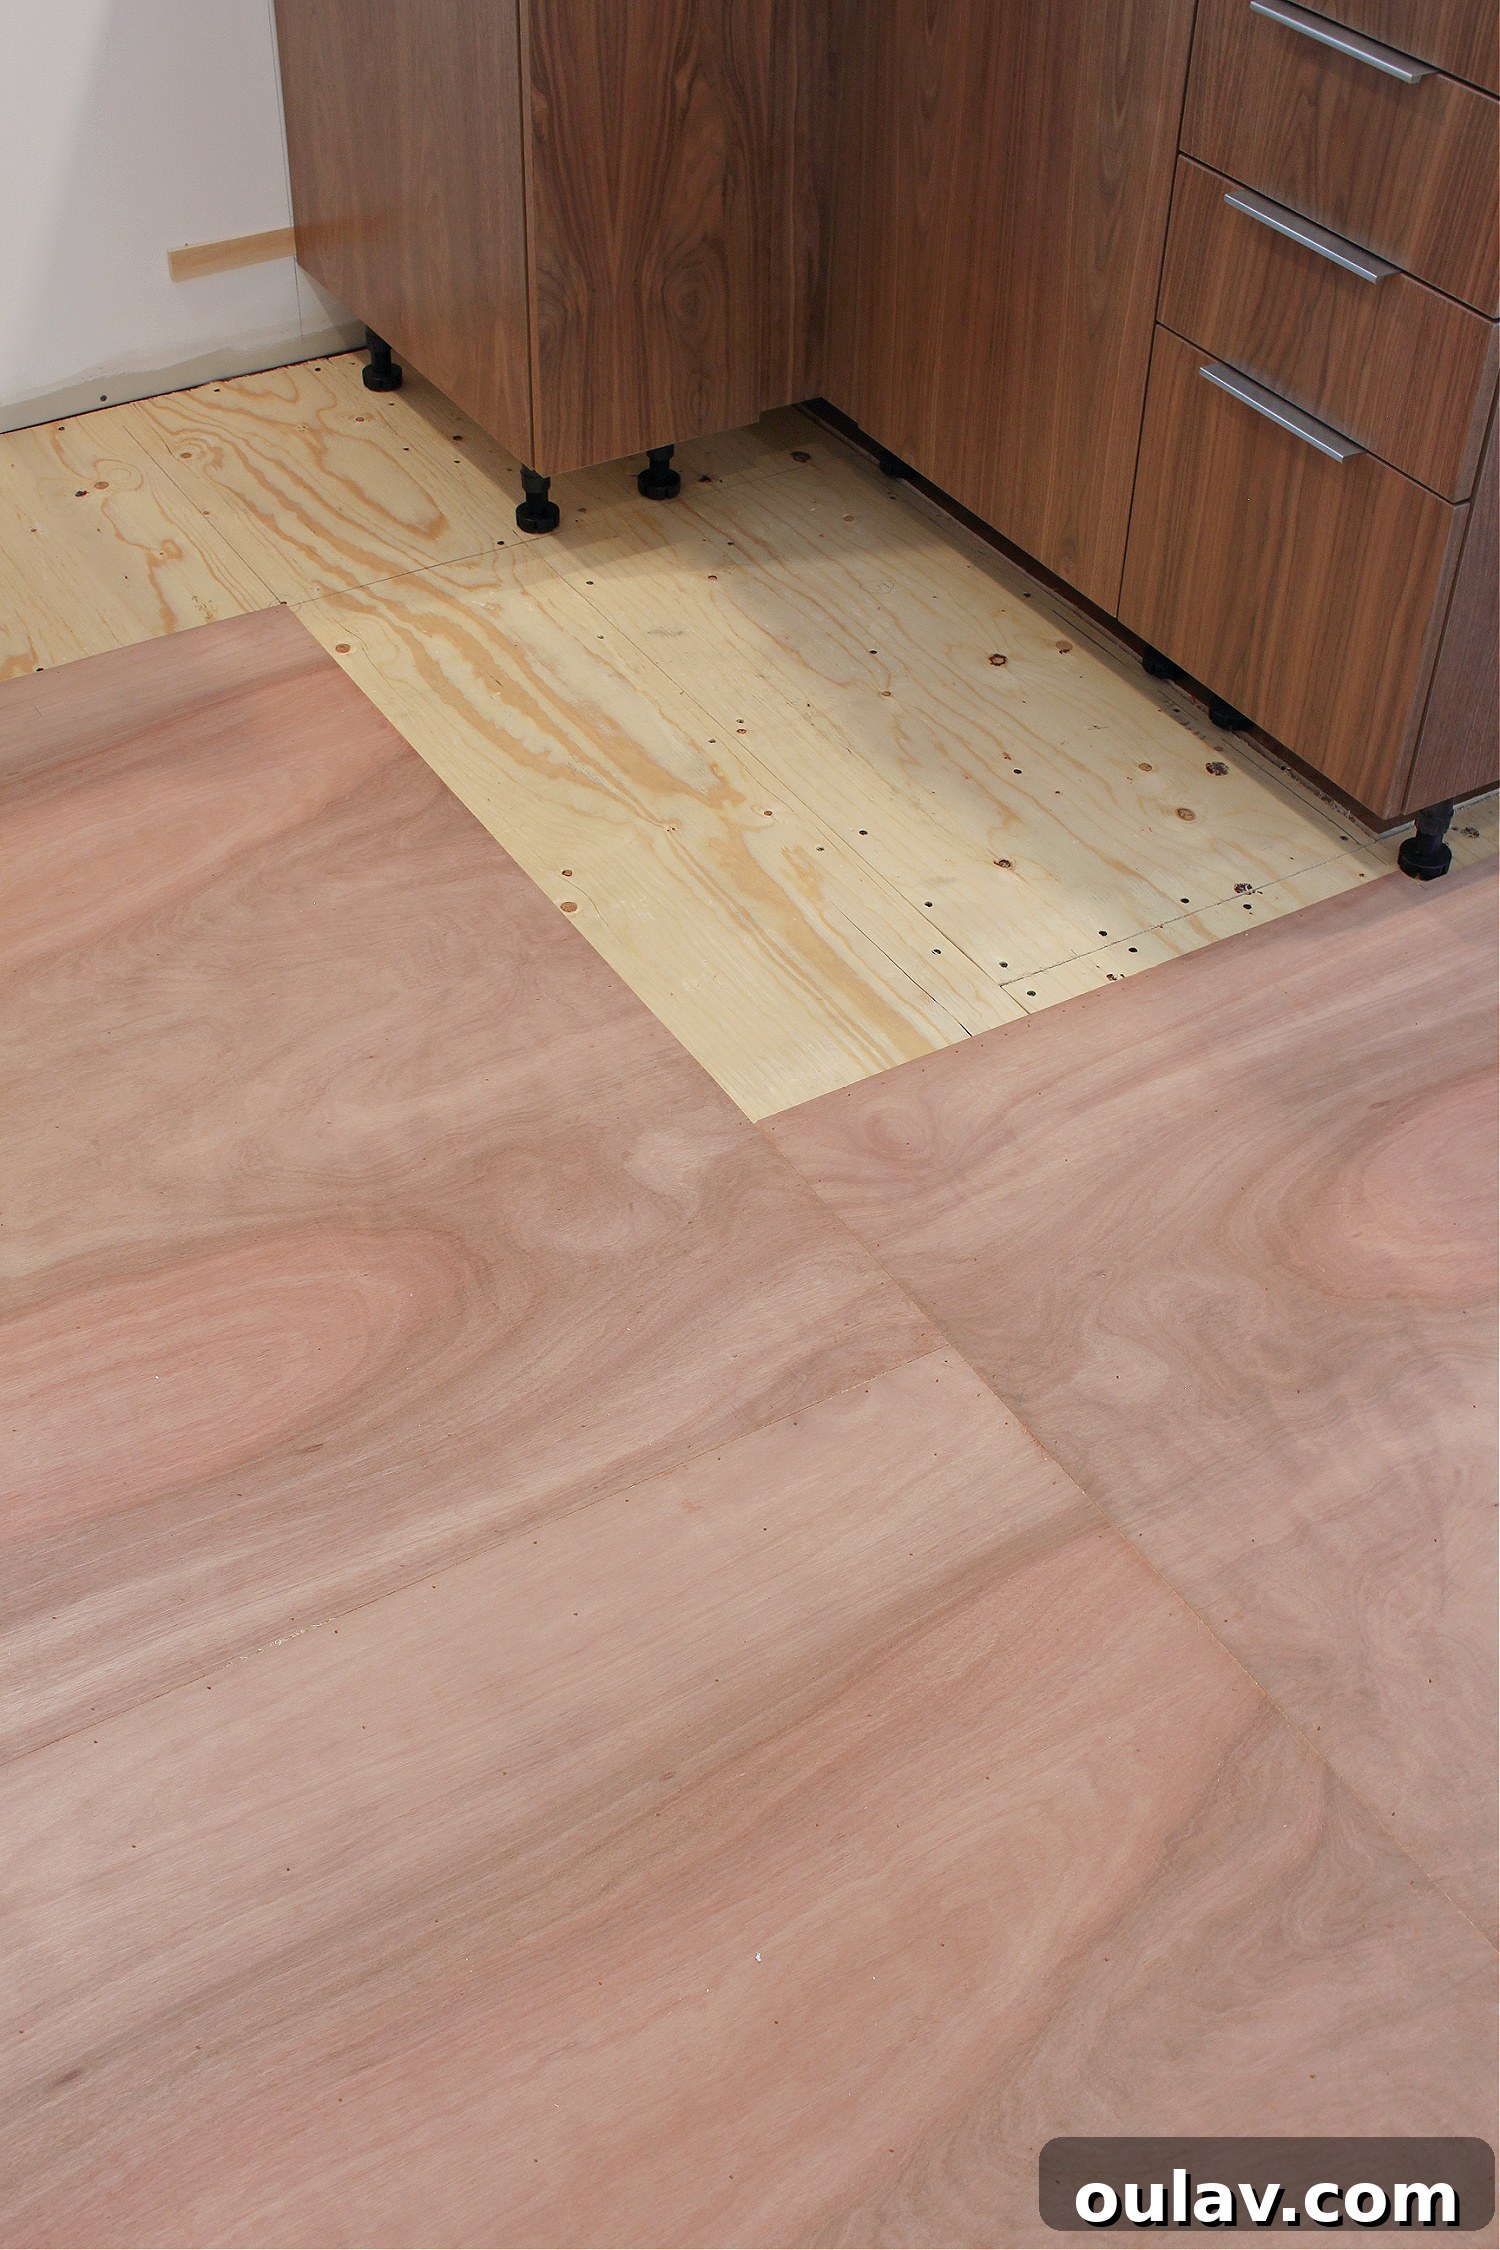
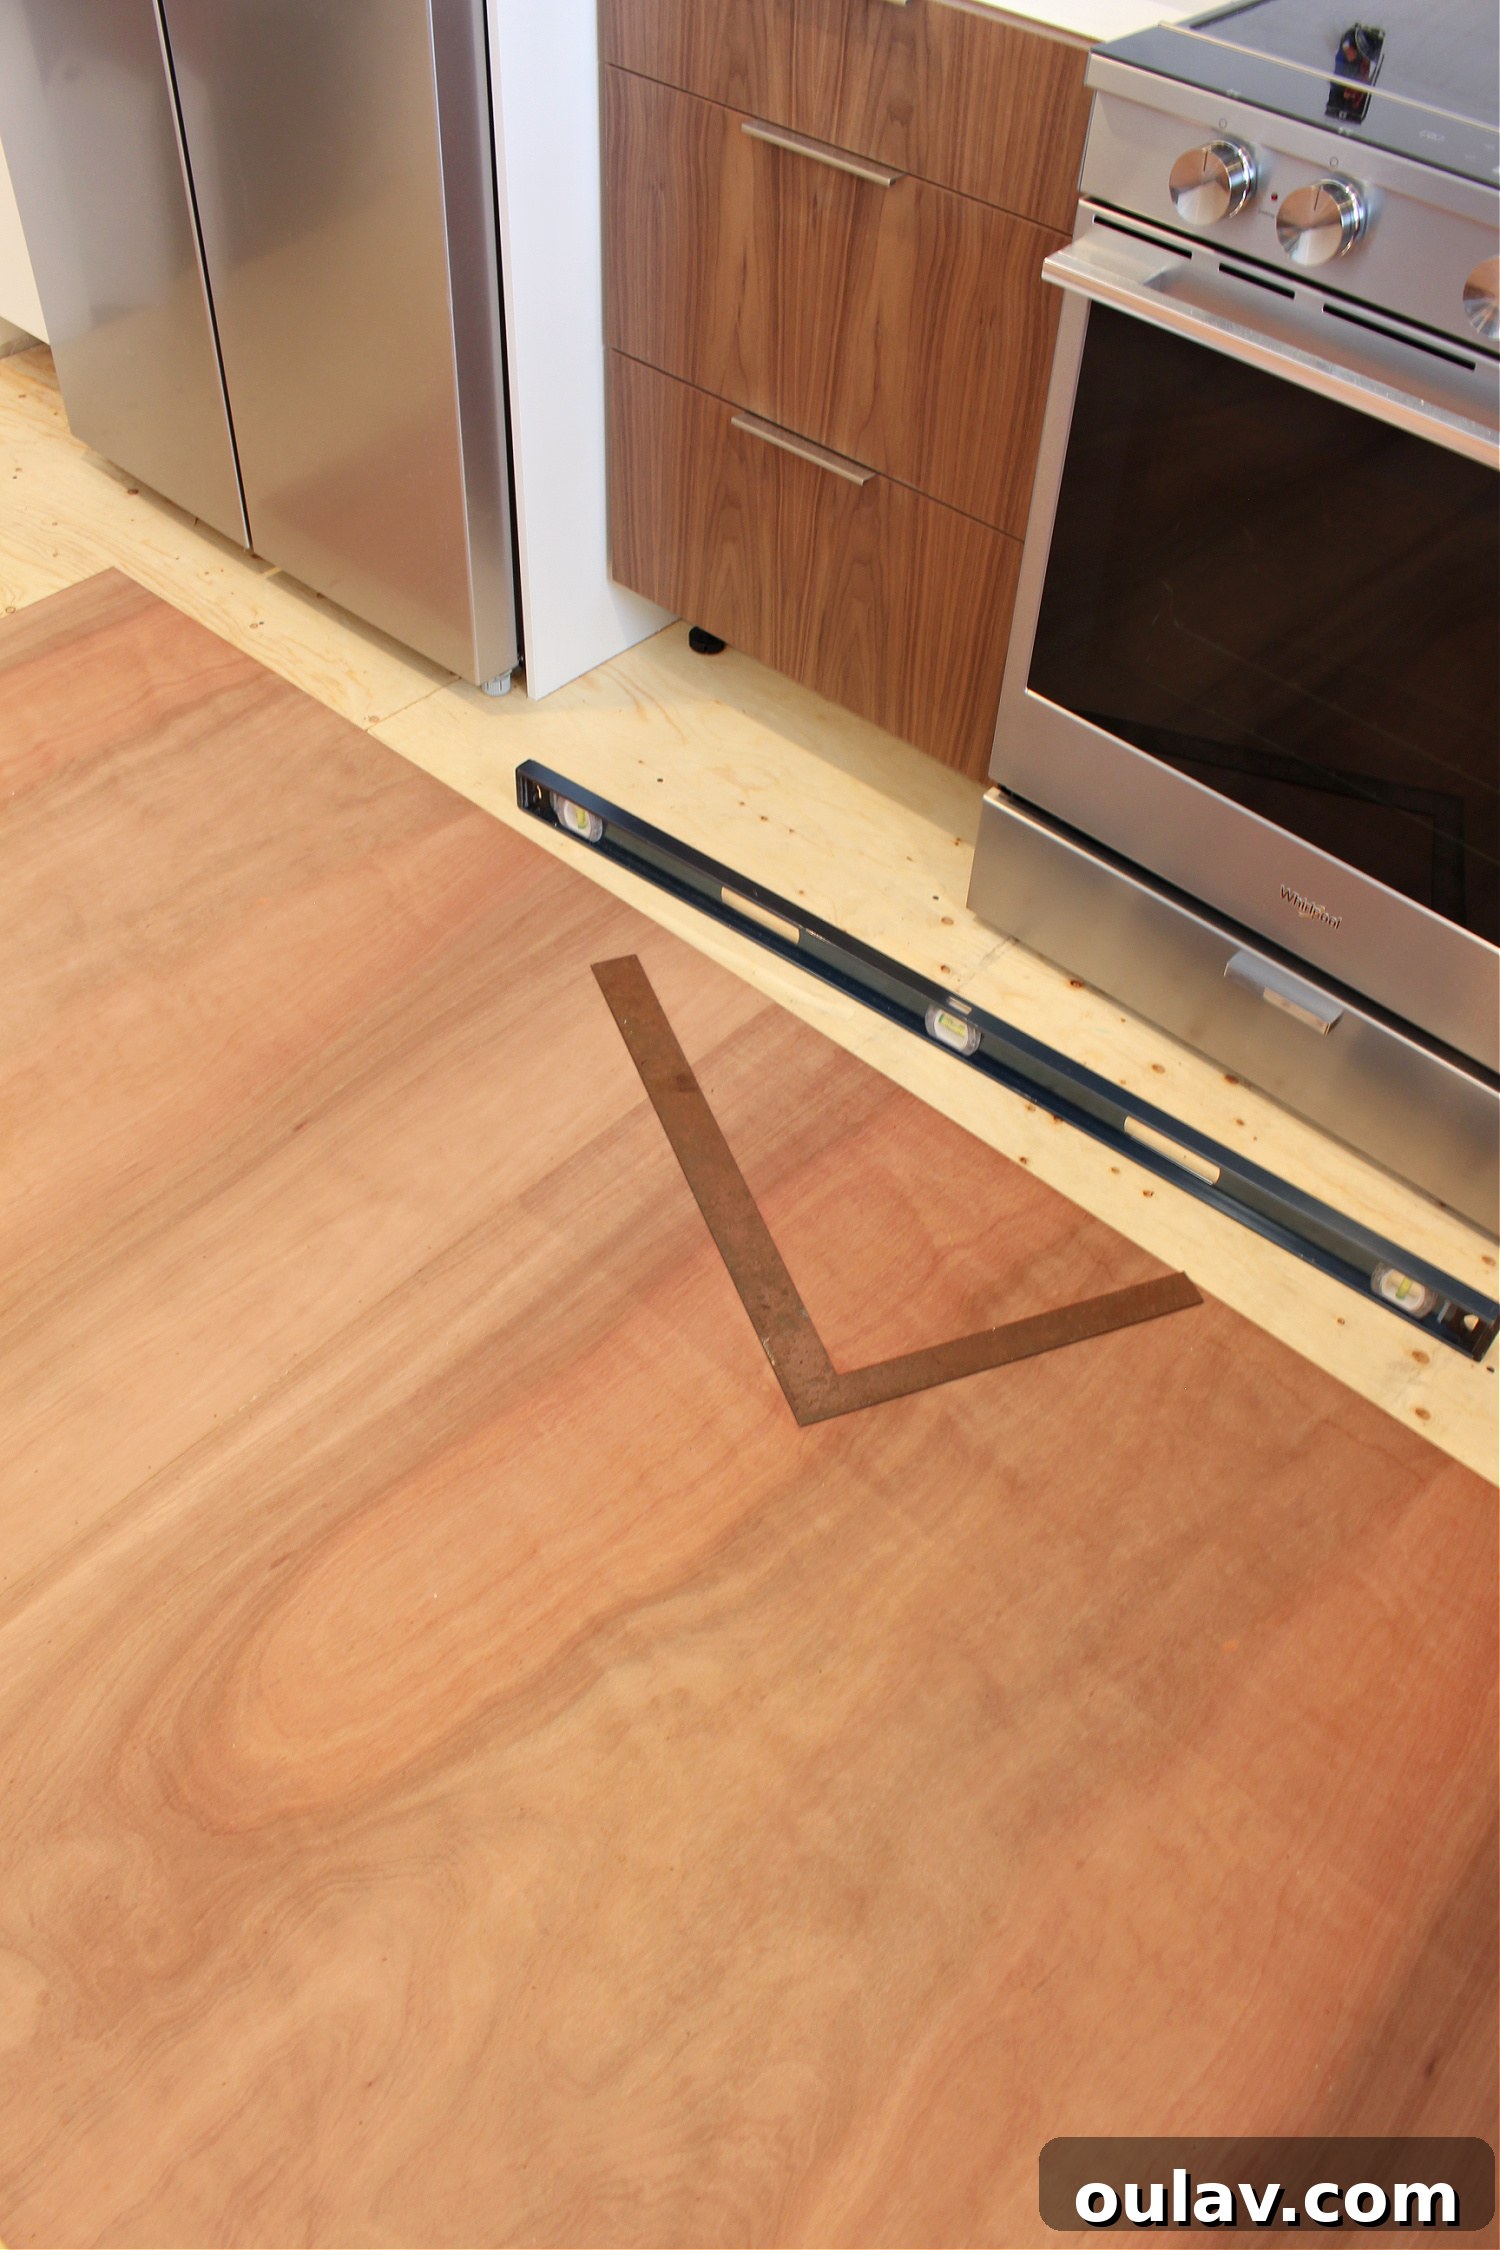
Plan your layout before you start nailing. Begin in one corner of the room, preferably the longest wall. Stagger the joints of the underlayment sheets in a brick-like pattern, ensuring that no four corners meet at a single point. This enhances structural integrity and prevents a continuous seam that could become a weak point. Remember the rule for seams: butt them together for LVT or leave a minimal 1/8-inch expansion gap if recommended by your specific underlayment manufacturer. Always align factory edges with other factory edges where possible, leaving your cut edges for the perimeter of the room where they will be less visible.
4. Secure the Underlayment
Using your air nailer and 3/4-inch nails (or an air stapler and staples), secure the plywood underlayment to the subfloor. As discussed earlier, follow the specific nailing pattern to prevent bowing:
- Begin by nailing diagonally across the middle of each sheet, spacing nails approximately 4 inches apart.
- Work your way out from this central diagonal line, continuing the diagonal pattern towards the edges.
- Finally, secure the edges of the underlayment sheets with nails spaced about 2 inches apart.
Ensure that your nails penetrate both the underlayment and the subfloor firmly. Take your time to ensure each sheet is flat and secure before moving to the next. Consistent fastening is key to a stable floor.
Precision Cutting: How to Cut Plywood Underlayment
Plywood underlayment is typically thinner and often comes in slightly smaller sheets (e.g., 48″ by 47 3/4″ or 4×4 feet) than standard construction plywood, making it relatively easy to cut and maneuver. This ease of cutting is a major benefit for DIYers.
You have several tool options for cutting underlayment, depending on the type of cut and your available equipment:
- Circular Saw: Best for long, straight cuts across sheets. Use a fine-tooth blade for cleaner edges and to prevent splintering.
- Table Saw: Provides the most precise and repeatable straight cuts, ideal if you have many sheets to cut to the same dimension.
- Jig Saw: Excellent for intricate cuts, curves, and notches around obstacles like door jambs, pipes, or cabinet bases.
- Hand Saw: If power tools aren’t an option, a sharp hand saw can get the job done, though it will require more effort and time.
A useful tip is to always try to utilize the factory edges of the plywood underlayment. These edges are perfectly straight and smooth. Butt them up against each other to minimize visible seams and ensure a tight fit. Reserve your own cut edges for the perimeter of the room, where they will likely be covered by baseboards or trim, or will be less conspicuous.
Reinforcing Stability: How to Secure Plywood Underlayment
To reiterate for emphasis, the proper fastening pattern is paramount for a professional and long-lasting underlayment installation. Here’s a breakdown of the securing process, designed to reduce the chance of unsightly bowing and ensure maximum stability:
- Center First, Diagonally: Start by placing nails or staples diagonally across the very center of the plywood underlayment sheet. Space these initial fasteners approximately 4 inches apart. This central anchoring point helps to draw the sheet flat against the subfloor.
- Expand Outwards: From that central diagonal line, work your way outwards towards all sides of the sheet. Continue the diagonal nailing pattern, distributing the fasteners evenly across the entire surface of the underlayment. This method prevents uneven tension buildup.
- Perimeter Reinforcement: Once the main body of the sheet is secured, nail along all four edges. For the perimeter, reduce the spacing to approximately 2 inches between fasteners. This tight perimeter nailing ensures that the edges, which are most prone to lifting, remain firmly attached to the subfloor.
Ensure that all fasteners are driven flush with or slightly below the surface of the plywood underlayment. Any protruding nail heads will create bumps that will eventually show through your finished vinyl flooring.
The Final Touch: How to Countersink Nails in Wood
Despite careful nailing, you might find a few nails that didn’t quite sit flush with the surface of the plywood underlayment. These protruding nail heads, even slightly raised, can create visible bumps or even eventually damage your vinyl flooring. This is where a nail setter (also known as a nail punch) becomes an indispensable tool.
To countersink a stubborn nail:
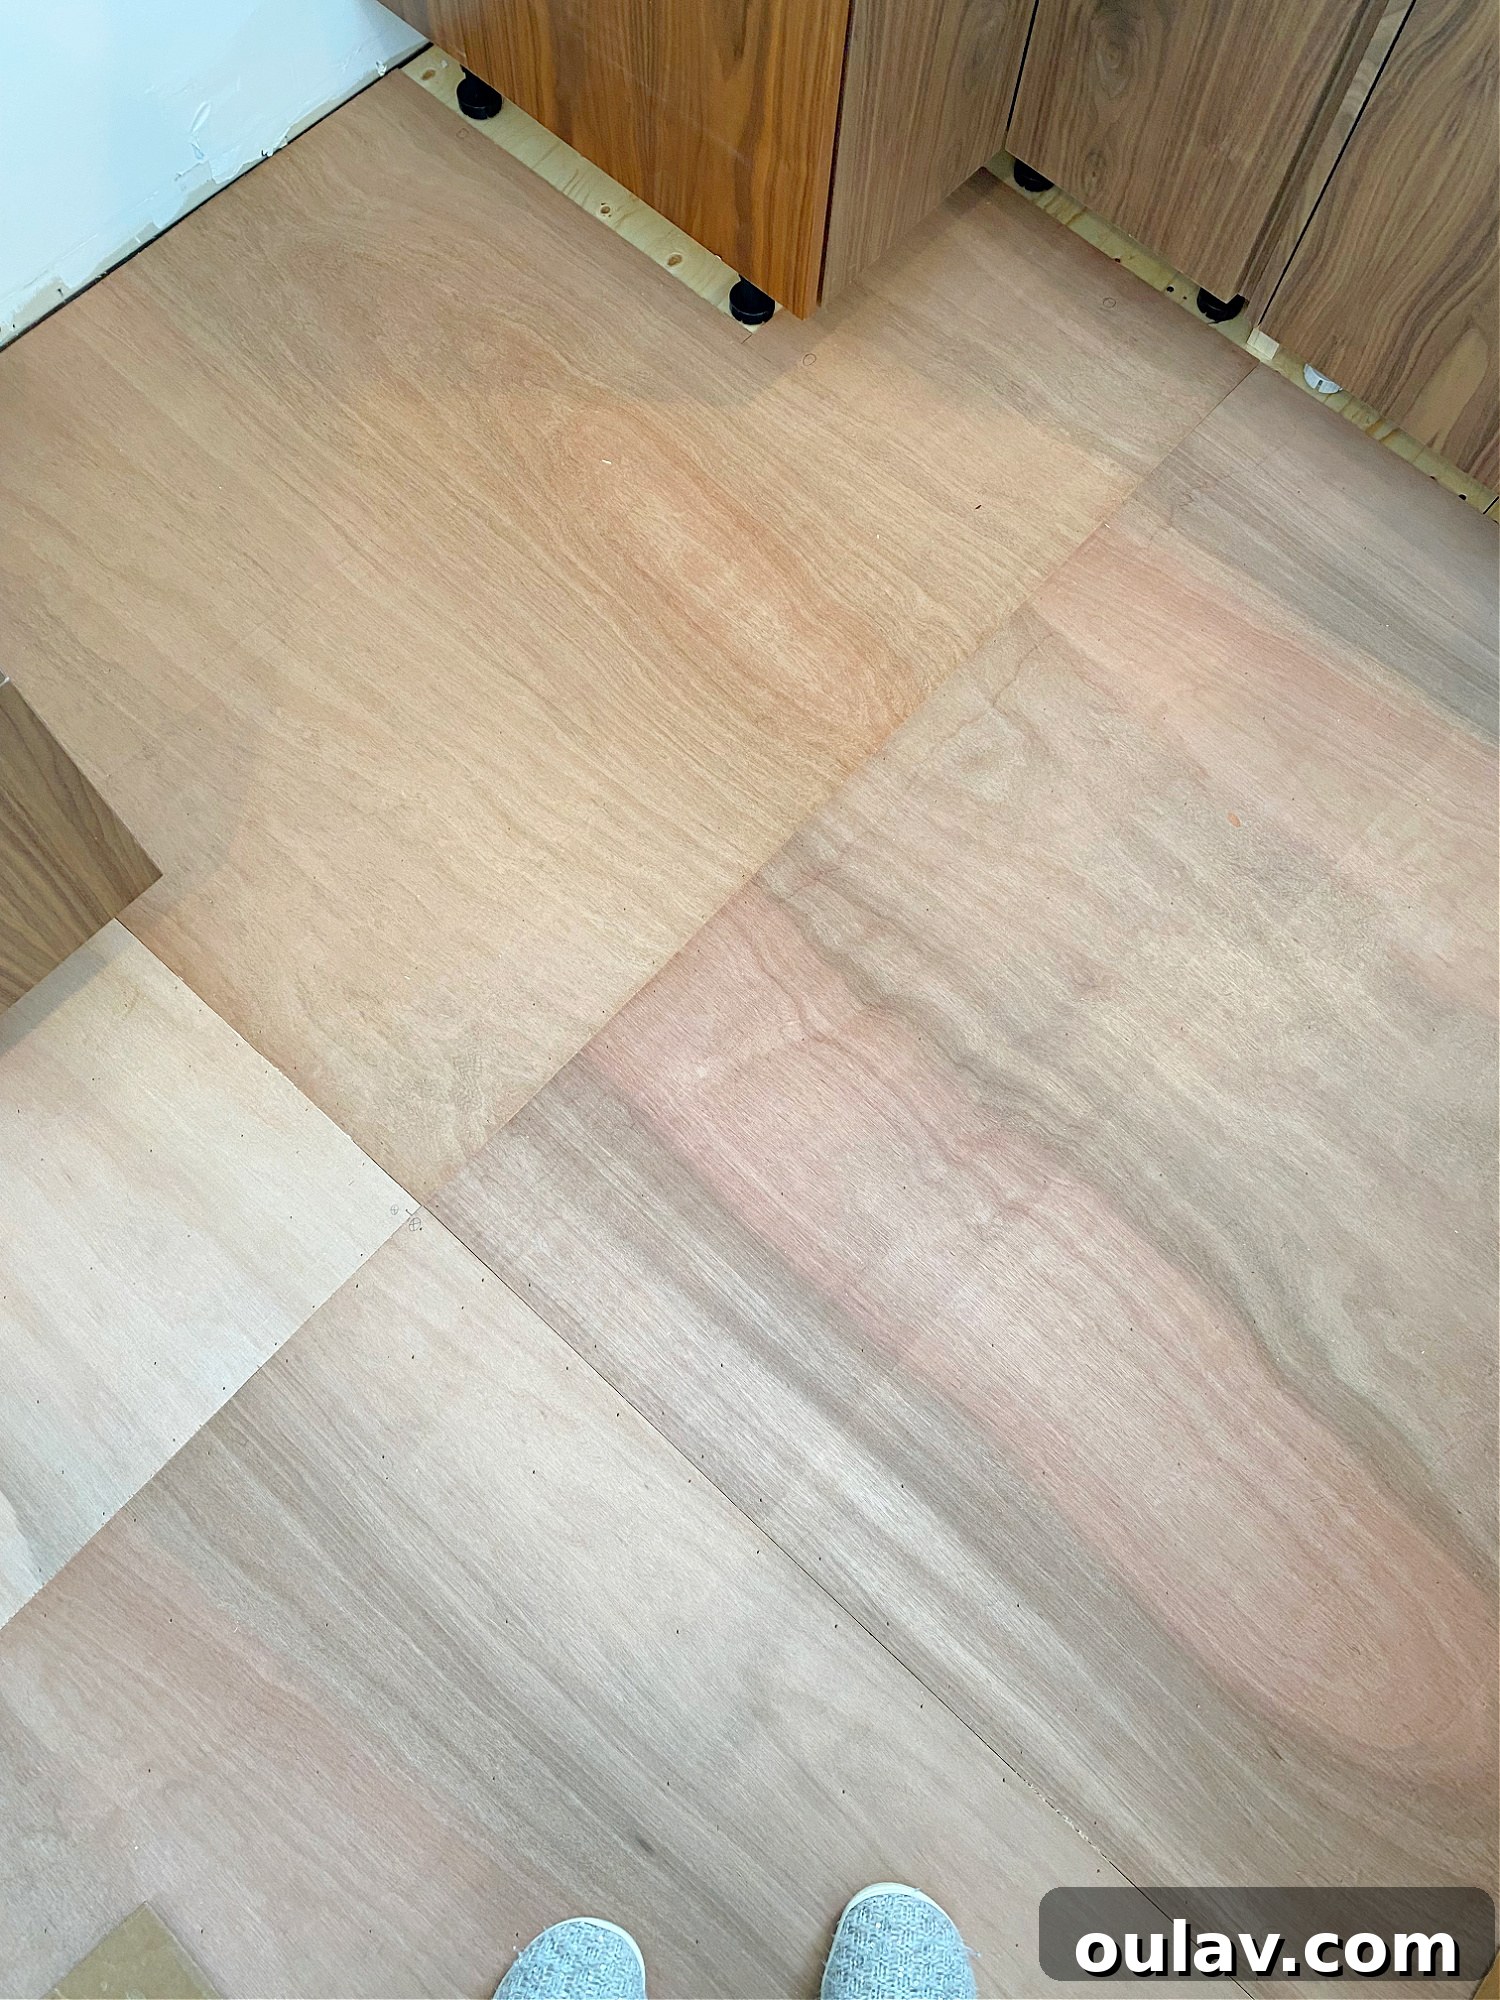
- Identify the Protruding Nails: As you work, it’s helpful to circle any nails that aren’t fully seated with a pencil or marker. This allows you to address them all at once at the end, saving time and ensuring no spots are missed.
- Position the Nail Setter: Place the tip of the nail setter squarely on the head of the offending nail.
- Gentle Taps: Using a hammer, gently tap the end of the nail setter. The goal is to drive the nail head just below the surface of the plywood, creating a slight dimple. Avoid hitting too hard, as this can crush the wood fibers excessively or even drive the nail too deep, potentially weakening its hold.
This simple step ensures an absolutely smooth surface, providing the perfect foundation for your vinyl flooring. It’s a small detail that makes a big difference in the final quality of your floor.
Solving Uneven Floor Problems for Luxury Vinyl Tile
Even with perfectly installed underlayment, minor variations, dips, or the seams between sheets can still create an uneven surface. For luxury vinyl tile (LVT), which is very unforgiving of imperfections, a truly level and seamless base is paramount. If you’re dealing with uneven floor problems, incorporating a floor leveling compound is an absolute must.
We highly recommend investing in a pre-mixed floor leveler and patch compound. These products are designed to fill minor depressions, smooth out rough areas, and create a perfectly uniform plane, whether over wood or concrete subfloors. They are engineered to provide an ideal foundation for various flooring types, especially thin, flexible materials like LVT, which would otherwise show every irregularity.
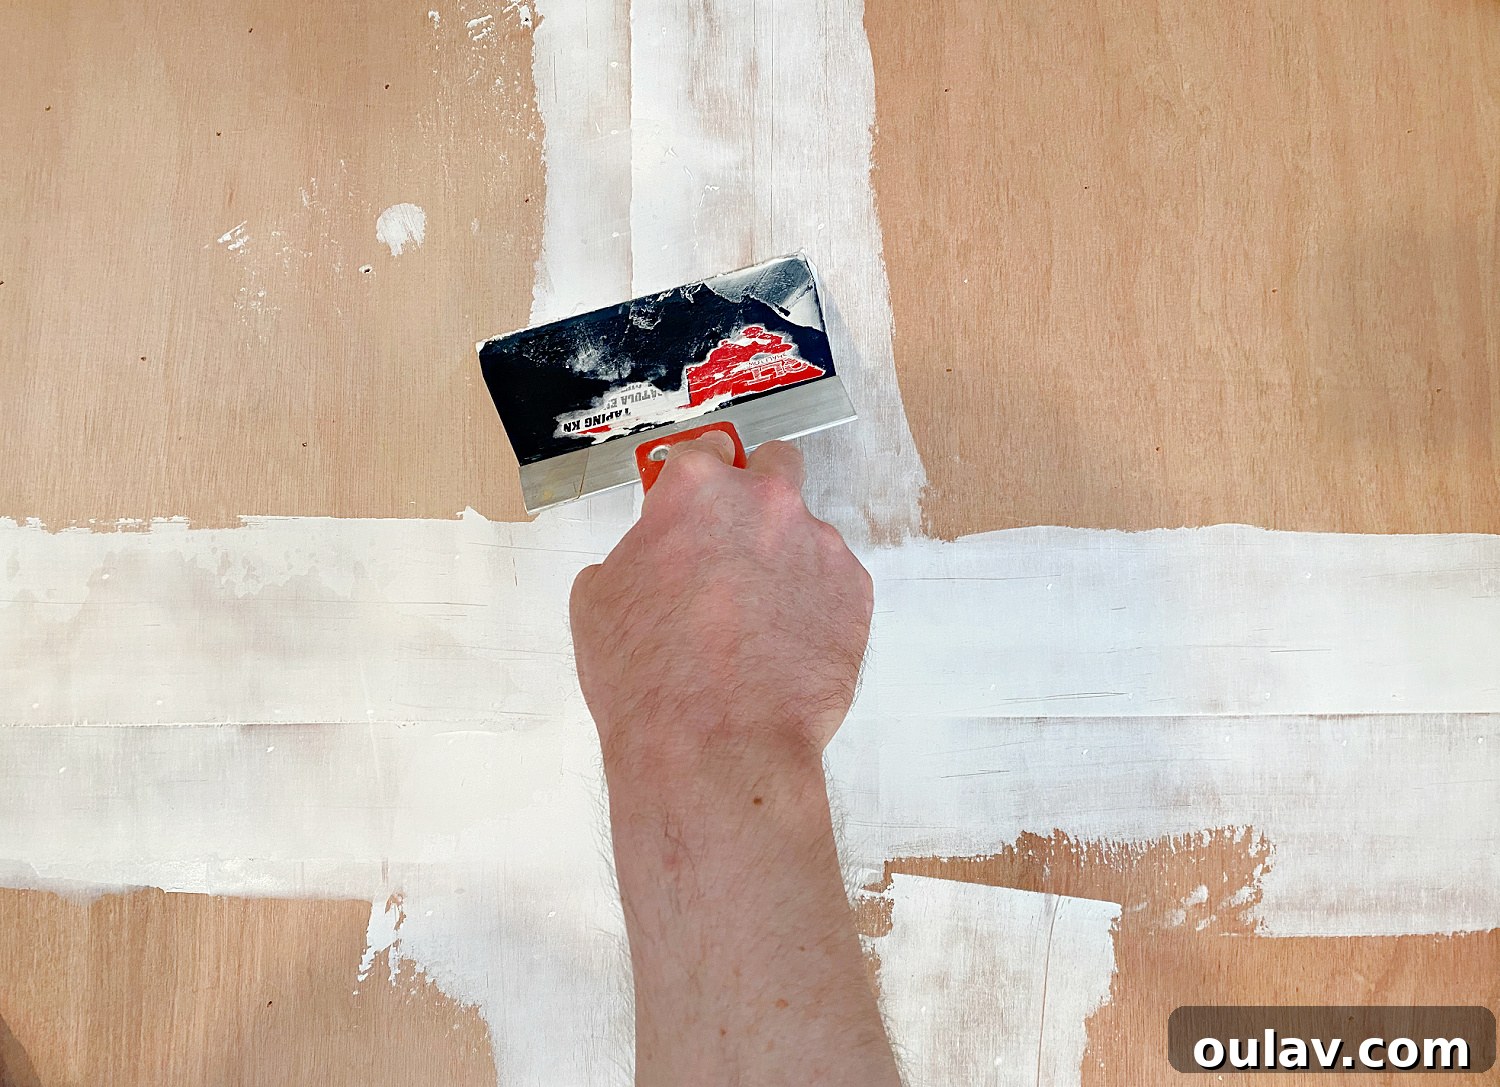
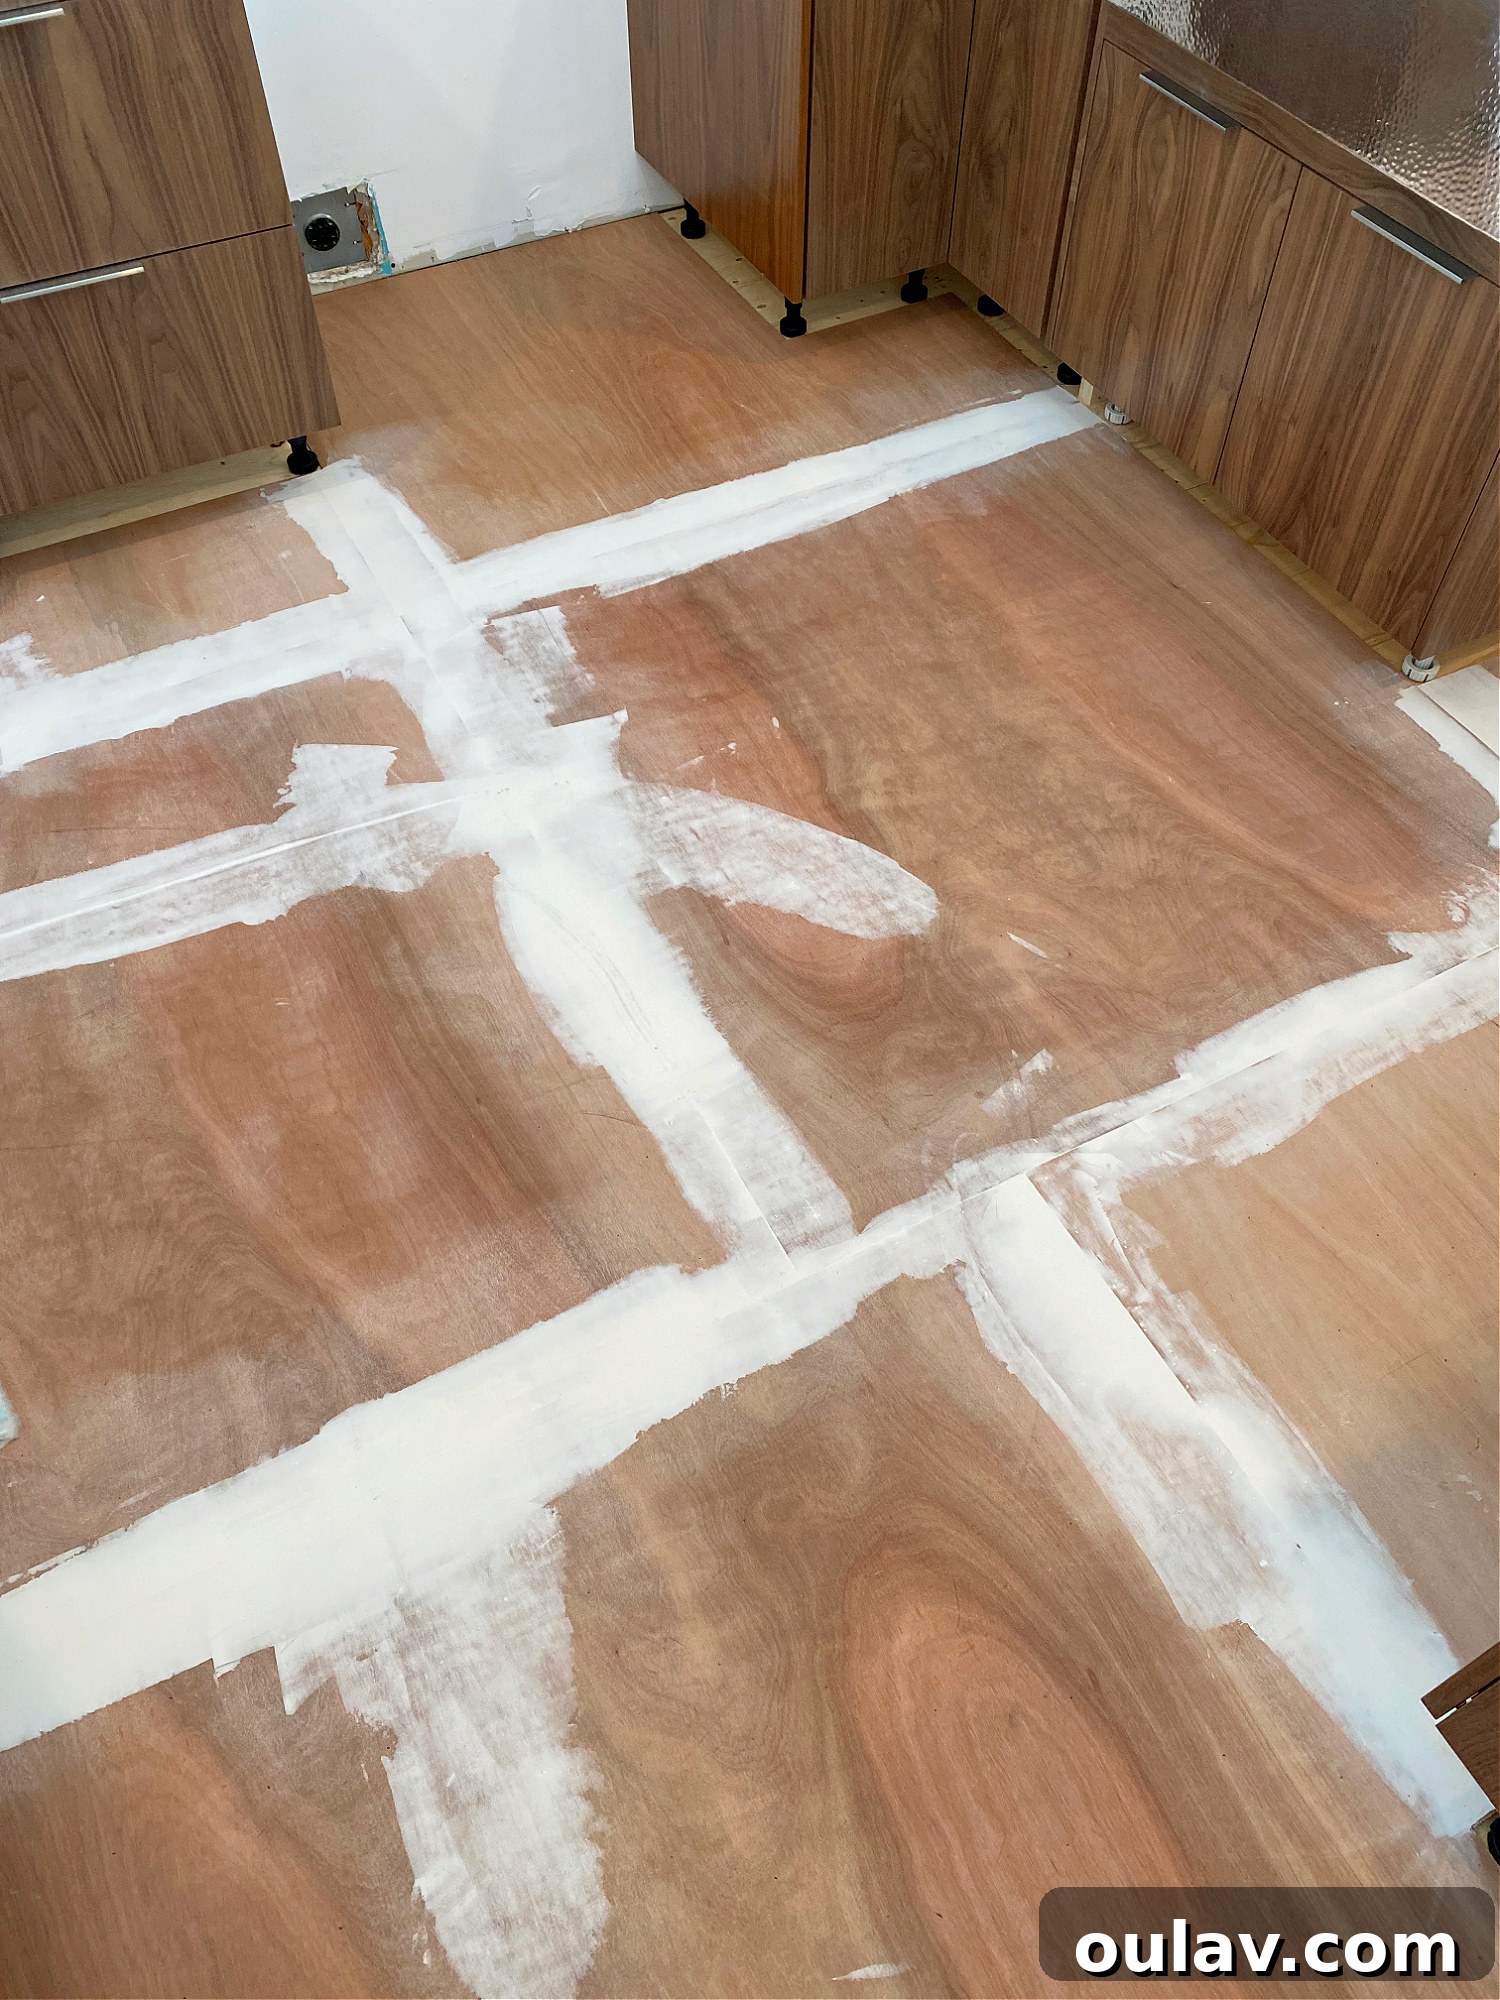
After installing and countersinking the plywood underlayment, we applied the leveling compound along all the seams and any other detected low spots. Using a 6-inch drywall mud knife, we spread the compound smoothly and evenly, feathering the edges to blend seamlessly with the rest of the underlayment. It’s important to work quickly and methodically, as these compounds can set relatively fast.
Allow the leveling compound to dry thoroughly according to the manufacturer’s instructions. Drying times can vary based on thickness and humidity, so always err on the side of caution. Once completely dry, lightly sand the patched areas with 150-grit sandpaper, using a sanding block for even pressure, until the surface is perfectly smooth and indistinguishable from the surrounding underlayment. This meticulous attention to detail prevents future headaches and ensures your LVT lays beautifully flat.
The Final Clean-Up: Ready for Flooring
Once you’re completely satisfied with the evenness and smoothness of your underlayment, the final step before installing your luxury vinyl tile is an exceptionally thorough cleaning. Even the finest dust particles can interfere with adhesive bonding or create tiny imperfections under your new floor.
Start by vacuuming the entire floor surface with a powerful shop vacuum, ensuring all sanding dust, debris, and any remaining particles from the leveling compound are removed. After vacuuming, we recommend a second, more detailed wipe-down. We used a scrap of old, dark-colored t-shirt wrapped around a Swiffer sweeper. The dark cloth is incredibly effective at revealing even the lightest, most invisible dust, allowing you to see and remove every last speck. This meticulous cleaning ensures a pristine surface, ready for the LVT adhesive and installation.
Conclusion: Your Foundation for Flawless Vinyl Flooring
Installing plywood underlayment might seem like an extra step, but as we’ve demonstrated, it’s a foundational component that directly contributes to the success and longevity of your vinyl flooring project. From understanding the difference between underlayment and subfloor to meticulously nailing, cutting, and leveling, each step ensures you create a perfectly smooth, stable, and durable base. Our journey to raise the kitchen floor height further highlights the importance of thorough subfloor preparation for achieving seamless transitions and a professional finish.
With your underlayment expertly installed and flawlessly smooth, you’re now ready for the exciting part: laying down that beautiful luxury vinyl tile! Keep an eye out for our next post, where we’ll share the step-by-step process of installing our glue-down LVT. We promise, the transformation looks absolutely stunning!
P.S. Don’t Forget to Pin for Later!