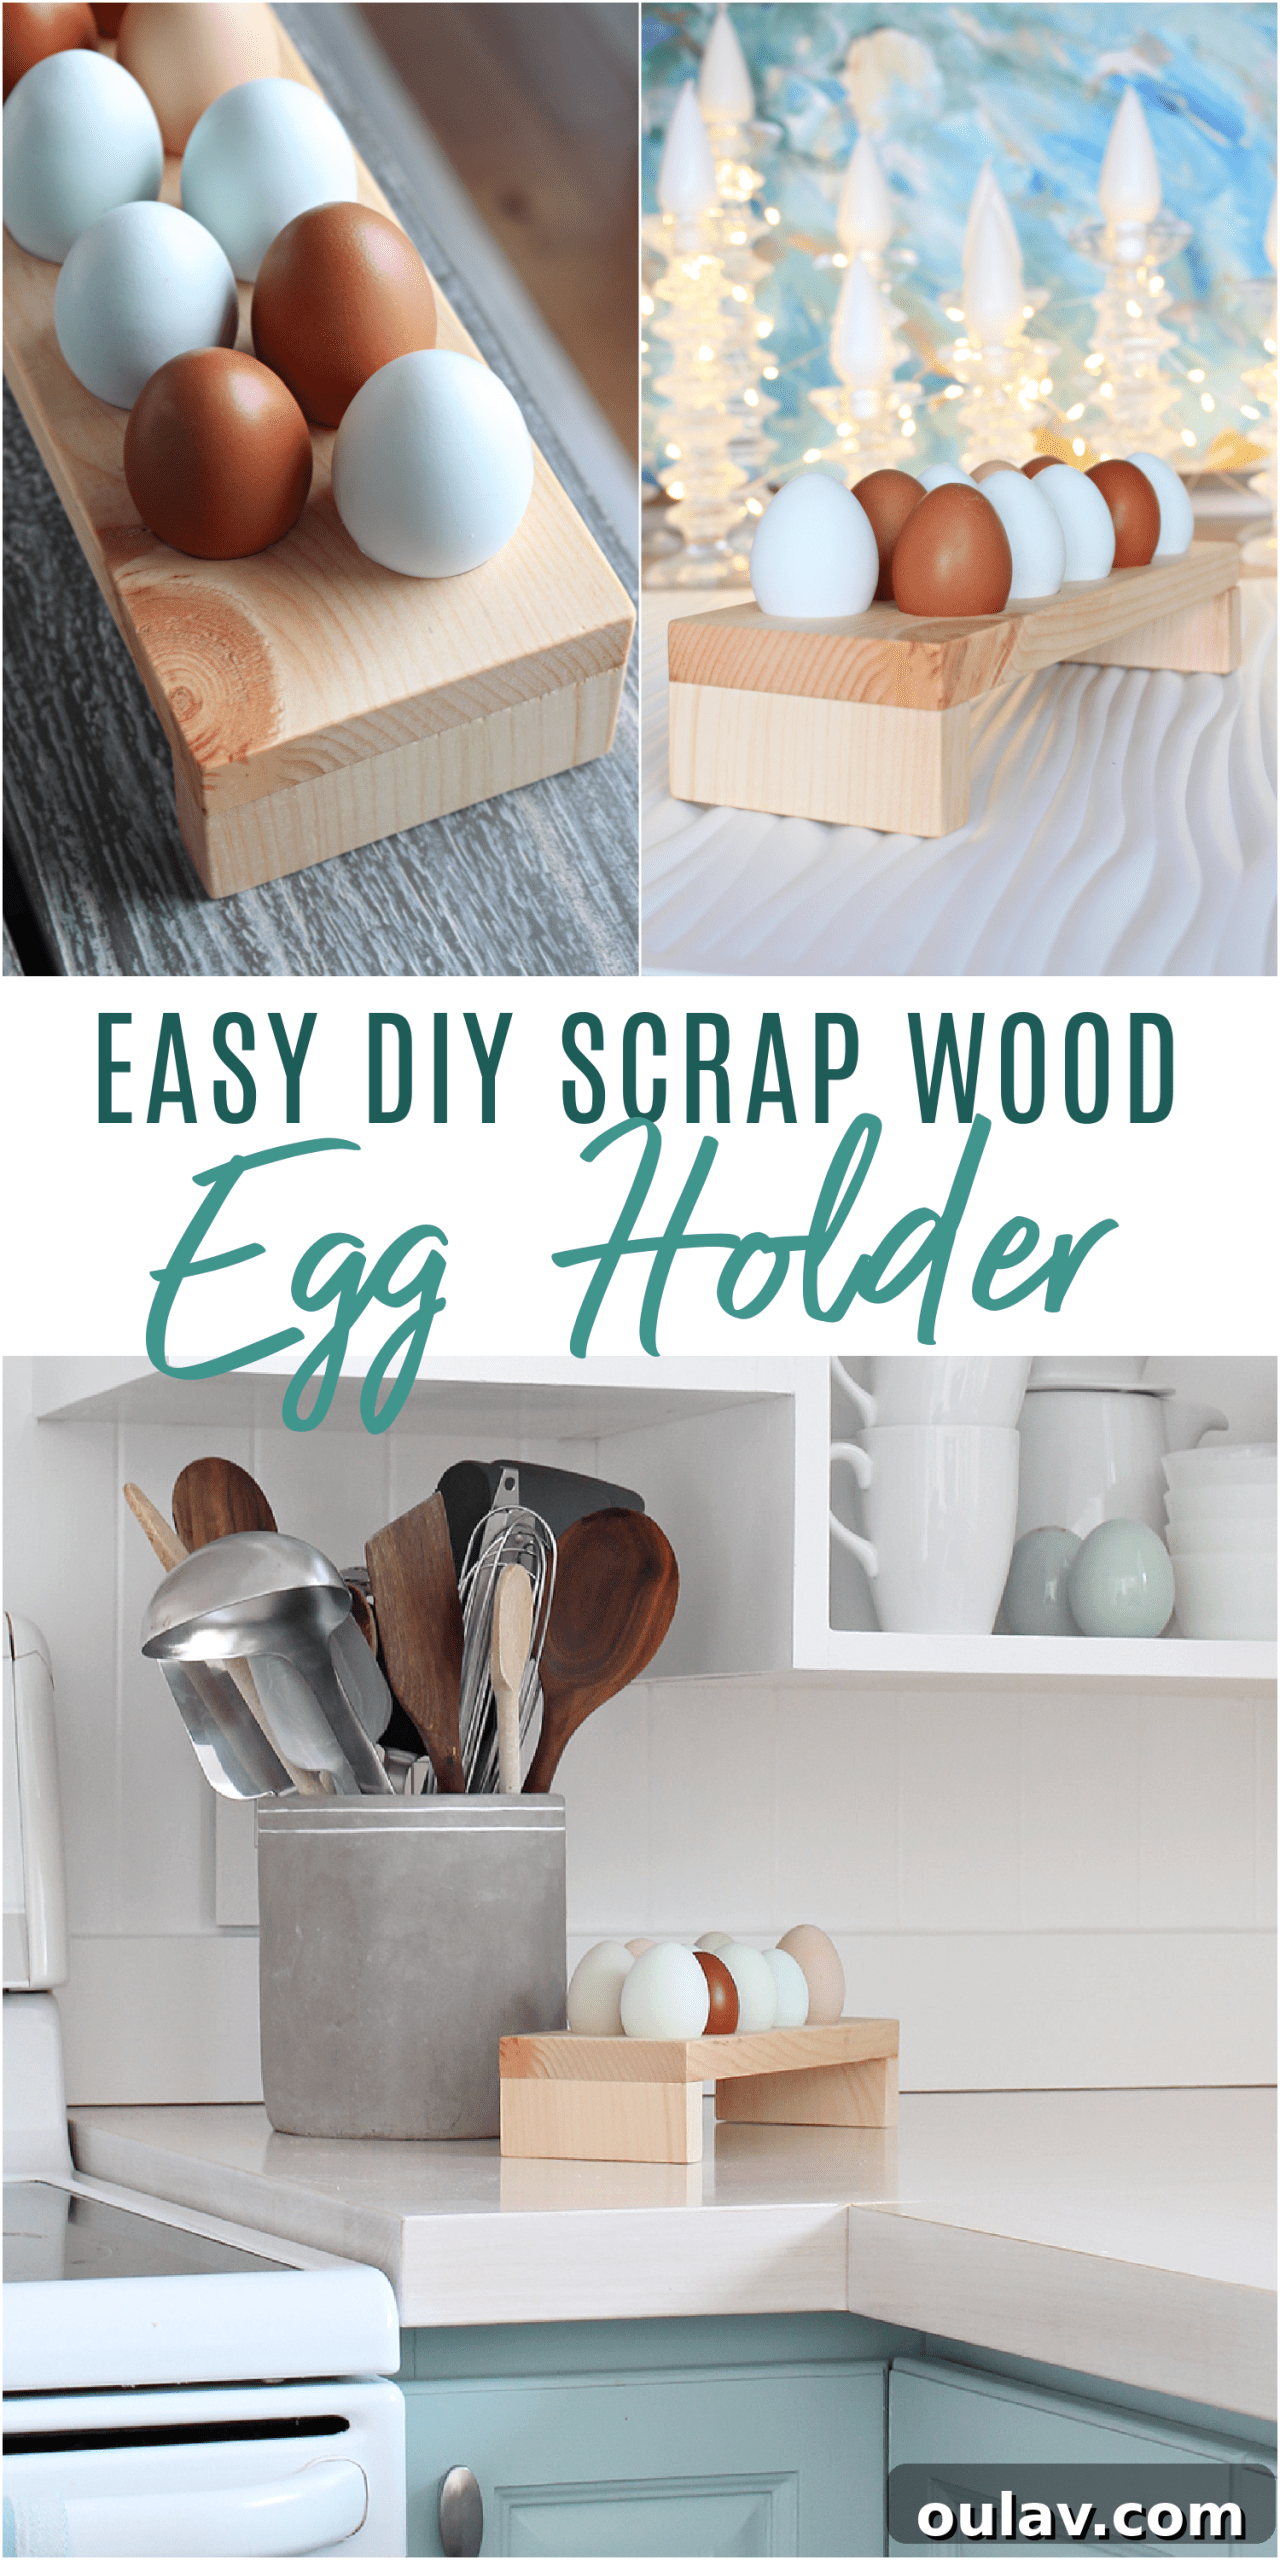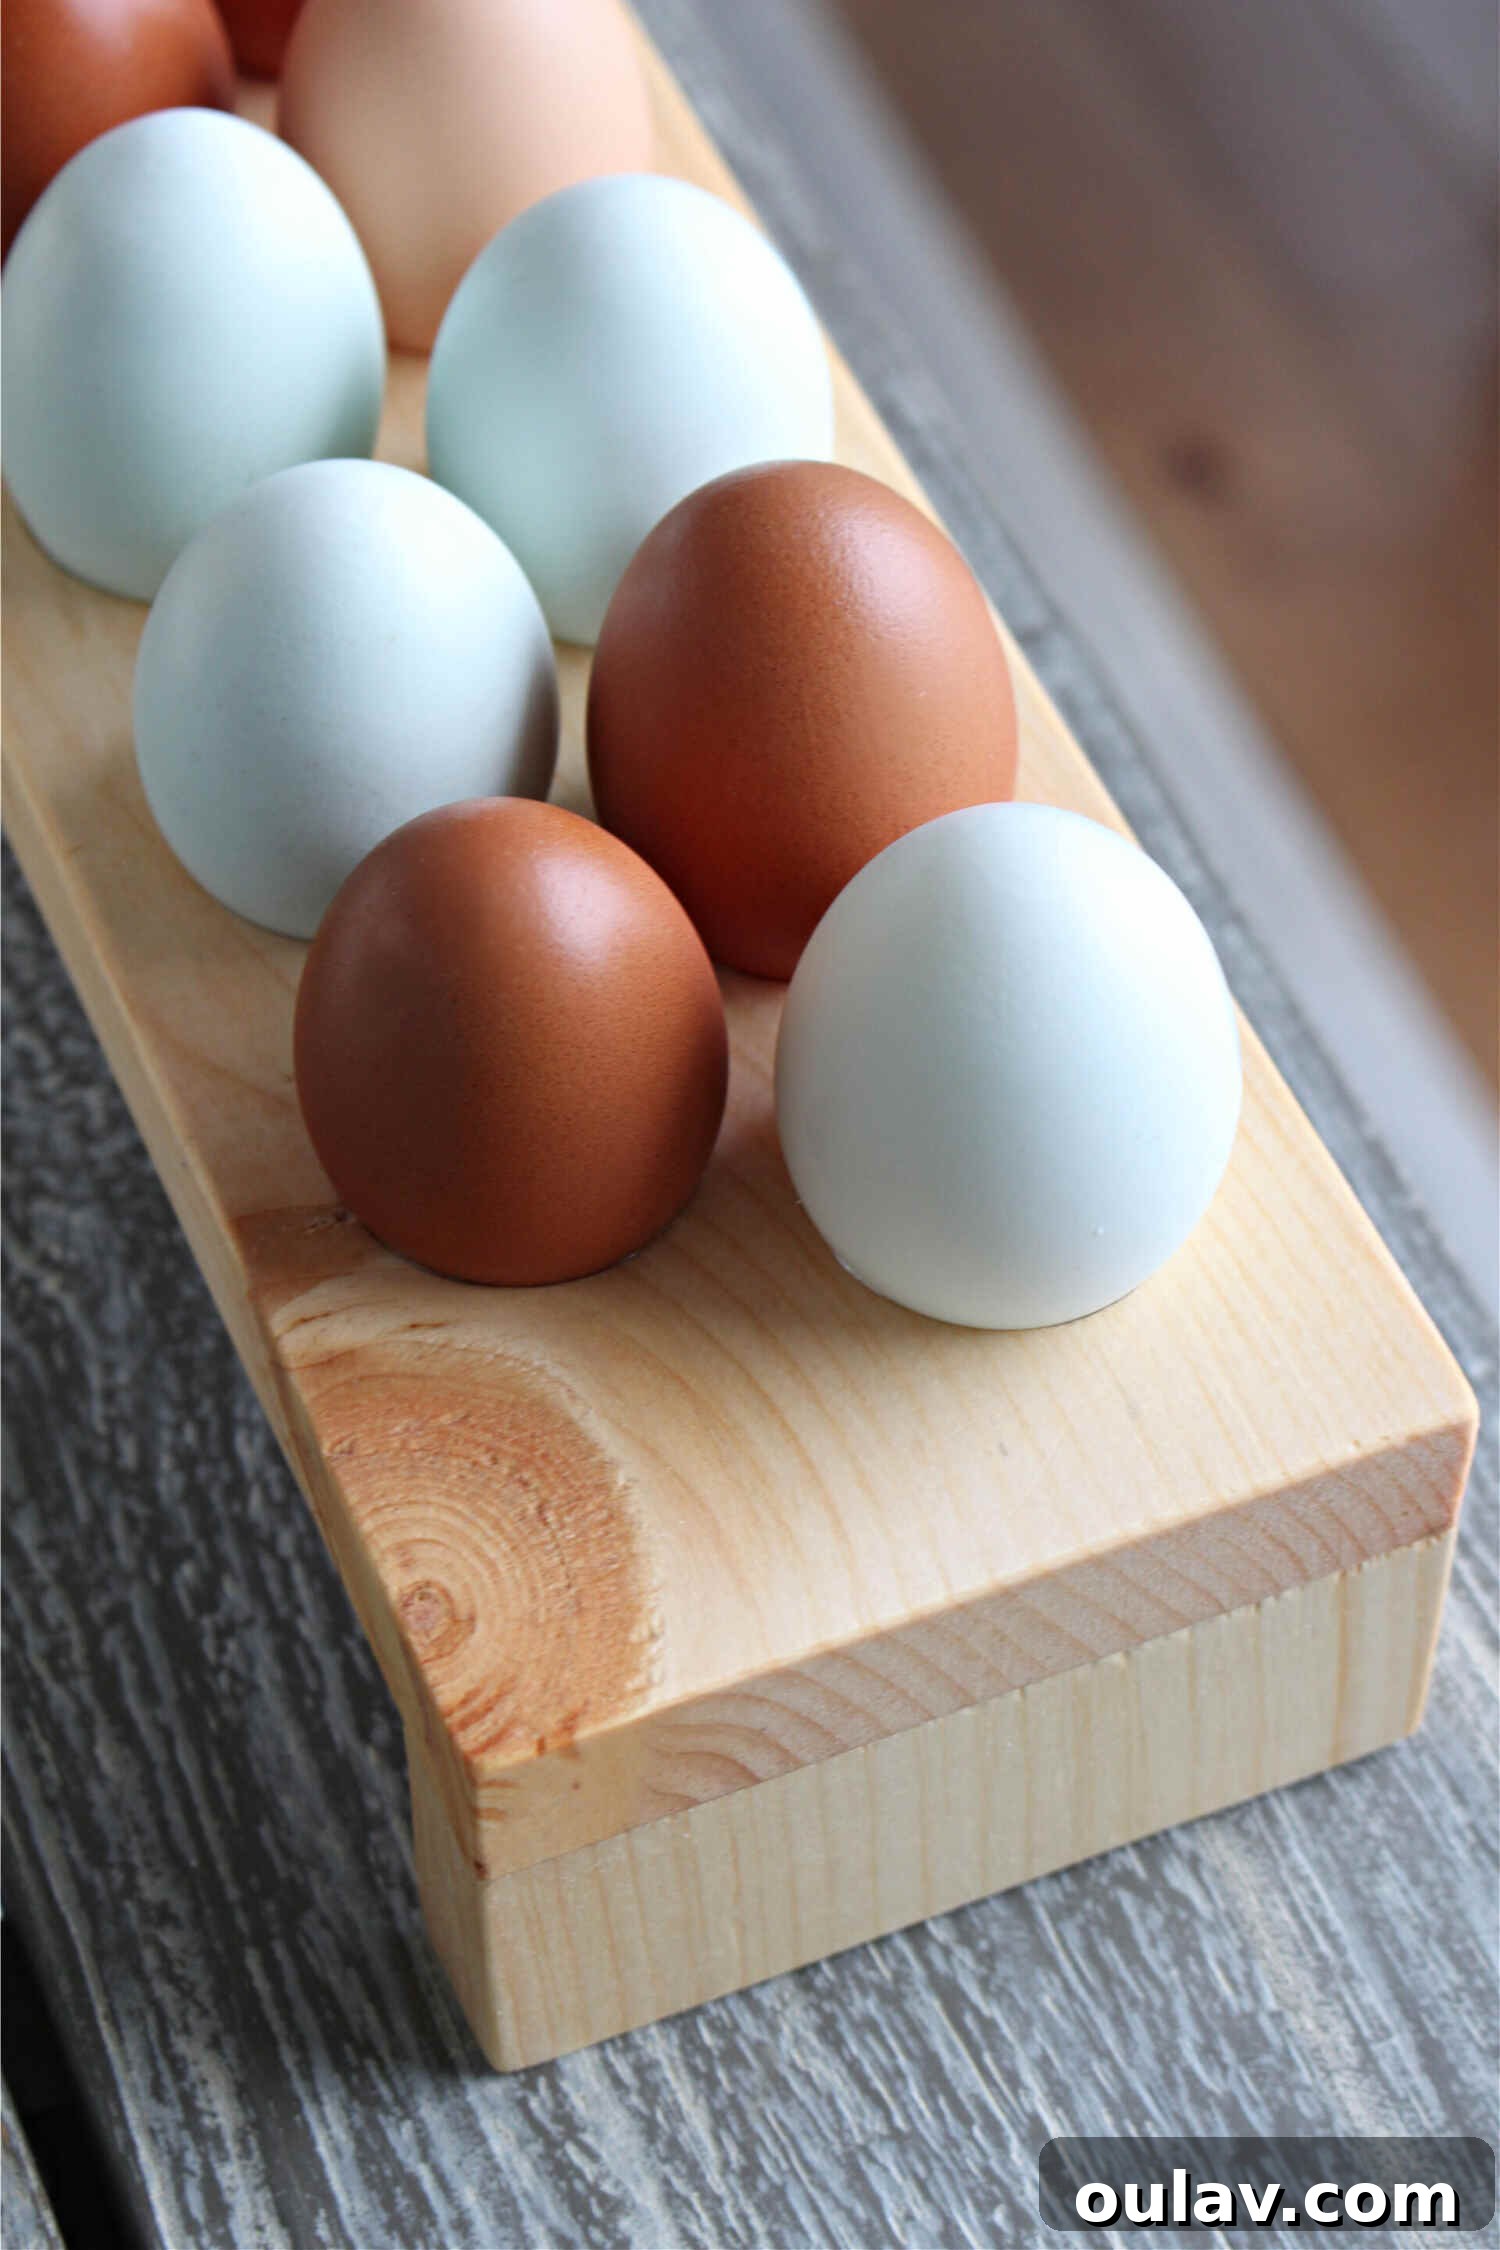
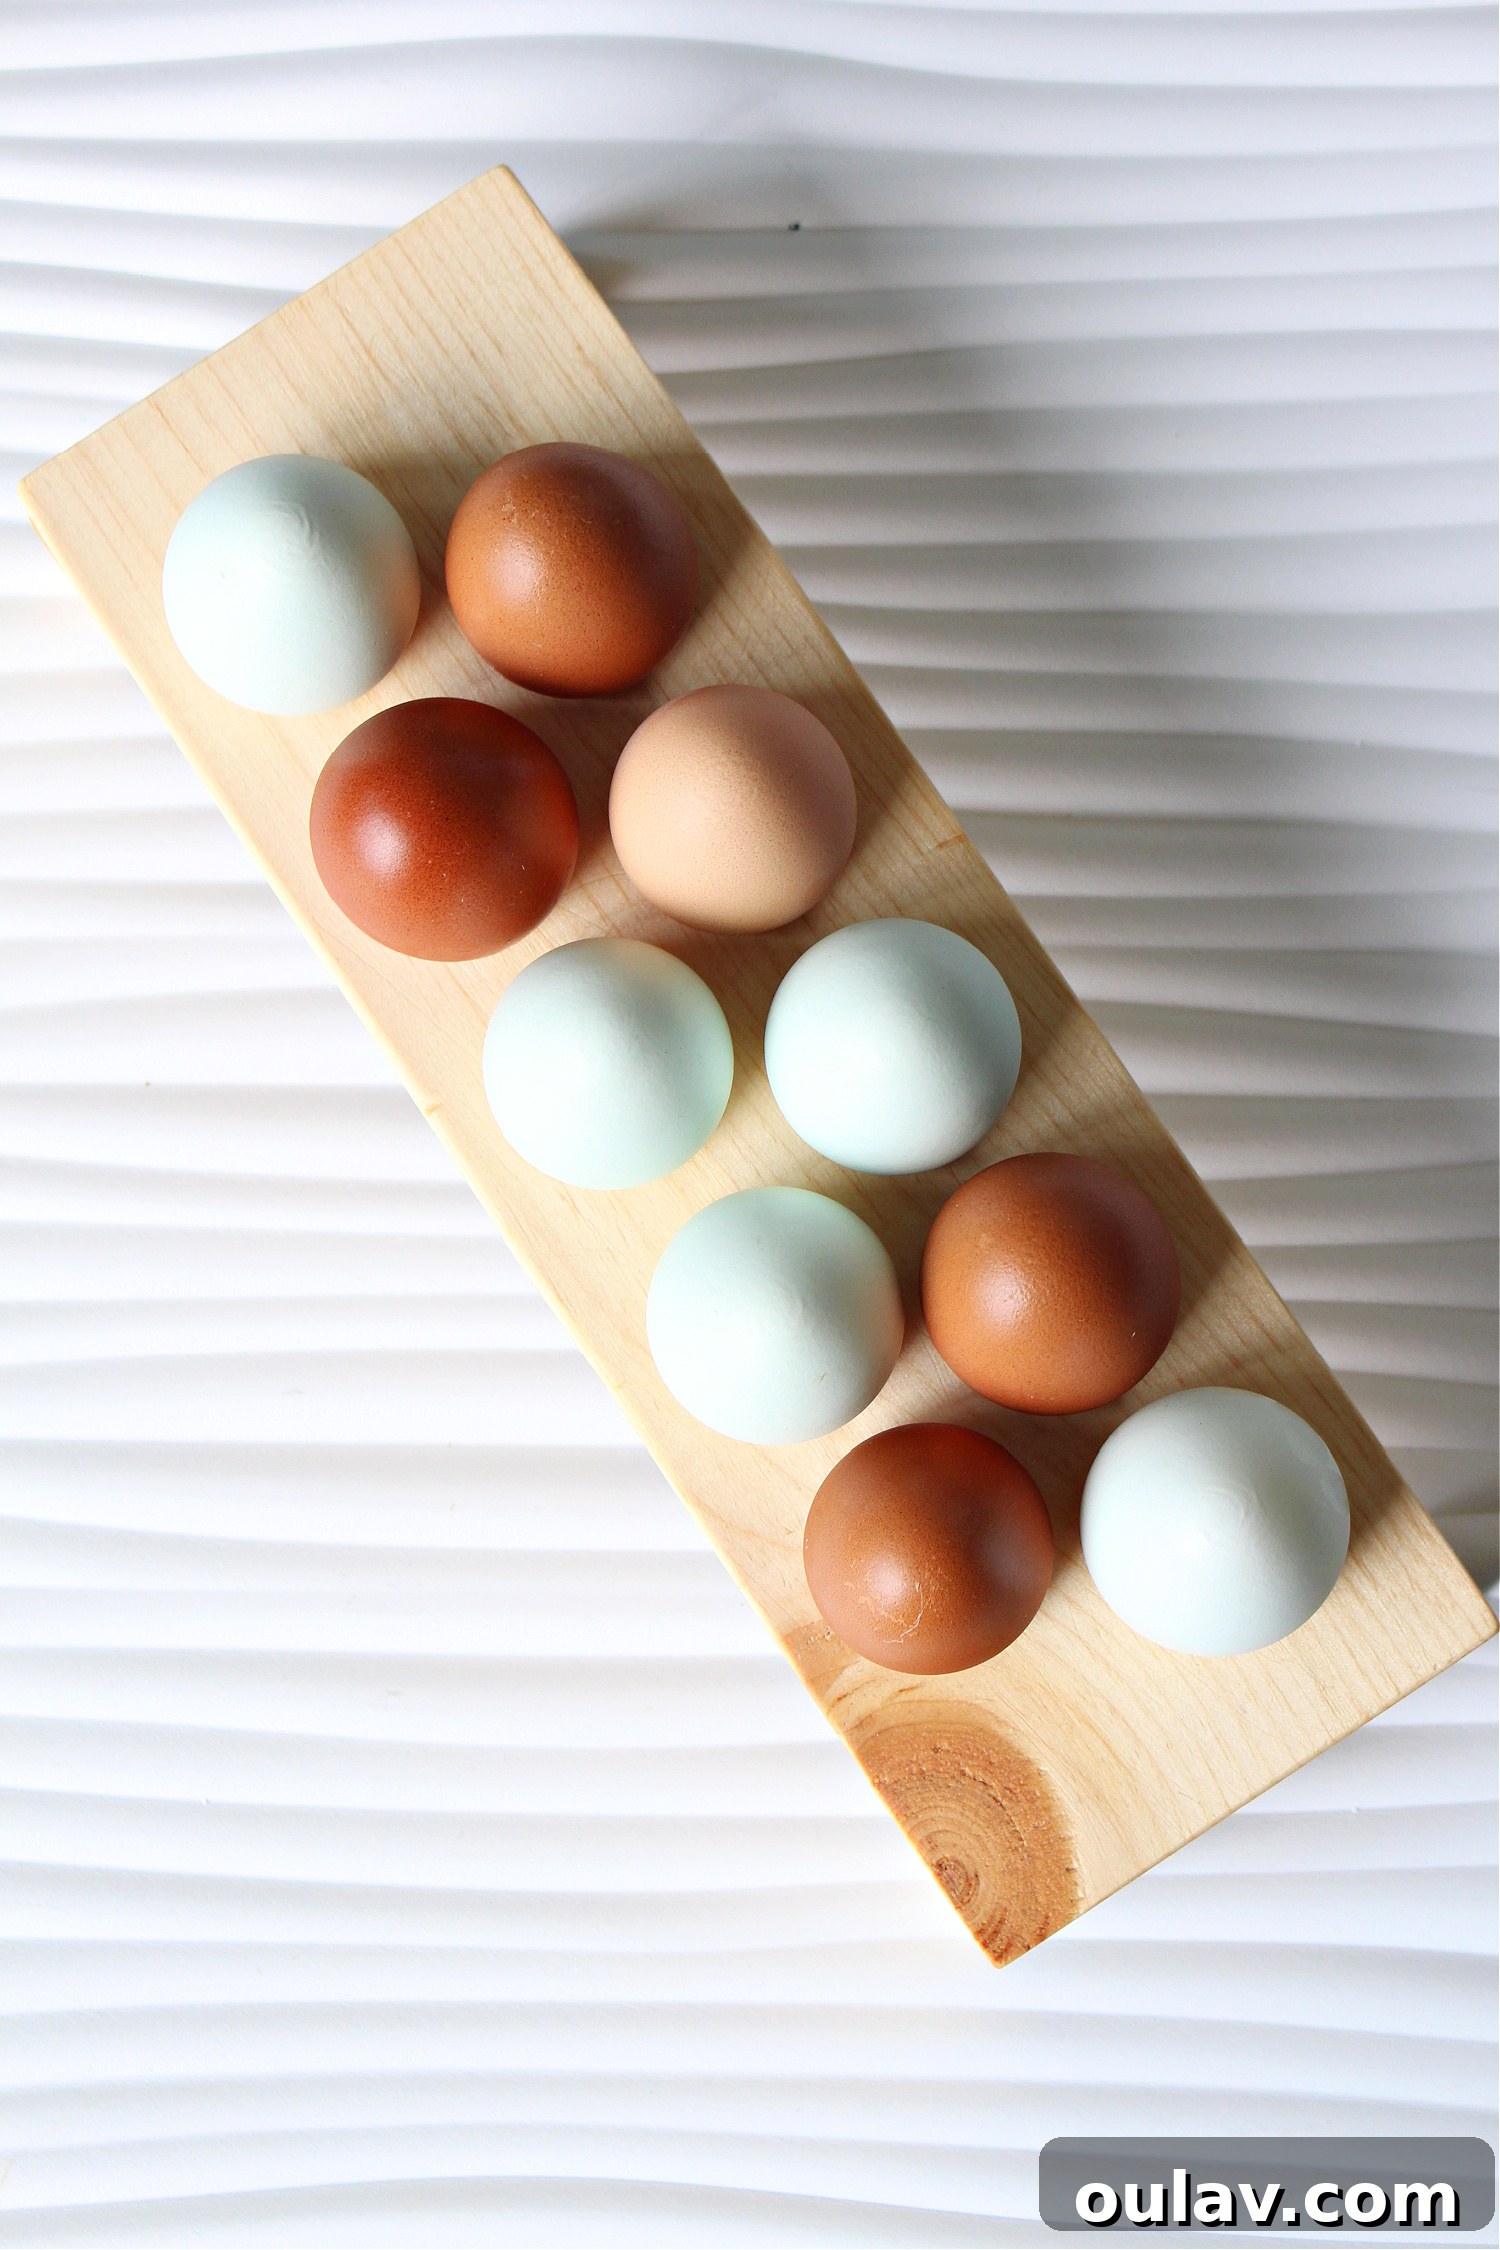
Unlock the satisfaction of creating something beautiful and functional for your home with this incredibly simple DIY wooden egg holder. Far from being a complex woodworking project, this stylish and practical egg tray is an excellent way to utilize leftover wood scraps, transforming them into a valuable kitchen accessory. Many DIY enthusiasts might feel tempted to invest in specialized tools like a plunge router to craft intricate wooden egg trays. However, we’re thrilled to share a method that is surprisingly straightforward, requiring only an inexpensive hole saw – a tool many DIYers already have on hand. This project proves that you don’t need an elaborate workshop or advanced skills to achieve professional-looking results. Whether you’re a seasoned woodworker or a complete beginner looking for a rewarding weekend craft, this guide will walk you through every step of creating your very own handmade wooden egg holder, adding a touch of rustic charm and organized convenience to your kitchen.


Essential Supplies for Your DIY Wooden Egg Holder:
Gathering your materials is the first exciting step in any DIY project. For this charming wooden egg tray, you’ll find that most items are standard workshop fare or easily acquired. Choosing the right wood is key; a solid piece will ensure durability and a beautiful finish. We opted for 3/4″ thick pine due to its ease of workability and attractive grain, but feel free to select a wood that suits your aesthetic or what you might have readily available from other projects. Remember, the beauty of DIY is customization!
- Solid Piece of Wood: We recommend a sturdy piece, approximately 3/4″ thick. Pine is an excellent choice for beginners due to its affordability and how easily it can be cut and sanded. Other options include oak, maple, or even reclaimed hardwood for a more premium look and feel.
- 1 1/4″ Hole Saw: This is the hero tool for creating the perfectly sized egg cradles. Ensure it’s sharp for clean cuts. The 1 1/4″ diameter is ideal for standard large eggs, providing a snug yet accessible fit.
- Saw (to cut the wood to length): Any basic saw will do the trick – a miter saw for precision, a circular saw for larger cuts, or even a hand saw if you’re working with smaller pieces and prefer a manual approach. Safety first with any cutting tool!
- Drill: Essential for powering your hole saw and pre-drilling pilot holes. A corded or cordless drill will work, just ensure it has enough torque for the hole saw.
- Pencil: For marking your measurements and hole placements. A light touch is all that’s needed, as markings will be sanded away later.
- Ruler / Combination Square: Crucial for accurate measurements and ensuring your cuts and hole placements are straight and symmetrical. A combination square is particularly useful for marking lines at perfect 90-degree angles.
- Sandpaper: Various grits will be needed, typically starting with a coarser grit (like 120-150) for shaping and smoothing rough edges, then progressing to a finer grit (220 or higher) for a silky-smooth finish.
- Wood Glue: A strong woodworking adhesive is vital for securely attaching the legs to the main tray, ensuring your holder is stable and durable.
- Masking Tape or Mini Clamps: These are indispensable for holding the glued pieces together while the wood glue cures. Masking tape offers a gentle hold, while clamps provide stronger pressure for a tighter bond.
- Food Safe Wood Finish: Absolutely critical for any kitchen item that will come into contact with food. This protects the wood, enhances its natural beauty, and makes it easy to clean, all while ensuring it’s safe for your eggs and family. Look for oils or waxes specifically labeled “food safe.”
Step-by-Step Guide: Crafting Your Own Wooden Egg Tray
Creating your wooden egg tray is a satisfying journey that combines precision with simple woodworking techniques. Follow these steps carefully, and you’ll soon have a bespoke egg holder that’s both functional and a charming addition to your kitchen decor.
1. Design and Determine Your Tray Dimensions
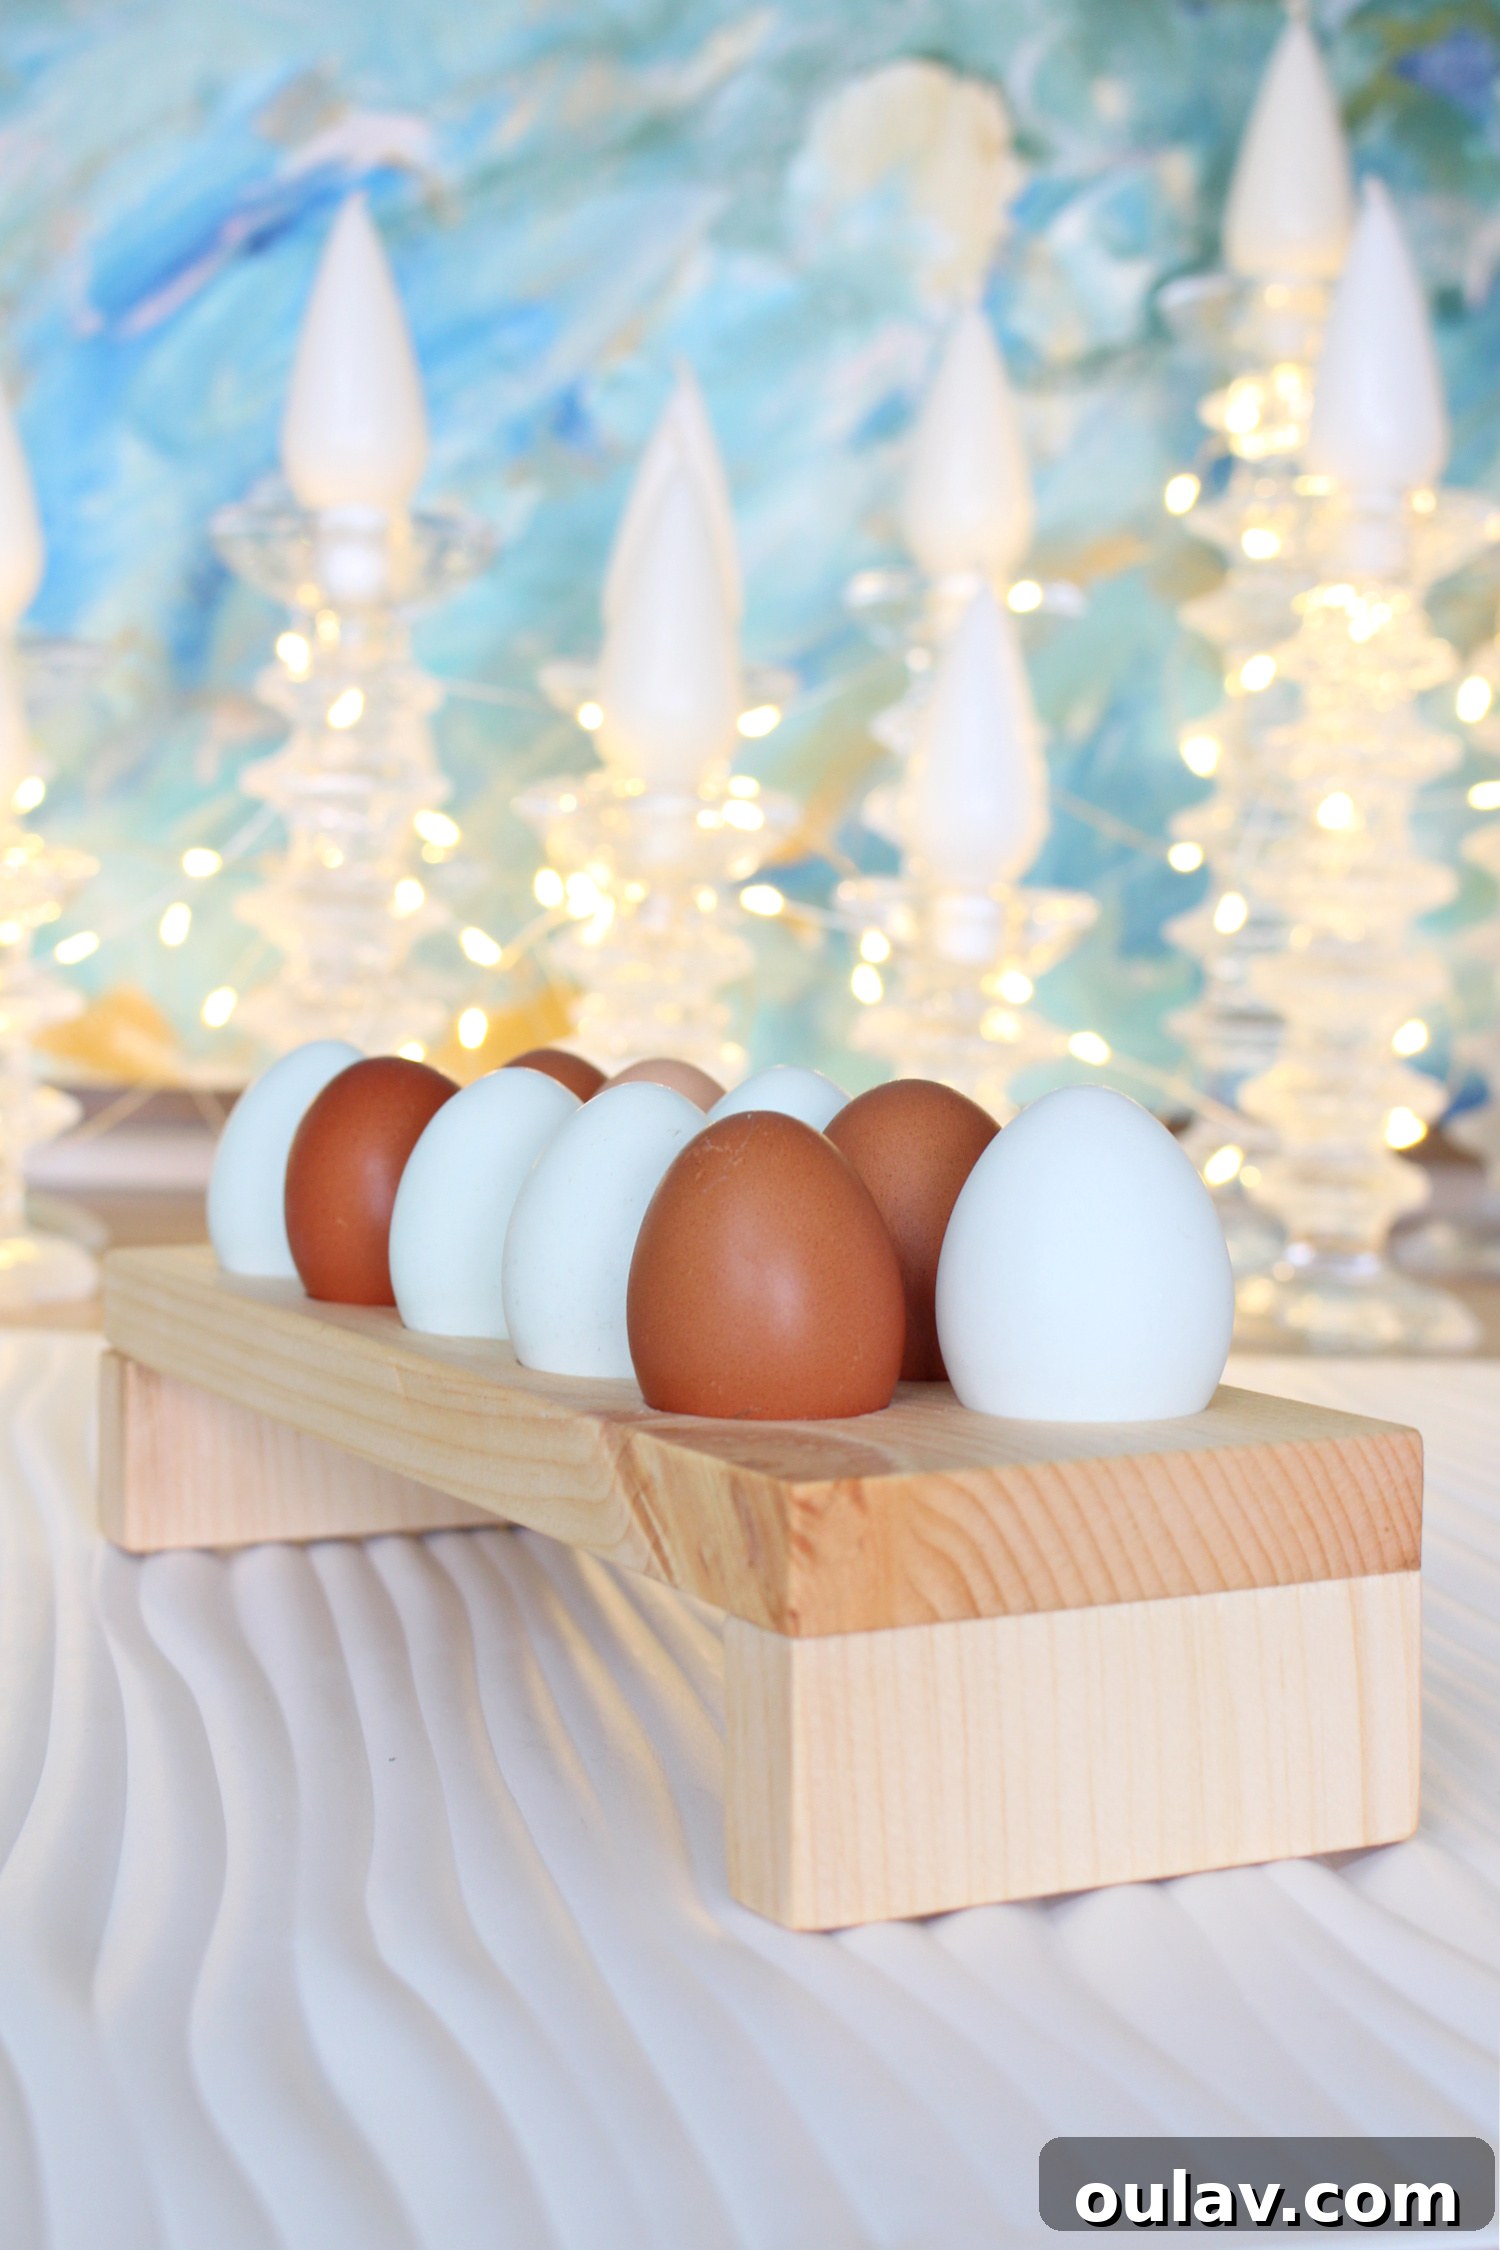
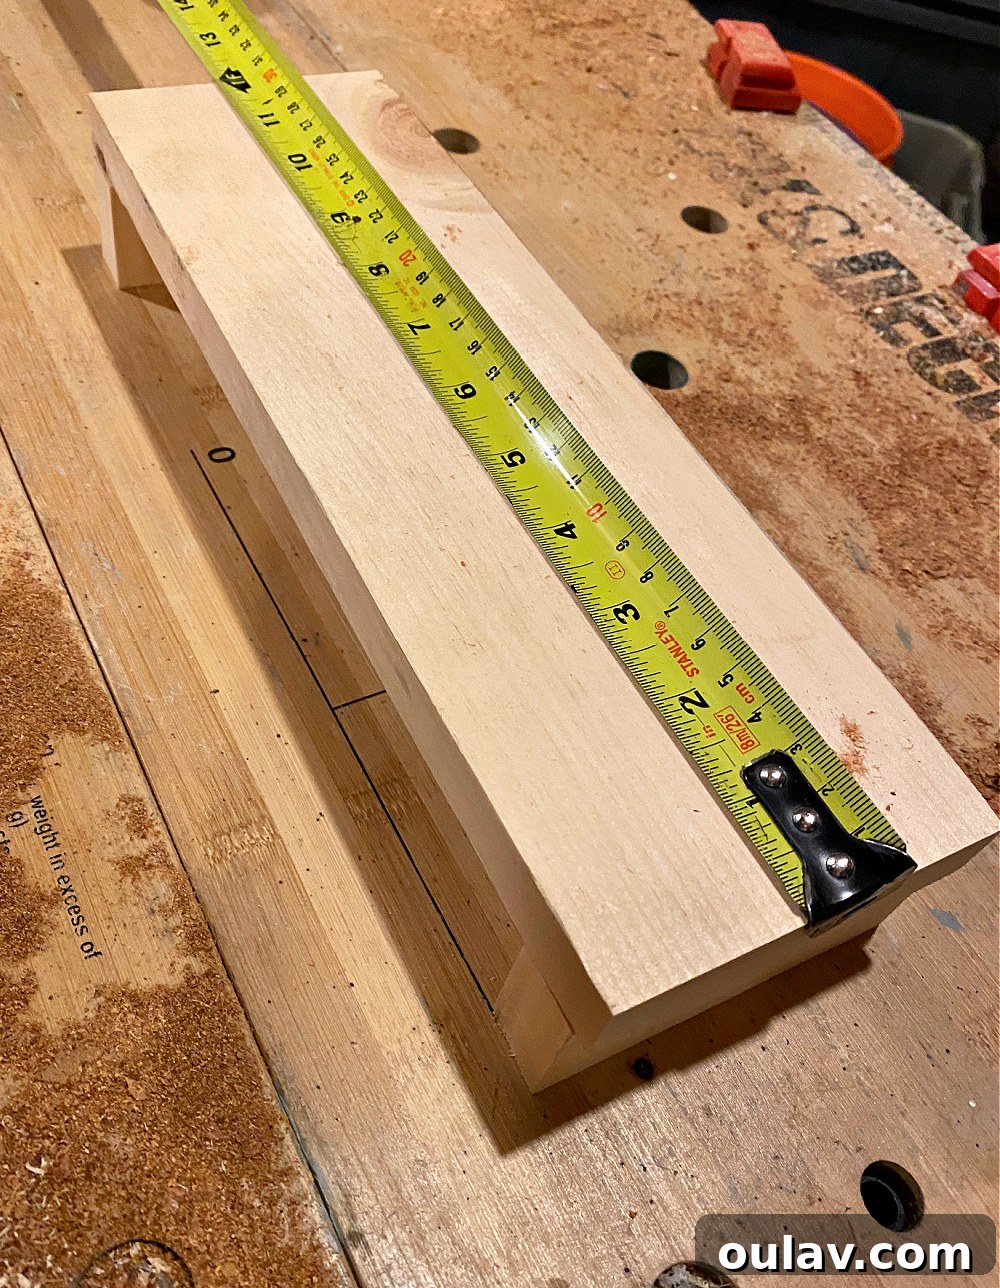
Before making any cuts, it’s crucial to finalize the overall length and width for your DIY wooden egg holder. While customization is encouraged, a key consideration is leaving ample room for the eggs themselves. We strongly advise against making your egg tray narrower than the dimensions we used, as eggs require a certain amount of space to sit securely without touching or being cramped. For those with backyard chickens, like ours, egg supply can be sporadic, meaning we didn’t need to conform to a standard dozen or 18-egg capacity. This flexibility allowed us to design a tray that perfectly suits our unique needs. Think about how many eggs you typically need to store, or if you prefer a smaller, more decorative holder for immediate use.
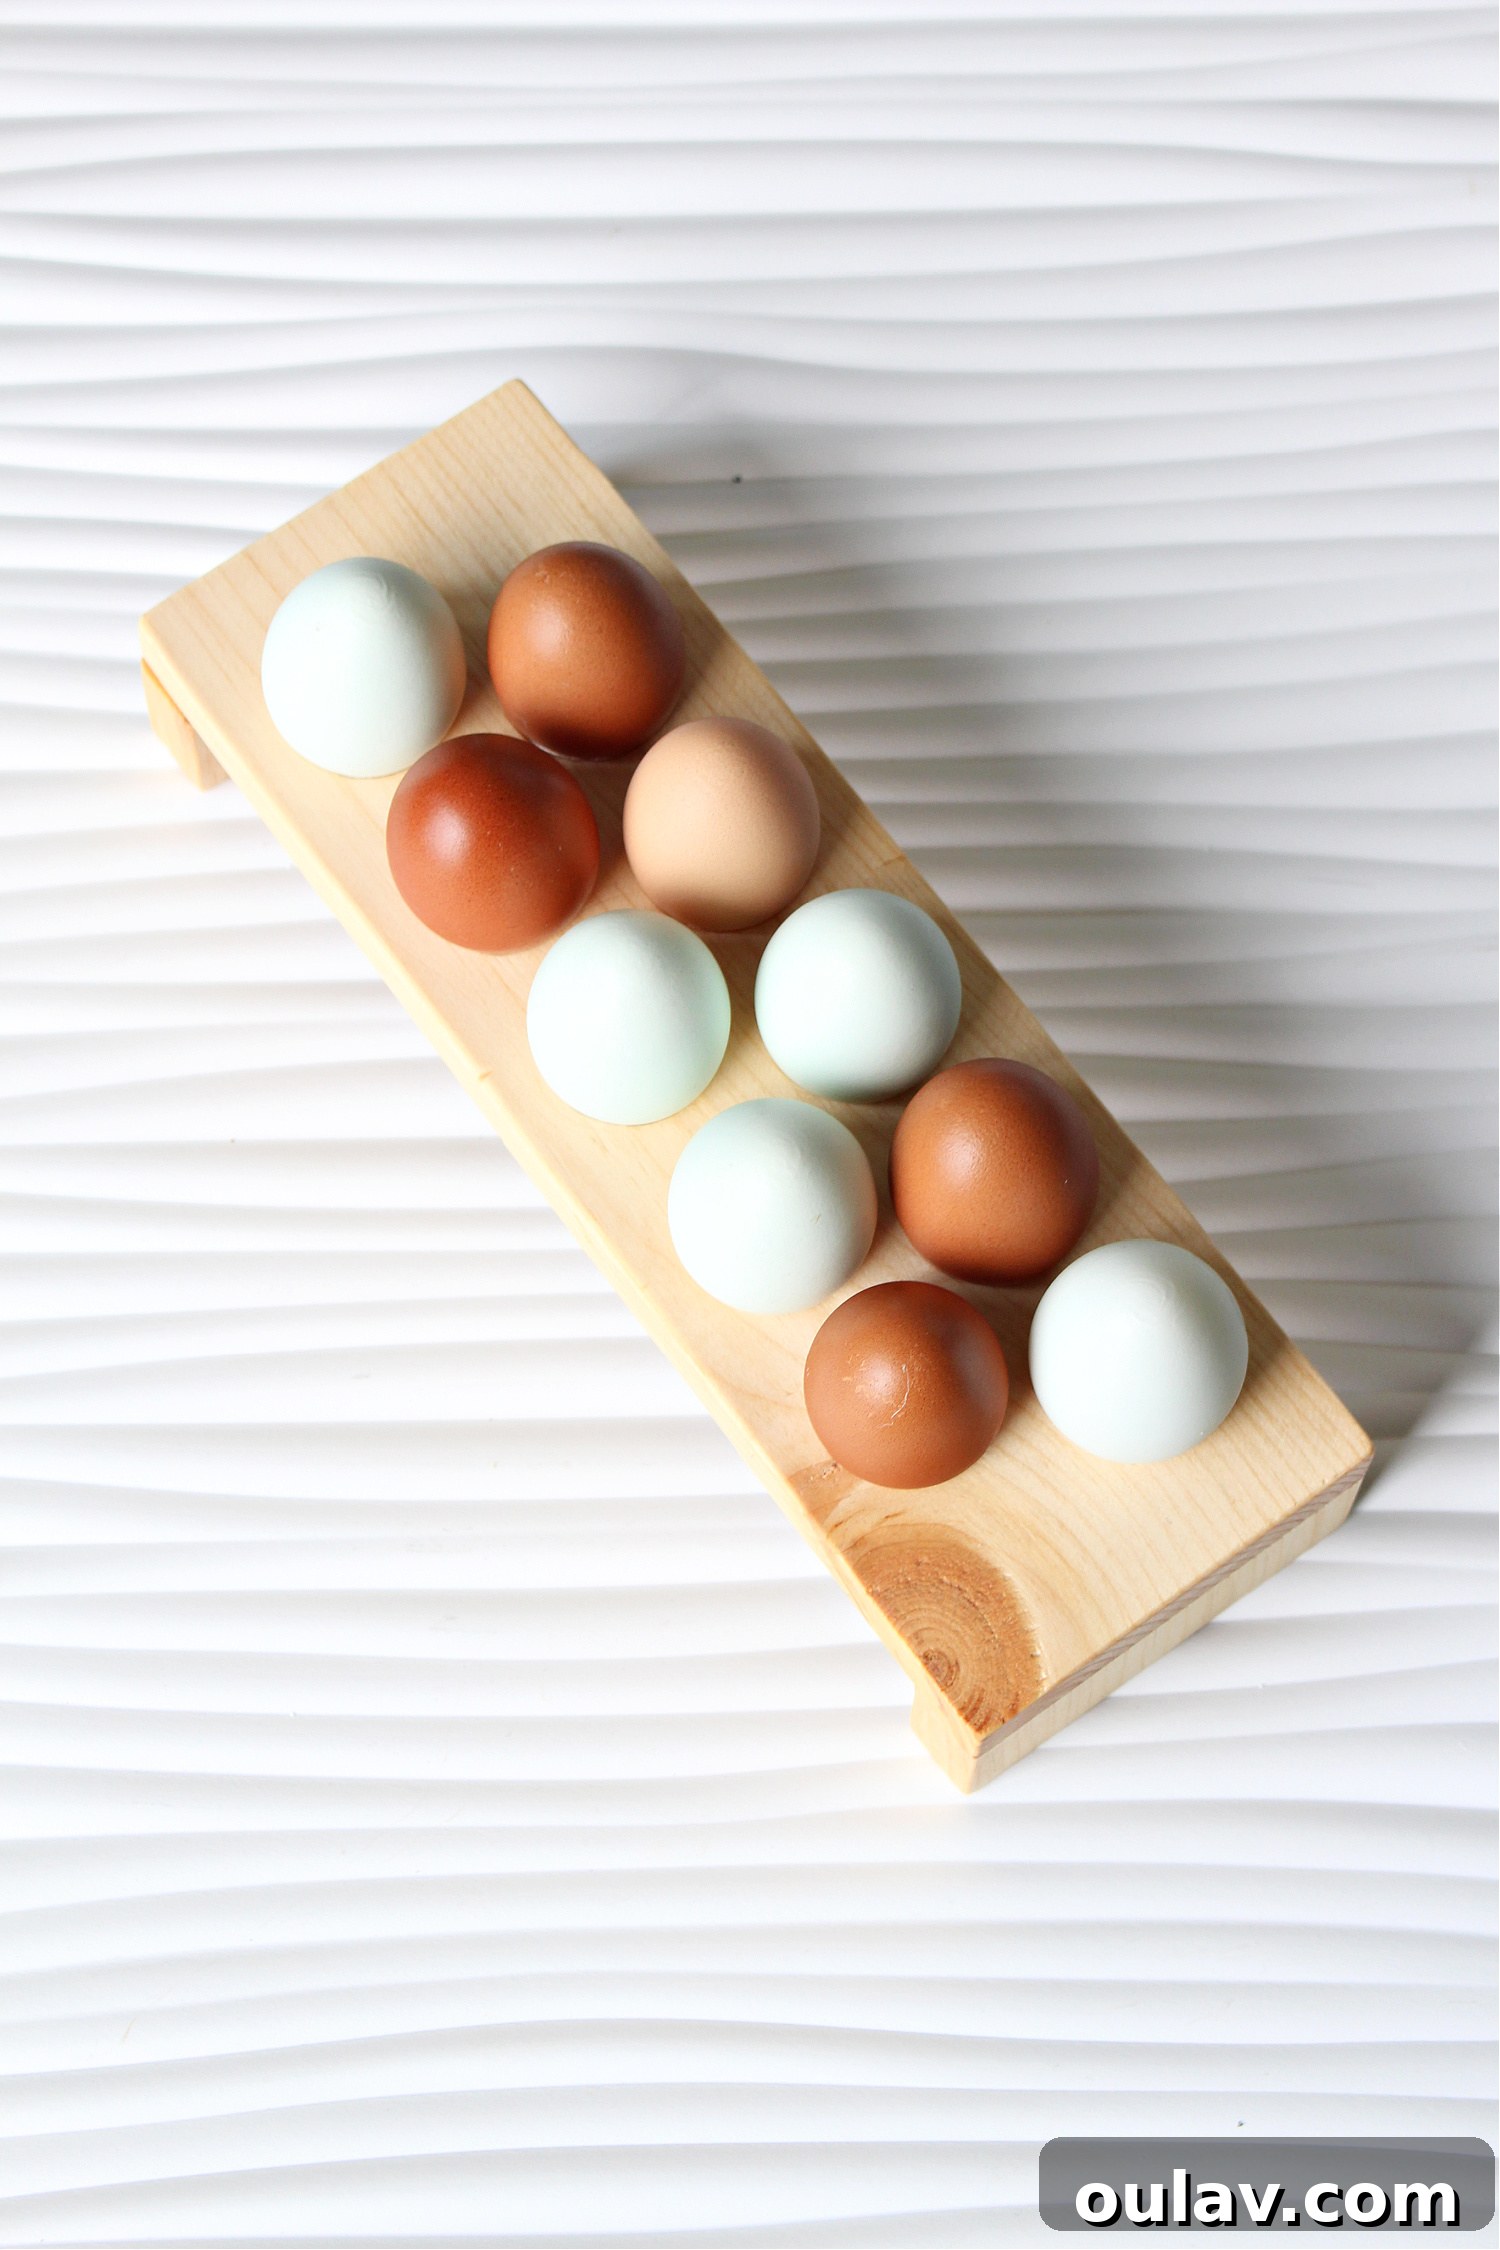
Our Recommended Egg Tray Dimensions for a 10-Egg Capacity:
These dimensions provide a balanced design that comfortably holds 10 eggs, offering a compact yet practical storage solution. Feel free to adjust the length if you wish to accommodate more or fewer eggs, keeping the width consistent for stability.
- Length: 11 inches
- Width: 3 3/4 inches
- Overall Height (with legs): Approximately 2 inches
- Hole Diameter: 1 1/4 inches (perfect for standard large eggs)
- Egg Capacity: 10 holes
2. Cutting Your Wood Pieces
With your dimensions locked in, it’s time to bring your design to life by cutting the wood. Accuracy here will contribute greatly to the finished look of your egg holder.
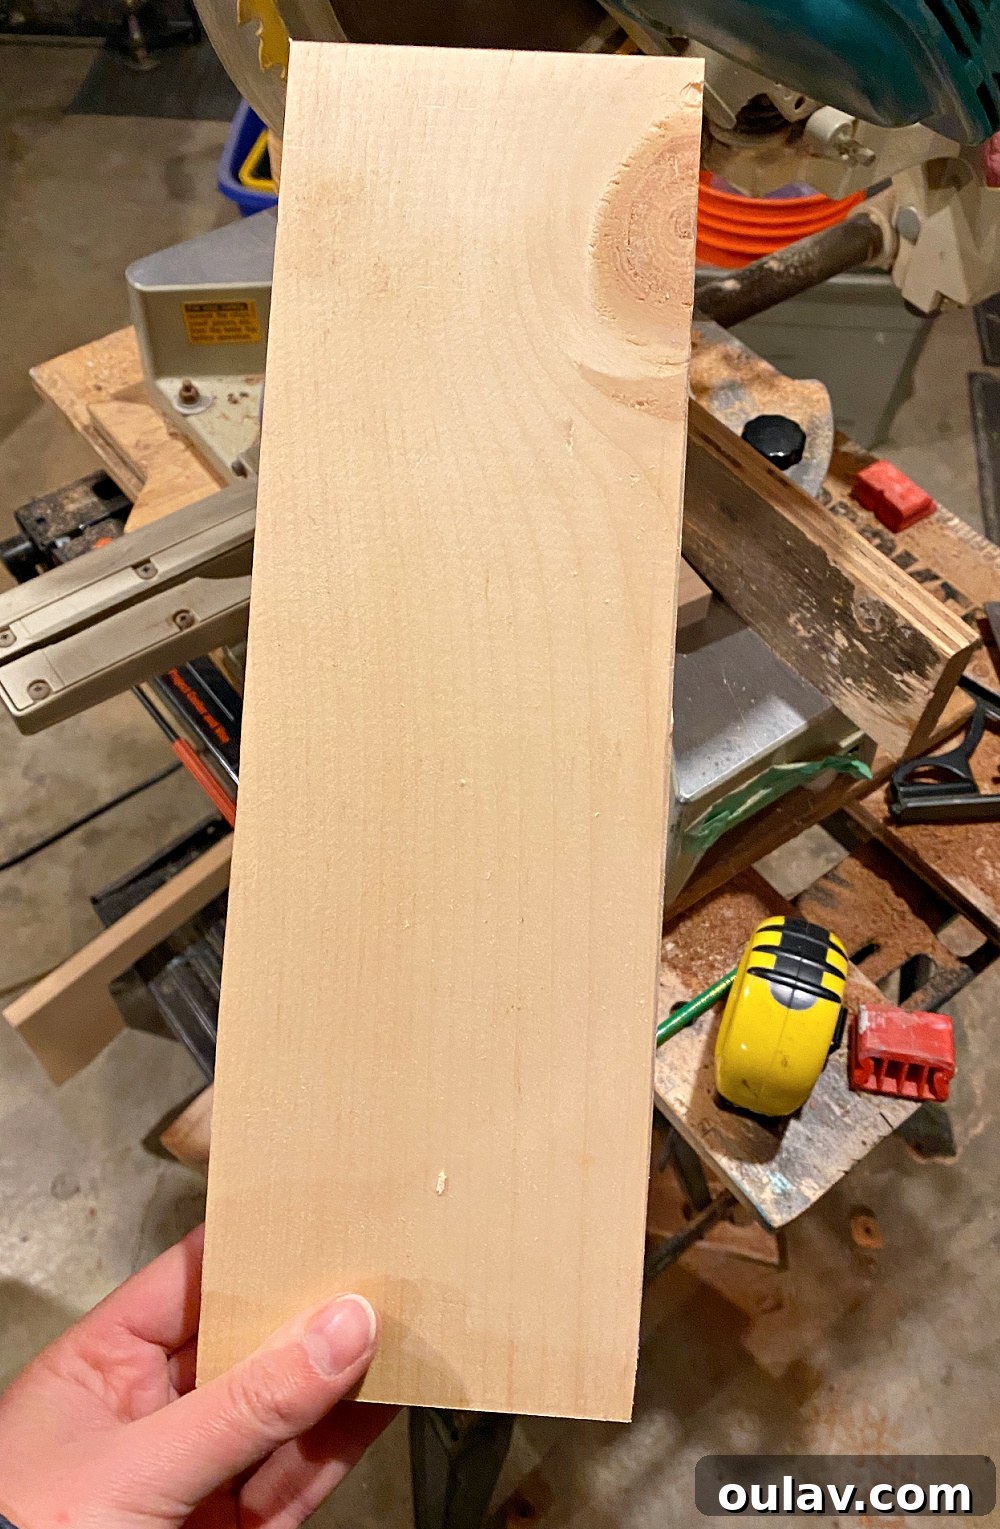
- Cut the Main Tray Piece: Using your chosen saw, cut your main piece of wood to the determined length. For our 10-egg holder, this means an 11-inch long piece. Always measure twice and cut once for precision.
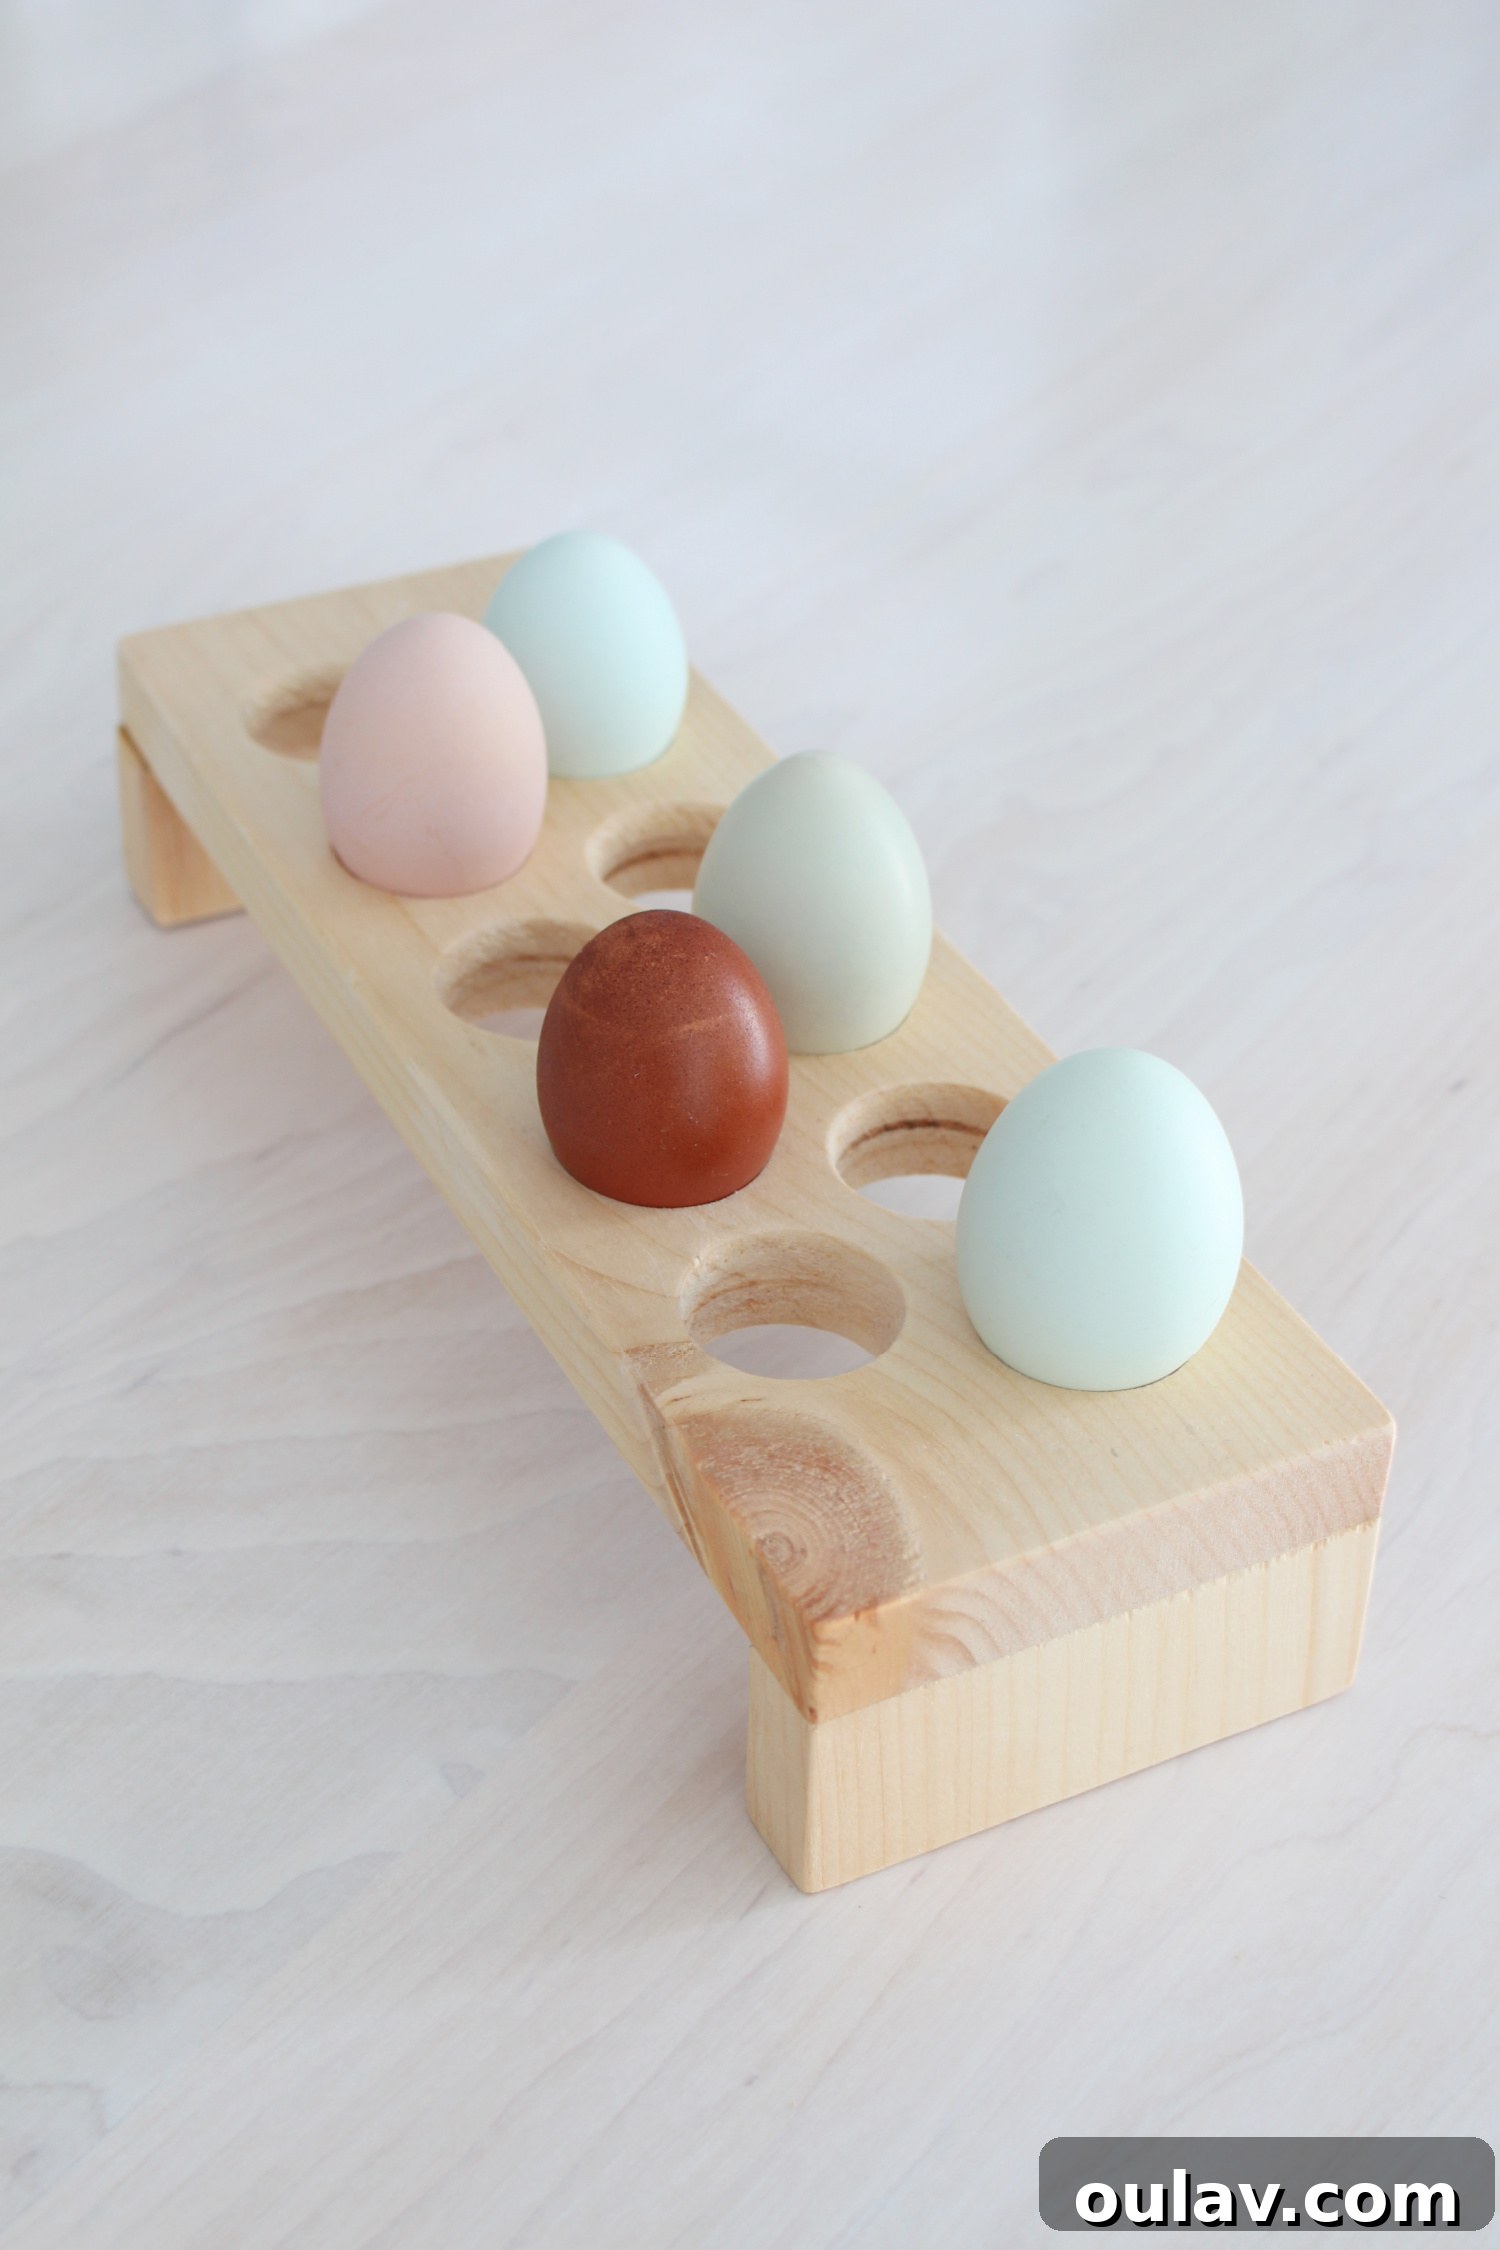
- Prepare the Legs: Next, you’ll need two additional pieces to serve as the “legs” for your egg tray. We designed our legs to have the same width as the egg tray for a cohesive look (3 3/4 inches) and a height of 2 inches. To achieve this, we cut a 2-inch wide strip from the same length of wood, then sectioned it into two pieces, each 3 3/4 inches long. This height provides a nice lift, making the tray easy to grab and adding an elegant profile. You can adjust the height of the legs to your preference; just ensure they are cut consistently to prevent wobbling.


Upon completion of this step, you should have three distinct pieces of wood: one longer piece for the main egg tray and two smaller, identical pieces that will form the legs.

3. Marking the Hole Placements for Your Eggs
Precision in marking is paramount for a uniform and aesthetically pleasing egg holder. This step determines how your eggs will sit and how the final product will look. Even if you’re not a perfectionist, taking a moment here will pay off visually.
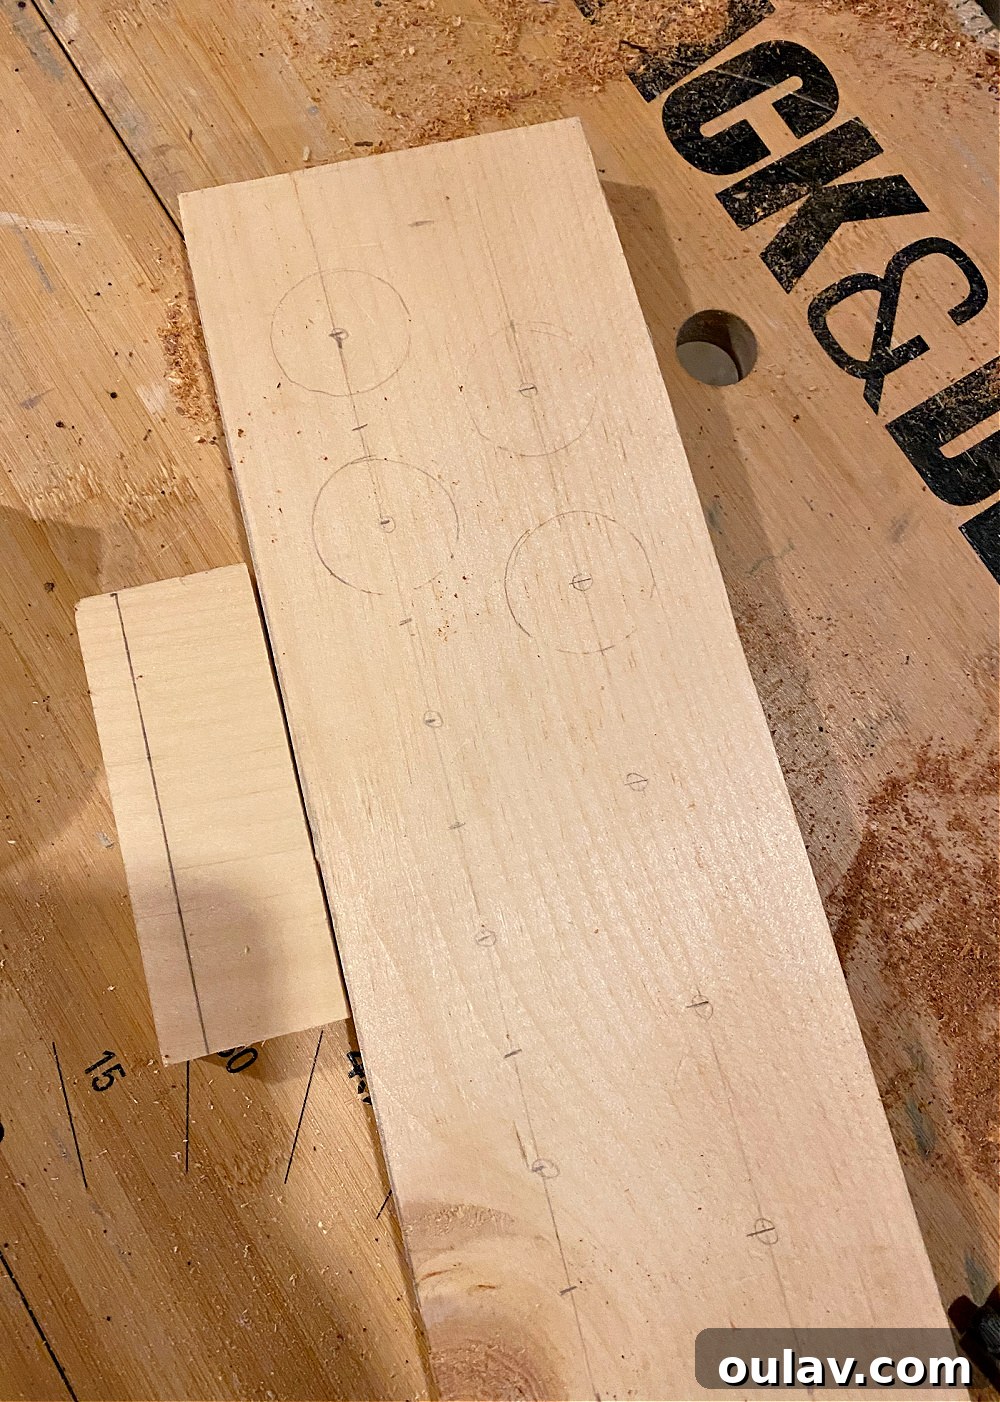
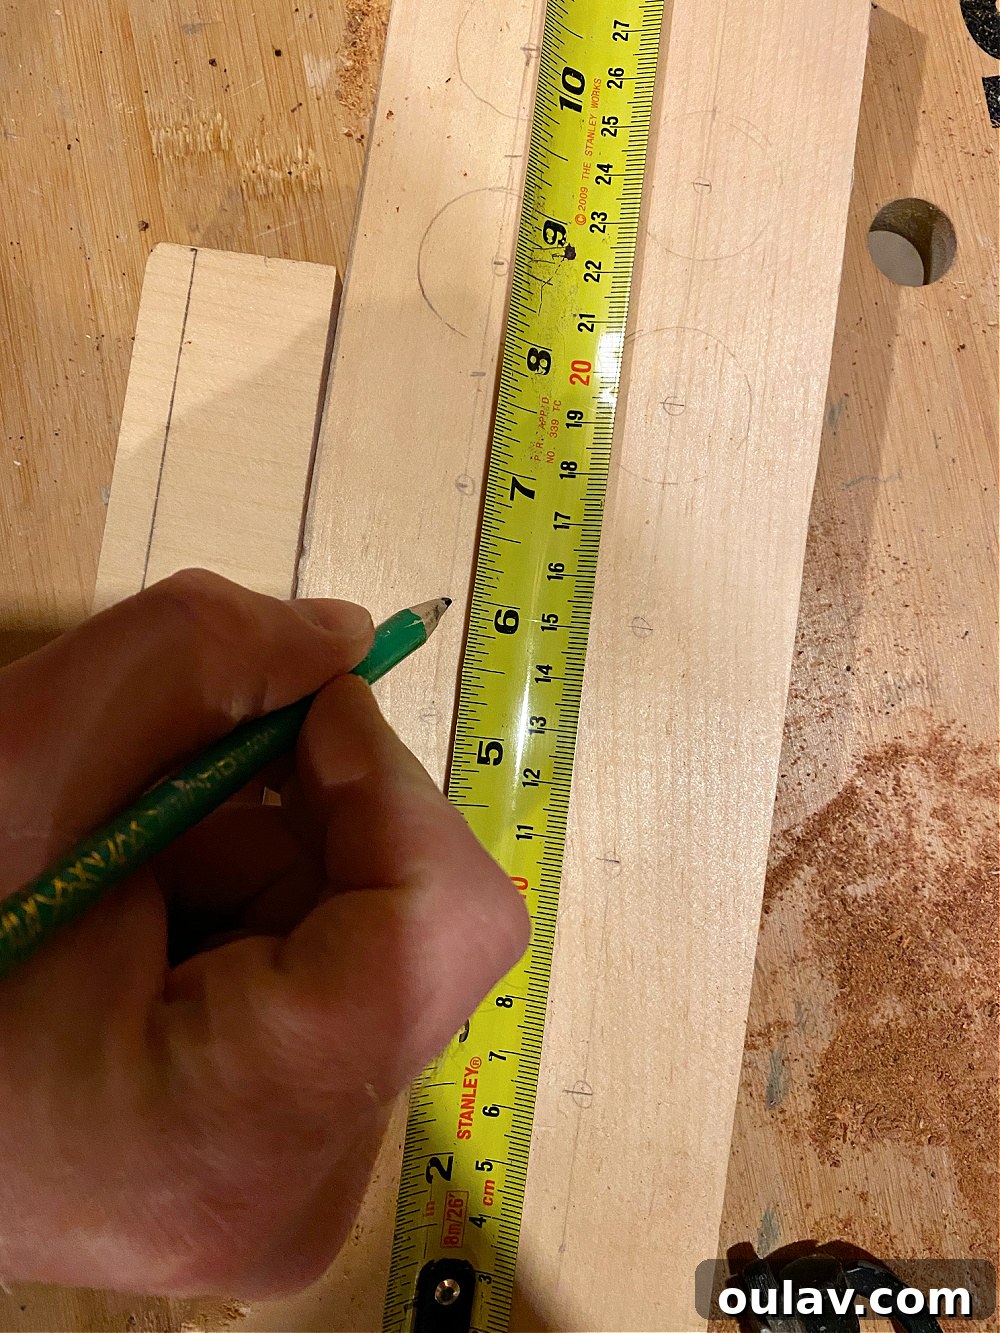
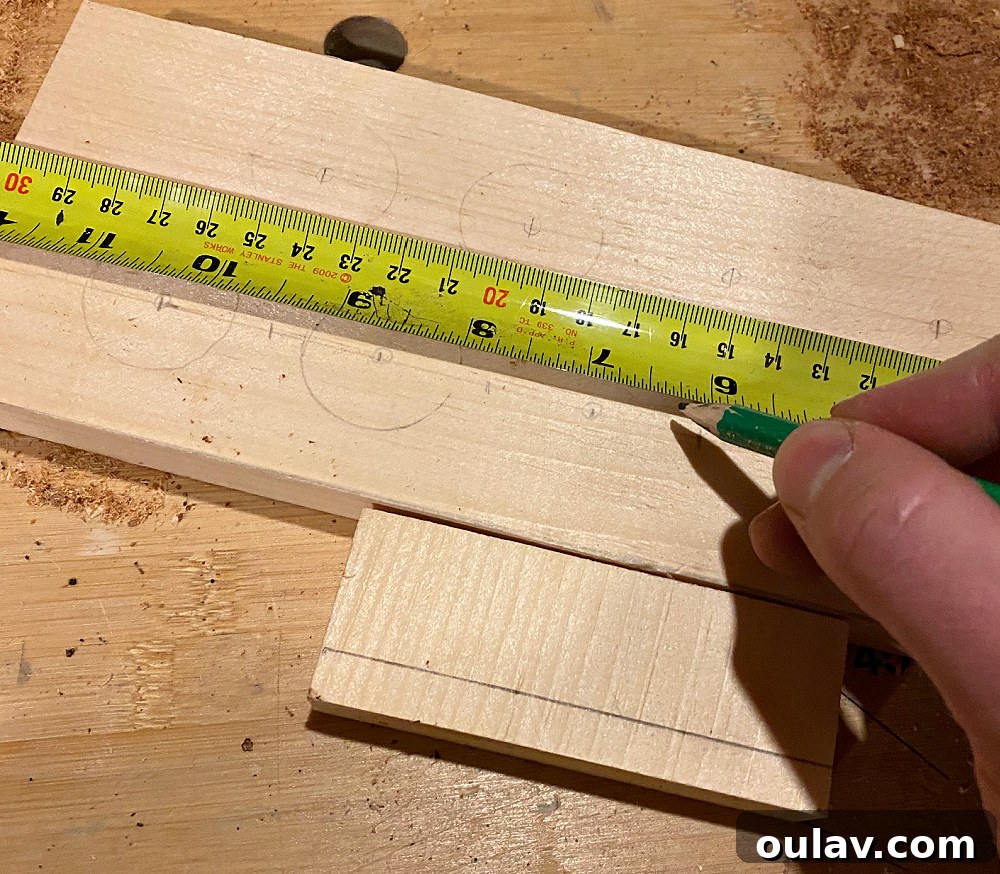
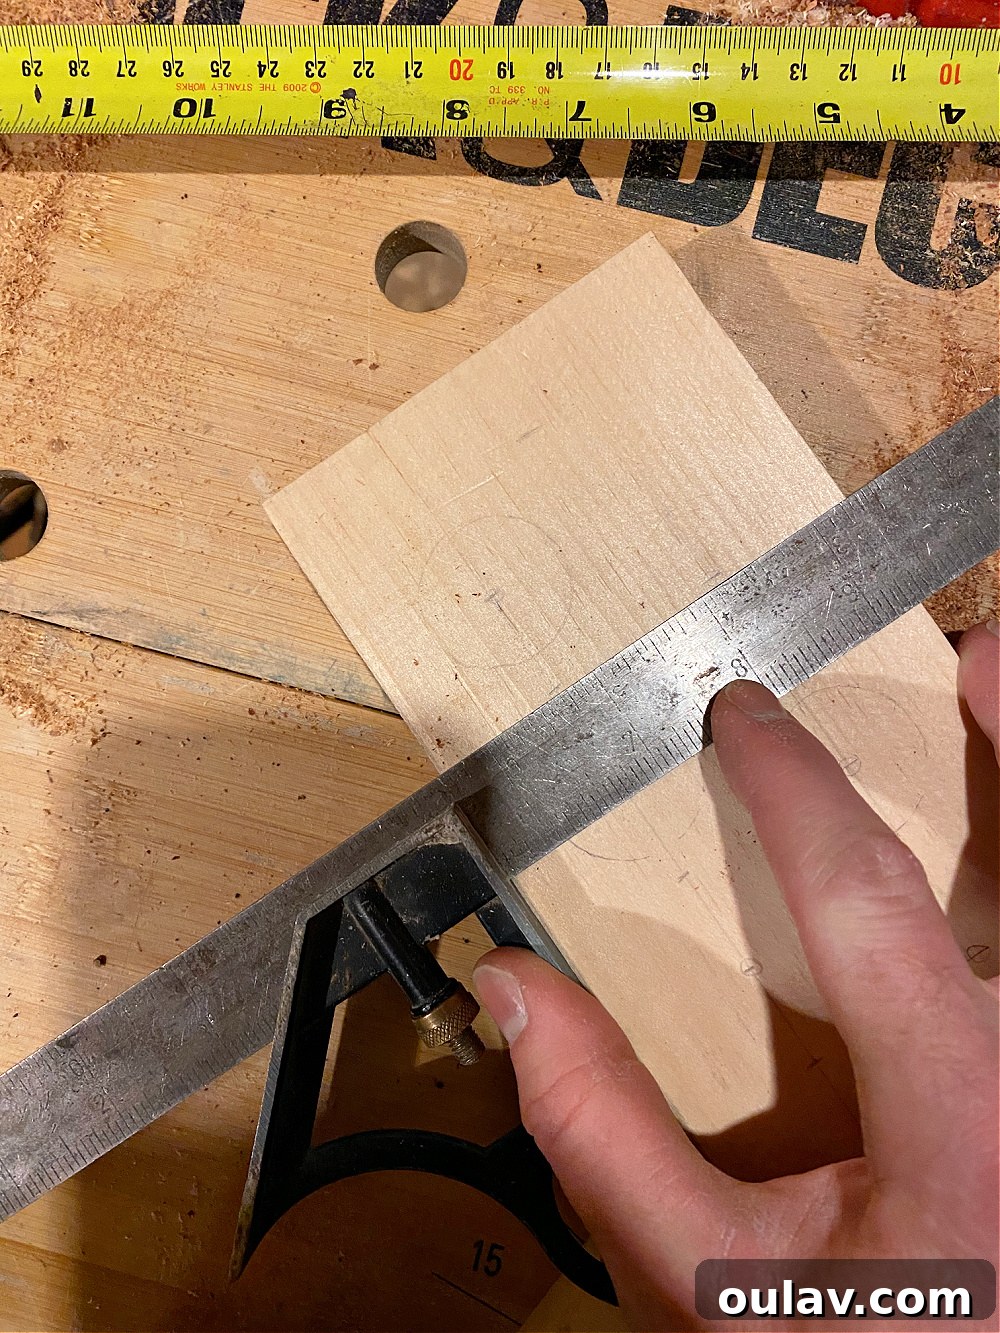
Based on our design, the edges of the holes are spaced 1/2 inch apart, creating a comfortable gap between each egg. From the center of one hole to the center of the next, this translates to a consistent 2-inch spacing. Using a ruler and a combination square, carefully mark the center point for each of your 10 holes along the length of your main tray piece. Begin by establishing a centerline down the width of your board. Then, measure from one end, marking the first hole’s center, and continue marking every 2 inches. Don’t worry if your pencil marks aren’t absolutely perfect; they serve as a guide and can easily be sanded away later, ensuring a pristine final product.
4. Drilling the Egg Cradles
This is where the hole saw comes into play, transforming a flat piece of wood into an functional egg holder. To ensure each hole is precisely where you marked it and to prevent the drill bit from wandering, start by pre-drilling a smaller pilot hole at each marked center point. This creates a perfect starting guide for the larger hole saw.
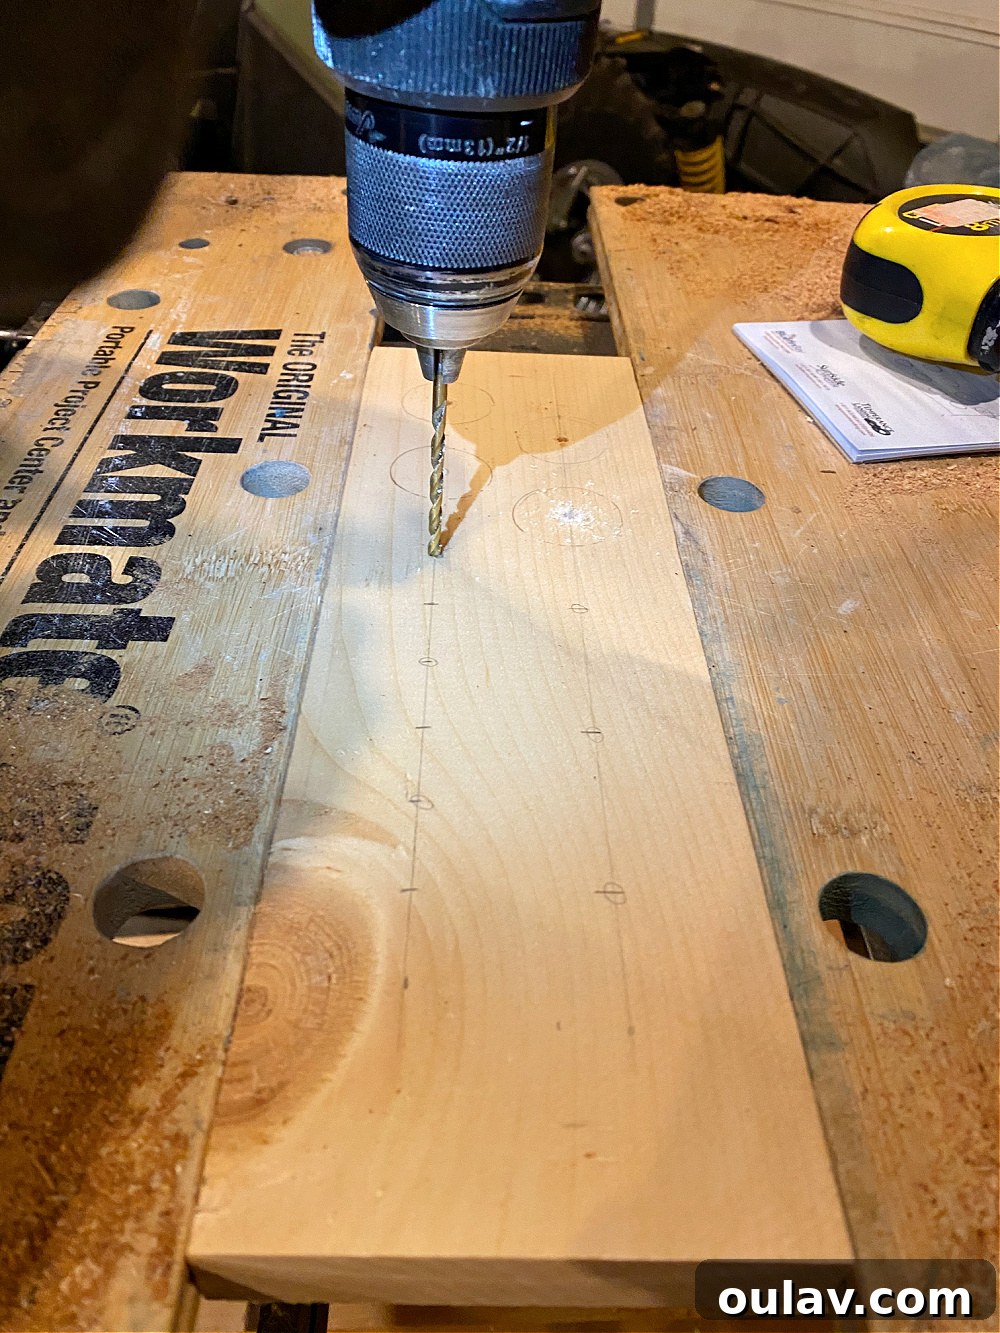
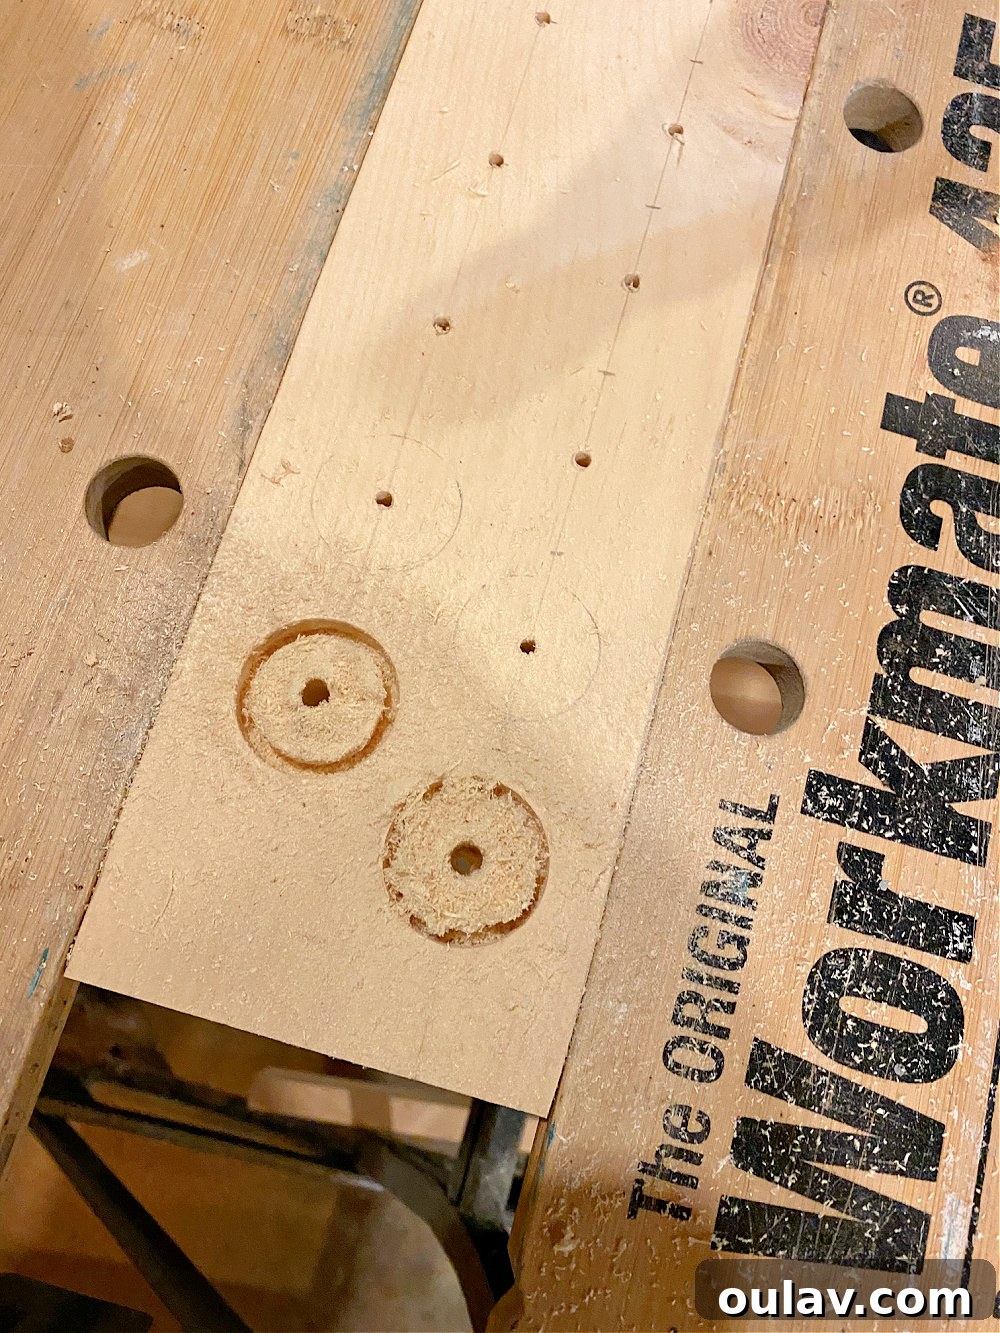
Once the pilot holes are drilled, attach your 1 1/4″ hole saw to your drill. A key technique for clean cuts and minimal “tear-out” (splintering on the edges) is to drill each hole halfway through the wood, then flip the piece over and complete the cut from the opposite side. Align the pilot hole on the back with the hole saw’s center bit, and continue drilling until the two cuts meet. This method ensures crisp, clean edges on both the top and bottom of each egg cradle, leaving you with a professional-looking finish. Always ensure your workpiece is securely clamped to your workbench before drilling to prevent movement and ensure safety.
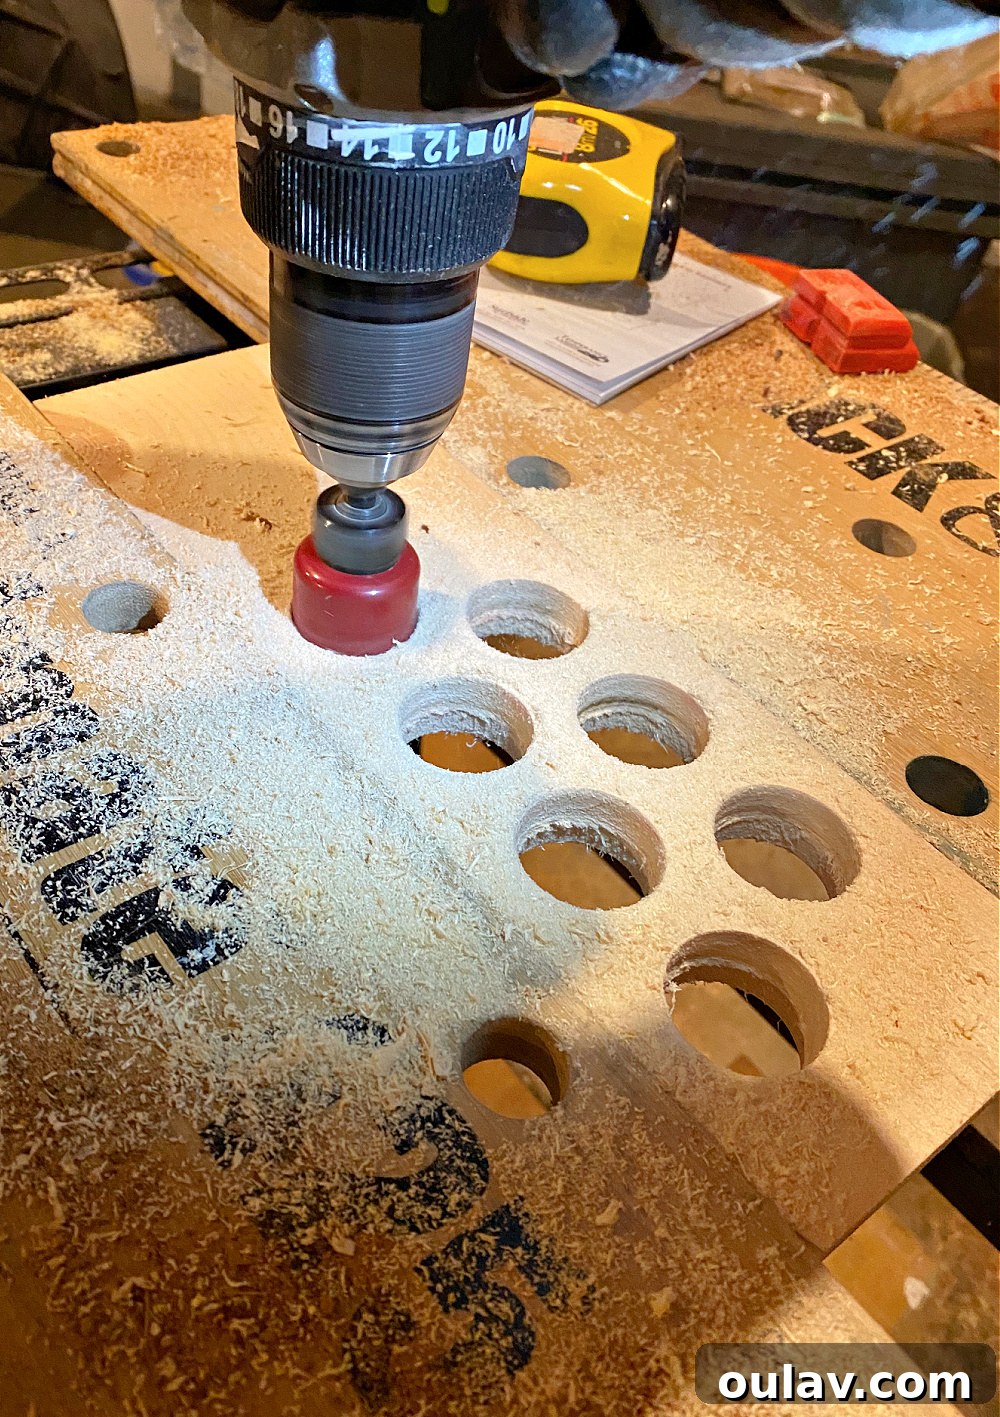
5. Sanding for a Smooth Finish
With all the holes drilled, the next step is crucial for both aesthetics and functionality: sanding. A well-sanded piece not only looks better but also feels smooth to the touch and is safer, free from splinters. Start with a medium-grit sandpaper (around 120-150 grit) to smooth out any rough edges from the cuts, paying particular attention to the inside edges of the newly drilled holes. Then, progress to a finer grit (220 or higher) to achieve a silky-smooth finish on all surfaces—the top, sides, and especially the individual egg cradles. This finer sanding will prepare the wood beautifully for the final finish.
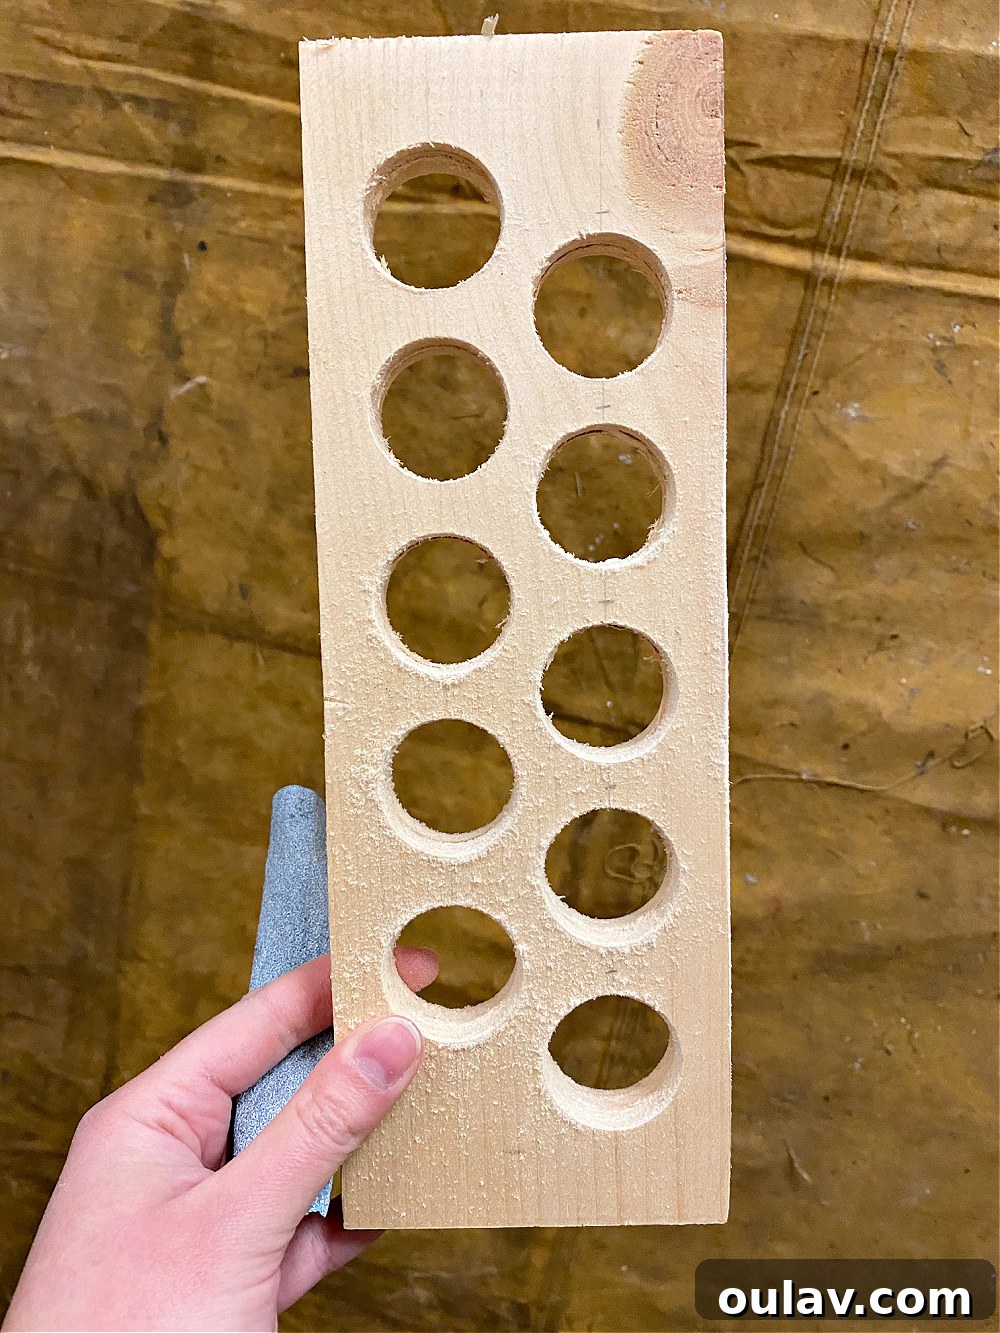
6. Assembly and Finishing Touches
The final steps bring your wooden egg holder to completion, securing its structure and protecting the wood for long-lasting use.
- Attach the Legs: Apply a continuous bead of high-quality wood glue along the top edge of each leg piece. Carefully align the legs with the underside of your main egg tray, ensuring they are centered and flush with the ends. Use painter’s tape or mini clamps to firmly hold the legs in place while the glue dries completely. It’s essential to let the glue cure for the recommended time, often several hours or overnight, to achieve maximum bond strength. As the glue dries, be diligent about wiping away any excess glue that squeezes out with a damp cloth; dried glue can be difficult to remove and will interfere with the final finish.
- Apply Food-Safe Finish: Once the glue has fully cured and any excess has been meticulously sanded off, it’s time for the final, crucial step: applying a food-safe wood finish. This not only enhances the natural beauty of the wood but also provides a protective layer, making your egg holder easy to clean and safe for food contact. We recommend using the same food-safe oil that we used for our DIY driftwood egg cups. Apply the finish generously according to the product instructions, allowing it to penetrate the wood. Wipe off any excess after the recommended time, and buff for a soft sheen. You might need multiple coats for optimal protection and a richer appearance.

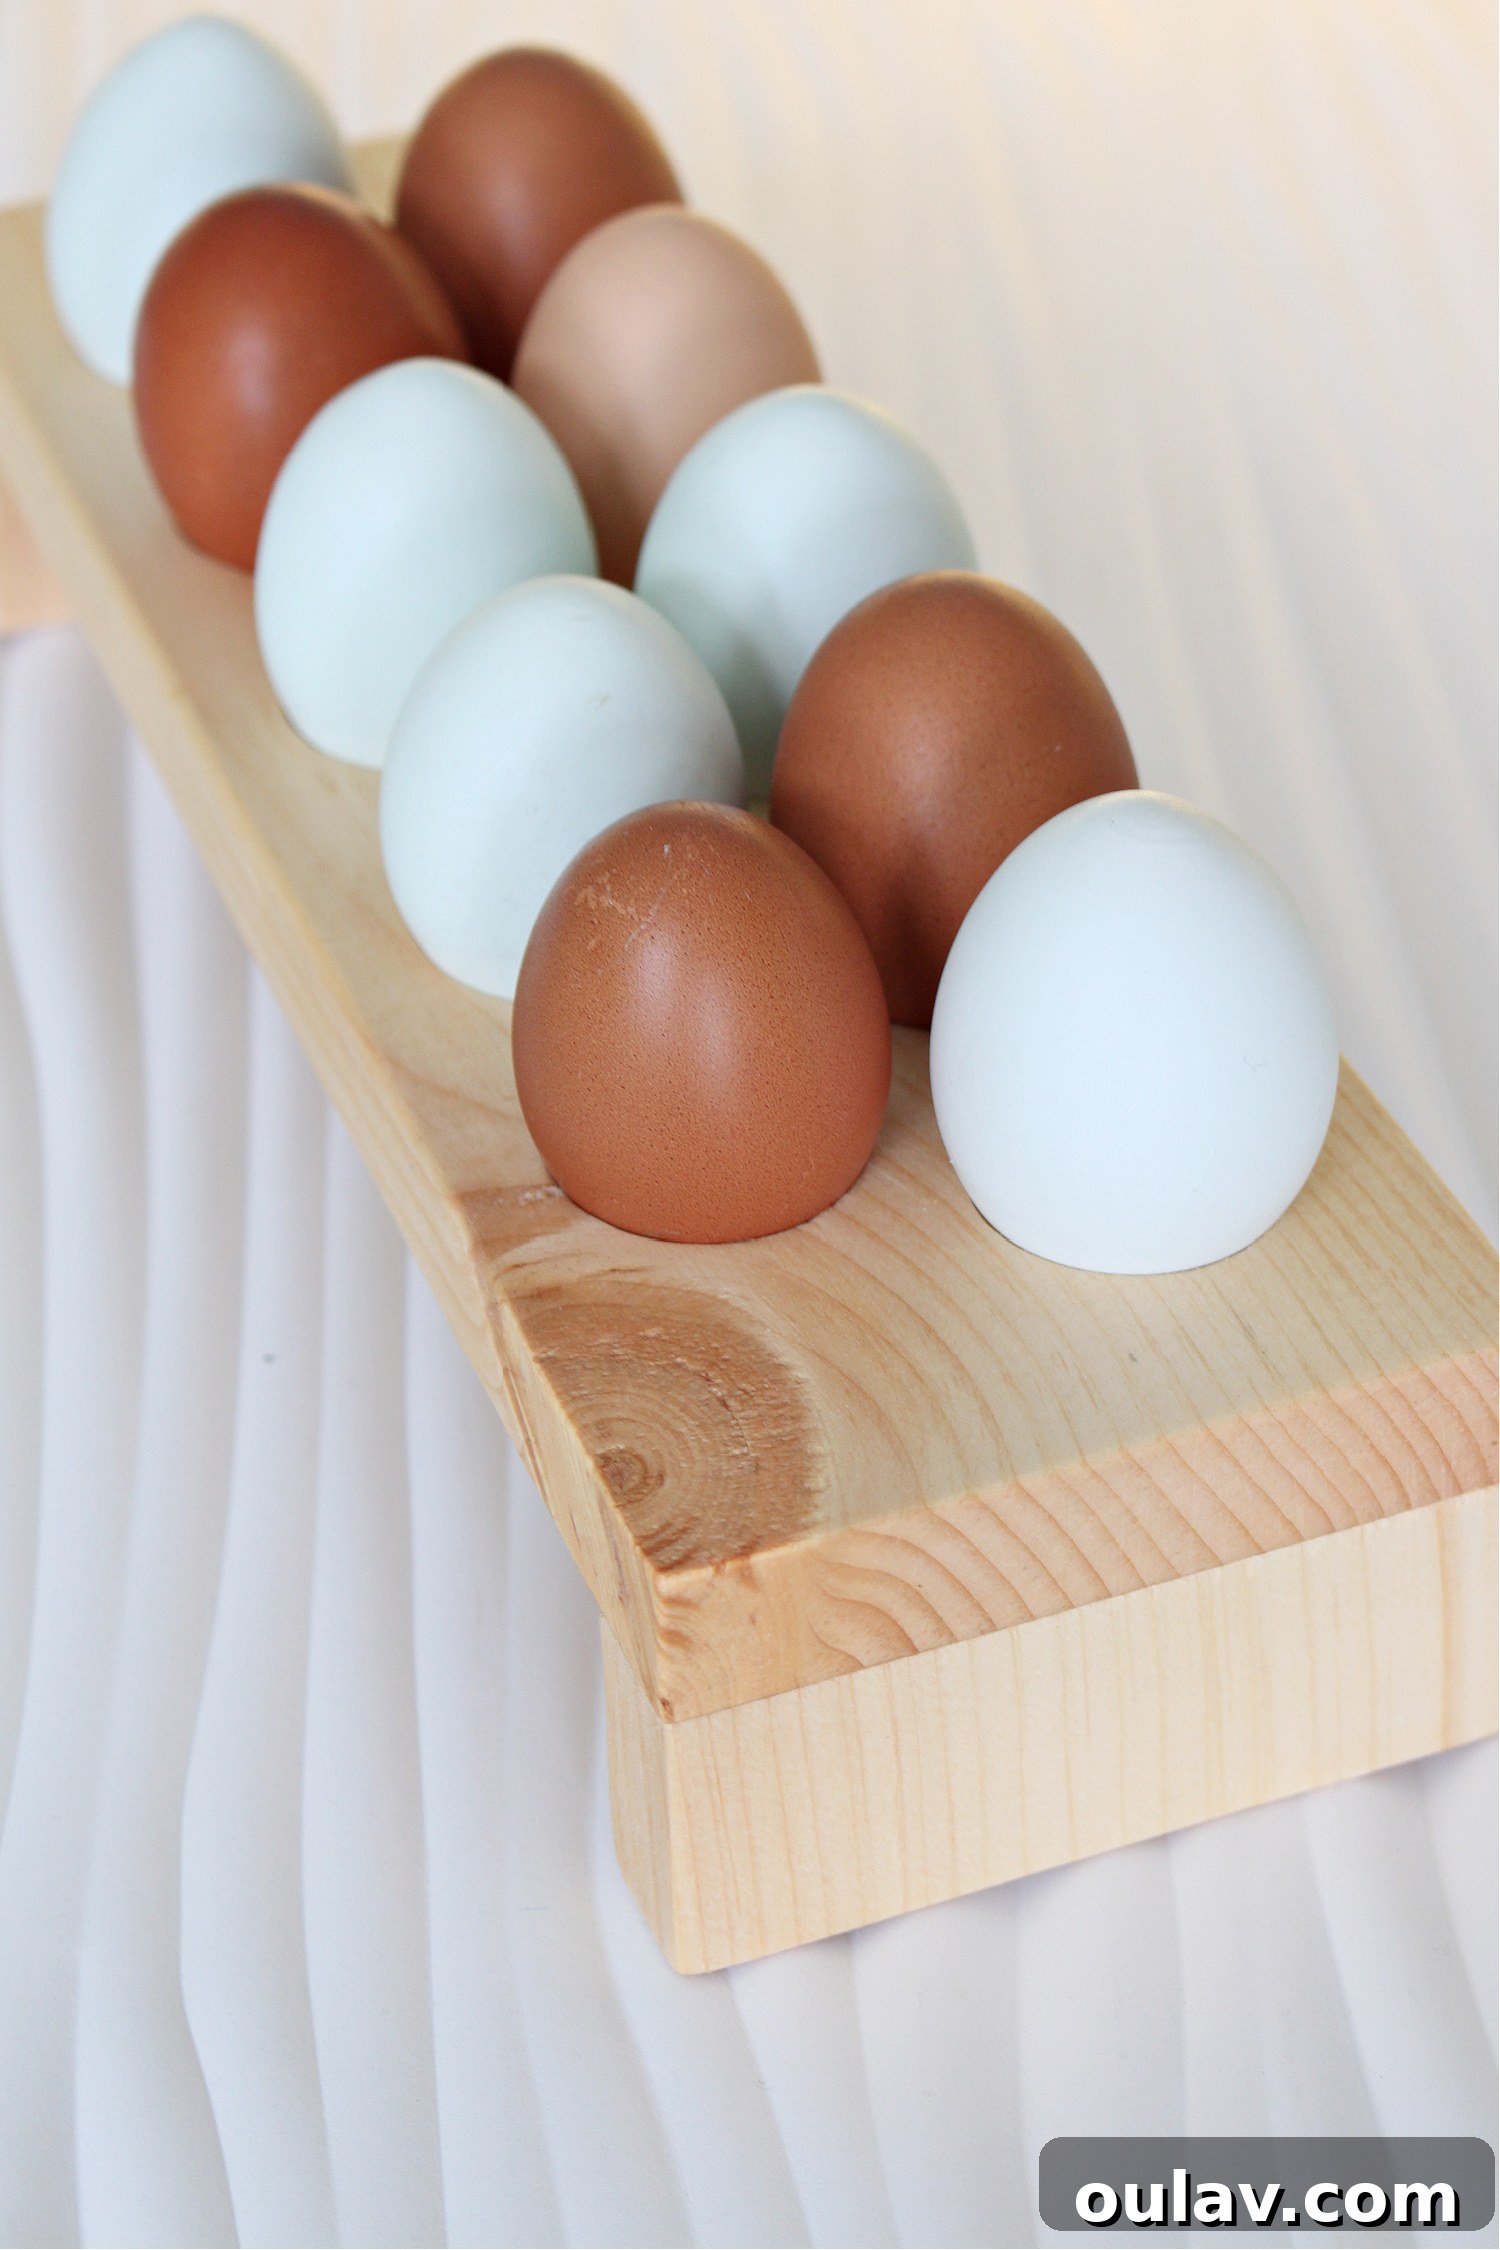
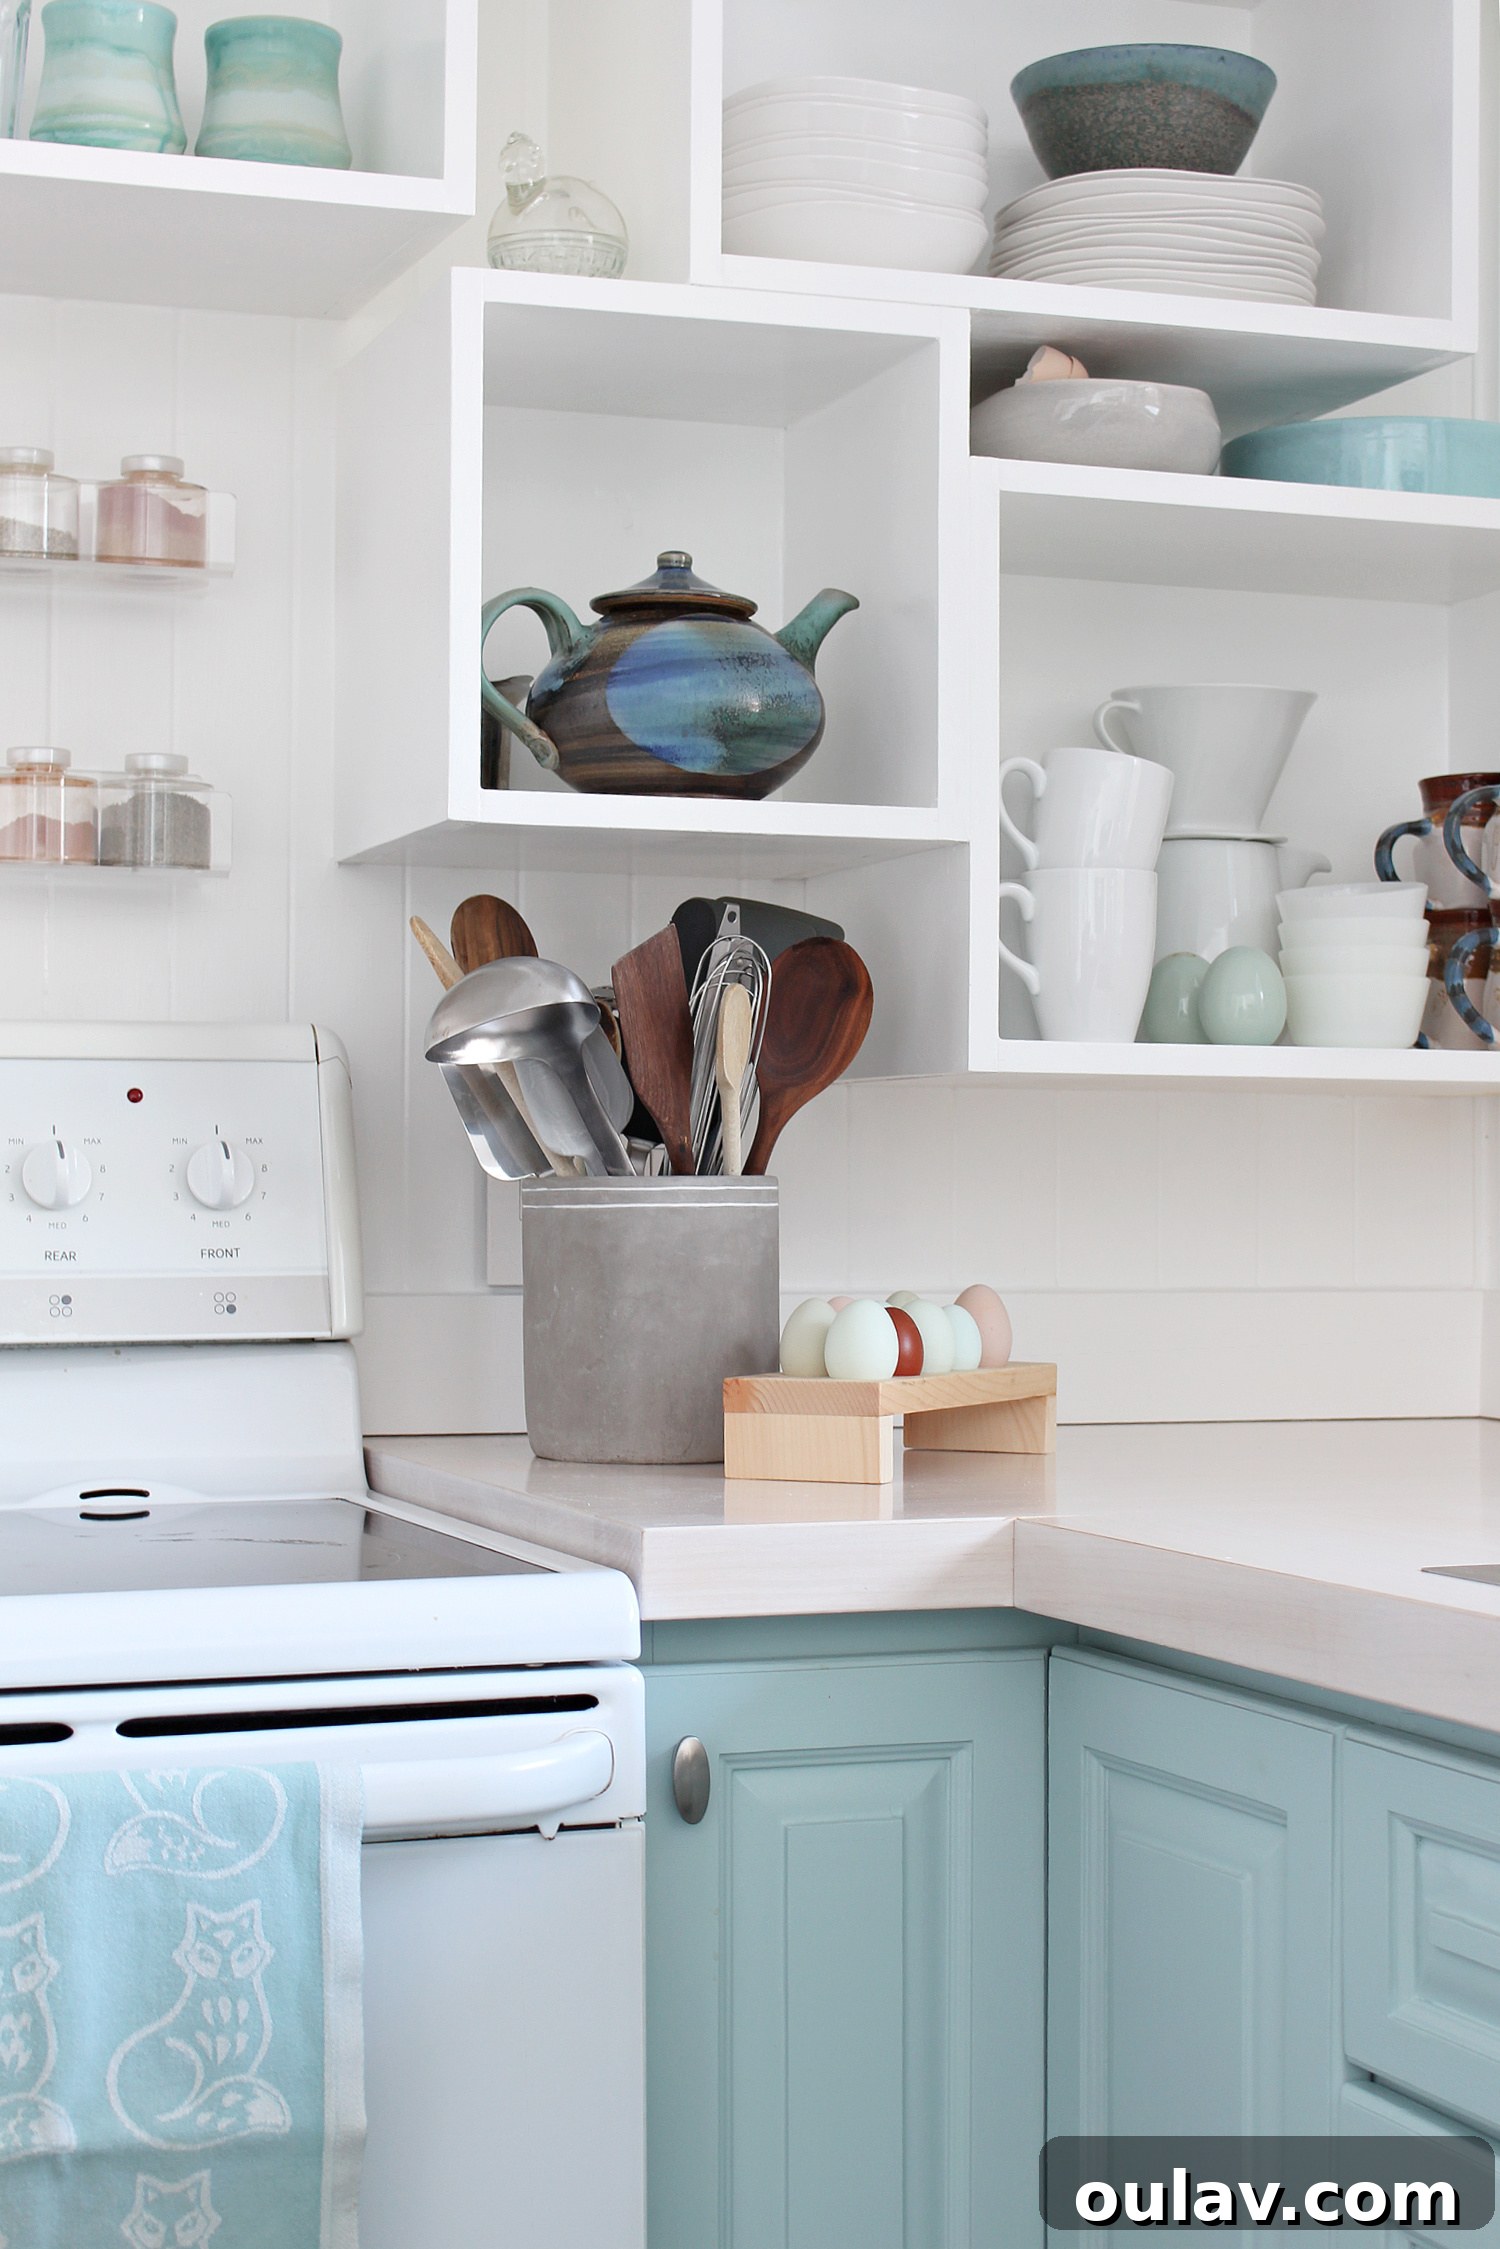
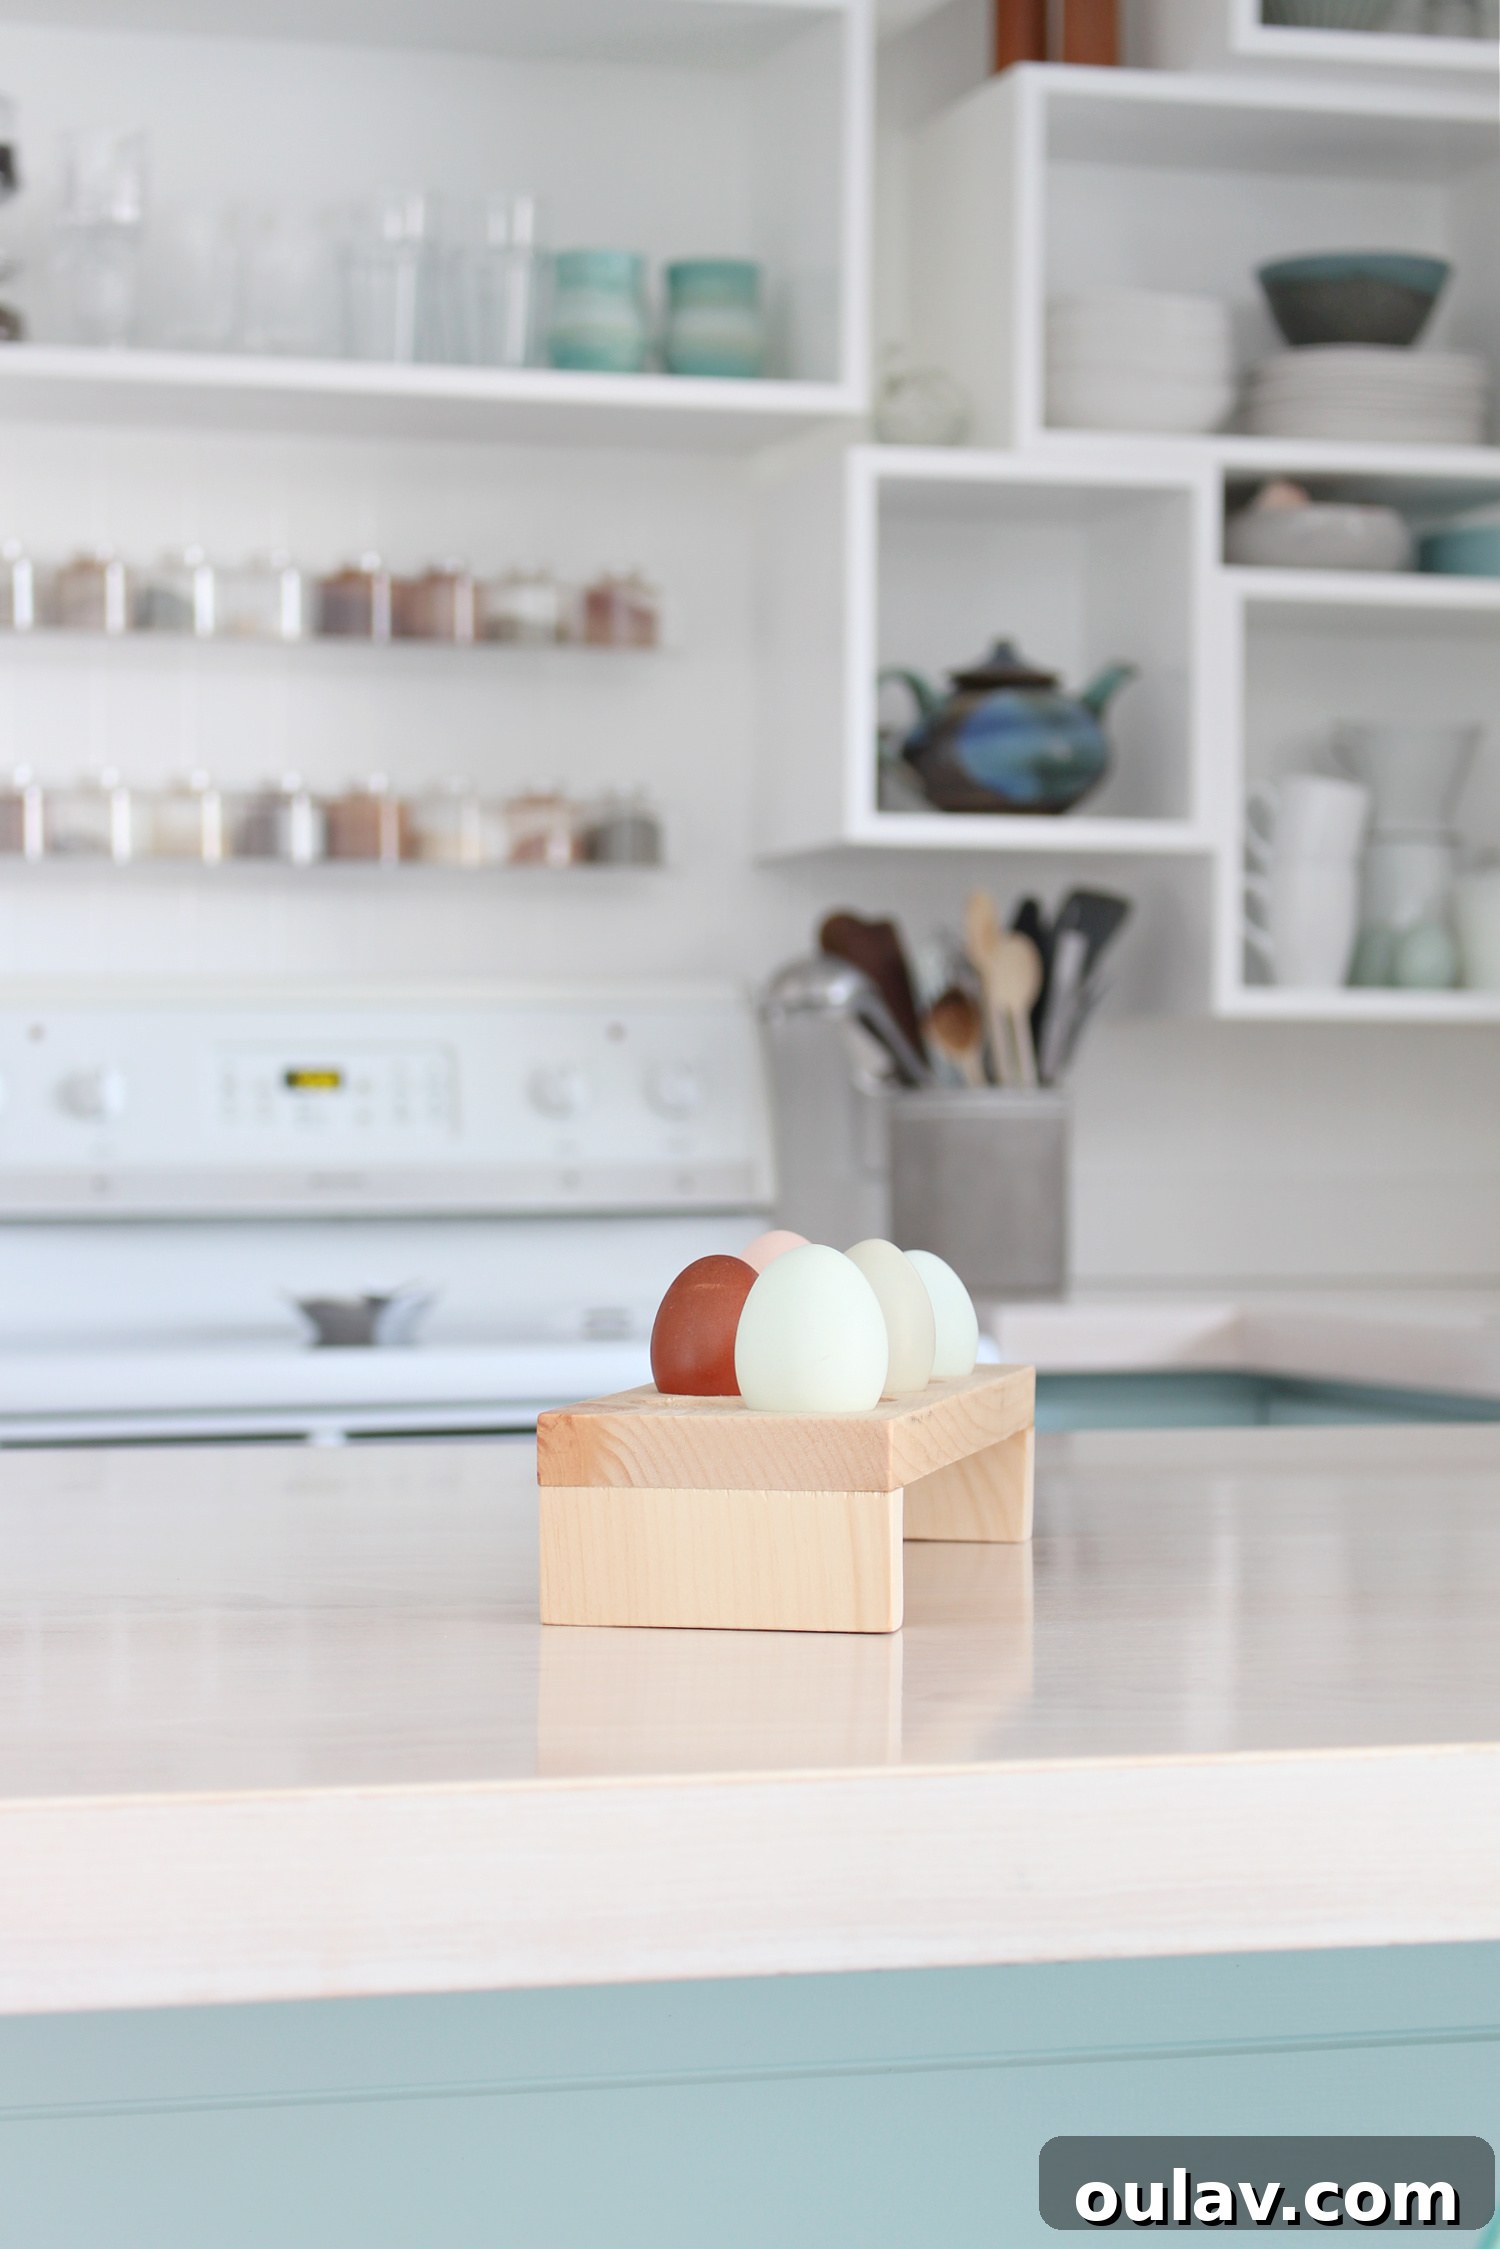
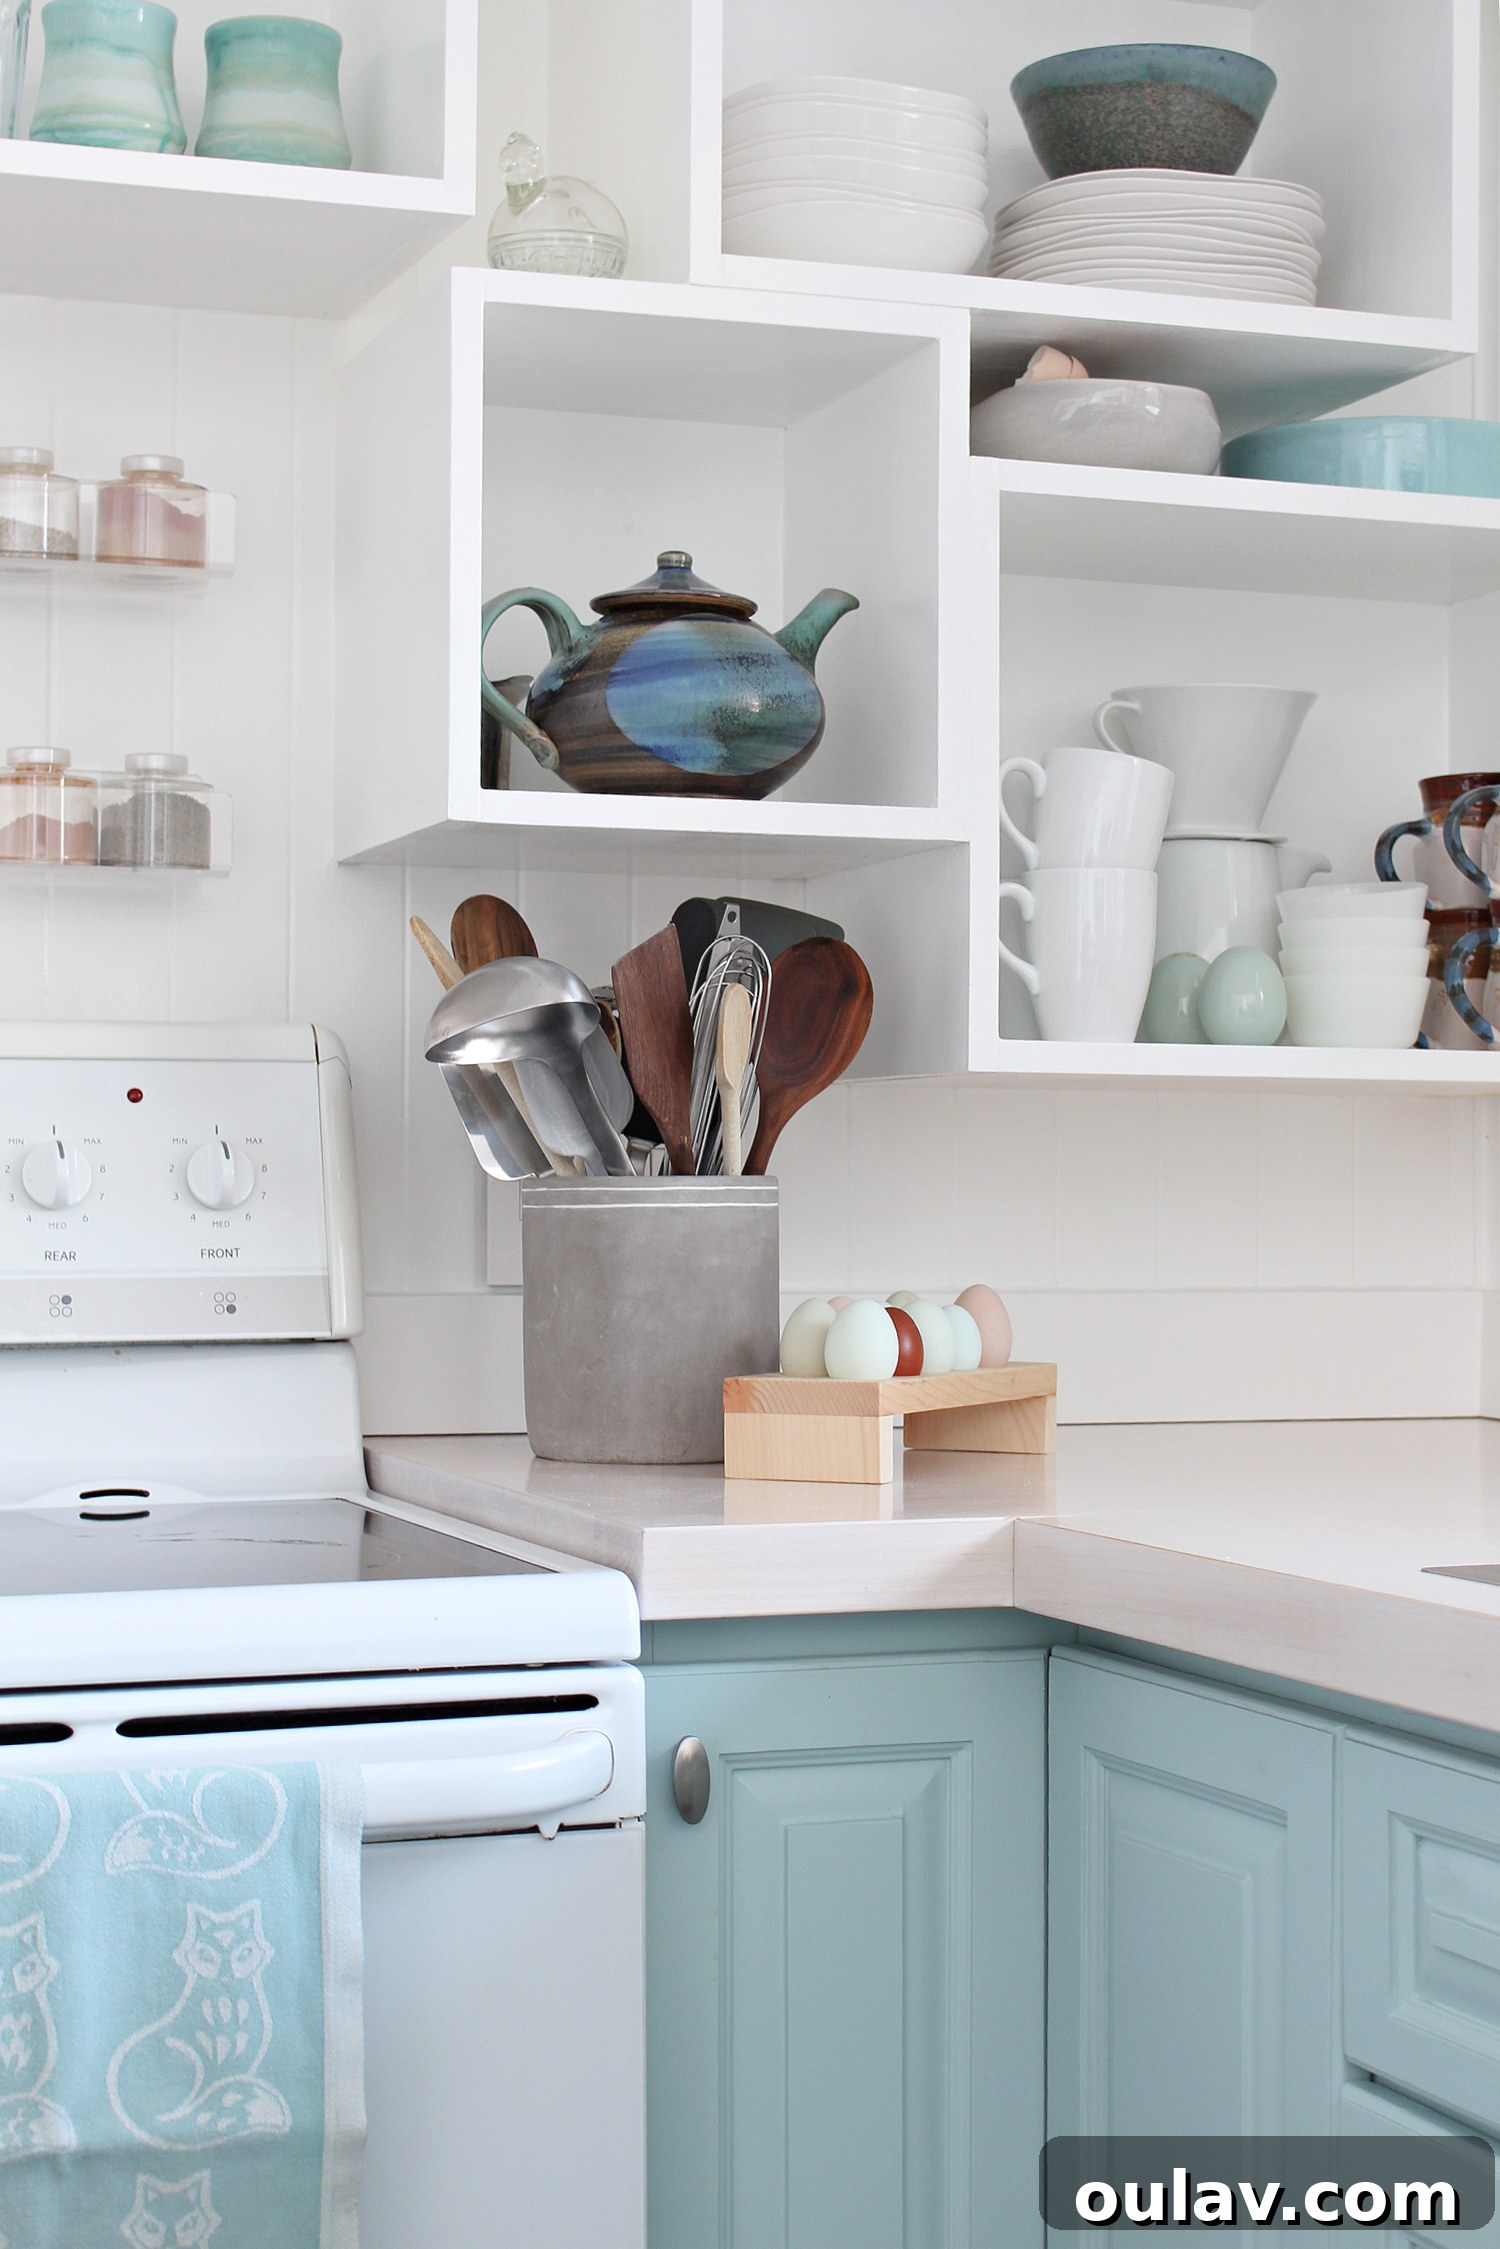
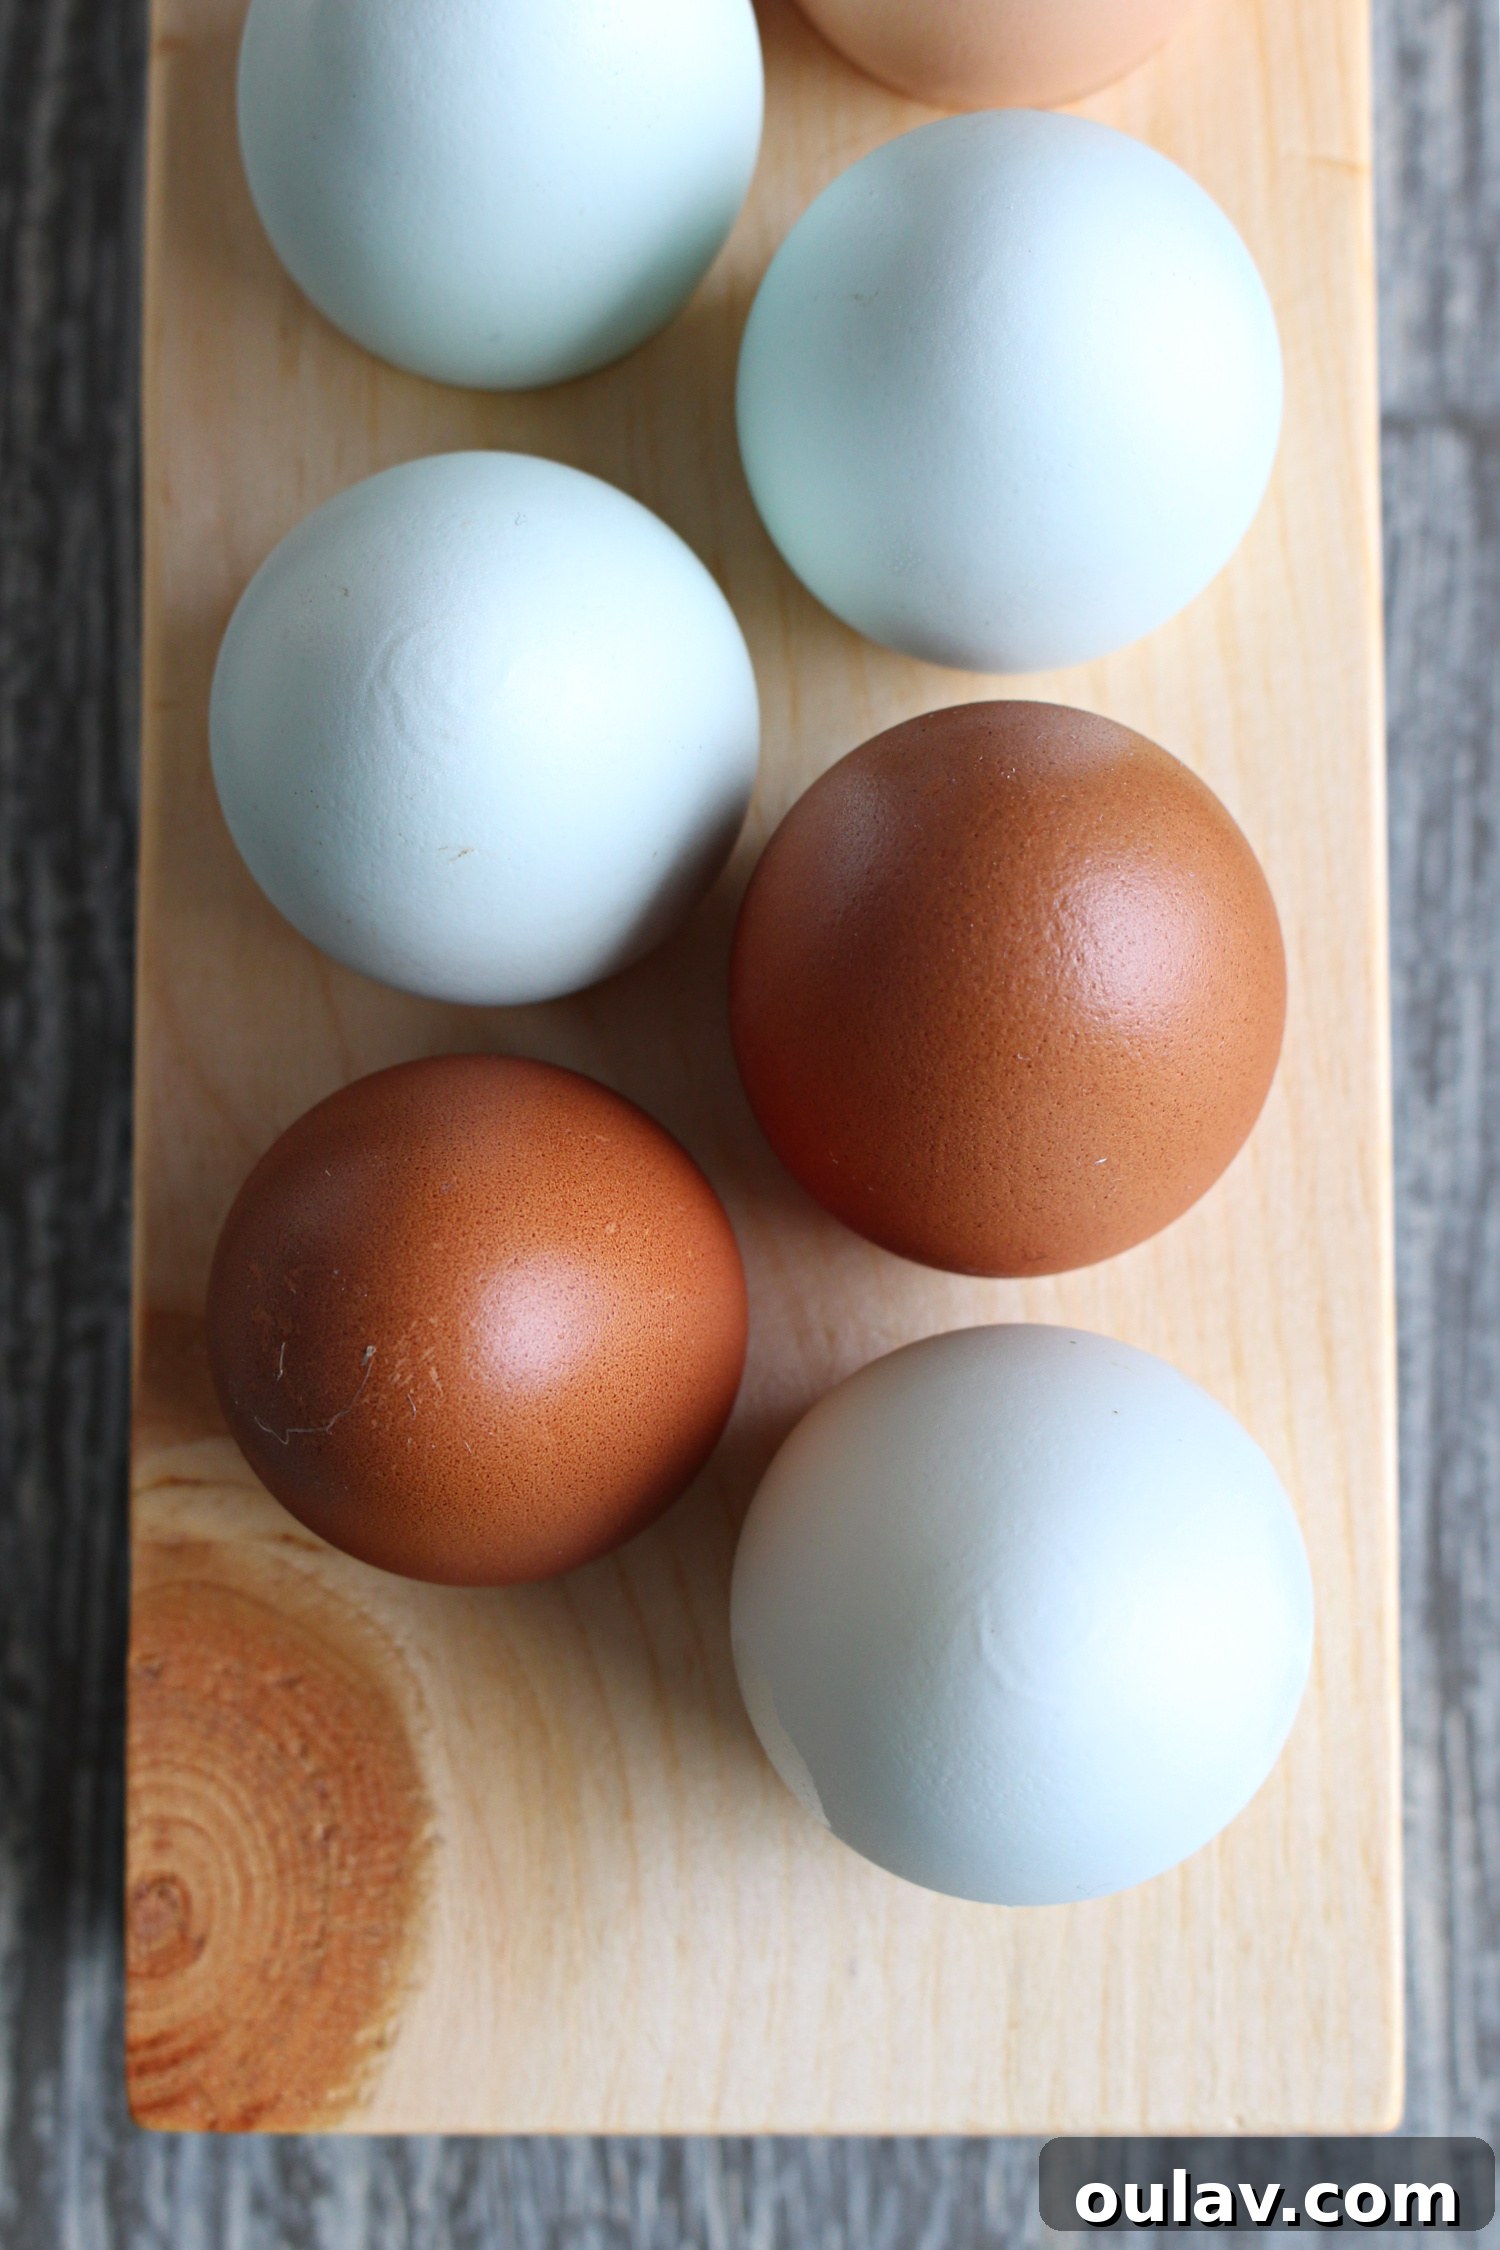
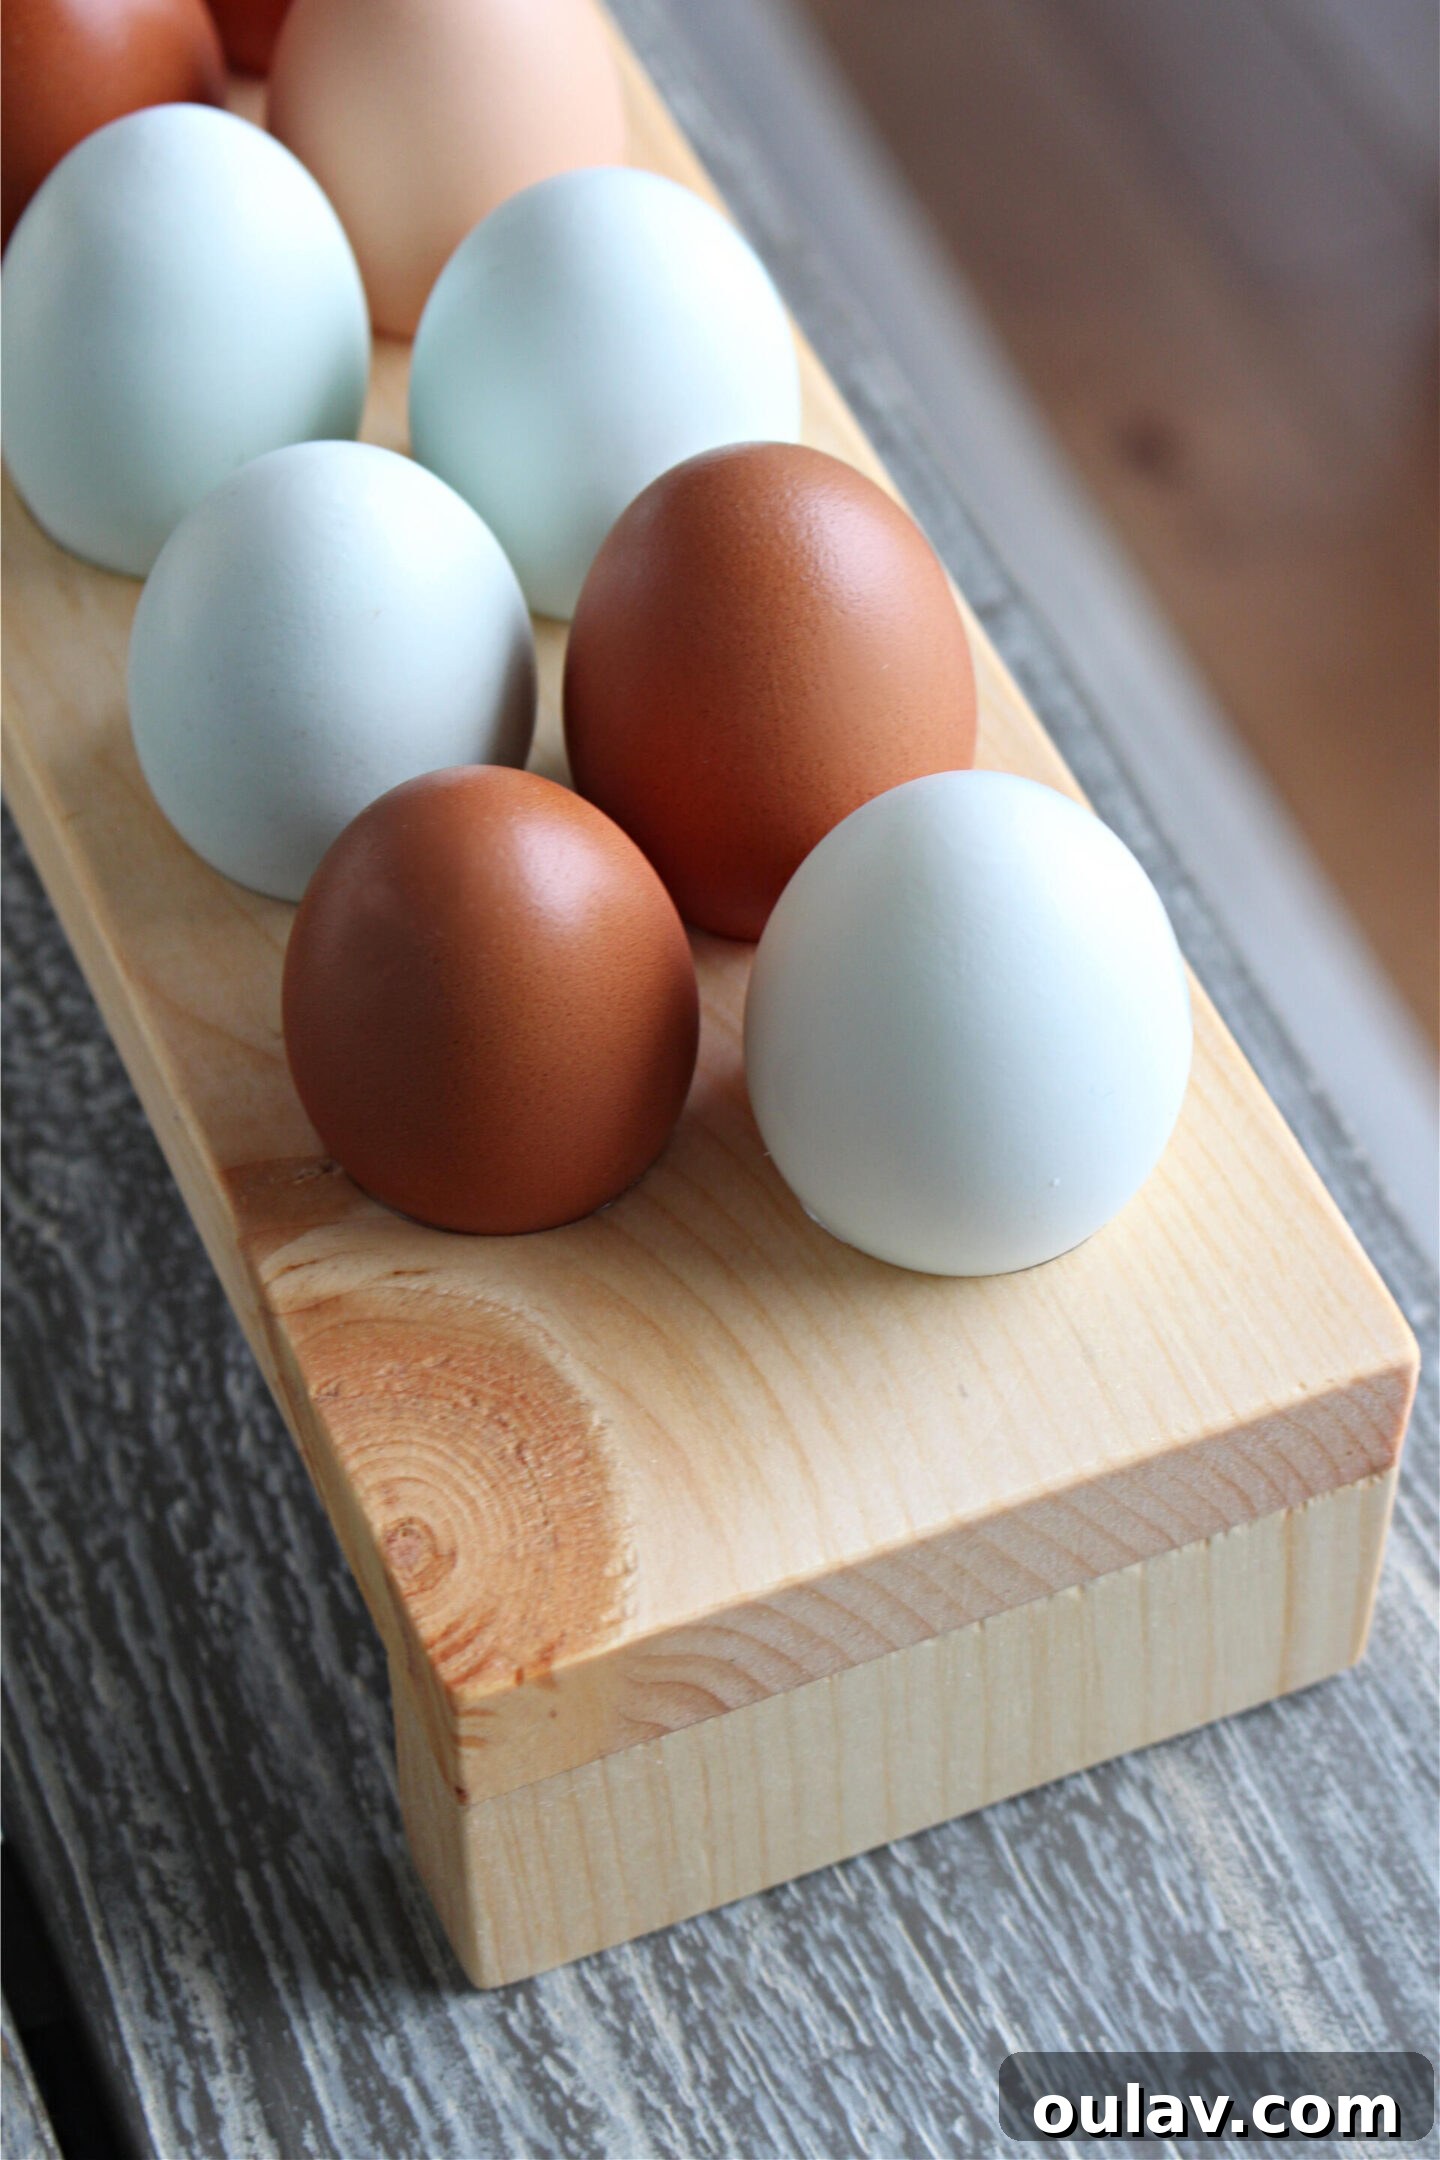
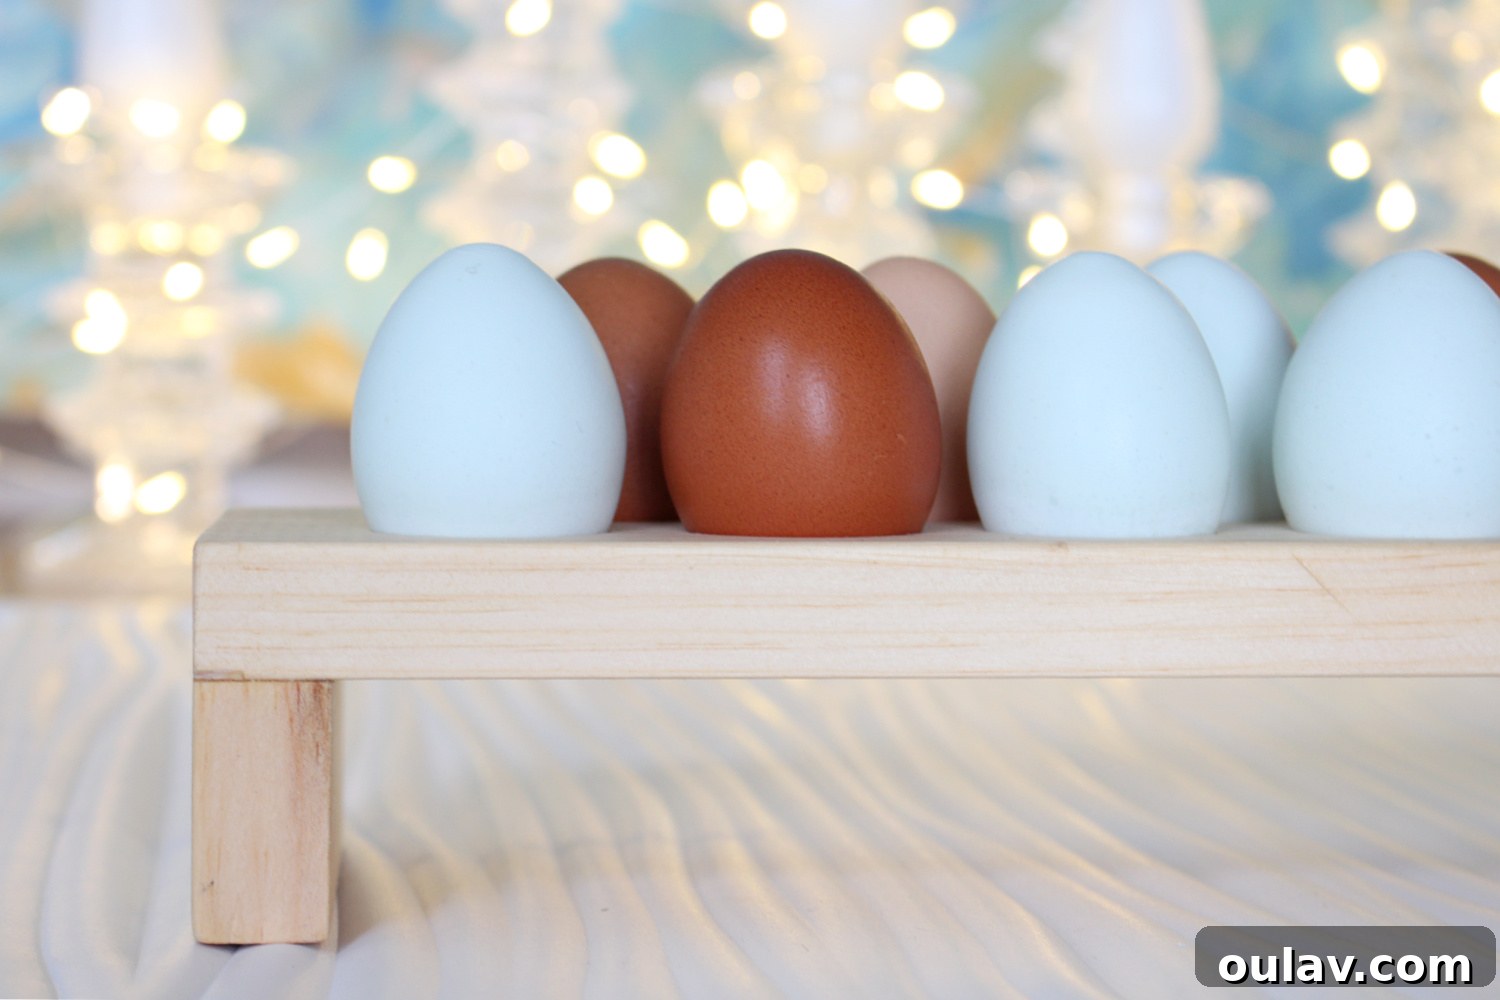
We are absolutely delighted with how this easy DIY wooden egg tray turned out! This project began as a simple test, using scrap wood we already had on hand. Our intention was to gauge its practical utility before potentially investing in a more expensive, premium wood like walnut. To our pleasant surprise, this functional piece has become an indispensable part of our daily routine. While we don’t necessarily store all of our eggs on the counter, it provides the perfect, convenient spot to “plonk” them down immediately after collecting them from our chickens. This saves us from juggling a handful of eggs while we’re busy, allowing us to transfer them to the fridge when time permits. Some days, the eggs are used or eaten straight from this very tray, highlighting its sheer convenience. The success of this initial project has definitely fueled our desire to craft a fancier version, perhaps from a stunning piece of walnut, to elevate its aesthetic appeal even further. This project stands as a testament to the idea that simple, handmade items can bring significant practicality and joy to everyday living.
Maximizing the Use of Your DIY Wooden Egg Tray: Countertop Storage and Beyond
Your newly crafted wooden egg holder is more than just a decorative piece; it’s a versatile tool for kitchen organization and food preservation. Understanding the unique properties of eggs, especially farm-fresh ones, can help you decide how best to utilize your beautiful new tray.
Did you know that farm-fresh eggs, meaning those laid directly by a hen and collected unwashed, often don’t need immediate refrigeration? This fascinating fact is thanks to a natural protective layer called the “bloom” or “cuticle” that a hen applies to the egg during laying. This nearly invisible coating acts as a natural barrier, sealing the egg’s pores and preventing air and bacteria from entering, thereby preserving its freshness. As long as this bloom remains intact (i.e., the egg has not been washed), farm-fresh eggs can safely be stored at room temperature on your countertop for several weeks.
It’s important to note, however, that while unwashed eggs are safe at room temperature, their shelf life on the counter is shorter than if they were refrigerated. Generally, one day on the counter is roughly equivalent to a week in the fridge in terms of freshness degradation. So, if your hens are producing a consistent supply and you’re using them up relatively quickly, storing them in a charming wooden egg tray like this on your countertop is not only safe but also incredibly convenient and aesthetically pleasing!
For those who purchase their eggs from a grocery store, the situation is different. Commercially sold eggs in most Western countries, particularly the United States, are legally required to be washed before sale. This washing process removes the natural bloom, making the eggs susceptible to bacterial contamination if left at room temperature. Therefore, store-bought eggs *must* be refrigerated to maintain their safety and quality. But don’t worry, your wooden egg tray still has a place in your kitchen! It can serve as an elegant and practical organizer inside your refrigerator, keeping your eggs neatly arranged and easily accessible. Alternatively, it’s perfect for use on your counter when you’re cooking or baking, providing a handy spot to hold a few eggs as you prep other ingredients, before they go back into the chill of the fridge.
Beyond daily storage, this DIY wooden egg holder makes an excellent, thoughtful gift for fellow backyard chicken keepers or anyone who appreciates handmade, rustic kitchen decor. It adds a touch of natural beauty to any kitchen space, celebrating the simple pleasure of fresh eggs and homemade craftsmanship. Enjoy the beauty and utility of your new egg tray, a testament to what can be achieved with a few tools and a little creativity!
P.S. Don’t Forget to Pin for Later!