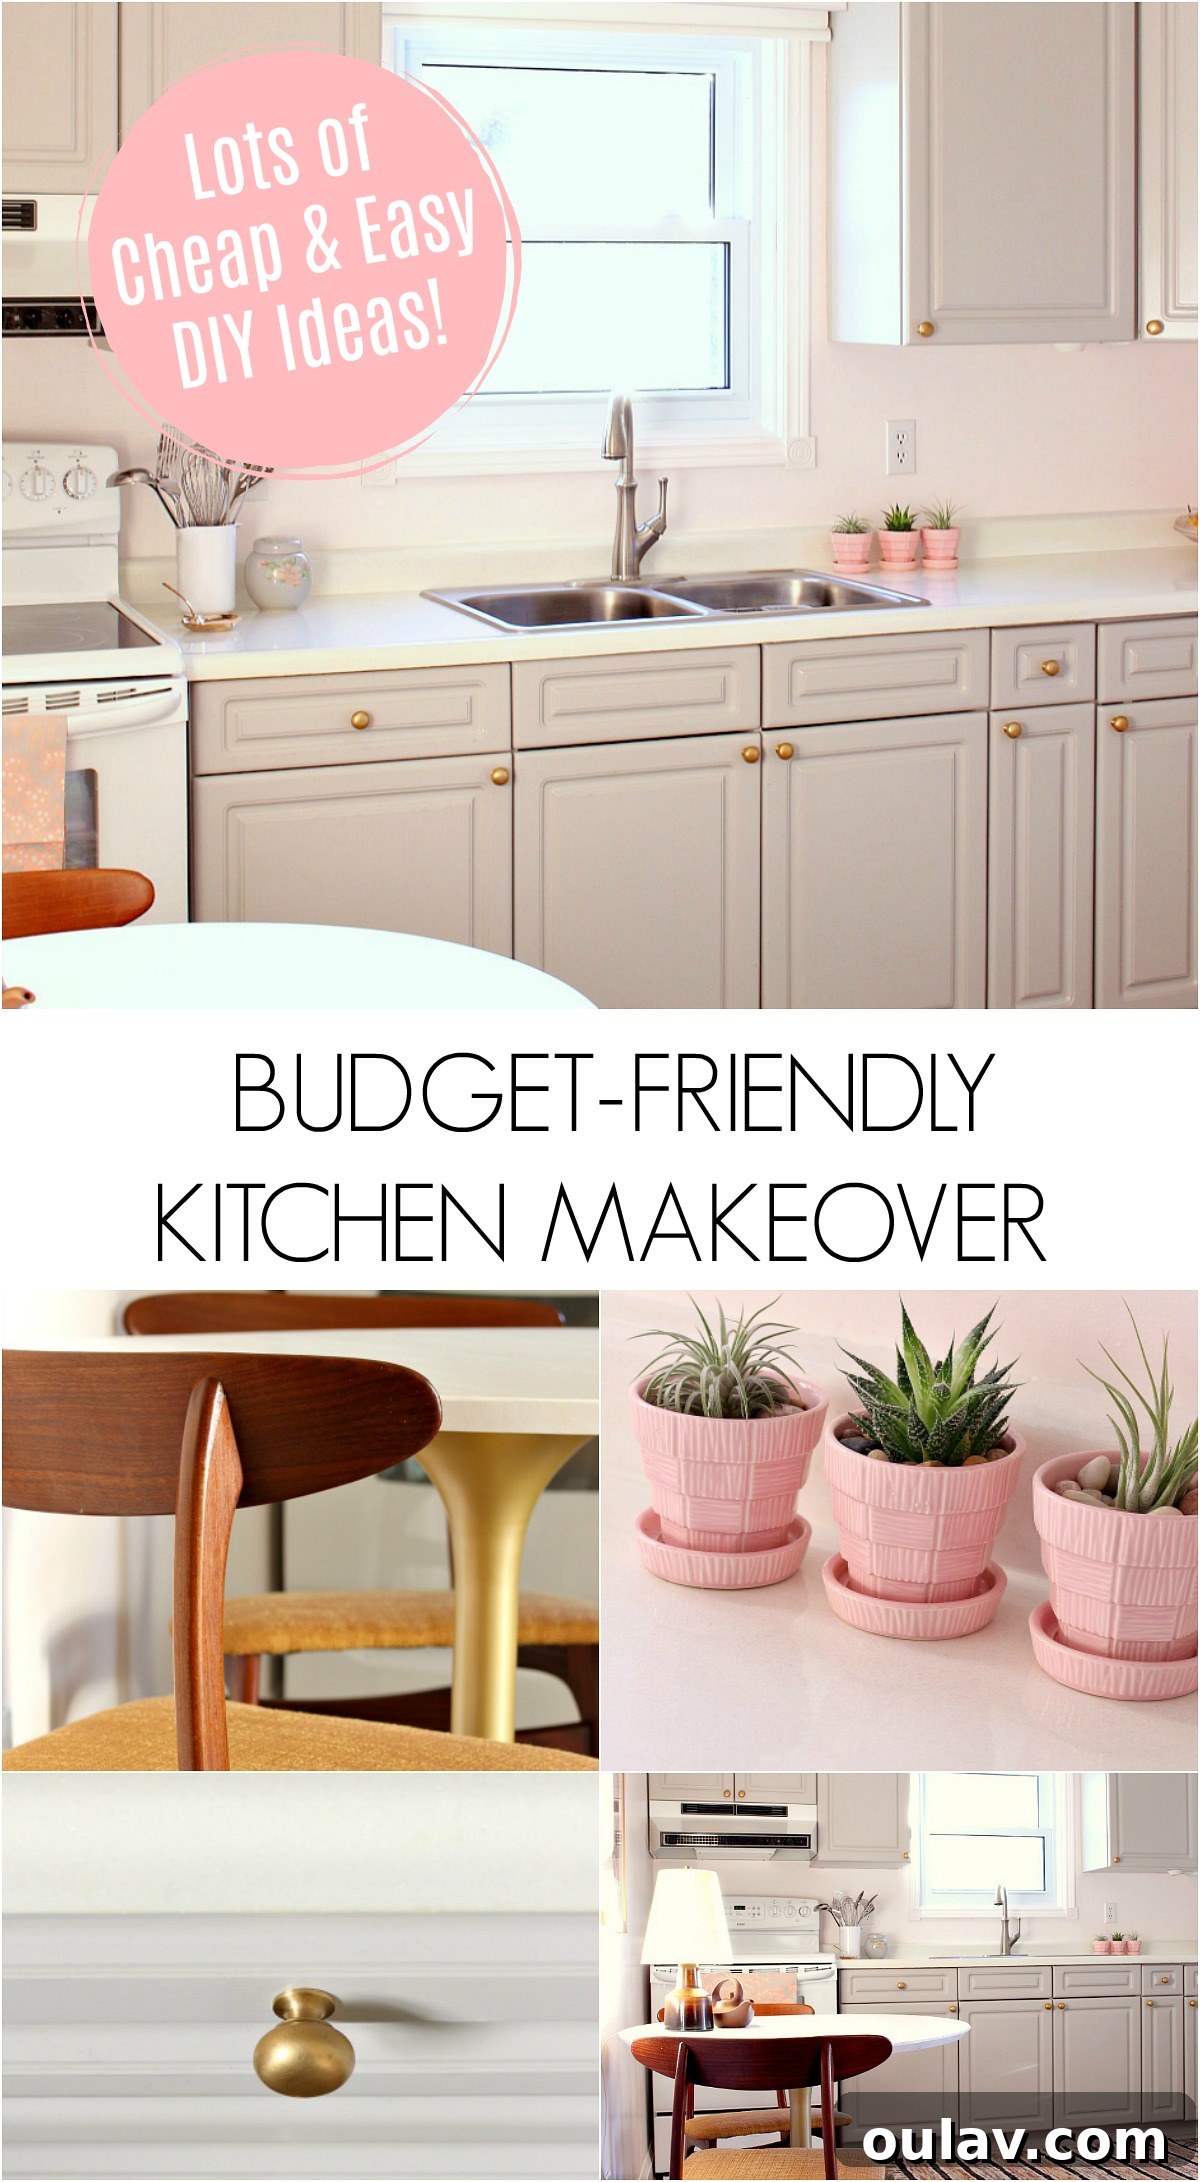
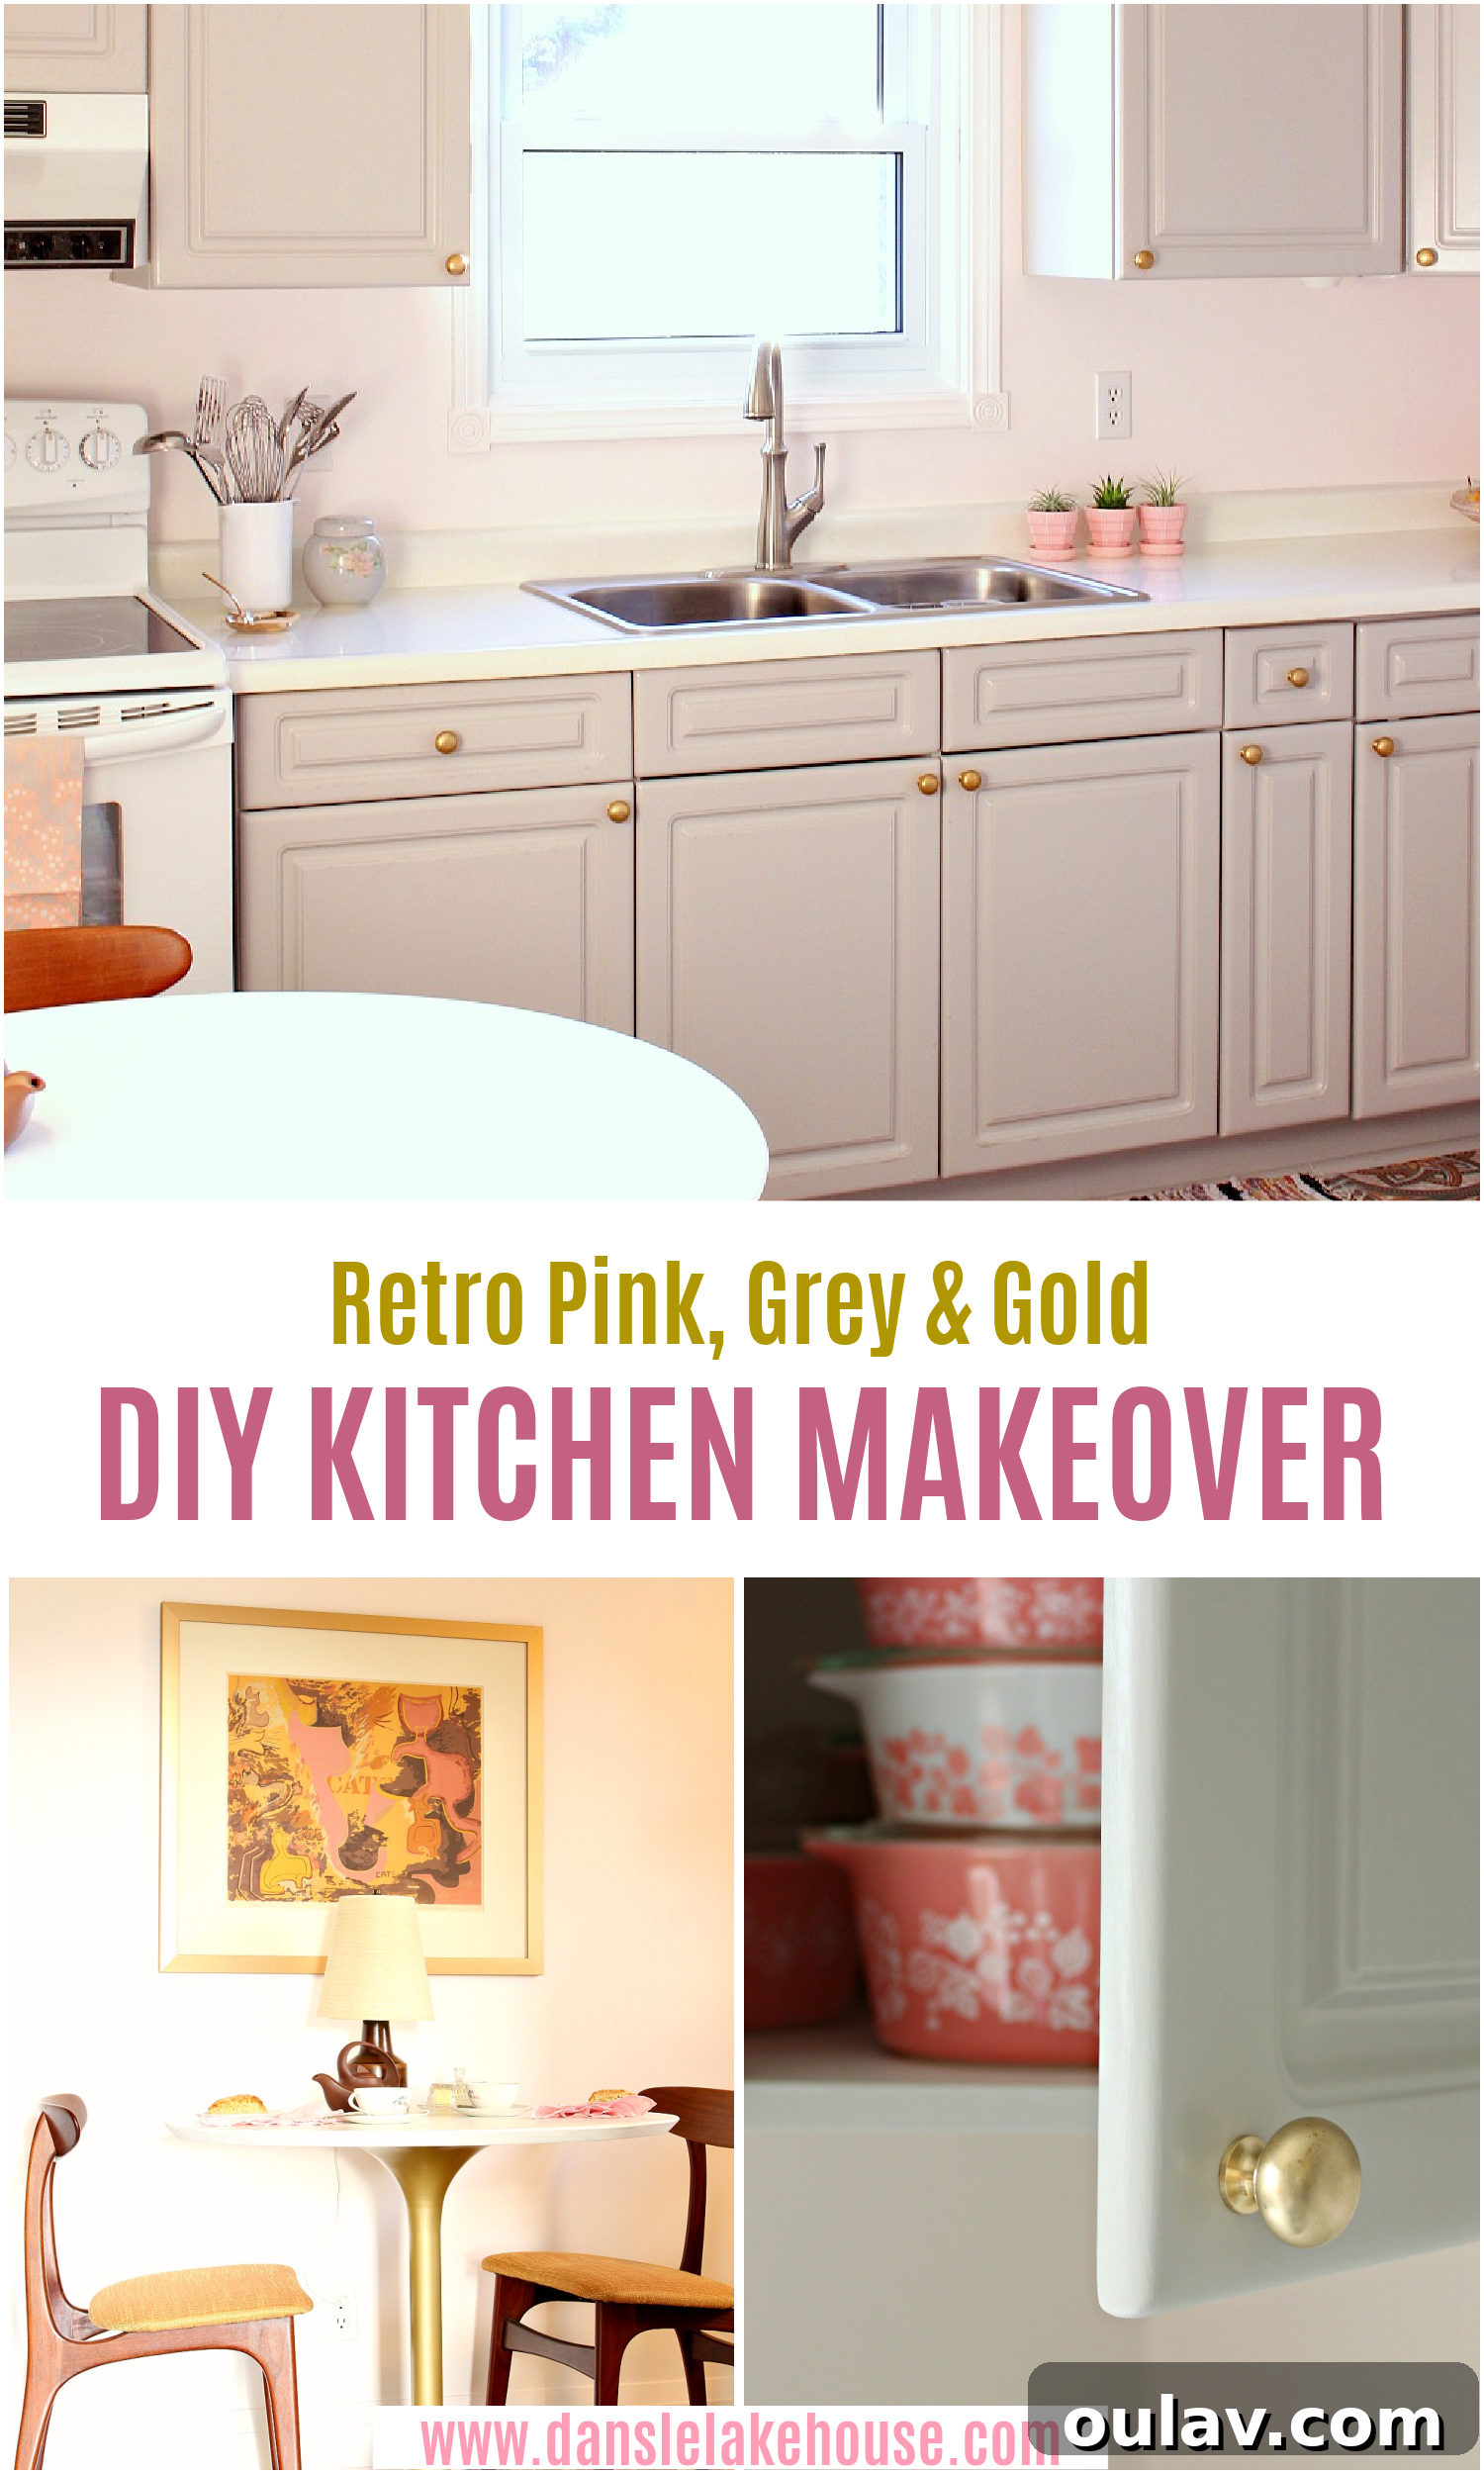
Welcome to an inspiring reveal of my Mom’s incredibly budget-friendly kitchen makeover! This project proves that you don’t need a huge renovation fund to achieve a truly stunning transformation. We focused on simple, impactful DIY solutions that were kind to the wallet, breathing new life into a space that truly deserved it. This isn’t just about aesthetics; it’s about creating a functional, beautiful heart of the home, even when faced with financial constraints and unexpected challenges.
Of course, no DIY journey is without its bumps. We encountered a few hurdles, like the perplexing disappearance of a backsplash tile order and the frustrating refusal of our chosen peel-and-stick flooring to stay put. My Mom, bless her heart, has a unique aversion to traditional backsplash tiles, so she was surprisingly delighted by the first “problem.” The flooring issue, however, was a different story, causing considerable disappointment. There are also a few finishing touches we’re still eager to implement: after more than two decades, my Dad finally installed the under-cabinet lighting, but the corresponding trim still needs painting and installation. We’re also planning to add more artwork above the coffee station and are on the hunt for the perfect kitchen rug, although a charming rag rug my Mom already owned is serving beautifully for the interim.
These minor details will be meticulously ironed out in the coming months, a testament to what my Mom and I affectionately call “slow design” – a fancy way of saying we’re navigating this transformation on a strict budget. But I couldn’t make you wait any longer! I’ve been teasing this exciting DIY budget-friendly kitchen makeover since the summer, and the time has finally come to share all the glorious details. Prepare to be inspired by how a little creativity, strategic planning, and elbow grease can lead to a remarkable home improvement project.
So, let’s dive right into the heart of this transformation!
A Glimpse into the Past: The Kitchen Before Its Makeover
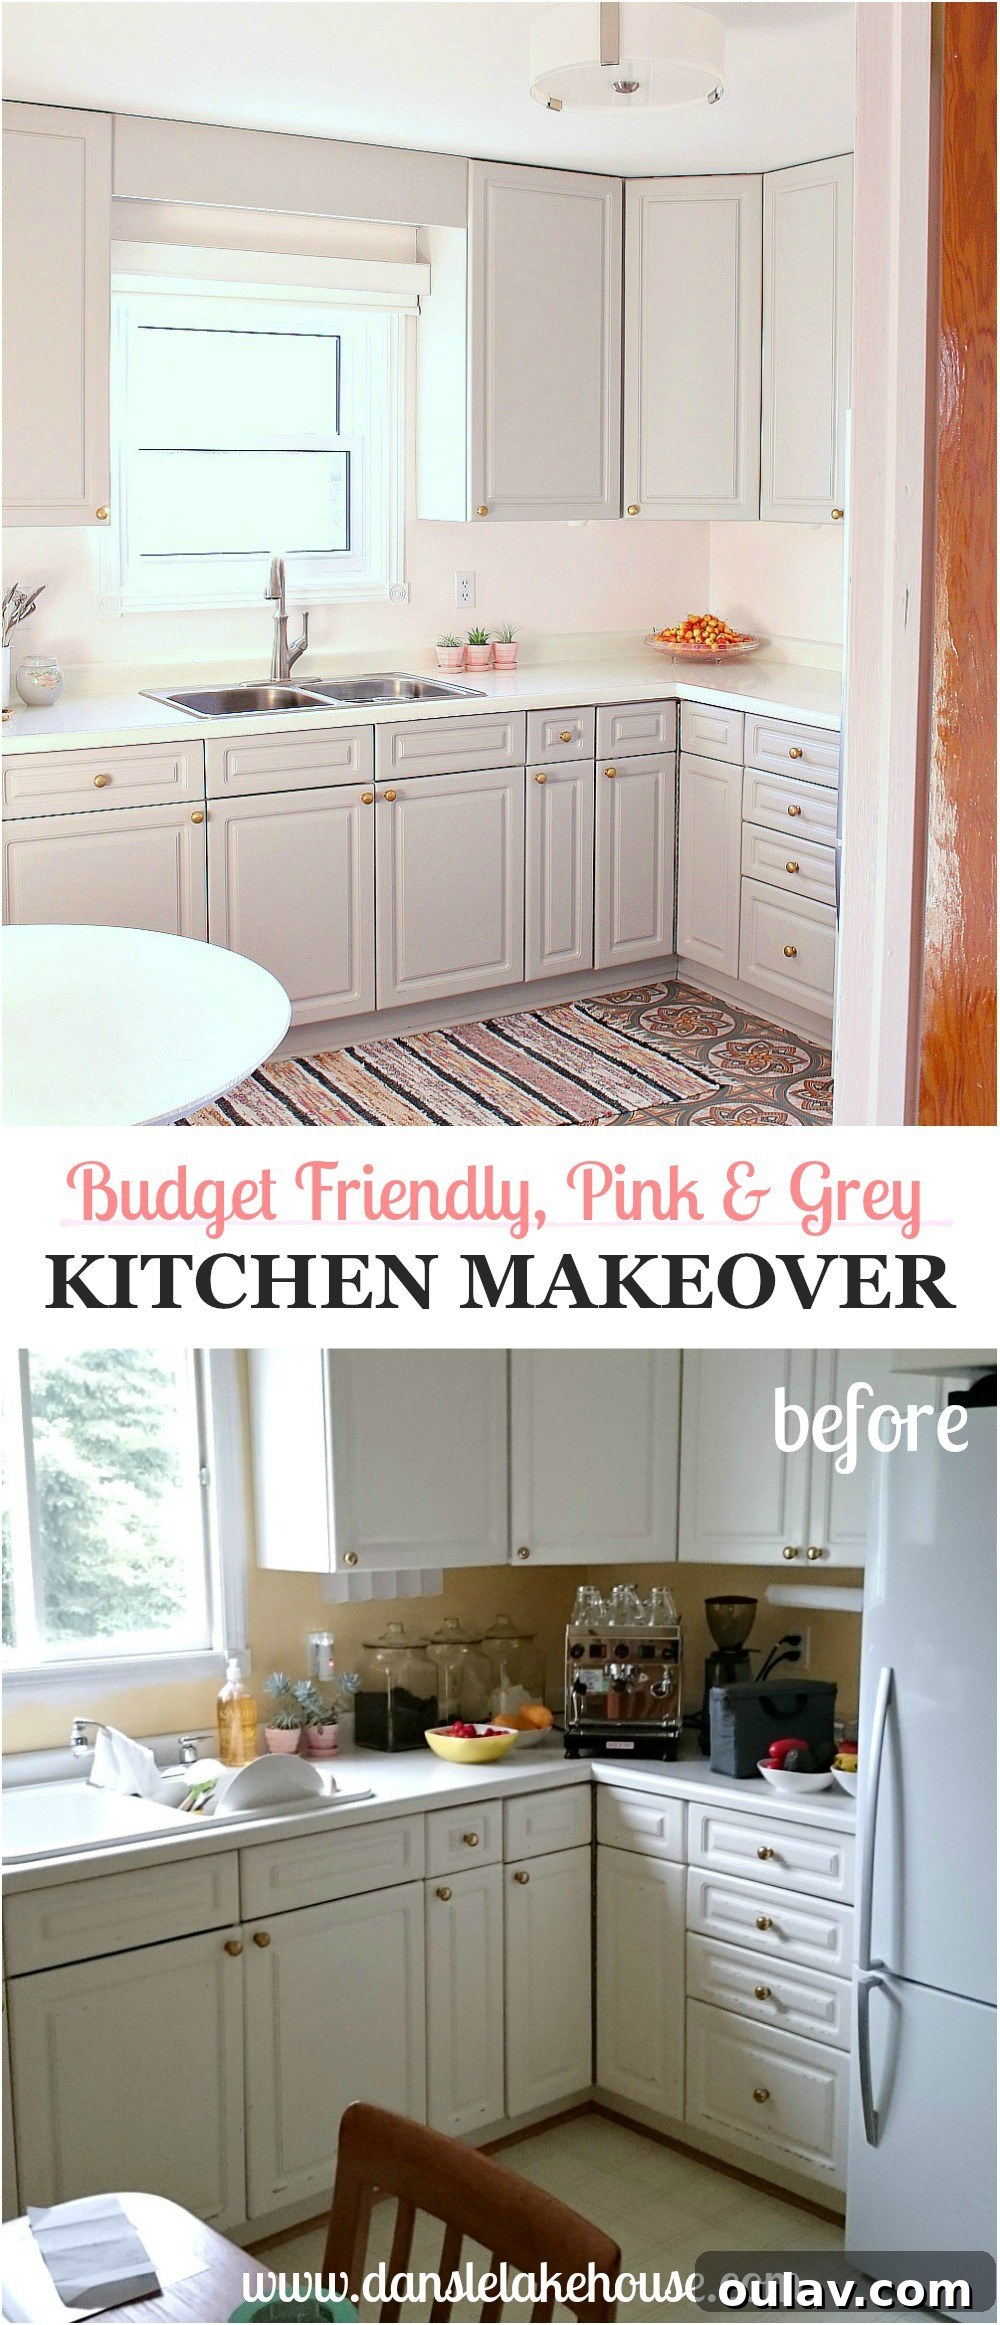
My Mom’s kitchen, a testament to 1980s charm when it was last renovated, once boasted a super cute, light, and bright aesthetic with a refreshing mint green, peach, and white color combination. She truly made the most of a small, inherently dark kitchen, achieving a classic, all-white look that, at the time, was both stylish and budget-conscious. However, after decades of use and evolving trends, the space had begun to show its age. The wallpaper had long since peeled from the walls, revealing dull, uneven surfaces. The vinyl flooring was discolored, marred by the adhesive beneath, and the once-pristine laminate counters were chipped and stained. Most noticeably, the melamine cabinets, a popular choice in the 80s, had started to bubble and de-laminate in various places – a common issue that’s precisely why I now tend to avoid melamine for long-term solutions. Adding to the dilapidated feel, the original light fixture was mysteriously missing, the faucet was visibly dented, and the fluorescent light above the sink was reduced to a bare, unflattering bulb. The kitchen was also perpetually cluttered, a natural consequence when a space feels so neglected and unloved; it’s difficult to motivate oneself to maintain order in an environment that already looks shabby.
Beyond the cosmetic issues, the kitchen suffered from significant functional challenges. My Mom frequently lamented the severe lack of usable counter space, which made cooking a constant struggle. Furthermore, a disproportionately large dining table – the only eating area in the entire house – made the small kitchen feel incredibly cramped and inefficient. The kitchen was undoubtedly in dire need of a major, full-scale renovation, but that simply wasn’t a possibility for my parents at this stage. So, with rolled-up sleeves and a shared vision, Mom and I embarked on a DIY budget-friendly kitchen makeover. It’s truly amazing what a fresh coat of paint, a bit of elbow grease, and a thorough decluttering session can achieve, transforming a tired space into something magical!
The Transformed Space: Mom’s Kitchen Today
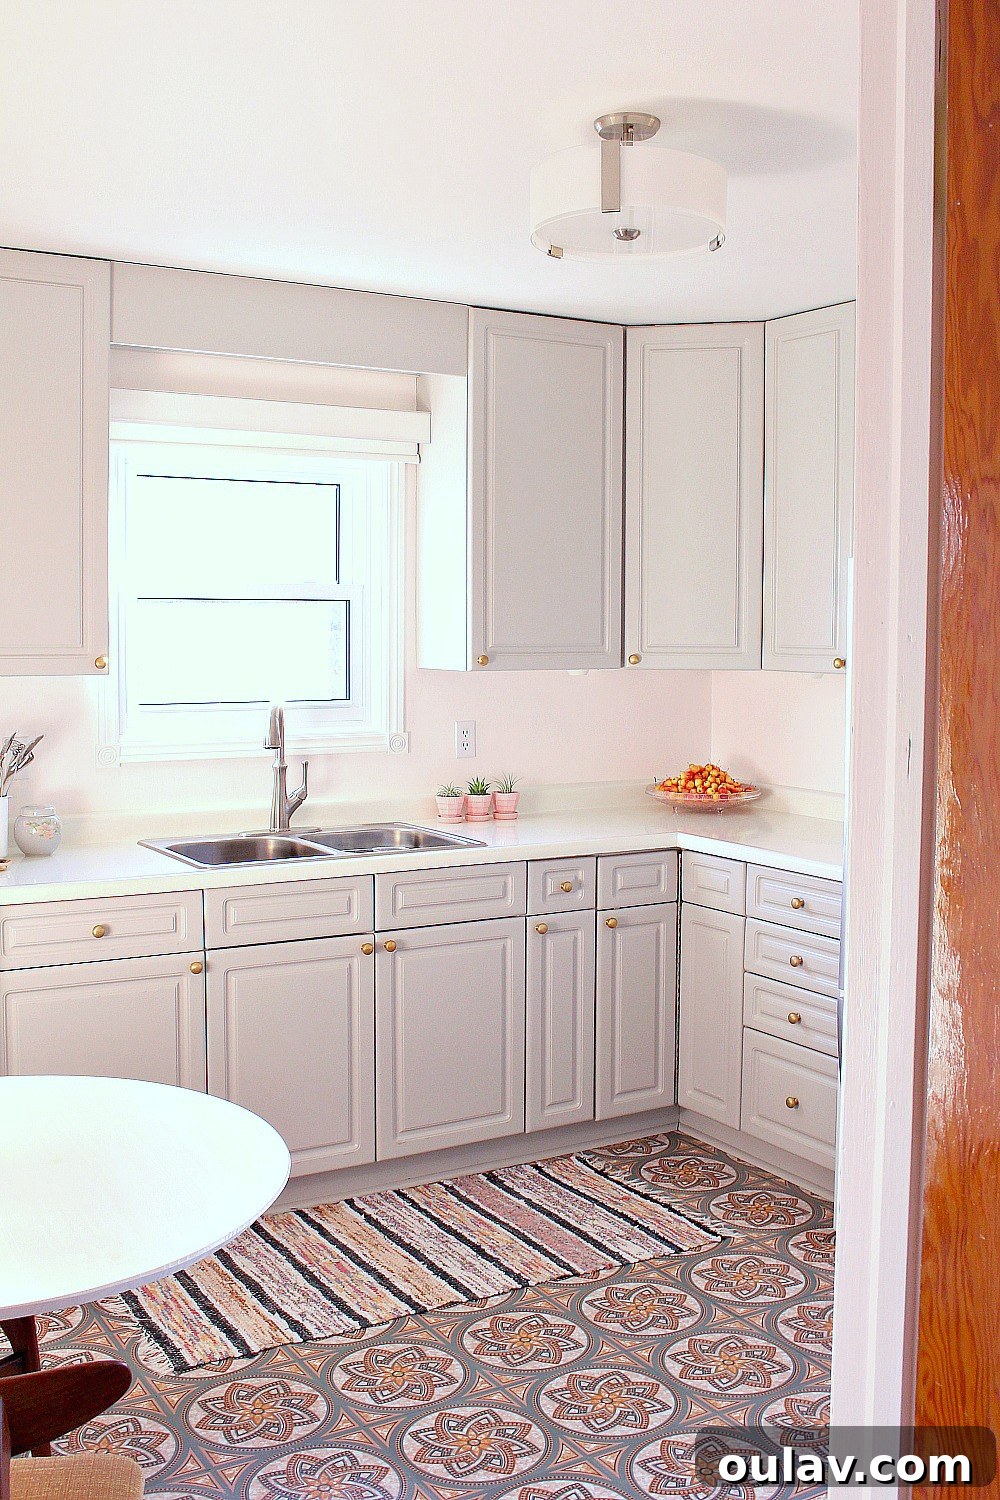
While photographs offer a visual representation, they truly cannot capture the incredible sense of warmth, coziness, and freshness that now permeates this kitchen. It doesn’t just look good; it positively *glows*, radiating an inviting aura thanks to the soft pink walls and thoughtfully chosen brushed gold accents. The entire atmosphere has shifted from drab and dated to bright and contemporary, proving that a major overhaul isn’t always necessary for a substantial impact. Let’s take a closer look at each specific DIY project and design decision that brought this beautiful transformation to life:
Painted Melamine Cabinets: A Stunning and Economical Upgrade
One of the most significant and impactful changes in this budget-friendly kitchen makeover was painting the existing melamine kitchen cabinets. We opted for Rust-Oleum’s Cabinet Transformations Kit, specifically in the “Winter Fog” shade, applied un-glazed. The beauty of this product lies in its exceptional adhesion – it clings beautifully even to notoriously difficult surfaces like melamine, all without the strenuous and often messy requirement of sanding. While a close inspection might still reveal some minor imperfections where the melamine had previously bubbled, the overall transformation is undeniable and vastly superior to its former state. This also served as a fantastic opportunity for Mom to experiment with a darker cabinet color, a design choice she has been considering for a potential future, full-scale renovation. We captured photos under various lighting conditions, and it’s fascinating to observe how the color subtly shifts, sometimes appearing more pinkish and at other times taking on a warmer, golden hue. This versatility makes it a truly pretty and sophisticated wall color and cabinetry combination, adding depth and character to the kitchen.
Pale Pink Walls: Infusing Warmth and Brightness
To truly refresh and brighten the space, we made a bold yet incredibly effective choice: painting the formerly yellow walls a soft, inviting pink. After sifting through what felt like hundreds of paint swatches, Behr’s Shea emerged as the clear winner. This particular shade of soft pink looked incredibly fresh and cheerful under every conceivable lighting condition, from morning sun to evening lamplight. It achieved something remarkable: brightening the room even more effectively than a pure white might have, which was an absolutely essential goal for this inherently dark kitchen. We also took the opportunity to replace the baseboards, finding a style almost identical to the 1950s baseboards elsewhere in the house, ensuring a cohesive look. While we preserved the existing door and window trim, a dedicated afternoon of caulking (a task I surprisingly enjoy for its transformative power) prepared them for their new coat of paint. We painted the trim to match the walls, creating a seamless, wraparound effect that instantly made the space feel 100 times fresher and more expansive. This simple act of painting walls and updating trim brought an unexpected level of sophistication and cheer.
Refinished Laminate Counters: Sparkle on a Budget
To further enhance the kitchen’s newfound brightness, we undertook another significant DIY project: refinishing Mom’s severely damaged laminate counters. These counters were in truly rough shape, plagued by unsightly chips, stubborn stains, and even missing pieces where the laminate had begun to de-laminate from the MDF base. Rather than bearing the expense of new countertops, our budget-friendly approach focused on repair and renewal. We carefully re-glued any lifting laminate, and for areas where pieces were entirely missing, I meticulously built them back up using a moldable epoxy compound, creating a smooth, even surface. After these crucial repairs, we applied Rust-Oleum’s Countertop Transformations Mica in a brilliant white shade. The result is nothing short of spectacular: the counters are now a pristine, sparkling white, reflecting light beautifully and contributing significantly to the kitchen’s fresh ambiance. For a comprehensive guide to this process and some excellent tips on repairing laminate, be sure to click here for the detailed tutorial.

It’s surprisingly difficult to capture in photographs, but when the sun streams into the kitchen, these counters genuinely sparkle *like crazy*, adding a touch of subtle glamour that belies their budget makeover origins.
Refinished Brass Cabinet Hardware: A Touch of Elegance
Continuing our theme of maximizing existing elements, we tackled the cabinet hardware. I’ve previously shared the detailed tutorial on how we refinished Mom’s original shiny brass knobs, transforming them from their somewhat dated, overly bright appearance into a sophisticated brushed brass finish. This subtle but impactful change instantly elevated the entire look of the cabinetry, providing a more modern and elegant aesthetic. Beyond the visual upgrade, this DIY approach offered a significant financial benefit: we saved a considerable amount by repurposing the existing hardware instead of purchasing entirely new knobs and pulls. It’s a testament to how small, thoughtful details can make a huge difference in a budget-friendly renovation.
New Sink + Faucet: Essential Upgrades for Functionality
While the core of this project focused on budget-friendly DIY, some elements simply needed to be replaced. Mom had to invest in a new kitchen window (part of a larger home project to replace all main floor windows), and her old white acrylic sink was in such a deplorable state that it demanded replacement. We selected an inexpensive yet durable stainless steel sink, a practical and timeless choice that complements the refreshed aesthetic beautifully. This new sink pairs perfectly with her stunning new Pfister Tamera faucet, which was generously provided by Pfister. The Pfister Tamera faucet is not just beautiful; it’s a high-quality, elegant fixture that Mom can undoubtedly integrate into her future “real” renovation, or perhaps even donate to me for my own fish room makeover when the time comes! Investing in these essential functional upgrades, even on a budget, significantly enhances the daily usability and overall appeal of the kitchen.
DIY Tulip Table + Art: Creating an Intimate Dining Nook
In the small, post-war home my great-grandfather built, lacking a dedicated dining room meant that family meals always took place in the kitchen, a tradition carried on from my great-grandparents’ time. Through the 1980s and 90s, a small round table with drop-down leaves ingeniously tucked close to the wall served our needs. In the 2000s, Mom acquired new living room furniture and a more substantial dining table made of beautiful teak wood. While lovely, it proved a bit too large for daily use in the kitchen, making movement challenging, especially once my husband became a permanent fixture and dinner for four became a tight squeeze. I finally encouraged Mom to relocate the larger dining table to the spacious living room, creating room for a much smaller, more intimate tulip table in the kitchen. This charming addition is perfect for tea time, casual brunches for two, or simply enjoying a moment of quiet. I’ve already detailed the makeover of my old tulip table, including how my father-in-law expertly helped me craft its custom top to perfectly fit a mid-century modern base.
And do you recognize the art adorning the wall? It’s my beloved 1960s cat print from my old townhouse! Its brushed gold frame, muted pink color palette, and delightful retro vibe are absolutely perfect for this newly revitalized kitchen, adding a touch of personal history and whimsy.
The Table Top Lamp: Embracing Cozy Illumination
Among all the elements of this budget-friendly kitchen makeover, the inclusion of a table-top lamp might seem the most unconventional, perhaps requiring the most explanation. My Mom has a profound dislike for overhead lighting, especially fluorescent fixtures, which is why her previous “naked bulb” situation made her cringe daily. Eventually, she began using a lamp on her old dining table so she could switch off the harsh overhead lights during dinner, creating a much softer, more pleasant ambiance. When the larger dining table moved to the living room, the lamp moved with it. Seeing an opportunity to enhance the coziness of the new kitchen nook, Mom “stole” this charming little brown vintage Lotte lamp from me for the tulip table. Its scale is absolutely adorable, and its retro look perfectly complements the kitchen’s renewed vibe. While it might appear odd to have a lamp on a kitchen table, it truly is incredibly nice to have this soft, inviting glow when I come over for tea and gossip. Even though her overhead lighting situation has significantly improved with the installation of a proper fixture (what a concept!), having this little lamp adds an unparalleled sense of comfort and intimacy, especially as the days grow shorter and the evenings longer. It truly transforms the kitchen into a haven.
The Coffee Station: Maximizing Space and Functionality
My parents are serious coffee enthusiasts, boasting an elaborate, professional-grade coffee making setup that they acquired at a fantastic price thanks to a connection who owned a coffee shop. However, this impressive array of equipment unfortunately commandeered a significant portion of my Mom’s already minimal kitchen prep space. Between the large coffee maker, the microwave, and all the various random items that had accumulated on the counter, she was left with virtually no dedicated area to actually cook or prepare meals. I suggested a radical, yet highly effective, solution: trying to live without the microwave (I’ve done it for years and never miss it), strategically reorganizing to find cabinet space for the dry goods previously stored on the counter, and crucially, relocating all the coffee essentials to a small cubby. This cubby, which originally housed a tiny 1950s refrigerator, proved to be the perfect, dedicated home for the coffee station. Now, all the coffee-related items are neatly consolidated – including a charming vintage cookie jar I found for a quarter (my Mummu has the exact same one, making it a sentimental favorite) – and, most importantly, they are completely out of the way. While I couldn’t physically enlarge Mom’s kitchen during this budget-friendly makeover, the simple acts of moving the coffee machine and microwave, coupled with a thorough decluttering, have effectively tripled her usable counter space. This has made the kitchen immeasurably more functional and enjoyable for her, transforming a crowded bottleneck into an efficient workflow area.
The Peel and Stick Tile Floor: A Lesson in Resilience (and Frustration)
Mom and I were incredibly excited about the new peel and stick tile floor we chose for the kitchen. Its beautiful pattern and carefully selected colors were designed to harmoniously bring together all the various shades we introduced into the space: the soft blush pink of the walls, the elegant grey of the cabinets, the vibrant burnt orange of the tweed chairs, and the warm brown tones of the existing wood. It truly promised to be the unifying element for our new aesthetic. However, our excitement was quickly overshadowed by a significant and incredibly frustrating problem: the tiles simply refused to stay stuck in several spots! We are currently in extensive discussions with the distributor, but we’re not entirely sure they can provide a satisfactory resolution to this adhesion issue. We are genuinely disappointed and are bracing ourselves for the possibility that we might need to replace the entire floor. On the positive side, this unexpected challenge offered a valuable design lesson: we now know that a busier, more dynamic pattern *can* work beautifully even in a small kitchen. For so long, we had been terrified to commit to anything other than white, as that’s what had been there for decades. This experience, despite its frustrations, has broadened our design horizons for Mom’s eventual full renovation, showing us that bold choices can indeed pay off in small spaces.
The Odds + Sods: Attention to Every Detail
Beyond the major transformations like refinishing the cabinetry and counters, replacing and repairing trim, painting the walls and trim, and laying new flooring, we also dedicated time to numerous smaller, yet crucial, details that significantly contributed to the overall refresh. Mom’s unsettling naked bulb ceiling fixture was finally replaced with a fixture she already owned. It had been stashed away because it wobbled, but my husband cleverly took it apart, fixed the issue, and now it looks absolutely perfect in the space! We also cut a new sheet of plexiglass for the fluorescent light fixture above the sink and, using a simple bracket, installed it. This small improvement transformed the light from a stark, exposed bulb into a much more aesthetically pleasing and diffused source of illumination. The kitchen door received a fresh coat of grey paint to match the newly painted cabinets, providing a cohesive and intentional look, and a proper doorknob was finally installed. My husband and I also built a charming pink and gold dog bowl stand, adding a sweet, personalized touch for when our beloved dog, Szuka, comes to visit. These “odds and sods” may seem minor individually, but collectively, they tie the entire makeover together, addressing every neglected corner and adding both beauty and functionality.
And there you have it – the complete story of Mom’s DIY budget-friendly kitchen makeover! This project wasn’t just about painting and fixing; it was about reimagining a space and proving that profound transformation is achievable without breaking the bank.
Mom is absolutely thrilled with how her kitchen looks and feels now. This success has sparked a wonderful wave of updates and decluttering throughout the rest of the house. We recently stumbled upon the perfect mid-century modern-inspired fabric on clearance, which means the living room is next in line for a refresh, starting with adorable new pillows and elegant sheers. This budget kitchen makeover has truly set off a chain reaction of positive change, inspiring us all to look at our homes with fresh eyes and a renewed sense of possibility.
DIY Projects for Your Own Budget-Friendly Kitchen Makeover
How to Refinish Brass Hardware for a Modern Look
How to Hack a Pine Table Top for a Mid-Century Modern Tulip Base
How to Repair and Refinish Laminate Counters: A Detailed Guide
How to Make a Stylish Dog Bowl Stand on Hairpin Legs
Sources and Materials Used
Wall Color: Behr Shea
Cabinet Paint: Rust-Oleum Cabinet Transformations in Winter Fog
Brush Gold Knobs: DIY Refinished (Similar Options)
Counter Paint: Rust-Oleum Countertop Transformations Mica in White
Faucet: Pfister Tamera Pull Down Faucet
Tulip Table: Vintage Find (Similar Modern Styles)
Teak Chairs: Vintage Treasures (Similar Retro Chairs)
Gold Tweed Fabric: Fabricland (Similar Options Online)
Lotte Lamp: Vintage (Similar Table Lamps)
Cat Print: Vintage Personal Piece
Pink Hairpin Leg Dog Bowl Stand: DIY Project
Pink McCoy Planters: Vintage (Similar Planters)
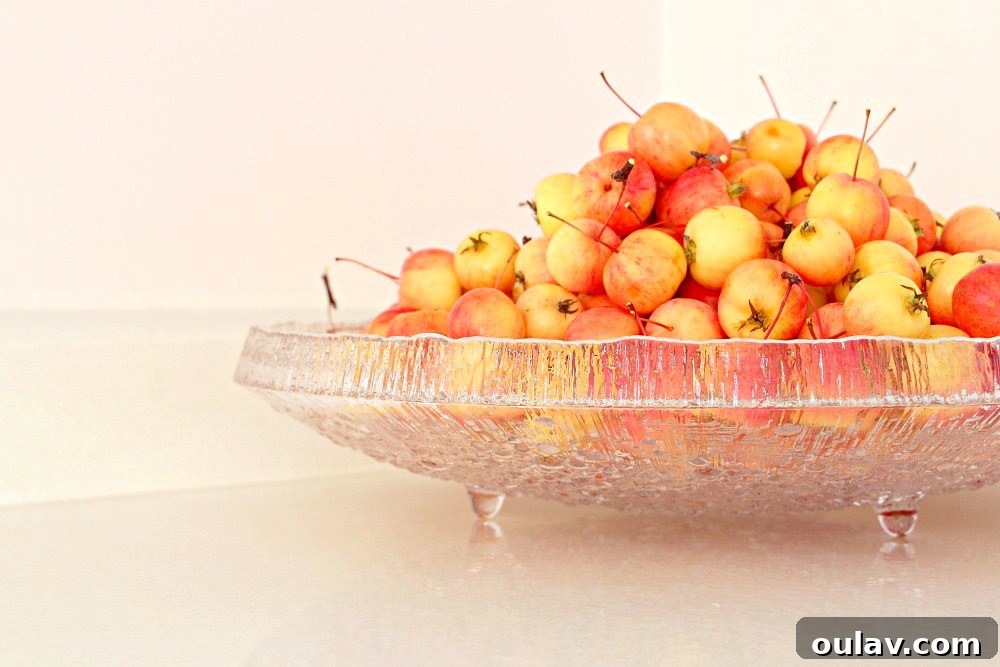
Glass Fruit Bowl: Iittala
House Cookie Jar: Vintage (Similar Novelty Jars)
Yixing Clay Tea Pot: Similar Artisanal Teapots
Pink Linen Napkins: Similar Fabric Napkins
Coffee Machine: Pasquini Coffee Maker
While many elements of my Mom’s kitchen were found, foraged, or cleverly hacked, I’ve also tried to track down some accessories and pieces with a similar retro vibe and the beloved gold, grey, and pink color palette. This includes a few dream items that we’ve bookmarked for the “real deal” renovation someday, like this absolutely gorgeous gold flushmount light fixture that we simply can’t stop admiring!
A huge thank you goes out to Pfister for generously providing the stunning faucet, and to Rust-Oleum for supplying the invaluable Cabinet Transformations and Countertop Transformations kits, as well as the spray paint essential for the tulip table and DIY dog bowl stand. Their contributions were instrumental in making this budget-friendly dream a reality!
P.S. Don’t Forget to Pin for Later Inspiration!