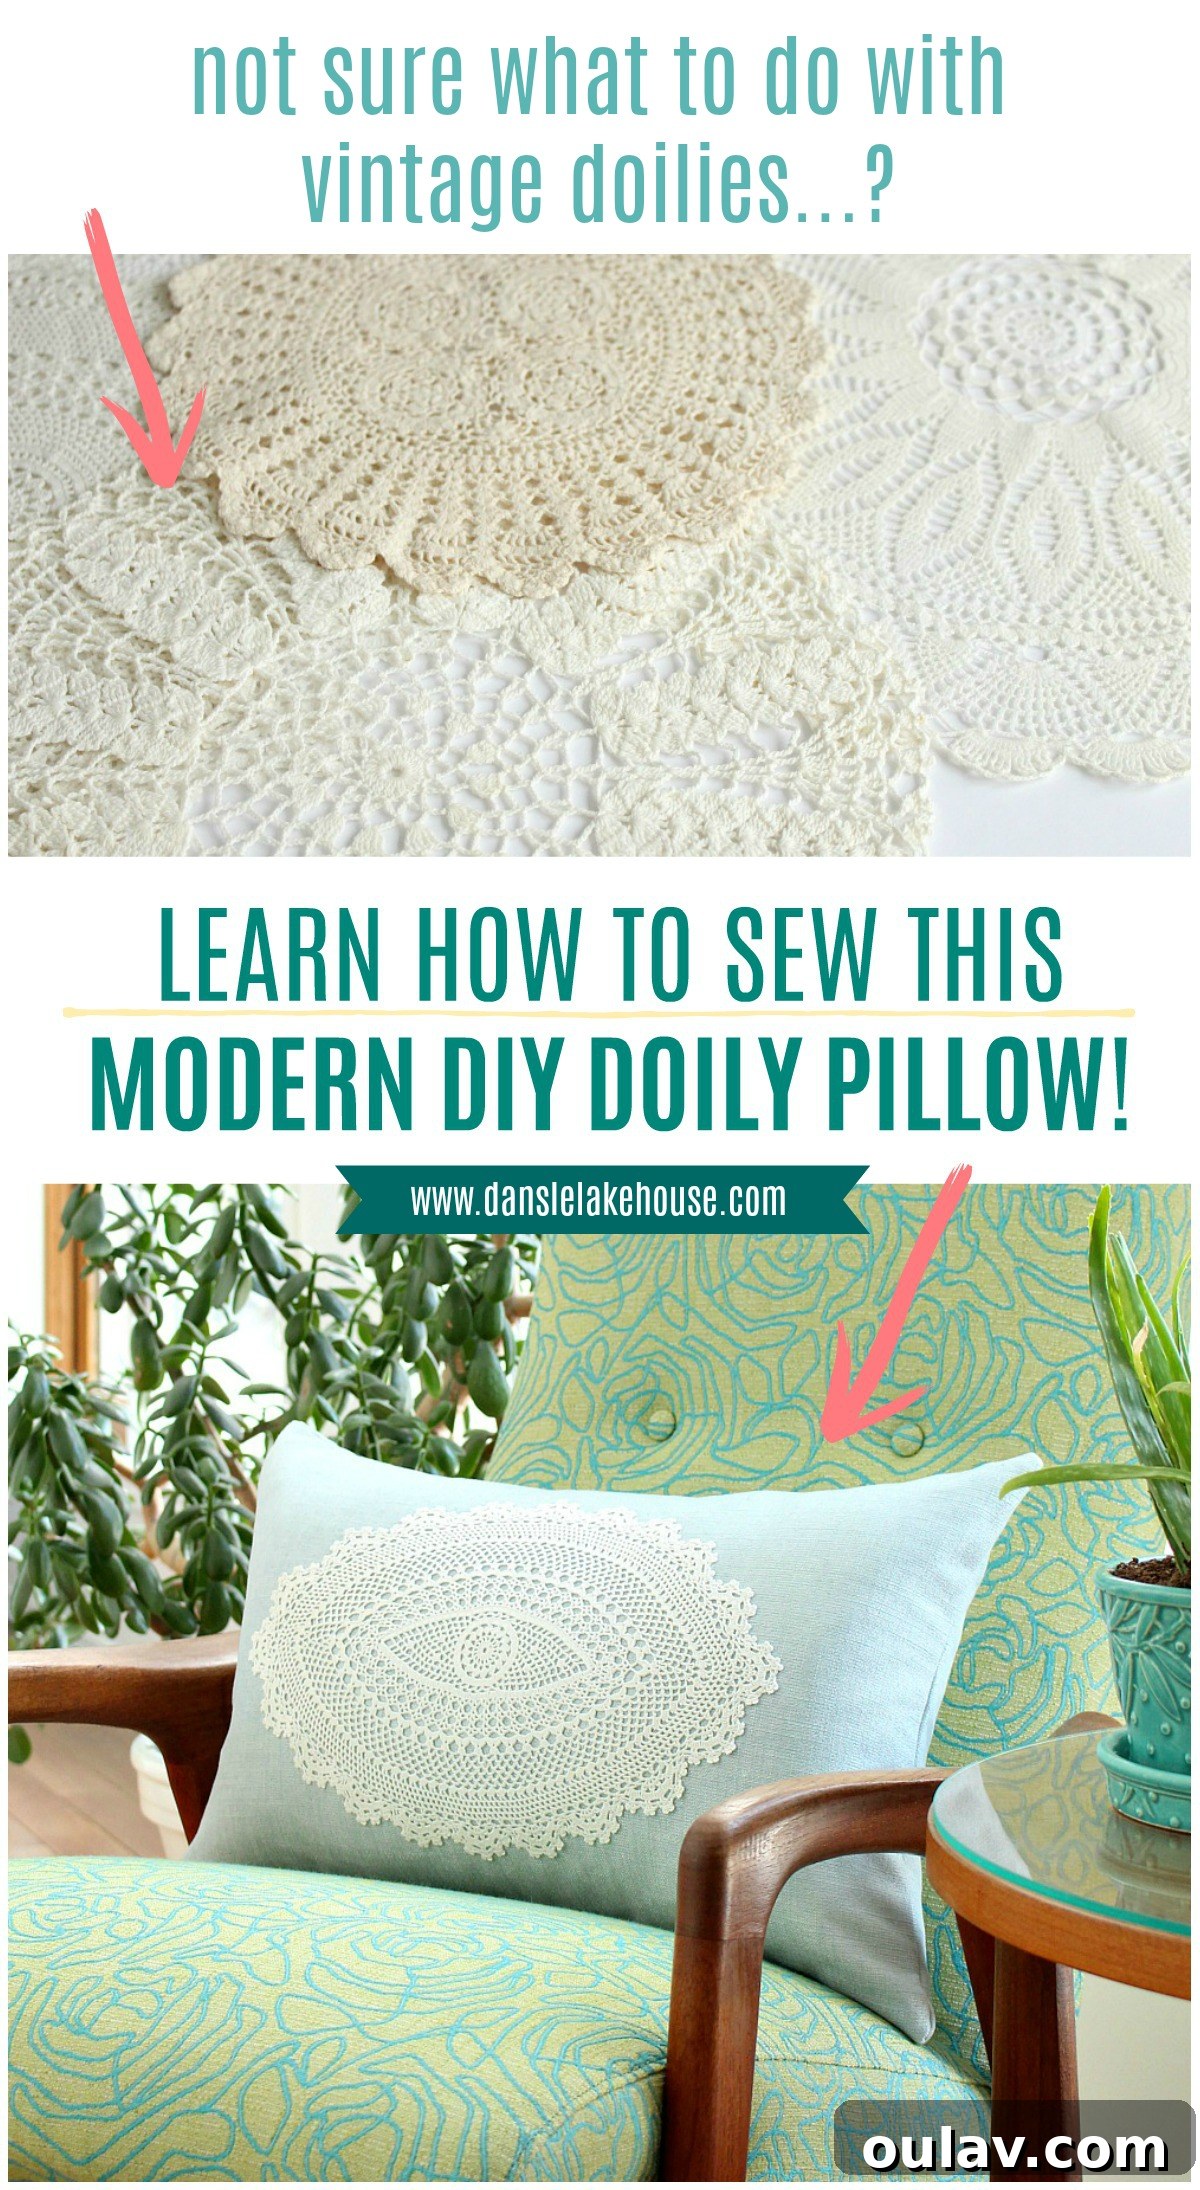
Are you looking for creative ways to repurpose those beautiful, often inherited, vintage doilies that might be gathering dust? While traditional doily decor might not align with every modern aesthetic, we have an exceptionally charming and straightforward **modern DIY doily throw pillow** idea that will transform them into a stylish home accessory! Even if you’ve never considered yourself a “doily person” (and believe me, I understand; my own connection to doily-related decor was limited to a framed sentimental Hungarian embroidery for years), this upcycled DIY pillow project is designed to be wonderfully un-fussy and utterly appealing. Imagine the soft, pale aqua linen paired with a uniquely intricate doily from your grandmother’s collection – the result is so effortlessly cool, it just might turn you into a doily convert! This guide will walk you through creating a bespoke decorative pillow that adds a touch of personalized elegance to any space, proving that heirlooms can indeed be both cherished and contemporary.
The Inspiration Behind This Unique Doily Craft Idea
Every great DIY project often begins with a spark of inspiration, and for this doily craft, that spark ignited during a memorable rummage through my Mummu’s (grandmother’s) yard sale pile. Tucked away amongst various treasures, I stumbled upon an entire box brimming with vintage crocheted doilies. Despite my previous disinterest in doily decor, I couldn’t help but be captivated by the sheer artistry and delicate complexity of some of these pieces. The intricate lacework and varied patterns were truly a testament to skilled craftsmanship, making it impossible to simply dismiss them.
You might recall that I previously experimented with dyeing some of these very doilies in different shades of teal to create a stunning wintry table runner. That particular project was a wonderfully easy, no-sew doily Christmas craft, offering a simple way to modernize these vintage textiles. After completing that initial endeavor, I returned the remaining doilies to their box, believing I had exhausted their potential. However, one specific doily – an exquisite eye-shaped piece – lingered in my mind. Its unique form and delicate design were simply too captivating to forget. Unable to shake the feeling that it deserved another chance, I requested it back, still with no concrete plan, as I wasn’t *truly* a “doily person.” So, I decided to “hoard” this beautiful vintage doily, trusting that creative inspiration would eventually strike. And indeed, as often happens in the world of DIY, a moment of magic unfolded.
The true “aha!” moment occurred quite serendipitously. When I purchased white linen fabric for my DIY closet curtain, I also indulged in the same luxurious linen fabric in an irresistible icy, pale, shimmery blue hue. It was an impulse buy, especially since it was on sale for an unbelievable $3 per meter – an absolute steal for high-quality linen! I casually draped the blue linen on my dining room table, and as I was tidying up some other crafting supplies from a random bin, that special eye-shaped doily tumbled out, landing perfectly on the pale blue fabric. The contrast was immediate and striking. The soft, cool tones of the linen perfectly complemented the delicate warmth of the vintage doily. In that instant, a stunning vision formed: this combination would create an absolutely gorgeous and distinctly modern DIY throw pillow. The serendipitous pairing transformed a forgotten heirloom into the centerpiece of a new, elegant design.
Creating this modern DIY doily pillow is simpler than you might imagine, offering a beautiful way to personalize your living space with a unique, handmade touch. The key to achieving that polished, contemporary look lies in how the doily is seamlessly adhered to the fabric, avoiding any bulkiness or unevenness. Read on for my essential tips and tricks for securely attaching your chosen doily, ensuring a smooth and professional finish that will make your pillow a true standout piece.
Supplies You’ll Need for Your DIY Doily Pillow
Gathering the right materials is the first step to a successful DIY project. For this elegant modern doily pillow, you’ll need a few key items. We’ve included affiliate links for your convenience, should you wish to purchase them:
- Heat Bond iron-on adhesive: This is the secret weapon for a flawless, no-sew doily application. It ensures a strong, smooth bond without messy glues.
- Vintage or new crocheted doily: The star of your pillow! Choose one that speaks to you, whether an heirloom or a new purchase. Its size and shape will define the pillow’s character.
- Light blue linen fabric: We highly recommend linen for its beautiful drape and subtle texture, which complements the delicate doily perfectly. A light blue or aqua shade creates a modern, calming aesthetic.
- Sewing machine + coordinating thread: Essential for constructing the pillow cover itself.
- Iron + ironing board: Crucial for applying the Heat Bond adhesive correctly and achieving crisp seams.
- Pencil: For tracing your doily onto the adhesive.
- Zipper: For a removable pillow cover, making it easy to wash.
- Scissors: A good pair of fabric scissors is invaluable. (I am smitten with these!)
- Self-healing cutting mat and Olfa rotary cutter (optional but highly recommended for precise fabric cutting).
Crafting Your DIY Doily Throw Pillow: The Sewing Process
While the doily application is the unique heart of this project, the actual construction of the pillow cover itself is quite straightforward. If you’re looking for a detailed, step-by-step guide on how to sew a pillow, you can find my comprehensive easy DIY pillow sewing tutorial here. This tutorial covers everything from cutting your fabric pieces to installing a zipper, ensuring your pillow cover is well-made and durable. However, before we get to the general pillow construction, the critical step for *this specific project* is mastering how to properly and beautifully affix your doily to the fabric. This process ensures the doily lays flat, looks professional, and withstands regular use, making it the truly distinguishing feature of your modern doily pillow.
How to Securely Affix the Doily to Fabric for a Smooth Finish
When it came to attaching the delicate doily to the linen fabric, several methods crossed my mind, each with its own set of potential drawbacks. My initial thought was to use fabric glue, similar to what I utilized for my DIY linen tea towel with gold reindeer trim. However, the prospect of meticulously dabbing glue onto every intricate inch of the finely crocheted doily seemed incredibly tedious and fraught with the risk of creating a stiff, uneven, or even visible mess. The delicate nature of the doily required a more refined approach that wouldn’t compromise its soft texture.
My Mom generously offered to try sewing the doily directly onto the linen with the sewing machine. While a viable option for some fabrics, we were both concerned about the doily sliding around during the sewing process, potentially resulting in a wonky, stretched, or uneven application. The open weave of the crochet also made it difficult to secure without potentially damaging the delicate fibers or creating visible stitches that would detract from its beauty. We needed something that would provide a stable, invisible hold.
Fortunately, our penchant for “hoarding” (or perhaps, strategically saving) crafting supplies paid off once again! While searching for other items in what we affectionately call “the Fish Room” – a treasure trove of forgotten craft bits – we serendipitously rediscovered a package of Heat Bond iron-on adhesive. This product immediately struck us as the perfect solution. Heat Bond offered the promise of a strong, invisible, and fuss-free bond, eliminating the challenges posed by fabric glue or direct sewing. It was exactly what we needed to maintain the doily’s integrity and achieve that smooth, modern finish.
Mastering Heat Bond Iron-on Adhesive: A Step-by-Step Guide
Using Heat Bond iron-on adhesive is remarkably simple, but understanding the correct technique is crucial for a perfectly smooth and durable bond. Follow these steps for an impeccable doily application:
- Prepare Your Doily with Adhesive: Begin by placing the Heat Bond adhesive (paper backing side up) onto the *wrong side* of your doily. Ensure that the adhesive side of the Heat Bond is directly touching the doily’s surface. You want to roughly trace or cut the doily’s shape from the adhesive sheet, giving yourself a small margin.
- Initial Ironing (No Steam): Gently press a dry, heated iron (no steam!) over the paper backing of the Heat Bond. Hold the iron for a few seconds over each section, applying light, even pressure. The goal here is to activate the adhesive and bond it to the doily. Be careful not to use too high a heat setting, especially if your doily is delicate or made of synthetic fibers.
- Remove the Backing: Allow the doily and adhesive to cool slightly. Once cool, carefully peel away the paper backing from the Heat Bond. You should now have a doily with a clear, slightly shiny adhesive layer on its wrong side. This adhesive-backed doily is now essentially a ready-to-use appliqué.
- Position and Place: Carefully position your newly prepared doily appliqué onto the main linen fabric where you want it to be permanently placed. Ensure the adhesive side of the doily is facing down, making direct contact with the linen. Take your time to get the placement just right, as this will be its final position.
- Final Ironing for Strong Bond: Once the doily is perfectly positioned, place a pressing cloth or a thin piece of scrap fabric over the doily to protect it and the linen. Now, iron again, applying firm, even pressure. Move the iron slowly over the entire doily, allowing the heat to fully activate the adhesive and create a strong, lasting bond between the doily and the linen. Again, avoid steam.
The beauty of this adhesive is that it dries completely clear. The only subtle indication of its presence is a very slight sheen if you hold the fabric directly up to the light, but in normal viewing, it’s truly imperceptible. To ensure we had the temperature and technique just right before committing to the main project, we conducted a few experiments with some scrap lace and linen. During these trials, I even pulled apart a piece of the adhesive so you could see its appearance when activated and bonded:
Satisfied with our experimental results and confident in the Heat Bond’s efficacy, we proceeded with the main event. We carefully traced the outline of our chosen doily onto a sheet of Heat Bond iron-on adhesive, then precisely cut out the rough doily shape. Following the detailed instructions outlined above, we applied the adhesive to the doily and then to the linen fabric, ensuring a smooth and secure attachment. This meticulous preparation is what sets the foundation for a professional-looking DIY doily pillow.
Optional: Enhancing Durability by Sewing Around the Doily
While the Heat Bond adhesive provides an impressively strong and reliable bond, we harbored a slight concern due to how long we had stored our particular roll of adhesive. We wondered if its strength might have diminished over time. To alleviate any worries about the bond potentially weakening, especially for a decorative pillow that would likely see regular use, we decided to add an extra layer of security by sewing the doily down in a few inconspicuous places. This step is entirely optional, but highly recommended for projects where longevity and frequent handling are factors.
The beauty of having the Heat Bond already in place was that it completely eliminated our initial worry about the doily shifting or bunching during sewing. The adhesive held the delicate lace firmly in position, allowing us to sew with precision and confidence. We chose a neutral-colored thread that blended seamlessly with the doily and the linen. Using our sewing machine, we carefully stitched a few loops around the doily, artfully tracing some of the more prominent design elements in the middle and along its edge. These subtle stitches not only reinforced the doily’s attachment but also added a beautiful, almost imperceptible texture, integrating it even more deeply into the fabric. This dual method of adhesive and discreet stitching ensures your doily will remain perfectly in place for years to come, making your DIY doily pillow a durable and cherished piece.
Finishing Touches: Assembling Your Elegant Doily Throw Pillow
With the doily firmly and beautifully adhered, and optionally sewn, in place, the final step was to transform our decorated linen into a complete, stylish throw pillow. We opted for a clean, professional finish by sewing the linen into a pillow cover complete with a flapped zipper. A zippered pillow cover is highly recommended as it allows for easy removal and washing, ensuring your beautiful creation remains fresh and clean. If you’re new to installing zippers or sewing pillow covers, we have a fantastic, detailed tutorial specifically on how to sew a throw pillow with a zipper, complete with tons of detailed photos and step-by-step instructions. For a specific guide on creating a smaller lumbar pillow like the one featured, you can also click here for another tutorial on sewing a lumbar pillow.
Alternatively, if sewing a full pillow cover seems too daunting, you could always add a doily to a pre-made pillow cover. However, it’s important to note that if you choose this route, you would need to rely entirely on the strength of the Heat Bond adhesive for attachment, as machine sewing around a pre-made pillow form can be very tricky. If you want added security without a sewing machine, a bit of careful hand-sewing would be a worthwhile consideration. The overall goal is to achieve a finished piece that brings joy and enhances your home decor, whether fully handmade or partly assembled.
The Finished DIY Doily Pillow: A Blend of Vintage Charm and Modern Style
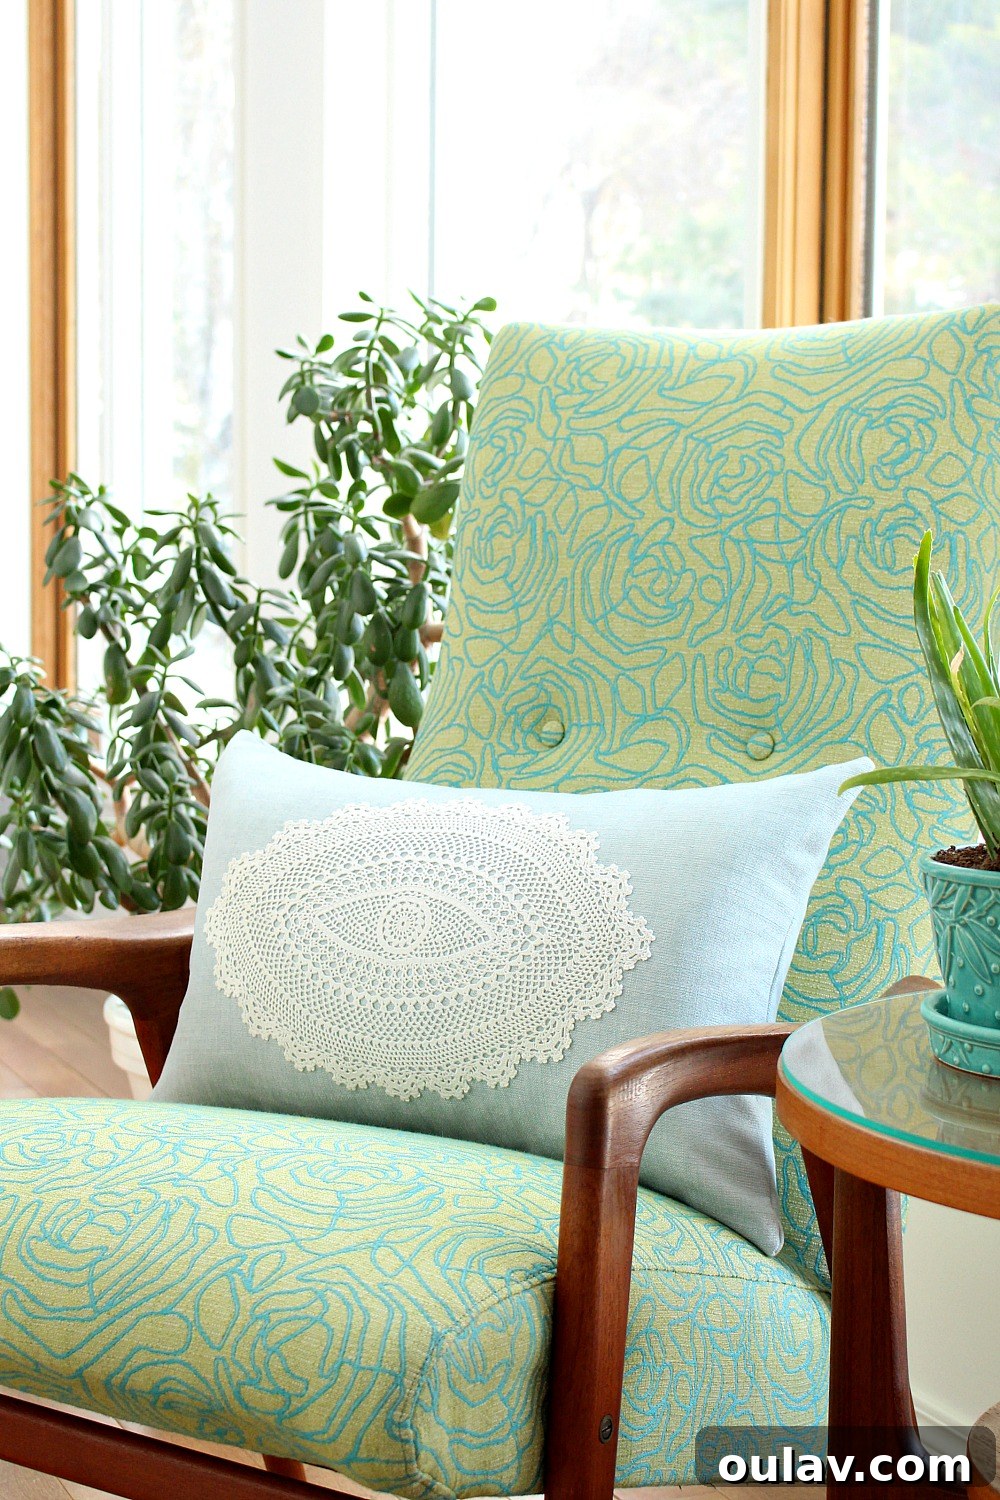
Behold the stunning transformation! Here’s what the finished doily pillow looks like – a true testament to how easily vintage charm can be infused with modern style. This project turned out to be such a cute and satisfying DIY doily craft. The delicate doily, contrasted against the smooth, pale aqua linen, creates an elegant and sophisticated piece that feels perfectly at home within my vintage-meets-coastal decor aesthetic. It’s proof that treasured heirlooms don’t have to be tucked away; they can be celebrated and reinvented to suit contemporary living spaces.
I sincerely hope you’ve enjoyed this DIY doily craft idea and feel inspired by its fresh, modern spin on traditional doily usage. This modern DIY doily throw pillow is incredibly versatile and would look fantastic with a wide array of home decor styles, from farmhouse chic to minimalist elegance, bohemian flair, or even a contemporary coastal theme. It offers a wonderful and practical way to honor and utilize a treasured or vintage doily, moving beyond the conventional display under a figurine (which, admittedly, is not always my personal style either!).
This project has certainly reignited my interest in those forgotten doilies! I’m now eager to retrieve that box of vintage doilies and continue brainstorming new, creative, and cute ways to incorporate them into modern decor. Your ideas are invaluable, and I would absolutely love to hear your own doily craft suggestions in the comments below. Let’s keep the creativity flowing and give these beautiful textiles a new lease on life!