
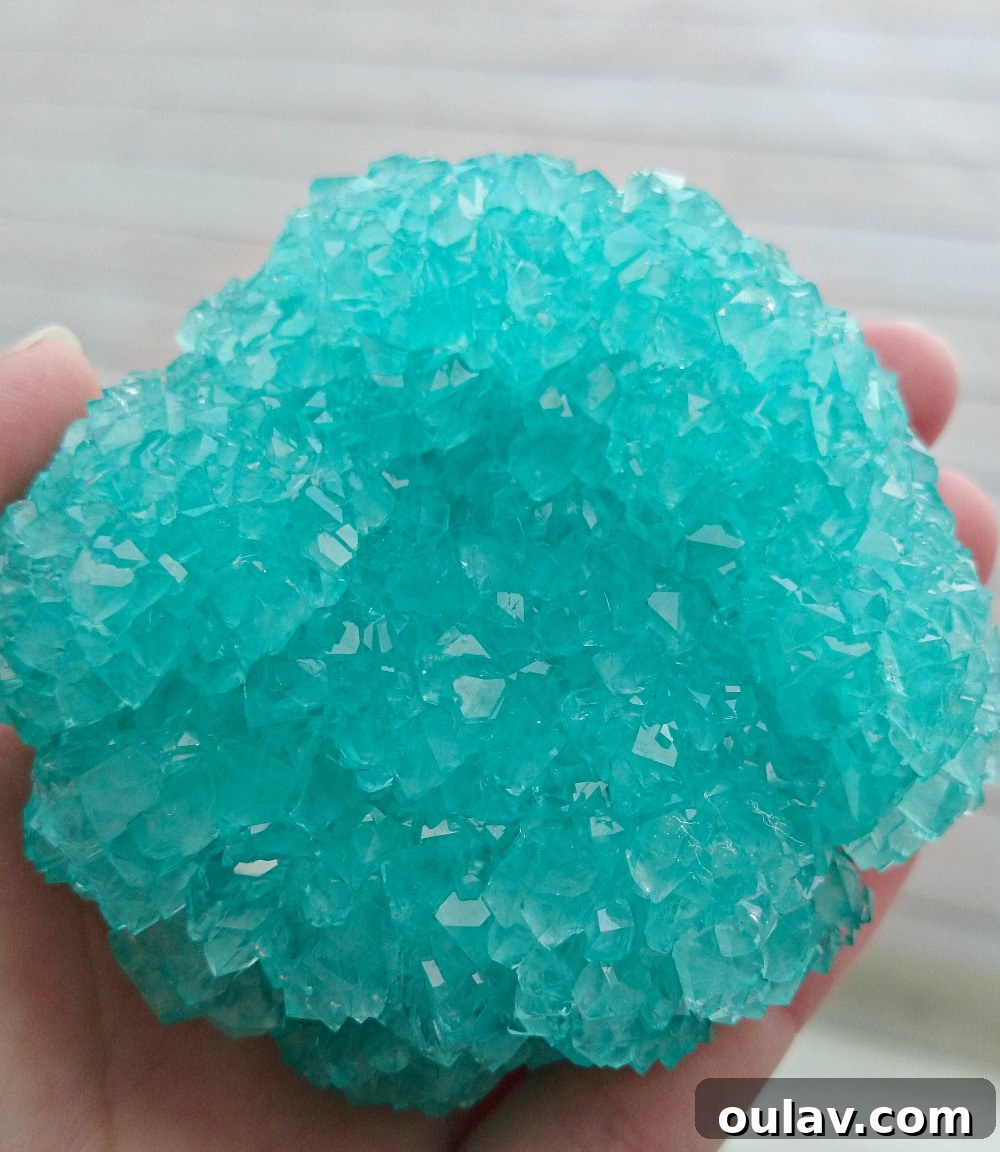
Welcome to the ultimate guide for creating breathtaking DIY Borax Crystals: How to Grow HUGE, Sparkling Gems at Home! If you’ve ever dreamt of crafting magnificent, glittering crystals that look straight out of a geode, then you’ve found the perfect tutorial. Forget those small, sparse crystal attempts you might have seen elsewhere; this comprehensive guide will empower you to grow truly massive, dense borax crystals that shimmer like real precious stones. It’s a captivating blend of science and art, a mesmerizing magic trick for both curious kids and enthusiastic adults alike.
Unveiling the Science: How Do You Grow Crystals with Borax?
Growing beautiful crystals using borax powder is a timeless science experiment and a beloved craft project that consistently captivates imaginations. Borax, a naturally occurring mineral compound (sodium tetraborate, often sold as a laundry detergent booster), holds the key to this fascinating transformation. The basic premise is wonderfully simple: dissolve borax in boiling water, introduce a textured surface for the crystals to cling to, and then allow the solution to cool slowly. That’s the essence of how you grow crystals with borax, but mastering the technique to produce truly spectacular results requires a few insider tips and tricks.
My own journey into the world of borax crystal growing began one late evening after stumbling upon a tutorial online. Armed with pipe cleaners, food coloring, and a box of borax from the supermarket, I embarked on what I thought would be a straightforward craft. However, my initial attempts yielded results that were far from the “huge, glittering gems” I envisioned. Through a process of trial and error, aided by a little scientific insight, I discovered crucial adjustments that led to consistently producing genuinely massive, intensely sparkling borax crystals. In this guide, I will meticulously walk you through my proven, step-by-step method for crafting these GIANT DIY borax crystals. I’ll share not only the precise instructions but also the valuable lessons learned from my initial failures, ensuring you can consistently grow perfect borax crystals every time. If your past attempts resulted in crystals that were disappointingly small, sparse, or fragile, then prepare to unlock the secrets to borax crystal success, complete with troubleshooting tips and my ultimate borax crystal growing secret!
Important Safety Considerations Before You Begin
Your safety is paramount when undertaking any science experiment or craft project involving heat and chemicals. While borax is generally safe for household use, precautions are essential. I learned after photographing my initial process that using a beaker (like the one pictured in some of my early attempts) directly on a stovetop is not recommended due to potential heat stress and breakage. To ensure maximum safety: always use a pot specifically designed and intended for stovetop use. A sturdy metal pot works perfectly well – I’ve since successfully grown numerous batches of borax crystals in a large canning pot. However, if you have a glass pot (or even one with just a glass lid), it offers the added benefit of allowing you to observe the magical crystal formation in real-time, which is incredibly exciting for children. As a final, non-negotiable safety precaution: please wear appropriate eye protection and gloves throughout the entire crystal growing process. This will safeguard your eyes from splashes and protect your skin from prolonged contact with the borax solution. Always ensure good ventilation in your workspace and supervise children closely.
Essential Supplies for Your DIY Borax Crystal Adventure
Gathering the right materials is the first step towards creating your stunning borax crystals. While the list is relatively short, selecting the proper type of each item can significantly impact your results. Here’s what you’ll need:
- Powdered Borax: The star of our show. You can typically find this in the laundry aisle of most supermarkets. Ensure it’s pure borax powder, not a cleaning solution containing borax.
- White Pipe Cleaners: These serve as the foundation for your crystals. White is ideal as it allows the true color of your dye to shine through. The fuzzier the pipe cleaners, the more surface area they provide, leading to more robust crystal growth.
- Pot with Lid (suitable for stovetop use): As mentioned in the safety section, a metal or heat-resistant glass pot designed for cooking is crucial. The lid helps control the cooling process, which is a key element of success.
- Scissors: For cutting pipe cleaners and thread.
- Strong Thread or Fishing Line: This will be used to suspend your pipe cleaner forms in the solution. Make sure it’s sturdy enough to hold the weight when wet.
- Neon Food Color Pack or Dye: While food coloring is excellent for vibrant results (neon colors are particularly striking!), any liquid dye can work. Experiment with different shades to create unique crystal hues.
- Pencil or Food Skewer: To suspend the pipe cleaner form by resting it across the top of your pot.
Troubleshooting: Why Didn’t My Borax Crystals Work? Common Pitfalls Revealed
My first foray into borax crystal growing was, frankly, a bit of a flop. I diligently followed an online tutorial that suggested a specific “recipe”: 9 tablespoons of borax dissolved in 3 cups of water. I prepared the solution in a heat-safe measuring cup, boiled water separately, added food coloring, then poured the colored boiling water over the borax powder until it appeared dissolved. After submerging my pipe cleaner form and wrapping the measuring cup in a dish towel for five hours (as instructed), I was left with a rather disappointing sight – spotty, uneven crystal development. It was frustrating to follow every step to the letter only to achieve such lackluster results:
At this point, I sheepishly enlisted the help of my father, a retired chemist. While secretly mortified that a simple kid’s craft had stumped me (a Ph.D. holder myself, mind you!), his scientific expertise proved invaluable. Together, through further experimentation, we uncovered the critical elements missing from my initial attempt and developed the ULTIMATE DIY borax crystal tutorial. This refined method ensures you consistently create homemade crystals with borax that are exceptionally dense, super glittery, and always turn out perfectly! The secret lies in a deep understanding of borax solubility and controlled cooling, which we’ll explore in detail through growing borax crystals on pipe cleaners.
The Ultimate Method: How to Make Stunning Borax Crystals – Step-by-Step
This is where the magic truly happens. Follow these steps precisely to achieve those massive, glittering borax crystals you’ve been dreaming of:
- Craft Your Pipe Cleaner Form: Begin by shaping 2-3 pipe cleaners into a loose coil or any desired form. The looser the coil, the more surface area the crystals will have to grow on, resulting in larger and denser formations. Avoid tightly packed shapes.
- Prepare for Suspension: Cut a piece of strong thread or fishing line. Tie one end securely to your pipe cleaner form. The thread needs to be long enough to allow the pipe cleaner to be fully submerged and suspended roughly in the middle of your pot, ensuring it doesn’t touch the bottom or float out of the water.
- Fill Your Pot with Water: Pour approximately 2 to 2.5 liters of tap water into your stovetop-safe pot. Precision here isn’t critical, but a sufficient volume is needed to fully submerge your crystal forms.
- Bring Water to a Rolling Boil: Place the pot on your stovetop and heat the water until it reaches a vigorous rolling boil. High temperatures are crucial for dissolving the maximum amount of borax.
- Turn Off the Heat and Wait: Once the water is boiling, turn off the heating element. It’s important to wait for the water to stop actively boiling before proceeding. This prevents accidental splashes and allows for a more controlled environment.
- Create a Supersaturated Borax Solution (The Key Secret!): This is the most vital step for huge crystals. Start adding powdered borax to the hot water, stirring continuously. Do not measure! Simply keep adding borax, spoonful by spoonful, and stir until no more borax will dissolve. You’ll know you’ve reached supersaturation when you see undissolved borax powder settling at the bottom of the pot, even after vigorous stirring. This means the water has absorbed as much borax as it possibly can at that temperature.
- Add Your Chosen Color: After achieving a supersaturated solution and while the water is still very hot, add your food coloring or dye. Stir well to ensure the color is evenly distributed throughout the solution.
- Maintain Heat and Submerge: This is another critical “secret.” Keep the pot ON the still-warm element (even if it’s turned off). Carefully dunk your pipe cleaner form into the hot borax solution.
- Remove Air Bubbles: Plunk the pipe cleaner form in and out of the solution a few times. This action helps to dislodge any trapped air bubbles on the pipe cleaner’s surface, ensuring a smooth, uninterrupted canvas for crystal growth.
- Position for Optimal Growth: Using the thread, suspend the pipe cleaner form in the middle of the pot, ensuring it’s fully submerged and not touching the sides or bottom. Secure the thread by tying it to a pencil or food skewer laid across the top of the pot.
- Slow Cooling is Crucial: Cover the pot with its lid. Leave the pot undisturbed on the now-cooling element. The slow, gradual cooling of the solution is paramount for growing large, well-formed crystals. Resist the urge to peek or move the pot! Allow it to cool for approximately 8-10 hours, or even longer for truly massive results.
Patience is a Virtue: How Long Does it Take to Grow Crystals with Borax?
The beauty of growing borax crystals is often a test of patience. While some visible crystal formation might occur within a few hours, achieving truly magnificent, huge borax crystals requires a commitment of time – typically around 8 hours, and often even longer. This makes it an ideal evening activity: set up your crystal solution before bed, leave it undisturbed overnight, and awaken to the wondrous sight of a gorgeous, fully formed DIY borax crystal. There’s an old saying, “a watched pot never boils,” and I believe the same holds true for crystal growth – a watched crystal doesn’t seem to grow either! So, don’t fret if, after 5 or 6 hours, you don’t observe significant crystal development. The key is to resist the urge to interfere. Leave the borax solution completely undisturbed in its slowly cooling environment, and you will eventually be rewarded with a massive growth spurt, revealing huge, glittering borax crystals like these:
Can You Use a Microwave to Make Borax Crystals? Exploring Alternative Heating Methods
While my stovetop method with slow cooling consistently yields the best results, I’ve experimented with other heating approaches. For instance, I found that I could achieve larger borax crystals even with a Pyrex measuring cup and kettle method (similar to my initial “failed” attempt), as long as I ensured the borax solution was utterly supersaturated, meaning no more borax powder would dissolve. You can even reheat borax solutions in the microwave, but it’s important to remember that borax dissolves much more effectively and quickly in hotter water. Microwaves can heat water rapidly, but they might not provide the consistent, prolonged heat ideal for dissolving maximum borax or the slow, even cooling that fosters large crystal growth. While my stovetop method remains my top recommendation for optimal crystal size and density, if a microwave is your only option, ensure you meticulously follow the other steps, especially achieving a truly supersaturated liquid for the best possible crystal formation.
The Ultimate “Recipe” for Borax Crystals: Beyond Measurements
Let’s simplify the “recipe” for borax crystals to its absolute core, focusing on the principles that truly matter for massive, dense formations. The bottom line is this: if your goal is to grow crystals that are robust, substantial, and densely packed, you must SUPERSATURATE your borax solution. Forget about precise measuring spoons or cups when it comes to the borax itself – they can lead to under-concentration. Instead, continuously dissolve borax powder into the boiling hot water until you reach a point where no more powder will visibly dissolve, even with thorough stirring. This undissolved sediment is your visual cue that you’ve achieved maximum saturation. Beyond supersaturation, the second critical element is controlled, slow cooling. Therefore, make sure to let your borax crystals grow inside the very pot on the element where you heated the water. Utilize the residual heat of the cooling element and the insulation of a covered pot to ensure your solution cools as slowly and gradually as possible. These two factors—supersaturation and slow cooling—are the undeniable secrets to transforming ordinary borax powder into extraordinary glittering gems!
Once you’ve mastered the basic technique, don’t be afraid to experiment with your pipe cleaner shapes and other objects! After I got the hang of the supersaturation and slow cooling method, I enjoyed exploring various forms. My personal favorite is this elegant, shell-shaped form, which produced some truly captivating and unique DIY crystals. The possibilities for creative expression are endless!
Thinking Outside the Box: Can You Make Borax Crystals Without Pipe Cleaners?
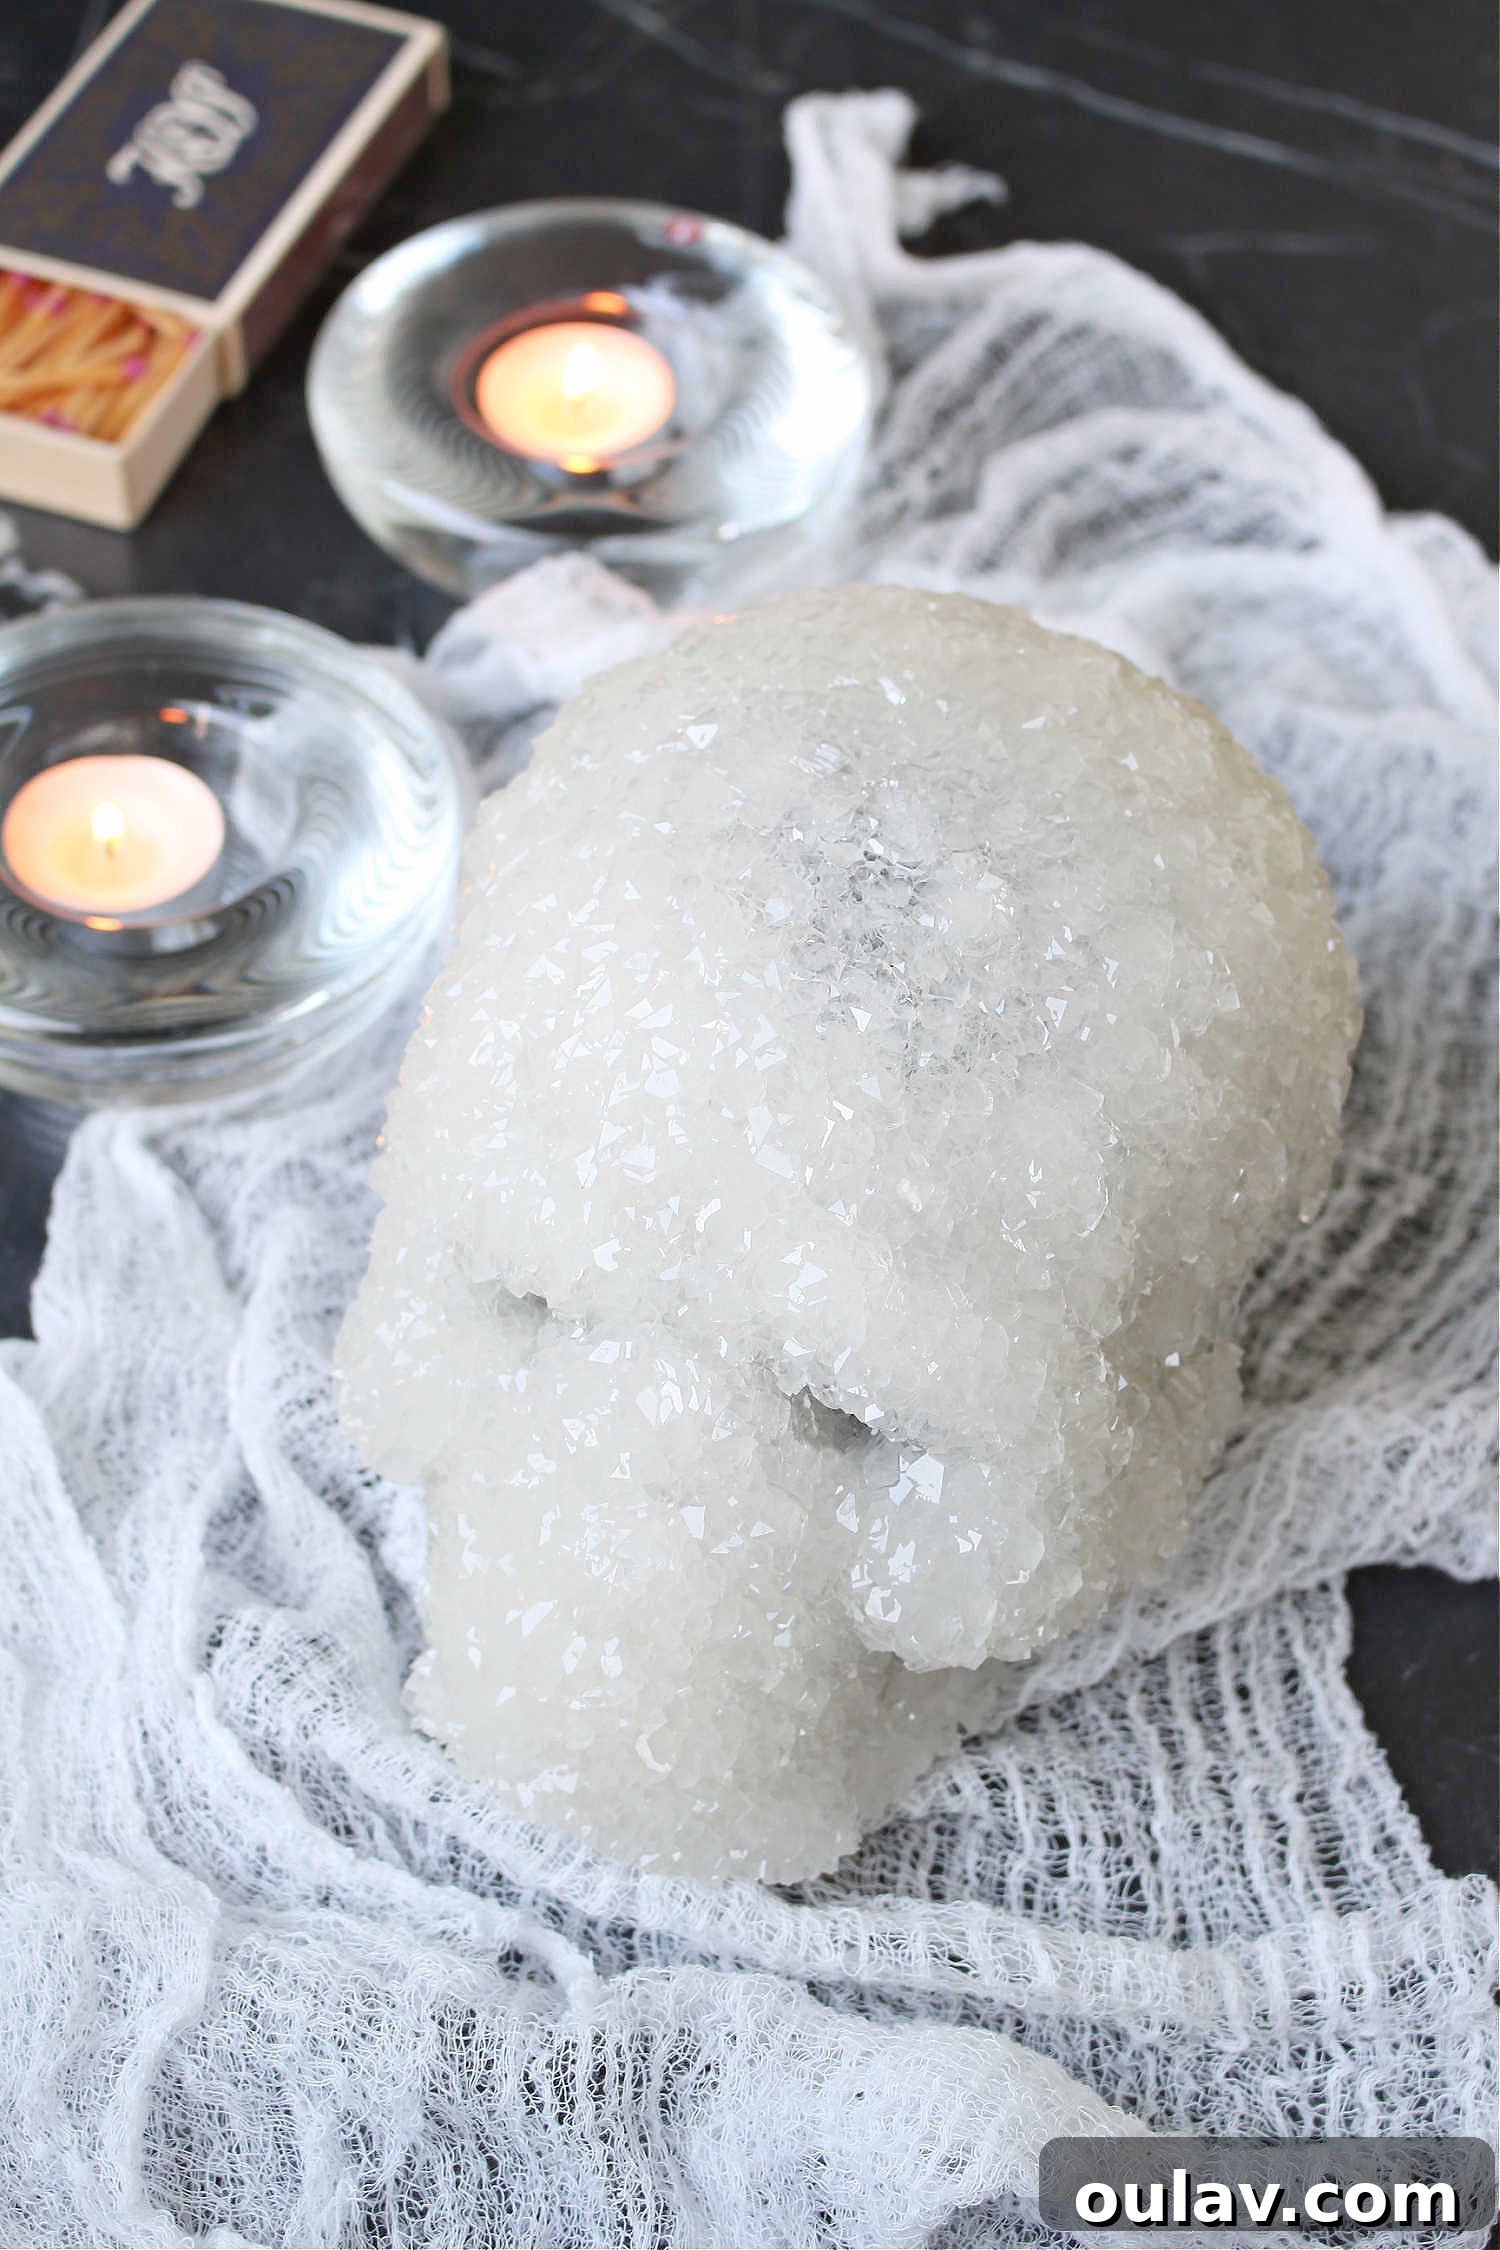
Absolutely! While pipe cleaners offer an excellent, textured surface for crystal growth, they are by no means the only option. Borax crystals simply need something to “grab onto” as they form, so the more textured a surface, the better. I’ve successfully grown crystals on a pine cone, transforming it into a sparkling natural ornament. I’ve also seen incredible examples of crystals growing on various objects, from books to intricate animal skulls. In fact, I recently created a stunning DIY Borax Crystal Skull using a plastic Halloween decoration. The only significant challenge arises with very light or buoyant objects, such as Styrofoam. If an item floats or bobs around too much, it can disrupt the delicate crystal formation process. Therefore, you need something that will either naturally sink or can be securely suspended in the borax solution to ensure stable growth. Beyond that, feel free to unleash your creativity and experiment with a wide array of objects to serve as your crystal canvas!
Creative Applications: What Can You Do With Your Borax Crystals?
Once you’ve grown your spectacular borax crystals, the fun doesn’t stop there! These shimmering creations open up a world of possibilities for decorative and educational uses. Display them as unique home decor pieces, turning them into conversation starters. Transform them into dazzling crystal ornaments – simply form long, icicle-shaped pipe cleaner forms, follow the crystal growing steps, and you’ll have glistening borax crystal icicles perfect for a holiday tree or winter wonderland display. They make exquisite, sparkling holiday decor for any season, adding a touch of personalized glitter. The only limit is your imagination! For a fantastic example, check out the cool Halloween DIY decor idea with homegrown crystals below.
Unleash Your Inner Mad Scientist: Making a Borax Crystals Skull
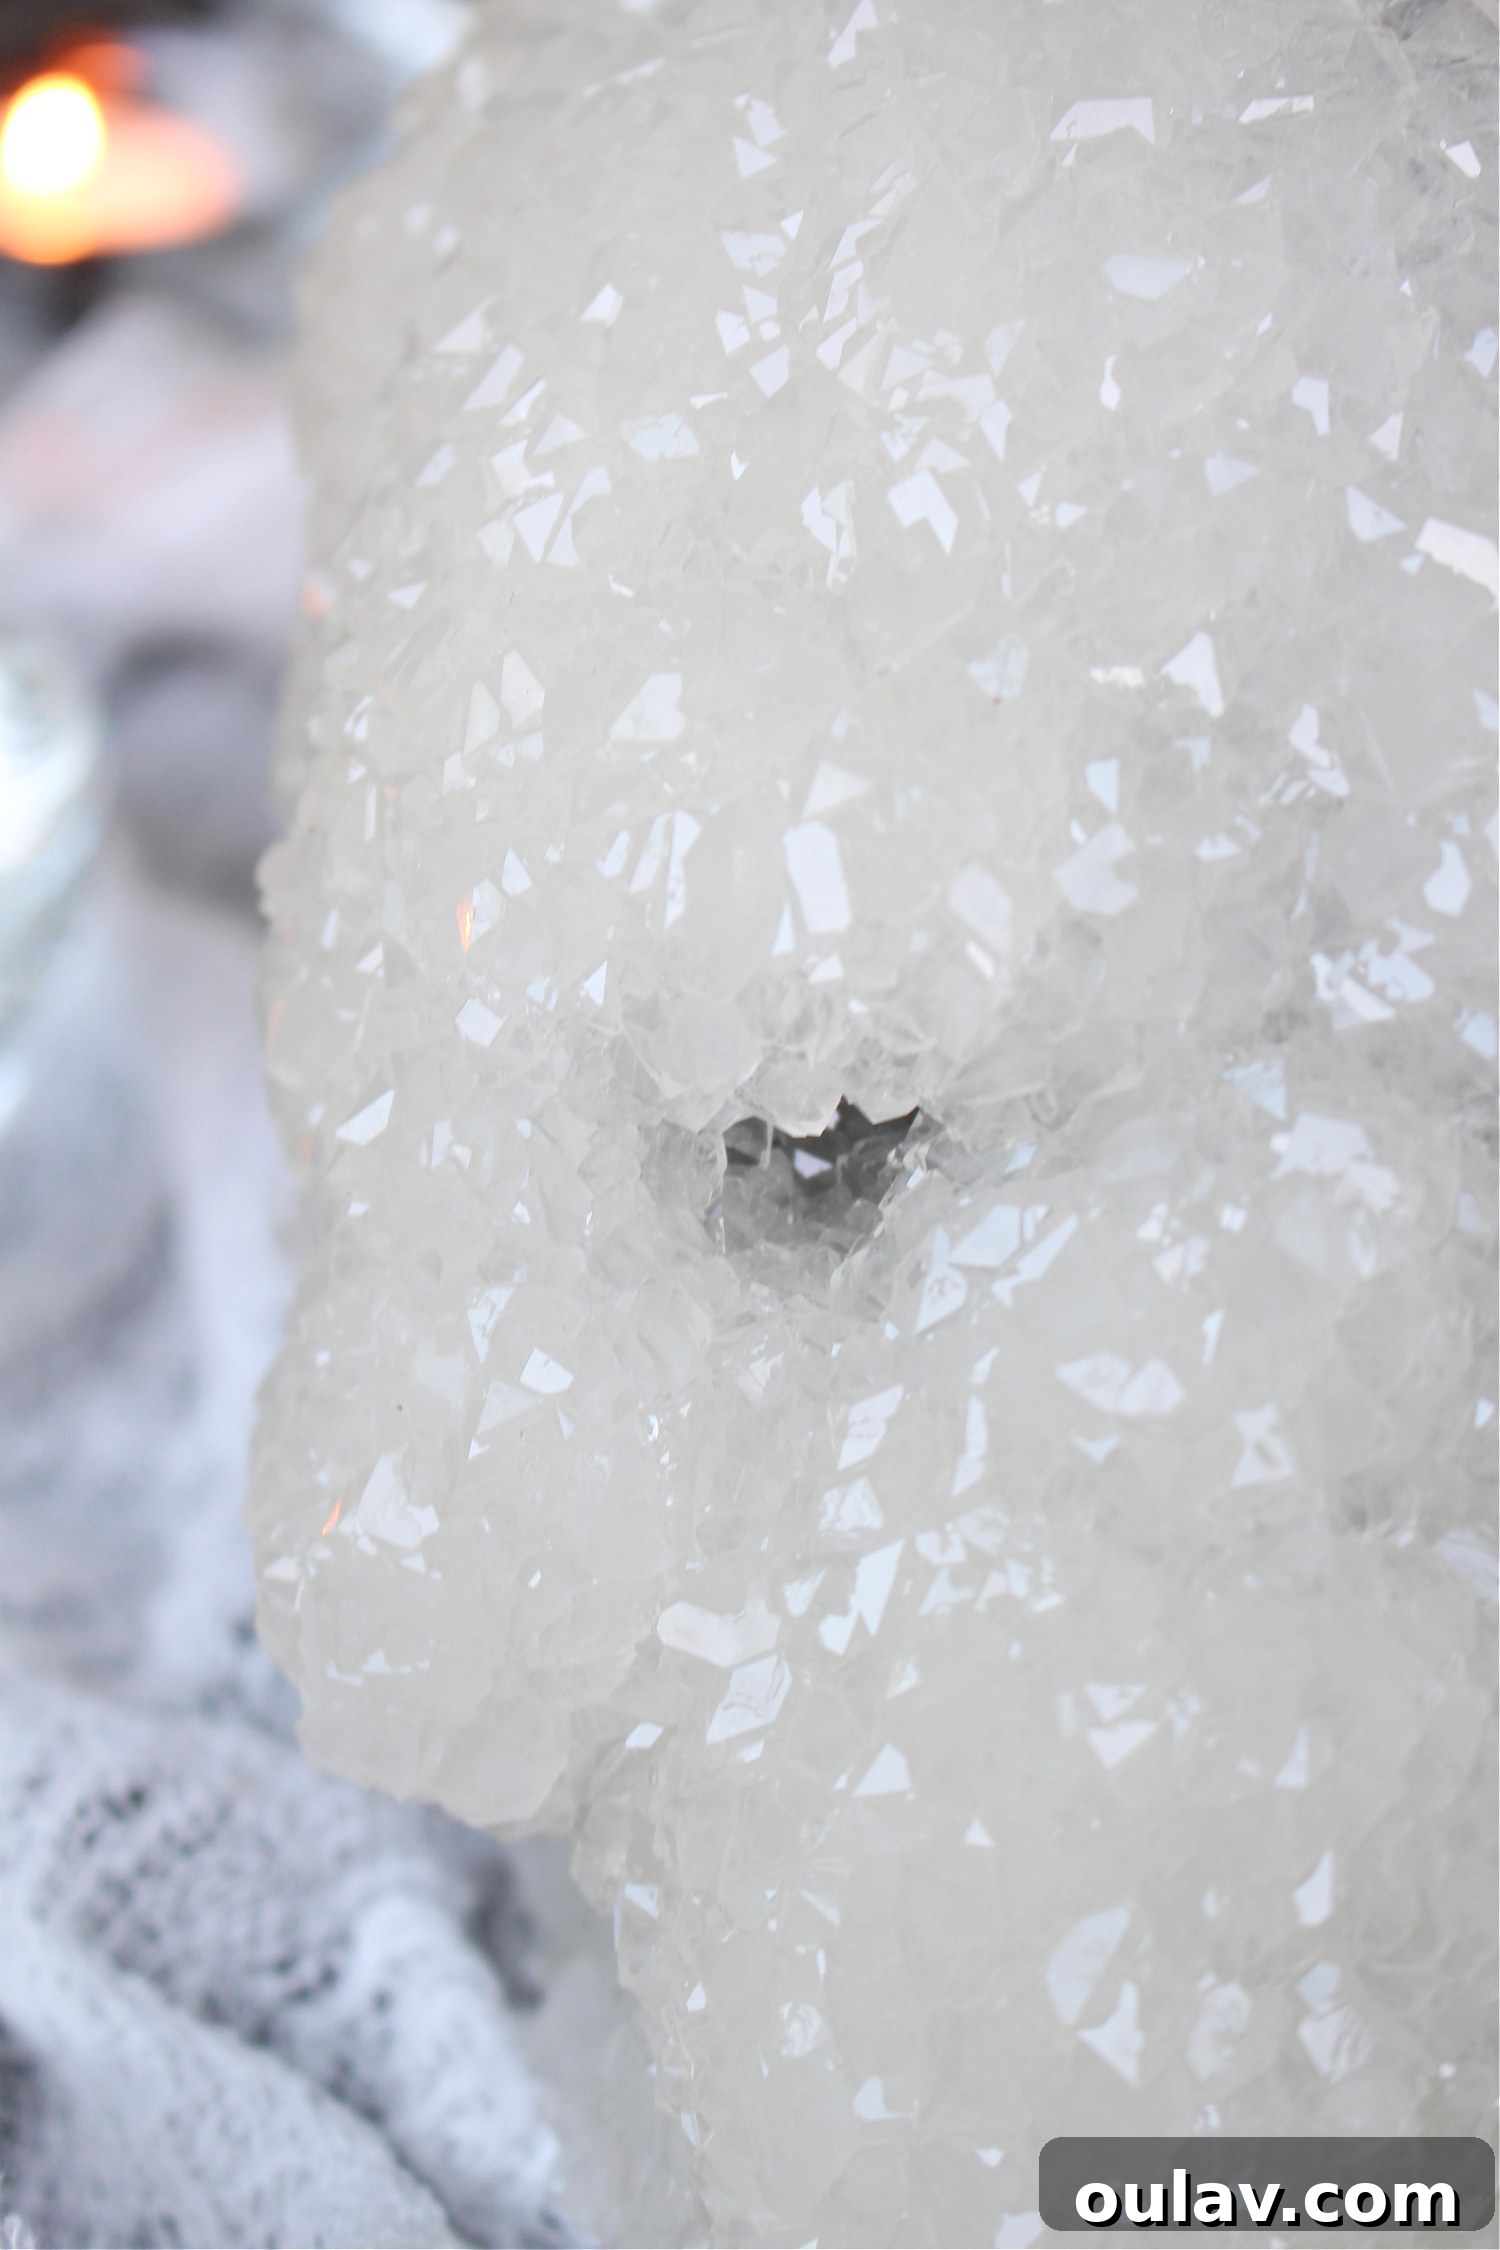
One of my favorite advanced borax crystal projects involved taking a simple plastic Halloween skull and giving it a spectacular, eerie makeover. By carefully growing borax crystals onto its surface, I transformed it into a captivating and spooky borax crystals skull, perfect for unique holiday decor or a striking display piece. This project truly showcases the versatility and artistic potential of borax crystal growing:
Cleaning Up and Reusing: How to Remove Borax Crystals from a Pot
One of the most practical and satisfying aspects of making borax crystals is the ease of cleanup and the potential for reuse. If crystals form on the inside of your pot (which they inevitably will!), don’t worry about scrubbing them off. The beauty of borax is that it’s soluble in hot water. Simply reheat the water in the pot, and the crystals will dissolve back into the solution. This means you can easily clean your pot, and even better, you can add a little more powdered borax, repeat the steps outlined above, and continue making more of these huge, glittering borax crystals! This reusability makes borax crystal growing an economical and environmentally friendly craft.
Preserving Your Creations: Do Borax Crystals Dissolve?
Yes, it’s important to understand that borax crystals are not permanent in all conditions. Because they are formed from a water-soluble mineral, they can re-dissolve if they come into contact with water or are exposed to excessively humid environments. If you live in a very humid climate or anticipate your crystals being handled frequently or exposed to moisture, my father (the chemist!) suggests coating them with any type of clear craft sealant or varnish. This will provide a protective barrier against humidity and accidental splashes, preserving their beautiful form. This characteristic also works to your advantage: if you’re ever unhappy with a particular borax crystal project, simply place it back into a pot of hot water. The crystals will readily redissolve into the solution, allowing you to salvage the borax and try forming crystals again, truly a forgiving craft!
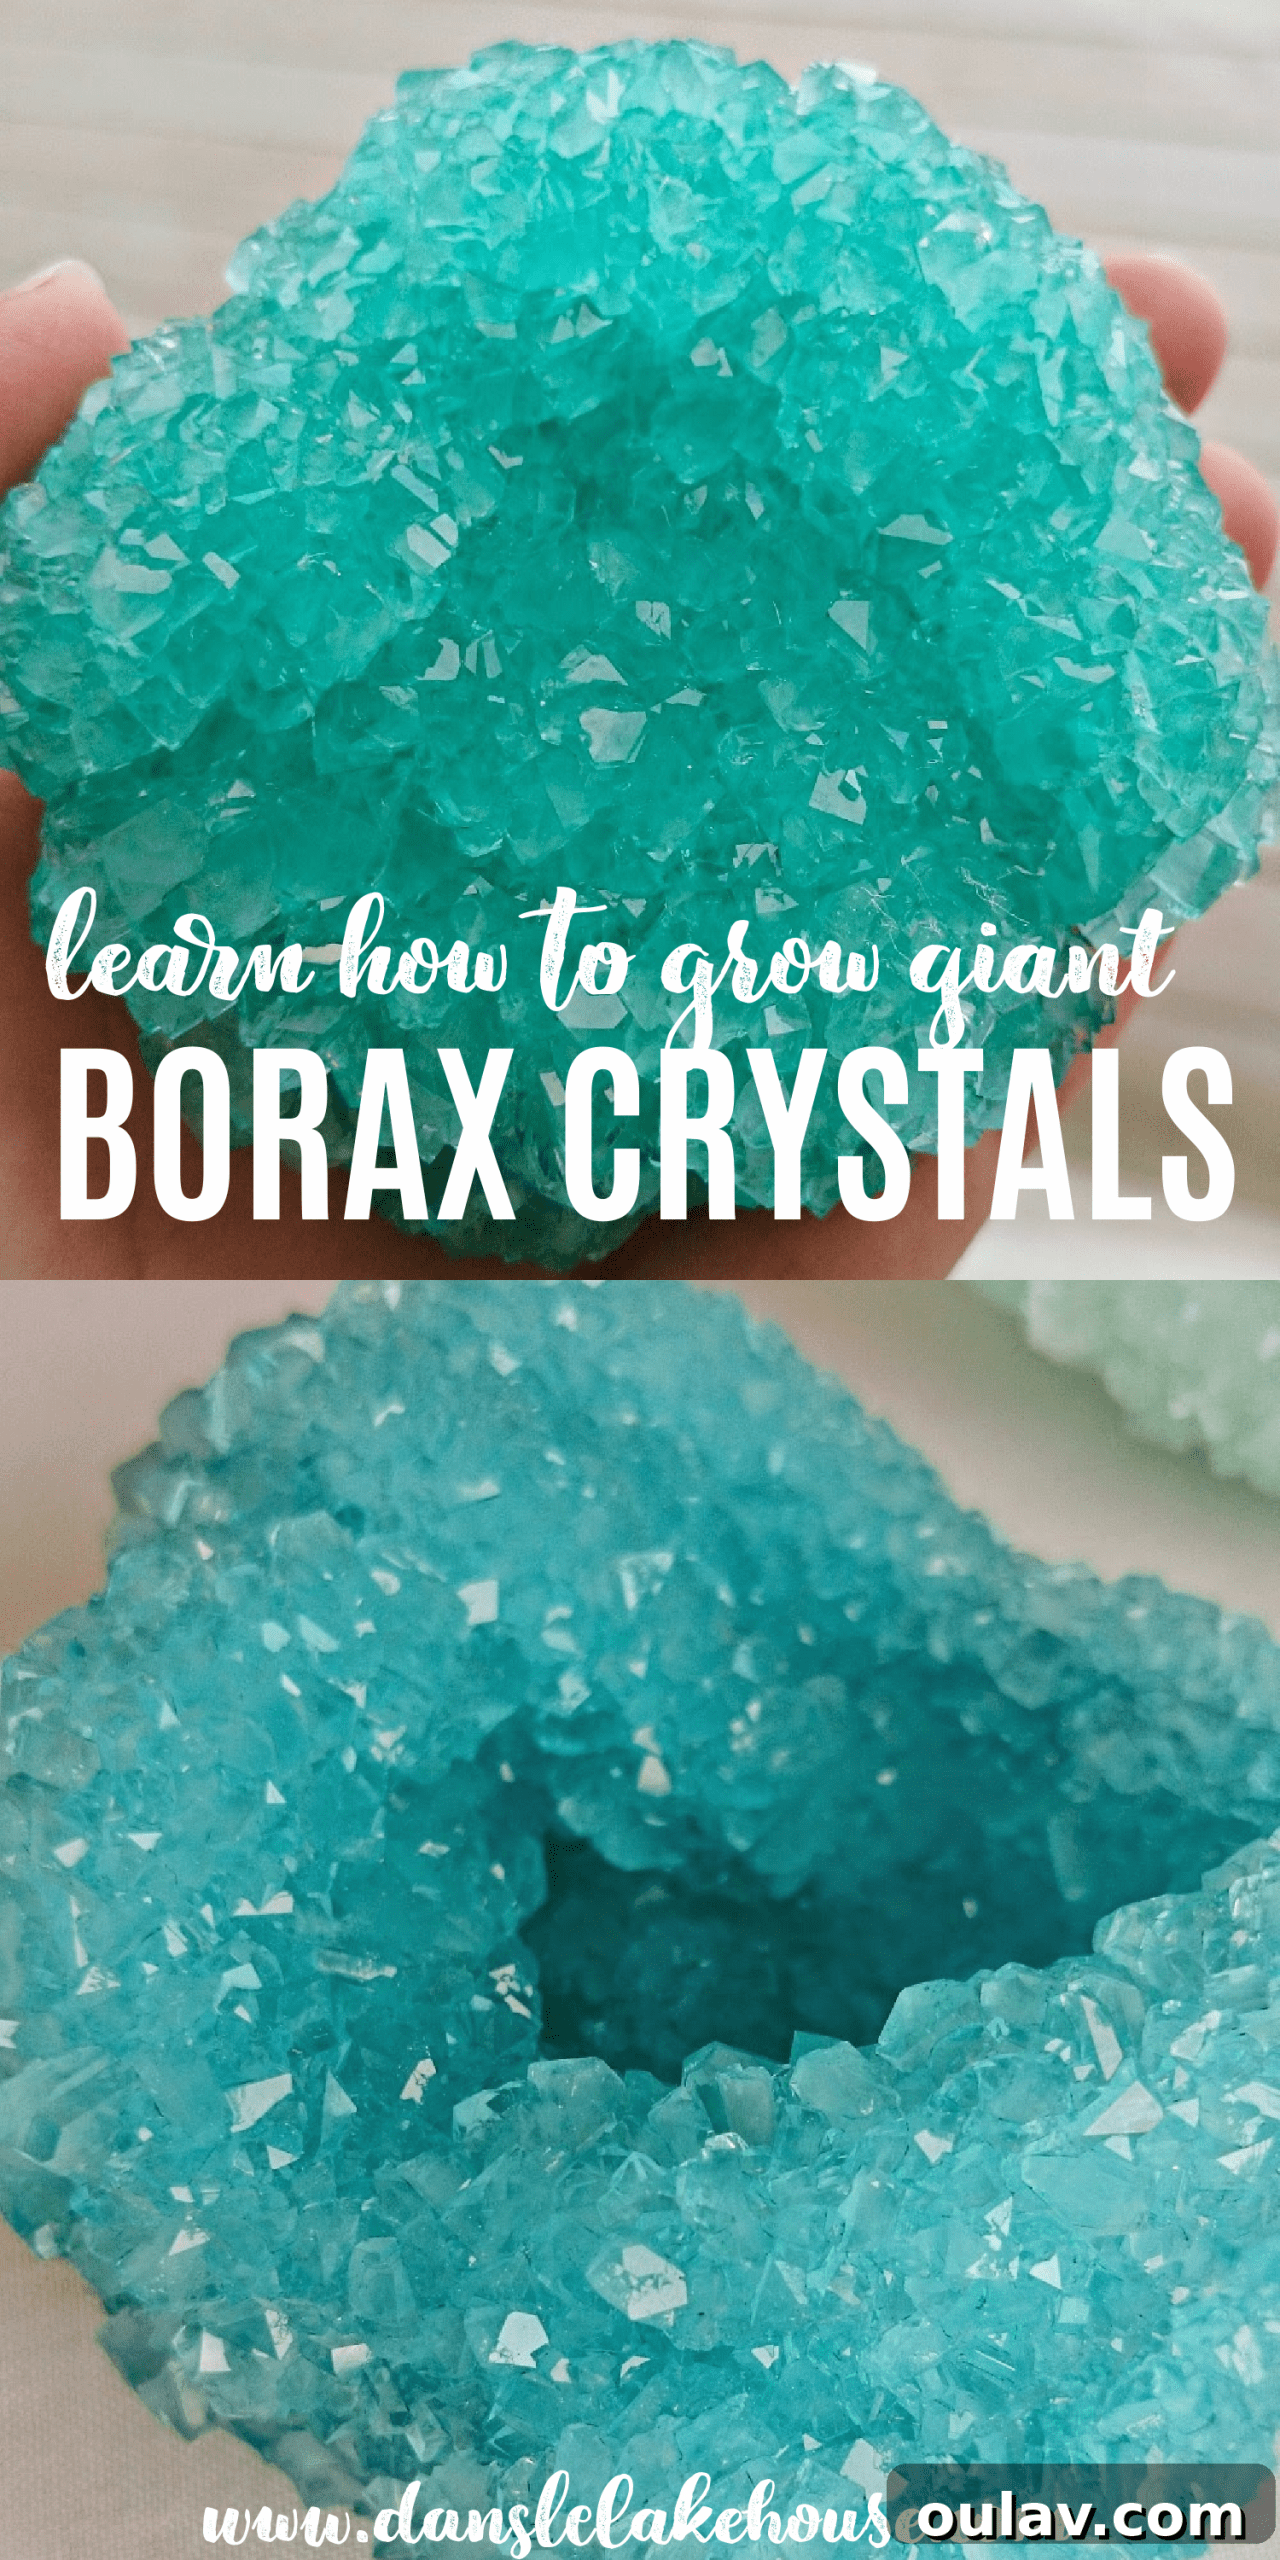
P.S. Don’t Forget to Pin This Tutorial for Later Inspiration!
I actively moderate comments on my blog, so if you have any lingering questions about making borax crystals or encounter any challenges, please don’t hesitate to ask! I’m here to help you succeed, and I’ll do my absolute best to reply to your queries. However, for quicker answers, I recommend taking a moment to browse through the existing comments below, as your question might have already been addressed. I would absolutely love to see your stunning creations, so please feel free to tag me on Instagram to share photos of your gorgeous borax crystals! Happy crafting!
Looking for More Easy & Cool DIY Project Ideas?
If you enjoyed the magic of growing borax crystals, you’ll love these other accessible and creative DIY projects:
- DIY Gemstone Soap: Craft Your Own Sparkling Soaps
- DIY Borax Crystal Skulls for a Spooky Halloween
- DIY Alcohol Ink Art: A Vibrant Beginner’s Project
- DIY Egg Shell Art: Unique Textured Creations
- DIY Ice Dye Fabric: Create Beautiful, Organic Patterns