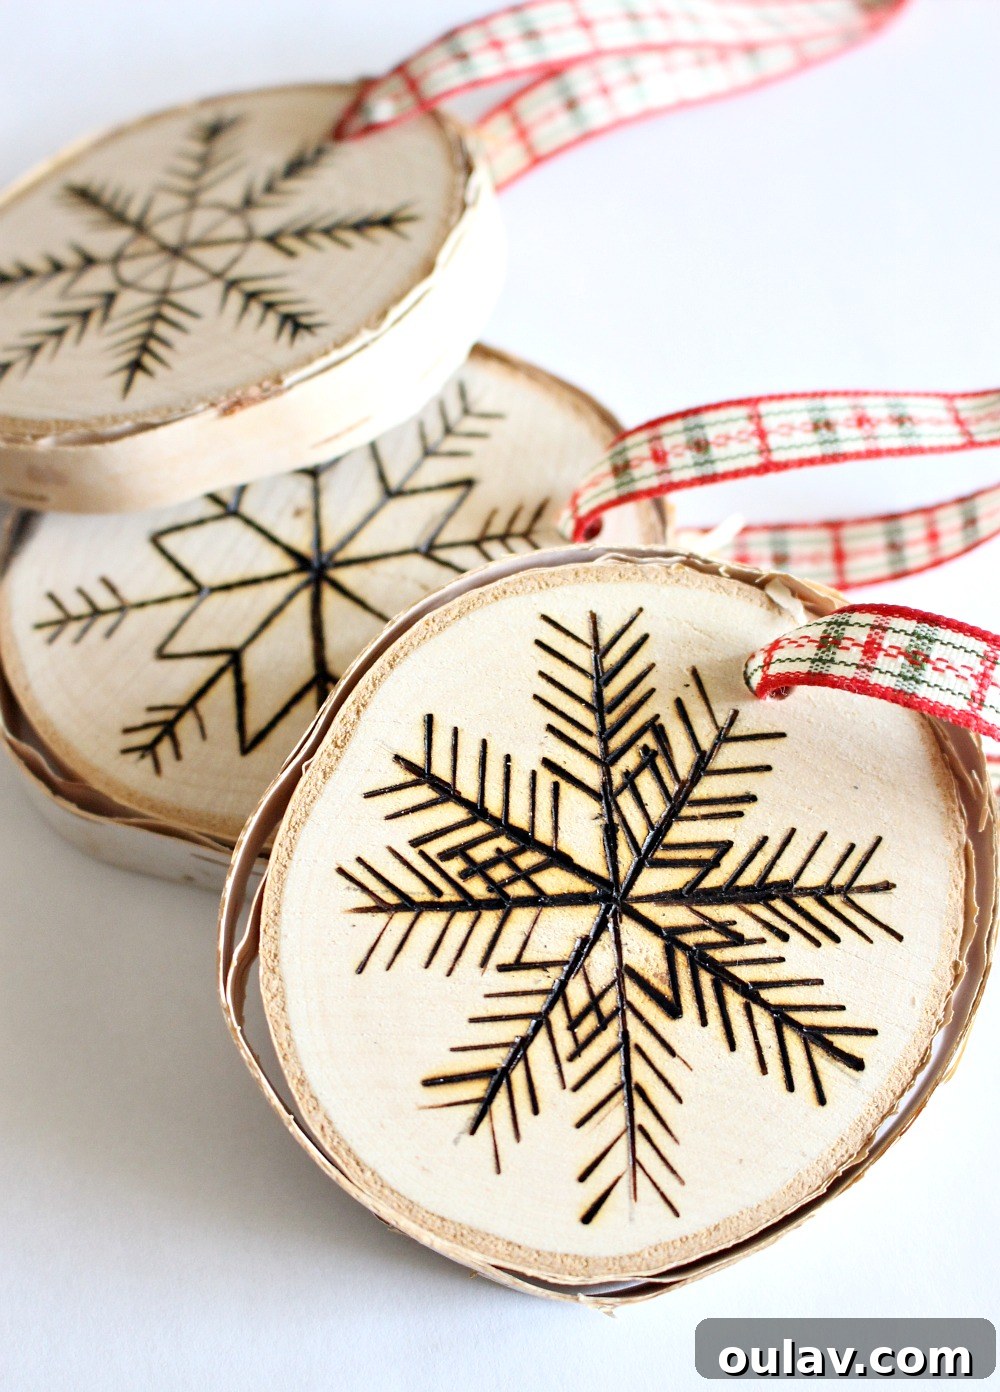
The holiday season is a magical time, filled with warmth, cheer, and the joy of giving. What could be more special than adorning your home with handmade decorations that carry a personal touch? Or perhaps gifting a truly unique item crafted with love? This guide will walk you through creating beautiful and rustic DIY wood burned birch slice ornaments, a perfect craft for anyone looking to add a touch of natural elegance to their festive decor. This project is not only creatively fulfilling but also offers a wonderful opportunity to slow down and embrace the meditative process of pyrography.
When I had the pleasure of visiting my friend Ashley in Ottawa, we embarked on a delightful crafting session, inspired by some stunning wood burned birch slice ornaments we’d both admired on Pinterest. Ashley, with her charming rustic Christmas tree theme, was eager to try her hand at making these, and knowing my love for a good craft, I was absolutely thrilled to join in. The result? A collection of unique, hand-crafted ornaments that are as charming as they are simple to make.
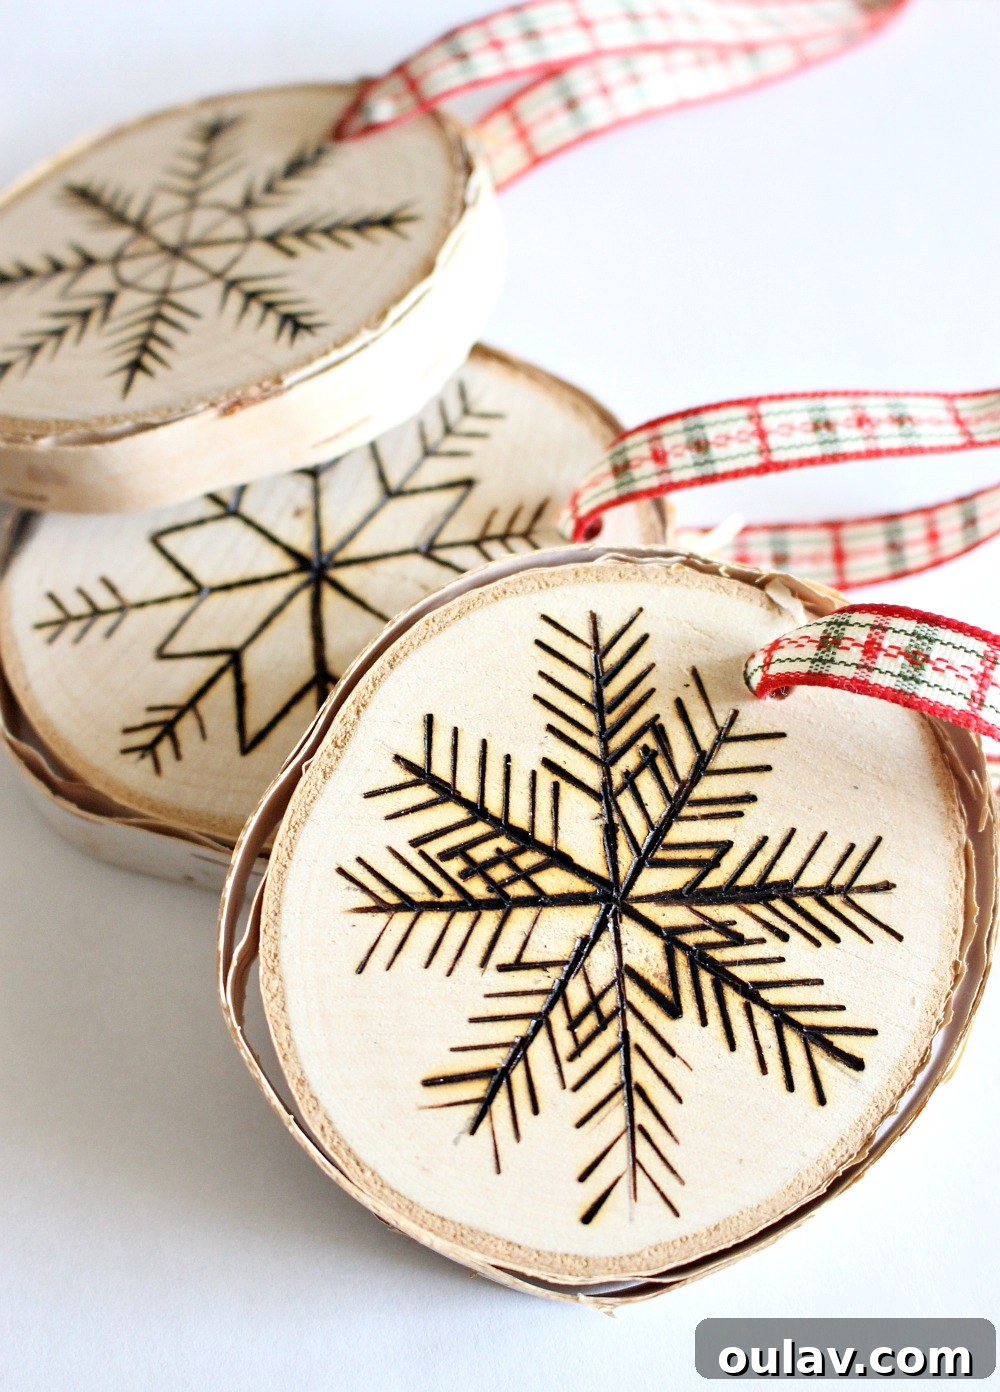
Why Choose Birch for Wood Burning?
Birch wood slices are an ideal canvas for pyrography, especially for beginners. Their light, smooth surface provides excellent contrast for burned designs, making your artwork truly stand out. The distinctive, often peeling bark adds an organic, rustic charm that perfectly complements holiday decorations. Furthermore, birch is relatively soft, making it easier to burn than harder woods, and it’s widely available, either as raw branches or conveniently pre-cut slices. The natural aesthetic of birch lends itself beautifully to a variety of designs, from intricate snowflakes to simple monograms, ensuring each ornament is a unique piece of art.
Essential Supplies for Your DIY Wood Burned Ornaments:
- Birch branch or pre-cut and drilled wood slices: If you’re sourcing your own birch branches, ensure they are thoroughly dried to prevent cracking and allow for optimal burning. Pre-cut slices offer convenience and consistency.
- Wood burner (pyrography tool): We used a user-friendly model that comes with various tips, allowing for different line widths and shading effects. Investing in a good quality burner will enhance your experience.
- Drill (if cutting your own slices): A small drill bit (around 1/8 inch or 3mm) is perfect for creating a hanging hole without splitting the wood.
- Chop saw or hand saw (if cutting your own slices): For clean, even cuts. Safety precautions are paramount when using any saw.
- Sandpaper: Fine-grit sandpaper (180-220 grit) is crucial for smoothing the surface, which allows the wood burner to glide effortlessly and produce crisp lines.
- Narrow plaid ribbon or twine/string: Choose a material that complements your desired aesthetic. Plaid ribbon adds a cozy, rustic touch, while natural twine offers a more minimalist look.
- Pencil: A light lead pencil (e.g., 2H) is ideal for sketching designs, as it leaves faint lines that are easy to erase or burn over.
- Pliers (to change wood burner tips): Absolutely essential for safety! Wood burner tips get incredibly hot, so never touch them with bare hands.
- Old chopping block or cookie sheet: Place this under your work area to protect your surface from accidental burns or dropped hot tools.
- Good ventilation: Working in a well-ventilated area is important as wood burning can produce light smoke and fumes.
Quick Steps to Create Your Wood Burned Ornaments:
For those eager to dive right in, here’s a concise overview of the process:
- Cut birch slices with a saw, ensuring uniform thickness, or purchase ready-to-use wood slice ornament blanks online.
- Drill a small hole near the top edge of each slice for easy hanging.
- Lightly sand both sides of the wood surface to create a smooth, optimal canvas for burning.
- (Optional) For a cleaner look, peel off the bark and sand the edges smooth.
- Sketch your chosen design onto the wood slice using a pencil.
- With your heated wood burner, carefully trace and fill in your design, applying even pressure as if using a pen.
- Once cooled, thread your chosen ribbon or twine through the hole and tie it off.
Detailed Tutorial: Crafting Your Wood Burned Birch Slice Ornaments
Step 1: Preparing Your Birch Slices for Pyrography.
The foundation of a beautiful ornament lies in its preparation. Ashley’s handy hubby was kind enough to cut and drill our birch slices, making them perfectly ready for crafting. However, if you’re taking on this step yourself, it’s quite manageable. When cutting your own slices from a birch branch, aim for a thickness of about 1/4 to 1/2 inch (0.6 to 1.3 cm) for durability and ease of handling. Use a chop saw for precision or a hand saw for a more rustic edge. Remember to wear appropriate safety gear, including eye protection. Once cut, drilling a small hole (around 1/8 inch) near the top edge is simple; just ensure you place a scrap piece of wood underneath to prevent splintering. If you prefer convenience, pre-cut and pre-drilled wood slices are readily available online, often already sanded and ready for your artistic touch.
Sanding is a crucial step that often gets overlooked. A lightly sanded surface allows the wood burner to glide smoothly, preventing jagged lines and creating a more professional finish. Start with a medium-grit sandpaper if the surface is rough, then move to a fine-grit (like 220) for a silky-smooth finish. Ashley preferred the natural, rustic look of the bark, so we left ours on. If you desire a cleaner, more refined edge, you can carefully peel off the bark and sand the edges lightly until smooth. This choice ultimately comes down to your personal aesthetic.
Step 2: Designing and Pyrography – Bringing Your Ideas to Life.
This is where the true creativity begins! Ashley and I spent a delightful evening, (perhaps with a glass of wine – though not strictly recommended for precision work!), taking turns with the wood burner. We focused on a series of unique snowflake designs, ensuring no two were exactly alike. Begin by lightly sketching your chosen design onto the birch slice with a pencil. This allows you to refine your ideas before committing them to wood. Don’t press too hard, as deep pencil lines can be difficult to erase completely, and faint lines are easily covered by the burning tool.
For those who prefer not to freehand, there are several methods for transferring designs. You can use carbon paper specifically designed for wood, or even print out a laser-printed image and transfer it using a specialized transfer tip that often comes with wood burning kits (like the one I linked to). This allows you to replicate intricate clip art or even personal photos. Once your design is on the wood, it’s time to pick up your wood burning tool.
Neither Ashley nor I had extensive experience with a wood burner, so we really embraced experimentation with different designs and the various tips that came with the tool. Don’t be discouraged if your first few attempts aren’t perfect – practice is key! We quickly learned that “drawing” with a wood burner is quite different from using a pen or pencil; we found ourselves making lots of short, controlled strokes, almost like sketching, to build up the design. The hotter the wood burner, the smoother and more fluidly it will move across the wood, so experiment with temperature settings to find what works best for your desired effect. You can achieve different shades and depths by varying pressure and how long you hold the tip in one spot. This project truly became a meditative experience for us, thanks to its repetitive and simple nature. Plus, the distinct, comforting smell of burning wood is an added bonus!
Step 3: The Finishing Touches and Hanging.
Once your intricate designs are complete, allow the wood burned birch slices to cool down completely. This ensures the design is set and prevents accidental smudging or burns. After cooling, gently brush off any minor residue from the burning process. For added durability and to protect your beautiful artwork from moisture and wear over time, consider applying a thin coat of clear sealant. Options include a spray-on clear varnish, a brush-on polyurethane, or even a simple Mod Podge. This optional step can help preserve the vibrancy of your burned designs for years to come.
The final step is to add a hanging mechanism. We threaded a narrow plaid ribbon through the drilled holes, securing it with a simple knot. To prevent the ends of the ribbon from fraying, a small dab of clear nail polish or fabric glue applied to the cut edges works wonders. If you’re using twine, a tight knot will suffice. These DIY wood burned birch slice ornaments are incredibly versatile; beyond gracing your Christmas tree, they also make charming and personalized gift tags! Imagine burning initials, a recipient’s name, or a significant date on the reverse side of the ornament for a truly thoughtful touch. They can also be adapted into coasters, keychains, or even incorporated into a festive garland, showcasing the endless possibilities of this simple craft.
Essential Tips for Mastering Your Wood Burning Tool:
To ensure a safe and successful wood burning experience, keep these helpful tips in mind:
- Protect Your Workspace: Always place an old chopping block, ceramic tile, or cookie sheet beneath your work area. This safeguards your table from accidental burns if the hot tool is dropped or when you’re changing tips.
- Start Simple: Especially as a beginner, begin with straightforward designs. Snowflakes, simple geometric shapes, or basic lettering are excellent choices to help you get a feel for the tool.
- Heat Control is Key: Understand that the hotter the wood burner, the more smoothly and fluidly it will move across the wood, resulting in darker, more defined lines. Experiment with your tool’s heat settings (most instructions provide a recommended range) on a scrap piece of wood to discover the effects of different temperatures.
- Embrace Short Strokes: Unlike traditional drawing, wood burning often works best with a series of short, deliberate strokes rather than long, continuous lines. Think of it more like sketching or shading to build up your design.
- Work Slowly and Build Intensity: Pyrography is not a race. Take your time, allowing the heat to do its work. You can always go over areas multiple times to deepen the burn, smooth out lines, or add shading, but you can’t undo a deep burn.
- Practice Makes Perfect: This cannot be stressed enough. Keep some scrap wood handy to experiment with different techniques, explore the effects of various tips, and get comfortable with heat settings before working on your final ornament. This is especially vital if you have a finite number of pre-cut slices.
- Take Breaks: Periodically turn off or unplug your tool and allow it to cool. This prevents overheating, prolongs the life of your wood burner, and gives your eyes and hands a rest.
- Use Pliers for Tip Changes: Always use a pair of pliers to carefully remove and attach wood burner tips. Allow a new tip to heat up fully before beginning your next design.
- Ensure Good Ventilation: Wood burning produces light smoke and fumes. Work in a well-ventilated area, preferably near an open window or with a fan, to ensure proper airflow.
The Irresistible Charm of Finished Birch Slice Ornaments:
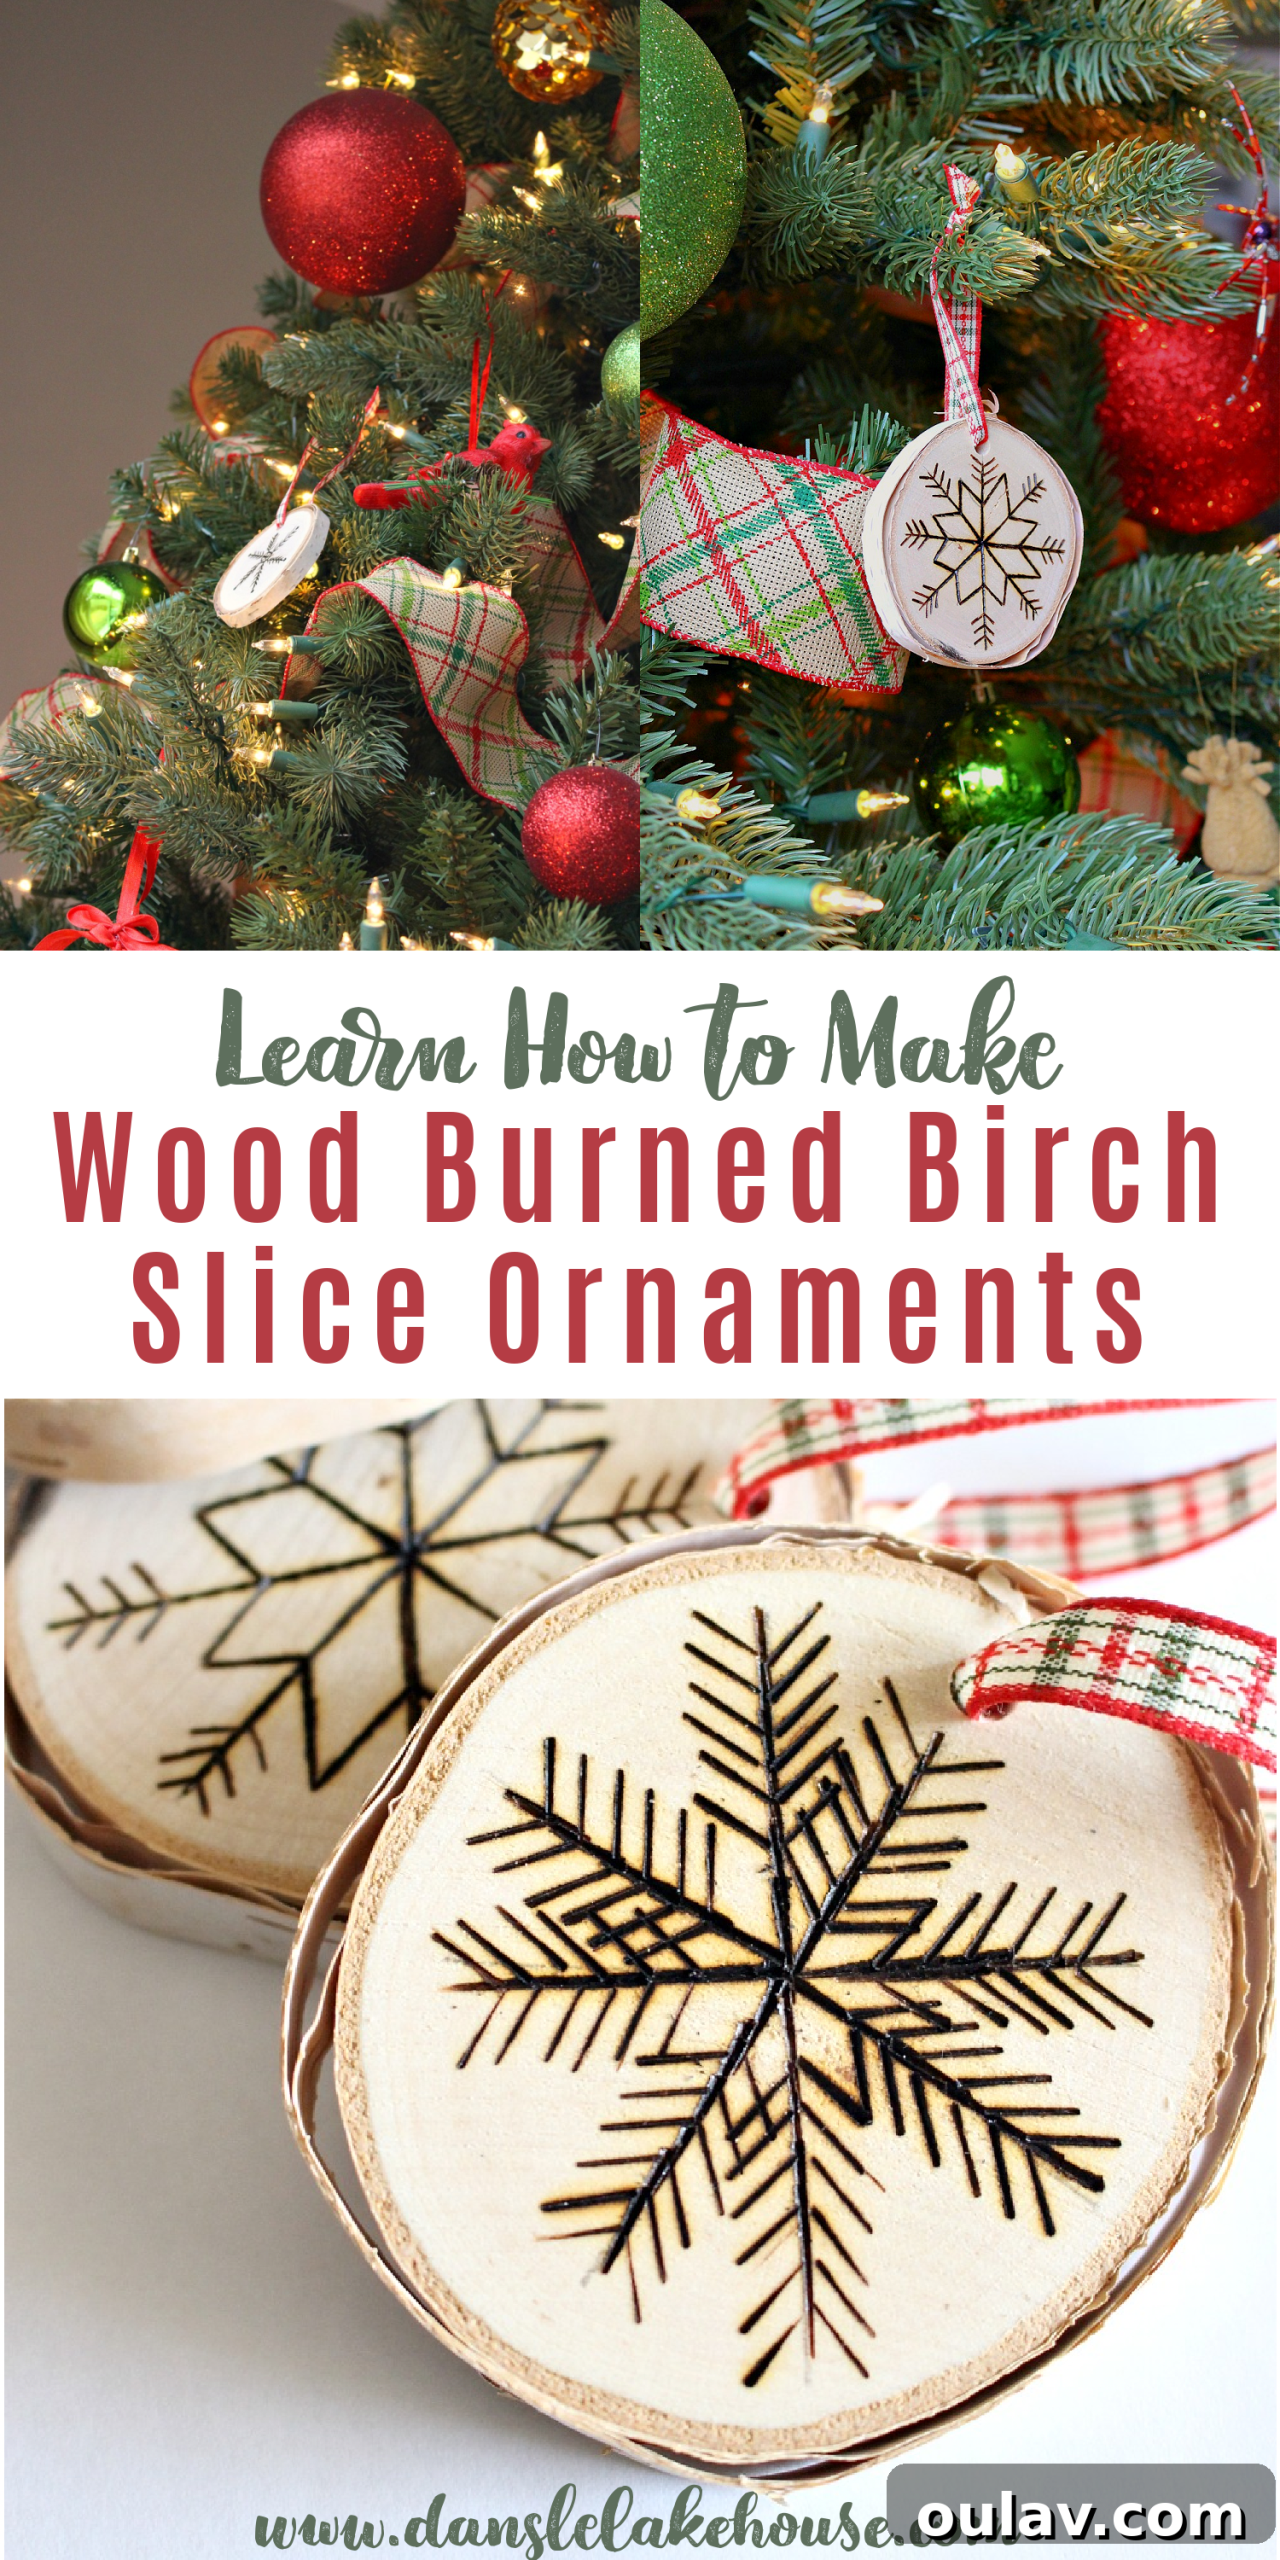
You’ll be amazed at how easy and rewarding it is to create these beautiful DIY wood burned birch slice ornaments! I absolutely loved seeing our creations adorning Ashley’s Christmas tree. She has such a delightful assortment of rustic ornaments, beautifully complemented by a scattering of glittering balls that add just the right amount of sparkle. I helped her trim the tree before I left, and we spent a considerable amount of time meticulously weaving that plaid ribbon garland into place. So, if you’re taking a moment to admire our collective handiwork in the images below, we certainly wouldn’t mind. Each ornament tells a story, a testament to the warmth and creativity of handmade decor.
Embrace the Joy of Handmade Holiday Decor!
Creating these wood burned birch slice ornaments is more than just a craft; it’s an opportunity to infuse your home with personality and warmth. Whether you’re making them for your own tree, as thoughtful gifts, or even to sell at a local craft fair, the satisfaction of creating something beautiful with your own hands is truly unparalleled. So gather your supplies, find a comfortable spot, and let your creativity flow. Happy burning!
P.S. Don’t Forget to Pin For Later!
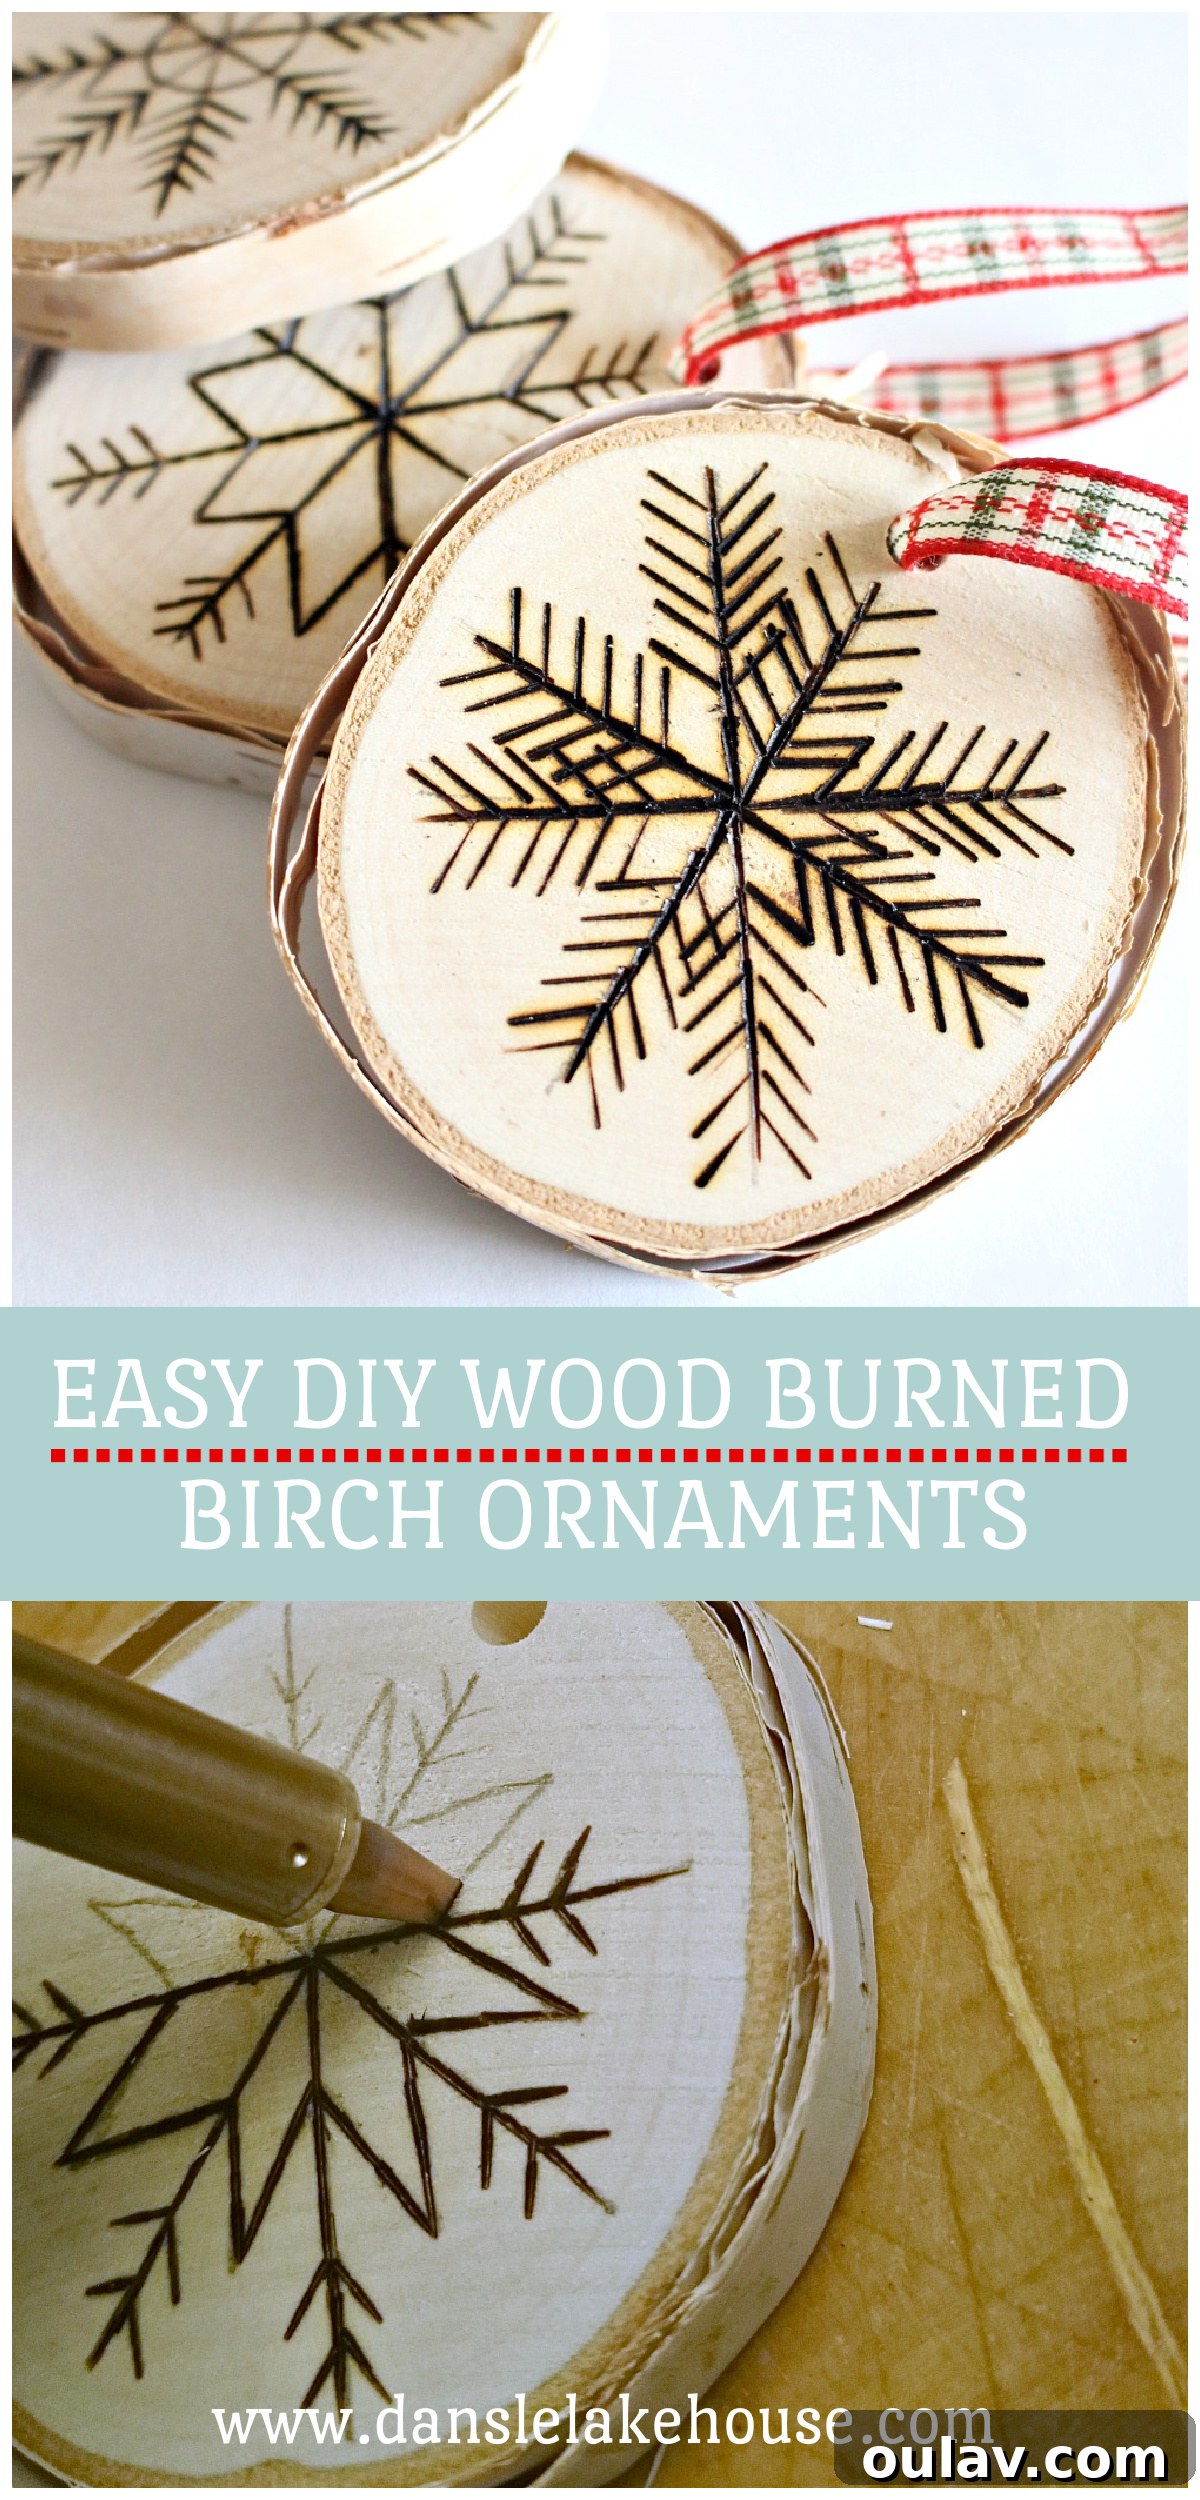
If you loved this project and want to remember it for future holidays or crafting sessions, be sure to pin these inspiring images to your Pinterest boards!
Looking for More Birch Slice Craft Ideas?
The versatility of birch slices extends far beyond ornaments! If you’ve enjoyed working with them, you’ll be delighted by these other inspiring DIY birch slice crafts and project ideas. They make wonderful additions to any home and can be customized to suit your personal style.
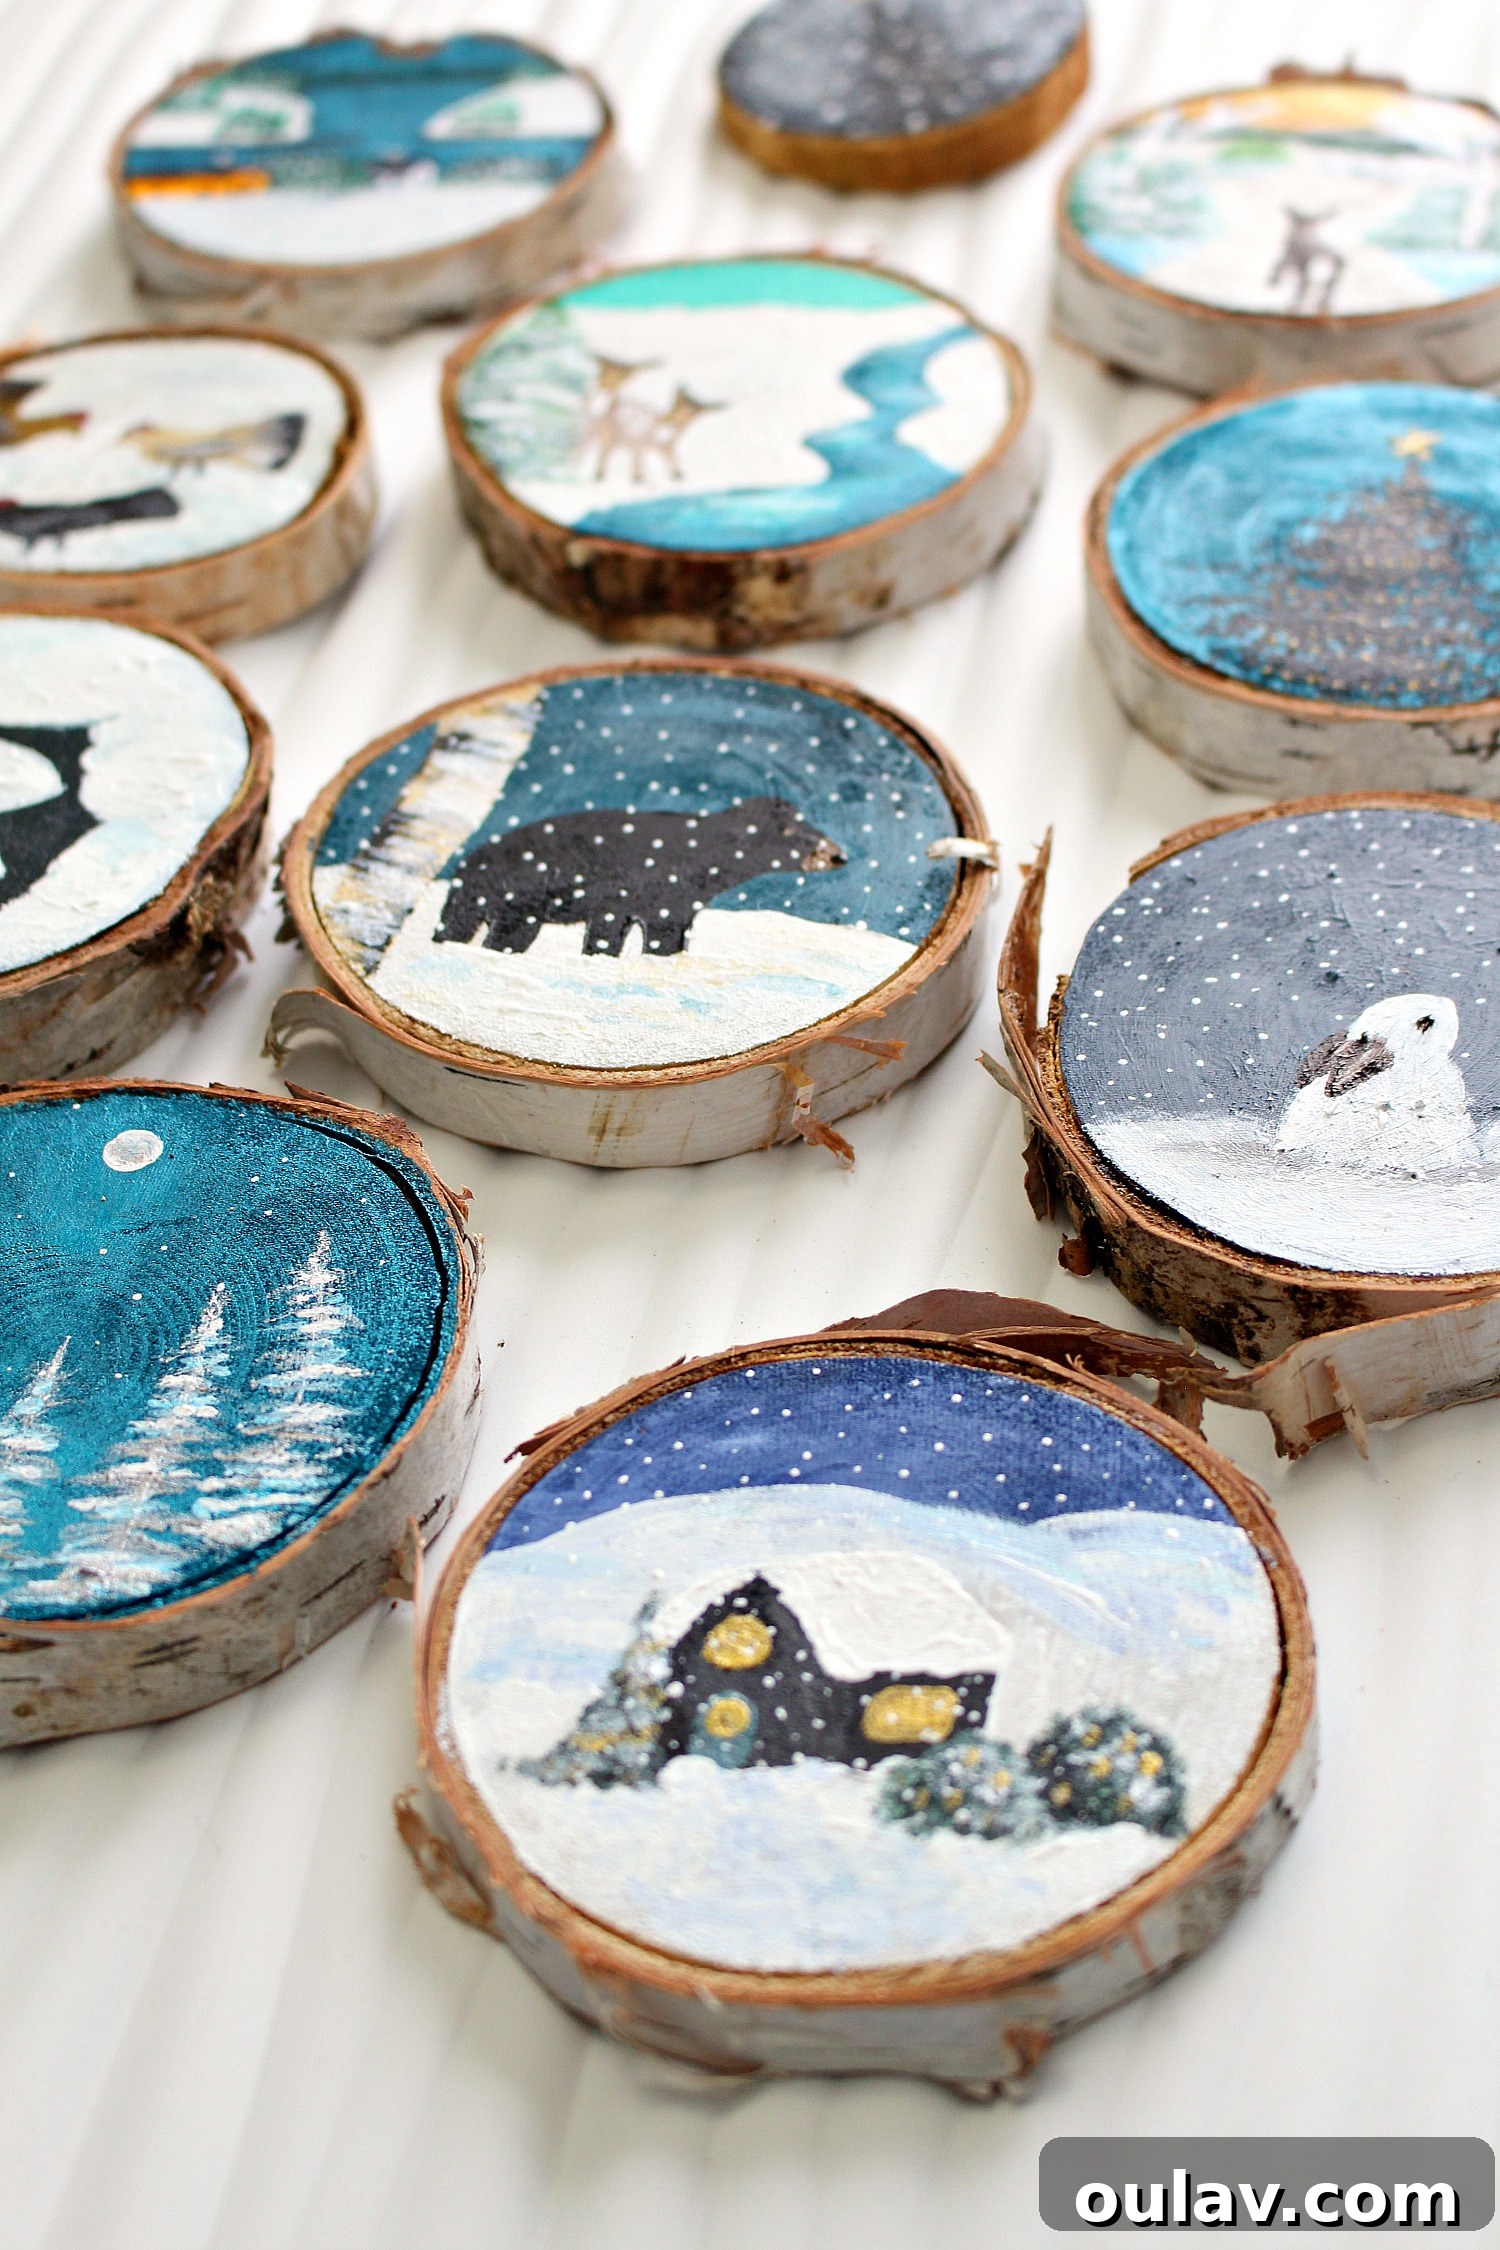
DIY Painted Birch Slice Ornaments
Unleash your inner artist by painting whimsical or intricate designs onto birch slices. This project offers a different creative outlet while still utilizing the beautiful natural canvas of birch wood.
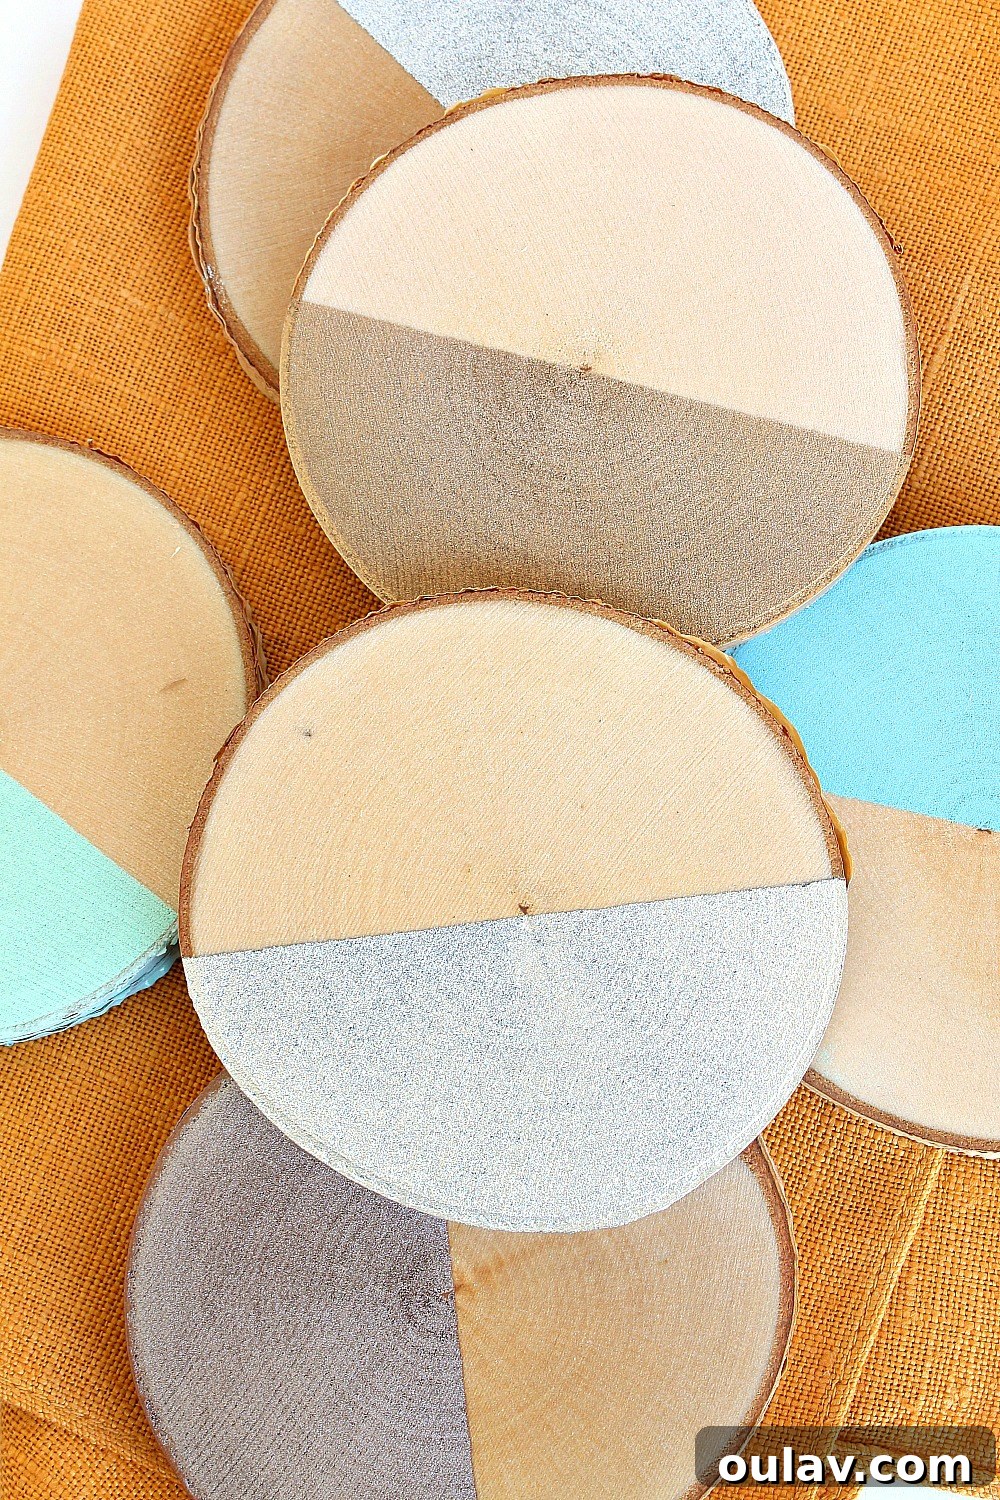
Painted Dipped DIY Birch Slice Coasters
Transform simple birch slices into stylish and functional coasters with a chic painted dipped effect. These make fantastic housewarming gifts or a modern update to your coffee table decor.
Painted Orange Slice Coasters
While not birch, these charming painted orange slice coasters offer a burst of color and a whimsical touch. It’s a testament to how natural materials can be transformed into delightful home accessories with a little creativity.