
This tutorial for how to replace a light fixture is sponsored by Leatherman Canada, but all thoughts and opinions are my own.
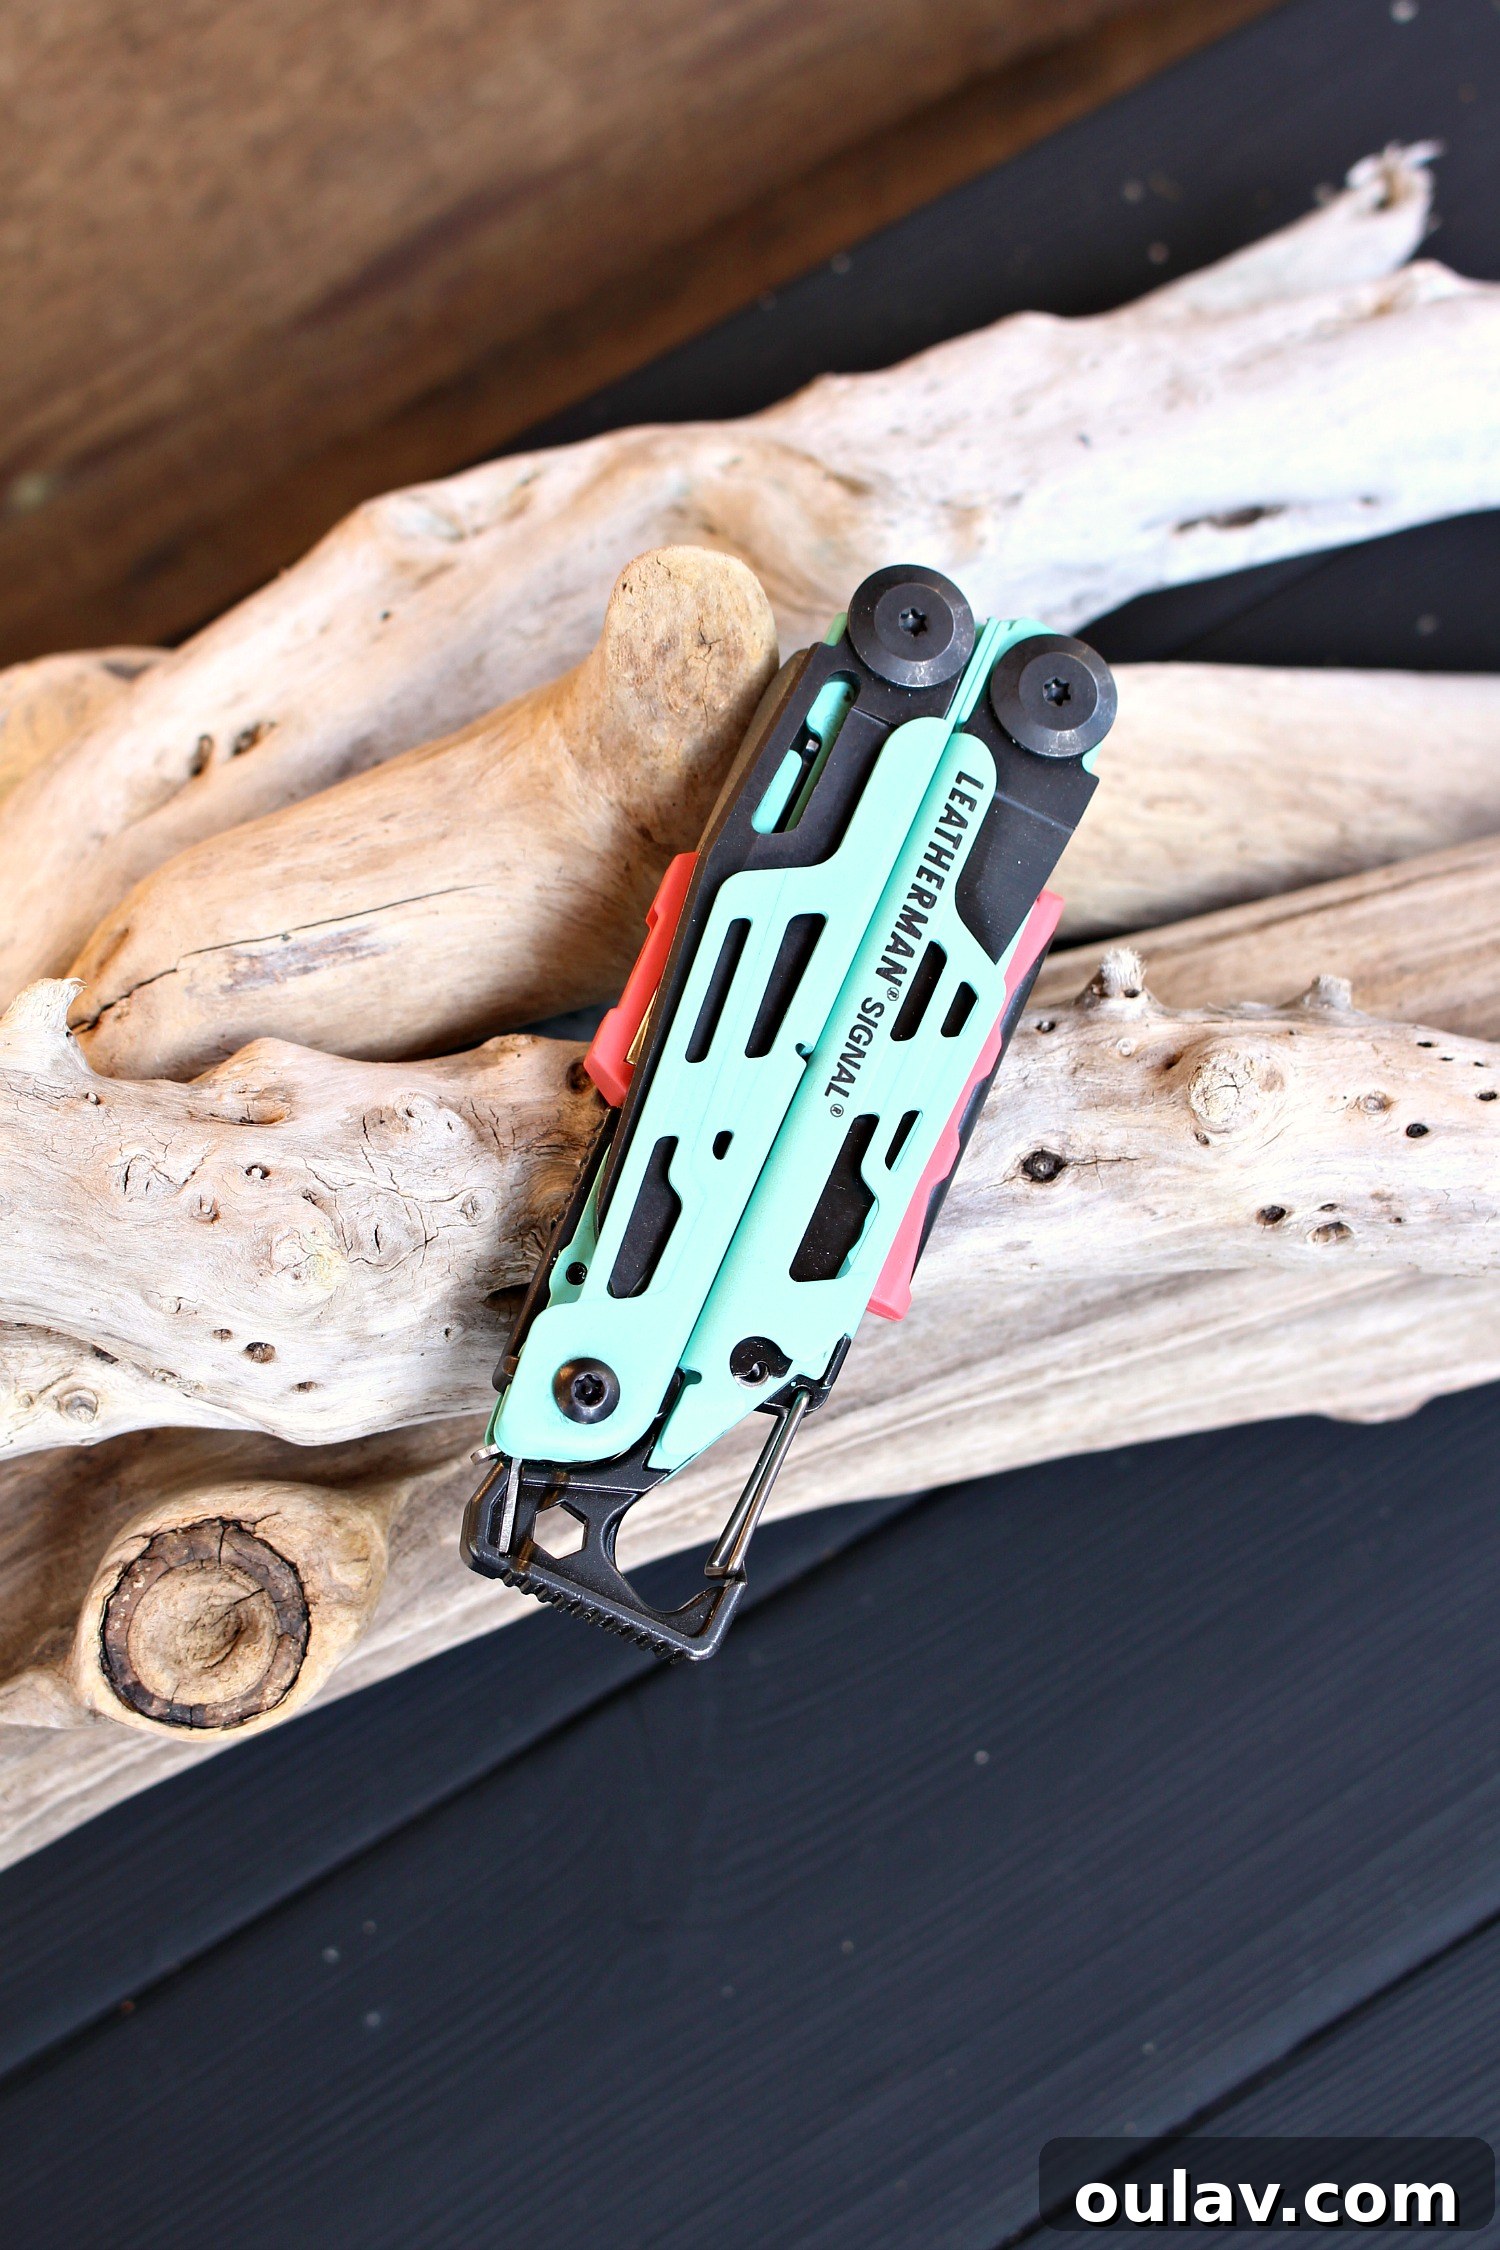
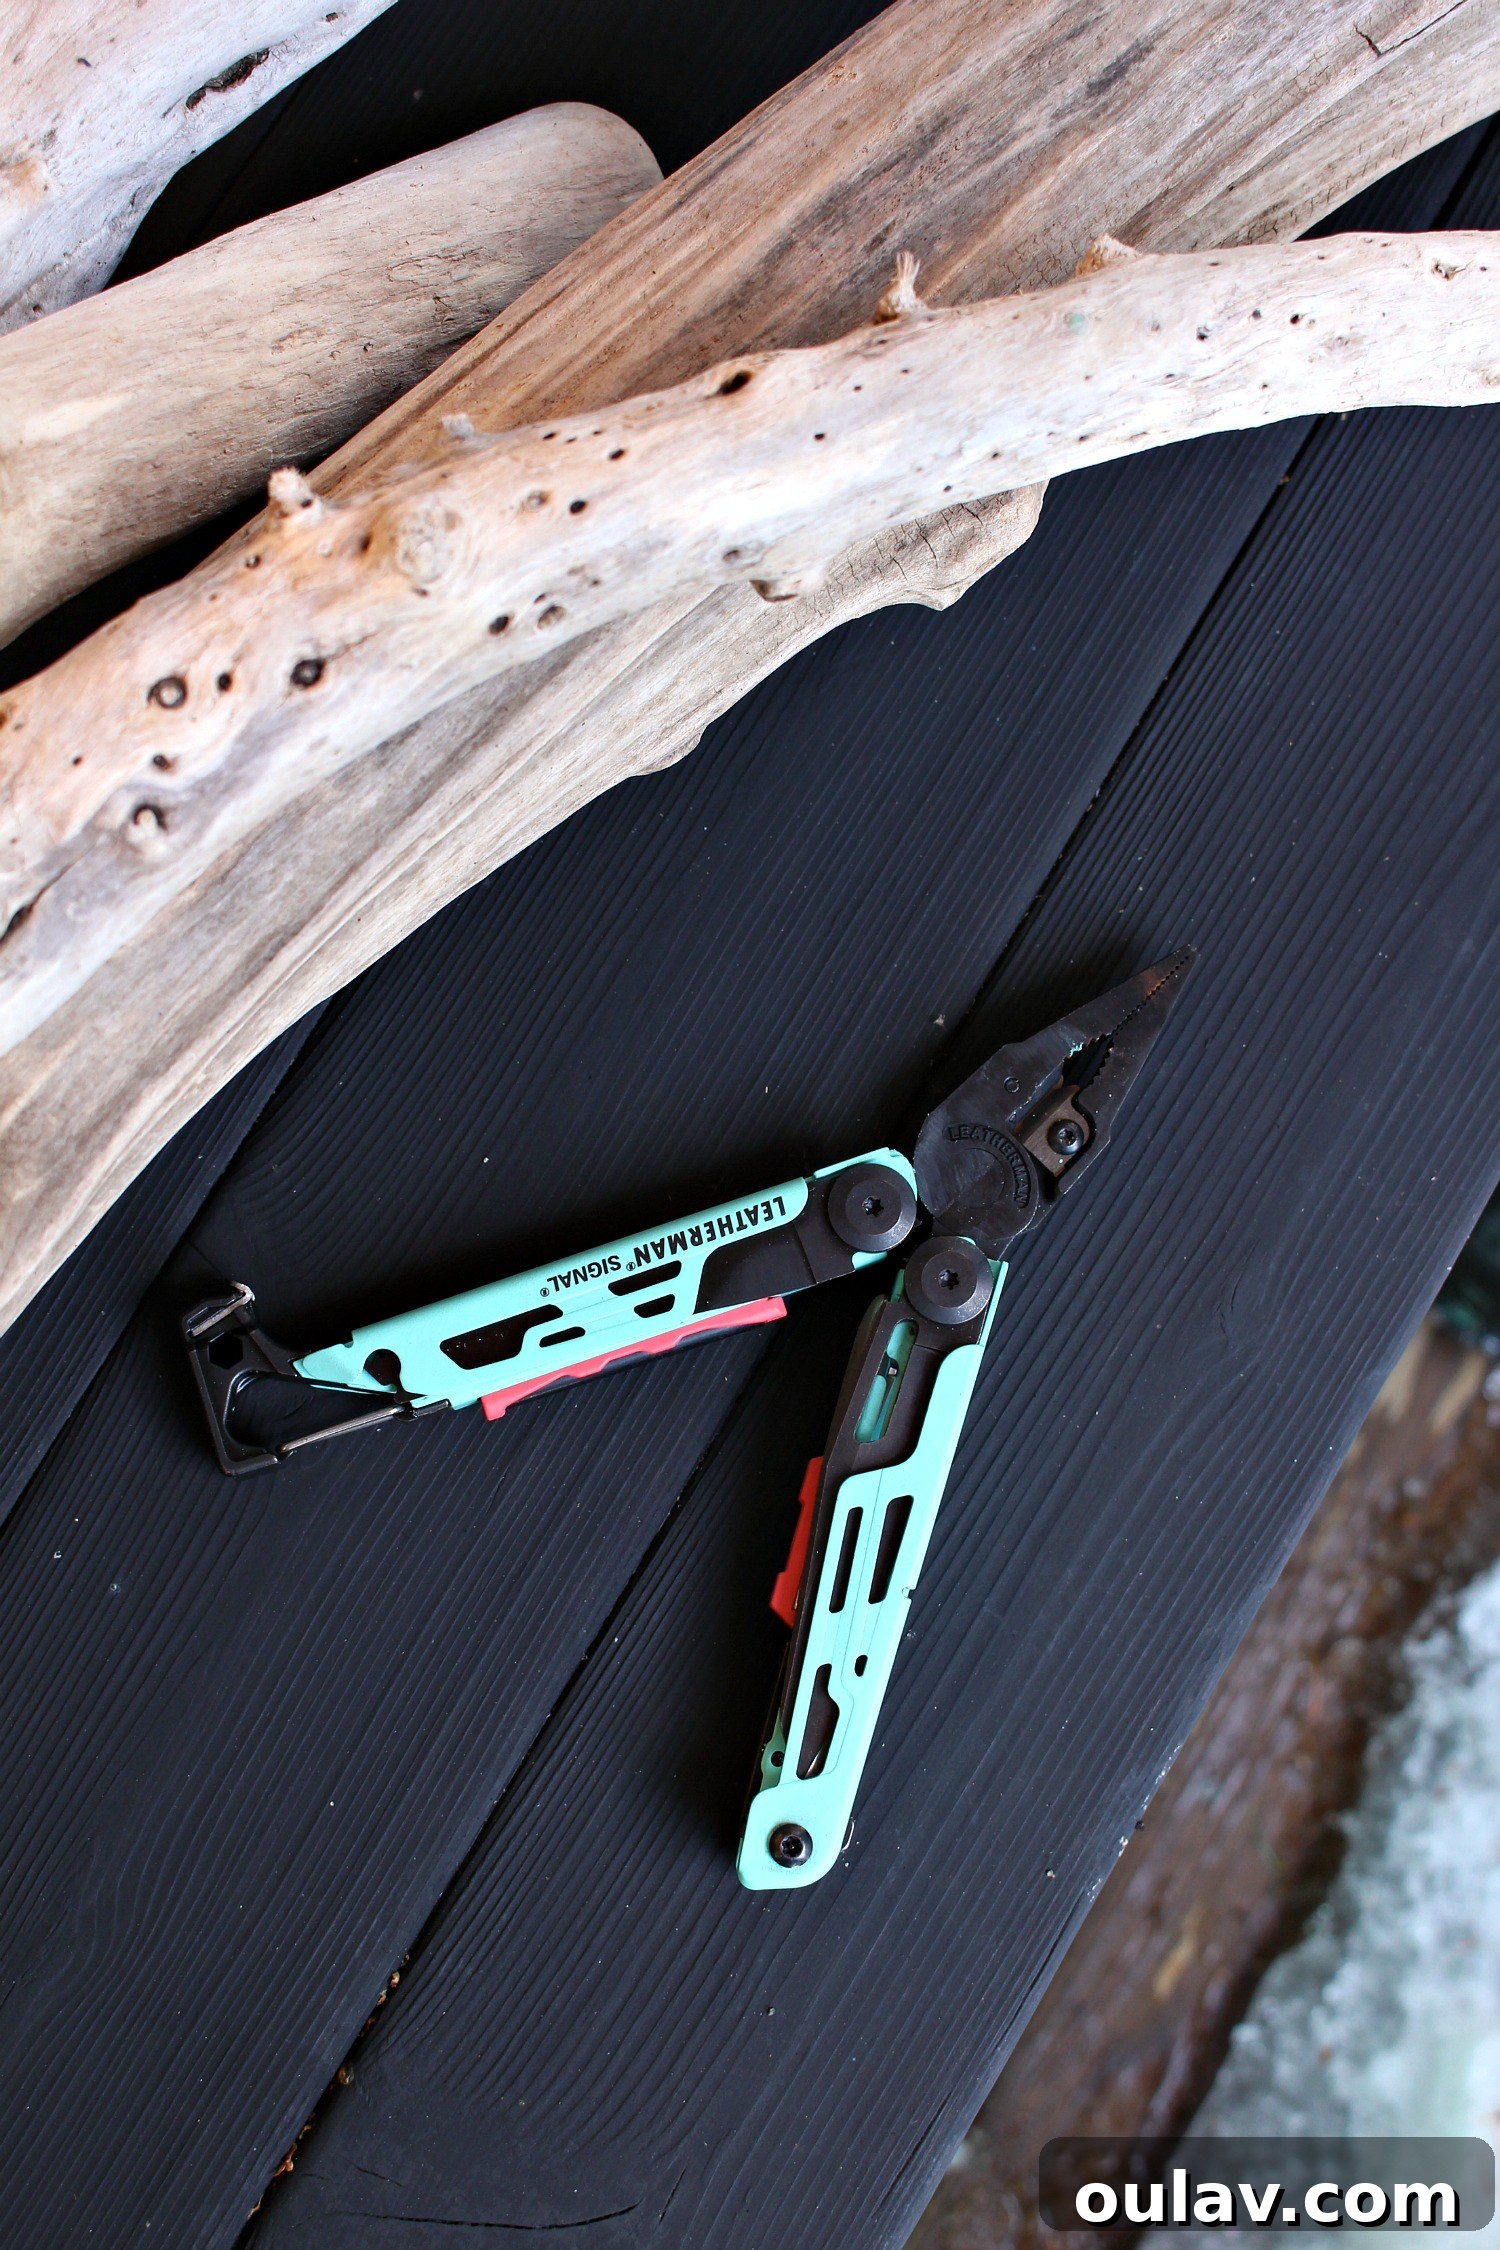
Spring is often hailed as the perfect season for rejuvenation, not just outdoors, but also within our homes. It’s an ideal time to finally tackle those lingering small home improvement projects that have been patiently waiting on your to-do list – the kind of tasks where you already have most of the supplies, but for some inexplicable reason, they just keep getting pushed back. I know I’m not alone in this; surely, many others move certain jobs from one monthly (or even yearly, let’s be honest!) list to the next. I have a fair share of these types of projects, and I’ve been on a mission to cross them off, once and for all. It truly baffles me why it took so long to finally replace the exterior light on our bunkie, a charming small cabin or shed on our property. But this past weekend, my husband and I finally got it done – and we did it with invaluable assistance from Leatherman Canada and my fantastic new Signal multi-tool, a truly stylish and efficient companion in a vibrant aqua color! If you’ve ever found yourself wondering how to replace a light fixture, or if you’re simply curious to see the modern transformation of our bunkie light and get the full scoop on my eye-catching new multi-tool, keep reading. This guide will walk you through the process, emphasizing both safety and efficiency for your next DIY lighting upgrade.
Mastering the Art of Light Fixture Replacement: A Step-by-Step Guide
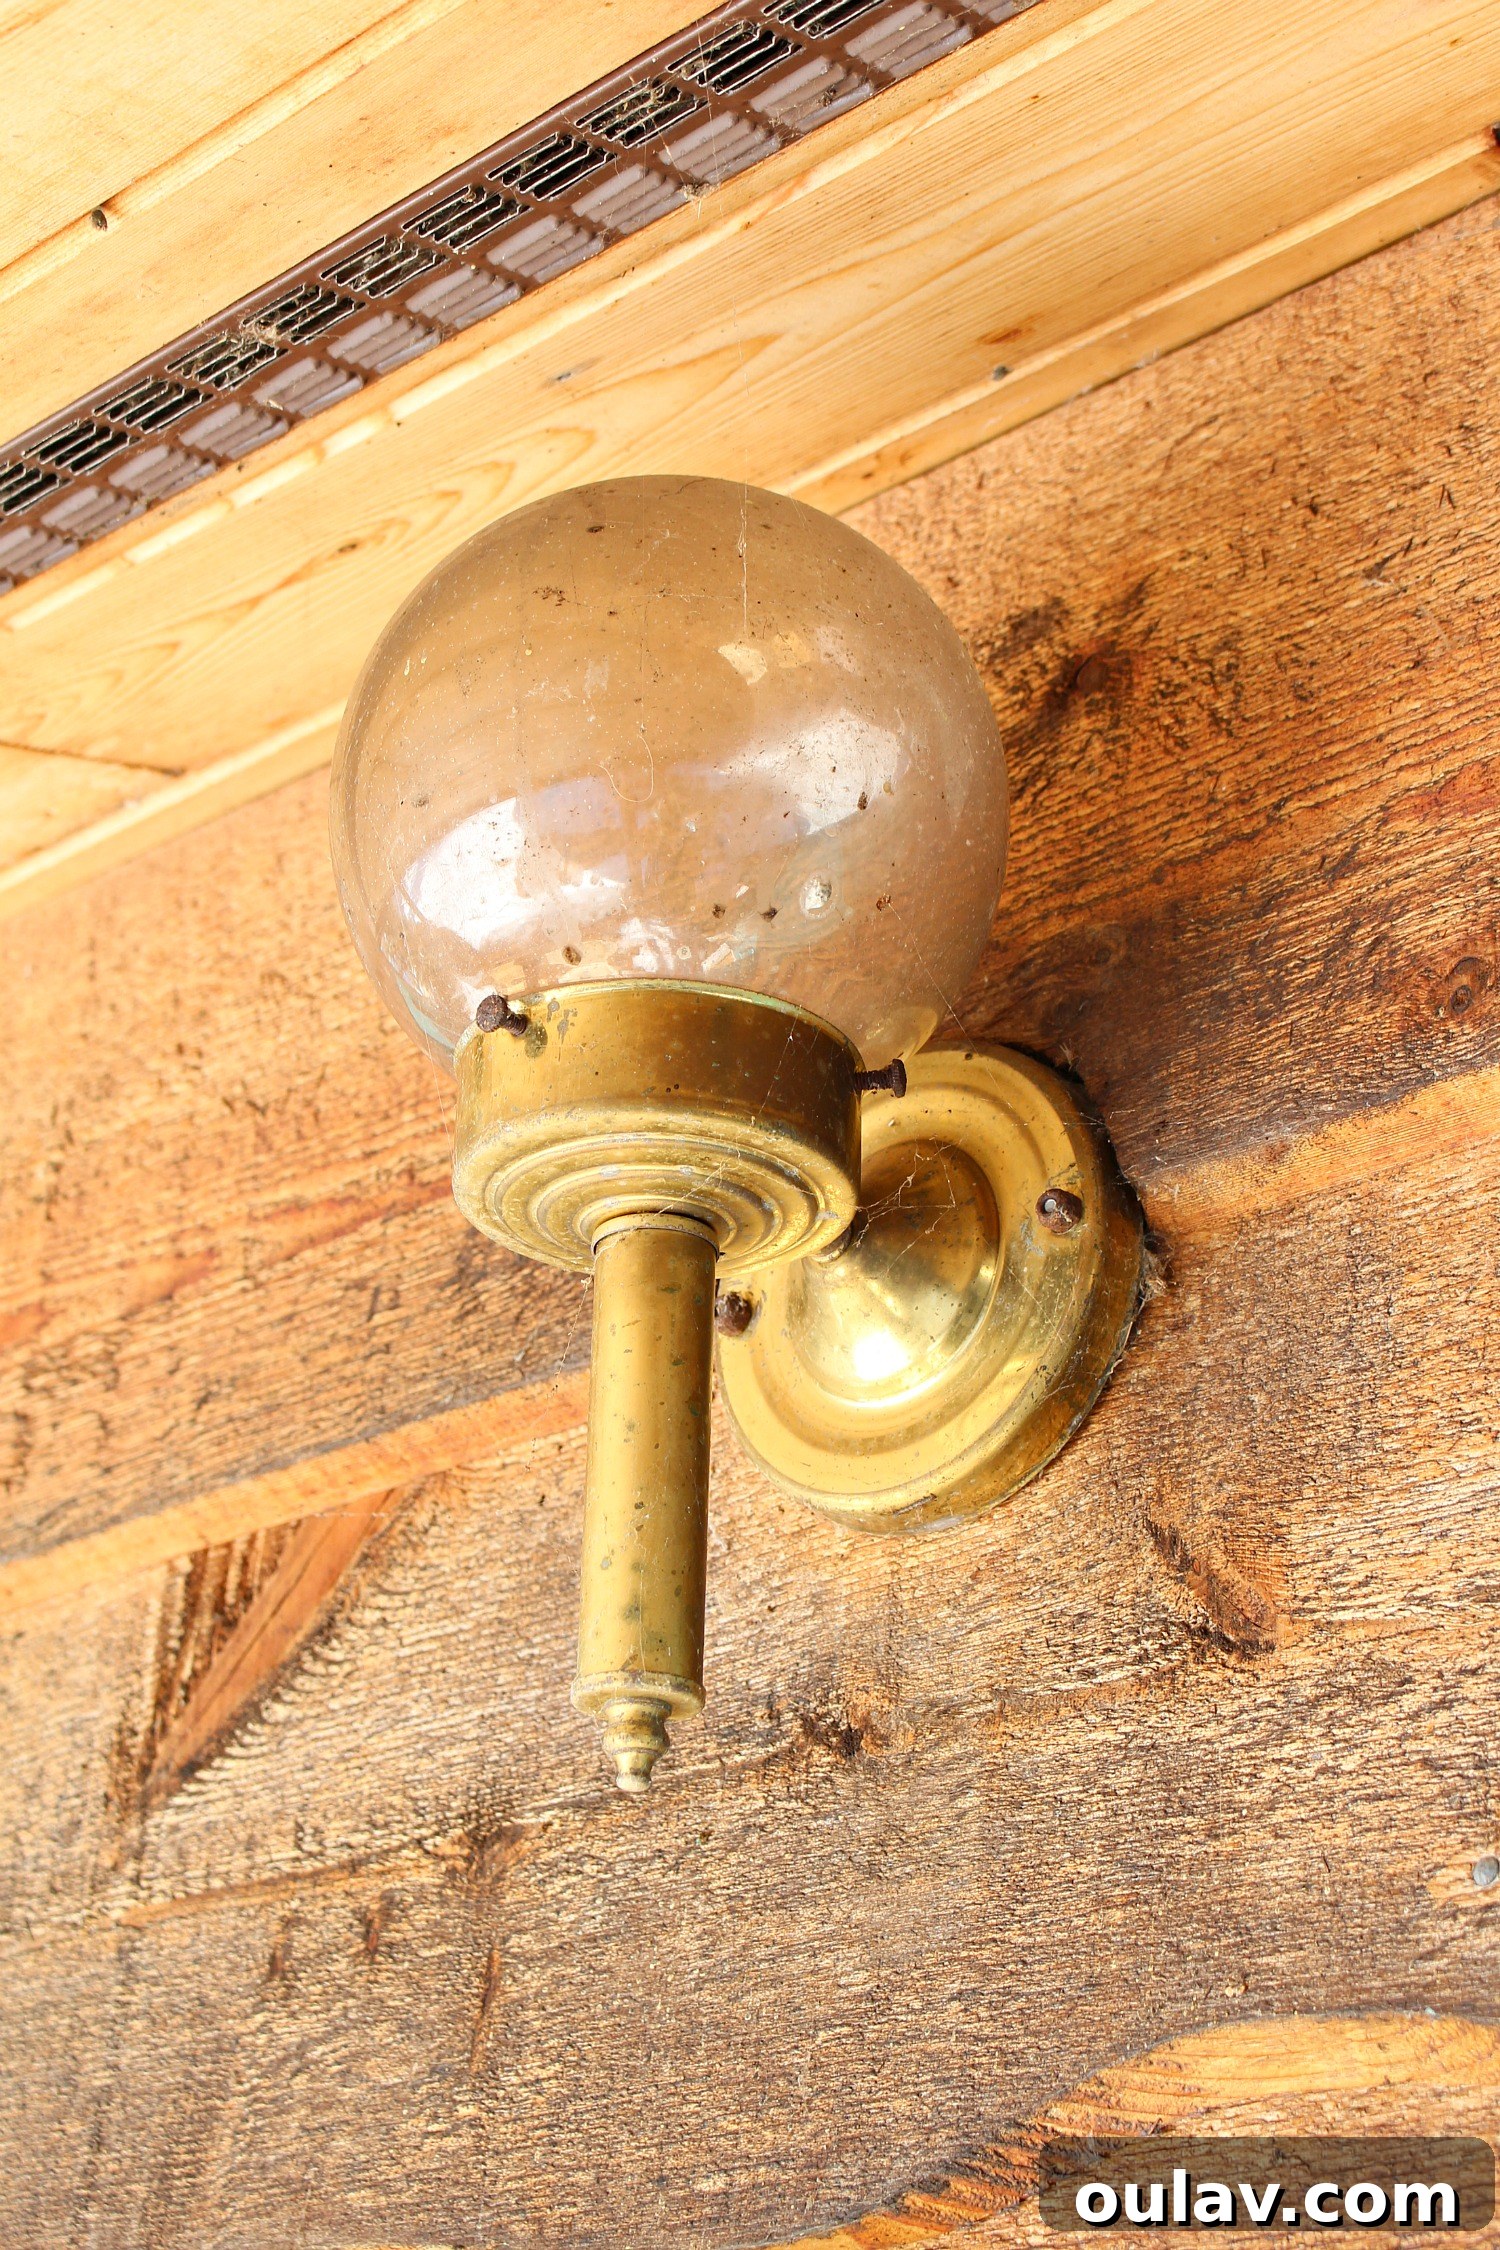
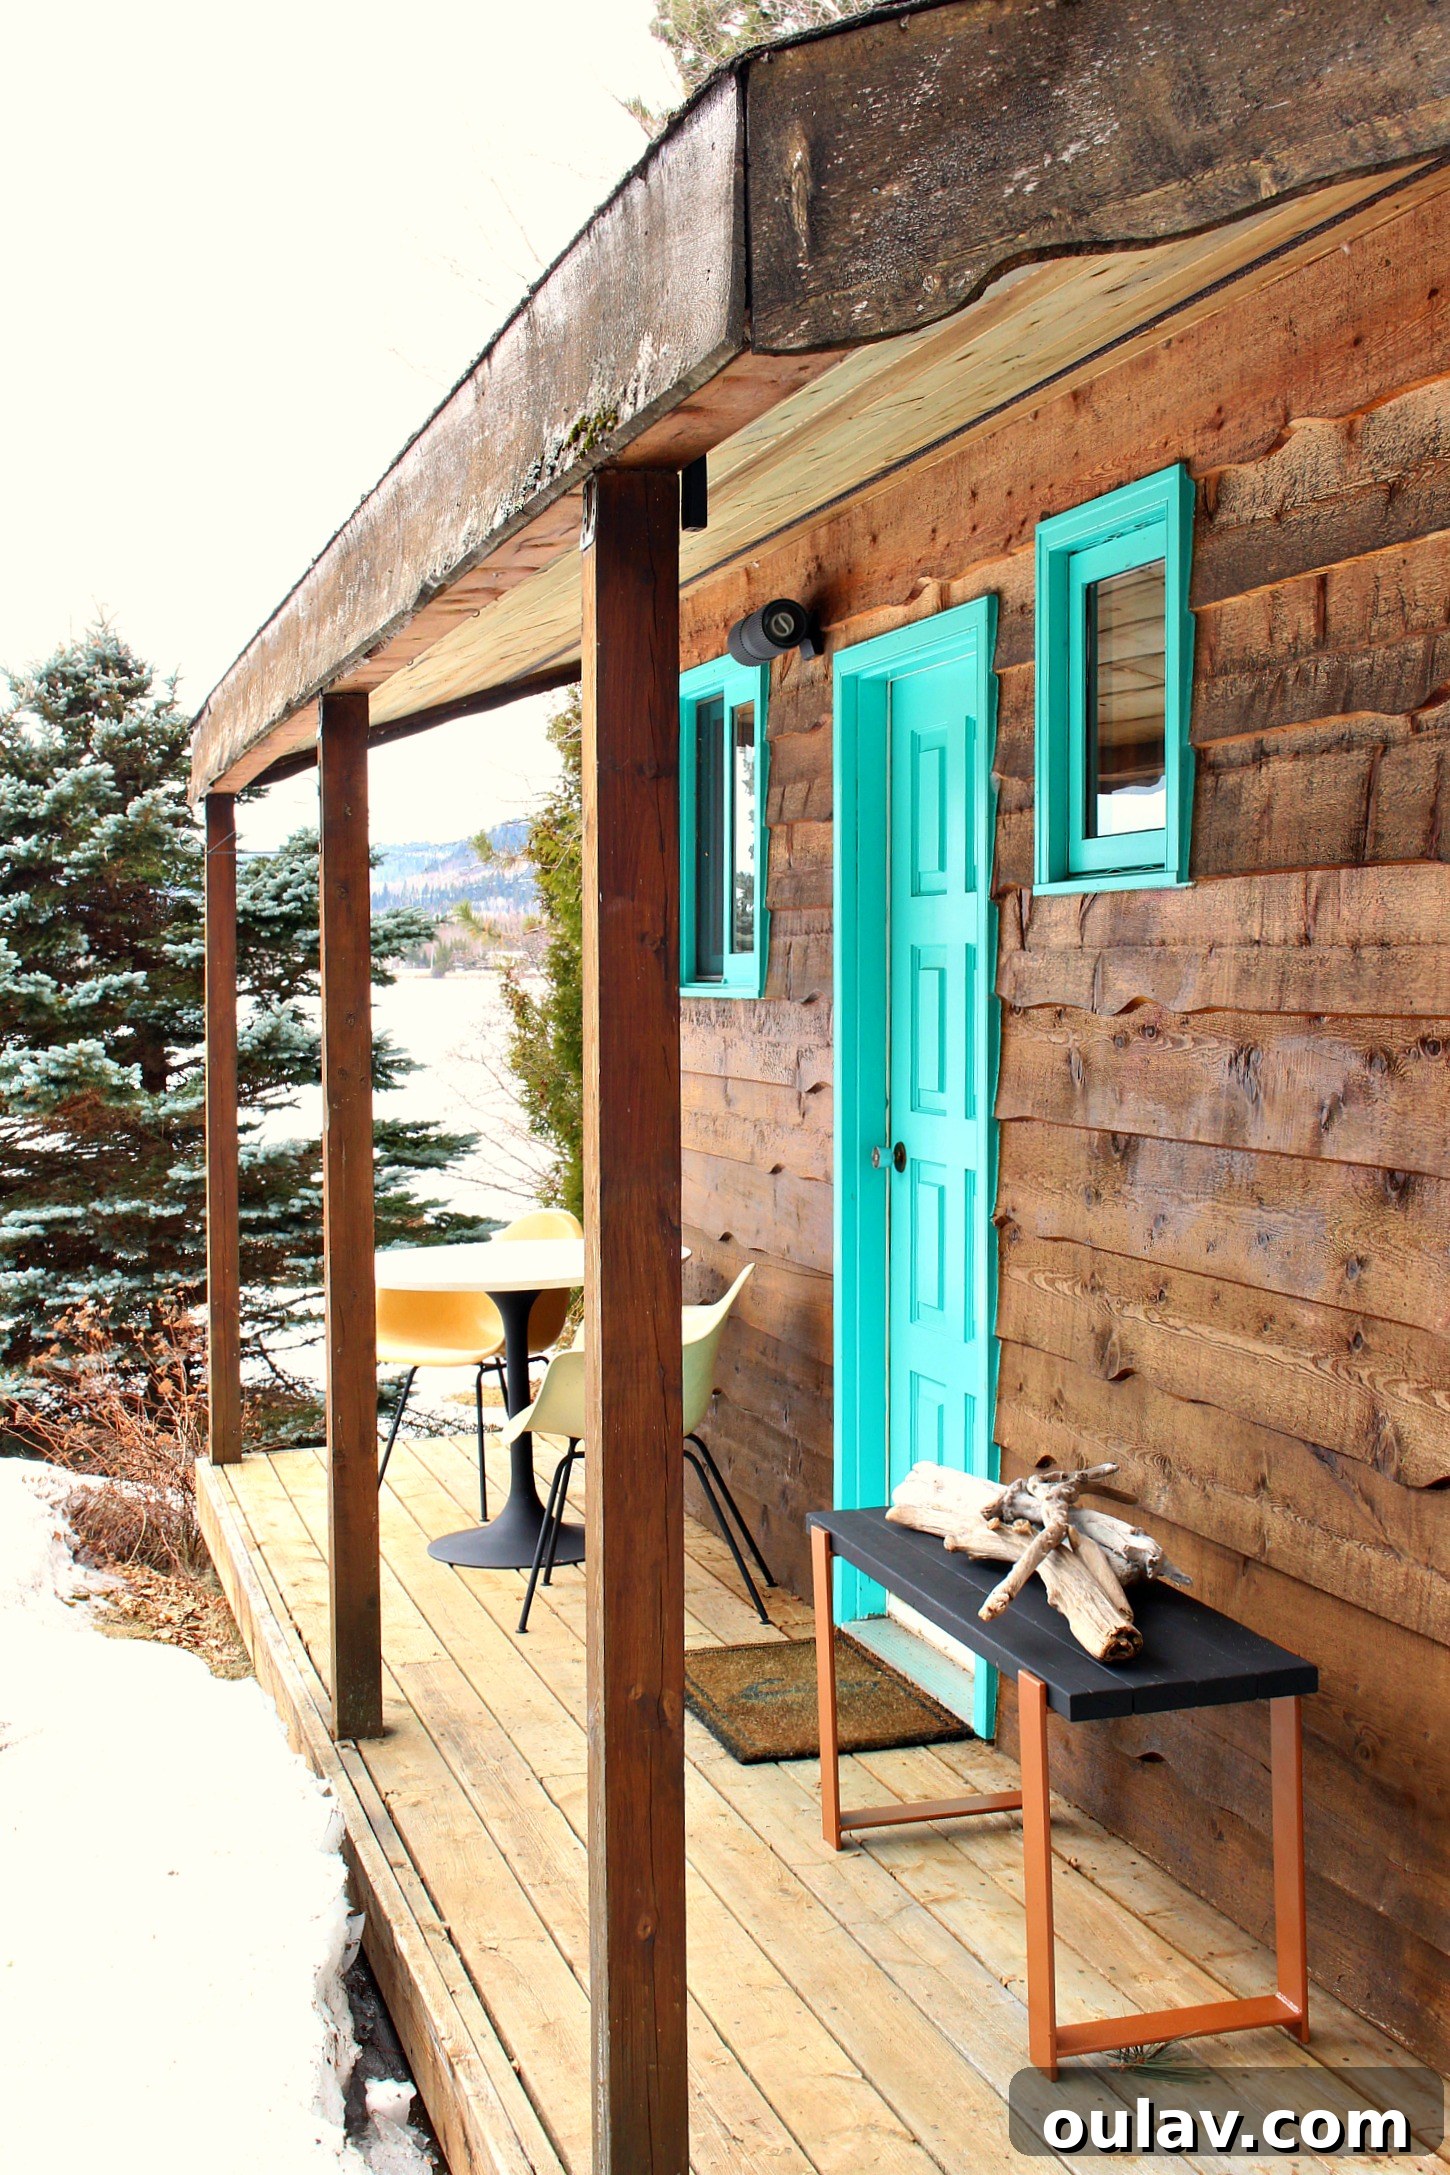
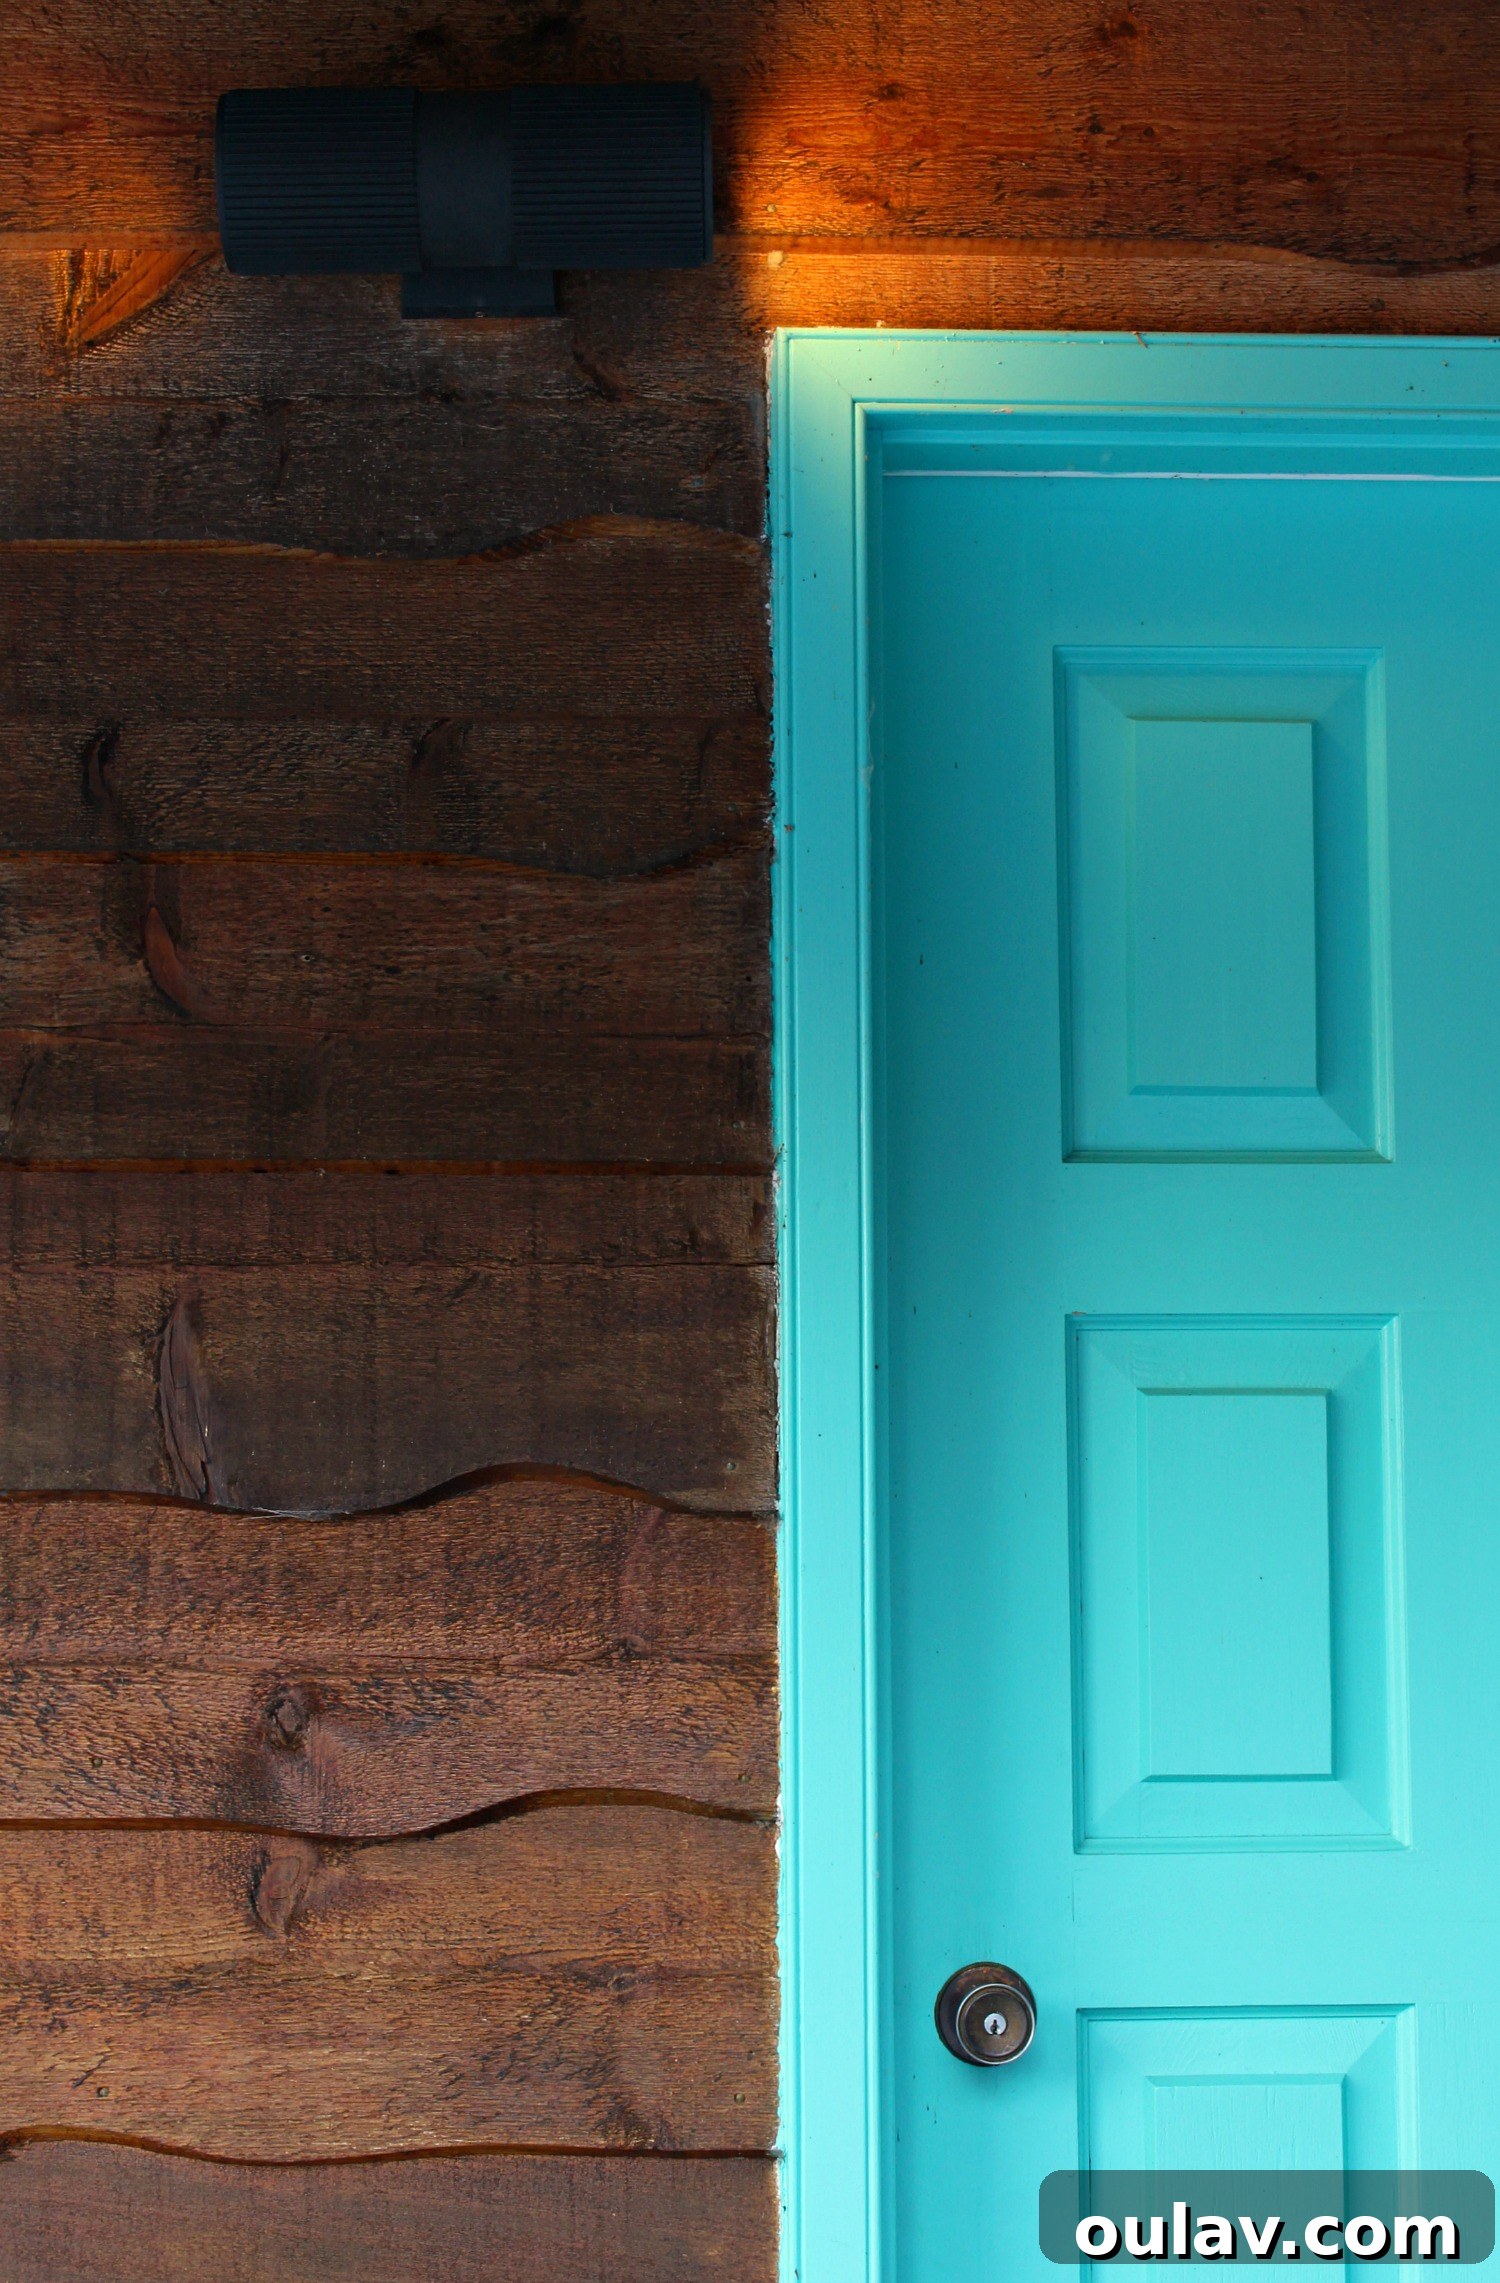
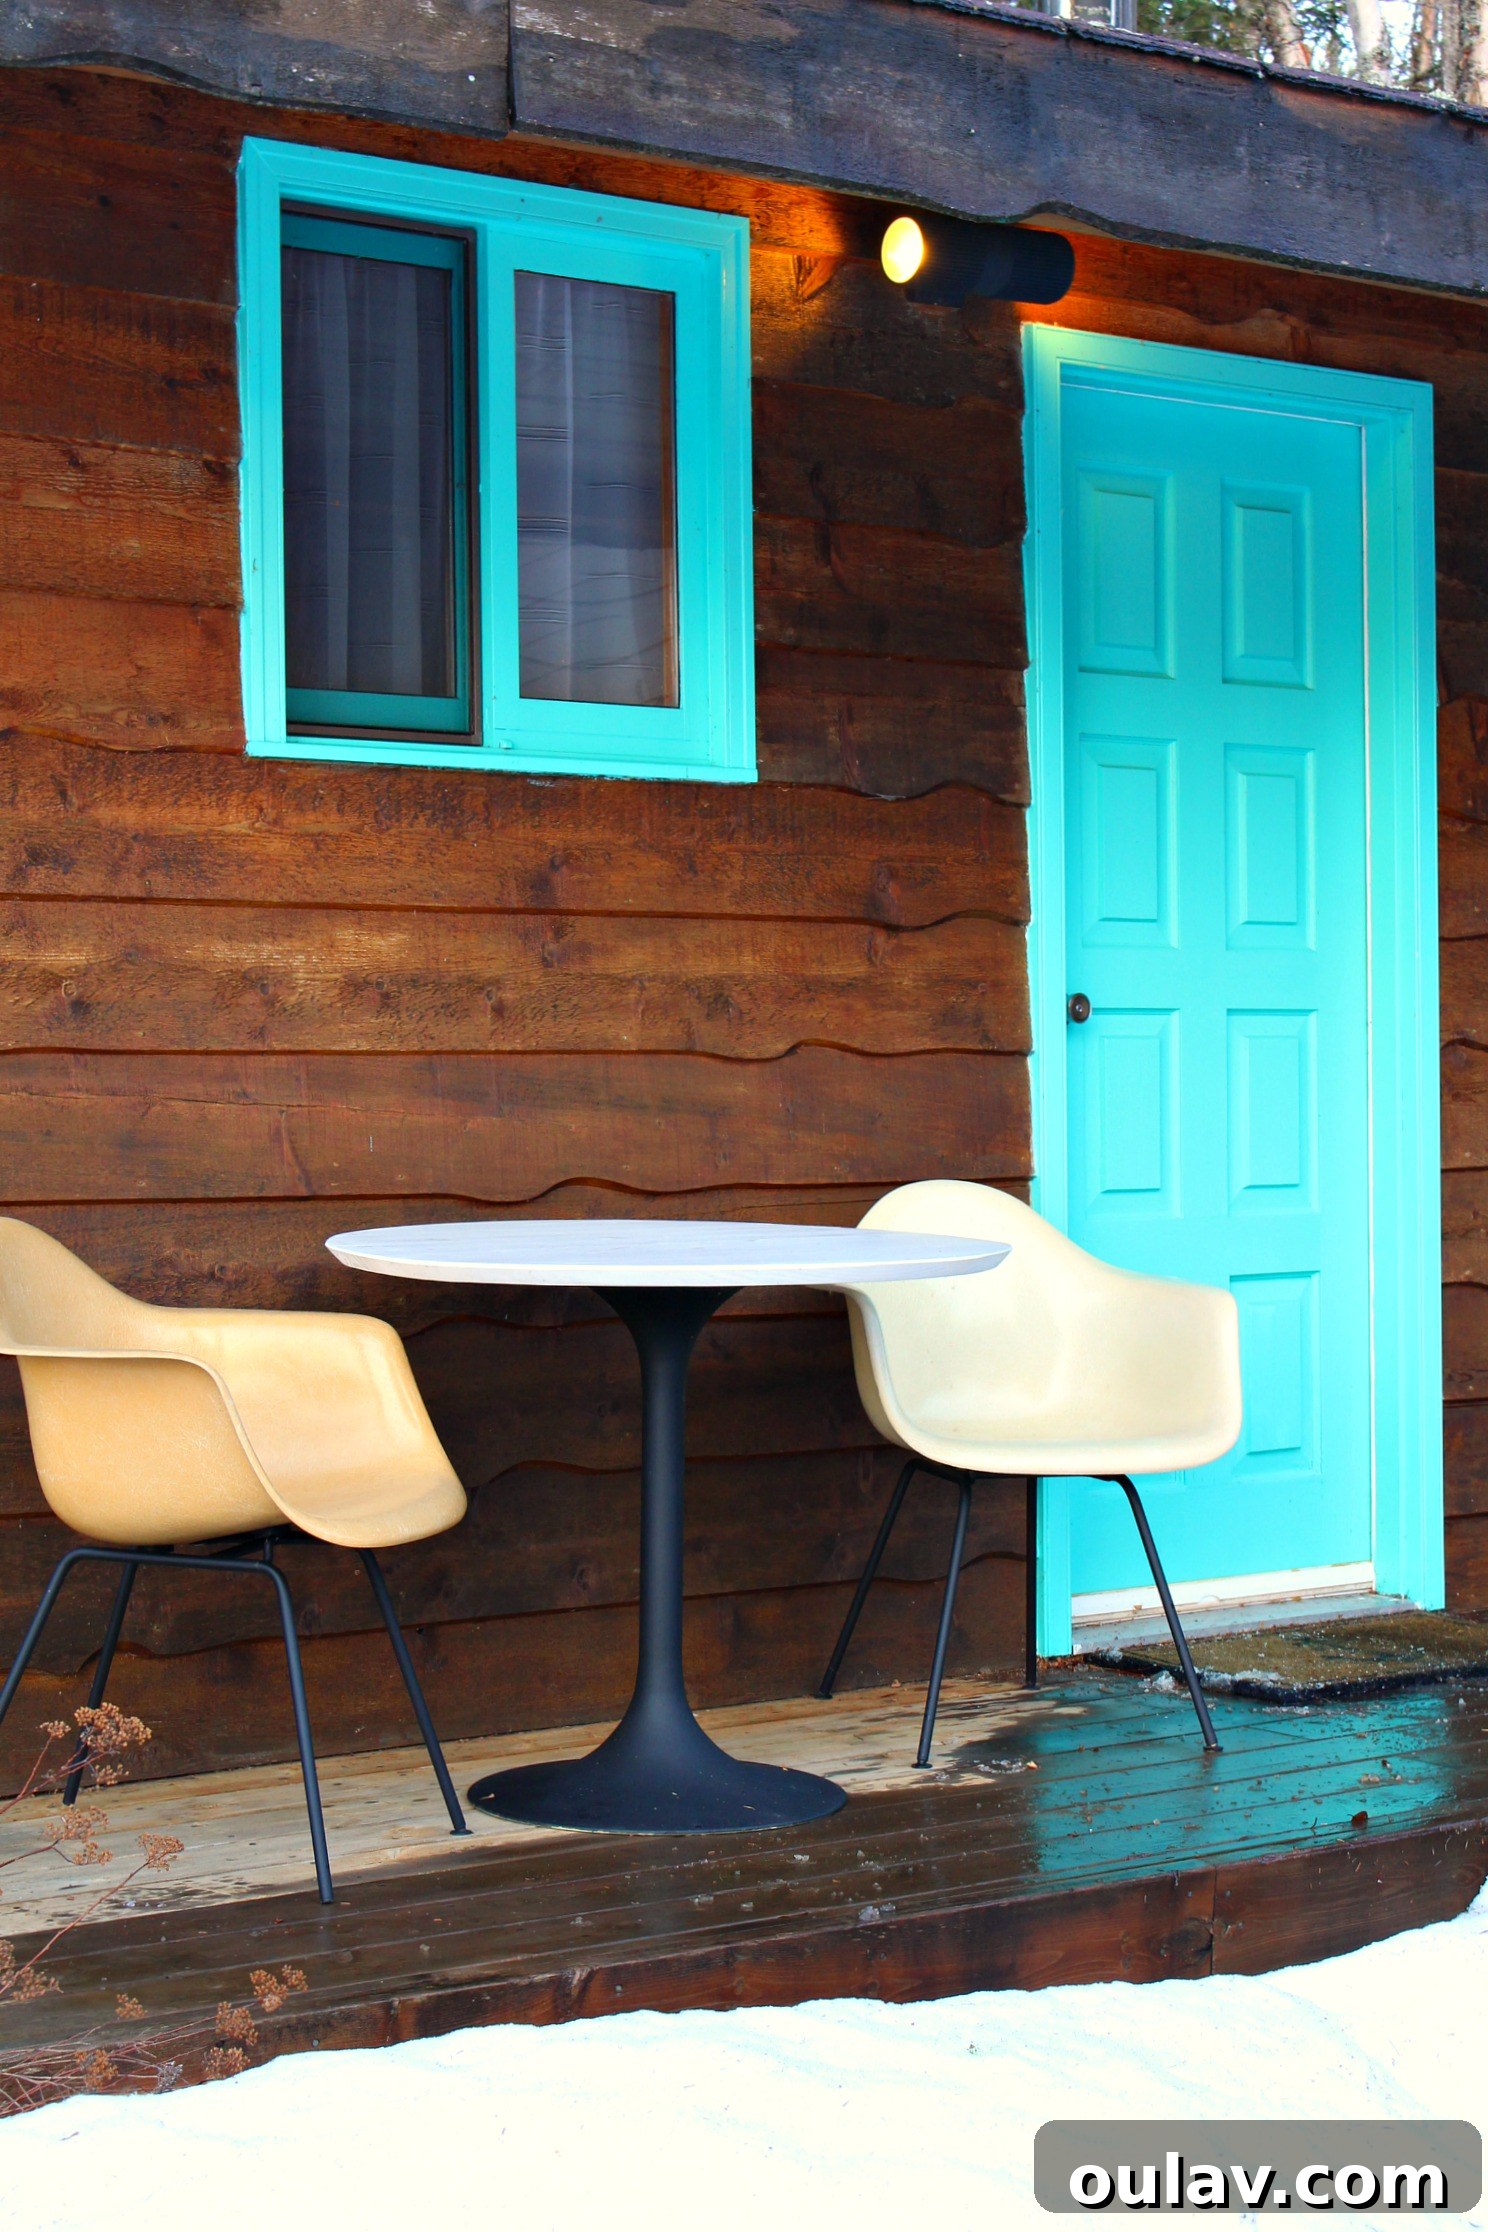
Replacing an old light fixture is a surprisingly straightforward home improvement project that can dramatically update the aesthetic of any space, whether indoors or out. Our bunkie’s original exterior light, while perfectly functional, had an outdated brass finish that simply didn’t align with the evolving style of the structure. The bunkie itself boasts a rustic exterior, but we’ve gradually been incorporating mid-century modern touches inside and out – think pieces like a sleek black tulip table, a custom DIY welded bench, and classic vintage Eames chairs. We’re even planning to upgrade the roof and soffit to a modern black this year. Since the bunkie isn’t our top budget priority, we tackle these smaller, impactful projects whenever we can. Fortunately, a new, contemporary black exterior light literally fell into our lap – someone bought it but couldn’t use it, gifting us the perfect opportunity to ditch the brass and embrace a fresh, modern look. This project not only improved the appearance but also provided an excellent opportunity to demonstrate how simple and satisfying DIY electrical updates can be.
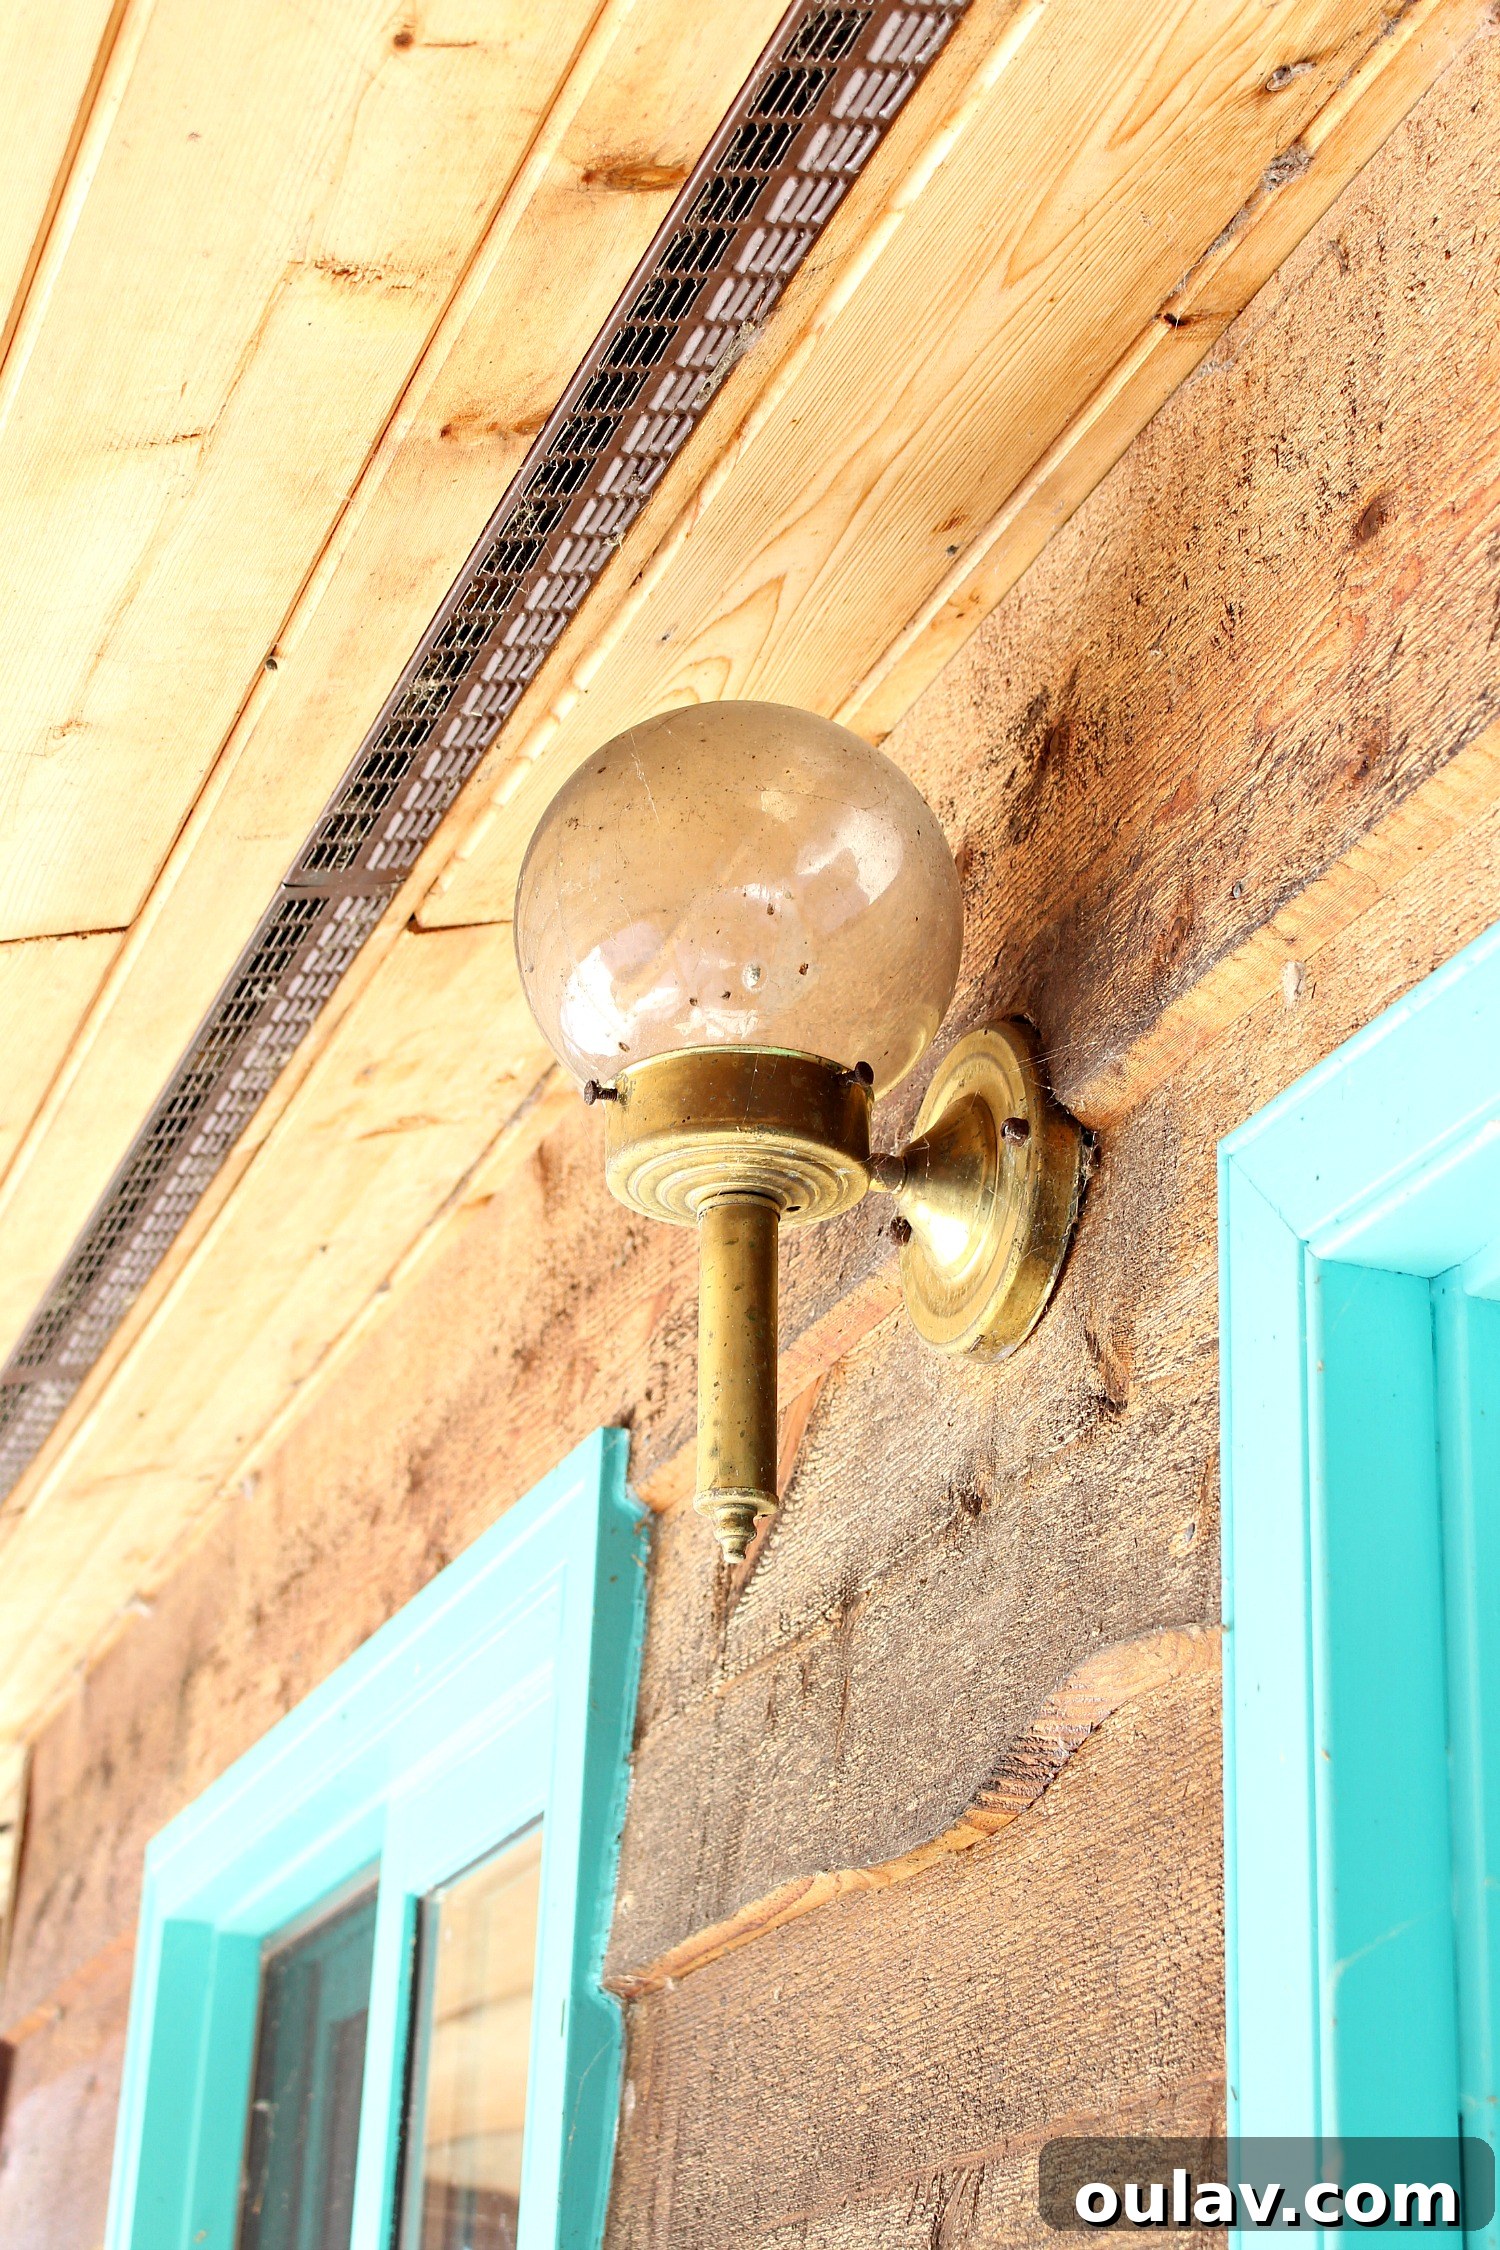
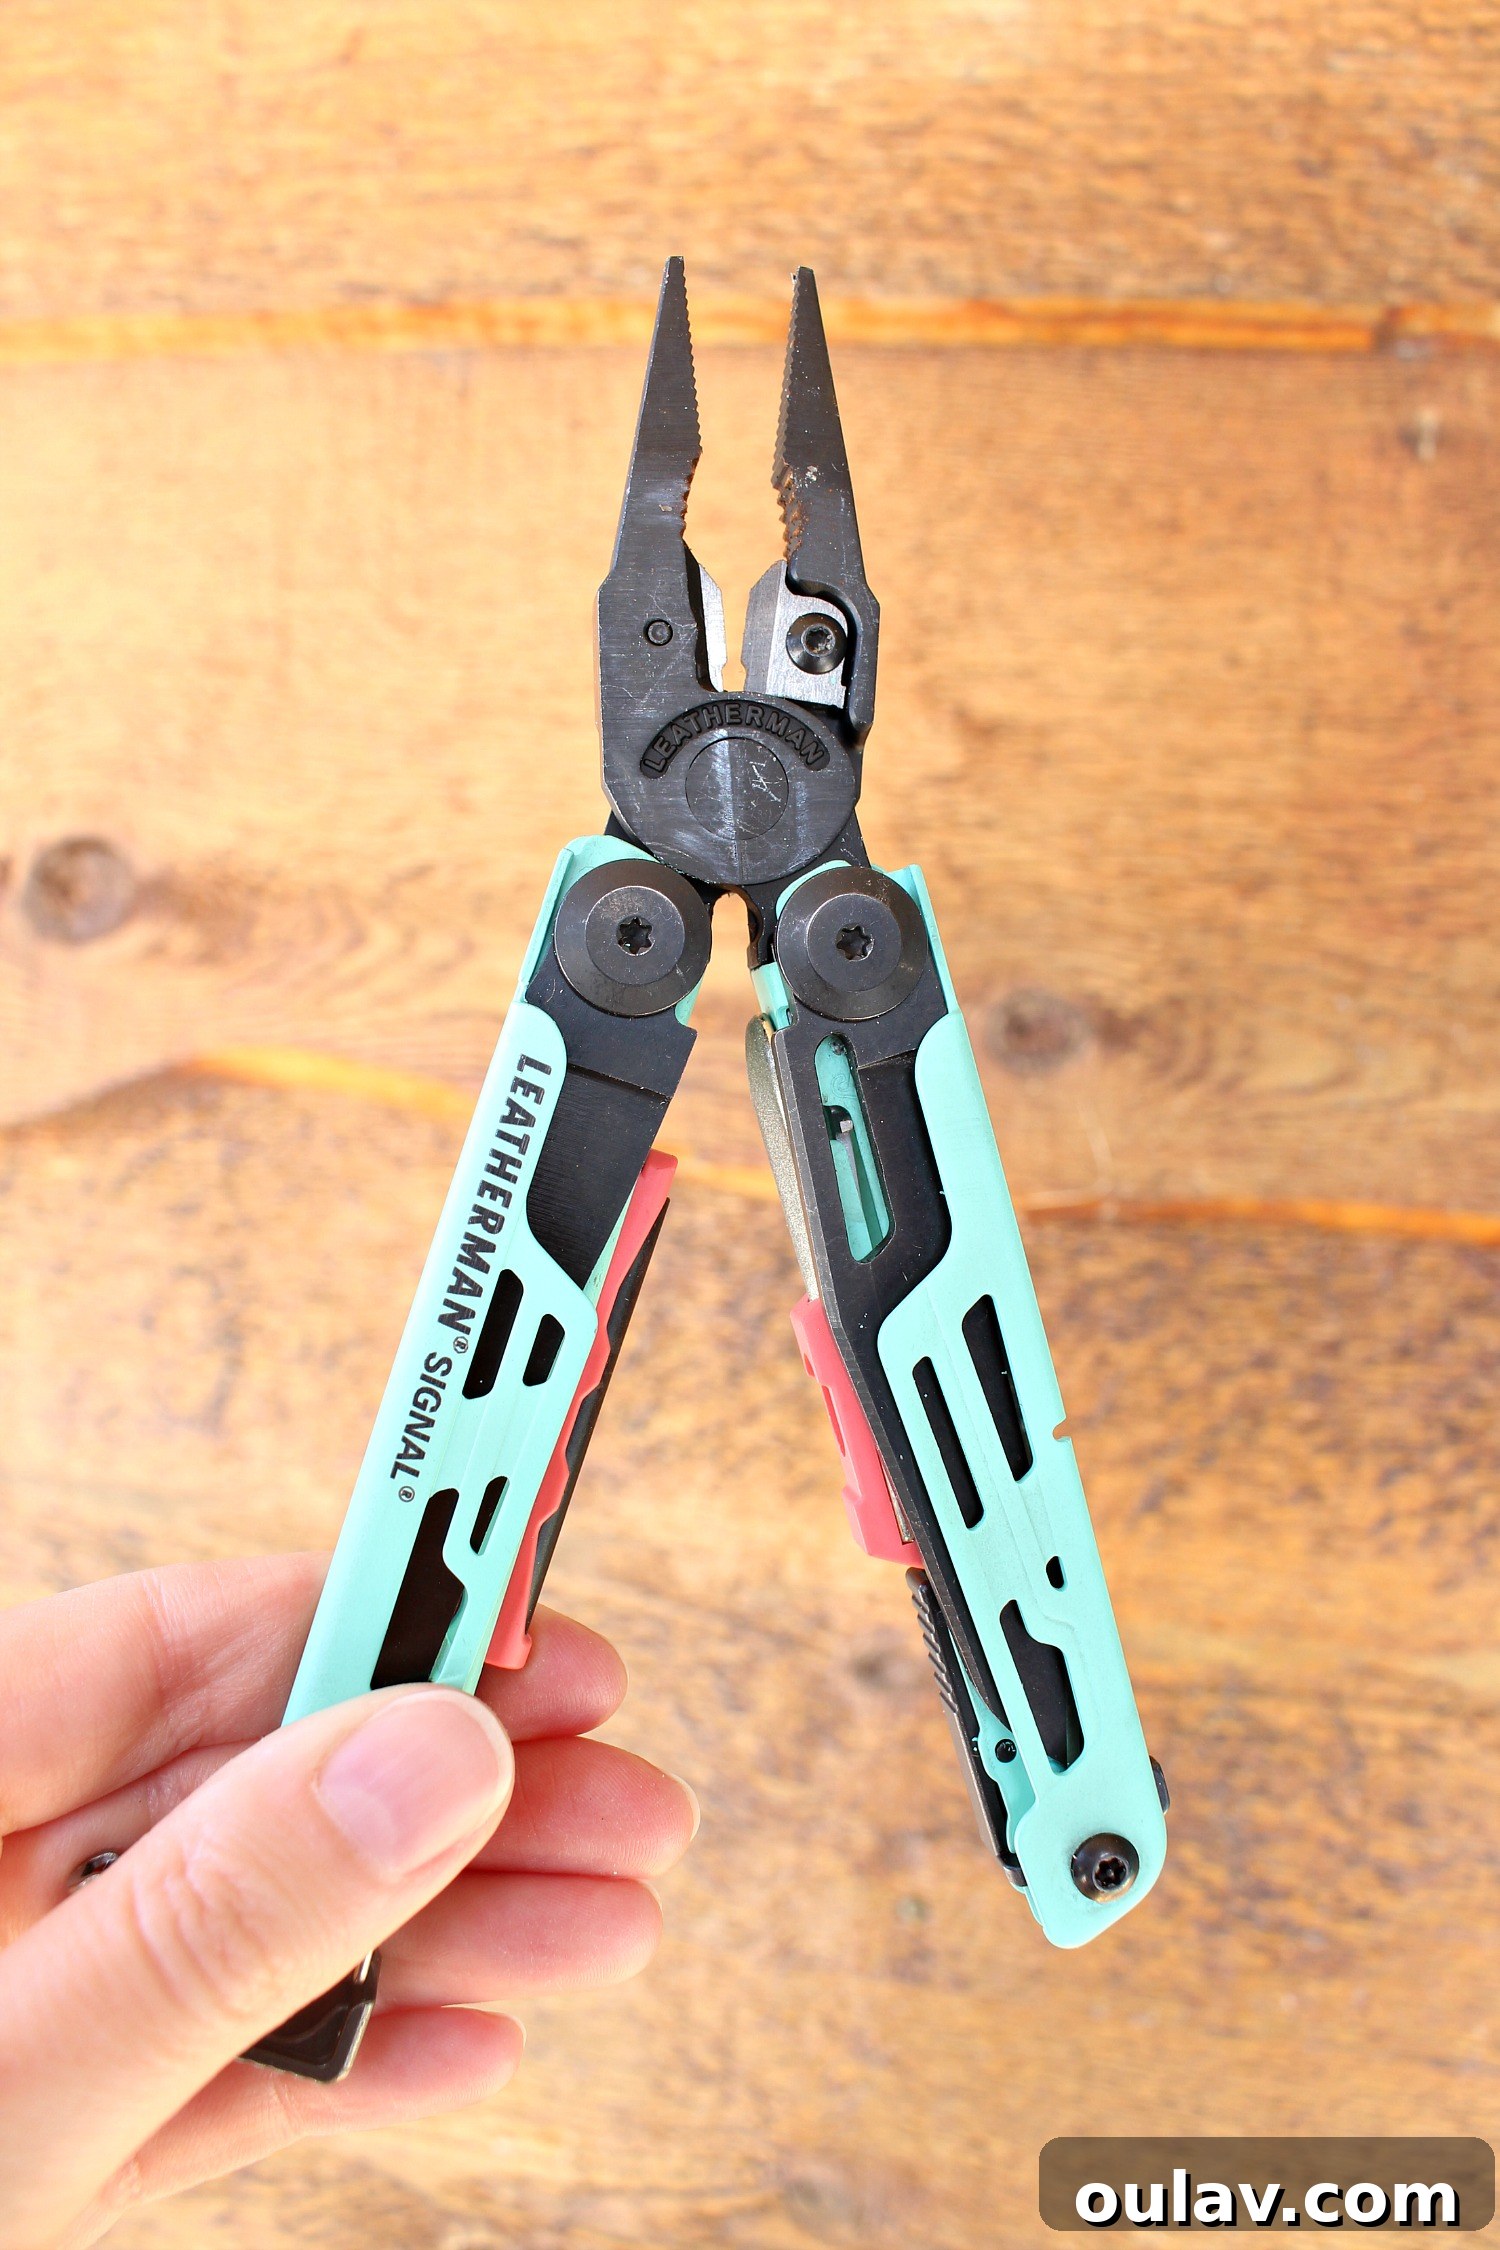
You might assume that a project like replacing a light fixture would demand an extensive collection of specialized tools. However, with the right approach and a versatile multi-tool like the Leatherman Signal, you can streamline the process significantly. We successfully completed this light fixture replacement without needing a bulky toolbox, relying heavily on the compact efficiency of our new multi-tool. This demonstrates that you don’t always need a professional or a vast array of equipment to achieve professional-looking results in your home improvement efforts.
Essential Safety Measures Before You Begin: Power Off!
Before touching any electrical wiring, the absolute most critical step is to ensure that the power is OFF. This doesn’t just mean flipping the wall switch; it means completely cutting the power at the source – your electrical panel. Locate the circuit breaker corresponding to the light fixture you’re working on. Most modern panels have labels, but if yours isn’t clearly marked, here’s a foolproof method: turn the light switch to the “on” position, then go to your breaker panel and systematically switch off breakers one by one until the light turns off. Once you’ve identified the correct breaker, turn it off and, for an added layer of security, switch the wall light switch off as well. When dealing with electricity, you can never be too cautious. Taking these precautions protects you from potential shocks or even serious injury, making the entire light fixture replacement process much safer for any DIY enthusiast.
Step 1: Removing the Old Light Fixture
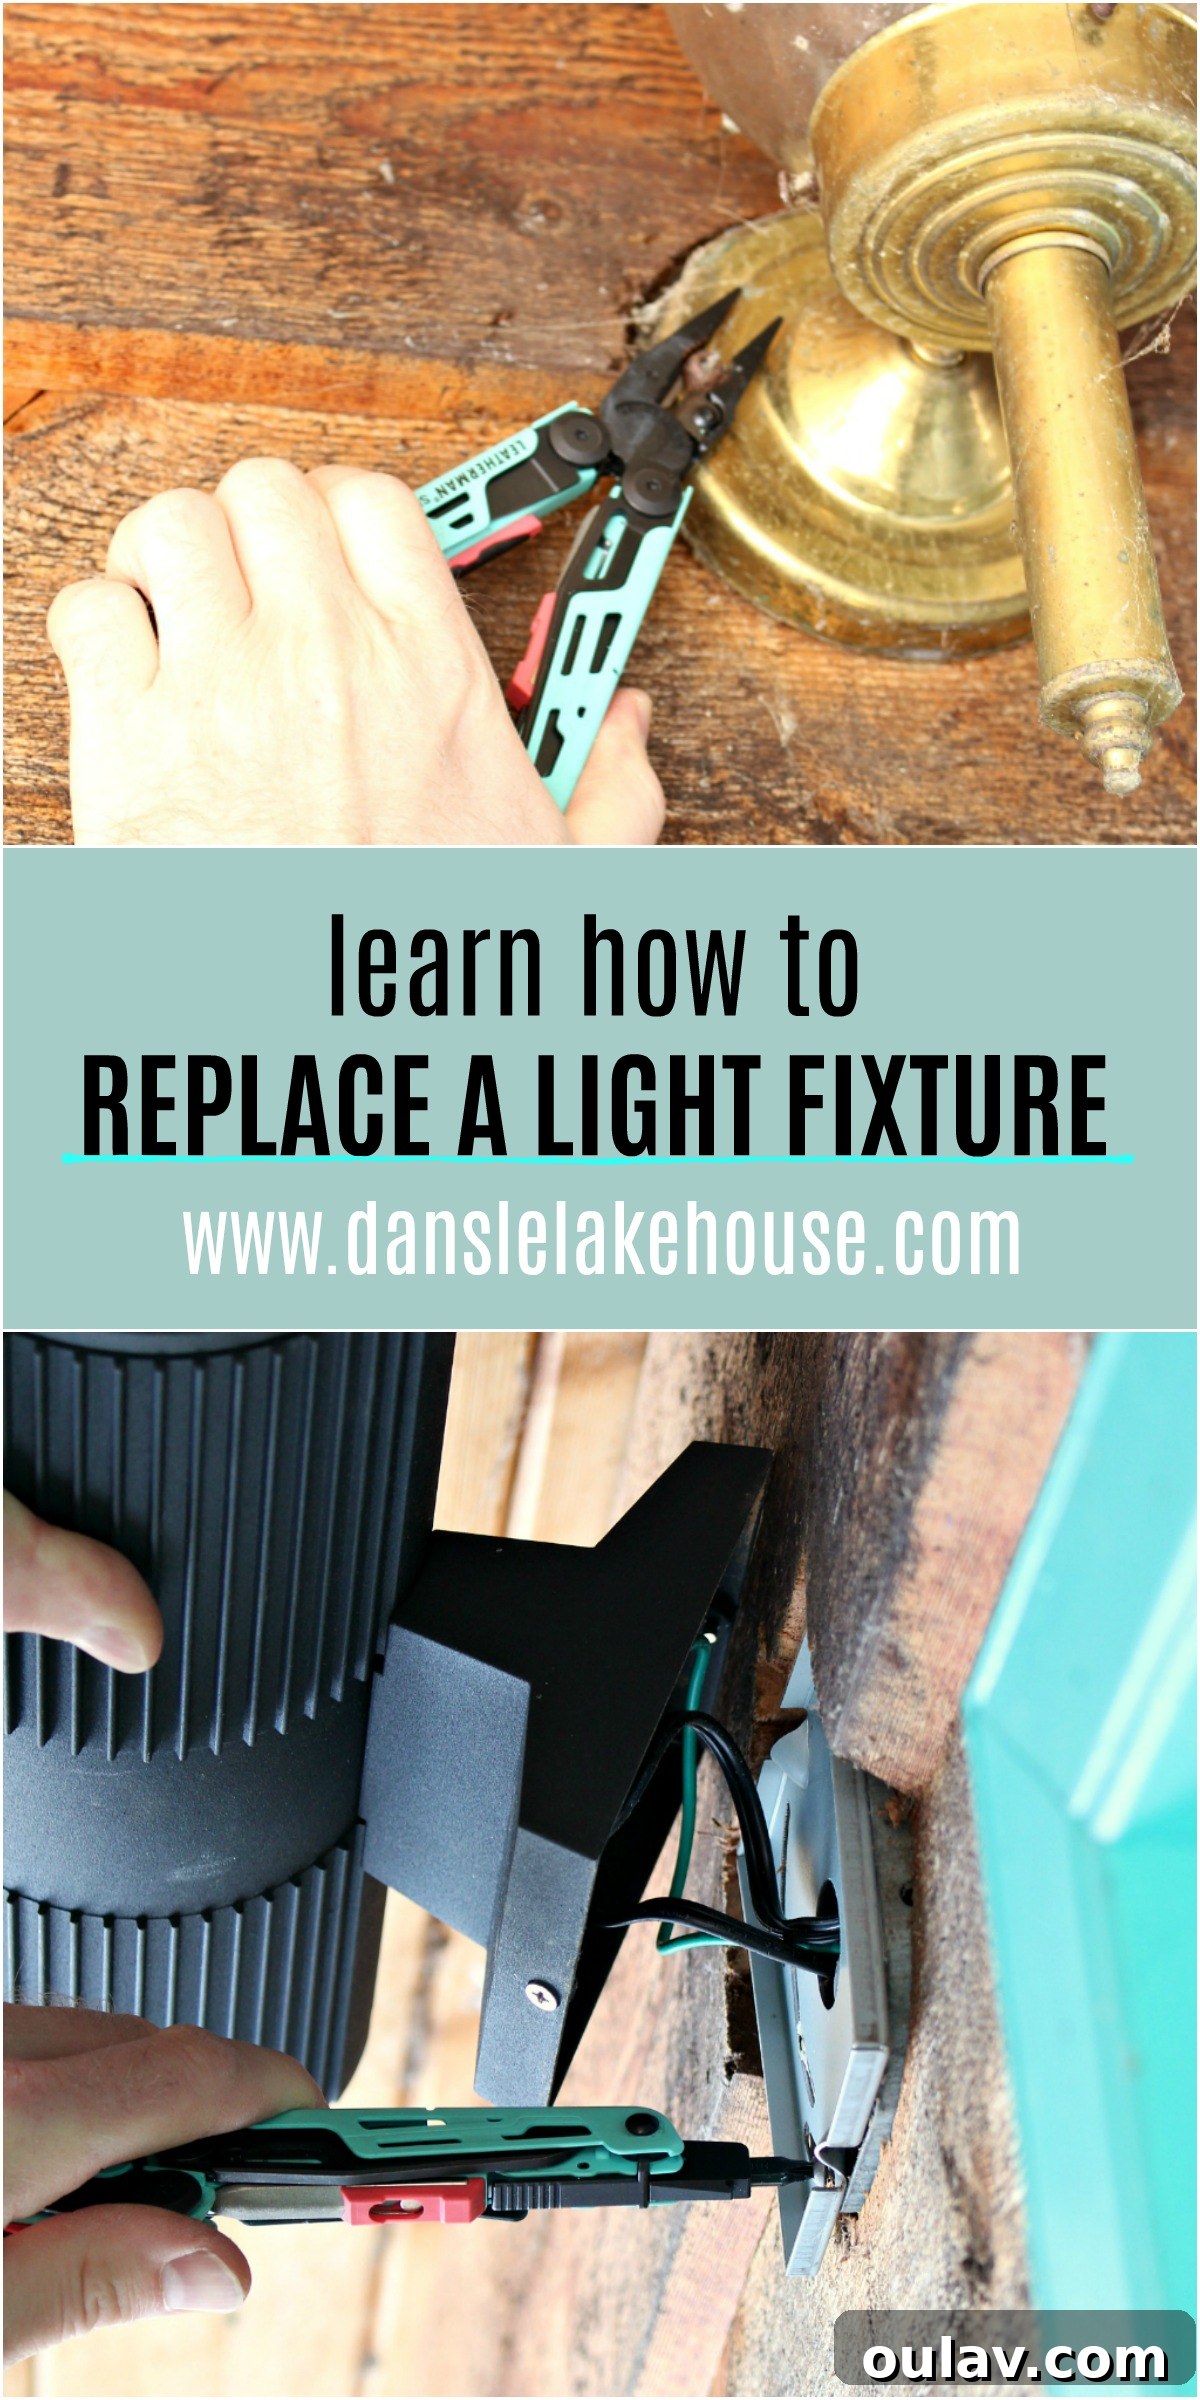
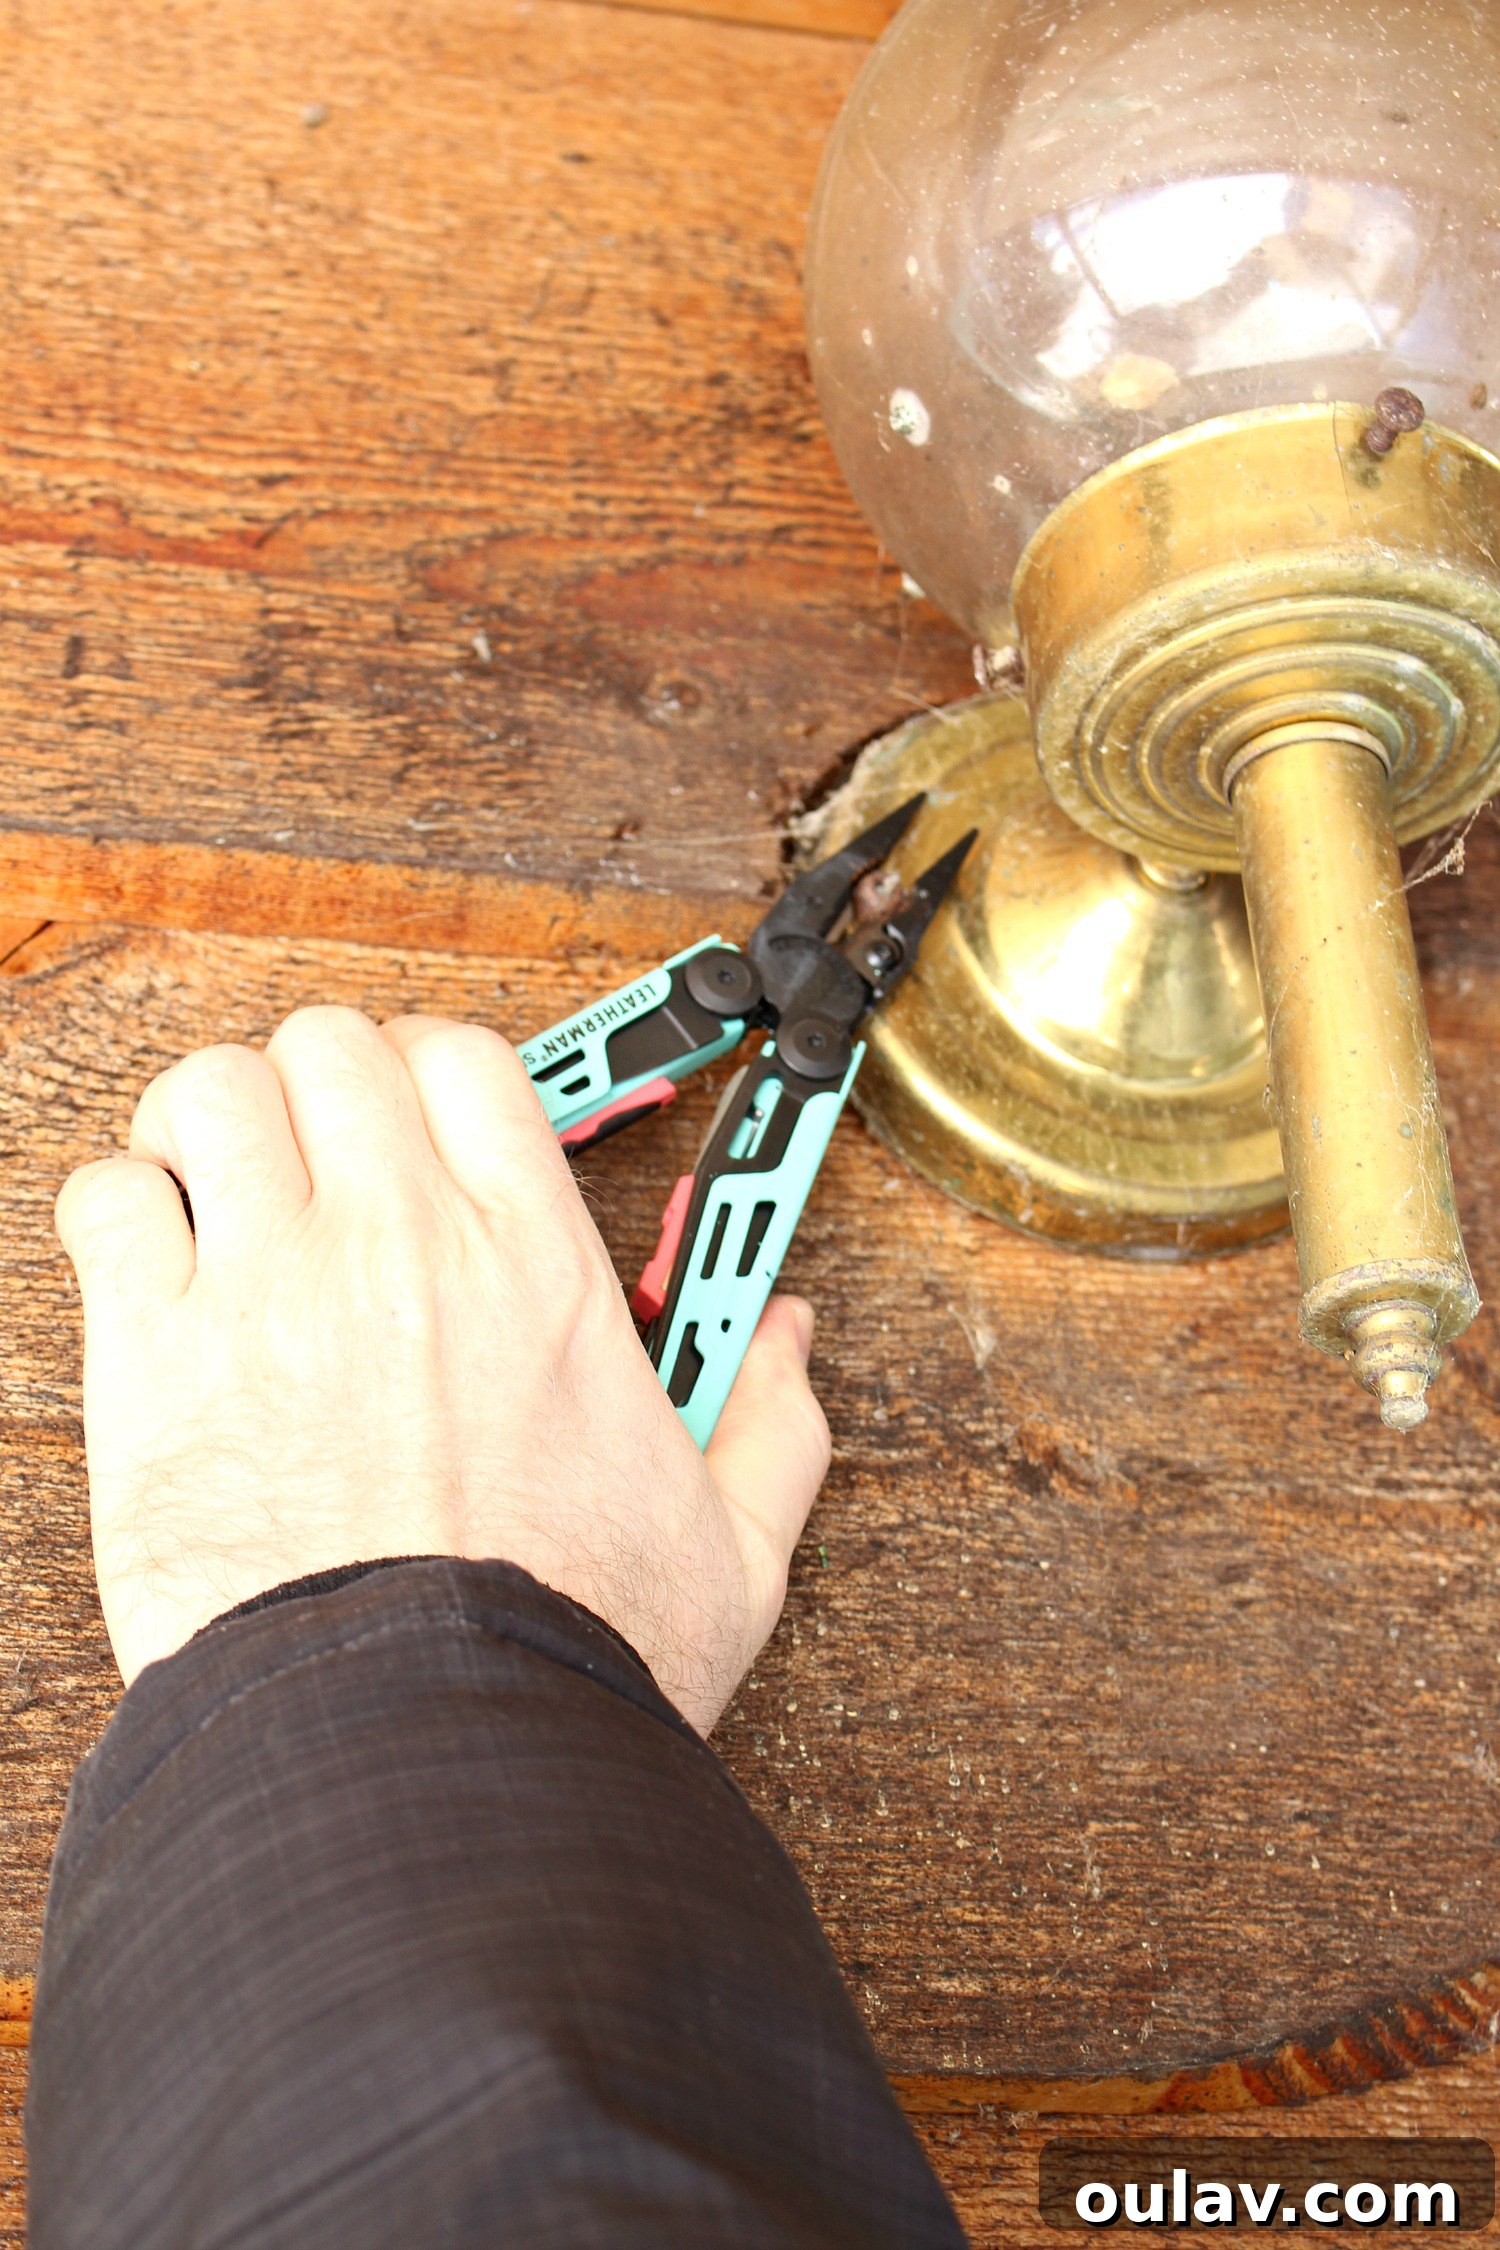
Once you’ve confirmed the power is off, it’s time to carefully remove the existing light fixture. Outdoor lights, especially those exposed to the elements for years, often have nuts that are rusted or seized. Use a sturdy pair of pliers – the ones on the Leatherman Signal are surprisingly robust – to loosen the two nuts that typically secure the fixture to the wall. Apply steady pressure and, if they’re particularly stubborn, a penetrating oil can sometimes help. After the nuts are loosened, gently pull the fixture away from the wall to expose the wiring connections behind it.
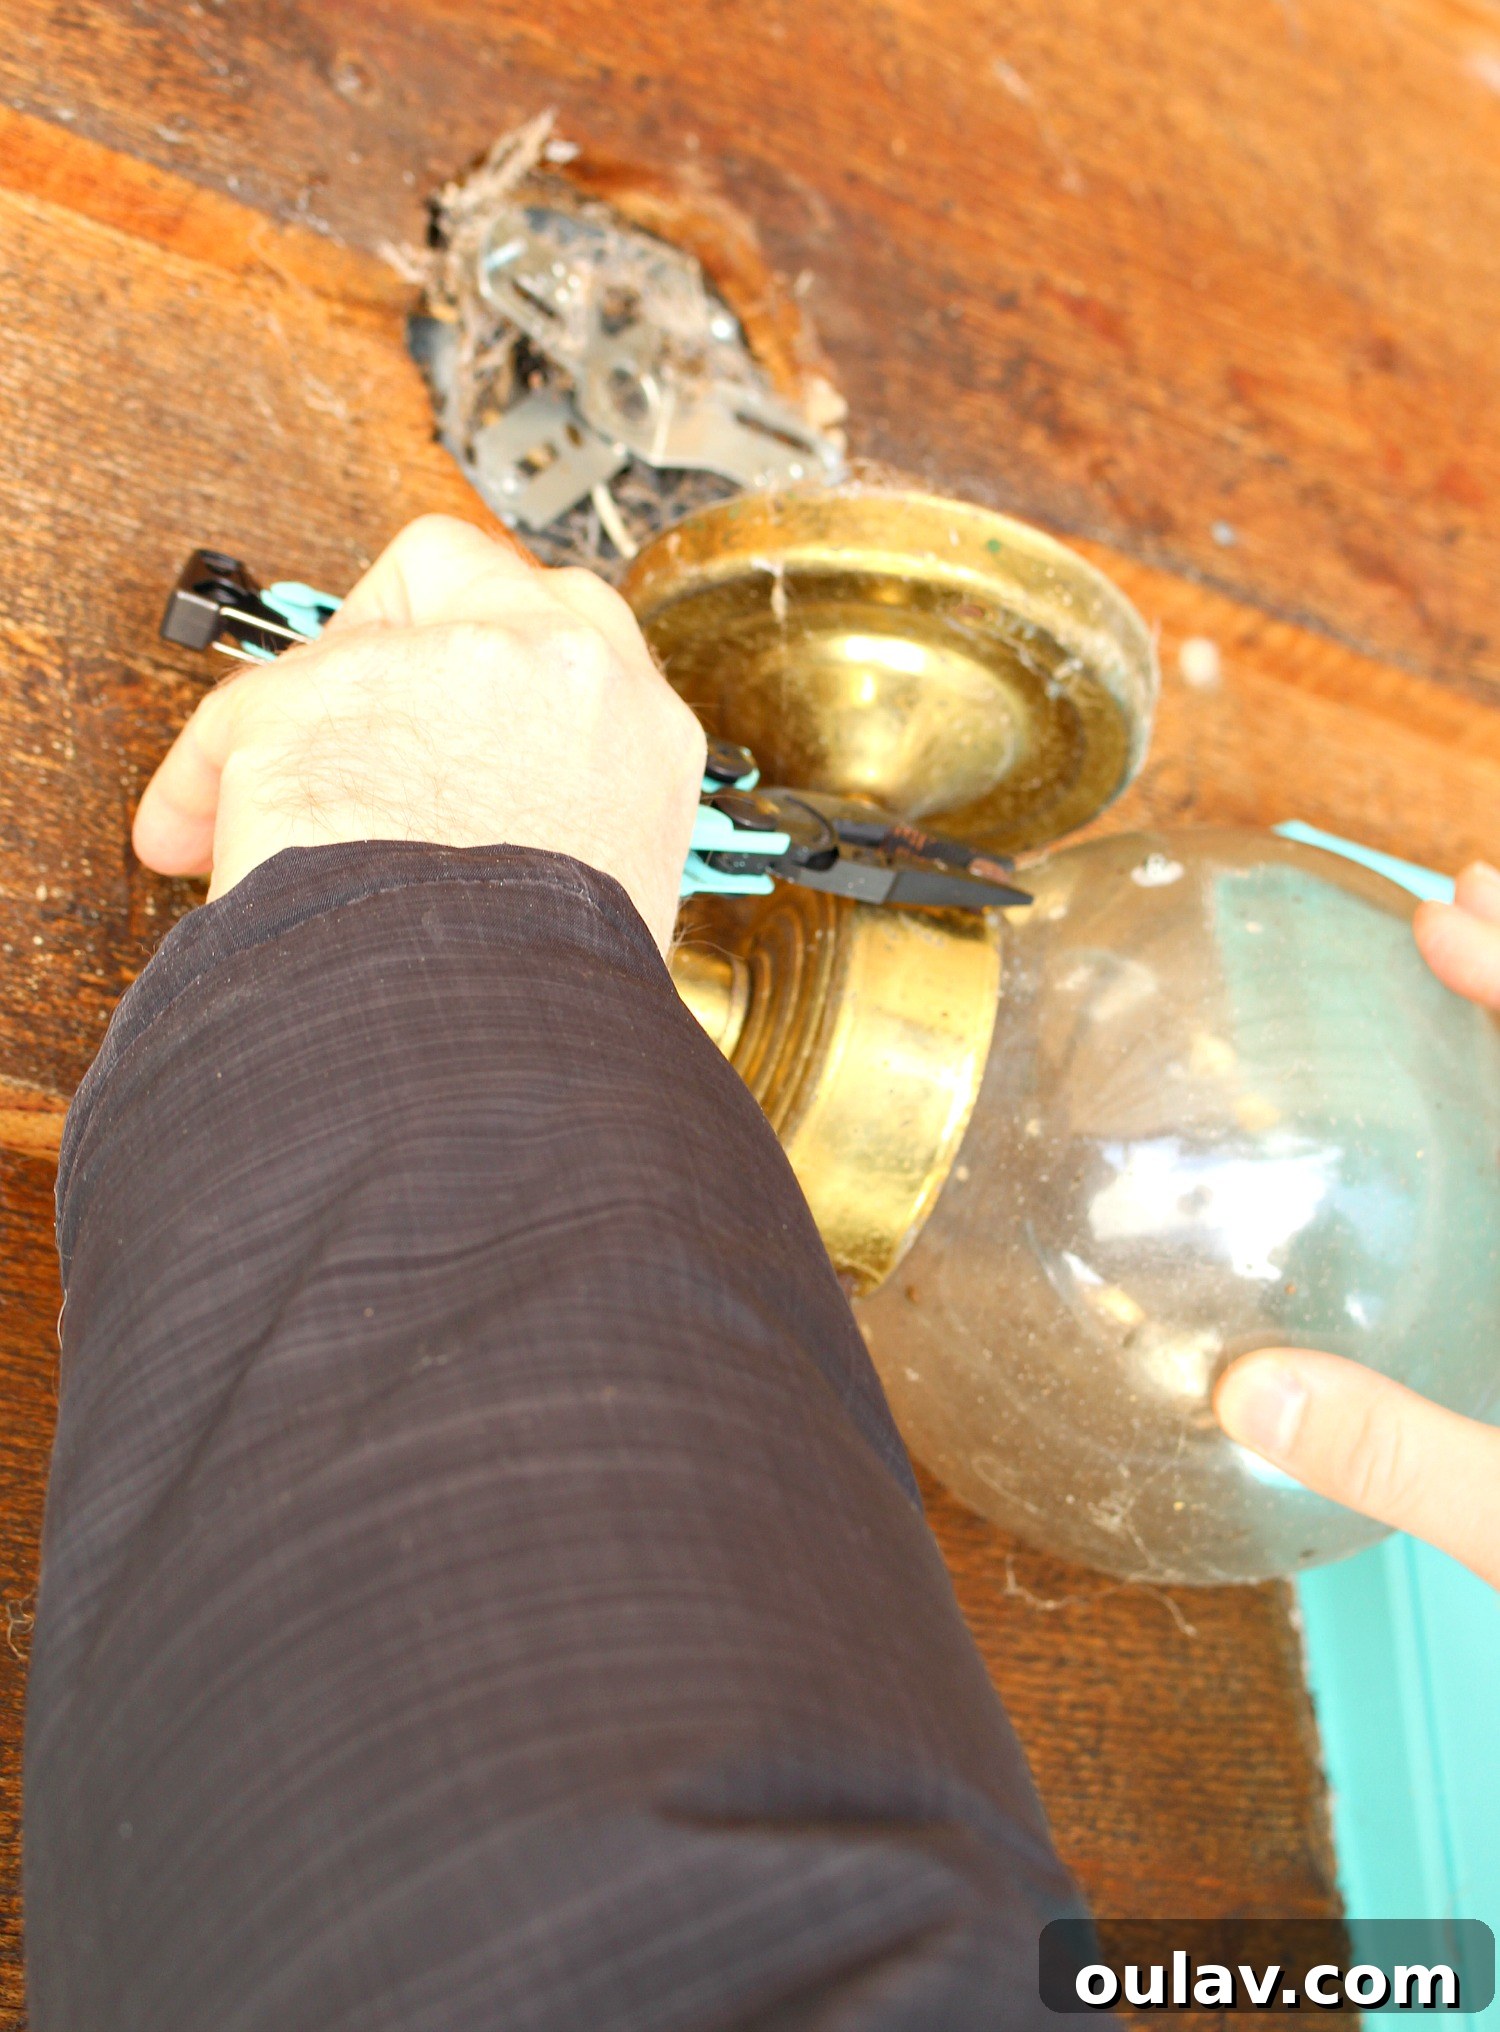
Before completely detaching the fixture, it’s a good practice to remove any glass globes or covers. Simply loosen the finger bolts holding the glass on and carefully set the globe aside. While not always strictly necessary, this step prevents accidental breakage if the fixture is inadvertently dropped during removal, saving you from a messy cleanup and potential cuts. This small precaution adds an extra layer of safety to your DIY light fixture replacement project.
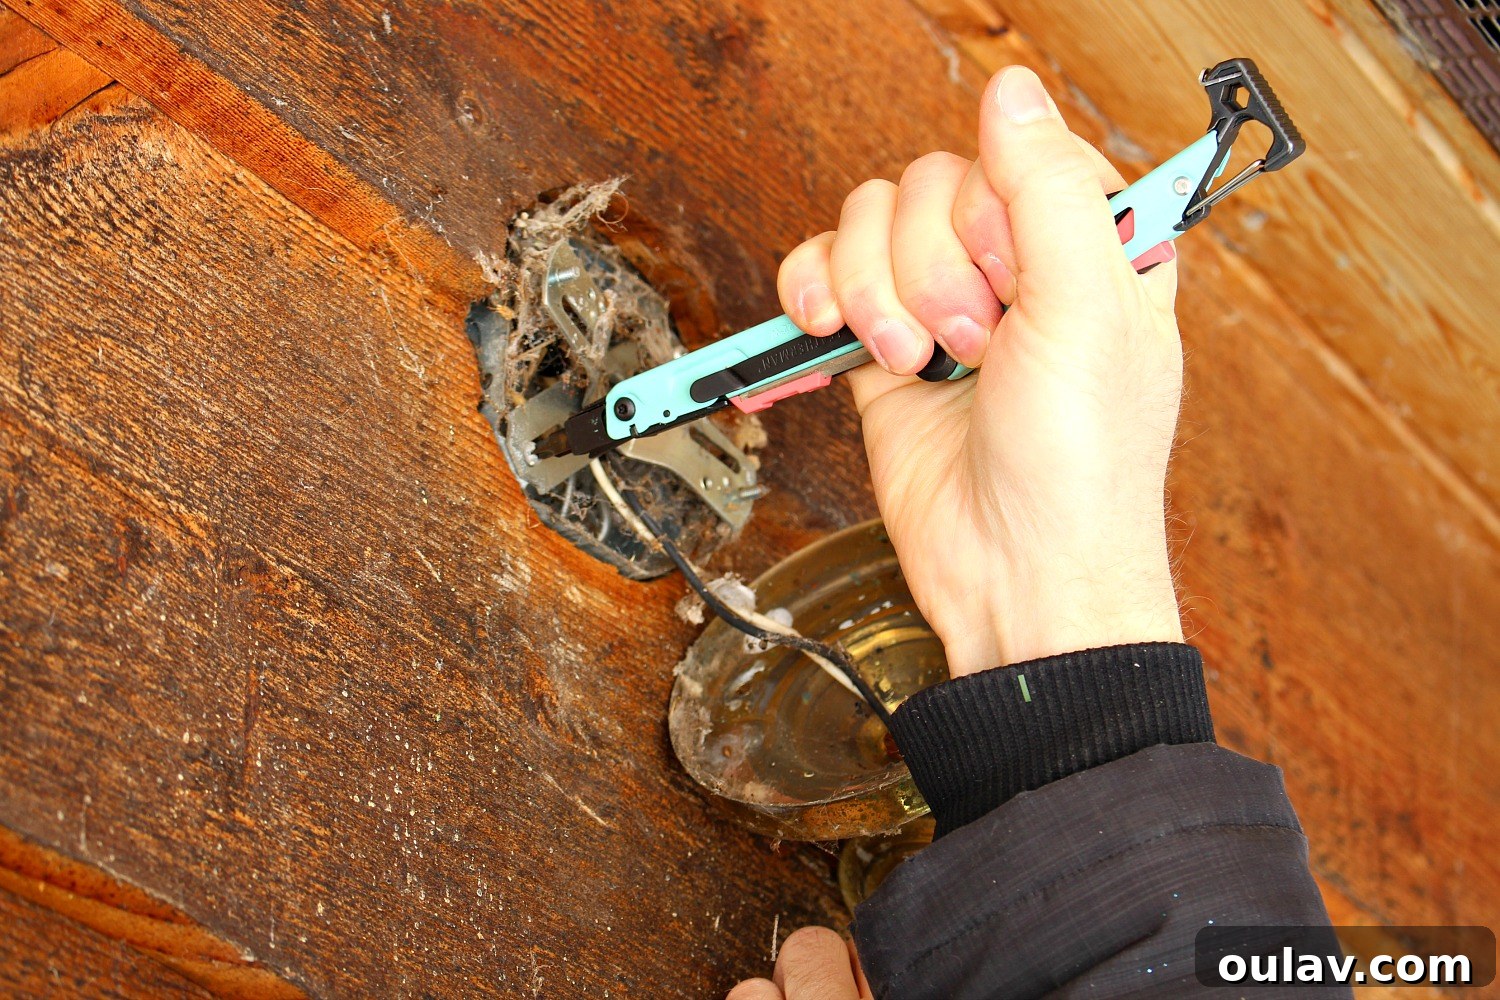
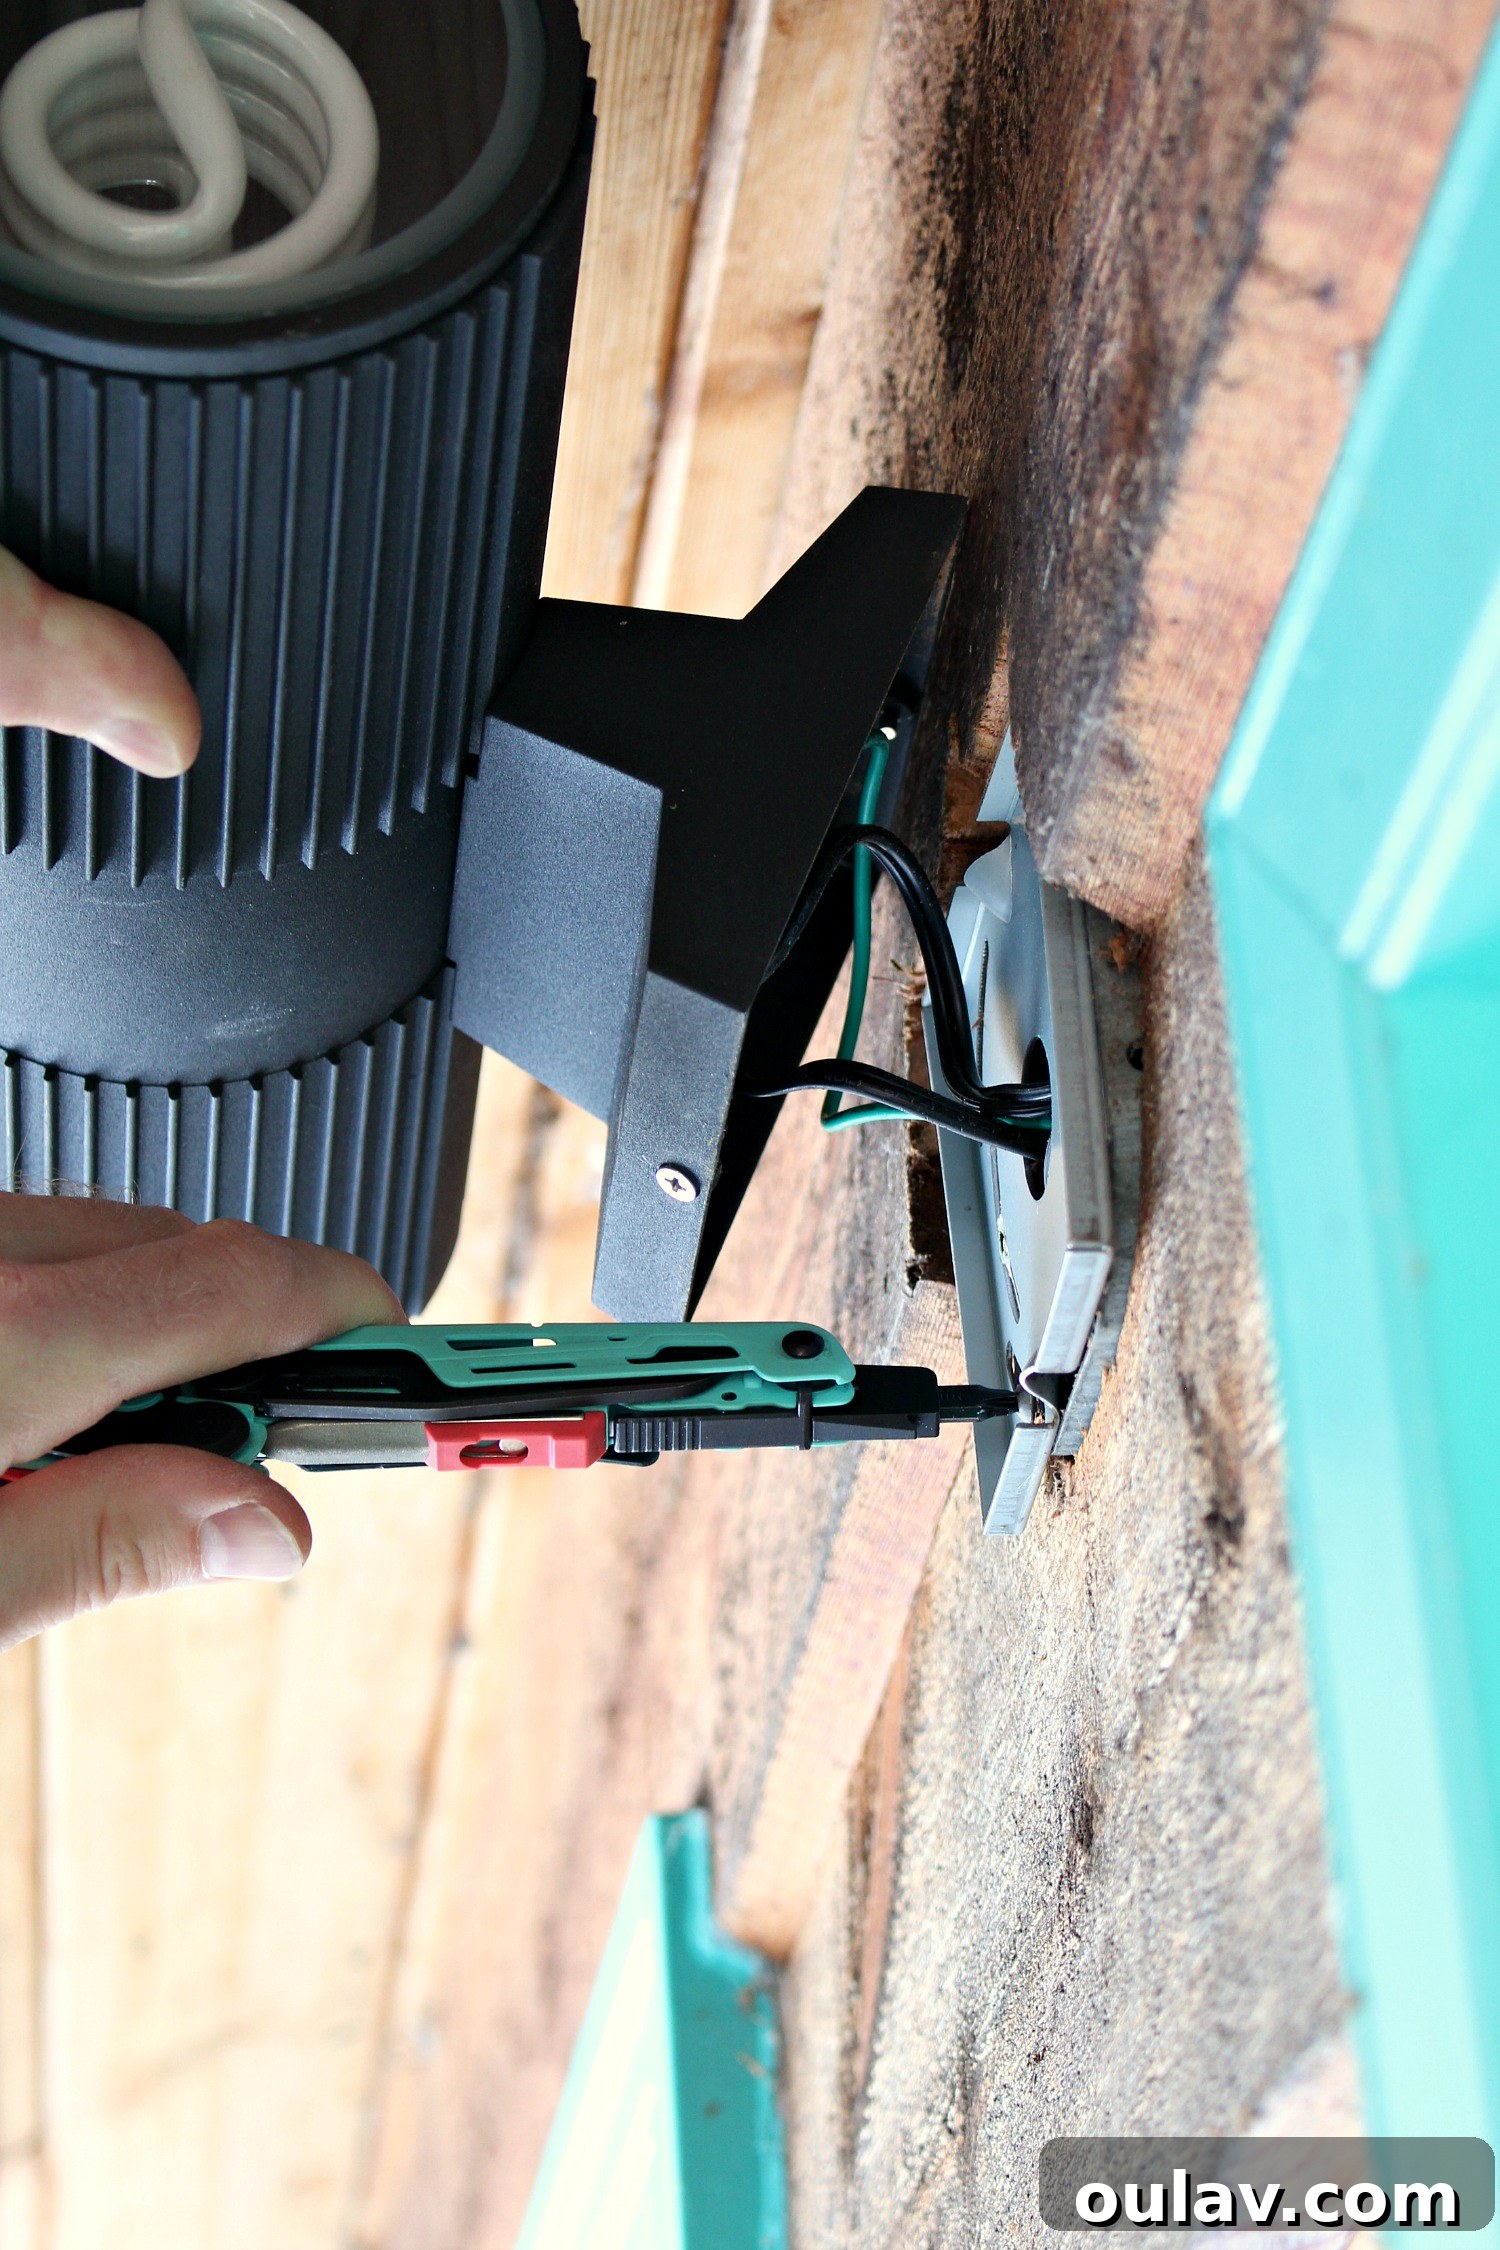
Next, you’ll need to remove the mounting plate, which is usually screwed into the electrical box in the wall. Utilize the bit driver on your multi-tool – the Philips bit is most commonly required for these screws. There are typically two screws holding the mounting plate firmly in place. Carefully unscrew them and set the plate aside. This will give you full access to the electrical connections, which are crucial for a safe and correct installation of your new light fixture.
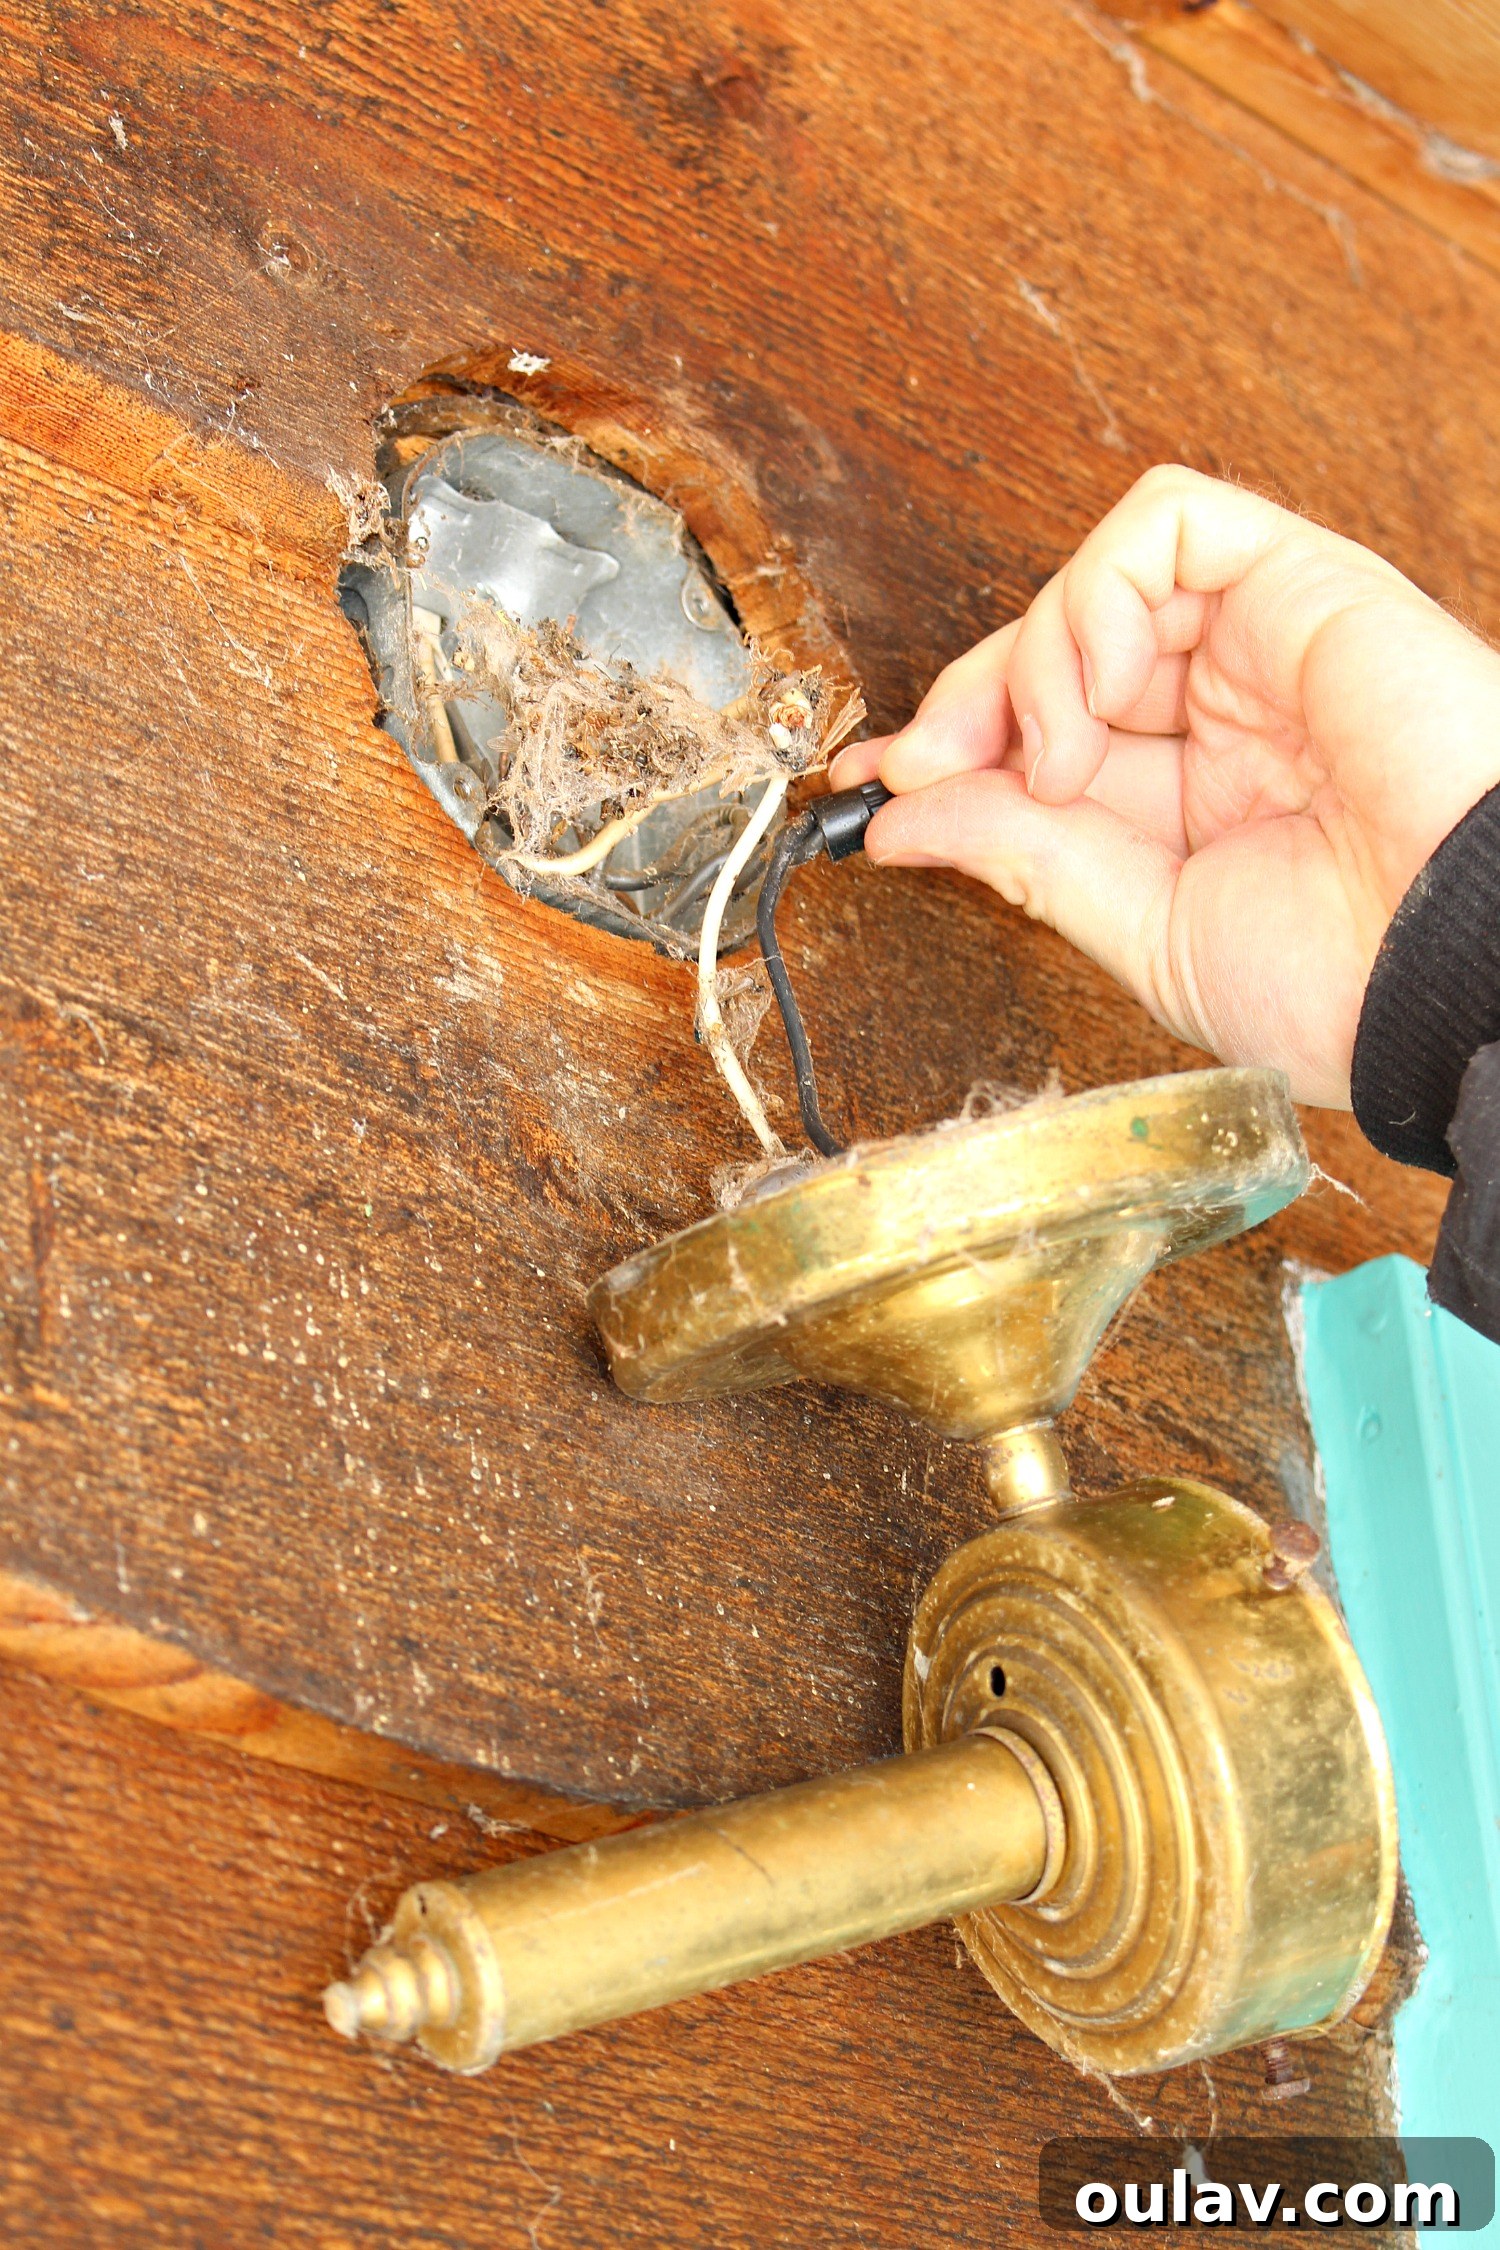
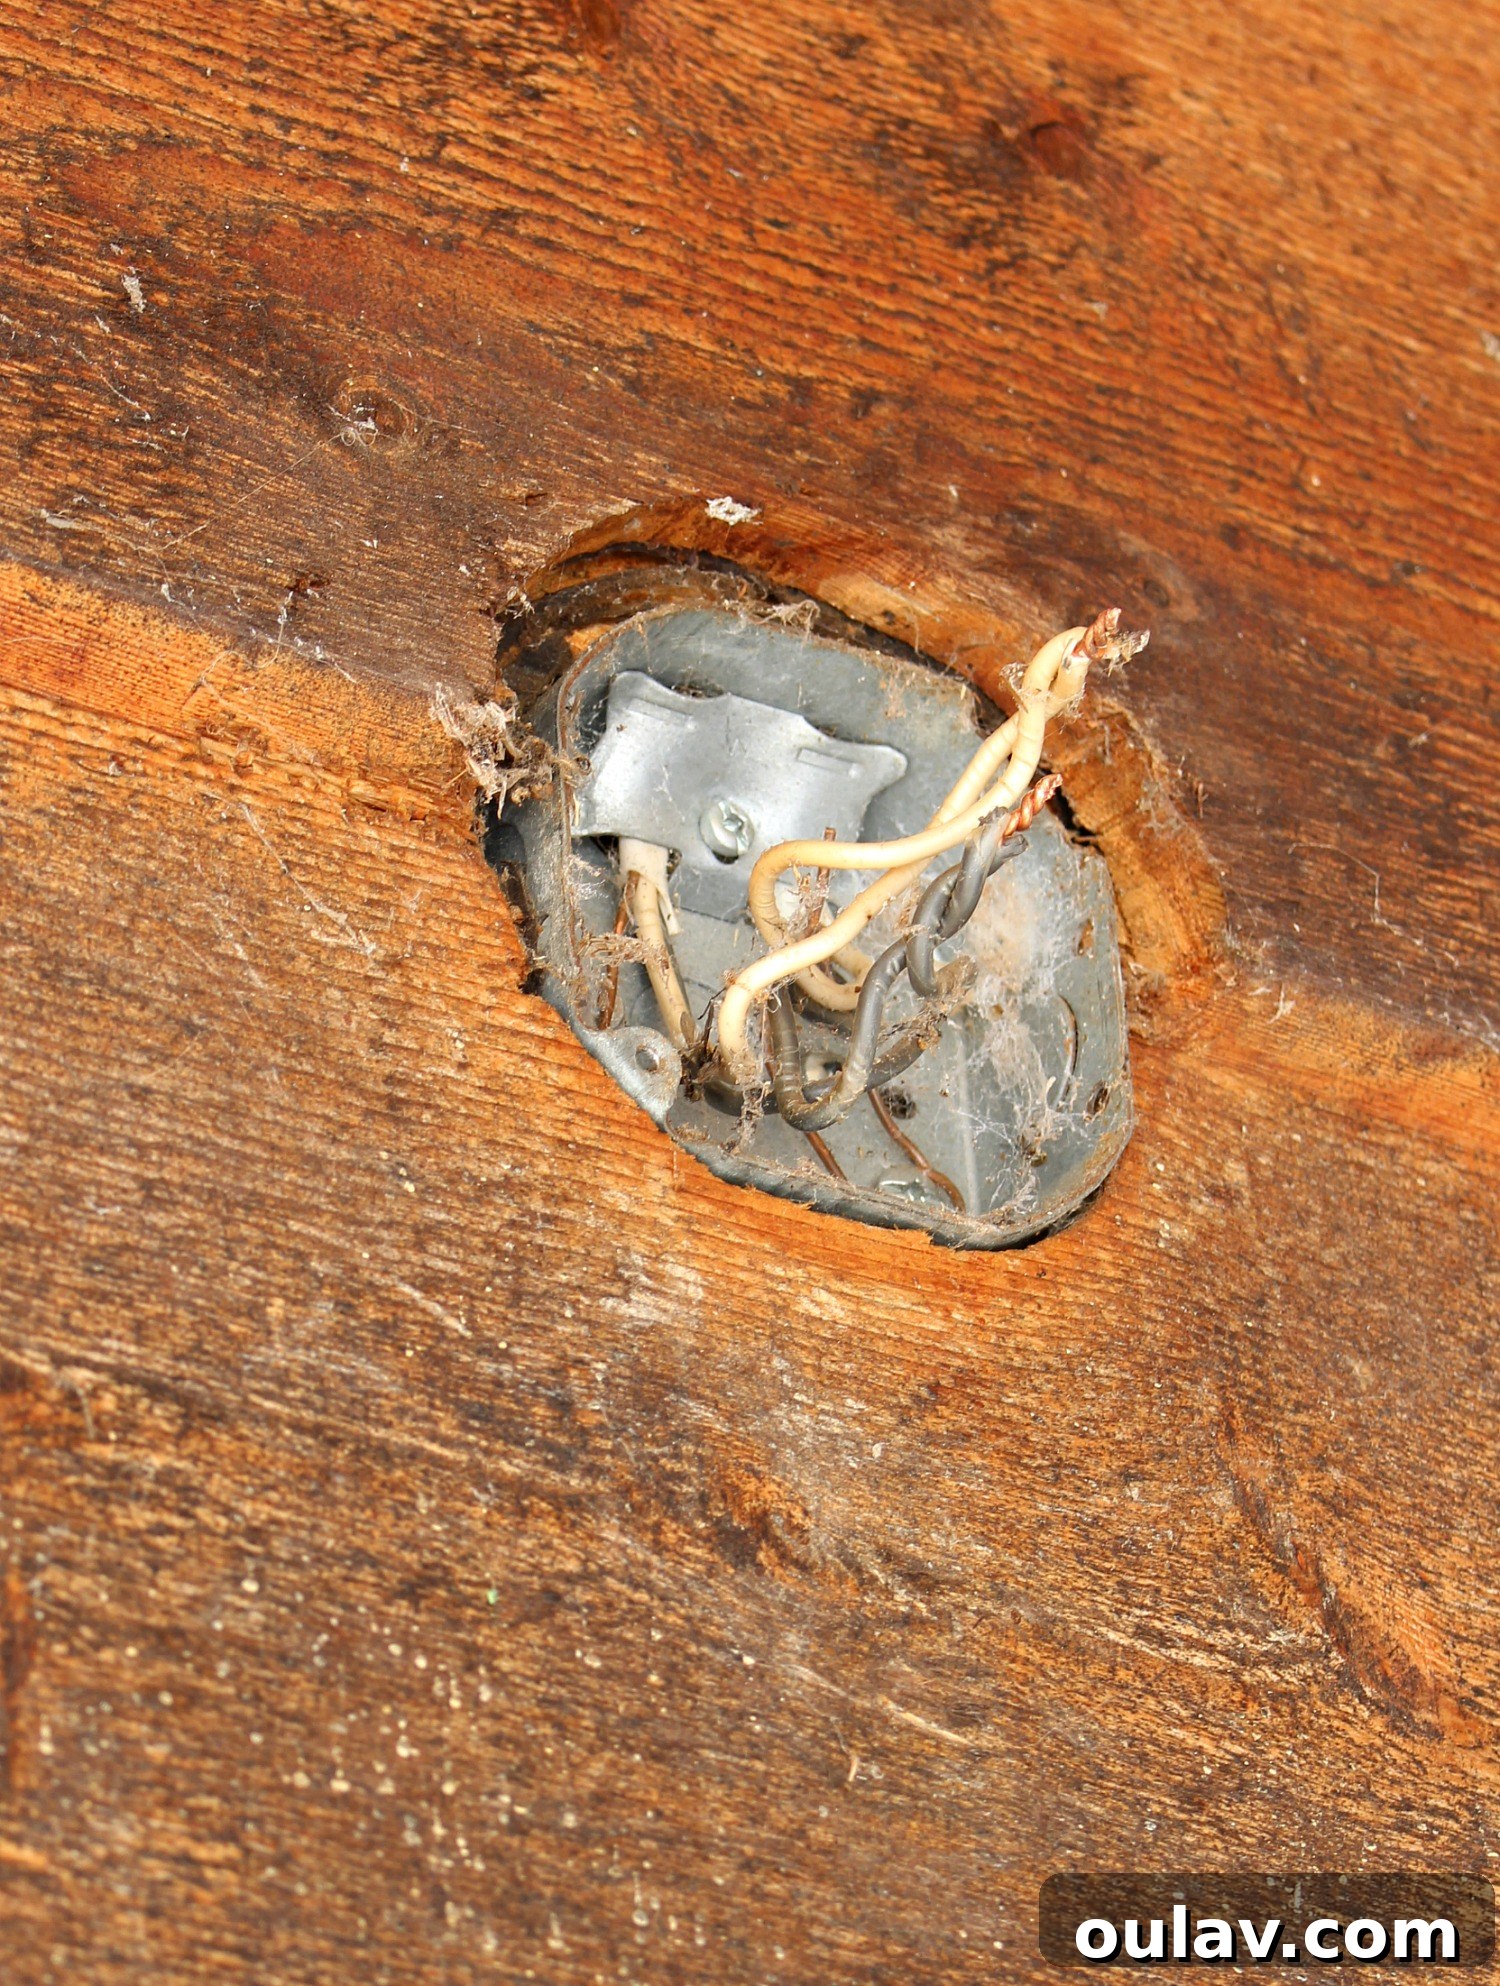
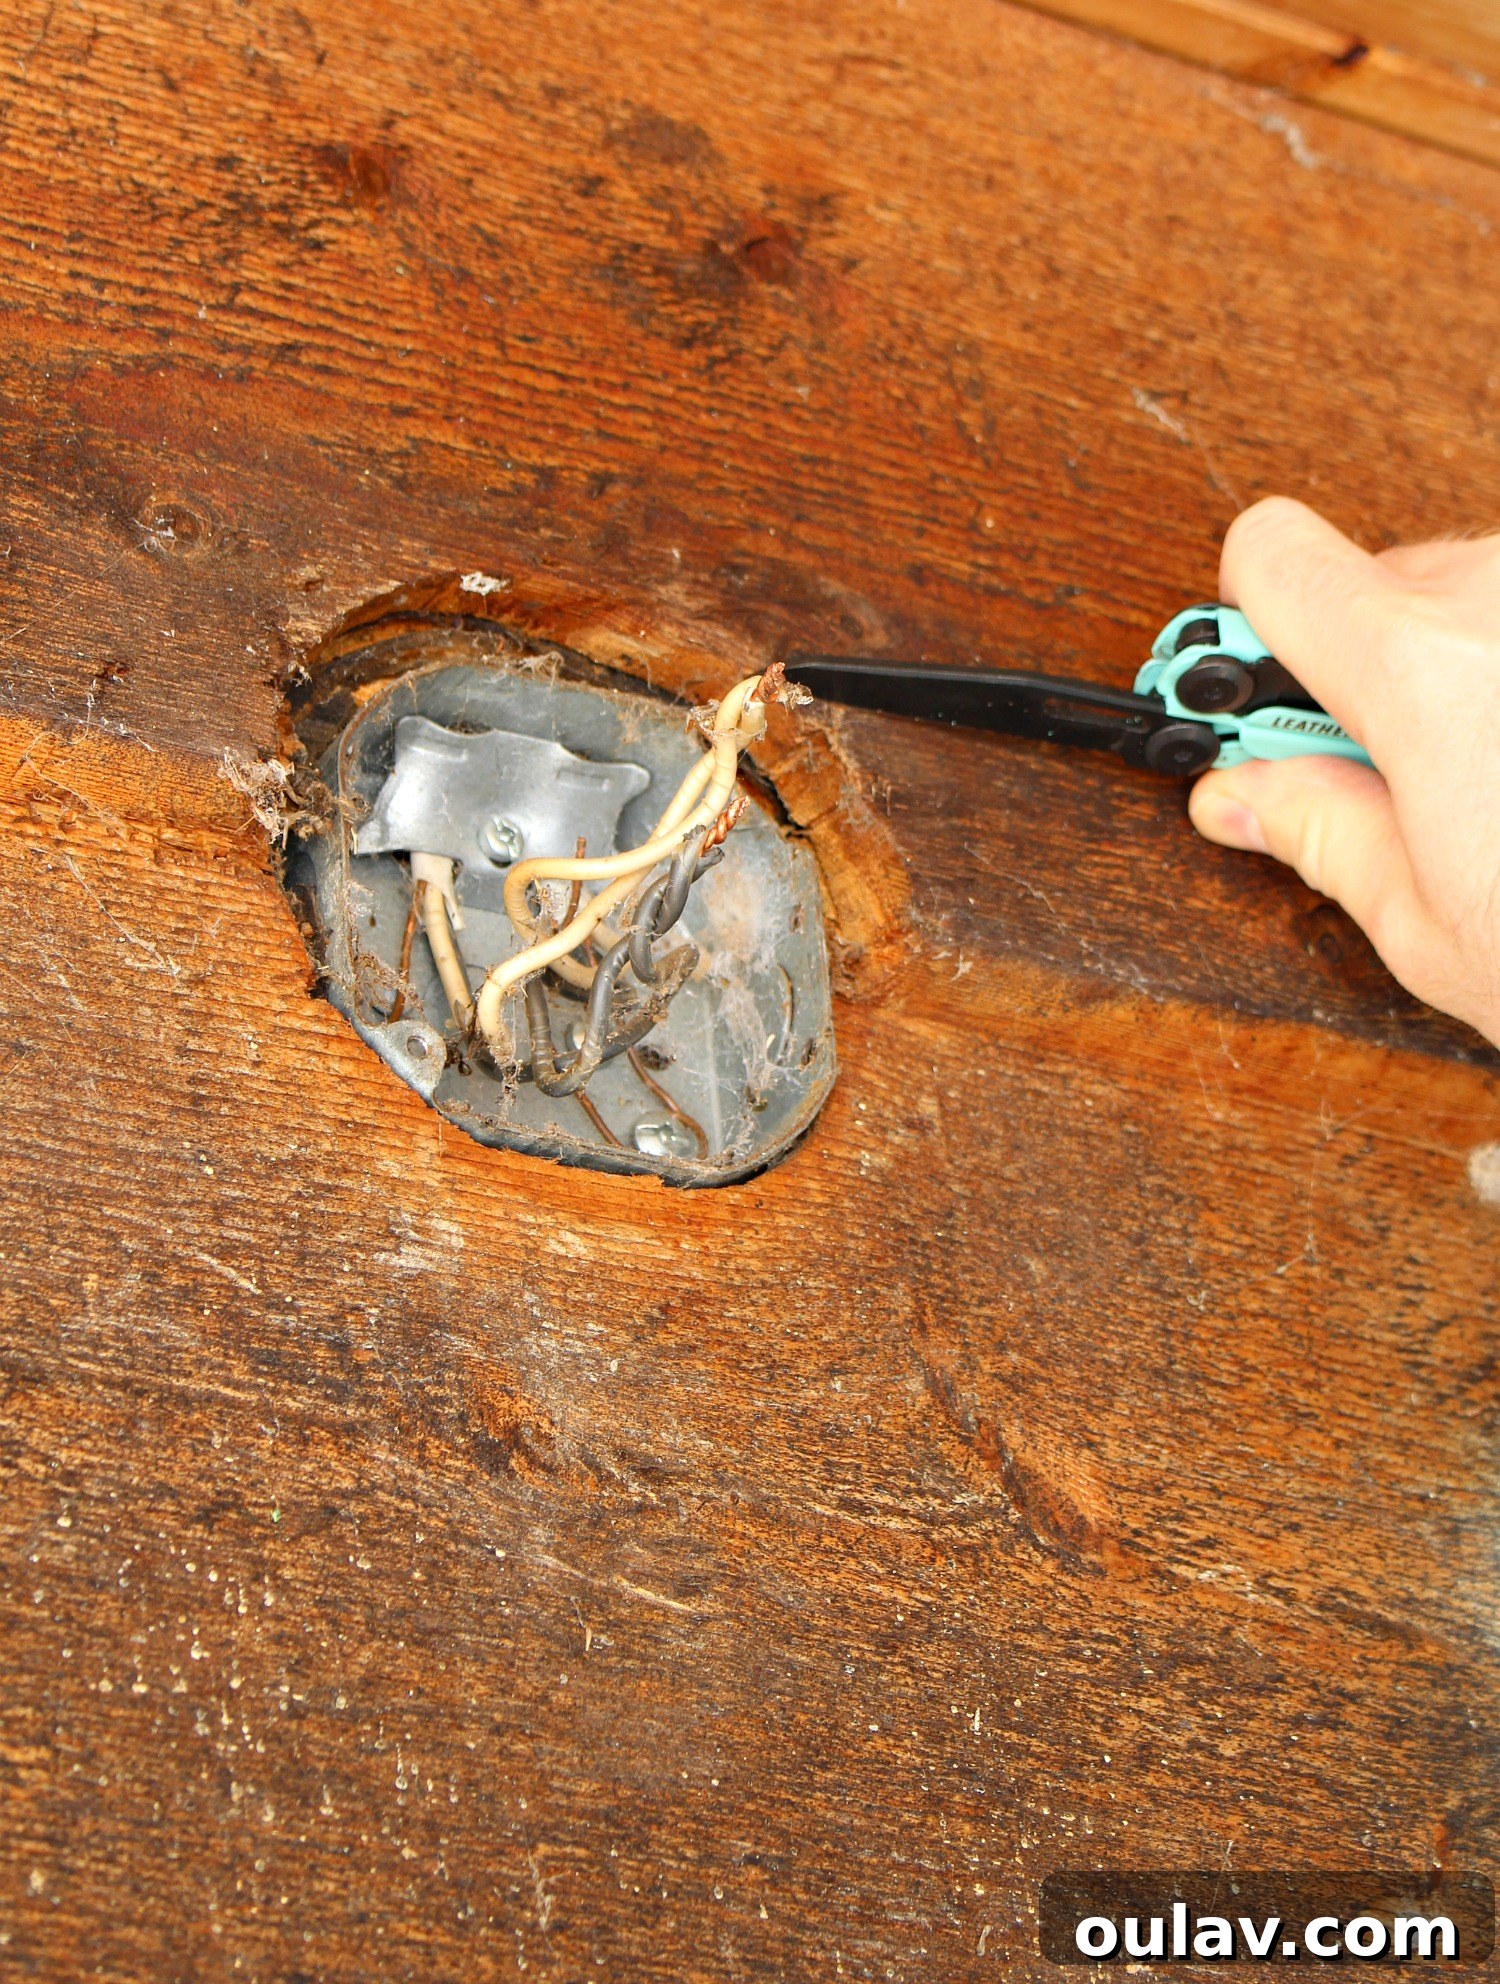
With the mounting plate out of the way, you can now safely disconnect the wiring. In most standard installations, you’ll find three types of wires: black (hot, or live), white (neutral), and a bare copper or green wire (ground). These wires are typically joined using Marette wire connectors (also known as wire nuts). Twist these connectors counter-clockwise to remove them, separating the fixture’s wires from the house wiring. Once all connections are undone, you can completely remove the old light fixture and set it aside. This leaves you with the exposed electrical box, ready for the installation of your brand new lighting upgrade.
Step 2: Preparing for the New Fixture – Addressing Unique Challenges
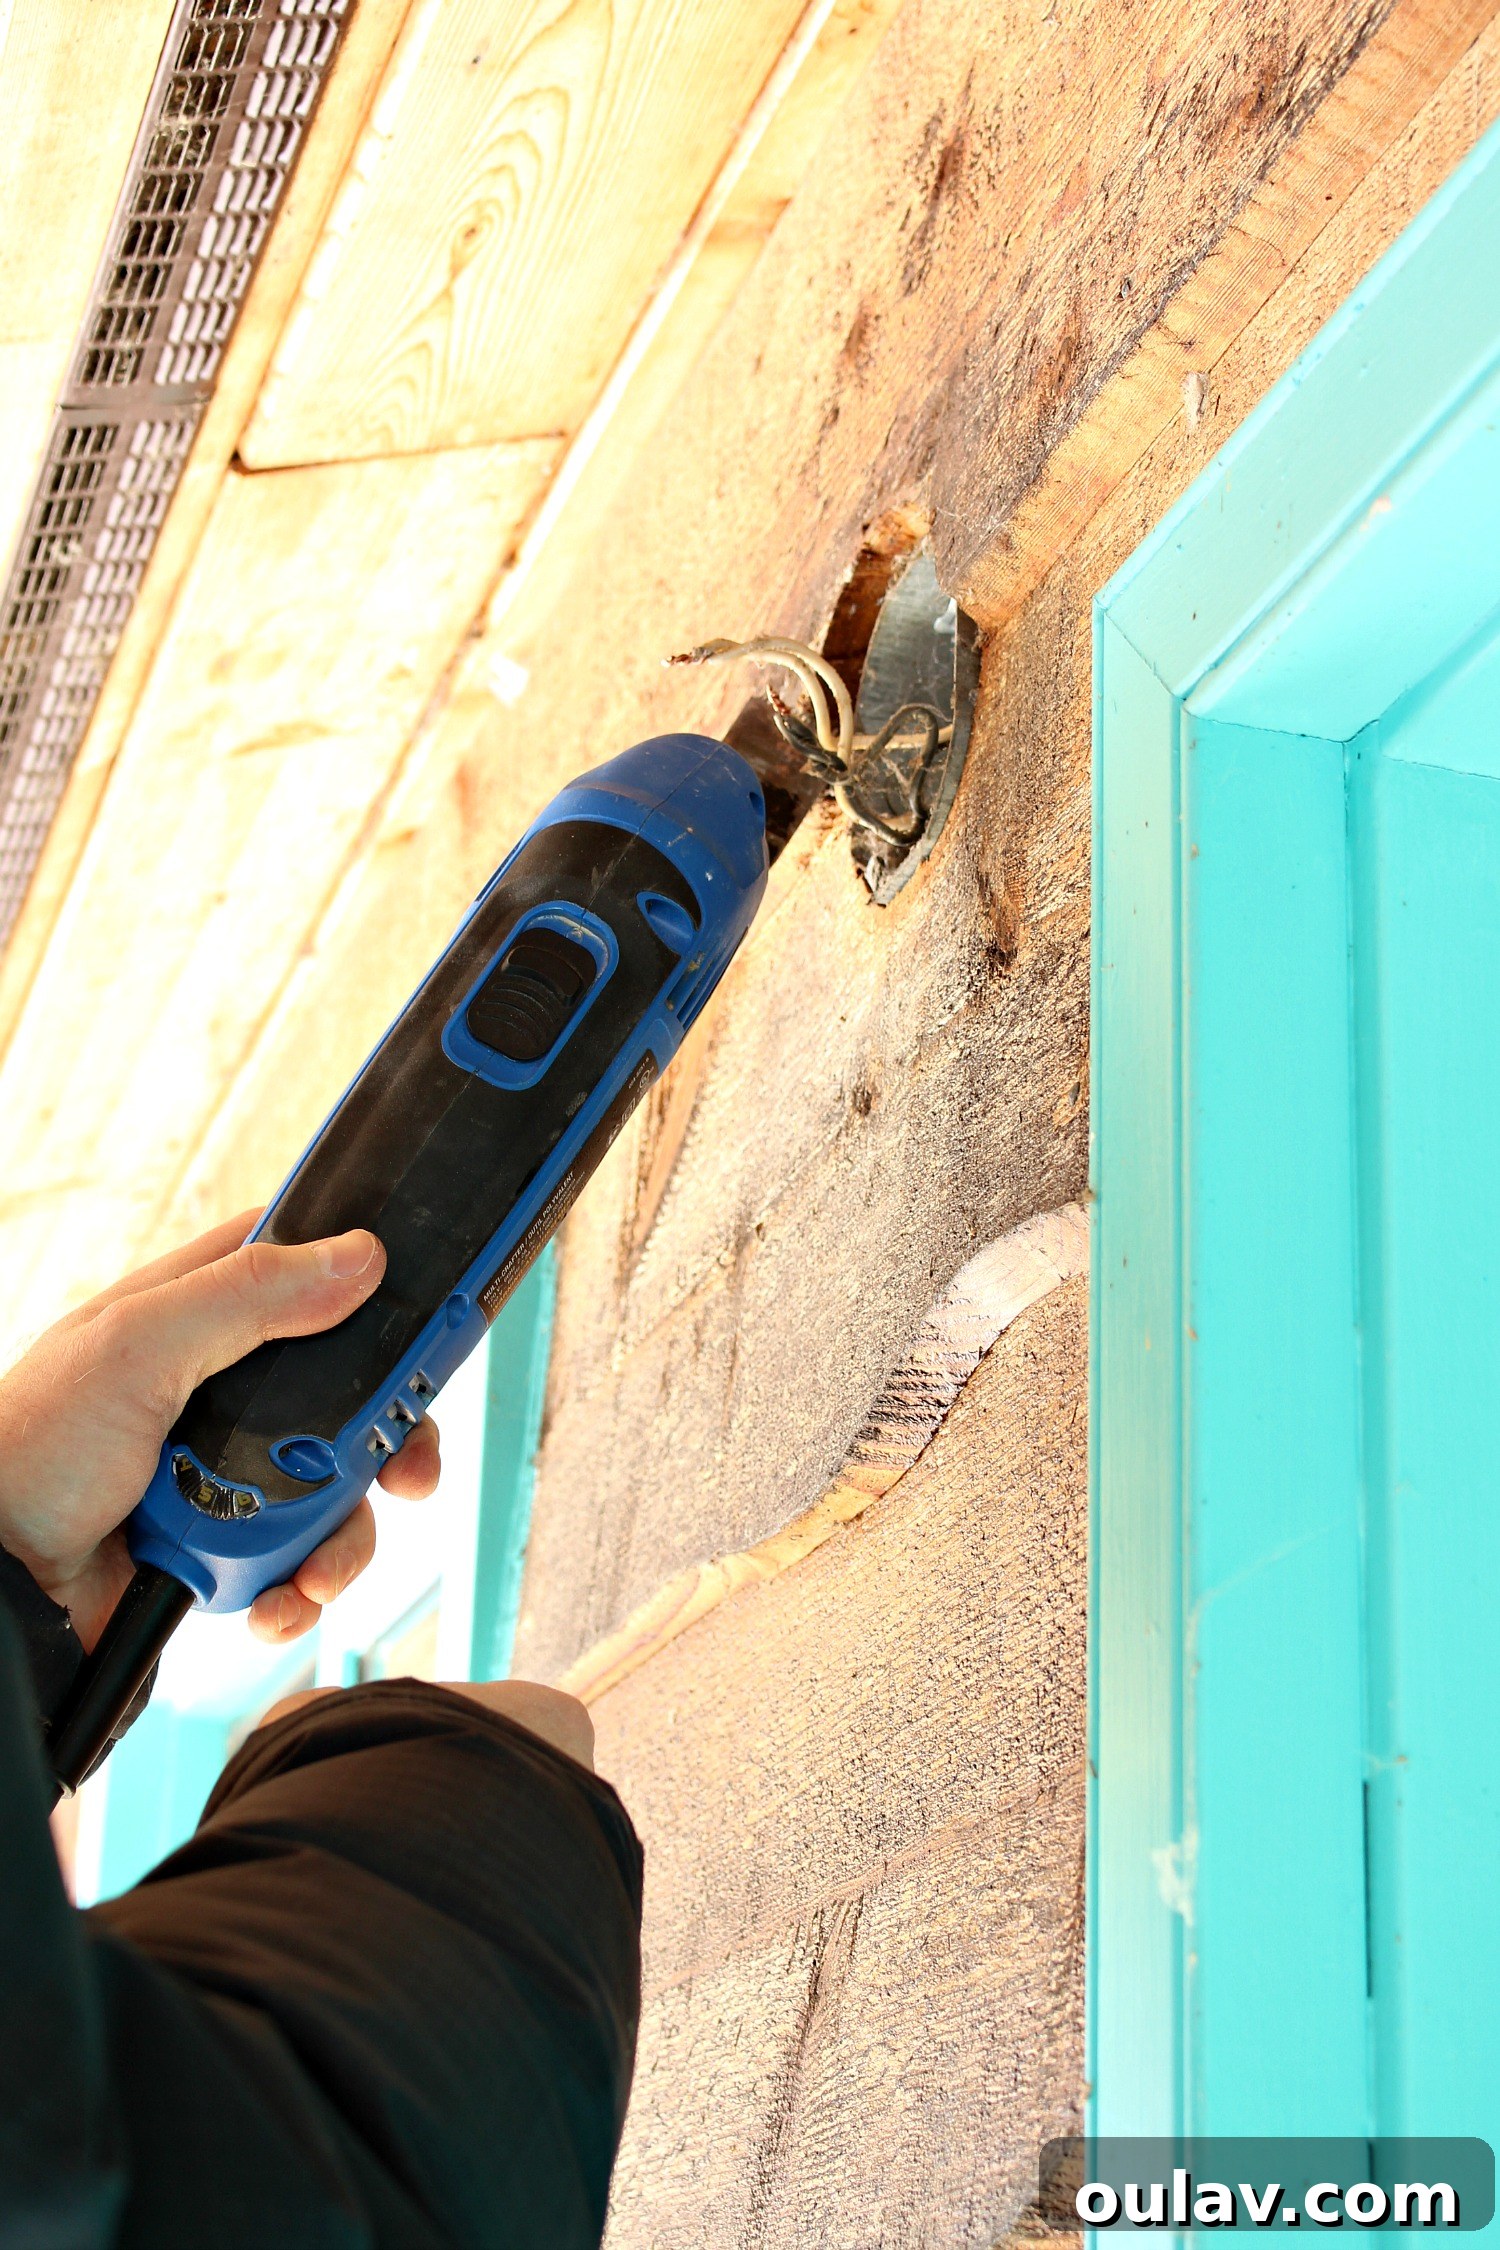
While most light fixture replacements are fairly straightforward, sometimes you encounter unique architectural quirks. In our case, the new fixture had a square base, a stark contrast to the old round one. Crucially, whoever originally built our bunkie had inset the light fixture into the siding, rather than simply surface-mounting it as is common. This meant we had an extra, unexpected step: we had to retrofit the existing inset hole to accommodate the new square fixture base. This might not be a step you encounter, but it highlights the importance of adaptability in DIY projects and the need to always assess your specific situation.
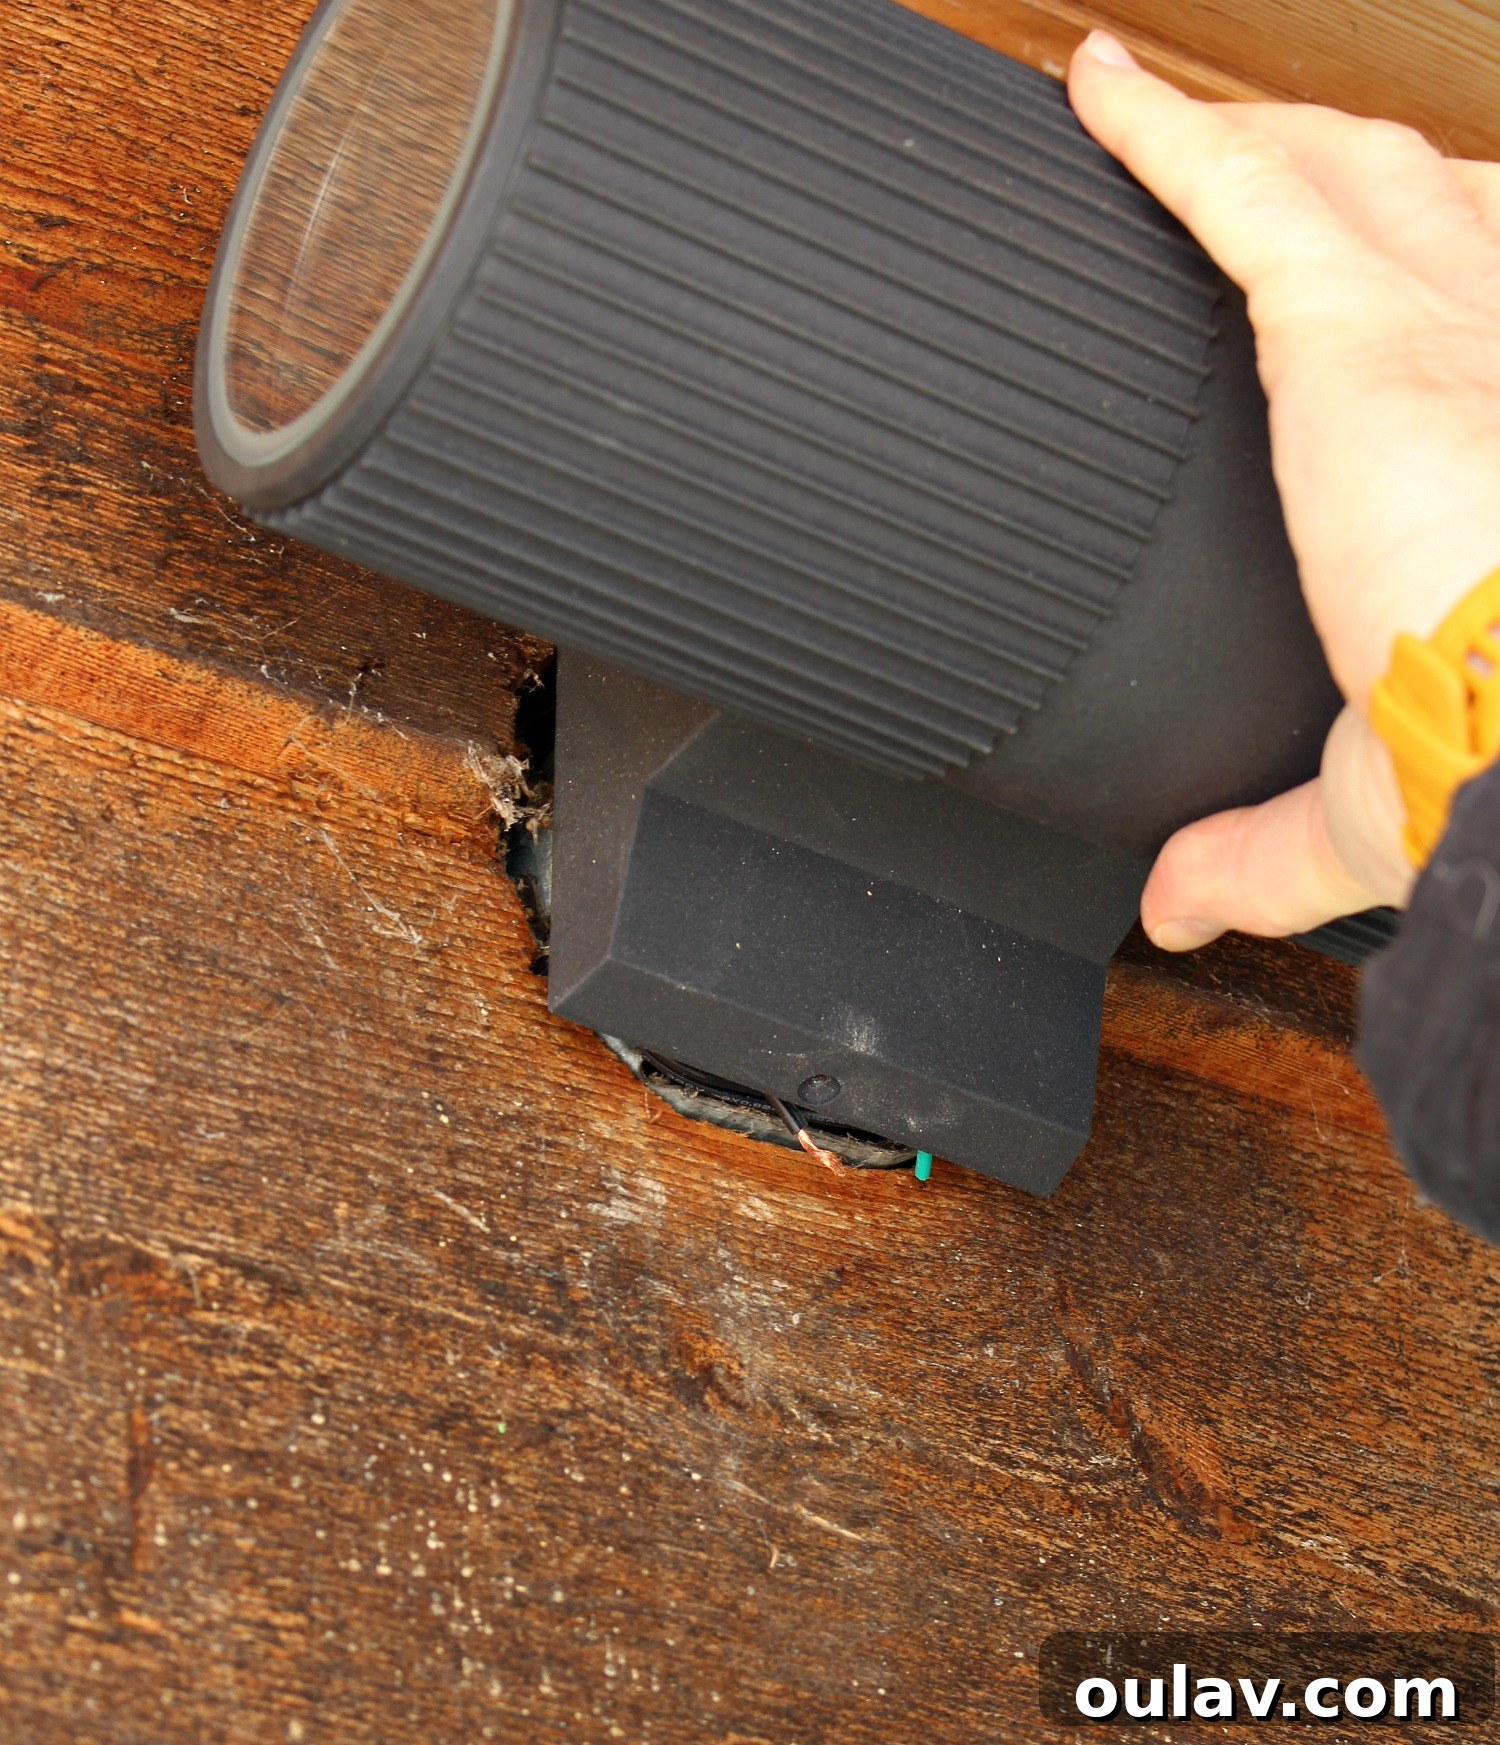
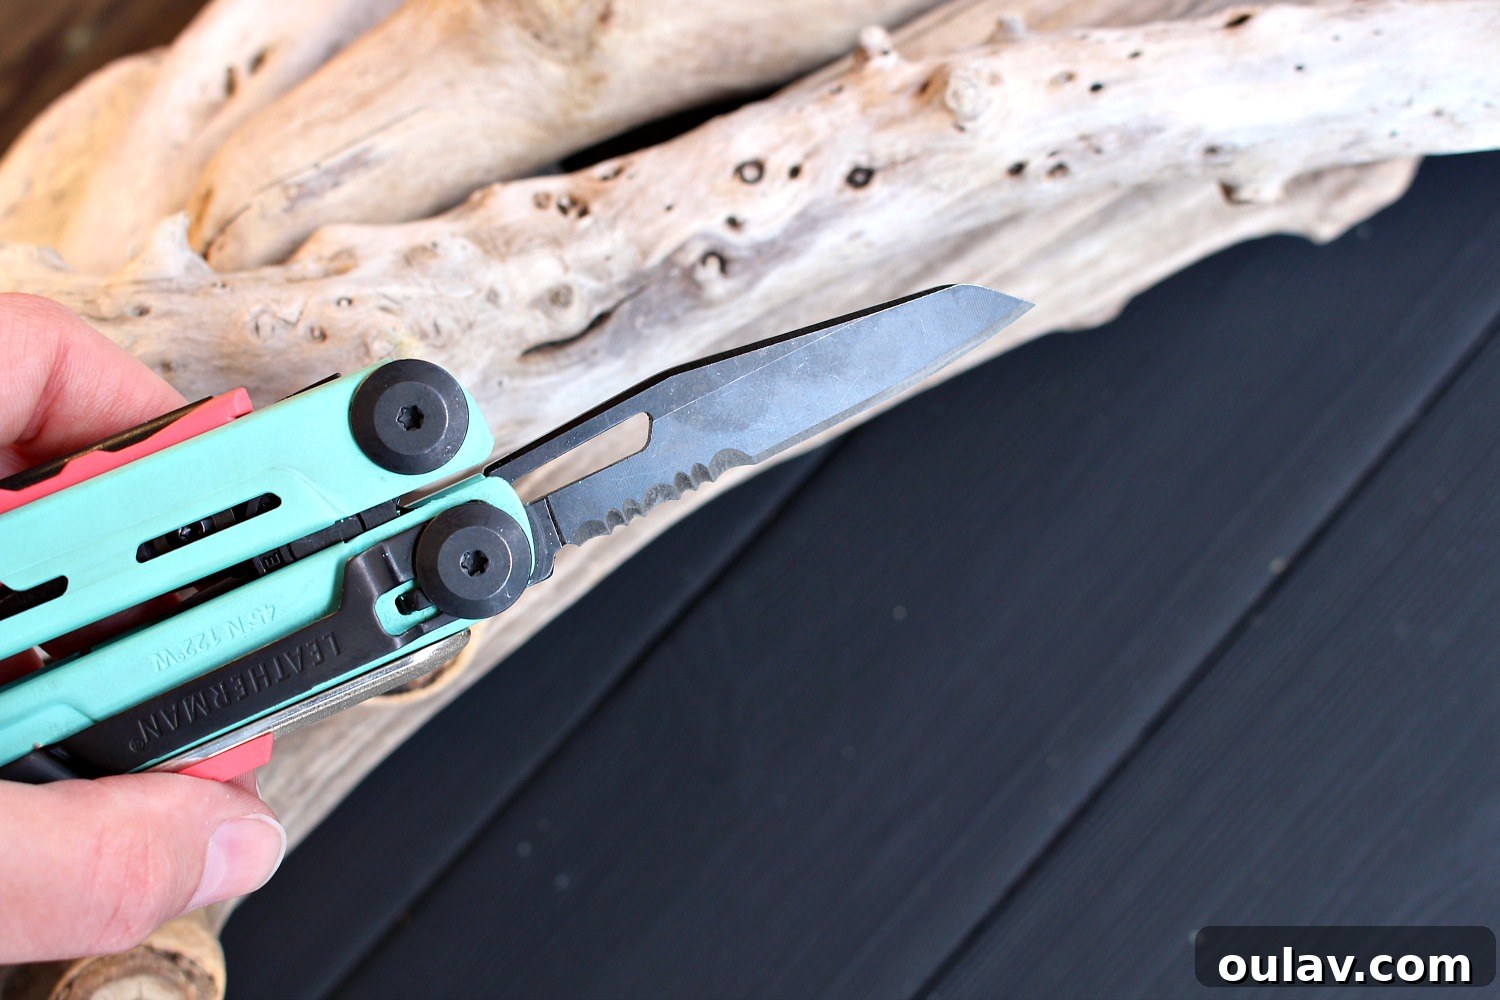
To prepare the opening, we used the knife blade on the Leatherman Signal to carefully mark off where the existing hole needed to be enlarged and squared. For rough surfaces like siding, a clear score or scratch mark is often more visible and accurate than a pencil line, ensuring precision. Once marked, we utilized an oscillating tool to precisely cut out the new shape in the siding board, ensuring a snug and professional fit for the updated light fixture. This extra attention to detail ensures your new light looks seamlessly integrated, even if your installation presents unforeseen challenges, leading to a much cleaner and more appealing result.
Step 3: Installing Your New Light Fixture
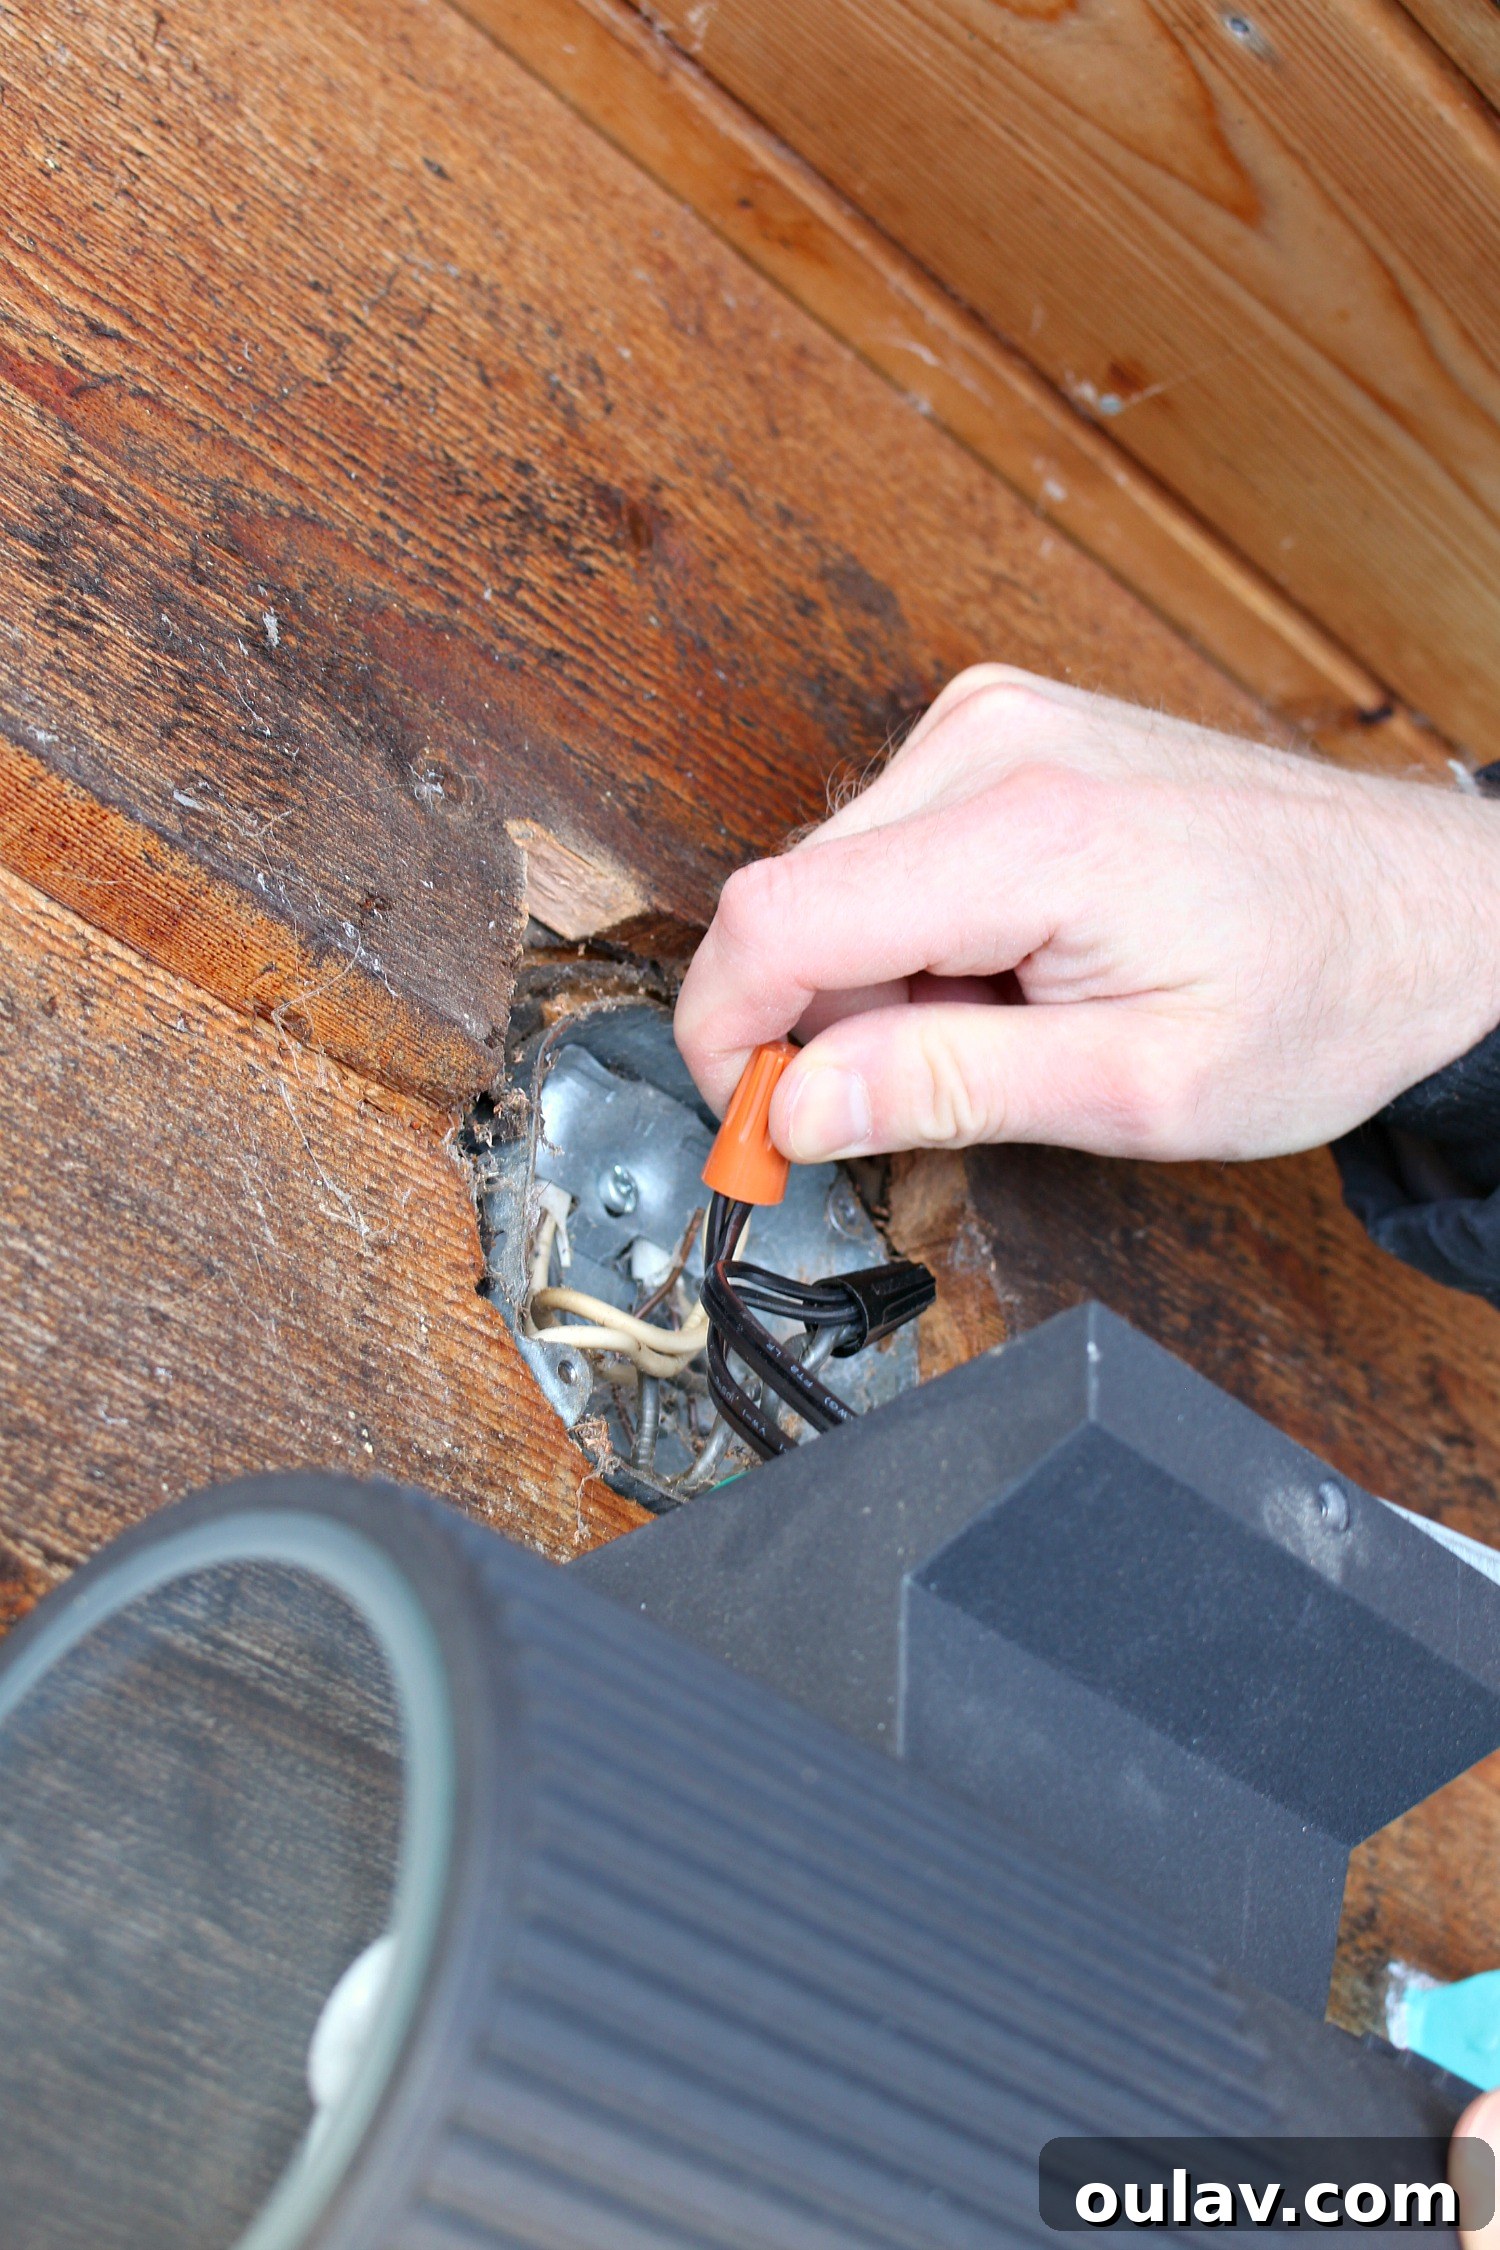
With the opening prepared, it’s time for the exciting part: installing your beautiful new light fixture. Begin by running the wires from the new light through the center opening of its mounting plate. Then, carefully connect the new fixture’s wires to the existing house wiring. Match black to black (hot), white to white (neutral), and join them securely with Marette wire connectors, twisting them clockwise until they are snug. The new light also features a green ground wire; this is a vital safety component. Attach it directly to the back of the metal junction box using one of the existing screws or a new screw provided with the fixture, ensuring a safe and secure grounding path. Proper wiring is paramount for both functionality and safety, so double-check all connections before proceeding to avoid any potential hazards.
Once all the wires are securely connected and the ground wire is fastened, gently push the wires back into the electrical box. Now, position the new mounting plate and screw it firmly to the junction box. Finally, align the new light fixture with the mounting plate and secure it in place using the screws provided by the manufacturer. Take care not to overtighten, as this can damage the fixture. With everything installed, you can now confidently return to your electrical panel, switch the breaker back on, and admire your newly installed, modern light. The instant visual upgrade is incredibly rewarding, making all your efforts worthwhile and adding significant curb appeal to your property!
Voila! The new exterior light for the bunkie is successfully installed, transforming the entire look of our small cabin. Checking this project off the spring to-do list feels incredibly satisfying, and the ease of the process has certainly motivated me to tackle even more. Next up? Installing an exterior motion light that has been patiently waiting in its box since we installed the new siding! These small upgrades make a huge difference in both curb appeal and functionality, proving that thoughtful DIY projects can truly enhance your living space and add value to your home.
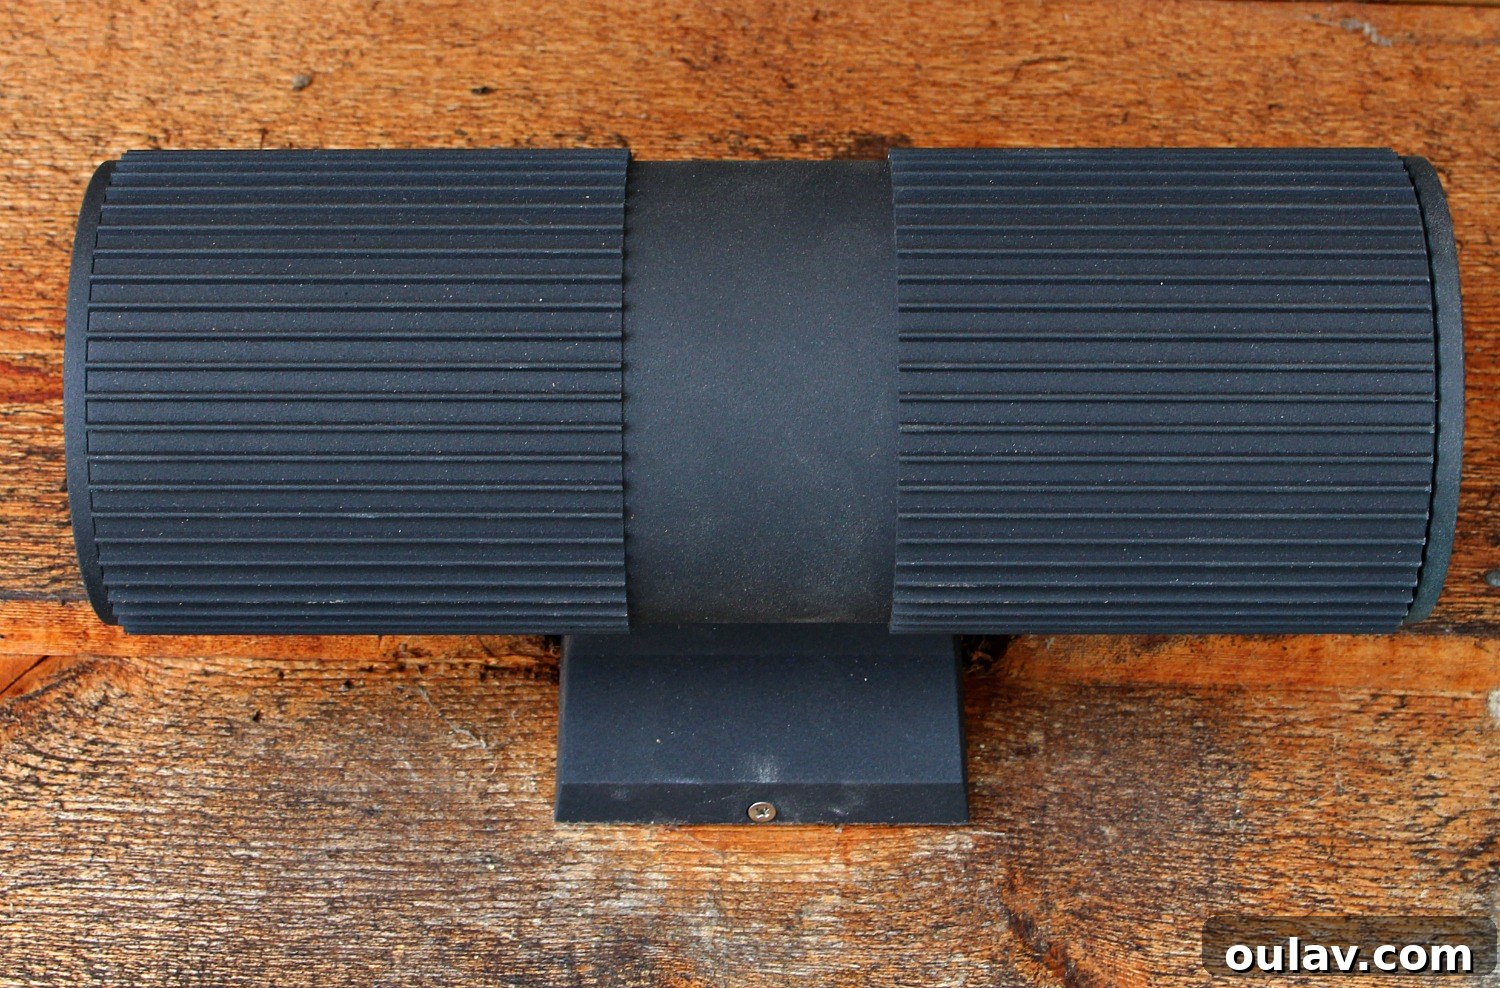
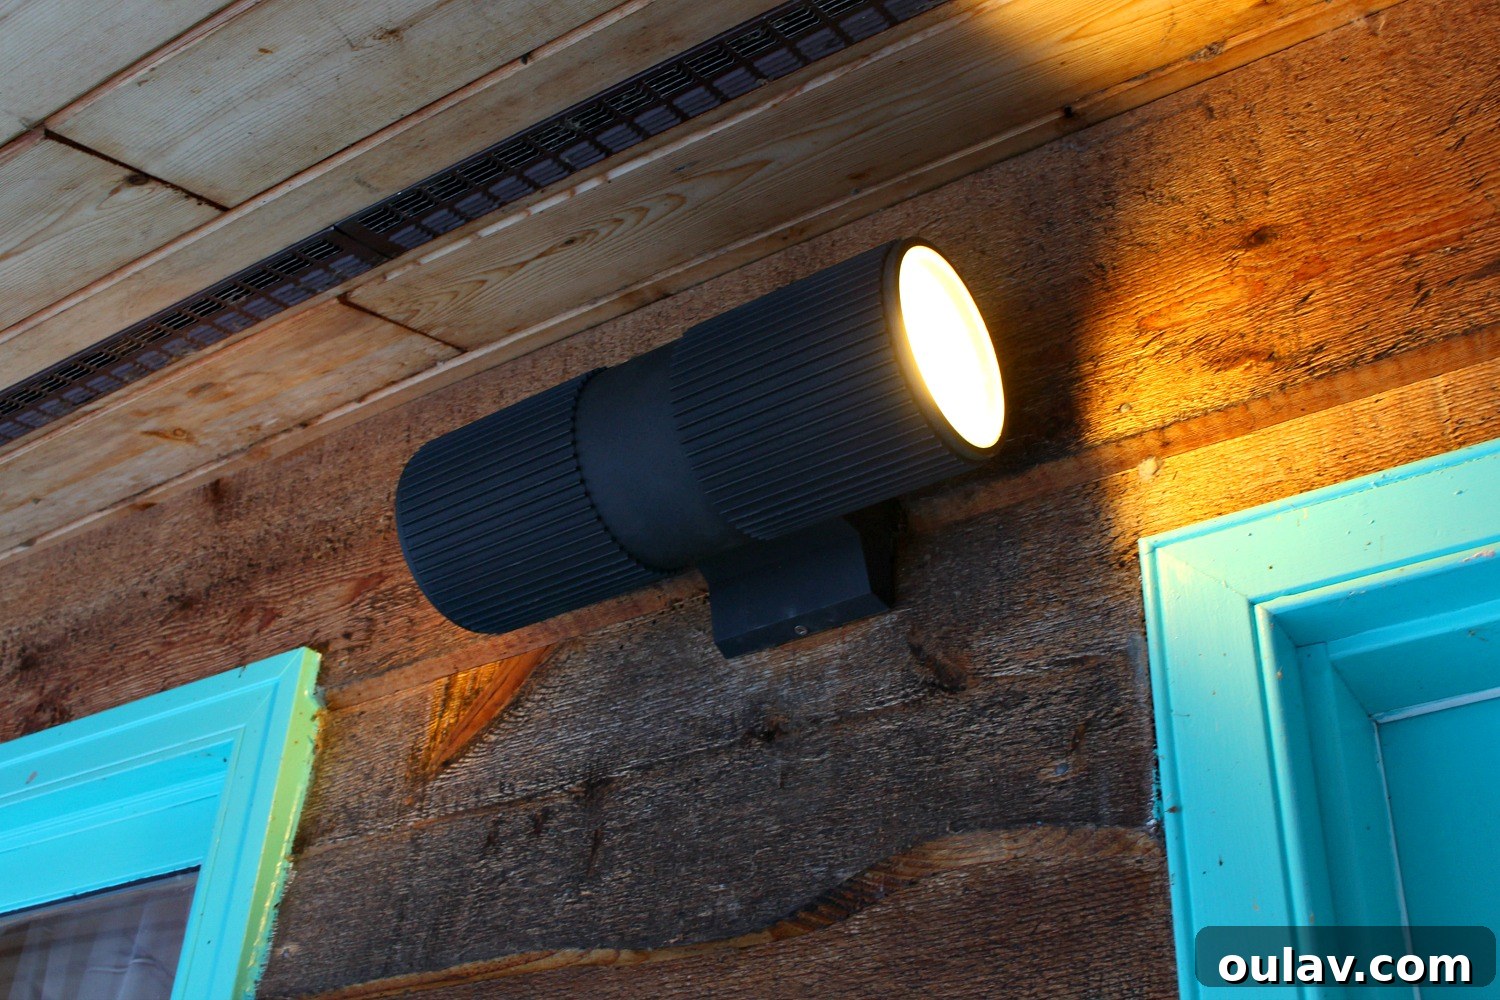
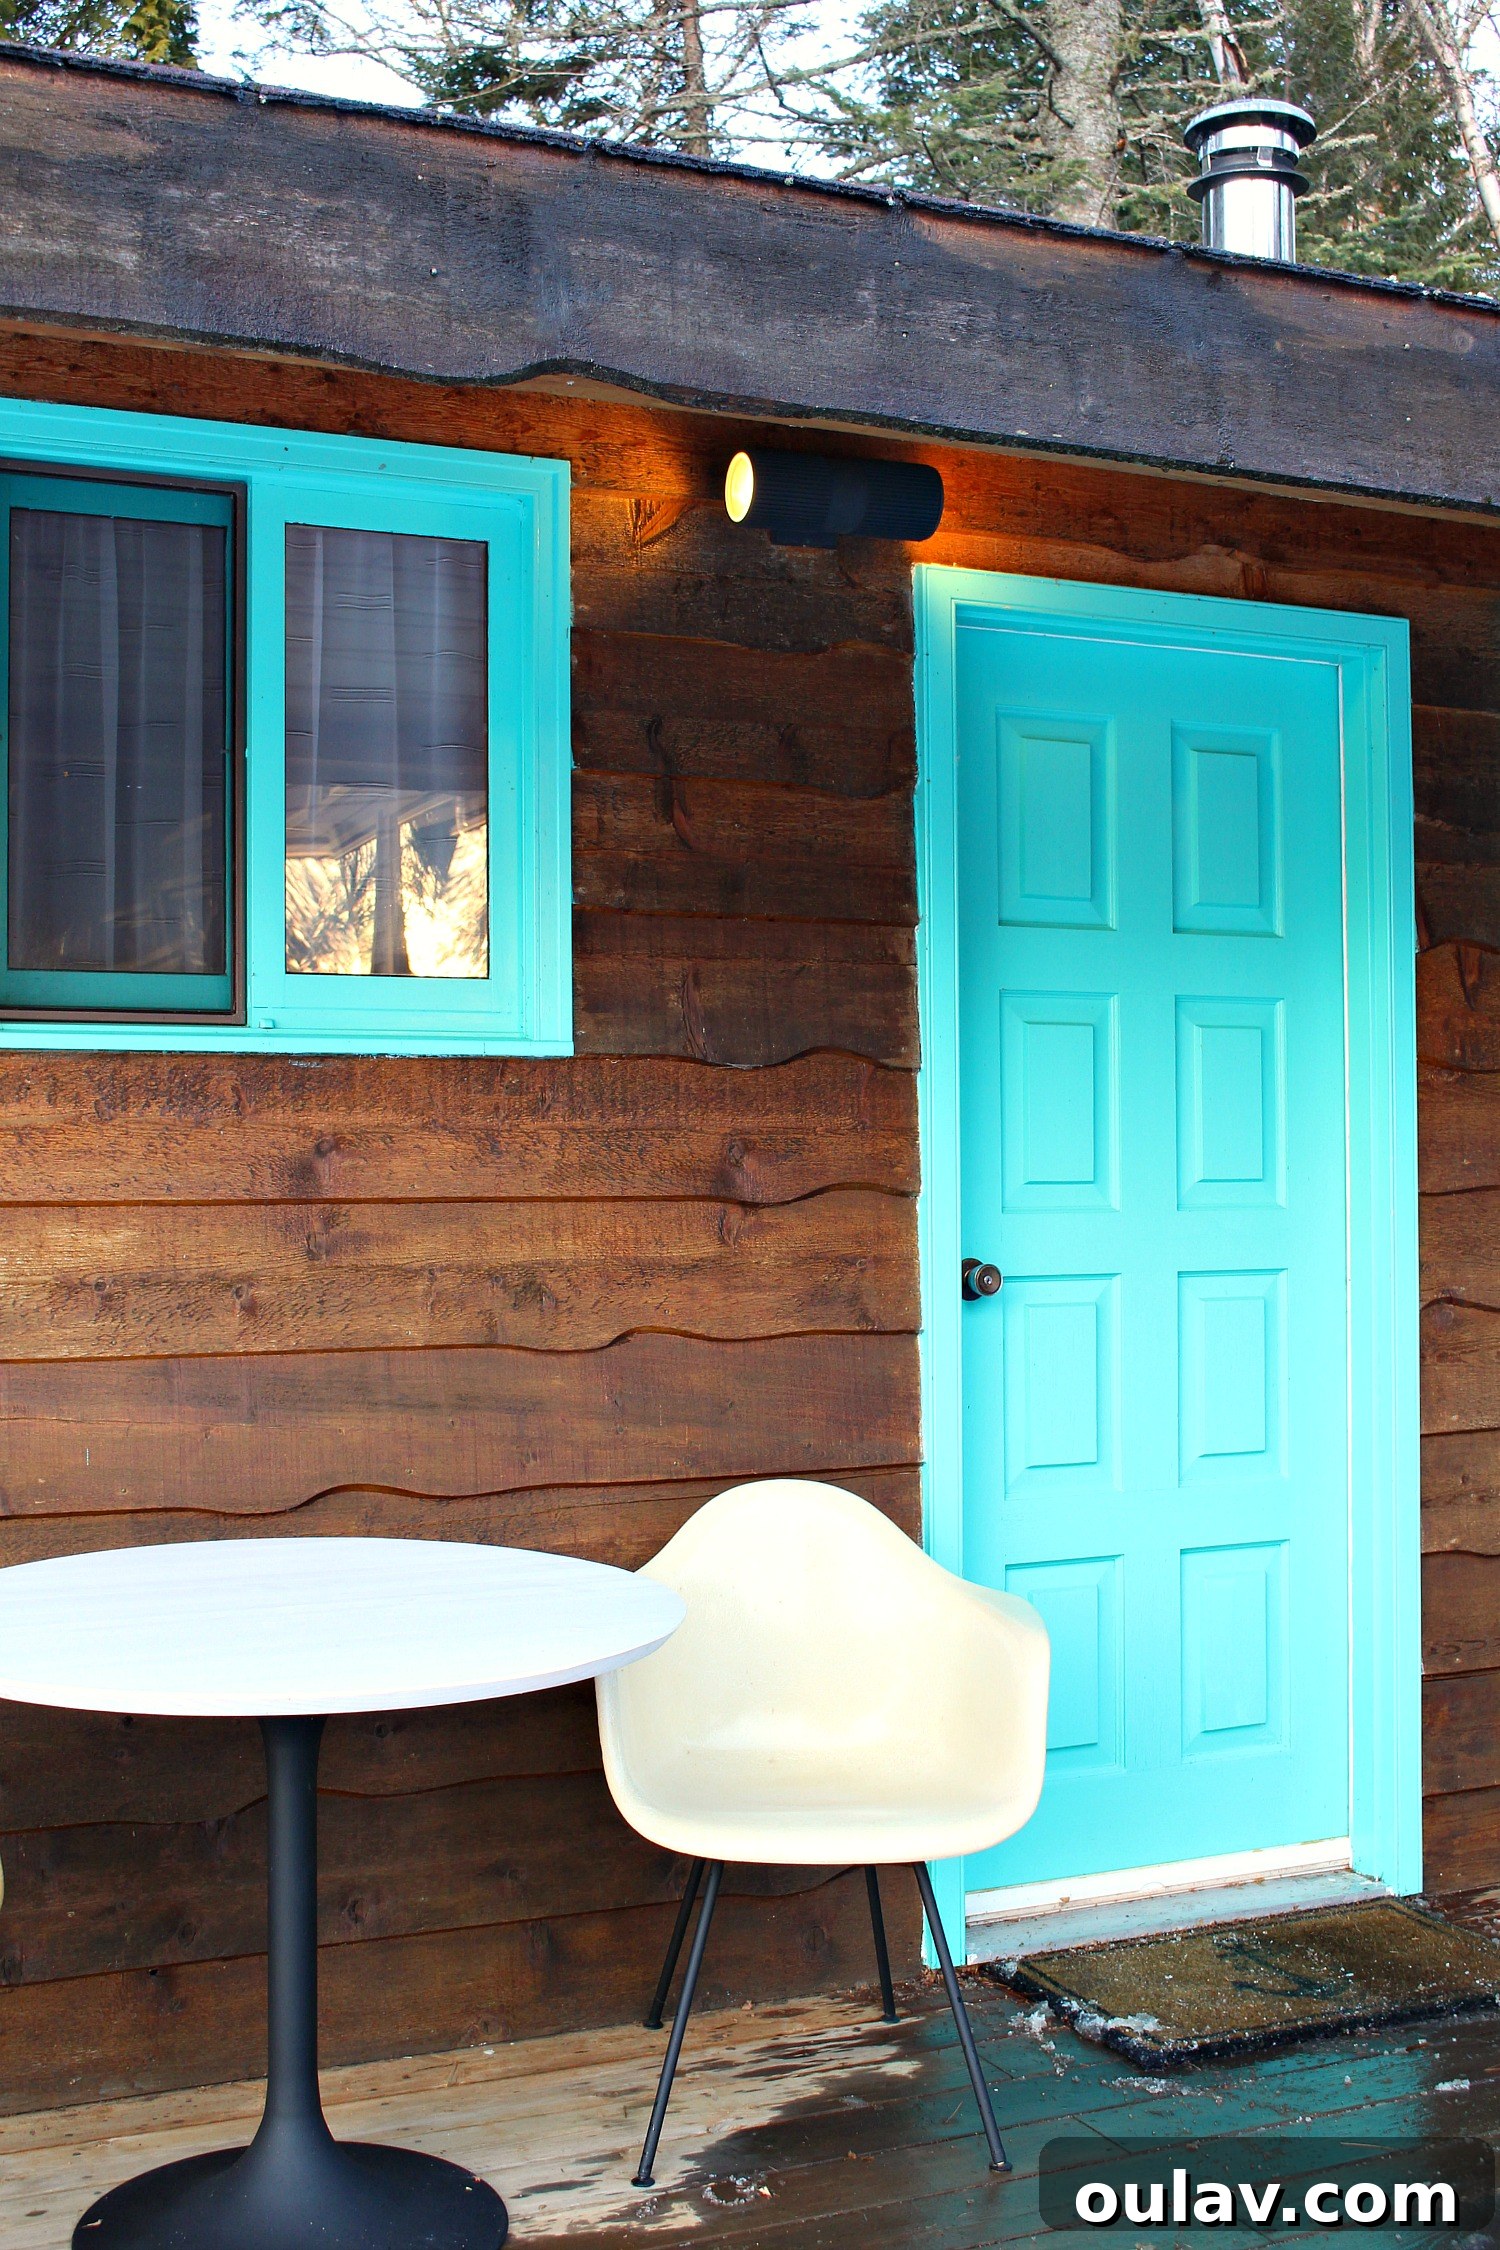
Interestingly, the new light fixture seemed designed for vertical installation, but due to the specific dimensions of our bunkie’s siding and our desired aesthetic, we couldn’t fit it that way. Ever the improvisers, we mounted it sideways instead! Had I purchased the light myself, I would have meticulously measured the space beforehand. However, as this was a generous freebie, we worked with what we had – and I absolutely love the unique, contemporary look it achieves when mounted horizontally. It proves that sometimes, embracing flexibility and creative problem-solving in DIY projects can lead to surprisingly stylish and personalized outcomes, showcasing ingenuity and personal flair.

A Closer Look: My Leatherman Signal Multi-Tool Review
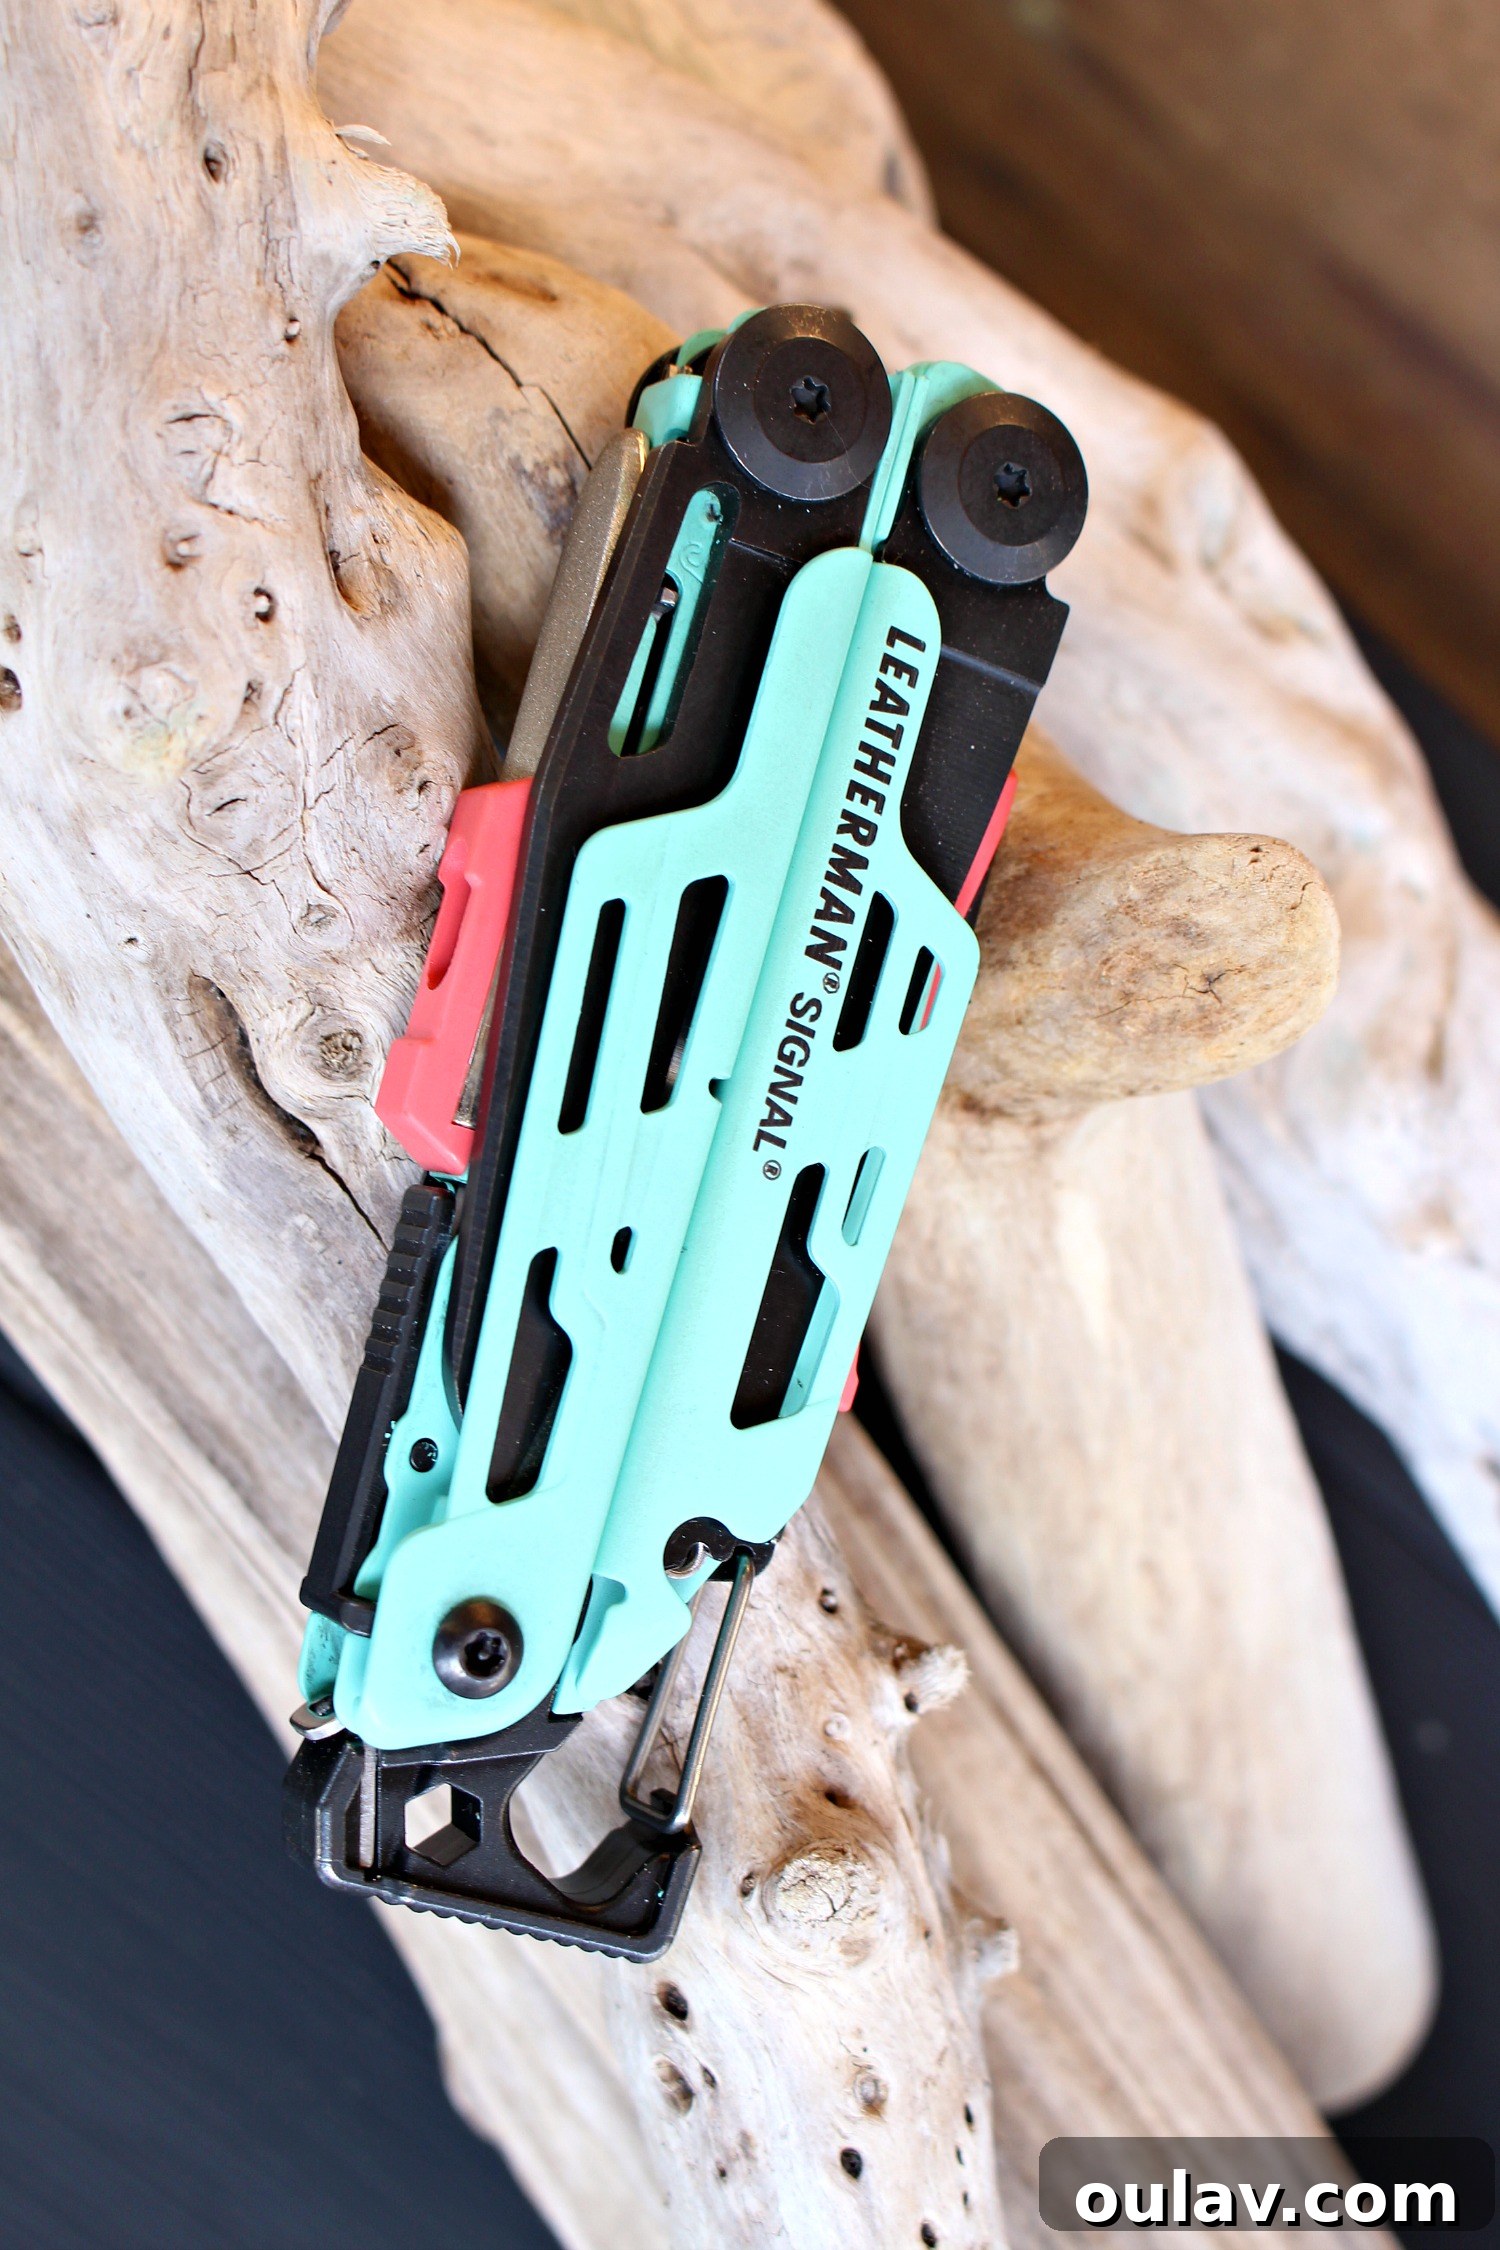
The Leatherman Signal proved to be an absolutely indispensable companion for this light fixture replacement project. Its compact size, combined with the hallmark Leatherman efficiency, allowed for quick transitions between various tools, making light work of the entire installation. Beyond its undeniable functionality, I’m absolutely smitten with its vibrant aqua color, which adds a personal touch to a highly practical tool. This compact multi-tool is a powerhouse, boasting an impressive array of features that cater to both home repairs and outdoor adventures, truly embodying versatility in a single device.
For household tasks like this one, the Signal offers a full-sized pair of pliers and needle-nose pliers, which were perfect for loosening stubborn, rusted nuts on the old fixture and for carefully manipulating wires. The integrated bit driver, with its Philips bit, effortlessly handled the screws on the mounting plates, eliminating the need to search for a separate screwdriver. Its robust knife blade came in handy for precisely marking the siding where we needed to enlarge the opening, ensuring clean and accurate cuts. Furthermore, it includes essential tools like wire cutters and wire strippers, making electrical work safer and more efficient, along with a hammer, awl, and both 1/4″ and 3/16″ box wrenches. But the Signal isn’t just for home DIY. For outdoor enthusiasts, it’s a game-changer, featuring a fire starter, a convenient can opener, a bottle opener for refreshments, and even an emergency whistle. I’m genuinely excited to put this multi-tool to the test on future boating trips and hiking expeditions, but its sheer convenience around the house cannot be overstated. No more trudging to the garage for a specific tool (or an entire series of tools) when this versatile gadget can stay handily tucked away in a drawer, ready for any impromptu repair or project, proving its worth time and again.
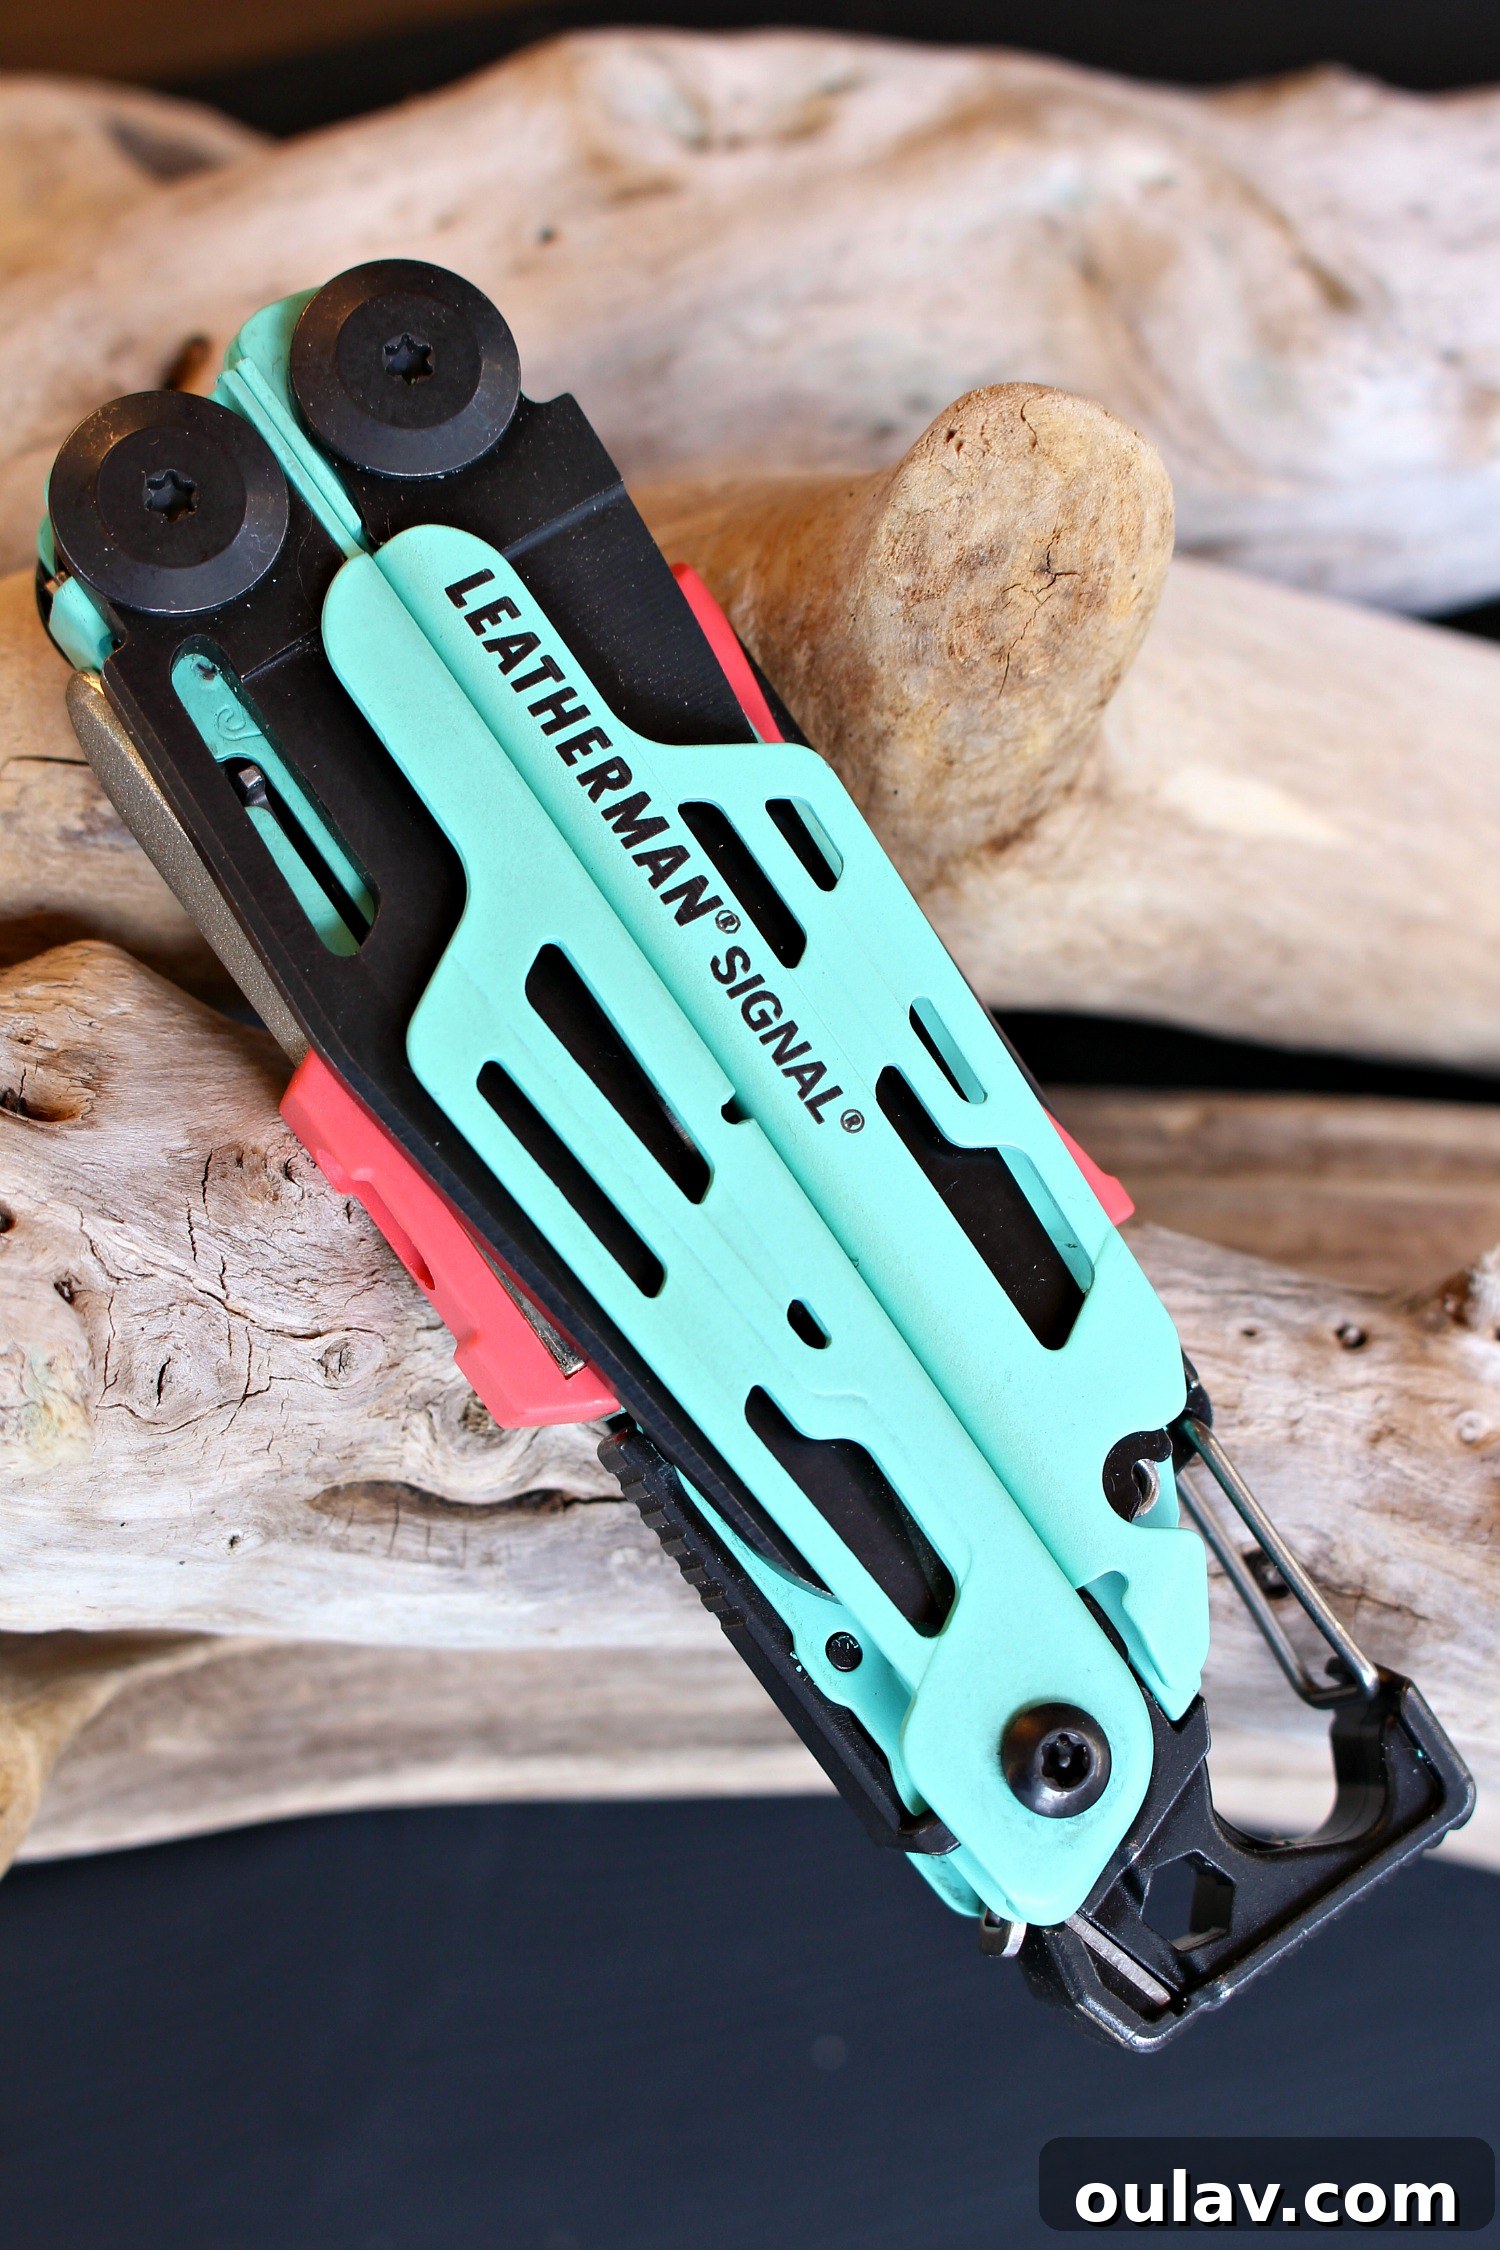
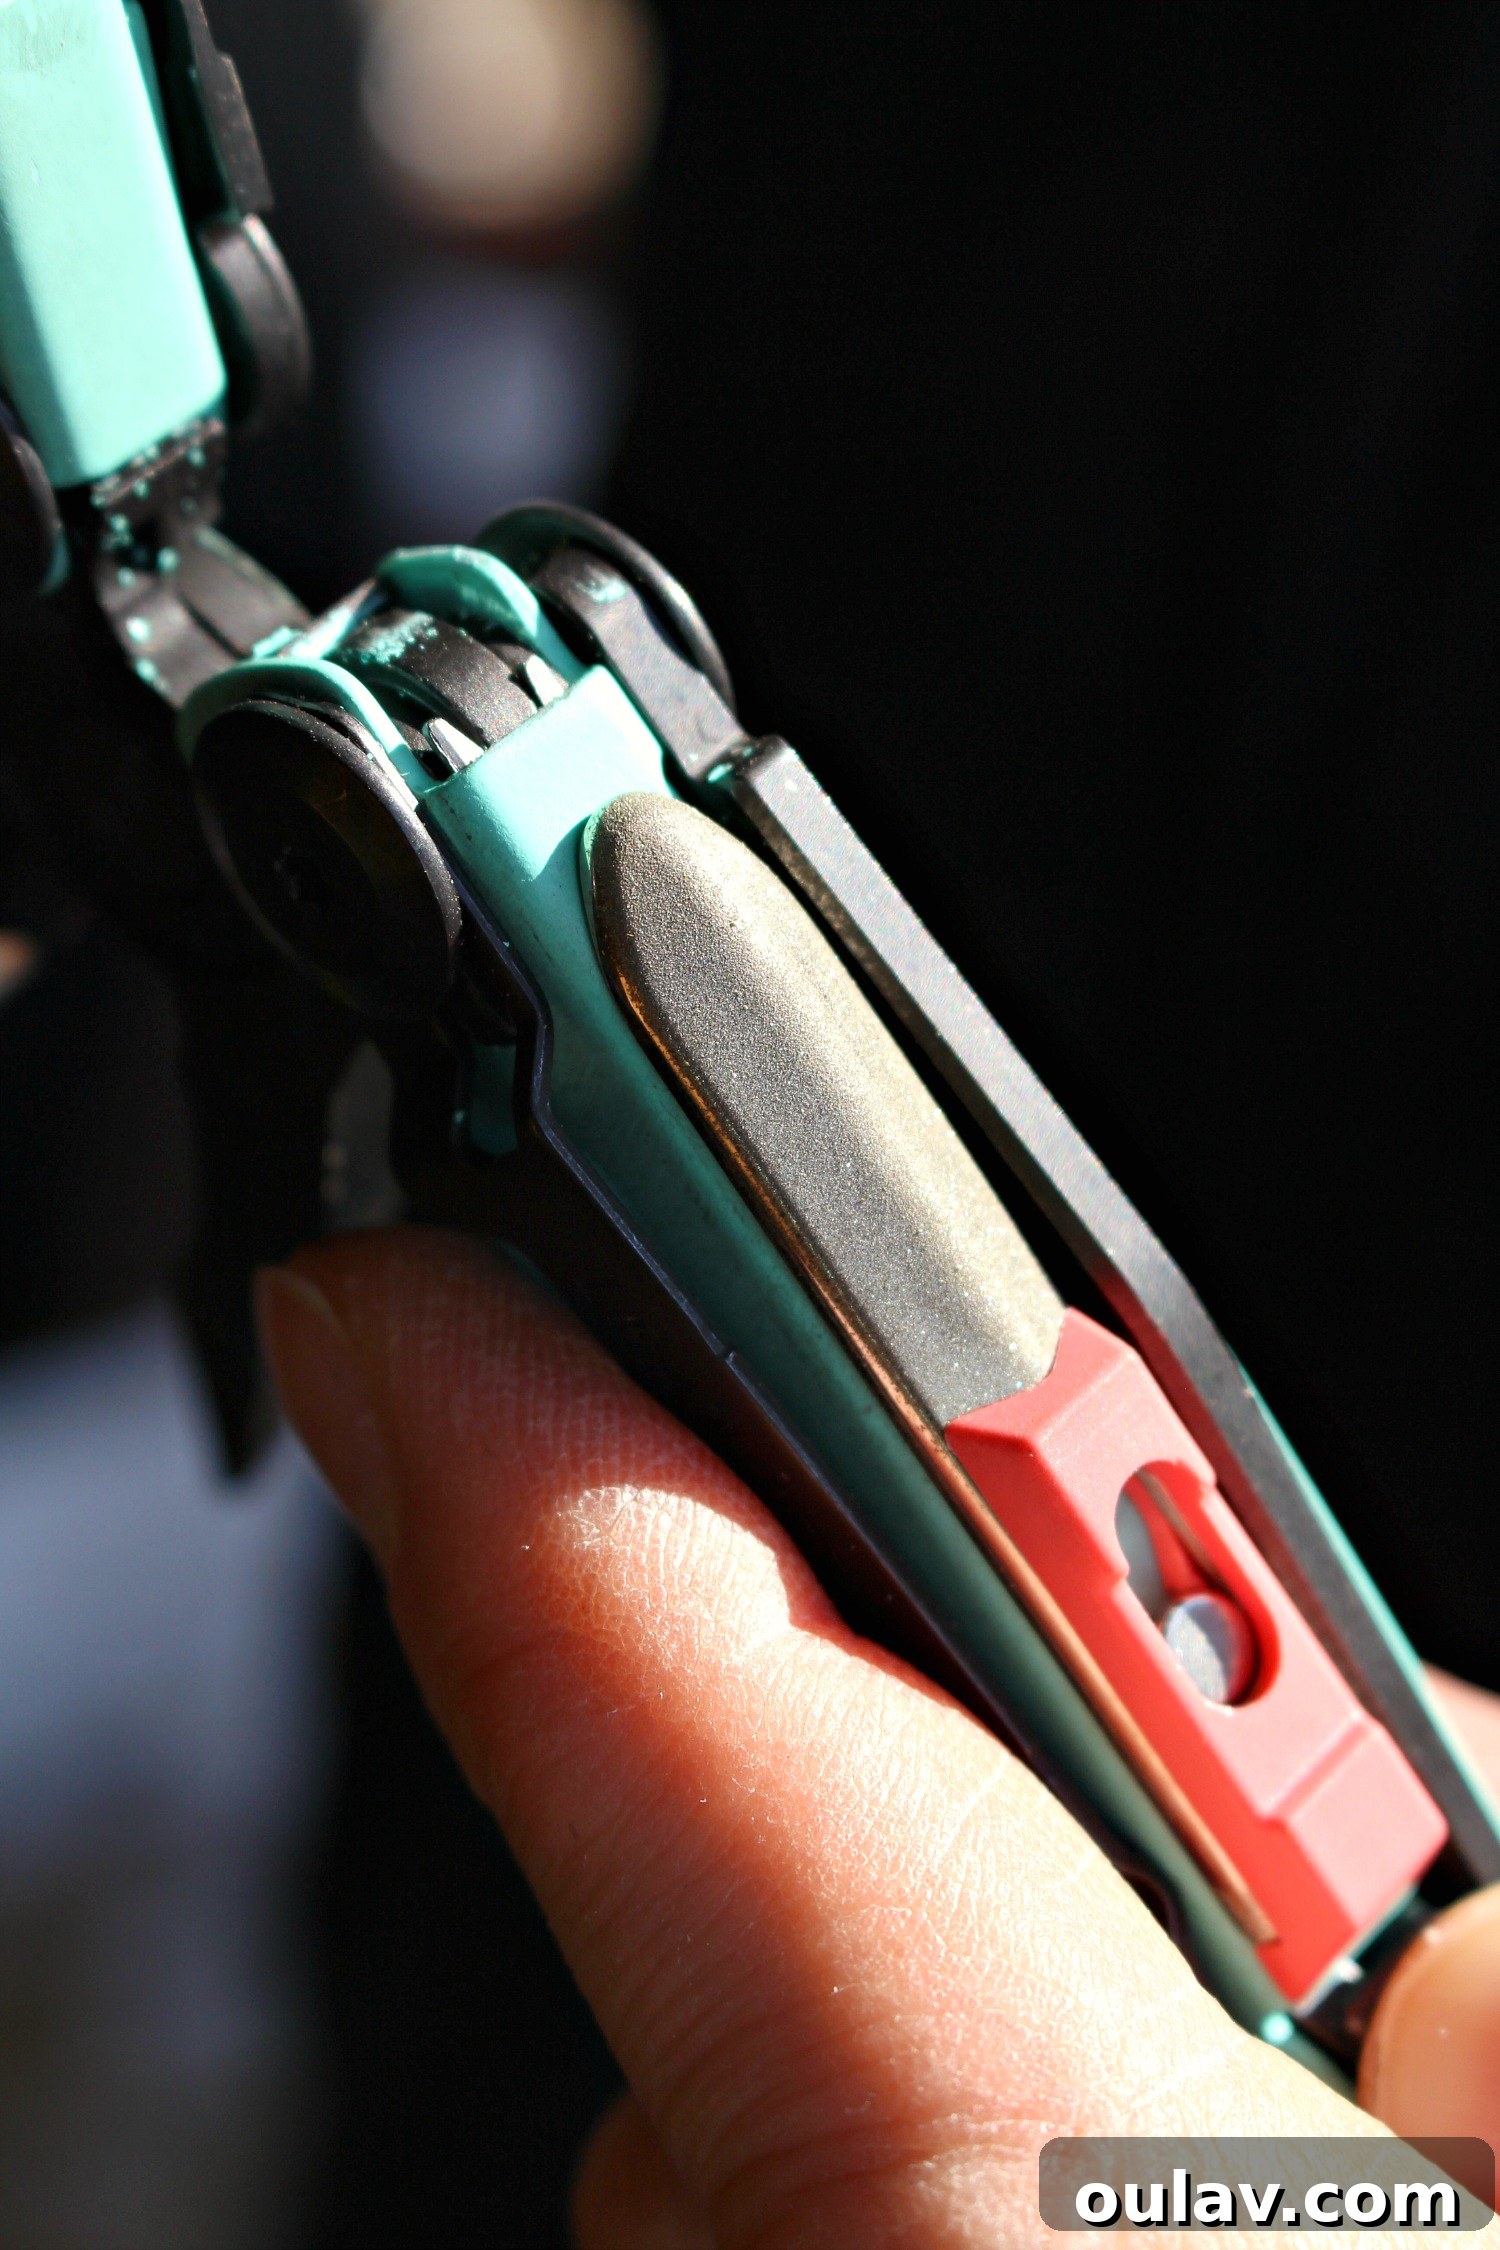
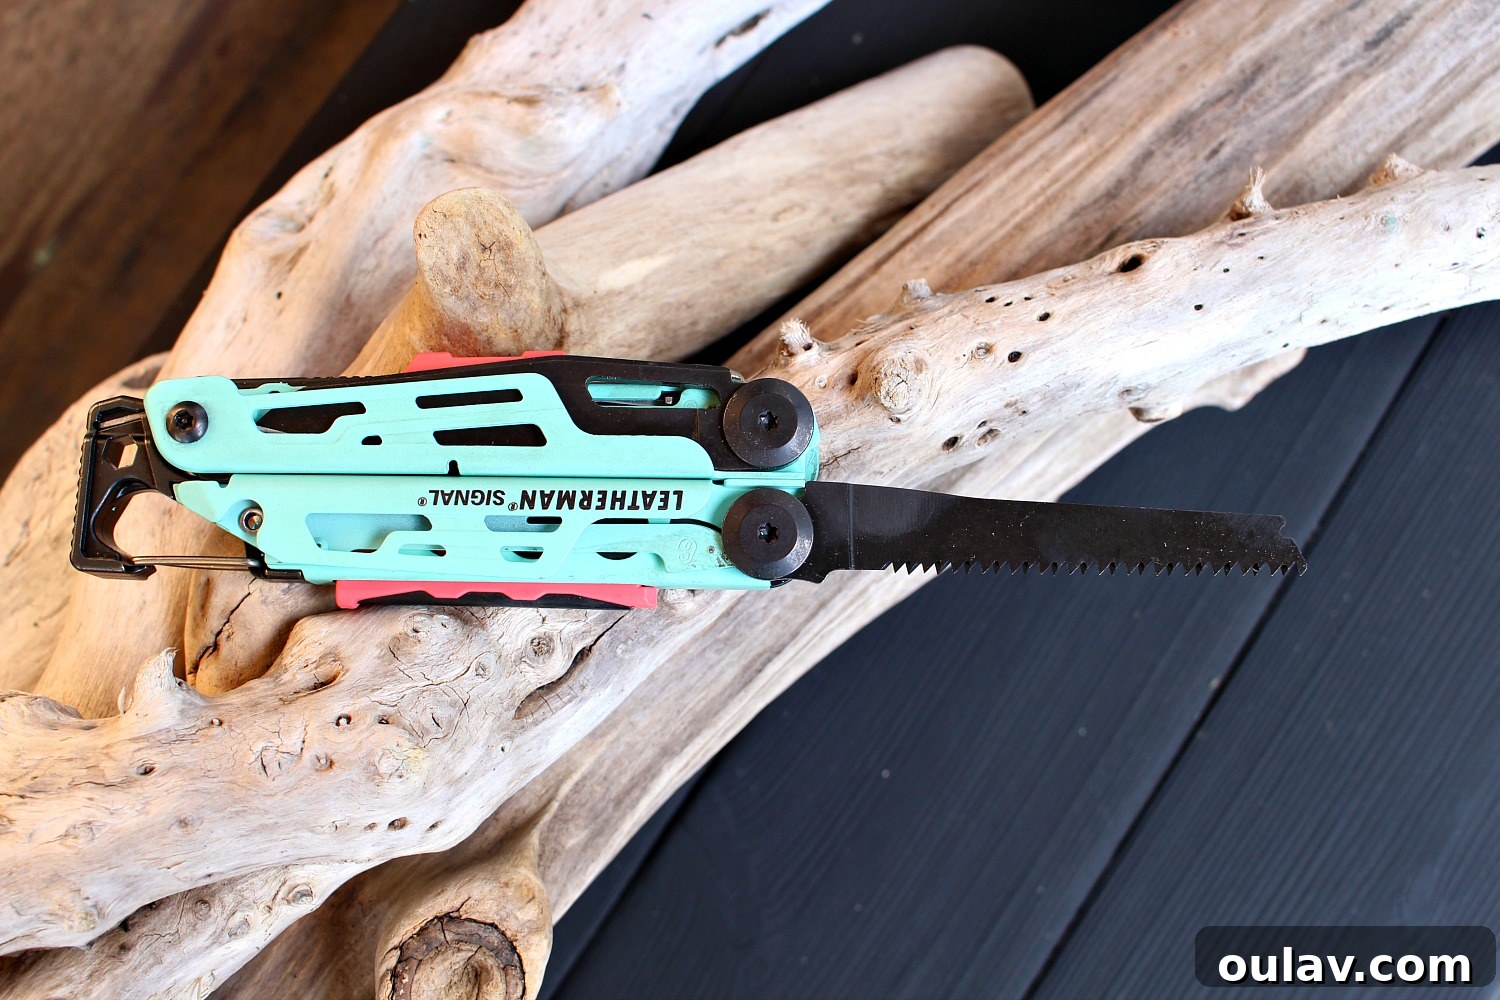
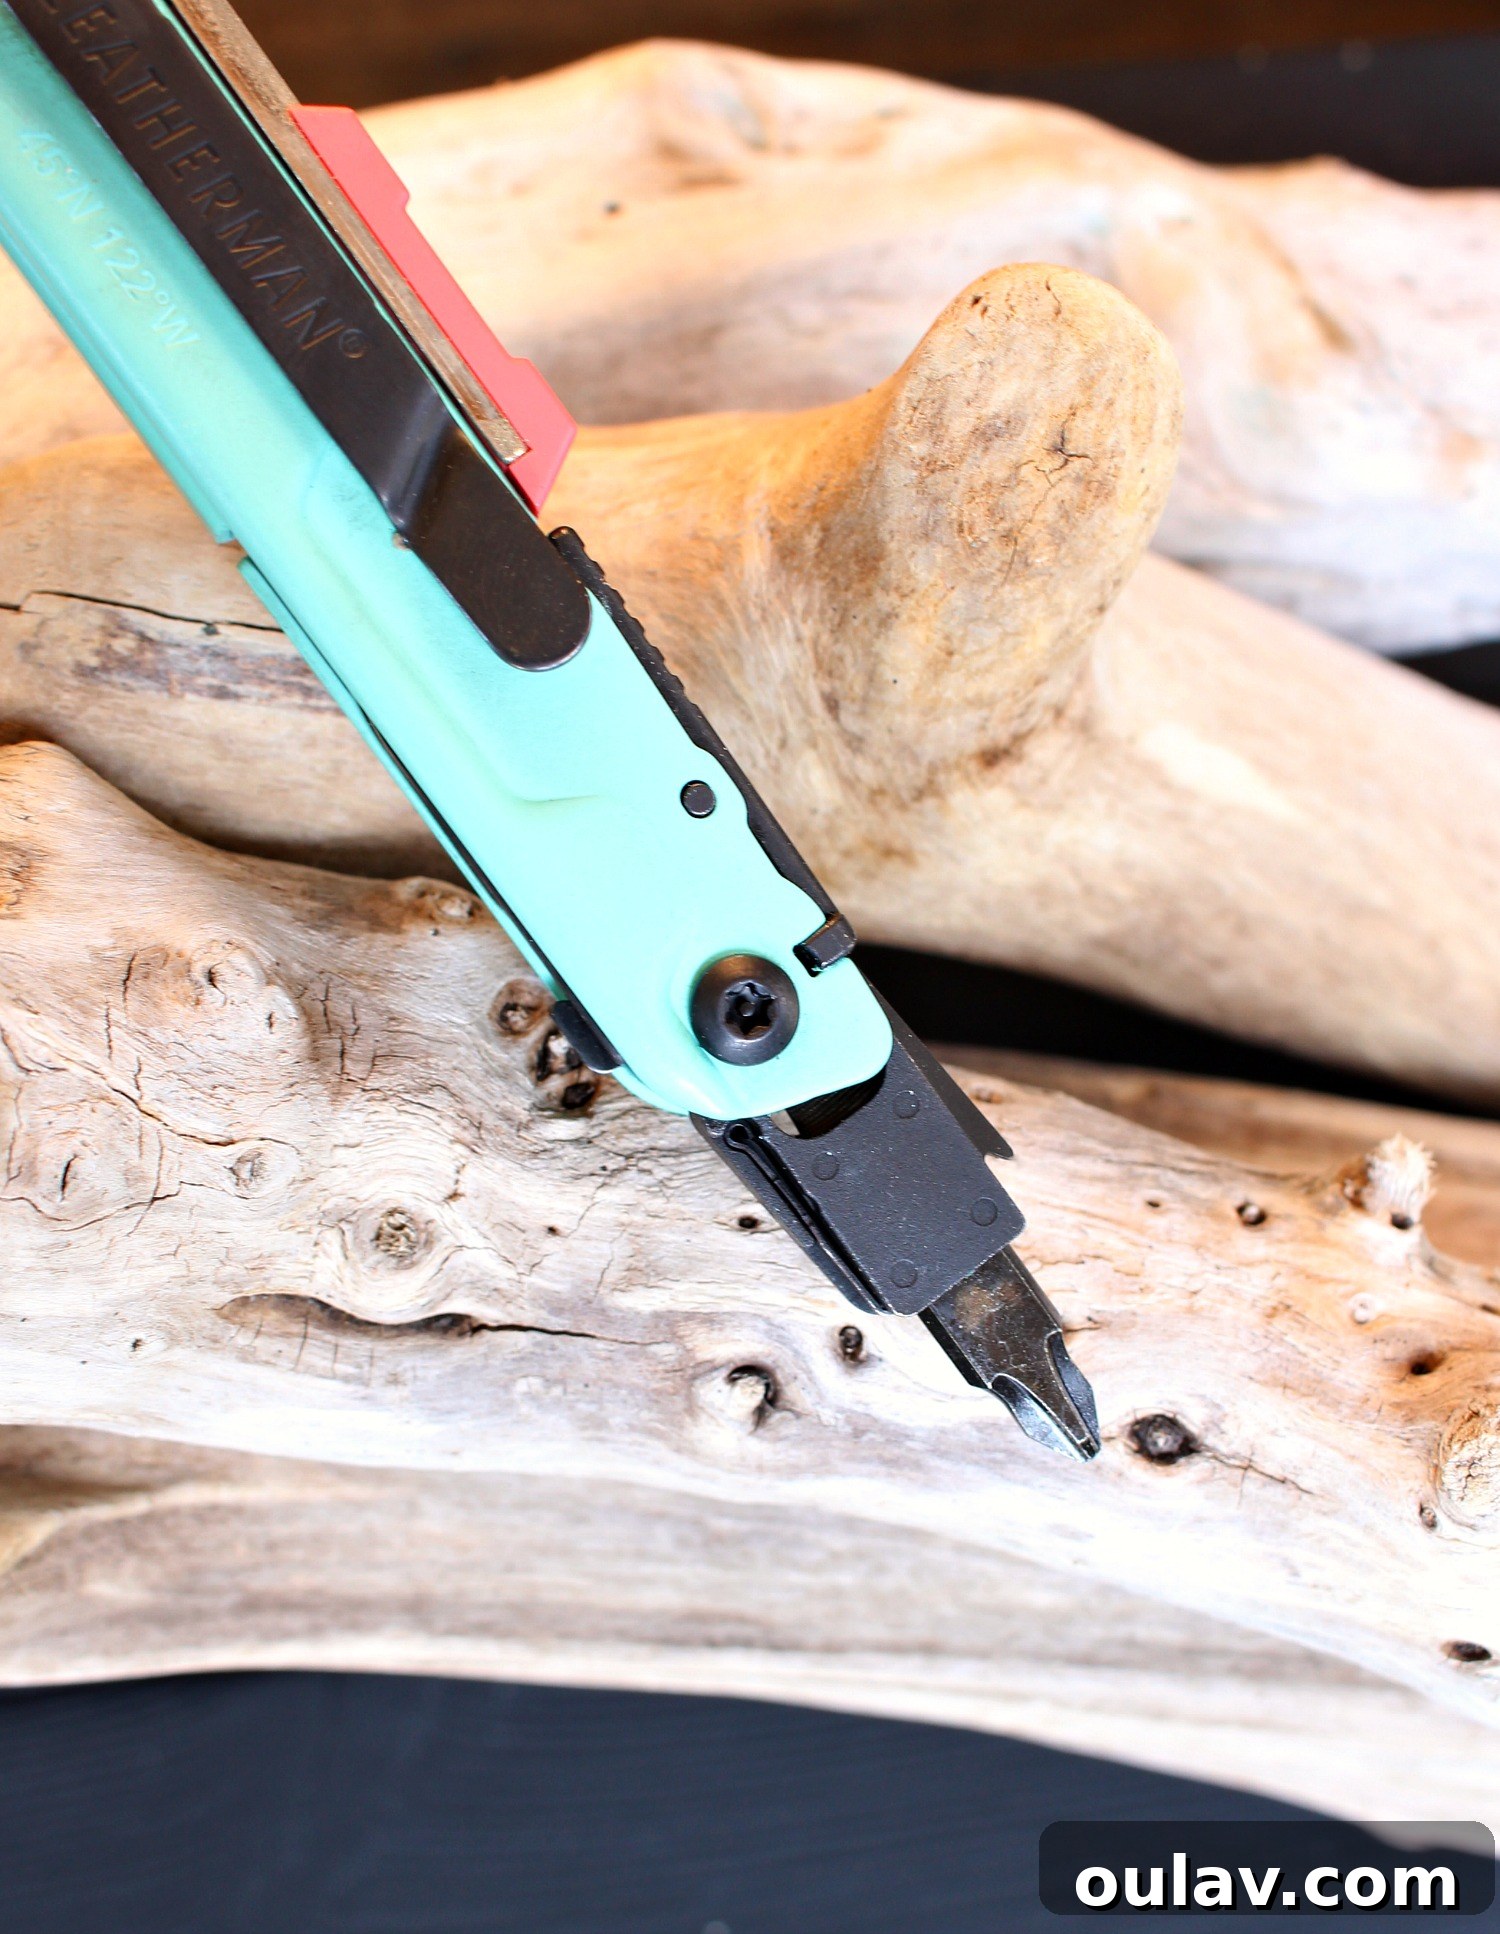
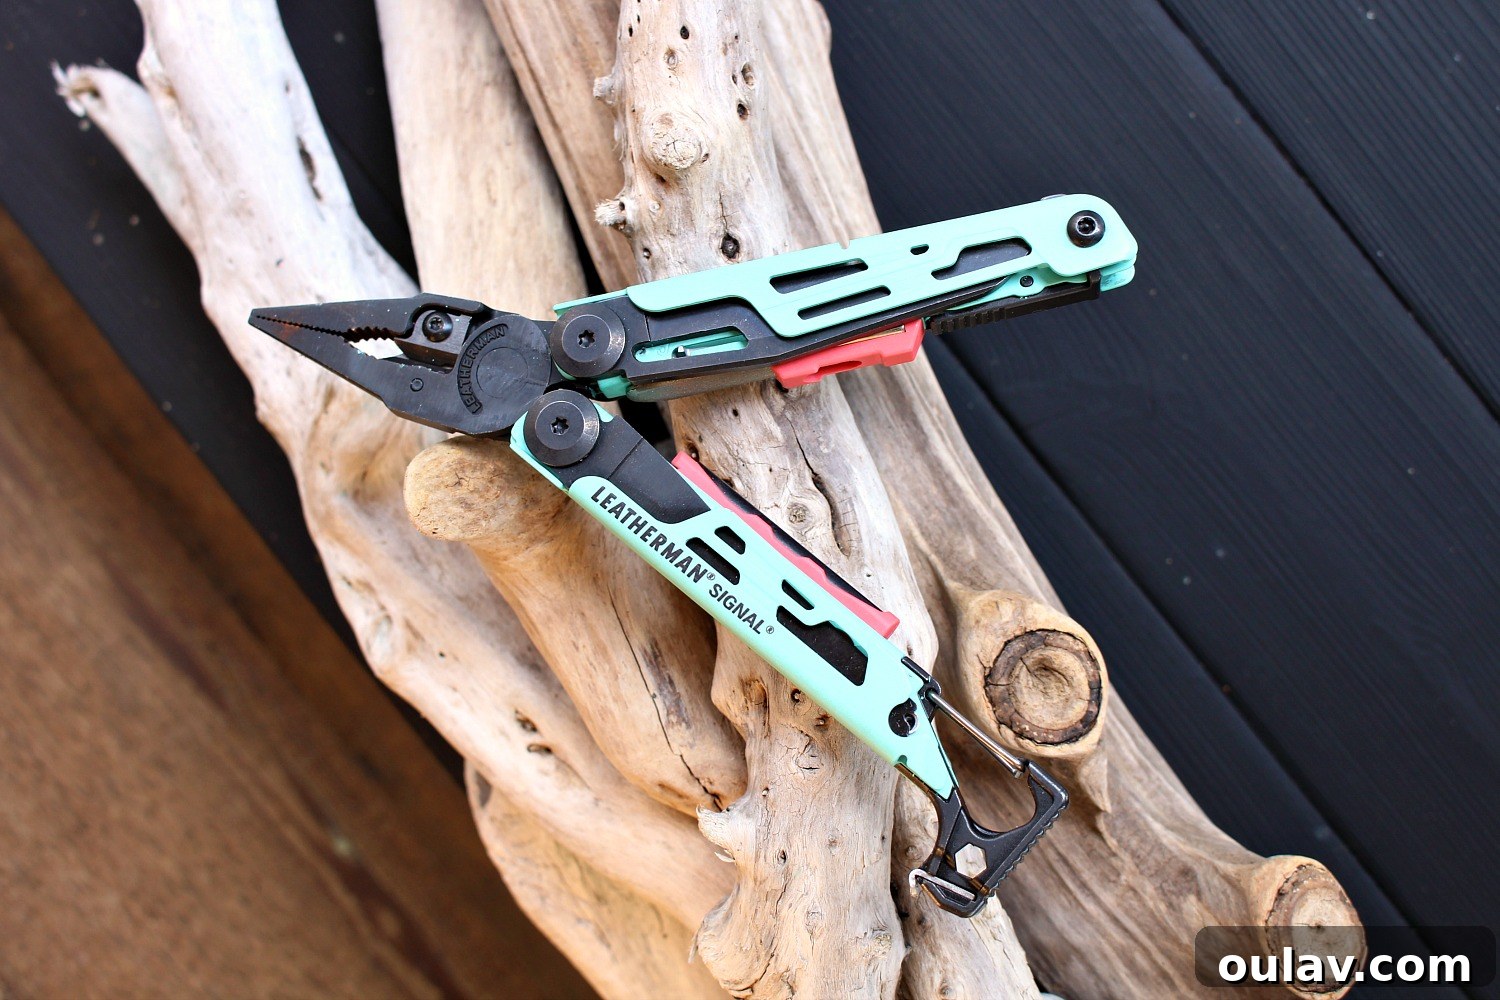
Leatherman Canada offers an extensive range of multi-tools, each equipped with a diverse array of attachments designed for specific needs. The Signal, however, stands out to me as having the optimal combination of tools for my varied lifestyle – a perfect balance for both intricate home repairs and rugged outdoor activities. Every tool on the Signal is engineered for ease of access and quick deployment, which is a major advantage during any project, saving both time and frustration. Even after only a short period of use, I’m thoroughly impressed by its substantial heft and feel. It exudes durability, giving me confidence that it will withstand years of demanding use across countless projects. And, as if its superior functionality wasn’t enough, did I mention its striking aqua finish? It truly is a tool that’s as aesthetically pleasing as it is practical, making it a joy to use on any task and a standout piece in any toolkit.
Ready for More DIY Adventures?
With the snow finally melting away and spring truly taking hold, I’m more energized than ever to dive into a multitude of house projects. The success of this light fixture replacement, facilitated by the incredible Leatherman Canada Signal, has filled me with renewed motivation. Speaking of essential tools, Leatherman Canada also generously sent me the Raptor shears. These shears are specifically designed for demanding situations and will be incredibly handy in my volunteer role as a first responder and firefighter in my community, offering precision and strength when it matters most. Beyond emergency services, they’re also an excellent addition to any vehicle safety kit, capable of cutting through seatbelts and clothing in critical moments. Stay tuned for upcoming posts where I’ll share more innovative ways to utilize these versatile tools, proving that the right equipment can empower anyone to tackle their next DIY challenge with confidence and ease, transforming both home and personal preparedness!