
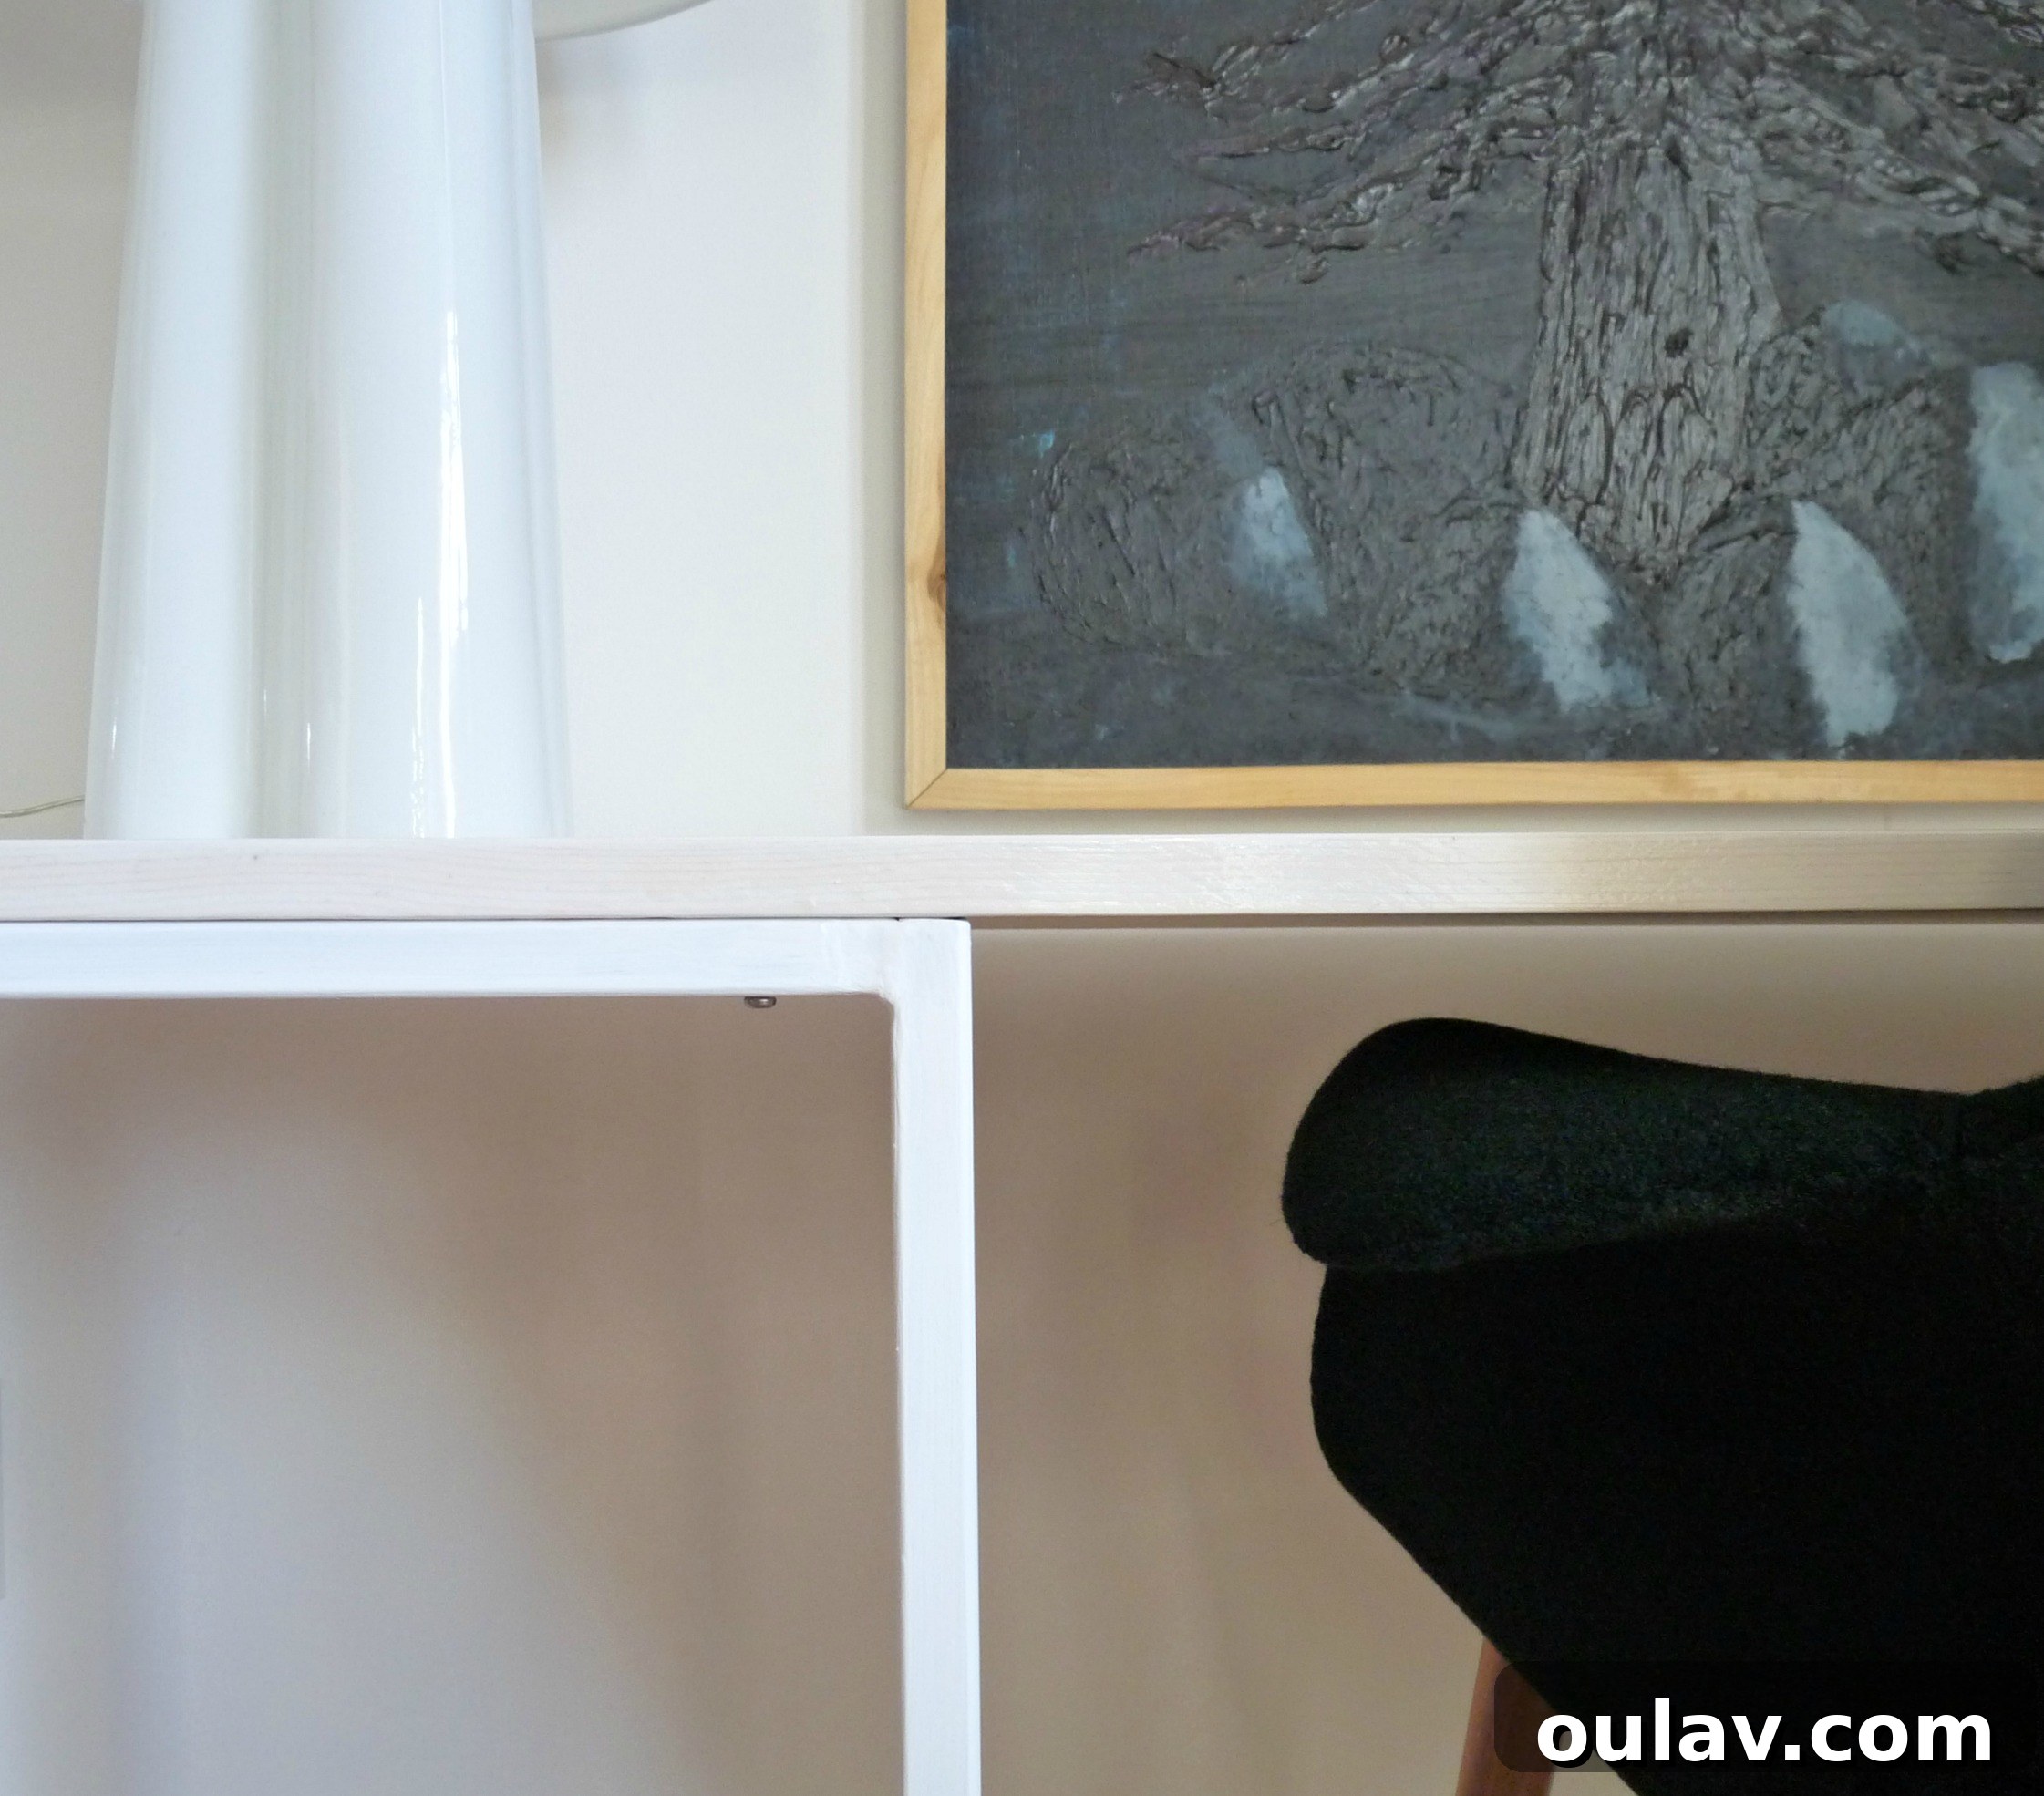
Embarking on a journey to create your custom workspace is incredibly rewarding, and nothing quite elevates a DIY desk like a set of handcrafted metal legs. We are absolutely thrilled with the transformation our home office has undergone thanks to these gorgeous welded desk legs, and today, we’re excited to guide you through the process of making your own using simple square metal tubing. If you’re keen to see the full evolution of this project, don’t forget to explore how we expertly stained and varnished the desk surface and marvel at the stunning reveal of the completed DIY desk! But for now, let’s dive into the fascinating world of welding and admire these truly unique metal desk legs:
Creating these robust legs for our new home office desk was an accessible welding project. While this guide will show you the fundamental steps and supplies required for these DIY welded table legs, a comprehensive introduction to welding is beyond the scope of a single blog post. Welding is a skill best learned hands-on; we highly recommend checking out local colleges or trade schools, many of which offer night classes or dedicated courses. However, we will equip you with the basics, including a detailed list of materials and the core fabrication steps for this DIY desk. For those who prefer a ready-made solution, we’ve also found something similar you can purchase online (these are also great alternatives) if DIY isn’t quite your style.
Crafting Your Custom Workspace: Essential Supplies for Welded Desk Legs
To ensure a smooth and successful project, gathering all your materials and tools beforehand is crucial. Here’s what you’ll need to construct your robust and stylish DIY welded desk legs:
- Flux Core Wire Feed Welder*: Your primary tool for joining metal.
- 4.5″ Angle Grinder: Essential for cutting metal and smoothing welds.
- 0.75″ Square Metal Tubing: We used two eight-foot lengths, which proved to be sufficient for our desk dimensions.
- Welding Magnets: Invaluable for holding pieces precisely in place during tack welding.
- Welding Mask**: Critical eye and face protection during welding.
- Workbench: A sturdy, flat surface is ideal, but you can improvise with other stable setups.
- Tape Measure: For accurate measurements of your tubing.
- Framing Square: Ensures your cuts and assembled pieces are perfectly square.
- Chalk: For marking your cutting lines clearly on the metal tubing.
- Grinding Disk: Used with the angle grinder to smooth out sharp edges and rough welds.
- Flapper Disk: Excellent for achieving a smoother finish on metal surfaces after grinding.
- Cutting Disk: Specifically designed for cutting metal with the angle grinder.
- Flame Resistant Coveralls: Protects your clothing and skin from sparks and heat.
- Welding Gloves: Essential for hand protection during the welding process.
- Drill and Drill Bit: For creating holes to attach the desk surface.
- 1.25” Wood Screws: To securely fasten the desktop to your welded frame.
- Safety Glasses (for grinding, cutting): Worn under a face shield for maximum eye protection.
- Face Shield (for grinding, cutting): Provides additional facial protection during cutting and grinding.
*Understanding Your Welder: A Key Investment for DIY Metal Projects
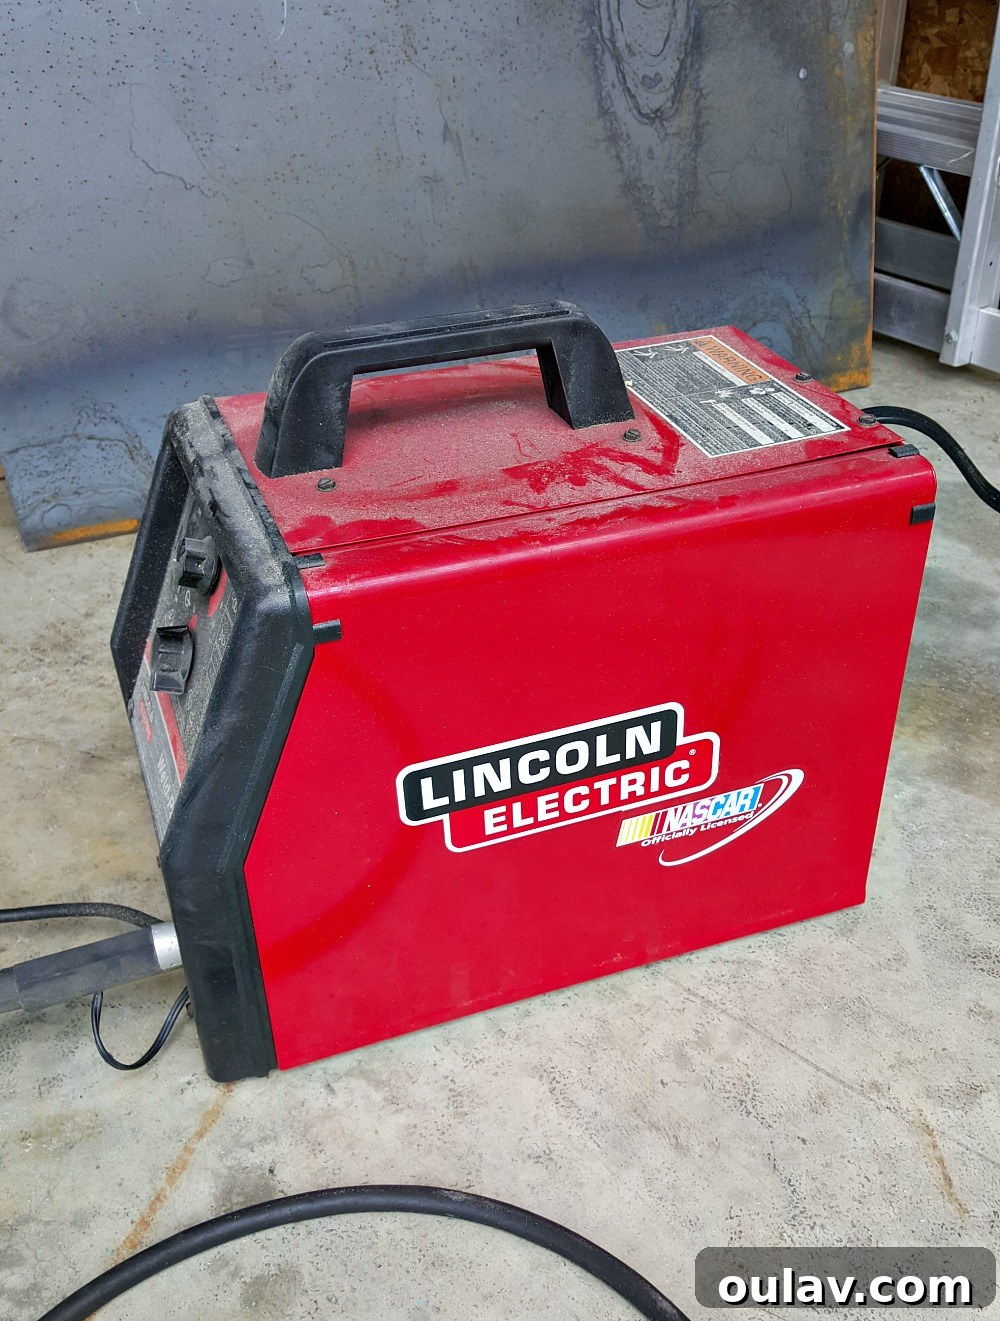
For this specific project, we utilized a Lincoln Weld-Pak 100. This machine is a classic example of a basic flux core wire feed welder, perfectly suited for home and hobbyist use. Its convenience lies in its ability to plug into a standard 15A, 110V household outlet, making it accessible for many DIY enthusiasts. While this exact model is no longer in production, numerous similar and highly capable welders are available on the market today (like this modern equivalent). Investing in a good welder, though it might seem substantial upfront (ours was a thoughtful gift from my grandpa), has proven incredibly worthwhile. We’ve tackled a wide array of DIY welded furniture projects over the years, making the initial investment pay dividends in creative freedom and cost savings. If you envision delving into more metalworking ventures, we wholeheartedly recommend considering a similar flux core welder.
**Safety First: Essential Personal Protective Equipment (PPE) and Best Practices
Your safety is paramount when working with power tools and welding equipment. While I’ve done my best to link to appropriate personal protective equipment (PPE) and safety gear, please understand that these may not be the exact brands we used, primarily due to availability changes over time. It is critically important that you conduct your own thorough research into safety equipment and purchase items that are specifically appropriate and certified for your DIY welding and metalworking projects. Always read and meticulously follow all instructions provided with your tools and equipment.
As a crucial and specific safety reminder: when operating an angle grinder, always wear robust safety glasses *in addition* to your face shield. This dual layer of protection is non-negotiable. You absolutely do not want to experience the catastrophic failure of a cutting disk, which can fragment at speeds of 11,000 RPM. These fragments can cause severe injury. Always prioritize safety and proceed responsibly with all your DIY endeavors!

Detailed Planning and Preparation for Your Welded Desk Legs
Before any cutting or welding begins, thorough planning is the cornerstone of a successful project. Our first step was to determine the ideal desk height for the user. We even went as far as mocking up a “desk” to ensure ergonomic comfort, especially since the chosen office chair wasn’t height-adjustable. Precision at this stage is vital!
With the desired desk design firmly in mind, we calculated the required lengths of metal tubing. Two eight-foot lengths were perfectly sufficient for our project and, conveniently, fit into our Versa hatchback for transport – a testament to clever planning for those without larger vehicles.
We sourced our square metal tubing from a local metal supply shop. A helpful tip: many metal suppliers offer cutting services. A quick call ahead could save you significant time and effort, making this DIY project even more accessible for beginners. While our older photos may not be of the highest quality, they capture the authentic spirit of our early DIY adventures.
If you don’t own a pickup truck for transporting long pieces of metal, don’t despair! We learned to adapt. We packed old sheets to protect the interior of our hatchback from grime, and my resourceful partner even fashioned cardboard “ends” to prevent the metal from scratching the dashboard. It was a heartwarming moment when he revealed these ingenious protective measures at the metal shop – a true example of thoughtful DIY. One day, we still dream of owning a truck for these projects!
The Fabrication Process: Step-by-Step Guide to Making DIY Welded Table Legs
1. Marking and Cutting Your Metal Tubing
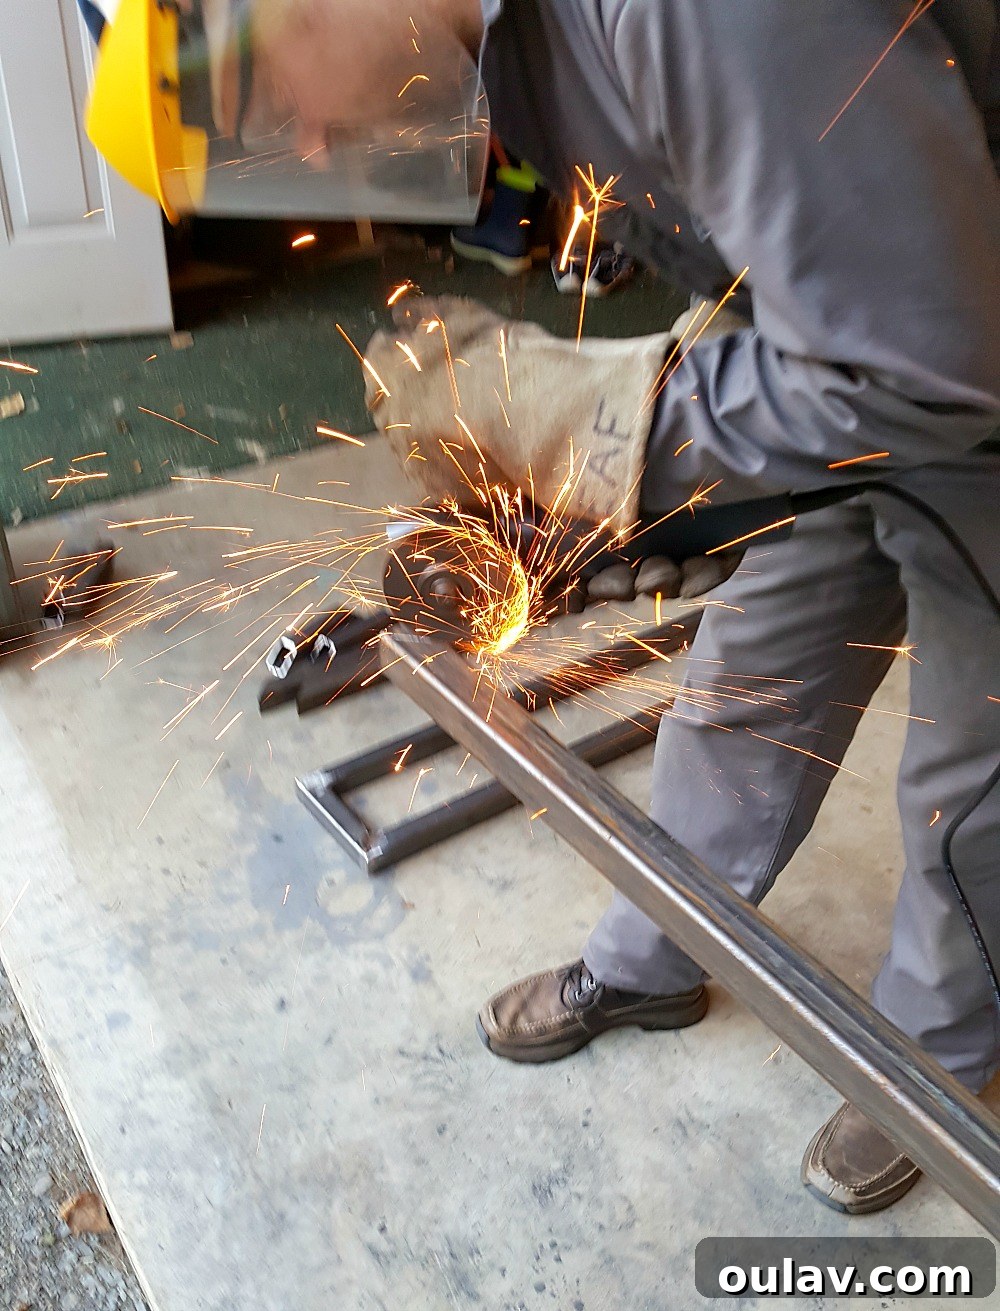
Begin by carefully measuring and marking your cut lines on the square metal tubing using chalk. Accuracy here is key to a symmetrical and stable desk. We then used a 4.5-inch angle grinder fitted with cutting disks to precisely cut the tubing into the required lengths. After cutting, it’s essential to smooth the freshly cut ends with a grinding disk. Freshly cut metal can be incredibly sharp and hazardous. A critical safety warning: never use cutting disks for grinding! Cutting disks are designed for making precise cuts, not for abrasive surface removal, and attempting to grind with them can lead to catastrophic failure and severe injury. Always use the appropriate disk for the task.
2. Assembling with Tack Welds
With your pieces cut and prepped, it’s time for assembly. Lay out your metal pieces on a clean, flat surface, such as a garage floor or a sturdy workbench, referring to your design plans. A framing square is indispensable at this stage to ensure all angles are perfectly ninety degrees. Utilize welding magnets to hold the pieces firmly in their exact positions. Then, use your welder to apply small, intermittent “tack welds” at key نقاط. The advantage of tack welds is that they provide temporary hold, allowing you to continually check for squareness and make minor adjustments before committing to full welds. Remember, as metal heats up during welding, it can distort, so these initial tack welds are crucial for maintaining structural integrity and precise shape.
3. The Full Welding Process
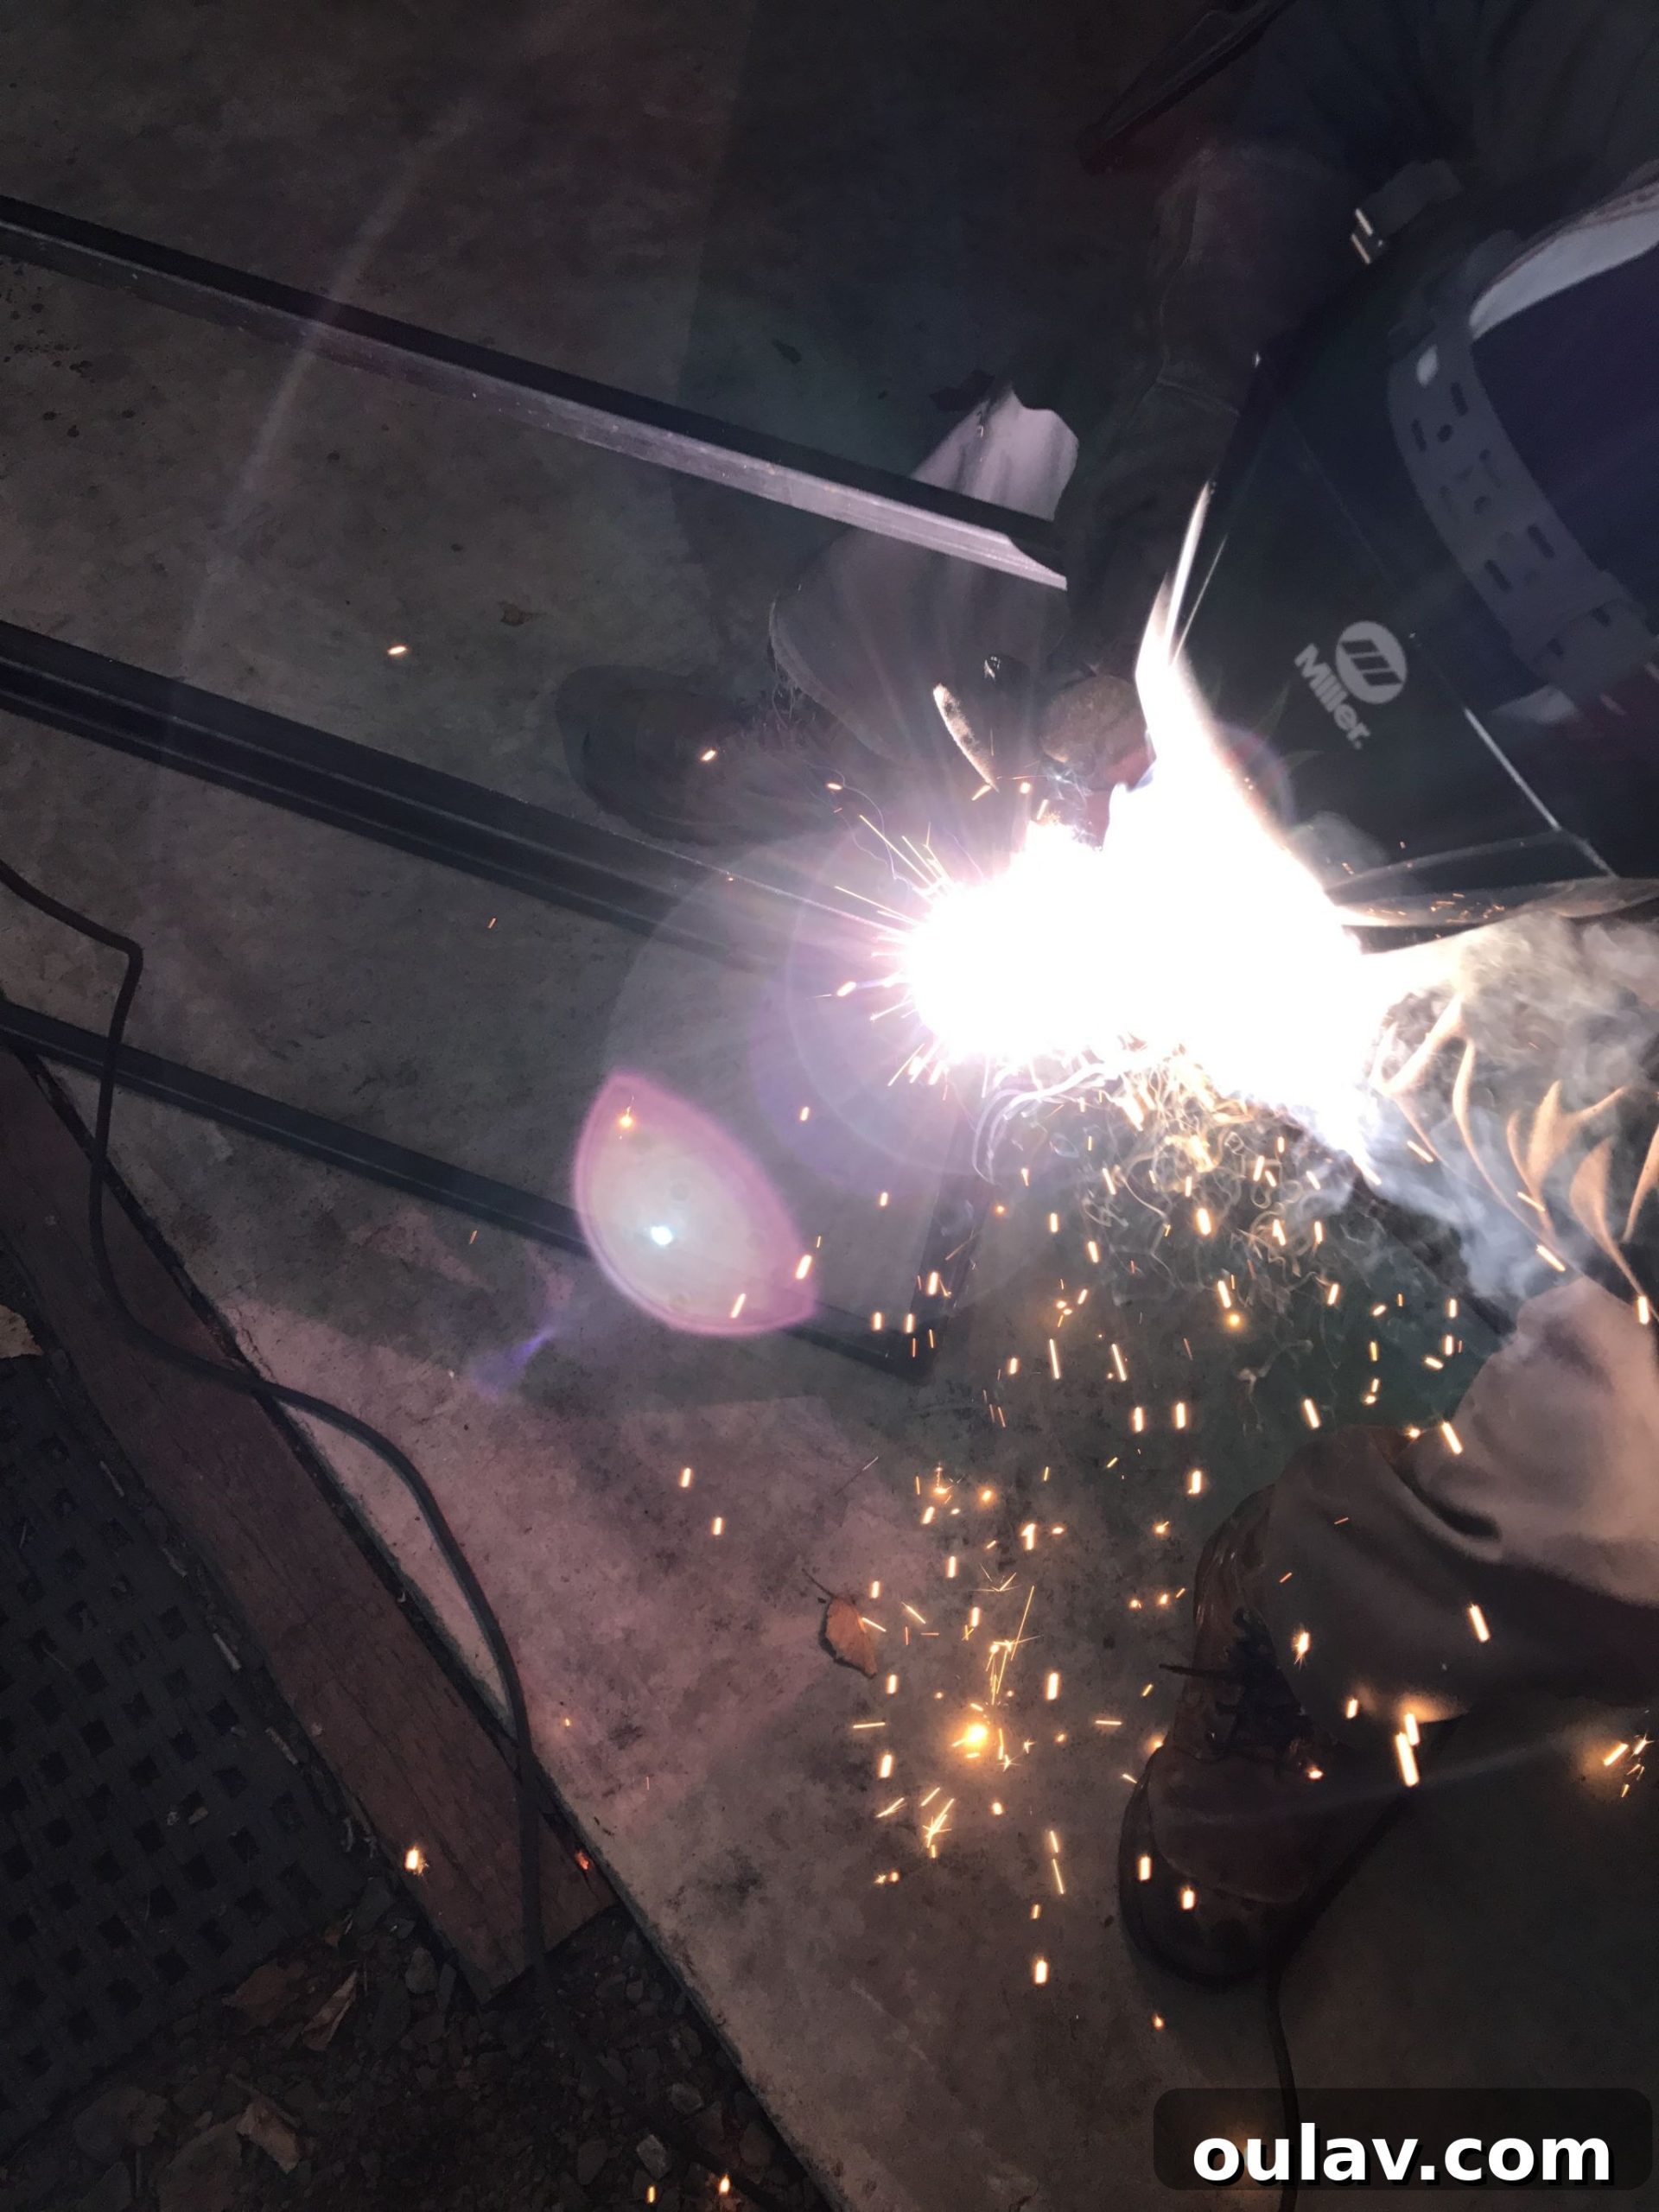
Once all pieces are securely tack-welded and checked for square, proceed with completing the full welds along all seams. Unfortunately, we didn’t capture extensive photography of the actual welding process at the time, largely due to concerns that the intense light from the arc could potentially damage camera lenses. However, to give you a visual reference of what welding looks like in action, here’s a snapshot from a different project:
At this stage, your DIY welded desk legs will truly begin to take shape, allowing you to see your vision materialize:
4. Grinding and Finishing Welds
After all welding is complete, the next step is crucial for both aesthetics and safety. Use the grinding disk on your angle grinder to smooth out the welded areas. This process involves removing any excess welding material, known as “spatter,” and leveling out any welds that aren’t perfectly uniform. While my partner has developed solid welding skills as a hobbyist, he’s not a professional, so this clean-up stage is vital for achieving a polished, professional-looking finish on the metal frame.
5. Painting and Protecting Your Metal Legs
With the grinding complete, it’s time to prepare your metal legs for their final finish. We applied a coat of metal primer, which is essential for ensuring paint adhesion and preventing rust, followed by a few coats of white paint. We repurposed leftover paint from our wall painting project, making this step economical. Ideally, waiting until warmer weather or having access to a well-ventilated space allows for spray painting, which typically yields a much smoother and more professional finish. Patience can sometimes pay off in the realm of DIY aesthetics!
How to Securely Affix the DIY Welded Legs to the Desk Surface
Attaching your newly crafted welded legs to your desktop requires careful drilling and fastening to ensure a sturdy, wobble-free workspace. Here’s how we achieved a secure connection:
We opted for 1.25-inch wood screws to fasten the tabletop to the metal legs. Given that our tabletop is 0.75 inches thick and the metal tubing is also 0.75 inches, the 1.25-inch screws allow for optimal penetration, passing through the tubing and into the tabletop with about 0.25 inches to spare, ensuring a strong grip without breaking through the top surface.
To prepare the metal tubing, drill holes that are just wide enough for the screw threads to pass through easily. For the wooden tabletop, it’s crucial to pre-drill smaller pilot holes from the bottom surface. Ensure these pilot holes do not go all the way through the desktop. This pre-drilling step guides the screws precisely and significantly reduces the risk of splitting or cracking the wood, which is a common issue in woodworking.
We used four screws per leg base, and this configuration provided excellent stability. However, you can always add more screws if you prefer additional reinforcement or if your desk design requires it. Finally, to protect your floors and allow for easy movement, we highly recommend attaching stick-on felt feet to the bottom bar of each leg.
Conclusion: Enjoy Your Custom Welded Desk!
We understand that our older photos might not reflect the highest quality, a limitation of the cameras we used at the time and our concern about potential camera damage from the welding arc. However, we hope they convey the passion and process behind creating these beautiful DIY welded desk legs.
Ultimately, the satisfaction of building something with your own hands, especially a functional piece like a custom desk, is immense. Your hard work culminates in a unique, durable, and stylish addition to your home. Ready to see the final masterpiece? The varnish has finally cured, and the welded desk is 100% COMPLETE here! If this project has sparked your interest in metalworking, feel free to explore more of our welding projects. And for those who admire the aesthetic but prefer not to weld, remember that similar styles of welded table legs are readily available for purchase, allowing you to achieve a custom look with ease. Happy building!