
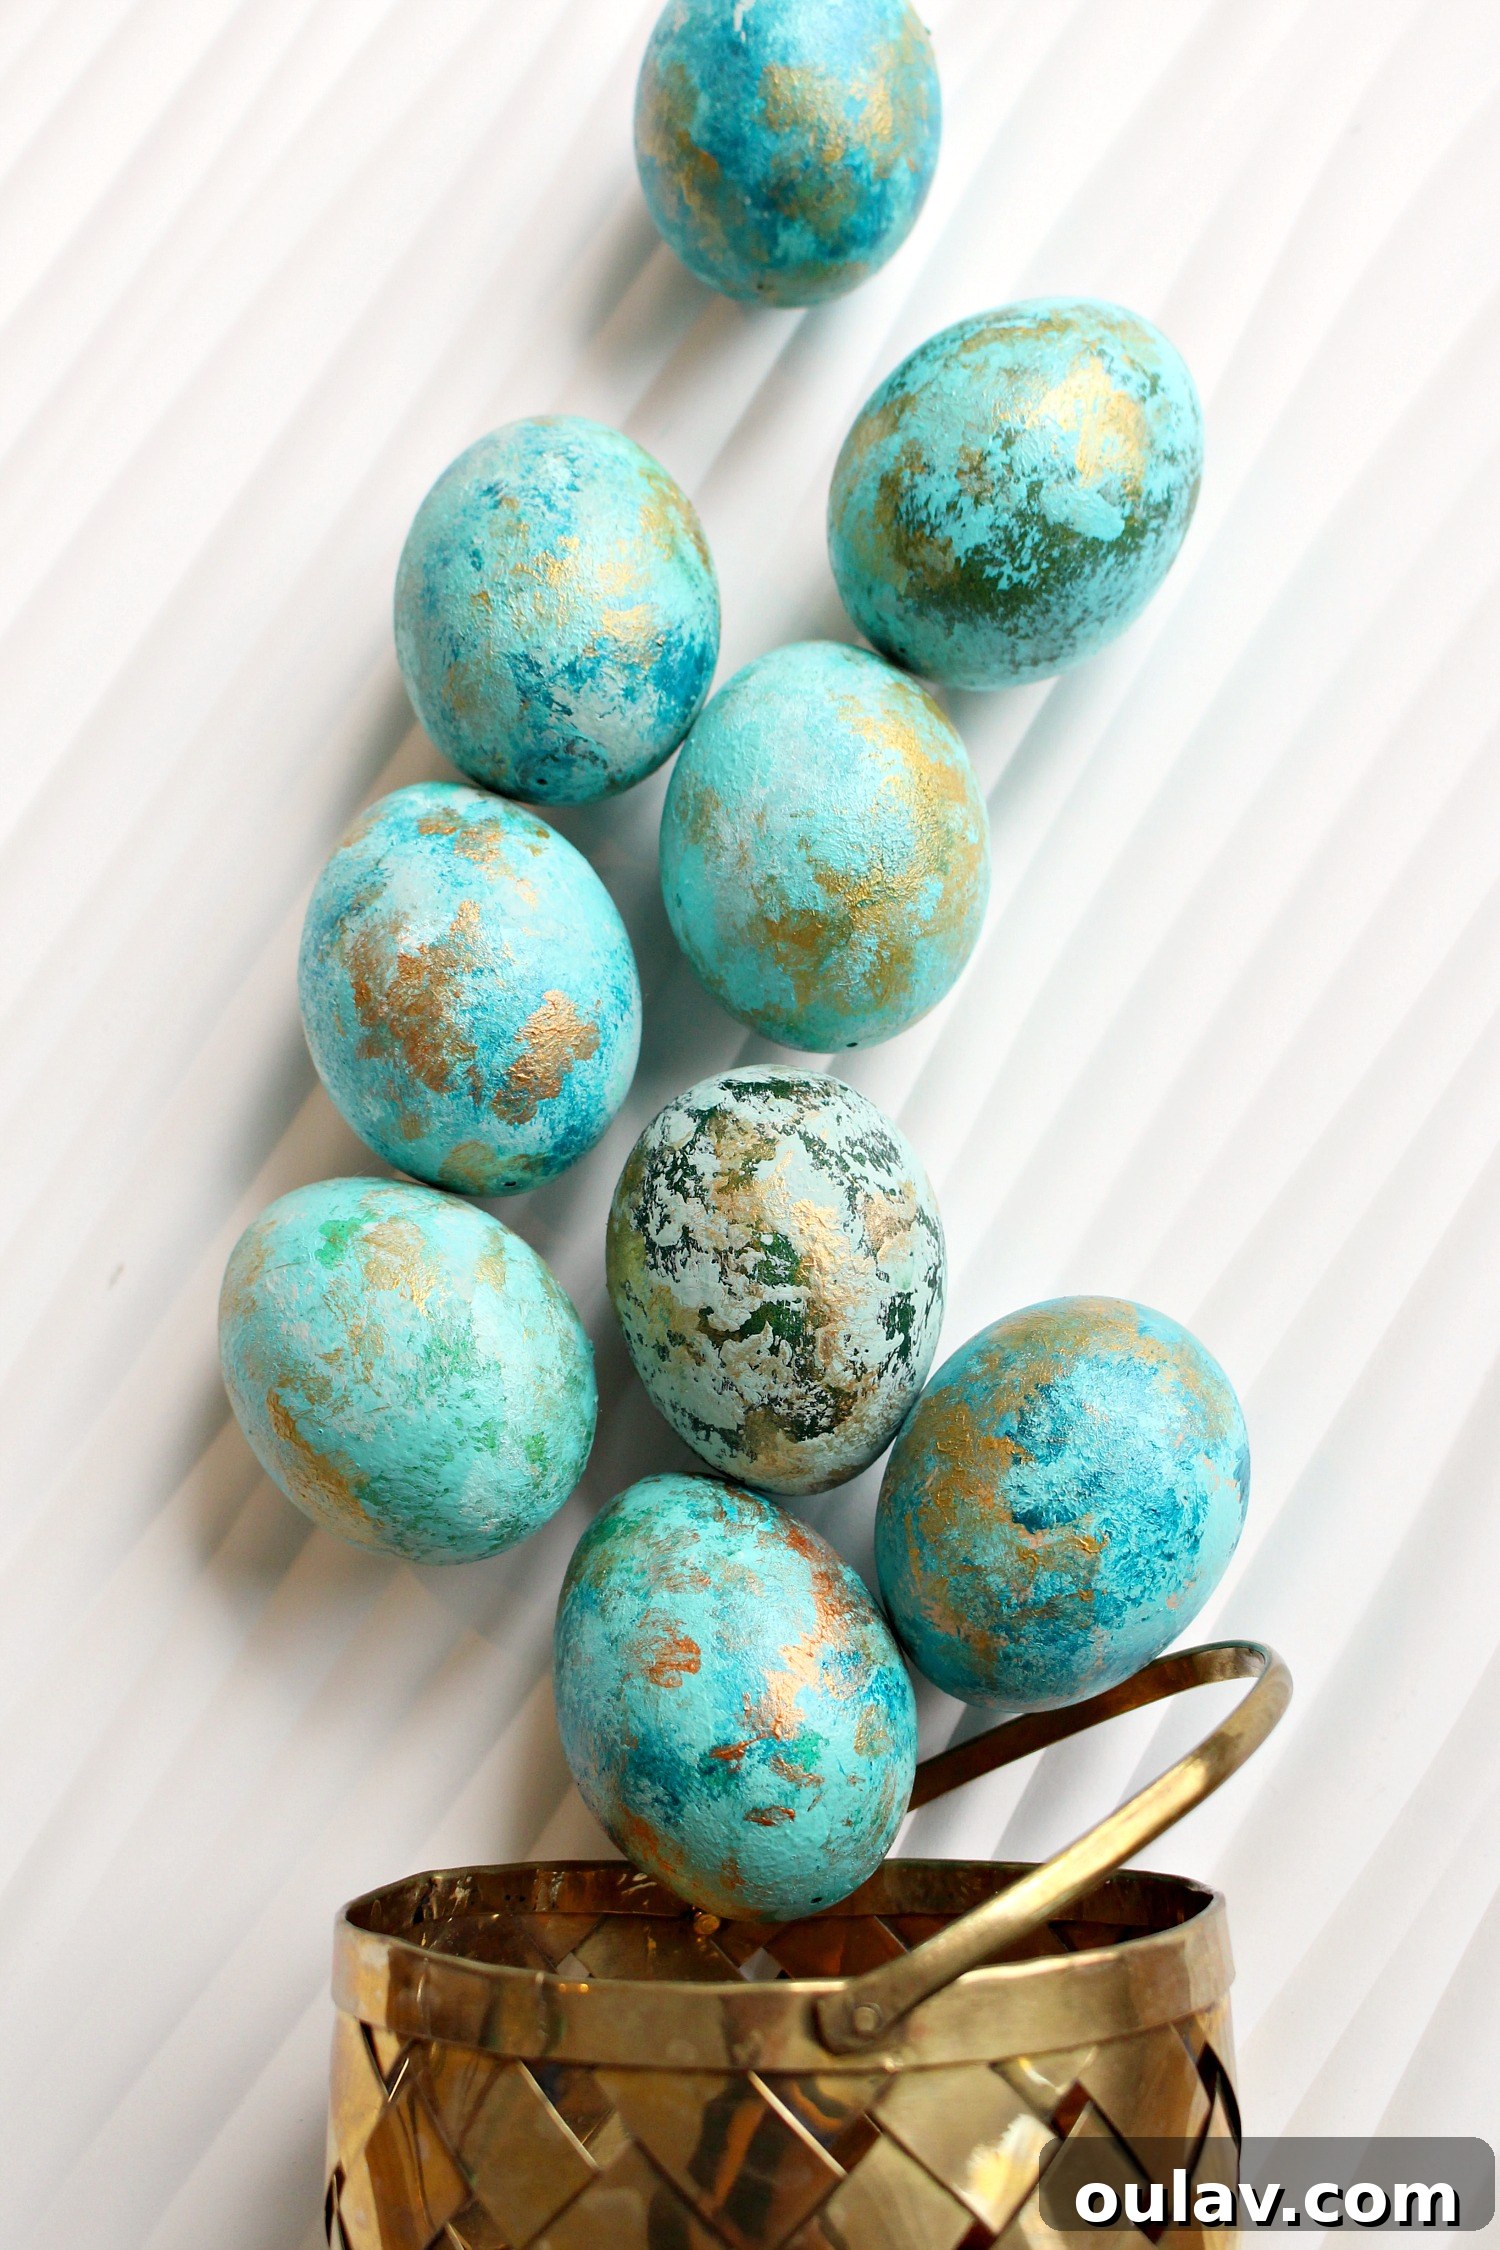
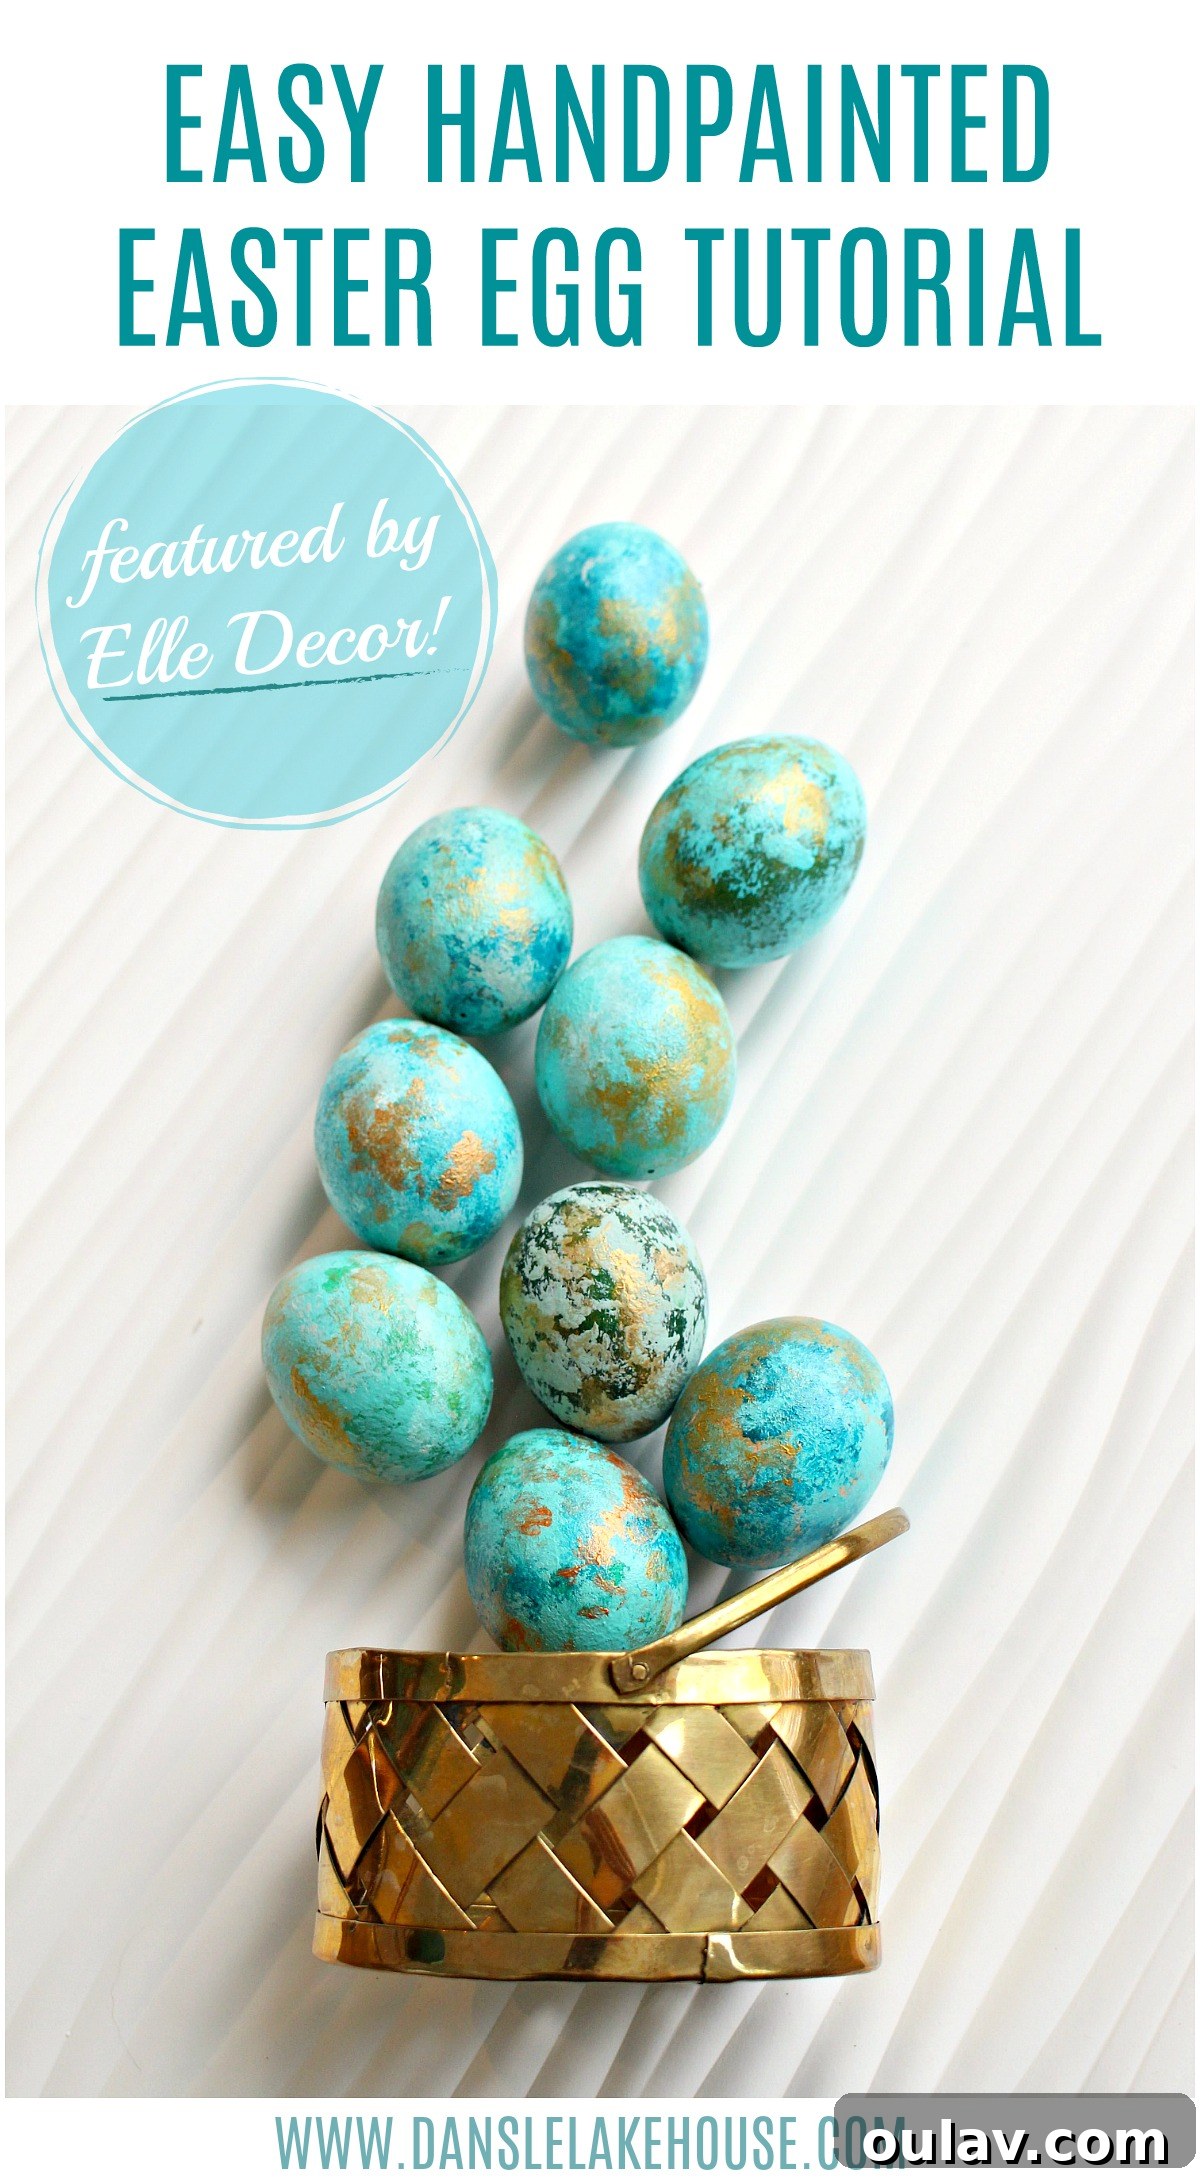
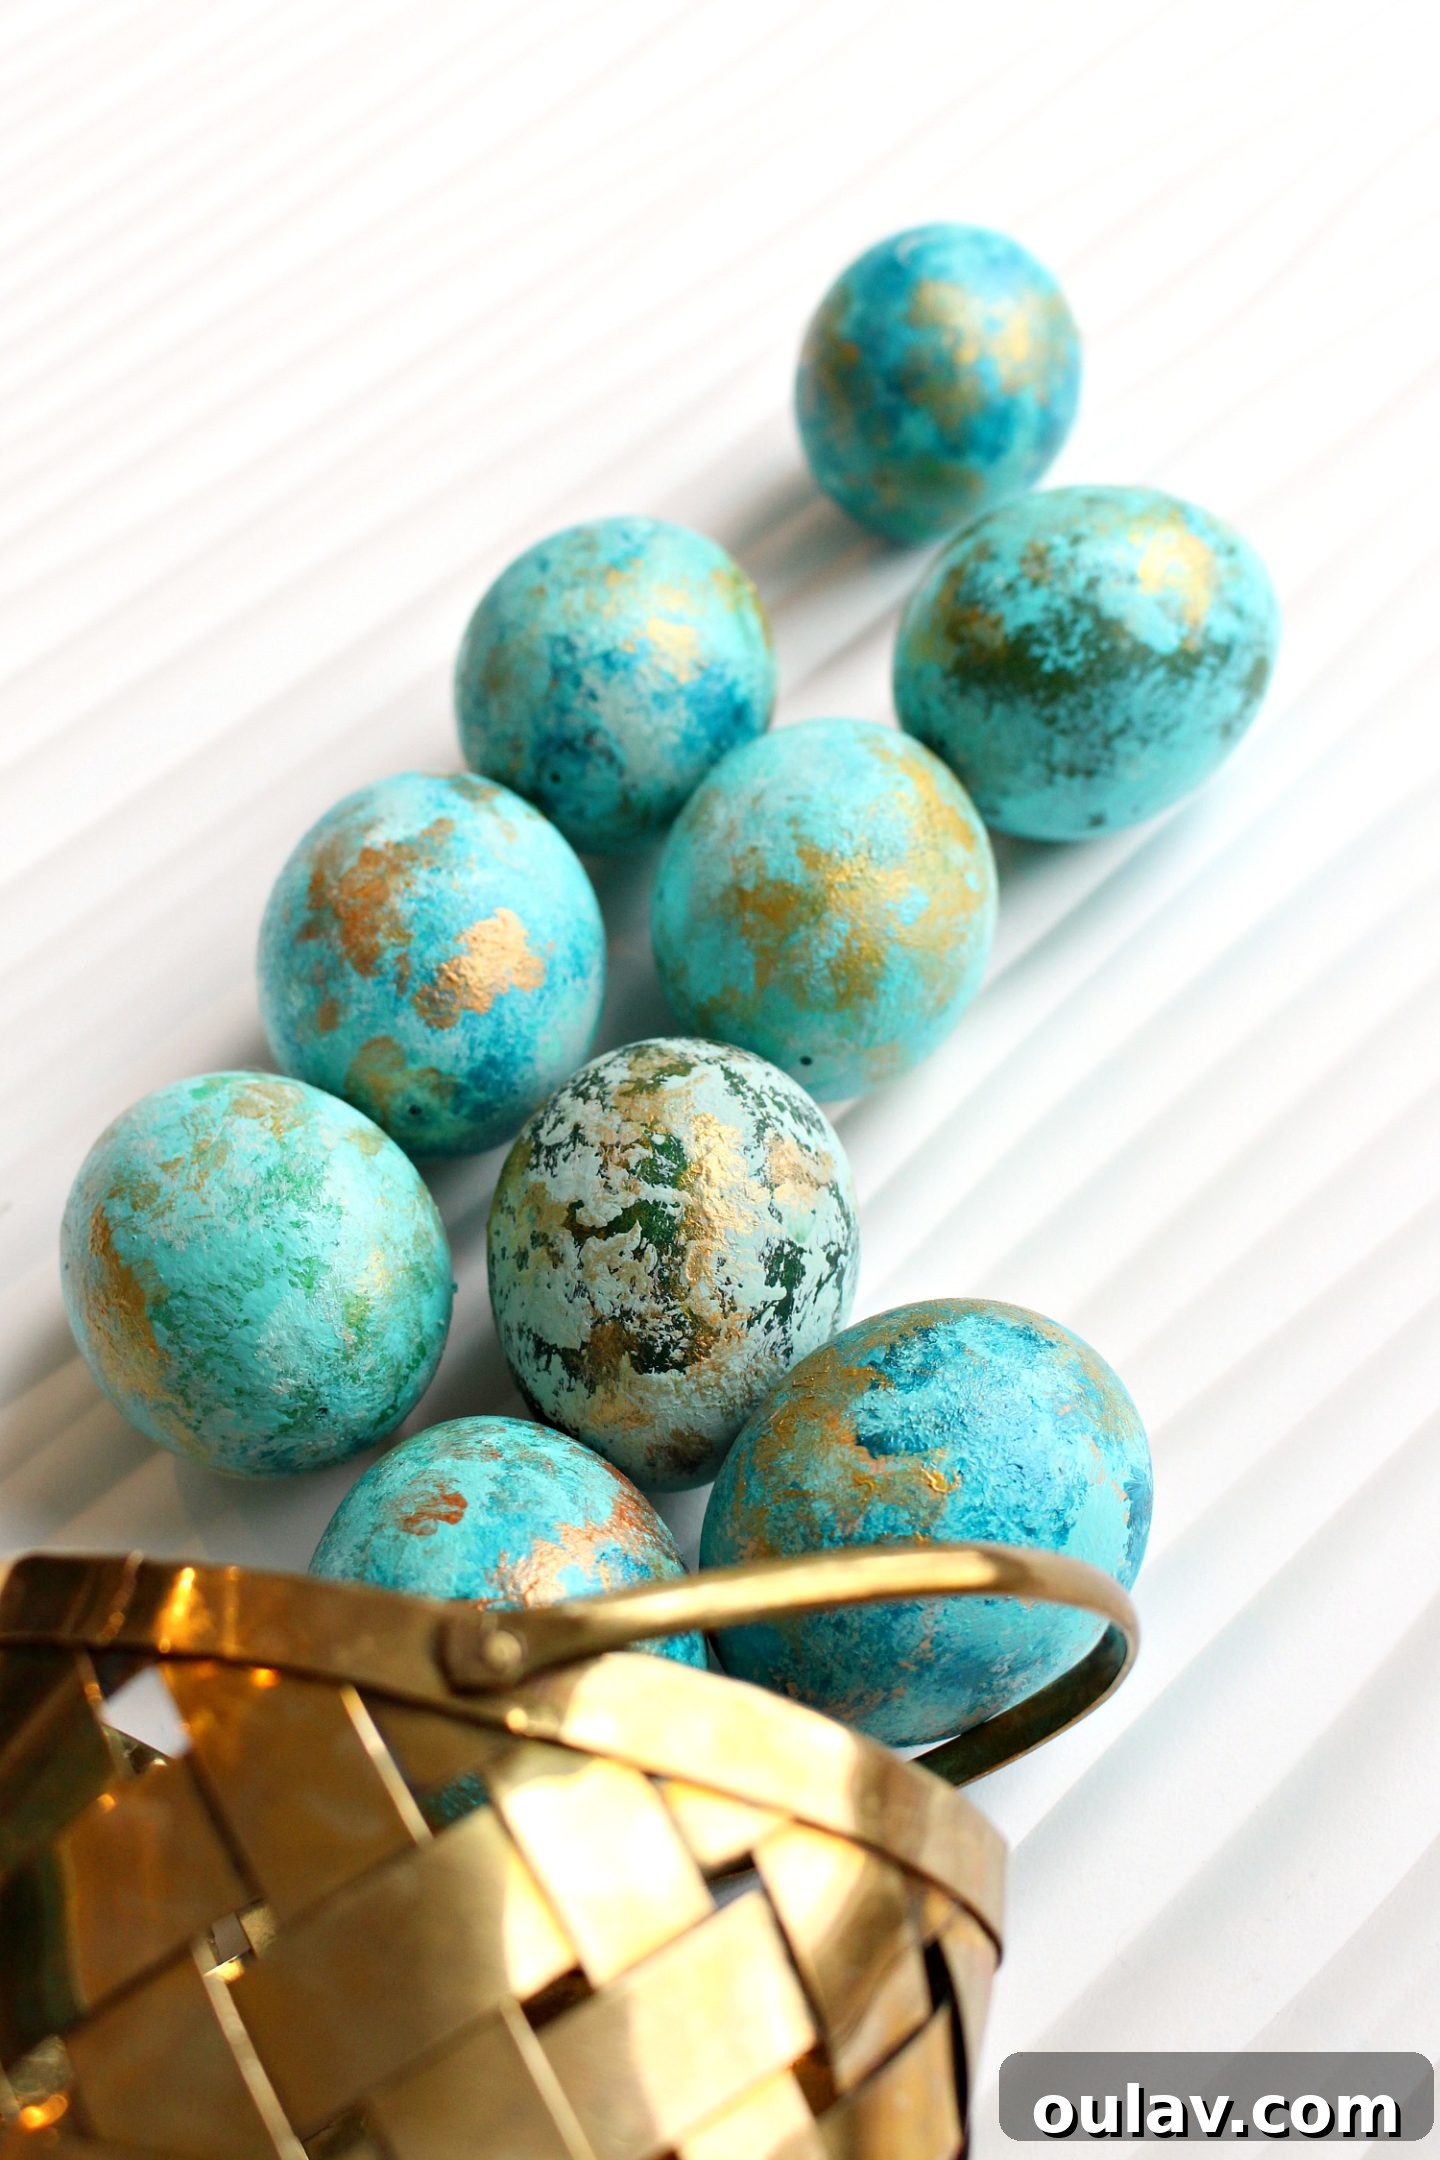
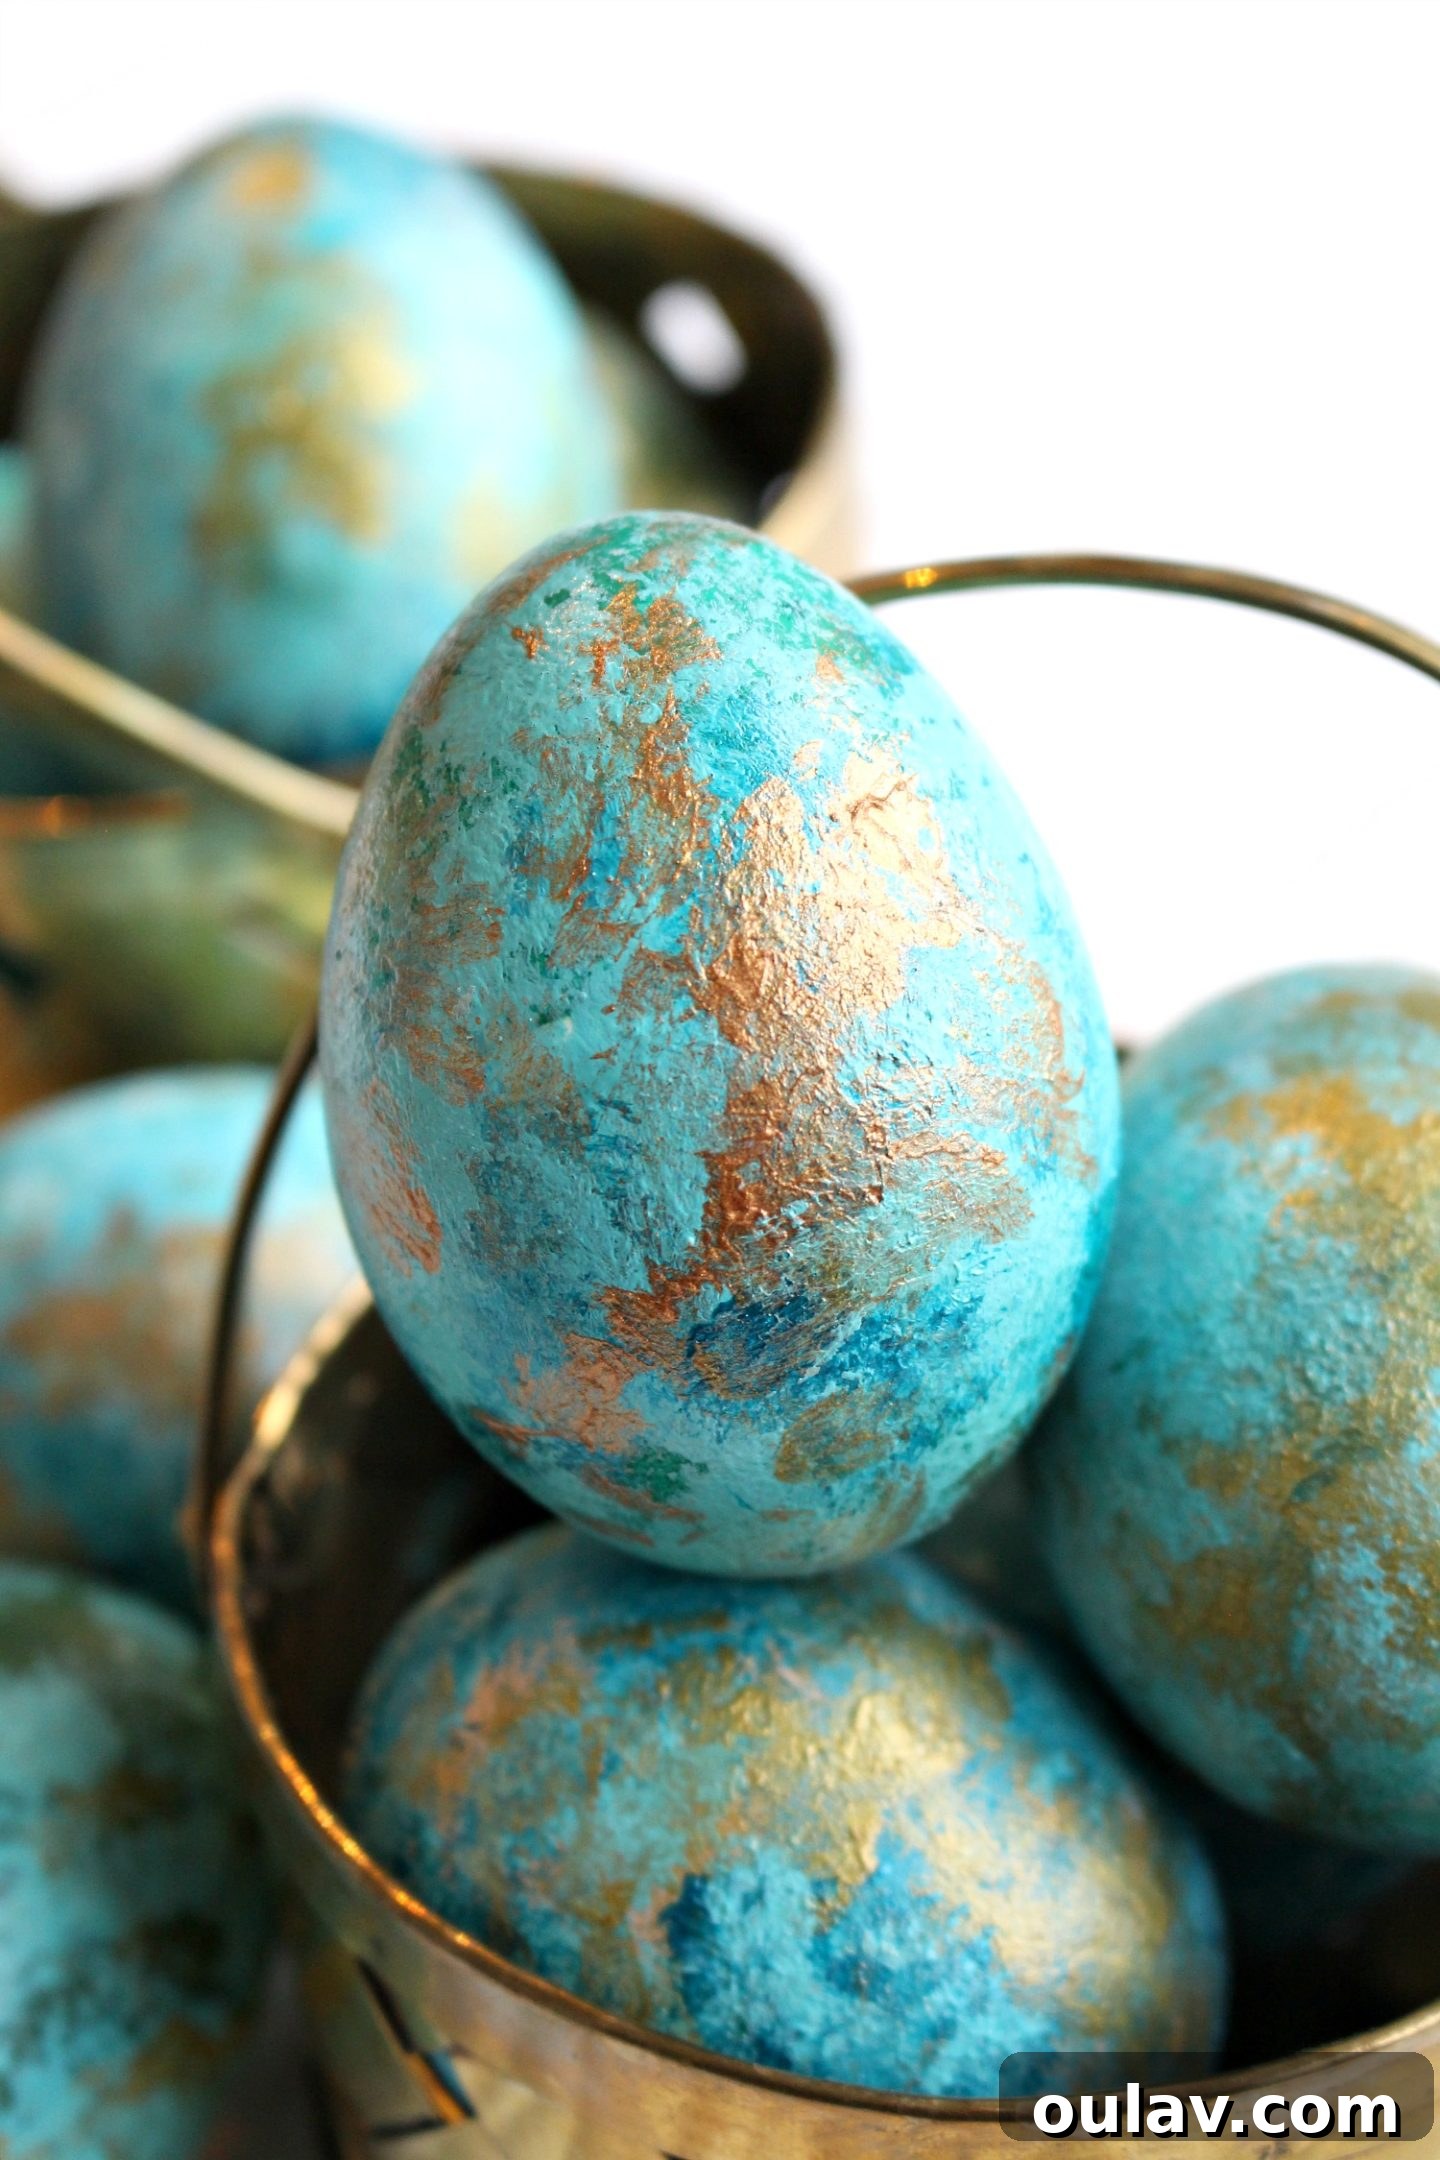
Welcome, fellow craft enthusiasts, to a world where simple supplies transform into dazzling Easter treasures! This year, I’m thrilled to share a delightful and utterly achievable method for creating abstract painted Easter eggs. Get ready to discover a truly creative egg decorating idea that promises both beauty and fun, suitable for all ages and skill levels. We’ll dive into crafting eggs that look like polished gemstones, adding a sophisticated yet playful touch to your spring decor. Forget the mess of traditional dyes; this technique focuses on vibrant acrylics and an easy dabbing motion to achieve a captivating, layered effect. Whether you opt for real hard-boiled eggs or durable faux wooden eggs, these artistic creations are sure to become a cherished part of your seasonal display.
The Inspiration Behind Our Painted Easter Eggs: From Coop to Craft
You might wonder why, with a thriving backyard flock, I’m still so enthusiastic about decorating Easter eggs. Well, it’s a testament to the sheer joy and creative impulse that spring brings! Our adorable hens are already quite the artists themselves, laying stunning pale aqua eggs that are a delight to behold. In fact, you can see some of their beautiful contributions here. And the excitement doesn’t stop there! We recently welcomed 16 new chicks, and among them are some Marans that will bless us with rich, chocolate-colored eggs, alongside more turquoise and even a green egg-laying breed. Just imagine the vibrant basket of natural eggs we’ll have next spring!
Despite this natural abundance, the desire to create and personalize remains strong. The beauty of these natural eggs only fuels my passion for creative expression during the Easter season. While our daily egg count currently ranges from 0-4, we anticipate a significant increase as the days lengthen, hoping to have two to three times as many layers by next fall. It’s always an adventure with straight-run breeds, so our hen-to-roo ratio is still a delightful mystery. But the anticipation of raising these fluffy newcomers again is absolutely “eggciting”!
Embracing Spring with Abstract Painted Eggs
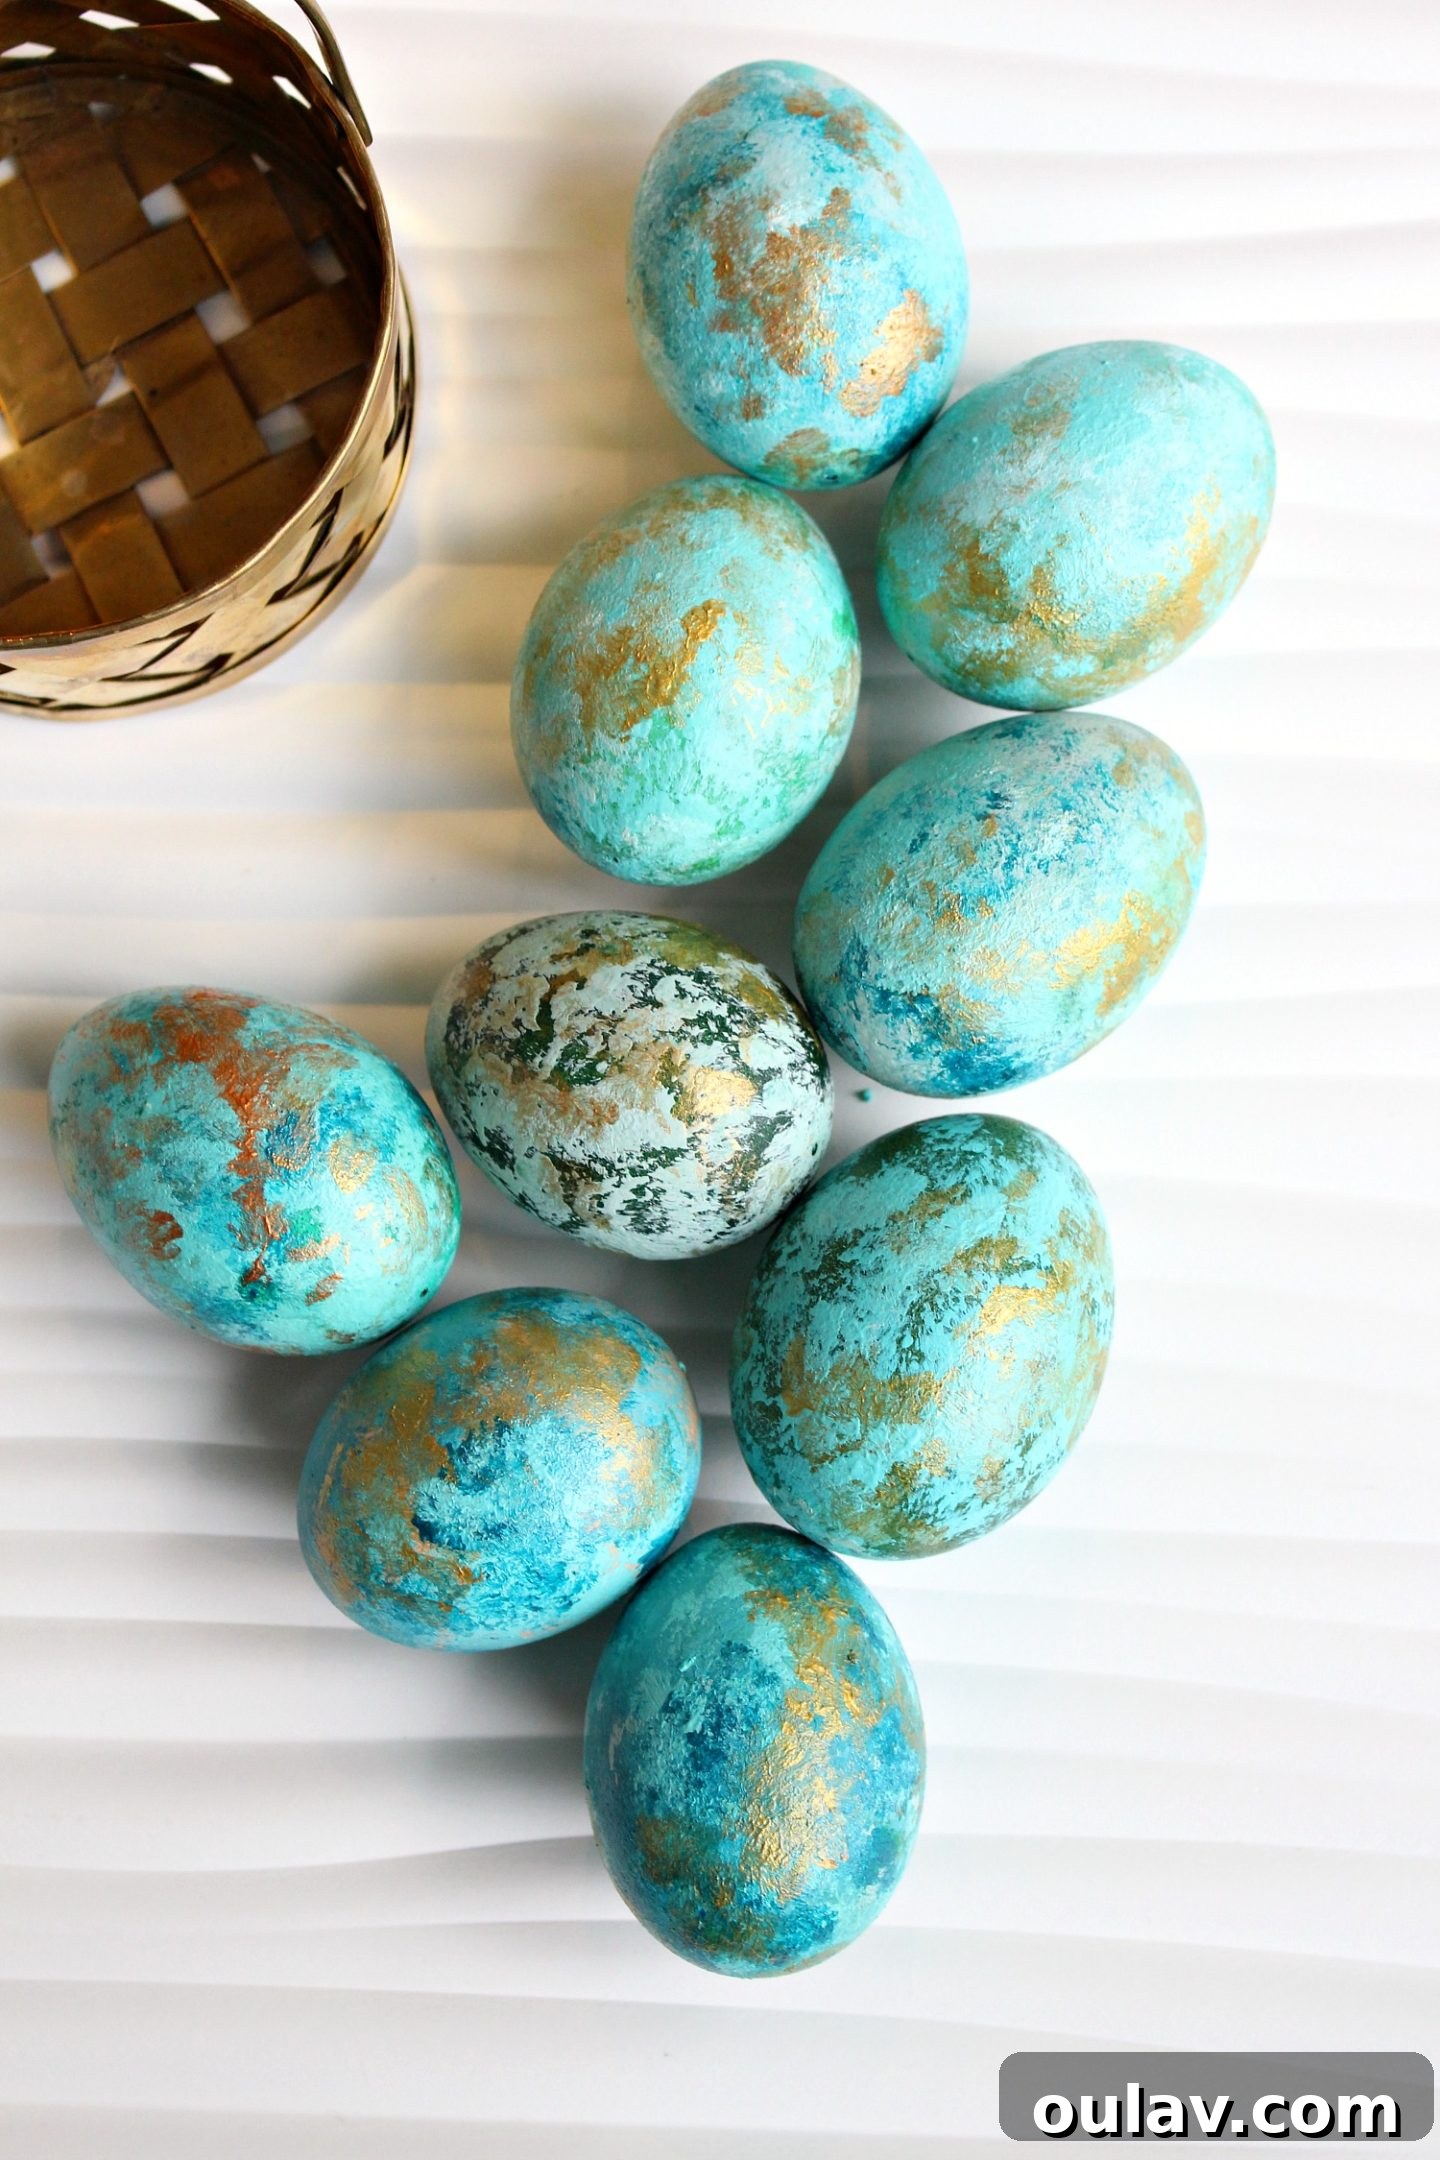
Even with my basket full of naturally beautiful aqua eggs, the allure of egg decorating is irresistible. This year, I’m particularly drawn to spring decor, feeling an unusual pull towards vibrant colors and fresh aesthetics. It’s a delightful shift, considering I was “weirdly into winter this year too,” a phase you can glimpse on my Instagram. Perhaps I’ve finally learned to truly appreciate the distinct beauty of every season! Regardless, I sincerely hope you’ll fall in love with this painted Easter egg idea. It’s not just easy for adults; it’s also an excellent creative outlet for children, making it a perfect family activity. The abstract style is incredibly forgiving, allowing for unique results every time, ensuring no two eggs are exactly alike—just like nature intended!
Essential Supplies for Your Abstract Painted Easter Eggs Project:
Gathering your materials is the first step towards creating these stunning DIY painted Easter eggs. The beauty of this project lies in its simplicity and the accessibility of its supplies. Here’s what you’ll need to transform ordinary eggs into little works of art:
- Eggs: You can choose between real hard-boiled eggs for temporary display or faux wooden eggs for decorations that will last year after year. Faux eggs are fantastic for repeated use and crafting with children, as they eliminate the worry of breakage.
- Acrylic Craft Paints: The heart of our creative egg decorating. I recommend a palette of dark green, turquoise, white, and gold to achieve that beautiful, multi-dimensional gemstone look. However, feel free to experiment with any colors that inspire you! Acrylic paints are versatile, quick-drying, and offer excellent coverage. You can find a wide selection here.
- Egg Dye (Optional): If you prefer to start with a deeply colored base, a traditional egg dye can be used for the initial layer. Otherwise, acrylic paint works just as well for the base coat. Explore options for egg dyes here.
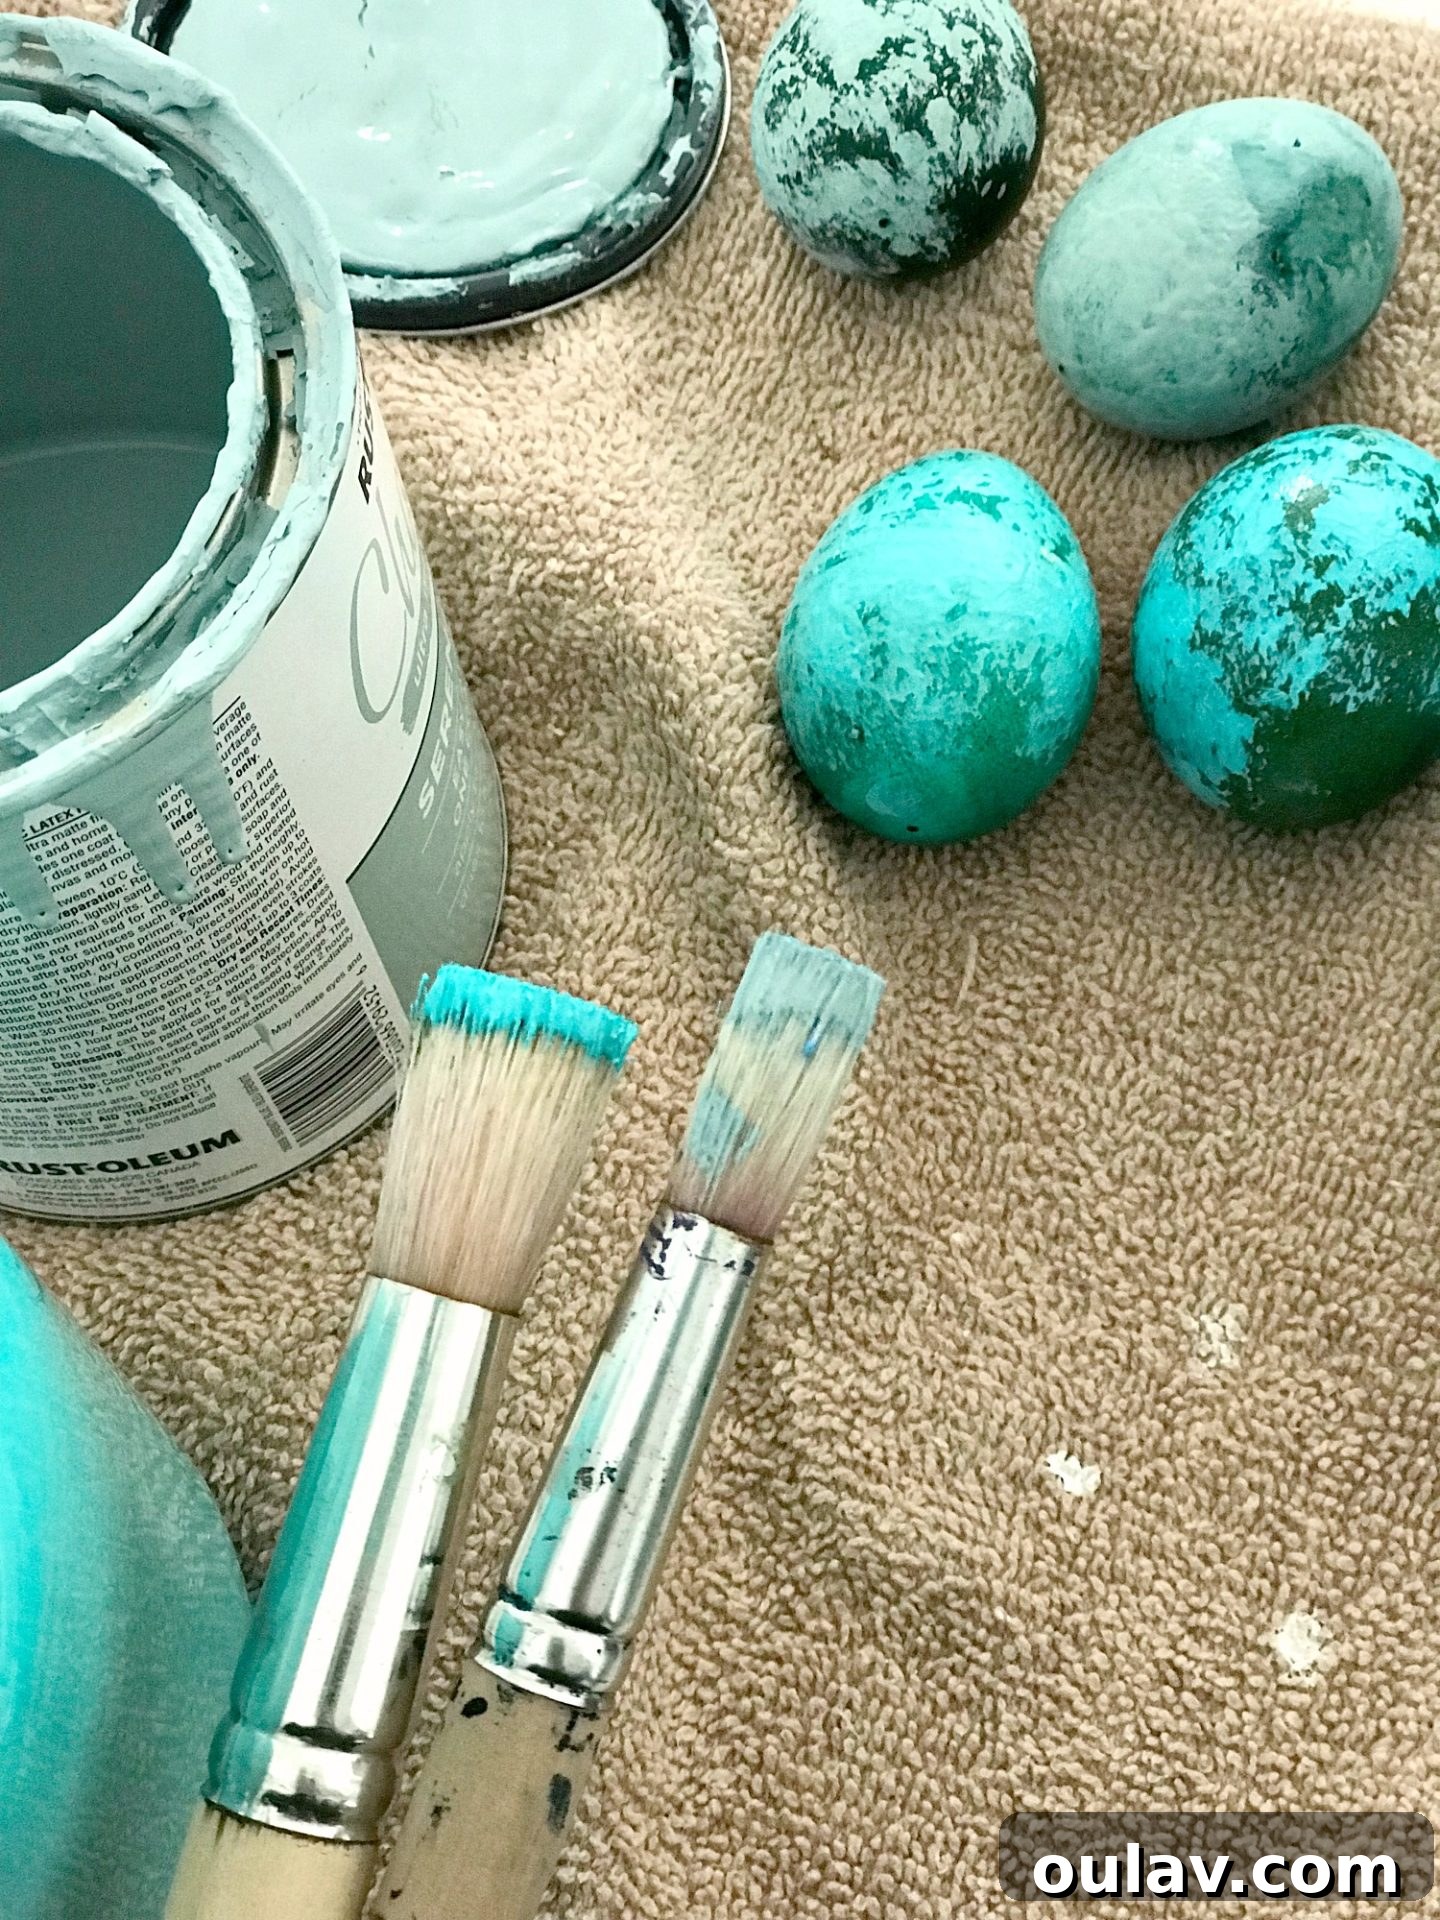
- Stiff, Stenciling Paint Brush: This is a secret weapon for achieving the perfect “stippling” effect, which is key to the abstract look. Its flat, dense bristles make dabbing paint incredibly easy and effective. If you don’t have one, any stiff-bristled brush will work, but the stencil brush is highly recommended for optimal results. You can find a suitable brush here.
- Smaller Artist’s Paint Brush: Essential for adding delicate shimmer and fine details in the final stages. A fine-tipped brush allows for precision when applying metallic accents. Discover a great option here.
Step-by-Step Guide to Crafting These Abstract Painted Easter Eggs:
Let’s get painting! This method is incredibly forgiving and yields beautiful results, even if you don’t consider yourself an artist. The key is embracing the abstract nature and enjoying the layering process.
Step 1: Laying the Foundation – Base Color
First, prepare your eggs. Whether they are real hard-boiled eggs or faux wooden ones, ensure they are clean and dry. Now, it’s time to apply your base color. You can either dye your eggs a deep, rich hue or, more simply, paint them with acrylic craft paint. For a striking contrast and depth, I recommend starting with a deep, dark color like forest green or a vibrant teal. This initial layer provides a strong backdrop against which your lighter colors will pop, giving your finished eggs that desirable “gemstone” quality. Cover the entire surface evenly and allow it to dry completely before moving on to the next step.
Step 2: Mastering the Stippling Technique with Lighter Hues
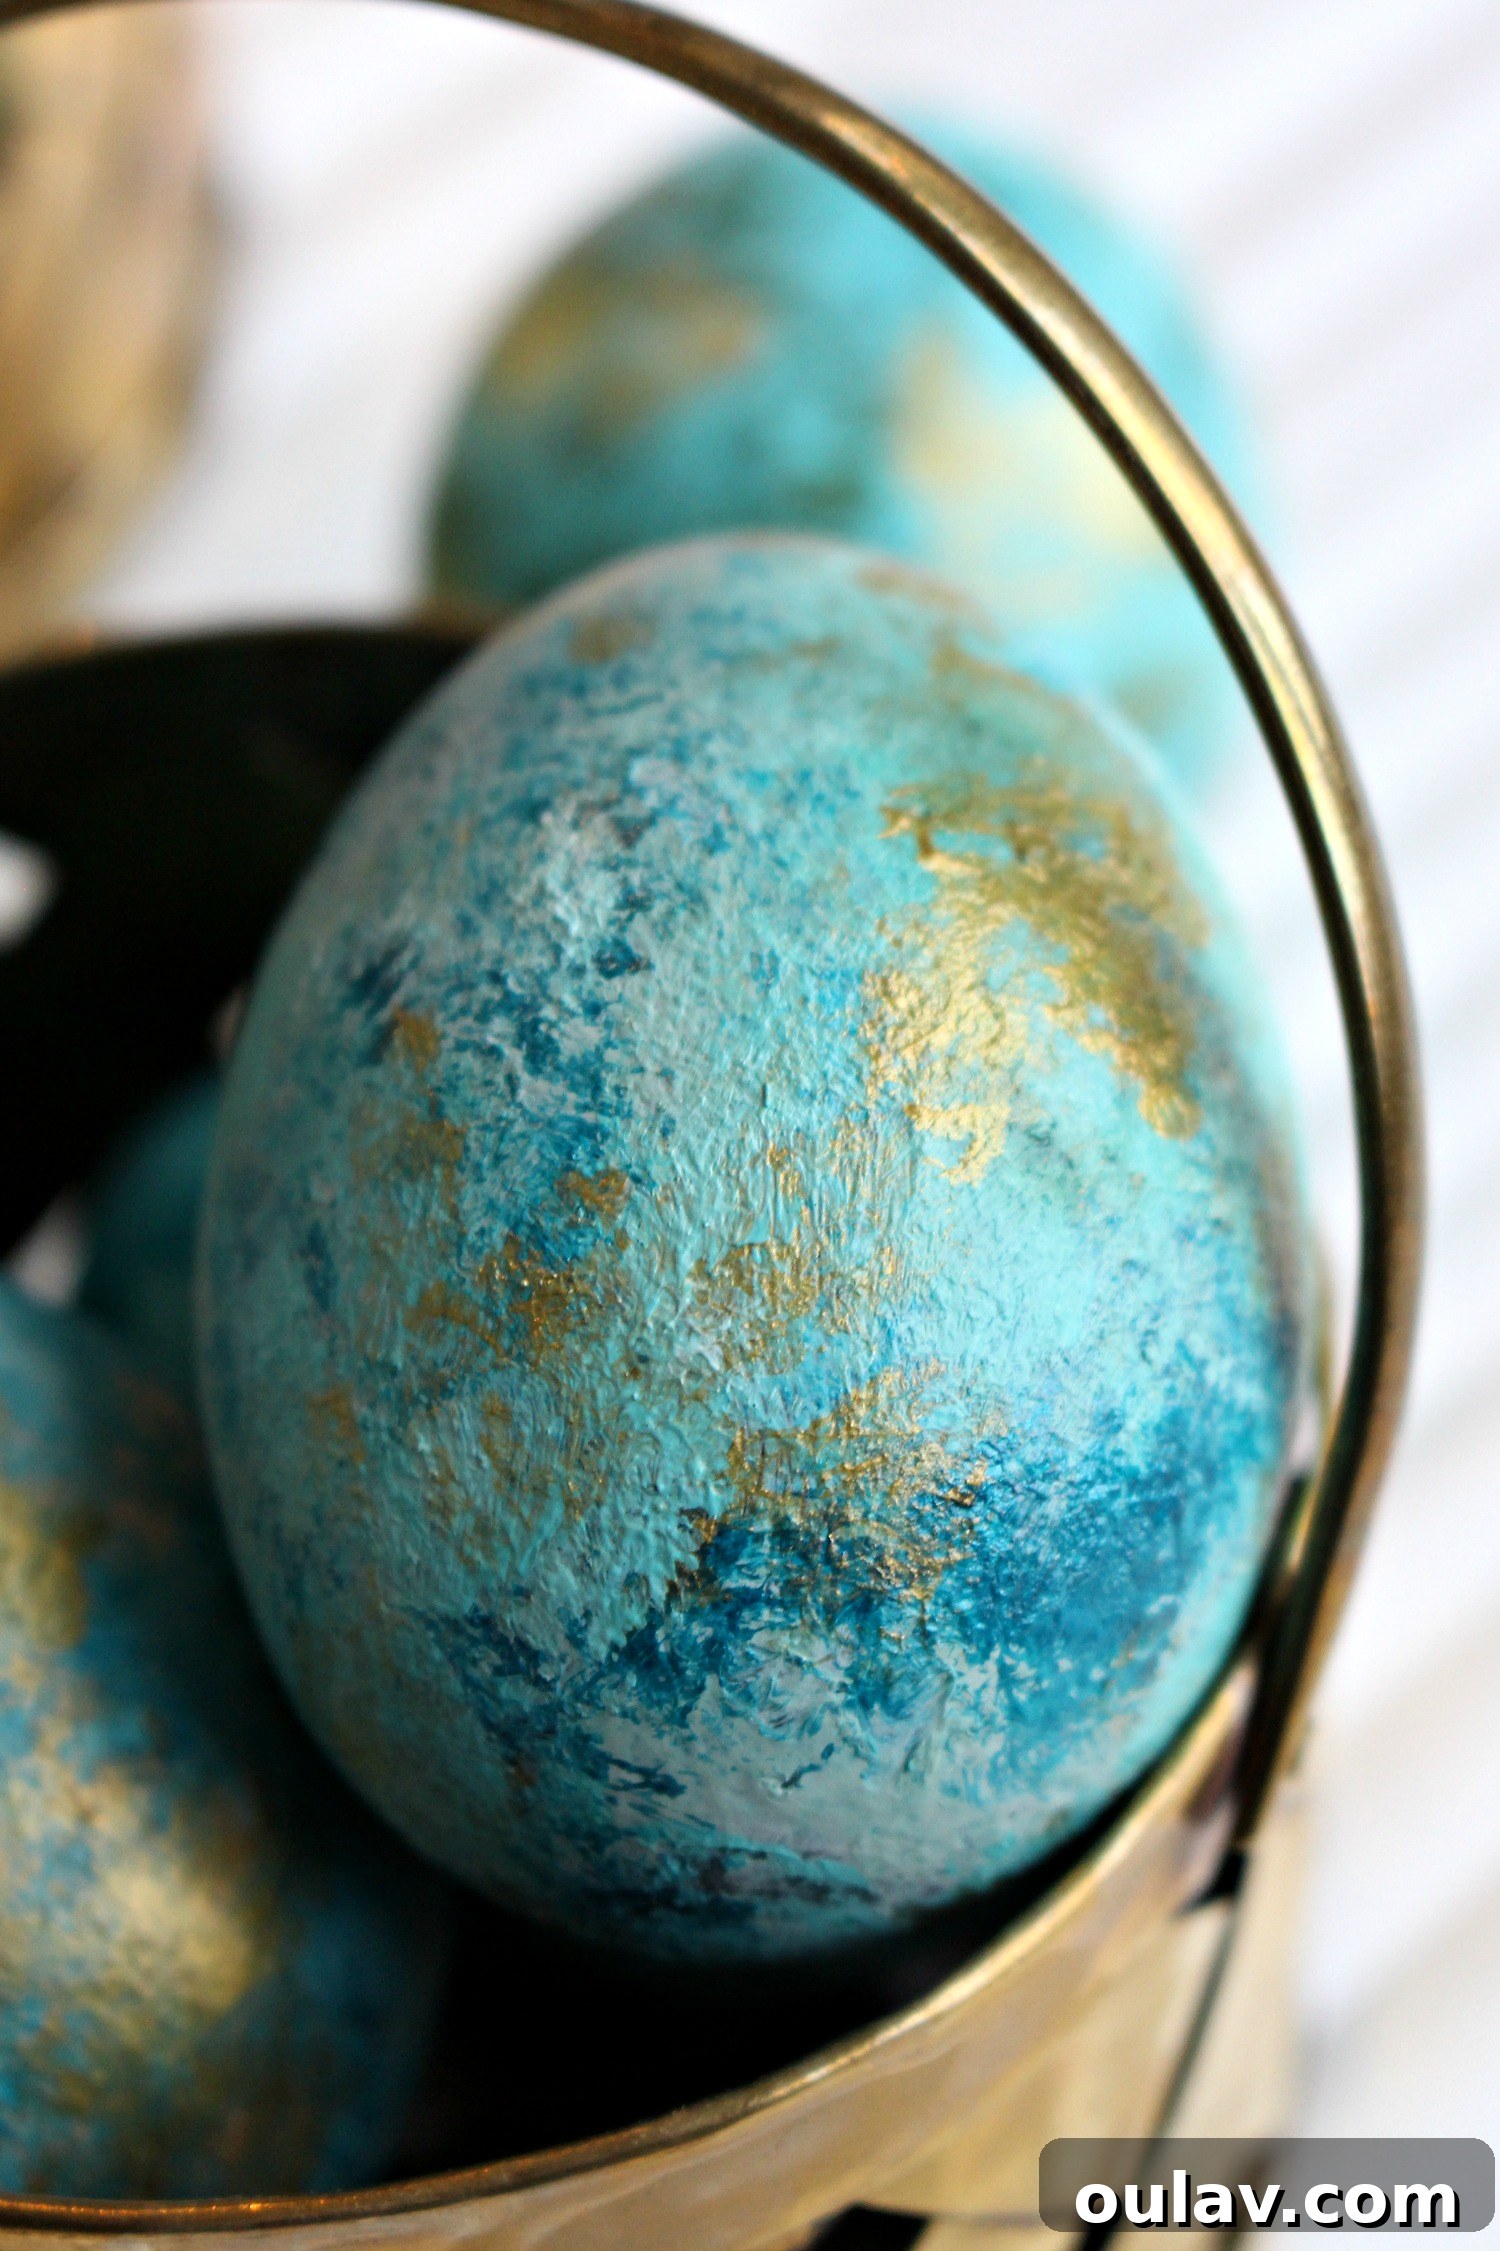
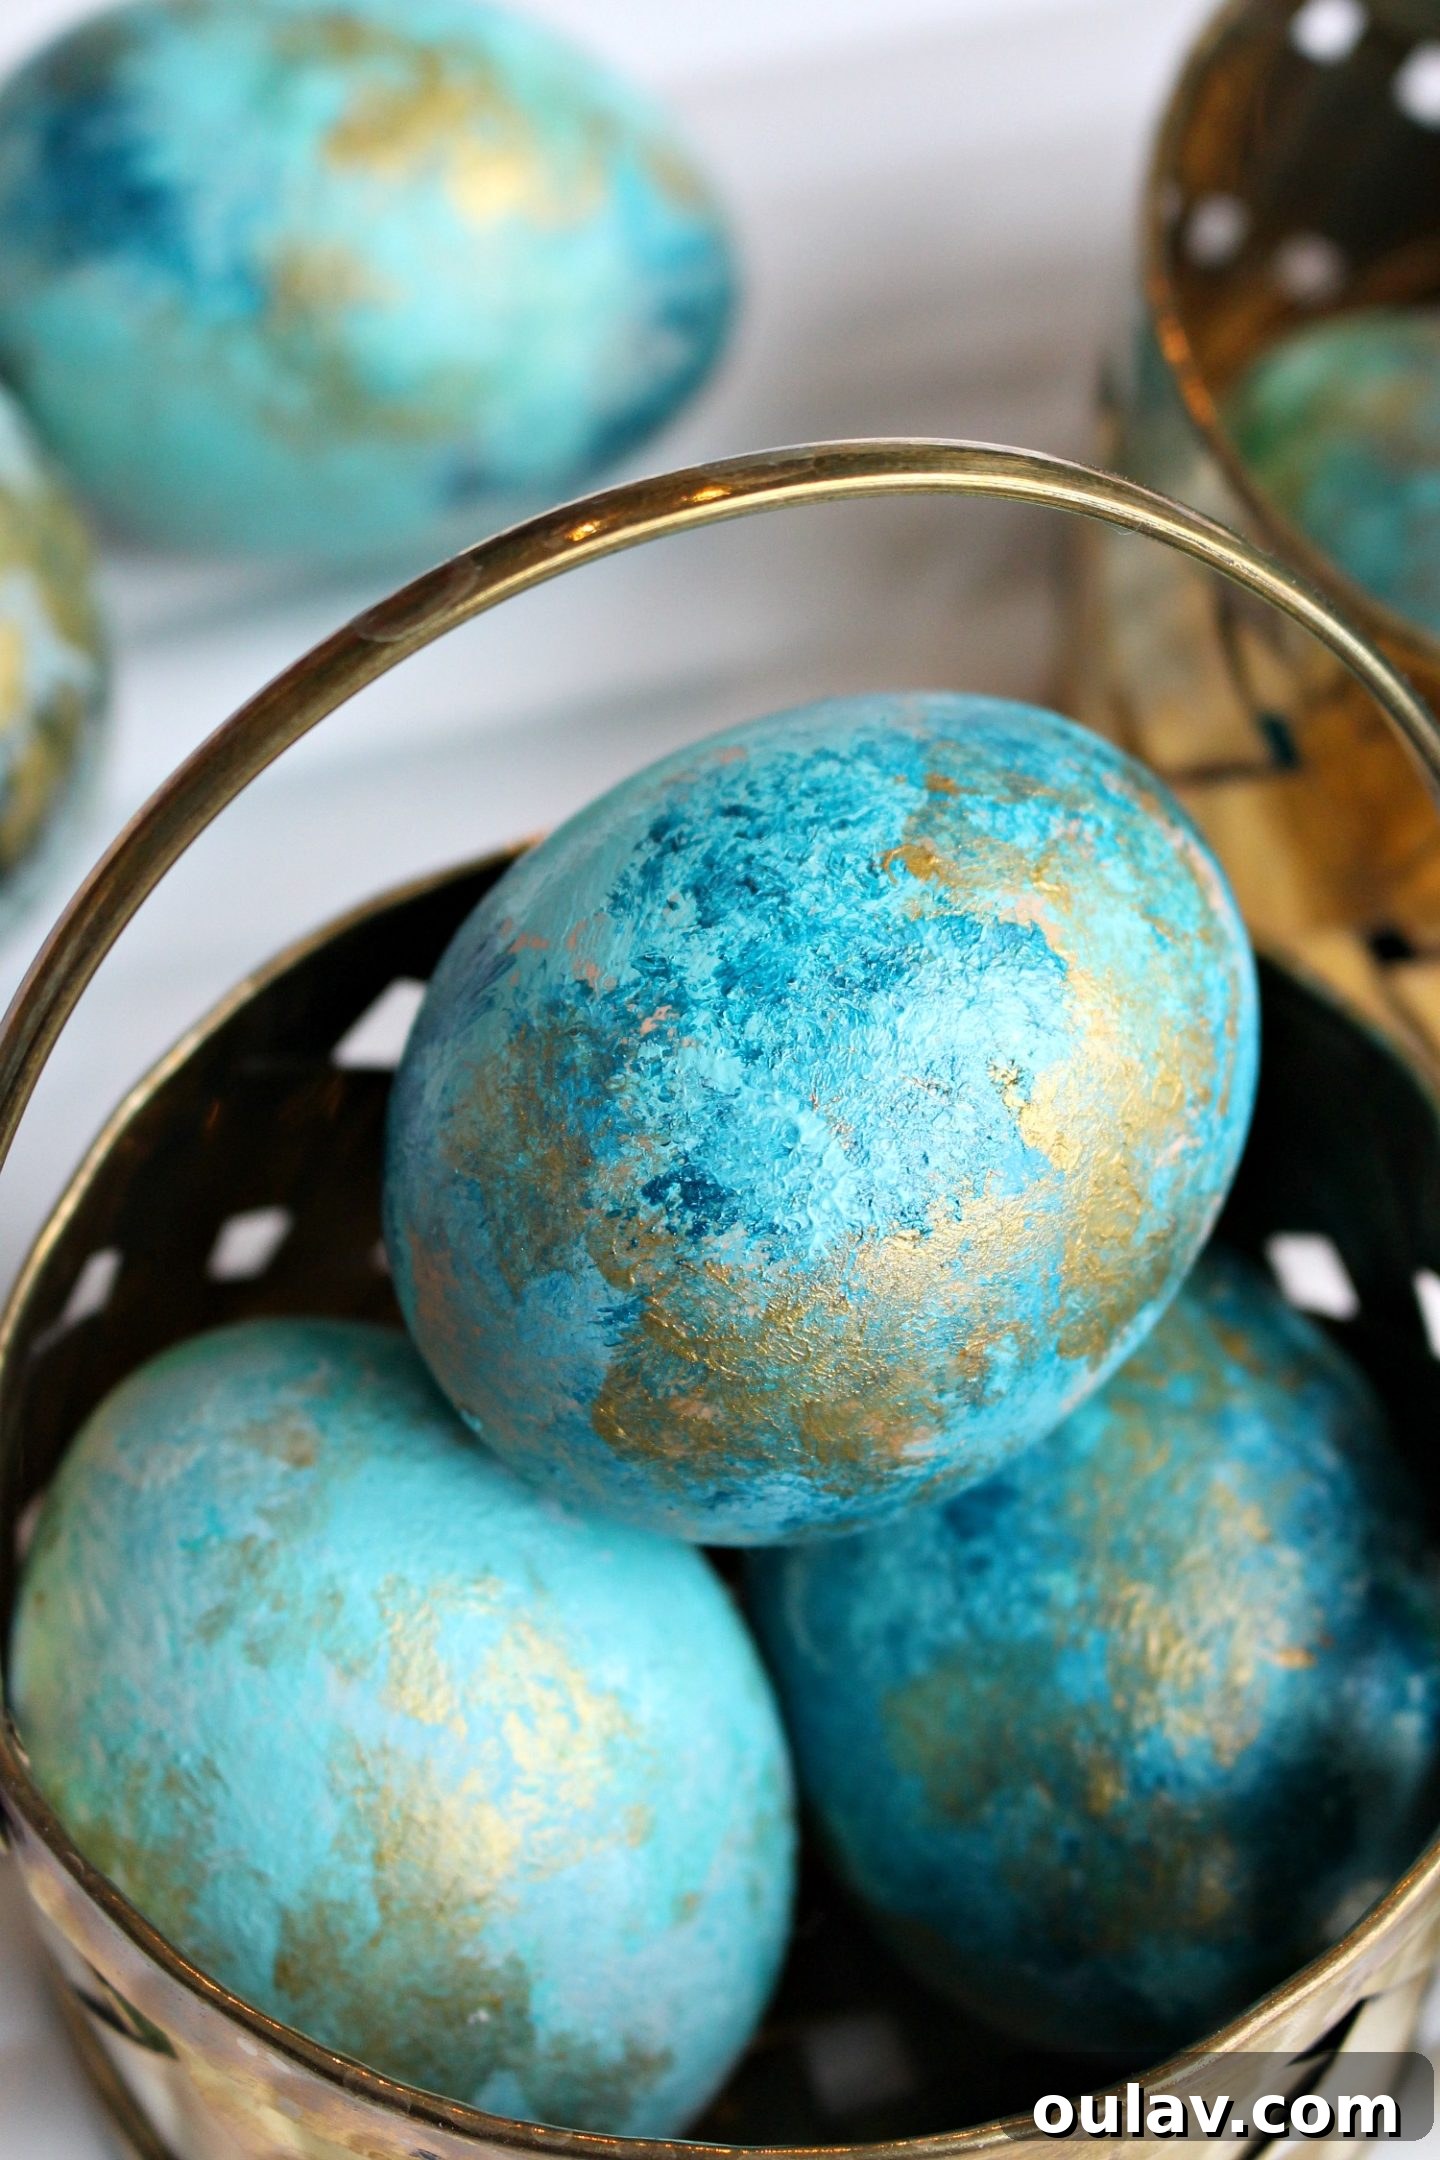
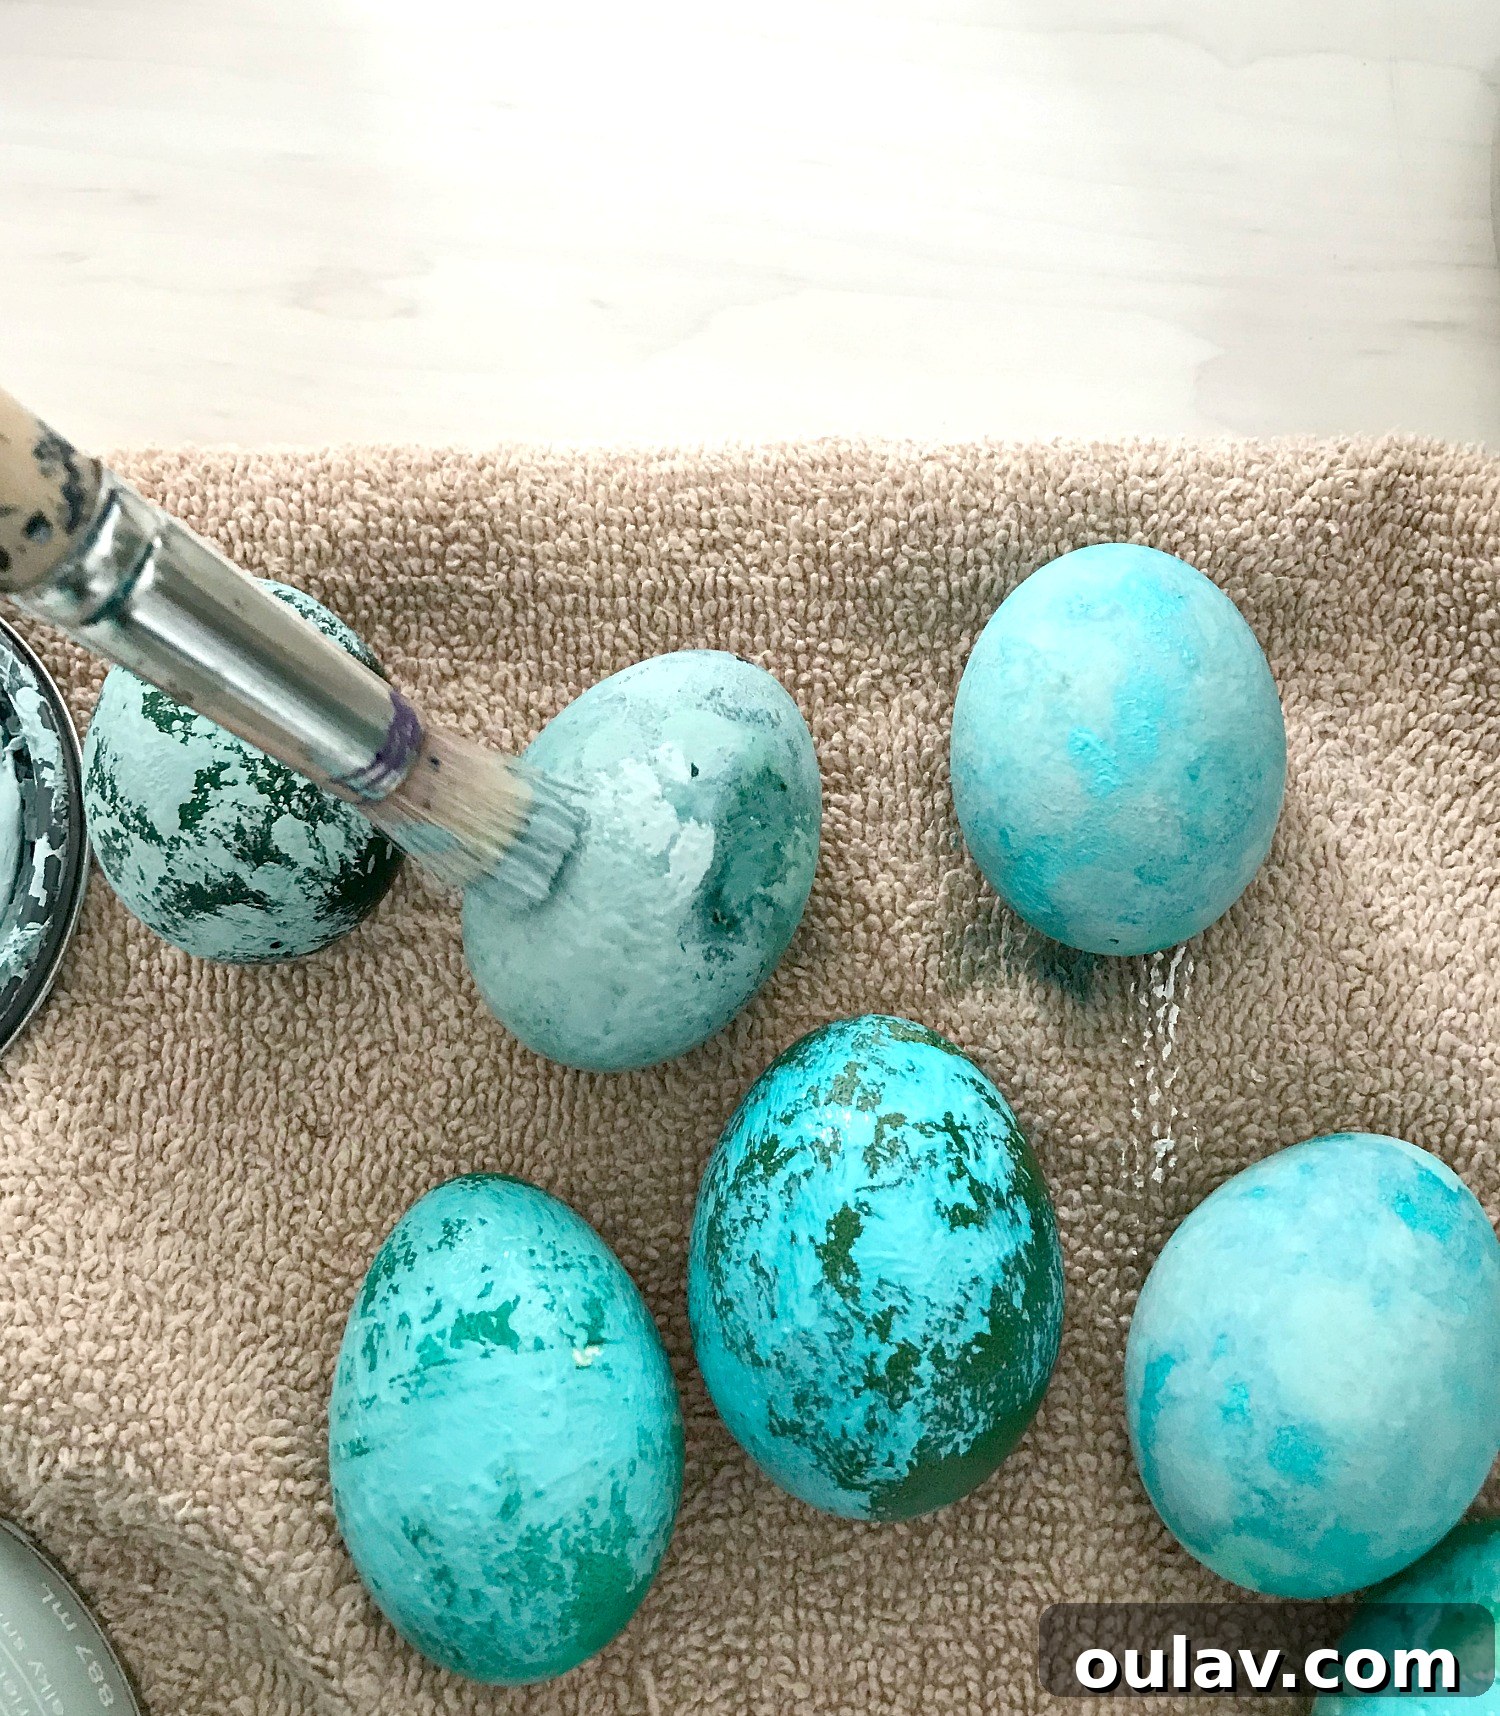
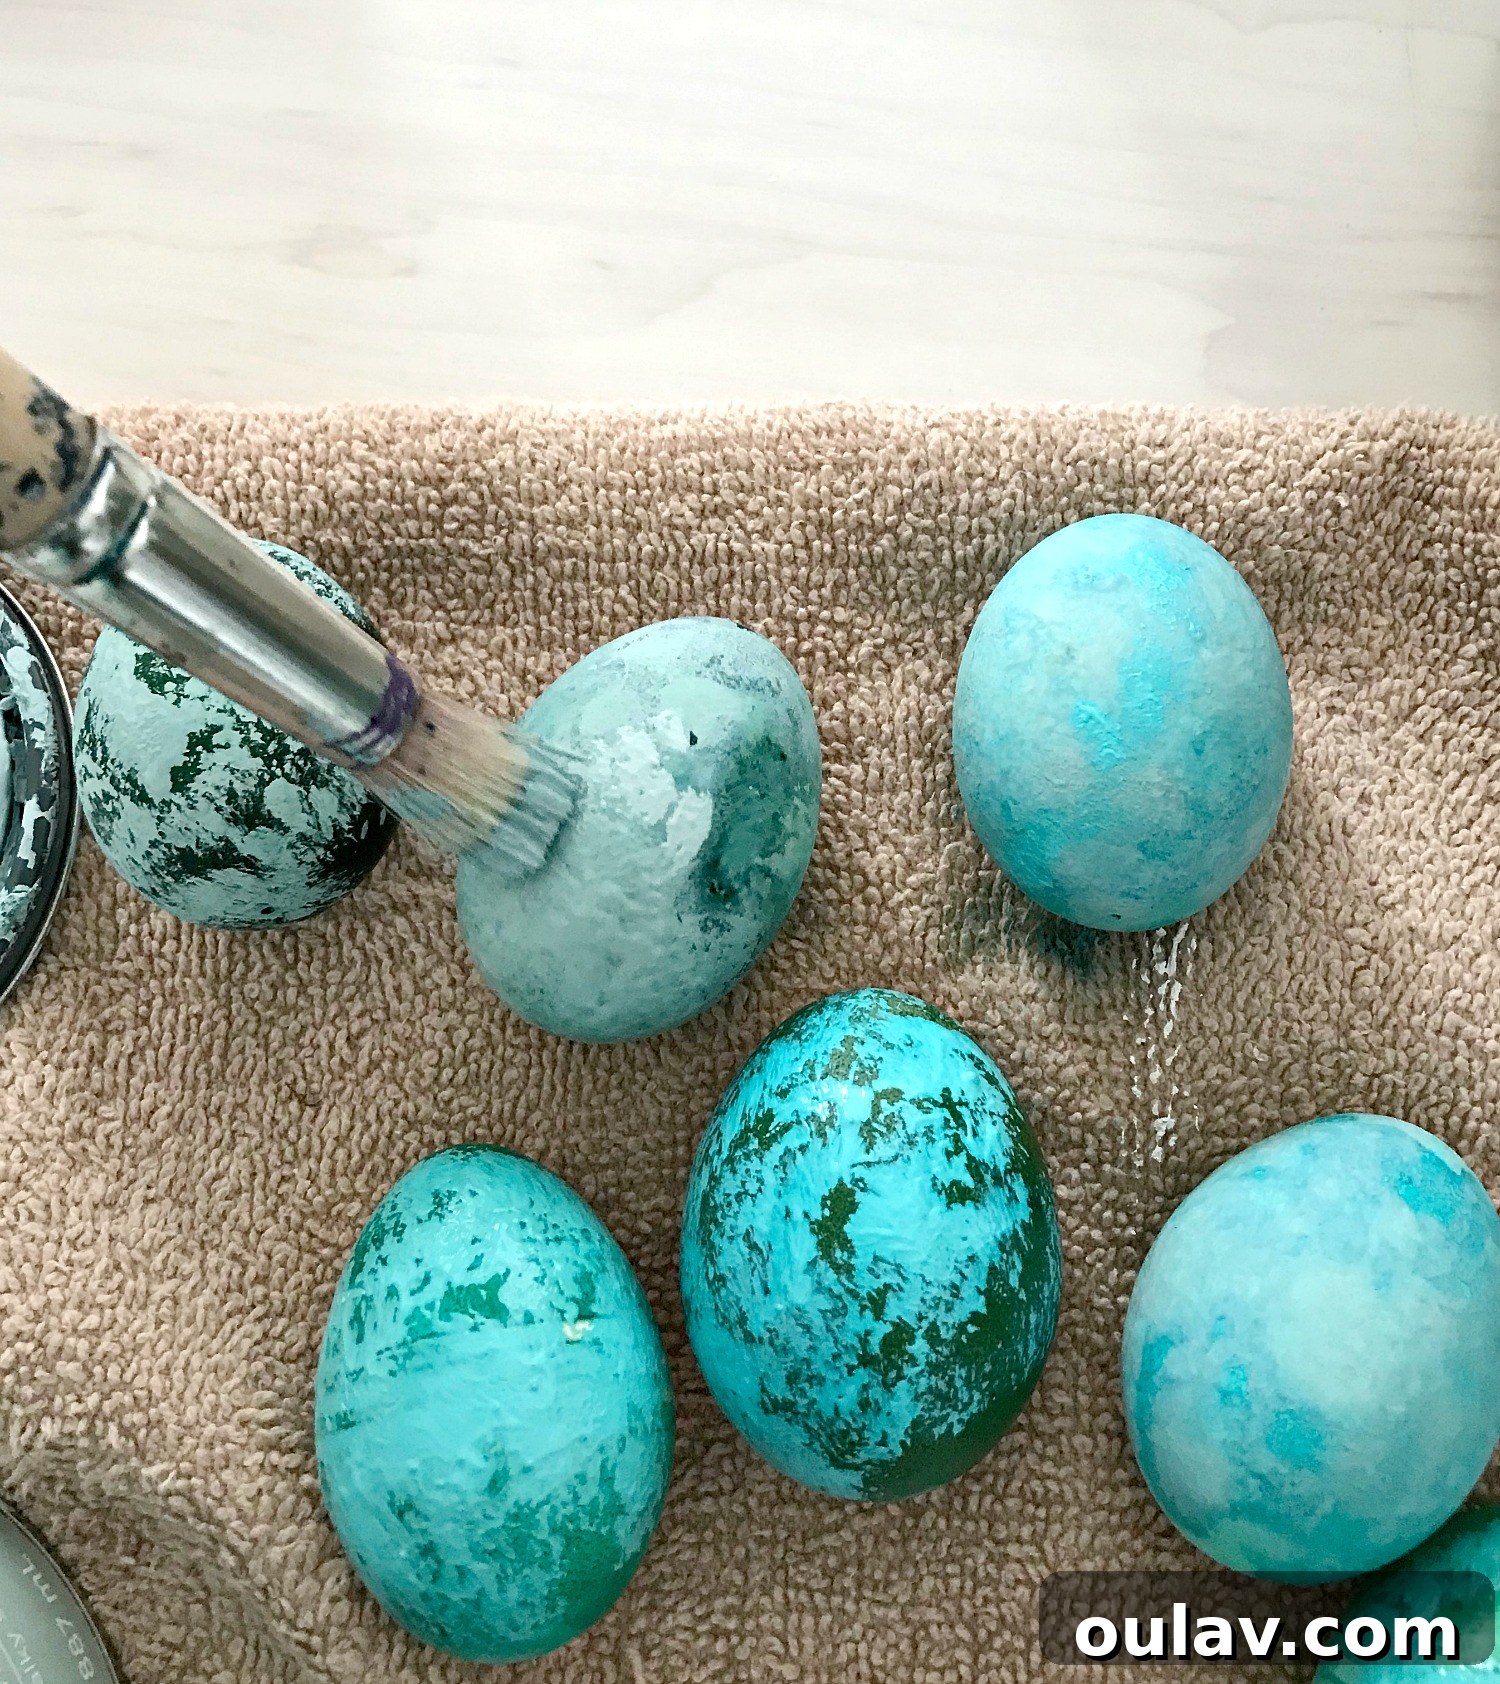
Once your base coat is dry, it’s time for the magic of stippling. Load your stiff, stenciling paint brush with a lighter shade of acrylic paint – think soft blues, aquas, or even a pale mint green. I personally gravitate towards a mix of light blues and aquas, sometimes even incorporating leftover chalk paint for added texture. The key here is the technique: rather than brushing or swiping, you will gently “dab, dab, dab” the paint onto the egg’s surface. This stippling motion creates a beautiful, mottled texture, allowing the darker base color to peek through and creating an intriguing depth.
Any paint brush can technically work, but a stencil brush, with its flat and dense bristles, makes this process exceptionally easy and effective. It naturally encourages the dabbing motion needed to build up layers of color and texture without creating harsh lines. Continue dabbing, overlapping colors slightly, and building up layers until you achieve a satisfying blend of light and dark. Don’t be afraid to add more than one lighter shade to create even more visual interest. Remember, there’s no right or wrong way – the beauty is in the abstract!
Step 3: Adding Shimmer and Depth with Metallic Accents
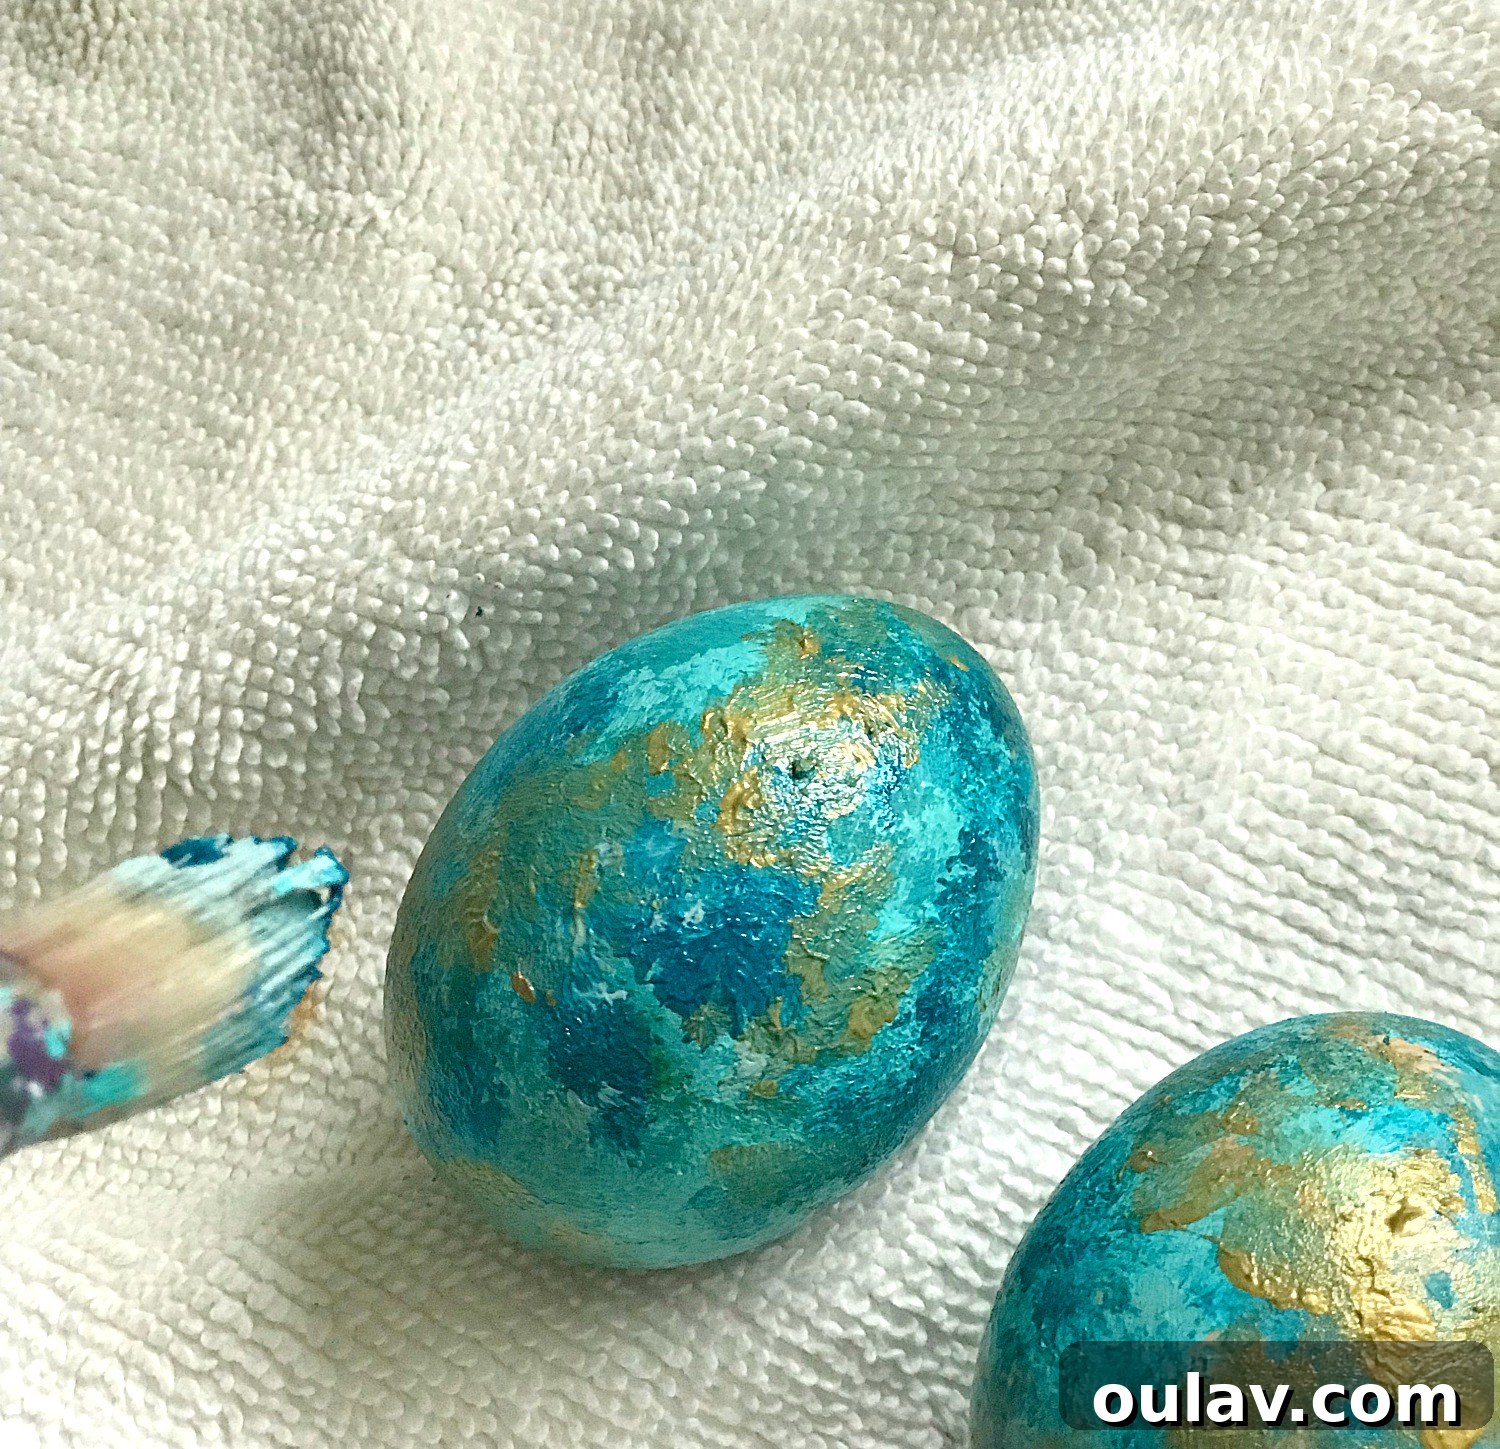
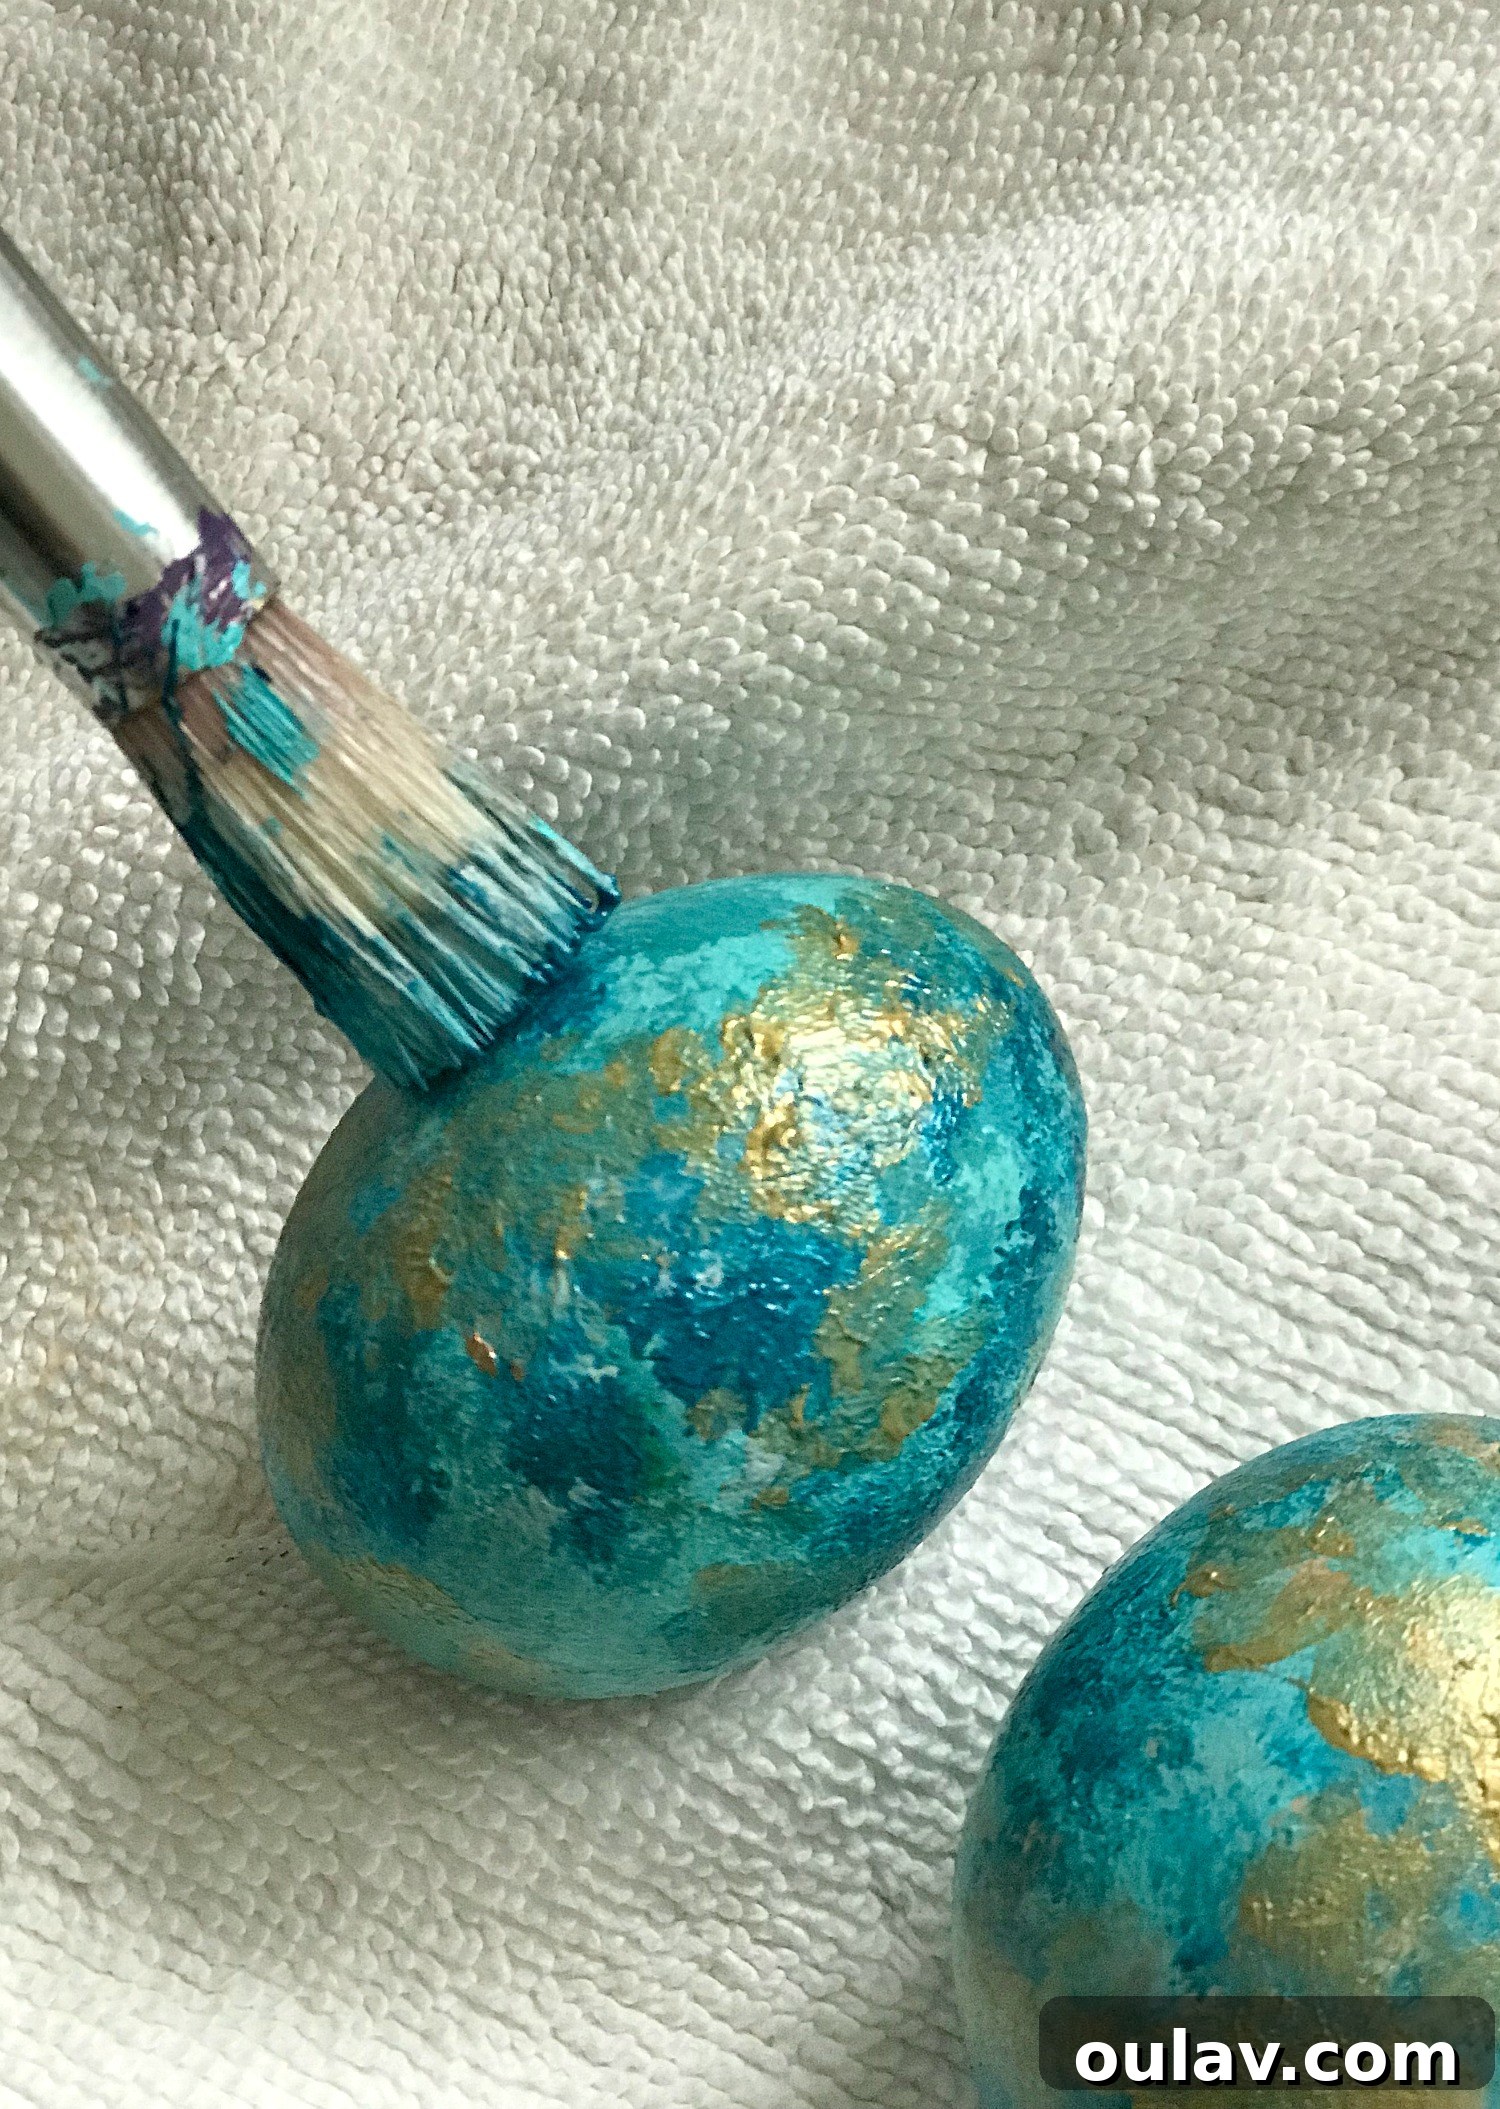
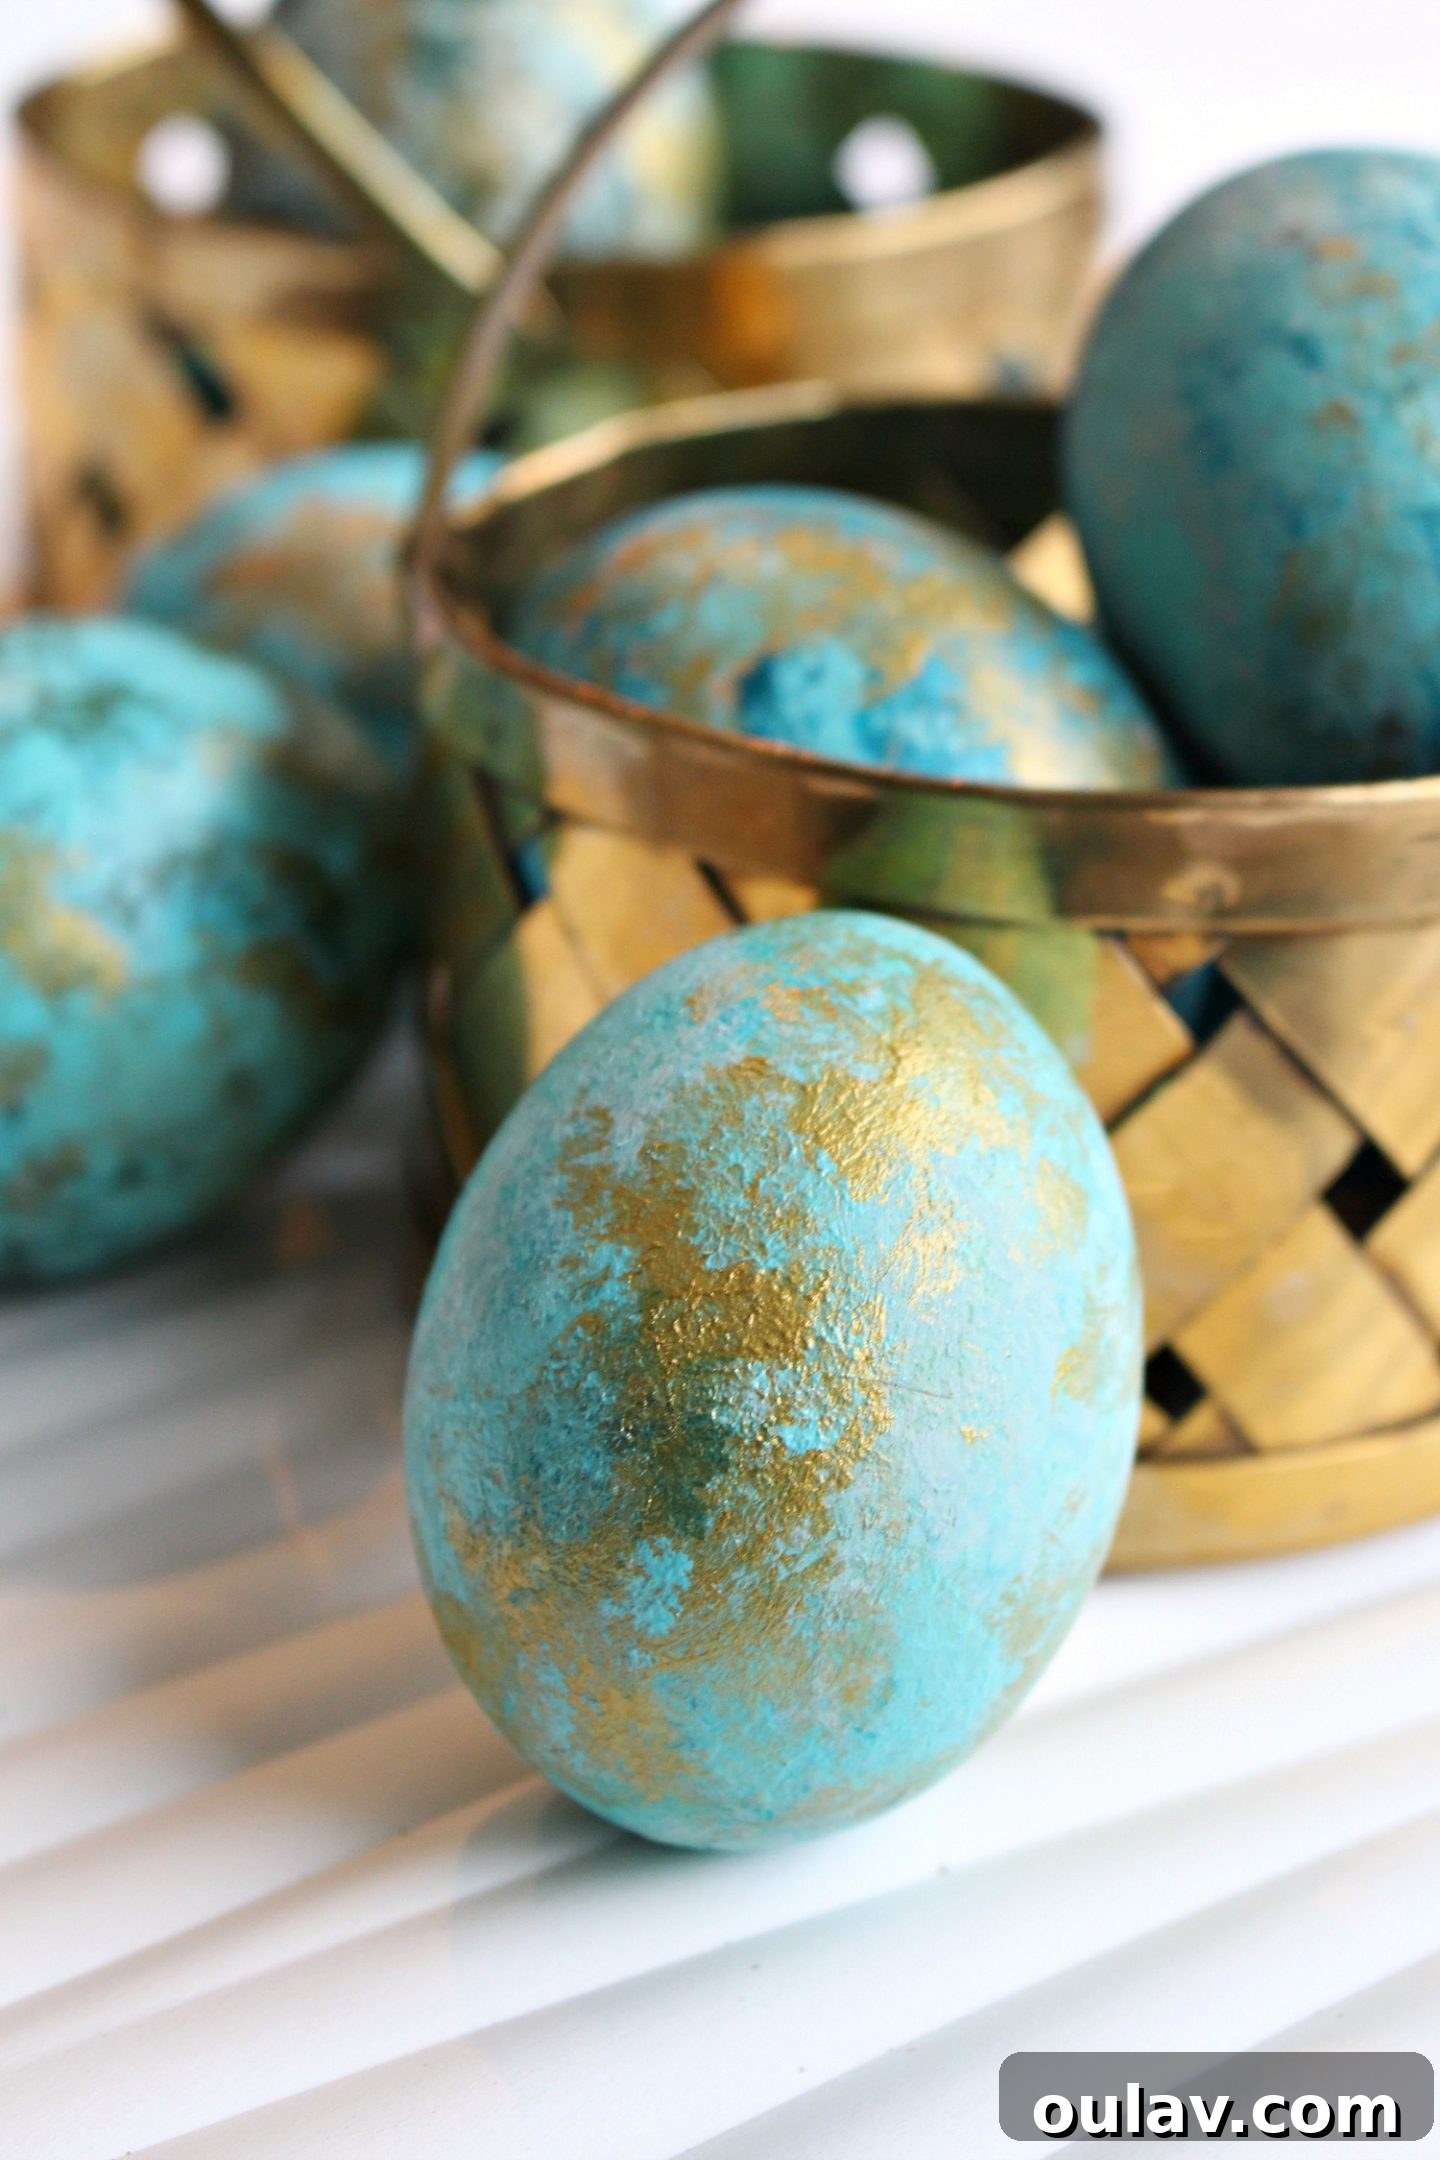
Now for the finishing touch that truly elevates these hand-painted Easter eggs into shimmering masterpieces. Using your smaller artist’s paint brush, gently stipple on metallic acrylic paints in shades of gold or copper. This step is about adding subtle highlights and a touch of sparkle, mimicking the natural inclusions found in precious stones. Focus on areas where you want to catch the light, dabbing lightly to create a delicate shimmer rather than a solid metallic block. This final layer adds incredible depth and a luxurious finish, making your abstract eggs appear truly artisanal and unique.
Displaying Your Beautiful Painted Easter Eggs
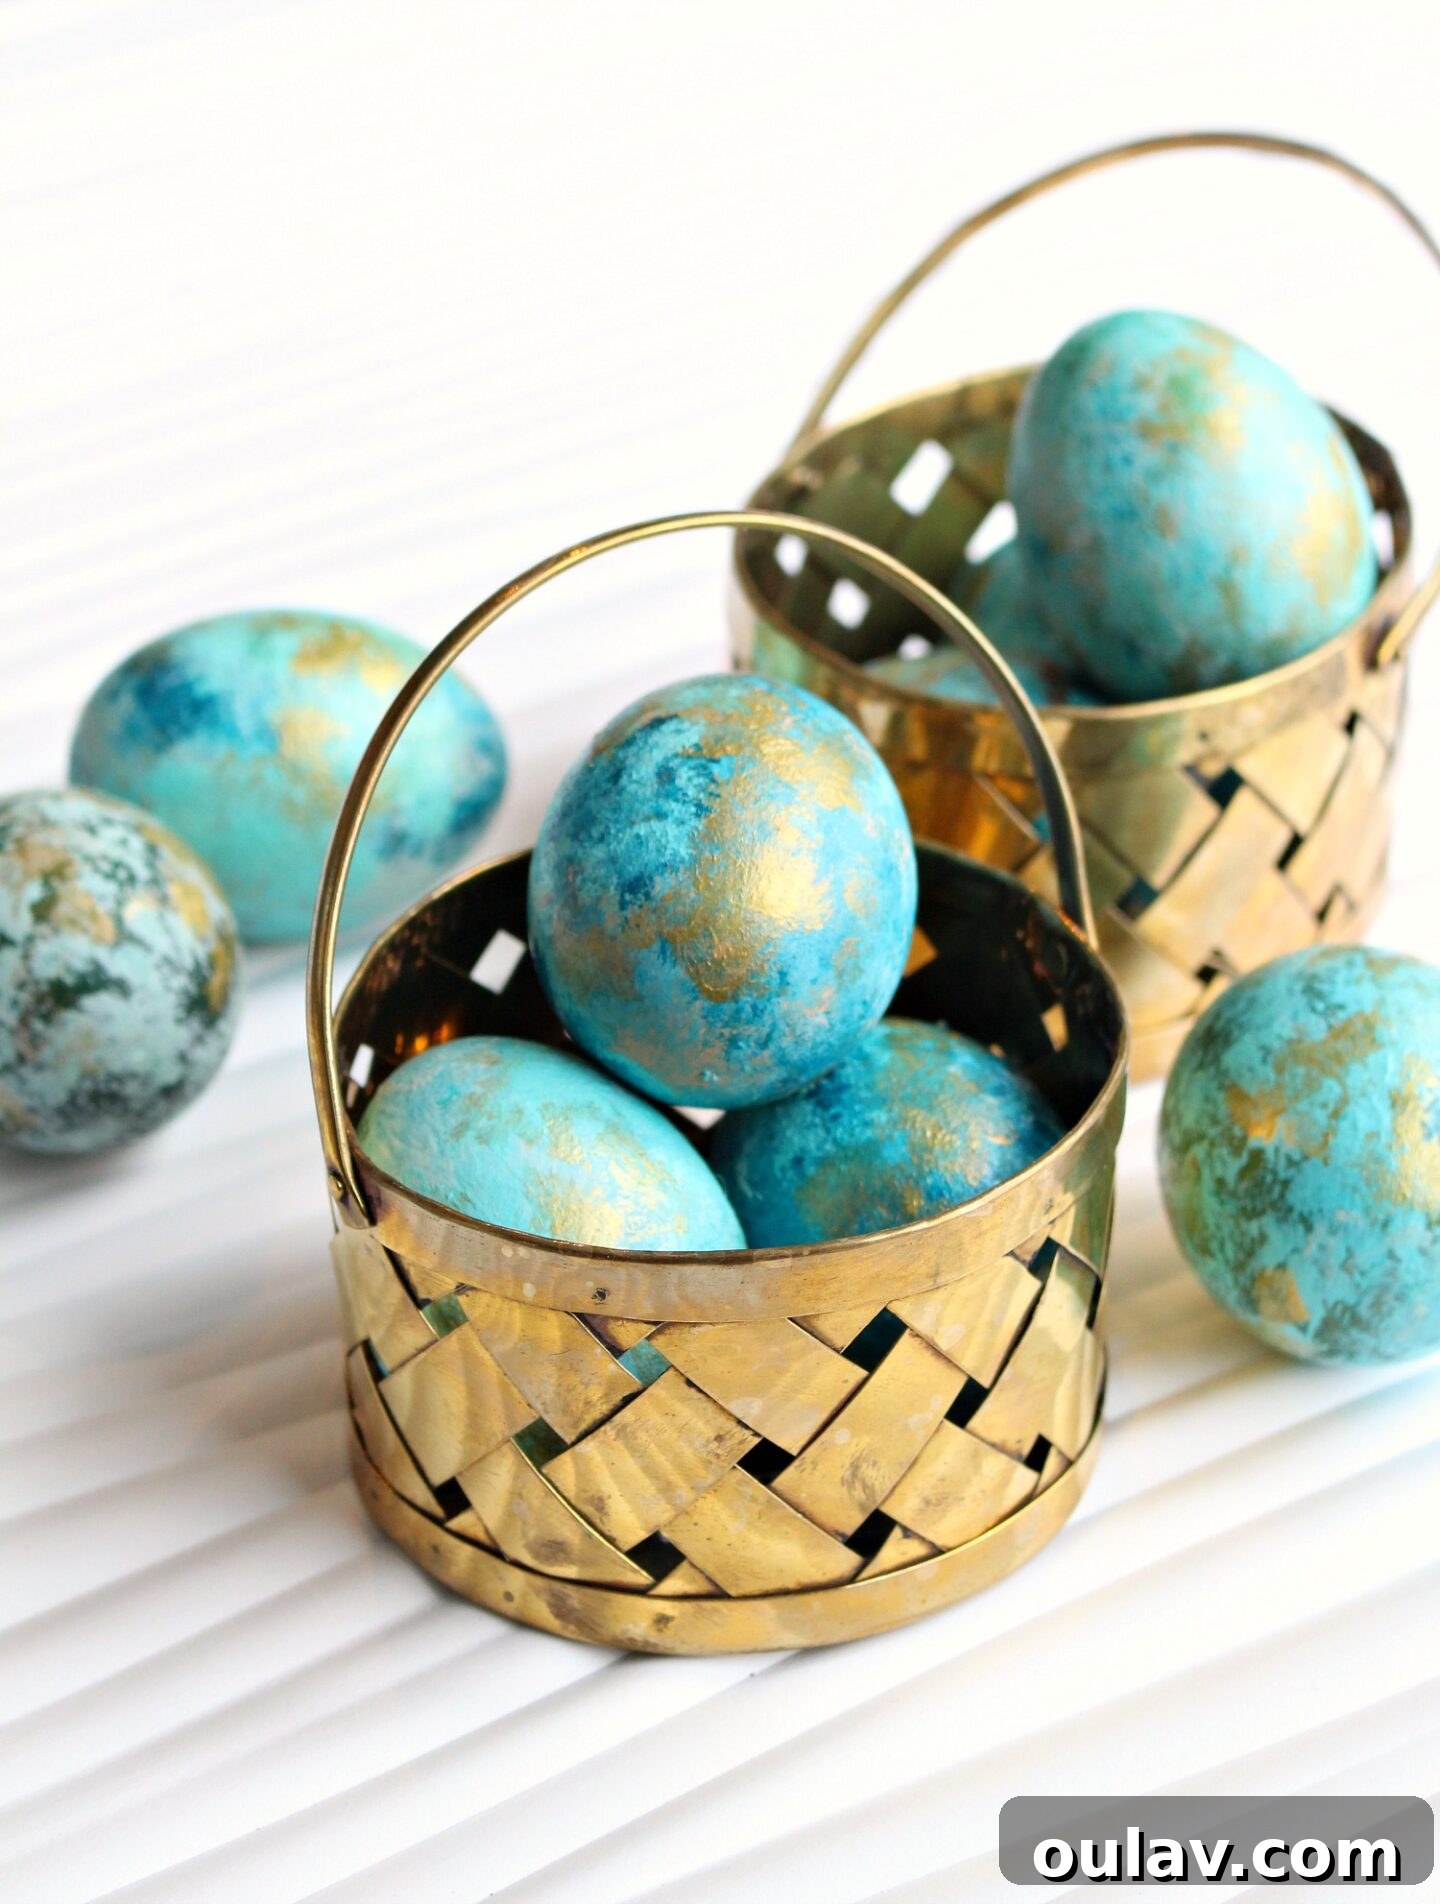
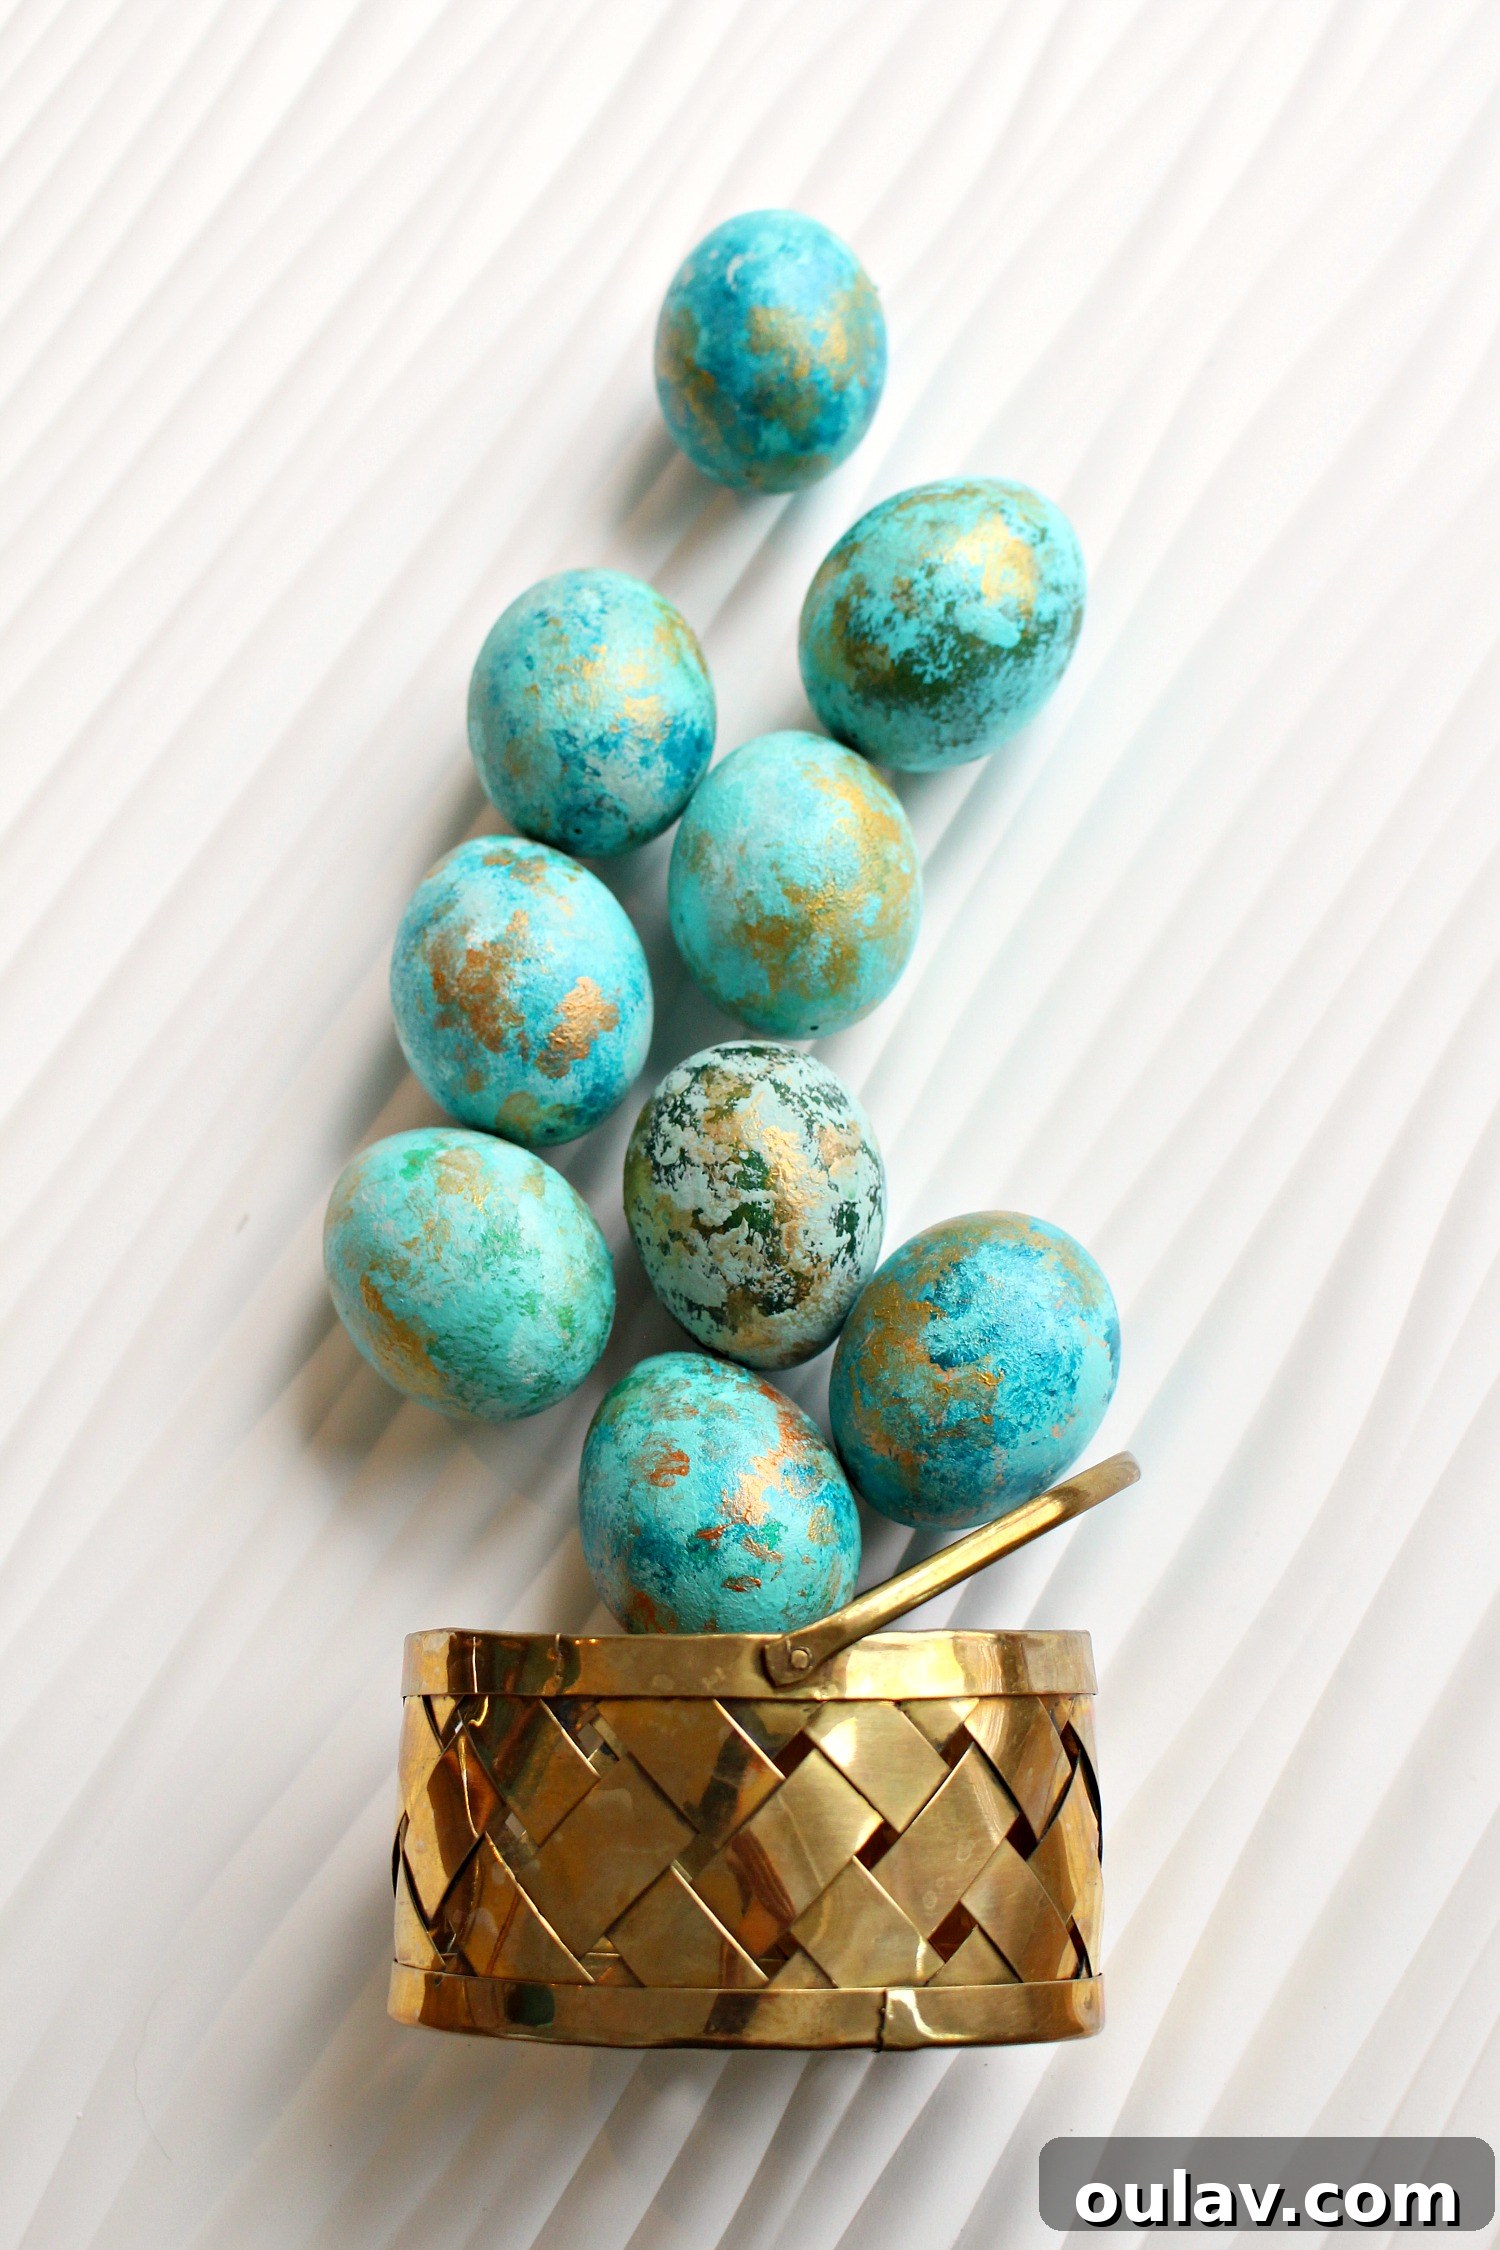
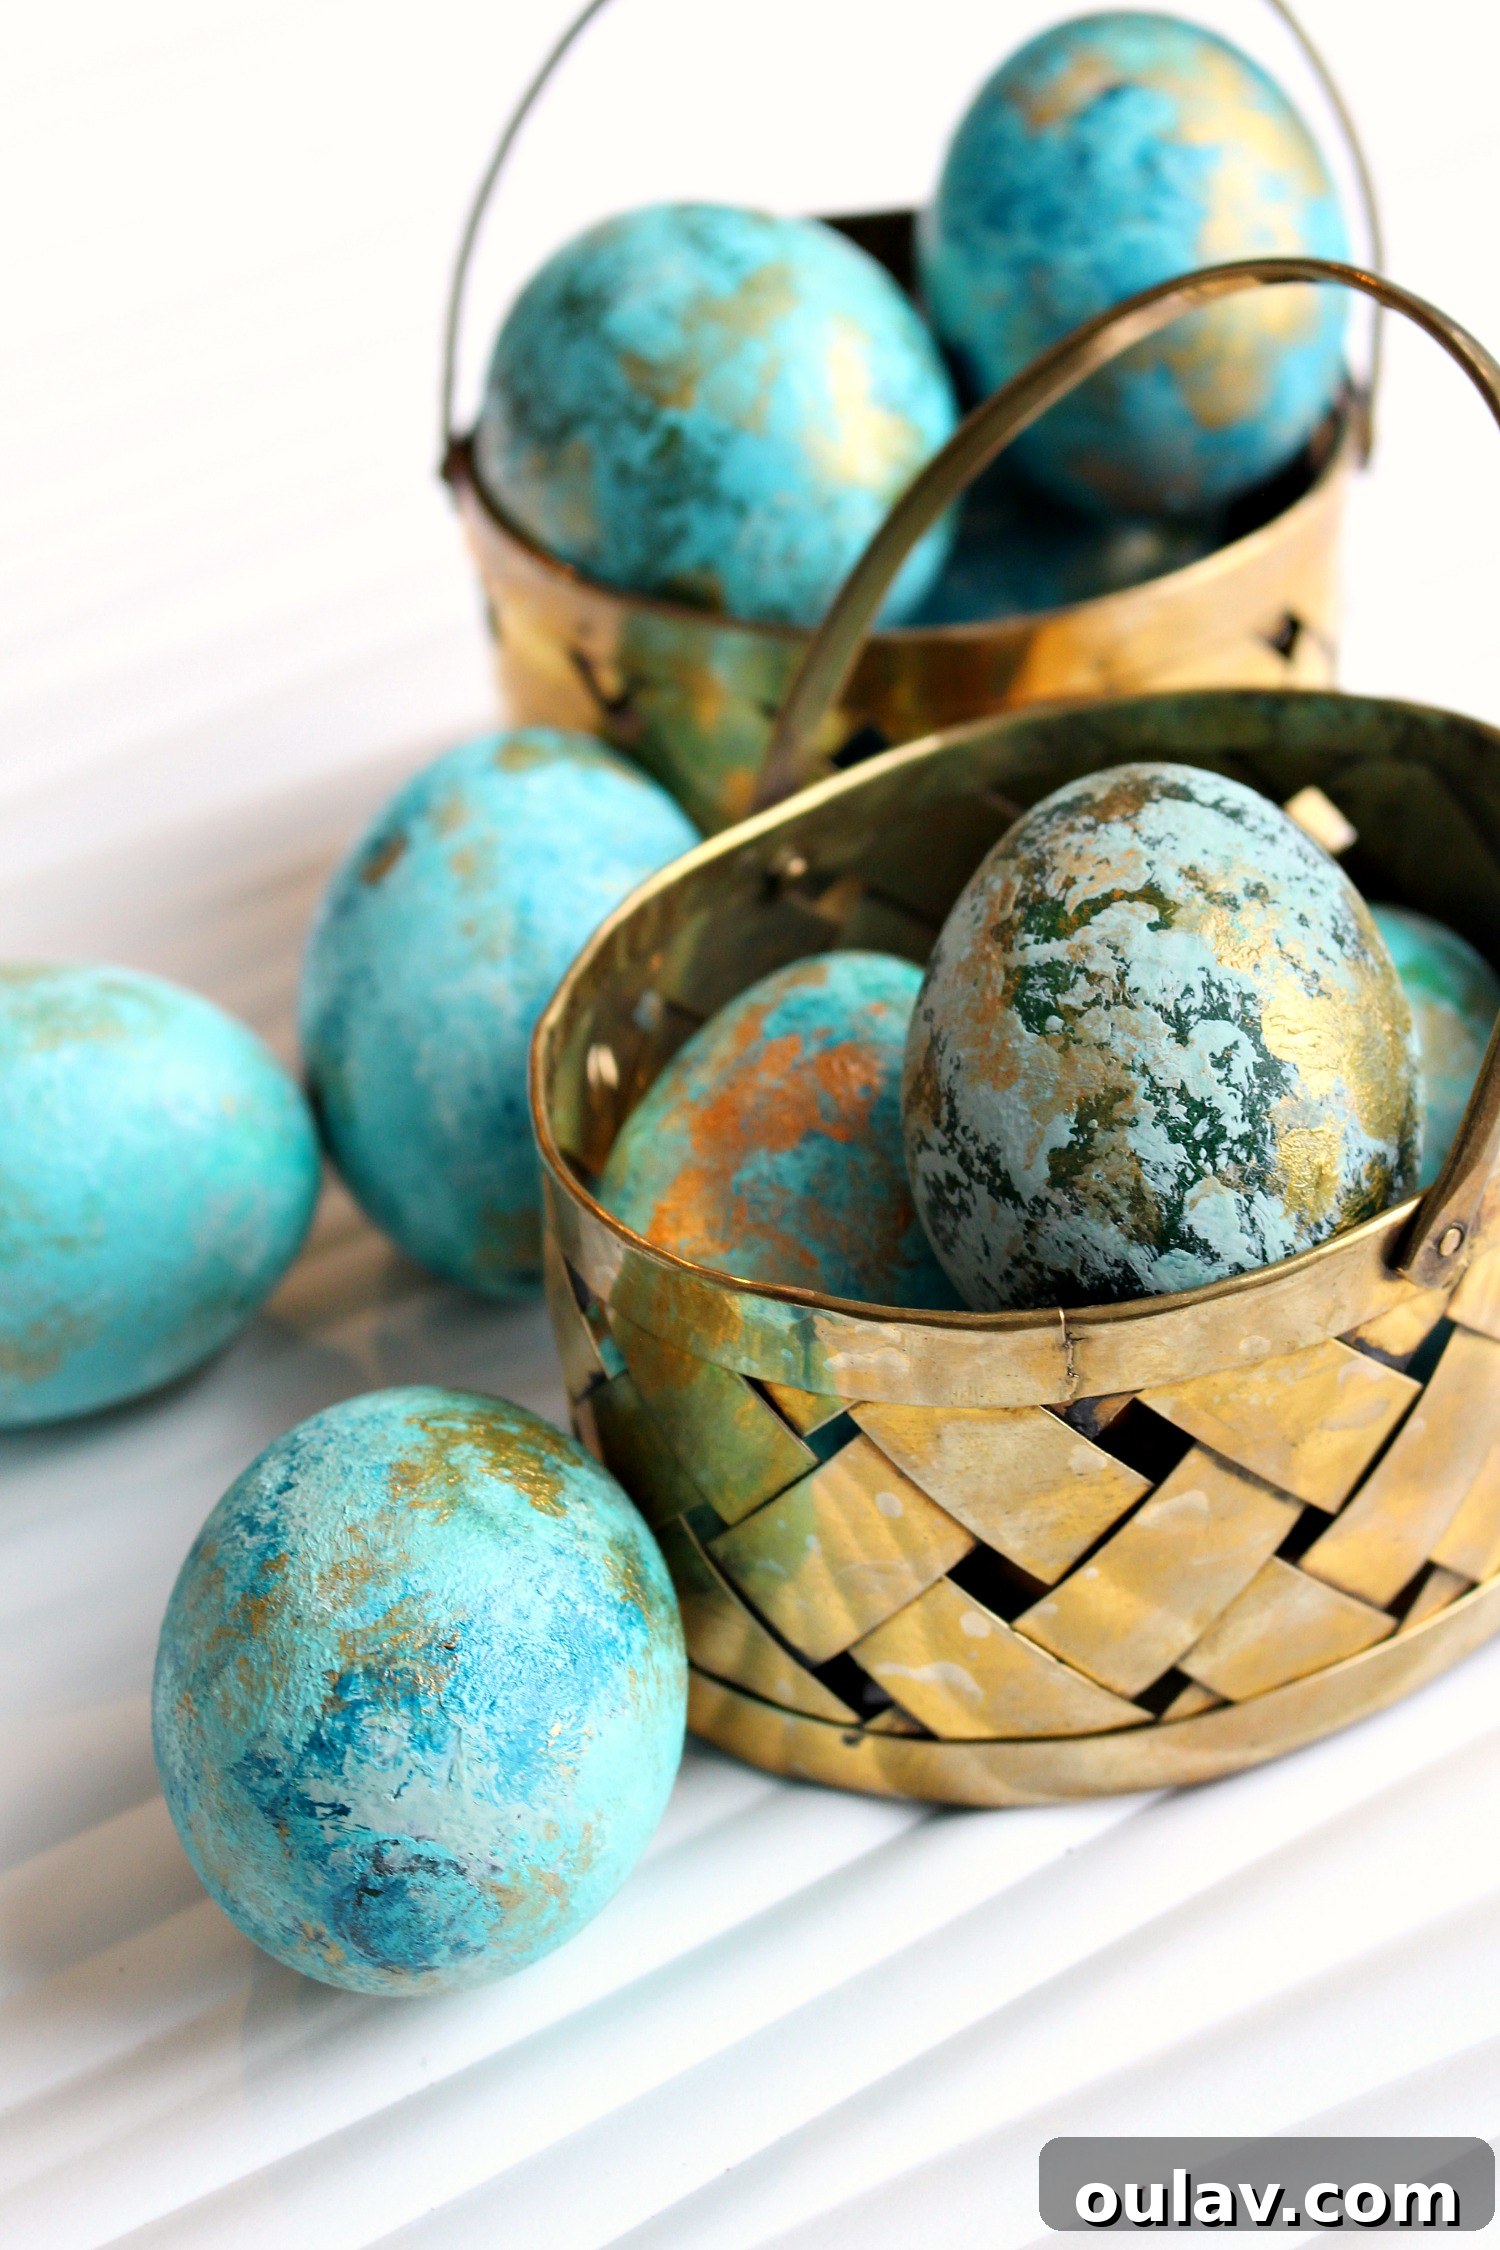
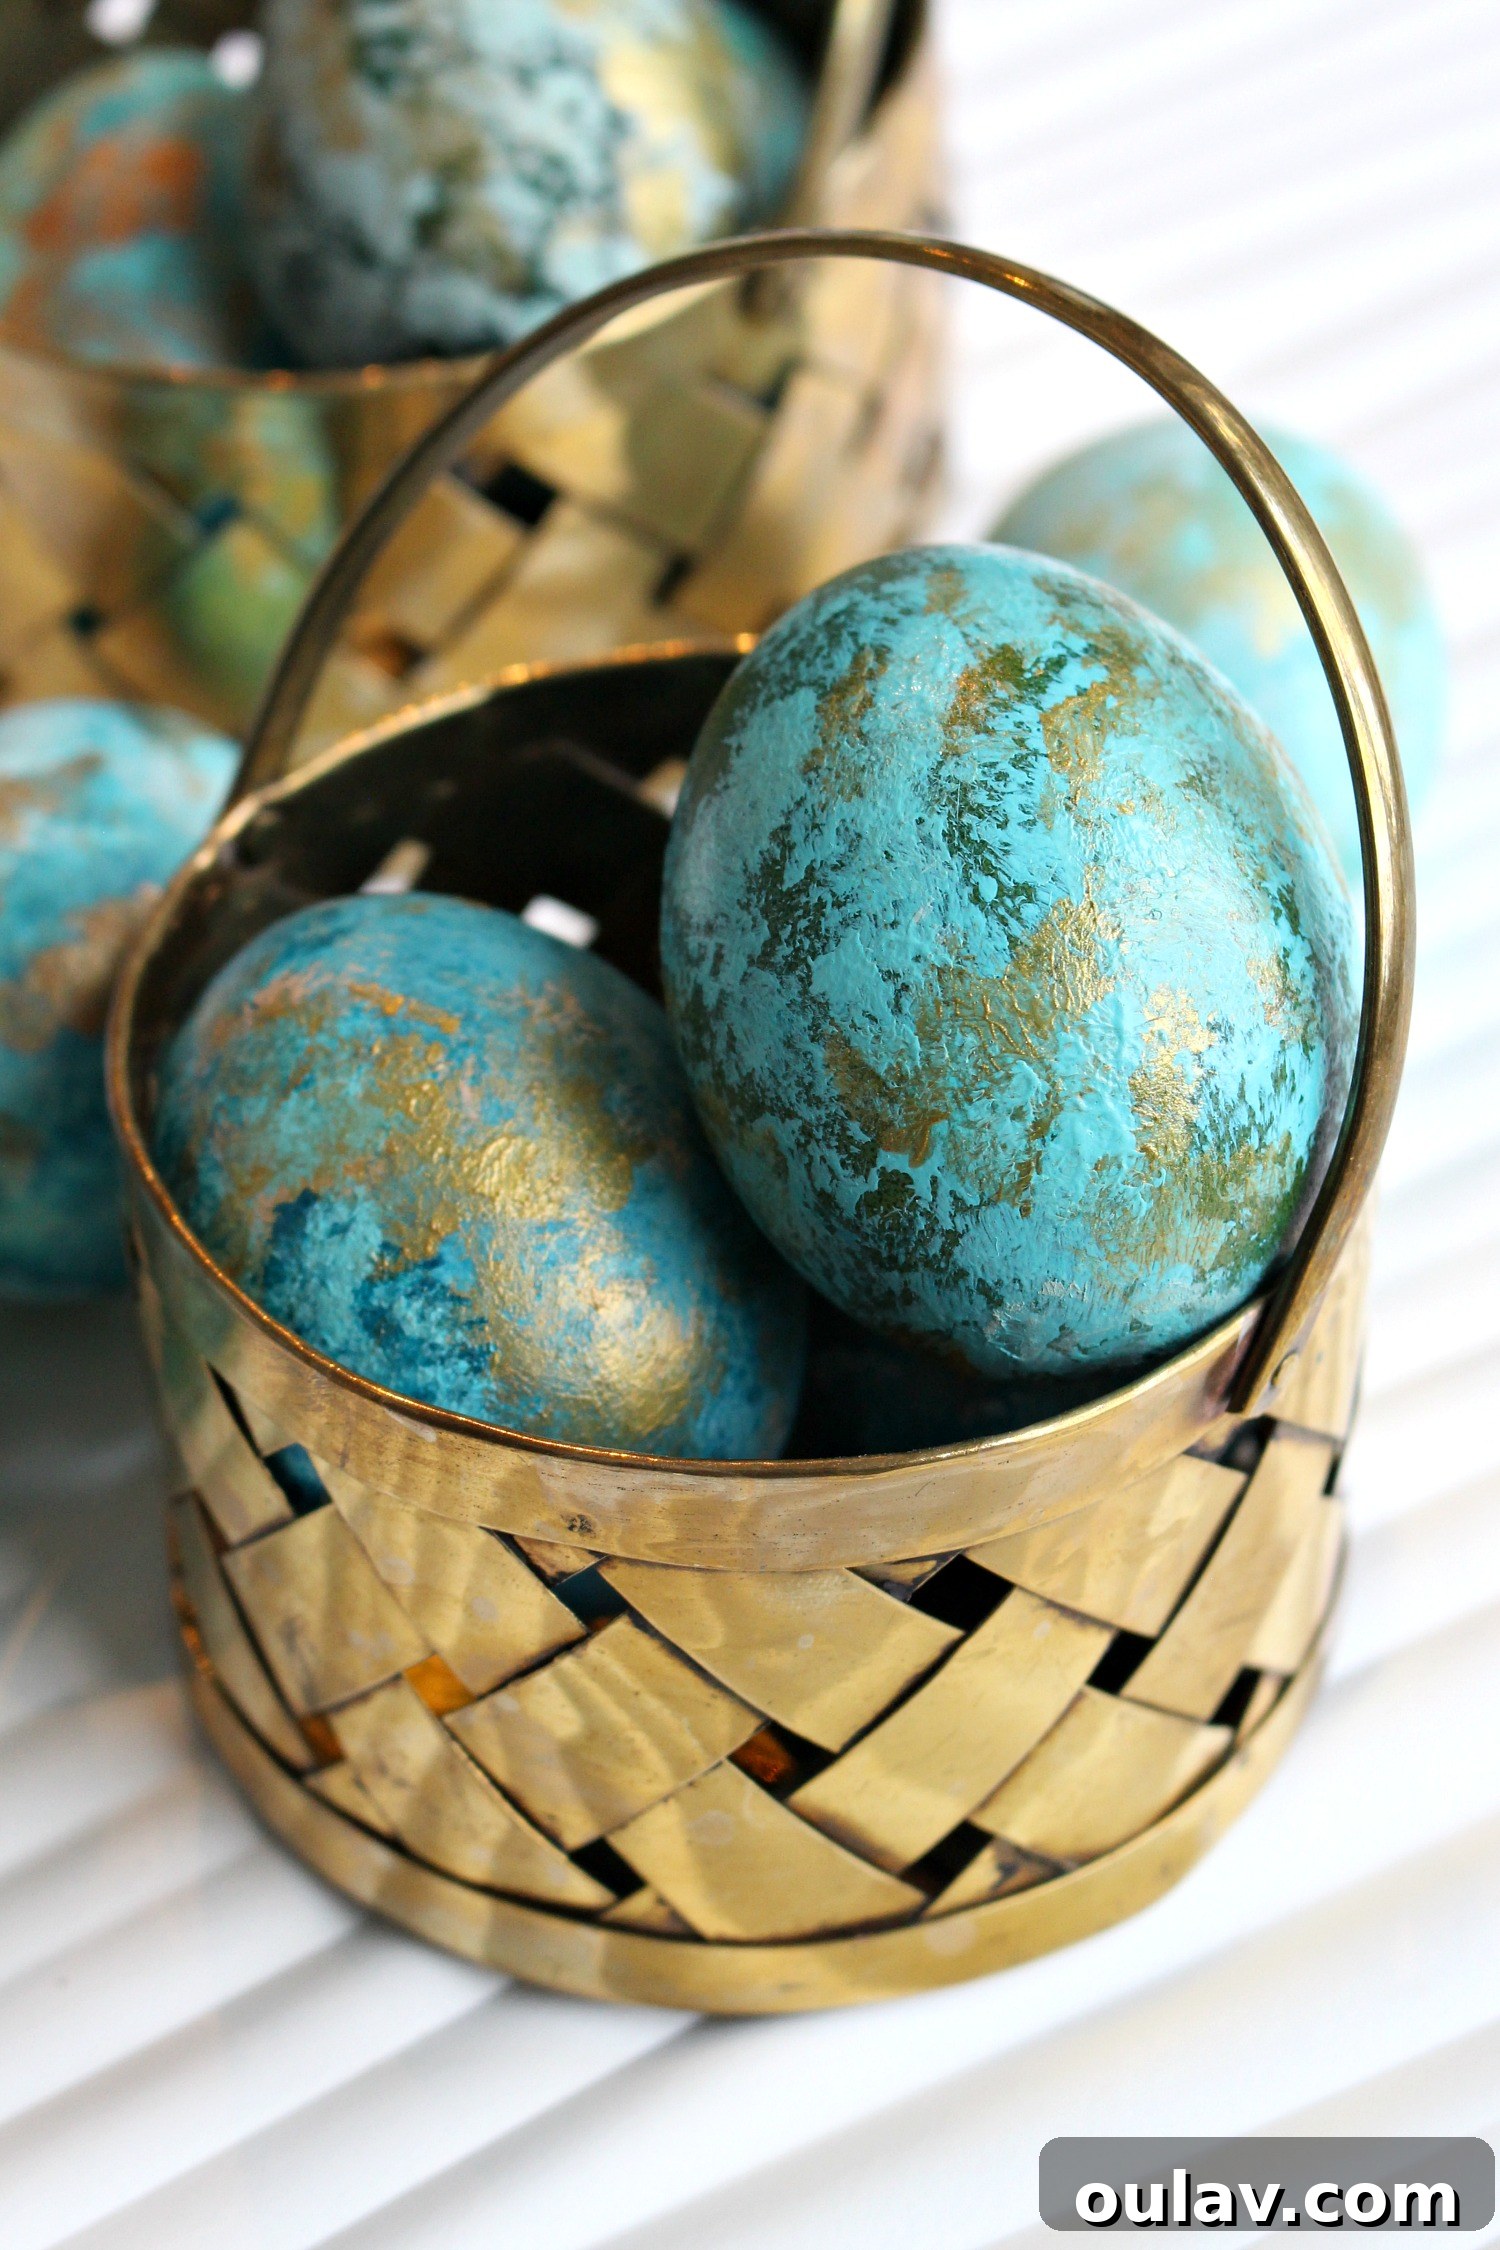
And there you have it – your very own collection of easy abstract painted Easter eggs! Once your beautiful creations are completely dry, it’s time to display them. I found a pair of charming thrift store brass baskets that perfectly complement the gemstone-like quality of these eggs. The warm glow of the brass enhances the metallic accents on the eggs, creating a truly elegant display.
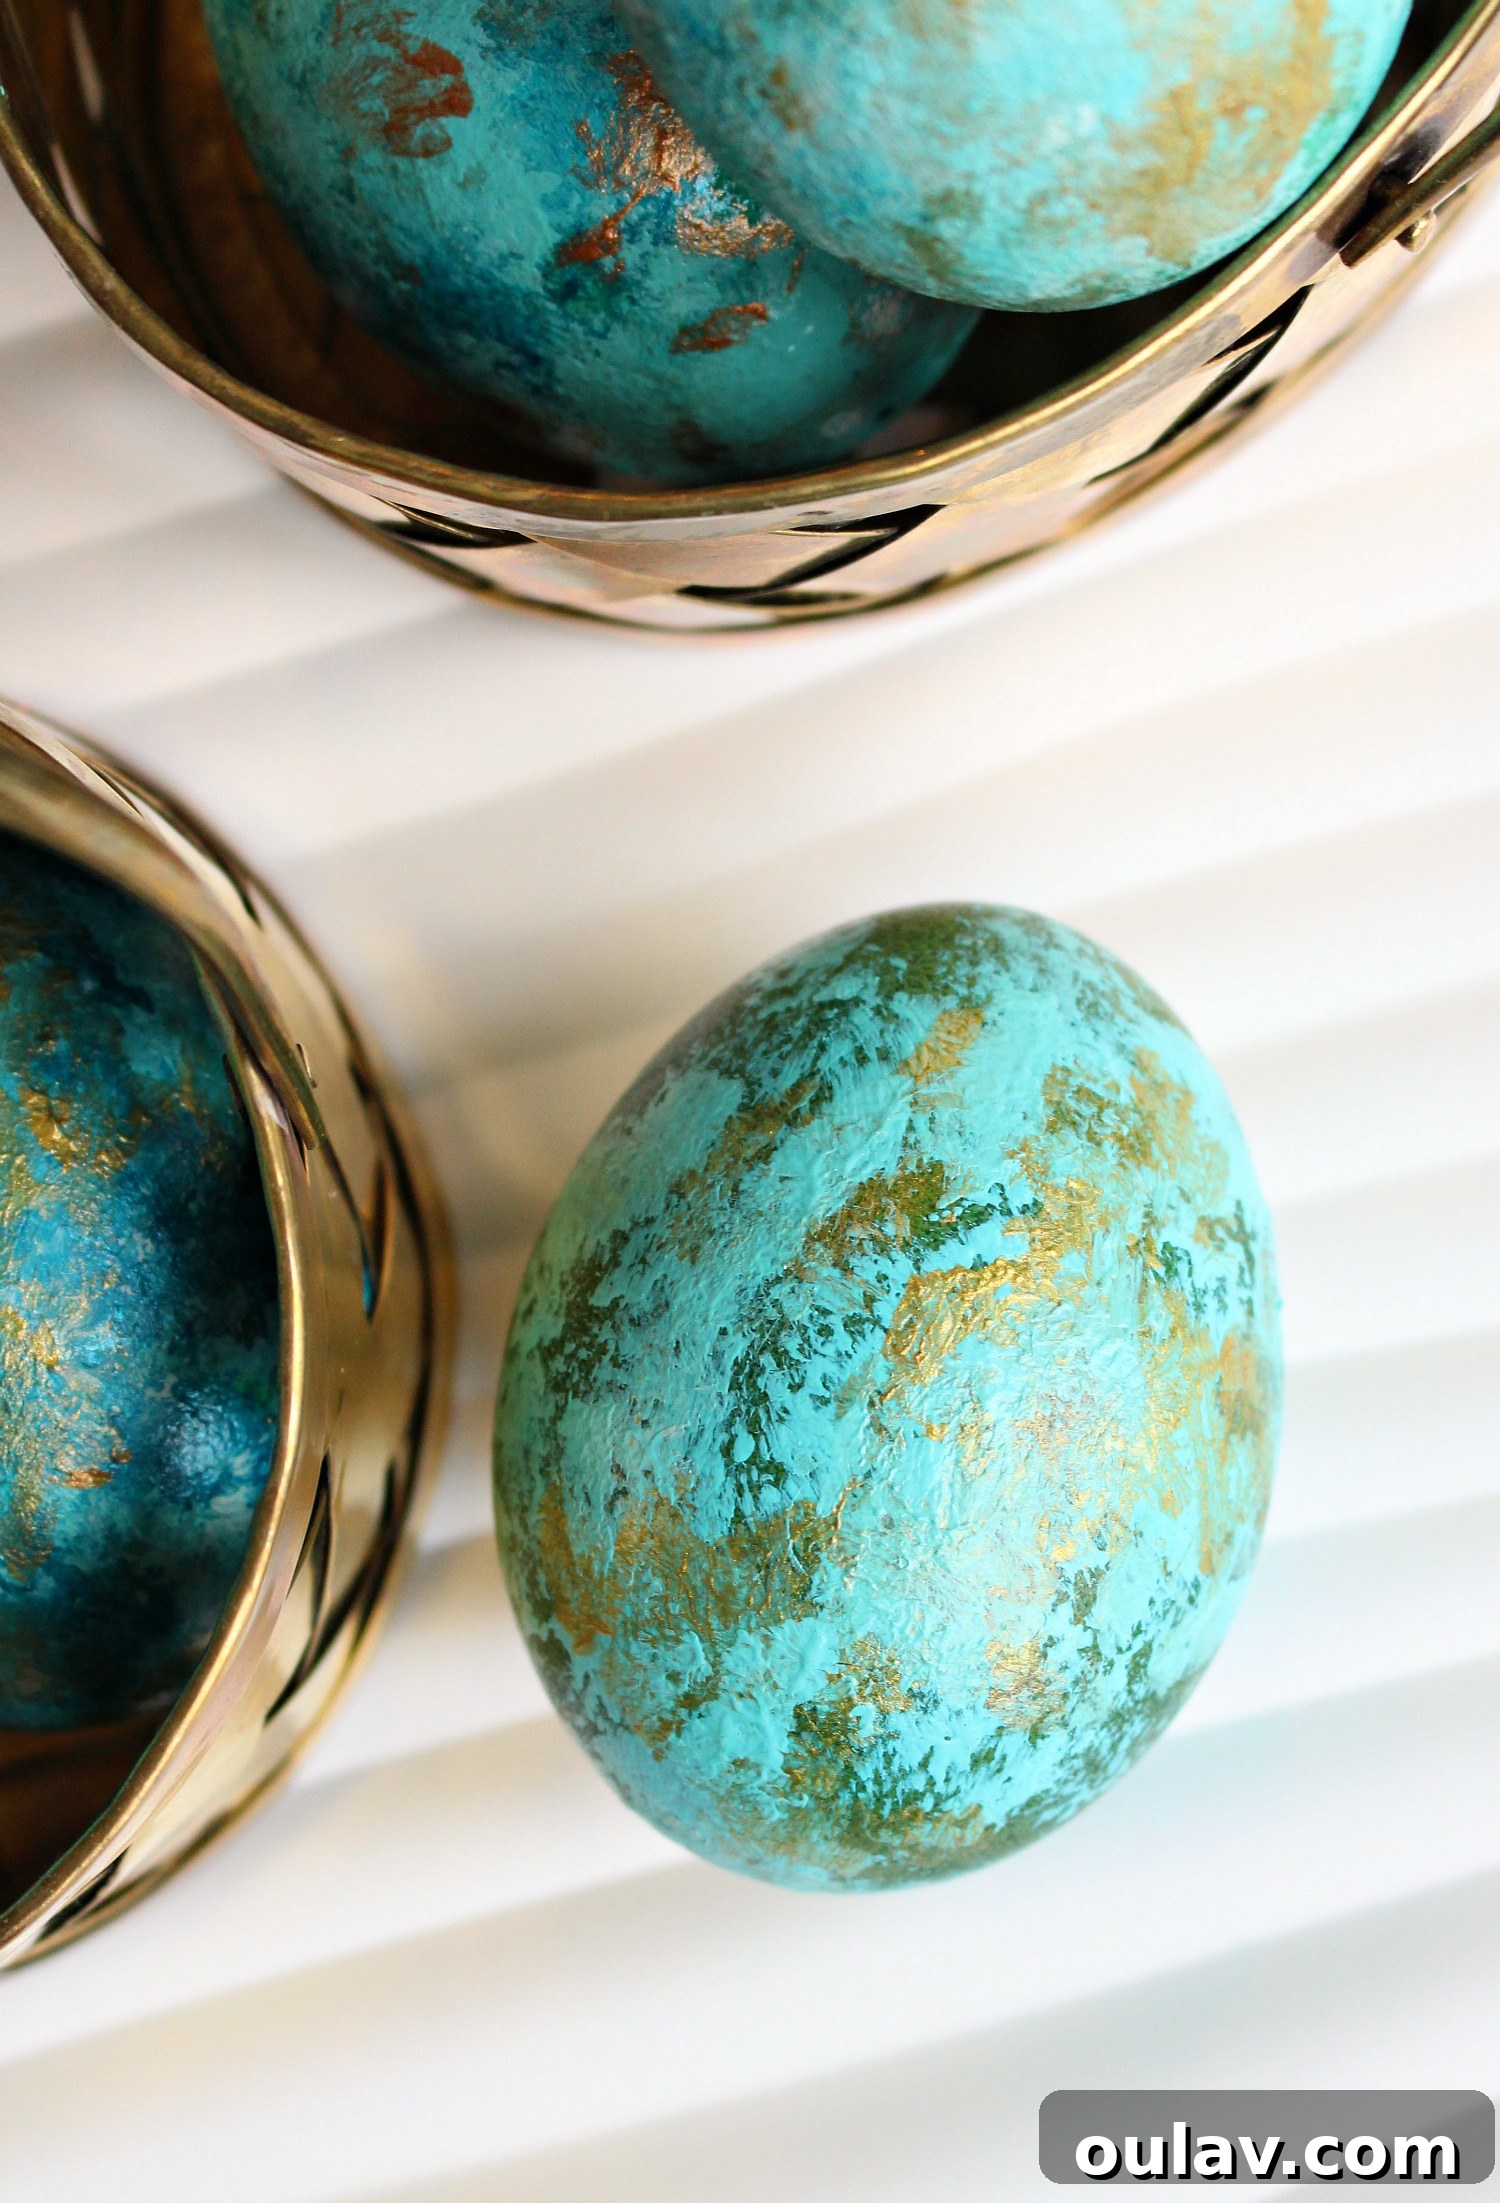
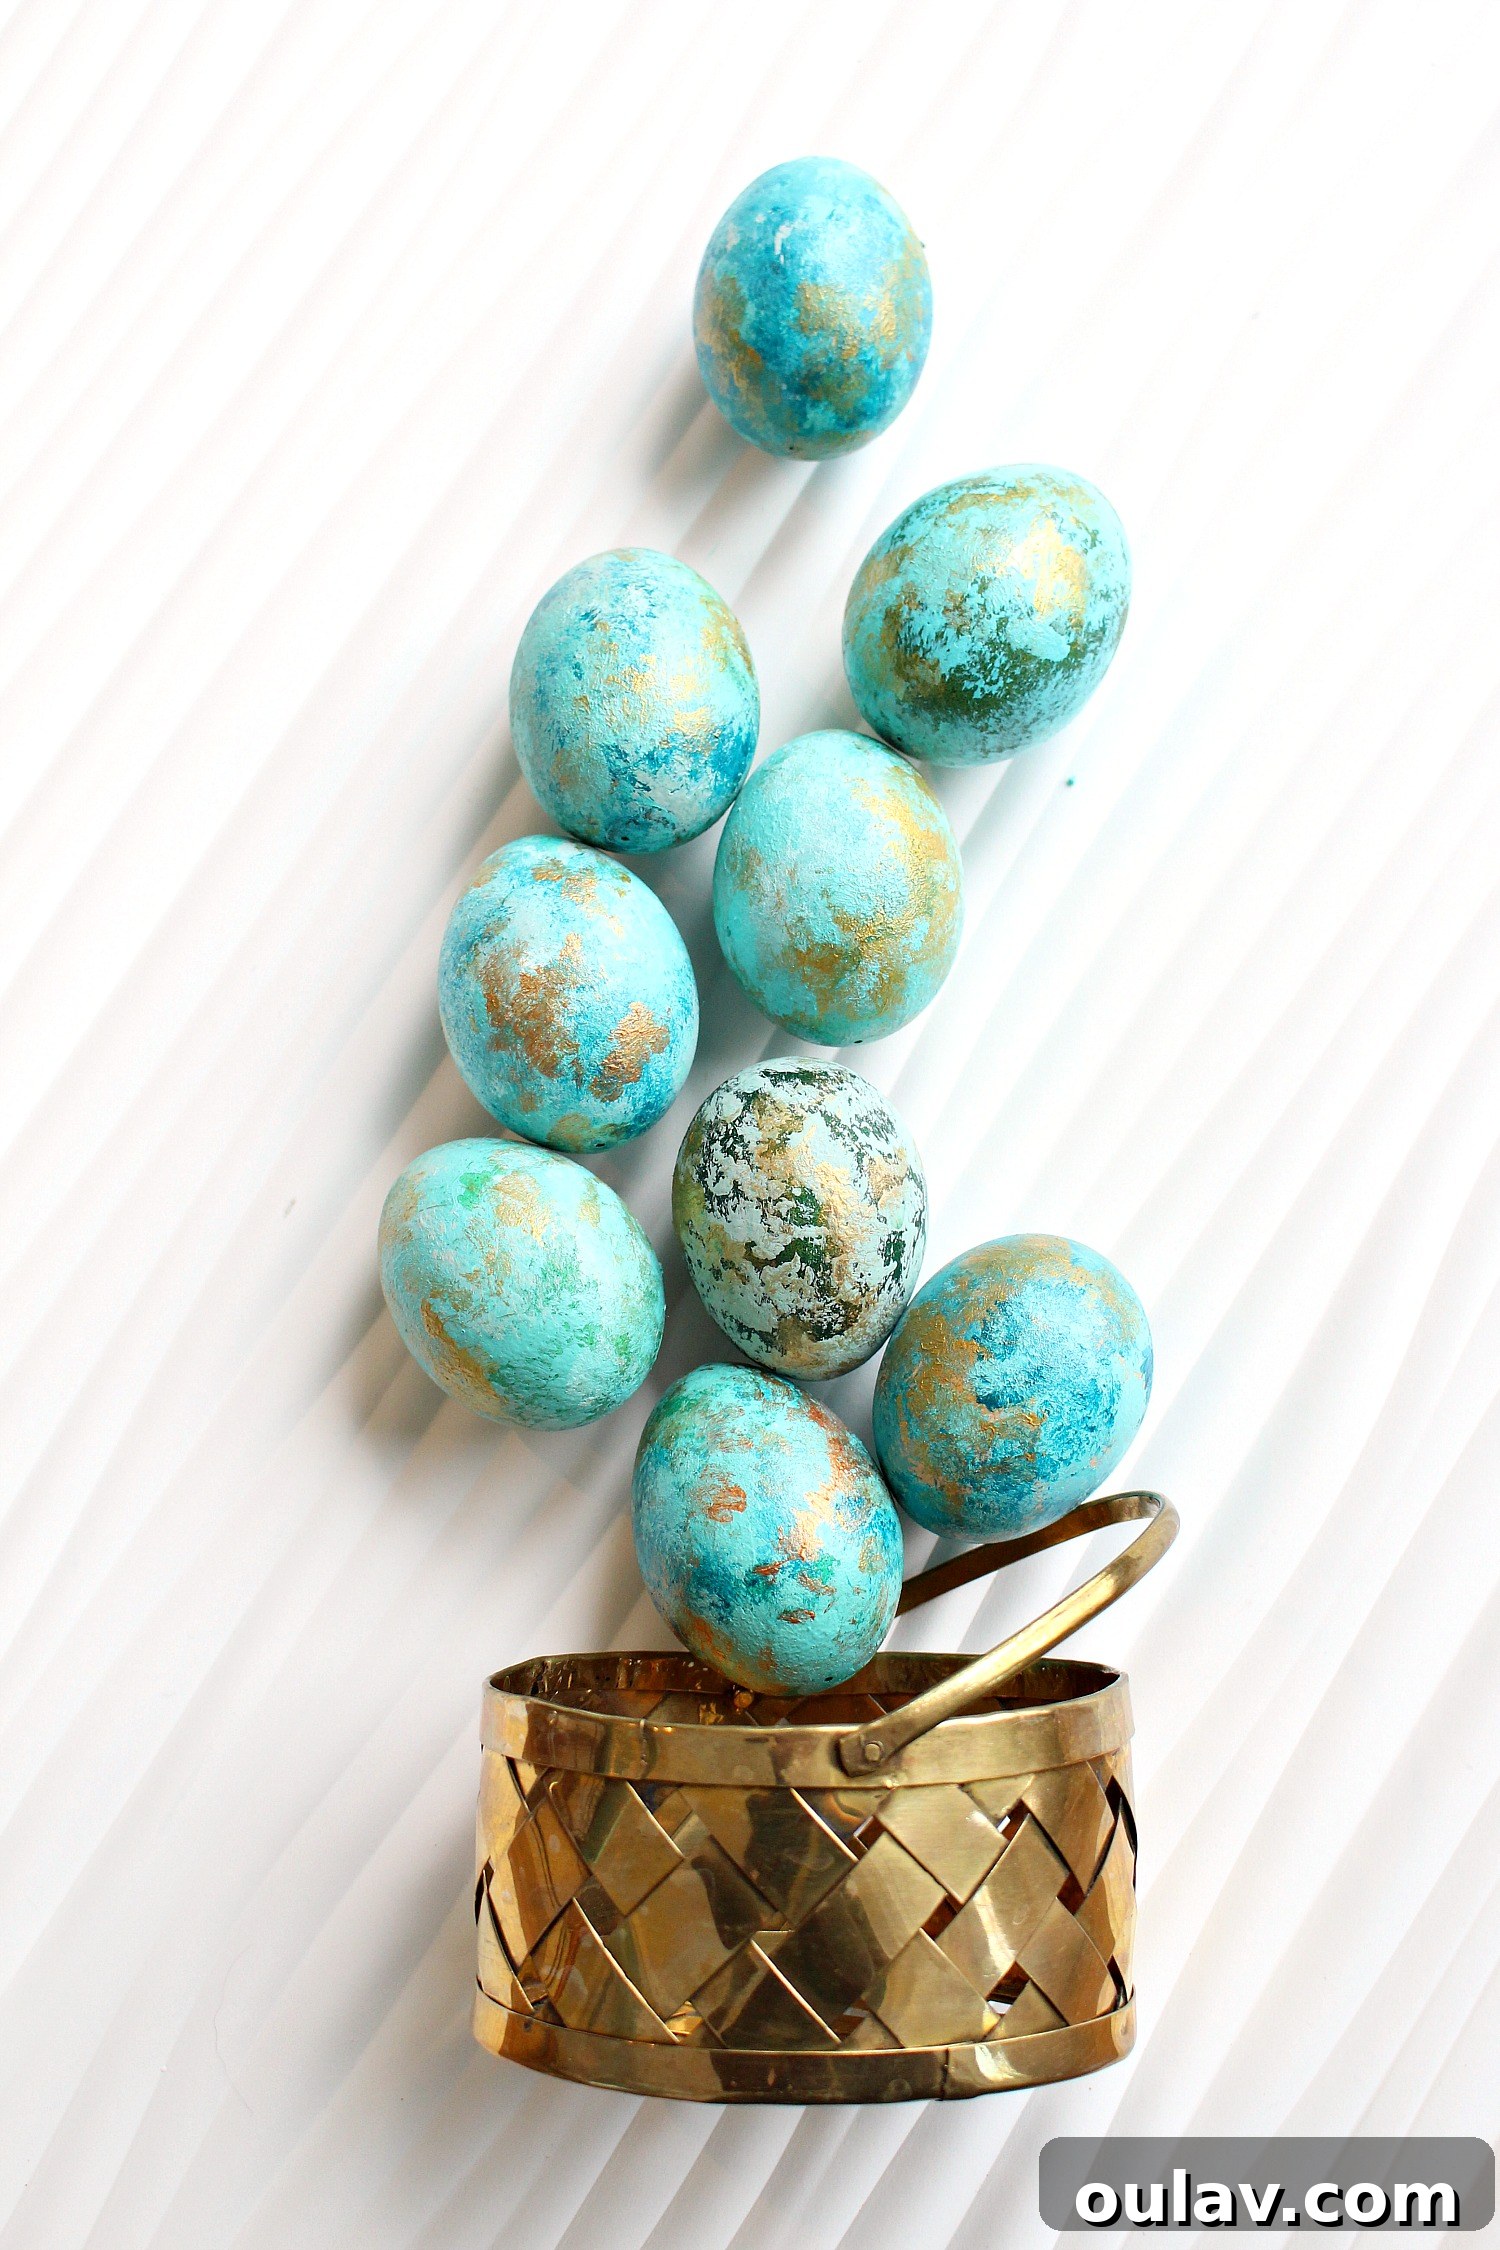
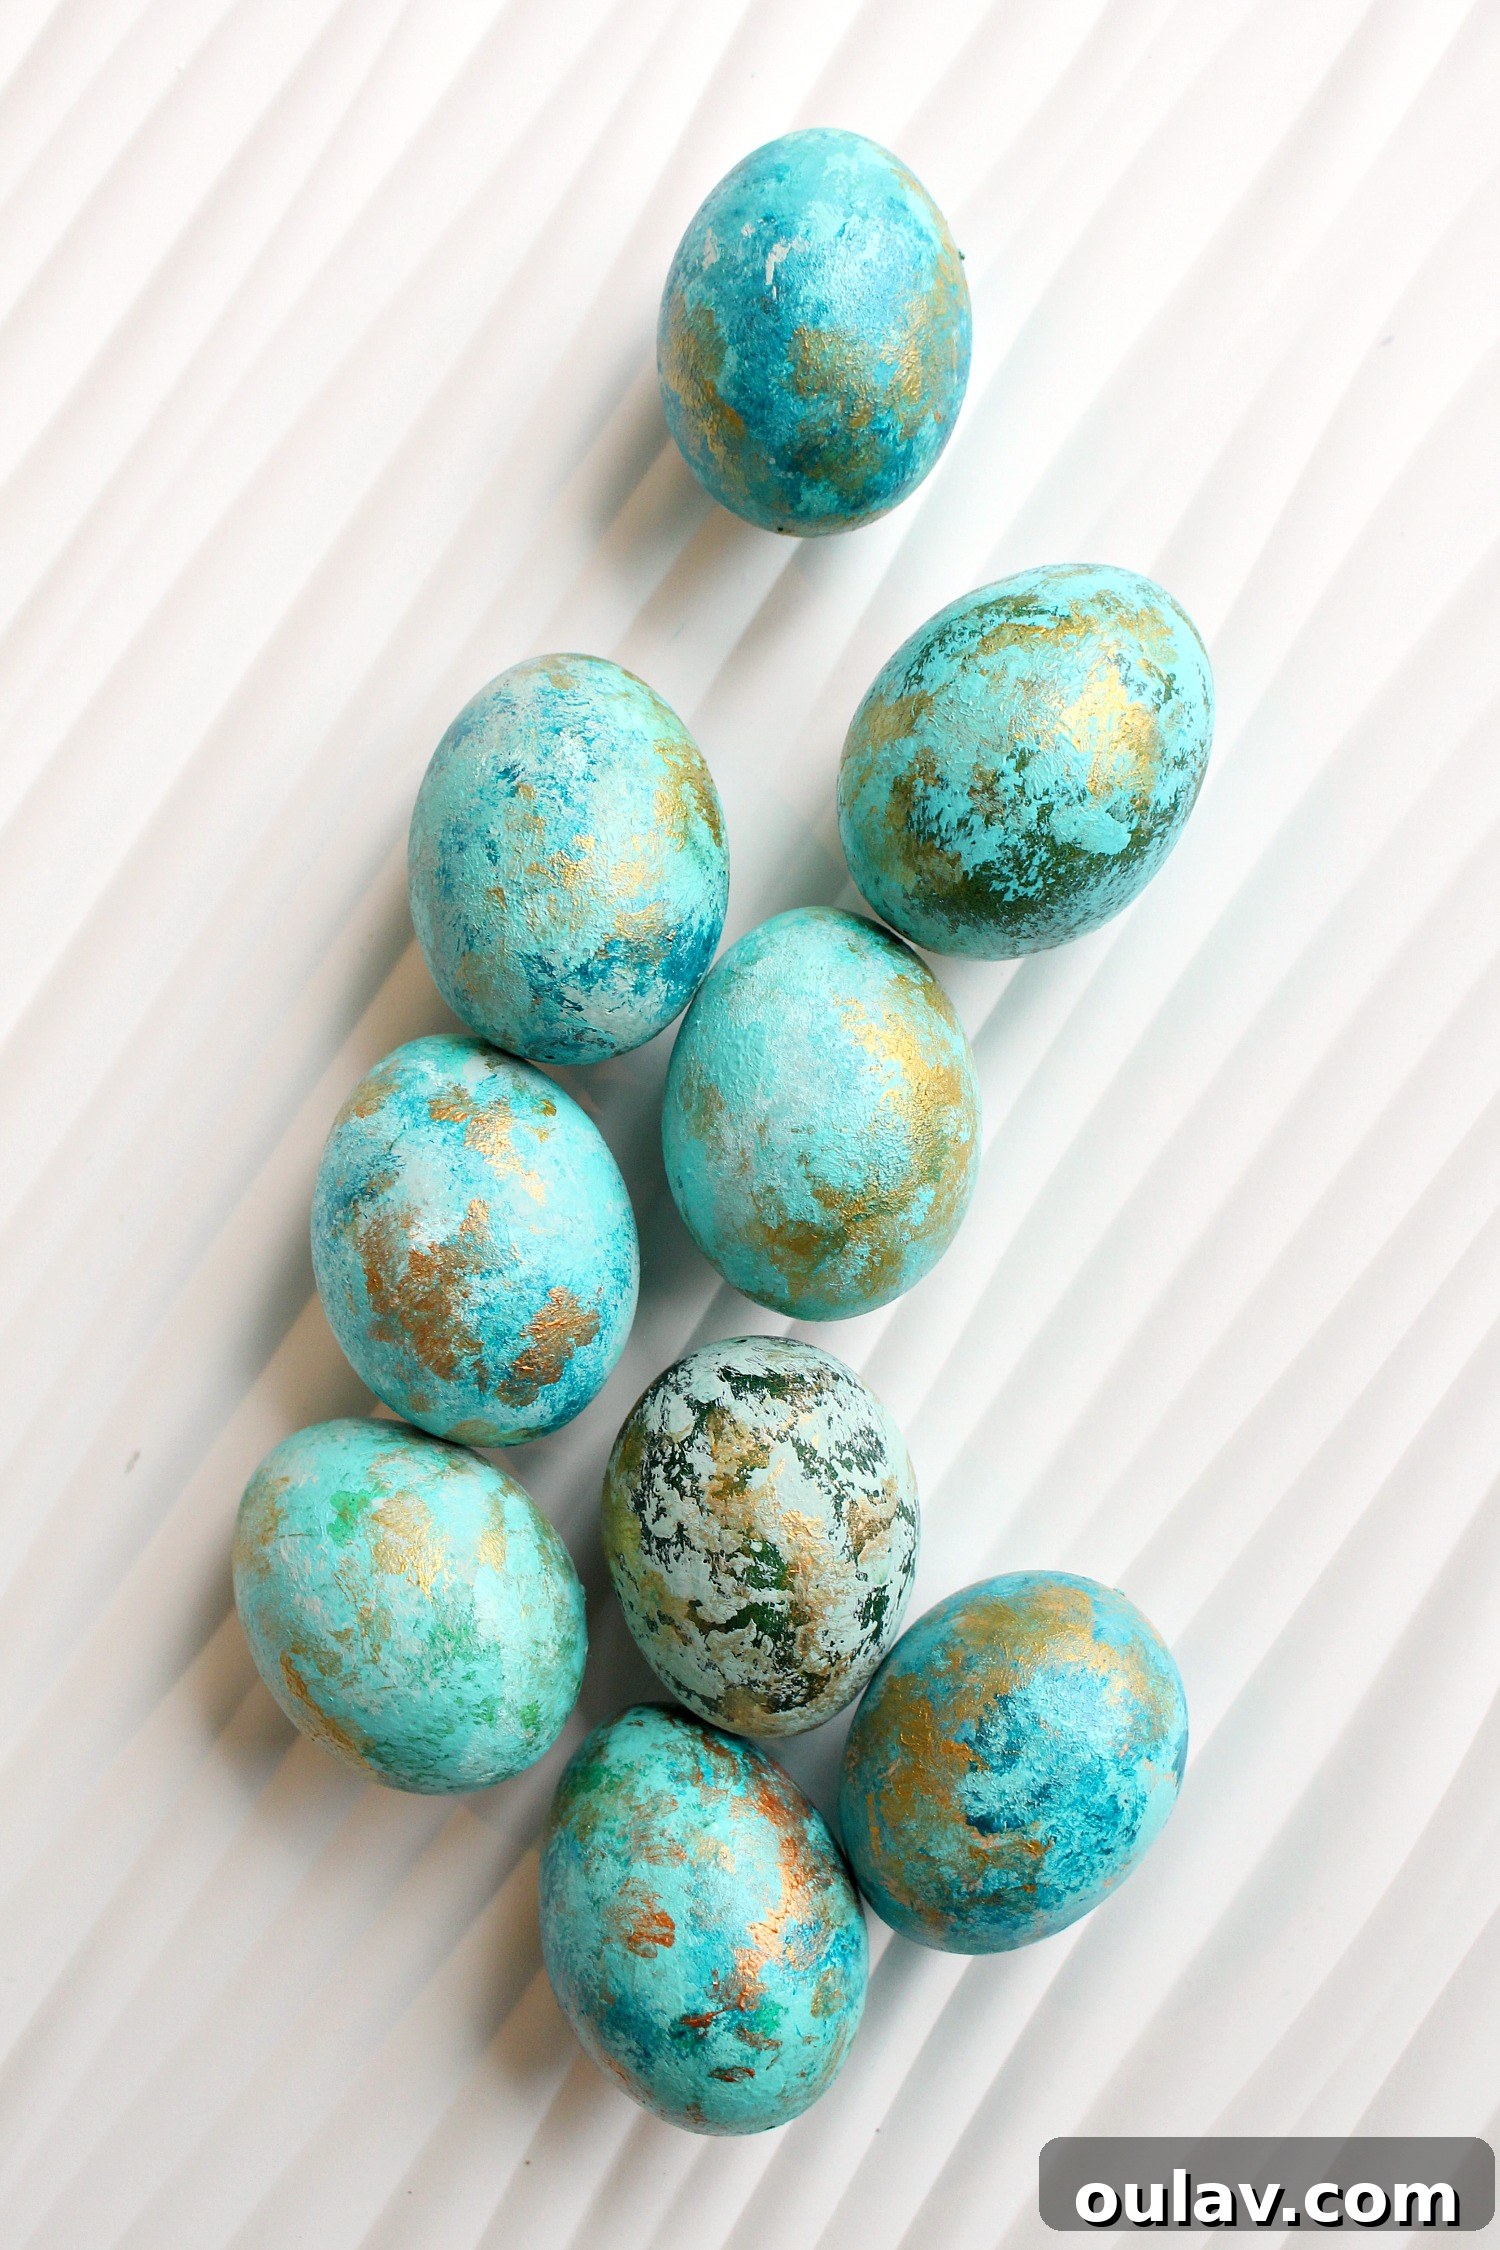
Making these painted Easter eggs truly felt like crafting little mini masterpieces. The process is both relaxing and incredibly rewarding. If you opt for wooden eggs, the best part is that you can bring them out and enjoy their beauty year after year, making them a sustainable and lasting part of your spring home decor. Imagine them as the centerpiece of your dining table, nestled in a charming basket or a clear glass bowl on a soft bed of moss. They add an elegant, artful touch to any setting, inviting admiration and sparking conversation.
Embrace the Art of Easter Egg Decorating!
I hope this guide inspires you to try your hand at creating your own abstract painted Easter eggs. It’s a wonderful way to infuse your home with creativity and the joyful spirit of spring. This simple yet sophisticated technique offers endless possibilities for color combinations and personal expression, making each egg a unique piece of art. Stay tuned, as I’ll be sharing even more Easter egg decorating ideas soon, alongside fresh spring decor inspiration to brighten up your home.
If you’re as “eggcited” about spring as I am and eager for more festive projects, don’t hesitate to explore my past spring projects and spring home decor articles right here. Happy crafting, and may your Easter be filled with color, creativity, and cheer!