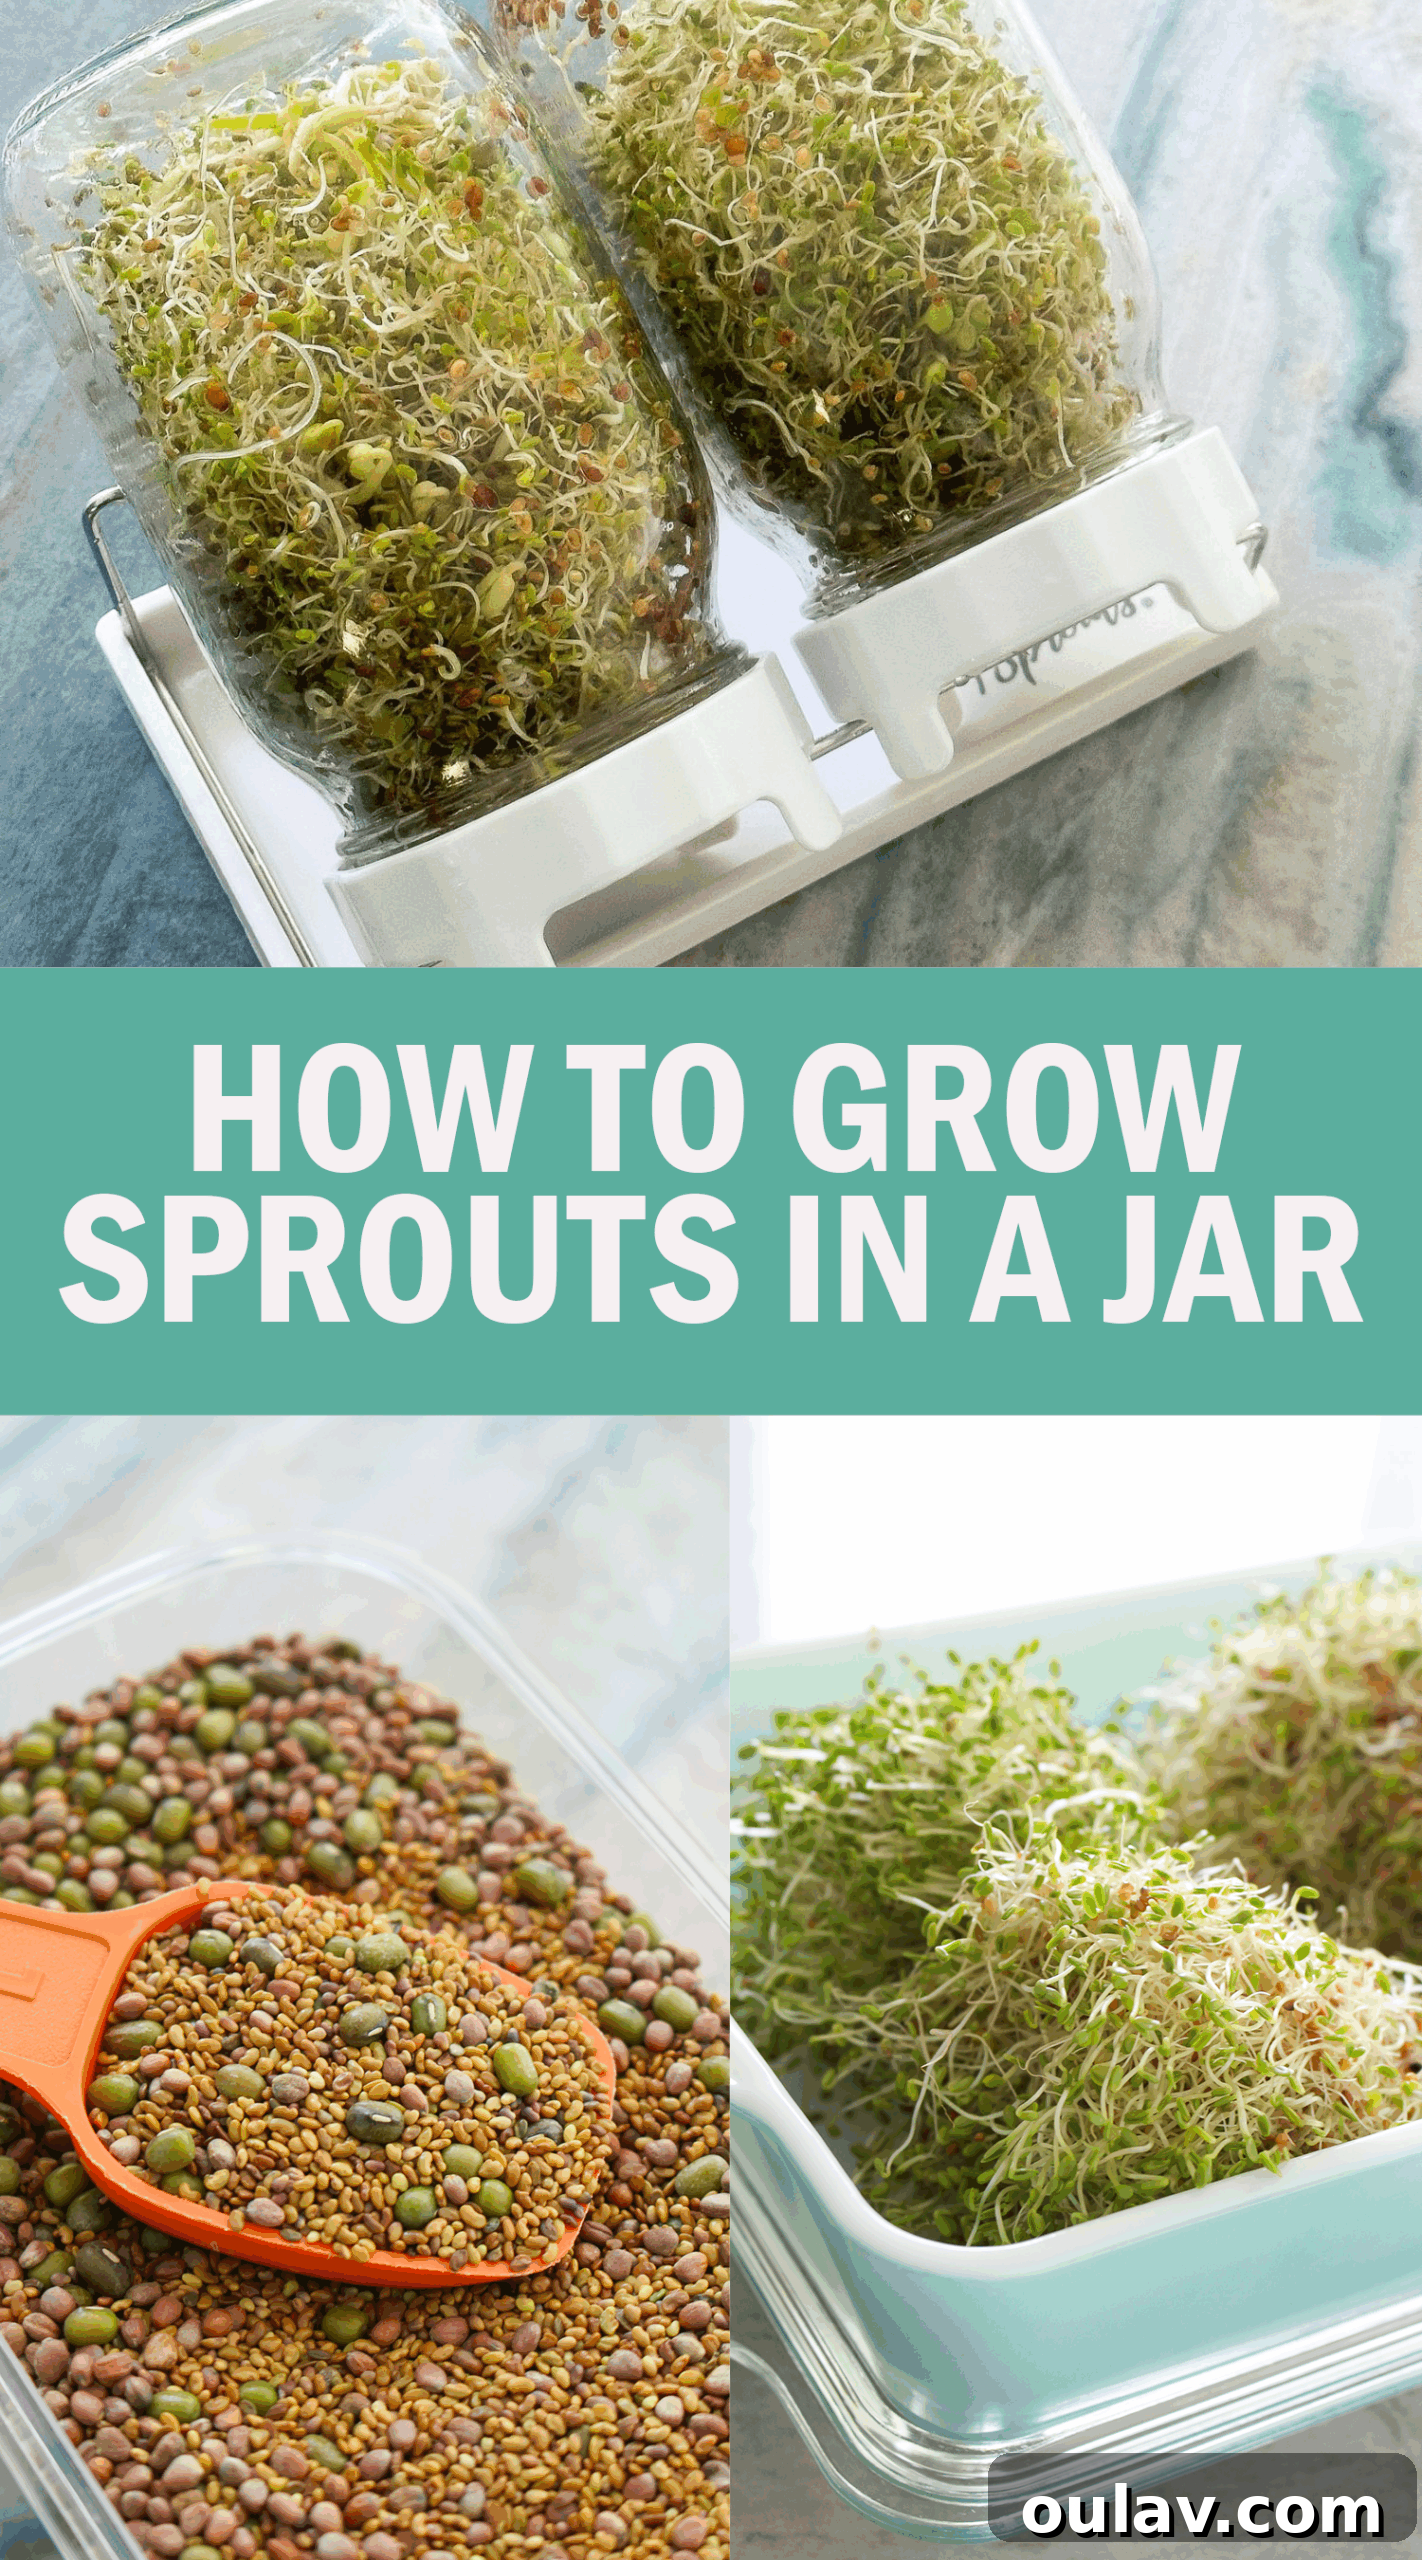
Are you eager to incorporate more fresh, nutrient-dense foods into your diet but wonder, “What’s the most straightforward way to cultivate sprouts right in my own kitchen?” You’re in luck! This comprehensive guide will walk you through the incredibly simple and rewarding process of how to grow sprouts in a jar, transforming humble seeds into vibrant, healthy greens with minimal effort.
Unlocking the Power of Sprouts: Why Grow Your Own?
Sprouts are miniature powerhouses of nutrition, offering an abundance of vitamins, minerals, enzymes, and antioxidants. They are essentially seeds that have just begun to germinate, unlocking a concentrated burst of life force. Beyond their impressive nutritional profile, growing sprouts at home provides numerous advantages:
- Cost-Effectiveness: A small packet of sprouting seeds can yield several batches of fresh sprouts, proving far more economical than purchasing them from a grocery store.
- Freshness & Flavor: Enjoy sprouts at their peak freshness, often just minutes after harvesting, ensuring maximum flavor and nutritional value.
- Year-Round Availability: Regardless of the season or local climate, you can cultivate a steady supply of fresh greens indoors.
- Ease of Growth: Sprouting requires no soil, special lighting, or extensive gardening experience, making it an ideal entry point for anyone interested in home cultivation.
- Dietary Versatility: Sprouts add a delightful crunch and mild, earthy flavor to salads, sandwiches, wraps, smoothies, and more, instantly boosting the nutritional content of any meal.
If you’re ready to embrace this simple yet impactful habit, read on to discover everything you need to know about growing delicious and healthy sprouts in jars.
Essential Supplies for Successful Home Sprouting
Starting your home sprouting journey is incredibly accessible. While specialized sprout growing kits are available for convenience, you can easily assemble the necessary supplies yourself using common household items. Here’s what you’ll need:
- Glass Jar: A wide-mouth quart-sized (32 oz) glass mason jar is ideal. Its size is perfect for handling a good quantity of seeds and allows for proper air circulation and rinsing. Ensure it’s clean and preferably sterilized before use to prevent contamination.
- Lid that Drains: This is a crucial component for proper drainage and air circulation. You have a few options:
- Mesh Sprouting Lid: These specialized lids fit standard mason jars and feature a fine mesh screen that allows water to drain while keeping seeds securely inside. They are easy to clean and very effective.
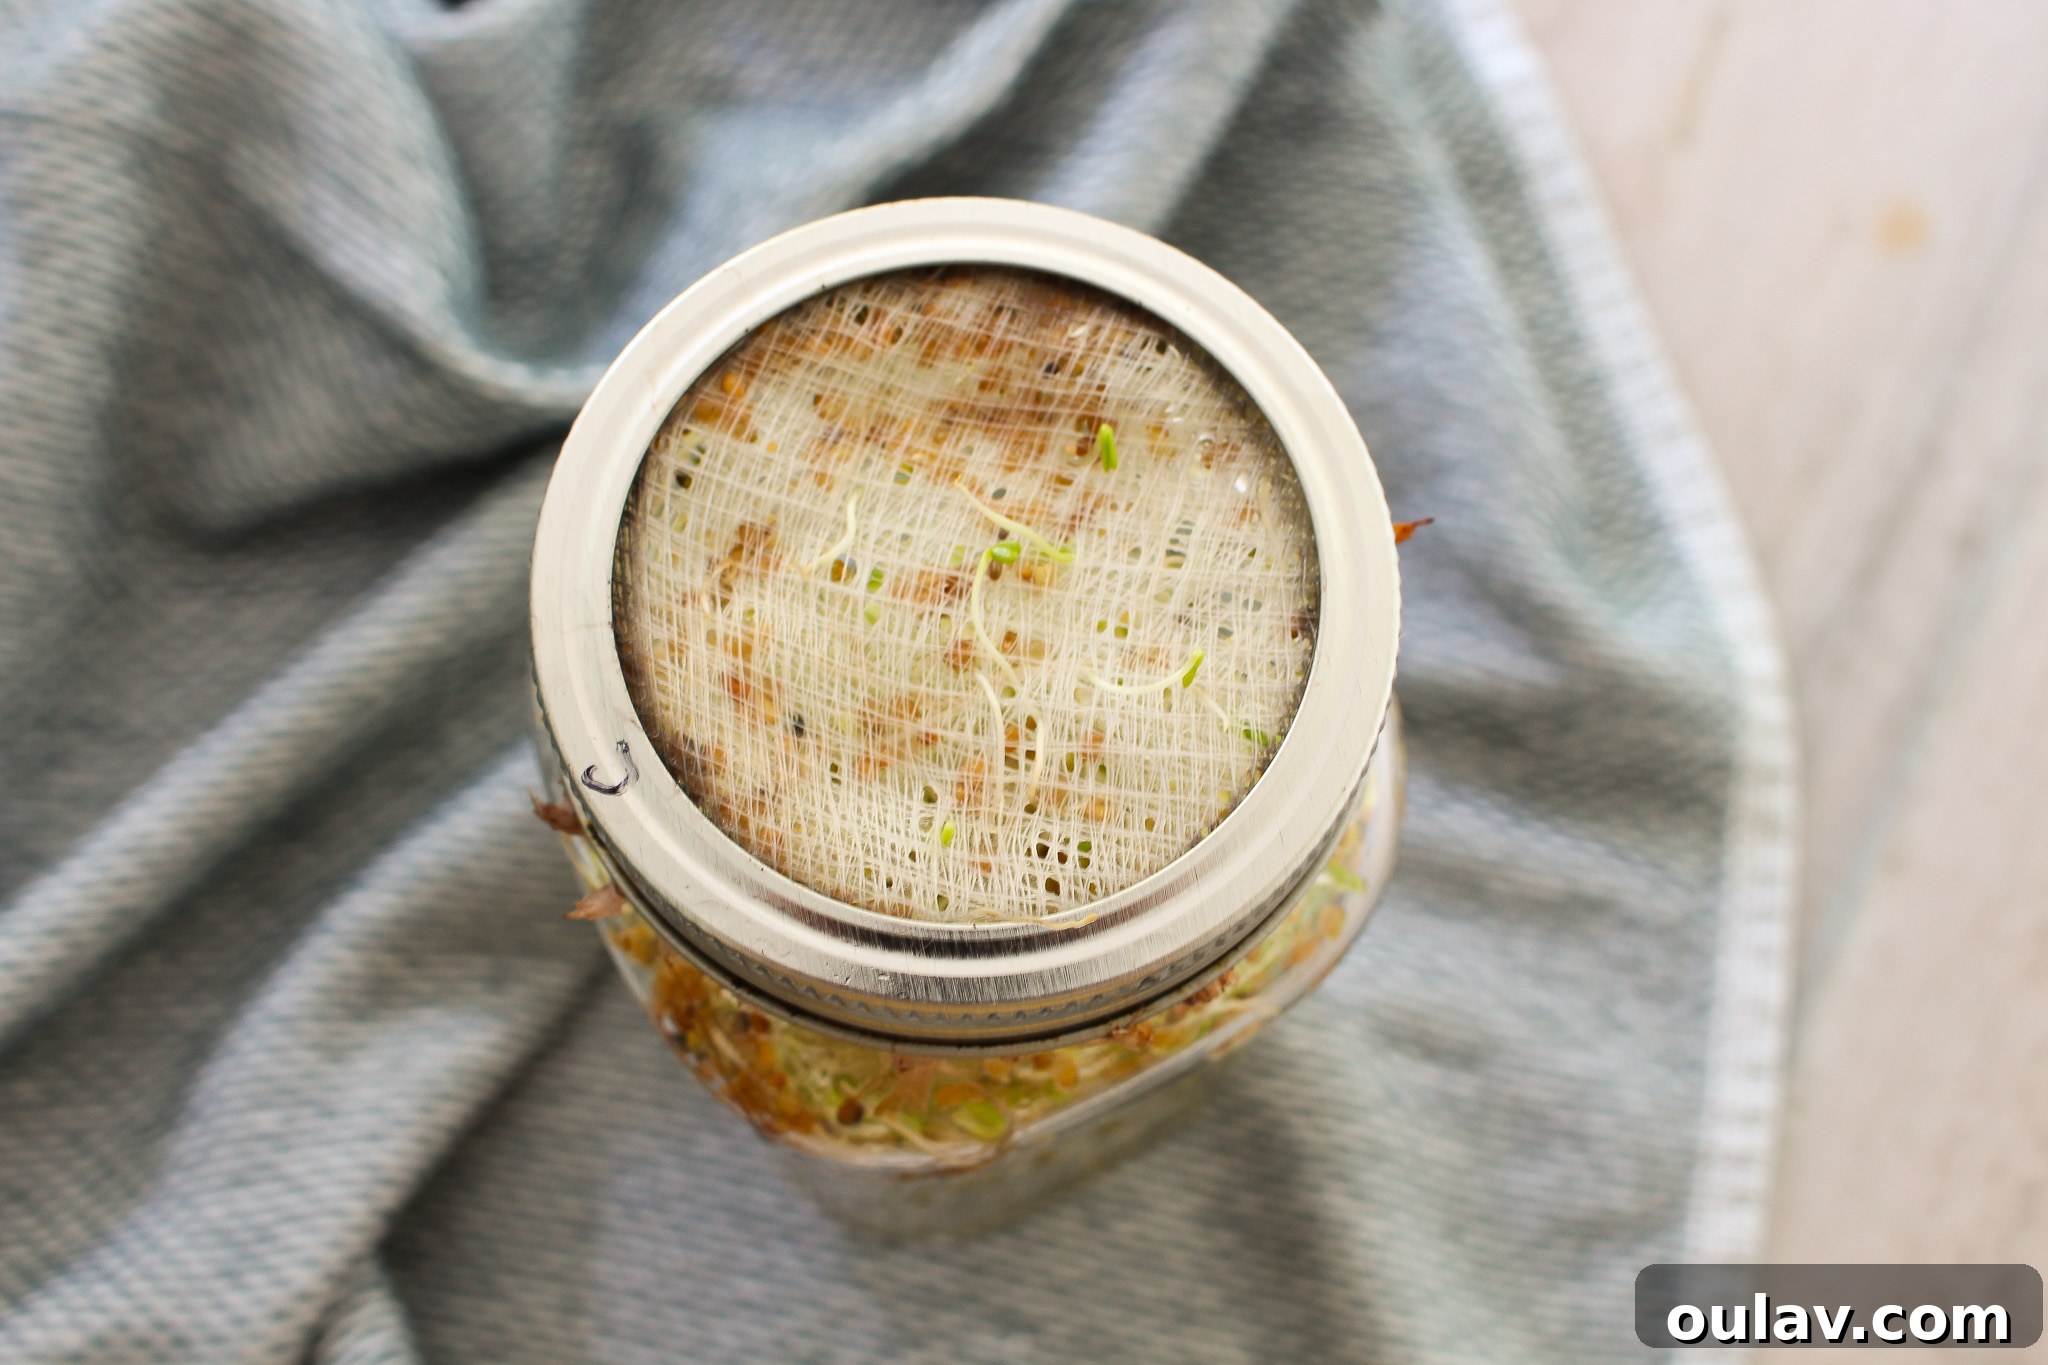
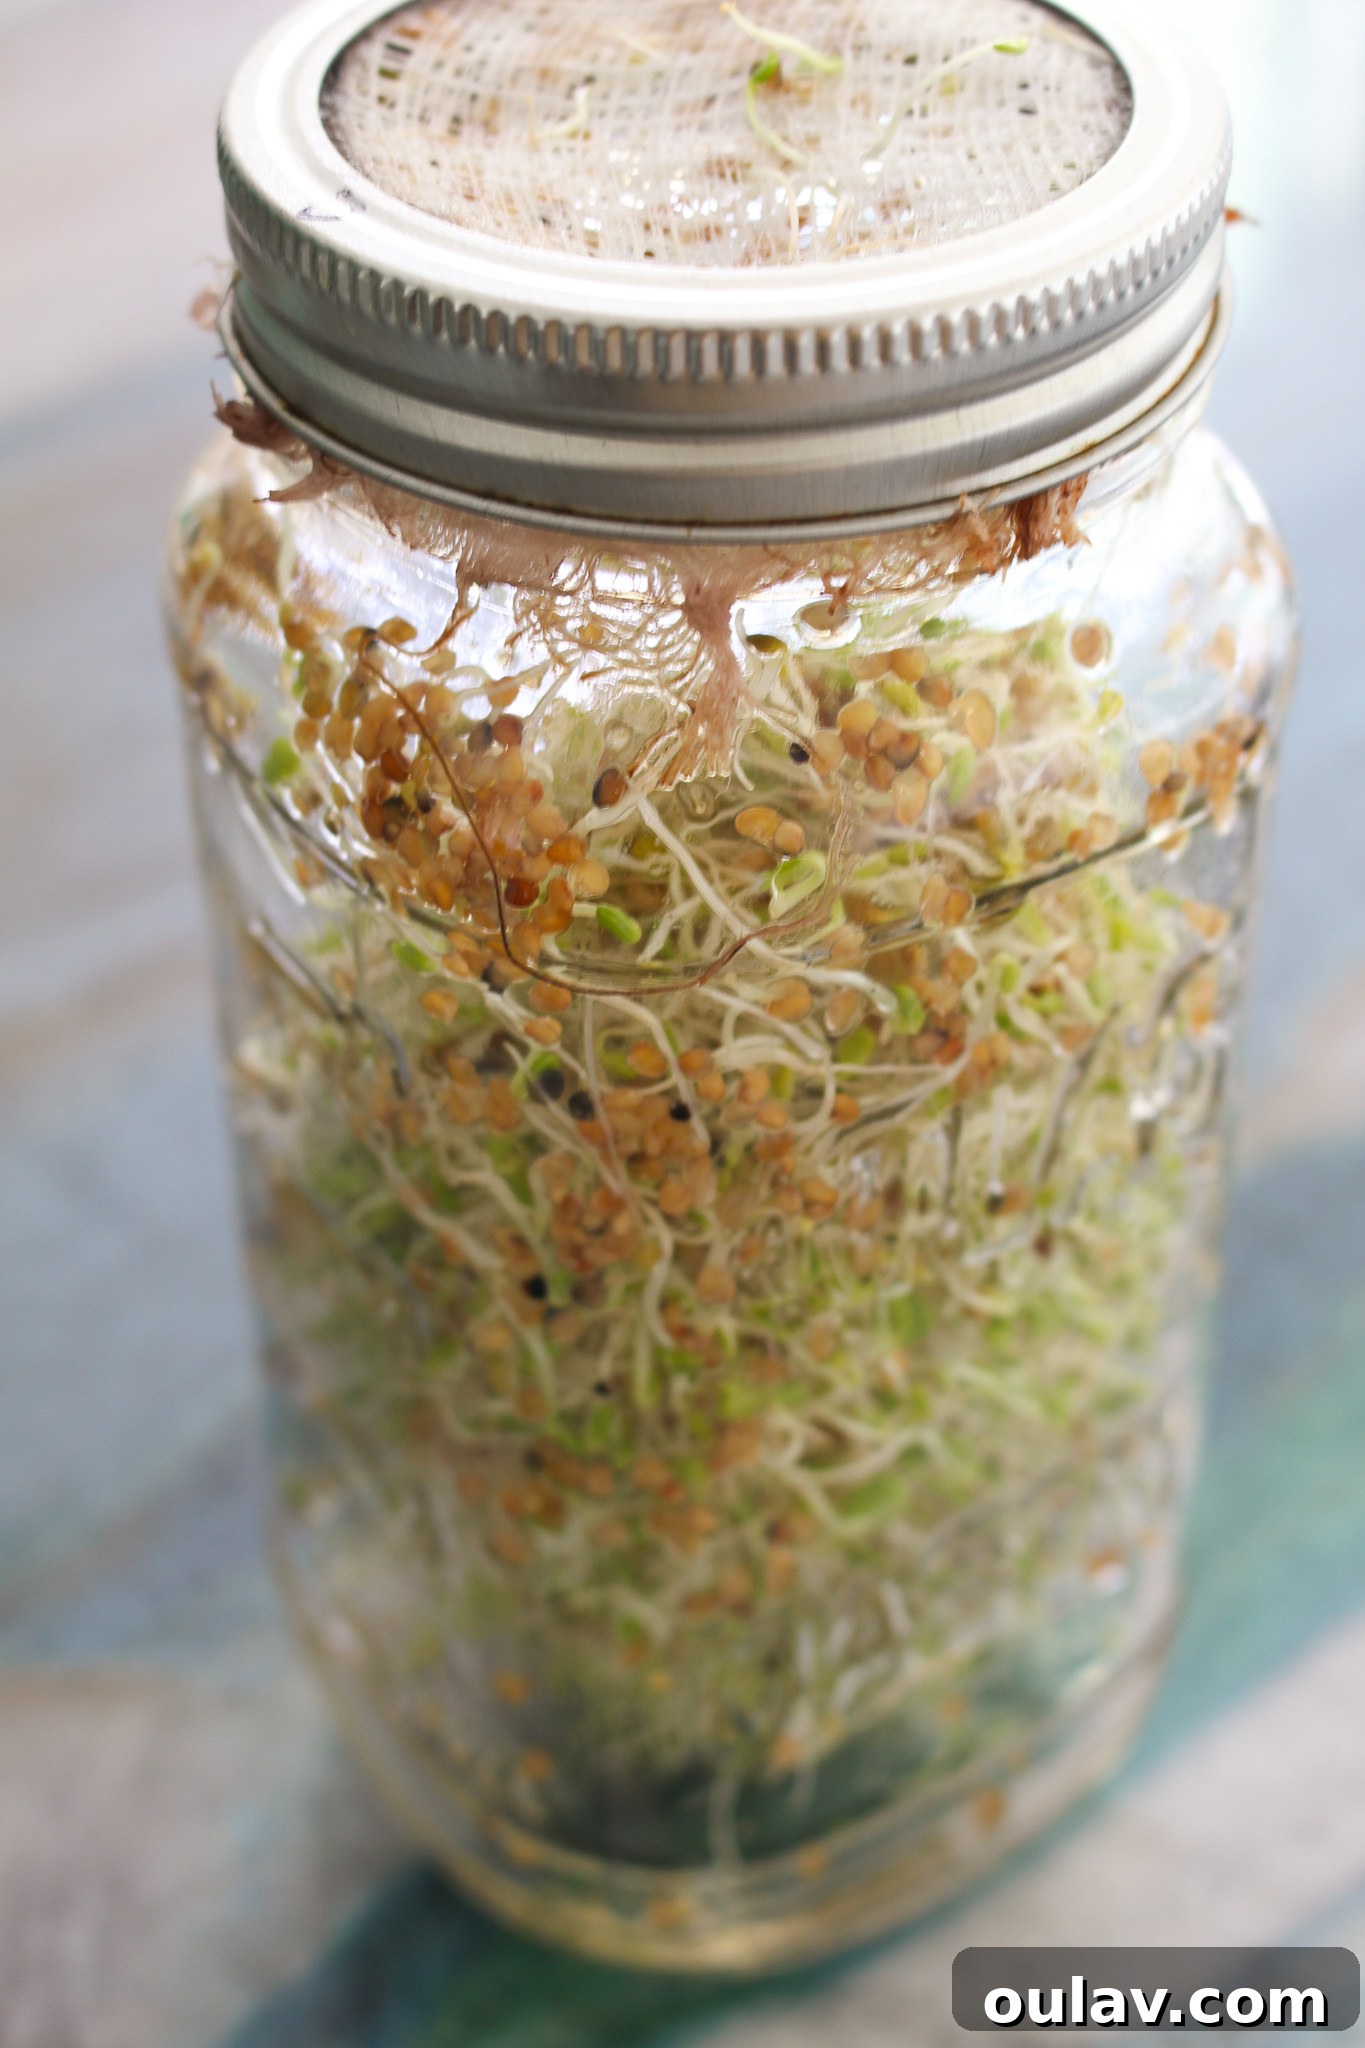
- Cheesecloth & Rubber Band: A budget-friendly alternative. Secure a piece of cheesecloth over the mouth of the jar with a rubber band. While functional, cheesecloth can retain moisture and may require more diligent cleaning to prevent mold.
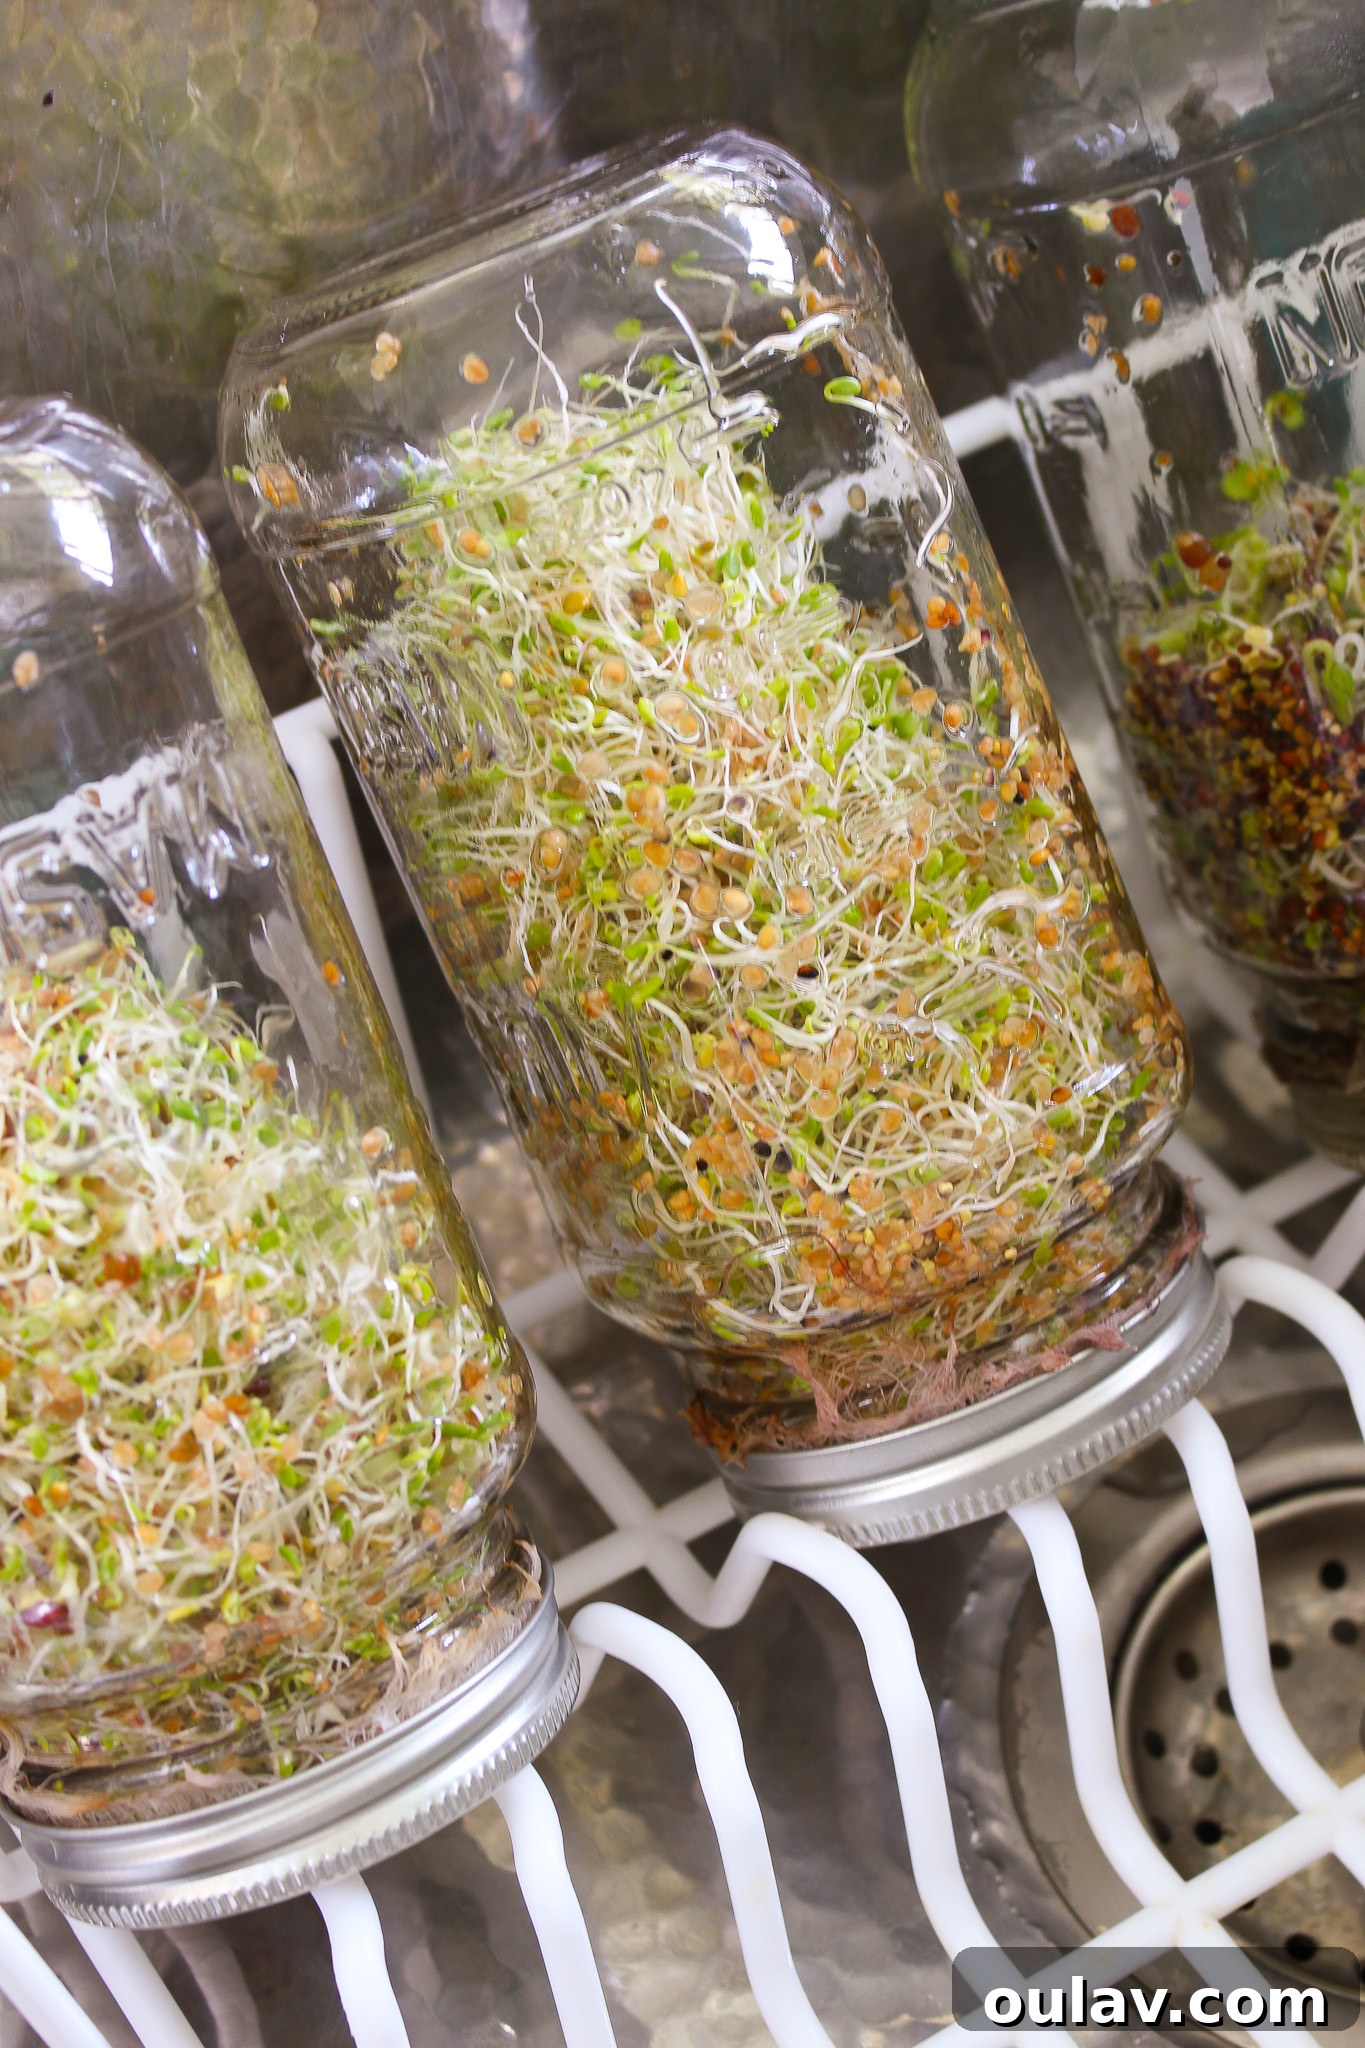
- Rack to Prop Up Jars: After rinsing, your jars will need to be positioned at an angle to allow all excess water to drain completely. This is paramount for preventing mold and bacterial growth.
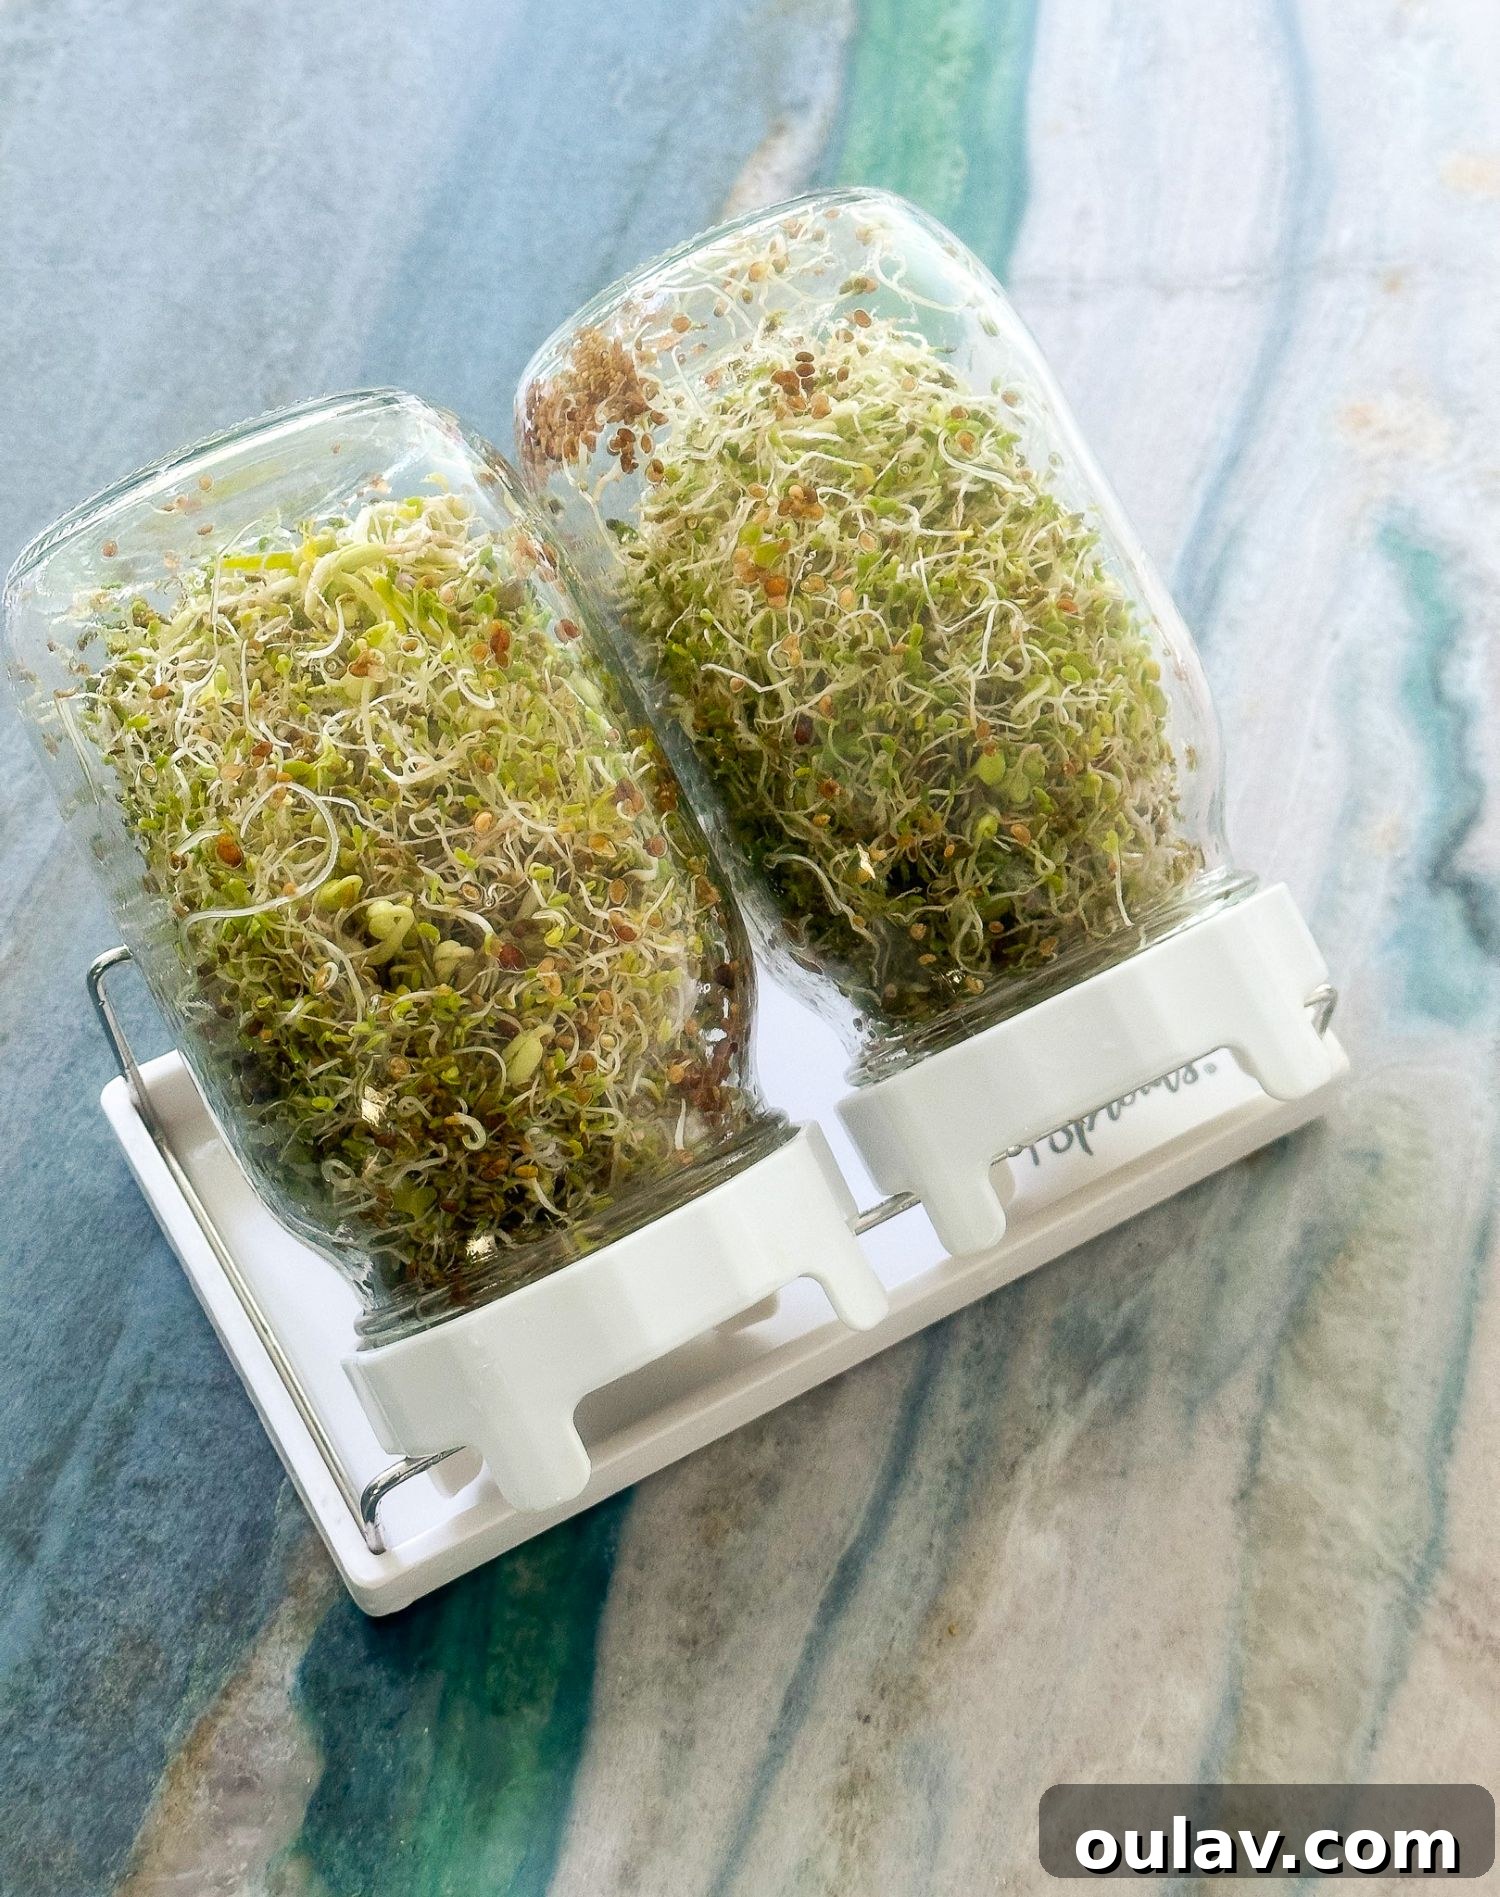
- Dedicated Sprouting Stand: Many kits include a small, angled stand designed specifically for sprouting jars, offering optimal drainage and stability.
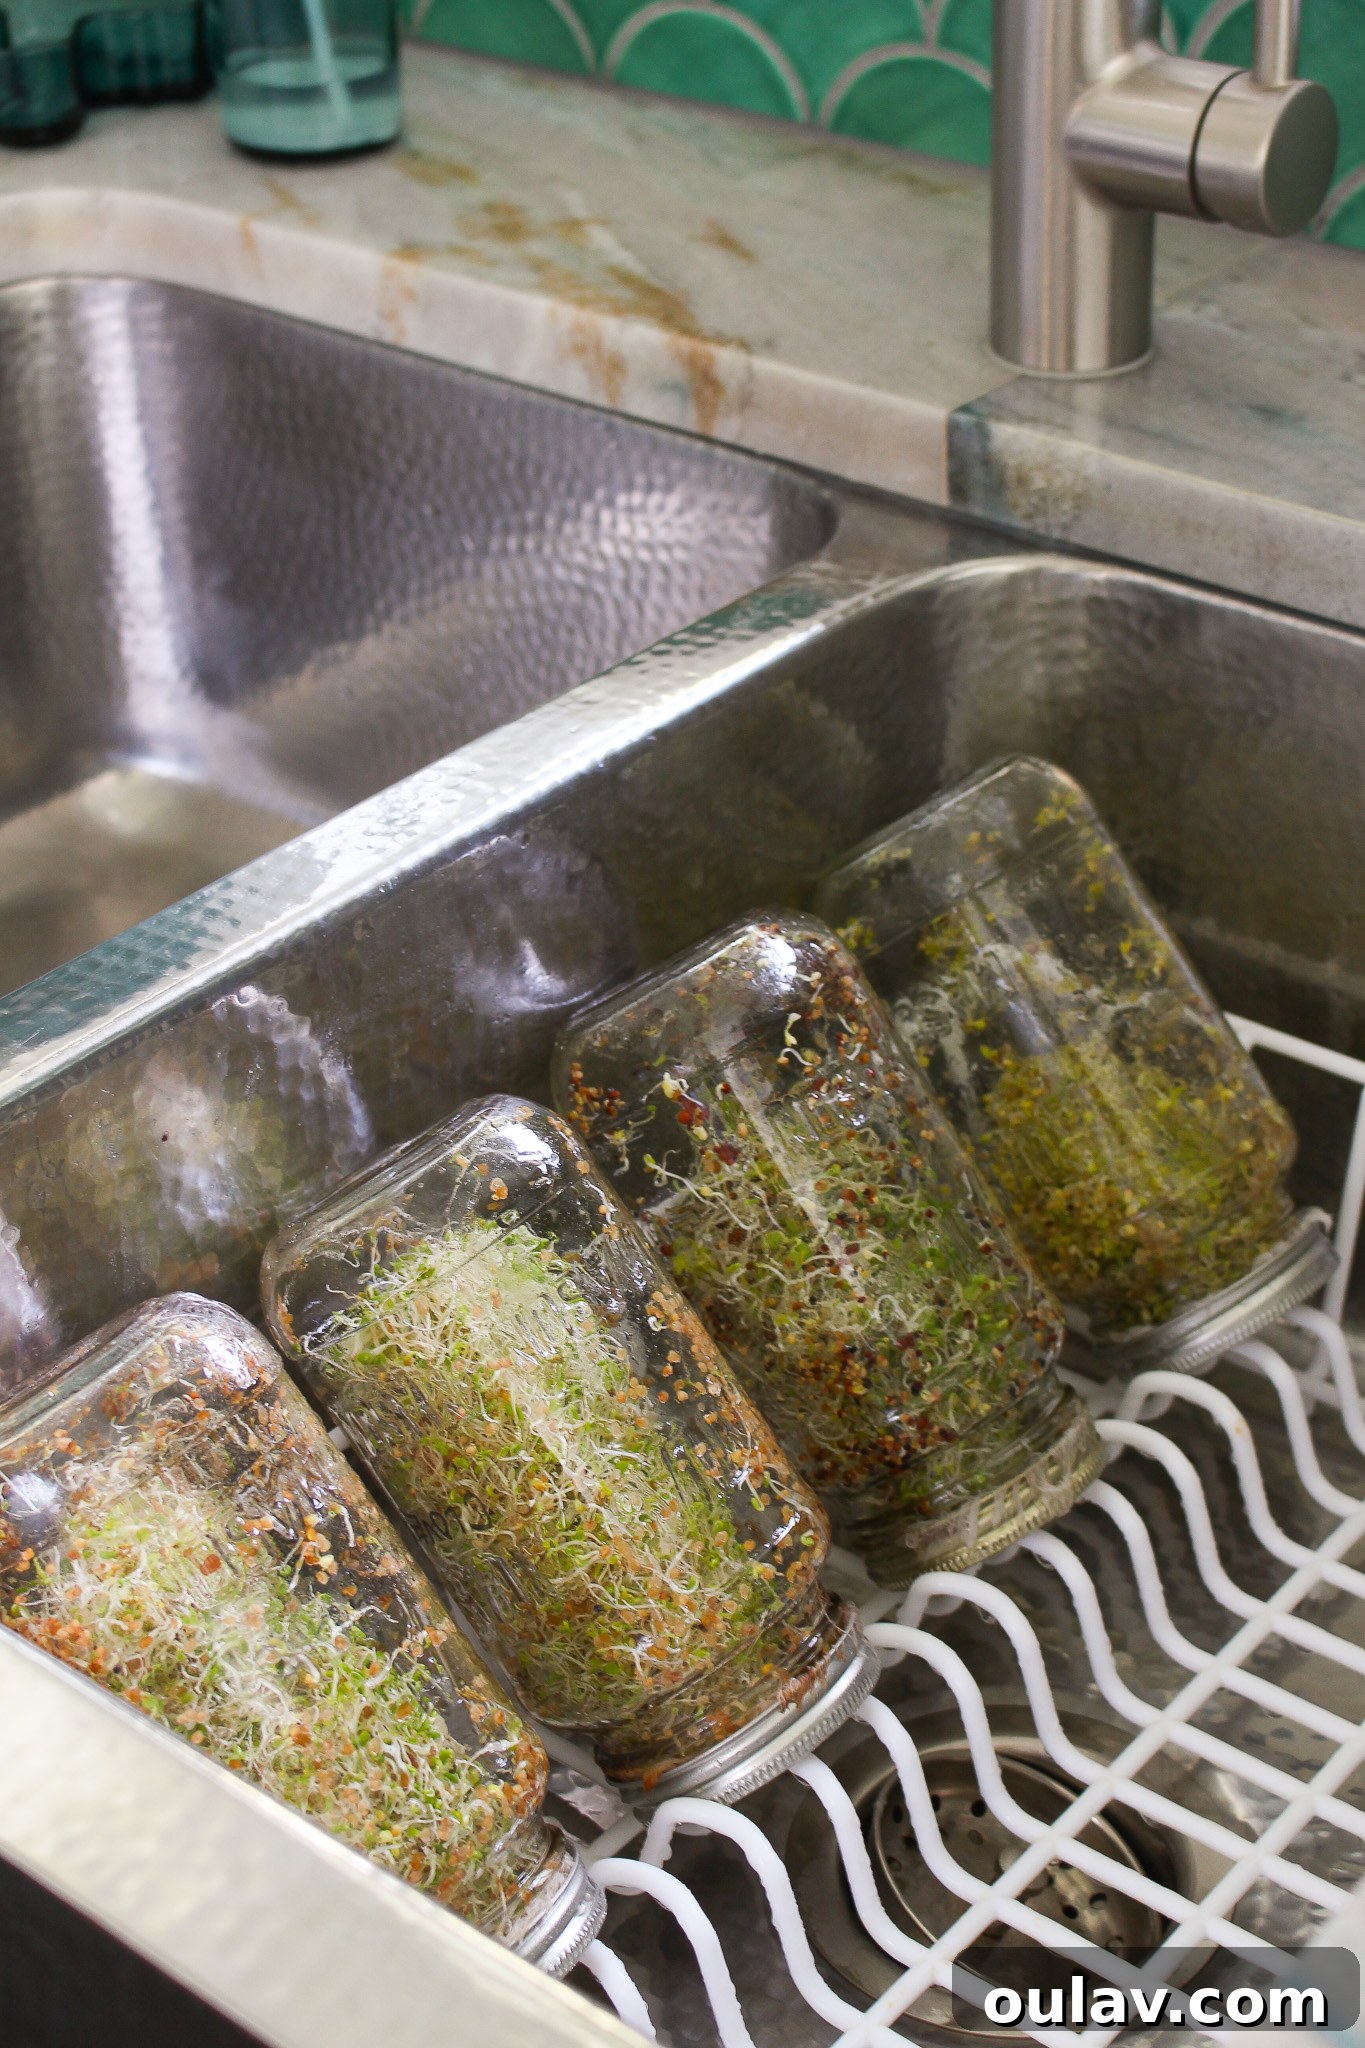
- Dish Drying Rack: A standard dish drying rack can be repurposed to hold your jar at the necessary 45-degree angle.
- Bowl or Container: You can also prop the jar up against a bowl or container in your sink or on a countertop, ensuring it remains stable and allows for continuous drainage.
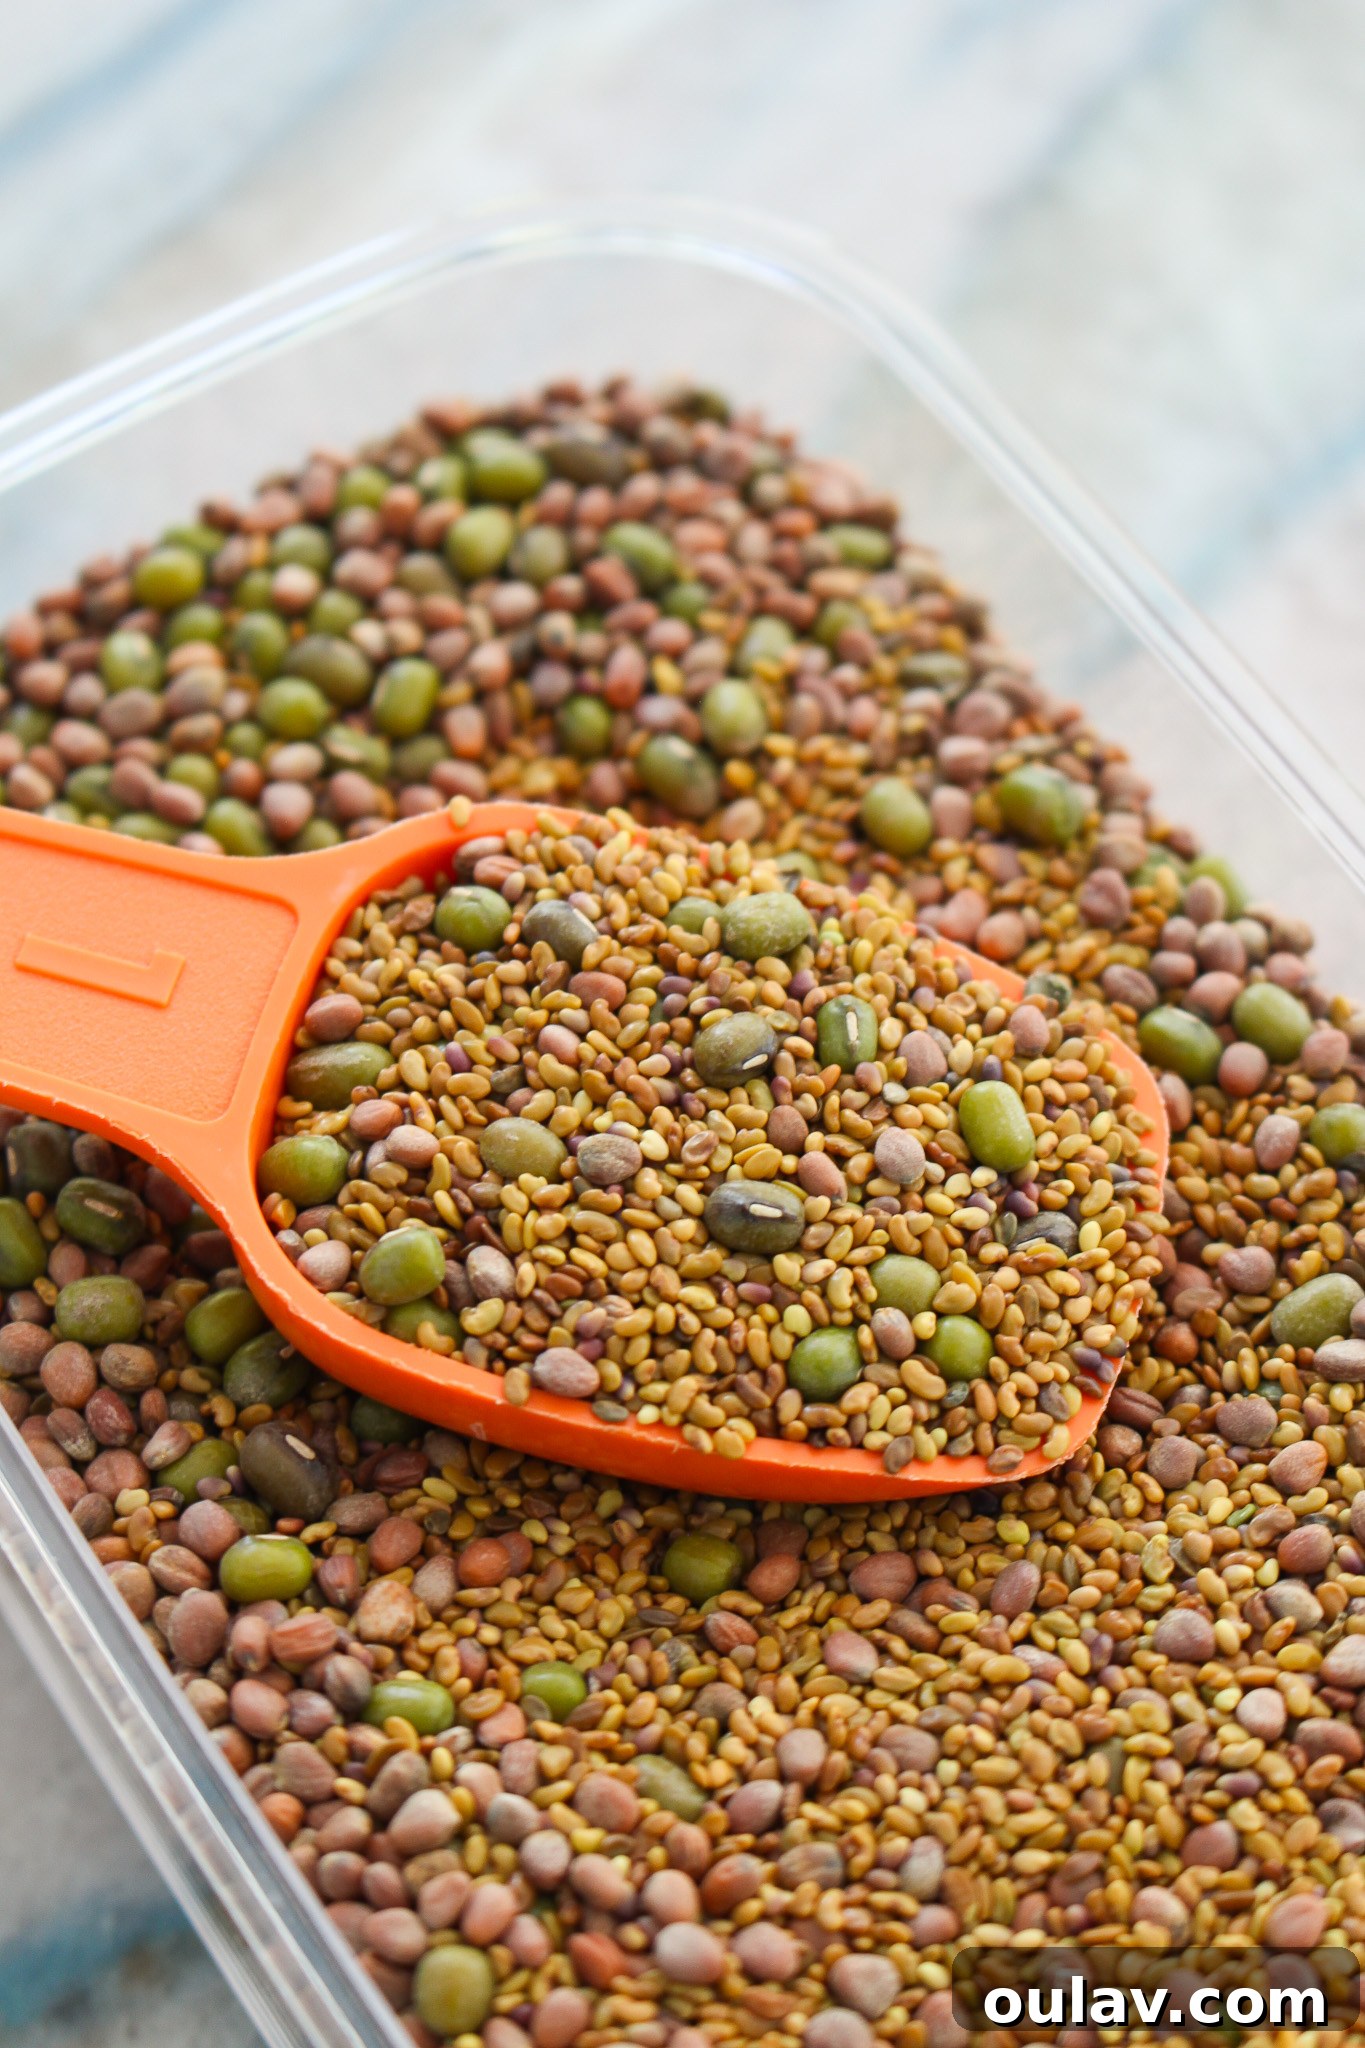
- High-Quality Sprouting Seeds: Not all seeds are created equal for sprouting. It’s vital to purchase seeds specifically designated for sprouting, as they are typically tested for pathogens and are untreated with chemicals. Reputable suppliers ensure you start with a clean, safe product. Varieties like alfalfa, mung beans, radish, broccoli, and clover are popular choices for beginners due to their rapid growth and delicious flavor.
When I first ventured into the world of home sprouting, I opted for a DIY approach, utilizing what I already had: glass jars, remnants of cheesecloth, and a standard dish drain rack. While this setup certainly yielded fresh sprouts and sparked my love for the process, the constant dampness of the cheesecloth often felt a bit unhygienic, prompting me to seek a more refined solution.
Investing in Sprout Growing Kits for Enhanced Convenience
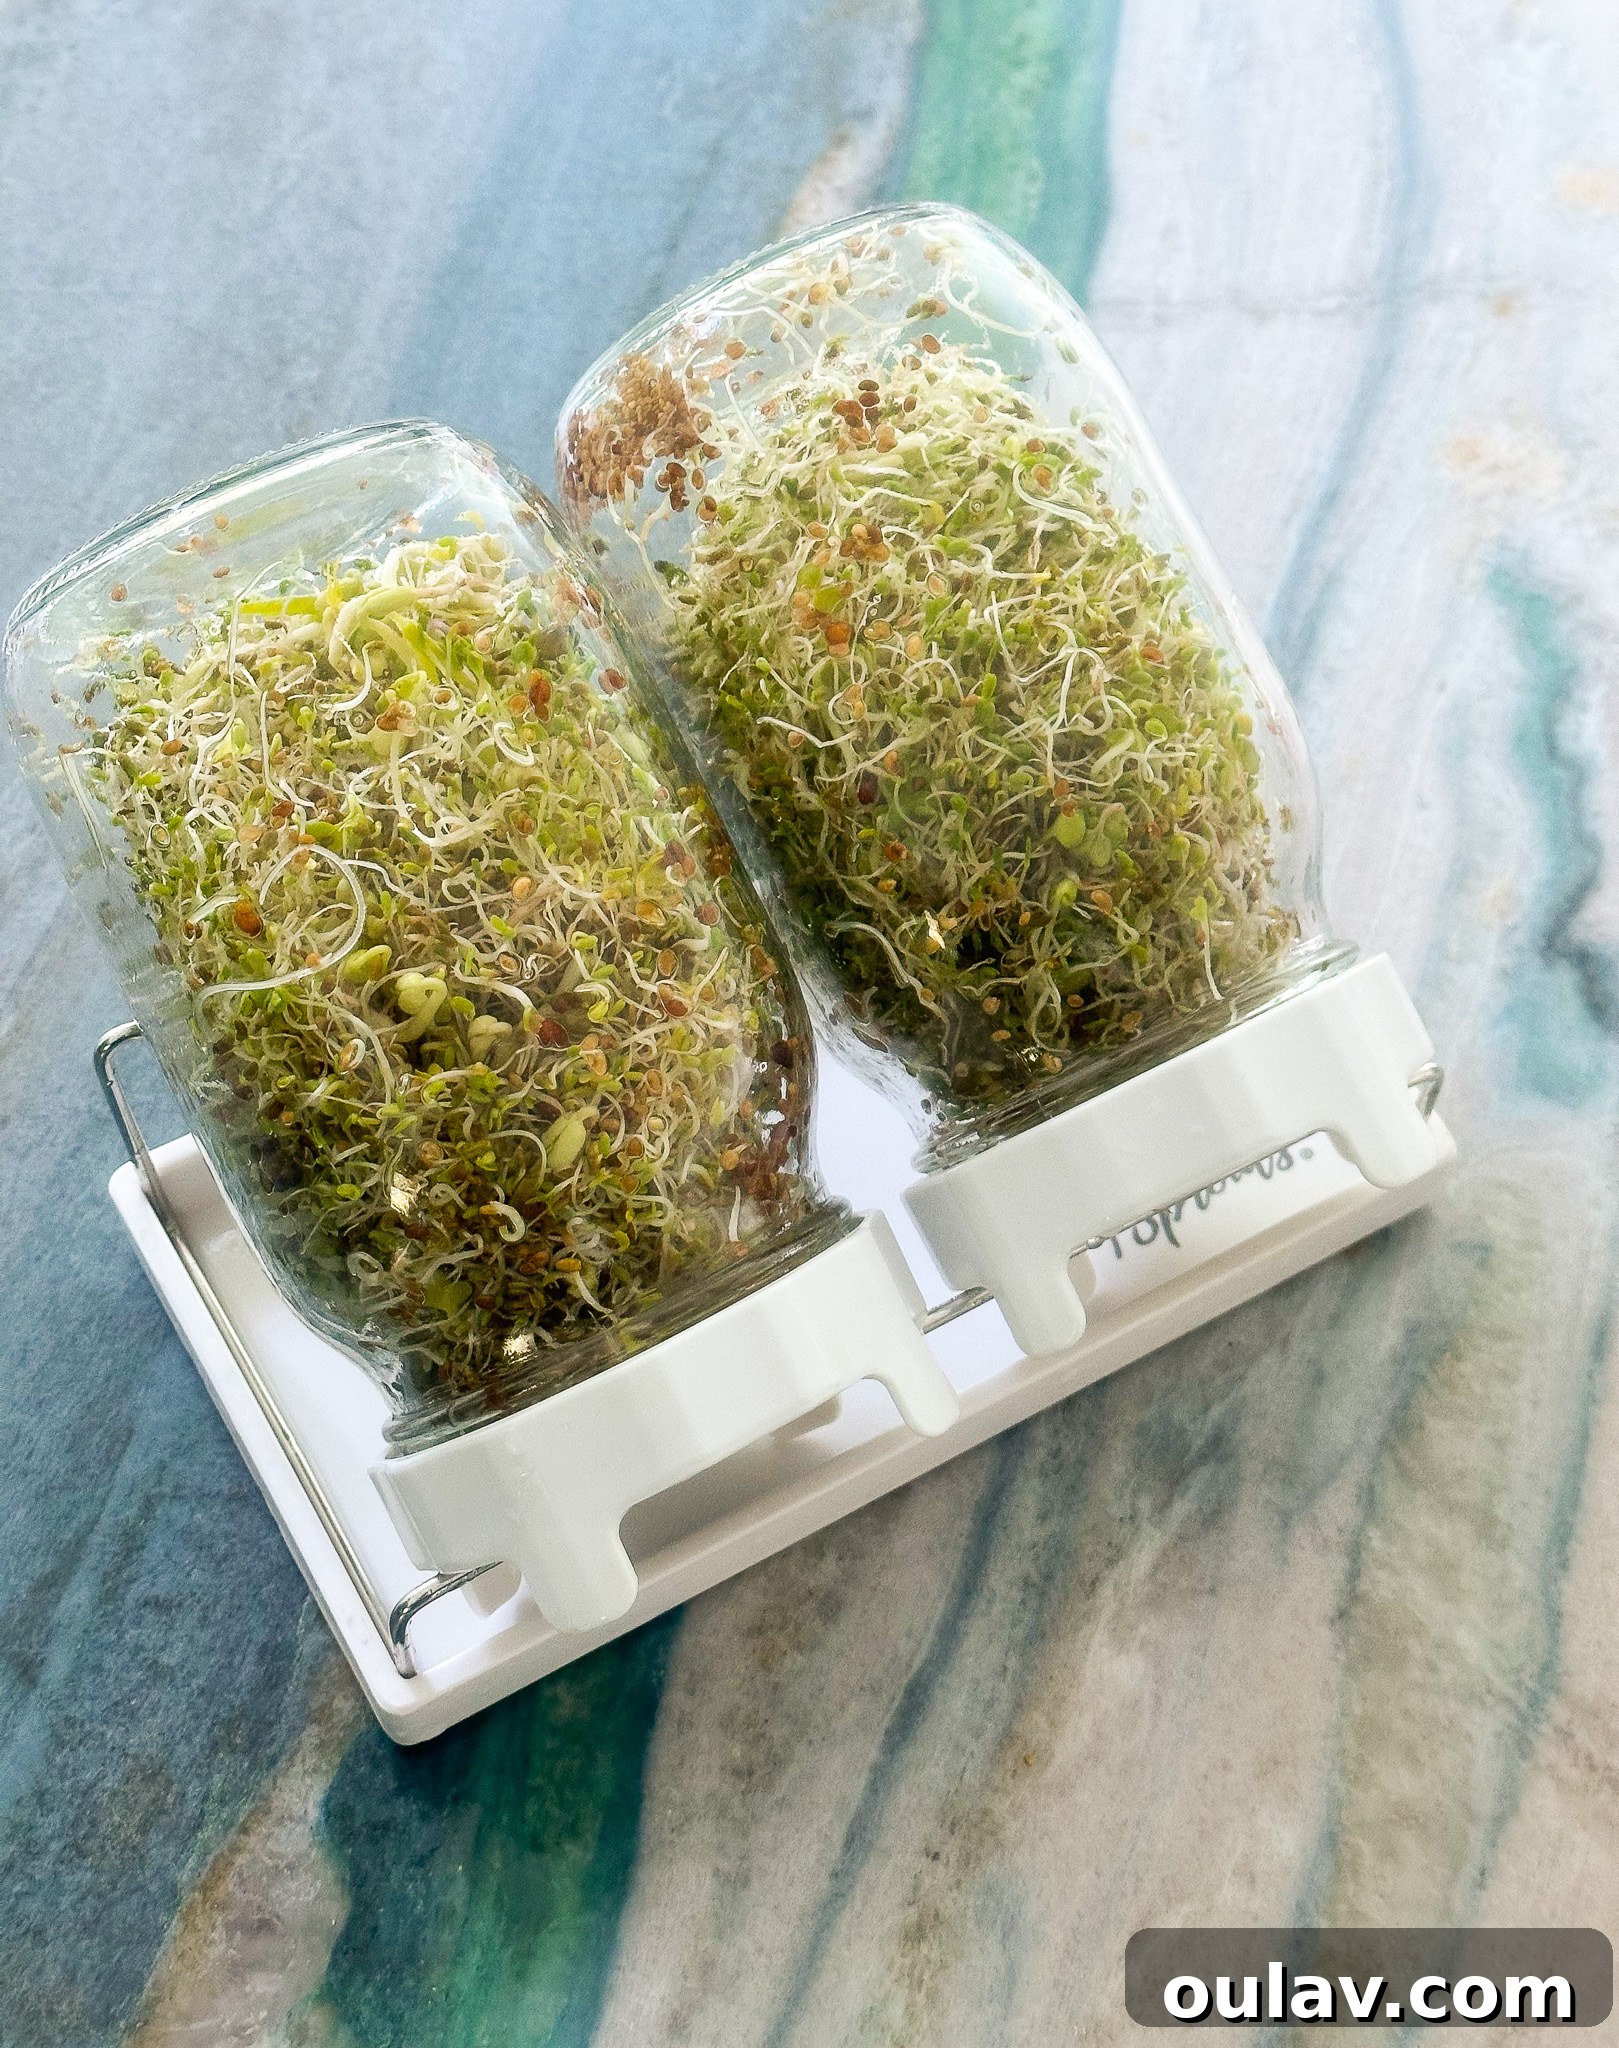
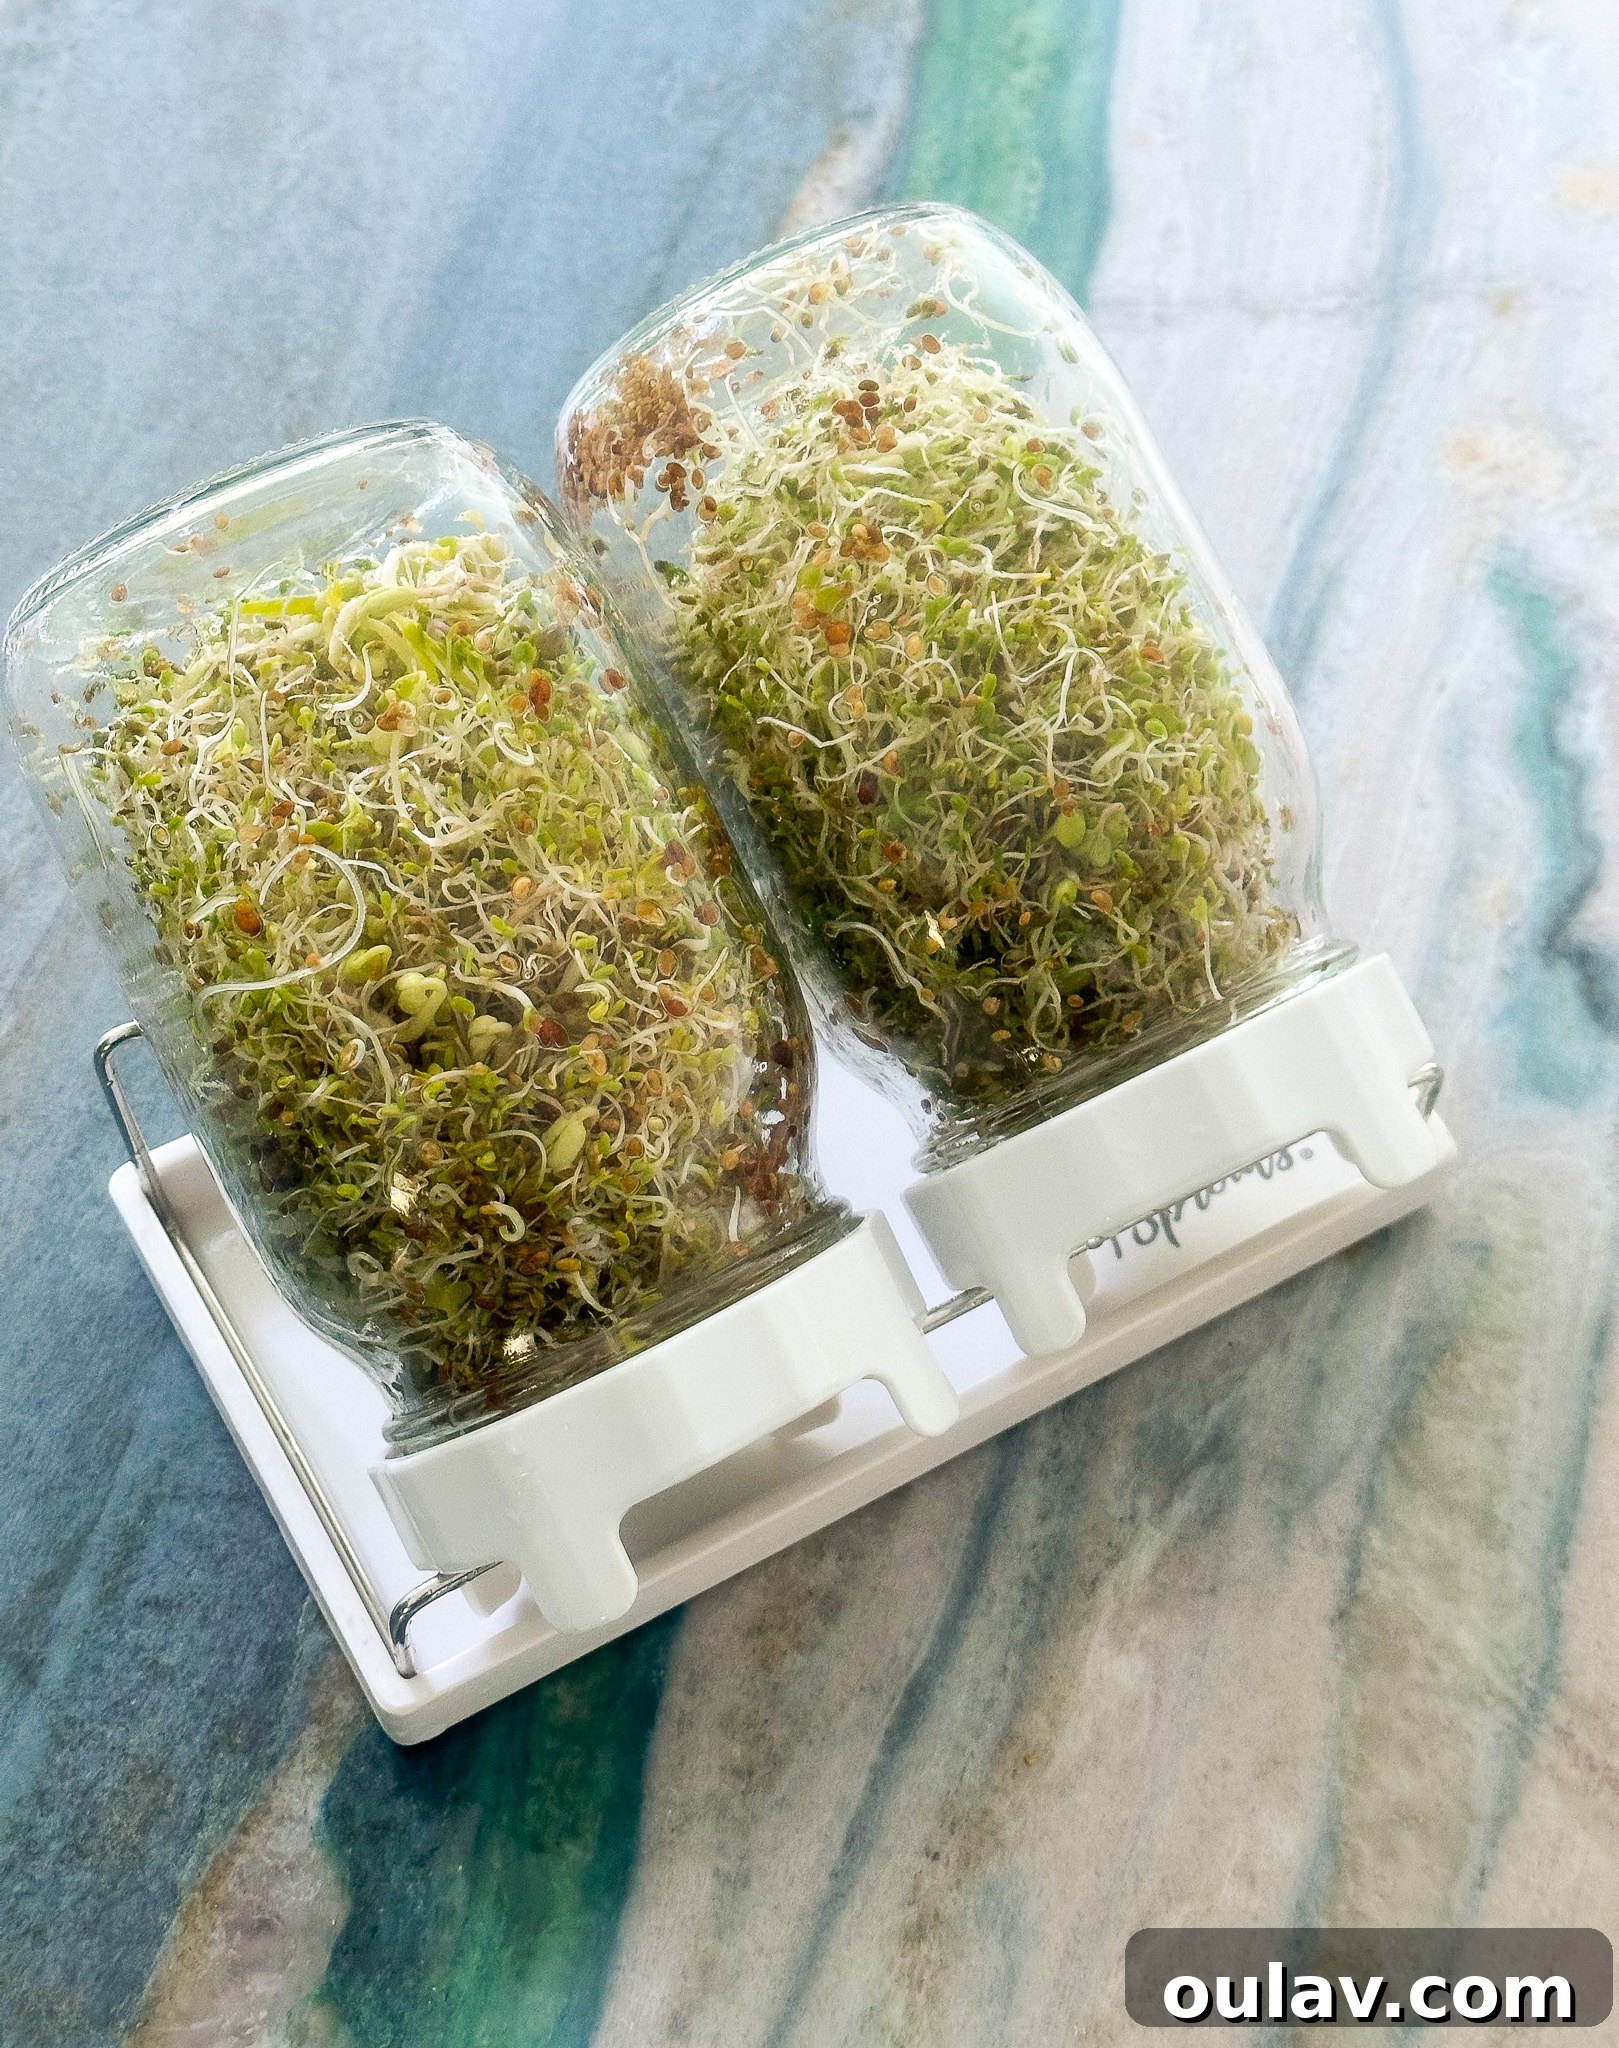
After my initial DIY experience, I realized the value of a dedicated sprout growing kit. You can easily purchase sprouting lids designed to fit standard mason jars, which are a significant upgrade from cheesecloth. However, I ultimately decided to purchase a complete sprout growing kit, and I couldn’t be happier with the results!
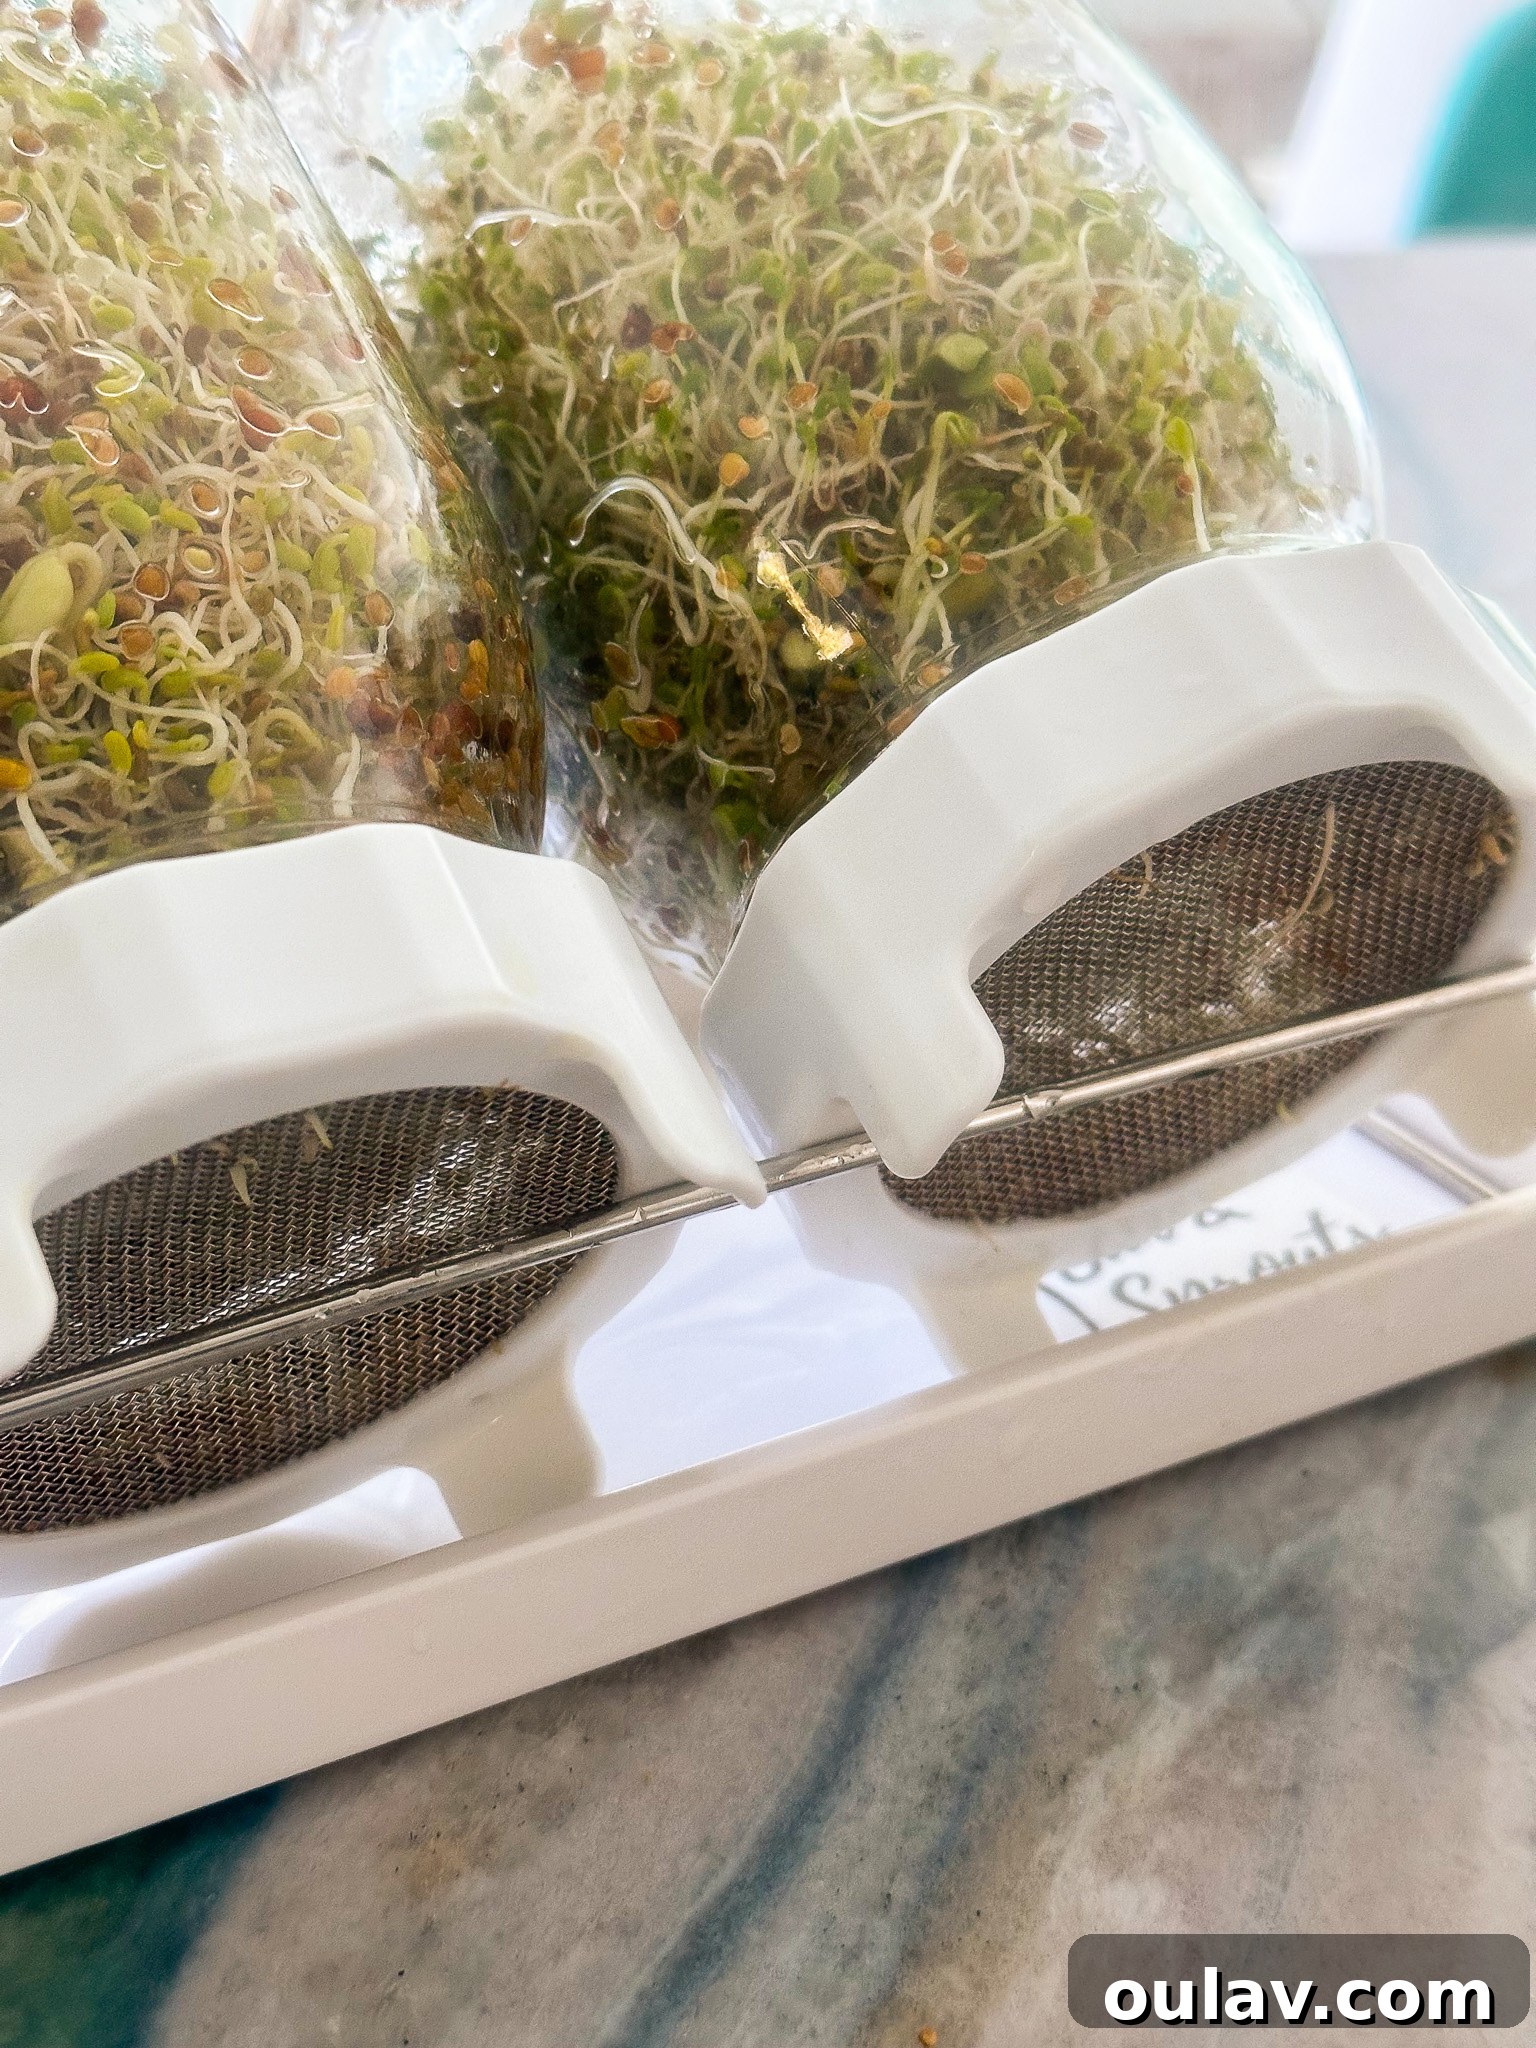
The specialized lid is incredibly easy to wash and, crucially, doesn’t retain moisture like cloth, drastically reducing the risk of unwanted mold or bacterial growth. Furthermore, the compact, custom-designed rack included in the kit is far more convenient and space-efficient than using a bulky dish drainer. If you only need to grow smaller batches or prefer a more minimalist setup, a single jar sprouting kit is an excellent option.
A General Guide to Sprouting Times and Care
When you acquire sprouting seeds, always refer to the specific instructions provided on the packaging. These guidelines are tailored to the particular seed type and will inform you about the optimal soaking duration, recommended rinsing frequency, and the expected timeline for full growth. Just like gardening any plant, care requirements can vary. However, the following instructions provide a general framework for what to anticipate as you embark on your home sprouting adventure.
Step-by-Step: How to Grow Sprouts in a Jar
Growing sprouts in a jar is a straightforward process that typically takes 3-5 days. Follow these steps for a successful harvest of fresh, crunchy sprouts:
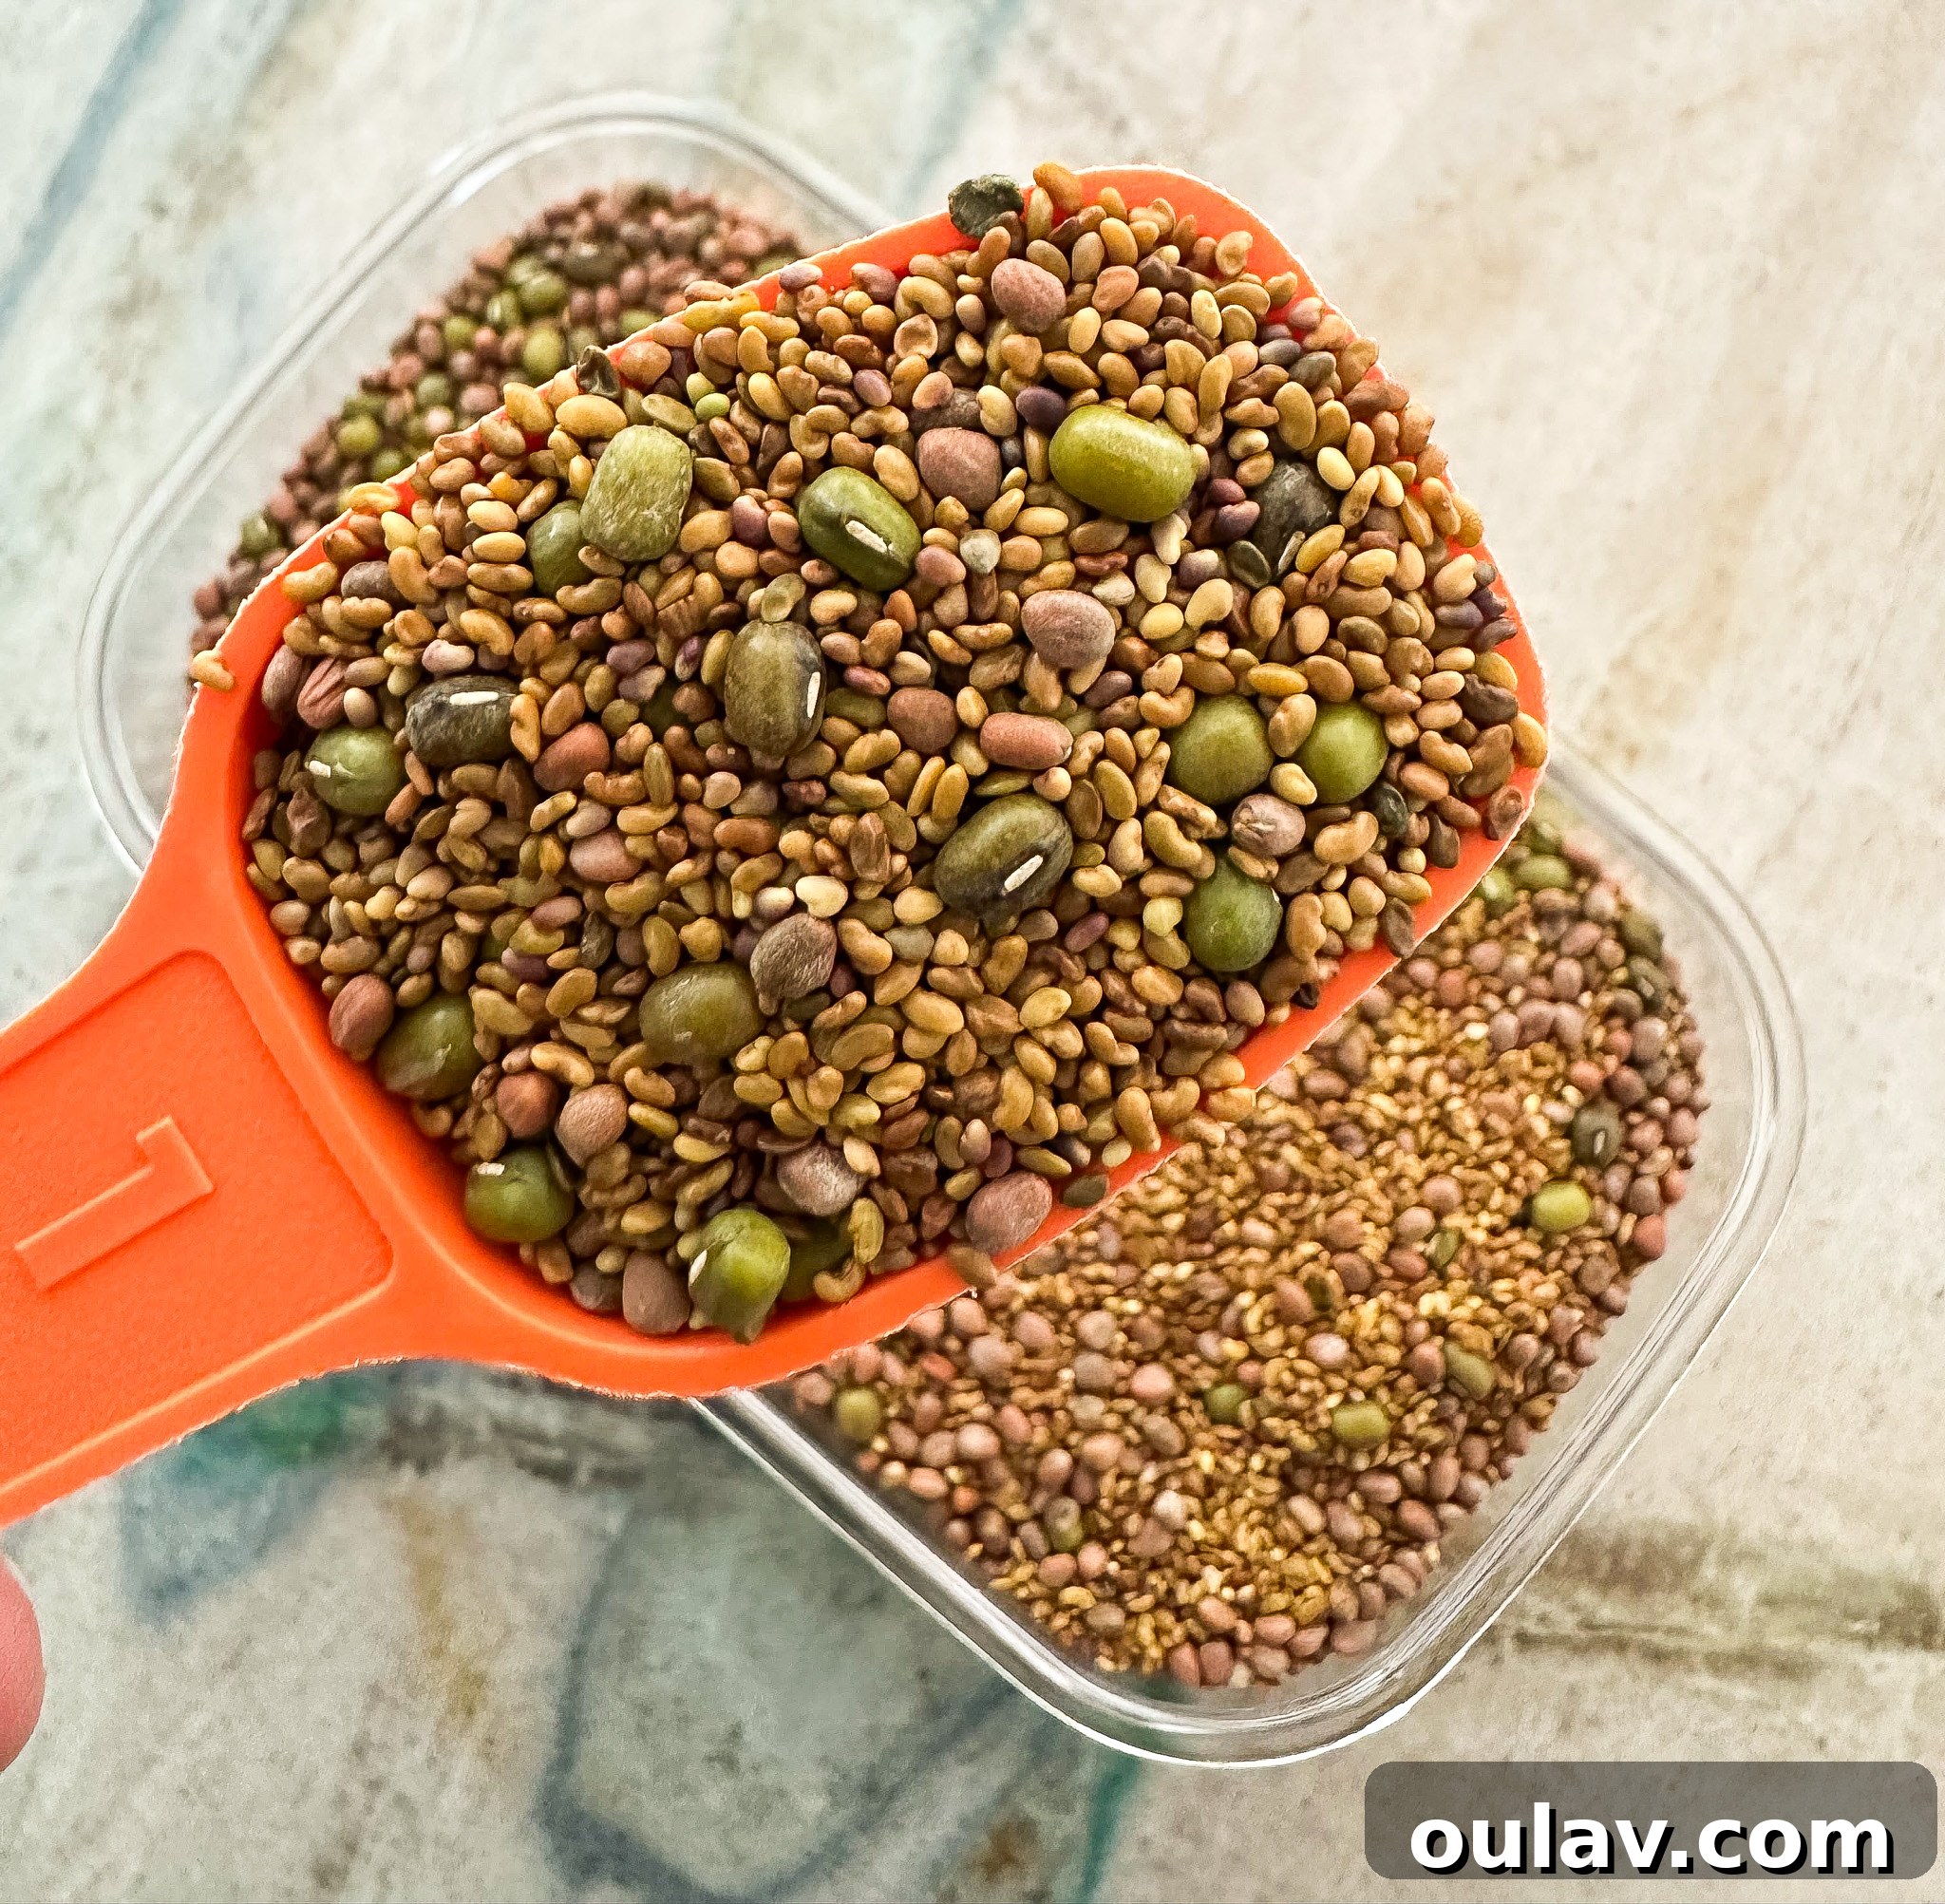
- Measure Your Seeds: Begin by placing one tablespoon of your chosen sprouting seeds into a clean glass jar. Remember, seeds expand significantly, so resist the urge to add too many; overcrowding can lead to poor air circulation and hinder growth.
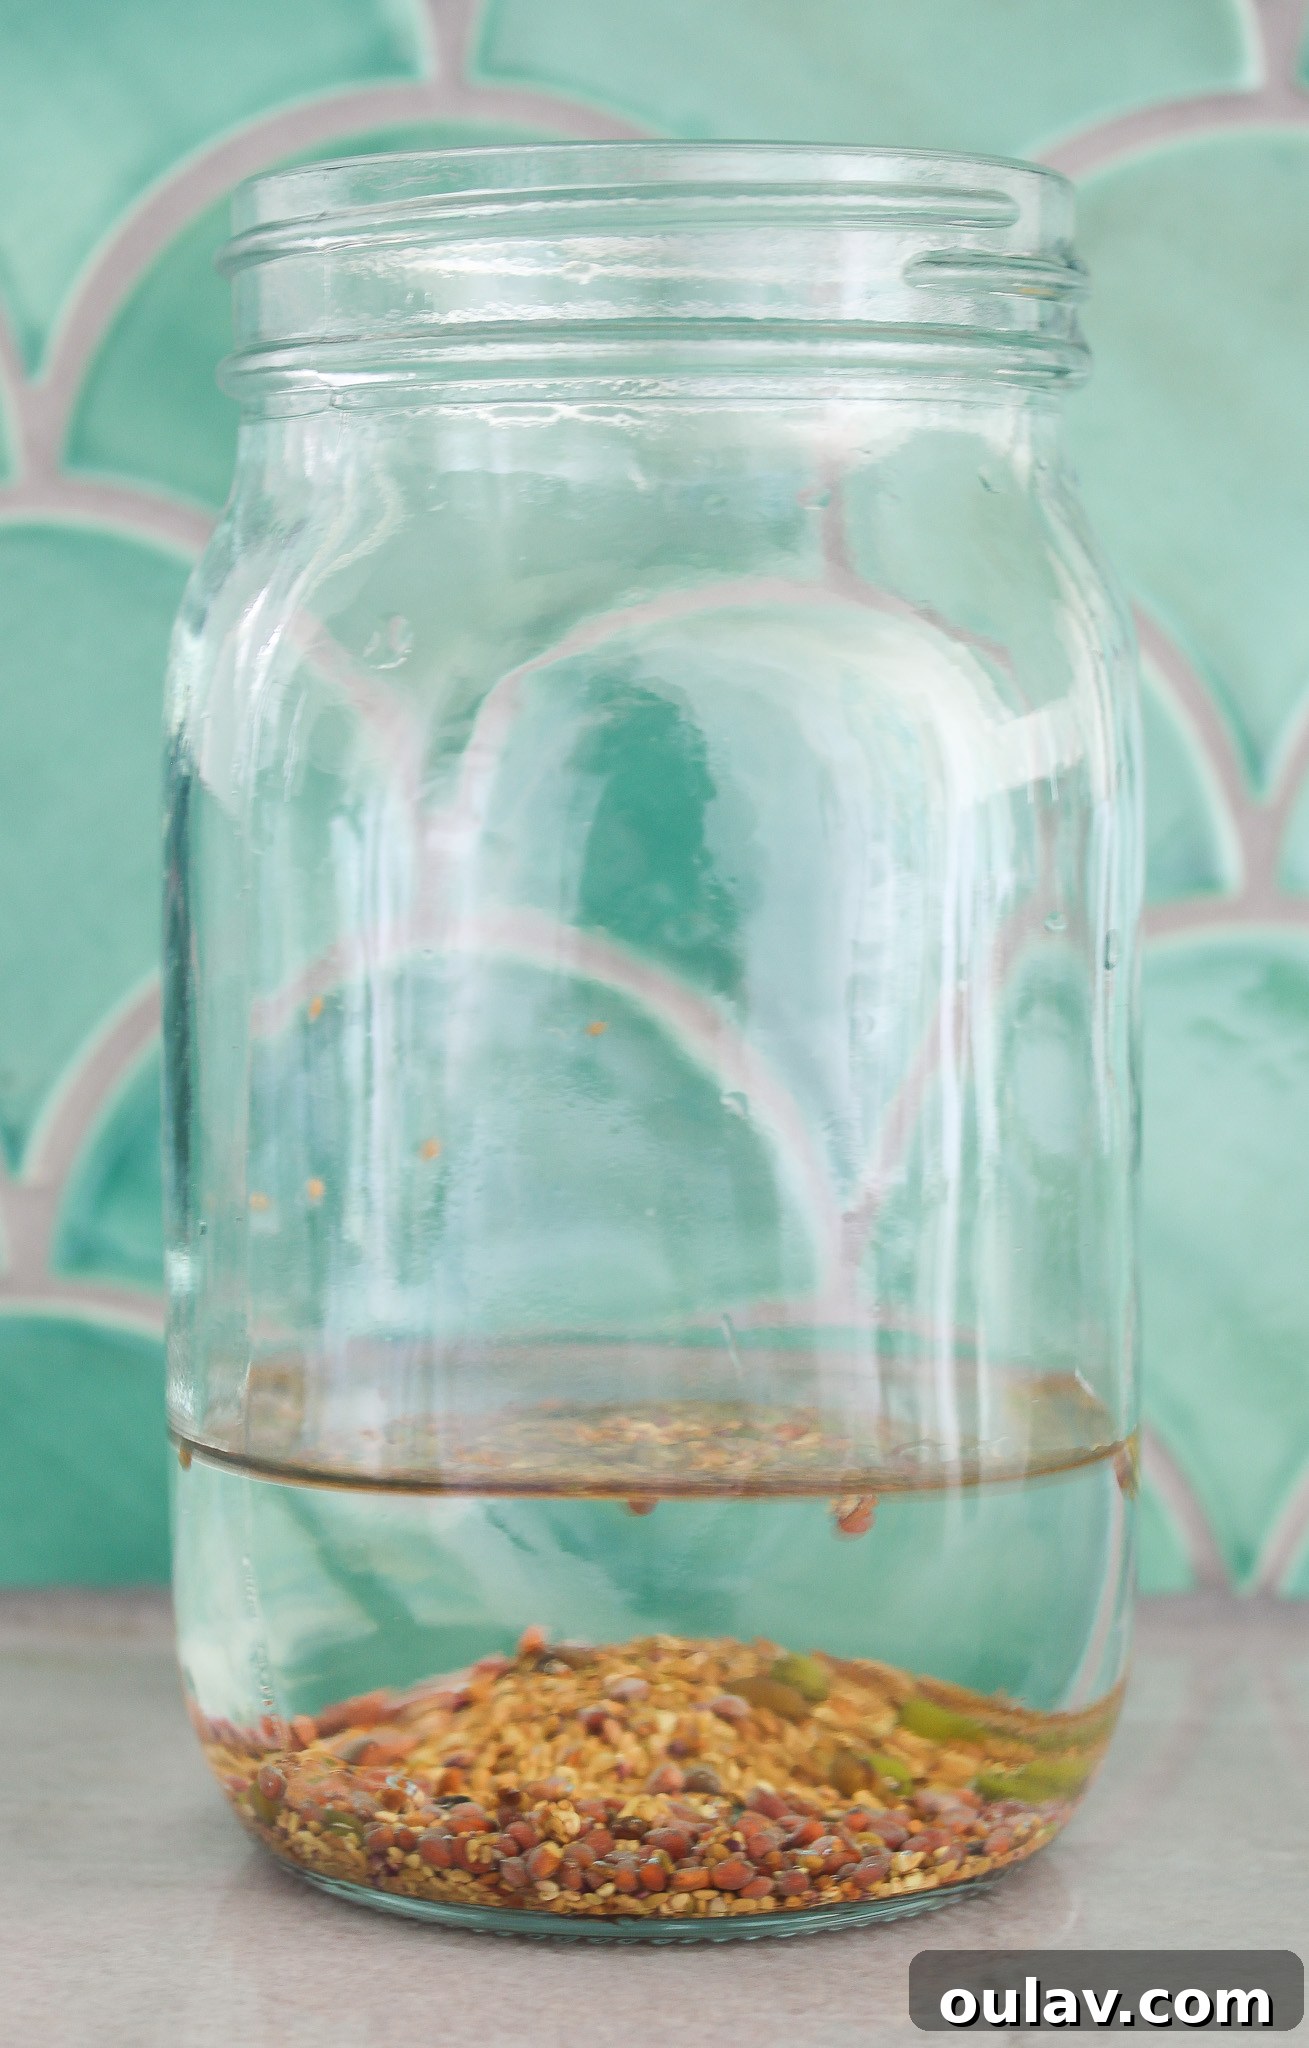
- Initial Soak: Add clean, cool water to the jar, ensuring the water level is at least double the depth of the seeds. This allows the seeds to fully hydrate.
- Soak According to Instructions: Loosely cover the jar (you don’t need the sprouting lid yet) and let the seeds soak. Refer to your specific seed package for the exact soaking time, but typically this phase lasts overnight (8-12 hours). This initial soaking activates the germination process.
- First Drain: After the soaking period, secure your sprouting lid onto the jar (or use cheesecloth). Invert the jar to thoroughly drain all the soaking water. Ensure no standing water remains.
- Rinse Thoroughly: Fill the jar with fresh, cool water, swirl it around vigorously to rinse the seeds completely, then drain the water again. This step removes any byproducts of germination and ensures the seeds remain moist but not waterlogged.
- Proper Drainage Position: Place the inverted jar on your chosen rack or stand at approximately a 45-degree angle. This critical position allows any residual water to continuously drip out, preventing sogginess and creating the ideal humid (but not wet) environment for growth.
- Consistent Rinsing Schedule: Repeat the rinsing and draining process at least twice a day – morning and evening. For optimal results, especially in warmer climates or with certain seeds, 3-4 rinses daily can significantly improve growth and safety. Consistency is key here!
- Optimal Growing Environment: Keep your sprouting jar in a cool spot, typically out of direct sunlight. A countertop away from a window or a pantry shelf is usually perfect. Avoid areas with extreme temperatures or high humidity, as these can encourage mold.
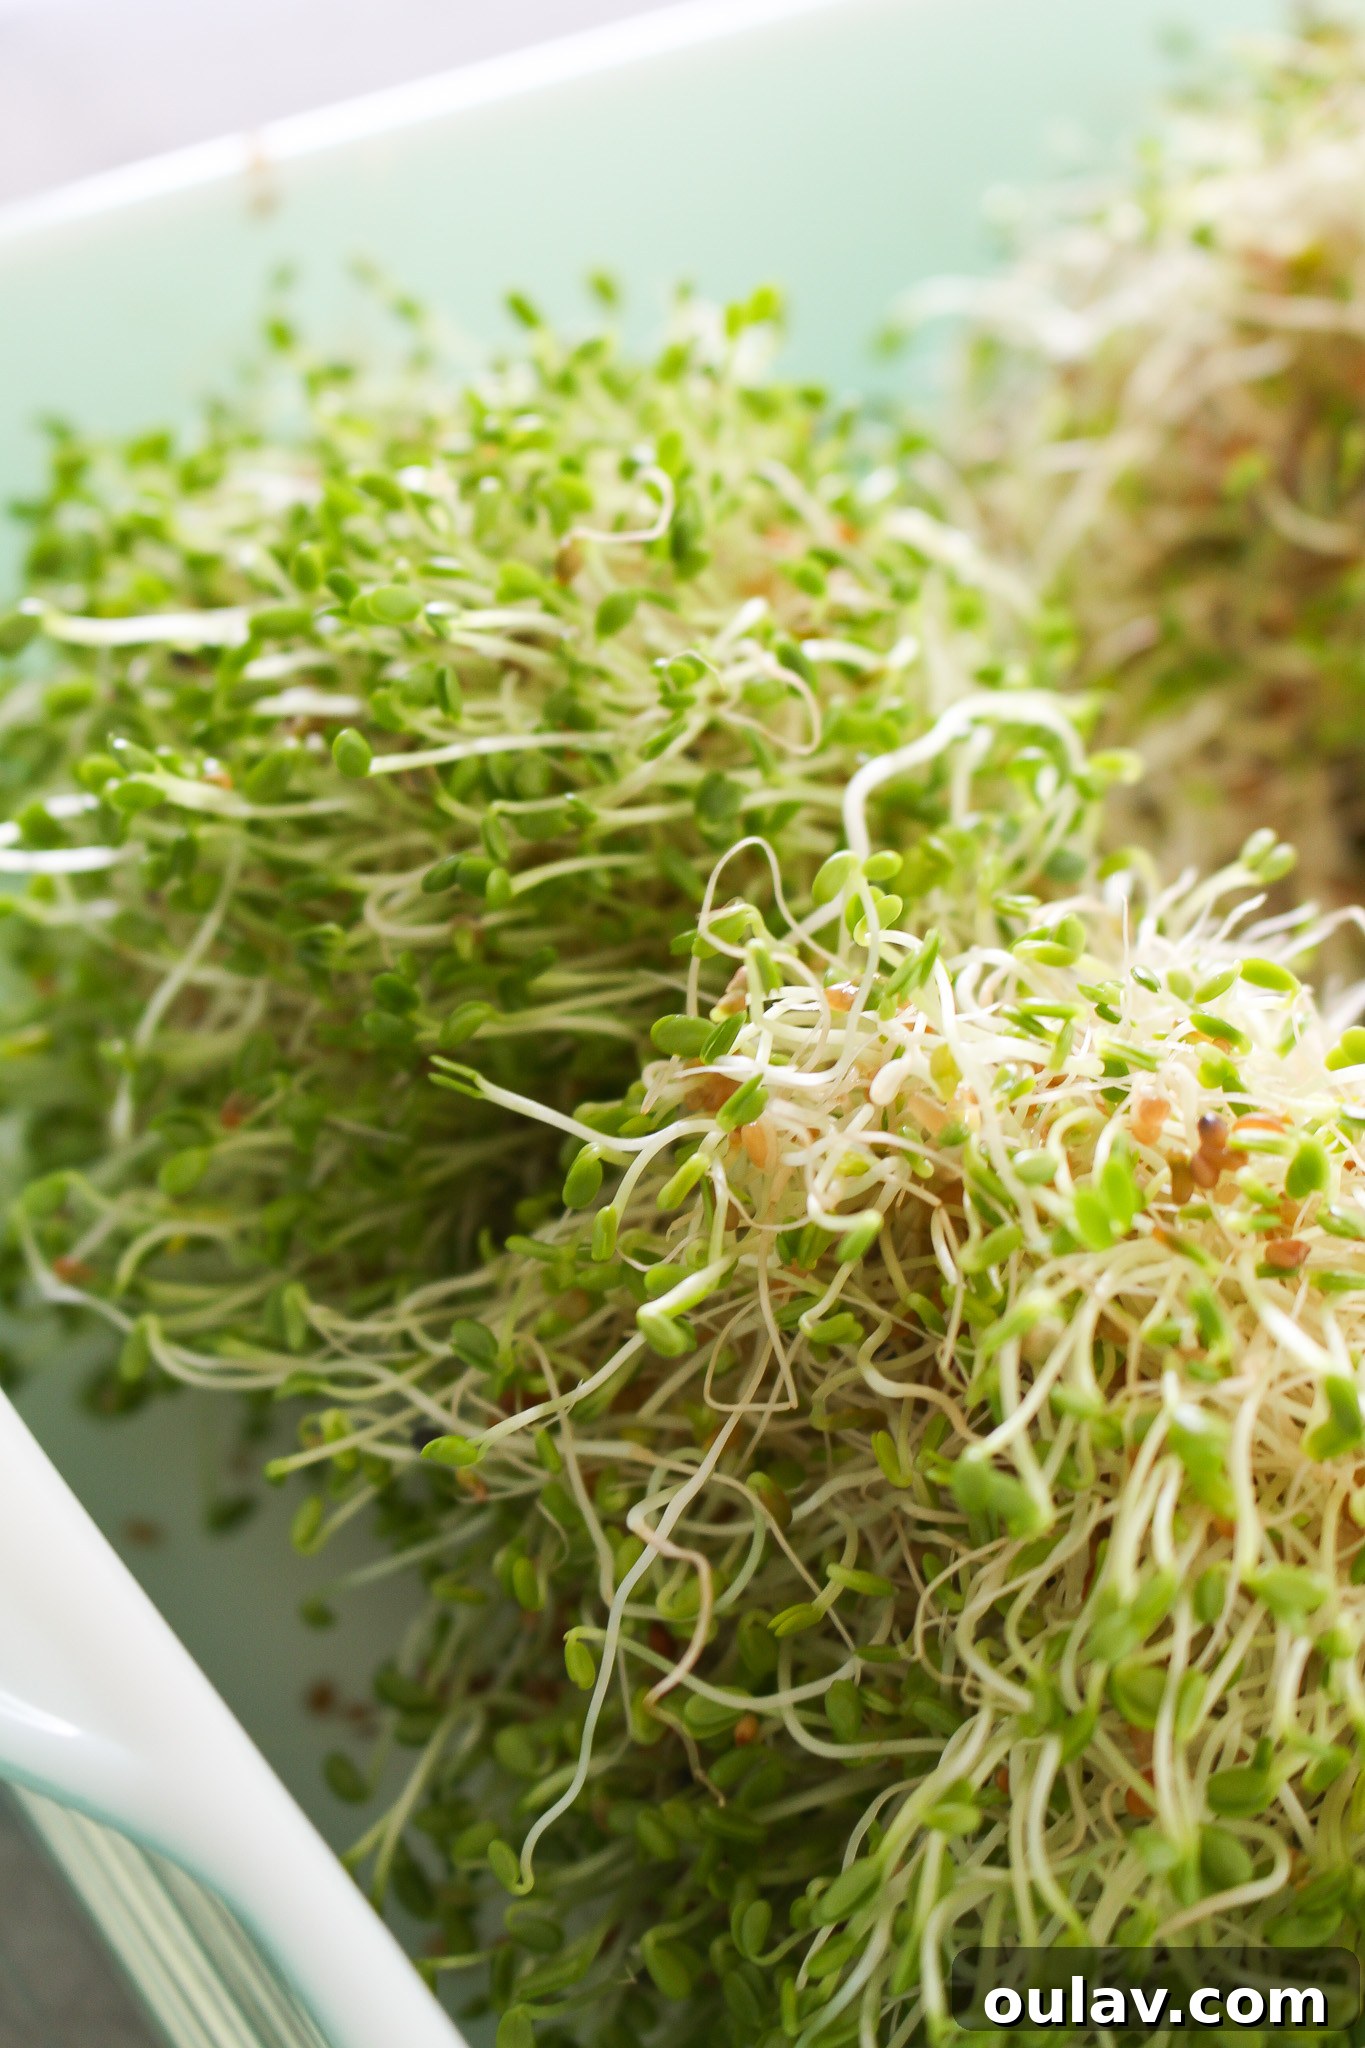
- Harvest Time (3-5 Days): Monitor your sprouts daily. Depending on the seed type, they will usually be fully grown and ready to eat within 3 to 5 days. You’ll see them develop little roots and tiny green leaves (if exposed to indirect light for a few hours on the last day, they might “green up” nicely).
- Final Rinse & Drain: Once they’ve reached your desired size, give them one last thorough rinse. At this point, I often transfer them to a colander for extra thorough draining.
- Separate & Prepare: Gently separate any clumps of sprouts so they aren’t tightly packed. This helps them dry more effectively before storage.
- Store & Enjoy: Allow them to air-dry for about an hour in the colander. Then, transfer them to an airtight container and refrigerate. Consume your fresh sprouts within a week for the best quality and safety.
The Paramount Importance of Rinsing and Draining
While all steps are important, the most critical aspects of how to grow sprouts in a jar are diligent RINSING and comprehensive DRAINING. These two practices are non-negotiable for growing safe and healthy sprouts. If water is allowed to sit or pool within the jar, it creates an anaerobic, excessively damp environment that is a perfect breeding ground for harmful bacteria (like E. coli or Salmonella) and mold.
In my early sprouting days, I used a makeshift drain rack to achieve the correct angle. While functional, it wasn’t always foolproof. The best way to ensure consistent and proper drainage is to invest in a sprouting kit that includes a dedicated stand. These stands are engineered to hold your jar at the optimal angle, guaranteeing that every last drop of water escapes. If you already have suitable jars and lids, you can often purchase these specialized stands separately, a worthwhile investment for peace of mind and sprout safety.
Optimizing Storage for Fresh Sprouts
Proper storage is essential to maintain the freshness, crunch, and safety of your homegrown sprouts. After harvesting, follow these steps:
- Final Rinsing & Separation: Transfer your freshly grown sprouts to a colander for a final, thorough rinse under cool running water. As you rinse, gently use your fingers to de-clump the sprouts, ensuring they aren’t tightly bound together. This allows air to circulate more freely, preventing spoilage.
- Exceptional Drainage is Key: After the final rinse, allow the sprouts to drain very well in the colander for at least an hour. You can even gently pat them dry with a clean paper towel. The dryer they are before storage, the longer they will last.
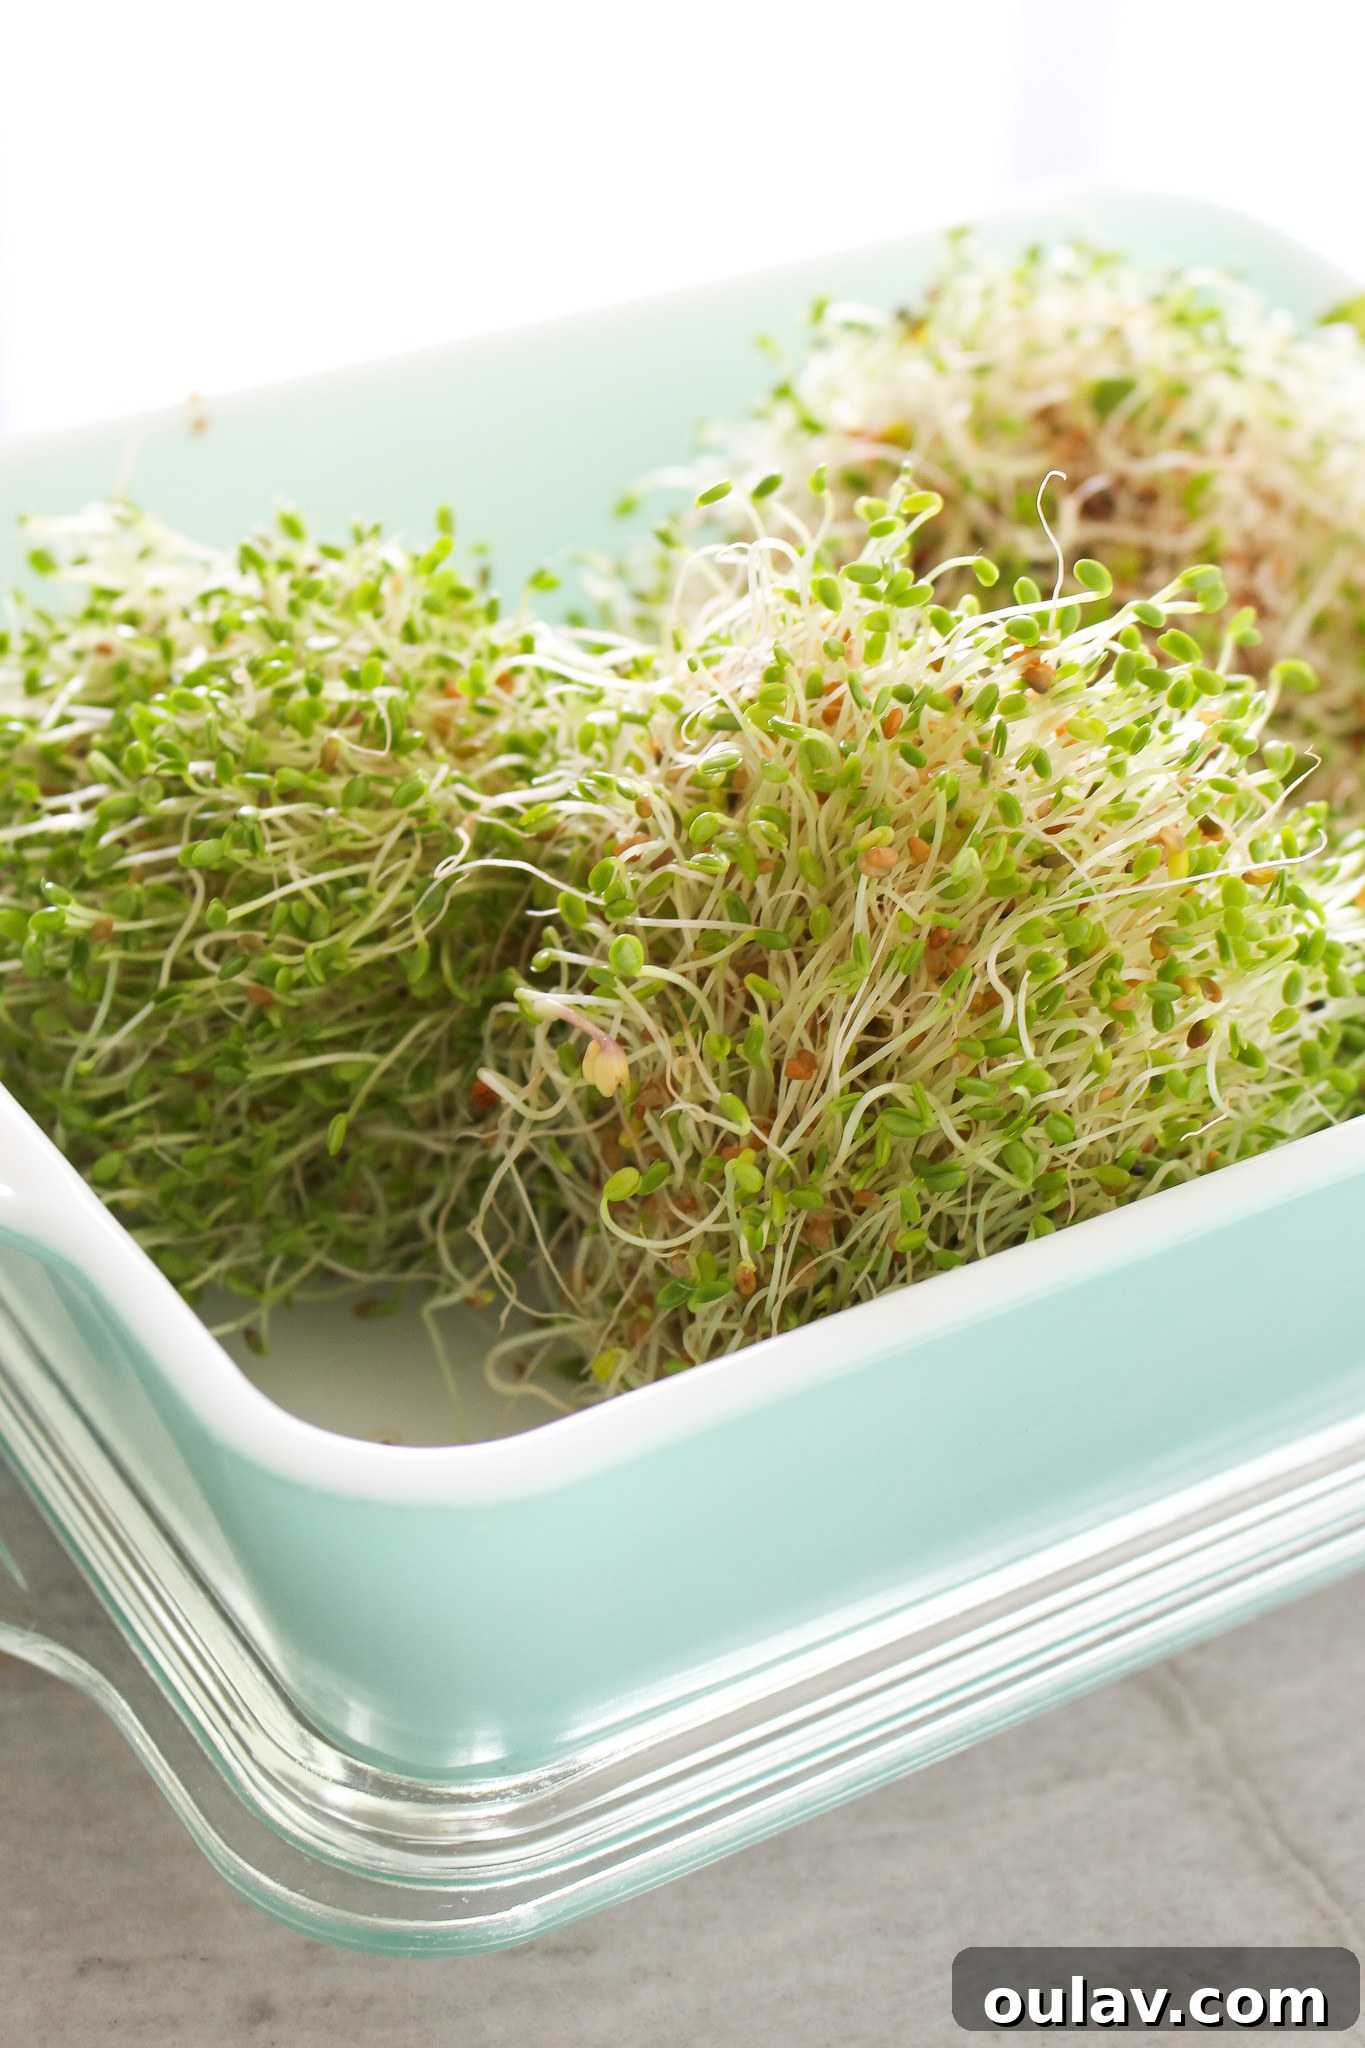
- Choose the Right Container: Transfer the thoroughly drained sprouts to a clean, airtight container. While some sources recommend strictly airtight, I’ve found that a Pyrex dish with a good sealing lid works exceptionally well, providing a balance of airflow and moisture retention.
- Refrigerate & Maintain Dryness: Store your container of sprouts in the refrigerator. To absorb any residual moisture and extend their shelf life, consider placing a clean paper towel at the bottom and/or on top of the sprouts within the container. Replace the paper towel if it becomes noticeably damp.
- Consume Promptly: For optimal freshness and safety, consume your refrigerated sprouts within 5-7 days. Always inspect them before eating; discard immediately if you notice any sliminess, foul odor, or discoloration.
Understanding “What is in a Sprout?”
Before I started my own sprouting journey, I mistakenly believed that a “sprout” referred to a specific, small, leafy green, akin to miniature spinach. However, the truth is far more diverse and exciting! Sprouts are simply seeds that have germinated and grown into very young plants. This means you can cultivate all different kinds of nutrient-dense sprouts from a wide variety of seeds, including commonly known types like alfalfa, mung beans, and radish, but also more unique options like broccoli seeds, lentil seeds, or even certain nut and grain varieties.
So, whether you desire to grow crunchy bean sprouts for an Asian-inspired dish or want the powerful health benefits of broccoli sprouts, the choice is yours! When you consume sprouts, you’re essentially eating the ‘mini-me’ version of a plant, packed with the concentrated energy intended for its full growth. They are typically eaten raw to preserve their delicate enzymes and nutritional integrity. Sprouts are generally categorized into:
- Bean/Pea Sprouts: Mung bean, lentil, adzuki, chickpea, green pea.
- Vegetable Sprouts: Broccoli, radish, alfalfa, clover, kale, fenugreek.
- Nut/Seed Sprouts: Almond, sunflower, pumpkin, sesame (less common for jar sprouting).
- Sprouted Grains: Quinoa, oat, rice (often require specific conditions, less common for beginners in jars).
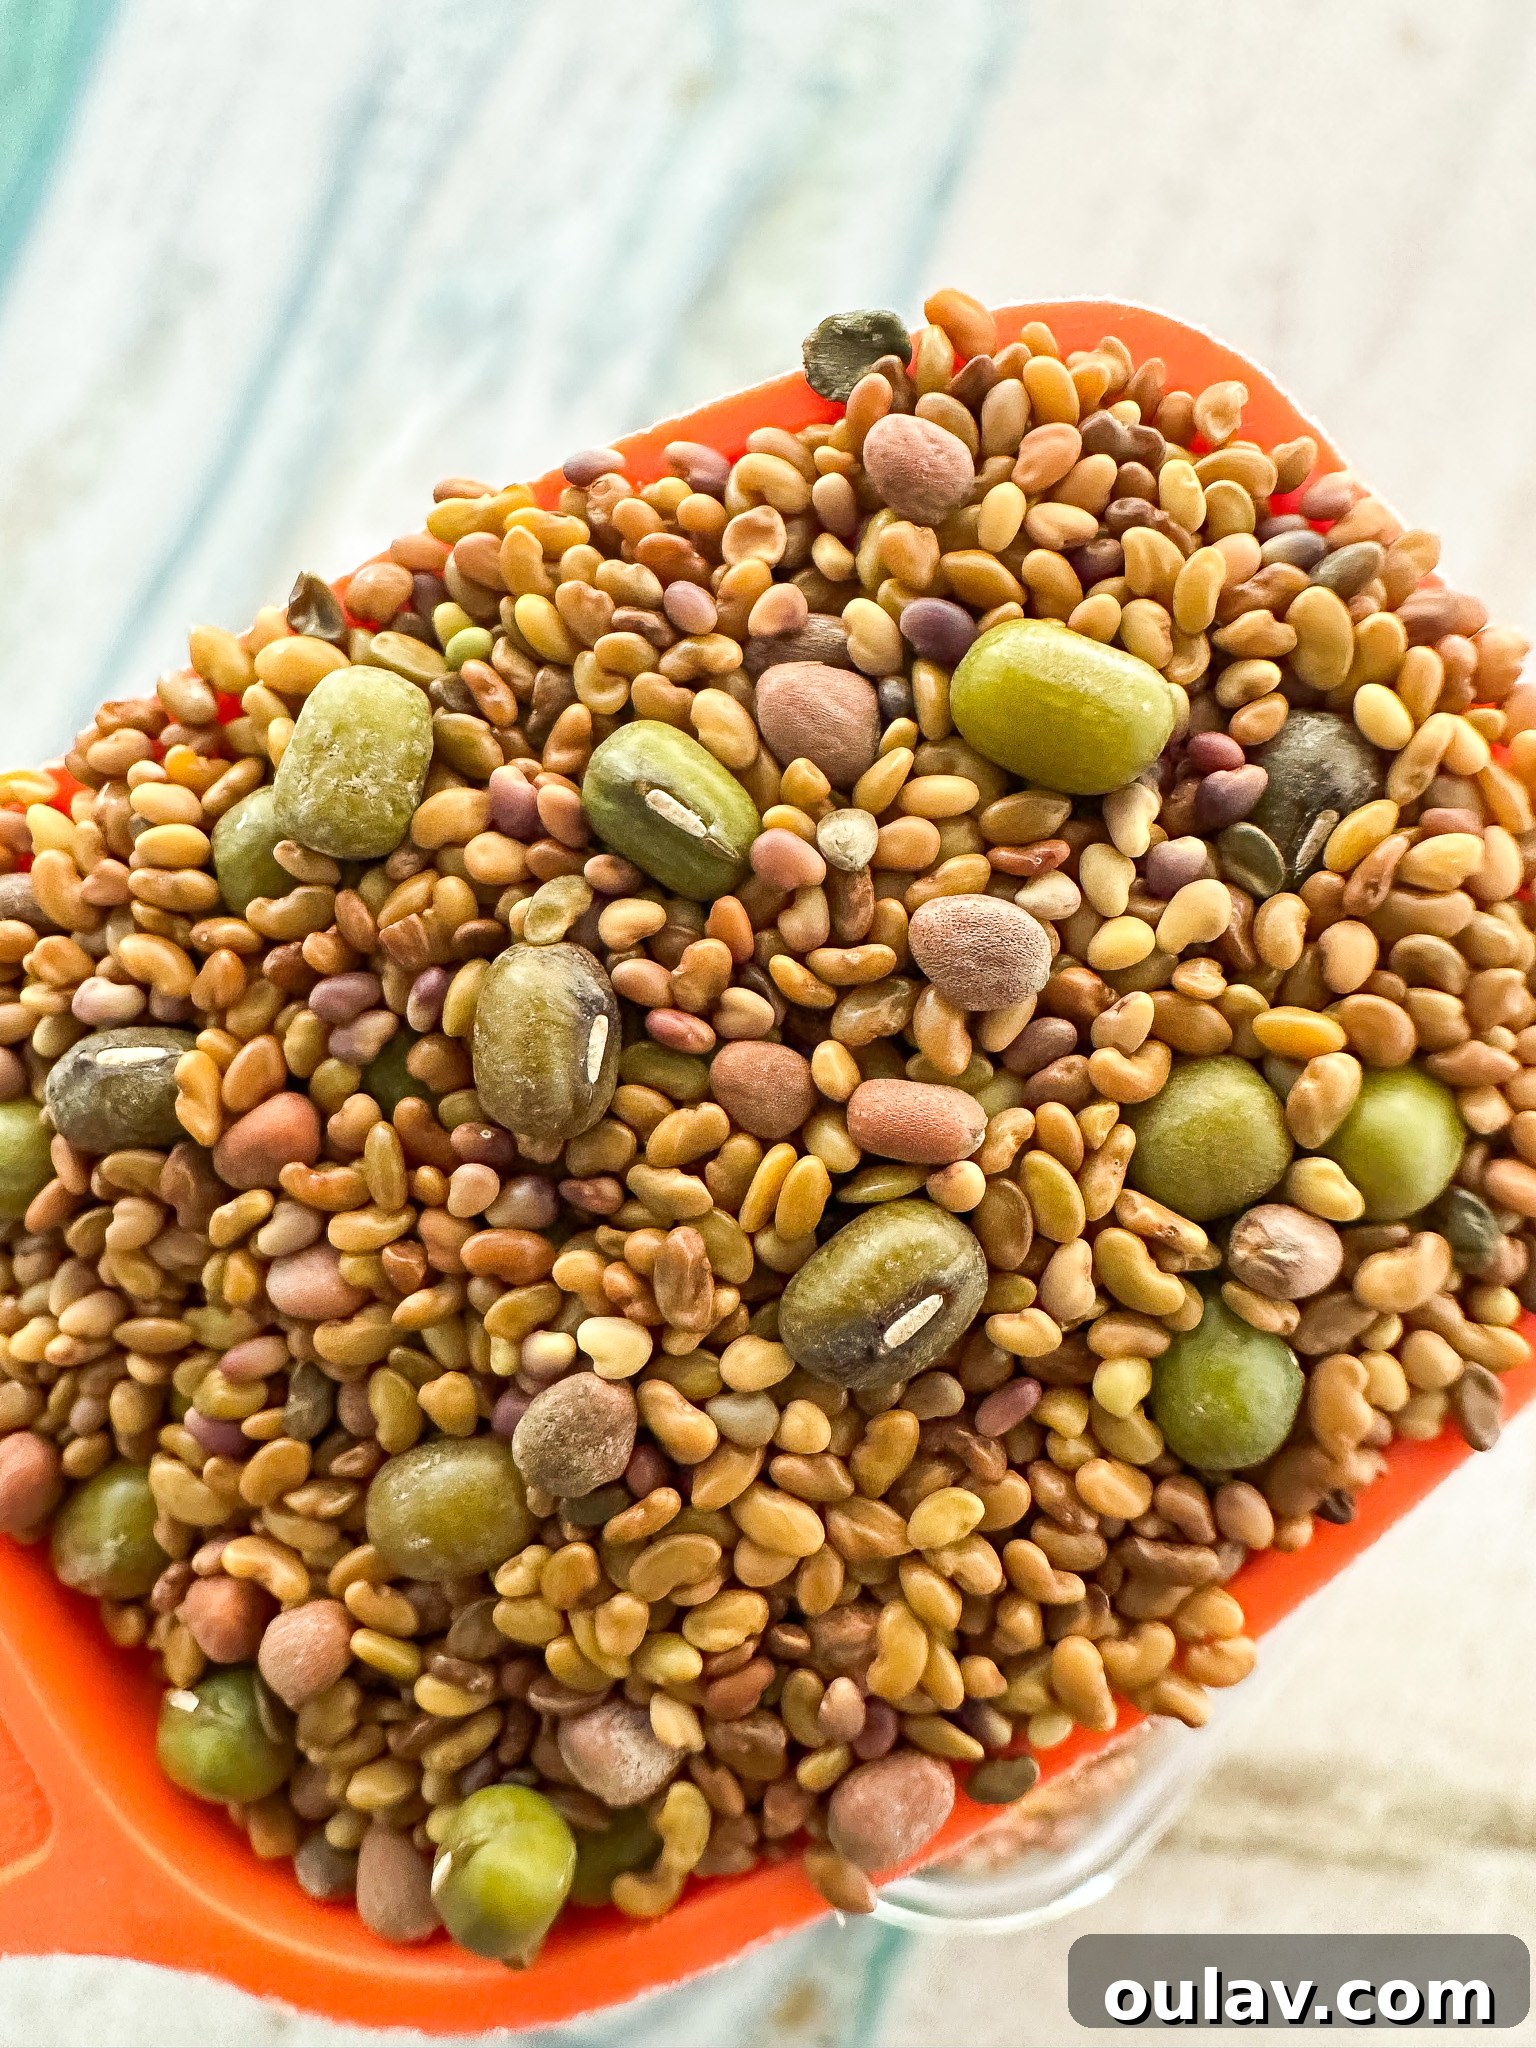
This wide variety is precisely why, if you’ve tried “sprouts” before and found them unappealing, you shouldn’t write them off completely! As I began cultivating my own, I quickly discovered a vast difference in flavor profiles – some I absolutely disliked, while others became instant favorites. It’s truly worthwhile to experiment a little and explore the diverse world of sprouts to find the ones that best tantalize your taste buds. The delightful mix I’m currently enjoying, for instance, is a blend of refreshing alfalfa, hearty mung beans, mild red clover, and zesty red radish, offering a fantastic balance of flavors and textures.
If you’re hesitant to commit to growing a large batch of sprouts you might not enjoy, a smart strategy is to head to your local farmer’s market or health food store and purchase a small amount of different varieties first. Once you pinpoint the sprouts you truly love, you can then confidently buy your own seeds and begin growing them abundantly at home.
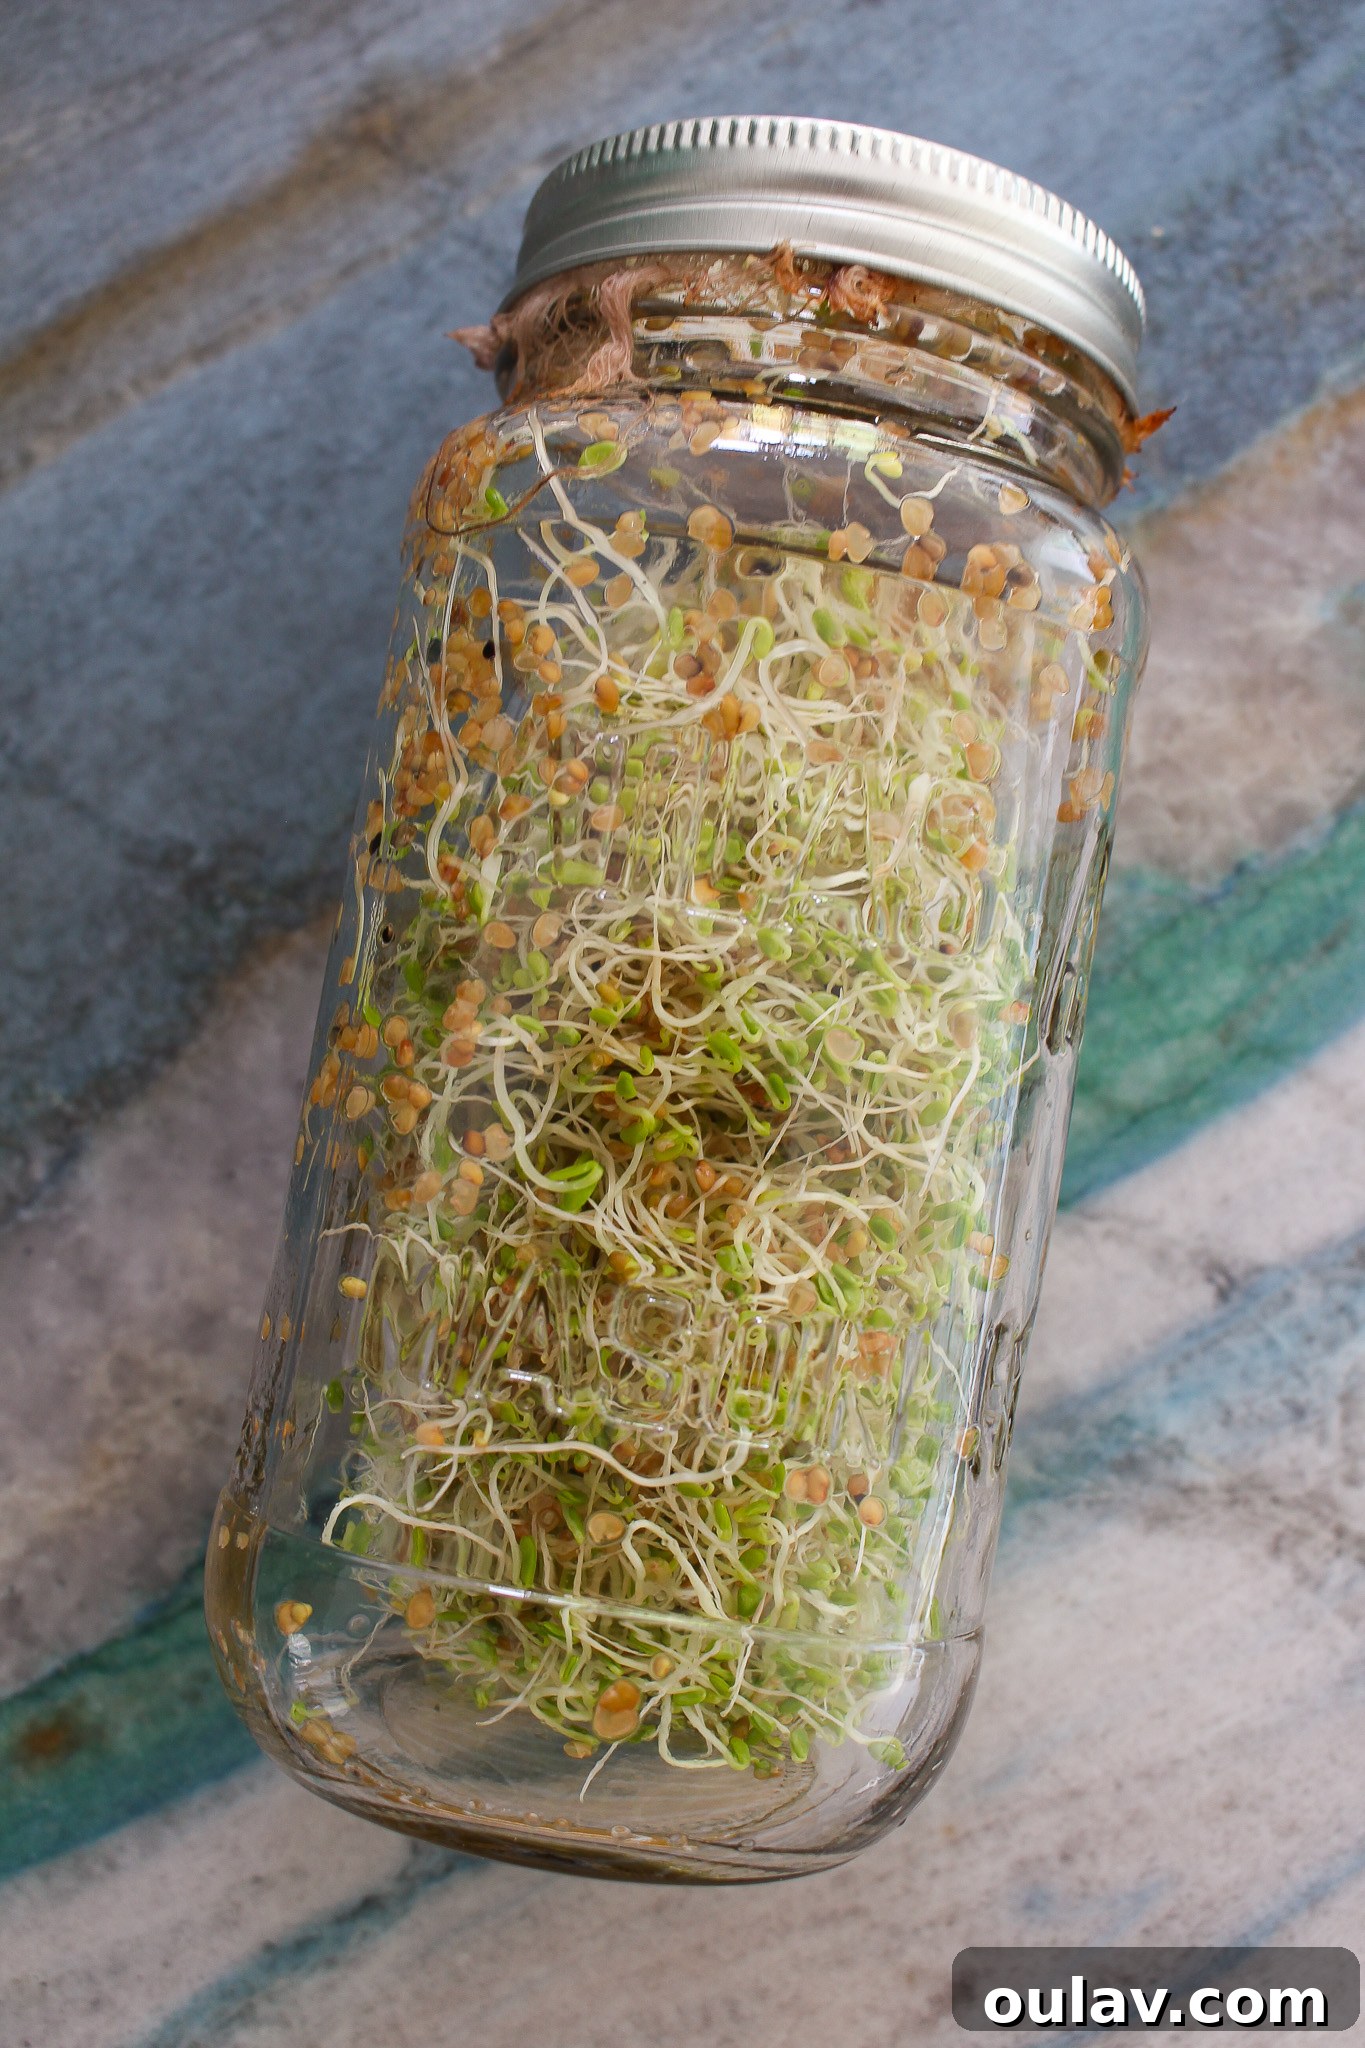
Why Choose Sprouts Over Their Fully Grown Counterparts?
While the mature plants from which sprouts originate offer undeniable health benefits, sprouts themselves present a unique set of advantages that make them a compelling addition to any diet. They are incredibly nutrient-dense, remarkably inexpensive to grow, and surprisingly easy to cultivate right in your own home. This means that even when certain seasonal vegetables might be scarce or expensive, you can consistently reap their nutritional benefits by growing sprouts year-round.
The health advantages of sprouts are numerous, ranging from their potent antioxidant content to their enhanced digestibility. However, perhaps the most compelling reason to embrace sprouts is their unparalleled convenience as a health-boosting food. They grow rapidly, allowing you to enjoy them at their freshest state within days. Furthermore, sprouts require virtually no preparation; simply rinse and add them to your meals. Incorporate them into vibrant salads, tuck them into wraps, sandwiches, and burgers for an added crunch, or savor them on their own as a crisp, refreshing side. They are an effortless way to inject significant nutritional value into your daily routine.
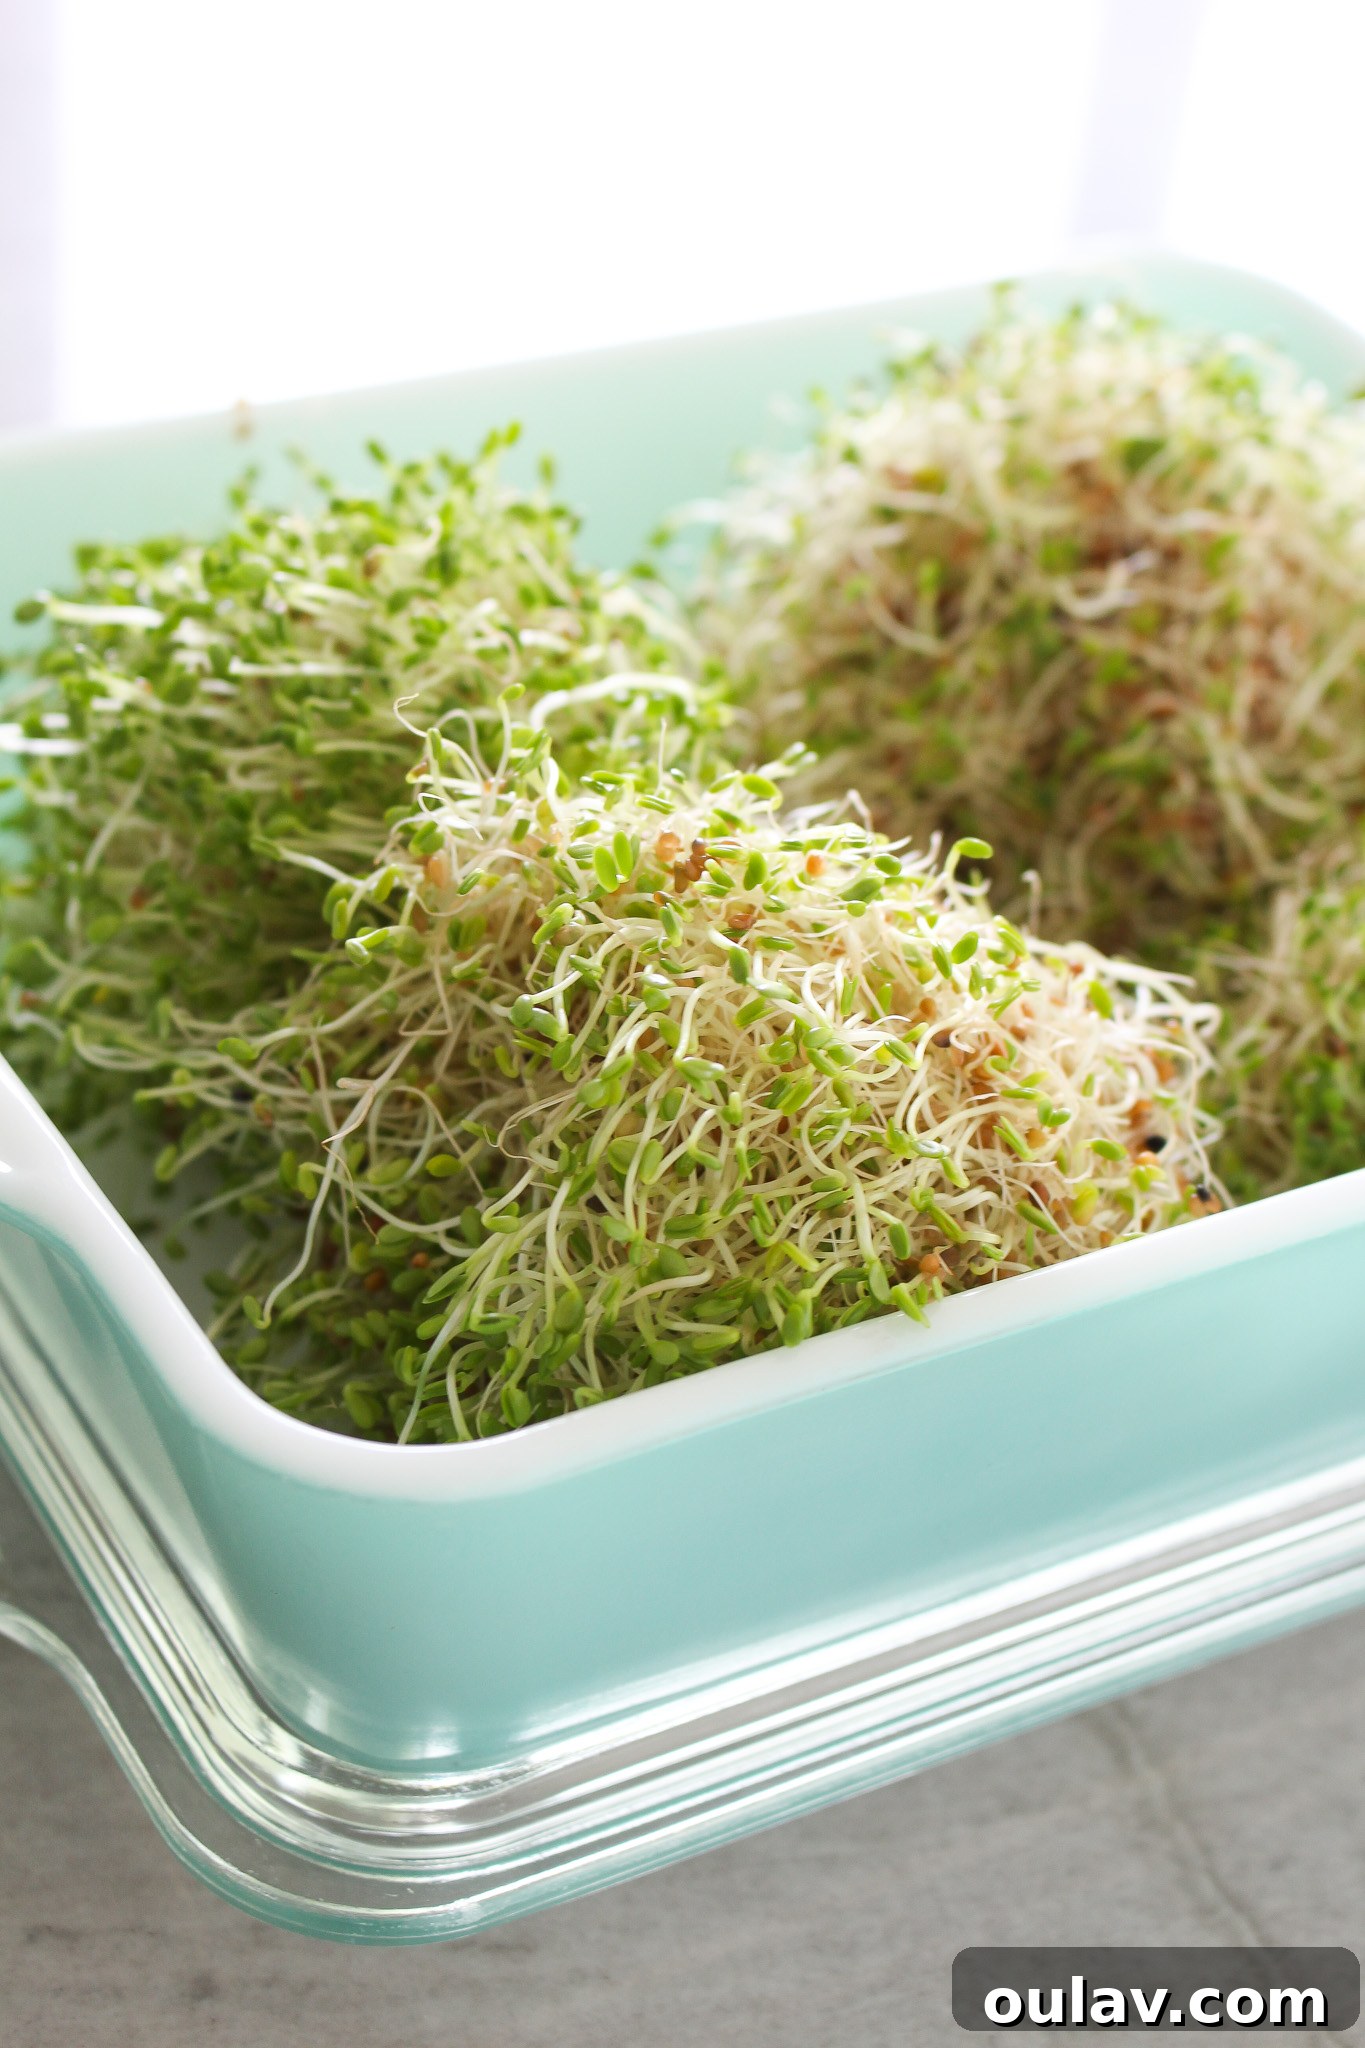
The Unique Nutritional Magic of Sprouts
What truly sets sprouts apart in the nutritional landscape? They possess the same foundational health benefits as their fully grown plant counterparts, but often in significantly higher, more concentrated doses. Scientific studies and nutritional analyses have repeatedly shown that the sprouting process dramatically increases the bioavailability of certain nutrients and can even create new ones. For instance, it’s widely cited that just one cup of broccoli sprouts can offer a nutritional profile similar to that found in as many as 50 cups of mature broccoli! This incredible concentration makes sprouts a superfood, particularly beneficial for individuals striving to incorporate adequate vegetables and essential nutrients into their daily diets.
During germination, the dormant seed transforms, breaking down complex carbohydrates, proteins, and fats into more easily digestible forms. This process also leads to an increase in vitamins (especially B vitamins and Vitamin C), enzymes, and phytochemicals. For example, broccoli sprouts are renowned for their high levels of sulforaphane, a potent compound linked to powerful antioxidant and anti-inflammatory properties. By consuming sprouts, you’re not just eating a tiny plant; you’re consuming a concentrated package of biological activity designed to kickstart life, offering an impressive nutritional punch in a very small serving.
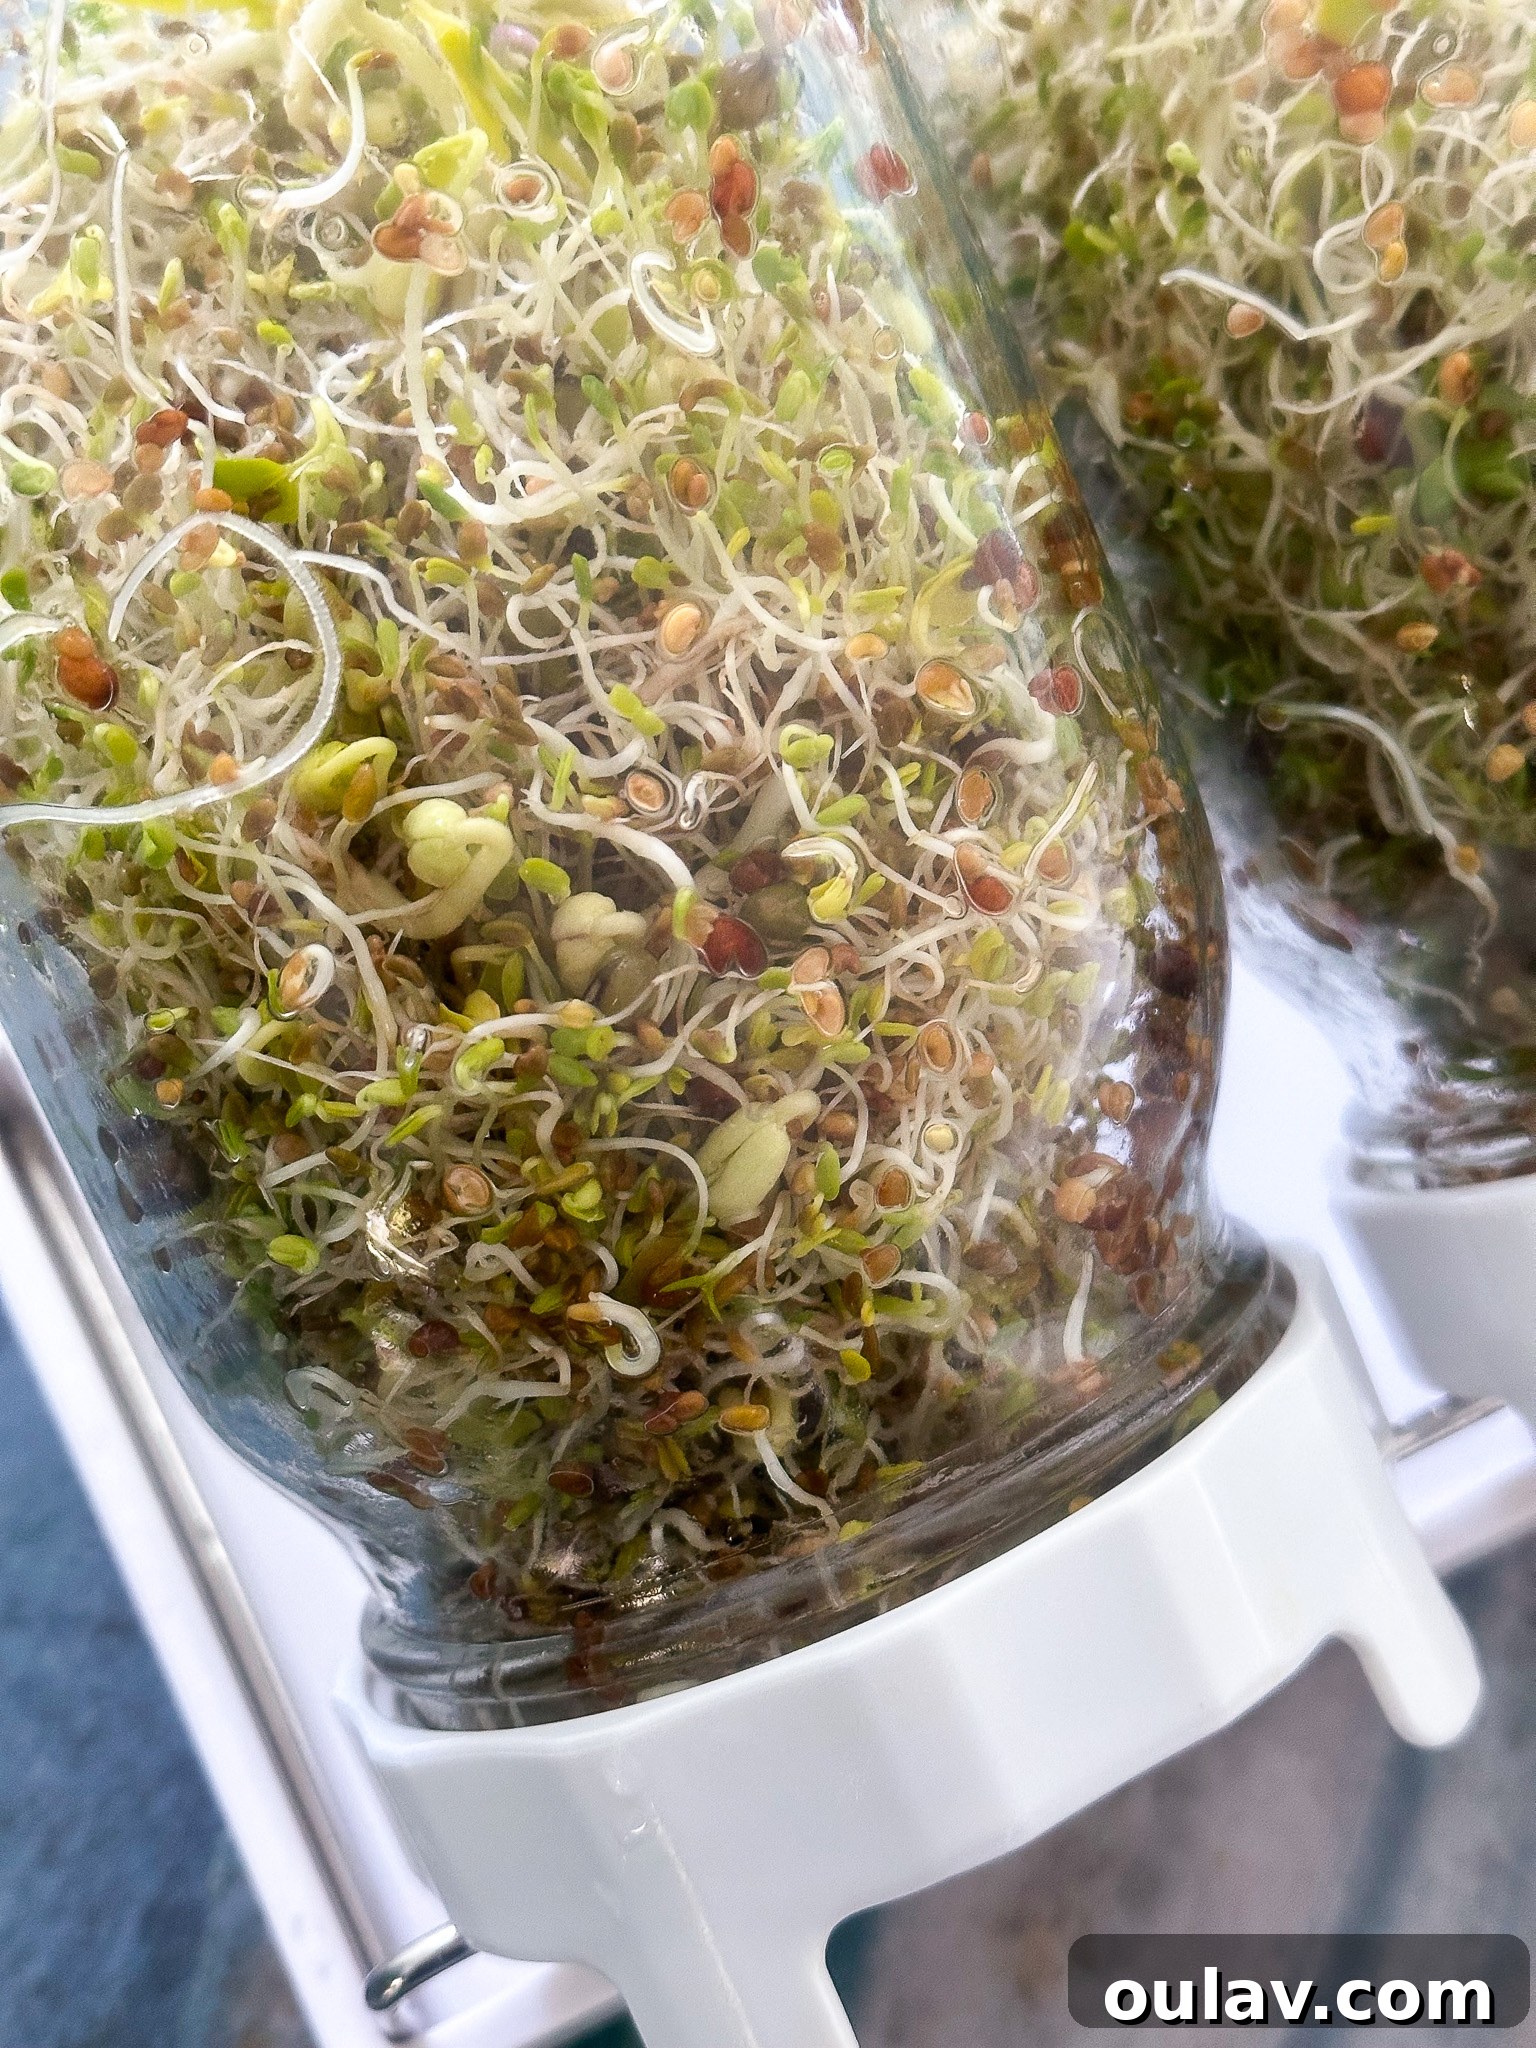
Critical Safety Concerns for Home Grown Sprouts
While growing sprouts at home offers immense benefits, it’s crucial to acknowledge and address the potential safety risks. Unfortunately, the warm, damp environment ideal for sprouting can also be a perfect breeding ground for harmful bacteria such as Salmonella, E. coli, and Listeria, as well as mold and rot. This risk is amplified because sprouts are typically consumed raw or very lightly cooked, meaning any present pathogens are not destroyed by heat. However, by adhering to strict hygiene and proper techniques, you can significantly mitigate these risks and enjoy your homegrown sprouts safely. Here are essential tips for safe sprouting:
- Choose a REPUTABLE SUPPLIER of Sprouting Seeds: This is arguably the most critical step. Seeds themselves can carry pathogens (like Salmonella or E. coli) from the field. Always purchase seeds specifically labeled for sprouting from trusted, certified suppliers who test their seeds for these contaminants. Avoid garden seeds, which may be treated with fungicides or pesticides not suitable for consumption. (*For example, I sourced my seeds here, but always conduct your own research to find a supplier you trust.)
- WASH HANDS Thoroughly: Always wash your hands with soap and warm water for at least 20 seconds before handling seeds or sprouts at any stage of the process.
- Start with CLEAN, Preferably STERILIZED Jars and Lids: Before each batch, ensure your sprouting jars, lids, and any other equipment (like colanders) are immaculately clean. You can sterilize glass jars by boiling them for 10 minutes or running them through a hot dishwasher cycle.
- Use CLEAN, Potable Water: Always use fresh, clean, cold tap water for soaking and rinsing your seeds and sprouts. Filtered water can be an excellent choice if your tap water quality is a concern.
- RINSE Your Sprouts Thoroughly and Frequently: This is vital for washing away any bacterial buildup and providing fresh moisture. Rinse at least twice a day (morning and evening), and ideally 3-4 times, particularly in warmer conditions.
- Ensure Jars are Positioned to DRAIN Completely: After every rinse, make sure the jars are inverted and propped at a sufficient angle (approx. 45 degrees) to allow ALL excess water to drain out. No standing water should remain in the jar between rinses. This prevents anaerobic conditions that favor harmful bacterial growth.
- Avoid Direct Sun or High Humidity: Store your sprouting jars in a cool, well-ventilated area away from direct sunlight. Excessive heat and humidity can accelerate bacterial growth and spoilage.
- Thoroughly RINSE, DRY, and REFRIGERATE Sprouts Before Storage: Before transferring your harvested sprouts to the fridge, give them one final, thorough rinse and ensure they are as dry as possible to inhibit bacterial growth in storage. Promptly refrigerate them in a clean, airtight container.
- Consume Sprouts Within 7 Days: Freshness is key to safety. Consume your sprouts within one week of harvesting. Regularly WATCH for any signs of spoilage, such as a slimy texture, off-odors, or discoloration, and discard immediately if observed. When in doubt, throw it out!
Who Should Exercise Caution or Avoid Raw Sprouts?
Given that sprouts are grown in damp environments and are typically consumed raw, there is an inherent, albeit manageable, risk of contamination by harmful bacteria such as Salmonella and E. coli. While sprouts are undeniably nutritious, this risk means they can potentially lead to food poisoning, whether they are grown at home or purchased from a store. Therefore, certain demographic groups are advised to exercise particular caution or, in some cases, completely avoid eating raw sprouts due to their heightened susceptibility to foodborne illnesses and more severe potential complications.
Please always do your own research and consult with a healthcare professional if you have concerns. However, generally, those who should consider avoiding raw sprouts include:
- Young Children: Their immune systems are still developing and may not be able to combat pathogens as effectively as adults.
- Pregnant Women: Foodborne illnesses can pose serious risks to both the mother and the developing fetus.
- Elderly Individuals: As people age, their immune systems can weaken, making them more vulnerable to severe illness from foodborne bacteria.
- People with Weak or Compromised Immune Systems: This includes individuals undergoing chemotherapy, those with chronic illnesses (like diabetes or kidney disease), or people with HIV/AIDS. For these groups, even a mild infection could become life-threatening.
For these sensitive populations, if sprouts are to be consumed, it is highly recommended that they are thoroughly cooked to eliminate any potential bacterial presence. Always prioritize safety and make informed dietary choices.
Embark on Your Sprouting Adventure!
Growing sprouts in a jar is a simple, affordable, and incredibly rewarding way to introduce fresh, highly nutritious food into your daily diet. With minimal supplies, a little patience, and a commitment to proper hygiene, you can cultivate a continuous supply of vibrant, flavorful sprouts right on your kitchen counter. From enhancing your salads to boosting your sandwiches, these tiny greens pack a mighty punch of health benefits. So, gather your supplies, choose your favorite seeds, and get ready to enjoy the freshest produce you’ve ever grown!
P.S. Don’t forget to pin this guide for later reference, so you can easily revisit these tips whenever you’re ready to grow your next batch of delicious, home-grown sprouts!