
DIY Laser Cut Ghost Garland with xTool M1: Crafting Spooky Chic Halloween Decor
There’s an undeniable thrill in bringing a creative vision to life, especially when it involves a powerful tool like the xTool M1 Laser Engraver and Laser Cutter. What began as a simple doodle quickly transformed into an enchanting DIY ghost garland, a testament to the magic of laser cutting. While the journey with a new machine can sometimes be a test of patience, filled with initial triumphs and a few frustrating setbacks, the satisfaction of unlocking its full potential is truly rewarding. After a brief period of setting the machine aside, a renewed sense of experimentation led to a breakthrough, making laser cutting not just a hobby, but a wellspring of endless project ideas for both my husband and me. This ghost garland project perfectly embodies that journey, demonstrating how a bit of perseverance can lead to beautifully crafted, personalized home decor.
The Inspiration Behind Our Durable DIY Ghost Garland
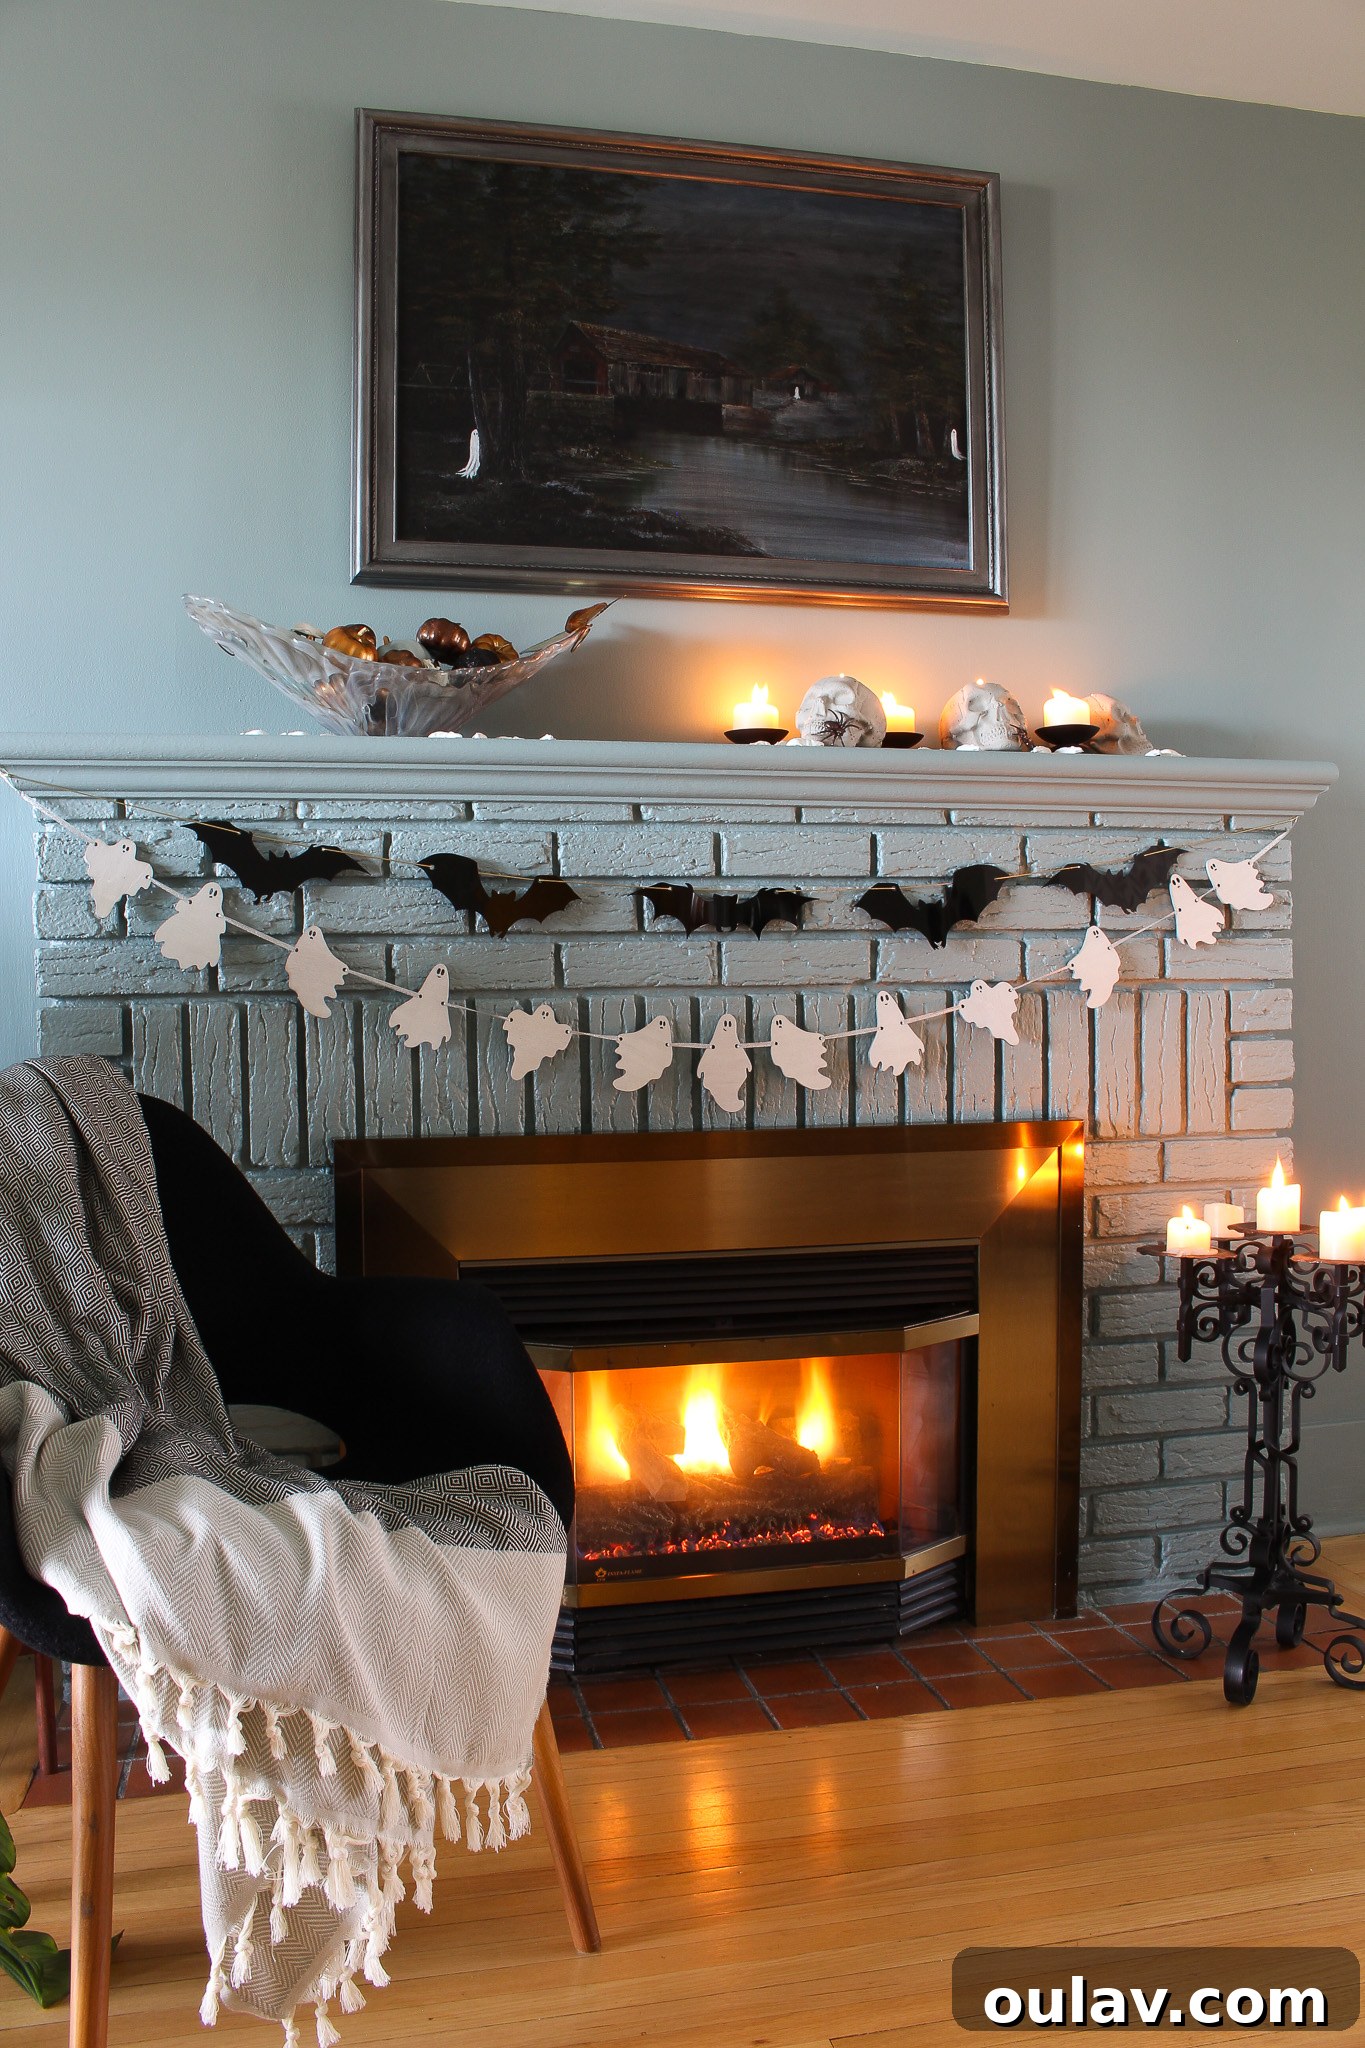
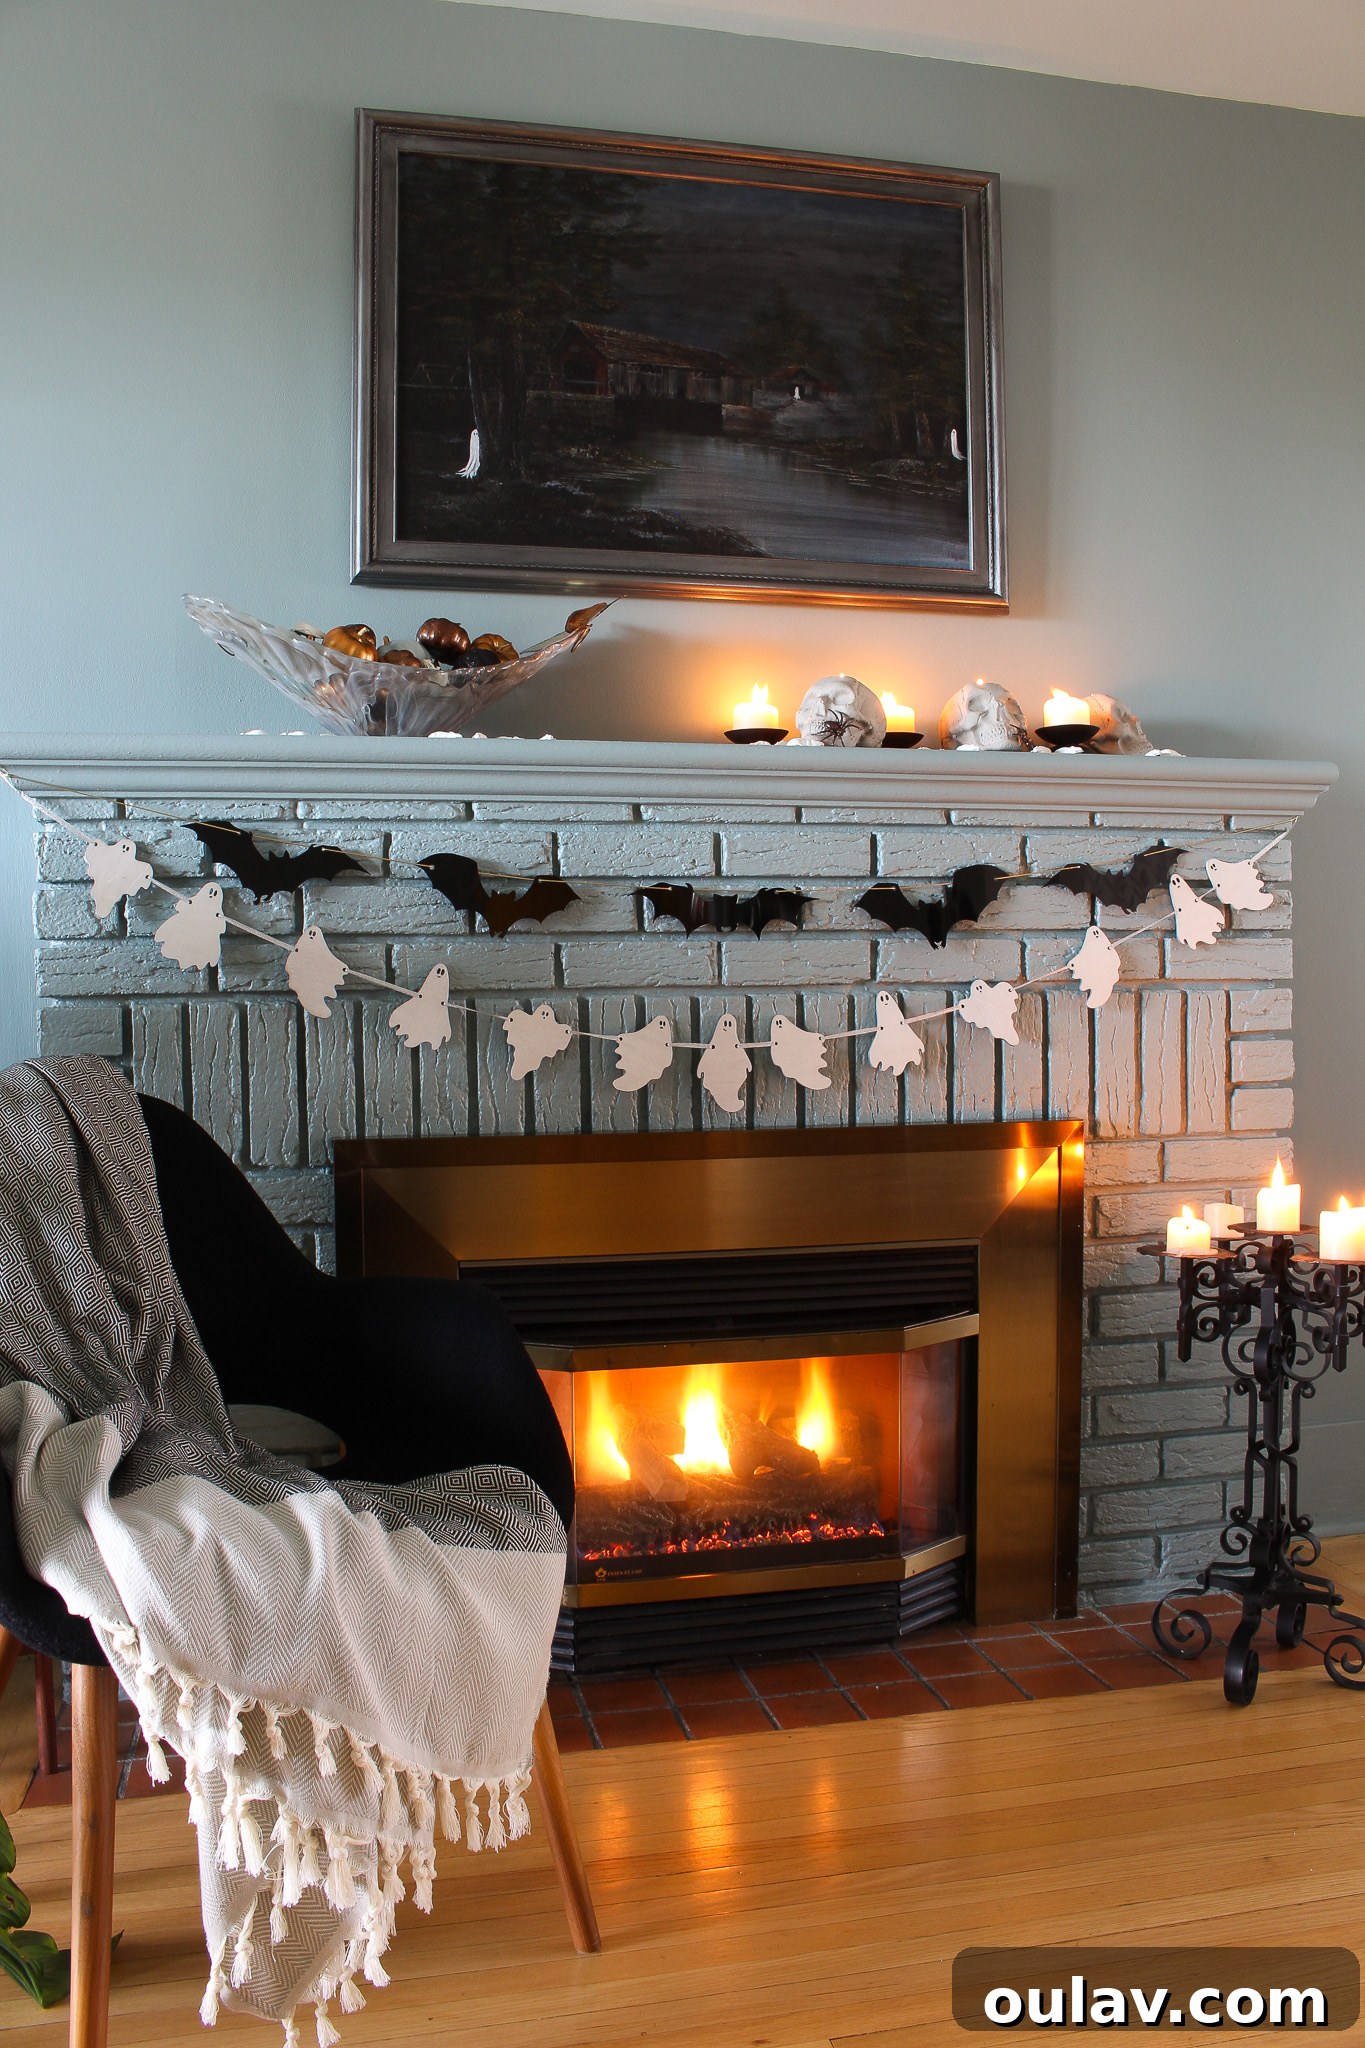
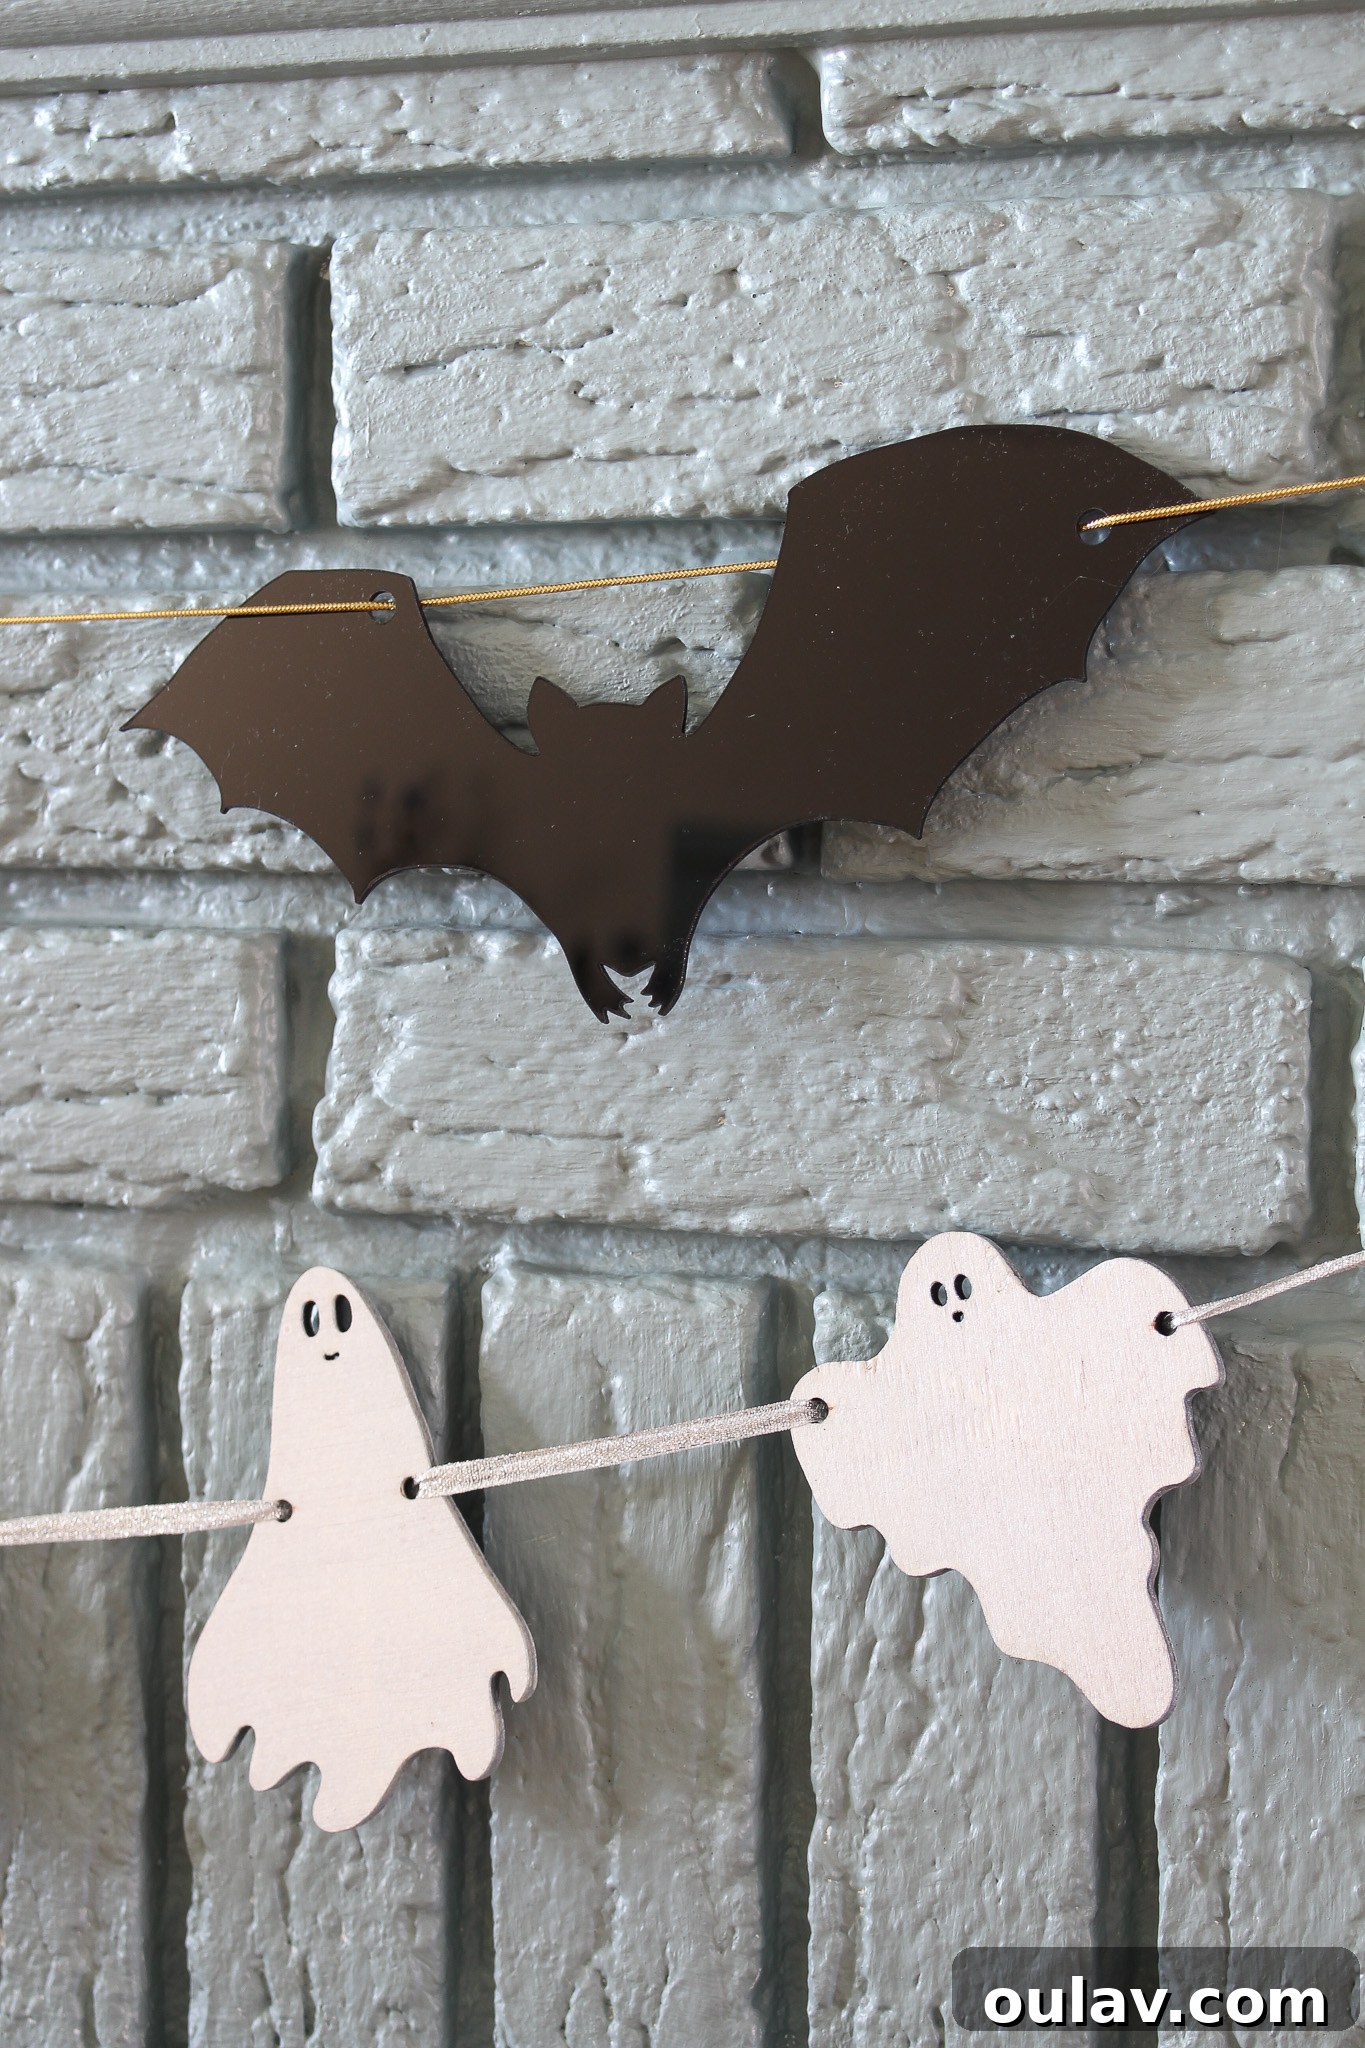
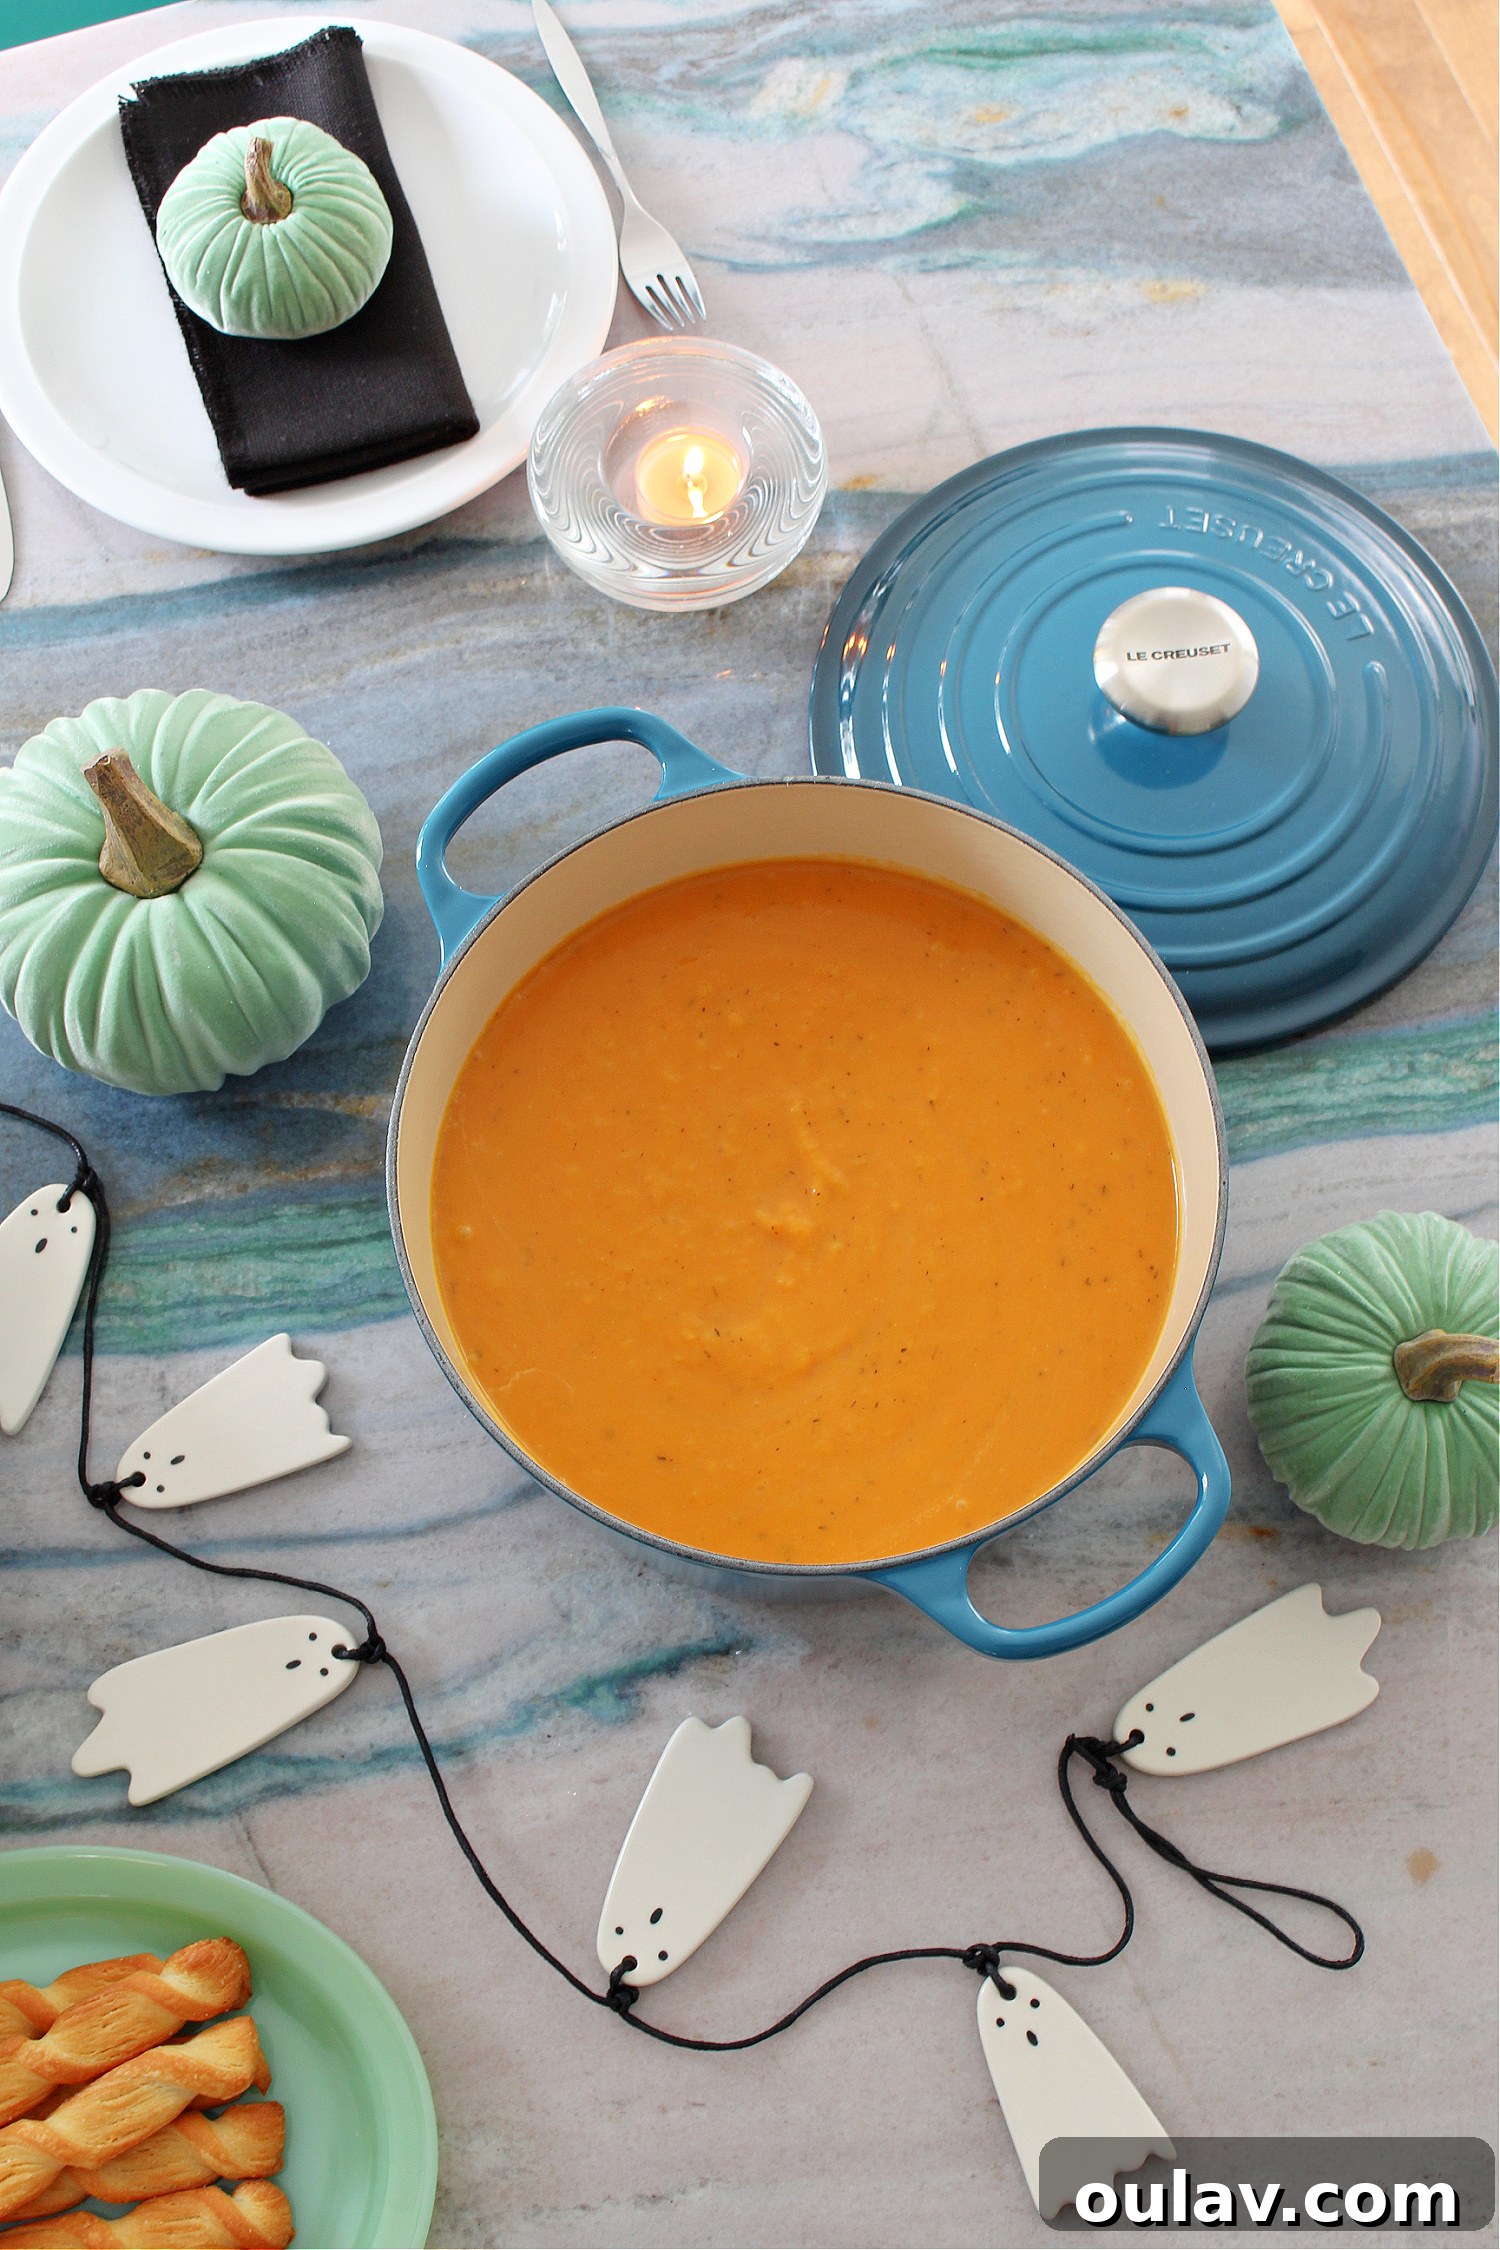
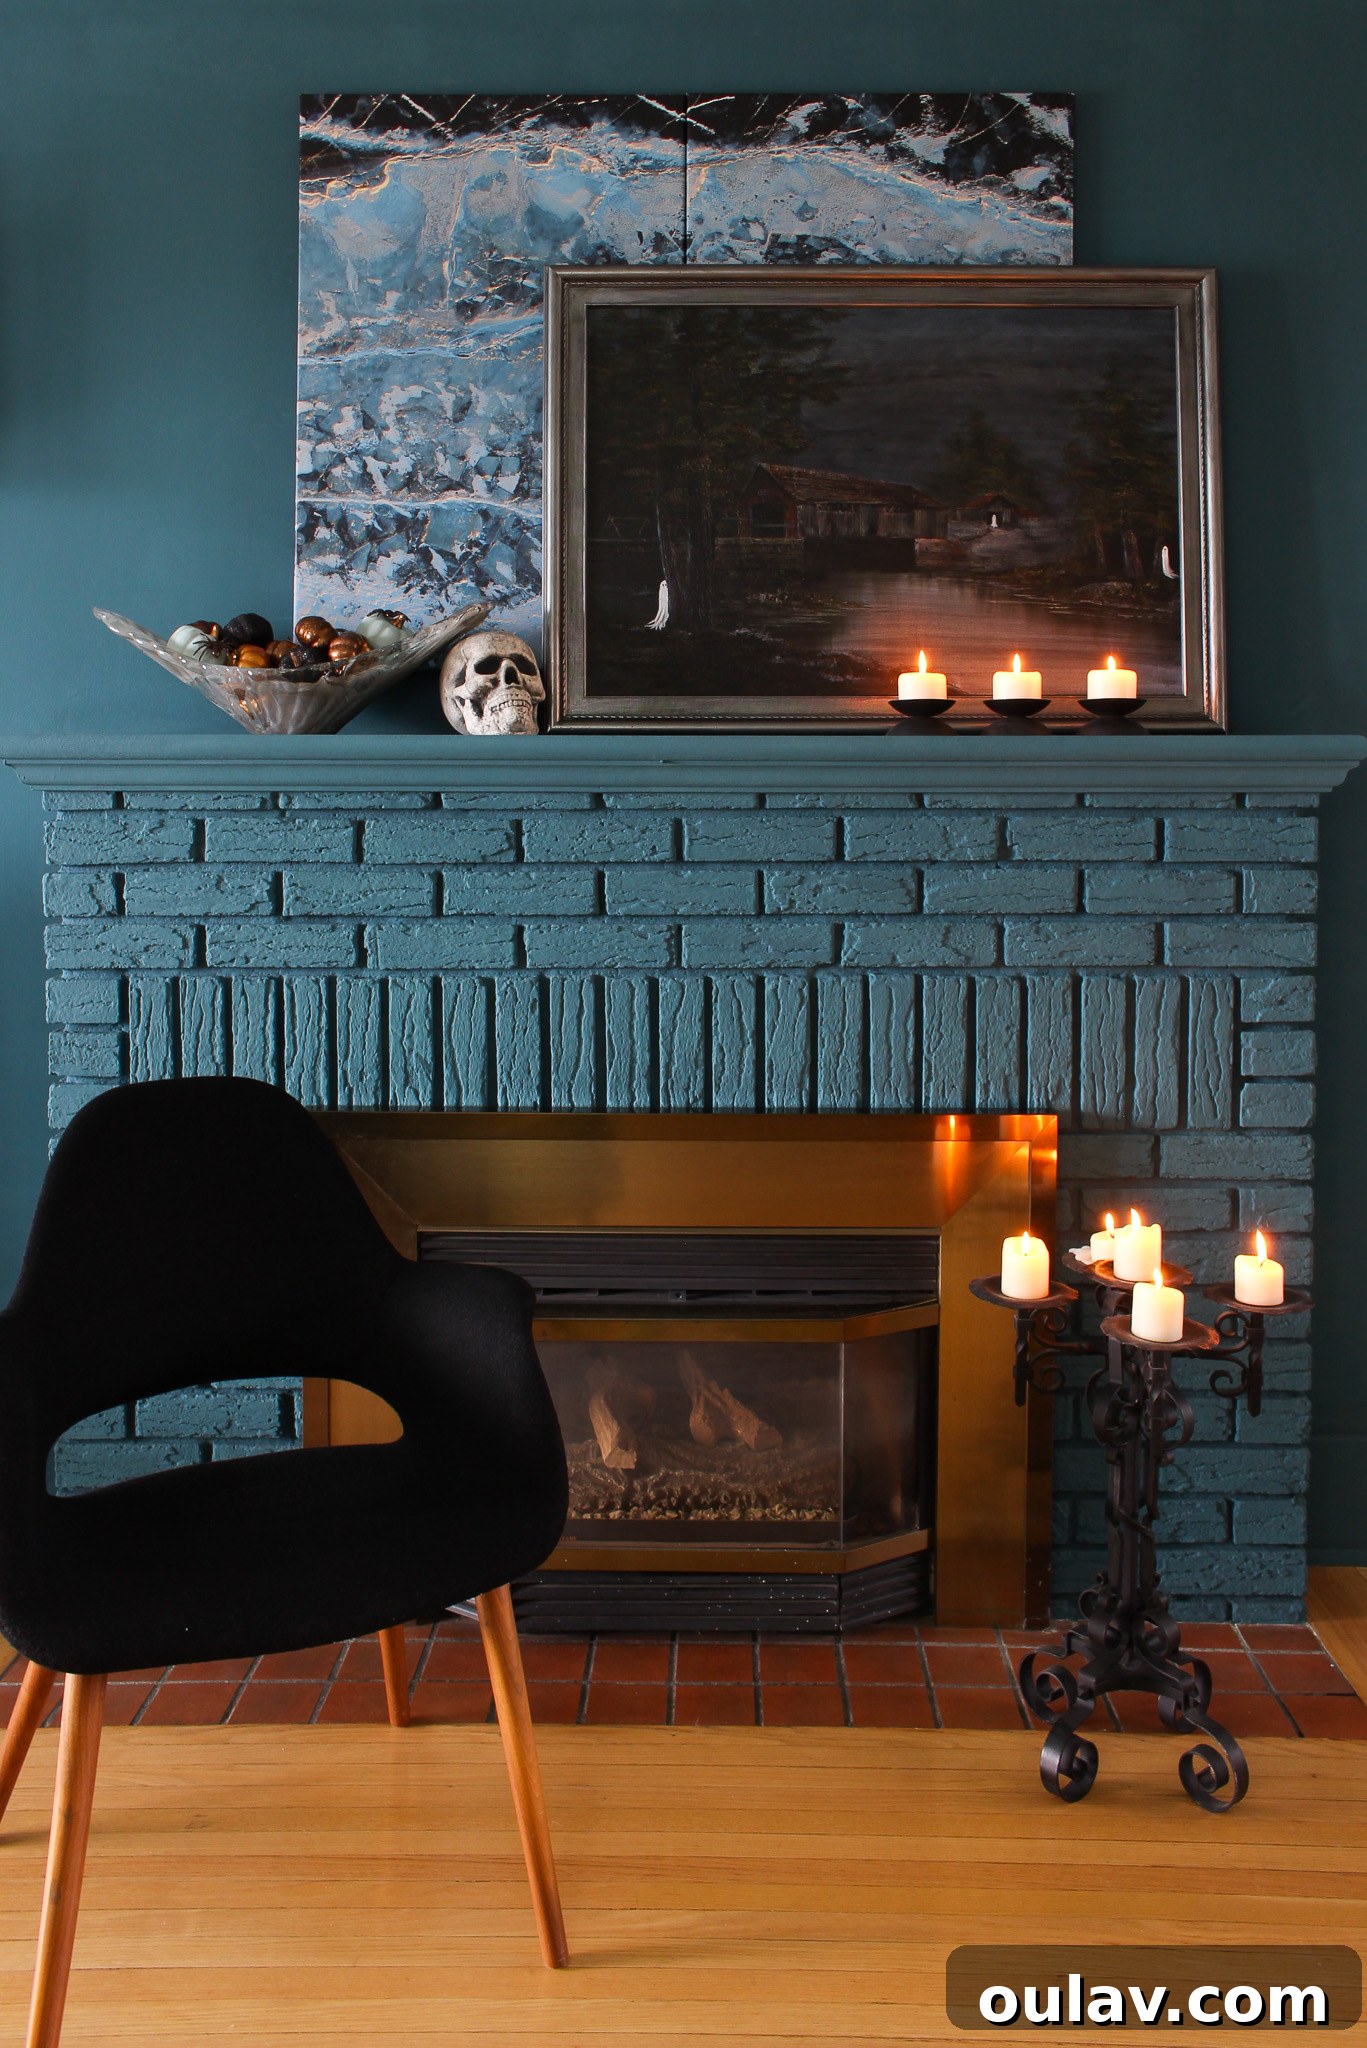
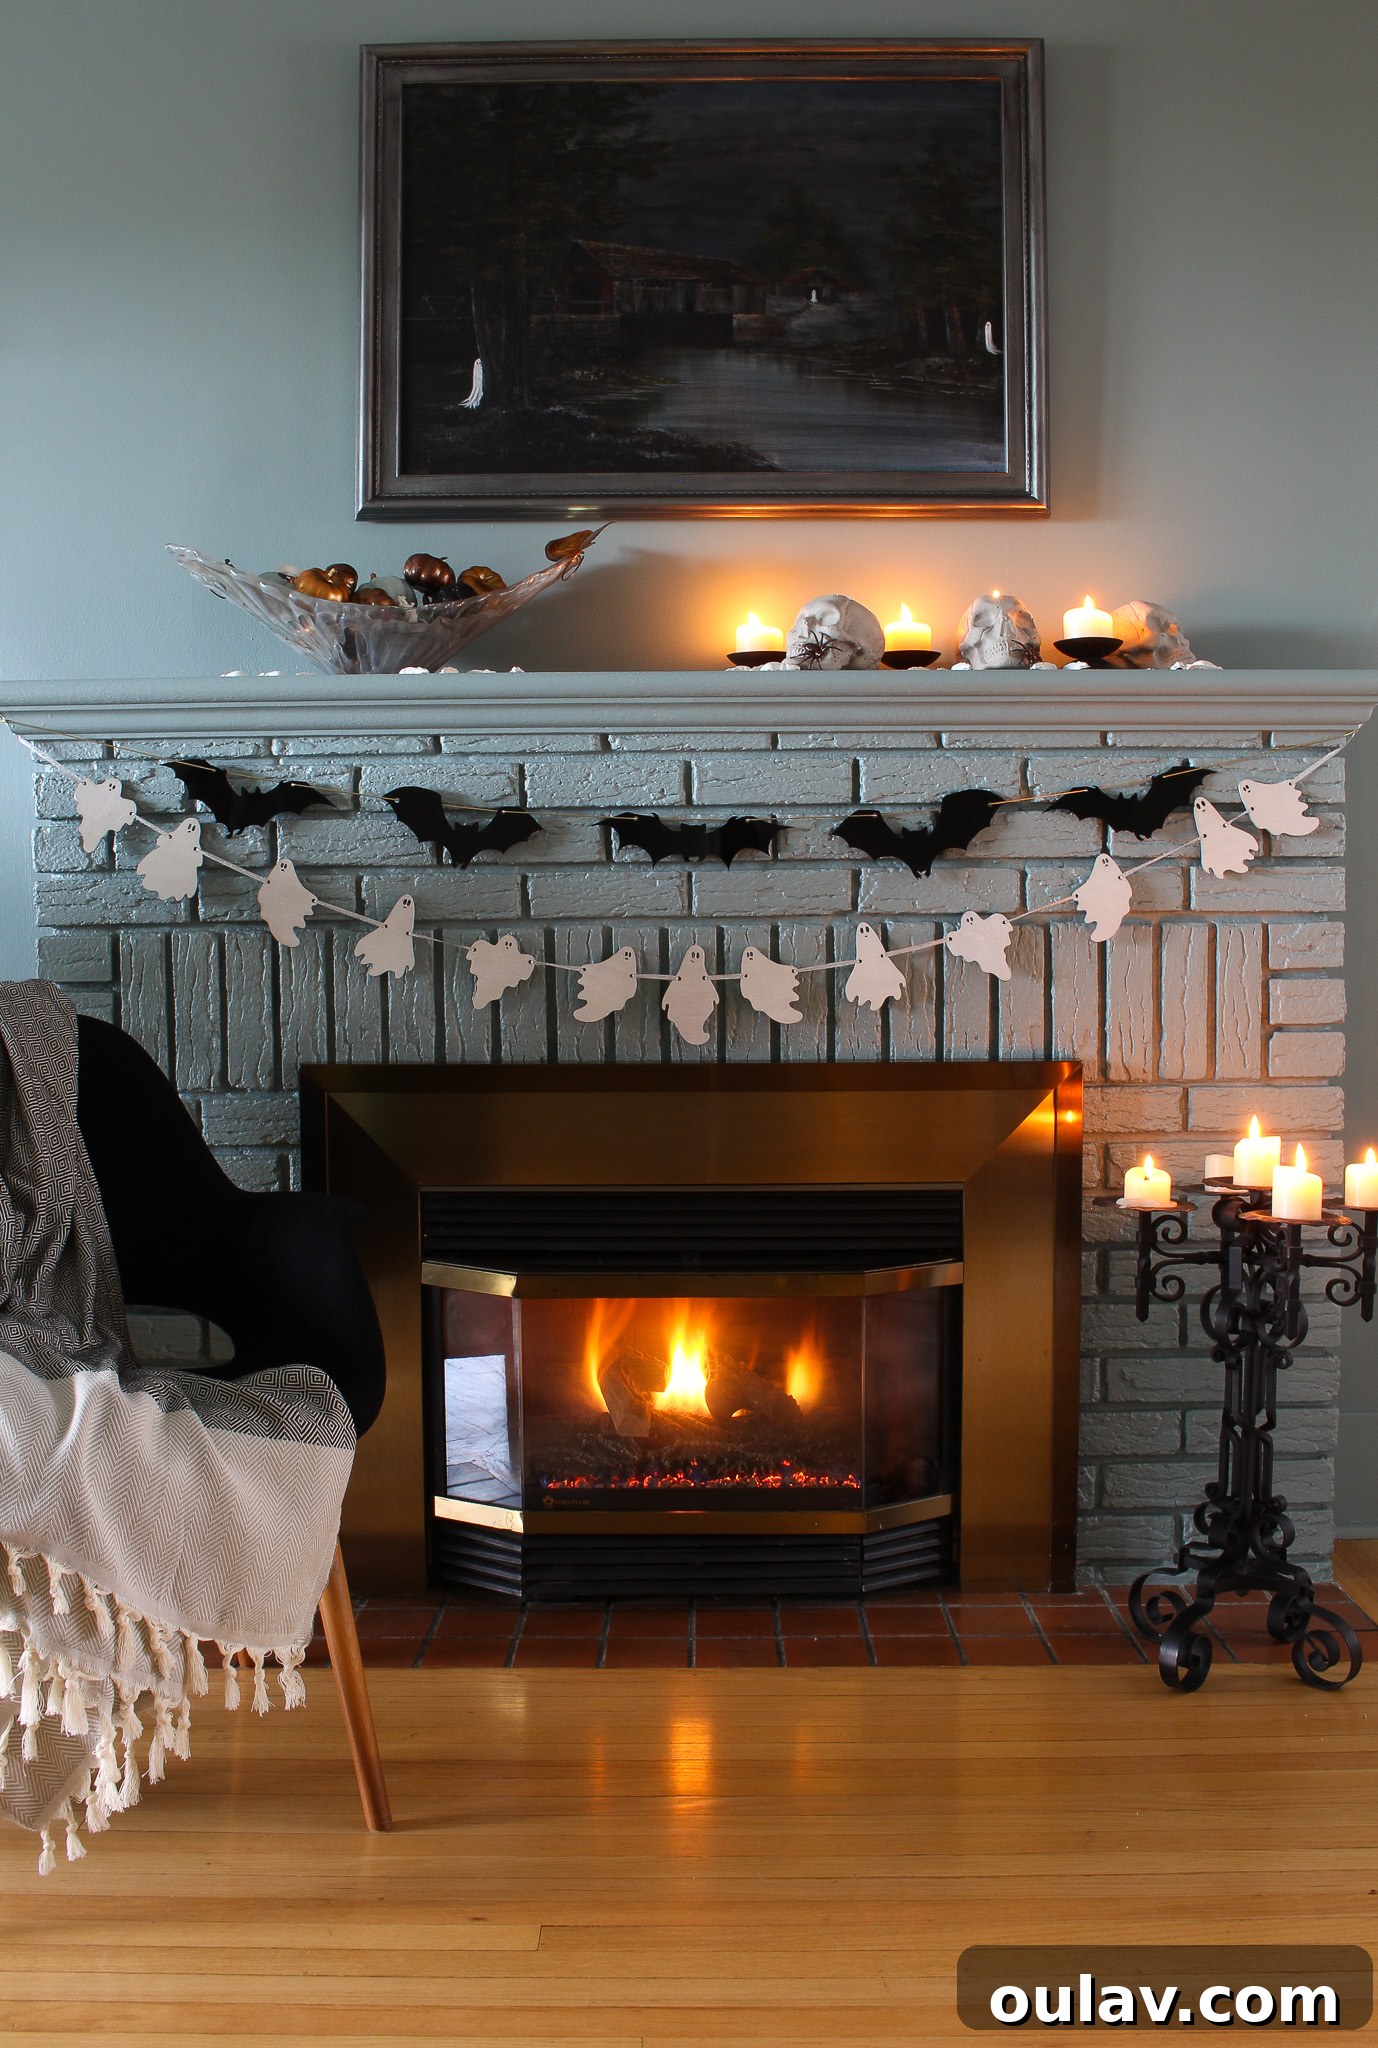
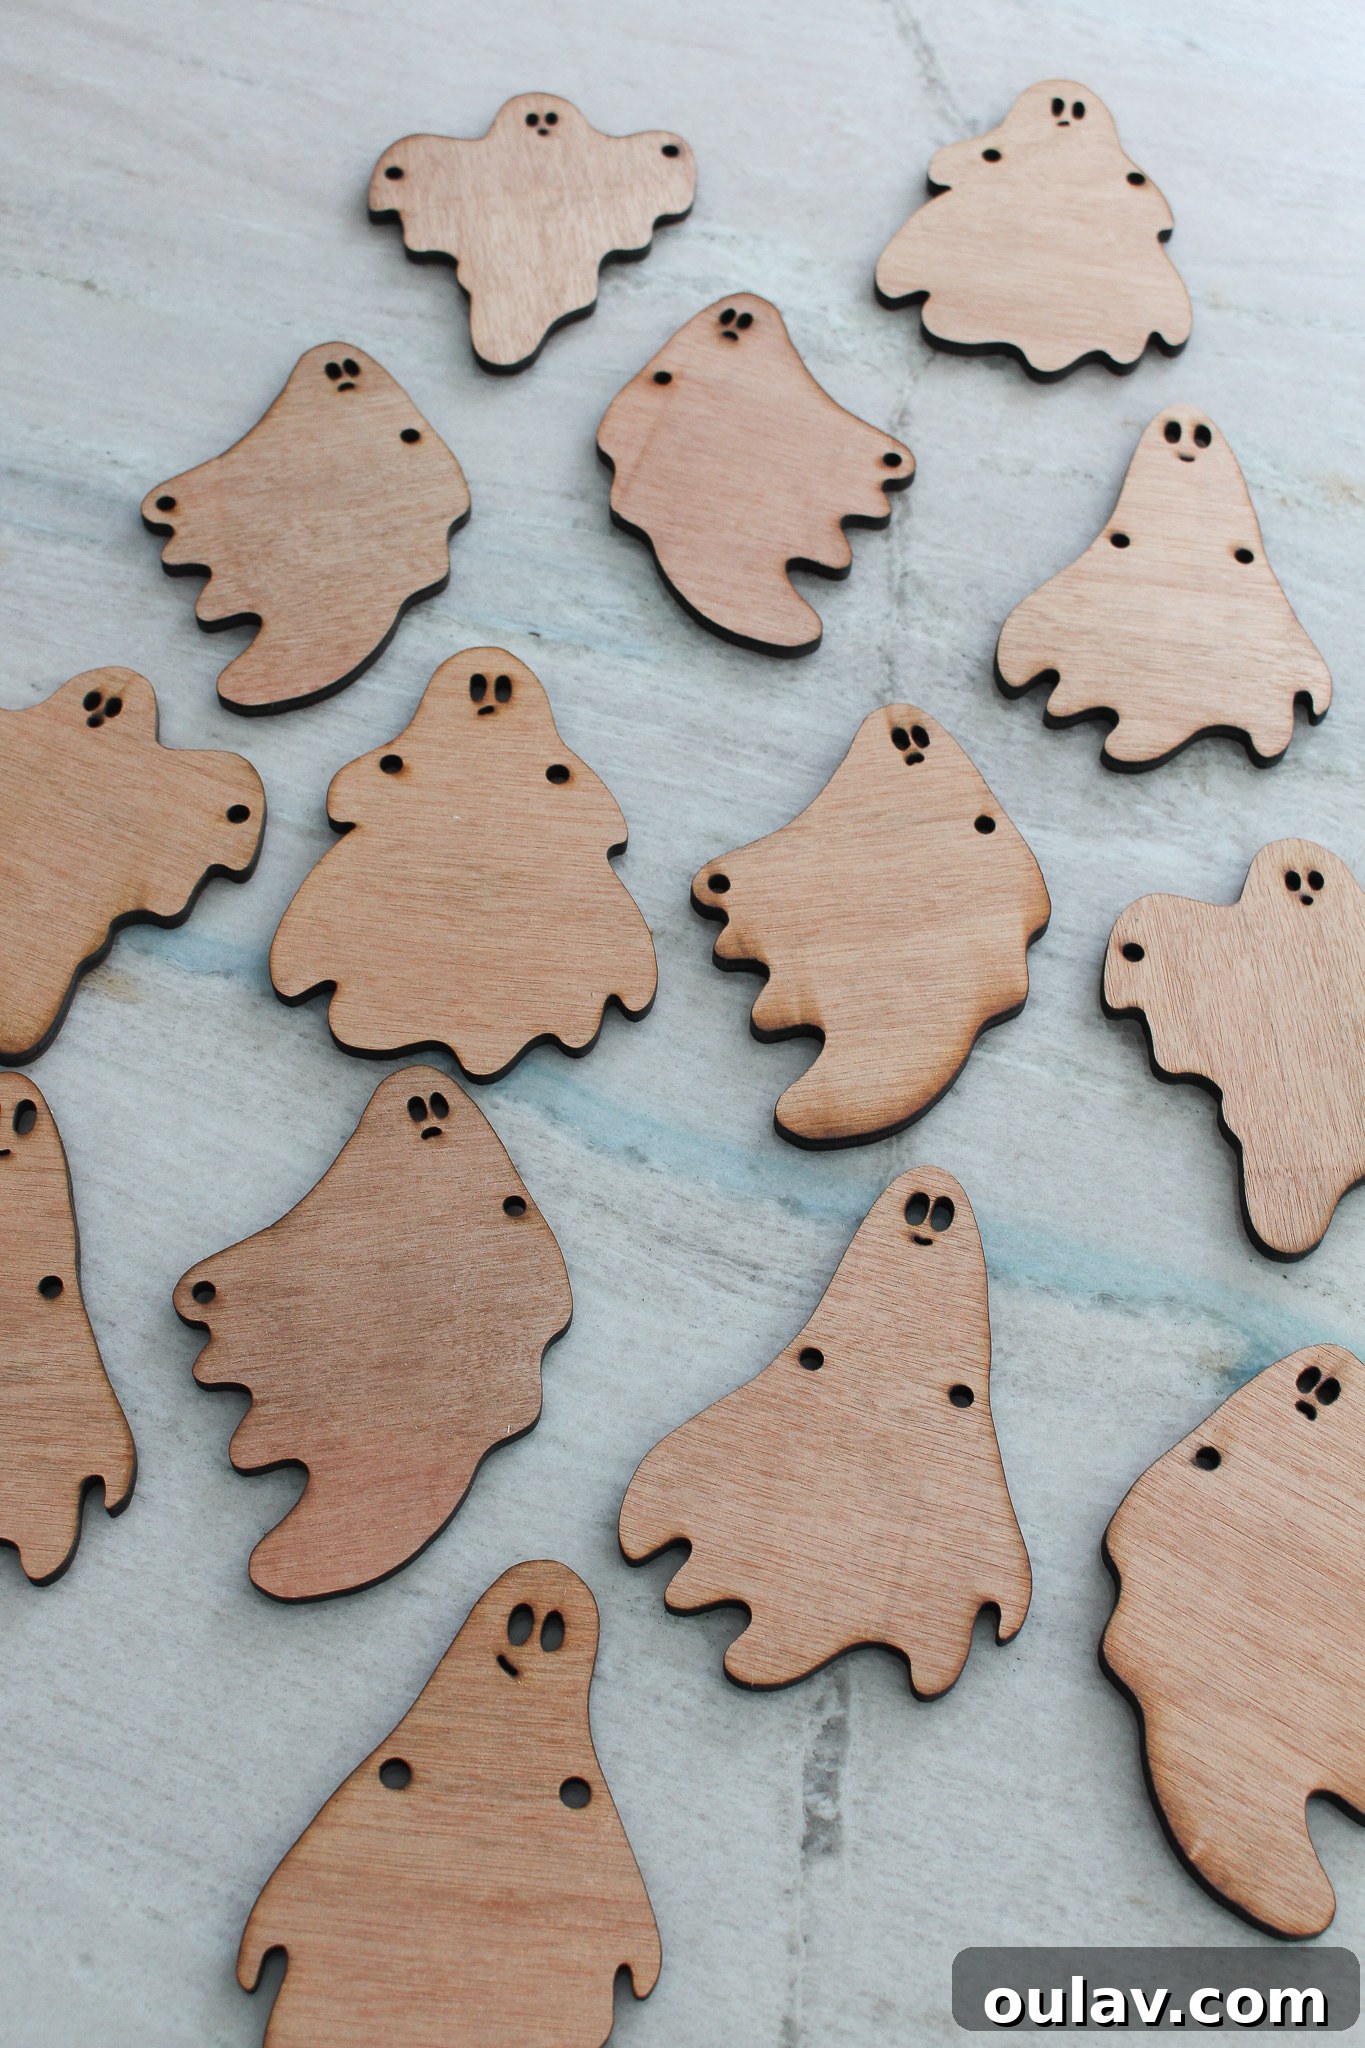
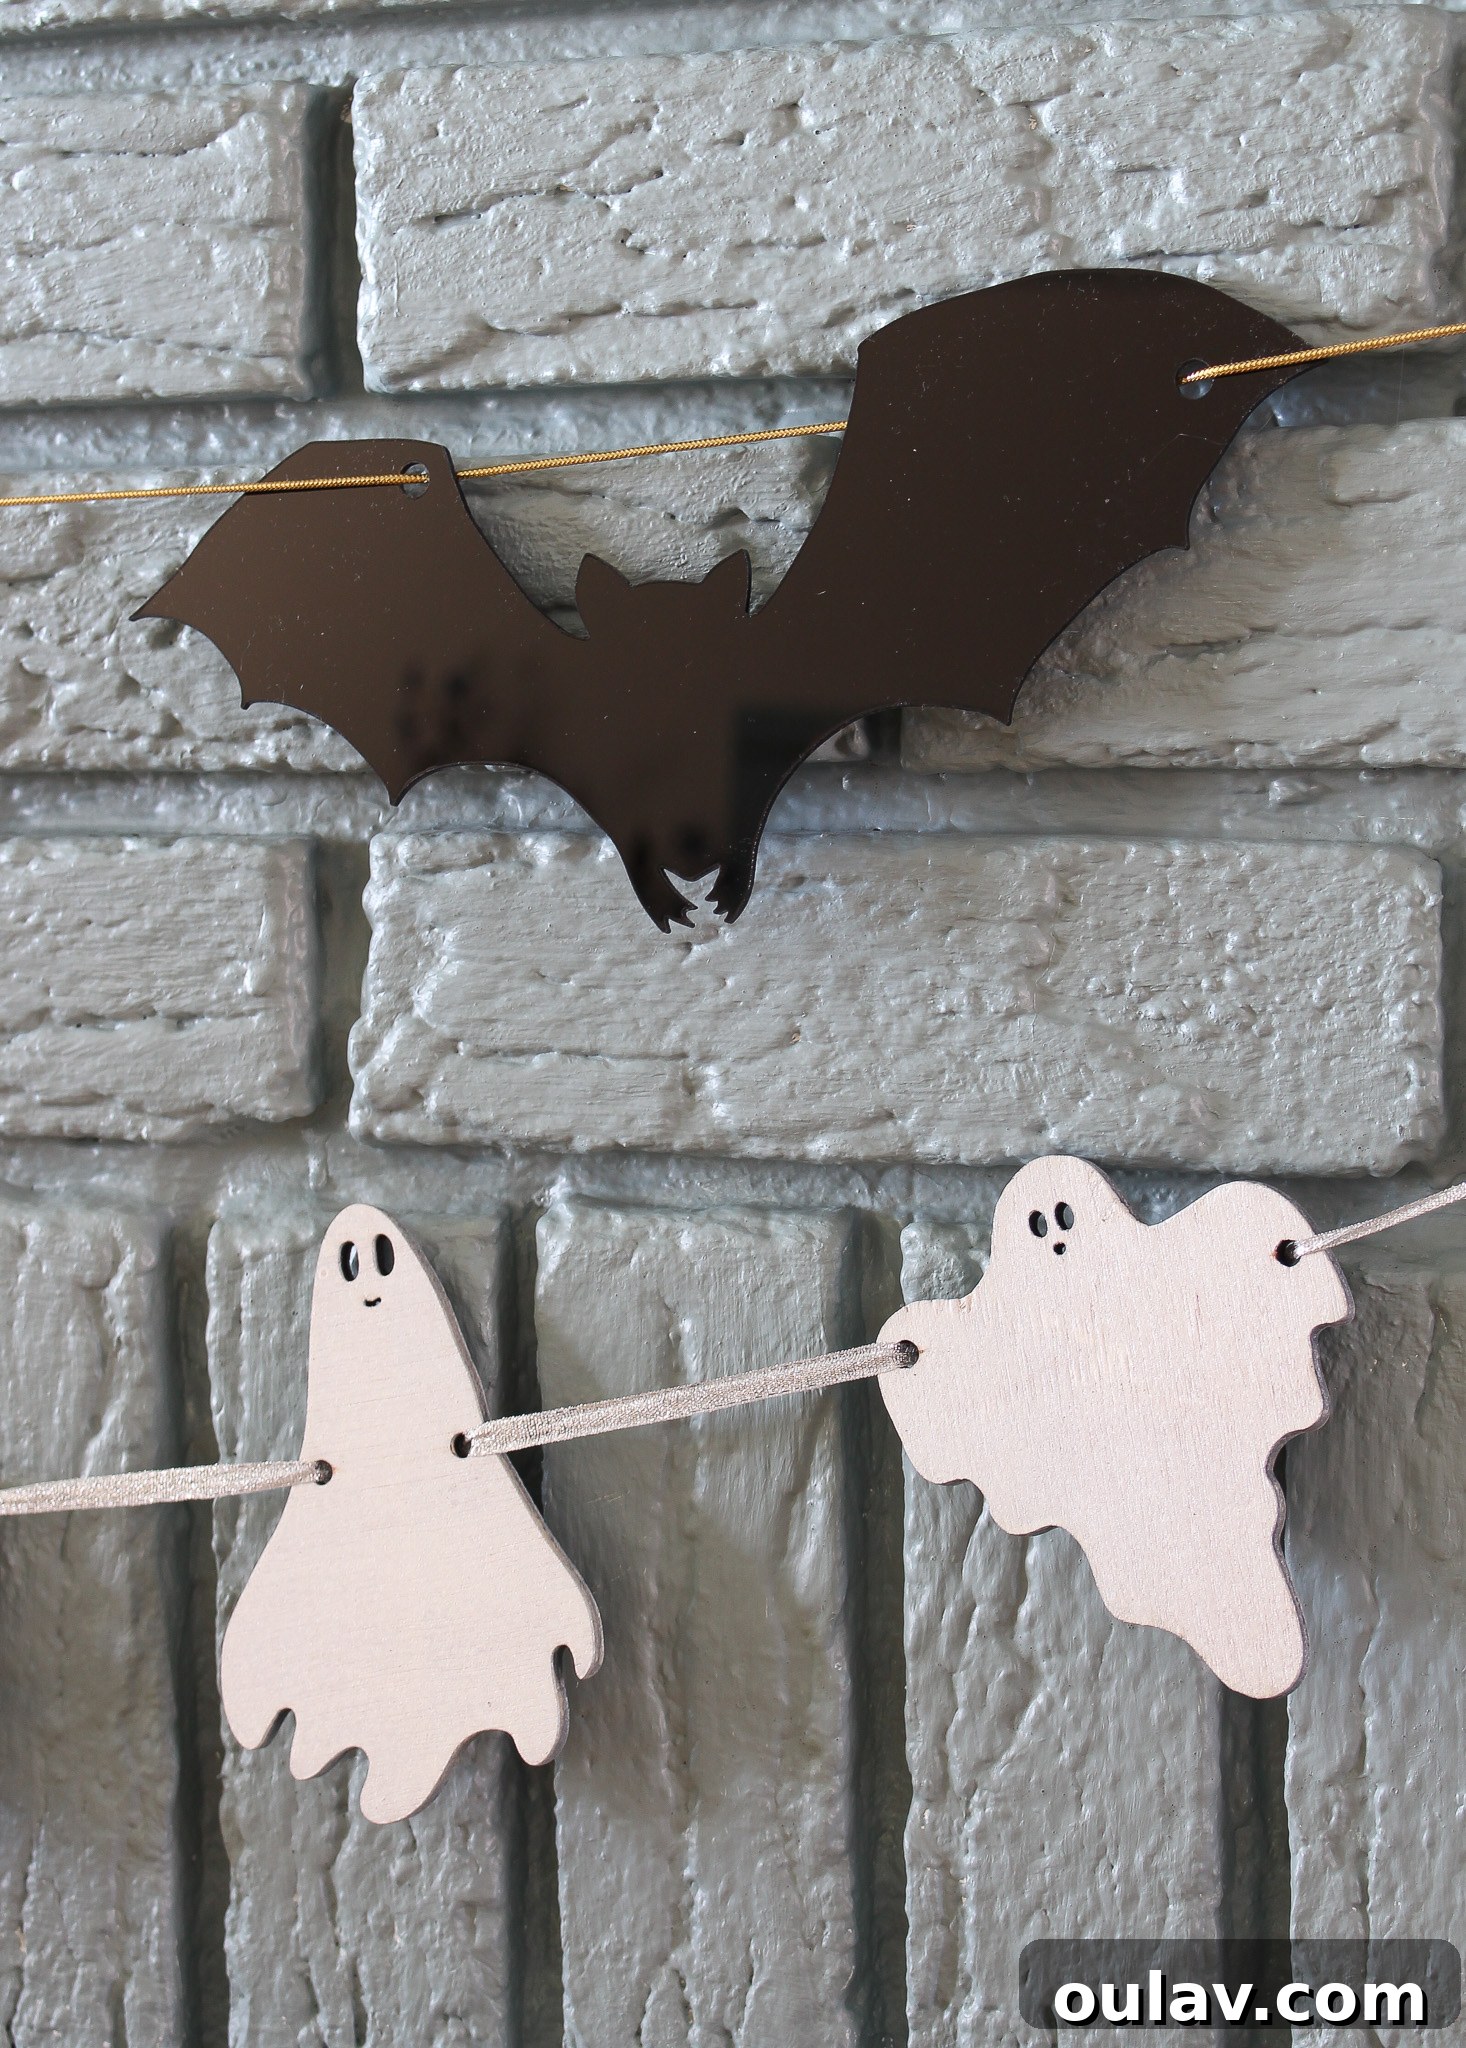
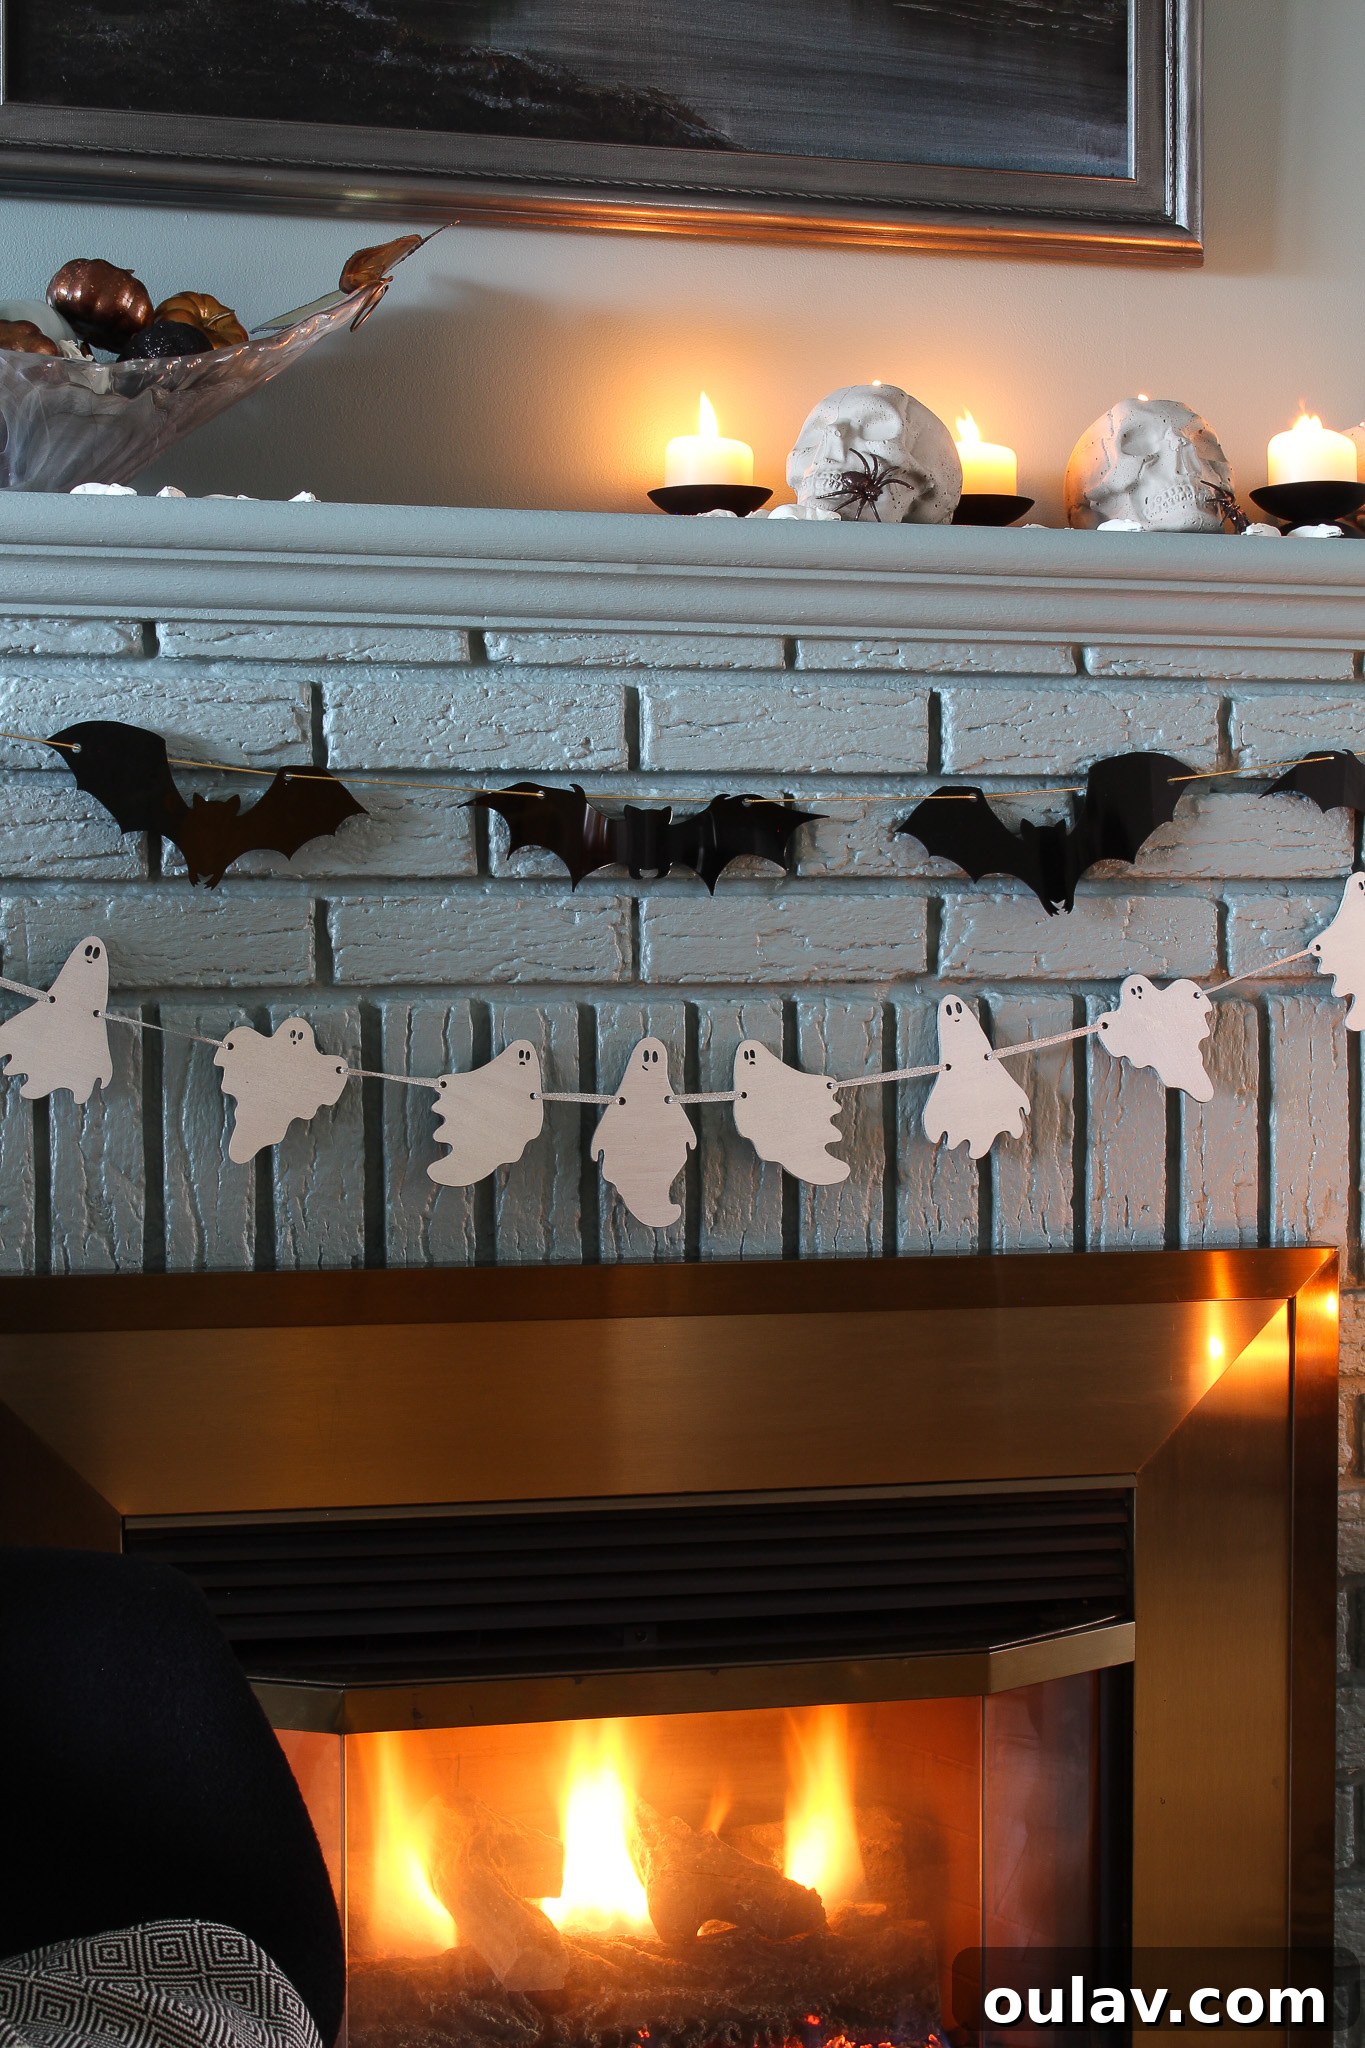
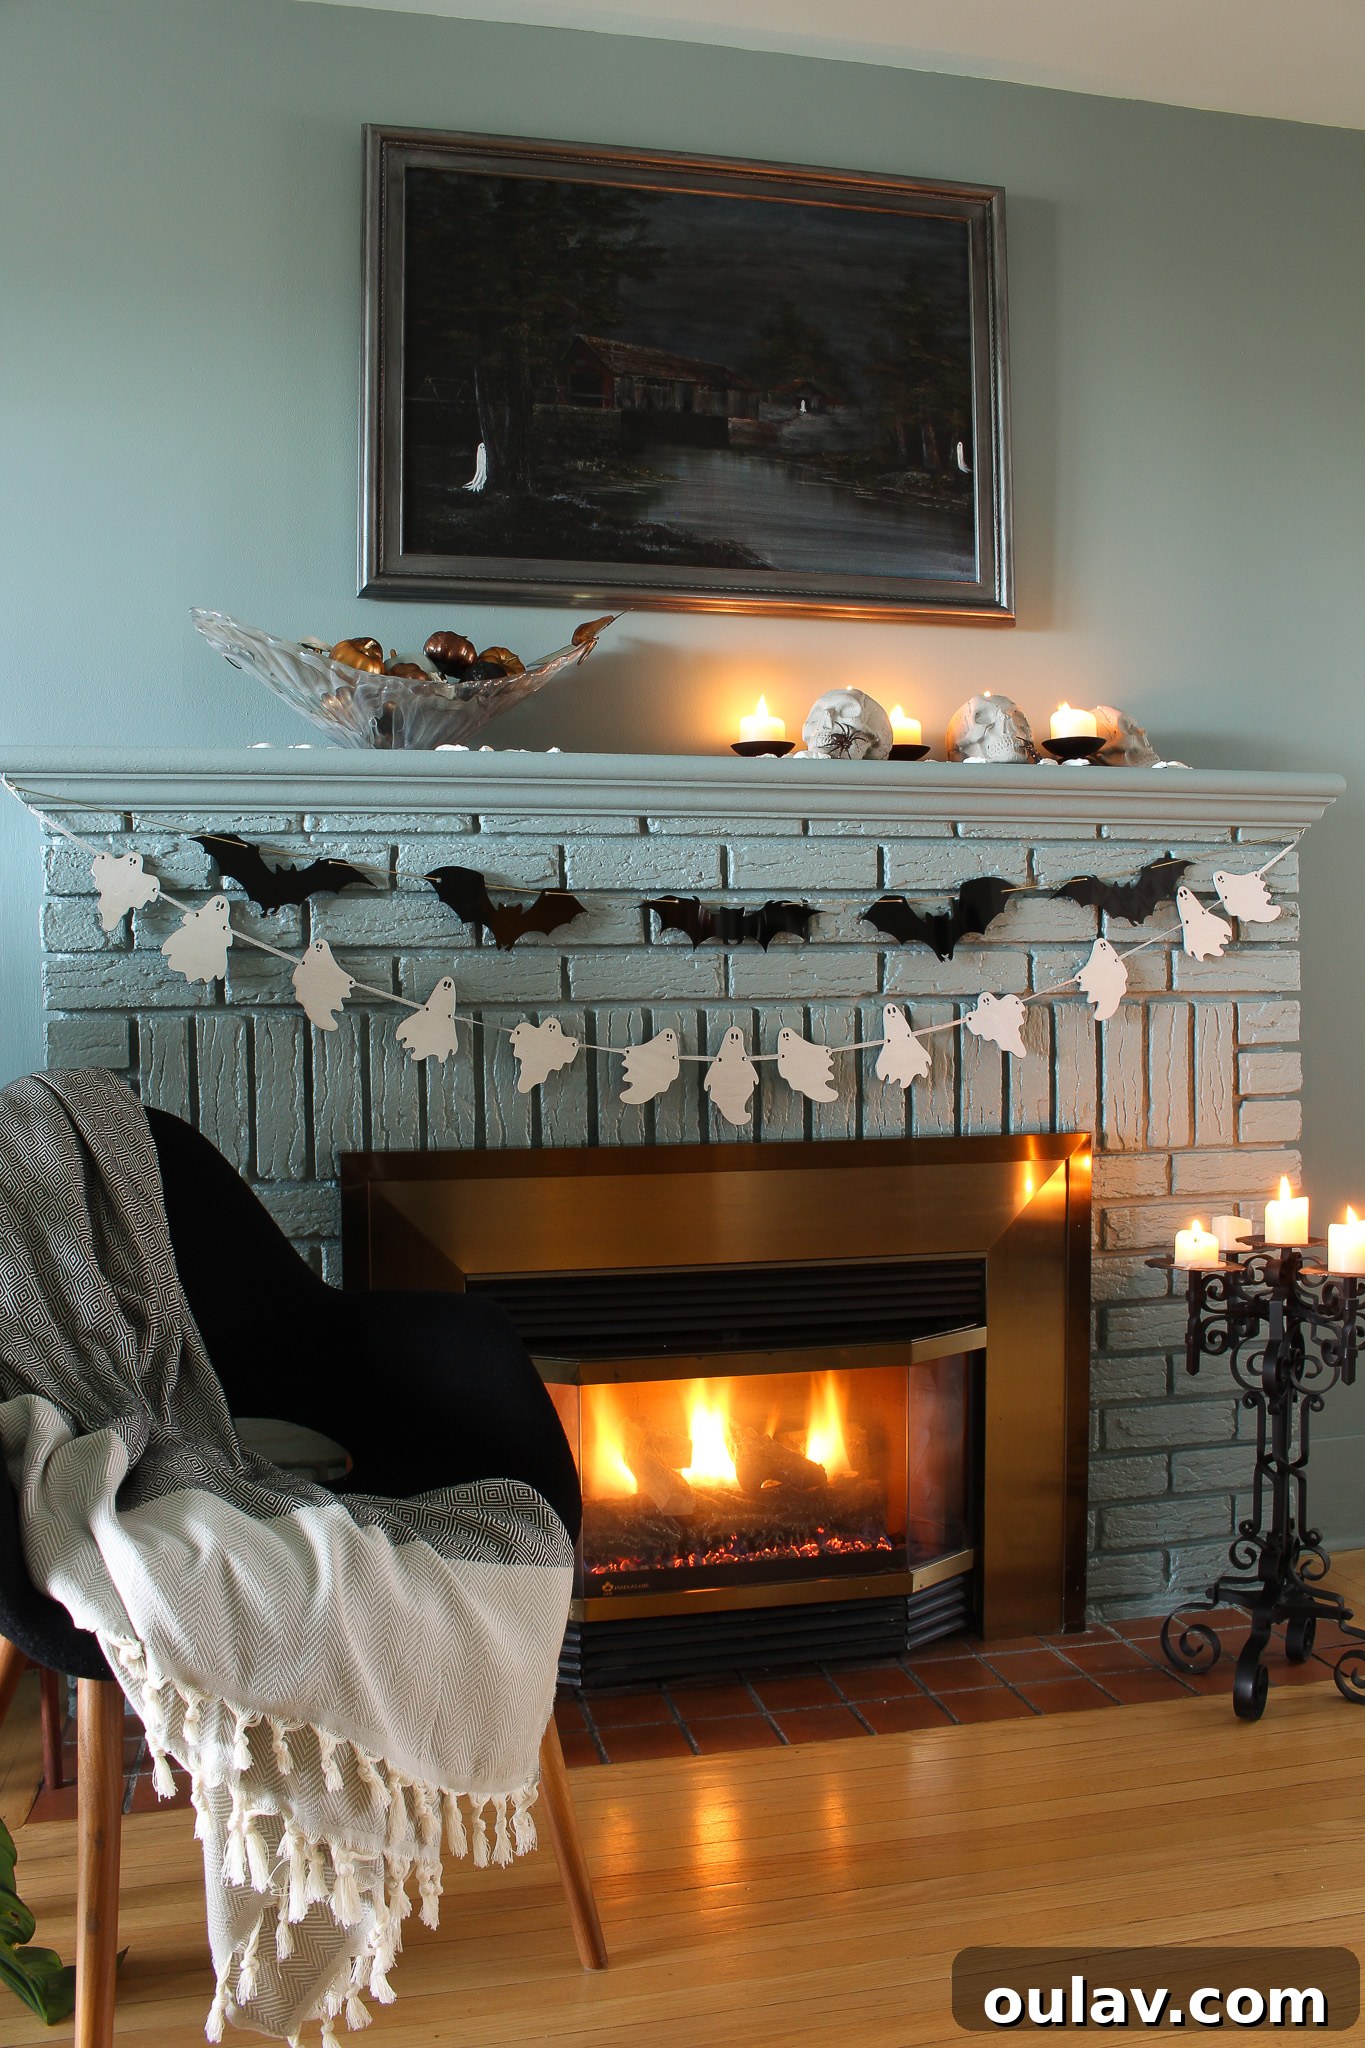
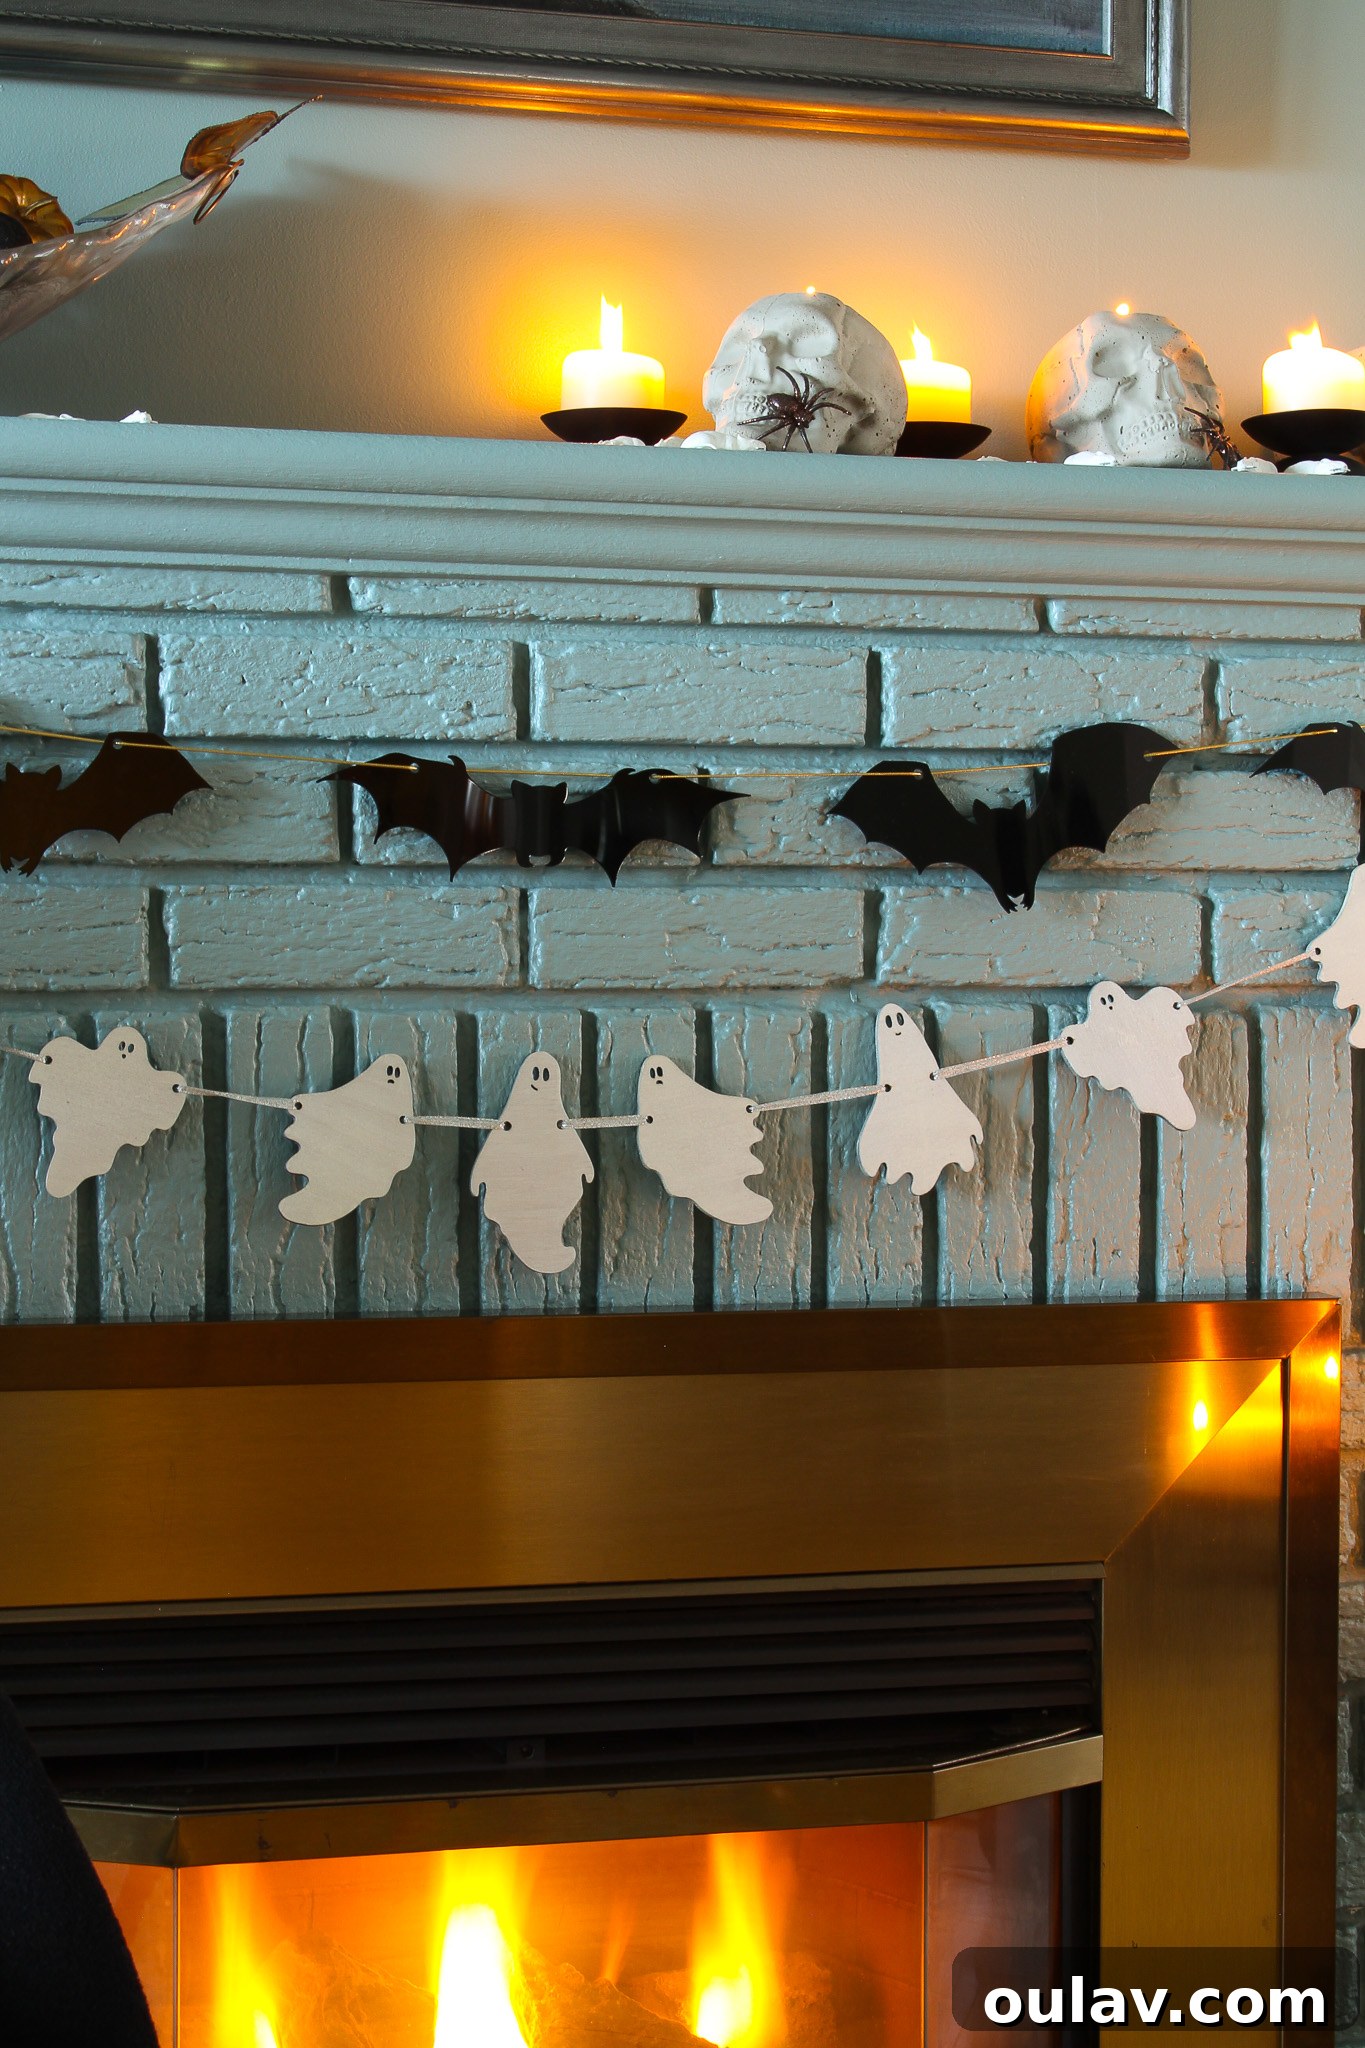
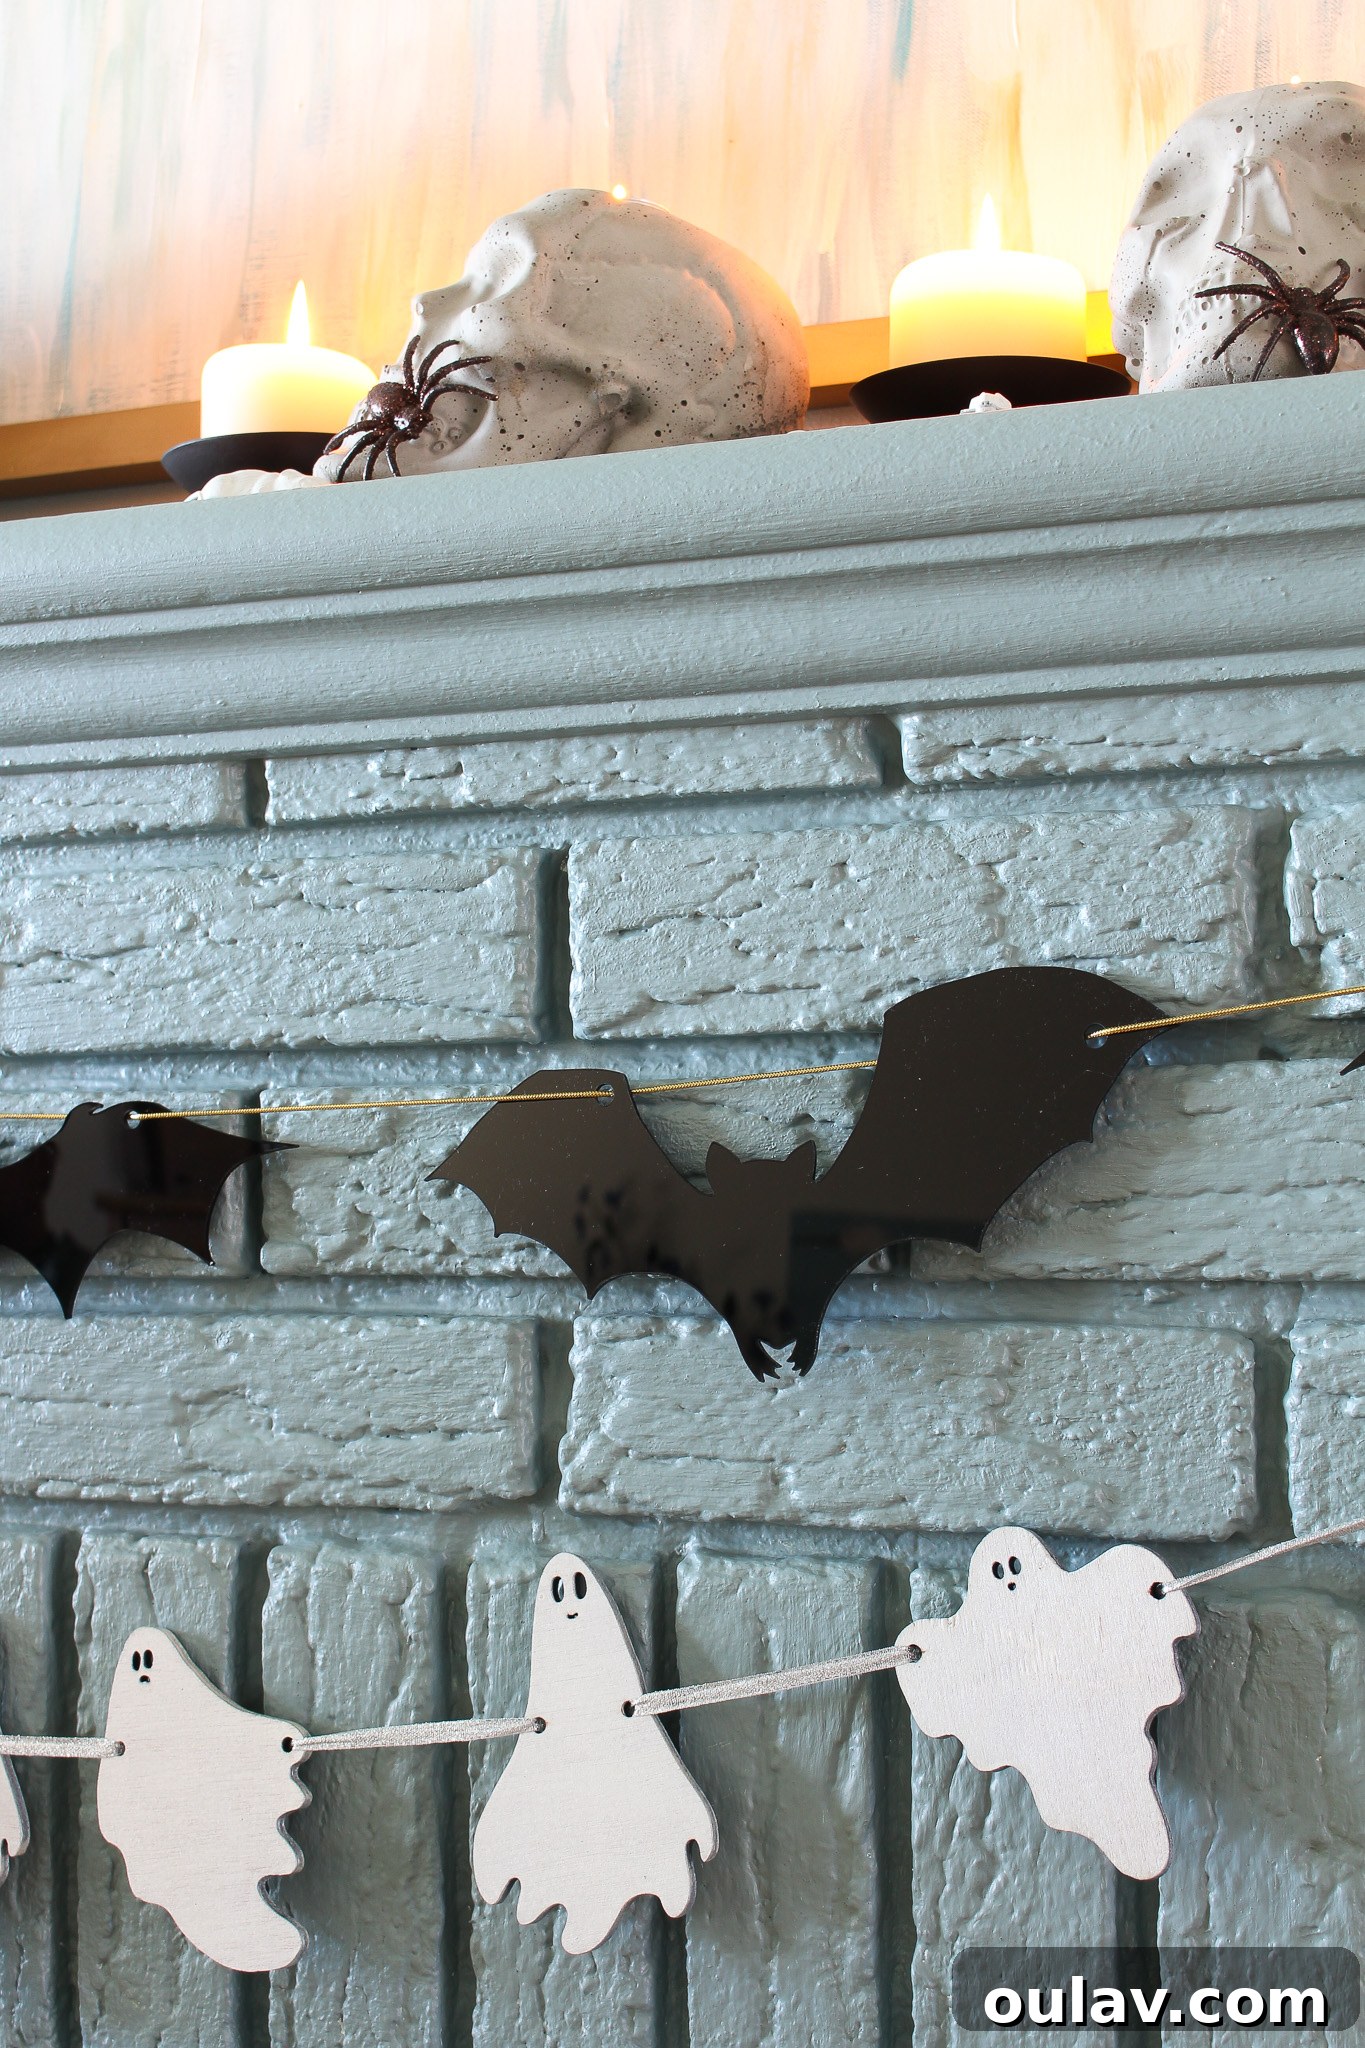
Our mantel this Halloween season boasts two delightful DIY garlands: this charming plywood ghost garland and a sleek black acrylic bat garland. The ghost garland, in particular, found its muse in a beloved ceramic ghost garland I already own, which I absolutely adore. Its delicate beauty, however, comes with a constant worry of breakage, making it unsuitable for travel or high-traffic areas. I’ve often longed for more of these whimsical ghosts but hesitated due to their fragility. For years, my ceramic garland was carefully arranged on surfaces, never daring to hang freely. This experience sparked the idea for a more resilient, yet equally enchanting, ghost garland – one that could withstand the playful nature of Halloween celebrations and be enjoyed without a hint of anxiety.
Crafting a Ghost Garland for Every Space
The beauty of this DIY ghost garland lies not only in its whimsical charm but also in its remarkable durability. Crafted from leftover plywood underlayment scraps from our recent kitchen renovation, it’s a wonderfully sustainable and cost-effective project. This robust construction makes it perfect for adorning any space, even bustling areas like my mom’s mantel. This particular spot is home to the delightful upcycled ghost painting we previously created, and it desperately needed some spectral companions. The addition of this durable, laser-cut ghost garland completely transformed her Halloween mantel, adding a cohesive and spirited touch that was sorely missing before. It’s truly amazing how a few handmade elements can elevate a seasonal display, making it feel more personal and complete.
Essential Supplies for Your Laser-Cut Ghost Garland Project
Before you embark on this exciting DIY journey, gathering the right materials is key. This project leverages the precision of a laser cutter, transforming simple plywood into charming ghostly figures. Here’s a detailed list of what you’ll need to create your own unique Halloween garland:
- xTool M1 Laser Engraver and Laser Cutter: The star of our project, this versatile machine will bring your ghost designs to life.
- xTool Smoke Purifier: An absolute must-have if you plan to operate your laser cutter indoors, ensuring a cleaner and safer working environment by filtering fumes.
- xTool M1 Air Assist: This attachment significantly improves cutting quality by blowing air onto the cut area, reducing charring and helping to achieve cleaner edges.
- Plywood: We recommend using 5mm plywood, ideally scraps from a previous project to be economical and sustainable. Basswood is another excellent, budget-friendly option.
- Fine Tip Marker: For creating your initial ghost doodles with precision and clarity on paper.
- Paper: Plain white paper for sketching your ghost designs.
- White Wood Stain: To give your plywood ghosts a classic, ethereal white finish while allowing the wood grain to show through.
- Rust-Oleum Pearl Mist Spray Paint: A sheer, shimmery topcoat that adds a subtle glow and helps to further whiten the ghosts while covering any minor charred edges.
- Ribbon: For stringing your ghosts together to form the garland. A textured or grippy ribbon works best to keep the ghosts in place without needing knots.
For your convenience, my ghost design files are available for free for personal use! Simply sign up for my monthly newsletter to receive them directly in your inbox.
Step-by-Step Guide: Crafting Your Laser-Cut Ghost Garland
1. From Doodle to Digital: Turning Your Ghostly Vision into an SVG File
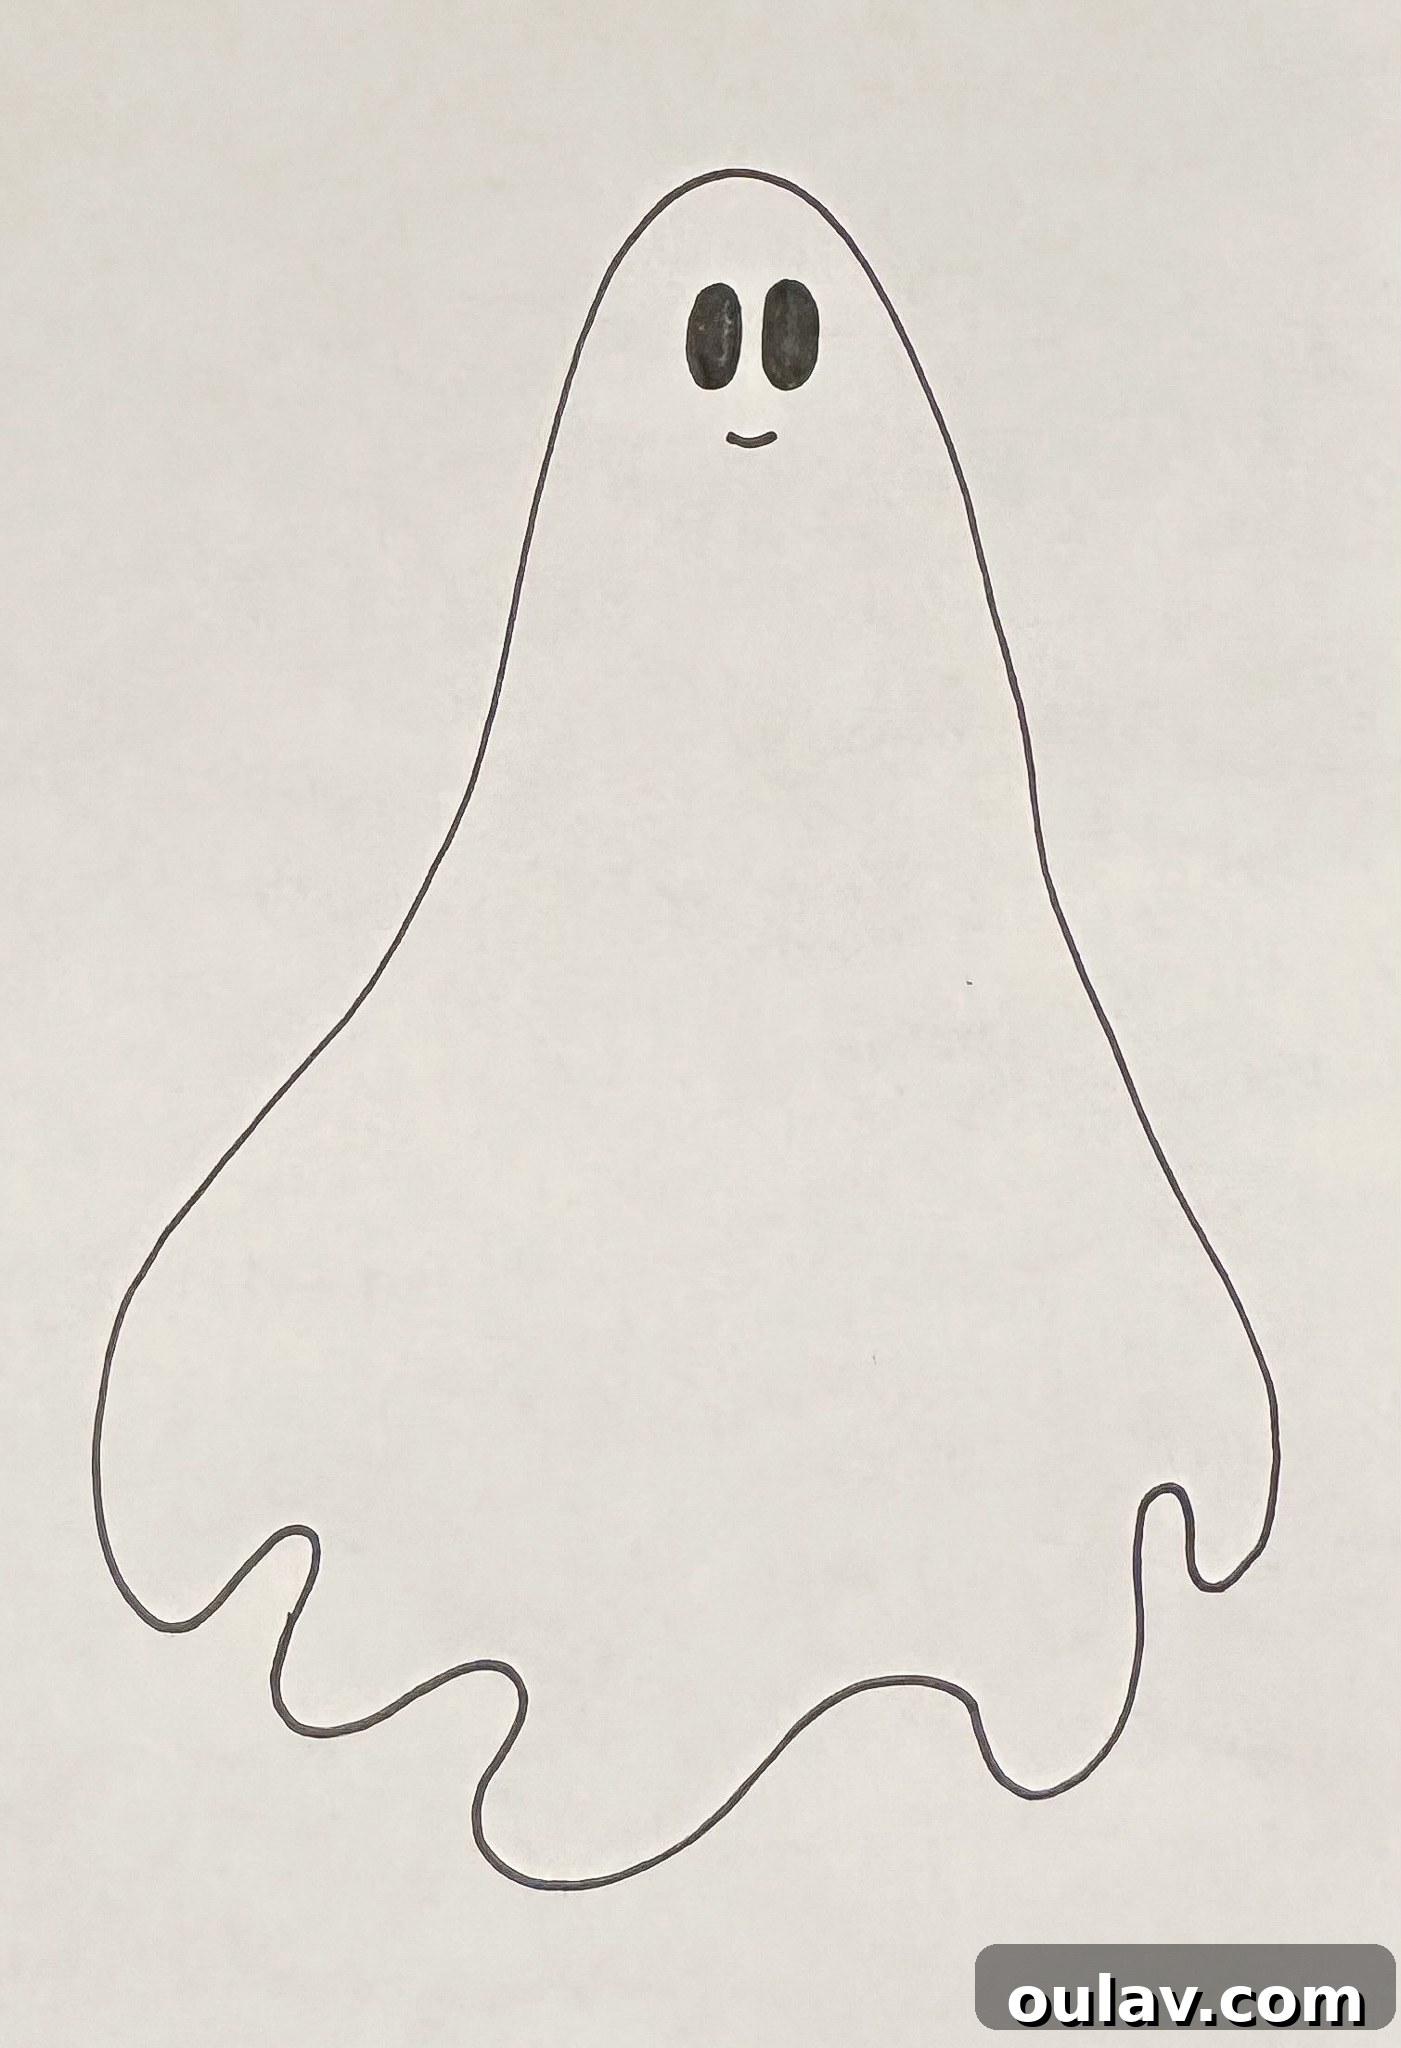
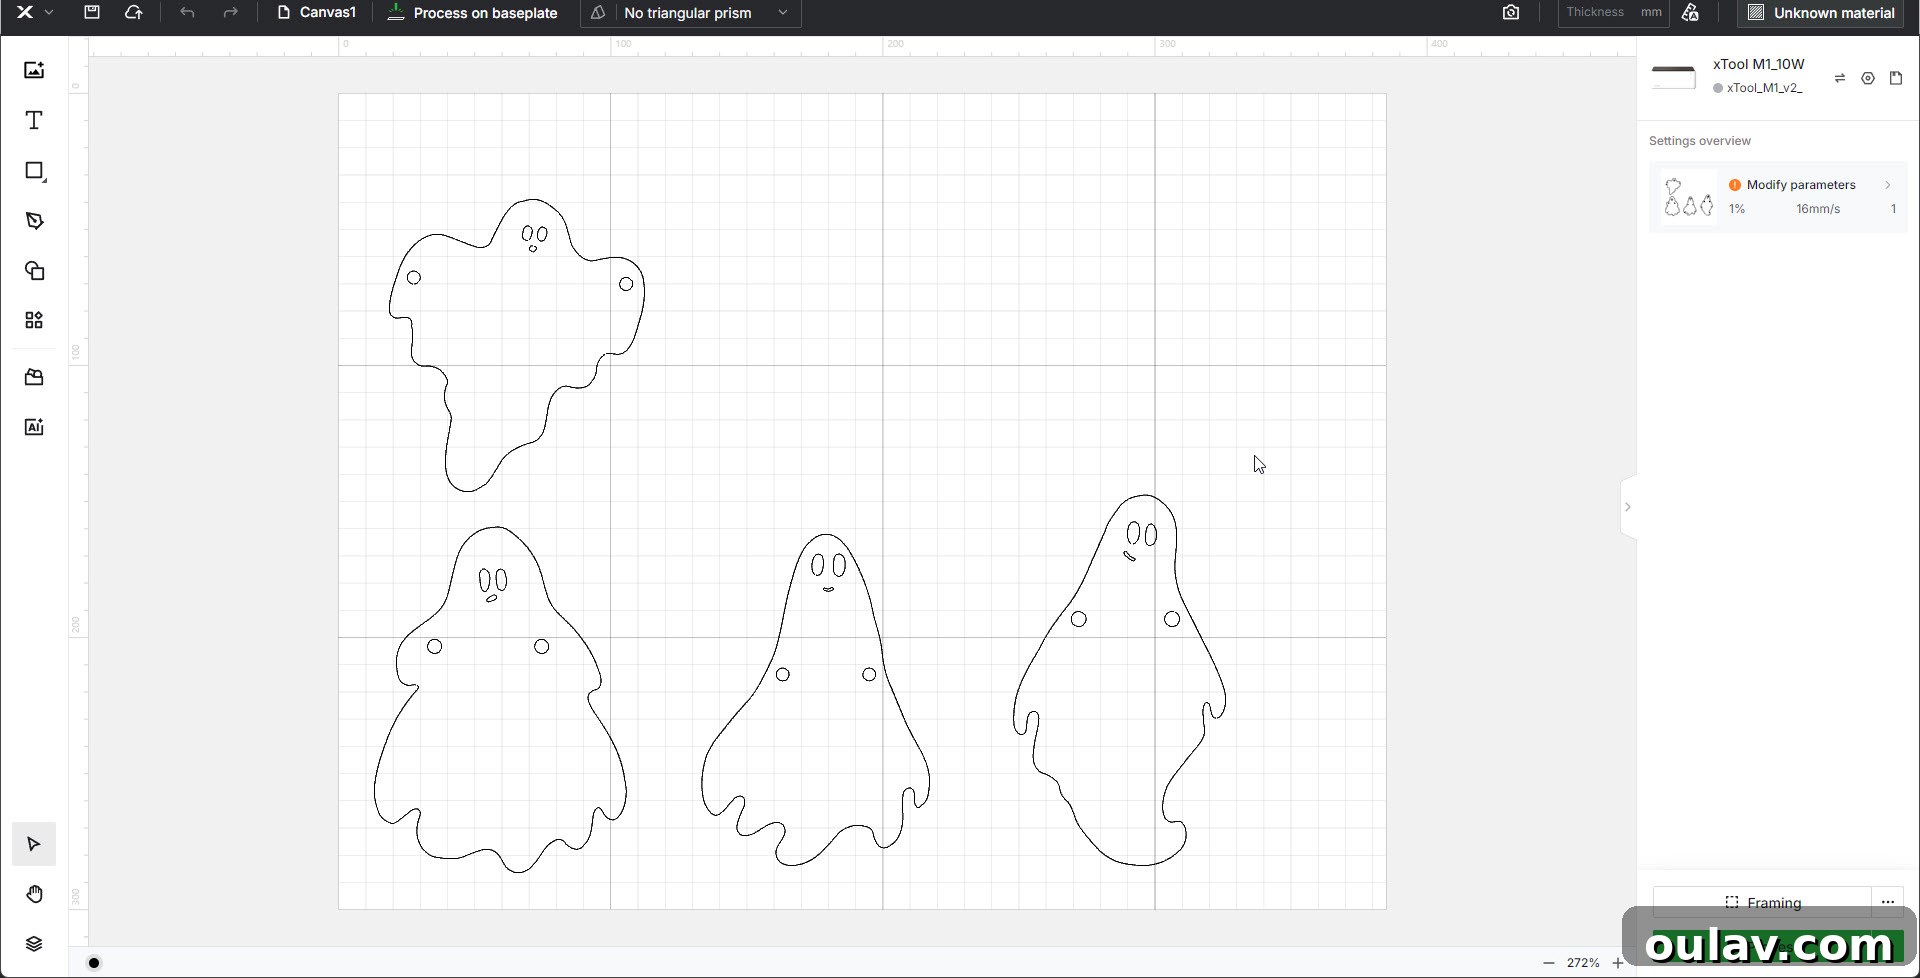
The journey of our laser-cut ghost garland begins with a simple sketch. I started by drawing a few distinct ghost shapes on white paper using a fine-tip marker. The key here is to create clean, crisp lines, as the clarity of your drawing directly impacts the final laser cut. Once satisfied with the doodles, I captured them with my phone camera. To prepare these drawings for the xTool M1, I utilized a free online tool like PNG SVG Converter by Adobe to transform the image into an SVG (Scalable Vector Graphics) file. SVG format is crucial for laser cutters as it allows for precise scaling without loss of quality. After importing the SVG into xTool’s Creative Space software, I carefully added small circular holes at the top of each ghost design, which will later be used to thread the ribbon for hanging. To add variety and dynamism to the garland, I drew four unique ghost designs and then mirrored some of them, making it appear as though each ghost in the lineup is distinct. Imagine creating an entire garland where every ghost is truly one-of-a-kind – the possibilities are endless!
2. Choosing the Perfect Plywood Material for Your Ghosts
Material selection plays a vital role in any laser cutting project. For this ghost garland, we experimented with various plywood scraps, and to our delight, the leftover 5mm plywood underlayment from our mid-century coastal kitchen renovation performed exceptionally well. Using these scraps was not only cost-effective but also an excellent way to repurpose materials, aligning with a sustainable crafting approach. While you might not have the exact same material on hand, the xTool M1 is compatible with a wide range of plywood types. Generally, it can cut materials up to 8mm thick, but thinner plywood will naturally require fewer passes, saving time and extending the life of your laser. Basswood is a highly recommended and popular choice among laser cutting enthusiasts due to its affordability and clean cutting properties. Since these ghosts will be stained and painted, there’s no need to invest in premium, visually appealing plywood; a basic, budget-friendly option will work perfectly.
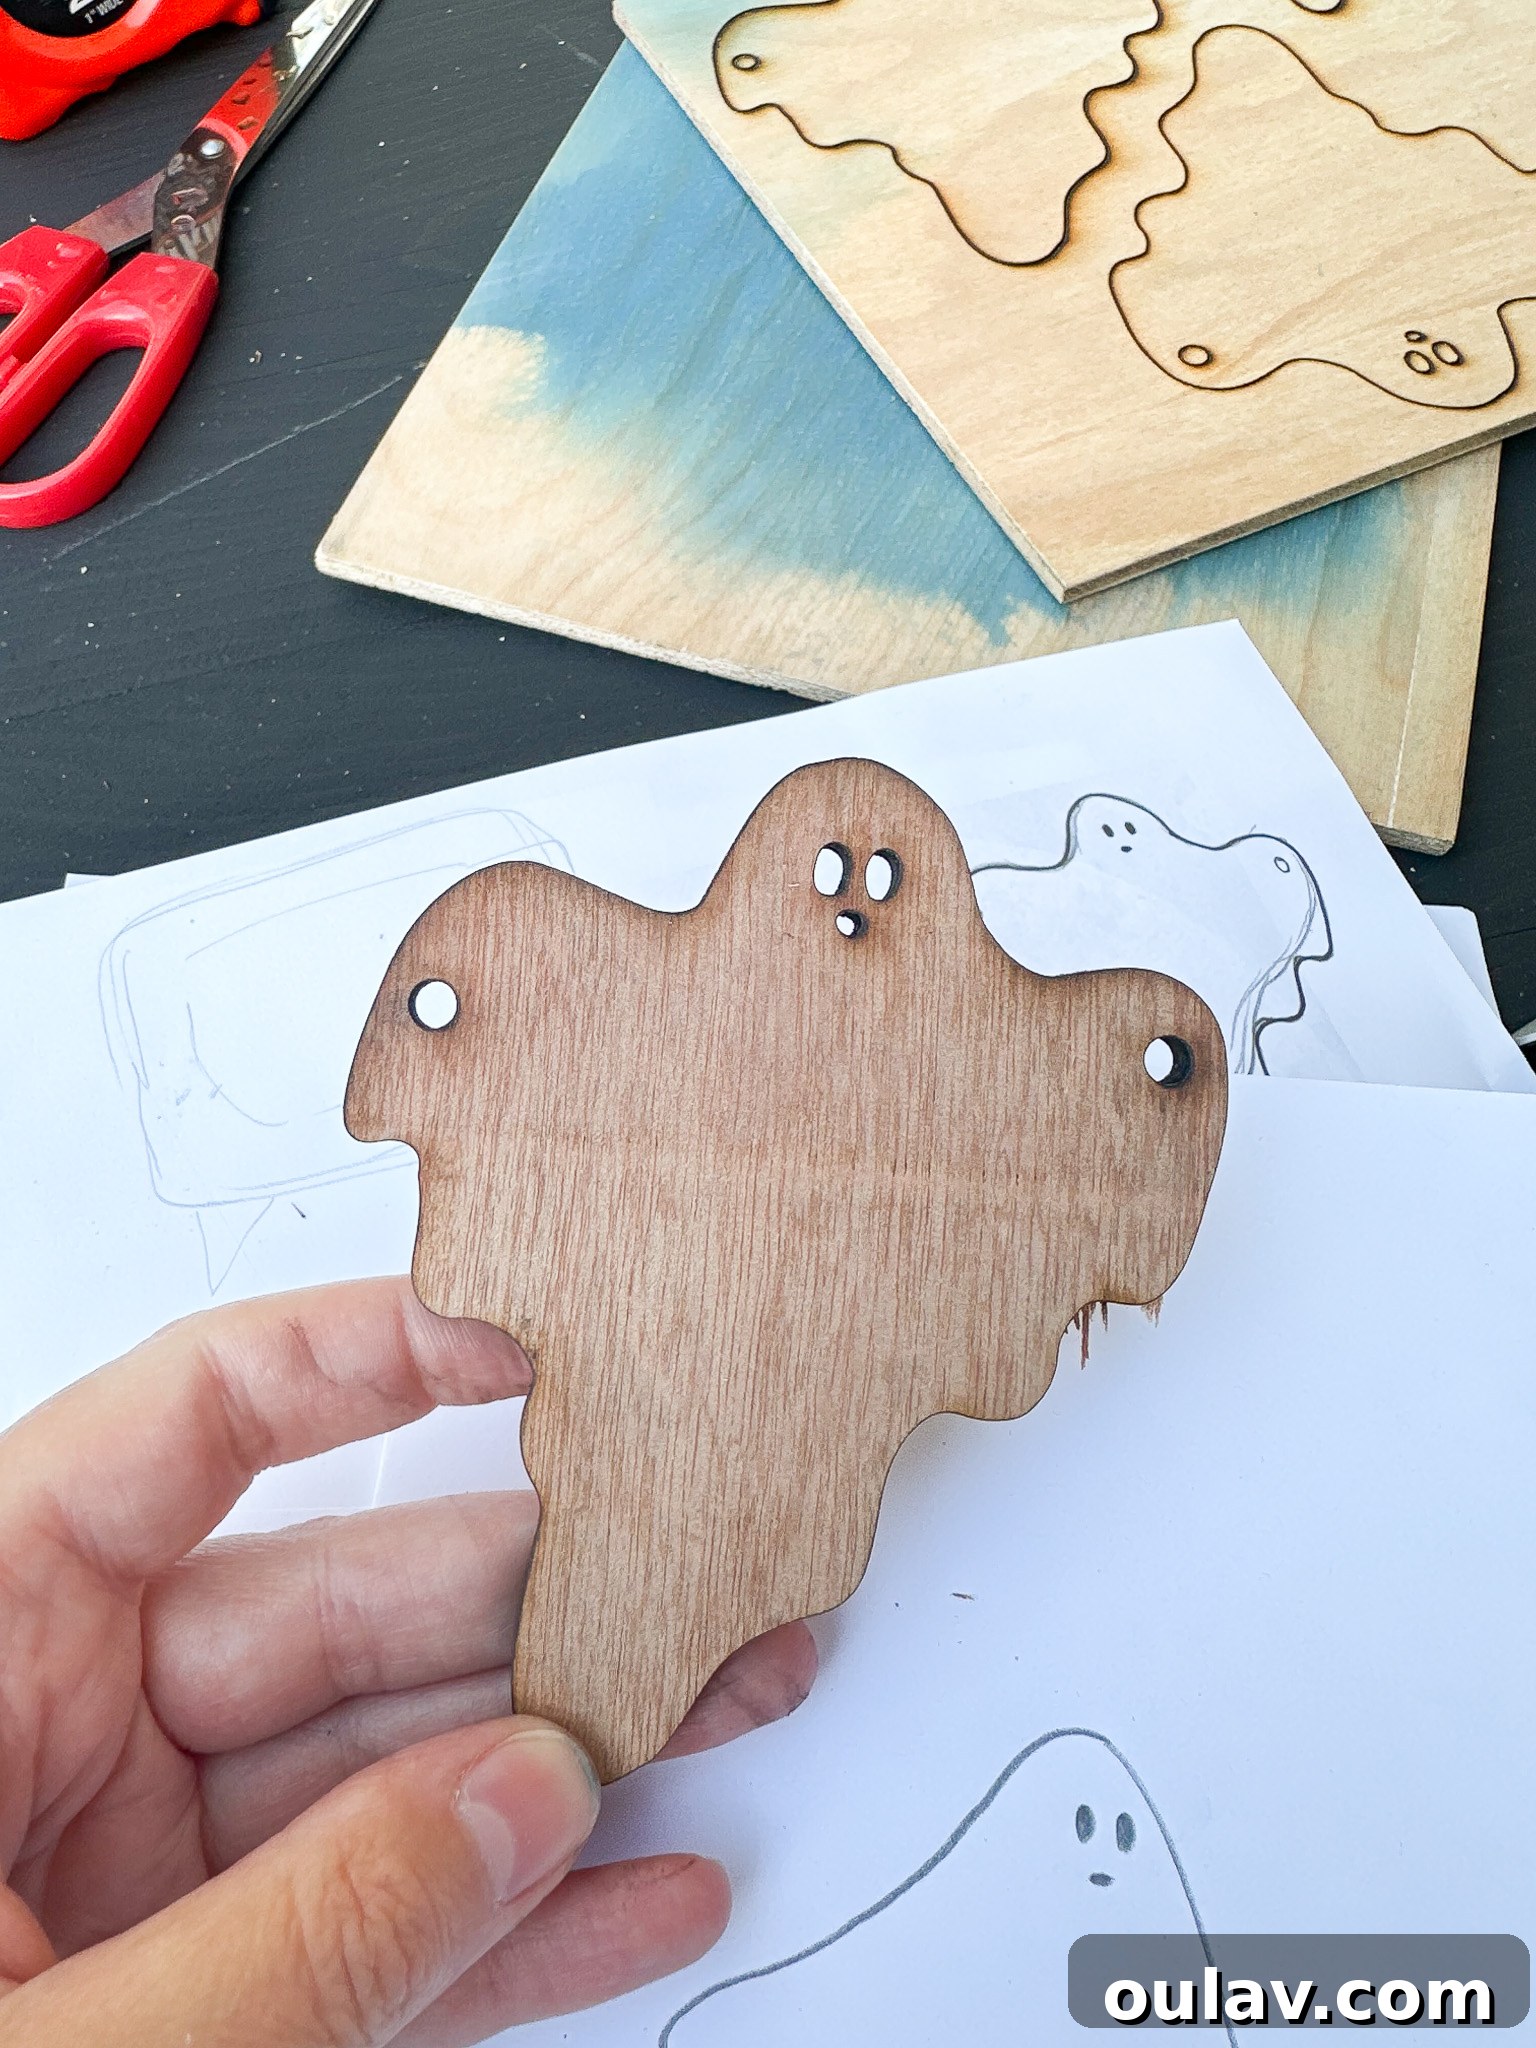
Initial test cuts before dialing in the perfect settings for a clean result.
3. Mastering the Cut: Tips for Using Your xTool M1 Safely and Effectively
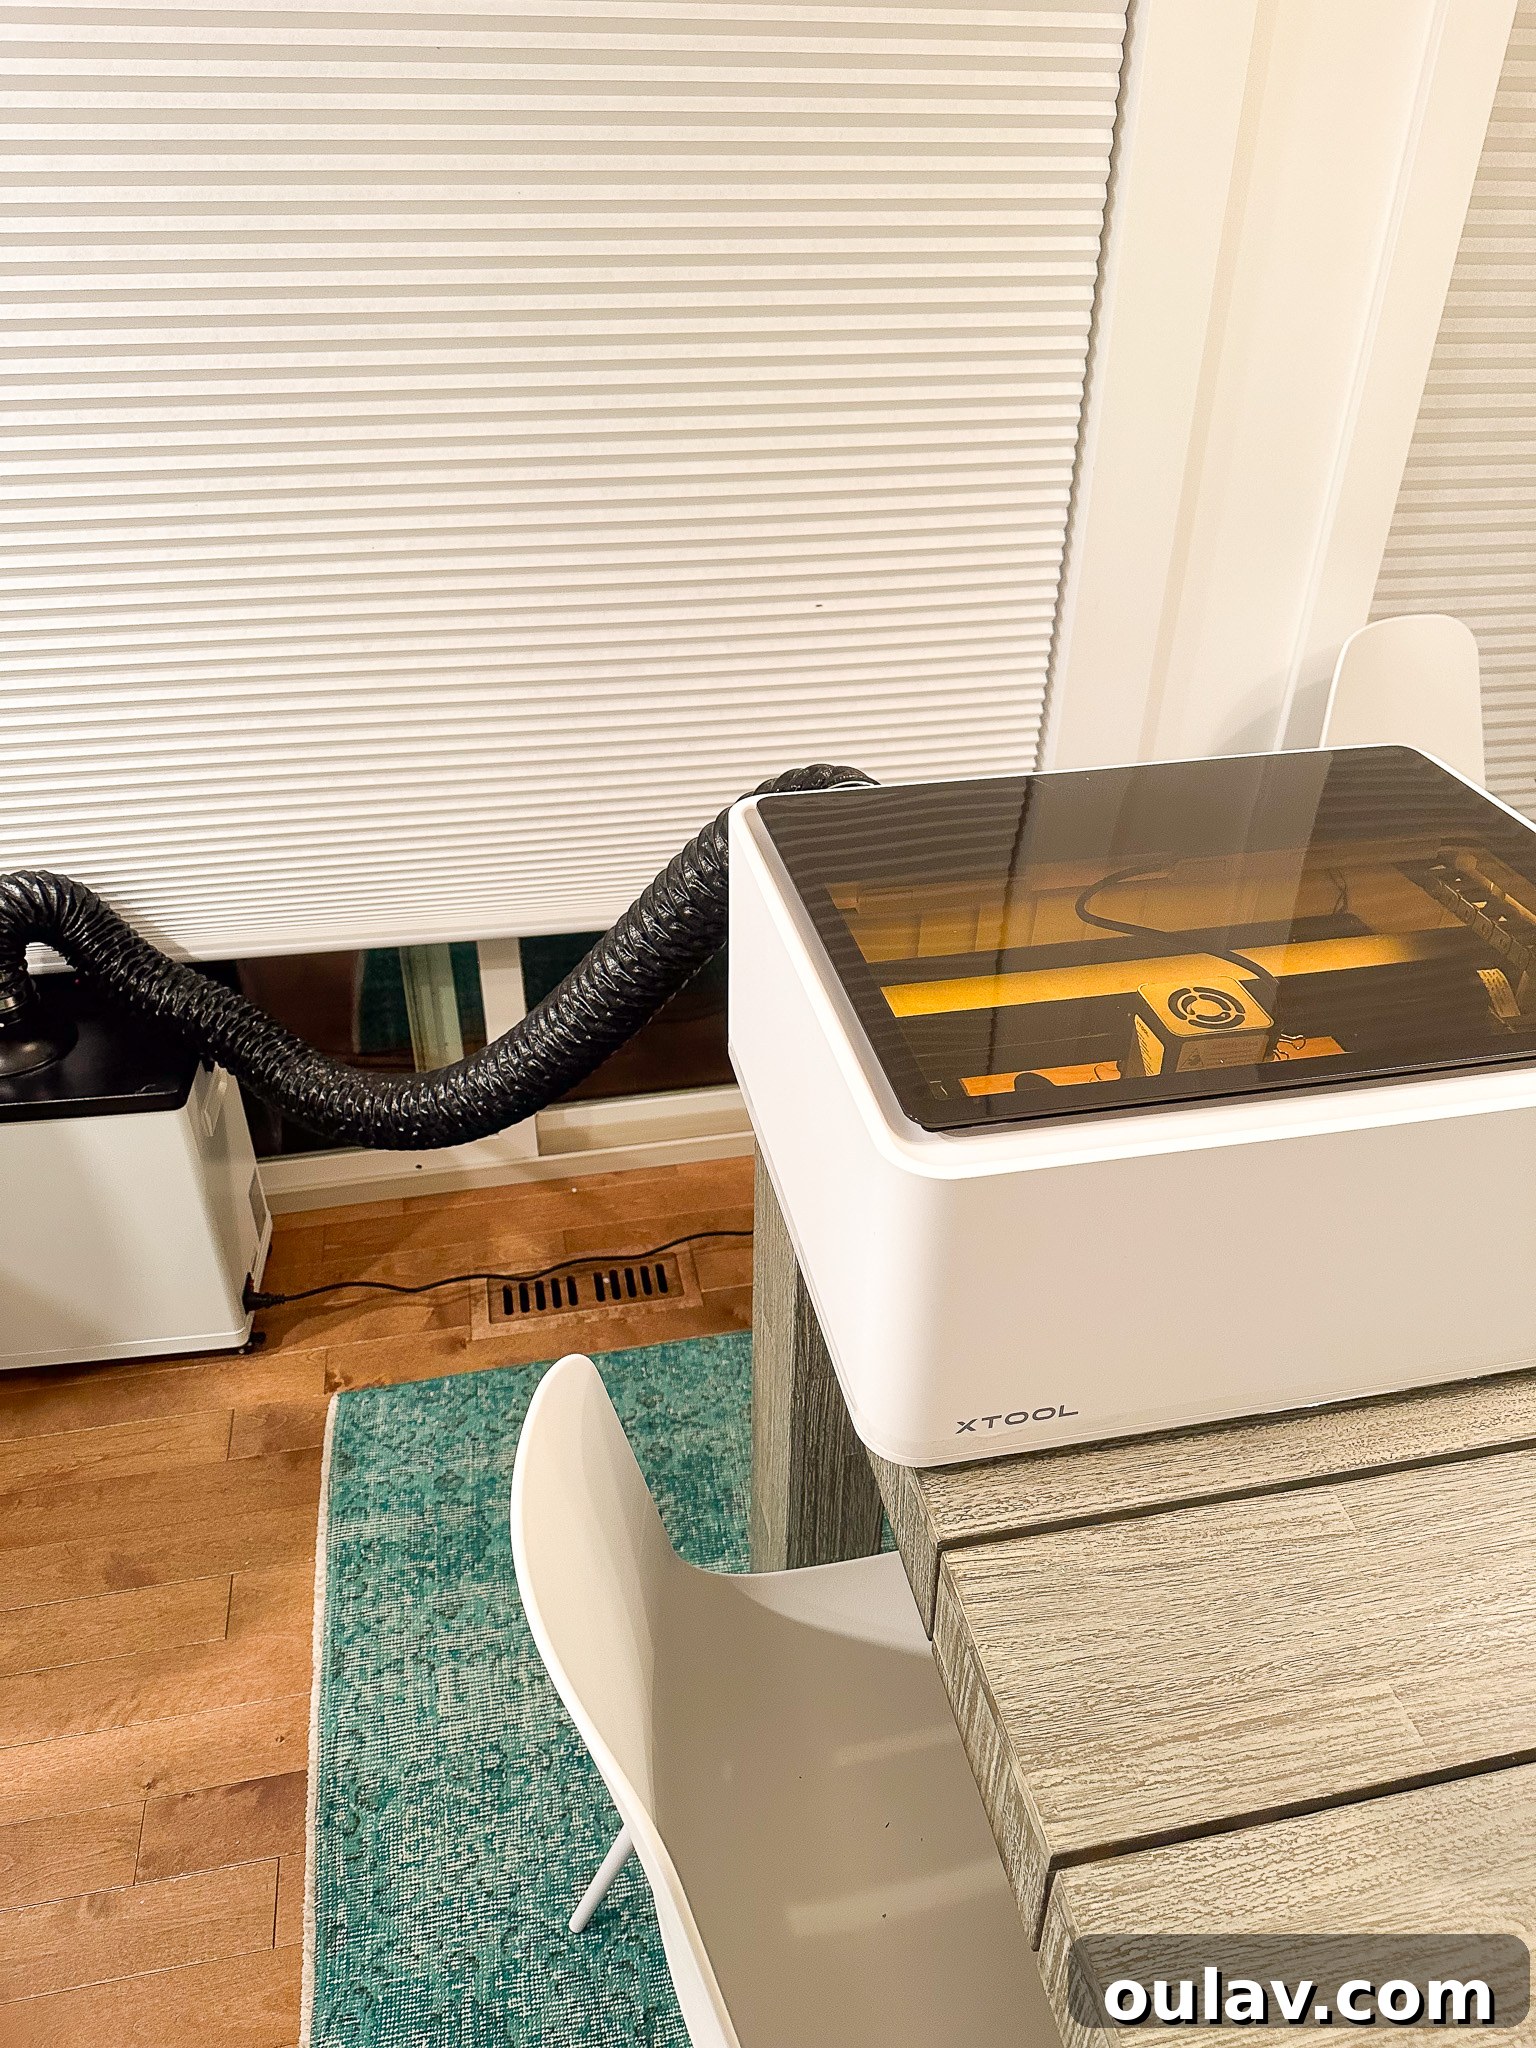
Cutting out the ghost shapes with the xTool M1 was a pivotal step, and discovering the benefits of using the machine OUTSIDE was a complete game-changer! Enjoying the fresh air on the deck while the laser worked its magic made the crafting process incredibly pleasant. However, if outdoor operation isn’t feasible, using the xTool smoke purifier is absolutely essential for indoor use. We found that venting the purifier exhaust through patio doors made cutting plywood indoors acceptable; the smell was reminiscent of a wood-burning fireplace, and the fumes weren’t overpowering. But a word of caution: I would never again attempt to cut acrylic indoors, even with the smoke purifier. The fumes, even from just a few shapes, were potent enough to cause a significant headache. For larger acrylic projects, or indeed any material that produces strong odors or potentially harmful off-gassing, an outdoor setup or a dedicated studio space with industrial-level ventilation is highly recommended. Prioritizing safety and good ventilation ensures a much more enjoyable and healthy crafting experience.
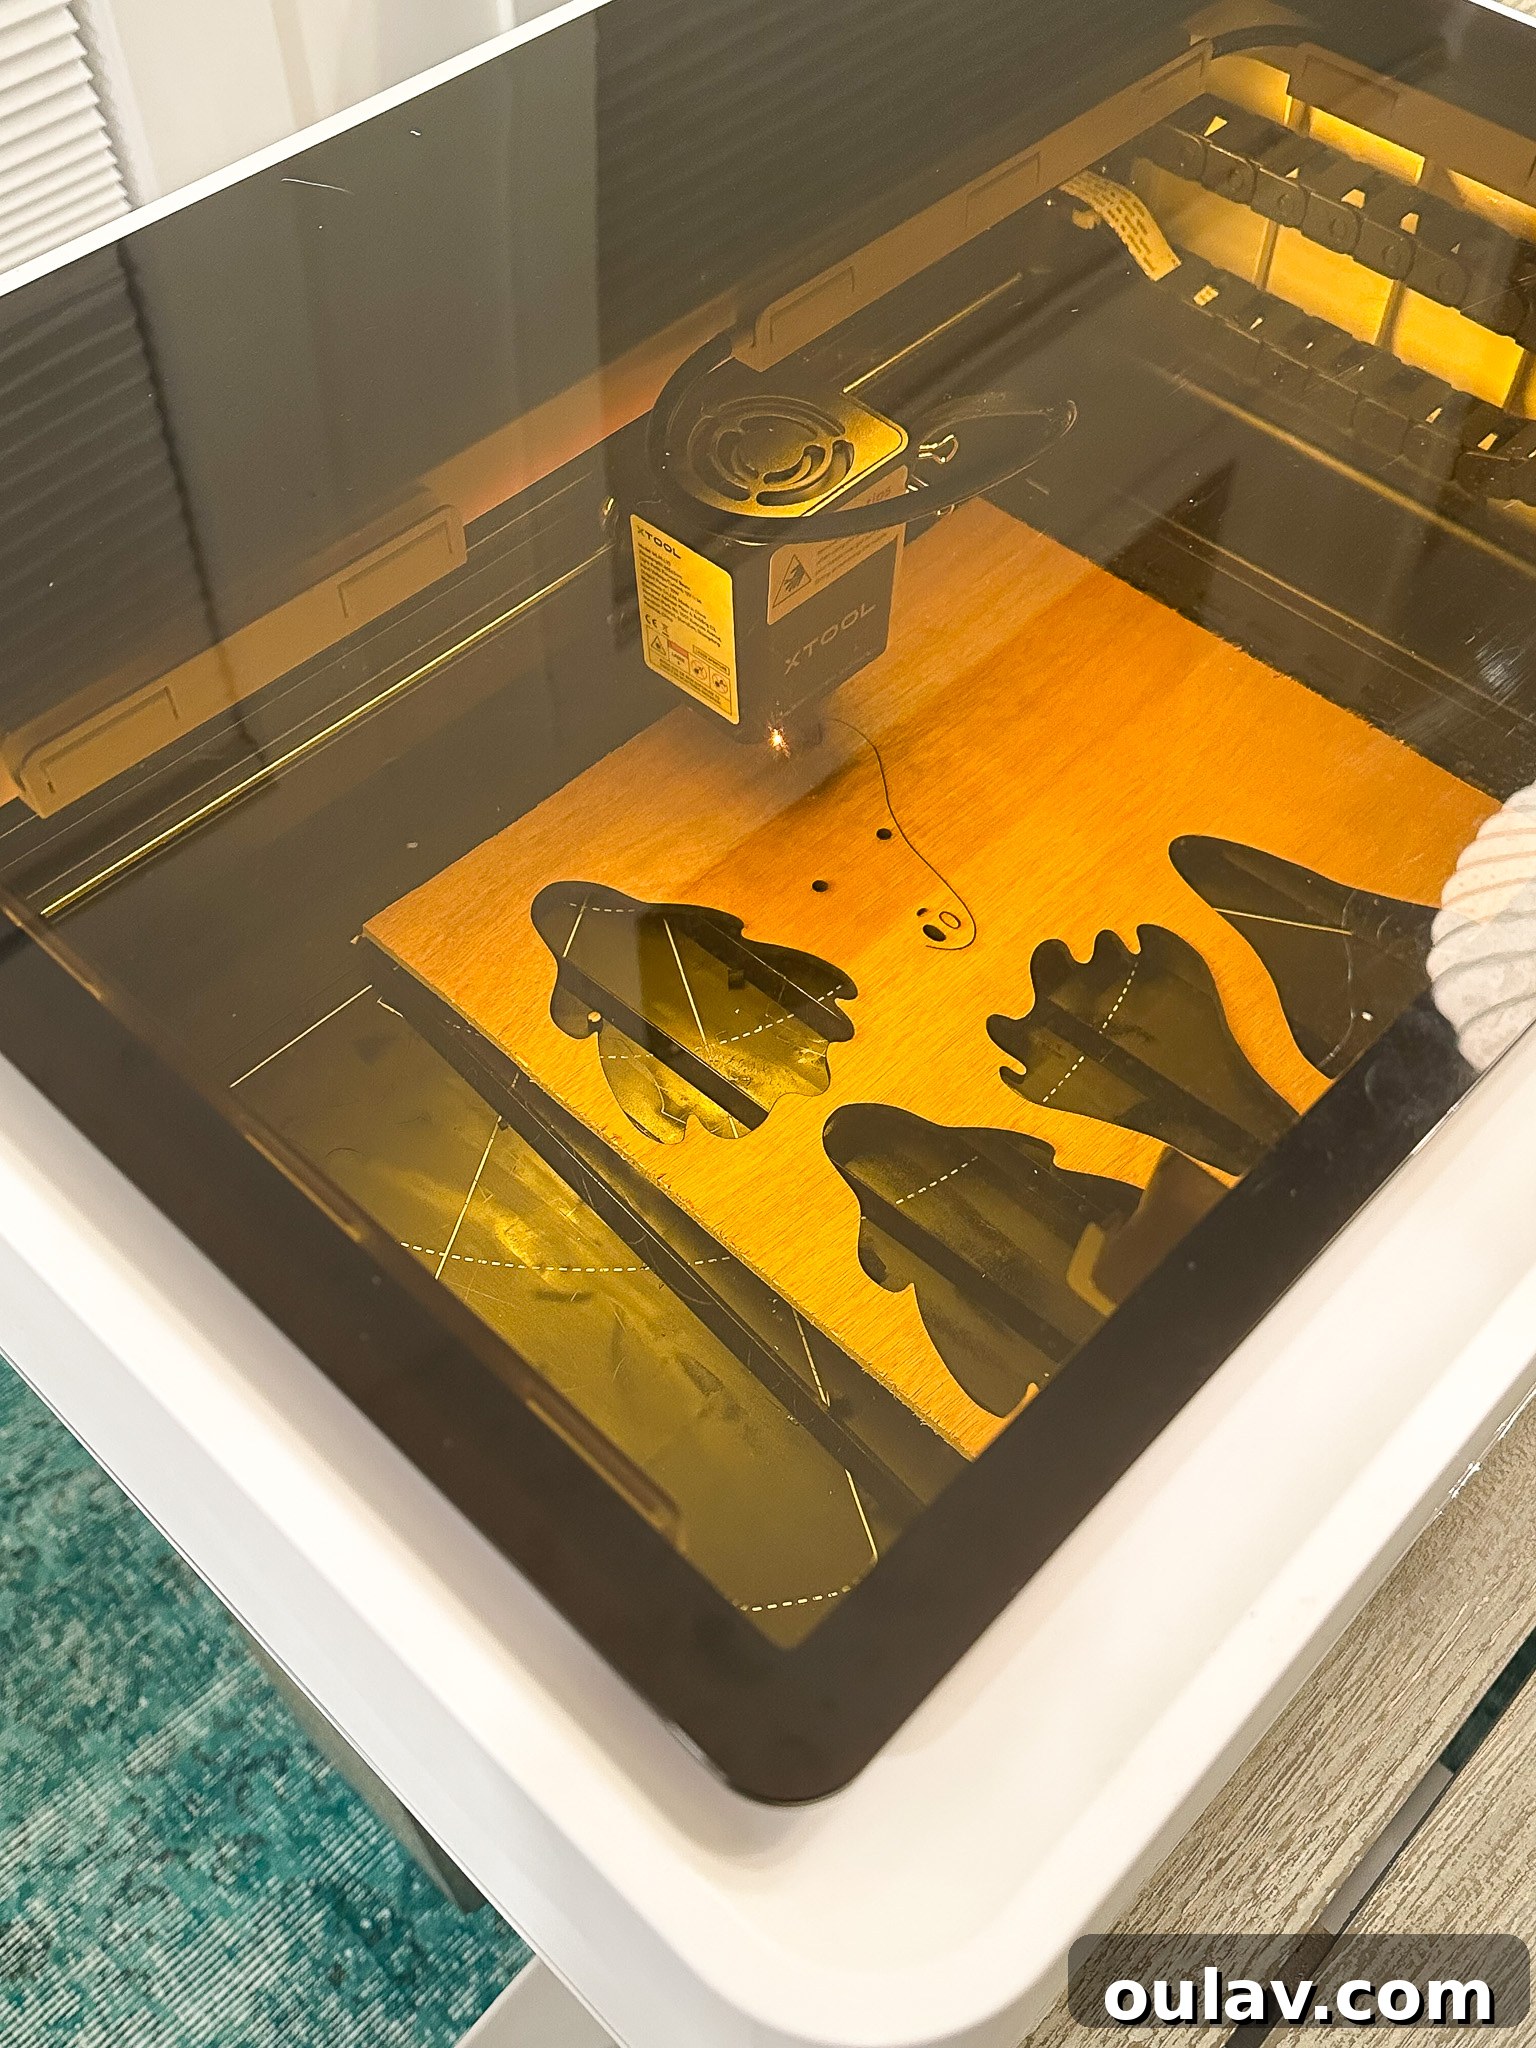
4. Optimal Cutting Settings for 5mm Plywood: A Guide for Precision
Achieving a clean, precise cut with your xTool M1 largely depends on using the correct settings for your specific material. While the xTool Creative Space software offers excellent built-in recommendations for standard materials and thicknesses, experimenting is often necessary when using unique scraps, as we did. For our 5mm plywood underlayment material, the following settings yielded exceptional results. It’s crucial to remember that plywood types vary greatly in density and composition, so what works for one 5mm plywood might not work for another. Always perform a small test cut on a scrap piece of your material before committing to your main project. This iterative approach saves both material and frustration.
- Power: 100% – Max power ensures the laser penetrates the material effectively.
- Speed: 4 mm/s – A slower speed allows the laser more time to cut through thicker or denser materials cleanly.
- Passes for Outlines: 6 passes – Multiple passes ensure a complete cut for the main ghost shapes, resulting in crisp edges.
- Passes for Eyes and Holes: 3 passes – Fewer passes are needed for smaller, interior cuts like eyes and ribbon holes, as they require less material removal.
Understanding these parameters – power, speed, and passes – allows you to fine-tune your laser cutting for optimal outcomes, whether you’re working with standard xTool materials or repurposed scraps.
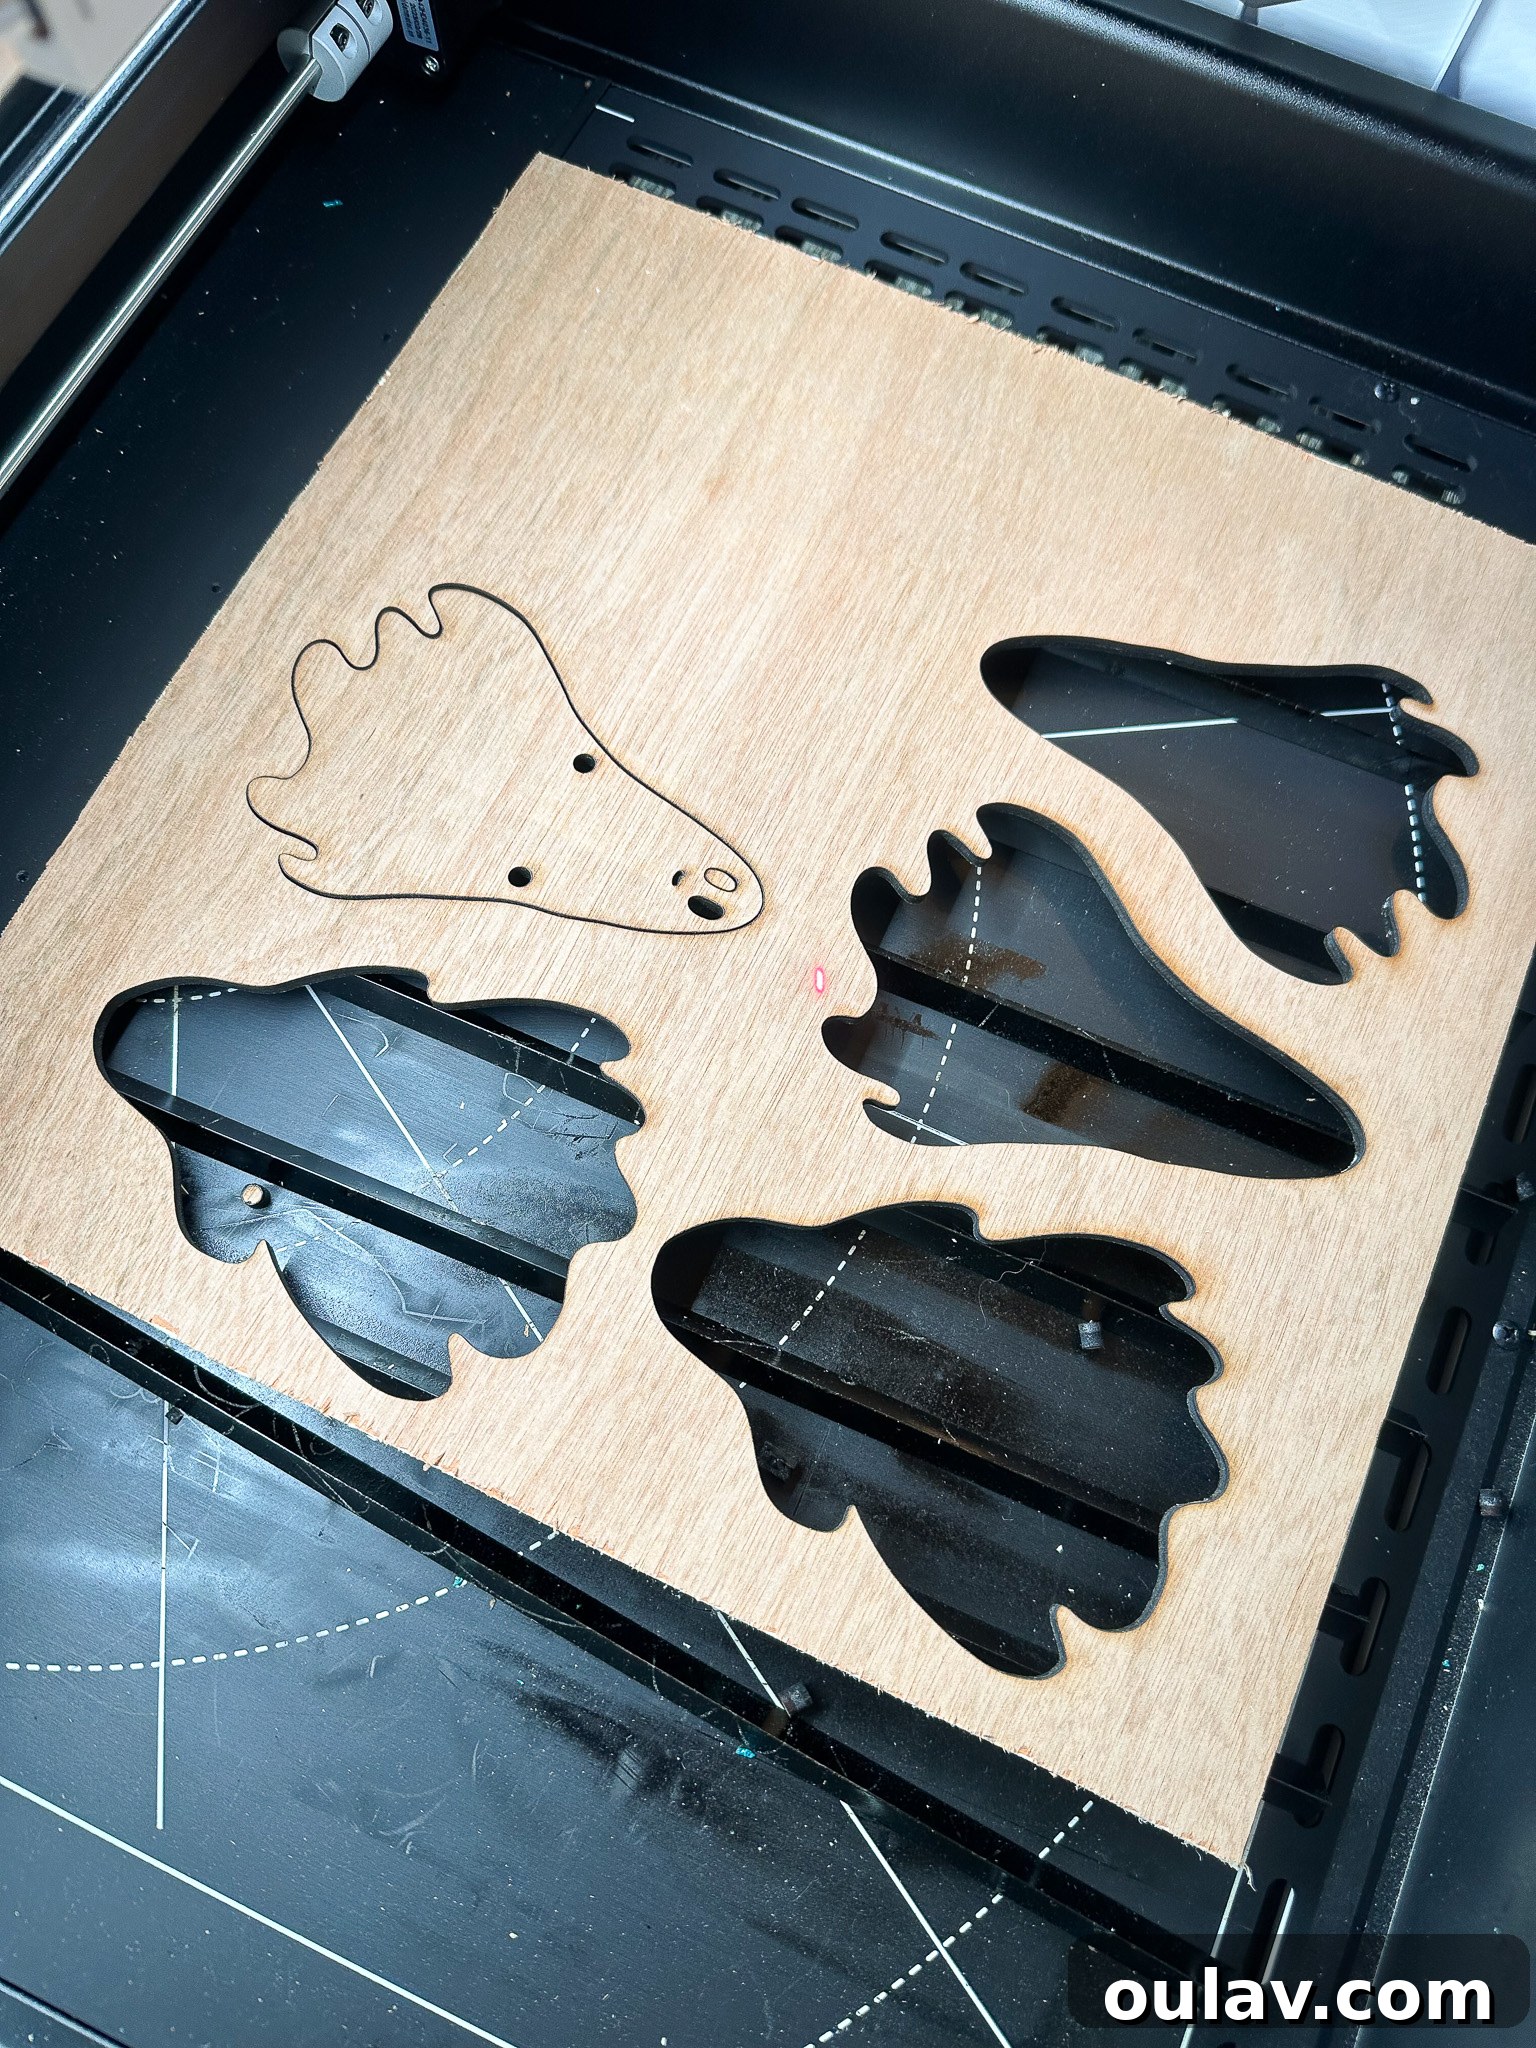
5. Post-Cut Cleaning: Wiping Away the Residue
Once your ghost shapes are perfectly cut, you’ll notice some residual charring and soot, especially along the cut edges. This is a normal byproduct of laser cutting. To prepare the ghosts for staining and painting, it’s important to clean them thoroughly. I simply used a damp cloth to gently wipe away any black residue from the plywood surfaces and edges. For more stubborn charring, a fine-grit sandpaper can be used lightly to smooth the edges and remove any remaining discoloration. A clean surface ensures that your chosen finish adheres evenly and results in a polished, professional look for your DIY ghost garland.
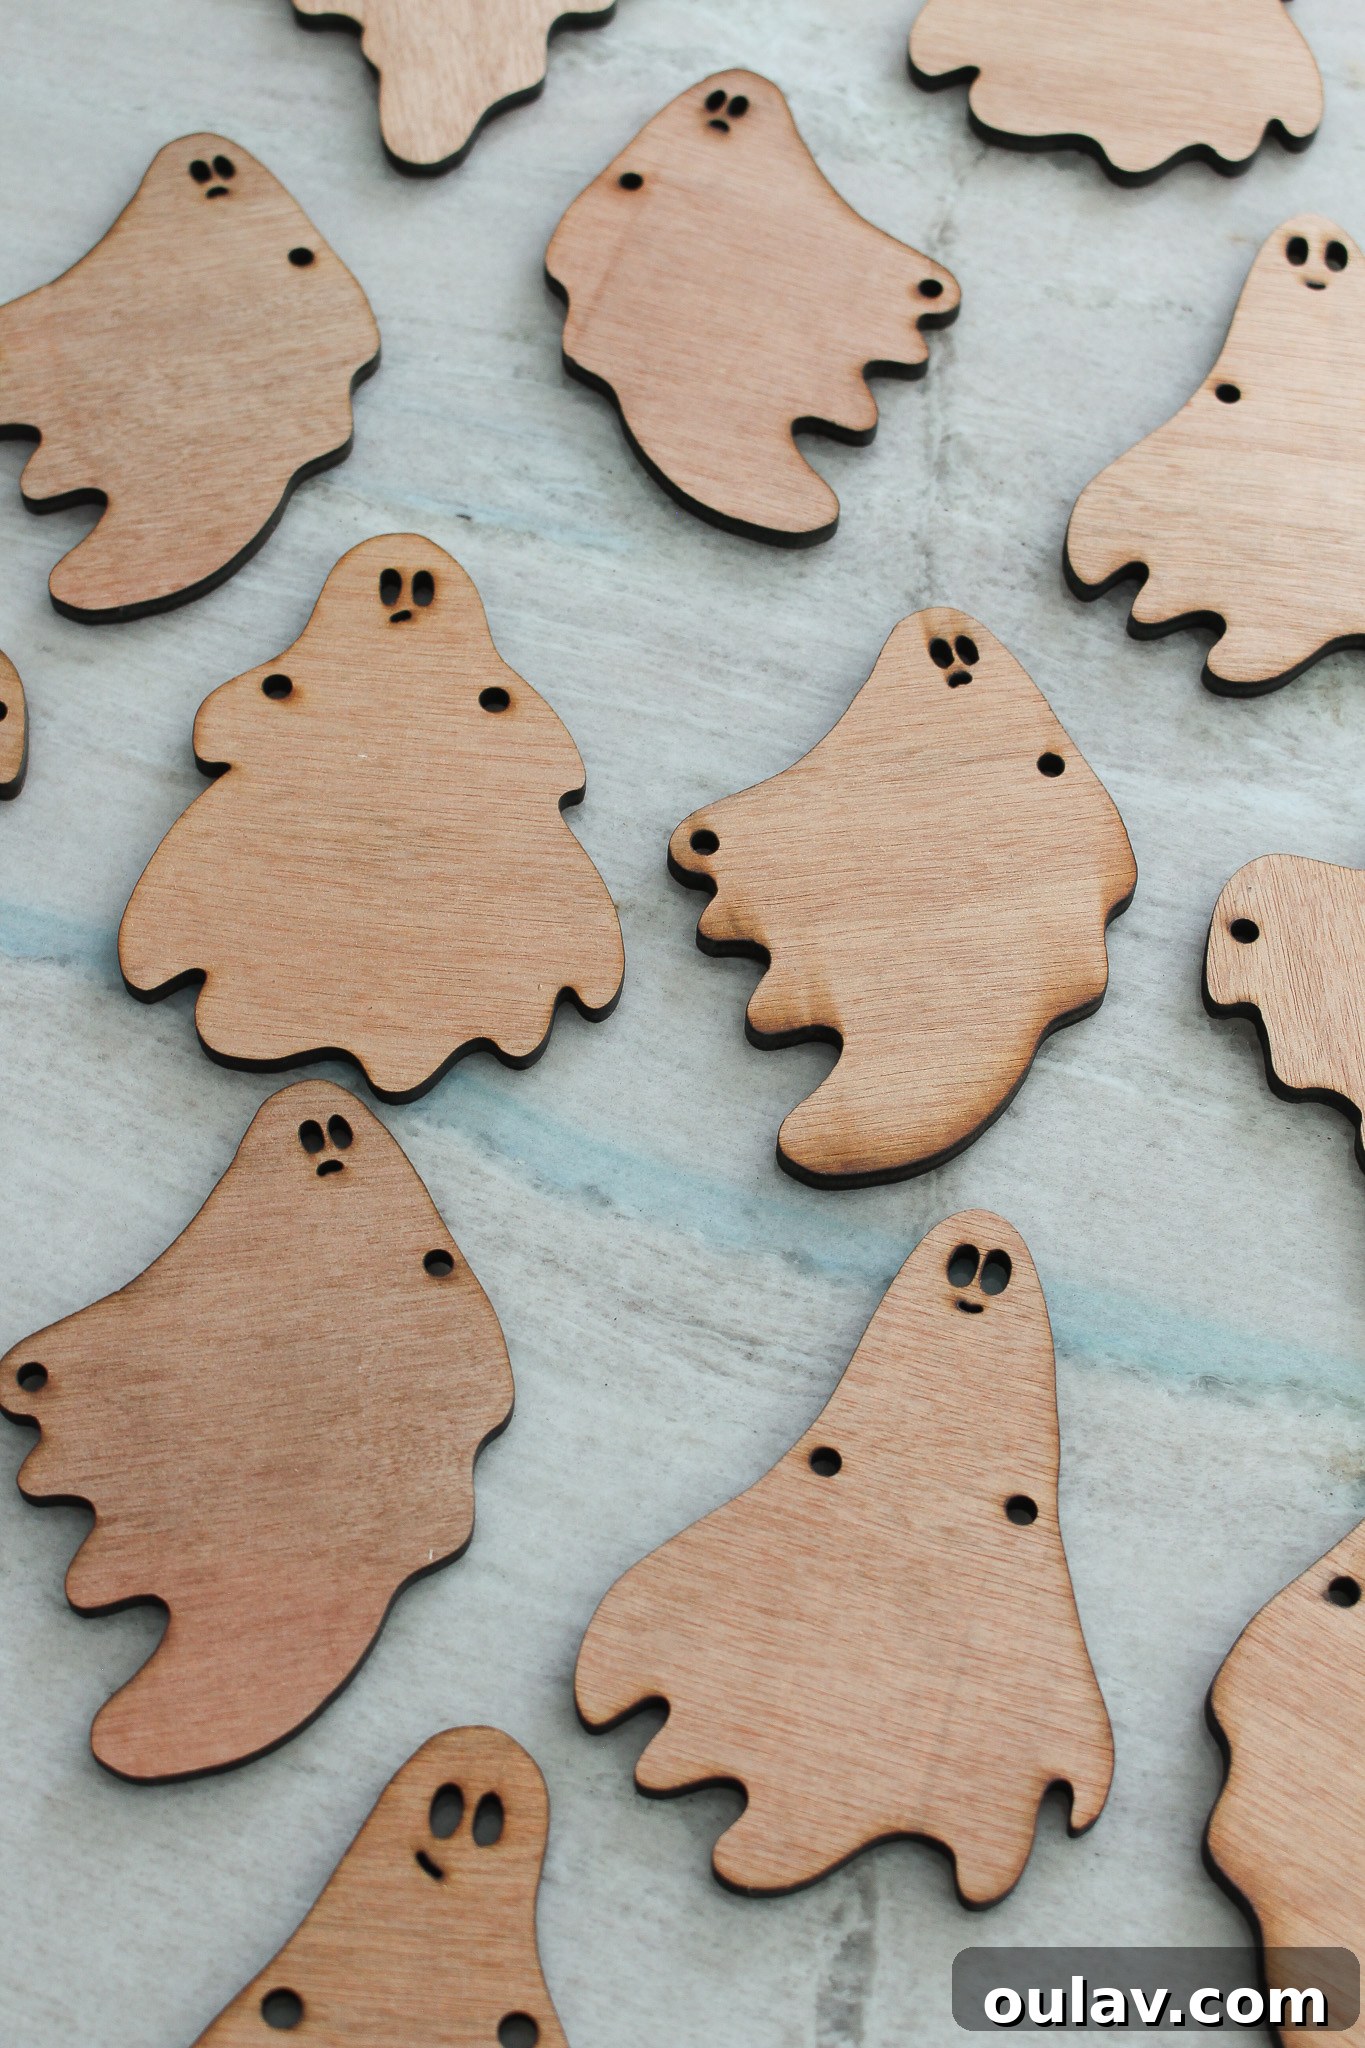
6. Bringing Ghosts to Life: Staining and Painting the Plywood Figures
The finishing touches are where these laser-cut ghosts truly come to life. Initially, I applied a Saman brand water-based white wood stain, hoping to achieve an ethereal white glow. While the stain offered a lovely translucent finish that allowed the wood grain to show through, multiple coats weren’t yielding the desired opaque white I envisioned. The ghosts remained a bit too natural for the spooky aesthetic I was aiming for.
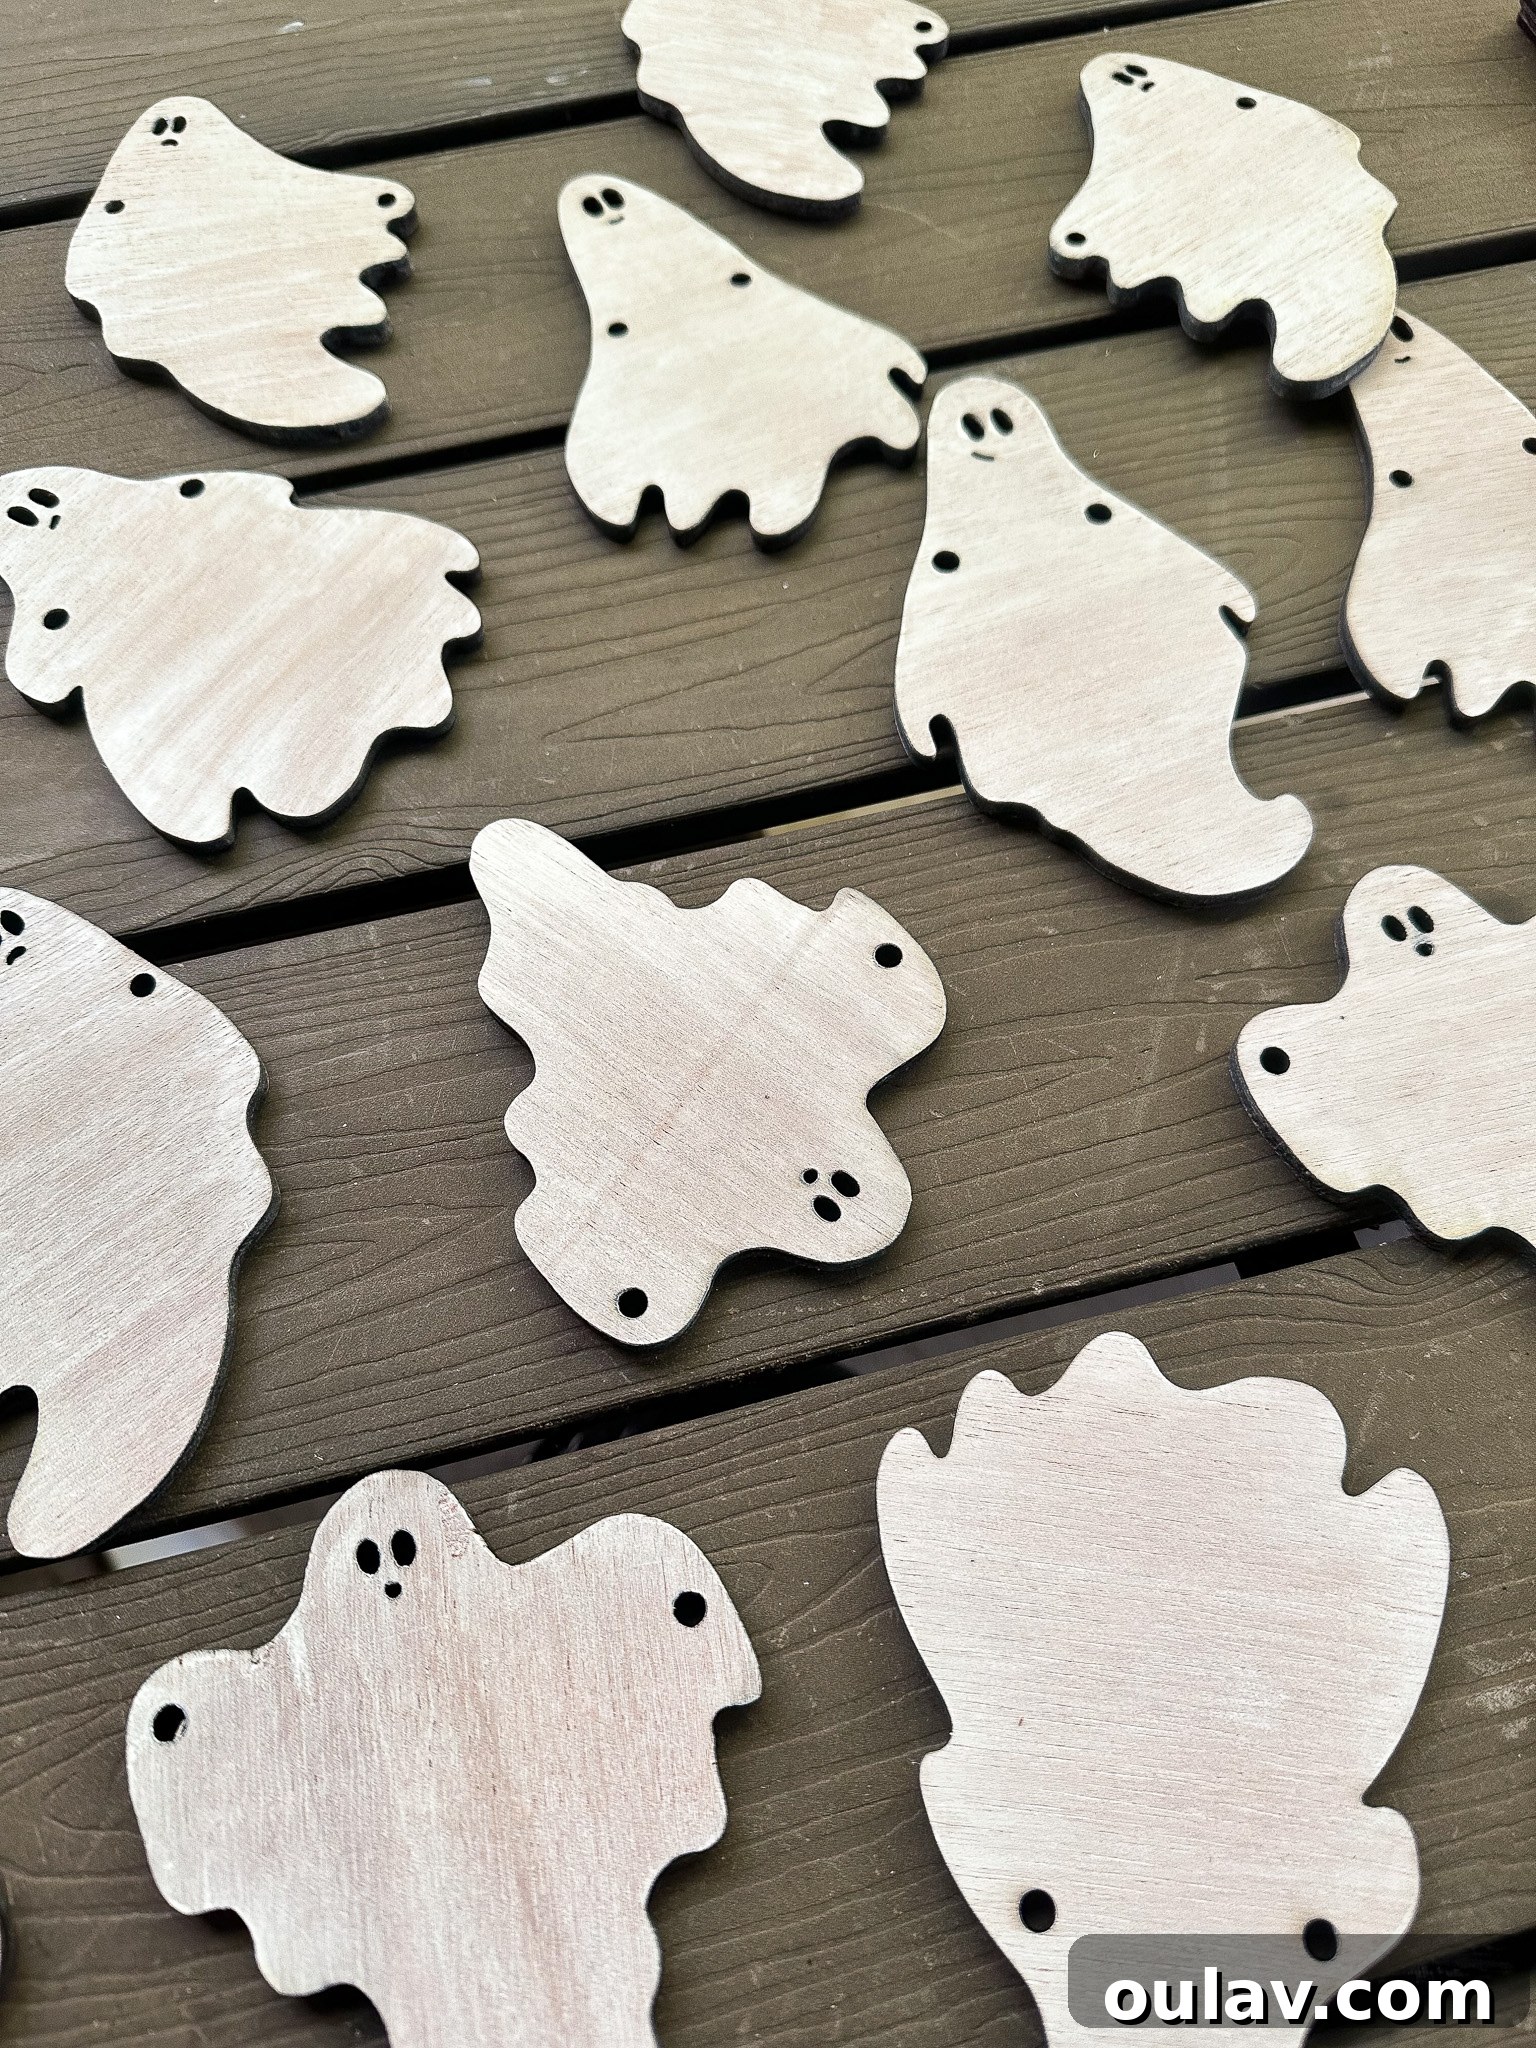
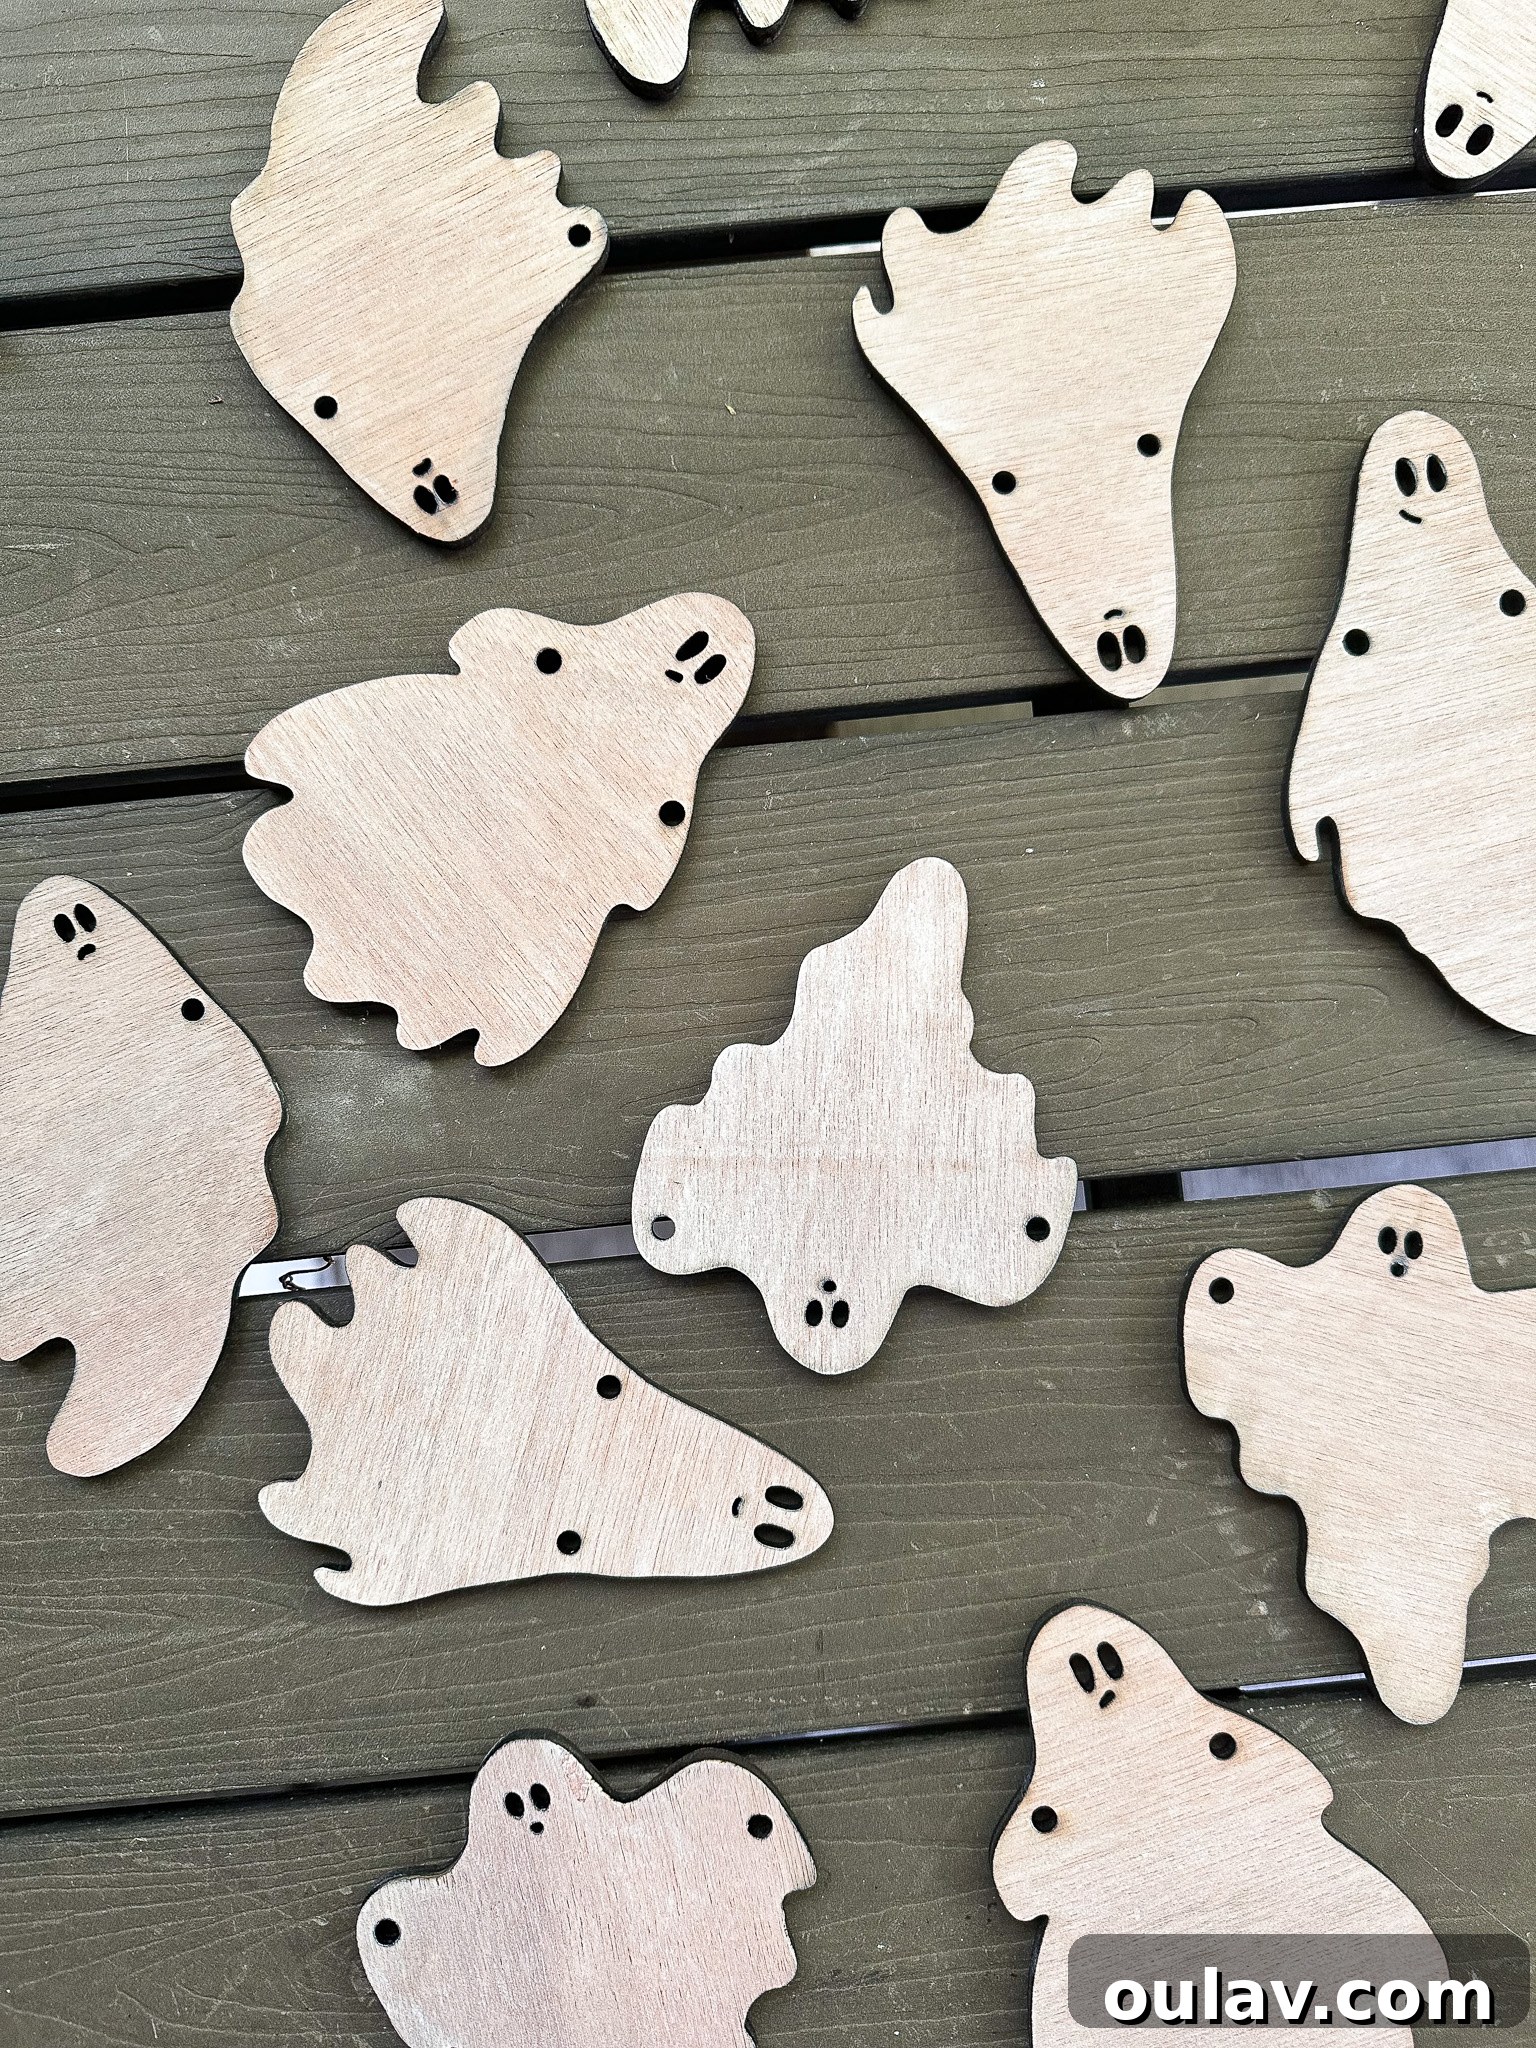
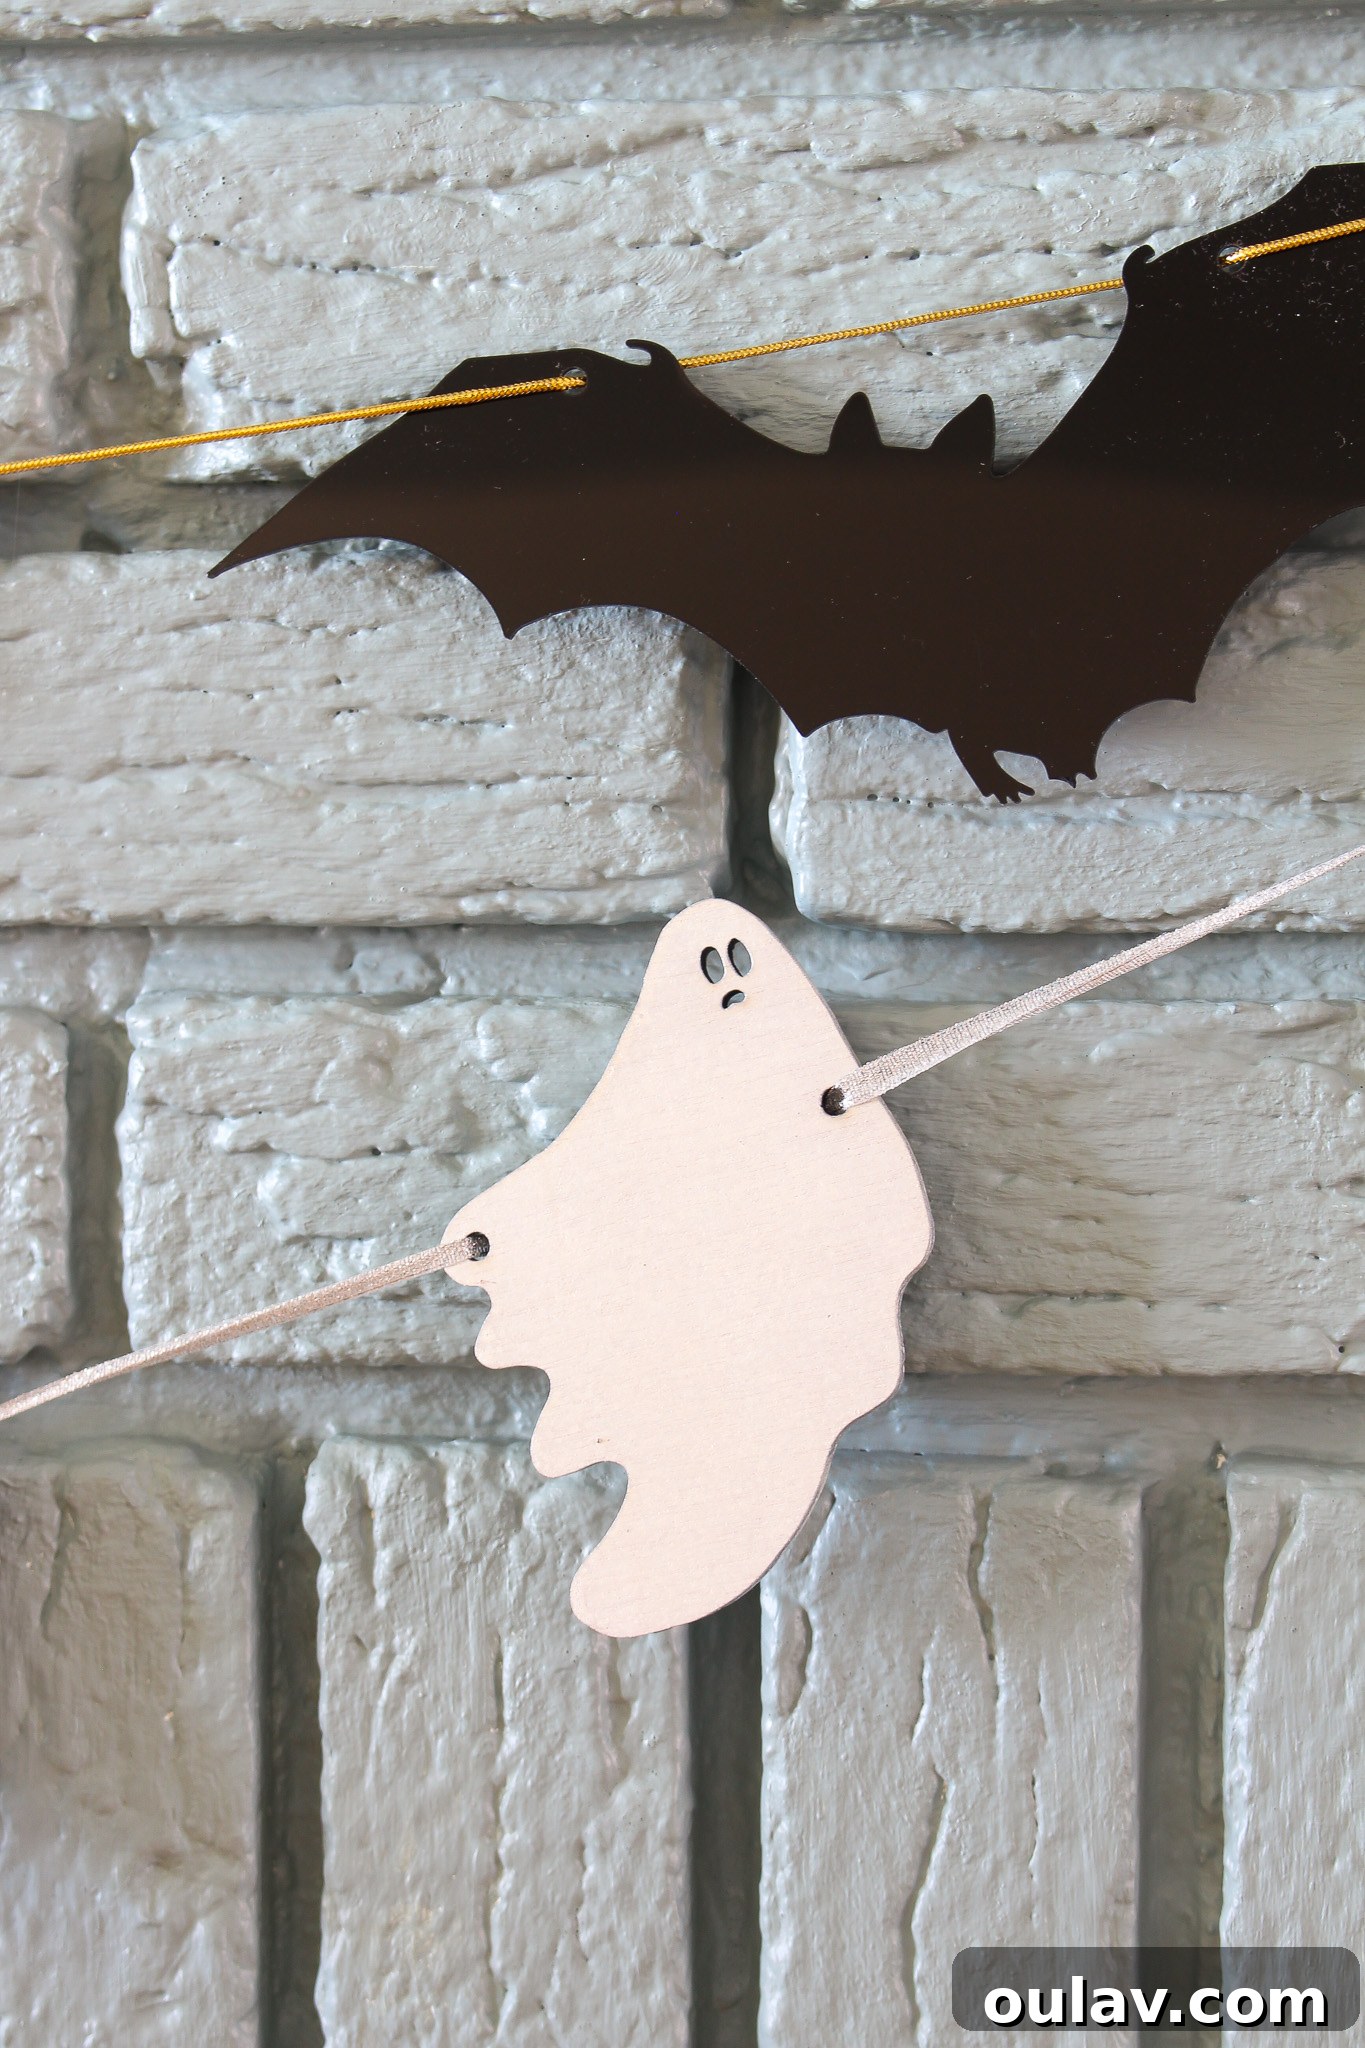
To intensify the color and add a magical shimmer, I then applied a topcoat of Rust-Oleum Pearl Mist spray paint. This specific spray paint is wonderfully sheer, meaning it enhanced the white without completely obscuring the beautiful wood grain underneath. The “Pearl Mist” added a subtle, iridescent finish, giving the ghosts a truly ghostly glow, and it also helped to subtly mask any lingering charred edges from the laser cutting process. For those looking for different effects, you could also consider glow-in-the-dark paint, glitter spray, or even painting intricate details on each ghost for a more personalized touch. The combination of stain and shimmering spray paint created the perfect balance of rustic charm and ethereal spookiness.
The Finished DIY Ghost Garland: A Spooky Delight
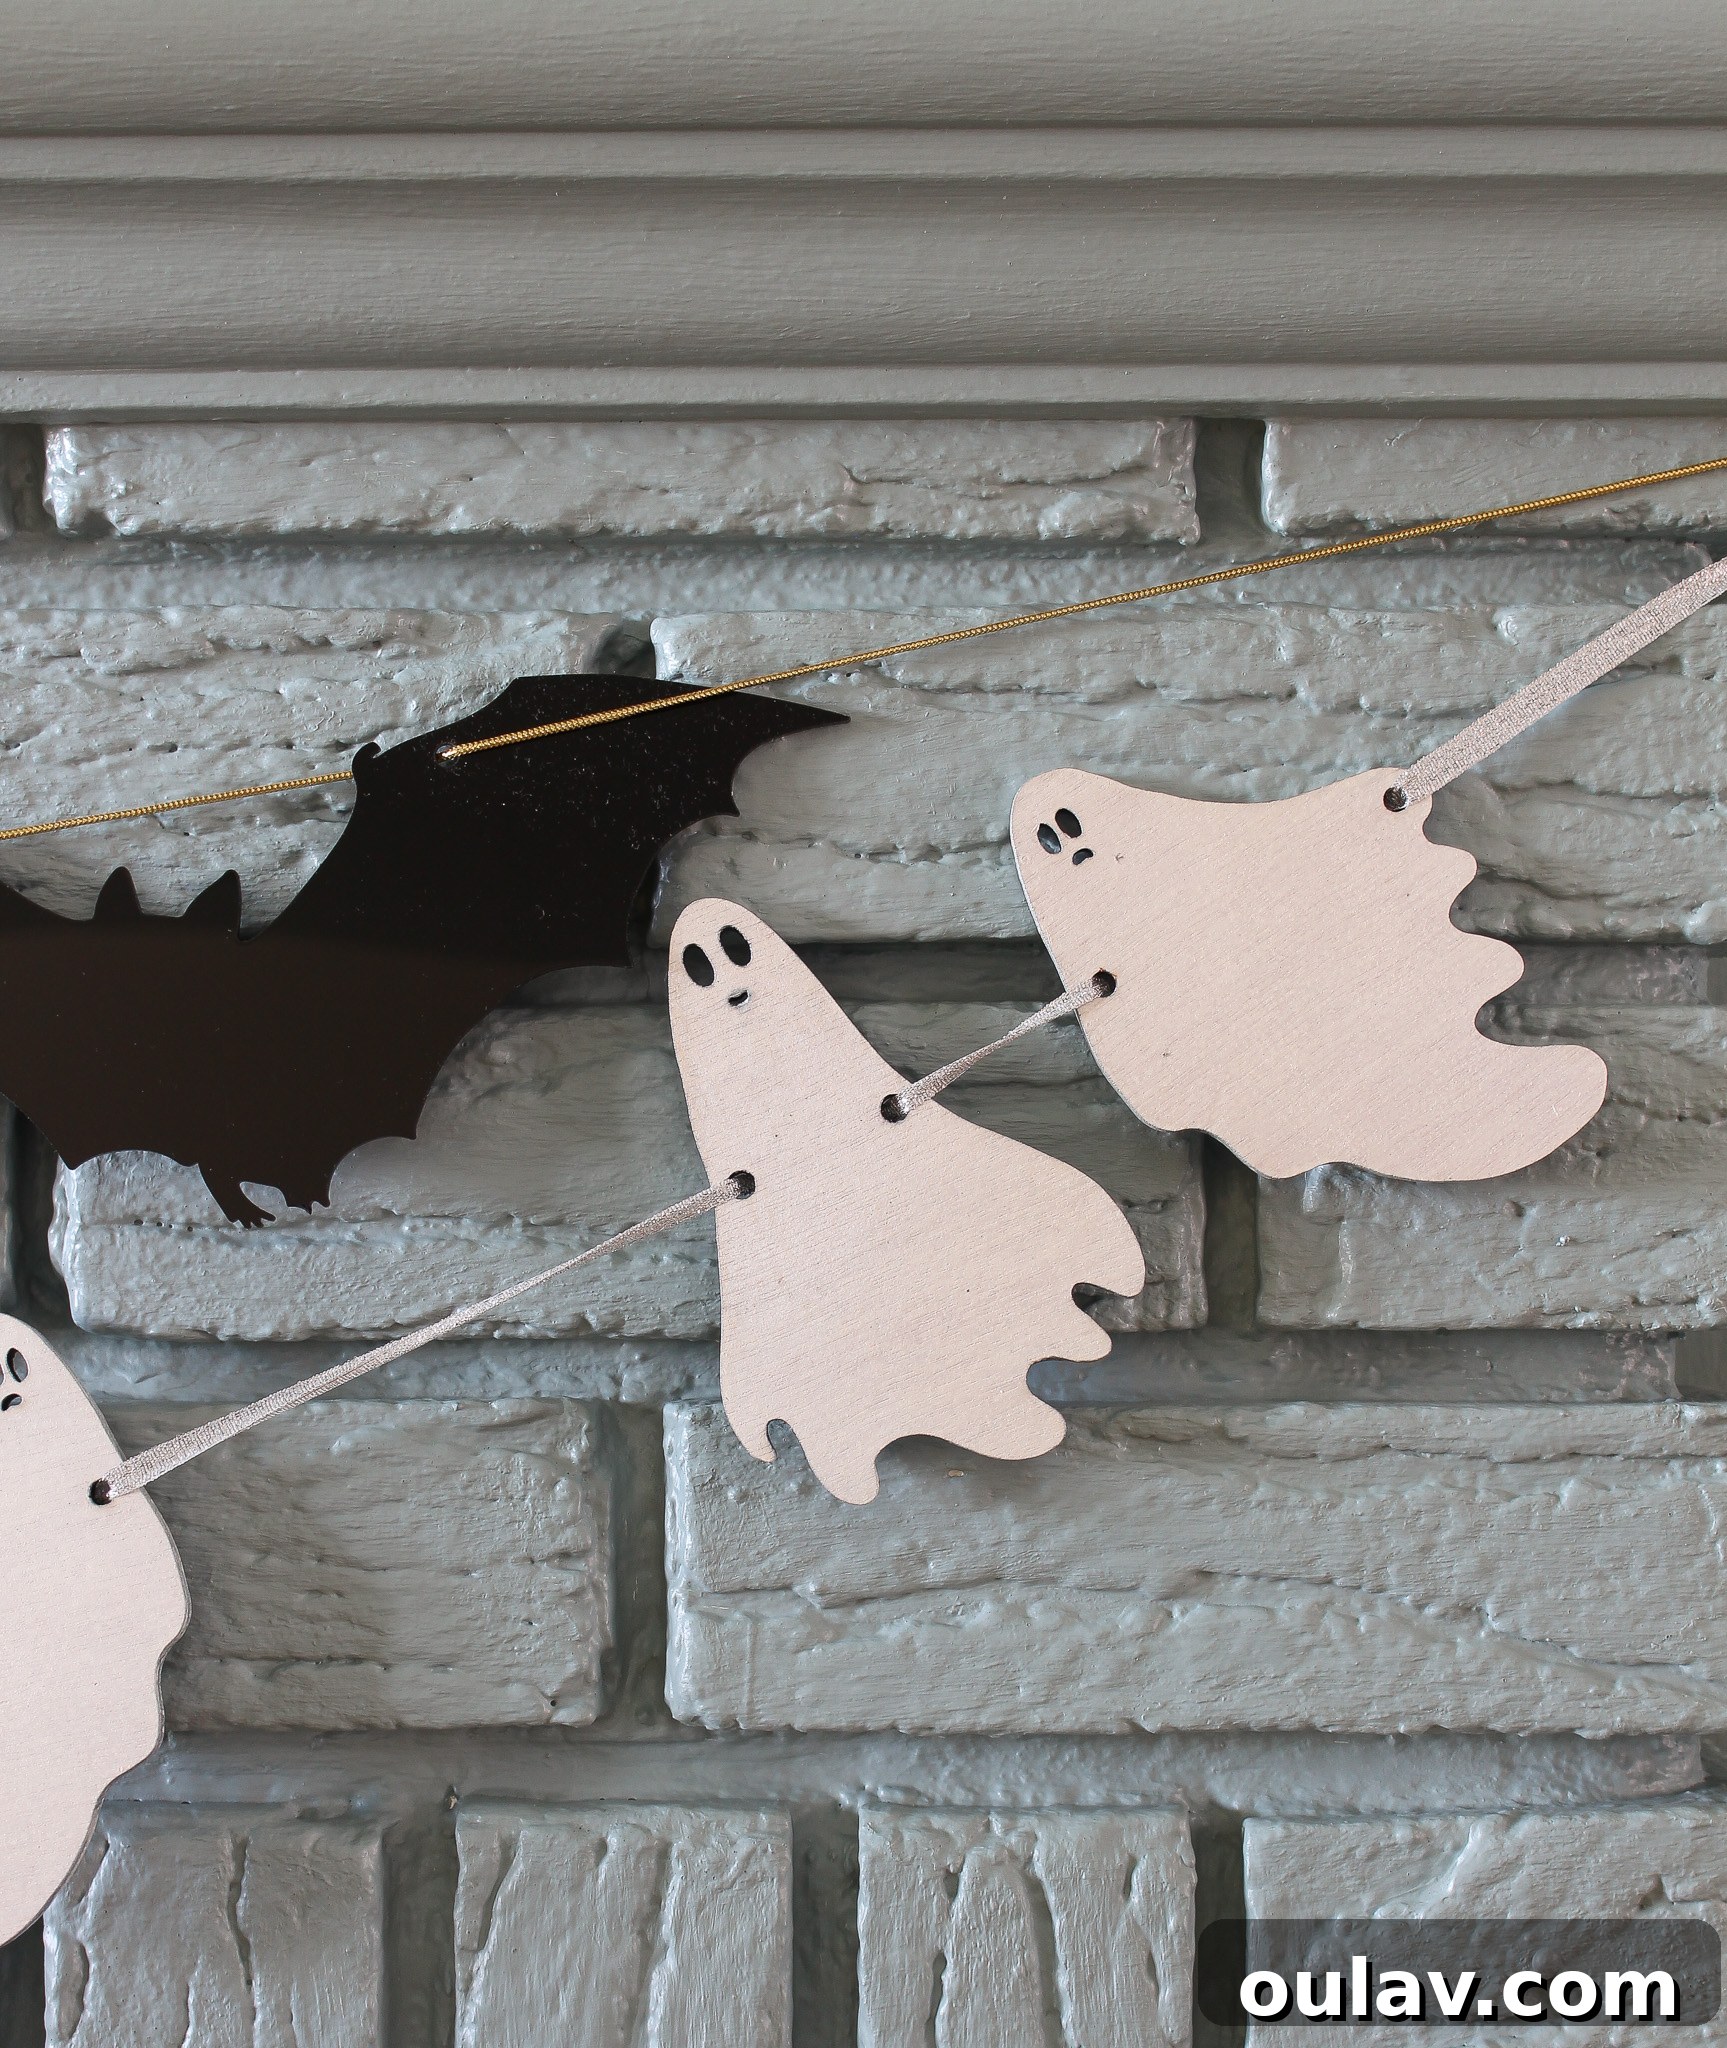
The completed ghost garland is an absolute joy – a perfect blend of whimsical and spooky. Assembling it was incredibly simple; I just threaded a shimmering silver ribbon through the small holes we added to each ghost design. The ribbon I chose has a lovely texture and a slightly grippy quality, which helps to hold the ghosts perfectly in place without the need for any additional knots. However, if you prefer, you could certainly add small knots between each ghost, incorporate decorative beads, or even DIY felt balls to create a fuller, more embellished garland. The possibilities for personalization are truly endless, allowing you to match your garland to your unique Halloween aesthetic.
I am absolutely thrilled with how this DIY ghost garland turned out. It’s a wonderful example of how accessible and rewarding laser cutting can be for creating custom home decor. Even if you don’t have access to a laser cutter, the spirit of this project can still inspire you. You could achieve a similar enchanting look by cutting ghost shapes from heavy-duty cardboard, craft foam, or even by sculpting them from air-dry clay. The key is to embrace your creativity and enjoy the process of making something uniquely yours.
Enhance Your Halloween Decor with More Handmade Touches
This ghost garland is just one piece of a larger collection of handmade Halloween decorations. If you’re looking to further personalize your spooky seasonal display, be sure to explore our other detailed tutorials. Complement your ghost garland with the striking DIY concrete skull candle holders, which add an edgy, industrial touch. And don’t forget the charming DIY thrift store ghost painting, a fantastically creative way to upcycle old art into something delightfully eerie. These projects not only provide unique decor but also offer enjoyable crafting experiences, allowing you to infuse your home with your own personal style this Halloween. Embrace the spirit of DIY and transform your space into a uniquely haunting haven!