
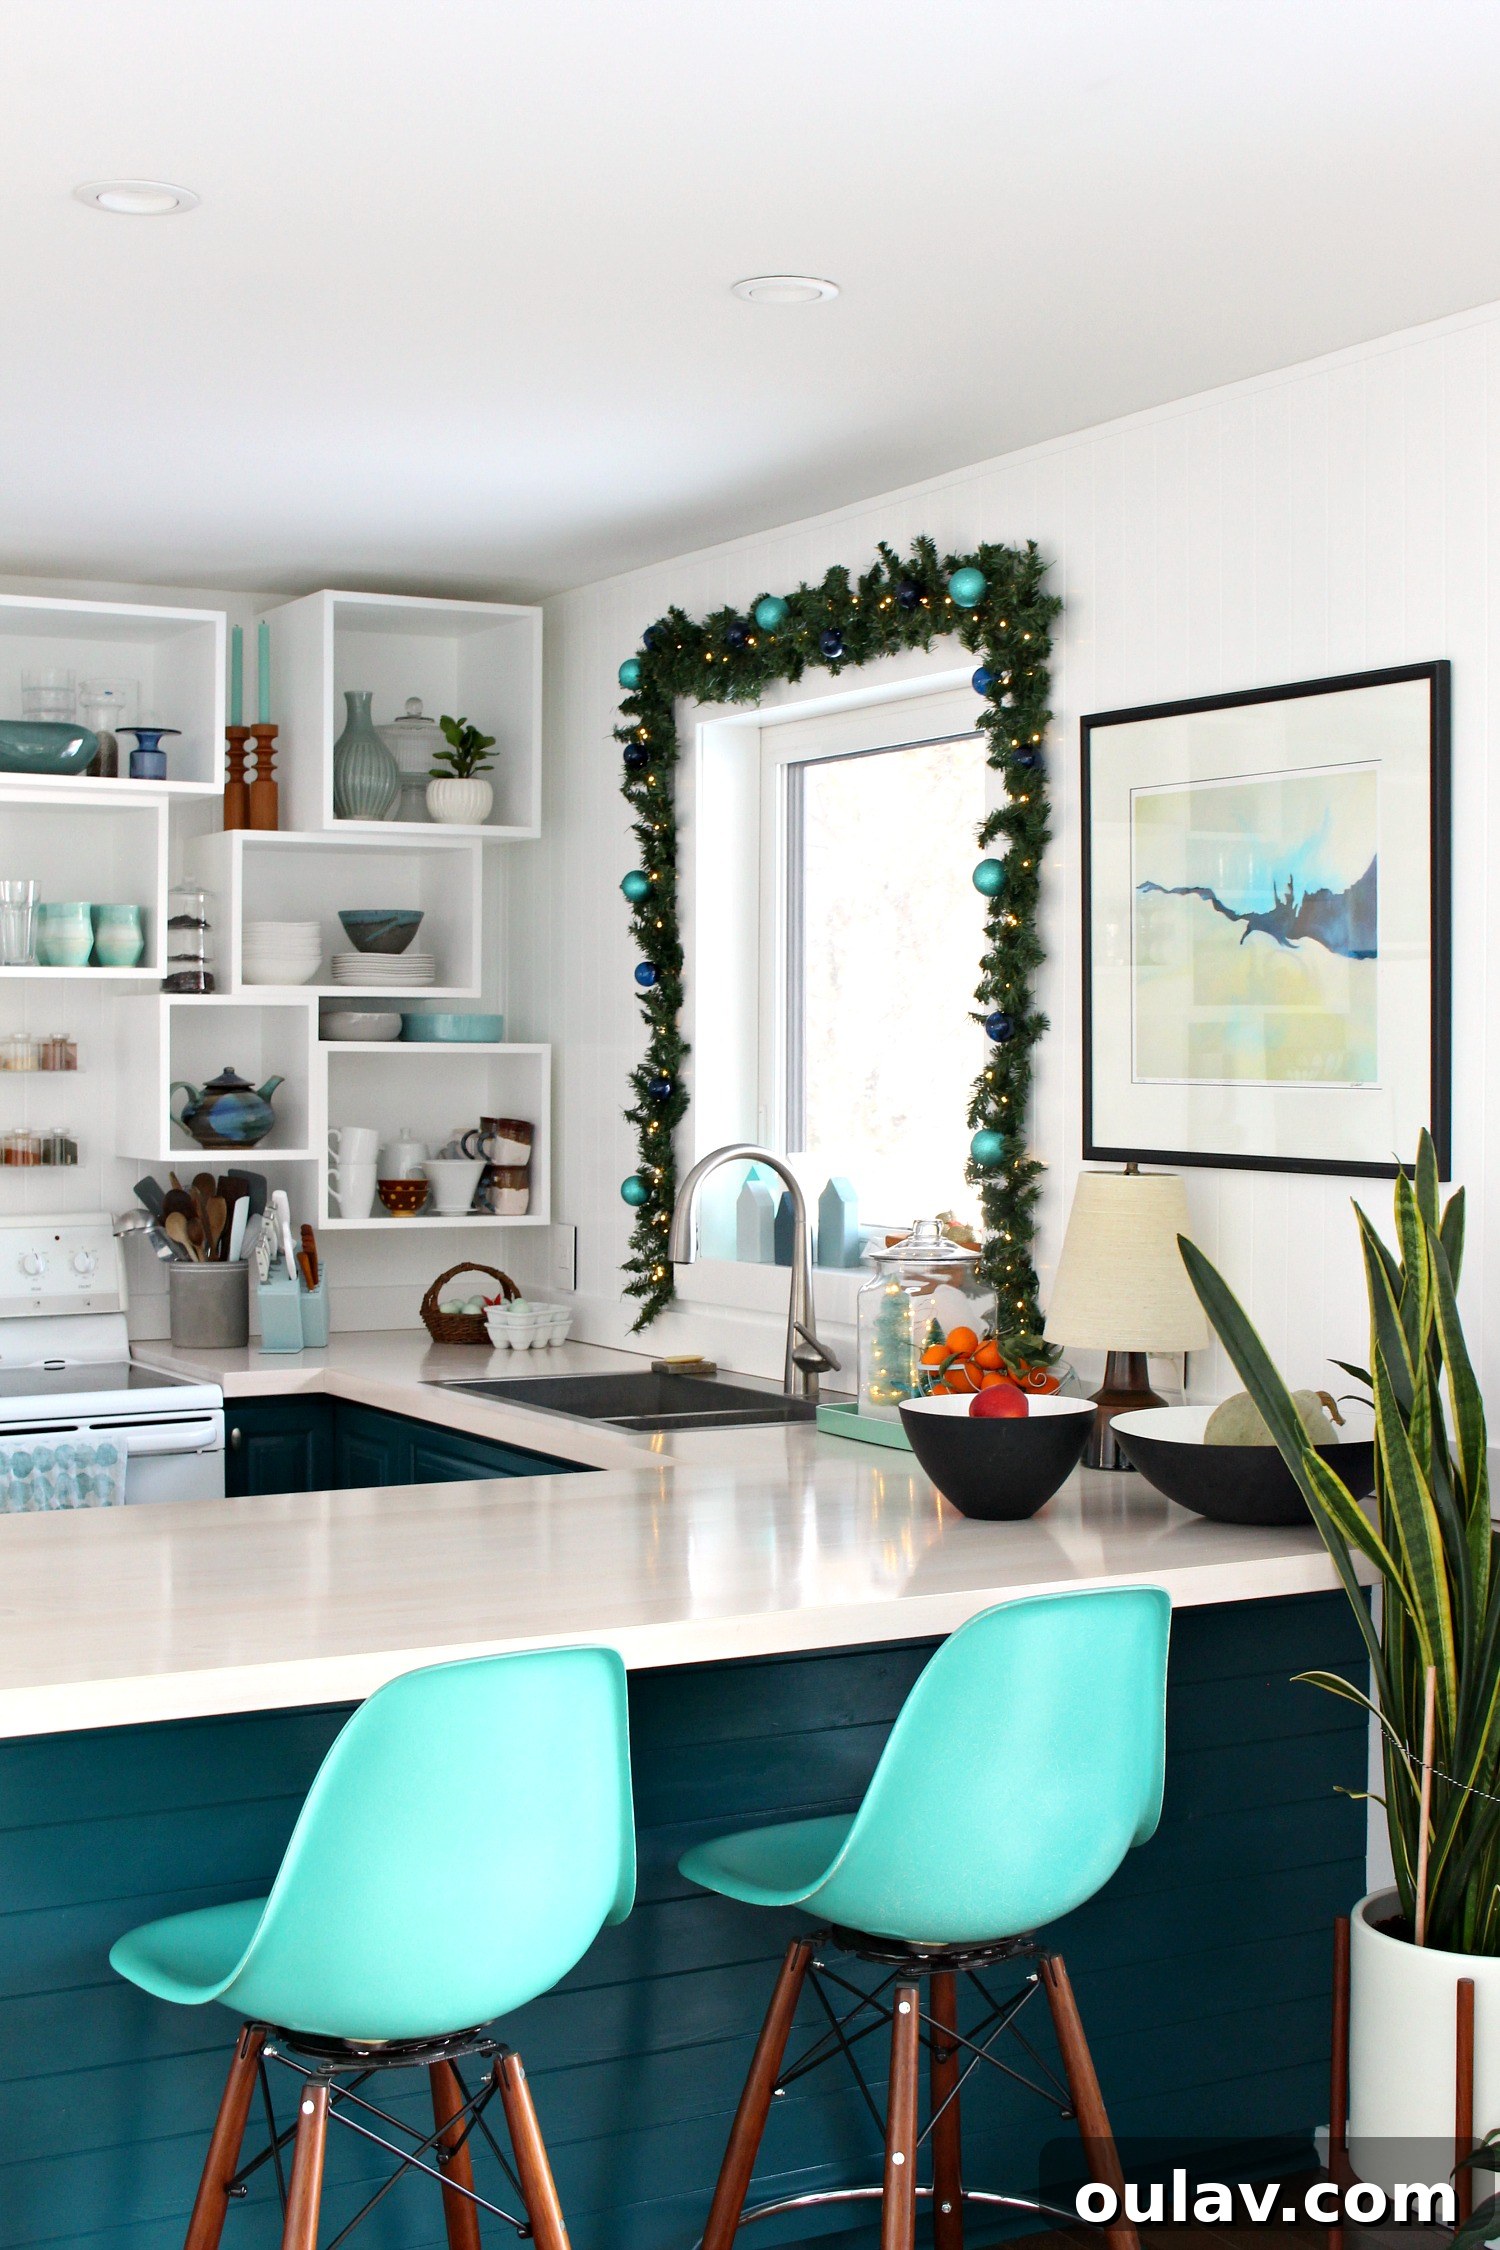
DIY Lighted Garland for Less: Stunning Holiday Decor on a Budget
There’s an undeniable charm to natural evergreen garlands during the holiday season. The fragrant pine and cedar, the rustic texture – it evokes a cozy, festive atmosphere that many of us adore. In previous years, I’ve embraced this natural aesthetic, crafting everything from handmade evergreen wreaths to using fresh cedar boughs as a makeshift mantle garland, and even creating easy dried orange slice garlands. However, this year presents a unique challenge: my home is exceptionally dry. The bitter cold outside has me permanently stationed in front of our wood-burning fireplace, keeping us wonderfully toasty, but creating an environment where natural greenery struggles to thrive for long. While I’m keen to experiment with ways to prolong the life of fresh garlands in such conditions, I needed a quick and affordable solution to add some festive cheer to our mini fireplace mantles and kitchen window. This led me on a quest for lighted garland, and I was genuinely taken aback by the exorbitant prices. Pre-lit faux garlands with a few embellishments often commanded anywhere from $30 to $60 or more per strand. Considering I would have needed at least three, possibly four, strands, this was quickly becoming an expensive endeavor for temporary decor.
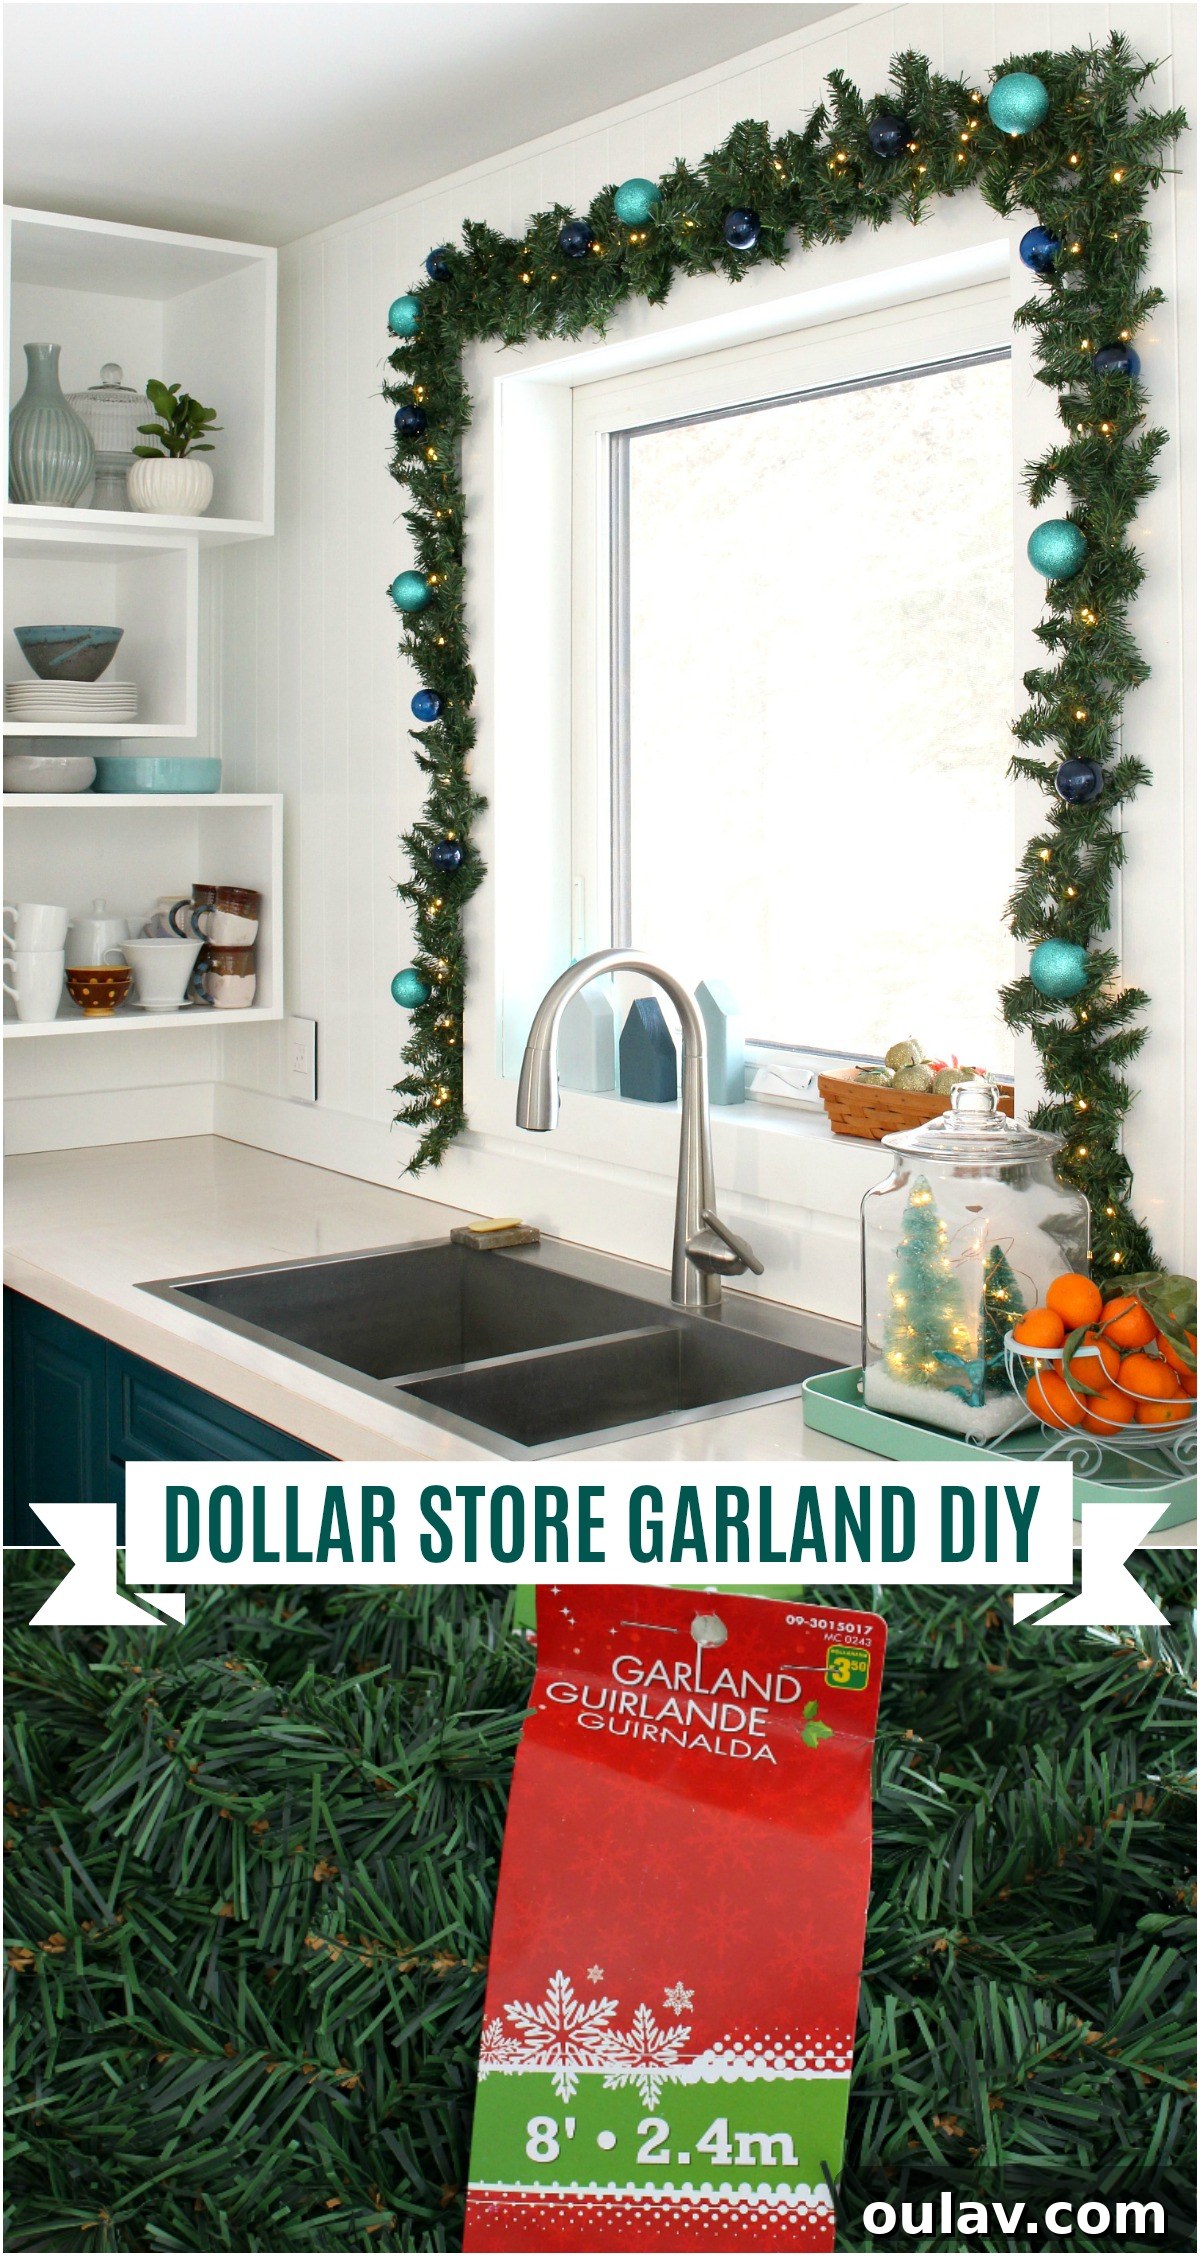
Instead of splurging, I decided to visit my local dollar store, and to my delight, I found surprisingly charming faux evergreen garland for an incredible price – just $3.50 per strand! I purchased two strands for the kitchen window and one for each side of the fireplace. By adding my own choice of lights and ornaments, I successfully created beautiful, custom lighted garlands for a fraction of the cost. The best part? This dollar store garland DIY is built on a sturdy, bendable wire base, meaning I can easily dismantle it, re-fluff it, and re-purpose it next year. It’s incredibly versatile, perfect for reshaping into wreaths, wrapping around stair railings, or simply updating with new baubles and lights. I truly appreciate holiday decor that offers flexibility and multiple uses, allowing me to refresh our seasonal look without breaking the bank. So, while you can expect to see this dollar store garland DIY recycled in future years, let’s dive into how I styled it in my kitchen and living room this season!
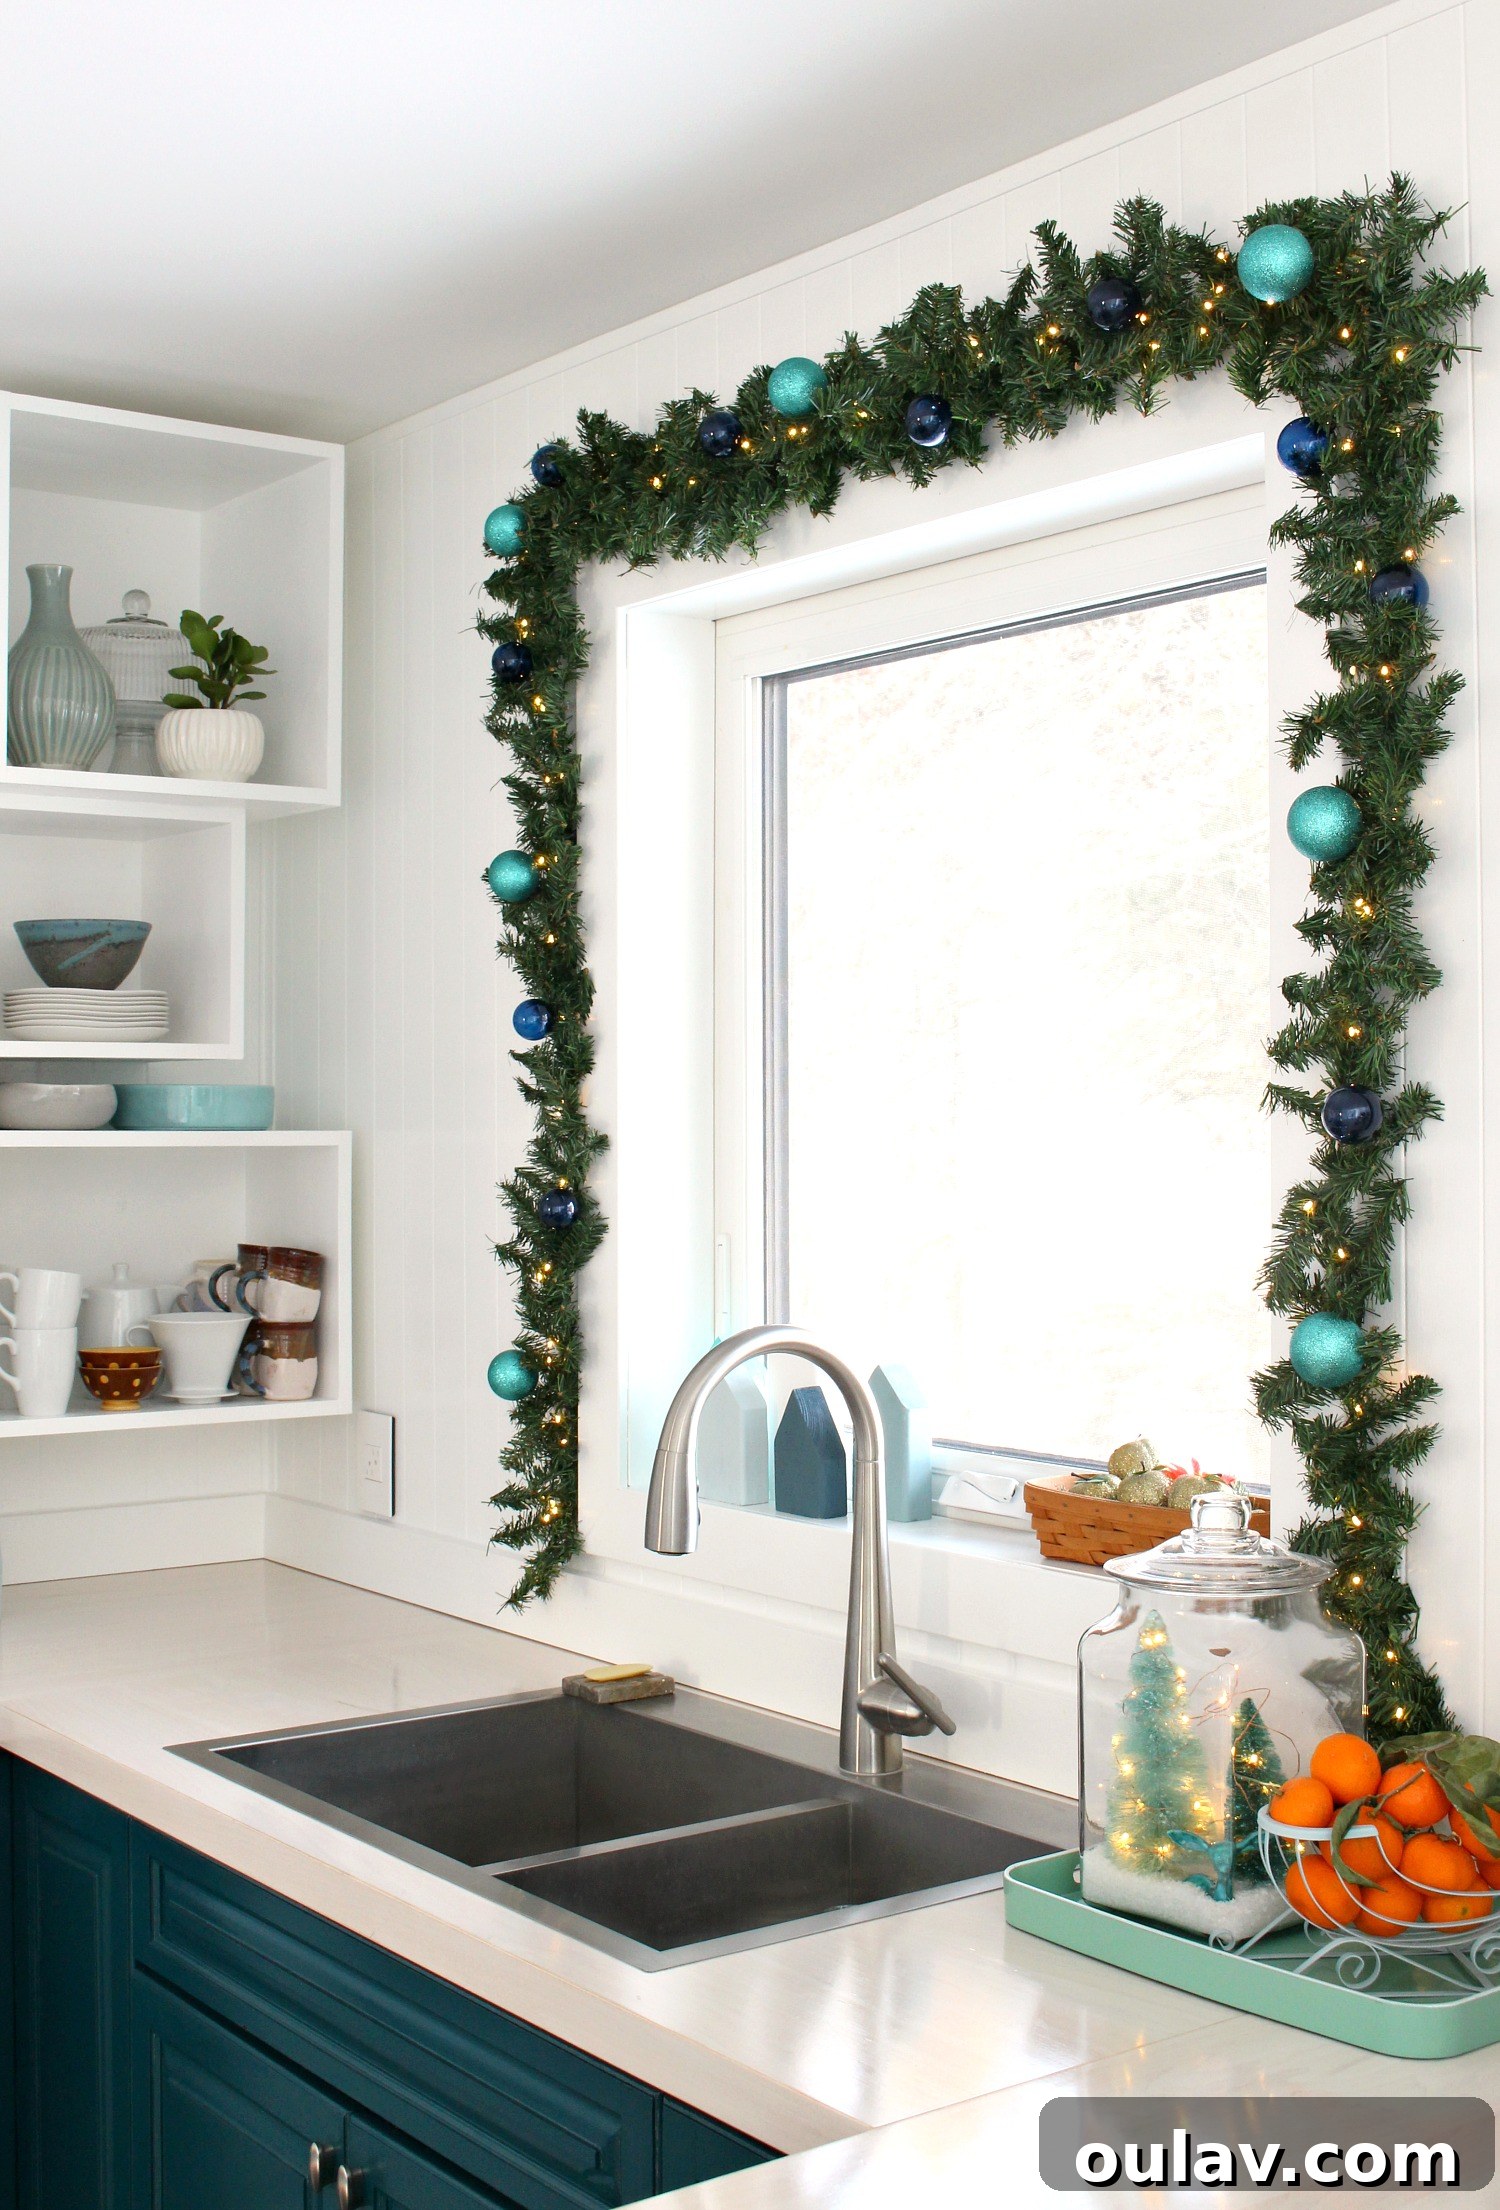
Transforming Your Kitchen Window with Budget-Friendly Garland
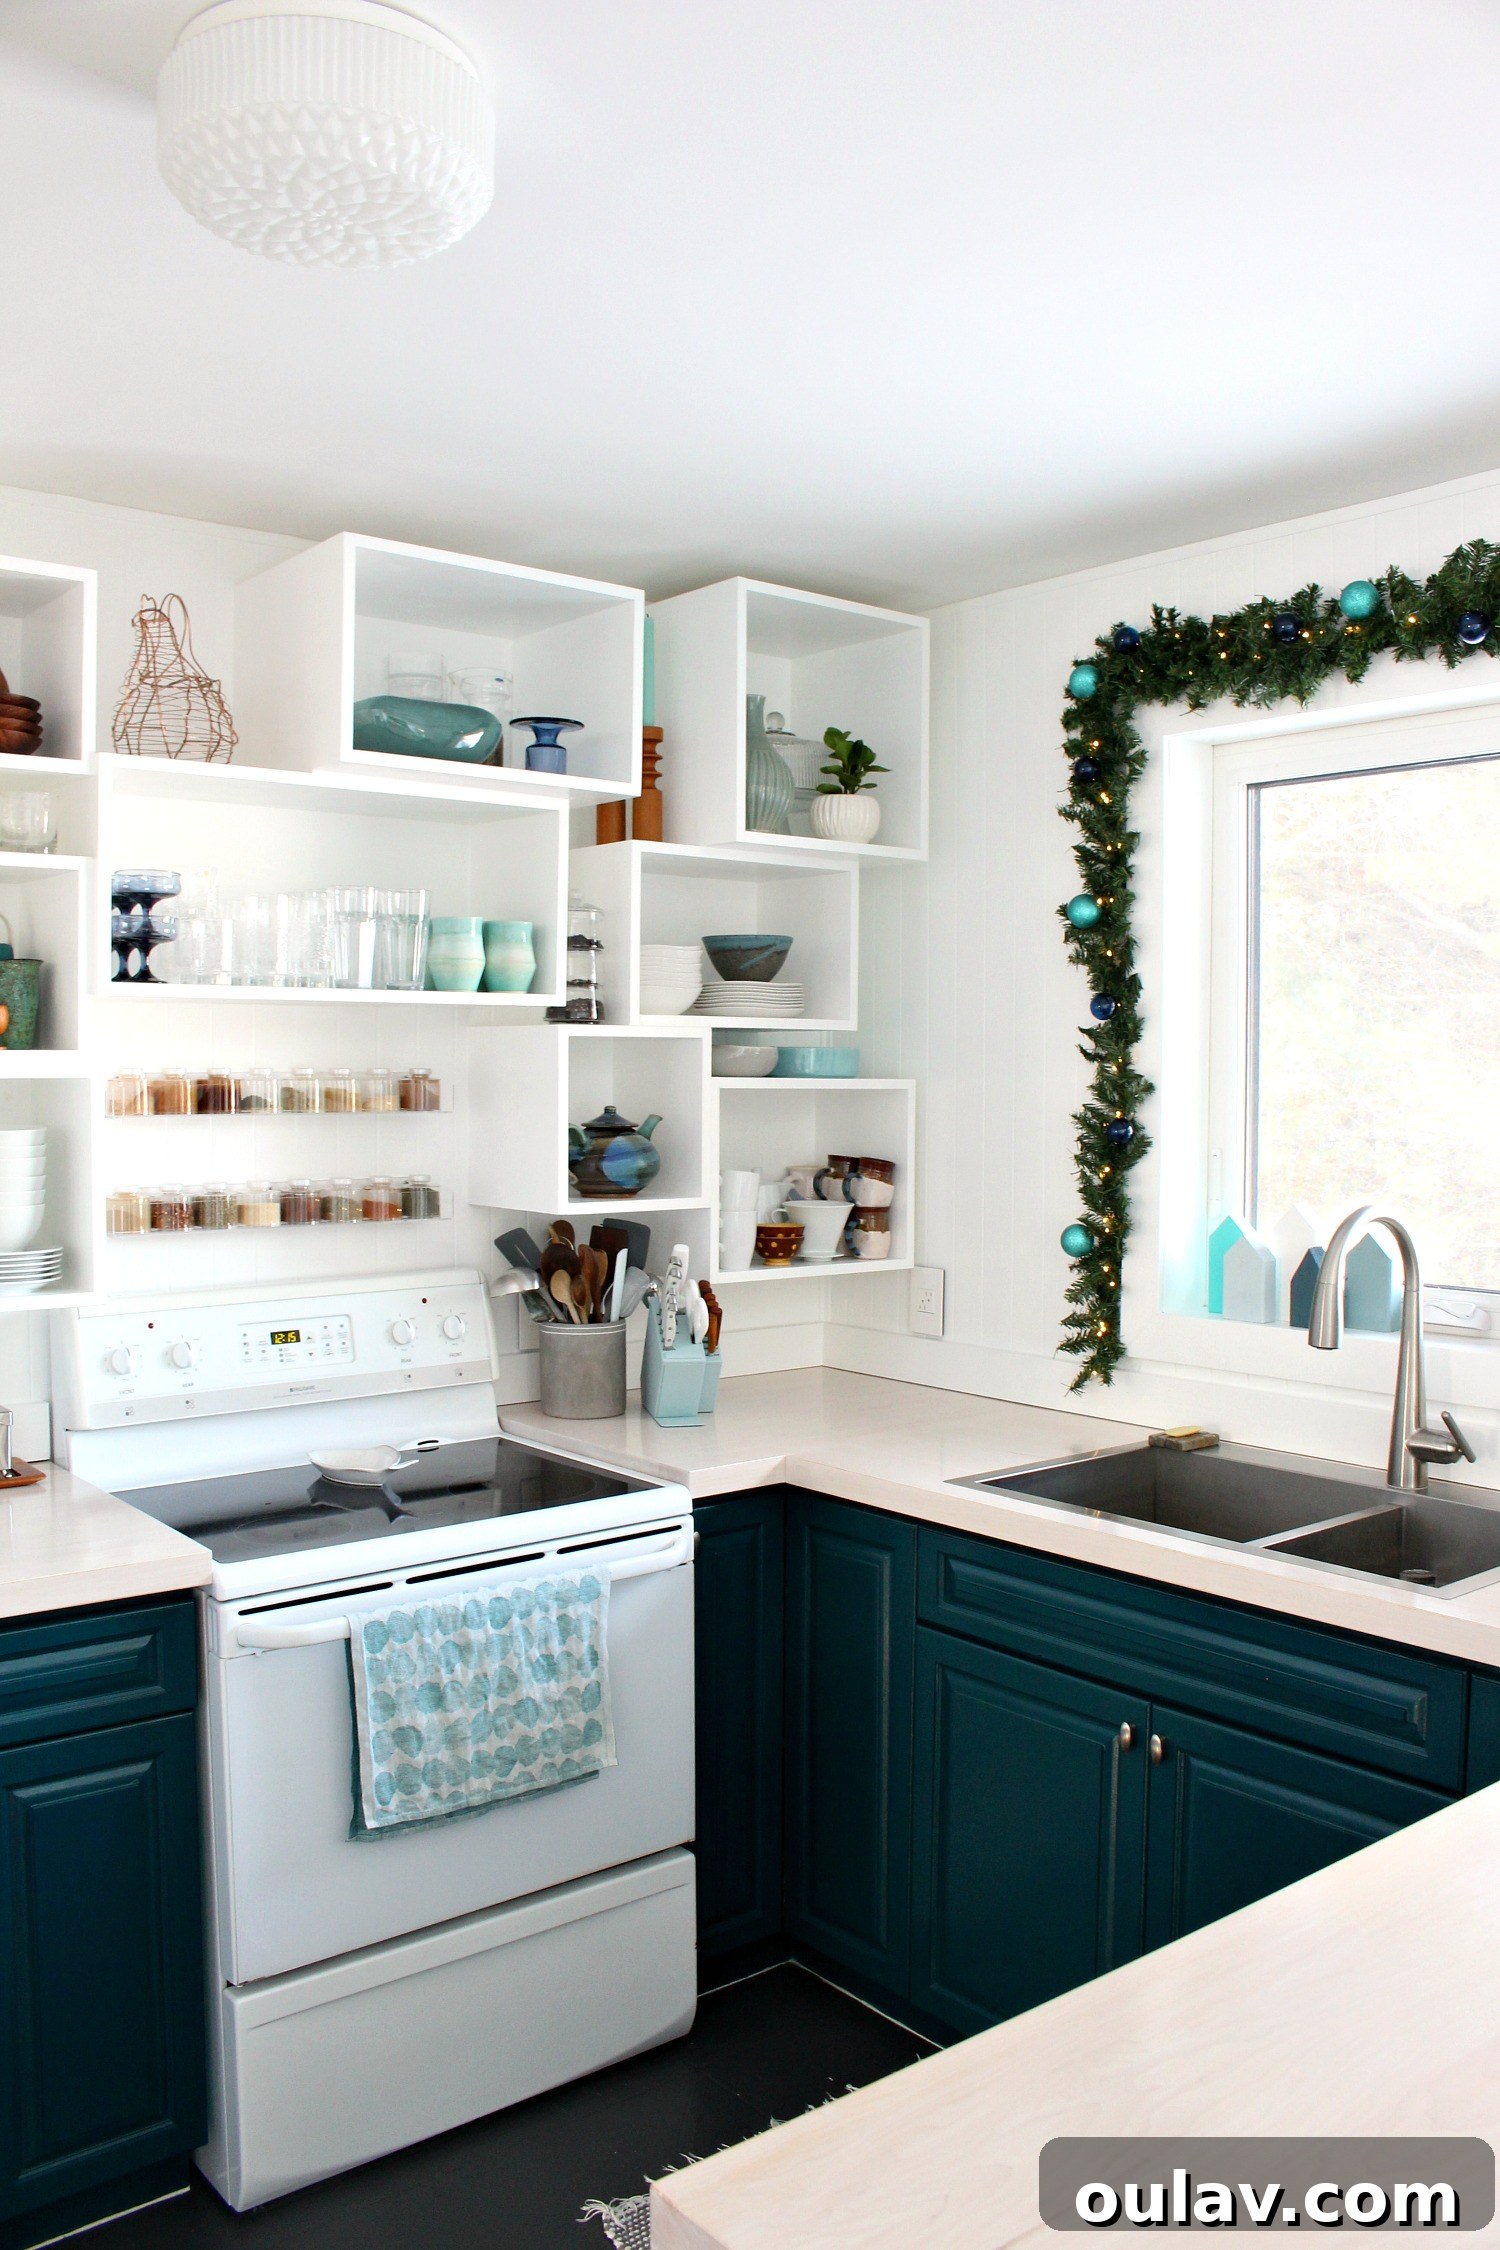
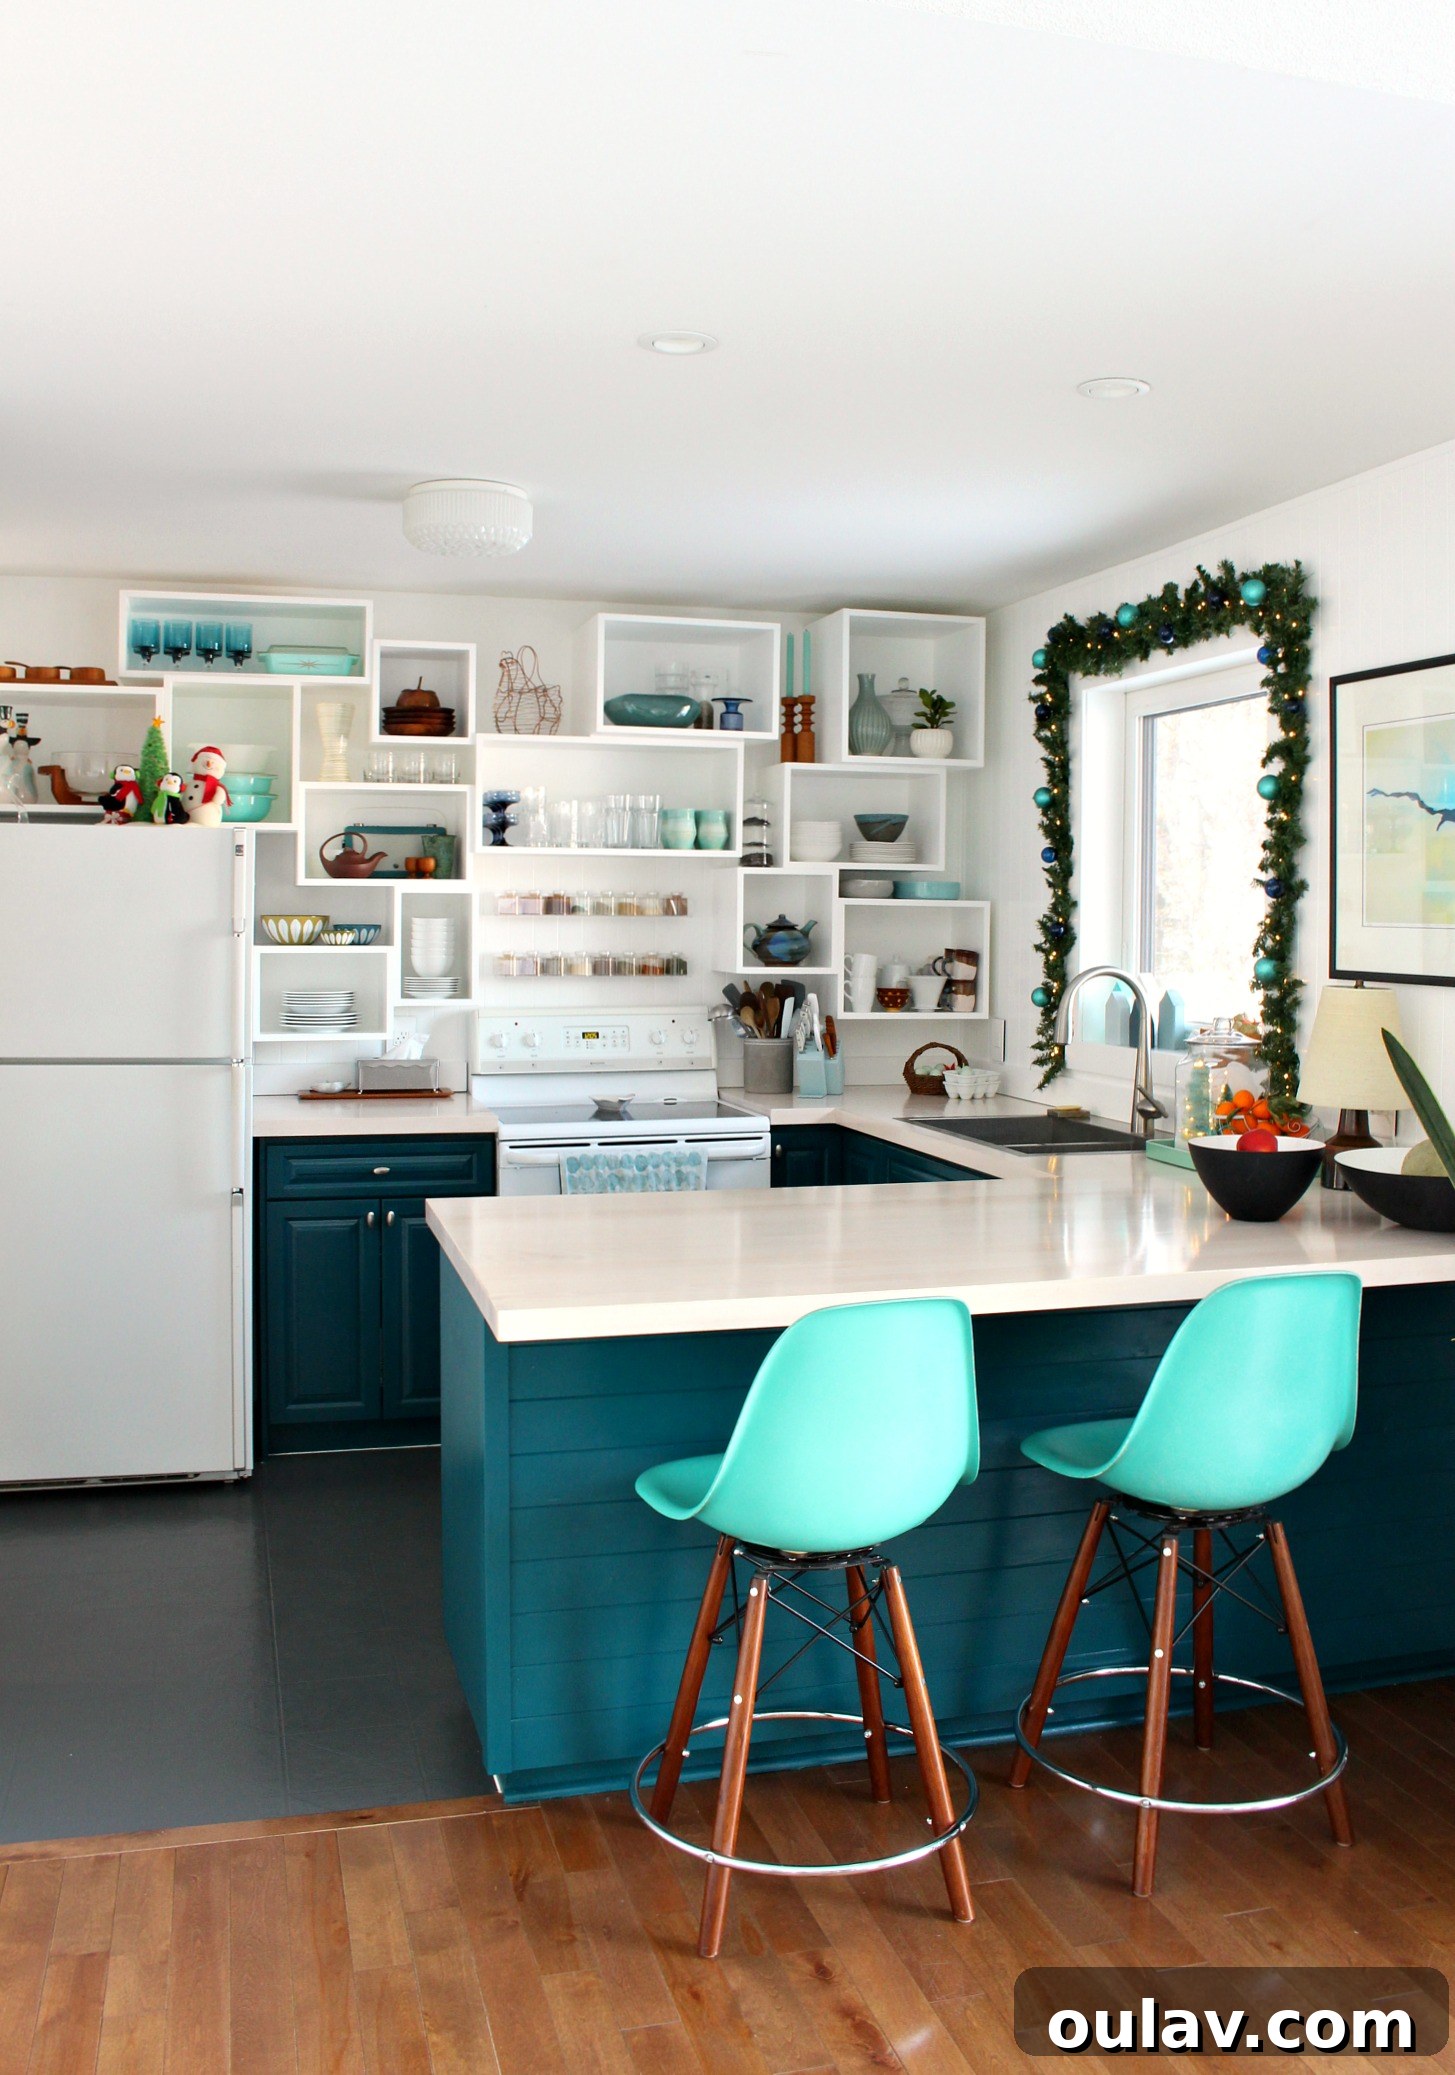
The kitchen window is a focal point, especially during the holidays. It’s often where we spend a significant amount of time, and a festive touch here can truly brighten the entire space. Crafting a custom lighted garland for this area was not only cost-effective but allowed me to personalize the look to perfectly complement my kitchen’s aesthetic.
Materials for Your Kitchen Window Garland DIY:
- Plain Faux Evergreen Garland: I sourced mine from Dollarama, but any similar plain faux evergreen garland will work. Look for one with a bendable wire core for easy shaping.
- Ultra-Slim Warm White Lights: Mine were a great deal from Walmart, but these are similar options. Battery-operated lights with thin, green wire are ideal for blending seamlessly into the garland.
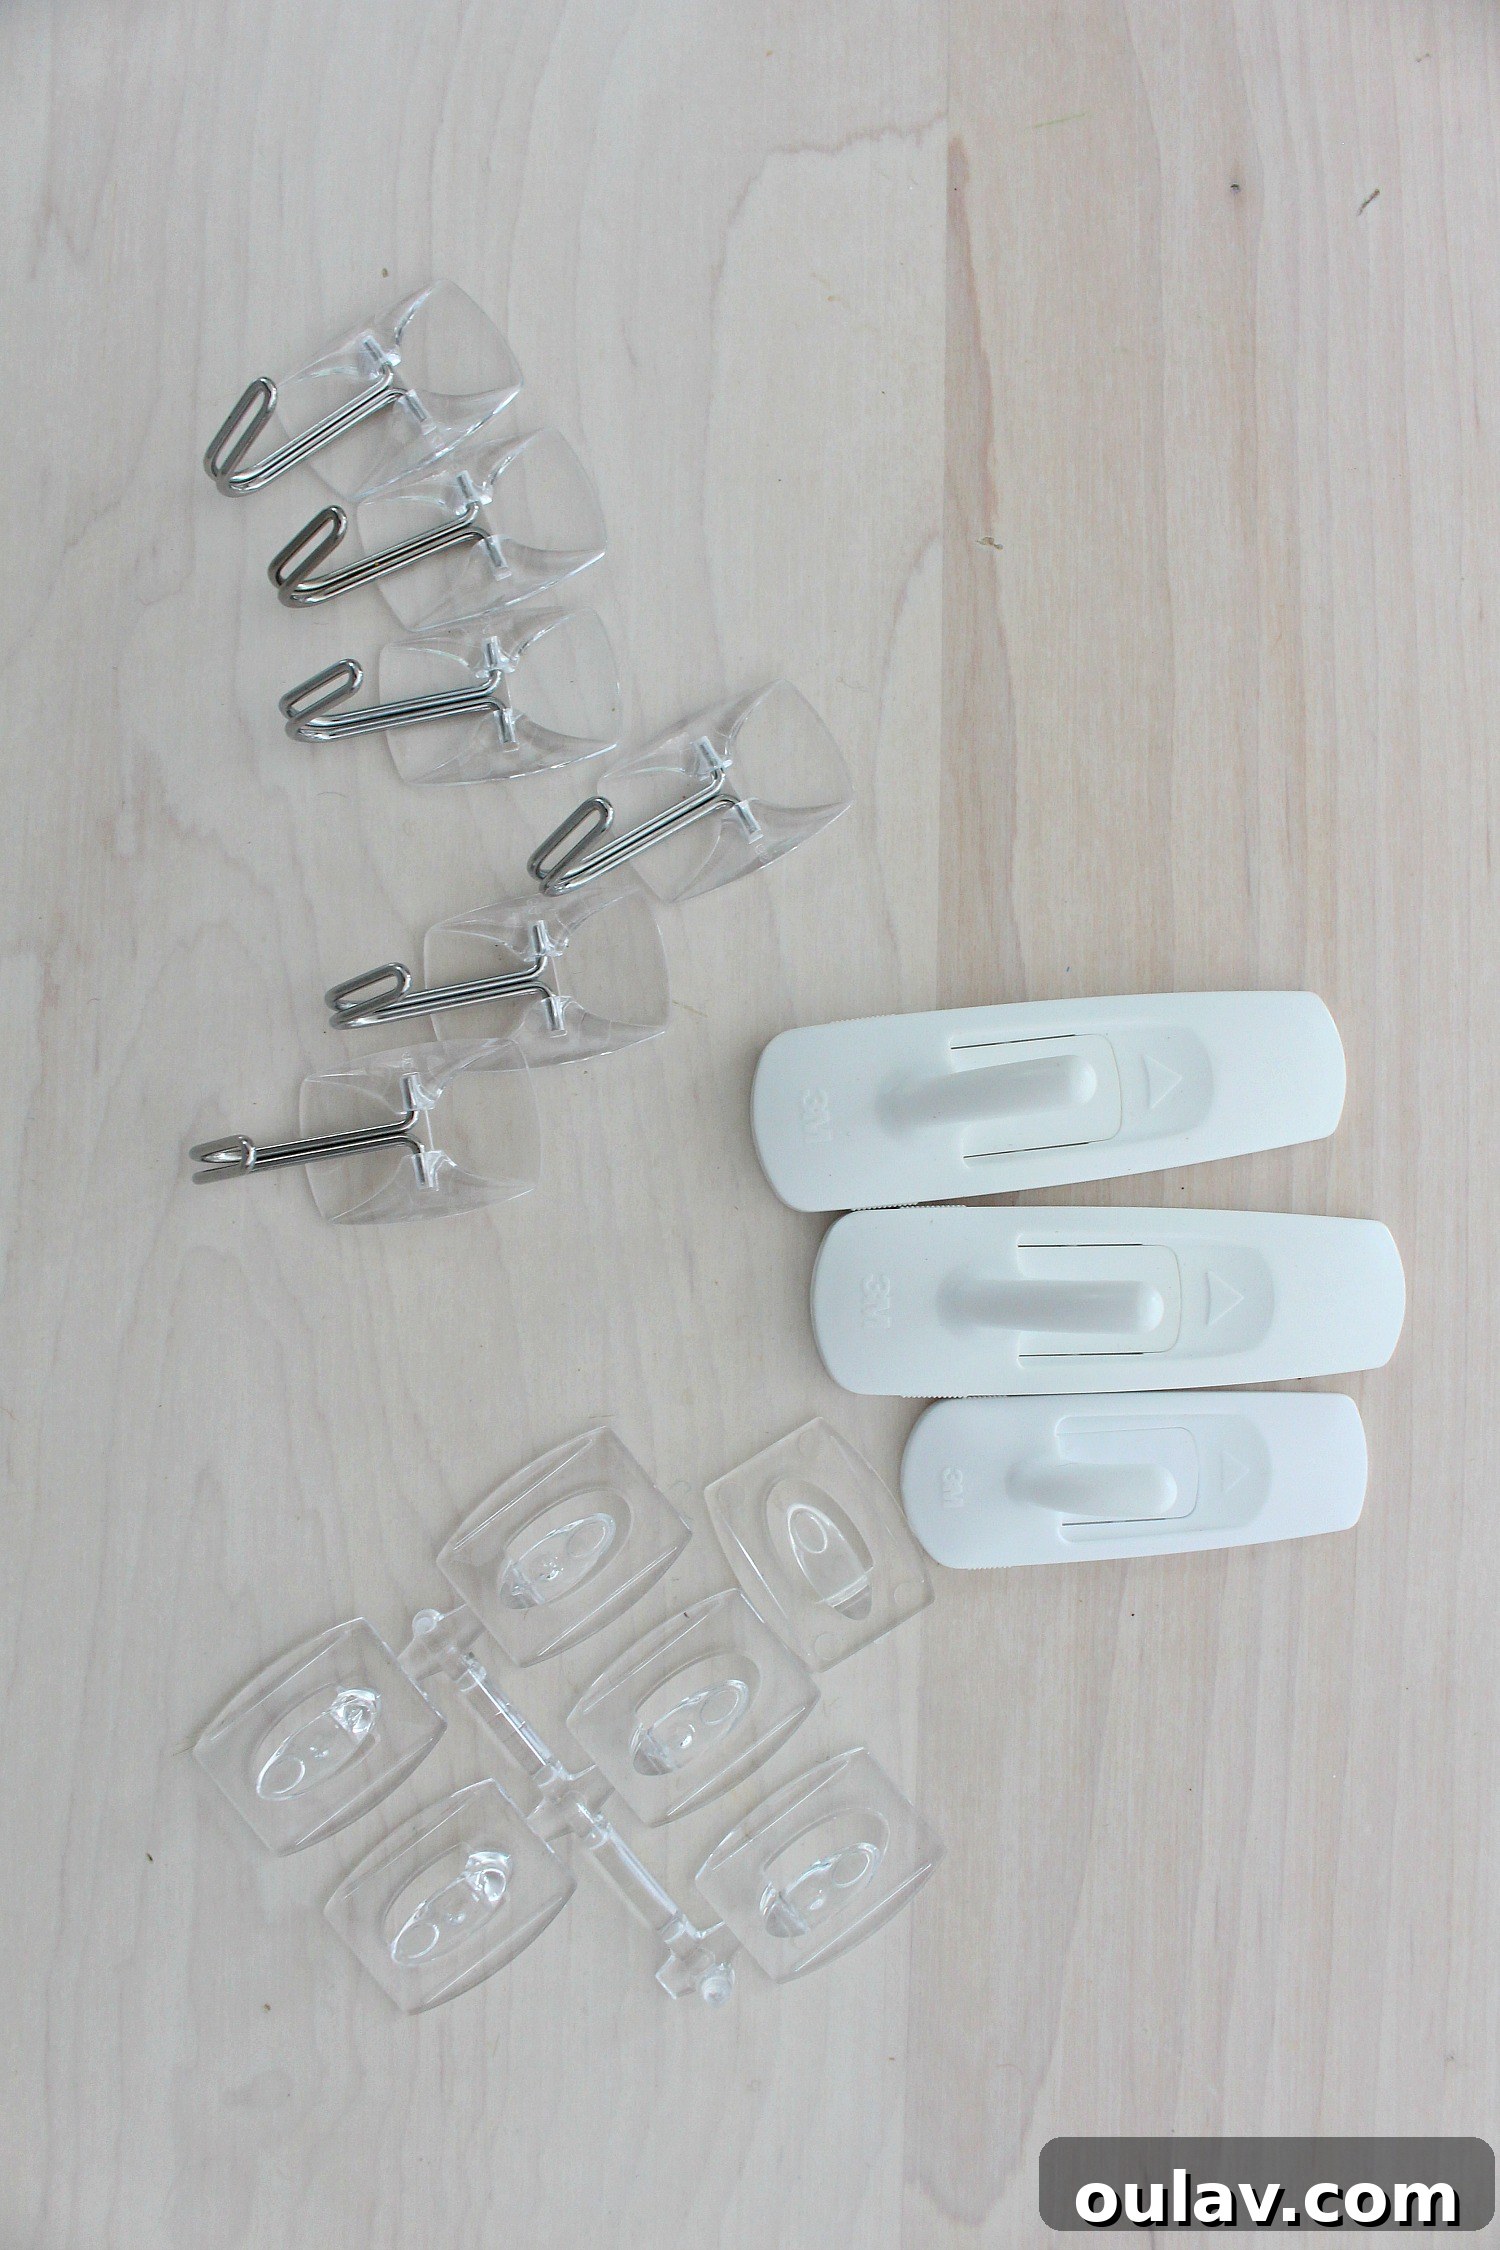
- 3M Command Hooks: Essential for temporary, damage-free hanging. I used whatever 3M hooks I had on hand, but choose ones appropriate for the weight of your garland and embellishments.
- Ornaments: I repurposed leftover ornaments from my cascading ornament DIY project, but any small, lightweight ornaments will work.
- Green Floral Wire: Perfect for securely attaching ornaments. Green floral wire blends in beautifully, but green string, yarn, or twine can also be used.
- Wire Cutters: (Optional) Useful for snipping floral wire to size. A good pair of wire cutters can make the job much easier.
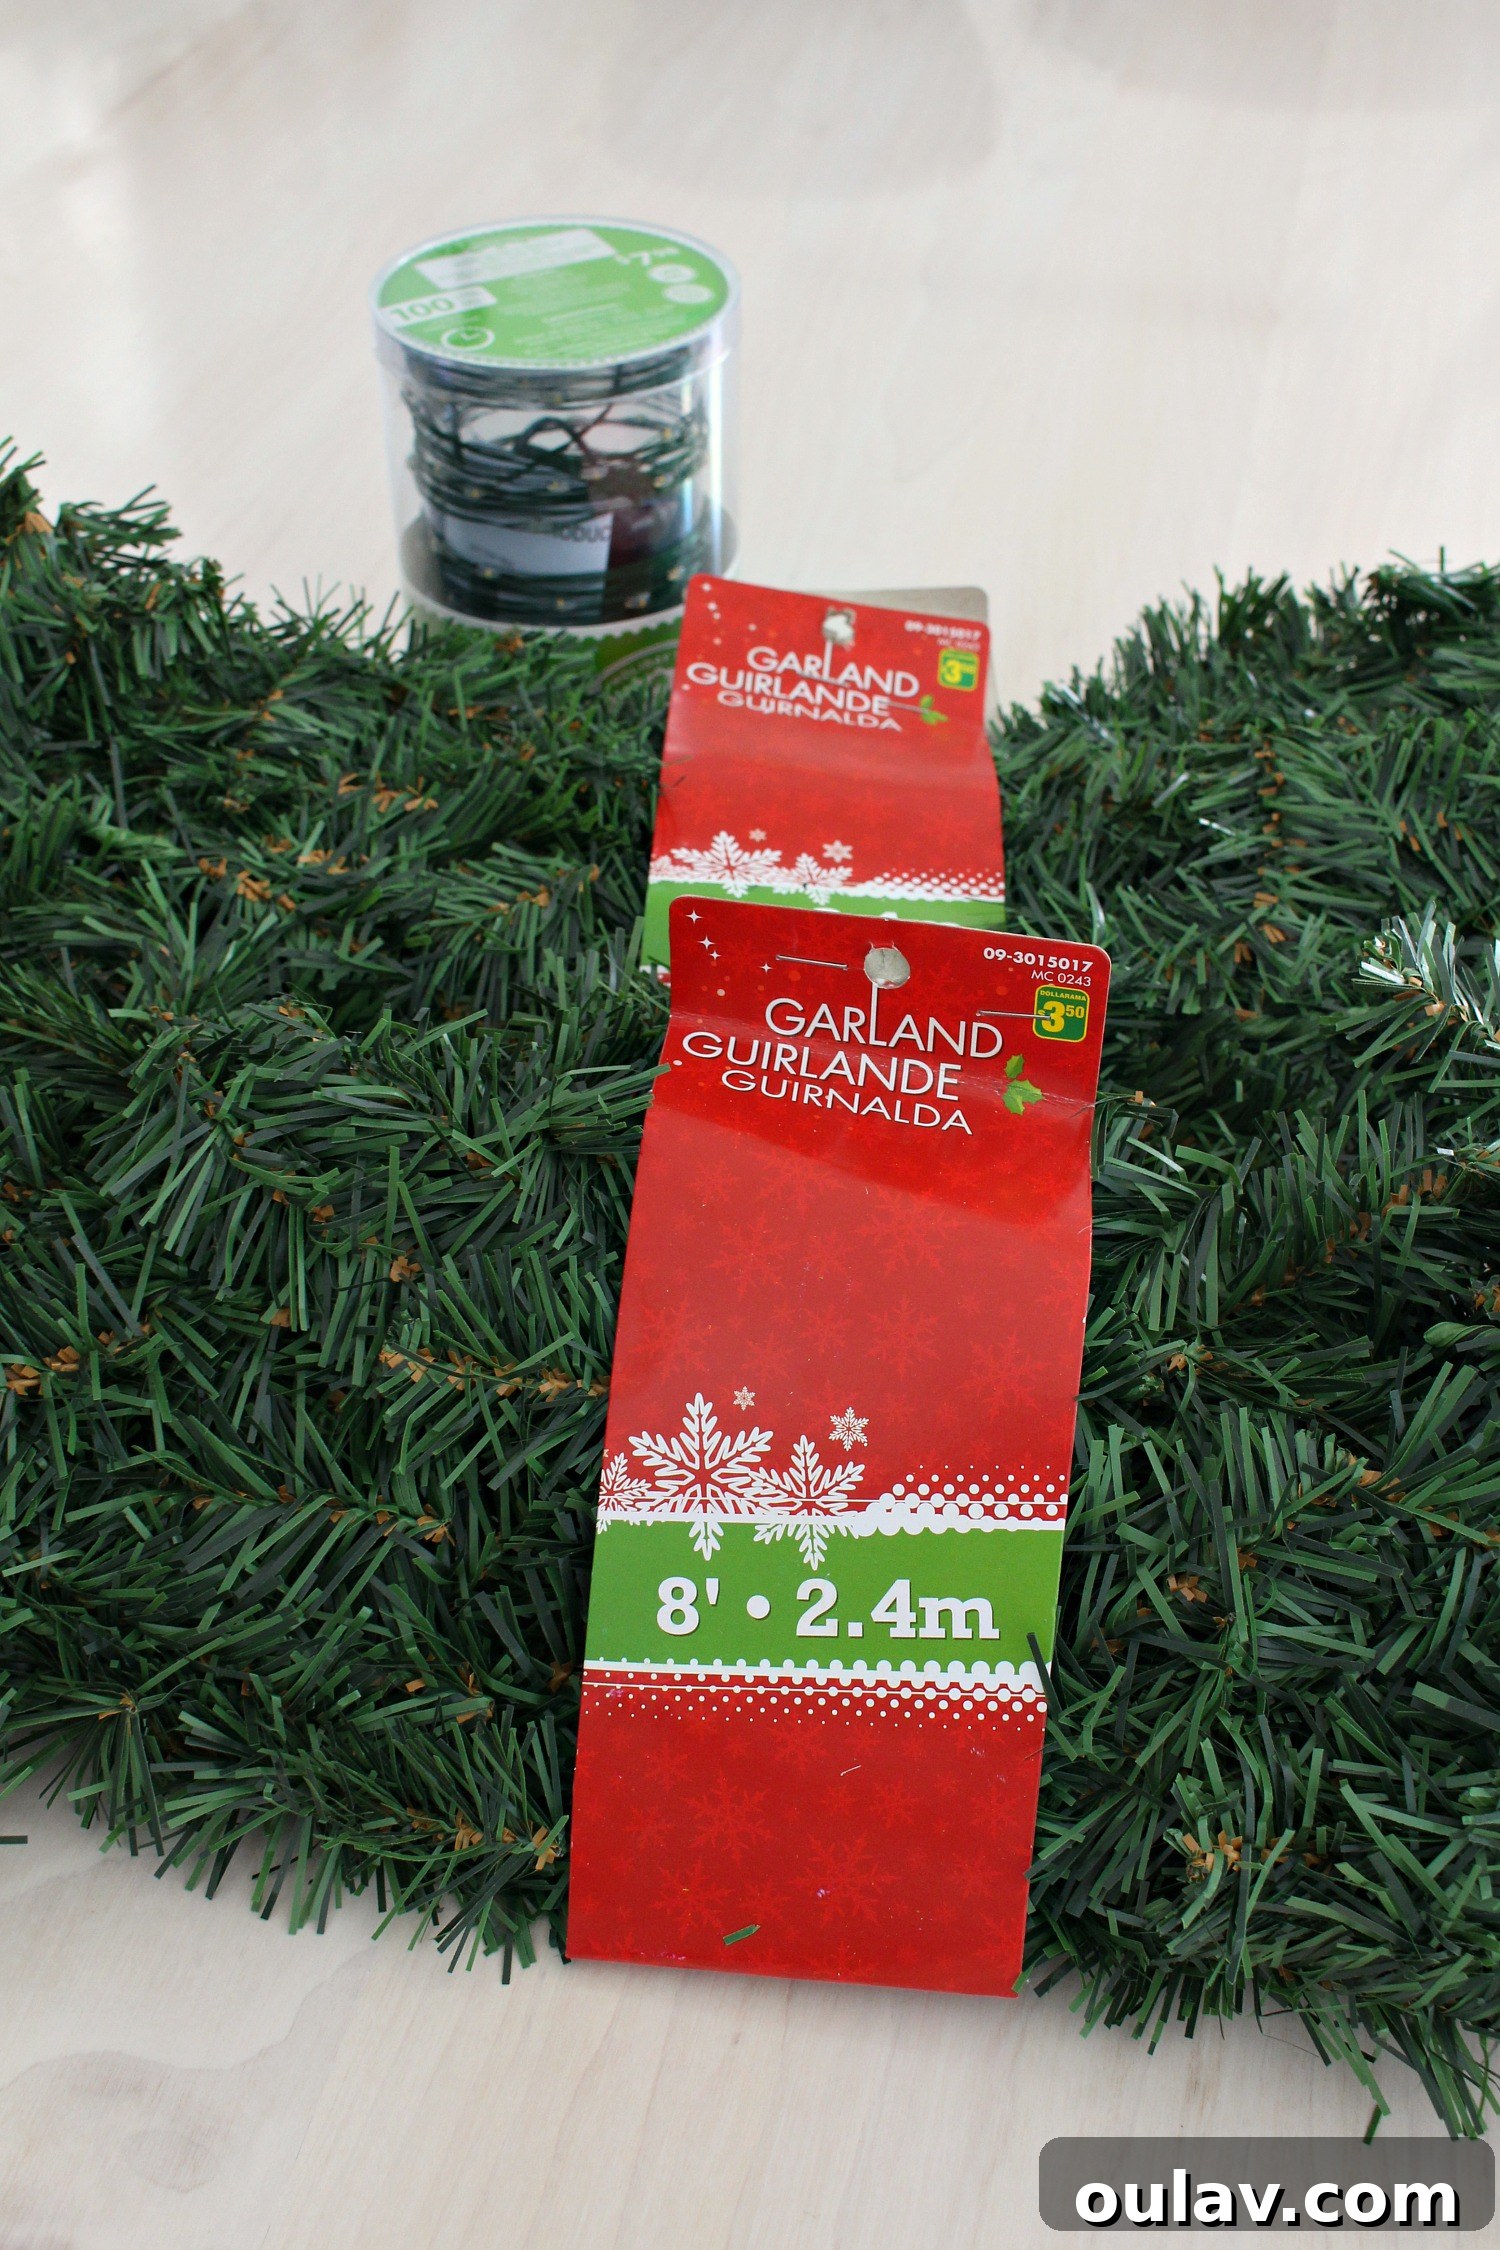
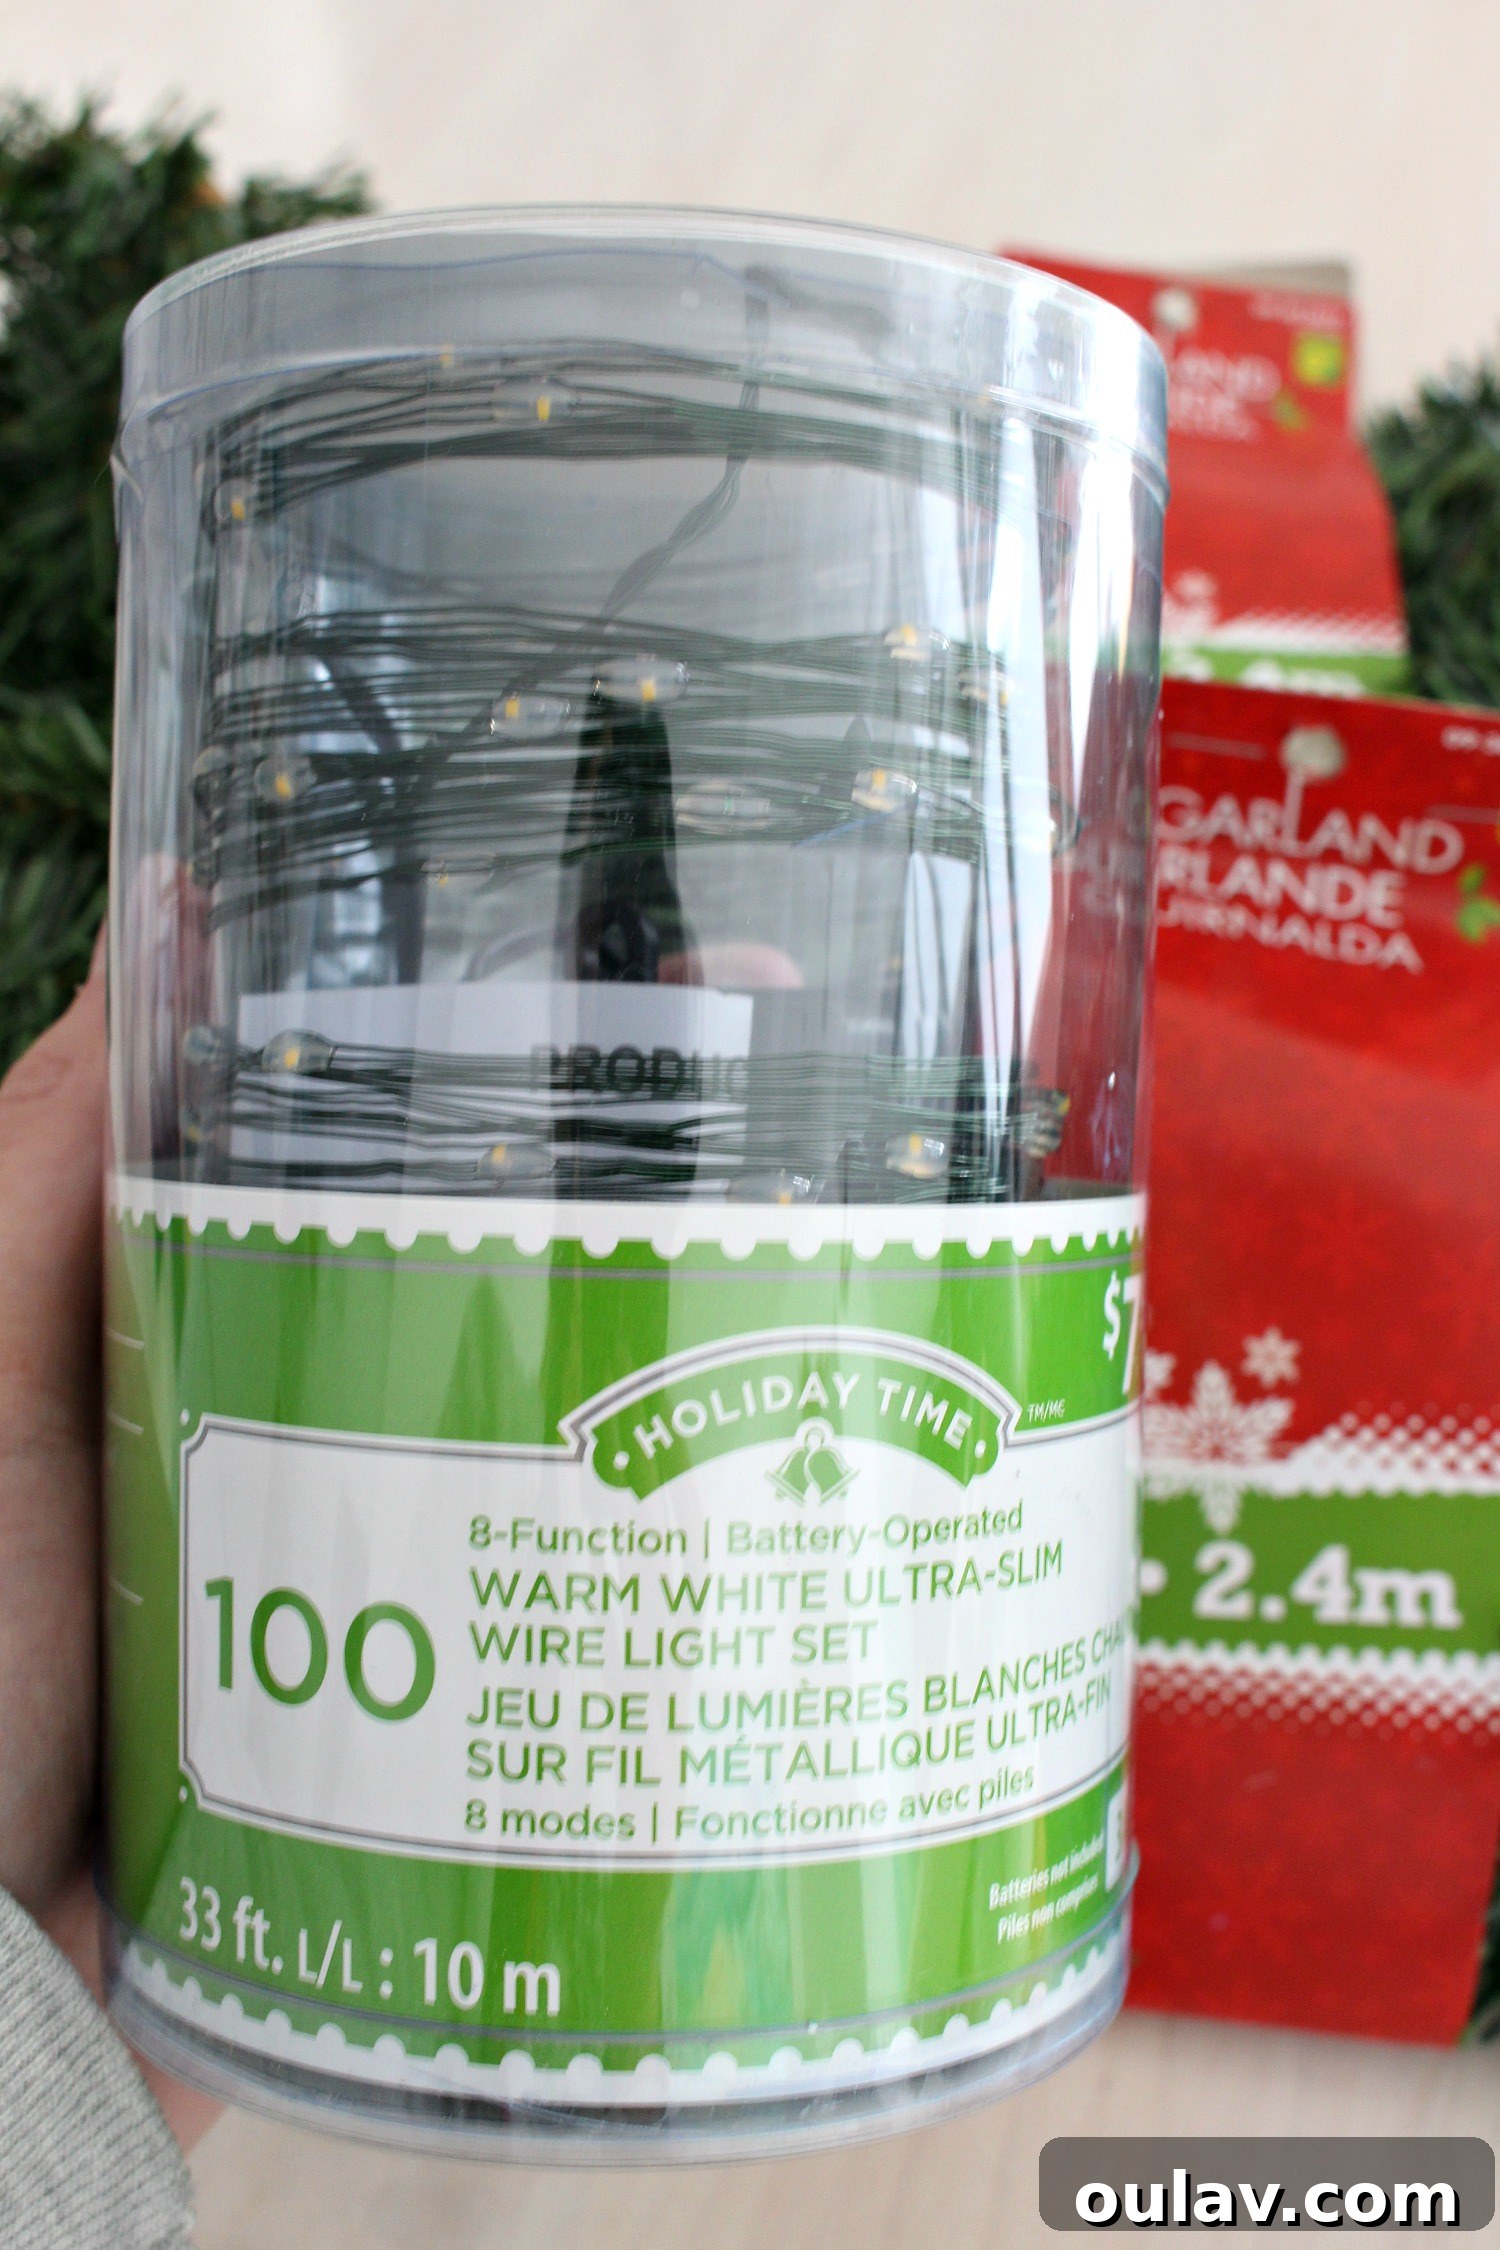
Opting to purchase plain garland and adding my own lights and ornaments proved to be significantly more economical. Beyond the cost savings, I cherished the opportunity to craft a truly customized piece that perfectly matched my existing decor, giving my dollar store garland DIY a high-end, bespoke feel.
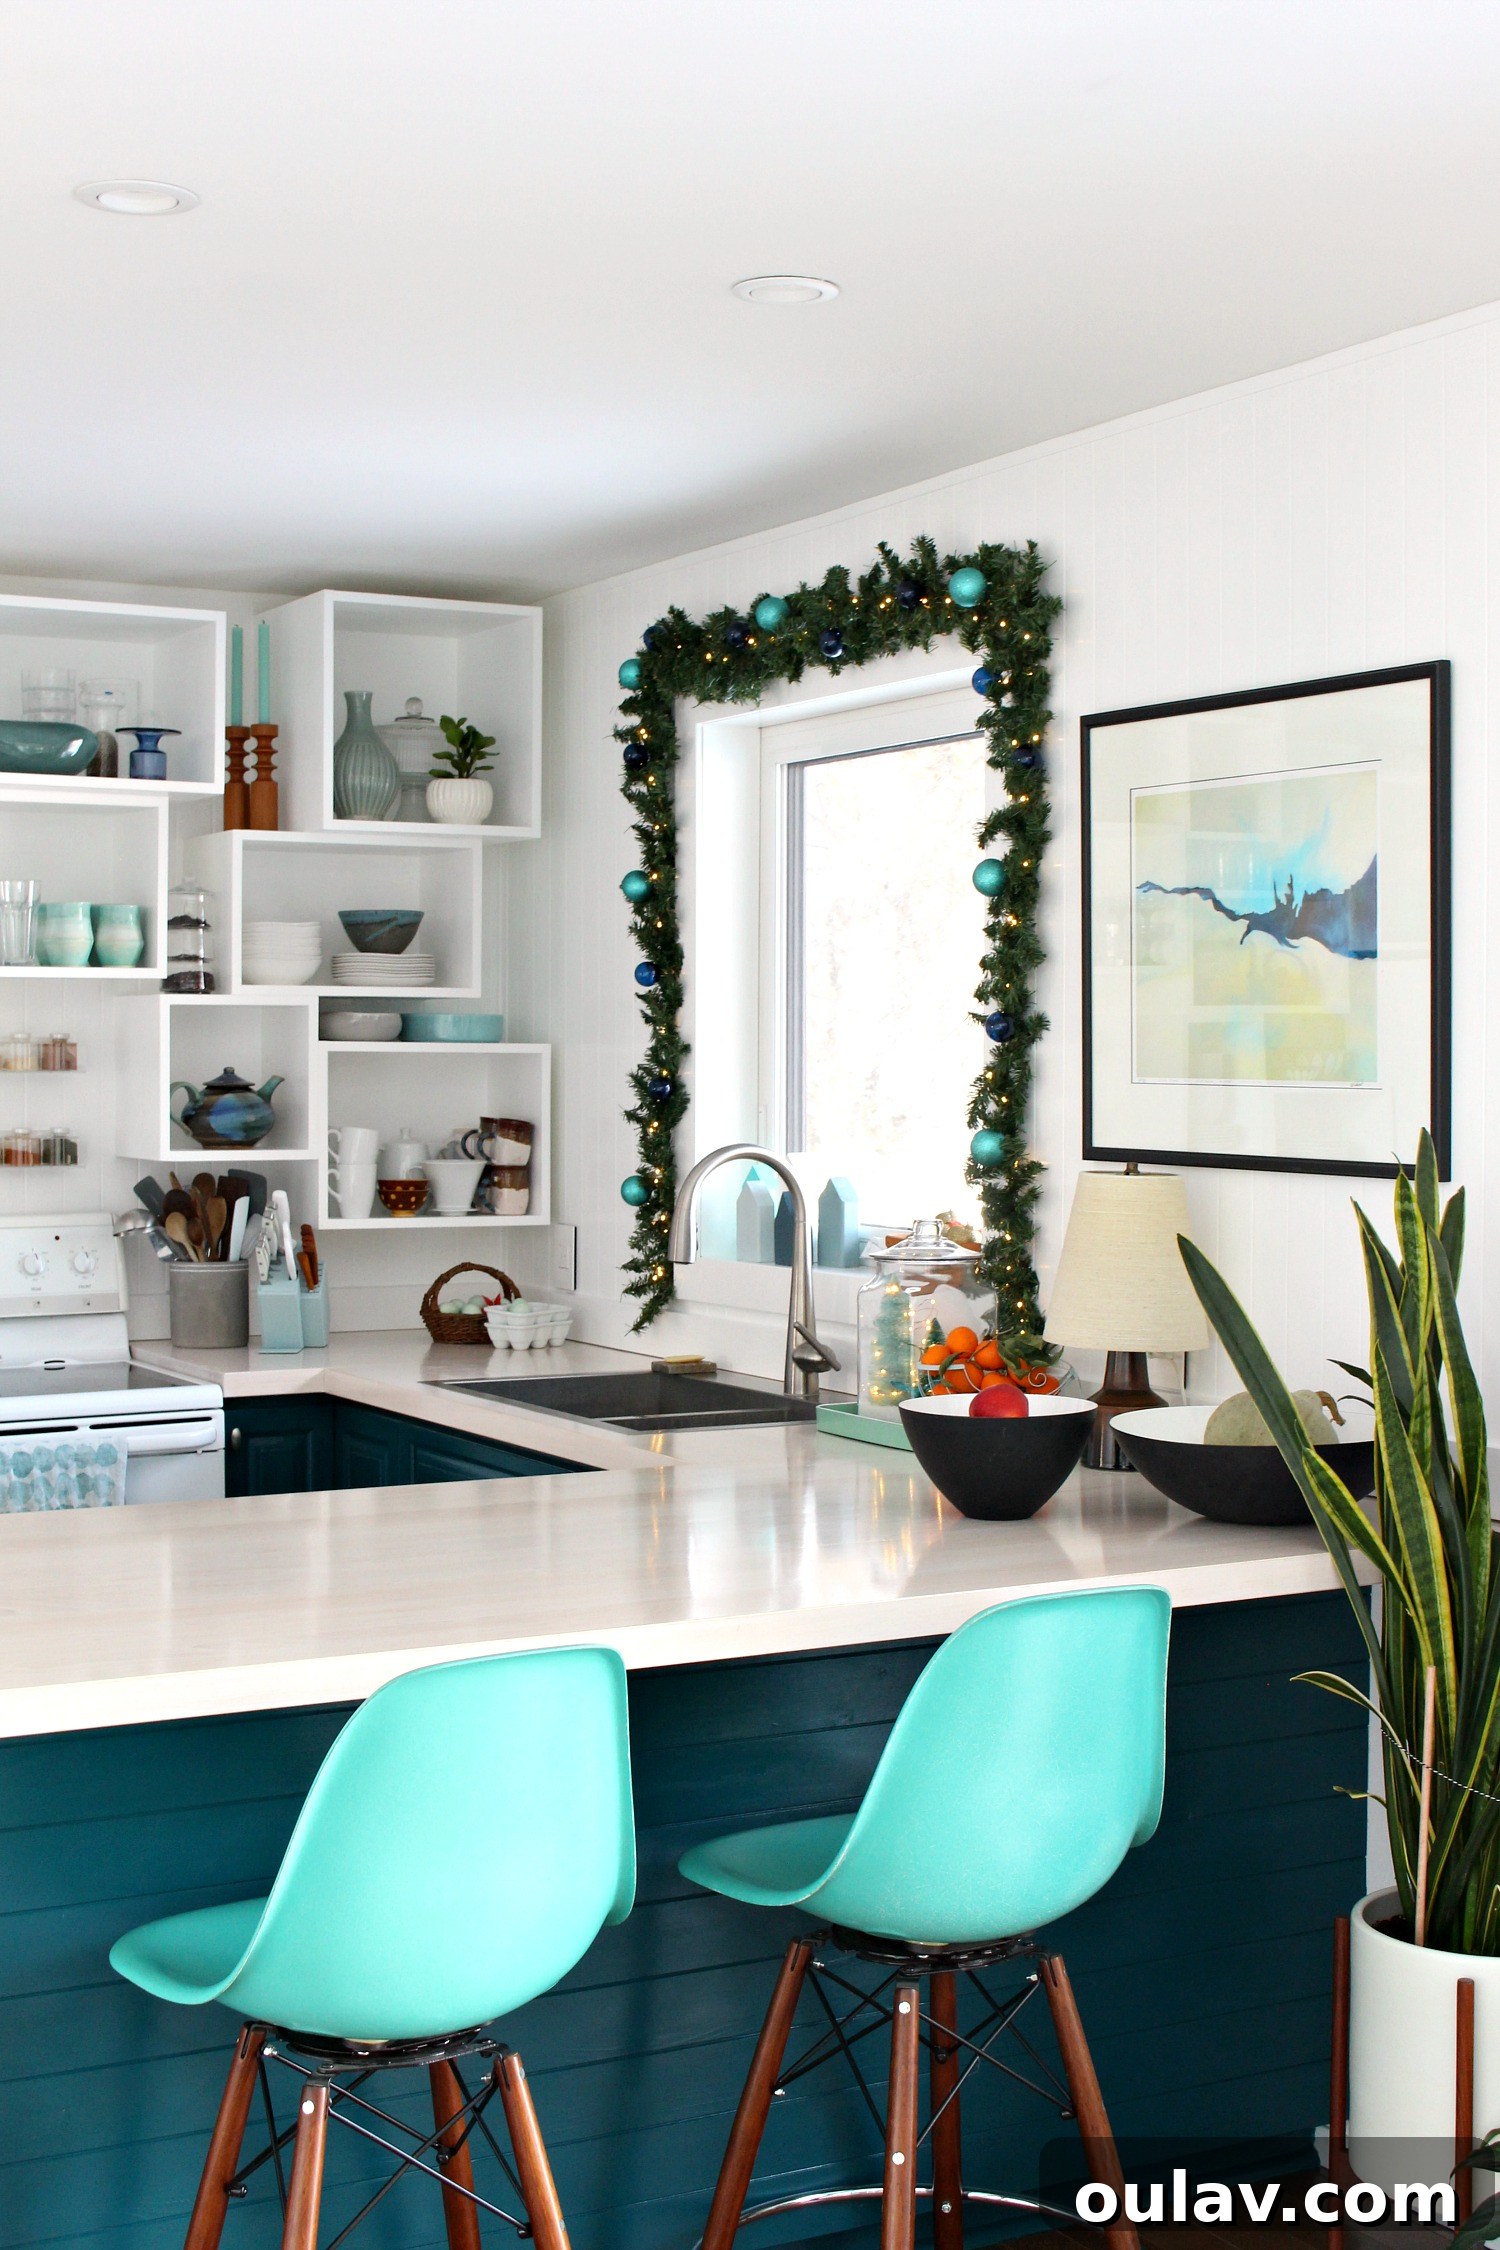
Step-by-Step Guide: How to Hang Garland Around a Window Like a Pro
Achieving a beautiful, symmetrical garland display around your window is simpler than you might think. Here’s how I did it:
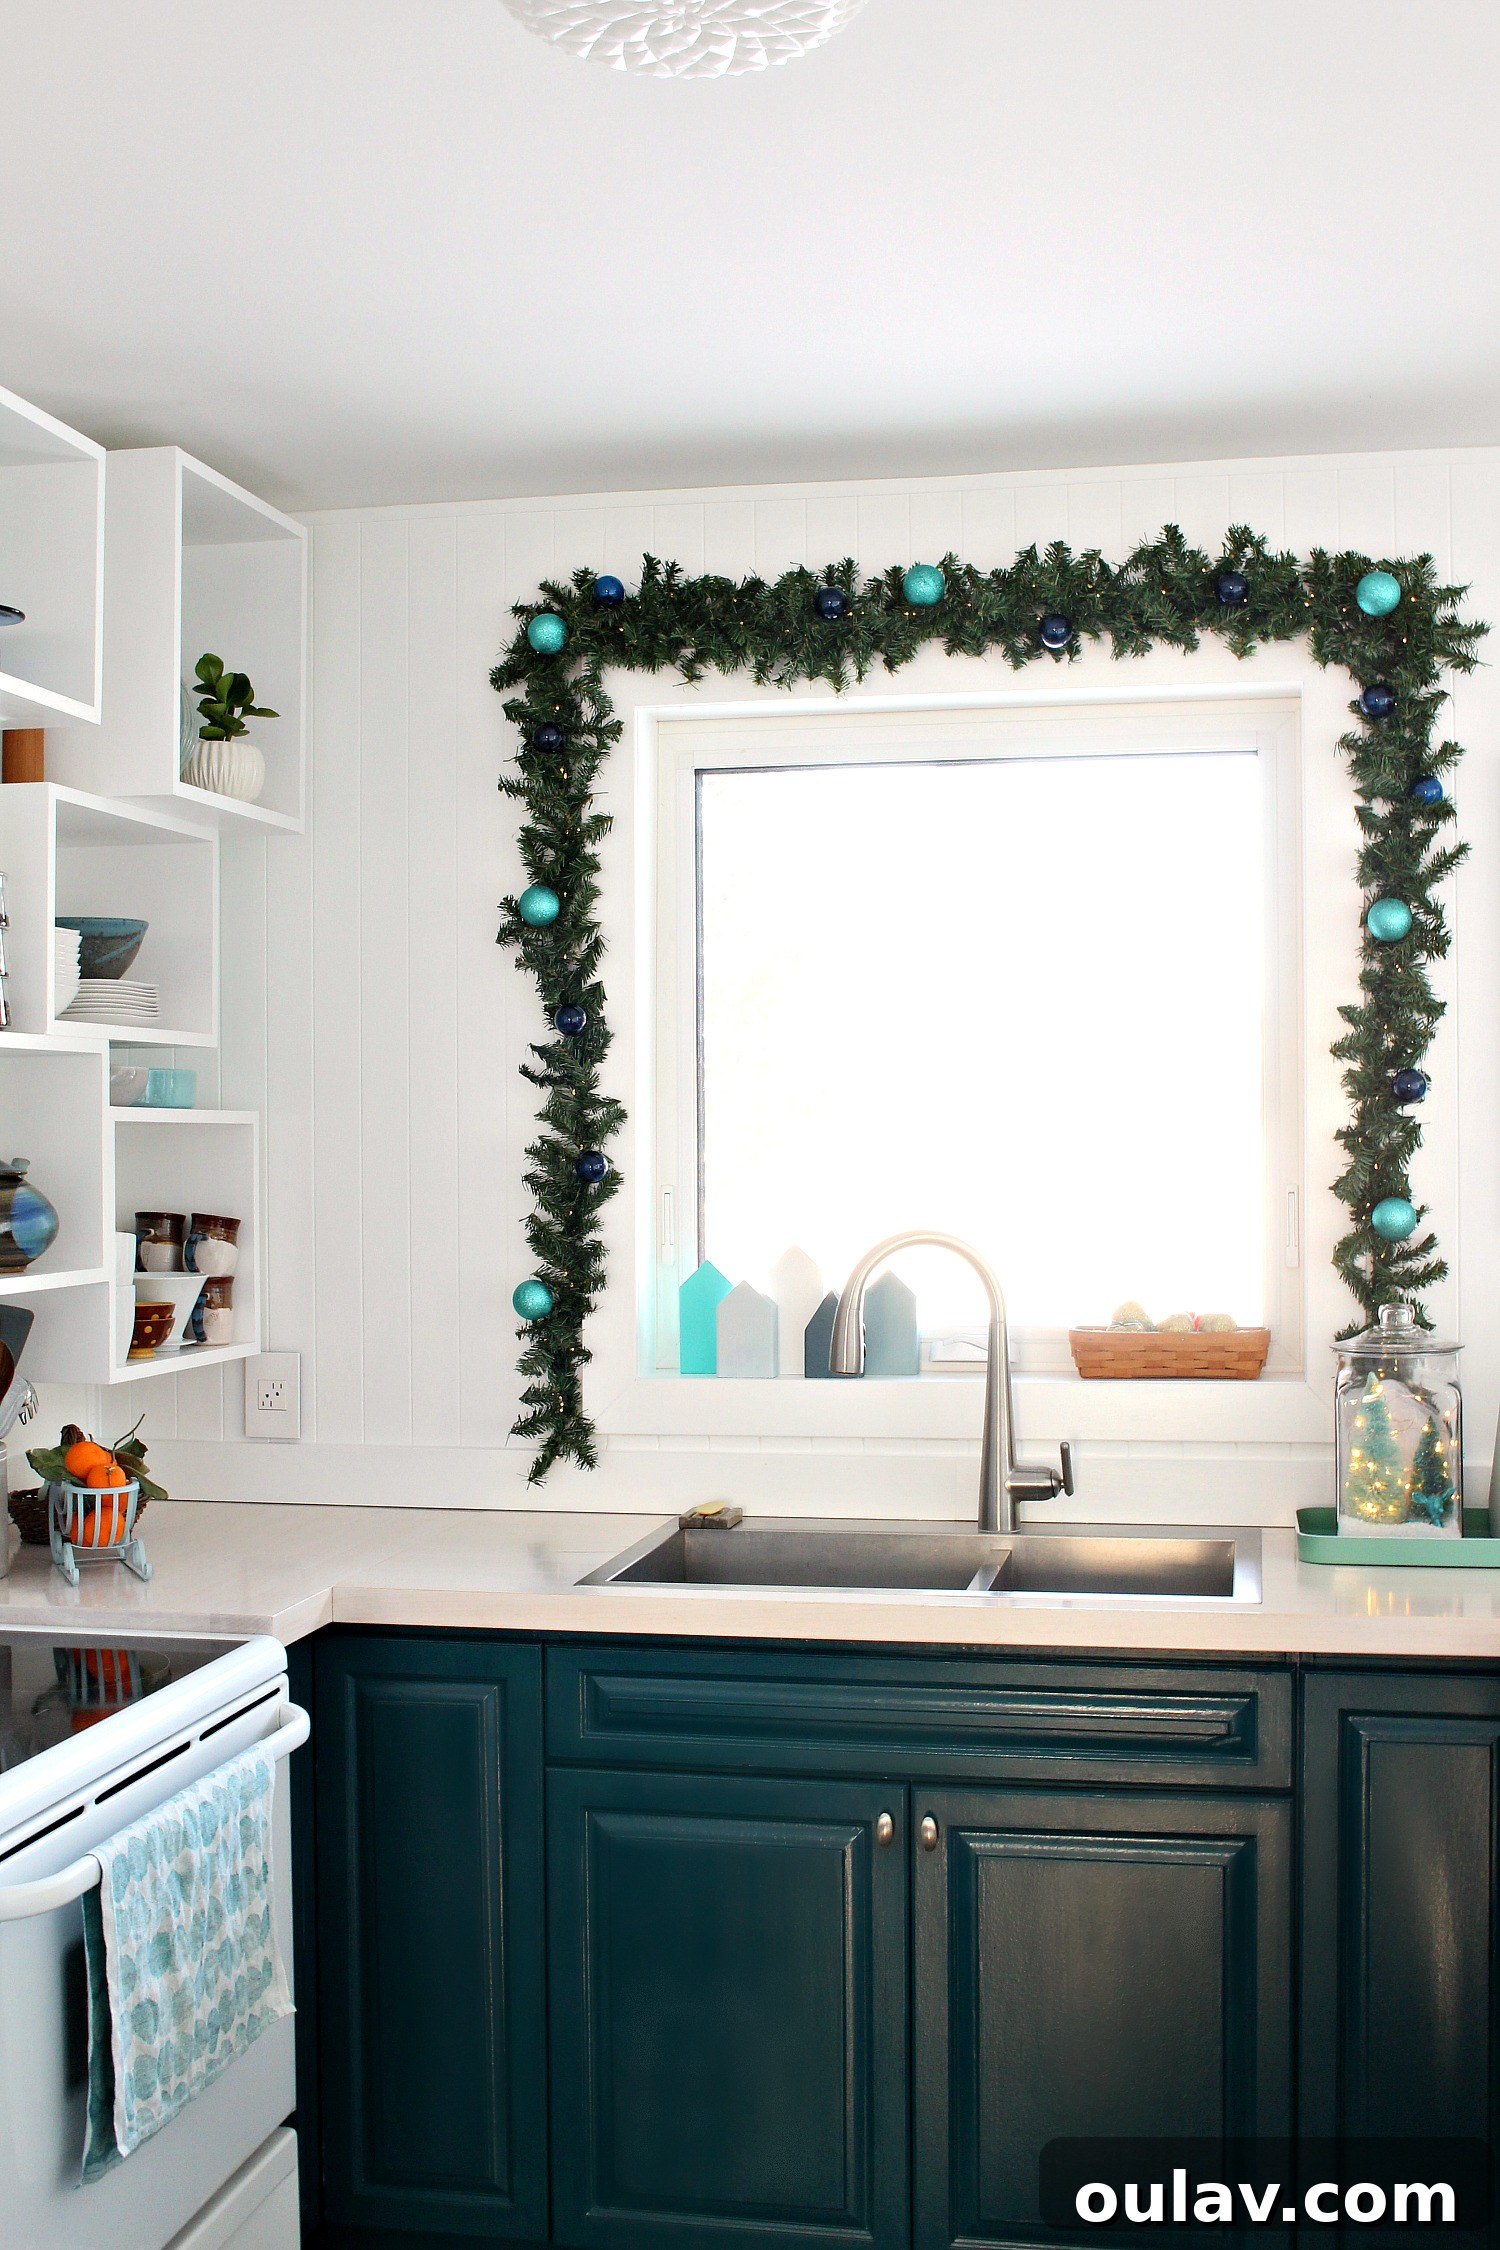
- Prepare Your Hanging Points: The very first step is to strategically place your 3M Command hooks. I placed one hook in each upper corner of the window frame, one directly in the middle of the top frame, and then two more along each vertical side – one midway down and another closer to the countertop. Remember to allow the hooks to adhere for at least an hour before attempting to hang anything, ensuring maximum grip and preventing any frustrating falls.
- Fluff the Garland: While the hooks are setting, gently unfurl your faux garland strands. Take time to “fluff” out the branches, separating them and bending them slightly to give the garland a fuller, more natural appearance. This step is crucial for transforming inexpensive garland into something truly impressive.
- Begin Hanging: Once the hooks are ready, start hanging your first garland strand. I began at the bottom right corner, securing it to the hook, then carefully worked my way up and around the top right corner. As I went, I shaped the garland to hug the window trim, creating a clean and elegant line. The bendable wire core of the garland makes this shaping process incredibly easy.
- Add the Second Strand: For a lush, full look, I added a second garland strand, mirroring the process from the left side of the window. Start from the bottom left, secure it, and work your way up and around the top left corner. By having both strands meet and overlap slightly at the top, you achieve extra volume and a balanced aesthetic.
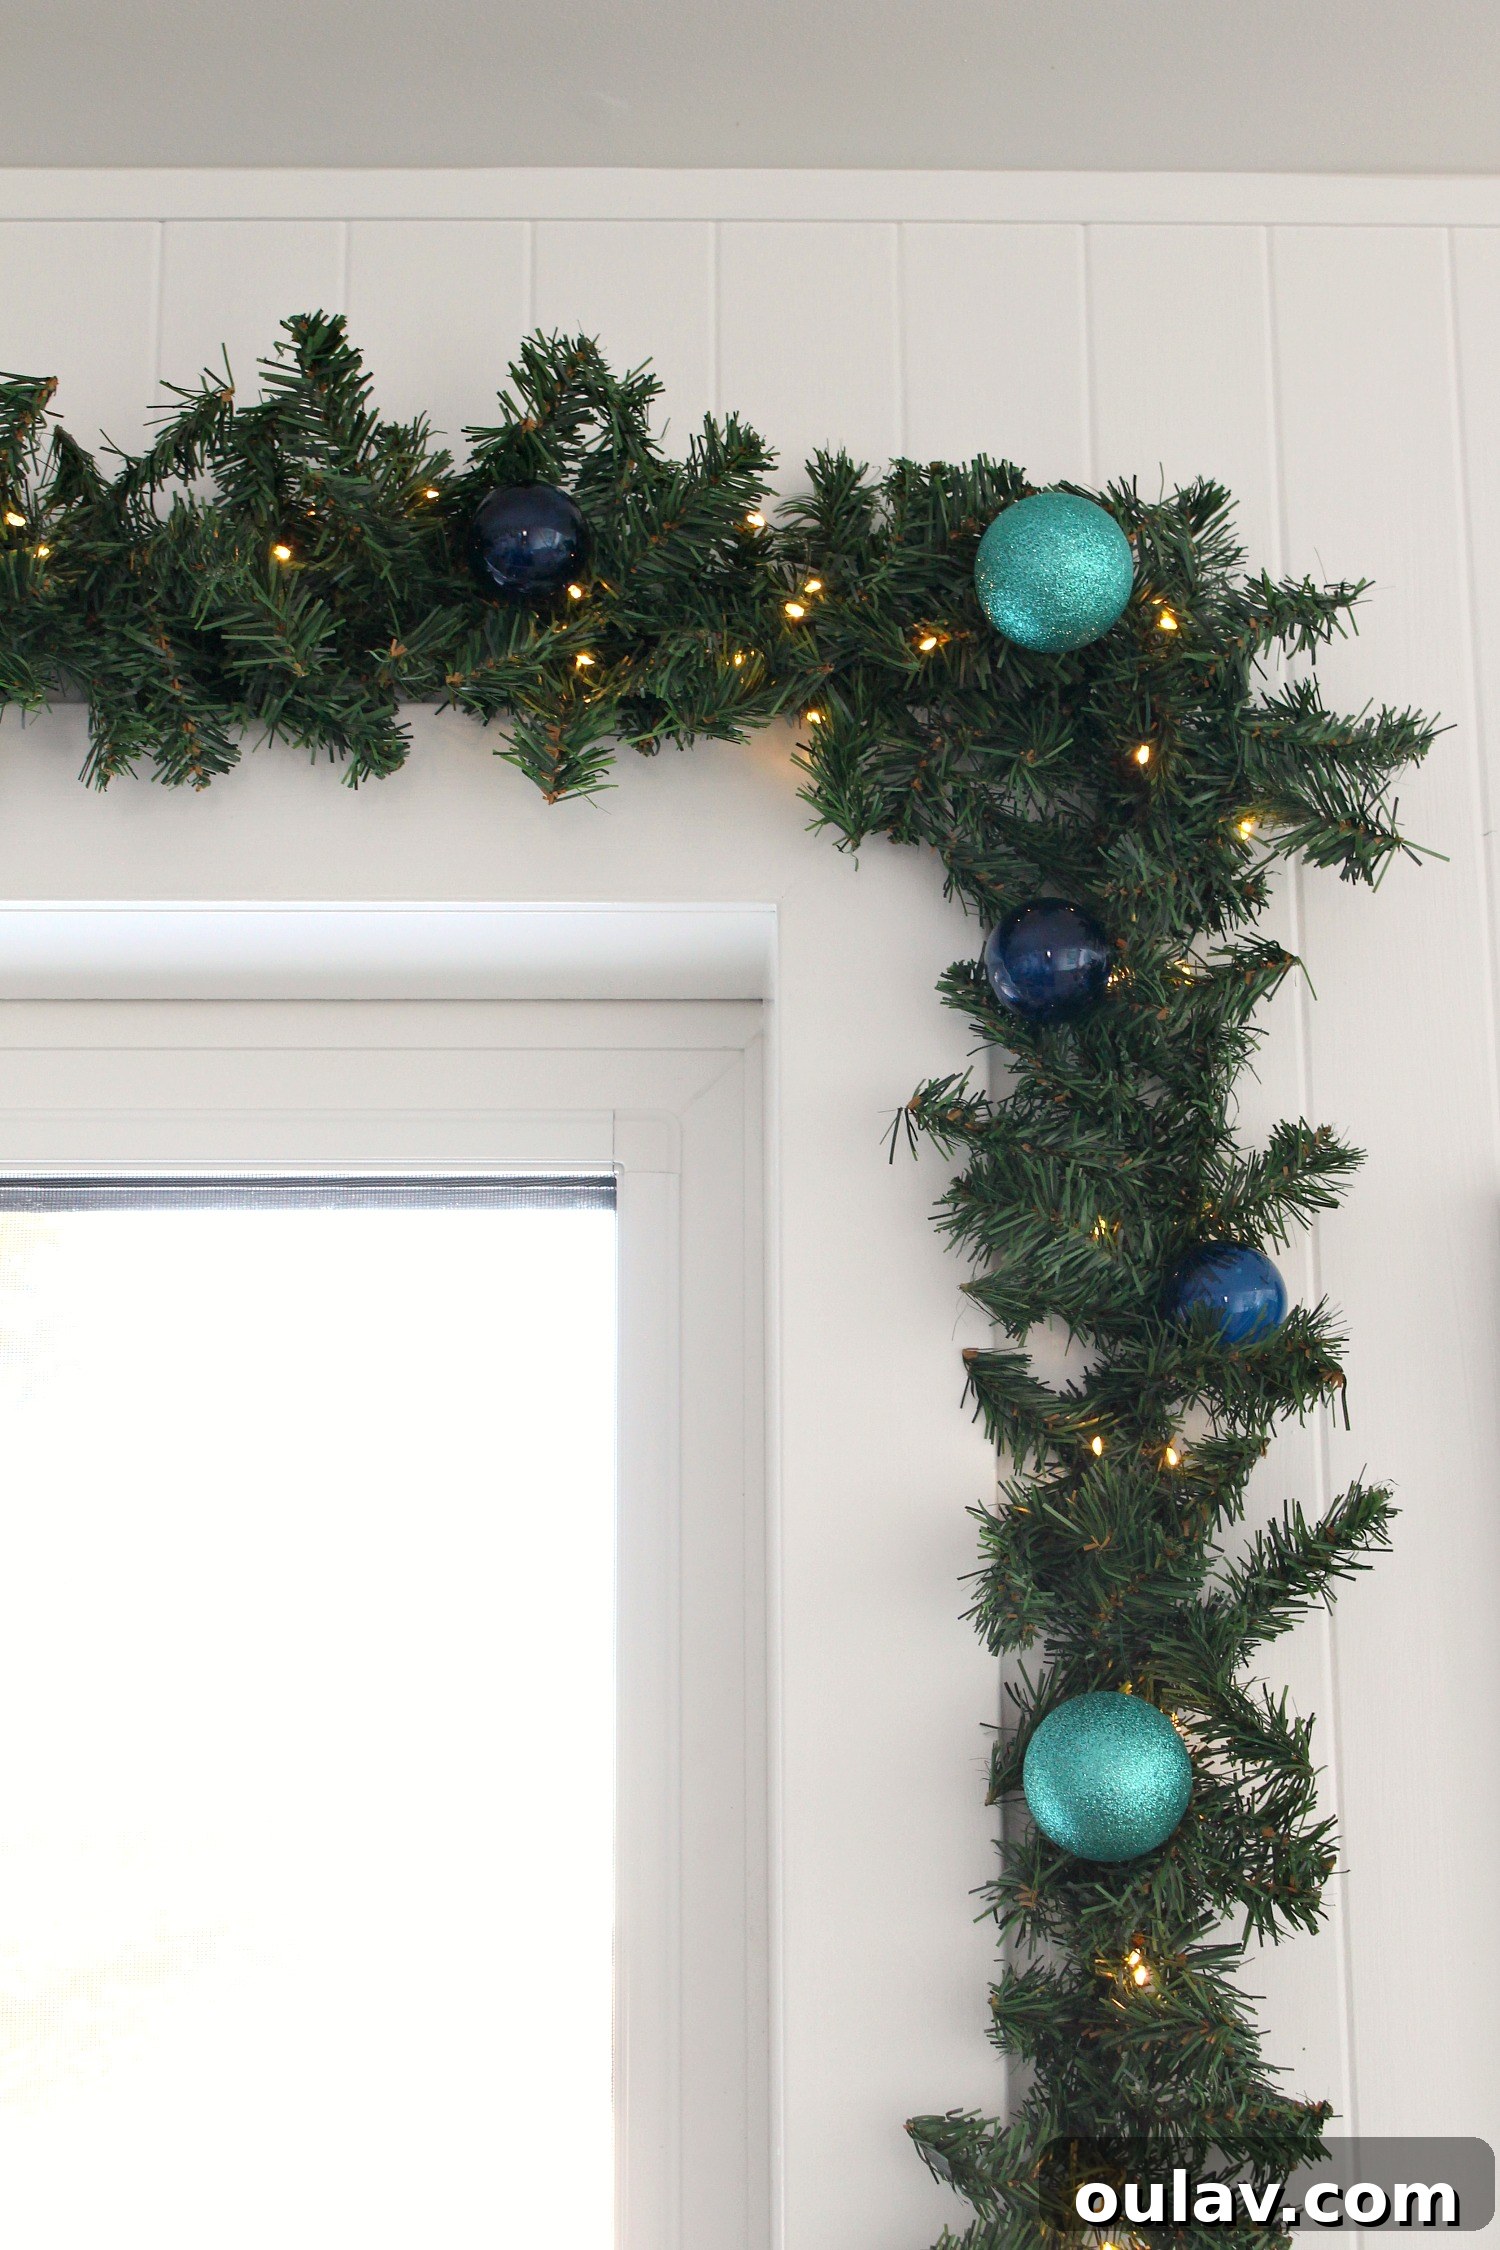
- Integrate the Lights: My ultra-slim lights were wonderfully delicate and lightweight. I loosely draped them over the garland first to ensure they would span the entire length, then began to gently tuck the green wire lights into the faux evergreen branches. The flexible branches perfectly conceal the light wires, making them practically invisible and allowing the warm glow to shine through beautifully.
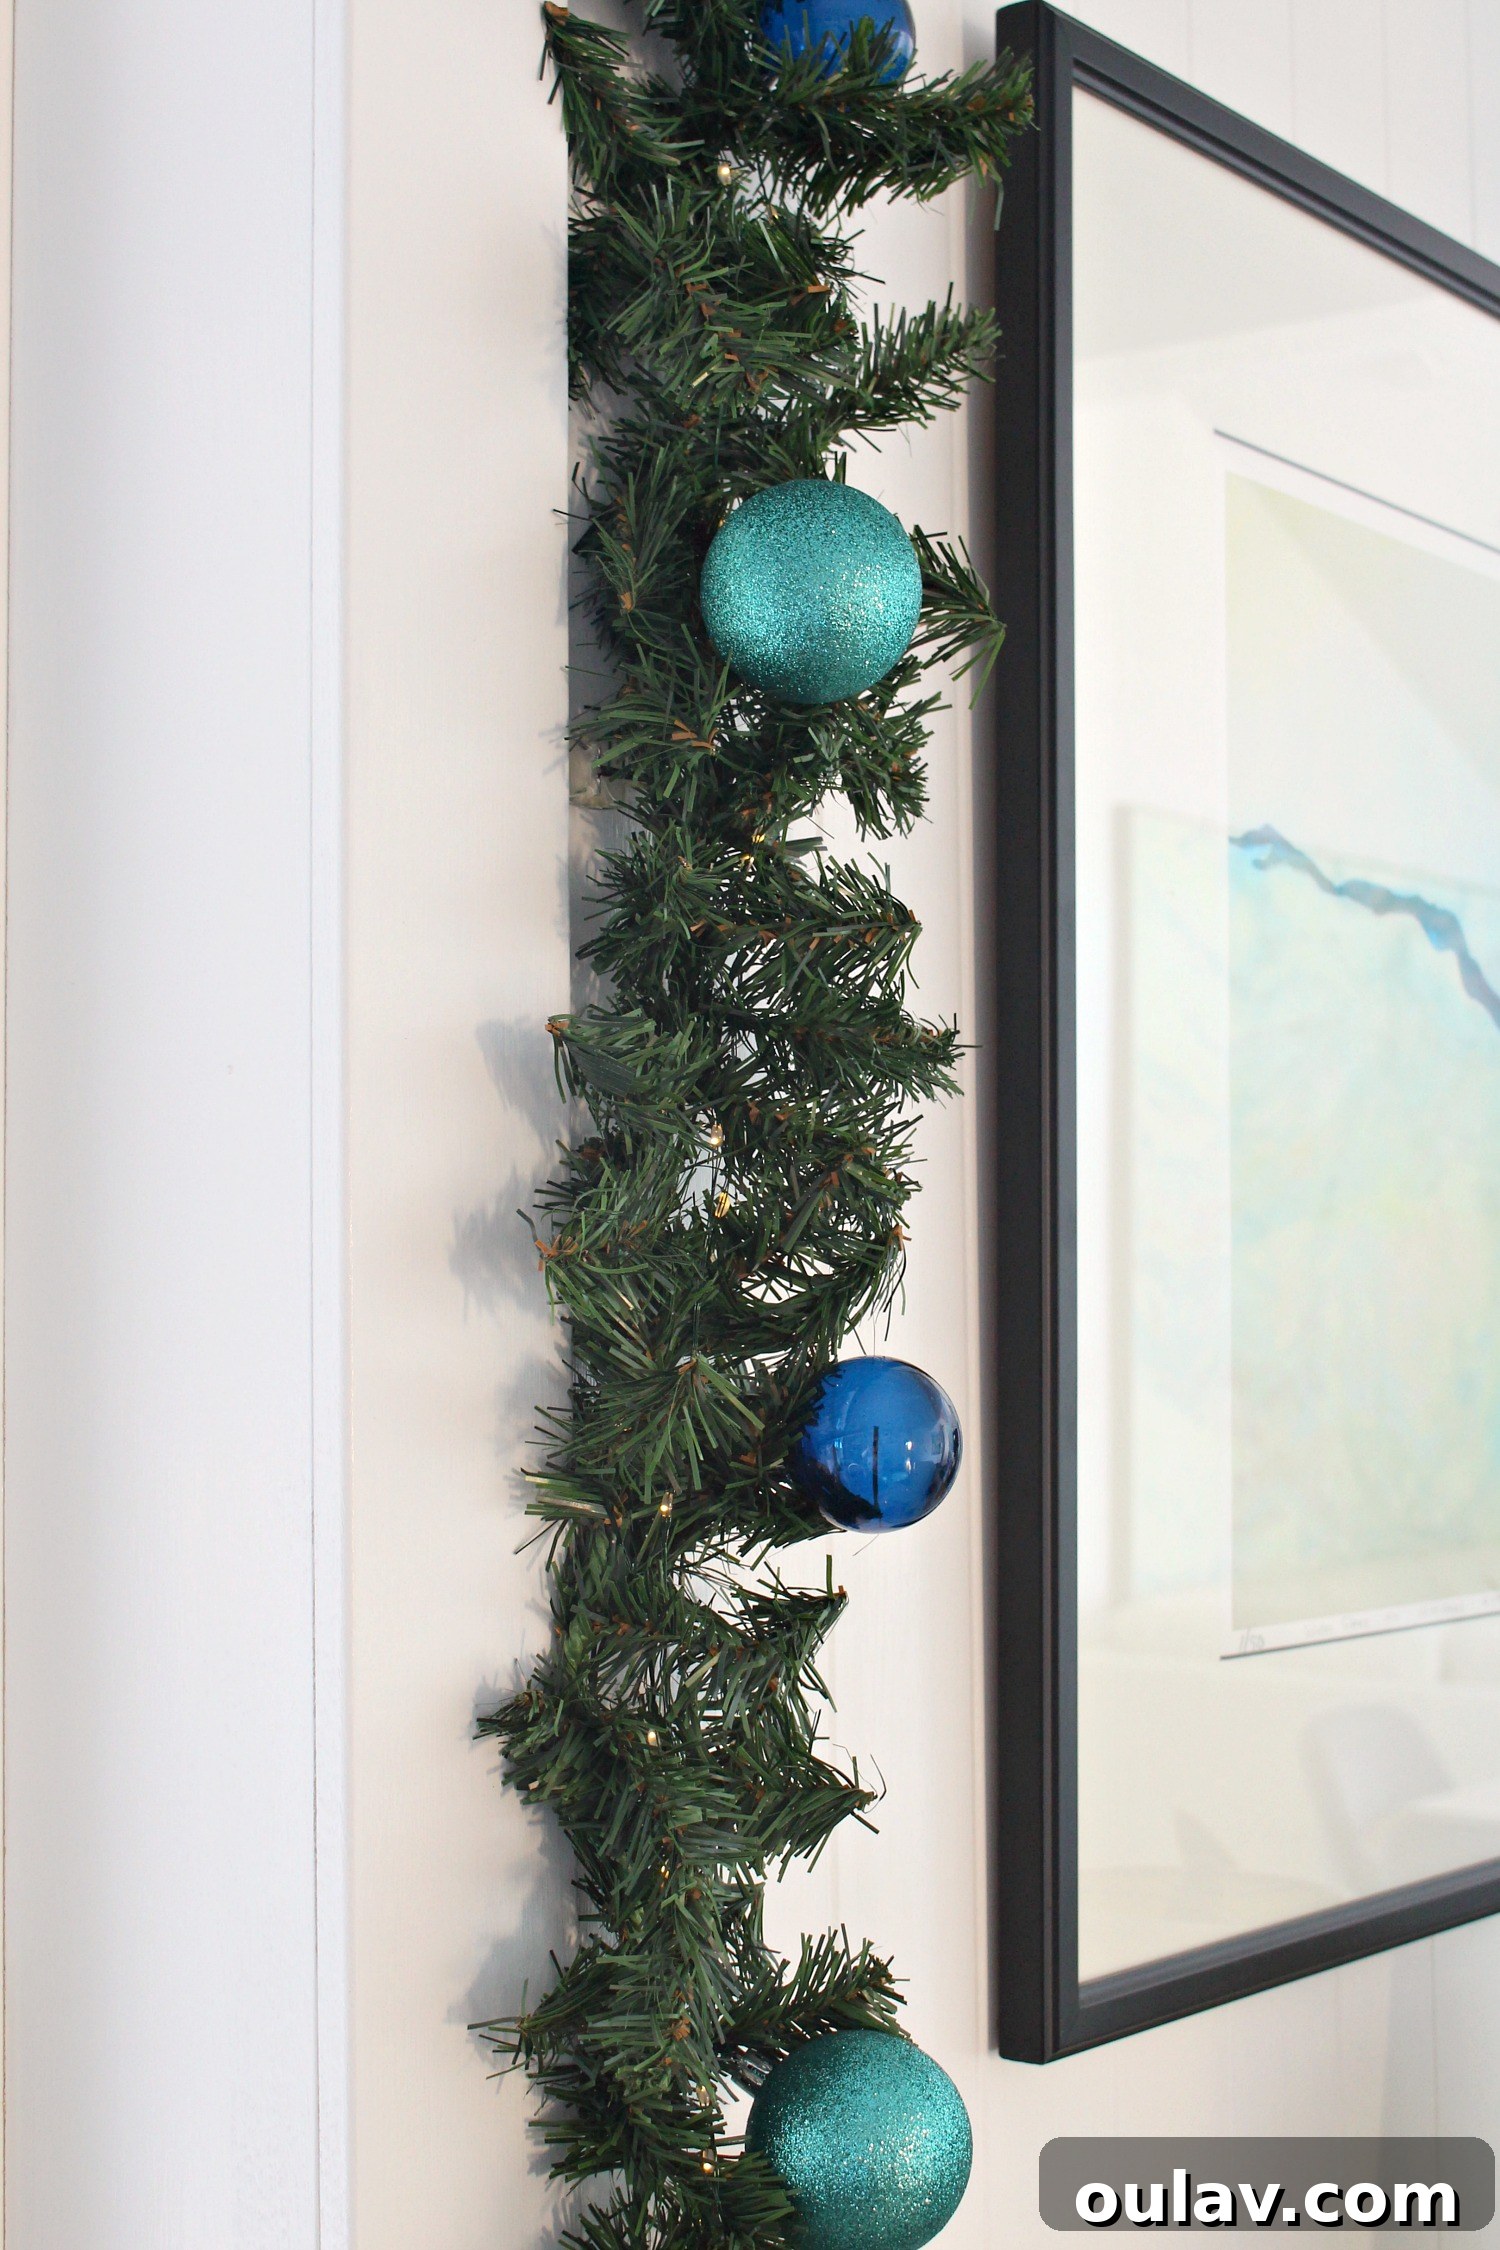
- Attach Ornaments with Ease: To add my chosen ornaments, I used green floral wire. Simply cut a small piece of wire, thread it through the ornament’s top loop or hanger, and then twist the ends securely around a nearby garland branch. This method provides a strong hold that keeps ornaments in place without them slipping or falling. It’s quick, easy, and the green wire disappears into the foliage.
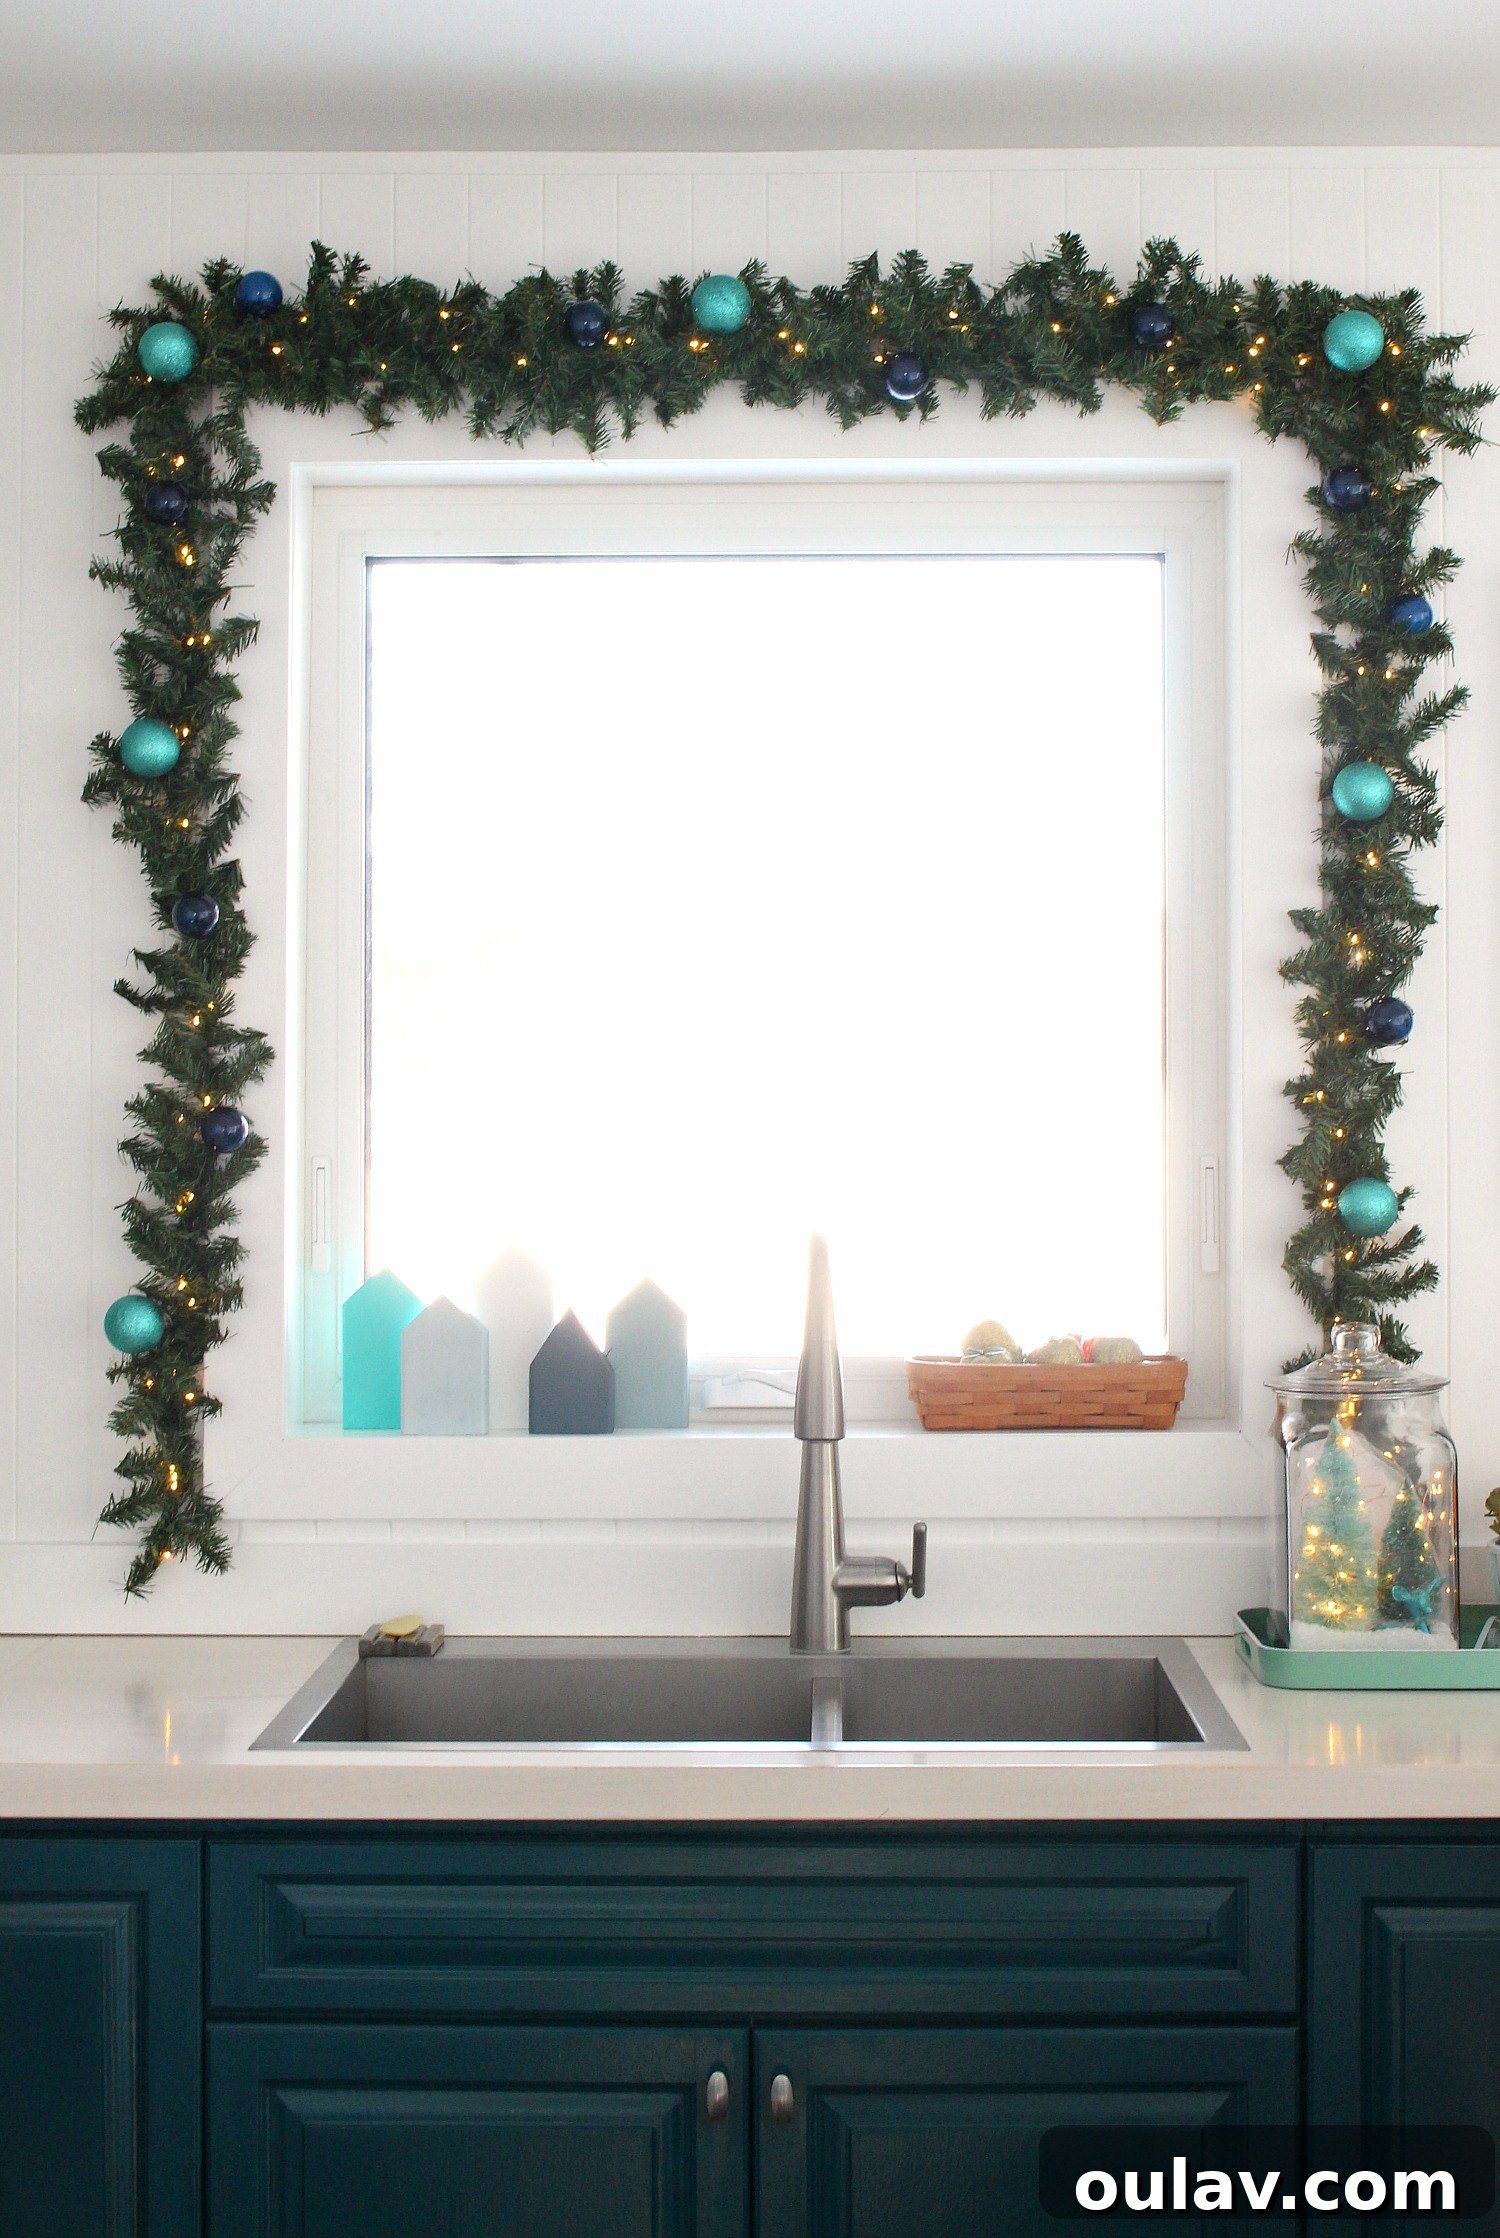
The delicate, green-wired lights were strategically placed to ensure an even glow from end to end, then carefully tucked into the pliable branches of the garland. These branches are incredibly forgiving and hold the lights perfectly in place. For attaching ornaments, I simply cut small pieces of green floral wire, threaded them through the ornament caps, and twisted them around the branches. It’s a foolproof method for secure and seamless embellishment!
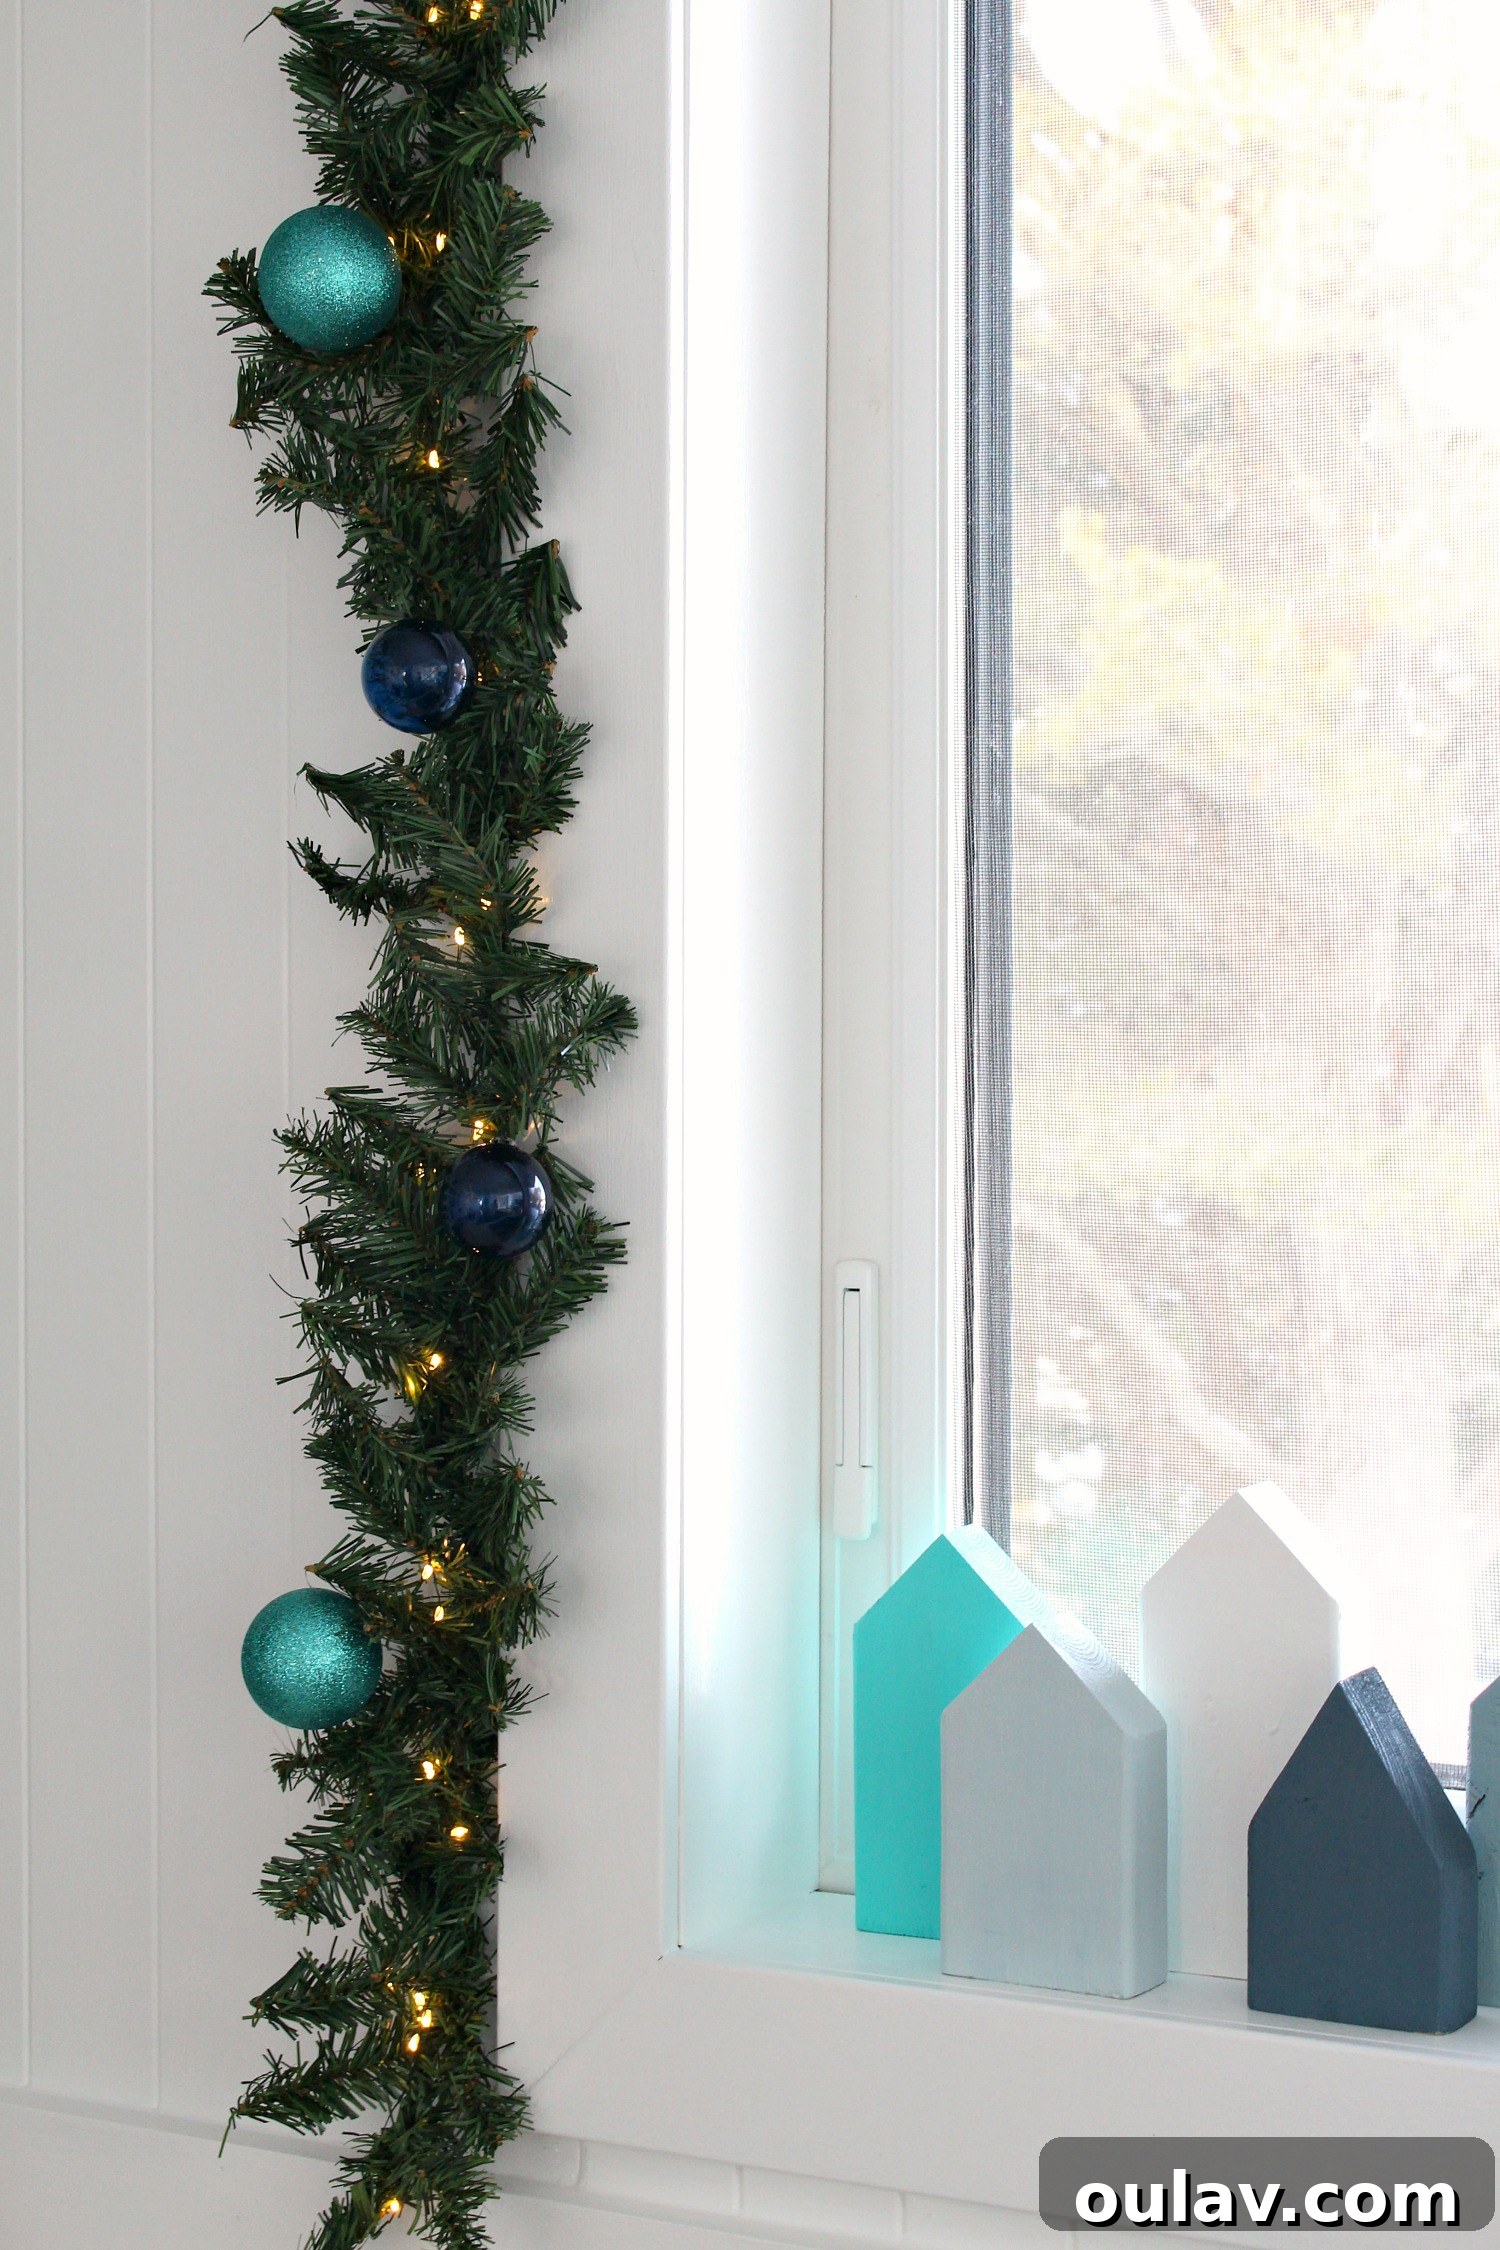
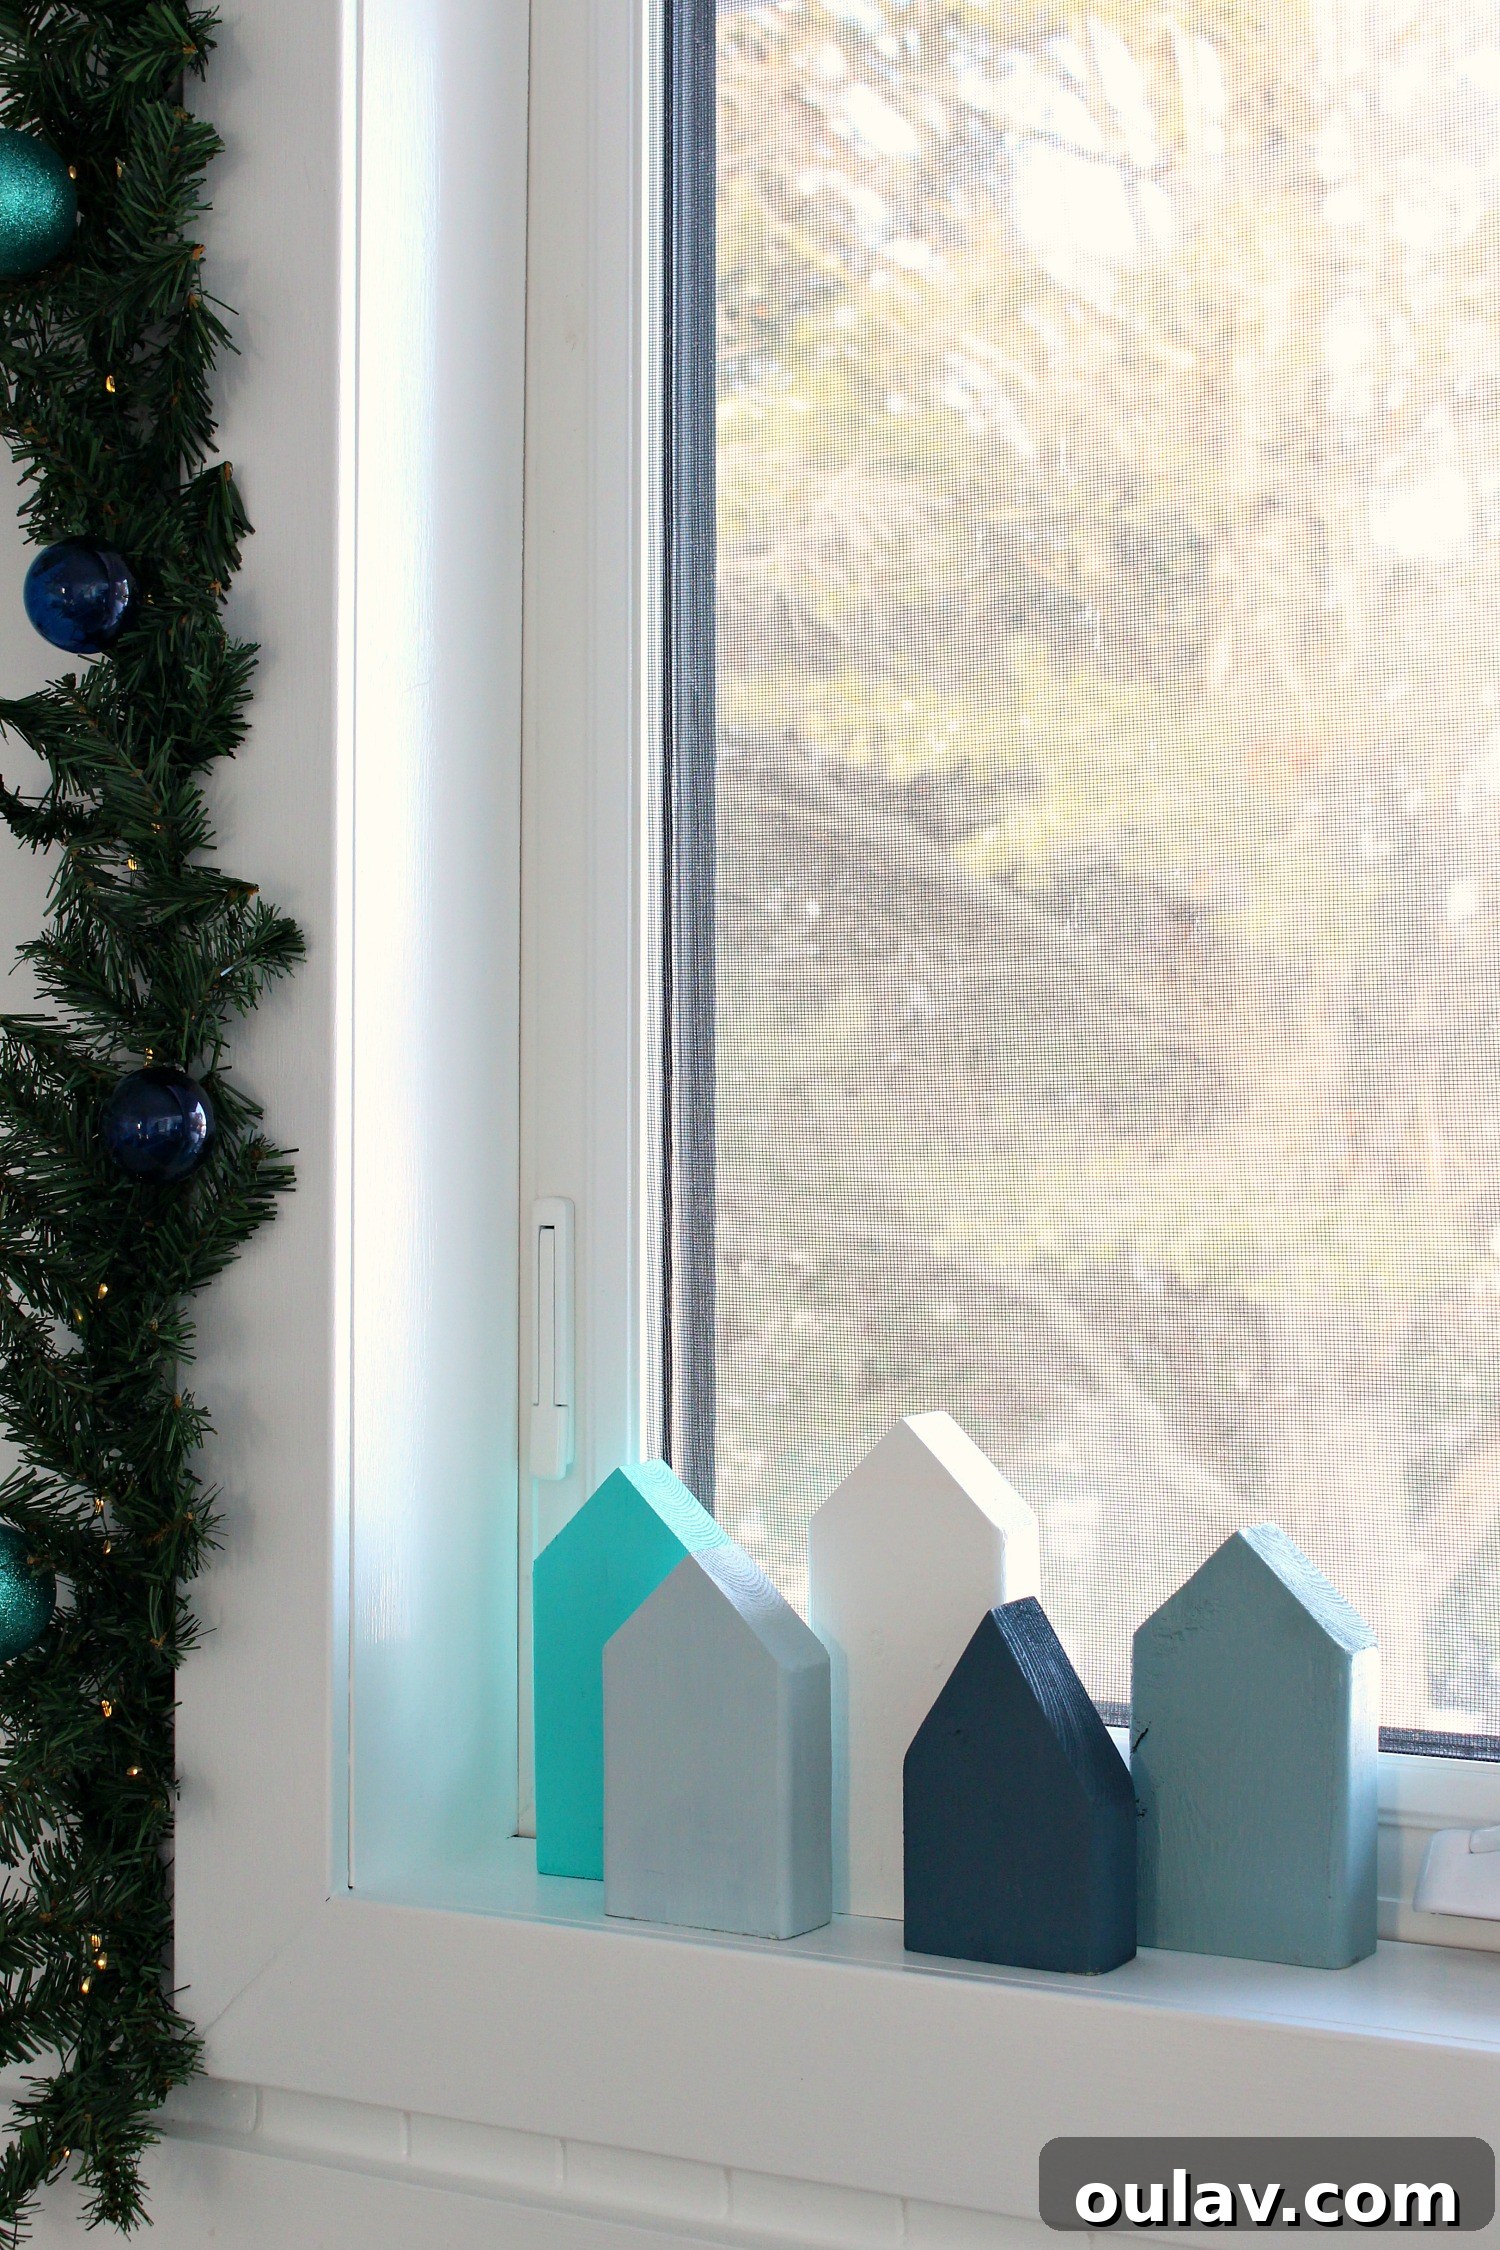
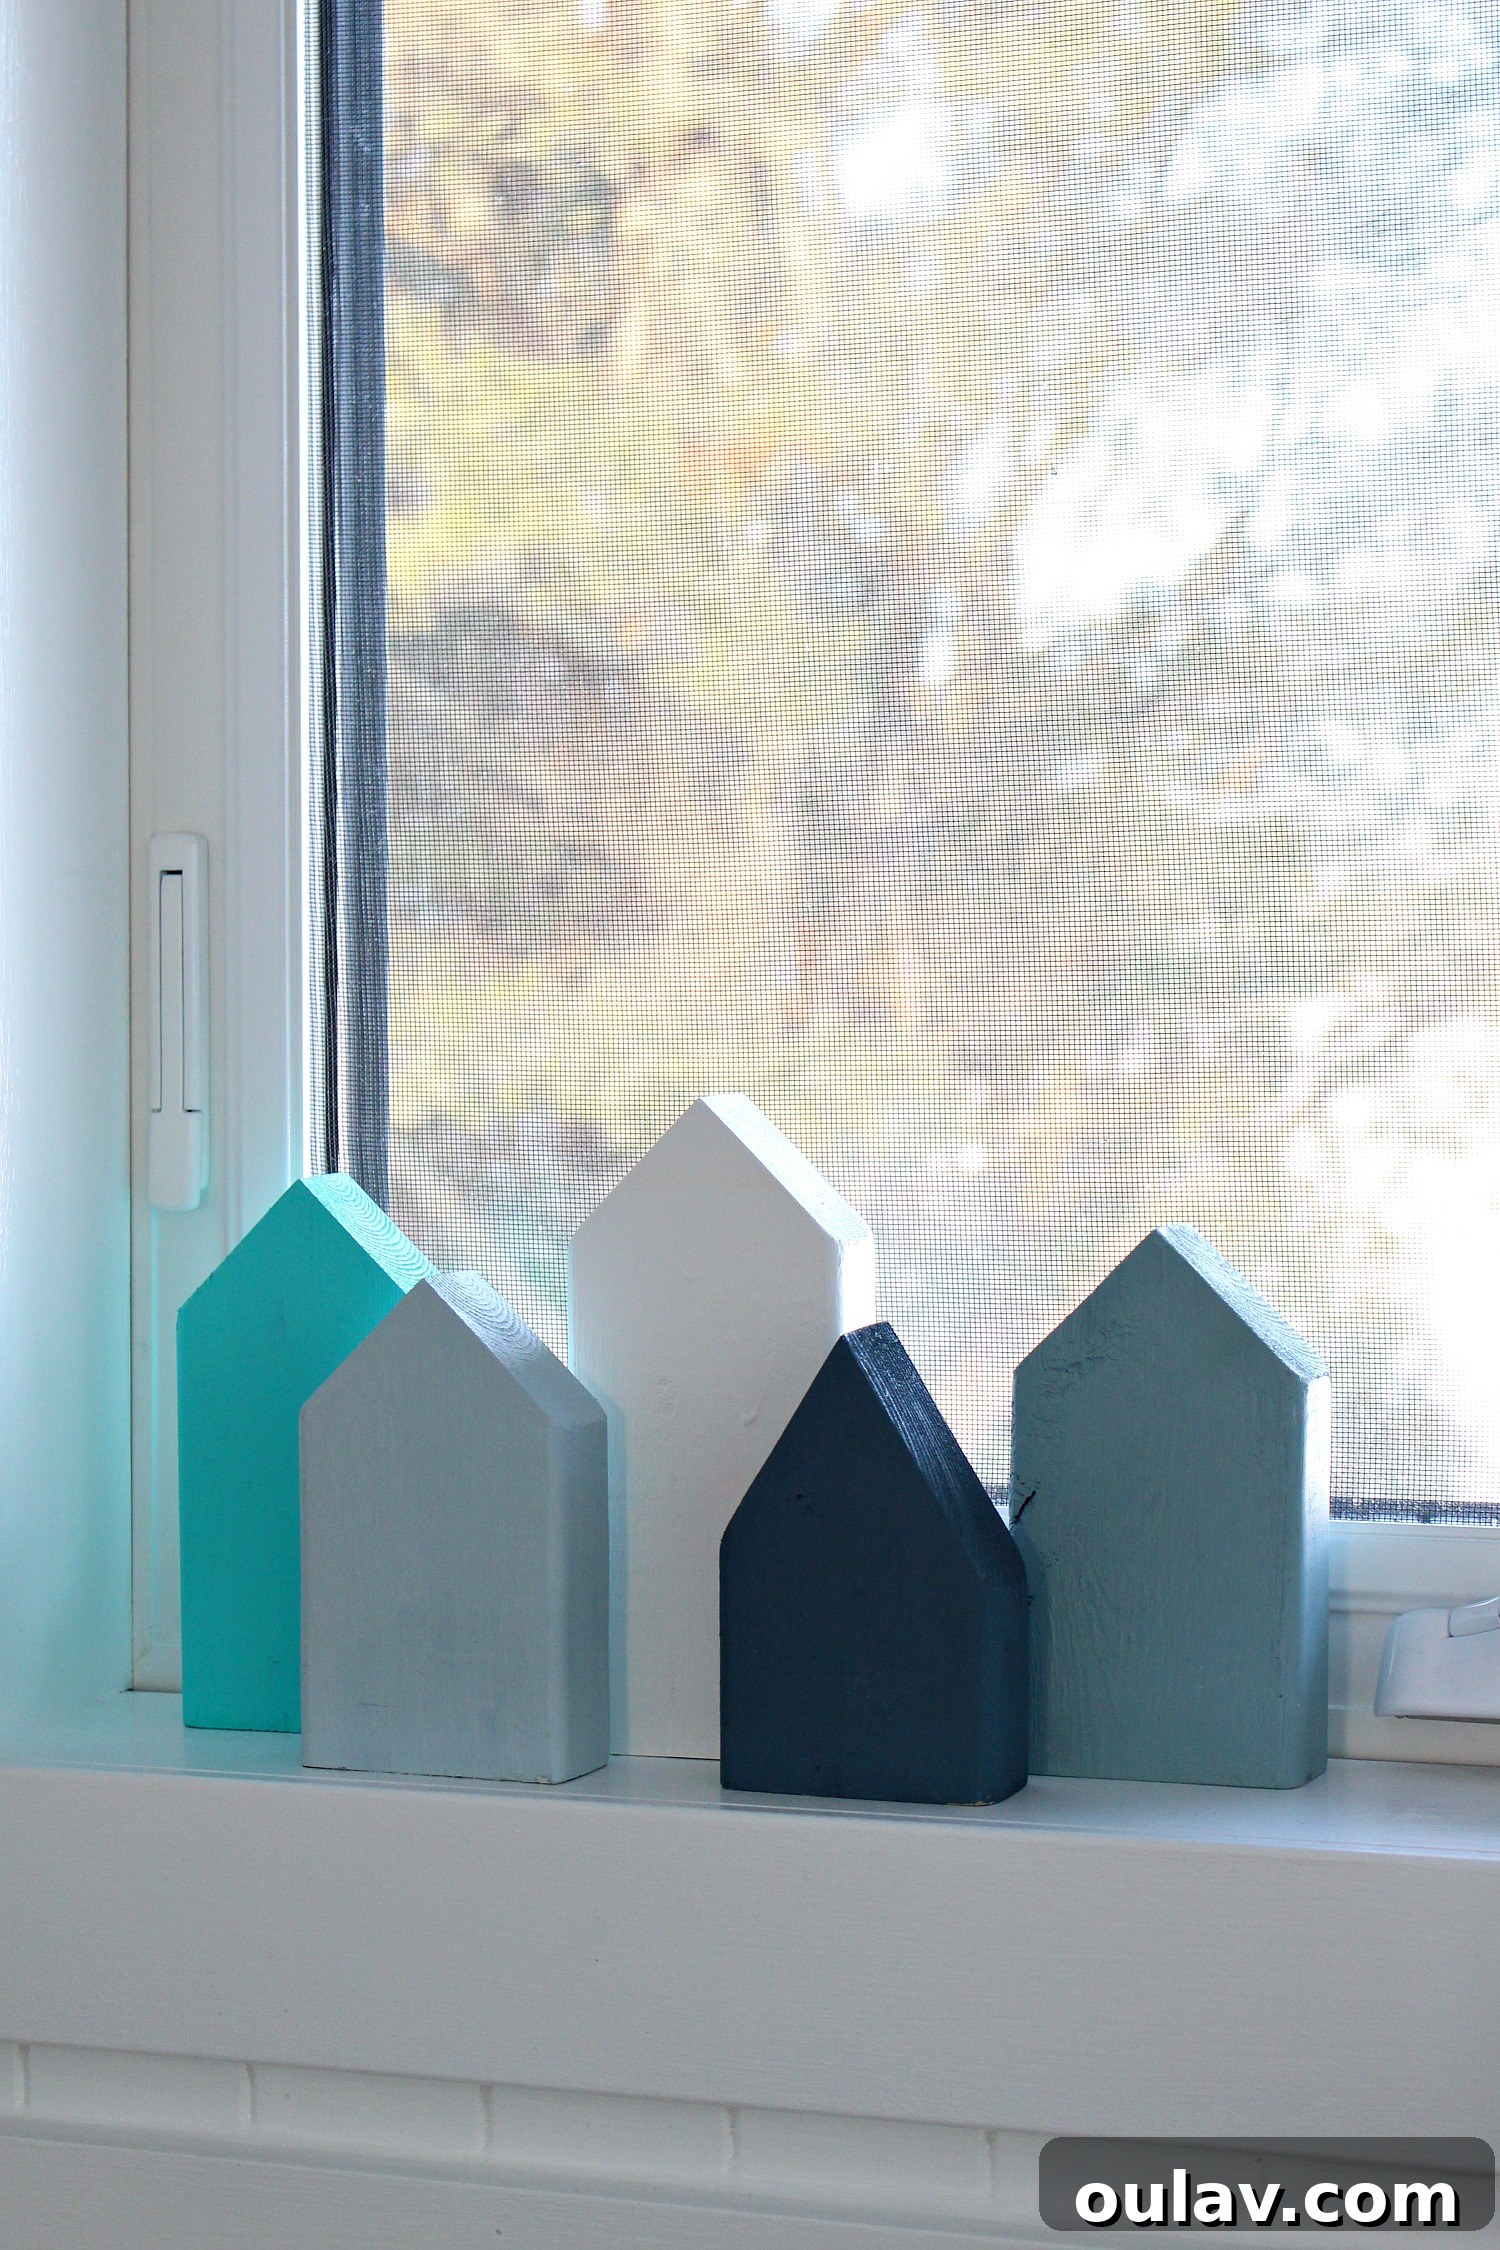
As a bonus, I incorporated some delightful extra pieces I had crafted when making my DIY scrap wood holiday village. These mini wooden houses found a perfect spot alongside my dollar store garland, adding an extra layer of rustic charm to the kitchen display.
Having this bright, cheery garland in the kitchen has brought so much joy to our daily routines. Looking ahead, my plan for next year is to forage for some natural accents like pinecones and cedar boughs – this year, the snow arrived too quickly! I envision fluffing out my faux DIY Christmas garland with these organic elements, creating a beautiful bridge between the longevity of artificial greenery and the authentic charm of nature. This blend could be the perfect solution for maintaining festive beauty even in a dry home environment.
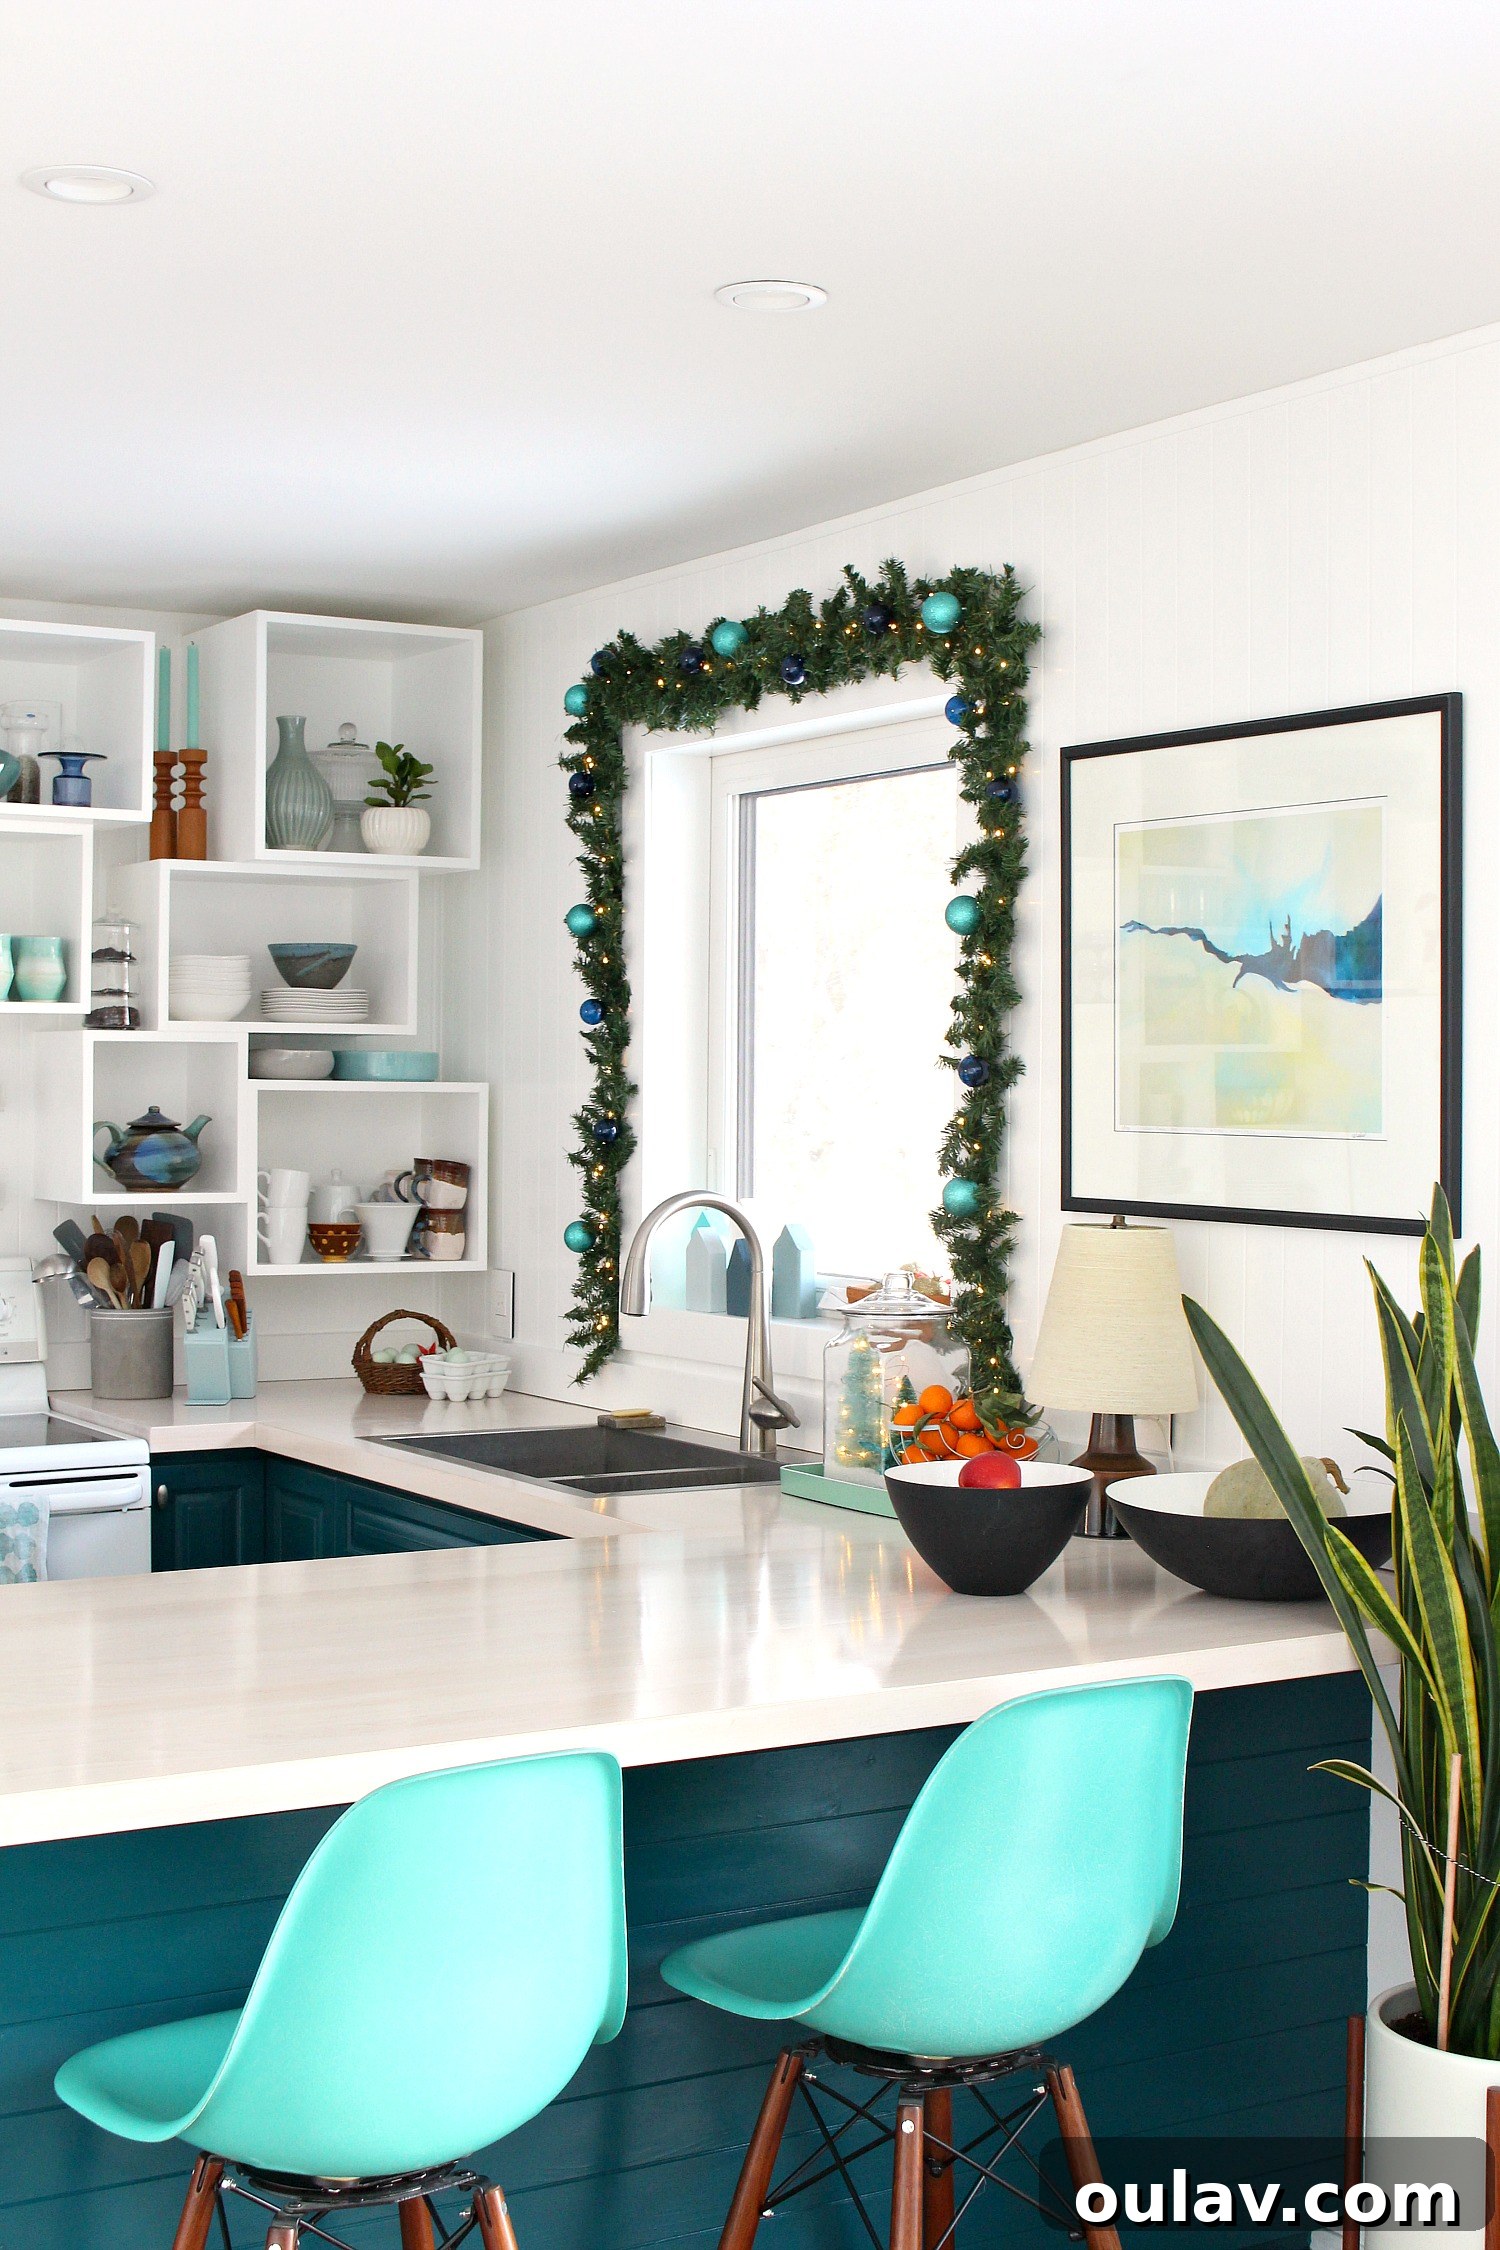
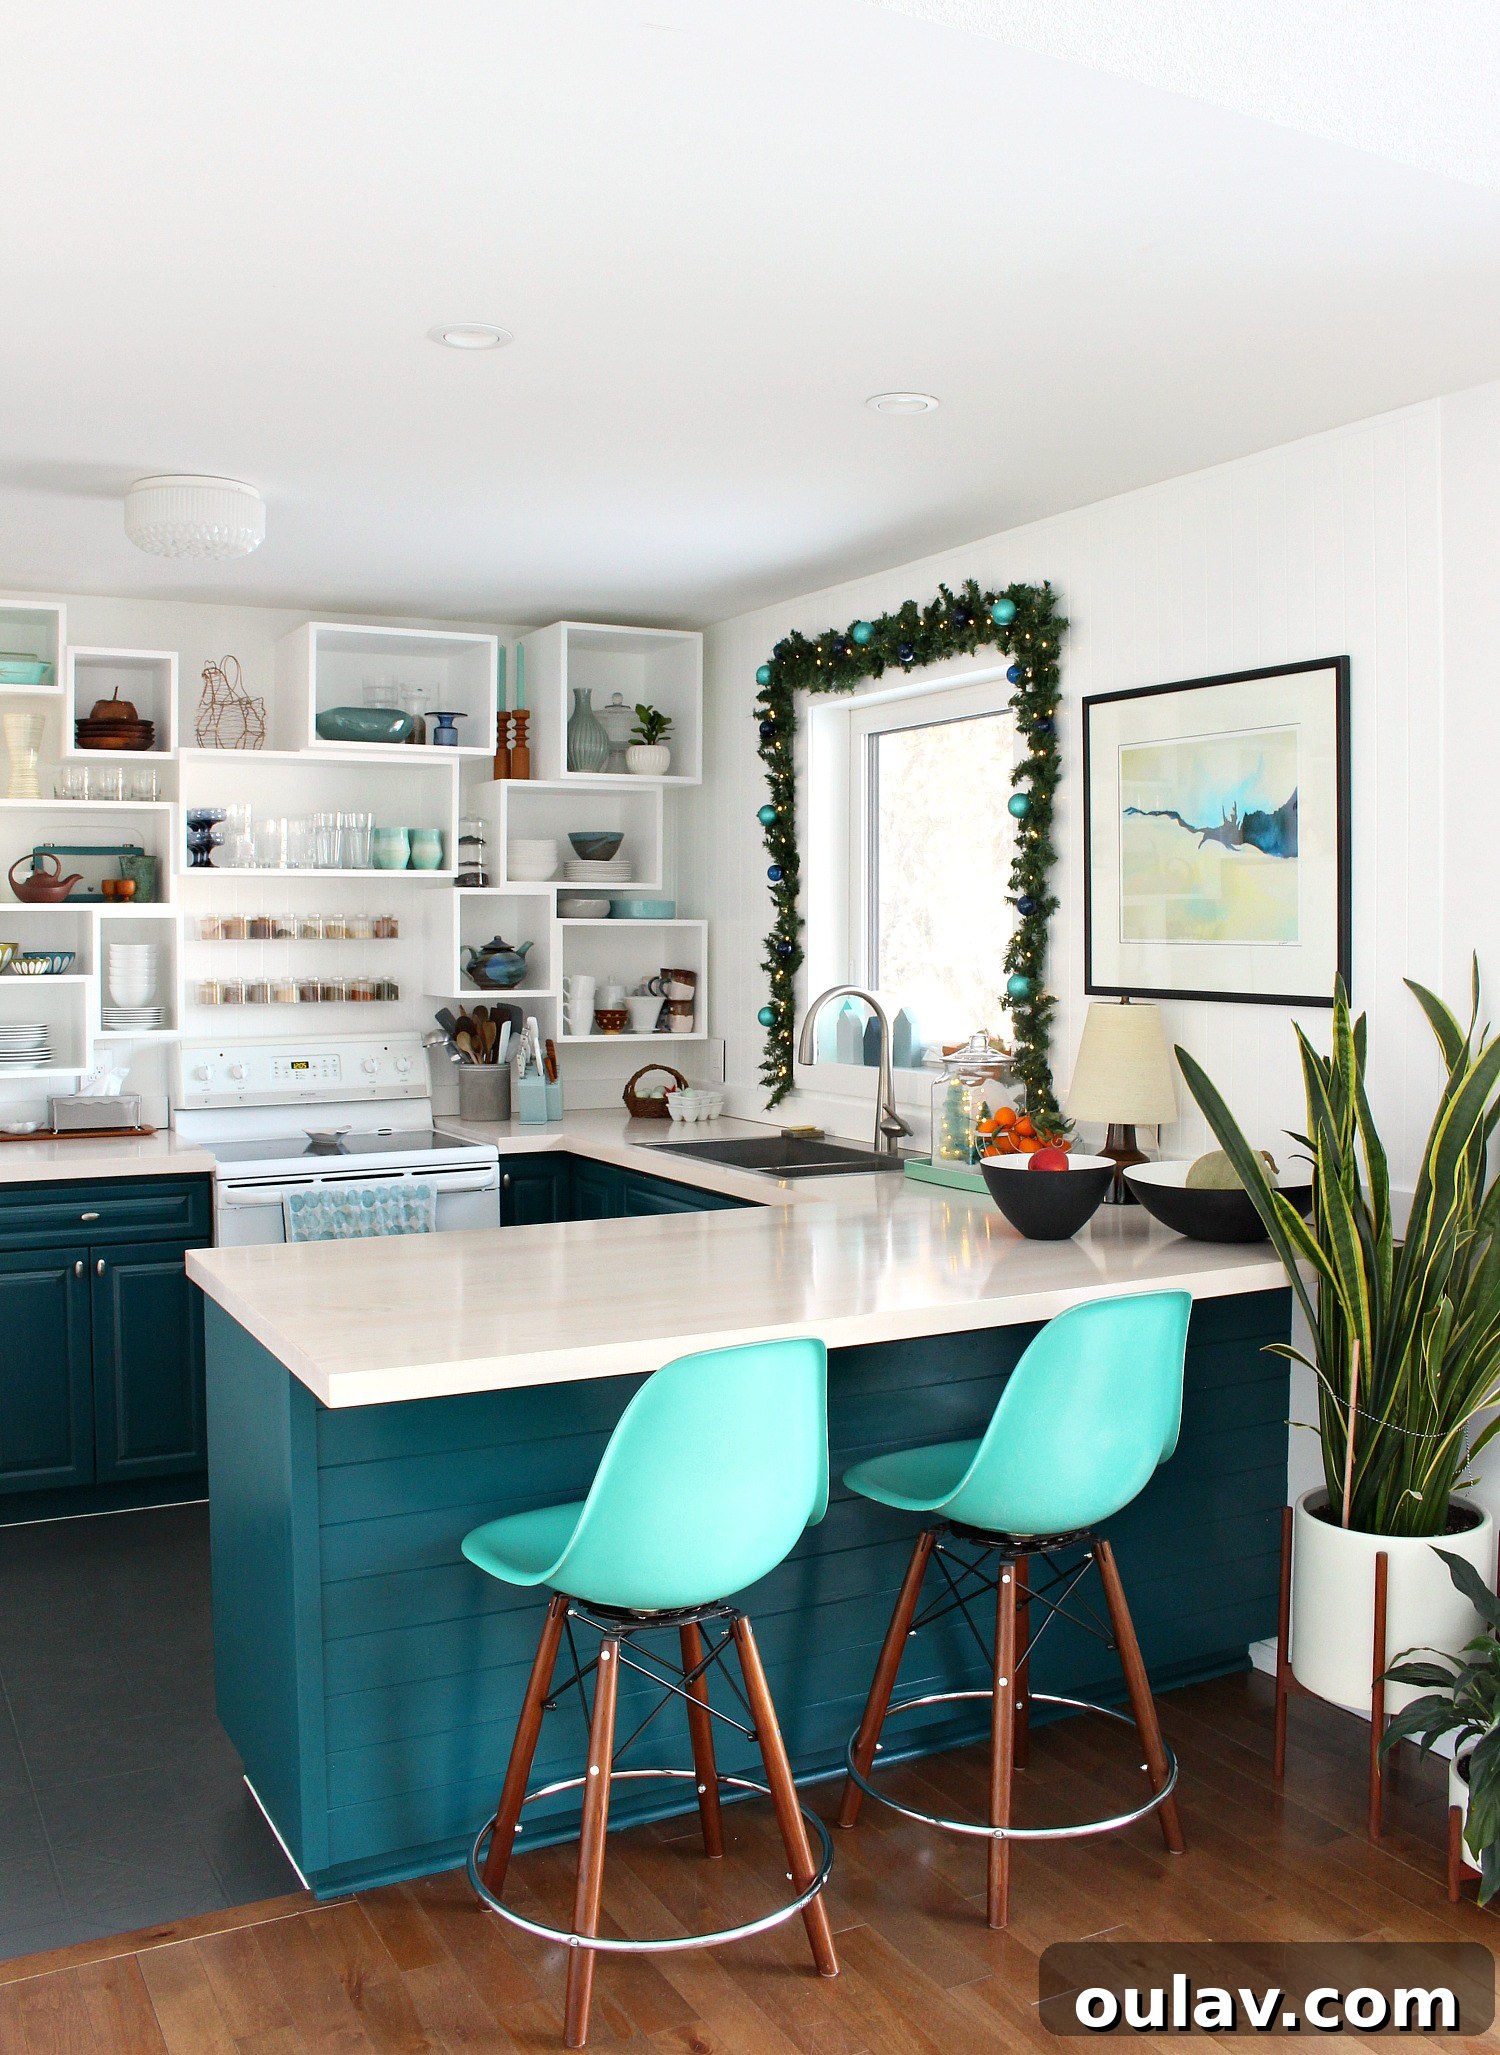
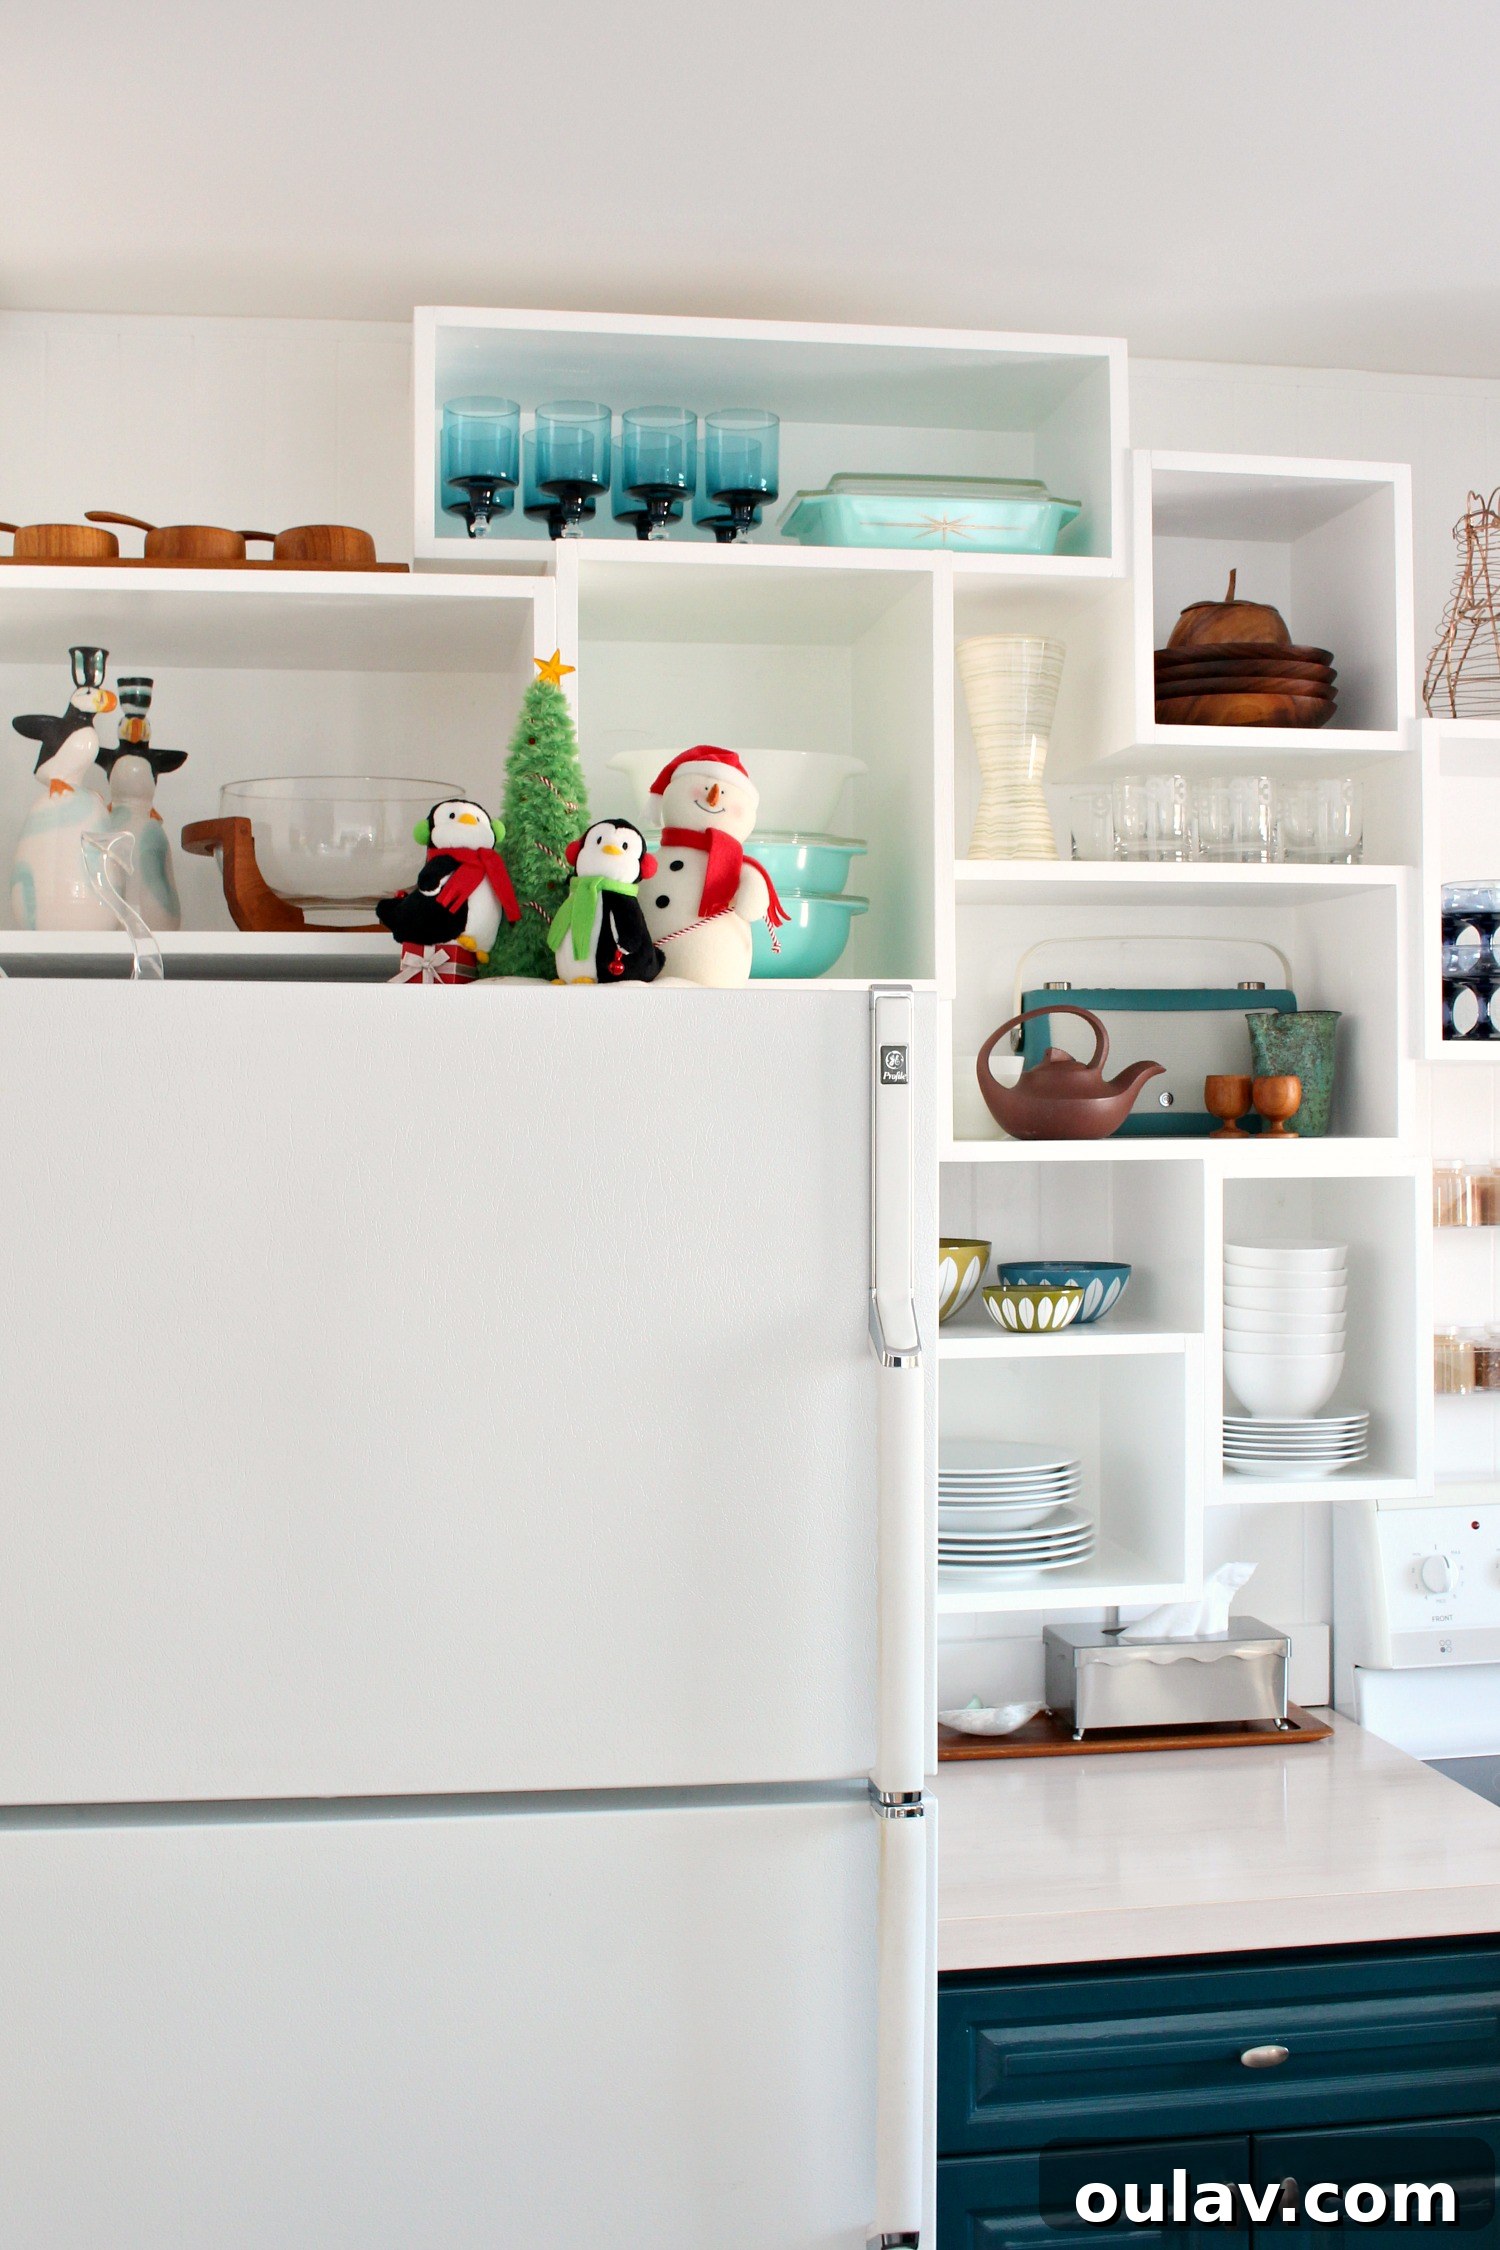
I have a little secret to share: if you zoom out slightly, you’ll spot my enduring holiday decor weakness – my beloved Jingle Buddies! I’ve owned these charming dancing penguins for what feels like an eternity, likely since my teenage years. With just the press of a button, they burst into song and wiggle their adorable tails. Despite the years, I can’t resist bringing them out every single holiday season; they’re a sentimental tradition that always brings a smile.
Cozying Up the Living Room Mini Mantles with DIY Garland
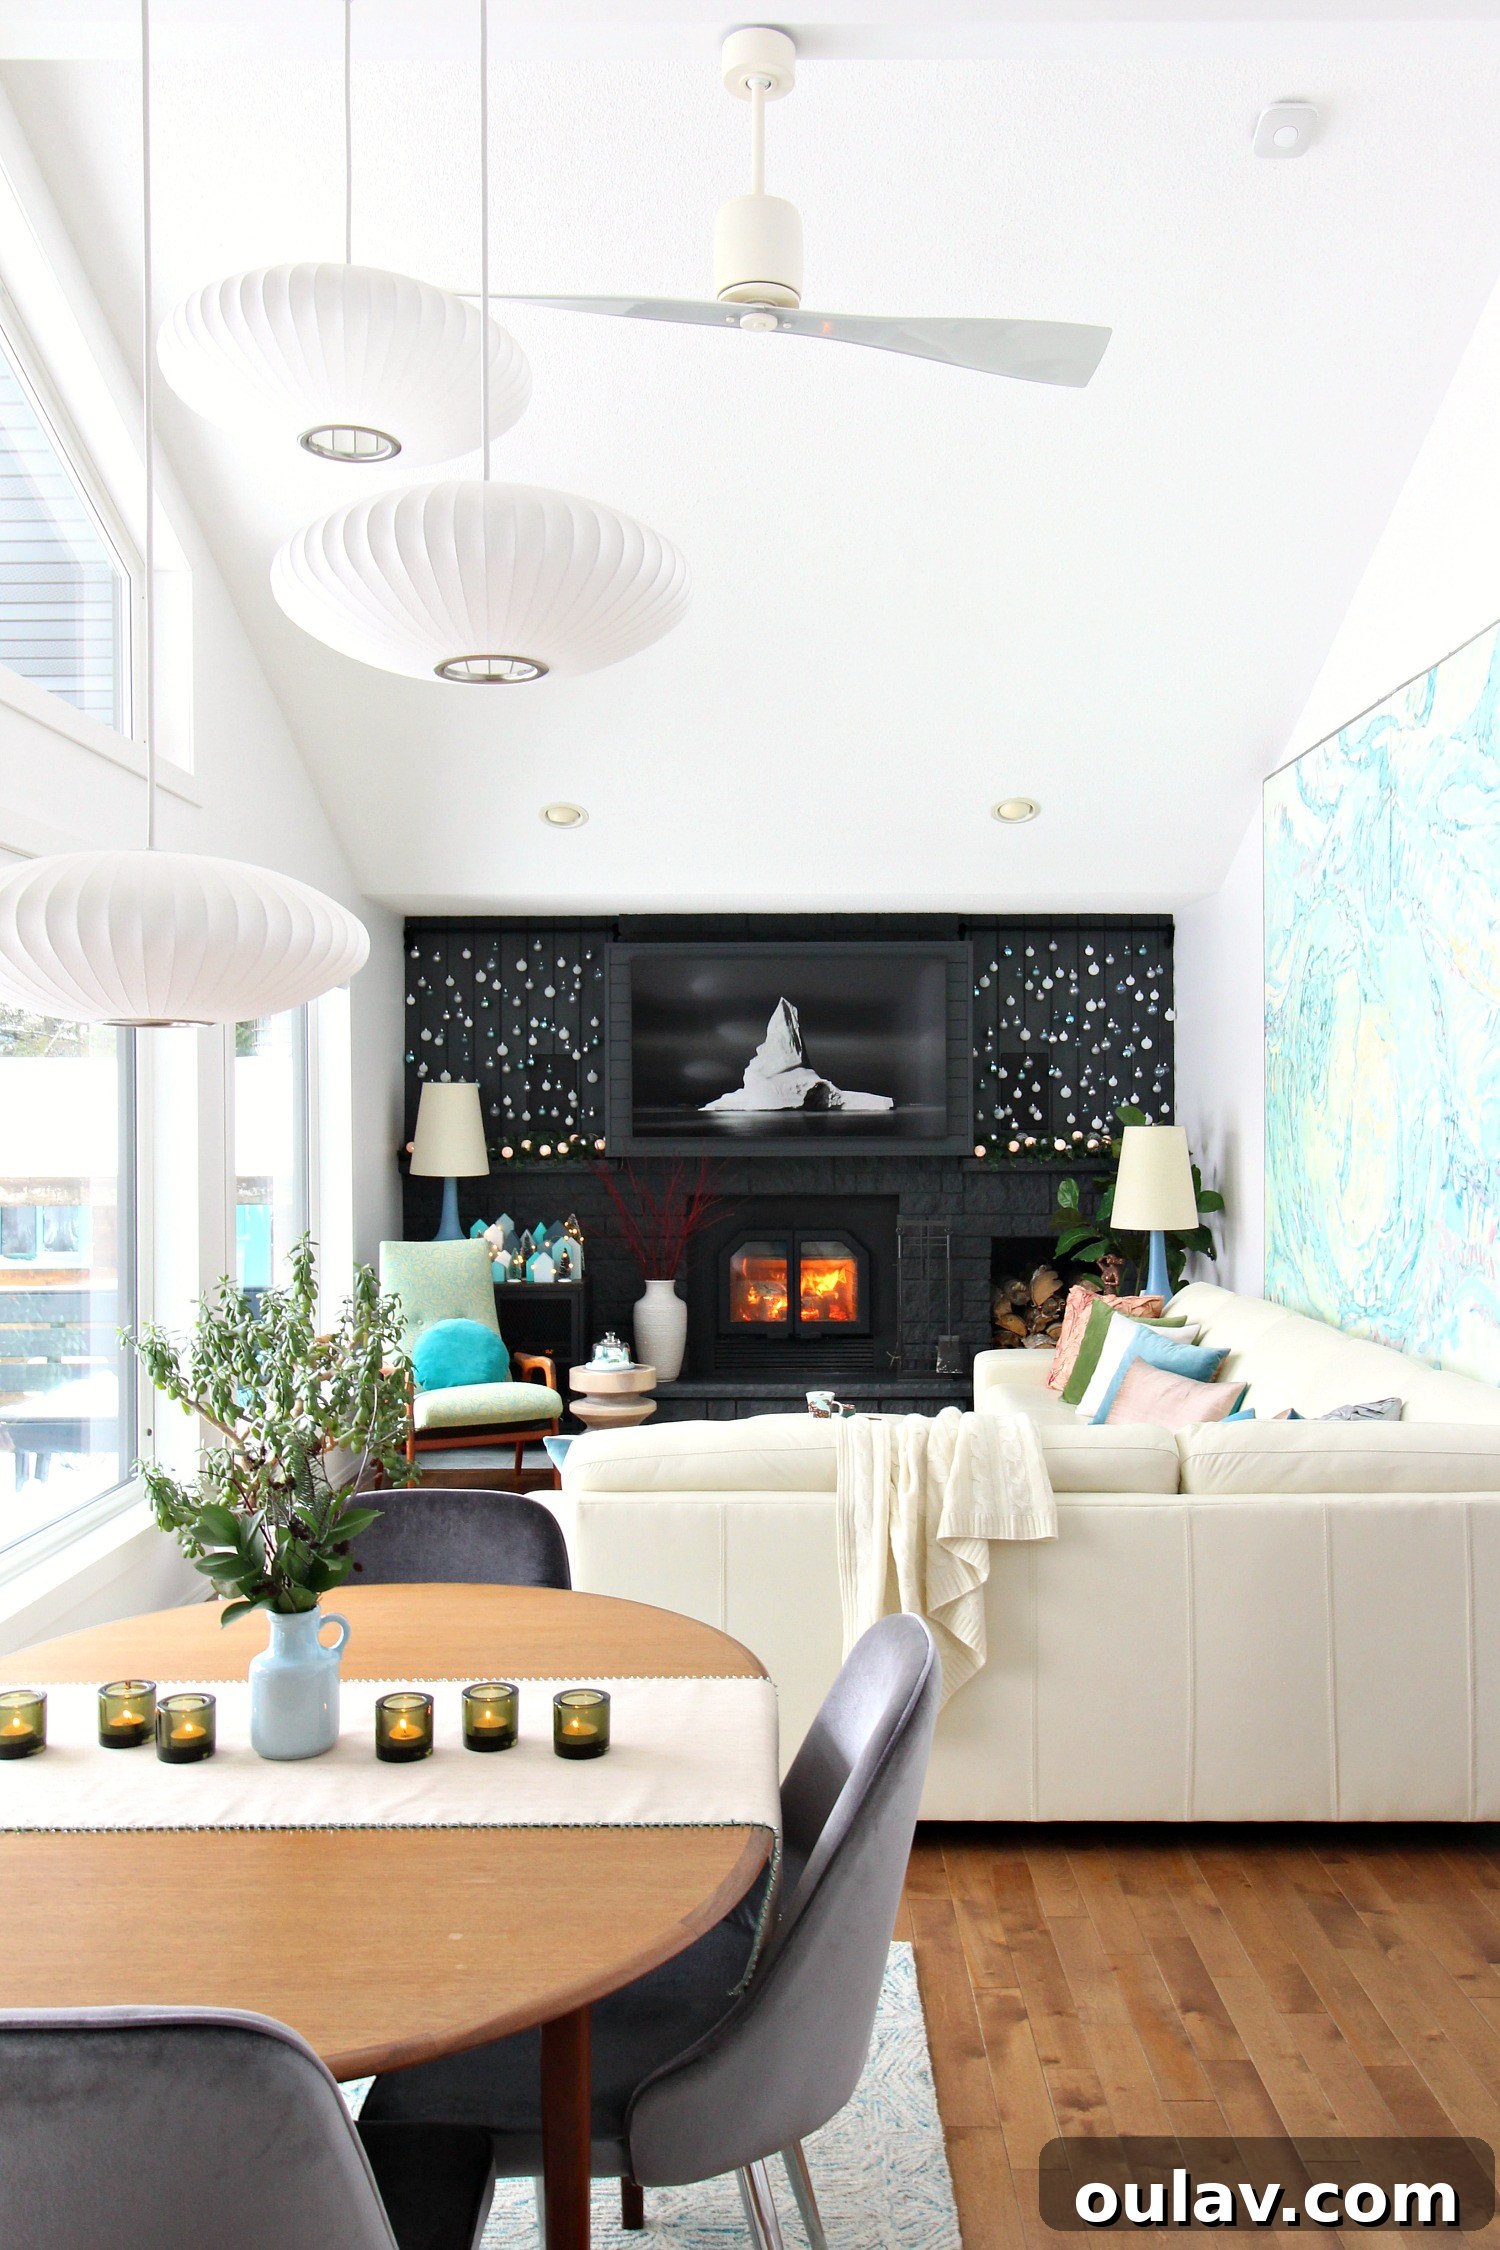
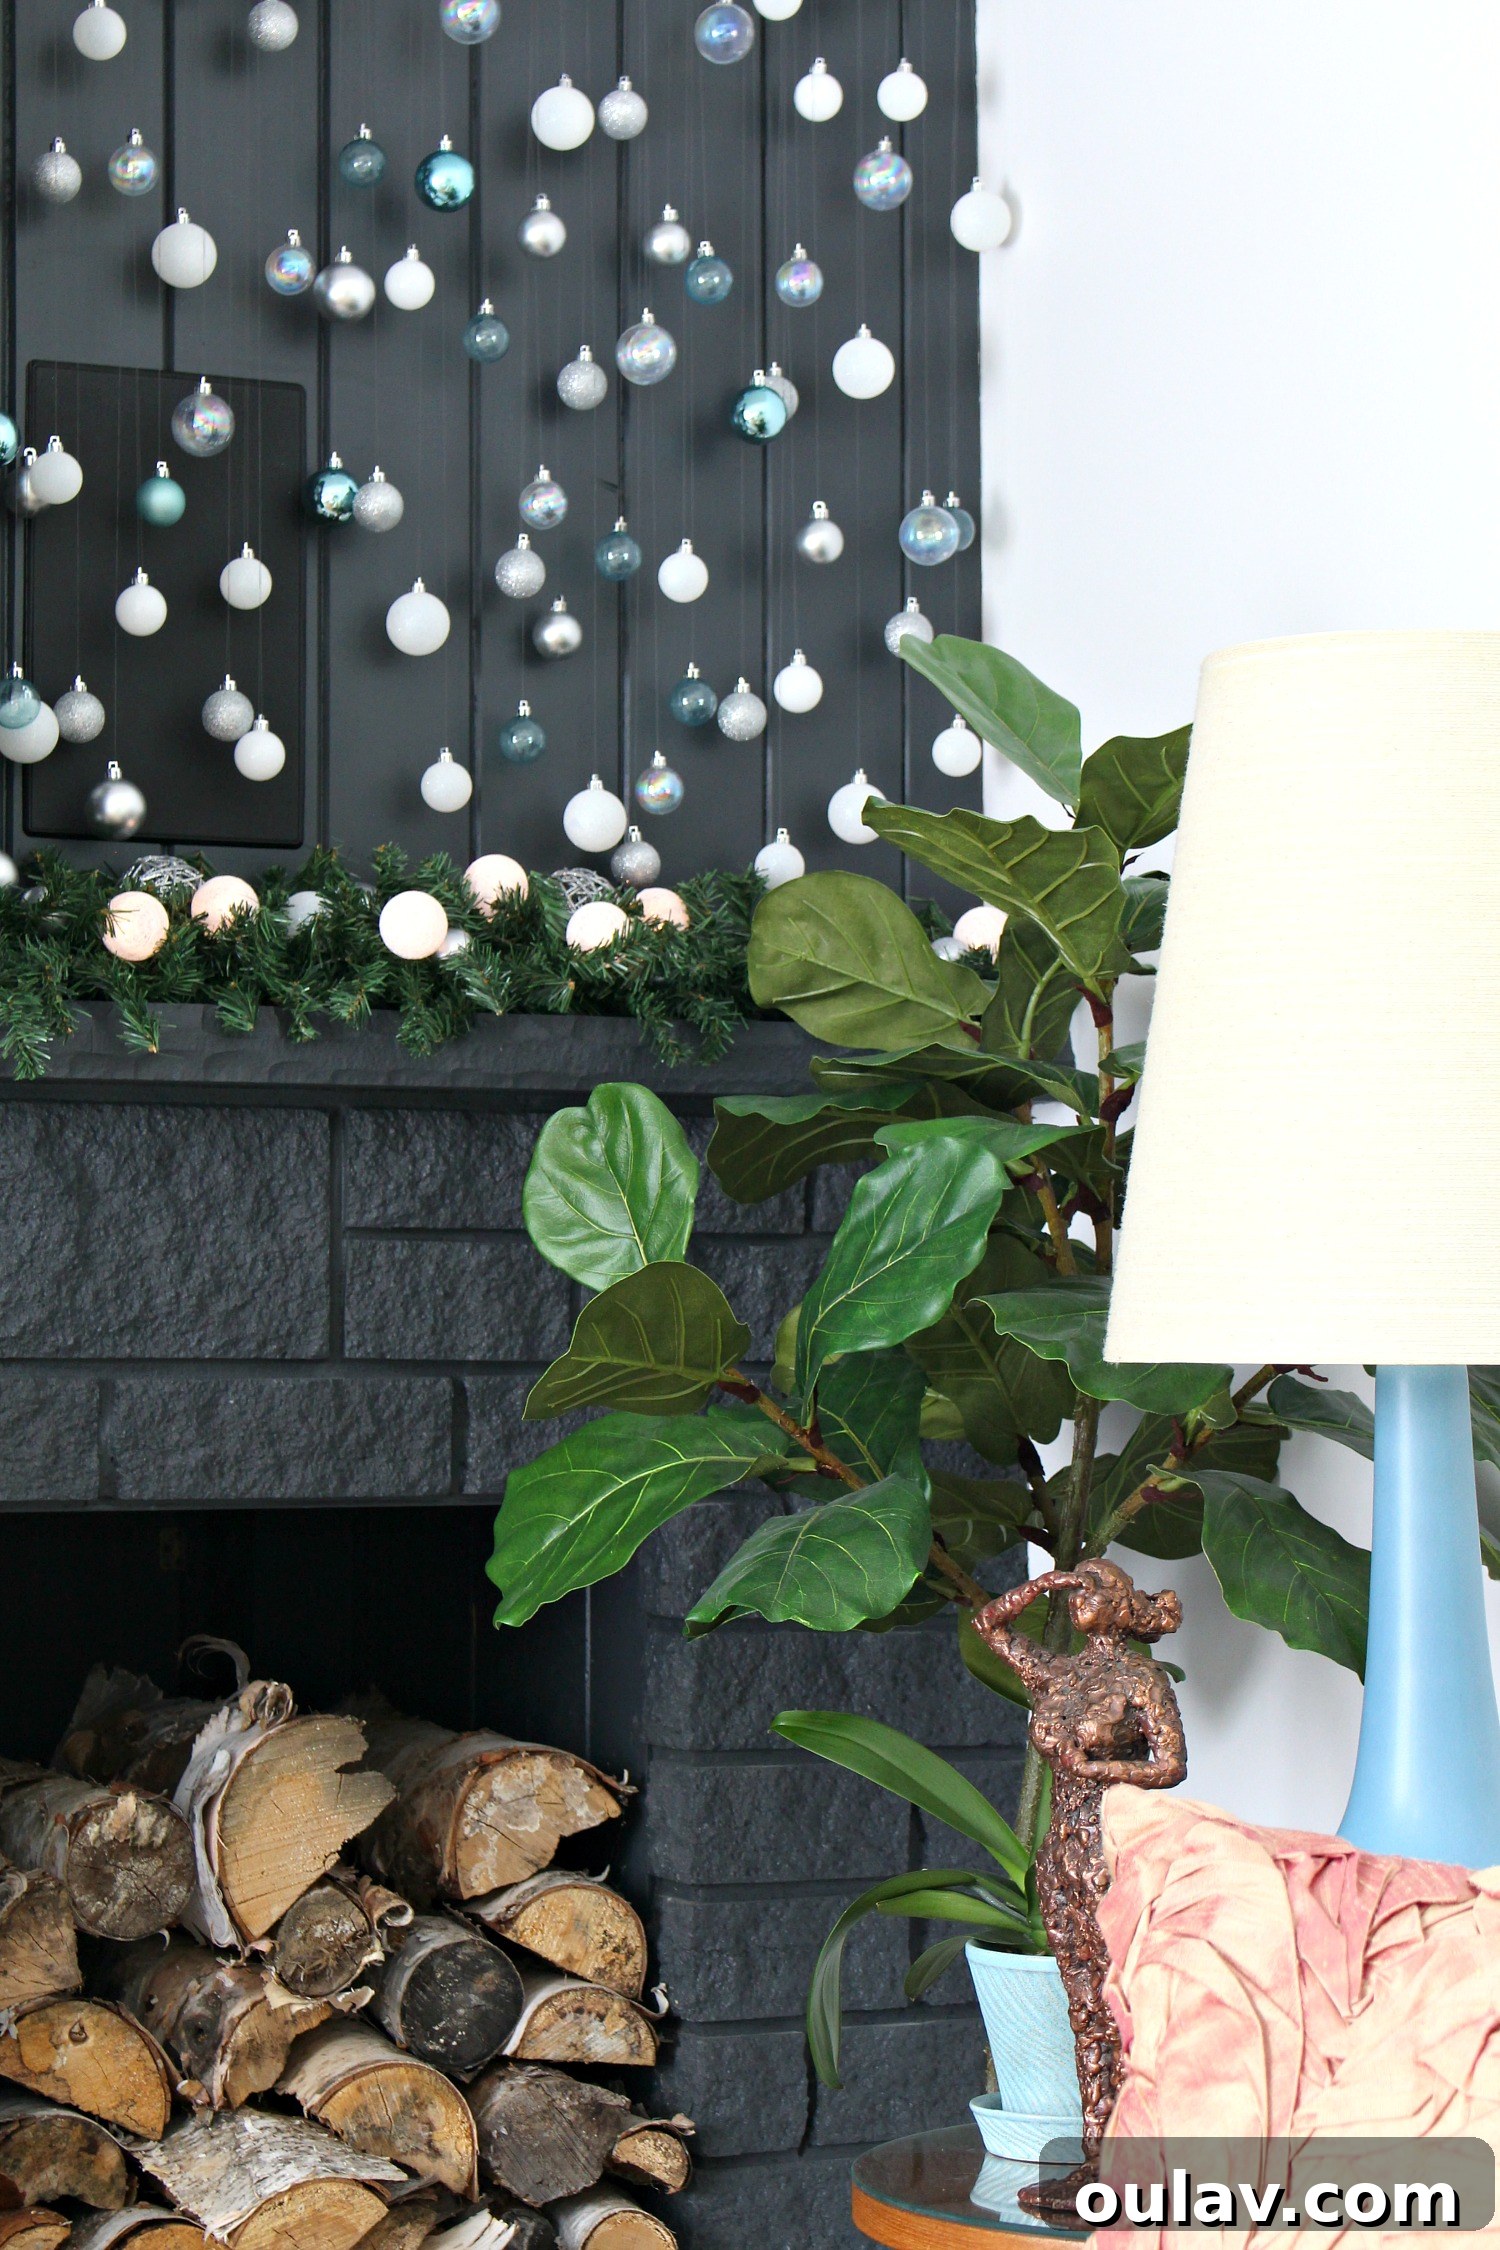
The living room’s mini mantles, flanking our fireplace, presented another perfect opportunity for affordable, customized holiday cheer. Rather than opting for another expensive pre-lit garland, I extended my dollar store garland DIY concept to these charming ledges, creating a cohesive and inviting festive display.
Materials for Your Living Room Mantle Garland DIY:
- Plain Faux Evergreen Garland: Again, the same dollar store finds from Dollarama, or similar plain faux evergreen garland.
- Battery-Operated Woven String Lights: These unique lights add a wonderful texture and warmth. My favorites were from Dollarama, but I was thrilled to discover virtually identical ones online!
- Glitter Wicker Balls: These add a touch of sparkle and dimension. I used glitter wicker balls leftover from last year’s decor.
- Ornaments: Once more, I utilized leftover ornaments from my cascading ornament DIY project for a cohesive look.
Crafting Fireplace Mantle Magic with Dollar Store Finds
Creating beautiful garland displays on the living room’s mini mantles was a quick and impactful project:
- Garland Placement: I dedicated one strand of the dollar store garland to each mantle ledge. To achieve the perfect length and fullness, I simply folded the garland back on itself, ensuring it fit snugly and looked lush. This method instantly doubles the volume without needing extra strands.
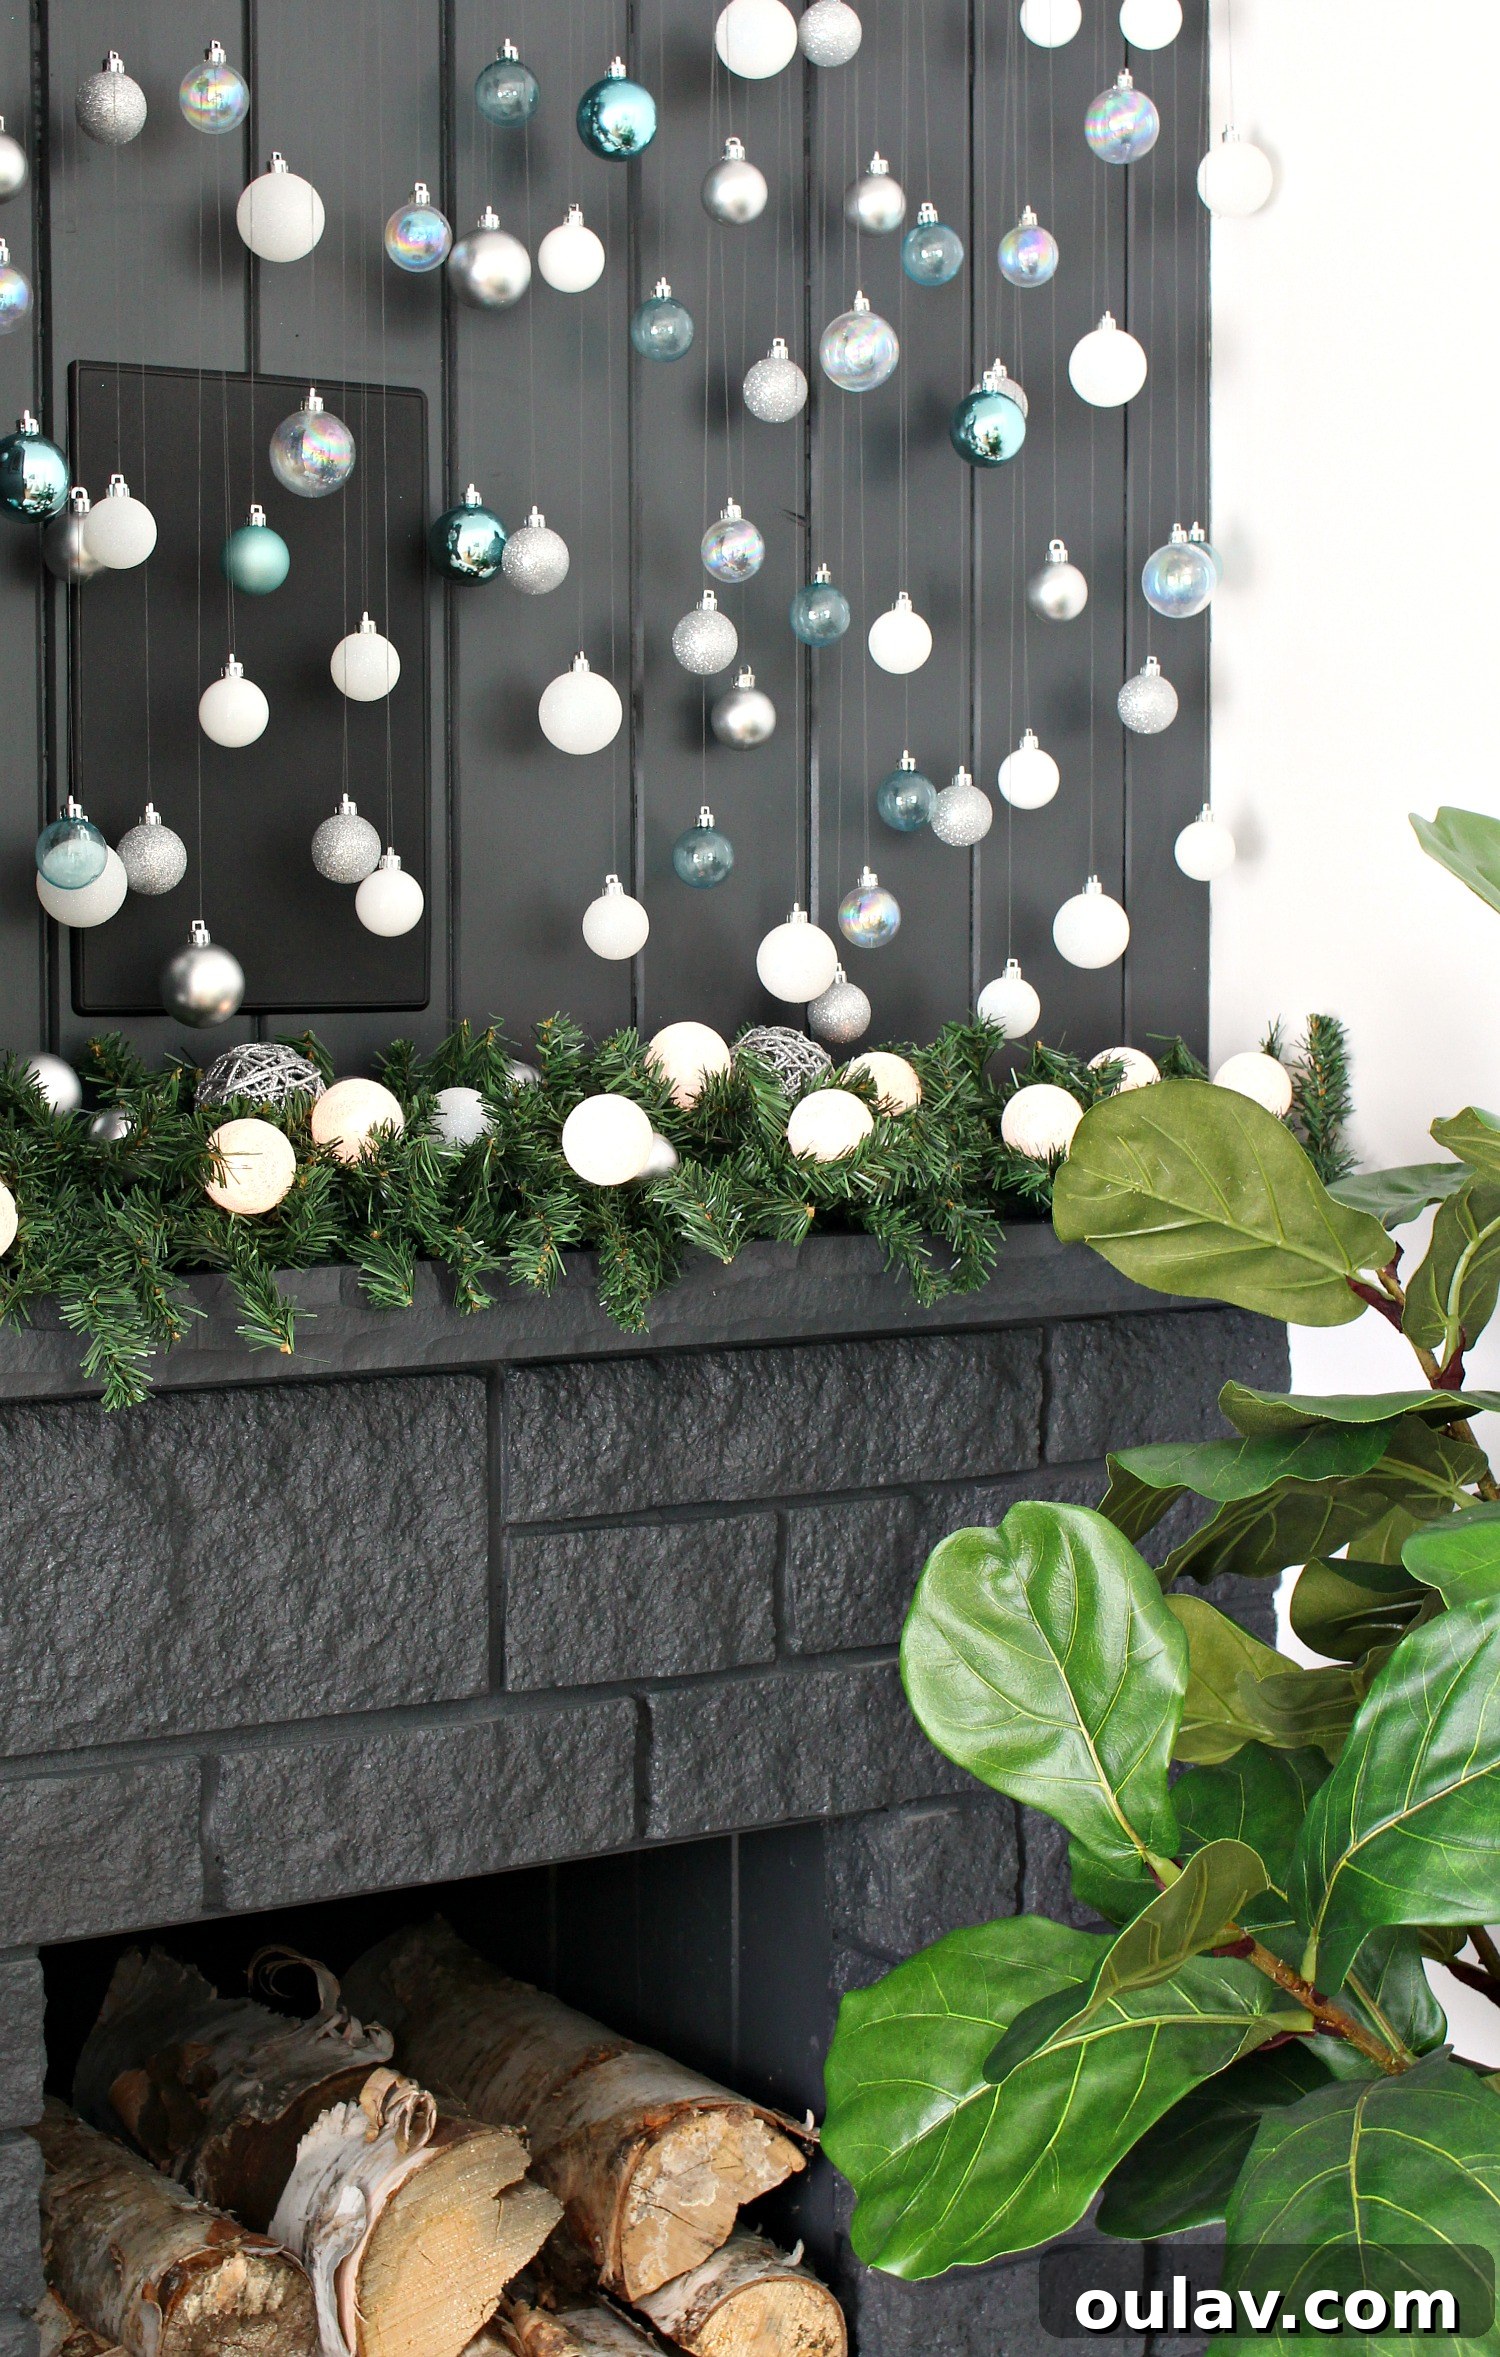
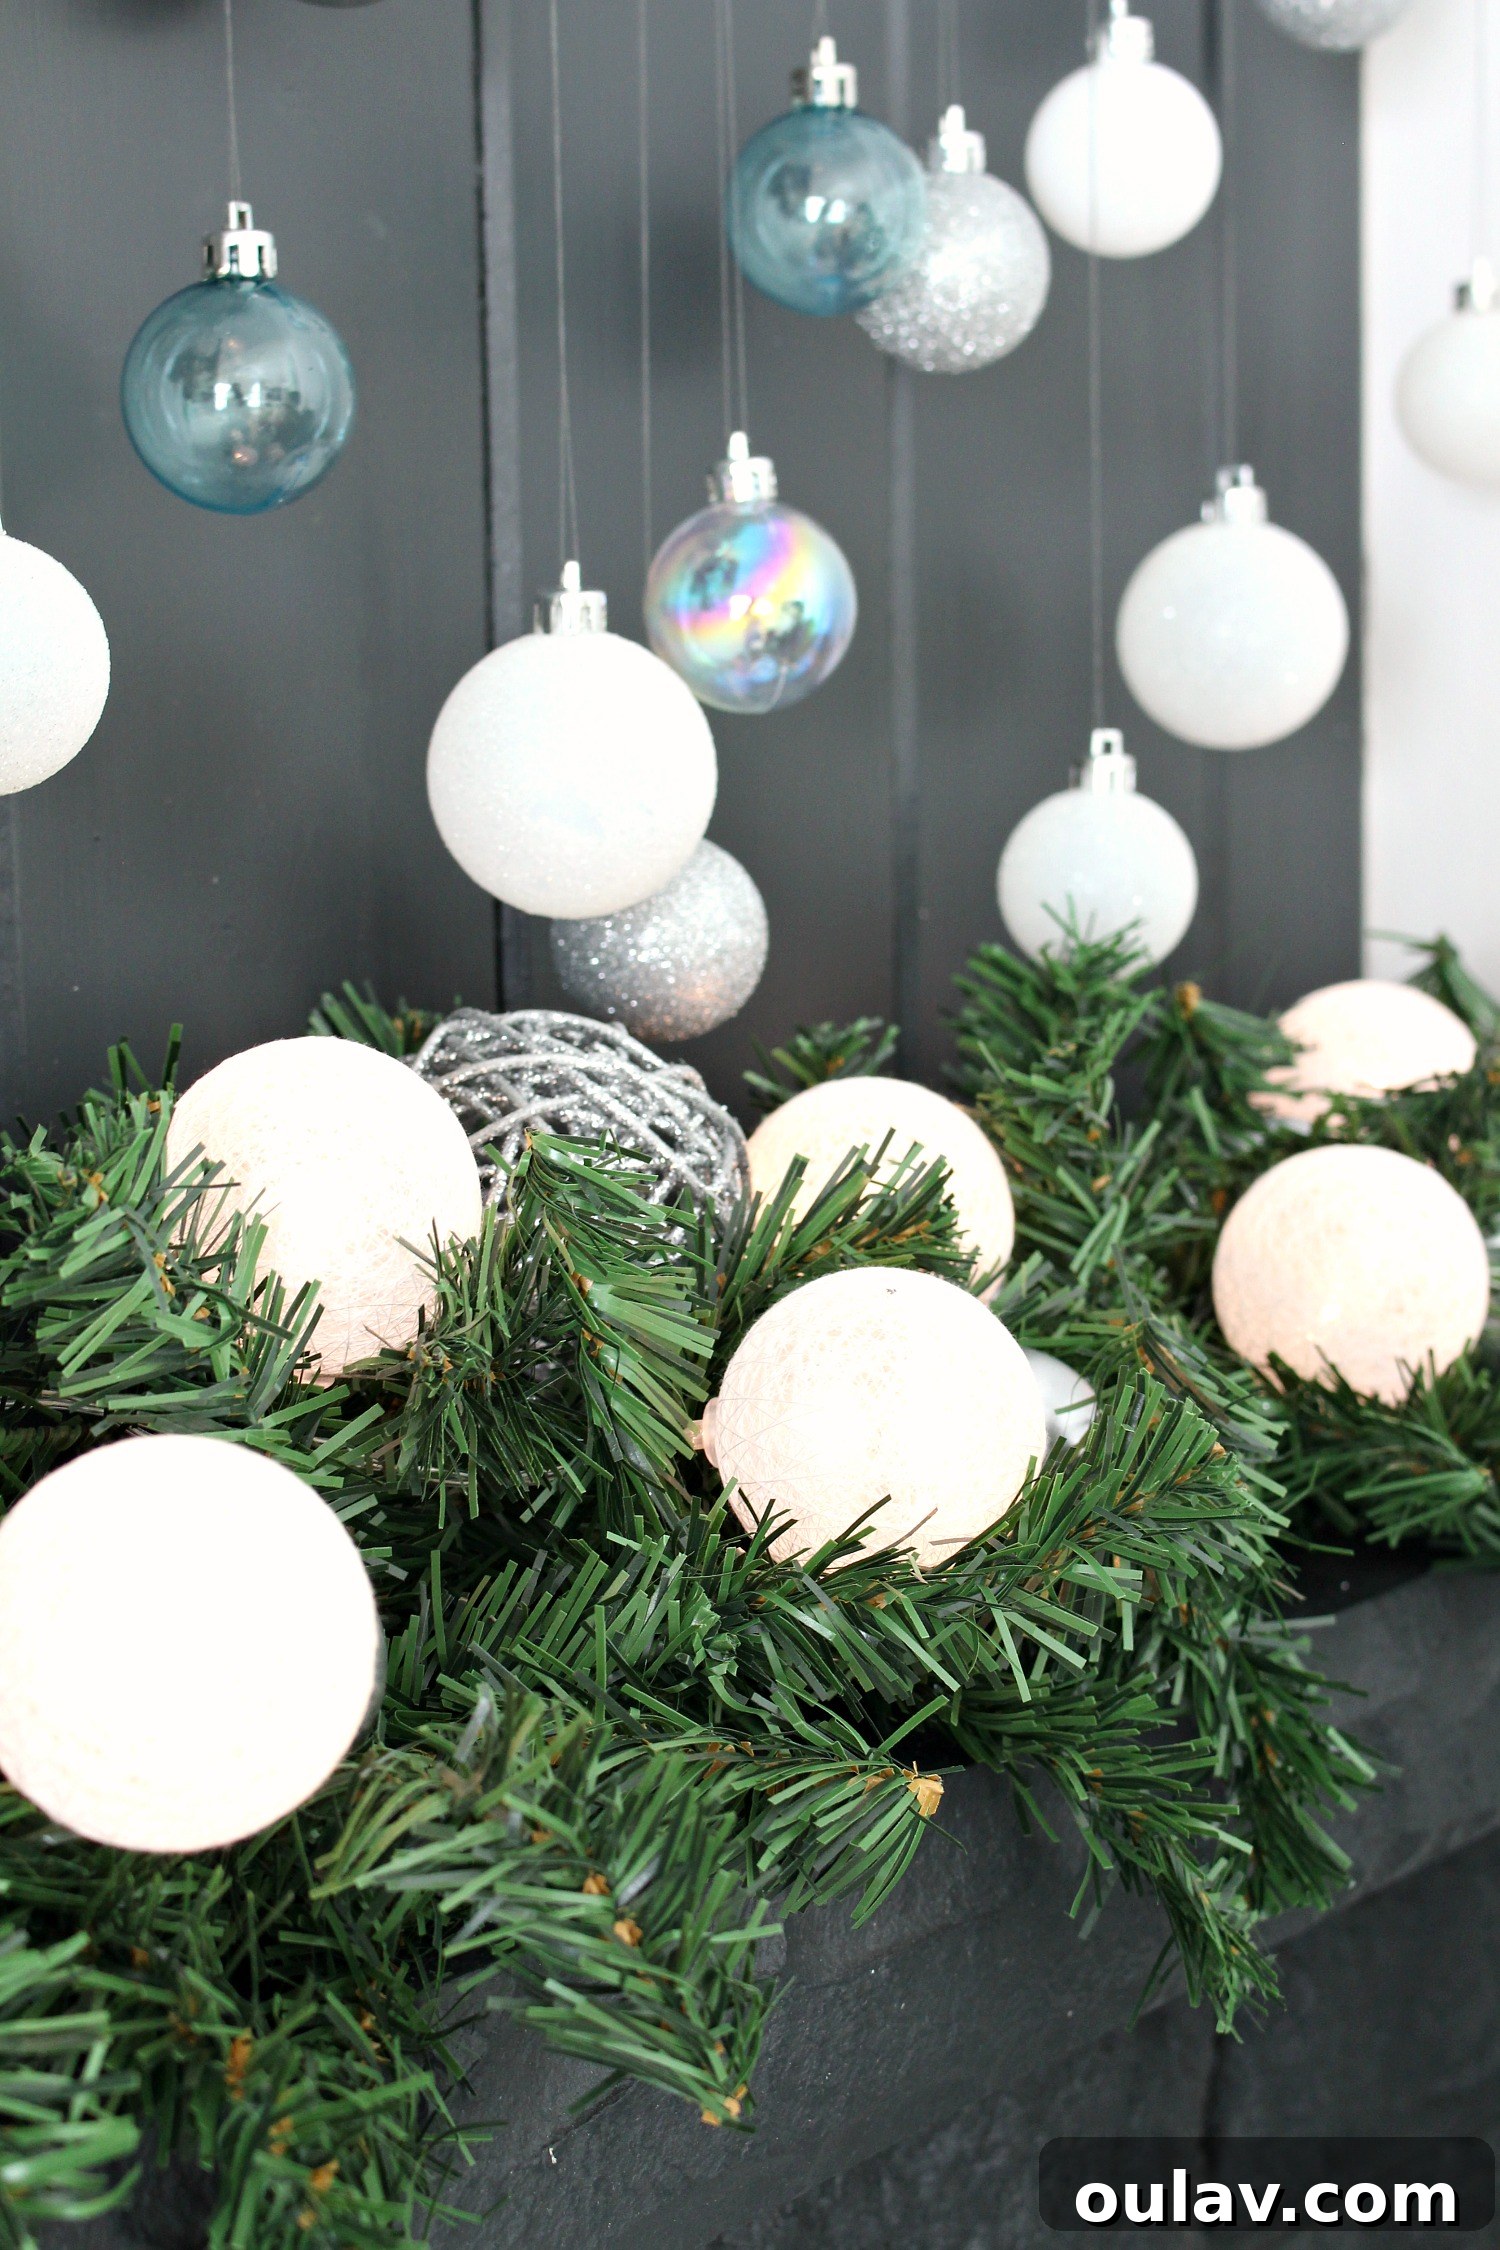
- Fluff and Tuck: Just like with the kitchen garland, I took the time to gently fluff out all the branches of the faux evergreen. This vital step helps to create a natural, dense appearance. Once fluffed, I carefully tucked in the battery-operated woven string lights. The beauty of these lights is their ease of concealment. I made sure to leave the small battery pack (with its on/off switch) easily accessible for daily use, yet discreetly hidden by the garland itself.
- Choosing the Right Lights: The woven string lights are an absolute delight! I first discovered these gems at Dollarama last year, purchasing two sets for my DIY tinsel wreath and my DIY boho wreath. Their quality truly surprised me. I’m reusing both wreaths this year, and the lights are still working perfectly (they didn’t even require new batteries!), which speaks volumes about their durability. Consequently, I bought two more strands specifically for the fireplace mantles. As mentioned, I found these online, which are virtually identical, proving you can find quality alternatives beyond the dollar store.
- Final Embellishments: The last touch was to add some festive sparkle. I incorporated a mix of leftover ornaments and the shimmering glitter wicker balls from last year’s DIY light-up plywood ornament display. These elements added depth, texture, and a beautiful glimmer that comes alive when the lights are on.
The Joy of Budget-Friendly Holiday Decorating and Future Plans
These two dollar store garland DIY projects were a huge success this year, and I’m incredibly pleased with how much money I saved while still achieving beautiful, lighted garlands that fit perfectly into my home’s holiday theme. The glittering and sparkly elements I chose, especially those cascading ornaments, truly gleam and bring a magical ambiance to our evenings.
While I thoroughly enjoyed this year’s shimmering aesthetic, I find myself yearning to incorporate more natural elements next year, similar to what I’ve done in previous seasons. The thought of foraging for fresh pinecones, cedar, and other organic accents to blend with my faux garlands excites me. It could be the perfect fusion – combining the durability and cost-effectiveness of artificial greenery with the authentic beauty and scent of nature, especially helpful in a dry indoor environment. If you have any ingenious tips for making natural garlands last longer, or any other brilliant DIY garland ideas, I would absolutely love to hear them! Sharing our creative solutions helps us all decorate smarter and more beautifully for the holidays.