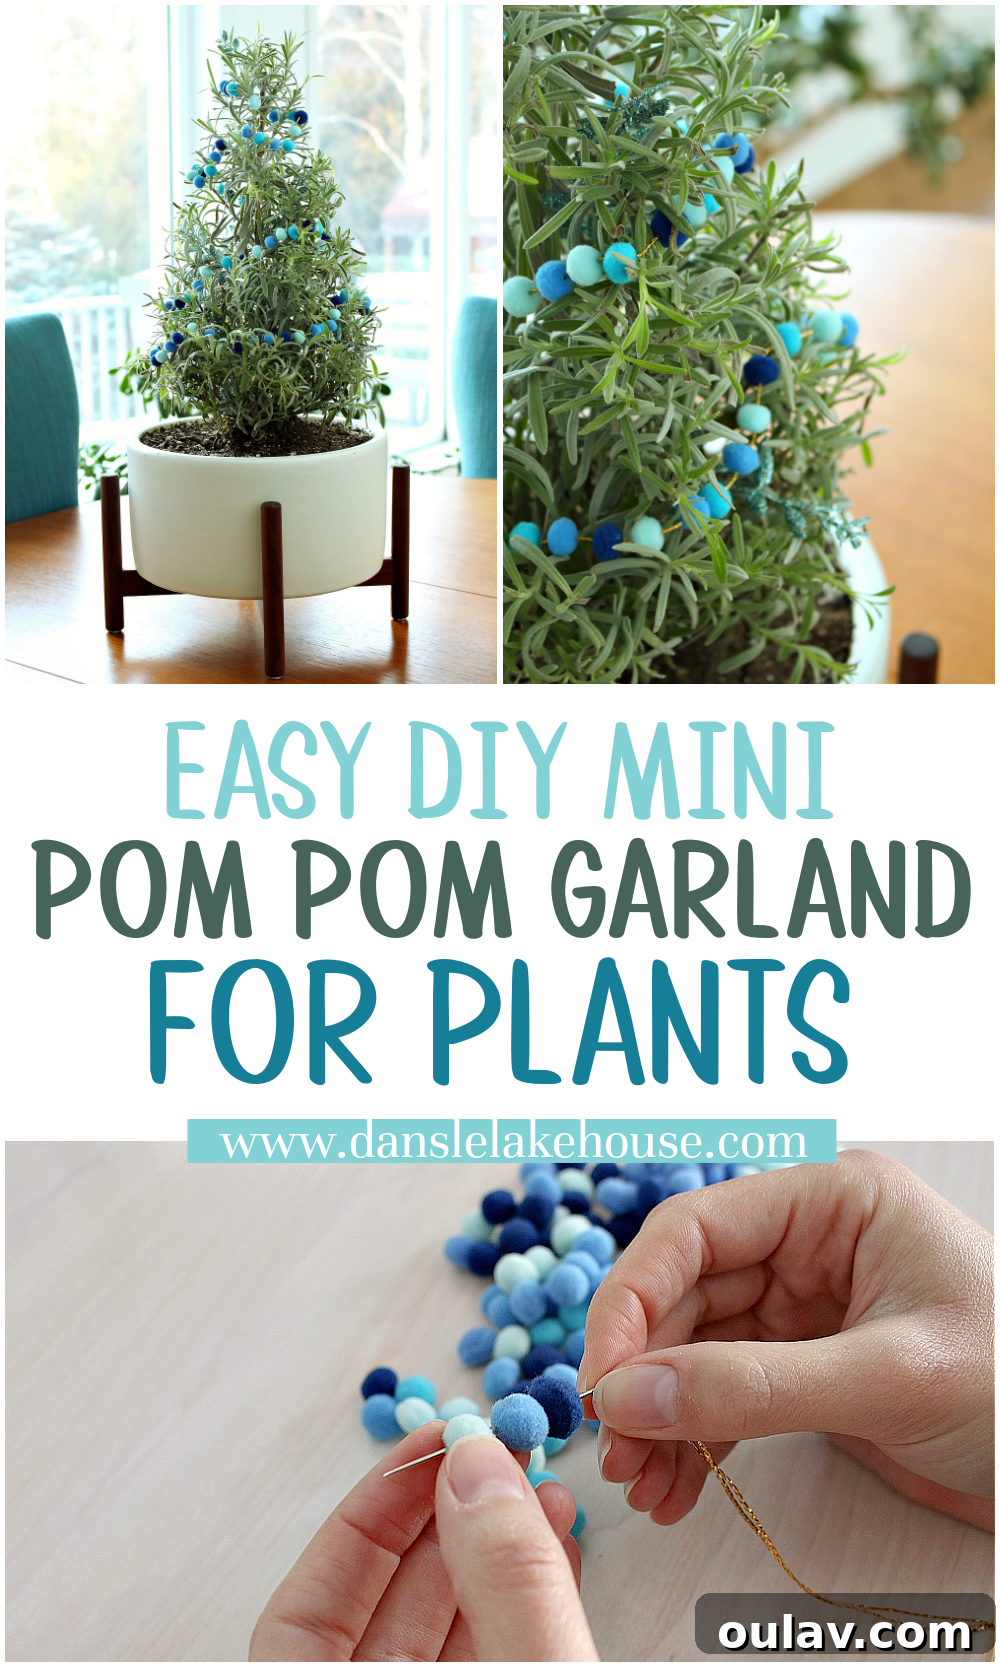
As the holiday season draws near, the air fills with anticipation, and our homes transform into festive havens. While traditional Christmas trees and mantelpiece decorations often take center stage, there’s a charming and often overlooked opportunity to spread holiday cheer: decorating your beloved houseplants! This year, I’m thrilled to share an incredibly easy, last-minute craft that will infuse your indoor greenery with a dose of festive happiness: a DIY mini pom pom garland. Because, let’s be honest, everyone decorates their houseplants for Christmas, right?
This simple project is not just a quick fix for holiday decor; it’s a delightful way to personalize your home, celebrate the spirit of the season, and bring a touch of whimsical charm to even the smallest corners. Imagine your favorite leafy companions, like my sweet tree-shaped lavender plant, adorned with a sparkling, colorful garland, standing proud and festive.
Why Decorate Your Houseplants for the Holidays?
Decorating houseplants for the holidays is more than just a passing trend; it’s a fantastic way to extend your festive spirit throughout your entire home. Here’s why this idea deserves a spot in your holiday decorating tradition:
- Unexpected Charm: It adds an element of surprise and whimsy that guests will adore. Who expects a Pothos to be shimmering with tiny ornaments?
- Space-Saving Solution: For those living in smaller apartments or homes, decorating houseplants provides a beautiful alternative to a large Christmas tree, maximizing your festive footprint without sacrificing precious space.
- Budget-Friendly Decor: Many houseplant decorations can be made with inexpensive materials, like this mini pom pom garland, allowing you to create stunning displays without breaking the bank.
- Personalized Touch: Handcrafting decorations for your plants allows for complete customization, reflecting your unique style and holiday theme.
- Brings Nature Indoors: During colder months, bringing more greenery inside can boost spirits. Adding festive adornments only enhances this natural connection, blending the serenity of nature with the joy of the holidays.
- Eco-Friendly Option: Reusing your existing plants for holiday decor is a sustainable choice, reducing waste associated with disposable decorations.
The Inspiration Behind This Adorable Craft
My journey into plant-centric holiday decor began when I created a charming felted wool ball garland for my mantle. This larger piece perfectly complemented my wintry blue and white decor, setting a serene and elegant tone. As I admired the tactile beauty of the wool balls, an idea sparked: what if I could replicate that handmade charm in a miniature version, specifically designed for my beloved potted plants?
My tree-shaped lavender plant, with its delicate branches and fragrant leaves, immediately came to mind. It seemed like the perfect candidate for a touch of holiday sparkle. A quick and rewarding trip to the dollar store provided all the necessary supplies, proving that beautiful holiday decor doesn’t require a hefty investment. The result? This DIY mini pom pom garland, which turned out to be every bit as adorable and enchanting as I had envisioned.
Gathering Your Simple Supplies for a DIY Mini Pom Pom Garland
One of the best aspects of this craft is its simplicity and the minimal number of materials required. You likely have some of these items on hand already, and anything you need can be found easily and affordably. Here’s a breakdown of what you’ll need to create your own festive garland:
- Bag of Mini Pom Poms: These are the stars of our show! Look for pom poms that are small enough to suit your plant – typically between 0.5 cm to 1.5 cm in diameter. You can find them in various colors, allowing you to choose a palette that matches your existing holiday decor or to create a vibrant, multi-colored garland. Craft stores, dollar stores, and online retailers are excellent sources for these fuzzy little spheres. Consider buying a variety pack for more creative freedom.
- Needle: A sturdy needle with a relatively large eye will make threading easier, especially when working with slightly thicker metallic thread. A tapestry needle or an embroidery needle would work perfectly. Ensure the needle is sharp enough to pass through the pom poms without excessive force, but not so thin that it might break.
- Metallic Thread: This is my secret weapon for efficiency! Metallic thread, particularly a shimmering gold or silver, not only adds a beautiful festive sparkle but also has a slightly stiffer texture. This stiffness is key, as it helps the pom poms stay in place without needing to tie individual knots between each one. You can find metallic embroidery floss or specialty craft threads that offer this desired characteristic. Alternatively, thin fishing line or strong regular sewing thread can work, but you might need to add small knots.
How to Make Your DIY Mini Pom Pom Garland: A Step-by-Step Guide
Making this pom pom garland for your plant is genuinely SO easy, it almost feels like cheating! This project is perfect for crafters of all skill levels, even beginners. Forget complicated steps or lengthy tutorials; we’re talking about pure, unadulterated crafting joy. Here’s how to put it all together:
Step 1: Prepare Your Thread
First, unroll a length of your glittering metallic thread. The ideal length will depend on the size of your plant and how full you want your garland to look. A good rule of thumb is to measure the circumference of your plant where you intend to drape the garland and then add an extra 12-18 inches for tying off the ends and creating some slack. It’s always better to have a bit too much thread than not enough. Cut your chosen length cleanly.
Step 2: Thread Your Needle
Carefully thread one end of your metallic string through the eye of your needle. If your thread is particularly fine, you might want to double it for extra strength and a slightly thicker appearance, though with metallic thread, a single strand is often sufficient. Once threaded, tie a simple knot at the opposite end of the thread, ensuring it’s large enough to prevent the first pom pom from slipping off.
Step 3: Stringing the Pom Poms
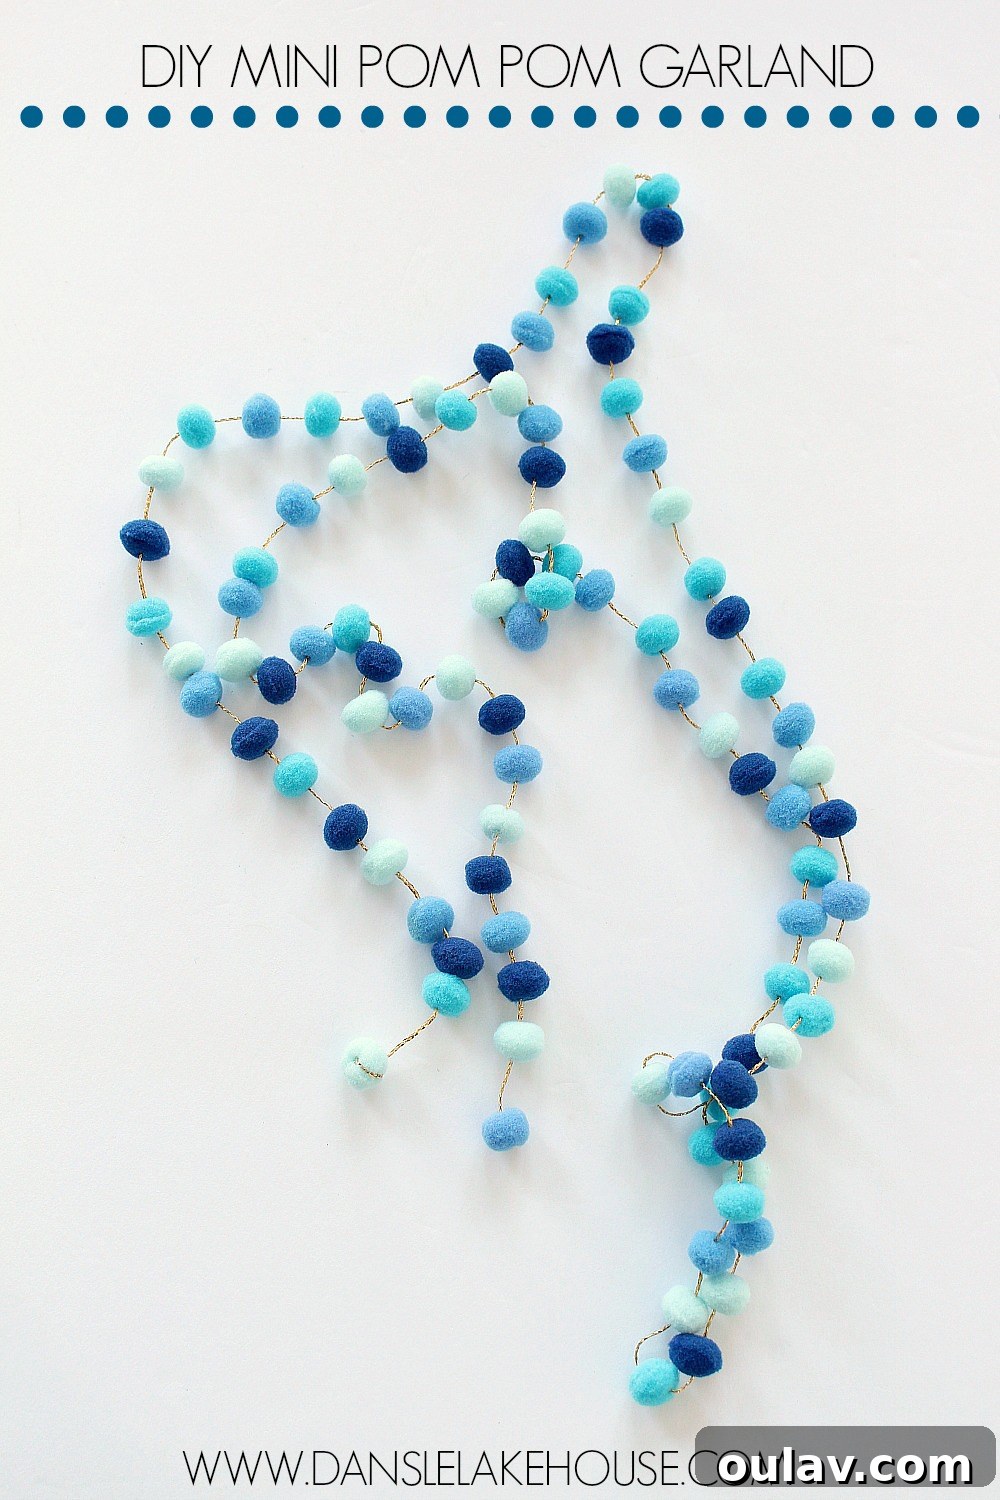
Now comes the fun part! Take your first mini pom pom and gently push the needle directly through its center. The soft fibers of the pom pom will allow the needle to pass through easily. Slide the pom pom down the thread until it reaches your knotted end. Continue this process, stringing pom poms one by one onto the thread. The beauty of using a shimmery gold or silver thread with a nice texture is that it has just enough friction to keep the pom poms from sliding around too much. This brilliant characteristic means you don’t have to tie a knot in between each pom pom, saving you a tremendous amount of time and effort! You can space them closely for a dense, lush look, or spread them out for a more delicate, airy garland.
Step 4: Securing the Ends
Once you’ve strung enough pom poms to achieve your desired length and fullness, it’s time to secure the ends. Tie a sturdy knot at the end of your last pom pom, just like you did at the beginning. You can create a small loop with the excess thread at both ends, which will make it easier to drape and hang the garland on your plant. Trim any long, trailing excess thread for a neat finish.
Step 5: Draping and Display
With your mini pom pom garland complete, it’s time to adorn your houseplant! Gently drape the garland over the branches or foliage of your chosen plant. You can wrap it spirally around a larger plant, or simply lay it across the top of a smaller potted specimen. Adjust the garland until it hangs just right, adding that perfect touch of festive sparkle. The lightweight nature of the pom poms ensures they won’t put undue stress on delicate plant stems.
Comparing to Other DIY Garlands
This mini pom pom garland is significantly easier than some other DIY garland projects. For instance, my DIY felted wool ball garland involved the time-consuming process of hand-felting each individual woollen ball. While the result was beautiful and rewarding, it required a much greater investment of time and effort. This pom pom version, on the other hand, is literally a “snap to make” if you can buy inexpensive, pre-made pom pom balls. It’s the perfect project for when you want maximum festive impact with minimal fuss.
Tips for Customization and Creative Flourishes
While the basic pom pom garland is adorable on its own, don’t hesitate to get creative and customize yours to perfectly match your unique style and holiday theme:
- Color Schemes: Mix traditional red and green, elegant silver and gold, frosty blue and white, or go wild with a vibrant rainbow. The possibilities are endless!
- Varying Sizes: Experiment with slightly different sizes of mini pom poms to add texture and visual interest.
- Add Embellishments: String small beads, tiny jingle bells, or even miniature plastic ornaments in between the pom poms for extra sparkle and sound.
- Glitter Power: For extra shimmer, you can lightly dust your pom poms with fine glitter glue before stringing them.
- Beyond the Plant: These mini garlands aren’t just for houseplants! They look fantastic draped over shelves, mirrors, photo frames, or even used as unique gift wrap embellishments.
Caring for Your Festive Plants (and Garland!)
As I admire my lavender plant, lovingly decorated with its tiny garland, I’m still rooting for it to thrive. My tabletop case study planter from Modernica keeps it looking stylish, but lavender can be a finicky little fellow, that’s for sure. Hopefully, he’s not offended by the adornment! But I truly think he looks so festive with his little garland.
When decorating your plants, always consider their well-being. This lightweight pom pom garland is ideal because it won’t weigh down delicate branches or obstruct light significantly. Remember to continue with your regular watering schedule, being mindful not to get the garland excessively wet if it’s made from materials that might bleed color or lose shape. After the holidays, carefully remove the garland and store it in a small bag or container to keep it dust-free and ready for next year’s festivities. Maybe next year, I’ll even tackle making some tiny mini ornaments to complement it!
Embrace the Joy of Handmade Holiday Decor
This holiday season, I hope you find joy in the simple act of creation and in spreading festive cheer to every corner of your home, including your cherished potted plants. There’s a unique satisfaction that comes from stepping back and admiring something you’ve made with your own hands, especially when it brings a smile to your face and adds a personal touch to your surroundings.
Whether you’re decorating a fragrant lavender plant, a lush fern, or a towering fiddle-leaf fig, a DIY mini pom pom garland is a wonderfully easy and impactful way to infuse your space with holiday magic. It’s a testament to the idea that some of the most charming decorations are the ones we craft ourselves, filled with intention and love.
I hope everyone has a truly festive and joyous holiday season, filled with good food, cherished family moments, and beautiful memories to treasure for years to come. And if you try this easy craft, I hope you have an absolute blast decorating your potted plants for Christmas!
P.S. Don’t Forget to Pin for Later!
Loved this DIY idea? Make sure to save it for future reference and share the festive inspiration with your friends!