
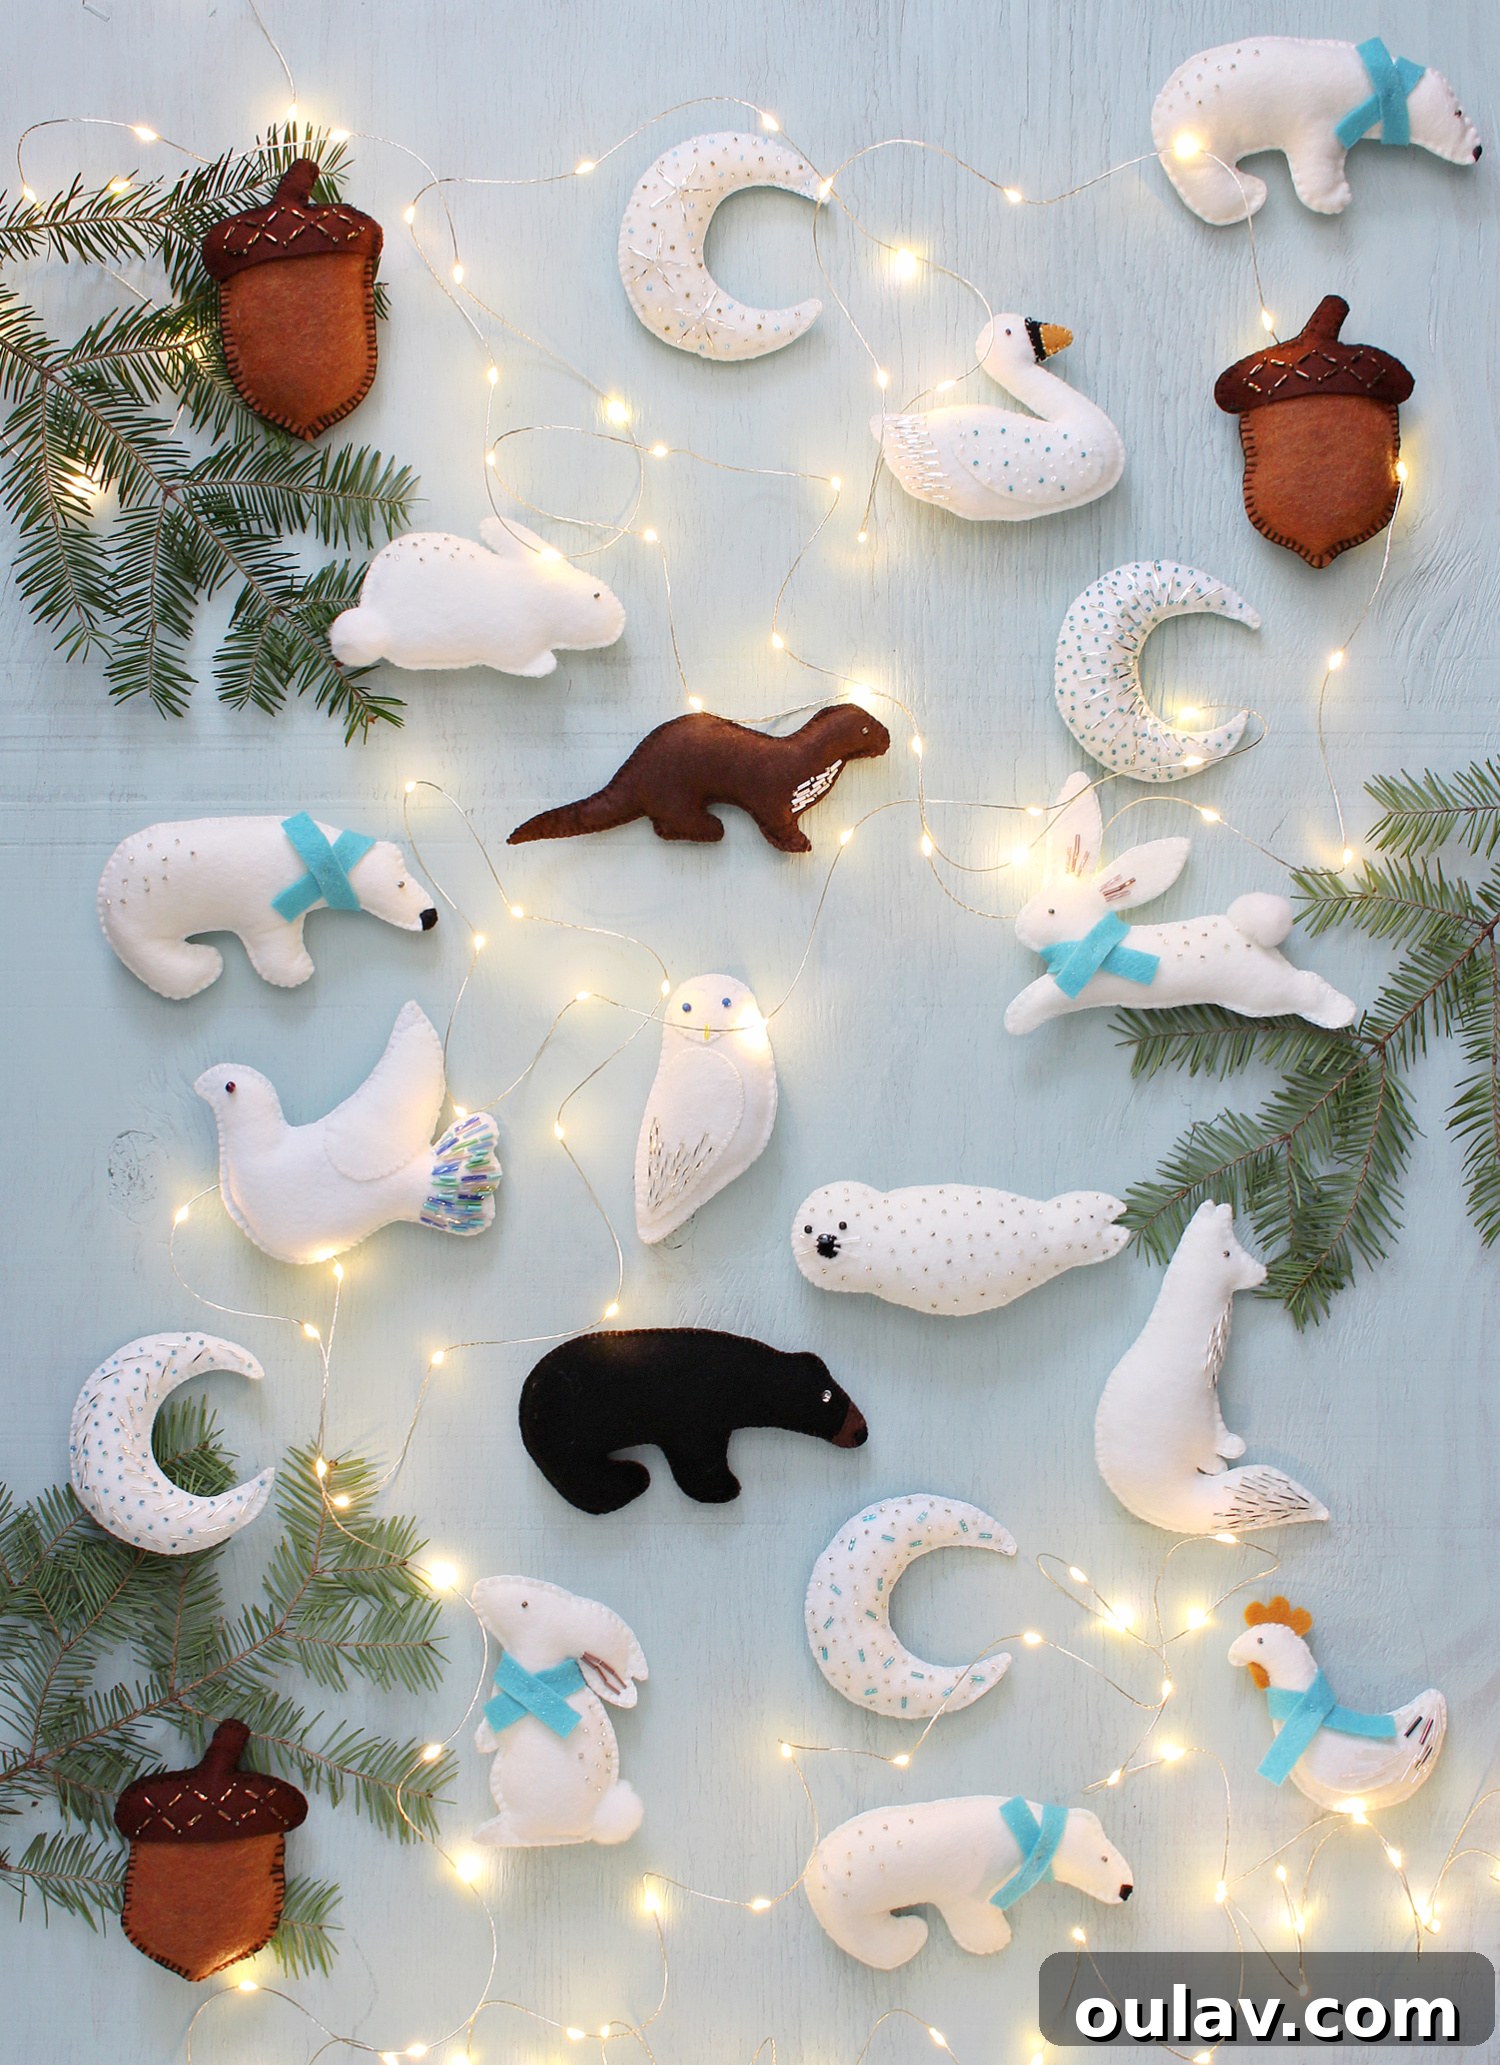
Transform your holiday decor this season with a touch of handmade charm! After crafting our delightful DIY painted birch slice ornaments and the mesmerizing DIY alcohol ink ornaments for my Mom’s captivating Christmas tree, I was inspired to infuse even more whimsical character into our festive display. Today, I’m thrilled to guide you through the process of creating your very own DIY felt animal ornaments, adding a personalized and heartwarming touch to any Christmas tree. Once you master the foundational steps for making these charming felt creations, your imagination will be the only limit to the array of animals, shapes, and festive designs you can bring to life.
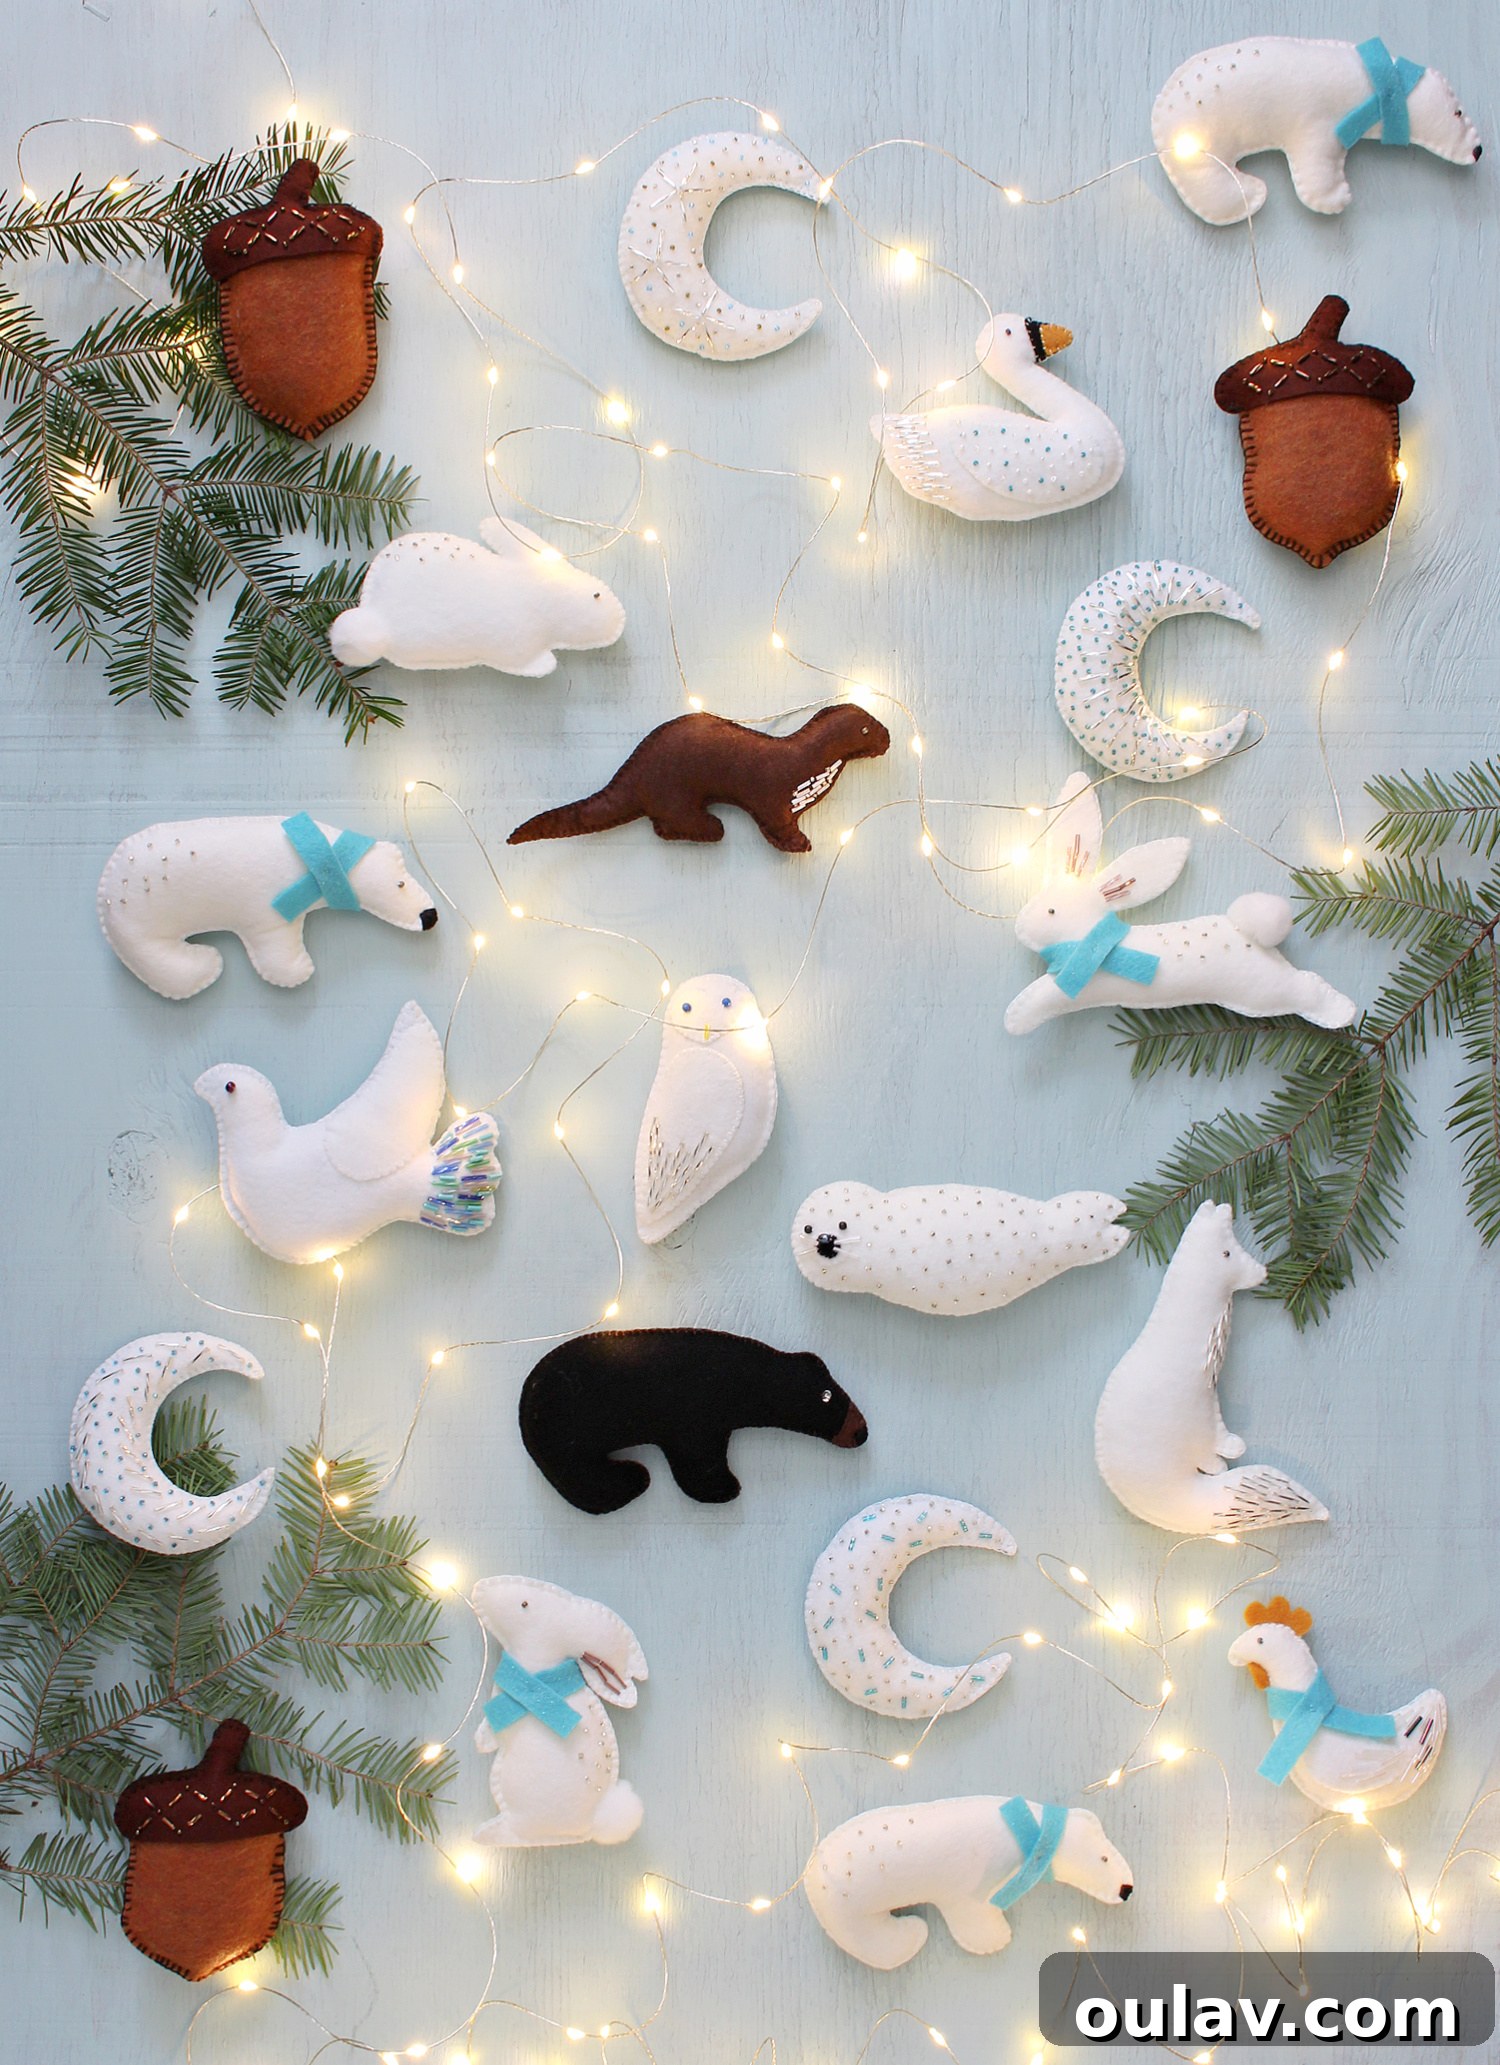
Important Update for 2024: We’ve heard your requests loud and clear! Following a significant number of inquiries, I’m excited to announce that I’ve designed and made available a comprehensive set of downloadable and printable patterns for these enchanting felt animals. Based on my original drawings, these patterns capture a spirit of wonder and joy, perfect for adding a dash of happiness to your home during the festive season. You can easily find and purchase my exclusive felt animal patterns right here. Additionally, be sure to explore our new and improved step-by-step guide for a DIY Felt Seal Ornament with Pattern here, offering even more crafting inspiration.
Essential Supplies for Crafting Charming Felt Tree Ornaments
Before diving into the creative process of making your own adorable felt animal ornaments, gathering the right materials is crucial. High-quality supplies will not only make your crafting experience more enjoyable but also ensure your ornaments are durable and beautiful for years to come. Here’s a detailed list of what you’ll need to create these festive decorations:
- Felt Sheets: Opt for a thinner, good-quality felt. While craft stores offer various options, fabric stores often carry a wider selection of premium felt in a rich palette of colors. The texture and drape of the felt will significantly impact the final look of your ornaments.
- Carpet and Button Thread: This robust thread is ideal for securely stitching the edges of your felt pieces. Its strength ensures your ornaments hold their shape, and its fine nature makes stitches less conspicuous, allowing your design to truly shine.
- Coordinating Thread for Beading: Choose fine thread that matches or complements your beads. This ensures the thread blends seamlessly, making your beadwork appear flawlessly integrated into the felt.
- Embroidery Thread (Optional): If you desire thicker, more visible stitching, or wish to add intricate embroidered details, a good quality embroidery floss is perfect. It comes in a vast array of colors and offers a lovely rustic aesthetic.
- Assorted Needles: You’ll need standard sewing needles for general stitching. For any intricate beadwork, a specialized beading needle is highly recommended, as its slender design can pass through tiny bead holes with ease.
- Decorative Beads (Optional): Embellish your ornaments with sparkle and texture. I personally love using a mix of seed beads for delicate details and bugle beads for linear accents. Consider sequins or small buttons for additional flair.
- Computer and Printer: Essential for downloading and printing any patterns or creating your own custom templates.
- Sharp Fabric Scissors: A pair of precision scissors is critical for clean, crisp cuts, especially when dealing with intricate shapes and curves in felt.
- Embroidery Transfer Pen: This specialized pen allows you to accurately transfer your template designs onto felt, with markings that are easy to see and often disappear with heat or washing, leaving no traces behind.
- Batting/Stuffing: To give your ornaments a lovely plump, three-dimensional quality. Polyester fiberfill or small pieces of upholstery batting work wonderfully.
- Ribbon or Metallic Thread: For creating durable and elegant hanging loops for your finished ornaments.
For more specific recommendations and to easily find all your crafting needs, explore our curated list of DIY felt ornament supplies suggestions here.
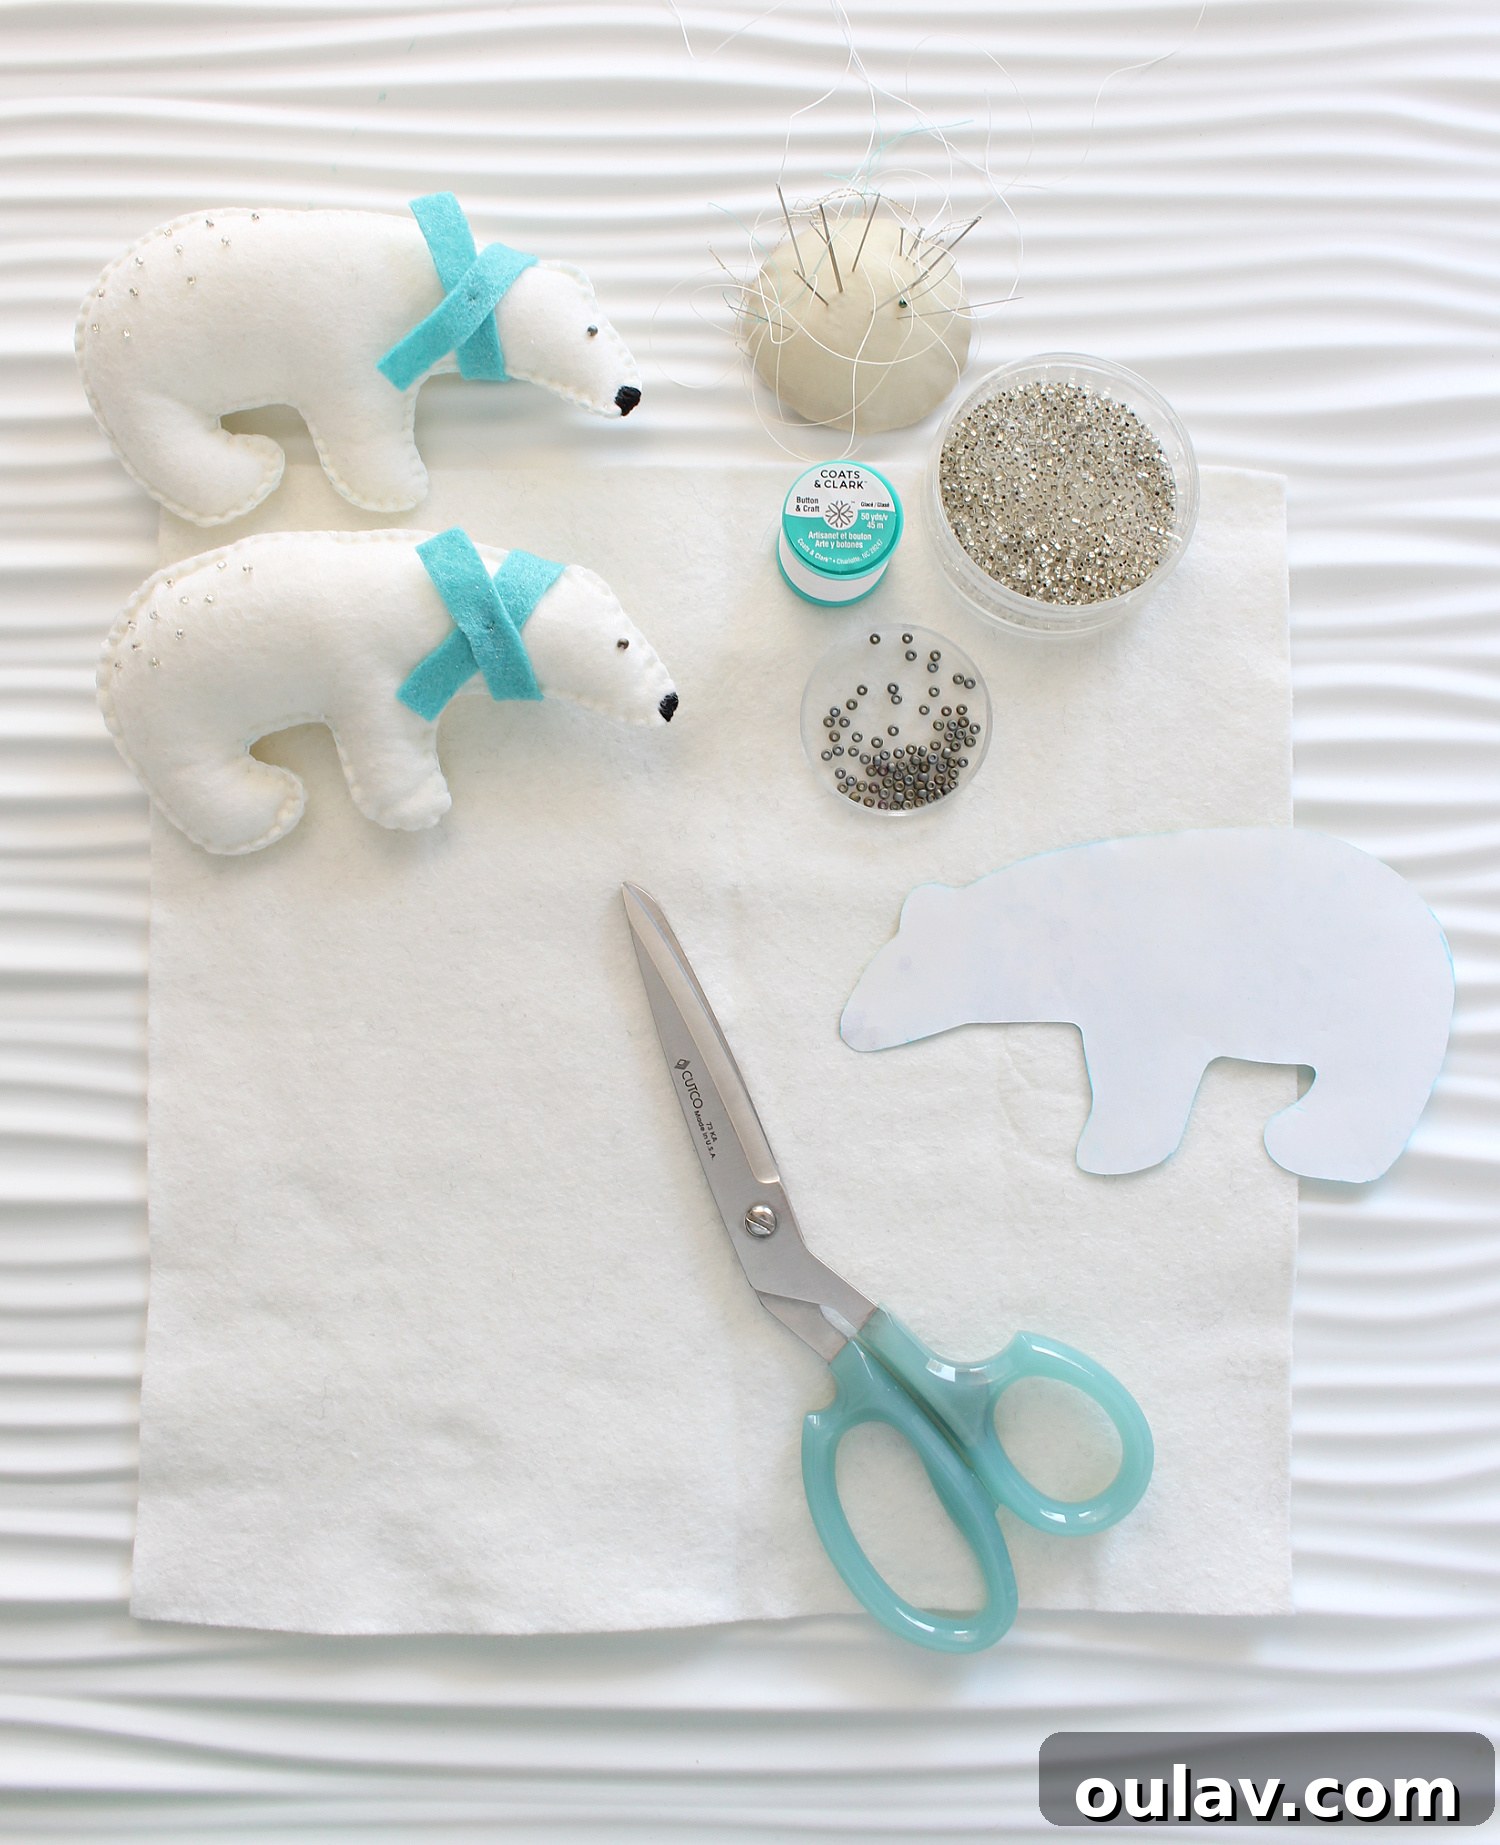
Mastering the Art of Making Delightful Felt Ornaments
Creating these charming felt ornaments is a deeply rewarding crafting experience, allowing you to infuse your personal style into your holiday decorations. Here’s a detailed, step-by-step guide to help you bring your felt animals to life:
Step 1: Selecting and Designing Your Animal Shapes
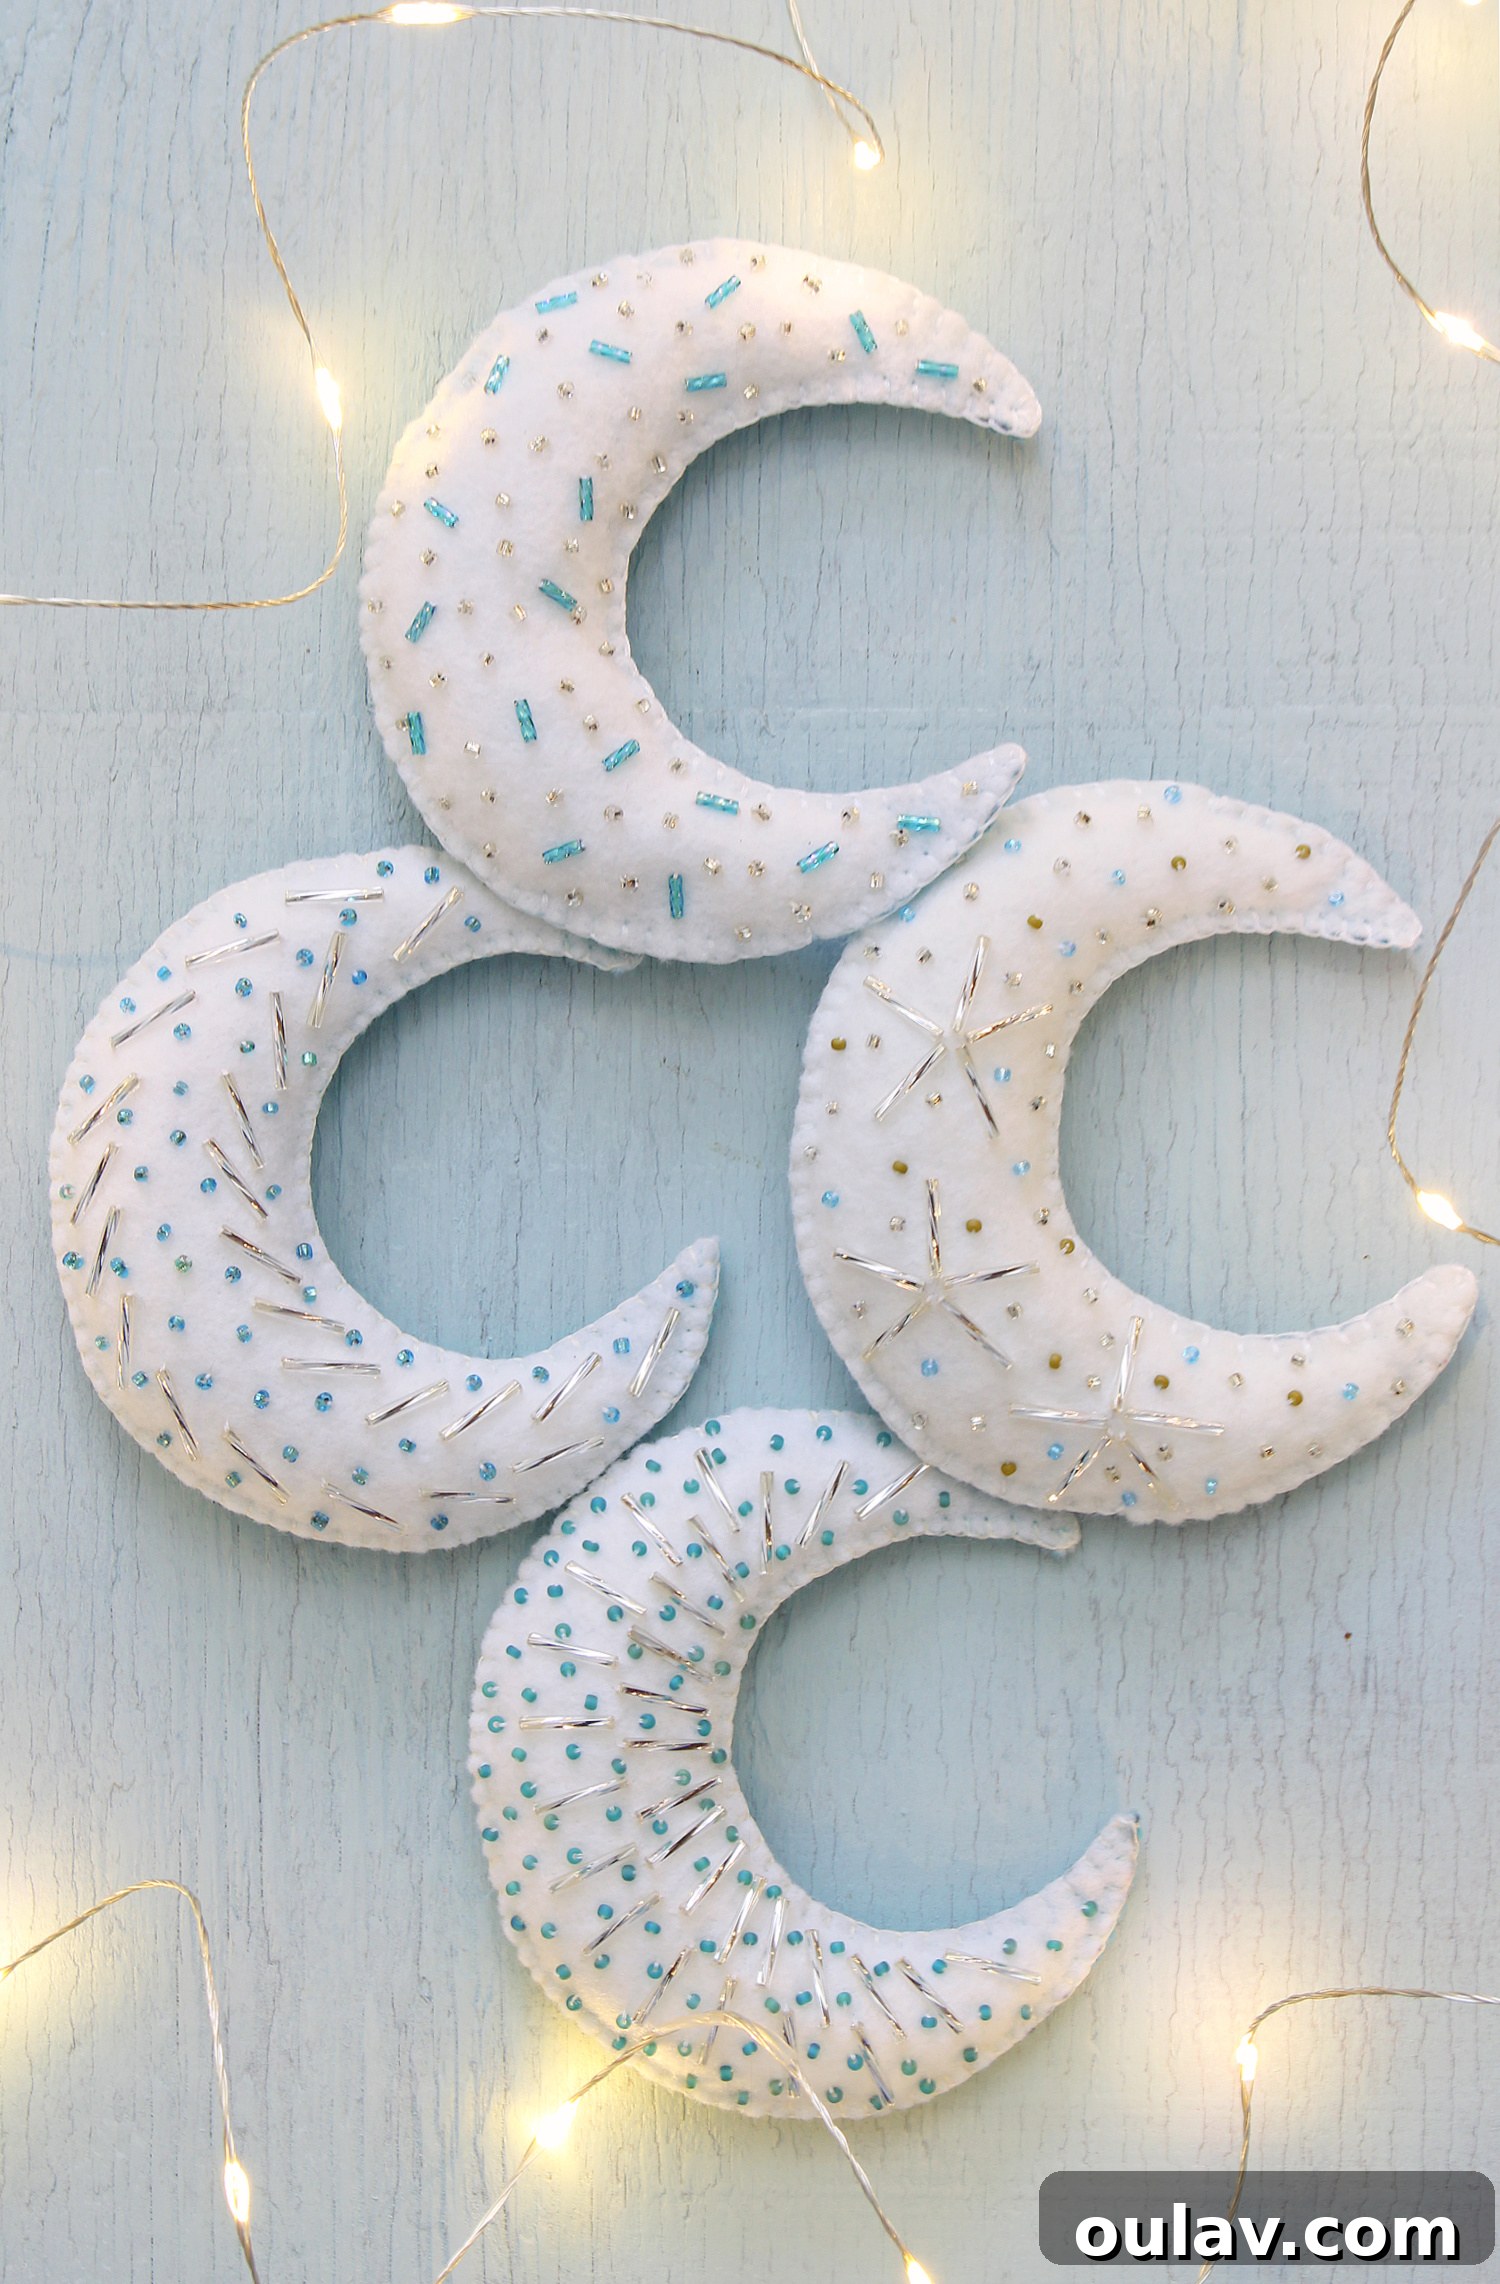
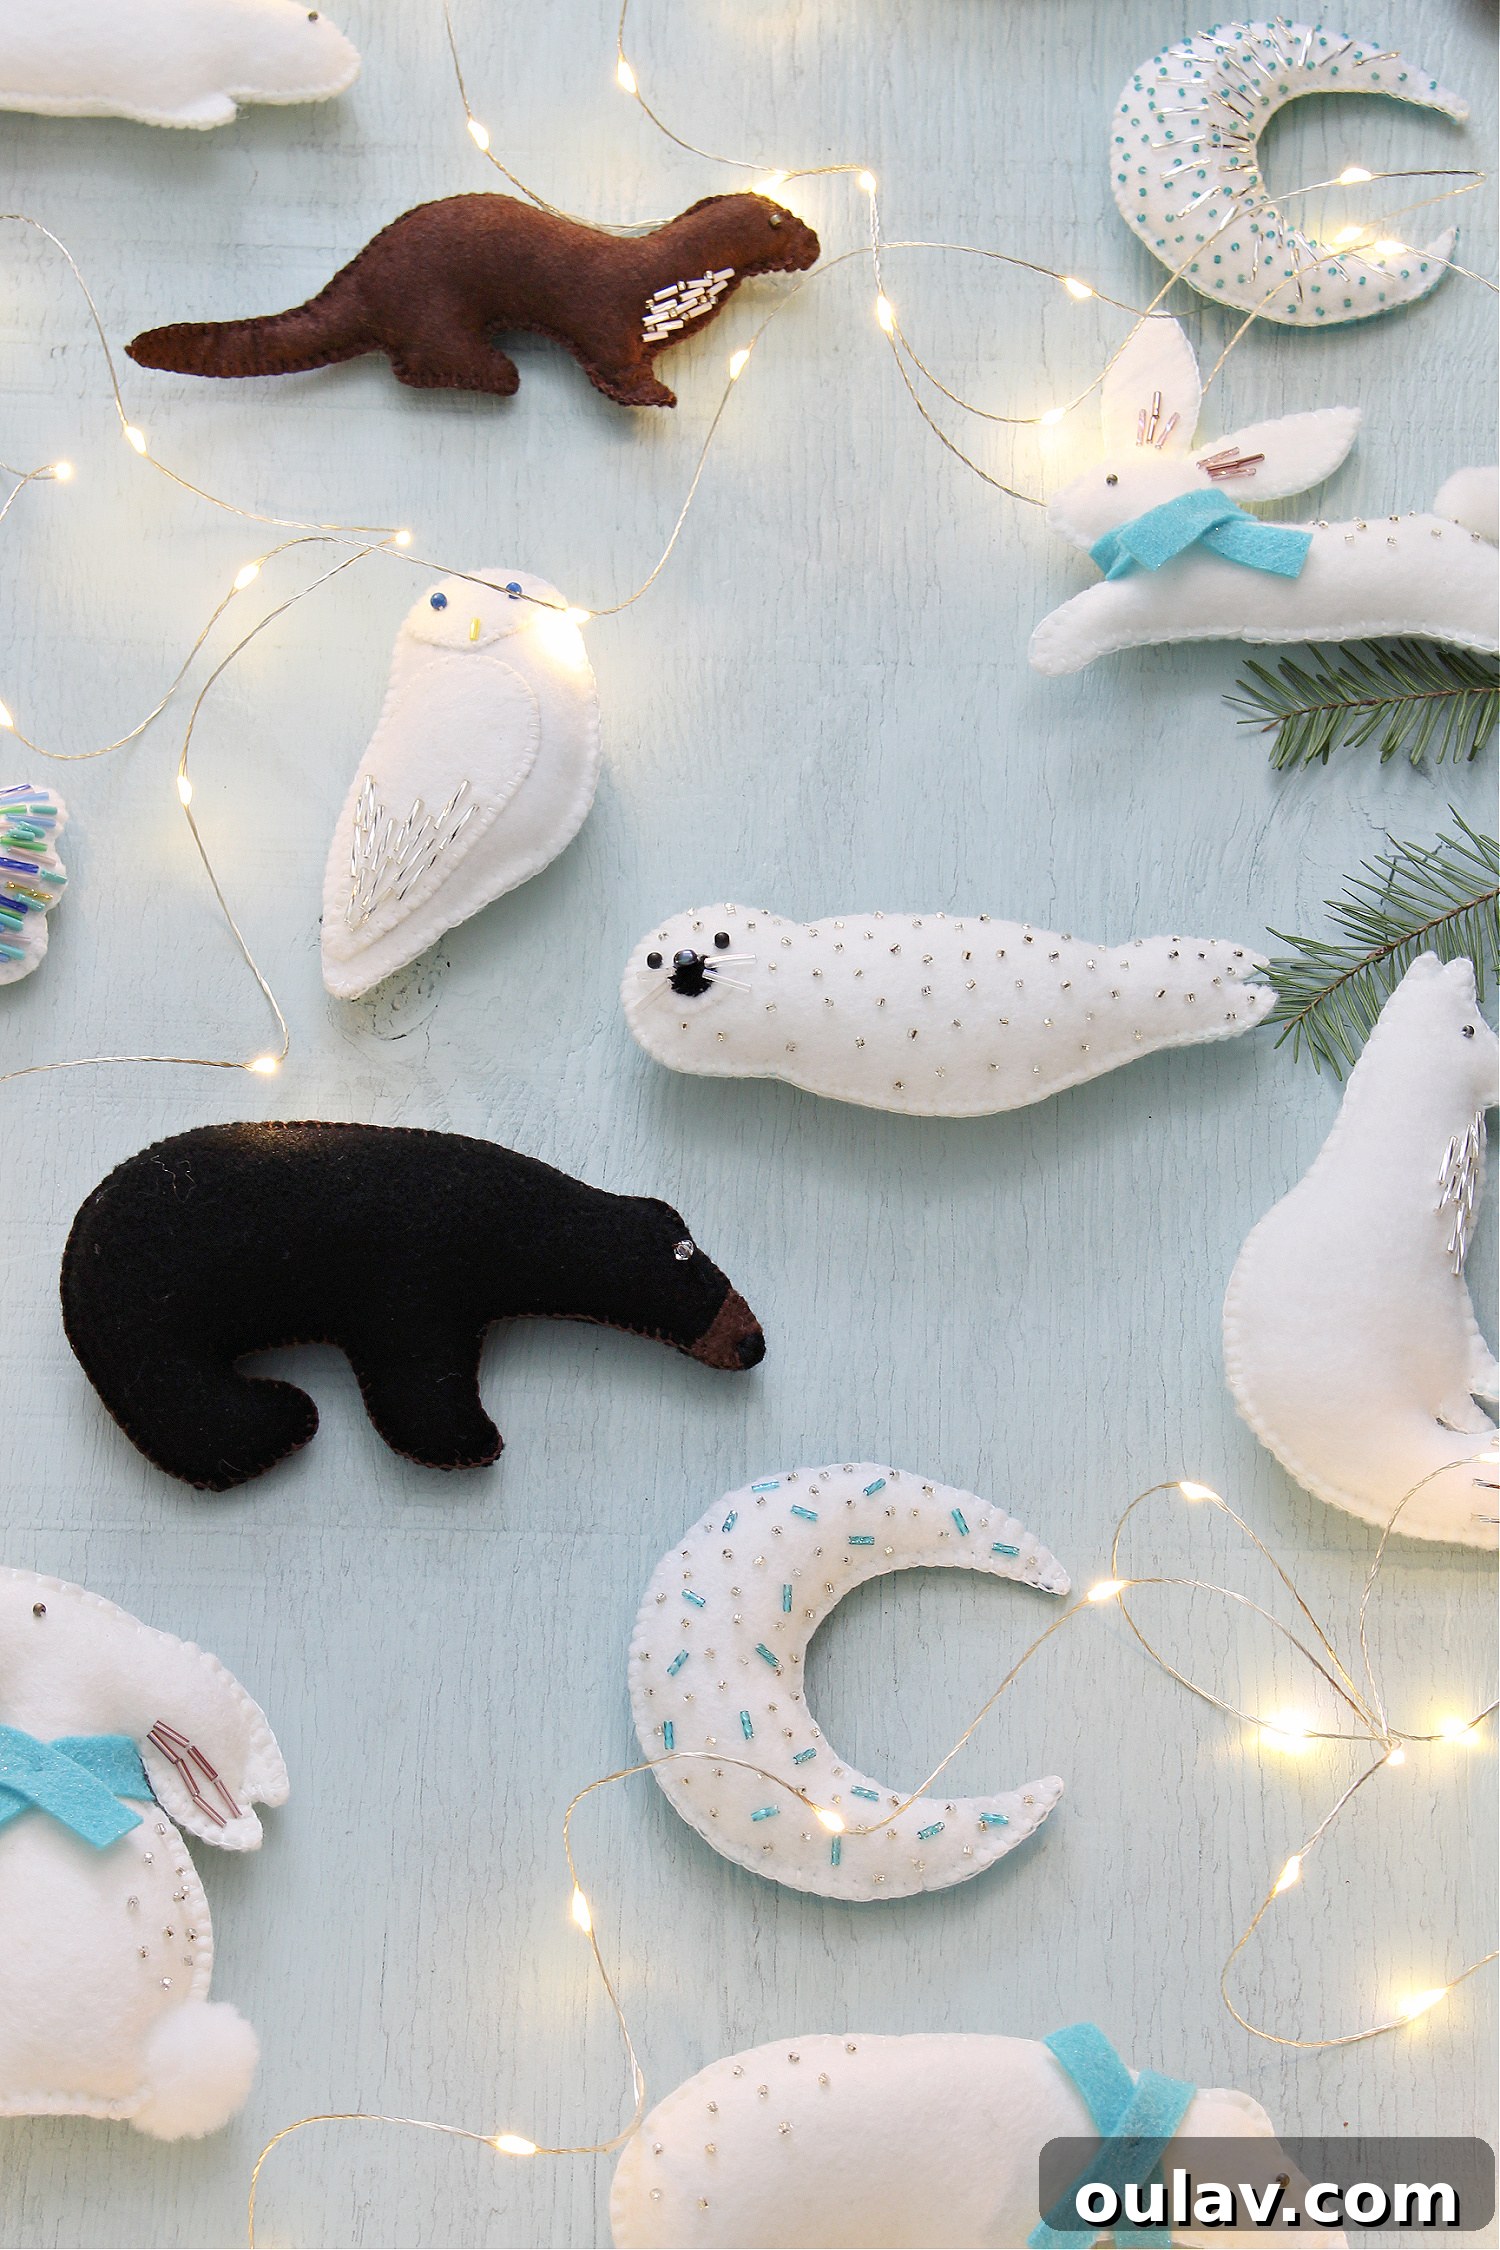
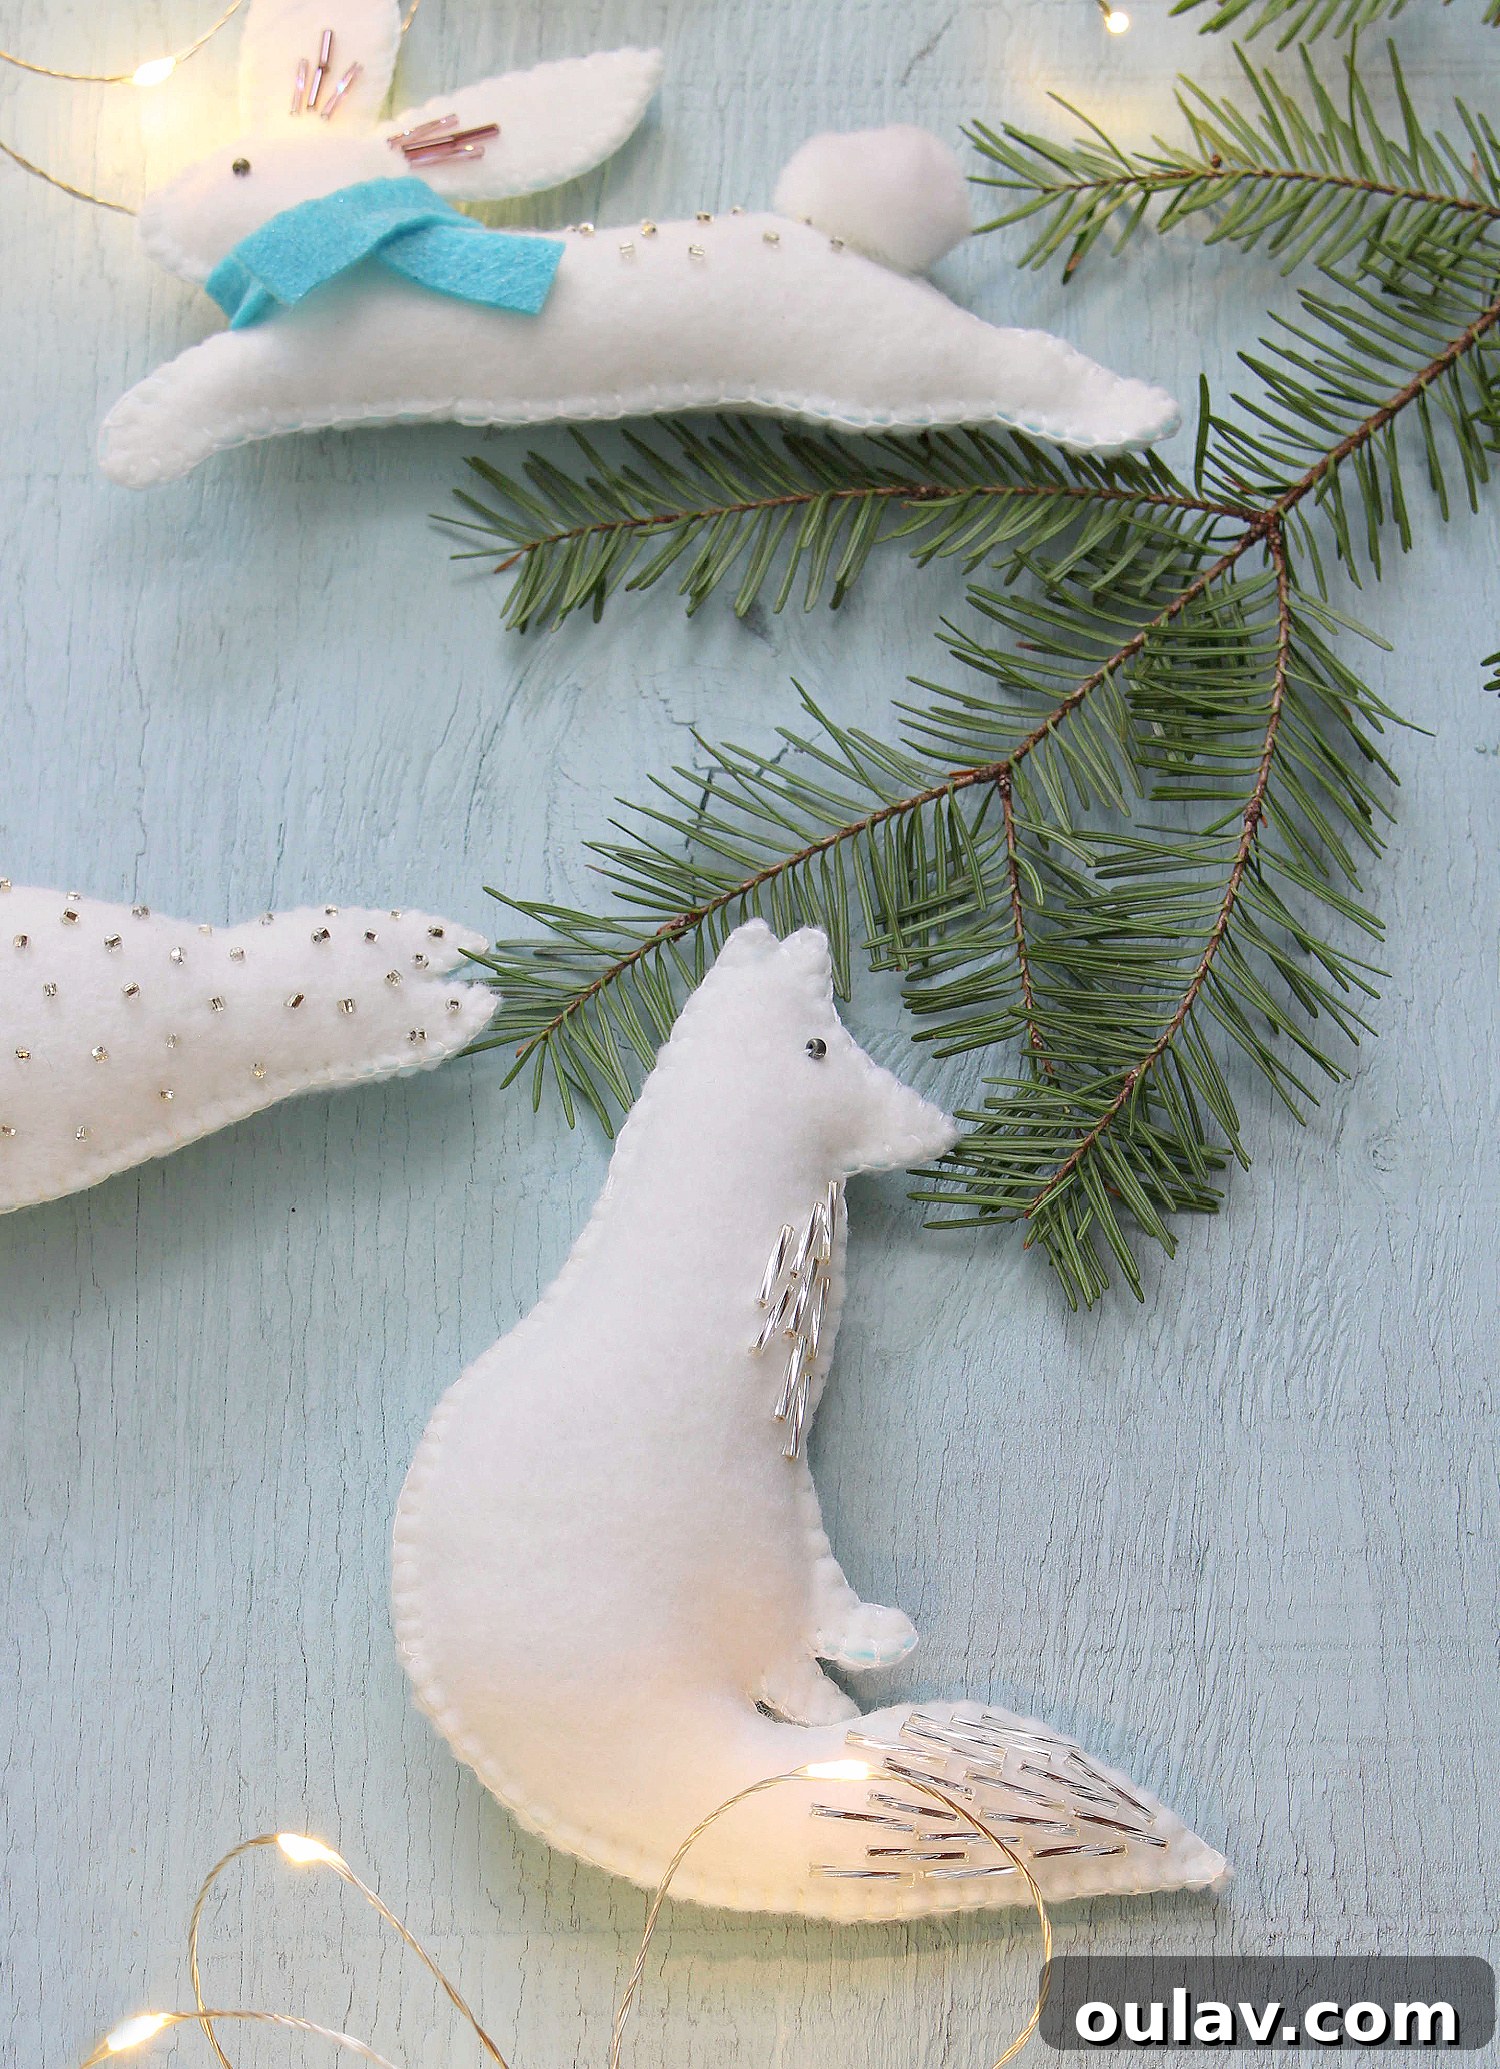
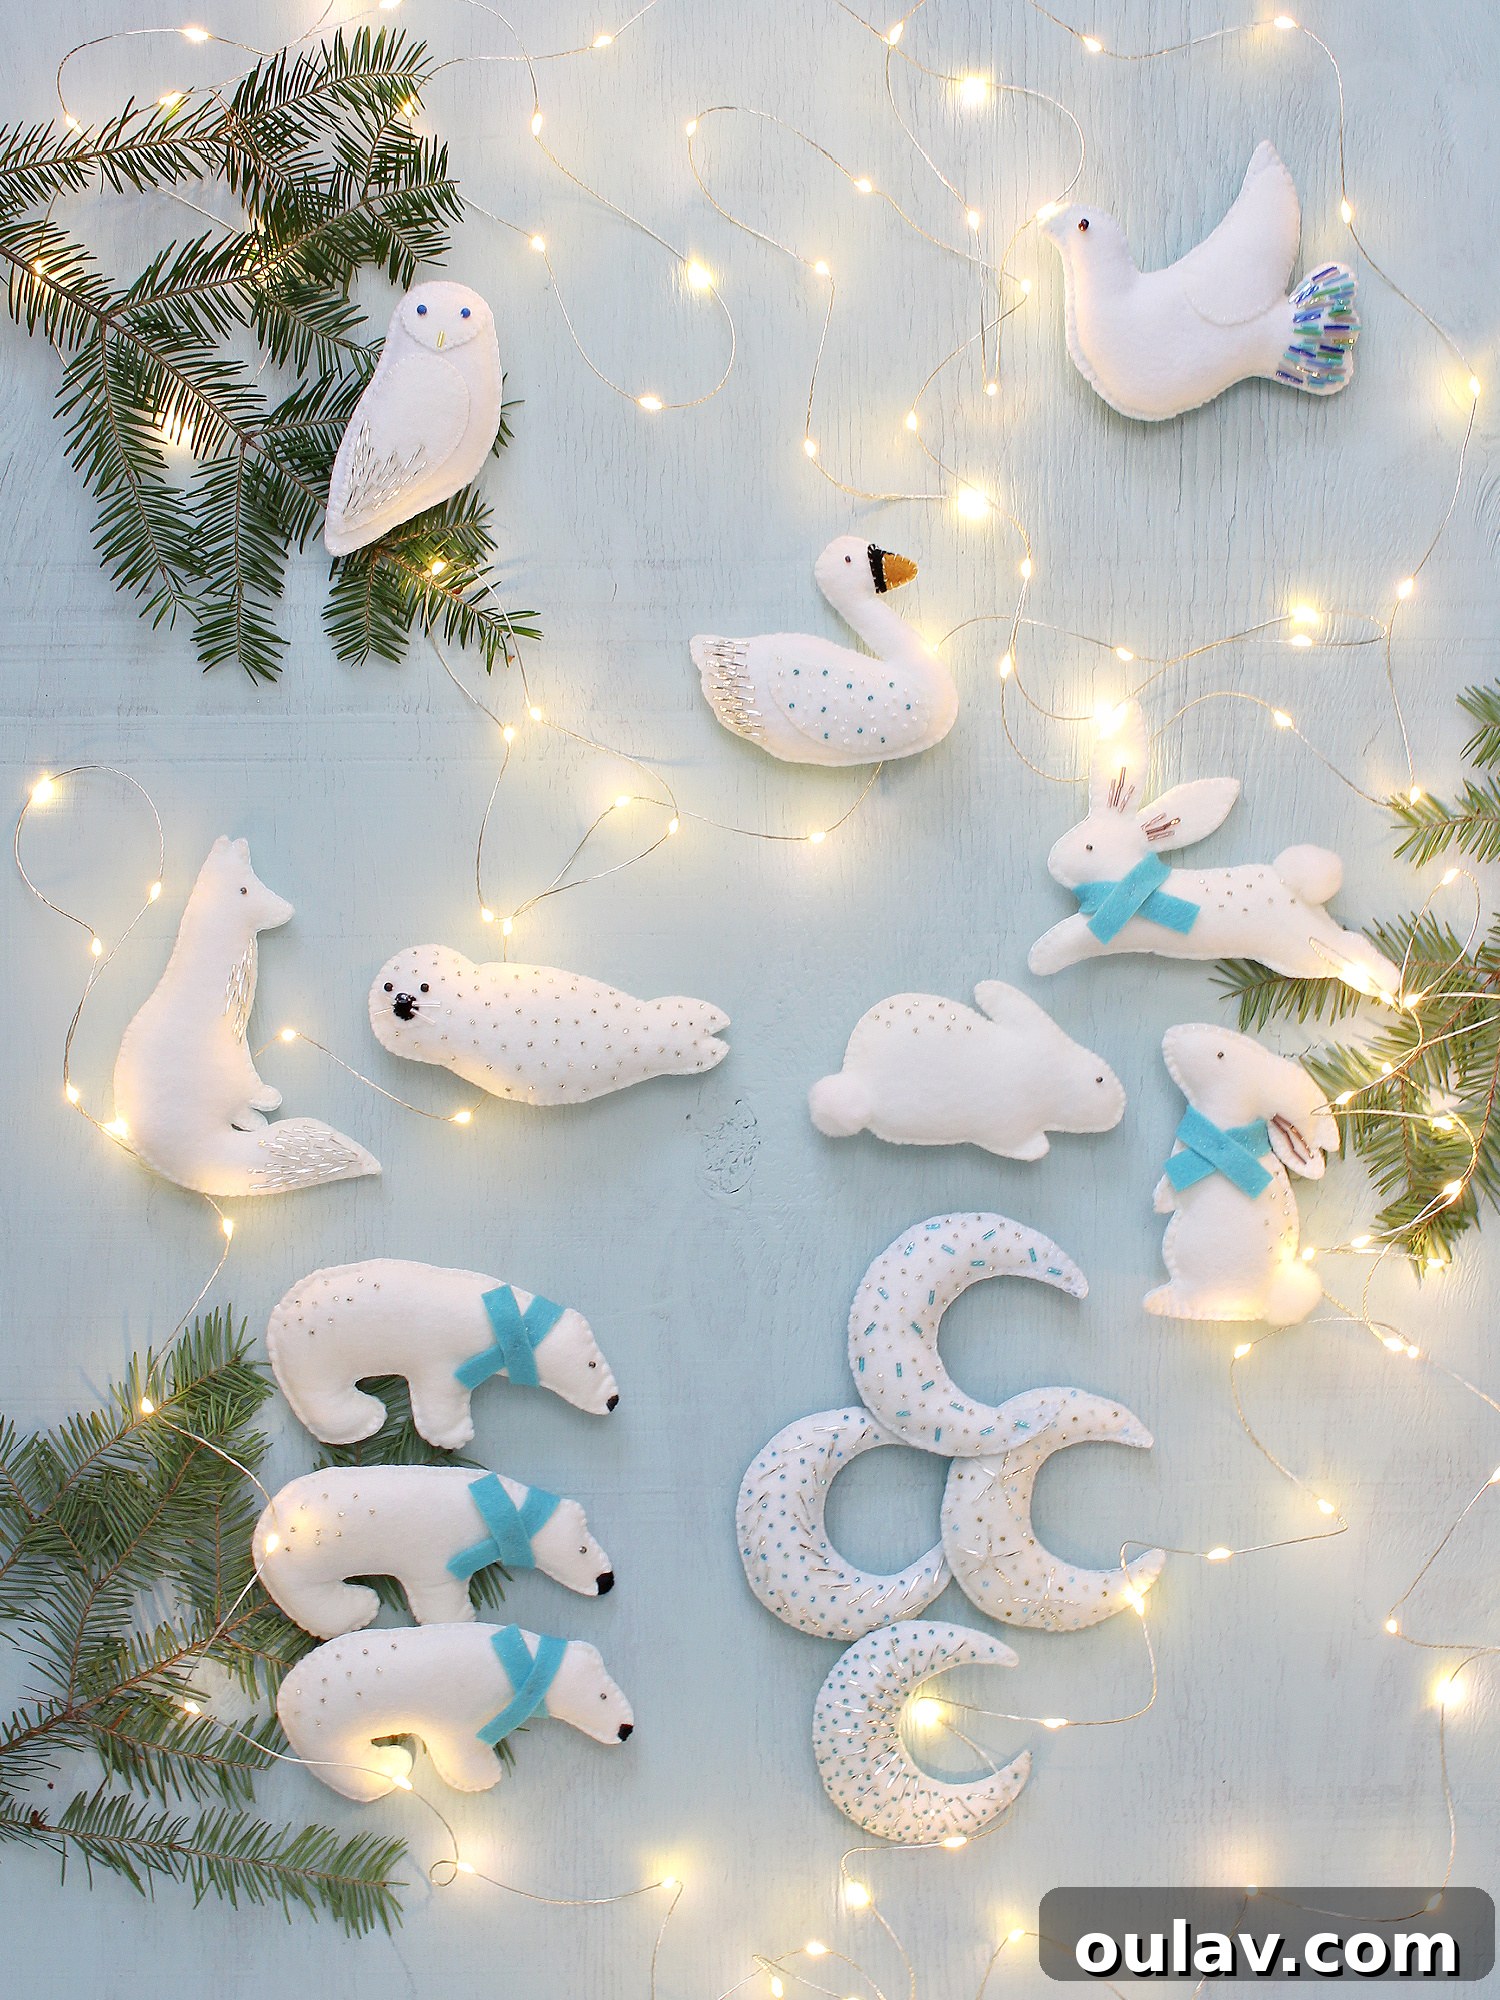
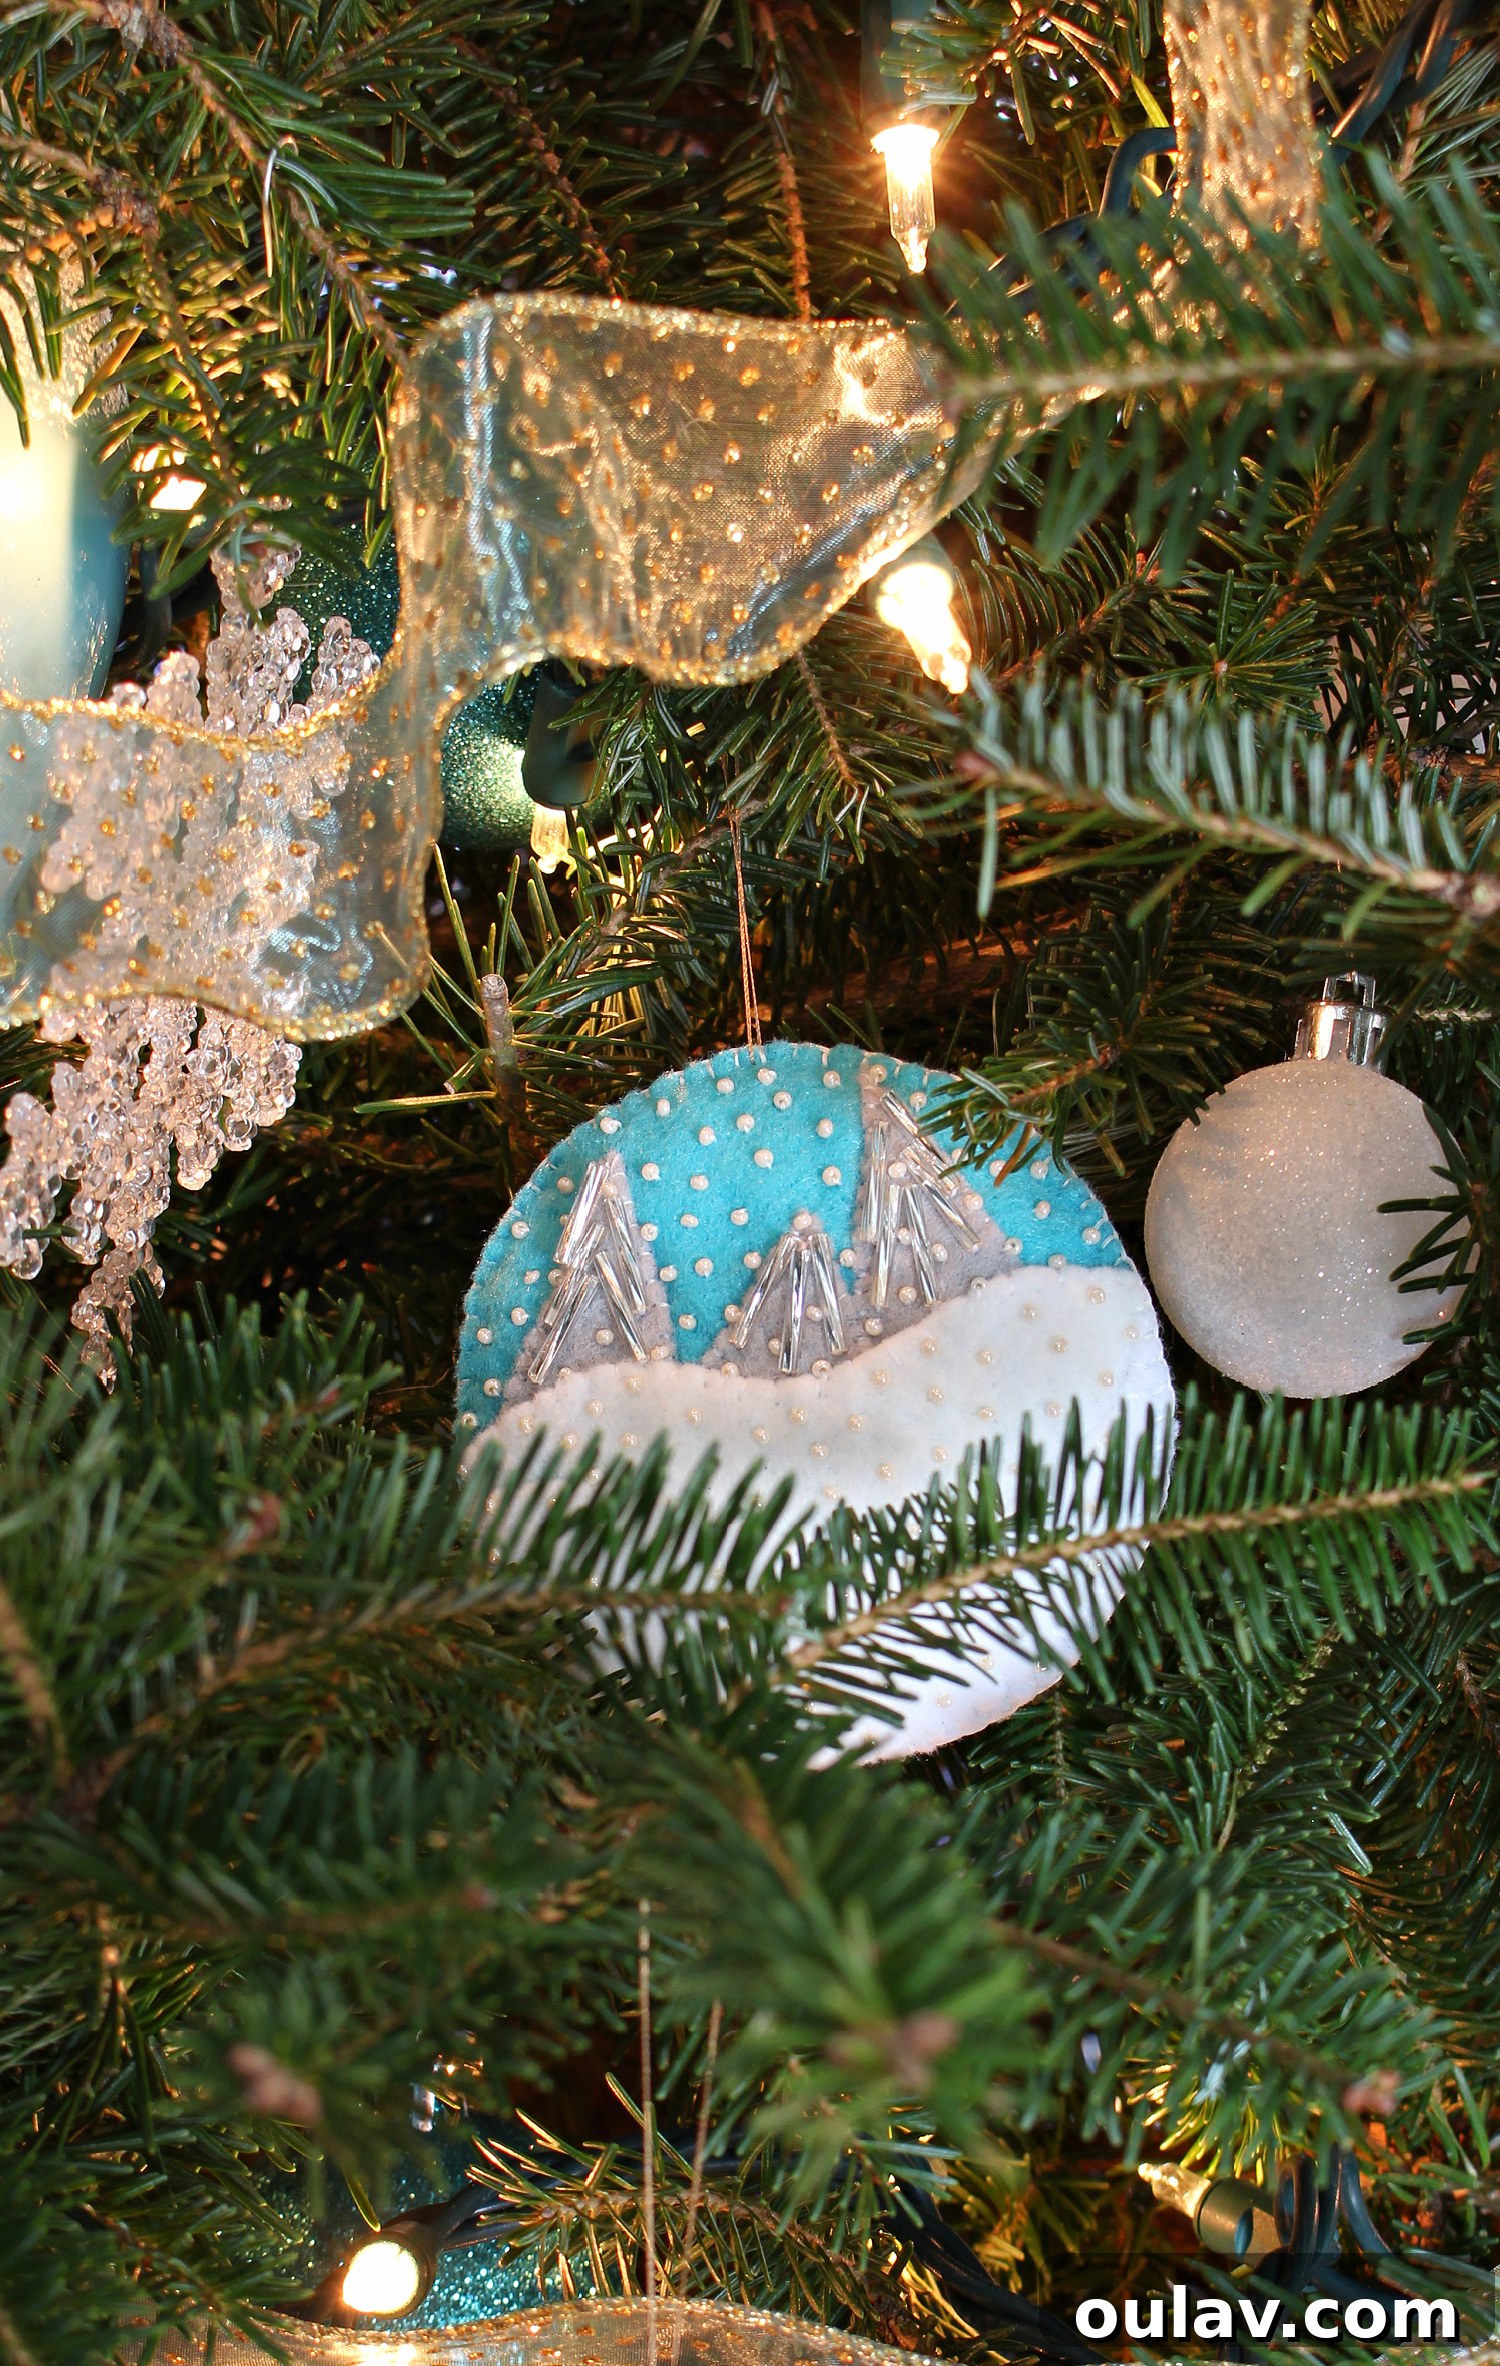
The foundation of a great felt ornament lies in its design. My initial approach was to choose simple, two-dimensional animal silhouettes, and I quickly discovered that less detail often translates to greater ease and a cleaner finish. For beginners, animal shapes like bears, owls, and seals are wonderfully forgiving. Even the elegant moon shape proved exceptionally simple, offering ample opportunity for creative beading – a chance to let your imagination run wild! The bunnies, surprisingly, were also quite straightforward to construct.
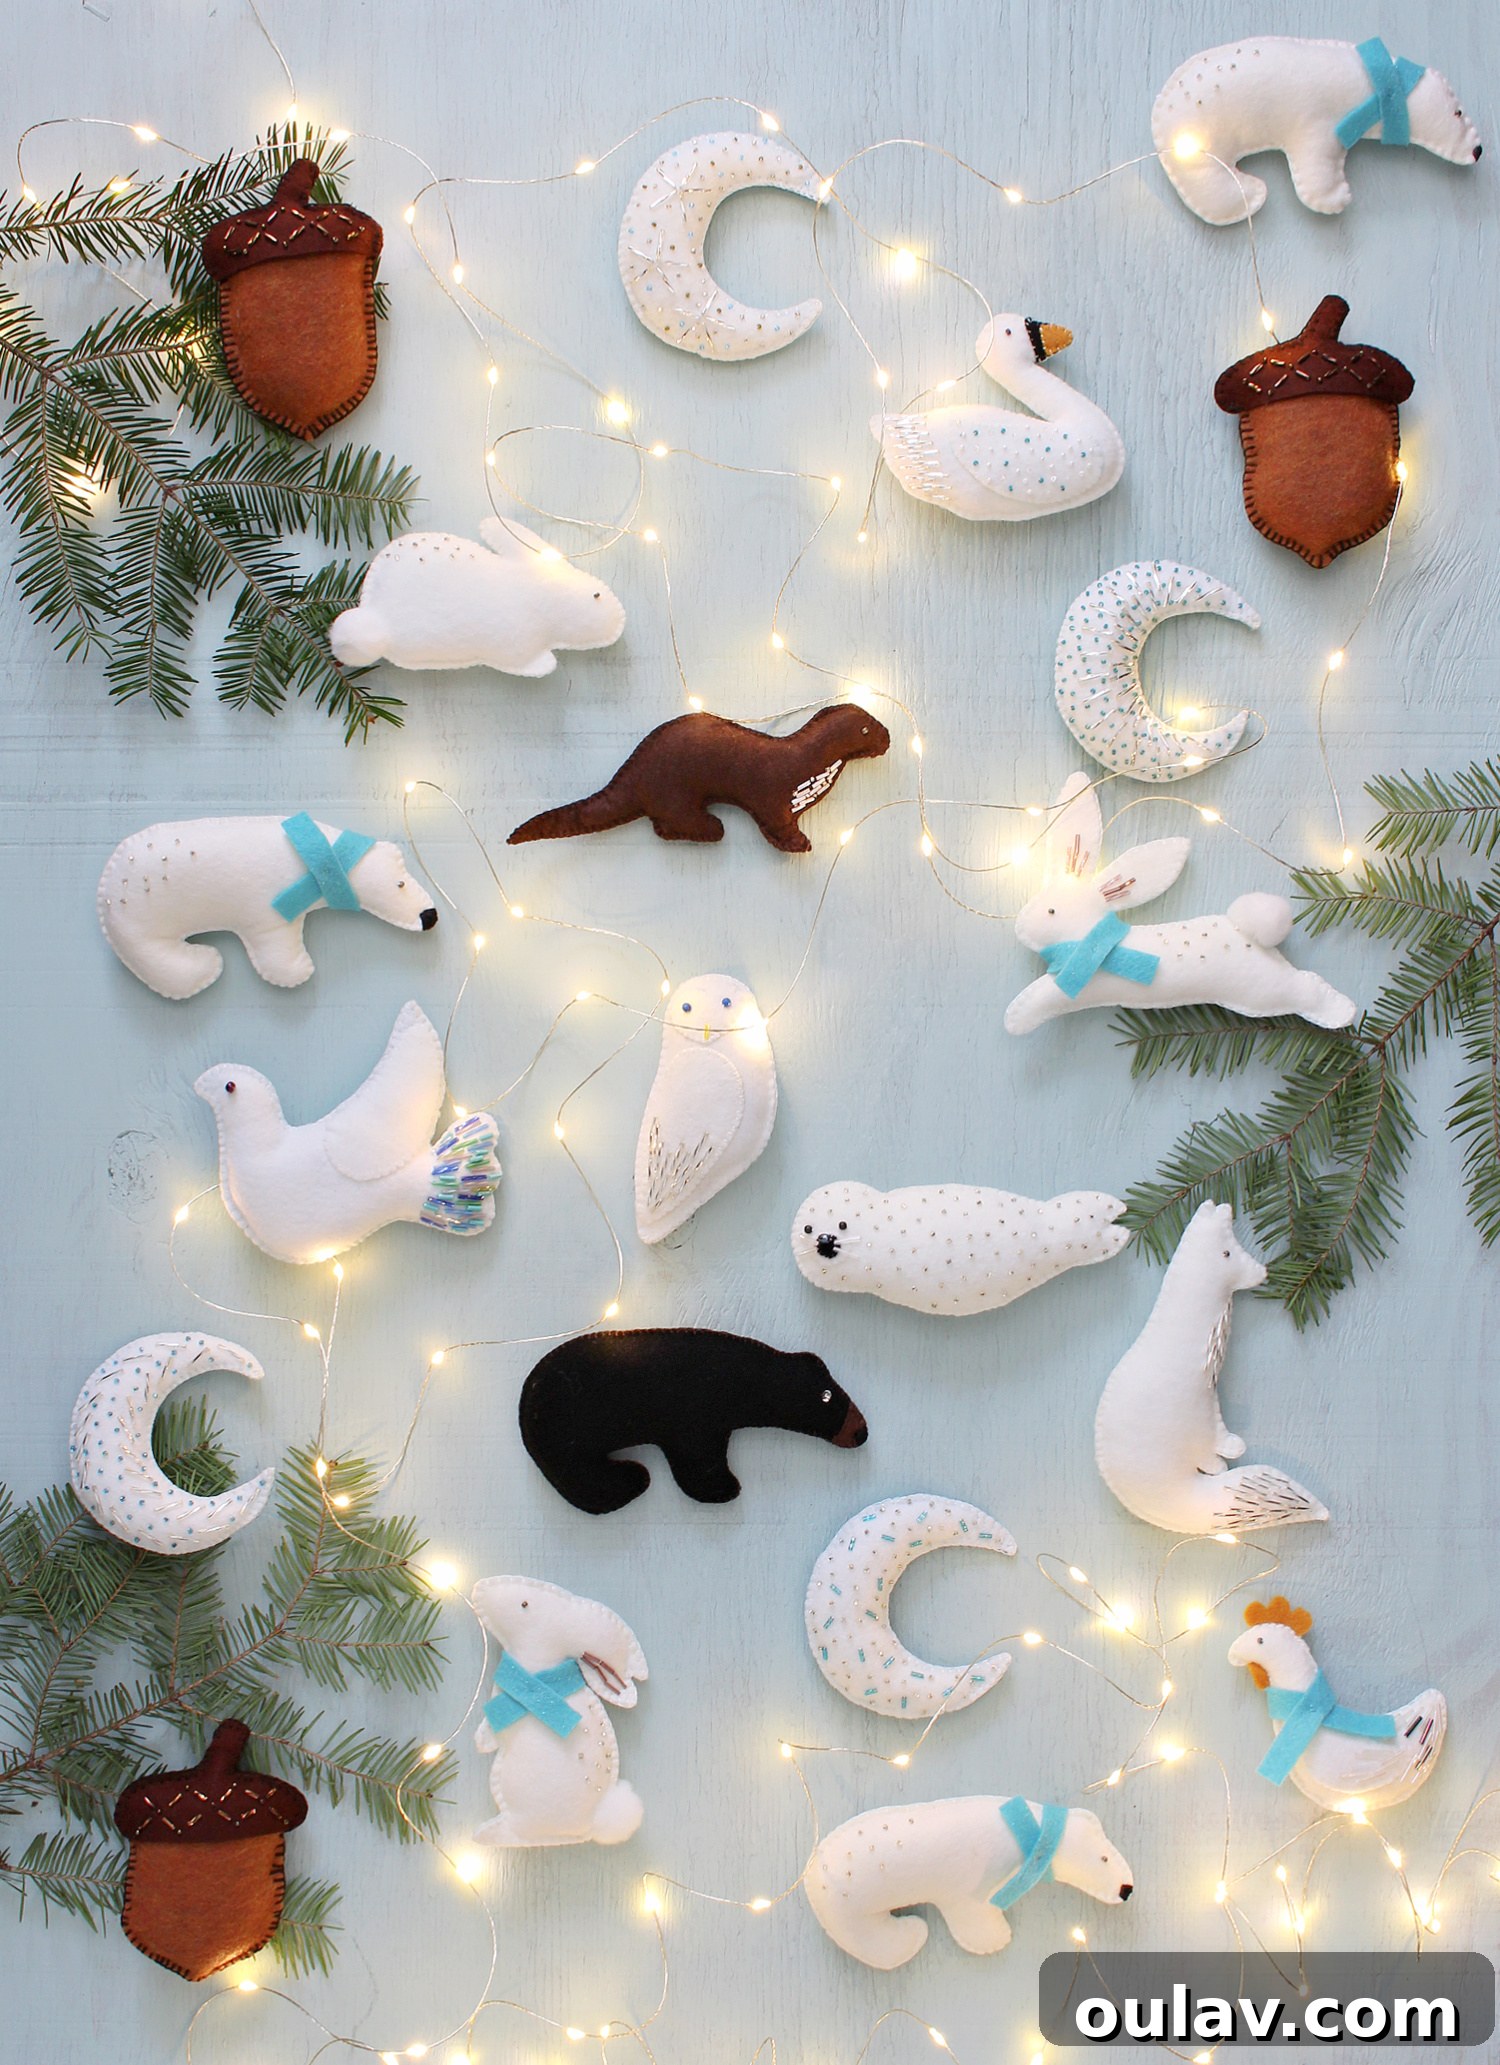
On the other hand, more complex figures, such as the fox, presented a greater challenge. Similarly, I found myself grappling with creating endearing bird faces for designs like swans and chickens. A key piece of advice: steer clear of designs with excessively small or intricate details. These can be difficult to cut accurately, challenging to sew neatly, and particularly tricky to stuff evenly with batting.
Step 2: Crafting Your Templates with Precision
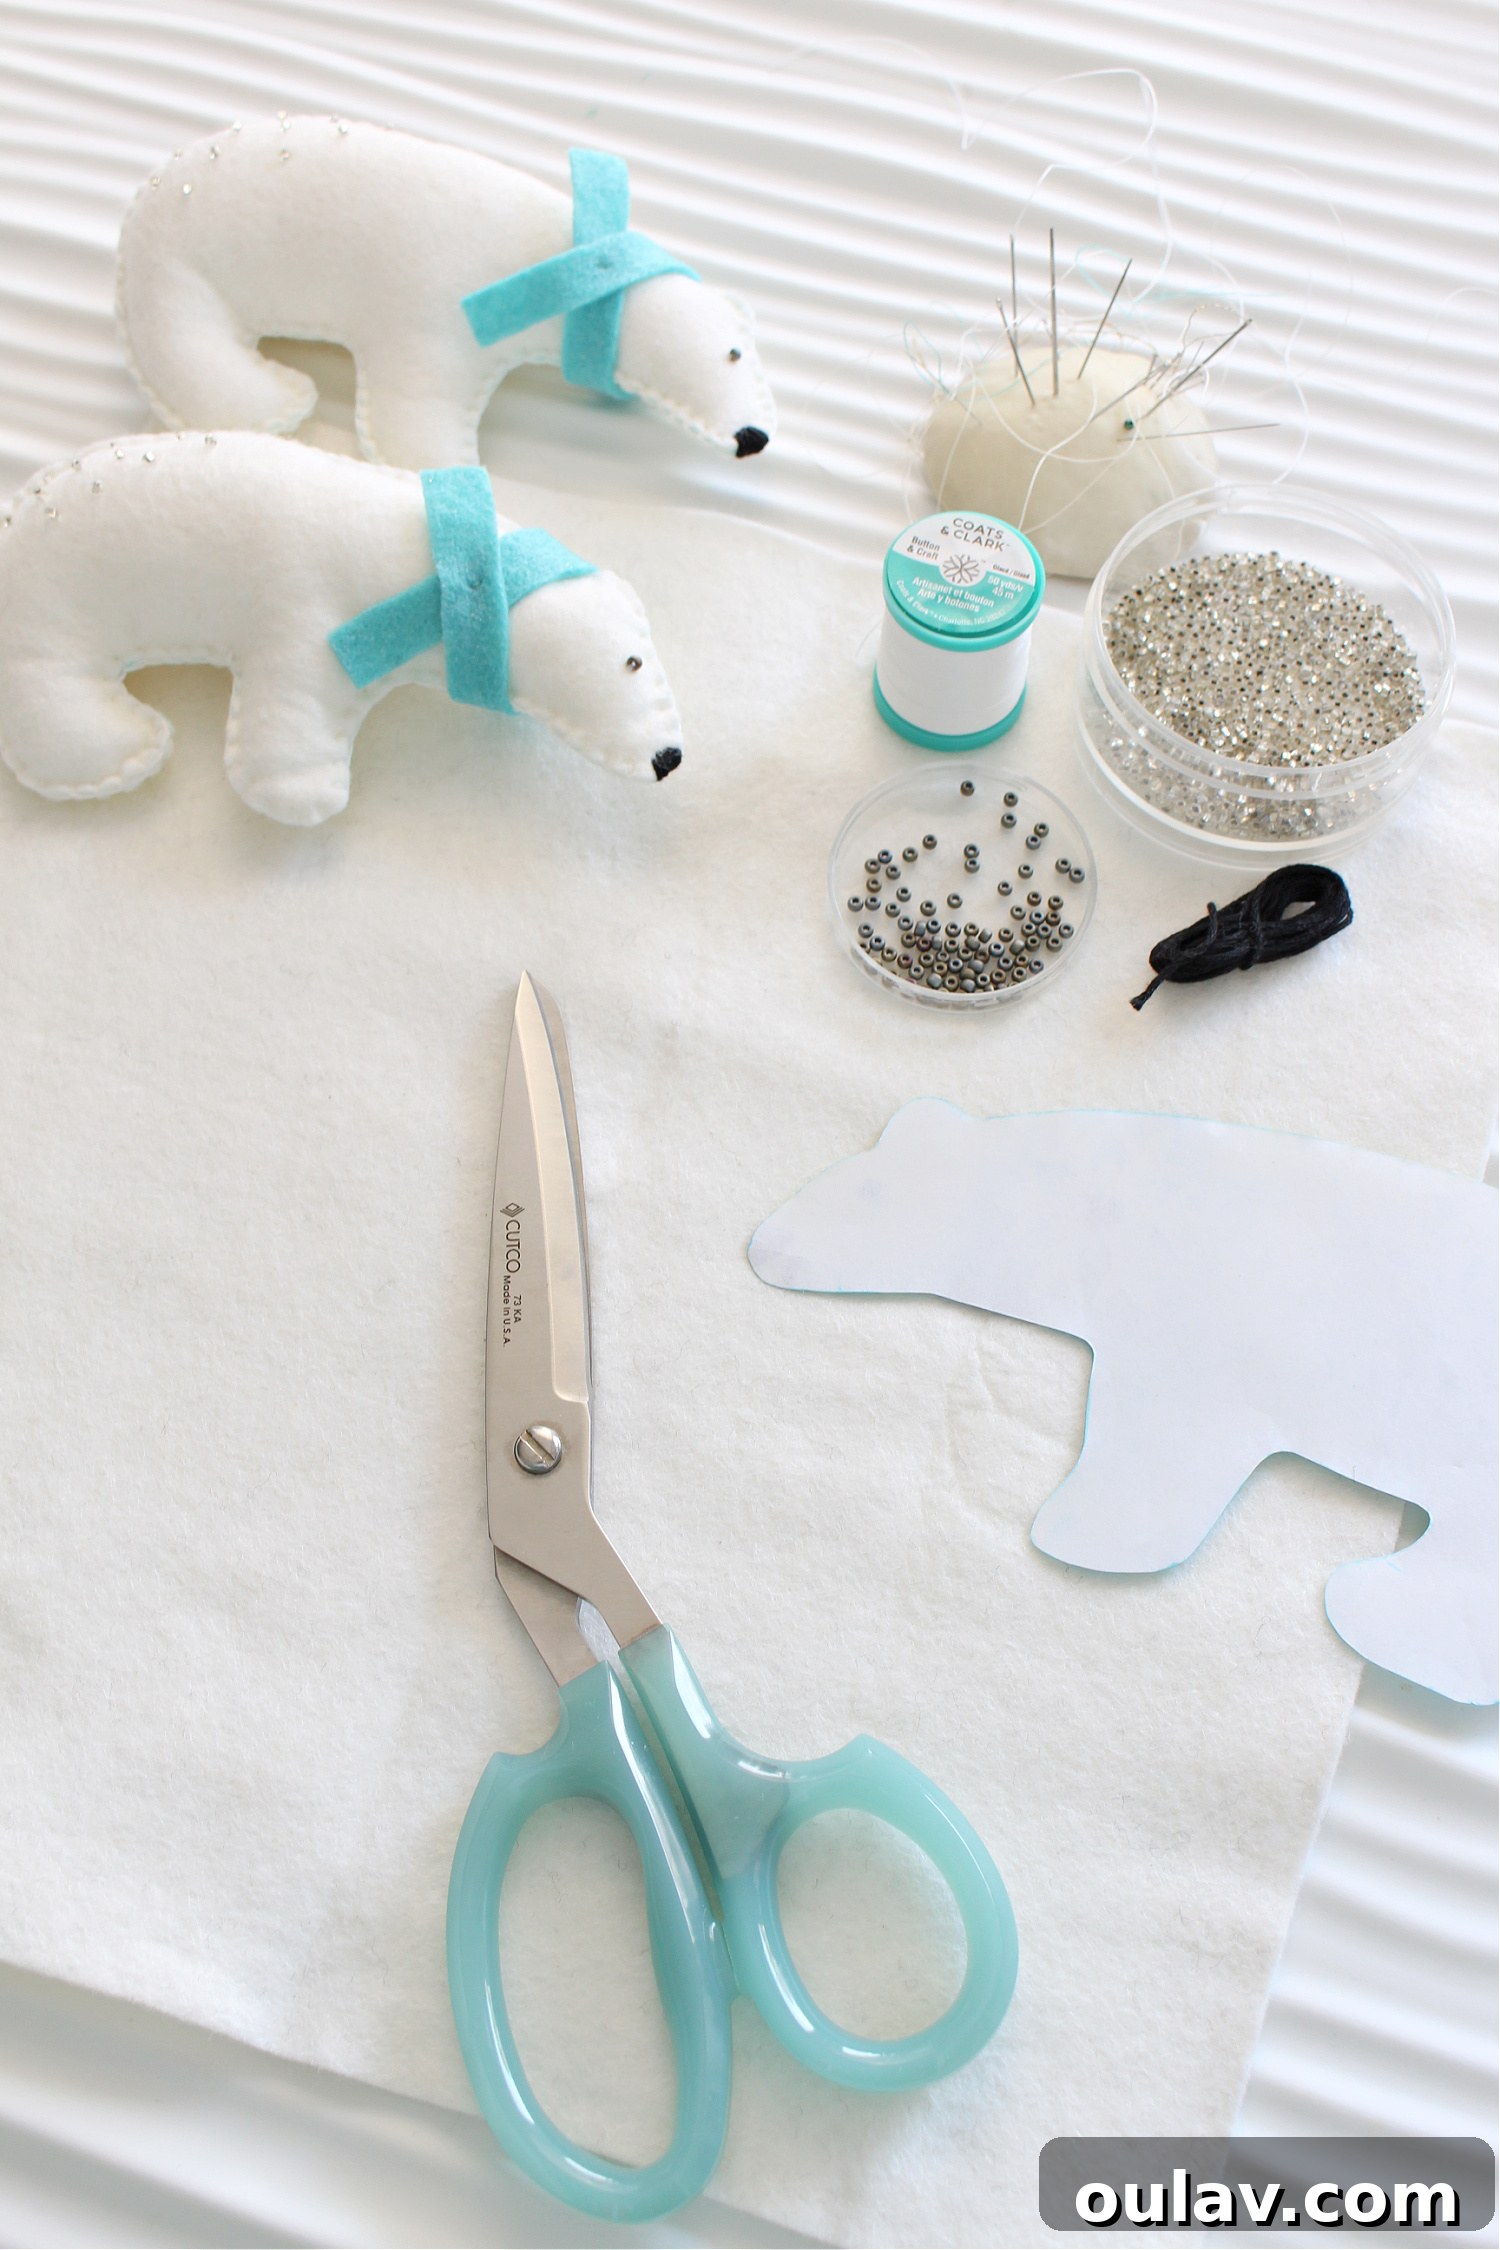
For my initial set of ornaments, I crafted my own templates by finding suitable clipart online, copying and pasting it into a word document, sizing it appropriately, and then printing it. As I cut out the paper shapes, I would often simplify the design further, making small adjustments to ensure clean lines and easier execution. Since many of my early ornaments were unique, simple paper templates sufficed. However, if you plan to create multiple ornaments of the same design, I highly recommend transferring your initial paper template onto a more rigid material, such as thin cardboard or even an old plastic cutting mat. This provides a more durable and reusable template, ensuring consistency across your creations. Alternatively, you can use existing cookie cutters or other ornaments as ready-made templates, saving you time and effort in the design phase.
Step 3: Preparing Your Felt Pieces
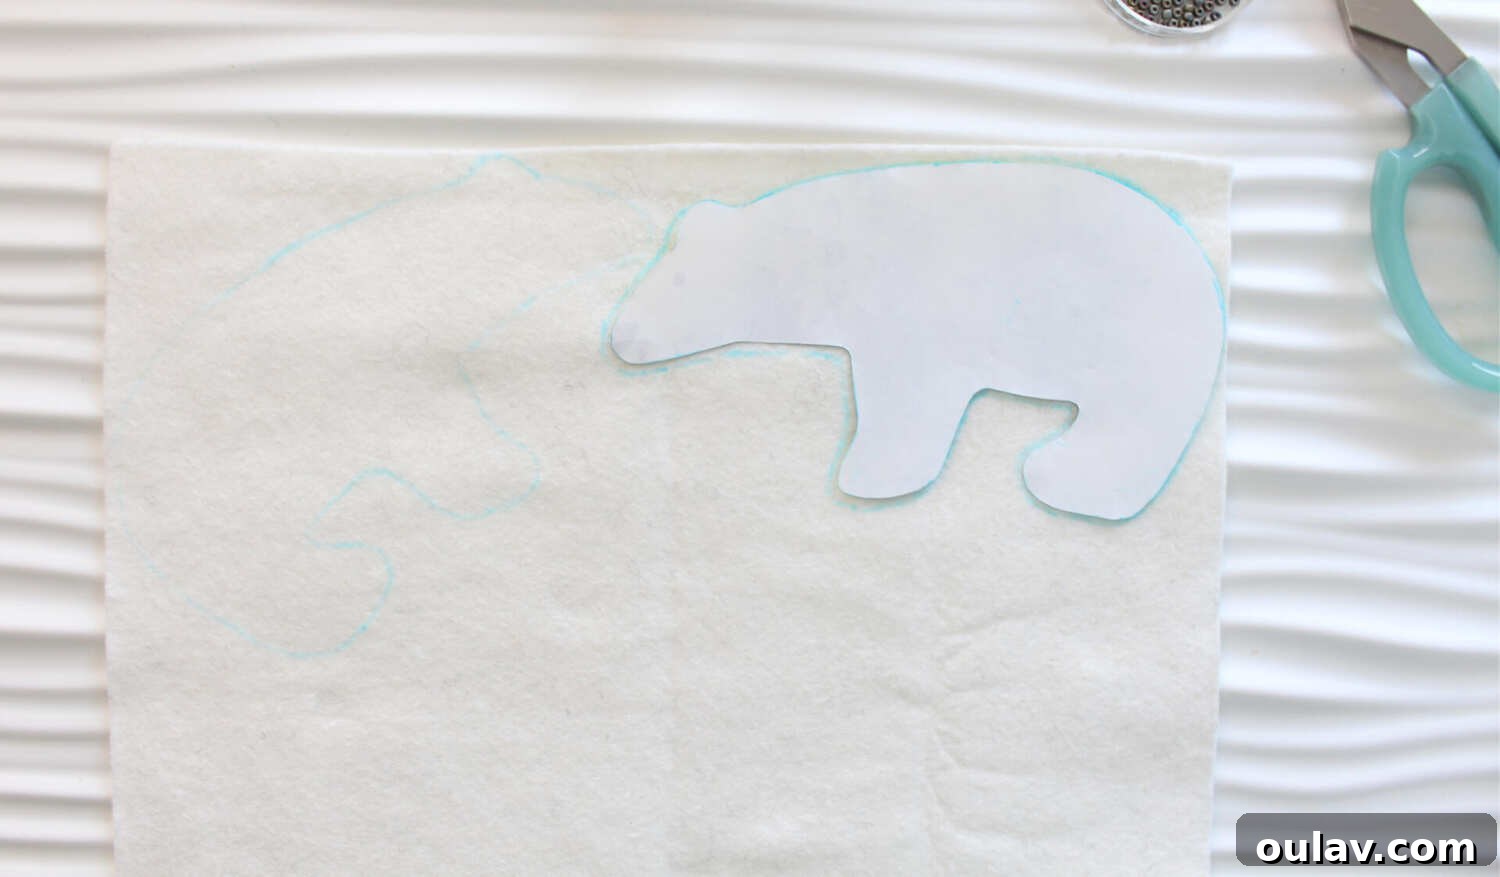
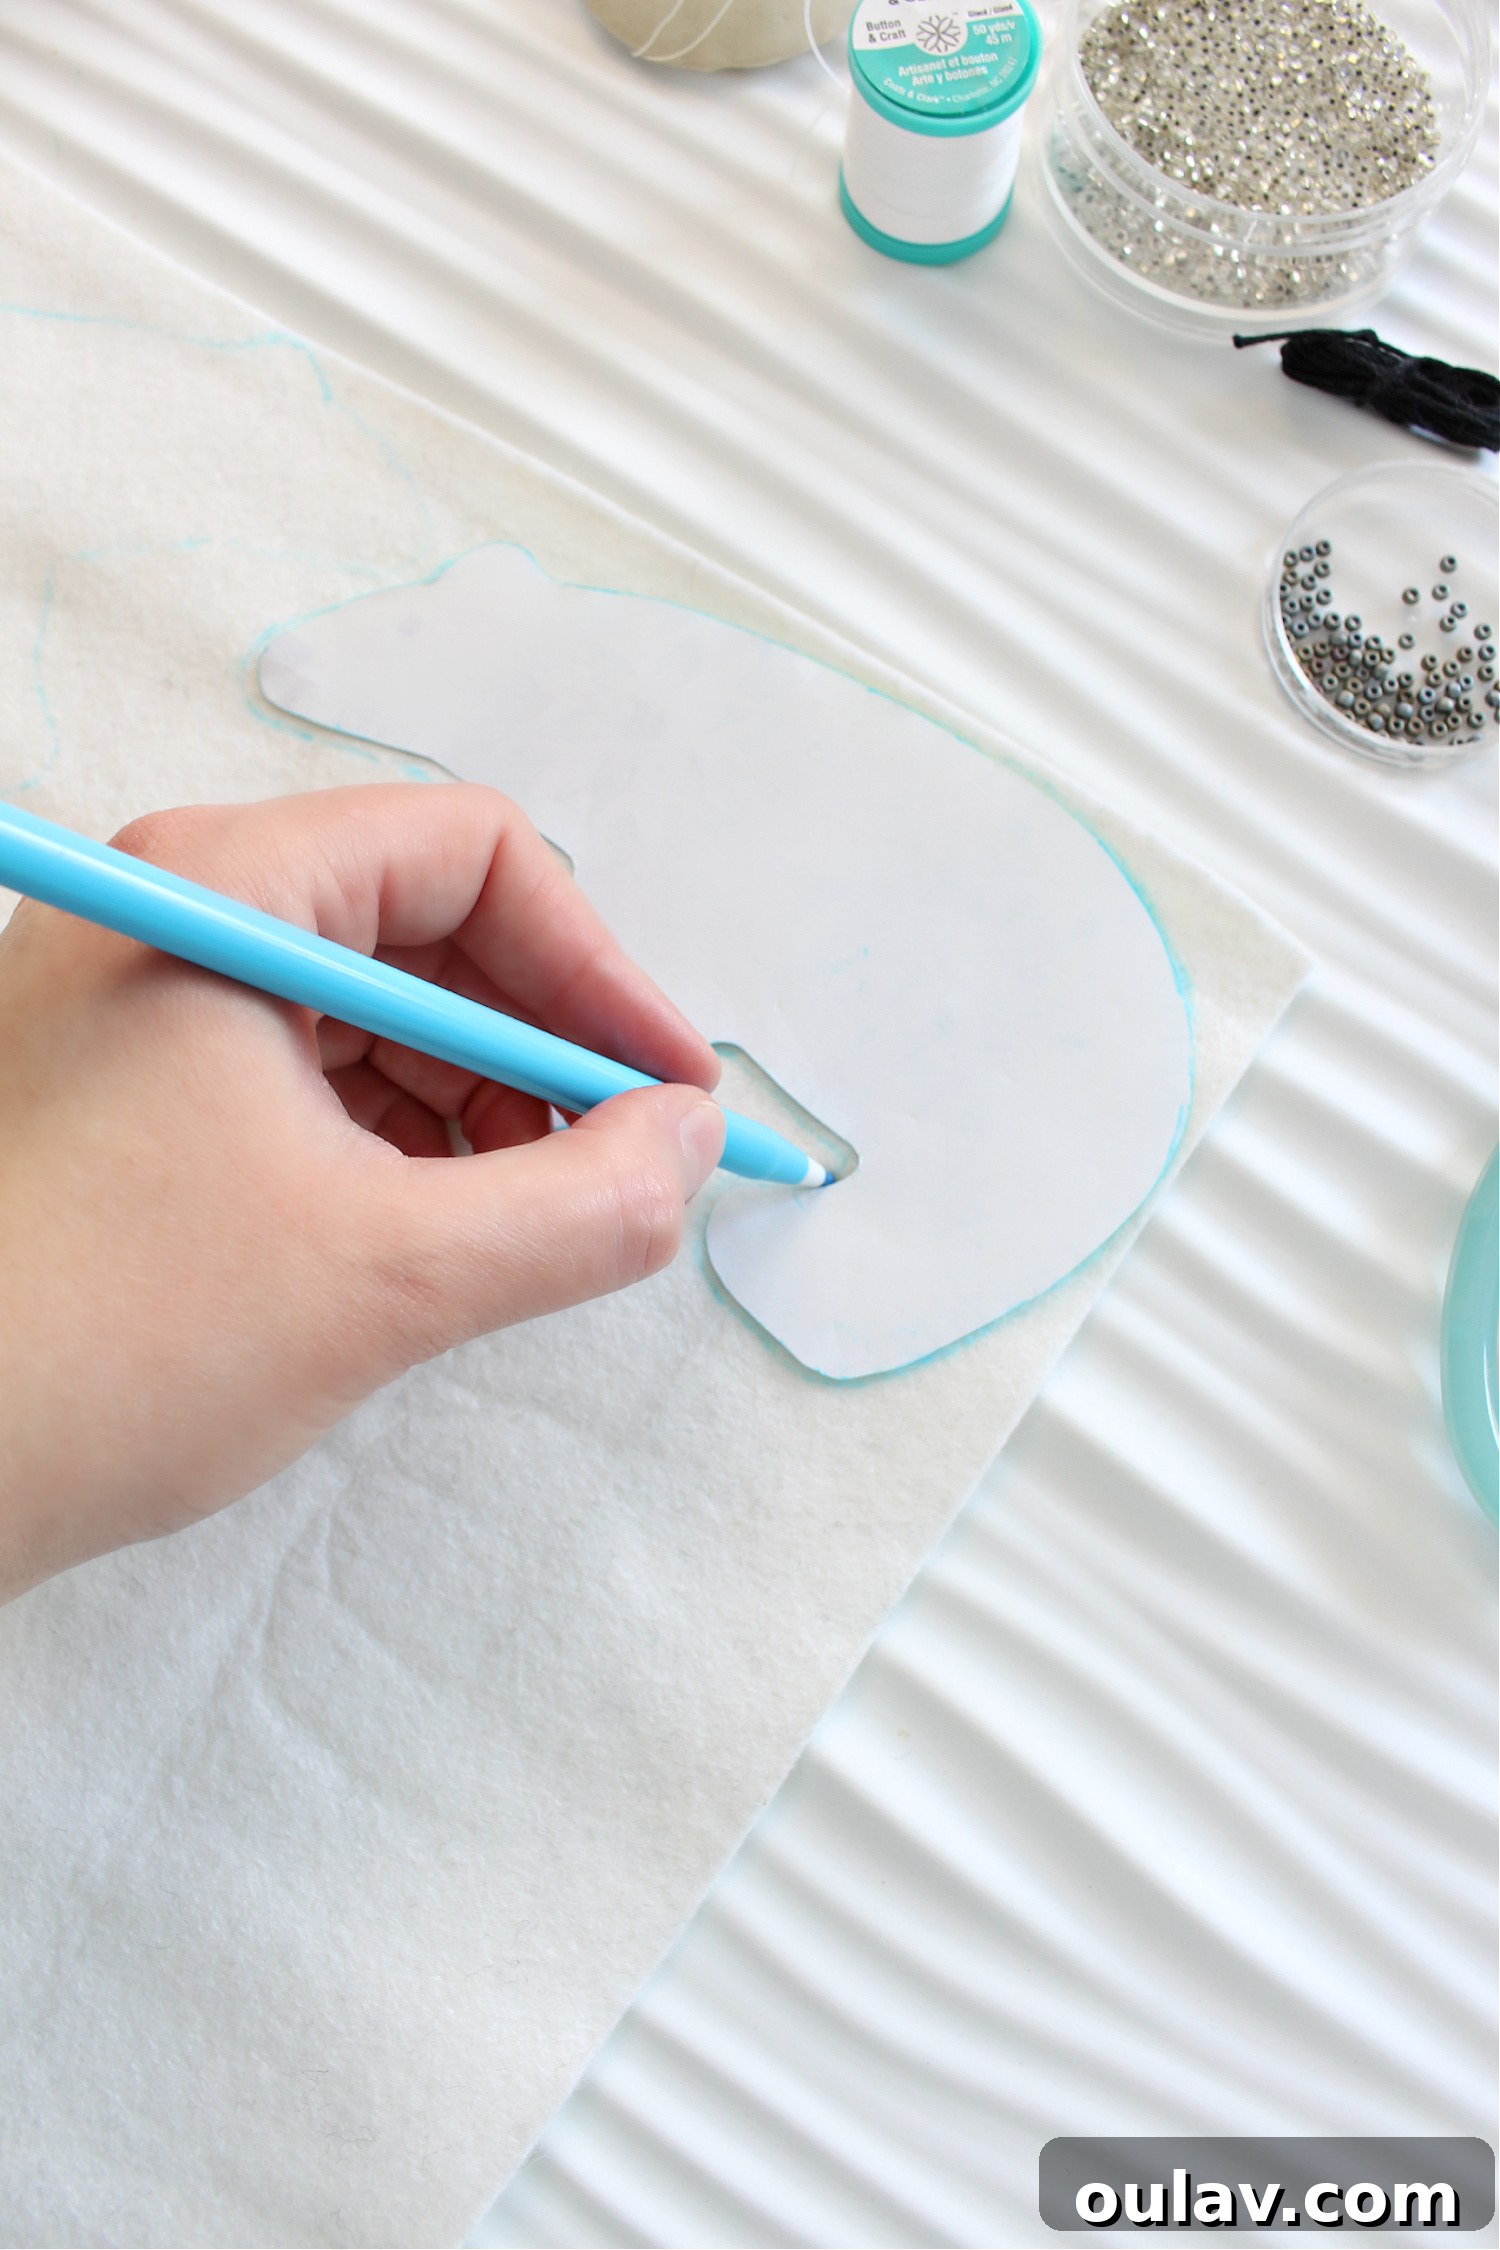
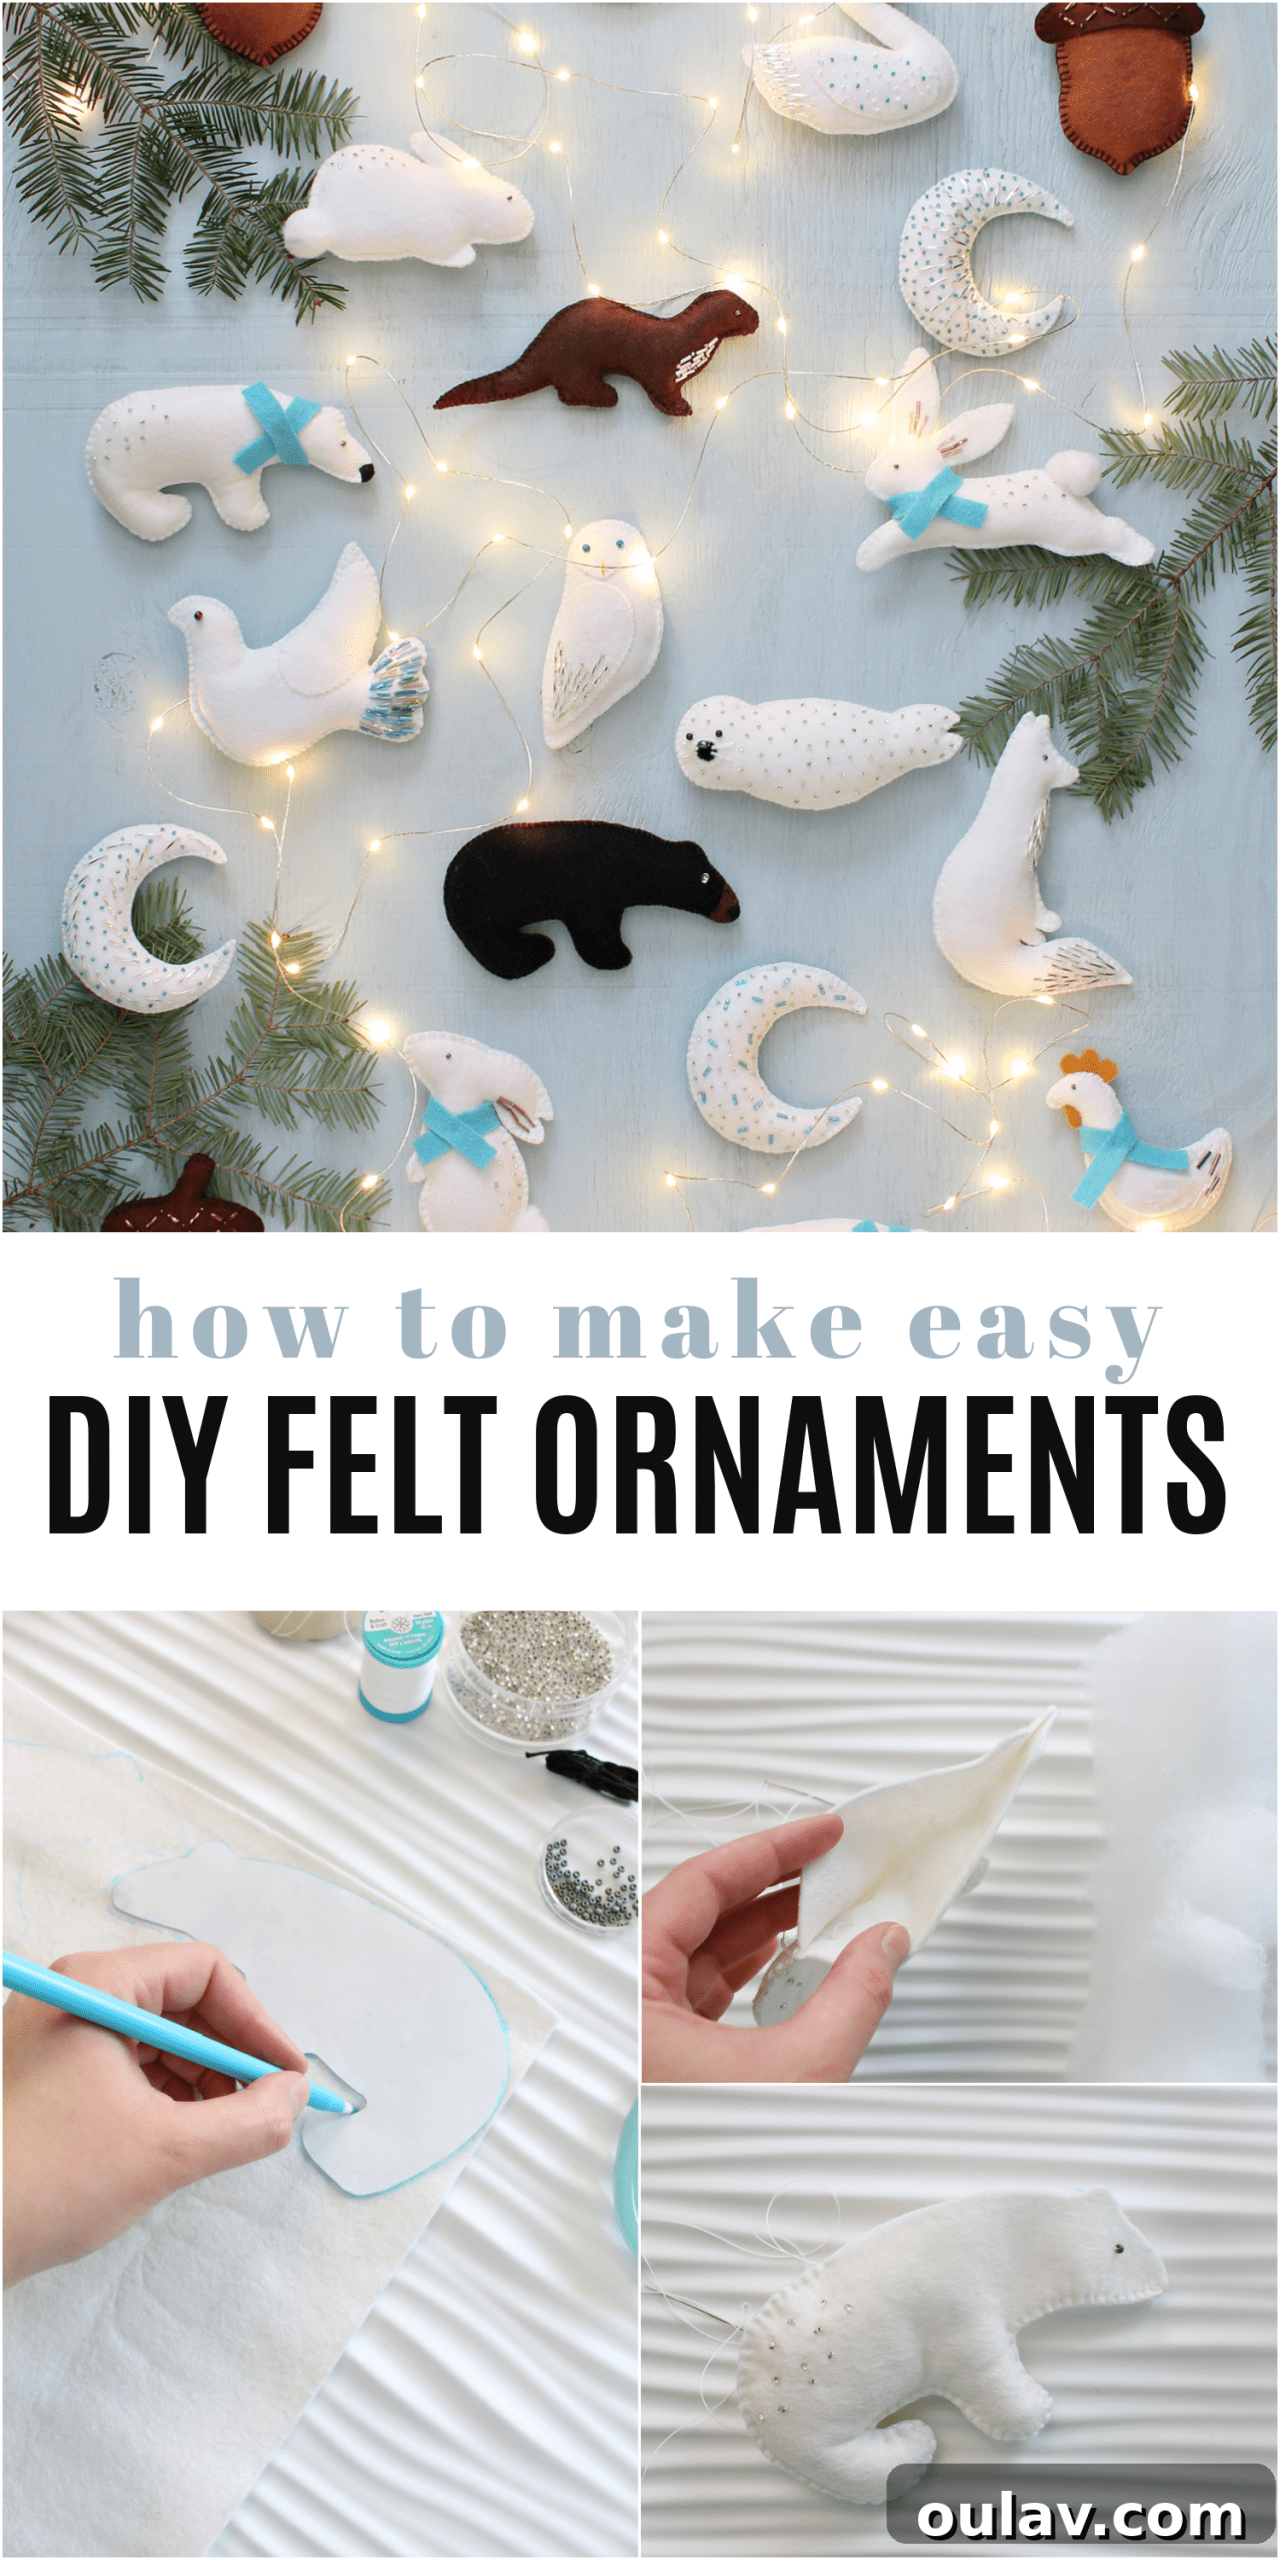
Once your template is ready, carefully place it onto the back of your chosen felt. To ensure you have perfectly symmetrical front and back pieces for your ornament, trace the template onto the felt, then flip the template over and trace it a second time. This creates mirror images that will align perfectly when sewn together. I found that an embroidery transfer pen worked exceptionally well for tracing onto felt; it provided clear lines that were much easier to see than tailor’s chalk on the soft fabric. After tracing, meticulously cut out both felt pieces. Hold them together, with the marked (wrong) sides facing inward, and double-check that they fit together flawlessly. Trim any slight excesses as needed to achieve a perfect match, ensuring a clean and professional finish.
Step 4: Embellishing the Front of Your Ornament
With your two felt pieces perfectly cut, it’s time for the creative magic of embellishment! Select one piece to be the “front” of your ornament. This is the stage where you’ll stitch on any decorative elements like beads, sequins, or intricate embroidery. For a truly dazzling effect, I opted for generous beading on many of my designs; these tiny beads promise to capture and sparkle beautifully under the glow of Christmas tree lights. If you prefer a more understated aesthetic, you can choose to leave your ornament unadorned for a minimalist, Nordic-inspired Christmas vibe. This is also the ideal moment to stitch on any significant features like eyes, wings, or facial outlines. Details such as small noses and tails are best saved for the final stages, after the ornament has been sewn and stuffed.
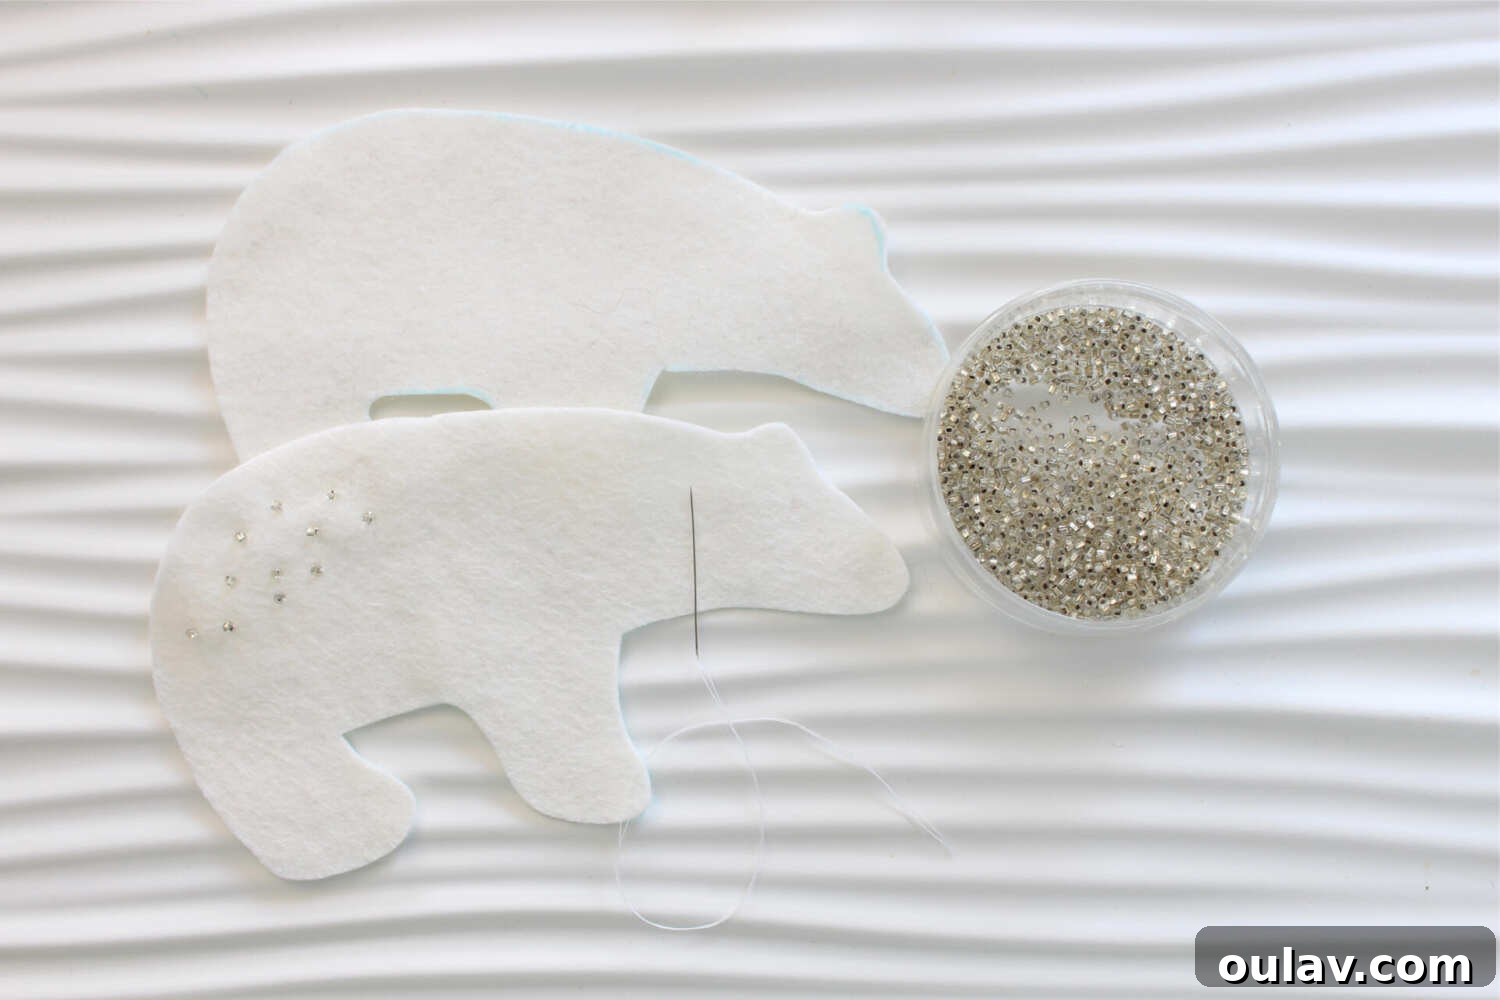
Step 5: Stitching the Ornament Together
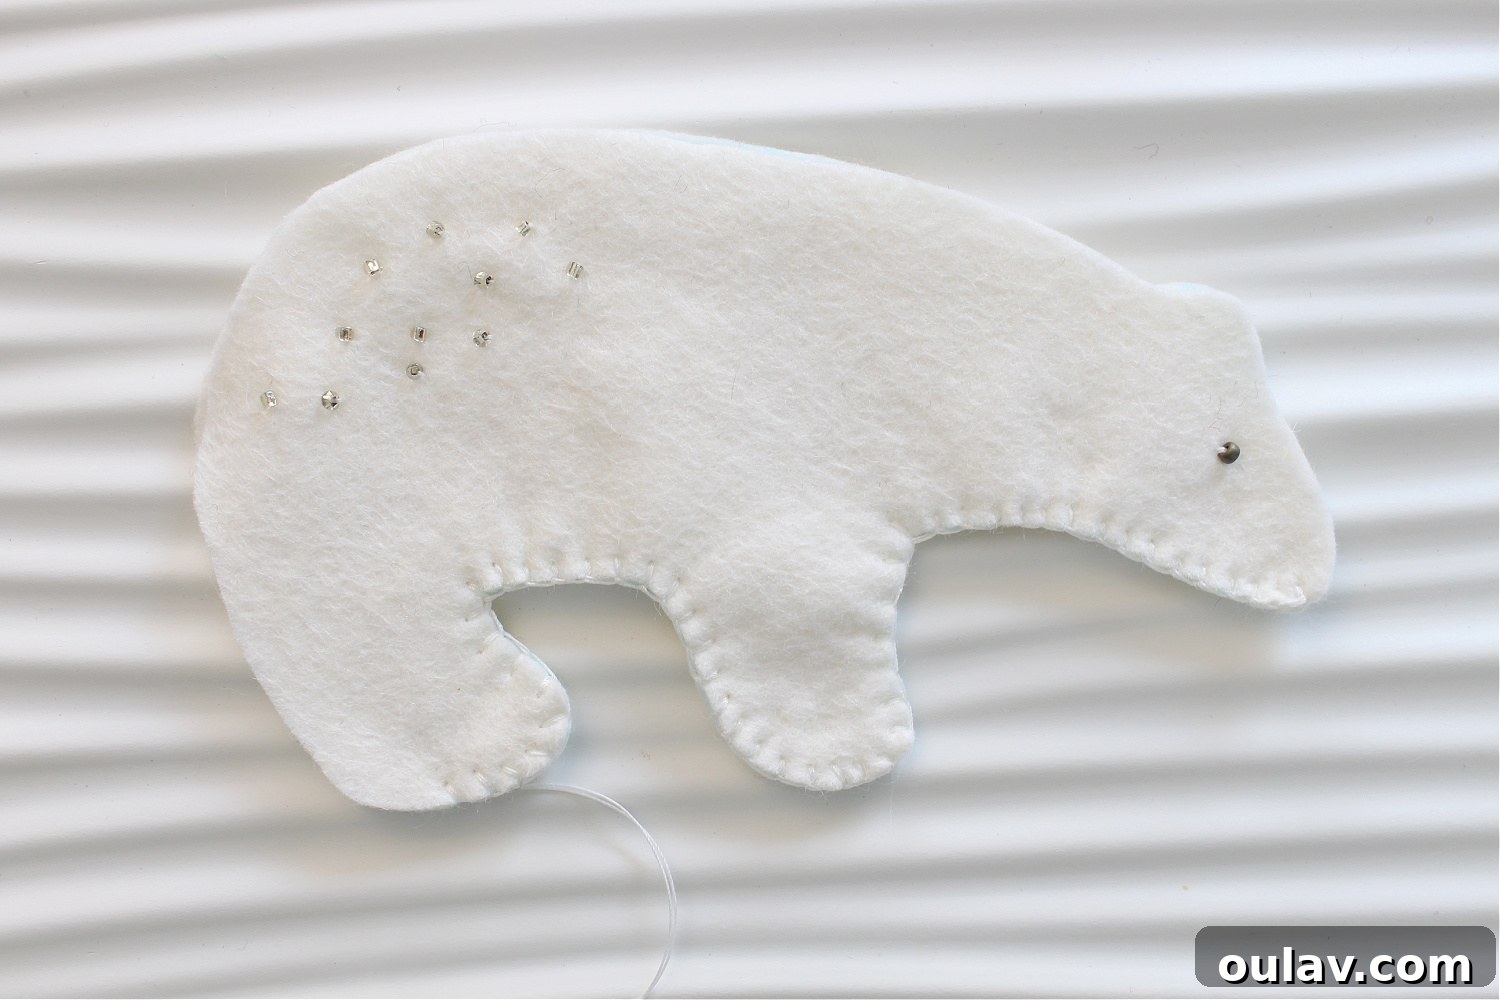
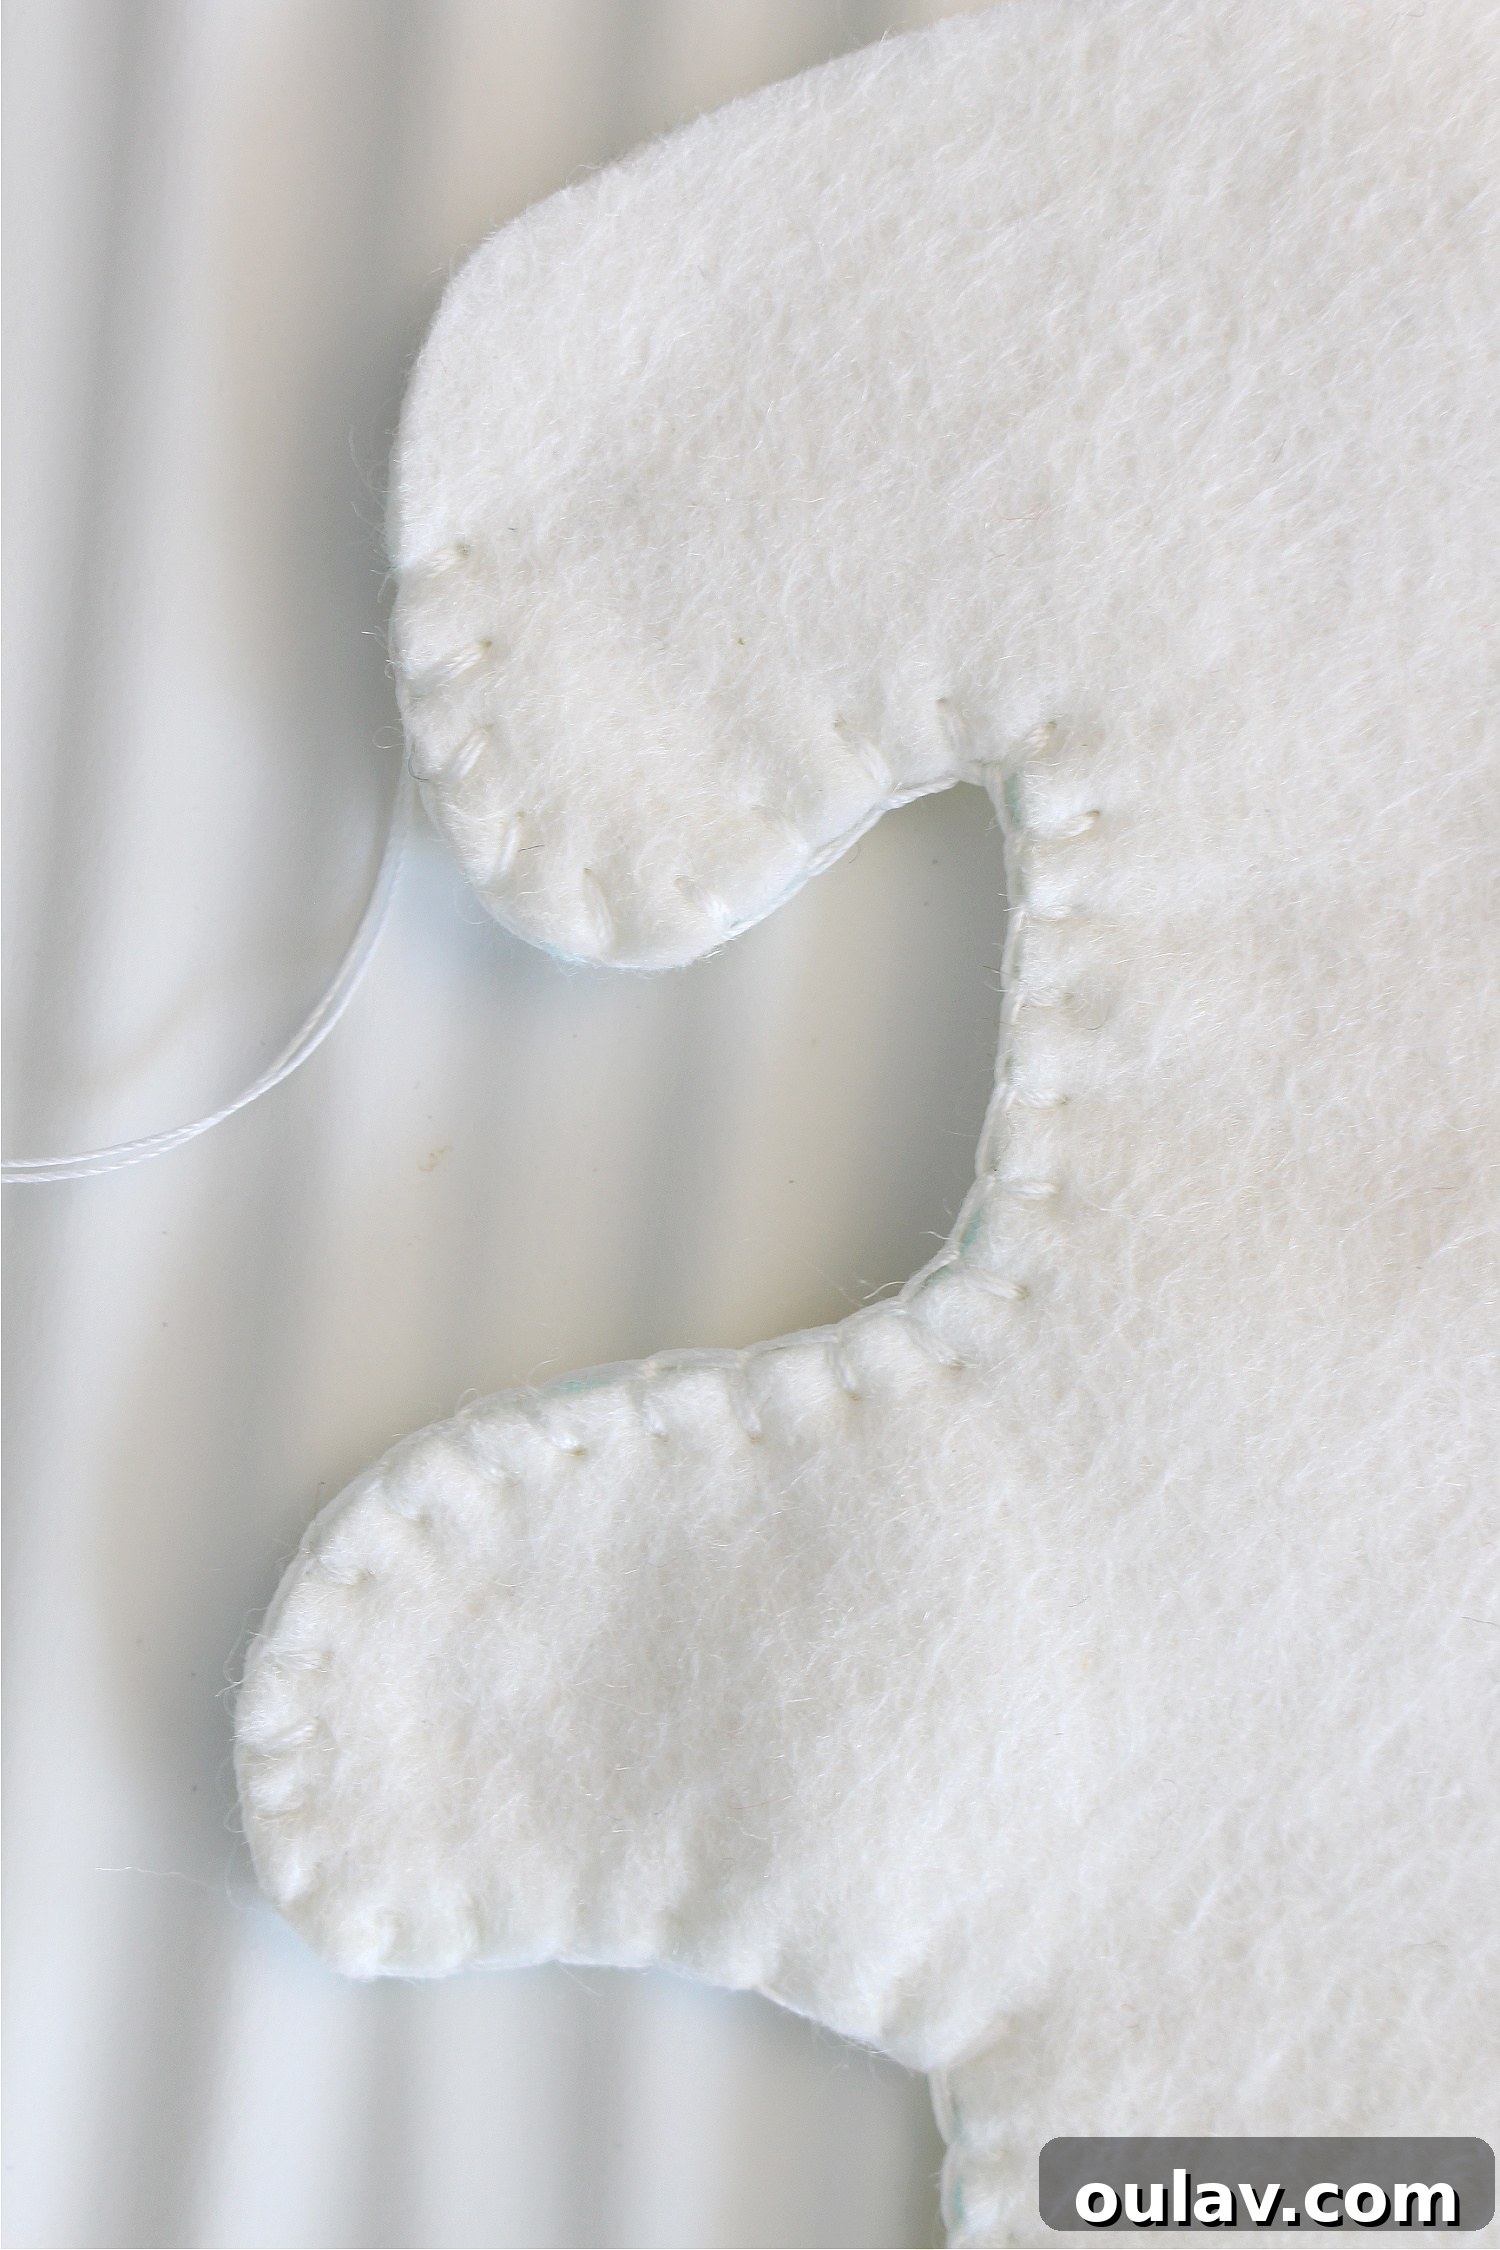
Now, bring your two embellished felt pieces together, ensuring the right sides (the pretty, visible sides) are facing outwards. I prefer to use a durable carpet and button thread, employing a classic blanket stitch to join the edges. This thread is incredibly sturdy, yet fine enough that my stitches remain discreet, allowing the ornament’s design and embellishments to be the focal point. For comparison, my mom crafted her brown felt acorns using thicker embroidery thread, which creates a more pronounced, rustic blanket stitch. If you enjoy the look of bolder, contrasting stitching, then embroidery thread is an excellent choice. Alternatively, you could use a simple running stitch for a different edge finish, or even use a sewing machine for a quicker assembly, as we did for these fun DIY felt catnip toys. For a no-sew option, a high-quality fabric glue could also be used, though stitching offers superior durability and a more traditional handcrafted feel.
Step 6: Stuffing for a Plump Finish
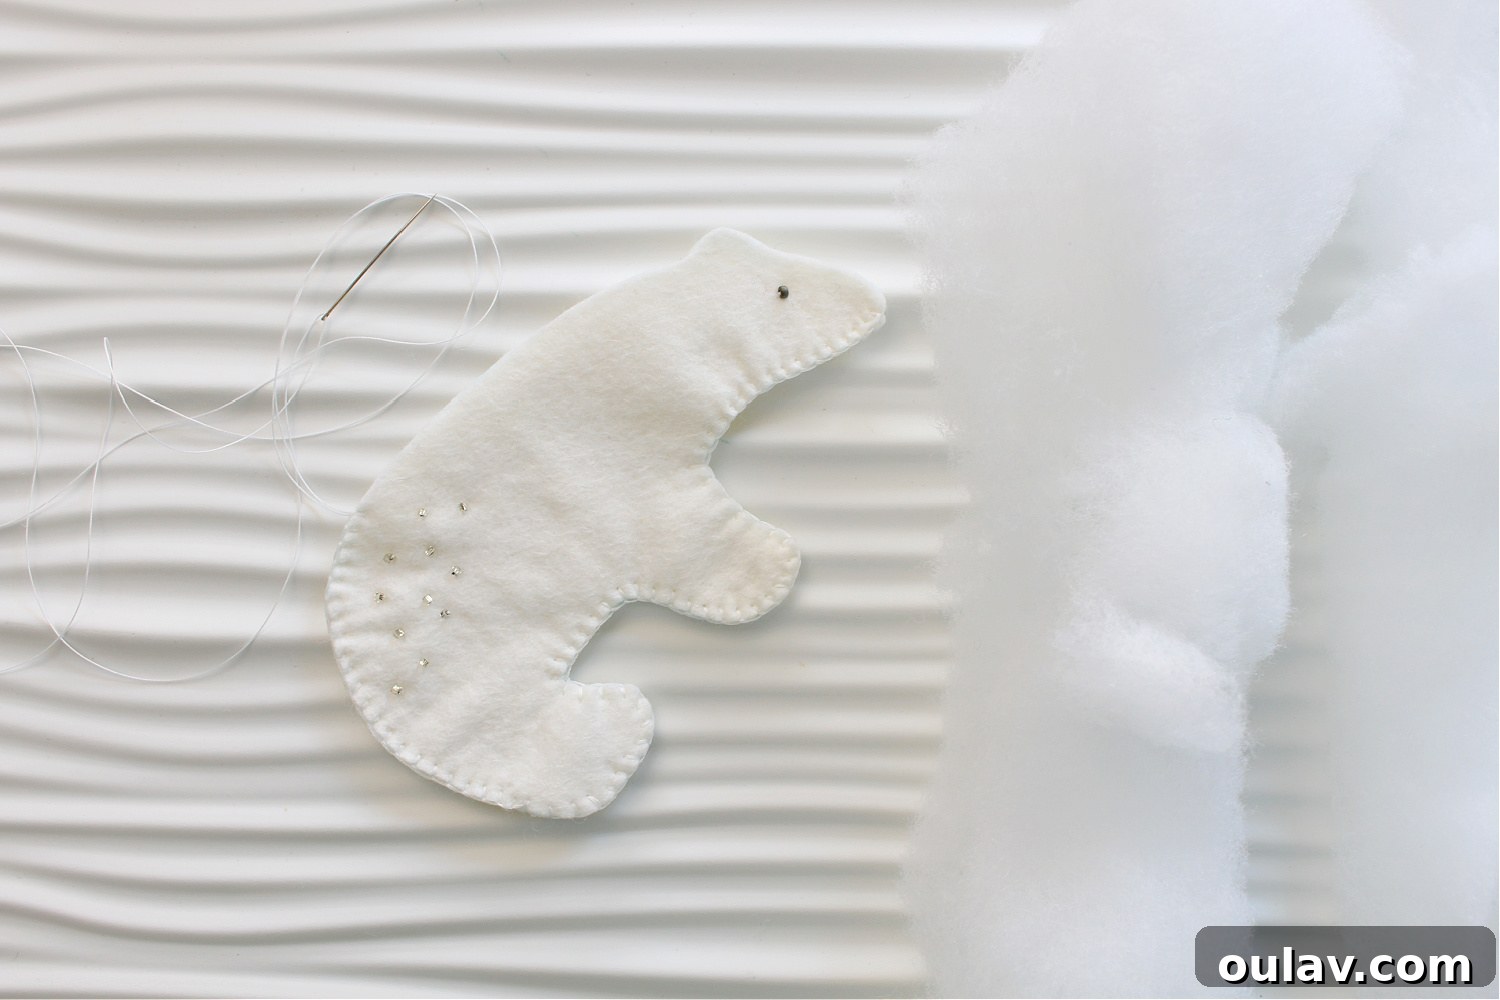
Once you’ve stitched approximately three-quarters of the way around your ornament, it’s time to add the stuffing. This step gives your felt animals their lovely plump, three-dimensional quality. Gently push small pieces of batting into the opening, distributing it evenly throughout the ornament. For tighter, more detailed areas like slender legs or delicate ears, I found that the capped end of my embroidery transfer pen was an excellent tool for pushing the batting firmly into place. Ensure the ornament is stuffed to your desired level of firmness – some prefer a very full, round look, while others might opt for a slightly softer, more pliable feel. The amount of stuffing will contribute significantly to the character of your finished felt creature.
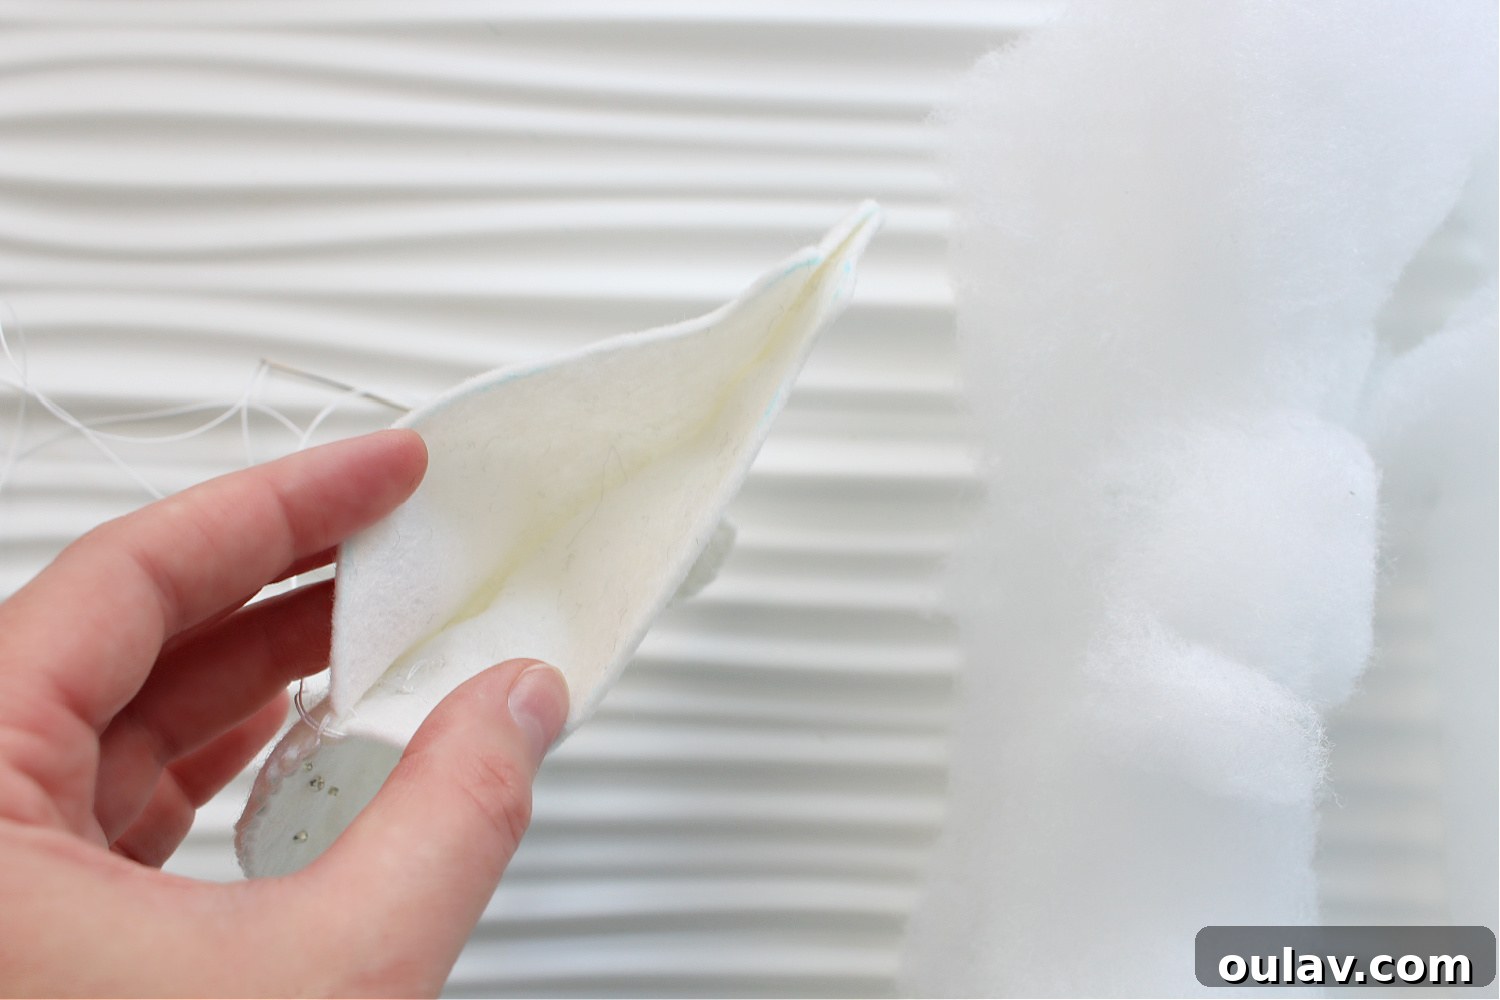
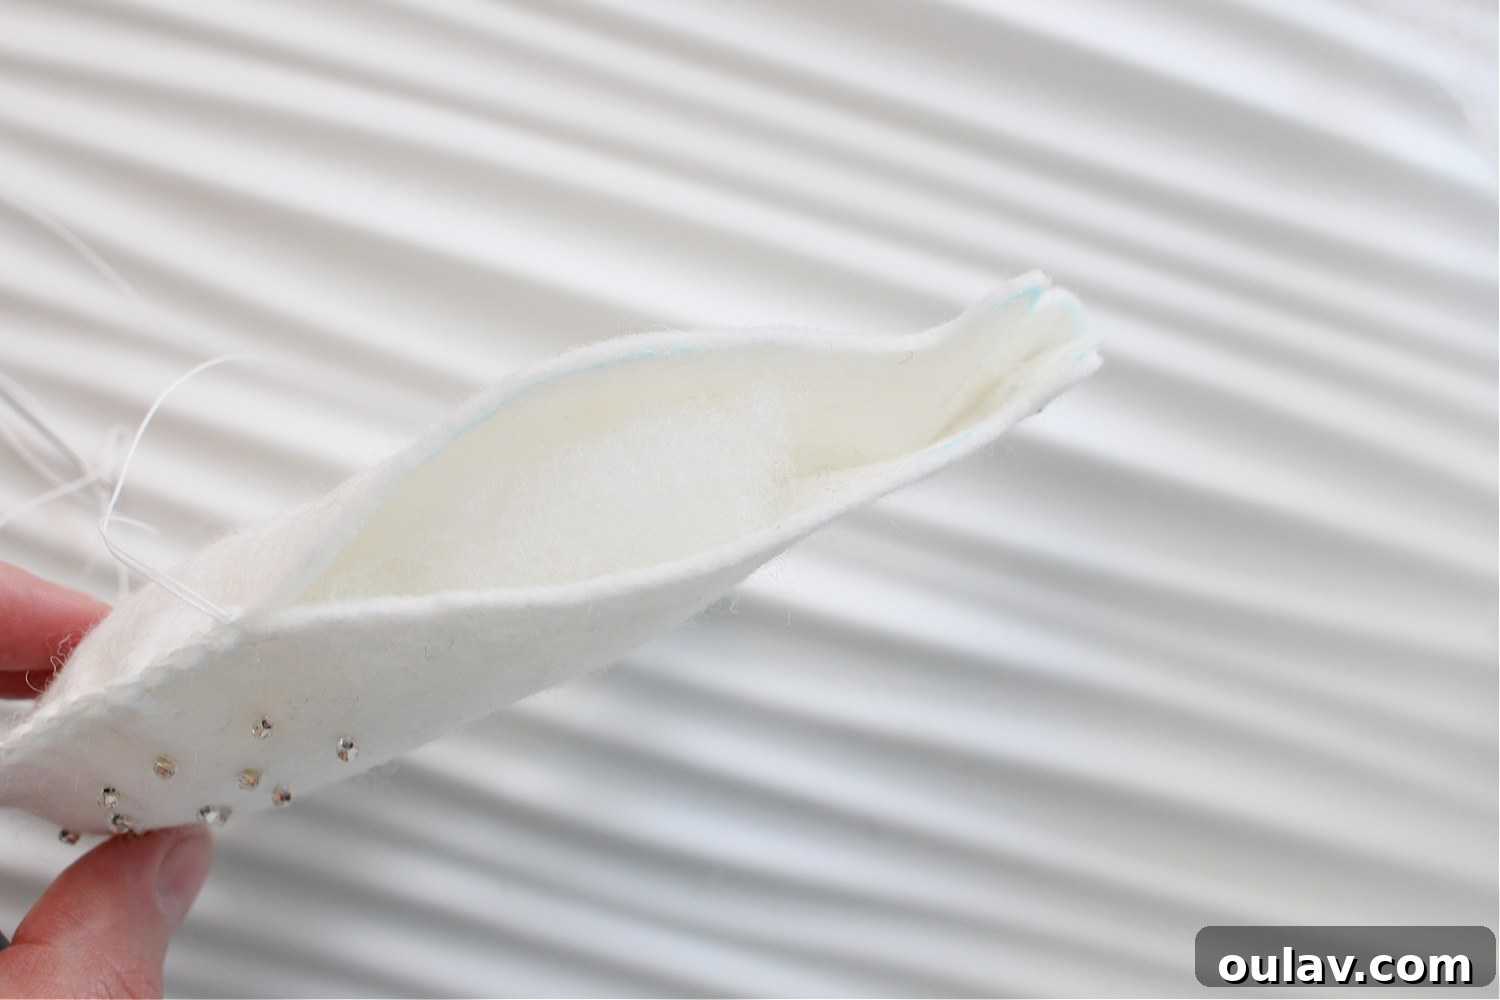
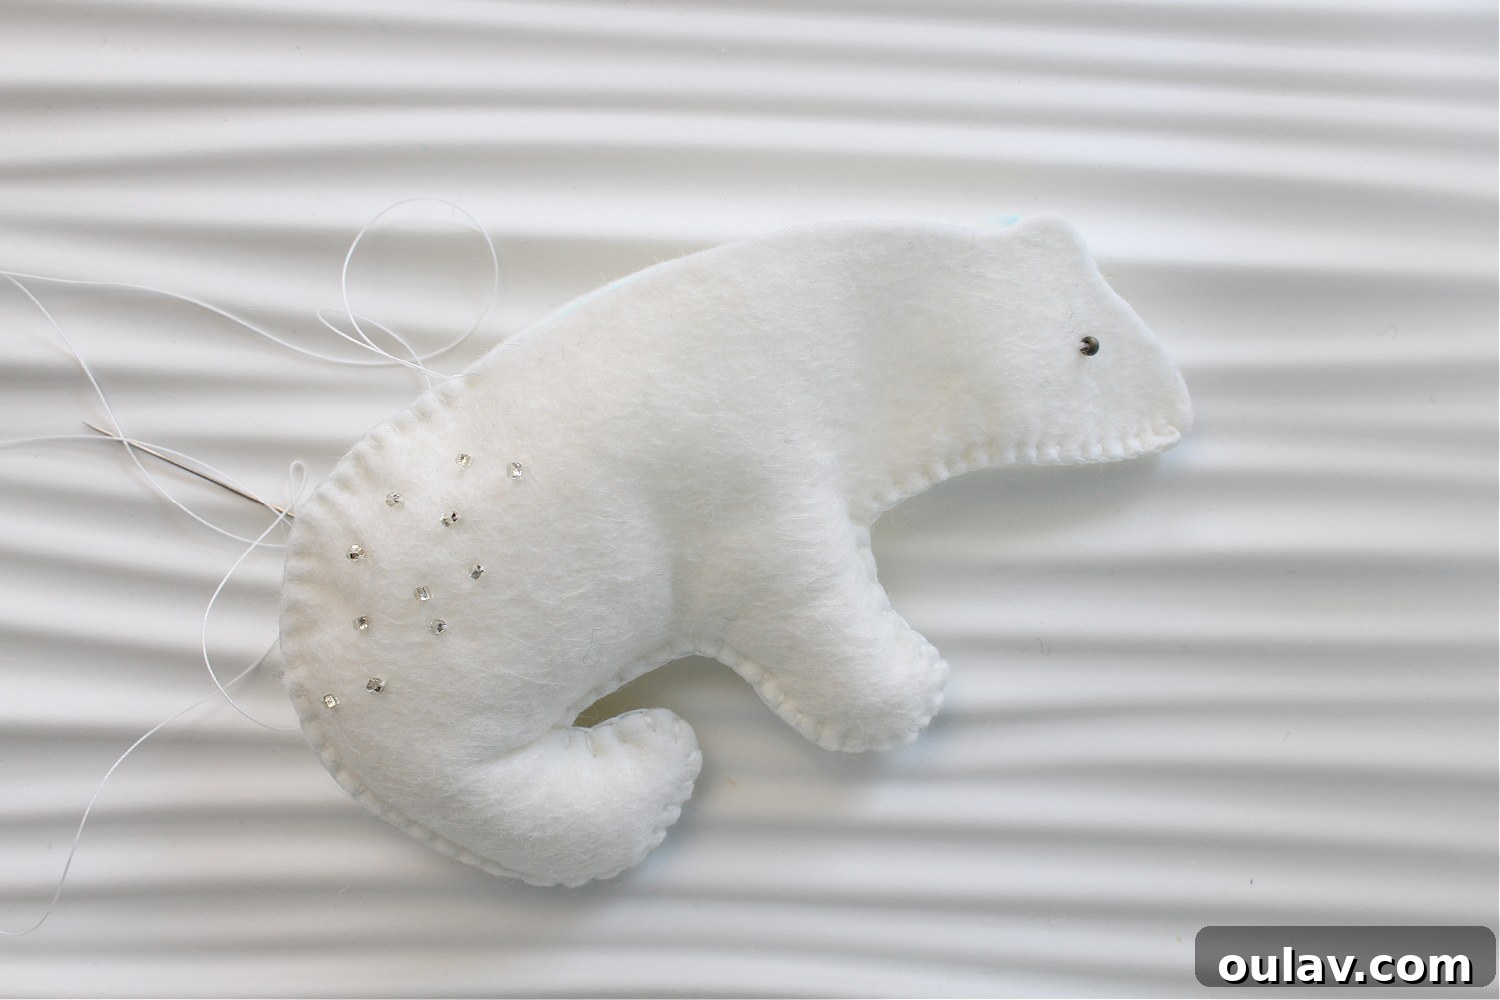
Step 7: Final Details and Hanging
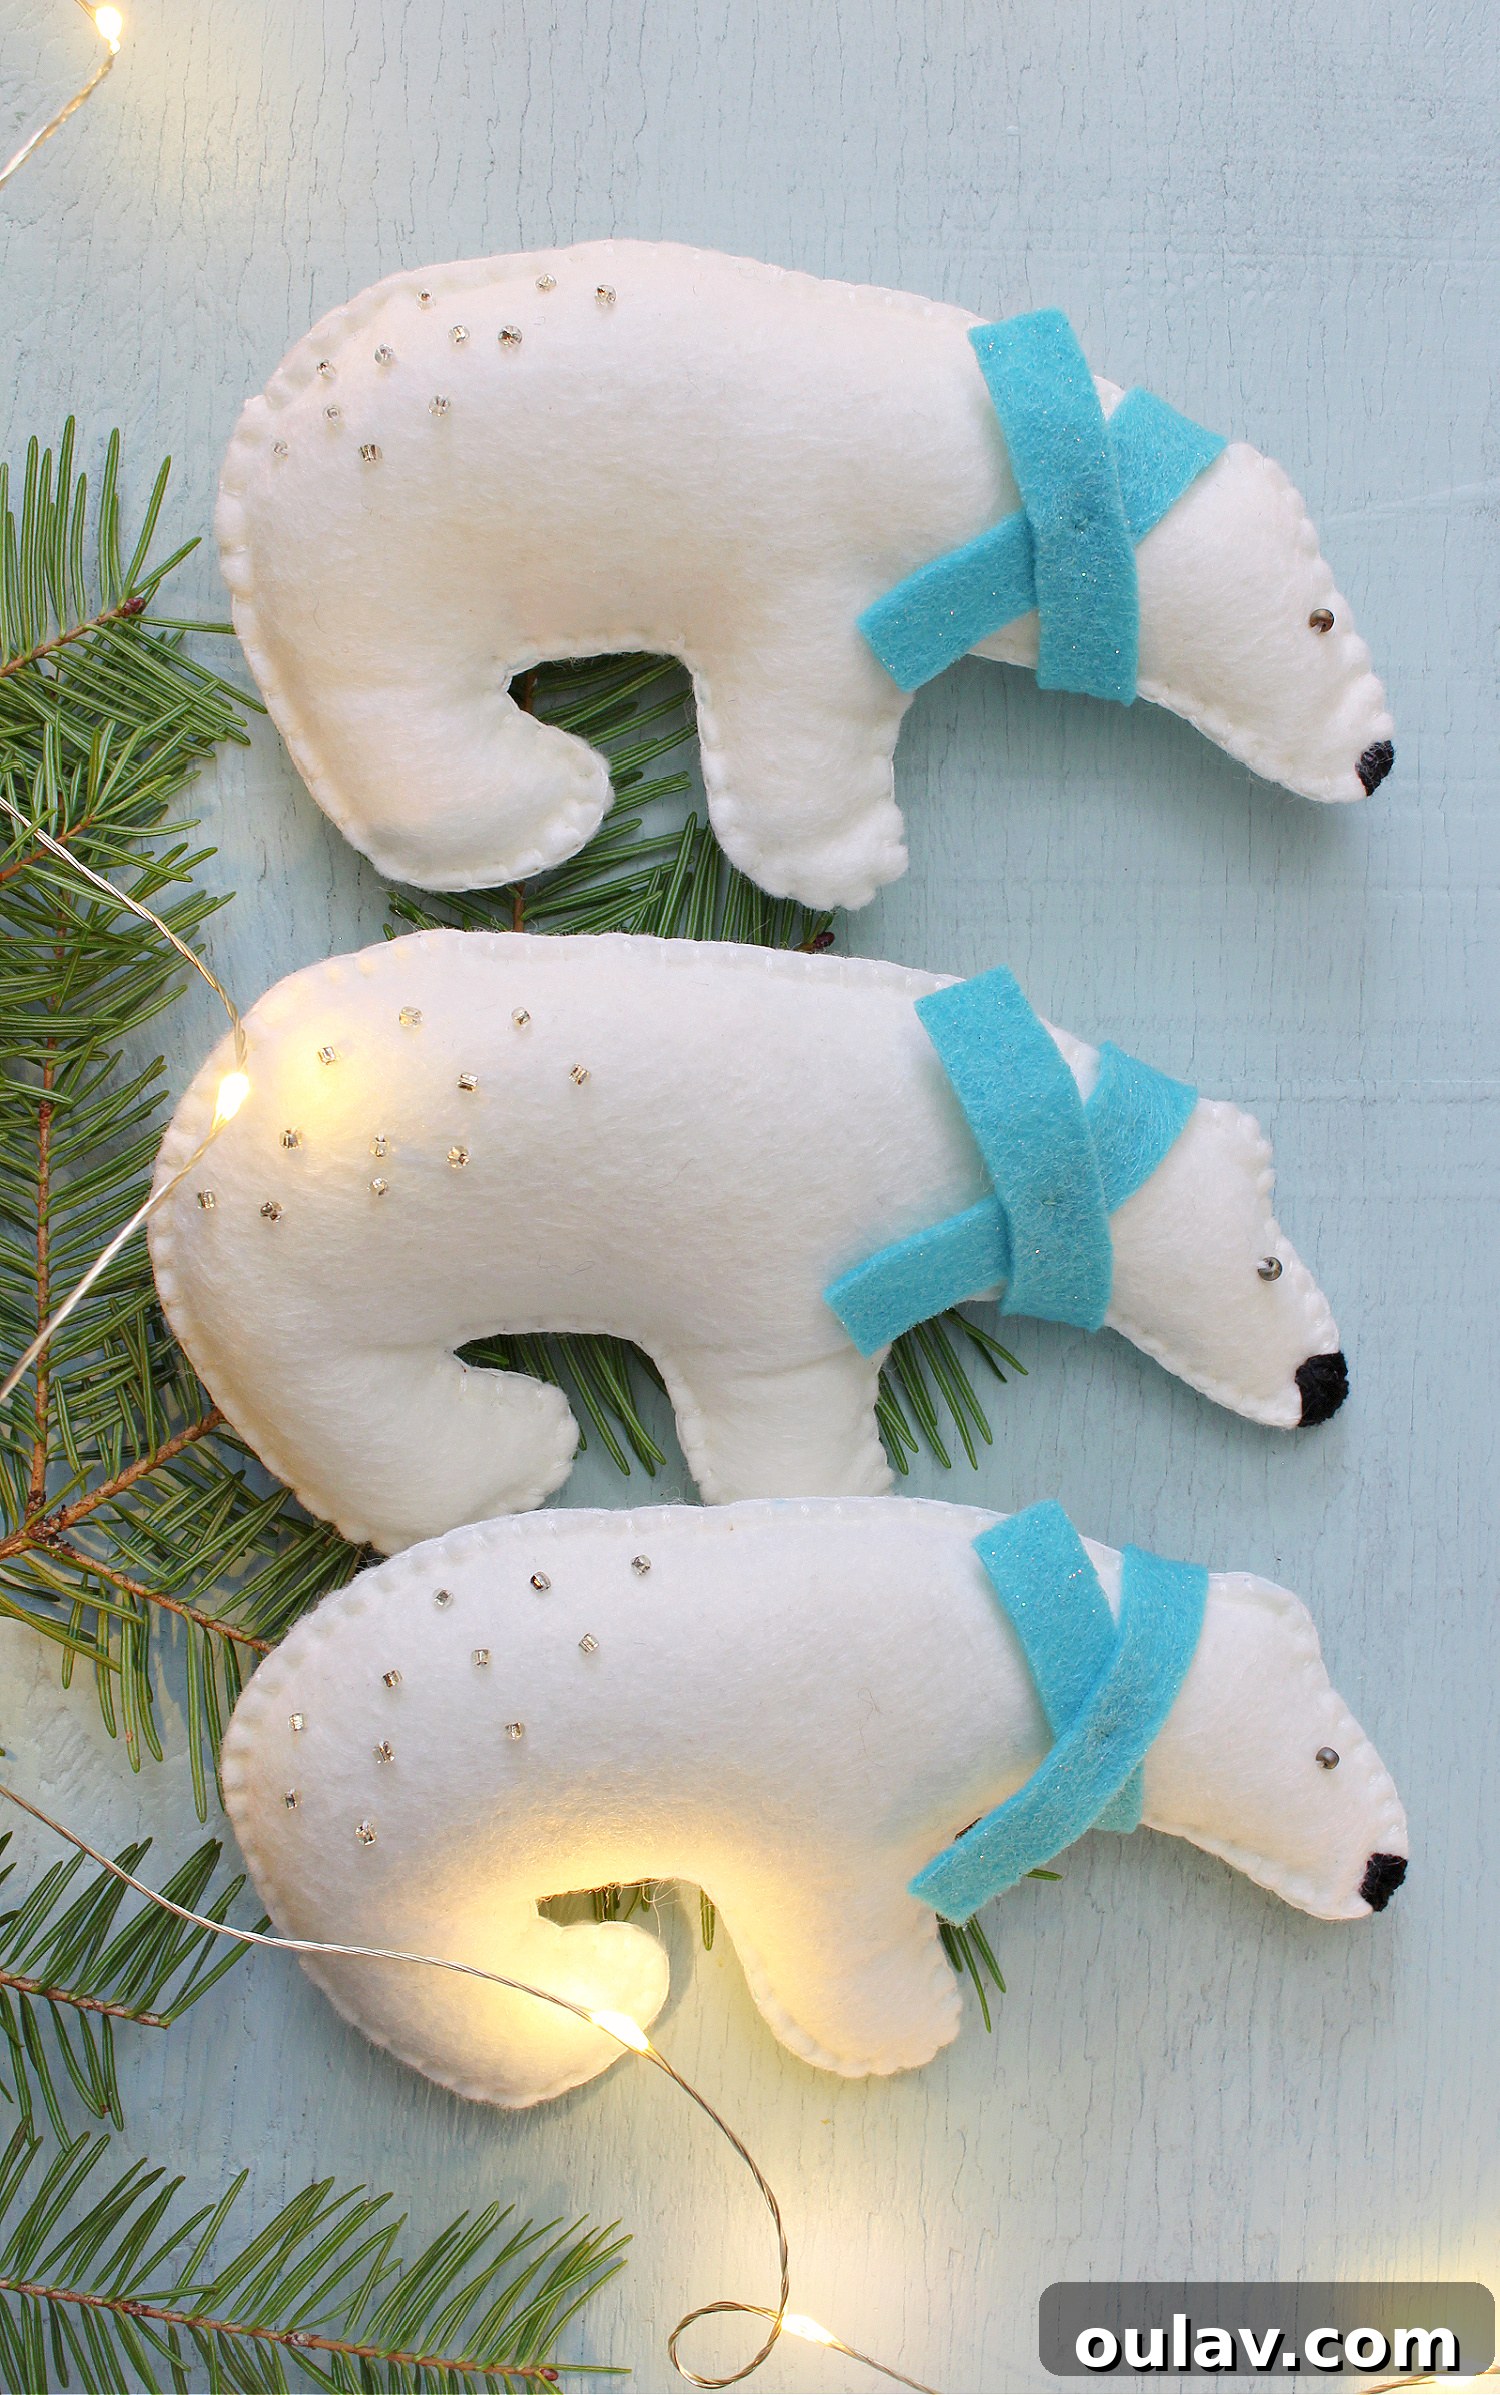
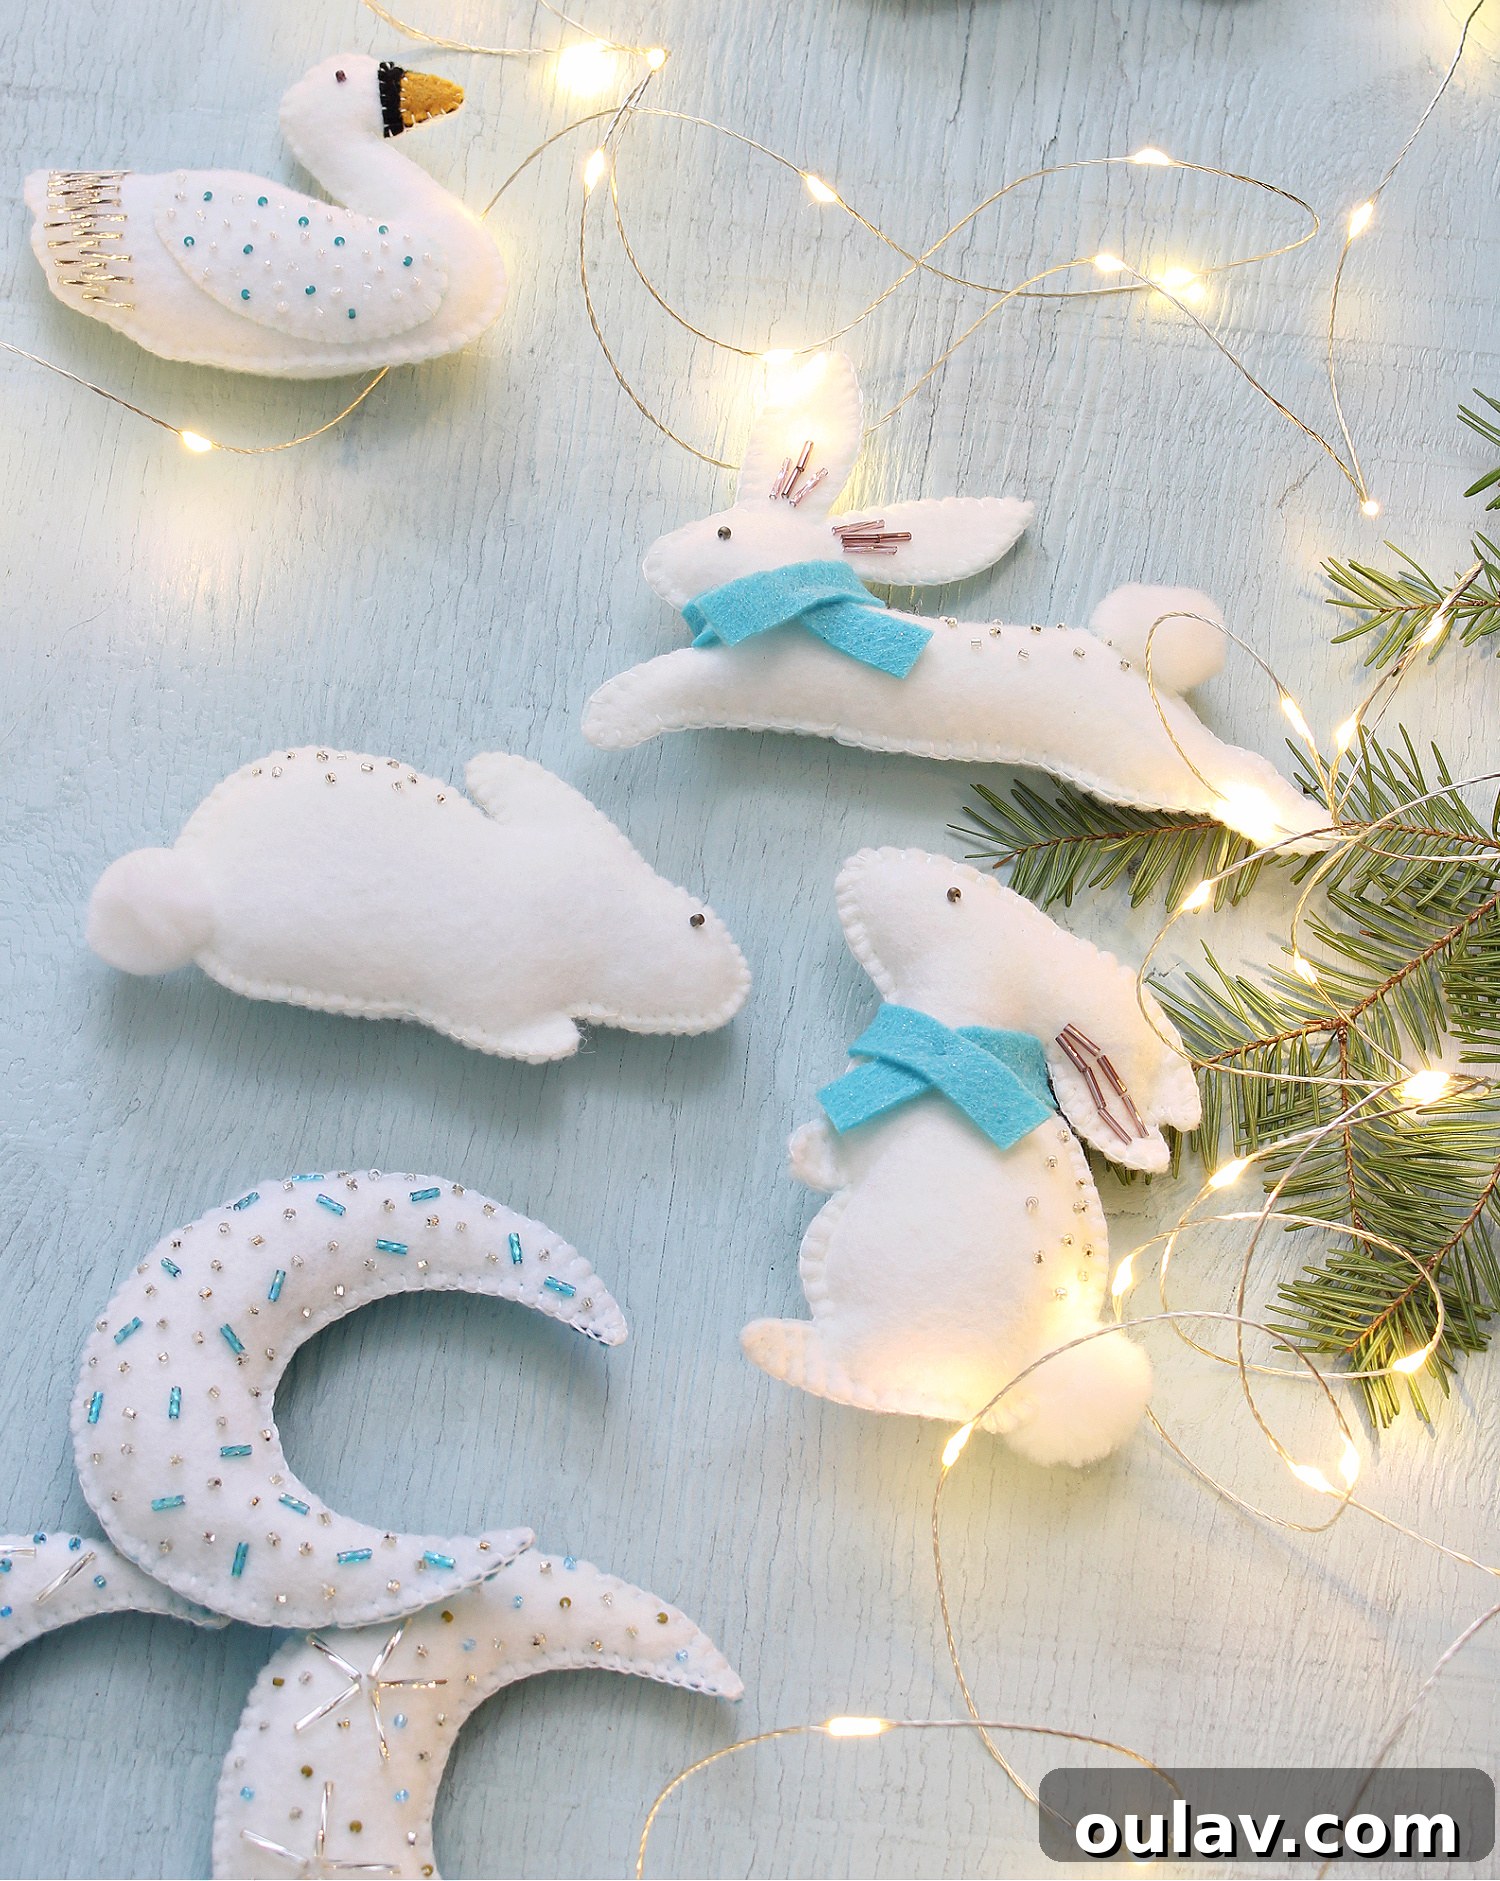
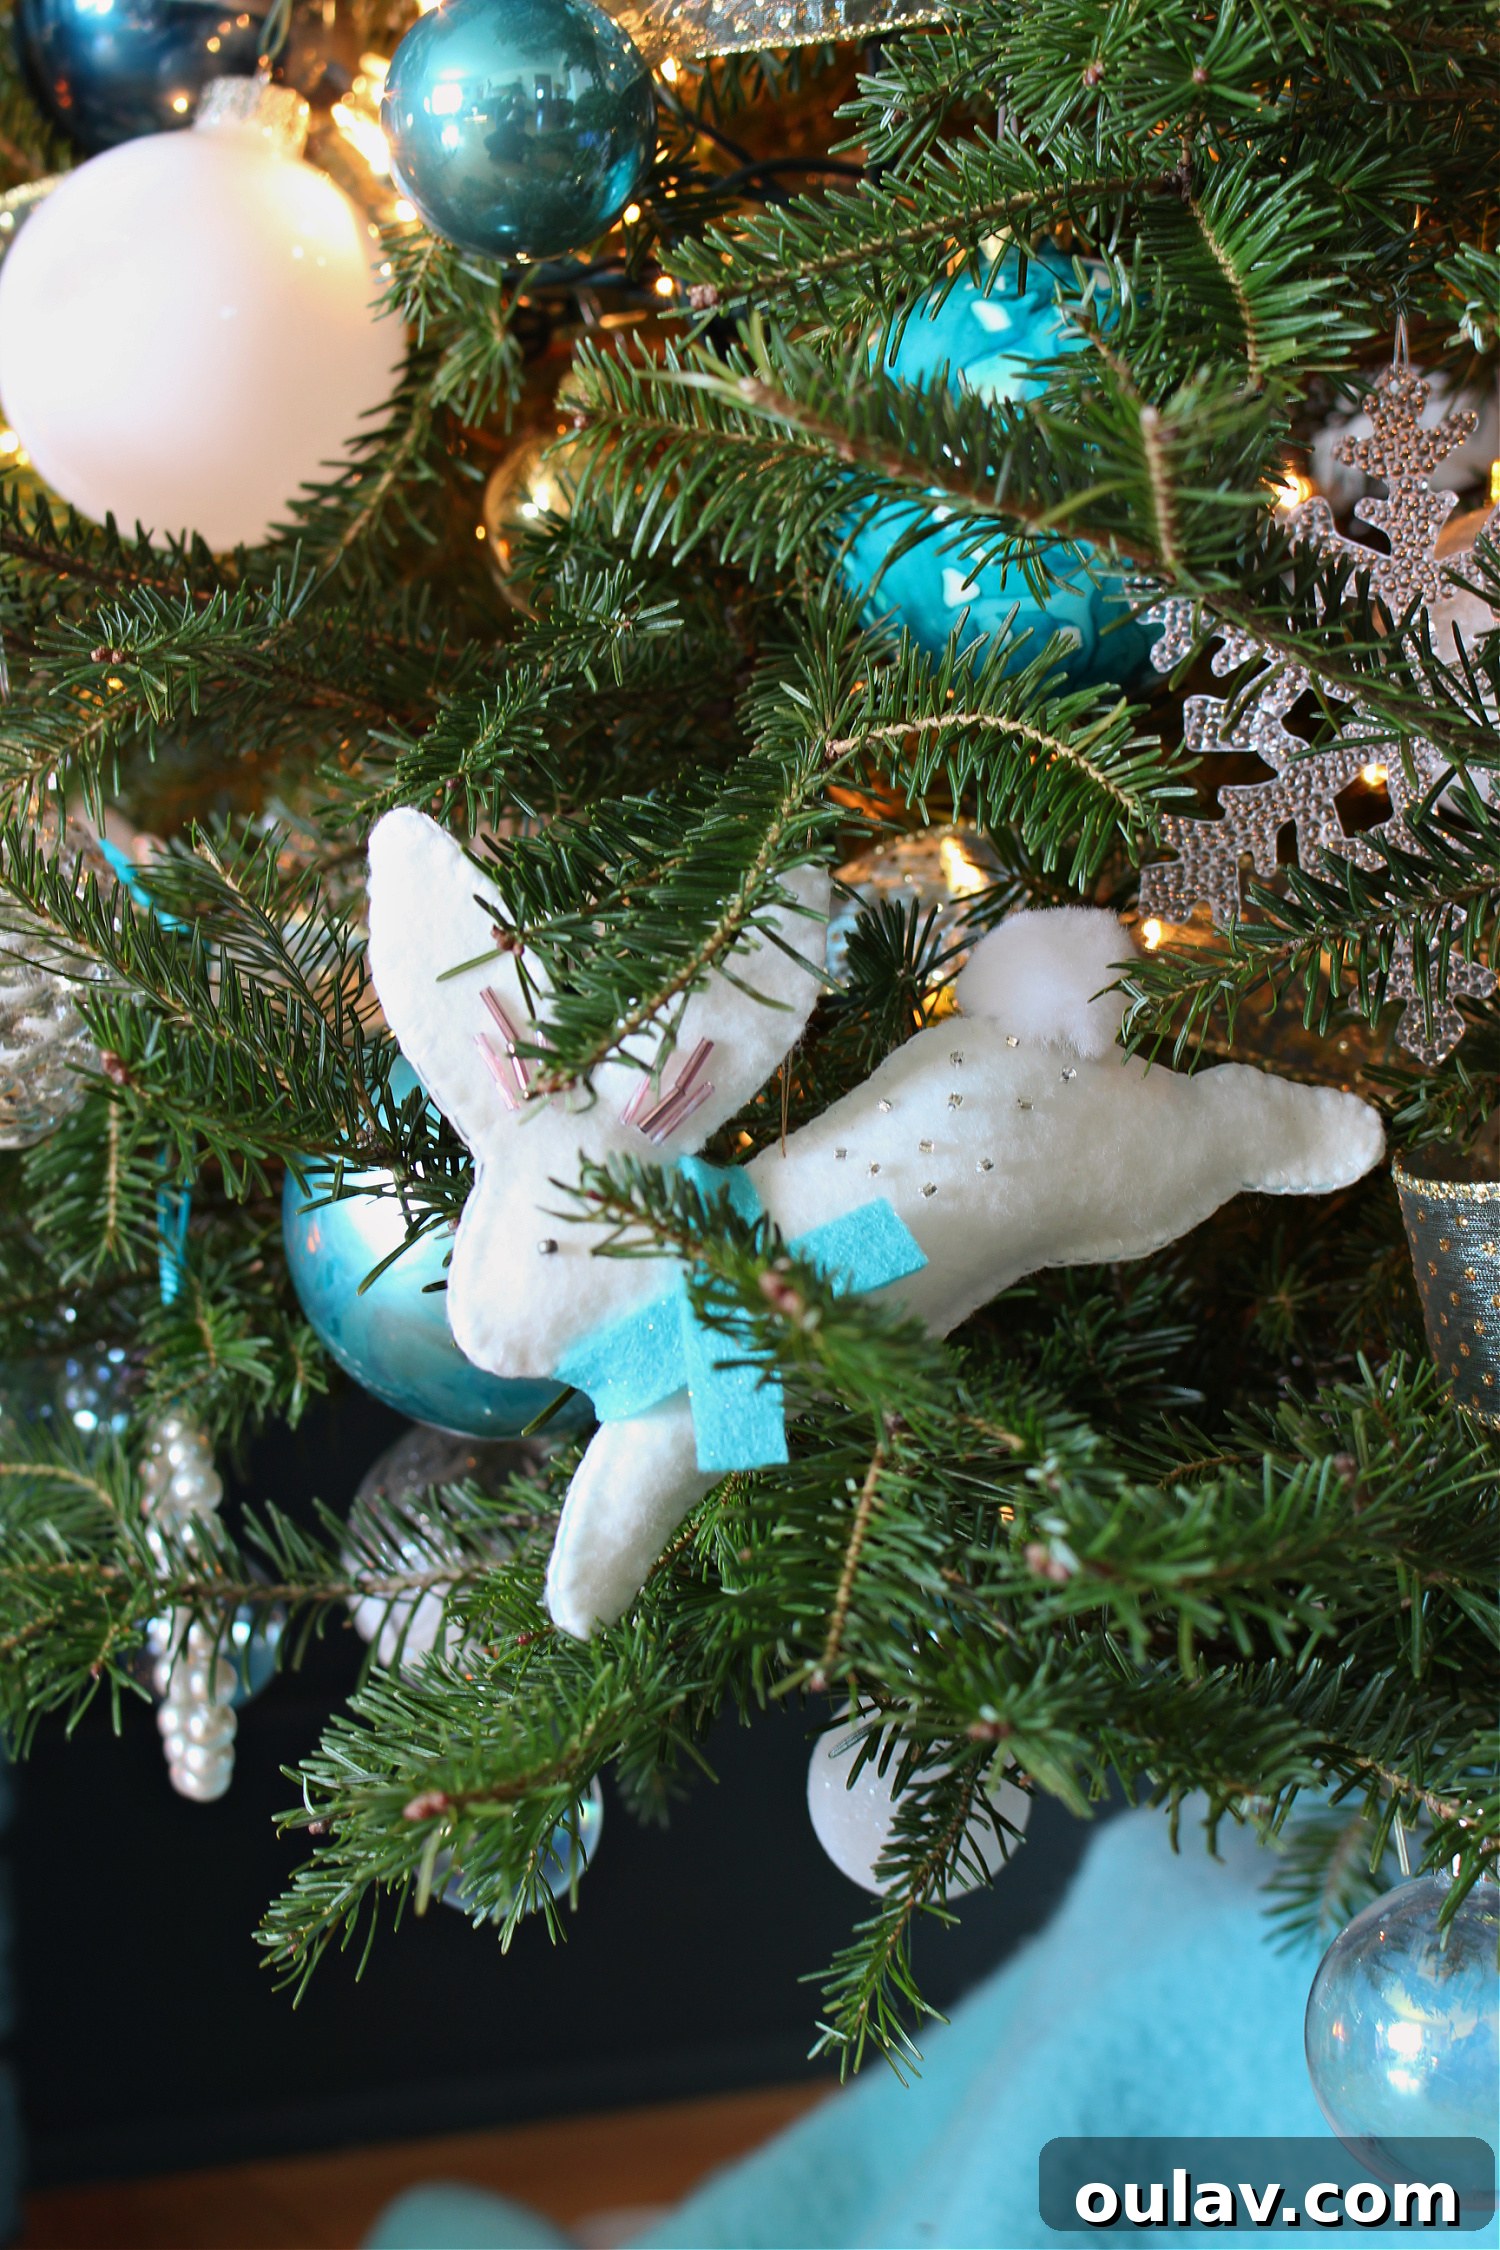
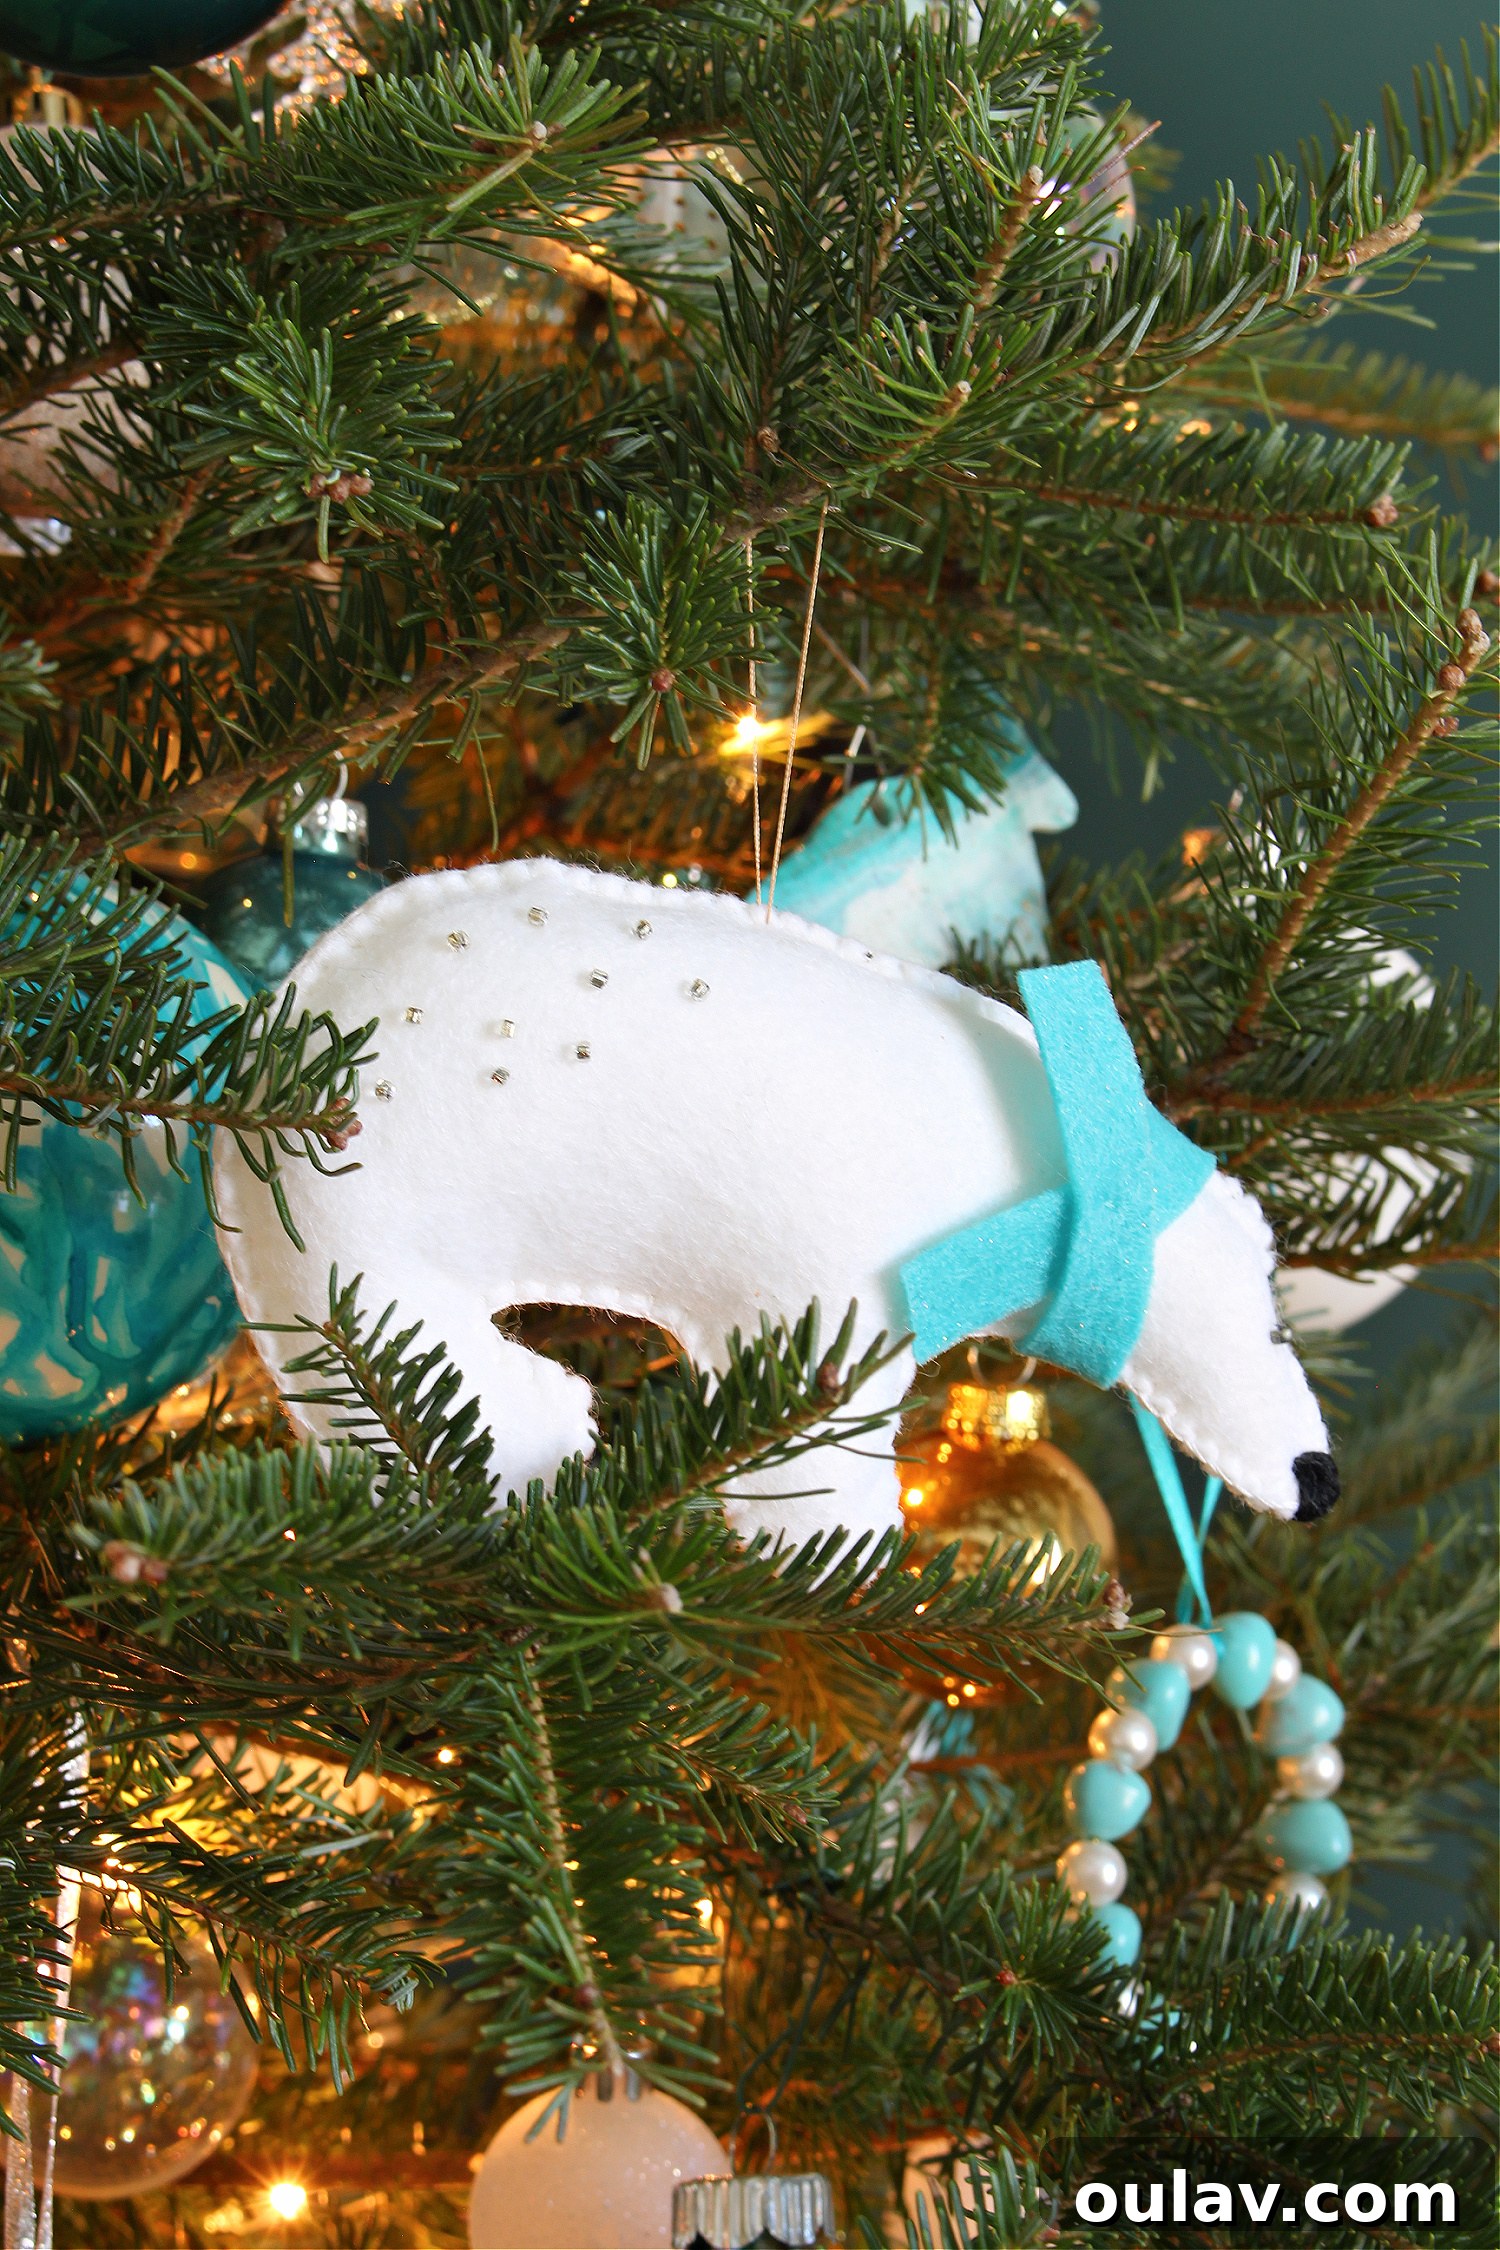
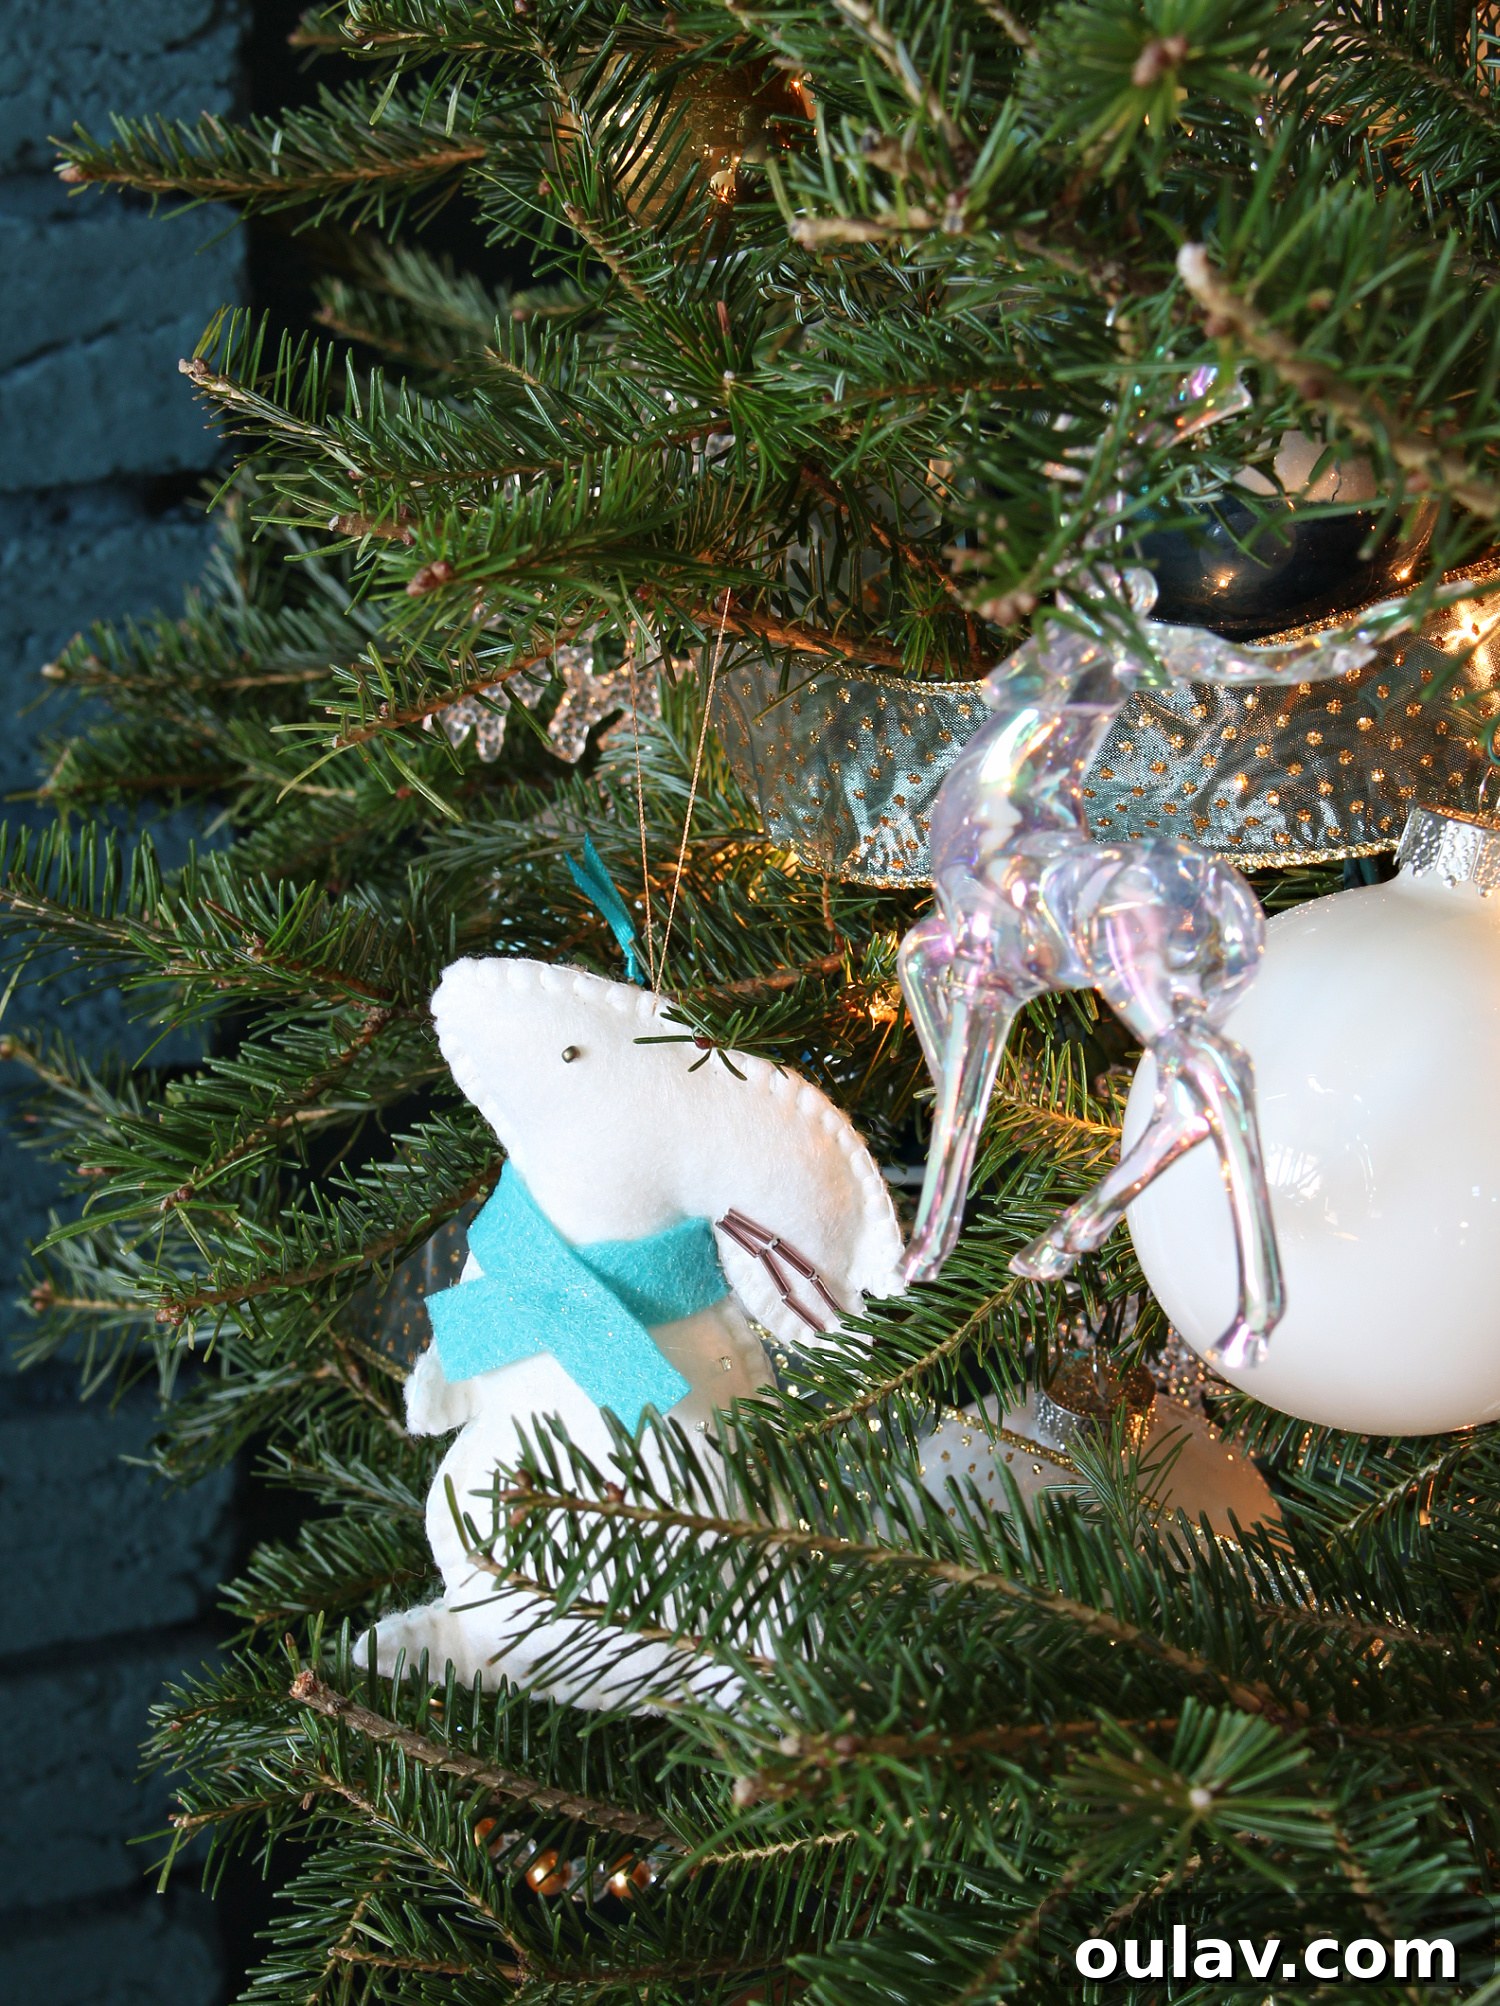
Once stuffed, carefully stitch the remaining opening closed, ensuring all batting is securely enclosed and the seam is neat. This is the perfect time to add any last-minute small details. For my polar bear, for instance, I added a tiny embroidered nose and a charming little scarf, which I secured with just three quick stitches to itself. For the bunnies, I stitched on adorable little pom-poms for their tails, adding an extra layer of cuteness. To prepare your finished ornament for hanging, simply take a large needle and some sturdy metallic thread (or a festive ribbon). Create a loop at the top of the ornament, threading the ends through and tying them securely to form a hanger. This simple step ensures your beautiful handmade creation can be proudly displayed on your Christmas tree. I’ll be sharing more photos of these very ornaments on my Mom’s tree very soon, so be sure to save this post for future inspiration!
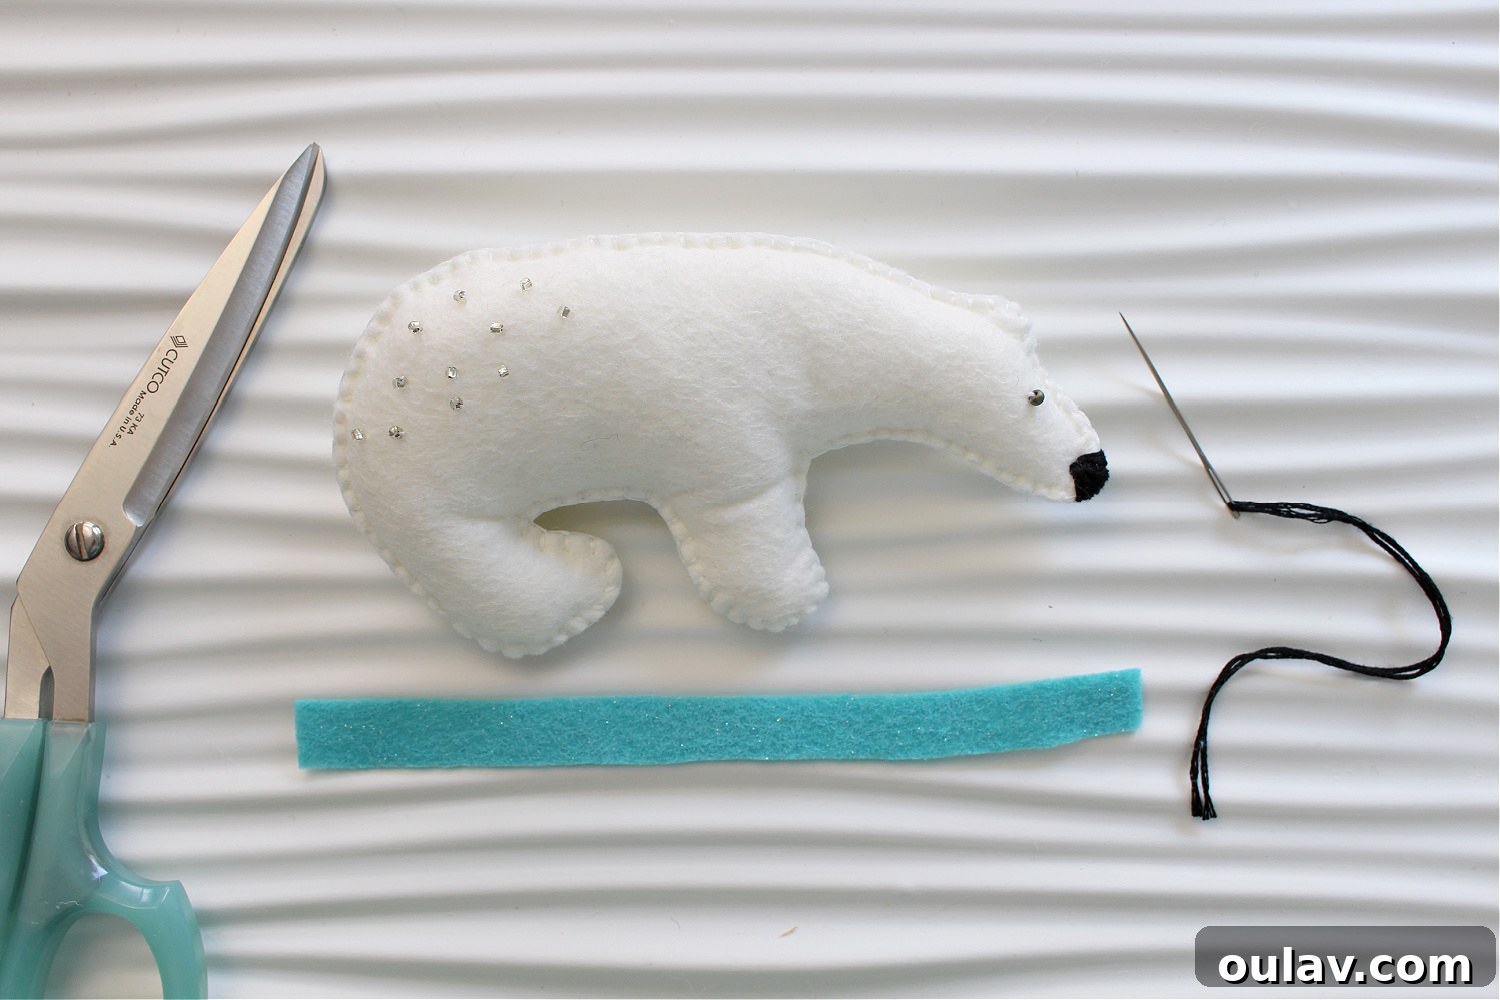
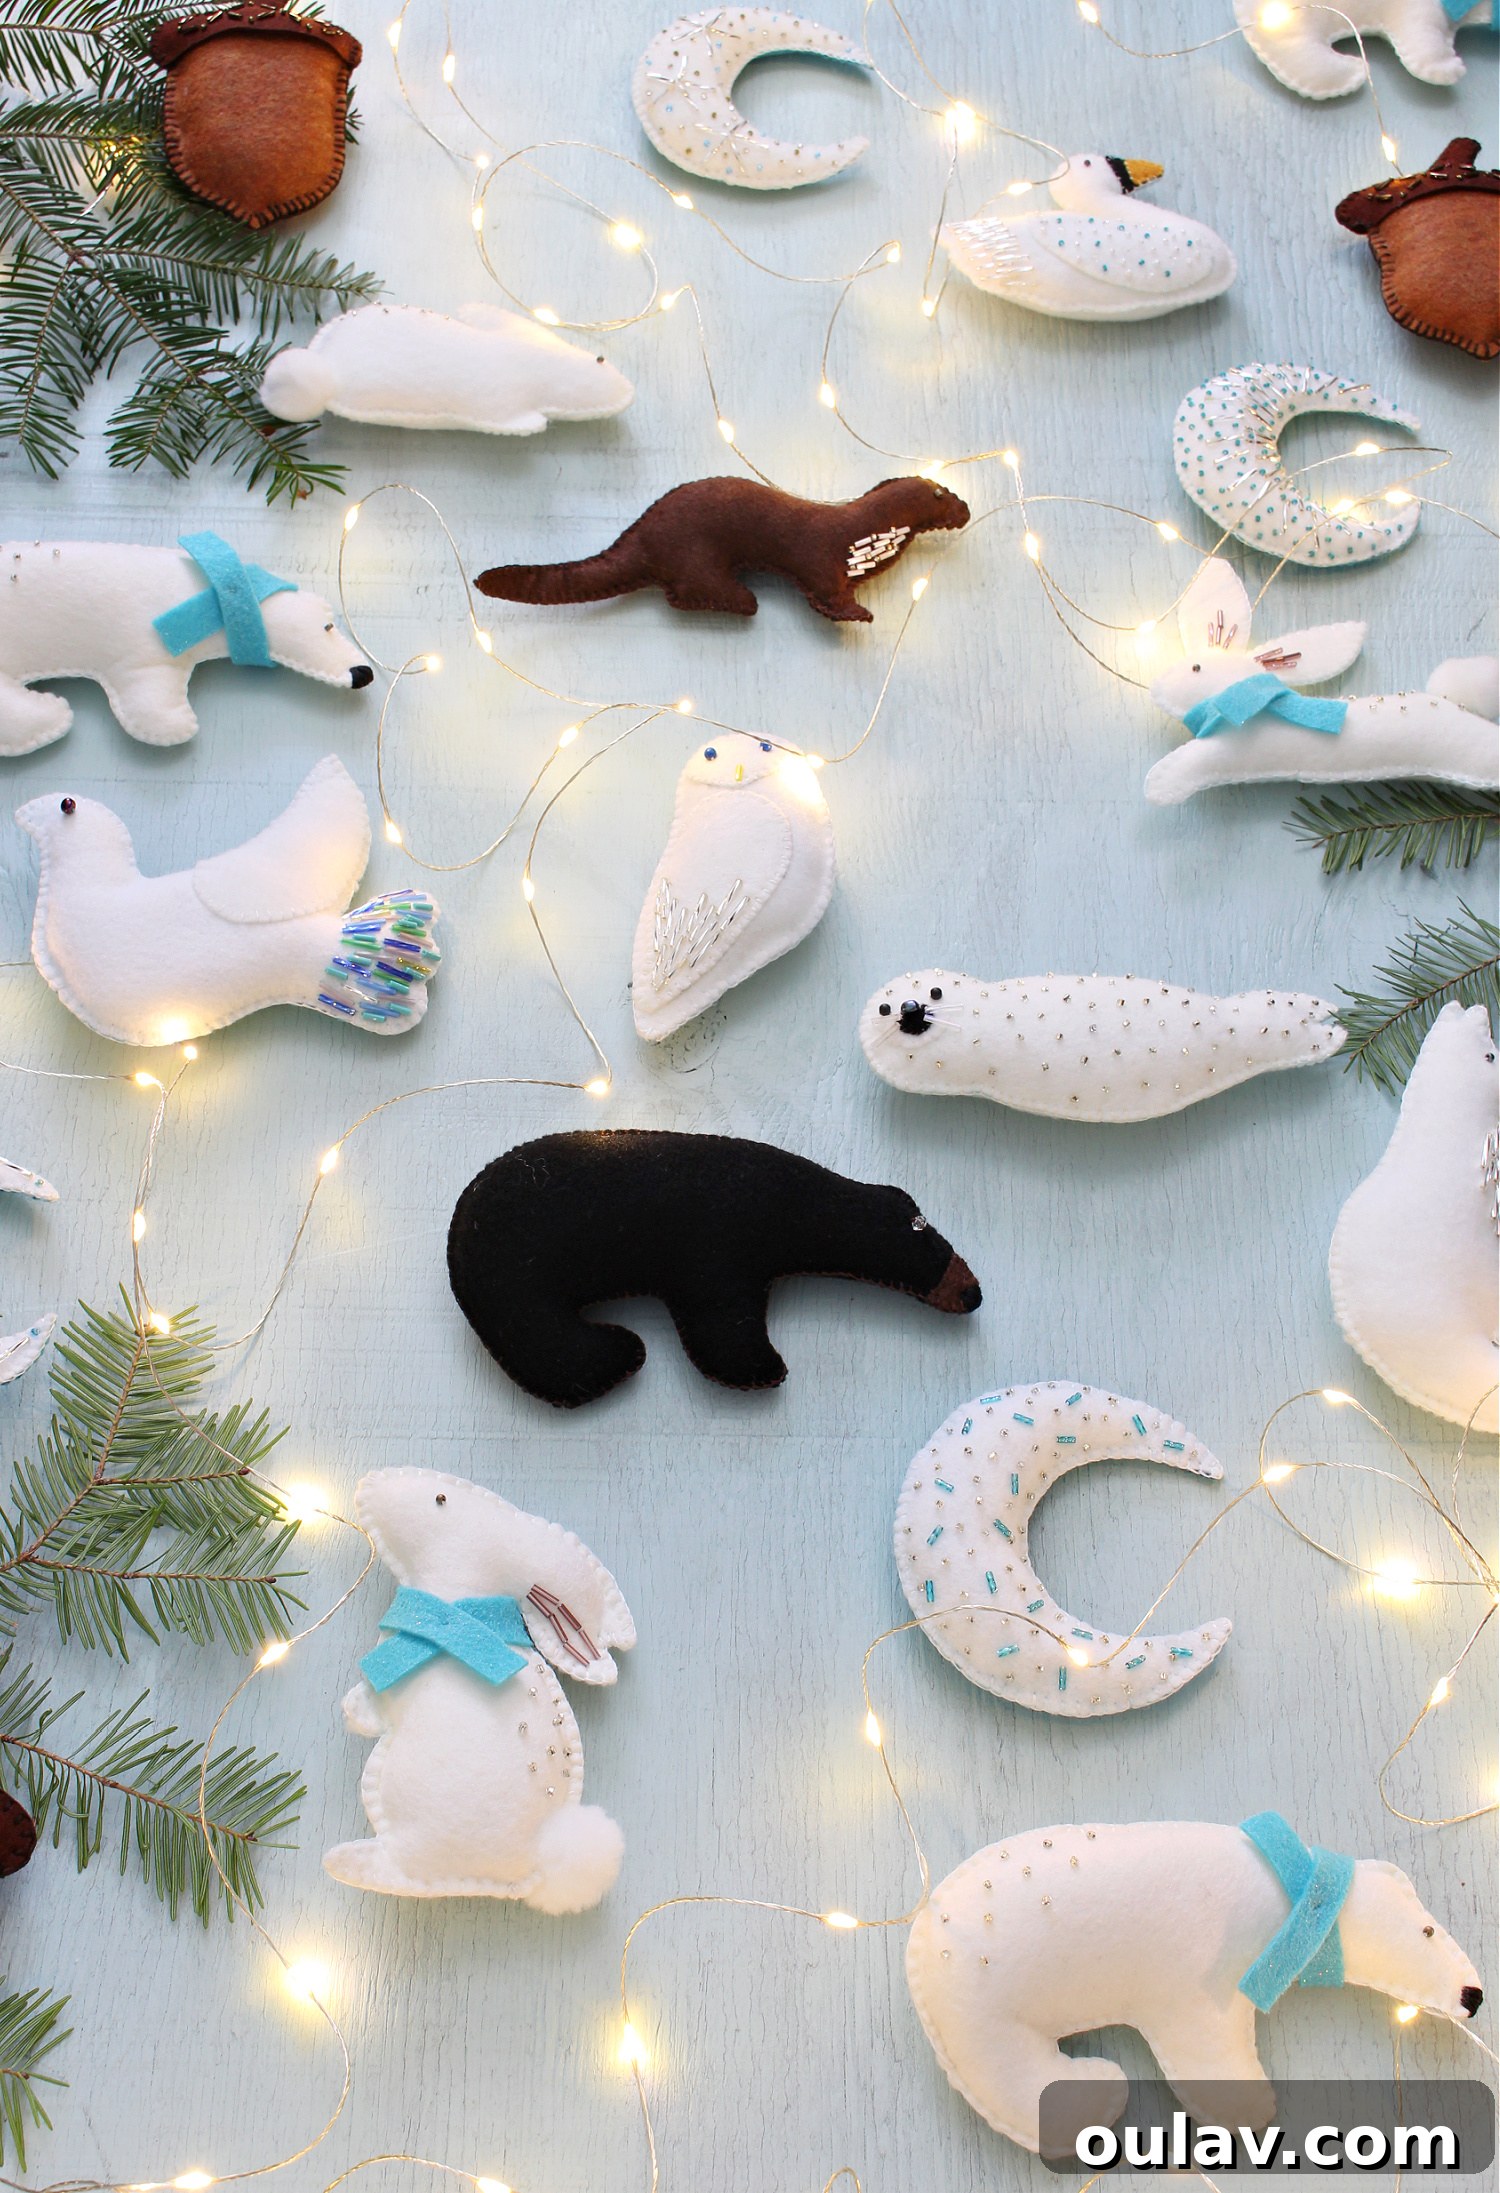
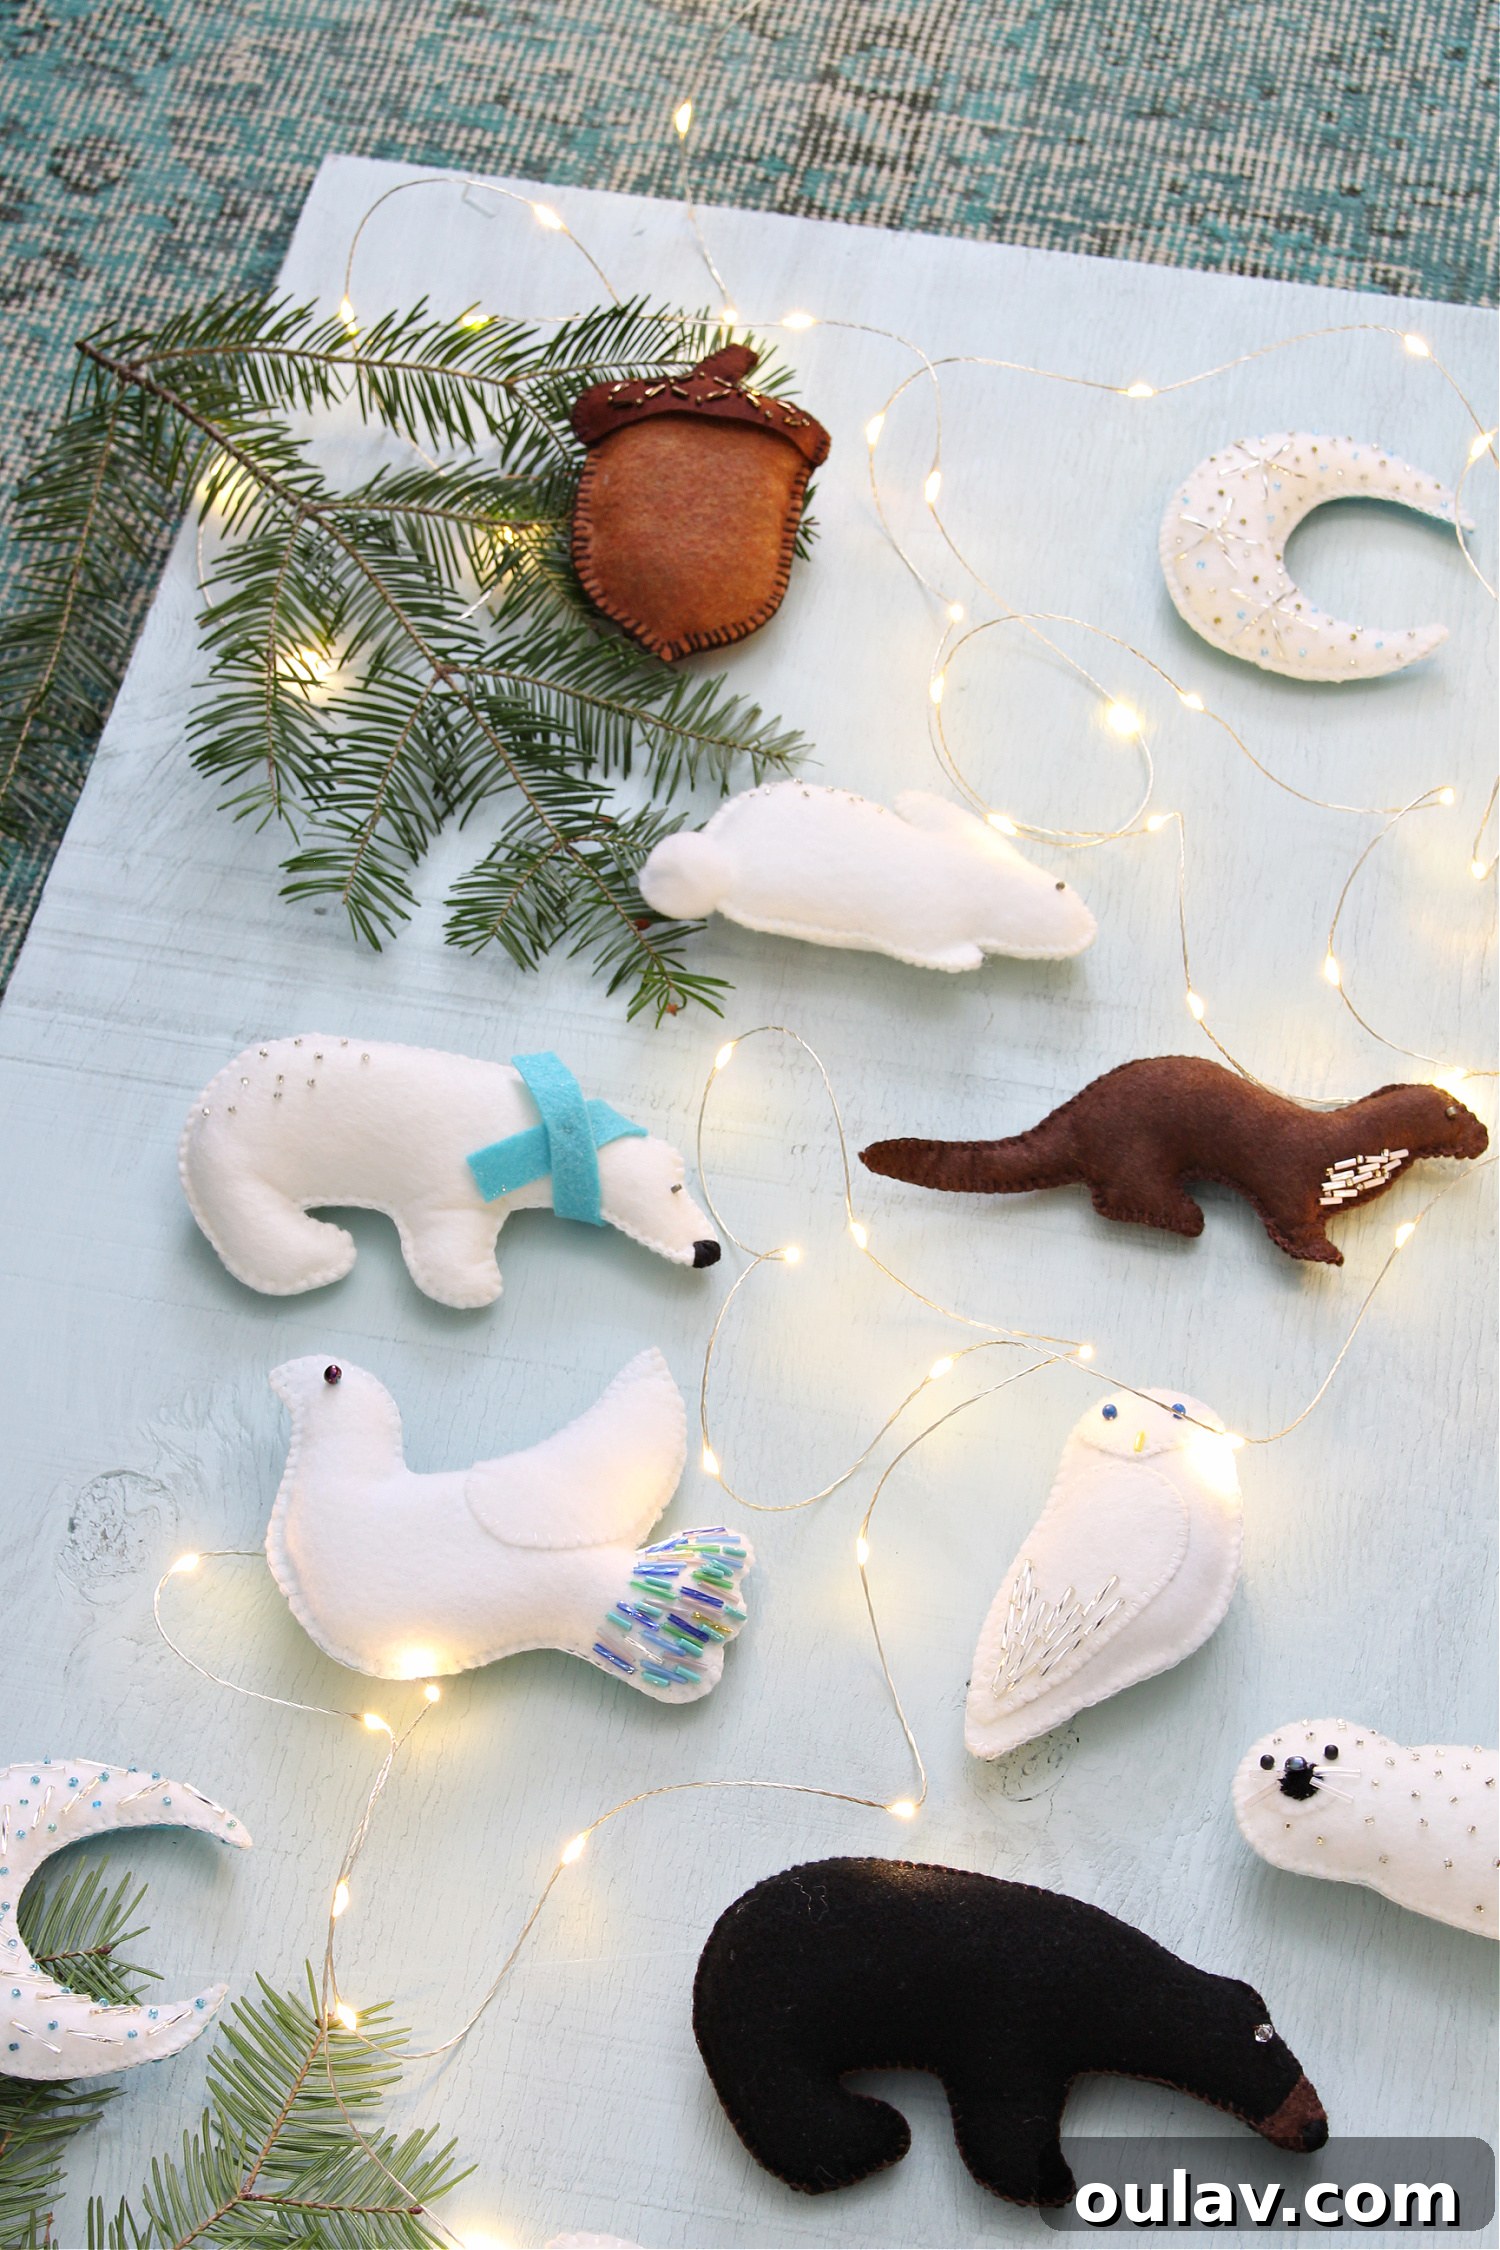
Here are the finished DIY felt polar bear ornaments, ready to bring warmth and cheer to any holiday display!
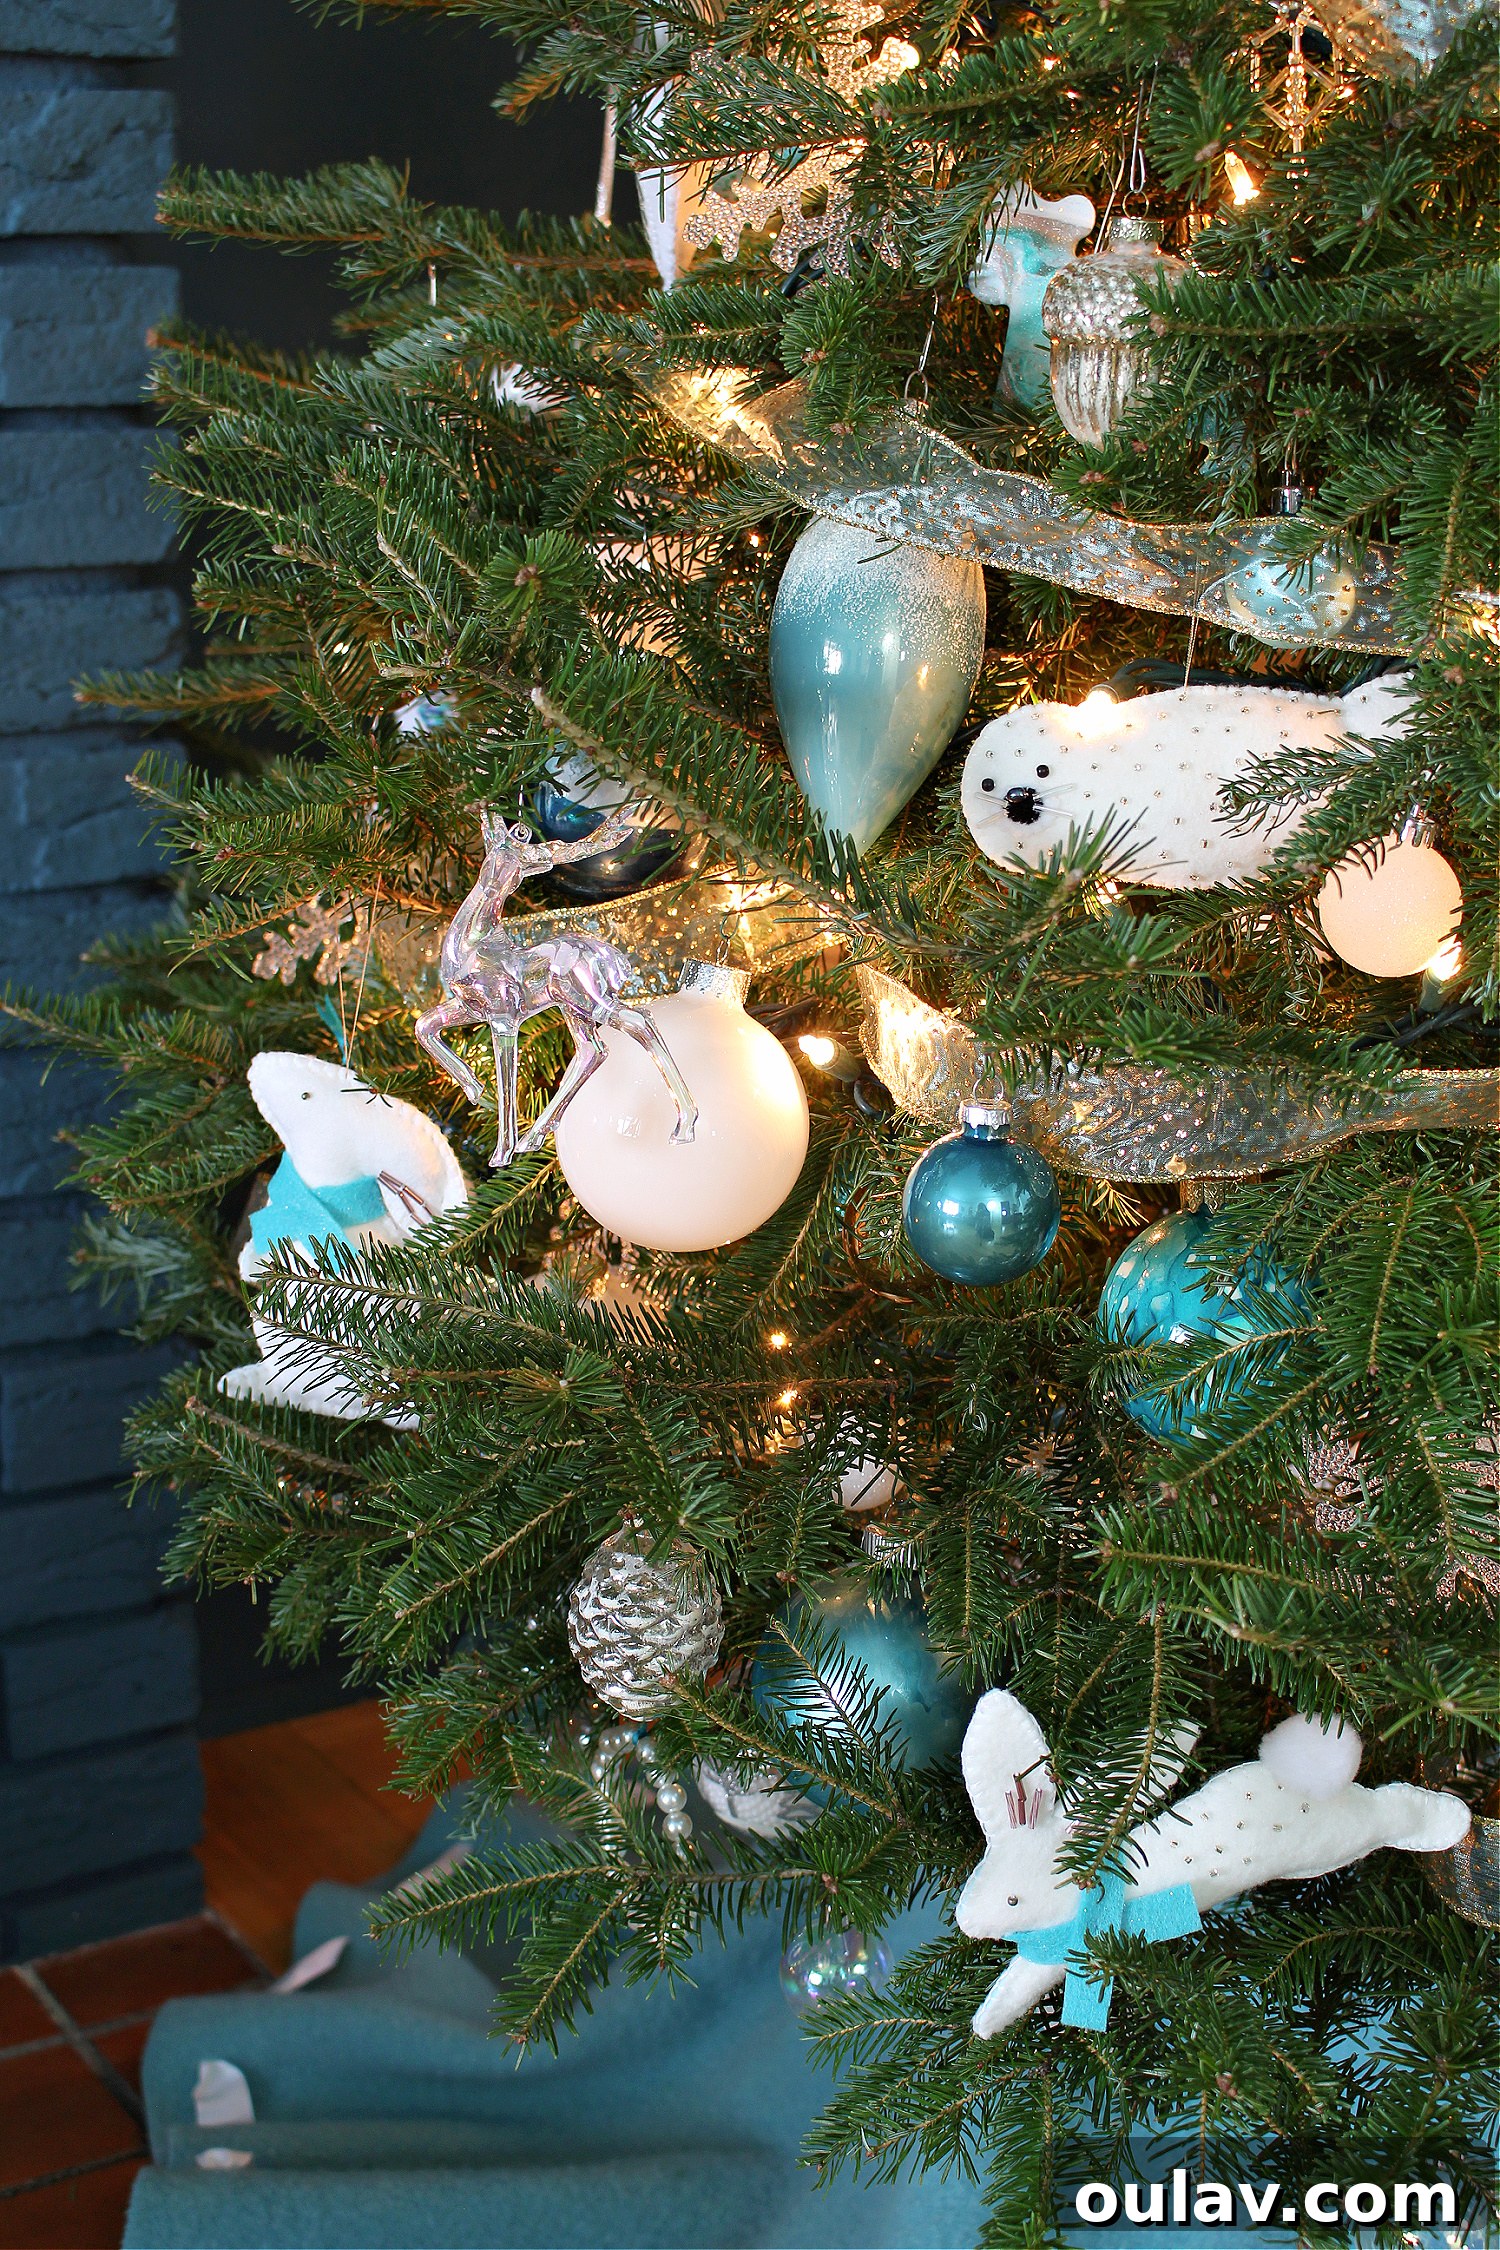
And for our sweet bunnies, a tiny pom-pom tail added just the right touch of whimsy.
I genuinely hope you’ve enjoyed this detailed tutorial on creating these charming felt Christmas tree ornaments. They are a wonderful way to add a personal and heartfelt touch to your holiday decorations, or to create thoughtful, handmade gifts for loved ones.
Frequently Asked Questions About Felt Ornaments
During my crafting journey, I received several insightful questions from my Instagram followers. Here are some of the most common inquiries, providing further tips and clarity for your felt ornament projects:
What Do You Use to Stuff Felt Ornaments?
For stuffing my felt ornaments, I utilized a thin upholstery batting, which I found easy to tear into small, manageable pieces. The key is to use any soft, pliable batting or fiberfill – essentially, the kind of fluffy material you’d find inside a teddy bear, a throw pillow, or a quilt. In fact, for an eco-friendly approach, you could even upcycle an old, unused teddy bear or pillow by repurposing its stuffing to give your handmade ornaments a lovely, plump form.
Are Felt Ornaments Difficult to Make?
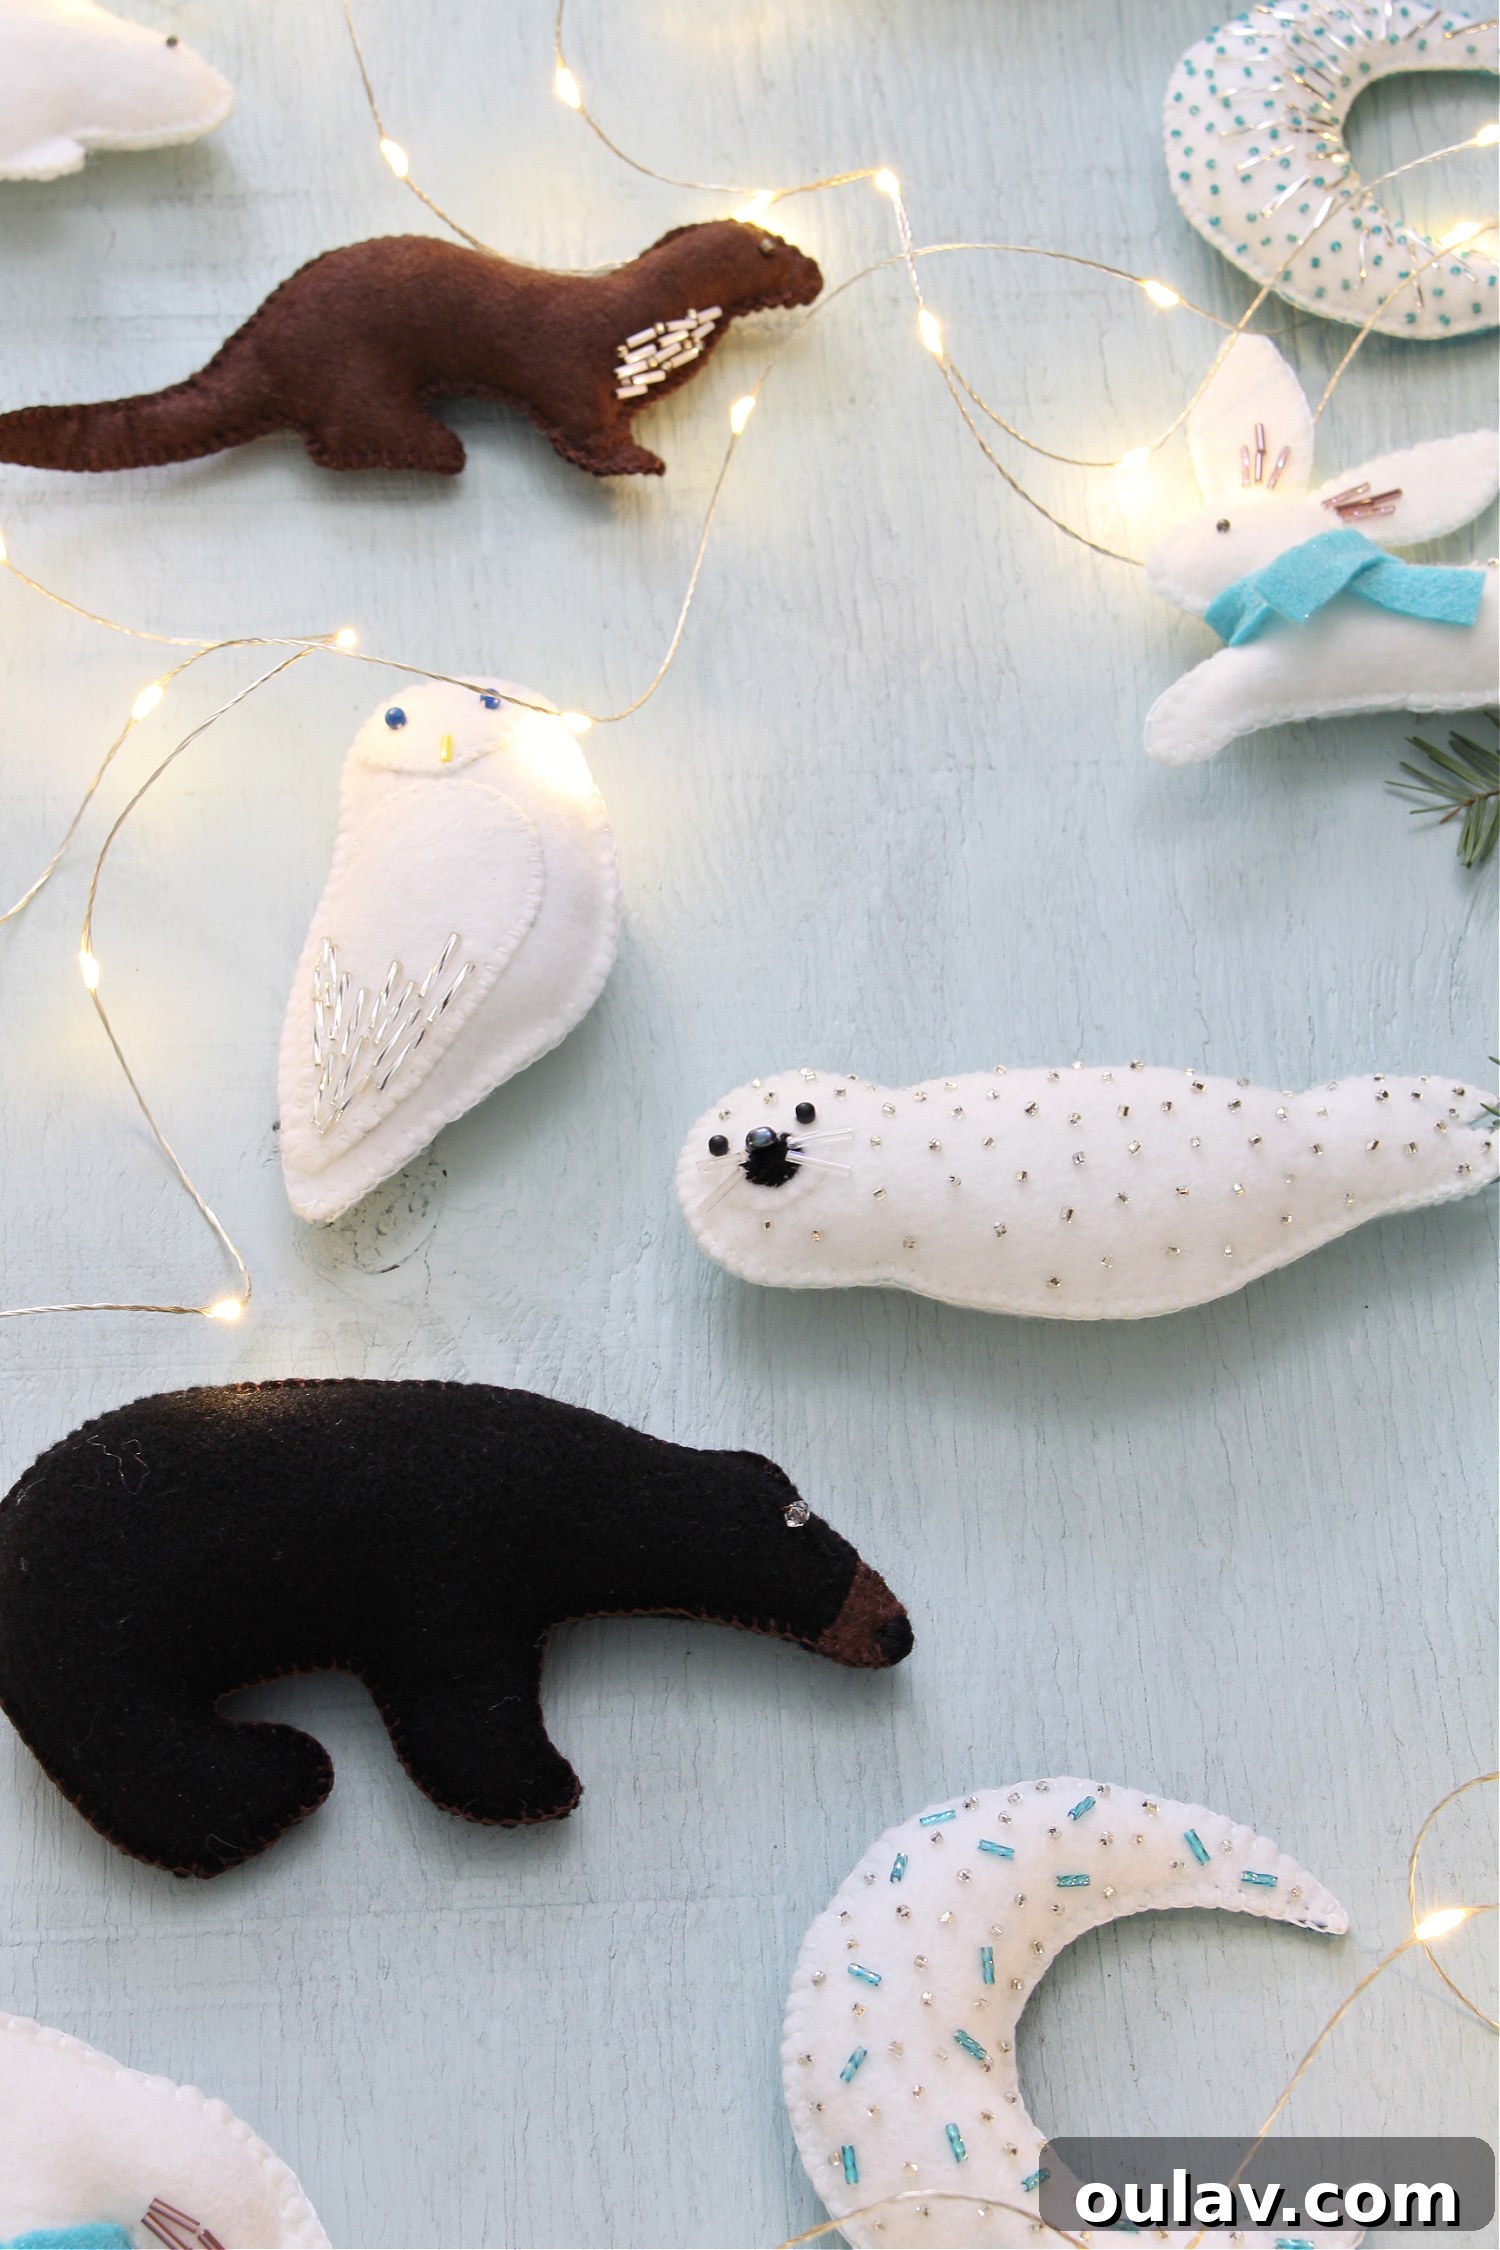
Absolutely not! These felt ornaments are surprisingly easy to make, even for crafting novices. However, it’s true that some designs prove to be simpler to sew than others. Shapes like the polar bear, seal, and owl are incredibly straightforward due to their more simplistic silhouettes. The fox, with its more defined features, was comparatively more challenging. The general rule of thumb is: the simpler the shape, the easier and quicker the entire process will be.
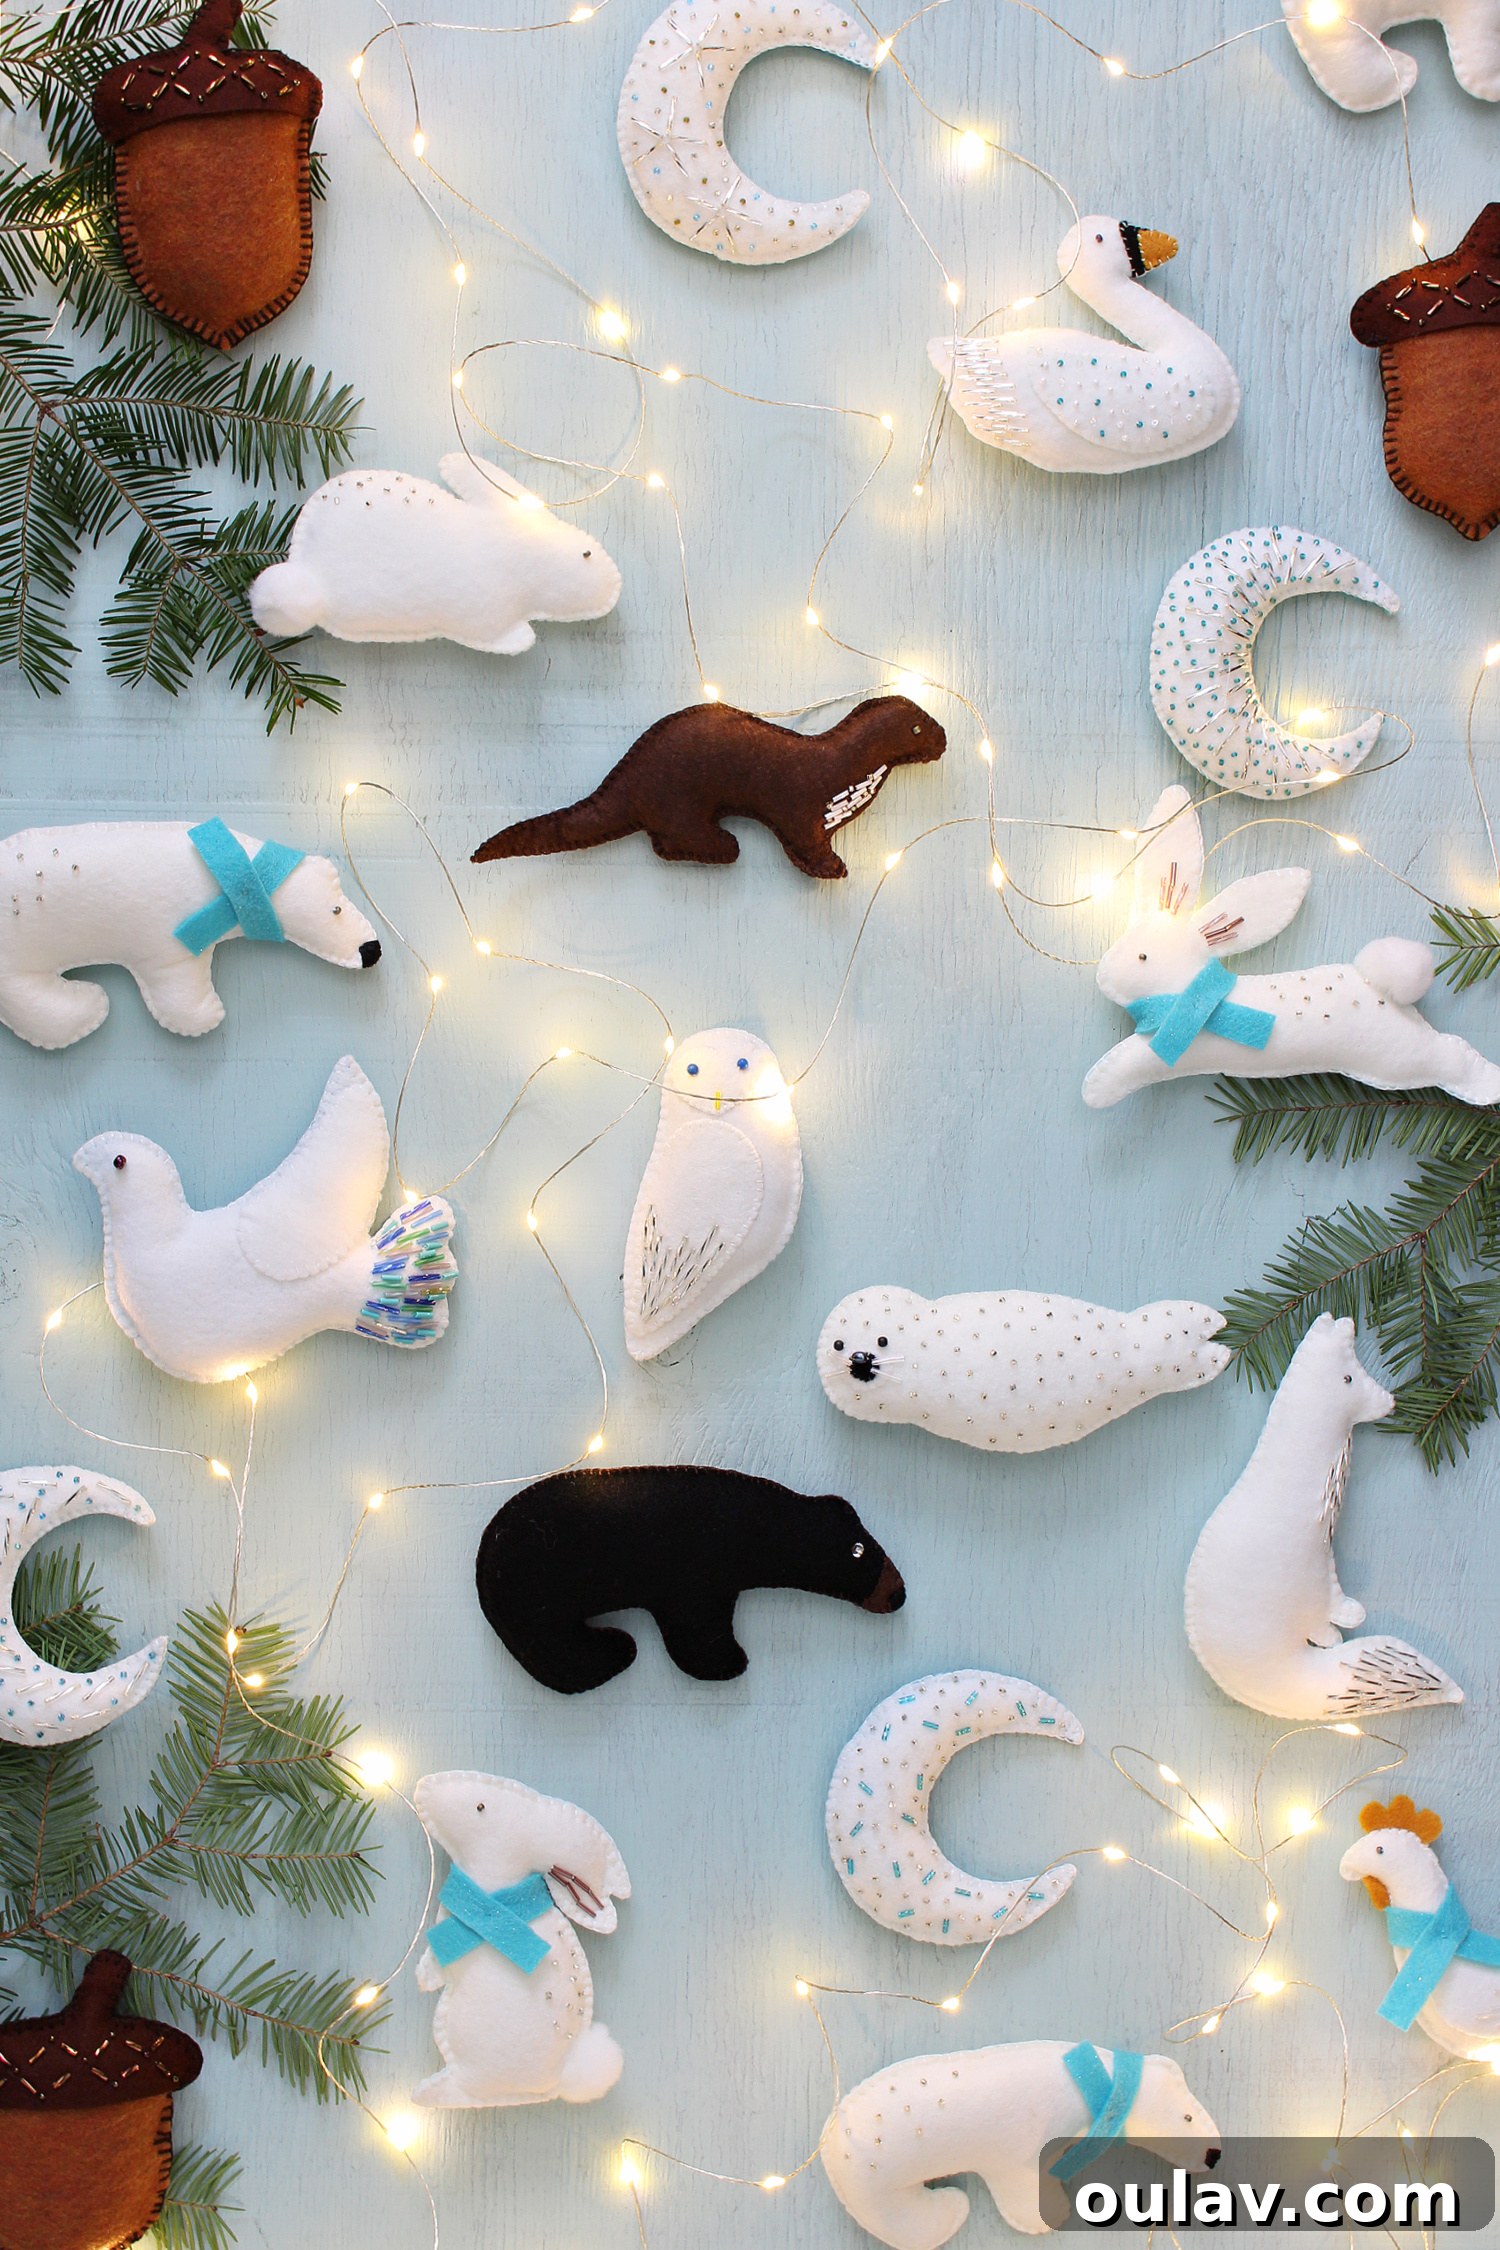
The decorative beading or intricate embroidery details typically demand the most time. For instance, my heavily beaded dove ornament took me approximately three hours to complete, whereas a more minimalist, unadorned black bear was finished in about 30 minutes. The quickest way to add sparkle is simply by sprinkling a few beads to simulate “snow” on the back of your animals. What often consumes the most time initially is the preparation: finding a suitable template, adjusting it to your desired size, meticulously tracing it, and conceptualizing the embellishments. Once you’ve successfully created one ornament of a particular design, subsequent ones will come together much more swiftly. Therefore, if you’re working with limited time or patience, I recommend focusing on mastering one or two specific animal shapes rather than experimenting with a wide variety, as I did. This focused approach will significantly streamline and speed up the entire process of crafting your charming felt animal ornaments!
Where Can I Buy the Best Felt for These Ornaments?
Some of the felt I used for these projects has been lovingly stored in my craft stash for quite some time, with some pieces originally sourced from Fabricland. I found that this felt had a more pleasant, less “plasticky” feel than some of the options available at standard craft stores, while still being the ideal thin material for these ornaments. It’s important to choose a thin, good-quality felt that is easy to cut and sew, and that holds its shape well. I once attempted to use thrifted and felted old wool blankets, but these proved far too thick and stiff for the delicate nature of these particular ornaments. A nice quality, pliable felt will yield the best results, ensuring your ornaments are both beautiful and durable.
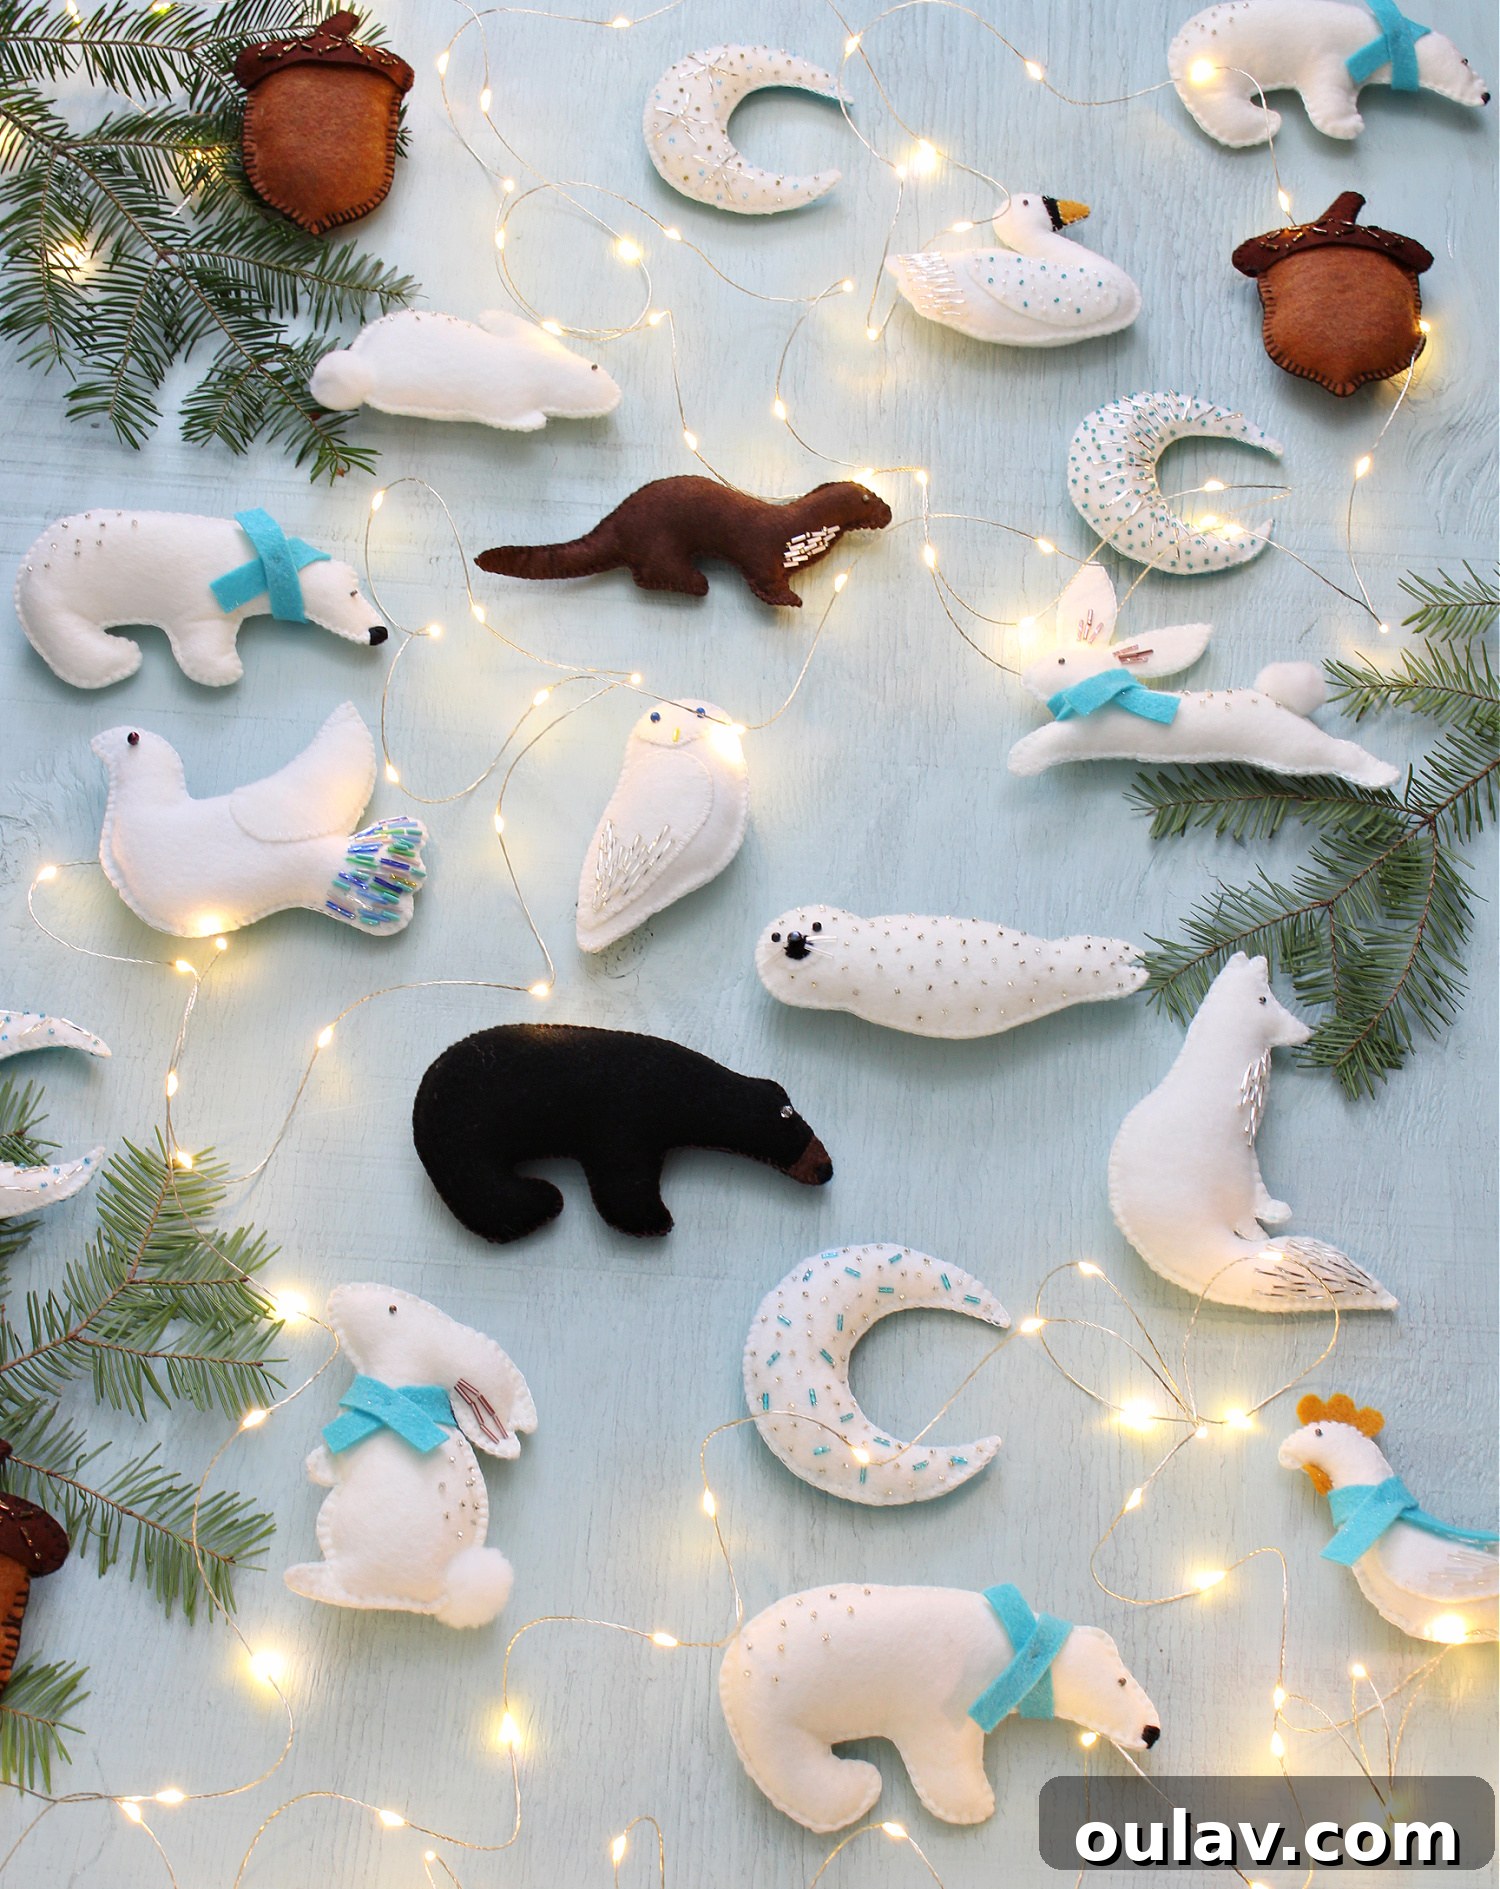
See Your DIY Felt Ornaments Come to Life on the Tree!
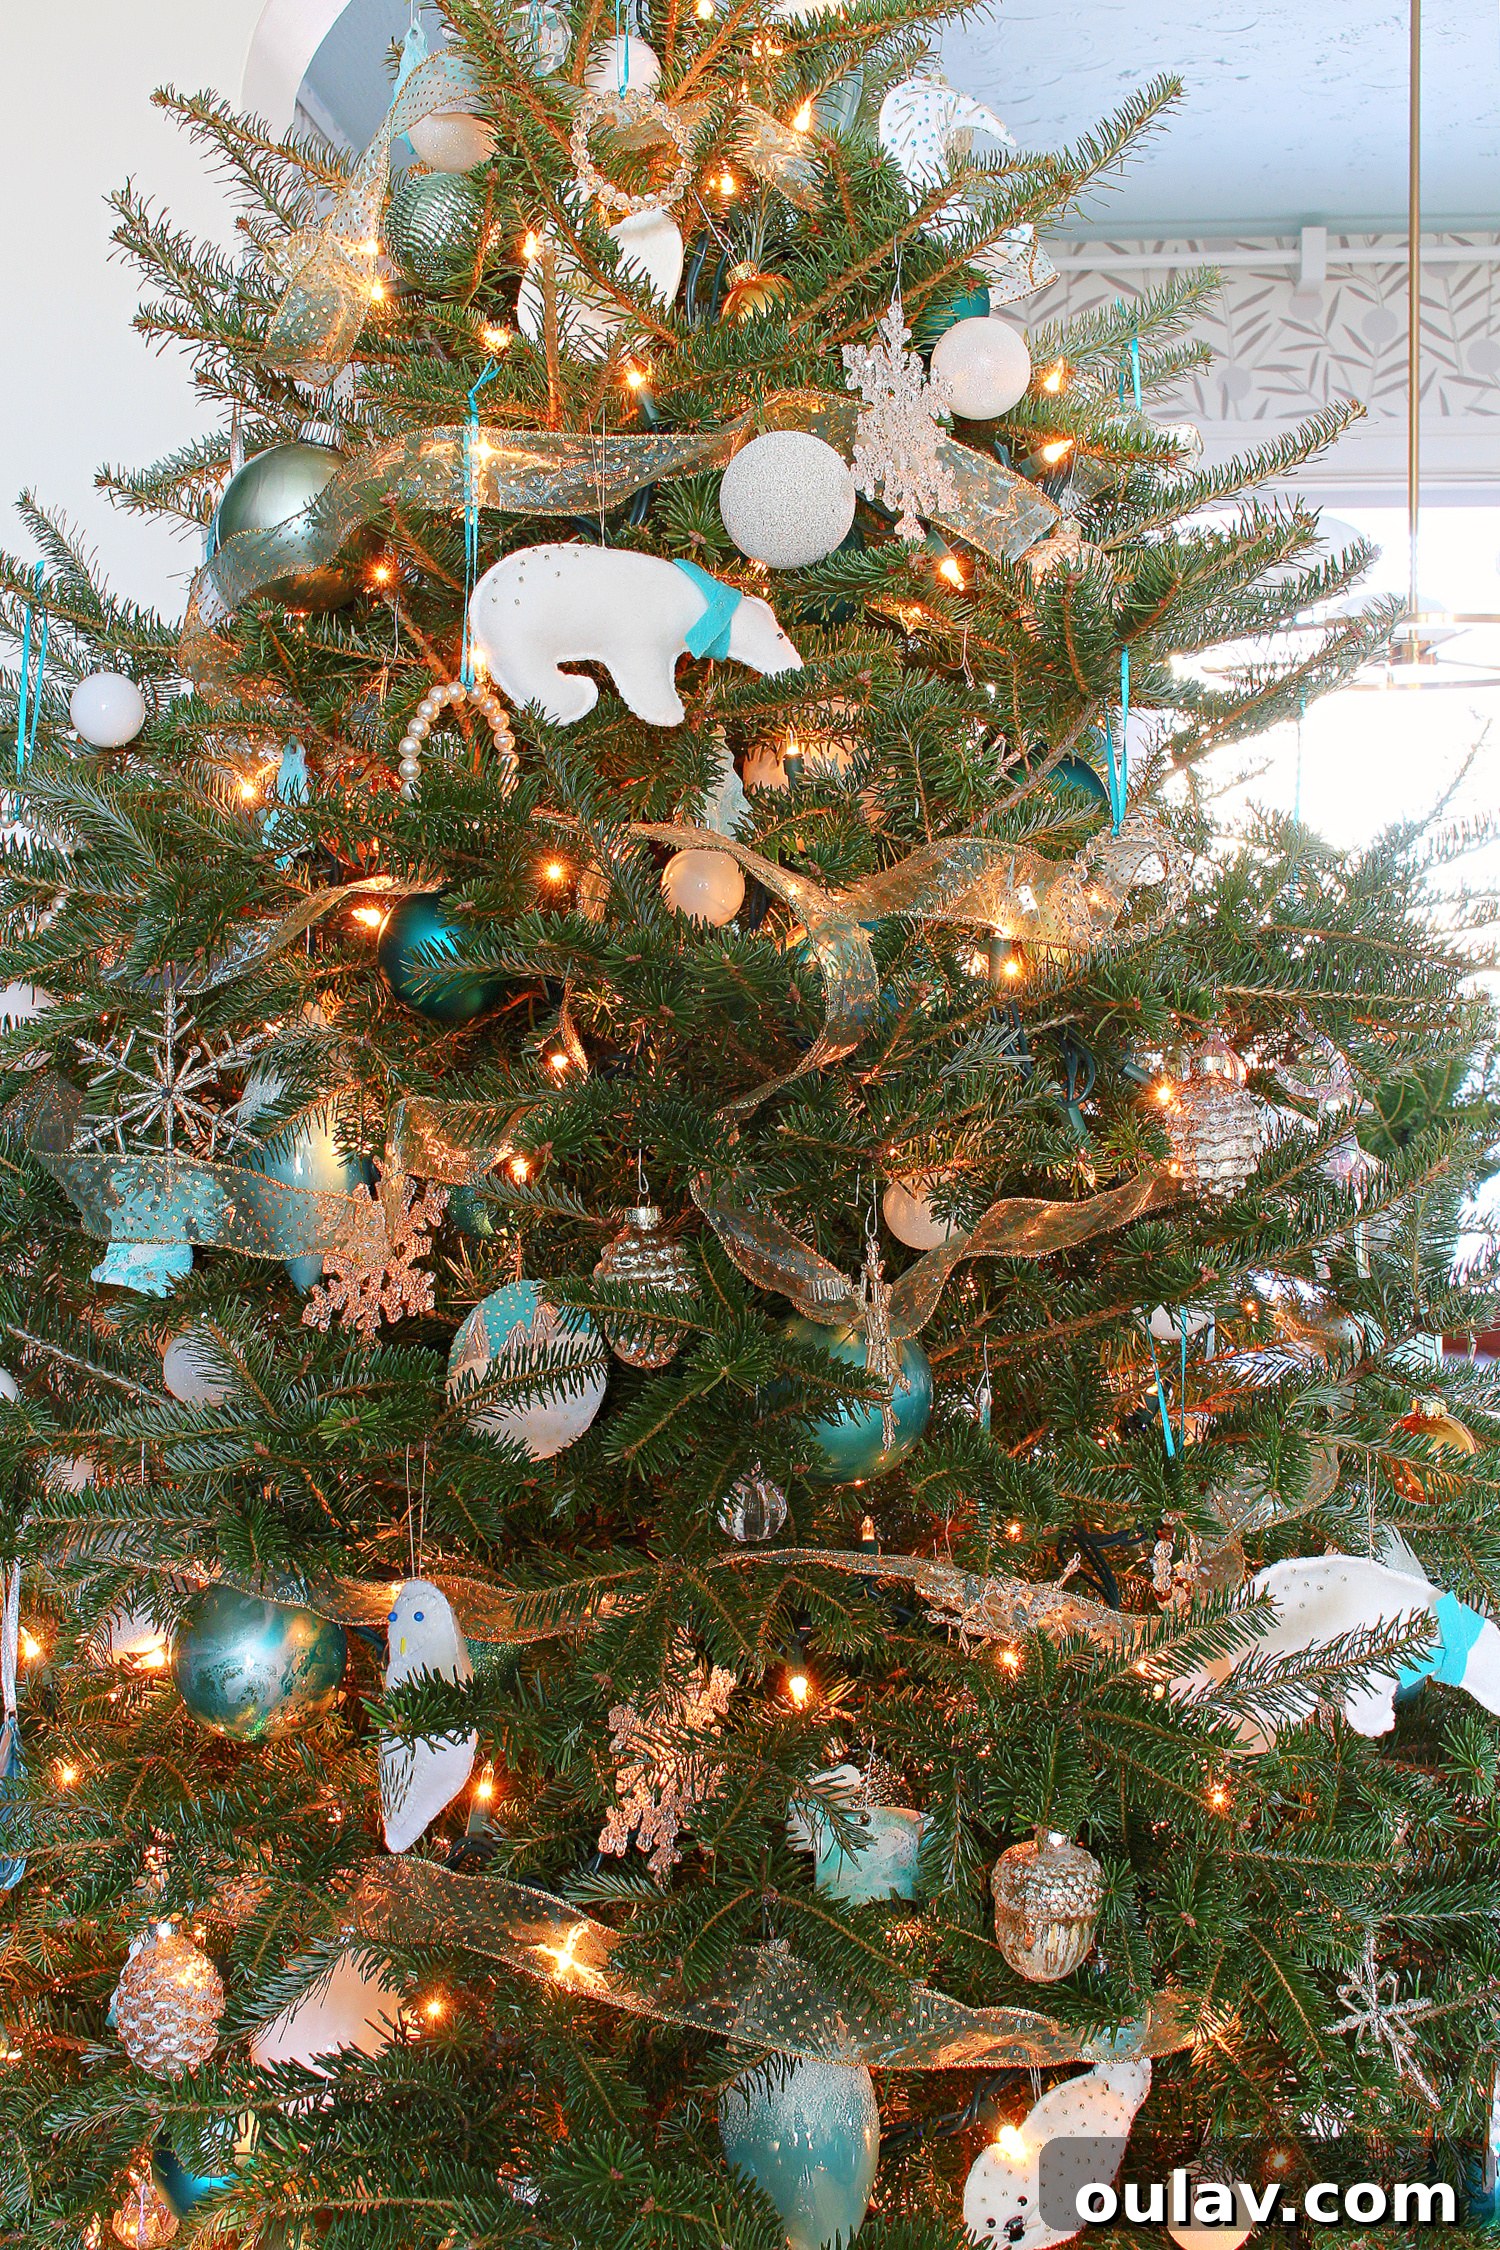
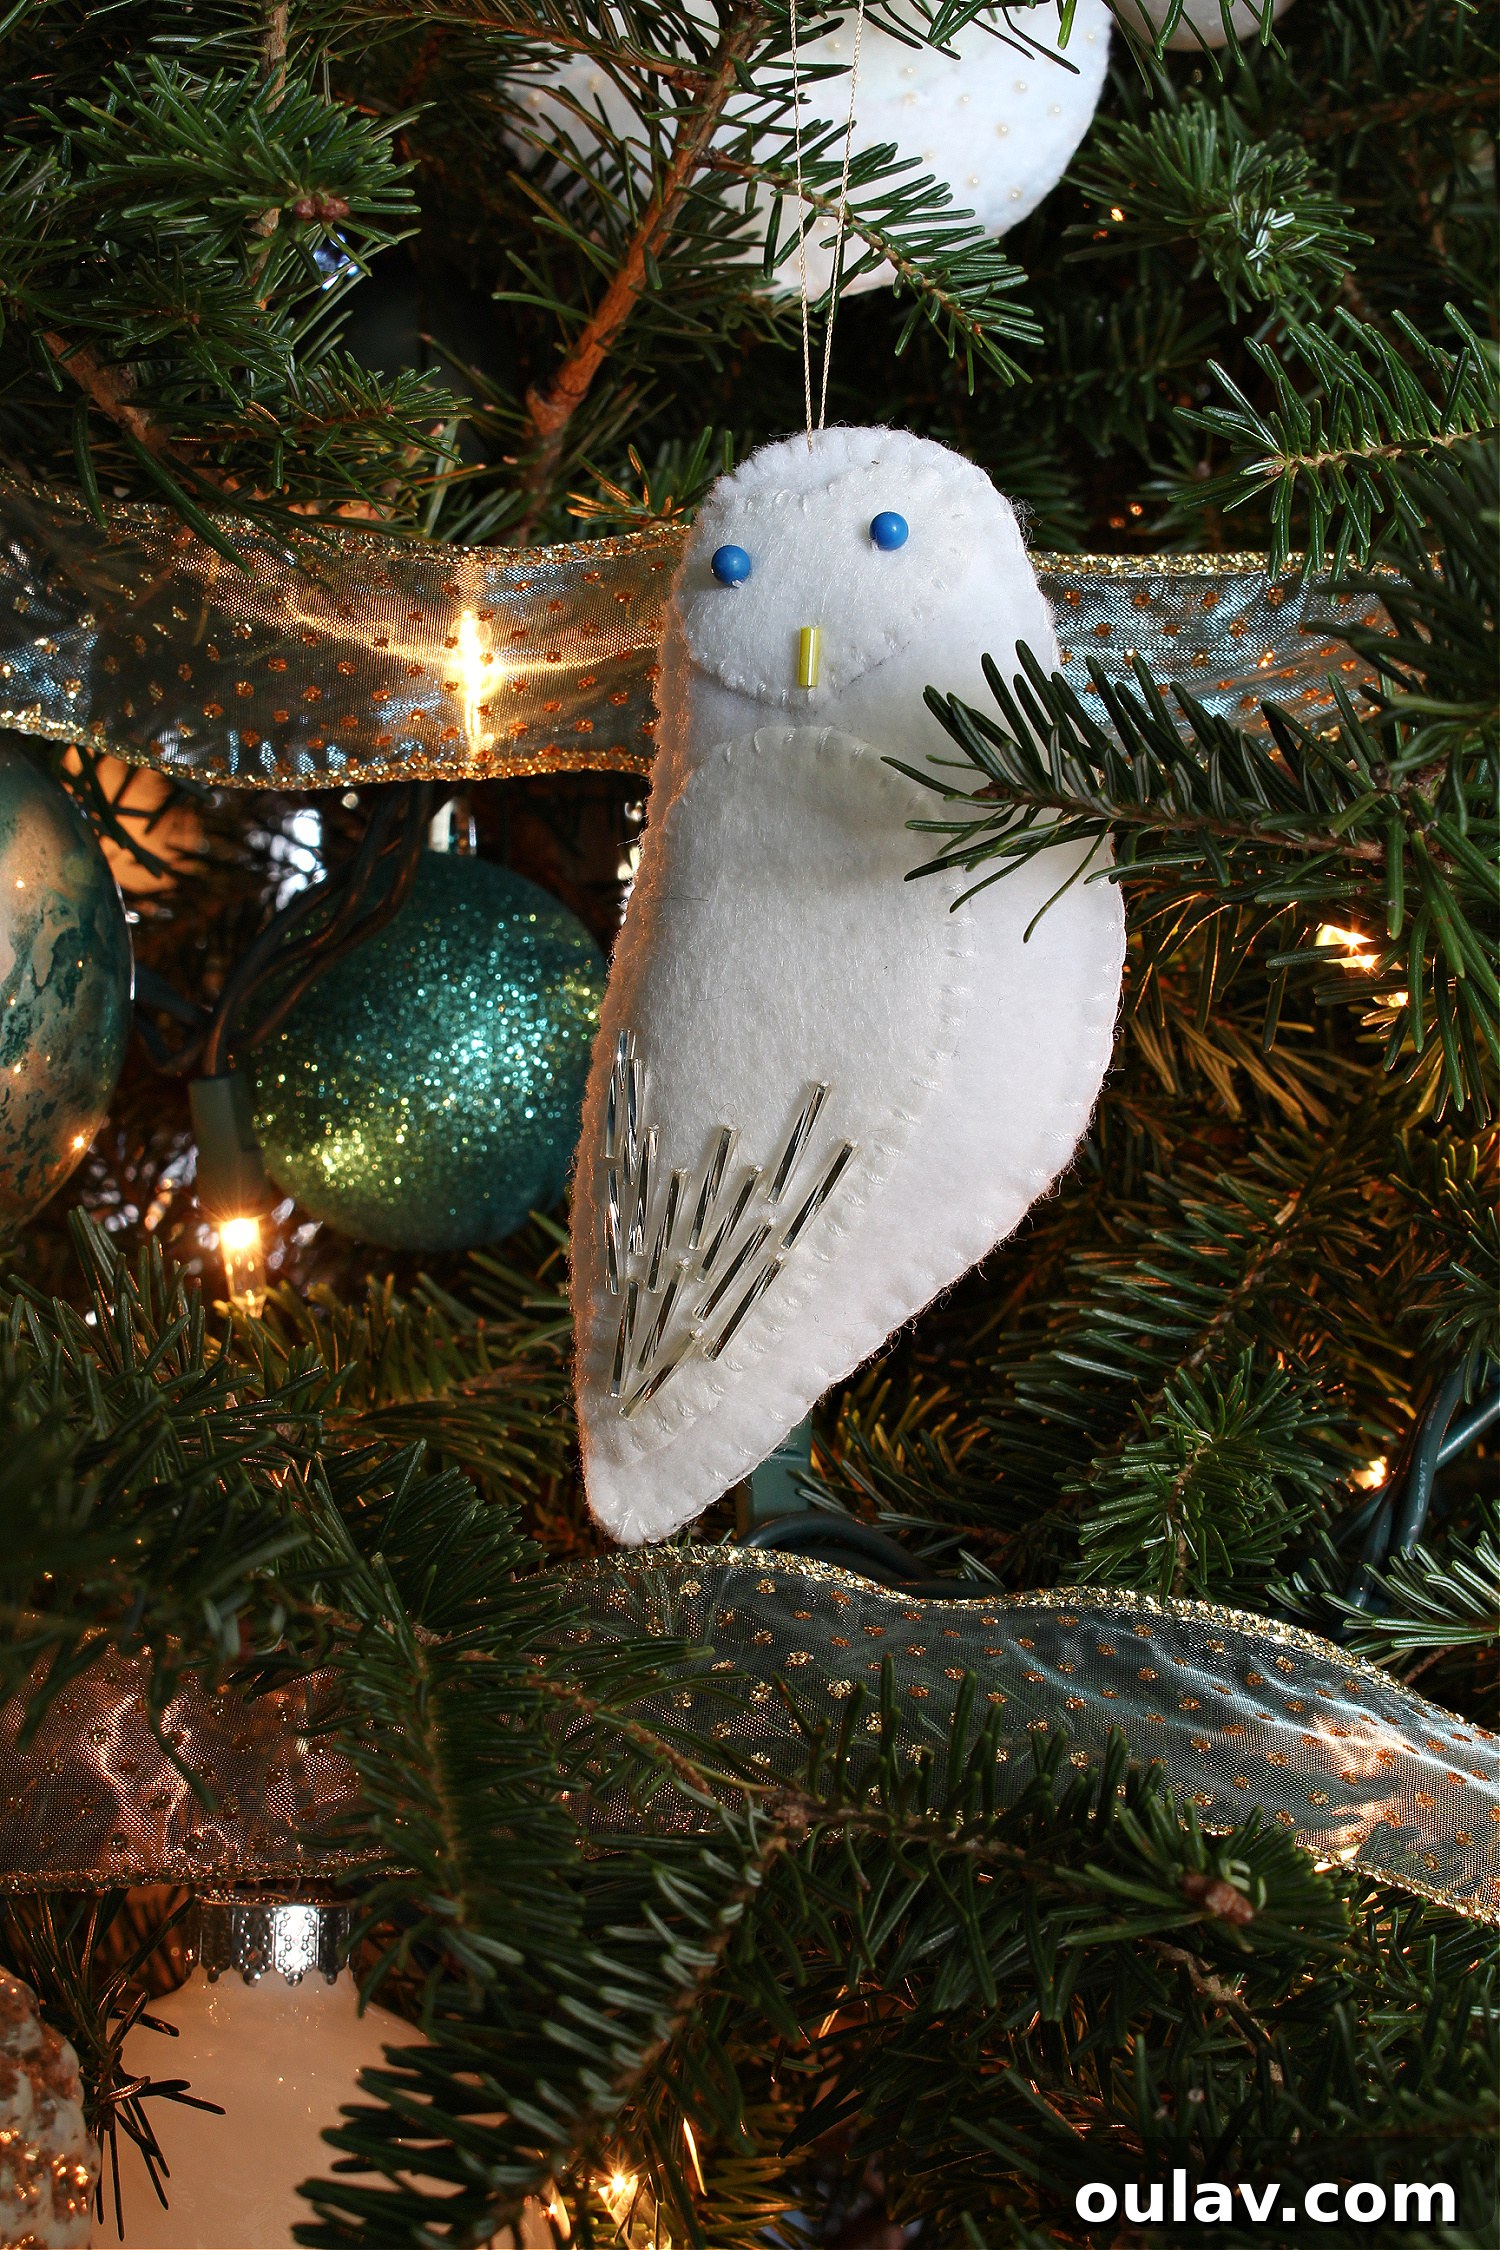
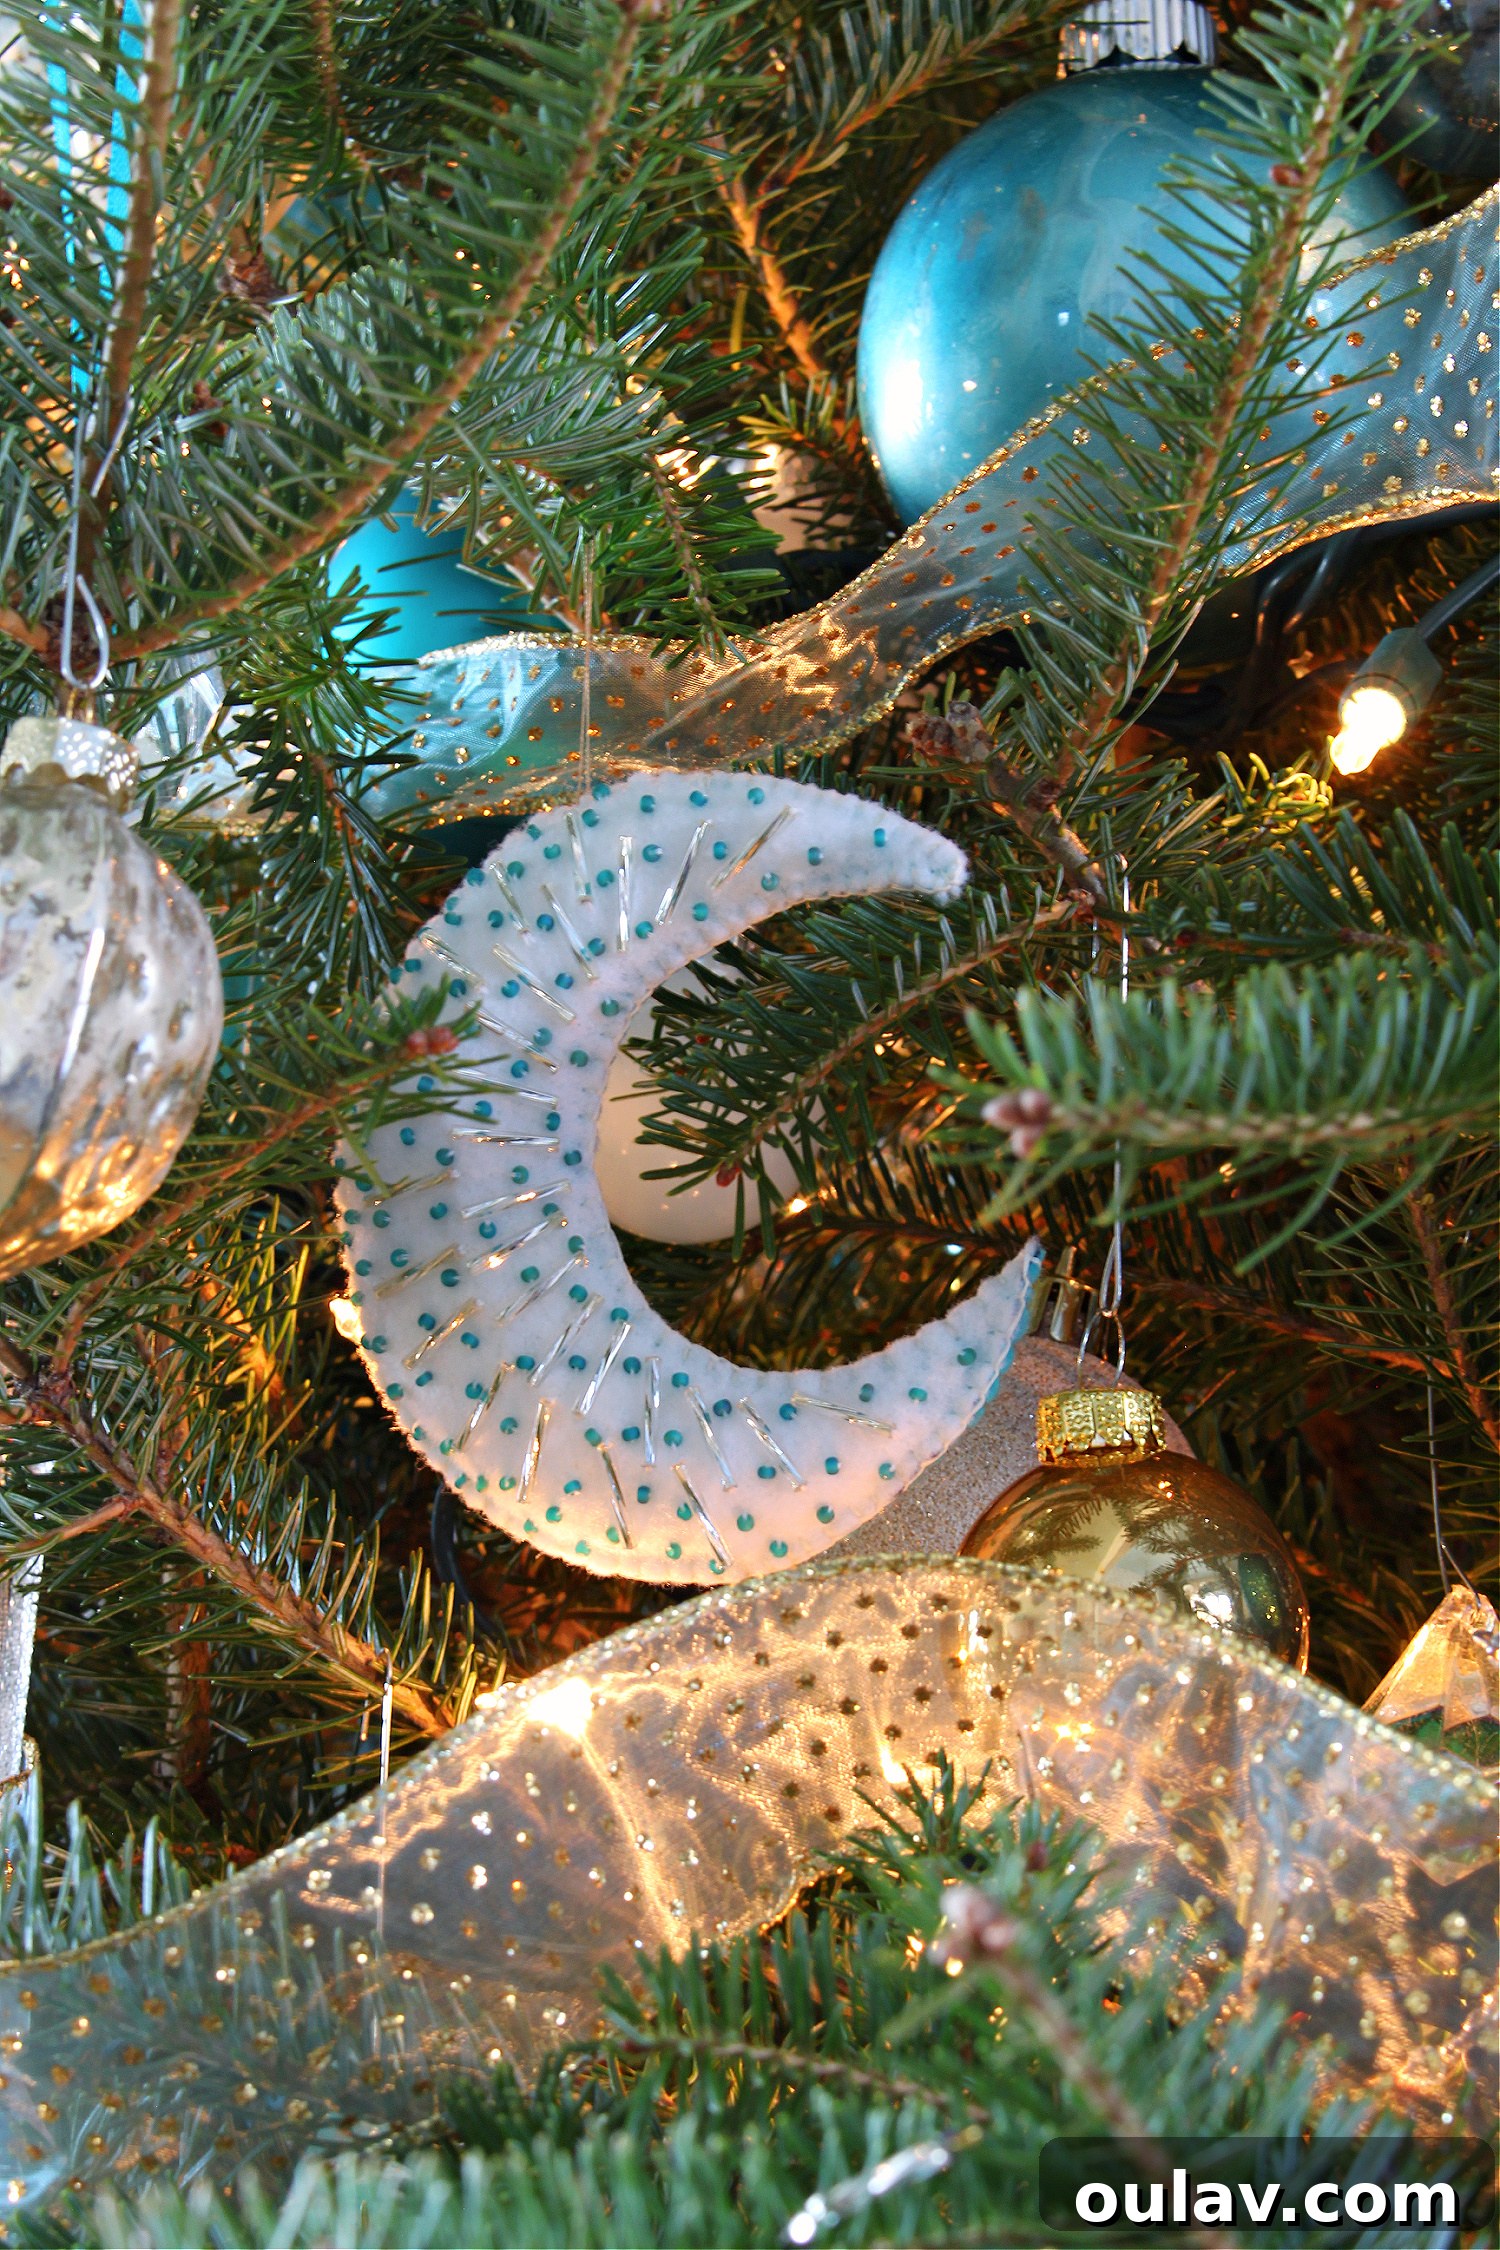
There’s nothing quite like seeing your handmade creations adorning a beautifully decorated Christmas tree. Here’s a delightful peek at how these charming DIY felt animal ornaments look nestled amongst the branches of our festive display. For a more comprehensive look and further inspiration, delve into our enchanting turquoise and white Christmas tree theme here, showcasing a true winter wonderland aesthetic.
Beyond Ornaments: More Creative Felt Craft Ideas for Christmas
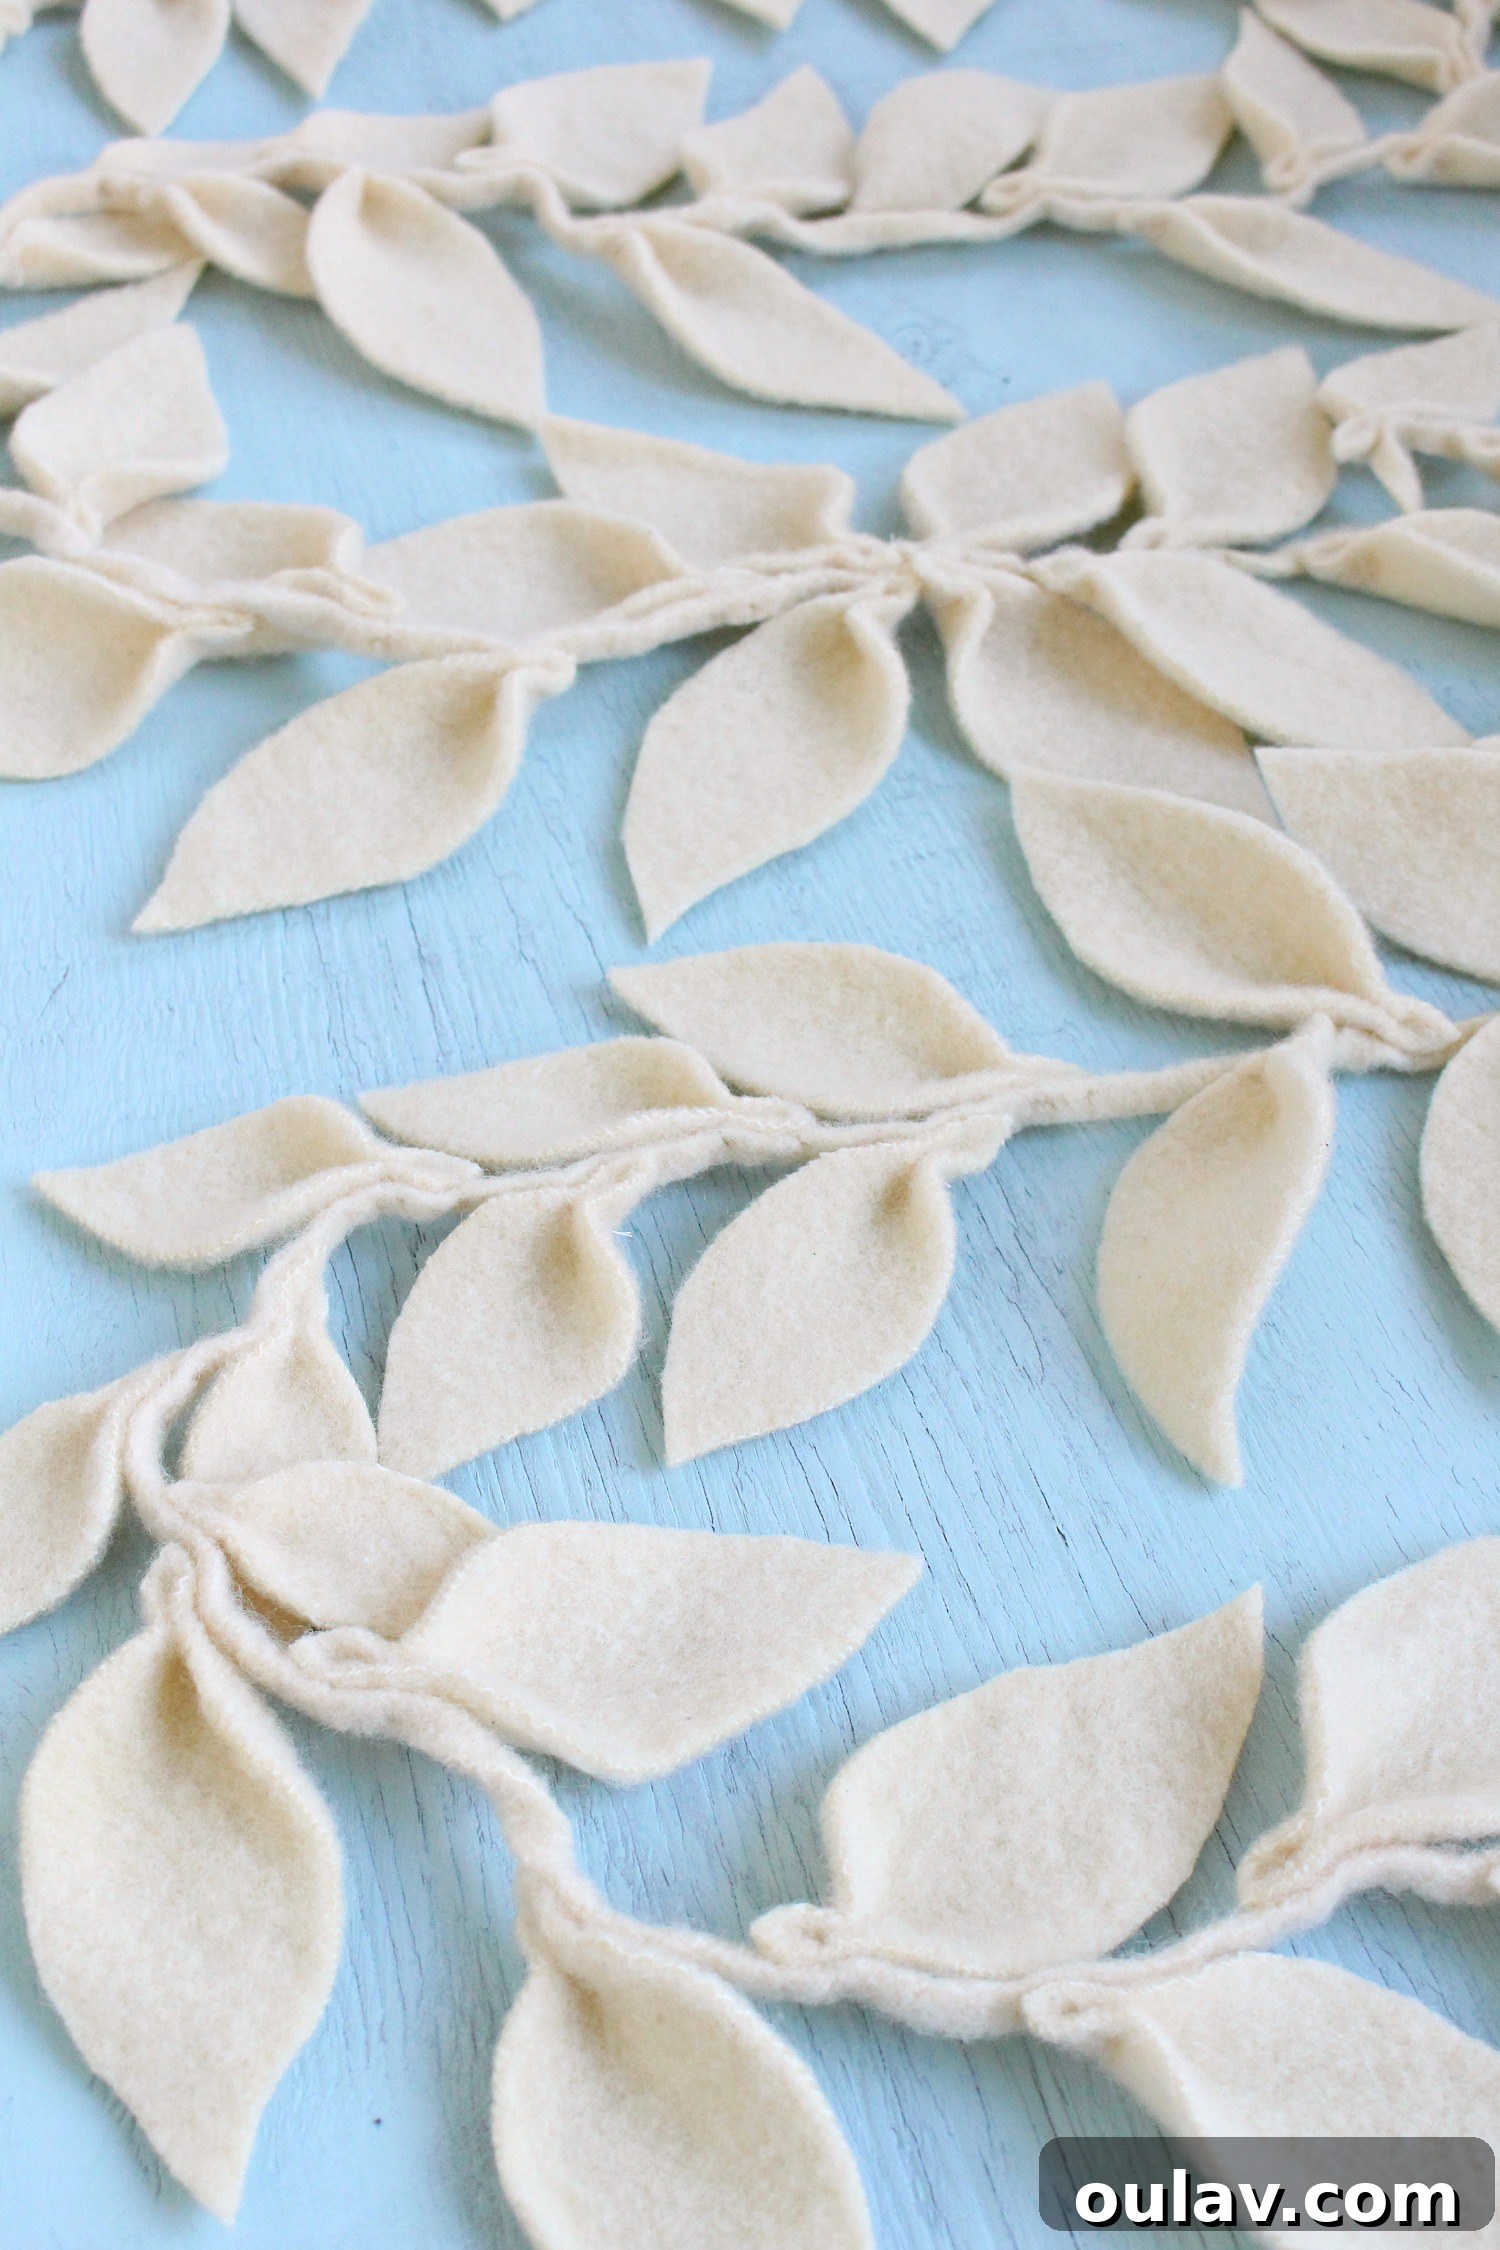
Felt is an incredibly versatile material, perfect for a wide array of festive Christmas crafts beyond just ornaments. If you’ve enjoyed making these animal figures, you’ll love exploring other creative possibilities with felt to enhance your holiday home decor. Why not try your hand at this elegant DIY felt leaf garland, which adds a sophisticated touch to mantels or doorways? For a quick and easy project, consider creating a no-sew DIY felt table runner, perfect for festive dining. And for those who love a touch of Scandinavian charm, these adorable DIY felt gnomes (Tomte) are a must-make! We’re also excited to be sharing a tutorial for a DIY felt tree skirt very soon, so be sure to stay tuned for more inspiring holiday crafting projects!
P.S. Don’t Forget to Pin These Inspiring Ideas for Later!
Ensure you can revisit this fantastic tutorial and these delightful felt ornament ideas whenever creativity strikes! Pin these images to your favorite Christmas or DIY boards on Pinterest, so they’re always just a click away when you’re ready to craft your next set of beautiful holiday decorations.
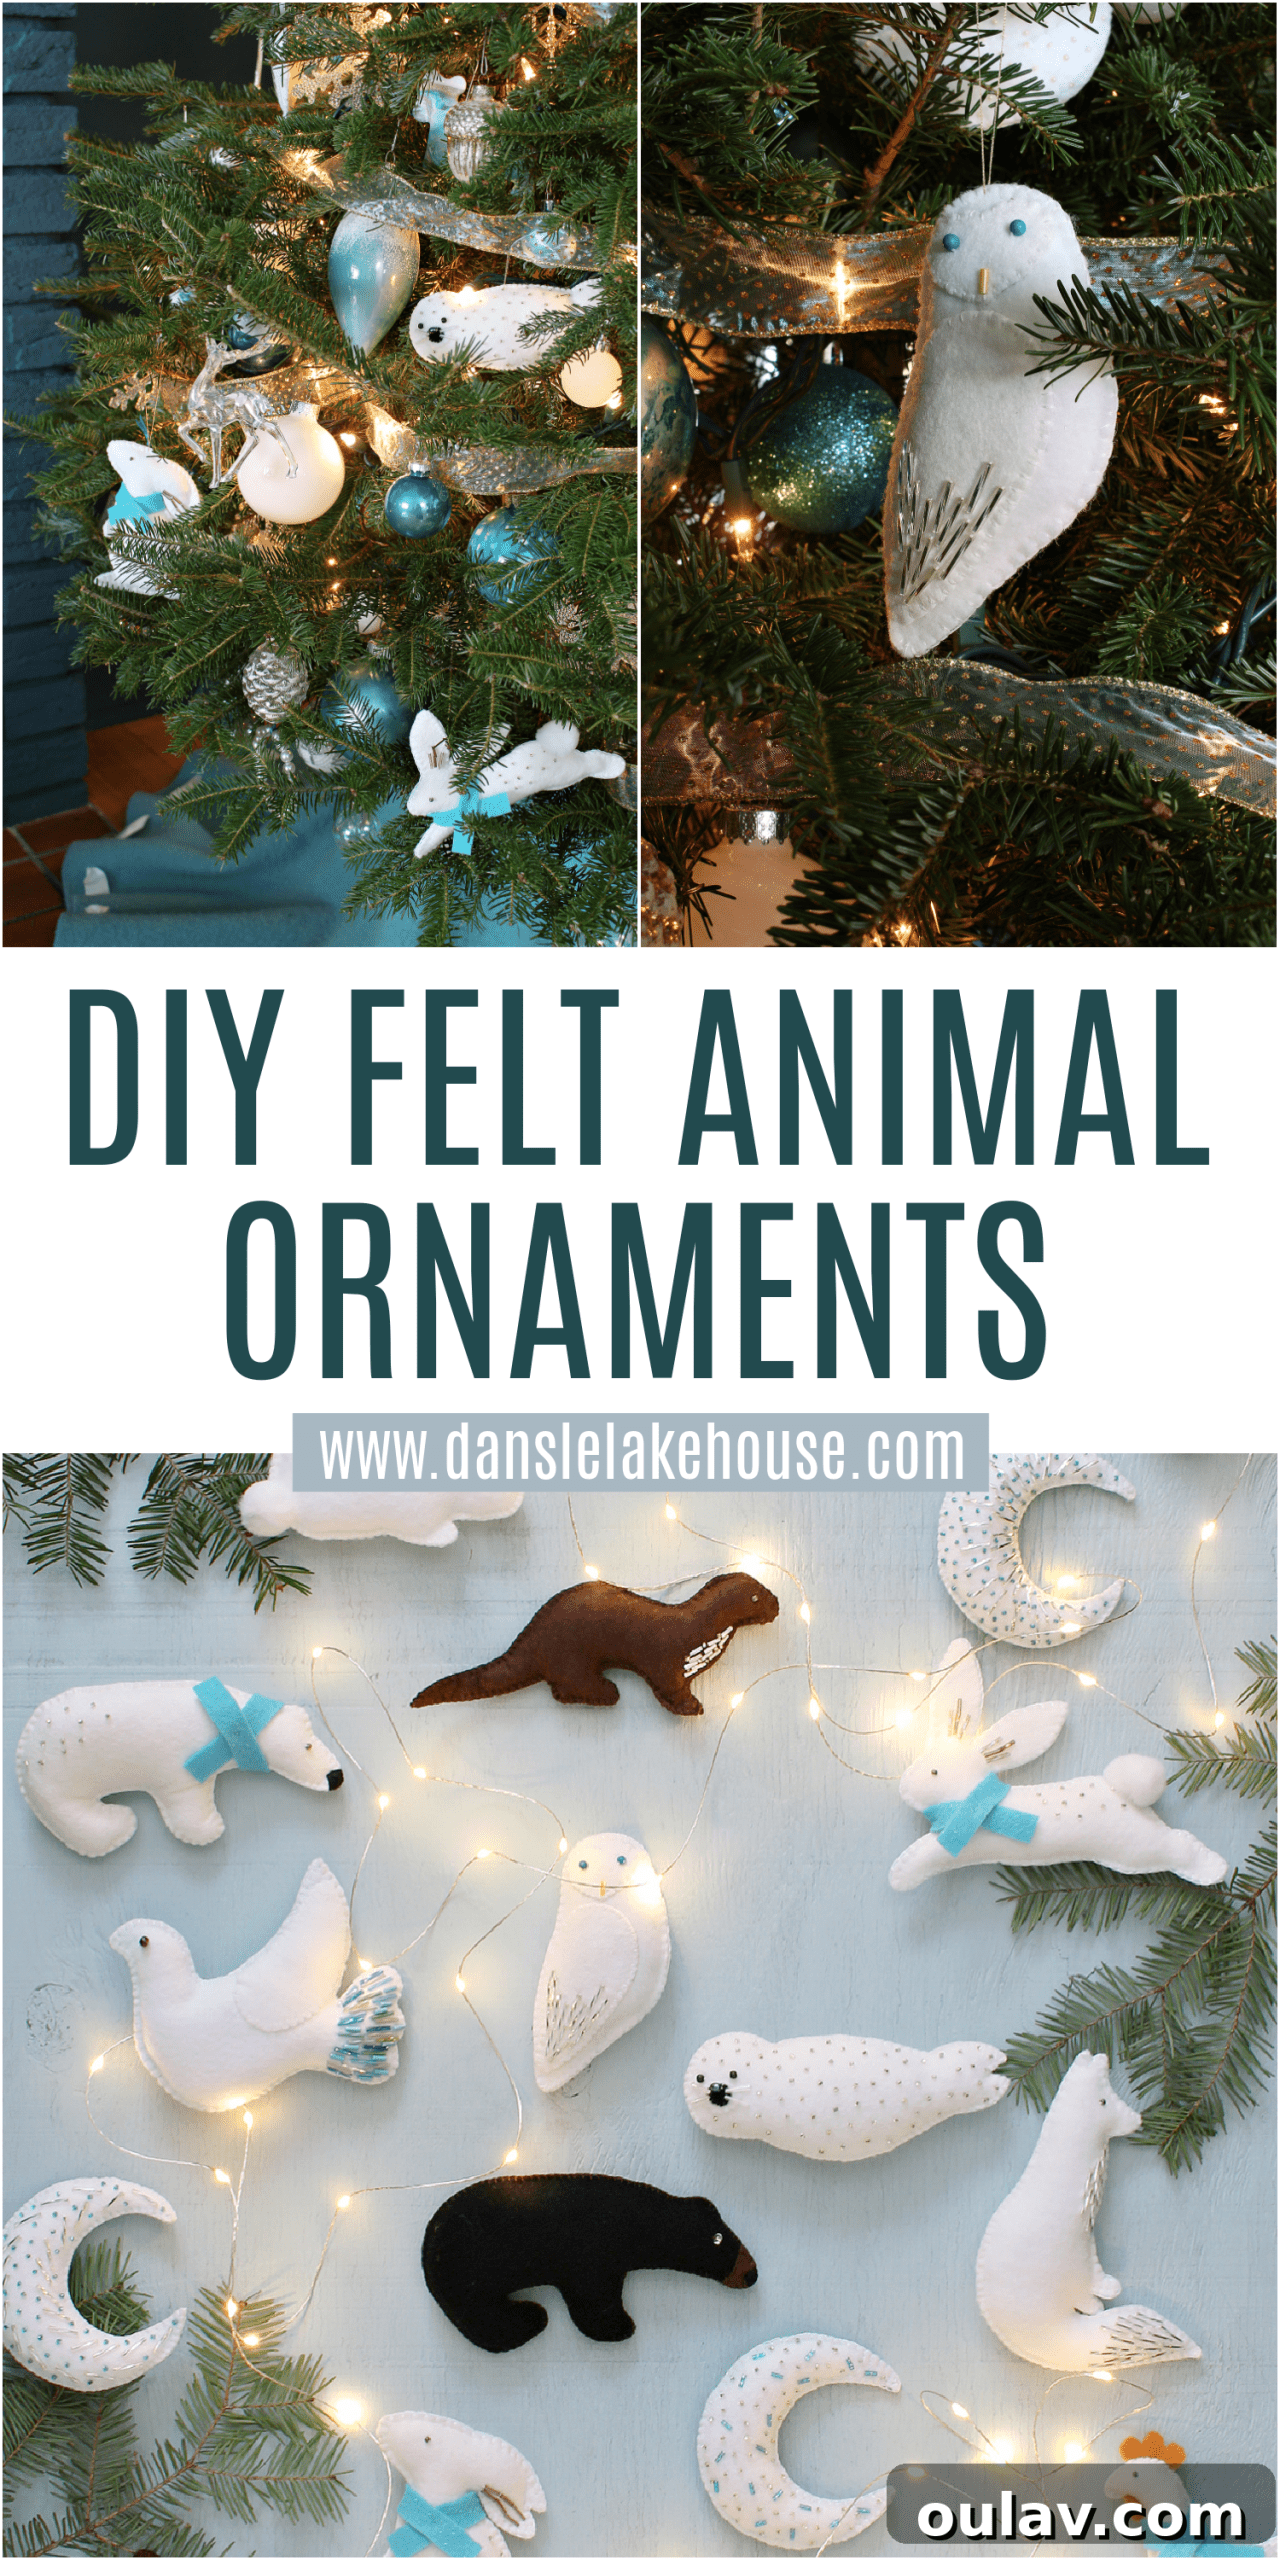
And remember, for even more crafting convenience, check out my full collection of felt animal patterns here. For a specific project, dive into the new and improved tutorial for a DIY Felt Seal Ornament with pattern here. Happy crafting!