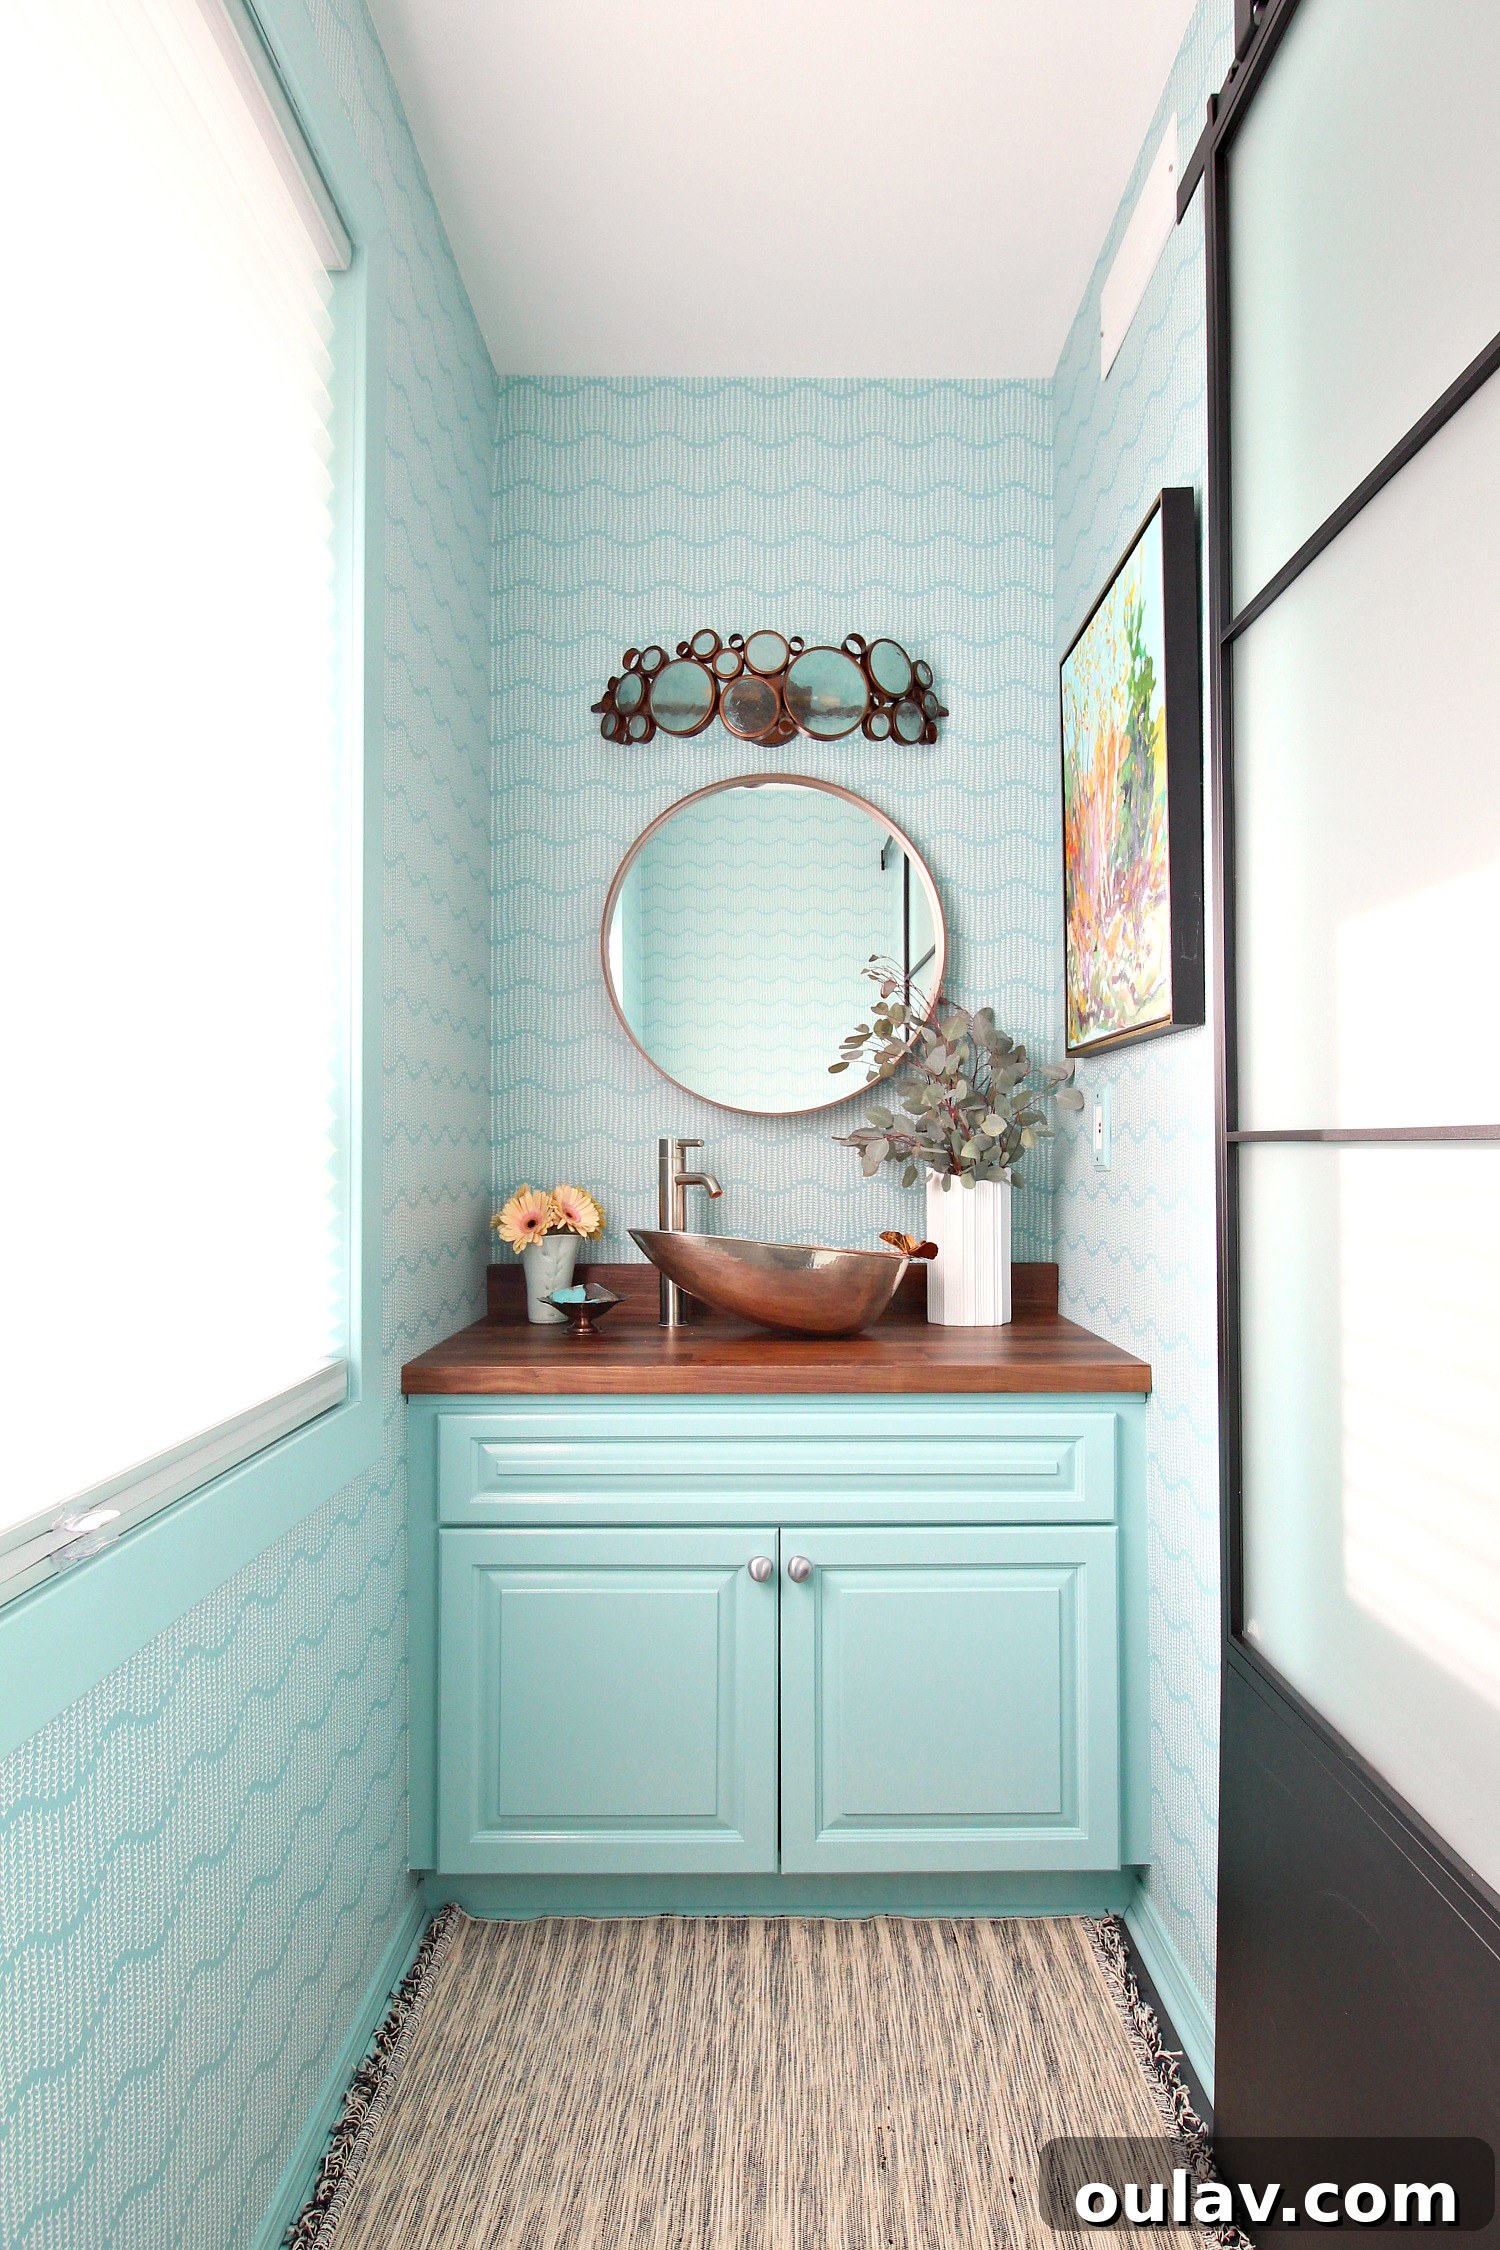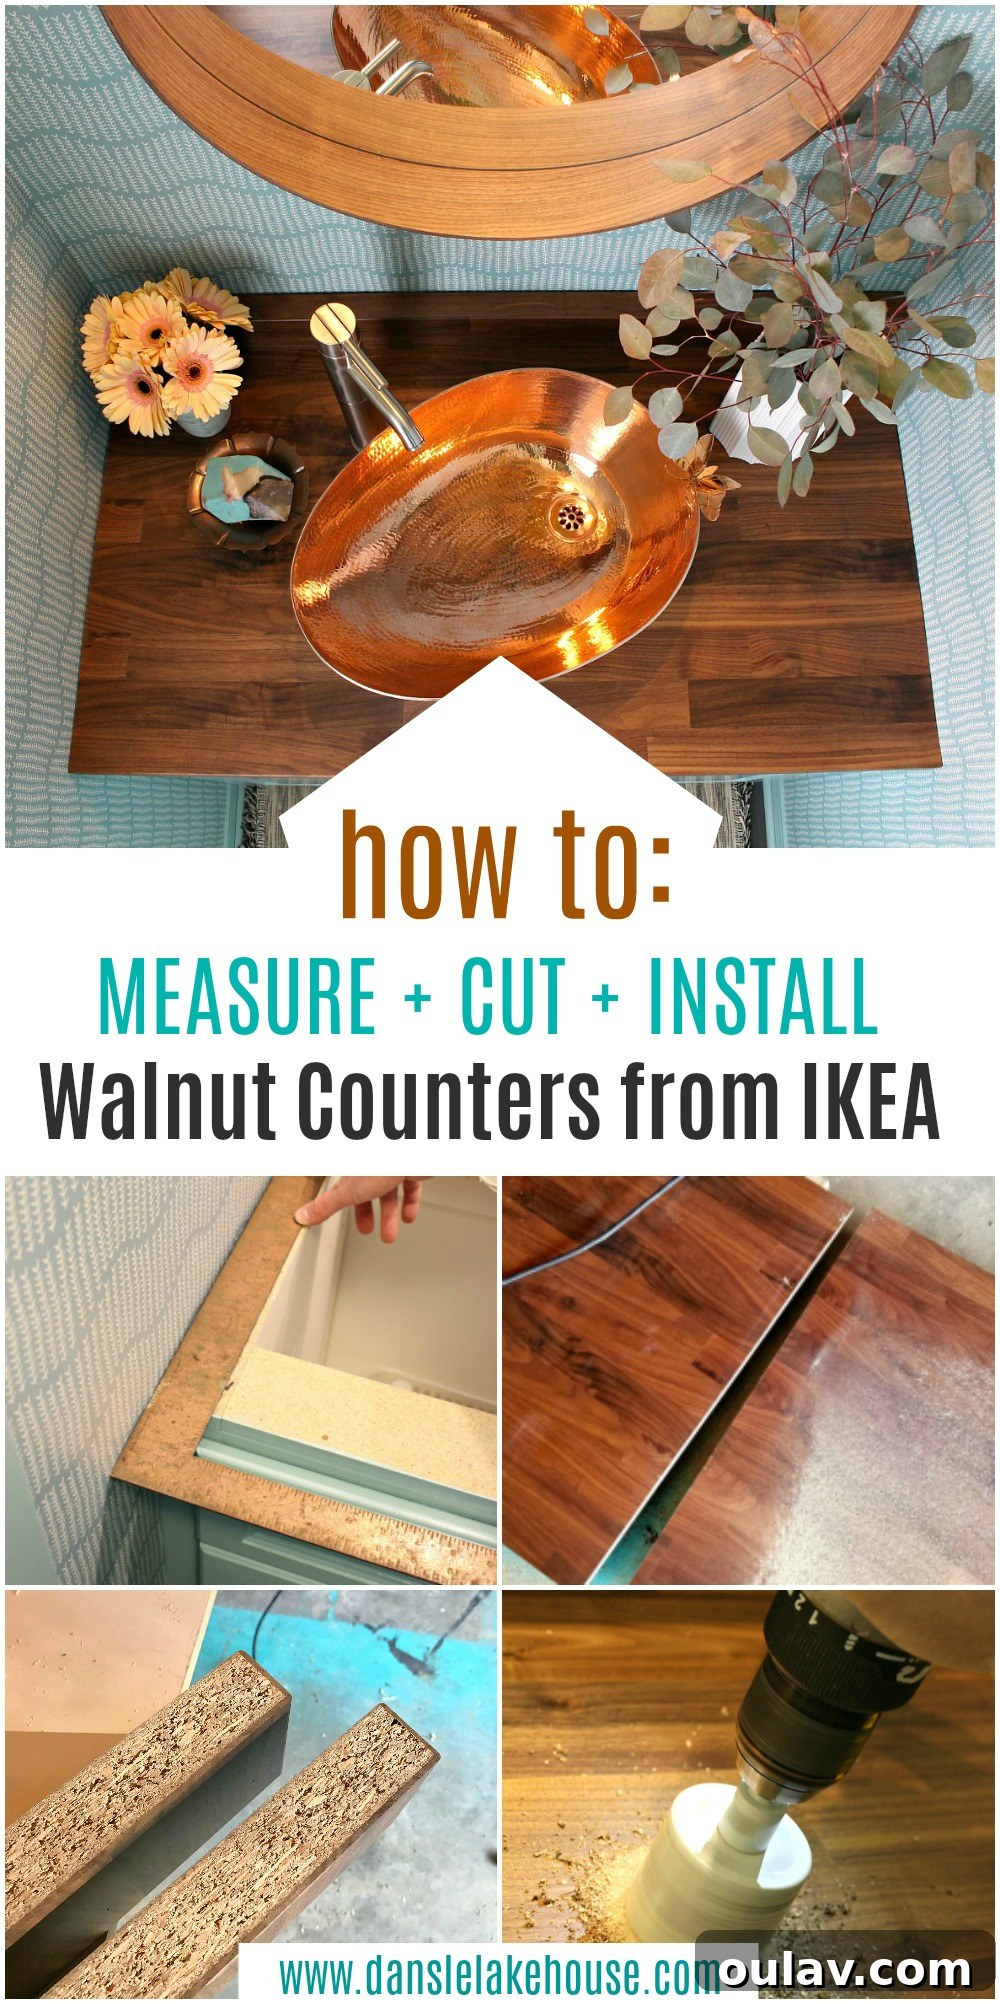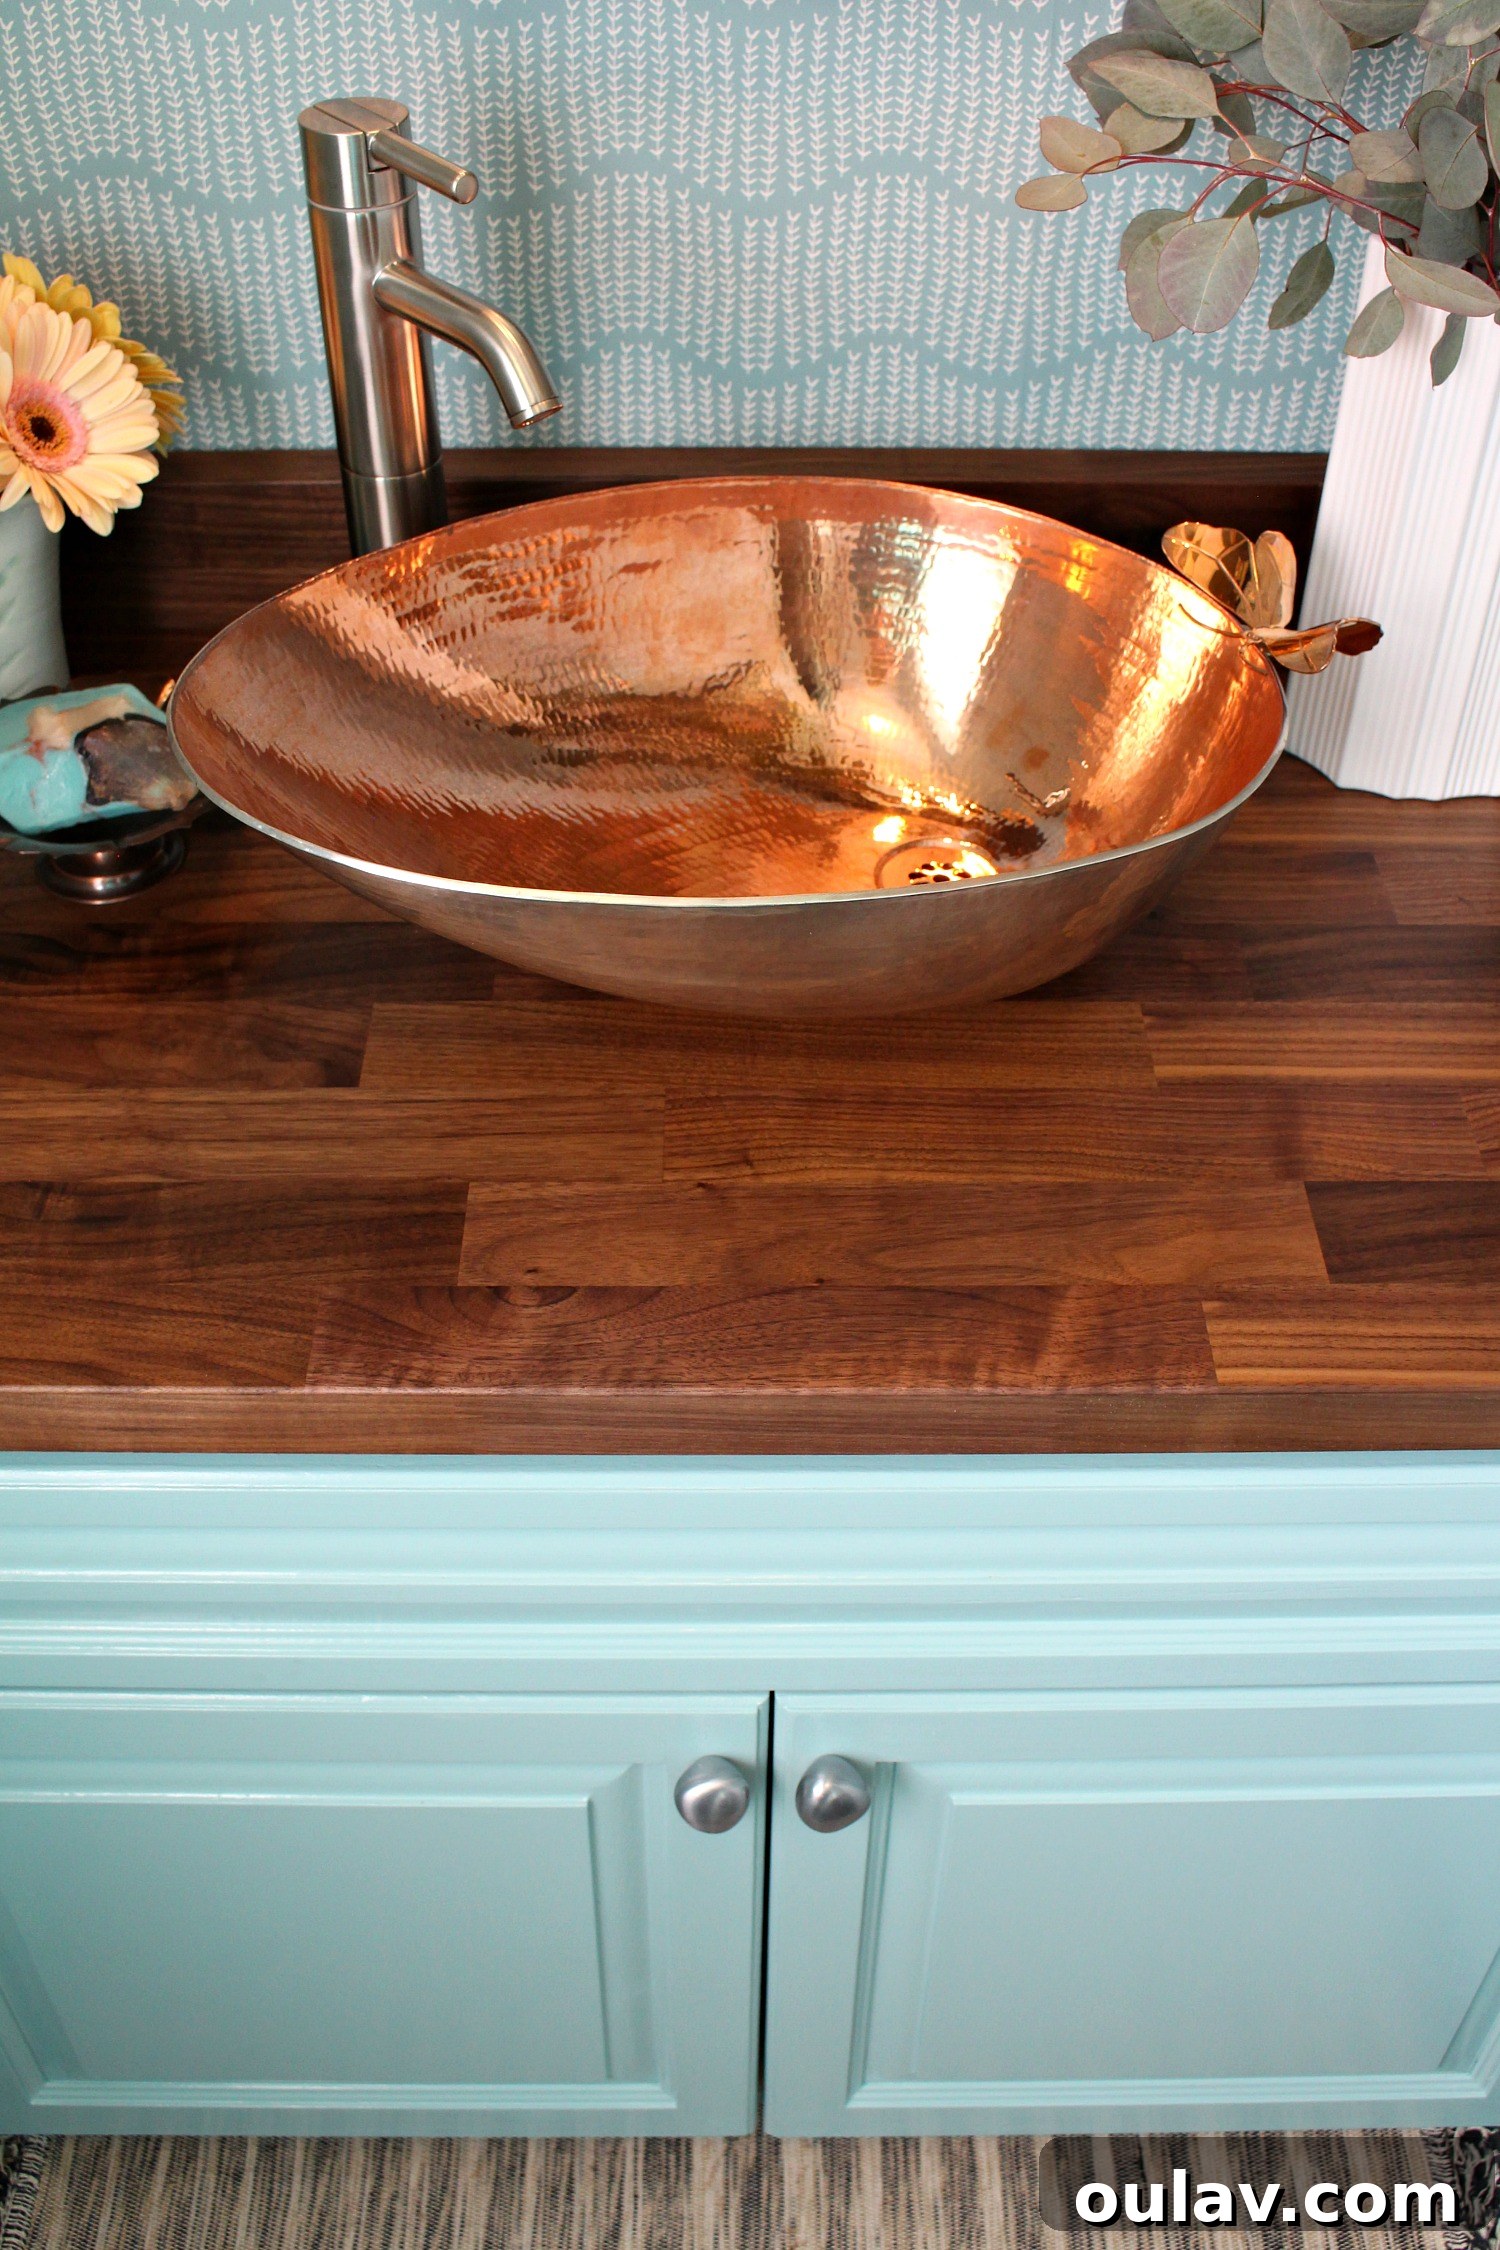
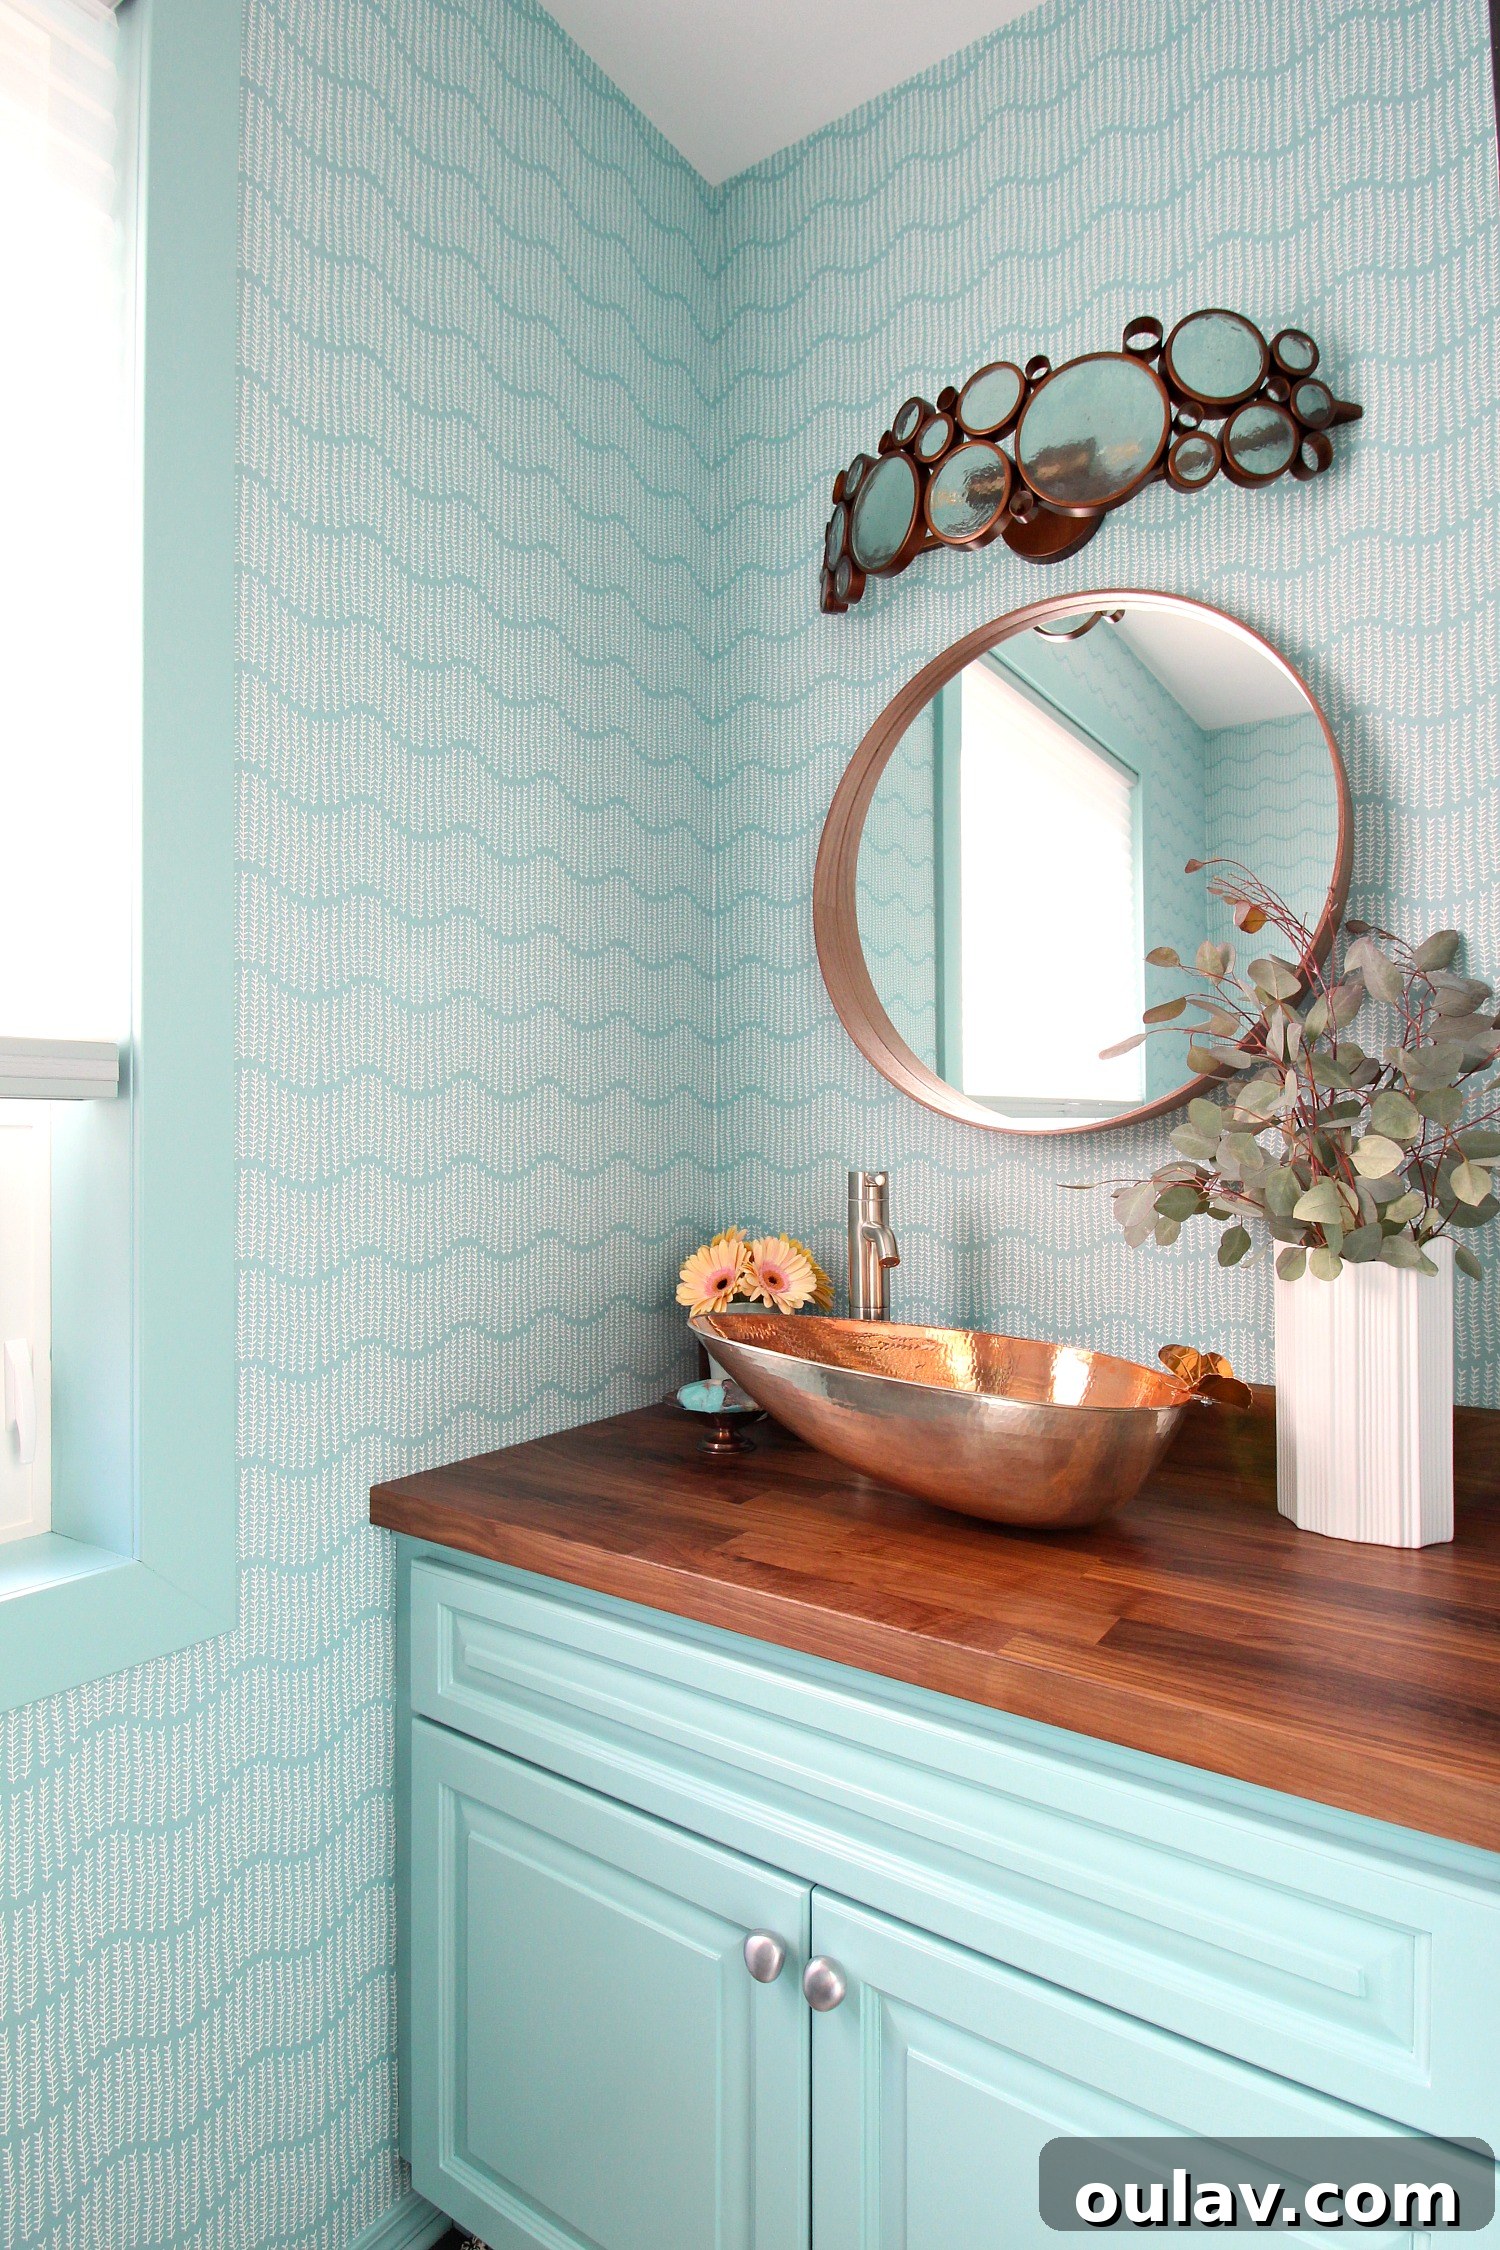
When embarking on a home renovation, selecting the perfect countertop can be a defining decision, influencing both the aesthetics and functionality of your space. For many DIY enthusiasts and budget-conscious homeowners, IKEA offers a compelling array of options, from robust quartz to versatile laminate and elegant wood finishes. Among these, the IKEA KARLBY walnut countertop frequently captures attention, promising the luxurious look of solid wood without the hefty price tag. Having recently installed this stunning walnut veneer counter in our turquoise and copper powder room makeover, I received an overwhelming number of inquiries about its quality, the installation process, and specific cutting techniques. This article delves into our hands-on experience, offering a comprehensive guide to working with the IKEA KARLBY walnut counter, particularly for a bathroom vanity application. While IKEA generously provided this countertop (and a few other elements) for my One Room Challenge makeover, I had already fallen in love with its rich, warm walnut aesthetic long before the collaboration.
The IKEA KARLBY Walnut Countertop: An Overview
The IKEA KARLBY countertop is a popular choice for kitchens and bathrooms alike, renowned for its attractive appearance and practical construction. It features a thick walnut veneer over a particleboard core, mimicking the look and feel of a solid butcher block. This ingenious design allows IKEA to offer a premium aesthetic at a more accessible price point. The walnut veneer provides a beautiful, natural wood grain that adds warmth and sophistication to any interior, making it an ideal candidate for a DIY bathroom vanity countertop. Its versatility and robust build quality have made it a favorite among home renovators looking for stylish yet affordable solutions.
Shipping and Initial Impressions of the IKEA KARLBY Counter
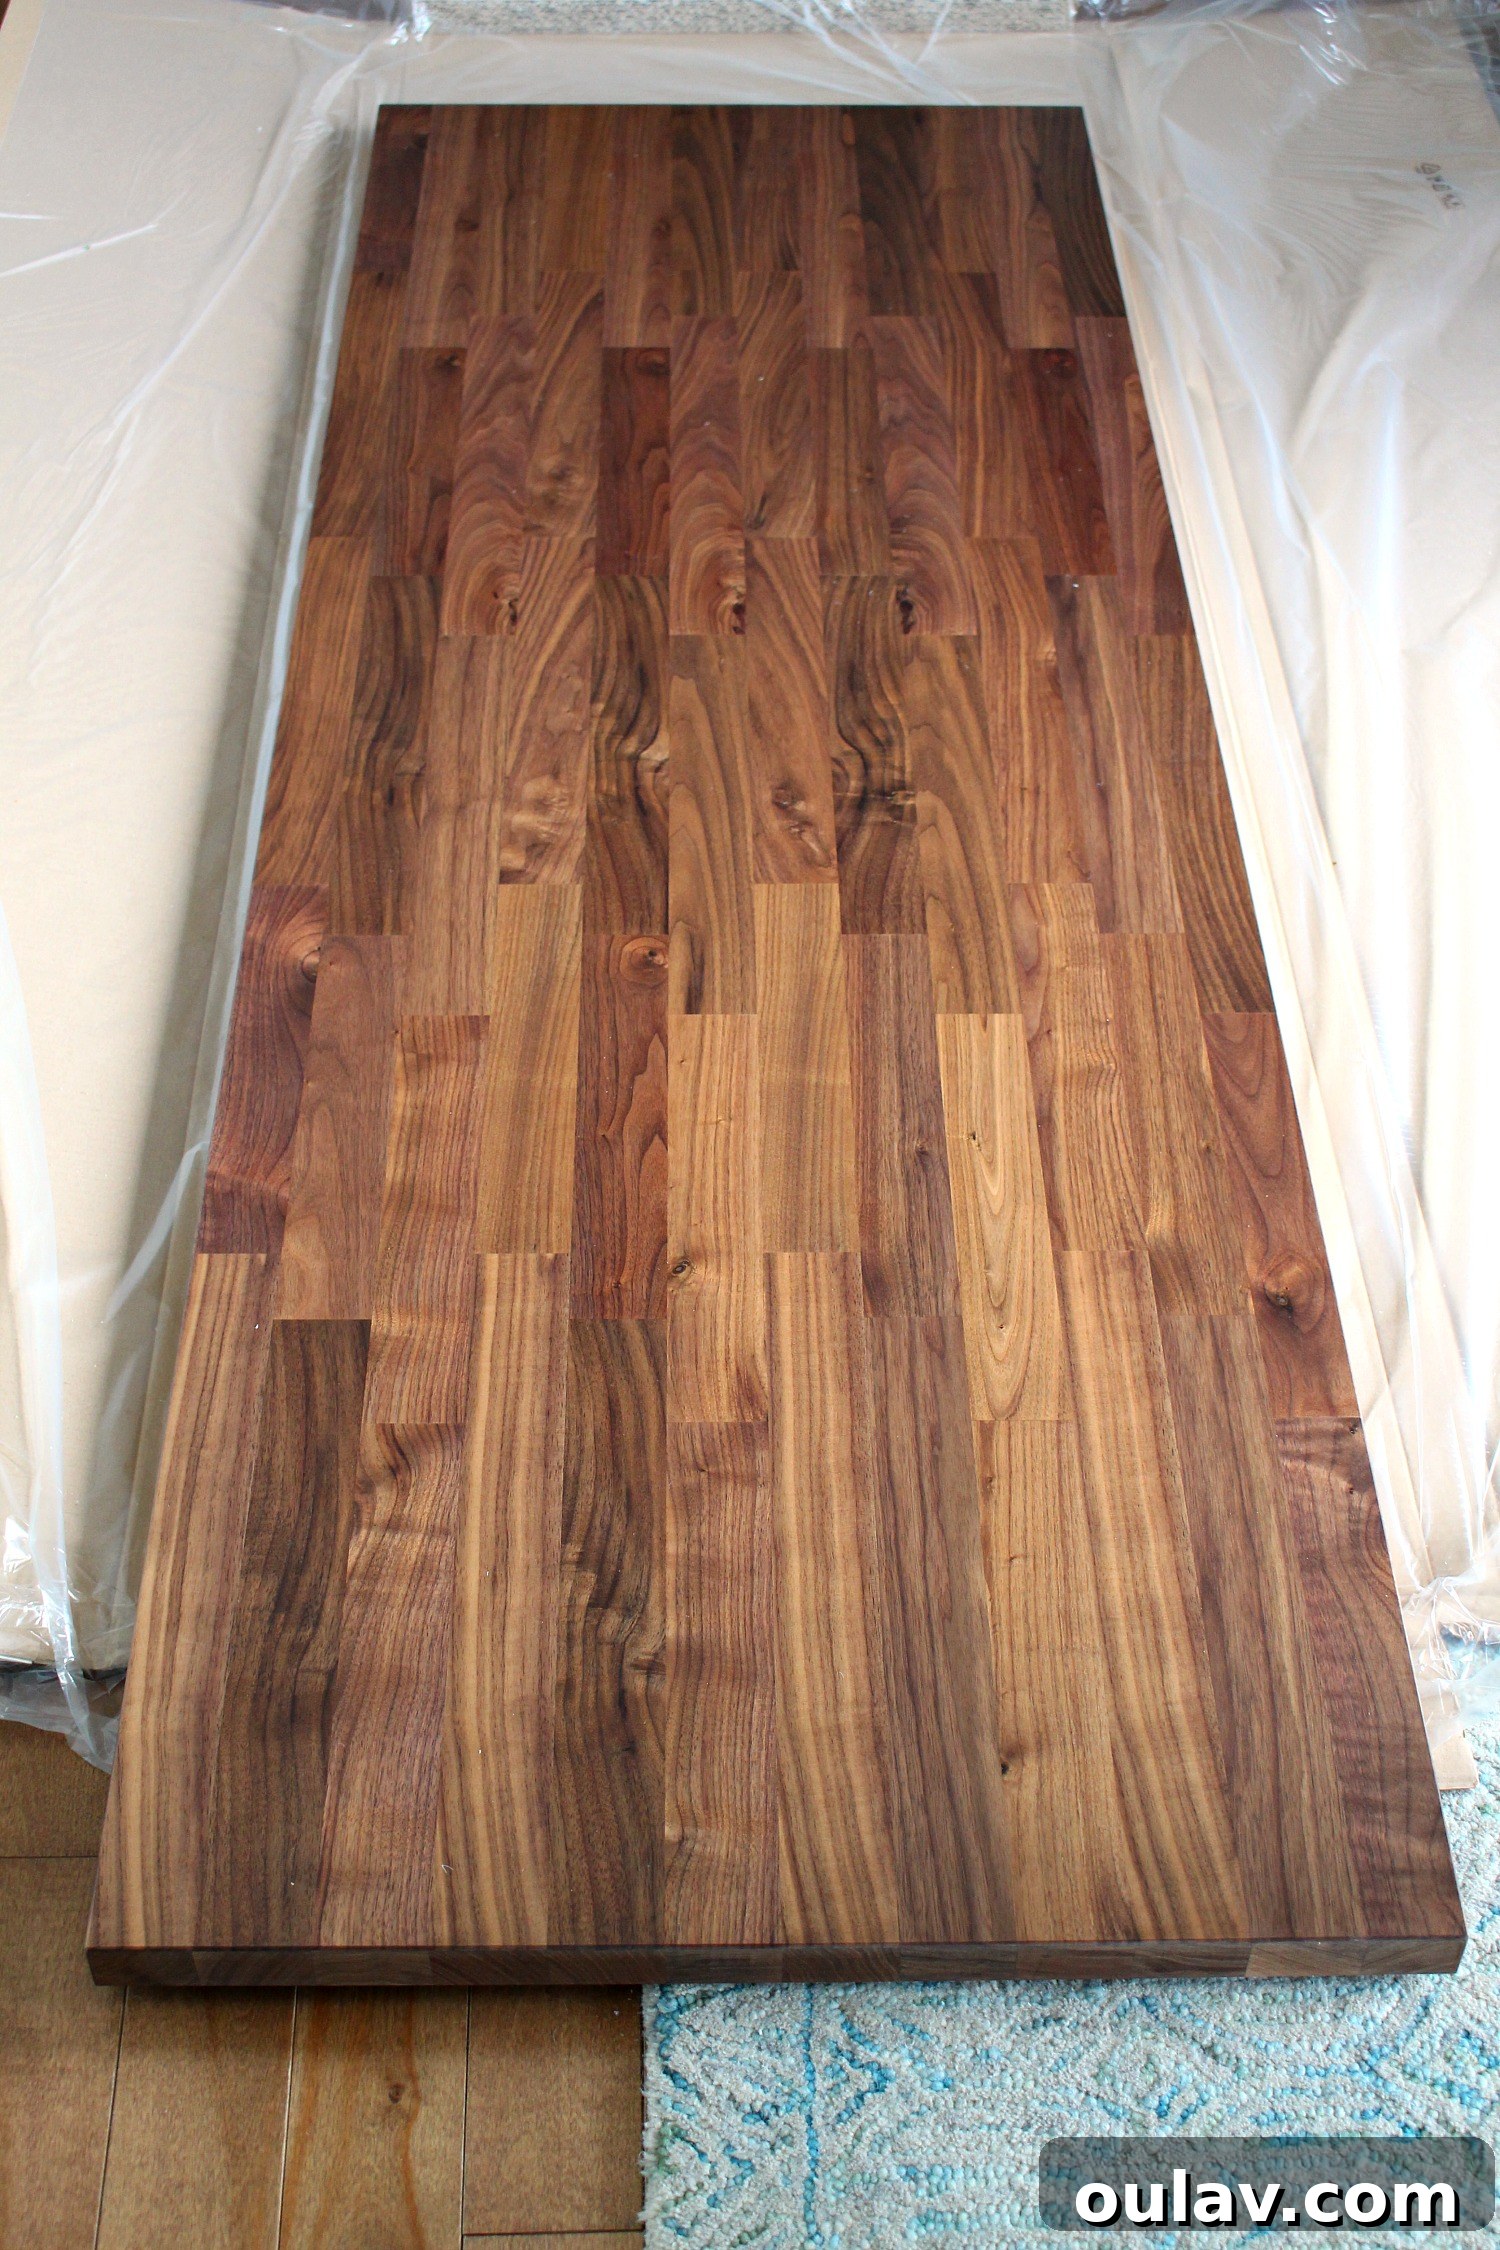
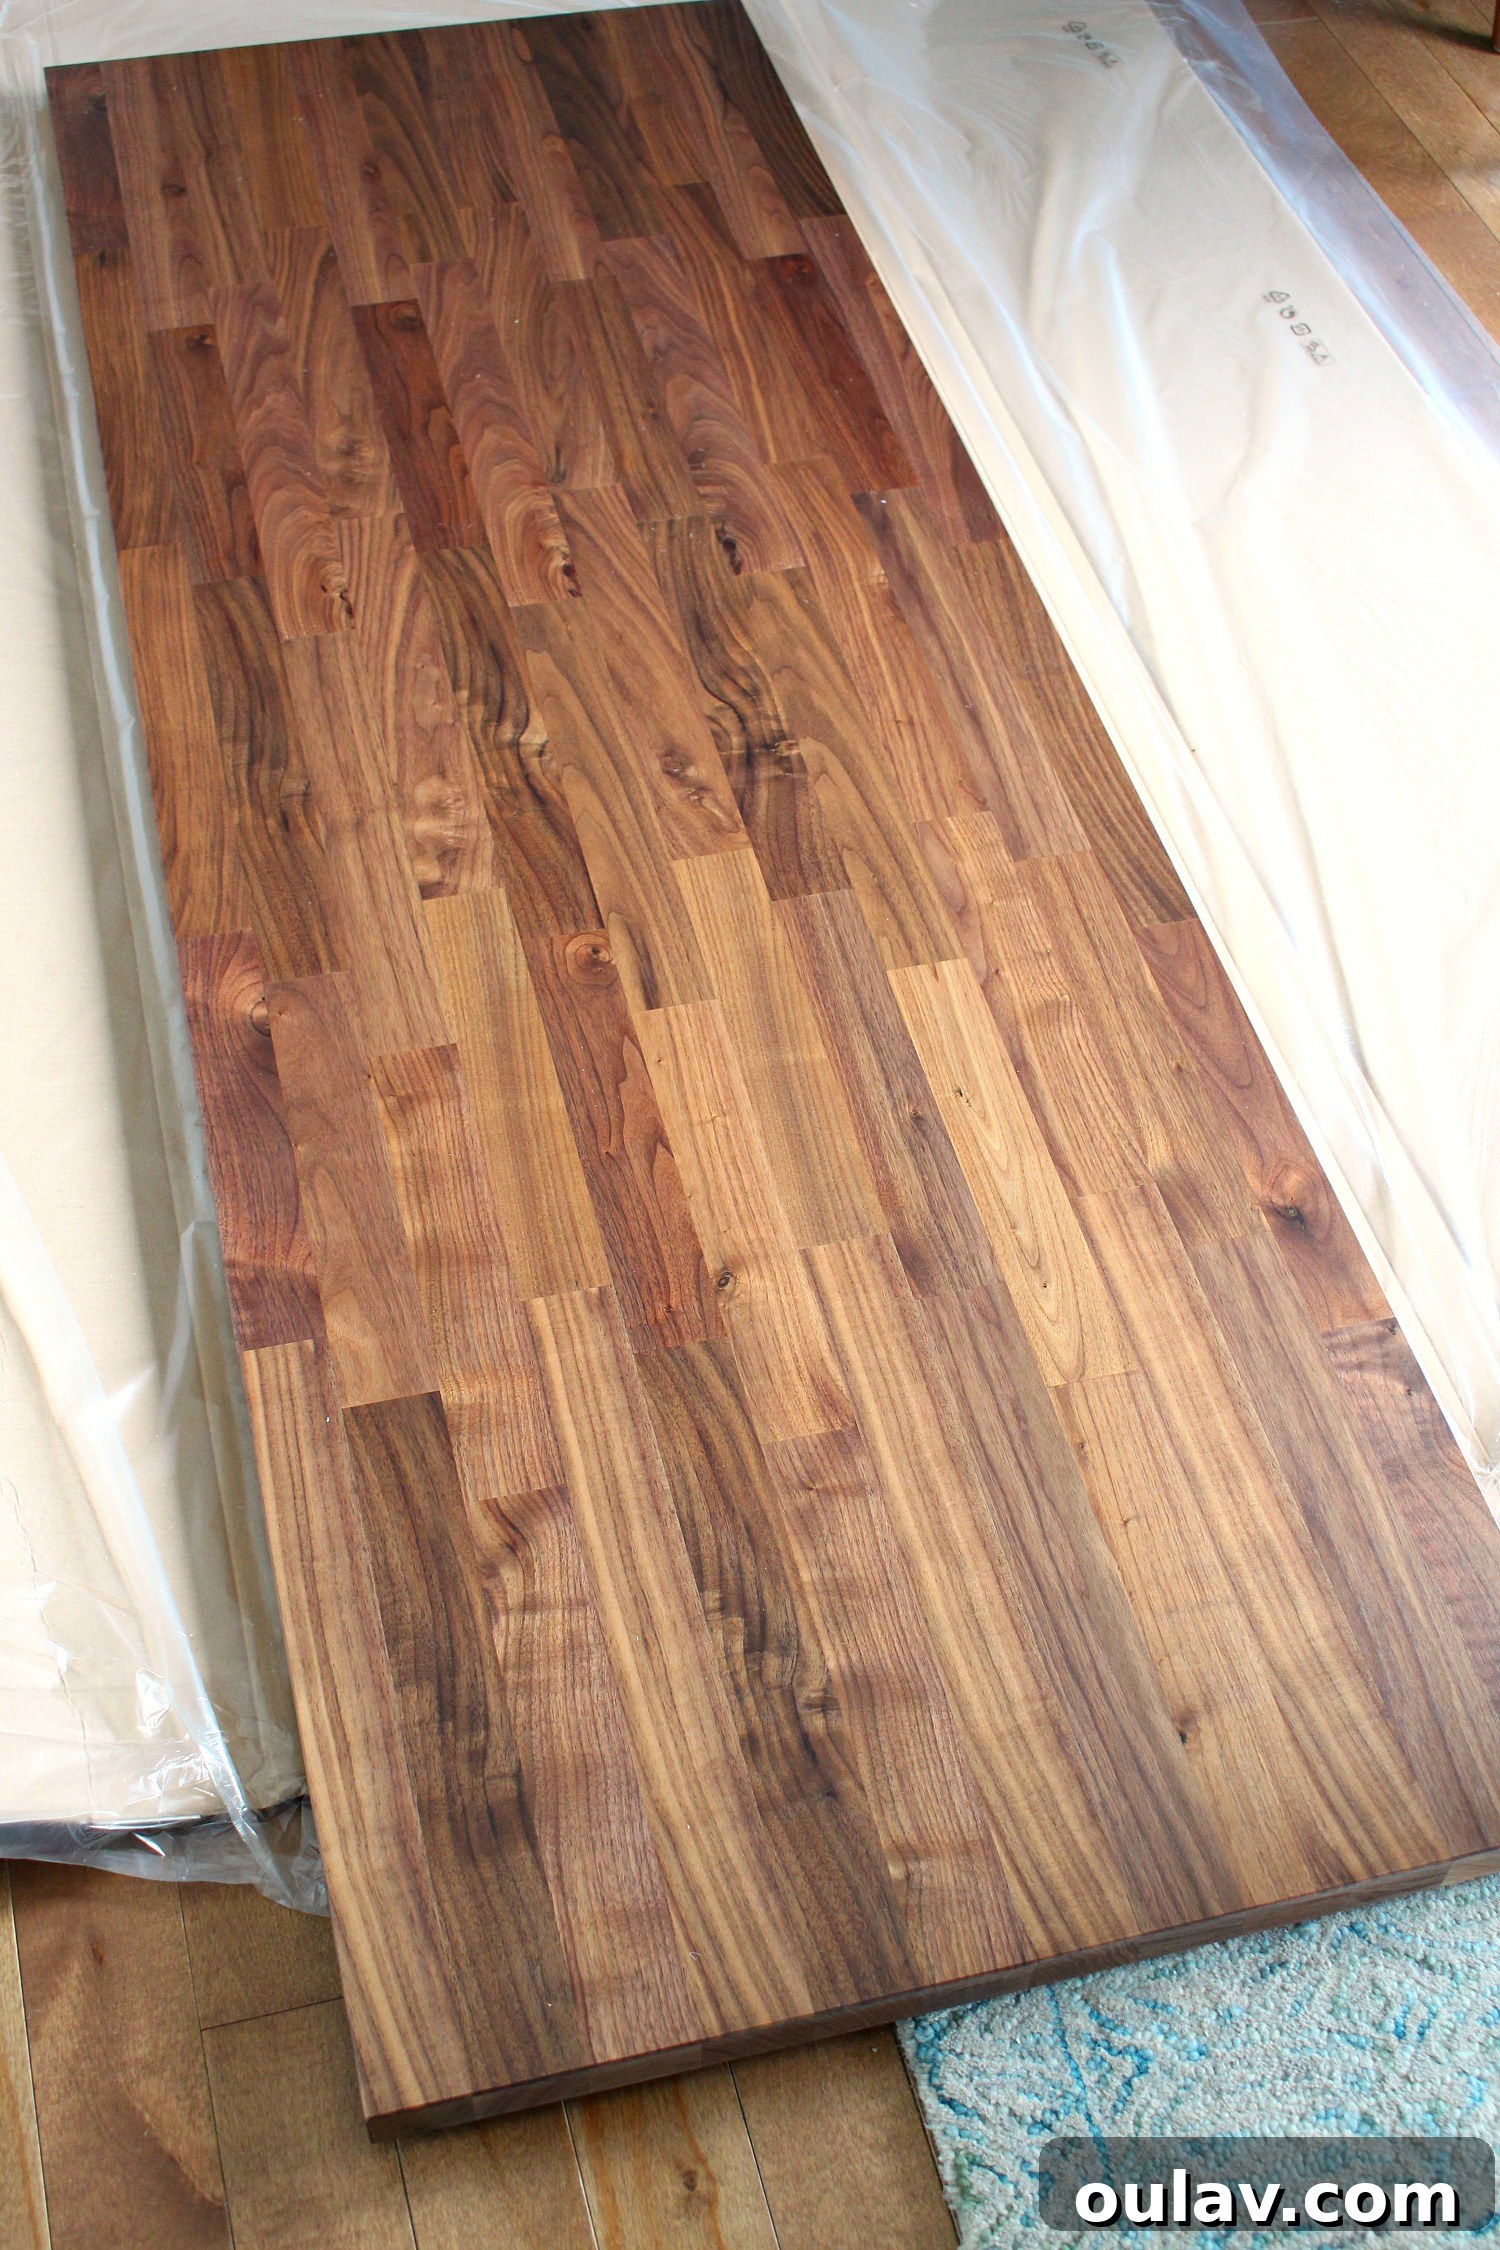
Our KARLBY counter arrived in a single, impressively large piece, available in standard lengths of either 74 inches or 98 inches. It was meticulously packed, offering ample protection against the rigors of transit. Despite clearly marked “do not step” warnings on the packaging, we discovered several dirty footprints upon delivery – a common frustration with shipping companies in our remote area. However, much to our relief, the counter itself emerged from its packaging perfectly intact, without a single dent, scratch, or blemish. This initial inspection solidified our confidence in the product’s durability and the quality of IKEA’s packaging. If your space accommodates one of IKEA’s standard lengths, you’re in luck, as the counter comes ready for immediate installation, saving you the hassle of cutting.
Unveiling the Quality of the IKEA KARLBY Walnut Countertop
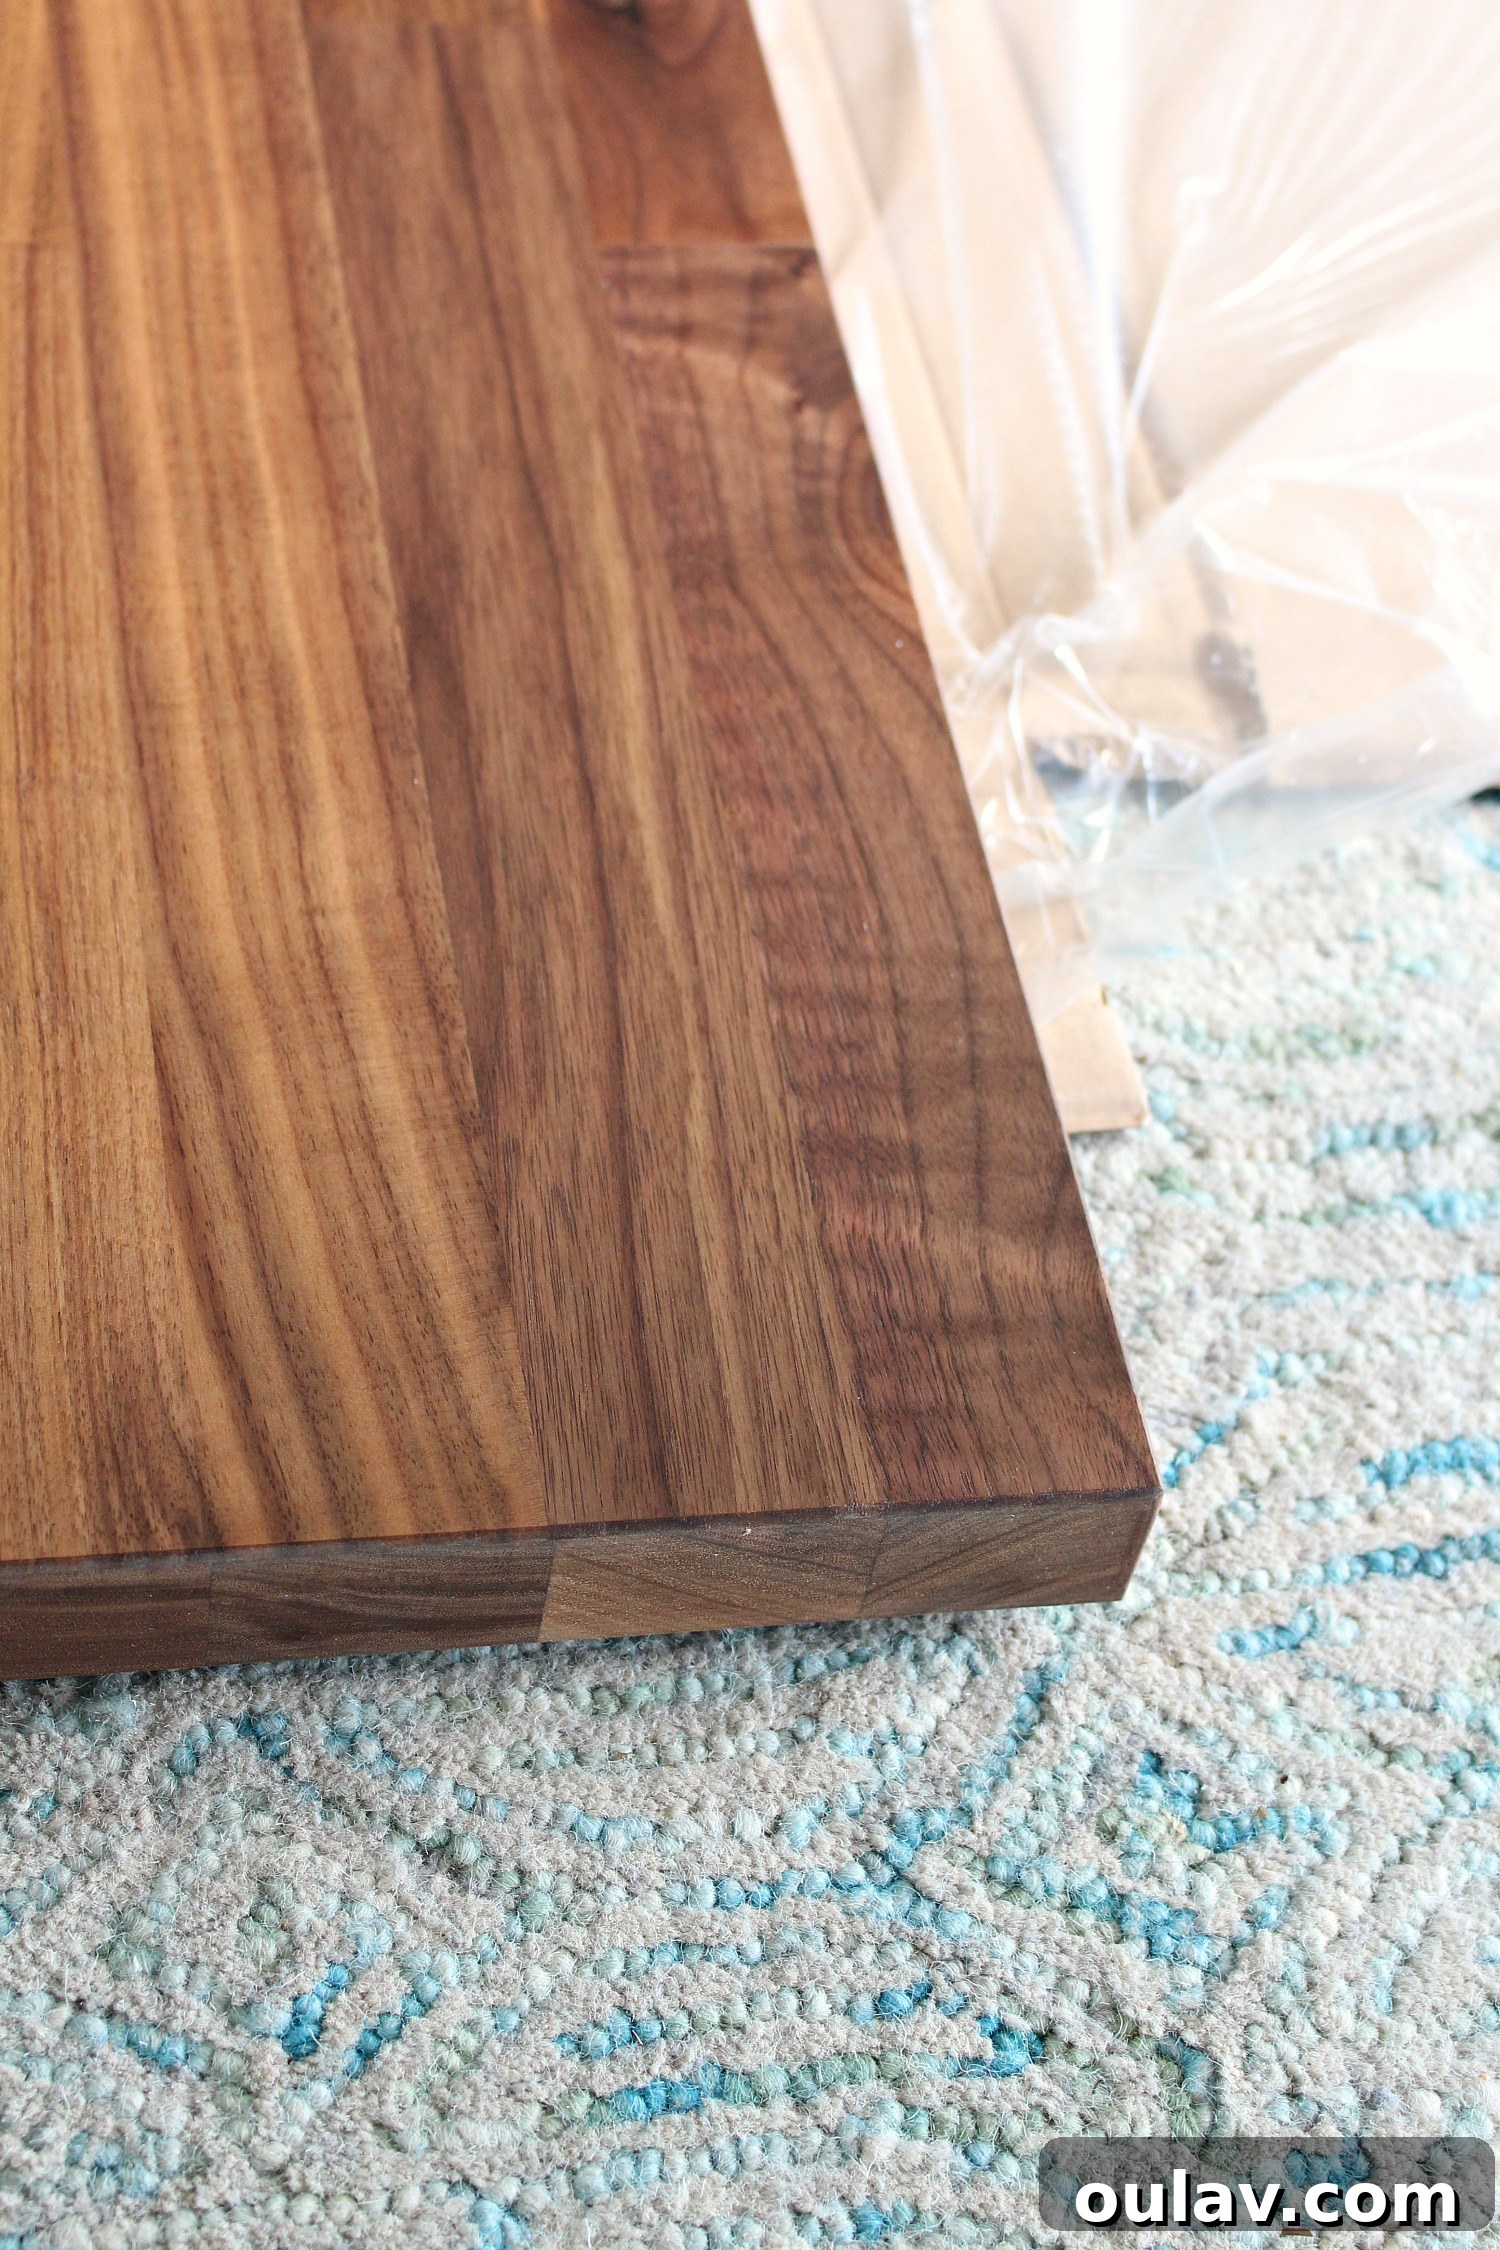
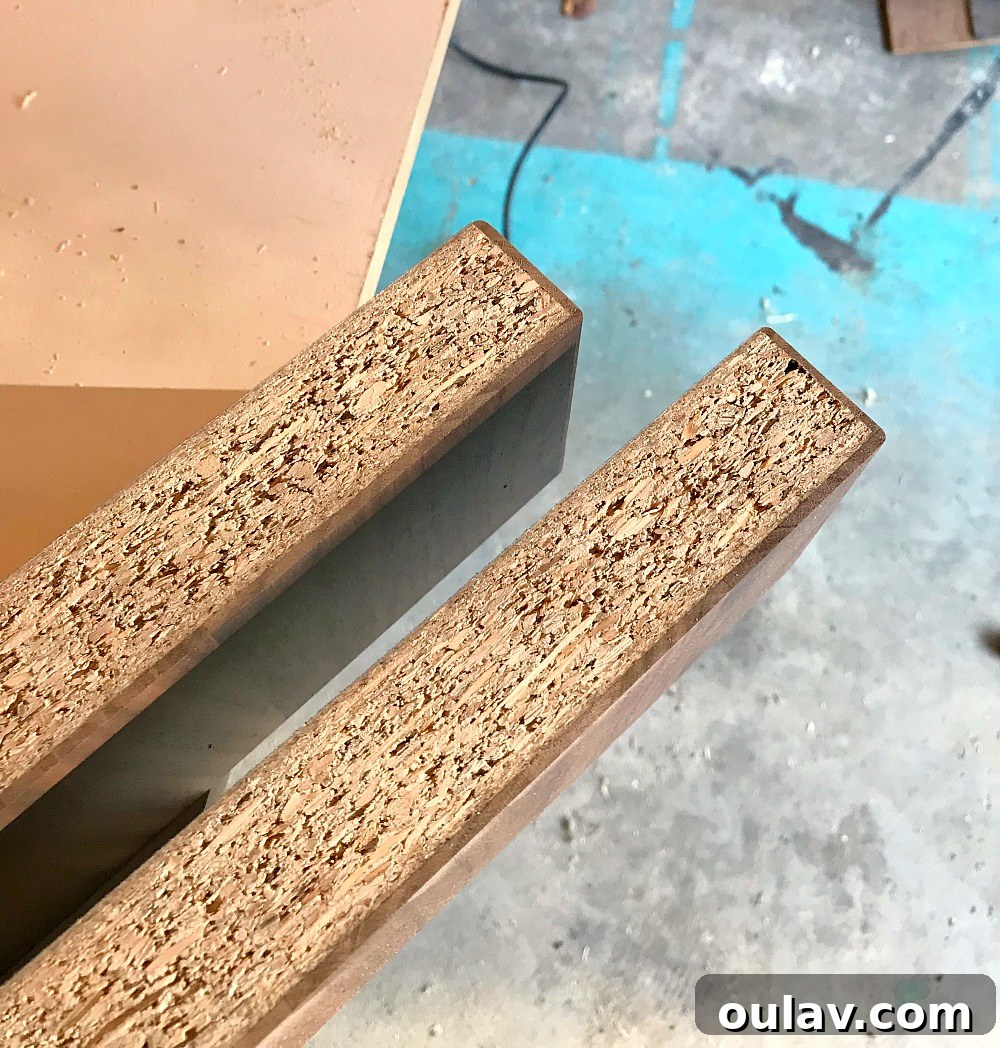
From the moment we unboxed it, the quality of the KARLBY counter was evident. There were absolutely no flaws, dents, or peculiar spots – just a pristine slab of walnut veneer. The relatively affordable price point for such a substantial piece hints that it’s not solid walnut, which is precisely its genius. The KARLBY offers the sought-after aesthetic of a walnut butcher block at a fraction of the cost, without compromising on functionality or repairability. IKEA’s design cleverly marries the best attributes of solid wood and veneer, utilizing natural resources efficiently to create a durable, attractive, and sandable surface. We were particularly impressed by the incredible thickness of the veneer; it’s substantial enough that you can easily sand down and refinish the surface if it endures significant wear and tear over time. This aspect significantly extends the life and versatility of the countertop, making it a truly smart investment for any home improvement project.
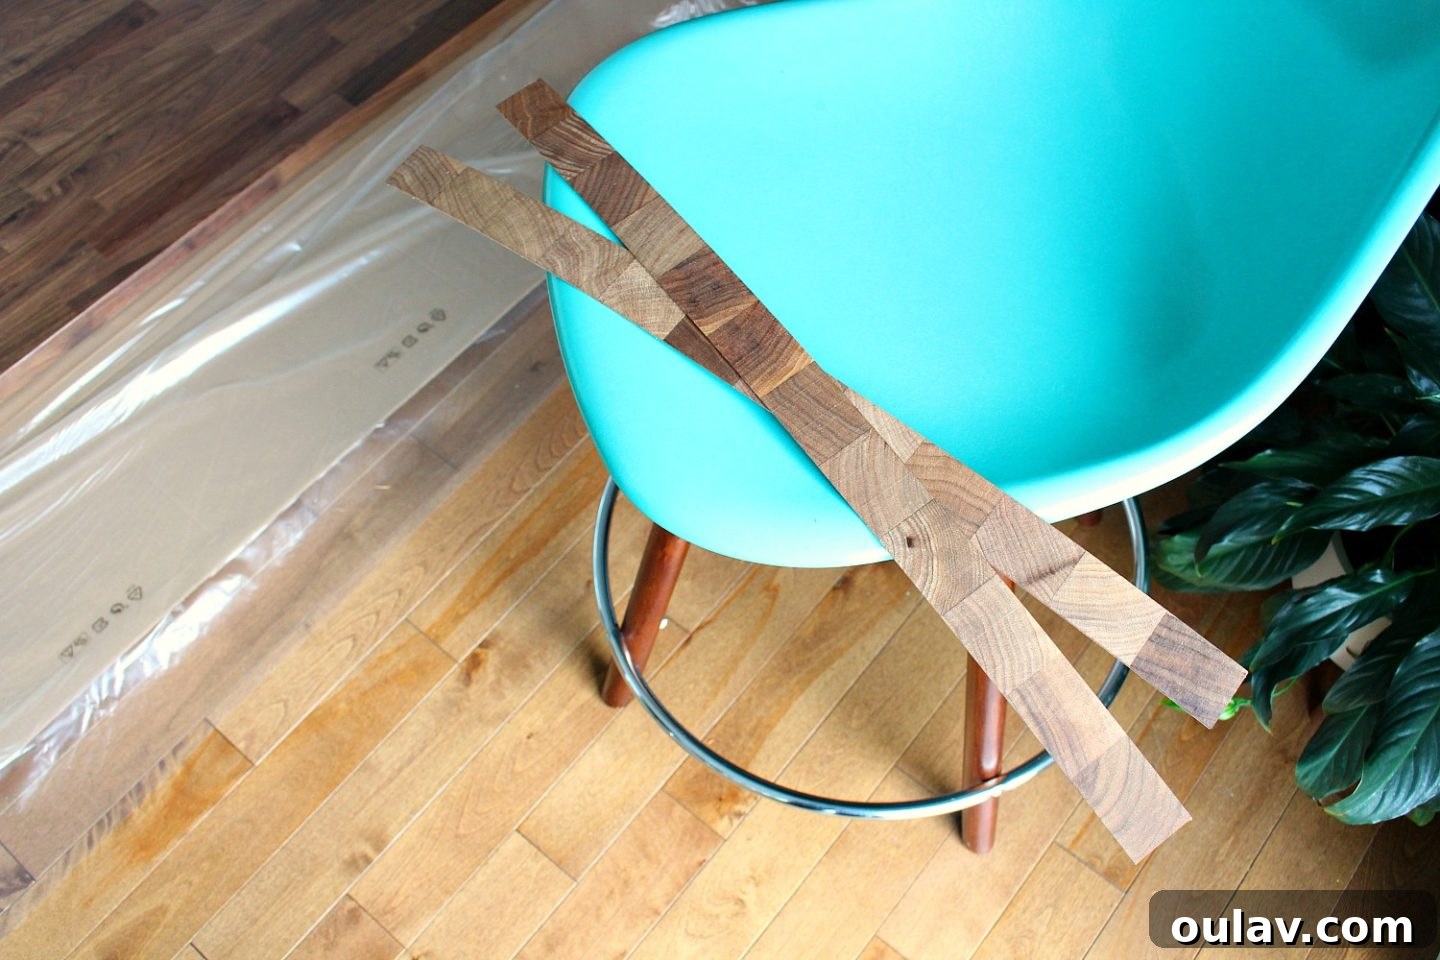
A thoughtful addition from IKEA is the inclusion of two edge banding pieces, designed to be affixed to any cut edges. This ensures a seamless and finished look, maintaining the high-quality appearance even after customization.
Precision Installation: Cutting the Counter to Fit Between Three Walls
Our installation presented a unique challenge: snugly fitting the counter into a space bordered by three walls, leaving absolutely no margin for error. Complicating matters further, the walls were anything but straight, and the room itself was not perfectly square. After diligently removing the old counter and having already wallpapered the space, we began the meticulous process of measuring. We used a framing square to assess just how “not-square” the walls were, taking precise measurements of both the front and back widths of the recess. This step is critical in any custom countertop installation, especially in older homes where walls rarely meet at perfect 90-degree angles.
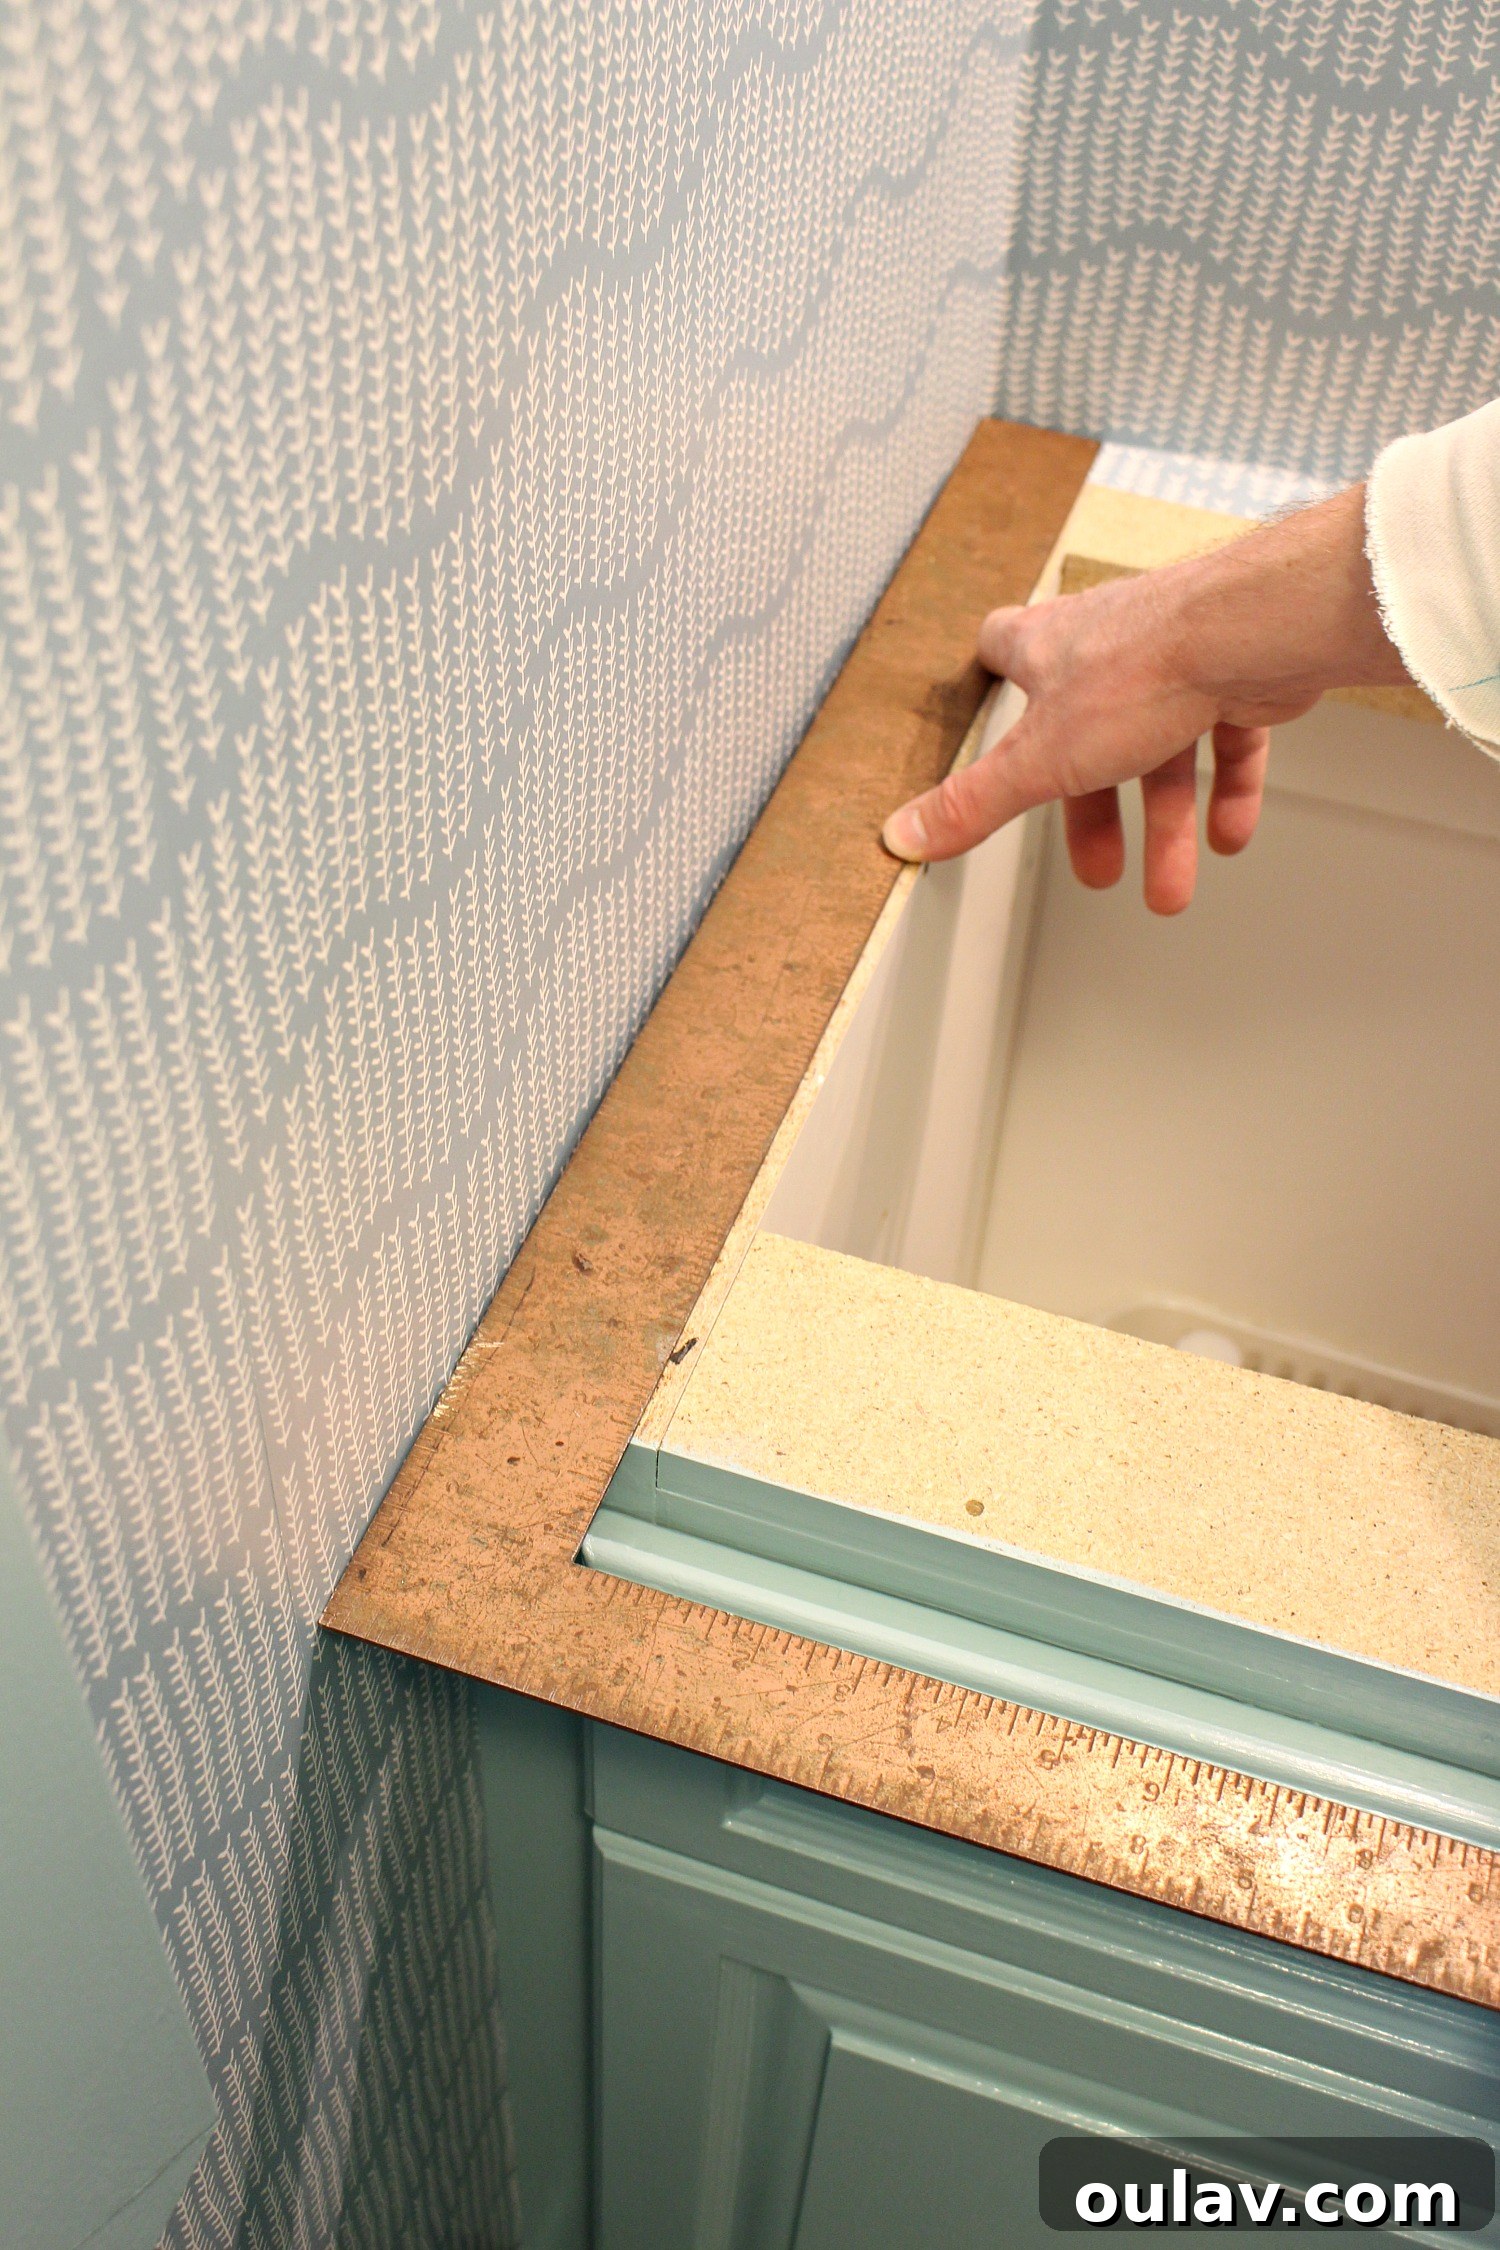
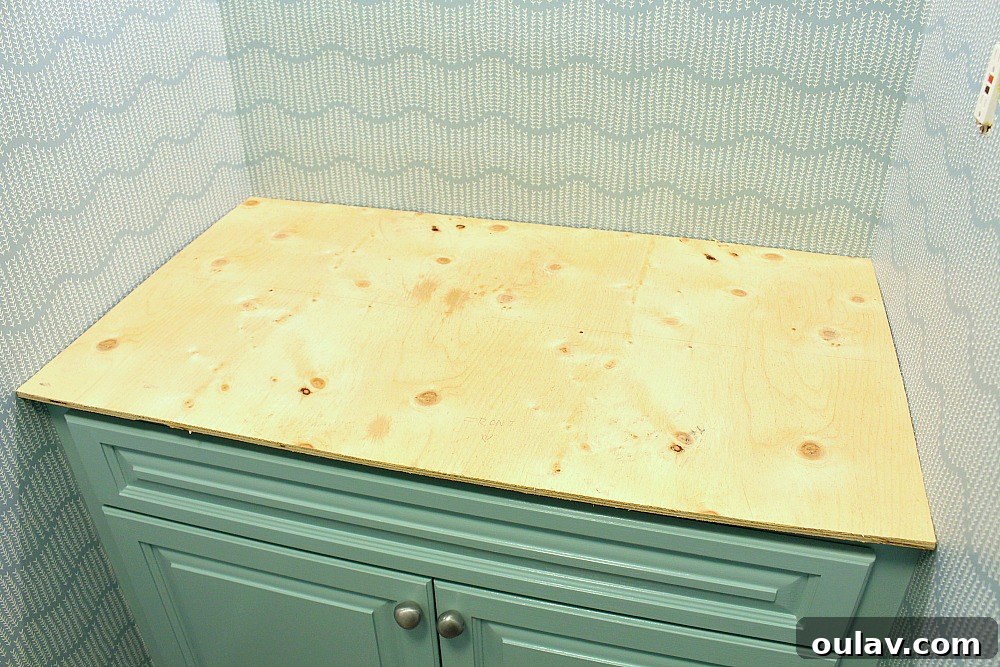
To guarantee an exact fit, we decided to create a template. Using a scrap piece of plywood, we meticulously transferred our measurements and angles, making adjustments until the template fit the wall contours perfectly. This step was invaluable, particularly because the right-hand side wall angled slightly inwards towards the back. The template allowed us to visualize the fit and make any necessary corrections before committing to cutting the actual countertop.
Once we were confident in the template’s accuracy, we carefully transferred the markings onto the IKEA KARLBY counter. For the straighter wall, we utilized a table saw, which provided a clean, precise cut. Unfortunately, we don’t have photos of this step as both of us were needed to safely maneuver the large counter through the saw. We also used the table saw to reduce the depth of the counter, as the original dimension was a bit too generous for our compact bathroom, ensuring a better proportional fit.
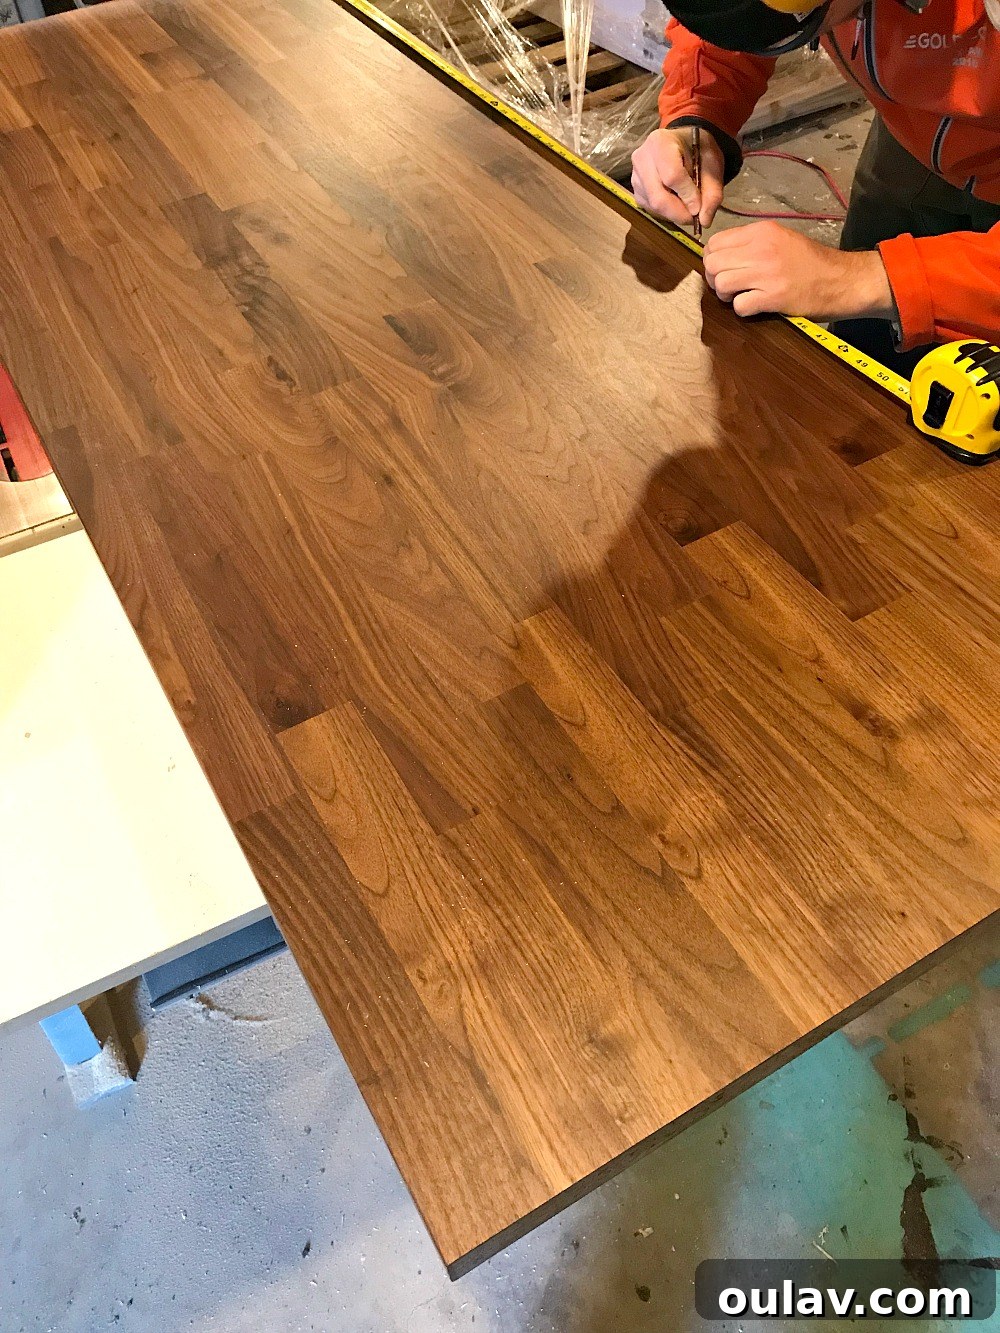
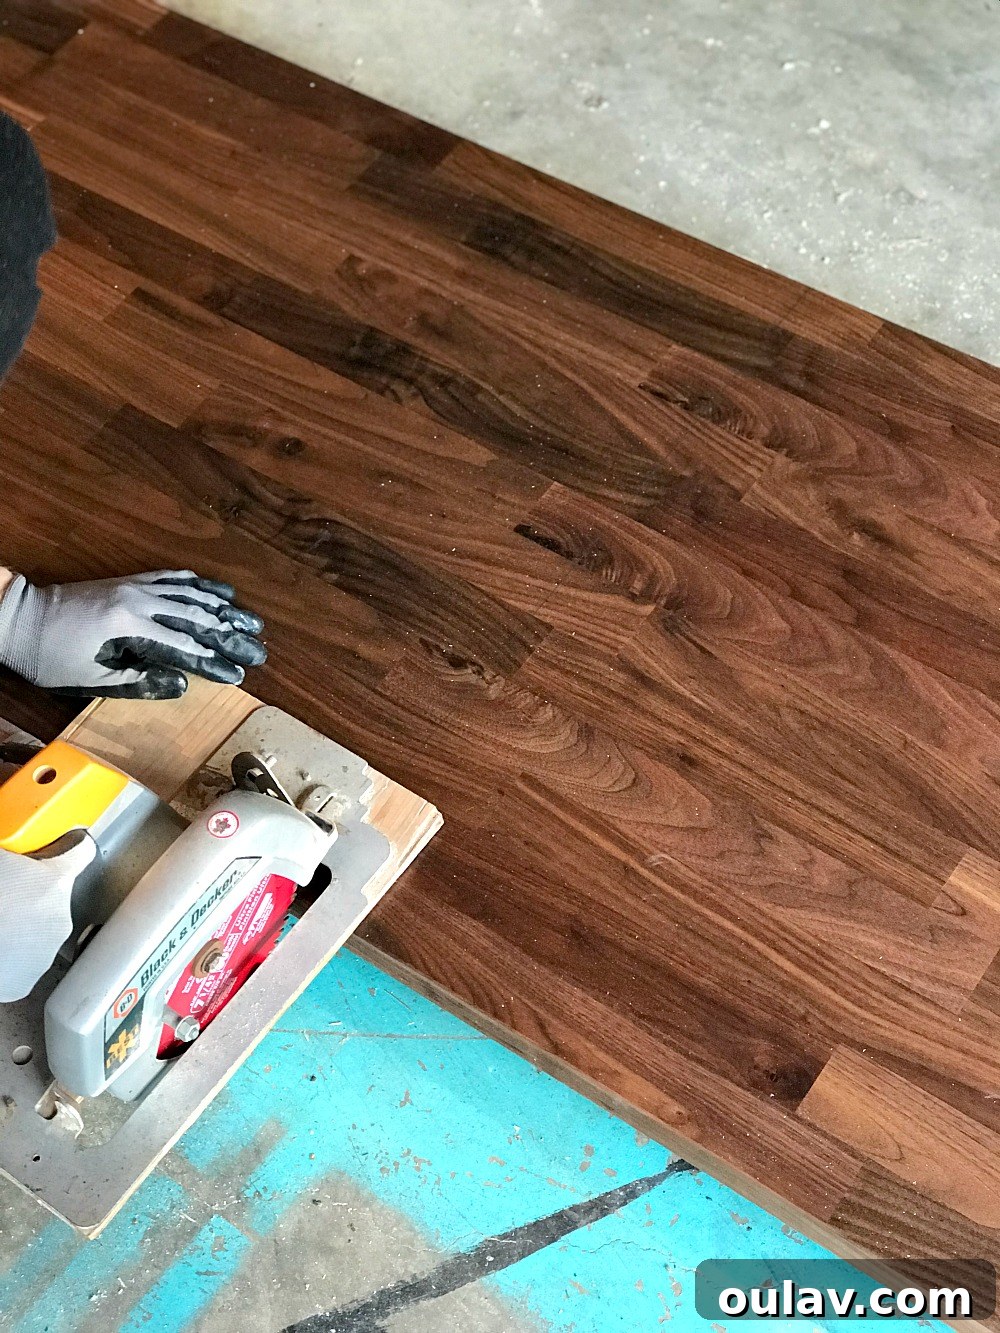
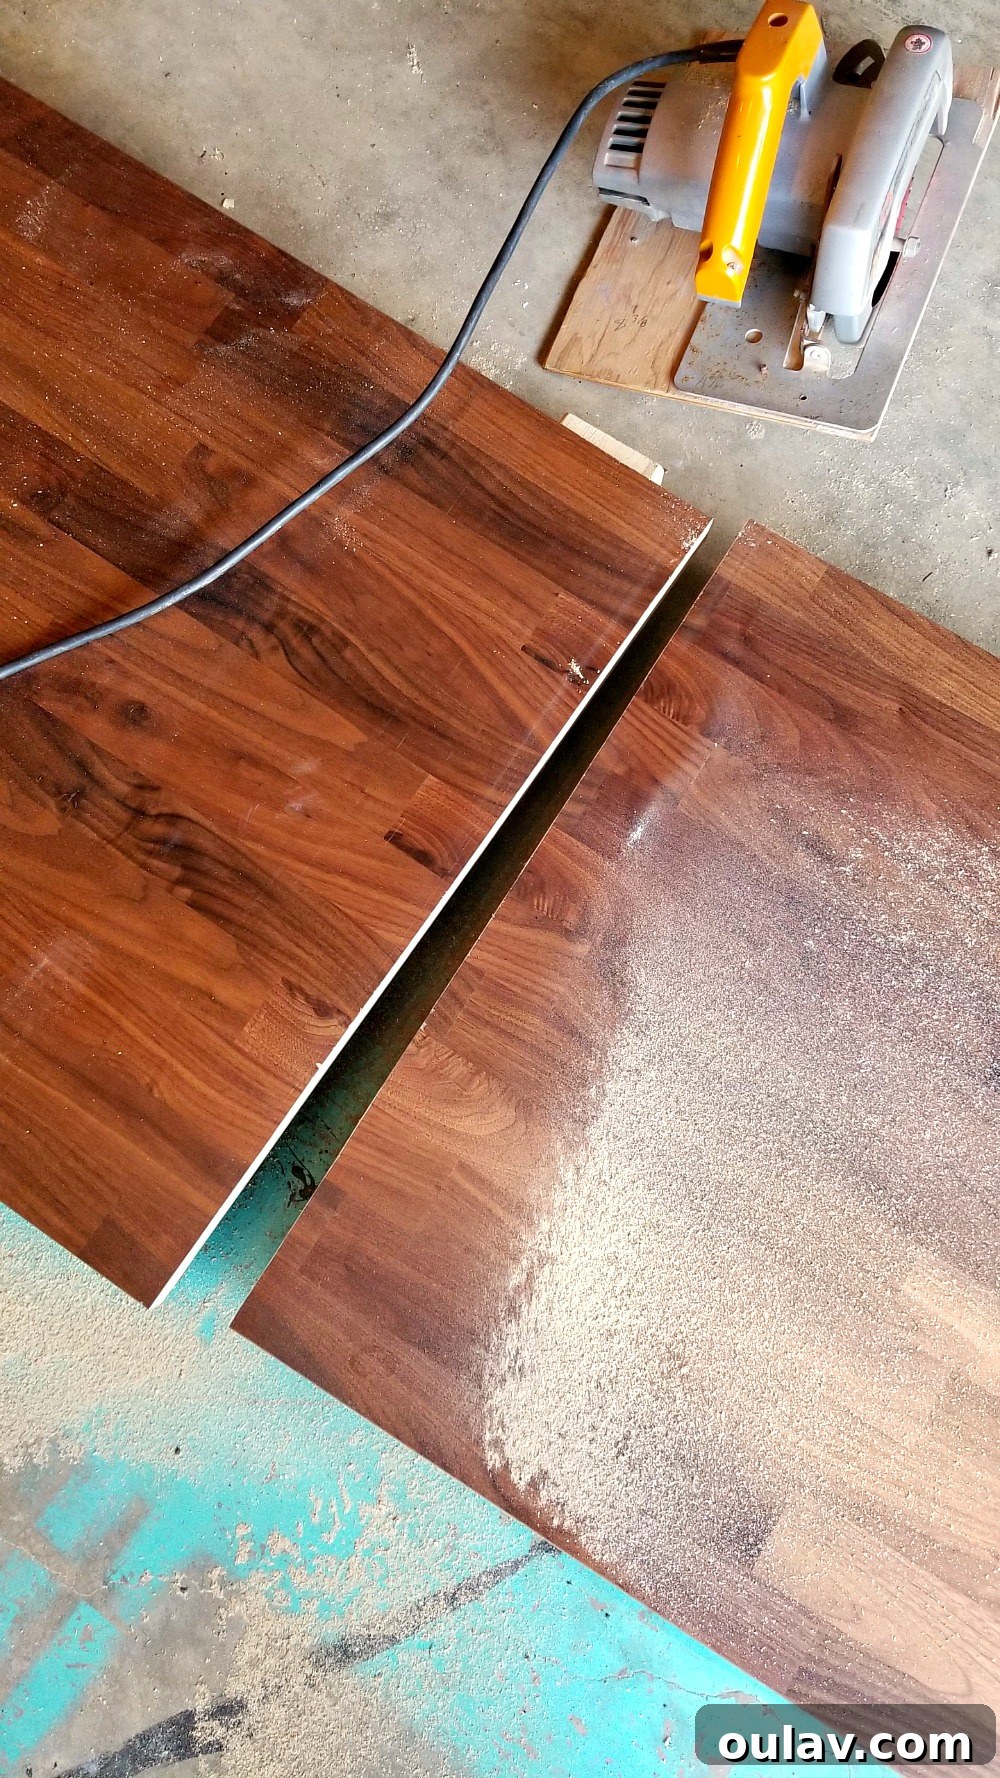
For the angled side, we marked the precise line using our template and double-checked all measurements before making the cut with a skill saw. We were pleasantly surprised by how easily the KARLBY cut. It was truly “like cutting through butter.” Unlike solid wood, which can present challenges with knots and irregular grain patterns, the engineered construction of the KARLBY allowed both the table saw and skill saw blades to glide smoothly through the material. This resulted in an exceptionally clean cut with only one tiny spot of tear-out, which was entirely our own fault due to a slight misjudgment. Despite our initial nervousness about having only one chance to cut it right, this part of the makeover proved to be surprisingly straightforward and hassle-free, highlighting the workability of the KARLBY countertop.
Customizing with a Backsplash: A Clever Use of Leftovers
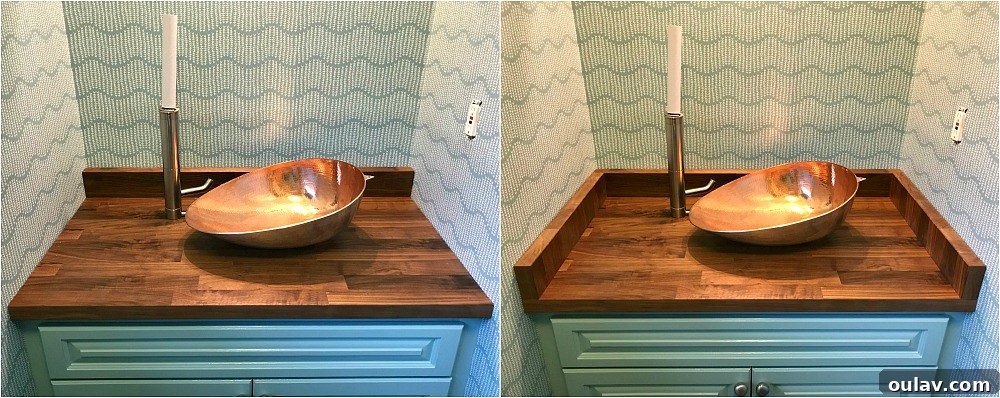
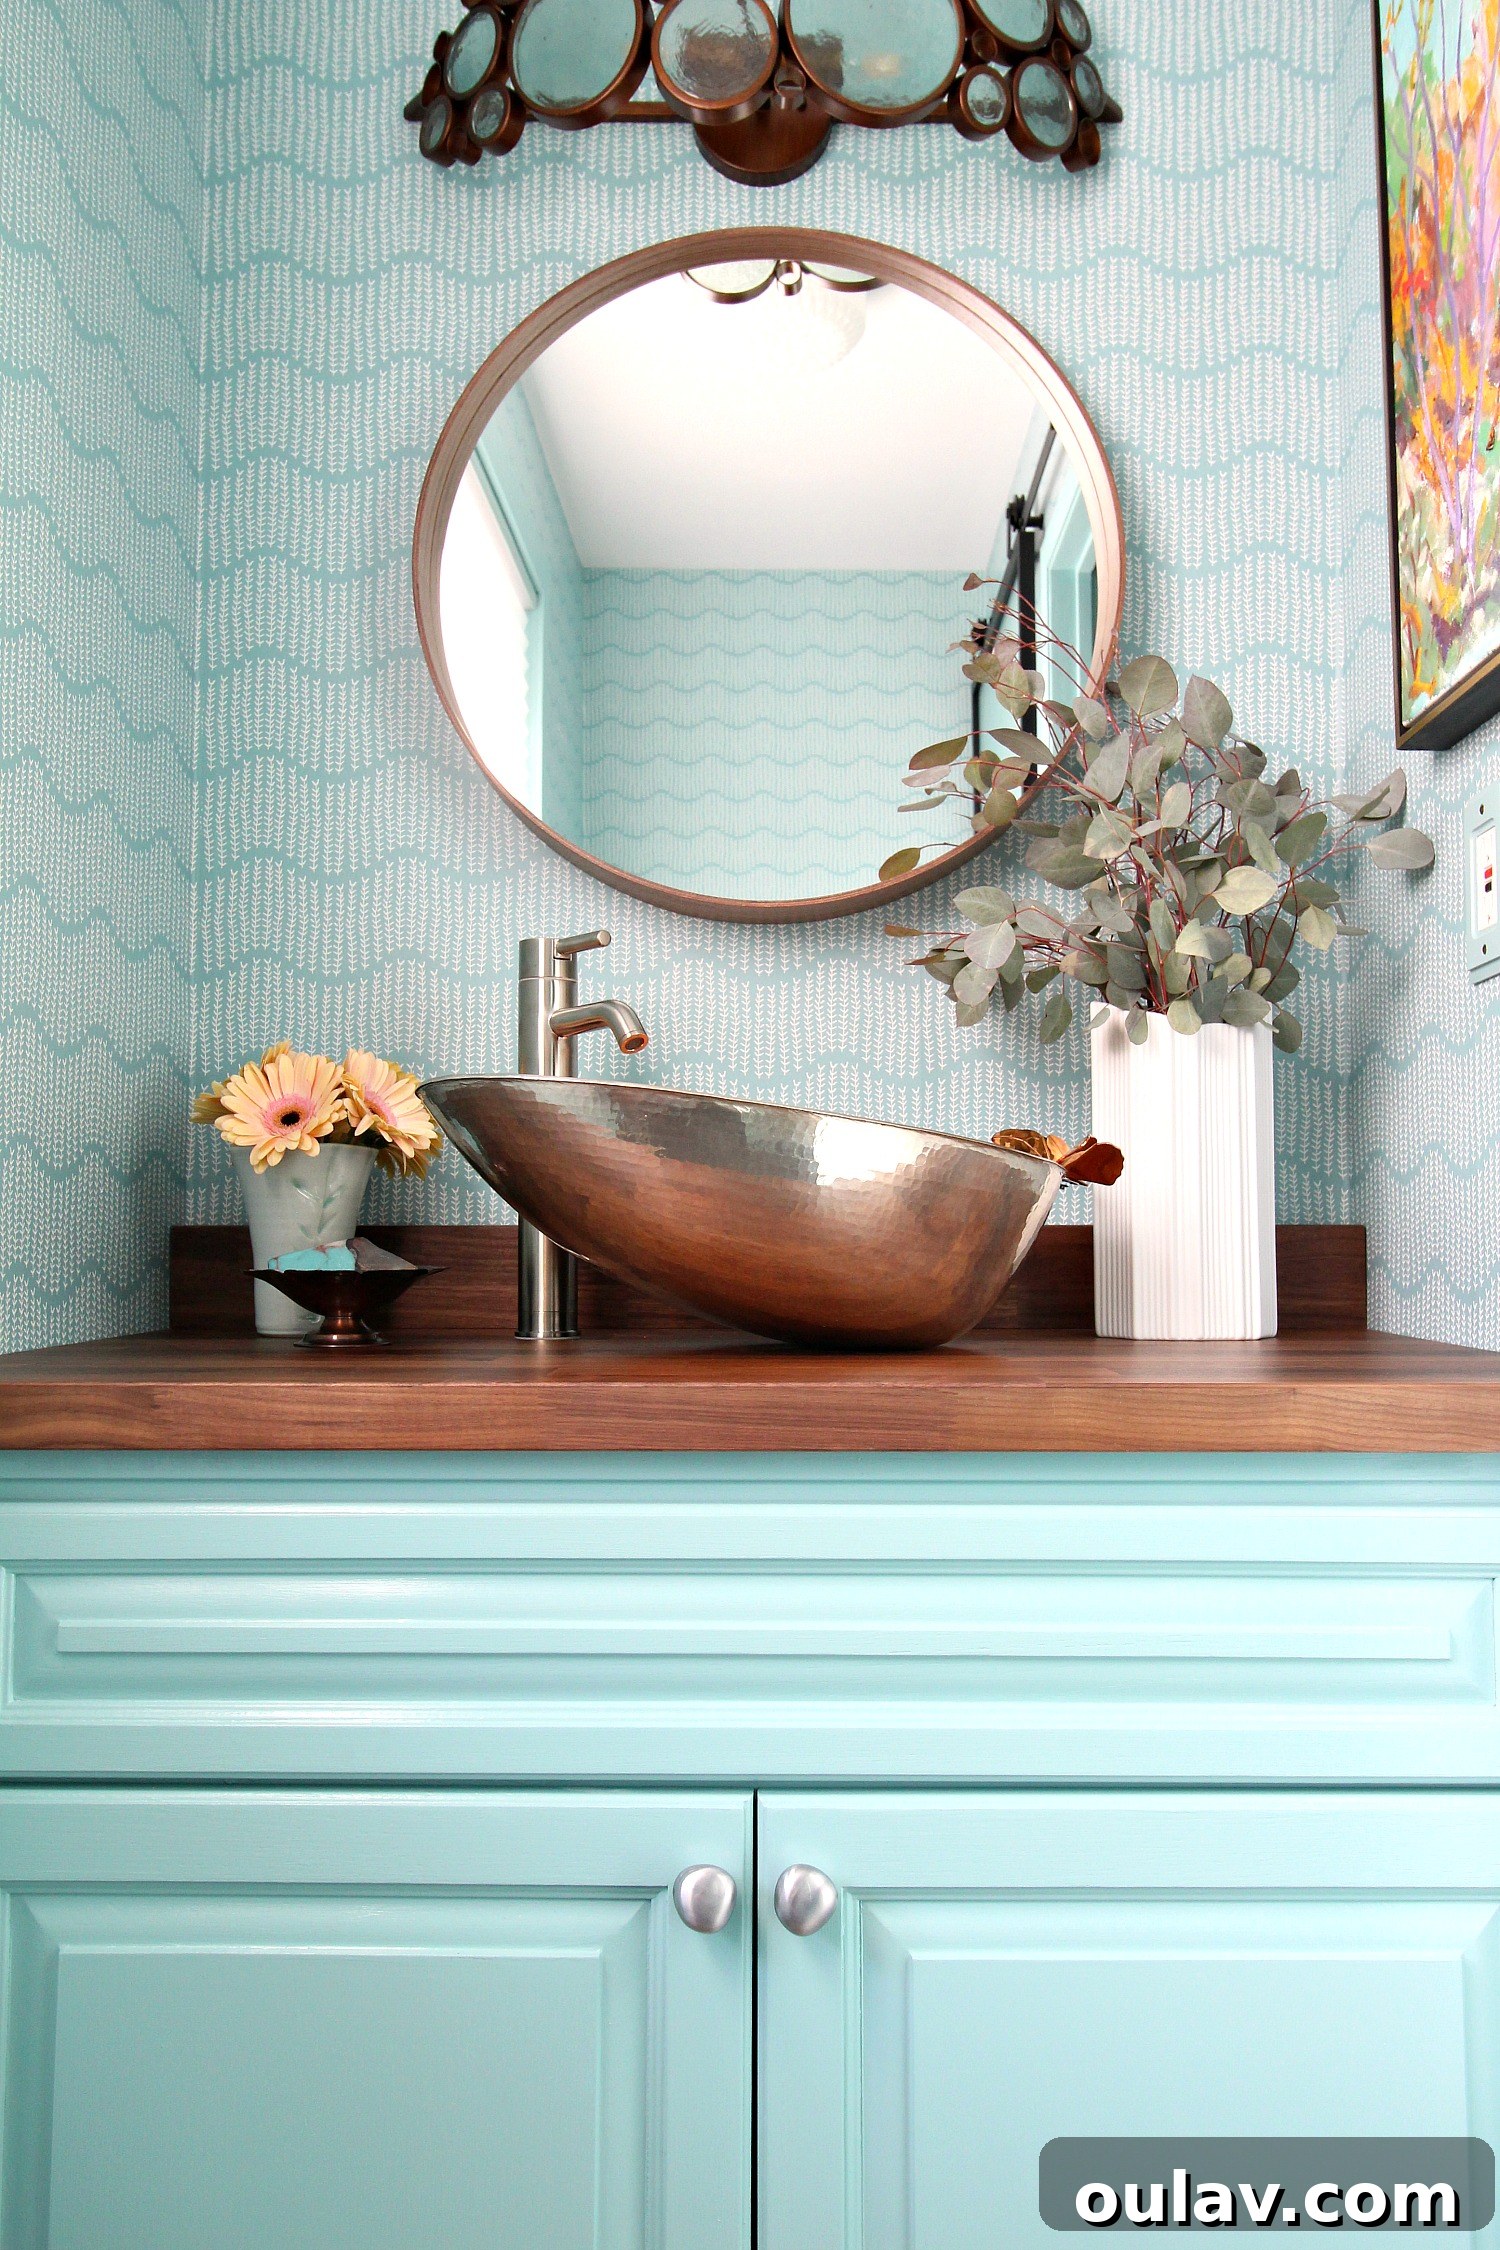
With the remaining material from cutting the countertop to a narrower depth, we saw an opportunity to create a custom backsplash. This was particularly useful for the “wonkiest” wall in the bathroom, as a backsplash helps to disguise any slight imperfections or unevenness. We carefully slid the main counter into place and then affixed the custom-cut backsplash piece from underneath with screws, ensuring a secure and clean installation. This not only added a functional element but also contributed to a polished, built-in look.
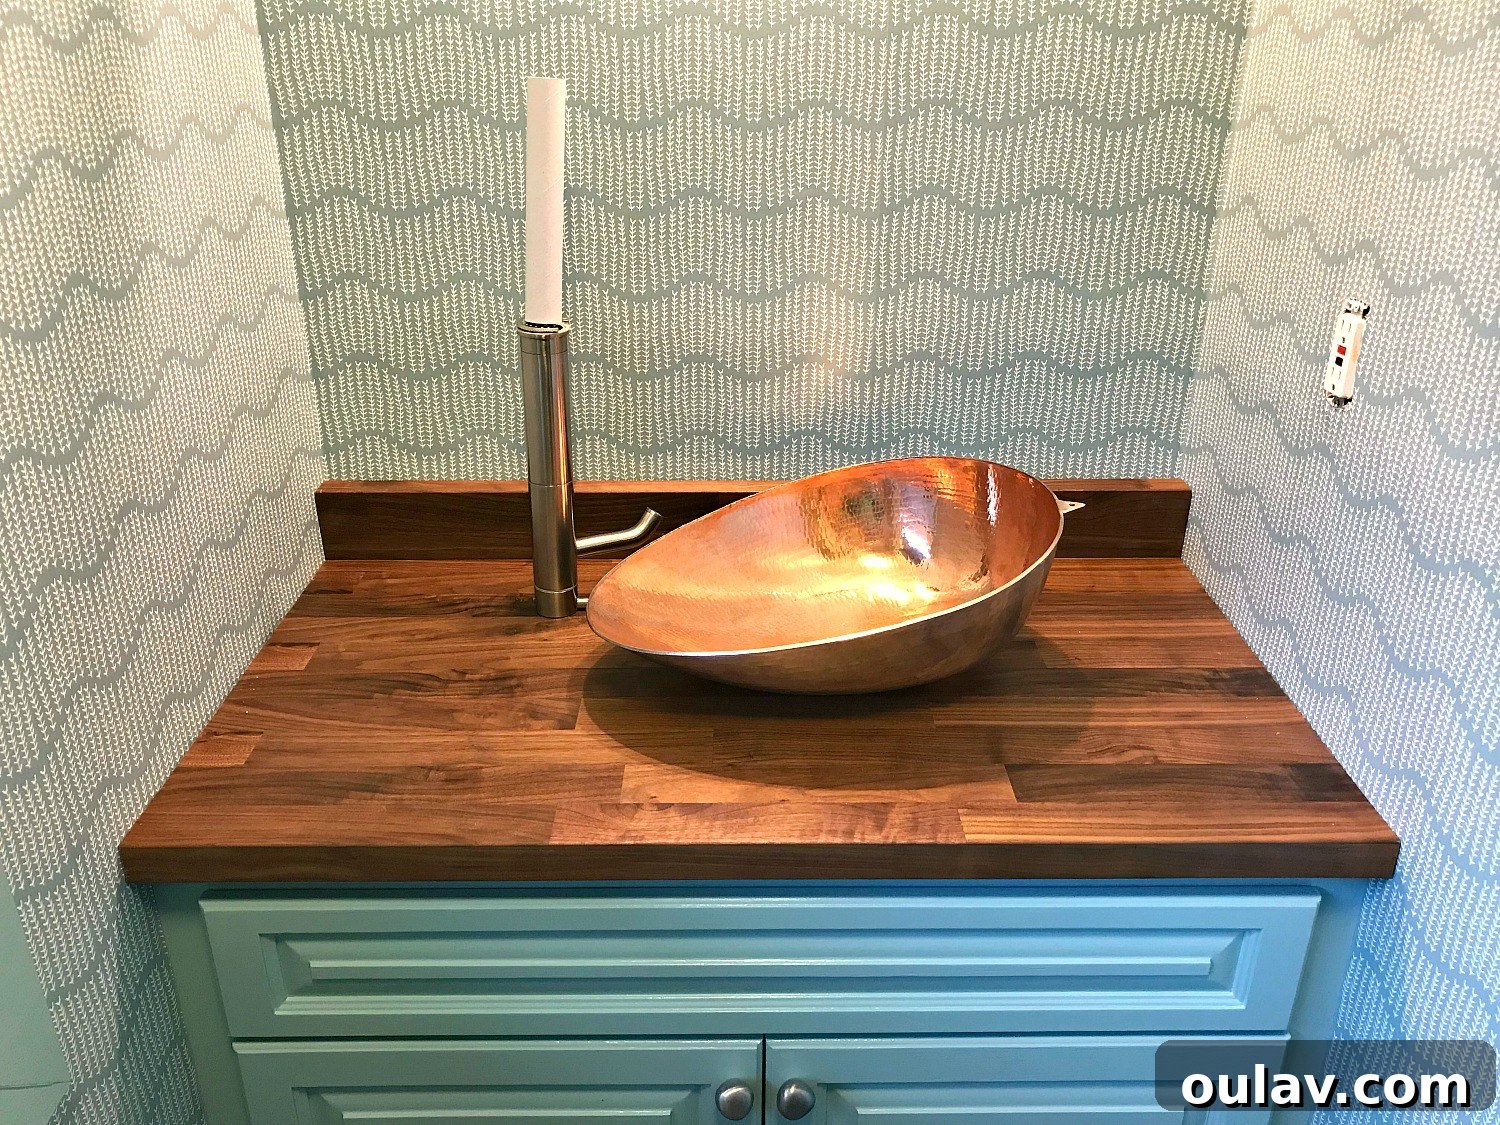
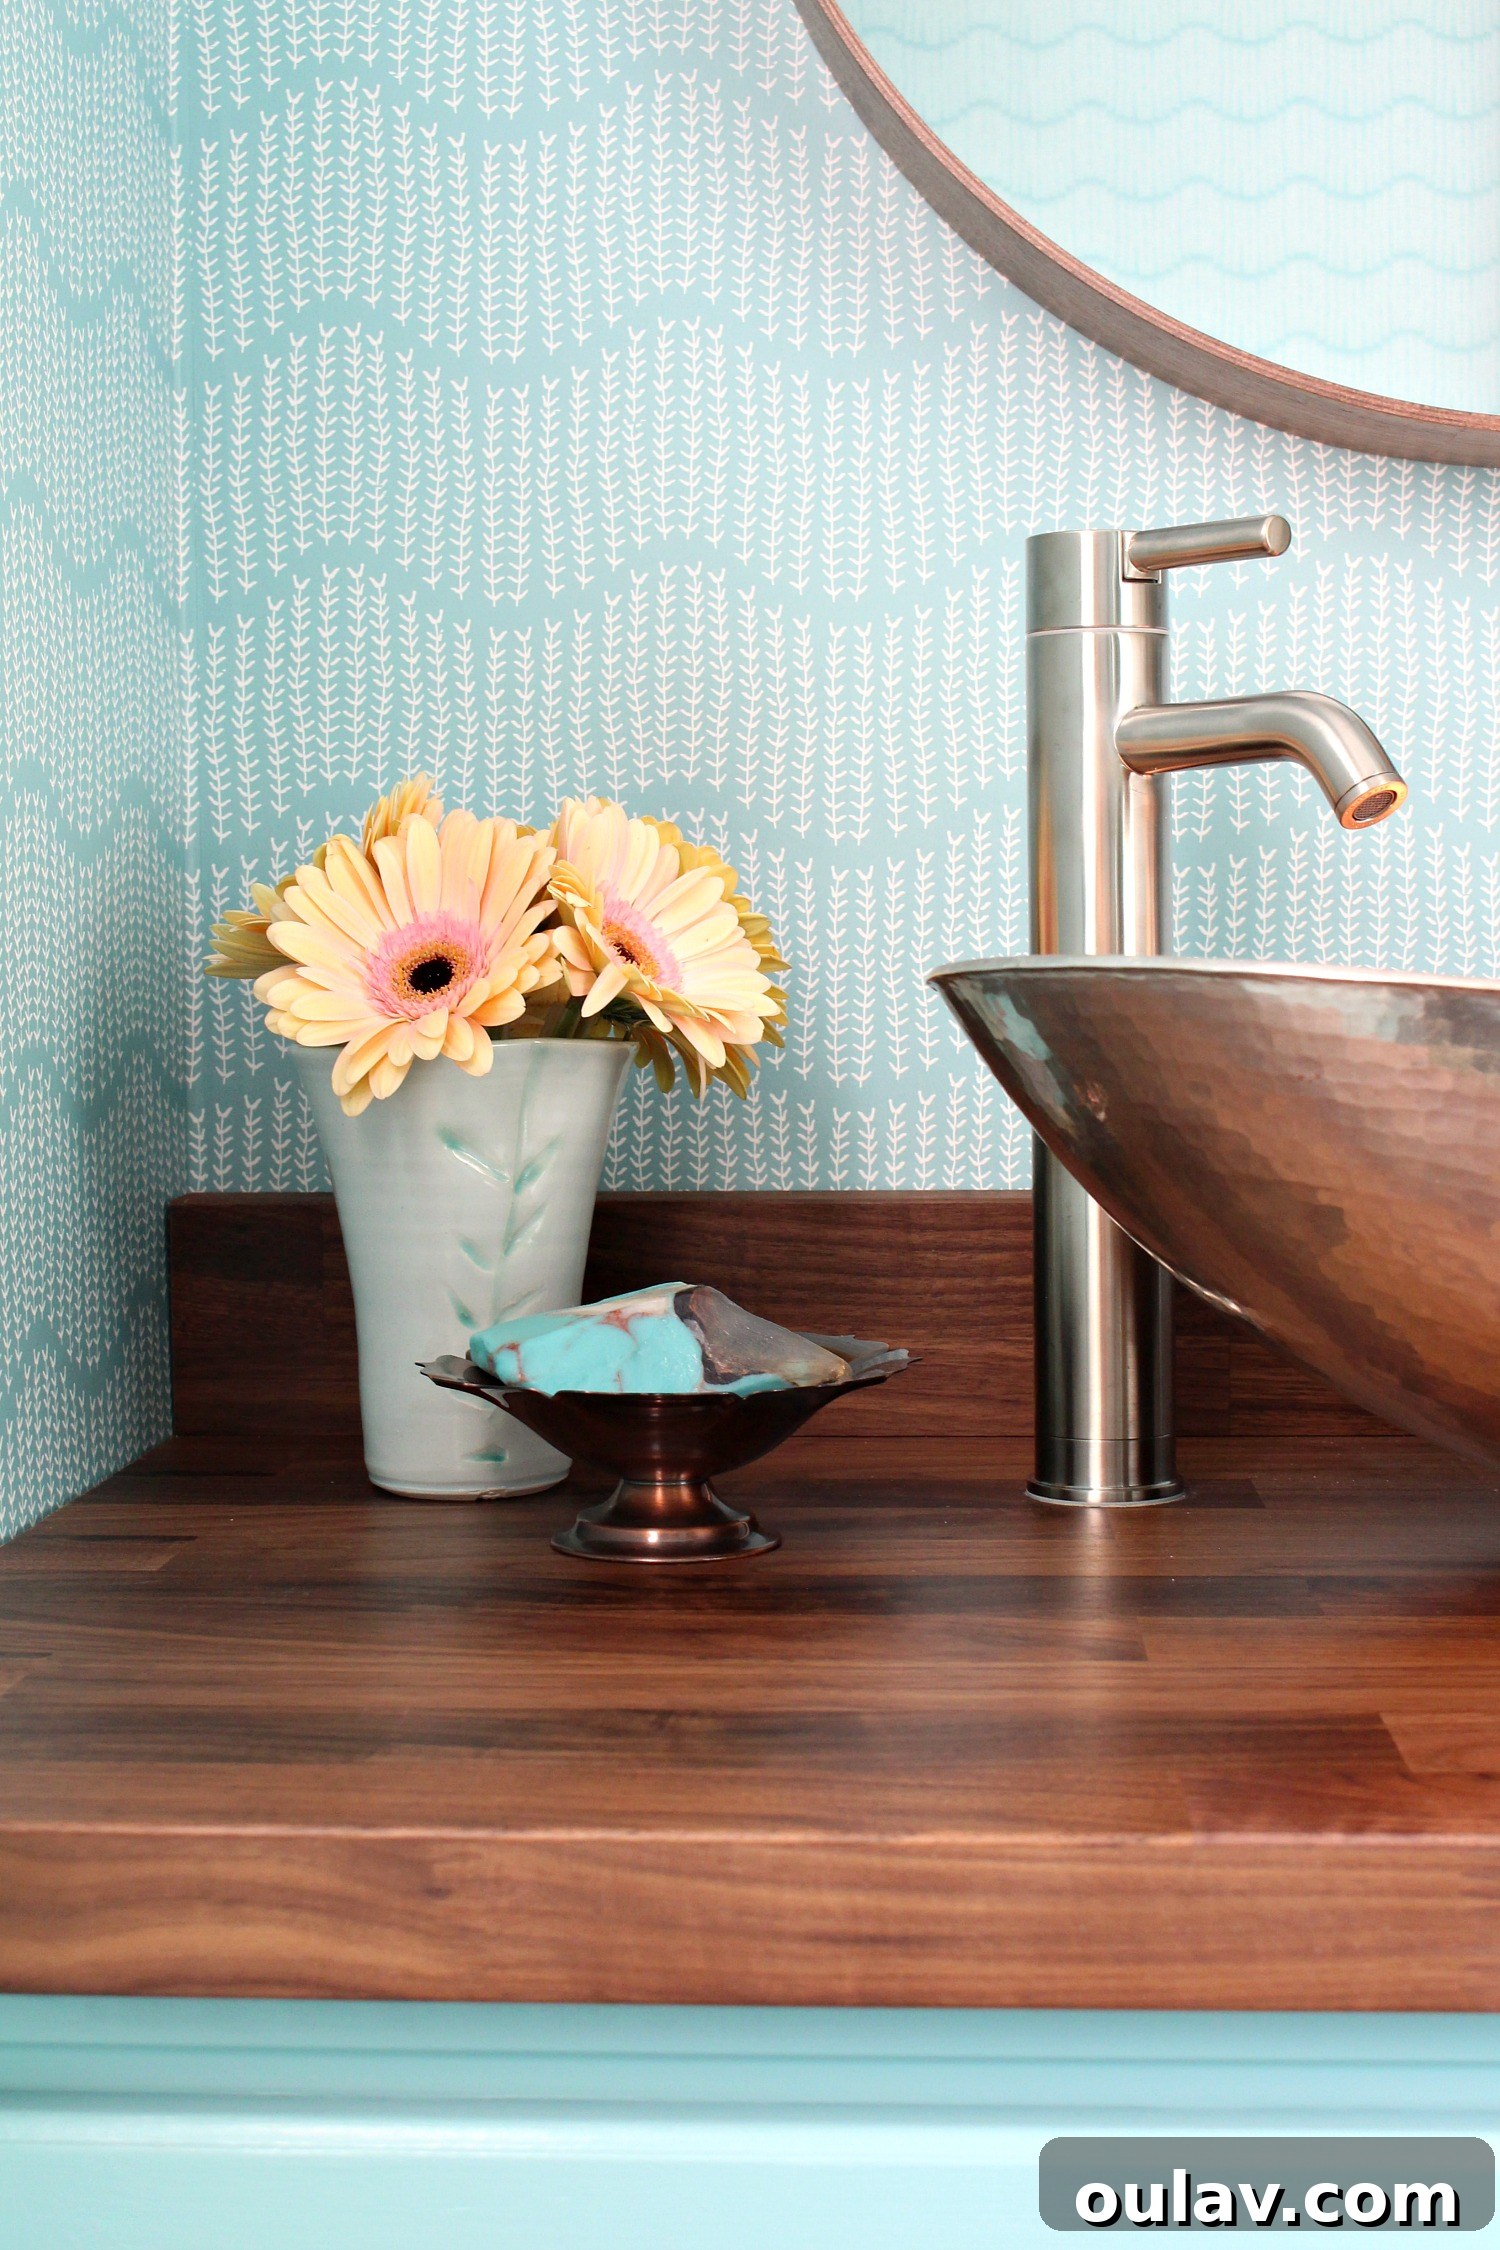
While we had sufficient material for two side splashes, after much deliberation, we decided against installing them. I even ran a poll on Instagram, and the feedback was almost perfectly split, reflecting my own internal debate! Ultimately, I preferred the cleaner, more minimalist look without side splashes. Given the smooth and durable nature of the wallpaper we chose, I was confident that water splashes would not pose a significant problem, allowing us to maintain the open aesthetic we desired.
Seamless Integration: Installing the Sink and Faucet
Deciding on the exact placement for the sink and faucet proved to be one of the most time-consuming steps. Once the perfect spot was finally chosen, my husband, anticipating my potential last-minute changes of heart, humorously marked the drill points with a Post-it note. To ensure a clean cut and minimize any possibility of tear-out in the veneer, we first used a drill to create pilot holes at the center points for both the sink and faucet.
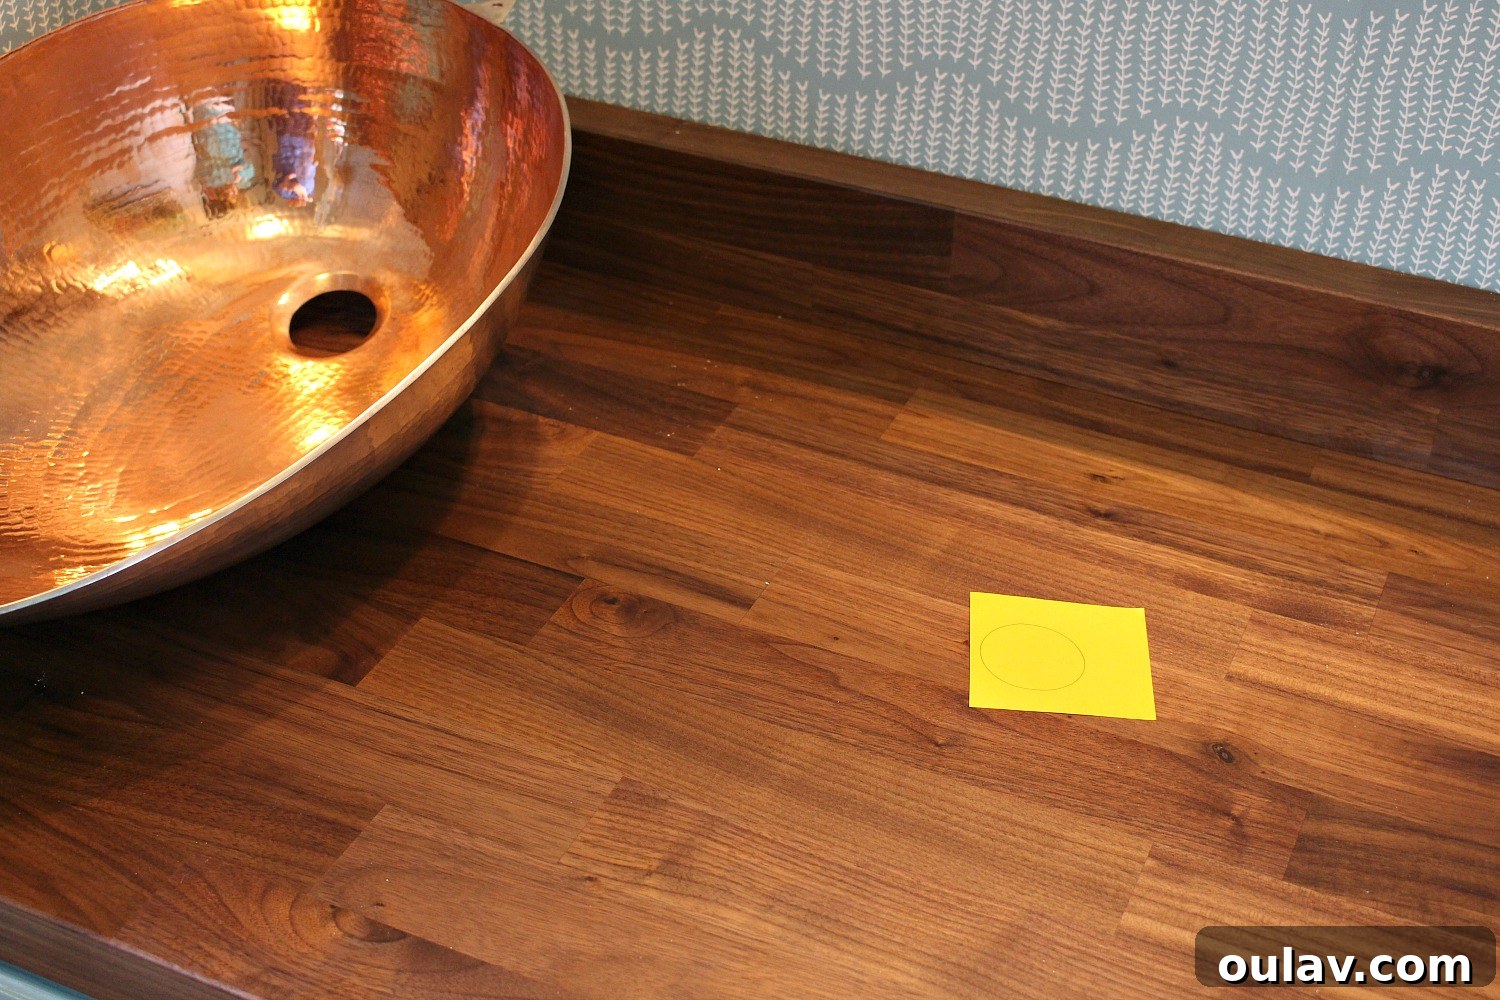

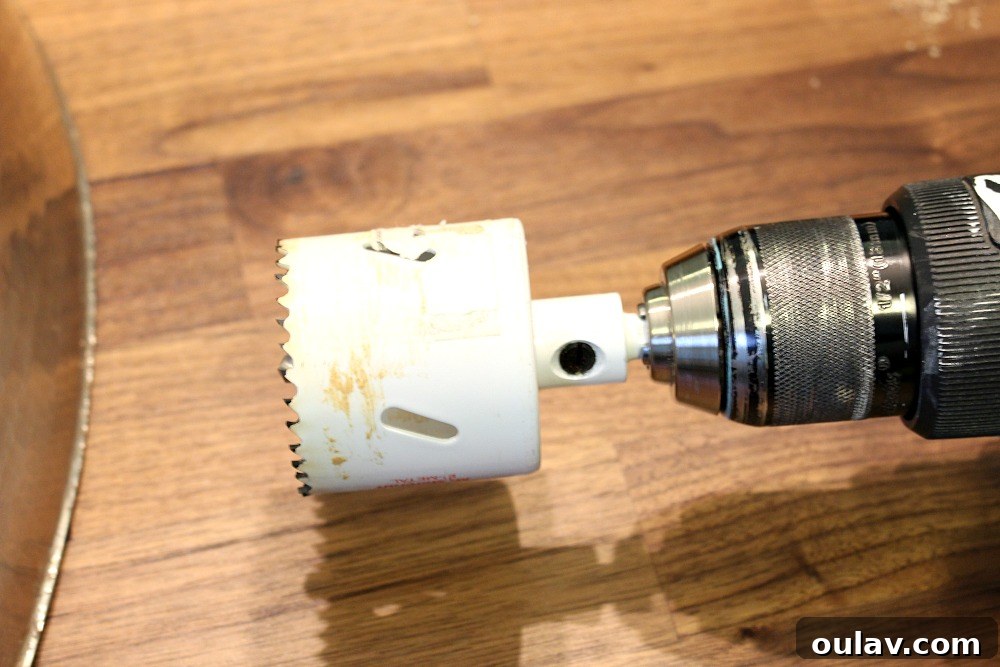
Following the pilot holes, we employed our reliable hole saw to precisely cut the larger openings for the vessel sink and the faucet. After cutting, we performed a test fit of the sink. To further reduce the risk of chipping and to improve the sink’s seating, we carefully used a file to slightly bevel the edges of the cut opening. This same process was then repeated for the faucet hole.
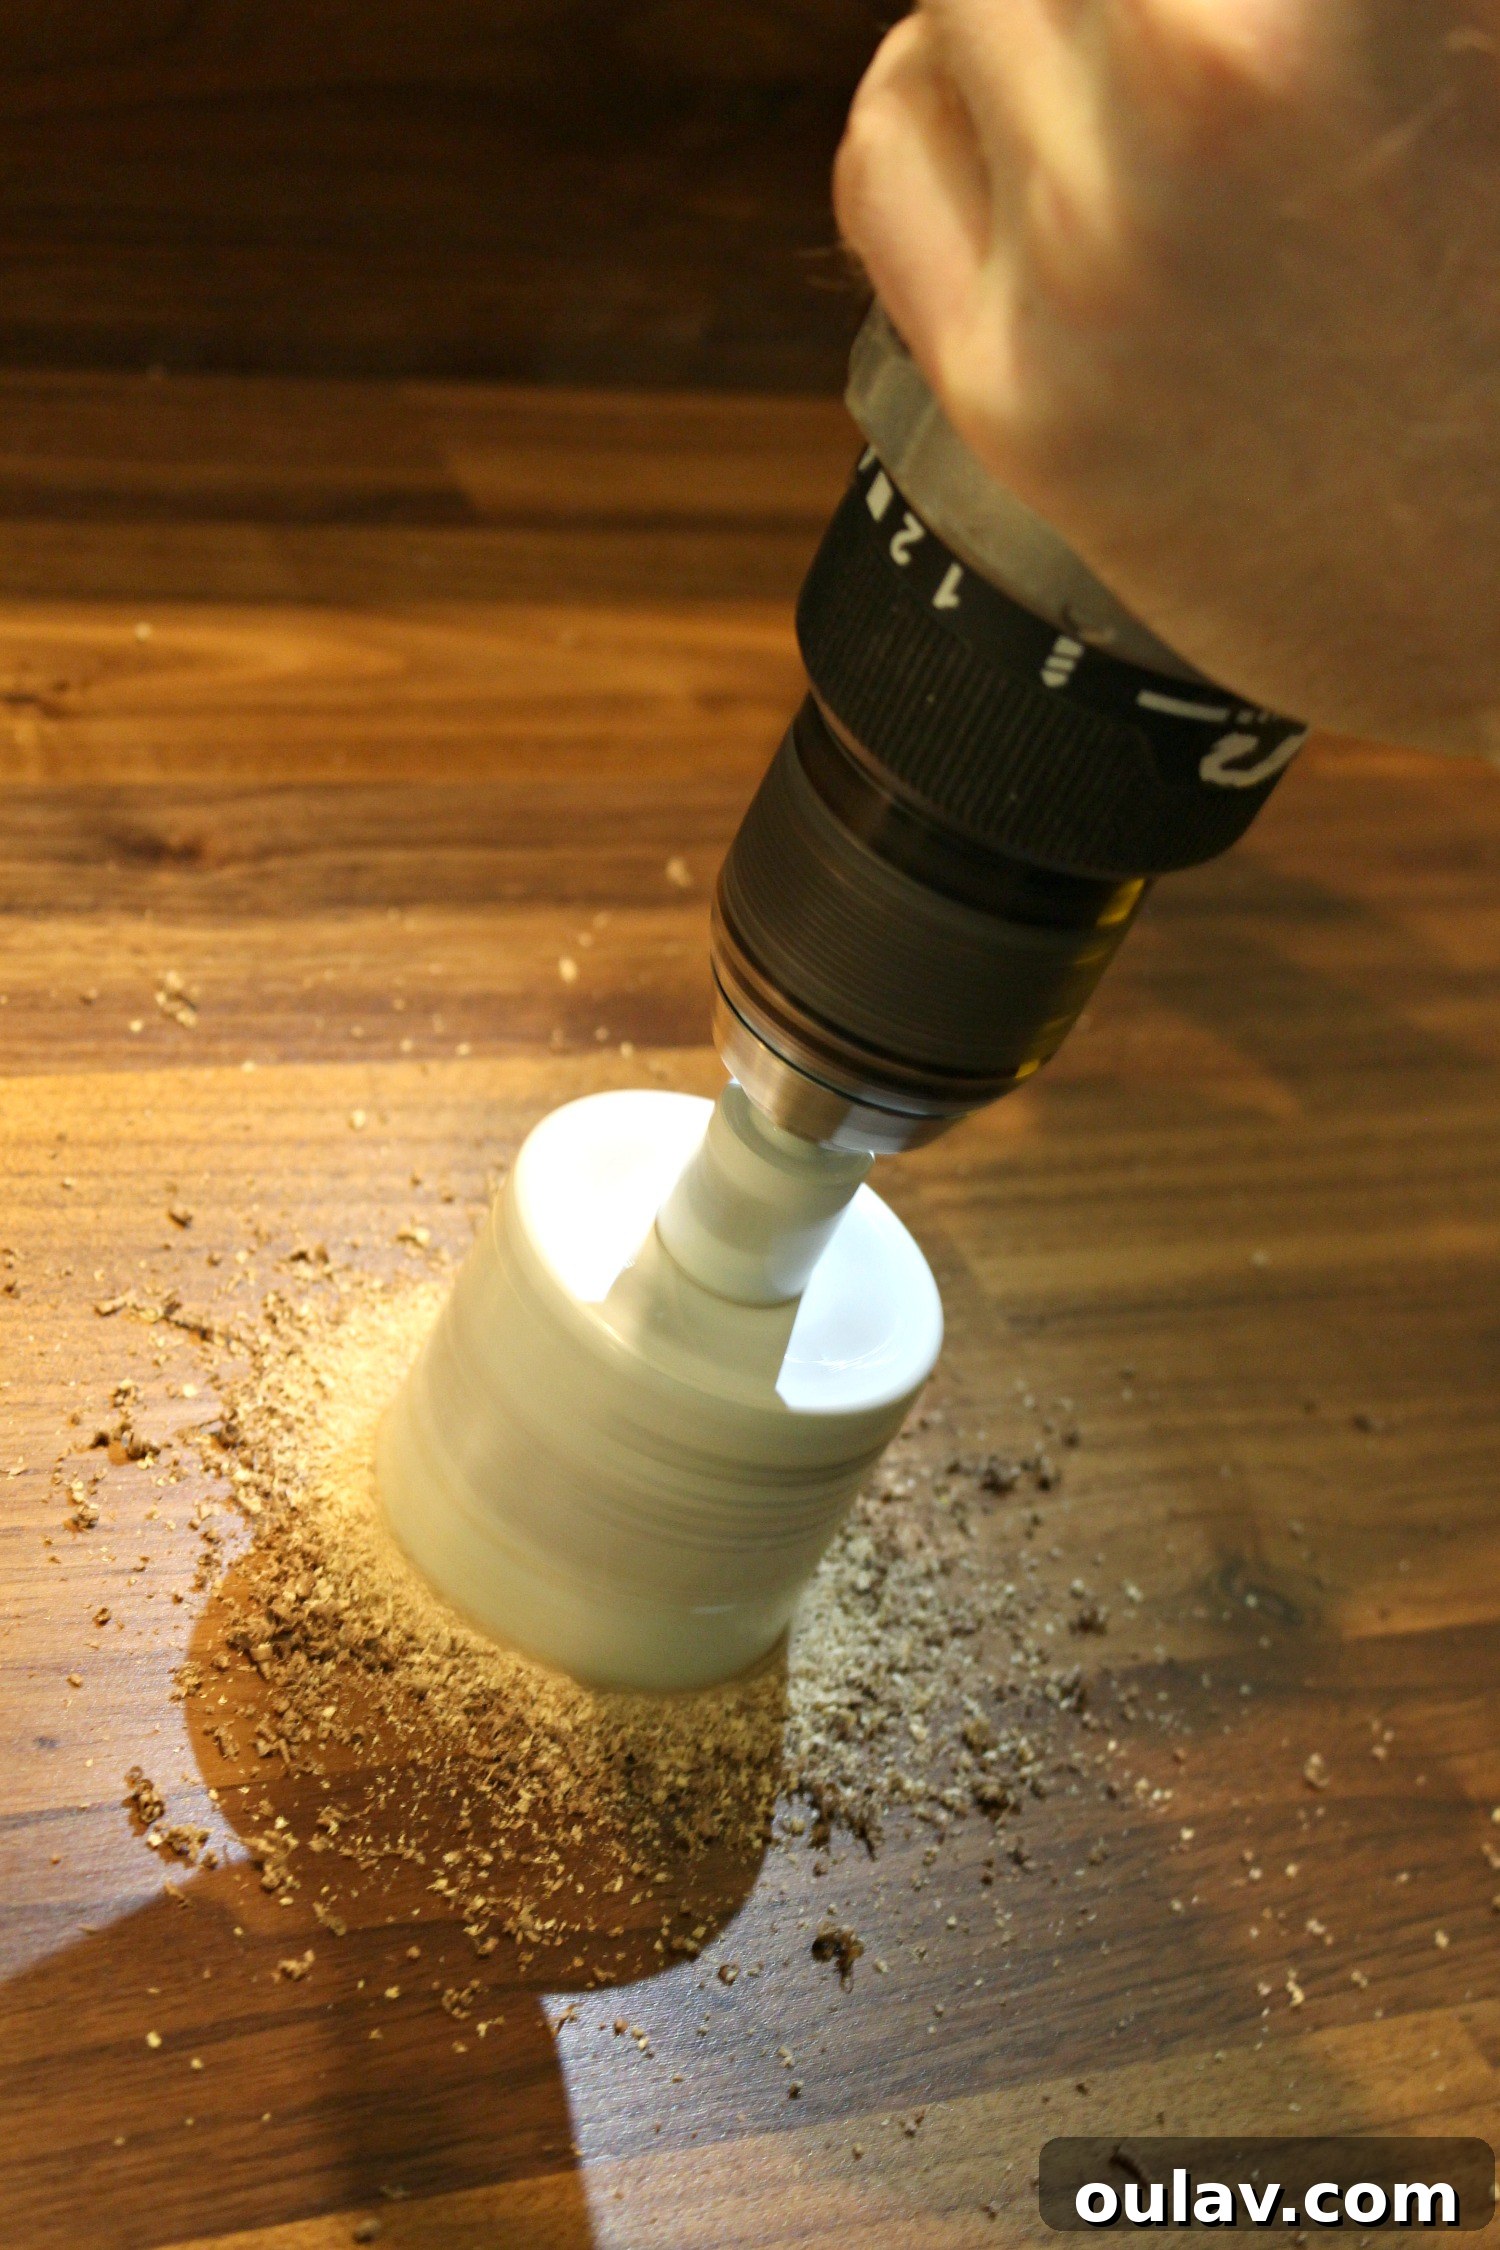
Crucially, we followed IKEA’s instructions to the letter, applying a thin, consistent layer of silicone sealant to the exposed particleboard edges within the cut holes. This vital step is designed to prevent moisture absorption and potential swelling, safeguarding the countertop’s integrity around the drain area. Next, we applied a small ring of silicone around the sink hole where the vessel sink would sit, carefully placing the sink and securing it with its drain assembly, according to the manufacturer’s guidelines. Once the sink was firmly in place, we confirmed the faucet’s orientation and installed it, tightening it down as per the instructions. To complete the plumbing, new supply hoses and PEX shut-off valves were installed beneath the sink and connected. My husband always insists on installing new ball valves, a wise precaution as nearly every time we’ve had to turn off an older original valve, it has ended up leaking. After allowing a sufficient amount of time for all silicone to cure and dry, we carefully turned the water back on and performed a thorough leak test. We were thrilled to confirm: no leaks whatsoever!
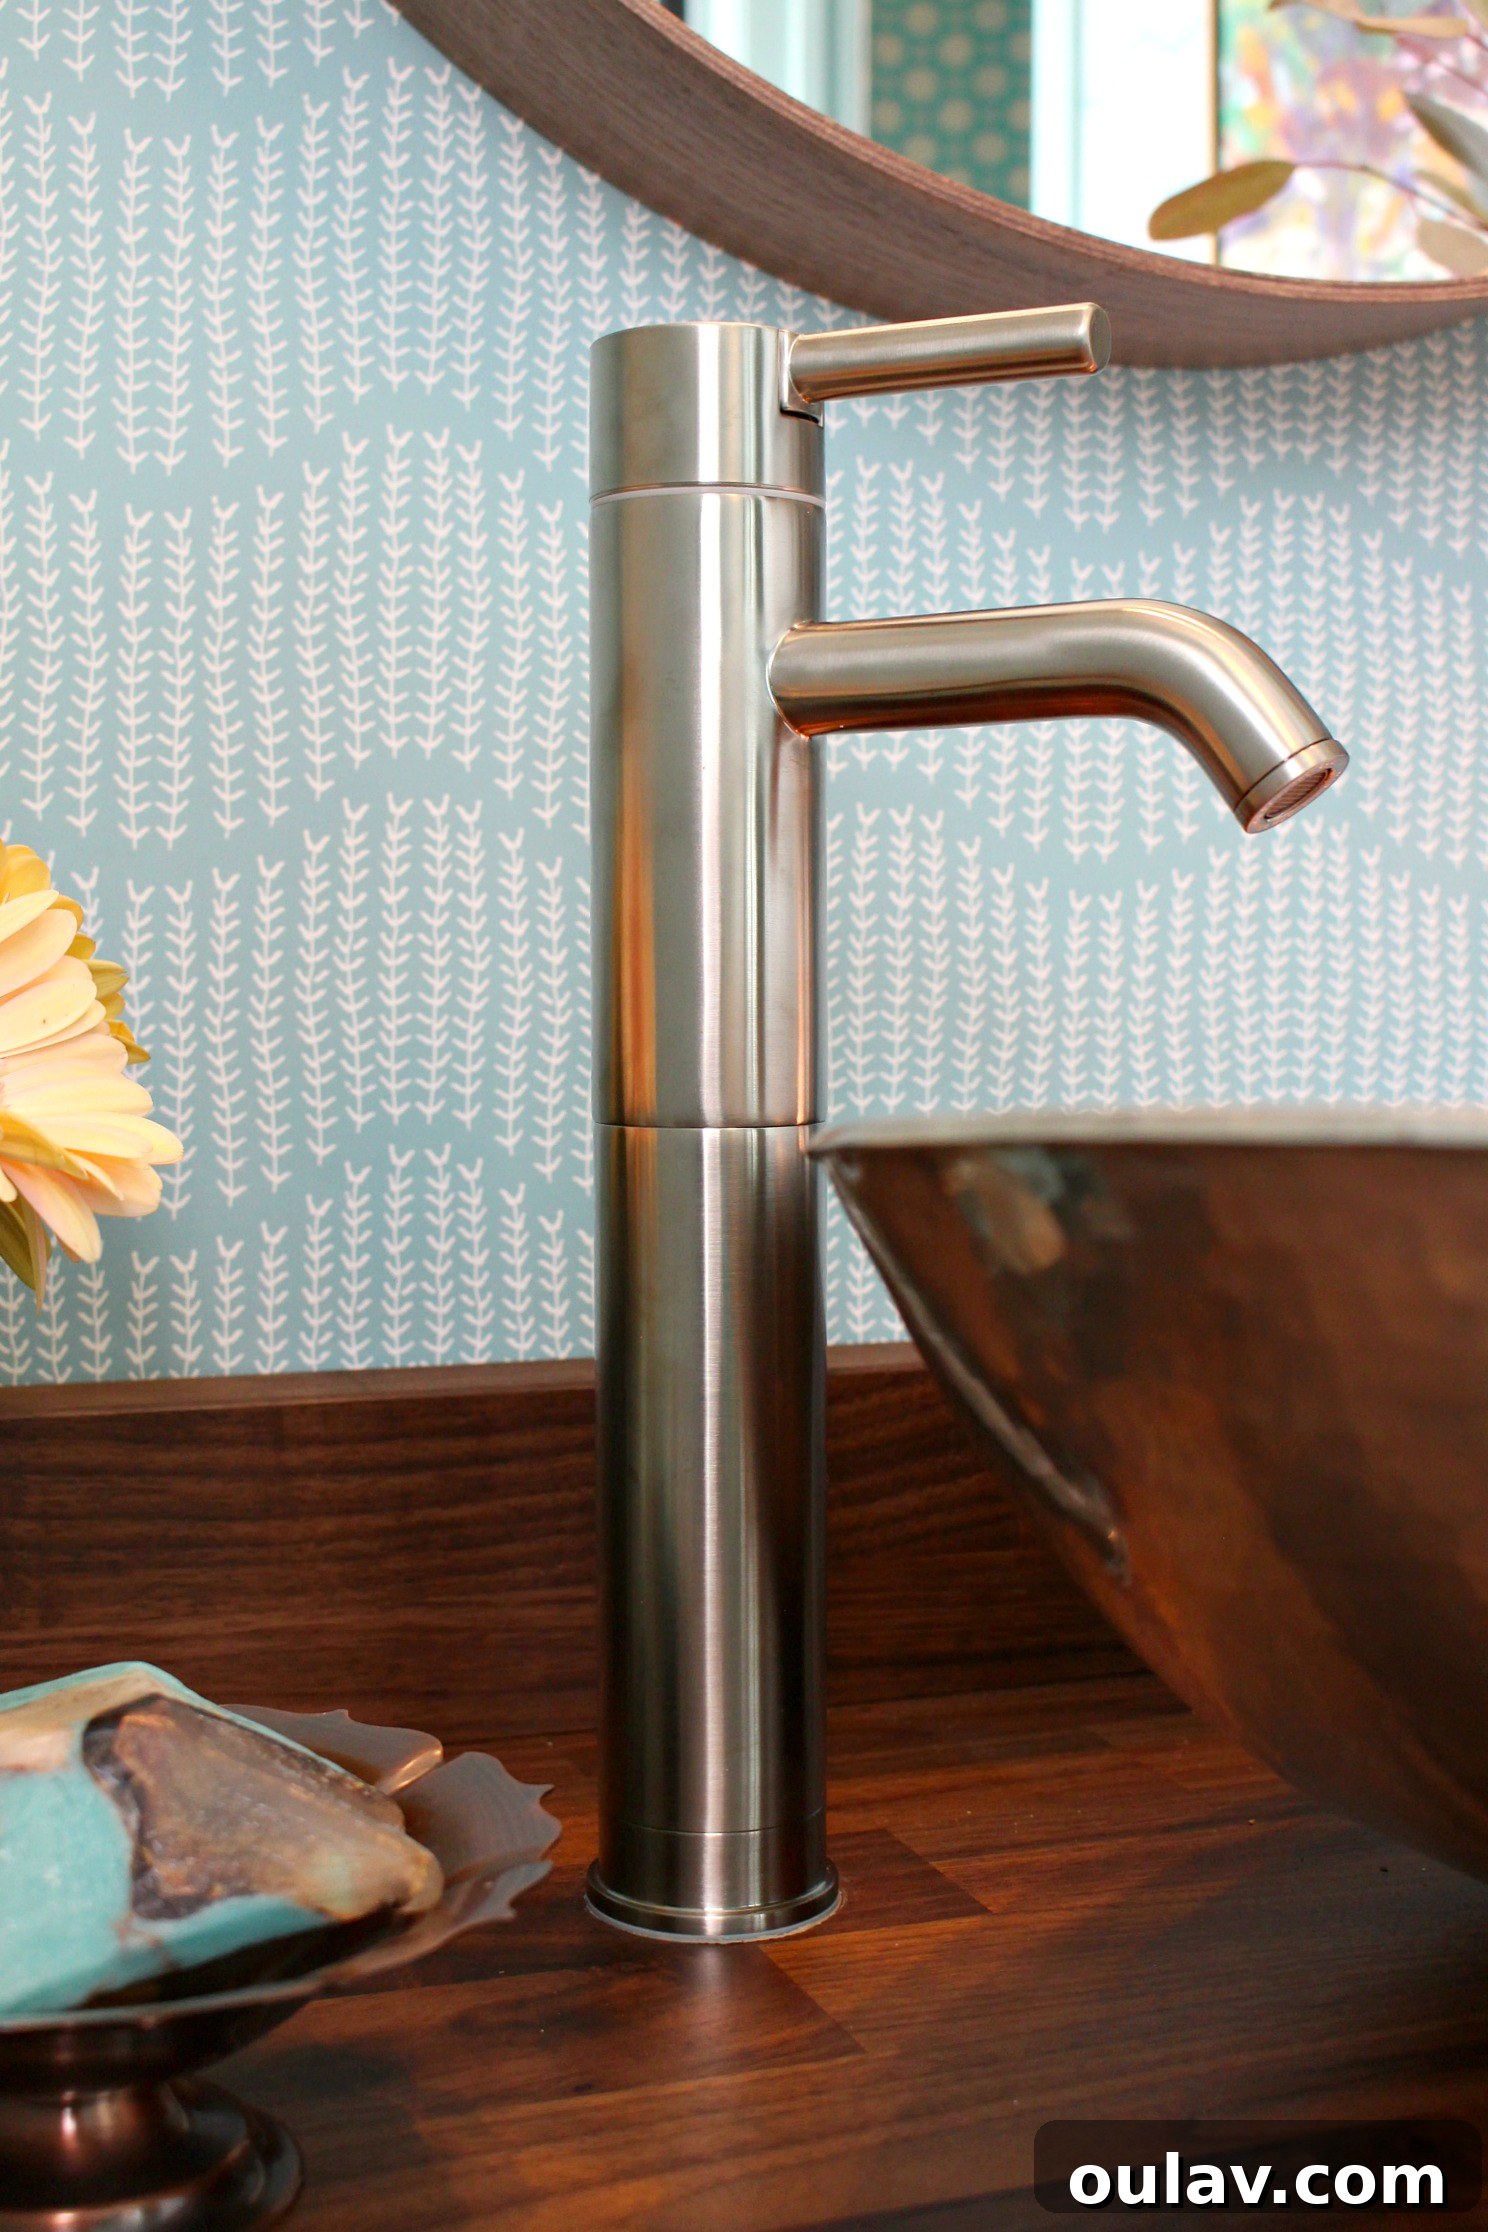
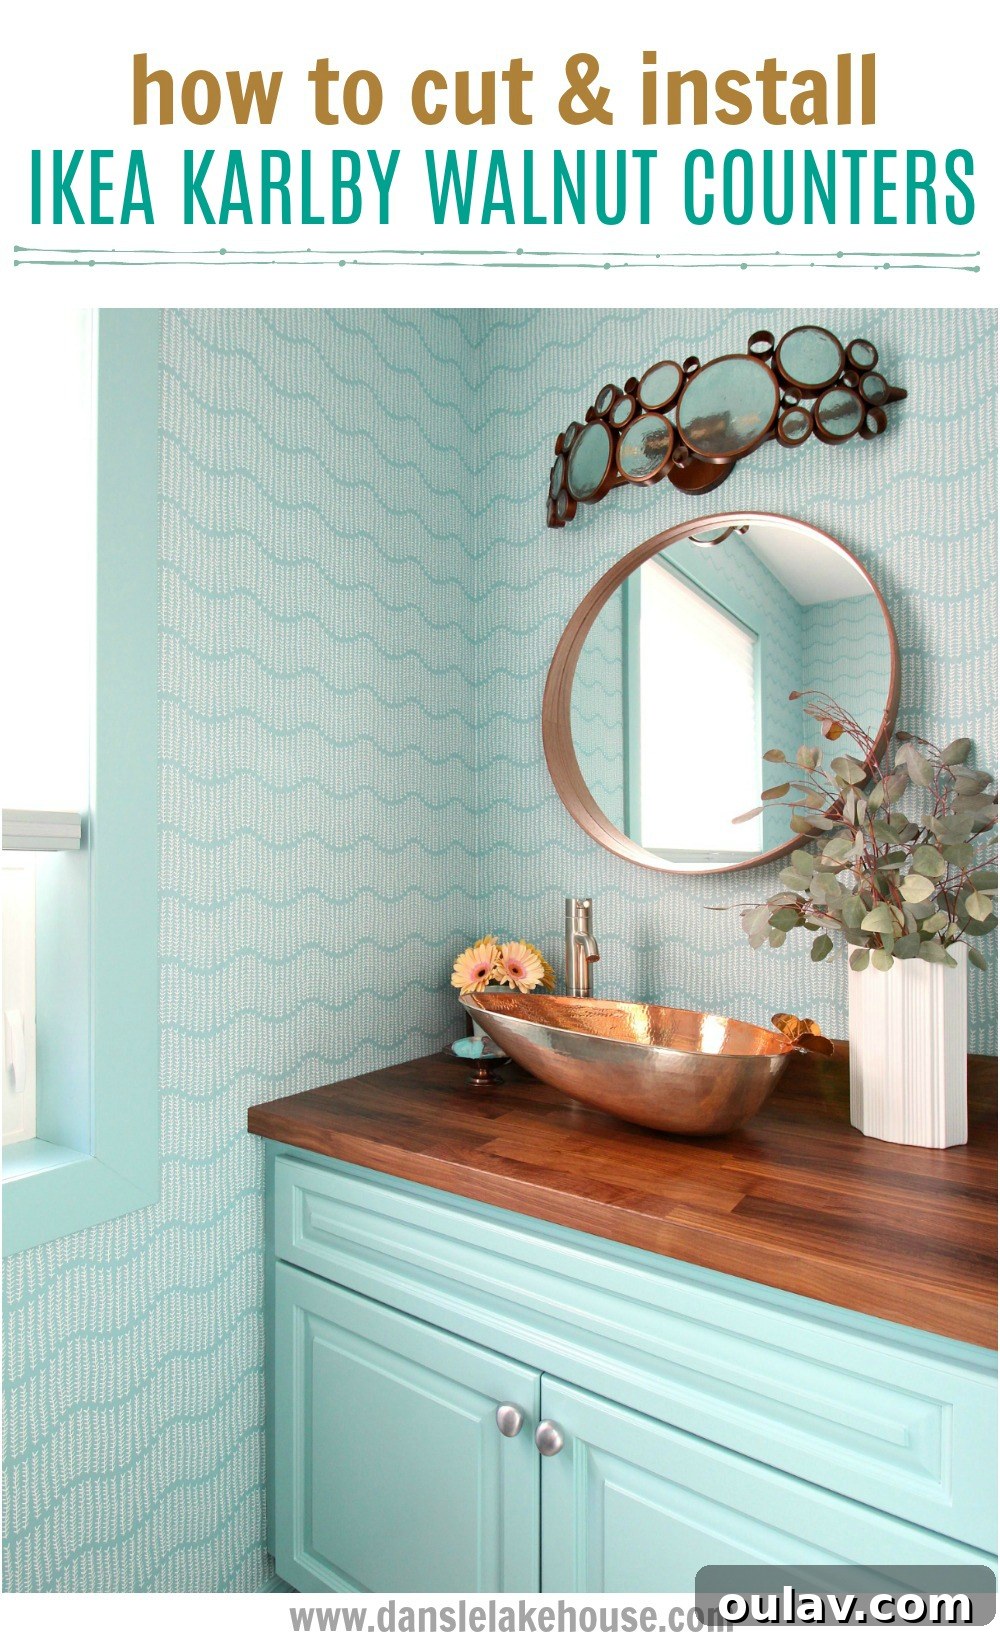
The Finishing Touches and Long-Term Outlook
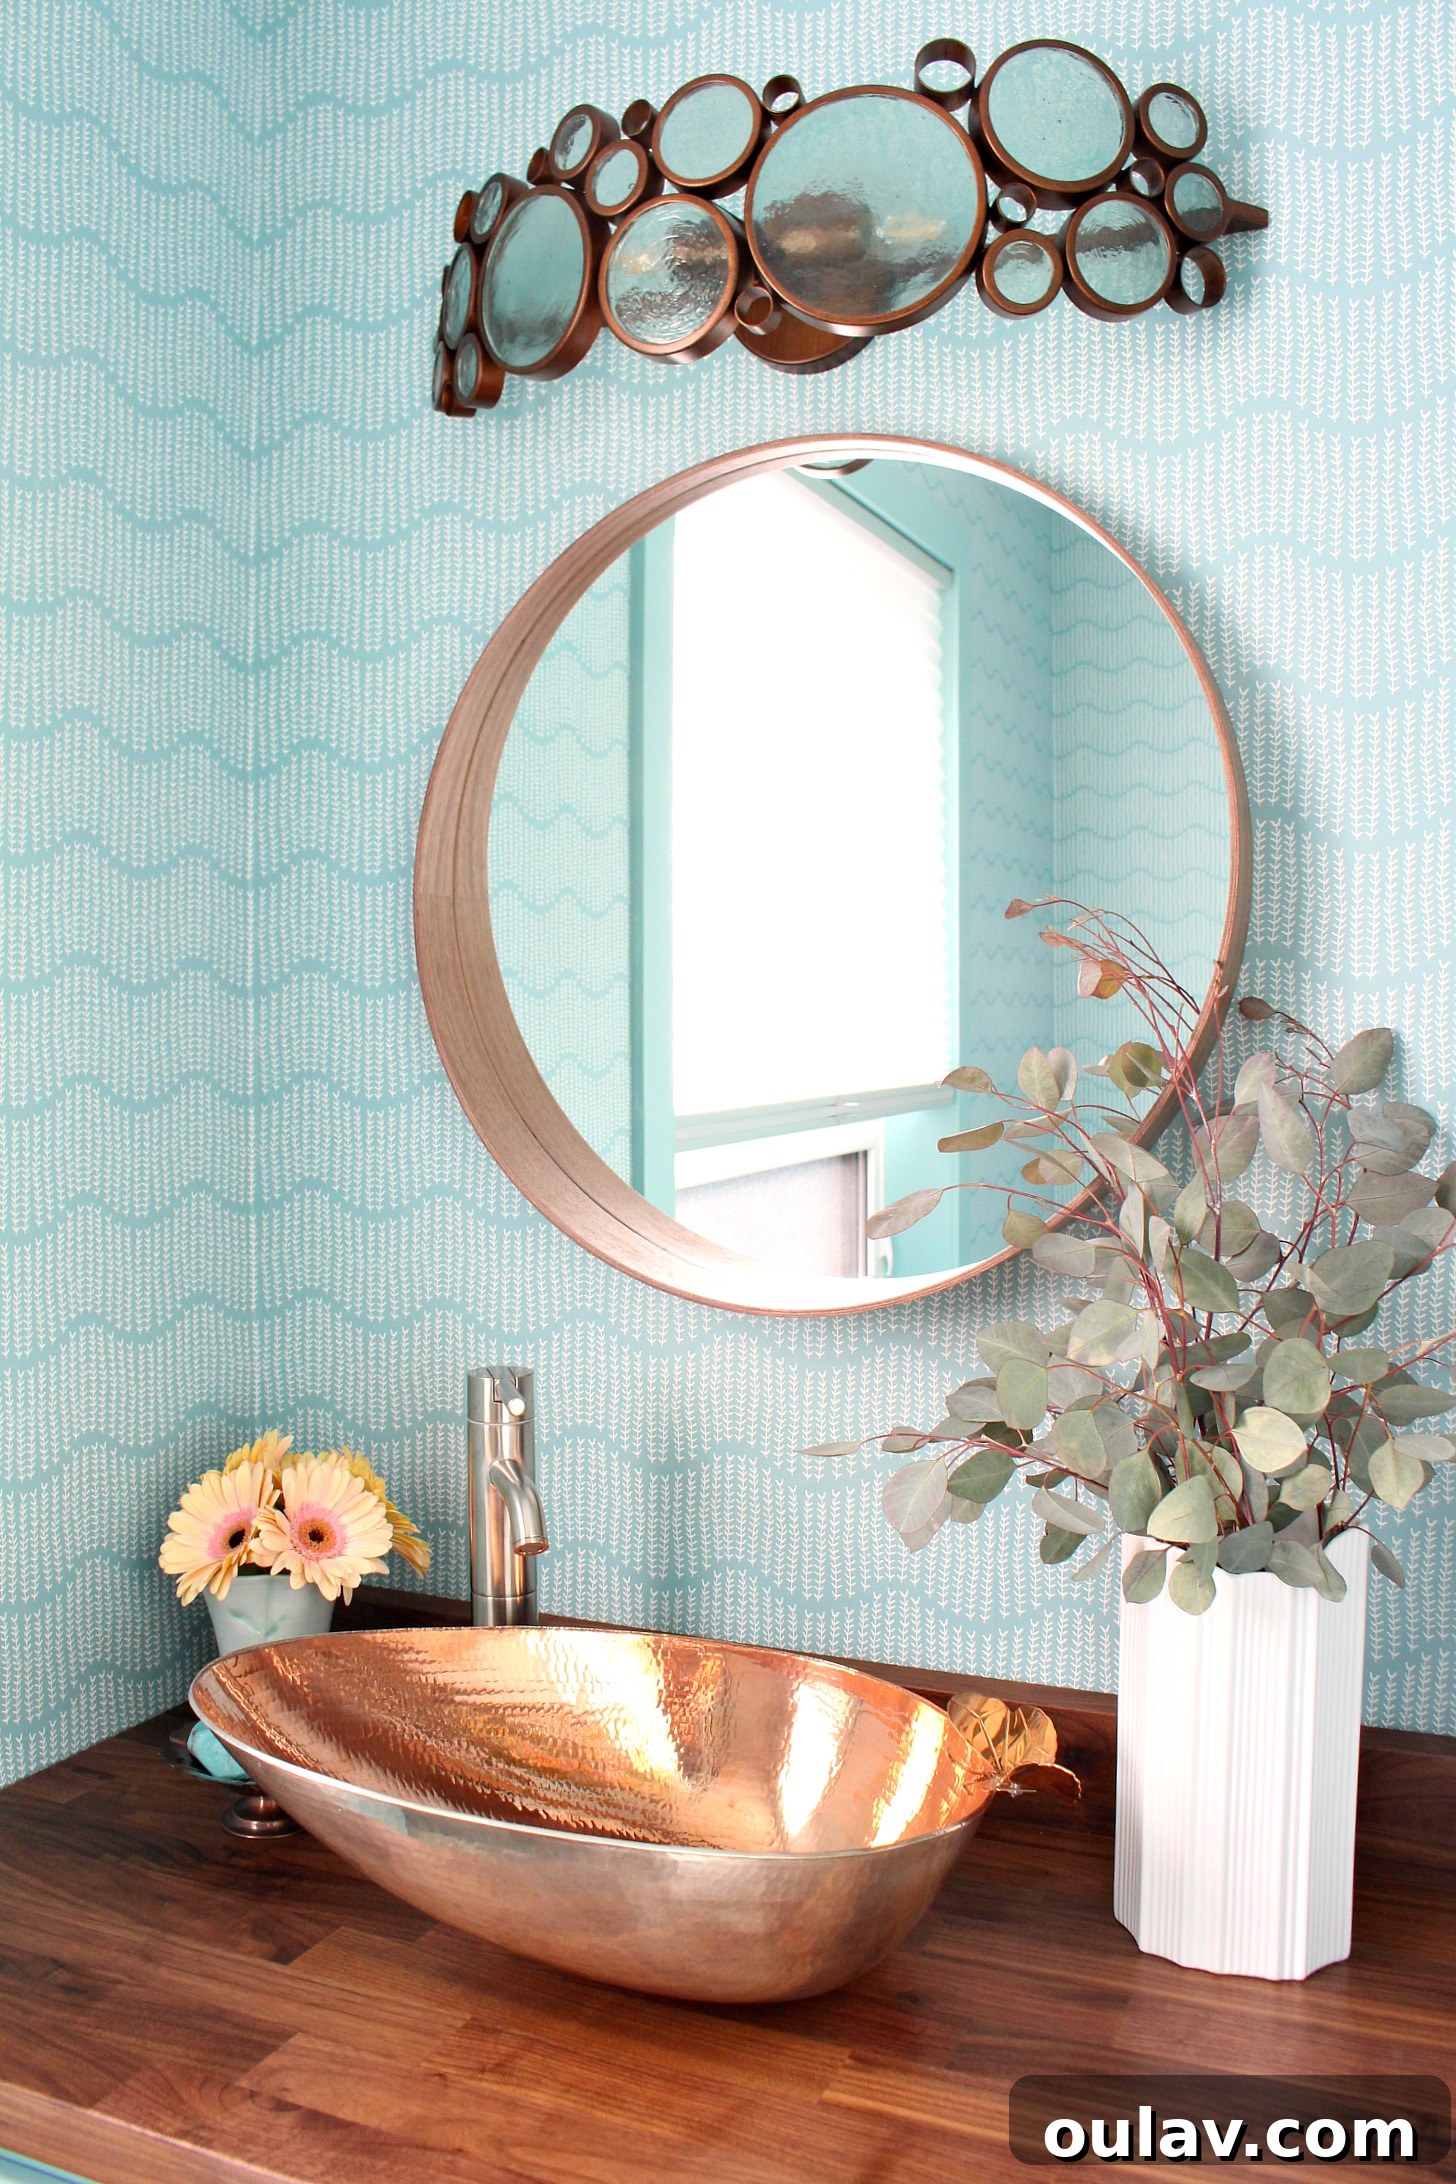
The final step in our countertop installation is to apply clear caulk between the walls and the counter. I intentionally delayed this to give myself a few days to live with the look and be absolutely certain I didn’t want to add the side splashes. My decision stands: I love the clean, open aesthetic without them! I’ll be sure to provide updates on how this IKEA KARLBY counter performs over time, though I anticipate a long period before any oiling or refinishing will be necessary. Especially since this bathroom is now so exquisitely beautiful, guests are practically required to pee outside and wash their hands in the laundry room – I’m only kidding, of course, but it speaks to how much we adore this space!
Final Verdict: Why the IKEA KARLBY Walnut Counter Stands Out
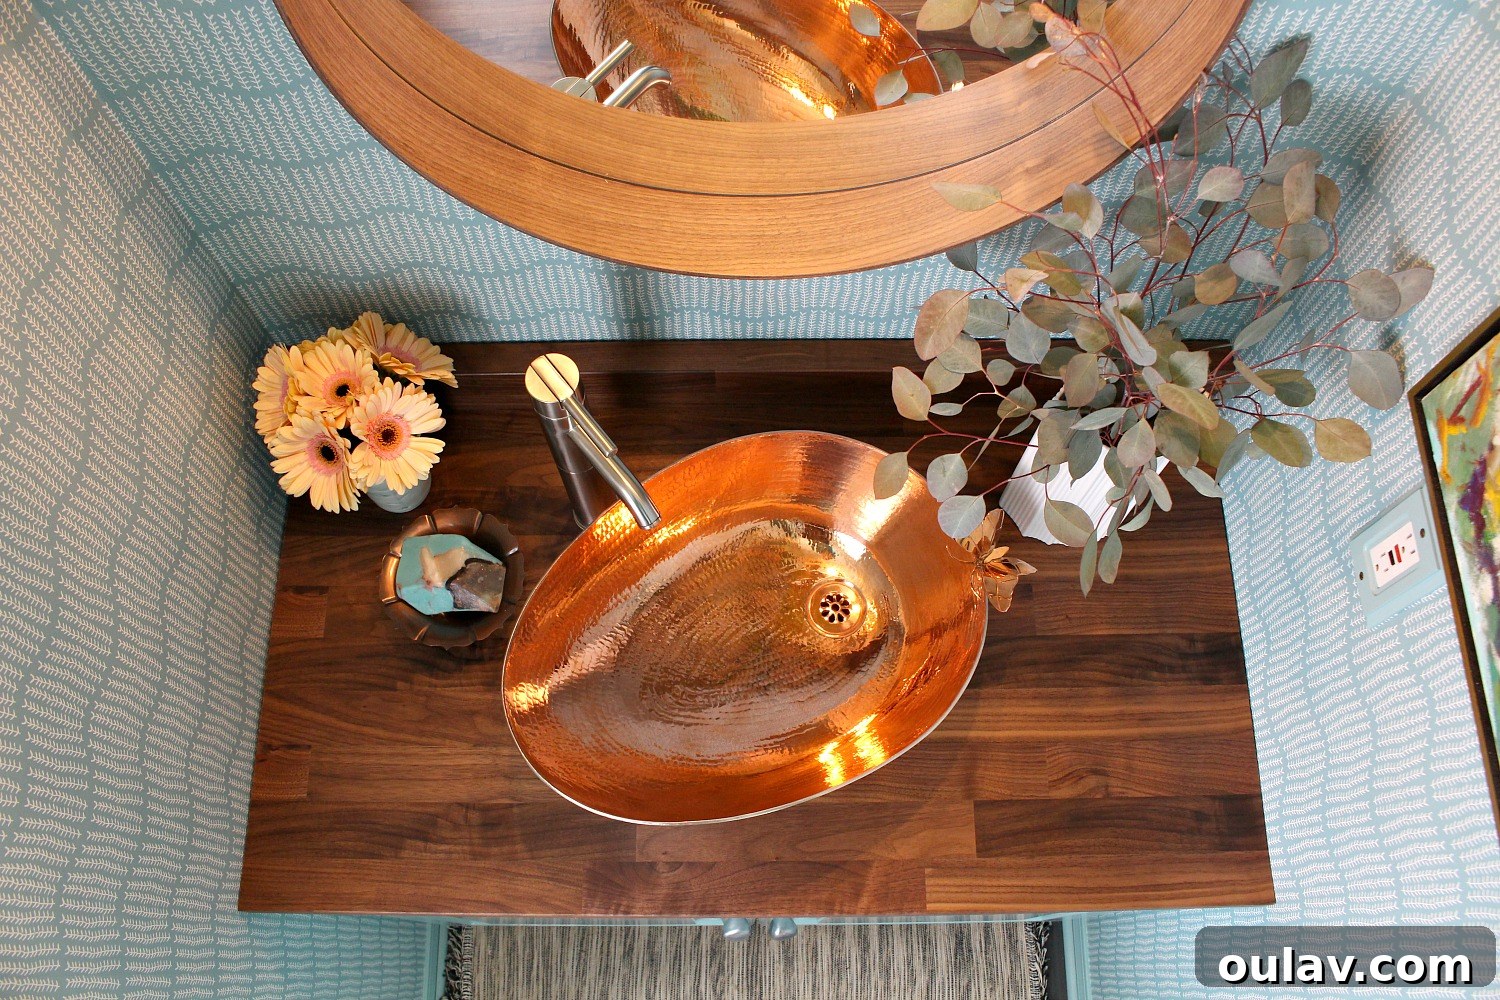
Our experience with the IKEA KARLBY walnut countertop has been overwhelmingly positive. The verdict is clear: I would absolutely purchase this counter again. Its excellent quality, combined with its surprising ease of workability for a DIY project, makes it an outstanding choice. Aesthetically, and purely subjectively, I am captivated by the warm, rich tones of the walnut wood against the vibrant turquoise walls of our powder room. This combination creates a striking visual contrast that is both inviting and sophisticated. Furthermore, the KARLBY counter seamlessly ties into the overall design language of our home, echoing the walnut elements found throughout – from my DIY waterfall walnut desk and walnut bathroom cabinetry to our DIY walnut bed and other pieces detailed in our lakehouse tour. My primary objective in decorating our home has always been to foster a sense of flow and cohesion, and this newly transformed powder room perfectly integrates with our existing decor while still maintaining its unique charm and sparkle. For anyone considering an affordable yet luxurious countertop solution for their next home improvement project, the IKEA KARLBY walnut veneer is an option well worth exploring.