Transforming Our Lakeside Home: A Stunning Charcoal Grey Stone Exterior Makeover
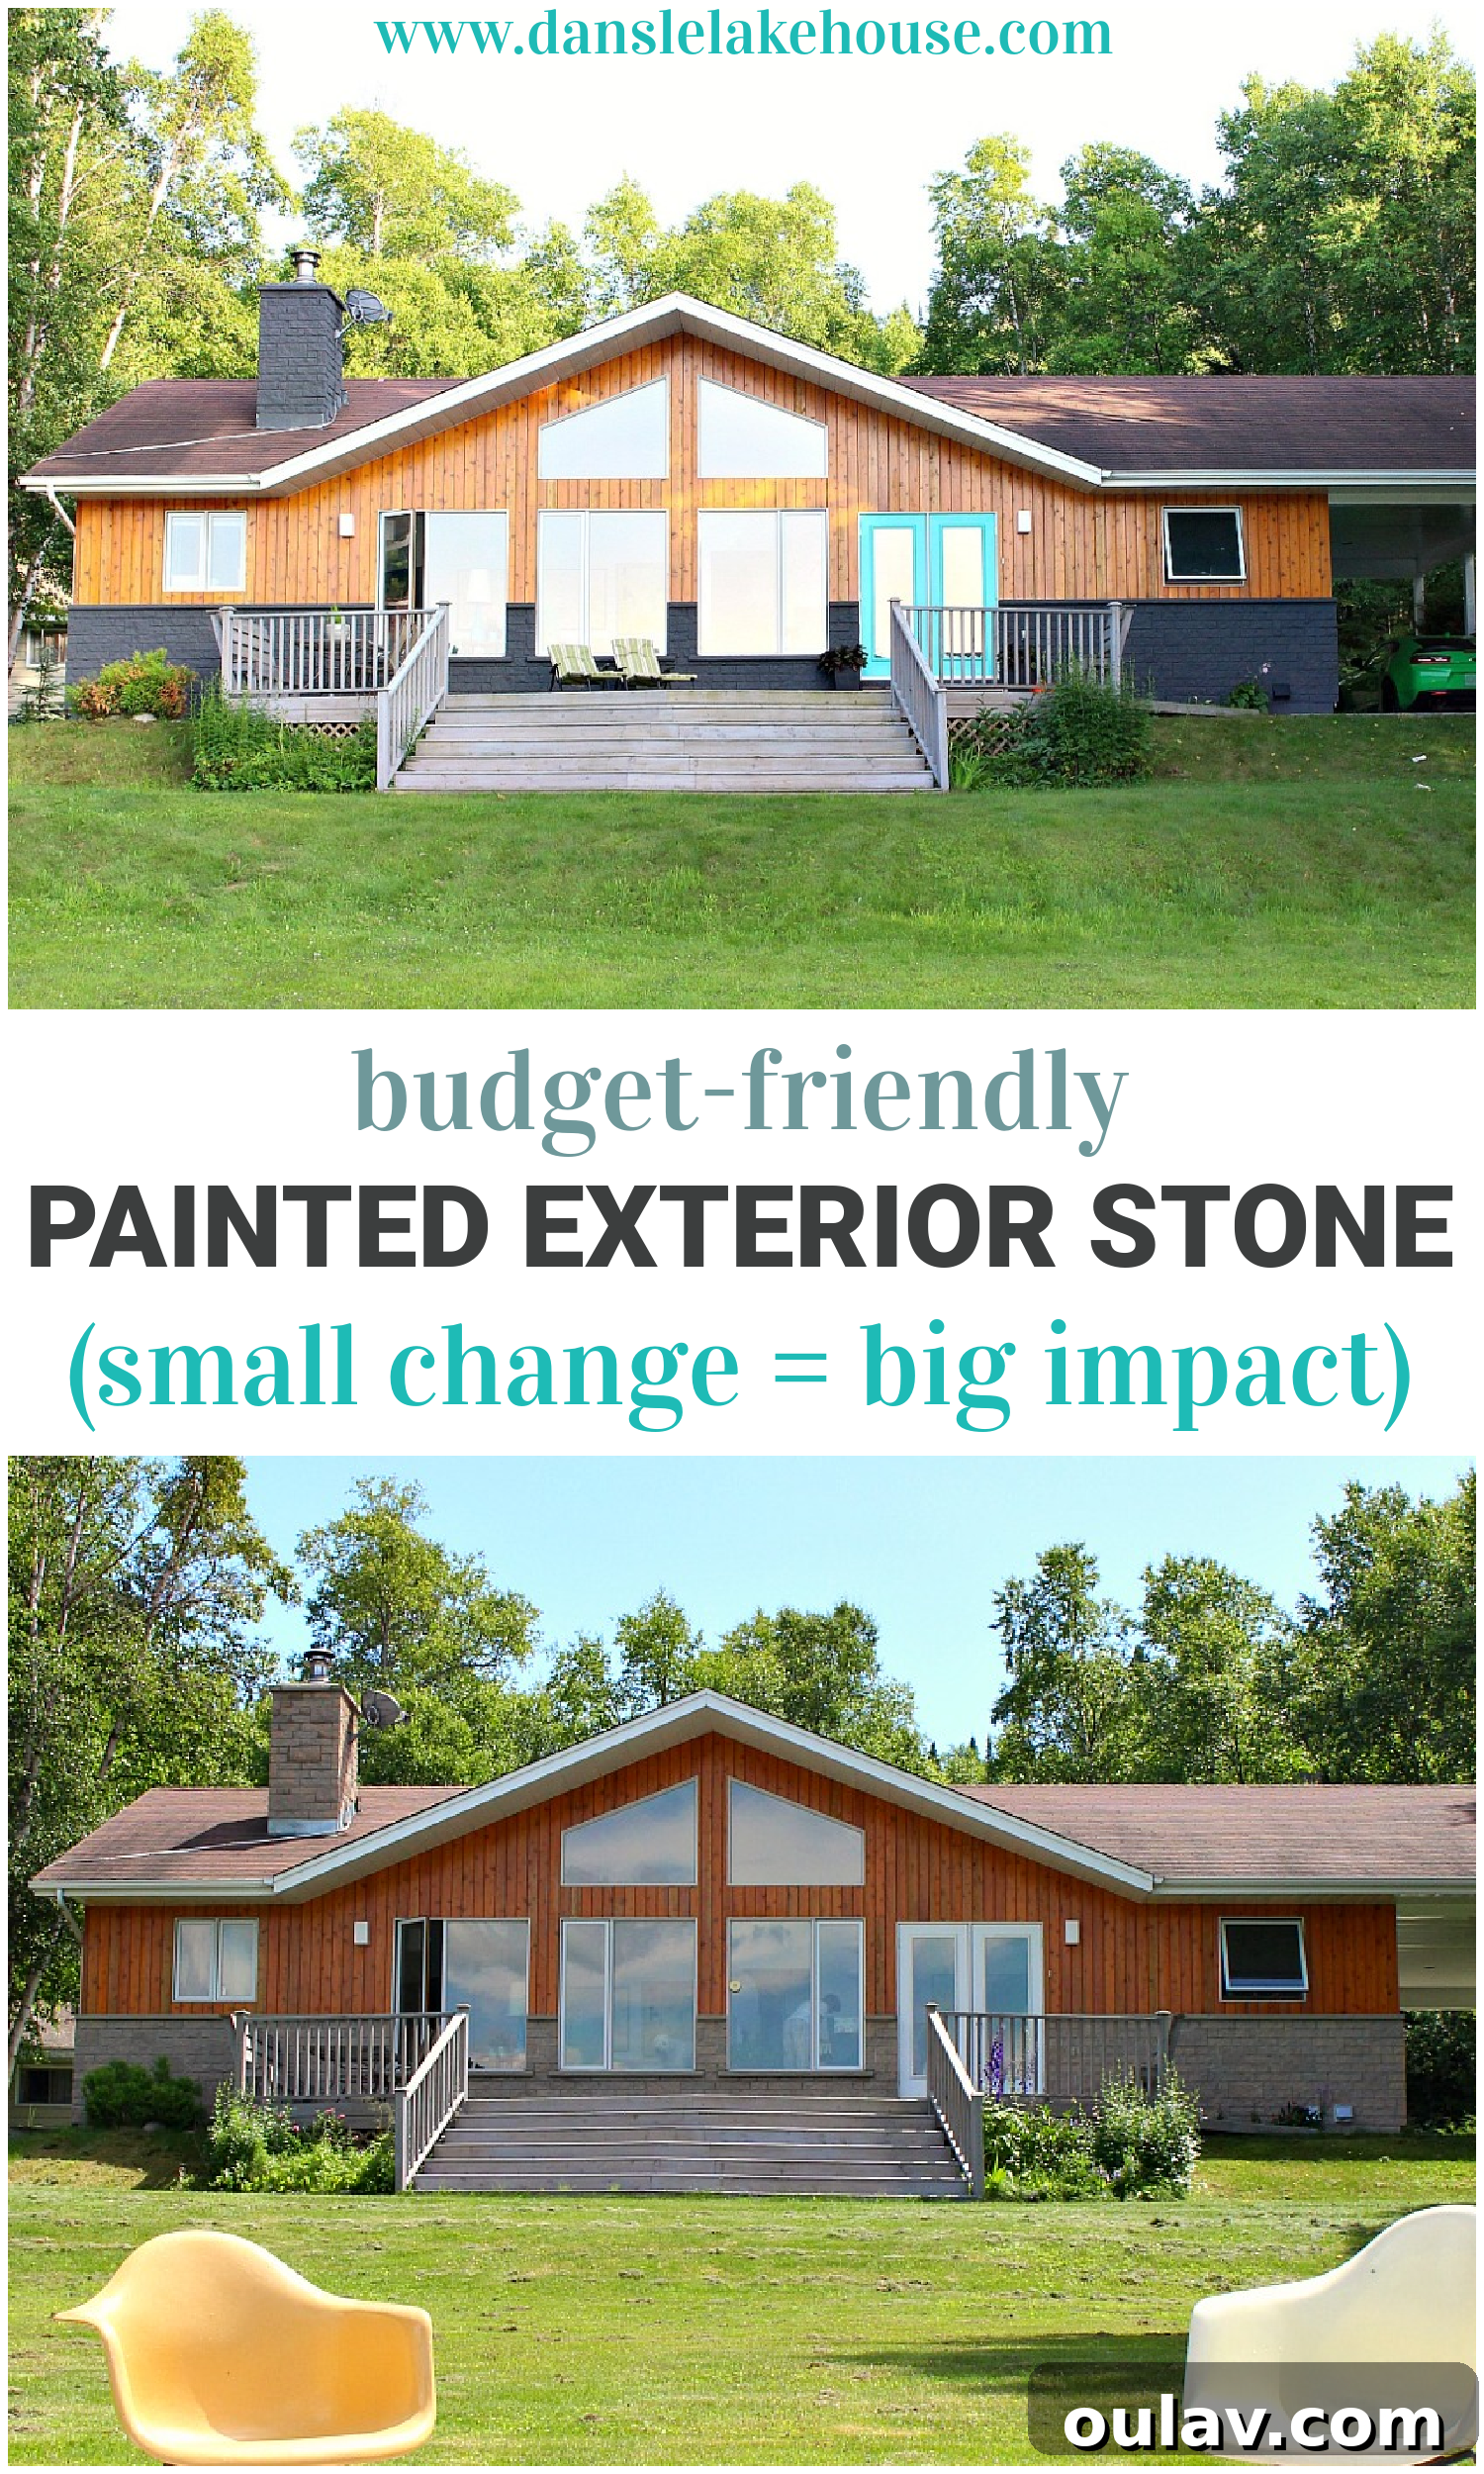
Our lakeside home is undergoing a magnificent transformation, piece by meticulous piece. The latest milestone? Our manufactured stone facade and the matching chimney on the lake side of the house are finally painted a gorgeous, deep charcoal grey. This dramatic change has instantly elevated our home’s curb appeal, despite being just one step in a much larger exterior renovation. While we still face a massive overhaul, including a new roof, siding, and windows, this initial progress brings an immense sense of satisfaction and a clear vision for the future of our modern lakehouse exterior. Today, we’re thrilled to share the stunning before-and-after photos, along with our essential tips and tricks for safely painting a chimney, and a deeper dive into why we ultimately decided to keep and paint the manufactured stone facade rather than removing it.
Safety First: Essential Tips for Painting Your Chimney at Heights
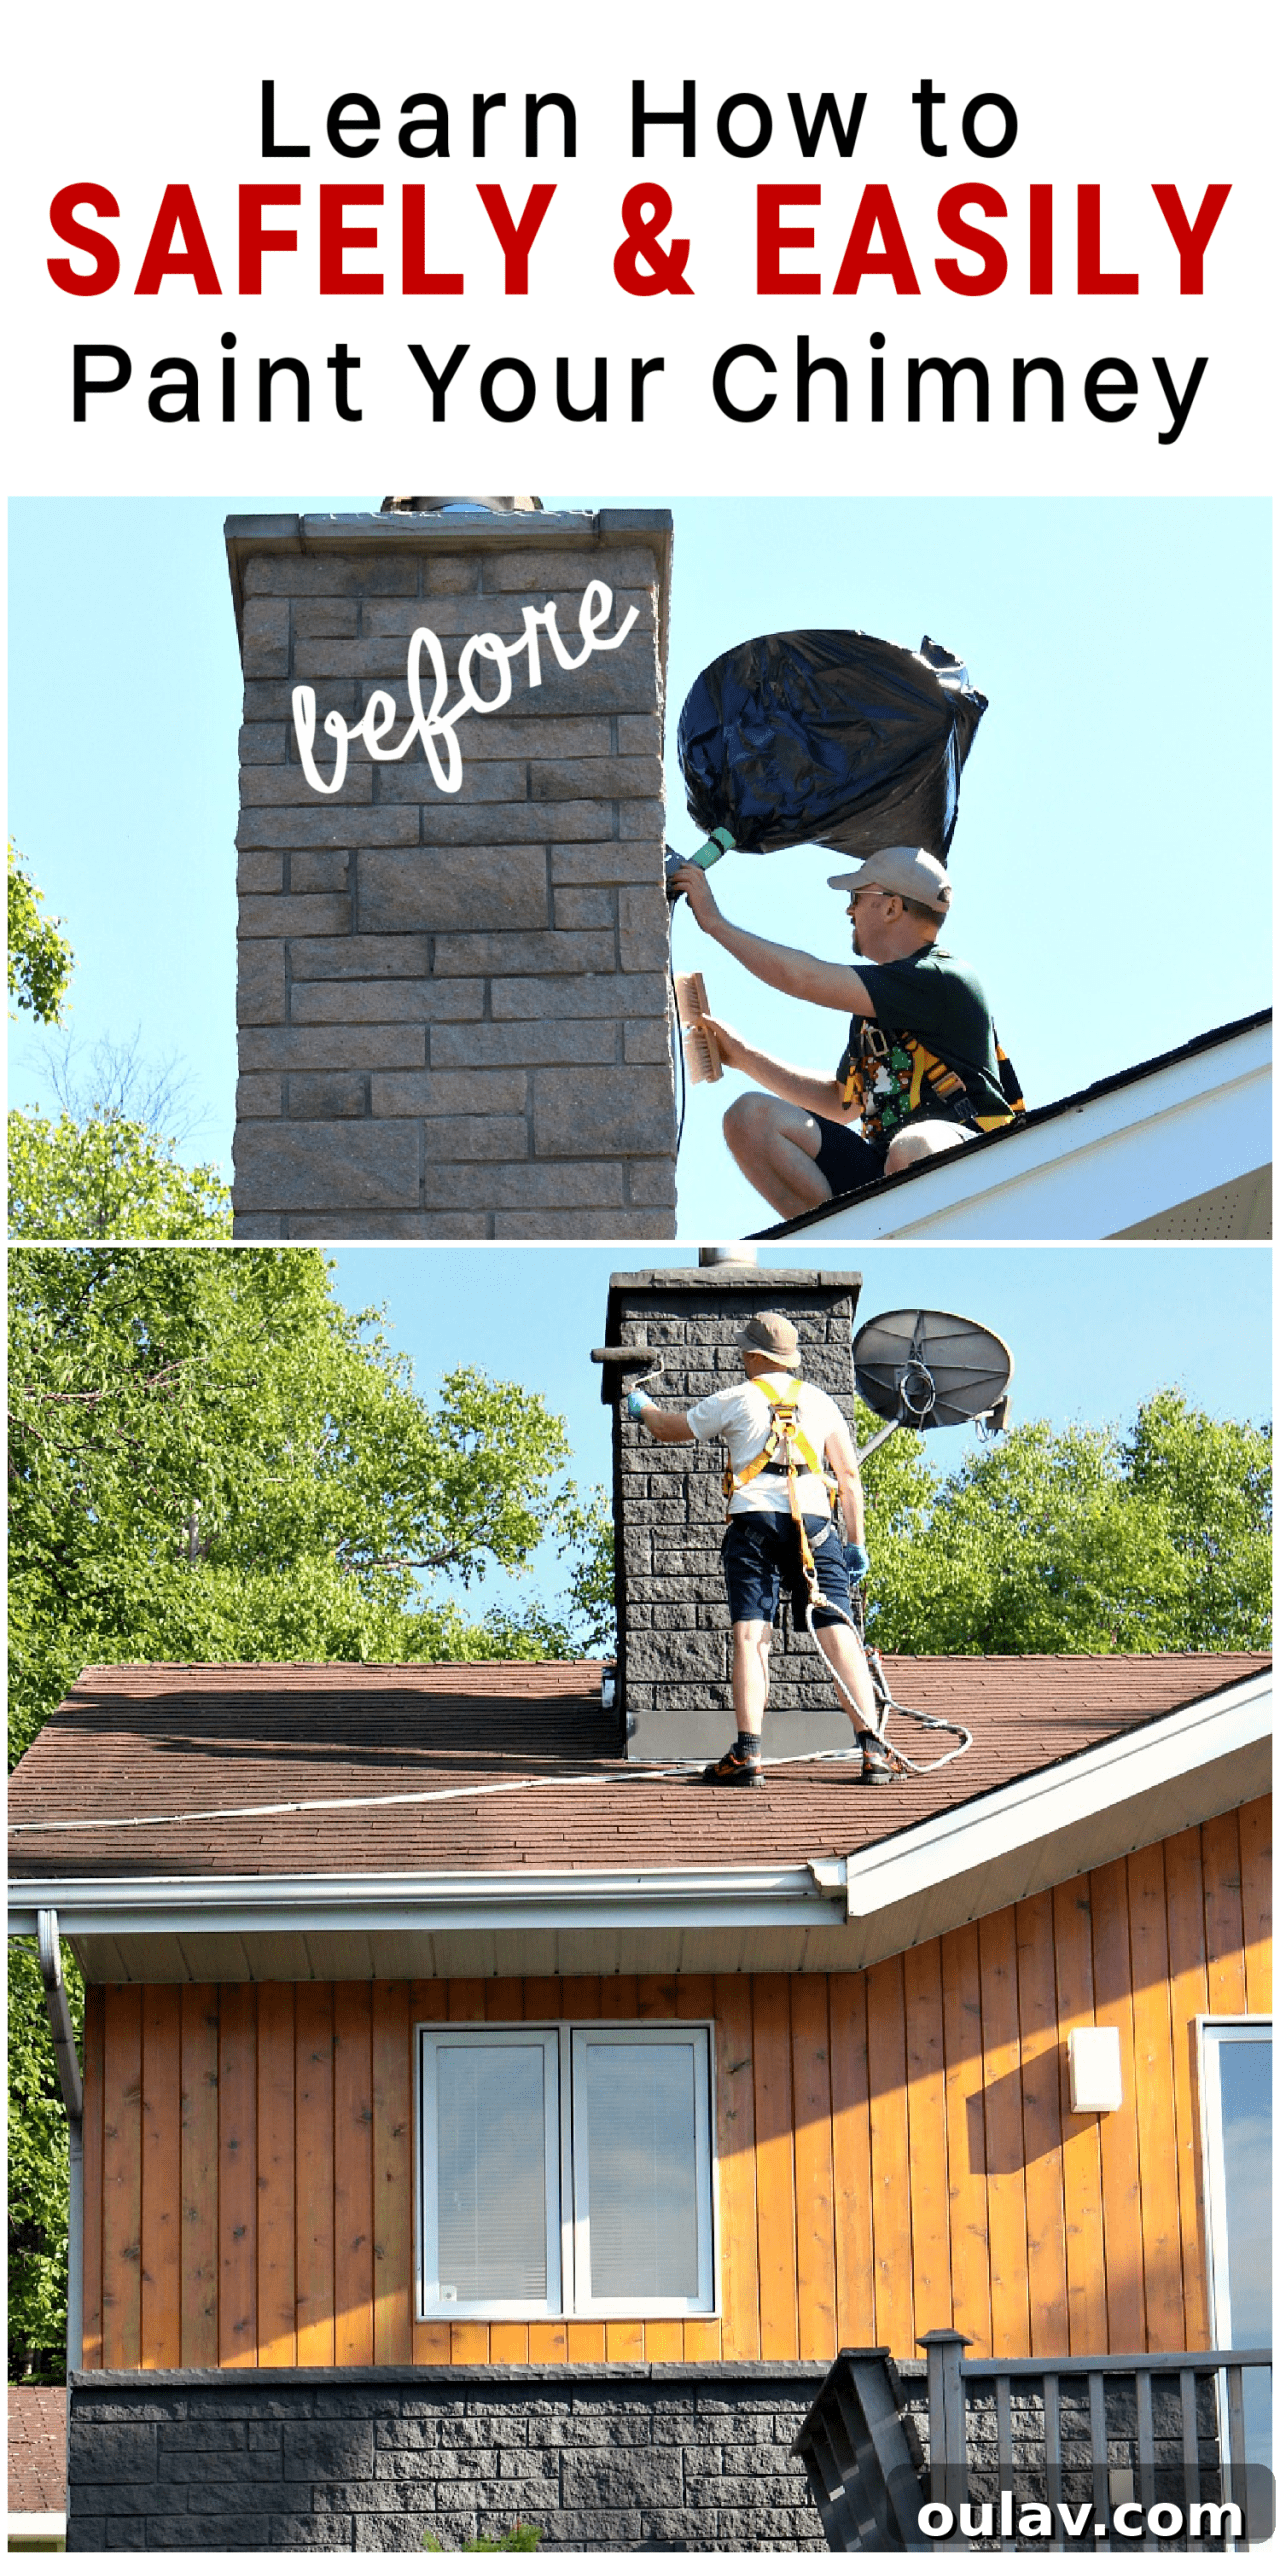
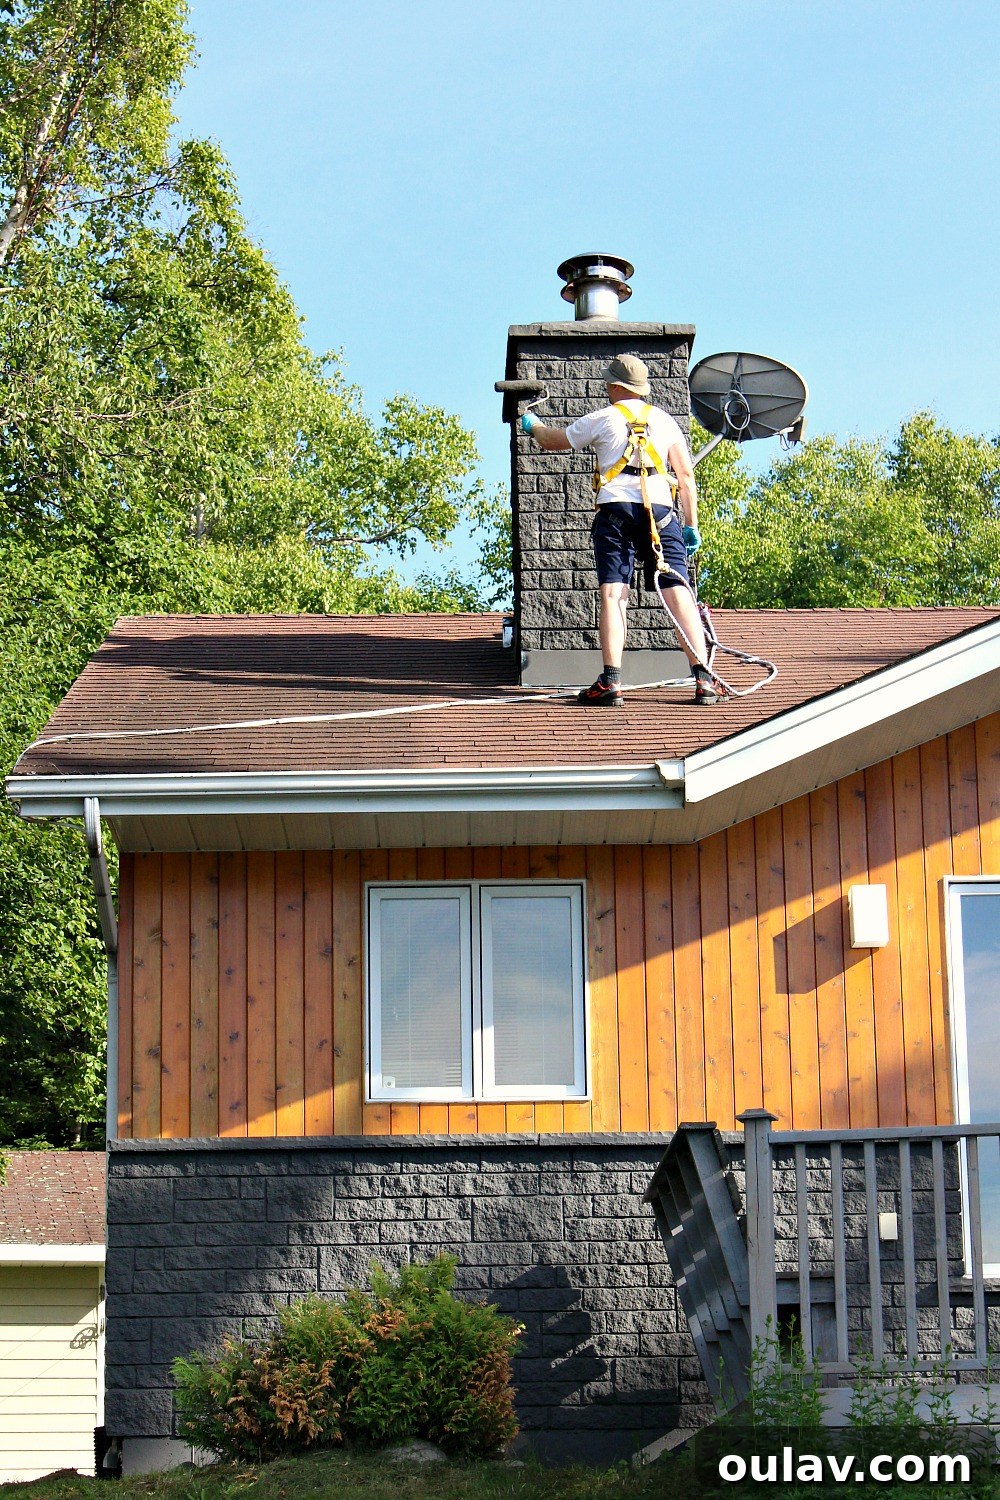
Before diving into the painting process, I want to emphasize the paramount importance of safety, especially when working at heights. As a volunteer firefighter and emergency first responder, I believe it’s my responsibility to advocate for safe DIY practices. Painting a chimney involves working on a sloped roof, which inherently carries risks. After a light-hearted, yet decisive, game of “1-2-3-not it,” my husband bravely took on the task of scaling our roof to paint the chimney. We quickly realized we needed more paint and, more importantly, proper safety equipment. A trip to a local industrial safety supply store led us to a crucial purchase: a roofer’s safety kit. This comprehensive kit came in a bucket and contained everything needed for secure roof work: an adjustable harness, a reusable anchor, a rope grab, a lanyard, and a vertical lifeline.




Understanding Your Roofer’s Safety Kit: A Step-by-Step Guide
While every roofer safety kit comes with detailed instructions, a general understanding of its components and how they function is invaluable for anyone considering roof work. My husband, with his professional fall arrest training, was confident in using the equipment, but for those who, like me, enjoy understanding how things work (much like watching How It’s Made), here’s the basic rundown:
- Secure the Roof Anchor: The first step is to securely screw the reusable roof anchor (the bright red component visible in the photos) into a sturdy part of the roof. This provides the crucial attachment point for your fall protection system.
- Attach the Vertical Lifeline: The pretty pale blue rope, known as the vertical lifeline, is then attached to the roof anchor using the clip at its end. This rope serves as the pathway along which your safety system operates.
- Don the Harness: Put on the adjustable harness, ensuring it fits snugly and comfortably. Before climbing, always remember to empty all pockets of tools or other items that could cause injury if you fall and the harness presses against them.
- Connect the Shock-Absorbing Lanyard and Rope Grab: The yellow shock-absorbing lanyard is then attached to the D-ring located on the back of the harness. The other end of this lanyard features a rope grab, which in turn attaches to the vertical lifeline. Crucially, an arrow on the side of the rope grab indicates the correct “up” direction, ensuring it functions as intended.
My husband used this setup primarily as fall restraint gear, meaning it was configured to prevent him from reaching the edge of the roof and falling off completely, rather than arresting a fall already in progress. He meticulously ensured the lifeline was taut enough to minimize any potential drop distance, should an incident occur – thankfully, it didn’t (whew!). This roofer’s kit, costing about $150, provided both of us with immense peace of mind. He reported that painting the chimney felt significantly easier and less stressful with the safety equipment in place, allowing him to focus entirely on the task at hand – achieving our gorgeous charcoal grey painted stone exterior – without the constant anxiety of tripping and falling.
How to Paint a Stone Chimney: Achieving a Flawless Finish
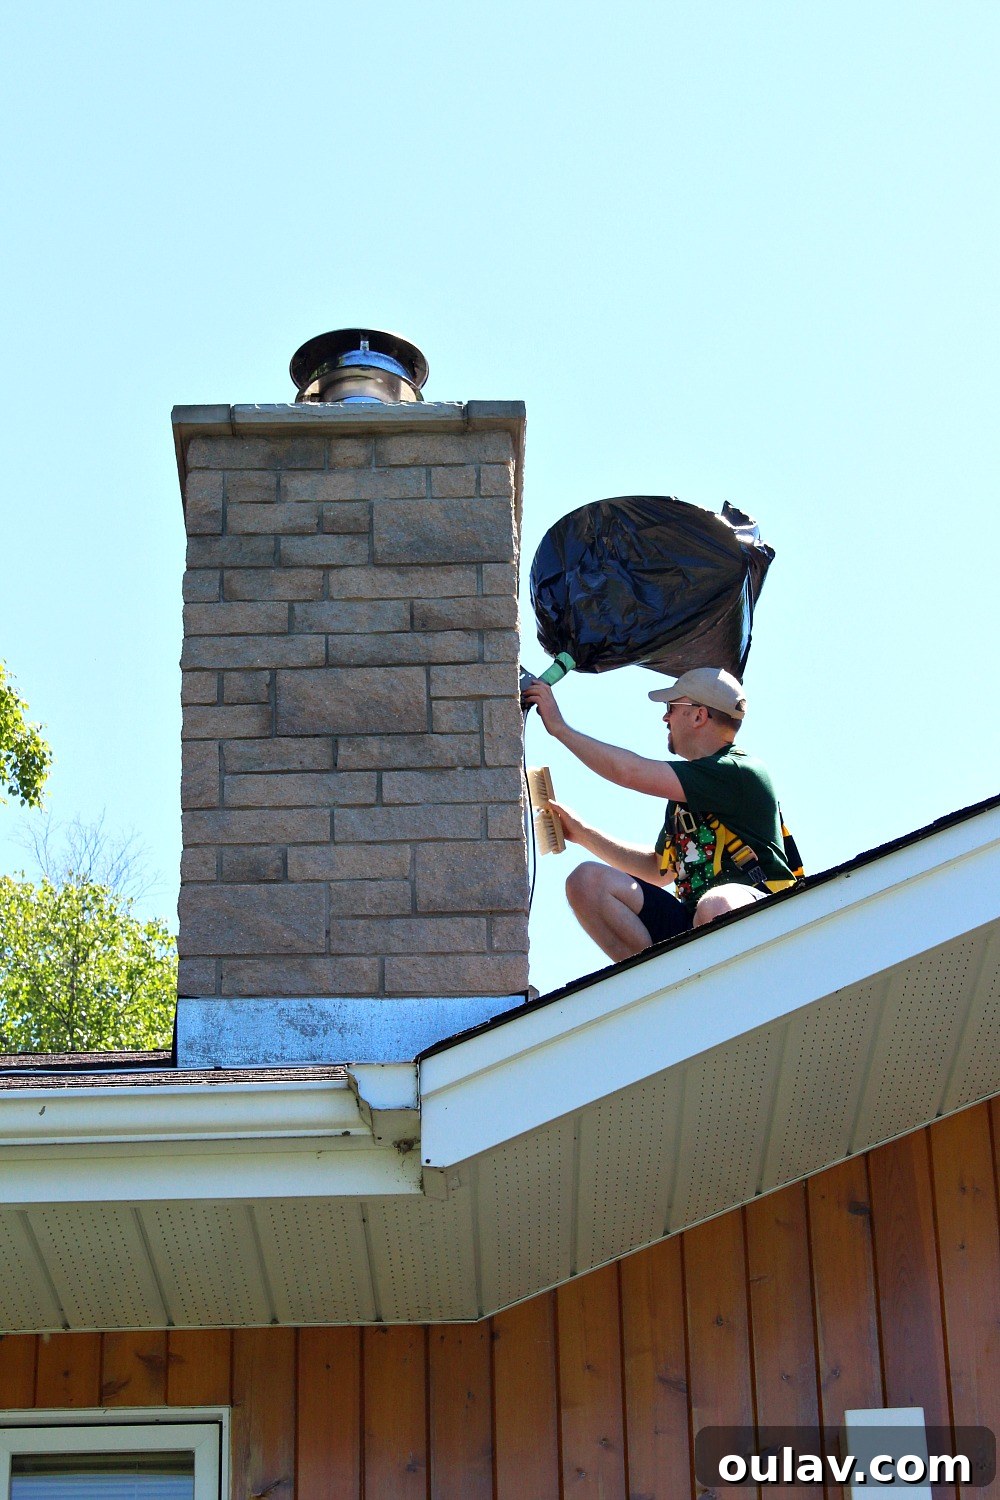
Painting a highly textured surface like a stone chimney requires careful preparation and the right tools. While I had meticulously scrubbed and pressure washed the main stone facade prior to painting, my husband opted for a simpler, yet effective, approach for the chimney. He began by thoroughly cleaning the chimney surface with a stiff brush to remove any loose dirt, debris, or cobwebs. This essential preparatory step ensures proper paint adhesion and a long-lasting finish.
For the paint, we selected Behr Masonry, Concrete & Brick paint, specifically color-matched to our chosen siding hue. This type of paint is formulated to adhere exceptionally well to porous masonry surfaces, providing durability and excellent coverage. The application technique was tailored to the chimney’s unique texture:
- For Mortar Seams: An angled brush was indispensable for meticulously painting the deeper mortar seams, ensuring every crevice received full coverage.
- For the Main Surface: A thick pile roller, typically recommended for textured surfaces like popcorn ceilings, was used for the broader stone surfaces. Its dense nap allowed it to pick up and deposit a generous amount of paint, pushing it into the many undulations of the manufactured stone.
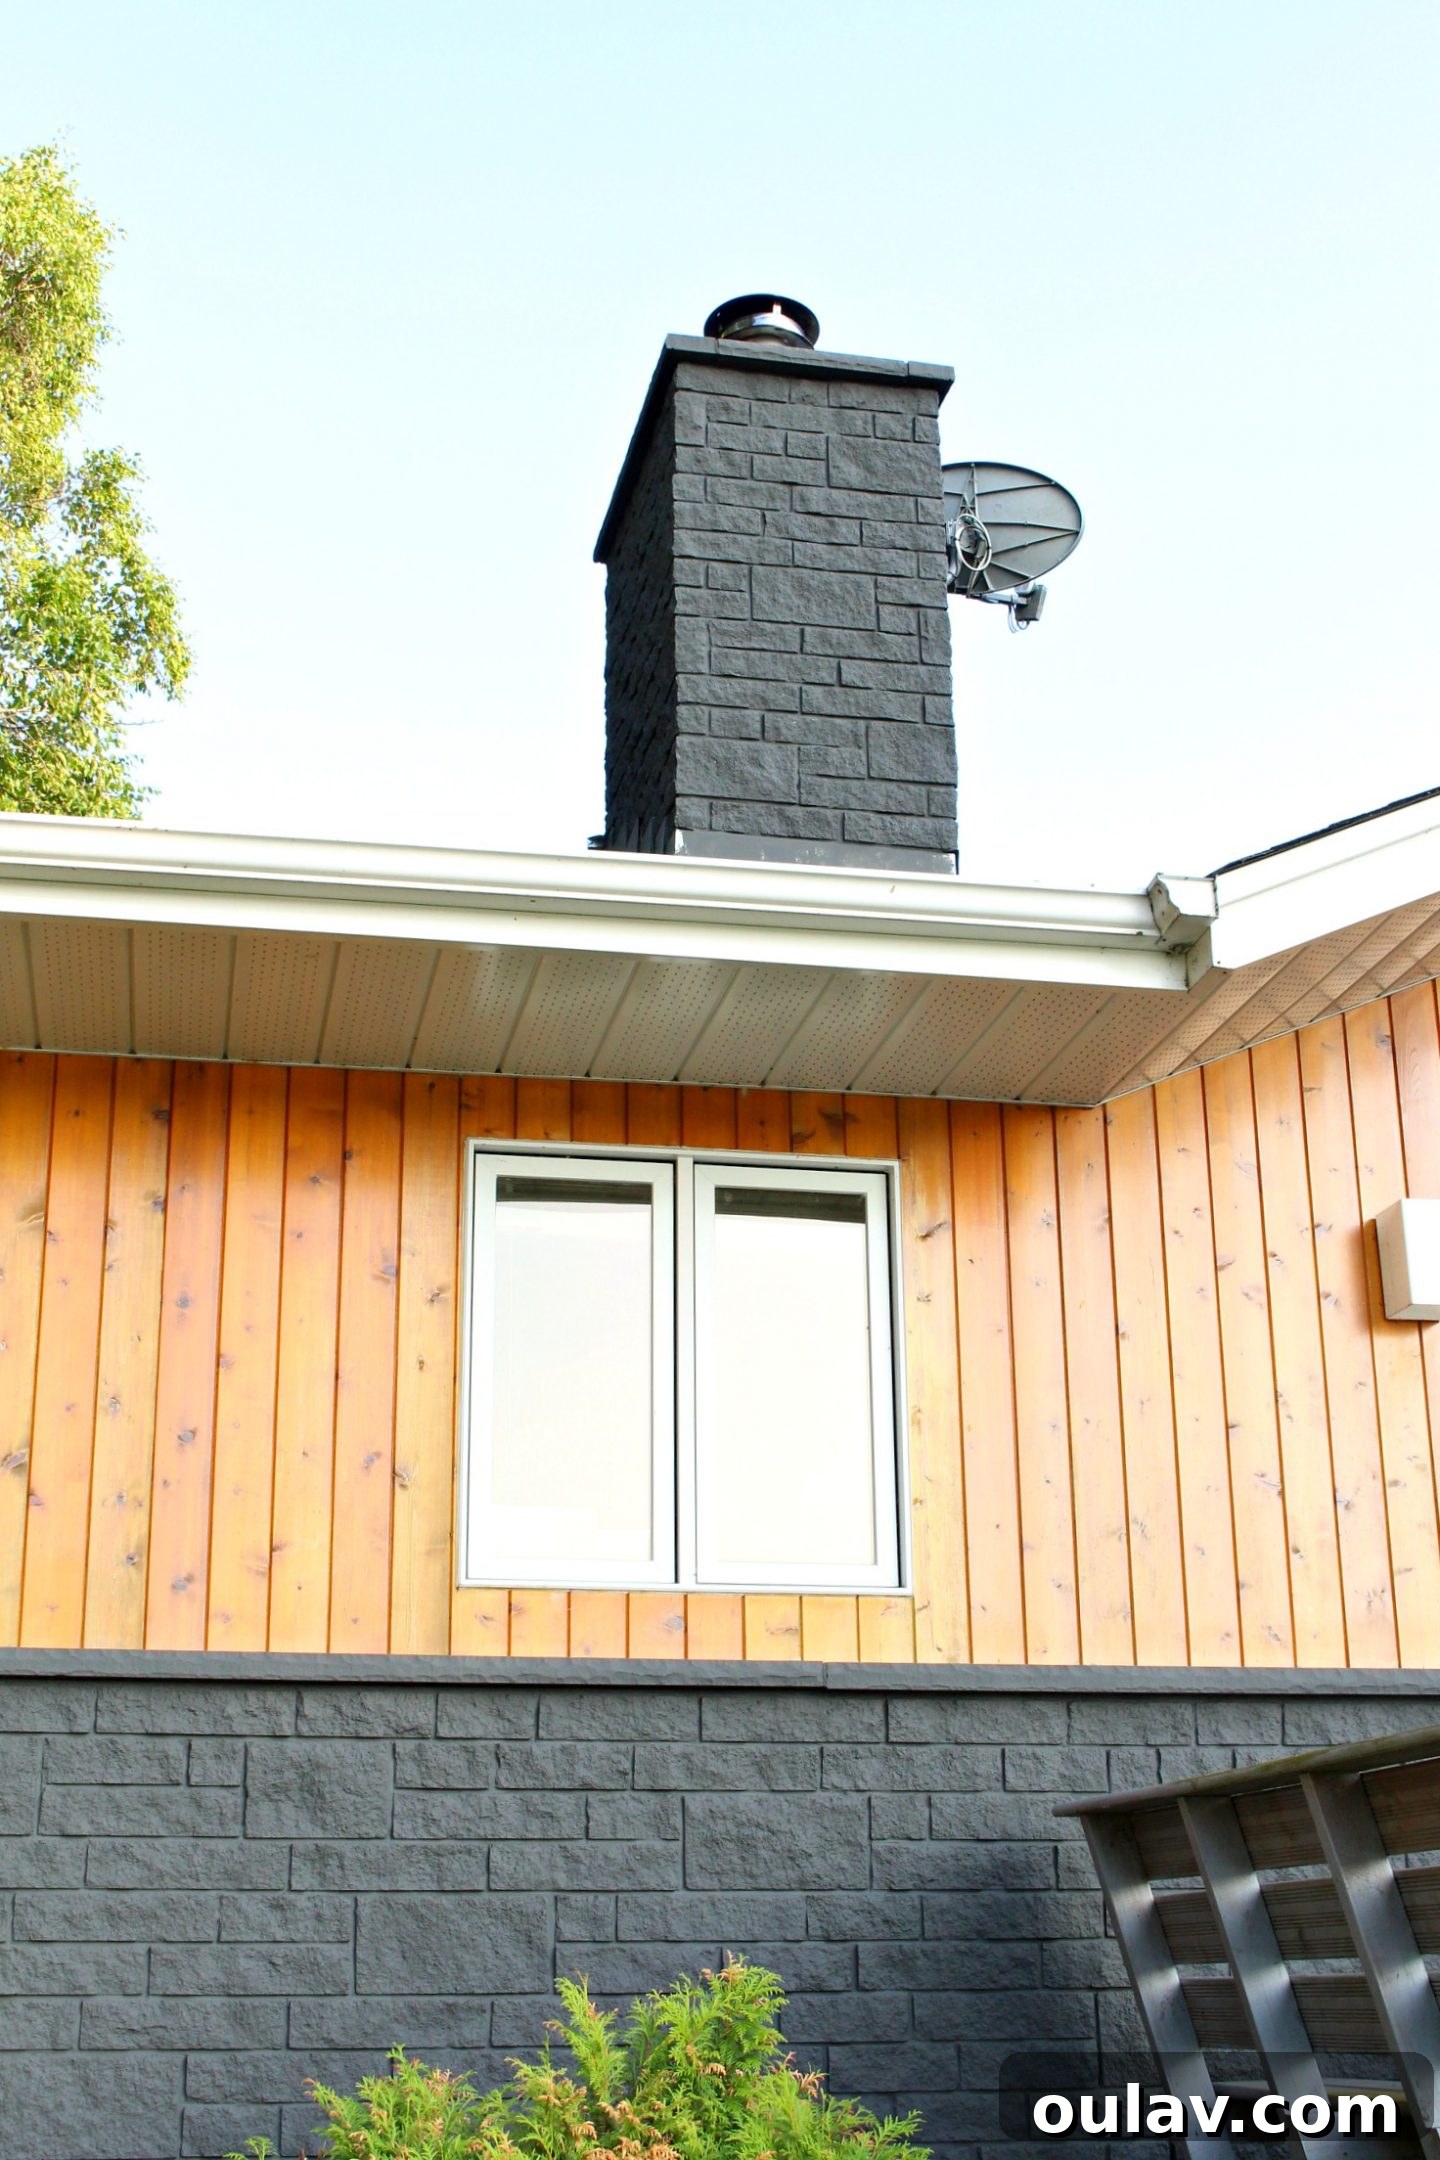
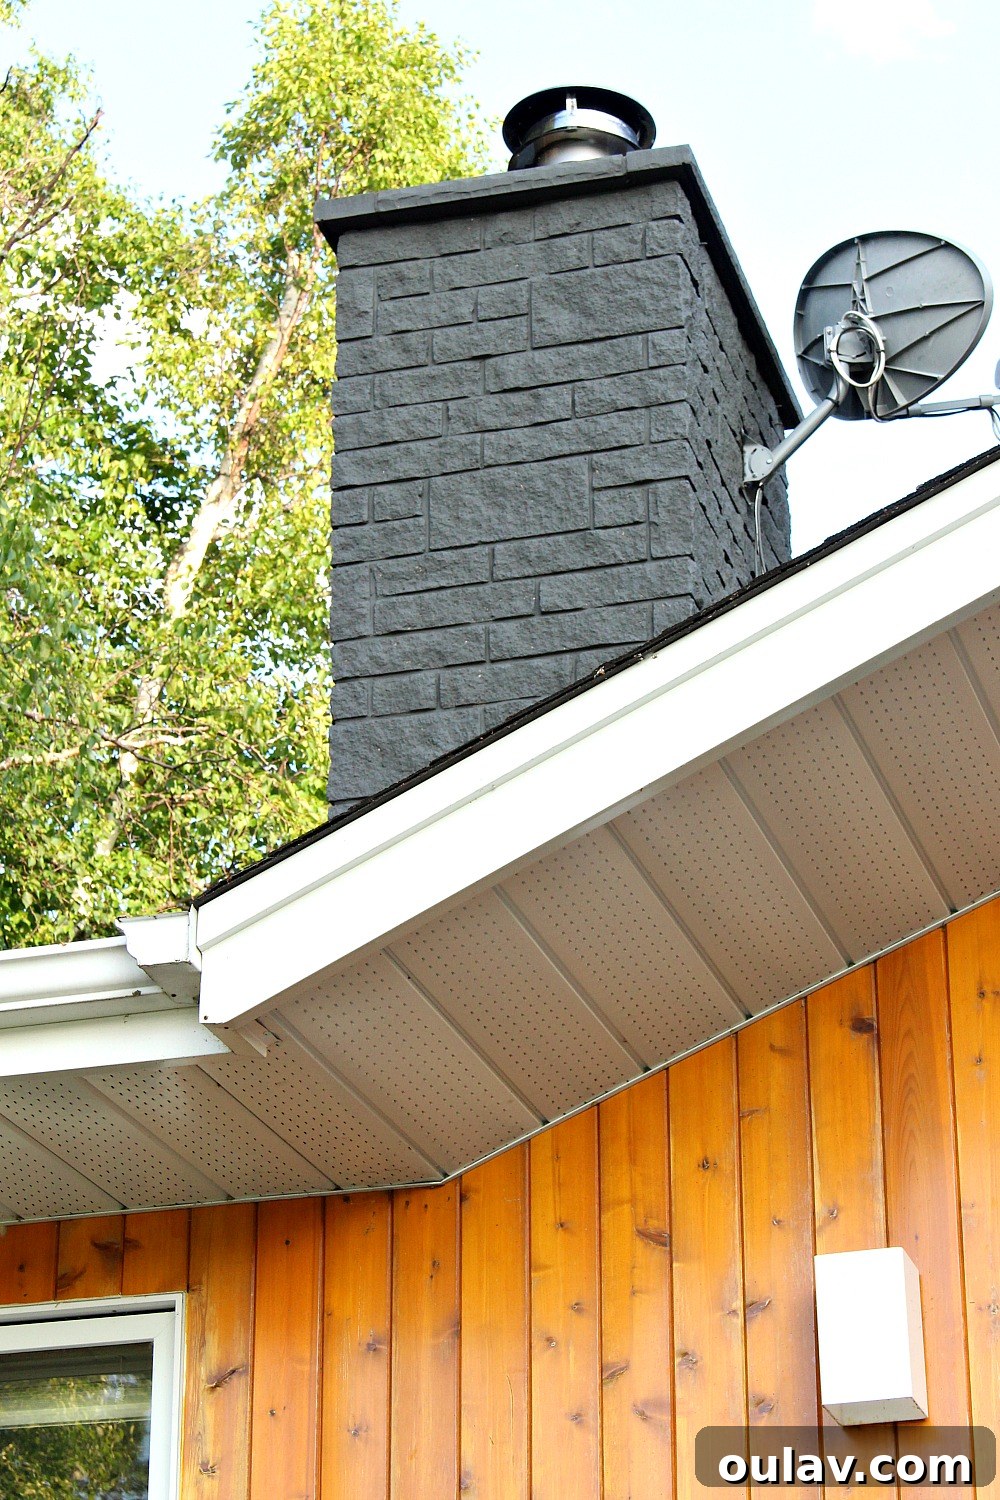
The chimney’s concrete texture is undeniably rugged and irregular, leading to what might appear as an imperfect application up close. However, any tiny specks of unpainted surface are only visible when zoomed in with a camera. From the ground, viewing it with the naked eye, the chimney presents a perfectly uniform and stunning charcoal grey, seamlessly matching the facade. This demonstrates that for highly textured surfaces, achieving perfection might be challenging, but an excellent visual result is entirely attainable from a normal viewing distance.
Clever DIY Hack: The Roof Paint Shelf
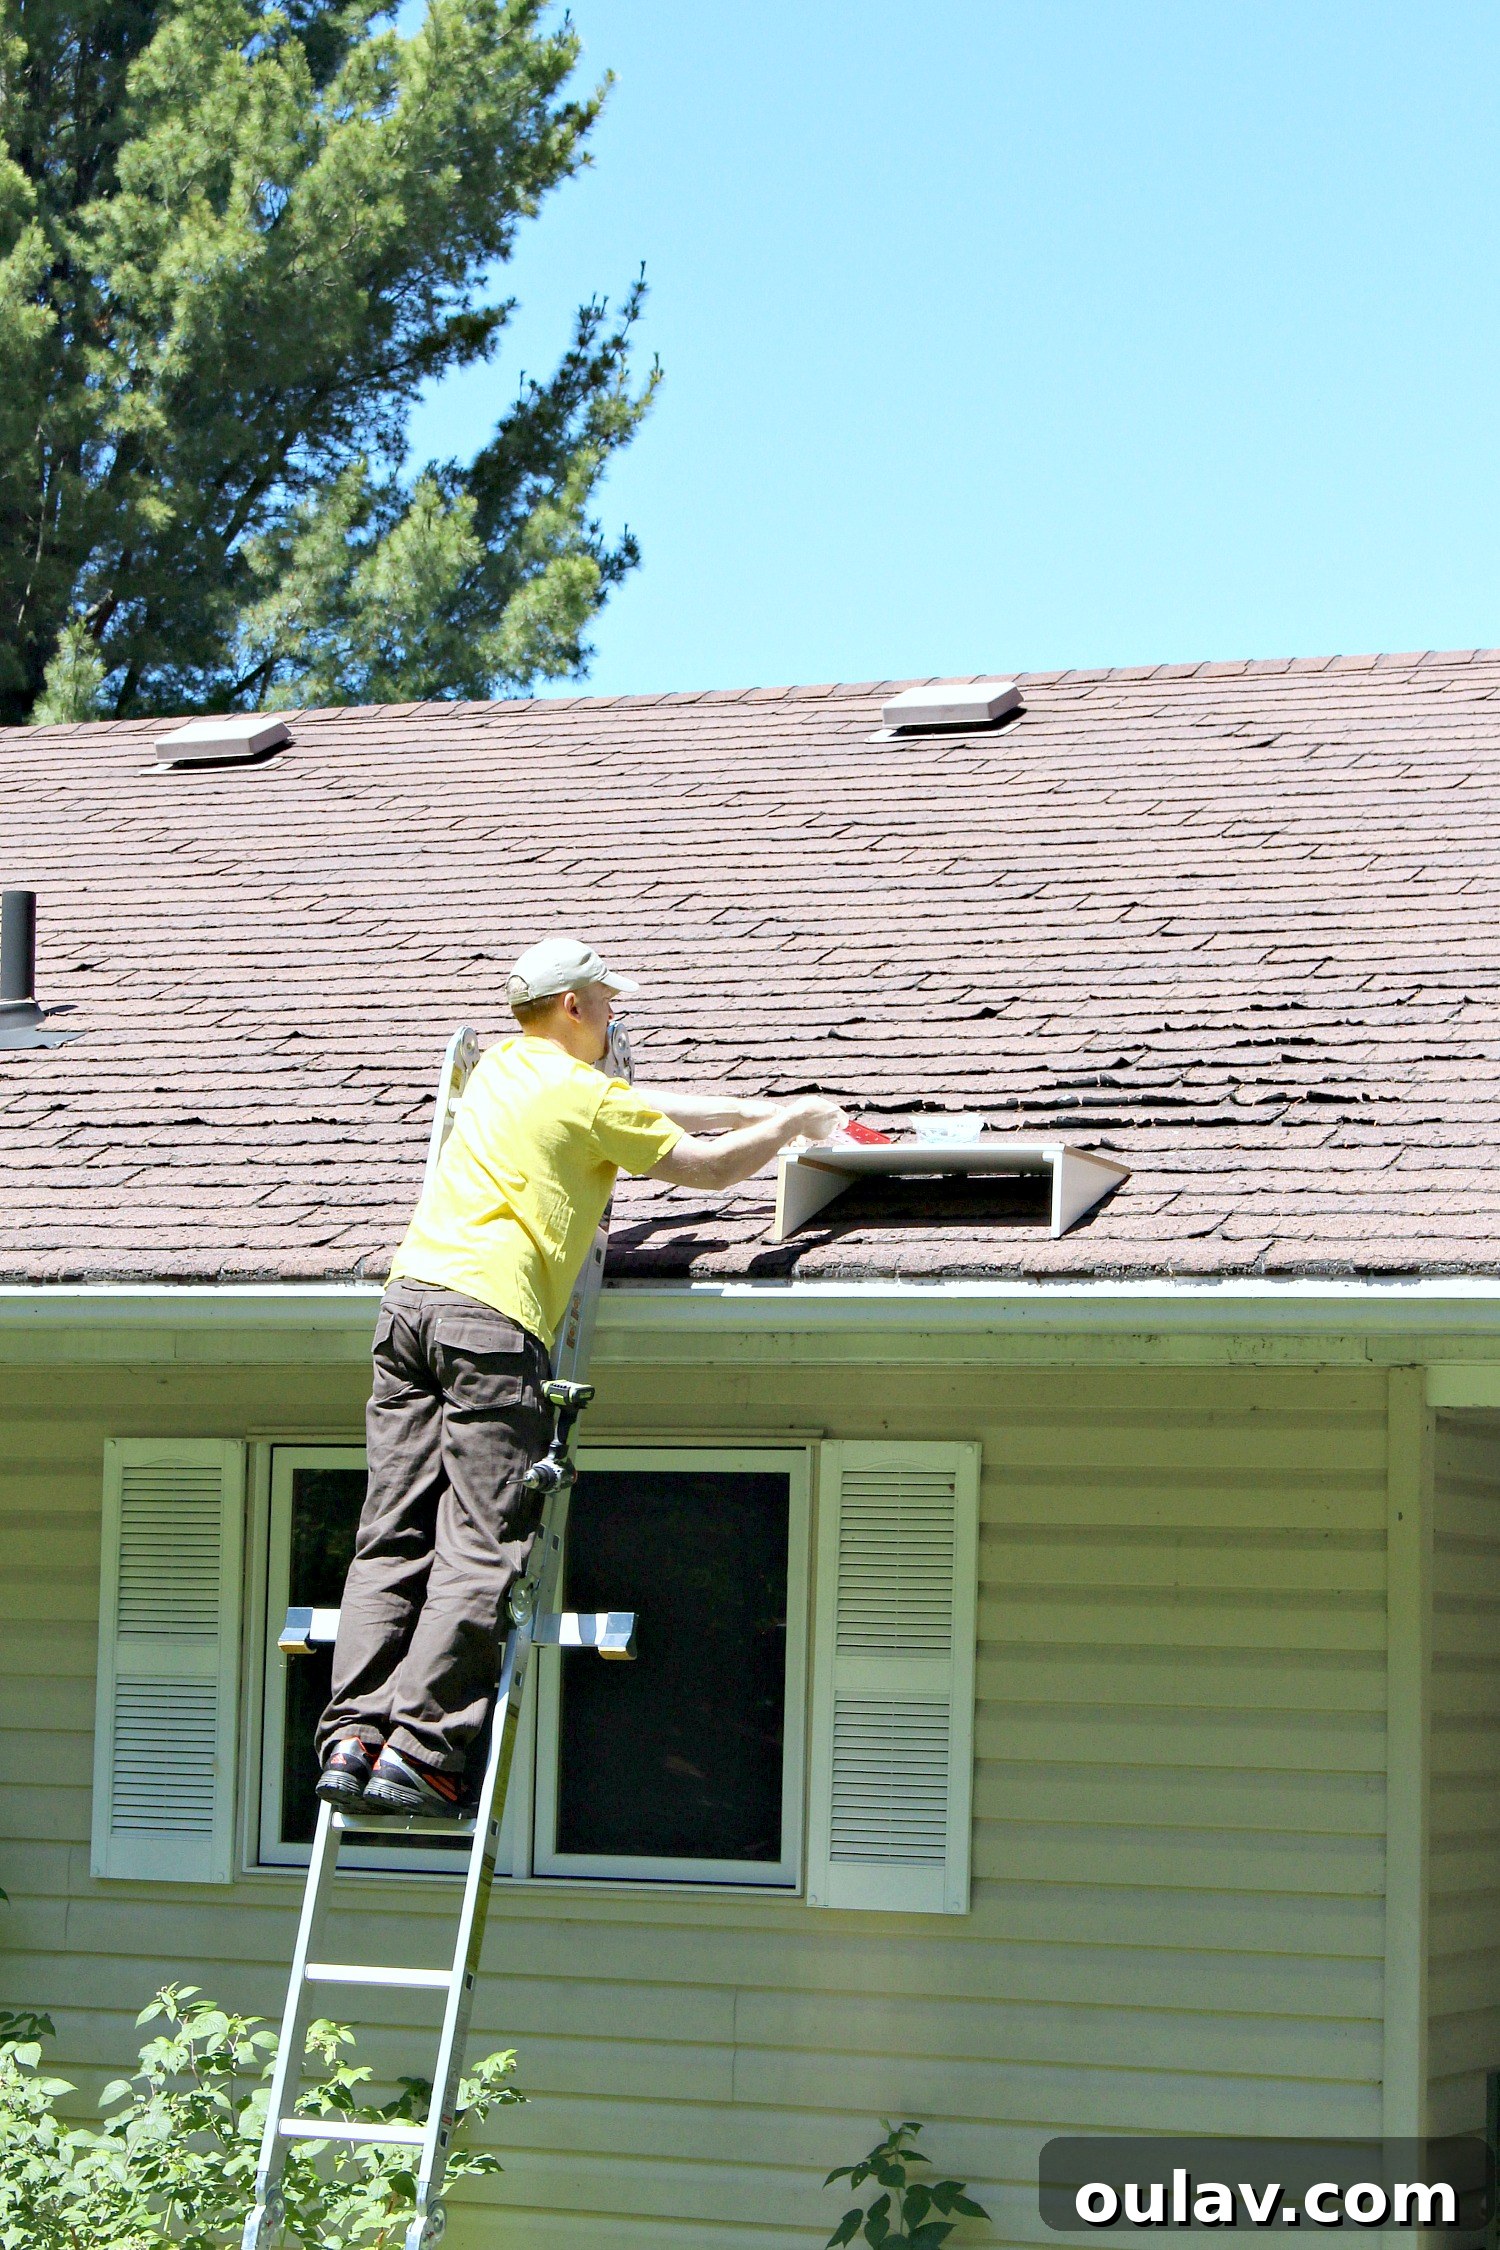
Beyond the safety gear, another ingenious tip we can offer for safely and efficiently painting a chimney is a simple yet brilliant creation my husband whipped up: a custom paint shelf. Recognizing the challenge of keeping a paint can stable on a sloped roof, he measured the precise pitch of our roof and attached small, triangular legs to a piece of plywood. This created a perfectly flat, stable surface for his paint can, preventing spills and making the painting process significantly easier and safer. This kind of thoughtful DIY solution can make a world of difference when tackling exterior projects.
Transforming Our House with a Charcoal Grey Painted Stone Exterior
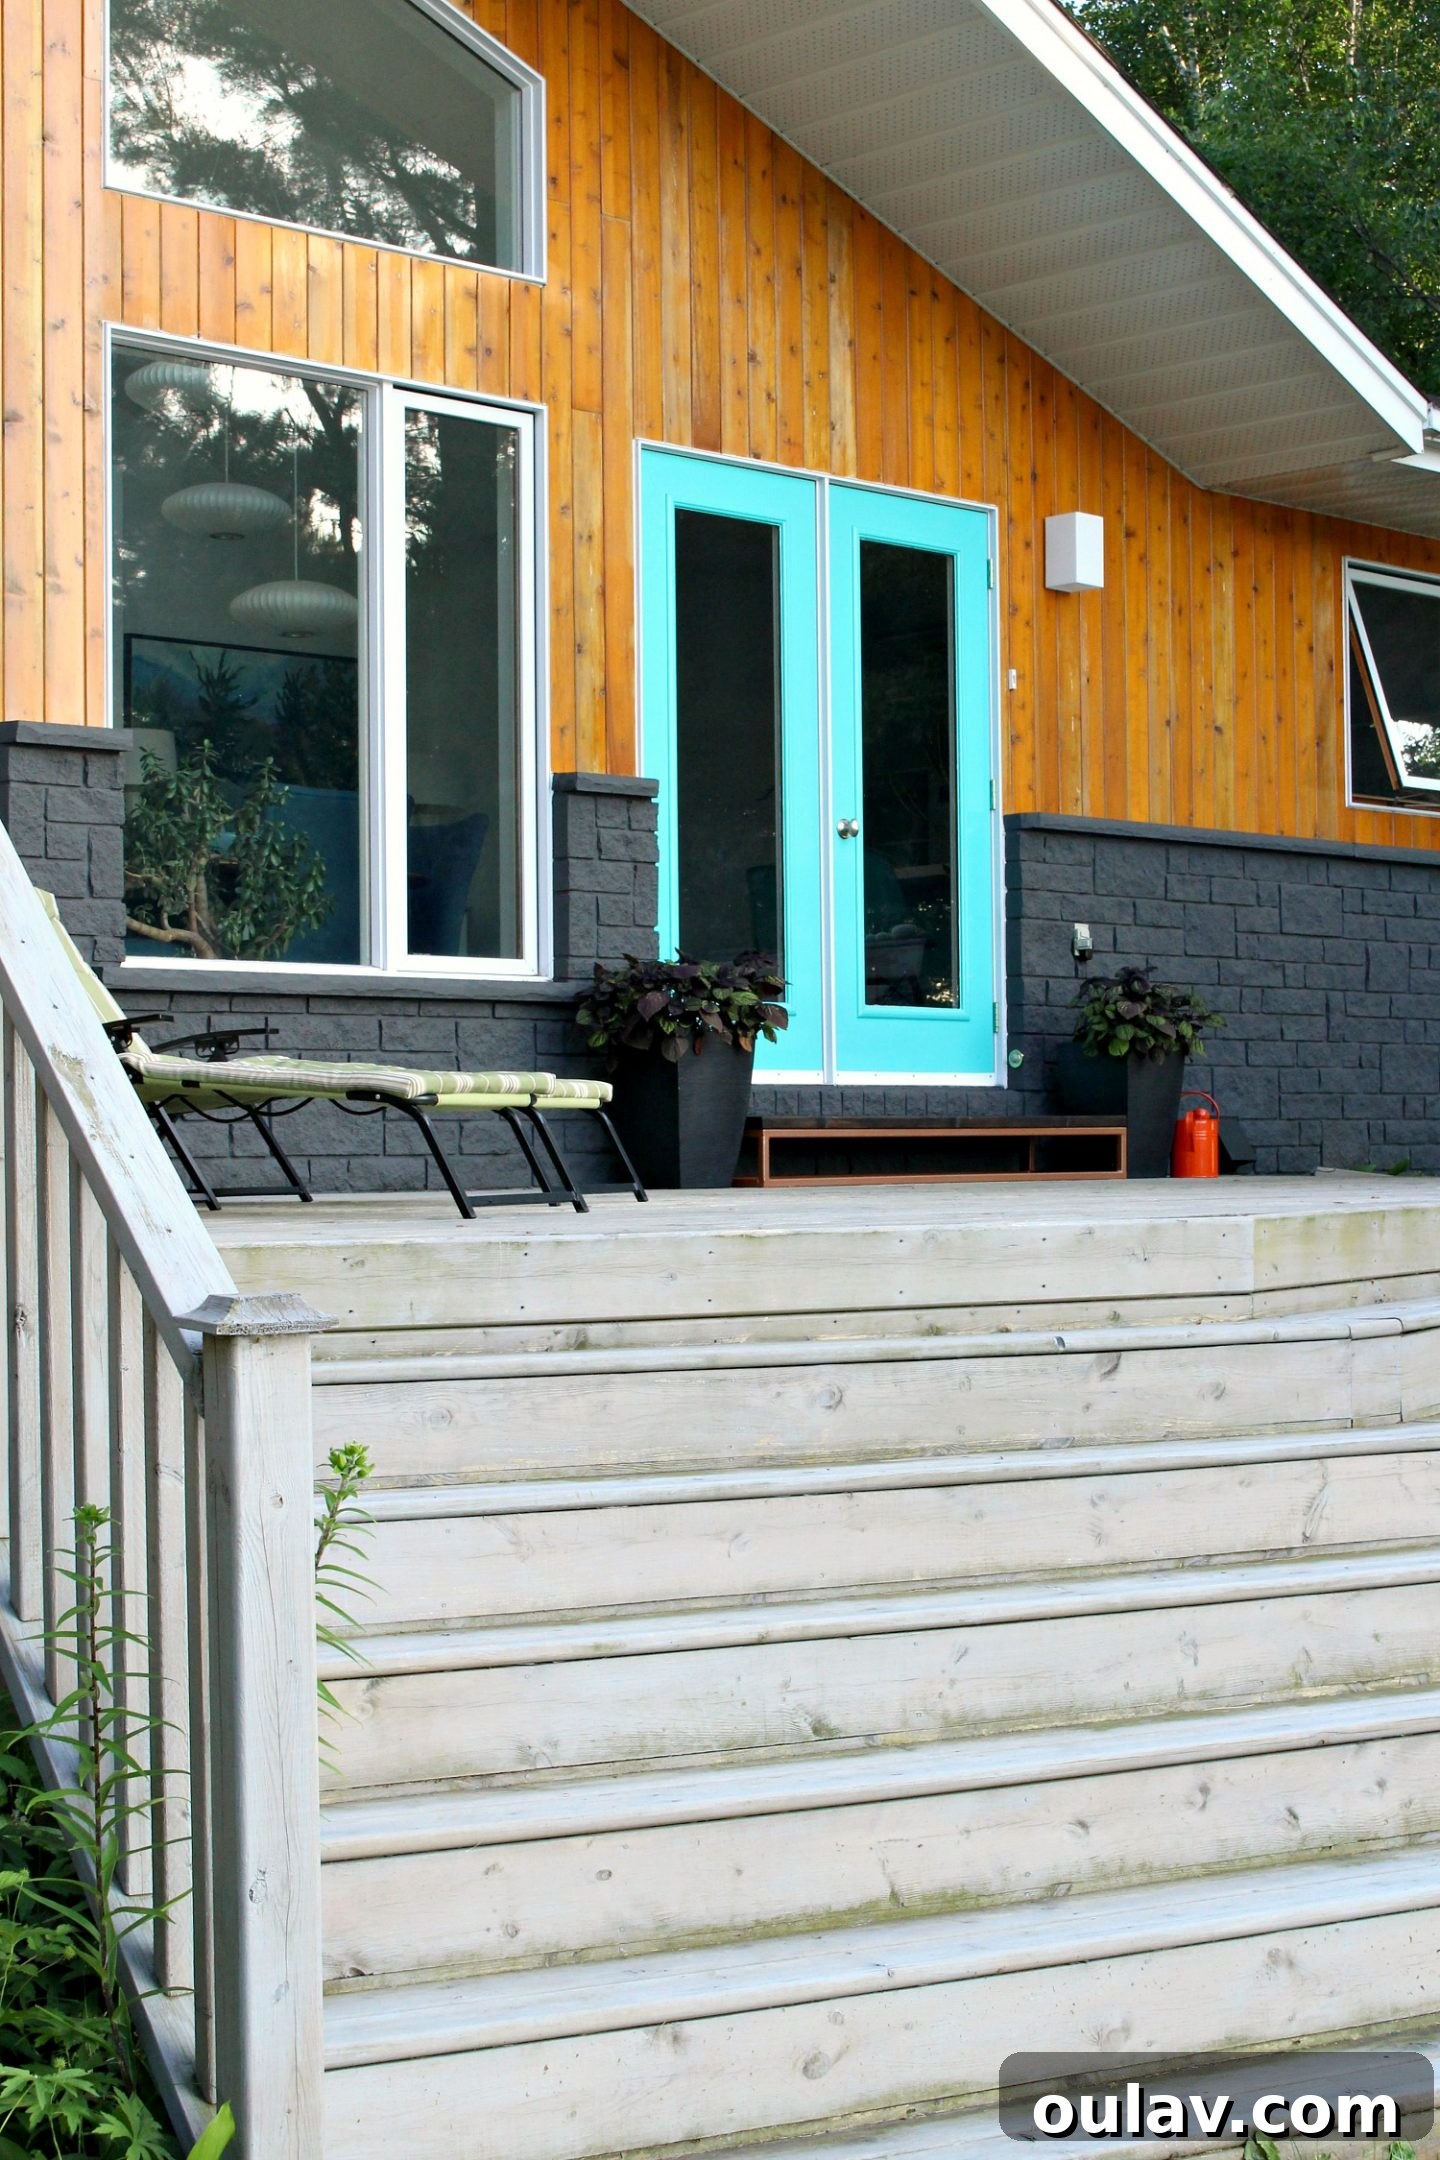
While my husband was bravely tackling the chimney under the sun, I was busy completing the rest of the manufactured stone facade. When I previously shared our turquoise garden door makeover and the cool, wood-burned and welded step we finally built, I had actually run out of time and sunny days, leaving only half the facade painted. The photos were carefully cropped to hide my stopping point! Fortunately, my mom was visiting and became my invaluable assistant, and together we conquered the entire remaining facade.
Our weapon of choice? A pair of 2-inch angled brushes. While it might sound unorthodox for such a large area, this method has proven incredibly effective for me, particularly on manufactured stone with its deep, irregular nooks and crannies. I’ve successfully used this technique before to paint our interior fireplace, which is made of the same composite stone. This brush-intensive method allows for a single, thorough coat with minimal touch-ups, ensuring that every little crevice is fully saturated with paint. The wild texture of this faux stone often appears flattened in photographs, but in reality, it requires an aggressive application, really pushing the paint into the surface with the brush. Even attempting to spray the paint proved insufficient for reaching the deepest recesses.
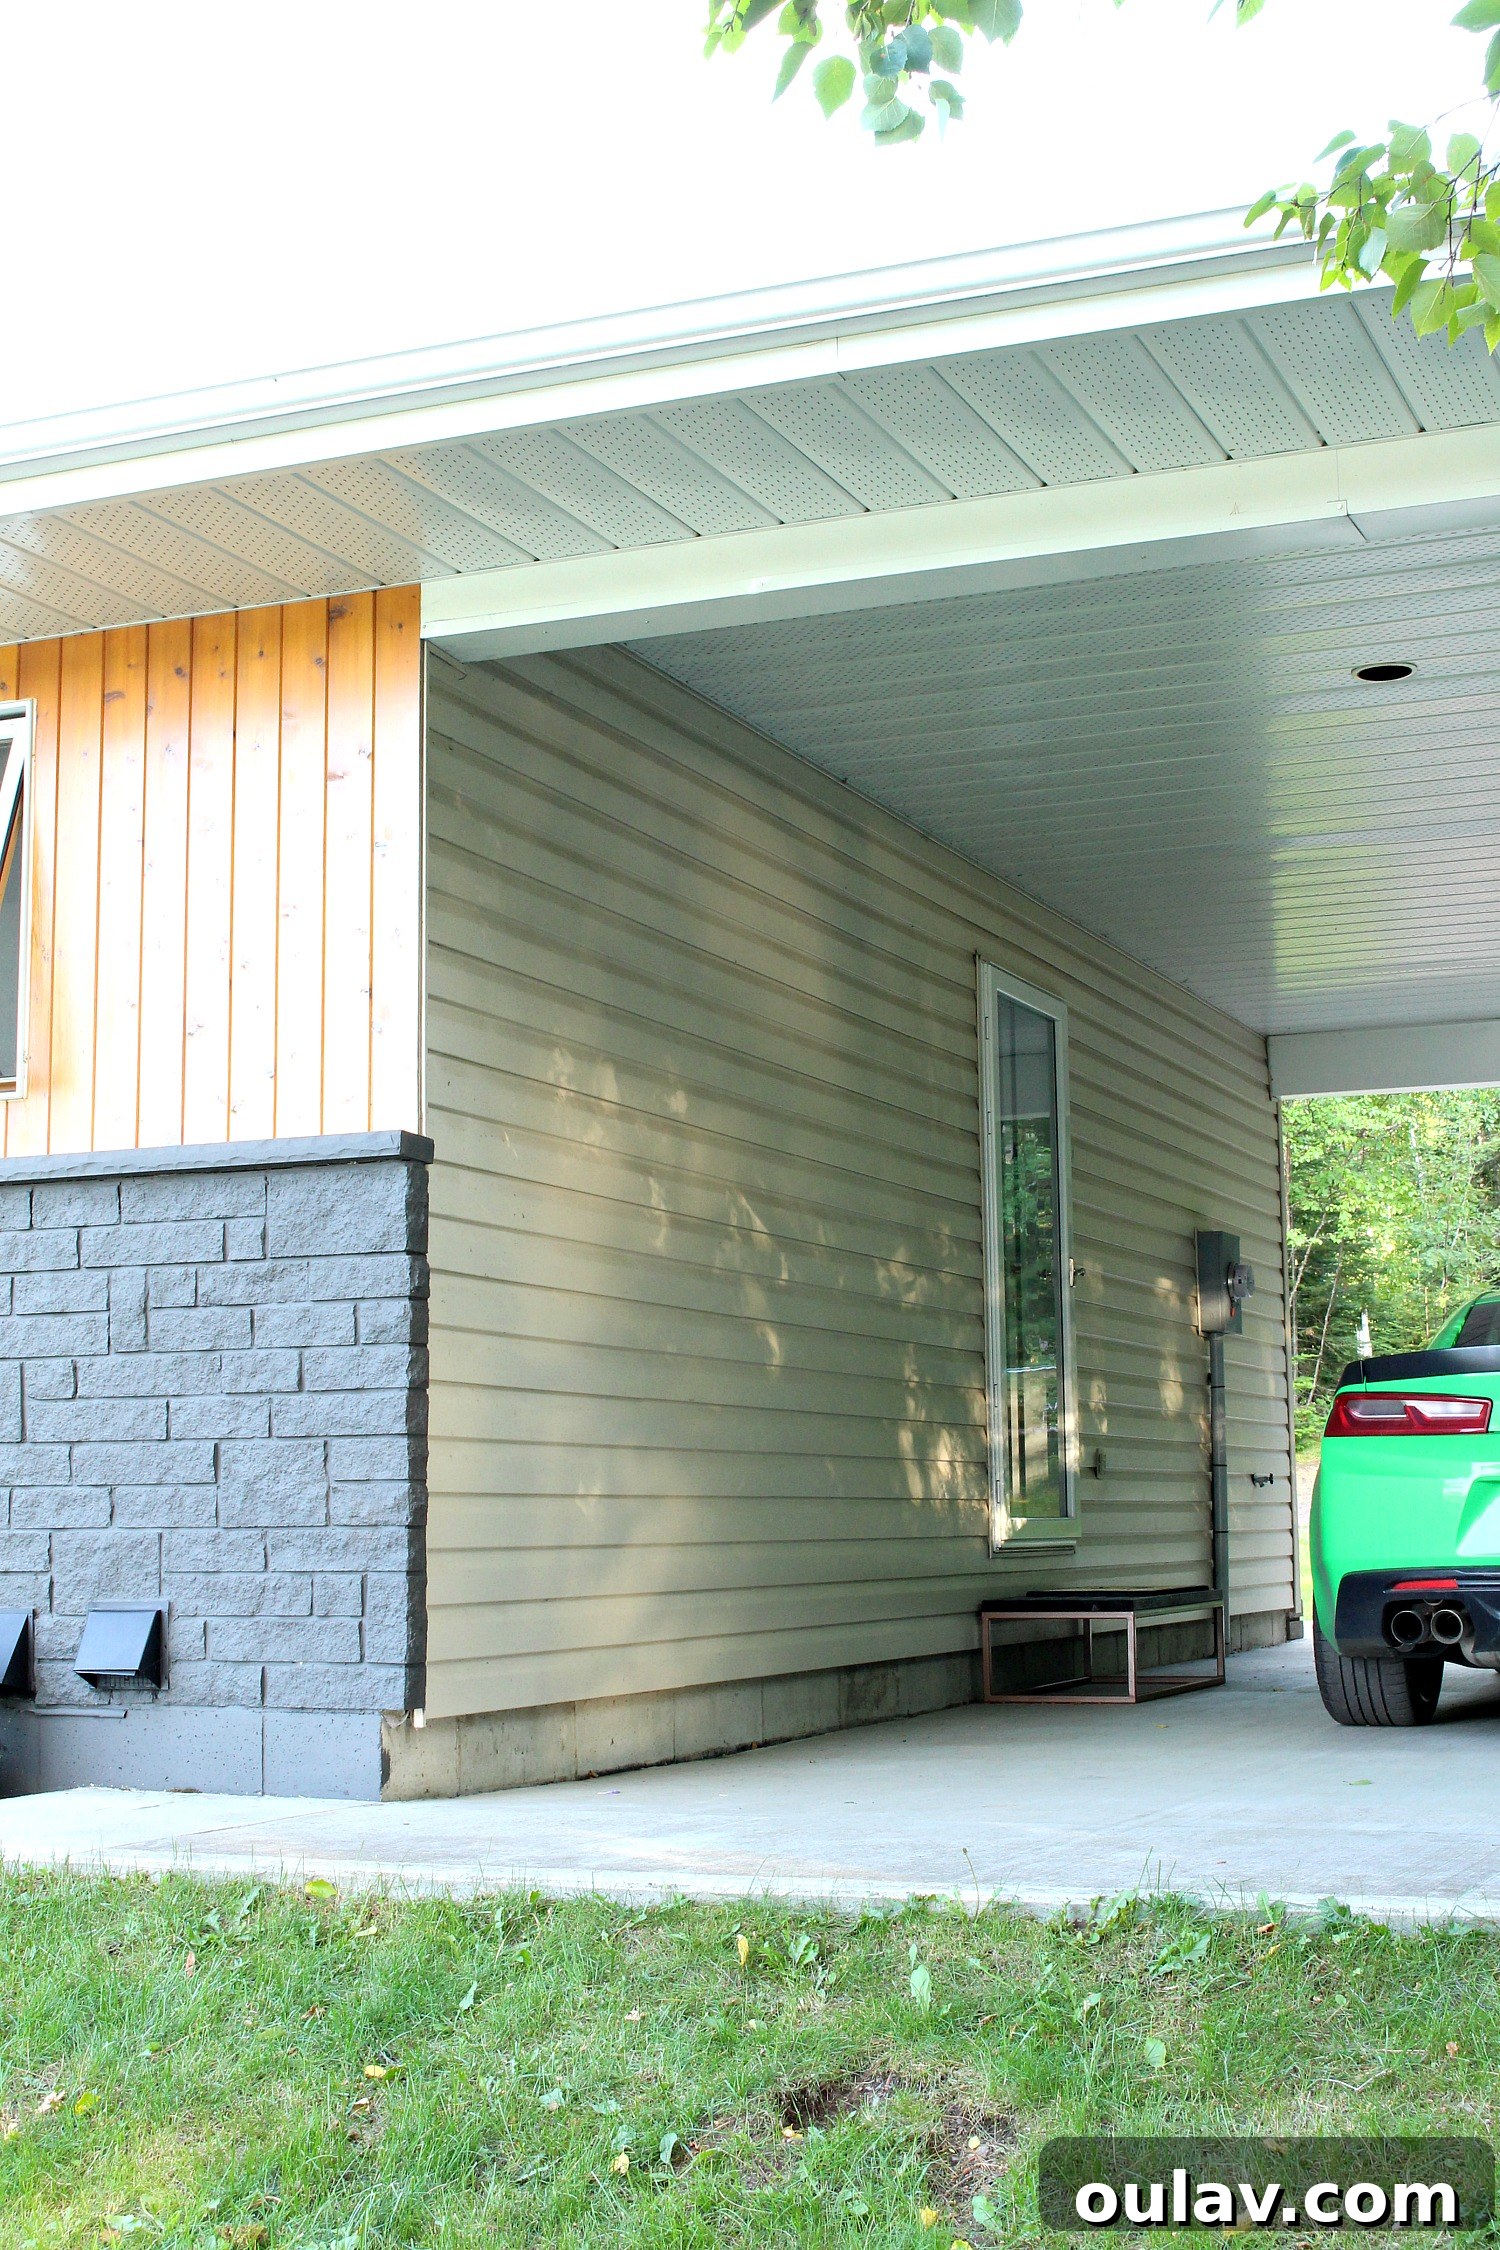
Just like our fireplace makeover, I also took the opportunity to spray paint the exterior vents a matte black. This small detail significantly enhances the overall aesthetic, allowing the vents to recede and blend seamlessly with our newly painted charcoal grey stone exterior, creating a clean and modern look.
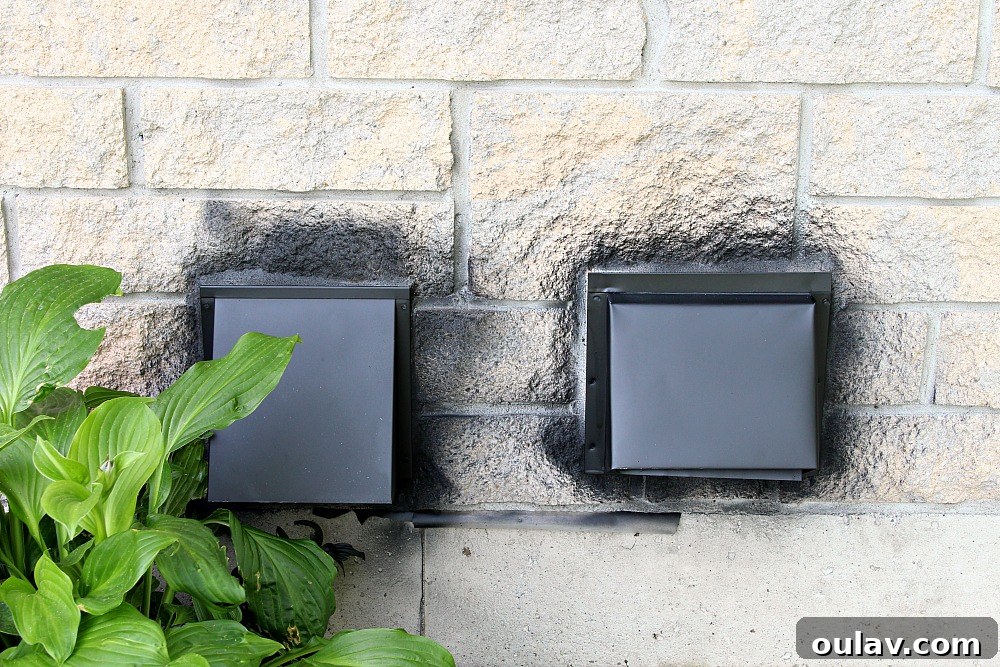
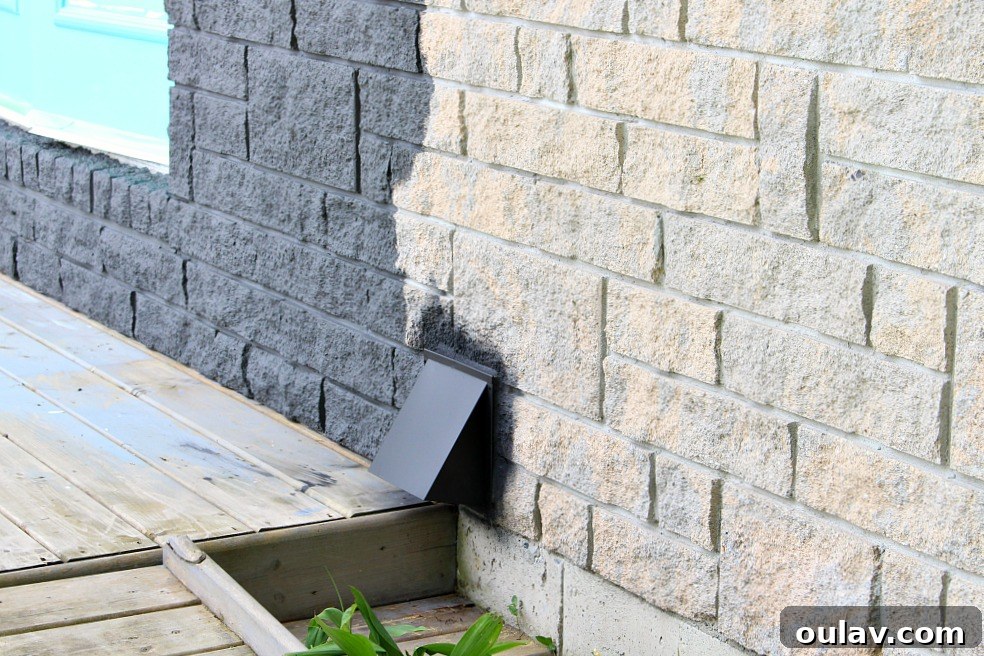
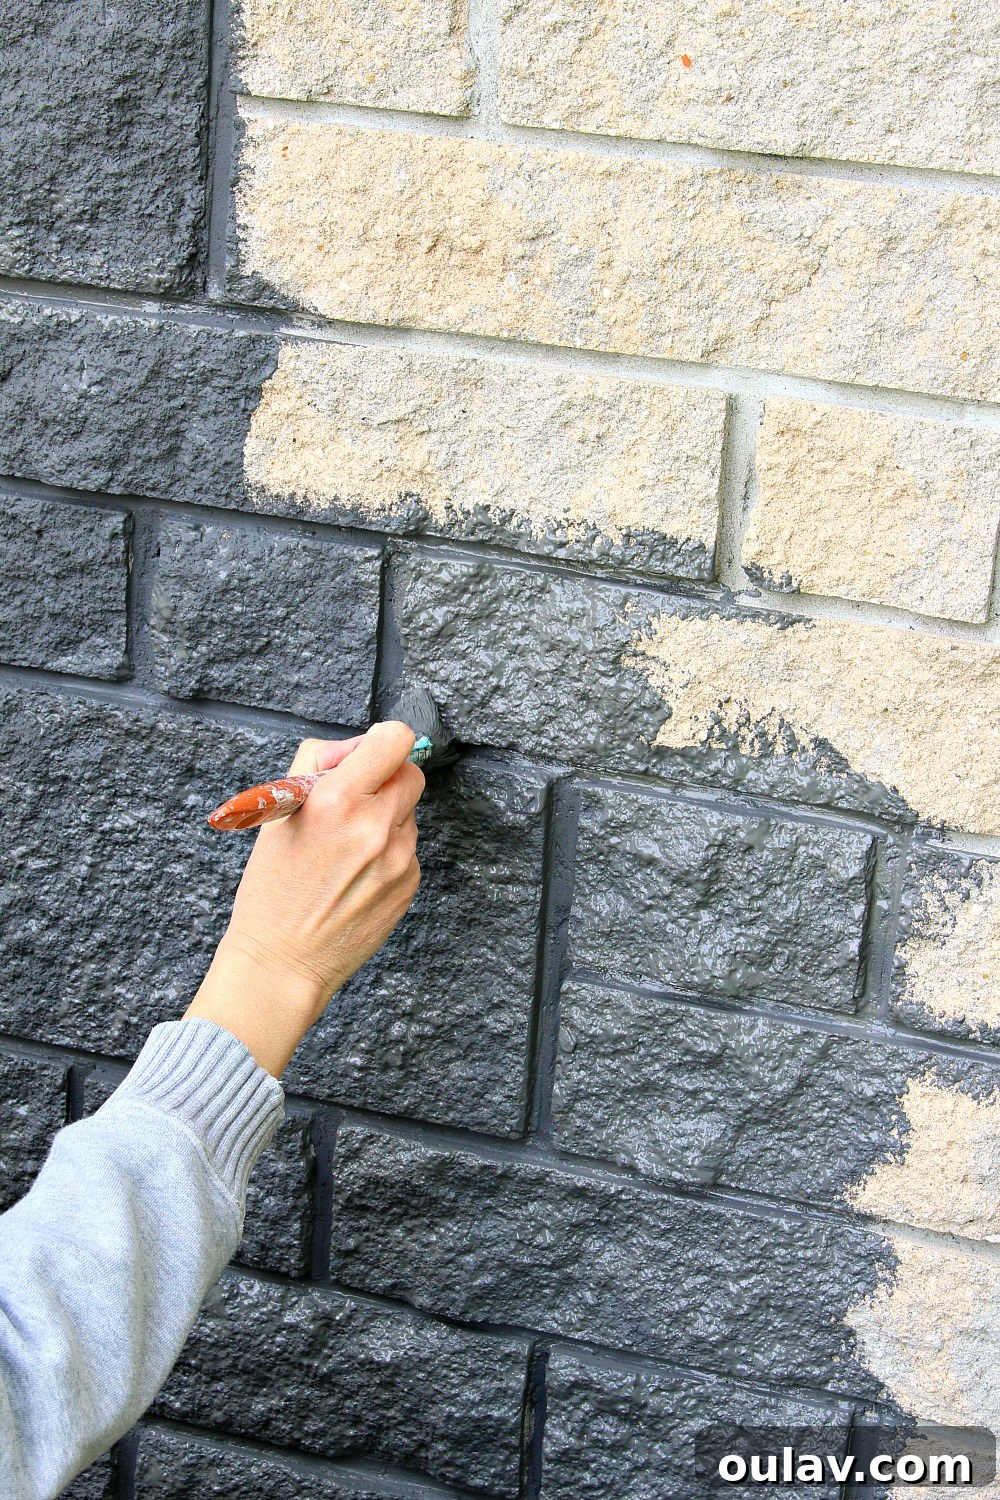
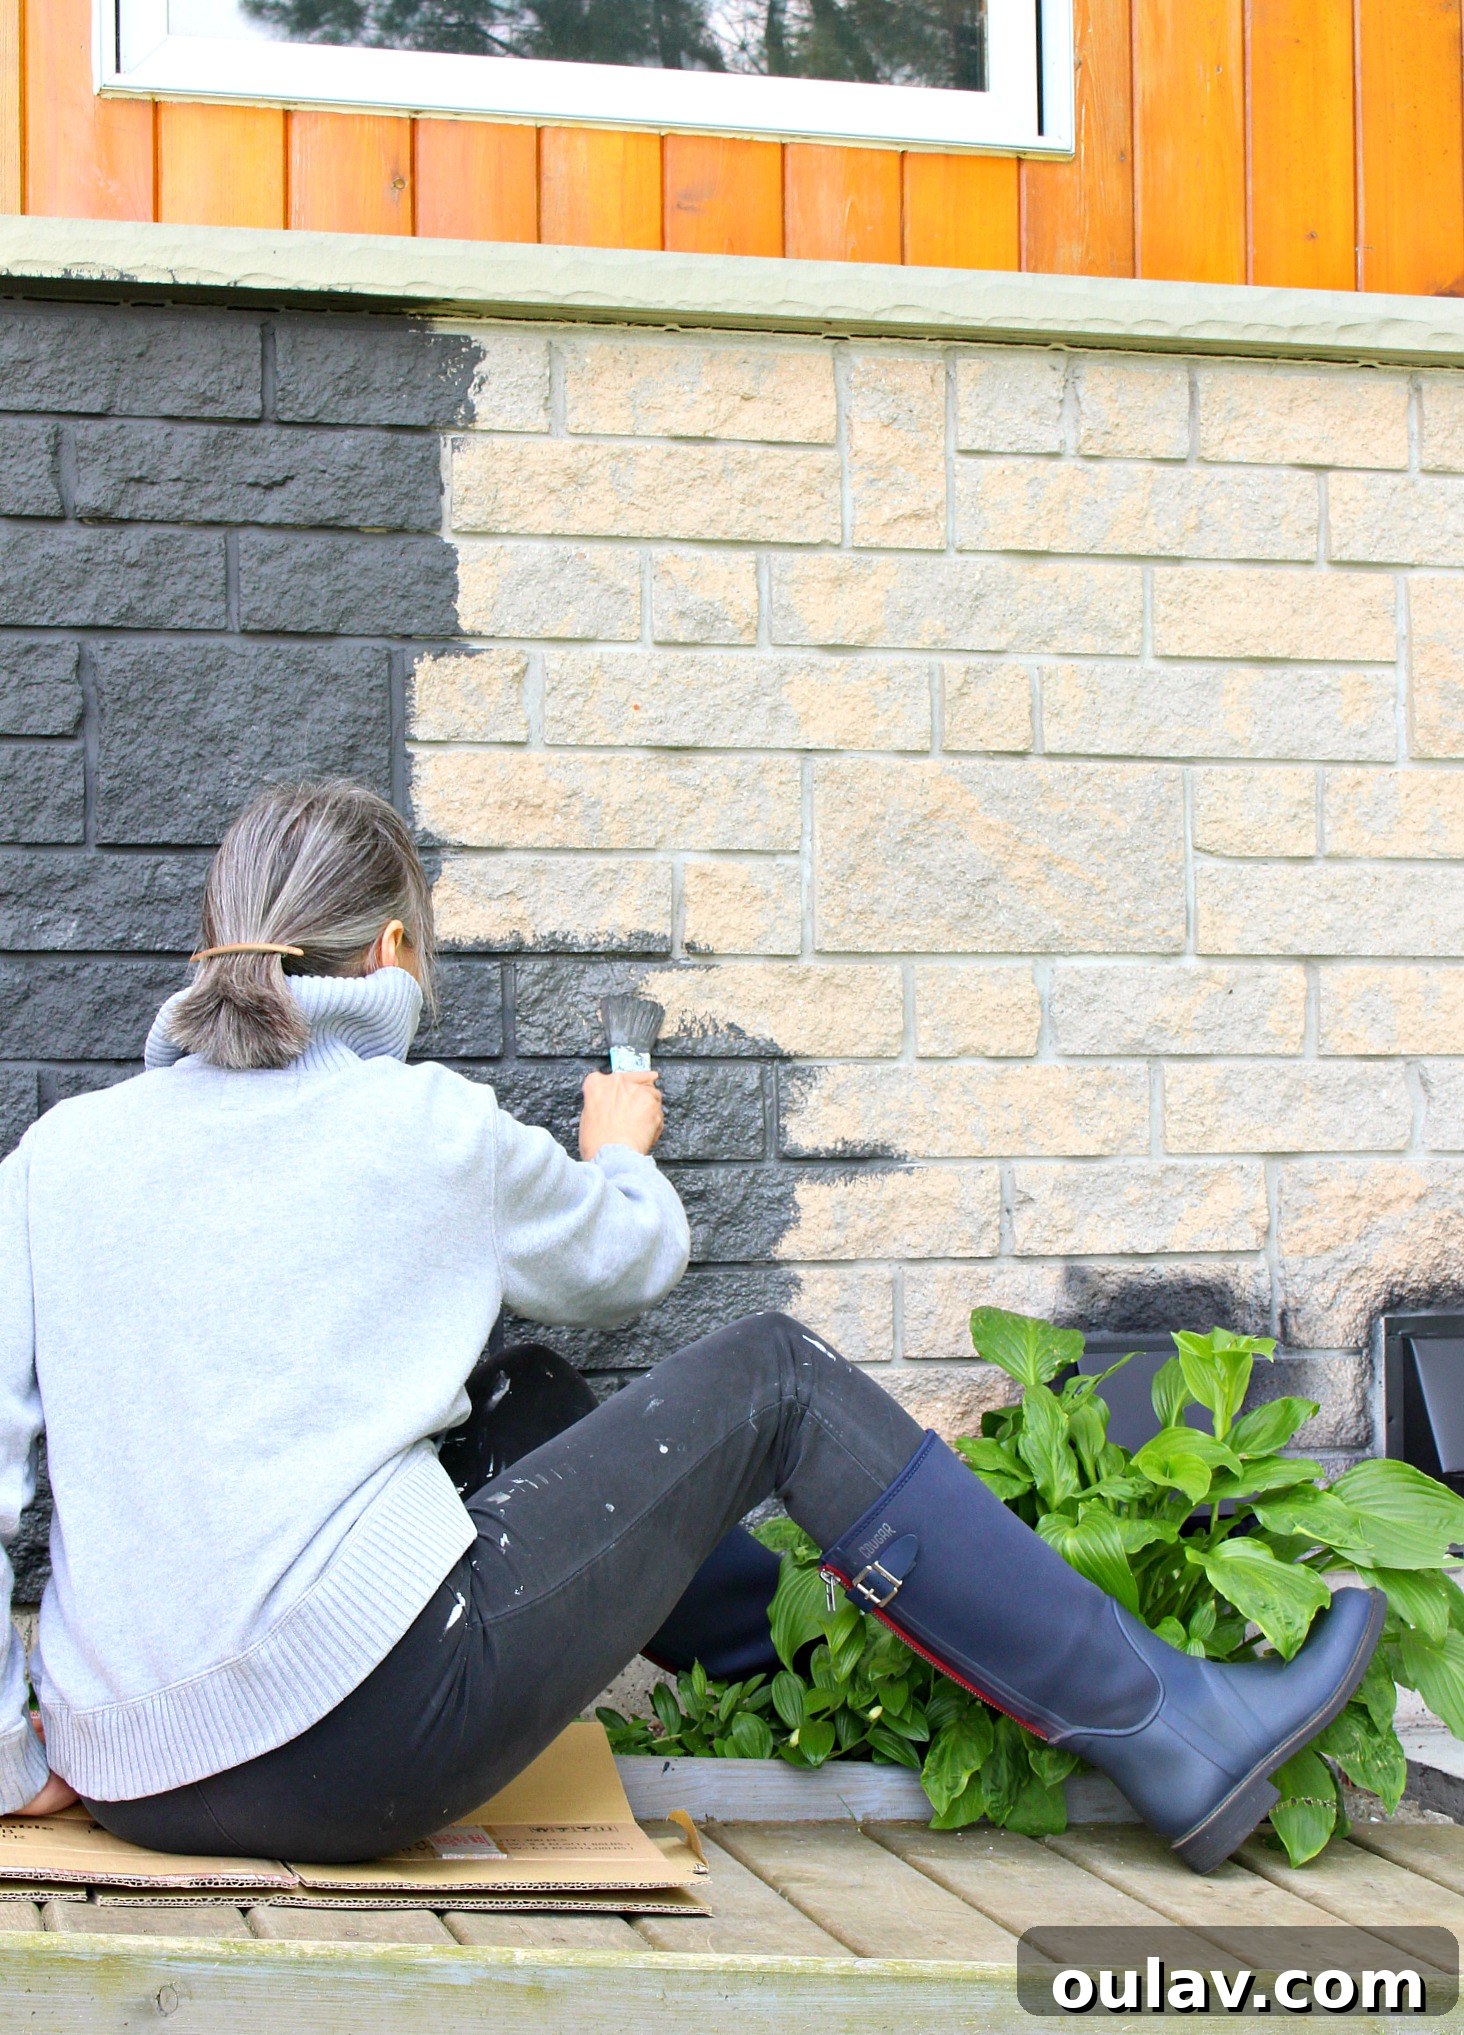
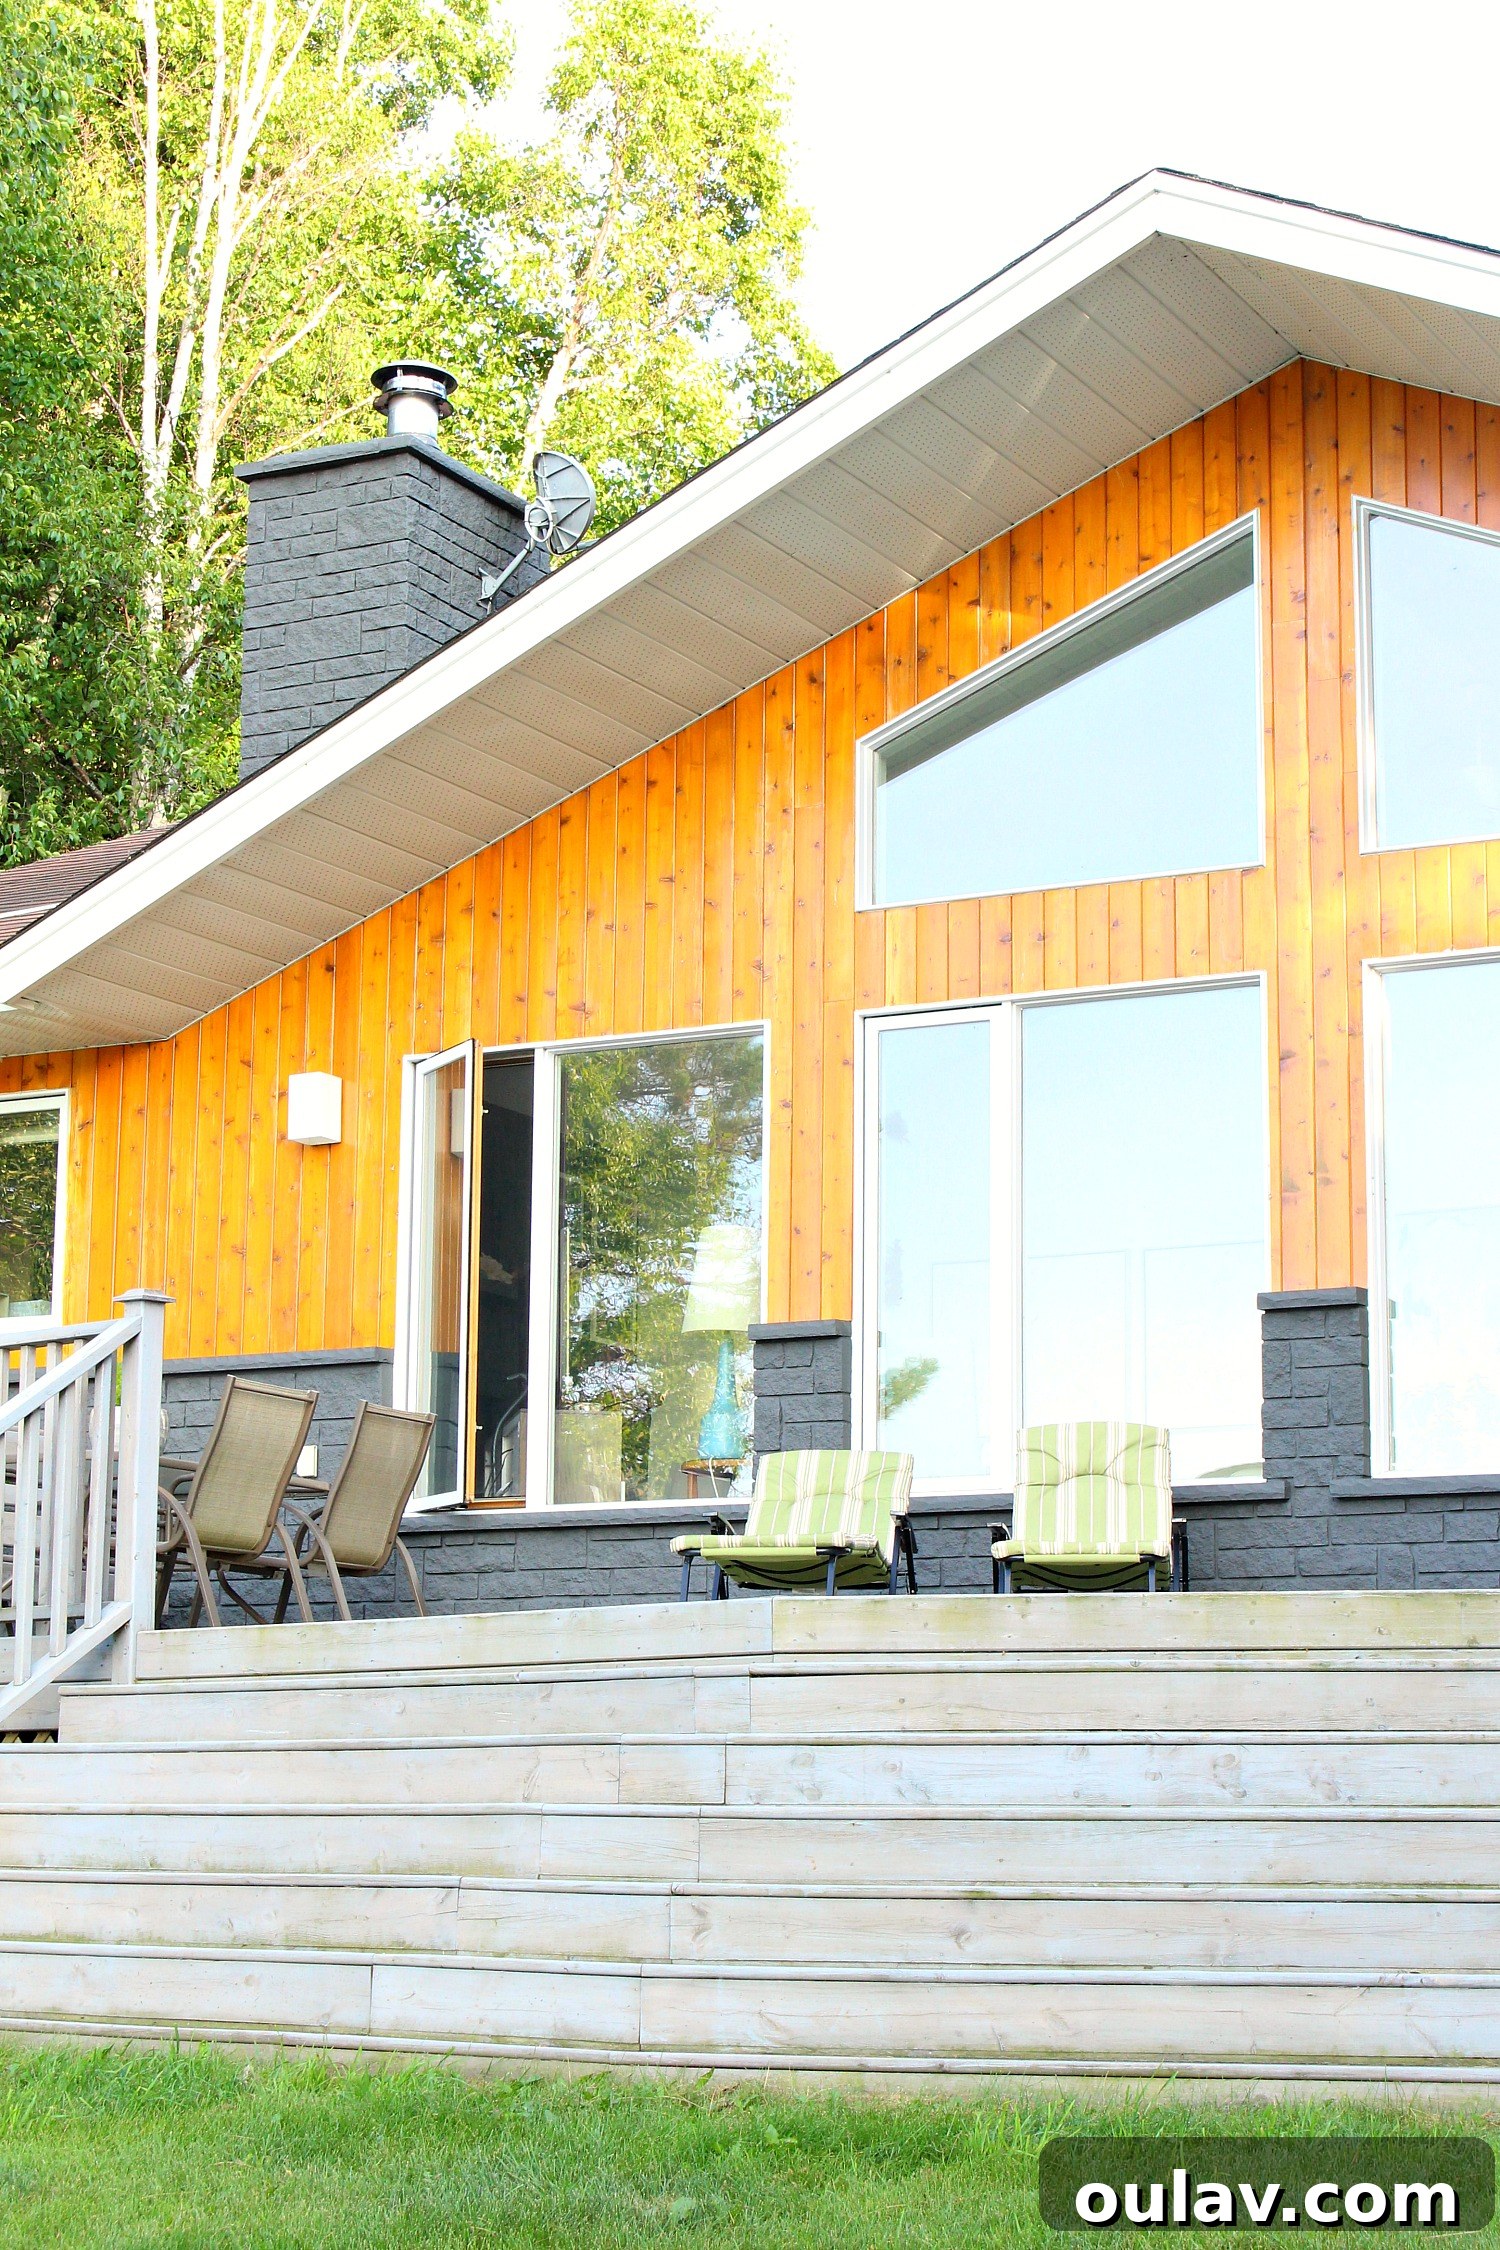
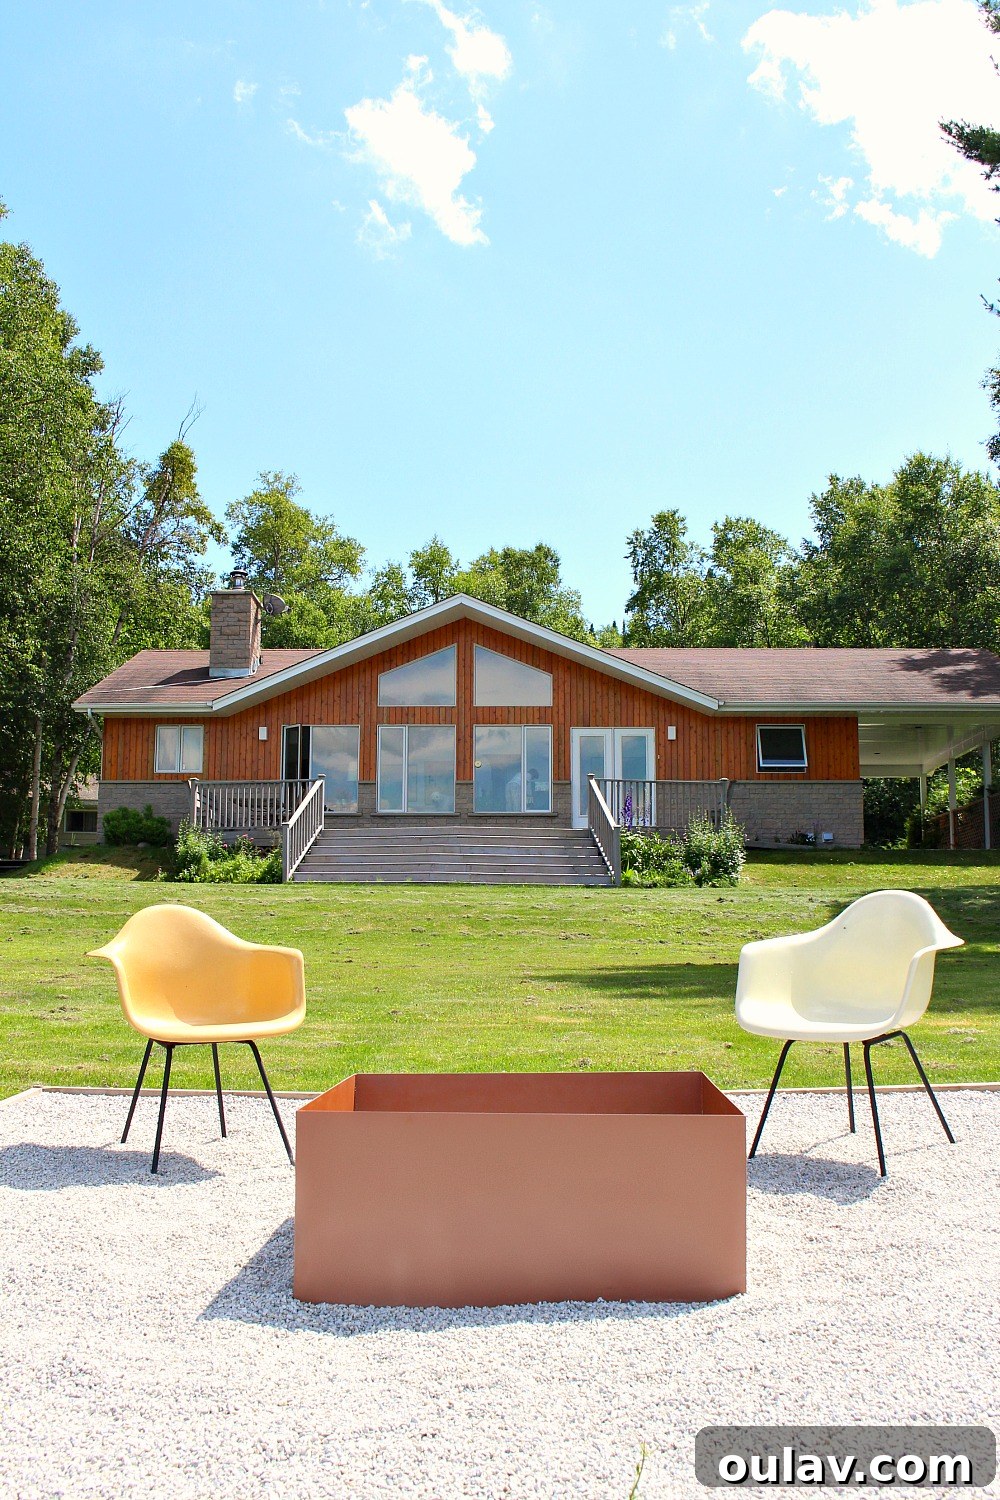
As you can see from these recent photos, the comprehensive exterior renovation is still very much a work in progress. We’re eagerly awaiting the installation of our new roof, soffit, fascia, siding, and windows, which has been rescheduled from late July to early August. Consequently, the deck also awaits its refinishing in a sleek black. However, even with these elements pending, the transformation brought about by the charcoal grey painted stone exterior is undeniable. It has dramatically shifted the entire perception of our home, providing a sophisticated and contemporary foundation for the upcoming changes. The visual impact is immense, proving that sometimes, the simplest changes can yield the most profound results.
For a striking comparison, here’s a powerful reminder of the “before” state of our lakeside cottage:
The Decision to Keep the Manufactured Stone: A Cost-Benefit Analysis
Initially, replacing the existing siding and windows wasn’t on our immediate agenda for this year. However, as is often the case with home improvement, this project organically “mushroomed” into a much larger endeavor. We quickly realized that undertaking all these exterior renovations at once would save us a significant amount of money in the long run. This meant accelerating some decisions, particularly regarding the siding order, to ensure a timely summer installation. This compressed timeline led to a pivotal, last-minute deliberation about the manufactured stone facade.
One morning, just before we had to finalize our siding order, I woke up with a strong desire to rip off the manufactured stone. This particular composite stone had a distinct peachy undertone that, to me, screamed “1980s.” I had always disliked it, which is precisely why I had painted our indoor fireplace made of the same material years ago. I even polled my followers on Instagram, and the vote to remove it was overwhelmingly unanimous. Yet, a nagging worry persisted.
The original builder of this house, an older gentleman, had a penchant for adhering things with an almost irrational tenacity, as if constructing on a fault line. His methods often deviated from manufacturer’s instructions, making the removal of certain elements impossible without resorting to total demolition. After careful examination and even discussions with our contractor, we grew concerned about the potential damage removing the stone could cause to the underlying structure, and the prohibitive cost of jack-hammering it off. The sheer effort and expense involved gave us pause.
Simultaneously, I found myself warming up to the stone’s potential. I truly loved the texture of our indoor fireplace, especially now that it was painted a moody dark grey. I began to envision how the charcoal grey painted stone exterior would complement our planned faux bois pressed metal siding and the textured copper roof. With a more uniform color palette, I realized these diverse textures wouldn’t clash but would instead play off each other beautifully, adding depth and architectural interest to the home. Ultimately, I opted for the safer, more practical, and aesthetically pleasing route: keeping and painting the stone facade. An added bonus was that it seamlessly matched our chimney, which would have been even more difficult (though not impossible, as metal cladding was an option) to remove.
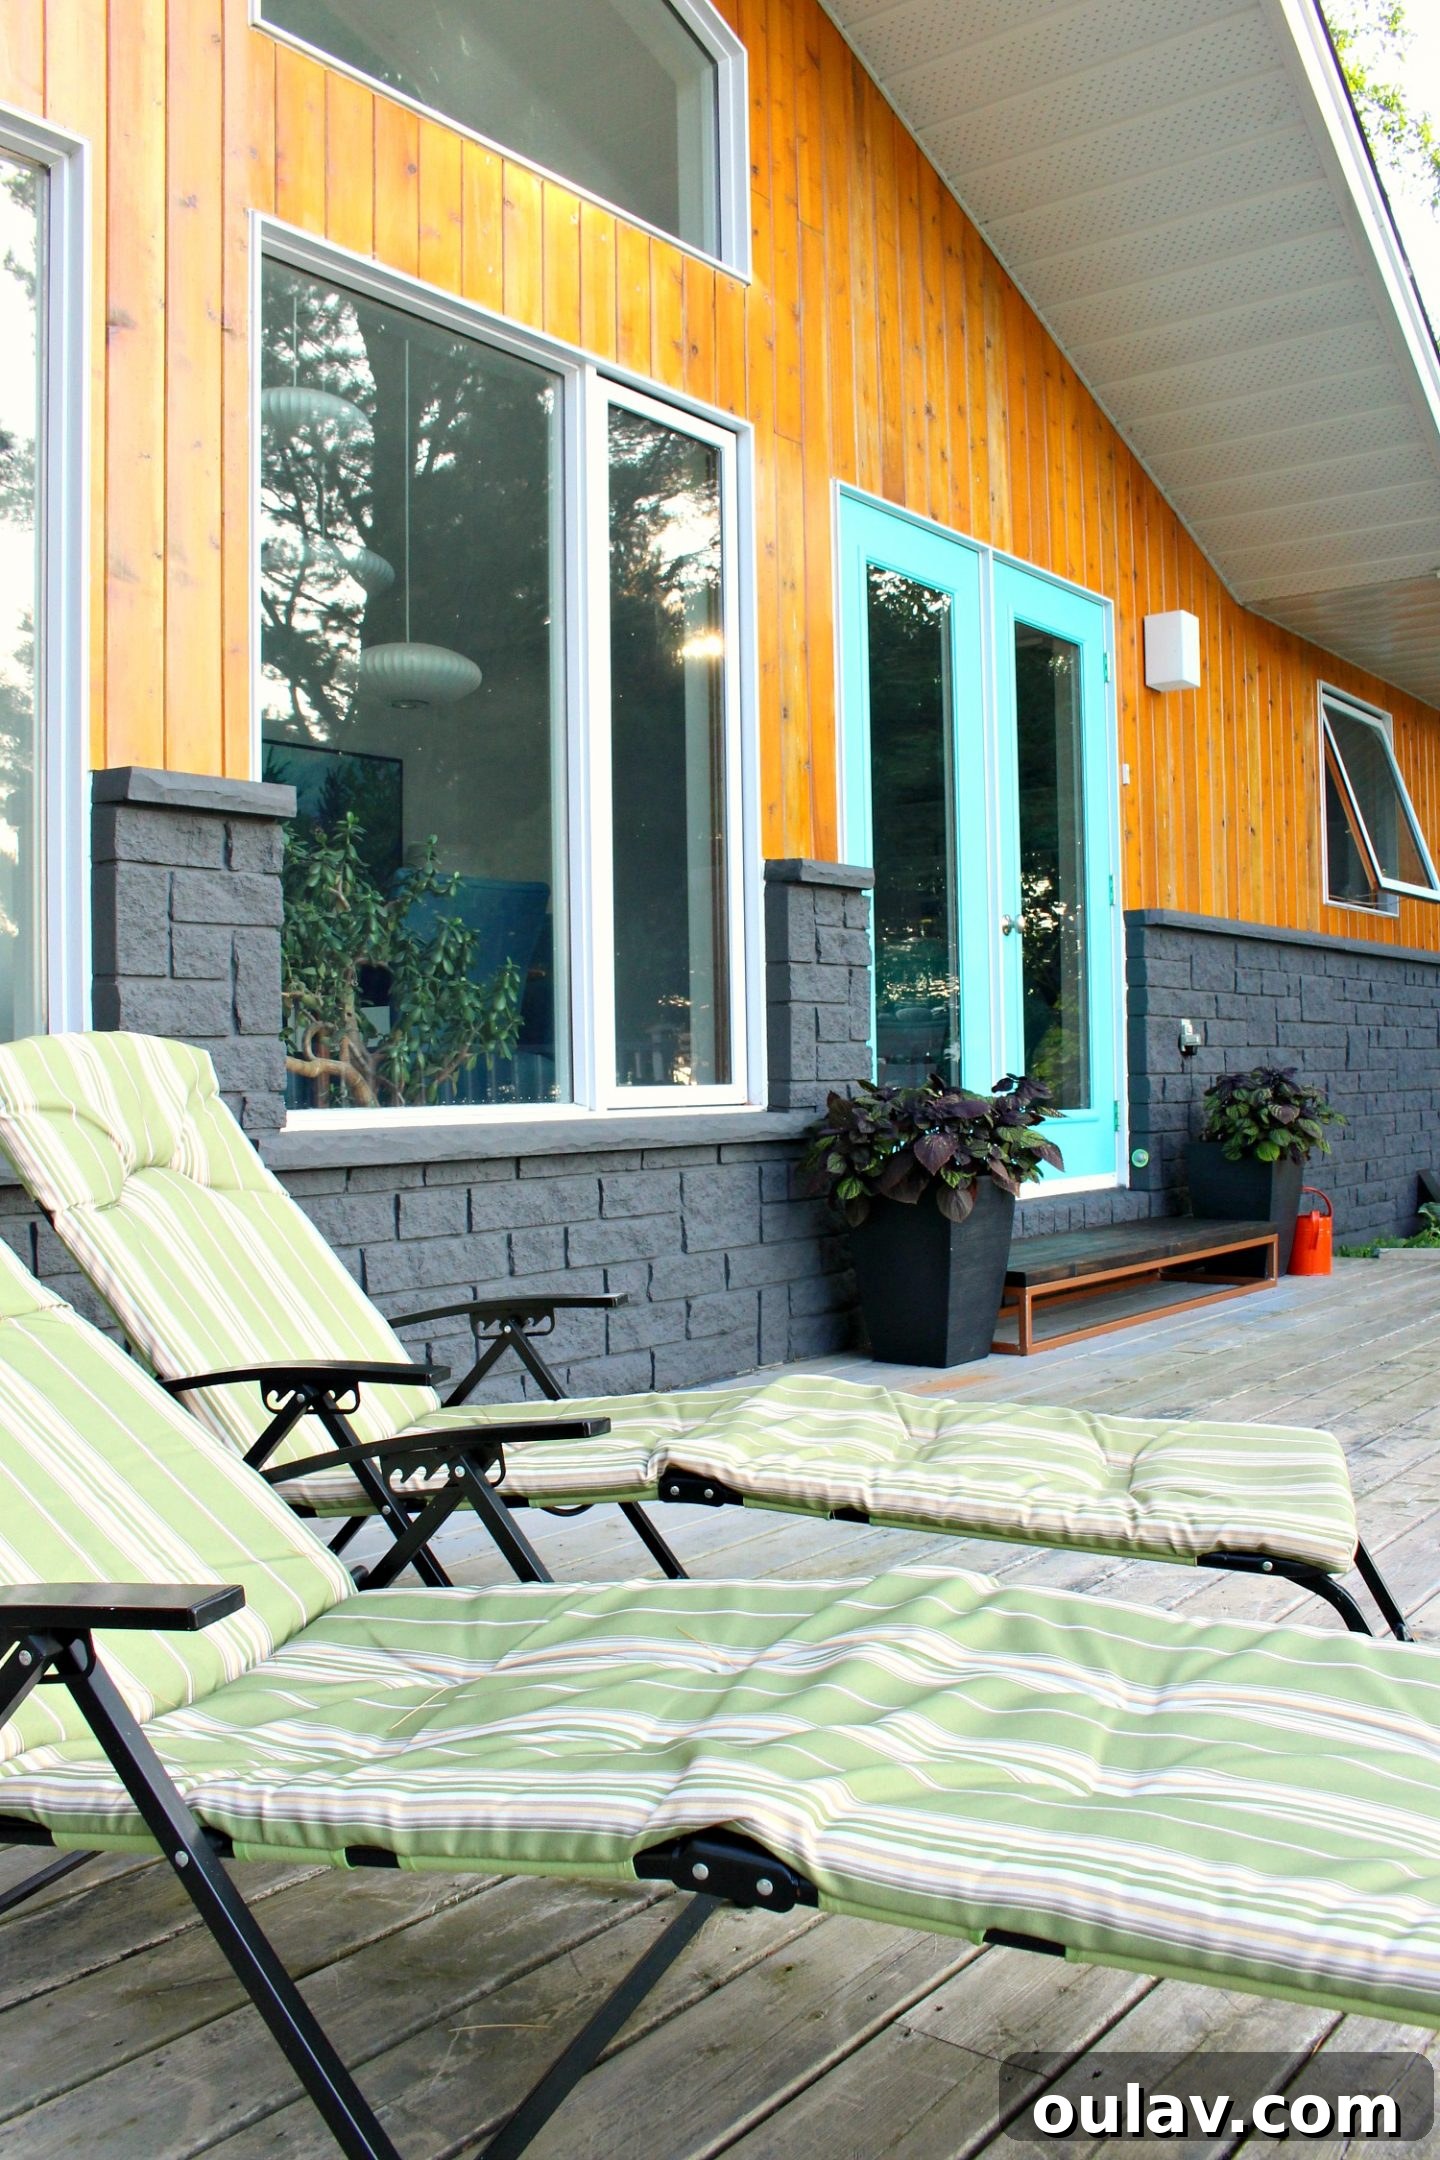
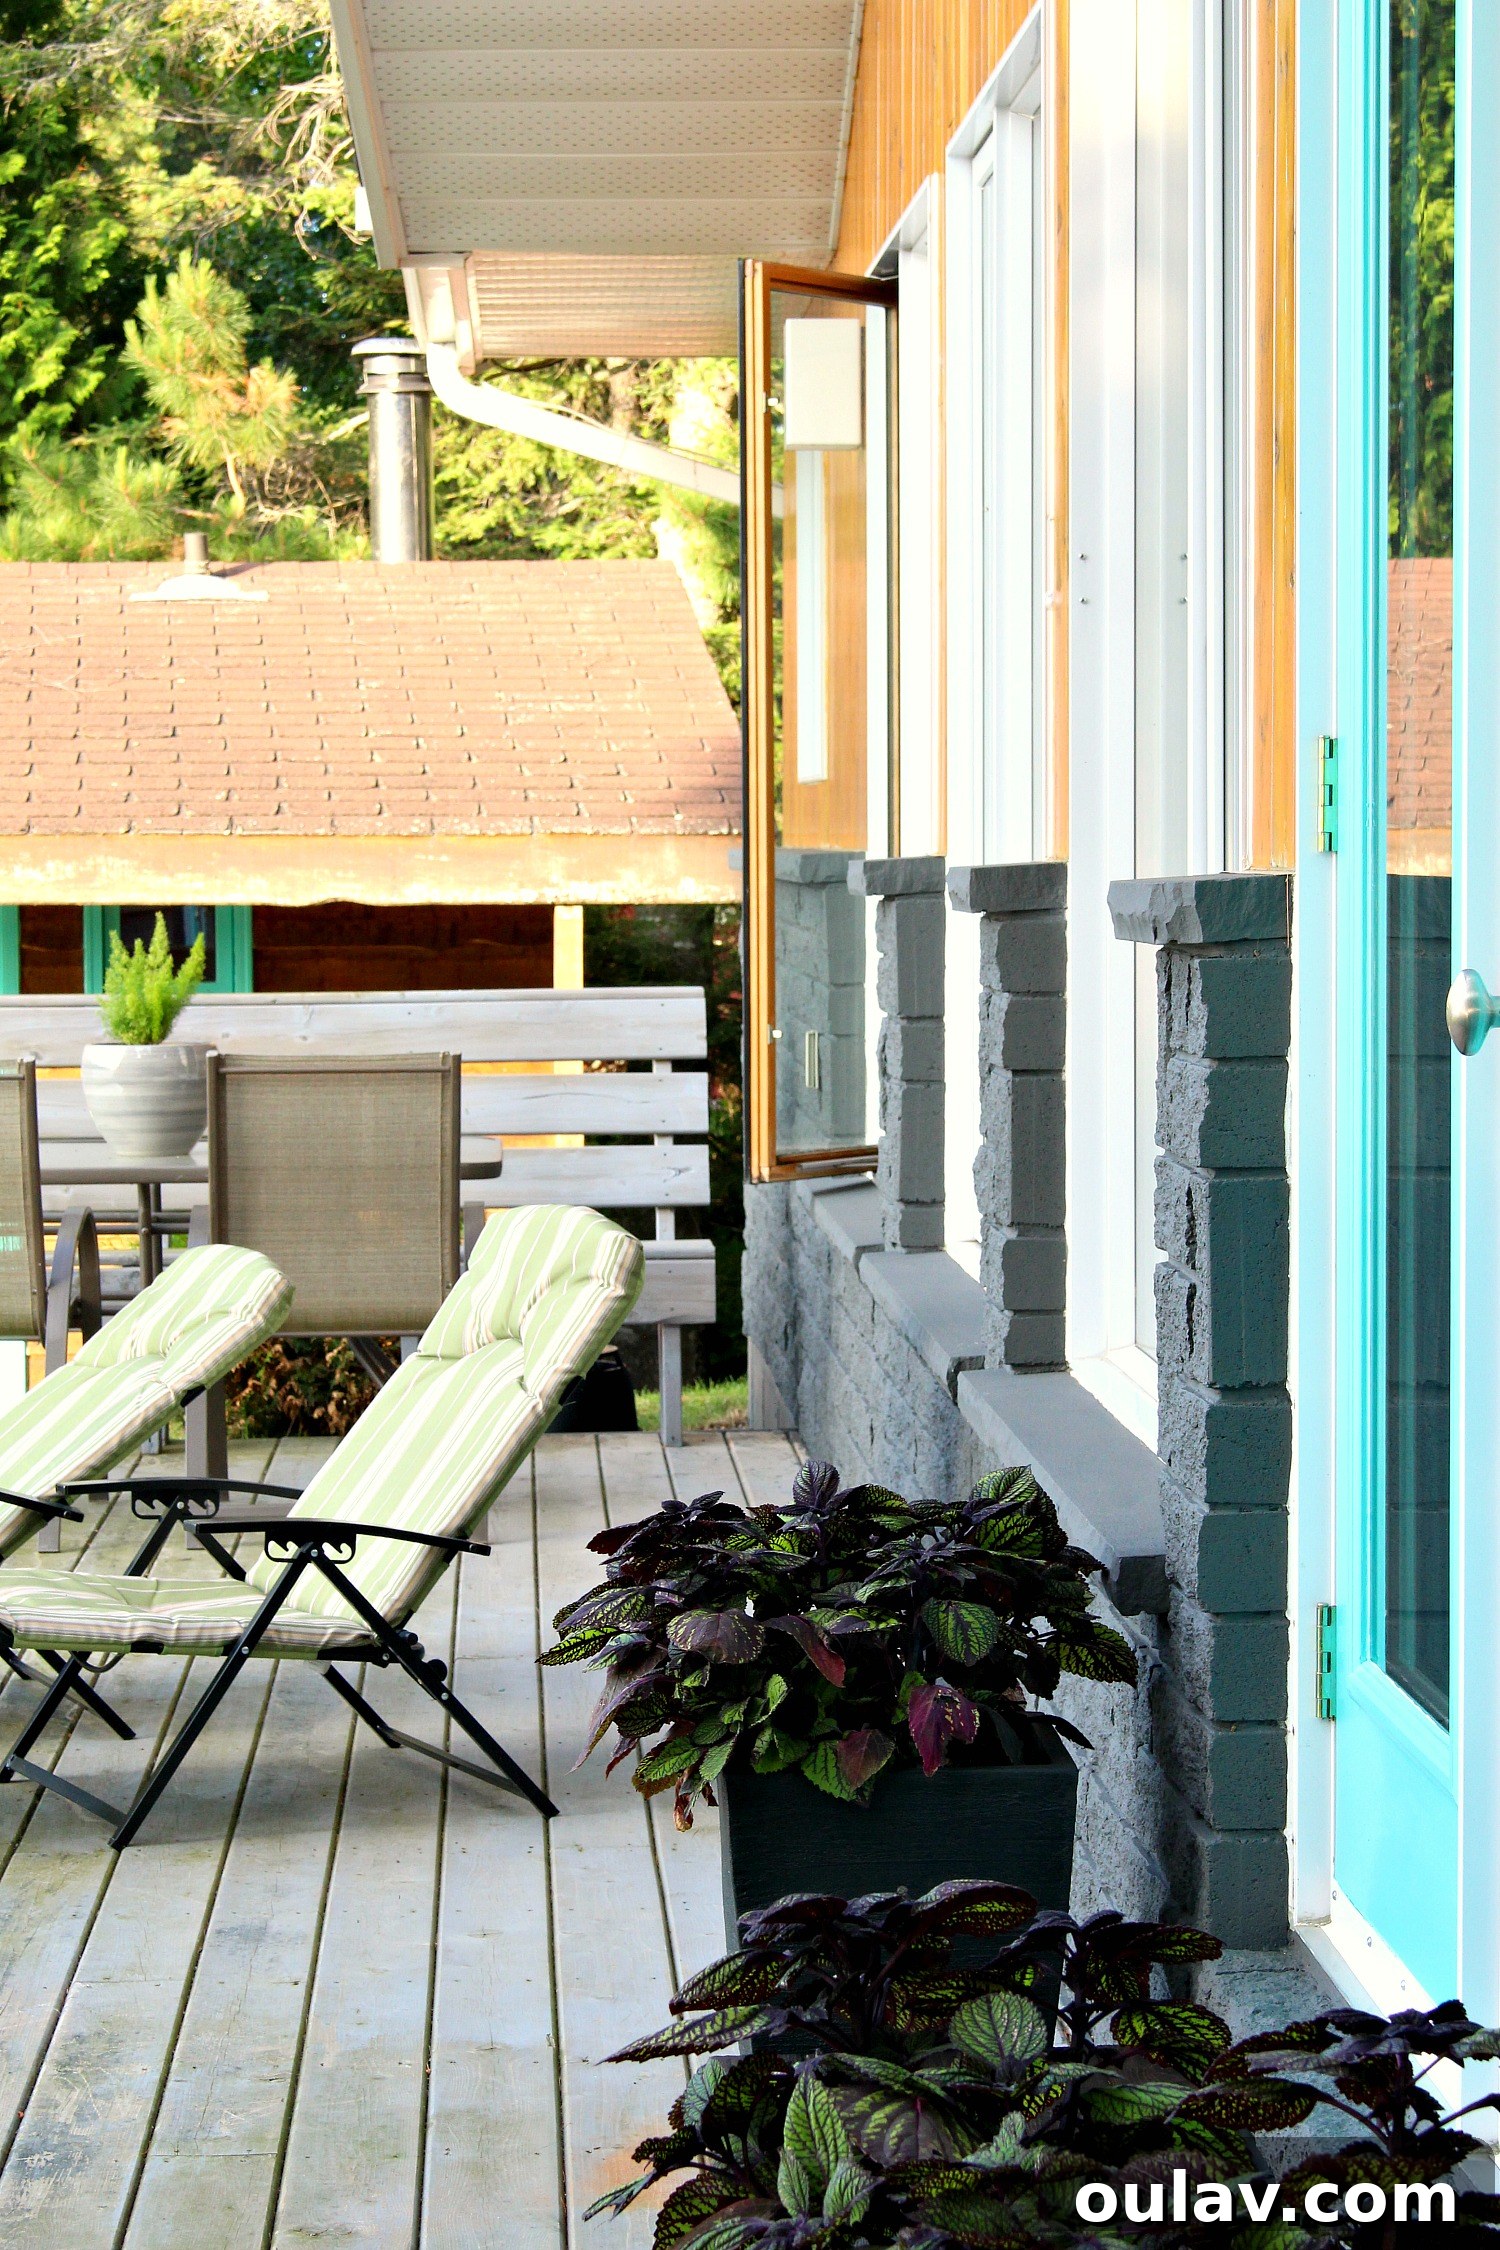
From this angle, you can still observe that the foundation beneath the painted stone requires attention. However, I confess to postponing that particular task. My current focus has delightfully shifted to shopping for new patio furniture and outdoor sconces! Our stunning charcoal grey painted stone exterior has brought into sharp relief the shabbiness of our rickety, decade-old, green Walmart loungers. They simply won’t do justice to the refined new aesthetic. I’m now actively seeking something sleeker and more modern, ideally in a dark grey tone that harmonizes beautifully with our transformed exterior, ensuring our outdoor living space is as cohesive and stylish as the house itself.
Don’t miss out on more exciting updates! Make sure you’re following me on Instagram, where I’m sharing behind-the-scenes glimpses and real-time progress – including the ongoing shore work we’re undertaking – through my stories. I absolutely cannot wait to start sharing the details of the major exterior renovation as it unfolds very soon. Stay tuned for more transformations!
P.S. Don’t Forget to Pin for Later: