
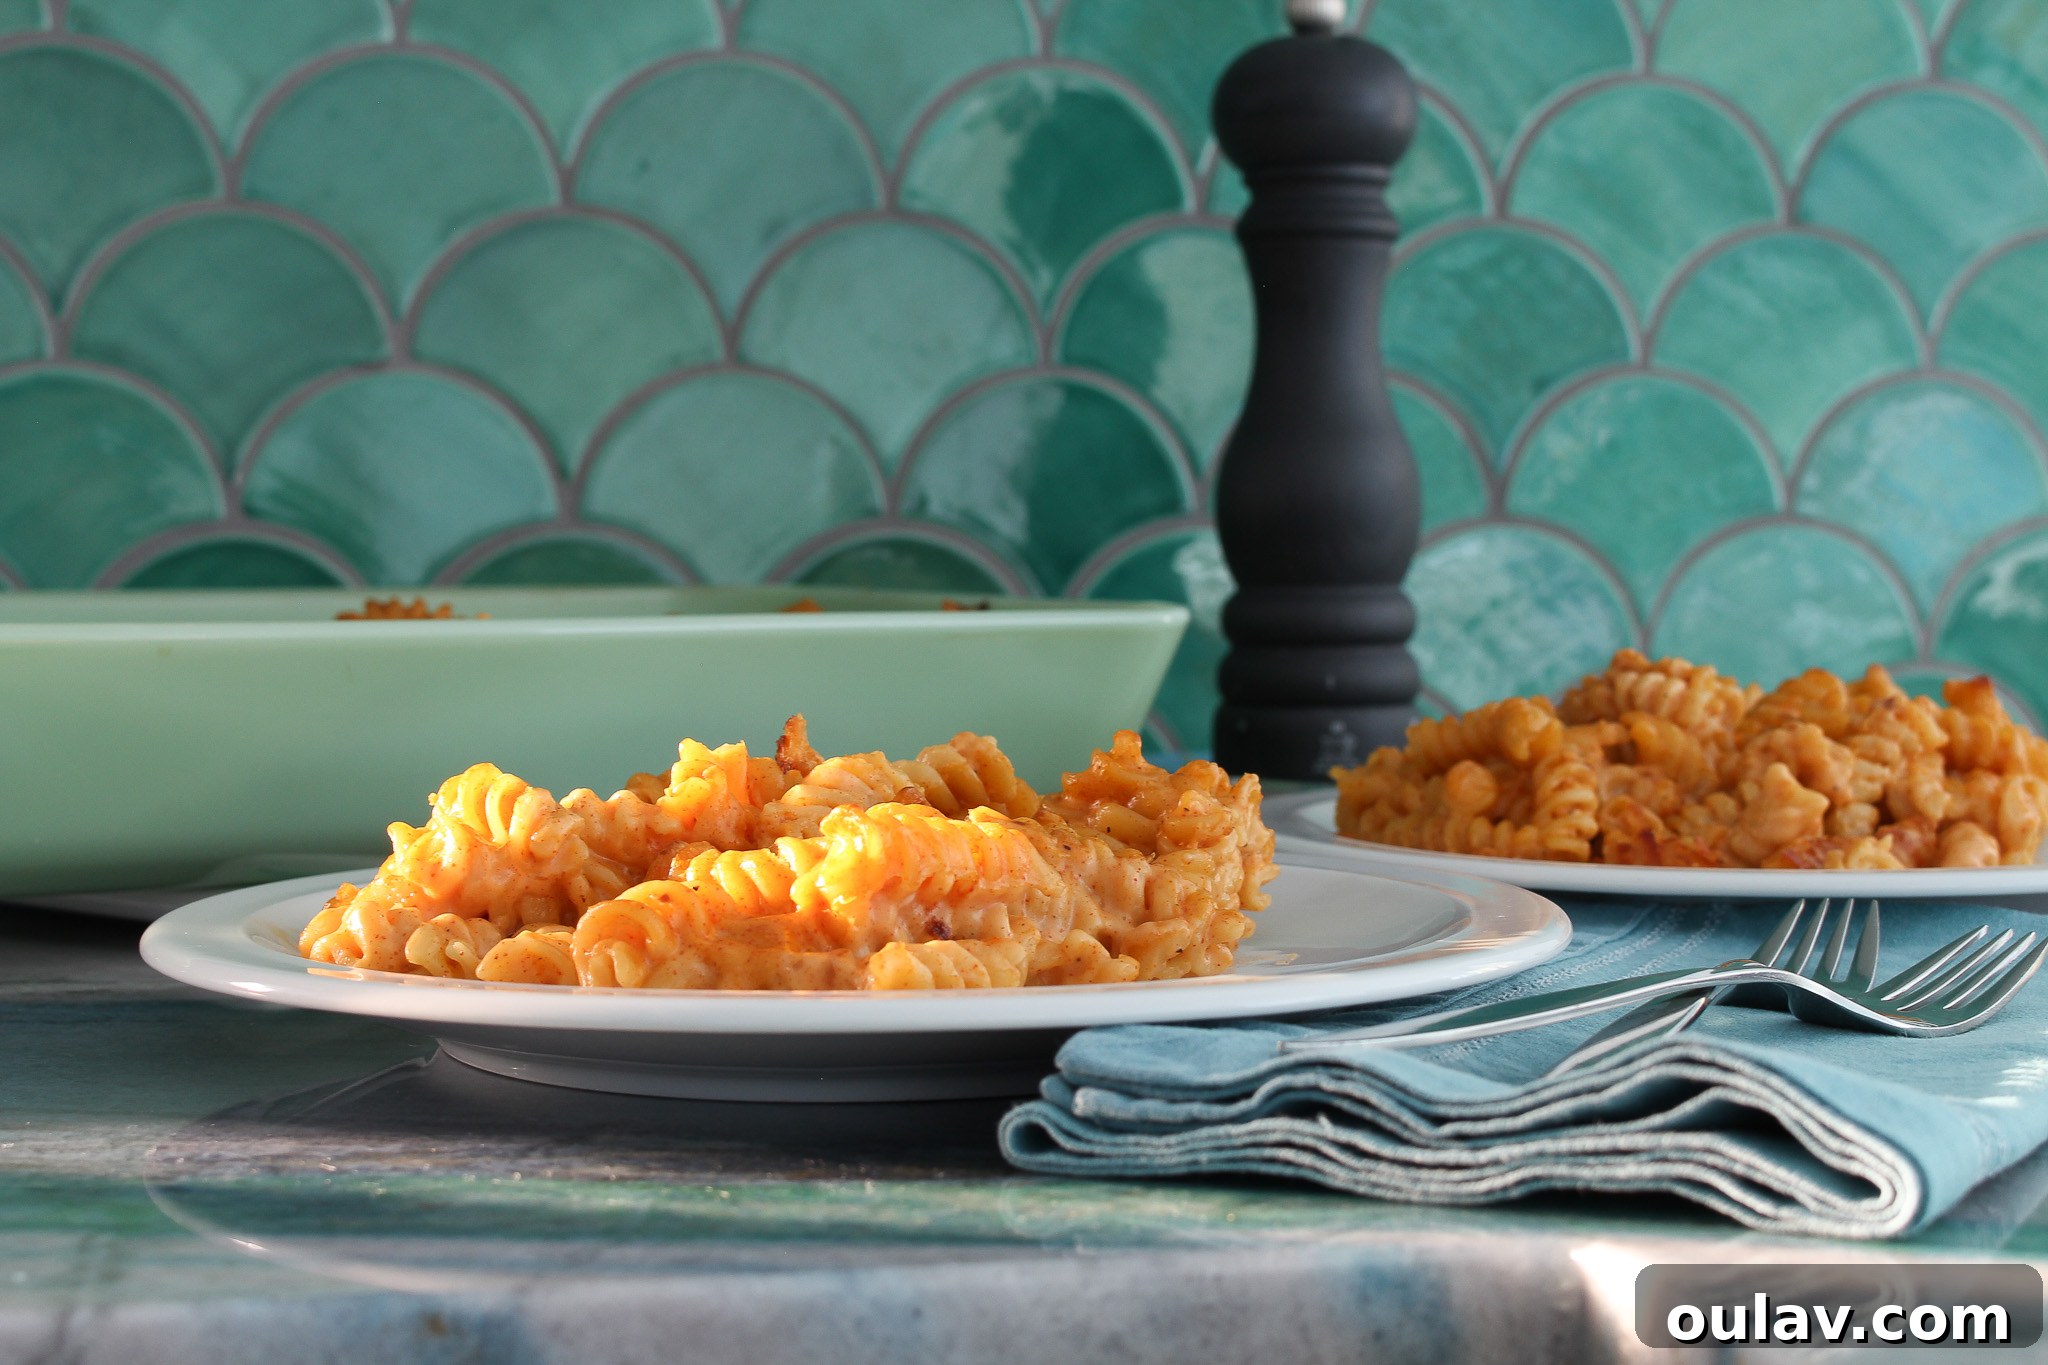
Get ready to elevate your comfort food game with a truly exceptional mac and cheese experience. Today, we’re diving into a delectable recipe for **spicy mac and cheese sauce**, featuring an optional yet highly recommended secret ingredient: goat milk! While cow’s milk works perfectly well (and is often my go-to choice), using goat milk offers a unique opportunity for those looking to utilize it in their kitchen, especially if you want to subtly mask that distinctive “goaty” flavor. This recipe transforms the traditional comfort classic into a culinary adventure that will surprise and delight even the most discerning palates. It’s so rich and flavorful, you’d never guess the secret ingredient lurking within this creamy, easy-to-make cheese sauce.
Whether you have fresh goat milk on hand that perhaps a family member isn’t keen on drinking straight, or you’re simply curious to experiment, this recipe provides the perfect solution. Inspired by my classic homemade baked mac and cheese recipe, I’ve added a generous kick of spice to ensure every spoonful is an explosion of flavor. The result is a robust, satisfying dish that’s incredibly simple to prepare, making it an ideal choice for a weeknight meal or a weekend indulgence.
Can You Use Goat Milk in Mac and Cheese? Absolutely!
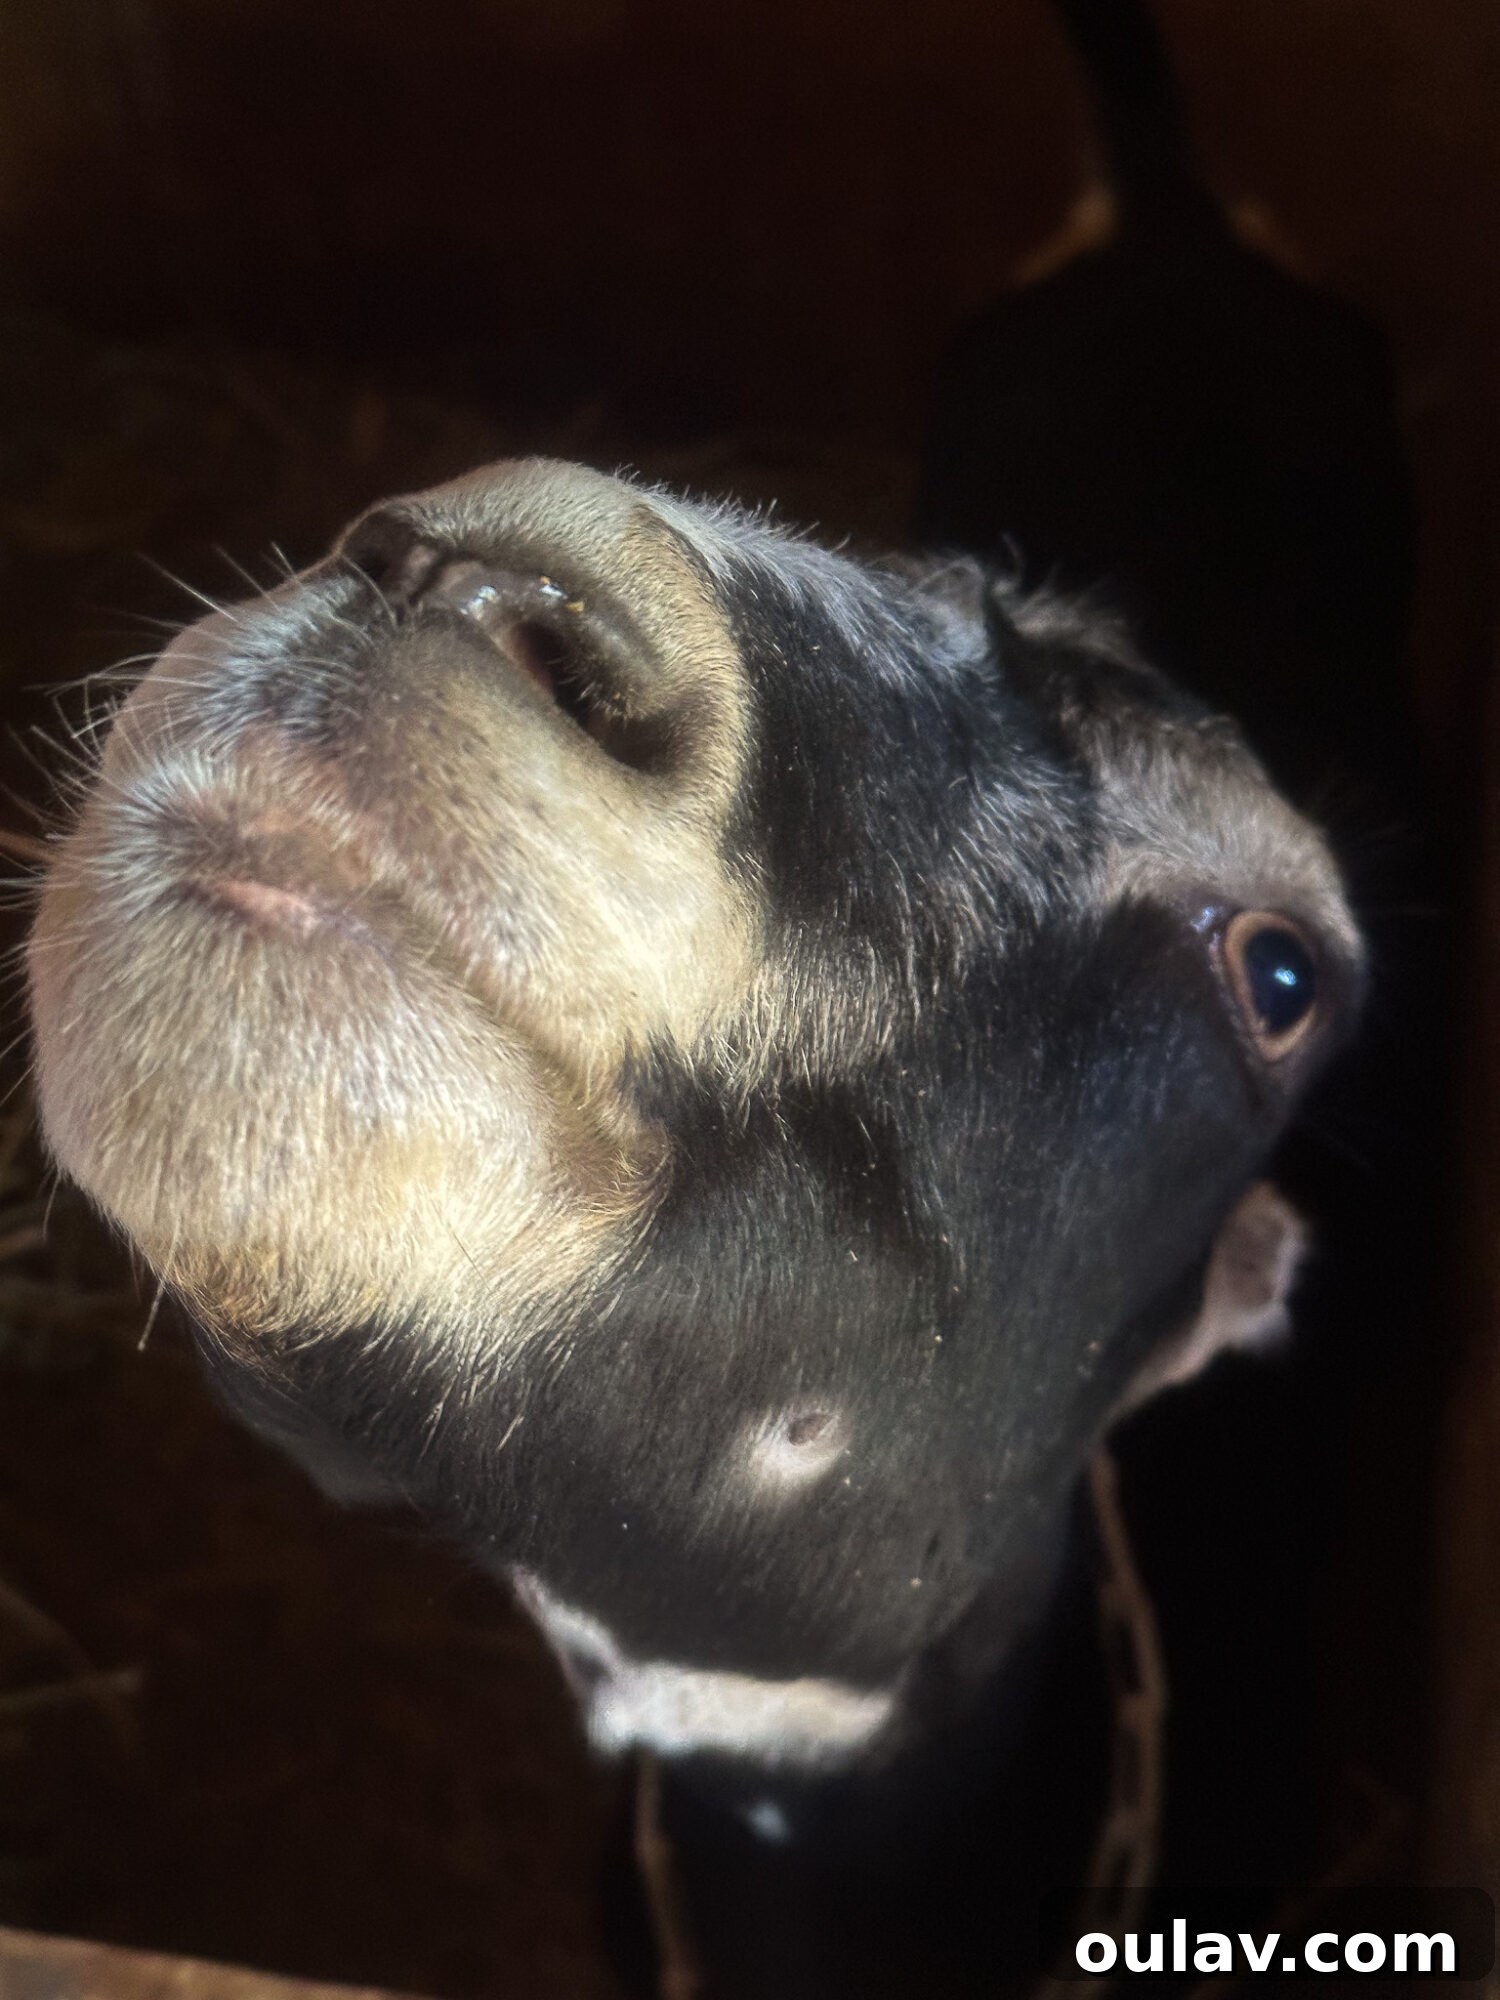
The short answer is a resounding yes! Goat milk is an excellent substitute for cow’s milk in virtually any mac and cheese recipe, whether you’re making a quick instant version or crafting a gourmet dish from scratch. In fact, many people find goat milk to be a fantastic alternative due to its unique properties. It can often be easier to digest for those with lactose sensitivities, and it offers a slightly different, often richer, flavor profile that complements cheesy sauces beautifully.
When incorporating goat milk into your homemade mac and cheese sauce, you’ll find that it behaves much like cow’s milk. Simply substitute it measure for measure. However, if you or your family are particularly sensitive to the inherent “goaty” taste often associated with goat milk, this spicy mac and cheese recipe is your secret weapon. The combination of robust cheeses and a medley of warm spices effectively mellows and integrates the goat milk flavor, leaving you with a creamy, rich sauce that’s delightfully complex.
It’s important to remember that cooking significantly alters the taste of goat milk. The strong, sometimes tangy notes found in a straight glass of goat milk often become far milder and more nuanced when heated and combined with other ingredients. So, don’t be surprised if your finished mac and cheese has a wonderfully creamy texture and a deep flavor without any noticeable “goaty” undertones. For those who source their goat milk fresh, learning how to pasteurize goat milk is a crucial step to ensure safety and quality for your culinary creations.
Crafting the Perfect Spicy Mac and Cheese Sauce from Scratch
The heart of any great mac and cheese is its sauce. Our homemade spicy cheese sauce is surprisingly simple to master, beginning with a classic roux and building layers of flavor with sharp cheddar and a vibrant blend of spices. This recipe focuses on creating a sauce that is both incredibly smooth and bursting with just the right amount of heat, making it irresistible on its own or perfectly baked.
Essential Ingredients for Your Creamy, Spicy Sauce:
Choosing quality ingredients is key to achieving a truly outstanding mac and cheese. Here’s what you’ll need to create this rich, spicy, and incredibly satisfying sauce:
- 2 tbsp butter (a generous amount, preferably unsalted, as it forms the luscious base of our roux)
- 2 tbsp flour (a generous heap, all-purpose flour works best for creating a smooth, lump-free roux)
- 2.5 cups milk (full-fat cow’s milk for ultimate creaminess, or goat milk if you’re embracing the unique twist of this recipe. Both yield fantastic results!)
- 2 cups grated sharp cheddar cheese (sharp cheddar provides that iconic tangy depth; grating it yourself ensures better melting and a smoother sauce compared to pre-shredded varieties)
- 3 tsp paprika (for warmth and a beautiful color, a key component of the spicy profile)
- 1 tsp cayenne pepper (the primary driver of the heat, adjust to your preferred spice level)
- 1 tsp red pepper flakes (adds visual appeal and another layer of subtle, lingering heat)
- 1 tsp salt (enhances all the flavors, don’t skip!)
- 1 tsp pepper (freshly ground black pepper for aromatic complexity)
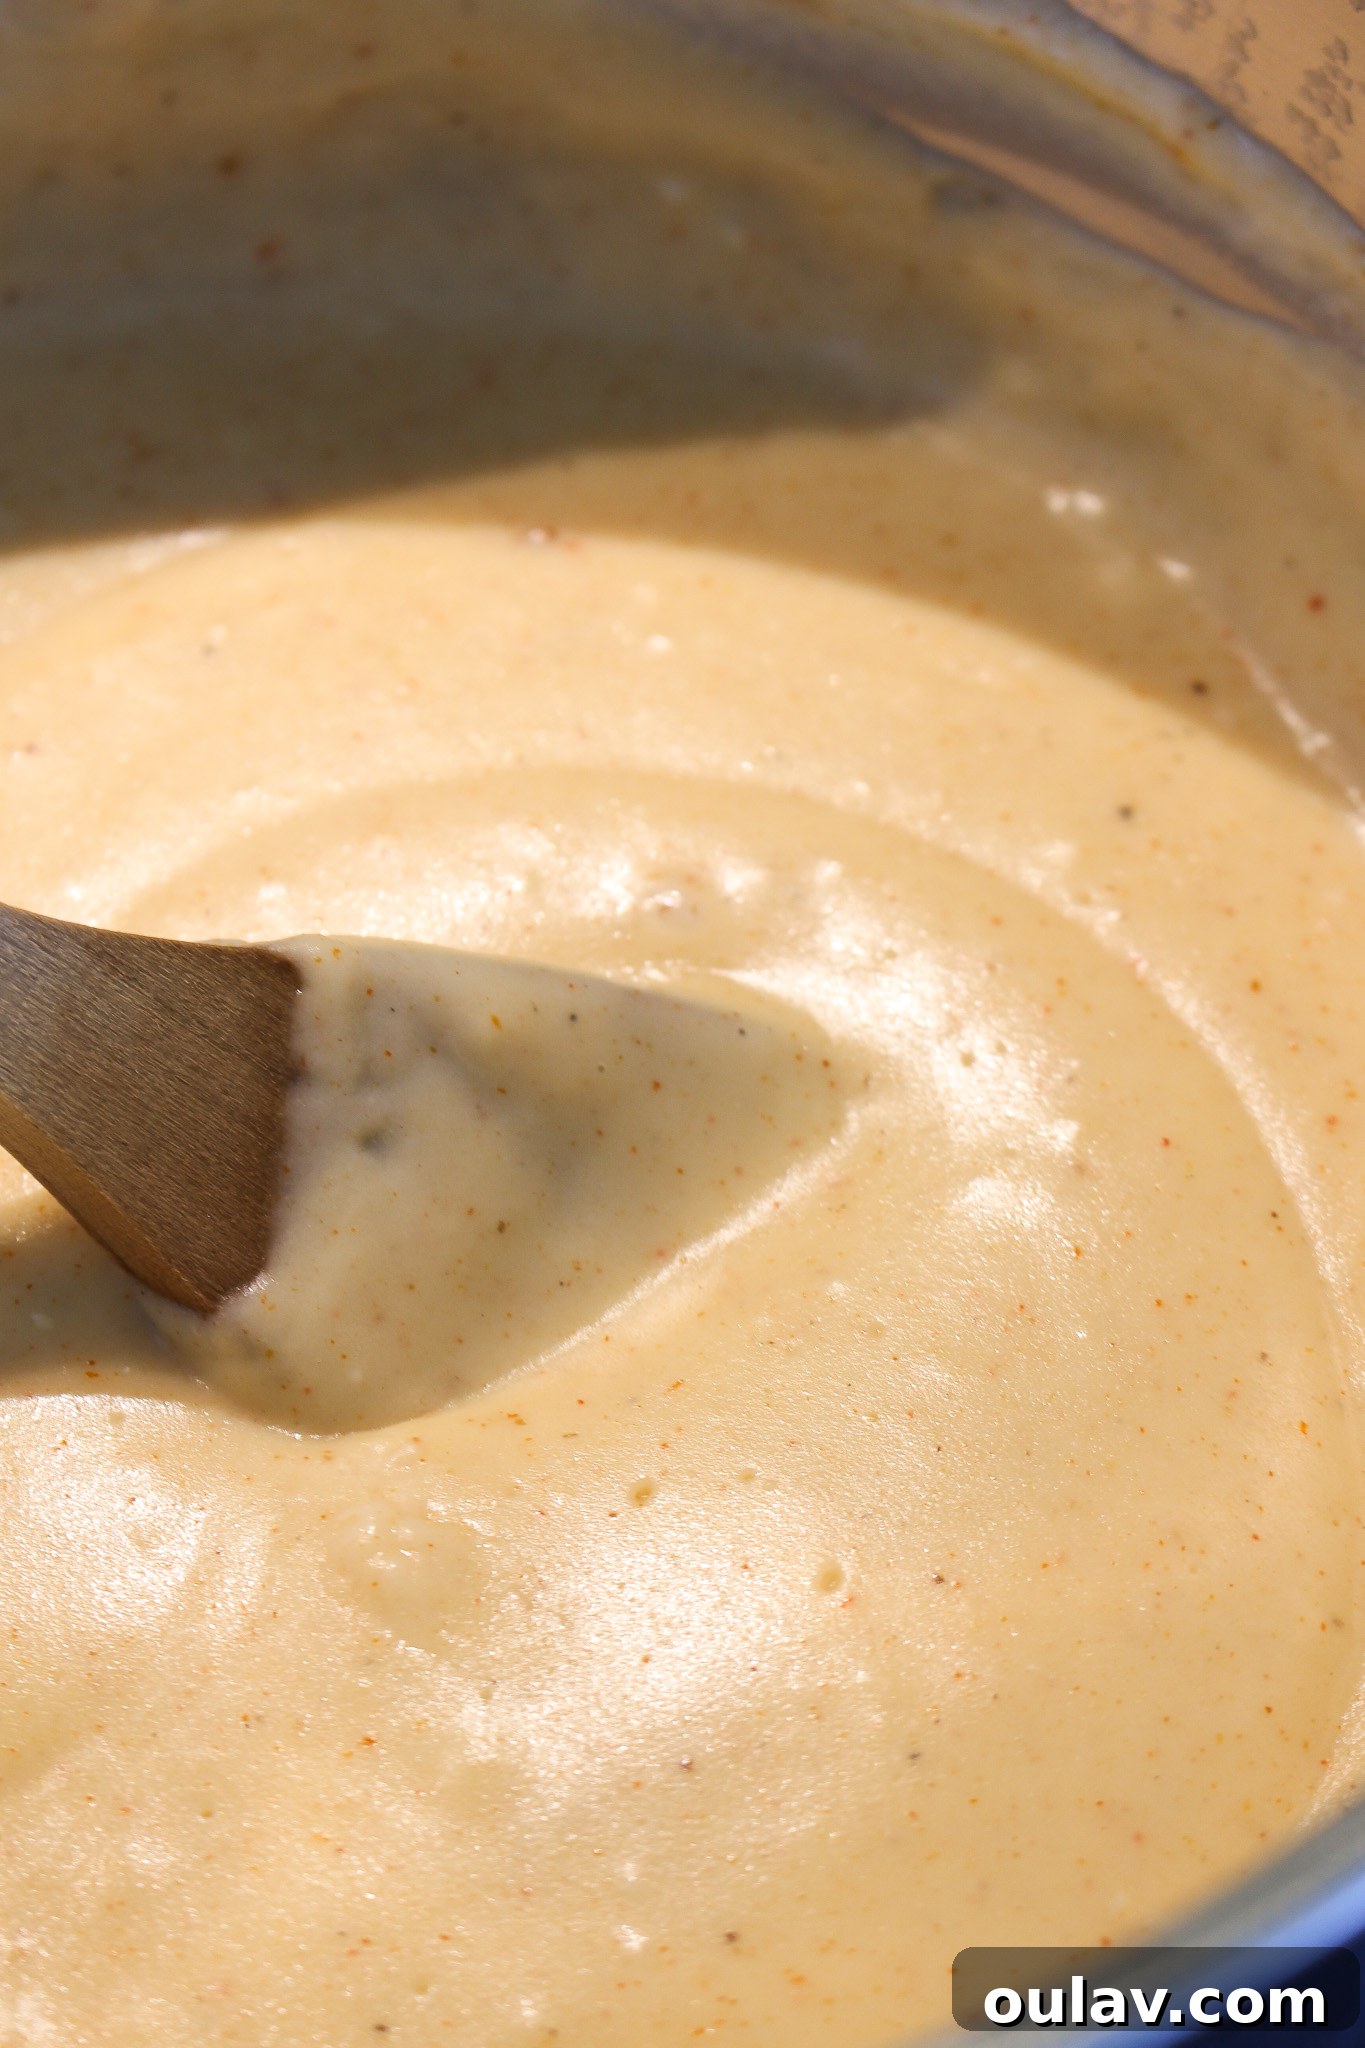
Step-by-Step Guide to a Silky Smooth Cheese Sauce:
Making a cheese sauce from scratch might sound intimidating, but it’s a straightforward process once you understand the basics of a roux. Follow these steps for a consistently perfect, lump-free sauce every time:
- **Begin with a Roux:** In a sturdy pot over low heat, melt the butter. A generous amount of butter is crucial here to achieve the right consistency and richness.
- **Incorporate the Flour:** Once the butter is fully melted and shimmering, add the flour. While I often toss both in simultaneously, if you’re new to making a roux, it’s best to add the flour after the butter has melted to ensure even distribution.
- **Form the Paste:** Working quickly, whisk the flour and butter mixture vigorously. It will rapidly transform into a thick, smooth paste, often referred to as a “roux.”
- **Cook the Roux:** Continue whisking and cook this paste for approximately one minute over low heat. This step is vital to cook out the raw flour taste, preventing your sauce from having a pasty texture.
- **Gradually Add Milk:** While still whisking continuously, gradually pour in the milk. Increase the heat to medium-low and continue to whisk without interruption. The mixture will slowly begin to thicken and gently bubble around the edges. This gradual thickening process takes about 10-15 minutes, so patience and constant stirring are key.
- **Prevent Scorching:** Throughout the heating and thickening process, it’s essential to keep whisking. The bottom of the pan can easily scorch if the milk settles, which will impart an unpleasant burnt flavor to your entire sauce. Keep that whisk moving!
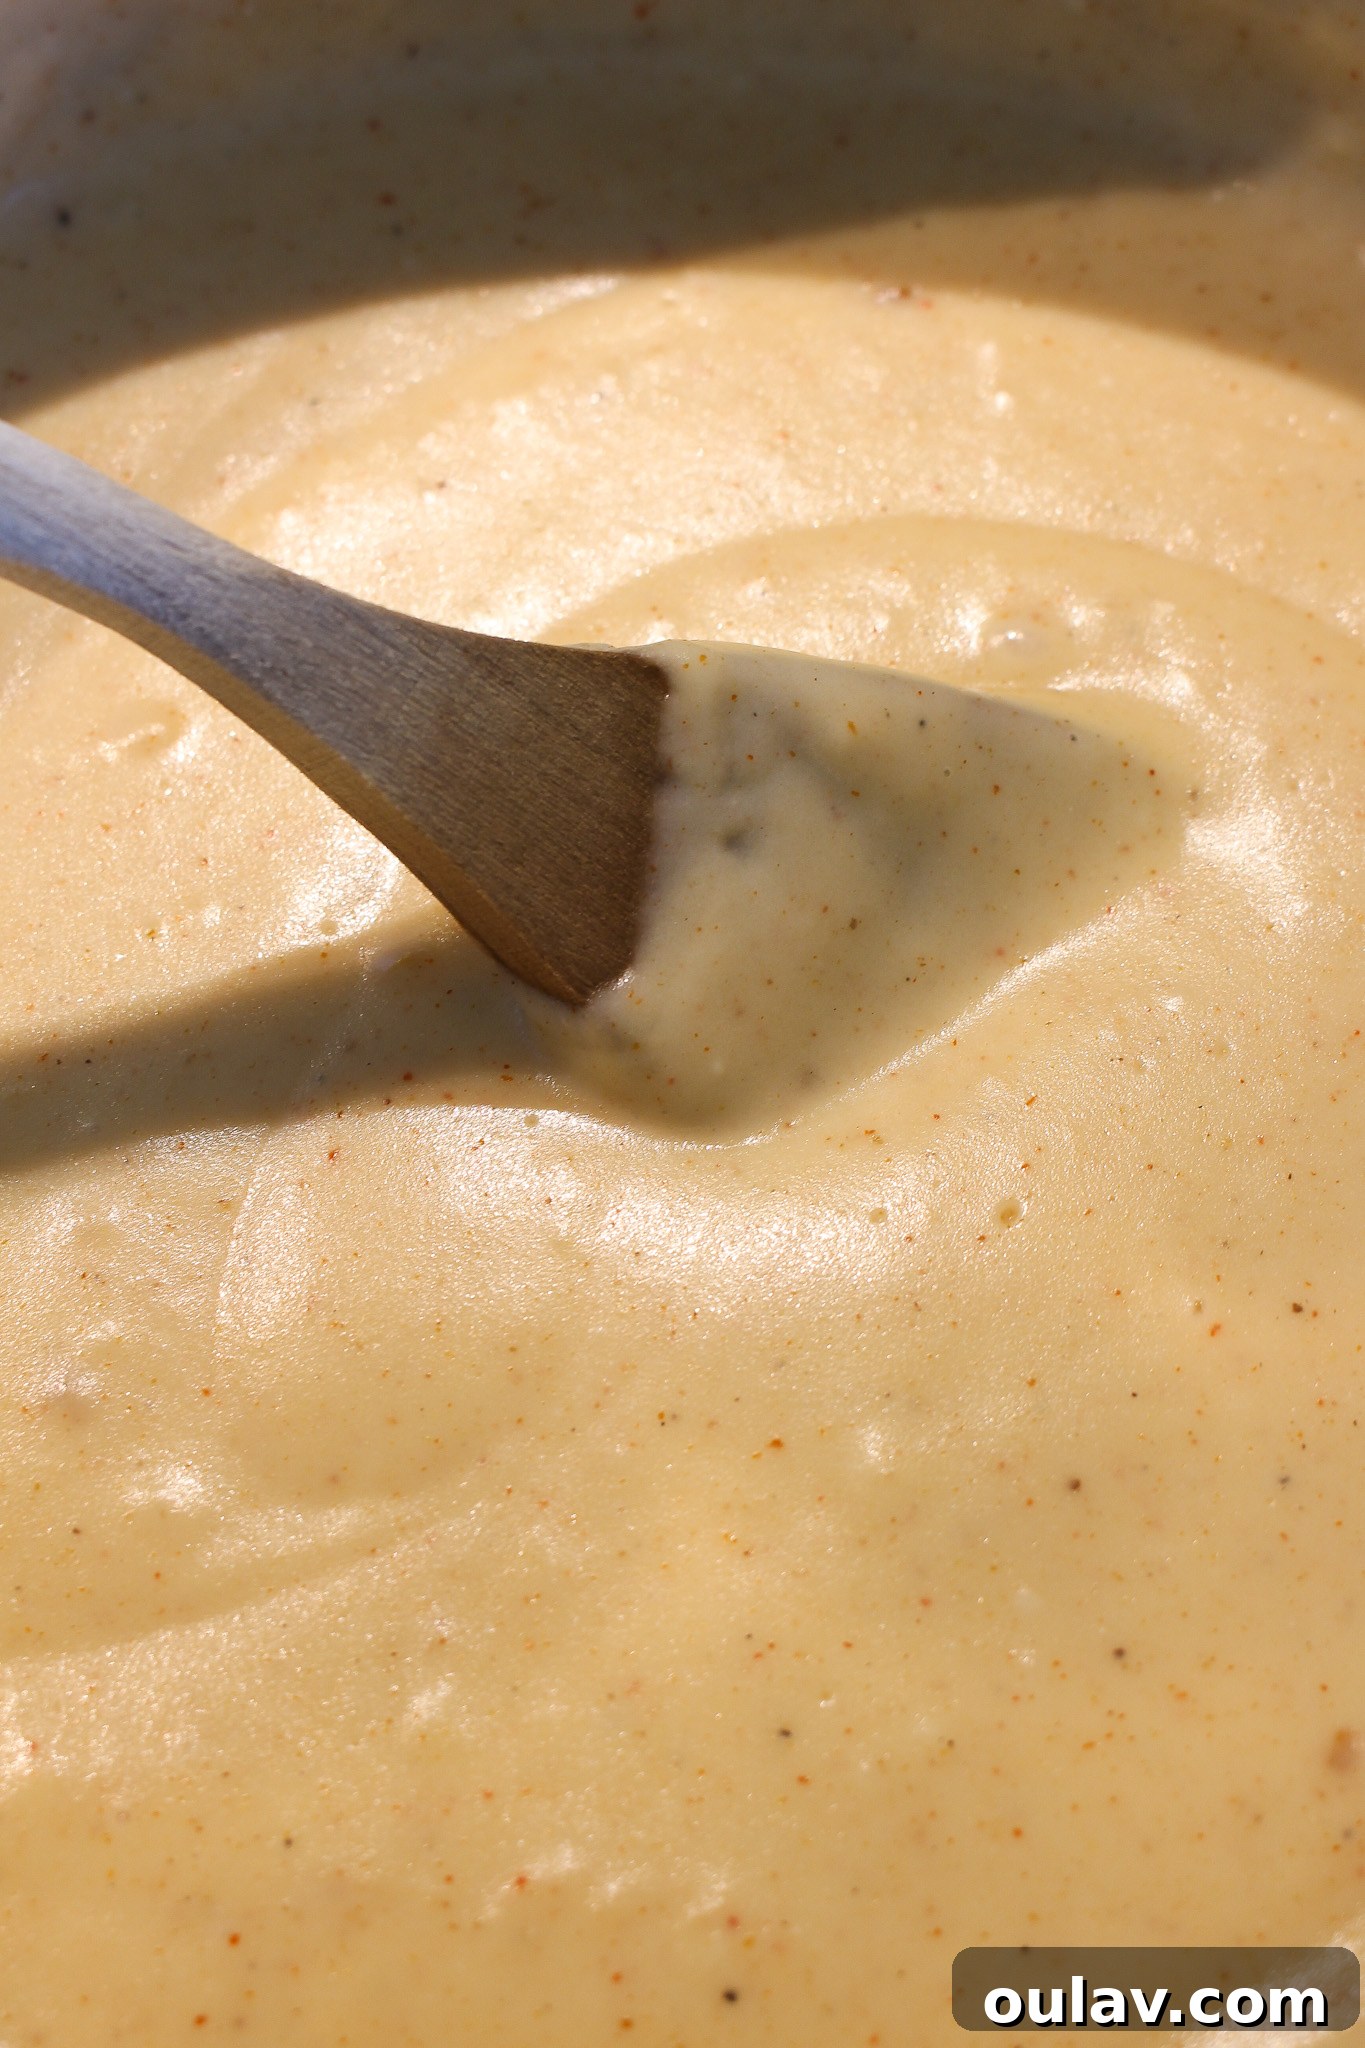
- **Stir in Spices:** Once the sauce has thickened to your desired consistency and is gently bubbling, remove the pot from the heat. Stir in the paprika, cayenne pepper, red pepper flakes, salt, and black pepper until well combined. The residual heat will help the spices bloom and infuse their flavors.
- **Melt the Cheese:** Immediately add the grated sharp cheddar cheese to the hot sauce. Stir continuously until the cheese is completely melted and incorporated, creating a velvety, homogenous sauce. It’s important to add the cheese off the direct heat to prevent it from becoming oily or stringy.
- **Serve or Continue:** Your delicious homemade cheese sauce is now ready! You can pour it directly over cooked pasta for a stovetop mac and cheese, or proceed to the baking steps for a crispy, golden-brown finish.
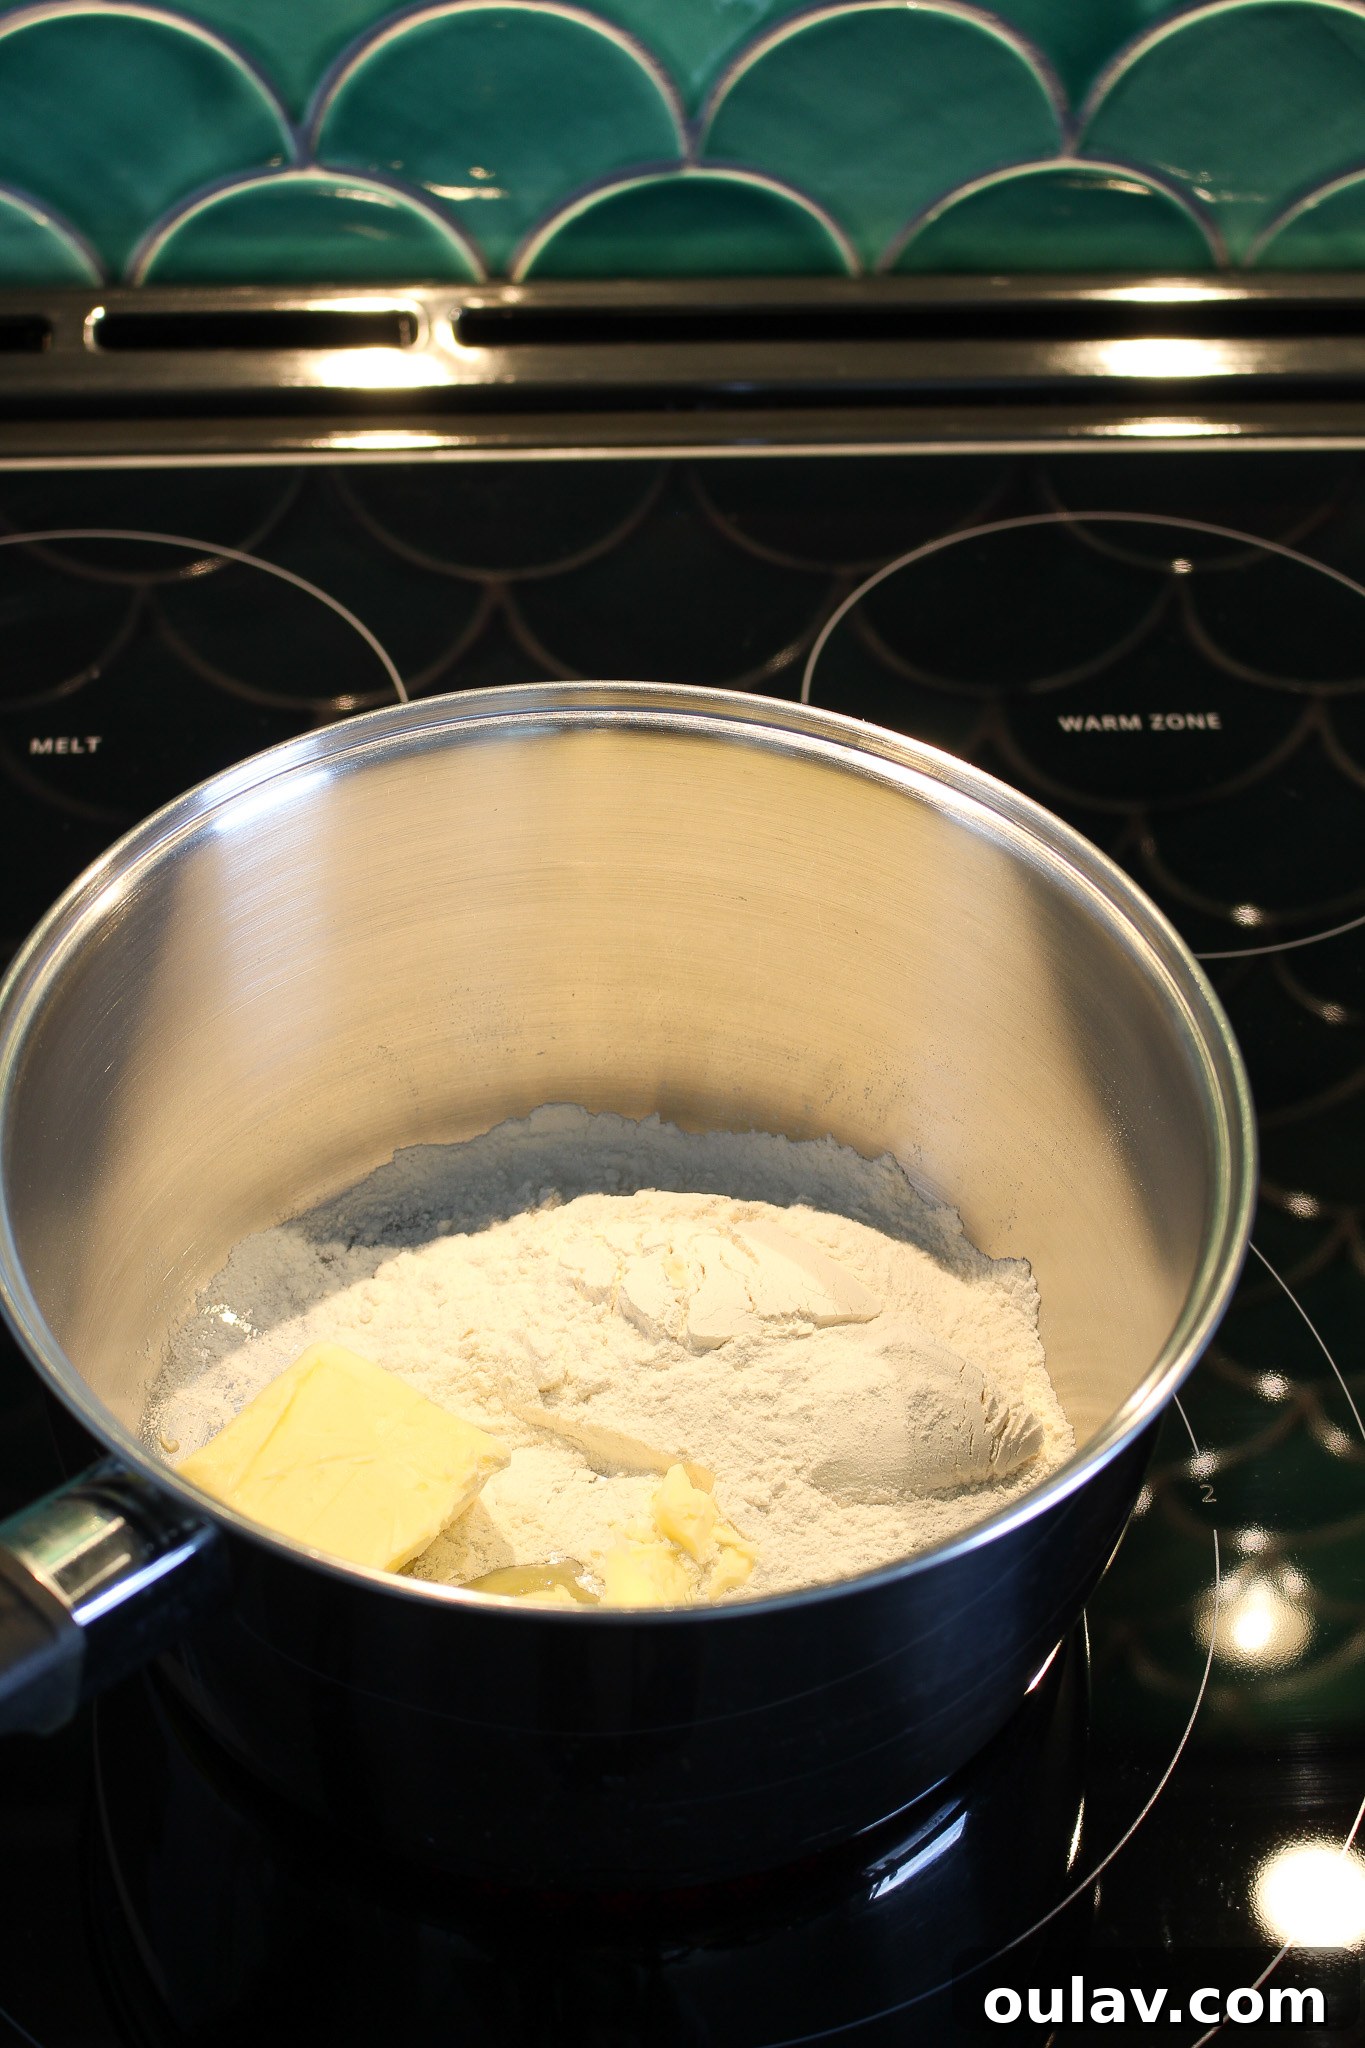
Start by making a simple roux: melt the butter over low heat, then add the flour.
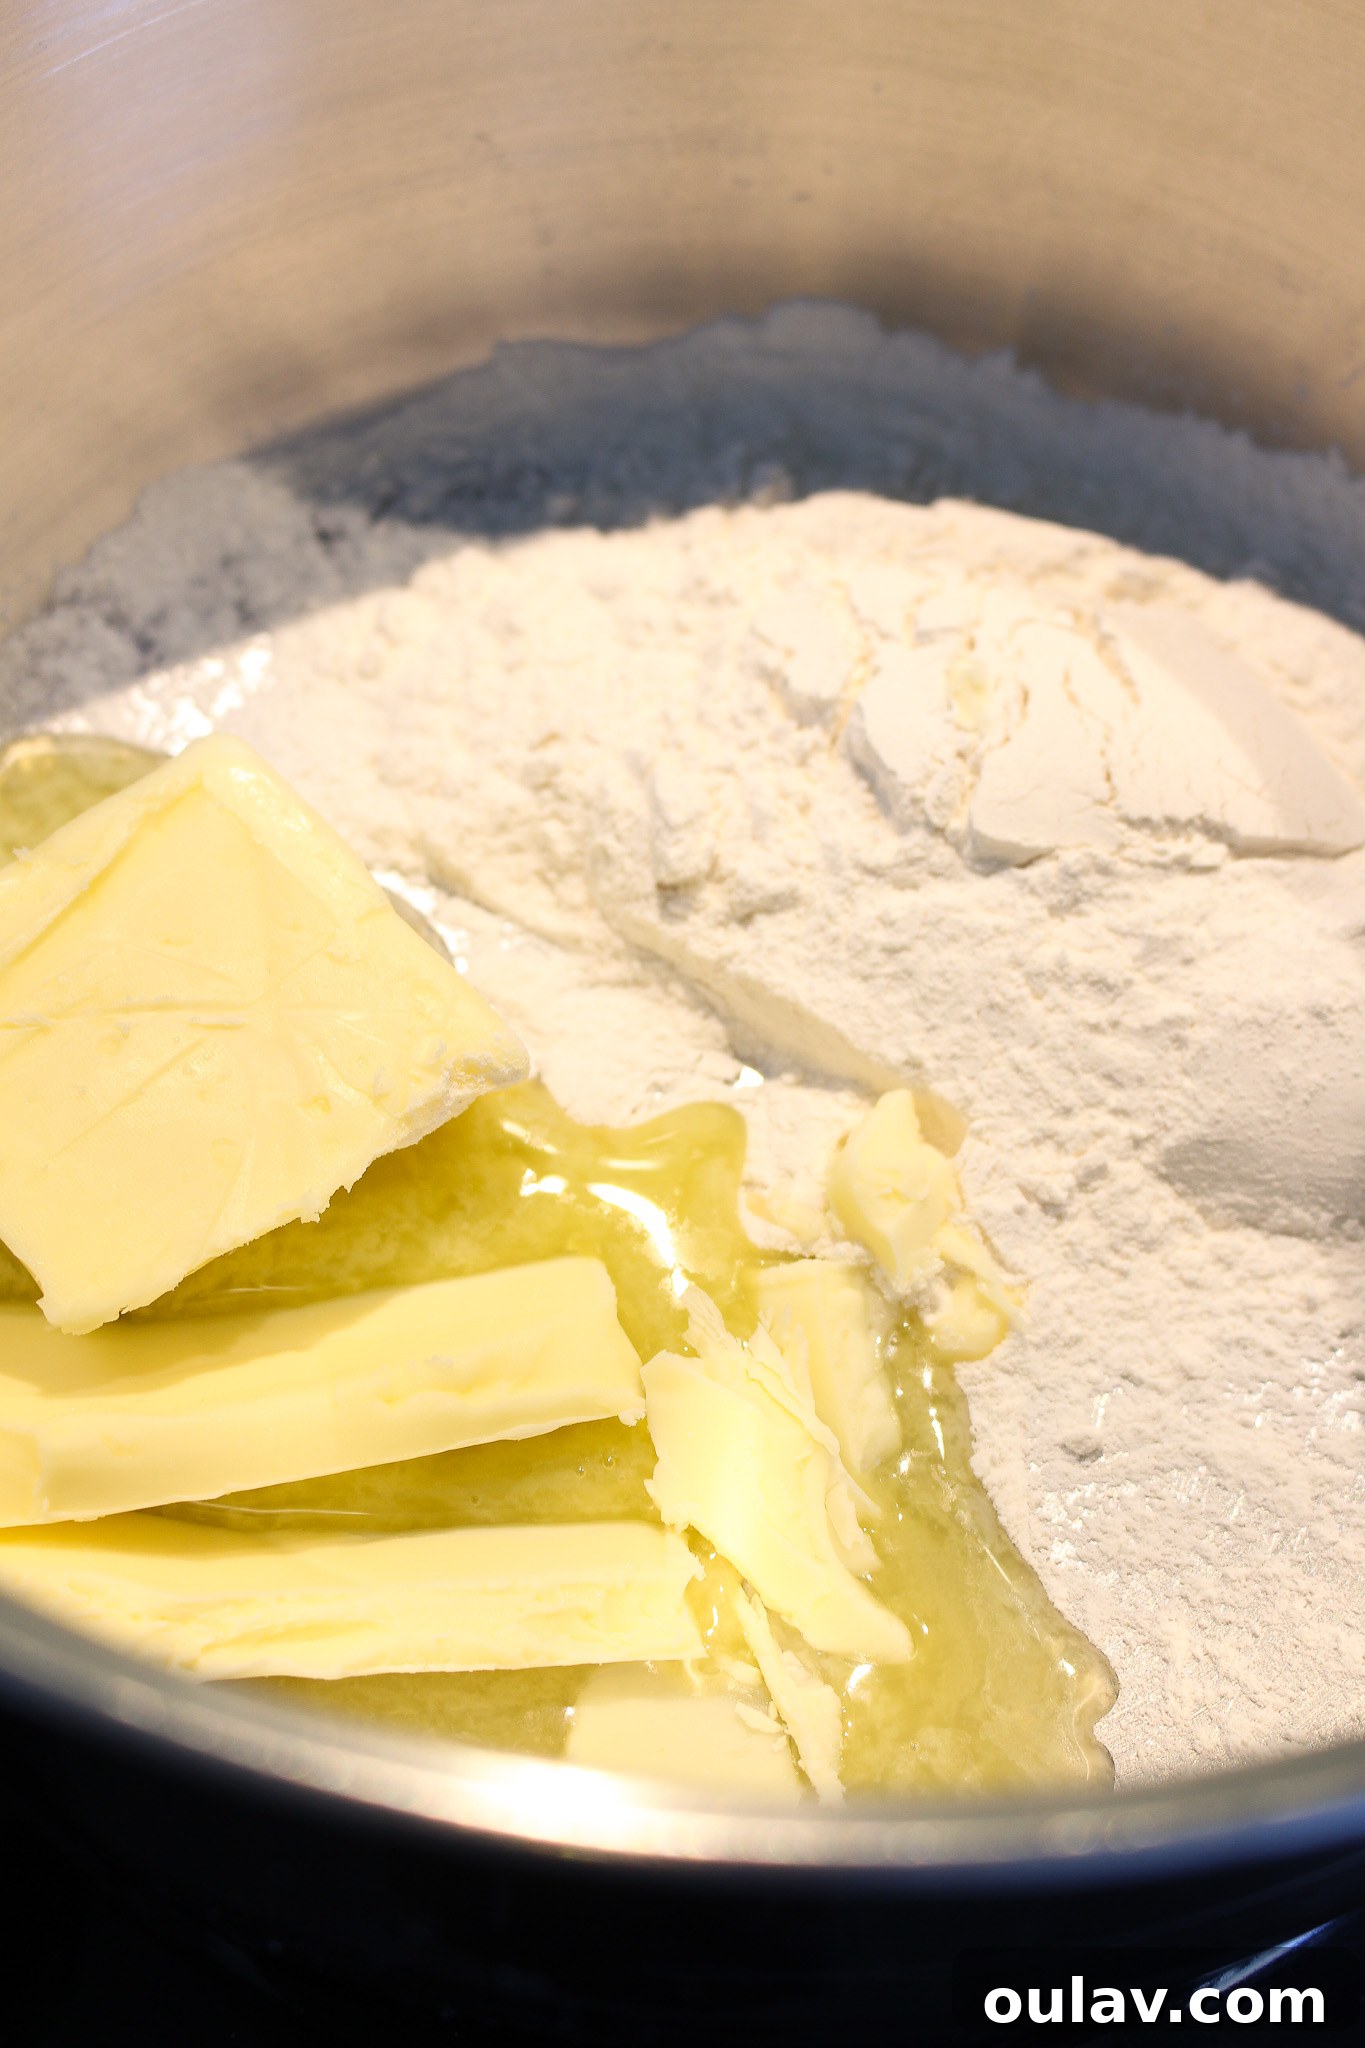
I honestly just throw both the butter and flour in at the same time, usually!
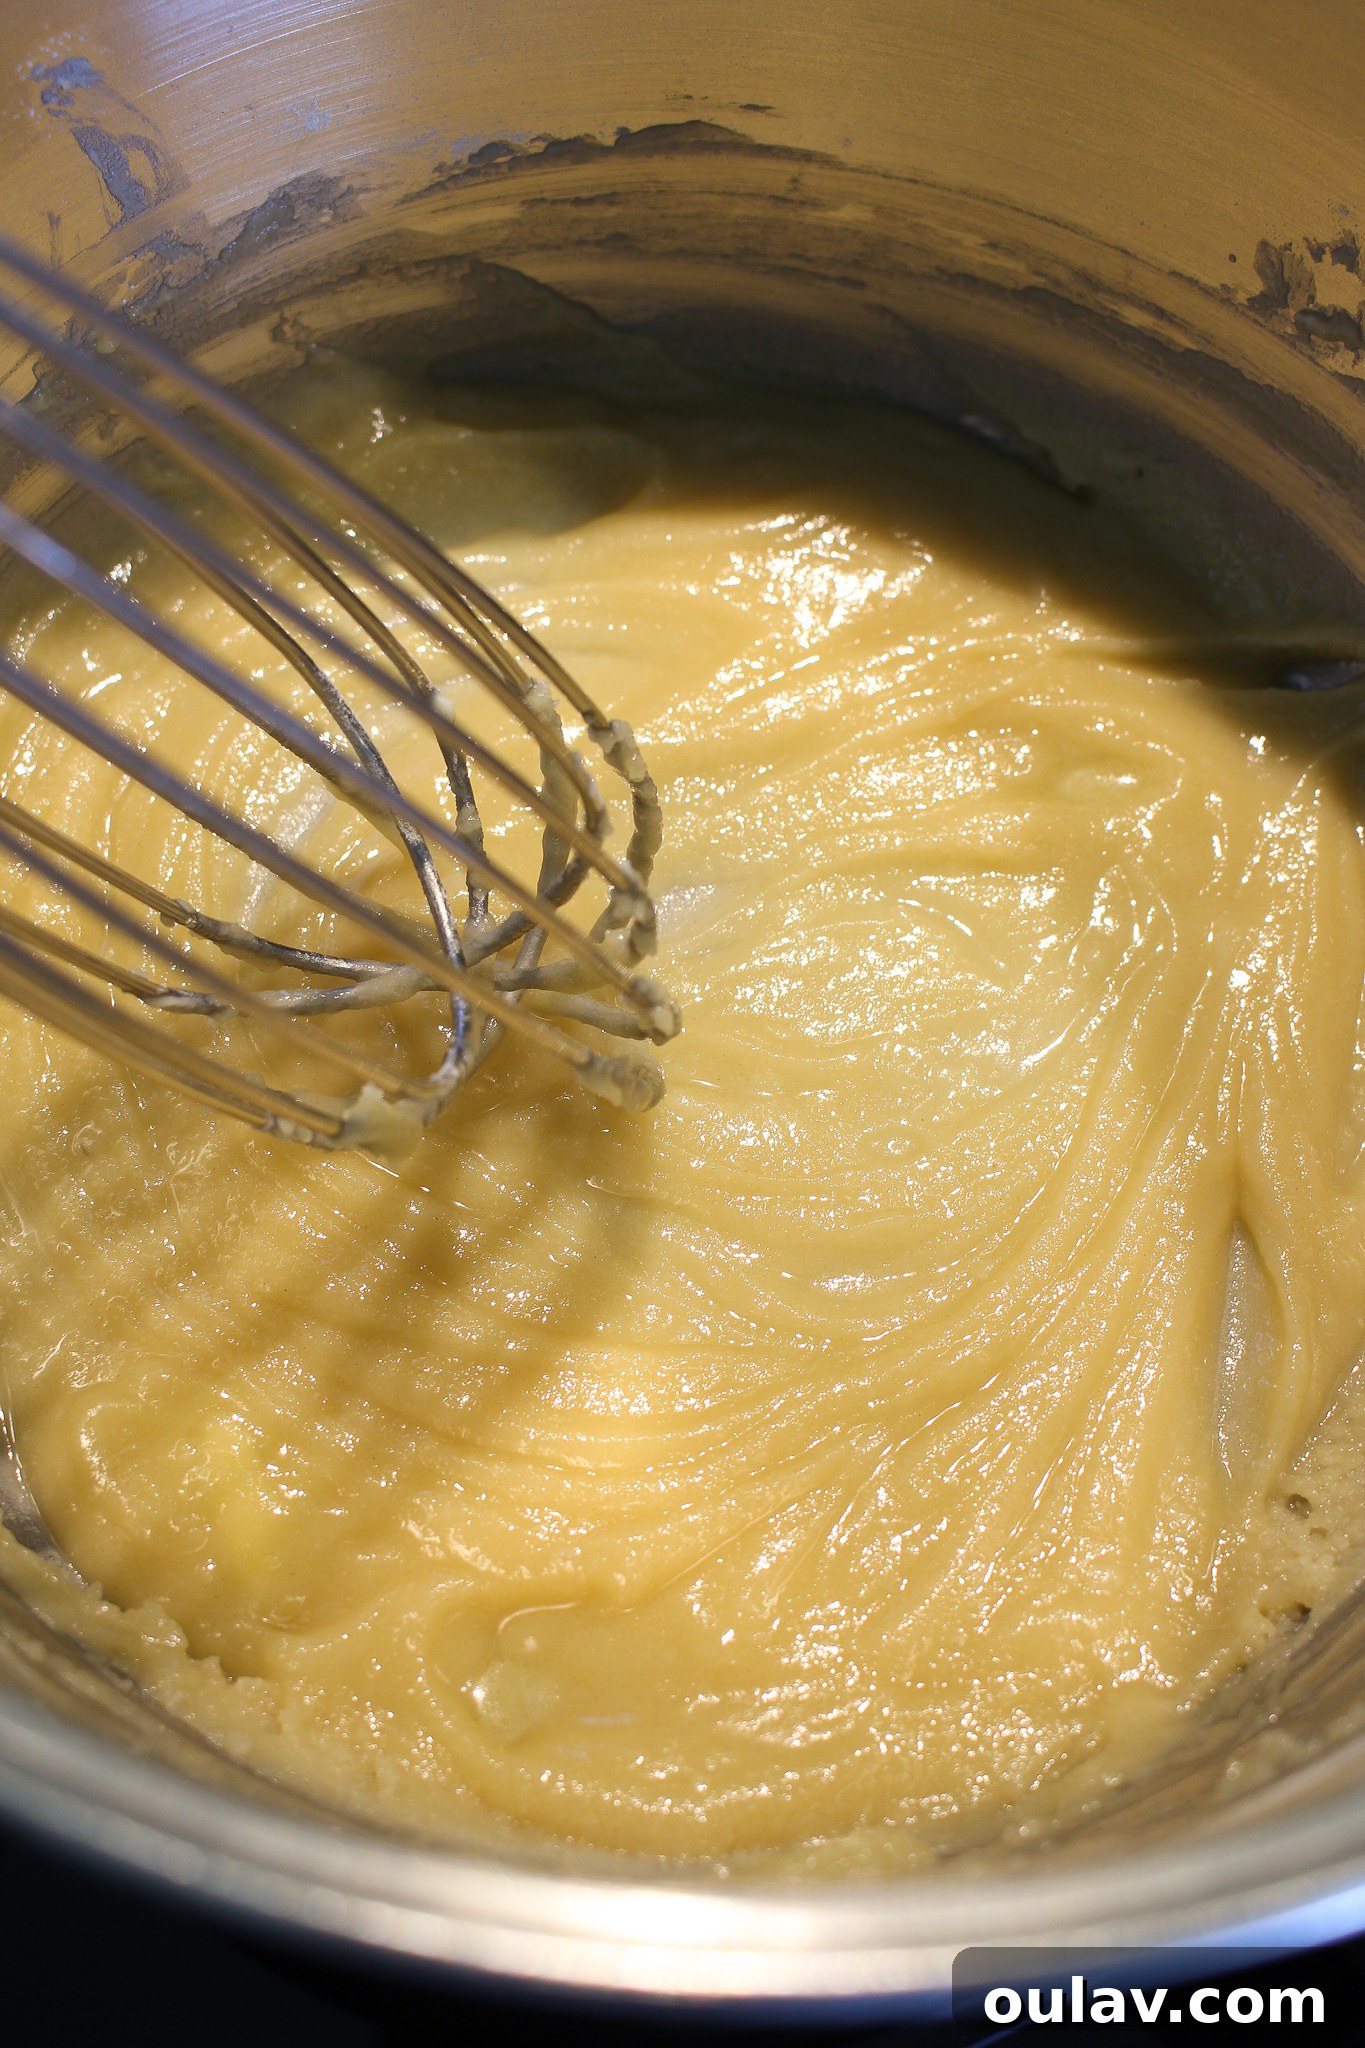
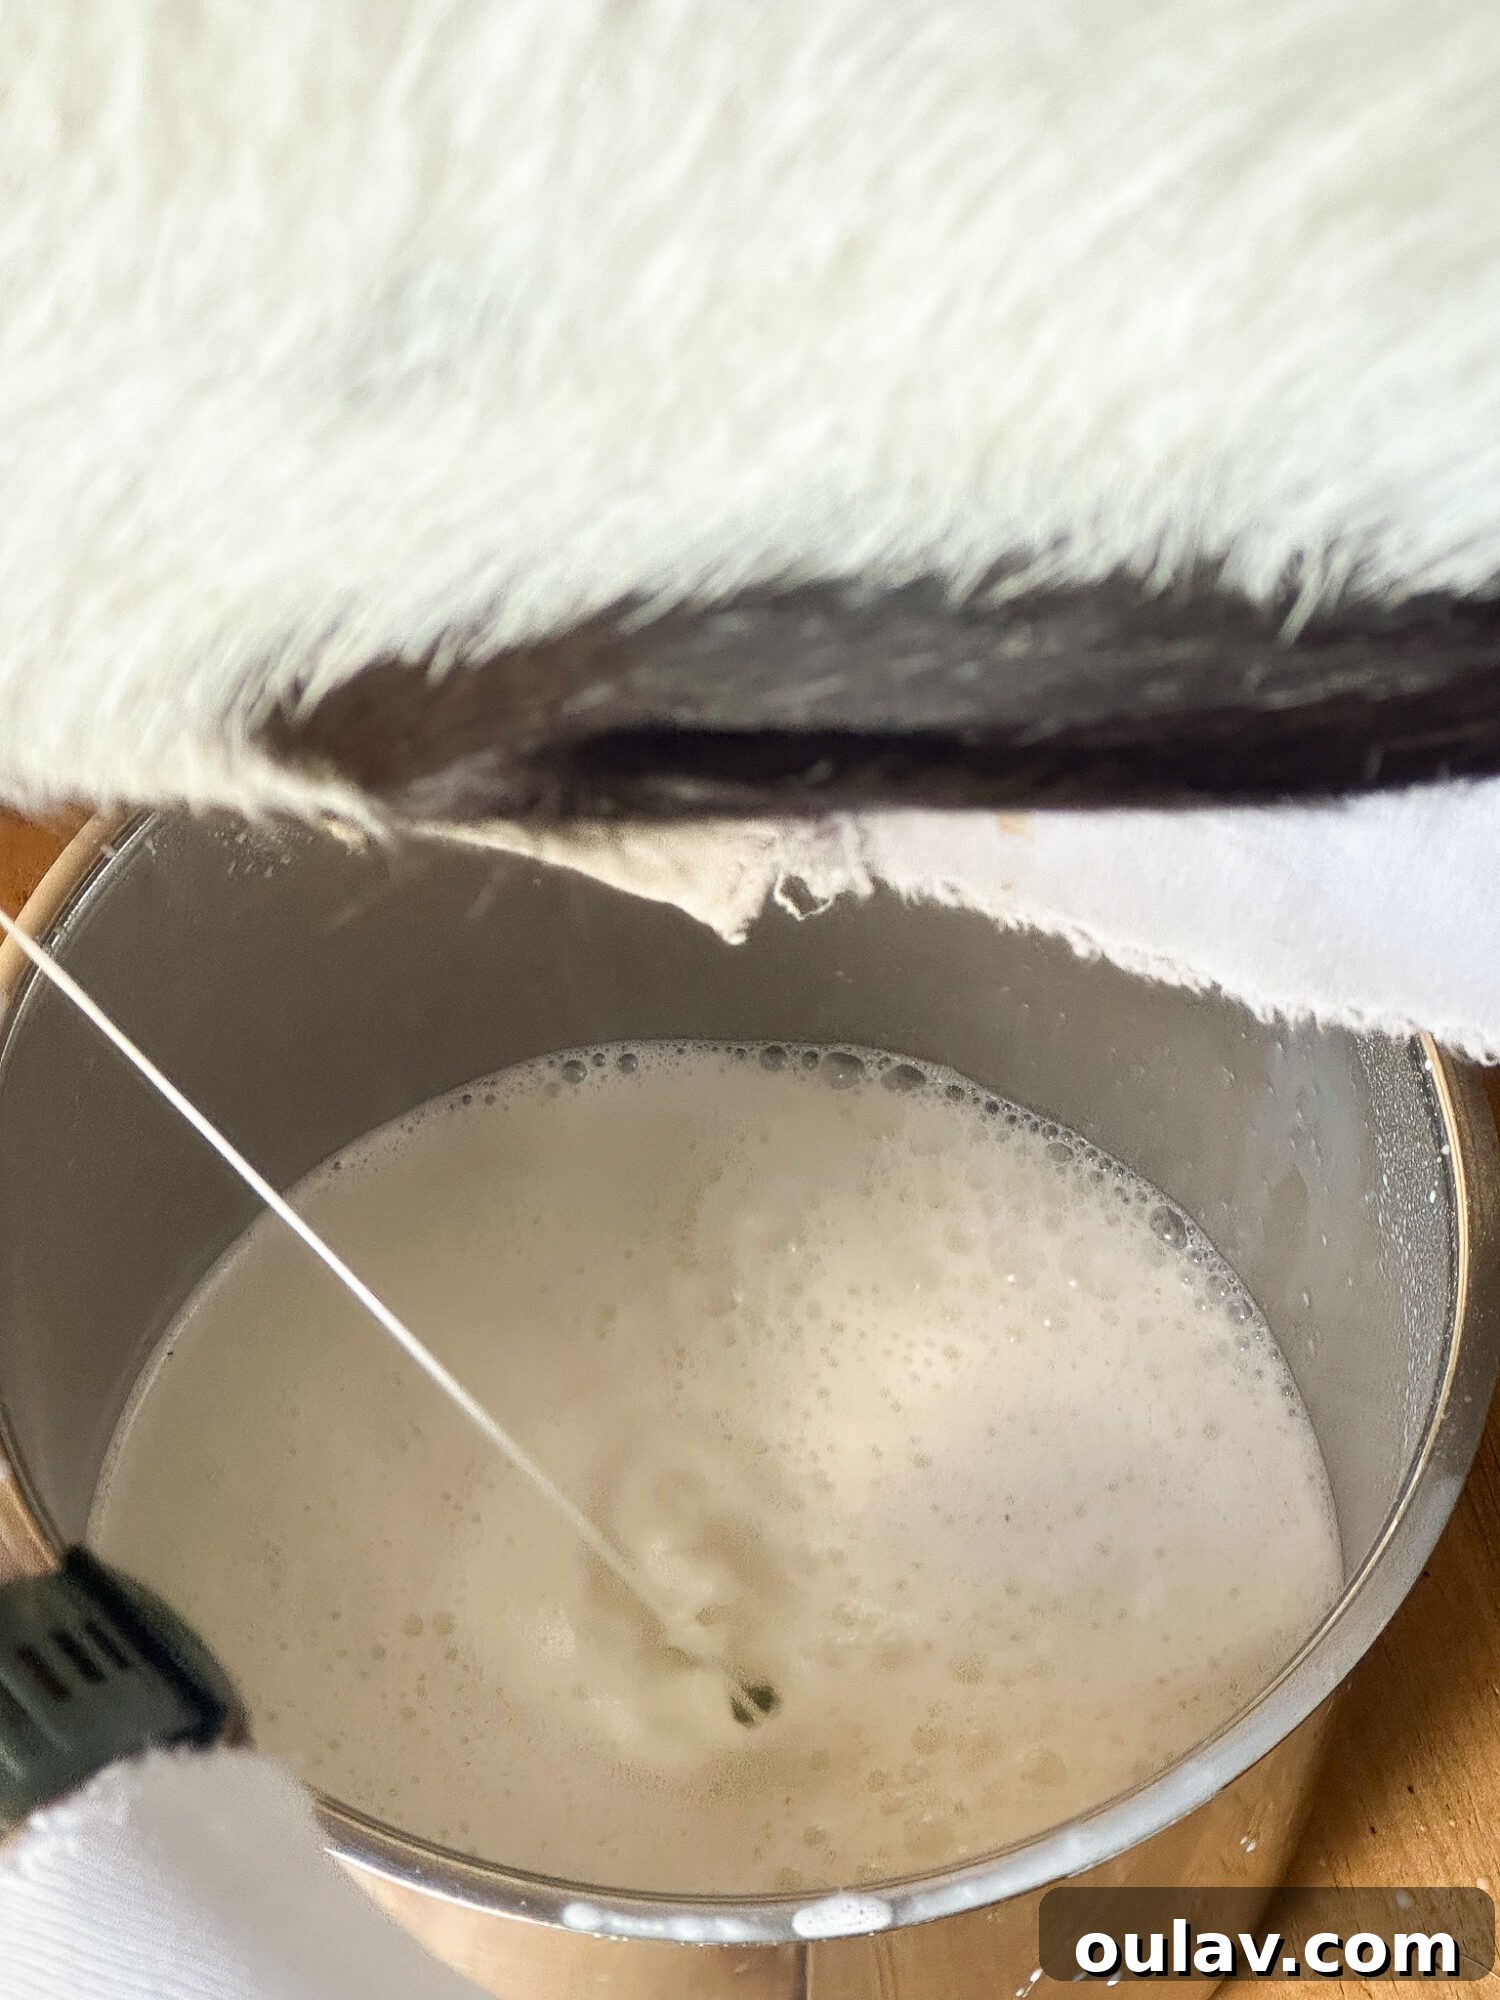
Whisk the flour and butter mixture so it makes a paste and cook for one minute (still low heat).
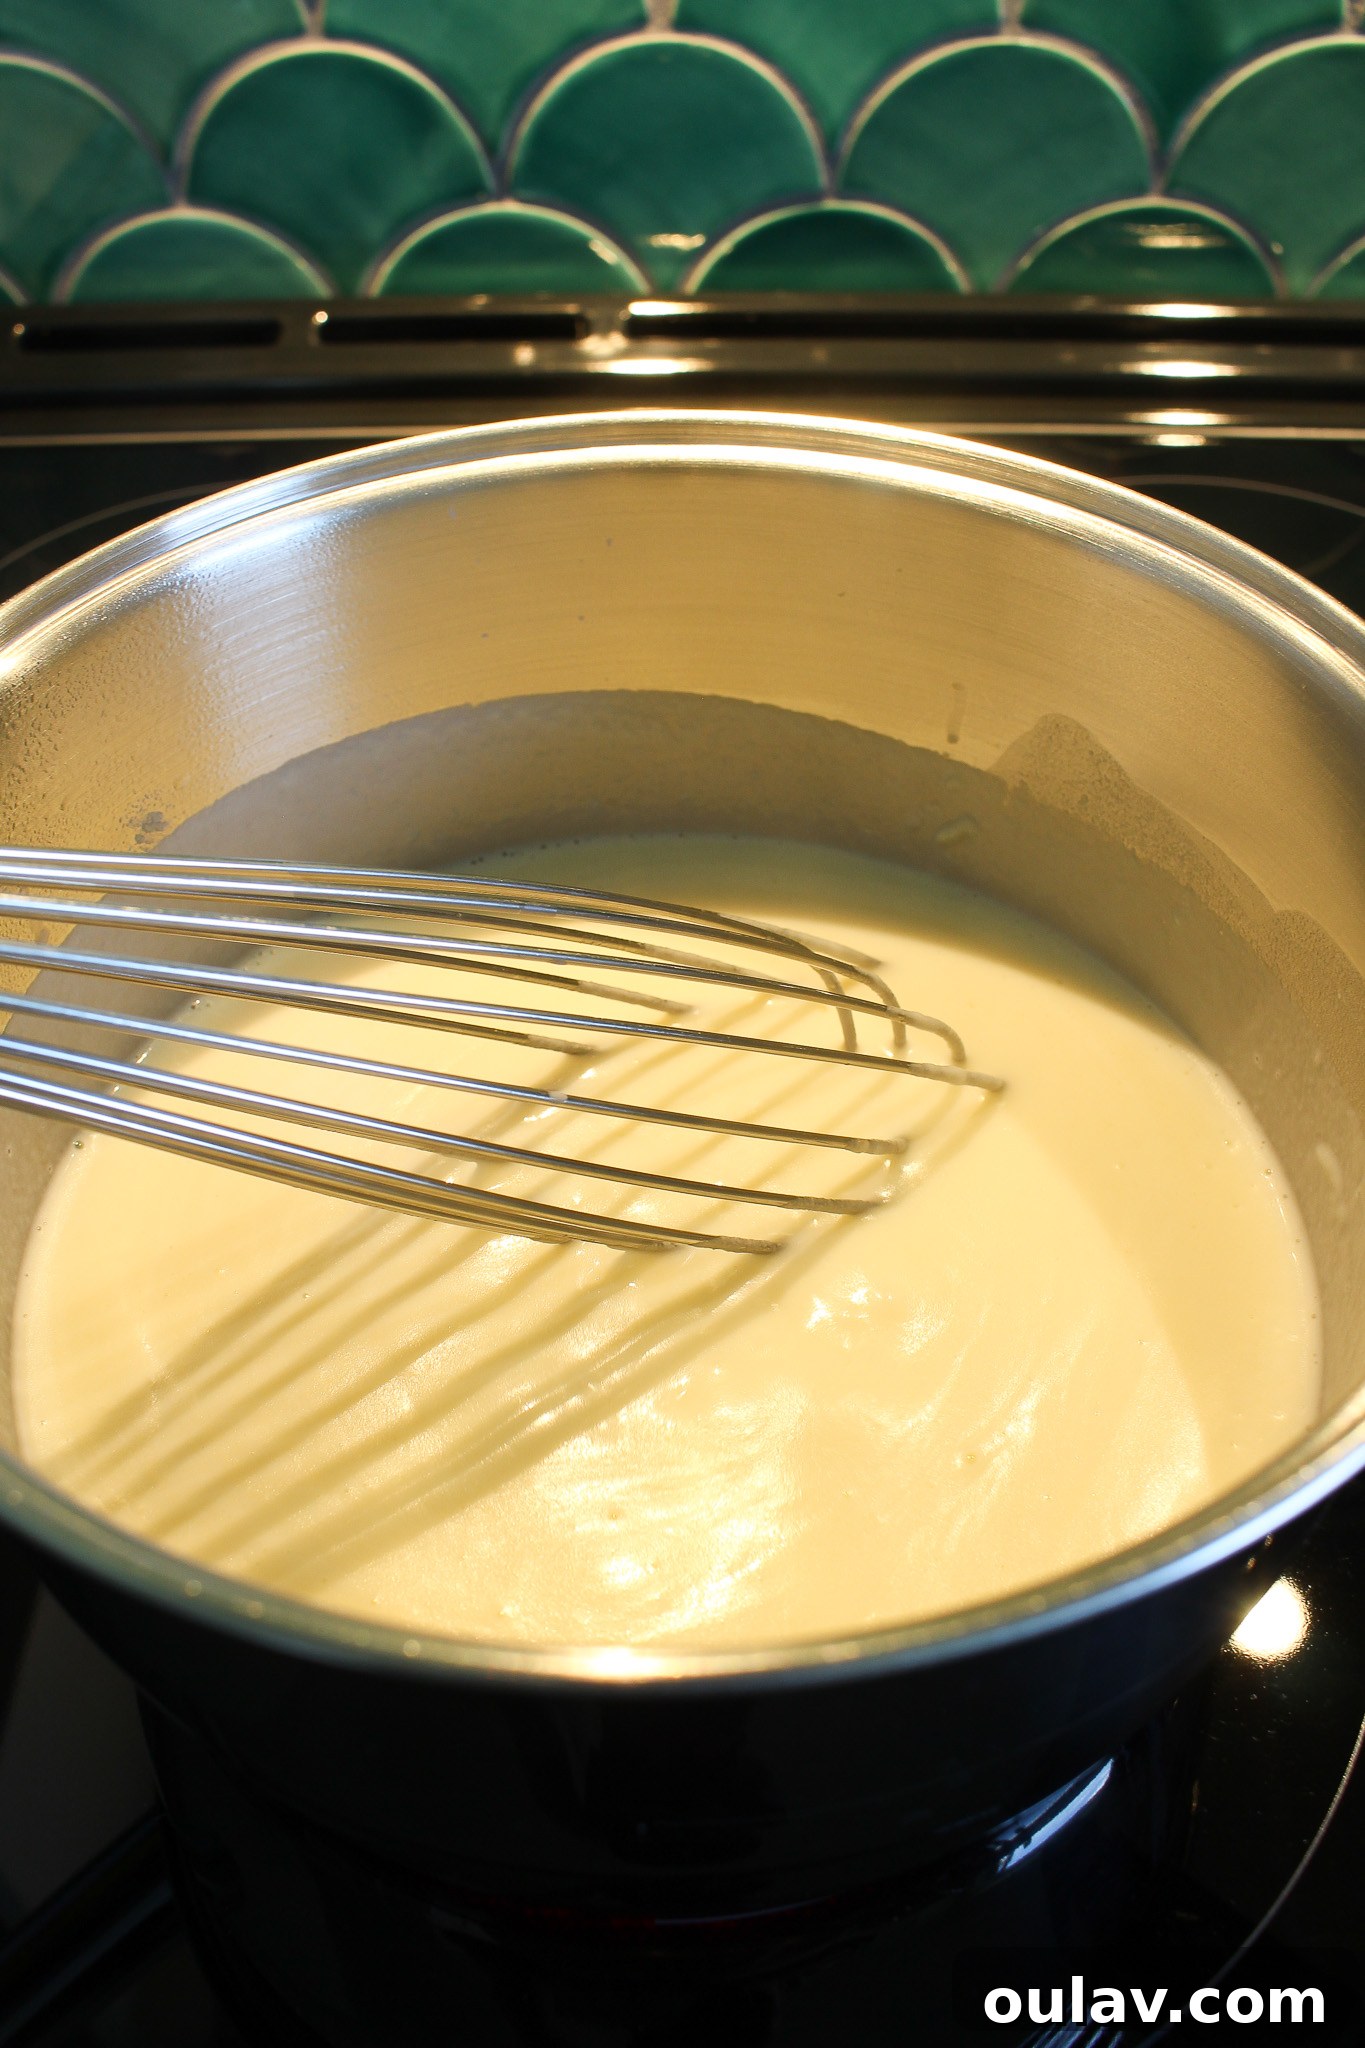
Whisk in the milk and increase heat to bring to a boil – it will start to thicken and gently bubble (this takes about 15 minutes).
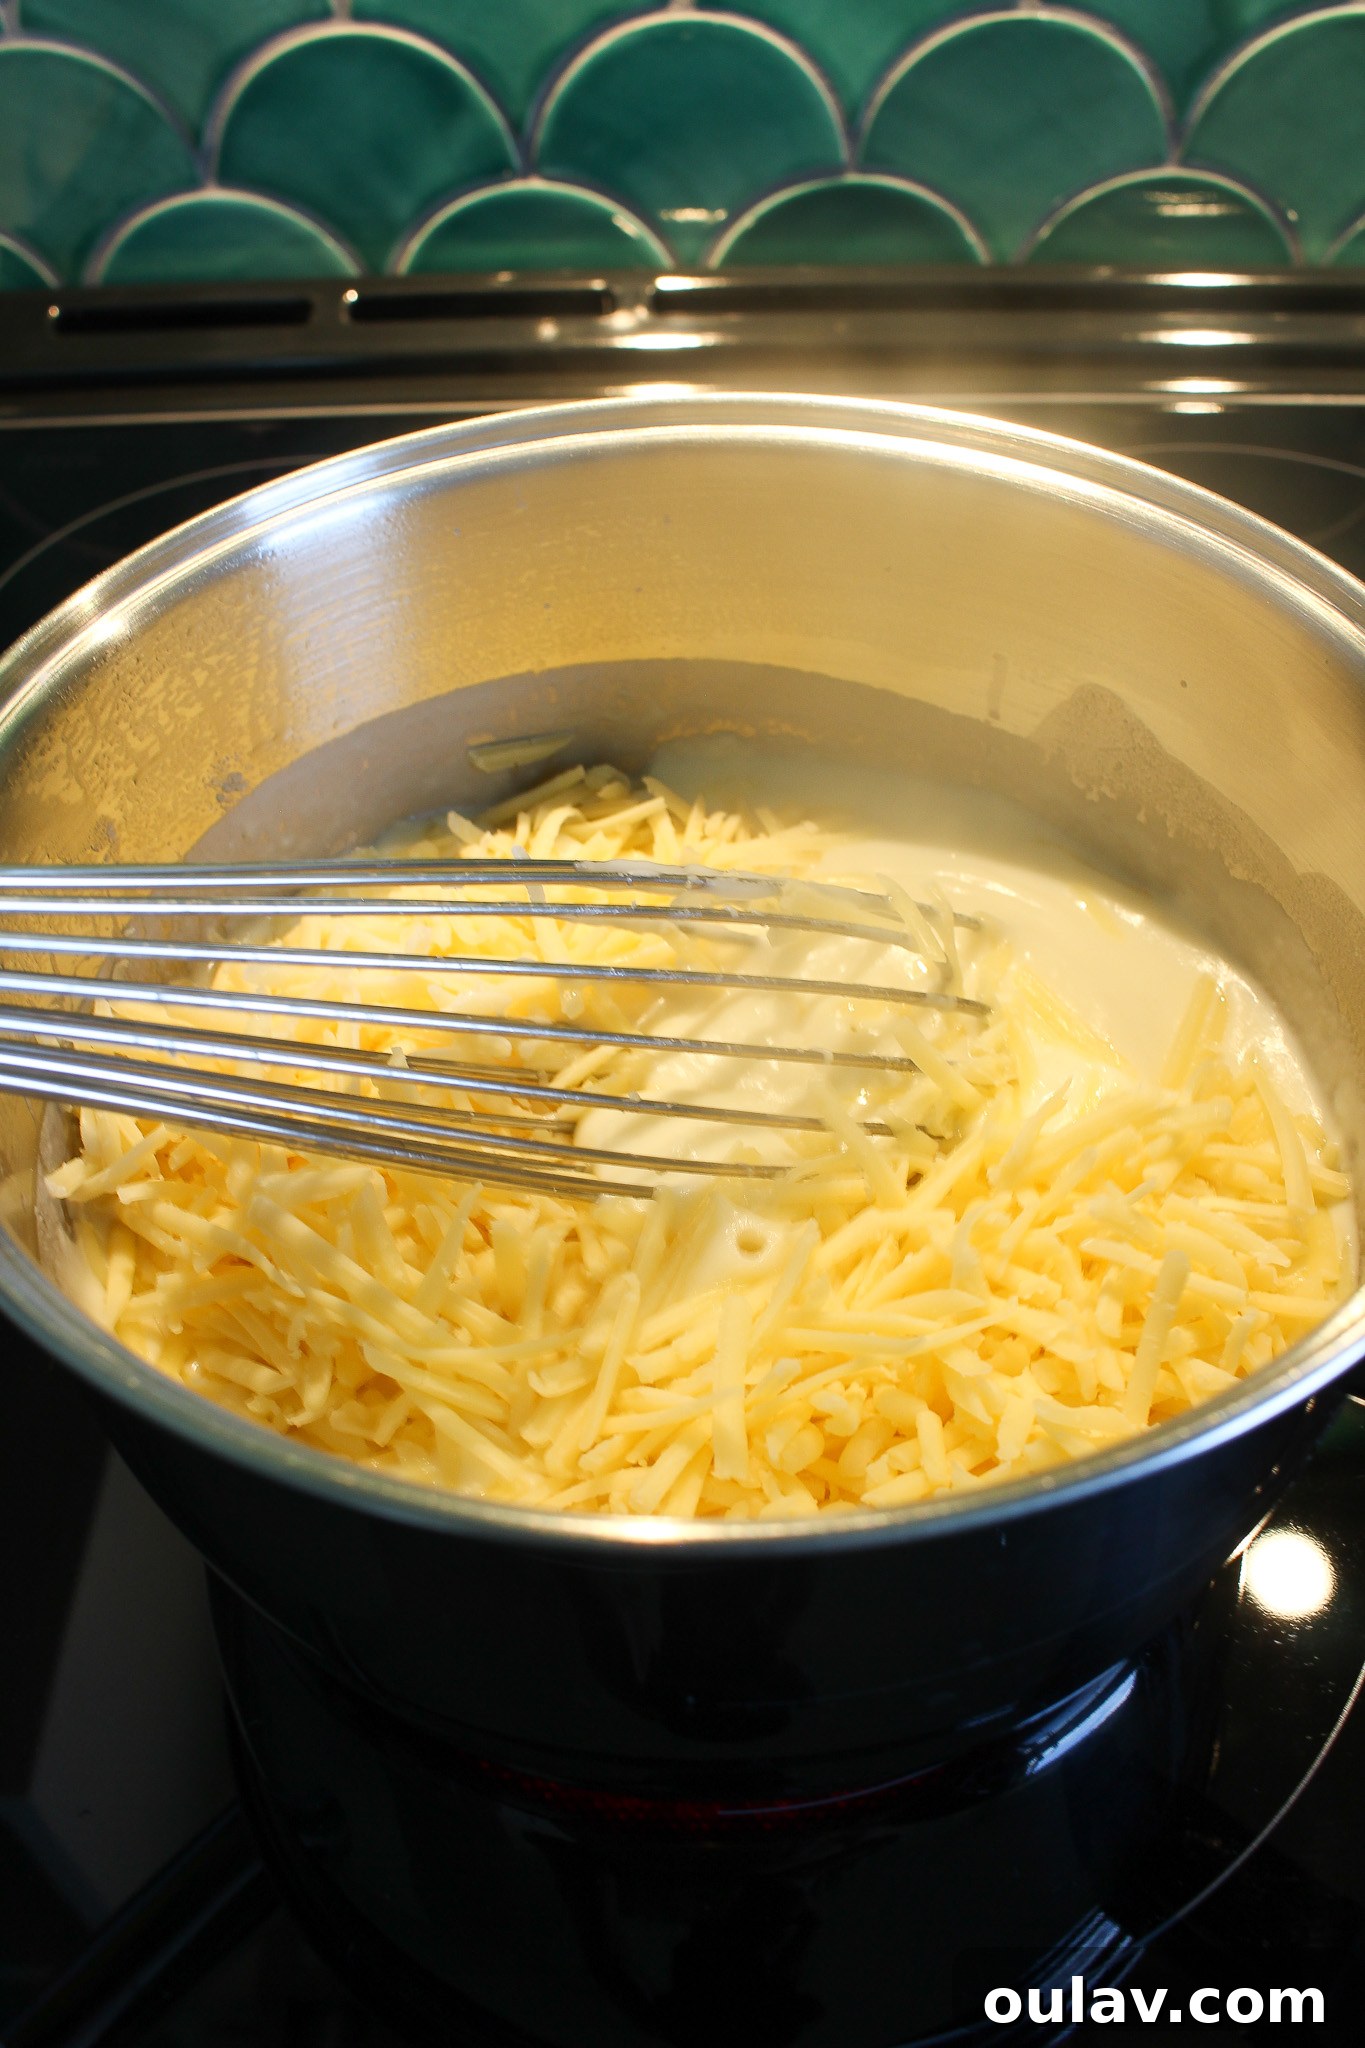
Once the sauce bubbles, turn off the heat and stir in the spices, then add the shredded cheese and stir until the cheese is melted.
Elevating Your Mac and Cheese: Baking and Freezing Tips
Once you’ve mastered the art of the homemade cheese sauce, you have several options for enjoying your mac and cheese. While the stovetop version is undeniably delicious, baking it adds a layer of golden-brown crispiness that many find irresistible. Moreover, this sauce is incredibly freezer-friendly, making it perfect for meal prep!
Transforming Your Mac and Cheese into a Baked Masterpiece:
Baking mac and cheese takes it from a simple stovetop dish to a comforting casserole with a delightful contrast of creamy interior and crispy top. Here’s how to do it:
- **Preheat Your Oven:** Set your oven to a robust 400°F (200°C). A hot oven ensures a quick bake and that coveted crispy top.
- **Prepare Your Pan:** Lightly butter a 9×13 inch baking pan. This step is optional, especially if you’re using a naturally non-stick pan like Jadeite, but it helps prevent sticking and adds a little extra richness.
- **Cook the Pasta:** Bring a large pot of salted water to a rolling boil. Add a 500g bag of your favorite pasta (elbow macaroni, shells, or cavatappi work wonderfully for catching all that sauce). Cook until al dente – meaning it’s still firm to the bite, as it will continue to cook in the oven. Drain the pasta thoroughly.
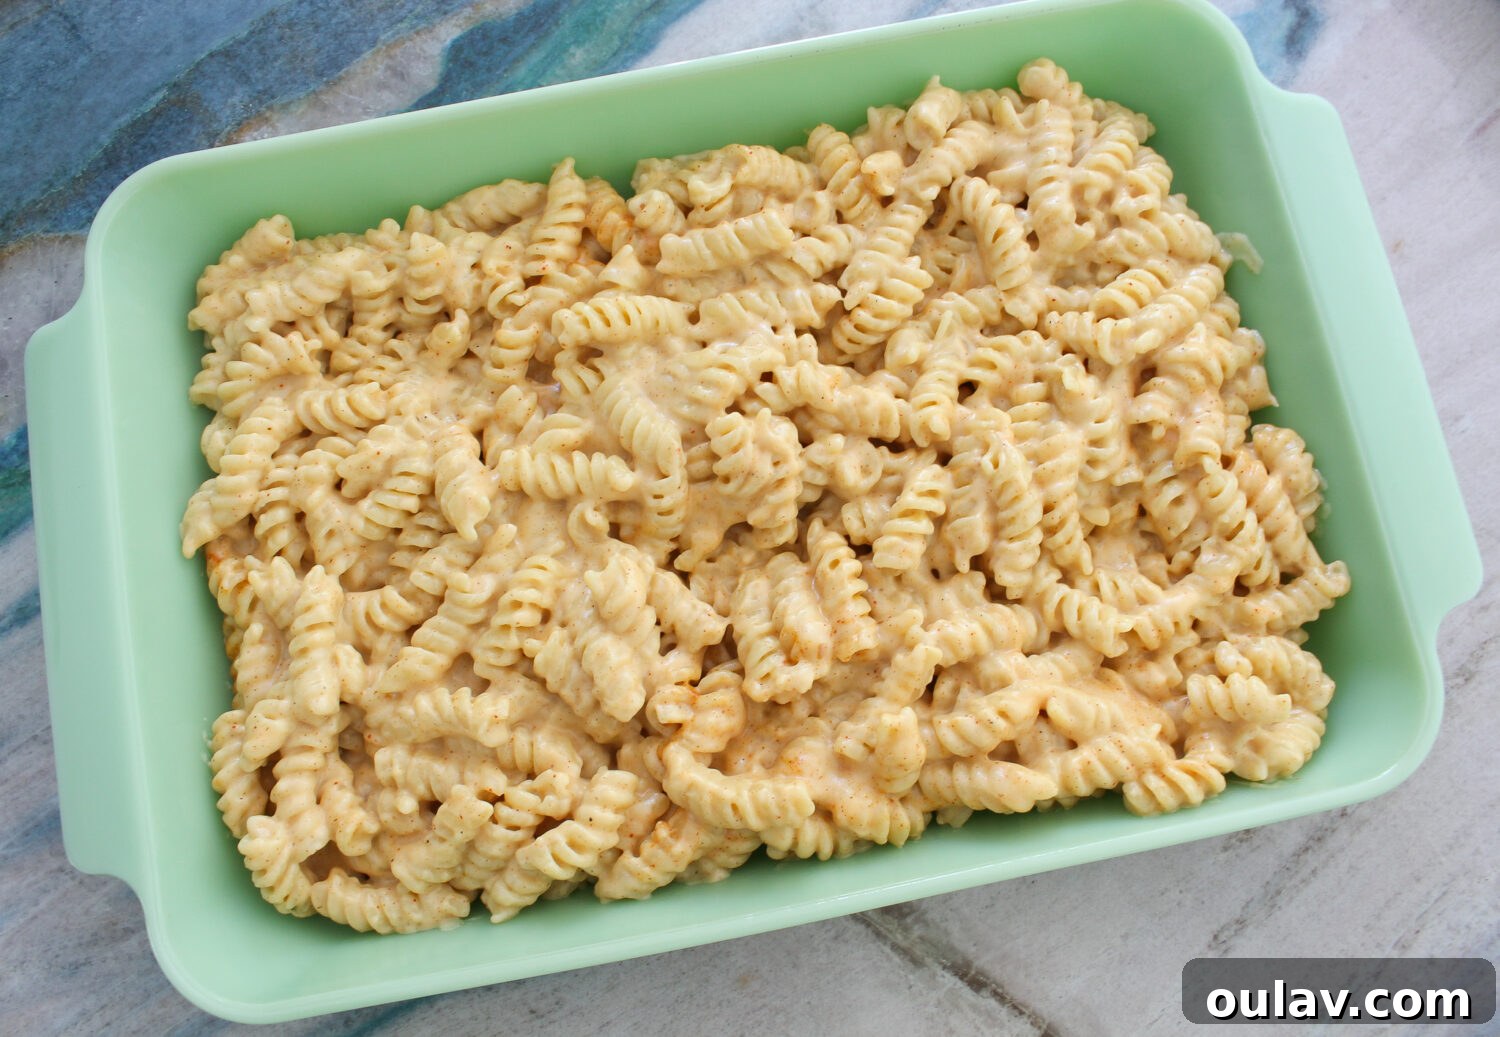
- **Combine Pasta and Sauce:** Return the drained pasta to the empty pot. Pour the hot, freshly made cheese sauce over the cooked noodles. Stir gently but thoroughly, ensuring every piece of pasta is generously coated with the luscious sauce.
- **Resist the Urge to Eat!** This step is the hardest part! It smells incredible, and it tastes amazing straight from the pot. My husband always hovers, asking why we can’t just eat it now (and you certainly *can* eat it at this stage if you prefer an unbaked version!).
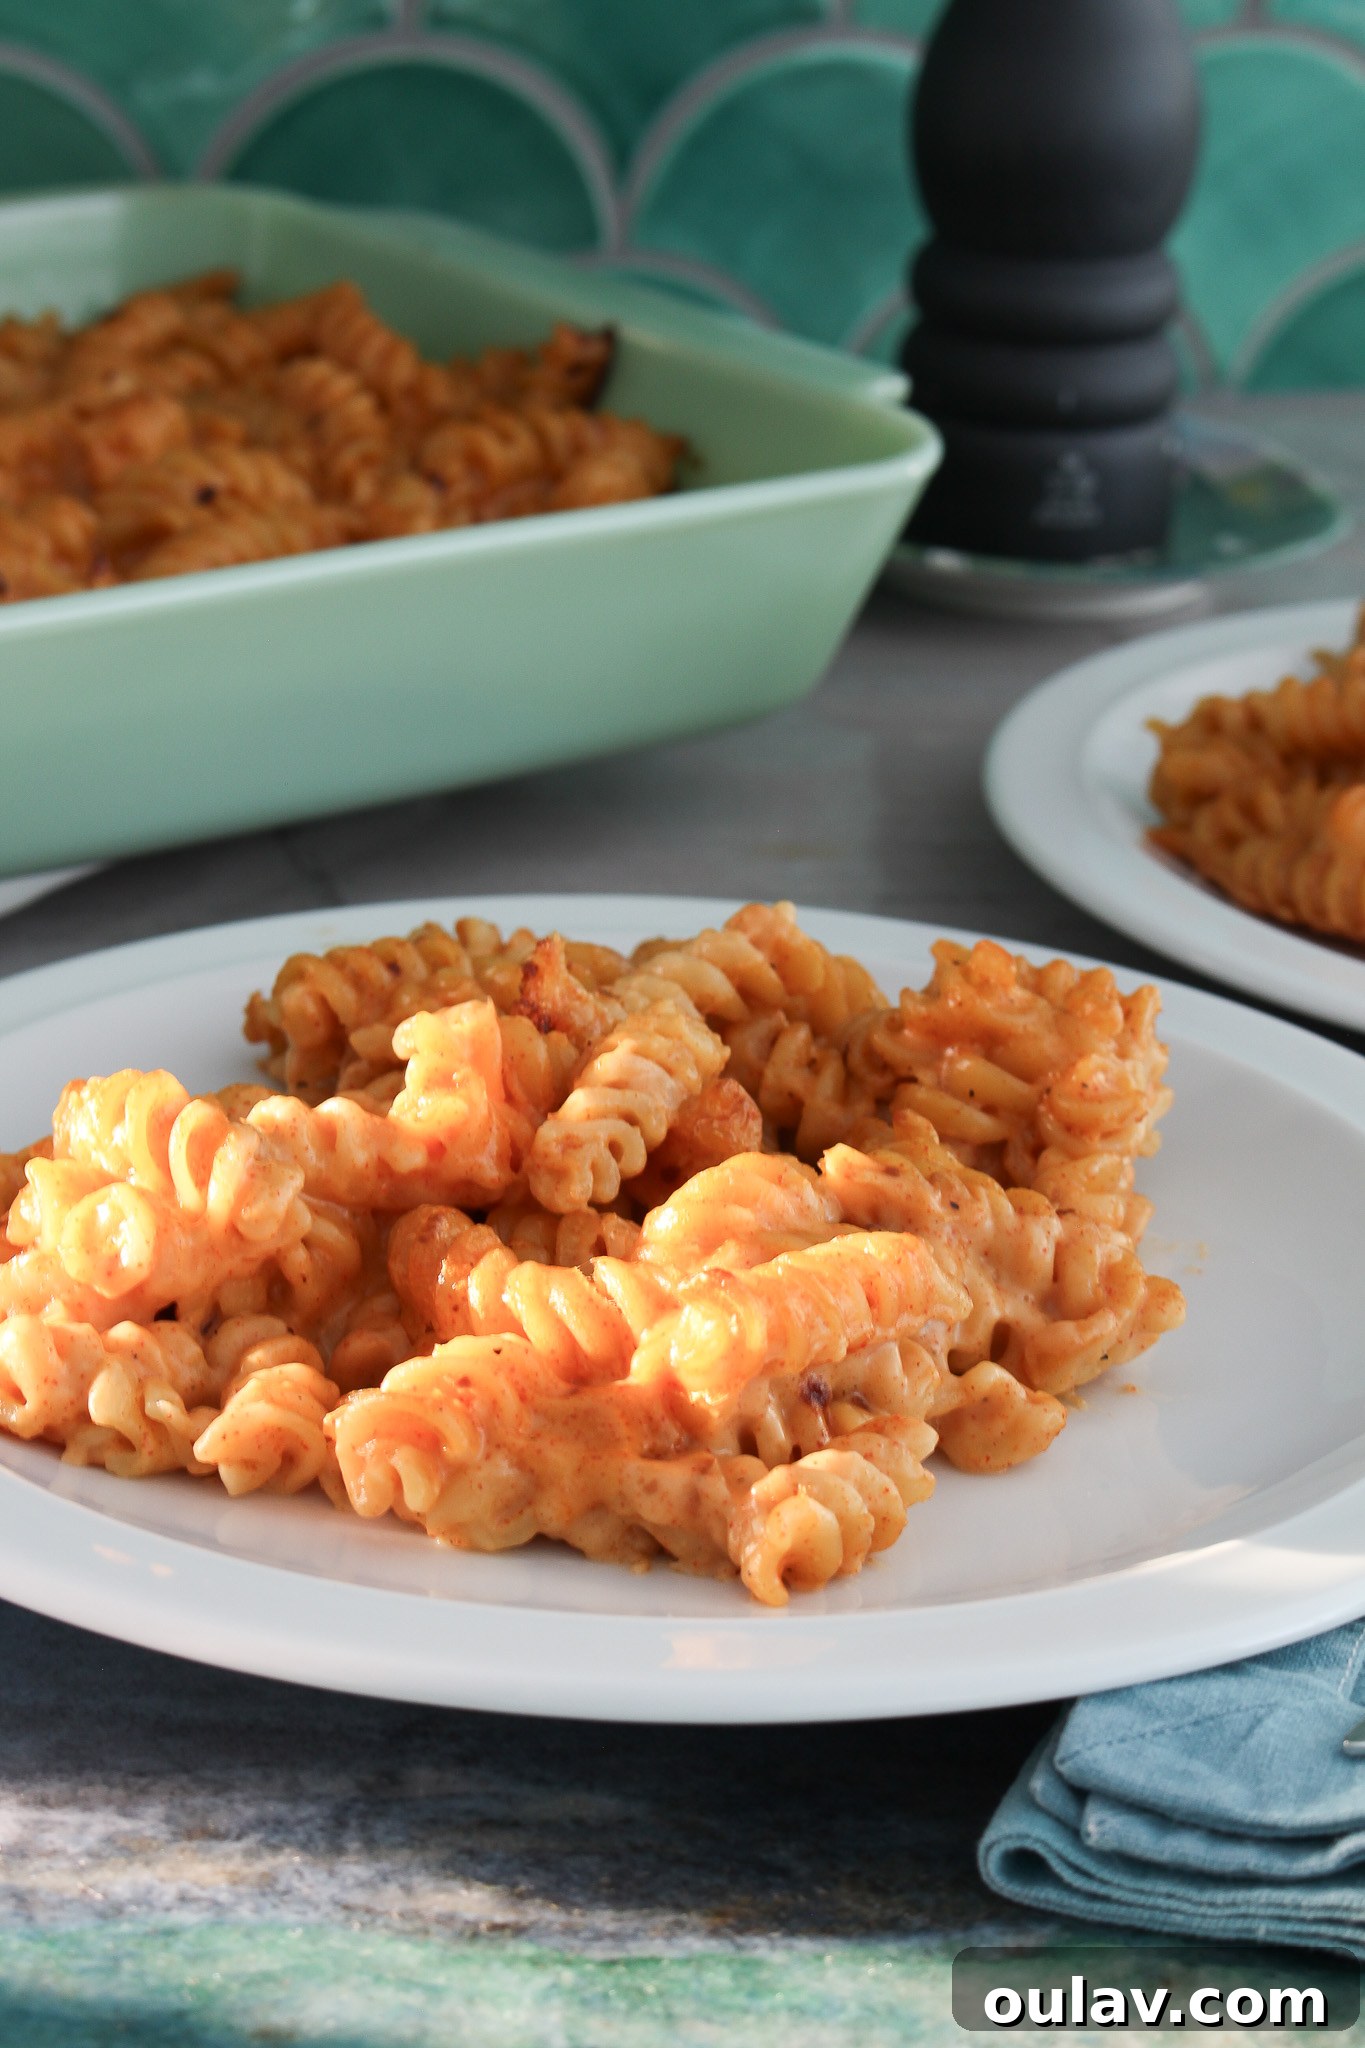
- **Bake to Perfection:** Transfer the sauced pasta into your prepared baking pan. Bake for 25-30 minutes, or until the top is beautifully browned, bubbly, and boasts slight crispy edges of cheese.
Truthfully, the unbaked version of this goat milk mac and cheese is incredibly delicious in its own right, offering a pure, creamy indulgence.
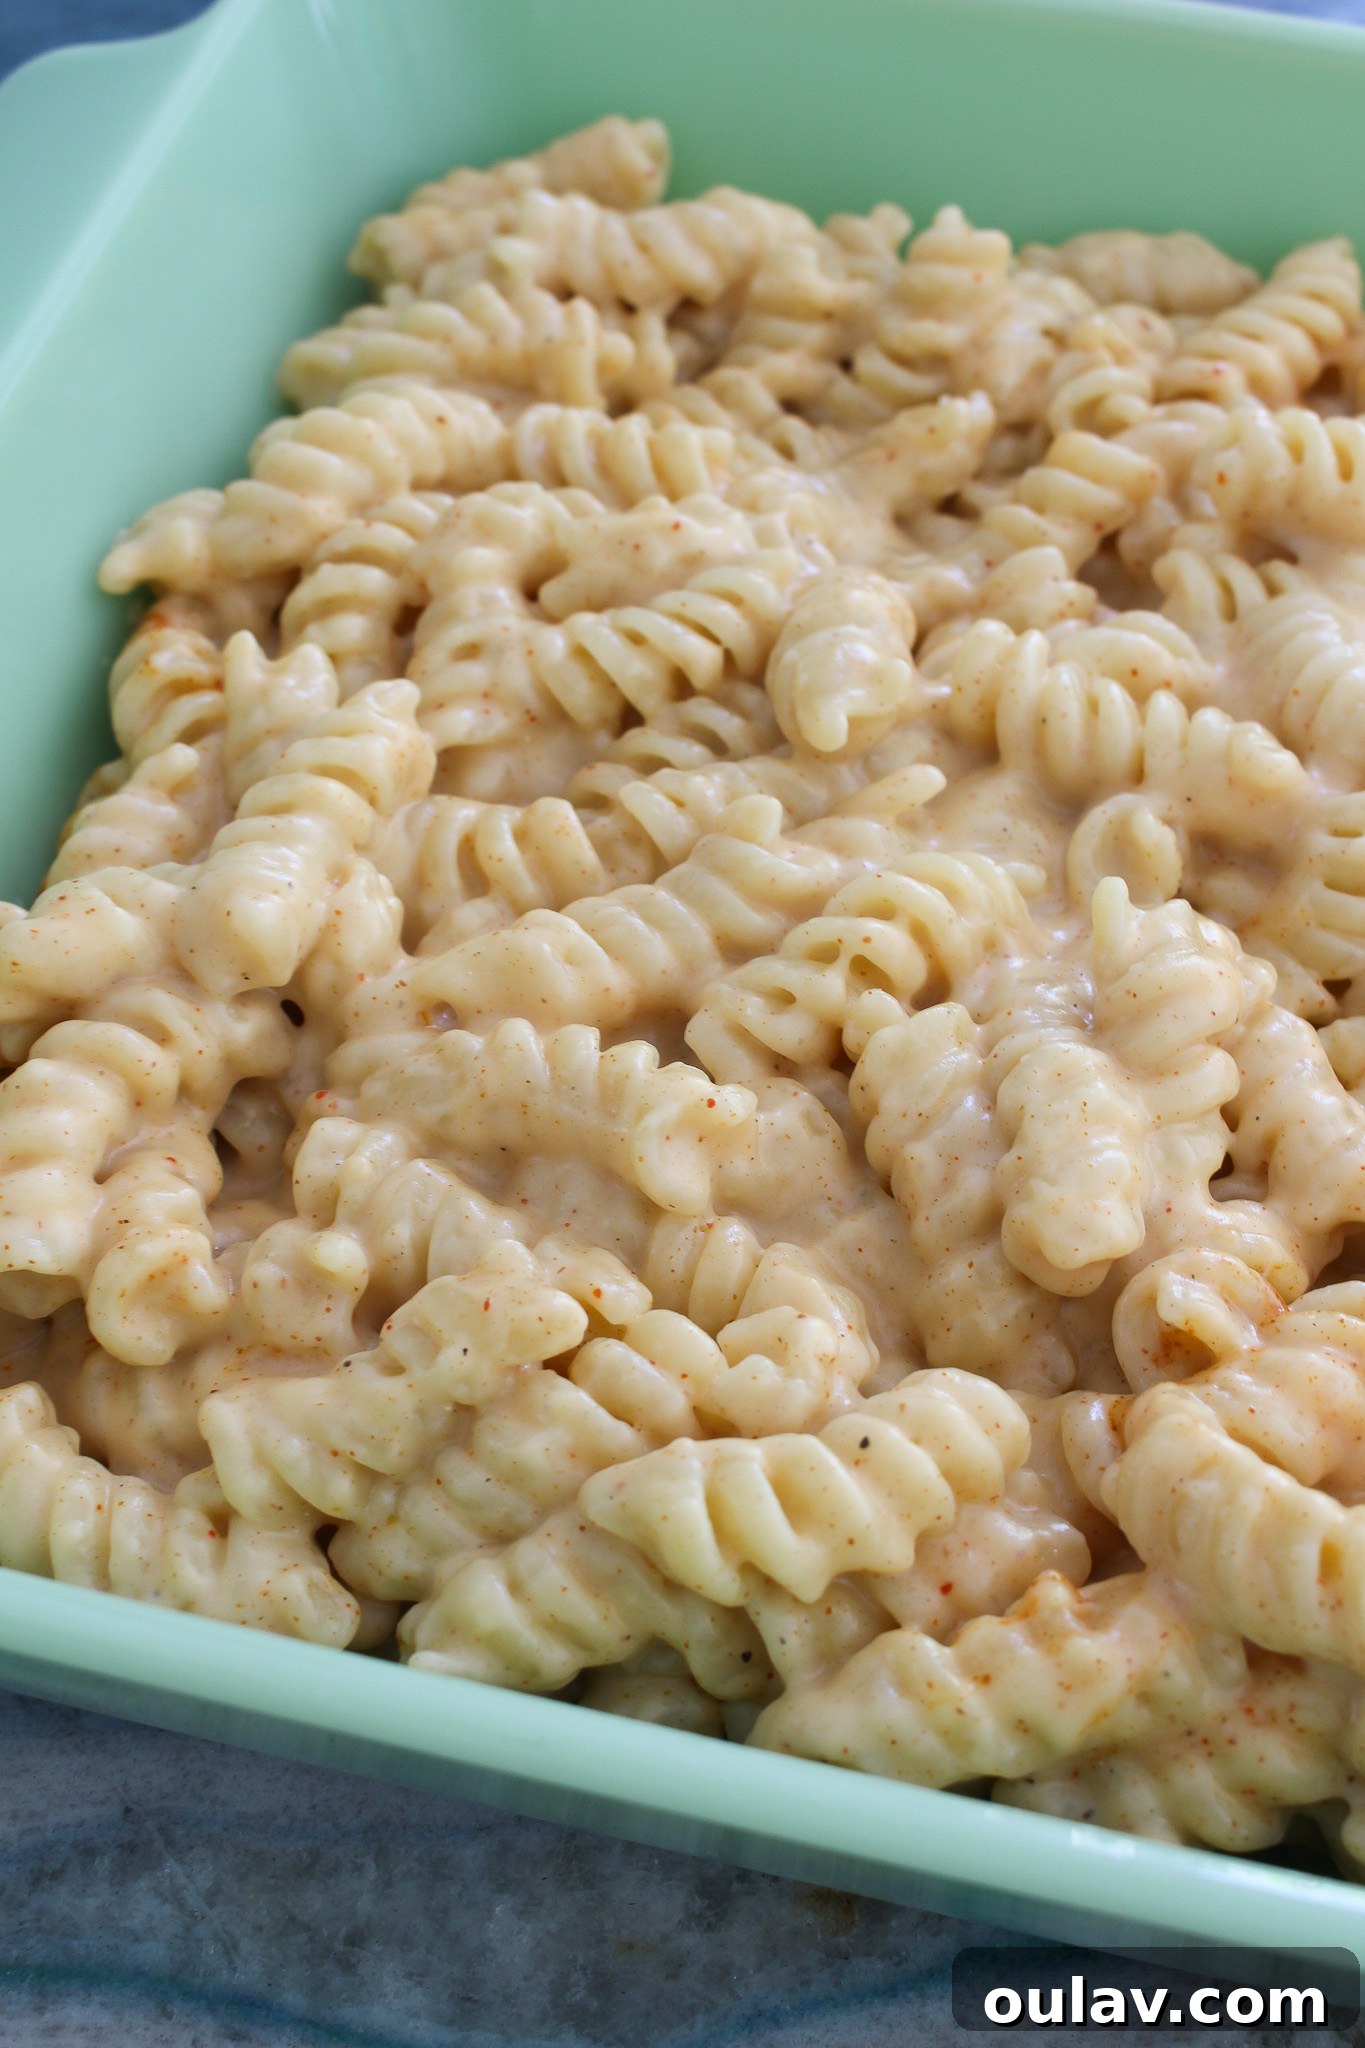
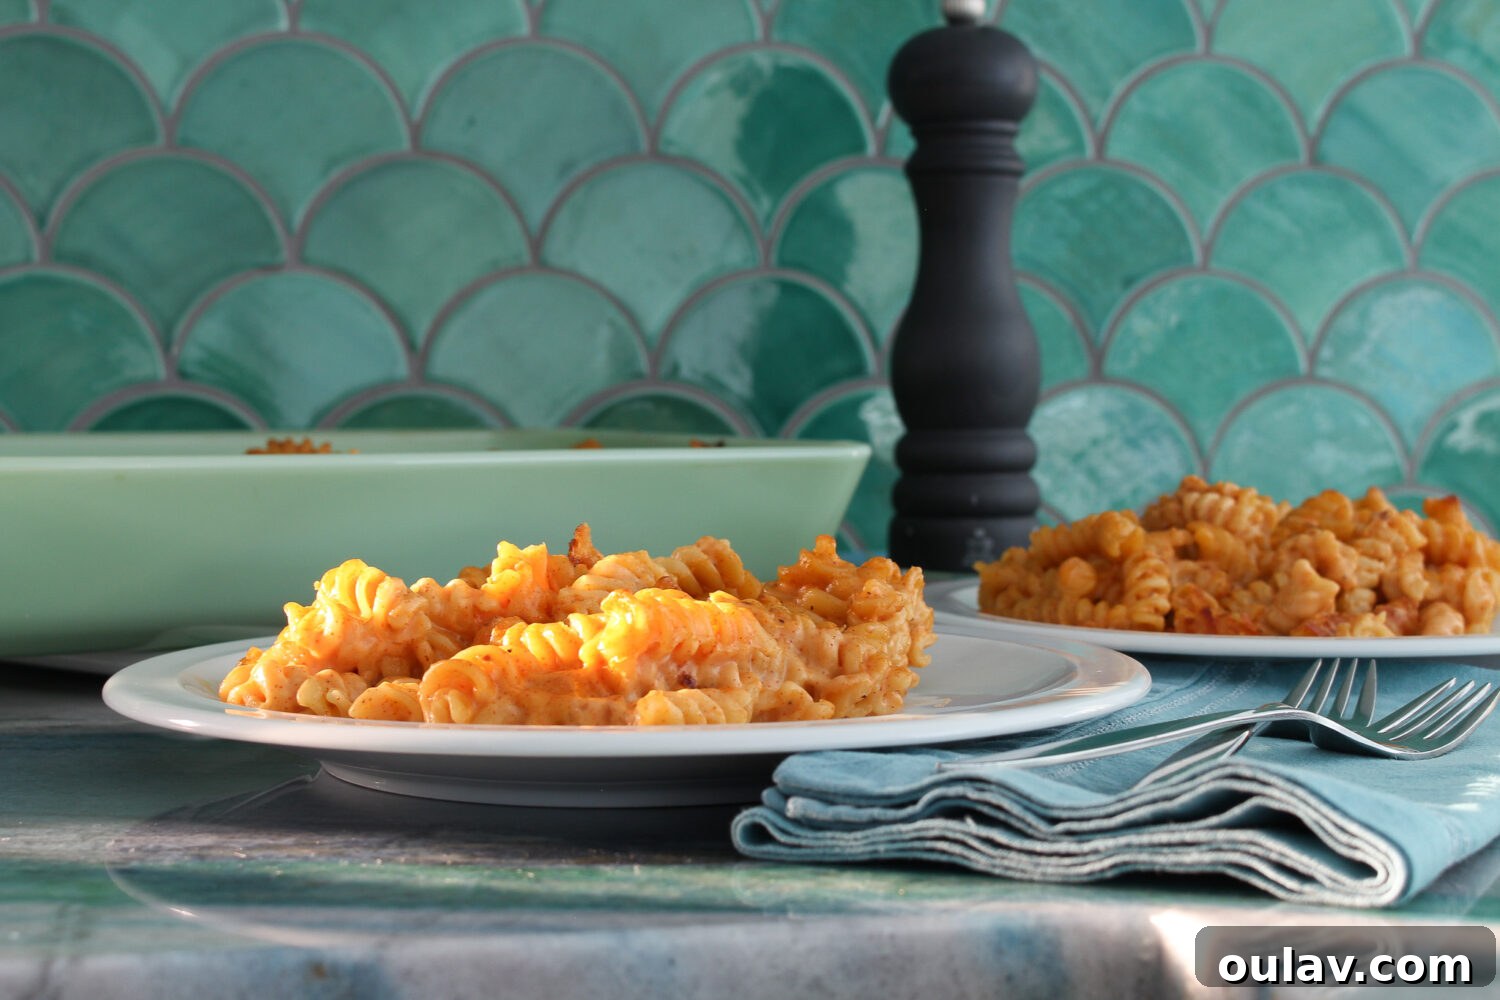
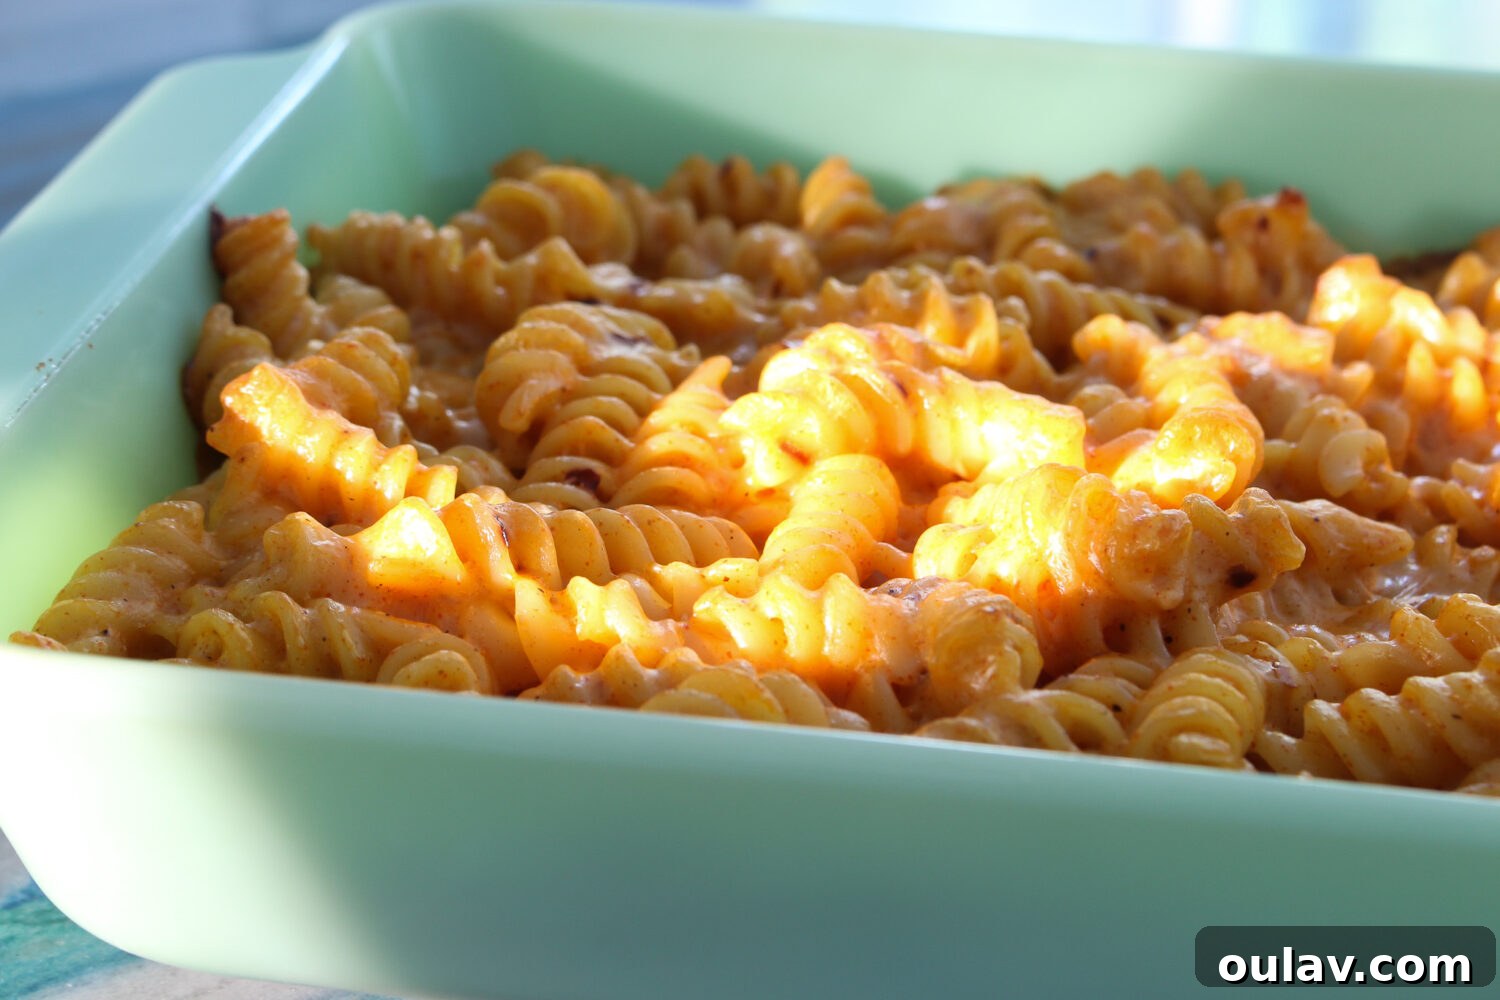
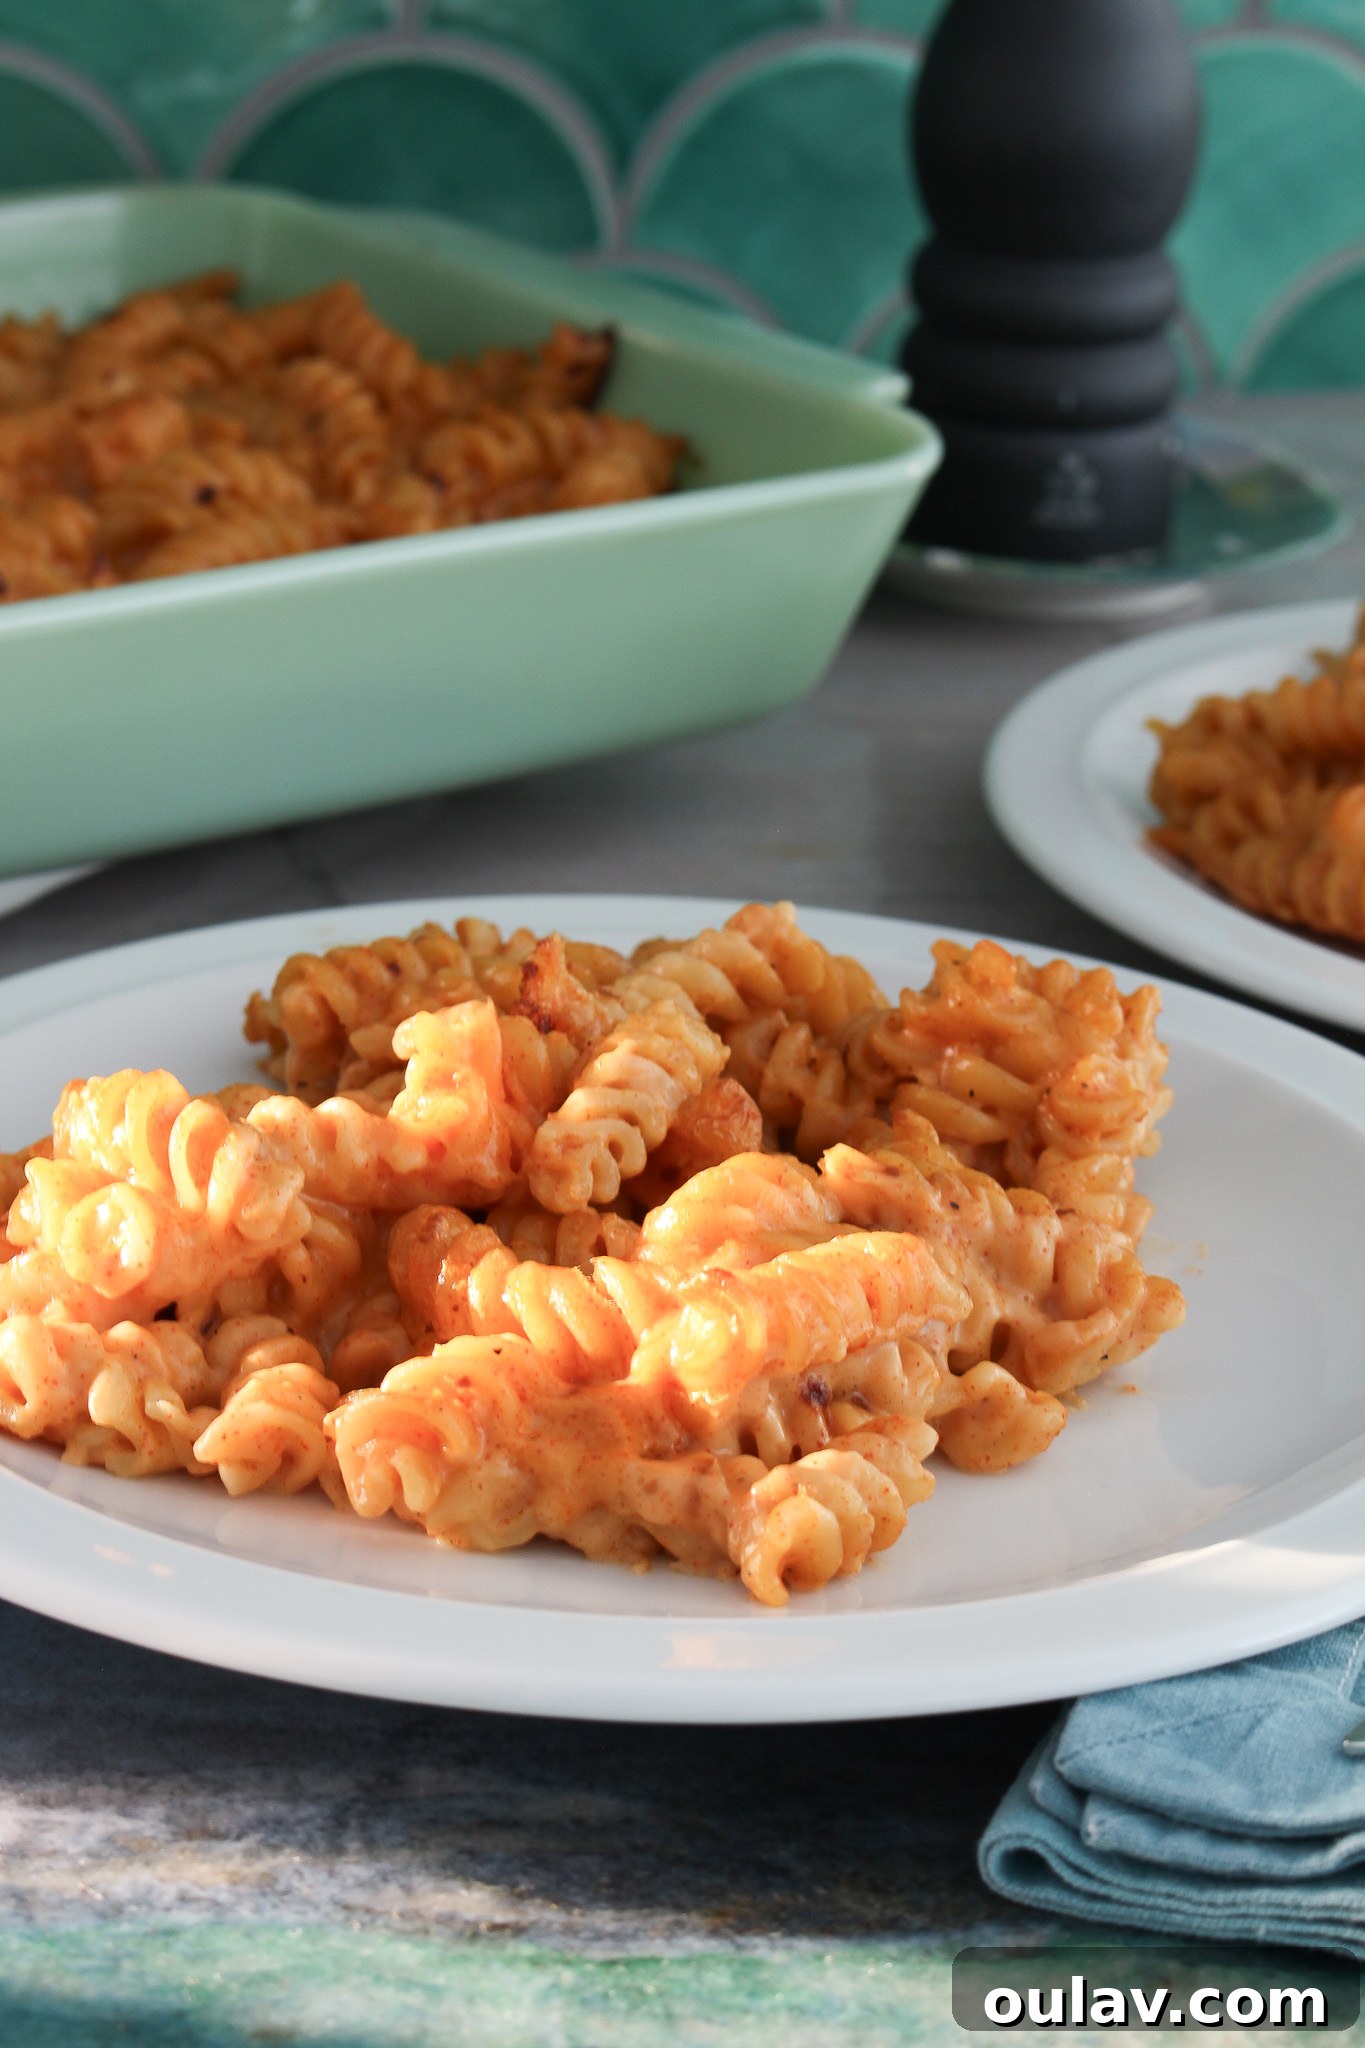
However, I truly believe this spicy mac and cheese recipe reaches its peak deliciousness when baked for those 30 minutes! The slightly crispy top layer adds an incredible textural contrast that transforms the dish from great to truly unforgettable.
Master the Art of Freezing Mac and Cheese Sauce for Future Feasts:
This mac and cheese sauce is a dream for meal prep, freezing beautifully in a couple of different ways. Having a batch of homemade cheese sauce ready in the freezer is a game-changer for quick, delicious meals!
- **Freeze as a Complete Sauce:** You can freeze the fully prepared cheese sauce, ready to be thawed and combined with freshly cooked pasta. This is incredibly convenient for a quick weeknight dinner.
- **Freeze as a Basic Béchamel:** For even more versatility, you can freeze the sauce *before* adding the cheese and spices. At its core, this mac and cheese sauce begins as a béchamel (butter, flour, milk). Freezing just the béchamel base takes up less space and allows you to customize the cheese and spices when you’re ready to use it.
Whichever method you choose, allow the sauce to cool completely before transferring it to freezer-safe containers. Leave a little headspace for expansion. This homemade mac and cheese sauce maintains excellent quality in the freezer; I’ve personally used batches up to a year old with fantastic results. We simply can’t resist it long enough to test beyond that!
To use frozen sauce, simply transfer it to the refrigerator overnight to thaw. Then, gently reheat it in a pot on the stove over low heat, stirring frequently until it’s smooth and warm. If you froze the béchamel base without cheese, simply stir in your grated cheese and spices as it warms through until everything is melted and perfectly combined. This cheese sauce truly is pretty foolproof!
Common Pitfalls to Avoid for Mac and Cheese Perfection
While making homemade mac and cheese is generally forgiving, there are a few common mistakes that can prevent you from achieving ultimate perfection. Avoiding these will ensure your dish is consistently delicious and a true crowd-pleaser:
- **Don’t Scald or Burn the Milk:** When making the sauce, gently heat the milk. High heat can cause the milk to scald, leading to a thin skin forming on top and imparting an unpleasant burnt flavor that will ruin your entire sauce. Keep the heat low to medium-low and stir constantly.
- **Don’t Overcook the Pasta:** Al dente is your friend! The pasta will continue to cook when combined with the hot sauce and especially if you’re baking the mac and cheese. Overcooked pasta turns mushy and loses its satisfying texture. Aim for pasta that still has a slight bite to it before draining.
- **Don’t Skimp on the Cheese:** This might seem obvious for mac and cheese, but sometimes people try to reduce the cheese content. A truly luxurious mac and cheese needs a generous amount of good quality cheese. If you use too little, the sauce will lack depth, richness, and that satisfying stretch.
- **Don’t Overthink Your Cheese Choices (but do consider them!):** While an aged sharp cheddar is a classic choice for a reason, don’t be afraid to experiment! I love using Gruyere for a sophisticated twist, or a blend of mozzarella and Edam for a milder, stretchier texture. The joy of homemade mac and cheese is in customizing it to your taste. Start with sharp cheddar, but feel free to mix in other favorites like smoked gouda, Fontina, or Colby Jack.
- **Don’t Be Afraid to Mix it Up:** Mac and cheese is a fantastic canvas for additional ingredients. Consider adding cooked peas, finely chopped broccoli, or spinach for extra nutrition. Cooked proteins like shredded chicken, crispy bacon bits, or diced ham can turn it into a hearty main meal. A dash of Dijon mustard or Worcestershire sauce can also deepen the savory notes without being overtly noticeable.
With these tips and our comprehensive recipe, you’re well on your way to creating the most incredible spicy goat milk mac and cheese you’ve ever tasted. It’s a dish that proves comfort food can also be exciting, flavorful, and a little bit adventurous. Enjoy every creamy, spicy, and satisfying bite!