
Transform Your Hardware: The Ultimate Guide to Rub ‘n Buff for Stunning Home Upgrades
Are you looking to refresh your home’s aesthetic without breaking the bank? Often, the smallest details can make the biggest impact. If you can’t find the perfect new hardware to match your vision, or if you simply want to breathe new life into existing pieces, then a simple yet powerful solution awaits: Rub ‘n Buff. This incredible product allows you to revitalize tired, dated, or mismatched hardware, giving it a high-end, custom look with minimal effort and expense. Dive into our comprehensive guide to mastering Rub ‘n Buff and unlock the potential for truly stunning home transformations.
Why Choose Rub ‘n Buff for Your Hardware Makeover?
Rub ‘n Buff is an artisan-quality wax-based metallic finish that’s incredibly easy to apply and offers a surprisingly durable result. It’s a favorite among DIY enthusiasts and professional renovators alike for several compelling reasons:
A Budget-Friendly Makeover Solution
Replacing all the hardware in your home, especially for larger projects like kitchen cabinets or furniture pieces, can quickly become a significant expense. High-quality pulls, knobs, and handles often come with a hefty price tag, making a full overhaul seem daunting. Rub ‘n Buff provides an ingenious workaround, allowing you to completely change the look of your existing hardware for a fraction of the cost. It’s an exceptional way to upcycle old pieces, contributing to a more sustainable home while achieving a luxurious finish.
Achieving a High-End, Custom Look
Unlike spray paint, which can sometimes look flat or too uniform, Rub ‘n Buff delivers a finish that truly mimics the natural luster and texture of metal. Its wax-based formula allows for a more nuanced application, giving you control over the depth and sheen. Whether you’re aiming for a brushed silver, an antique gold, or a deep pewter, Rub ‘n Buff can help you achieve that coveted custom appearance without the “painted” aesthetic. The result is hardware that looks genuinely expensive and thoughtfully curated.
Versatility Beyond Just Knobs and Pulls
While this guide focuses on hardware, the magic of Rub ‘n Buff extends far beyond just knobs and pulls. It can be used to revitalize picture frames, lamps, decorative accents, small furniture details, and even intricate architectural elements. Its versatility makes it a valuable tool in any DIYer’s arsenal, allowing for cohesive design elements throughout your space.

Getting Started: What You’ll Need for Your Rub ‘n Buff Project
Before you embark on your hardware transformation, gather all your materials. Proper preparation ensures a smooth and successful application.
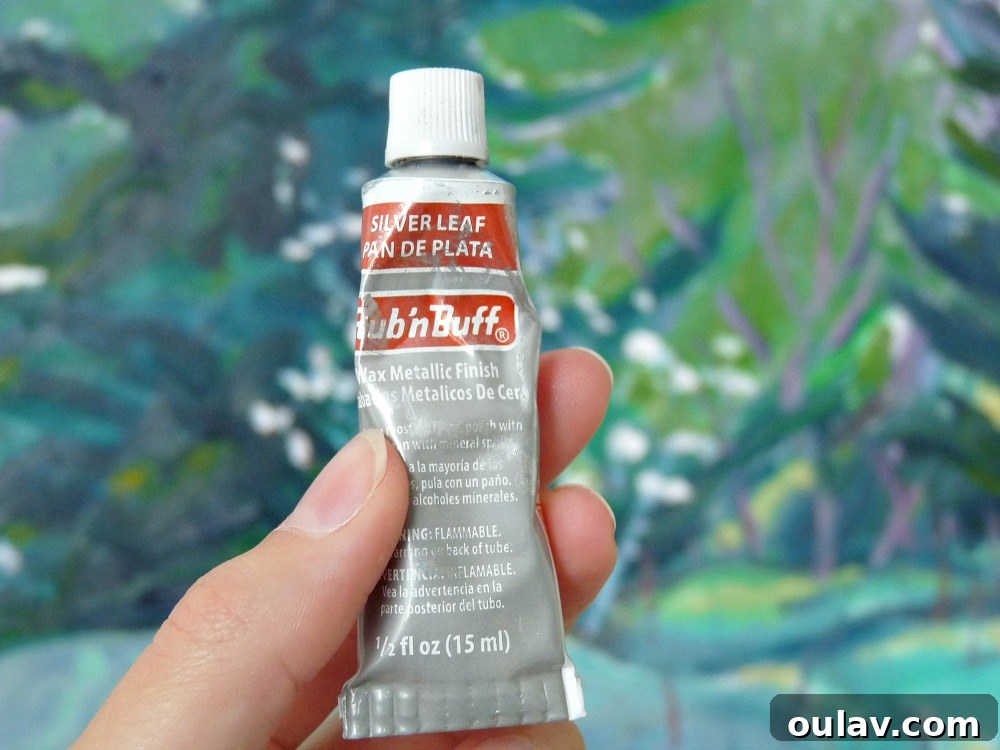
- Rub ‘n Buff: Select your desired color. Popular choices for hardware include Silver Leaf (for a bright, brushed silver), Gold Leaf, European Gold, and Pewter. A single small tube goes a very long way! You can often find it on Amazon if it’s not readily available in local craft stores.
- Cleaning Supplies: Dish soap, warm water, and a brush or old toothbrush to clean crevices.
- Soft Cloths: Several lint-free soft cloths for application and buffing. Old t-shirts or microfiber cloths work well.
- Gloves: While some methods recommend bare fingers for control (and we’ll discuss this!), gloves are highly recommended for cleanliness and protecting your skin from repeated washing.
- Optional Brushes: Small artist brushes can be useful for intricate details.
- Protective Surface: Newspaper, cardboard, or a drop cloth to protect your workspace.
- Mineral Spirits or Rubbing Alcohol: For cleanup or correcting mistakes.
Step-by-Step Guide: How to Apply Rub ‘n Buff to Hardware
Follow these steps to achieve a professional-looking finish on your hardware.
Preparation is Key
The success of your Rub ‘n Buff project heavily relies on a clean surface. Any dirt, grease, or grime will prevent the wax from adhering properly, leading to an uneven or flaky finish.
- Remove Hardware: Carefully remove all hardware from its fixtures. This ensures you can apply the product evenly and avoid accidentally getting it on your furniture or cabinets.
- Clean Thoroughly: Wash each piece of hardware with warm, soapy water. Use a small brush or an old toothbrush to scrub away any buildup, especially in intricate designs or crevices. Rinse thoroughly.
- Dry Completely: Pat the hardware dry with a clean cloth, then allow it to air dry for several hours, or even overnight, to ensure there is absolutely no moisture left. Even slight dampness can hinder adhesion.
- Protect Your Workspace: Lay down newspaper, cardboard, or a plastic sheet to protect your work surface from any potential mess.

The Application Process
A little Rub ‘n Buff goes an incredibly long way. You only need a tiny amount for each piece of hardware.
- Dispense a Small Amount: Squeeze out a pea-sized amount onto a protected surface or directly onto your chosen applicator.
- Choose Your Applicator:
- Fingers (Gloves Recommended): Many users, including myself, find that using gloved fingers offers the best control, allowing you to really work the product into every curve and crevice. This method helps achieve a very natural finish.
- Soft Cloth: A lint-free cloth is excellent for larger, flatter surfaces and for achieving a uniform spread.
- Small Brush: For very intricate details or hard-to-reach areas, a small artist’s brush can be effective. However, be mindful that brushes might leave slight brushstrokes if not applied carefully.
- Apply Thinly and Evenly: With your chosen applicator, gently rub the Rub ‘n Buff onto the hardware. Use a circular motion or short, even strokes. The key is to apply very thin, even layers. Avoid applying too much at once, as it can become difficult to buff. You want to see the color slowly build up, allowing the original texture of the metal to peek through, giving it that authentic, less “painted” look.
- Focus on Control: One of the perks of Rub ‘n Buff over spray paint is the control it offers. You can easily avoid getting the product into screw threads, ensuring they function perfectly once reinstalled.


The Buffing Stage
The “buff” in Rub ‘n Buff is where the magic truly happens, transforming the dull application into a vibrant metallic sheen.
- Timely Buffing: After applying a thin layer, wait a few minutes for the wax to set slightly but not completely dry. The timing is crucial here – if you buff too soon, you’ll rub off too much product. If you wait too long, it will be too dry to buff to a shine. Experiment with a small, inconspicuous area first.
- Gentle Buffing: Using a clean, soft cloth, gently buff the surface of the hardware in a circular motion. You’ll notice the metallic luster emerging. Continue buffing until you achieve your desired shine.
- Layering for Intensity: If you want a deeper color or a more intense shine, allow the first layer to cure for an hour or two, then apply another thin layer of Rub ‘n Buff and buff again. Multiple thin layers generally yield a better, more durable finish than one thick coat.
Curing and Finishing Touches
Patience is a virtue, especially in the final stages of your project.
- Allow to Cure: Once you’ve achieved your desired finish, allow the hardware to cure completely. This usually takes 24 hours, but for high-traffic items, waiting 48-72 hours before reinstallation can enhance durability.
- Optional Sealant: For hardware in high-use areas (like kitchen cabinets), you might consider applying a clear, non-yellowing protective sealant. Always test the sealant on an inconspicuous area first to ensure it doesn’t dull or alter the Rub ‘n Buff finish.
- Reinstall: Carefully reattach your beautifully transformed hardware.


Tips and Tricks for a Flawless Rub ‘n Buff Finish
- Practice Makes Perfect: If you’re new to Rub ‘n Buff, try it on a small, less important piece of hardware or an old scrap of metal first. This will help you get a feel for the application and buffing process.
- Correcting Mistakes: If you apply too much or make a mistake, a small amount of mineral spirits or rubbing alcohol on a cotton swab can help remove or blend the product before it fully cures.
- Achieving Different Effects: For an antique or distressed look, apply Rub ‘n Buff, then gently wipe some away from raised areas before fully buffing. For a brighter shine, buff more vigorously.
- Ventilation is Key: While Rub ‘n Buff isn’t as fume-heavy as spray paint, it’s always wise to work in a well-ventilated area.
- Durability: Rub ‘n Buff is surprisingly durable, especially on pieces that aren’t constantly handled. For high-traffic areas, the optional clear coat can extend its life. I’ve found it holds up very well on decorative pieces and even moderately used hardware.
My Personal Rub ‘n Buff Journey: From Trench Digging to Hardware Transformation
My foray into the world of Rub ‘n Buff came at a rather… active time. We had just endured the chaos of a new furnace installation, which unexpectedly turned into a massive landscaping project when our propane supplier “reneged” on digging the required trench. With my husband busy transforming our yard into a construction site, I decided to tackle a different kind of project. I find I’m often ridiculously productive when avoiding other, less desirable tasks, and this was no exception!
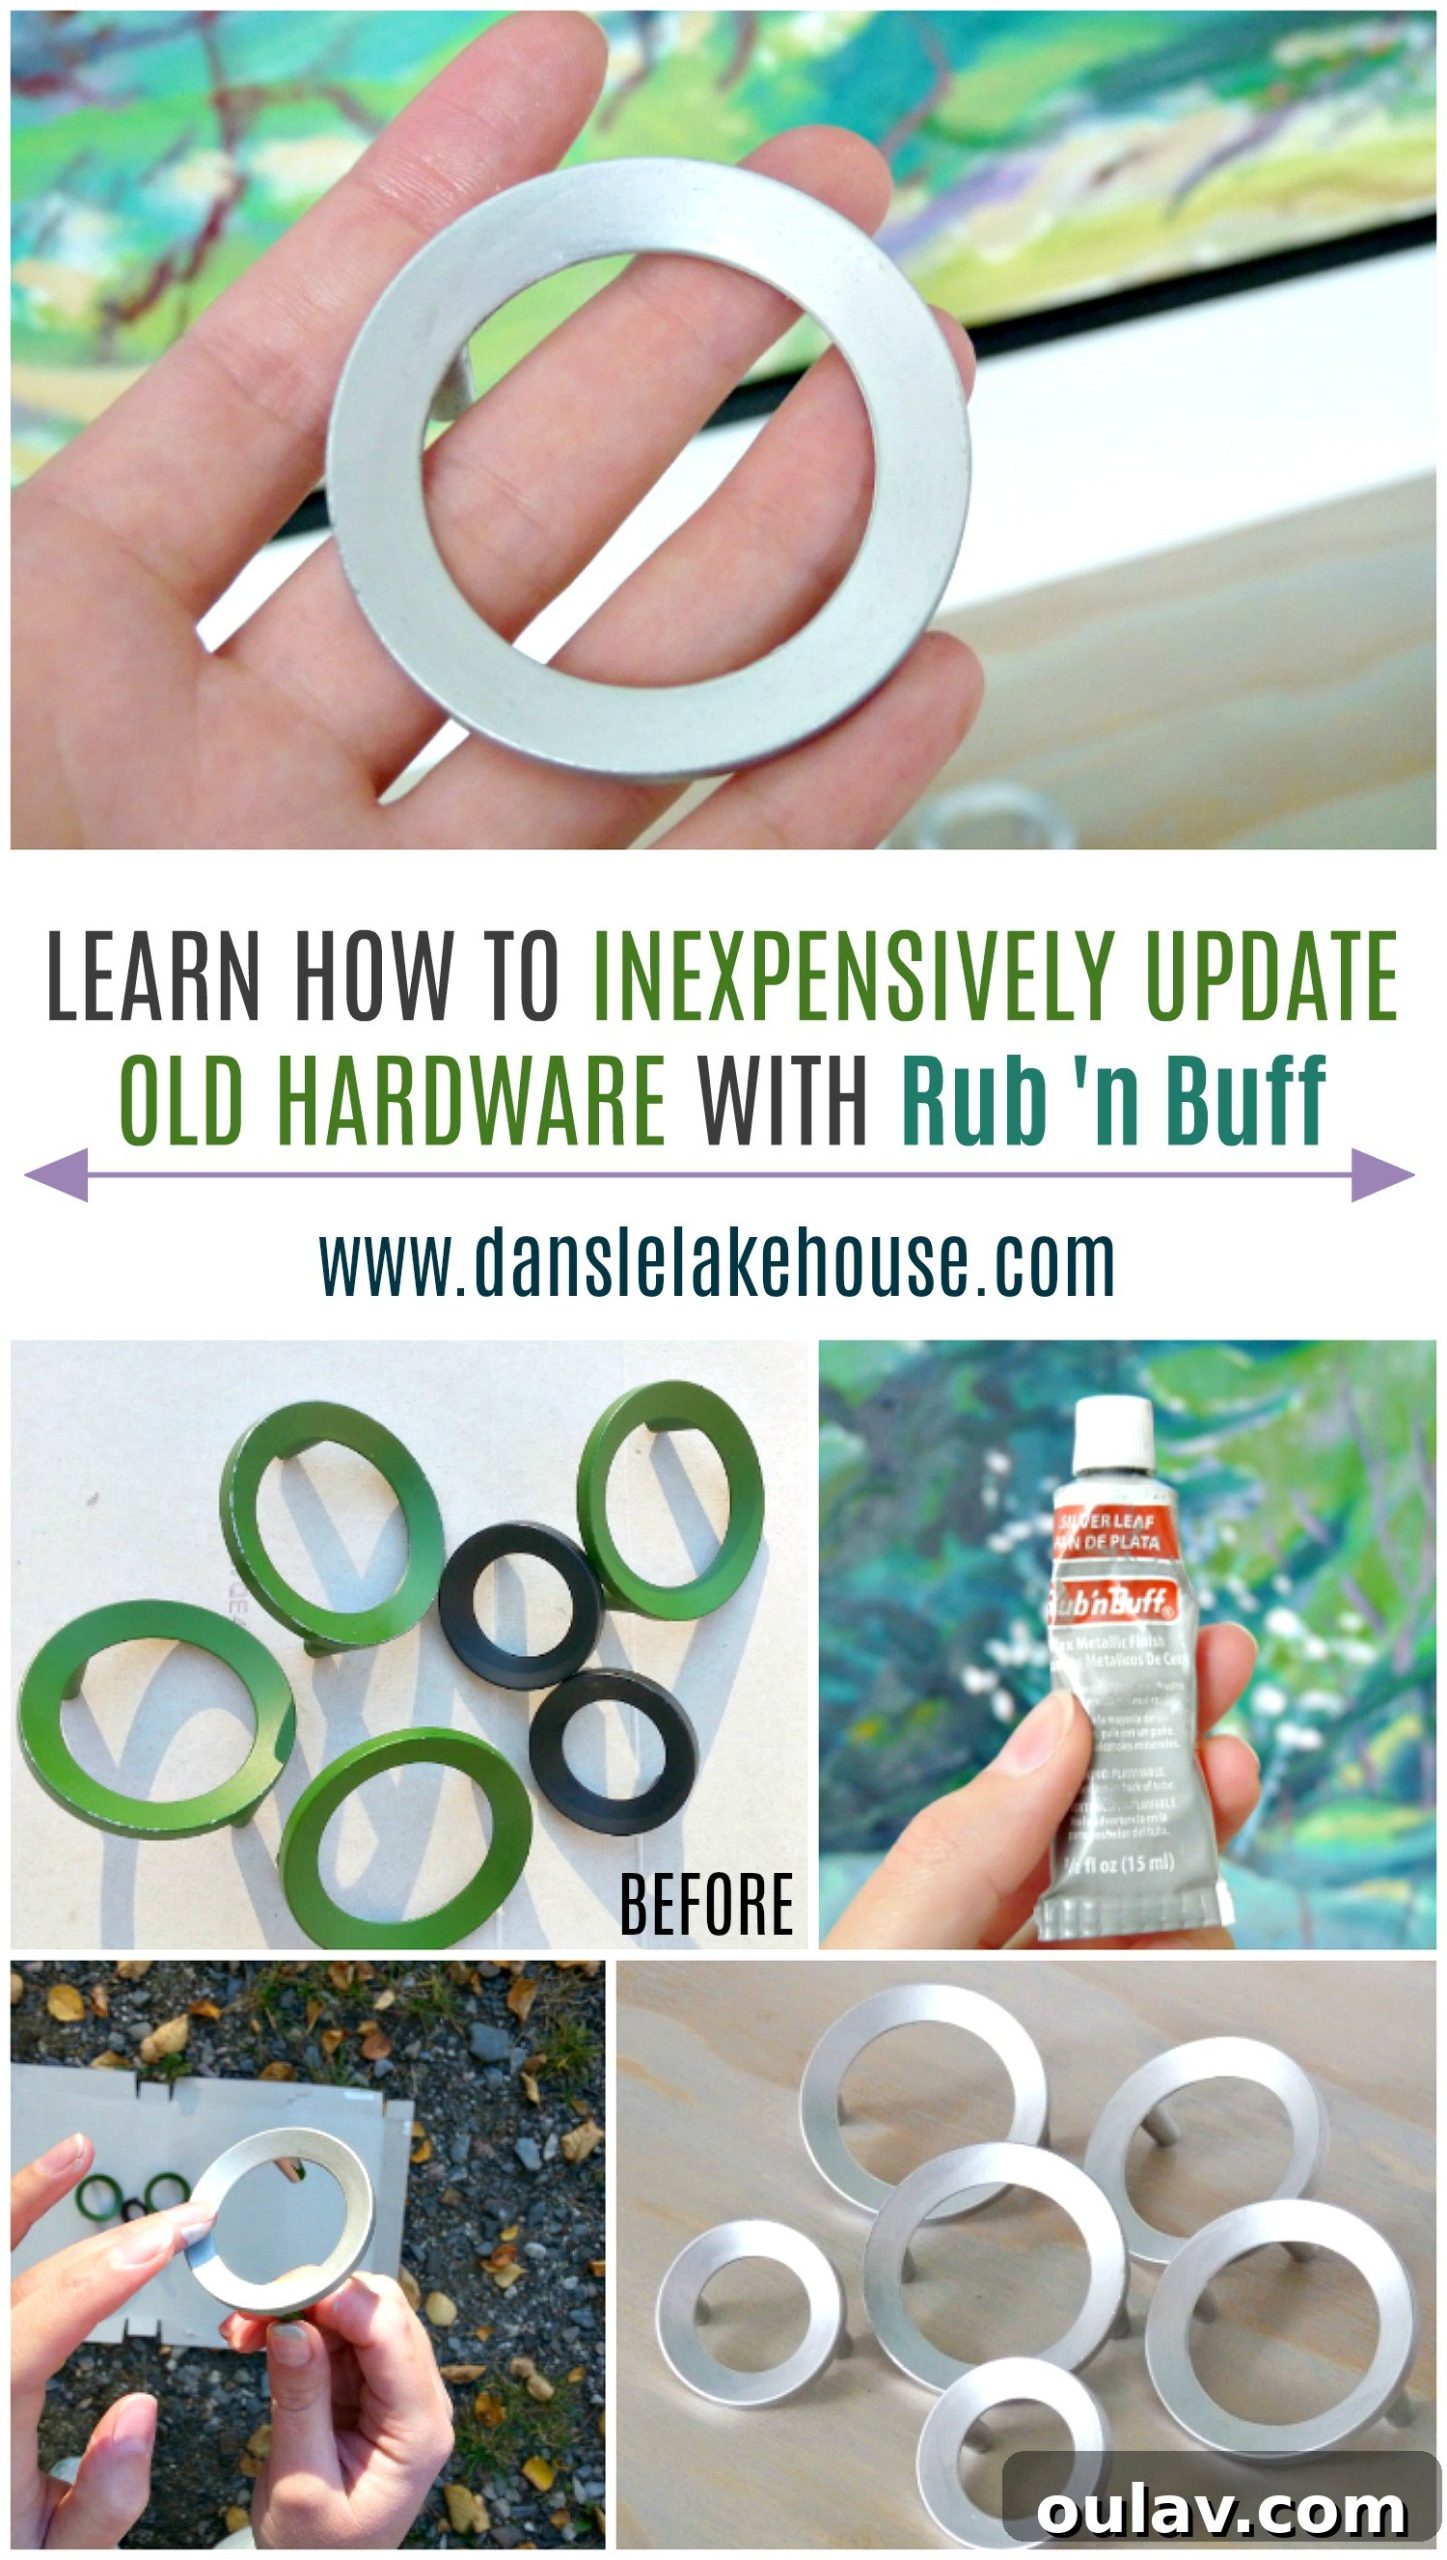
For weeks, I’d been on the hunt for suitable hardware for the awesome plywood magazine files my husband and I had built. New, attractive hardware was proving impossible to find under $15 a knob – those agate pulls were beautiful, but my wallet disagreed. On a whim, I decided to check my local Habitat for Humanity ReStore. It was there I struck gold (or, rather, potential silver!). I found several intriguing options, including some beautiful circular pulls. While I initially loved a set of four, I needed five. A little more rummaging, however, led me to two smaller circular pulls. I decided to mix and match sizes – a design choice that often adds character. My excitement only grew when I realized they were “Made in Austria” – a pleasant surprise for this snob about European-made craftsmanship!
The colors were all wrong, of course, but that was precisely the point. This was my chance to finally try Rub ‘n Buff. I’d heard so much about it but had to order my “Silver Leaf” shade from Amazon, as it wasn’t readily available locally.
The application itself was a learning curve. Rub ‘n Buff is a peculiar product. It goes on smoothly, and truly, a tiny dab covers a large area. It absolutely provides a more natural, less “painted” finish than other methods. However, I found it surprisingly time-consuming. My hand started to cramp from the continuous rubbing and buffing. There’s a delicate balance: buff too soon, and you rub too much off; wait too long, and it dries past the point of buffing effectively. It felt like a trade-off compared to spray paint – quicker drying, but more hands-on work. I’m sure with practice, the process becomes much faster, but for a first-timer, it was an exercise in patience.
I experimented with a cloth, a brush, and my fingers, as recommended by the manufacturer. Ultimately, I found my fingers gave me the best control for applying the wax, allowing me to work it into all the nooks and crannies. I then used a soft cloth for the final buffing. The only downside? It made a total mess! My hands were covered, and it took several skin-dehydrating hand-washing sessions with soap to get them clean. My husband, ever the safety advocate, caught me doing my best “Tin Man” impression, completely covered in the stuff. He started his usual safety lecture, “Shouldn’t you be wearing gloves? Doesn’t the tube say to wear gloves?”
I proudly informed him, “Nope! The tube specifically says to apply with my fingers. Now, get back to digging!”

Despite the “piddly” work, the results were undeniable. The hardware now boasted a beautiful, smooth finish that retained the natural texture of the metal underneath. So far, the durability is impressive, and I would absolutely use Rub ‘n Buff again for small hardware makeovers. It truly feels foolproof.
Beyond Hardware: Unleash Your Creativity with Rub ‘n Buff
The versatility of Rub ‘n Buff is its greatest asset. Don’t limit its use to just hardware. Think about all the small, inexpensive items in your home that could benefit from a metallic glow. Old picture frames, thrift store vases, even plastic ornaments can be transformed into elegant, high-end pieces with a simple rub and buff. Experiment with different colors and techniques to create aged, weathered, or brightly polished effects.
The beauty of this product lies in its ability to take something ordinary and make it extraordinary, giving you the power to customize your decor to perfectly match your evolving style. It’s an empowering tool for anyone looking to add a touch of sophisticated charm to their living space without the hefty price tag.
Ready to Start Your Hardware Transformation?
If you’re ready to give your home a fresh, updated look with minimal investment, Rub ‘n Buff is your secret weapon. It’s a rewarding DIY project that yields stunning results, proving that sometimes, the smallest changes make the biggest difference. Grab a tube, pick your favorite hardware, and get ready to impress!
See the awesome plywood magazine files we built (with aqua interiors!) that showcase this new-to-me hardware by clicking here!
