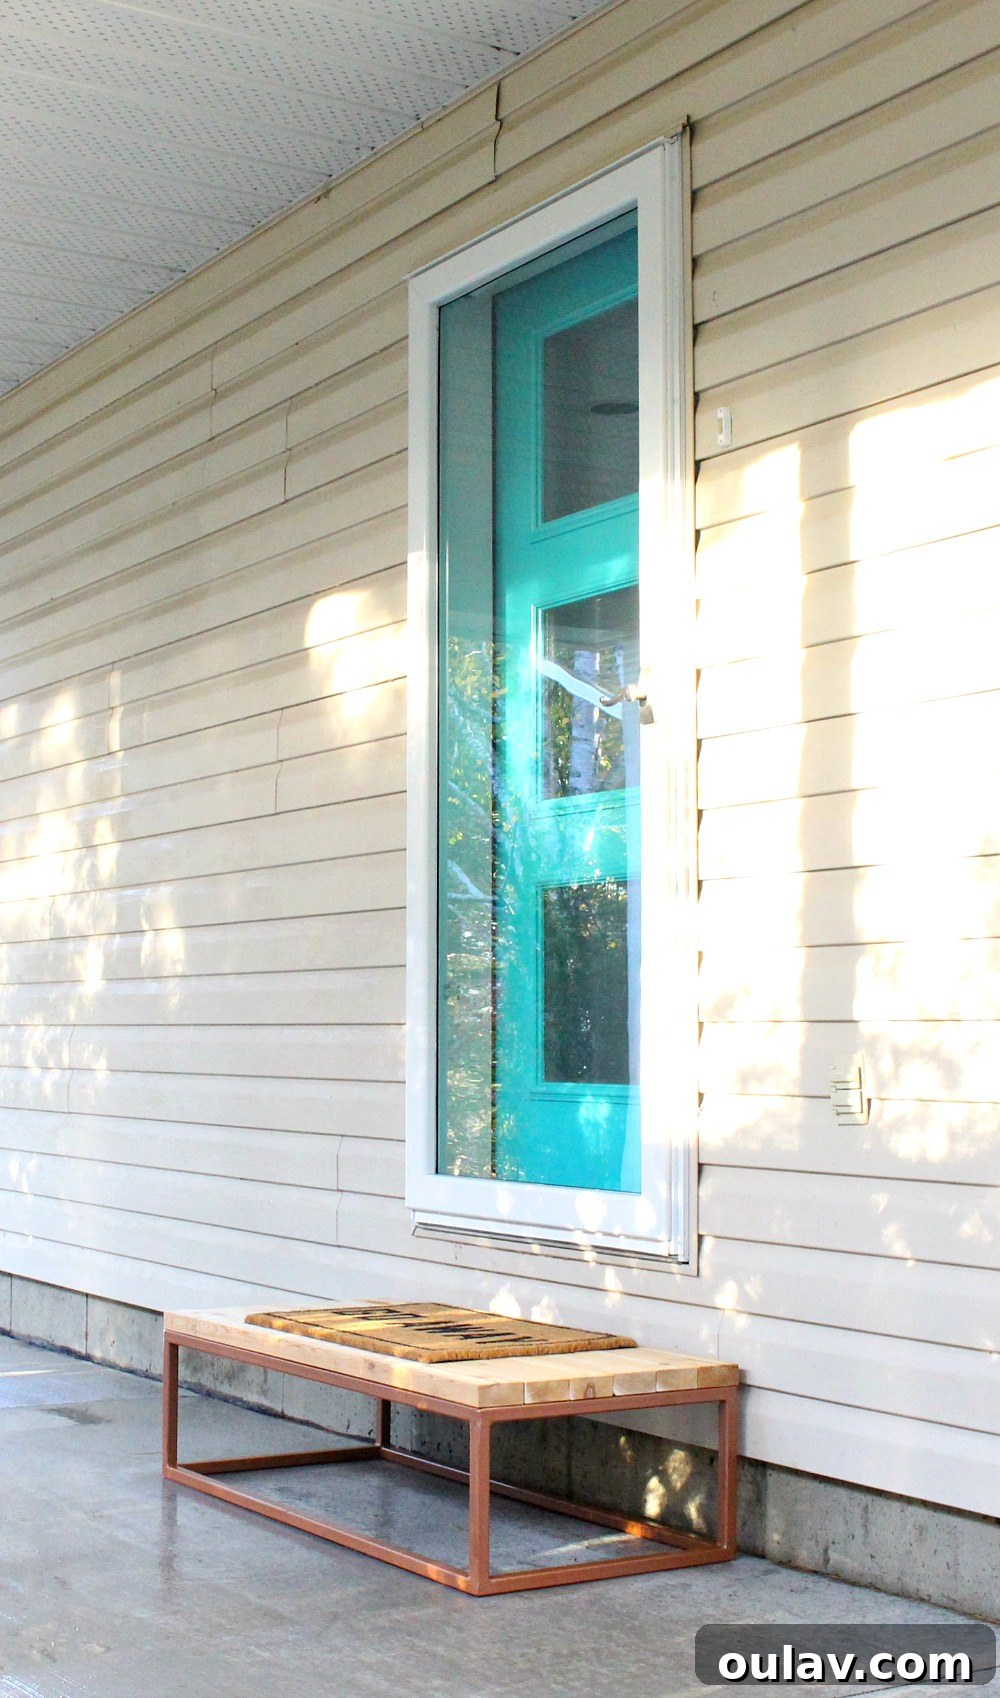
Get ready to embark on an exciting DIY adventure as we share the complete tutorial for crafting this stunning DIY outdoor bench! This project isn’t just about building a beautiful piece of outdoor furniture; it’s a strategic test for a much larger, potentially life-changing decision for our beloved lakehouse exterior. Join us as we dive into the details of creating a modern cedar bench with custom-welded H-legs, designed to weather gracefully and inspire our future home renovations.
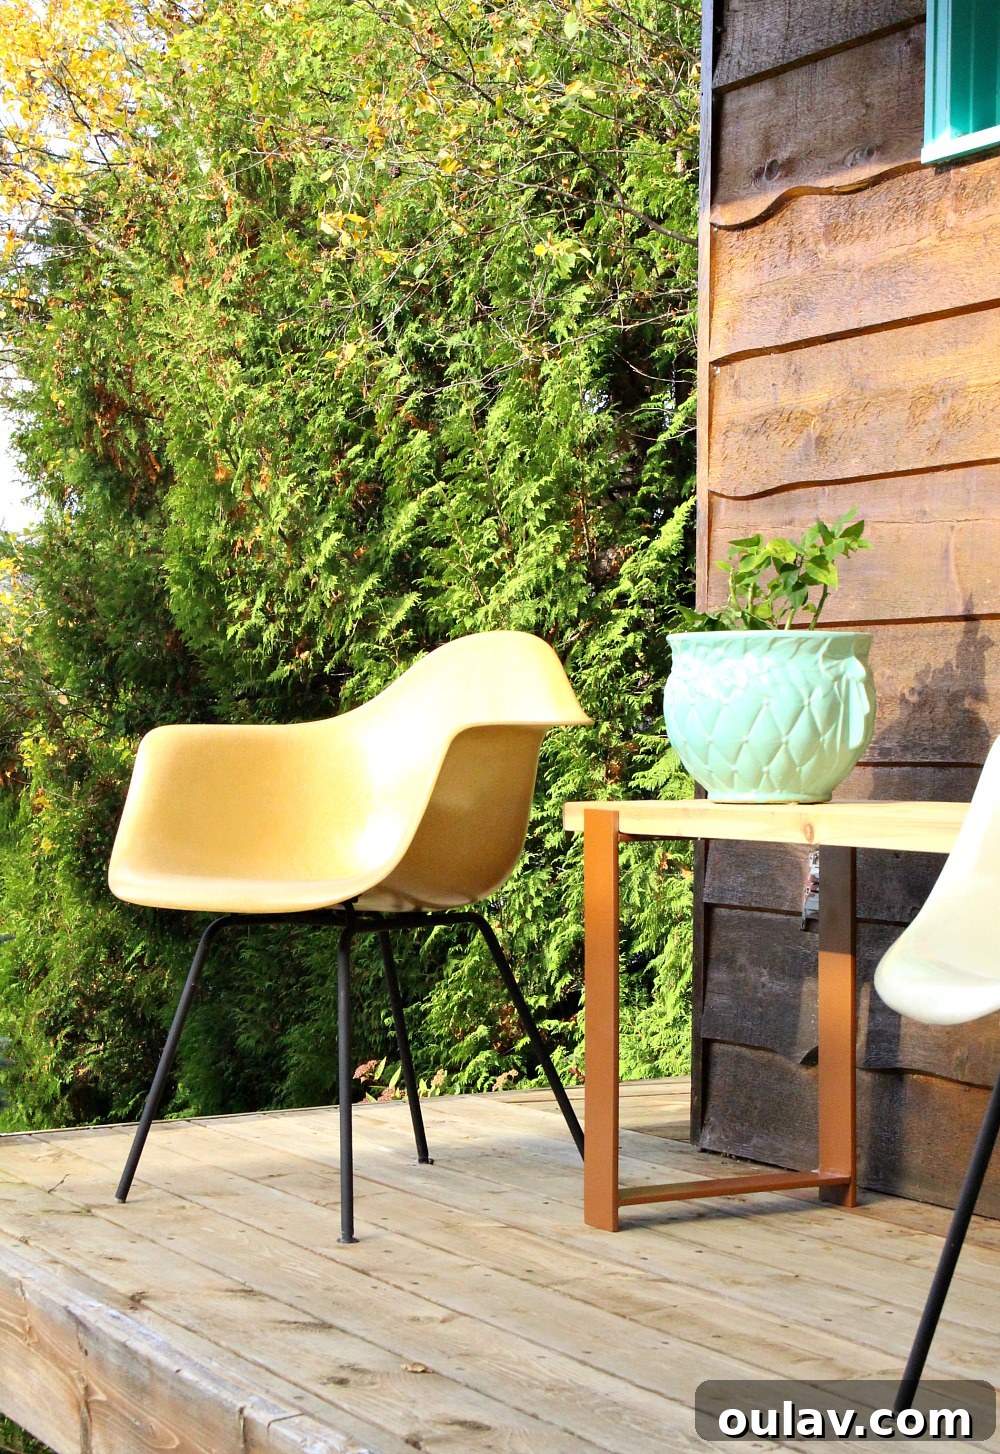
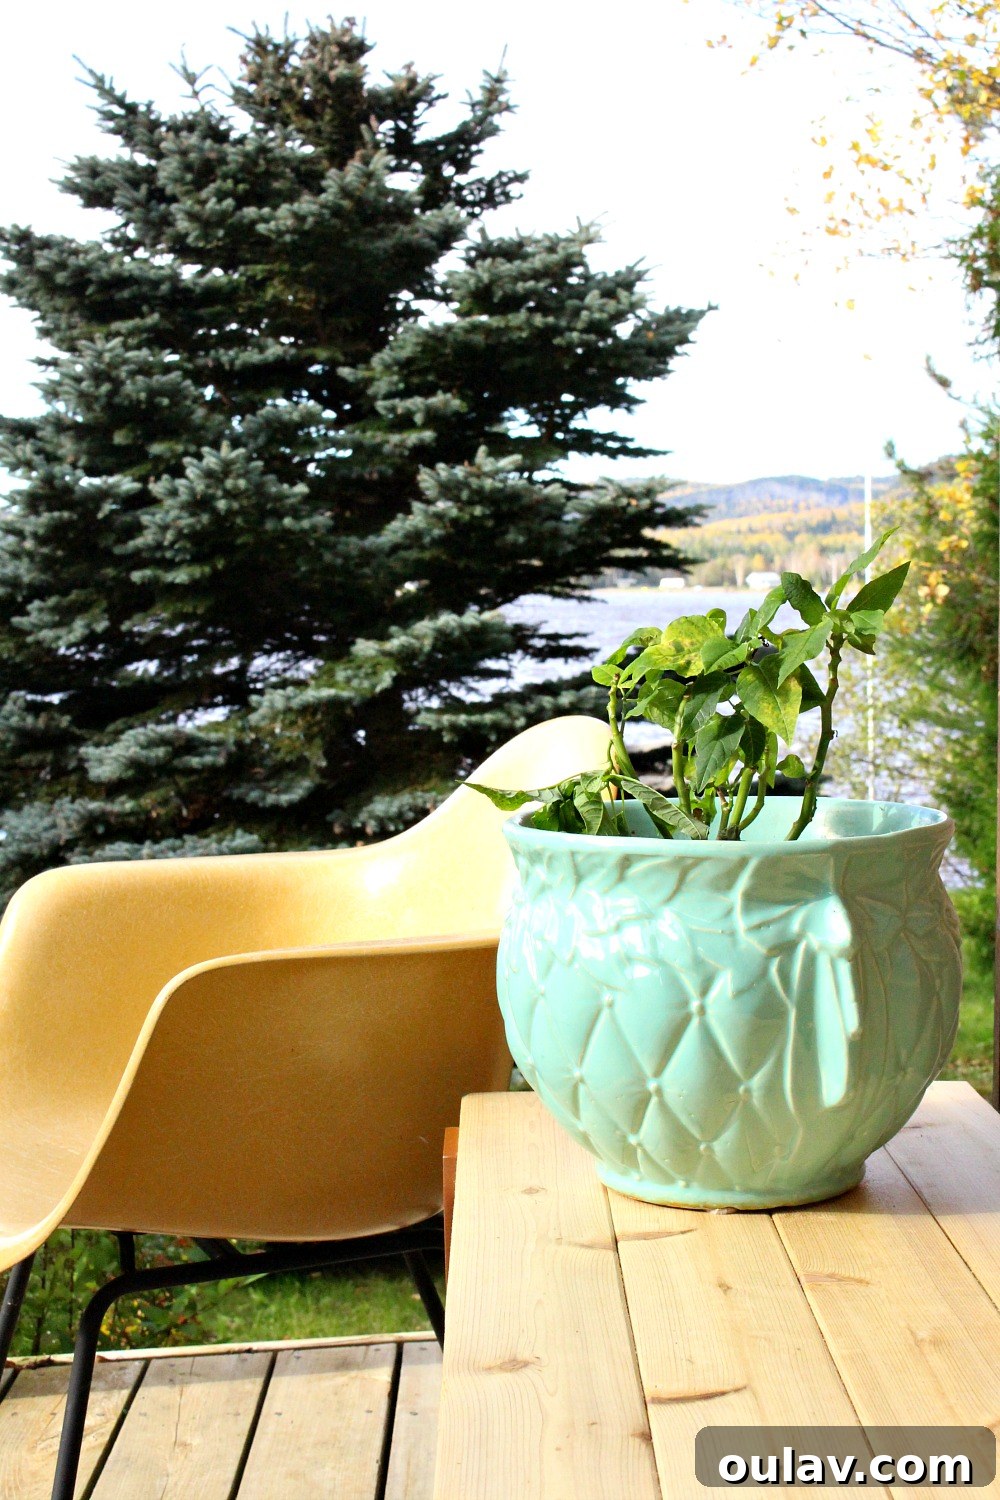
This particular DIY furniture project holds a special significance, making it a bit unusual even for us, seasoned DIYers. While the bench itself is technically “finished” – structurally sound and ready for use – its true purpose unfolds over time. We’ve deliberately left the cedar wood top untreated, allowing it to naturally weather and develop that coveted driftwood-esque grey patina. This means the real “after” reveal won’t happen until next year, solidifying my tongue-in-cheek title as the “slowest DIYer.” But rest assured, the wait will be worth it, both for the bench’s aesthetic and for the invaluable insights it will provide.
The Strategic Purpose: A Trial Run for Our Dream Lakehouse Exterior
This humble DIY outdoor bench is more than just a place to sit; it’s a crucial component in a much larger vision. It’s serving as a practical, real-world experiment that could potentially save us tens of thousands of dollars by preventing a costly mistake. Our ambitious plans for the lakehouse exterior involve replacing our current mismatched pine and vinyl siding with DIY cedar wood siding. The goal is for this cedar to beautifully grey over time, creating a serene, coastal-inspired aesthetic.
Adding another layer of complexity to this decision is the idea of pairing the weathered cedar with a copper-painted metal roof, an aesthetic we recently admired in town. This choice, however, is monumental. DIYing our entire house siding is a huge undertaking, and investing in a new metal roof is an even larger financial commitment, typically lasting 50 years or more. While the wood siding can always be painted later if we change our minds (though the thought of DIYing it is still daunting!), a copper roof would be a permanent fixture. We desperately needed a tangible, visual aid to help us confirm these major design decisions.
That’s where this simple DIY outdoor bench comes in. We decided to construct it with an untreated cedar wood top and elegant welded H legs, painted in the exact same striking copper hue we used for our DIY welded fire pit. We’re also building a new front step using the same materials and concept. This means we’ll have two prominent pieces of outdoor furniture – the bench and the step – constantly exposed to the elements from now until spring. This continuous exposure will allow us to carefully assess how the untreated cedar truly weathers and whether we genuinely love the combination of driftwood grey wood with copper accents before making the final, extensive commitment to our lakehouse’s new look.
Beyond its strategic role, this DIY outdoor bench is also a highly practical addition to our home. We needed a new front step anyway, and a stylish, durable bench provides essential seating and serves as a functional accent. So, let’s get into the nitty-gritty of how we crafted this modern 2×4 bench with its distinctive welded H-legs!
Note for non-welders: If welding isn’t in your skill set, fear not! You can easily purchase similar H-legs or even chunky X-base legs online and simply add your own custom DIY wood top! We’ve even found some great welded leg options for as low as $80, like these. For those who prefer to buy rather than build, we’ve linked a few similar benches available for purchase at the end of this post.
Essential Supplies for Your DIY Welded Bench Project
Before you begin, gather all the necessary tools and materials. Safety is paramount when working with power tools and welding equipment, so ensure you have appropriate personal protective equipment (PPE), including safety glasses, gloves, and a welding helmet.
Metalworking Tools & Materials:
- 4.5″ Angle Grinder: Essential for cutting and grinding metal.
- Grinding Disk: For smoothing welds and rough edges.
- Flapper Disk: Ideal for removing welding splatter and creating a cleaner finish.
- Cutting Disk: For precise metal cuts with the angle grinder.
- Steel Flat Bar: We opted for 3″ width for a robust and modern look. (You’ll need enough to form two H-shaped legs).
- Welding Magnets: Invaluable for holding pieces in place during tack welding.
- Steel Step Drill Bit: For drilling clean holes in the metal tabs.
- Flux Core Wire Feed Welder: Our go-to for DIY welding projects.
- Rust-Oleum Spray Paint Copper: For that perfect accent color.
Woodworking Materials:
- Untreated cedar 2x4s: Two 8′ lengths should be sufficient for a standard bench size.
- Wood glue (for edge gluing the top planks).
- Appropriate wood screws for attaching the top to the metal base.
For the base, we opted for 3″ wide steel flat bar, a slight departure from our usual preference for square metal tubing. As seasoned DIYers, we often develop “go-to” materials, but experimenting with flat bar for this project allowed for a sleeker, more minimalist aesthetic, perfectly complementing the modern design we envisioned.
When it came to the wood top, we made a conscious decision to use lumber from a home improvement store, which is quite unusual for our furniture projects. Typically, we source our wood from specialized lumber yards that cater to woodworkers, ensuring higher quality, straighter grains, and materials like the fancy walnut plywood I often use. However, for this experimental bench, our priorities were twofold: keeping costs down and, more importantly, using the exact type of cedar 2x4s we plan to use for the lakehouse siding. This choice, though initially met with some reluctance due to the potential for warps, was crucial for an accurate weathering test.
Step-by-Step Guide: Crafting Your Welded H-Legs
The metal base is the foundation of this modern outdoor bench, providing both stability and a distinctive industrial aesthetic. We explored several designs for the legs, but ultimately, the clean lines of the H-leg design stood out as the perfect complement to the natural cedar top.
1. Cutting the Steel Flat Bar
To create each DIY welded H-leg, you’ll need two pairs of precisely cut steel pieces: two longer vertical pieces and two shorter horizontal cross pieces. Begin by carefully measuring the desired lengths for your bench’s height and width. Using a 4.5″ angle grinder fitted with a cutting disk, make clean and accurate cuts. Always wear appropriate safety gear, including thick gloves and eye protection, when operating an angle grinder.
2. Assembling and Tack Welding the H-Shape
Once your four pieces are cut (two longer, two shorter), it’s time to assemble the H-shape. This is where welding magnets become incredibly useful. They’ll hold the pieces firmly in the correct position, ensuring your H-legs are perfectly square and symmetrical. My husband, the master welder, always starts with “tack welding.” This is like basting stitches in sewing – small, temporary welds that hold the shape together without committing to a full seam. This allows you to double-check for accuracy and make any necessary adjustments before the final, strong welds.
These magnets are truly a game-changer for any welding enthusiast, making the initial assembly process much smoother and more accurate.
3. Finishing the Welds and Inspection
Once the tack welds are in place and you’ve confirmed the leg’s squareness and overall shape, it’s time for the final, robust welds. Go back over each joint, creating strong, continuous seams. After welding, use a wire brush to briskly brush away any slag – the glassy, non-metallic residue that forms on top of a weld. This cleaning step is crucial for a smooth finish and proper paint adhesion.
At this crucial stage, we always enlist our most discerning critic: Szuka, the Project Inspector. Her rigorous assessment of weld quality (and smell!) is the ultimate pass/fail test for any project in our workshop.
4. Smoothing and Adding Attachment Tabs
After the welds are complete and inspected, use a flapper disk on your angle grinder to remove any rogue lumps, bumps, or welding splatter. This creates a smooth, professional finish, ready for painting. To securely attach the welded legs to the wooden bench top, we added attachment tabs. Since the thick steel flat bar made drilling directly through it challenging without specialized bits, welding on smaller, thinner tabs allowed us to easily drill pilot holes for screws.
Pro Tip: We initially welded tabs only on one side of the metal bar. However, we quickly realized that adding a second set of tabs on the opposite side significantly improved the stability and ensured the legs remained perfectly straight under the heavy cedar top. This small adjustment makes a big difference in the overall strength and longevity of your bench.
5. Painting the Metal Legs
For the paint, we chose the same Rust-Oleum copper spray paint we used for our fire pit. It’s a fantastic shade of copper that adds a touch of modern elegance without being overly bright or artificial. While a high-heat paint isn’t necessary for bench legs, using the same product ensures a cohesive look across all our outdoor metal projects. This consistency not only enhances the aesthetic appeal but also simplifies future touch-ups, as we can keep a single can on hand for the fire pit, the bench, and our new front step.
Constructing the Untreated Cedar Wood Top
The wood top is designed for simplicity and natural weathering. Using untreated cedar is key to achieving that desired driftwood grey finish. For this step, you’ll need your cedar 2x4s, a saw, sandpaper, and wood glue.
1. Cutting, Sanding, and Edge Gluing the Cedar Planks
Begin by cutting your cedar 2x4s to the desired length for your bench top. The exact length will depend on your preference, but ensure it provides ample seating. Once cut, thoroughly sand all rough spots and edges to create a smooth, comfortable surface. Even though the wood will weather, a smooth finish at the outset improves its feel and prevents splinters. For added strength and to help hold the planks securely in position, we recommend edge gluing the boards together. Apply a generous bead of waterproof wood glue along the edges of each plank, clamp them tightly, and allow them to dry completely according to the glue manufacturer’s instructions. This creates a solid, unified bench top.
The Finished DIY Outdoor Bench: Awaiting Nature’s Artistry
One of the most satisfying aspects of this project was the simplicity of the finishing stage for the wood top. By choosing to leave the cedar untreated, we completely skipped the time-consuming processes of staining and clear coating. This meant the entire project was completed days faster than a typical furniture build – a definite win in my book for any DIY enthusiast!
Now, the most exciting part begins: letting nature work its magic. We’ll simply allow this DIY outdoor bench to brave the elements, watching as the cedar slowly transforms into a stunning, weather-beaten grey. This natural weathering process is not only beautiful but also provides the critical visual information we need for our lakehouse project. It’s truly something to look forward to as we navigate the colder months ahead.
Currently, our beautiful modern outdoor bench has found its temporary home on the deck of our guest house. I absolutely adore how the warm copper legs perfectly complement our Eames chairs and the vibrant turquoise front door and window trim. This accidental juxtaposition has created a surprisingly beautiful color palette, blending autumnal hues with my perennial favorite: turquoise. It’s a delightful splash of color against the natural backdrop, and it truly highlights the versatility of the bench’s design.
Not a DIYer? Explore Purchase Options!
We understand that not everyone has the tools, space, or inclination to tackle a welding project. But that doesn’t mean you can’t enjoy the modern, industrial aesthetic of a welded metal and wood bench! If you love the look but prefer to purchase a ready-made option, there are fantastic alternatives available. Consider this very similar bench from Etsy, featuring a reclaimed wood top and welded metal H-legs, offering that unique, handcrafted appeal without the need for DIY effort. Another beautiful choice is this rustic live-edge bench with sturdy welded legs, perfect for adding organic warmth to your outdoor space. These options allow you to achieve a similar high-end look with the convenience of a simple purchase.
Don’t Forget to Pin This Project for Later Inspiration!
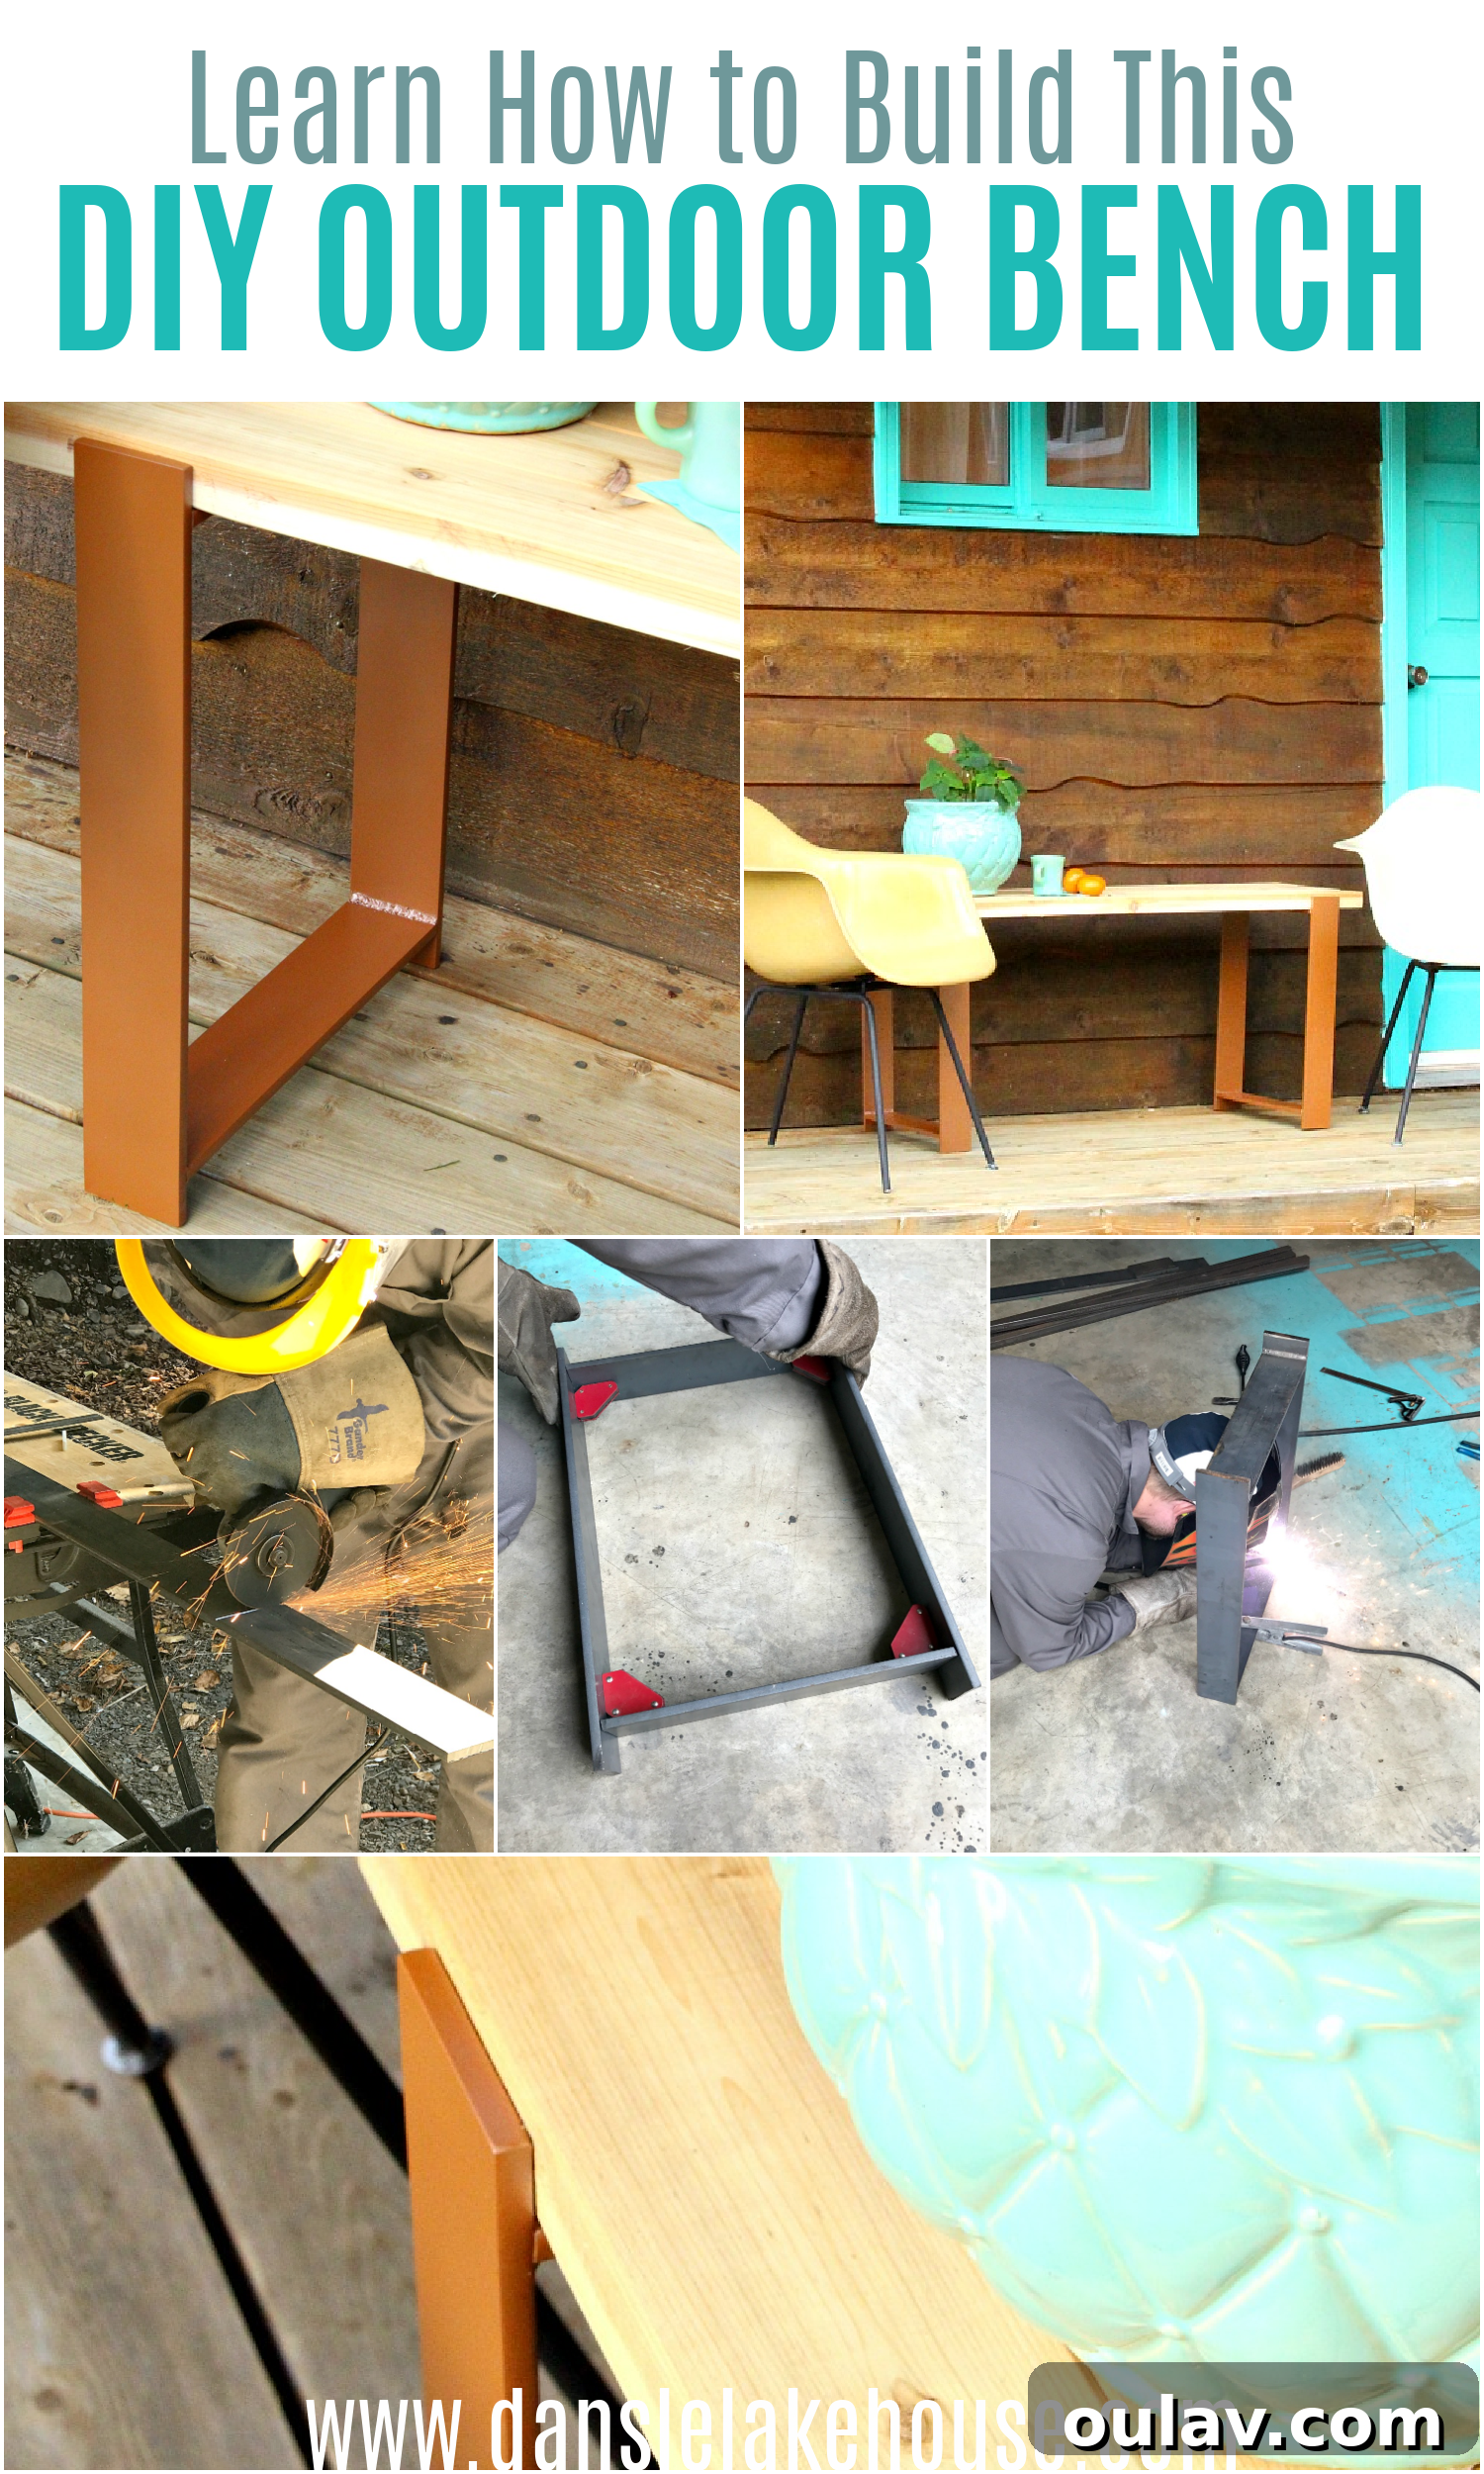
P.S. If you found the process of bringing this welded bench to life as fascinating as we did – akin to watching an episode of “How It’s Made,” where the assembly process itself is mesmerizing – then you’ll definitely want to explore our other metalworking and welding projects. They offer more insights into crafting durable and stylish pieces for your home:
DIY Walnut Bed with Welded Legs (and don’t miss the Welded Headboard Refresh too!)
DIY Welded Desk with Glossy Pre-Fab Pine Top
DIY Welded Fire Pit
DIY Welded Front Step