
Transform Your Space: A Comprehensive Guide to DIY Plywood Flooring with a Unique Watercolor Stain
Last week, we proudly offered a captivating sneak peek of our innovative DIY plywood floor project, meticulously crafted for our beloved fish room. We shared the initial inspiration and revealed the techniques behind achieving that breathtaking watercolor or marbled effect using a striking blue wood stain. Today, we’re thrilled to provide a comprehensive, step-by-step breakdown of how my partner and I transformed ordinary plywood sheets into a vibrant, custom-designed floor. This guide will walk you through everything, from cutting and sanding to installation and finishing, ensuring you can replicate this unique and budget-friendly DIY flooring solution in your own home.
Crafting Your Own DIY Plywood Floor: A Detailed Walkthrough
Embarking on a DIY plywood flooring project is an exceptional way to infuse a space with personalized charm and character without the exorbitant cost often associated with traditional flooring options. While the process requires careful attention to detail and a commitment to each stage, the enduring reward of a custom, durable, and aesthetically pleasing floor makes every effort worthwhile. Here’s a crucial preliminary note for those considering a similar endeavor: if your design doesn’t involve a complex, multi-layered finish like our watercolor effect, it’s generally recommended to postpone any staining, painting, or clear coating until after the plywood planks are fully installed. This is because the edges of the planks will inevitably require light sanding once cut, and this preparatory step can easily compromise a pre-applied finish. However, as we previously showcased in our initial reveal, we deliberately applied our stain first. This was essential for creating the expansive, cohesive, and organic design across the entire plywood sheets before they were meticulously cut into individual planks, ensuring the seamless flow of our unique aesthetic.
Essential Supplies for Your DIY Plywood Floor Project:
Before diving into the physical work of installation, gathering all necessary tools and materials is paramount. A well-prepared workspace with everything at your fingertips will significantly enhance the efficiency and enjoyment of your plywood flooring journey. Consider these items indispensable for a successful outcome:
- Good One Side Plywood: We specifically utilized 1/4″ Maple plywood for this project. The “good one side” designation is critical, as it indicates one face of the plywood is graded for superior appearance, ideal for a visible flooring surface. Maple offers a smooth finish and excellent durability, perfect for creating resilient DIY floors.
- LePage PL Premium Construction Adhesive: A high-strength, flexible construction adhesive is vital for securely bonding the plywood planks to your subfloor. This ensures longevity, minimizes movement, and provides a solid feel underfoot, preventing future squeaks or shifting.
- Caulking Gun: An indispensable tool for applying construction adhesive evenly and efficiently from its cartridge.
- Air Nailer + Nails: An air nailer dramatically accelerates the installation process. The appropriate nail size will depend on your plywood thickness and the underlying subfloor material, ensuring planks are firmly affixed while the adhesive cures.
- Compressor: This powers your air nailer, providing consistent air pressure for reliable and powerful nailing, a fundamental component for professional plywood floor installation.
- Chalk Snap Line: Crucial for establishing perfectly straight reference lines across your subfloor. This ensures your plywood planks are laid in precise alignment, a cornerstone of a polished finish.
- Table Saw: A powerful and precise tool for ripping full plywood sheets into consistent, straight strips. Accuracy here is paramount for minimizing gaps and achieving a seamless, professional aesthetic.
- Miter Saw: Used for cross-cutting the ripped strips into individual planks of your desired lengths, delivering clean and accurate cuts every time.
- Jig Saw: Essential for making intricate or curved cuts. This is invaluable when navigating obstacles such as pipes, irregular door frames, or floor vents, ensuring a custom, snug fit.
- Sandpaper: You’ll need various grits—from medium to fine—for smoothing cut edges, removing any minor imperfections, and preparing the surface for subsequent finishing coats.
- Water-Based Polyurethane Hardwood Floor Finish (e.g., Finitec 3000 Semi-gloss): A high-quality clear coat is indispensable for protecting your stained plywood floor from wear, moisture, and scratches, while also providing a beautiful, long-lasting sheen.
Precision Cutting: Preparing Your Plywood Floor Planks
The success and aesthetic appeal of a DIY plywood floor largely hinge on the precision of its cut planks. We were absolutely ecstatic to finally welcome a table saw into our workshop! After years of managing without, and countless projects that could have benefited from its exactitude, my incredibly supportive woodworker father-in-law helped us secure a fantastic, previously-loved model (an older version of this table saw) at an astonishing price. This acquisition wasn’t just a convenience; it dramatically elevated the efficiency and accuracy of our entire cutting process, proving to be an invaluable asset for our plywood floor installation.
With our newly acquired table saw, we meticulously ripped the full plywood sheets into consistent strips, each measuring approximately 7.25 inches wide. The selection of plank width is a pivotal design decision, impacting both the visual flow and the structural integrity of your floor. While wider planks can create a more expansive and modern aesthetic, they may also be more susceptible to cupping or warping over time due to environmental moisture fluctuations. Conversely, excessively narrow planks, while offering a different look, can significantly increase the workload involved in cutting, sanding, and especially installation. We found that 7.25 inches struck an ideal balance, providing ample aesthetic appeal without introducing undue practical challenges for our plywood floor installation.
Capturing extensive photographs during this intense cutting stage was challenging, as it required the focused efforts of both of us to safely and accurately maneuver the large, cumbersome plywood sheets through the table saw. However, the underlying process, once understood, is quite straightforward. We offer two critical tips gleaned from our experience: Firstly, always position the plywood sheets with the “good” or finished side facing upwards when cutting. This strategic placement ensures that the majority of any inevitable tear-out occurs on the underside of the plank, leaving the visible surface cleaner and more professional. Secondly, it is absolutely paramount to exercise extreme care in making perfectly straight cuts. Even the slightest deviation or curve in your cuts will translate directly into noticeable and aesthetically undesirable gaps when the planks are eventually installed, compromising both the visual appeal and the structural integrity of your finished DIY flooring.
Once the long strips were precisely ripped, our next step involved utilizing our dependable miter saw to cross-cut them into individual planks. We opted for a uniform length of 31 inches for each plank. While this dimension is entirely customizable to suit your specific aesthetic preferences—many DIY enthusiasts choose to vary plank lengths to mimic the authentic look of traditional hardwood flooring—we deliberately selected a consistent length. This decision significantly simplified the pattern layout process for our unique plywood floor design, allowing us to maintain our focus entirely on the captivating blue watercolor effect without the added complexity and headache of sorting planks by different lengths. This streamlined approach was crucial for maintaining the desired visual harmony and accentuating the distinctive staining of our DIY floor.
The Art of Smoothing: Sanding Your Plywood Floor Planks
Following the cutting phase, the meticulous process of sanding becomes paramount to ensure a comfortable, visually flawless, and safe plywood floor surface. While often perceived as a tedious and time-consuming task, this step is absolutely crucial for both aesthetic perfection and underfoot comfort. It proved to be a quicker endeavor than I had initially anticipated, though the task of hand-sanding every single edge of each and every plank for our DIY plywood floor was undeniably a significant labor of love and patience.
To enhance the tactile experience and eliminate any undesirable sharpness, I carefully beveled each cut edge using fine-grit sandpaper. This seemingly small detail makes a remarkable difference in how the finished floor feels underfoot, contributing to a smooth, refined surface. Additionally, I lightly sanded the ends of the planks to meticulously resolve any minor tear-out that might have occurred during the cutting process. This comprehensive approach to sanding is precisely why, for most conventional flooring projects, we generally advocate for applying stain or paint after the planks have been fully installed. Pre-finishing can be easily marred by the necessary sanding of edges. However, given our unique pre-staining approach to achieve the captivating watercolor effect, I proceeded with the utmost care and precision, sanding as minimally as possible to preserve the integrity of our beautiful blue stain along the plank edges.
Concurrently, while I focused on the individual planks, my partner diligently utilized a belt sander to meticulously smooth and prepare the subfloor. This critical preparation involved carefully removing any residual glue blobs, resin spills, or other inconsistencies that could potentially create an uneven surface. Creating the smoothest possible foundation for our plywood flooring is essential, as a perfectly prepared subfloor prevents future unevenness, minimizes movement, and ultimately ensures the longevity and stability of the installed planks.
Strategic Layout: Planning Your DIY Plywood Floor Planks
Once all the plywood boards were expertly cut and thoroughly sanded into individual planks, the next crucial and creatively stimulating step was to meticulously plan their arrangement. For our distinctive watercolor-stained plywood floor, I adopted a systematic approach, sorting the planks into four distinct piles. These categories ranged from those boasting a solid, intensely pigmented blue stain to those featuring predominantly natural wood tones, showcasing only subtle, translucent hints of blue. This preliminary categorization significantly simplified the subsequent process of laying out our “pattern,” a term I use somewhat loosely, given the organic, fluid, and seemingly random nature of our design. The goal was to achieve a harmonious blend of color intensity and natural wood, rather than a rigid, repeating pattern.
A vital and often underestimated stage in any DIY flooring project is the “dry fit.” We meticulously arranged all the cut planks on the subfloor, carefully placing each one without any adhesive or fasteners. This served two critical, yet distinct, purposes: Firstly, it provided an invaluable opportunity to double-check that we had an adequate quantity of planks to seamlessly cover the entire room – confirming this was a huge relief! Secondly, and perhaps even more importantly for our specific design, it enabled us to meticulously plan our seemingly random pattern. It’s often ironic how much effort, strategic thinking, and forethought are required to make something appear effortlessly organic and spontaneous. Our primary objective was to strike a delicate visual balance between the varying shades of blue, ensuring an even and harmonious distribution across the entire floor. We also carefully considered the ratio of stained areas to natural wood, aiming to create captivating negative spaces that complemented the vibrant blue. During this exhaustive dry-fitting process, we also identified and judiciously set aside a couple of planks that, despite our best efforts, weren’t perfectly straight. Achieving truly flawless, straight cuts can indeed be a challenge, particularly when one is battling incessant, sawdust-induced sneezes from pesky allergies!
Seamless Installation: Affixing Your DIY Plywood Floor Planks
With the intricate layout meticulously planned, it was finally time for the exciting and tangible phase of installation. To firmly and permanently secure our plywood planks, we employed a robust combination of high-quality construction adhesive and the rapid efficiency of our trusty air nailer. One of the many ingenious advantages of our busy, artistic, and visually captivating pattern is that the small nail heads become virtually invisible upon installation, blending seamlessly into the dynamic design. This truly unique “watercolor staining process” is a marvel in itself, proving adept at not only creating a stunning visual but also cleverly concealing minor imperfections and even the unavoidable accumulation of everyday dirt!
Initially, we encountered a slight bowing in one of the room’s walls, rendering it unsuitable as a reliable straight starting reference. Instead, we precisely snapped a chalk line across the subfloor, establishing a perfectly straight and dependable guide from which to commence our installation. Strategically, we made the deliberate decision to begin with a full row of planks along the small firewood cubby wall. This particular wall is immediately visible and prominent upon entering the fish room, and we were keen to avoid the appearance of a half-width board in such a focal location. Given our plans to place substantial furniture on the opposite, plumbing-heavy side of the room, any necessary partial cuts or minor adjustments would be far less conspicuous there, maintaining the aesthetic integrity of the entryway.
Working methodically, board by board, we applied a generous and even bead of construction adhesive to the back of each plank before carefully pressing it firmly into its designated place. To ensure maximum adhesion and superior stability, we then used the air nailer to drive six nails into each plank: one precisely in each corner and one on each long side, strategically placed for optimal hold. If we were to undertake this DIY plywood floor installation again, we would also seriously consider adding an “X” pattern of adhesive to the very center of each wood plank for even greater rigidity and an even more unyielding bond. Nevertheless, the current method has unequivocally resulted in an incredibly solid, firm, and wonderfully stable floor that feels robust and professional underfoot.
The main installation proceeded quite rapidly and smoothly, with the primary slowdown occurring when we needed to make intricate and specialized custom cuts. These tricky sections involved fitting planks precisely around challenging obstacles such as pipes, irregular door frames, and the floor vent. For these detailed and often unforgiving cuts, we relied on our trusty jigsaw. While effective, these customized cuts certainly required a bit more fussing, careful measurement, and patience to achieve the snug and seamless fit essential for our plywood floor planks.
Even though it will eventually be concealed by the impending plumbing fixtures and cabinetry, I remain particularly impressed by the sheer precision with which my partner, Hubs, managed to fit the plywood around the pipes. Such meticulous attention to detail, even in hidden areas, contributes immensely to the overall professional finish and structural integrity of a truly well-executed DIY wood floor.
Despite our thorough planning and coordinated efforts, we did, regrettably, encounter one minor hiccup during this DIY plywood floor installation! My partner and I found ourselves in a slight disagreement regarding the optimal layout strategy for the planks. He favored an alternating pattern, suggesting we start each subsequent row from different ends of the room. This approach would create a subtle zigzag effect, potentially minimizing the number of intricate cuts required. I, on the other hand, advocated for a pattern that, while admittedly requiring approximately 15 additional cuts, would result in all the plank seams aligning perfectly across the rows. We initially proceeded with my preferred, more aligned pattern.
However, this alignment lasted for precisely one day. Upon returning to the fish room on the second day to finalize the floor installation, I was momentarily in the garage, busy preparing the polyurethane finish – the only time I wasn’t directly working on the floor layout with my partner. During this brief absence, he, in a moment of pure absentmindedness, installed an entire row using his desired alternating layout, completely forgetting our previous conversation and agreement! Consequently, about three-quarters of the way across the room, there’s a subtle but distinct jog in the pattern. While you might spot it in the shared photos if you scrutinize them closely, it’s been a running joke that neither online viewers nor in-person guests have noticed it – only we do. If this were a permanent flooring solution in a main, high-traffic living area of our house, I might have seriously considered the laborious task of removing and re-laying the affected boards. However, for this project, I didn’t want to risk wasting any precious planks or running short on materials. I correctly surmised that the intricate, busy, and organic nature of our watercolor pattern would effectively disguise this small error, making it a non-issue for our unique stained plywood floor and adding to its quirky charm.
Here’s a glimpse of the installed floor, showcasing its unique character and the subtle jog, captured just before the final protective polyurethane coat was applied:
The Finishing Touch: Protecting Your Plywood Floor Planks
With our unique watercolor stain already applied to the planks, the final critical step for our DIY plywood floor was to apply a durable clear coat. As I mentioned previously, the stain ideally needed a full week to cure completely, ensuring optimal adherence and preventing issues. However, due to practical time constraints and our eagerness to complete the project, we proceeded with the finishing earlier than the recommended curing period. This decision, while expediting the project, led to an important discovery: upon testing a plank, my greatest fear was confirmed – the water-based polyurethane reacted with the still somewhat “wet” over-dyed stain, causing it to re-activate and turn a pale blue. This resulted in the stain bleeding slightly onto previously unstained areas of the wood. Surprisingly, the overall effect wasn’t enough to diminish my affection for the floor; in fact, it inadvertently contributed to its organic, fluid, and unique charm, enhancing the watercolor aesthetic.
Despite this initial bleeding, I continued with the clear coat application, meticulously juggling various brushes and pots of polyurethane to minimize further color run. The first coat was a painstaking process, taking several hours to complete. For future projects involving this specific marble staining method, I would now strongly recommend using a spray-on finish prior to installation (but after sanding). This method would significantly streamline the finishing process and likely prevent any bleeding. However, for a standard stain or paint application, the clear coating process would be far simpler and less prone to issues, as it was our unique watercolor technique that introduced this particular challenge and ultimately slowed our progress.
After the first coat had thoroughly dried (which took approximately four hours, ensuring sufficient hardness), we performed a crucial light sanding. This vital step serves multiple purposes: it effectively smooths out any minor bumps, dust nibs, or raised grain that may have occurred during the first application. More importantly, it “keys” the surface, meaning it creates microscopic abrasions that provide a mechanical bond, allowing the subsequent layer of polyurethane to grip more effectively and ensure optimal adhesion. My partner assisted in meticulously wiping away all sanding dust, ensuring a pristine and perfectly prepared surface for the next coat. The second coat applied much more quickly and smoothly than the first, primarily because the underlying color was now locked in and no longer bled – a significant relief and a clear sign of progress! For the Finitec 3000 brand of polyurethane we used, there’s a convenient rule: if the third coat is applied within three hours of the second, you can skip the intermediate sanding step. To take full advantage of this time-saving feature, I diligently set an alarm and, after confirming the second coat was dry at the two-hour mark, I promptly applied the final, third coat. This expedited the overall finishing process considerably, allowing us to complete the critical clear coating in a continuous workflow.
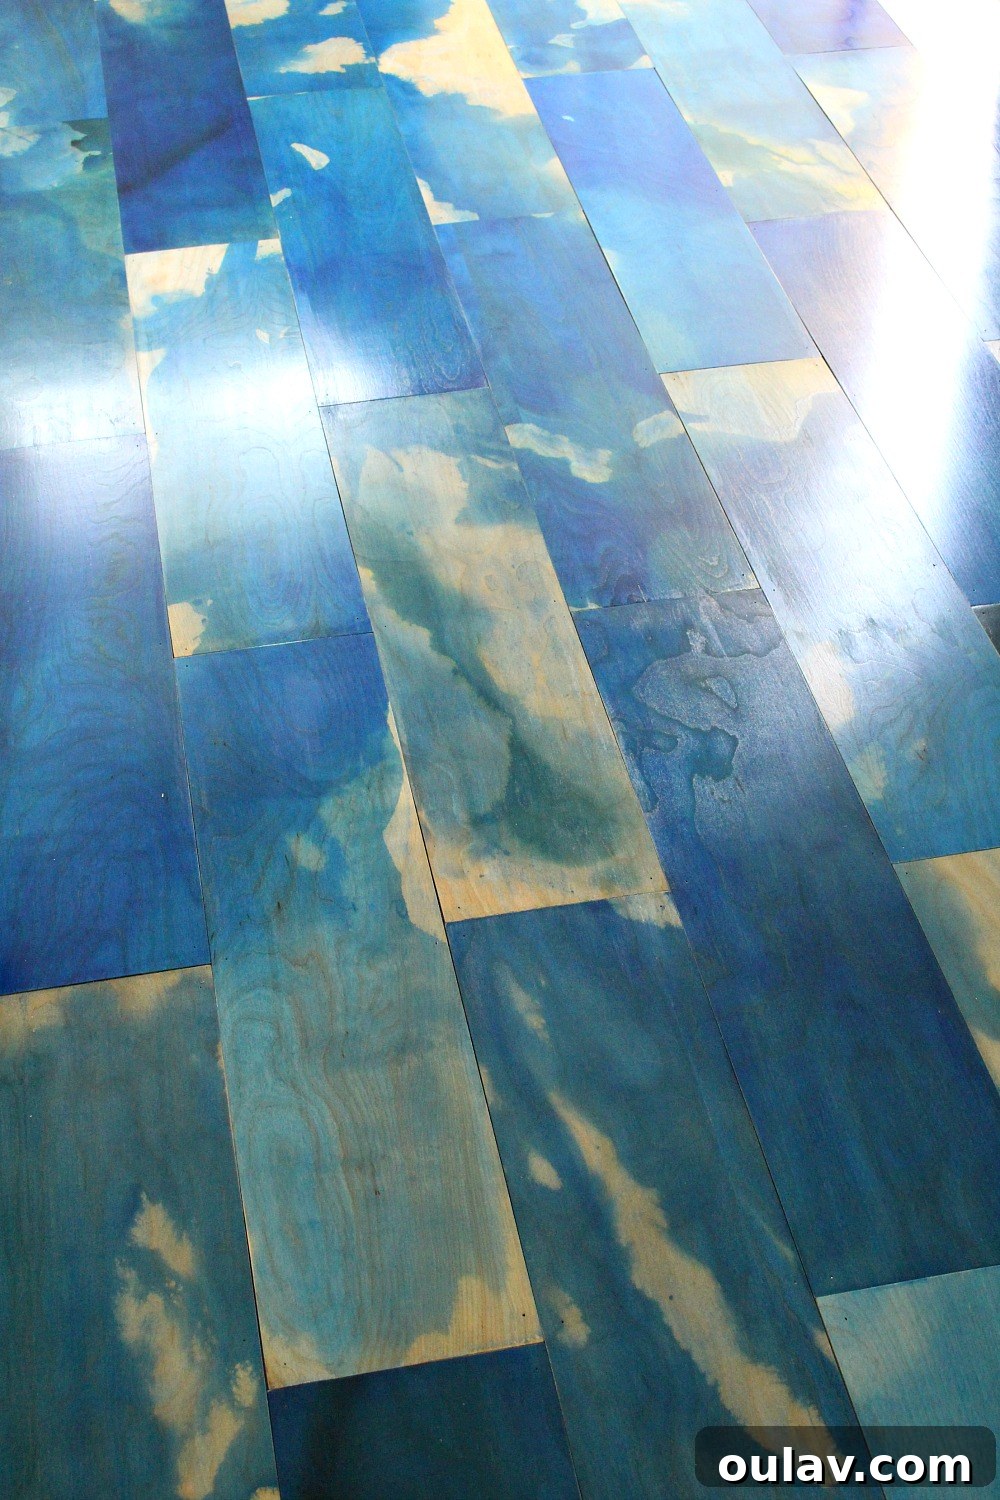
A little confession about our finishing marathon: we actually pulled an all-nighter, staying up until a weary 5 AM one evening, solely to complete all three polyurethane coats in a single continuous session. Our primary motivation? To entirely bypass that dreaded second sanding step! It’s safe to say I’ll do almost anything within reason to avoid additional sanding. The semi-gloss polyurethane has truly transformed the floor, adding incredible depth and a gorgeous, subtle sheen that beautifully accentuates the unique watercolor stain effect. The slight bleeding from the first coat, initially a concern, is now barely noticeable and, in hindsight, absolutely worth the gamble for the artistic outcome! My mother even commented that it serendipitously enhances the stain, making it resemble captivating aerial shots of ocean currents, swirling water, or intricate topographical maps. That’s a definite win in our book! I honestly believe that most people wouldn’t even notice the initial bleeding if I hadn’t pointed it out (you can scroll up to re-examine the pre-polyurethane photo), but I wanted to provide full transparency about this specific aspect of our challenging yet rewarding DIY plywood floor project.
The Plywood Floor Experience: How Does It Feel Underfoot?
Before embarking on this ambitious project, I had often encountered various DIY plywood floors online and always harbored a fundamental question: how do they truly feel underfoot? Since the fish room is a utility space where I anticipate frequently wearing shoes, the ultimate metrics of smoothness and comfort weren’t the absolute highest priorities on my initial list. However, to my immense and pleasant surprise, the finished floor feels wonderfully nice and remarkably smooth! This unexpected comfort has truly elevated the functionality and enjoyability of the room.
Our meticulous choice of plywood played an incredibly significant role in achieving this delightful tactile outcome. We specifically opted for a high-quality “good one side” plywood, sourced not from a conventional construction supply store, but from a specialized lumberyard renowned for providing fine woods suitable for intricate furniture building and similar applications. This meant the plywood itself was already inherently incredibly smooth and well-sanded from the factory, providing an excellent starting point. The subsequent meticulous hand-sanding of each plank’s edges, carefully beveling them, further helped prevent any sharpness or discomfort between the individual boards. Furthermore, the intermediate sanding performed between the polyurethane coats – coupled with applying a total of three protective layers – greatly contributed to the overall smoothness and refined feel of the surface. Crucially, all our nails were properly installed well below the wood’s surface, ensuring no protruding fasteners whatsoever. The culmination of these precise steps is a floor that is genuinely pleasant and comfortable to walk on. I’ve already spent considerable time puttering, organizing, and simply enjoying the space, often just in socks, and the experience has been consistently comfortable and satisfying.
While the floor is predominantly smooth and aesthetically appealing, it does possess a few minor imperfections, which are inherent in any large-scale DIY wood floor project. There are some tiny gaps between boards, largely attributable to the inherent challenge of achieving 100% perfectly straight cuts with raw plywood, and of course, our little pattern disagreement debacle. However, none of these minor aesthetic nuances or the slight pattern jog impact the delightful feel of the floor underfoot in the slightest. For a practical and objective test of its smoothness, I can effortlessly glide a dry Swiffer across the entire surface without the cloth snagging on anything. This, I believe, is an excellent and conclusive indicator of a truly smooth, even, and well-finished DIY wood floor.
I am genuinely surprised and incredibly impressed by how much this DIY plywood floor feels and performs like a professionally installed, high-quality flooring solution. Honestly, I anticipated it might feel somewhat cheap or rudimentary, given its budget-friendly nature, but that is simply not the case at all! For anyone who has previously lived with or installed plywood flooring in their homes, I would be very interested to hear about its long-term wear, its overall durability, and your personal experiences regarding its performance and your satisfaction over time.
I will certainly provide a comprehensive update in the future regarding how this unique plywood floor wears over time, and whether any unforeseen problems, complaints, or maintenance issues emerge. But for now, I am absolutely, unequivocally smitten! The aesthetics are truly stunning, transforming a utilitarian space into something visually exciting, and the installation over our old tile floor was remarkably straightforward and manageable. I’m certain I’ll rue the day we decide to renovate again and have to contend with the laborious task of removing a million nails, but that’s a challenge for “Future Me” to tackle. For now, the immense joy and satisfaction derived from this transformed space far outweigh any distant demolition concerns.
Present Me is incredibly excited to proceed with the next phases of this room’s transformation, including plumbing installations, more organizing, and to soon share a full, detailed tour of the new and vastly improved Fish Room! Without a doubt, these DIY plywood floors are hands down my absolute favorite element of the entire transformation so far, setting a vibrant and unique foundation for the space.
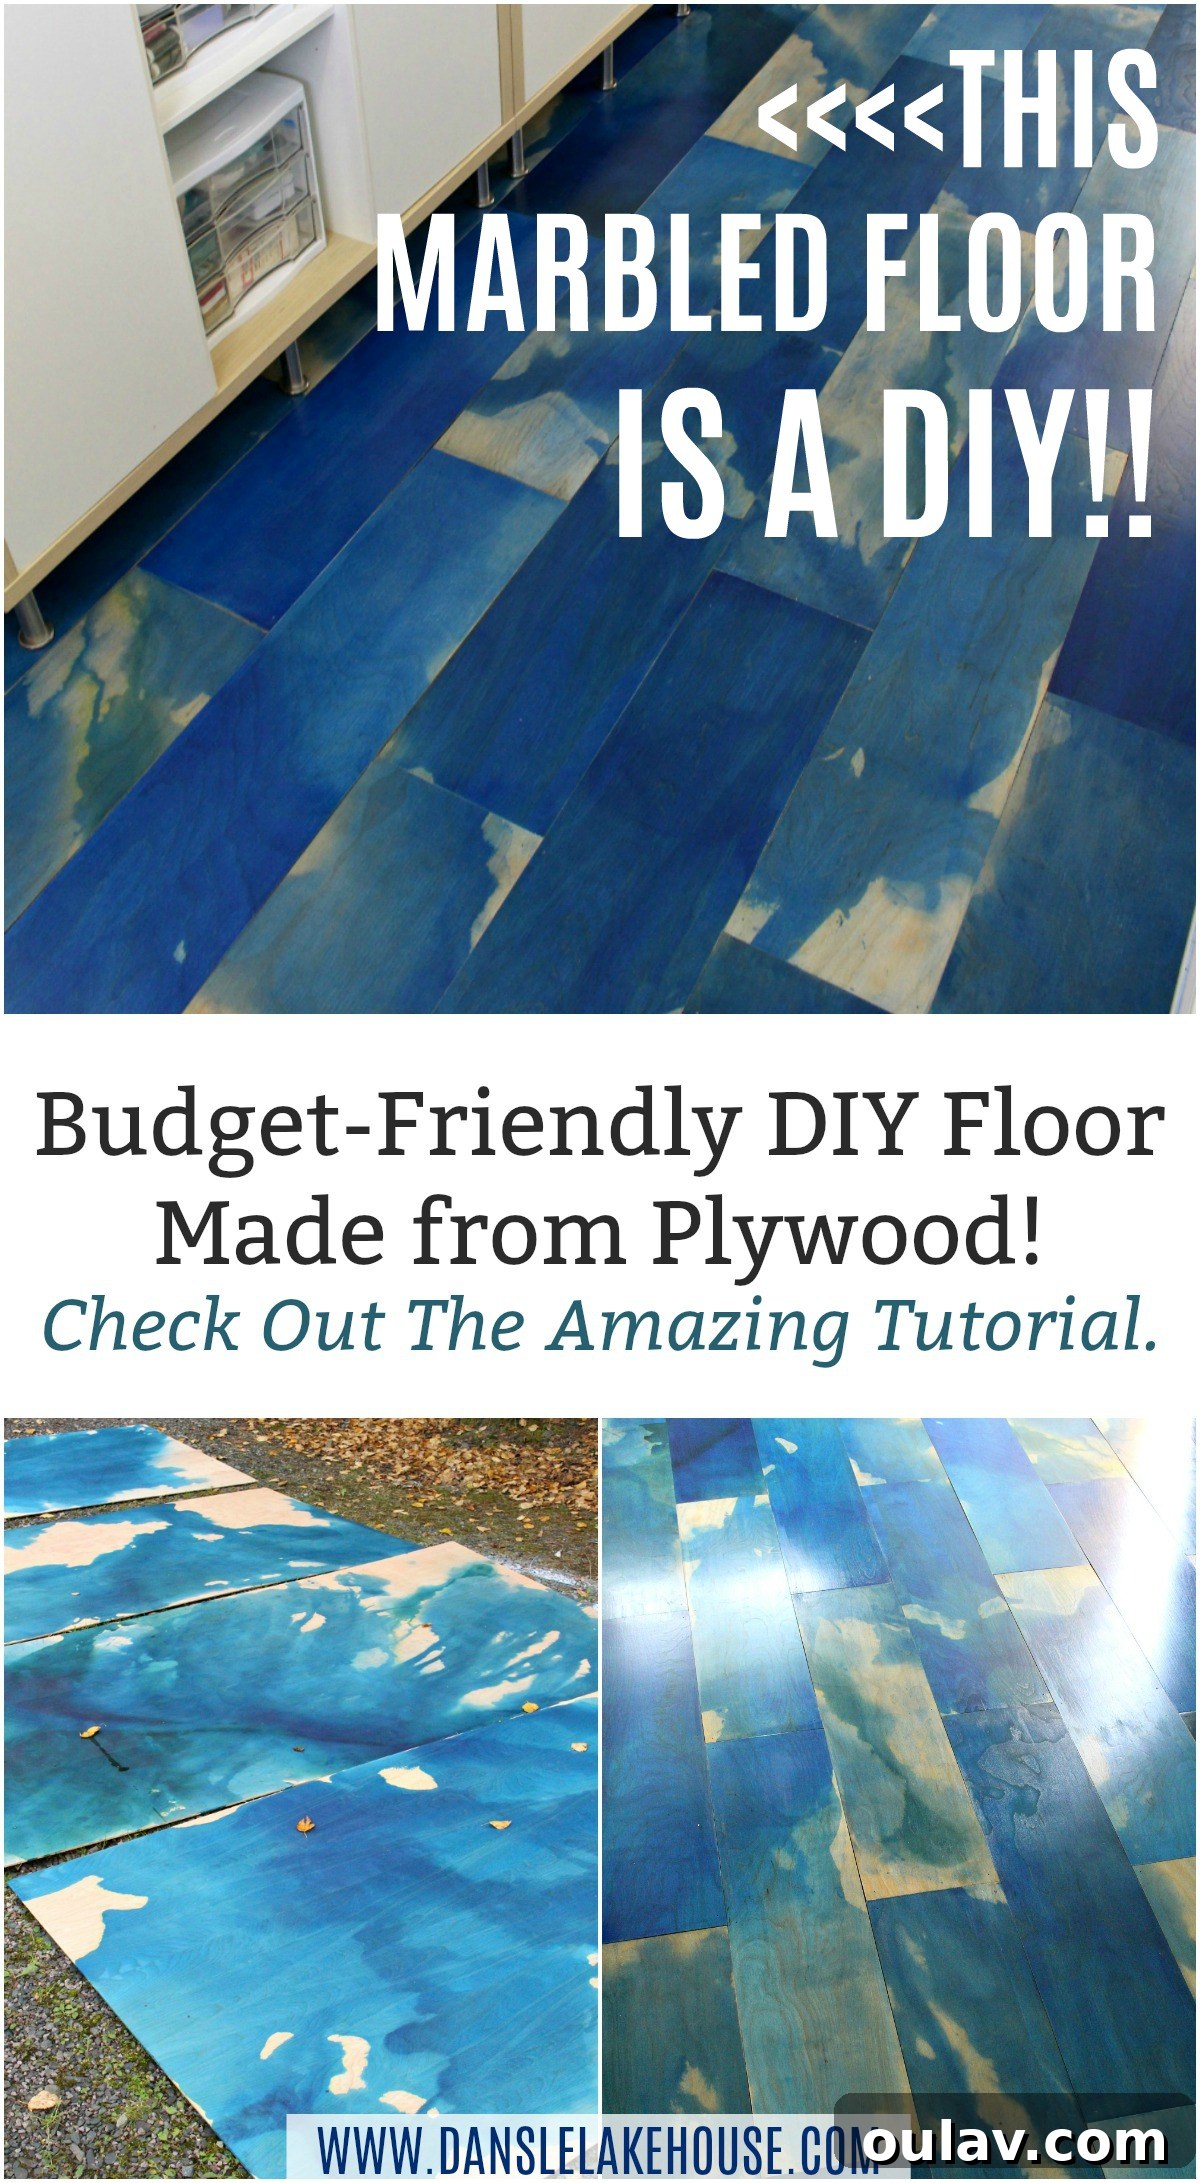
UPDATE: Discover the stunning full reveal of the finished Fish Room (which now cleverly doubles as a Craft Room) right here, complete with before-and-after photos and a detailed tour. And for those keen to recreate its distinctive look, don’t forget to revisit this post to learn the precise secrets behind our unique watercolor design technique that brought the floor to life.