Unlock Lasting Beauty: Craft Your Own Enchanting Turquoise Lily of the Valley Faux Flower Wreath
There’s a unique magic that comes with the arrival of Lily of the Valley flowers each year. For me, these delicate, bell-shaped blossoms have always felt like a personal gift from Mother Nature, often blooming right around my mid-June birthday. Their pristine white petals and vibrant green leaves signal the peak of spring and the gentle transition into summer. This year, however, their fleeting appearance was particularly poignant; they bloomed a little later than usual and faded away much too quickly. While I cherished every moment and managed to fill several vases, enjoying their incredibly fresh, sweet fragrance throughout my home, I found myself wishing their beauty could last just a little longer. That ephemeral quality, though beautiful, left me longing for a permanent reminder of their charm. The tiniest bouquet had an extraordinary power to transform the entire house with its amazing scent, making me appreciate their brief visit even more profoundly.


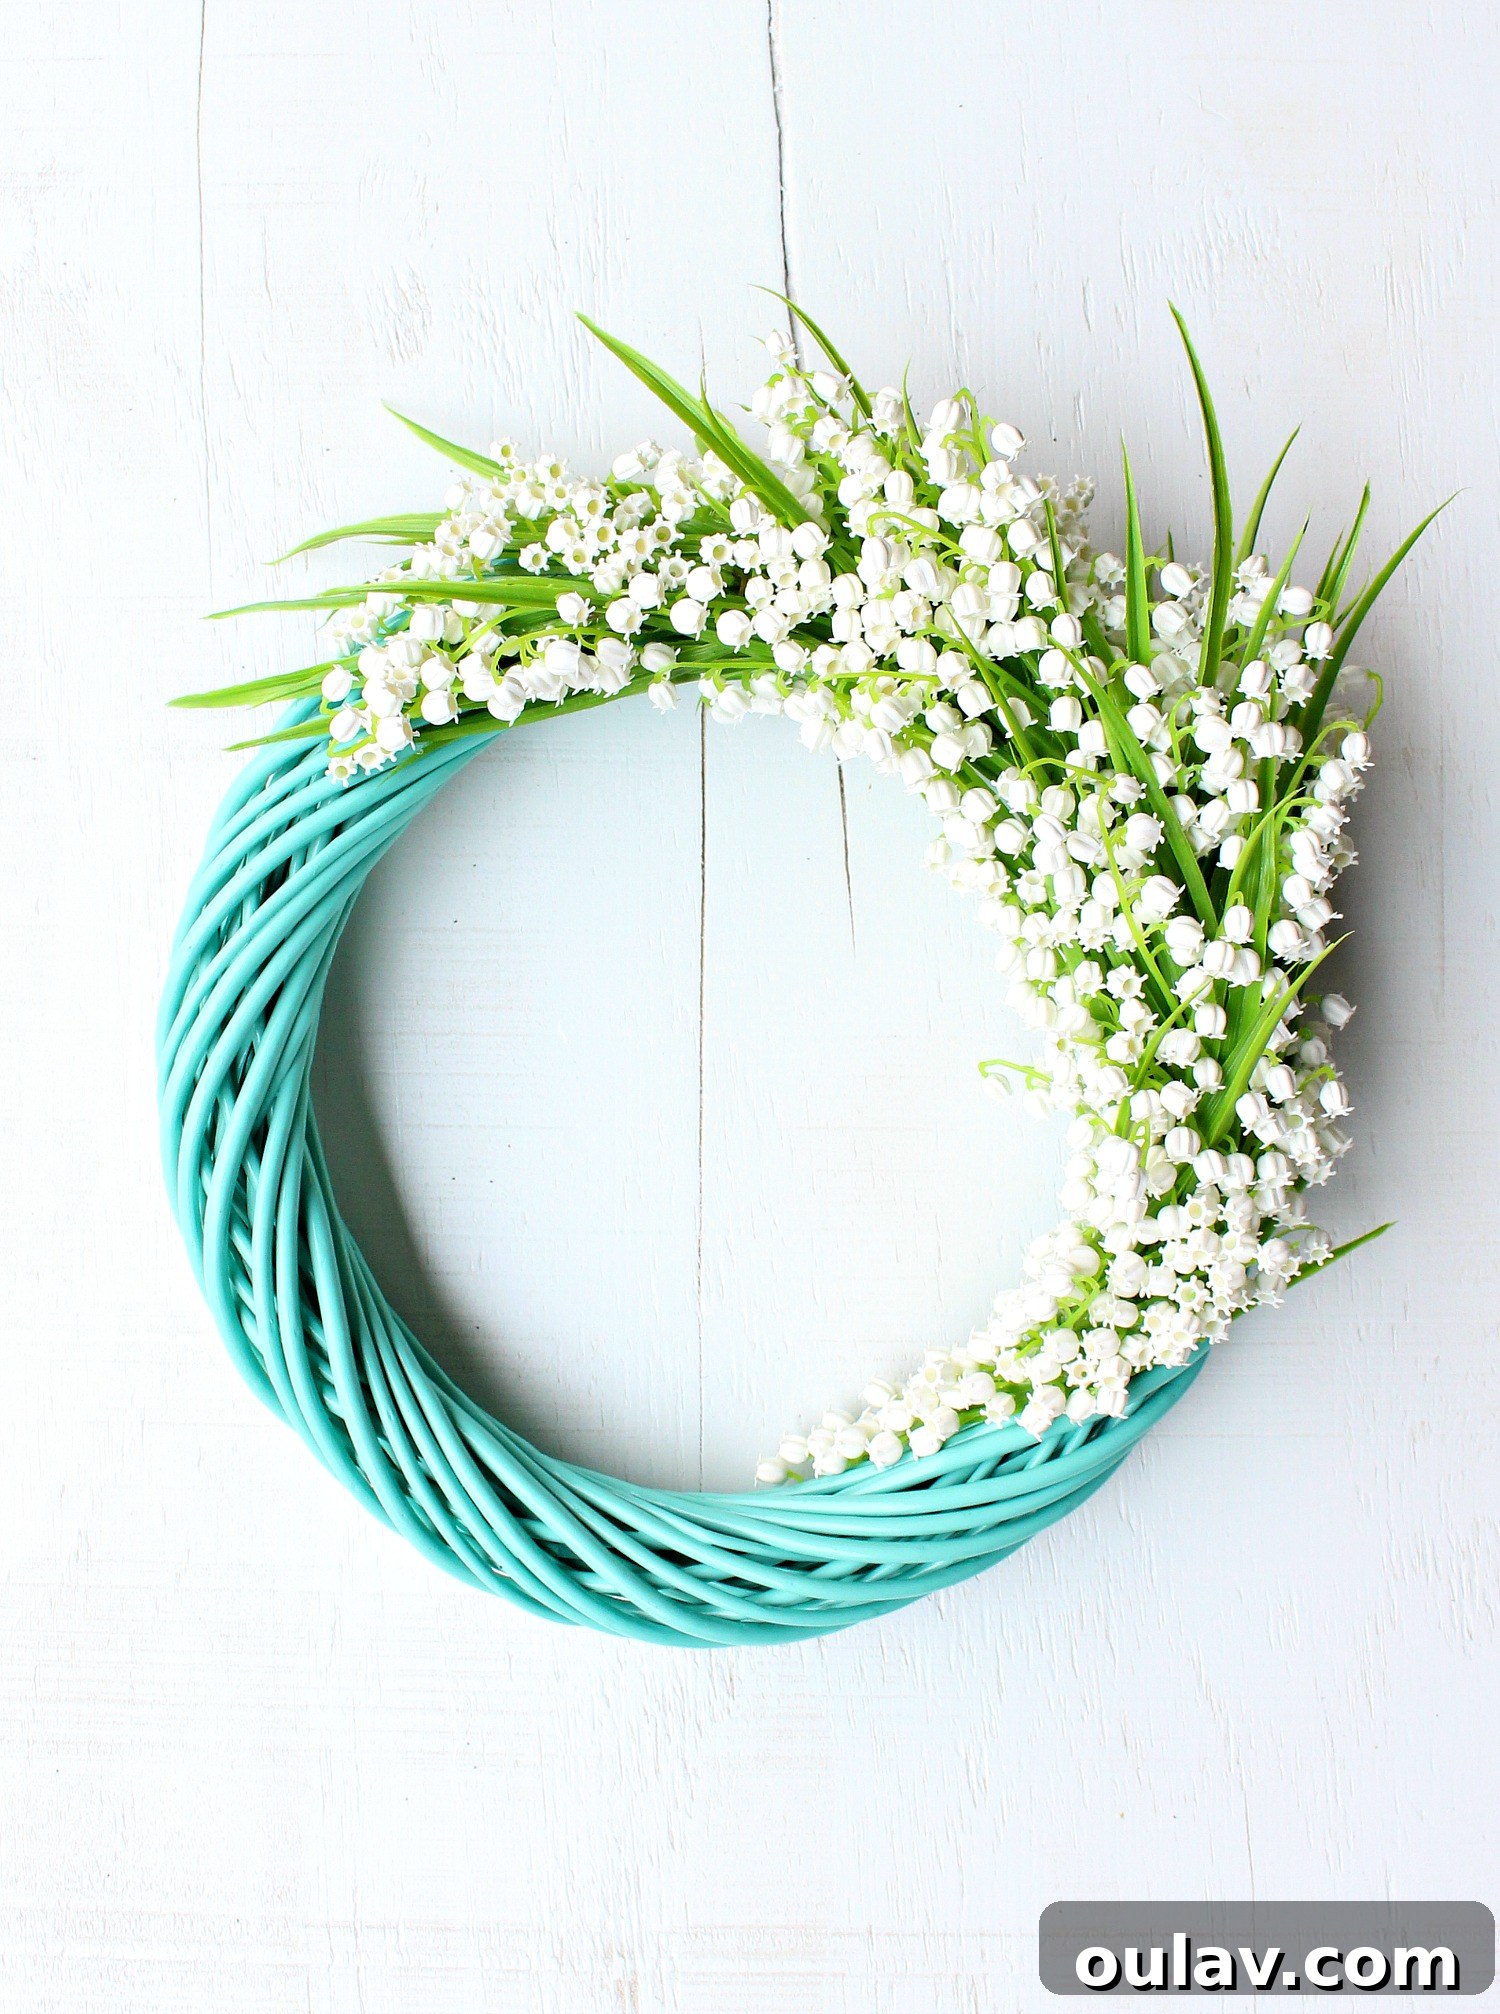
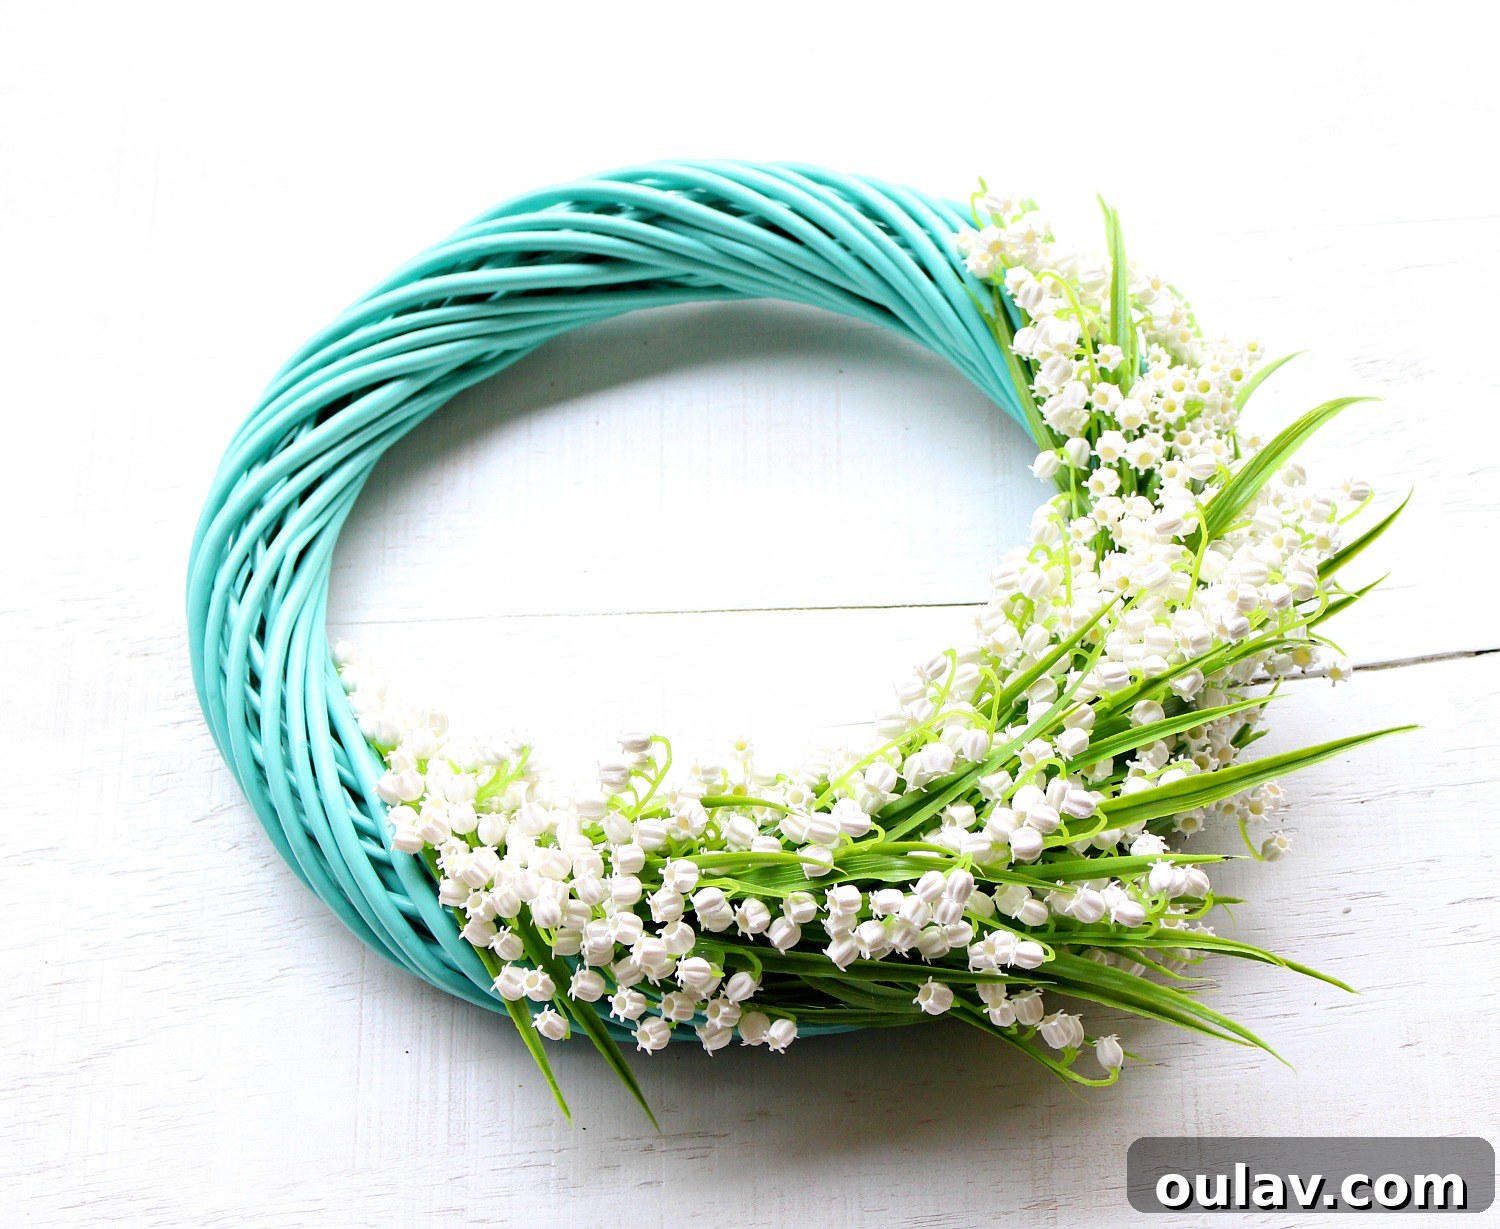
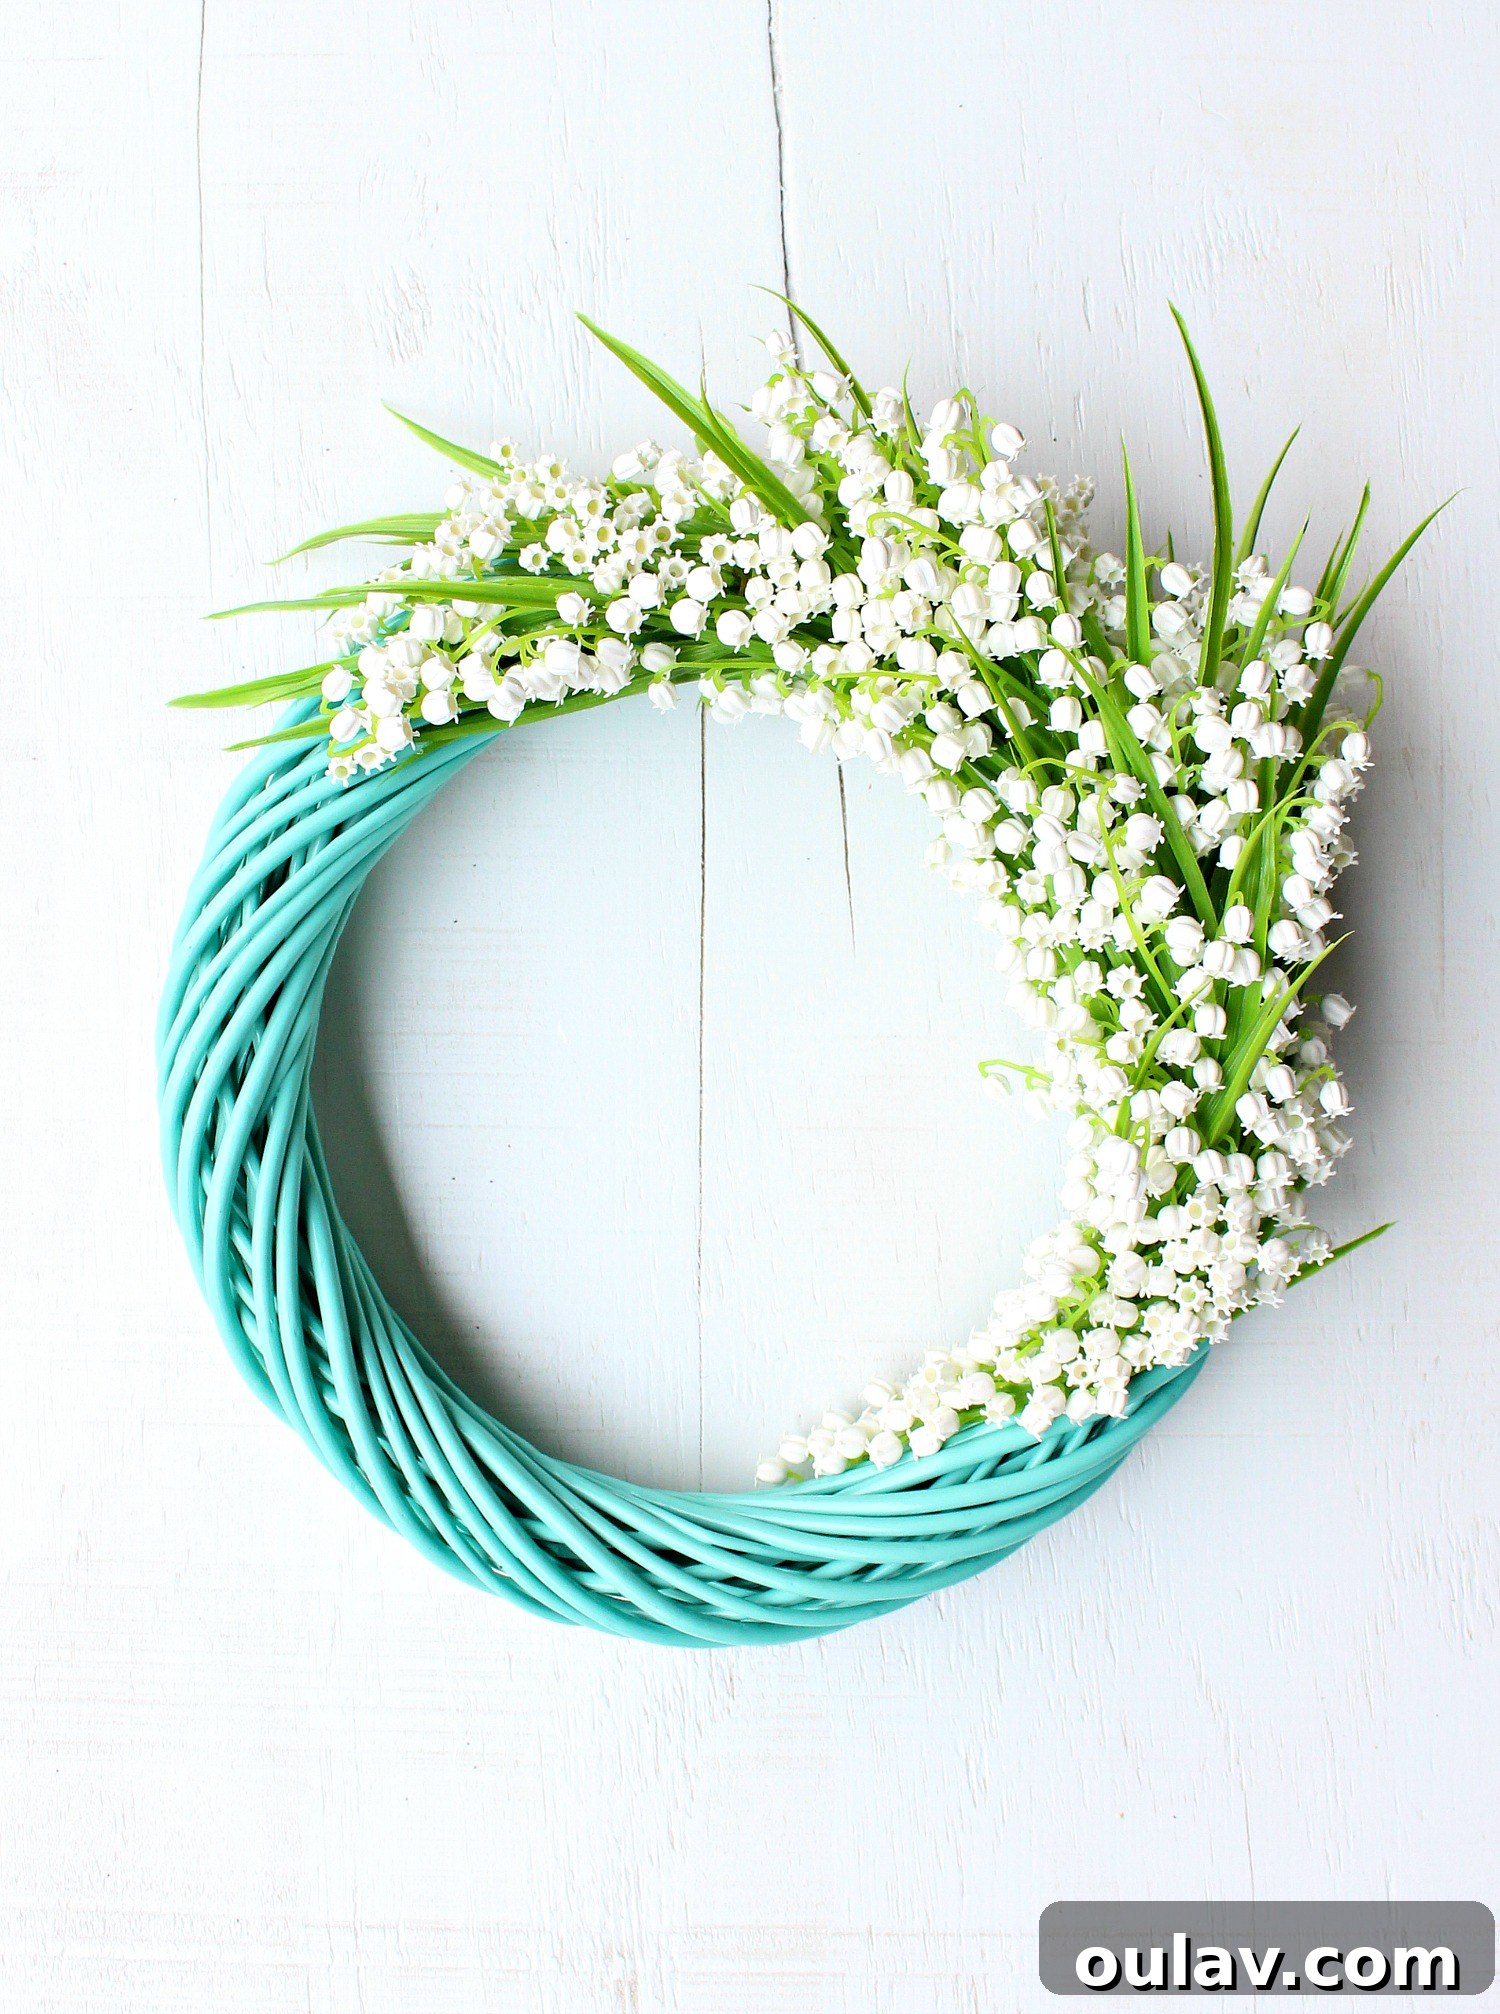
It was this desire for enduring beauty that sparked the idea for my latest DIY project: a stunning faux flower wreath, specifically a Lily of the Valley wreath. Combining my deep affection for these classic flowers with my absolute favorite color, turquoise, this project became a delightful endeavor. While no faux flower can ever replicate the intoxicating aroma of real Lily of the Valley, this artificial creation allows me to celebrate their delicate form and timeless elegance all year round. Imagine the joy of having these beautiful blooms adorn your home, regardless of the season, bringing a touch of spring vibrancy to any space. This easy craft not only fulfills a desire for lasting beauty but also allows for a creative expression that intertwines personal passion with practical home decor.
The decision to create a faux Lily of the Valley wreath wasn’t just about preserving their visual appeal; it was also about embracing the ease and versatility of artificial flowers. Although the enchanting fragrance is a significant part of their charm, the delicate bell-shaped flowers themselves possess an undeniable beauty that I wanted to capture permanently. A DIY faux flower wreath offers numerous advantages: it requires no watering or maintenance, it won’t wilt or fade, and it provides year-round enjoyment without the limitations of seasonal blooms. Plus, for anyone with allergies, faux flowers are a wonderful way to bring botanical beauty indoors without any discomfort. And the best part? This particular project is incredibly simple and quick to assemble. I personally whipped this beautiful piece up in approximately twenty minutes, enjoying the glorious sunshine and using my truck tailgate as a convenient, impromptu work surface – a true testament to its straightforward nature!
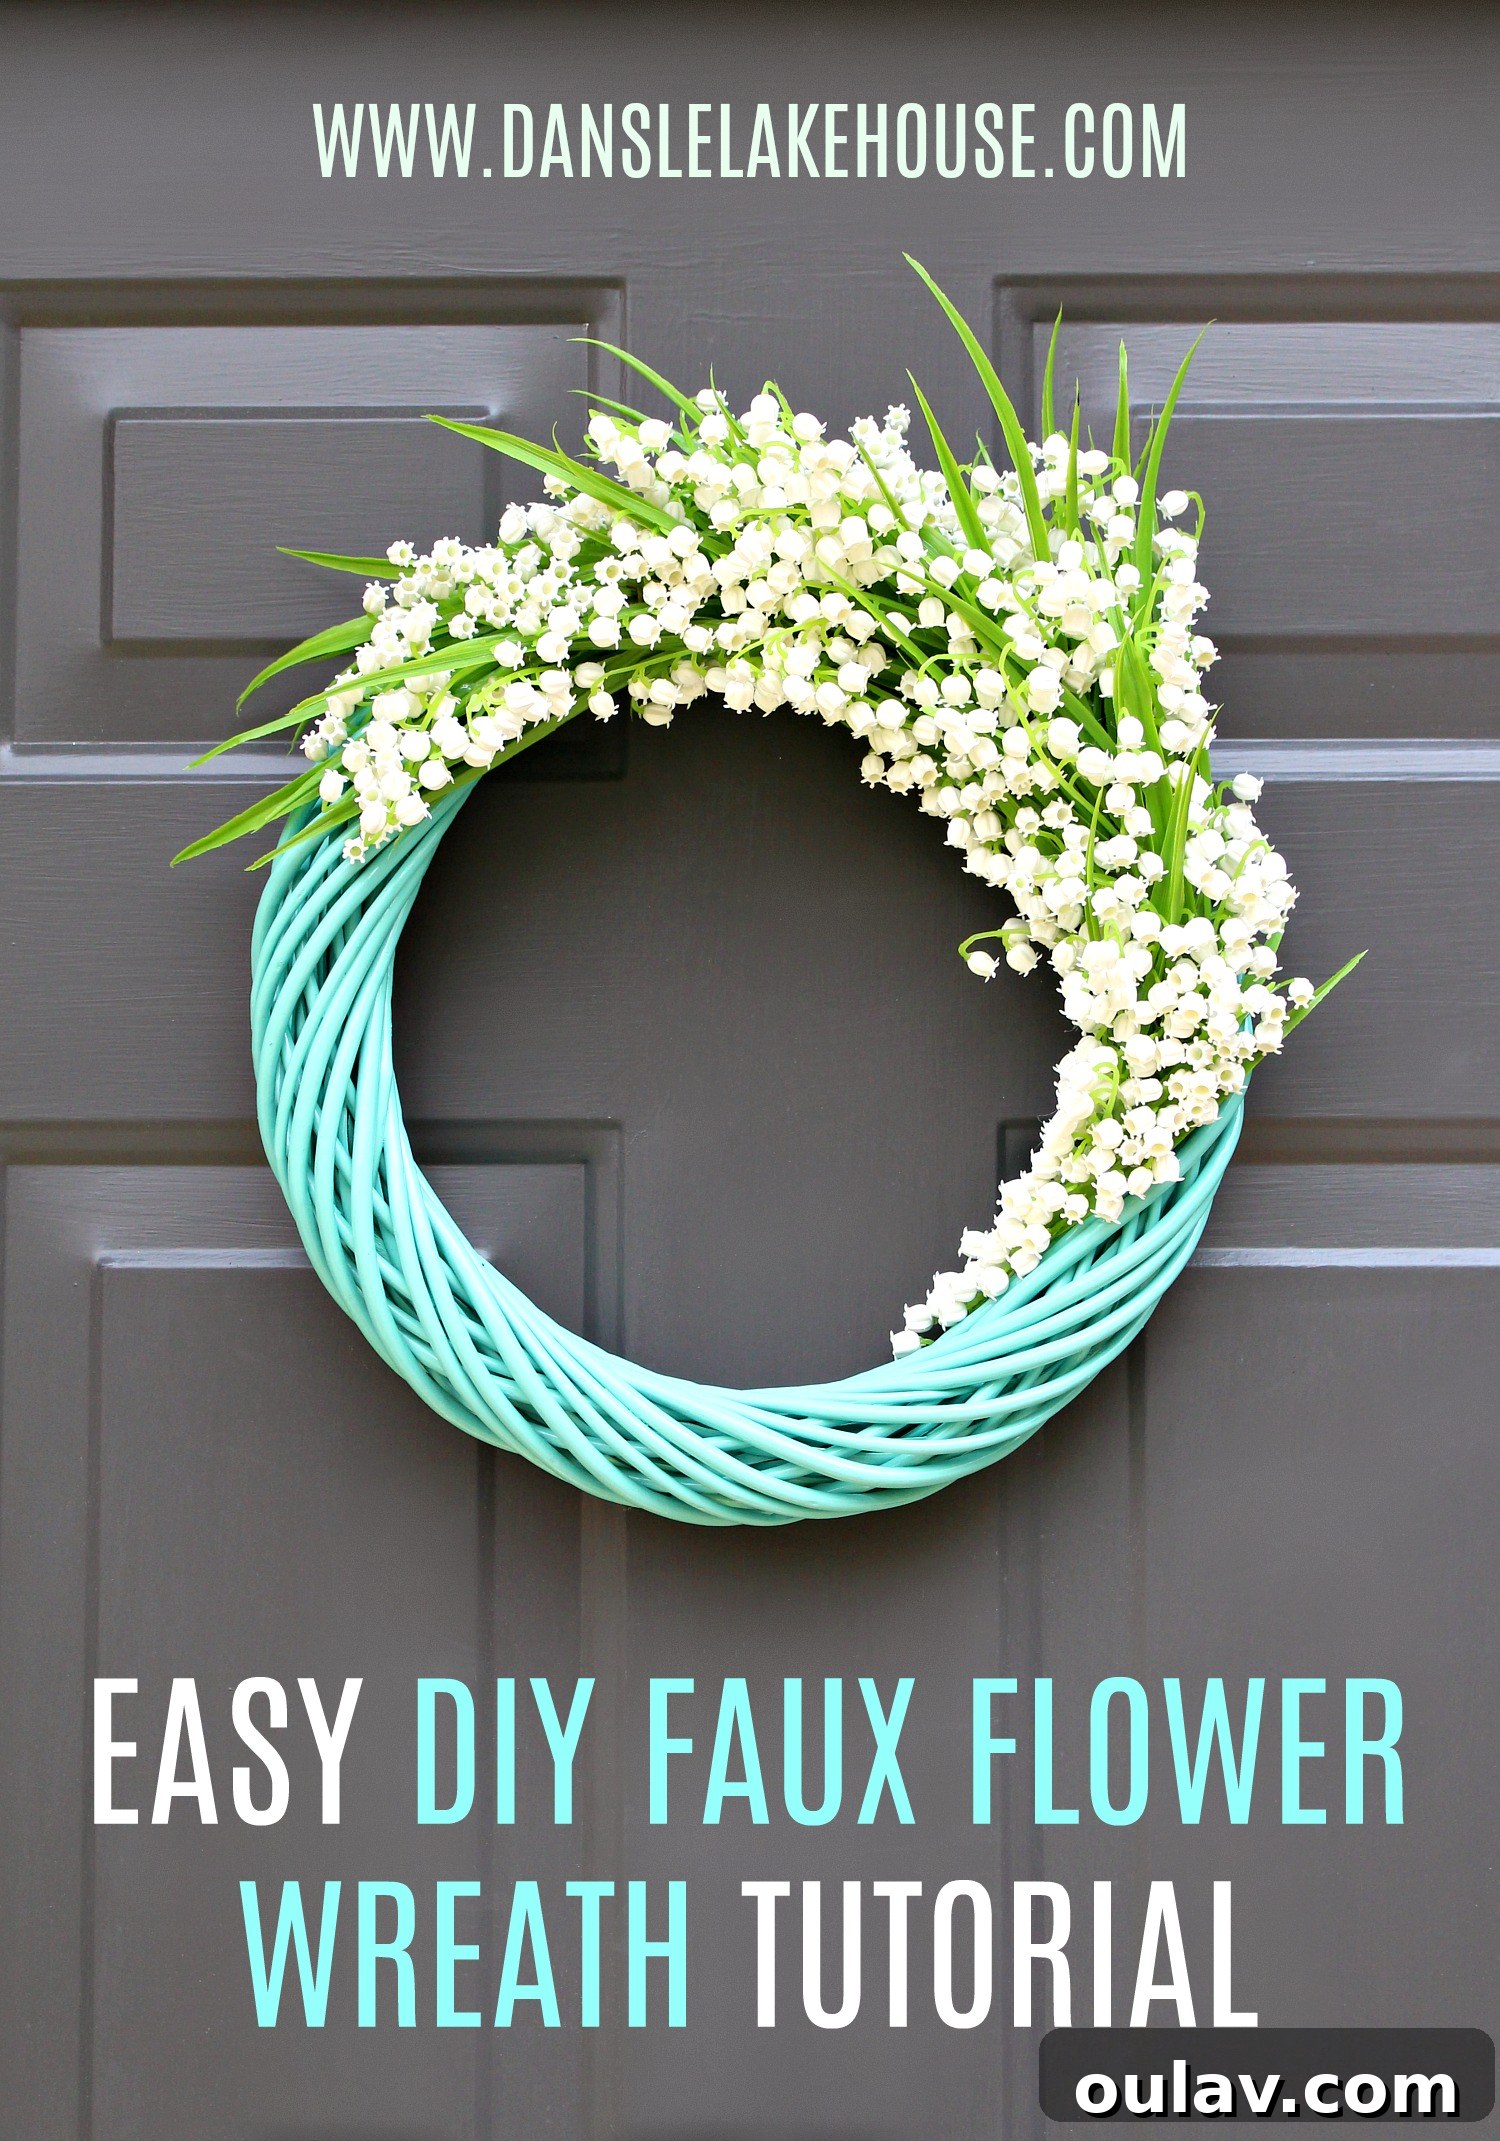
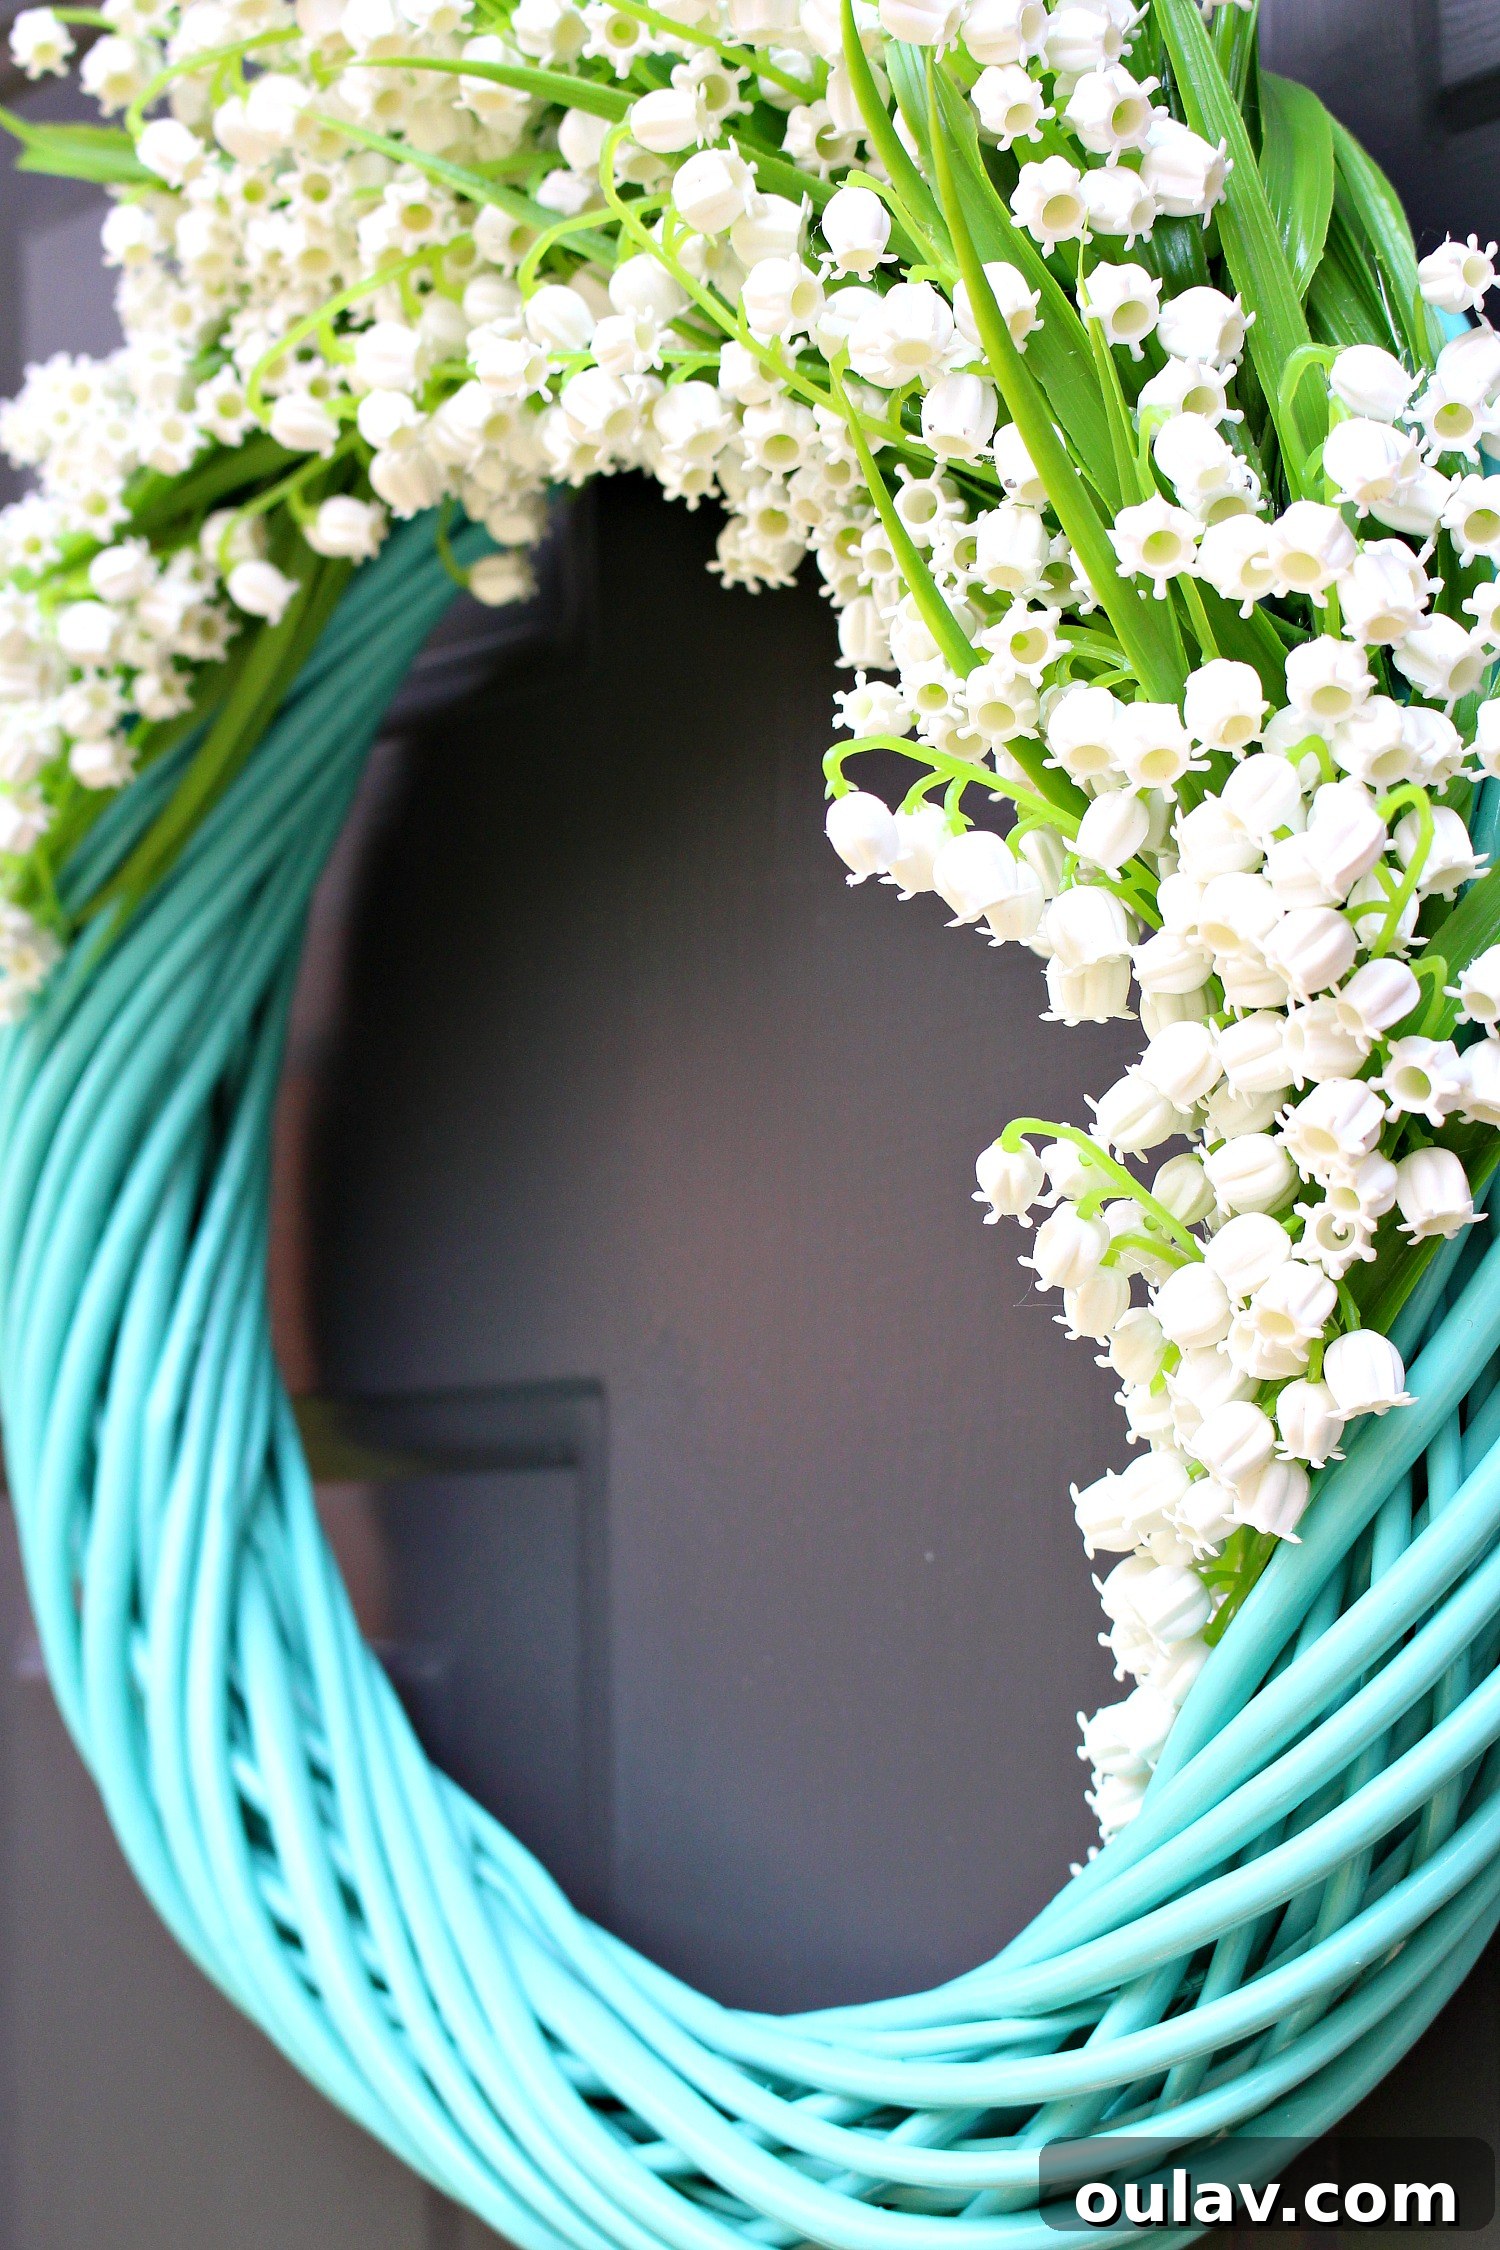
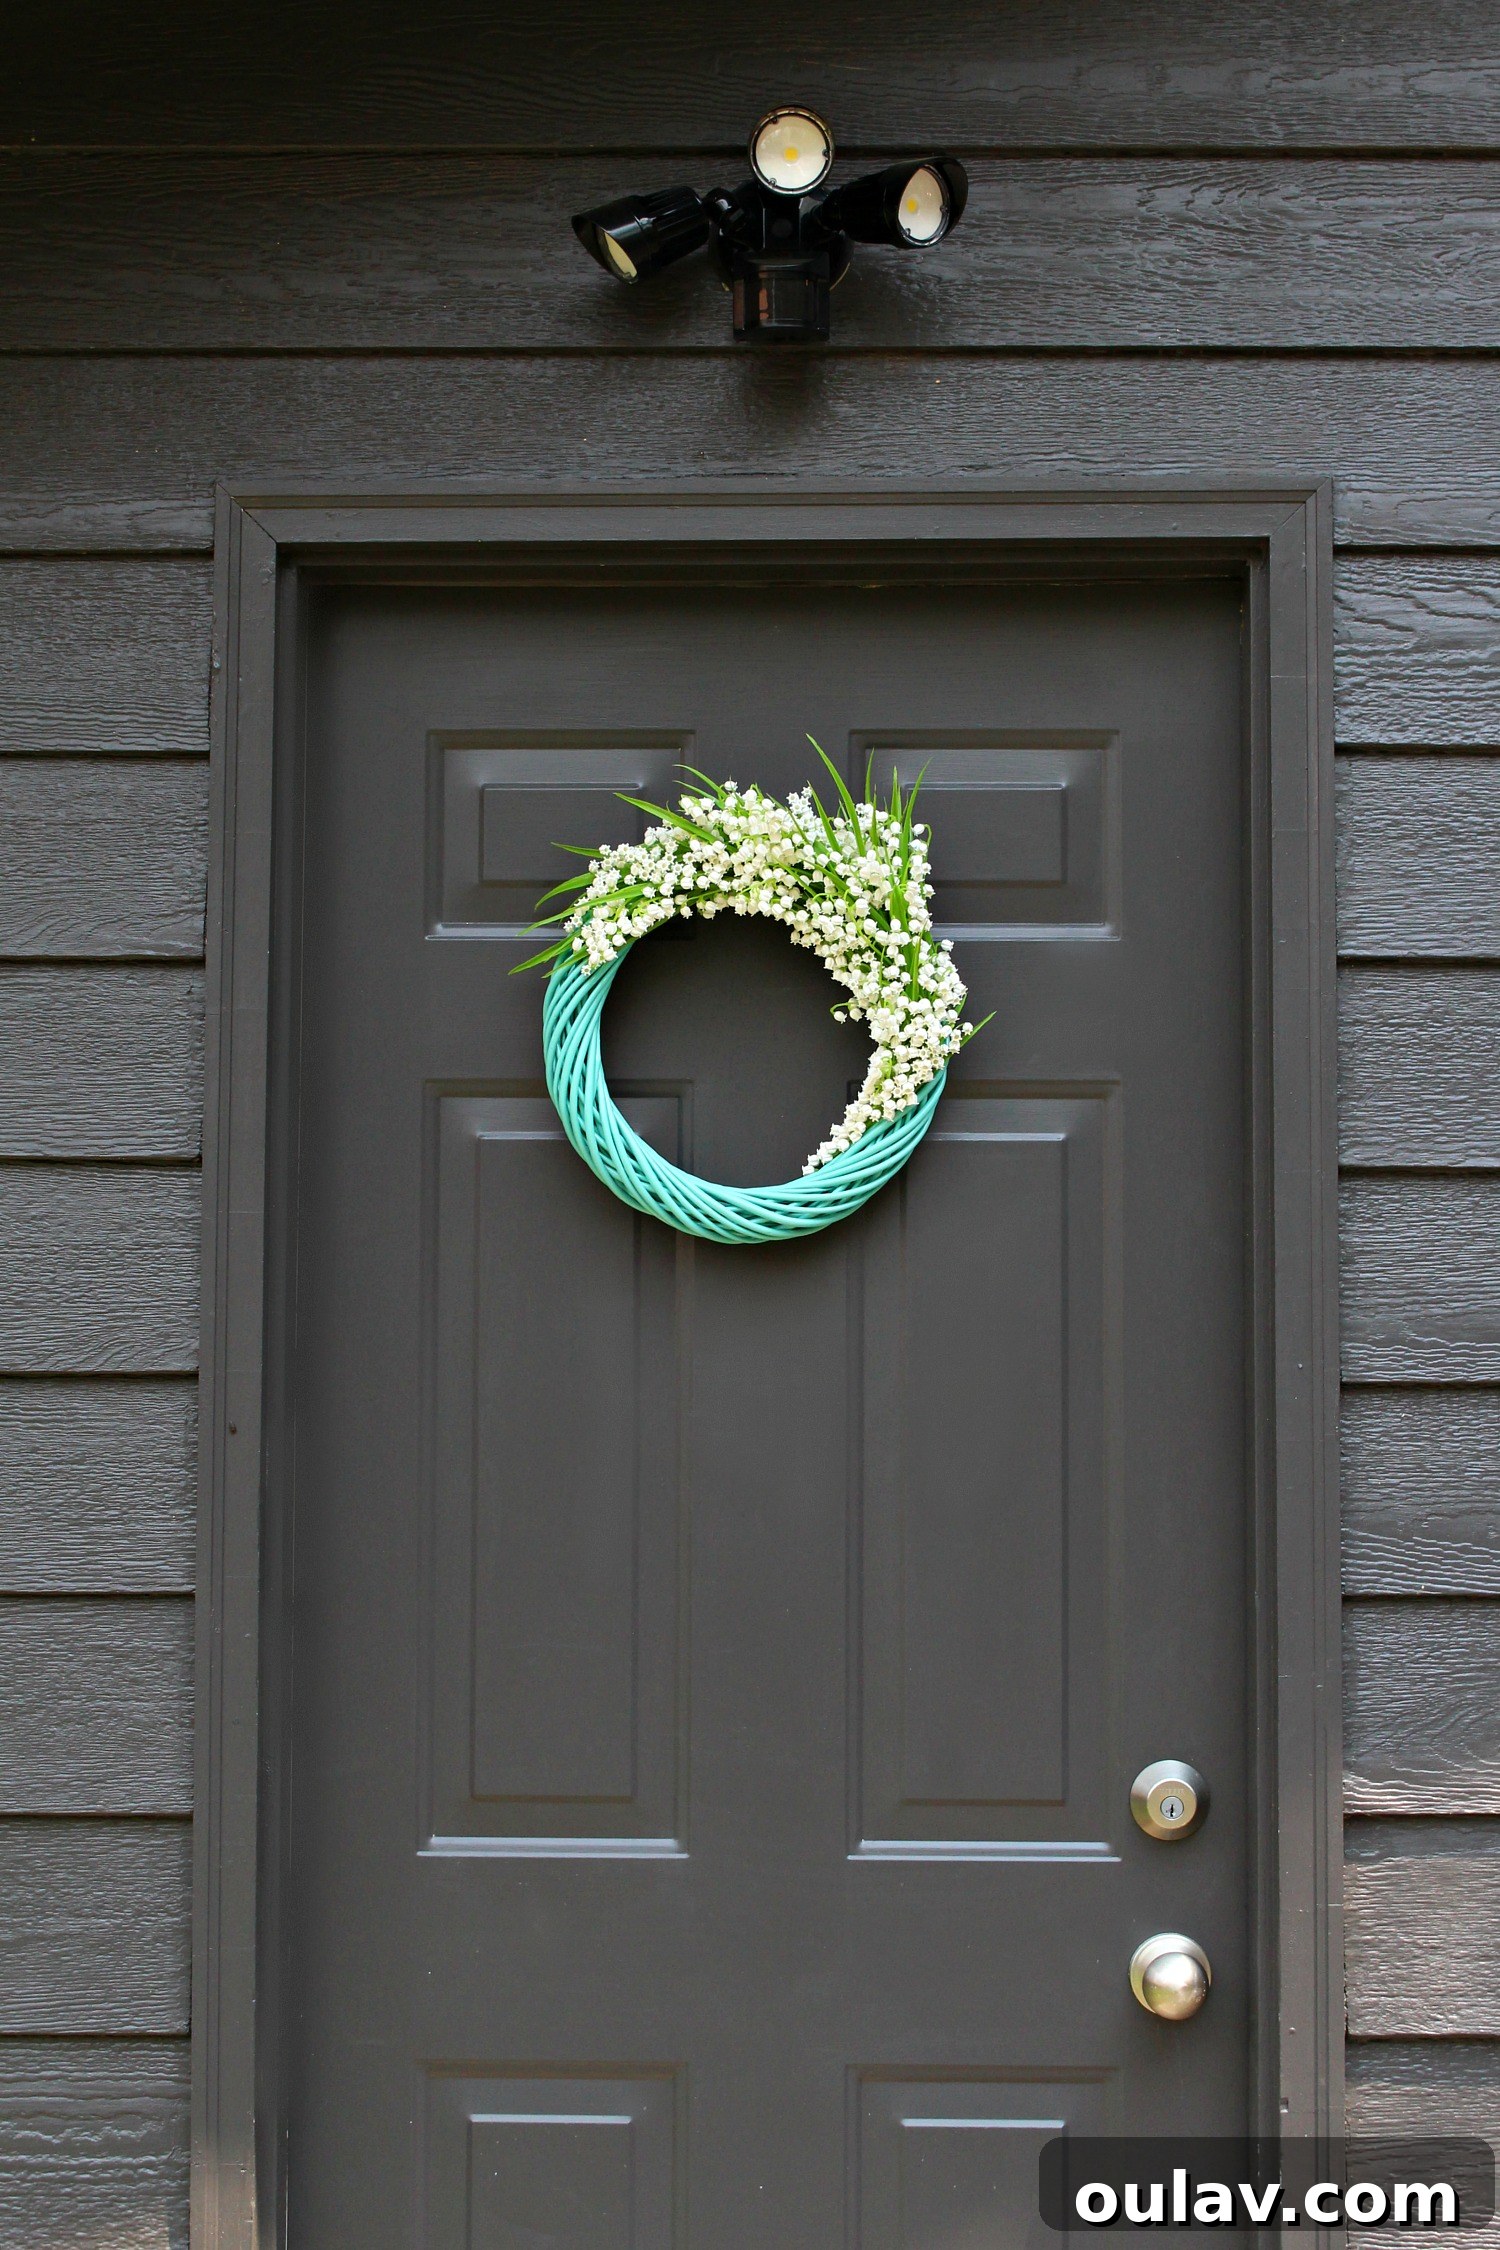
One of the most satisfying aspects of any DIY home decor project is seeing the finished piece enhance your living space. This new Lily of the Valley wreath has certainly delivered on that front. I absolutely adore how its vibrant turquoise hue and crisp white flowers create a striking contrast against my dark grey/brown garage door. It instantly injects a much-needed splash of color and a cheerful ambiance, transforming an otherwise utilitarian space into a welcoming entryway. It also perfectly complements the playful garage door mural I spent last summer painting, tying together elements of my outdoor decor with a cohesive and stylish touch. This wreath isn’t just a decoration; it’s a statement piece that adds personality and warmth to my home’s exterior, proving that even a simple craft can have a significant impact on curb appeal and overall aesthetic.
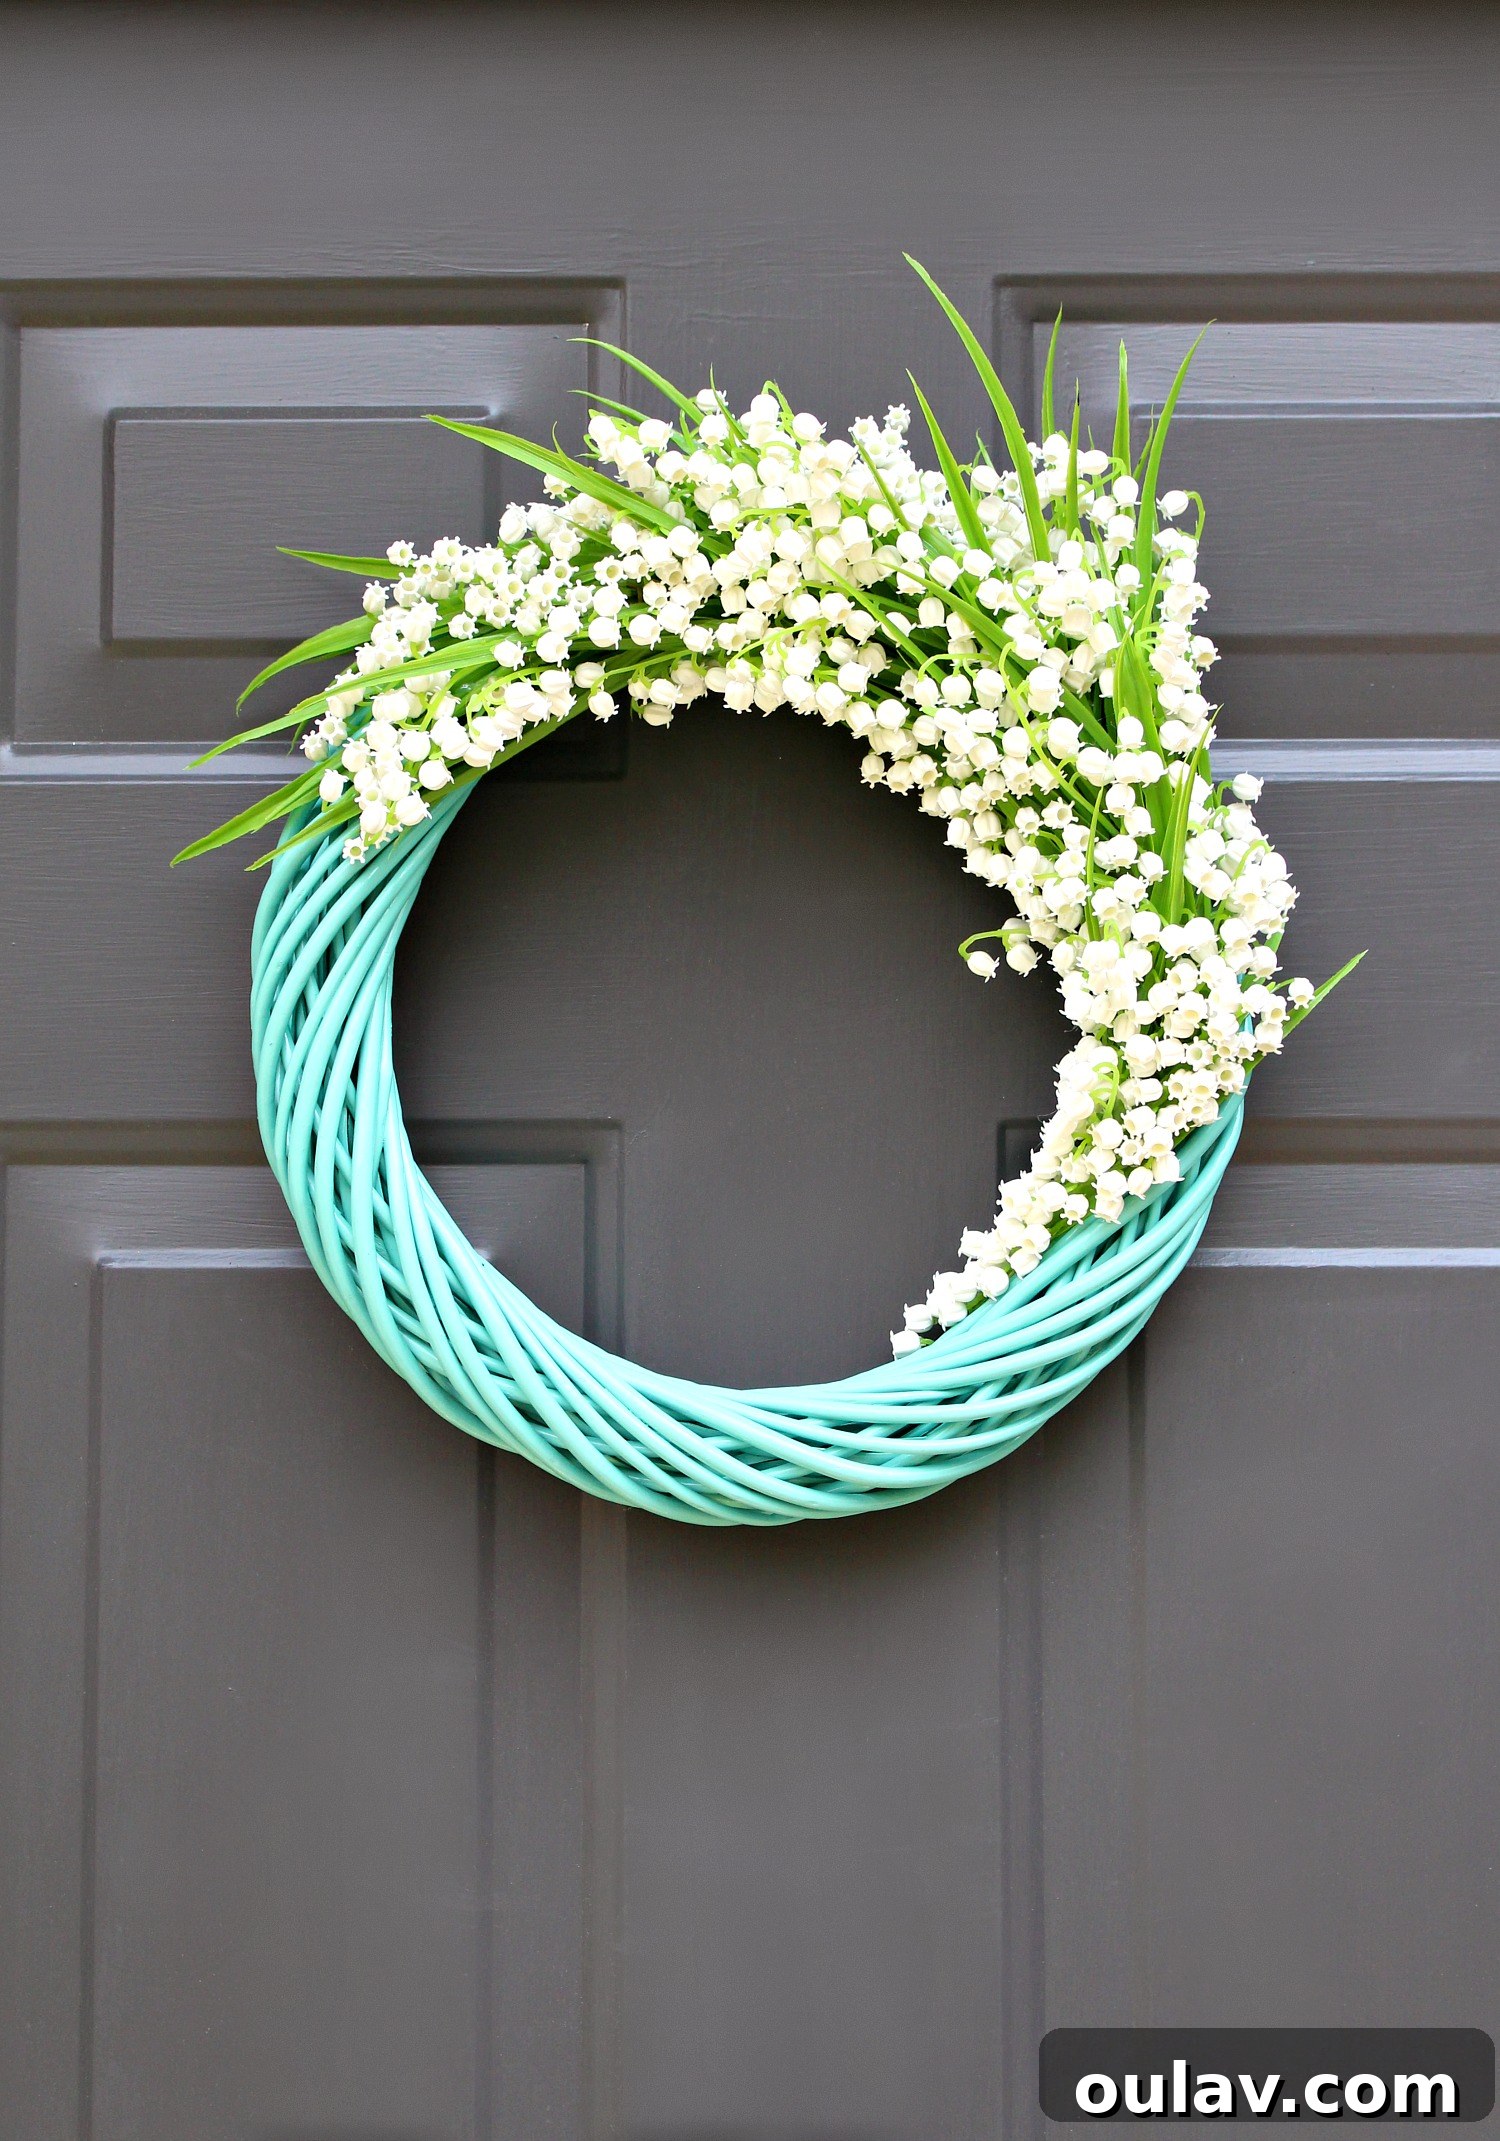
Creating a DIY faux flower wreath like this is so incredibly straightforward that it almost feels unnecessary to write a detailed tutorial. However, to ensure everyone can replicate this charming project with absolute ease, I’m delighted to share my step-by-step guide and comprehensive supply list. You might even recognize these delightful faux Lily of the Valley flowers from my previous Spring Tablescape, proving their versatility across various decor ideas! A top tip for budget-conscious crafters: always consider hitting up local thrift stores or secondhand shops for your wreath forms and artificial flowers. Not only can you discover unique and characterful bases, but you can also save a significant amount of money on craft supplies, making your beautiful DIY project even more rewarding and sustainable.
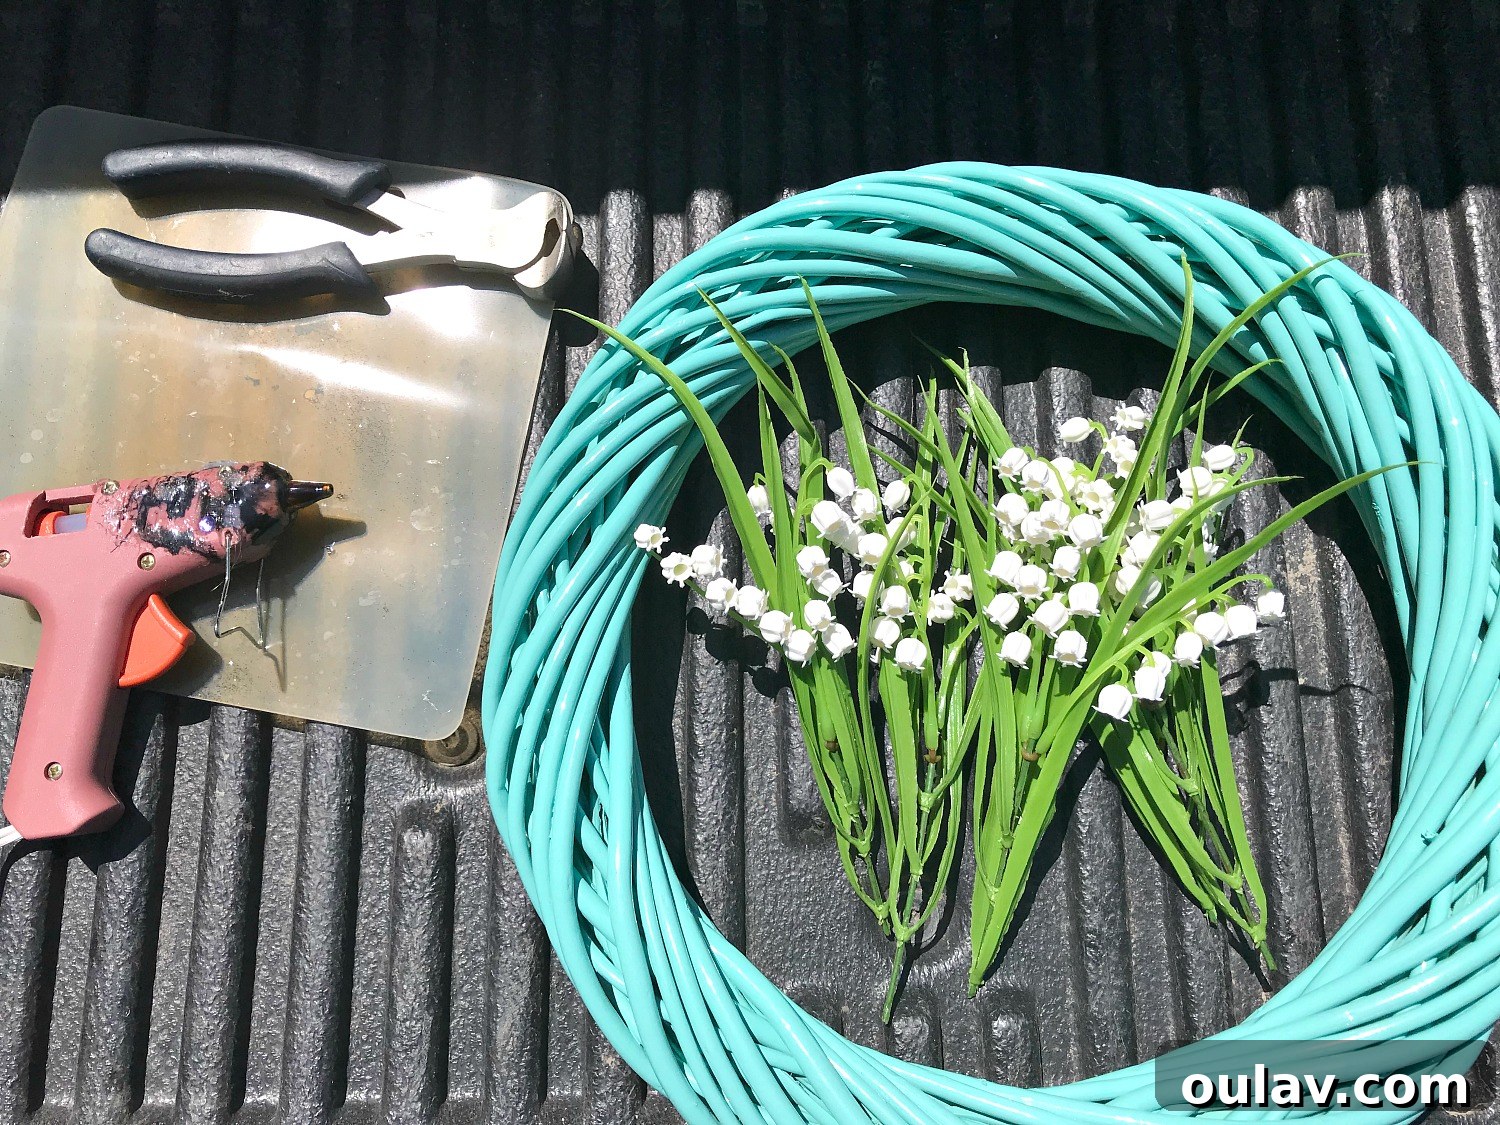
Essential Supplies for Your DIY Lily of the Valley Wreath
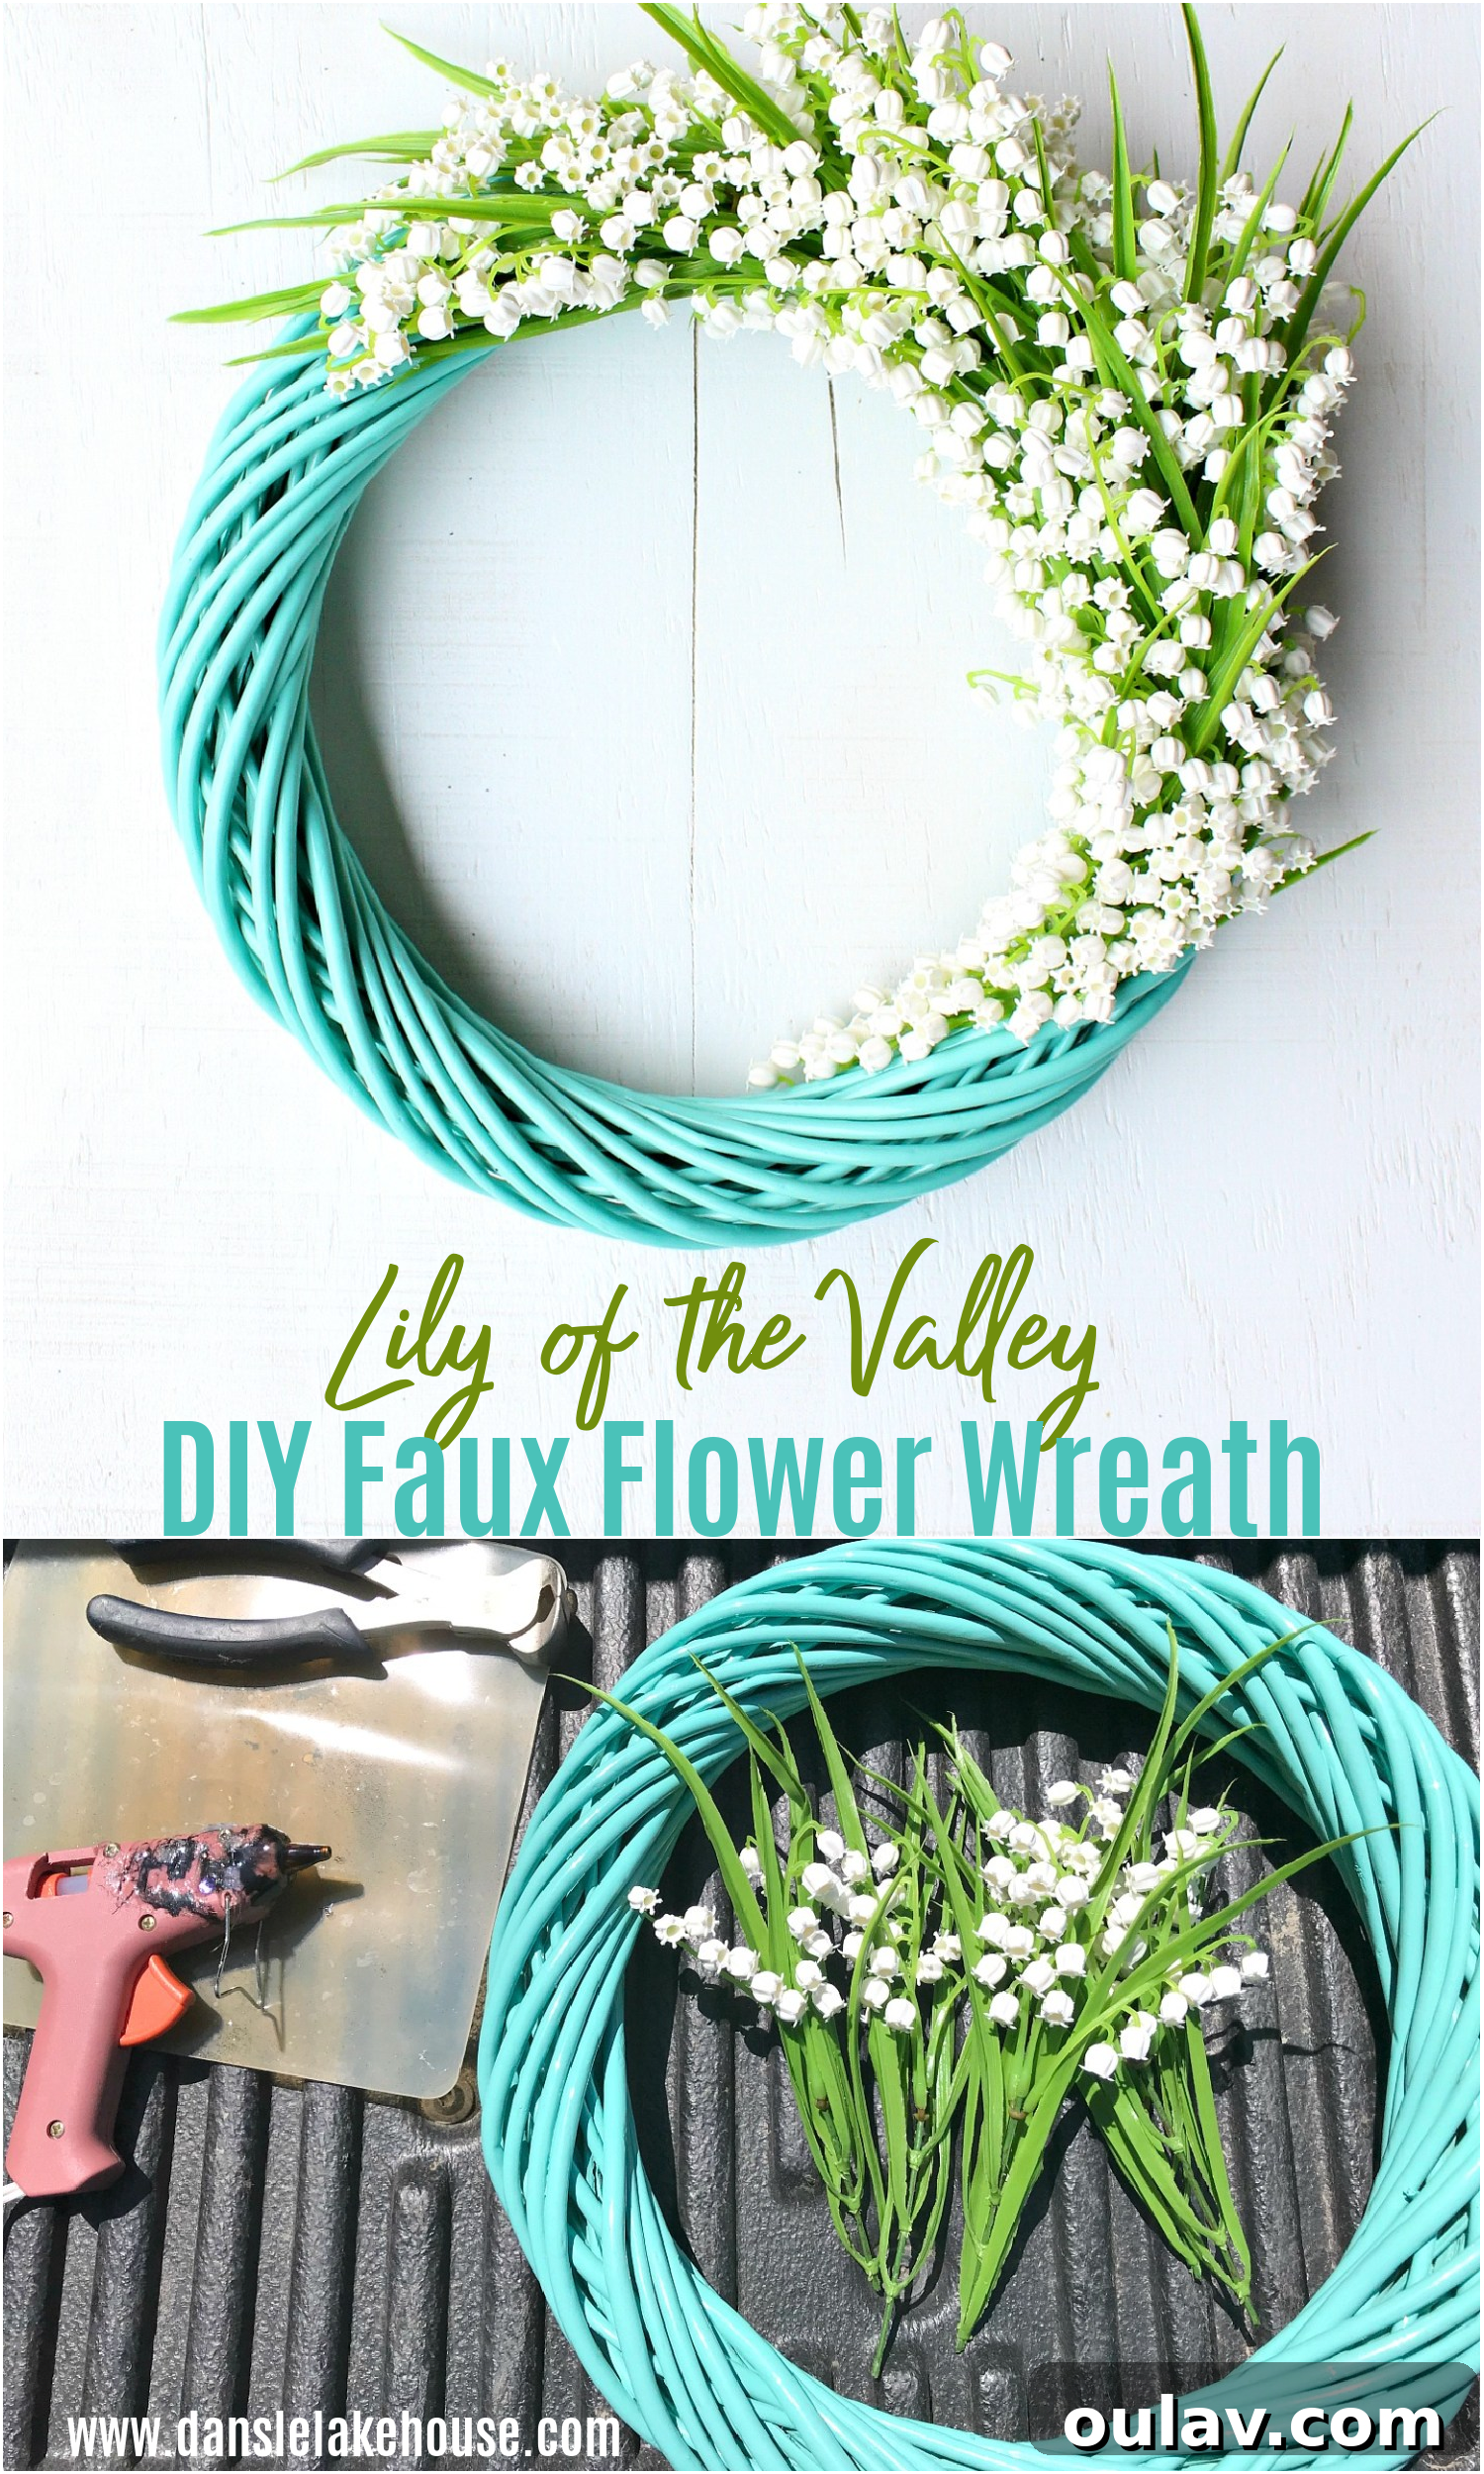
Gathering your materials is the first exciting step in any crafting adventure. For this project, you’ll find that many items can be repurposed or acquired affordably, which makes the whole process even more satisfying. (And yes, you’re not imagining things – I might have photographed some of these supplies on the tailgate of my pickup truck, a subtle nod to my gradual, yet complete, embrace of country living over the past five years!) Here’s what you’ll need to create your own vibrant faux flower wreath:
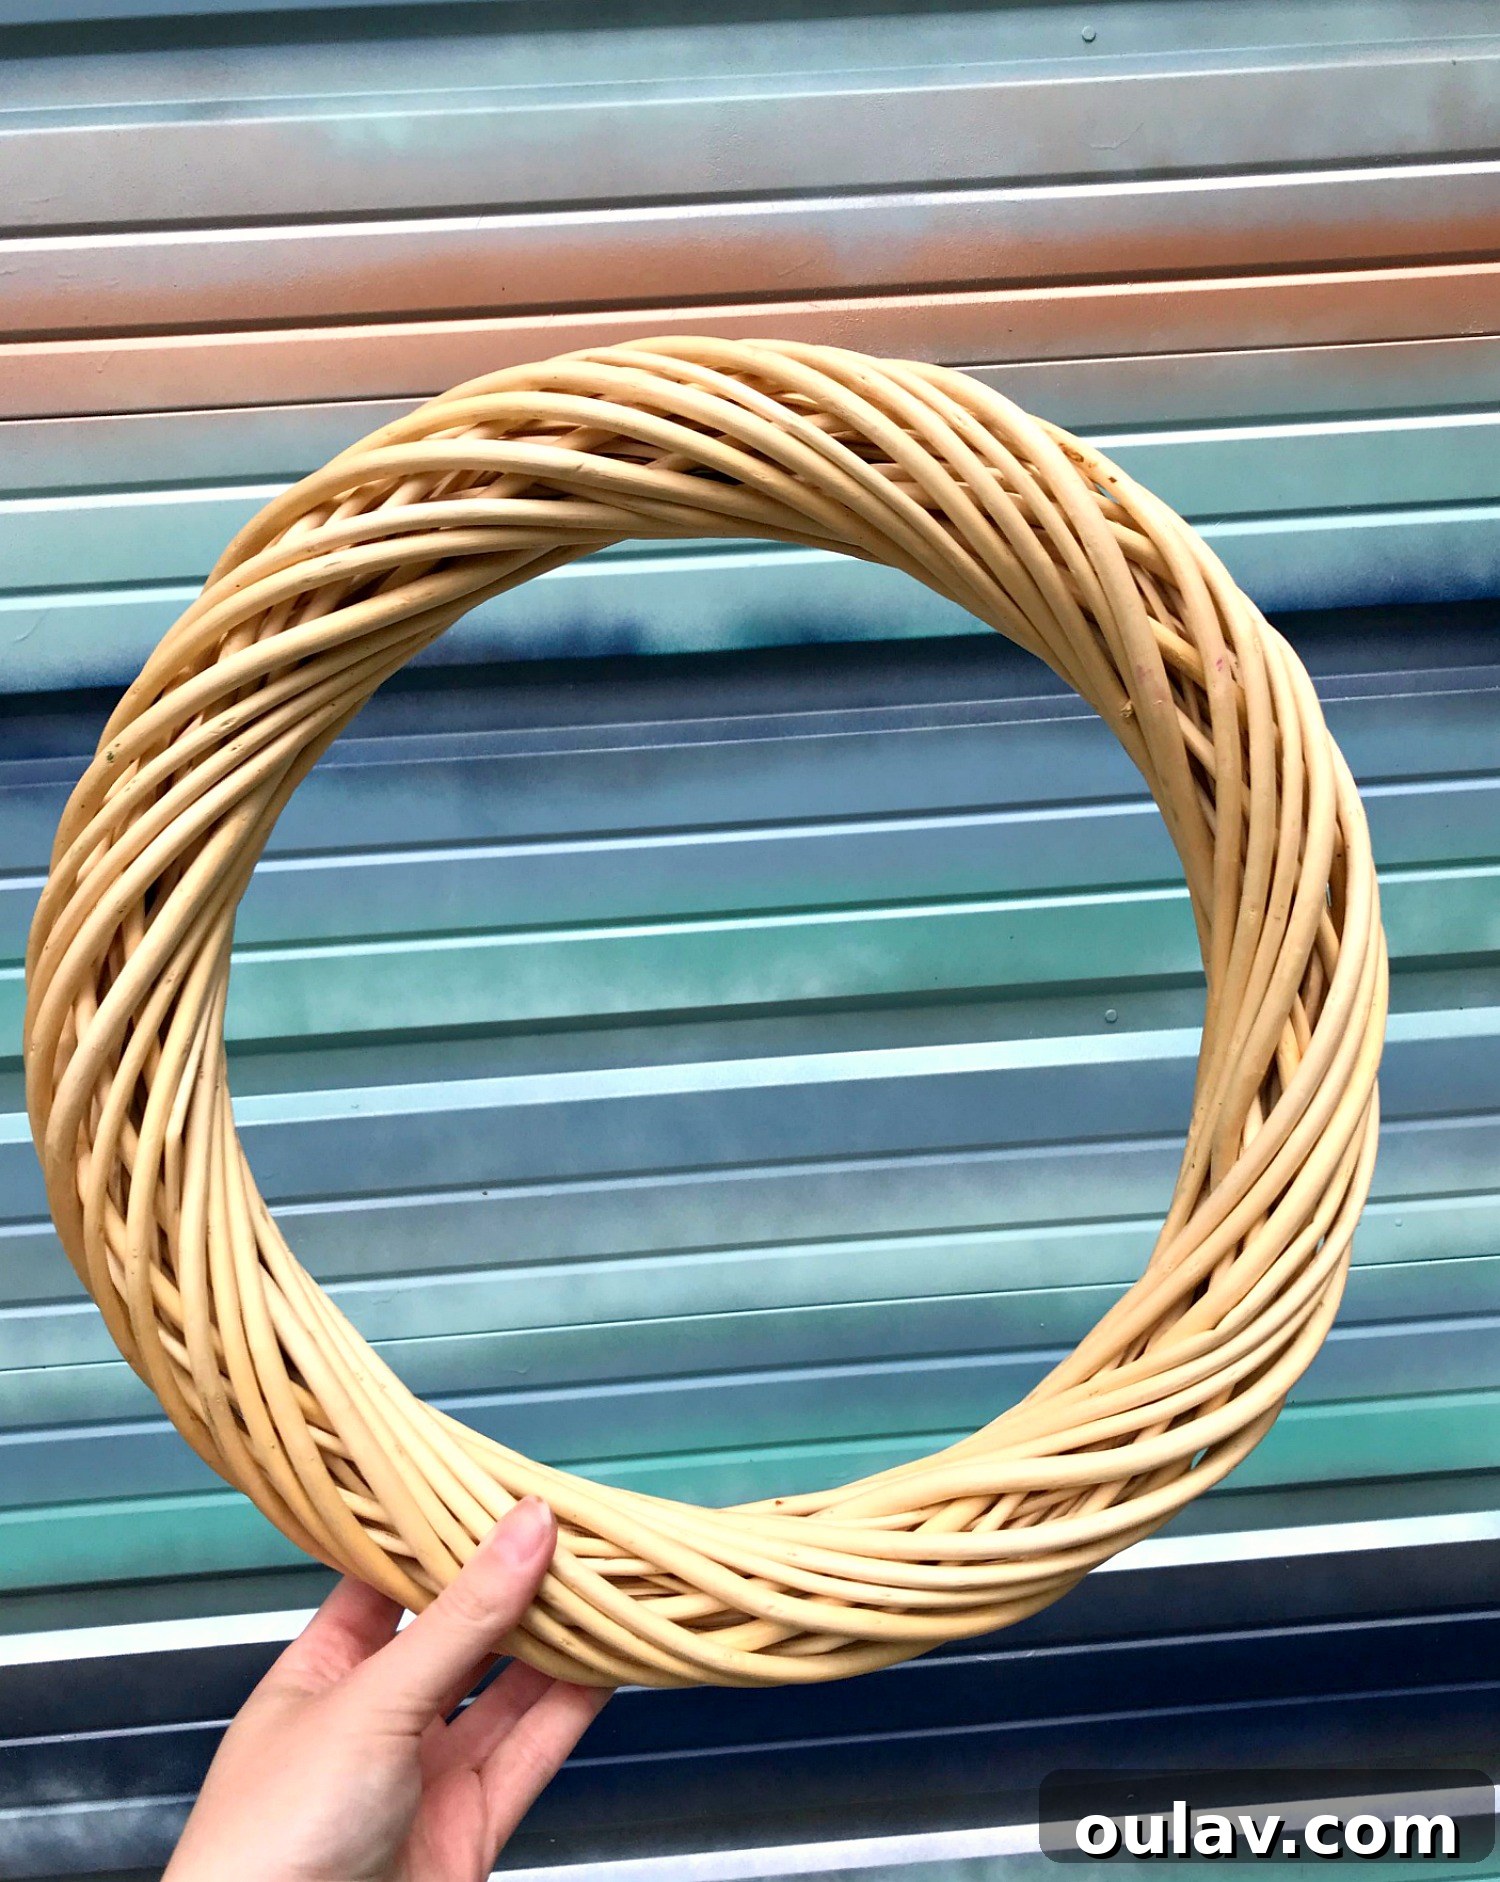
- Wreath Form: This is the foundation of your wreath. I highly recommend looking for a willow or grapevine wreath form at thrift stores, as they often have charming natural textures and are incredibly budget-friendly. Mine was a fantastic find for just $3! A good base ensures your wreath will hold its shape beautifully. You can also find various options online.
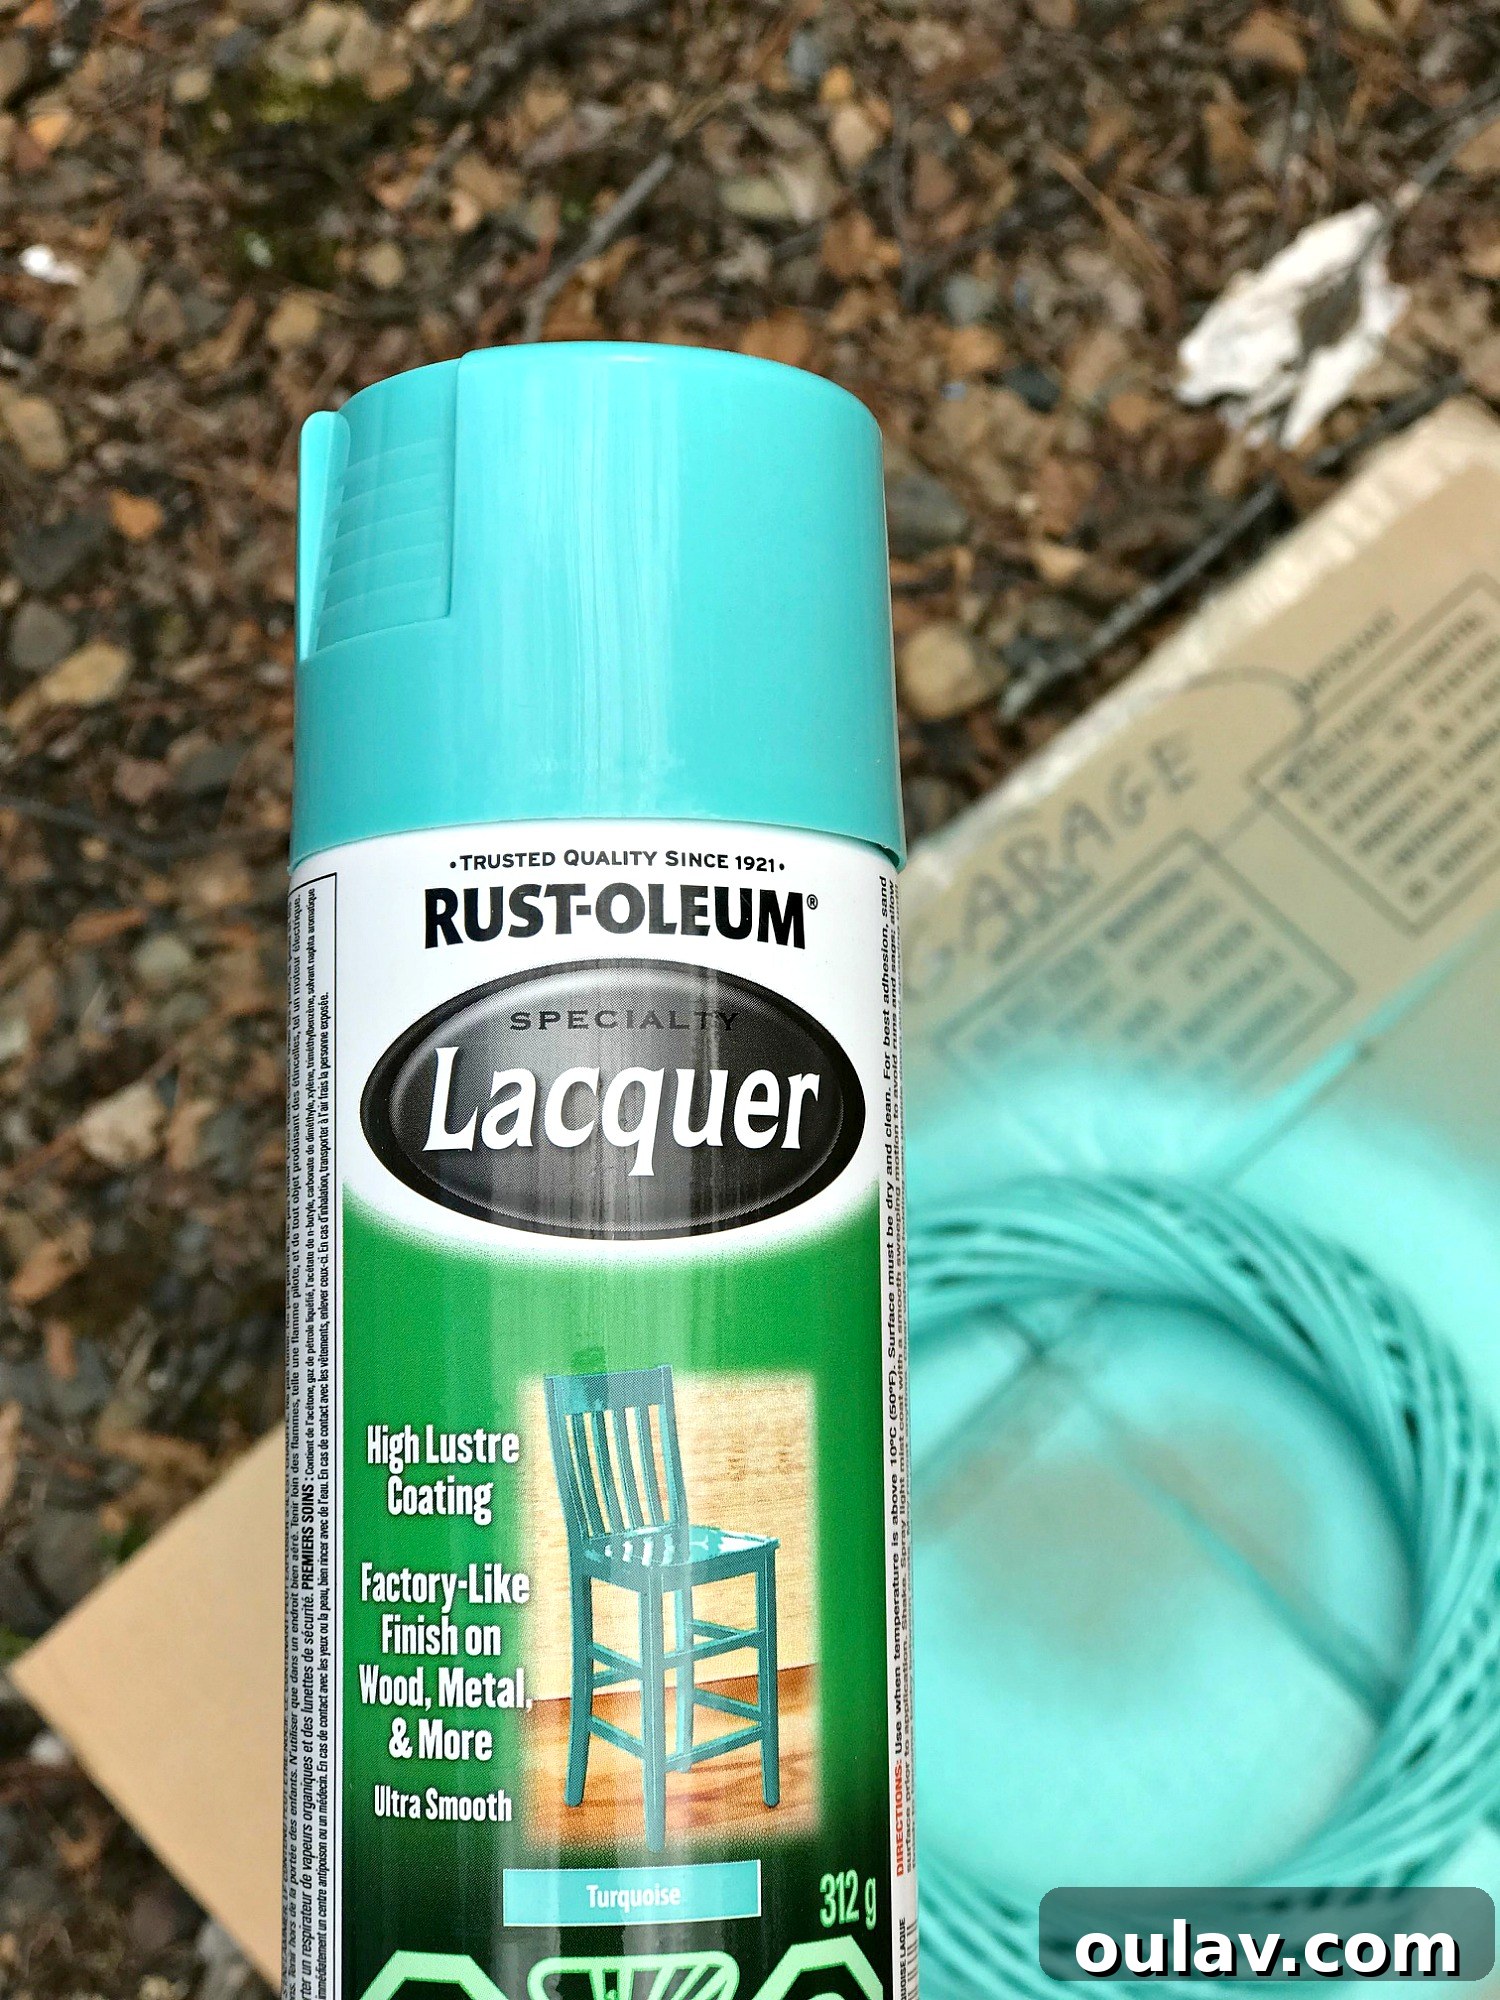
- Spray Paint (in your desired color): The beauty of this project is that you can personalize it with any color, but for that vibrant pop, I chose a bright aqua. This is a brilliant opportunity to use up any leftover spray paint from previous projects, making it even more economical and eco-friendly! Ensure you choose a paint suitable for the material of your wreath form for optimal adhesion and finish. Explore a range of spray paint options here.
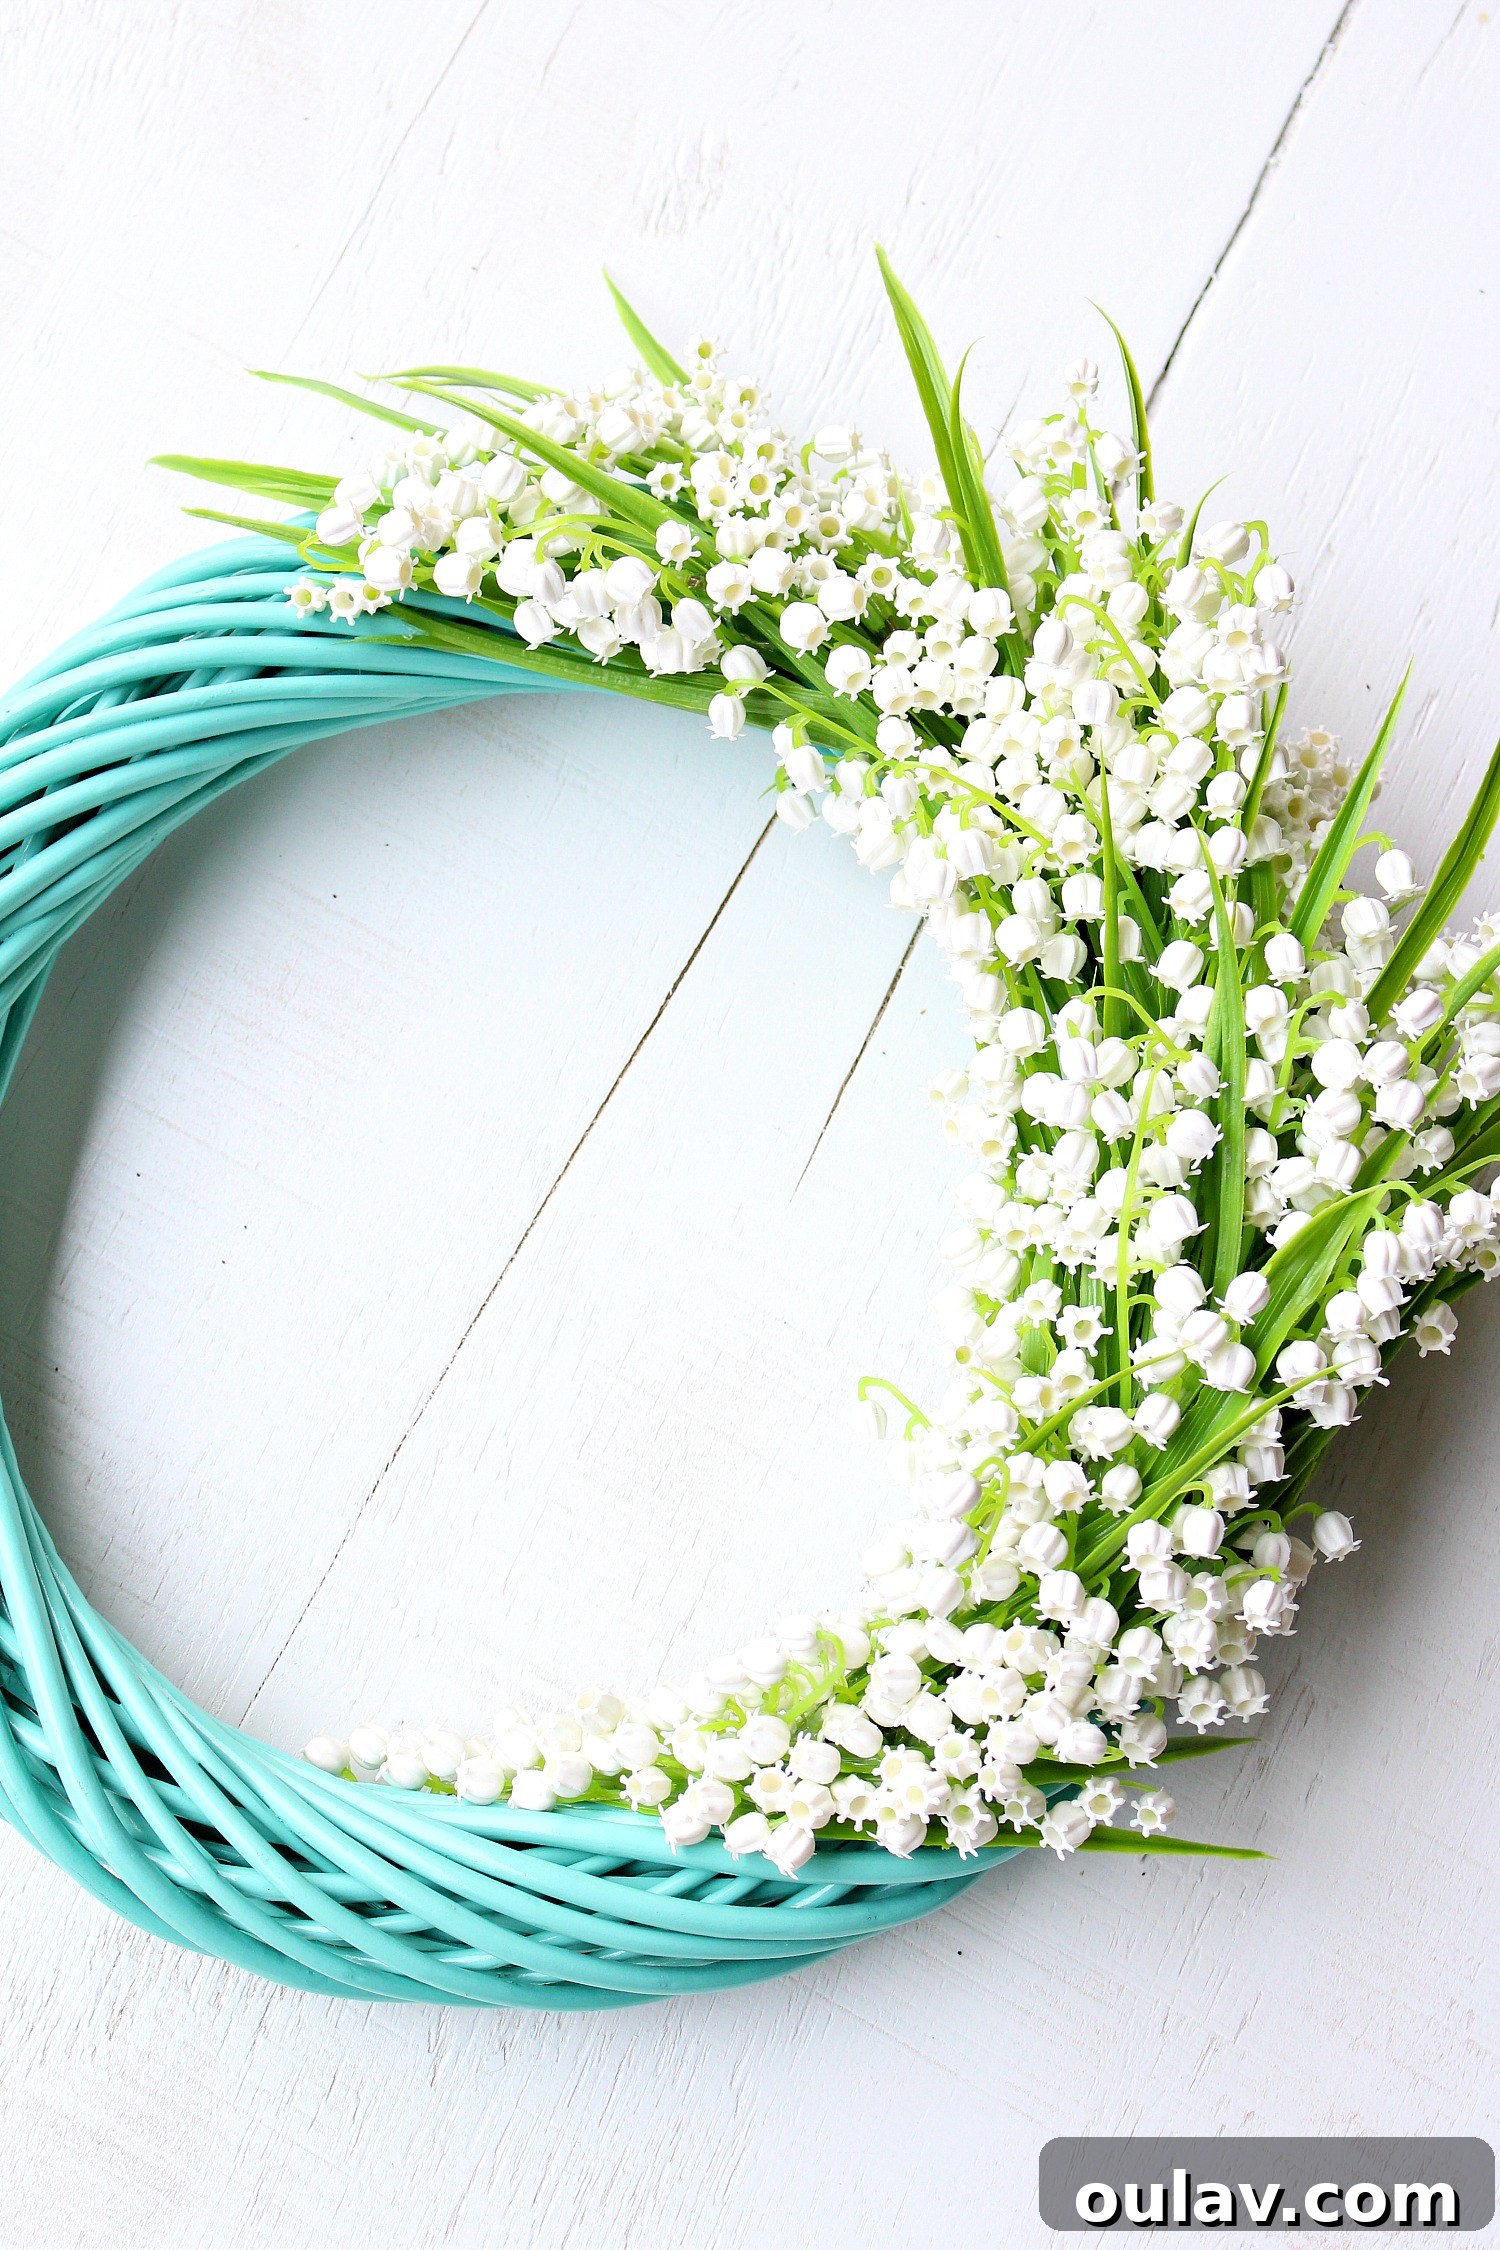
- Faux Lily of the Valley Flowers: These delicate artificial blooms are the stars of your wreath. For a lush and full appearance, I used approximately six bunches. When selecting faux flowers, look for quality that mimics natural textures and colors as closely as possible. The better the quality, the more realistic and stunning your wreath will look. You can find them at specialty craft stores or easily discover a wide selection on Amazon.
- Wire Cutters: Essential for precisely trimming the stems of your faux flowers to the perfect length for attachment. A good pair of wire cutters will make this task quick and effortless, ensuring clean cuts without damaging the artificial stems. Find reliable wire cutters here.
- Hot Glue Gun and Glue Sticks: Your secret weapon for securely attaching the flowers to the wreath form. Hot glue provides a strong and fast bond, crucial for durable wreaths that withstand various weather conditions. Ensure you have plenty of glue sticks on hand so your creative flow isn’t interrupted. Grab your hot glue gun and glue sticks.
- Wire (for hook – optional): If your wreath form doesn’t come with a built-in hanging mechanism or if you prefer a custom loop, a piece of durable wire can be easily fashioned into a hanger. This ensures your beautiful creation can be displayed proudly.
How to Craft Your Beautiful DIY Faux Flower Wreath: A Step-by-Step Guide
Now that you have all your supplies ready, it’s time to dive into the fun part: assembling your personalized faux flower wreath! Follow these simple steps to bring your vision to life and create a lasting piece of decor.
Step 1: Preparing and Painting Your Wreath Form
The first step sets the stage for your entire wreath, and it’s where we infuse that vibrant turquoise color. Begin by ensuring your thrifted willow wreath form is clean and free of any dust or debris. If it’s an older form, a quick wipe down can help the paint adhere better. Once clean, find a well-ventilated area, preferably outdoors, and lay down a drop cloth or newspaper to protect your workspace. Shake your spray paint can thoroughly for about a minute to ensure the color is well-mixed. Then, holding the can about 6-8 inches away from the wreath form, apply a light, even coat of your chosen bright aqua spray paint. I used Rust-Oleum’s Spray Lacquer in Turquoise, which provided a beautifully glossy finish – it was even leftover from my previous turquoise lacquer stool makeover, proving its versatility! The key here is to apply several thin coats rather than one thick one. This prevents drips and ensures a smooth, professional-looking finish. Rotate the wreath form as you spray to cover all sides and angles. Once the first coat is applied, allow it to dry completely according to the manufacturer’s instructions, typically 15-30 minutes. Then, apply a second, and if needed, a third coat until you achieve full, even coverage and your desired level of vibrancy. For best results and maximum durability, I recommend letting the painted wreath form dry overnight. This allows the paint to fully cure and harden, creating a robust base for your flowers.
Step 2: Preparing Your Faux Lily of the Valley Flowers
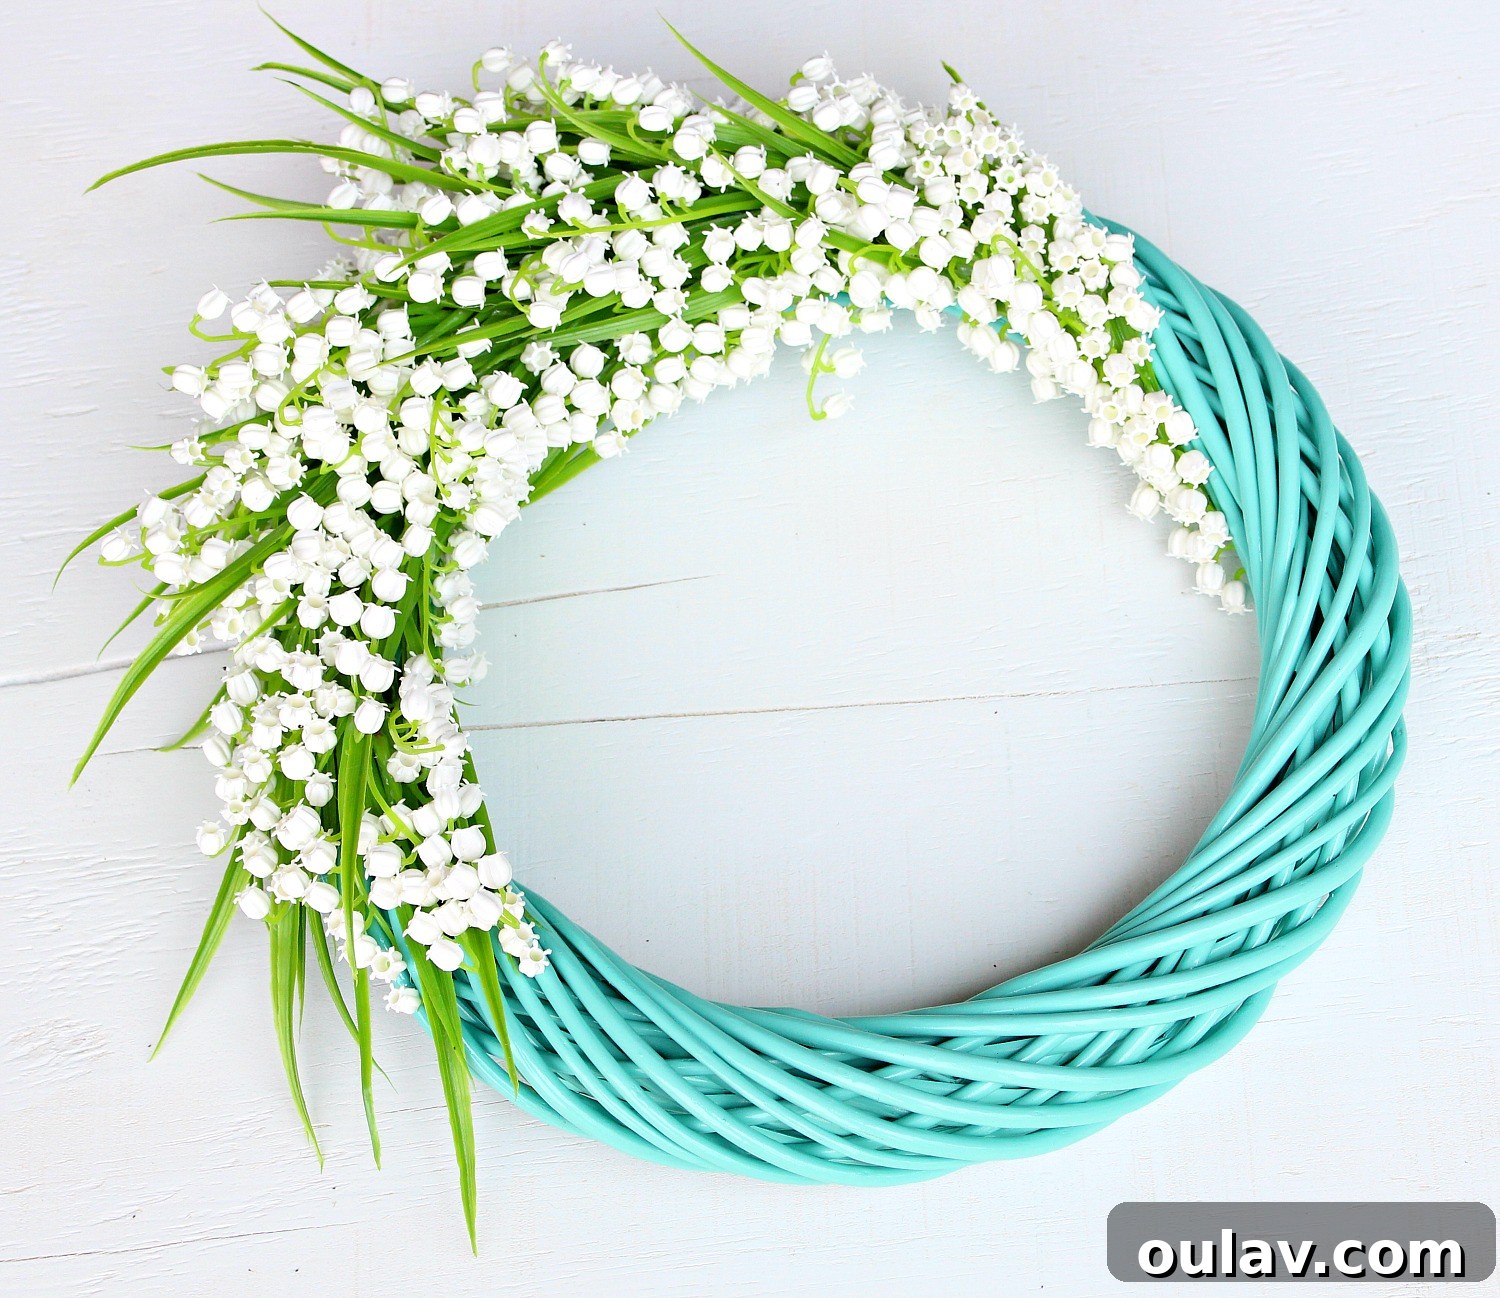
The next day, with your perfectly painted wreath form dry and ready, it’s time to prepare your beautiful faux Lily of the Valley flowers. My artificial Lily of the Valley came initially as one large, cohesive bouquet. To ensure I had enough individual pieces to work with and to achieve a natural, layered look on the wreath, I carefully cut the larger bunches apart using my wire cutters. I separated them into smaller groupings, and even some individual stems. This gives you much greater control over placement and allows for a more organic and flowing design. Think about the overall shape and density you want for your wreath. Do you want full coverage, or a more minimalist design? Having varying sizes of flower clusters and single stems will enable you to fill gaps and create visual interest. Lay out your cut stems on a flat surface to get an idea of how you want to arrange them before you start gluing. This pre-planning step can save you time and help visualize the final outcome, ensuring every delicate bell finds its perfect spot.
Step 3: Assembling Your Faux Flower Wreath with Hot Glue
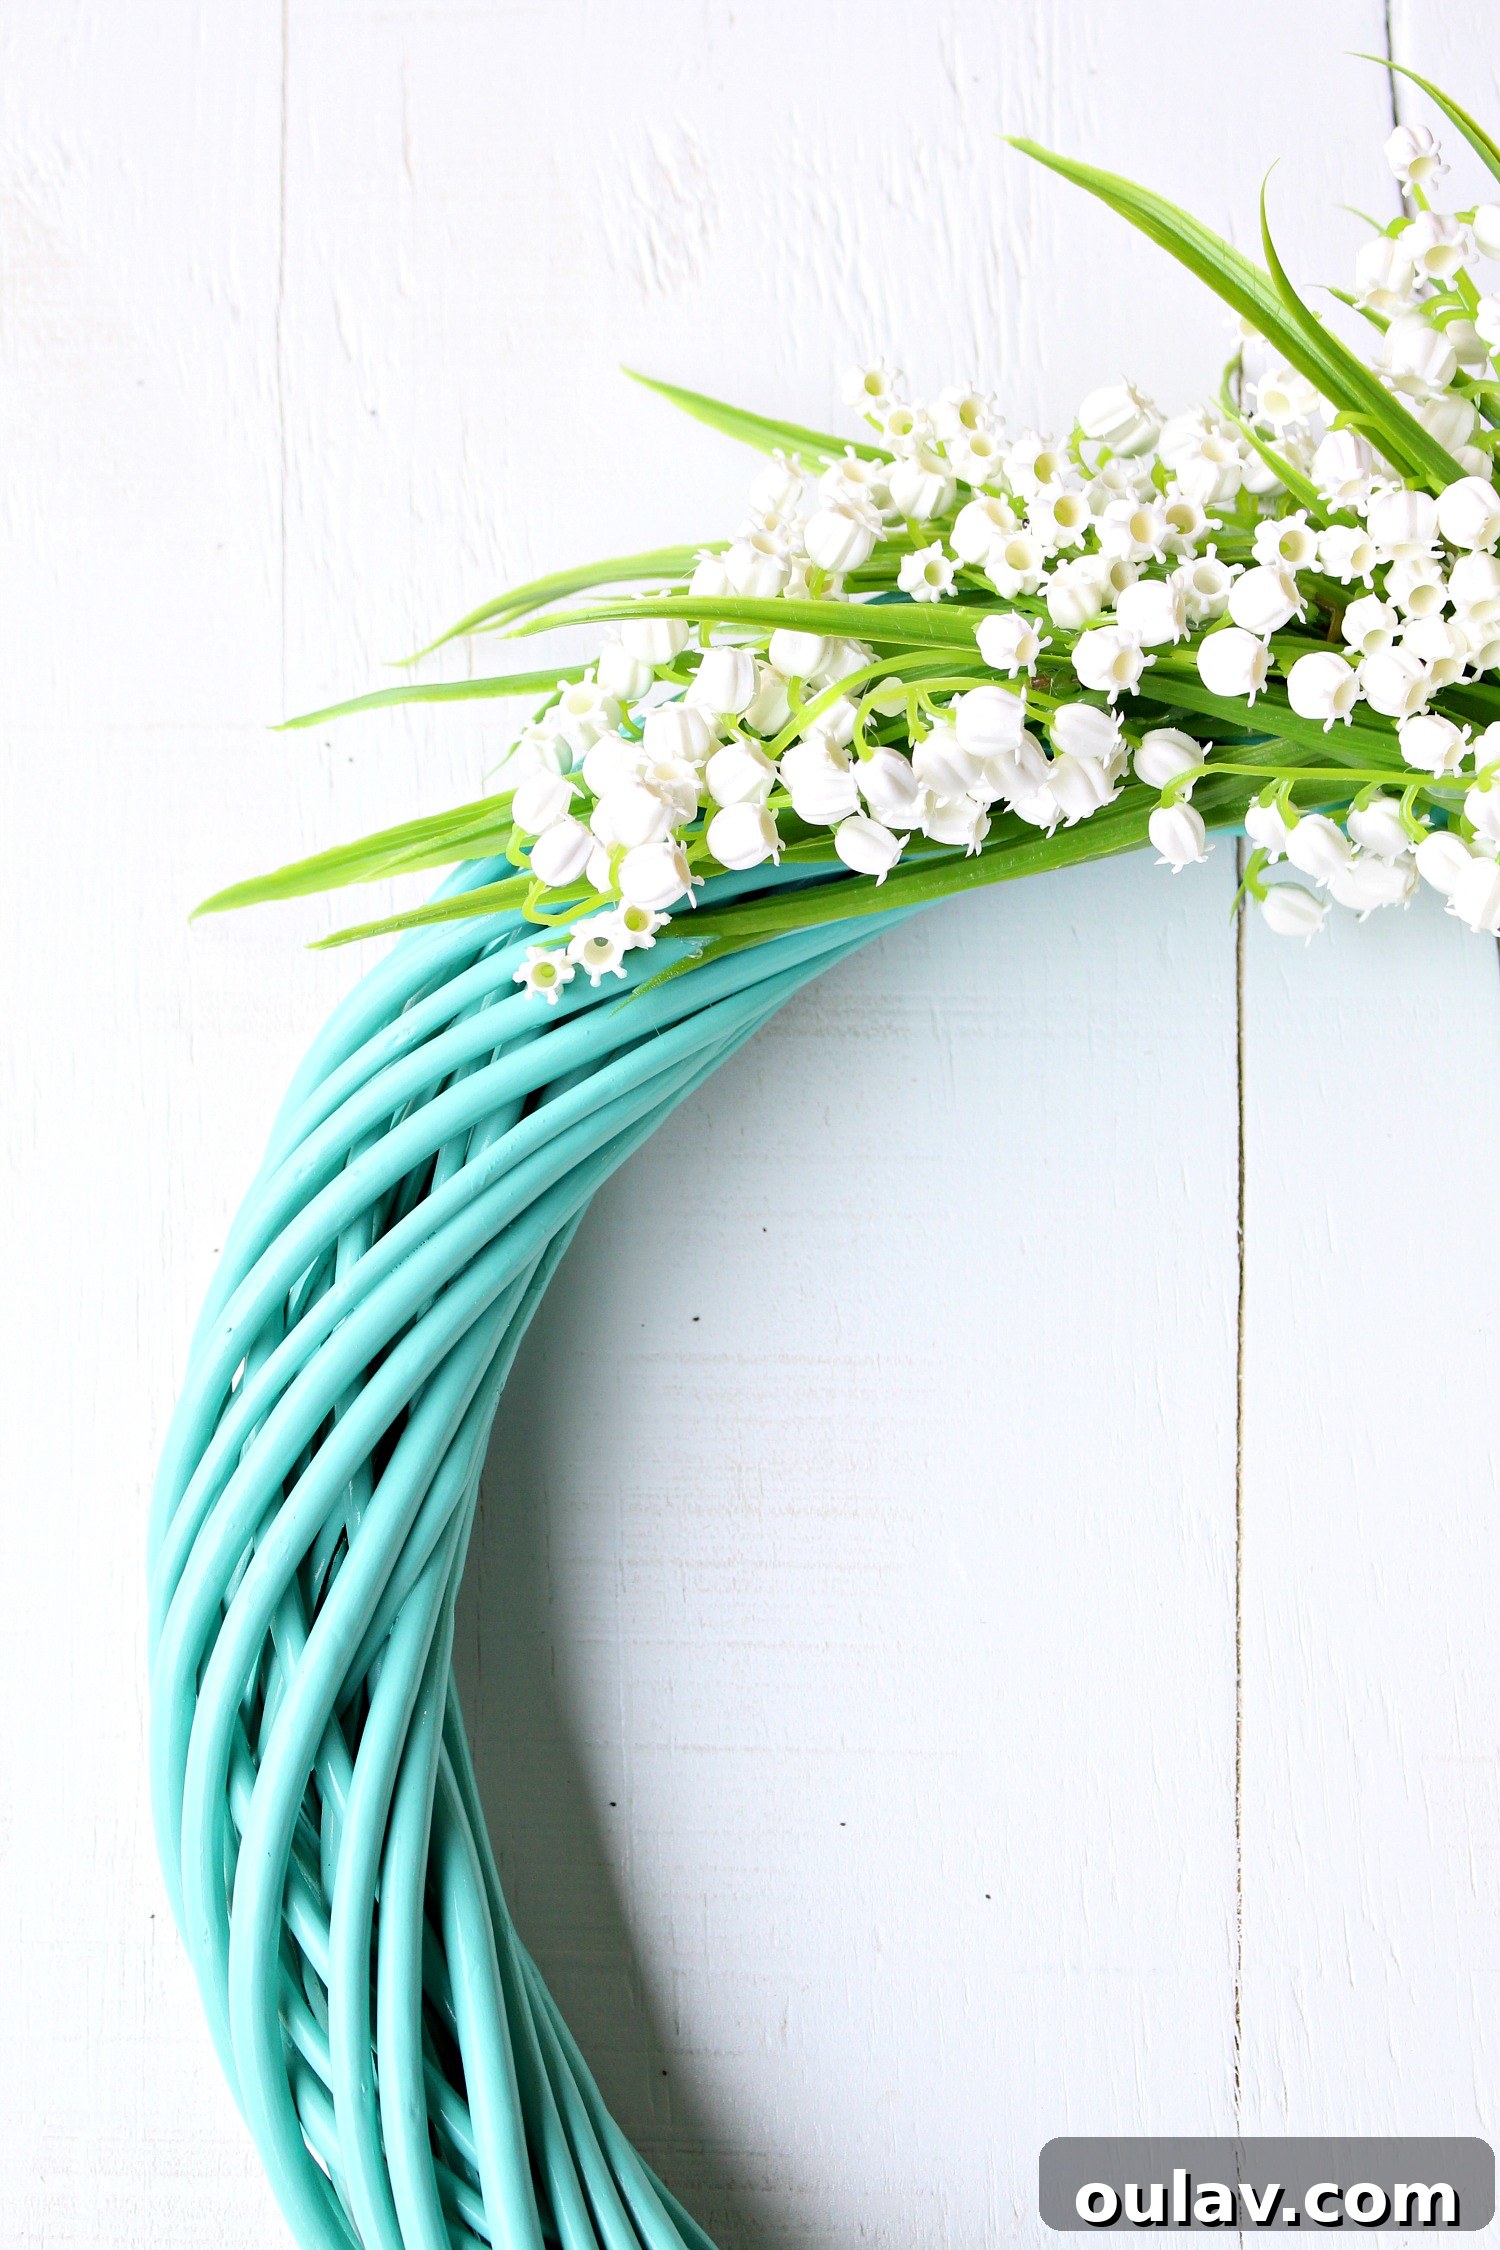
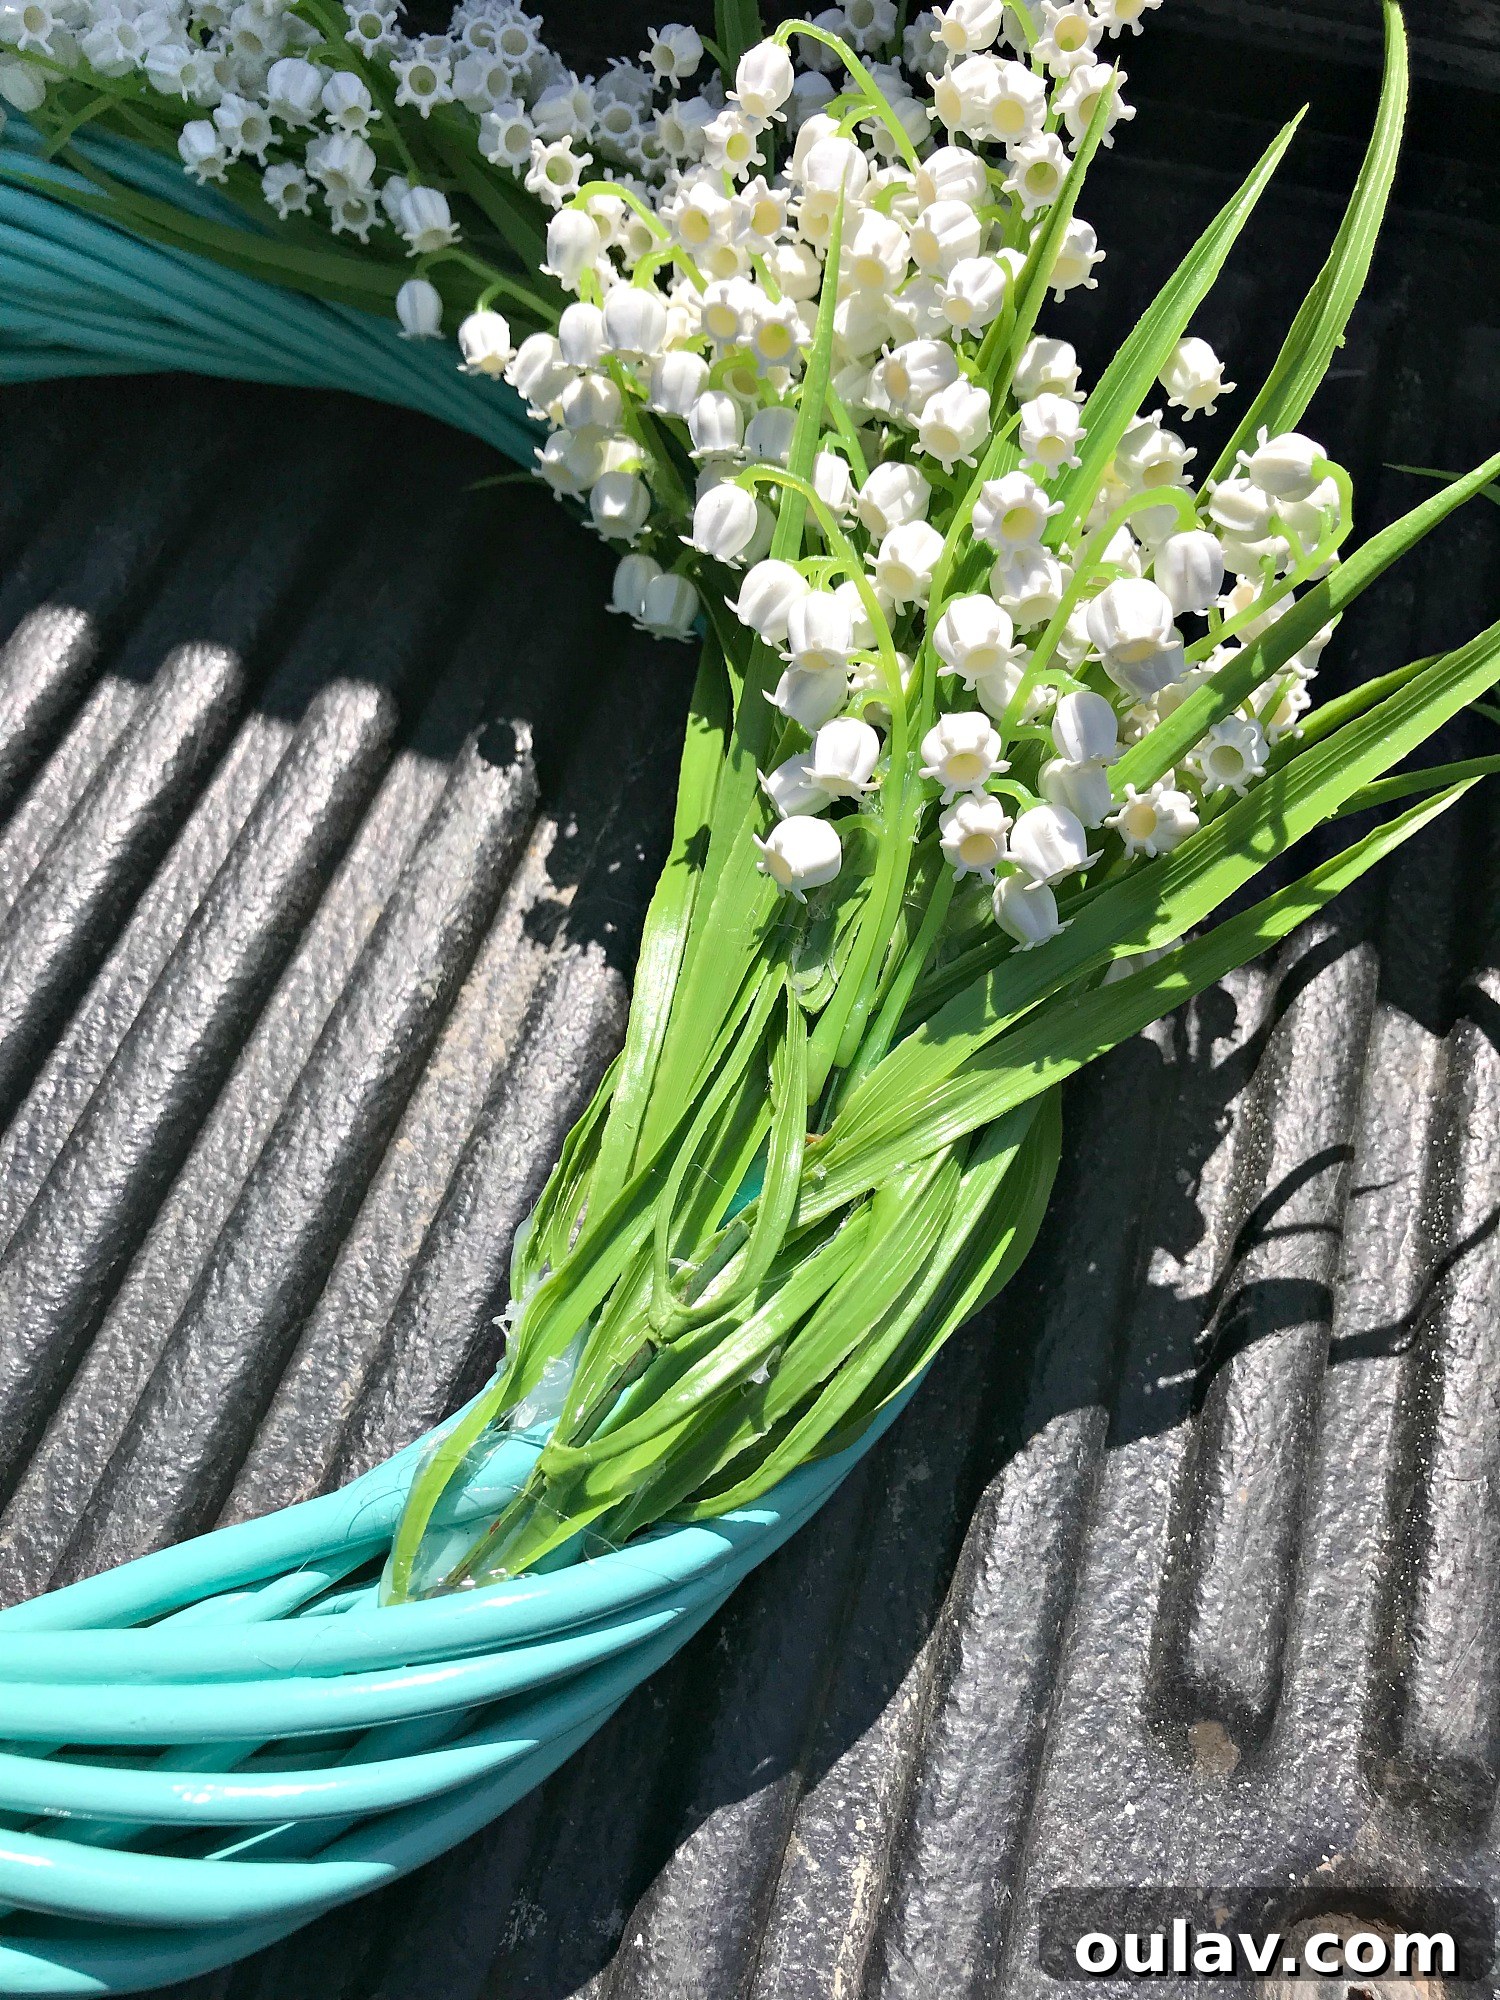
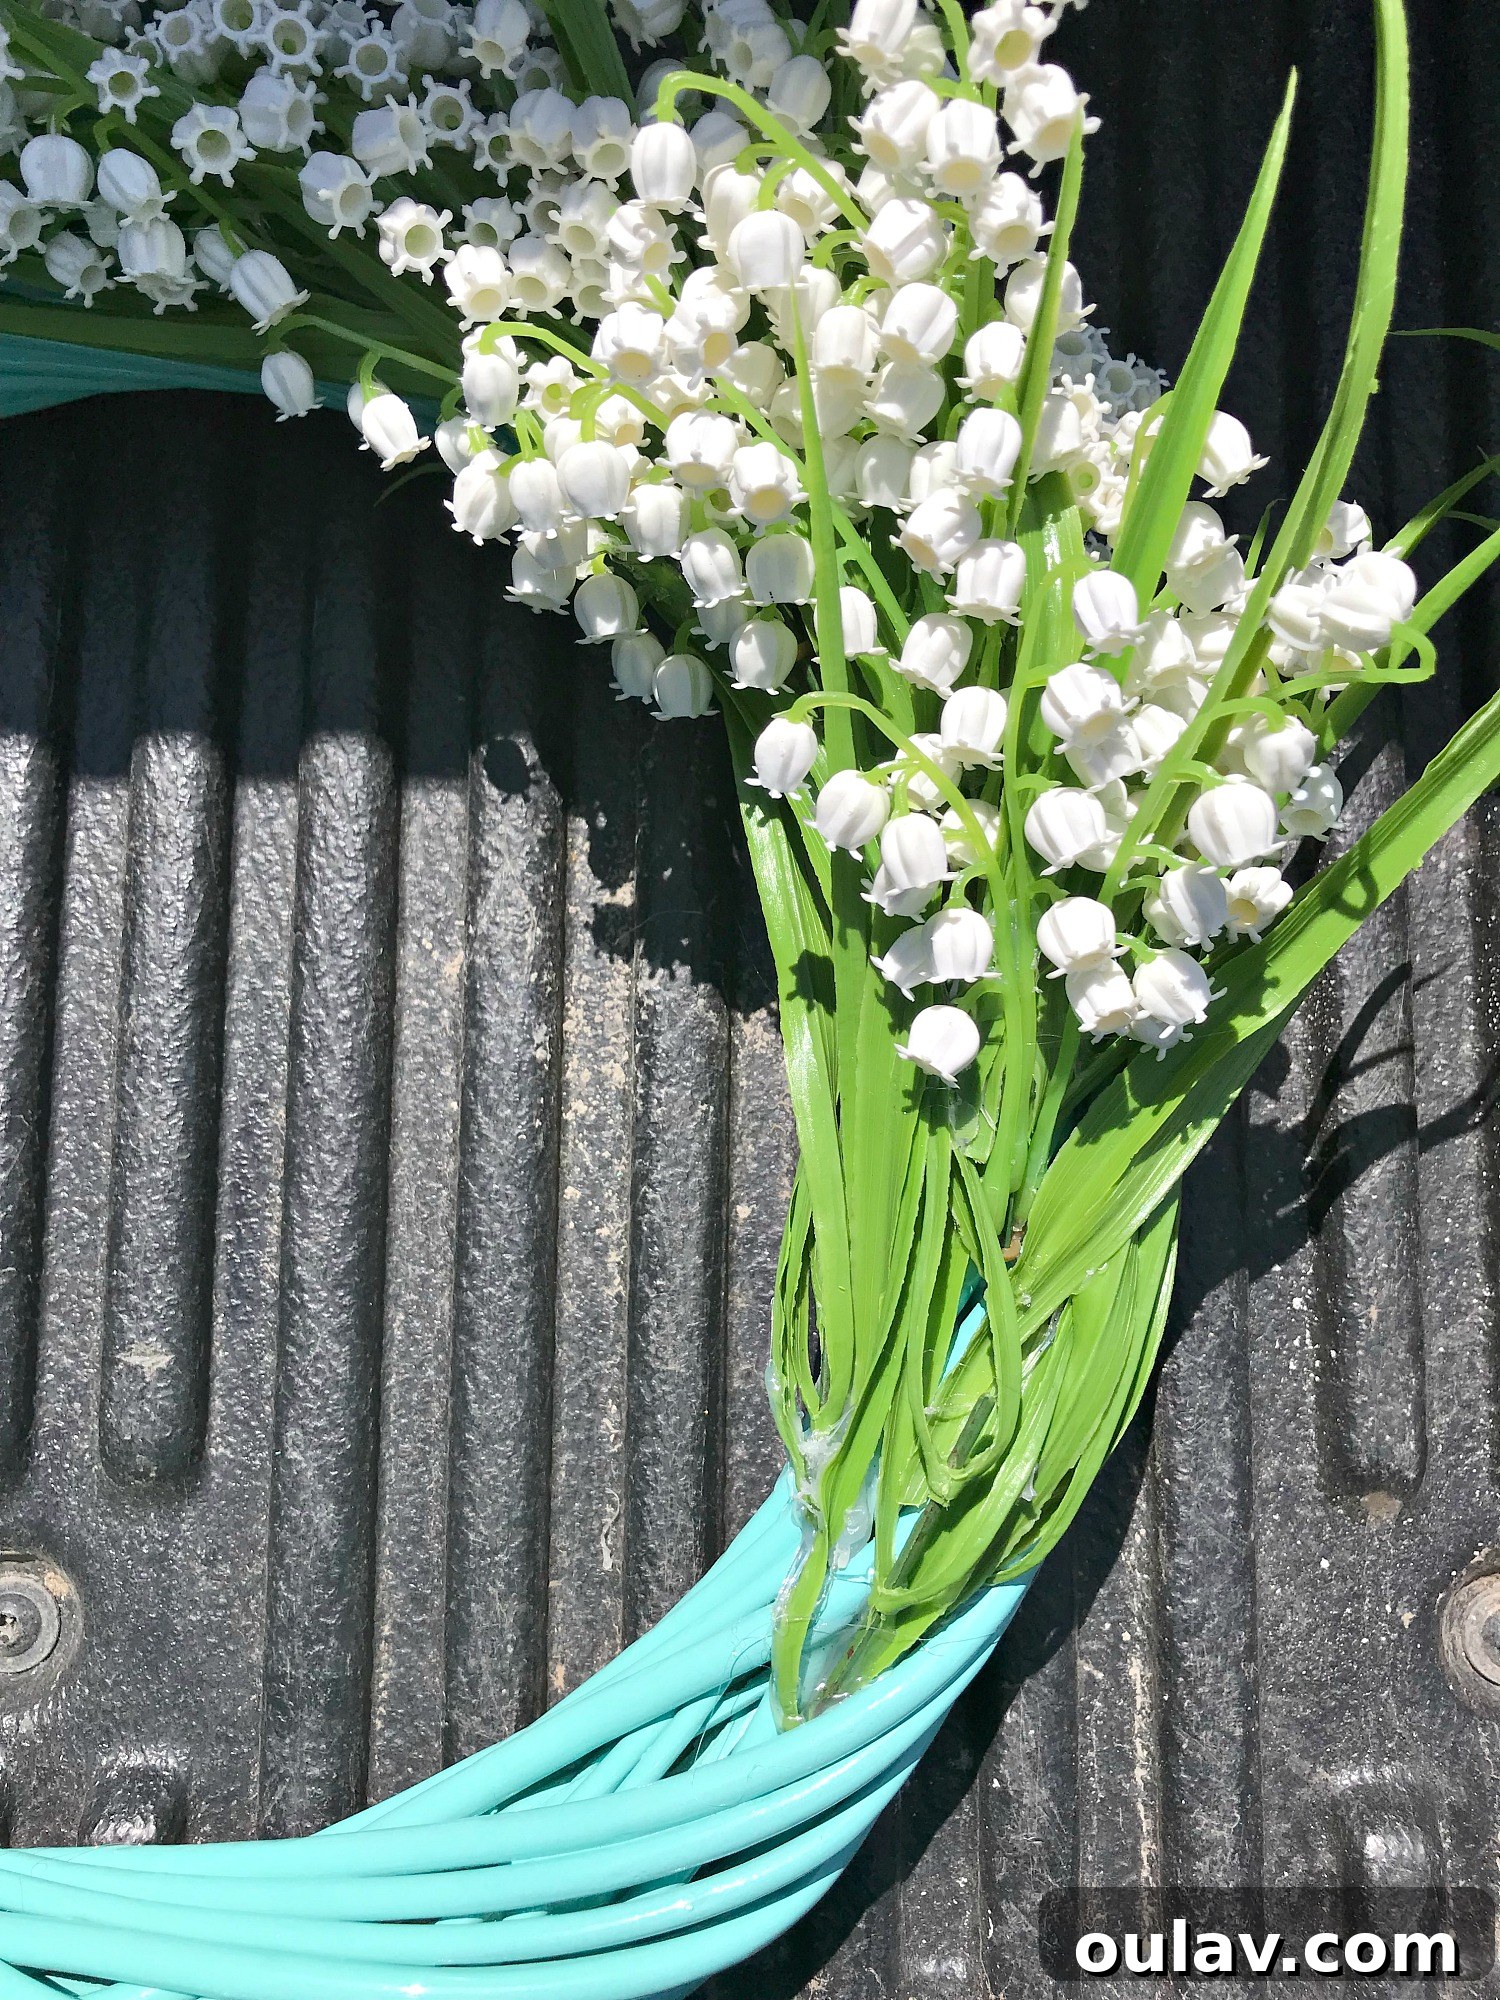
Now for the exciting part – bringing your wreath to life! Plug in your hot glue gun and let it heat up thoroughly. I typically start at what I designate as the “top” of the wreath and work my way down one side, either left or right, in a consistent direction. This helps in maintaining a cohesive flow and density. Begin by applying a small amount of hot glue to the base of a larger grouping of faux flowers, then firmly press it onto the painted wreath form. My key trick for a seamless look is to strategically wrap the leaves and smaller stems of the faux flowers around the sides of the wreath form. This technique effectively hides the hot glue, making it appear as though the flowers are naturally growing from the wreath. Once your initial groupings are secured and you’re happy with their general placement and coverage, go back and begin layering in more individual stems and smaller clusters. Carefully fill in any gaps, always being mindful to conceal the glue. You want the flowers to gradually taper off at the ends, creating a soft, natural transition rather than an abrupt stop. Towards the end of the process, I found it helpful to attach a few individual flowers at a time to meticulously hide any visible signs of glue and achieve a truly professional finish. Don’t worry about the durability of hot glue; in my experience, it has proven incredibly resilient on all my seasonal wreaths, successfully withstanding extreme temperatures (both heat and cold), strong winds, and heavy rain, even without the protection of a storm door. This simple method ensures your faux flower wreath will remain beautiful and intact for many seasons to come.
Step 4: Adding a Simple Hanging Mechanism (Optional)
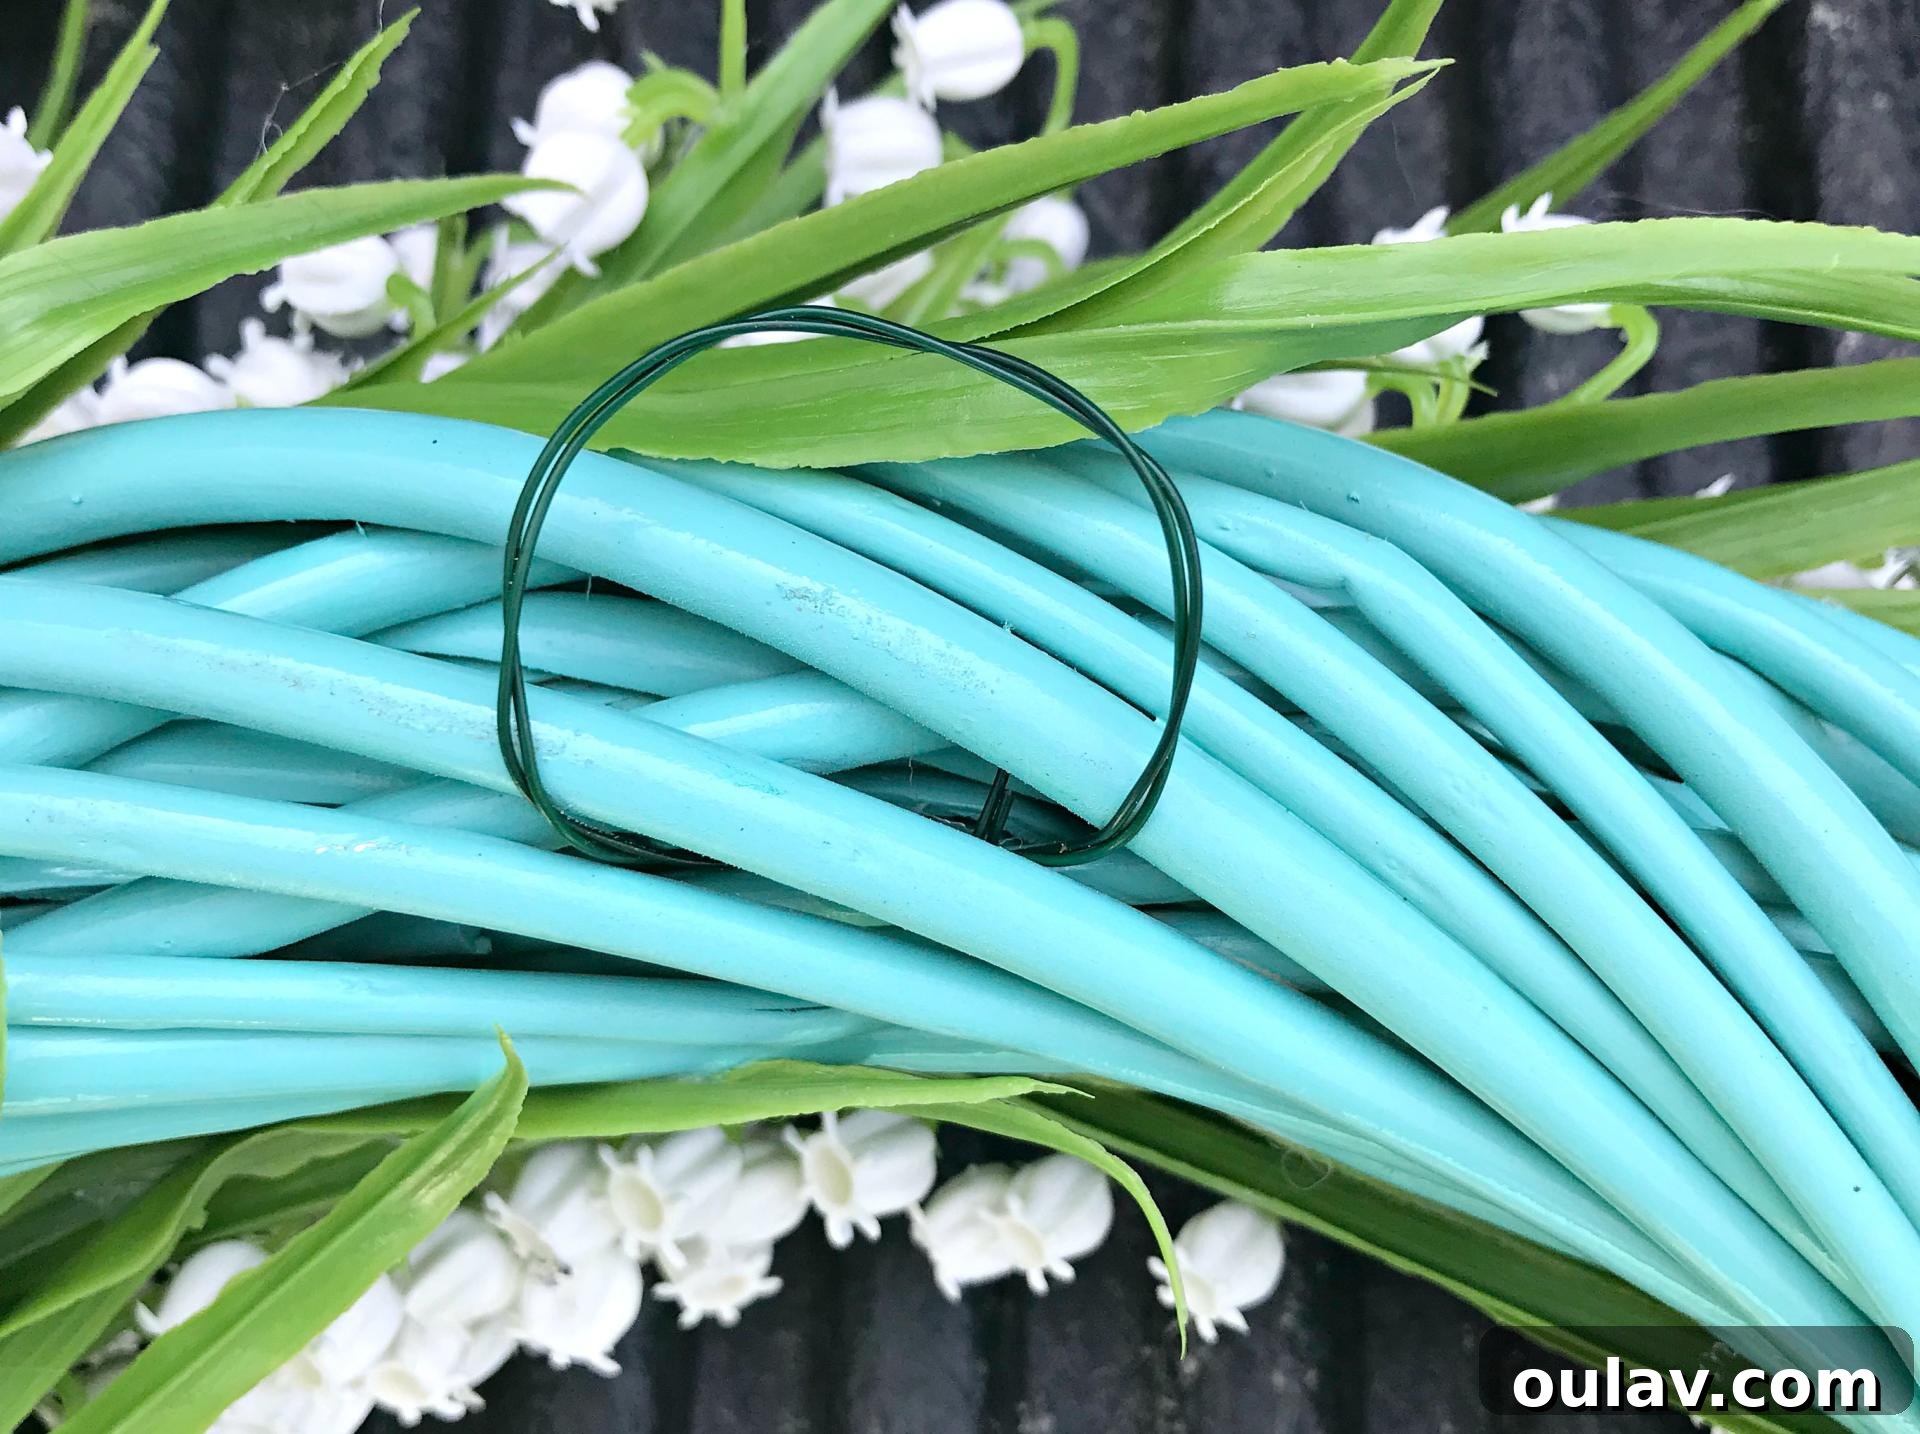
Once your beautiful faux flower wreath is complete and the glue has fully dried, the final step is to add a hanging mechanism, if needed. If your wreath form already has a sturdy loop or hook, you can skip this step. Otherwise, a simple and effective way to hang your wreath is to fashion a small loop from a piece of durable wire. Take a length of wire (about 4-6 inches, depending on the size and weight of your wreath) and bend it into a loop. Securely attach the ends of the wire to the back of your wreath form, twisting them tightly around a sturdy part of the form. Ensure the loop is centered and strong enough to bear the weight of the wreath. This small detail ensures your stunning Lily of the Valley wreath is ready to be proudly displayed on your front door, garage, or any wall that needs a cheerful pop of color!
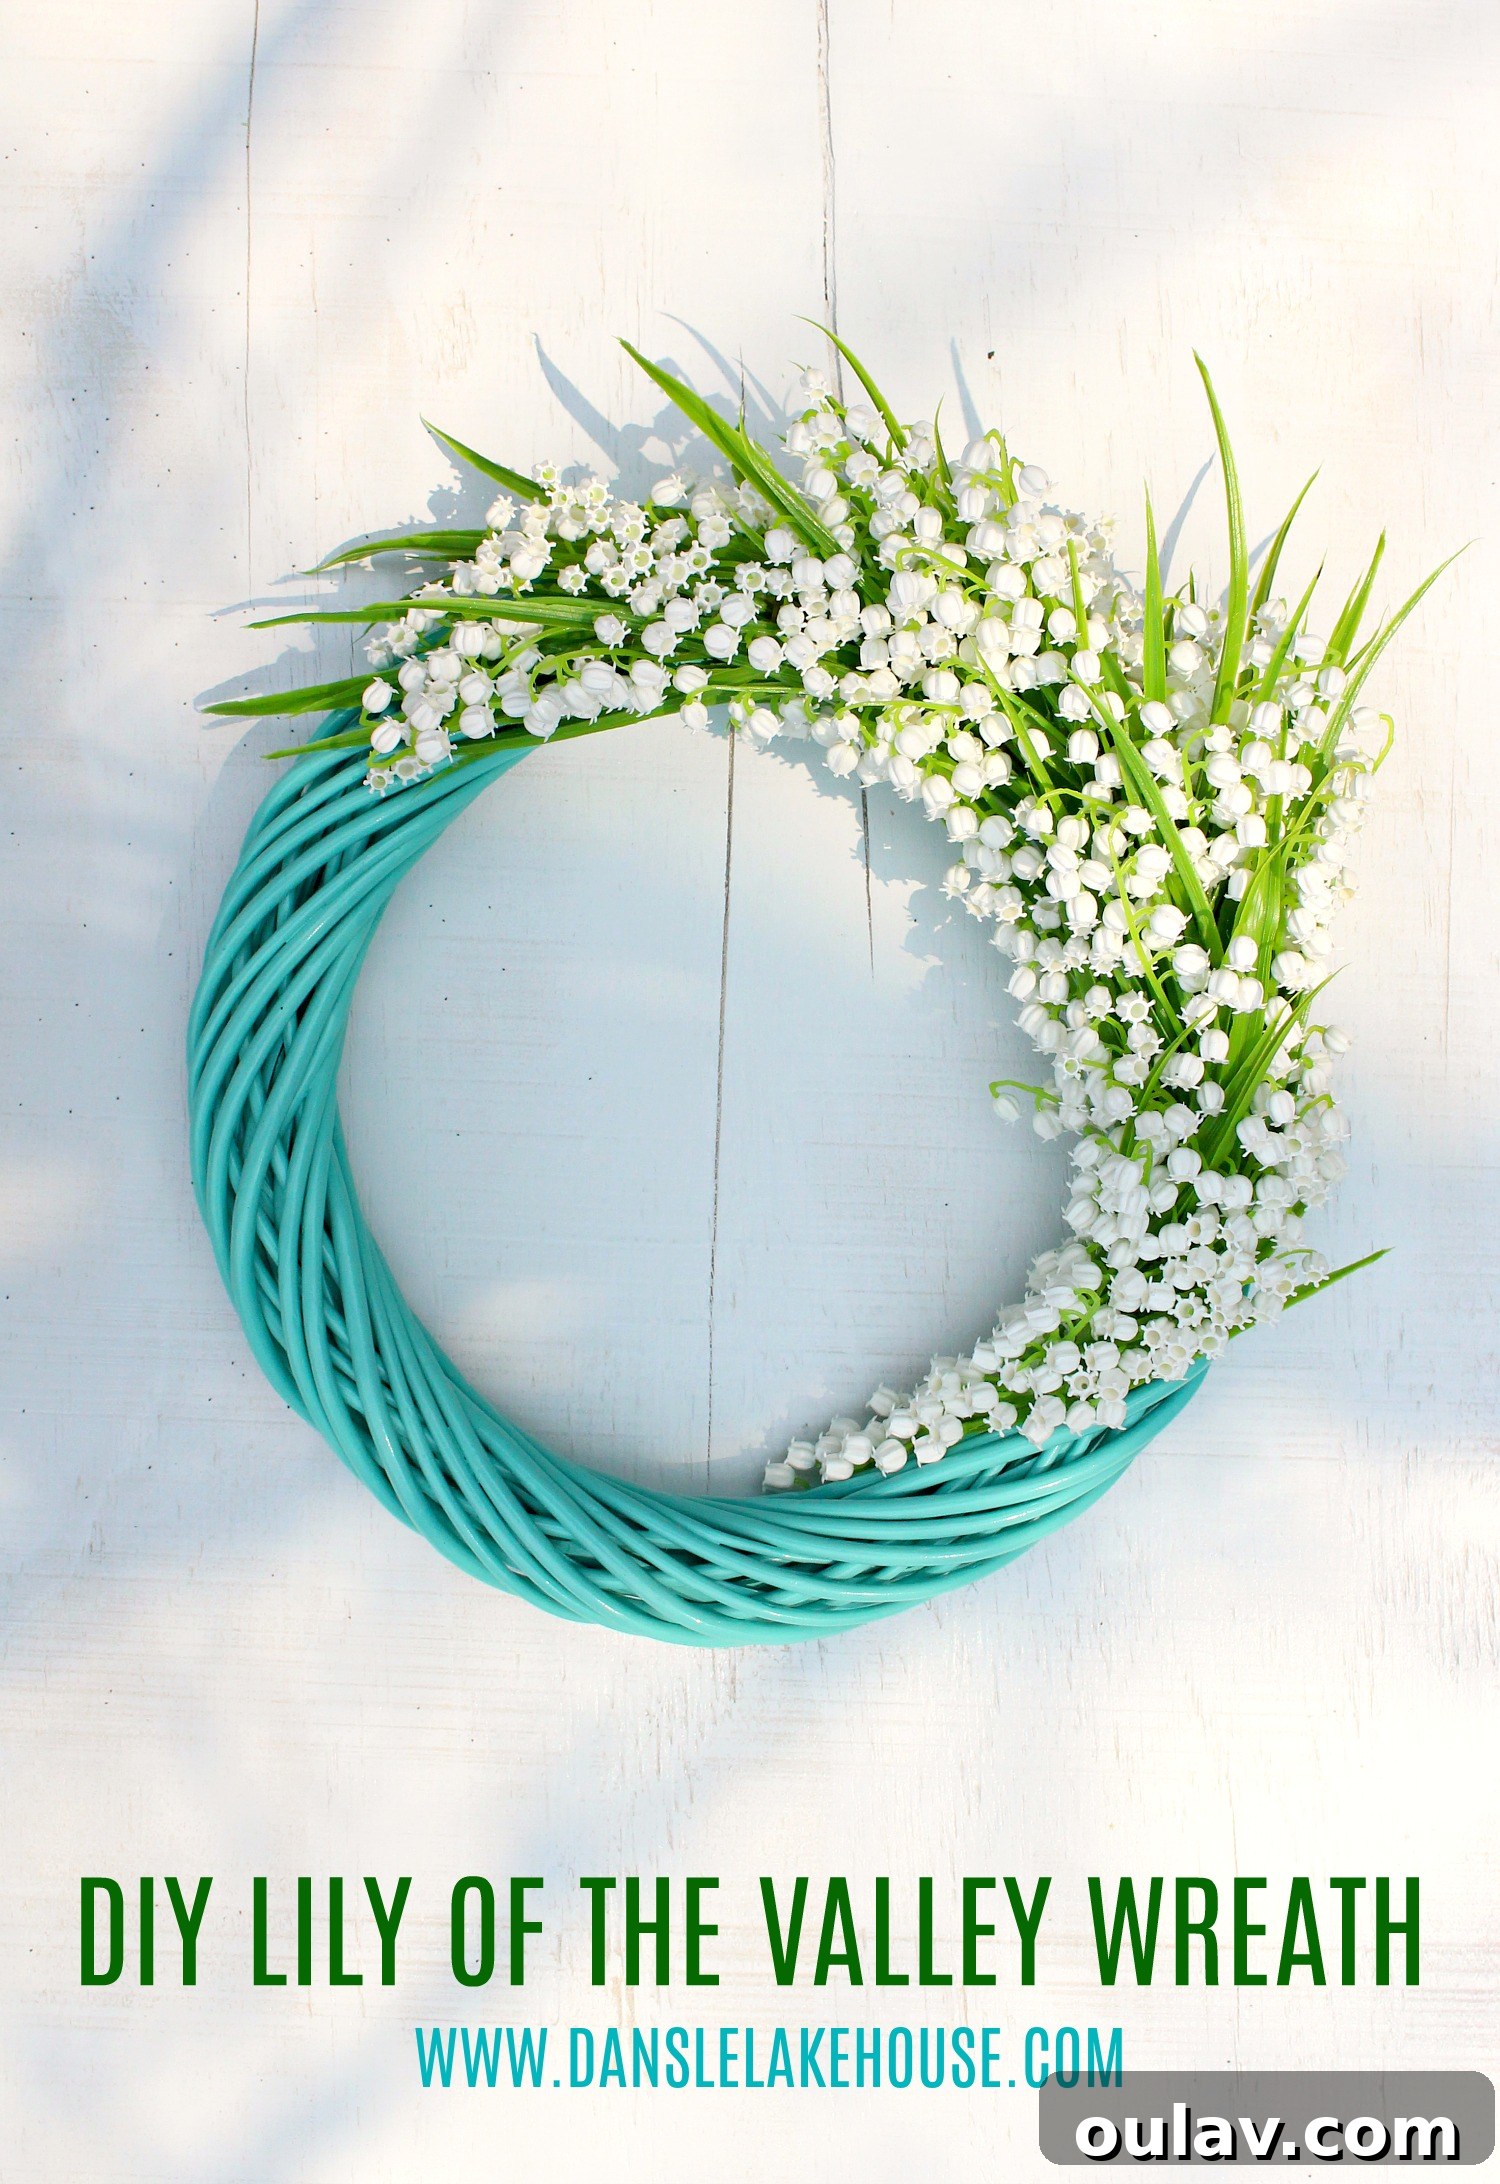
There you have it – a magnificent, handcrafted DIY faux flower wreath featuring the timeless beauty of Lily of the Valley, perfectly accented with a vibrant splash of turquoise. This project is a testament to how simple materials and a little creativity can result in a truly impactful piece of home decor. While you can certainly customize this DIY faux flower wreath with any type of artificial flowers and spray paint your wreath form any color imaginable, I truly believe the combination of bright aqua and the delicate Lily of the Valley creates an exceptionally fresh, pretty, and utterly charming aesthetic. It’s a versatile design that can brighten up a front door, adorn a garden shed, or add a touch of spring to any interior wall. Don’t be afraid to experiment with different flower types, color palettes, or even add ribbons and bows to make it uniquely yours. For more easy wreath ideas and inspiring craft projects to spruce up your home, be sure to explore my extensive DIY project gallery. Happy crafting!
P.S. Don’t Forget to Pin this Inspiring DIY Project for Later!
Loved this DIY faux flower wreath tutorial? Make sure to save it for future reference or to inspire your friends! Pin it to your favorite Pinterest boards and share the joy of crafting your own beautiful home decor. Happy pinning!