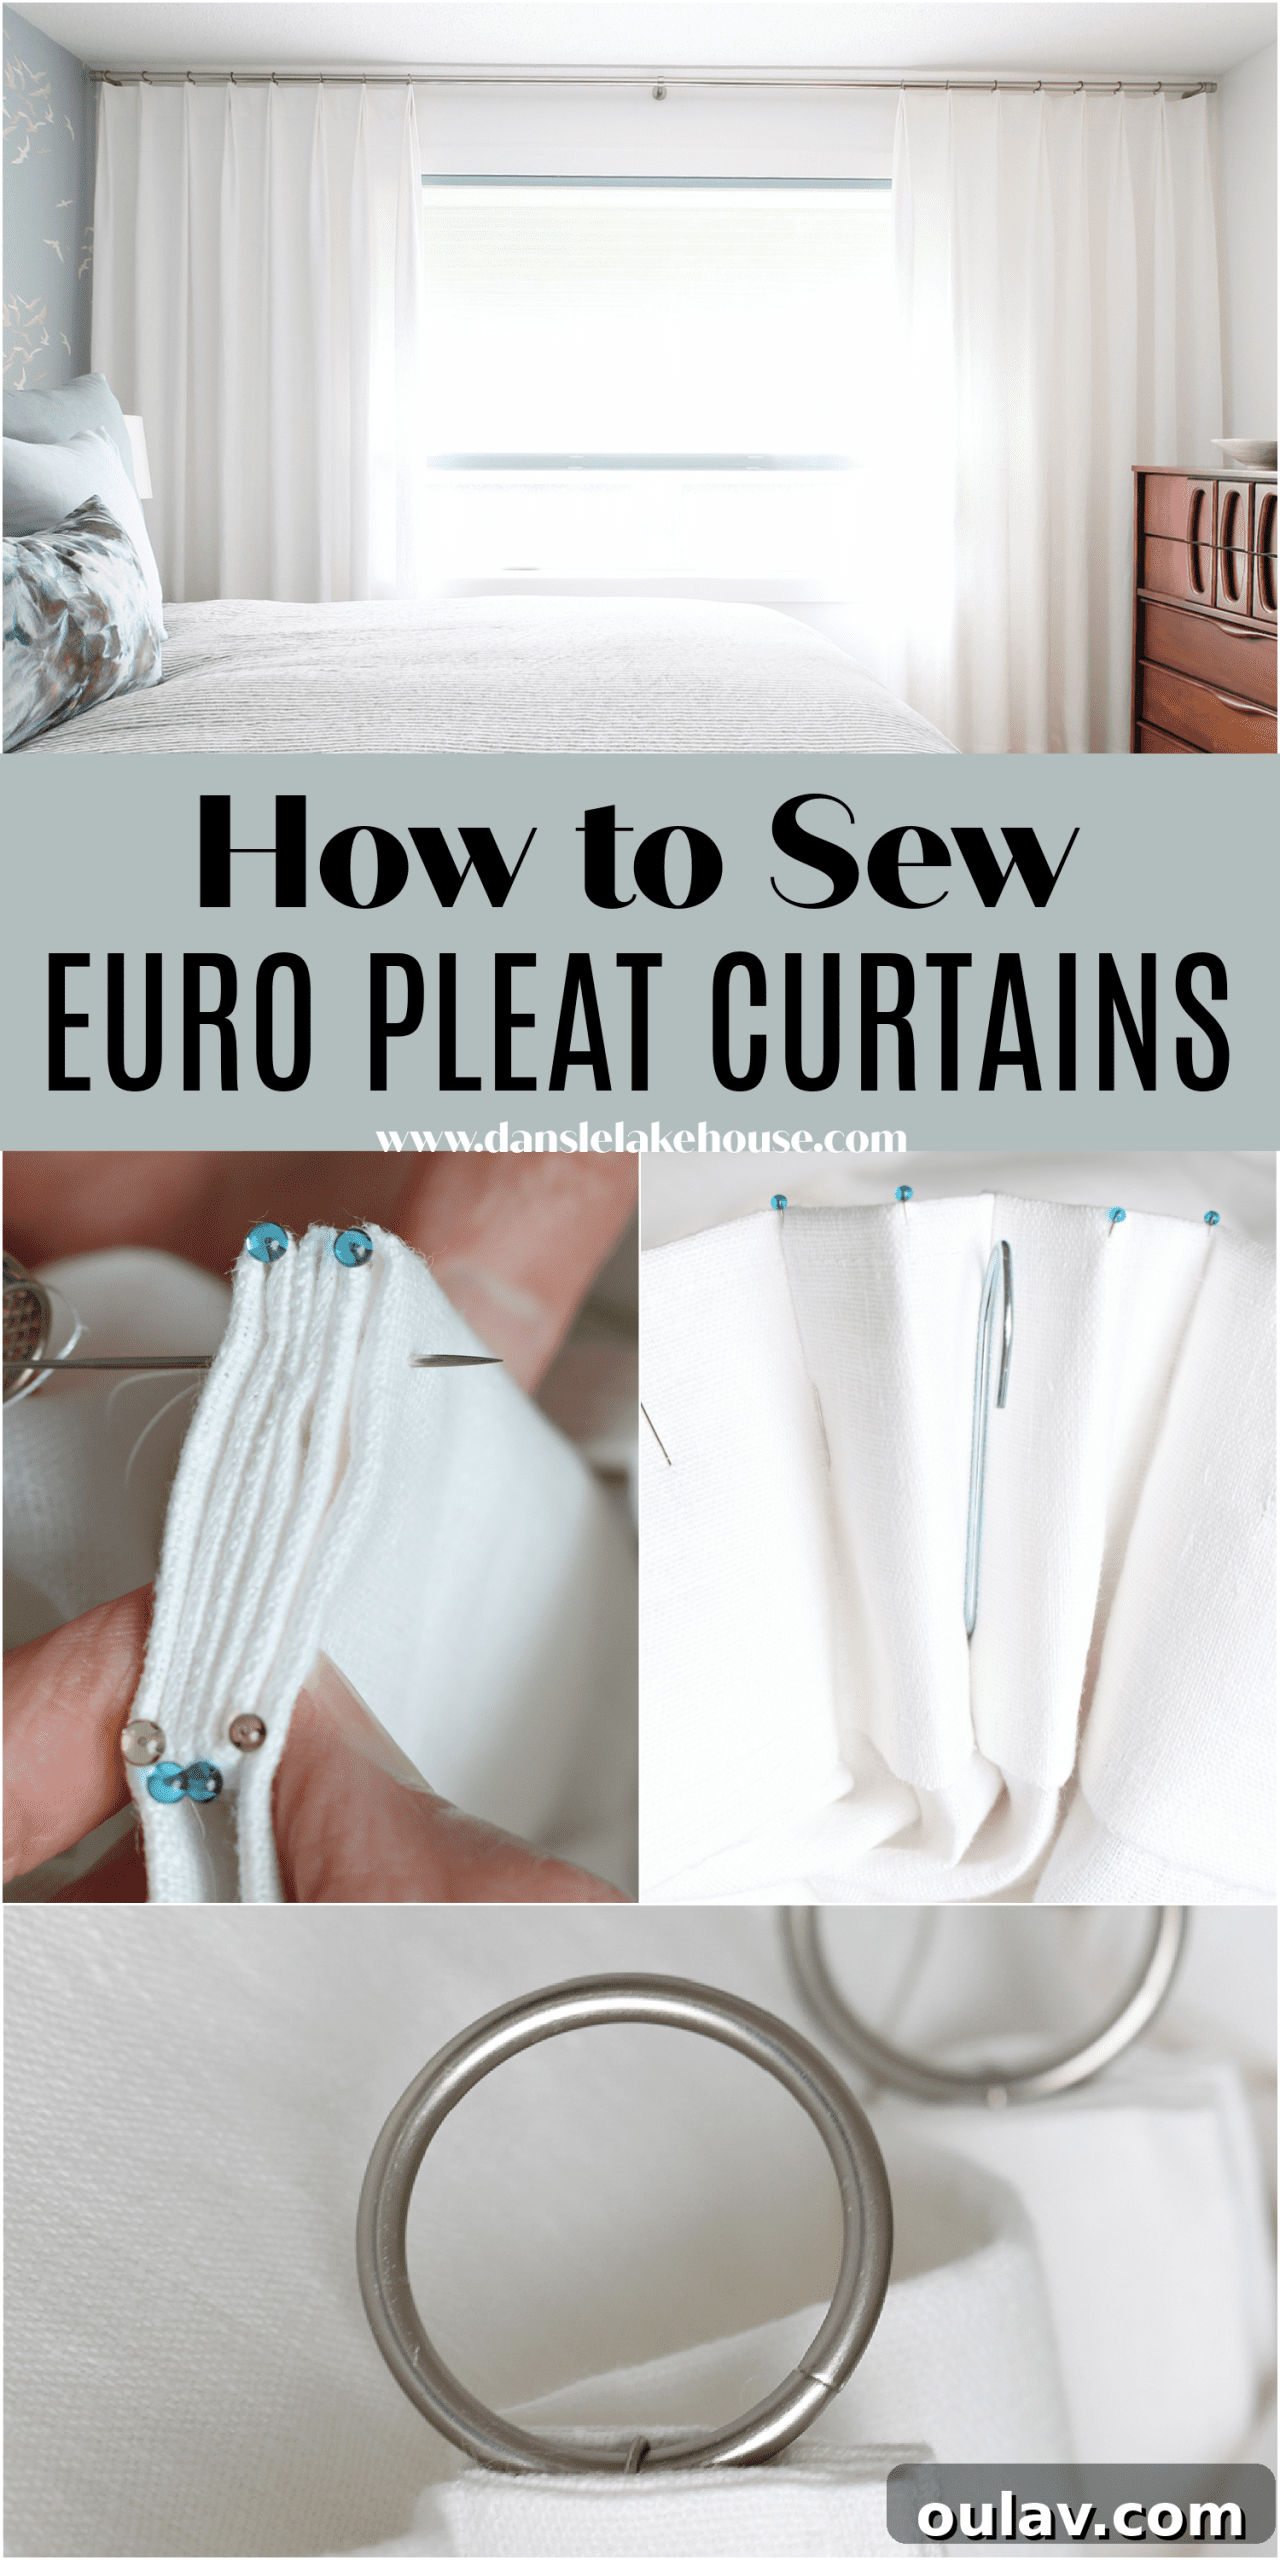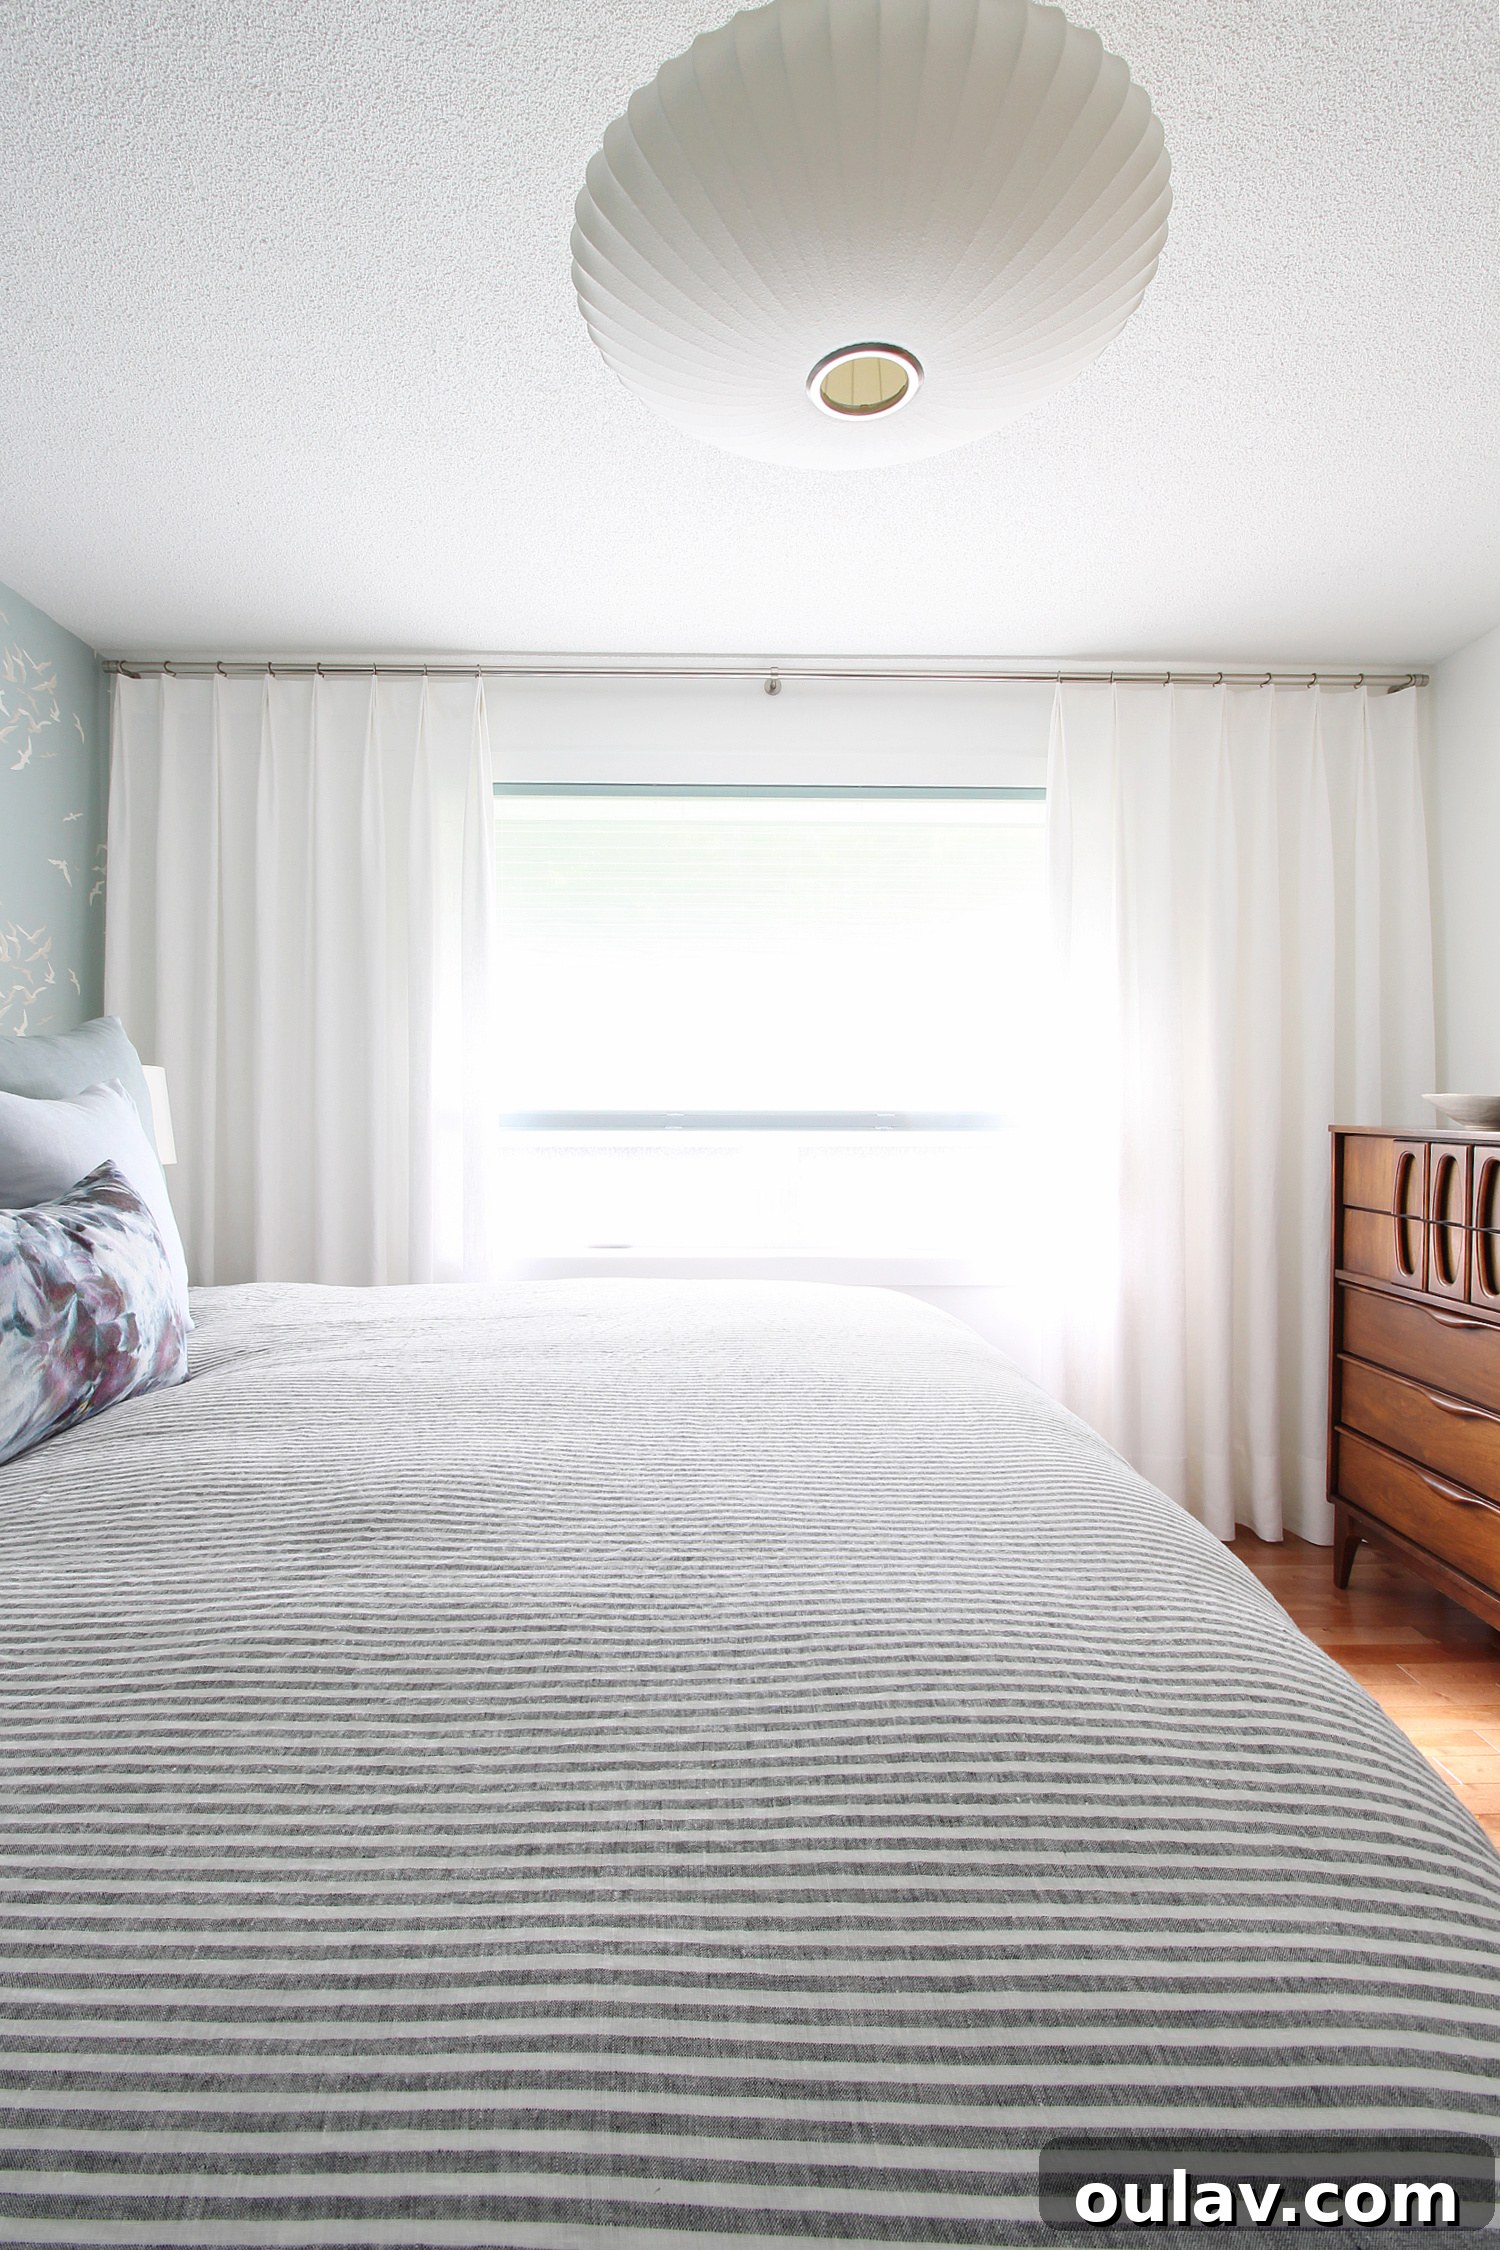
Transforming your living space with custom window treatments can dramatically elevate its aesthetic, and few styles offer the sophisticated yet relaxed elegance of Euro pleat curtains. Often considered a more contemporary take on traditional pleated drapes, Euro pleats are surprisingly approachable for the keen DIY enthusiast. Today, we’re diving deep into the art of sewing your very own Euro pleat curtains, a project that promises a high-end, bespoke look without the custom decorator price tag. For this guide, we’ll be showcasing stunning linen fabric, specifically the beautiful Tuscany Linen in white, generously provided by Tonic Living. Its medium weight and subtly textured slub were precisely what we sought to achieve that breezy, coastal-inspired drapery that perfectly complements a serene home environment.
Understanding the Euro Pleat: A Touch of Modern Elegance
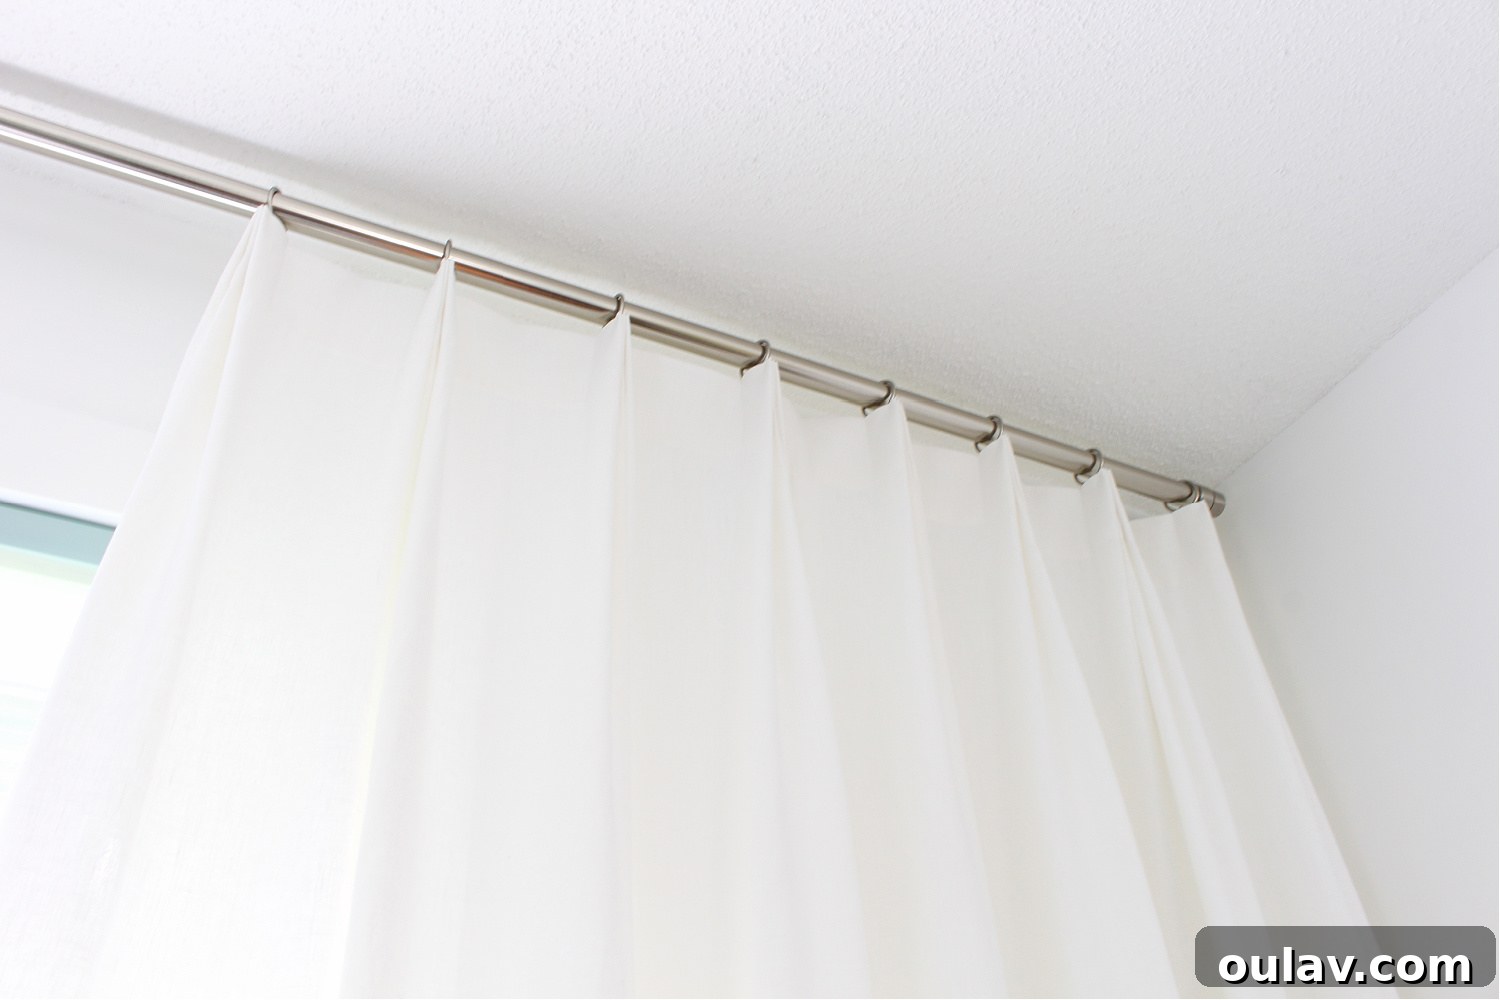
Before we pick up our needles, let’s clarify what defines this exquisite style. A Euro pleat, at its core, is a type of curtain pleat that is pinched and sewn together at the very top edge of the fabric. Unlike a traditional pinch pleat where the pinch occurs a few inches down from the top, the Euro pleat’s unique high-pinch point allows the fabric to cascade downwards in soft, elegant waves from the very top. This design creates a less structured, more organic flow compared to its more rigid counterparts, making it a favorite for those seeking a balance between tailored sophistication and relaxed contemporary charm.
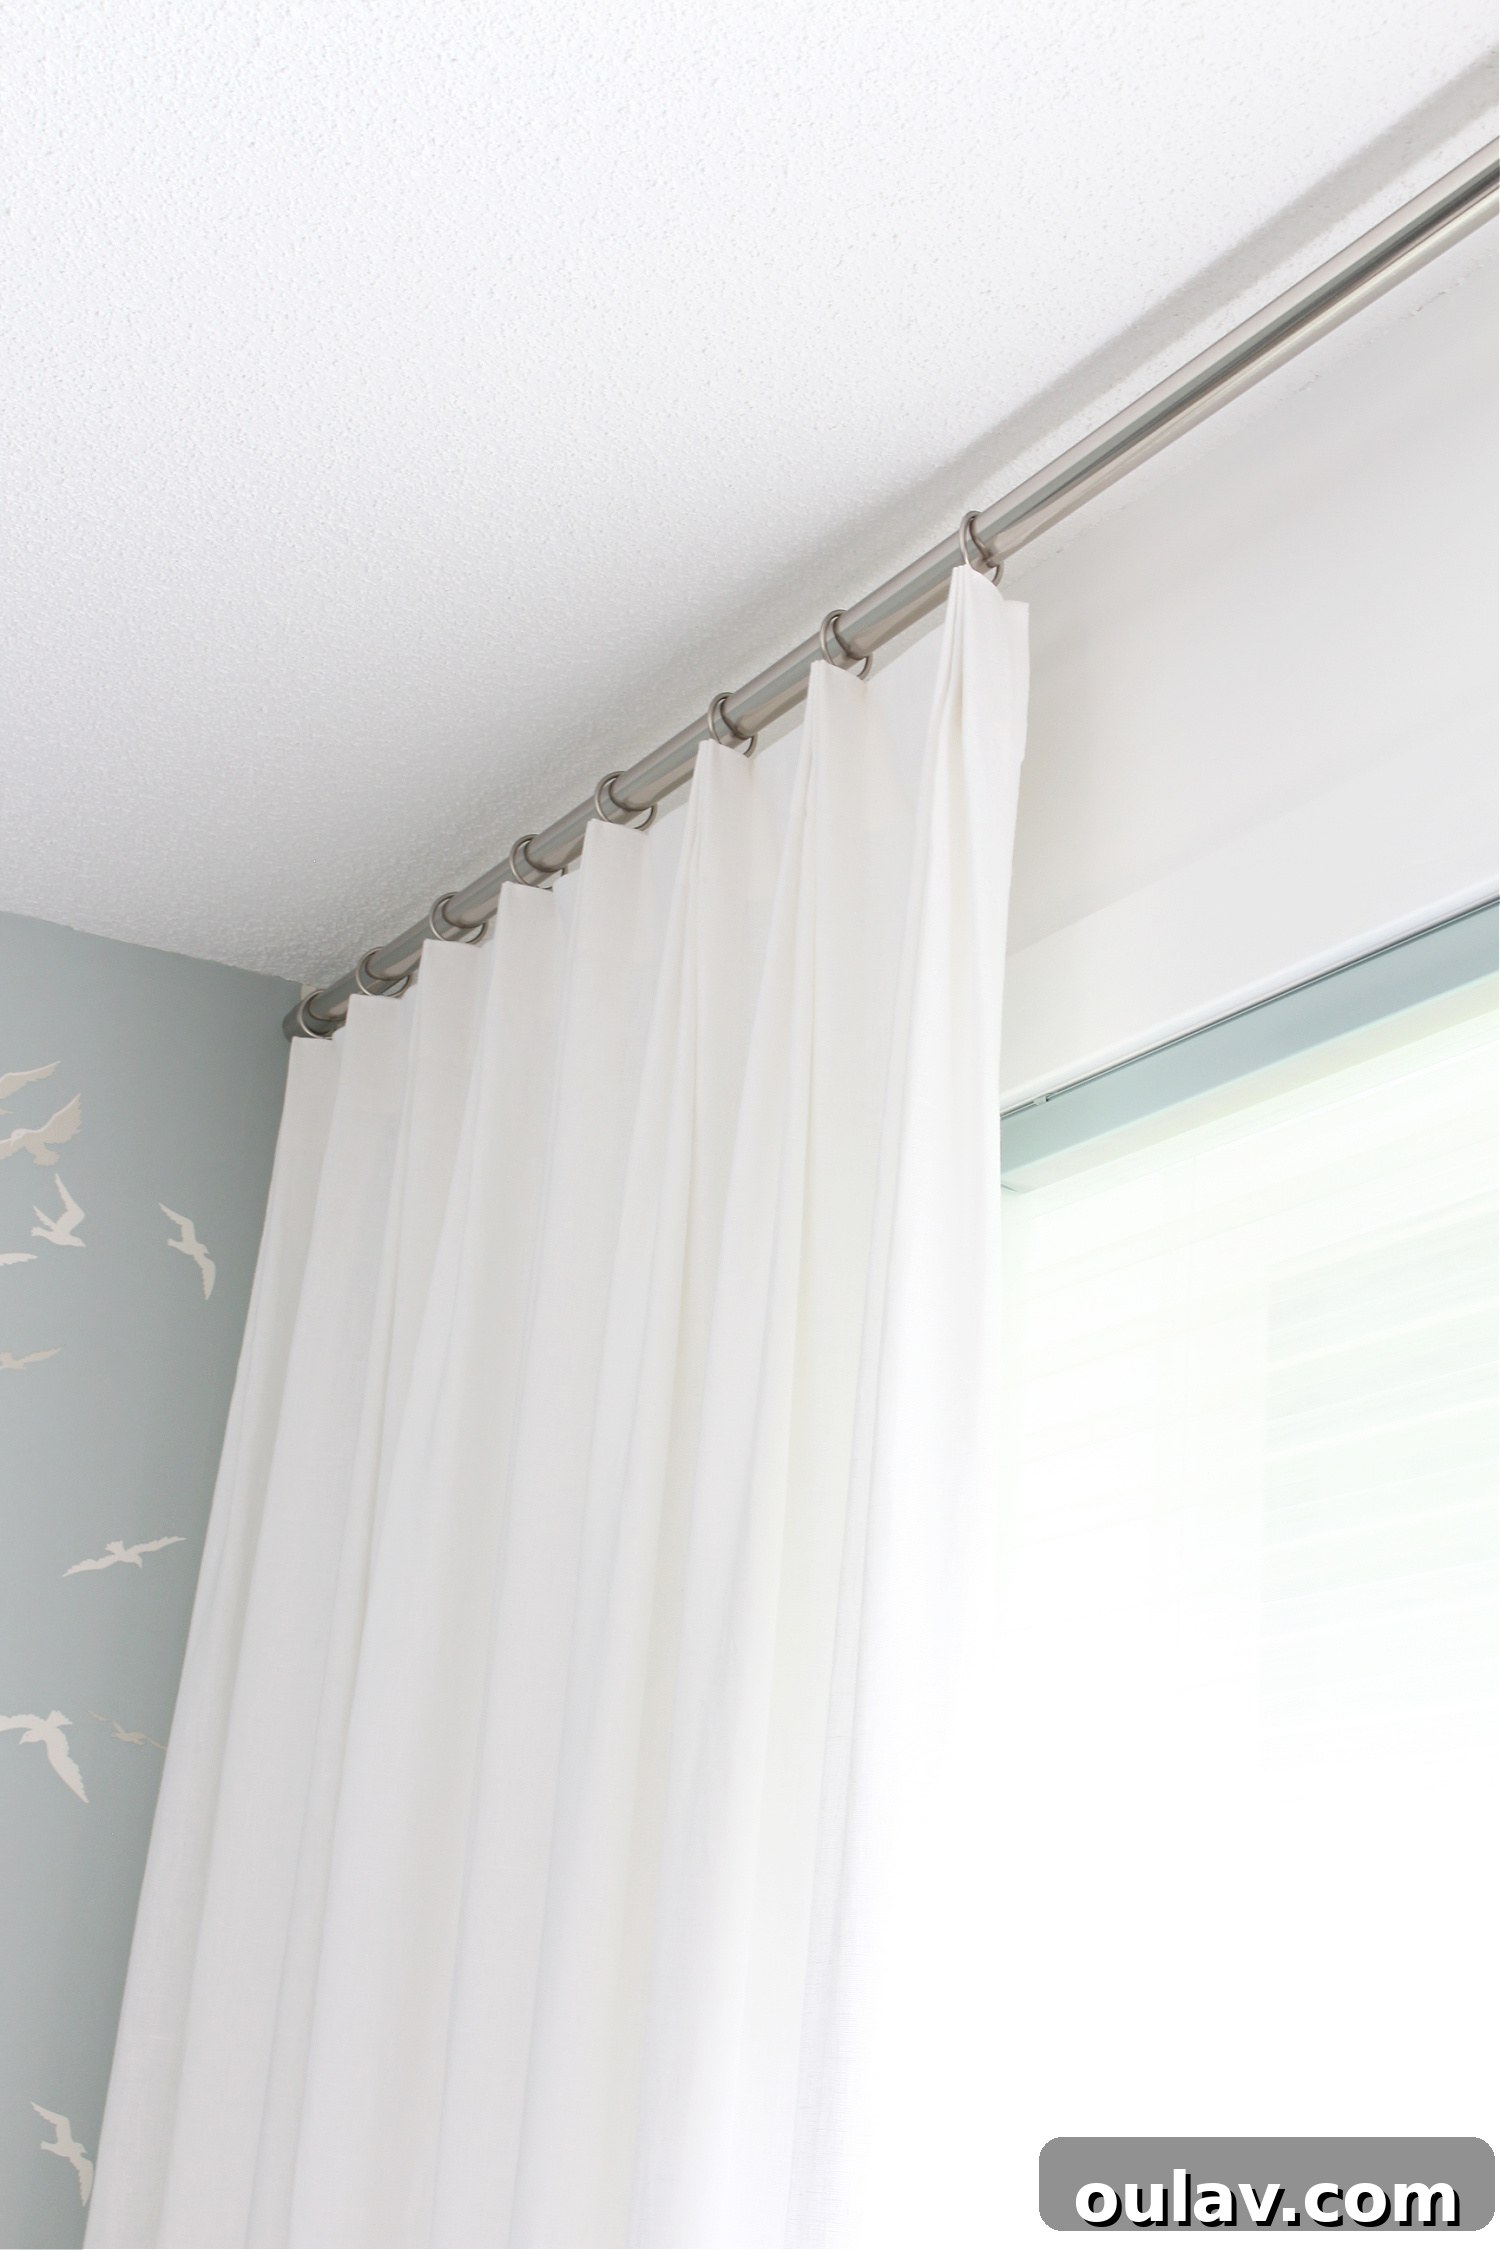
What Makes a Euro Pleat Curtain Unique?
A Euro pleat curtain features these distinctive pleats, pinched precisely at the top but gracefully opening at the bottom. Similar to other pleated styles, you have the flexibility to choose between a double or triple Euro pleat, with triple pleats offering a fuller, more luxurious appearance – which was our preference for this project. The defining characteristic of Euro pleat curtains is their inherently looser, less formal structure compared to the classic pinch pleat. This makes them an ideal choice for a slightly more contemporary aesthetic, offering a refined yet approachable elegance that can adapt to various interior design styles, from modern farmhouse to coastal chic.
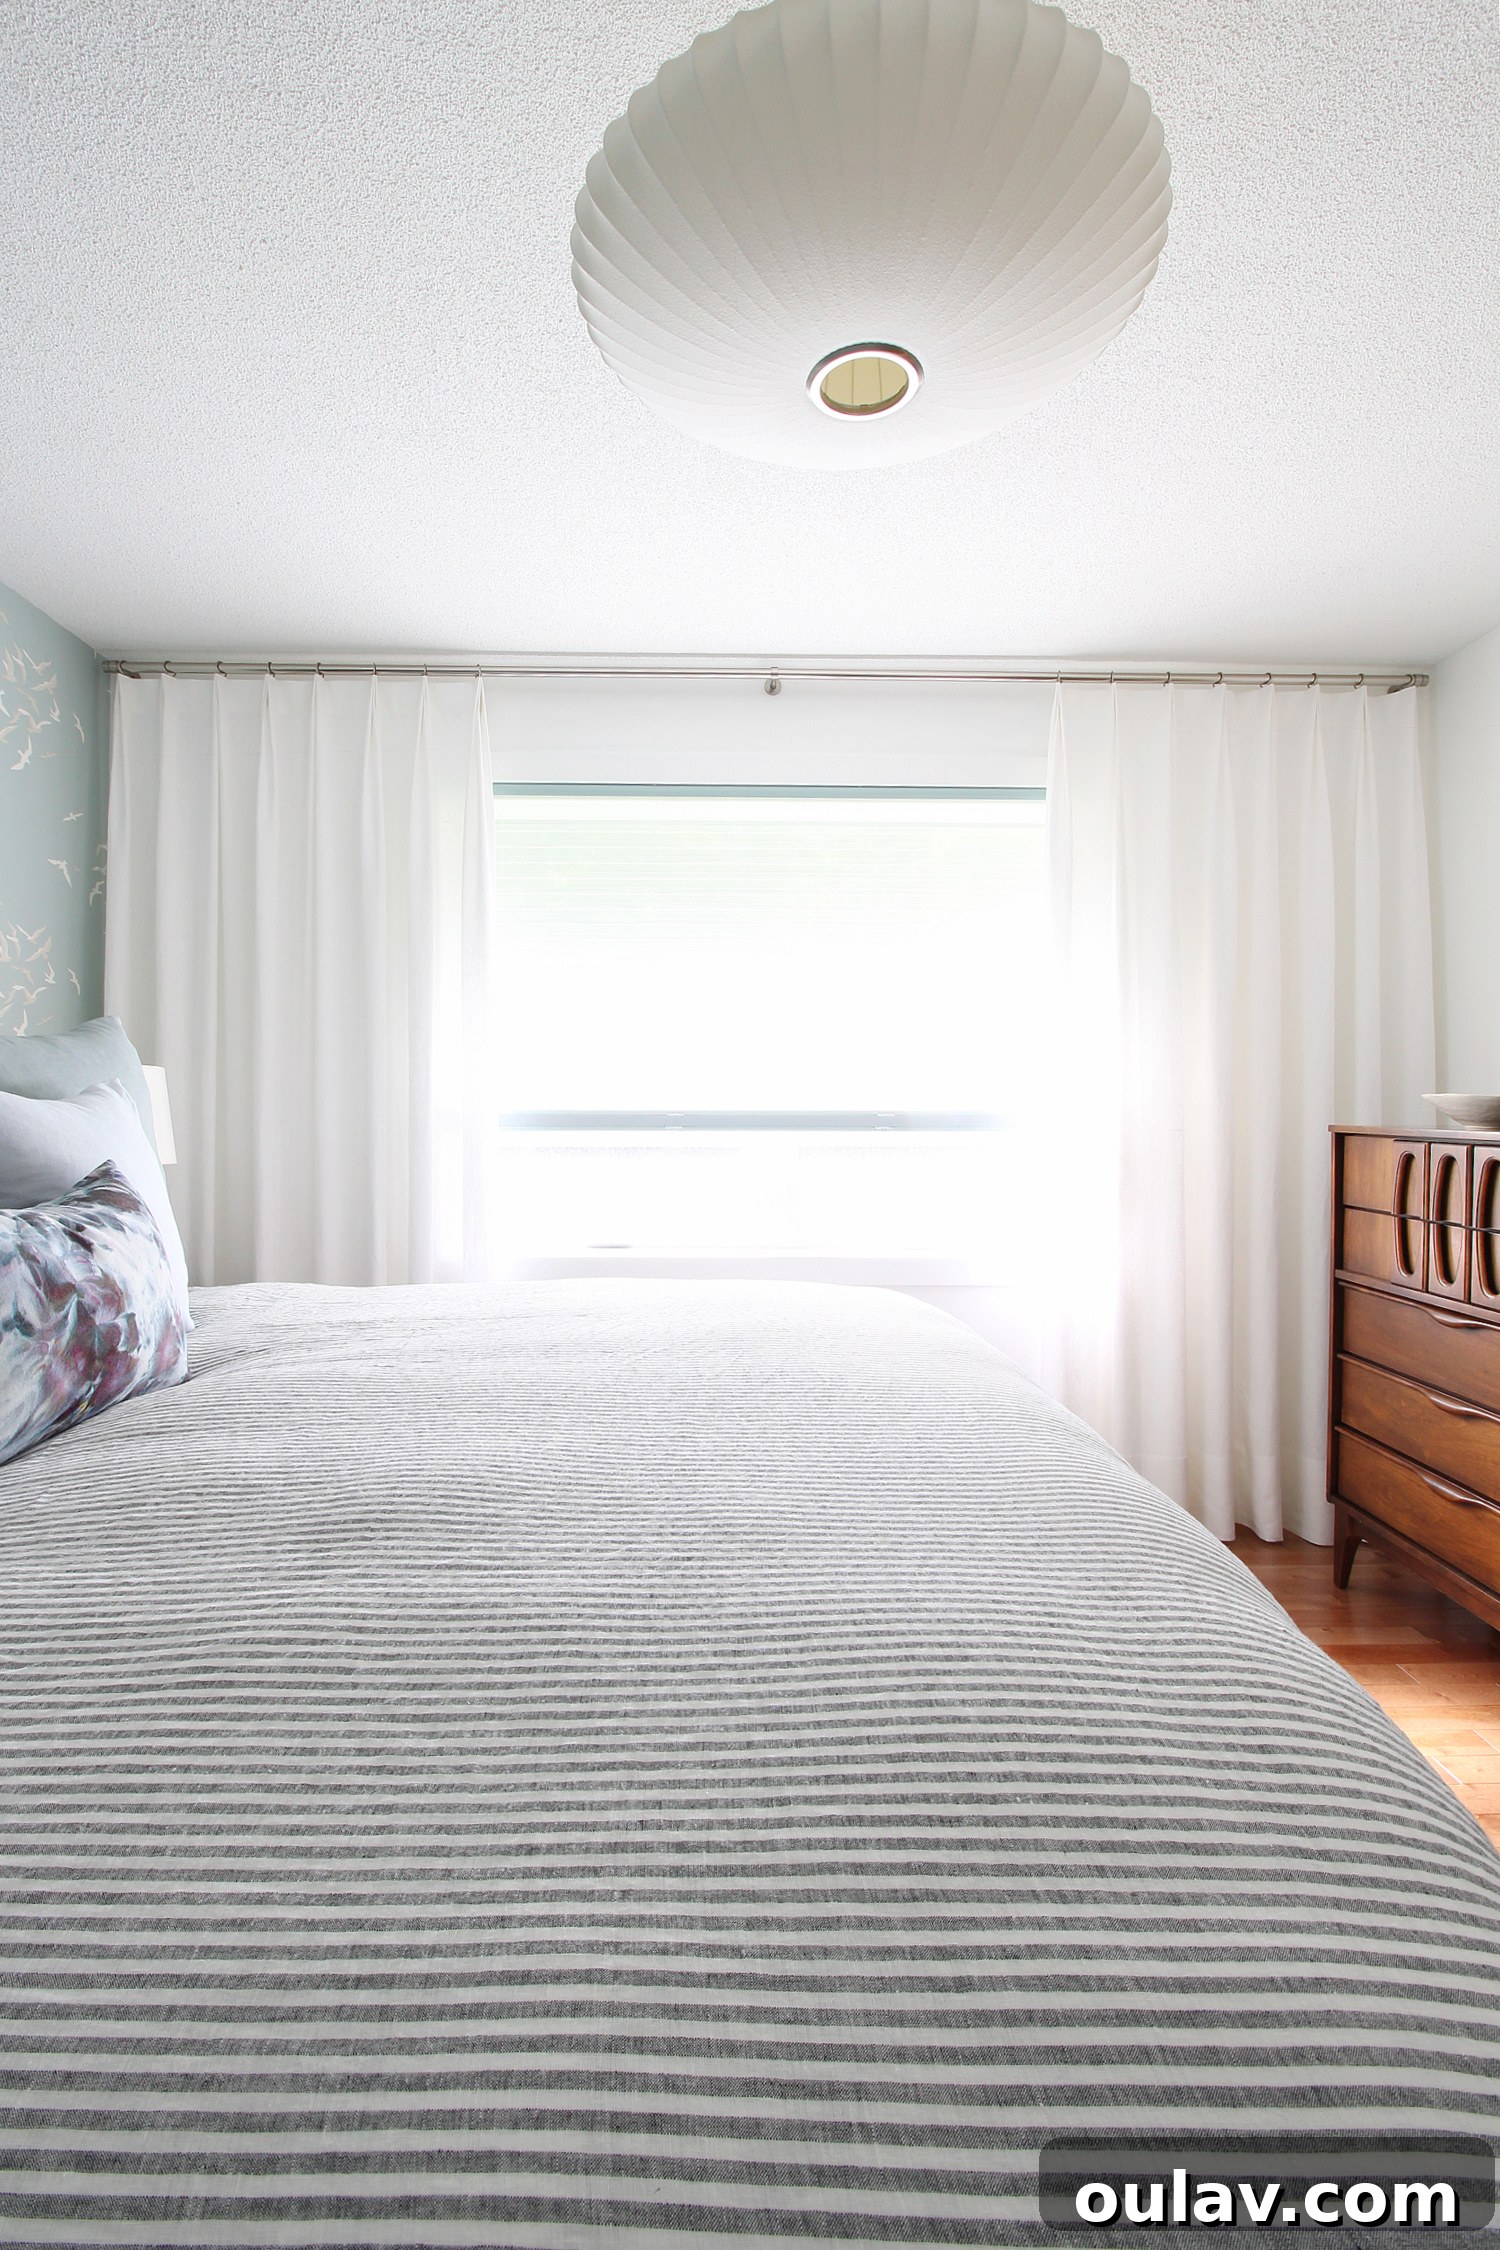
Our decision to embrace Euro pleats stemmed from a desire for a window treatment that felt both tailored and bespoke, yet retained a soft, relaxed, and modern sensibility. Over the years, my curtain preferences have certainly evolved, moving from simple curtain rings and clips to the intricate design of back tab drapes. Now, Euro pleat curtains have unquestionably claimed the top spot as my new favorite window dressing, perfectly marrying form and function with their unique silhouette and graceful drape.
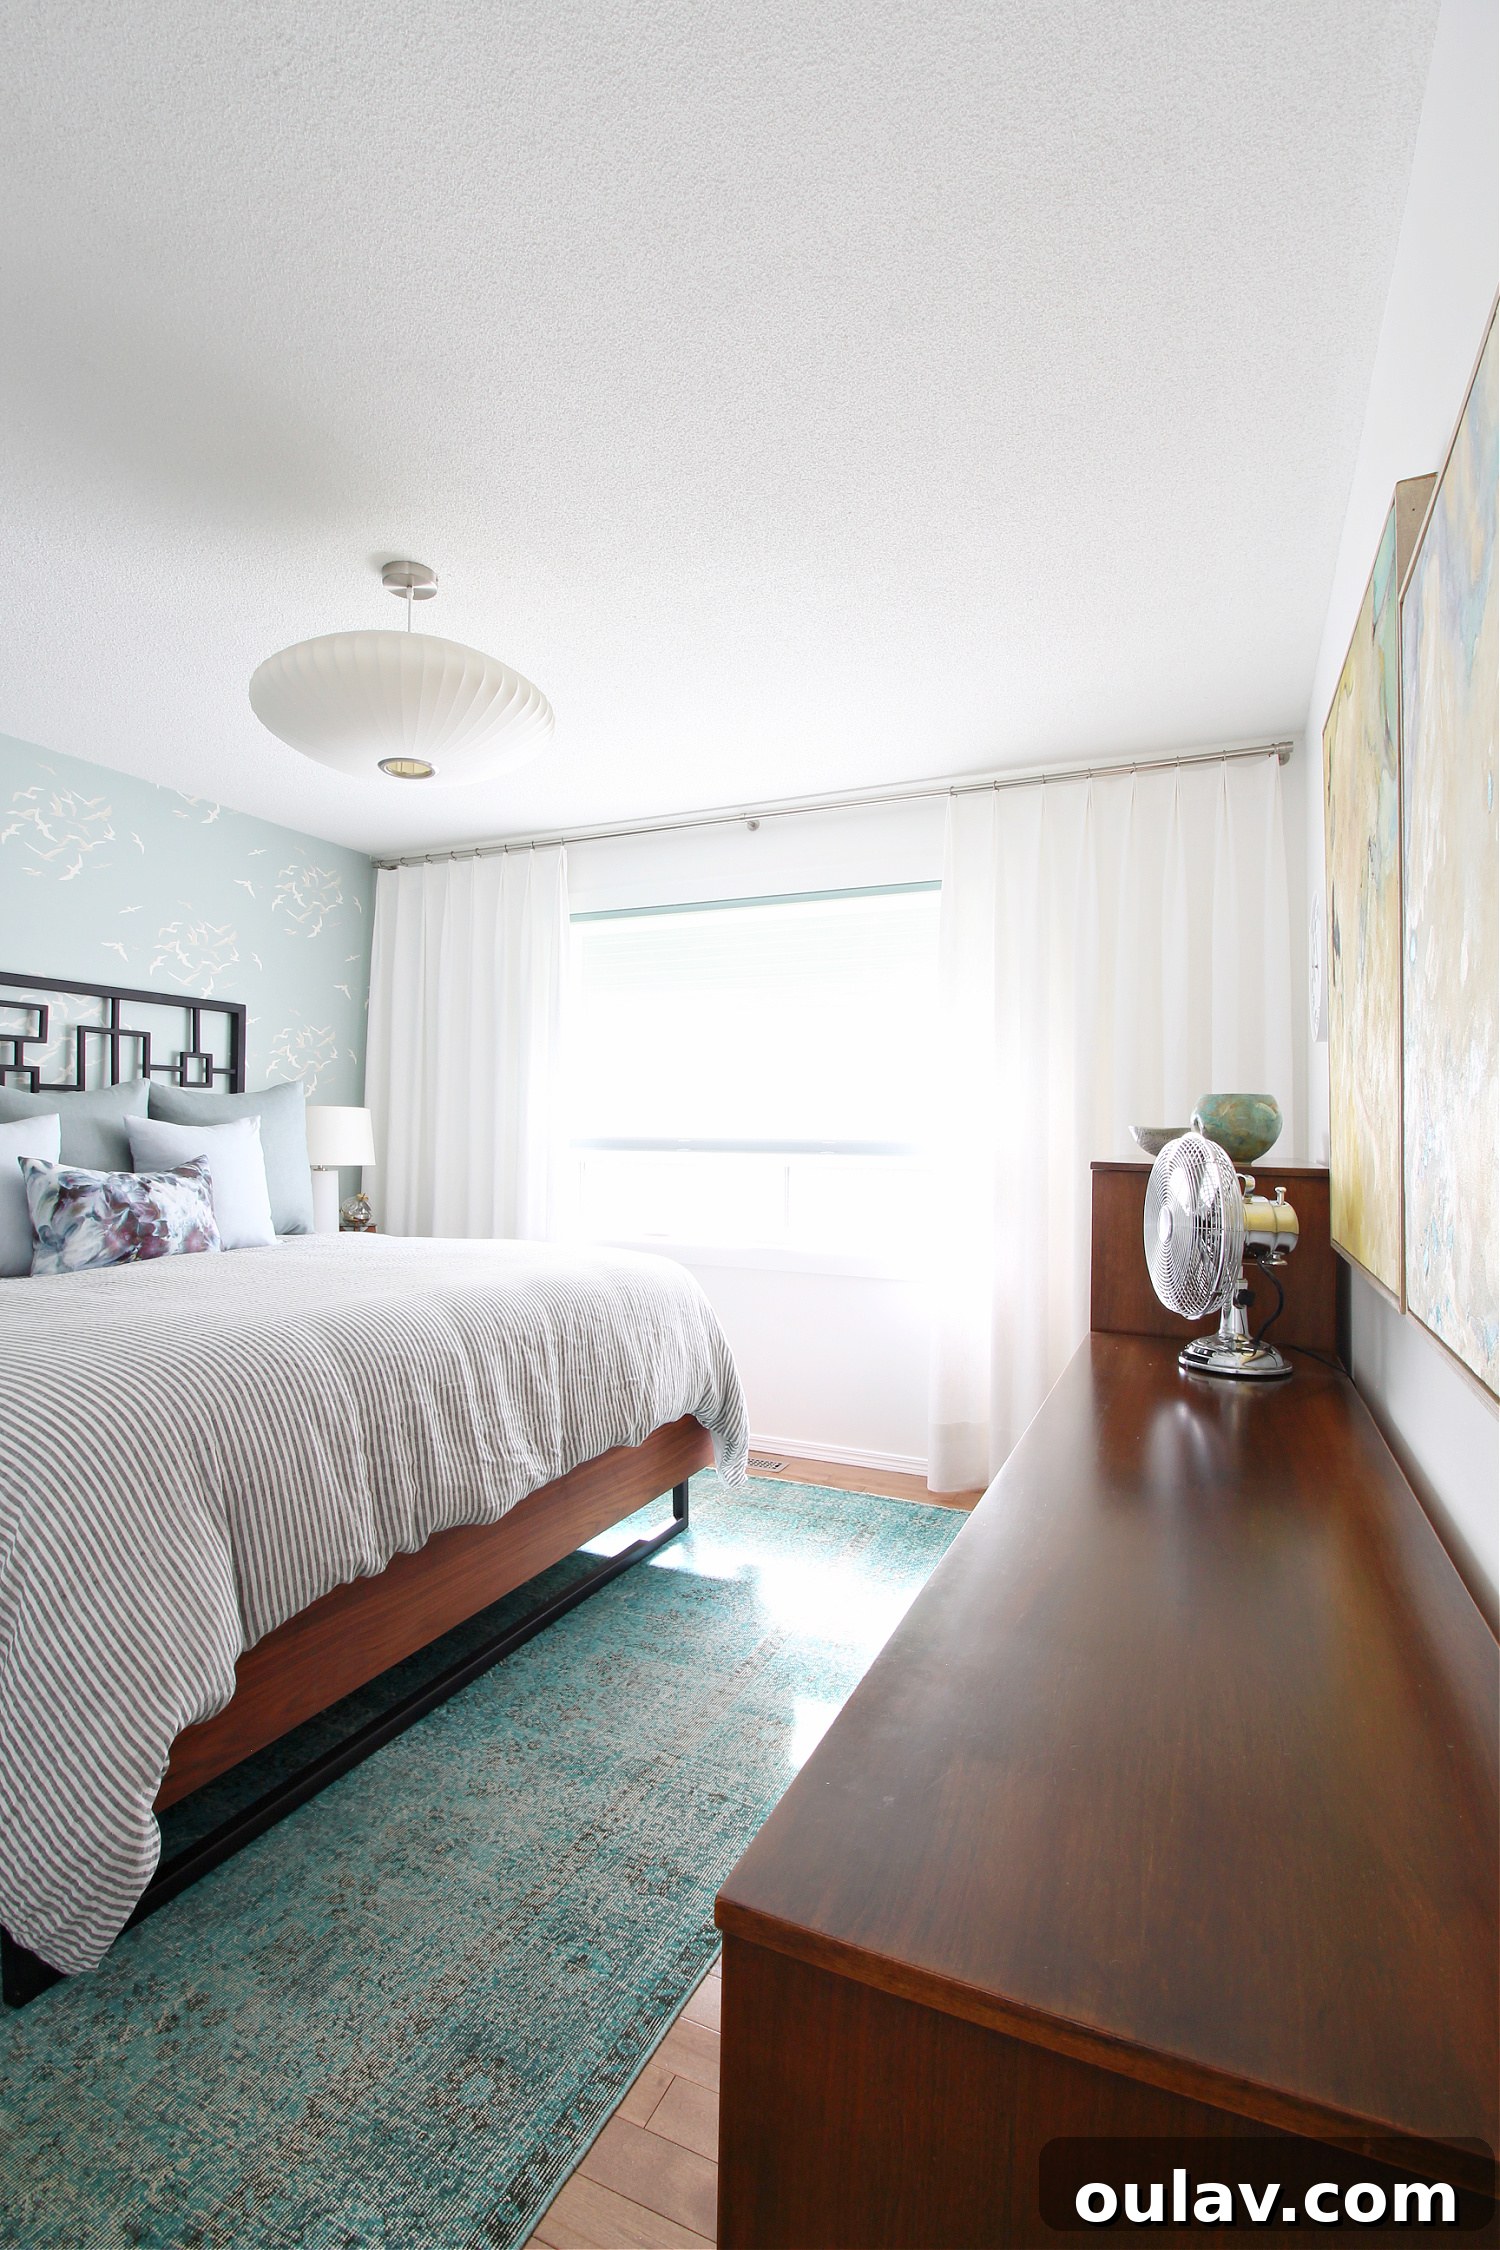
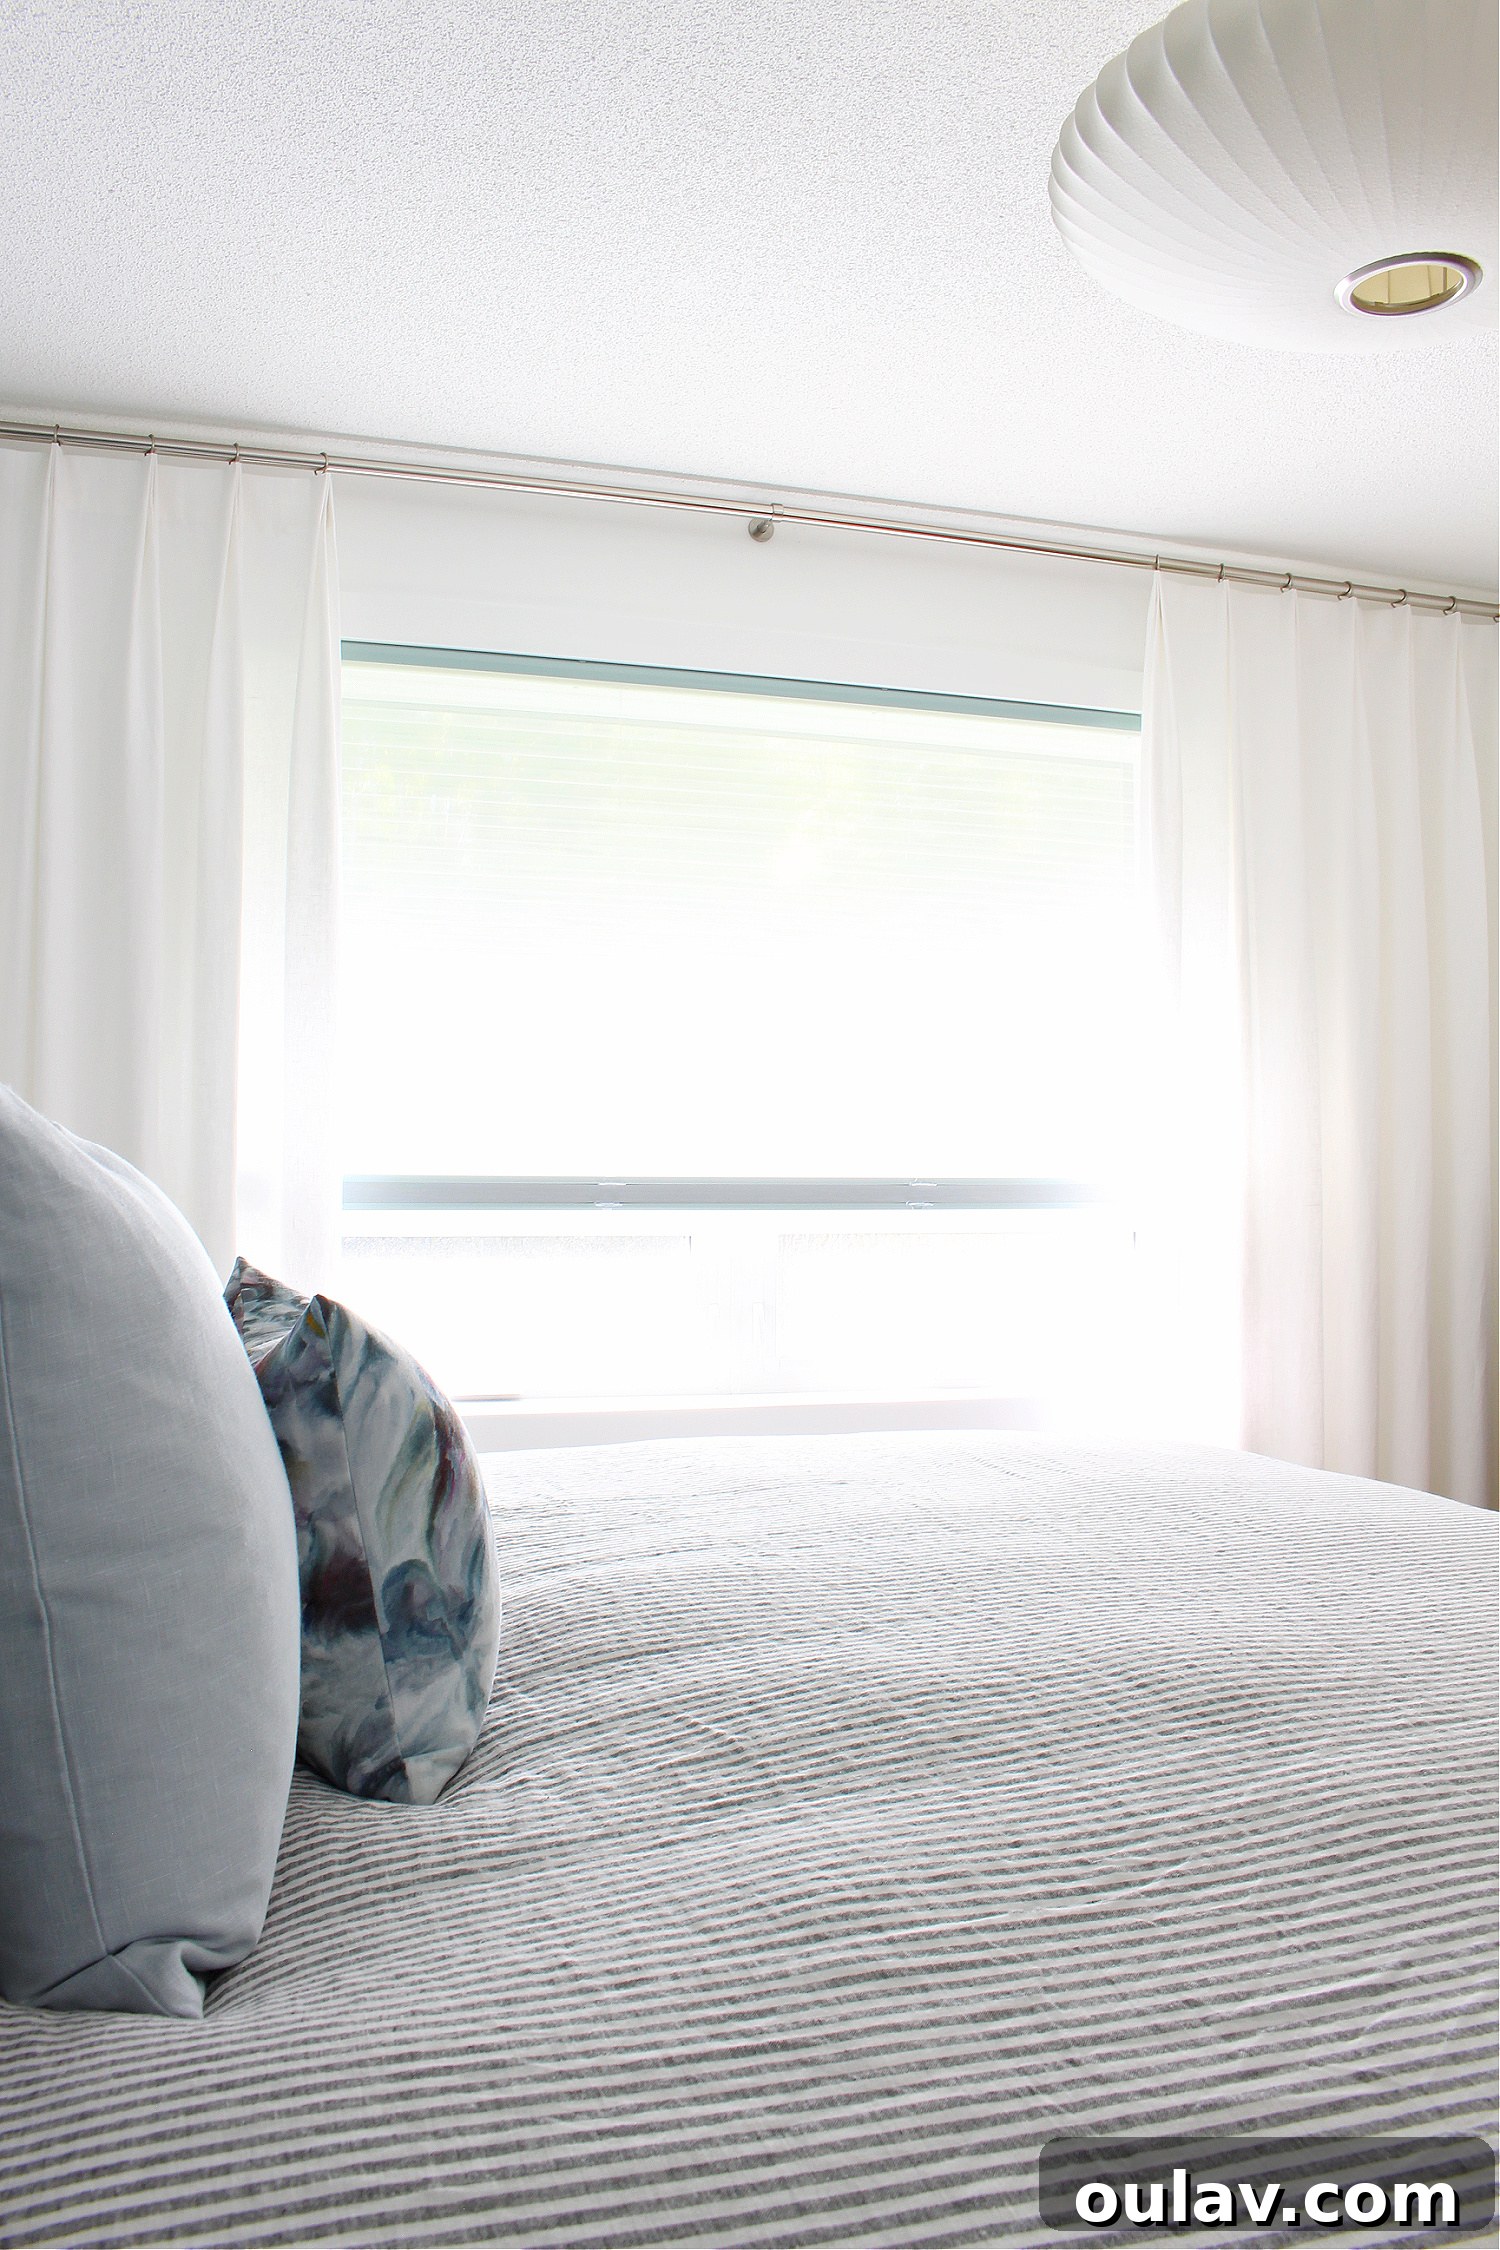
An important consideration for our specific project was that these curtains are primarily aesthetic; they are designed to frame the window beautifully and do not fully close. This choice was deliberate, as our bedrooms and bathrooms are already equipped with custom window shades. These innovative shades feature a light-blocking bottom half for complete privacy and a sheer top half for filtered daylight, allowing effortless control over light and privacy throughout the day. The Euro pleat drapes, in this context, serve to add a layer of softness, texture, and visual interest to the space (as seen here without curtains), transforming the room’s ambiance. Of course, you can absolutely adapt this tutorial to create fully functional, closing curtains by simply accounting for enough fabric width to cover your entire window opening. The construction and aesthetic will remain identical, ensuring a seamless look whether your curtains are purely decorative or functional.
Essential Supplies for Sewing Elegant Euro Pleat Curtains
Embarking on a custom curtain project requires a thoughtful selection of materials and tools. Here’s a comprehensive list of what you’ll need to create your own stunning Euro pleat curtains:
- Fabric: The heart of your curtains. For our project, we used Tuscany Linen in white, chosen for its beautiful drape and texture.
- Buckram Tape: Crucial for structure. We opted for a substantial 3 1/2″ wide buckram to give our linen a firm, crisp top edge for the pleats.
- Button Thread: Extra strong thread for hand-stitching the pleats, ensuring durability and a polished finish.
- Needle: A strong hand-sewing needle, especially for working with buckram and heavier fabrics.
- Sewing Machine: For efficient construction of panels and hems.
- Olfa Mat (optional) & Olfa Cutter (optional) or Scissors: For precise and effortless fabric cutting. A good pair of sharp fabric scissors is a must.
- Iron & Ironing Board: Indispensable for pressing seams and achieving crisp folds throughout the process.
- Measuring Tape & Ruler: Accuracy is key for beautiful pleats.
- Straight Pins: Two different styles or colors are highly recommended for clearly marking pleat folds and spacing.
- Curtain Rings: To hang your finished drapes on the rod.
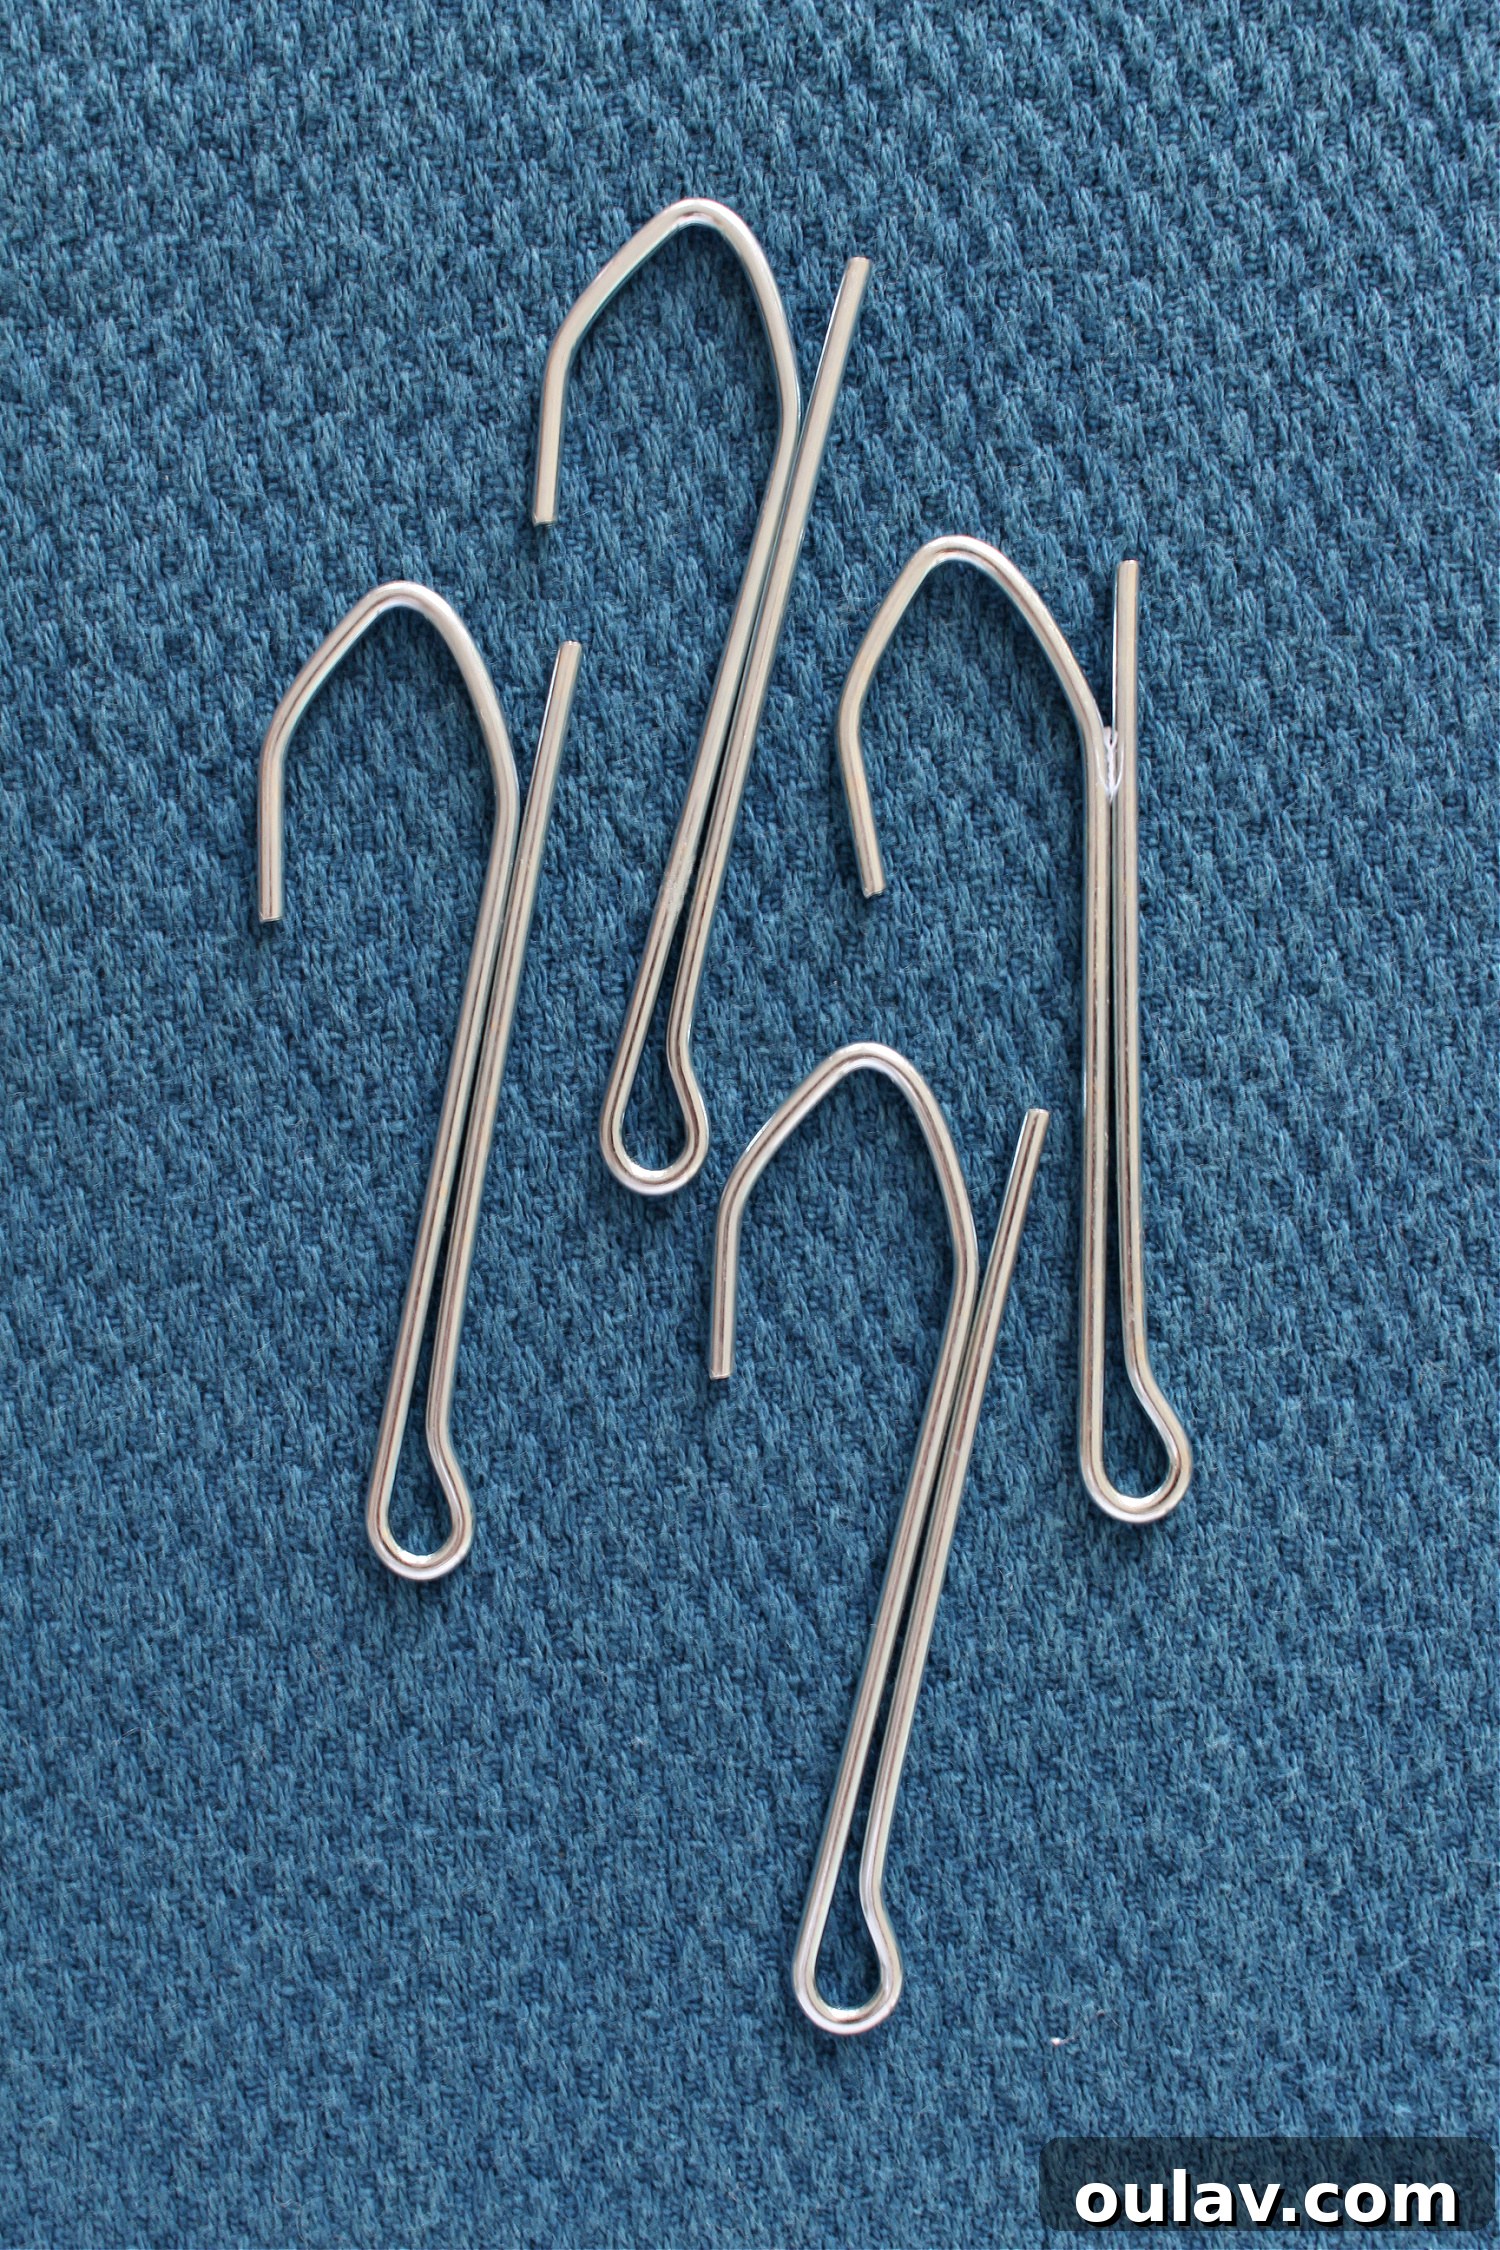
- Drapery Hooks: We utilized 3″ hooks, which will be cleverly concealed within the pleats for a clean look.
Calculating Fabric Width and Assembling Panels for a Grand Drape
Achieving truly full and luxurious drapes, especially for wider windows or walls, often necessitates joining multiple fabric widths. For our long wall, this was the first crucial step. We successfully sewed two full lengths of fabric together for each finished panel, creating a generous width that allows for ample fullness and a grand appearance. The beauty of this approach is that, when executed correctly, the seam becomes virtually invisible, cleverly tucked into the natural recess of a pleat fold, completely obscured by the softly gathered fabric.
To help you determine the specific fabric requirements for your own custom drapes, here are the detailed measurements from our project: Each finished curtain panel was crafted from two whole widths of our chosen linen fabric, which measures 57″ wide. We used a 3/4″ seam allowance to meticulously join these two panels together, in addition to hemming the side edges. This resulted in each completed curtain panel measuring a substantial 109.5″ wide.
For the pleats themselves, we designed them to be 1 1/2″ deep. Each individual triple pleat demands 9″ of fabric to form its elegant structure. We then precisely spaced these pleats 5 1/4″ apart, creating a harmonious rhythm across the top of the curtain. In total, each large panel features 8 beautifully constructed triple Euro pleats.
One of the greatest advantages of DIY curtain making is the freedom to customize. You can easily adjust these measurements to suit your personal aesthetic – perhaps opting for deeper pleats for a more dramatic look, or wider spacing for a minimalist feel. While this initial calculation might require a bit of careful “figuring first,” it ensures your custom drapes will perfectly fit your window or wall, delivering a truly bespoke finish.
Mastering Buckram Insertion: The Secret to Structured Pleats
With our fabric panels meticulously joined, the next critical step is to integrate the buckram into the top edge of each curtain panel. Buckram, a stiffened cotton material, is a versatile component found in everything from millinery to bookbinding, and it’s absolutely essential for creating professional-grade, structured pleats in drapery. We selected it due to the substantial weight of our linen fabric; such a luxurious material warranted an equally robust and stiff interlining to ensure the pleats would hold their shape beautifully and consistently. While softer materials like pleater tape can be used, particularly for more traditional or less structured pleats, buckram provides superior rigidity, resulting in those crisp, well-defined Euro pleats we desire.
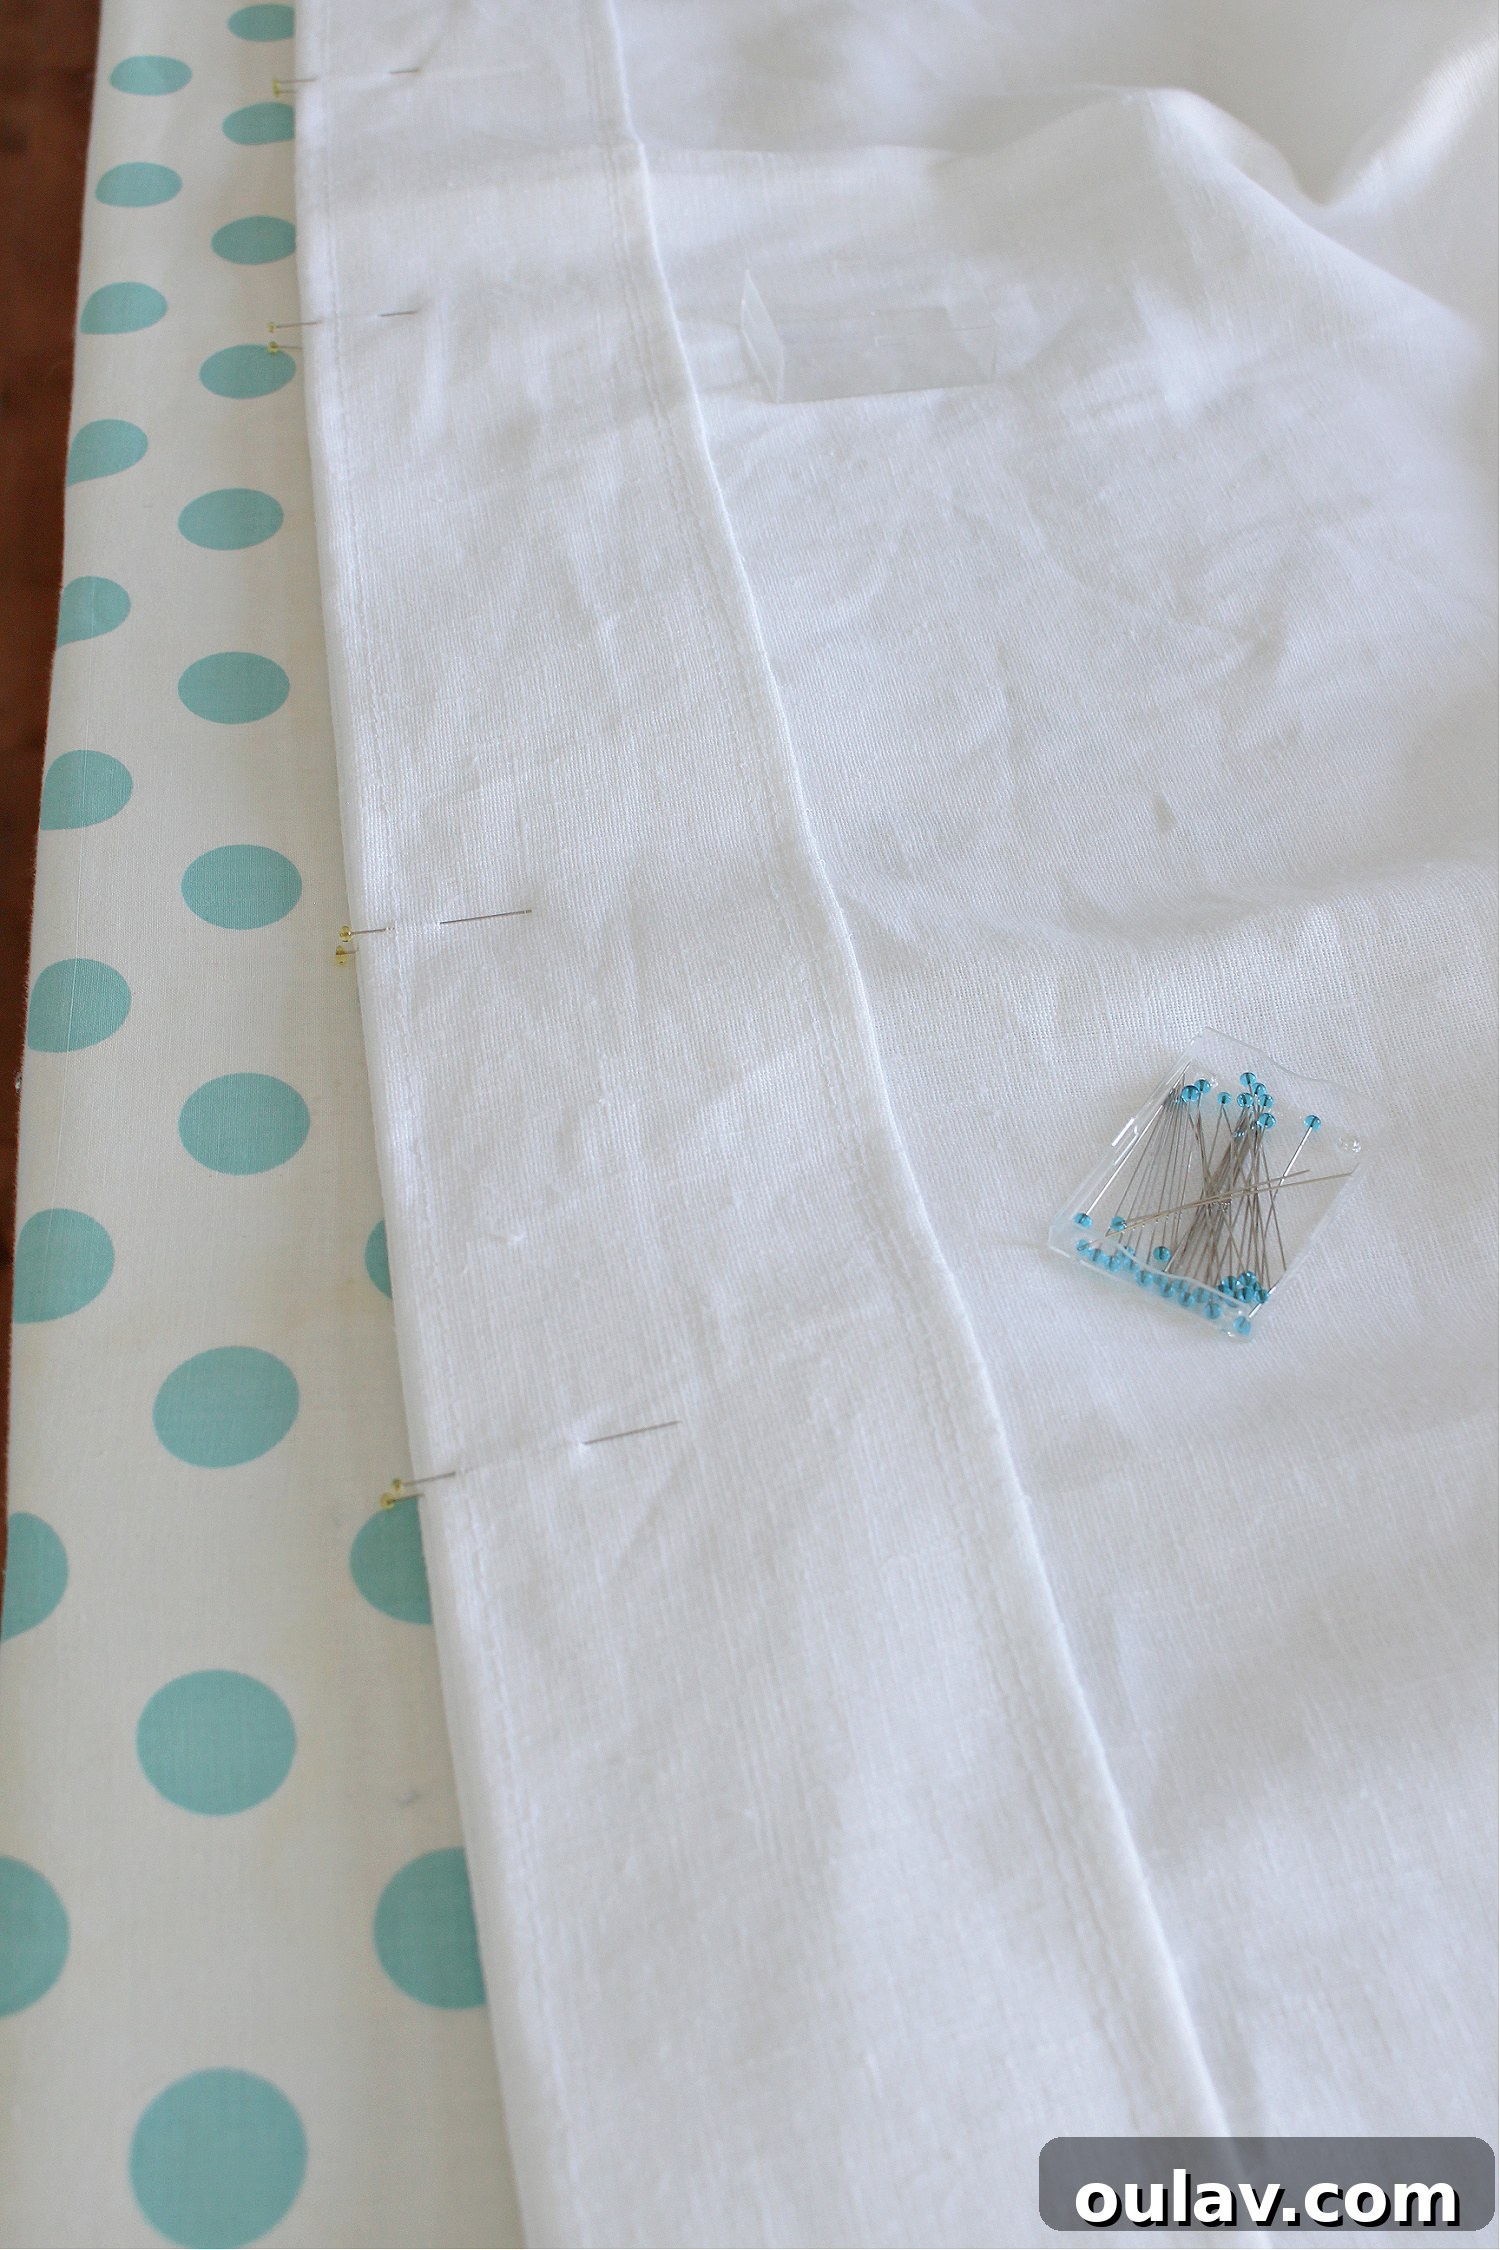
The process begins by folding over and carefully ironing the top raw edge of the fabric over the buckram, effectively encasing its top edge. This initial fold is then meticulously pinned into place. Once secured, the top edge of the fabric is sewn down, anchoring the buckram firmly within the curtain panel.
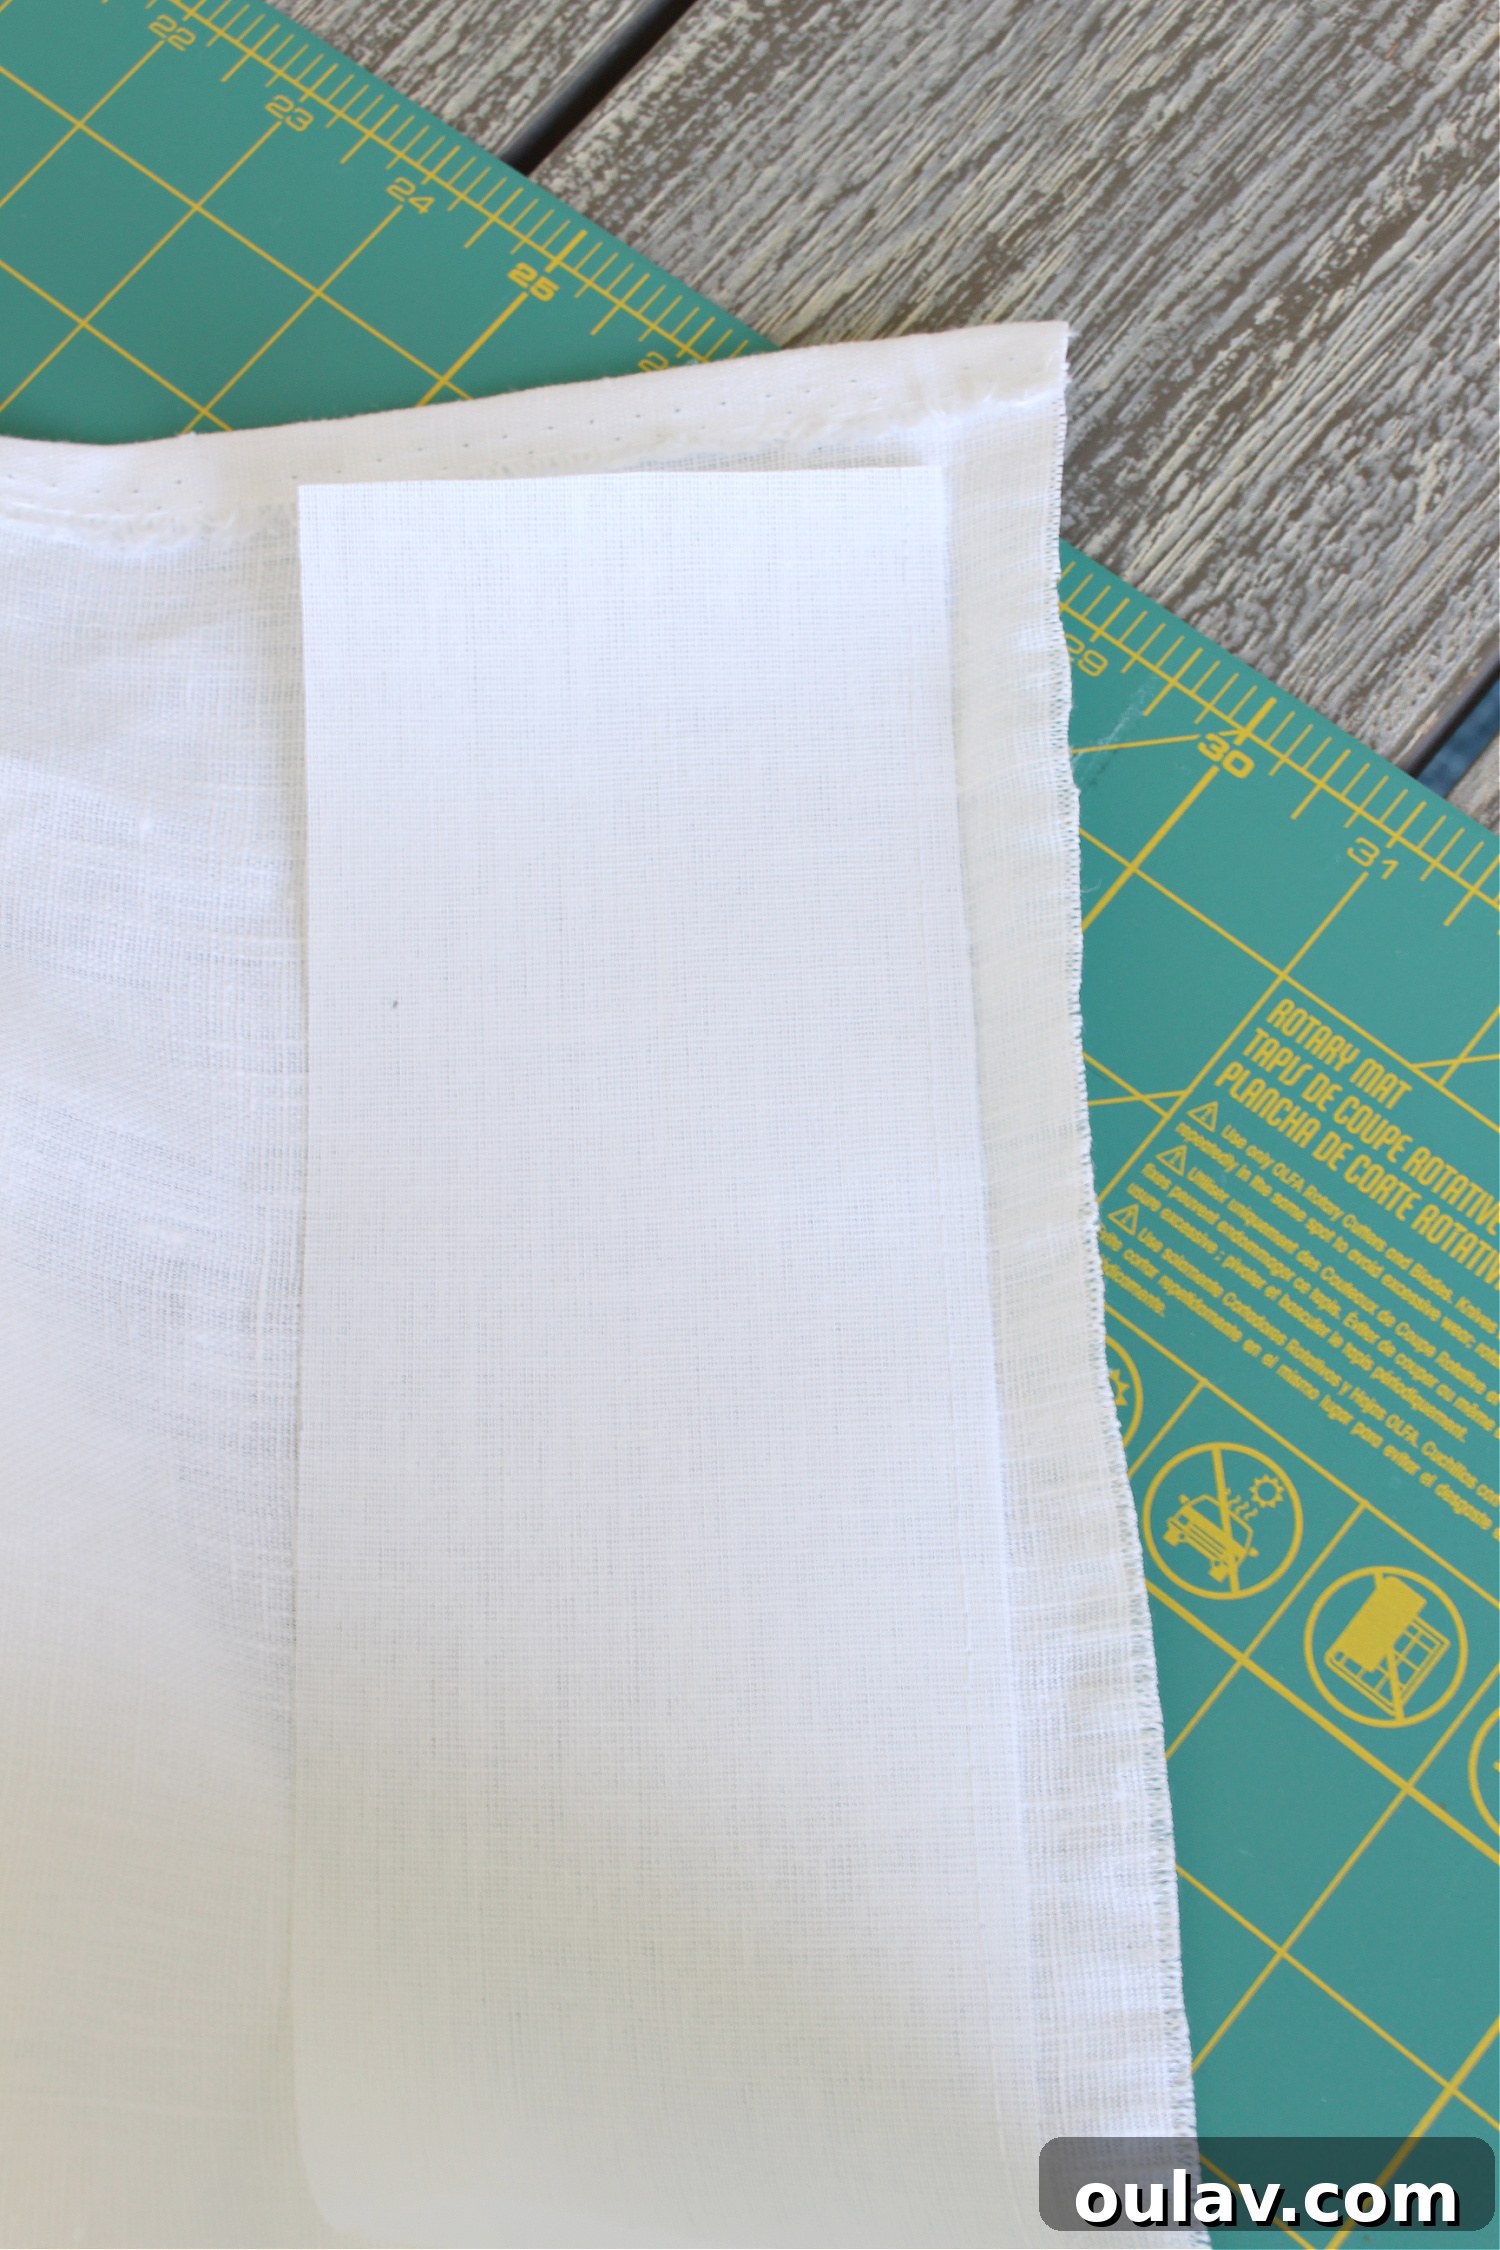
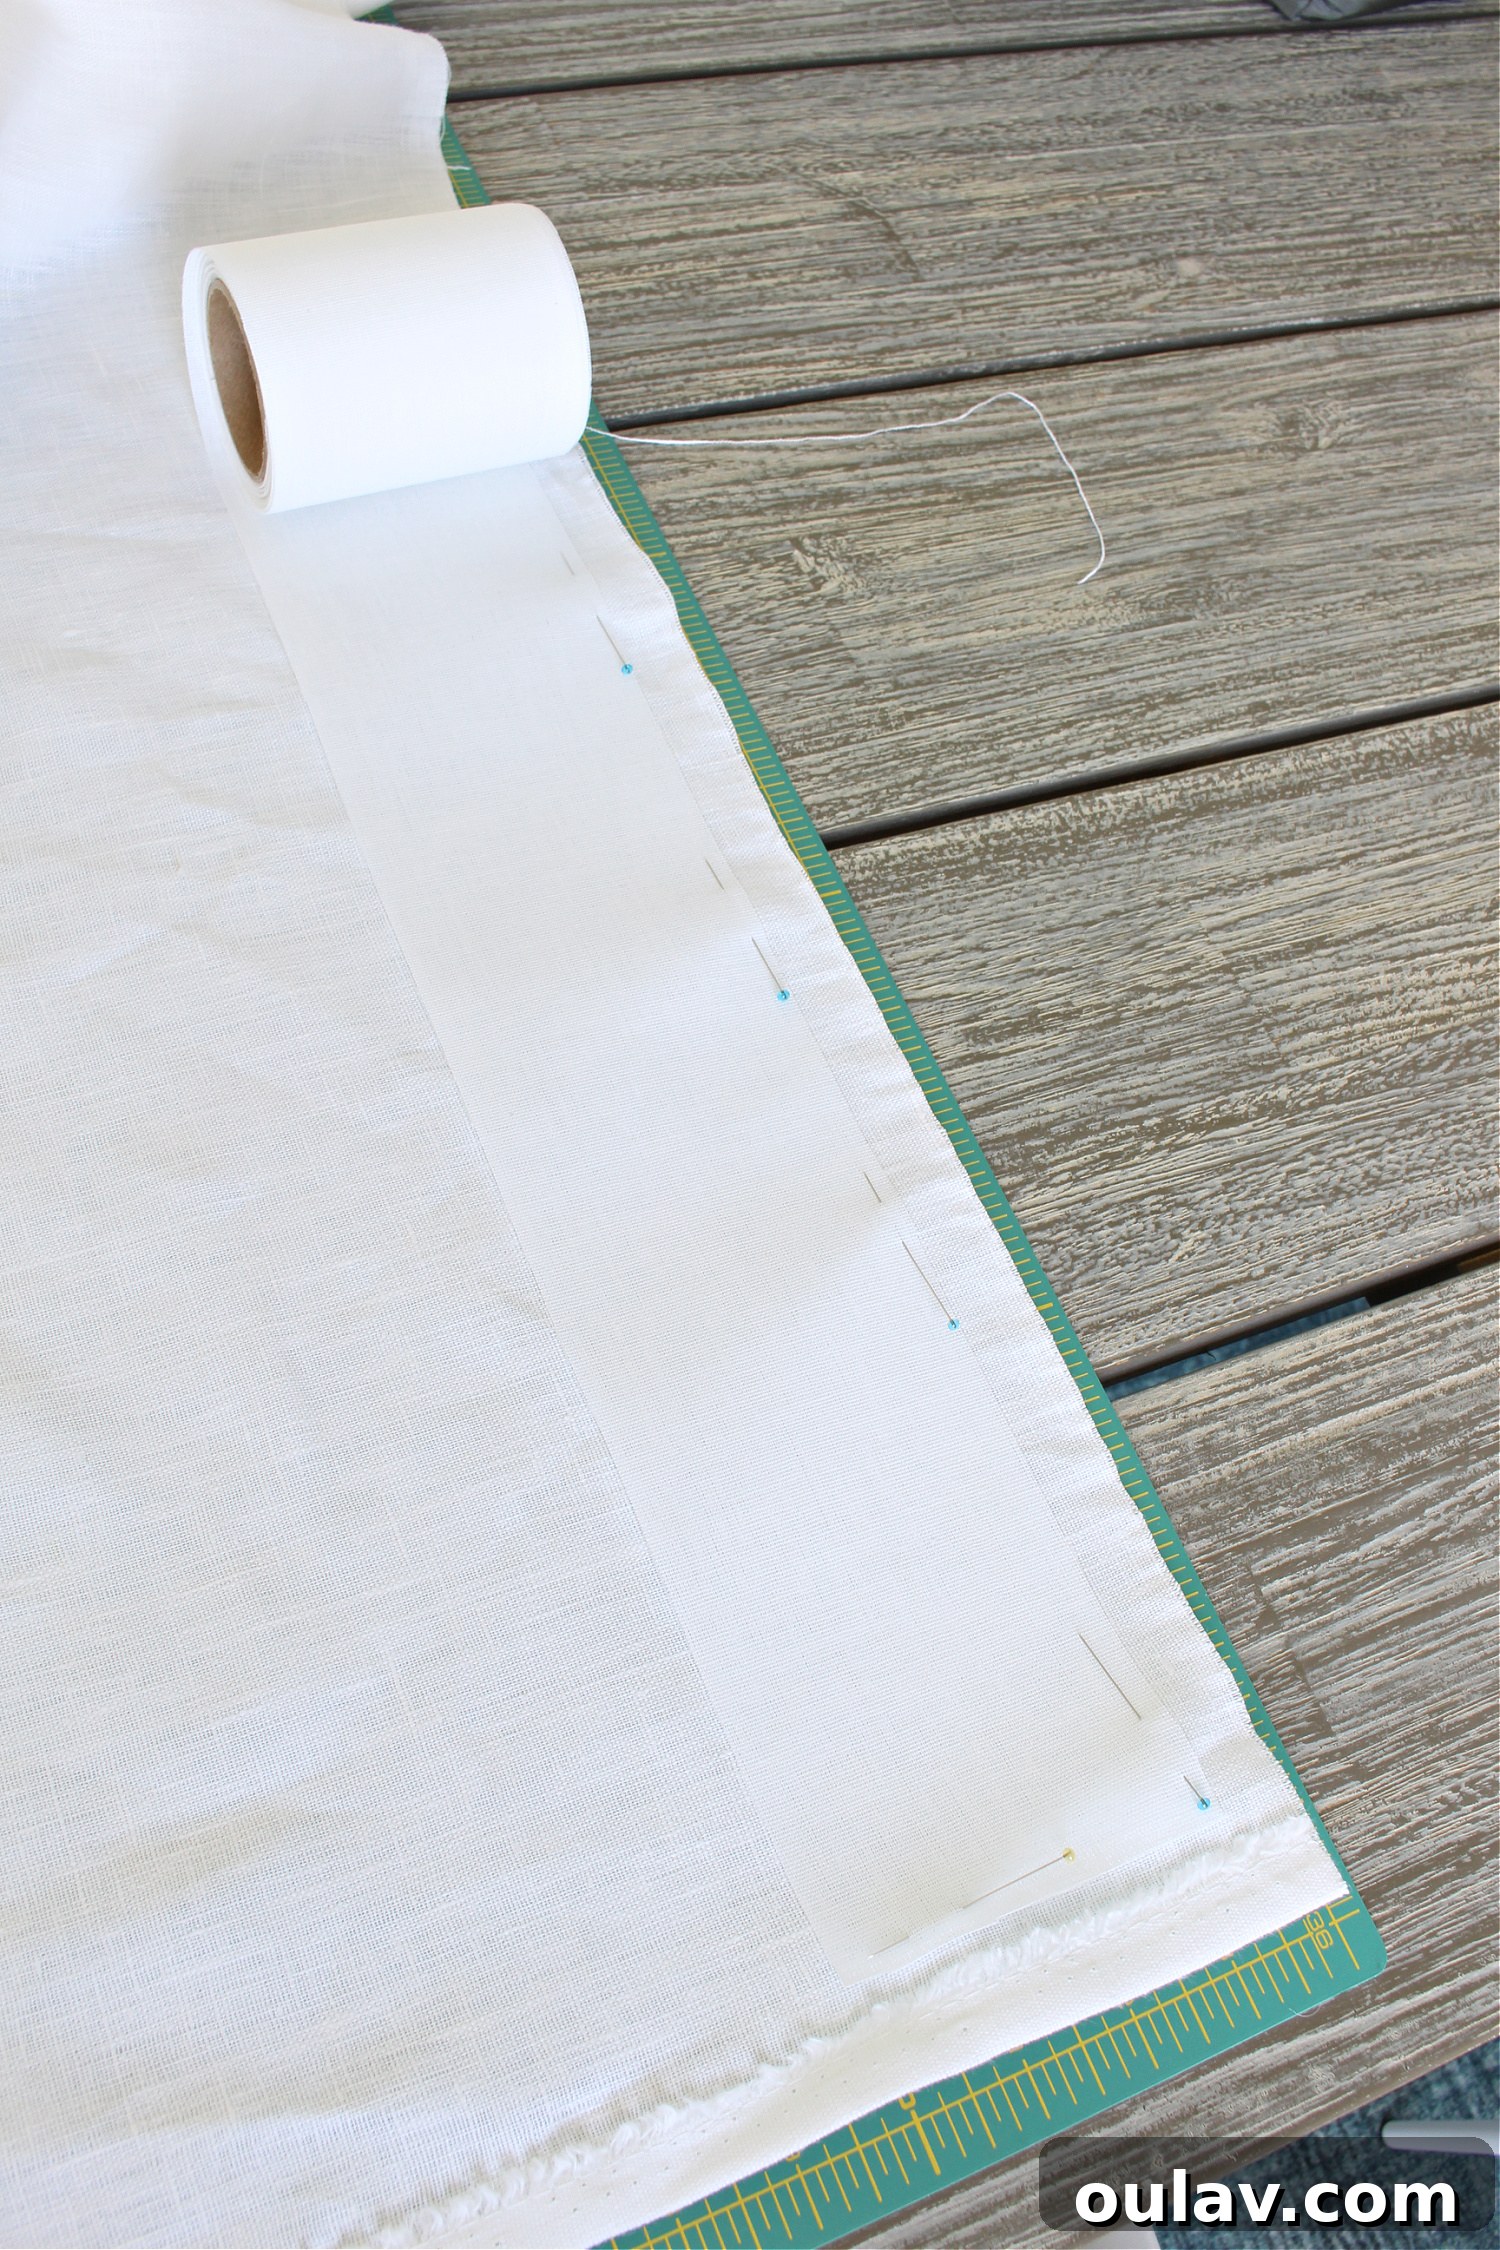
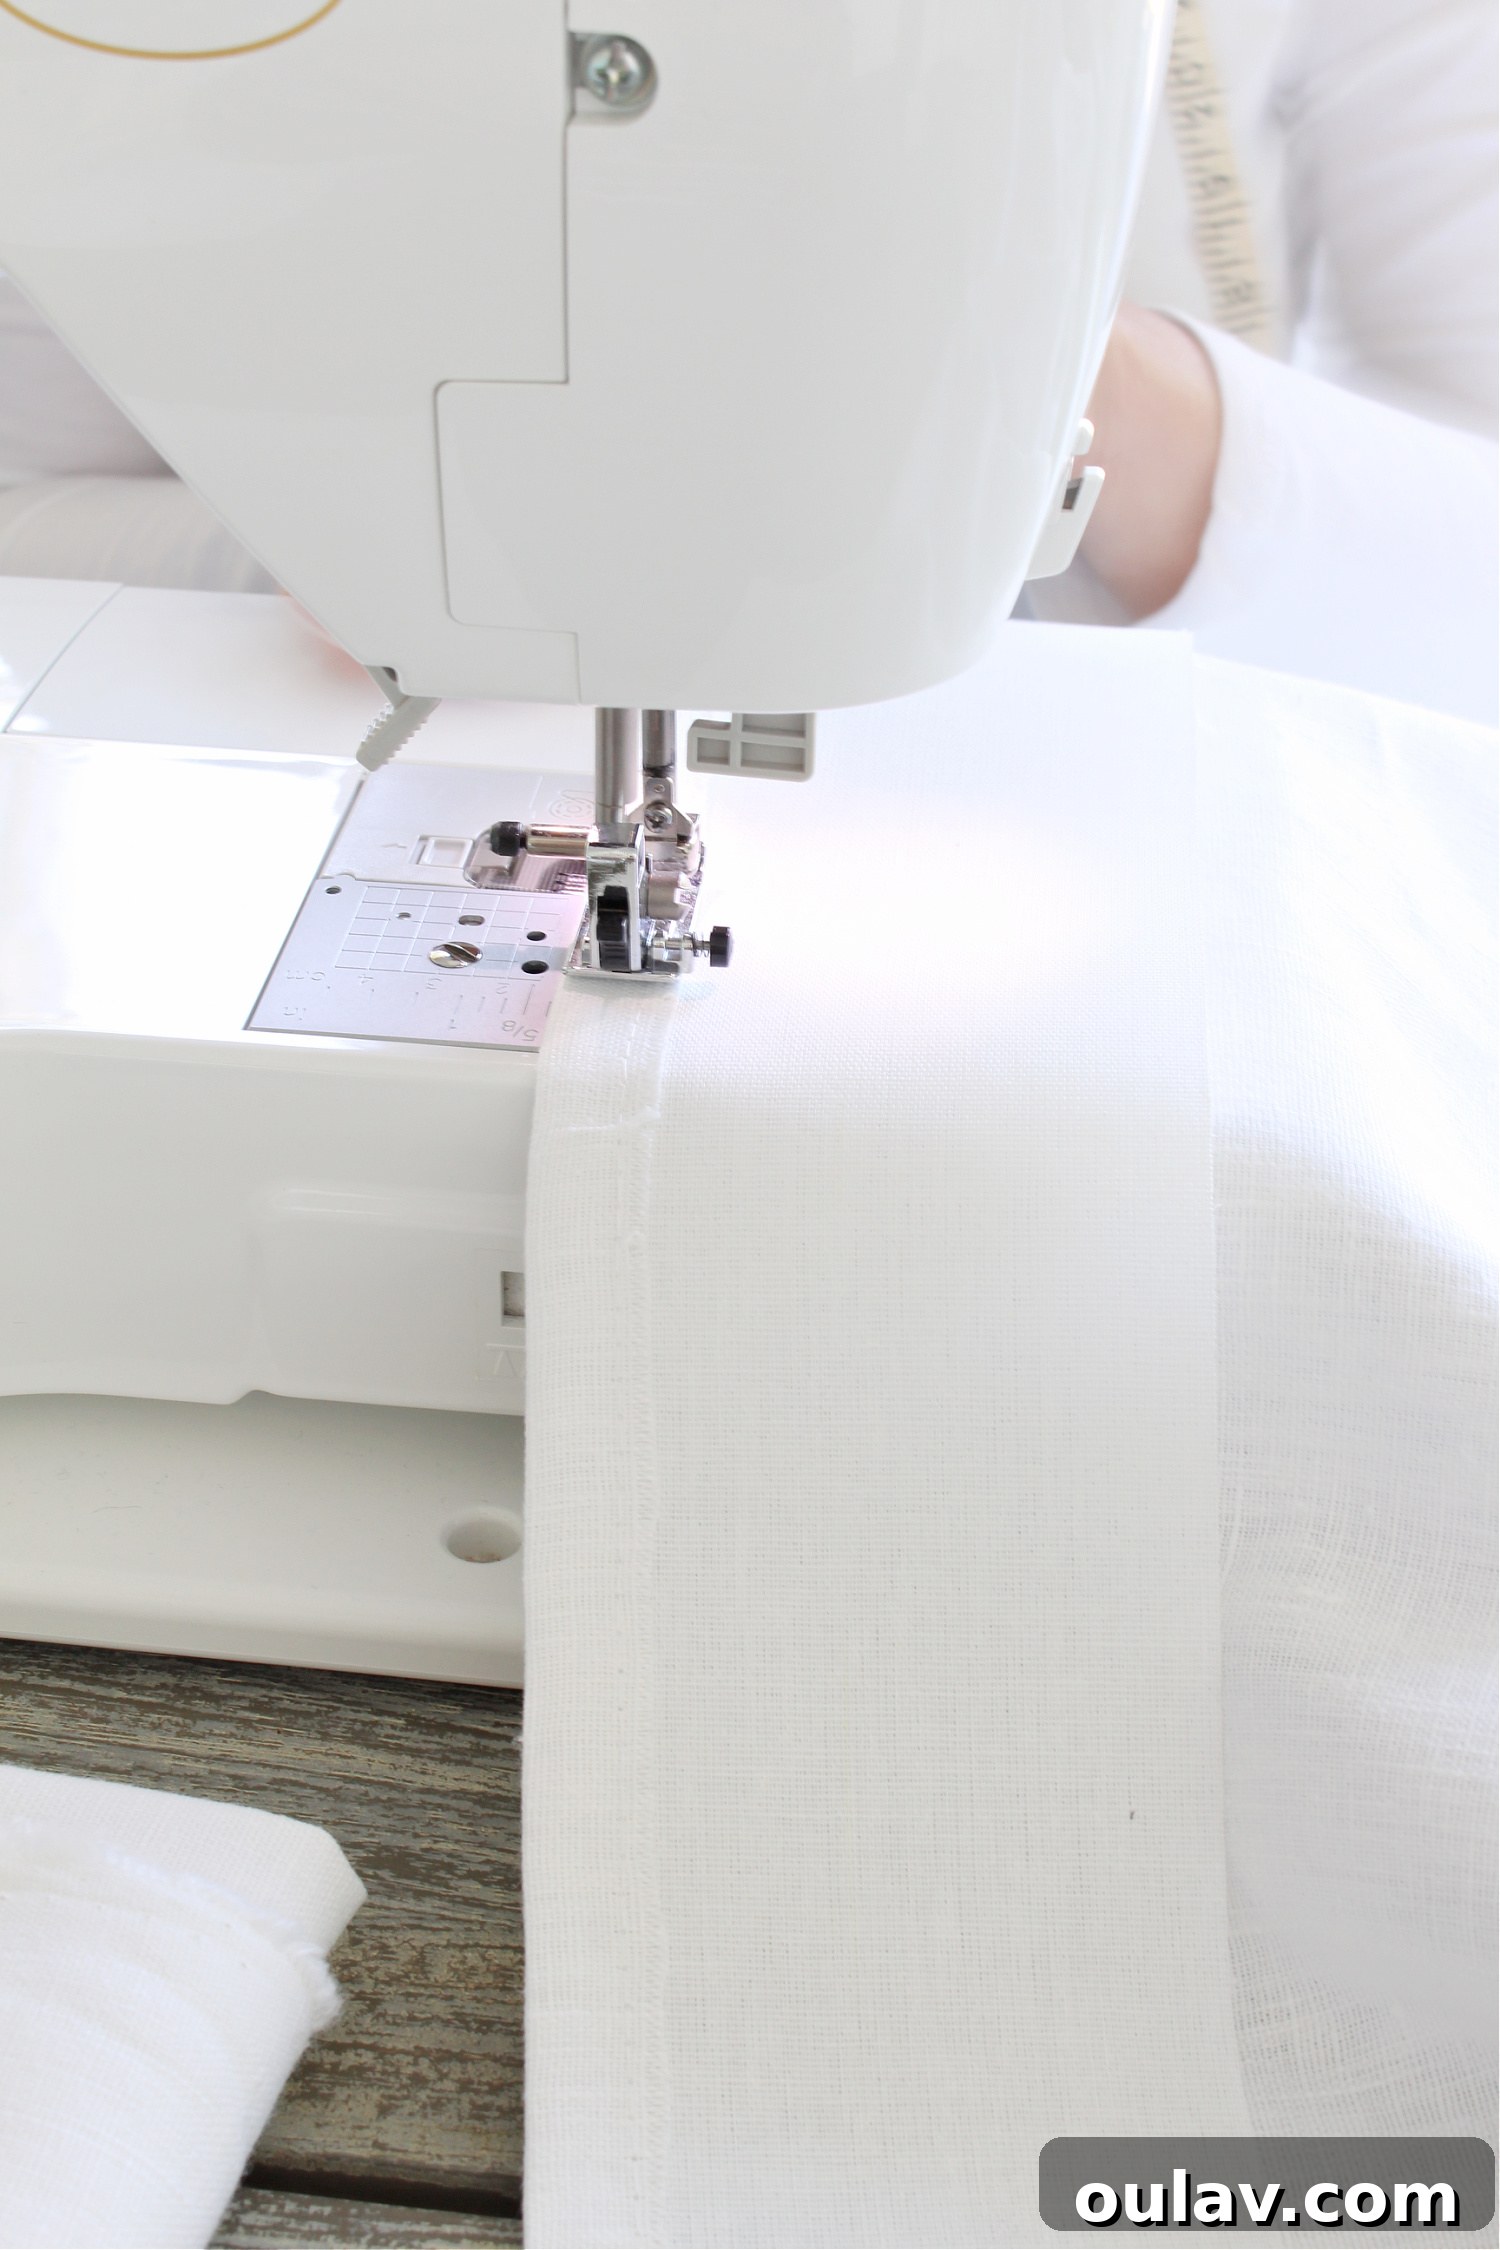
Following this, another stitch line is run along the bottom edge of the buckram, securing it completely to the fabric and preventing any shifting or puckering. This dual stitching ensures the buckram is fully integrated and stable, providing a robust foundation for the pleats to come.
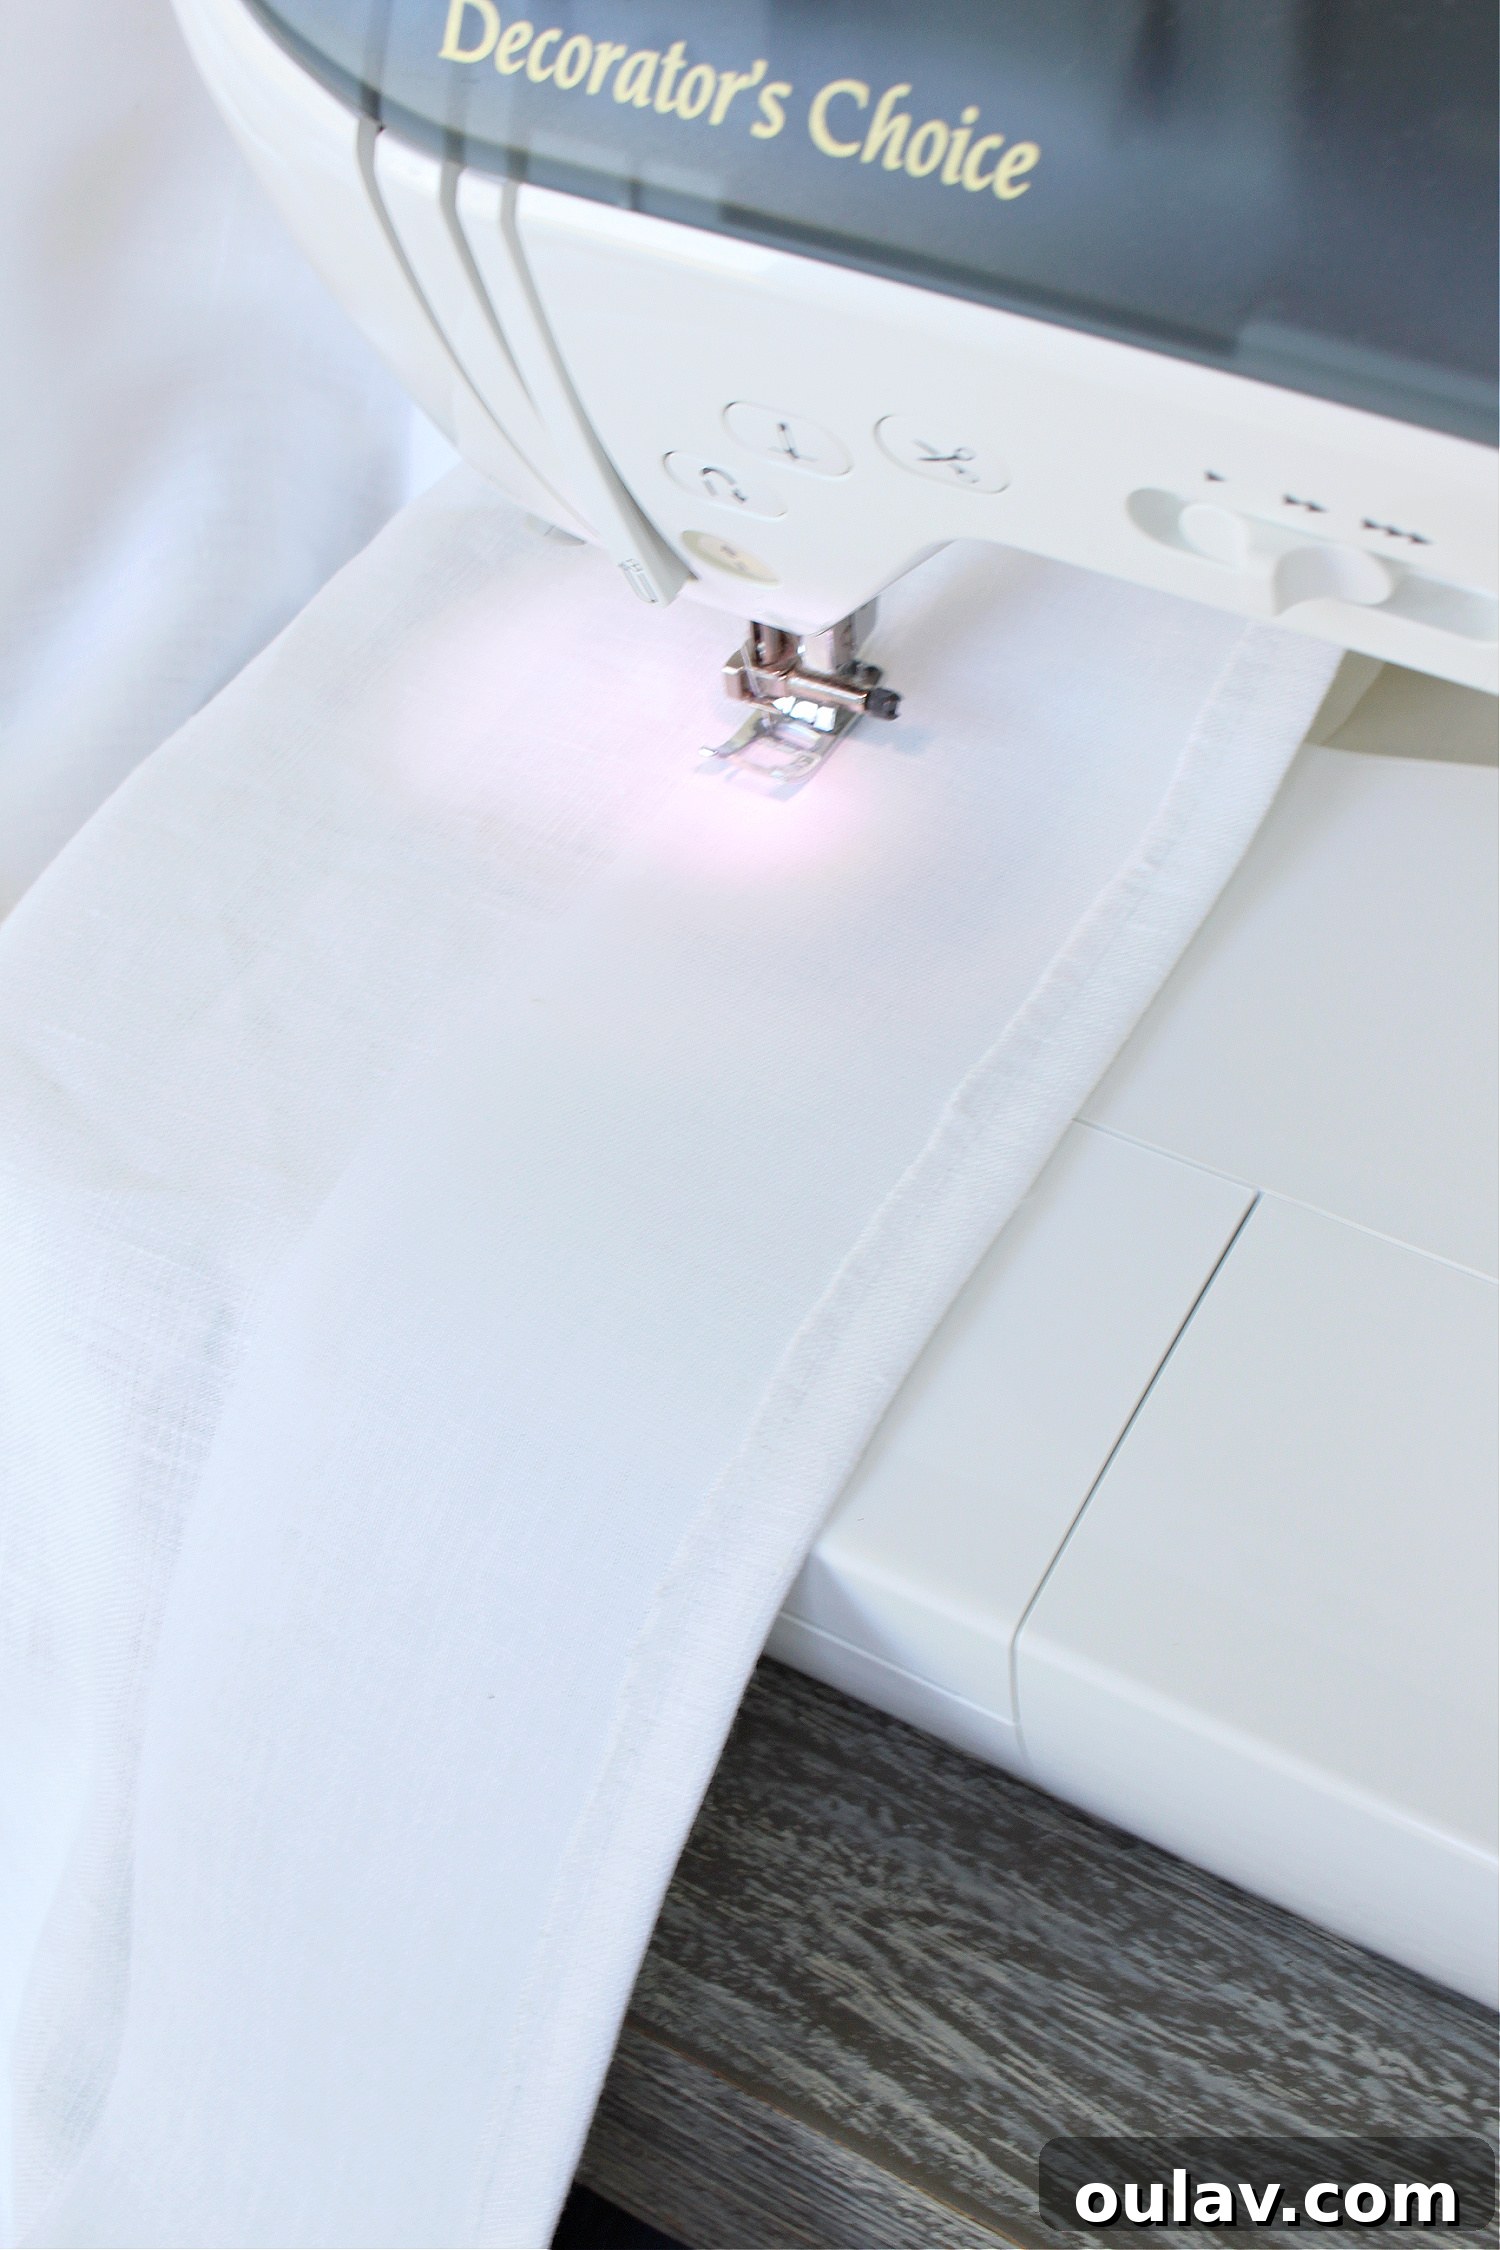
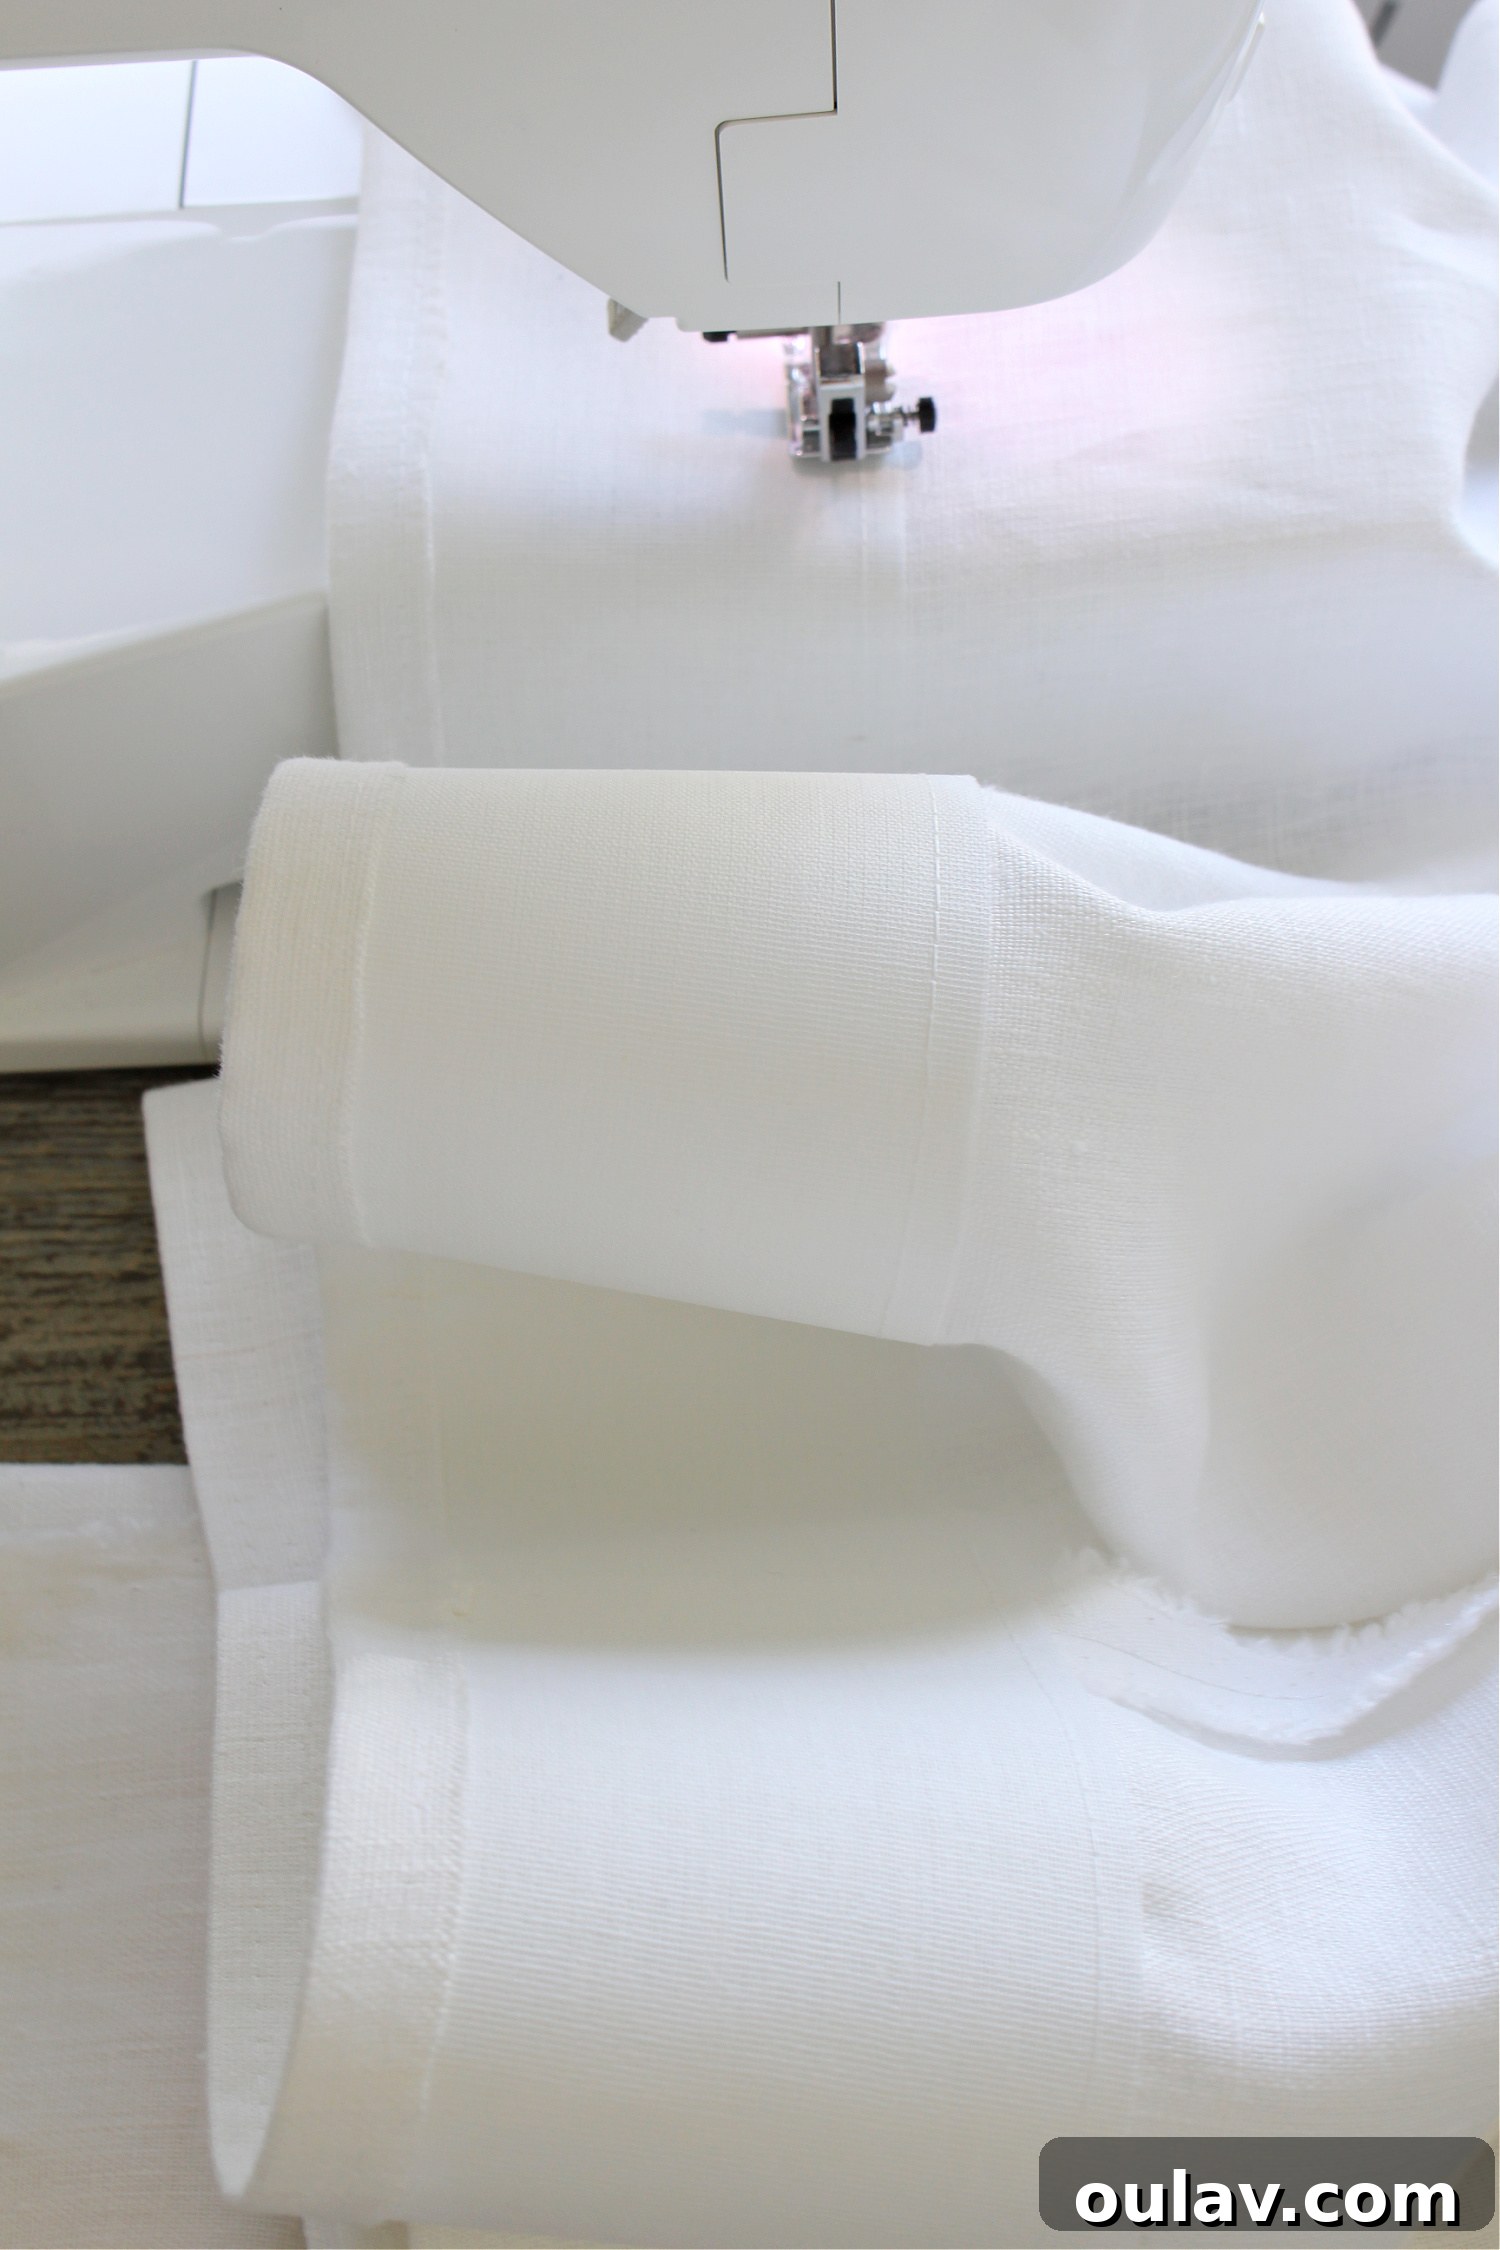
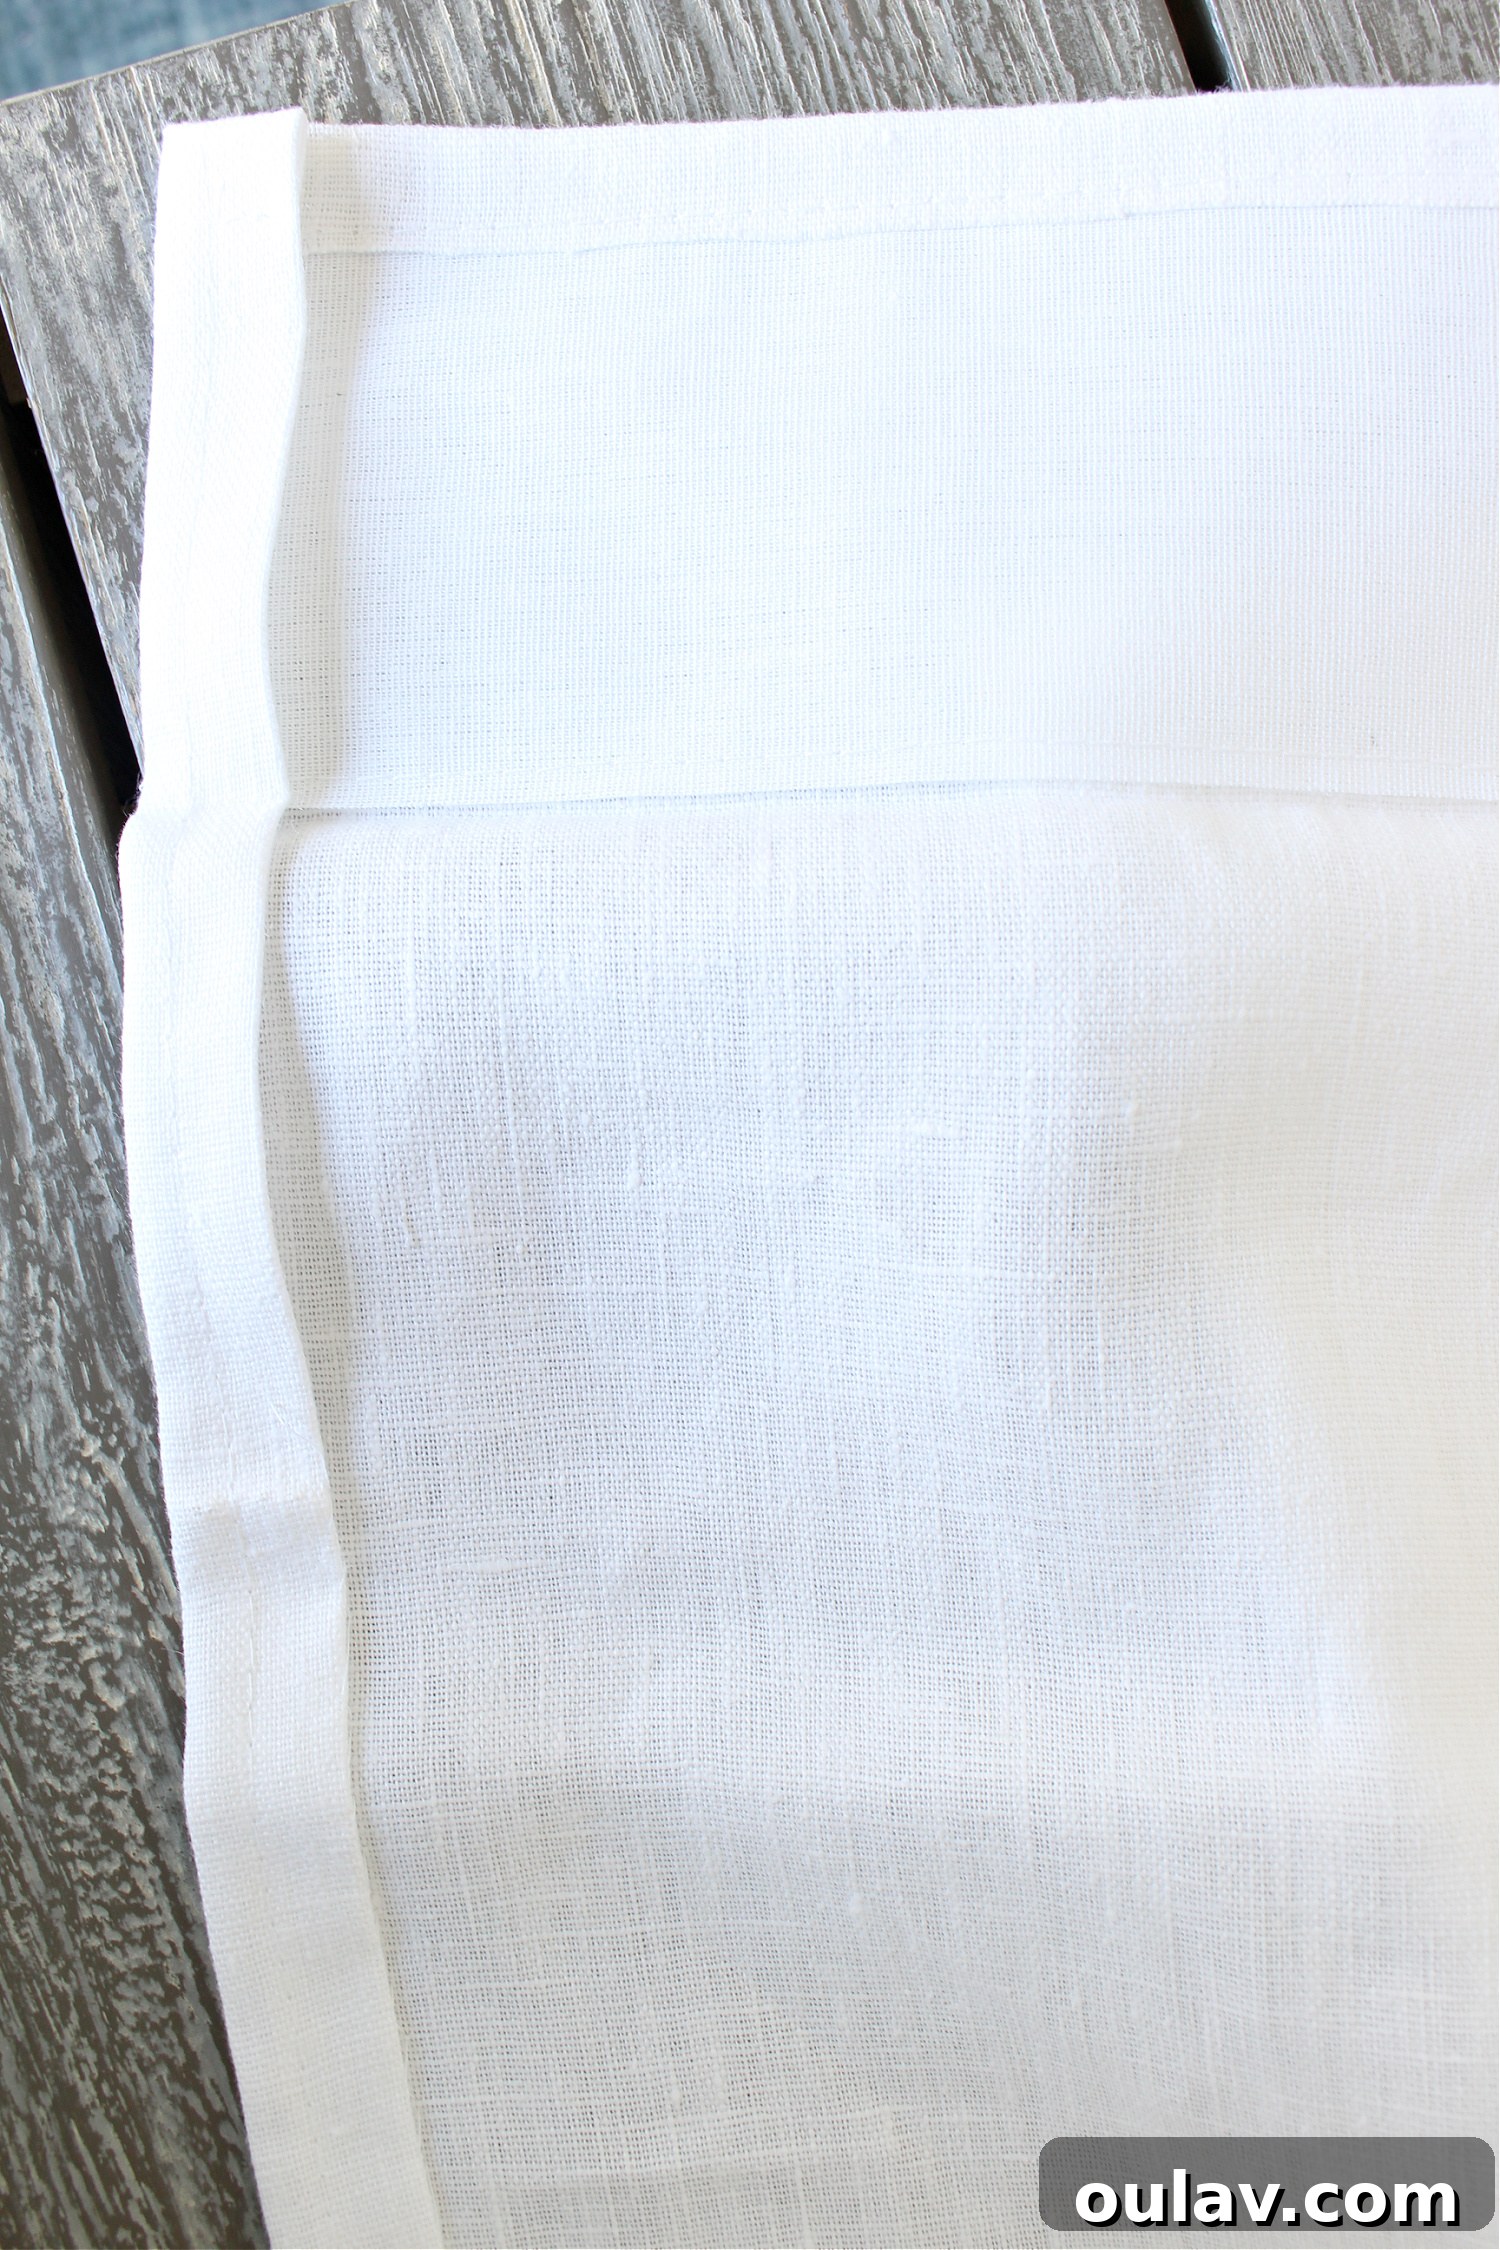
Once both top and bottom edges of the buckram are sewn, you’ll have a beautifully stabilized upper edge for your curtain panel. This step is fundamental for achieving professional-looking pleats. In the photo below, you can clearly see the secure buckram and the neat seam where the two fabric panels were joined, demonstrating the precision required for a flawless finish.
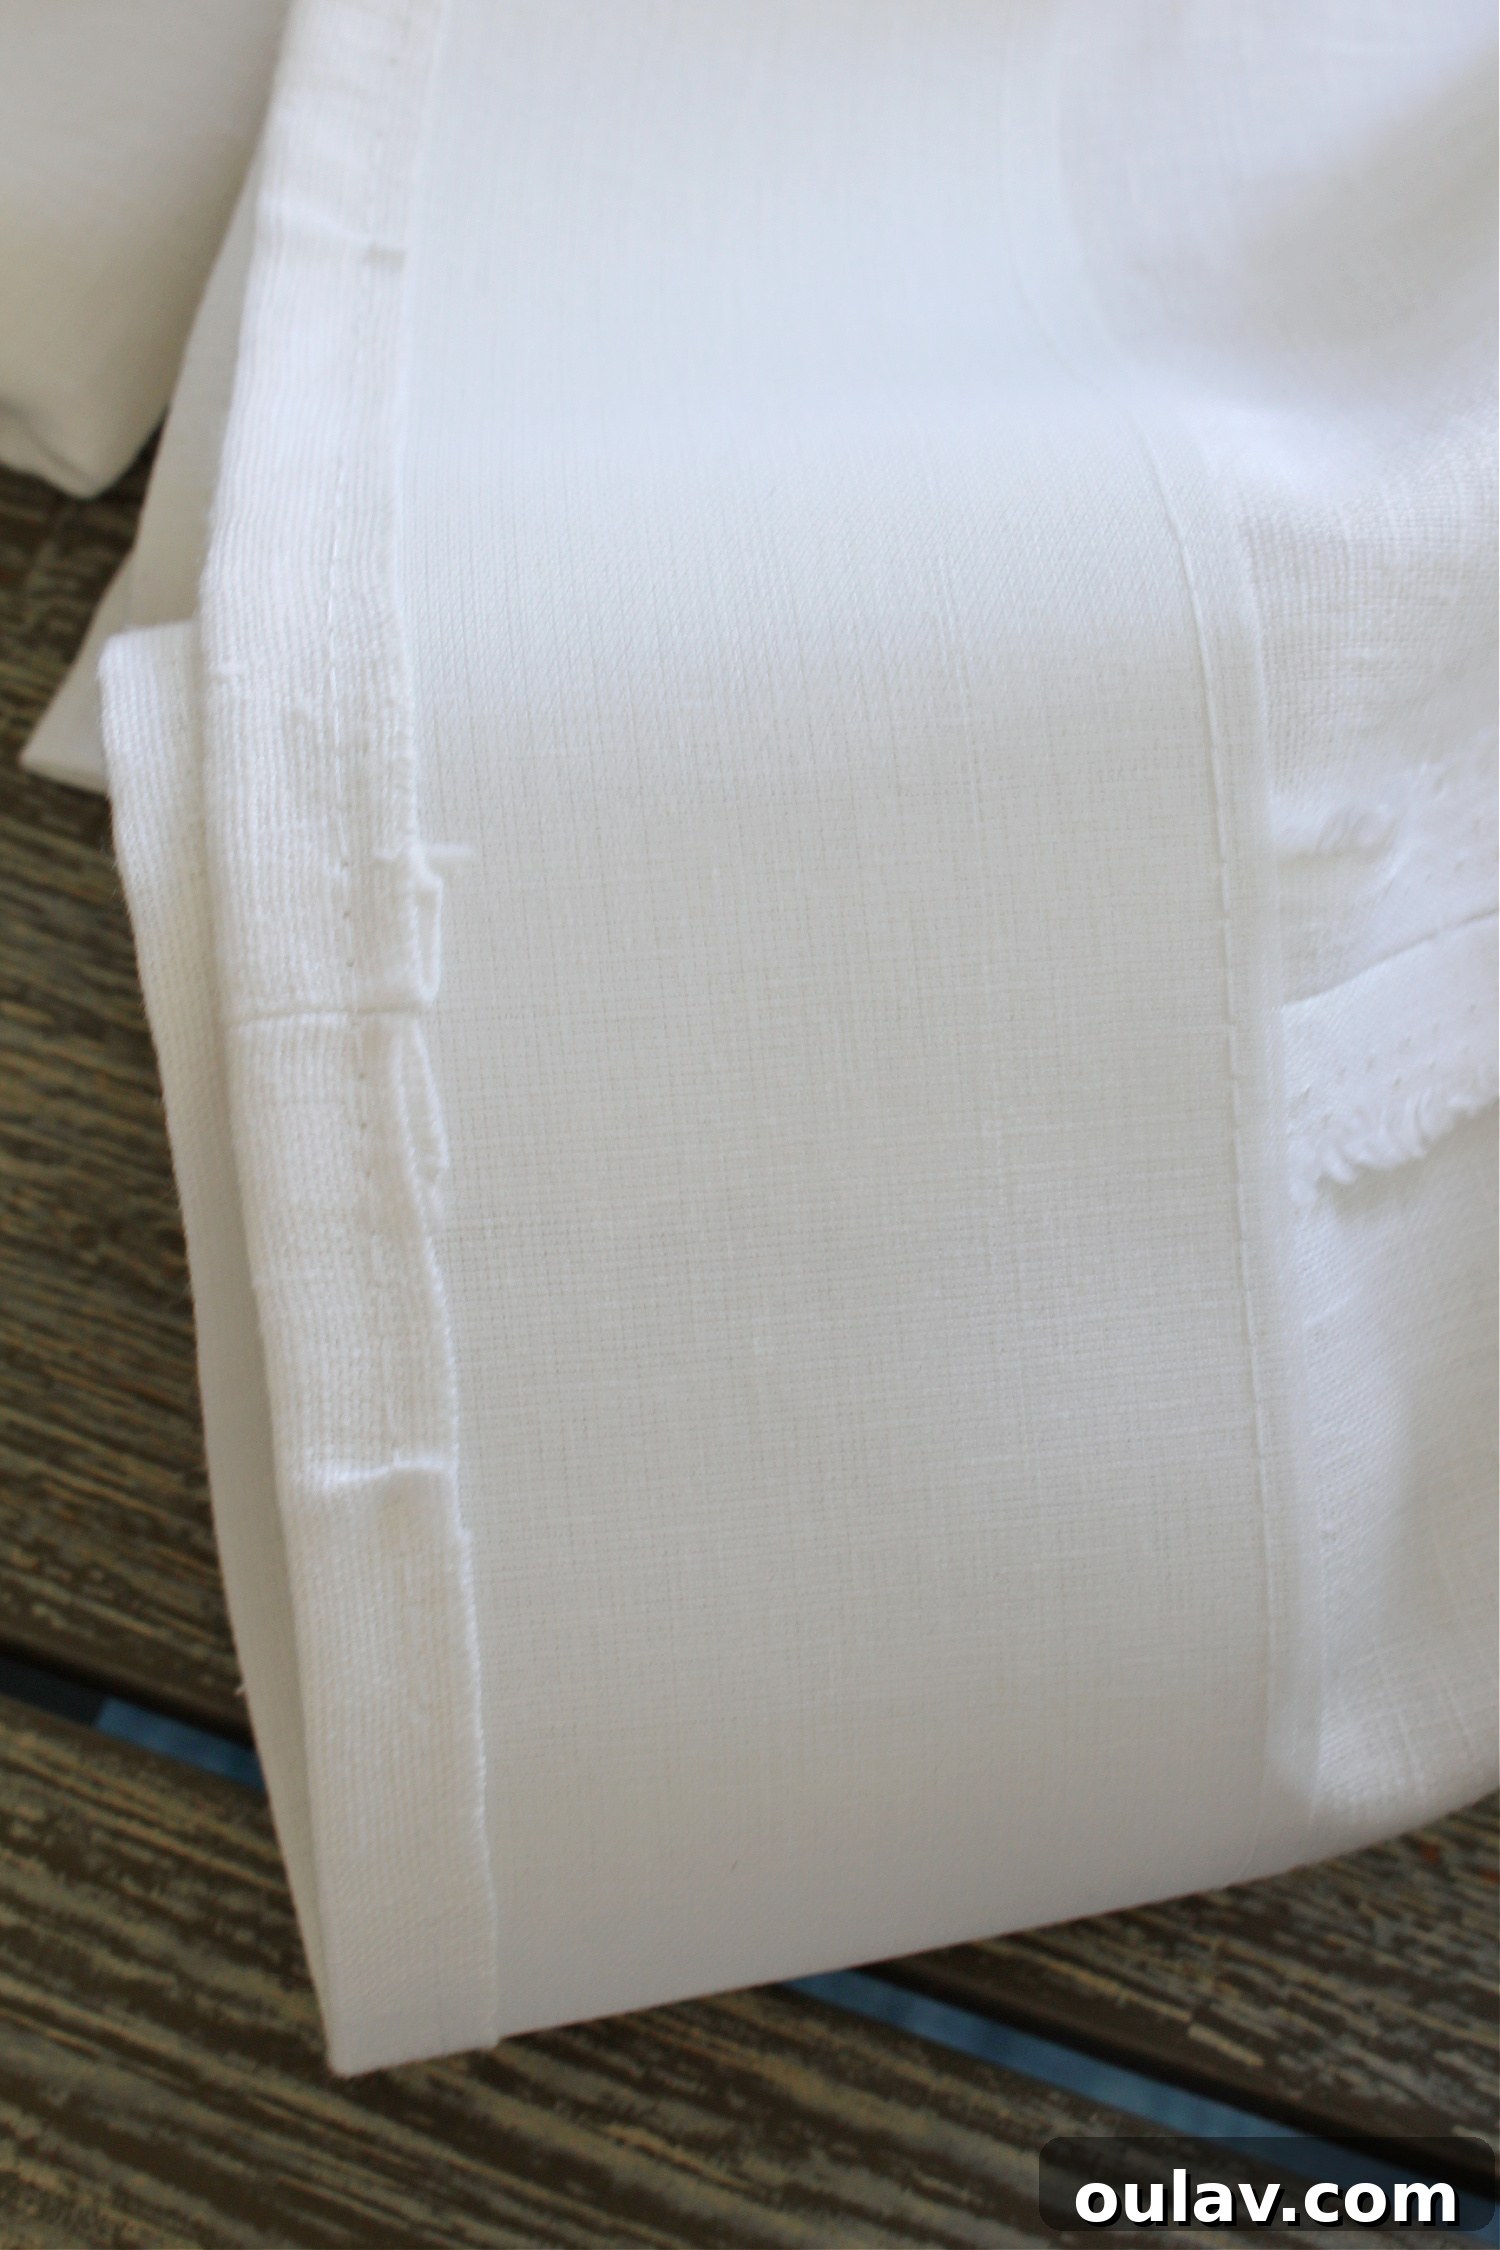
Next, focus on the side hems. The raw side edges of the curtain fabric are turned over twice and meticulously pressed with an iron. This double-fold creates a clean, durable hem. For a truly invisible finish on the front of the curtain, my mother opted to hand-stitch these side hems. This traditional technique prevents any machine stitching lines from showing, contributing to the custom, high-end appeal. However, if time is a factor, machine stitching with a coordinating thread can also yield excellent results.
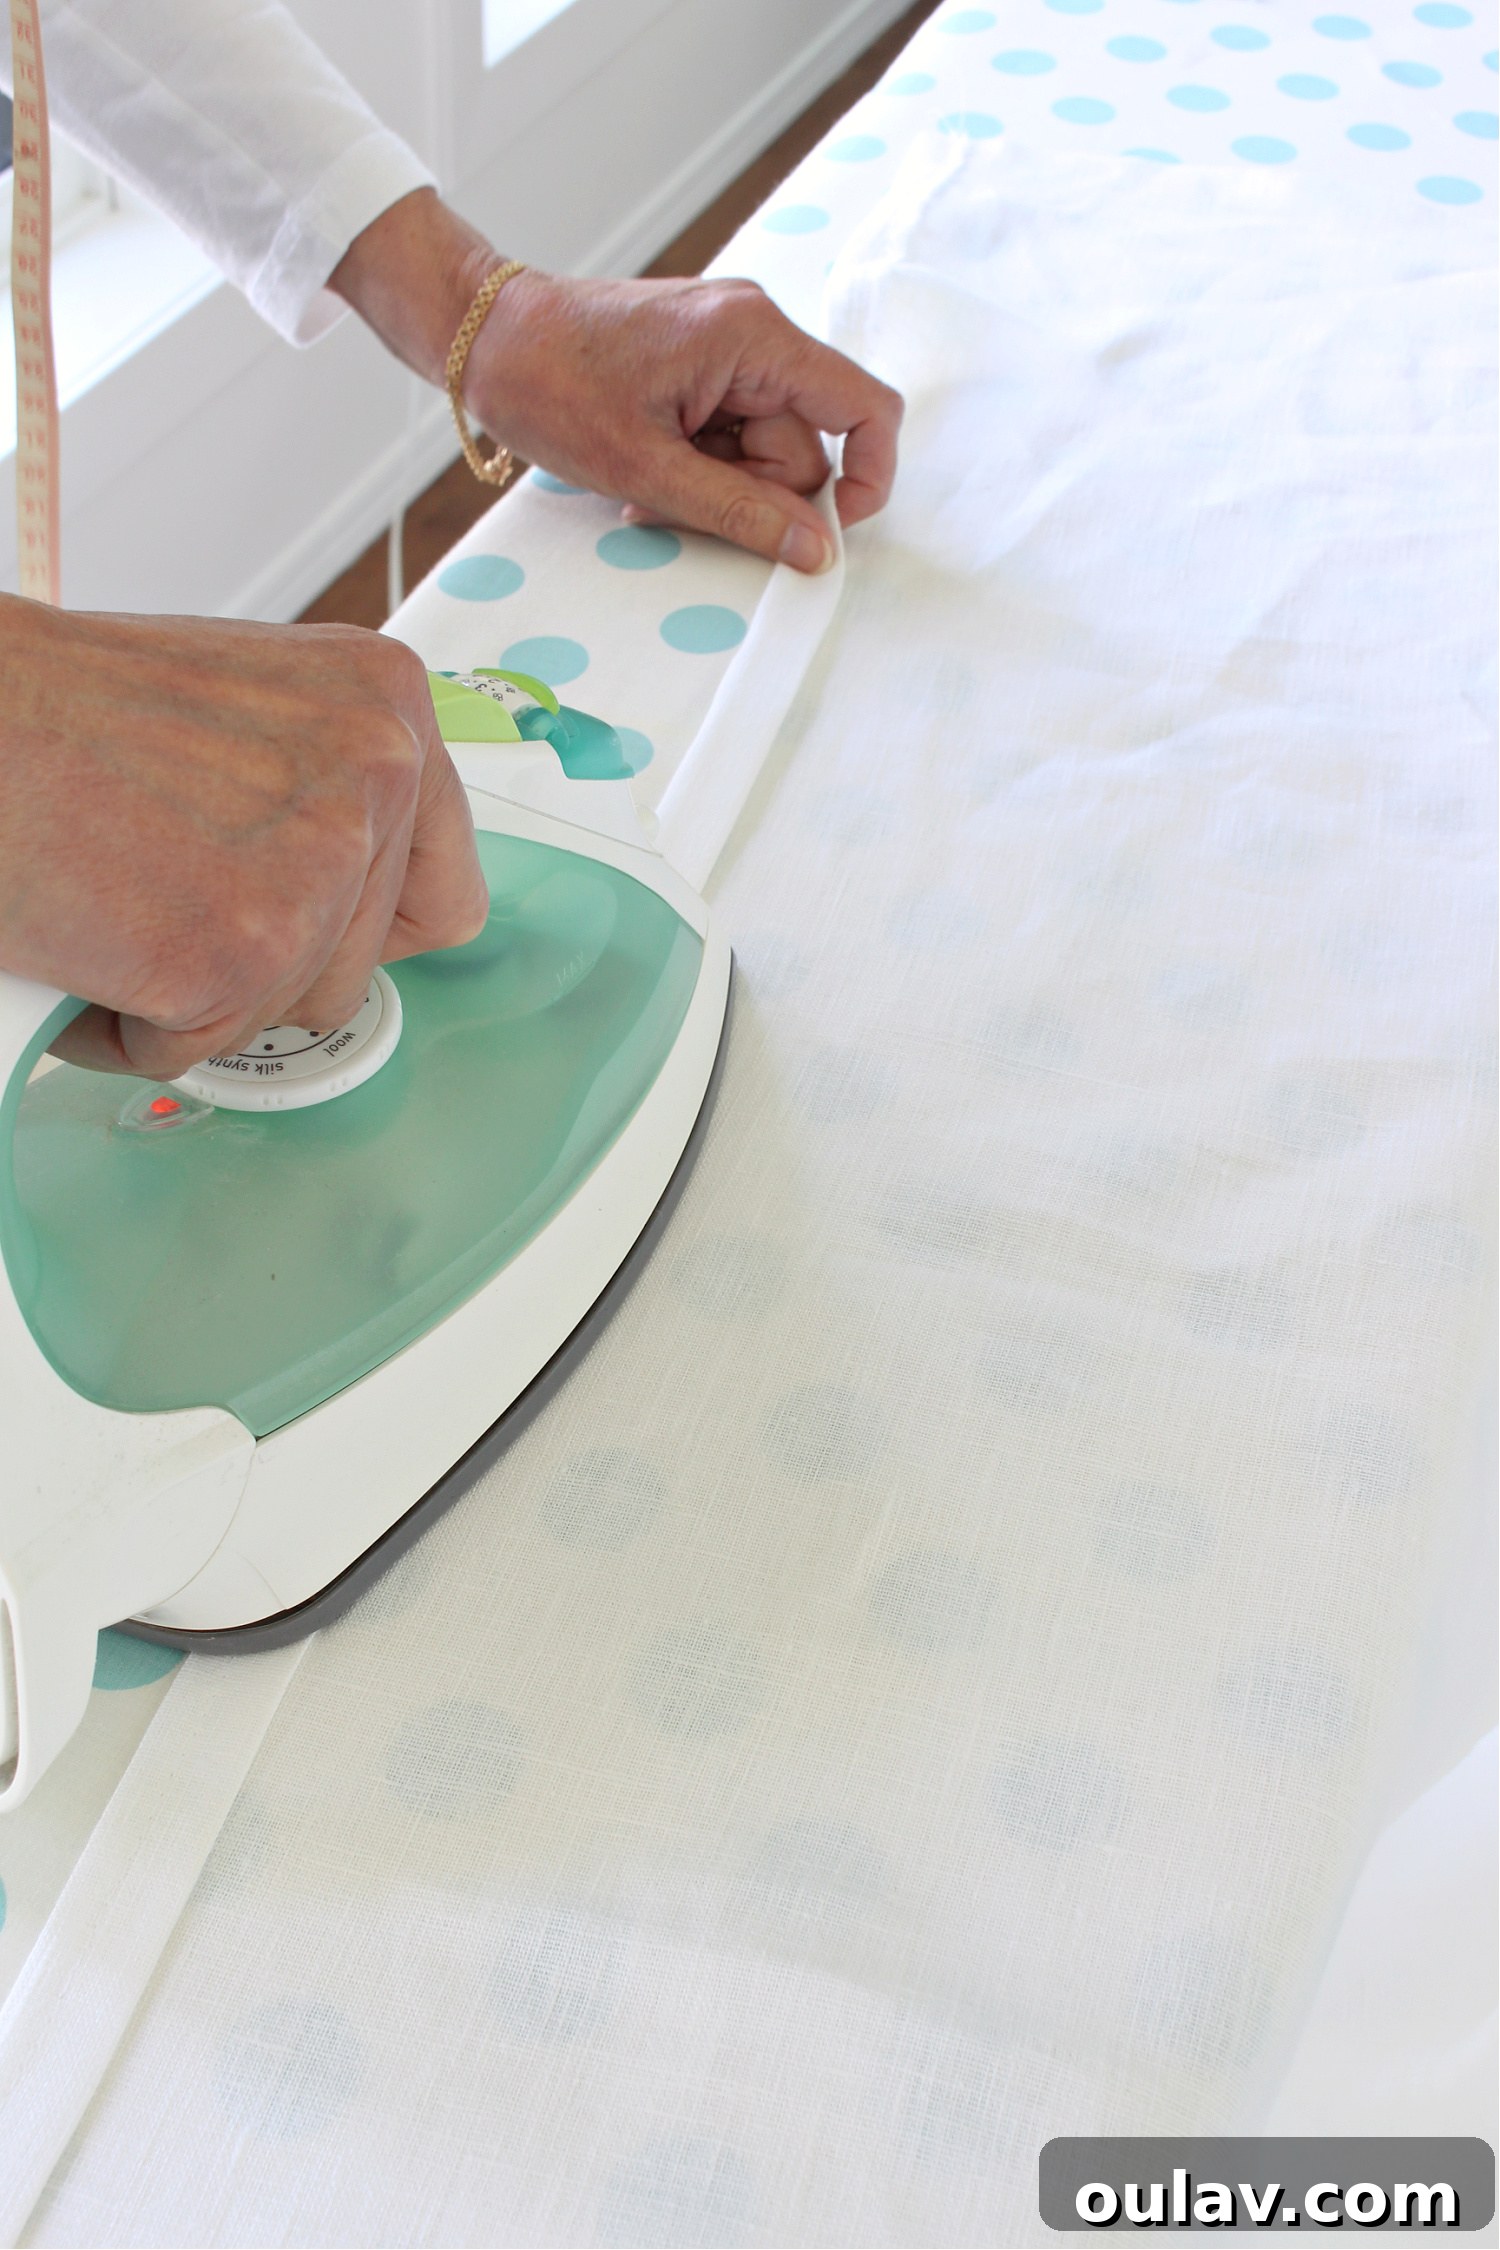
Finally, the entire buckram panel, now secured to the fabric, is turned over once more. This completely encases the buckram within the fabric, creating a clean, finished top edge without any visible raw seams. This final fold is carefully ironed into place. At this stage, no machine stitching is applied to avoid any visible seams on the curtain’s front. You can choose to hand-sew this fold down for added security, or simply rely on the subsequent pleating process, which will effectively secure this folded edge in place.
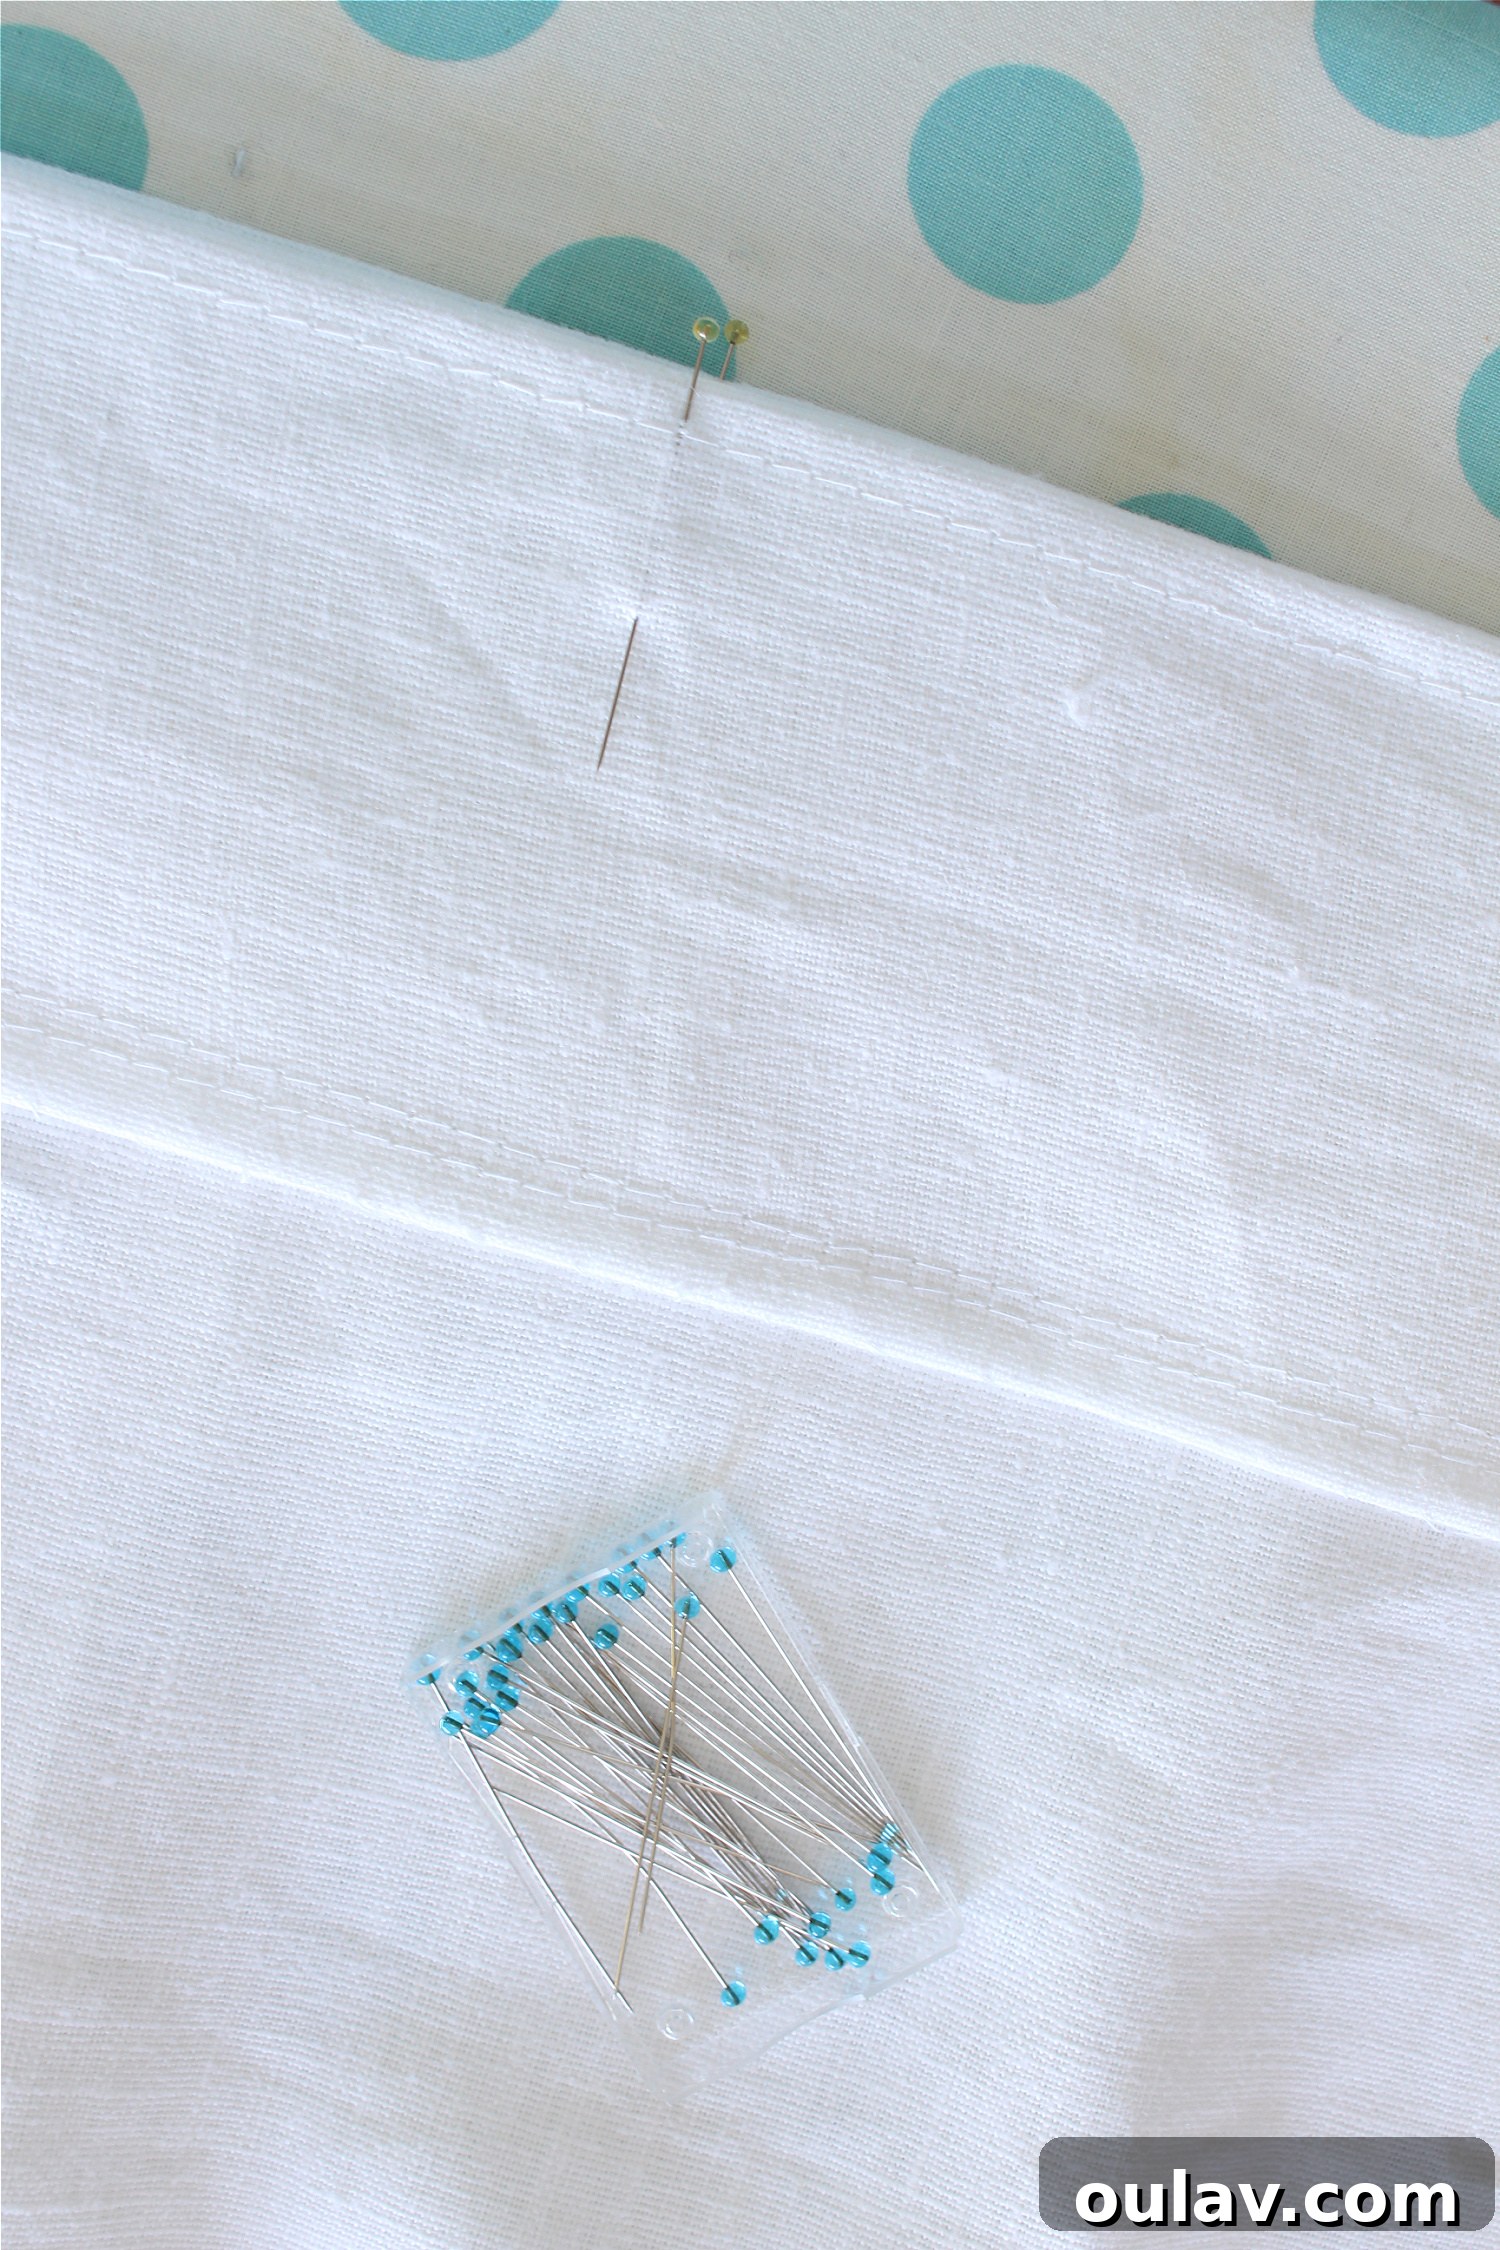
Precision in Pleating: How to Measure and Mark Your Euro Pleats
With the buckram securely integrated and the curtain panel prepared, it’s time for the exciting, albeit slightly mathematical, challenge of plotting our Euro pleats. The goal here is twofold: to achieve a visually pleasing pleat size and spacing that perfectly utilizes the entire width of our curtain panel, while also ensuring the finished drapes hang beautifully and proportionally on either side of the window. This step requires precision and a little careful calculation, but our detailed measurements can serve as a helpful guide for your own project.
For our triple Euro pleats, here are the key measurements that delivered our desired aesthetic:
- Pleat Depth: Each pleat was designed to be 1 1/2″ deep. For a triple pleat like ours, this depth requires a generous 9″ of fabric to form the three folds.
- Space Between Pleats: We opted for a spacing of 5 1/4″ between each finished pleat, creating a balanced and elegant rhythm across the curtain’s top.
- Total Fabric Width: The combined width of our sewn panels before pleating was 109.5″. This total width, minus the fabric consumed by the pleats and accounting for the spacing, will dictate the final hanging width of your curtain.
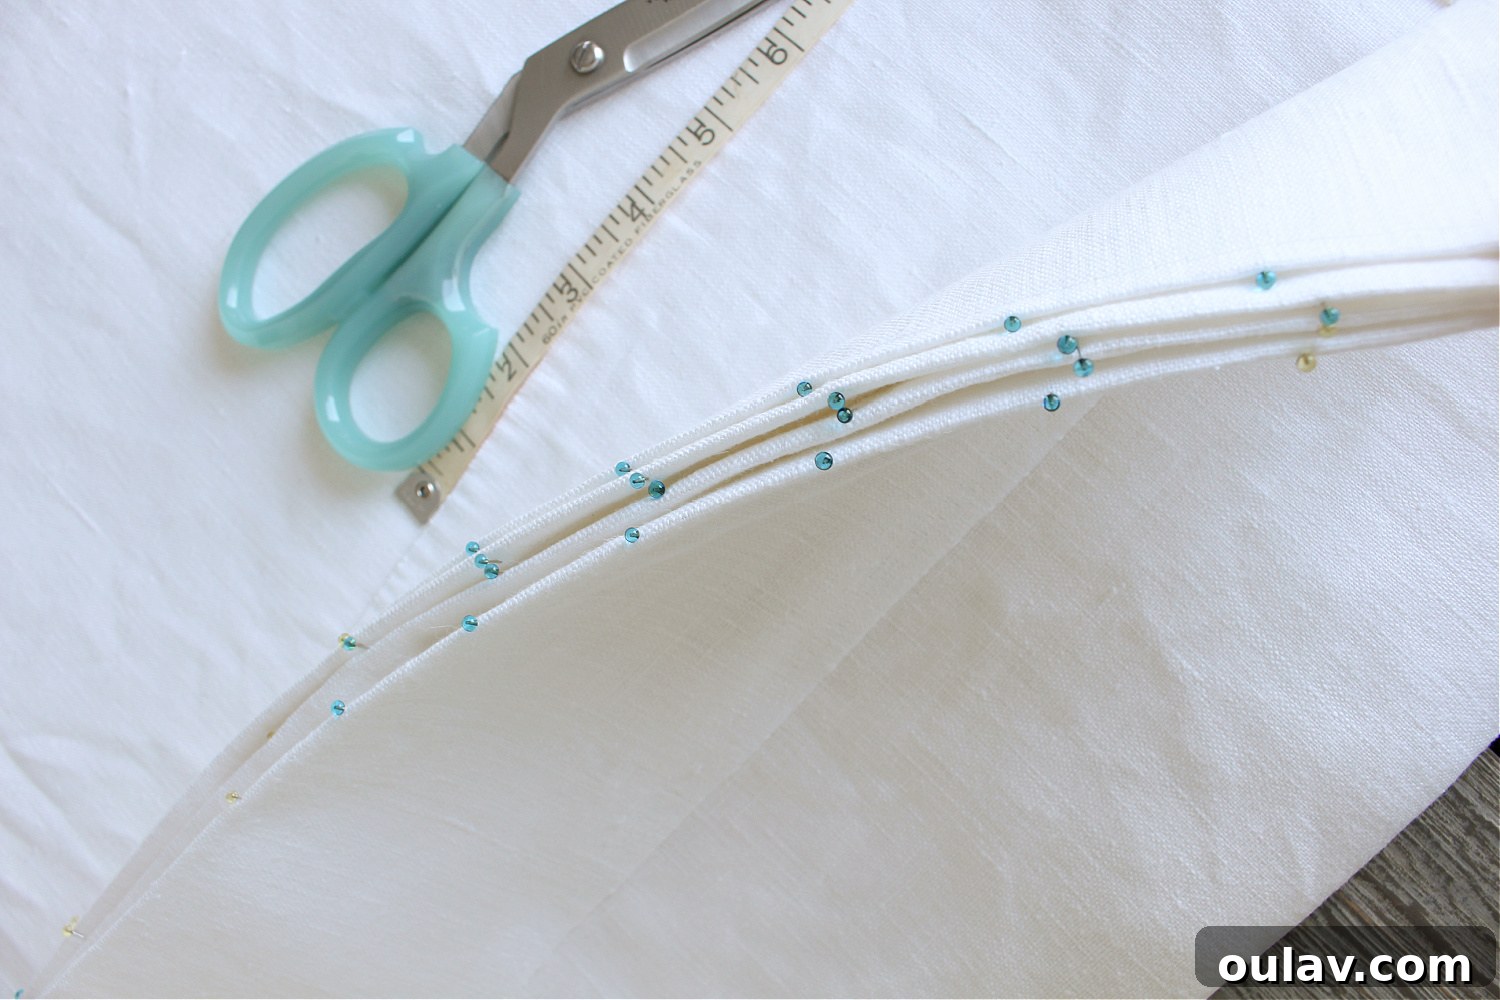
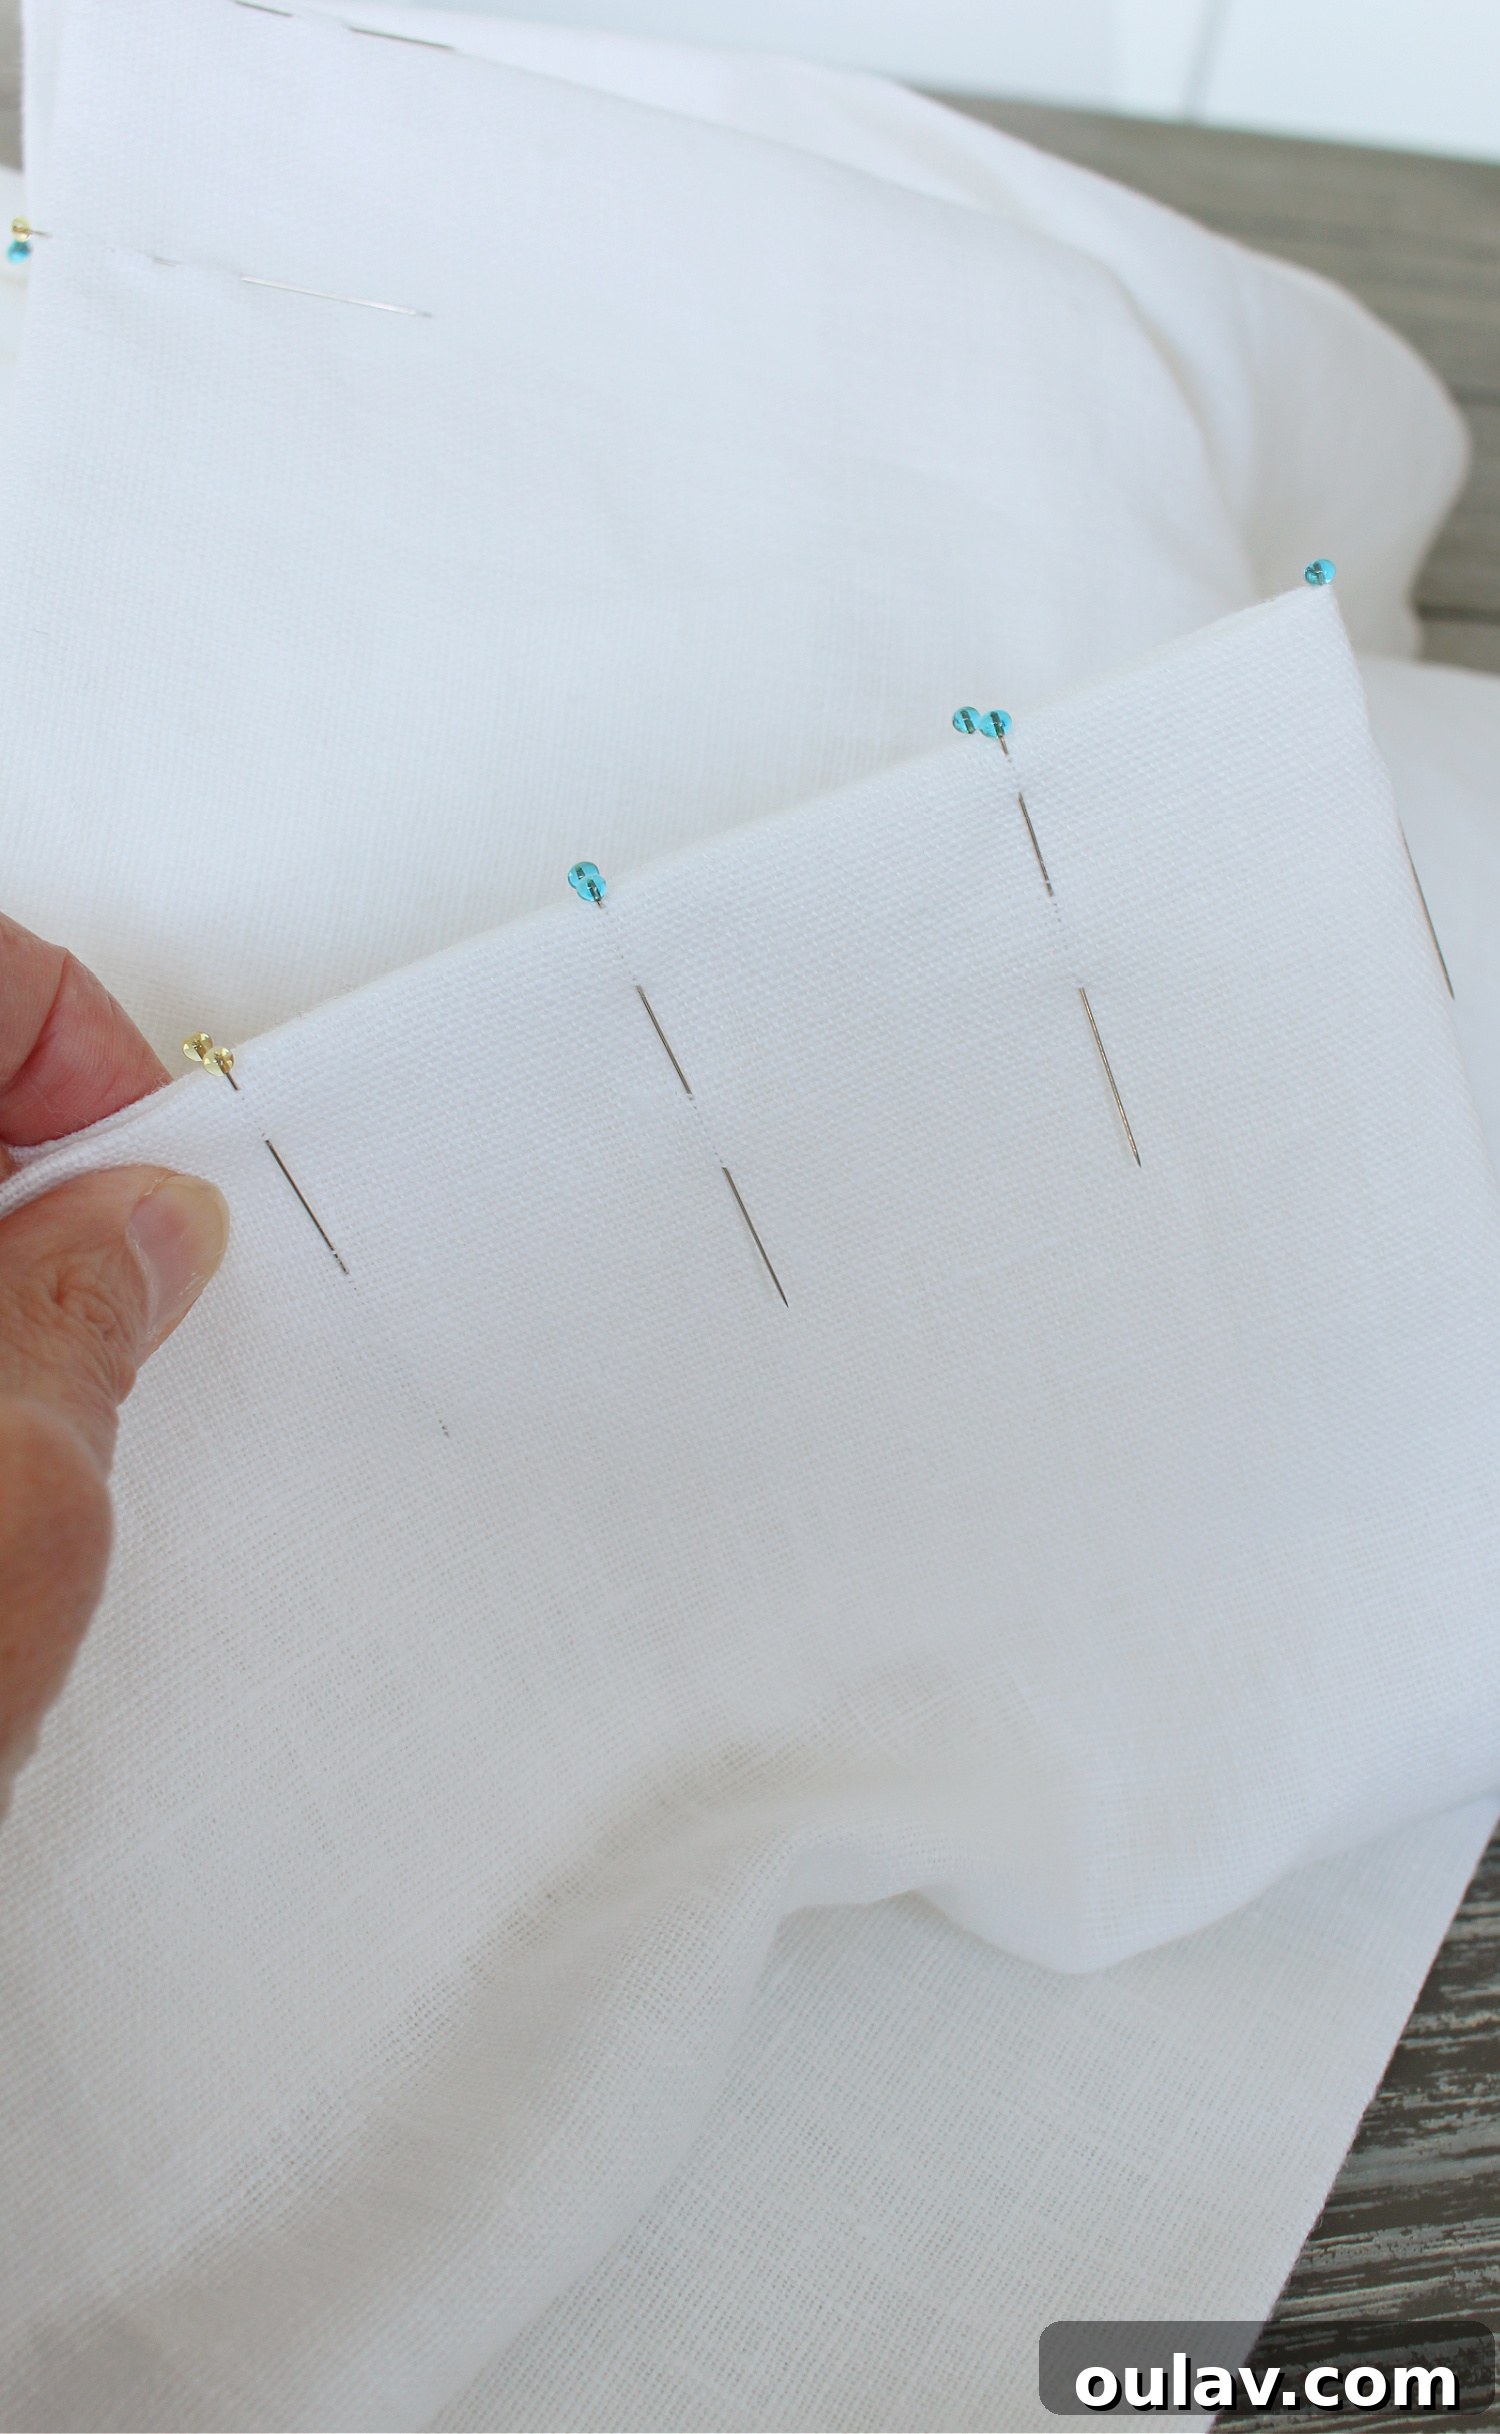
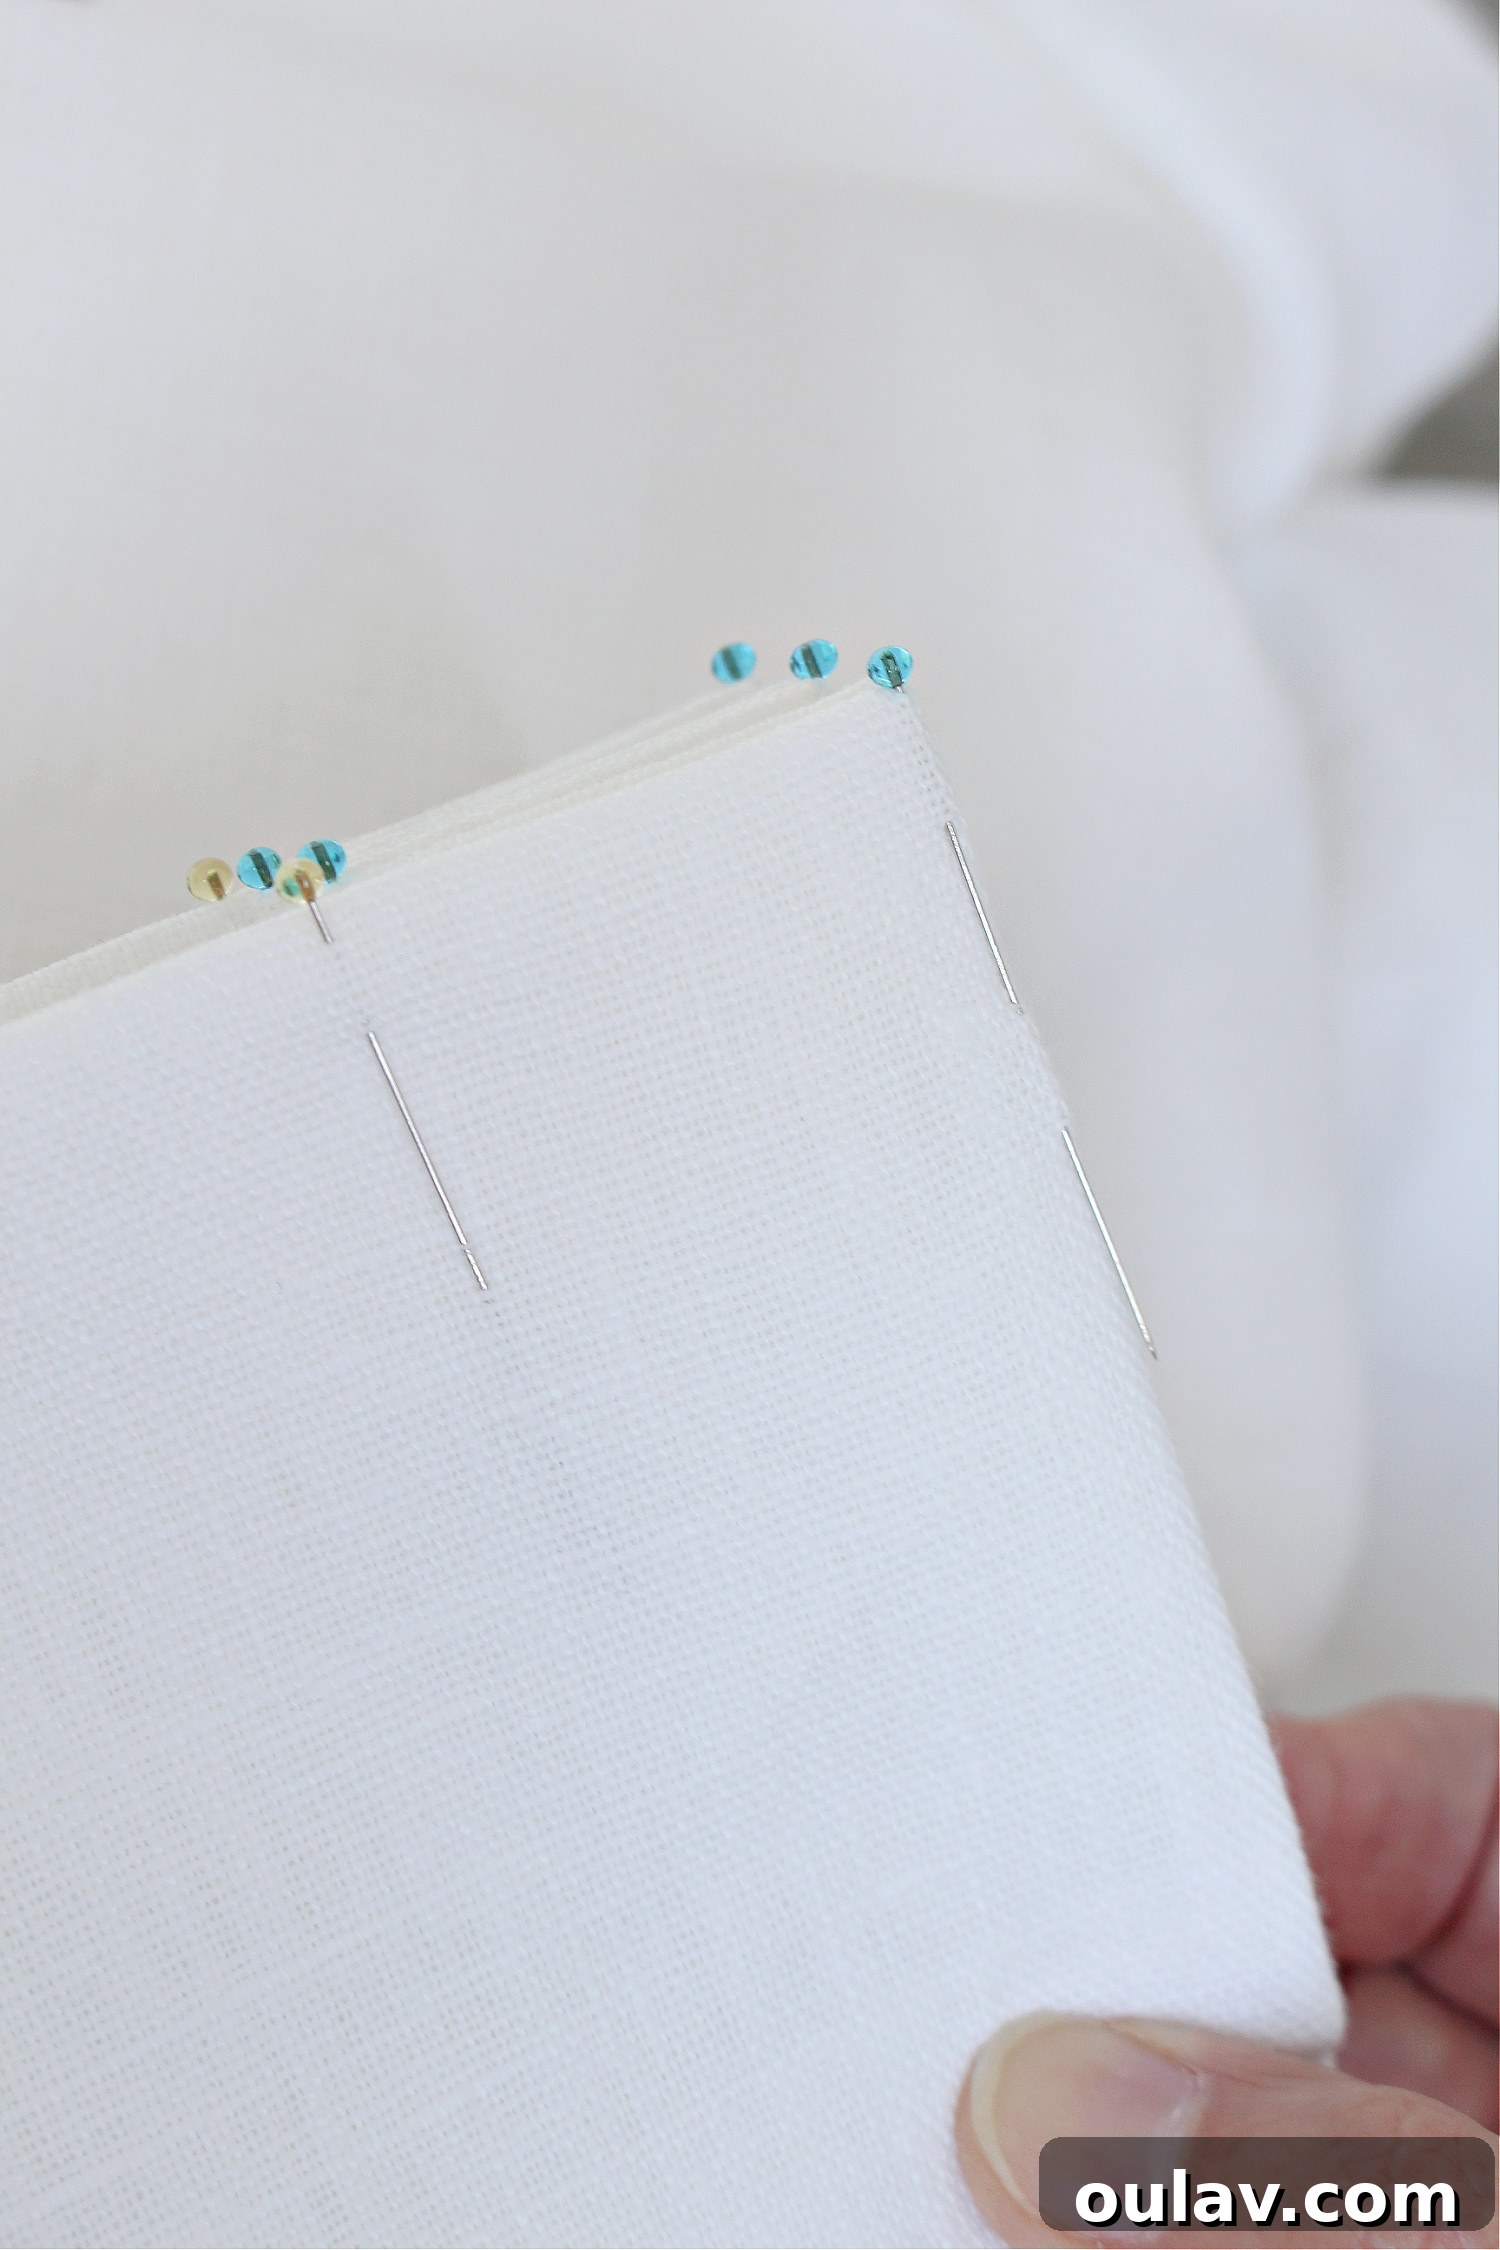
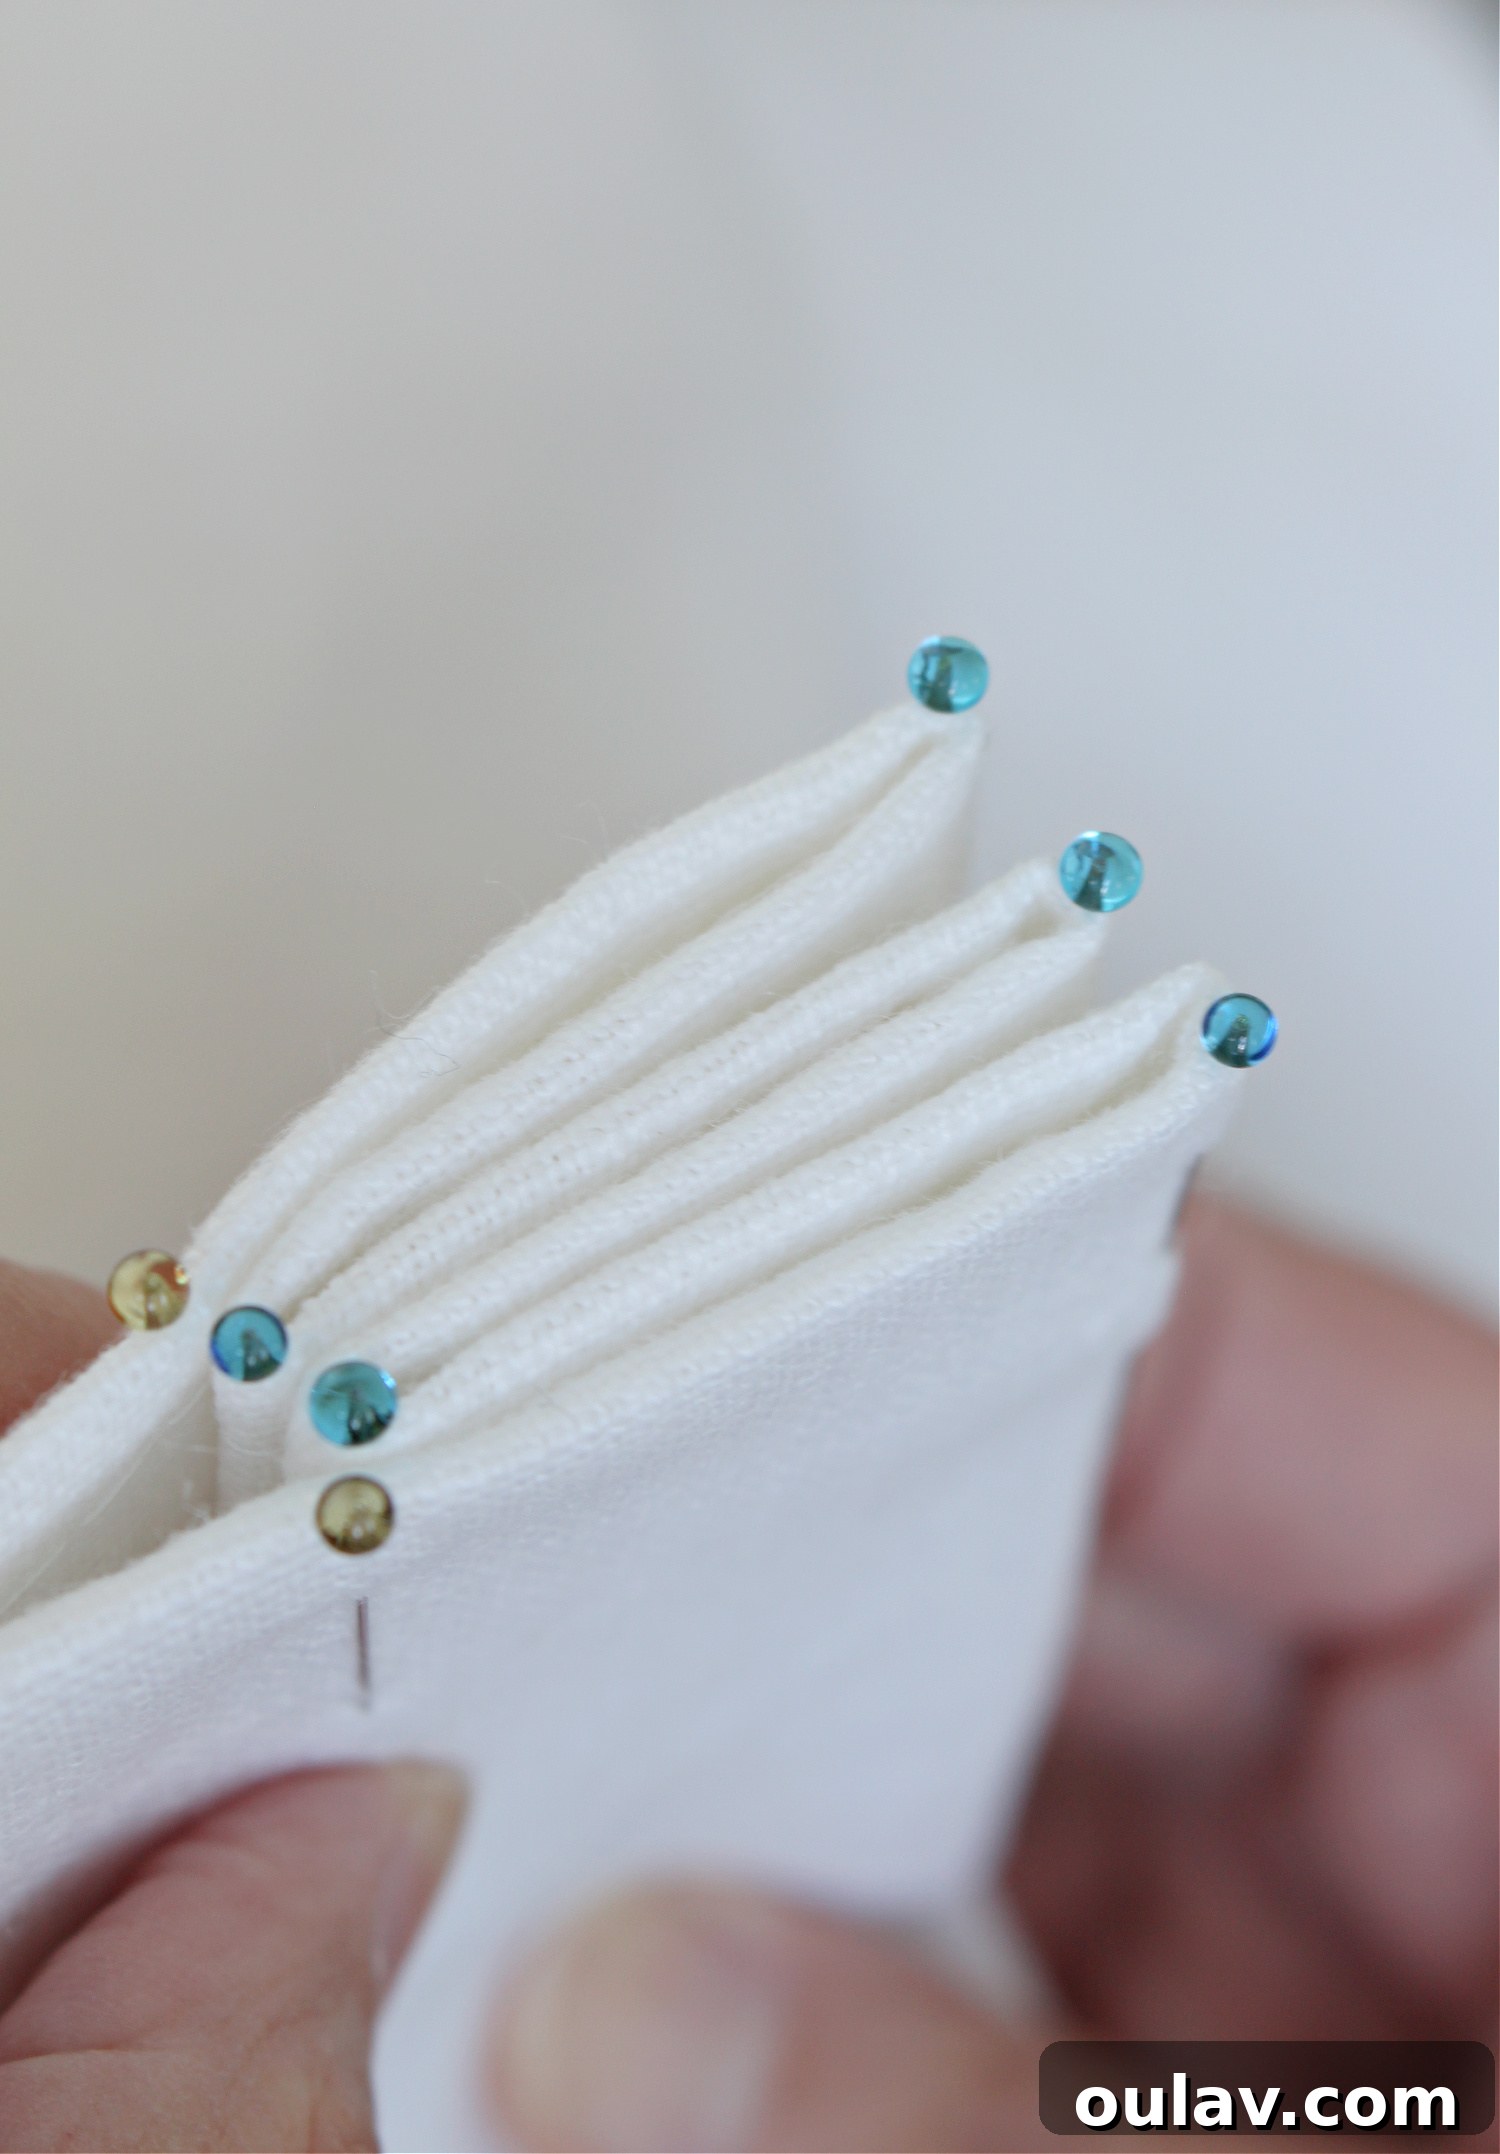
To ensure absolute accuracy and minimize errors, we utilized a clever trick: color-coded straight pins. This simple yet effective method allowed us to clearly distinguish between the different sections of the pleat layout. Yellow pins marked the beginning and end points of each pleat, essentially defining where the fabric would be gathered. Blue pins, on the other hand, indicated the specific spacing for the individual folds within the pleat itself. This visual distinction is incredibly helpful during the pinning and folding stages.
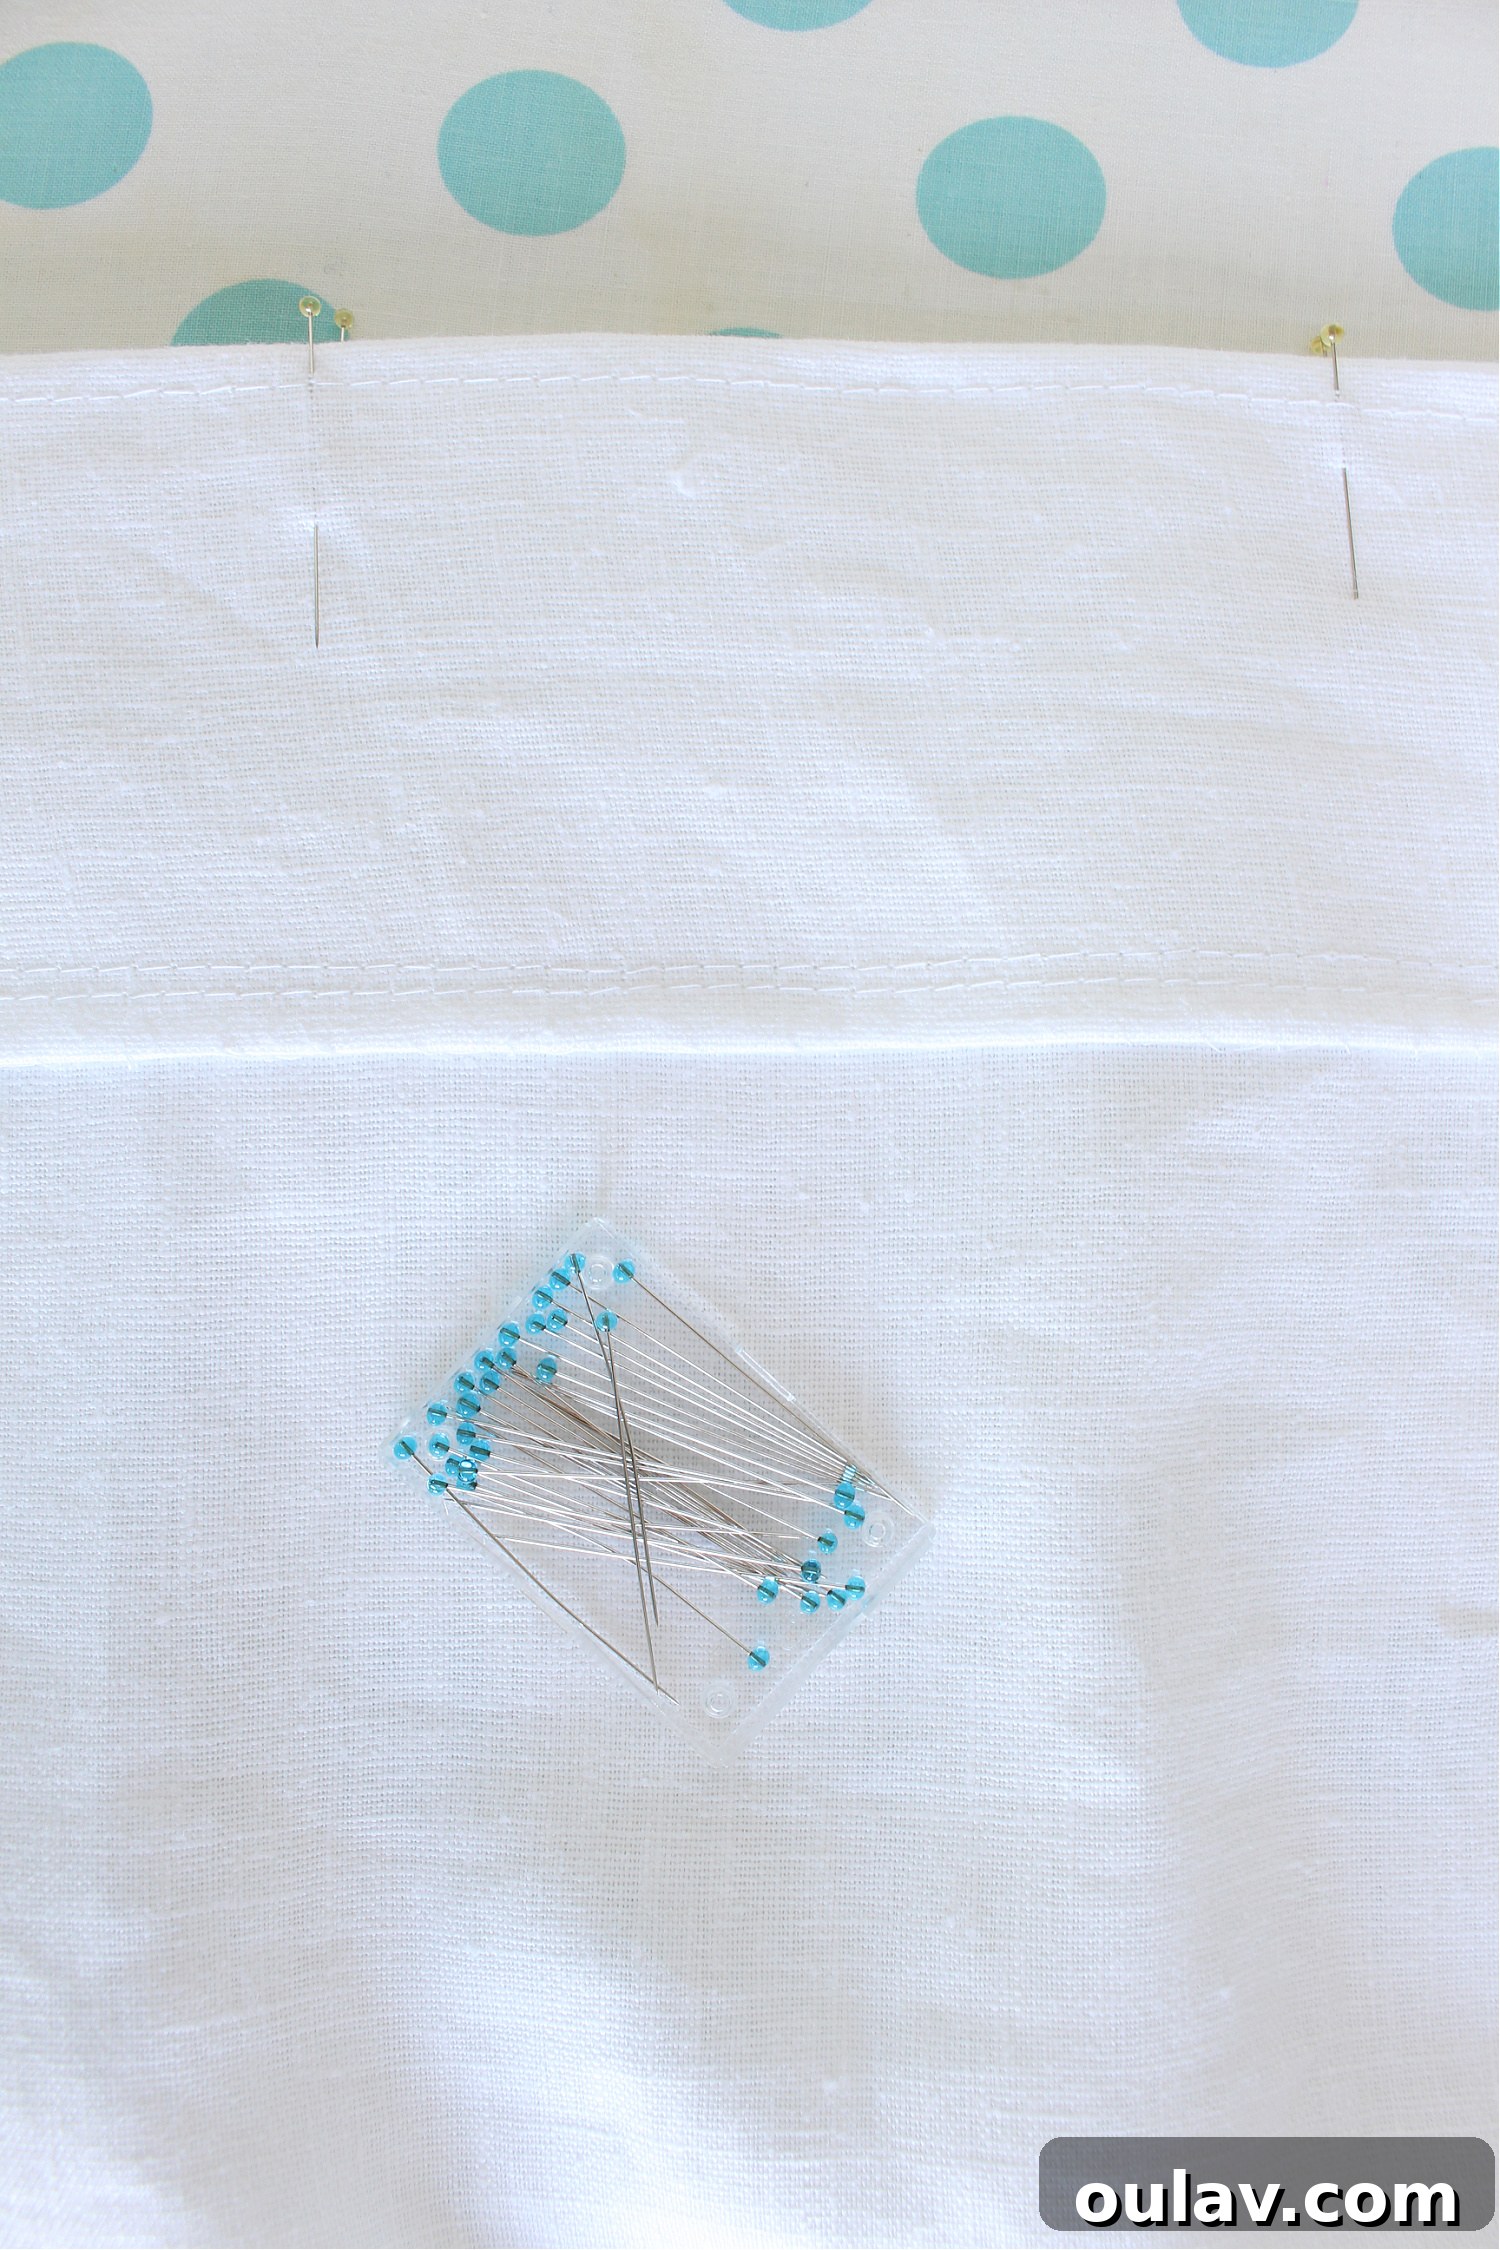
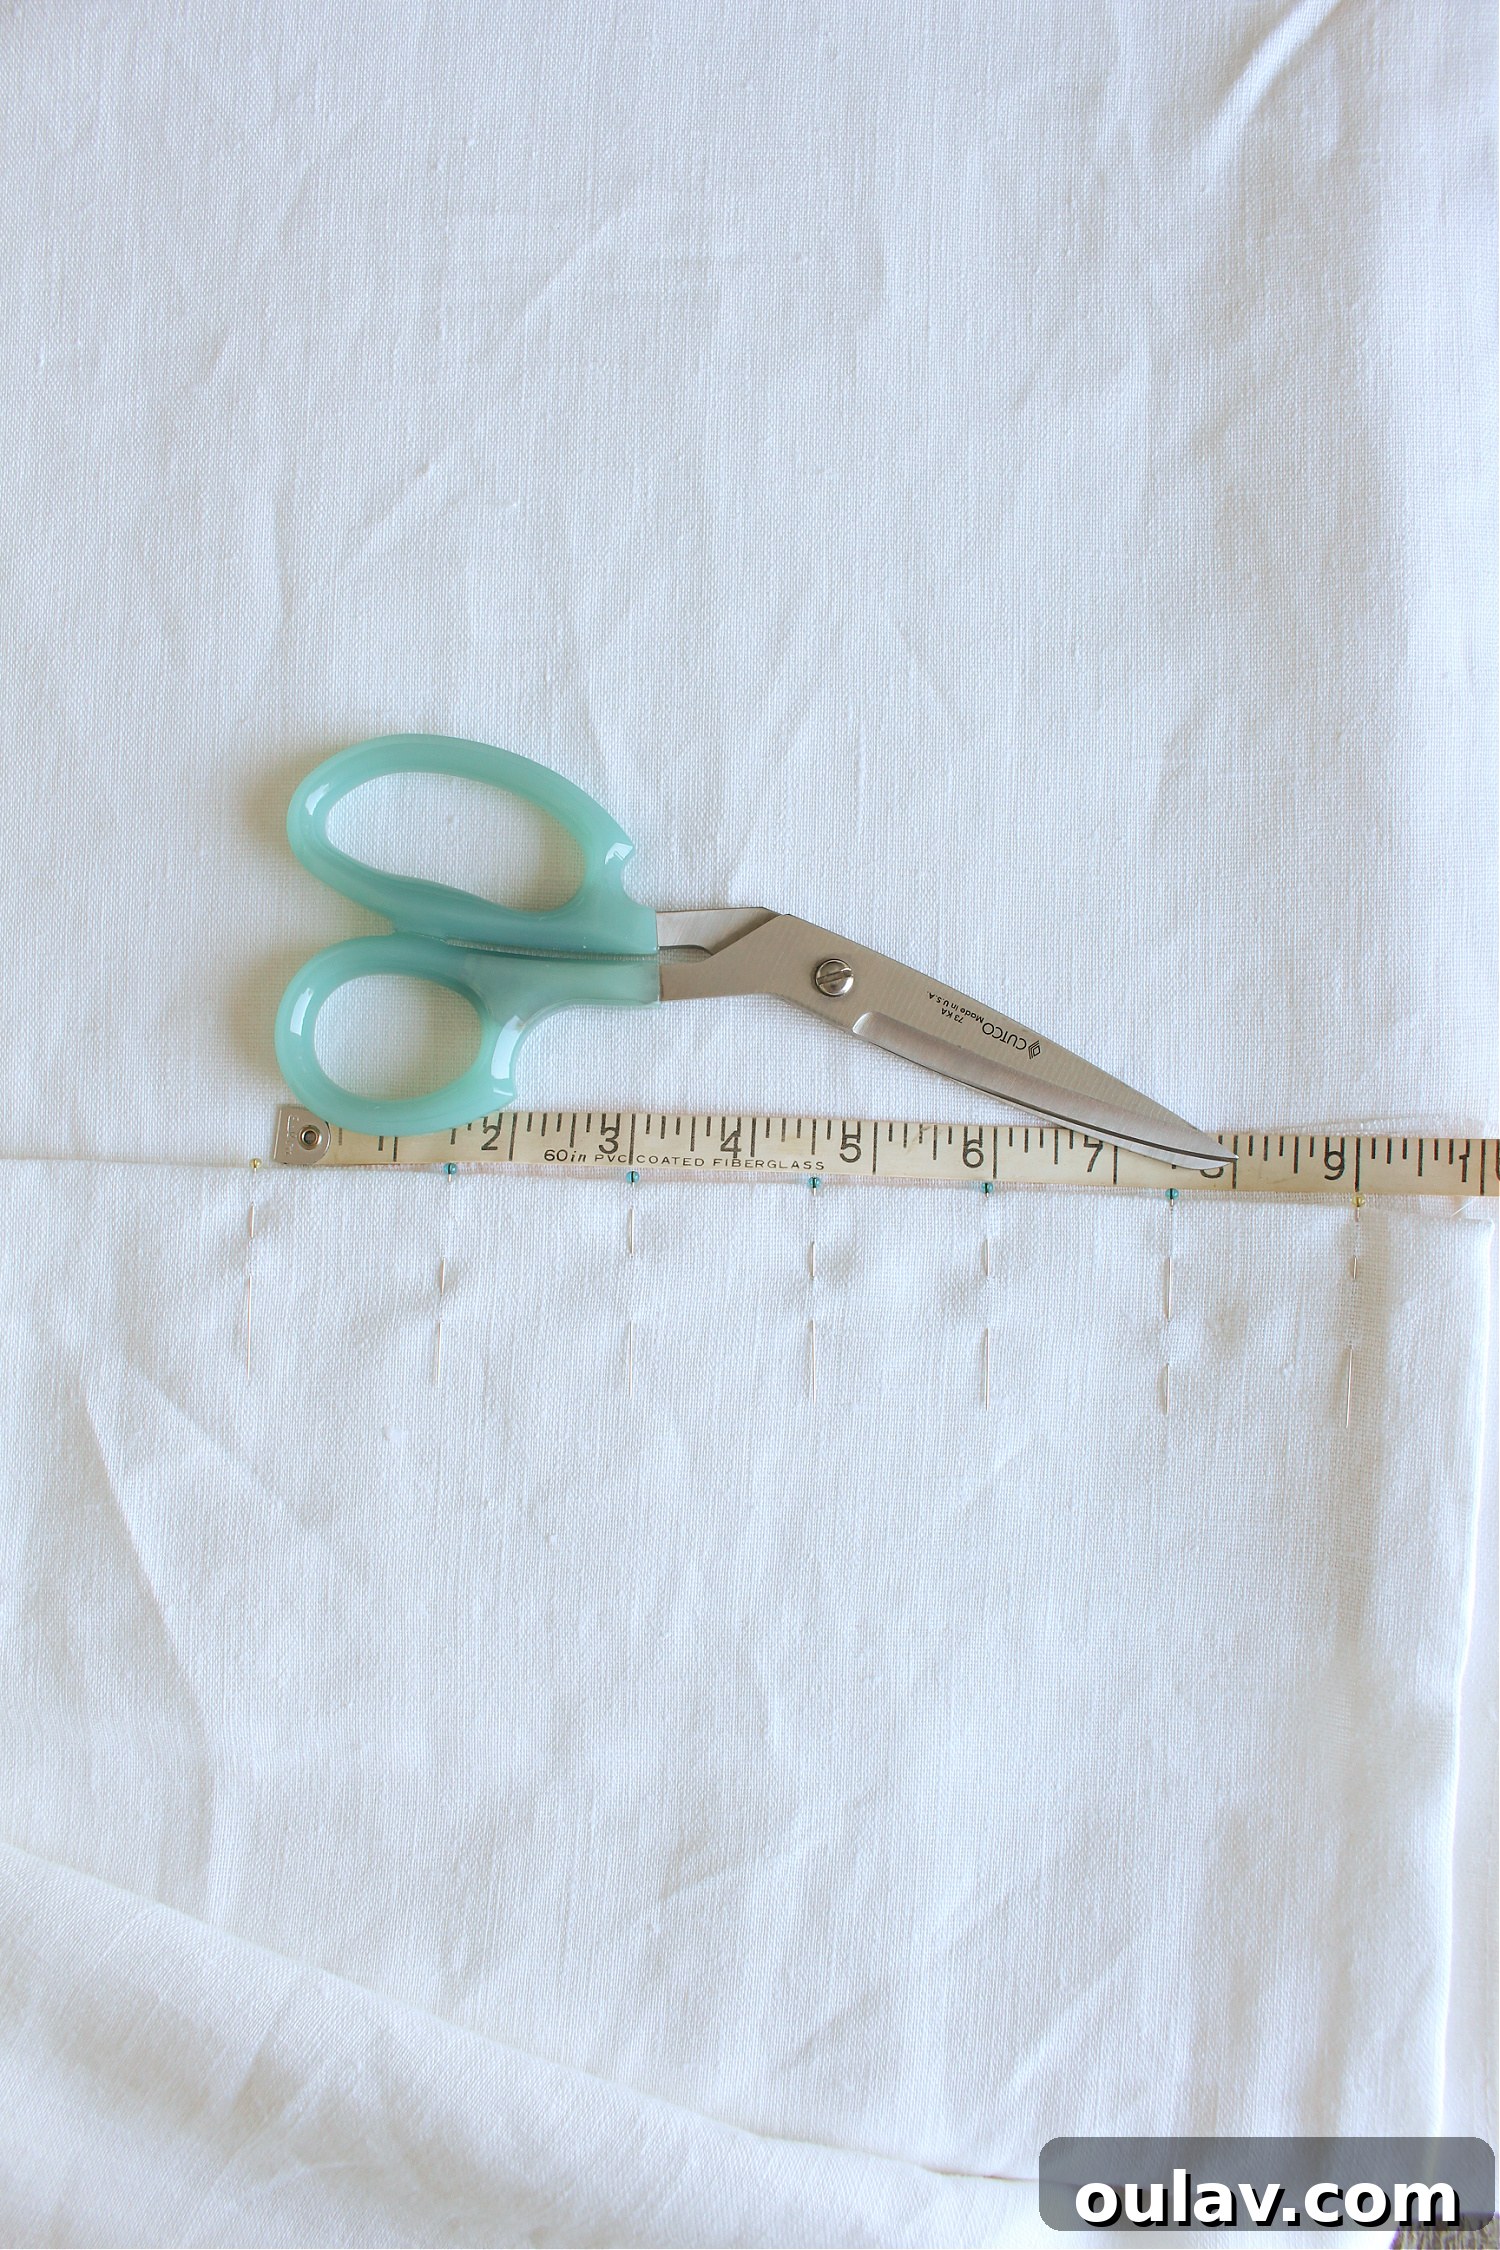
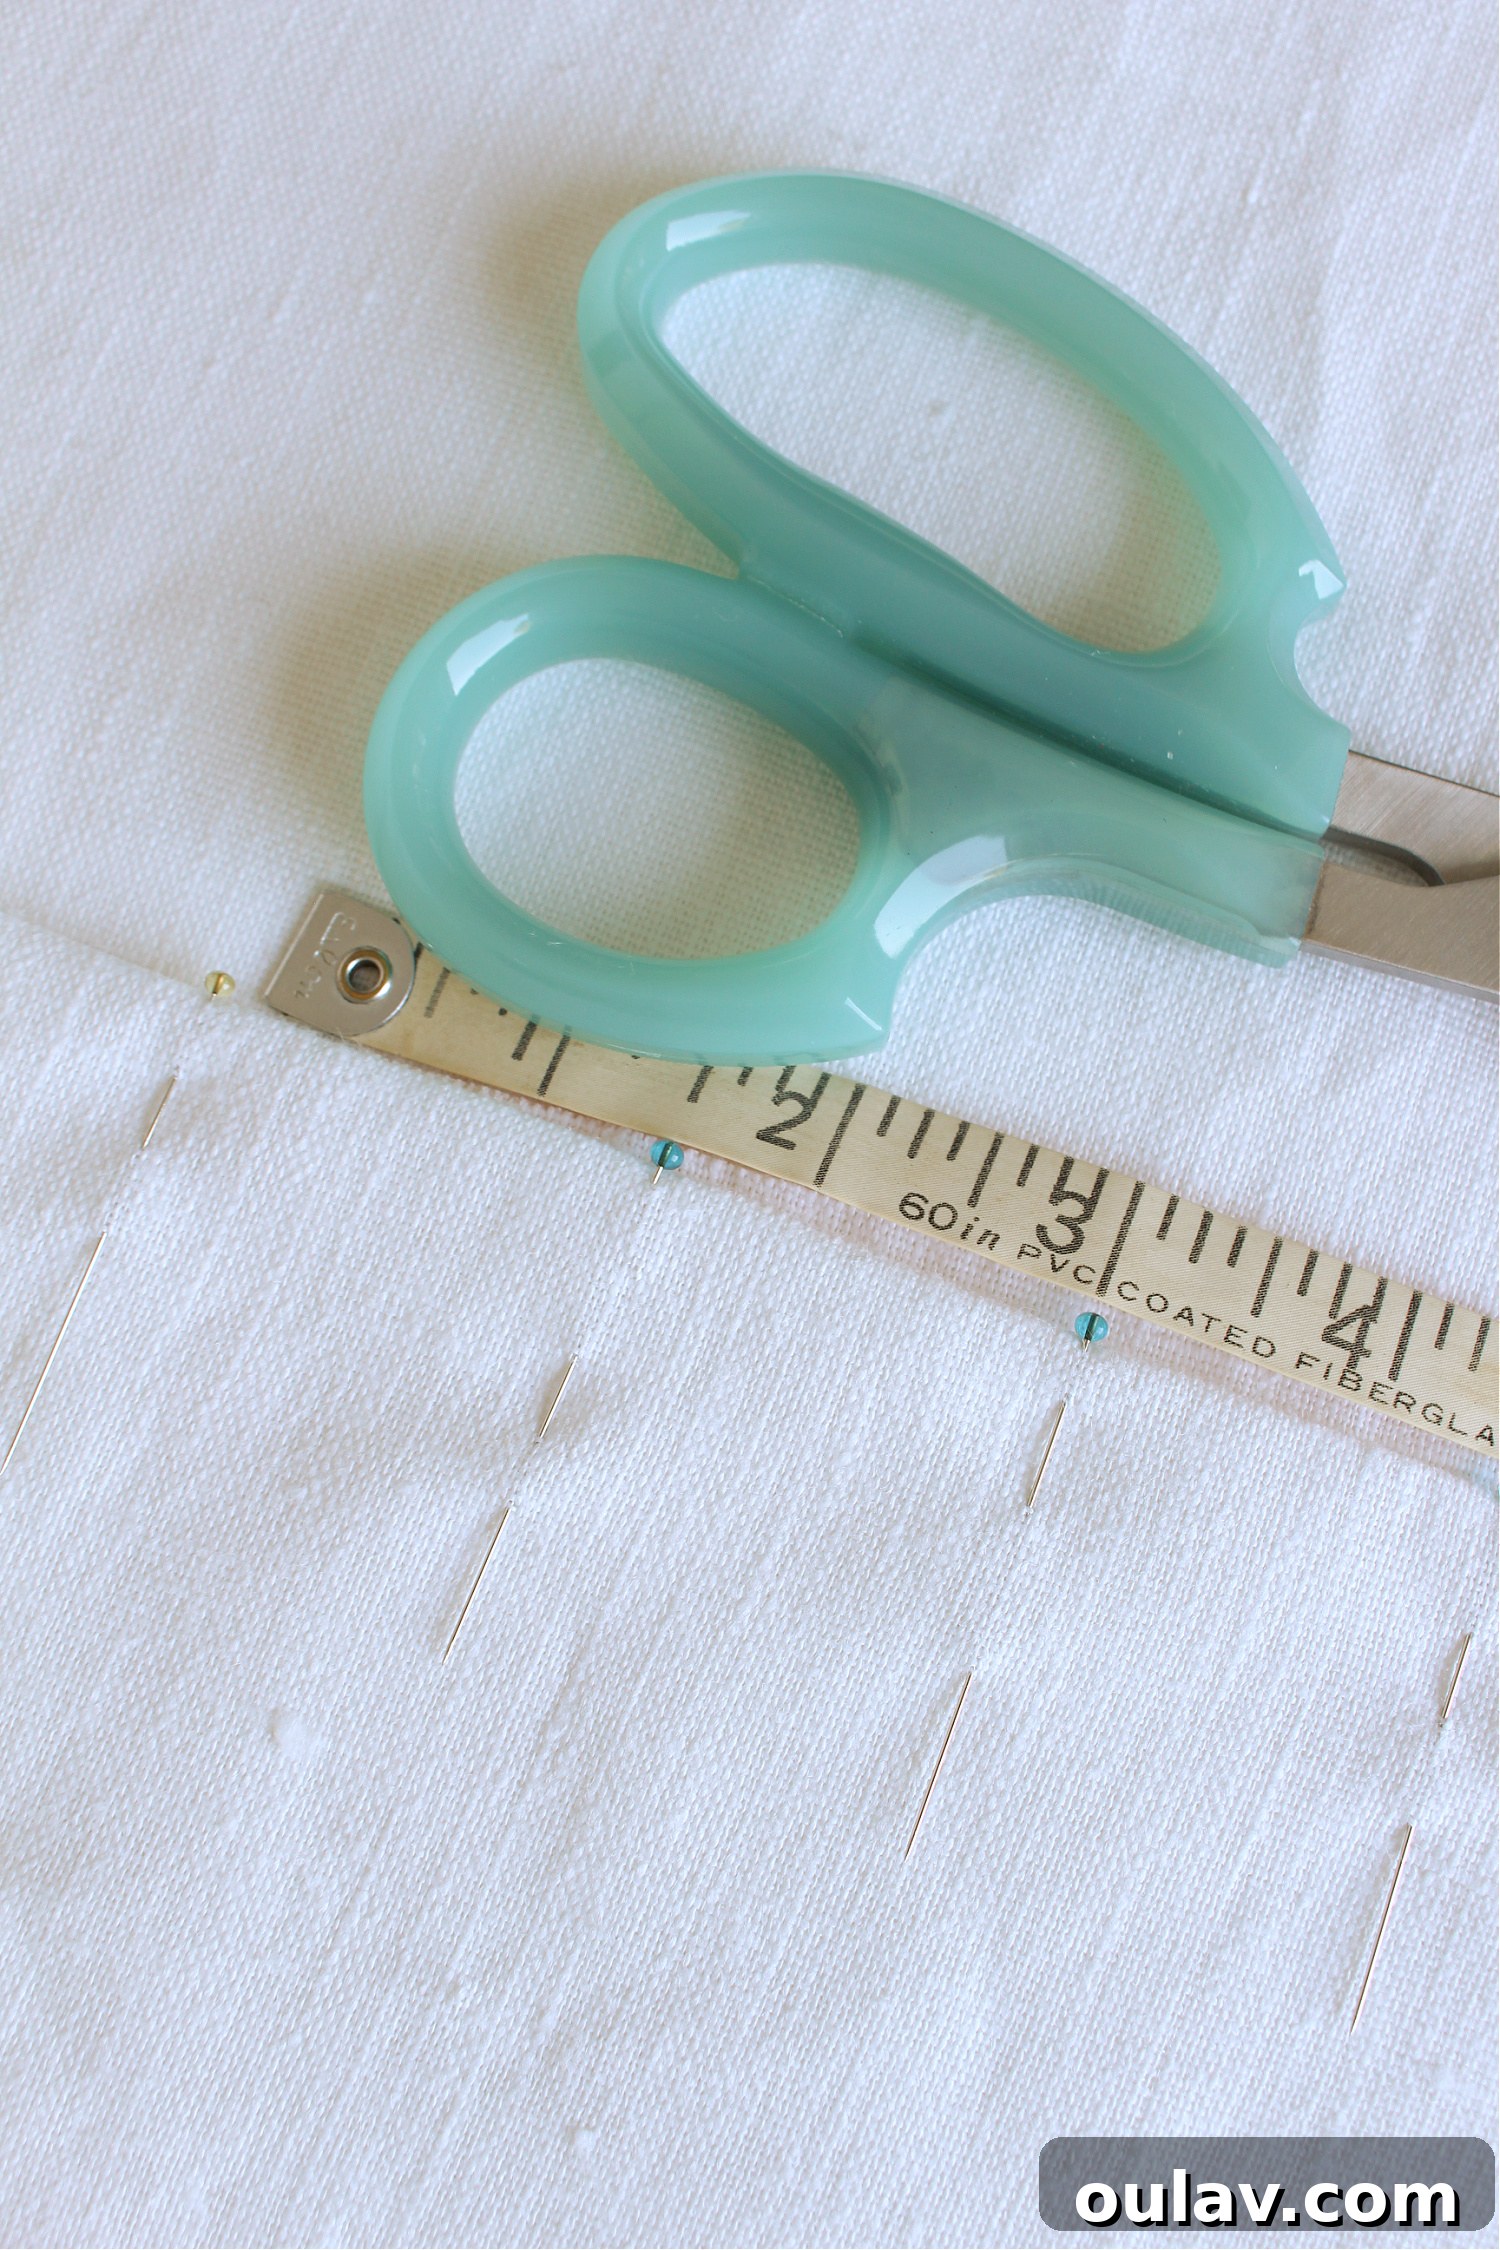
With our measuring tape, ruler, and colored pins, we meticulously measured and marked the spacing for all the pleats along the entire top edge of both fabric panels. This meticulous preparation ensures that when it comes to the actual sewing, each pleat will be uniform and perfectly aligned, contributing to the professional finish of your custom Euro pleat curtains.
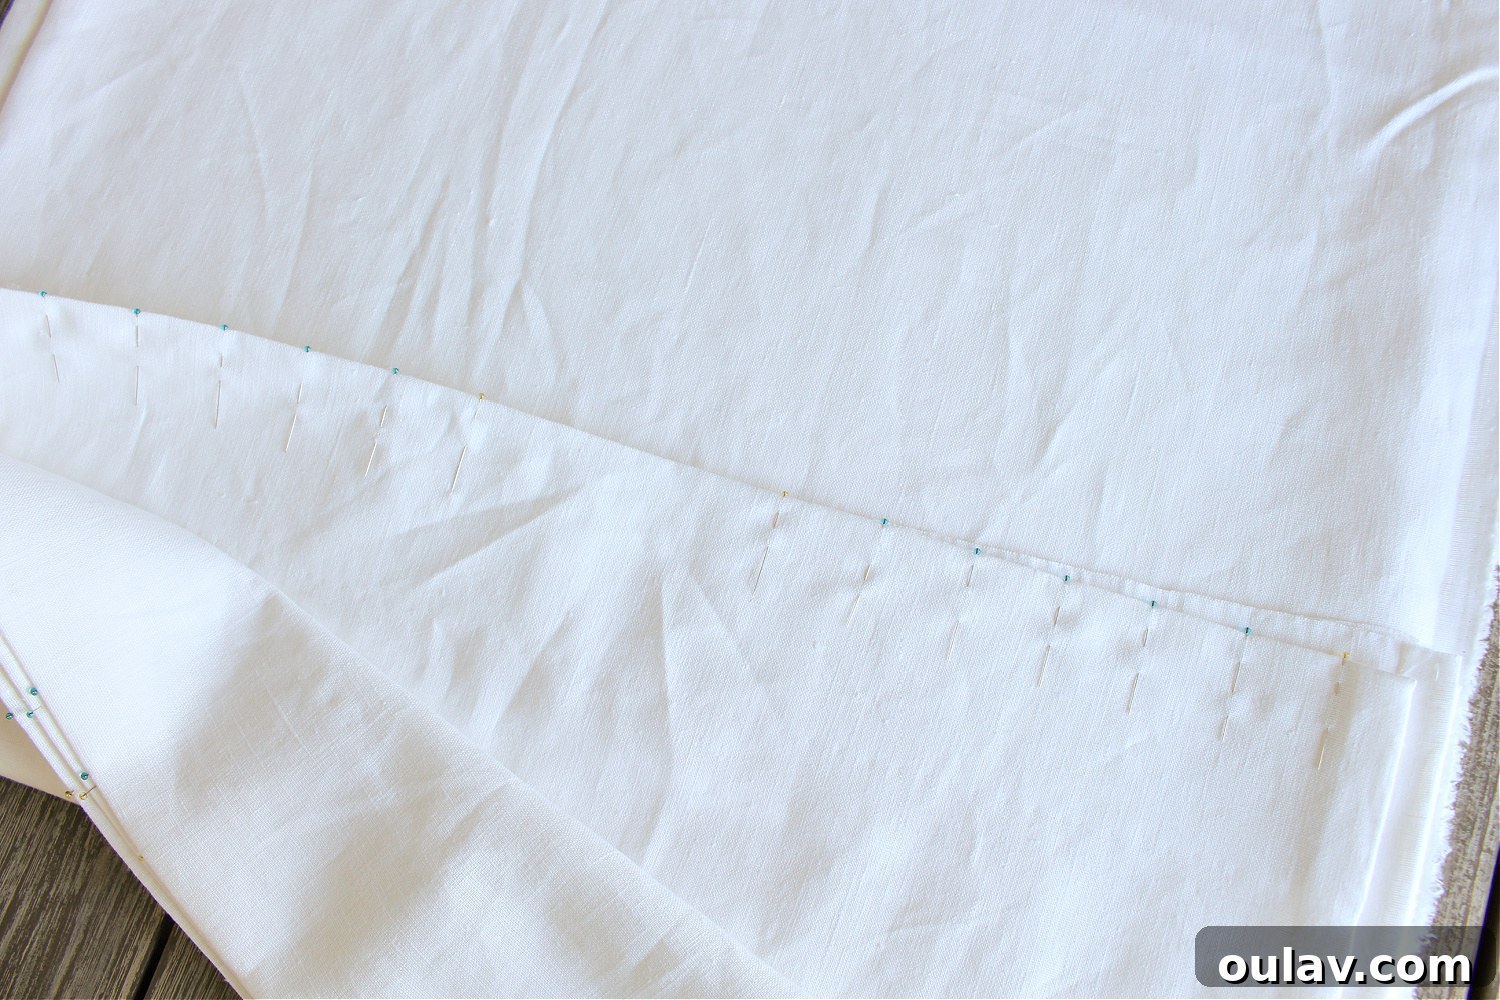
Once all the pleat placements were accurately measured and pinned, we were ready to begin sewing. But before diving into the hand-stitching, it’s helpful to understand the type of hardware we used to hang these beautiful curtains. Our pleats were precisely constructed to perfectly accommodate 3″ drapery hooks, which play a key role in achieving that seamless, floating look when hung on the curtain rings.
The Art of Hand-Sewing Euro Pleats for a Flawless Finish
Now comes the truly artisanal part of the process: hand-sewing the Euro pleats. This step, while requiring patience and precision, is what truly elevates your curtains from homemade to custom-made. To begin shaping each pleat, we carefully folded the fabric so that the yellow pins, which marked the beginning and end of each pleat section, met perfectly. This initial fold is the foundation of your pleat’s structure.
Next, we masterfully accordion-folded the fabric to form the distinct triple Euro pleat. This involves carefully bringing the marked folds together to create three even layers of fabric that will form the body of the pleat. Precision here is paramount for uniform, elegant pleats across your entire curtain panel.
Once the accordion folds were in place, we carefully unfolded the pleat slightly and pulled out the middle loop of fabric. This central loop was then sewn closed, forming a precise channel that measured approximately 2 7/8″ by 1/2″. This channel is crucial as it will serve as the discreet housing for your drapery hook.
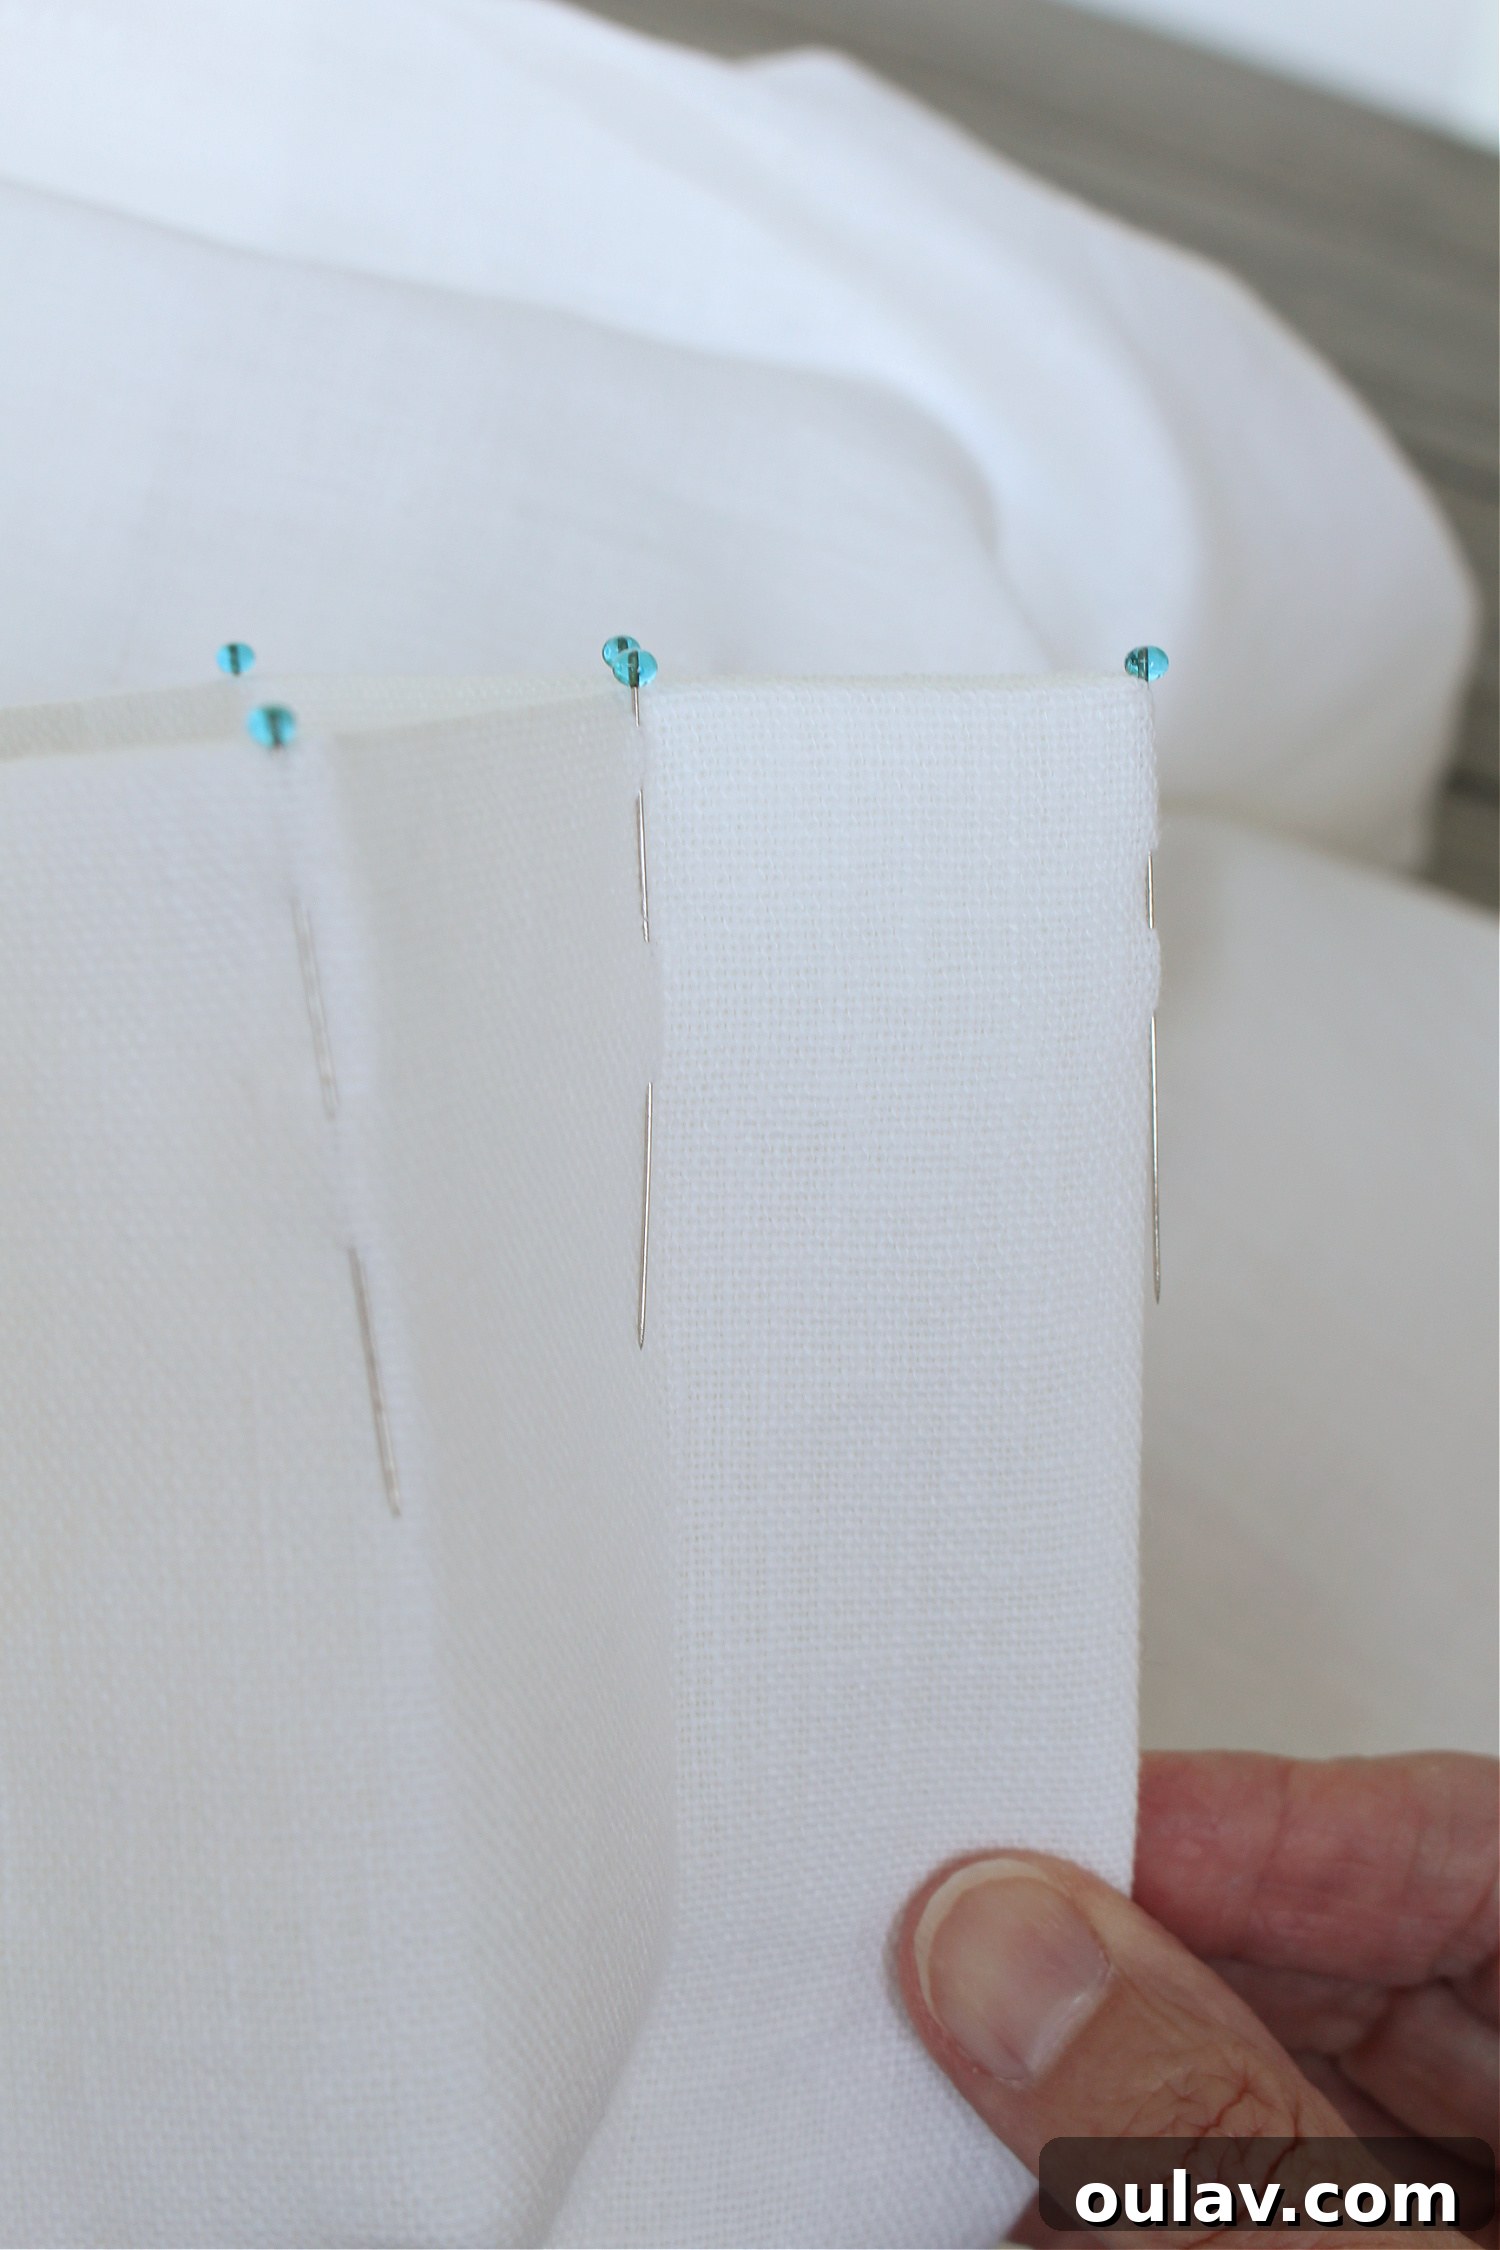
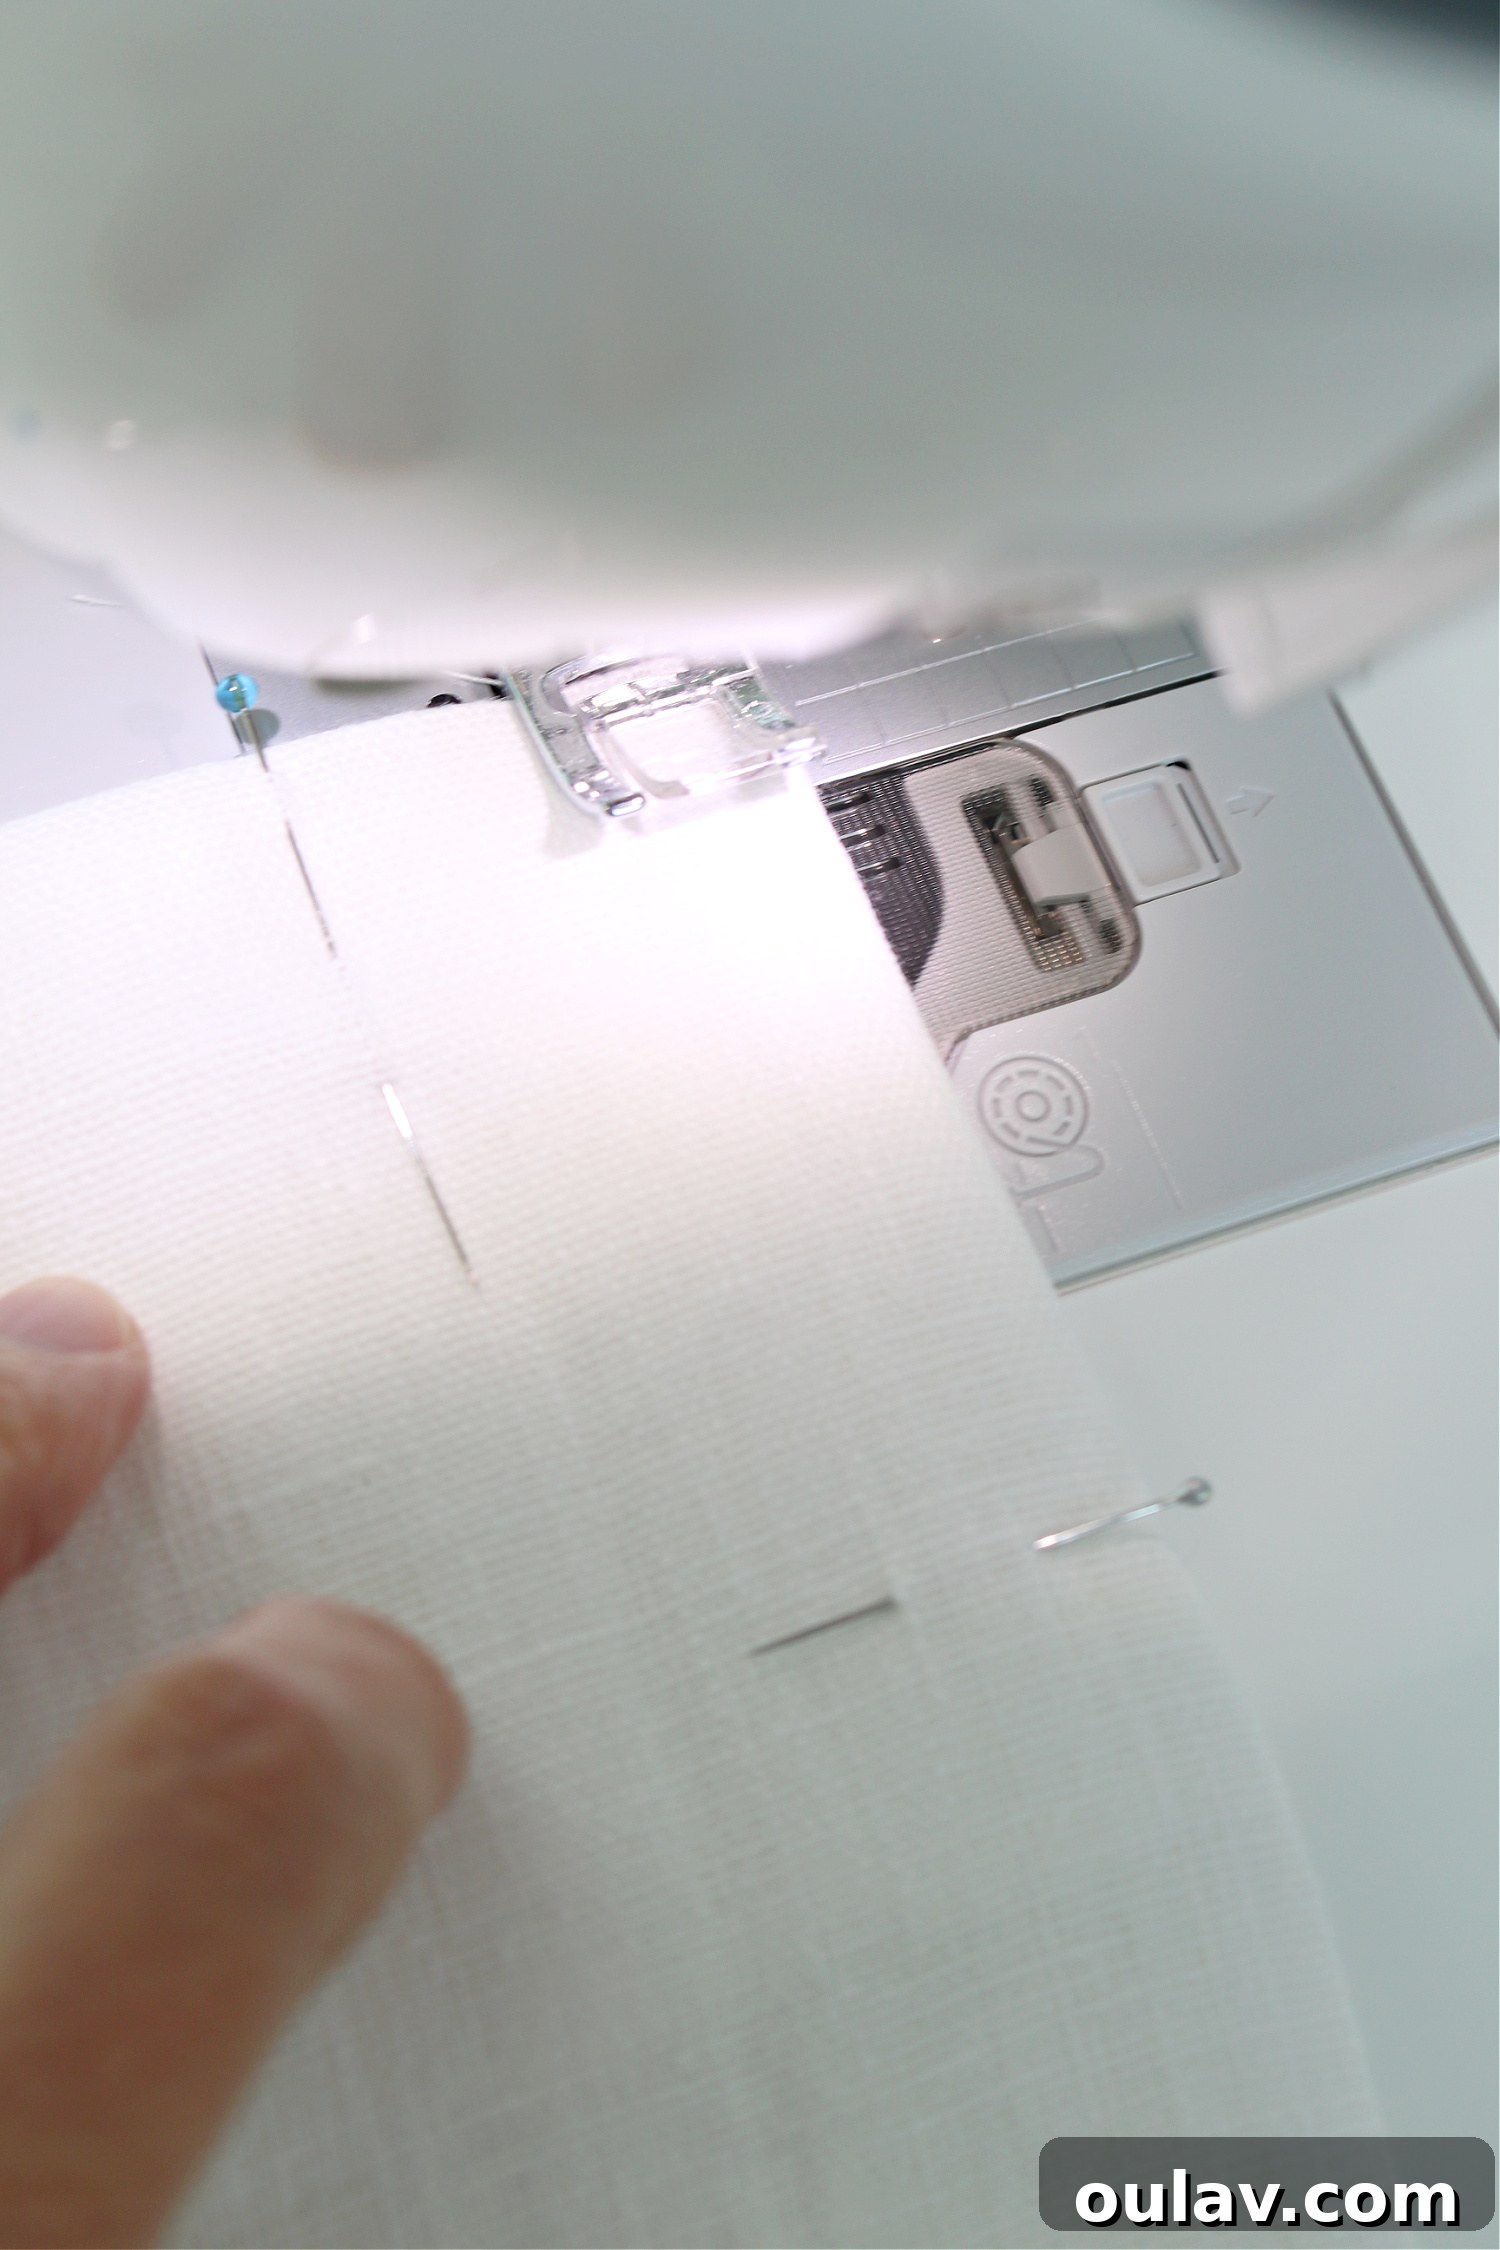
Here is a close-up of the perfectly formed channel, ready for the drapery hook to slide in seamlessly, ensuring a clean and hidden attachment point.
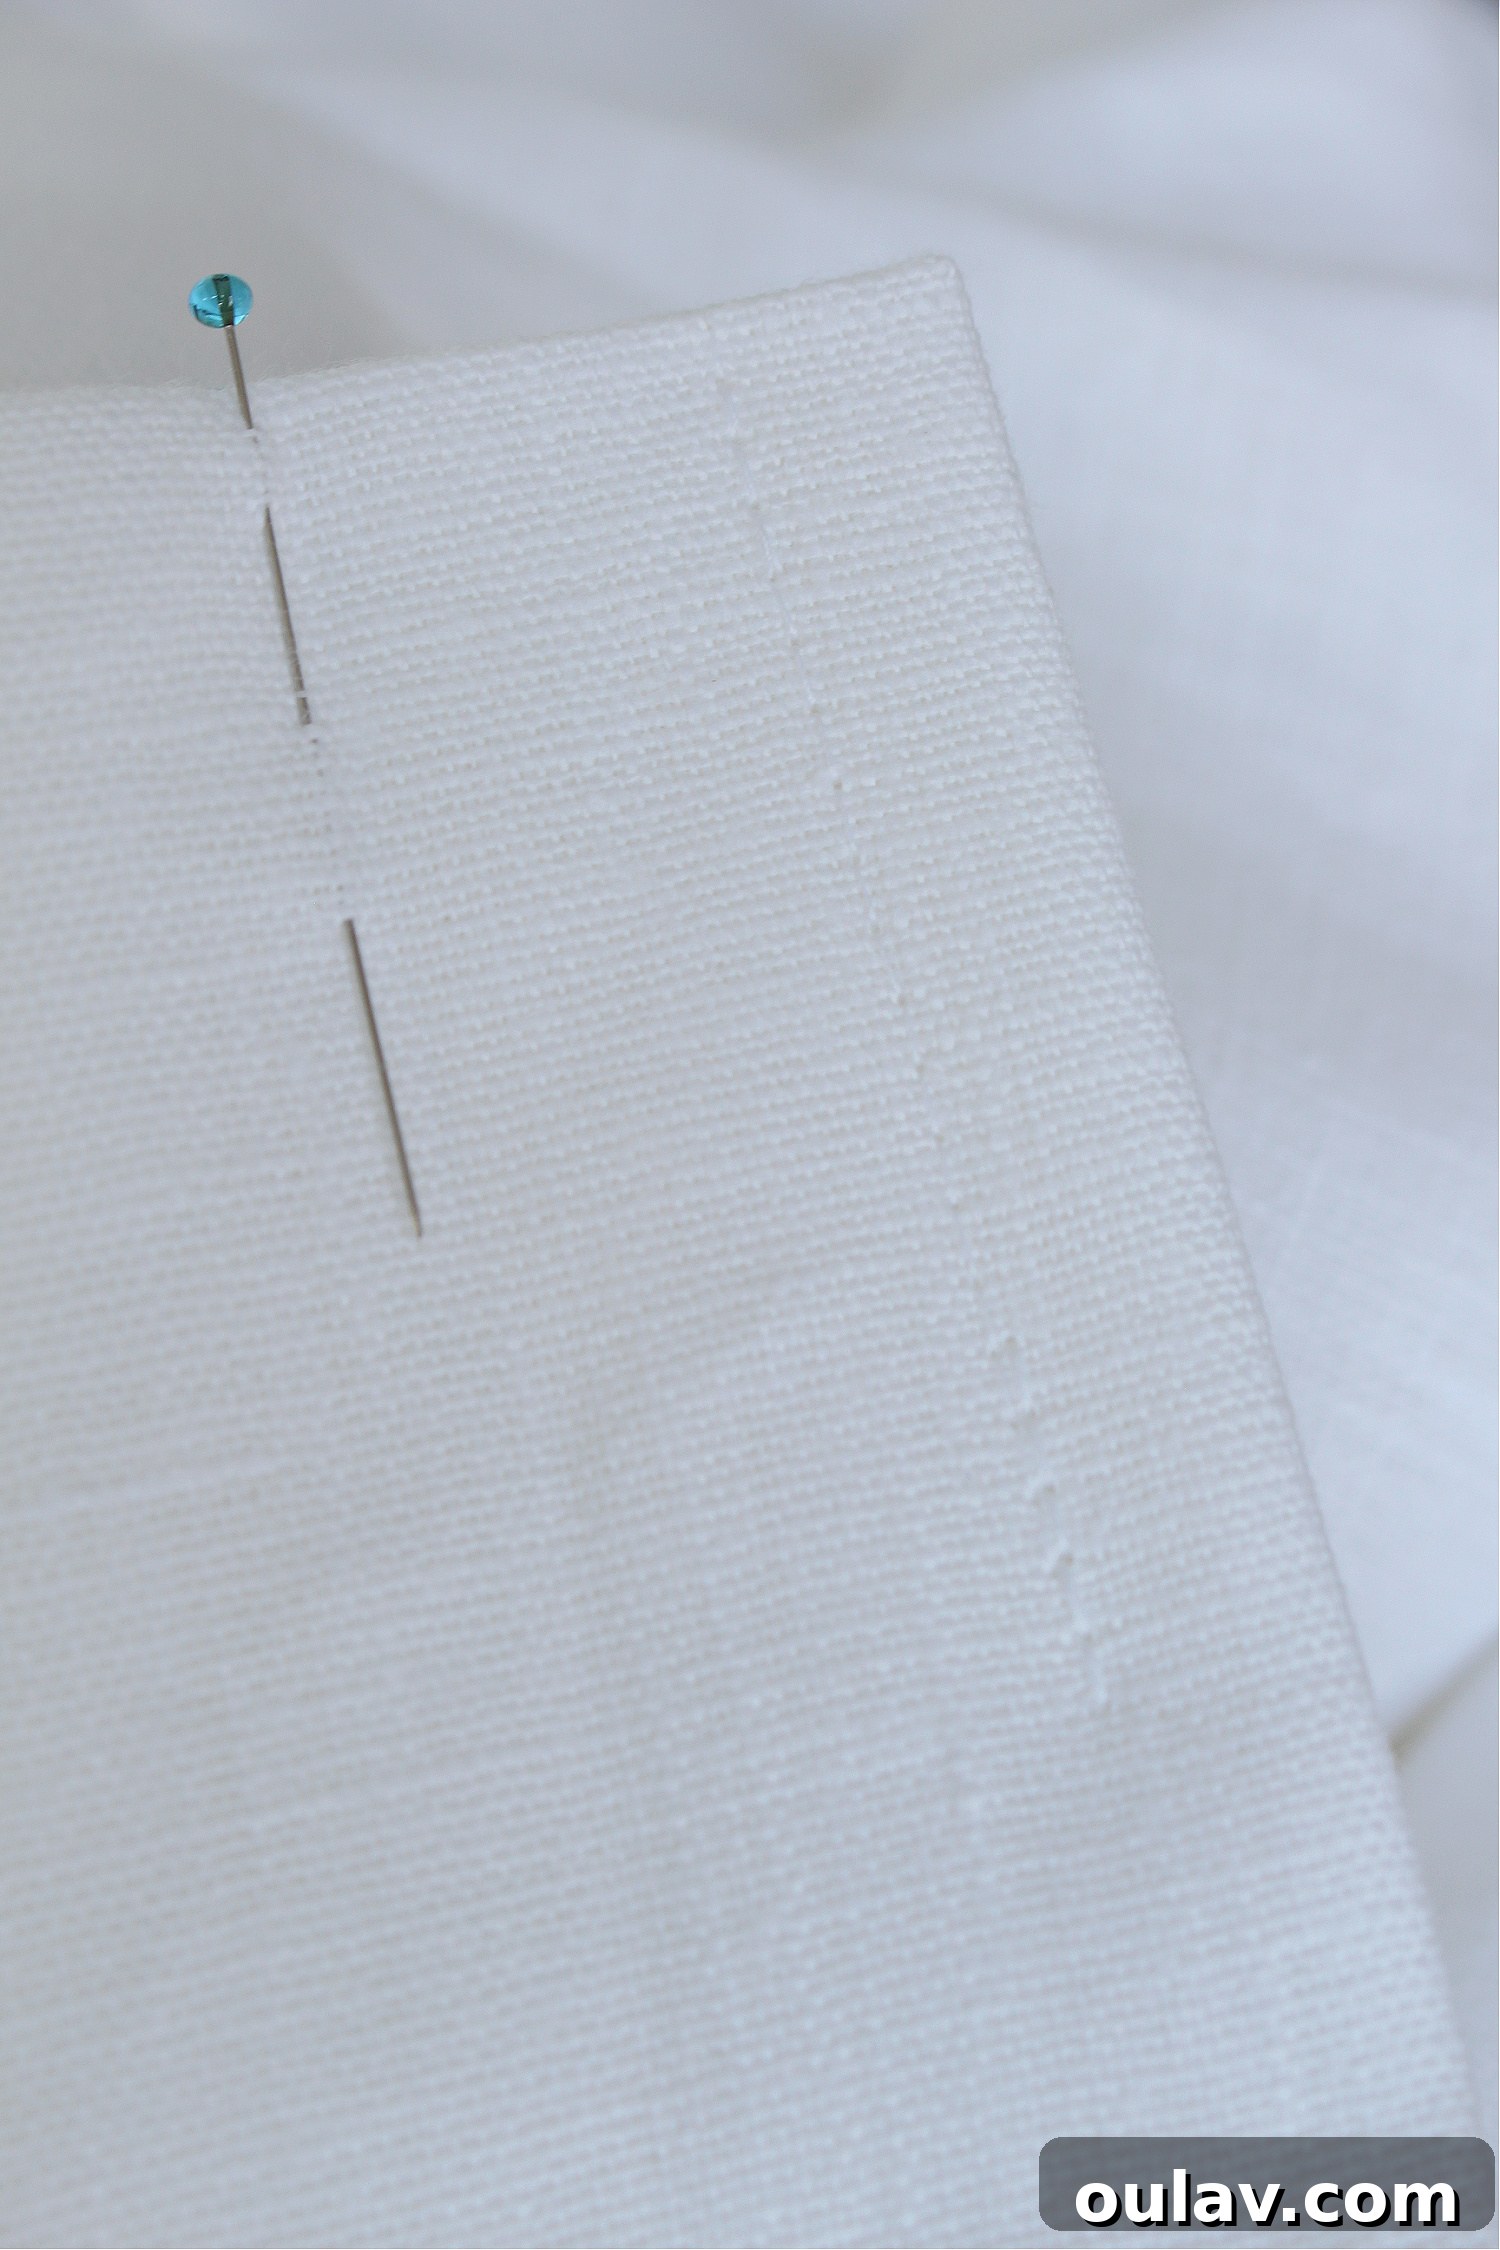
From the reverse side, once stitched, the channel becomes a sturdy, integral part of the pleat, demonstrating the careful construction that ensures both beauty and functionality.
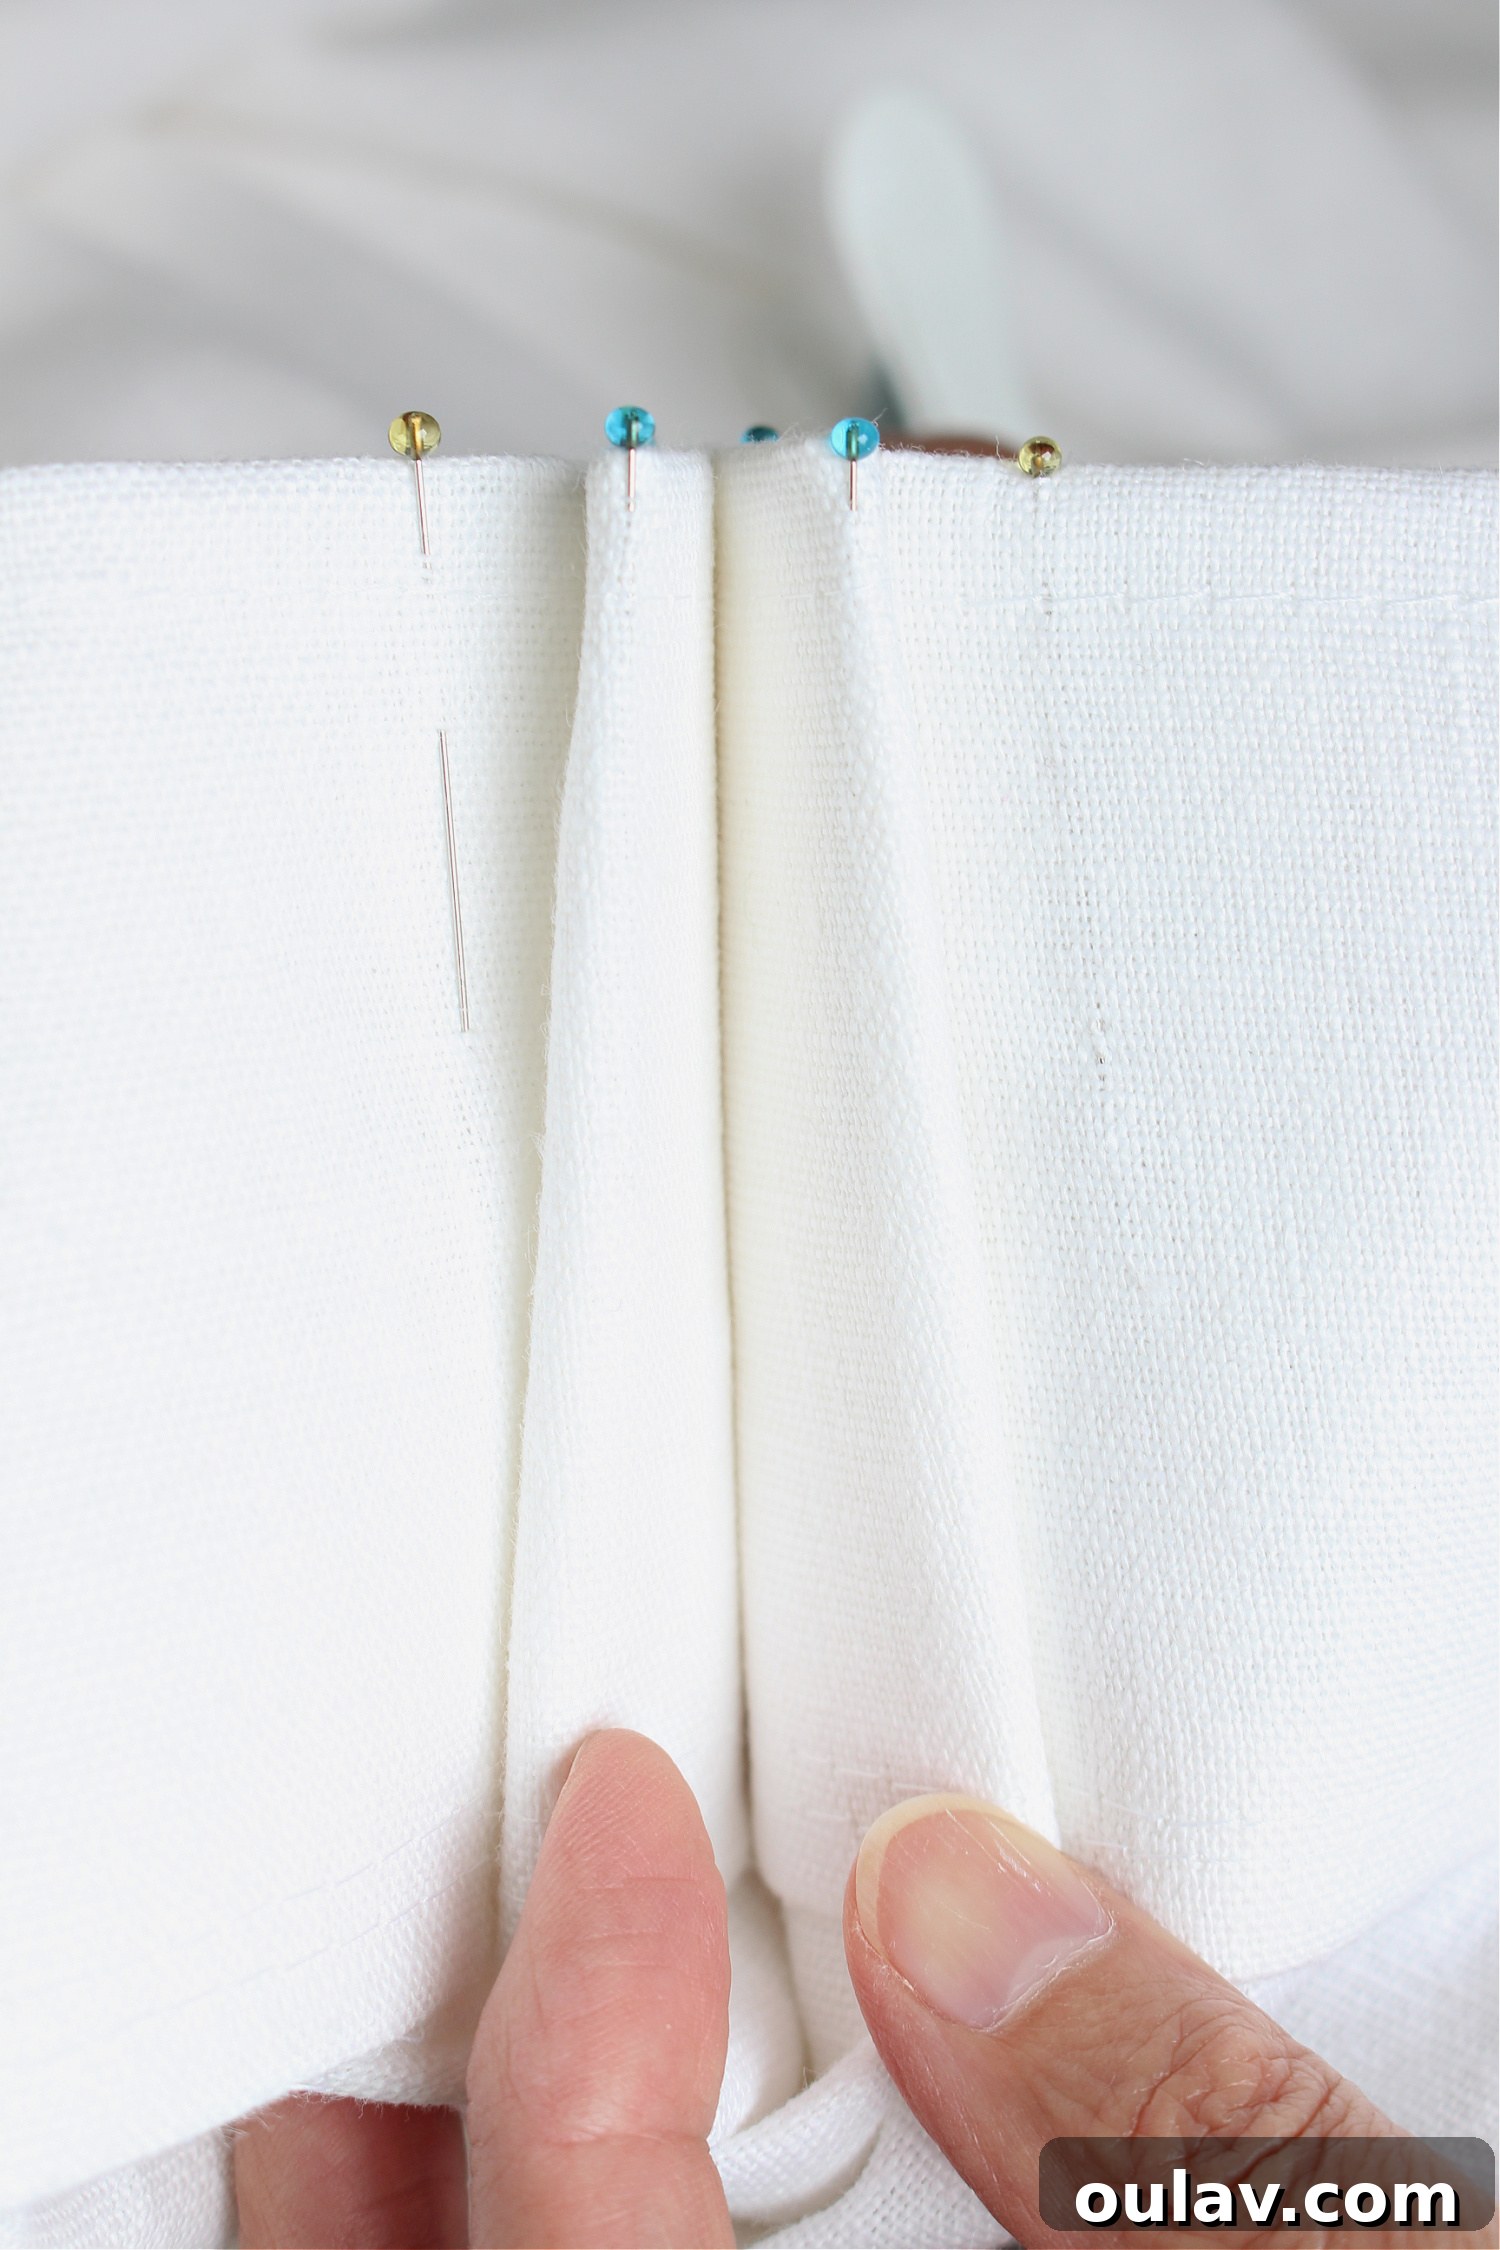
The drapery hook is then gently slipped into the channel created from the back of the pleat. This strategic placement is key to concealing the hardware.
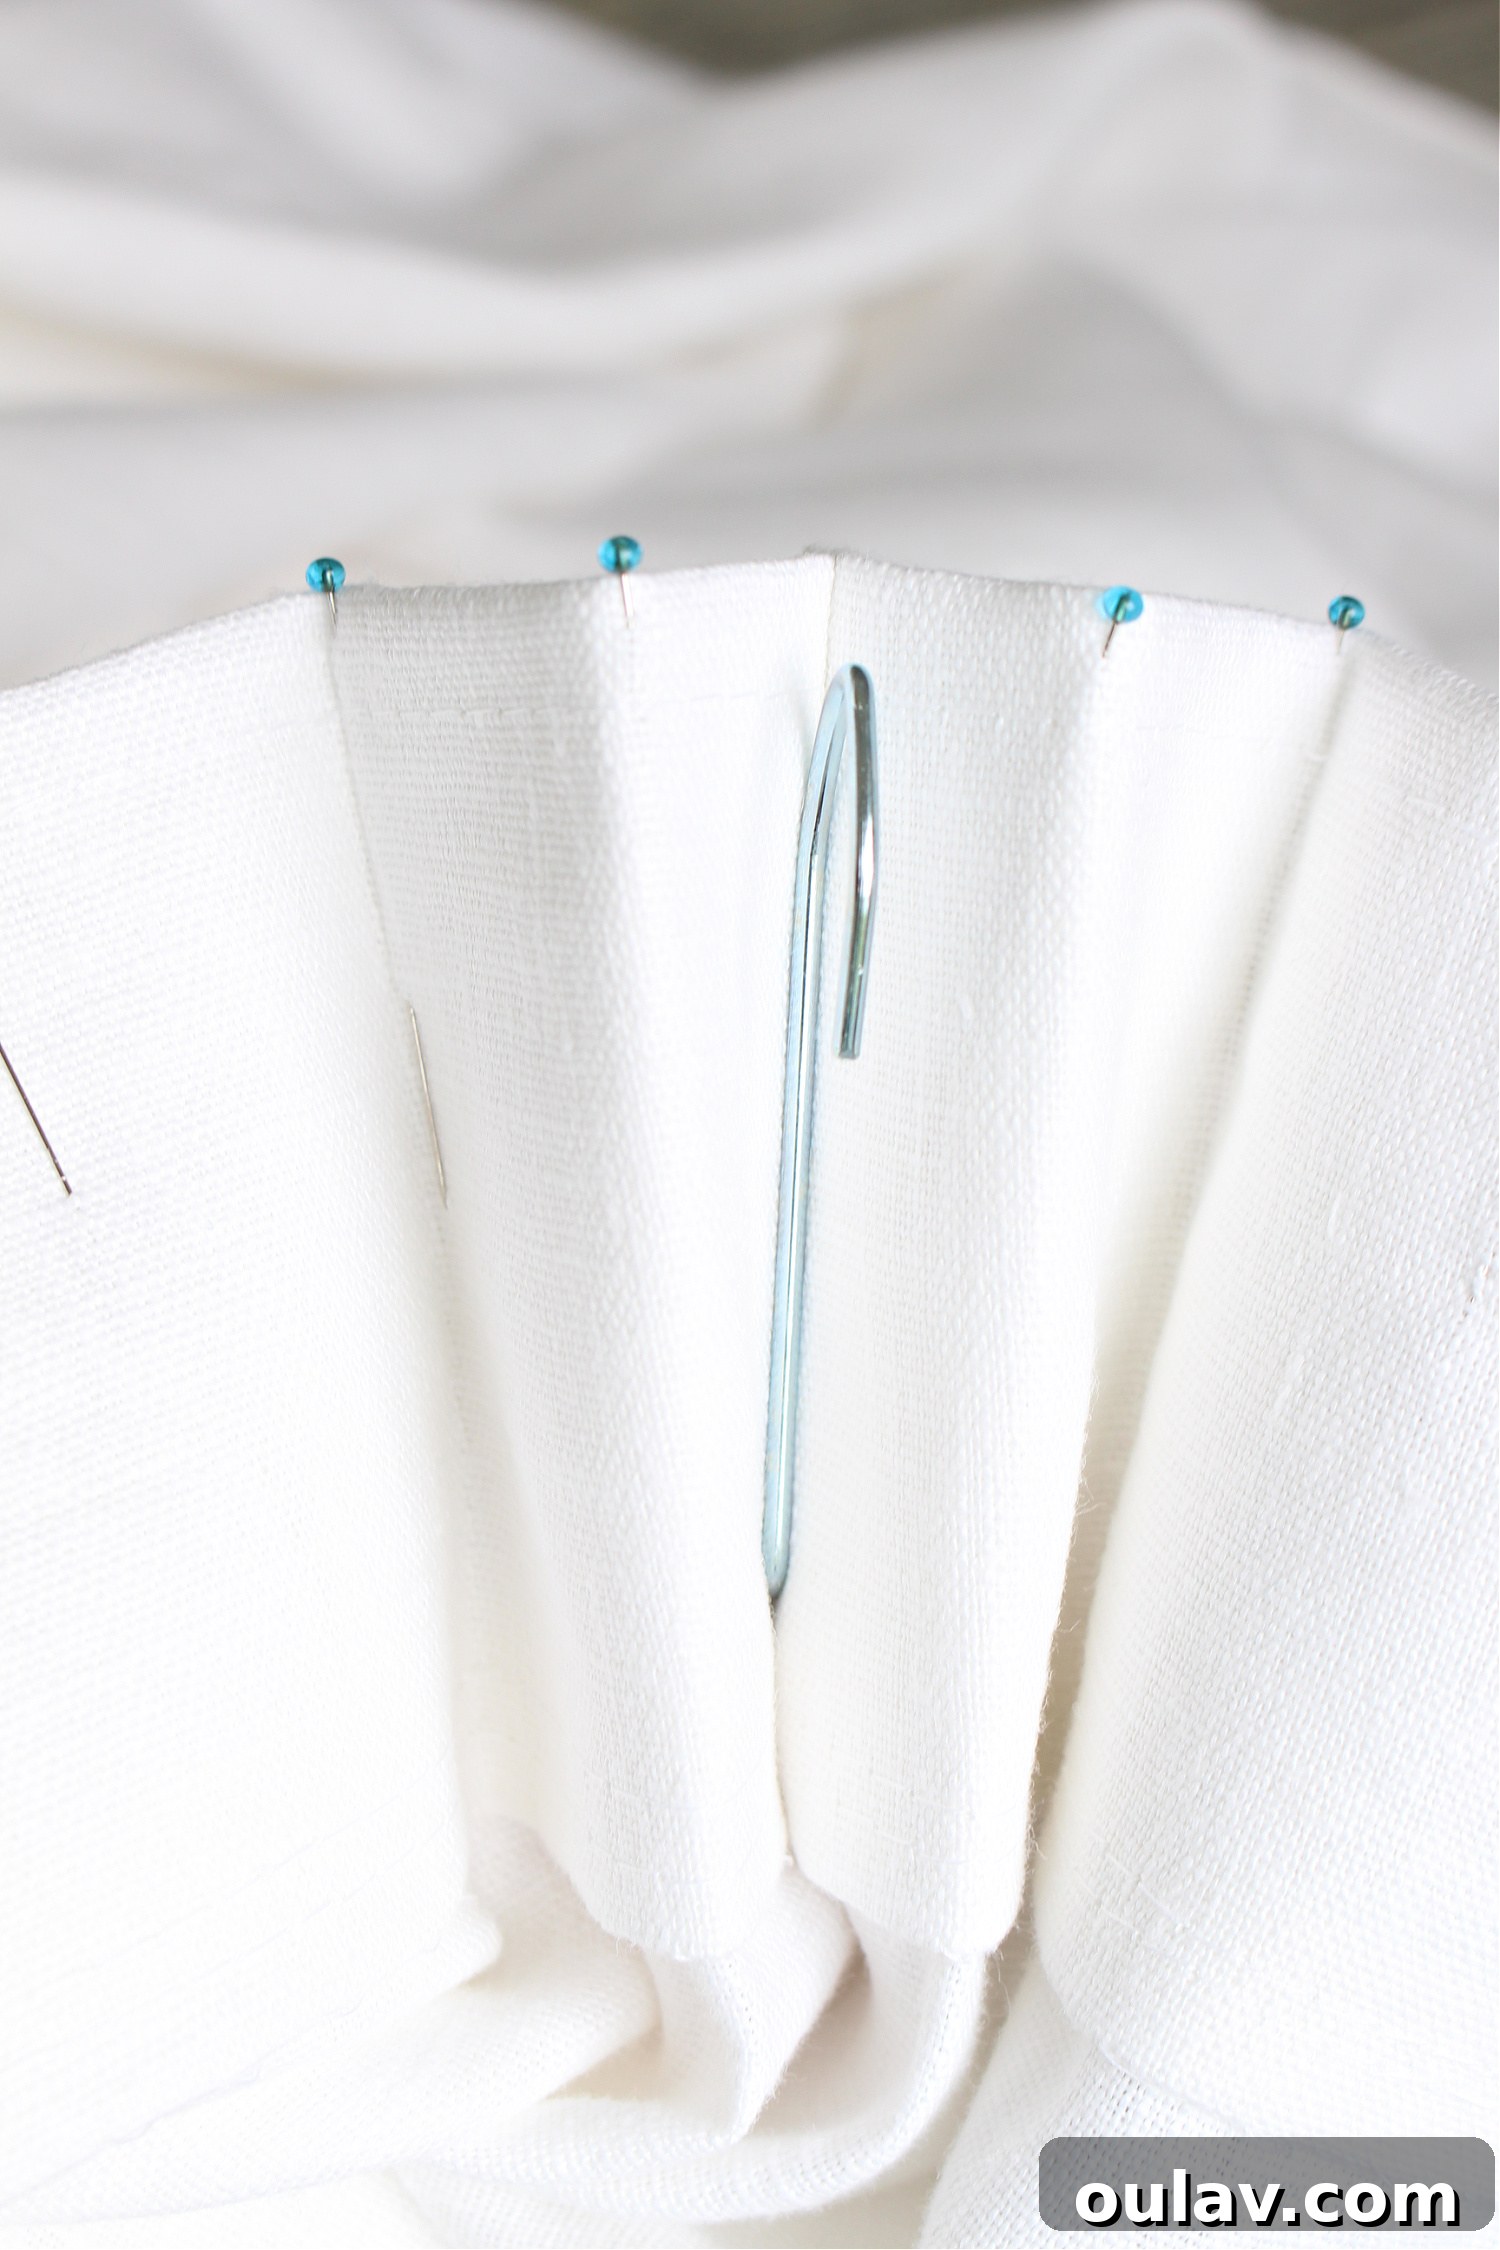
By creating a 2 7/8″ channel for a 3″ long hook, we achieved the perfect “buried” effect. This ensures that when the curtains are hung, only the elegant curtain ring is visible, and the hook itself remains discreetly hidden, contributing to the custom, streamlined appearance.
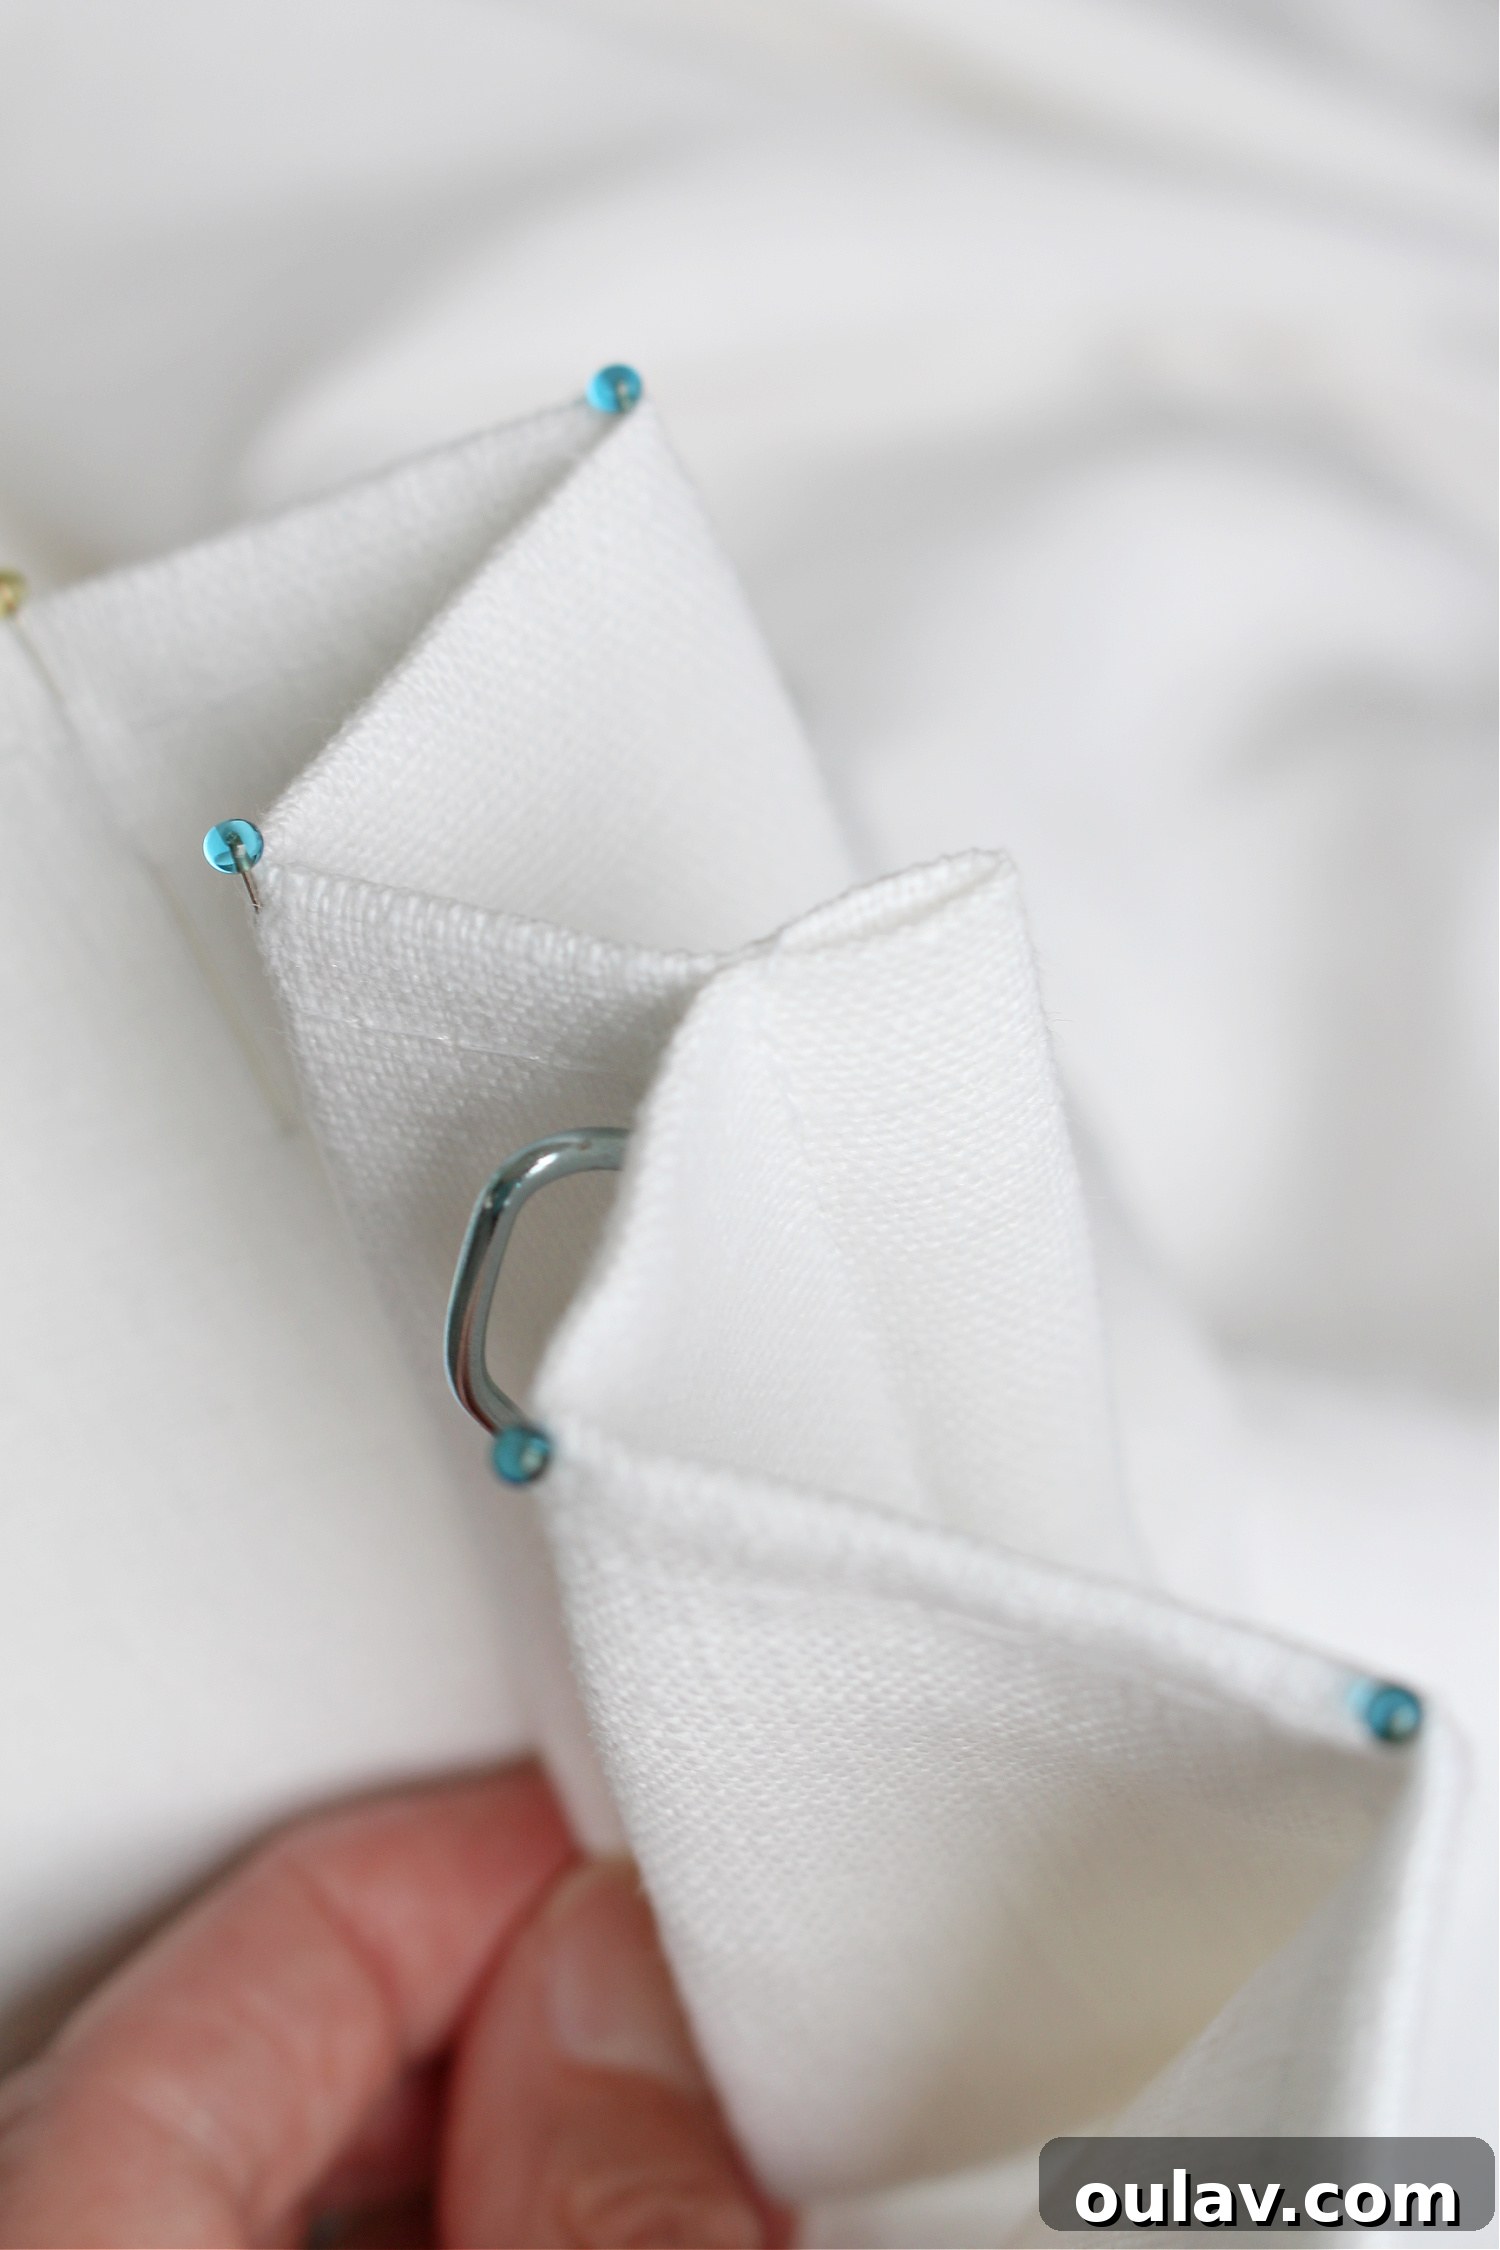
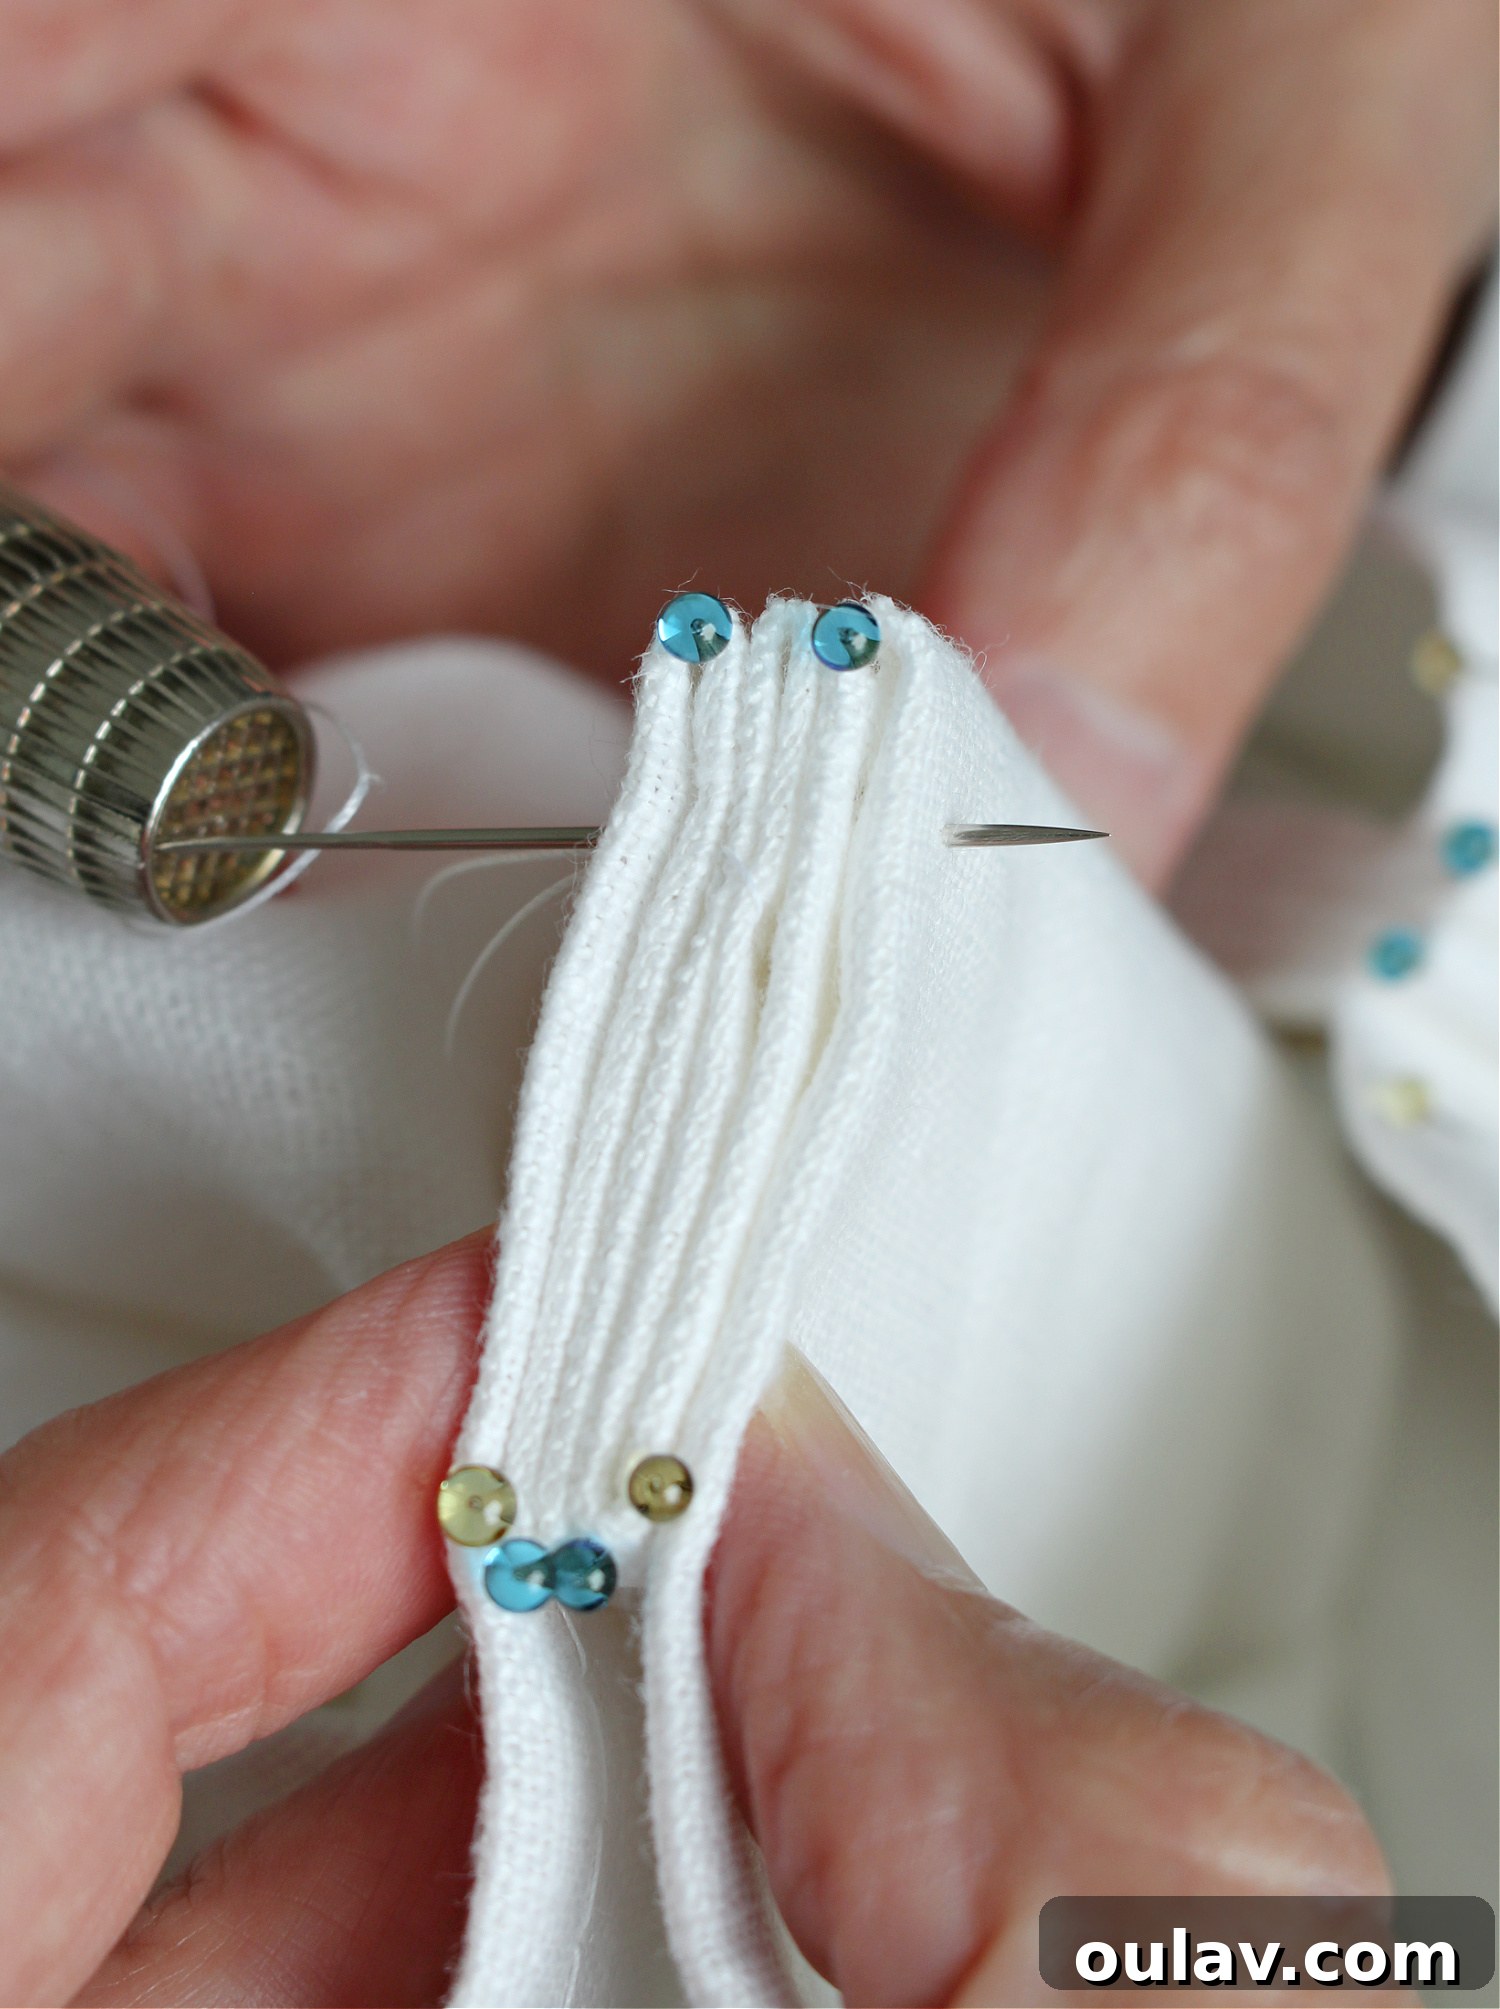
To further sculpt the Euro pleats and give them their defined shape, my mother meticulously hand-stitched the pleat closed at the front, starting from the very top. Clothespins proved to be incredibly useful tools for holding the pleats precisely in place during this delicate hand-sewing process, ensuring consistent form across all pleats.
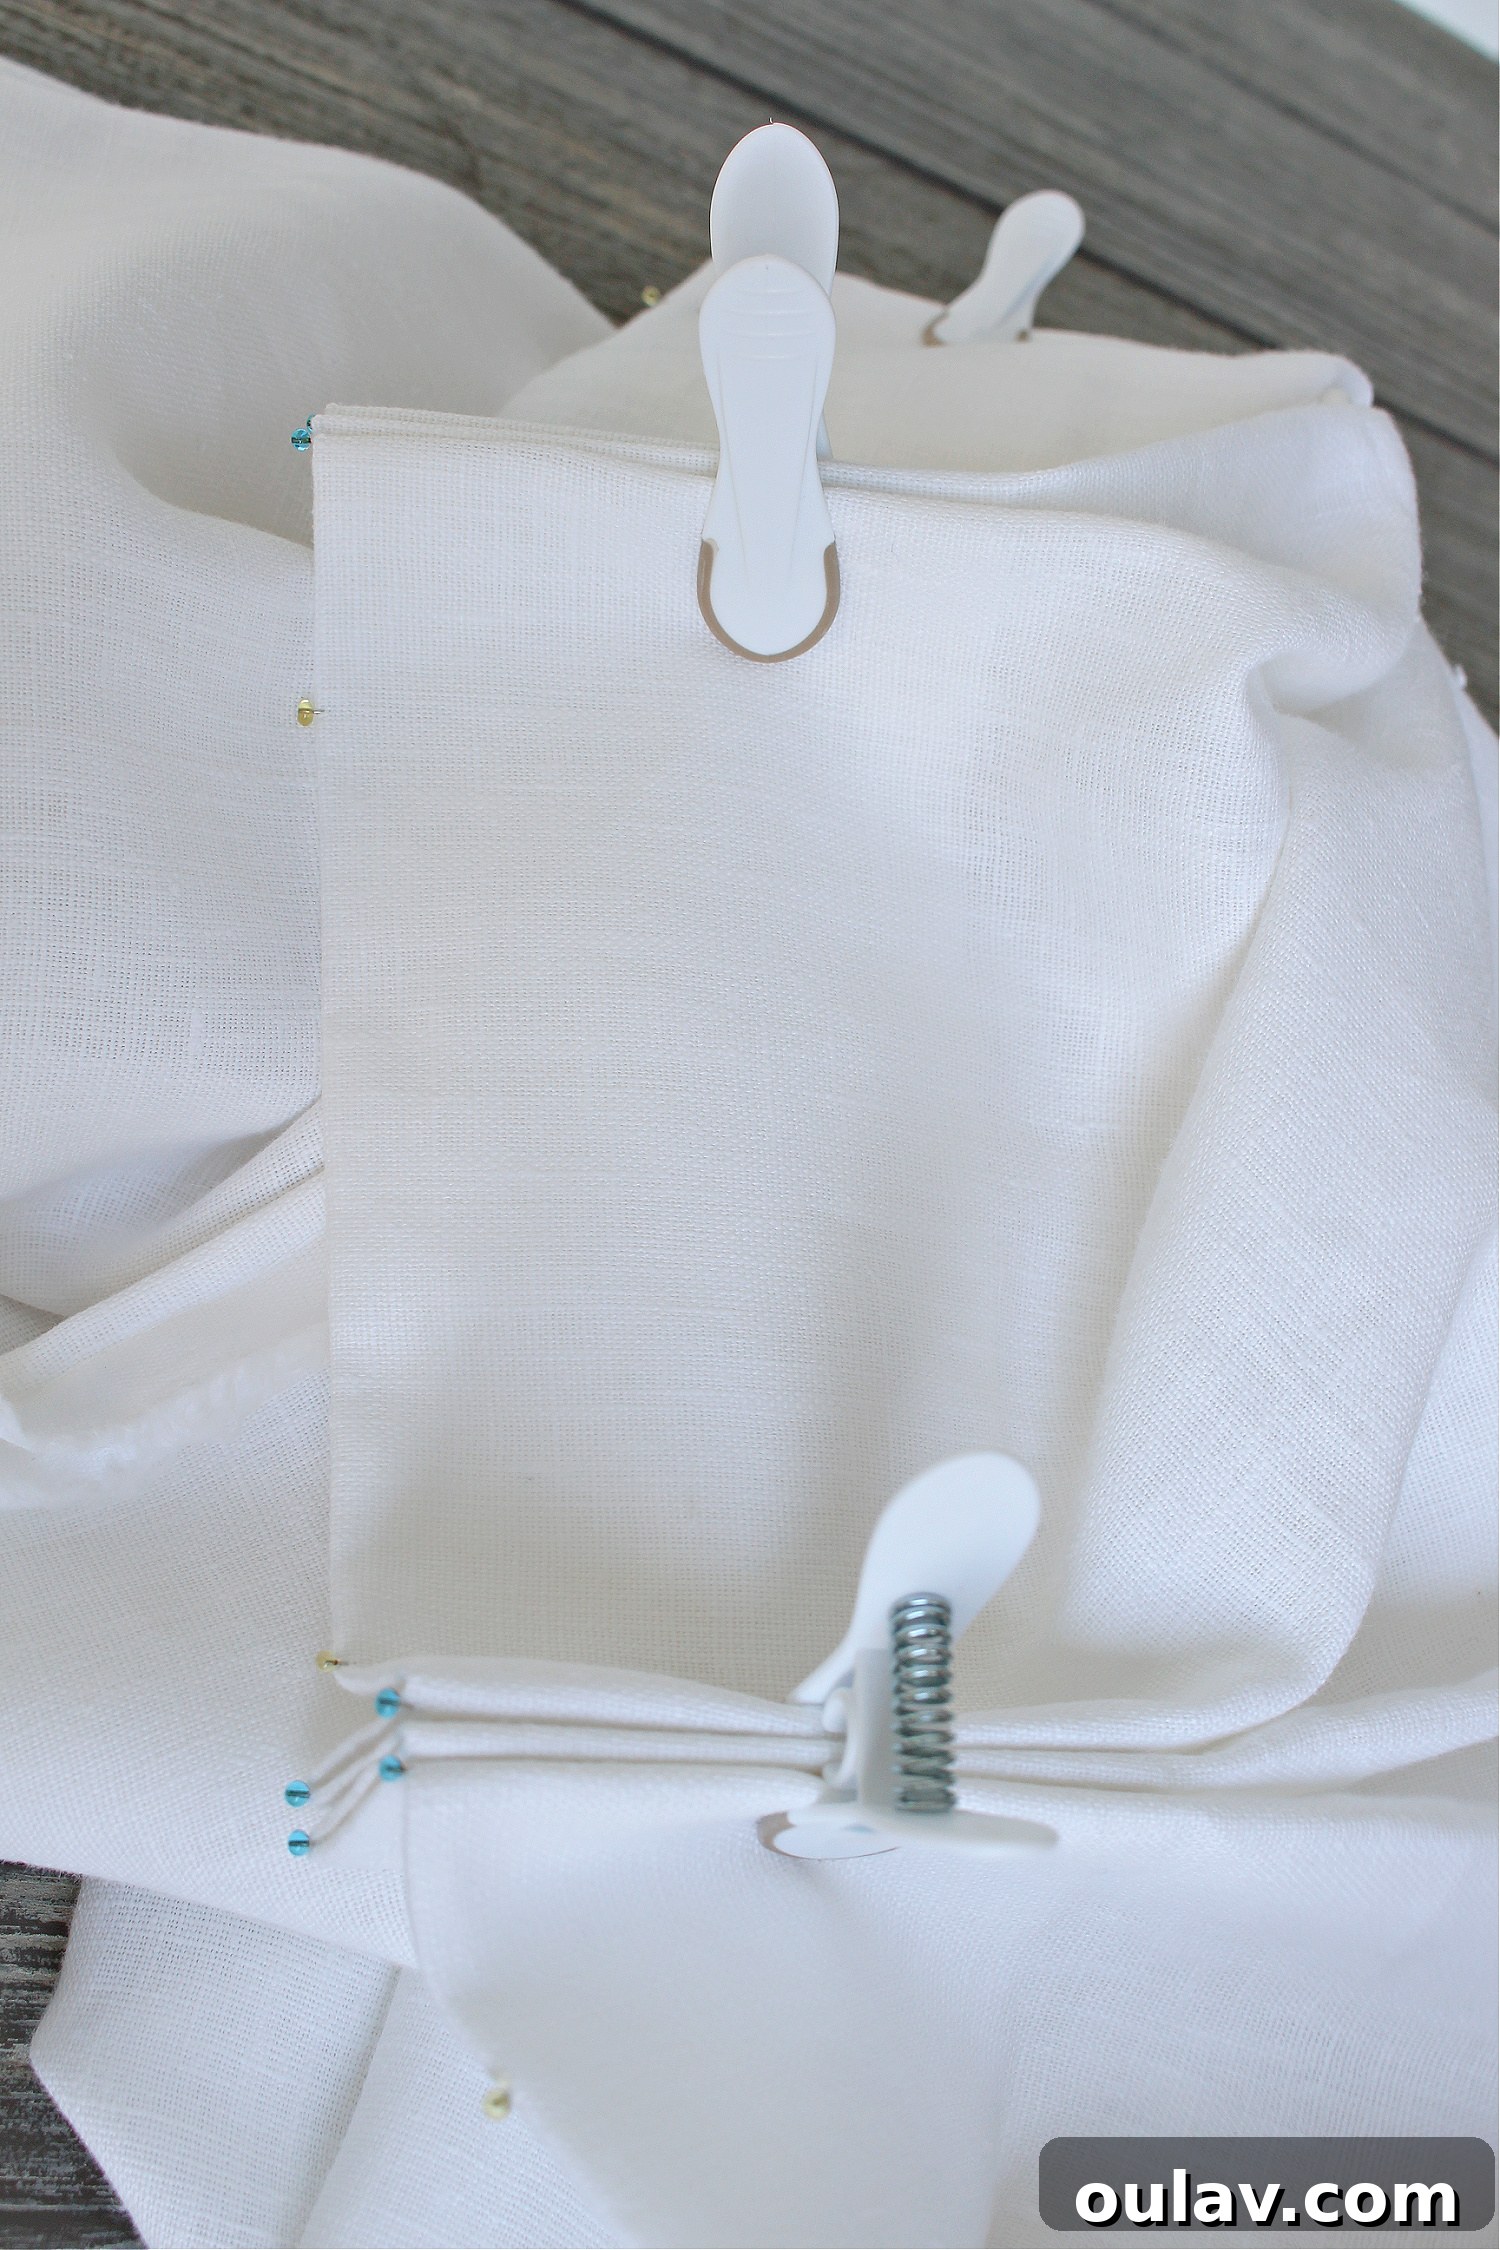
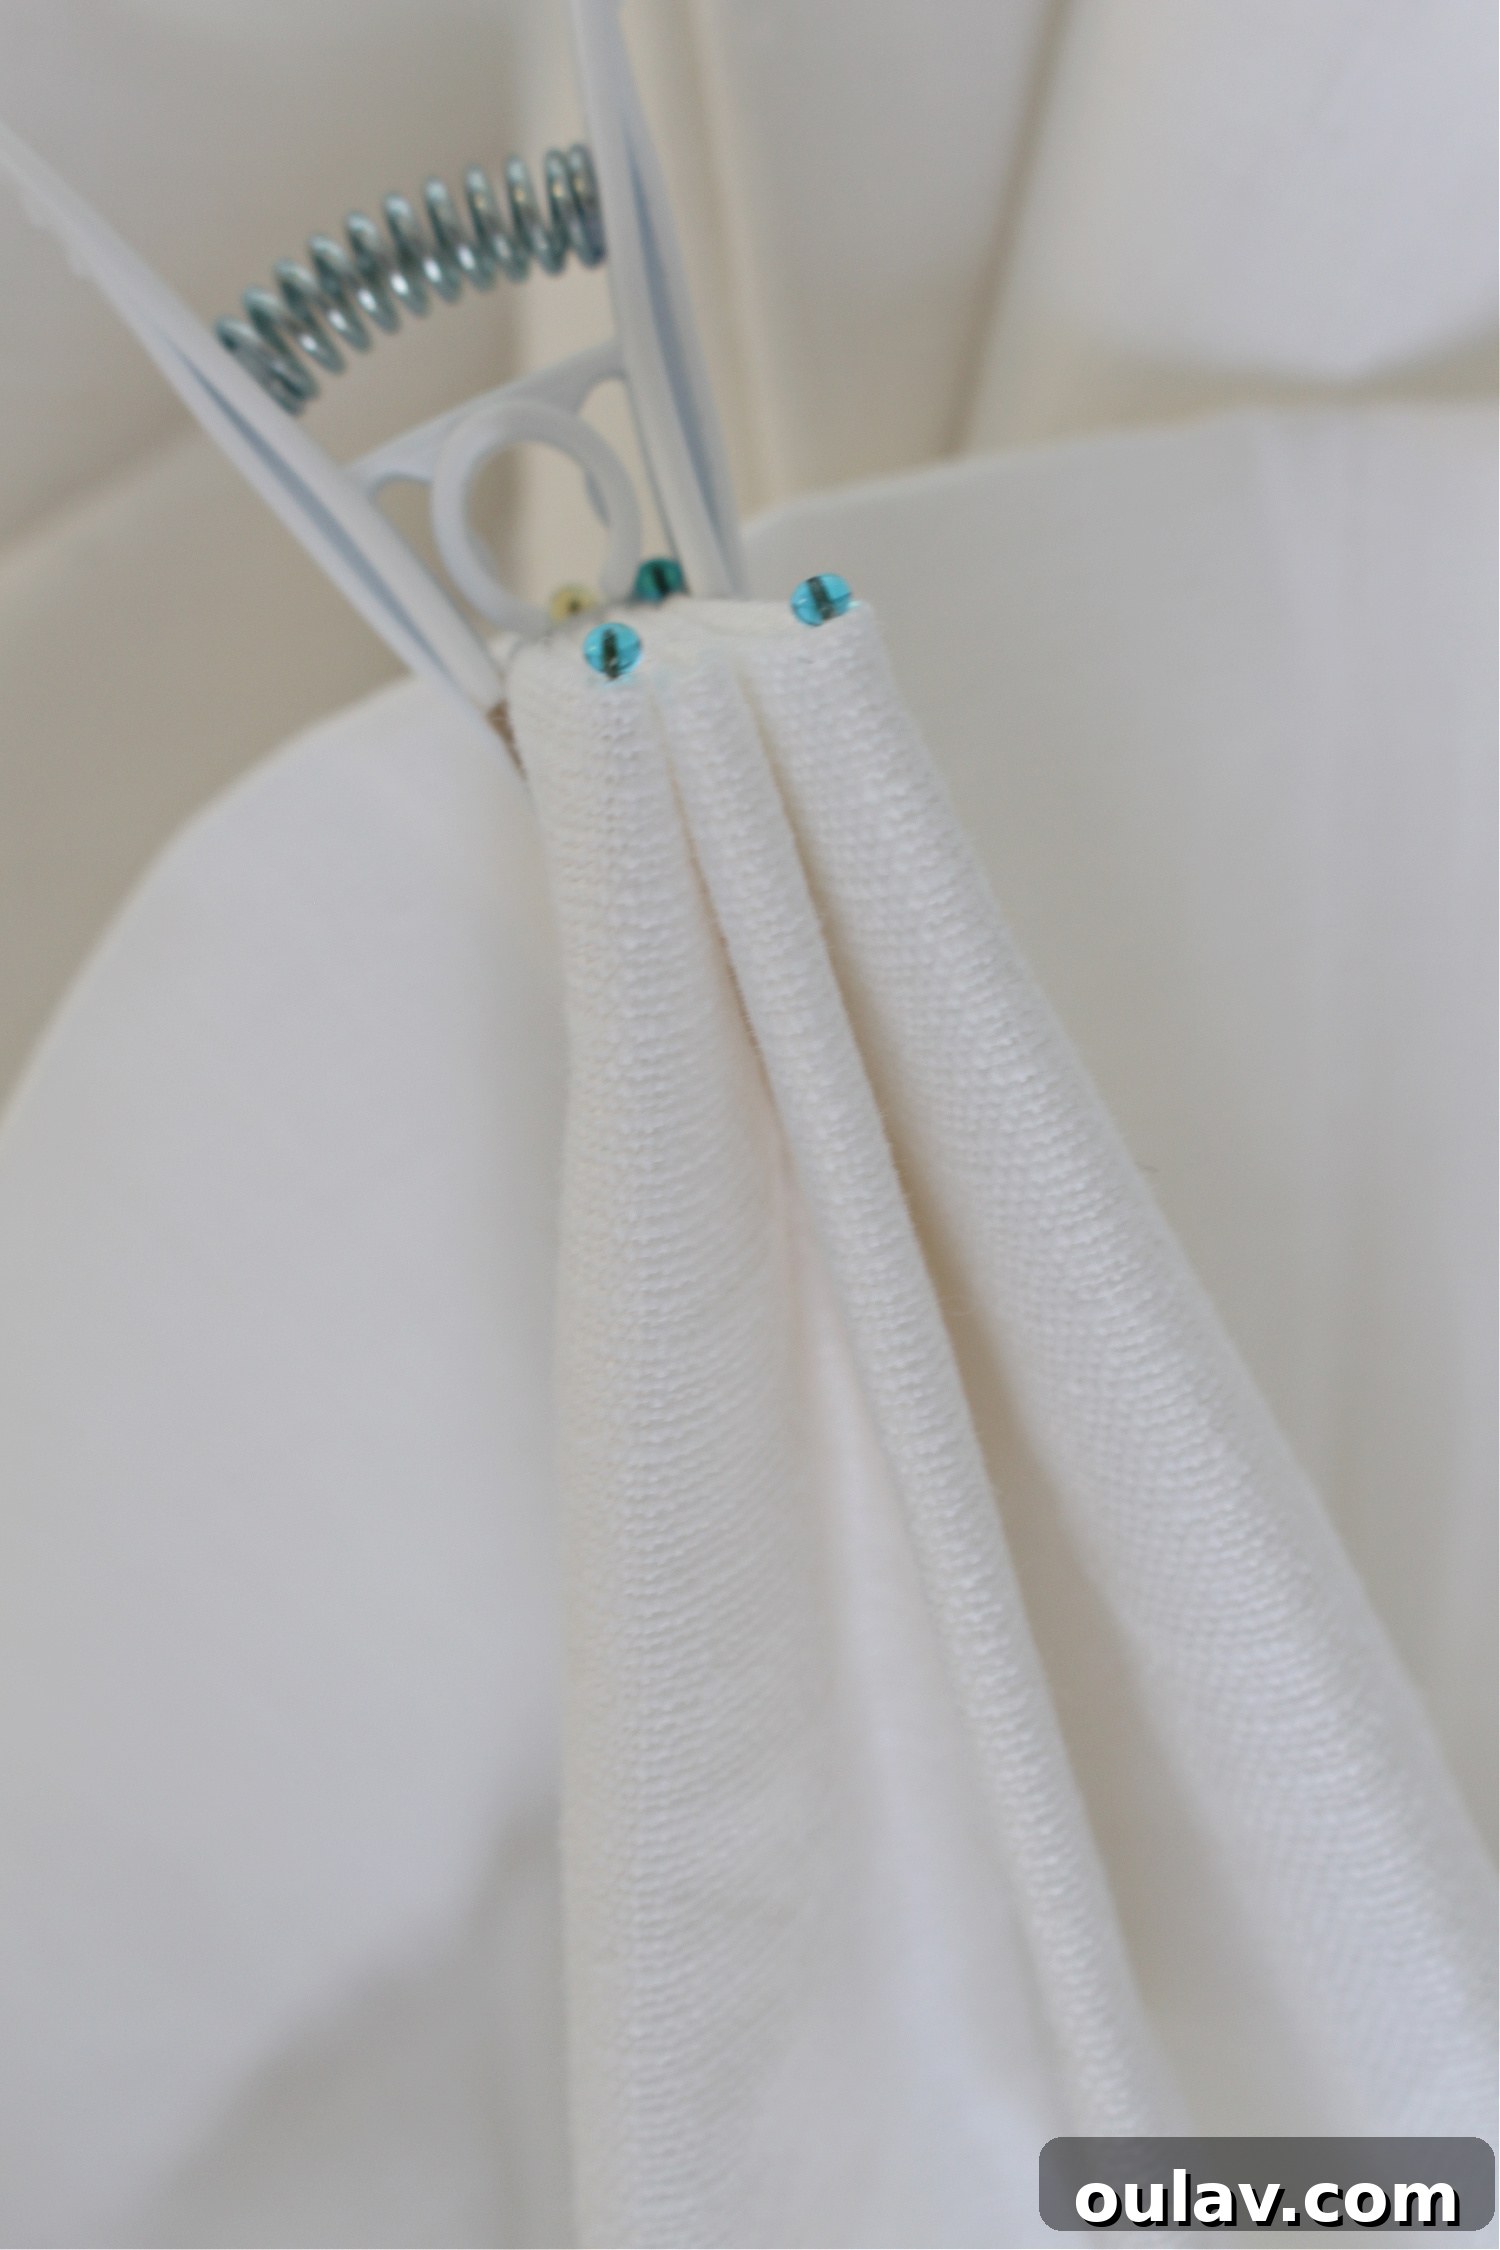
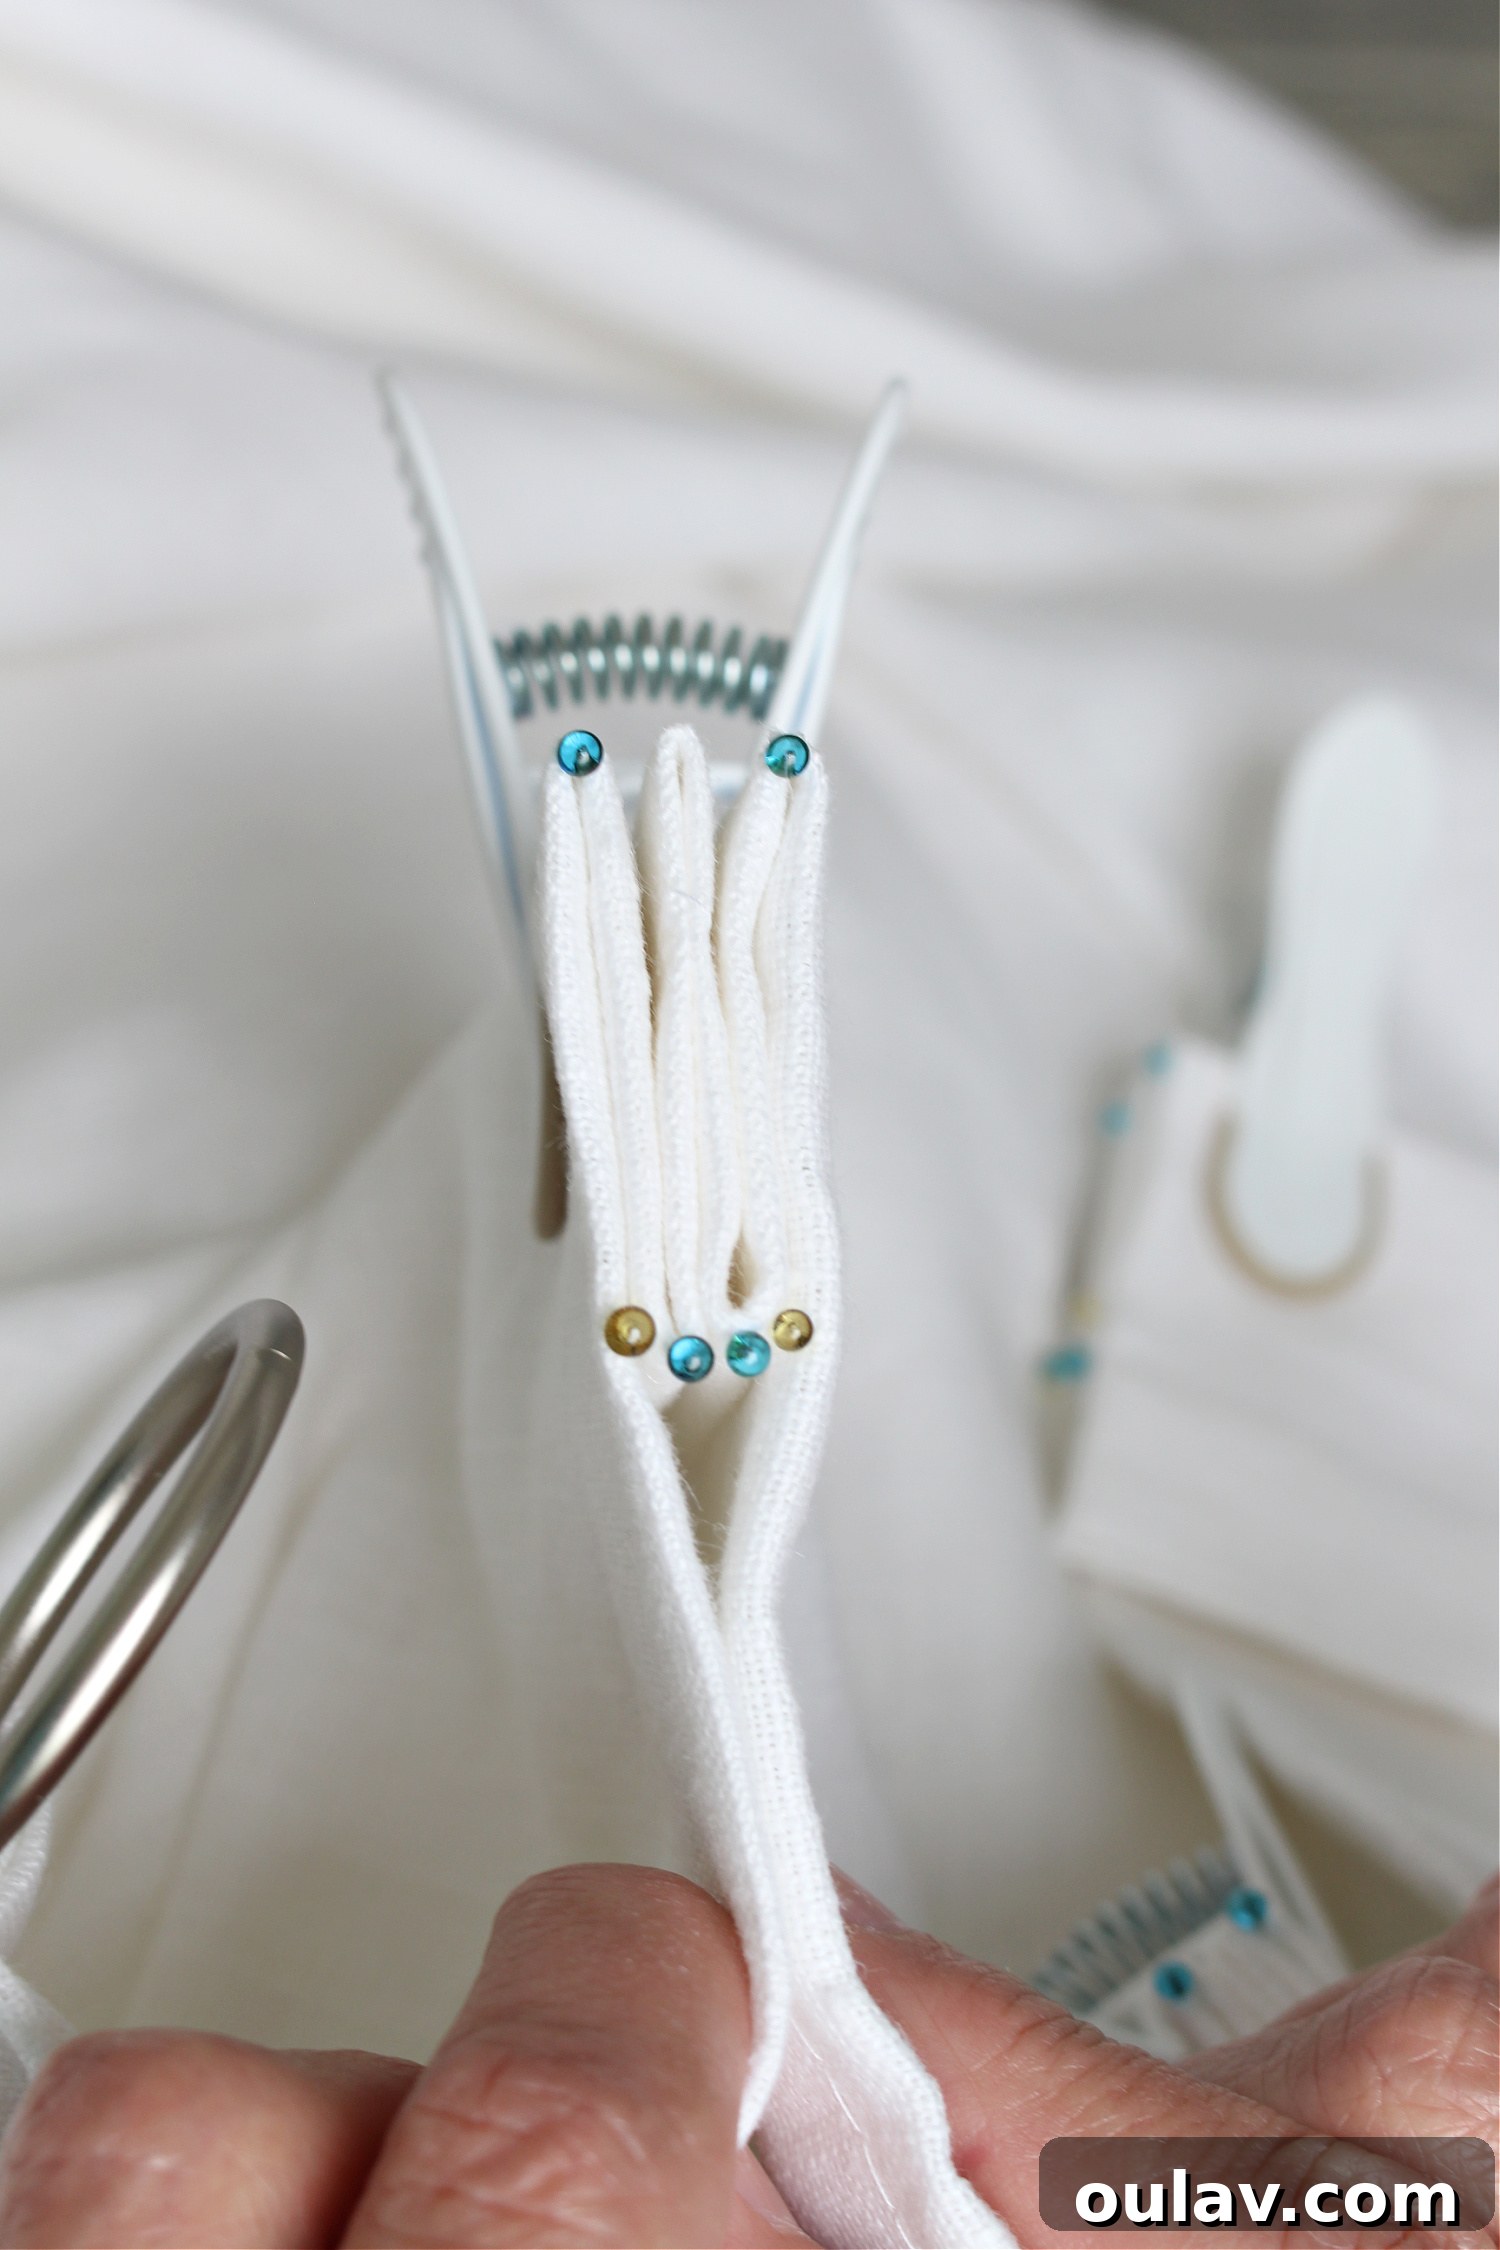
For this crucial hand-stitching, we used a thicker button thread, renowned for its strength and durability. This choice of thread is essential for securing the pleats firmly, ensuring they maintain their elegant shape over time and with use.
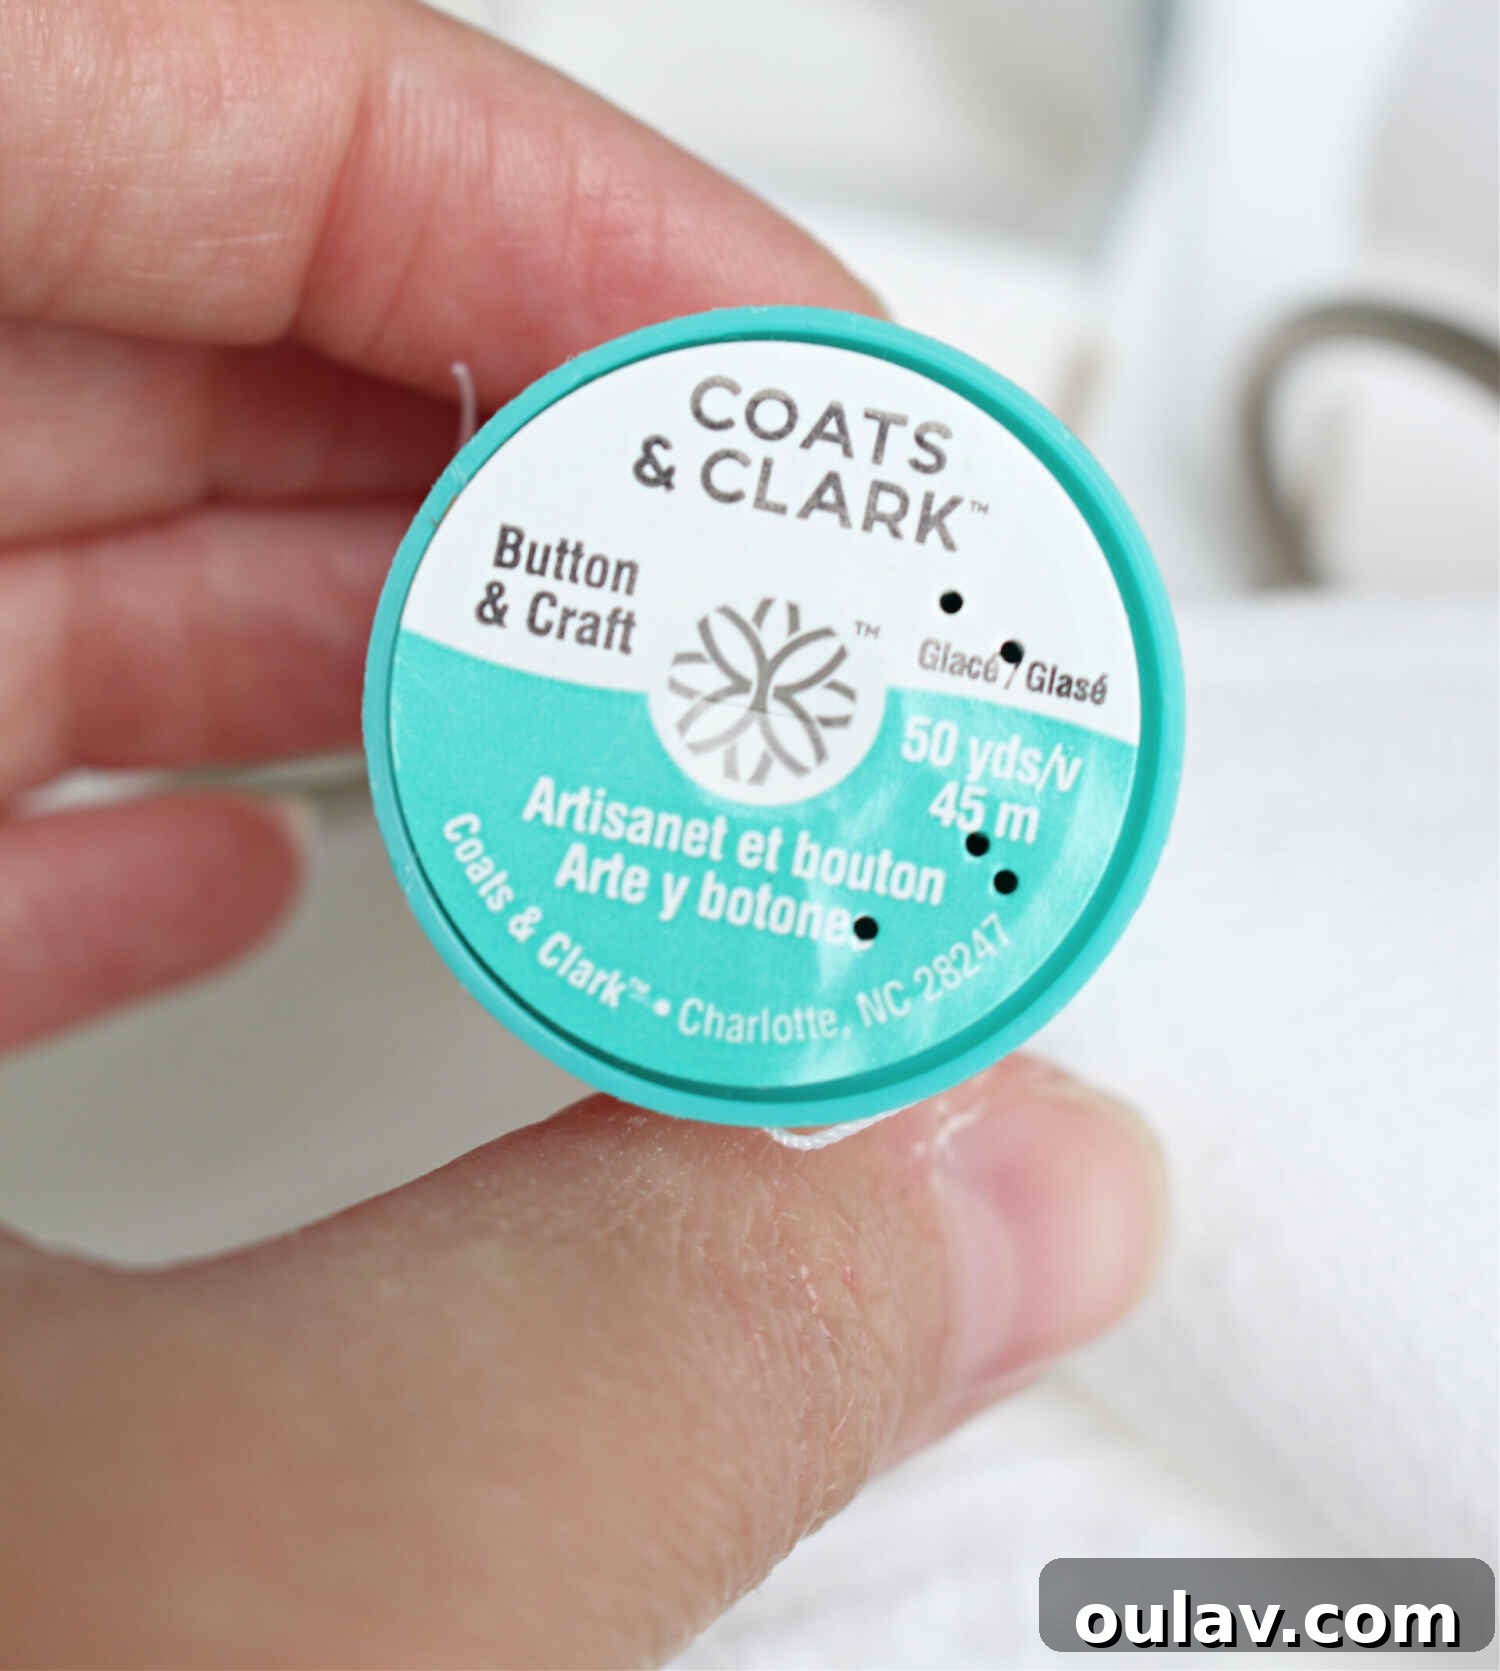
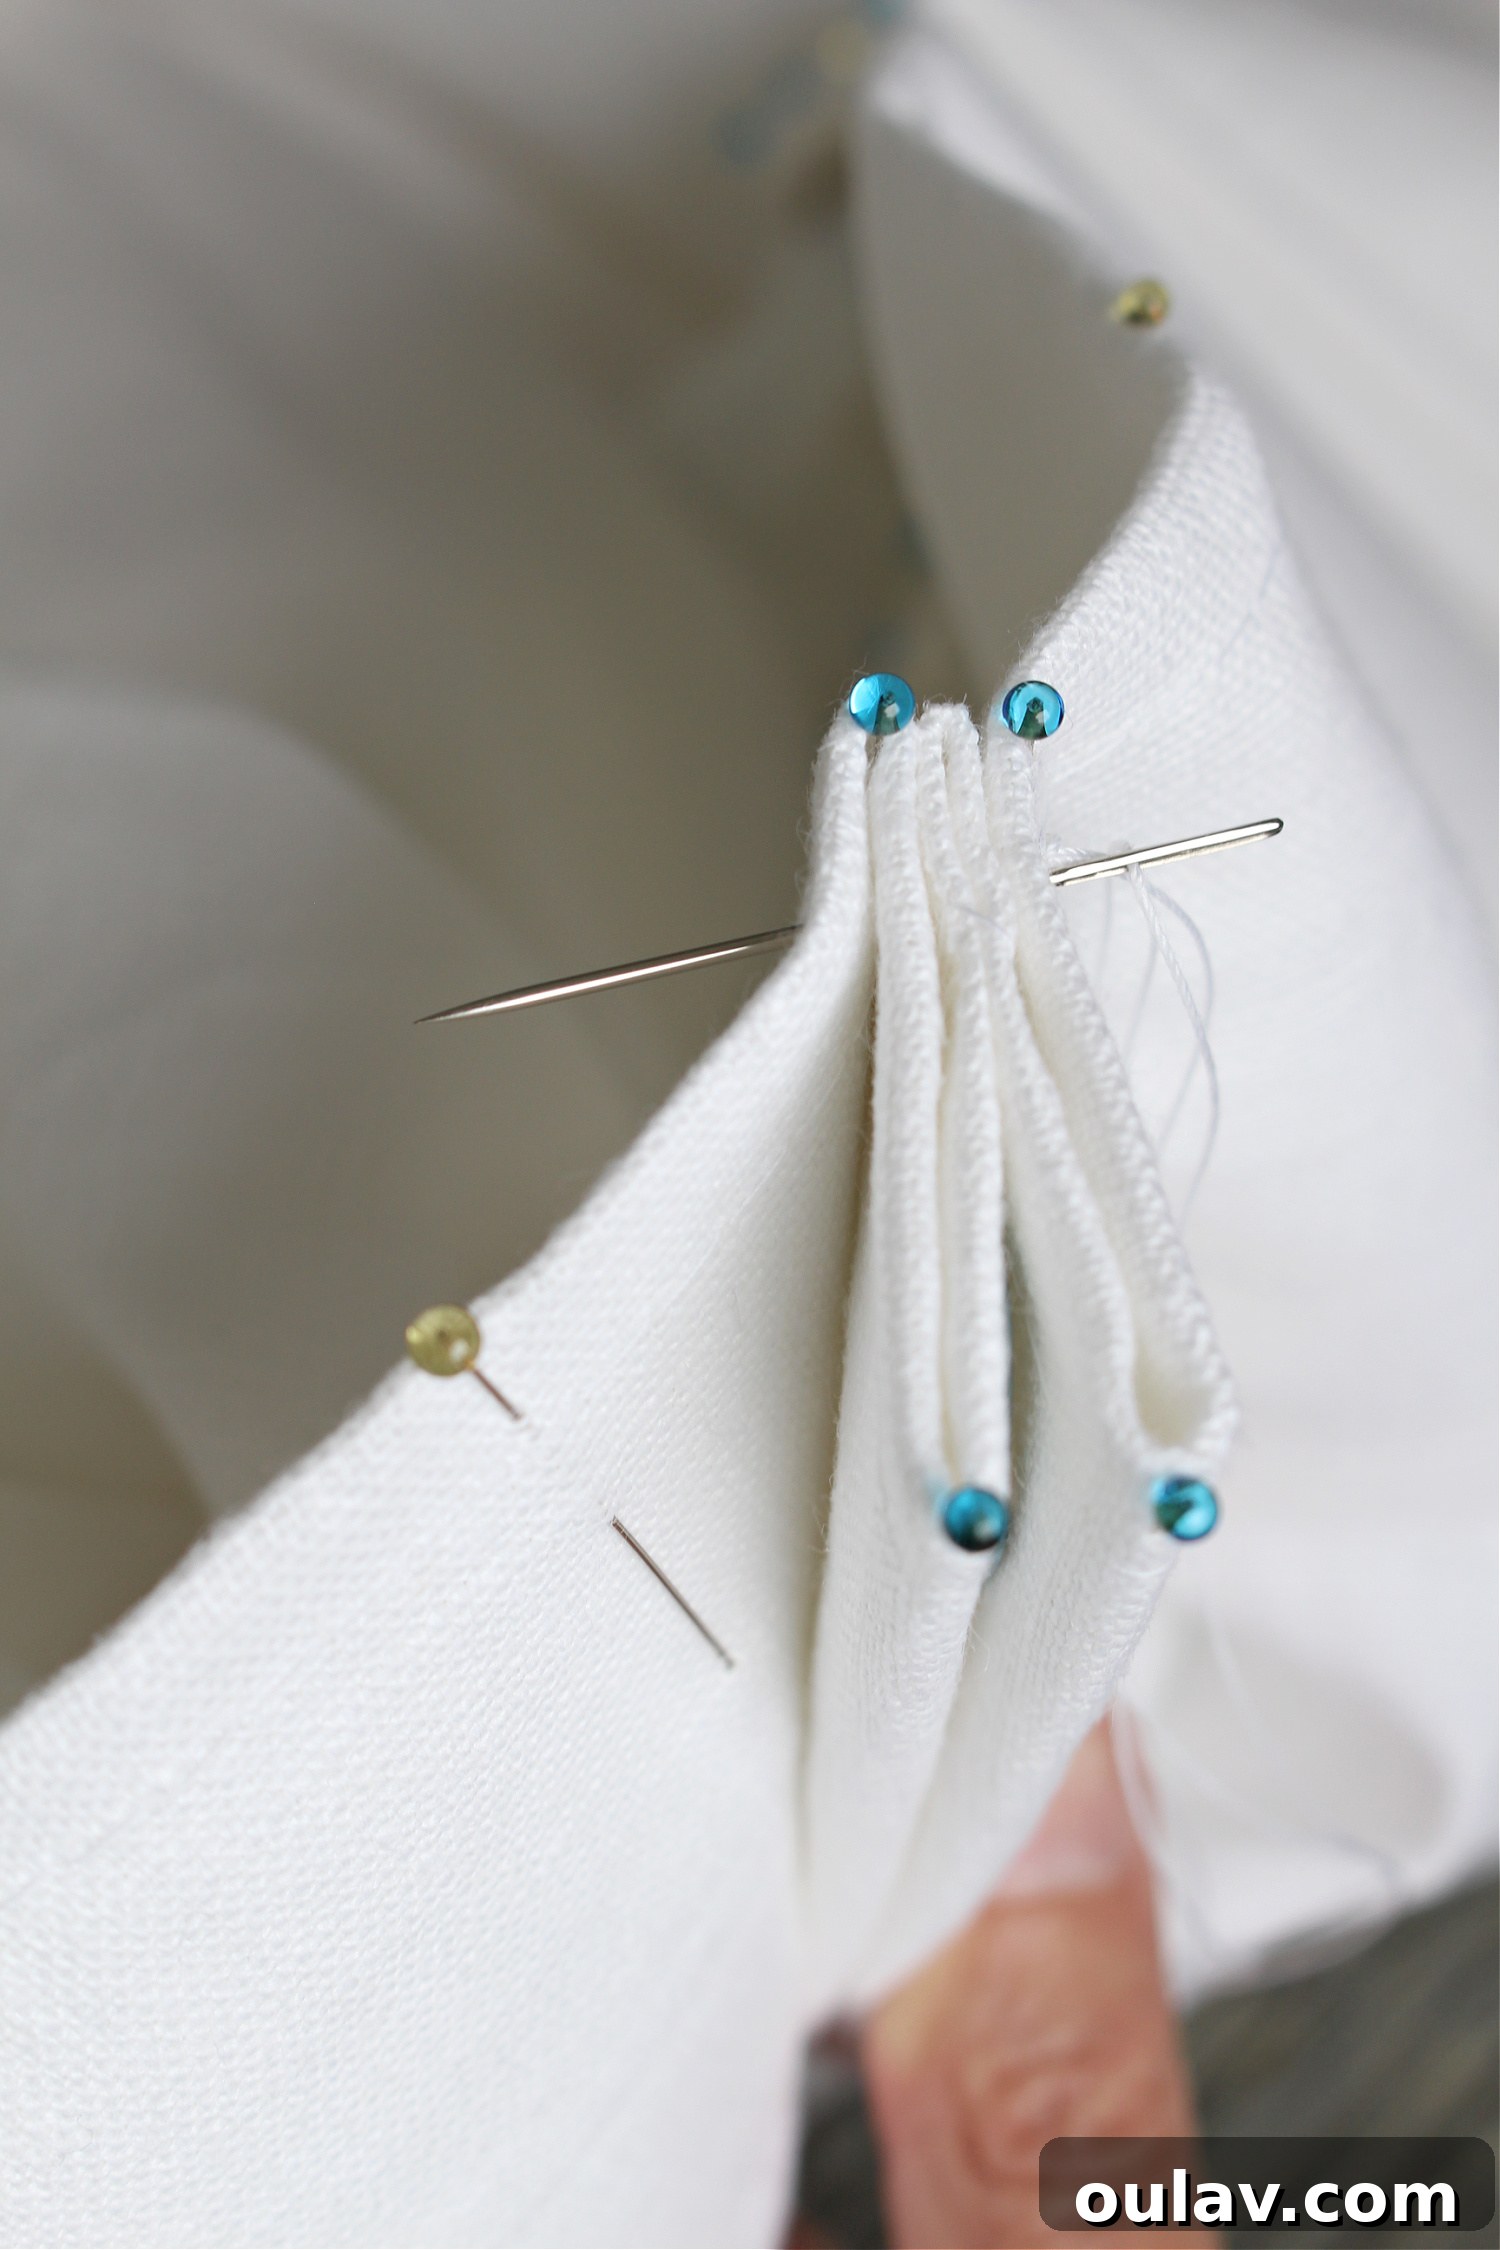
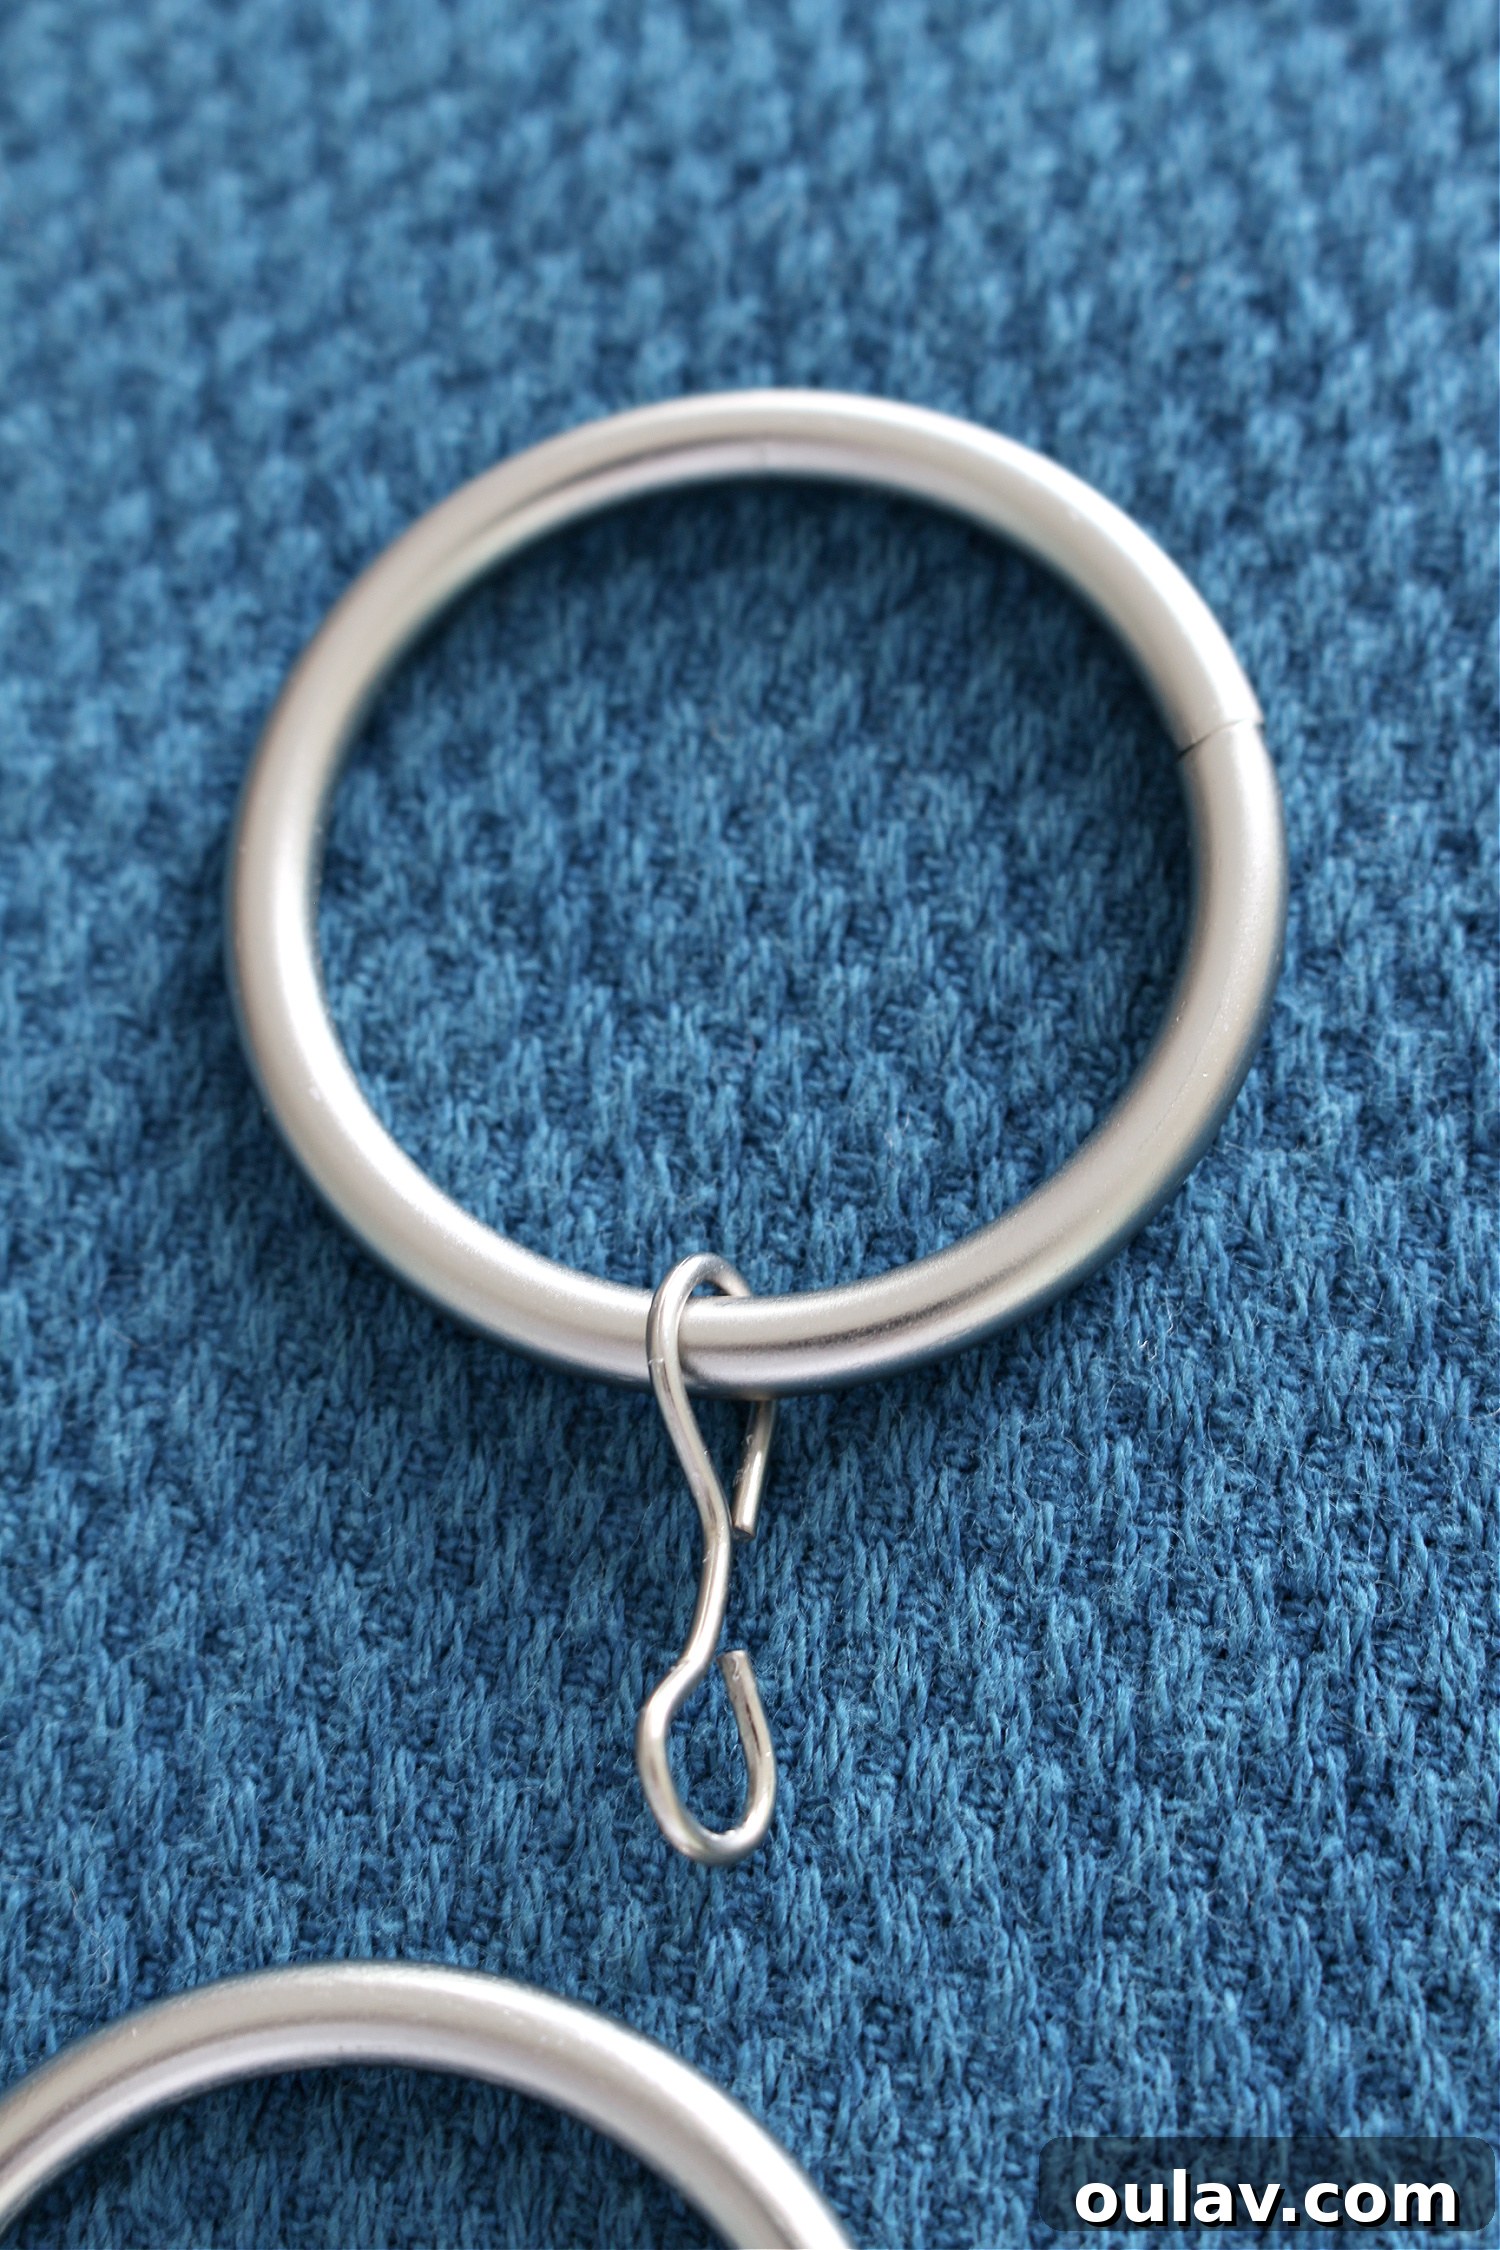
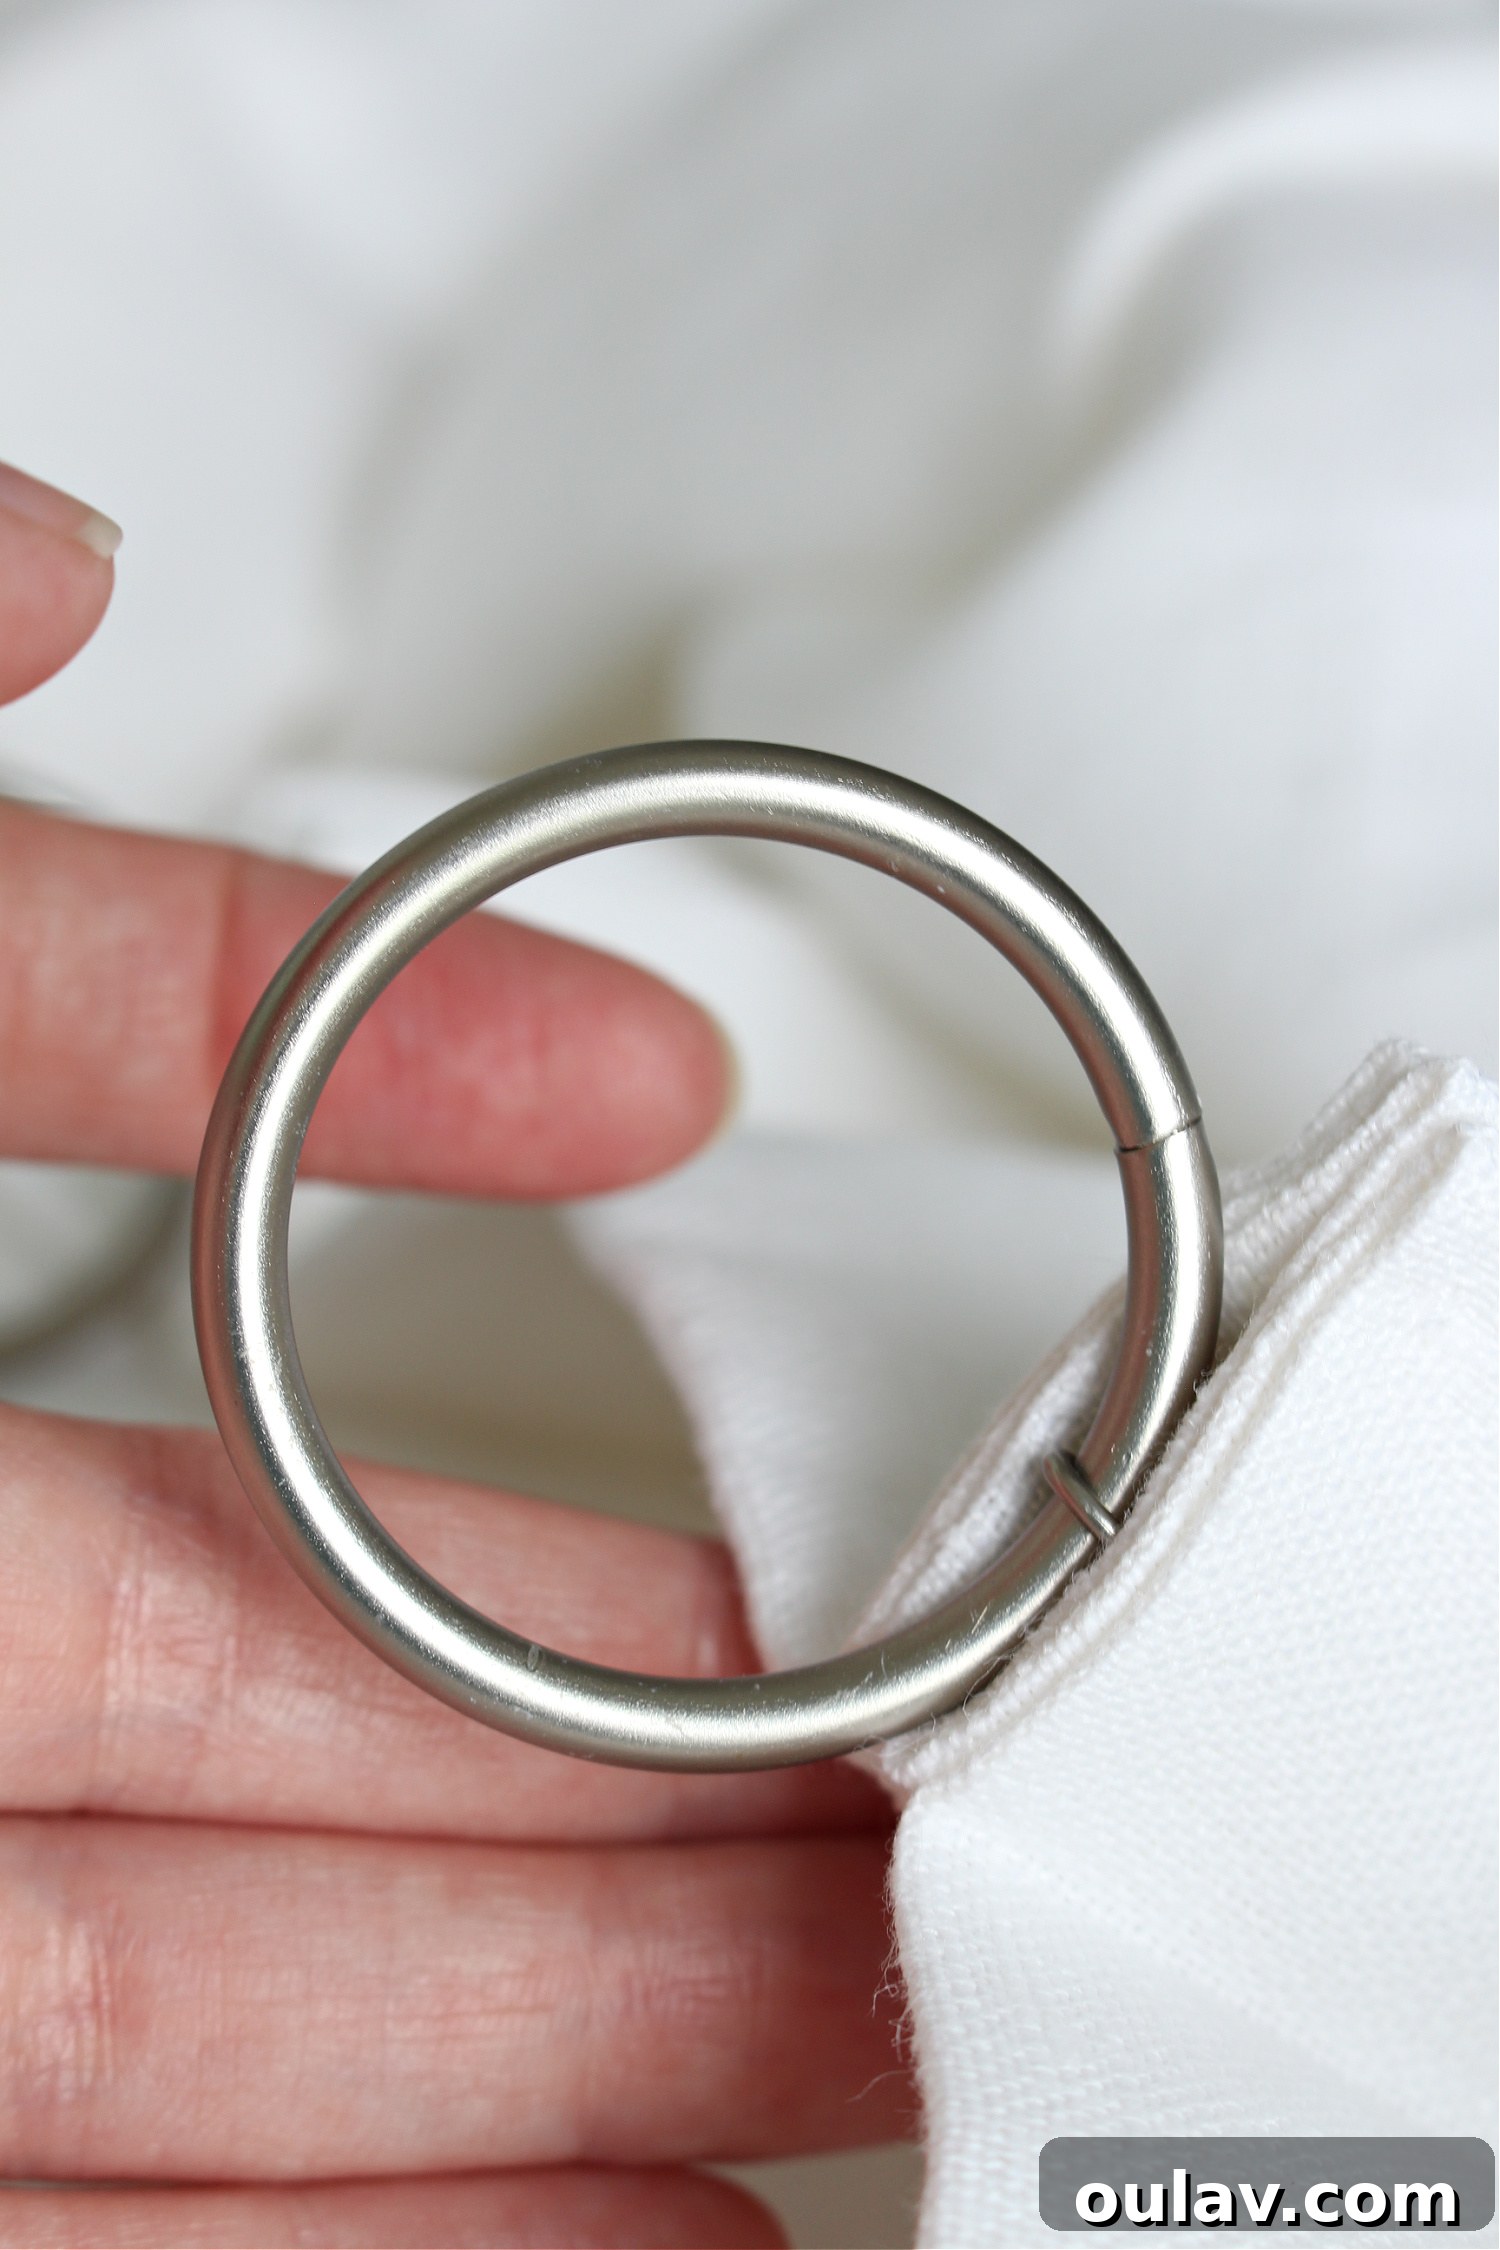
Regarding curtain rings, I faced a slight challenge in finding rings without clips in my desired finish locally. My solution was to purchase rings with clips and then carefully use pliers to remove the clips, leaving me with a simple, elegant double-loopy ring. While you can certainly find purpose-made curtain rings designed for drapery hooks online, my preference for local shopping to perfectly match my custom curtain rod led to this resourceful modification.
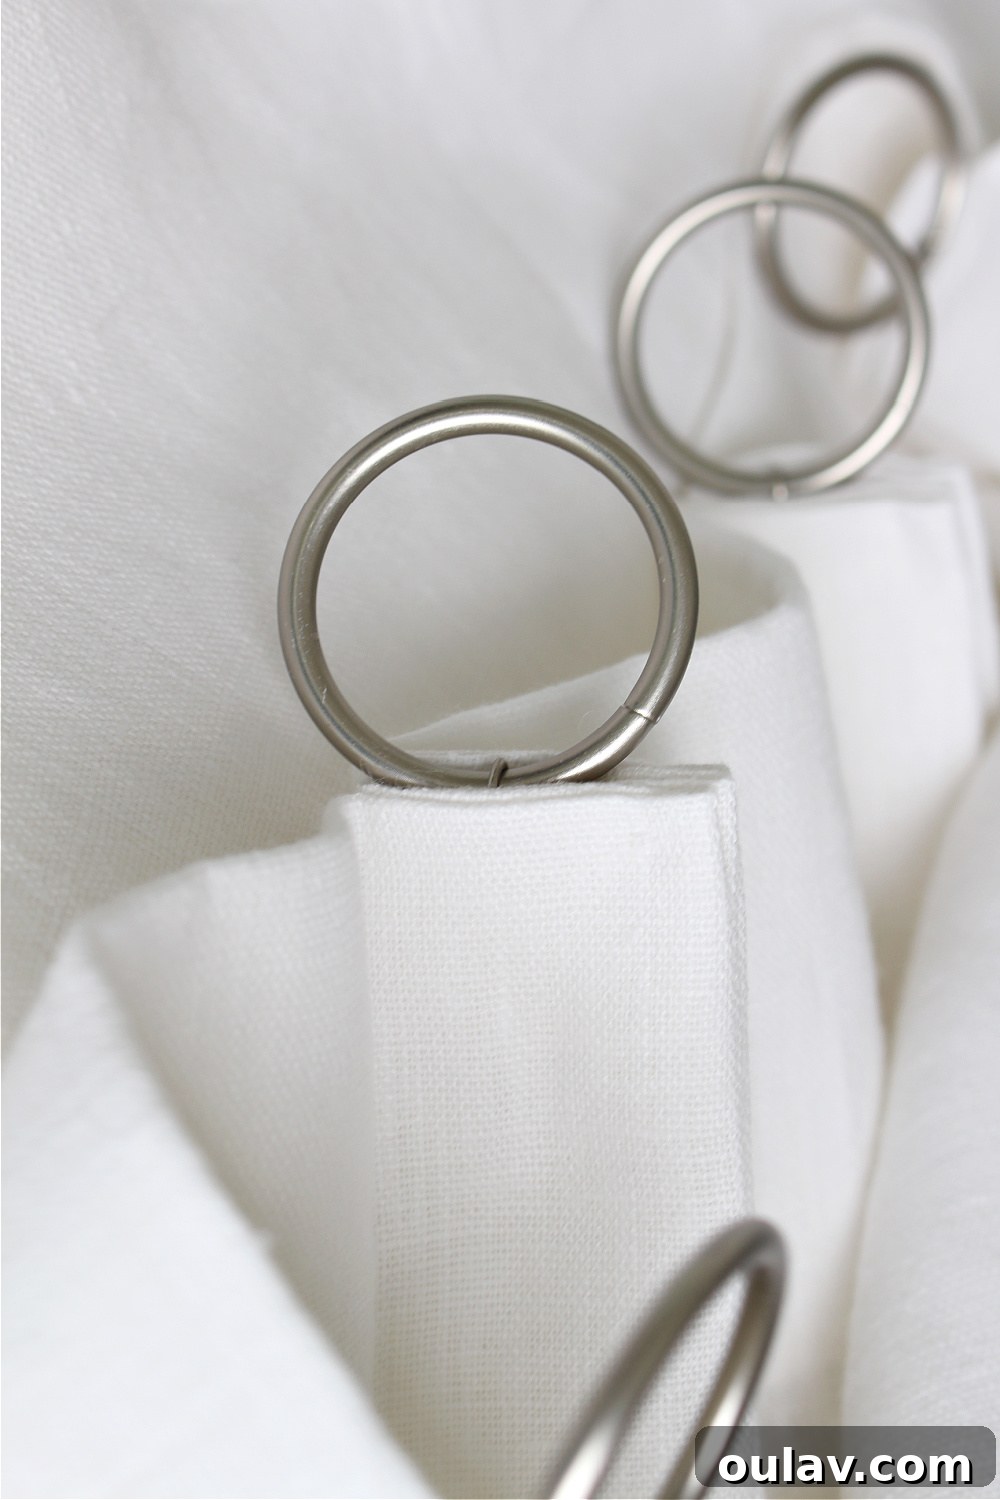
Here’s a clear illustration of how all the components—the pleat, the drapery hook, and the curtain ring—connect. Notice the deliberate positioning of the drapery hook, ensuring that when hung, only the elegant curtain ring is visible, maintaining a clean and uninterrupted visual line.
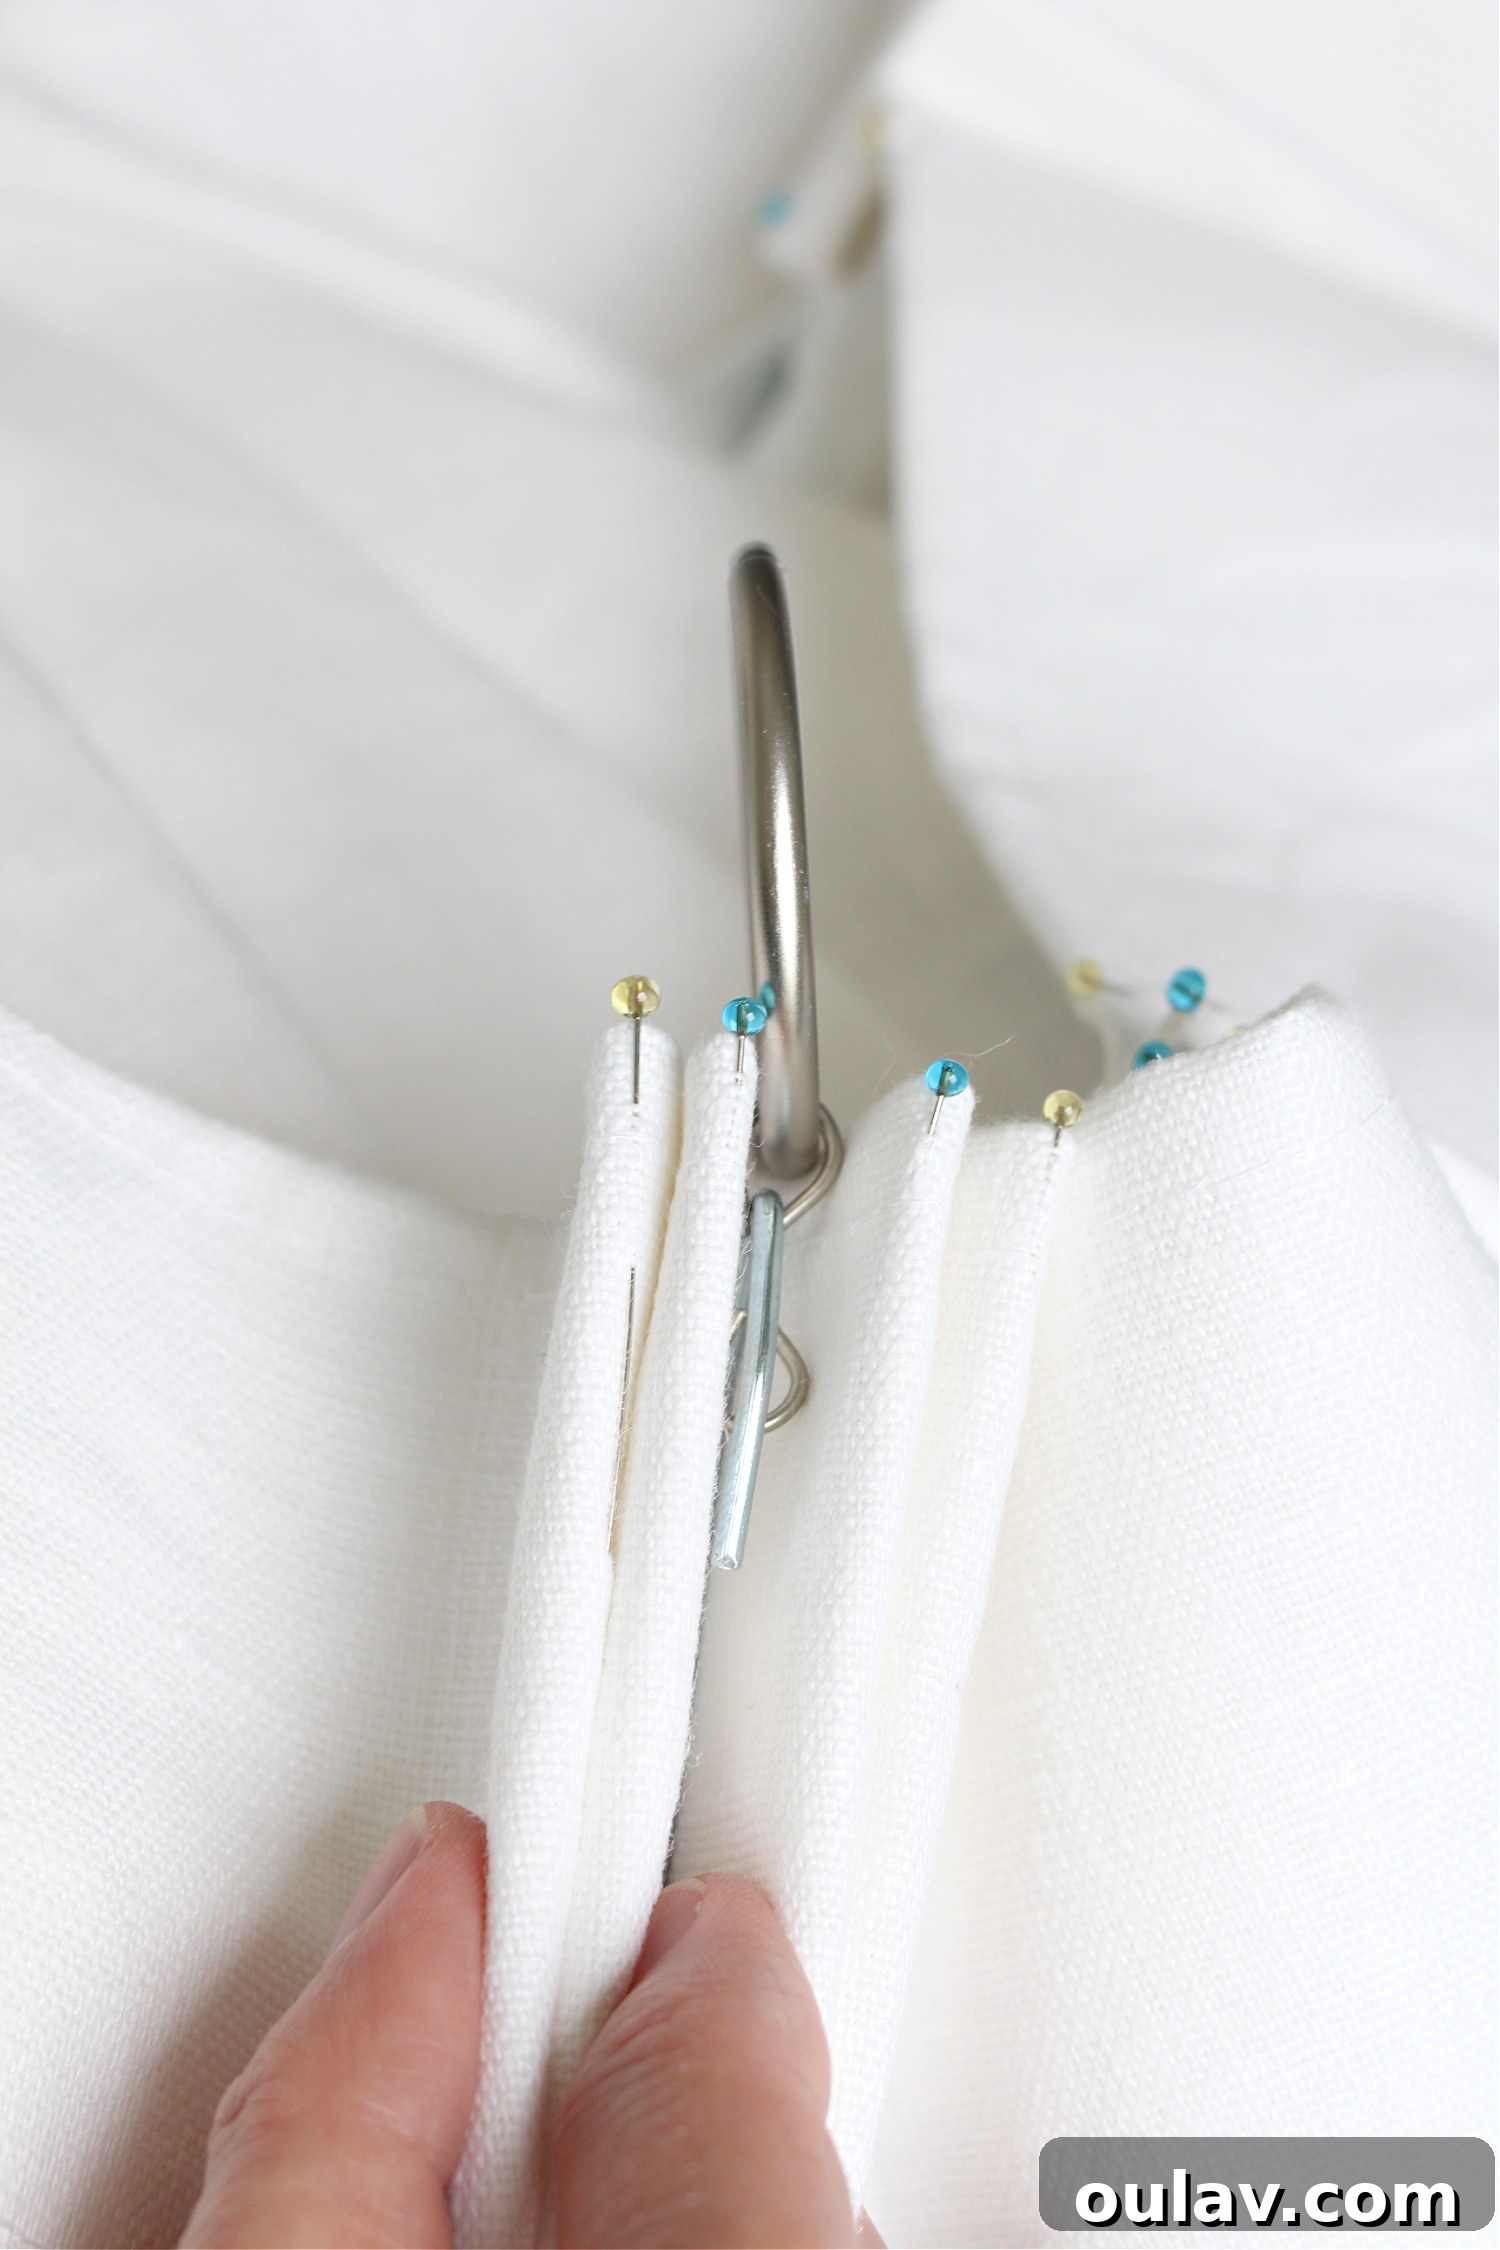
With the curtain ring now securely hooked onto the drapery hook, my mother completed the hand-stitching by meticulously sewing together the back of each pleat. This involved stitching the sections marked by the yellow and blue pins, and then further securing the two blue-pinned sections. The key principle here is to firmly anchor the outside of the pleat as you stitch, providing maximum stability and structure. We found that simply sewing the channel and then sliding in the hook and ring didn’t achieve the perfect drape we envisioned. By encasing both the drapery hook and the ring directly within the heart of the pleat, the fabric hangs flawlessly, creating that ideal, controlled drape and wave.
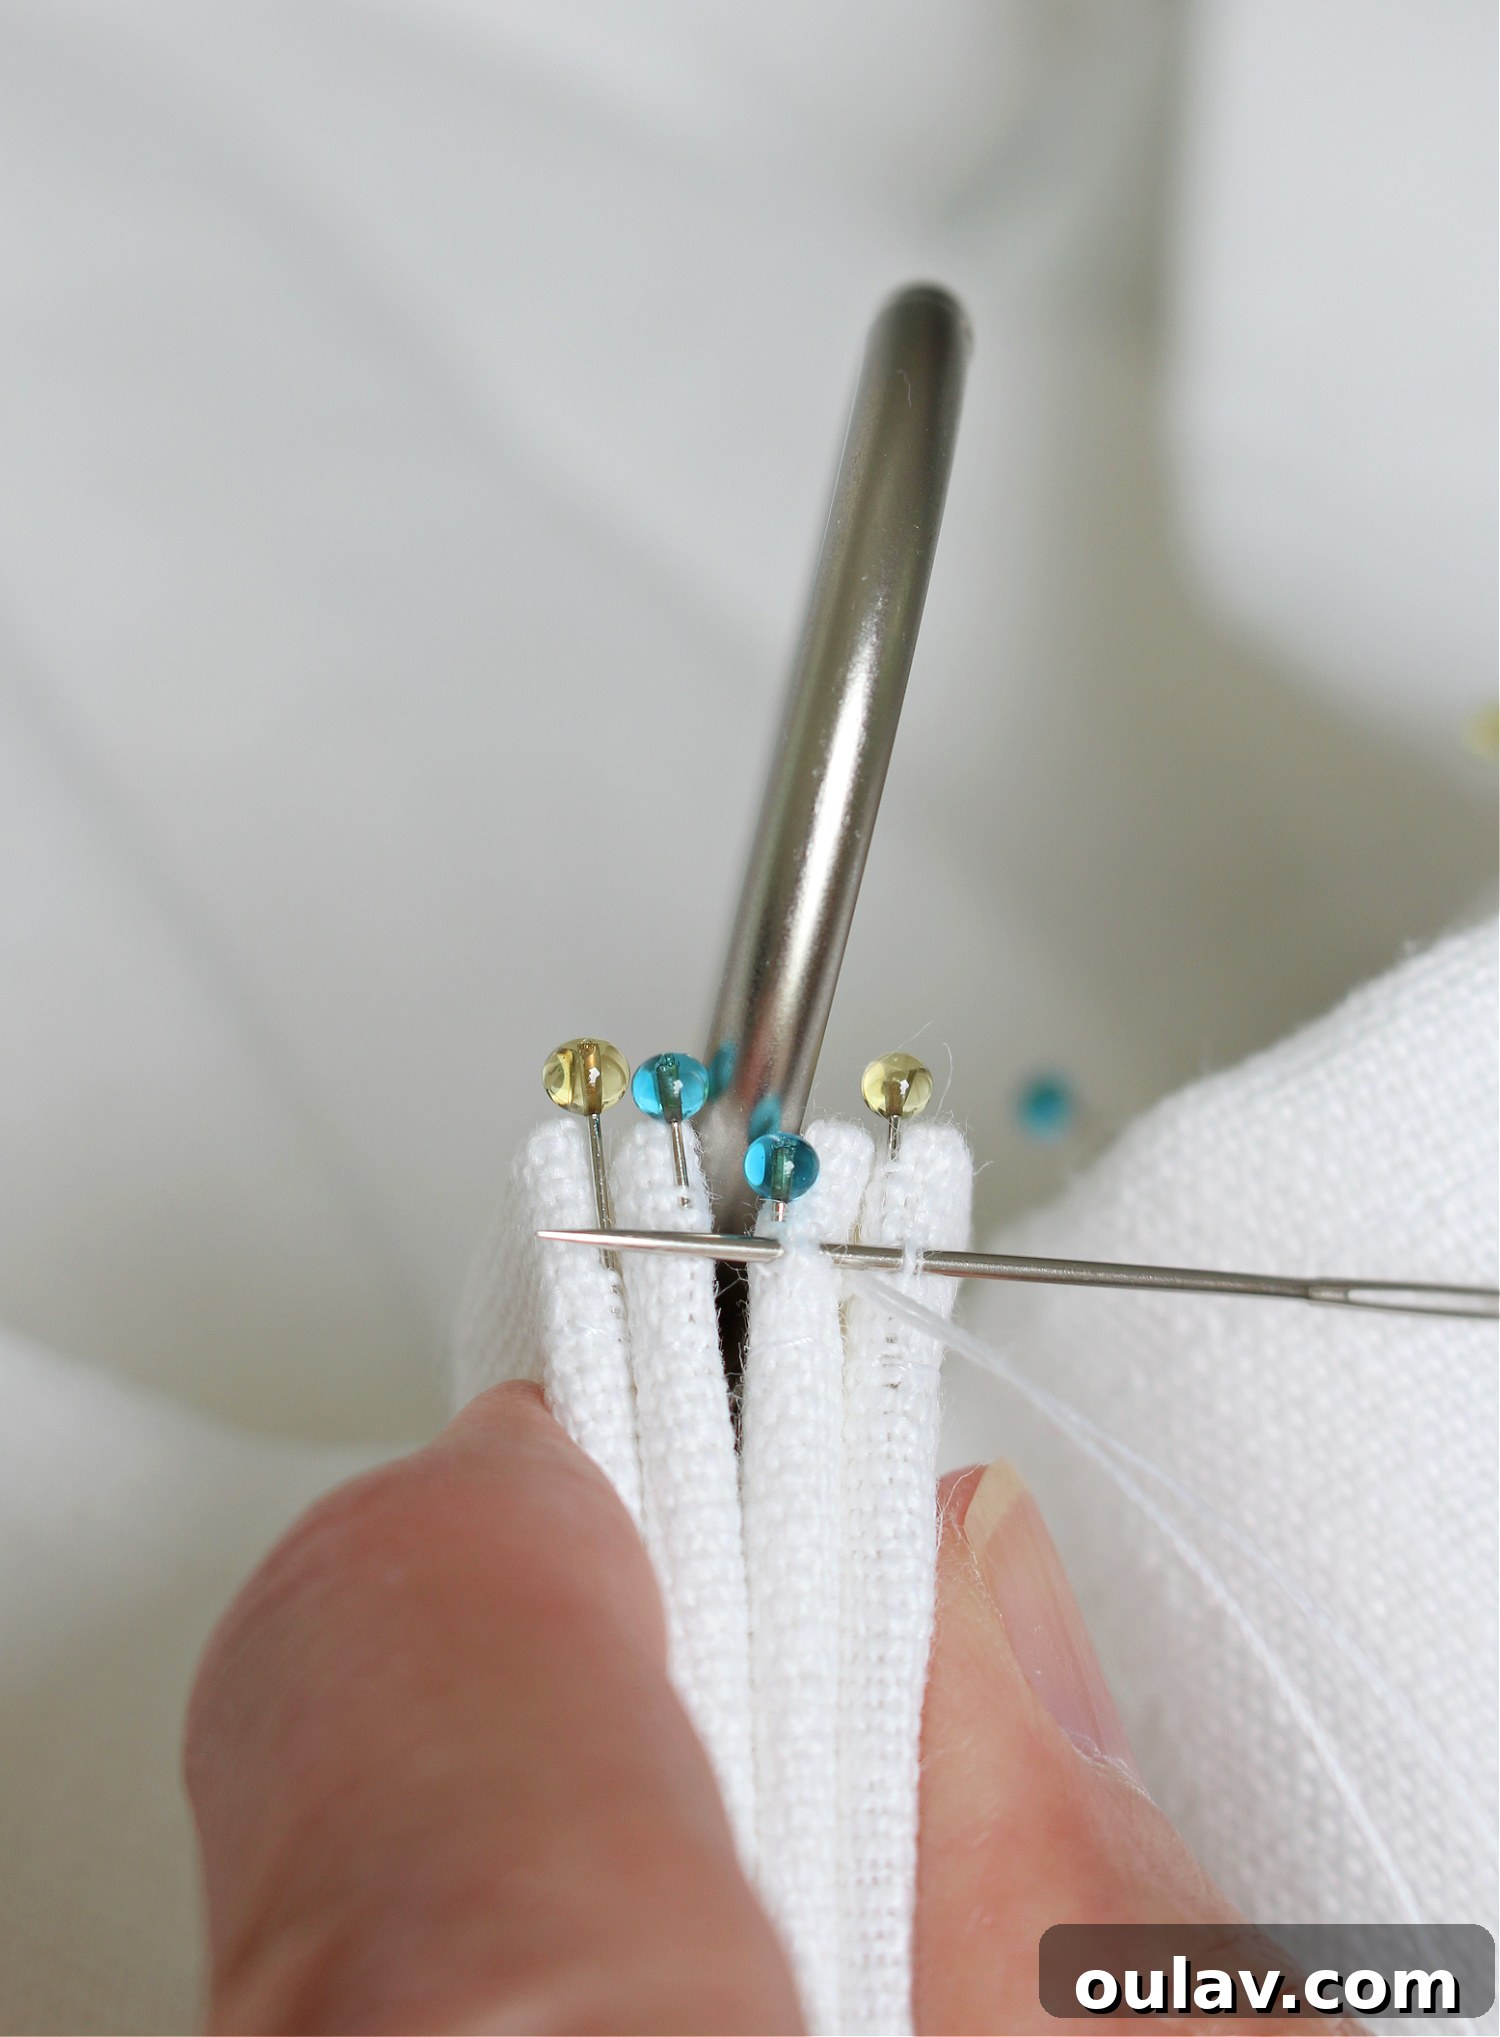
This technique ensures that the drapery ring emerges directly from the middle of the pleat, rather than from the back. This strategic placement prevents the pleat from wanting to drop forward slightly, guaranteeing a consistent and elegant fall from the curtain rod.
Here’s a detailed view of the back of the pleat, showcasing the meticulous hand-stitching that holds it all together, a testament to the custom craftsmanship involved.
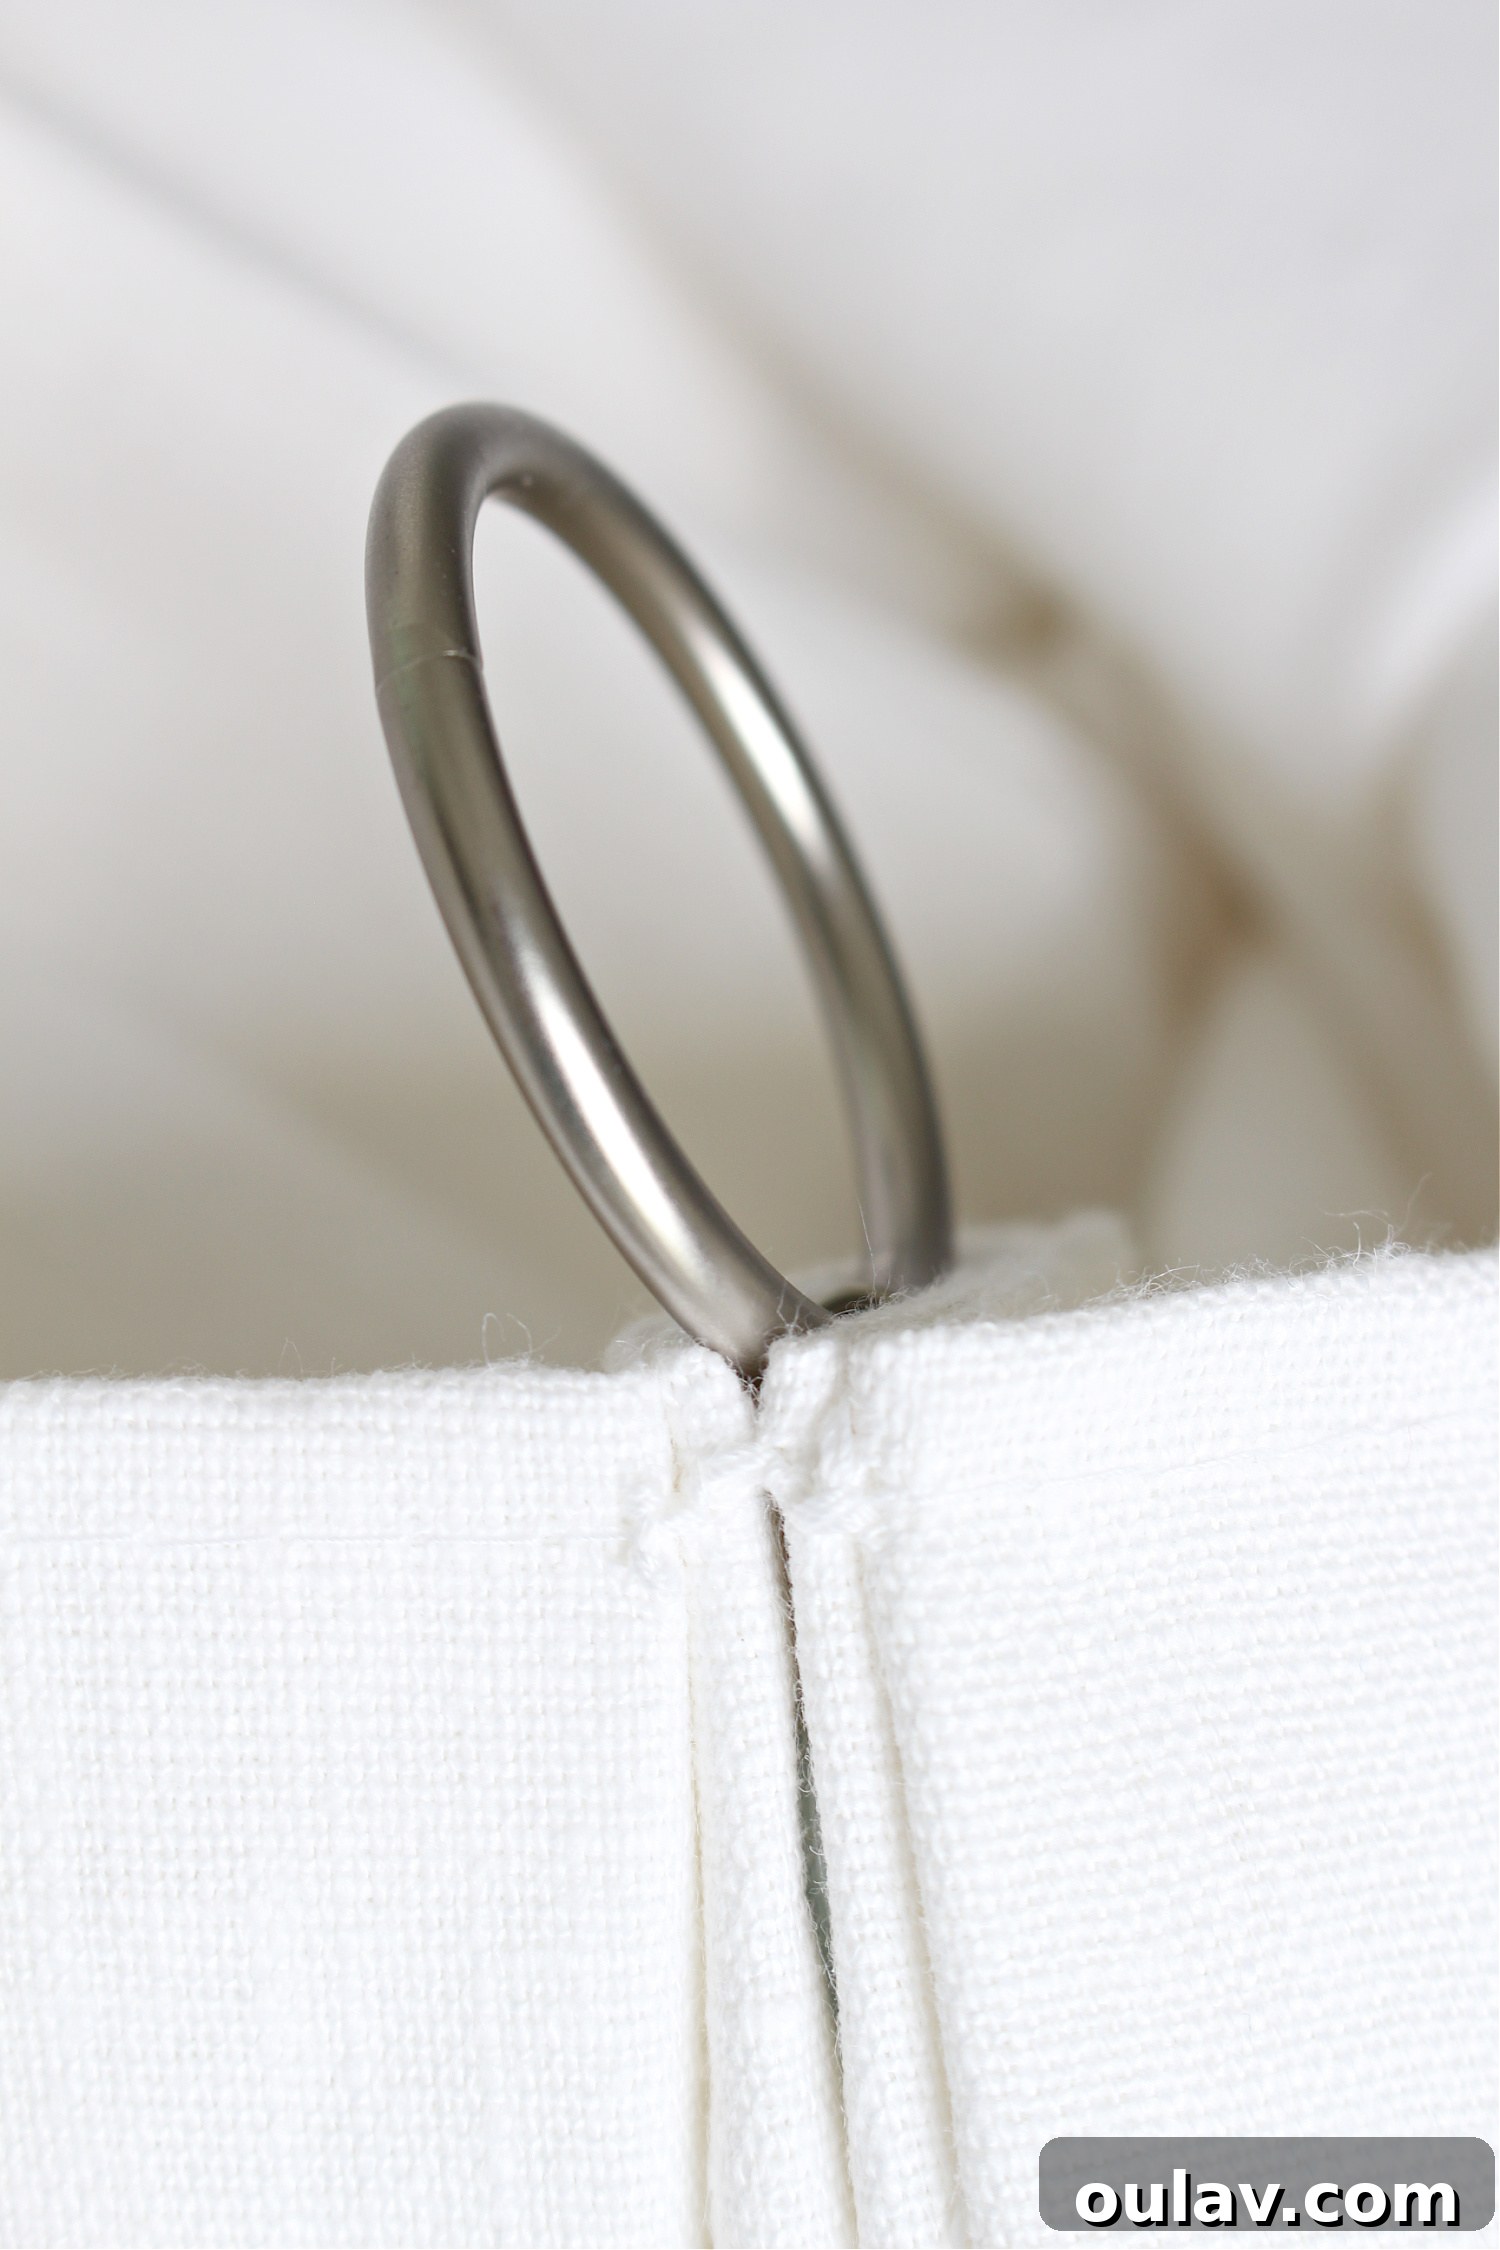
And a side view, illustrating the crisp definition and elegant projection of the finished Euro pleat.
Once the intricate hand-stitching of all the Euro pleats was complete, we proceeded with an important, often overlooked, step: hanging the curtains in their un-hemmed state and allowing them to relax for several days. Linen fabric, known for its natural fibers, can subtly stretch and settle over time, especially when hung. This waiting period ensures that any natural give in the fabric occurs before the final hemming, guaranteeing that our desired “just above the ground” no-break hem would be perfectly maintained. Tonic Living informed us that this particular tight-weave linen would likely stretch only about 1/4″, but it’s still a crucial precaution. After the relaxation period, we carefully ironed the bottom edge and then proceeded to sew a generous 9″ hem. Again, for a truly invisible finish on the curtain’s front, my mother chose to hand-sew this hem, a detail that further enhances the custom appeal, though machine sewing is also a viable option if preferred.
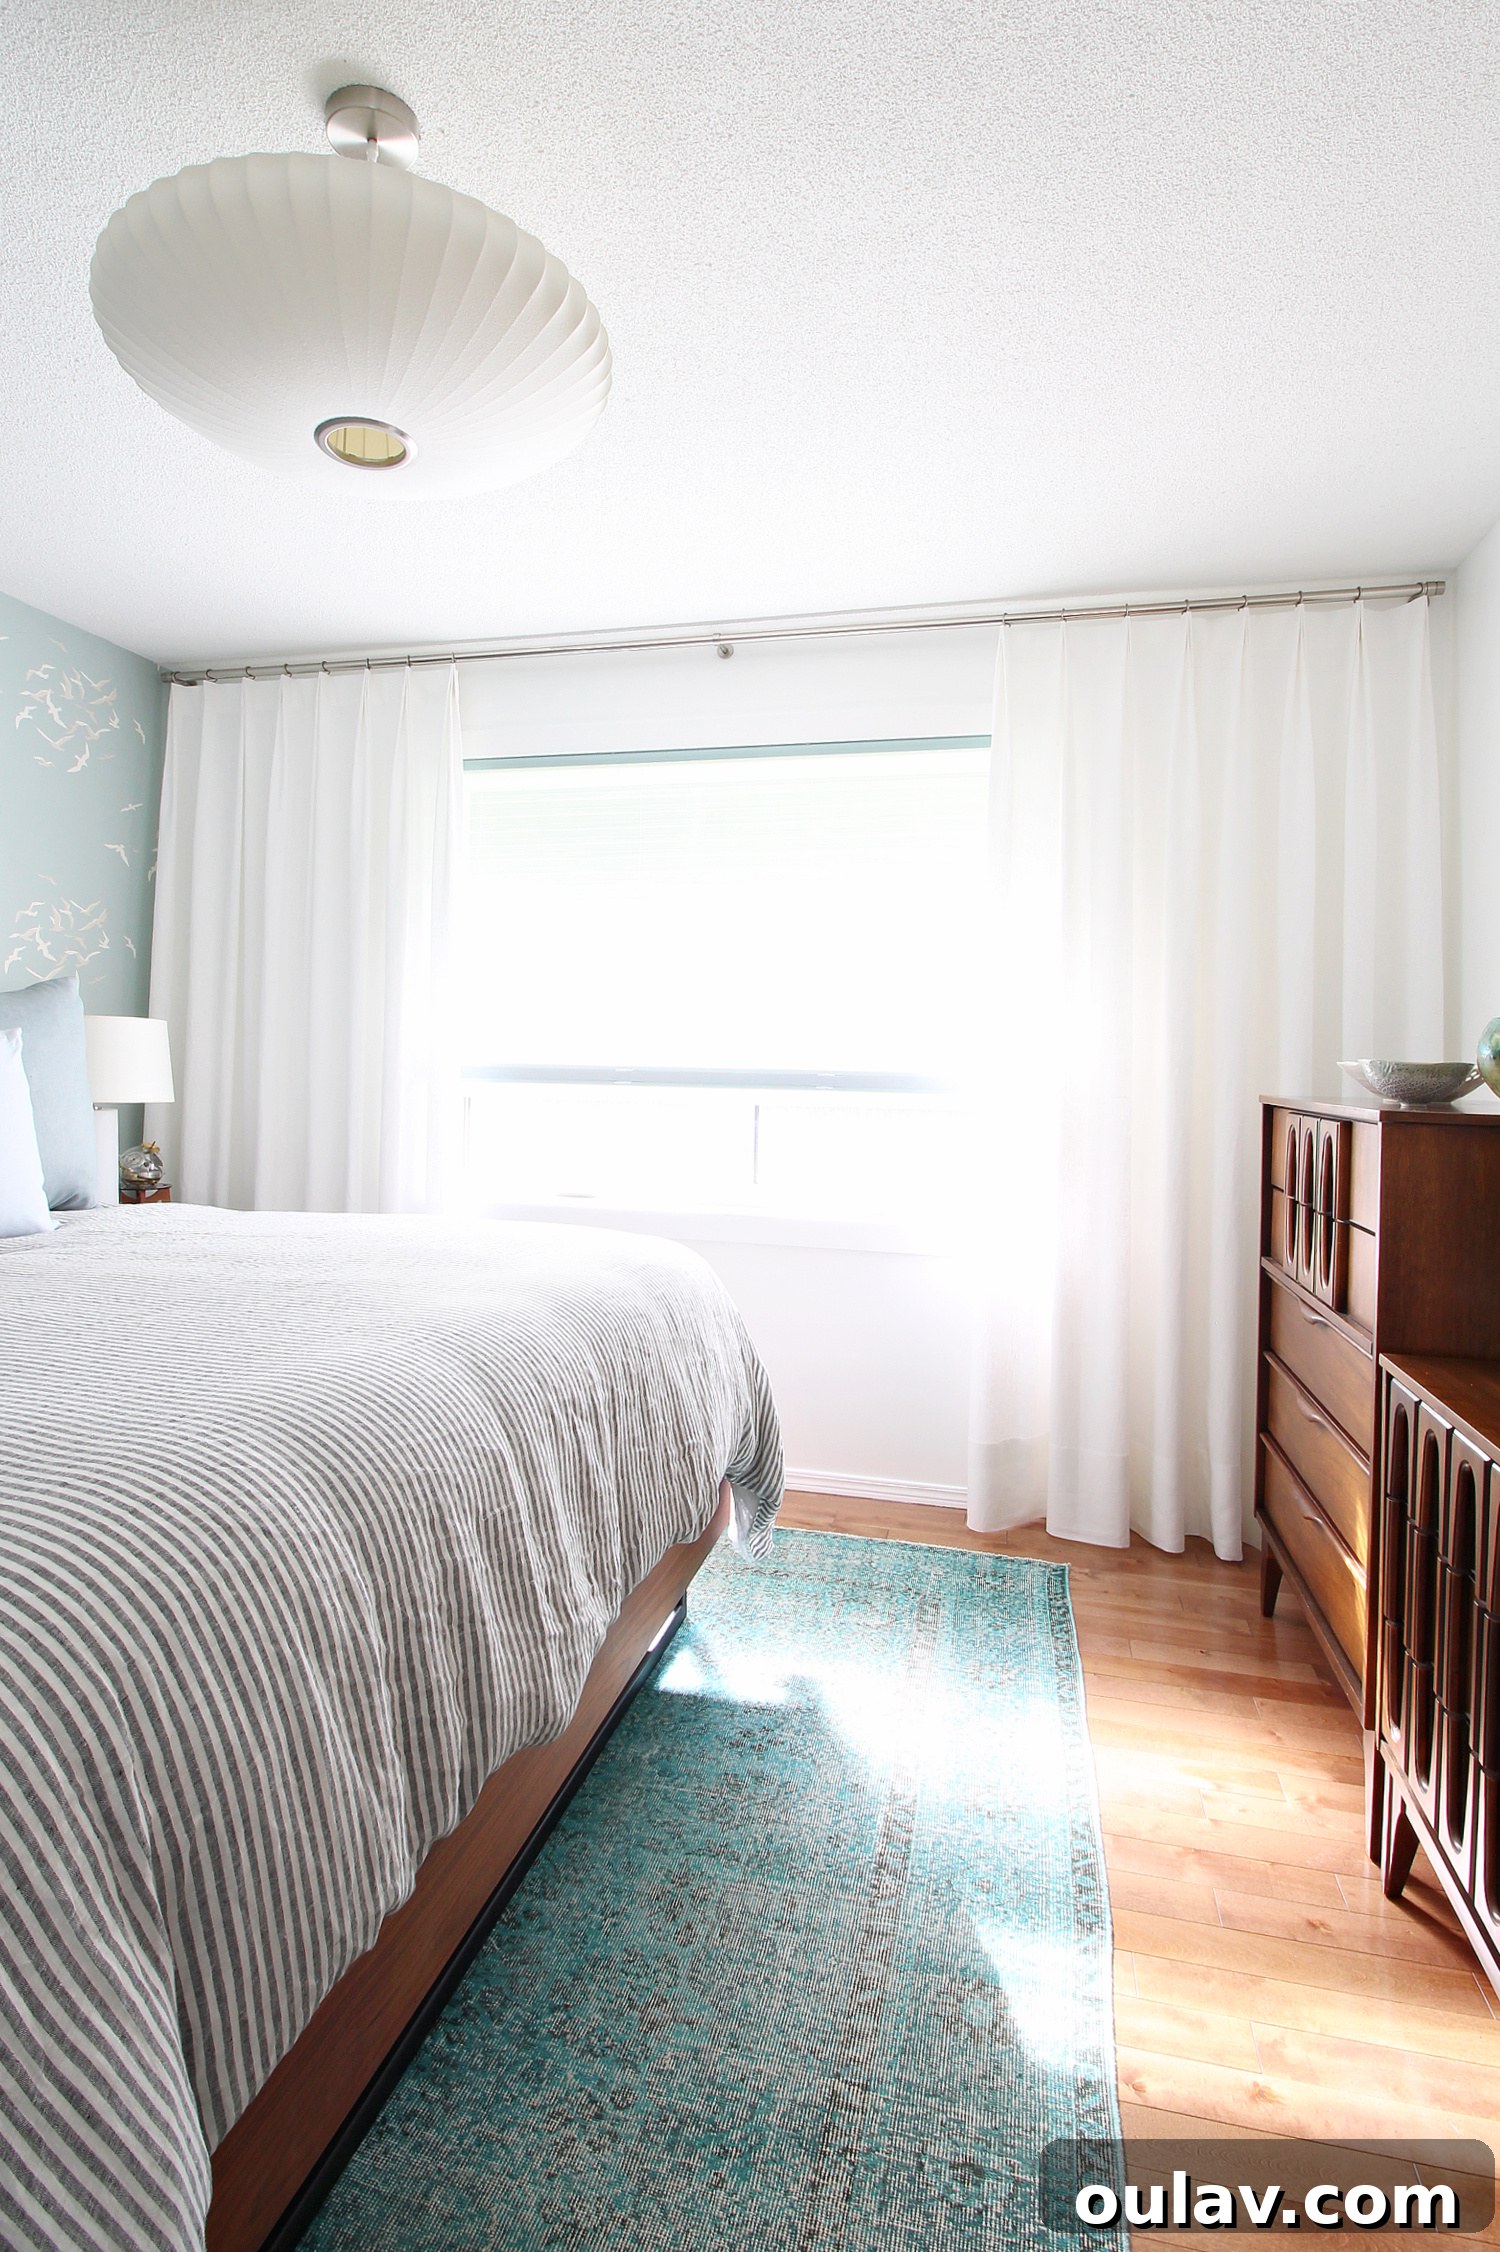
Behold the Finished Euro Pleat Curtains: A Vision of Elegance
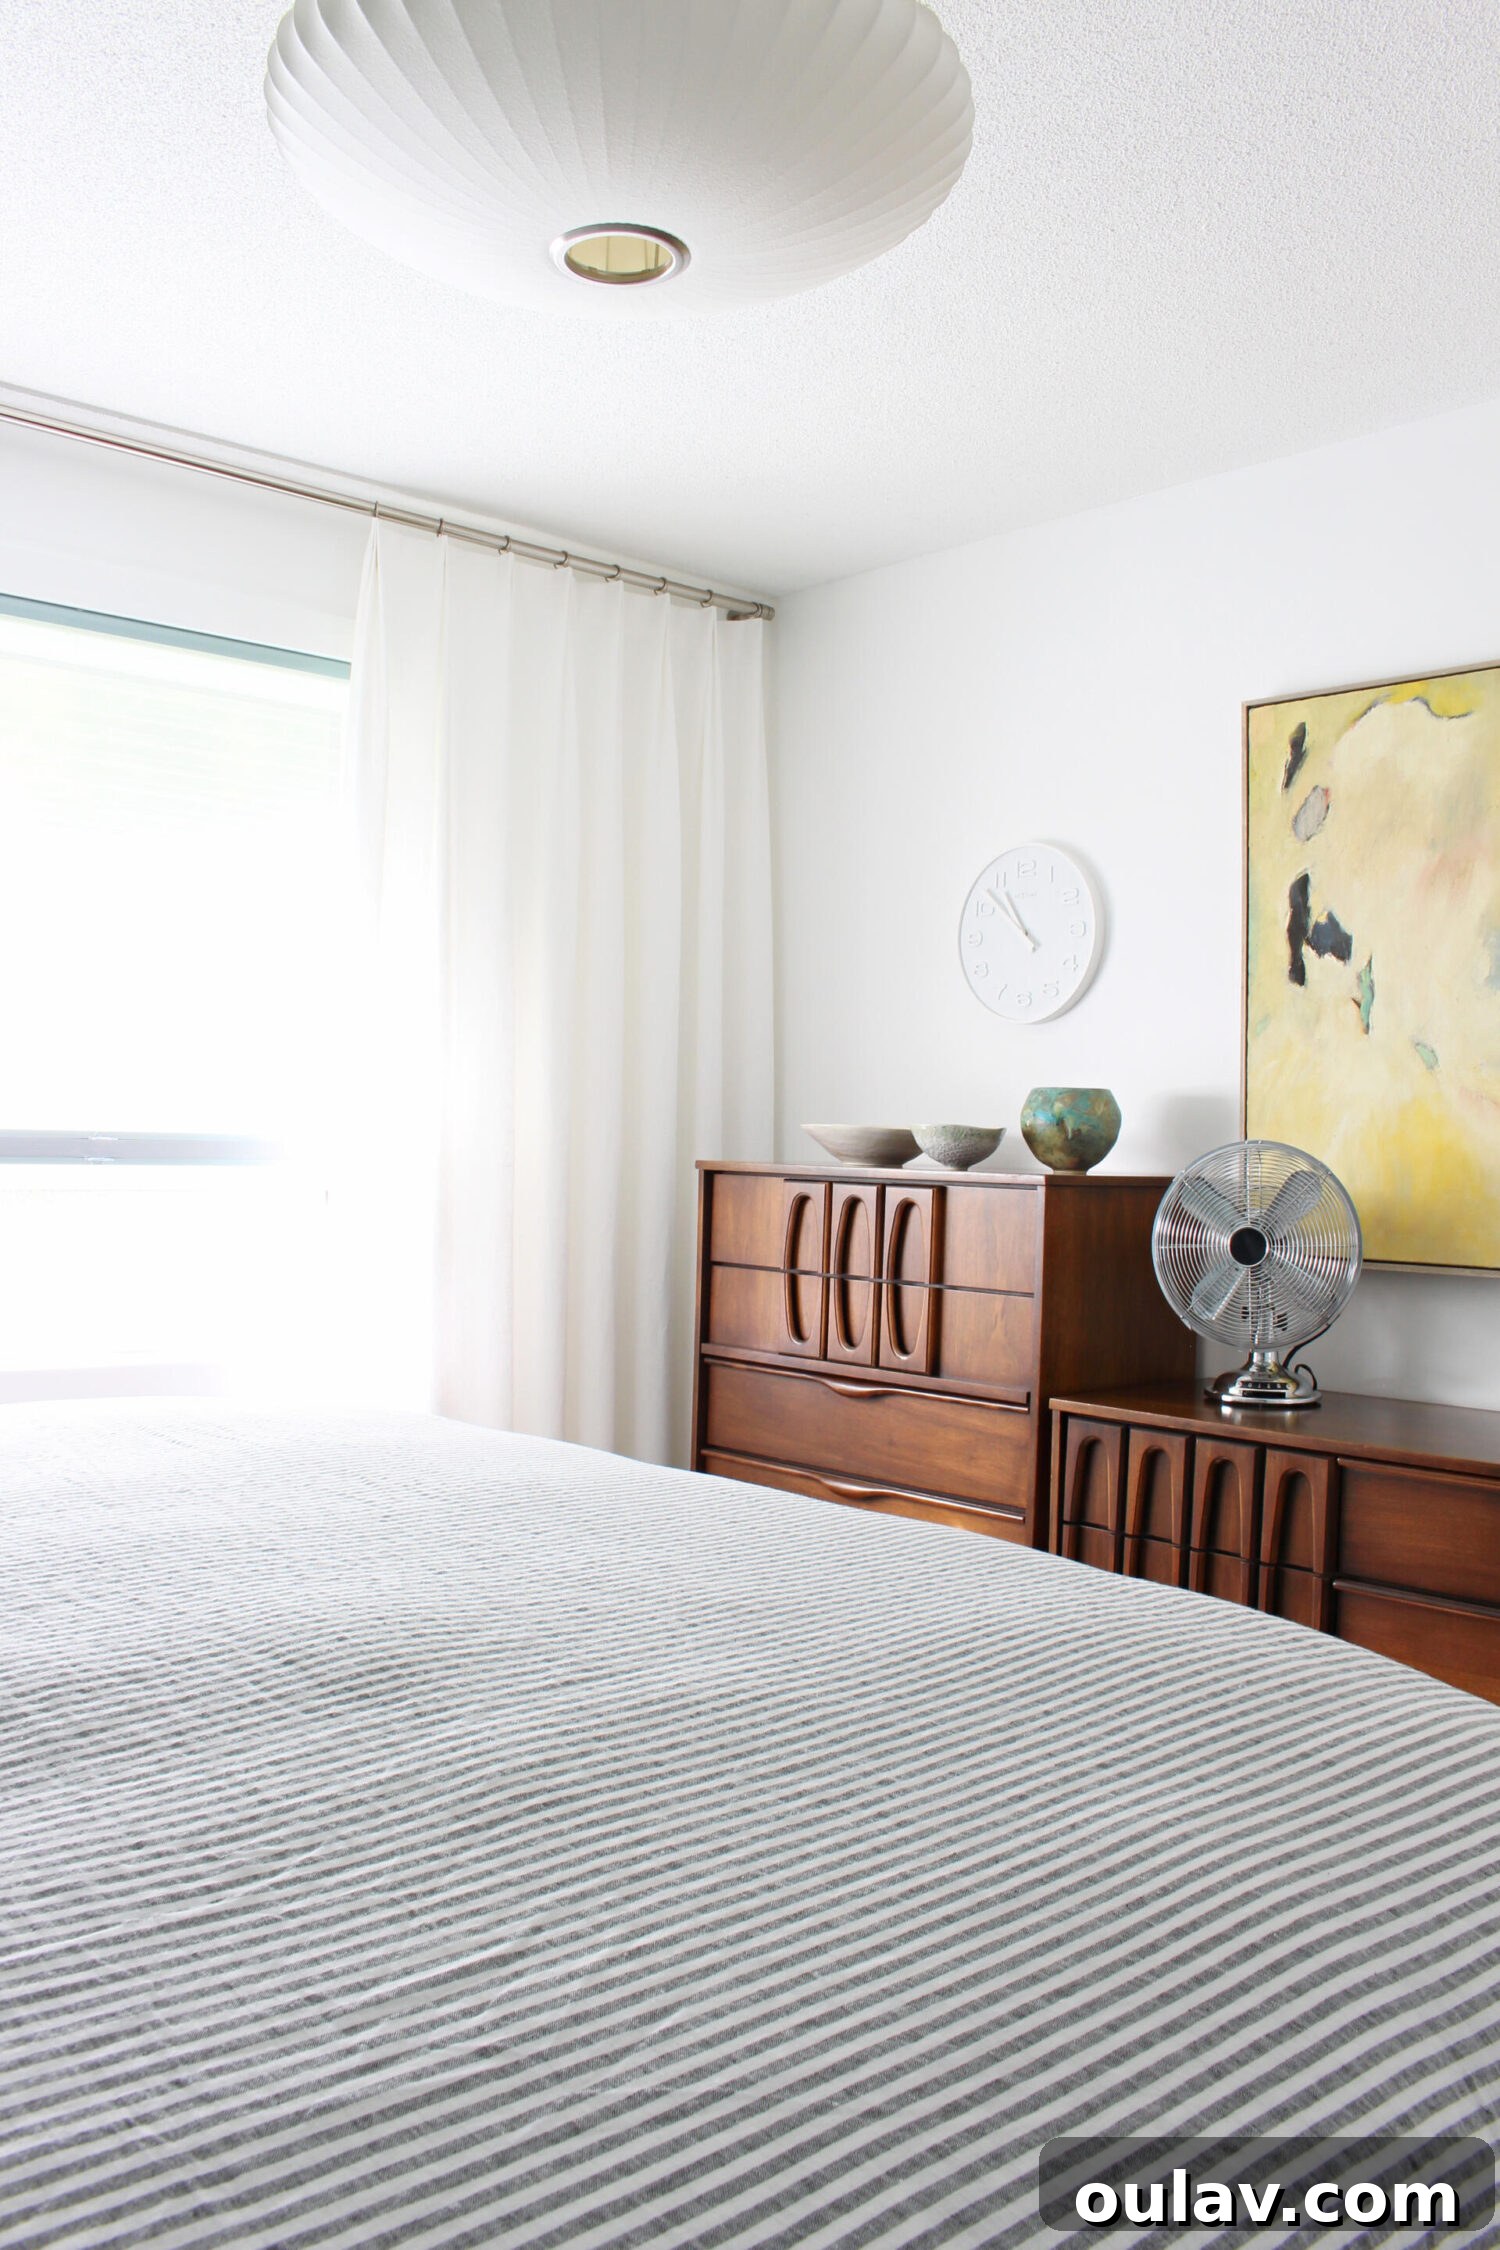
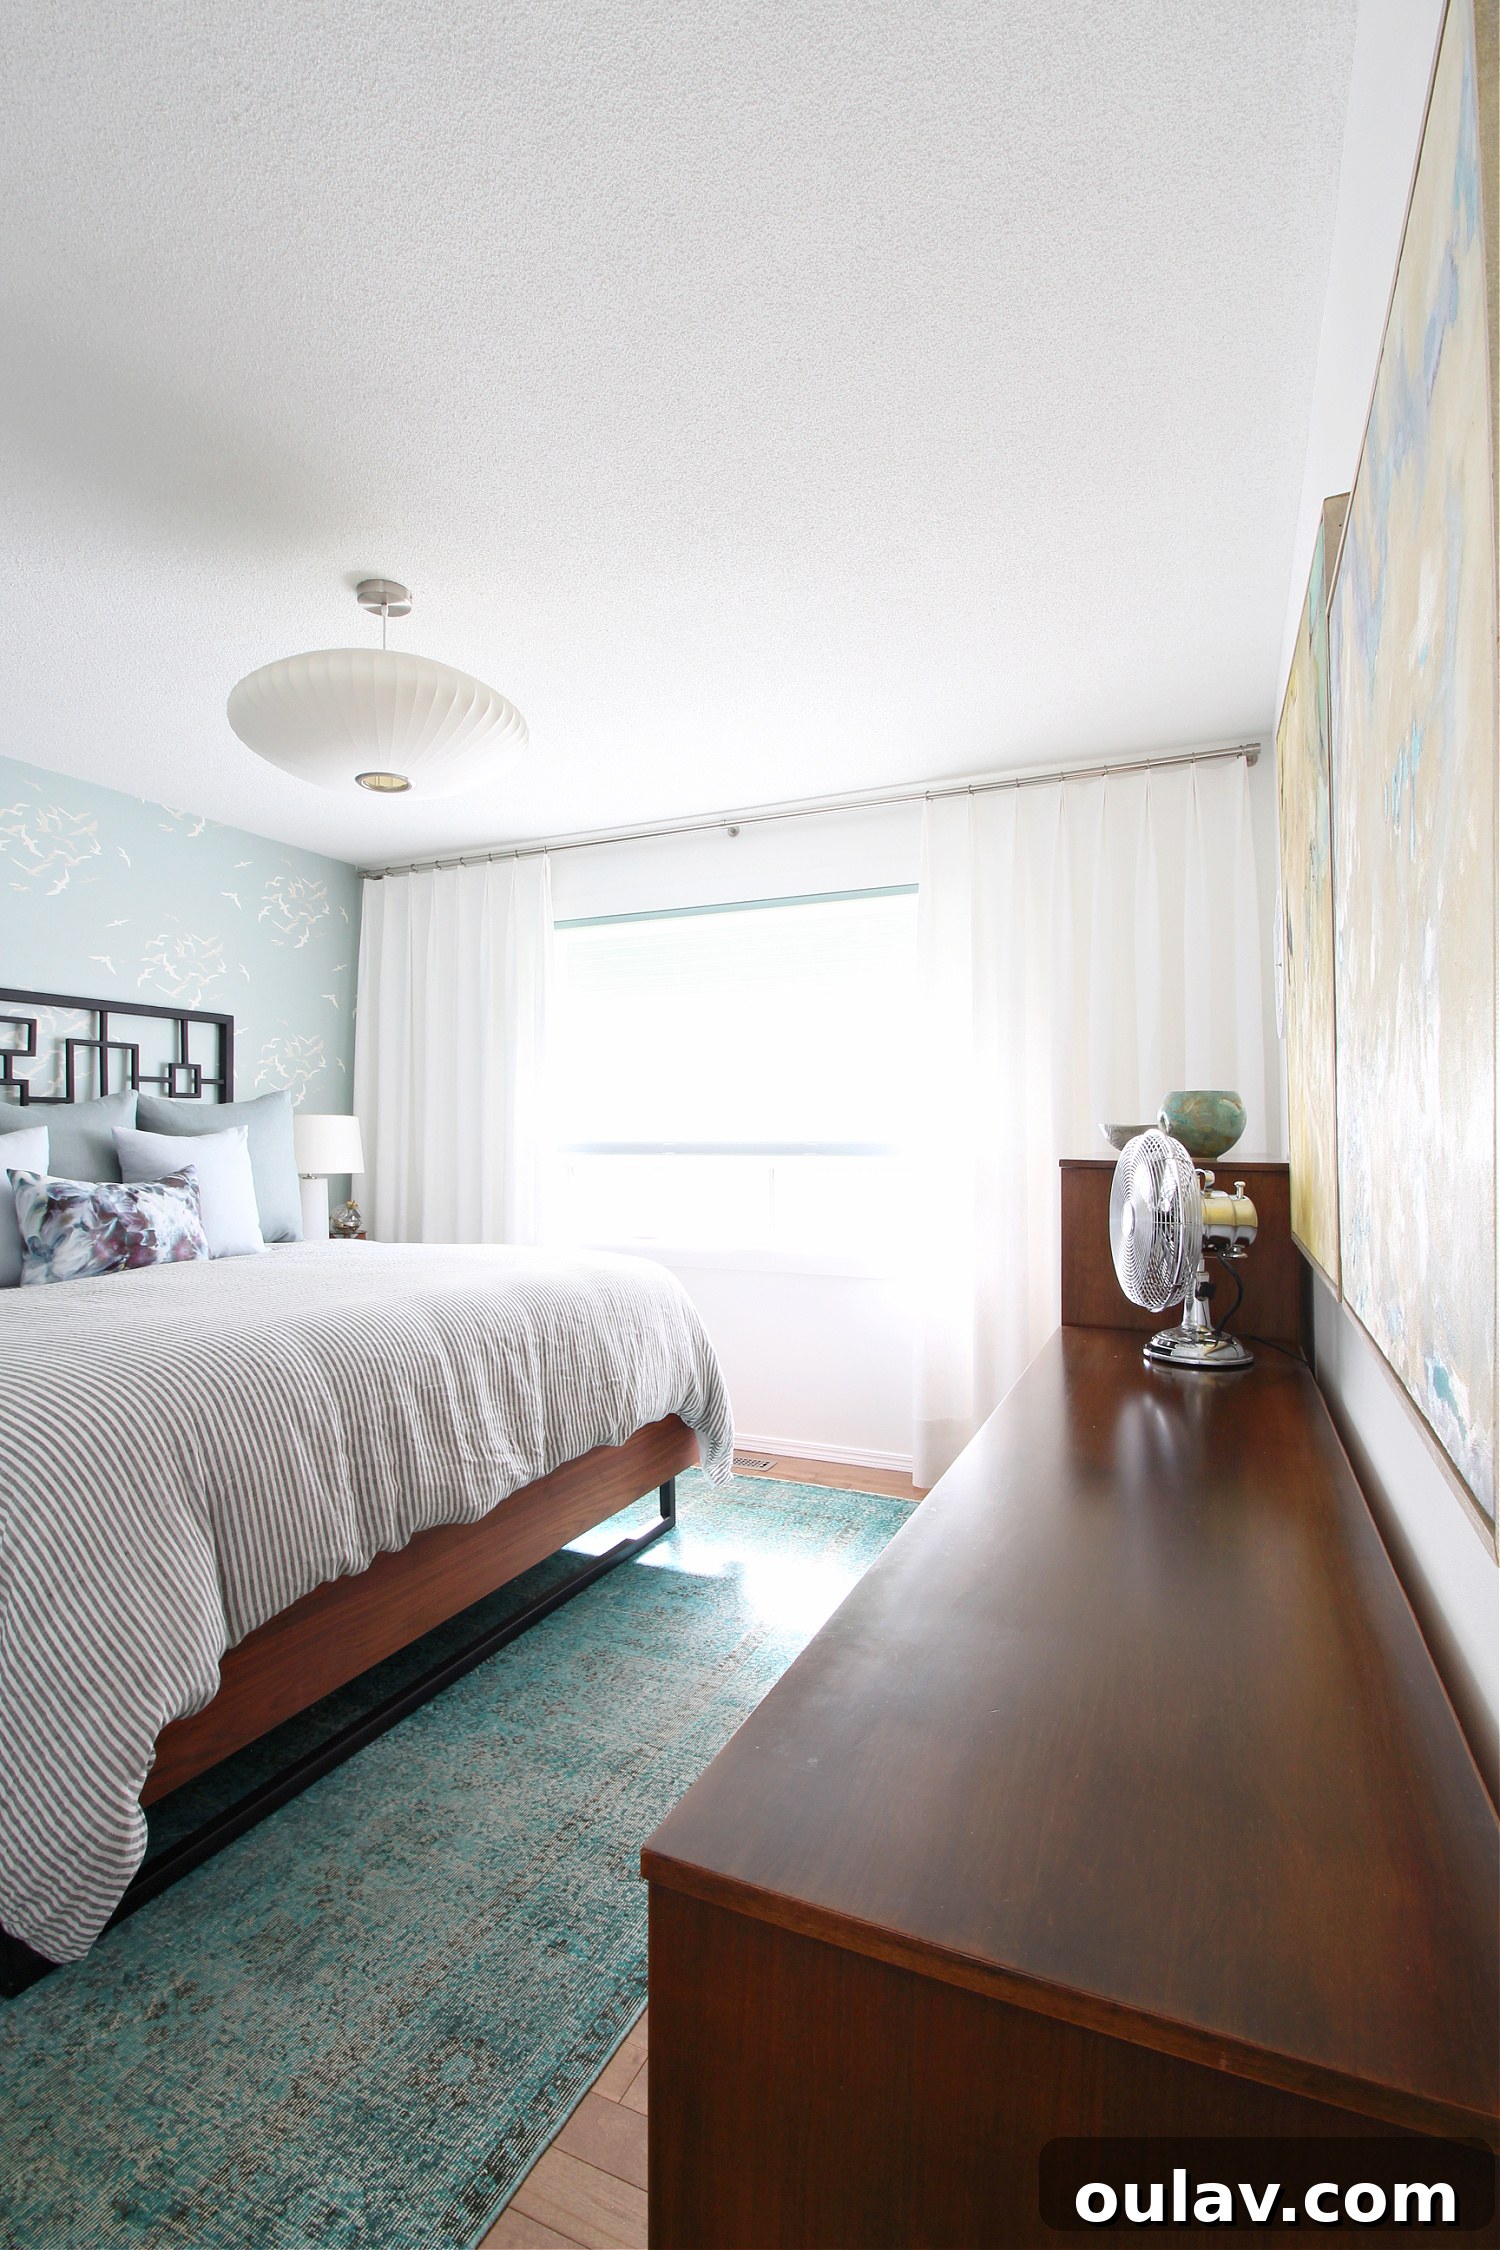
The culmination of our detailed efforts has resulted in a pair of truly breathtaking Euro pleat curtains. I am beyond thrilled with how our first foray into sewing this particular style turned out! The finished drapes beautifully encapsulate everything we aimed for: a subtle structure in the pleats, yet an overall loose, organic flow that feels distinctly more modern and less rigid than a traditional pinch pleat. They strike a perfect balance, aligning seamlessly with my decor style, which I describe as mid-century meets coastal. The curtains exude a tailored sophistication while simultaneously embodying a wonderful breeziness that breathes life into the space.
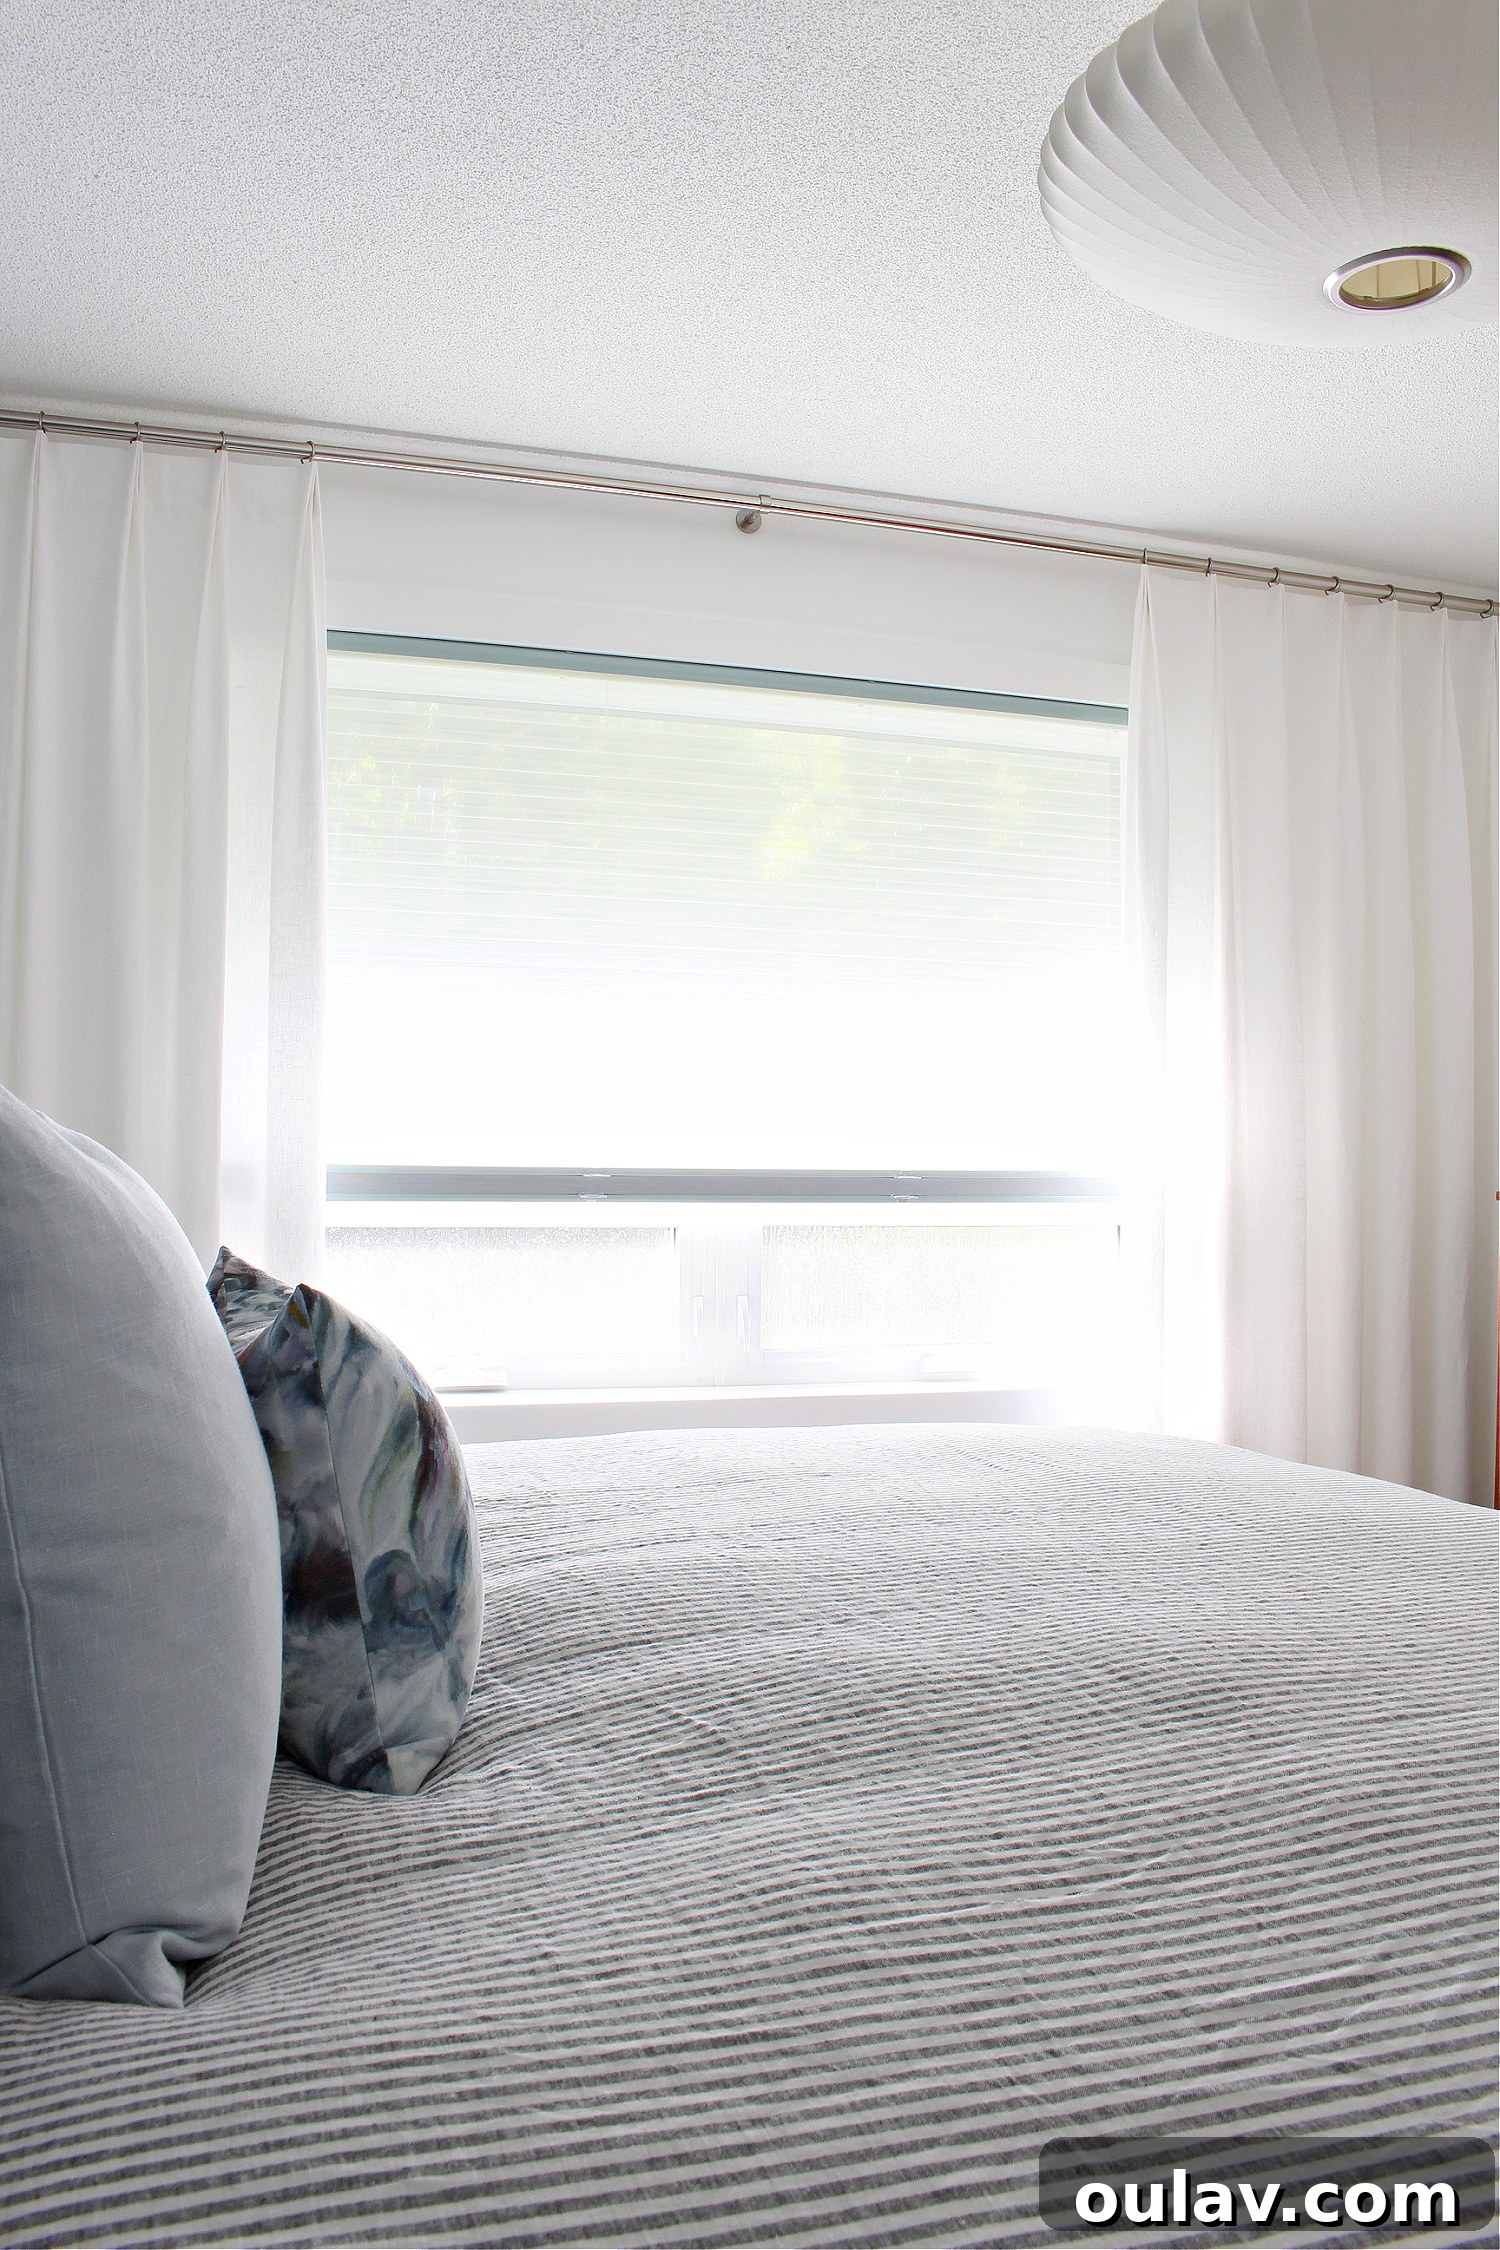
The Tuscany Linen from Tonic Living was an absolute dream to work with; its excellent weight, tight weave, and beautiful slub texture contributed immensely to the luxurious drape and feel of the curtains. As previously mentioned, these curtains are purely decorative and do not open or close, meaning the room didn’t technically *need* drapes for functionality. However, their addition has transformed the bedroom, imbuing it with an incredible sense of softness, warmth, and coziness. Looking back at the room without the curtains, it now feels utterly incomplete, almost “naked” to me! With the previously green accent wall repainted a crisp white, and the introduction of airy new wallpaper, the white linen drapes combine to create a truly enchanting glow within the bedroom. It might sound like a cliché, but my bedroom genuinely feels like a dreamy sanctuary now. For a fuller glimpse into this serene transformation, explore more here.
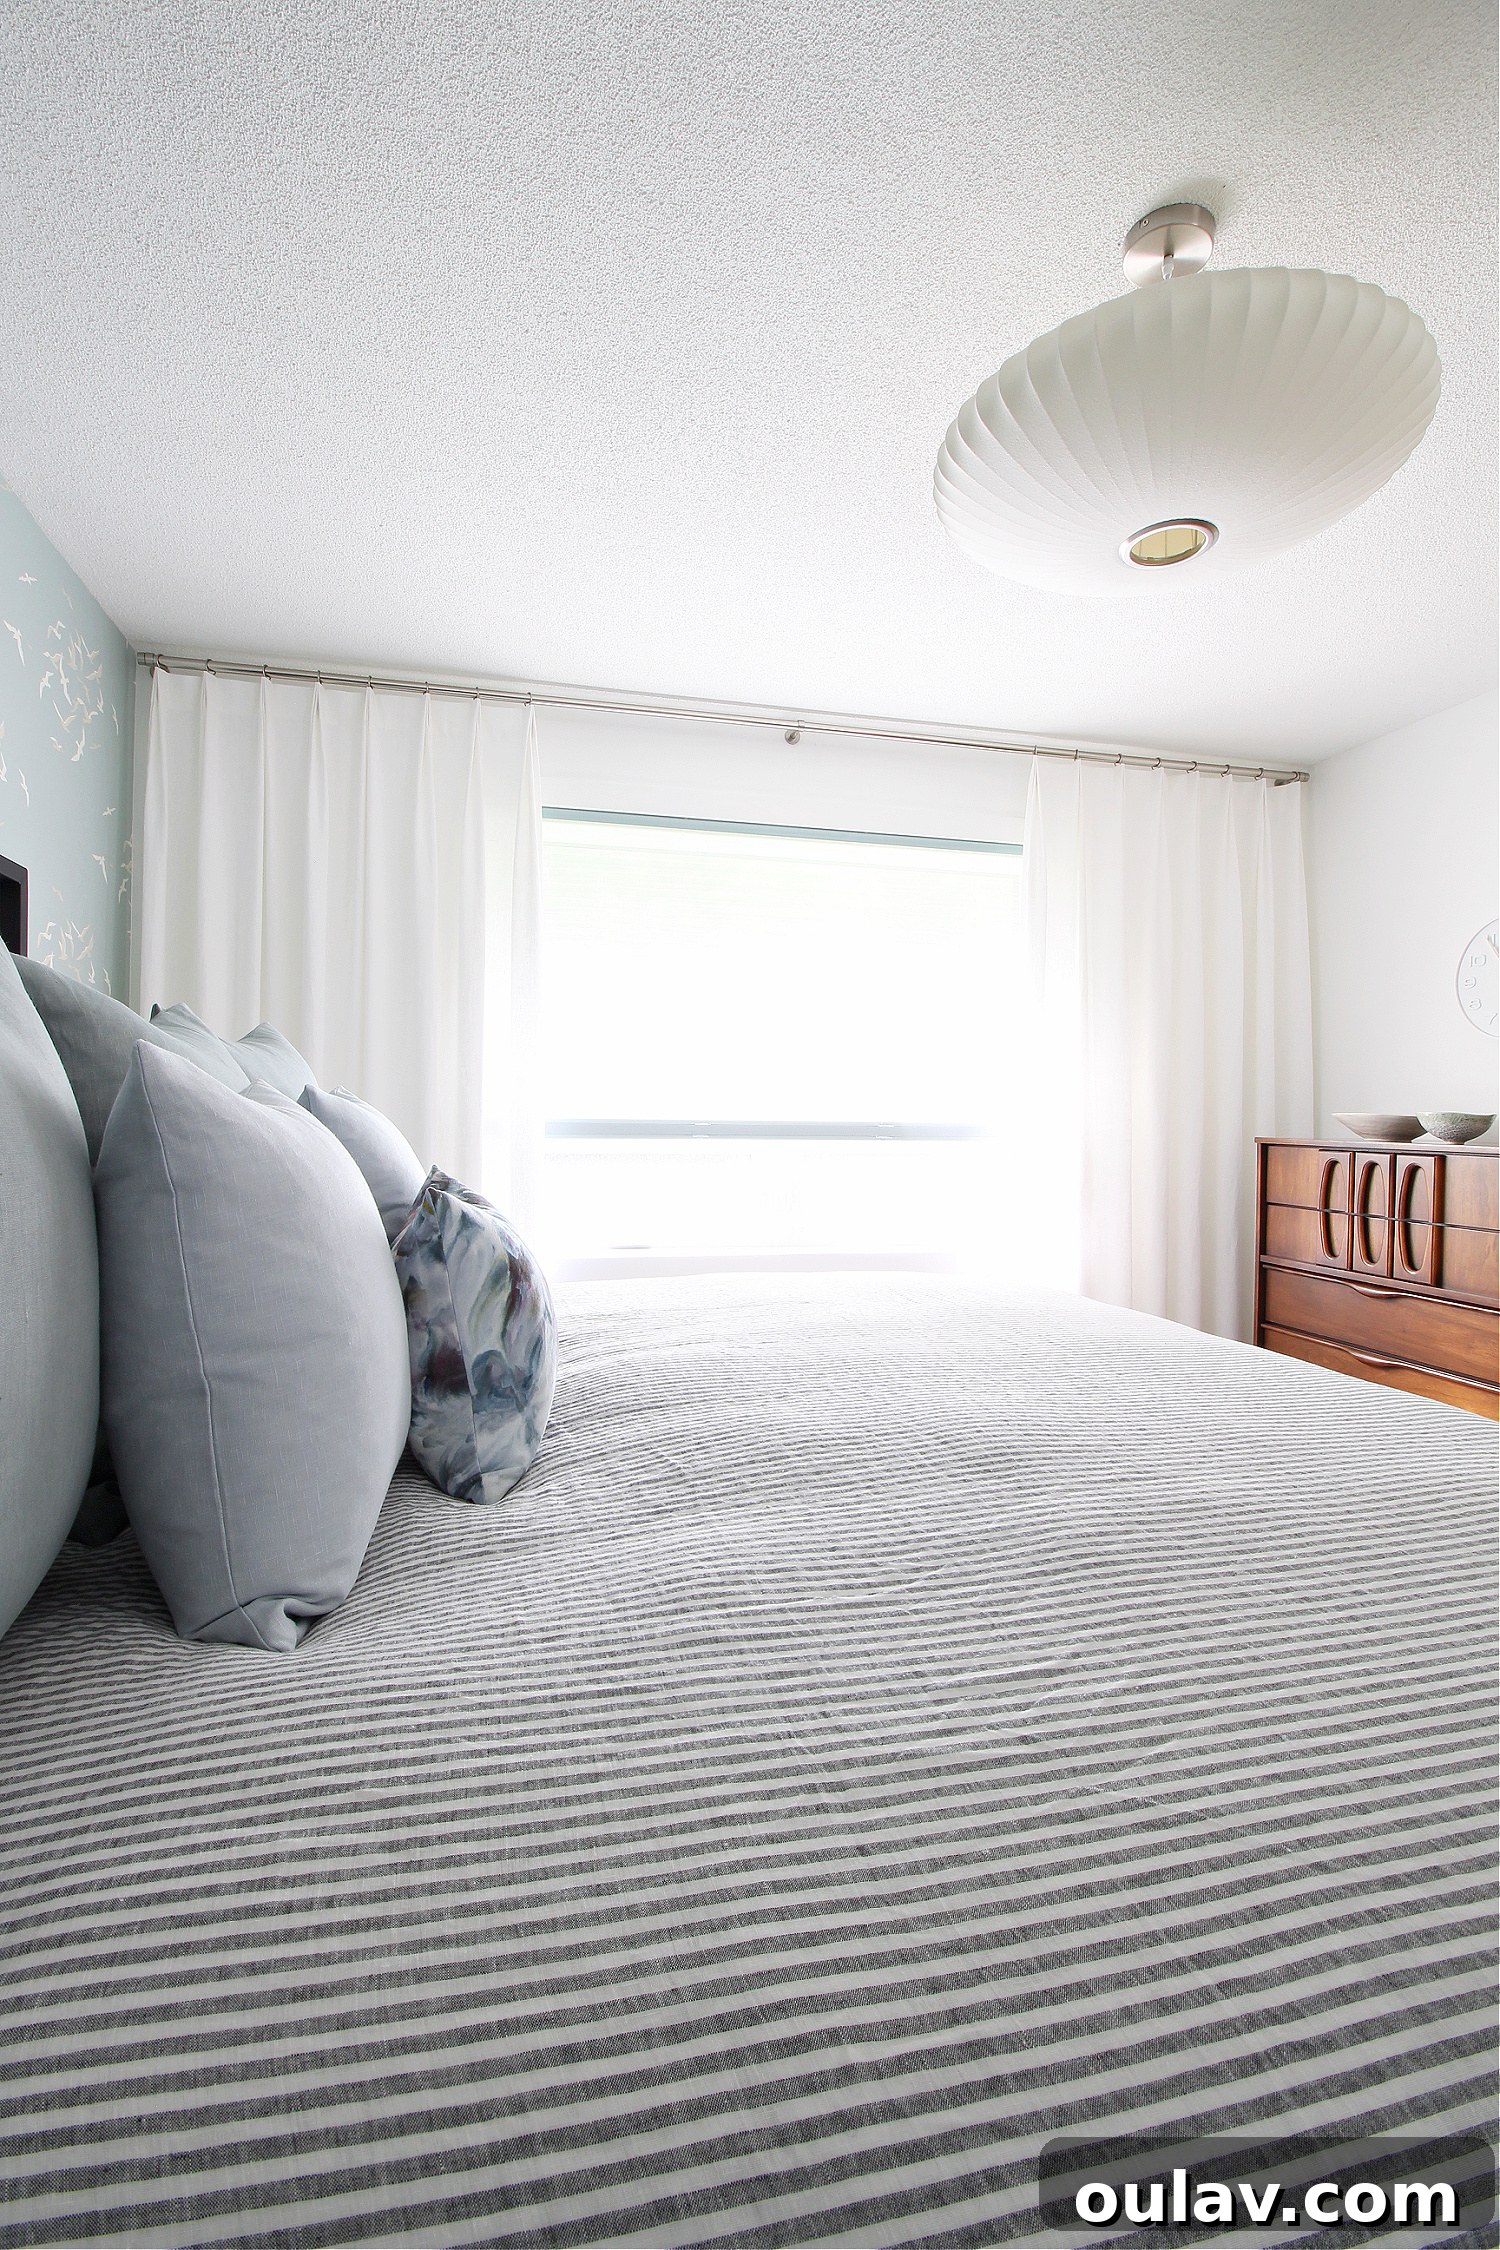
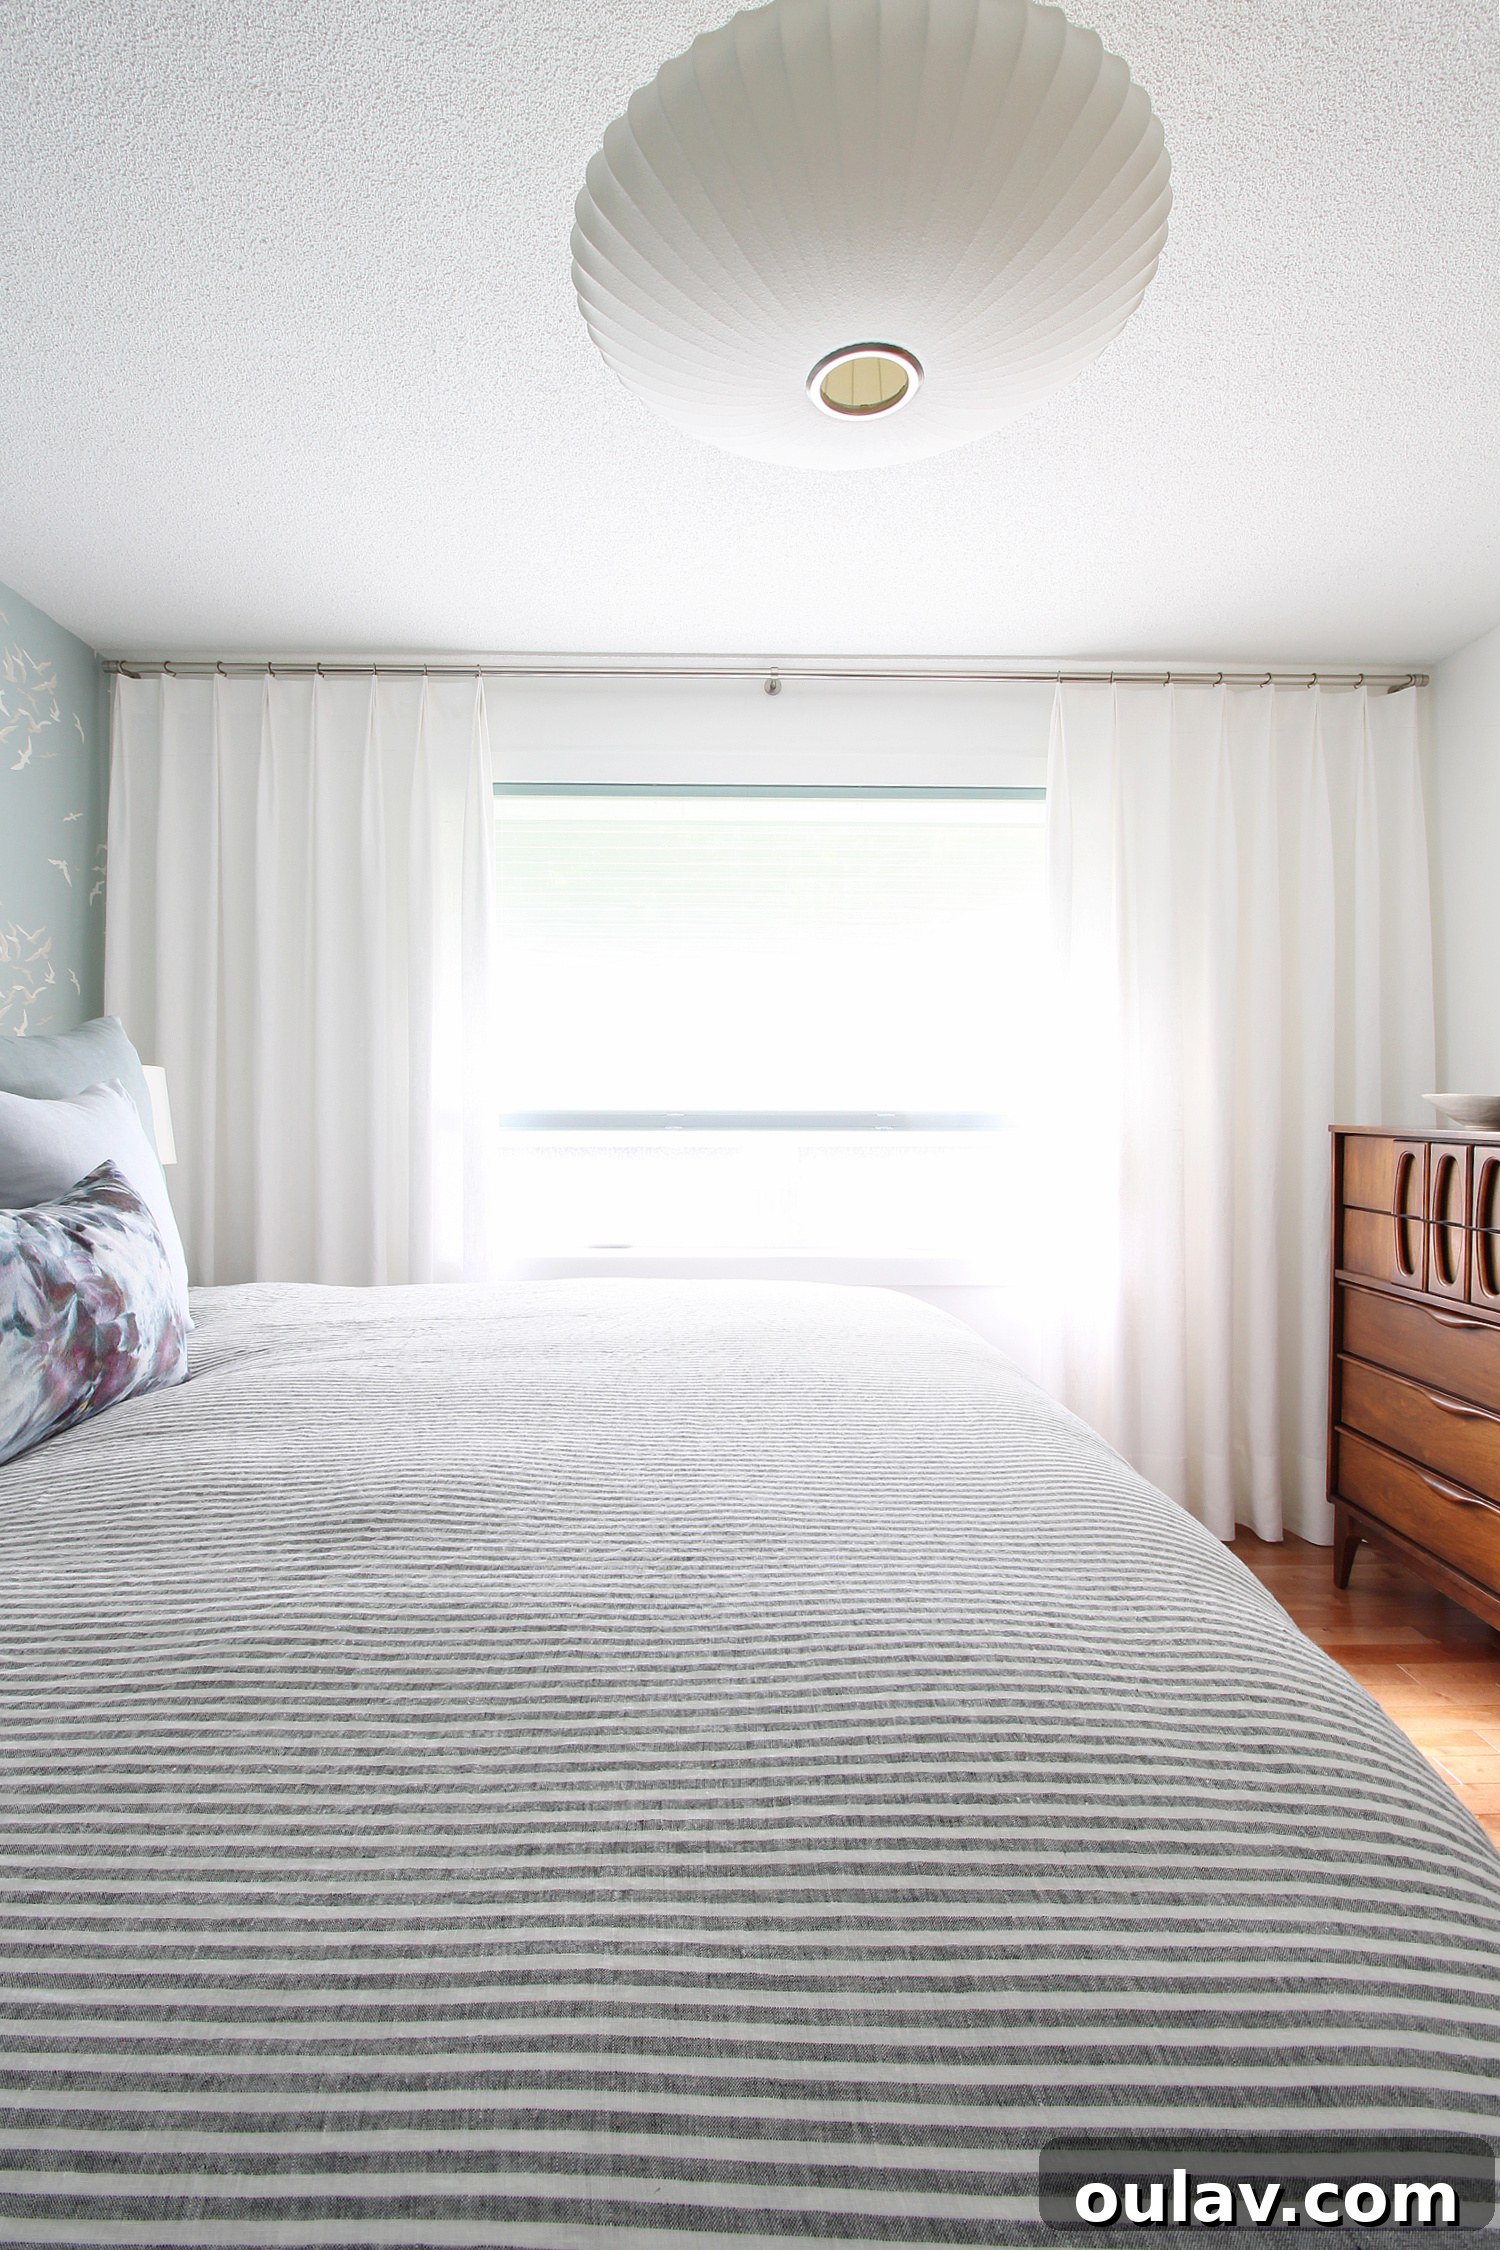
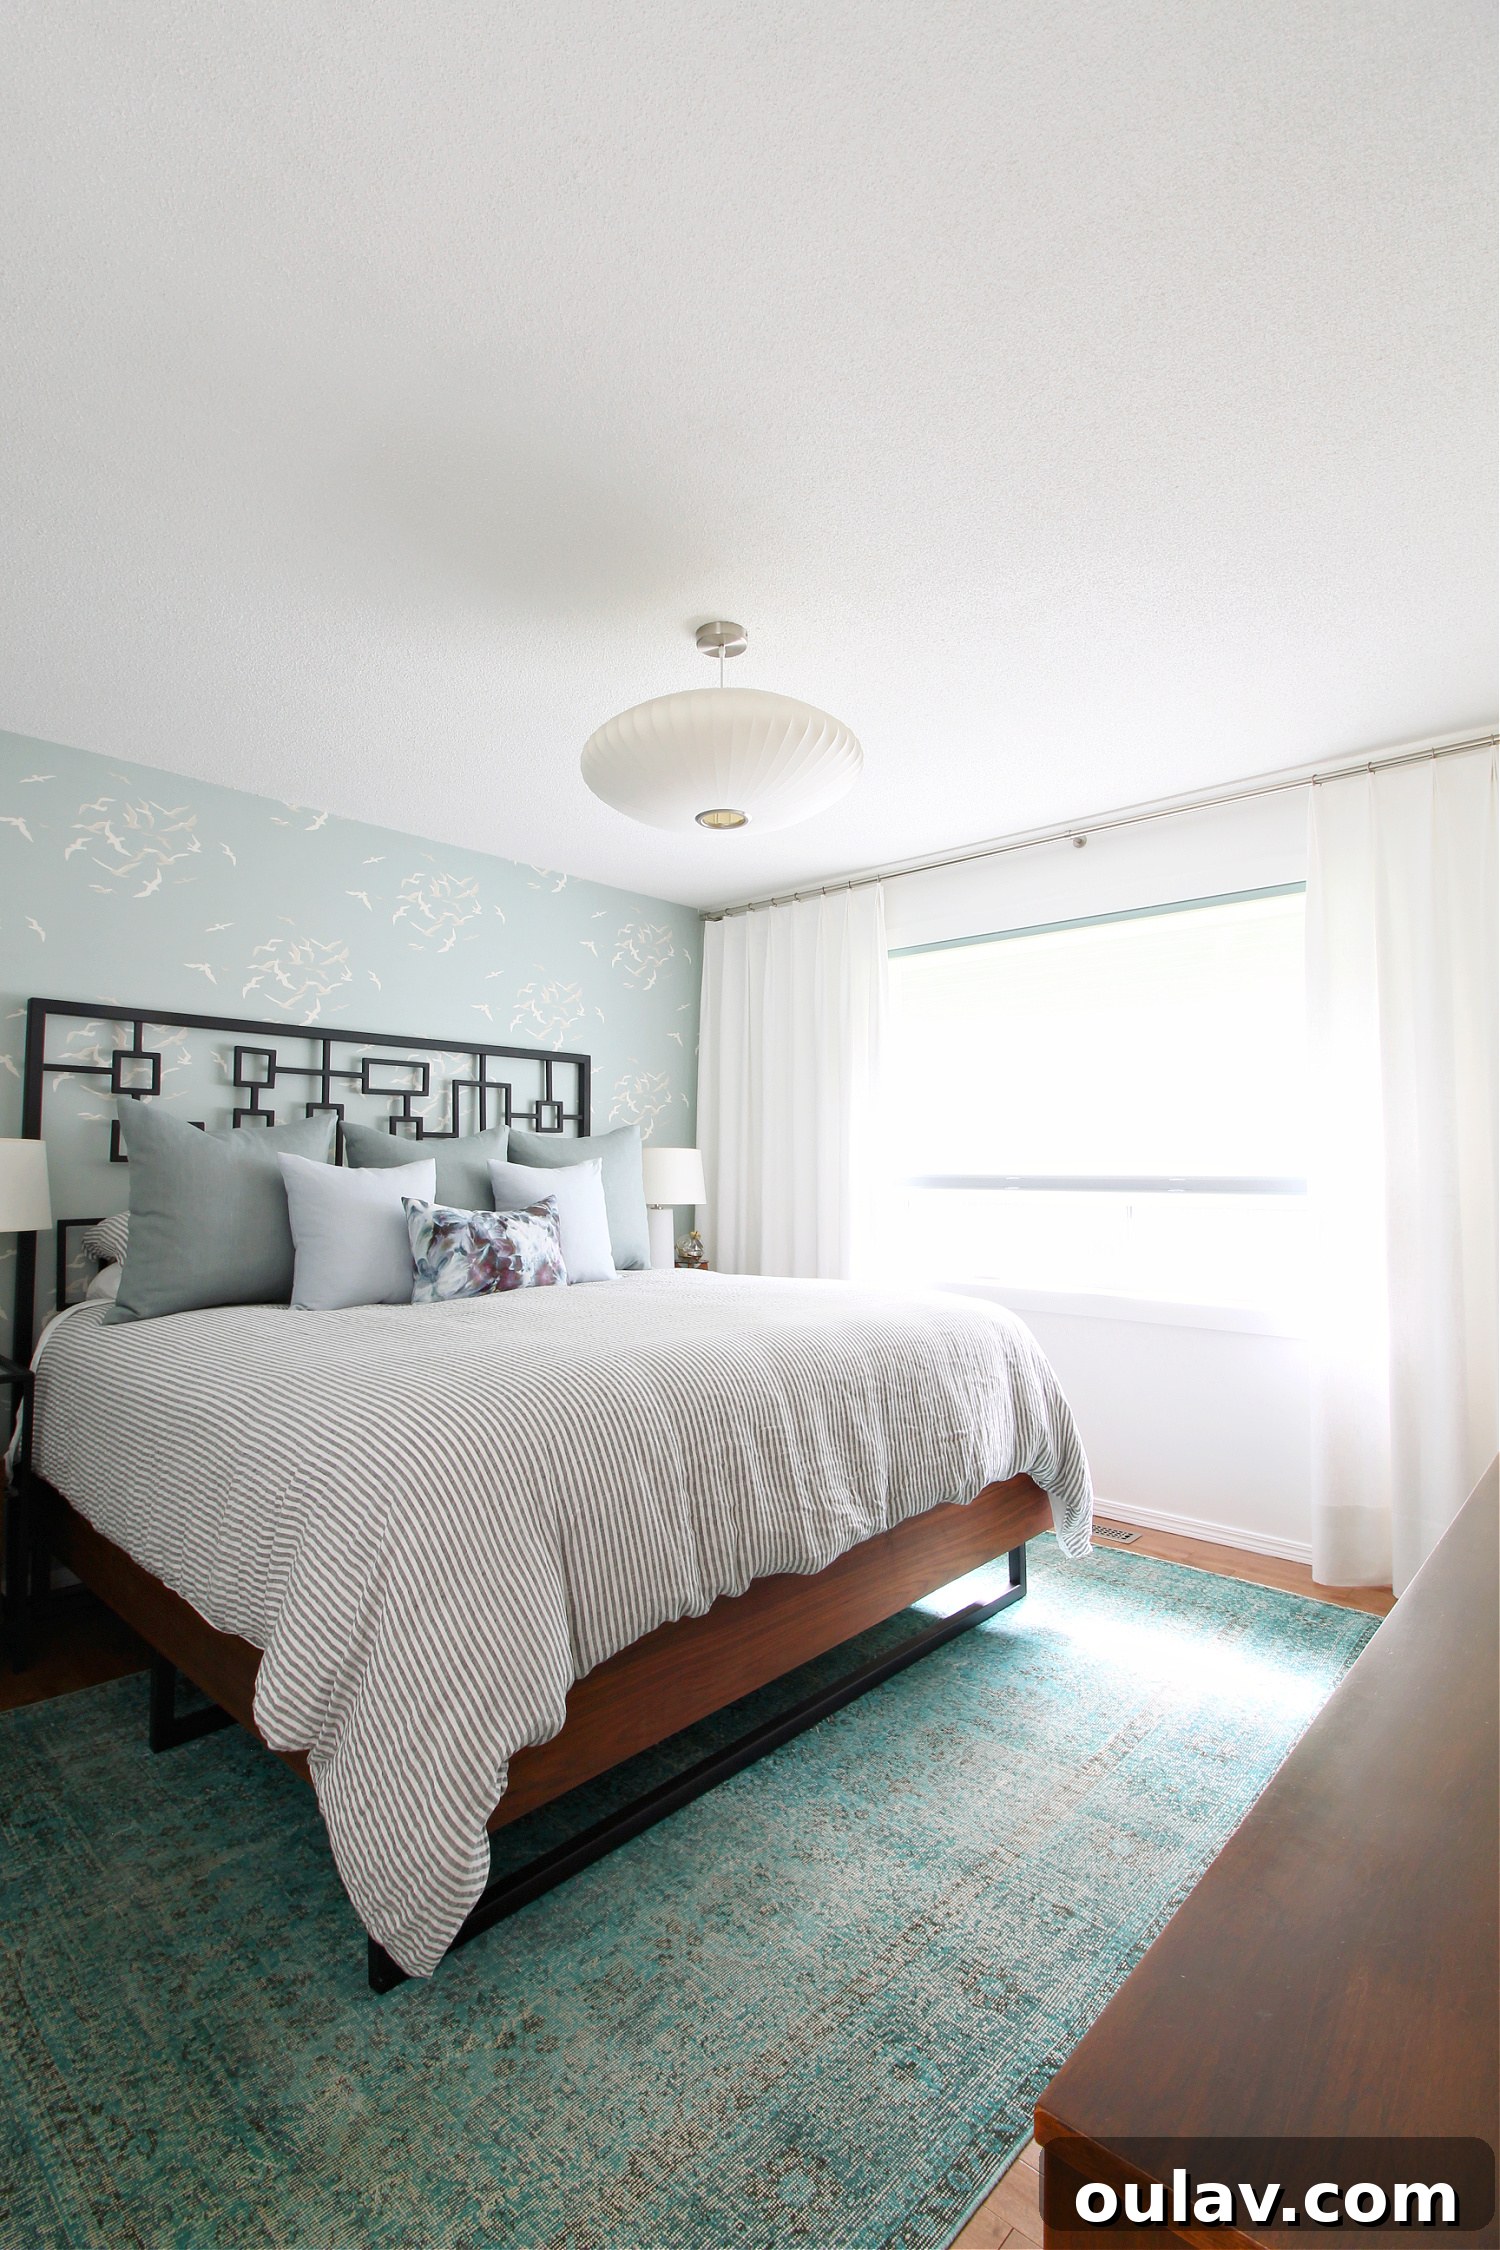
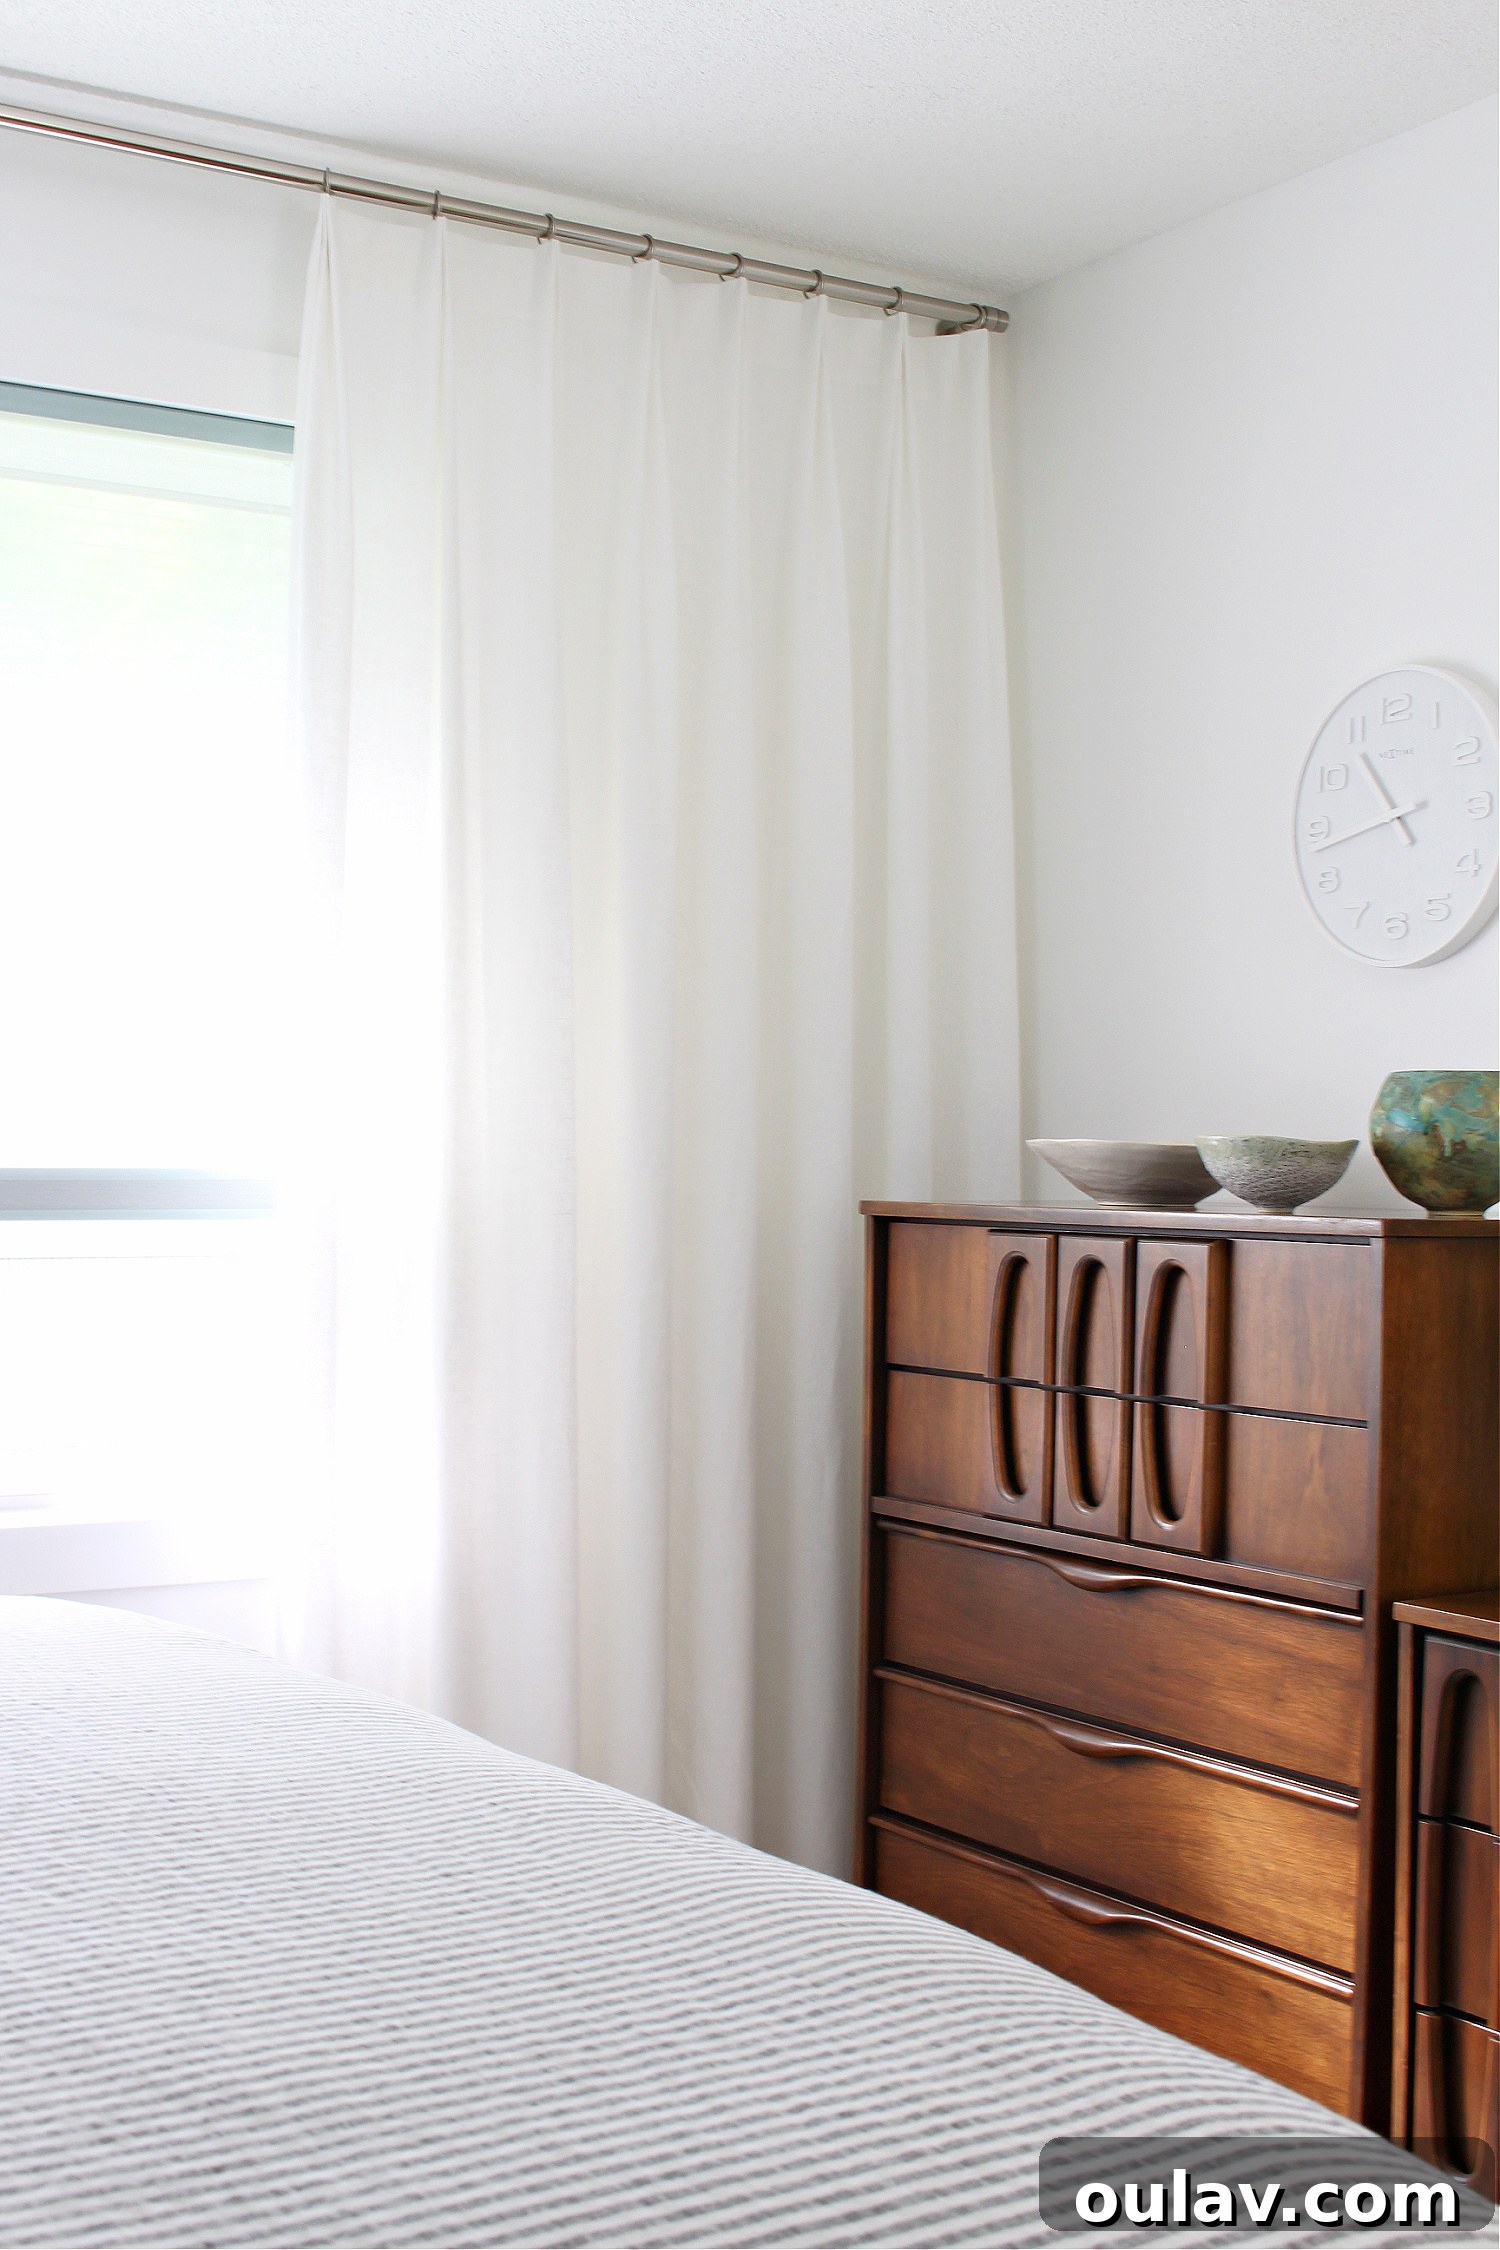
A huge thank you to Tonic Living for their wonderful partnership on this project, making these custom drapes a reality! Do explore their exquisite Tuscany Linen collection here – I also used the Lake and Ocean colors for my throw pillows, and that sewing tutorial will be coming your way soon!
P.S. Don’t Forget to Pin this Guide for Your Next DIY Curtain Project!