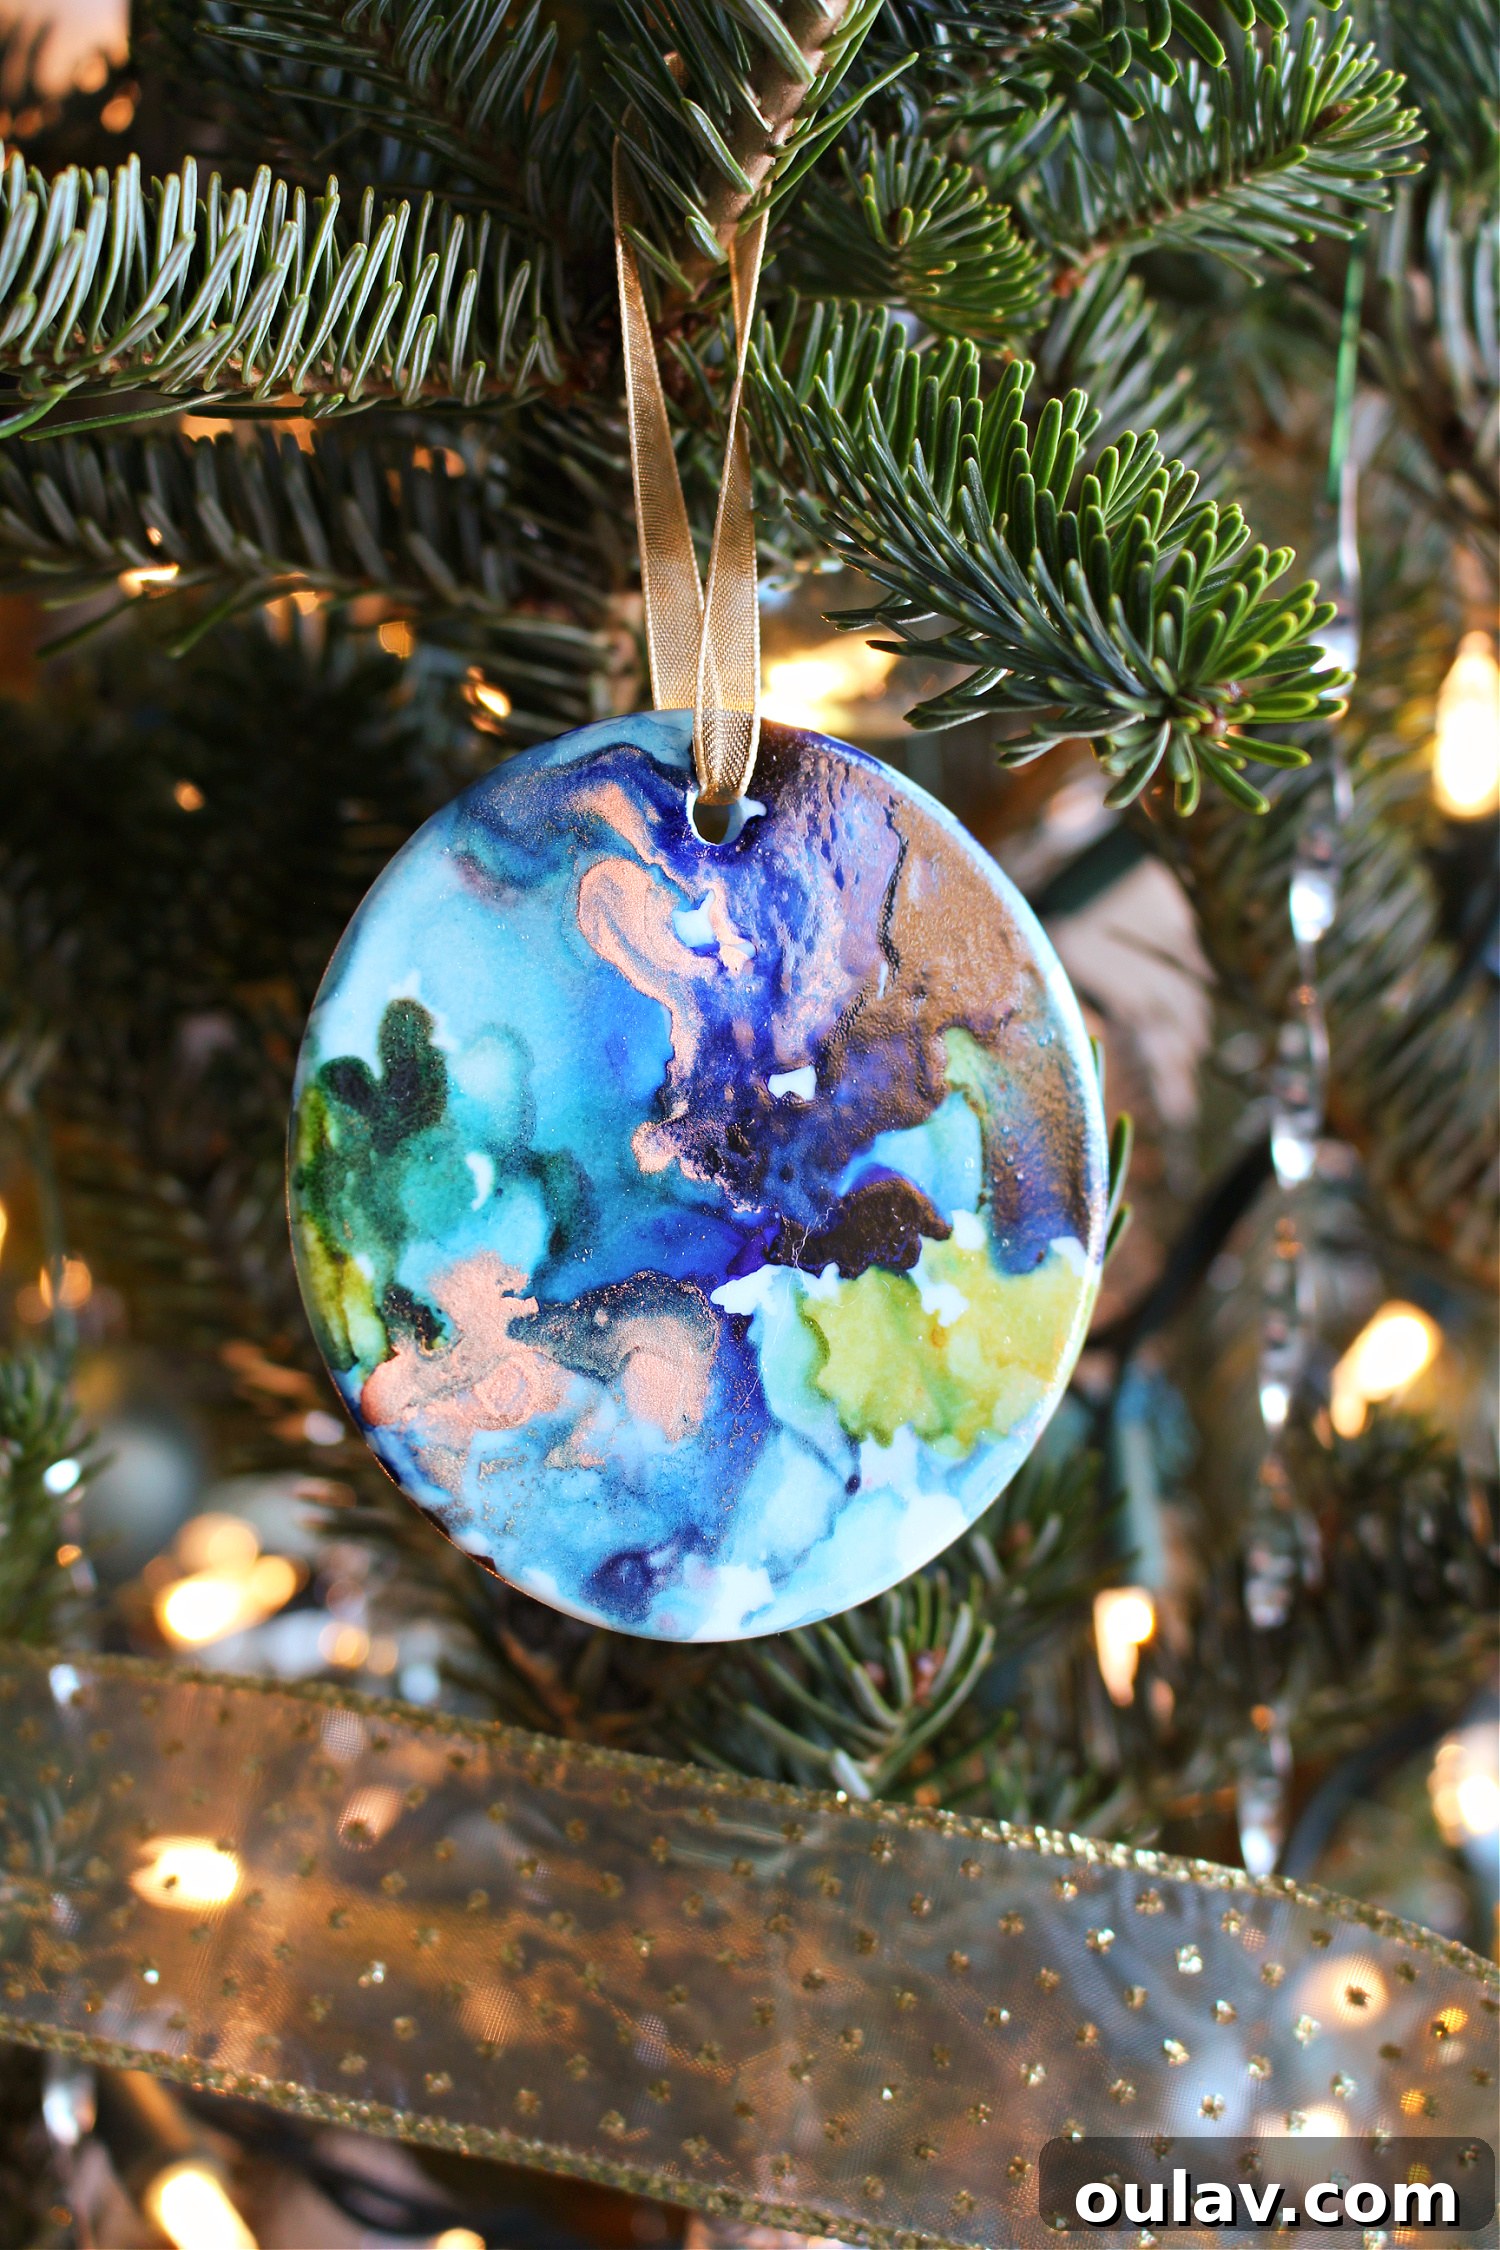
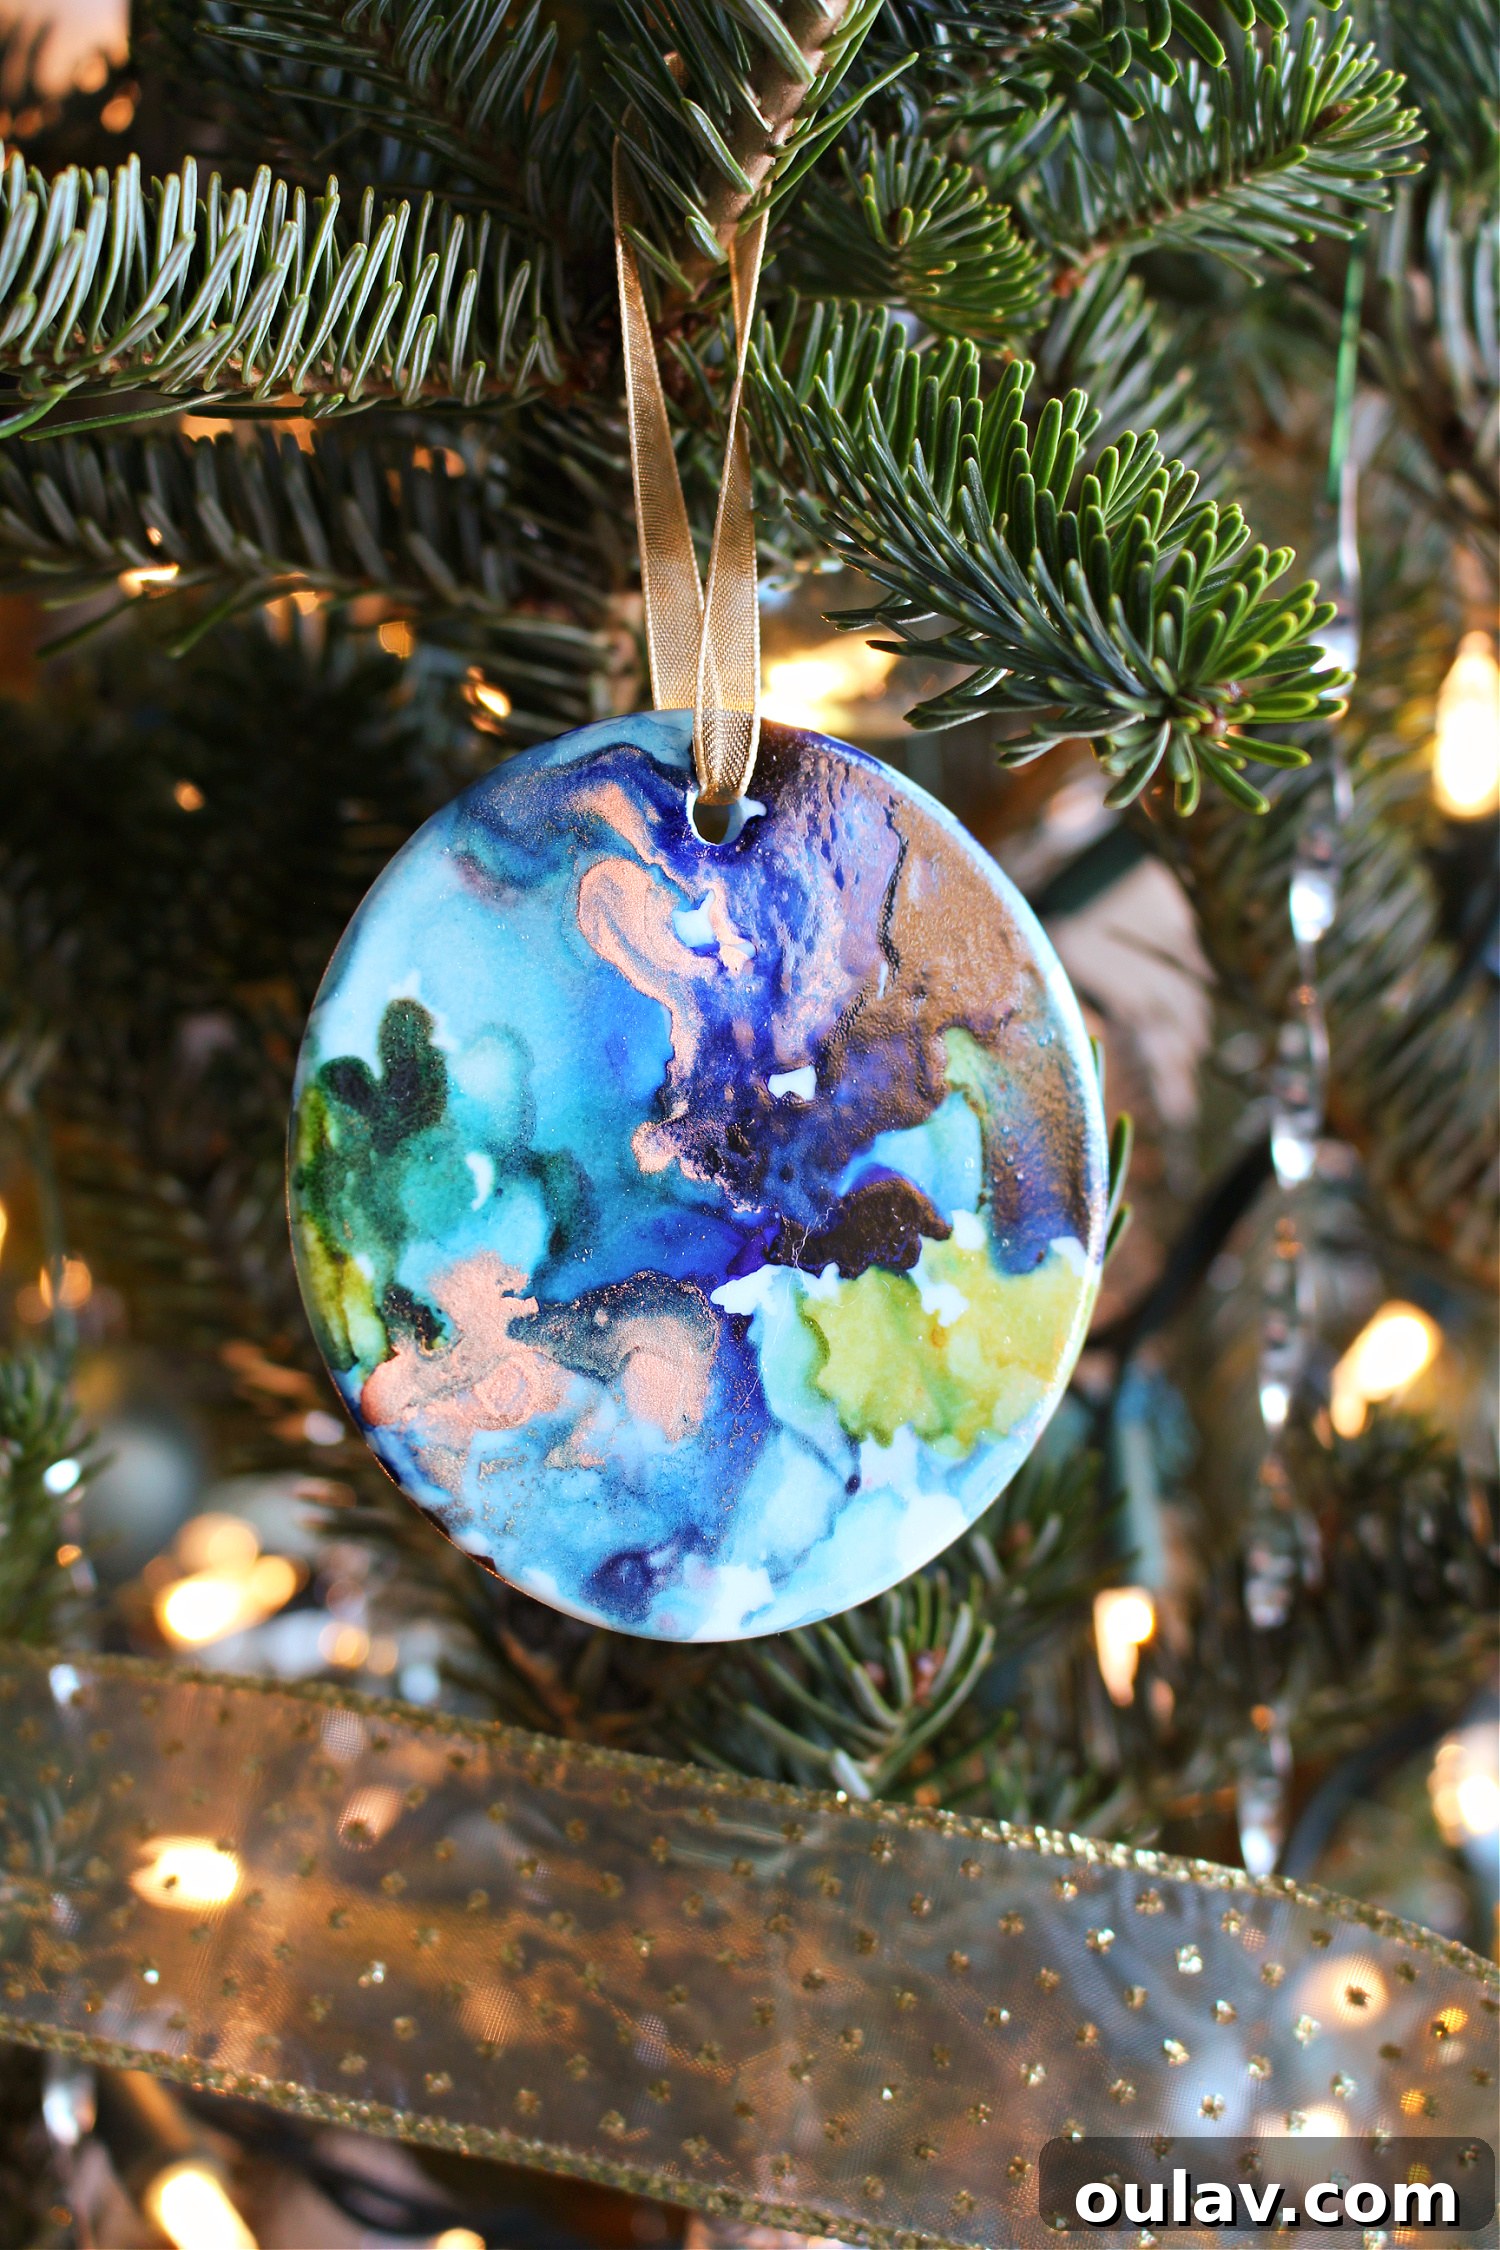
Are you searching for a captivating craft project that yields stunning, personalized results? Look no further than the mesmerizing world of alcohol inks on ceramic ornaments! If you’ve dabbled in alcohol ink crafts before, perhaps creating beautiful glass ornaments with a stained-glass effect, vibrant ink-poured glass ornaments, or even ink-applied-outside decorations, chances are you have some leftover alcohol inks. Don’t let those vibrant bottles sit idle! It’s time to transform inexpensive glazed ceramic ornament blanks into exquisite, miniature works of art that will captivate and charm.
This DIY alcohol ink on ceramic ornaments tutorial offers an incredibly rewarding experience, perfect for crafters of all skill levels. The smooth, non-porous surface of glazed ceramic provides an ideal canvas for the fluid, organic movement of alcohol inks, resulting in unique abstract designs every single time. These aren’t just for adorning your own Christmas tree; imagine them as one-of-a-kind gift toppers, adding an artisanal touch to any present. For an extra special touch, you can even use your Cricut Joy to add a name in glittery vinyl, turning each ornament into a reusable, personalized gift tag that recipients will cherish for years to come. Dive into this project and discover the joy of creating beautiful, bespoke holiday decor or thoughtful, handmade gifts.
Why Choose Ceramic Blanks for Alcohol Ink?
While alcohol inks are incredibly versatile and can be applied to various surfaces, glazed ceramic blanks offer a uniquely satisfying experience, especially for ornament crafting. The flat, non-porous surface allows the inks to flow and spread beautifully without running off too quickly, giving you more control and time to manipulate your designs. This makes the process much more forgiving and enjoyable compared to working on rounded surfaces like glass ornament balls, where gravity can be a challenge. The inherent glossiness of glazed ceramic also enhances the vibrancy of the inks, creating a rich, luminous finish that truly pops, especially under holiday lights. These blanks feel substantial and high-quality, ensuring your finished ornaments look and feel like sophisticated artisan pieces.
Essential Supplies for Your Alcohol Ink Ceramic Ornaments
Gathering your materials is the first exciting step in any creative endeavor. Here’s a detailed look at what you’ll need to create your stunning alcohol ink ceramic ornaments:
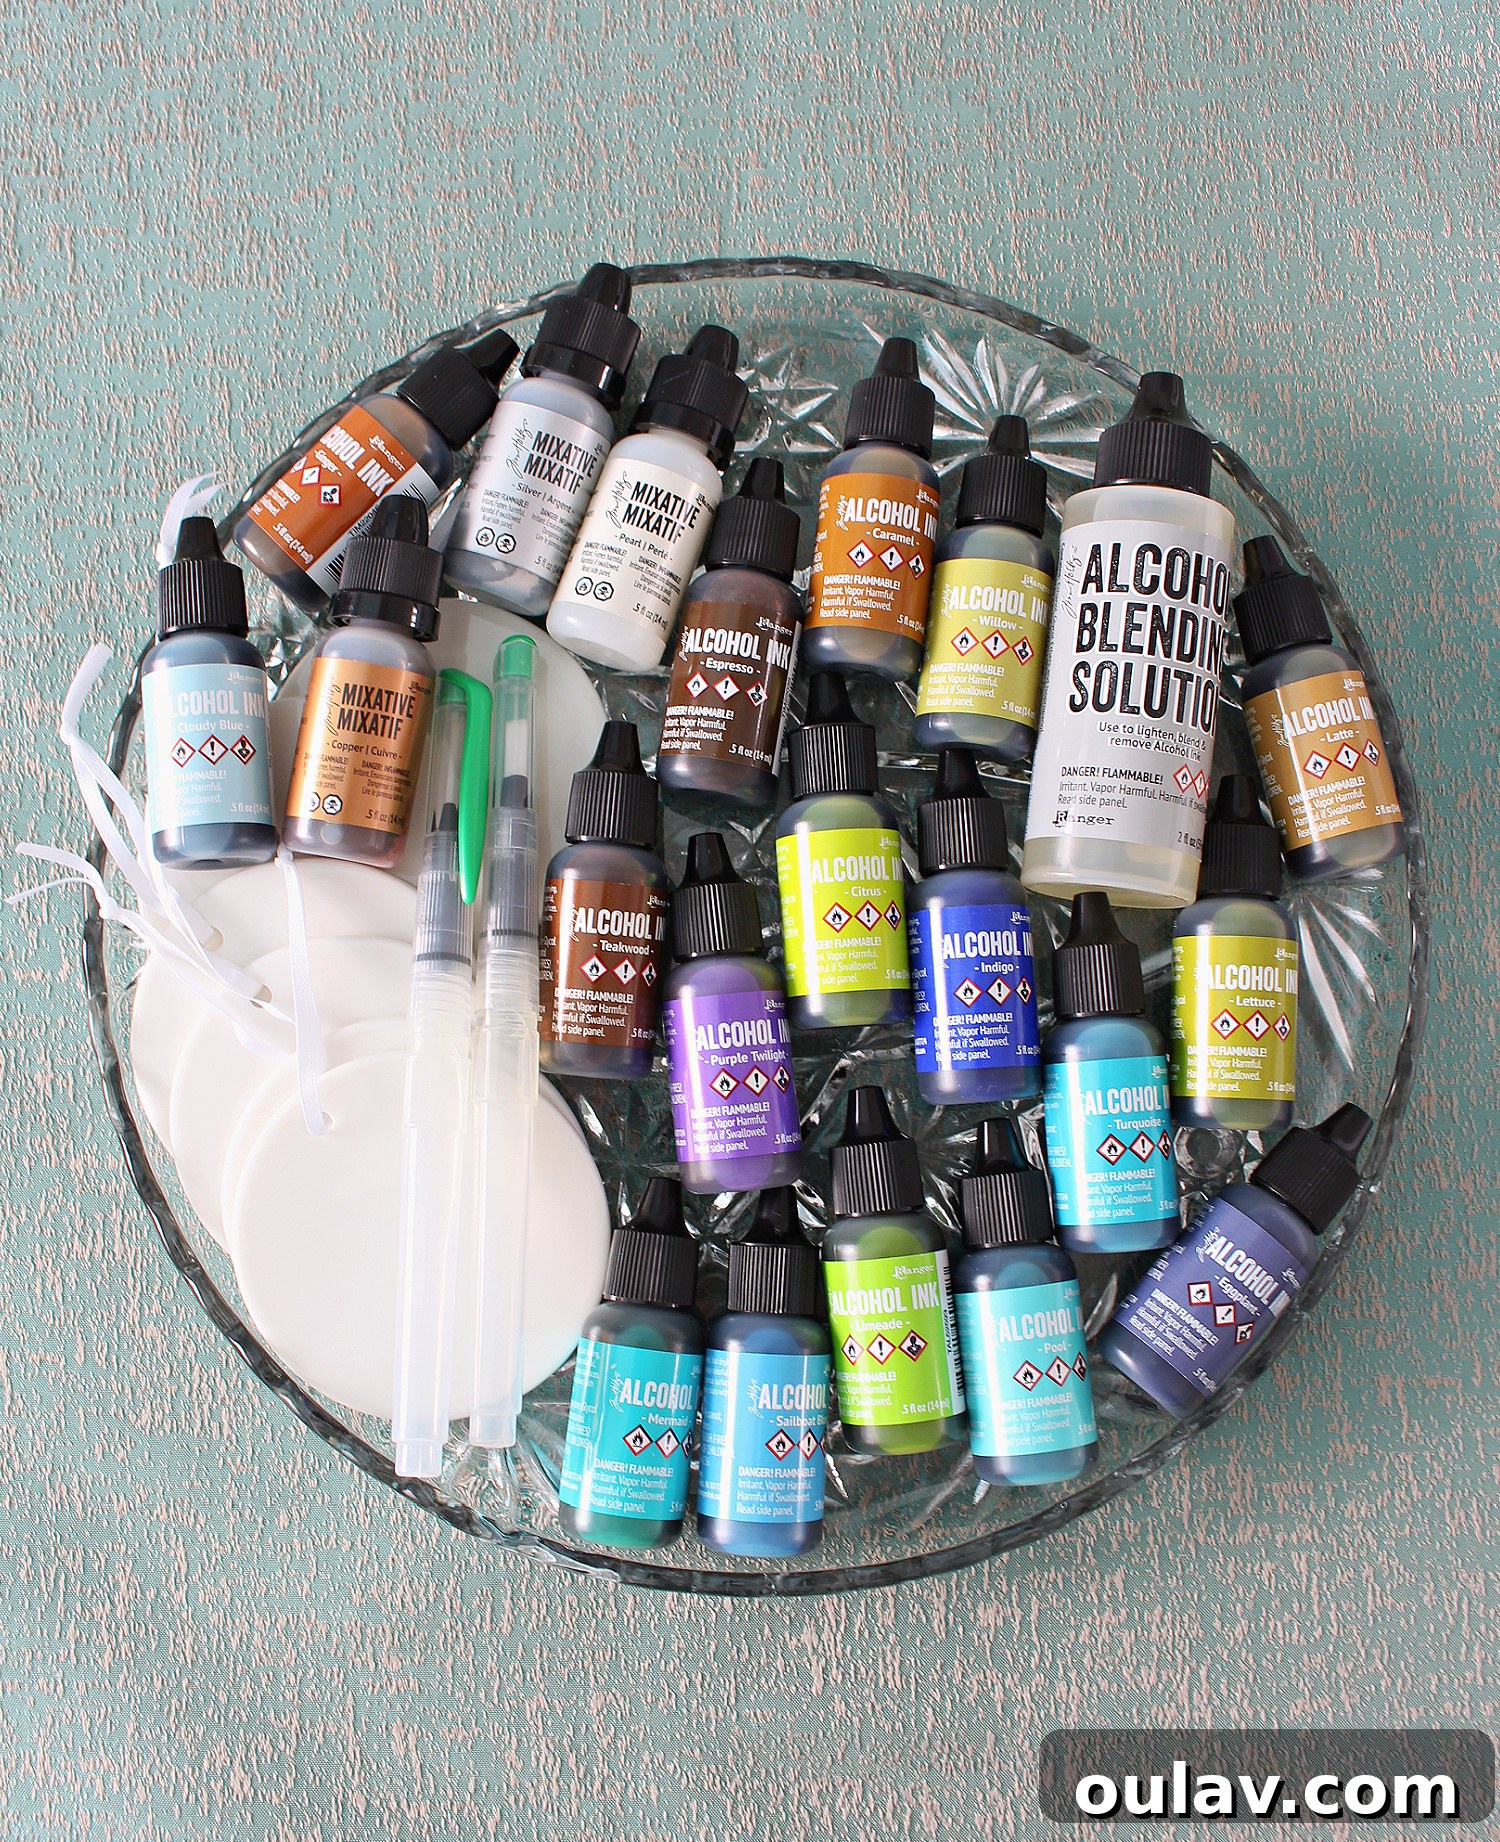
- Alcohol Inks: The star of the show! Alcohol inks come in a breathtaking array of colors. You can buy smaller starter three-packs to experiment with basic colors or opt for larger sets and curated palettes to expand your creative options. Choose colors that complement each other and evoke the mood you desire for your ornaments.
- Metallic Alcohol Inks (Optional, but highly recommended): These shimmering inks add an ethereal sparkle and depth to your designs. Gold, silver, copper, and pearl metallics beautifully catch the light, making your ornaments truly magical under Christmas tree lights. They are perfect for creating that extra festive touch.
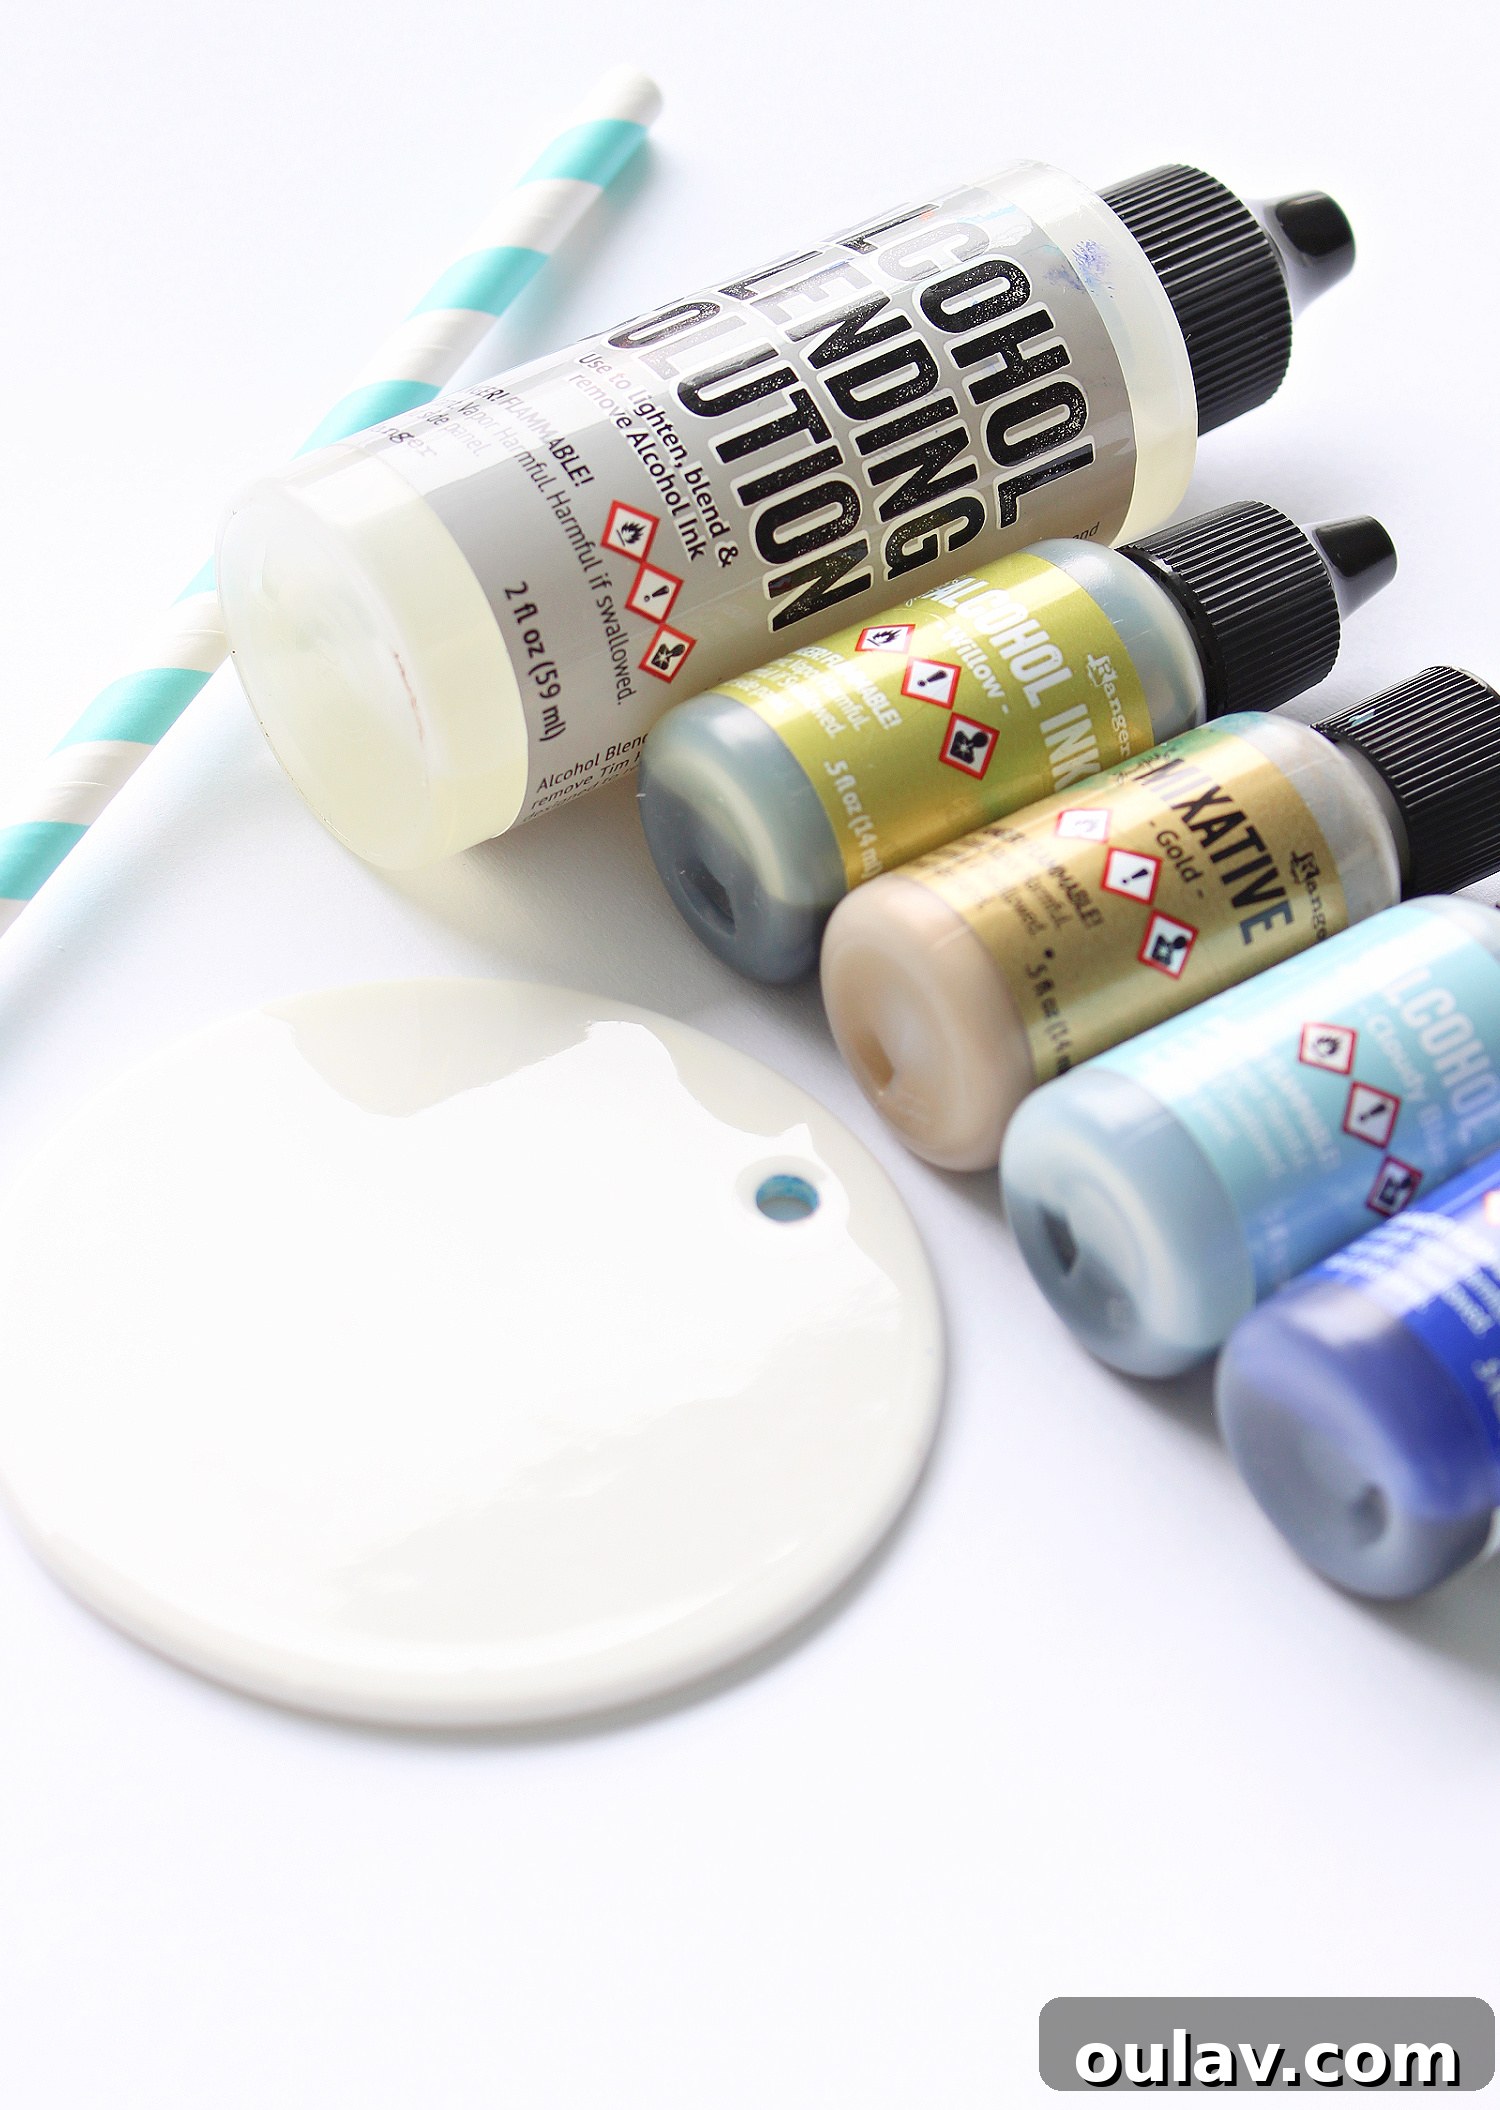
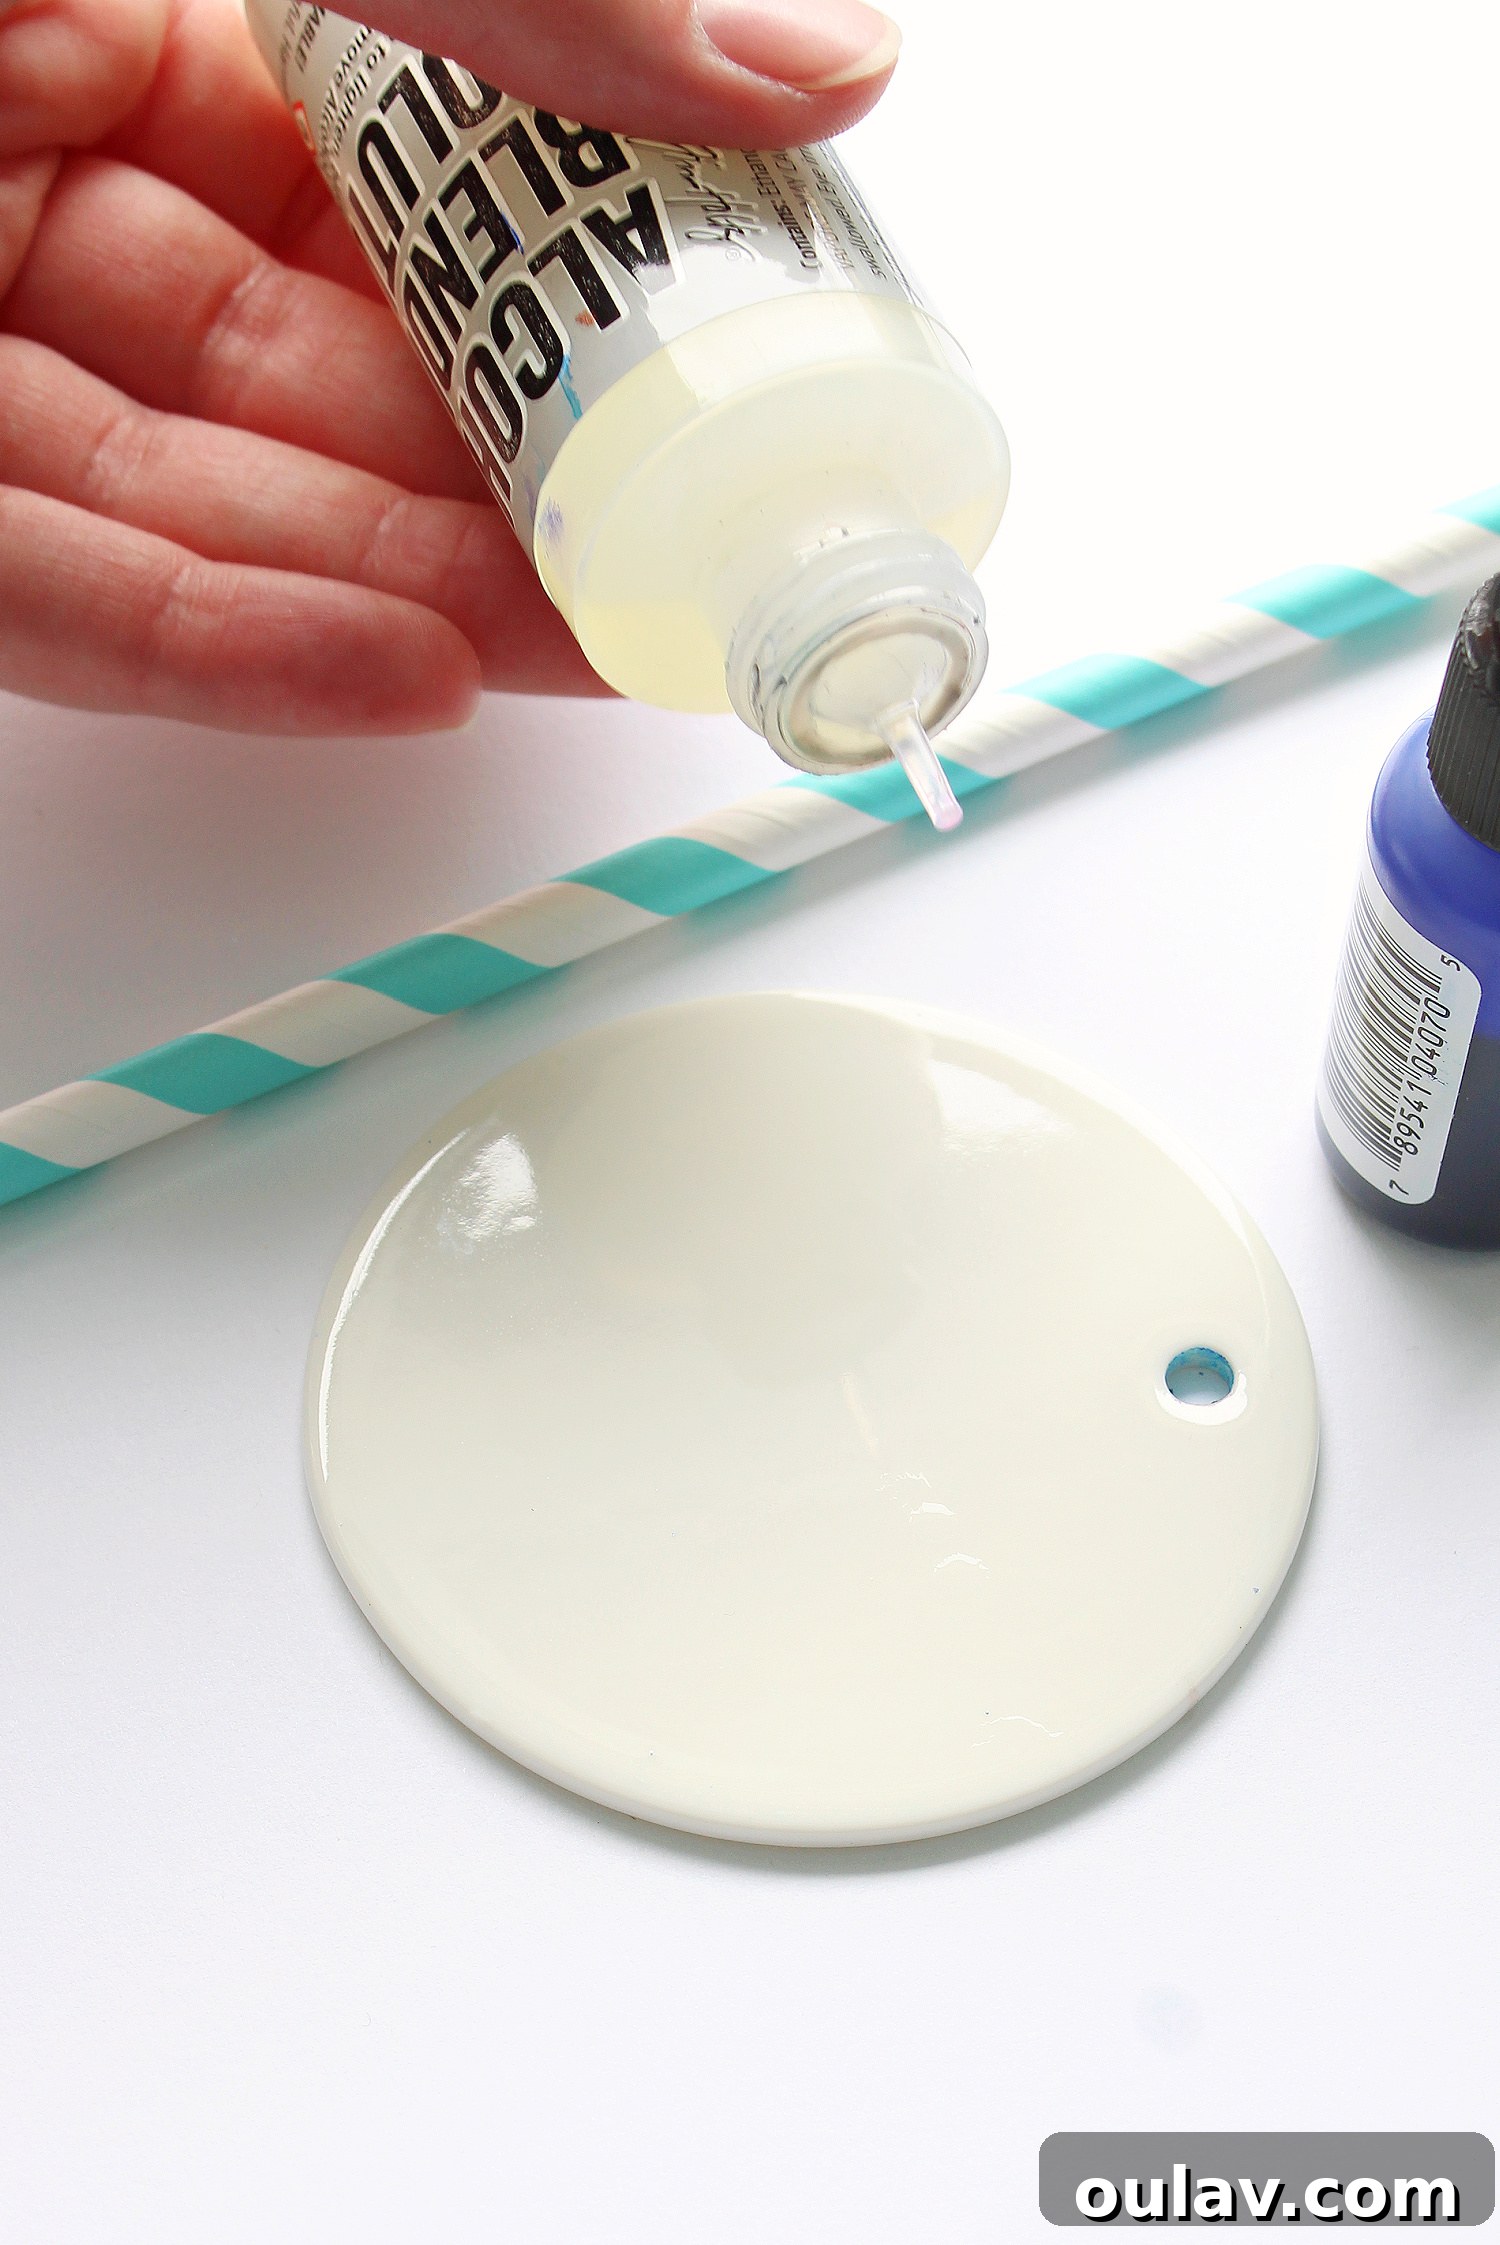
- Blending Solution: This essential liquid helps dilute, lighten, and move the alcohol inks, facilitating smooth color transitions and creating beautiful marbled effects. It also acts as an eraser, allowing you to easily wipe away mistakes before the ink dries completely.
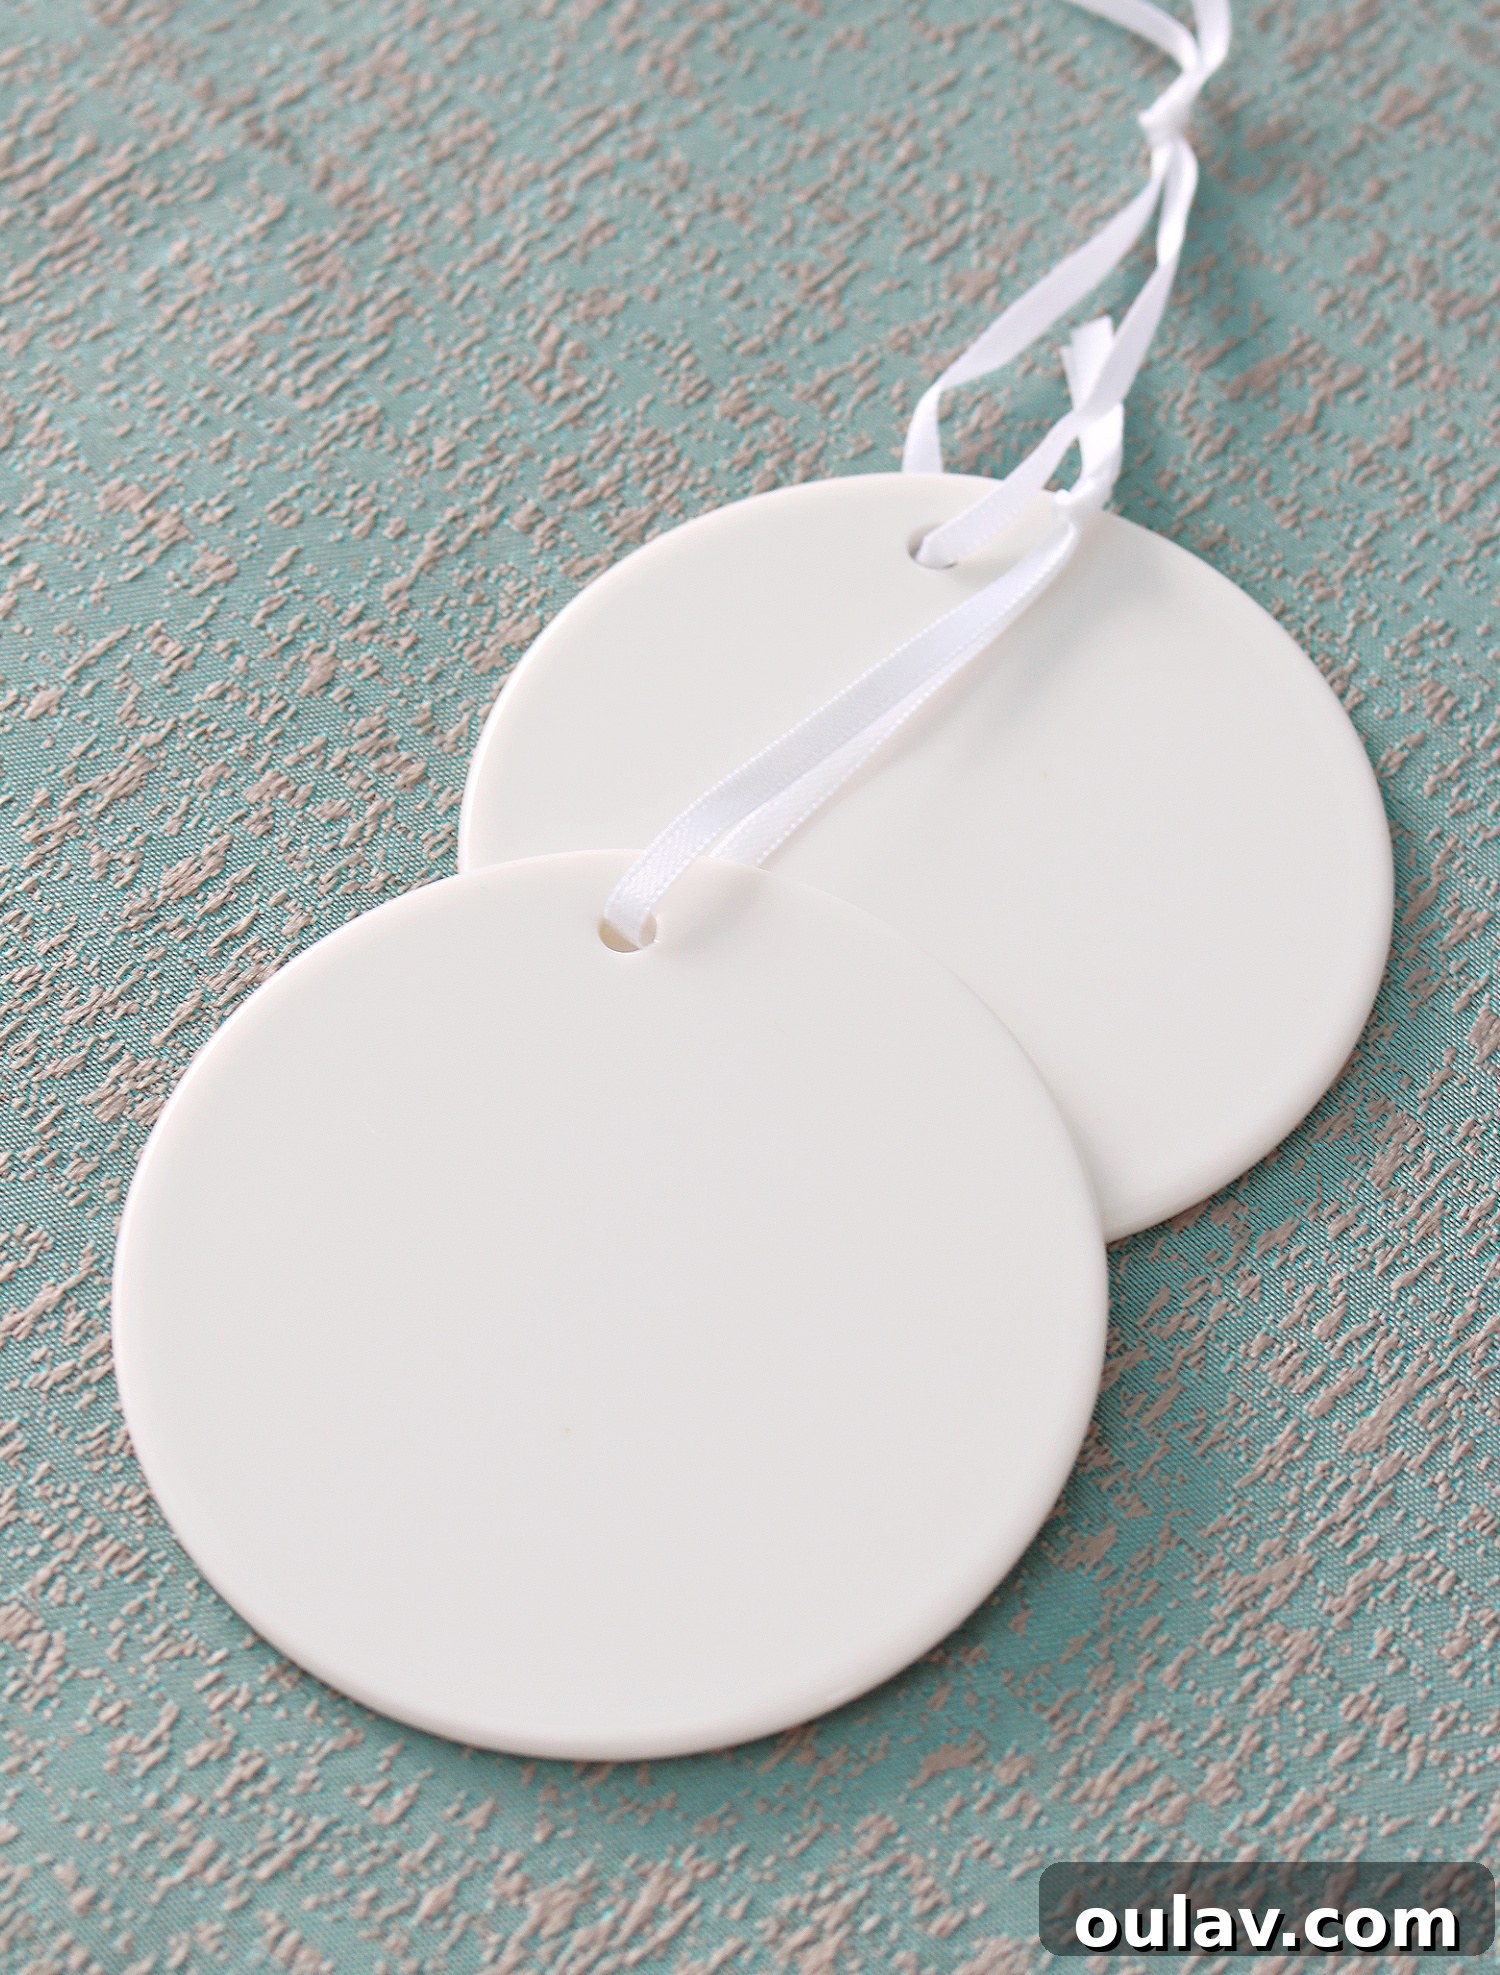
- Glazed Ceramic Blanks: These are your canvases! Look for smooth, white, pre-glazed ceramic discs or other ornament shapes. They are often available at craft stores like Michael’s or online. The glaze provides the perfect surface for the inks to flow.
- Krylon Triple-Thick Crystal Clear Glaze: A crucial sealant to protect your finished artwork. This clear glaze provides a durable, glossy protective layer that prevents the ink from scratching or fading over time, ensuring your ornaments last for many seasons.
- Tools for Moving Ink: You’ll need something to gently blow the ink around. Options include a simple straw, a low-heat setting on a hair dryer (use with caution to avoid over-drying), a can of compressed air for controlled bursts, or a specialized alcohol ink blower, which offers excellent control and consistent airflow.
- Drop Cloth or Newspaper: Alcohol inks can stain, so protecting your work surface is paramount. A plastic drop cloth, old newspaper, or even a large garbage bag will keep your table clean.
- Rubbing Alcohol (Isopropyl Alcohol): Excellent for cleaning up accidental spills on your skin or tools, and as we’ll discuss, for easily correcting design errors on your ornament blanks.
- Cotton Rounds or Paper Towel: Essential for applying rubbing alcohol for clean-up or corrections.
While some blending solutions come with fillable pens, you’ll find they are not strictly necessary for this particular project. The goal here is fluid, organic movement, which is best achieved by dropping inks directly onto the surface and manipulating them with air.
Embrace Experimentation: A Note on Mistakes
One of the most liberating aspects of working with alcohol inks on ceramic is the forgiving nature of the medium. If you’re not entirely satisfied with how your DIY alcohol ink on ceramic ornament is progressing, or if a design becomes “muddy” from too many colors blending improperly, there’s no need to stress! Simply grab some rubbing alcohol and a cotton round or a piece of paper towel. You can easily wipe the entire design clean before it fully dries, allowing you to start fresh. This means you can create freely, experiment with different color combinations and techniques, and not worry about “ruining” an ornament. This ease of correction makes alcohol ink art an incredibly approachable and enjoyable craft for everyone.
Step-by-Step Guide: Crafting Your DIY Alcohol Ink Ceramic Ornaments
Ready to bring your ceramic blanks to life with a splash of color? Follow these detailed steps to create your beautiful alcohol ink ornaments:
- Prepare Your Workspace: Lay down a drop cloth, old newspaper, or a plastic garbage bag to protect your surfaces. Alcohol inks are highly pigmented and can stain, though they are easily wiped from skin with rubbing alcohol. Ensure you have good ventilation in your work area.
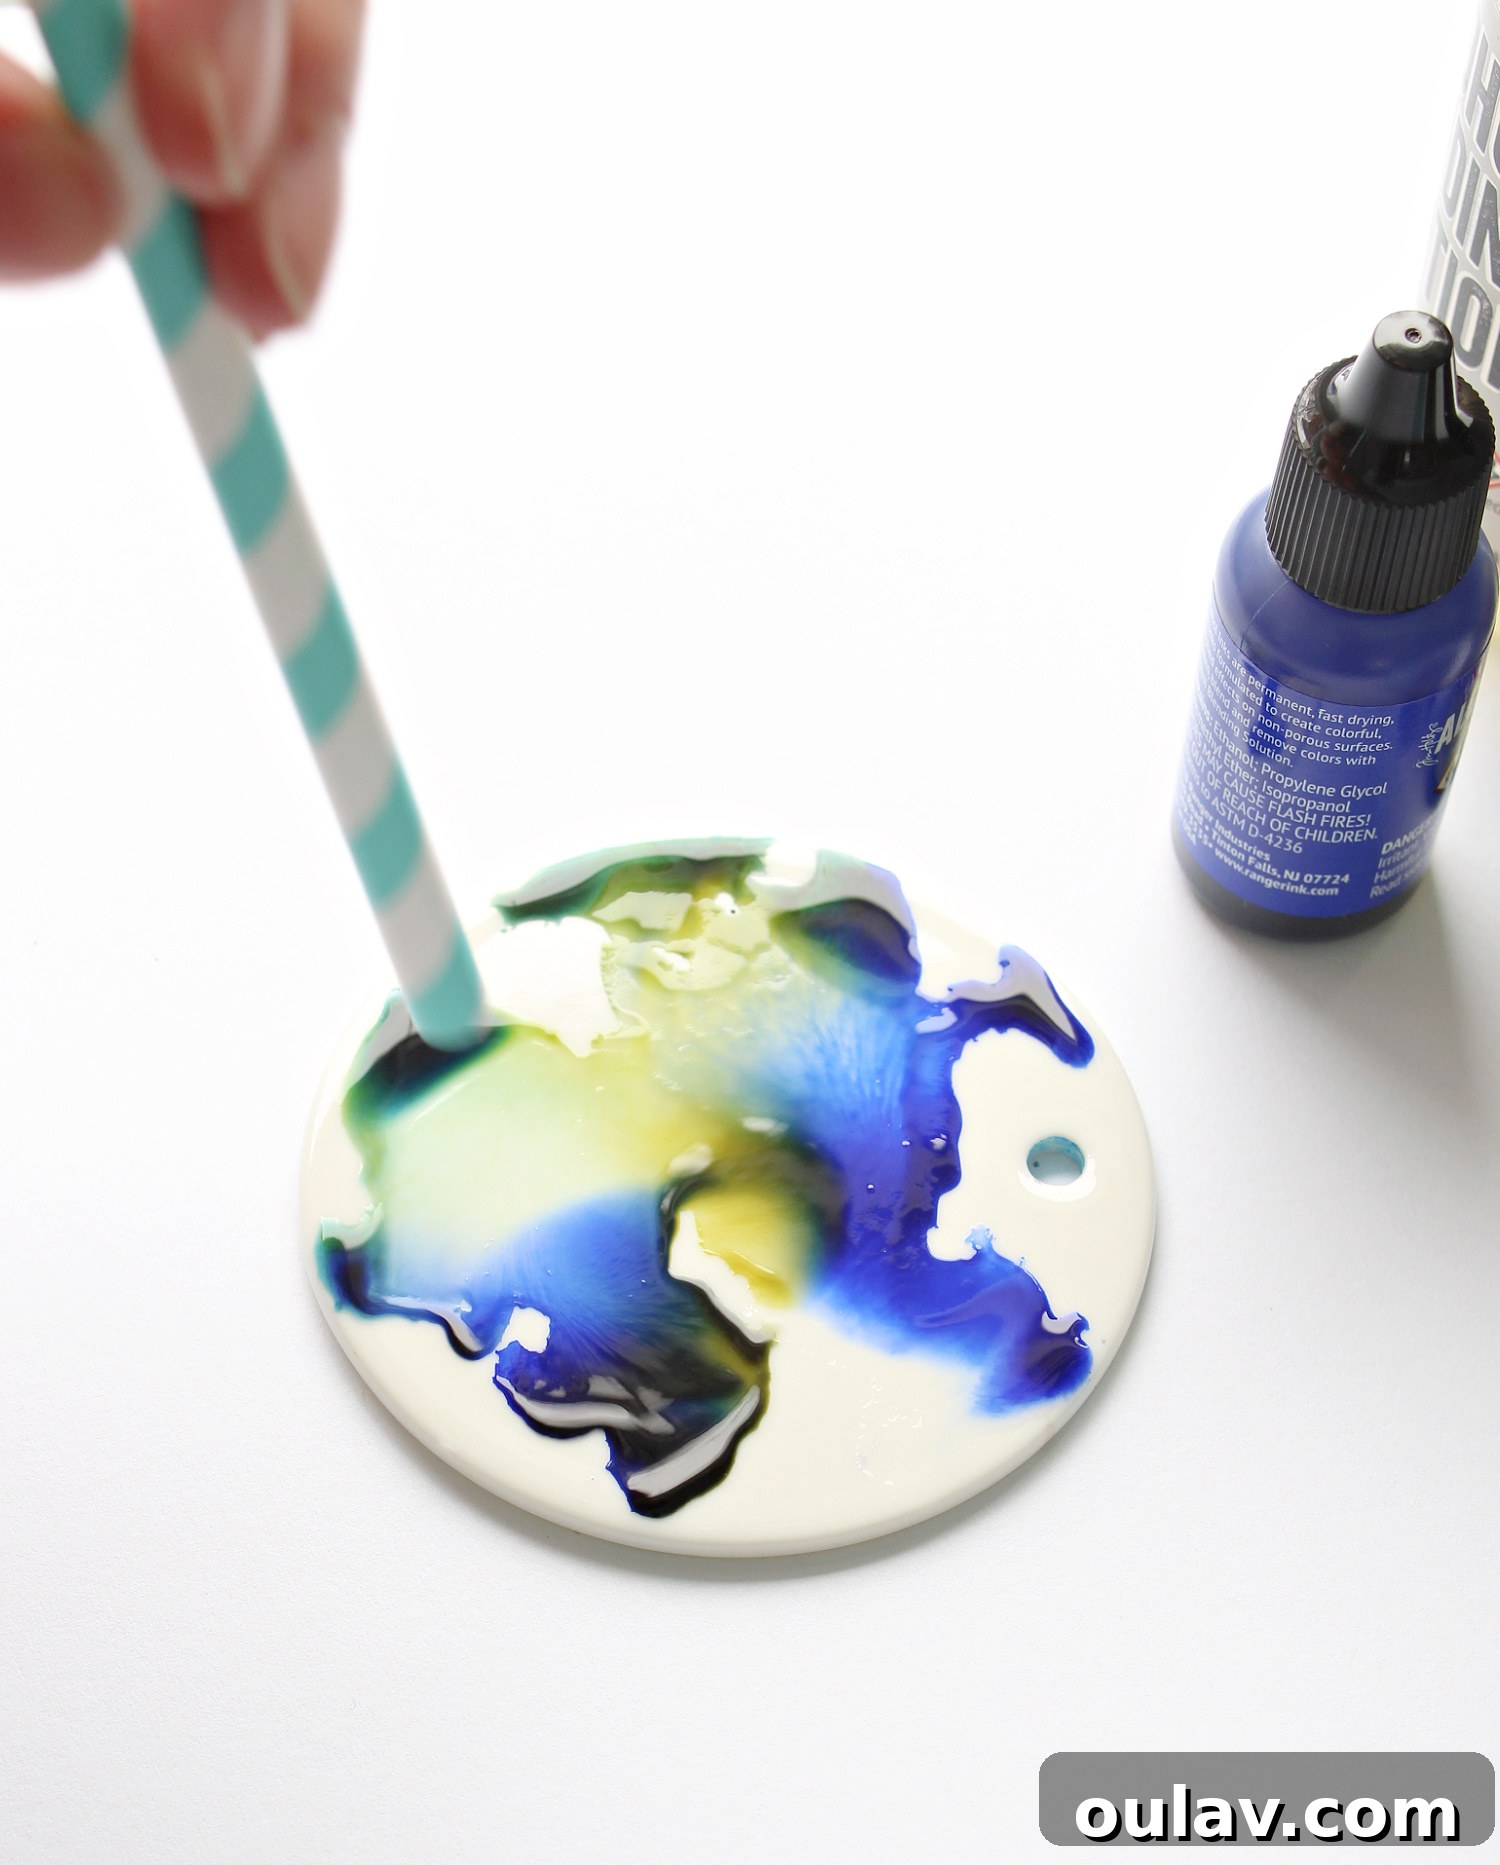
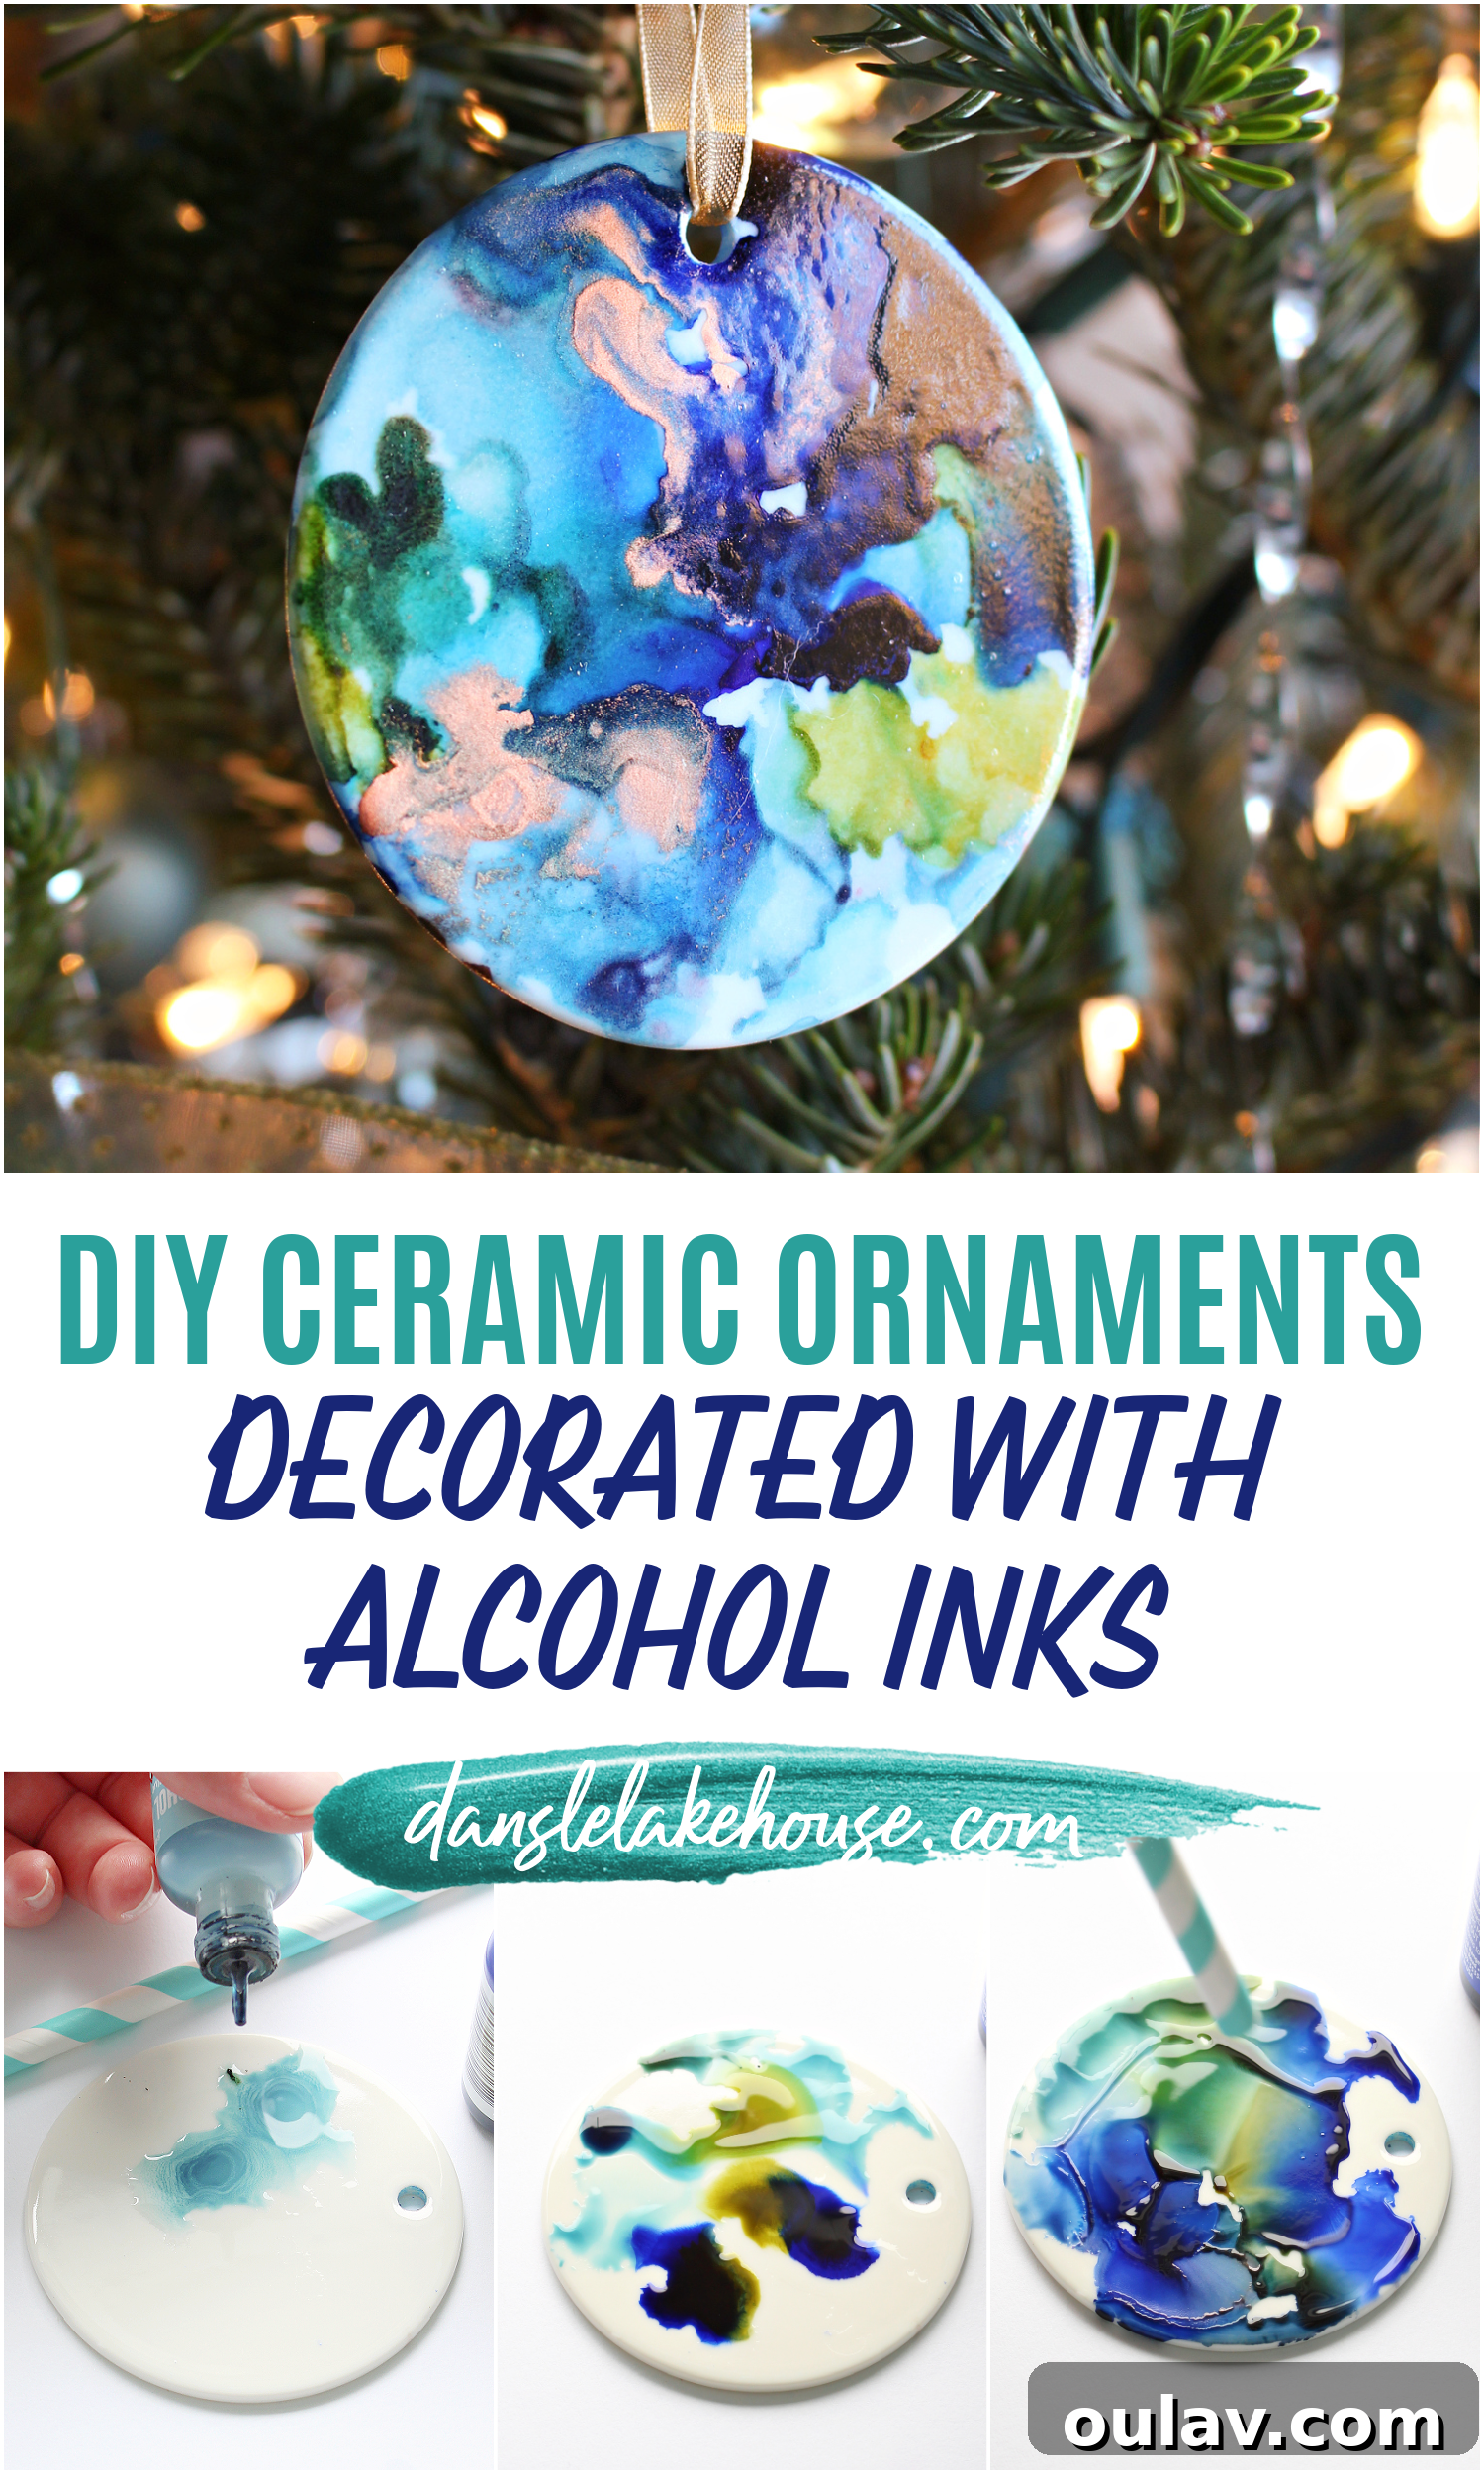
- Initial Blending Solution Application: Begin by dropping a few generous drops of blending solution onto the center of one side of your glazed ceramic ornament blank. This acts as a base, helping the subsequent ink drops to spread and flow smoothly.
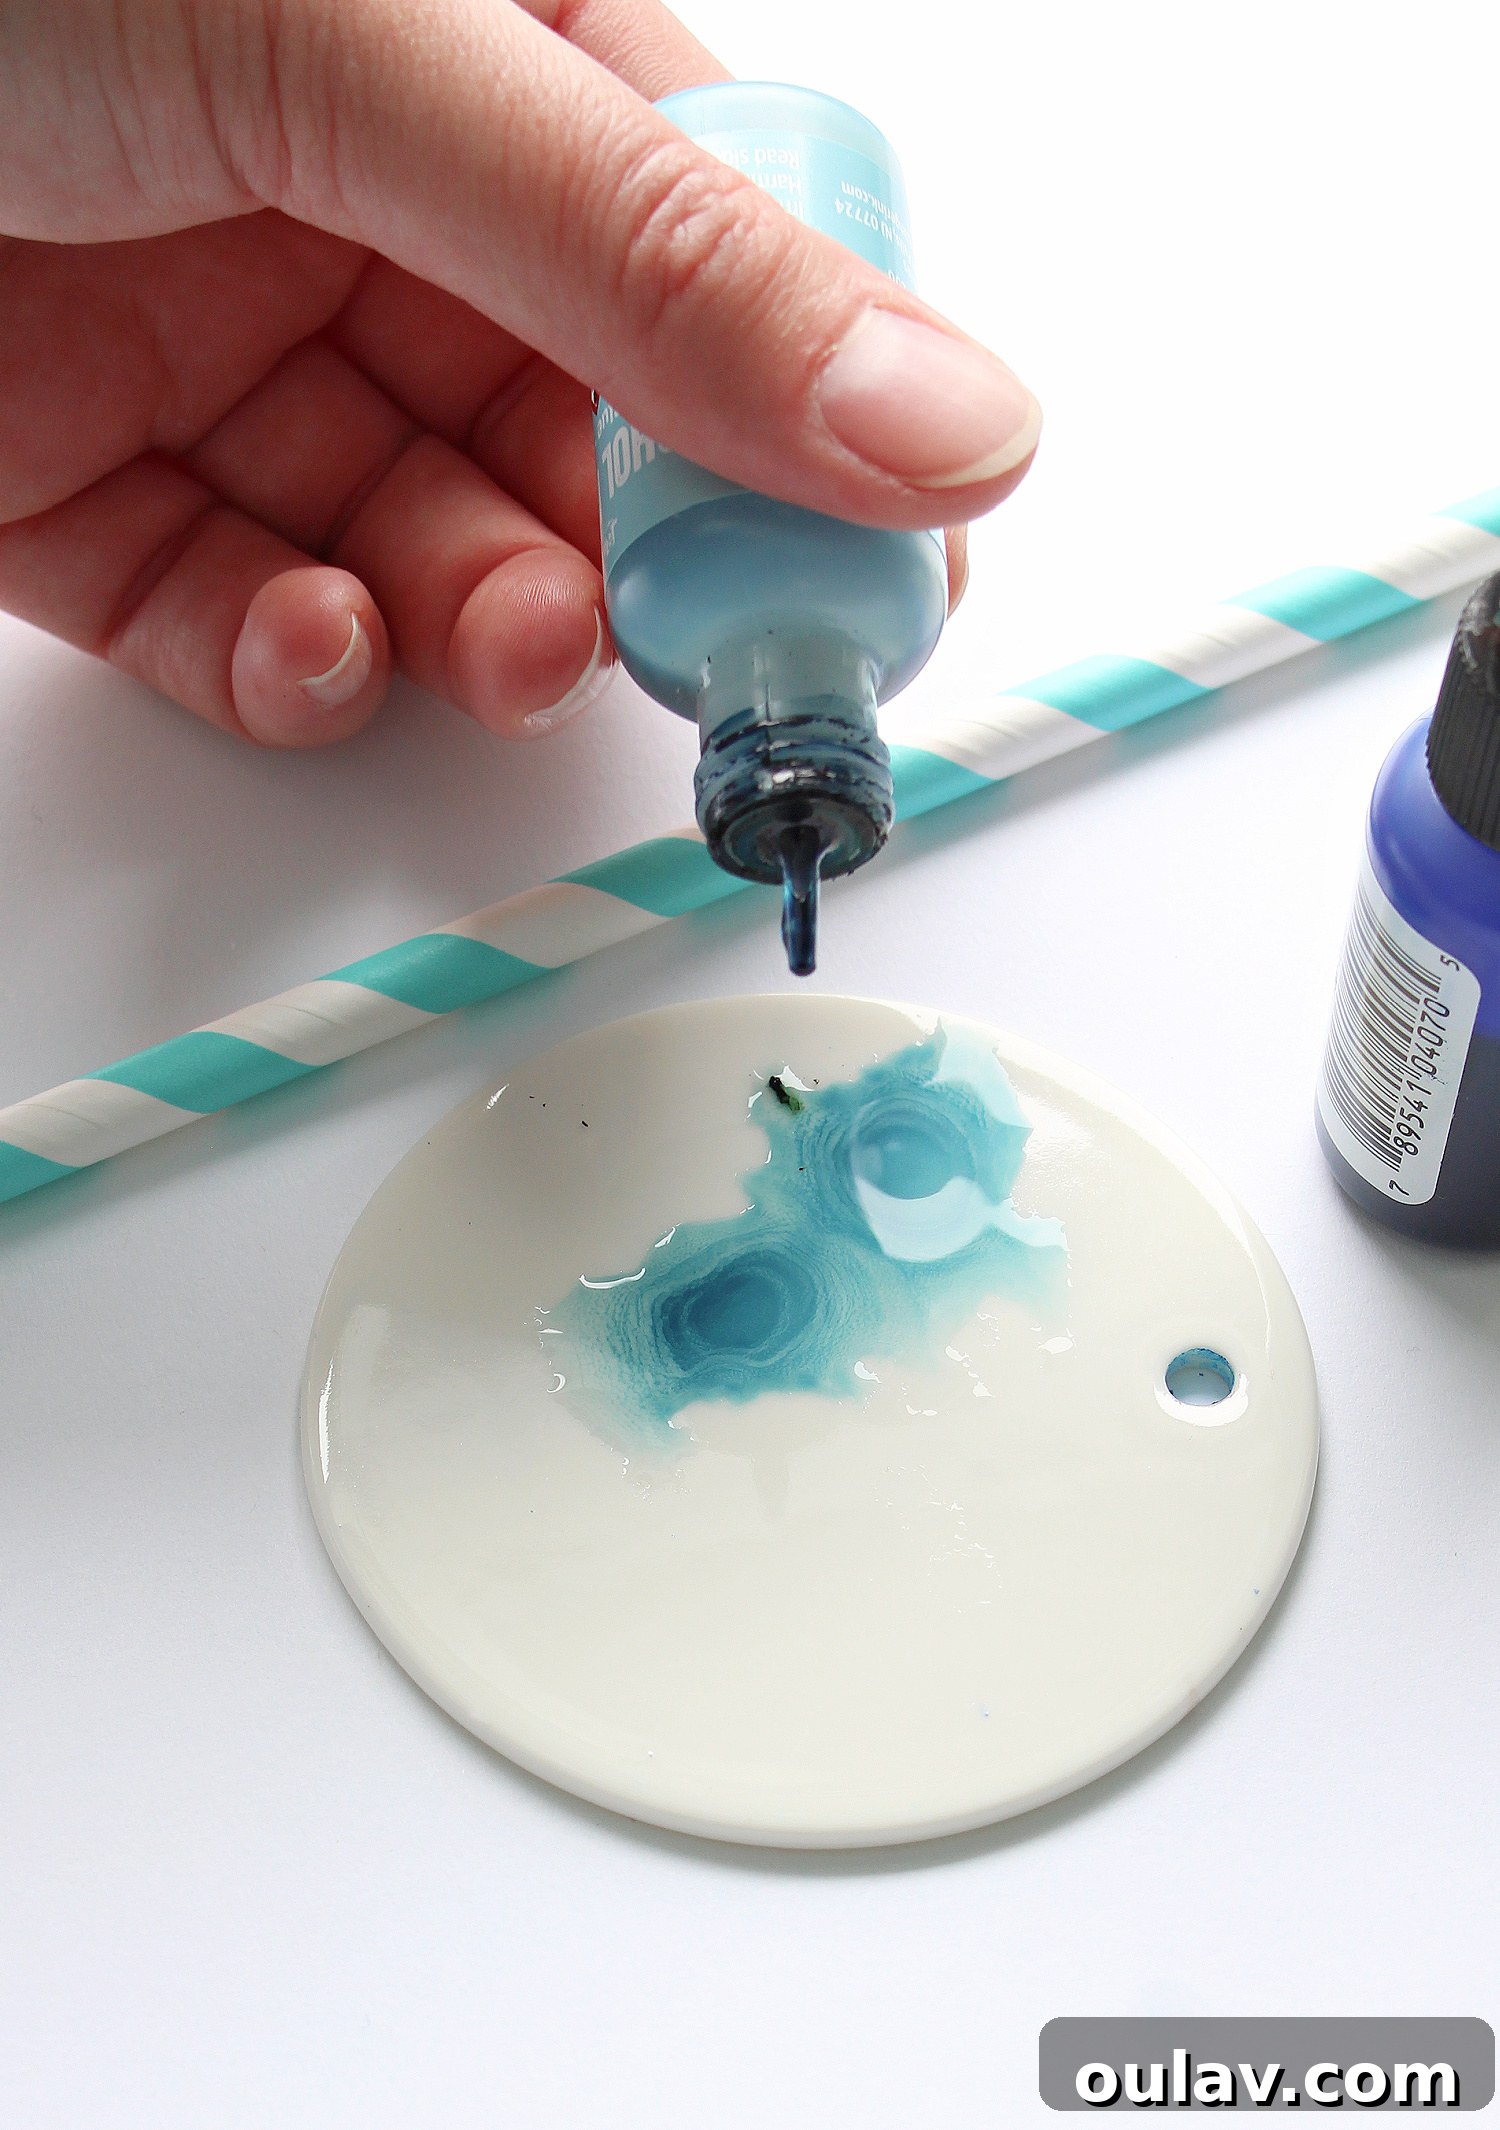
- Introduce Your Colors: Immediately after adding the blending solution, drop a few drops of your chosen alcohol ink colors into the wet blending solution. Start with one or two colors and observe how they interact. Remember basic color theory: blue and yellow will create green, red and yellow will make orange, etc.
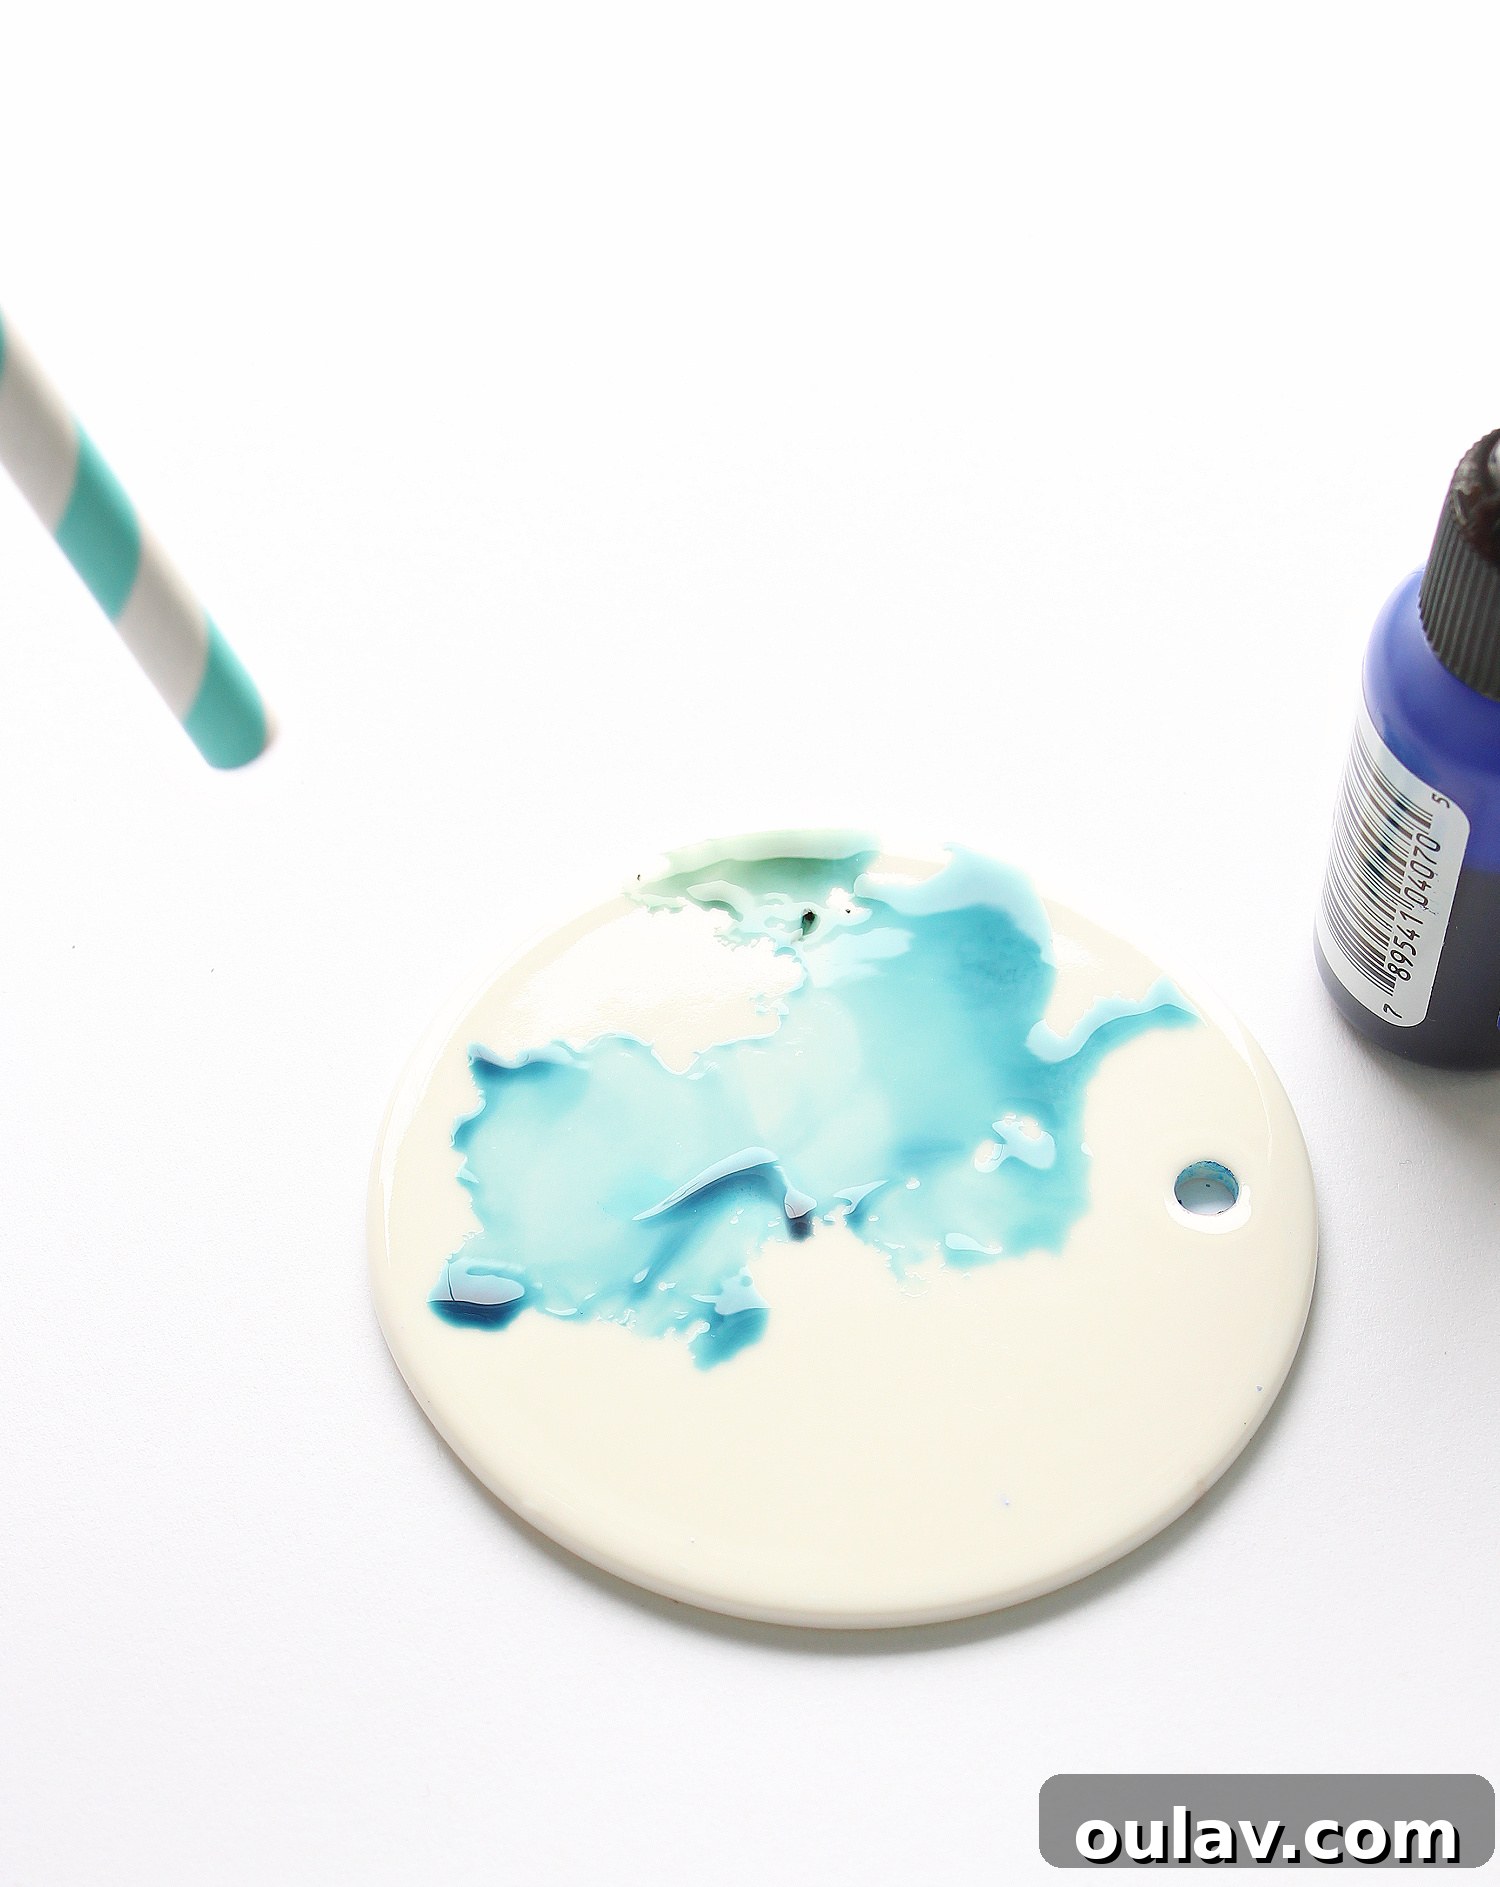
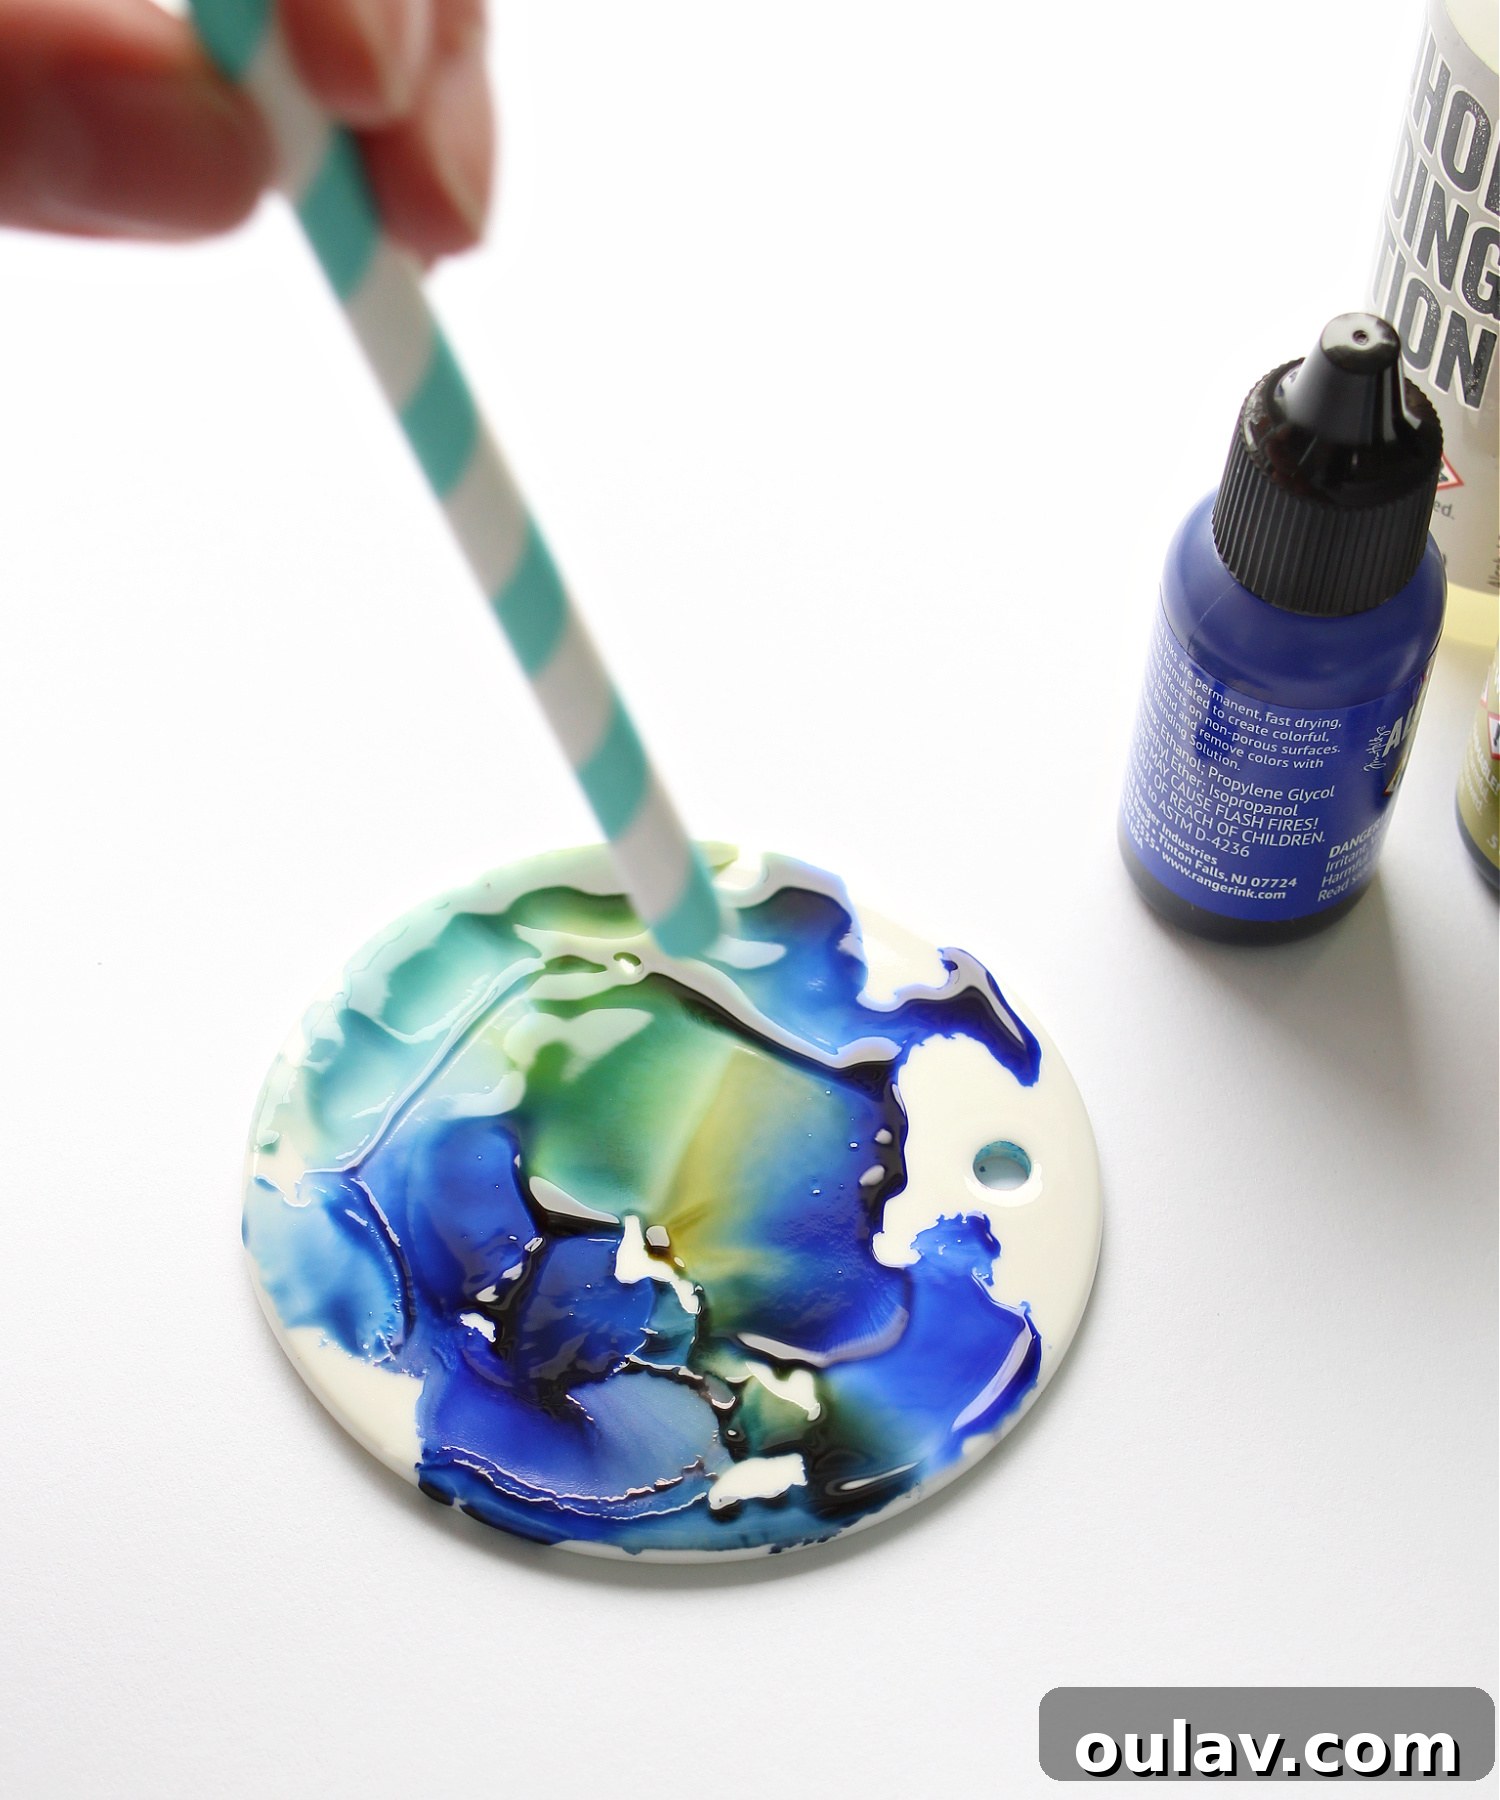
- Manipulate the Ink: This is where the magic happens! Use a straw, a hair dryer (on a low, cool setting to prevent quick drying), a can of compressed air, or an alcohol ink blower to gently move the ink around the ceramic surface. Experiment with different angles and intensities of airflow to create unique patterns, wisps, and swirls. You can push the colors to the edges, create feather-like textures, or concentrate them in the center.
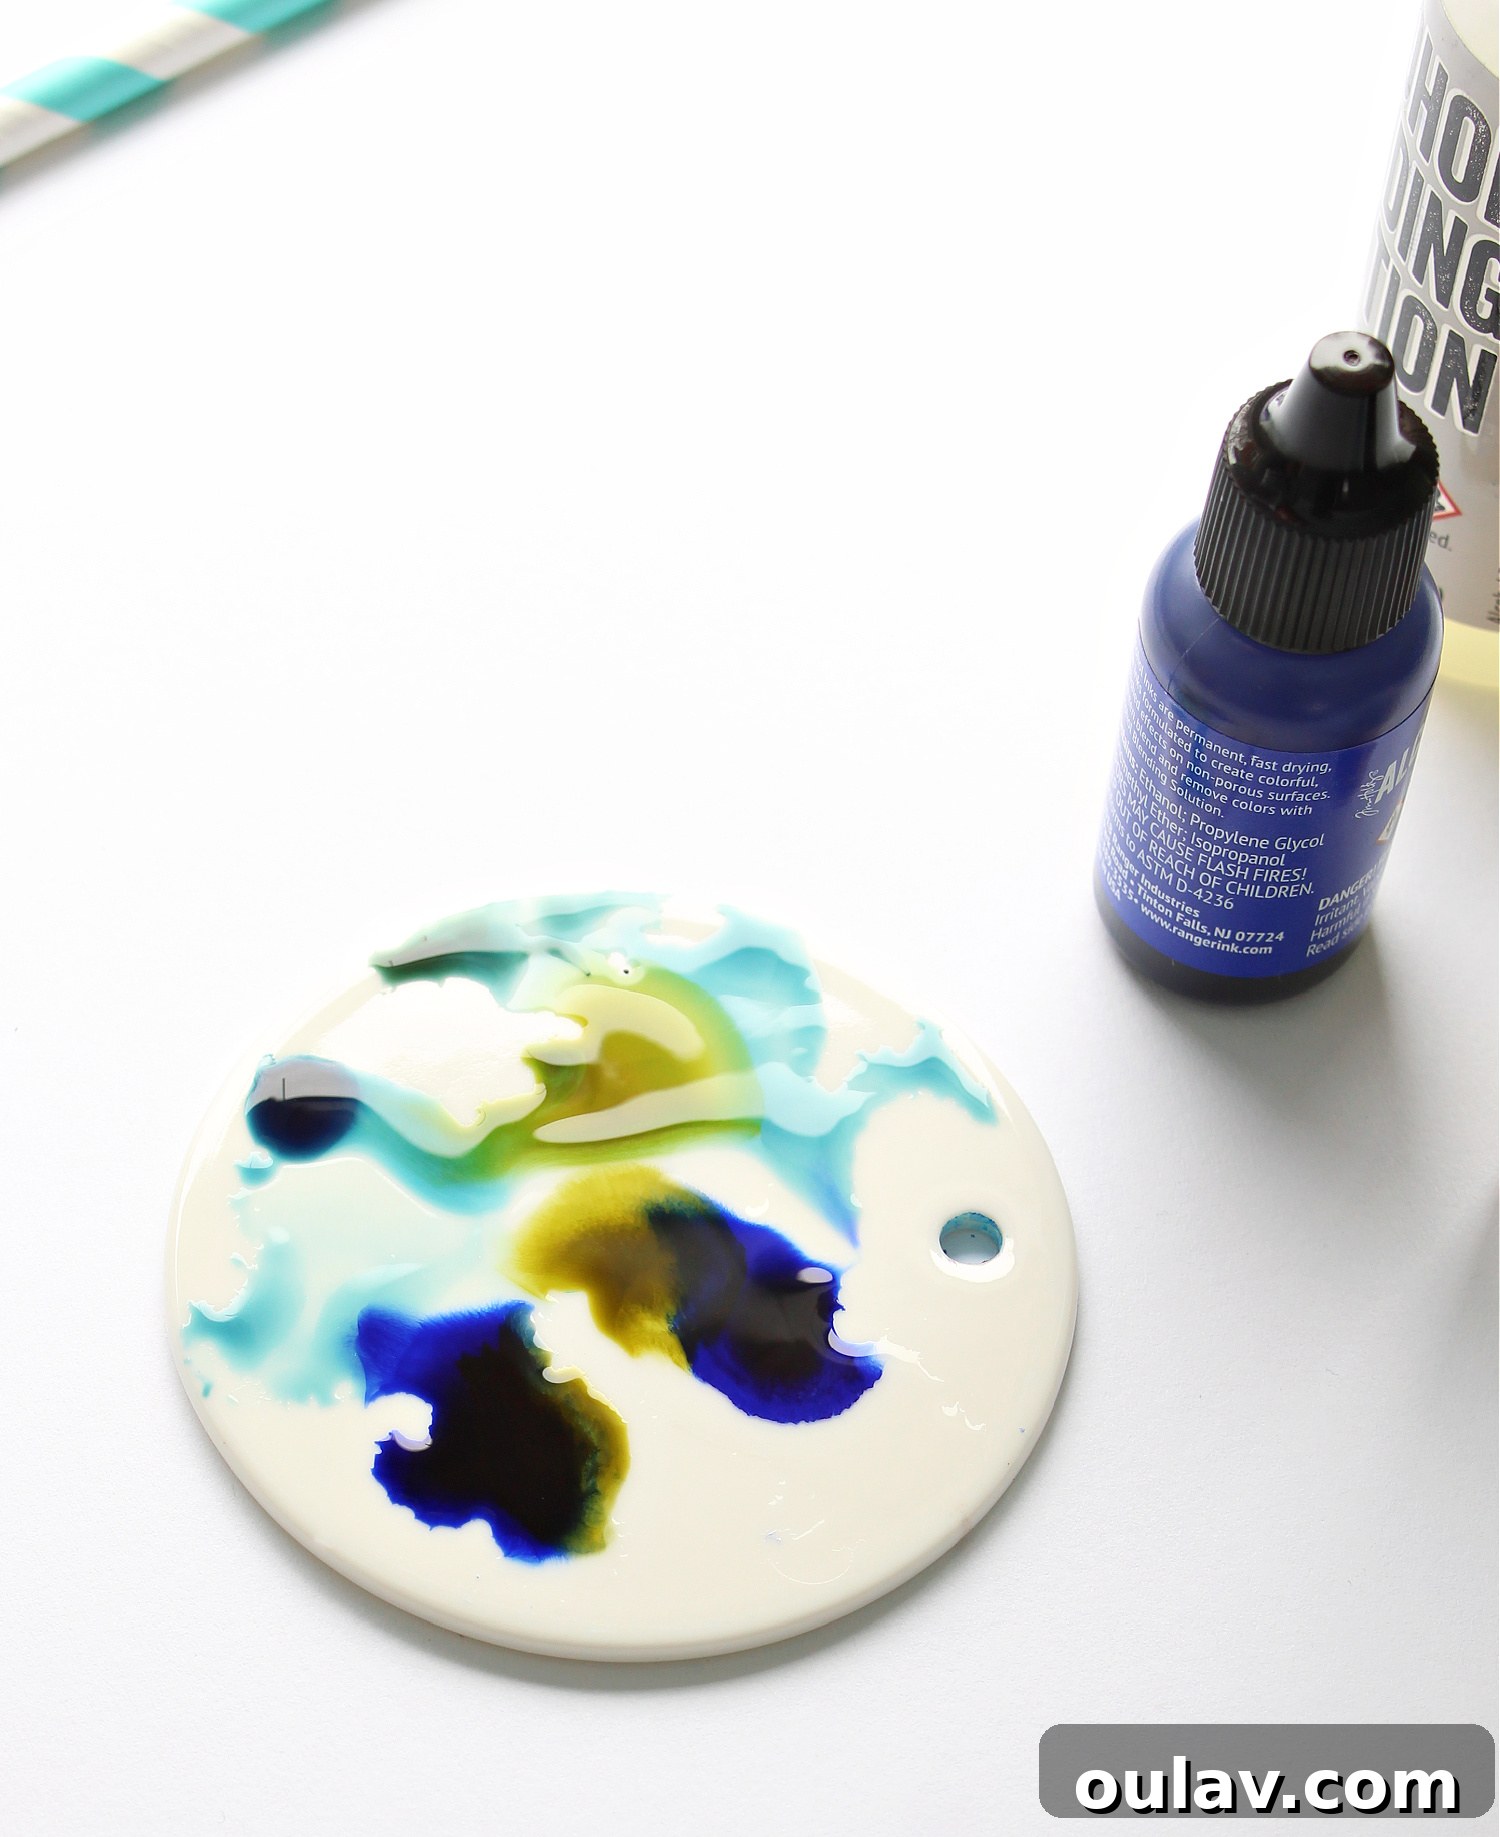
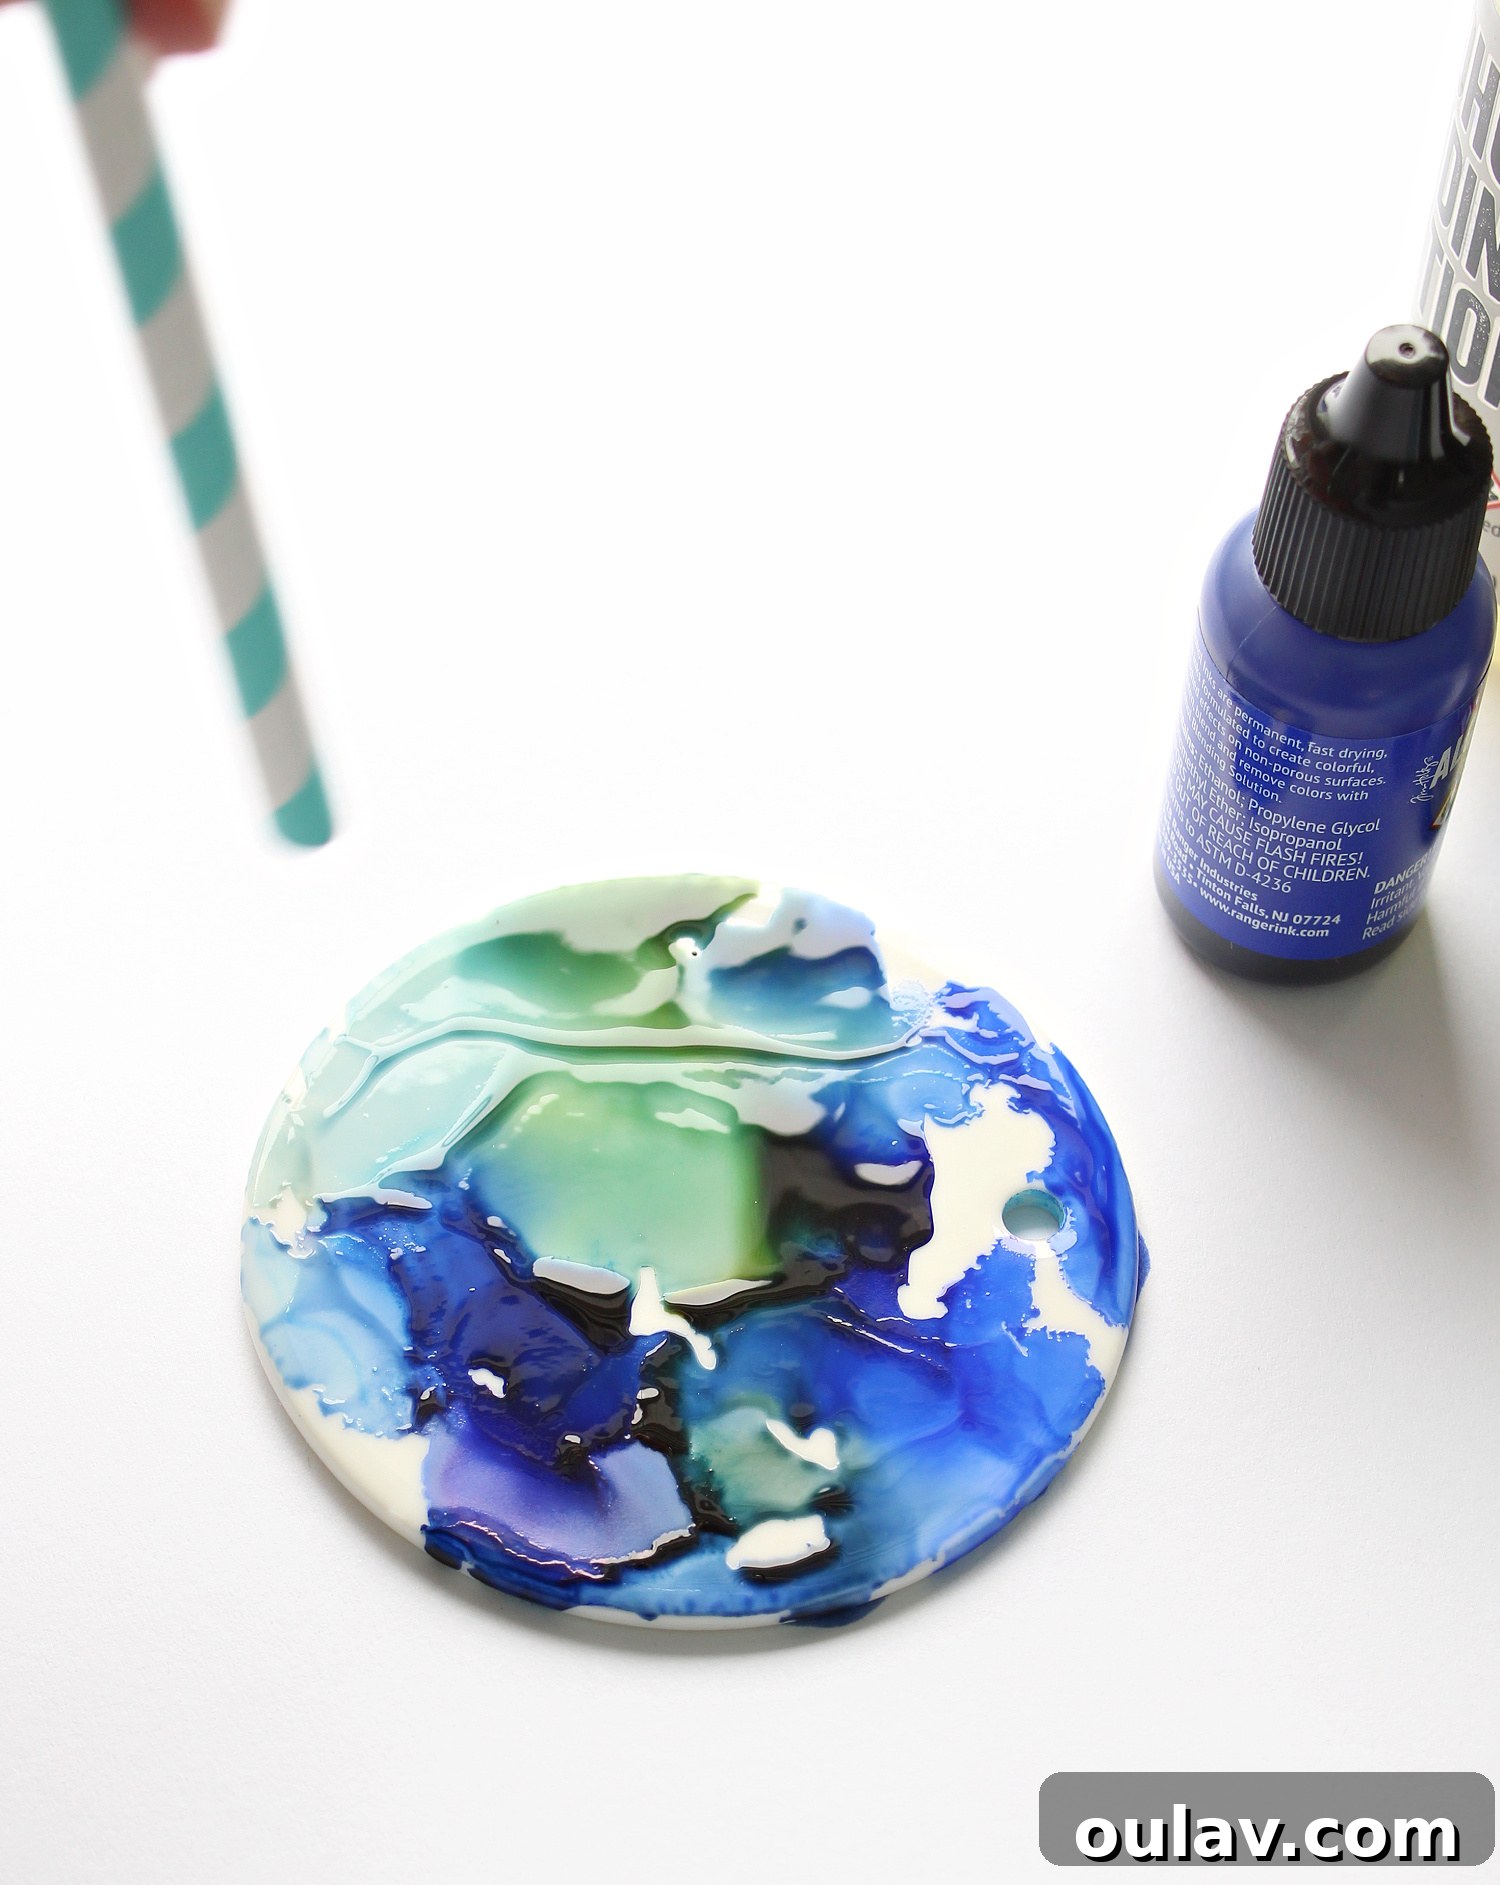
- Layer and Expand: Repeat the process by adding more drops of blending solution and additional alcohol ink colors. Layering inks allows you to build depth and complexity in your designs. You can add more of the original colors or introduce new ones, always considering how they will blend together. If you want lighter shades or more translucency, add more blending solution.
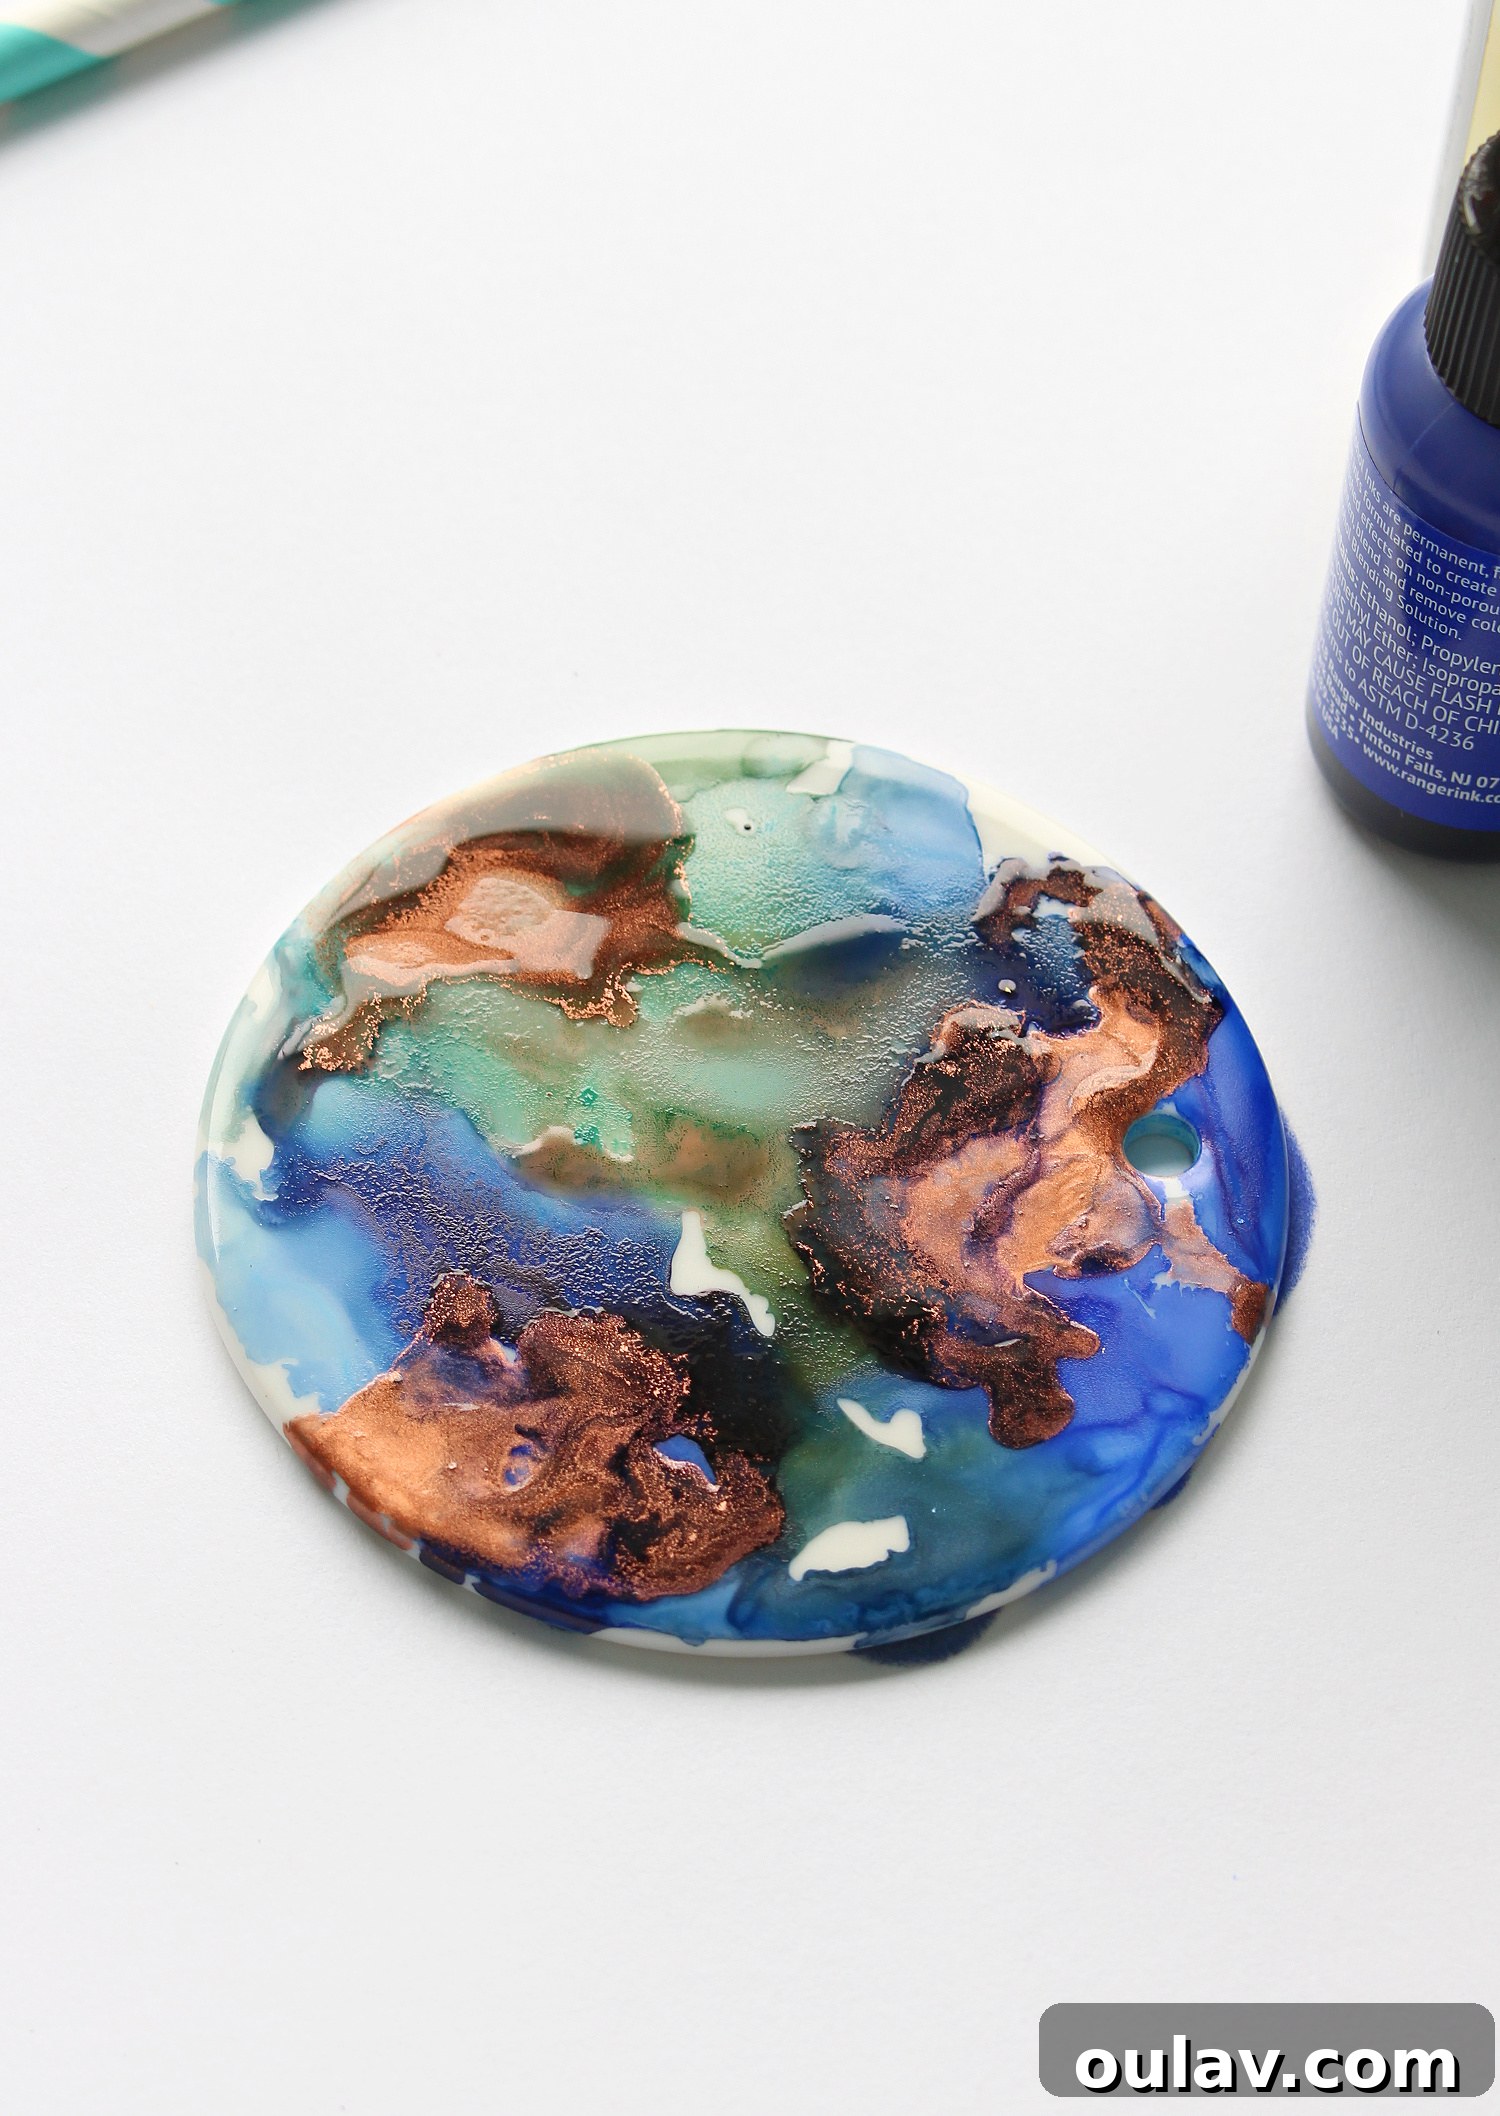
- Achieve Desired Design: Continue adding ink and blending solution, and manipulating with air, until you are happy with the abstract design on your ornament. Don’t be afraid to experiment with metallics at this stage – a few drops of metallic ink can add stunning shimmer and highlight details.
- Initial Drying: Once you’re satisfied with the design on the first side, carefully set the ornament aside on a protected surface (like an overturned cup or a paper towel that won’t stick) to dry overnight. This ensures the inks are fully set before handling or sealing.
- Decorate the Second Side: The next day, repeat the entire process on the other side of the ornament. It’s natural for some ink to drip or slightly flow onto the finished side while you’re working on the second. To maintain aesthetic consistency, try to use the same color palette on the second side.
- Seal for Protection and Shine: After both sides are completely dry (allow another overnight drying period for the second side), it’s time to seal your creations. In a well-ventilated area, apply a protective coat of Krylon Triple-Thick Crystal Clear Glaze to both sides of the ornament. Follow the manufacturer’s instructions for application and drying times. This sealant will not only protect your beautiful artwork from scratches and UV fading but also enhance the glossy finish, making the colors pop even more.
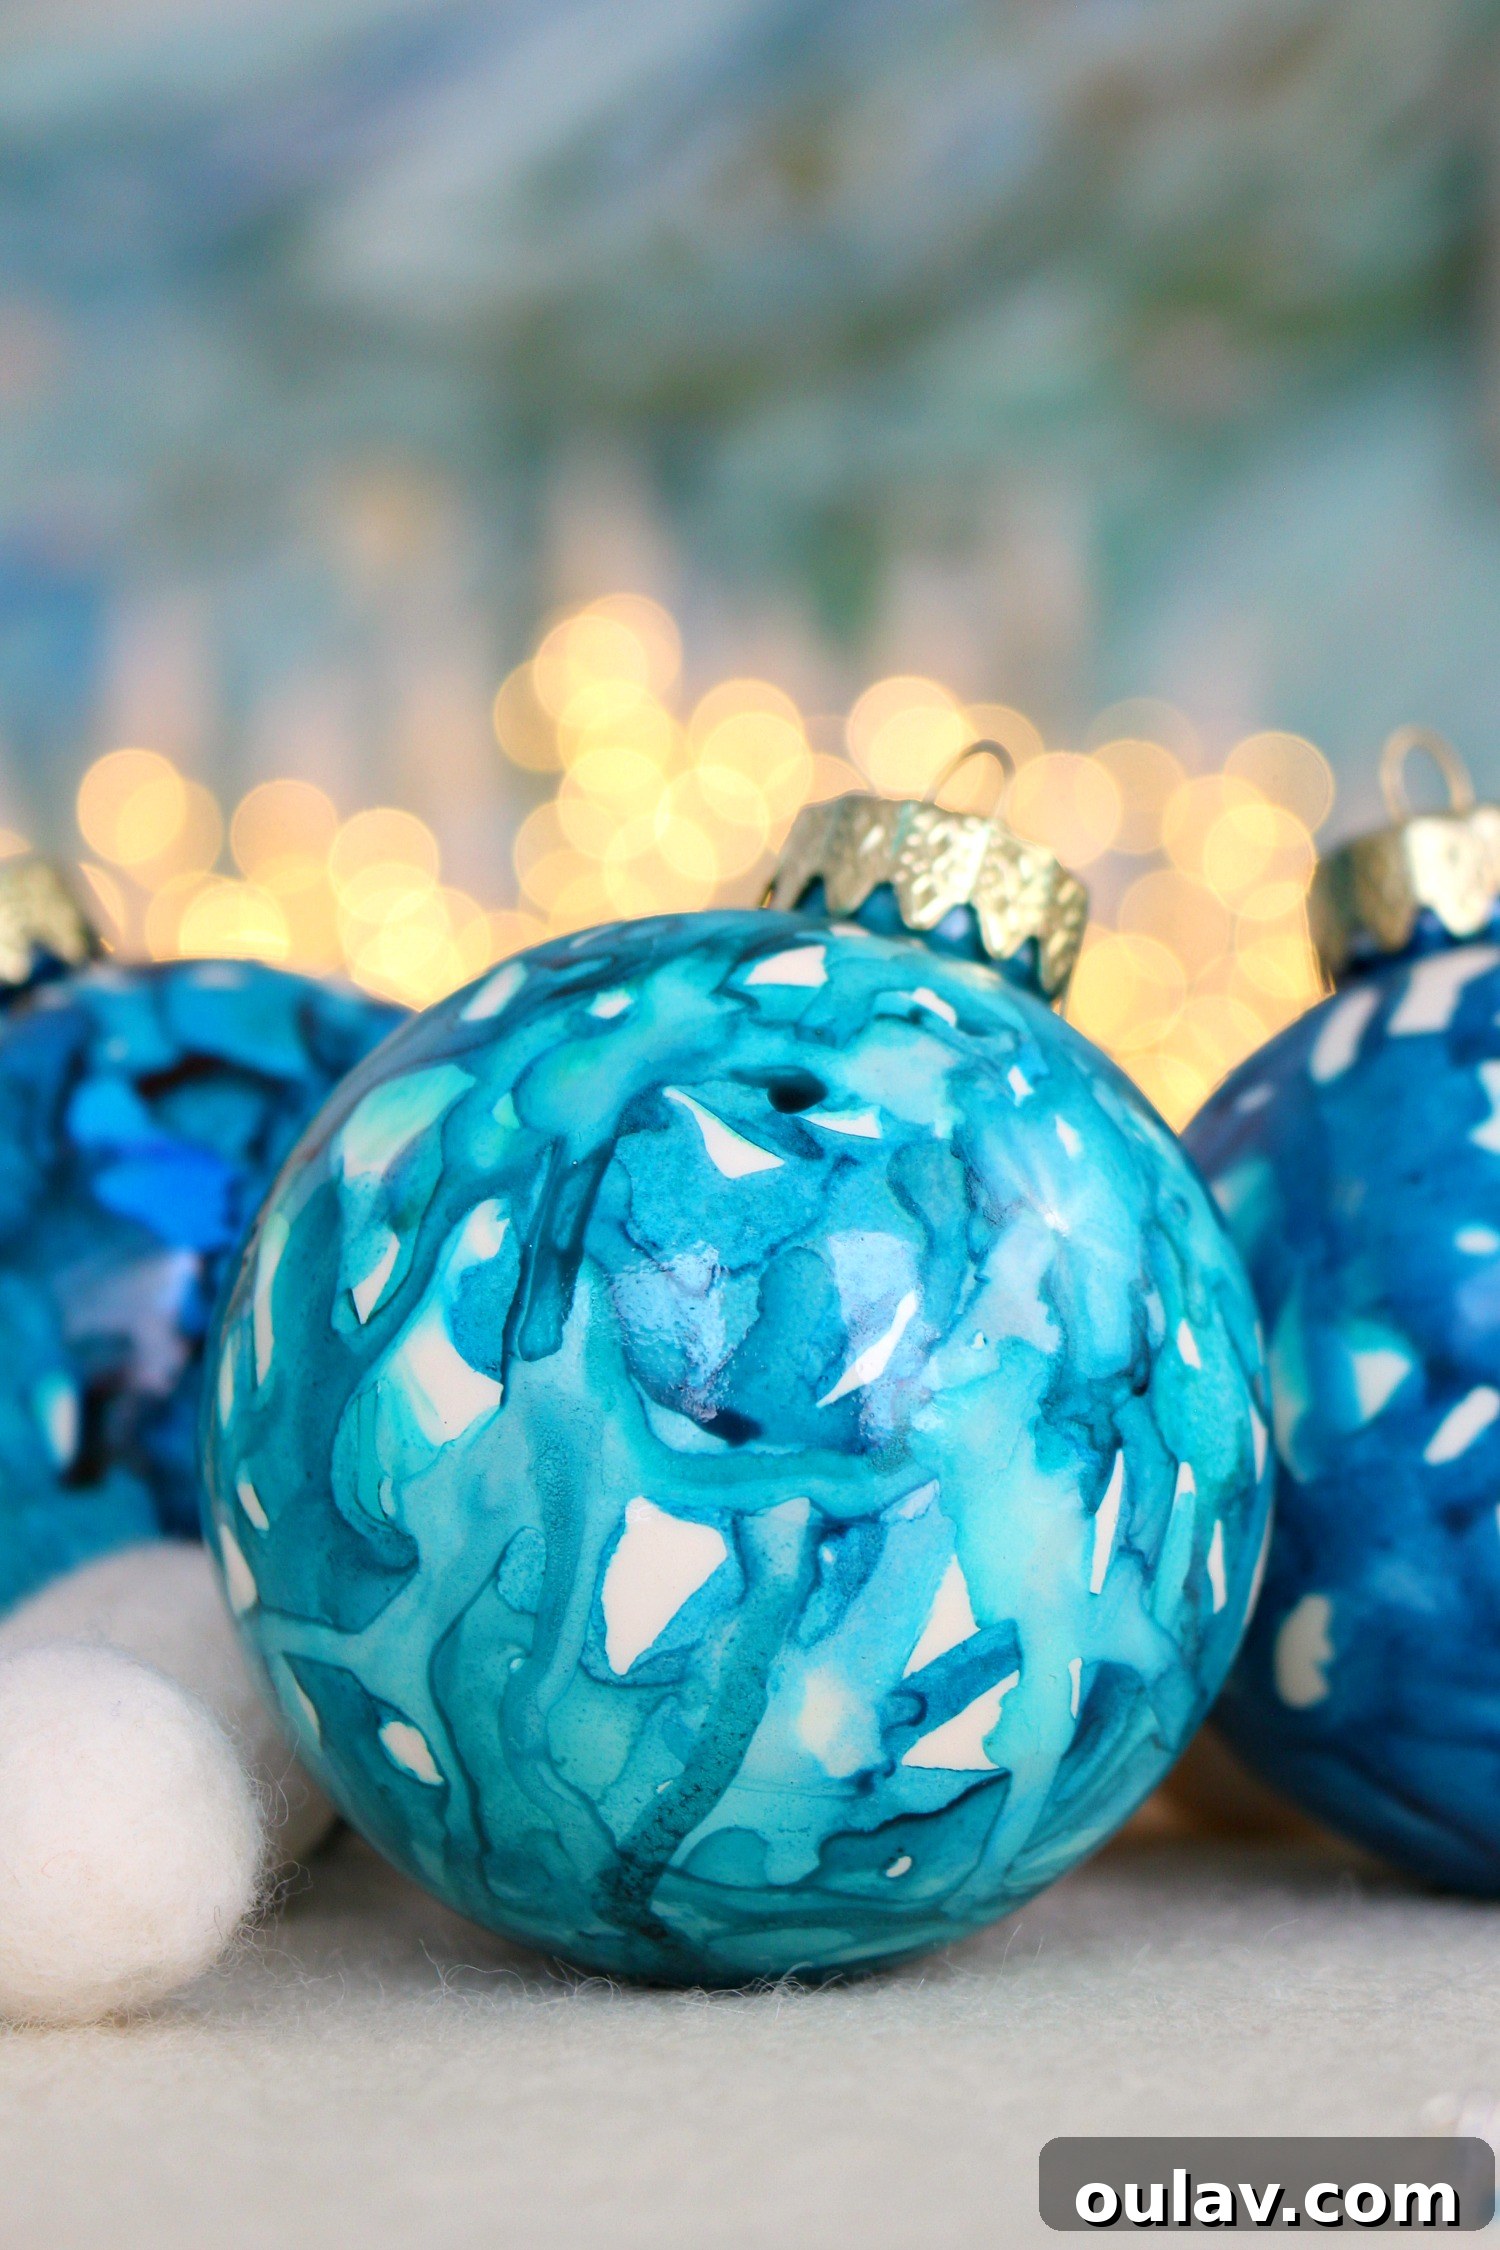
Working on a flat surface like a ceramic disc is incredibly liberating compared to trying to apply alcohol ink to the outside of a spherical ornament ball. You have the freedom to take your time, experiment with different techniques, and truly enjoy the process without the worry of inks flowing too quickly or unevenly.
The Enchanting Touch of Metallic Alcohol Inks
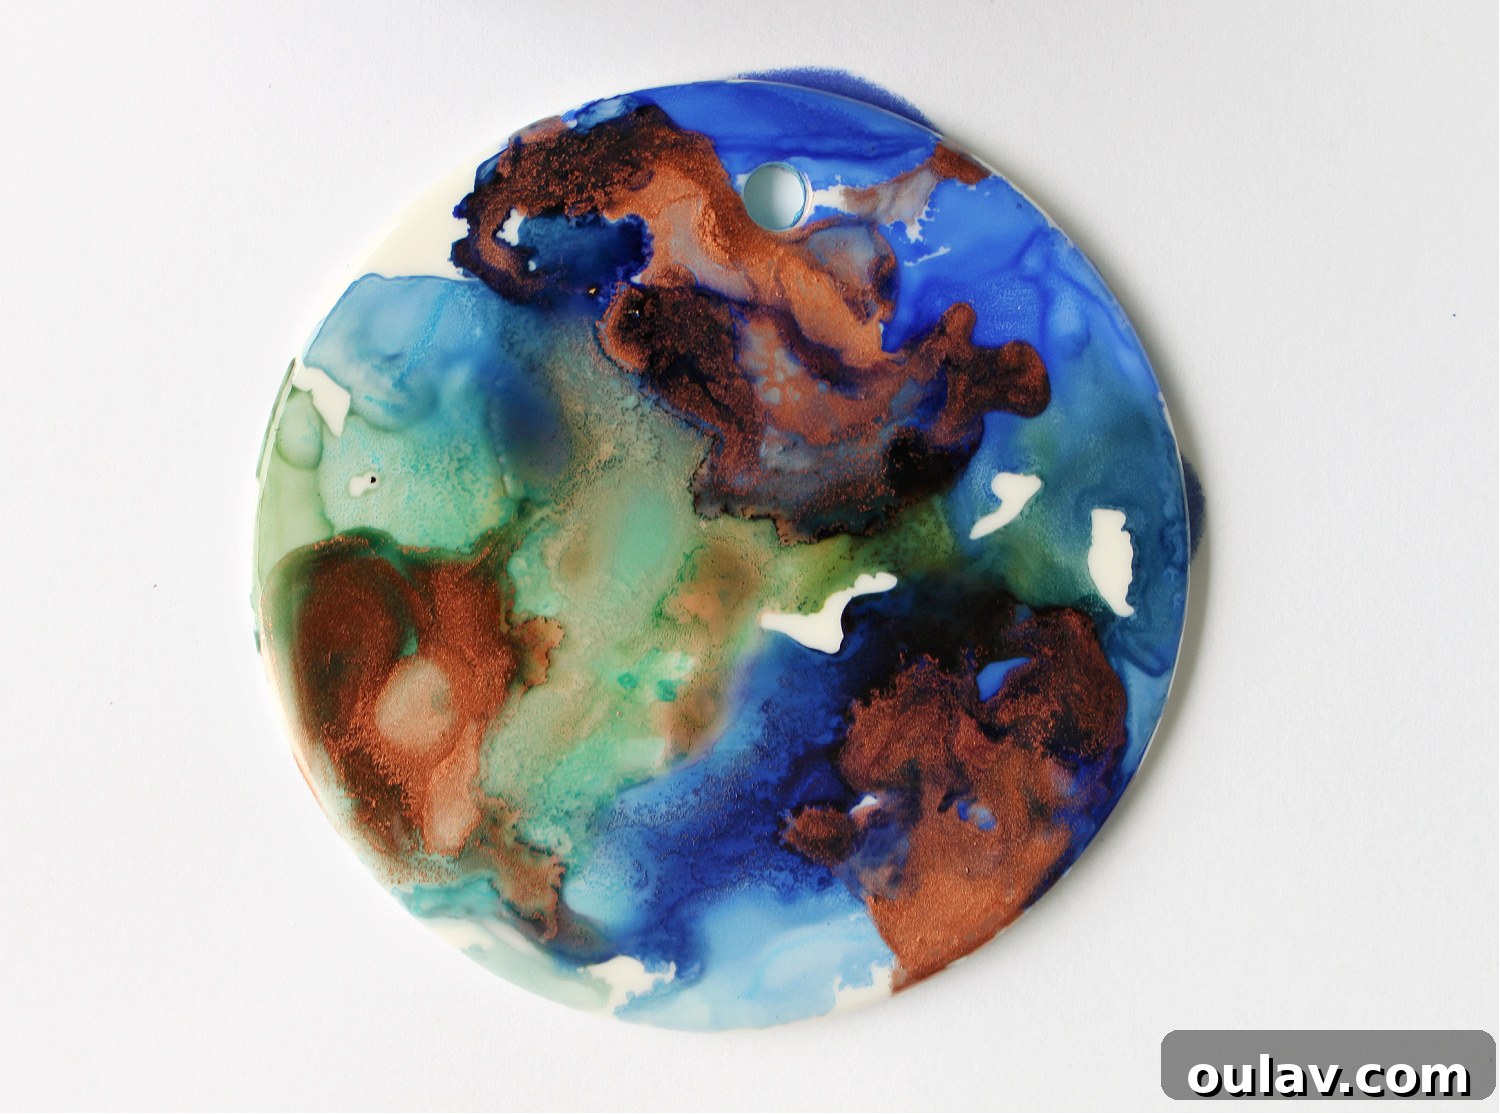
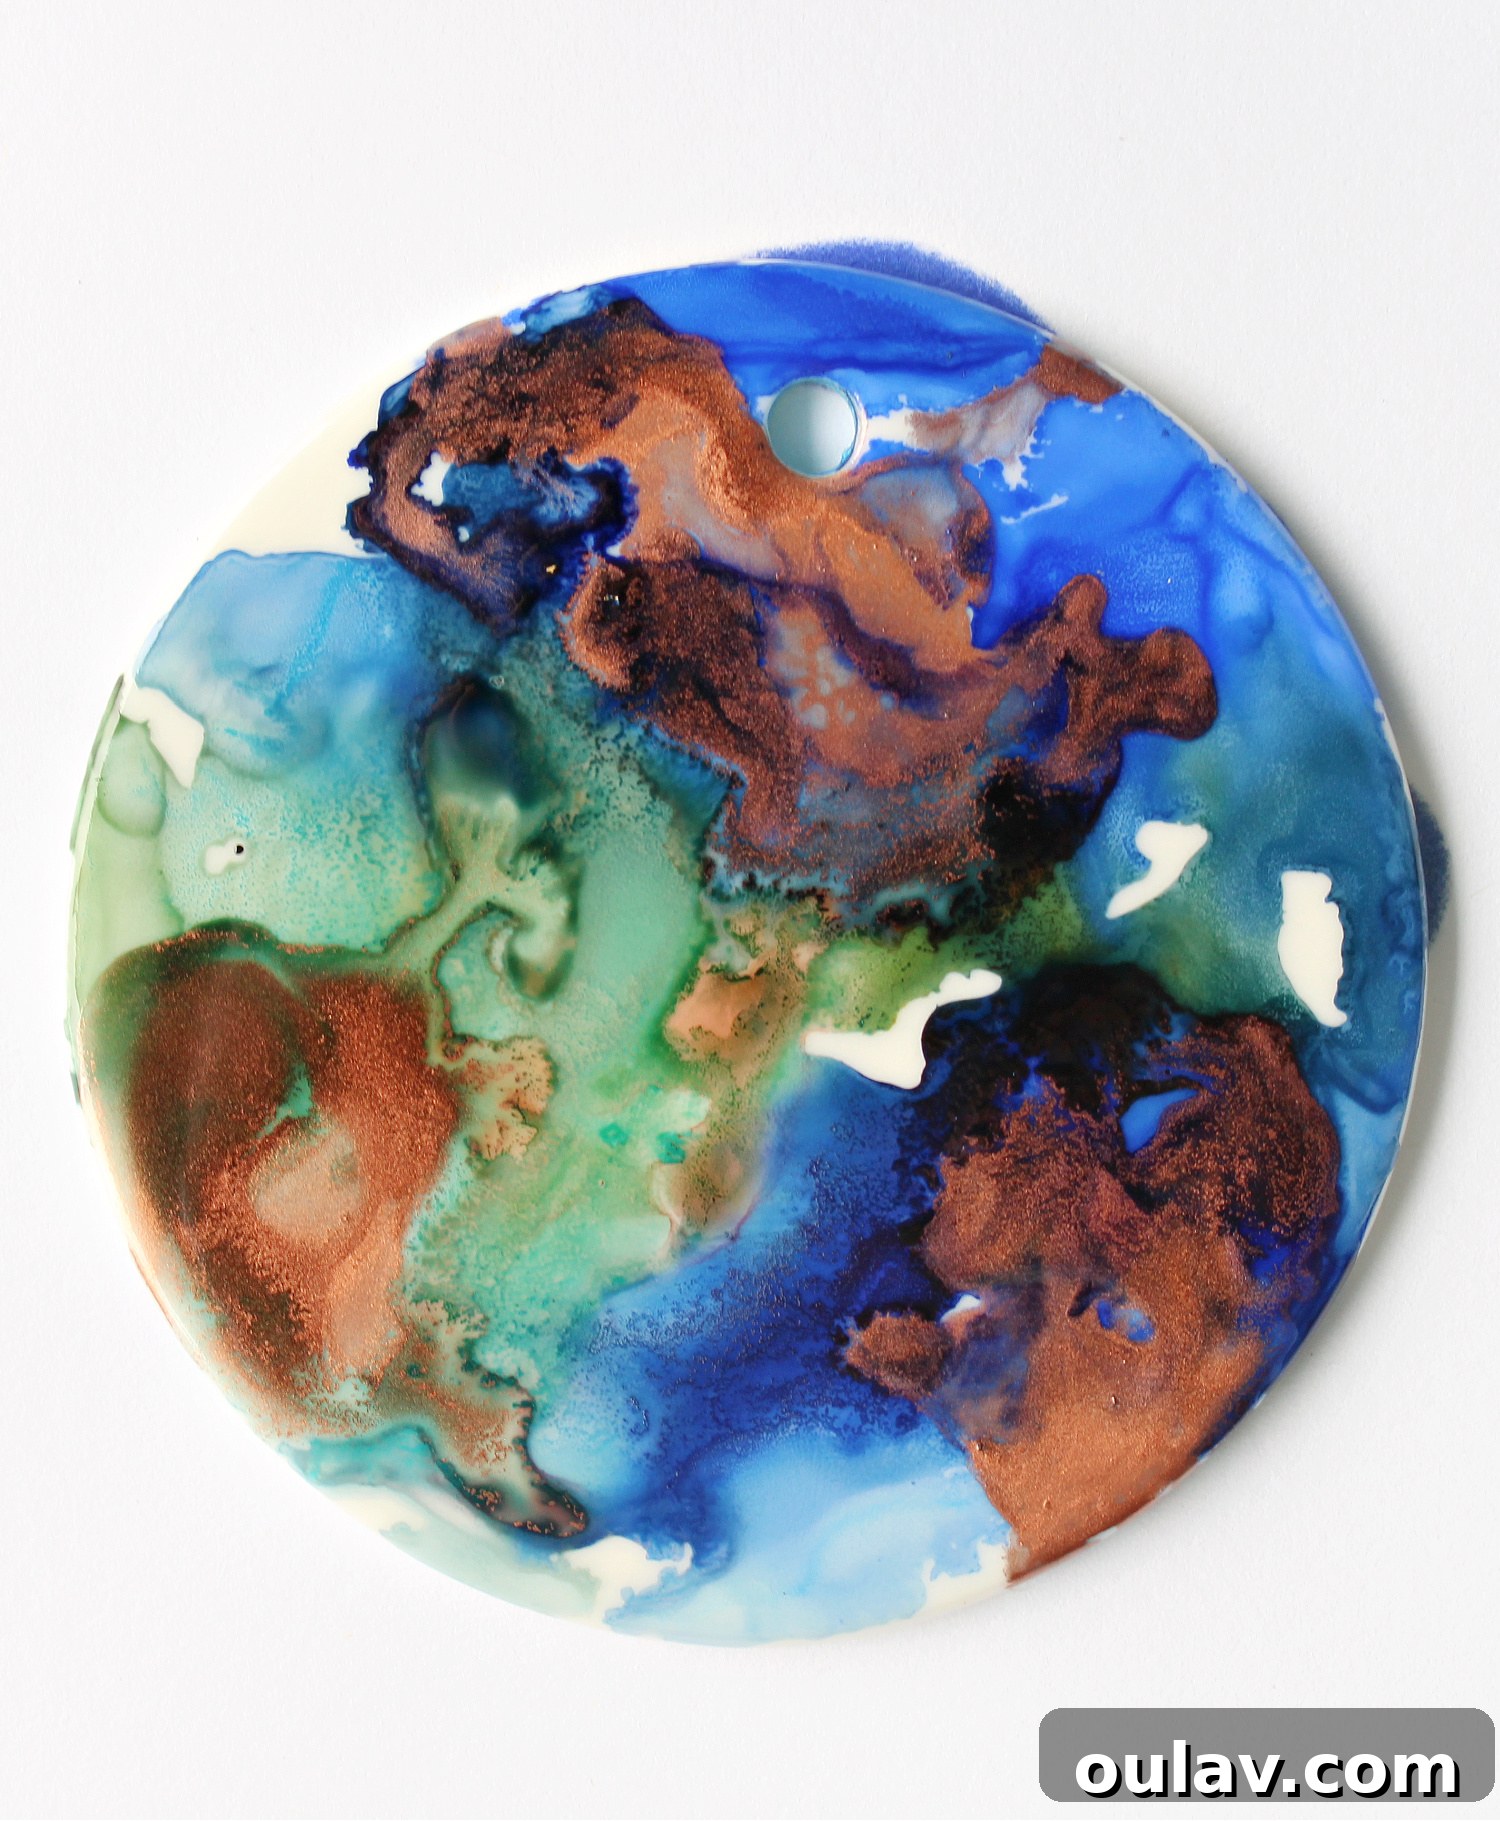
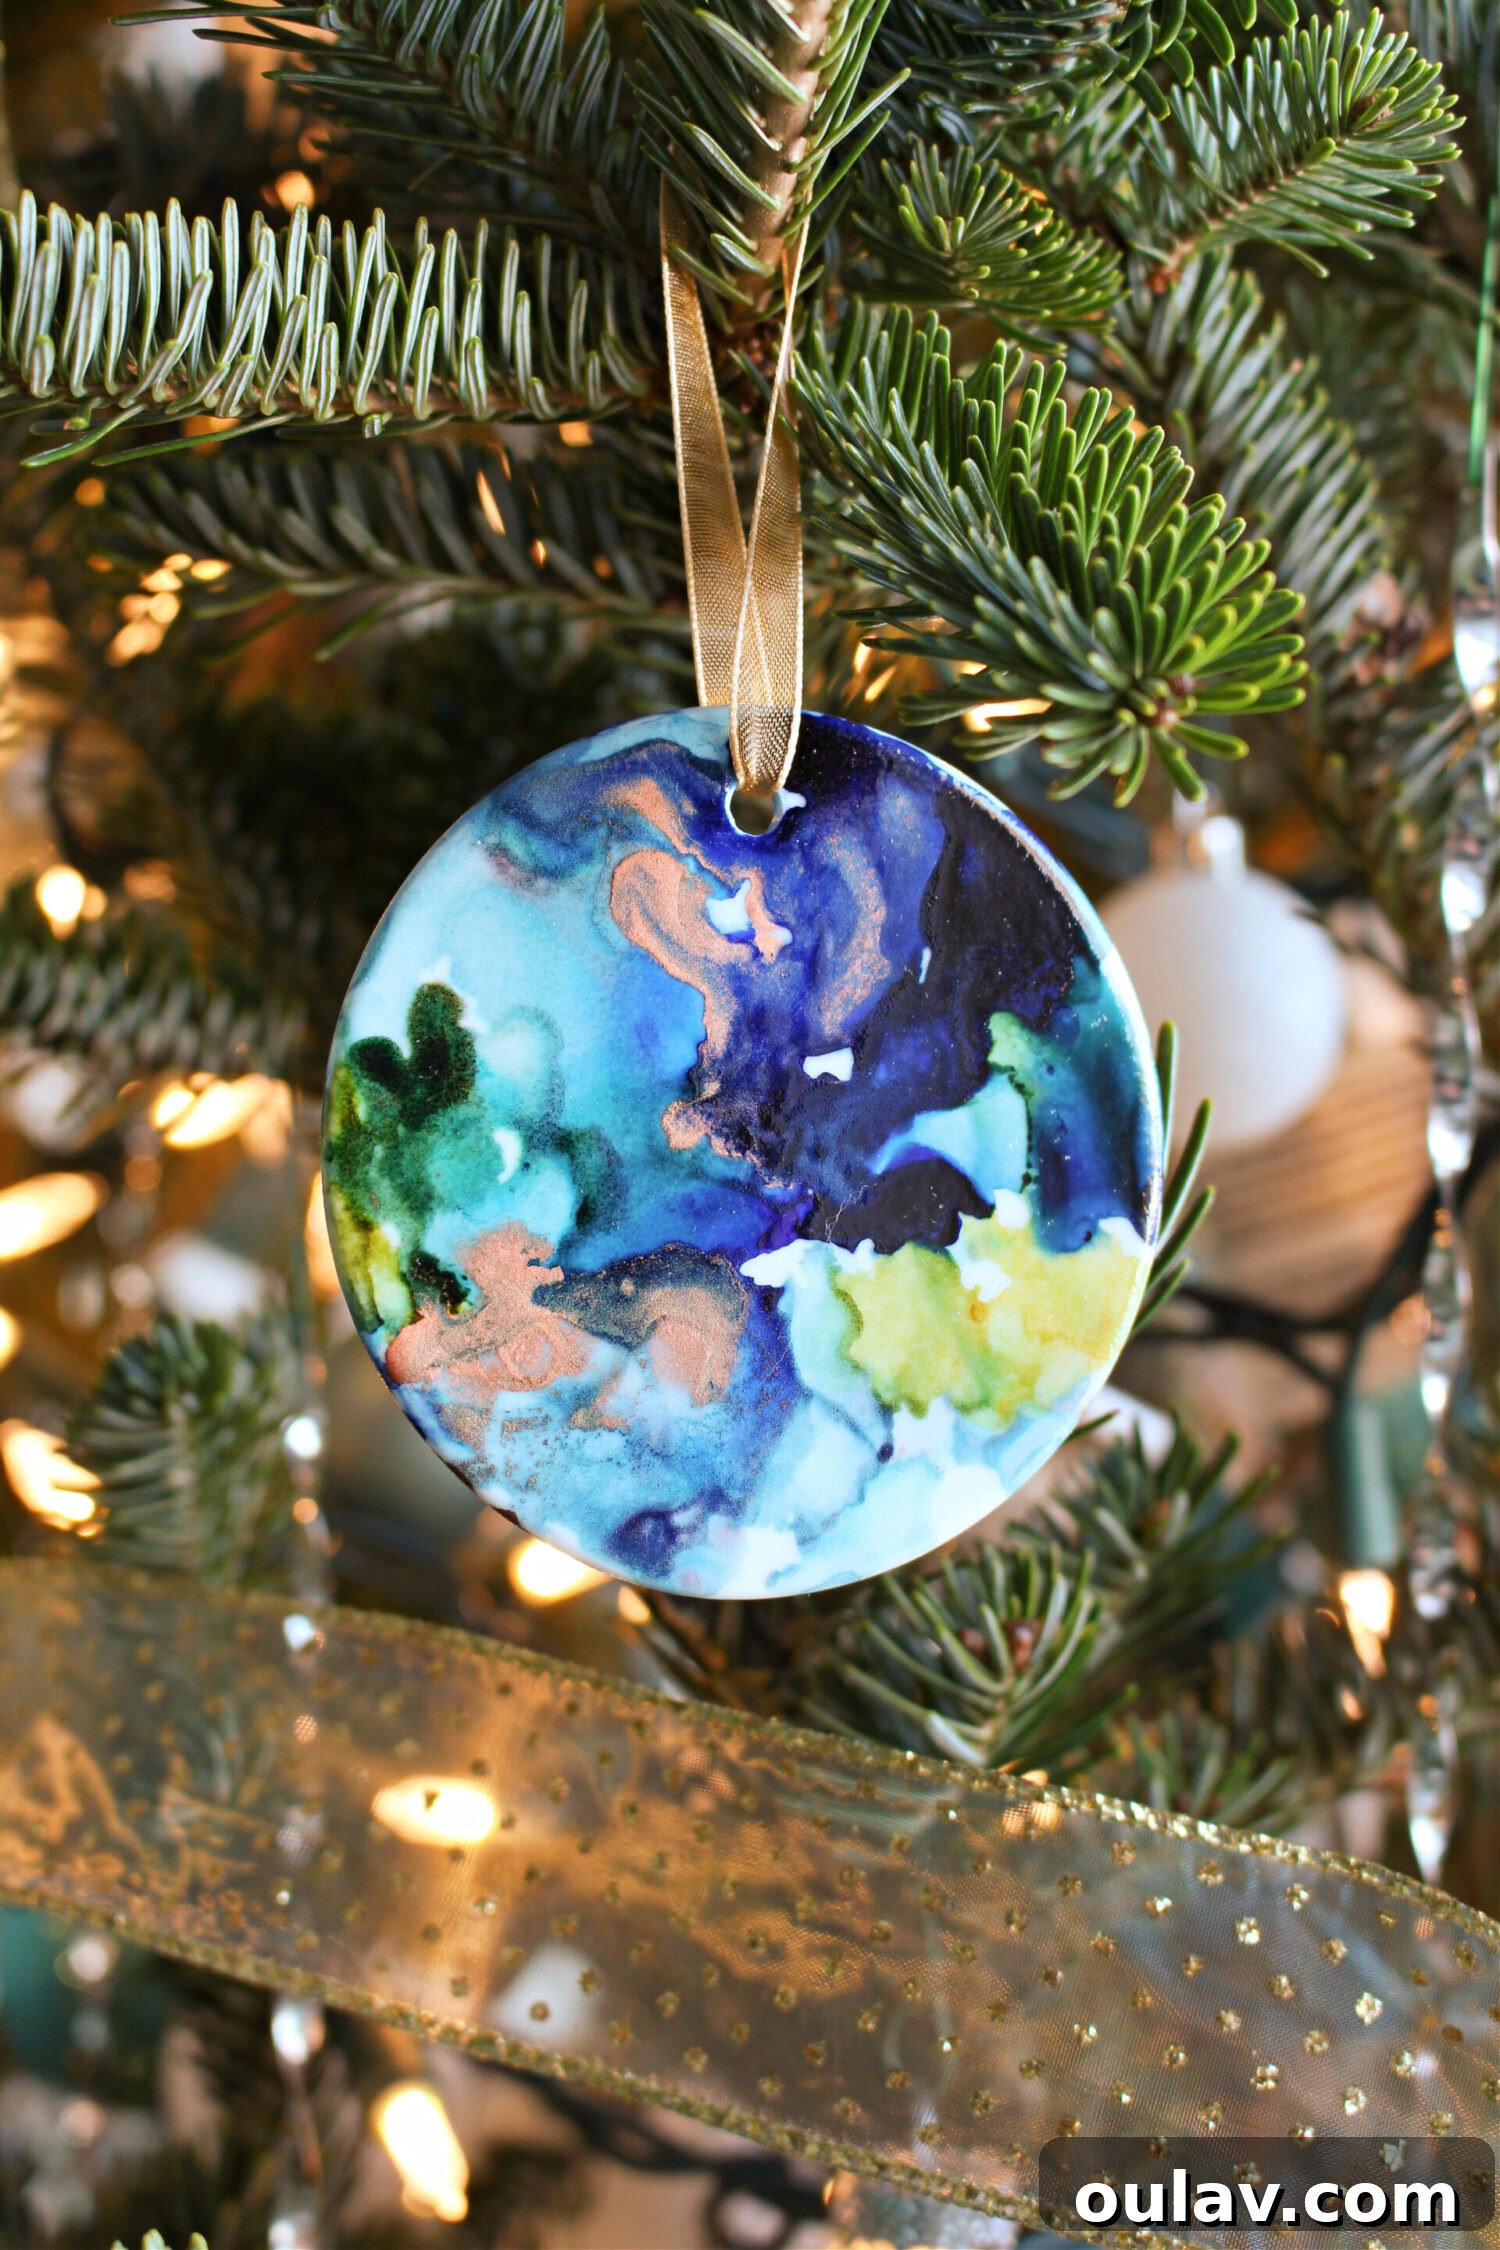
As with many alcohol ink crafts, the addition of metallic alcohol inks elevates these ethereal creations to an even higher level of beauty. Their subtle shimmer and reflective qualities add remarkable depth and a luxurious feel, making your ornaments truly come alive. This is particularly true for DIY alcohol ink ornaments, as the metallics catch and reflect the twinkling lights of a Christmas tree, creating a dynamic and radiant display. For my ornaments, I often lean towards copper for its warm, inviting glow, but pearl is another fantastic choice that can also help create beautiful pastel hues when blended with other colors. For a comprehensive selection, this pack offers a great range, including gold, silver, copper, and pearl, allowing you to experiment with various metallic accents.
Beyond the Craft: Display and Gifting Ideas
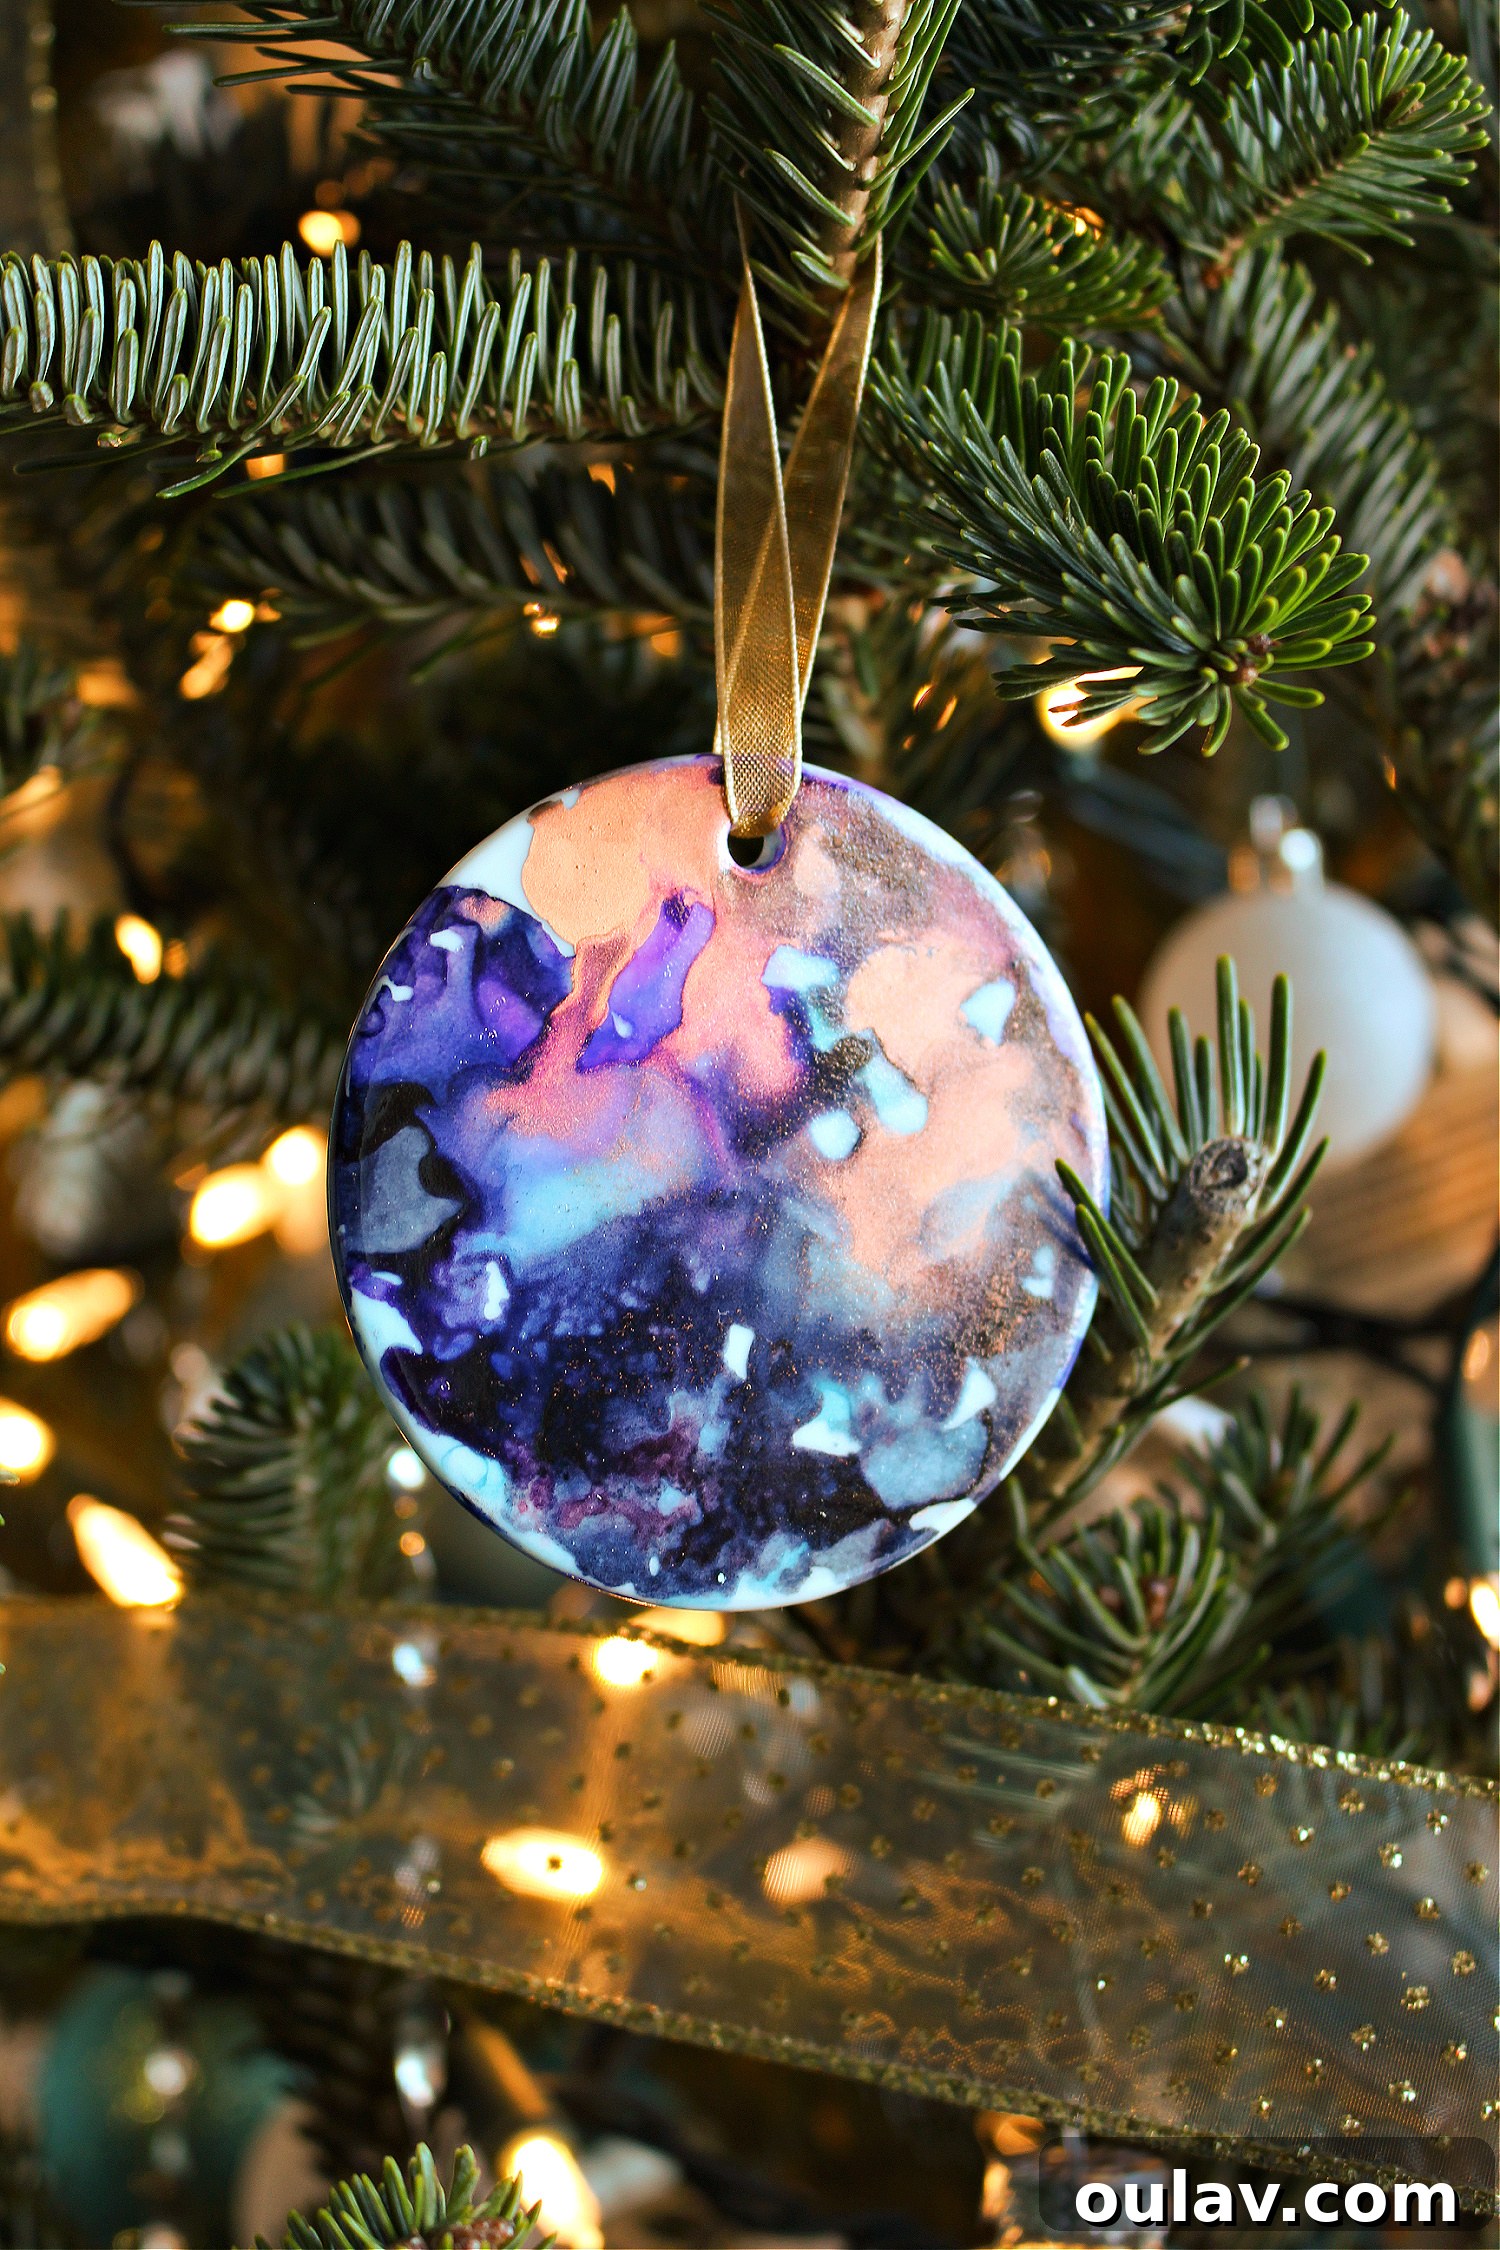
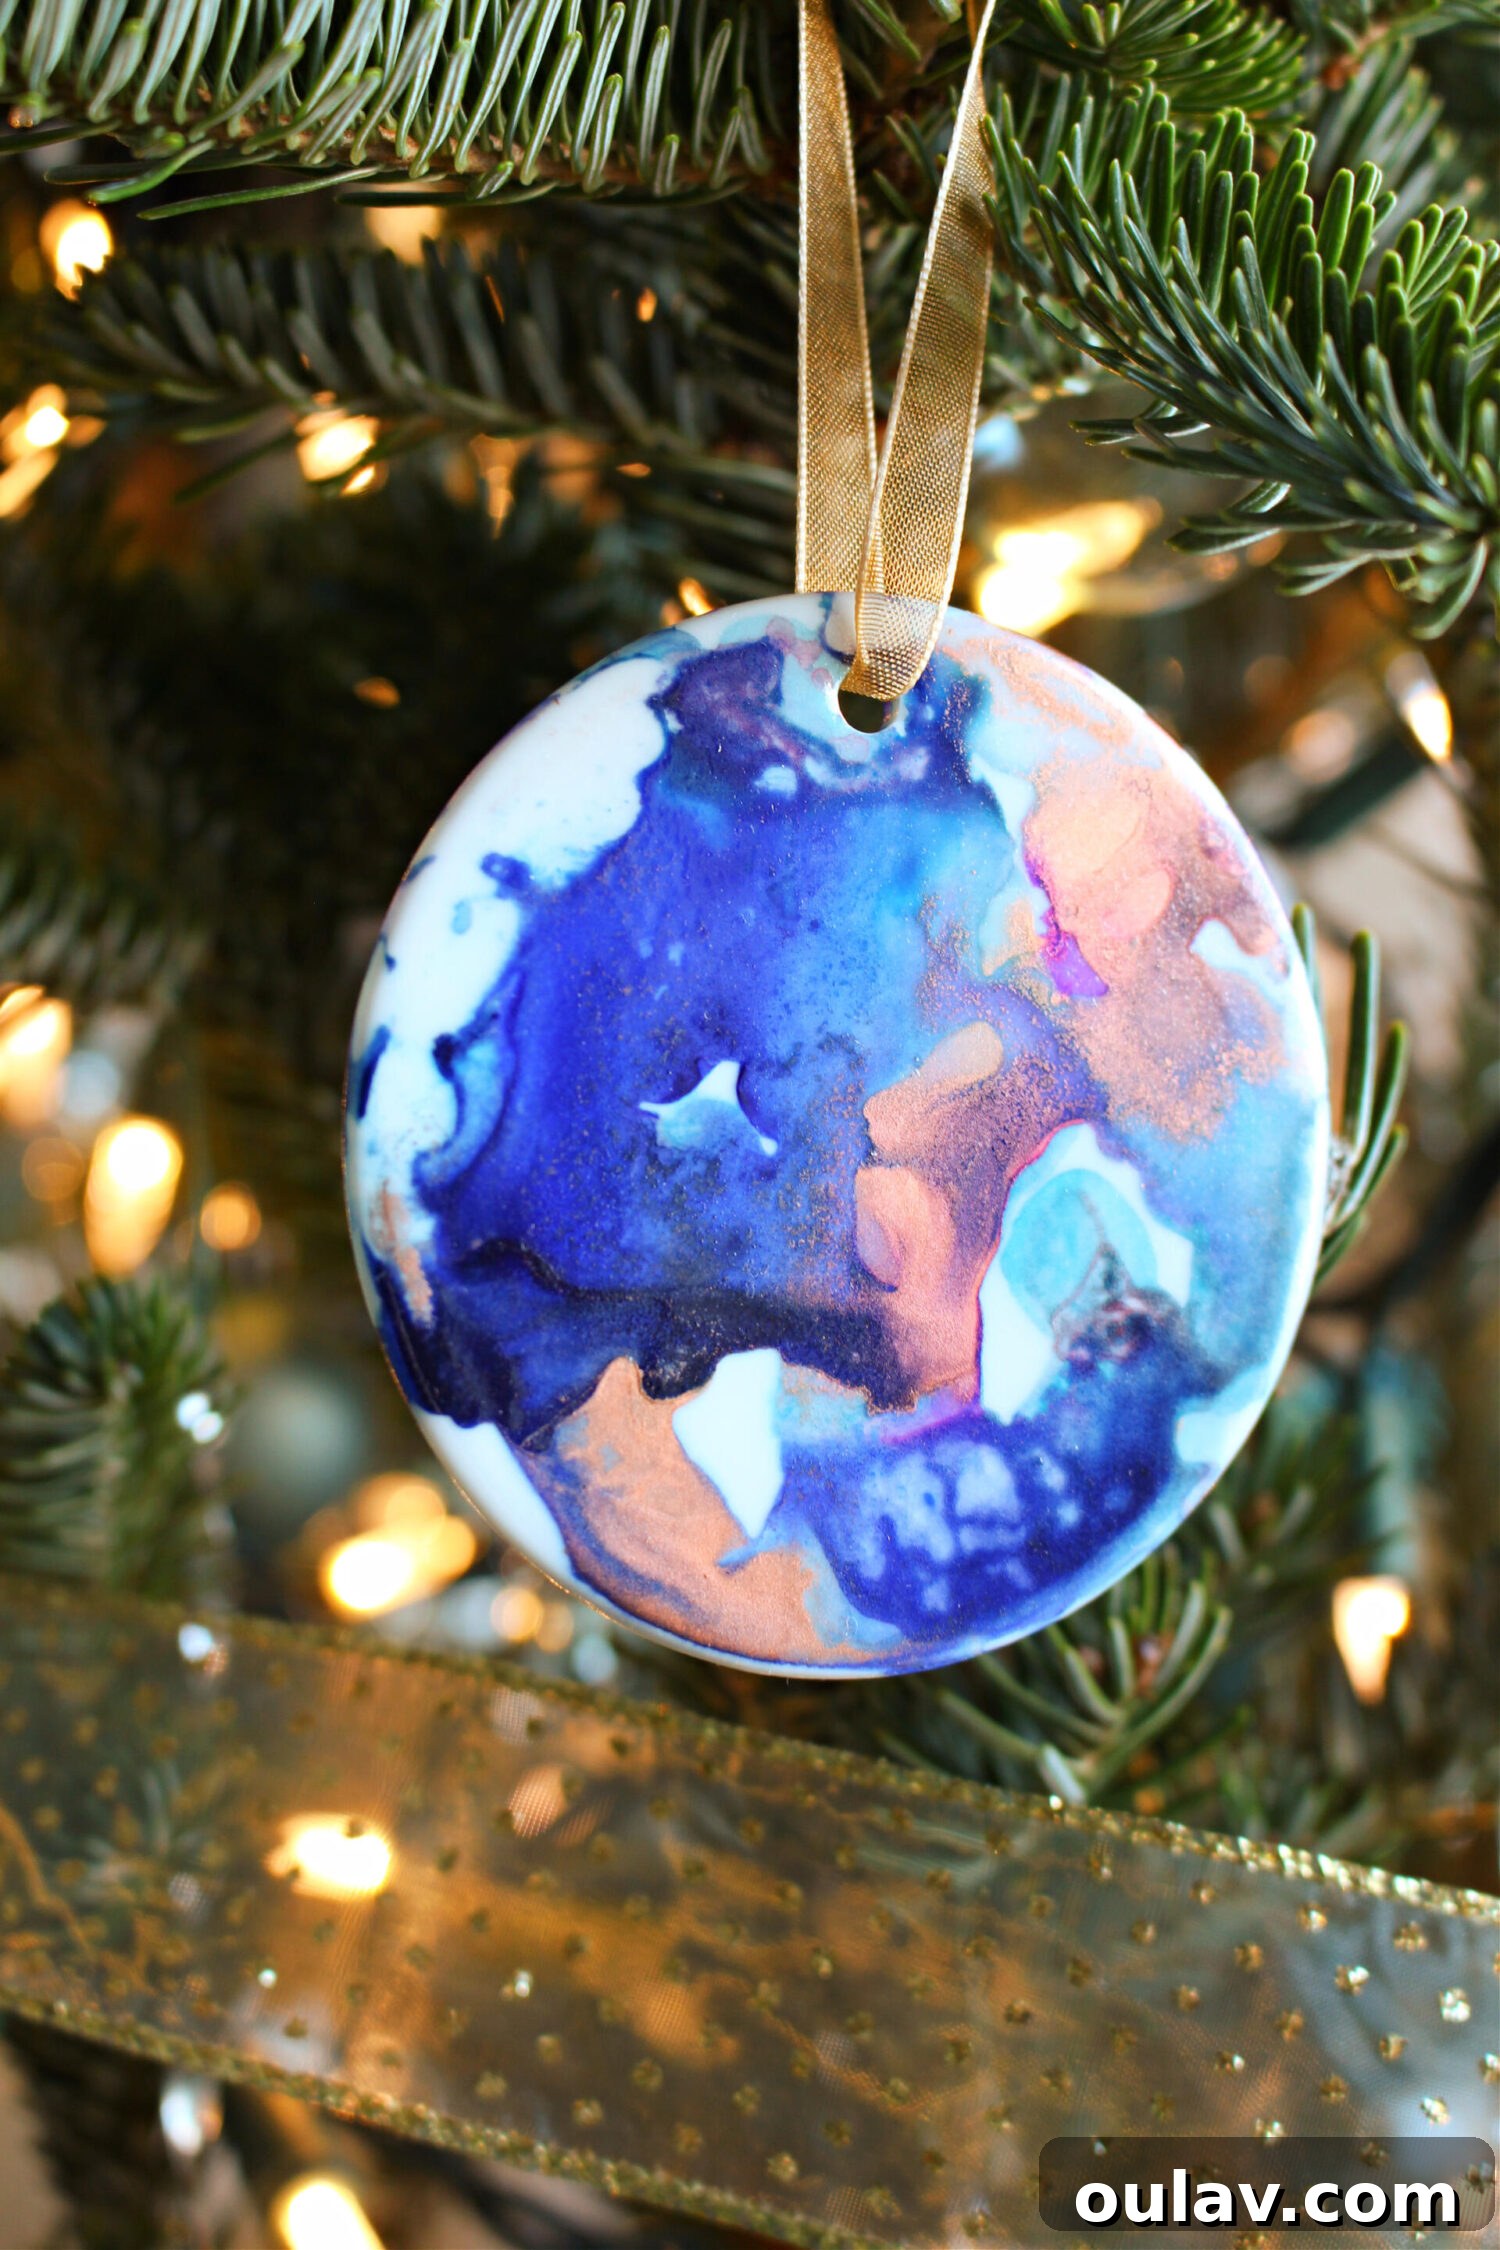
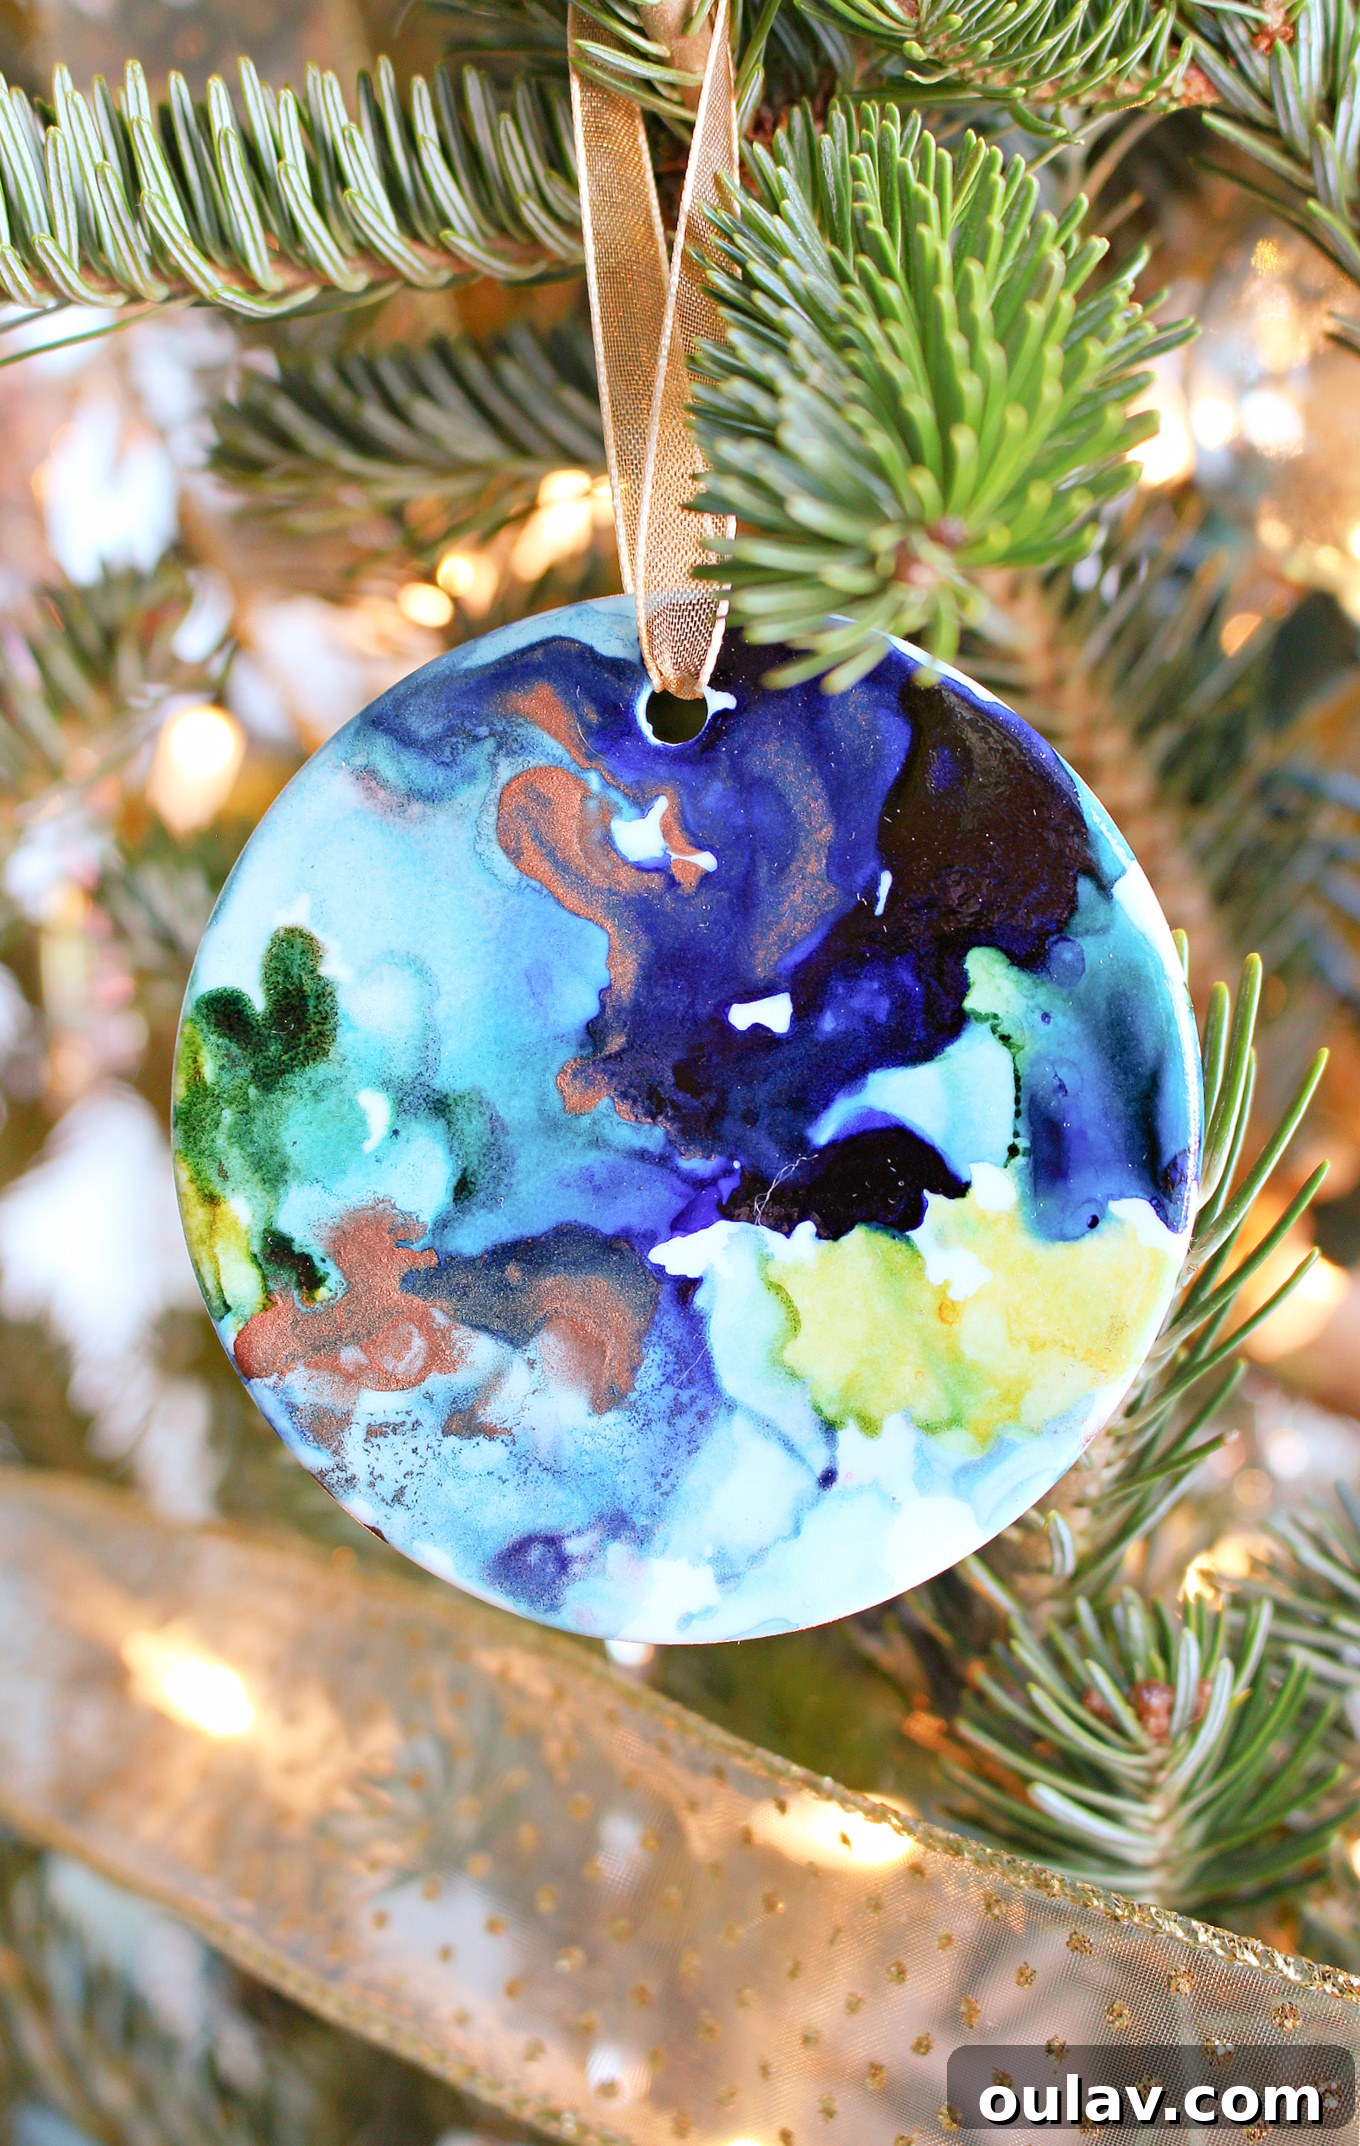
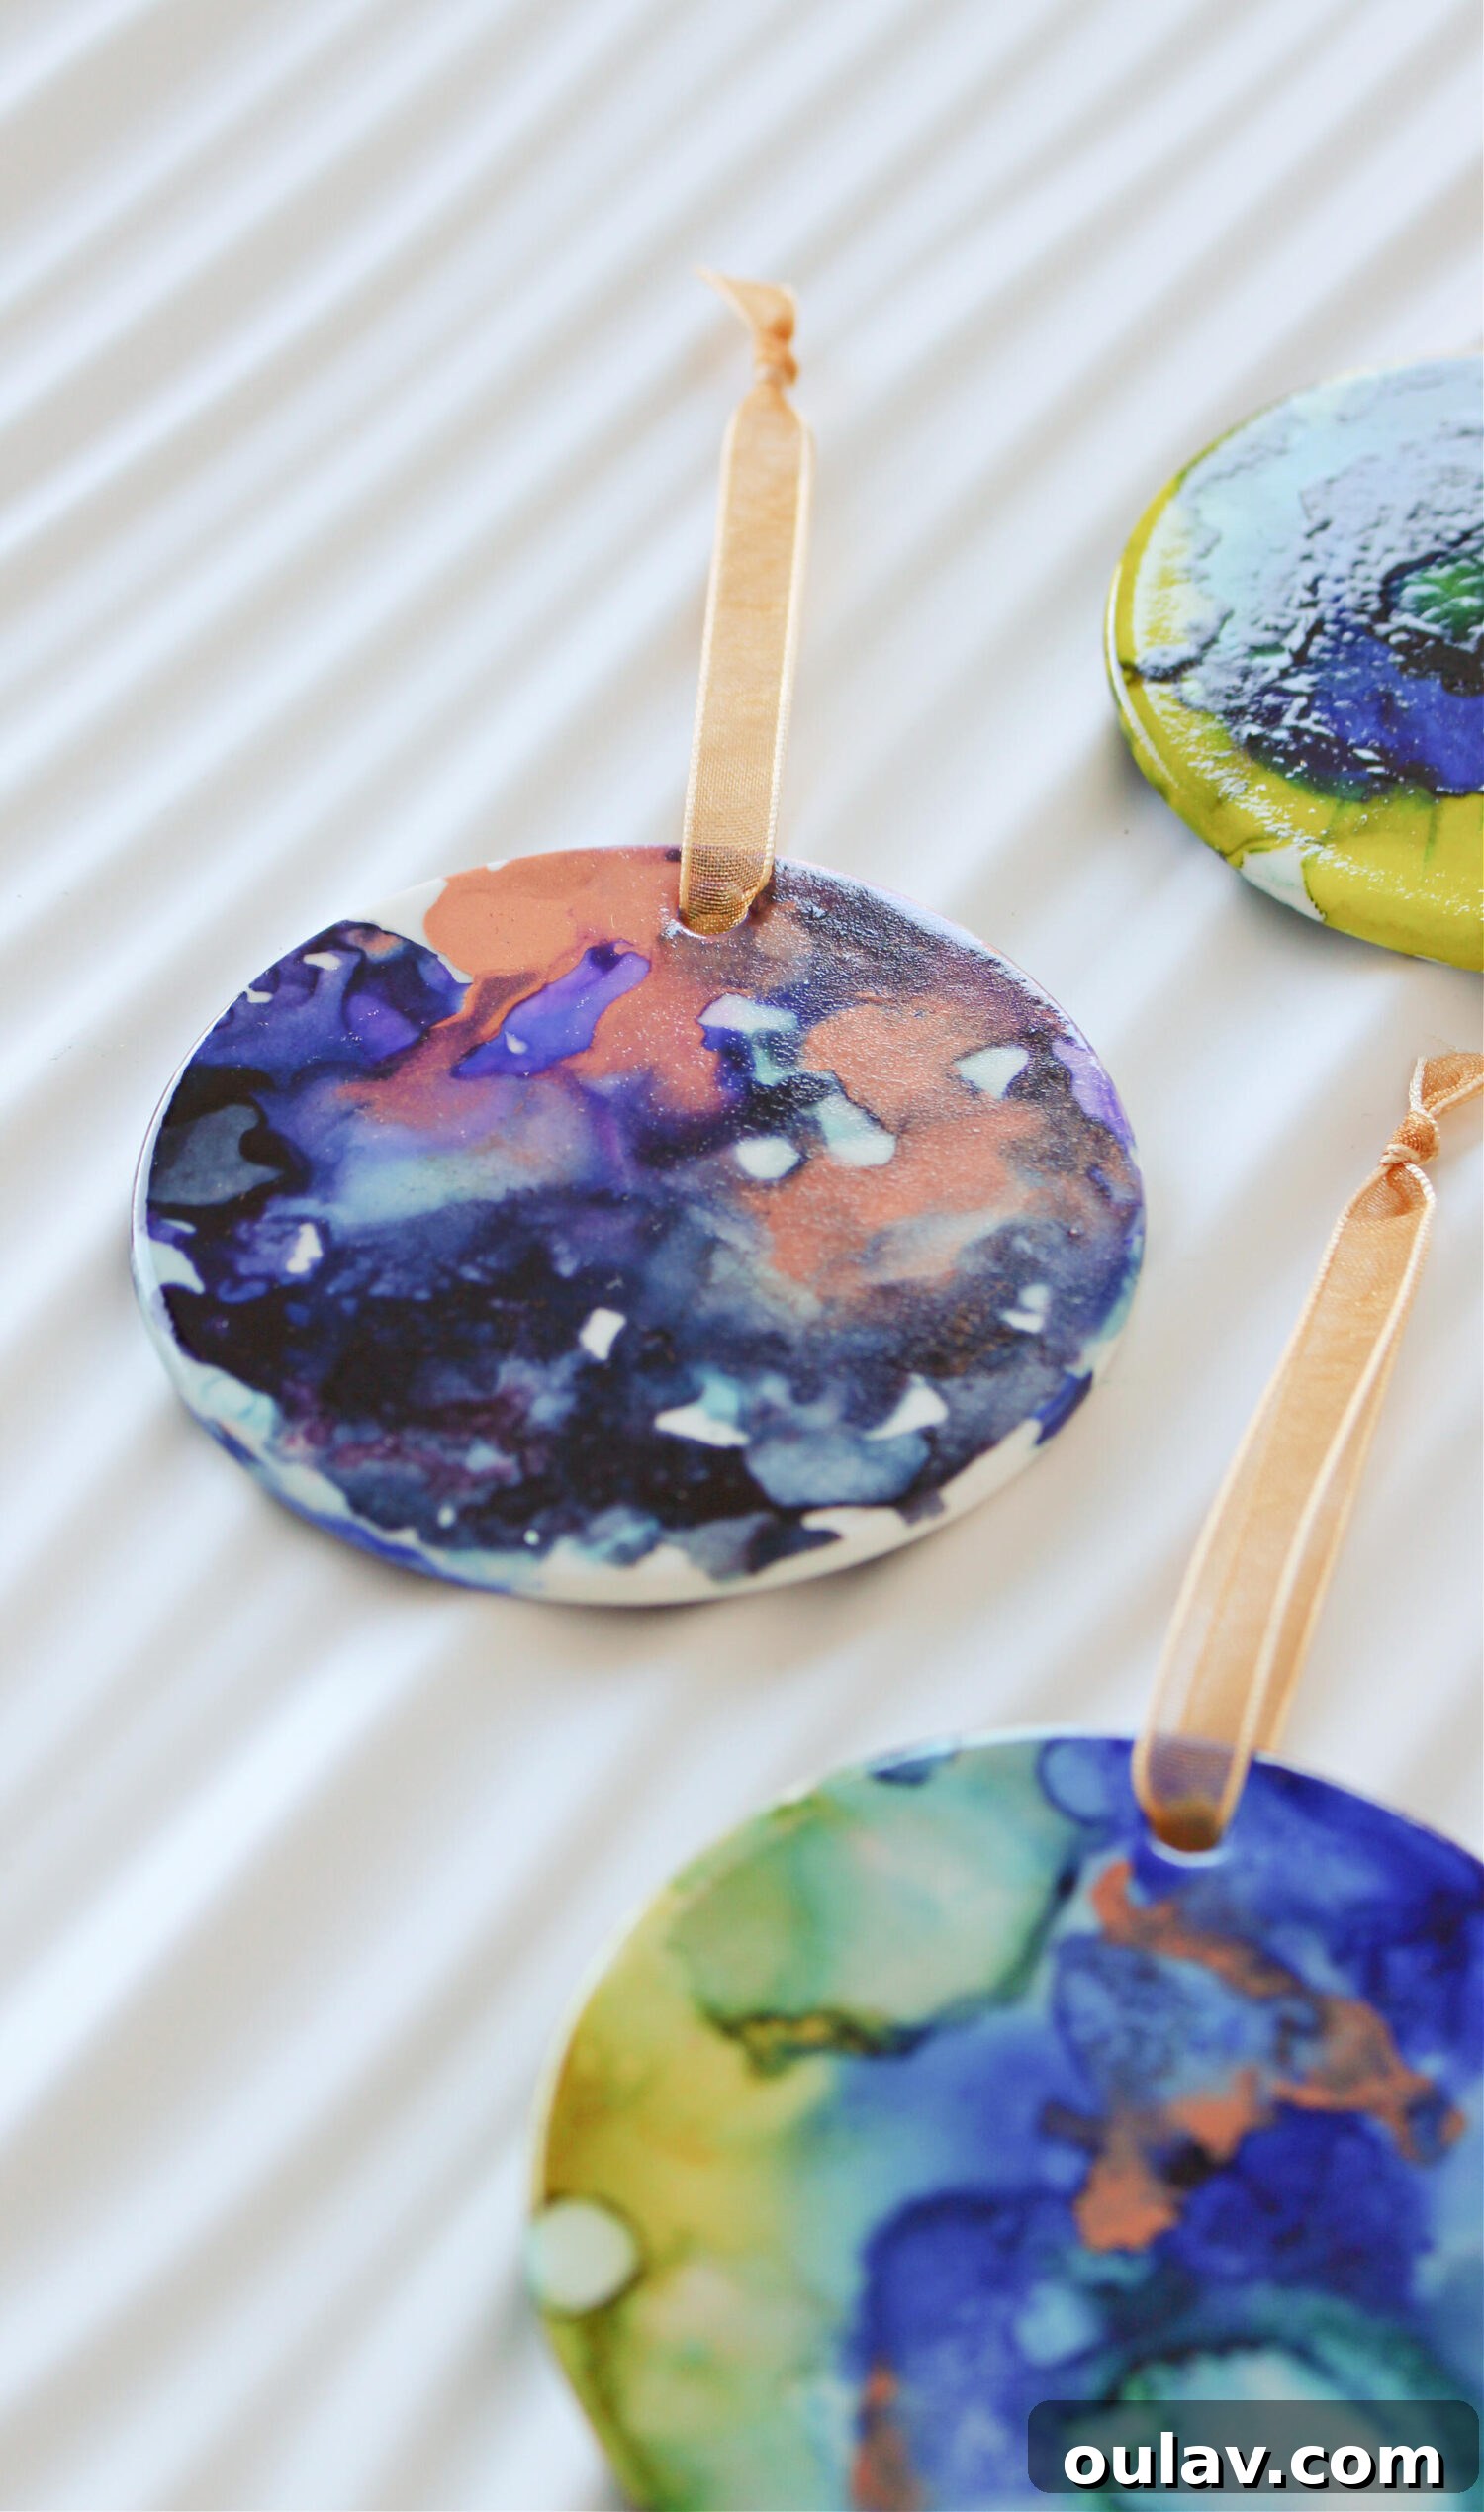
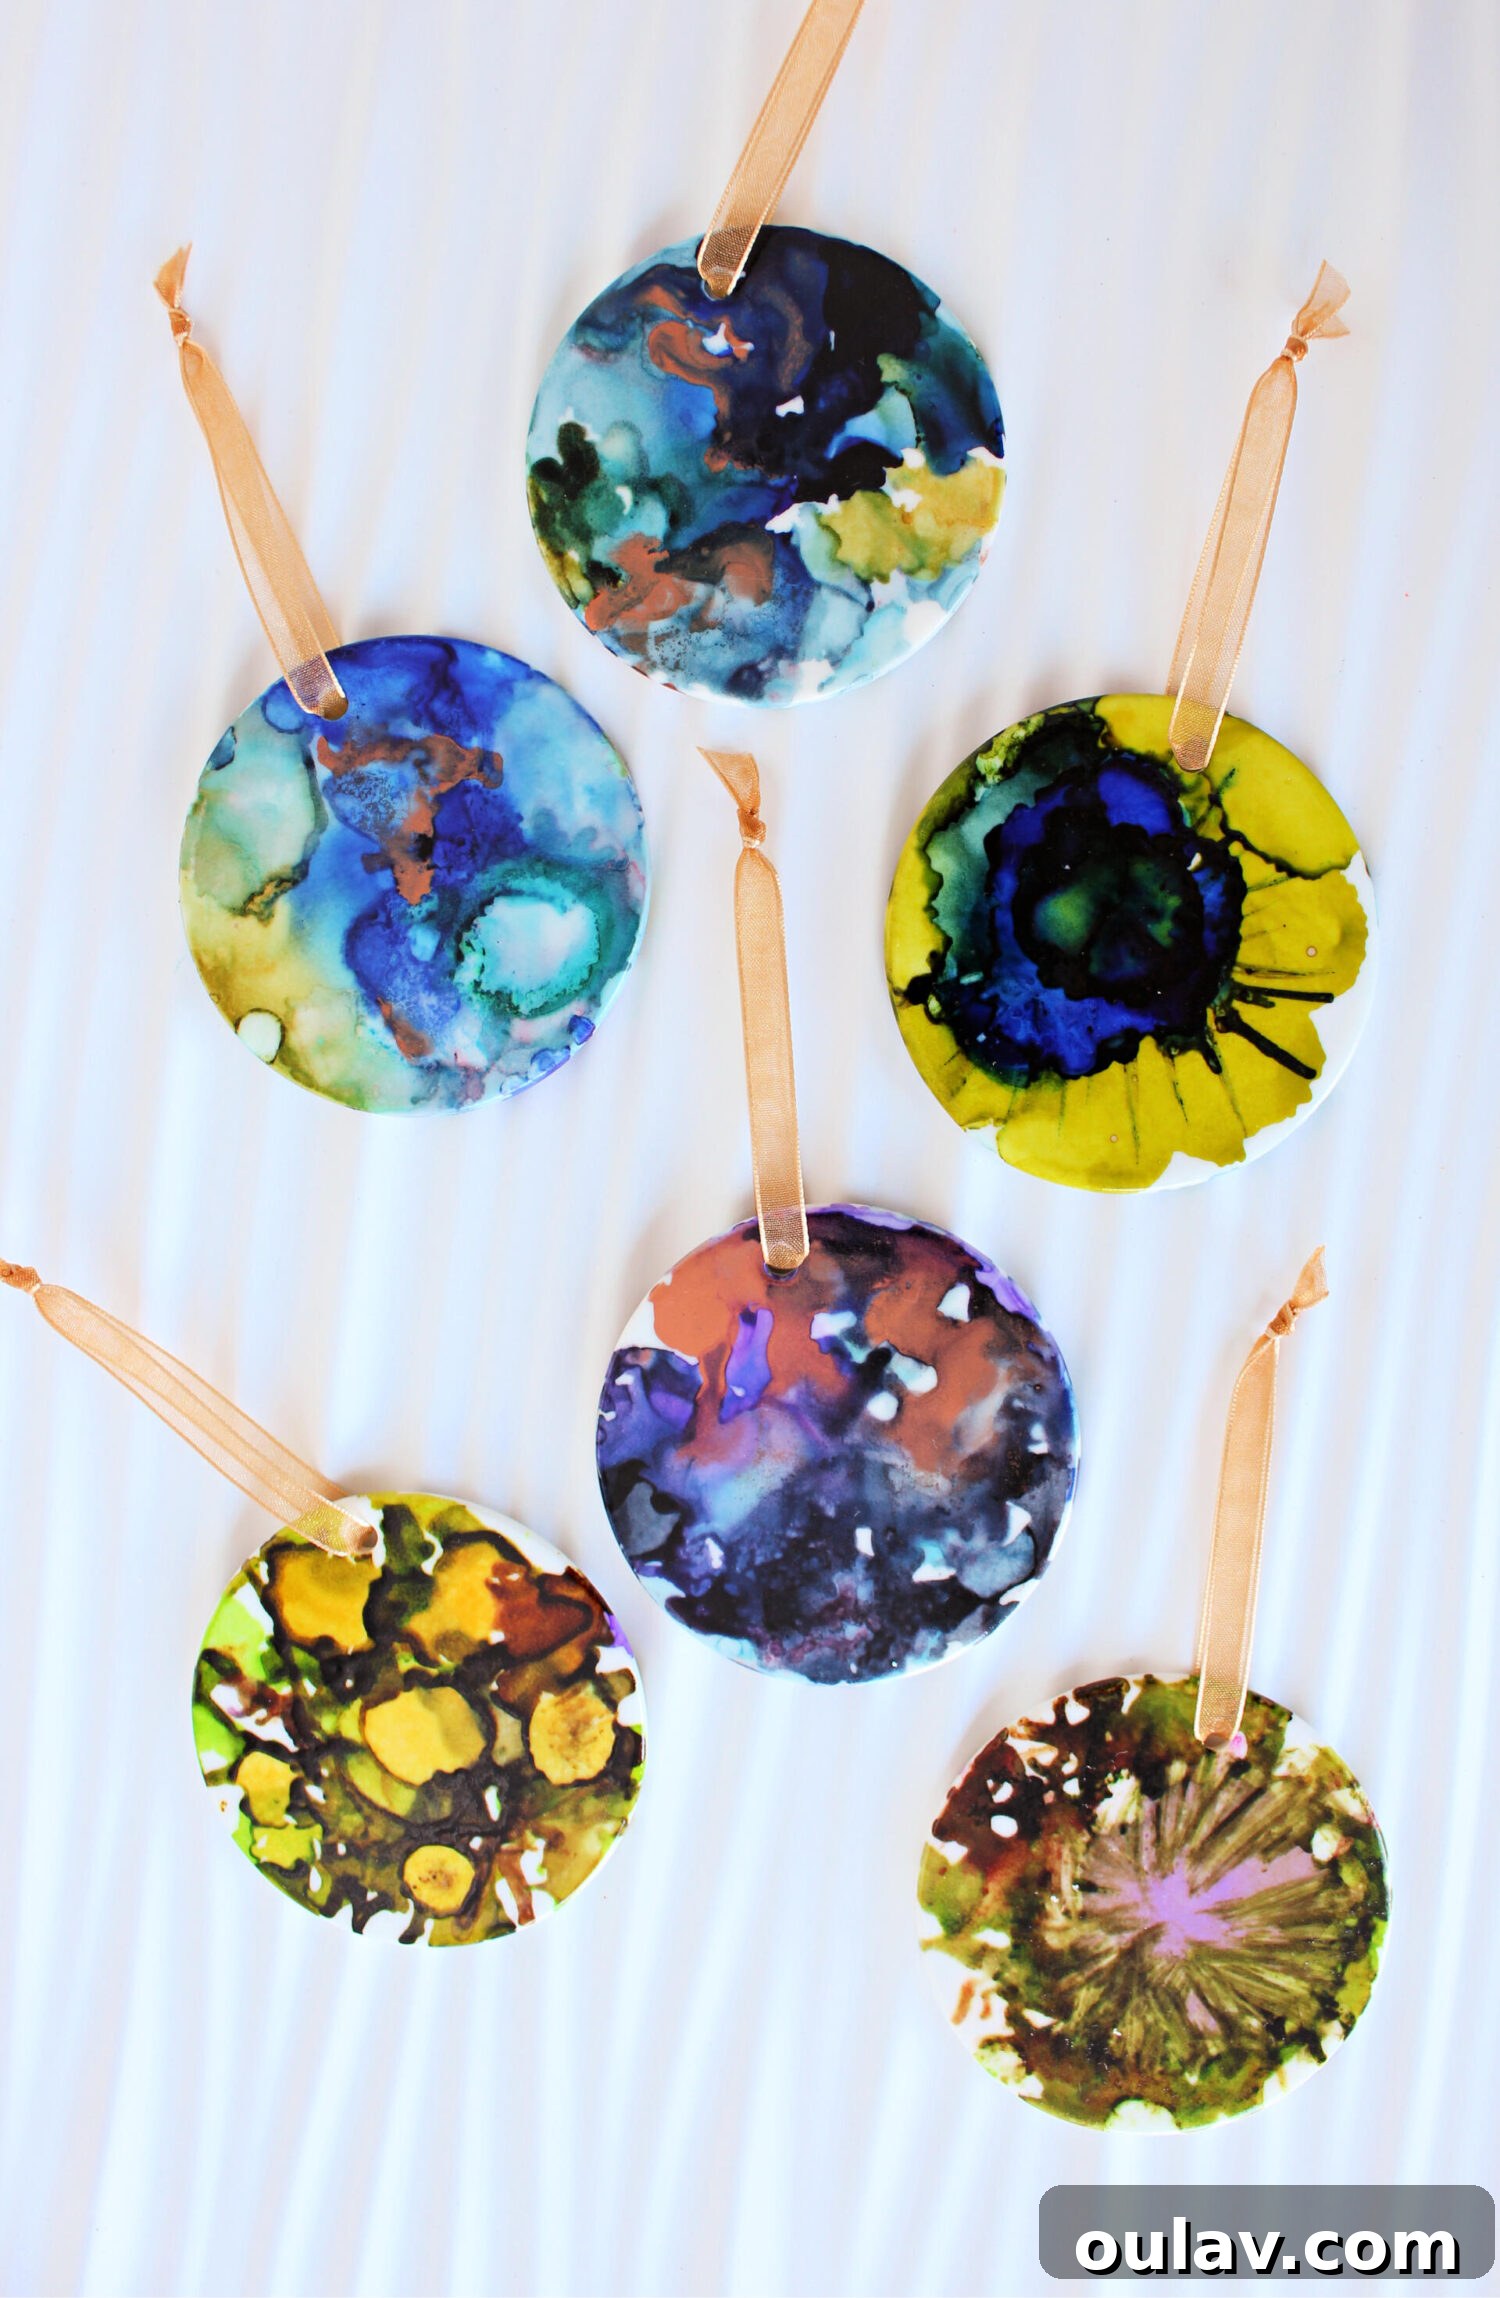
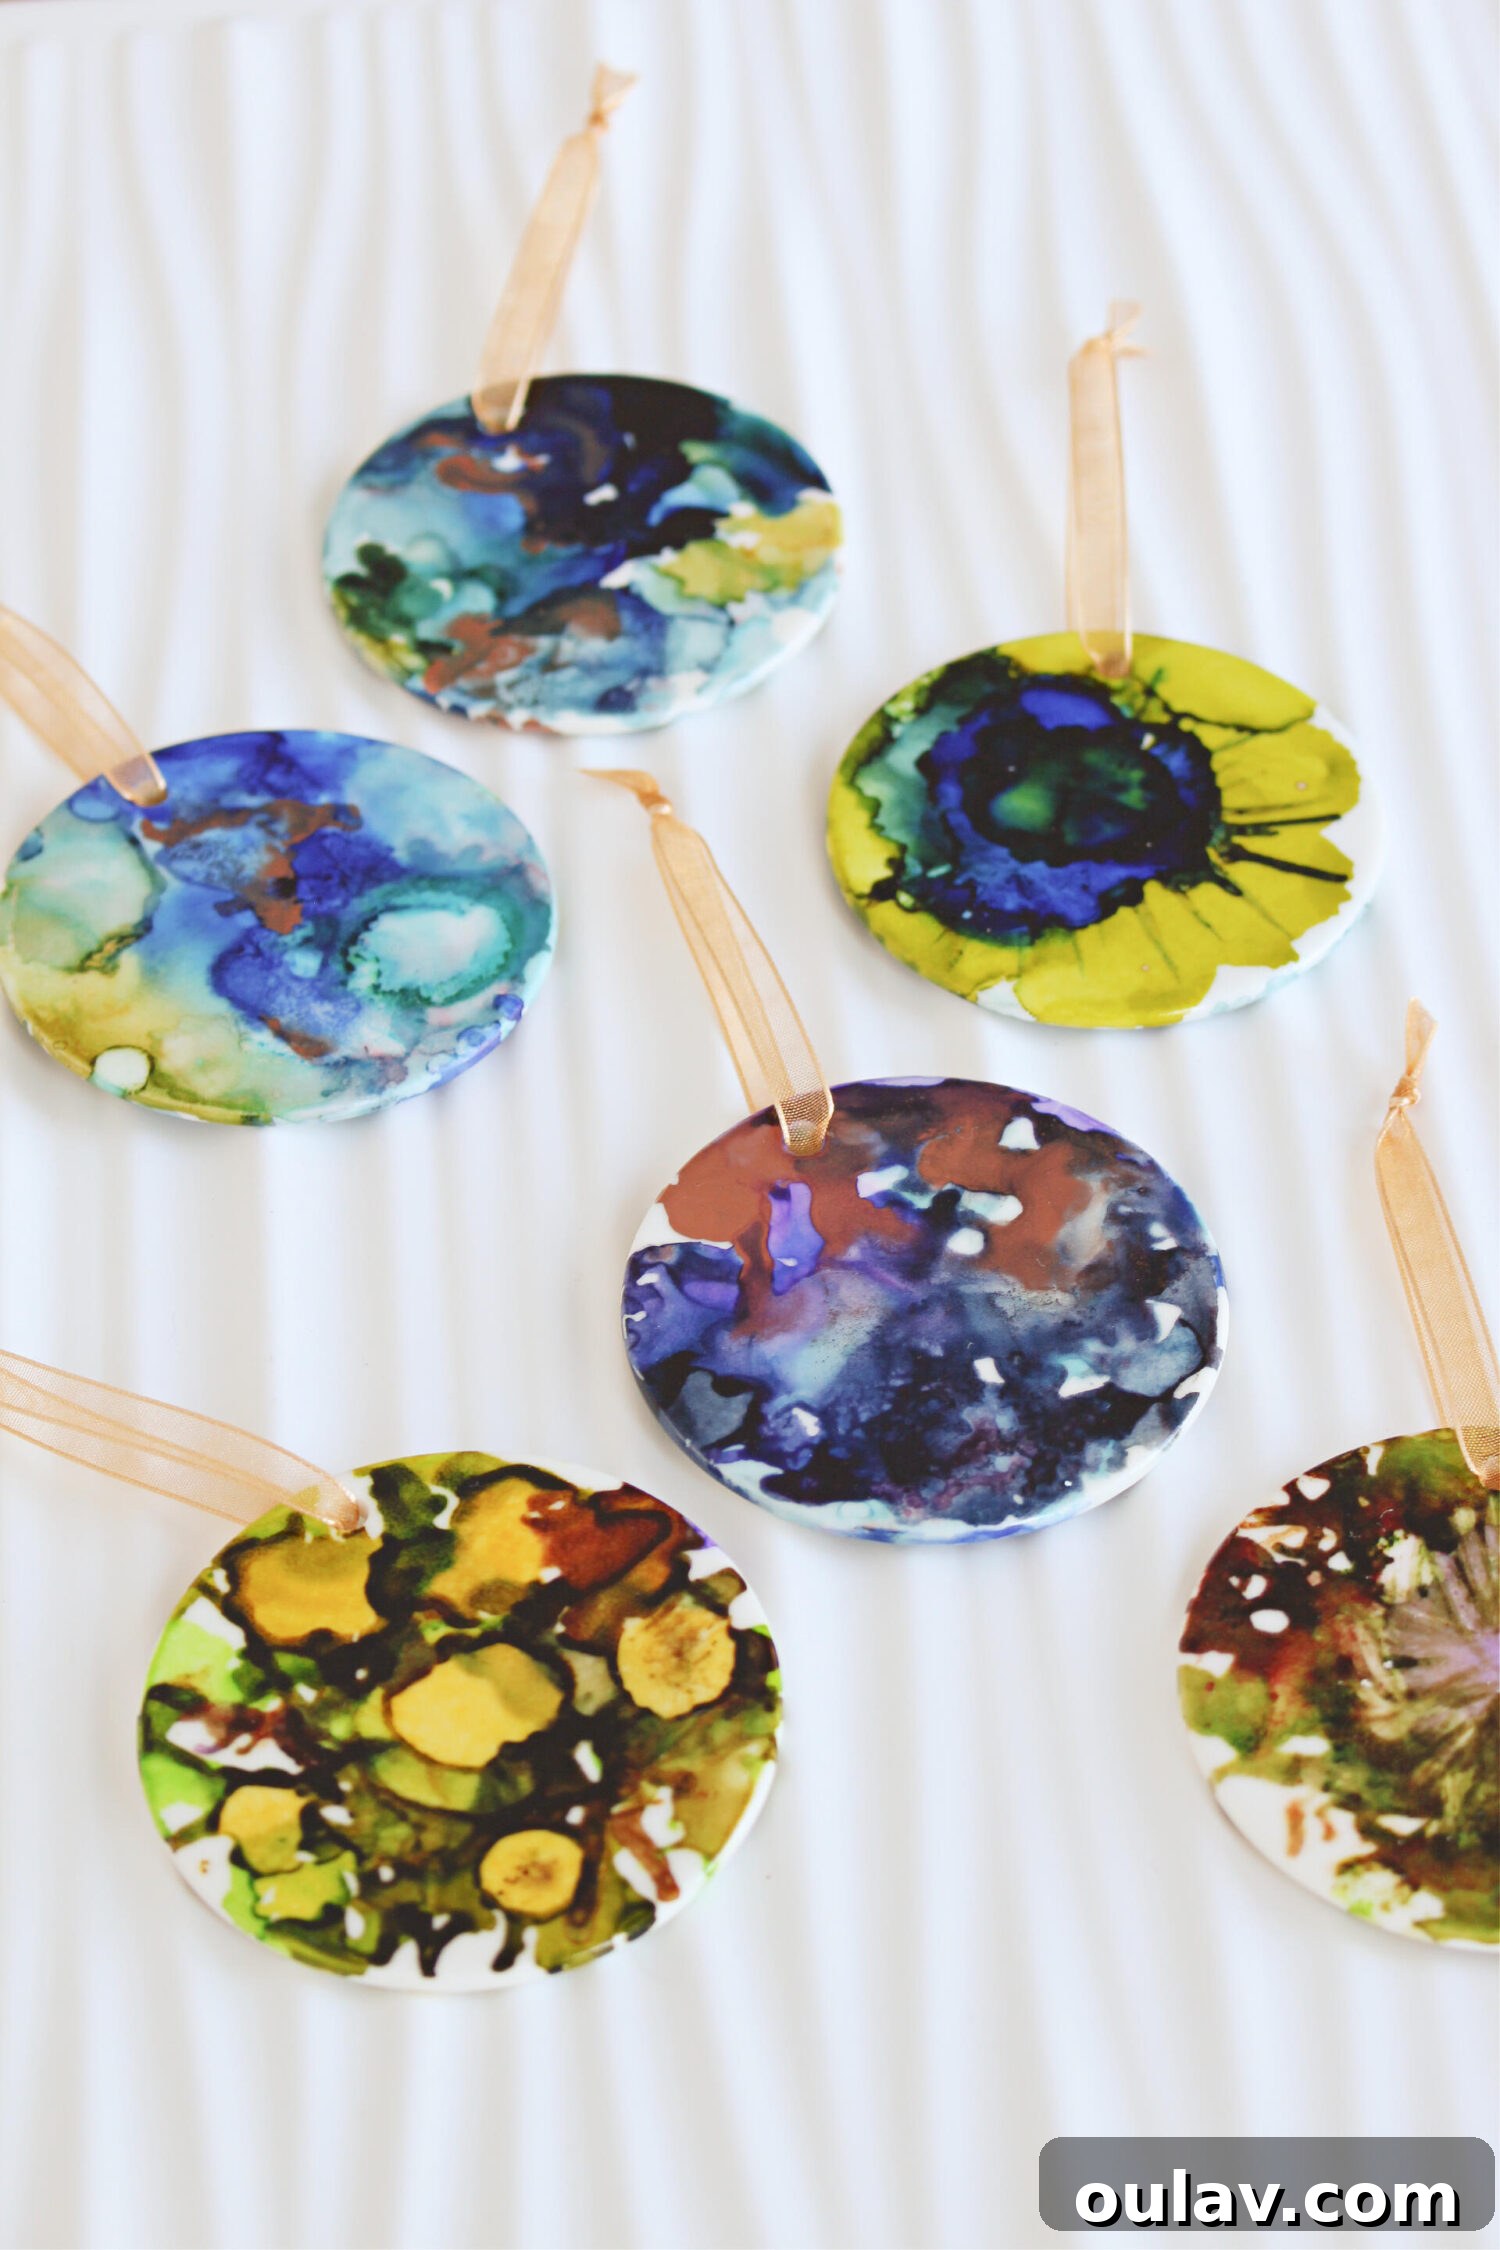
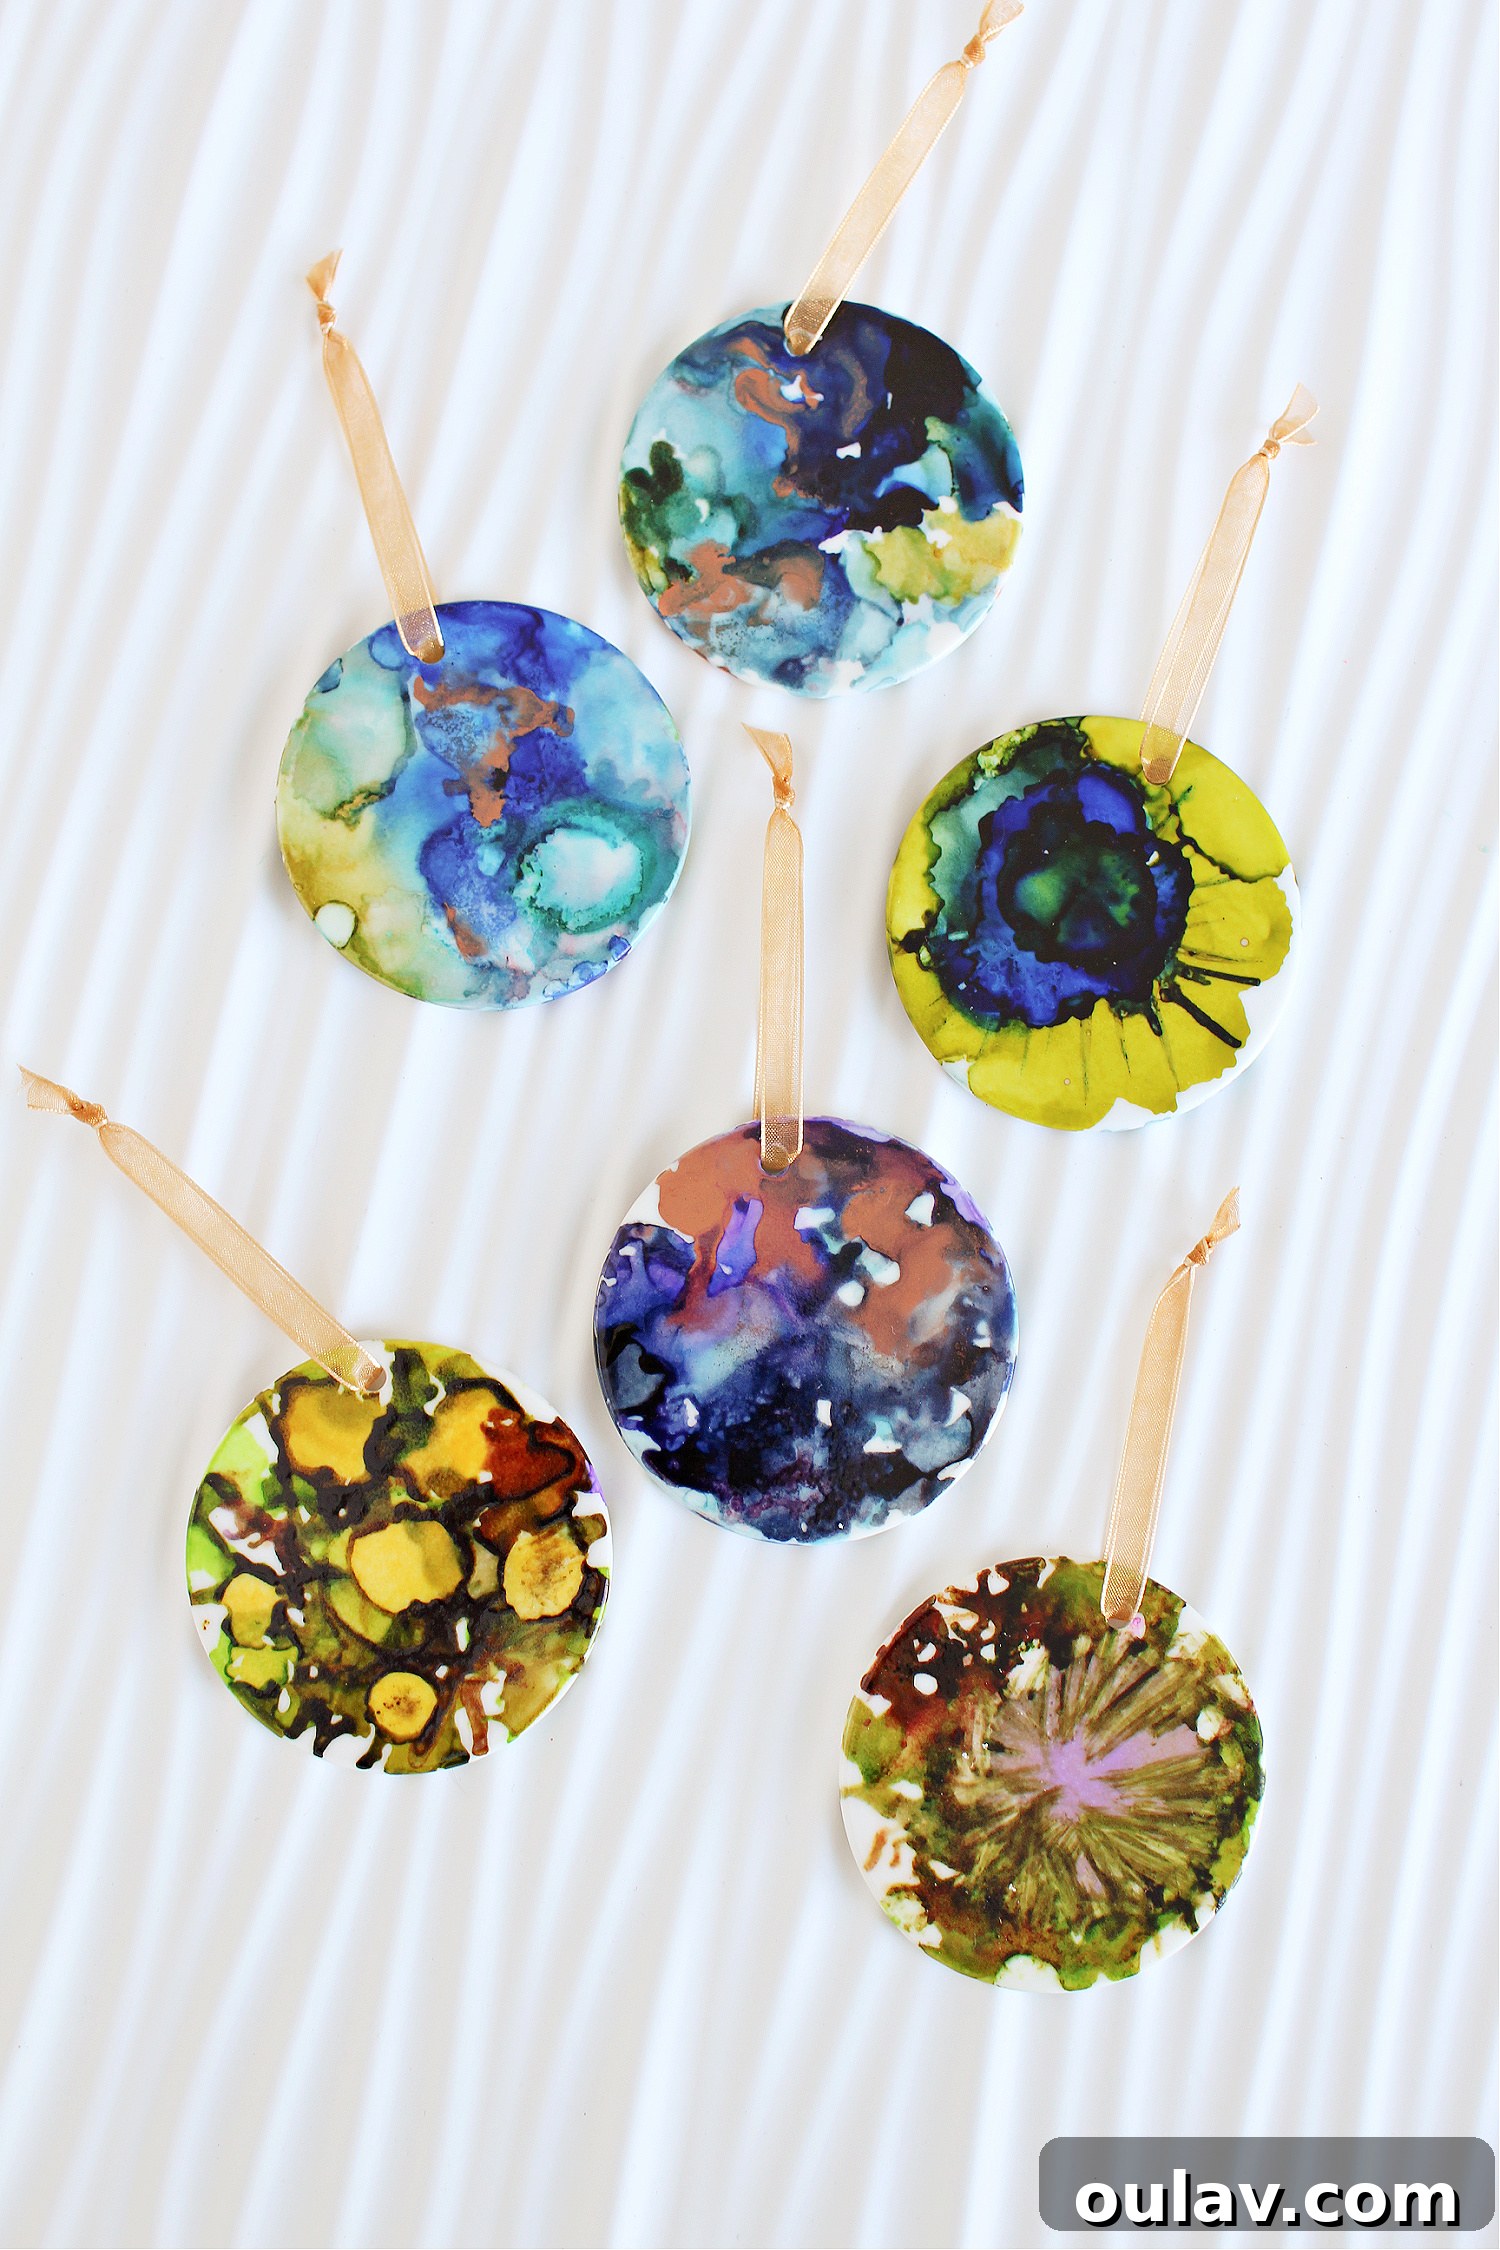
These exquisite alcohol ink ceramic ornaments are not only a joy to create but also incredibly versatile in their use. Originally crafted for my Mom’s enchanting A Midsummer Night’s Dream inspired Christmas tree theme, they looked equally stunning when photographed on my own aqua and white Christmas tree. The substantial weight and gleaming glossiness of the glazed ceramic discs lend a remarkable sense of quality and artistry, making each ornament feel like a mini masterpiece. They perfectly capture the fluid, organic beauty of the inks, transforming simple blanks into elegant, eye-catching decorations.
Consider using them in various creative ways:
- Unique Gift Toppers: Instead of a traditional bow, tie one of these handmade beauties onto a gift.
- Personalized Gift Tags: Add a name or a special date with vinyl using a cutting machine like a Cricut, making them memorable keepsakes.
- Everyday Decor: Hang them on decorative branches, display them in bowls, or even use them as charming window ornaments year-round.
- Handmade Gifts: Package a set of these ornaments as a thoughtful, personalized gift for friends, family, or teachers.
Creative Exploration: Abstract vs. Structured Designs
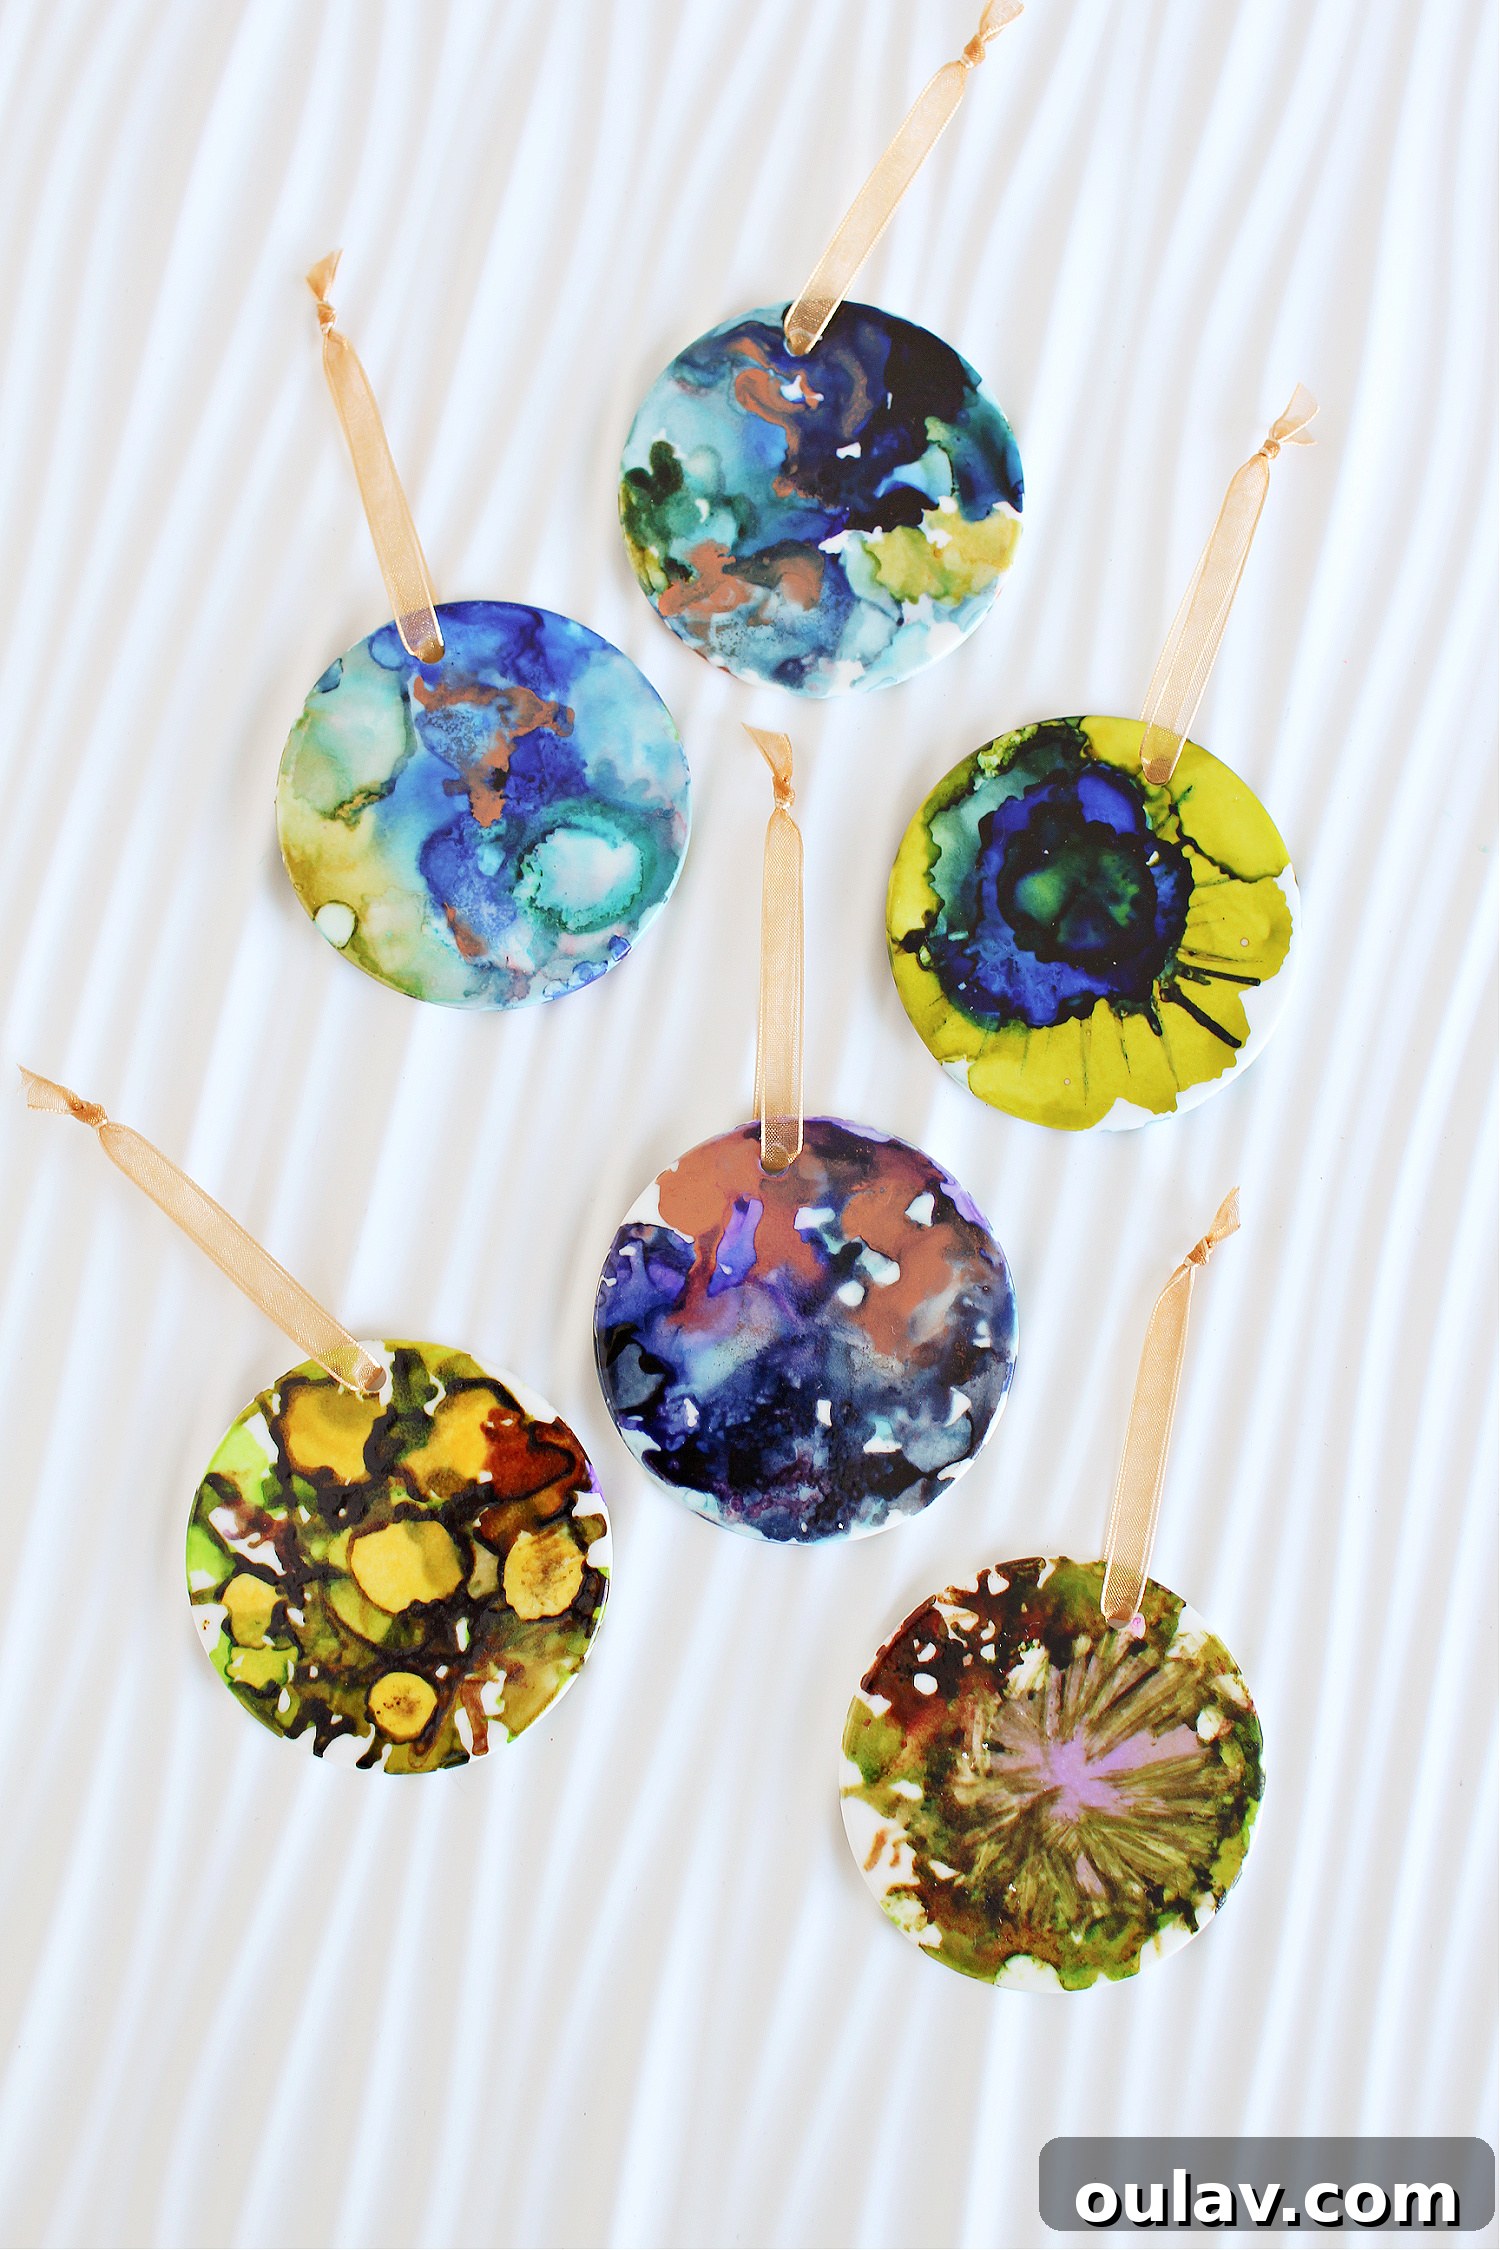
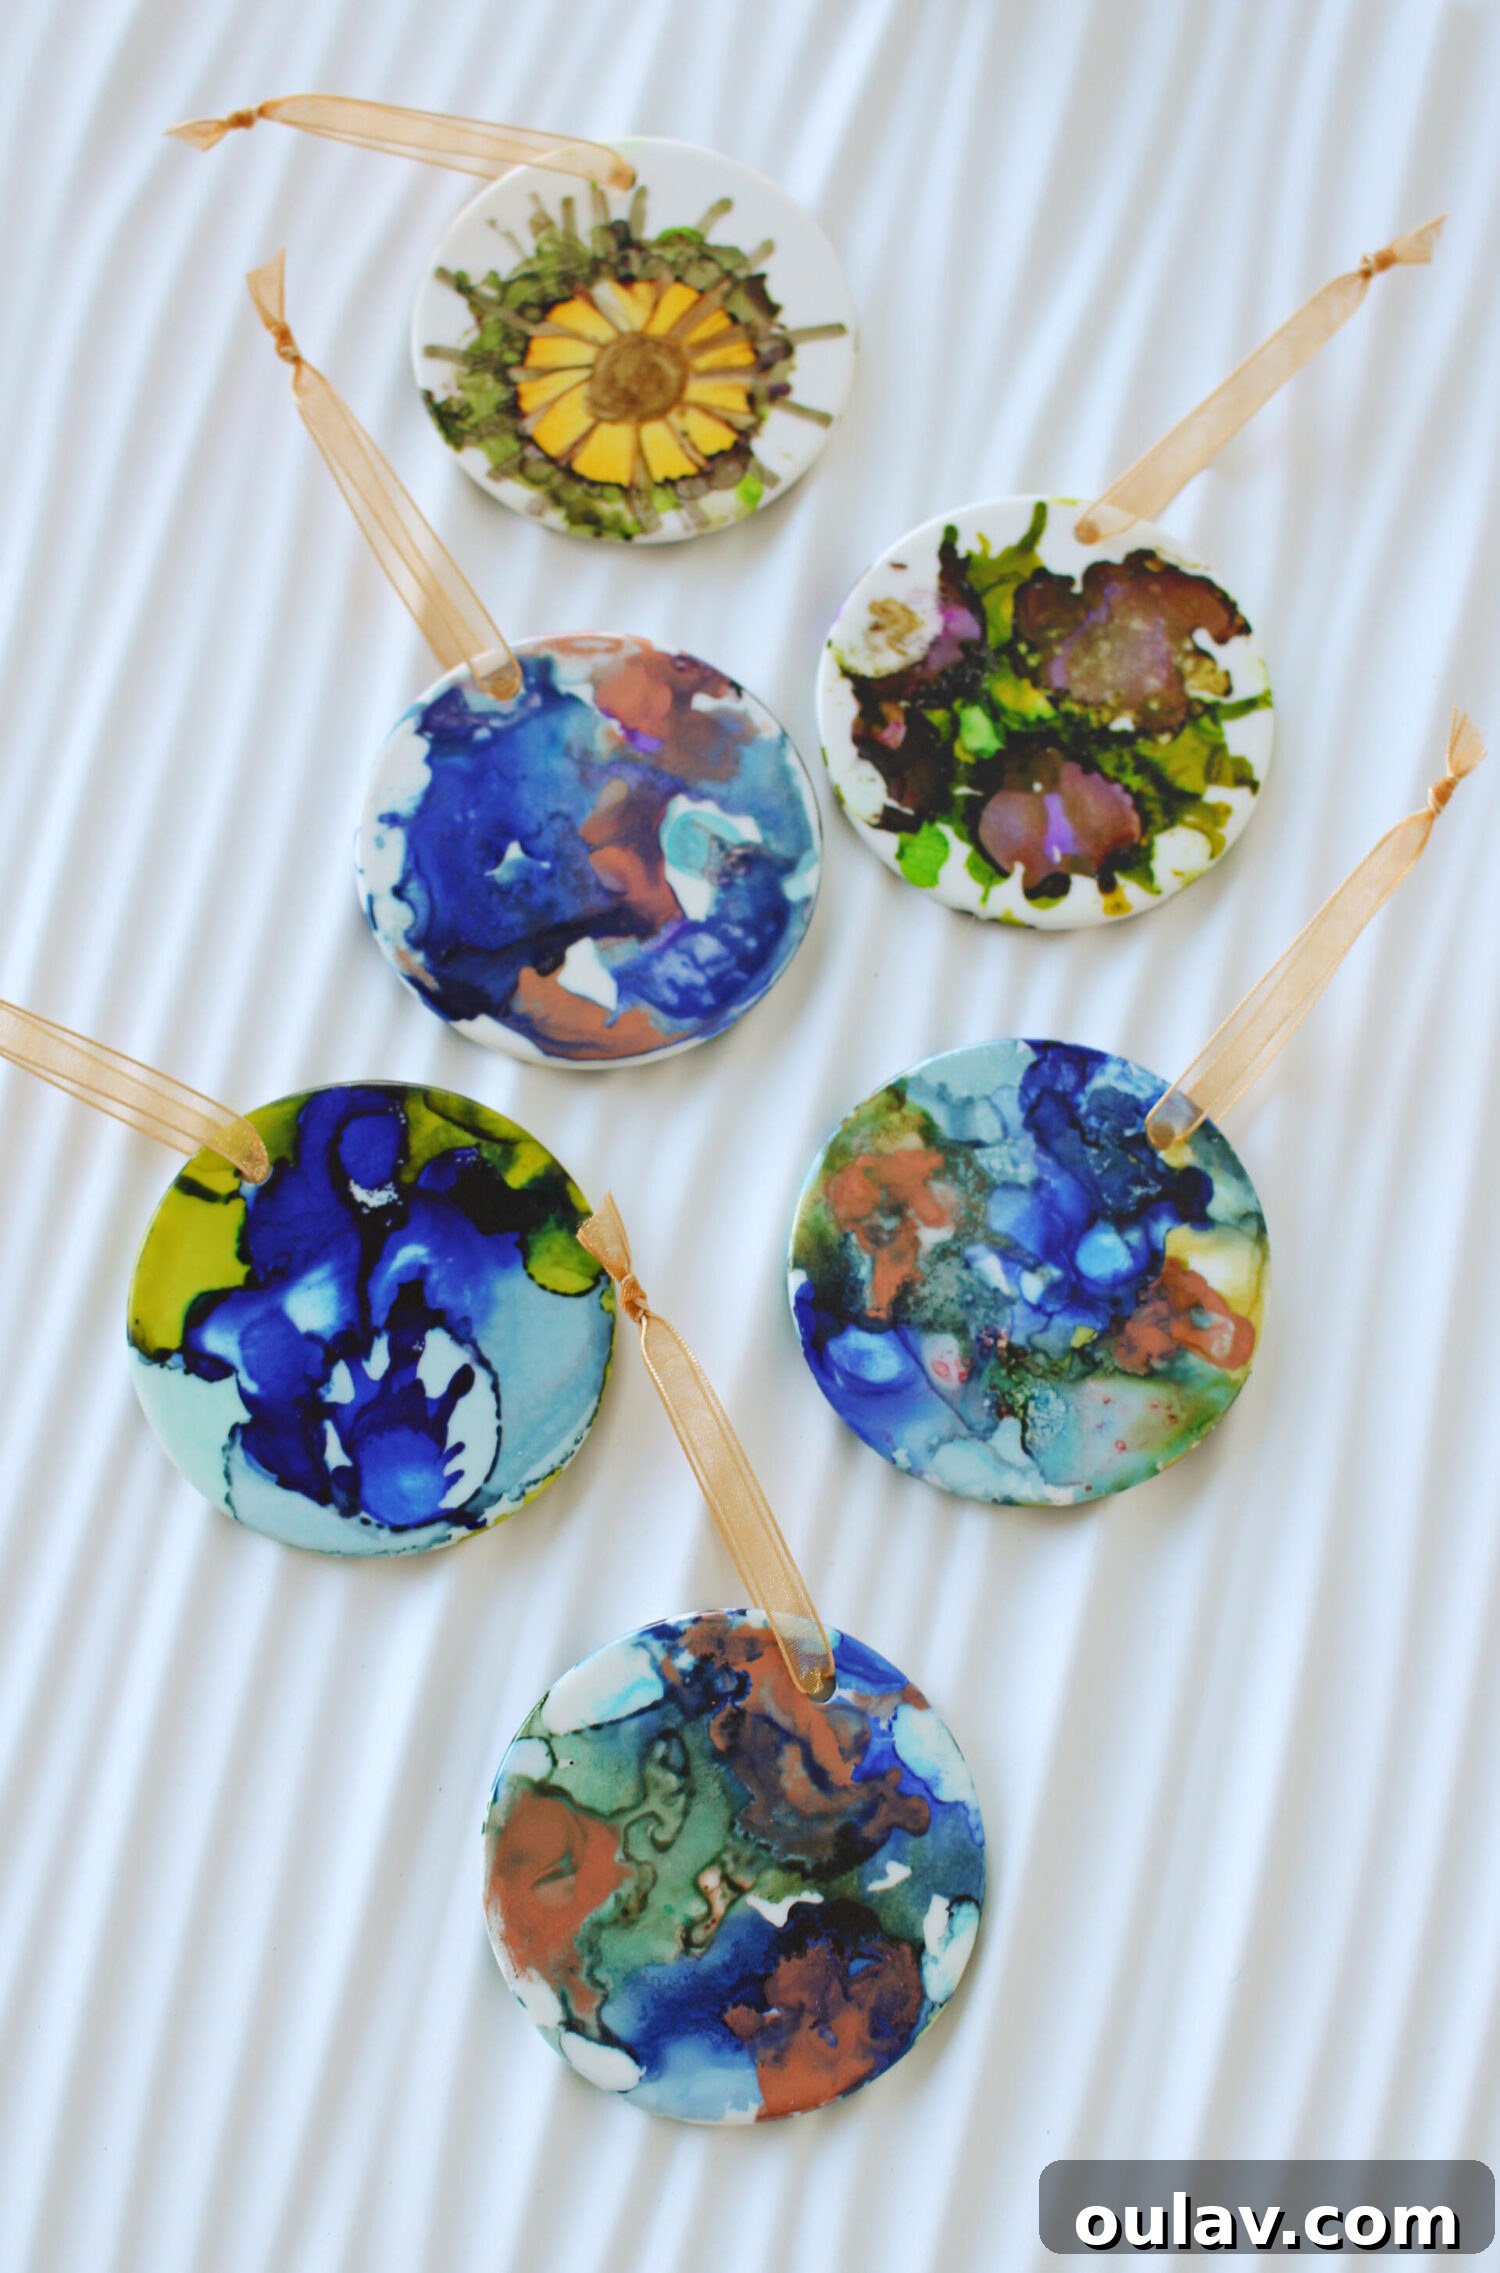
Working with alcohol inks is an exciting journey of discovery. My Mom and I had a wonderful time crafting these ornaments together, and it was fascinating to see our individual approaches. She enjoyed experimenting with more structured forms, even attempting to create a delicate flower shape on one of the ornaments (visible as the top ornament in the photo below).
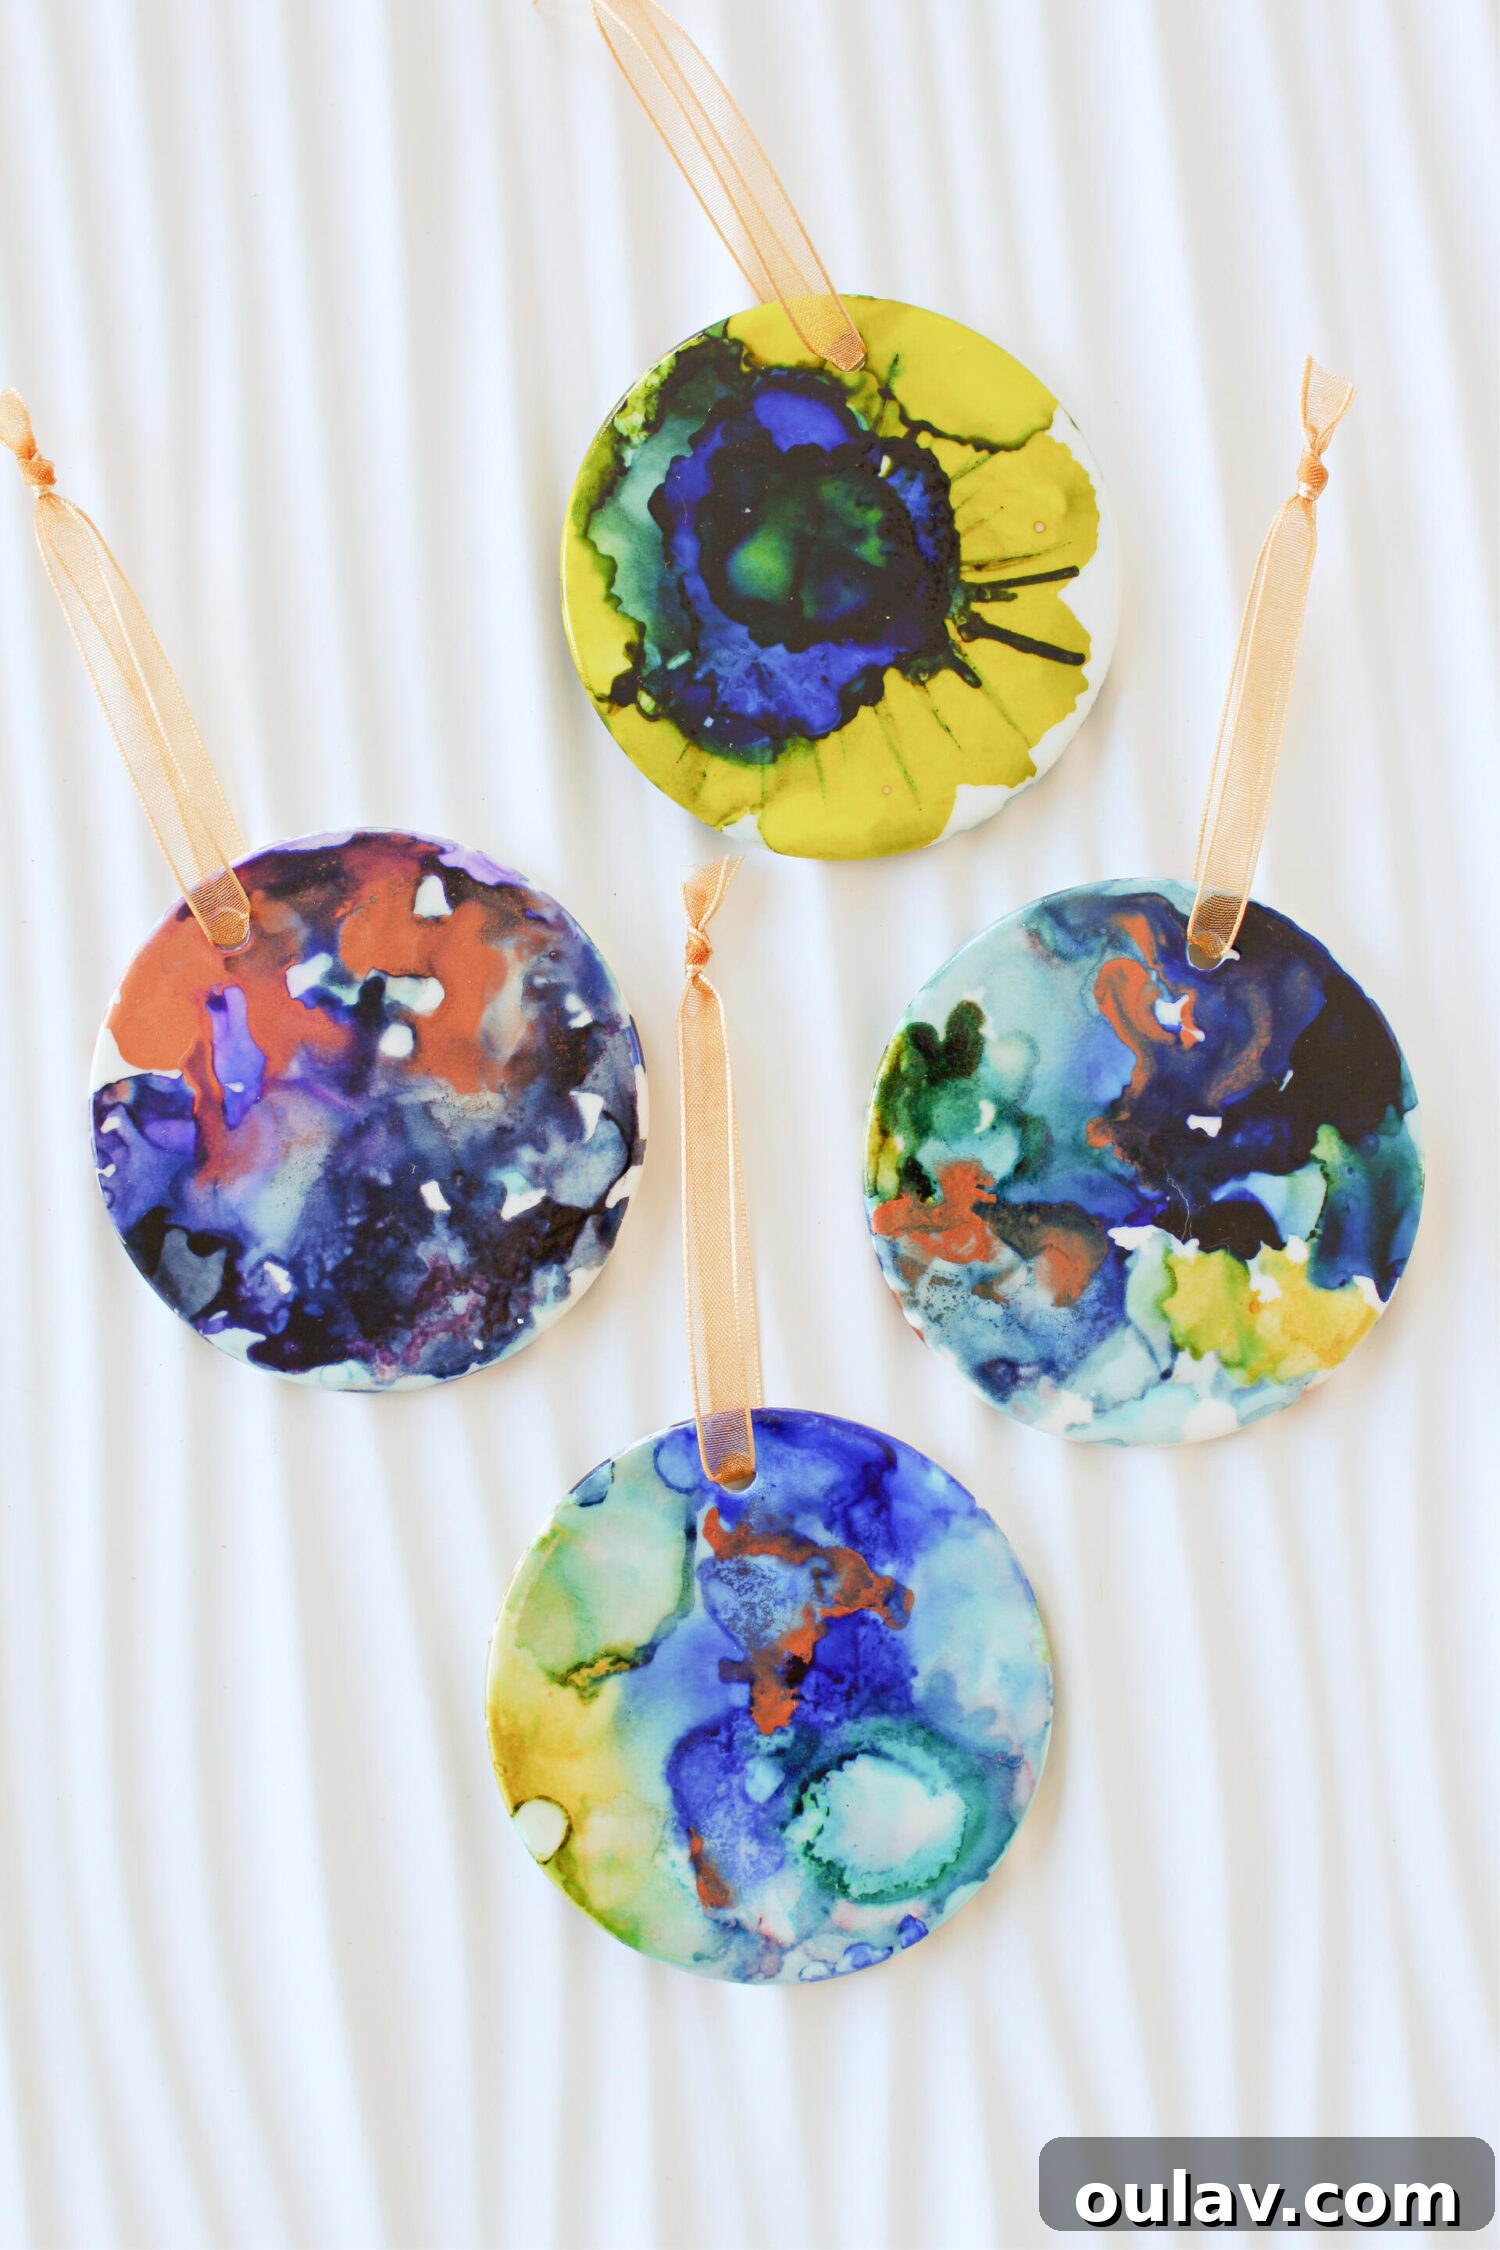
Personally, I am drawn to the inherent unpredictability and organic beauty of alcohol inks. I find immense joy in simply allowing the vibrant colors to flow, swirl, and merge, trusting the medium to work its own magic. This often results in more abstract, ethereal designs that are unique and captivating in their free-form expression. There’s no right or wrong way to approach this craft; whether you prefer to guide the inks towards a specific pattern or embrace their natural movement, the outcome will always be a testament to your creativity and the beautiful interaction of colors.
Care and Maintenance for Your Alcohol Ink Art
To ensure your beautiful ceramic alcohol ink ornaments remain vibrant and pristine for years, a little care goes a long way. Once sealed with the Krylon Triple-Thick Crystal Clear Glaze, they are quite durable. To clean them, simply use a soft, dry cloth to gently wipe away any dust. Avoid harsh chemicals or abrasive cleaners, as these could damage the sealant or the ink beneath. Store them in a padded container when not on display to prevent chipping or scratching, especially during off-season storage.
Final Thoughts: Unleash Your Creativity!
Crafting DIY alcohol ink on ceramic ornaments is an incredibly satisfying and accessible art form. It allows you to explore vibrant colors, fluid movement, and abstract design with ease, yielding uniquely beautiful results every time. Whether you’re making them for your own festive decor or as thoughtful, personalized gifts, these handmade ceramic ornaments are sure to impress. So grab your inks, ceramic blanks, and blending solution, and let your creativity flow freely. The possibilities are endless, and the joy of creating something truly one-of-a-kind is simply unmatched.
P.S. Don’t Forget to Pin for Later!
Loved this tutorial? Make sure to save it for future inspiration or to share with fellow craft enthusiasts! Pin this post to your favorite DIY, crafting, or holiday decor boards on Pinterest so you can easily find it whenever you’re ready to create more stunning alcohol ink projects.
Explore More Alcohol Ink Ornament Ideas!
If you’ve enjoyed creating these ceramic wonders, you’ll be thrilled to discover other exciting ways to work with alcohol inks. Here are some more DIY alcohol ink ornament ideas, including a stunning new “stained glass” effect that will truly elevate your holiday decorating!
DIY Alcohol Ink on Glass Ornaments with a Stained Glass Effect
Discover how to achieve a mesmerizing stained-glass look on glass ornaments, adding an elegant and intricate touch to your holiday display. This technique transforms ordinary glass into radiant jewels.
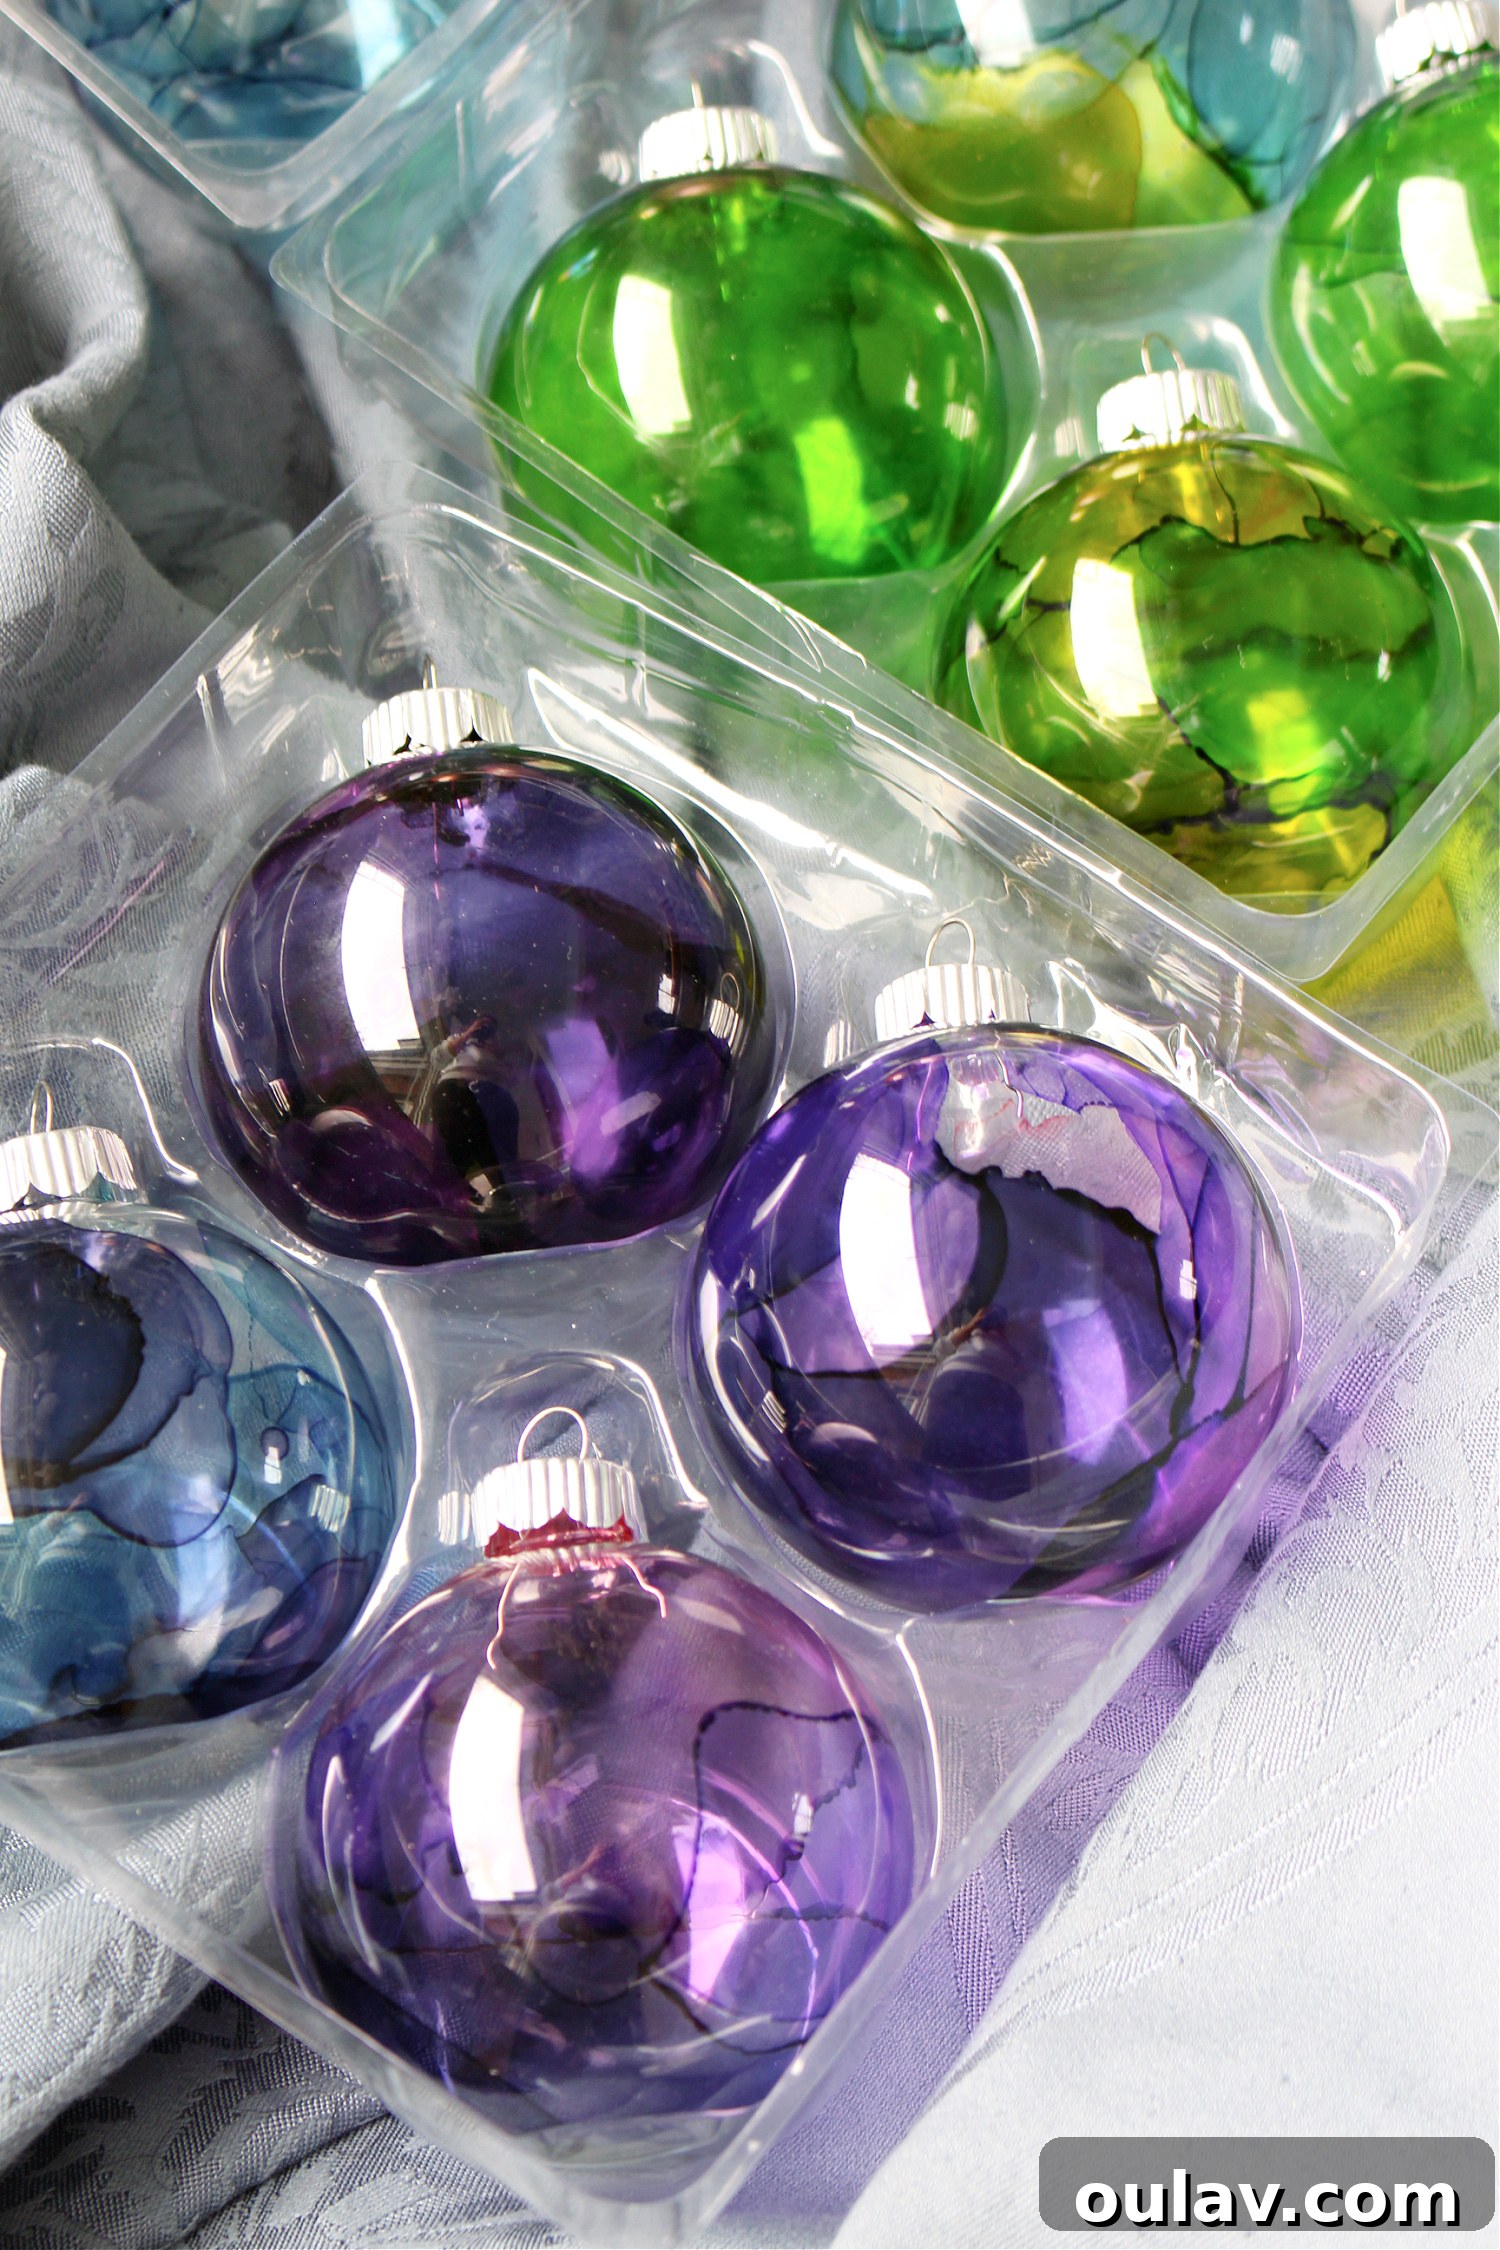
DIY Alcohol Ink Ornaments: Ink Poured Inside Glass
Learn the simple yet captivating method of pouring alcohol ink inside clear glass ornaments to create vibrant, swirling patterns. This technique results in smooth, luminous, and truly unique decorations.
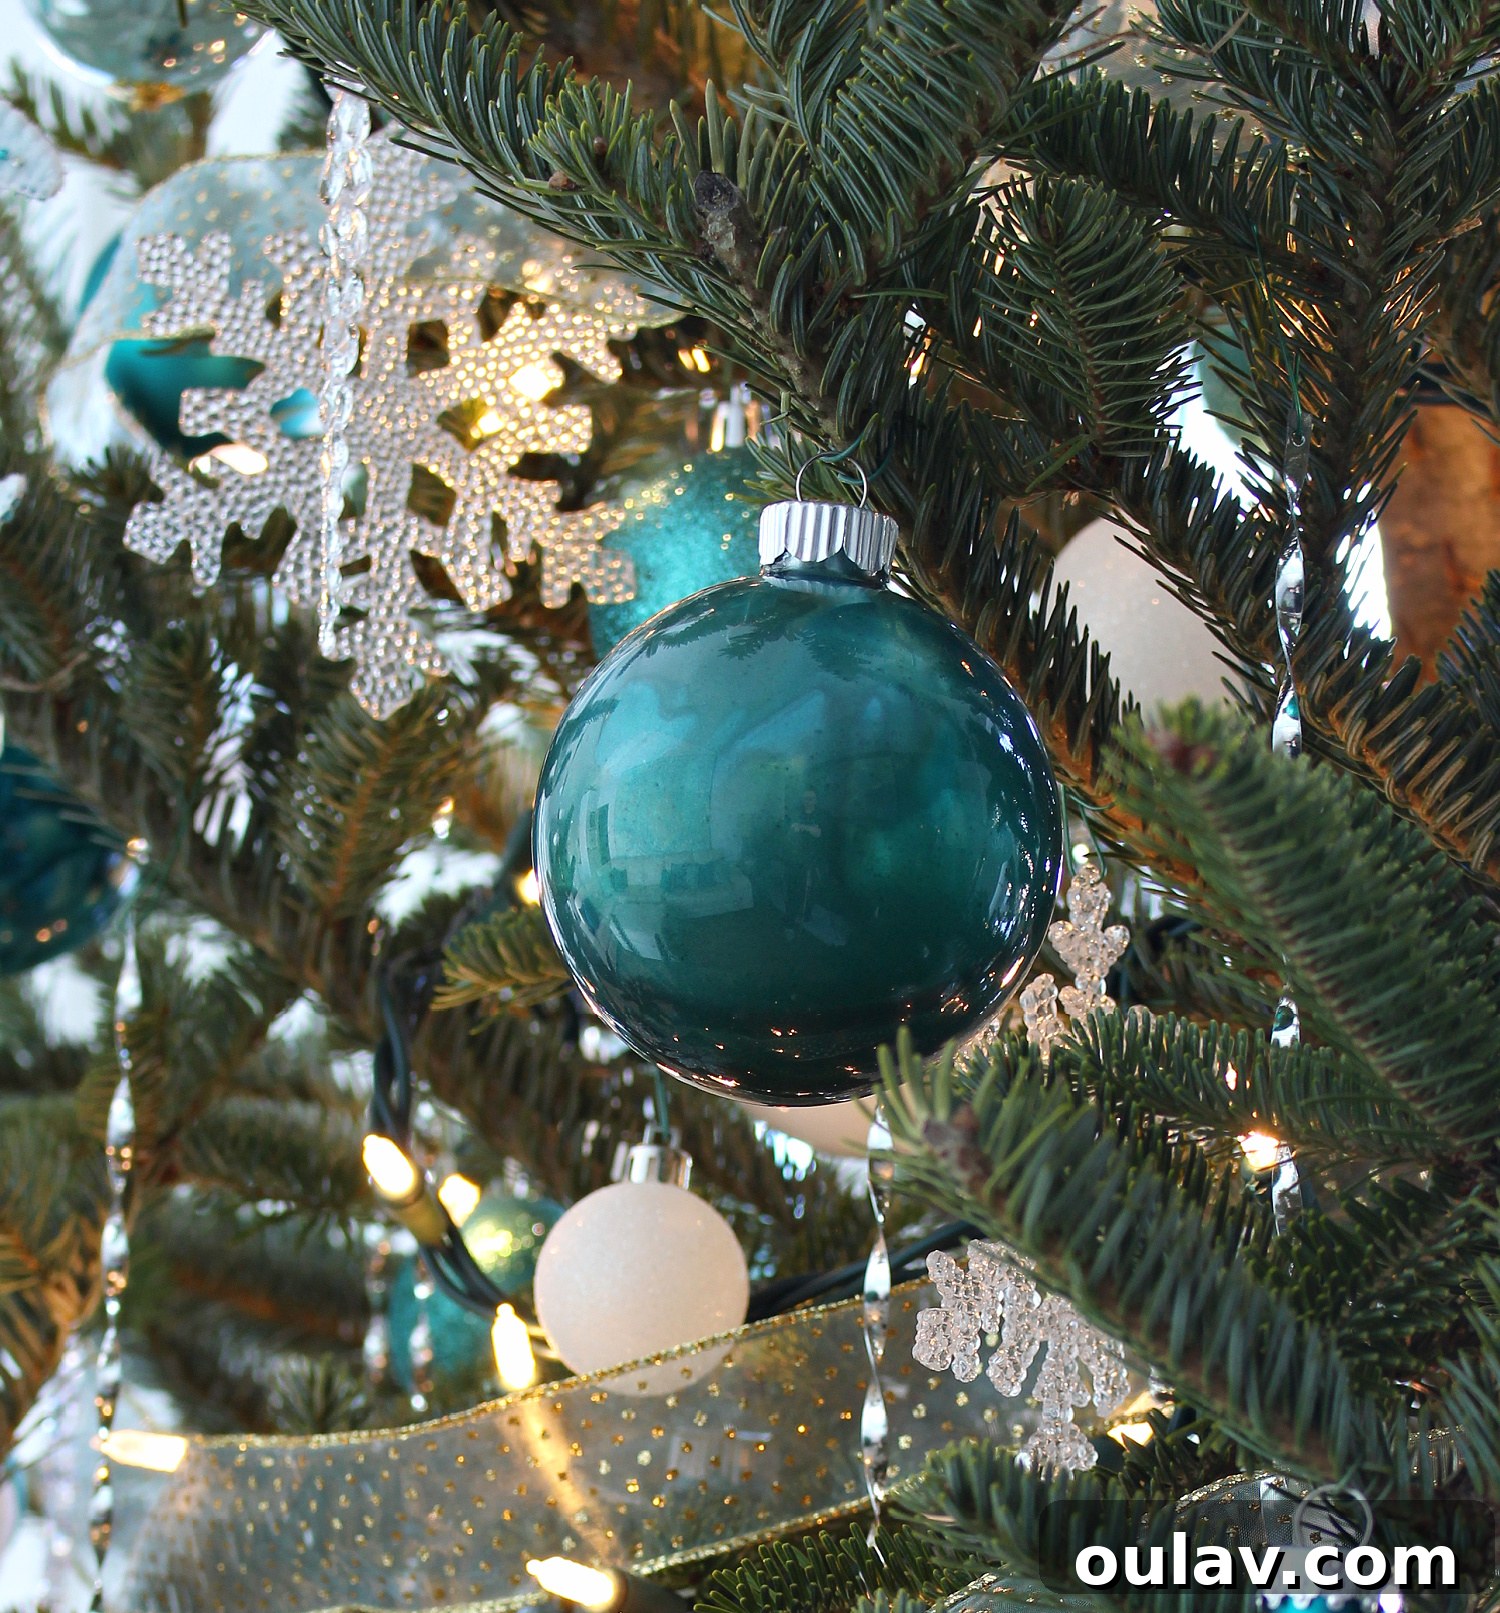
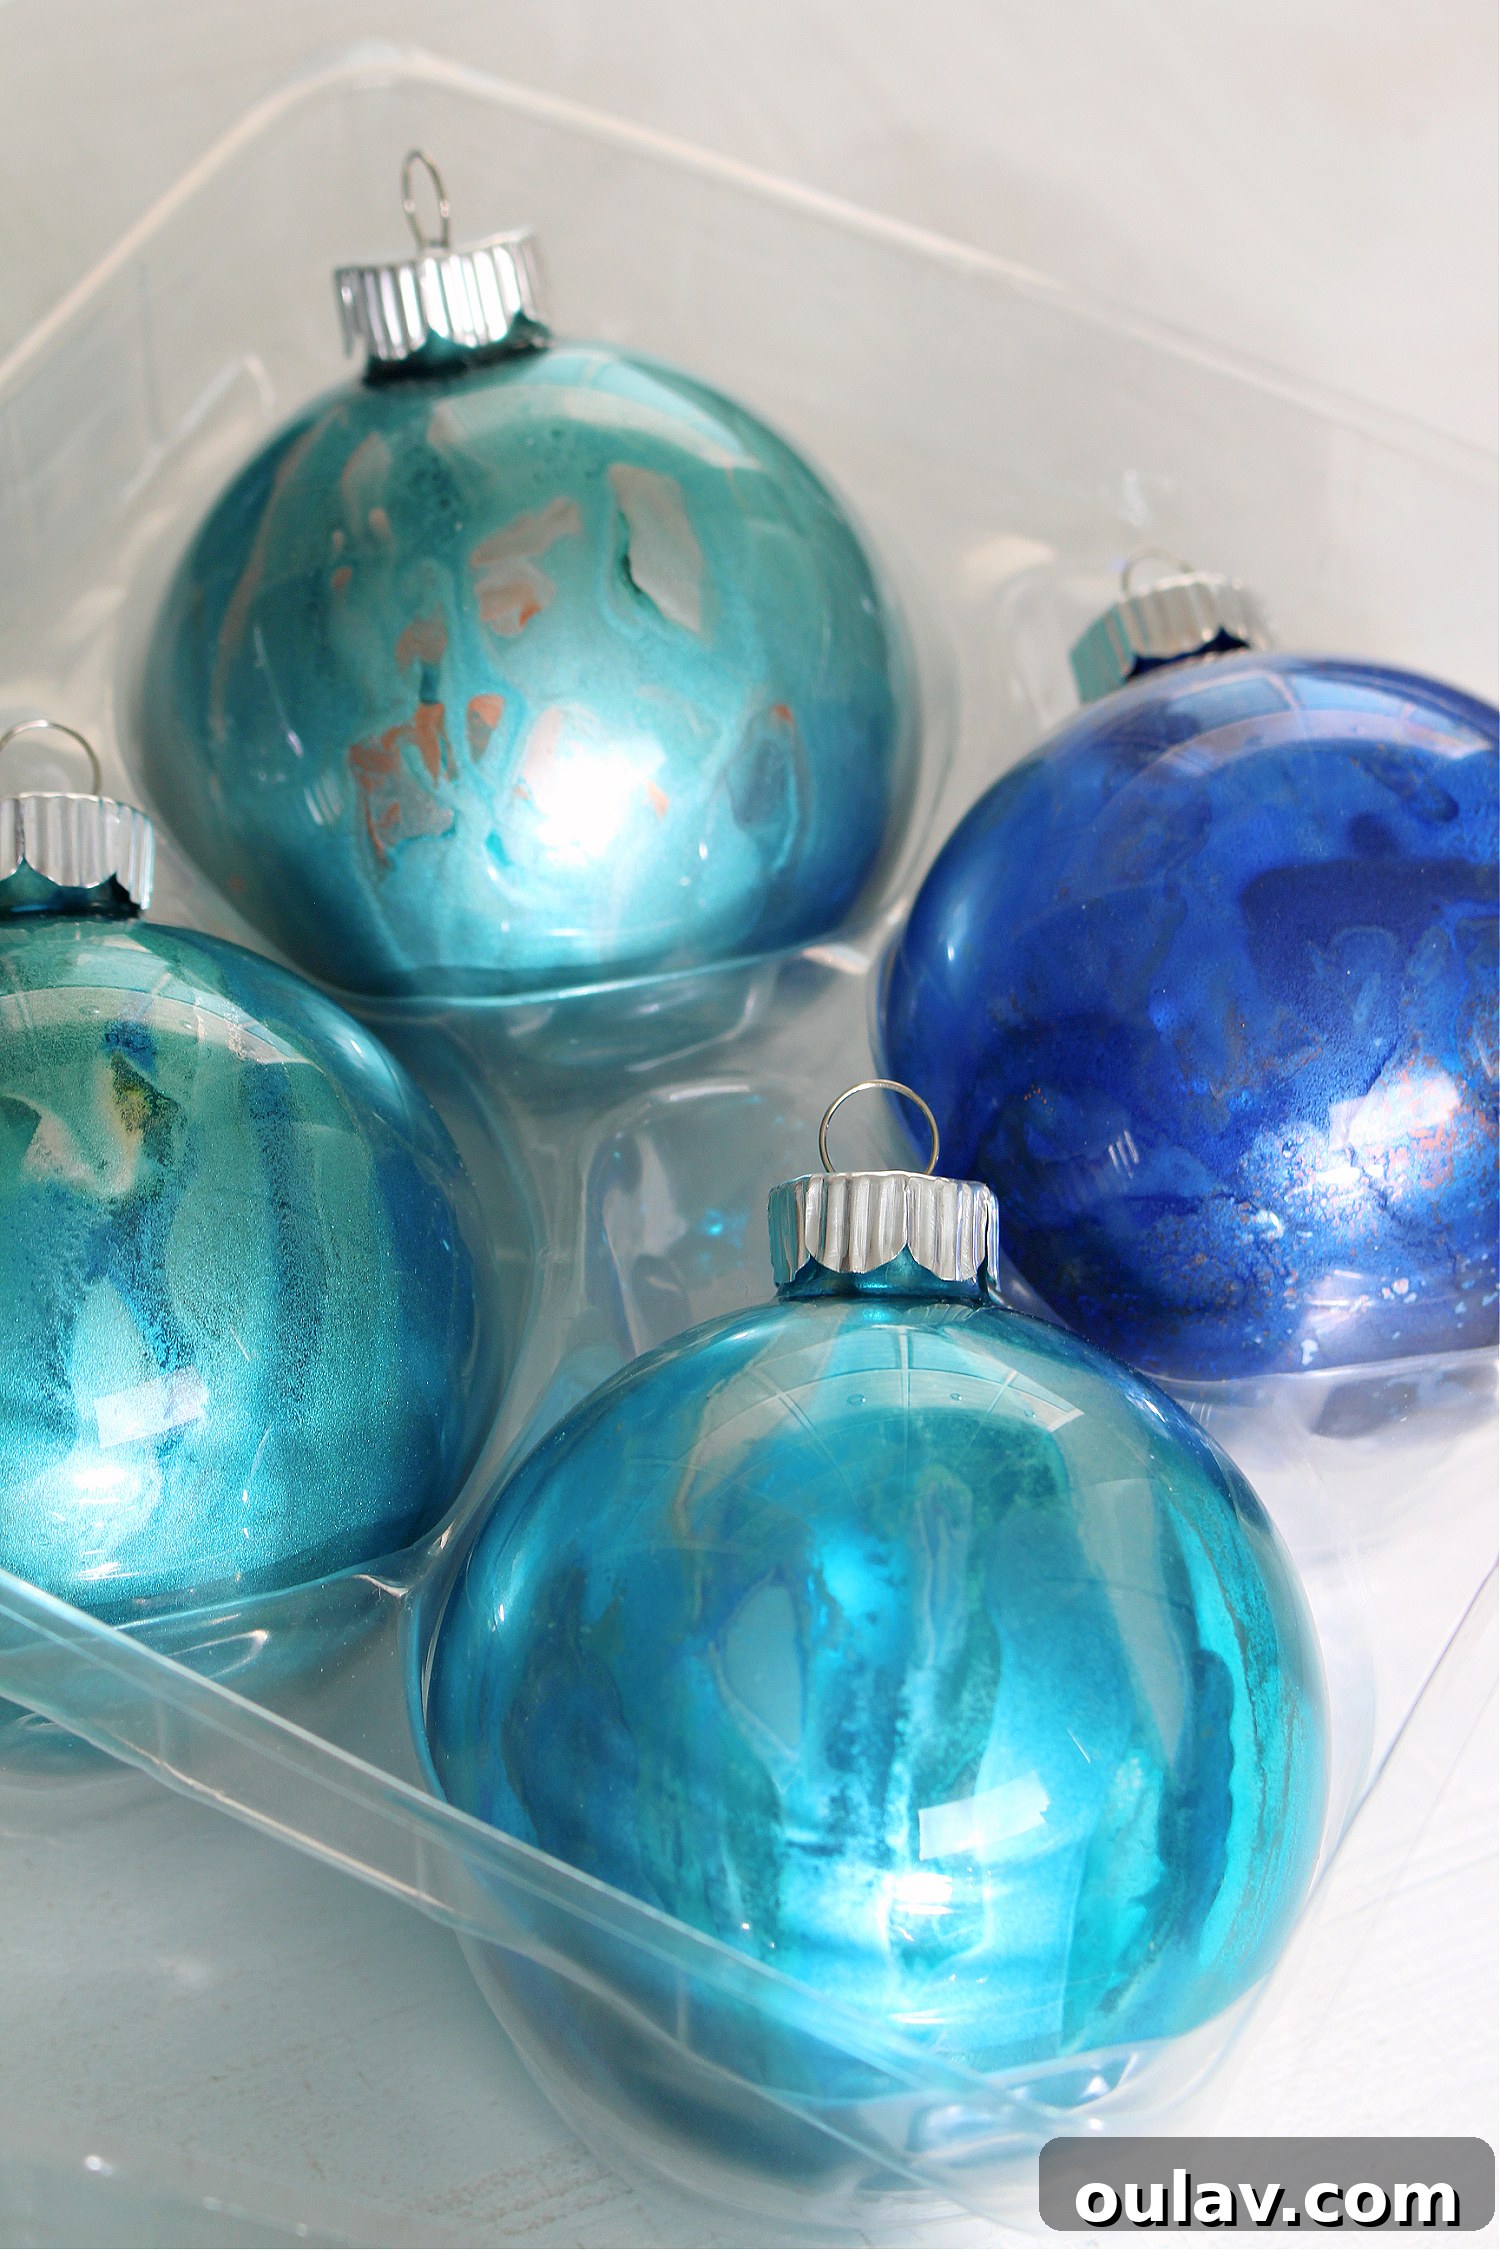
DIY Alcohol Ink Ornaments: Ink Applied Outside
Explore the technique of applying alcohol ink to the exterior of ornament balls. While challenging, this method offers creative control over surface patterns and textures, leading to beautifully textured and artistic ornaments.