
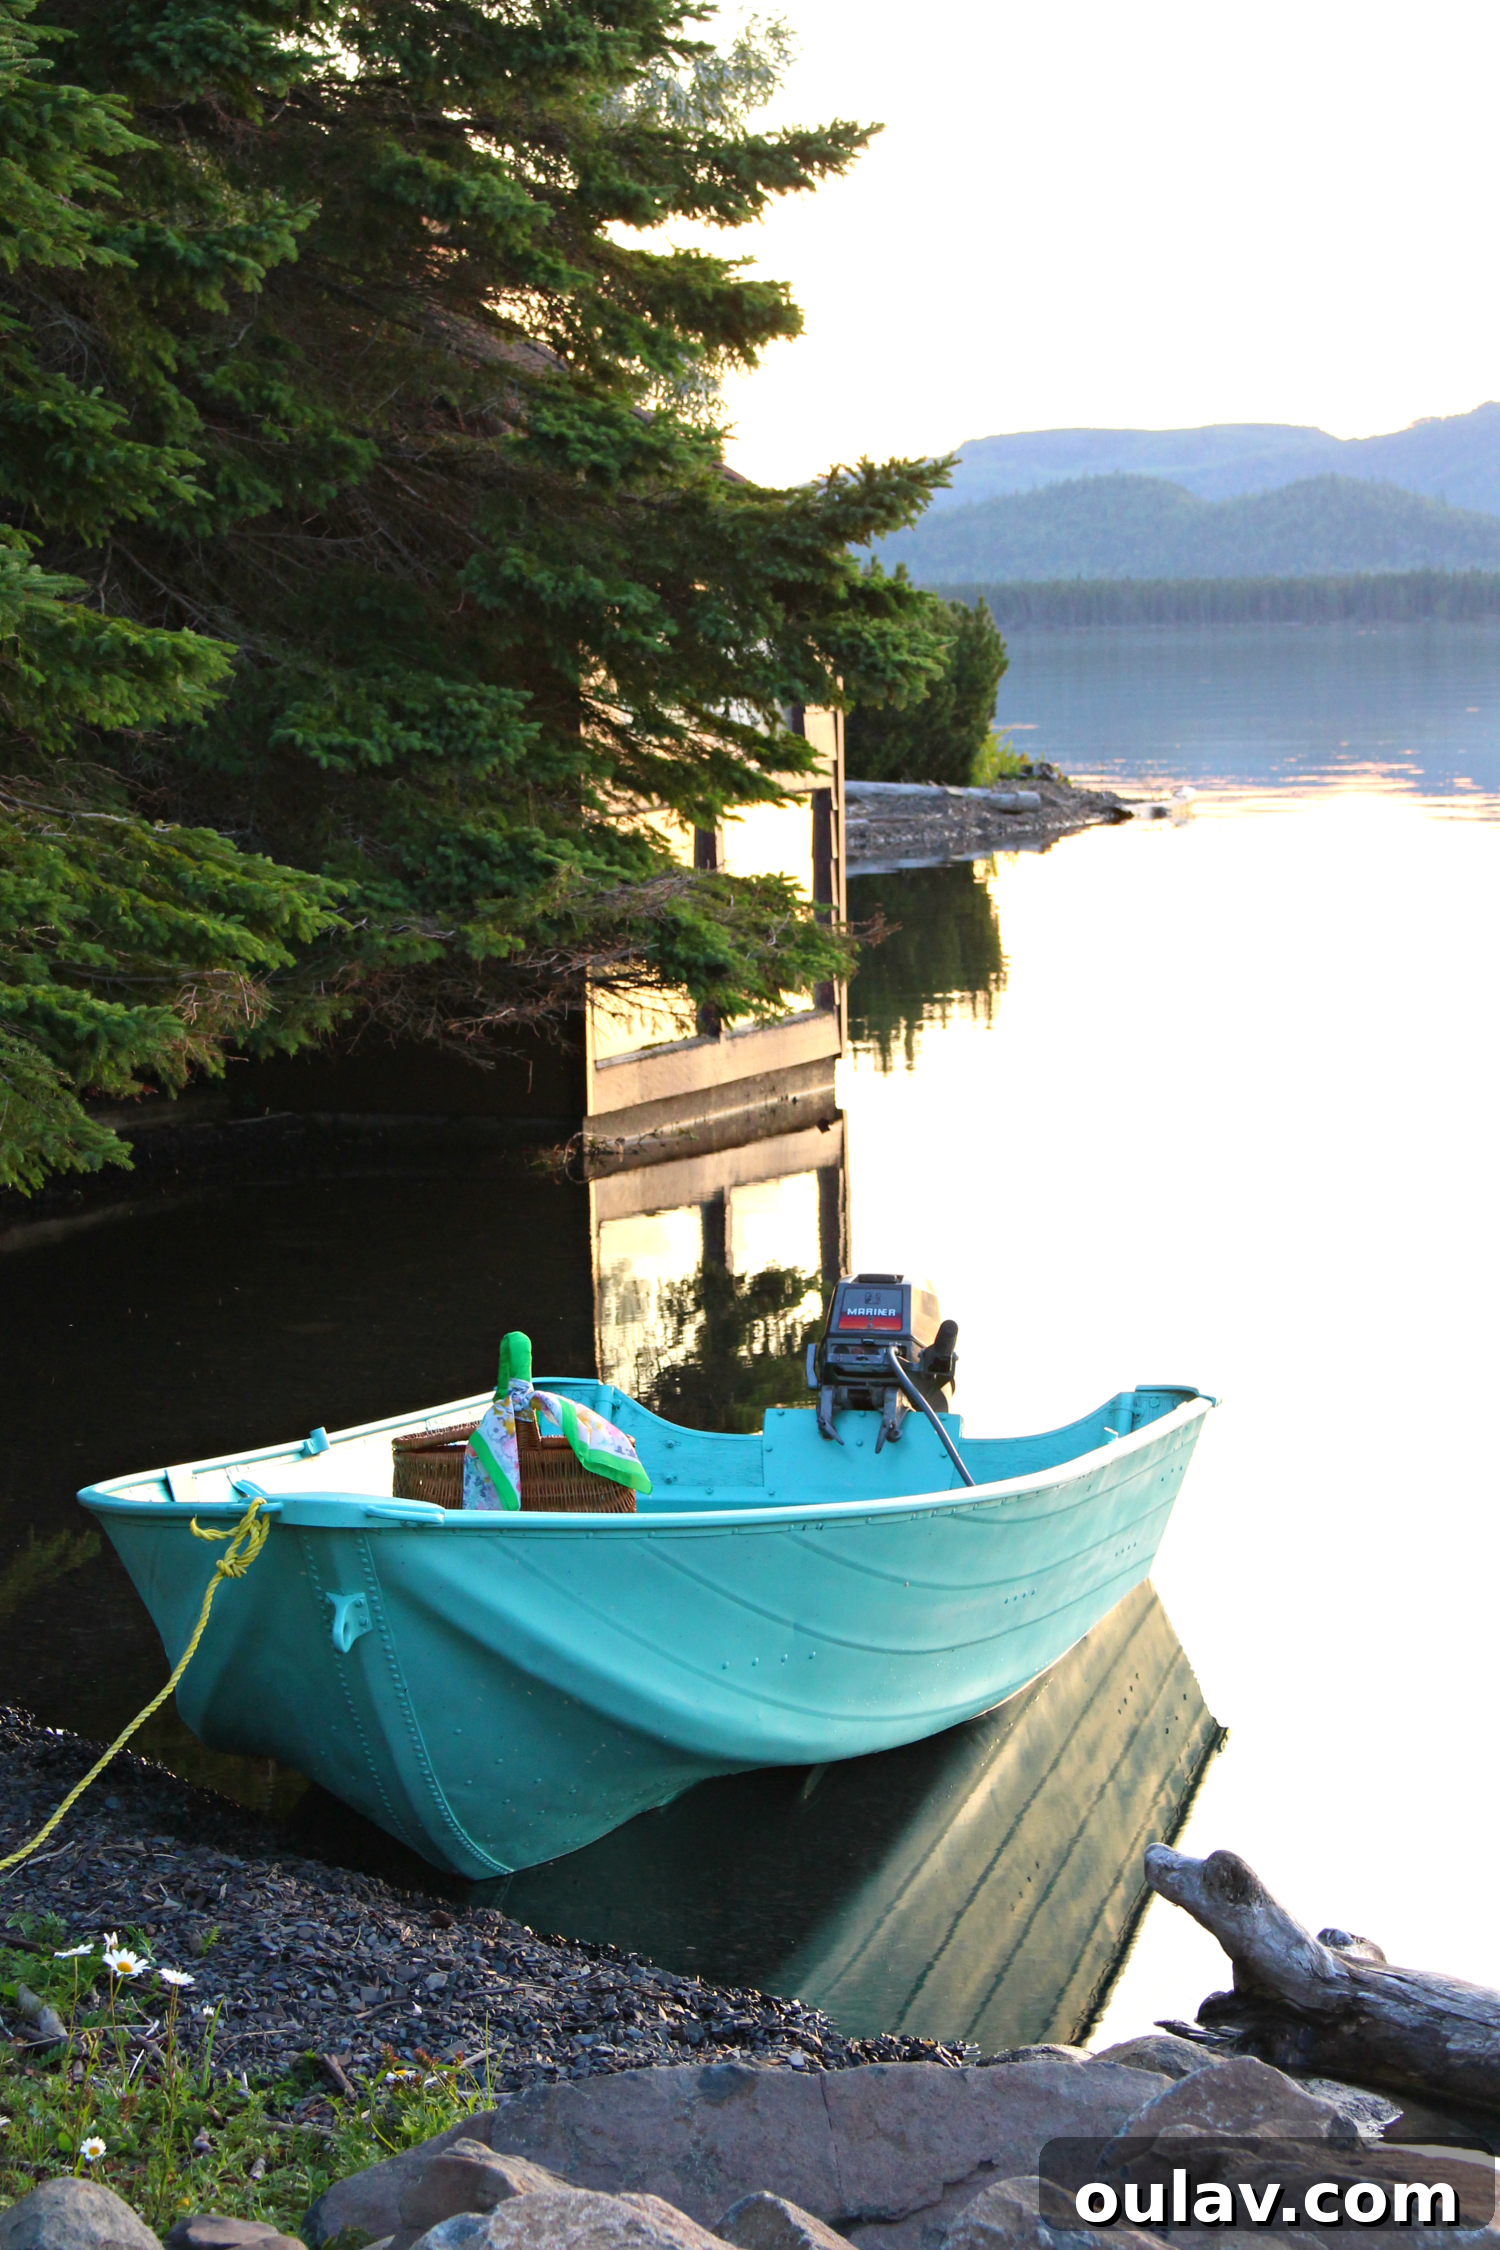
Transform Your Ride: A Dazzling Turquoise Aluminum Boat Makeover with Rust-Oleum
This vibrant turquoise boat makeover journey is proudly sponsored by Rust-Oleum Canada. All enthusiastic thoughts, candid opinions, and our undeniable aqua-obsession are entirely my own!
Over the years, my collaboration with Rust-Oleum Canada has brought to life some truly ambitious home and decor projects. From the surprisingly satisfying task of painting our soffit and fascia to the creative challenge of tackling a whimsical garage mural, and even a complete kitchen renovation on a shoestring budget – not to mention countless smaller furniture and decor transformations – each project has been a testament to the power of paint. However, our latest endeavor might just take the cake for ambition: giving our trusty old aluminum boat a spectacular turquoise makeover. The result? Absolutely captivating! For those eager to dive straight into the detailed, step-by-step tutorial, you can find my full post on the Rust-Oleum website right here!
The Story Behind Our Lakeside Companion
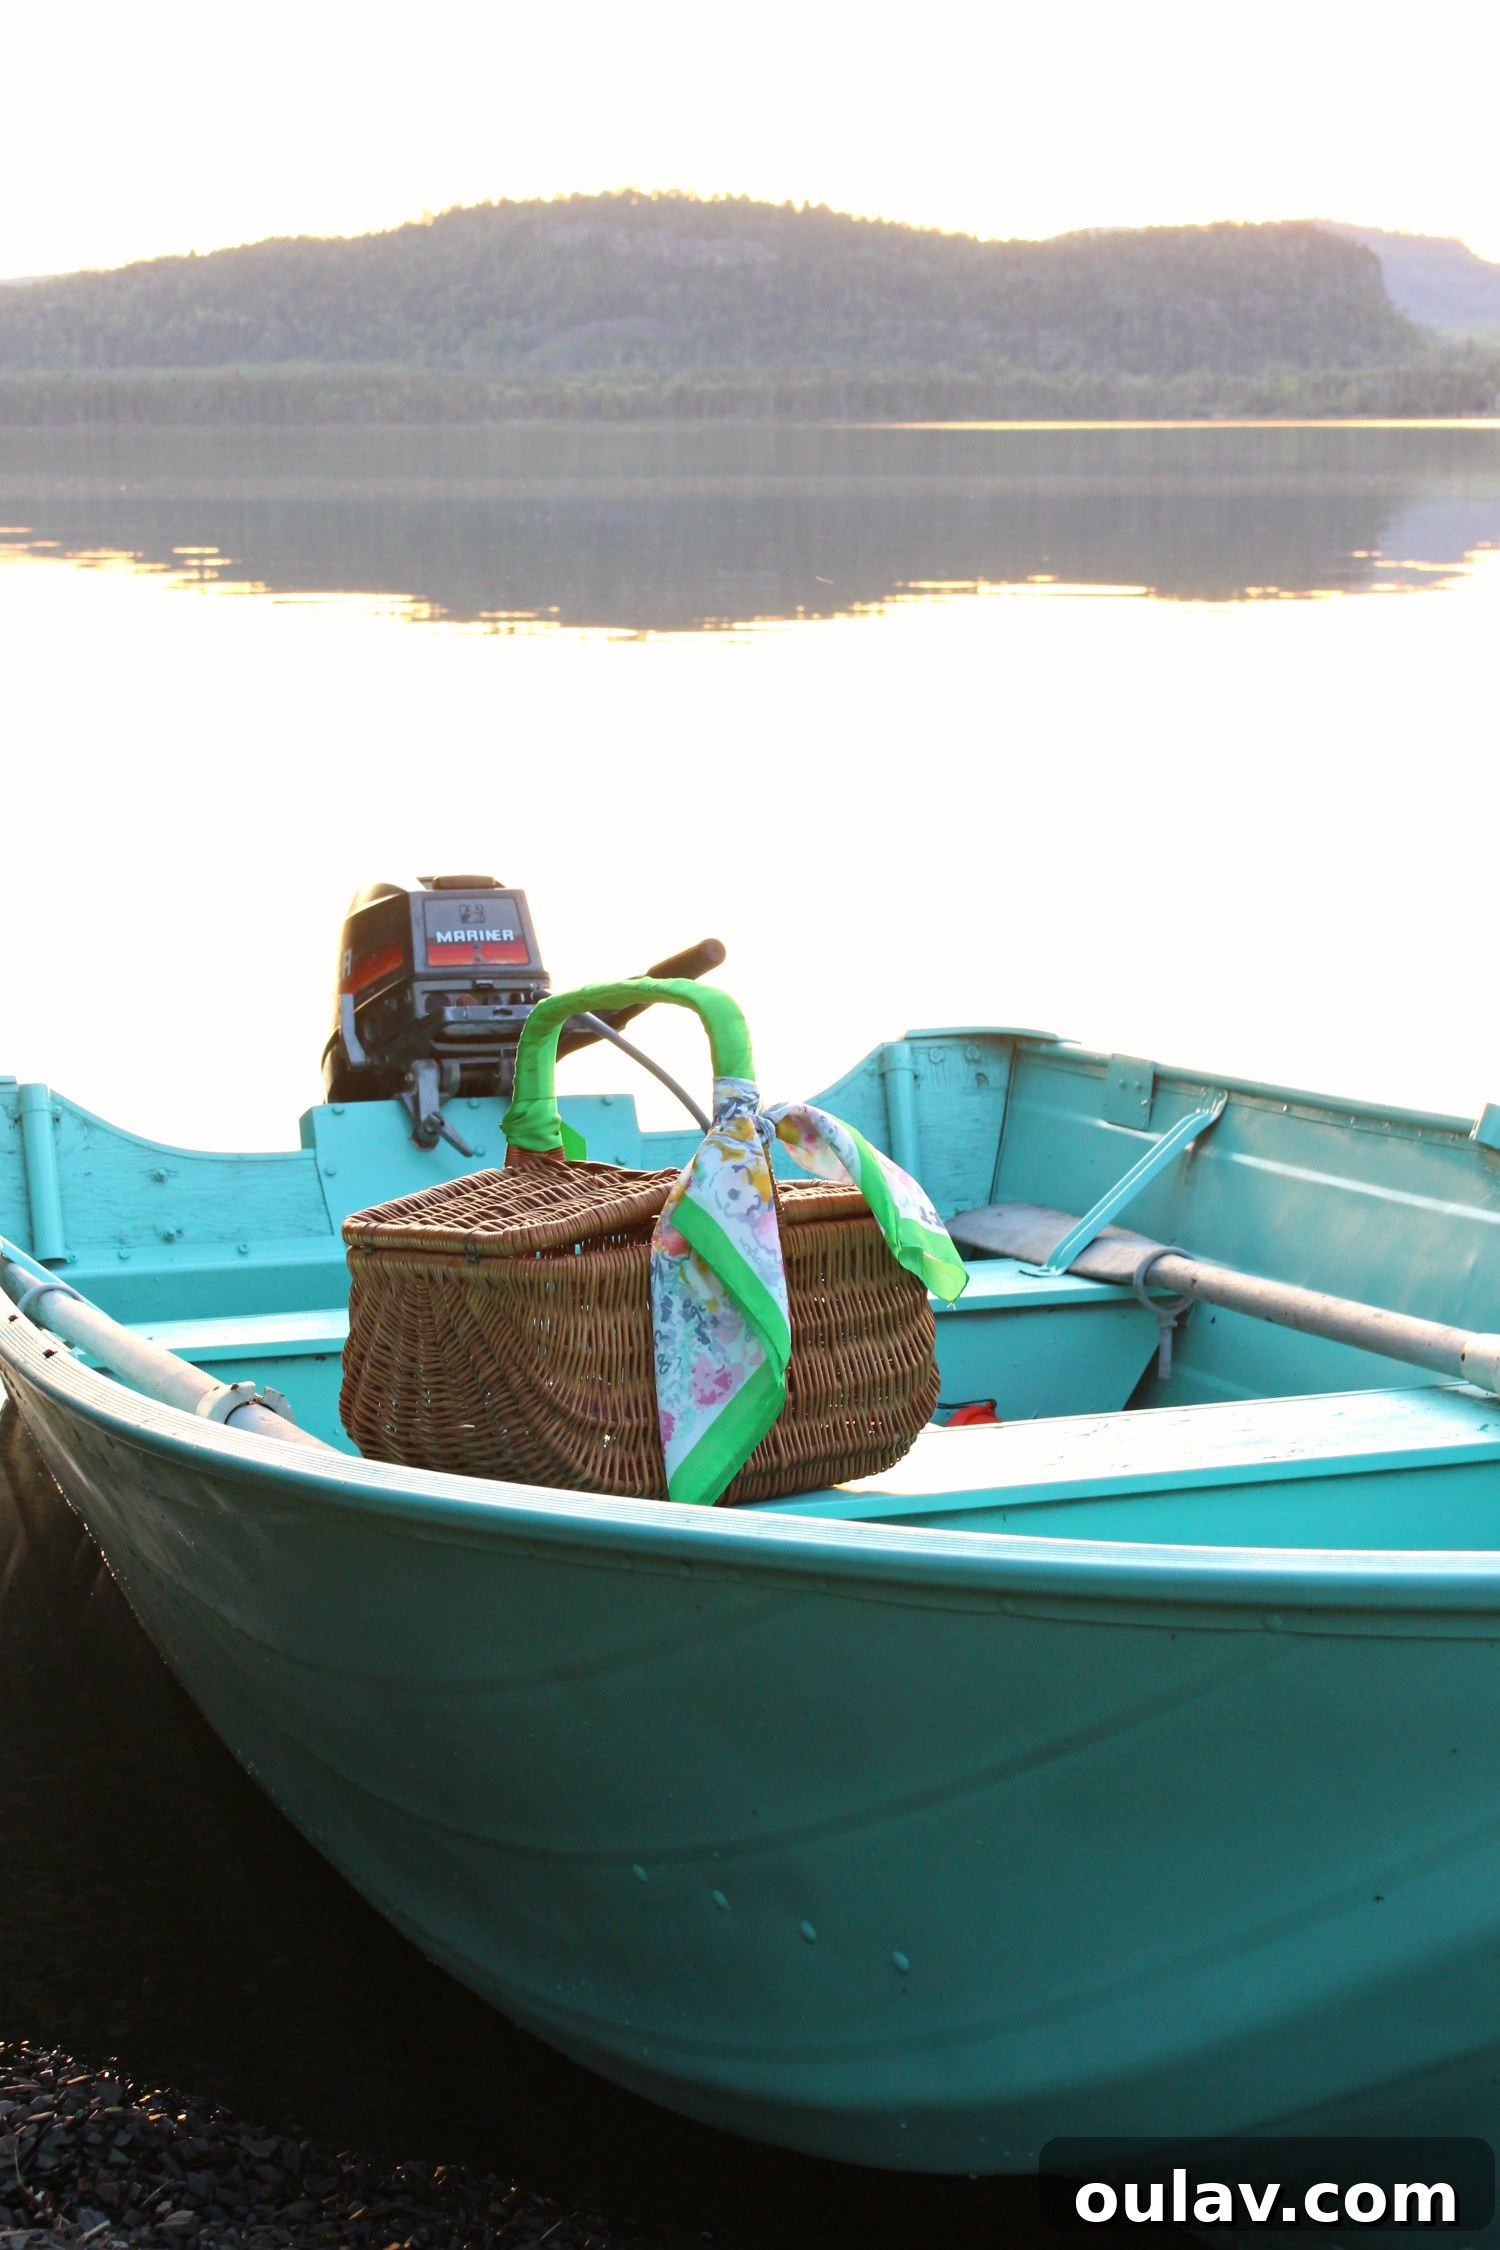
Our home, nestled on the picturesque shores of Lake Superior, fosters an undeniable love for all things aquatic. Our family already boasts a charming sailboat, a pair of invigorating stand-up paddleboards, and a classic canoe. Yet, surprisingly, it’s this humble old aluminum boat that has truly captured our hearts. It was a generous gift from my father-in-law, who had it idly resting on his rural property. His original intention was for us to use it as a convenient tender, ferrying us to our sailboat when it’s moored offshore. However, this little boat has proven to be so much more. It’s become our preferred vessel for spontaneous explorations and quick jaunts across the bay.
Our neighbors probably find our choice rather peculiar. After all, we possess a perfectly lovely 30-foot sailboat – a vessel we meticulously restored, fixed, and updated. Despite this, we consistently opt for the simplicity of our aluminum skiff. Its undeniable appeal lies in its effortless launch directly from our shoreline, requiring none of the intricate rigging of sailing or the physical exertion of paddling. Clearly, we are not “fancy boat people” at heart; we prioritize ease and immediate enjoyment. When our section of Lake Superior feels a little too bustling, we cherish the moments we can effortlessly glide over to secluded, nearby beaches for a tranquil picnic, making memories that only a small, versatile boat can provide.
The Boat: A Glimpse into its Past
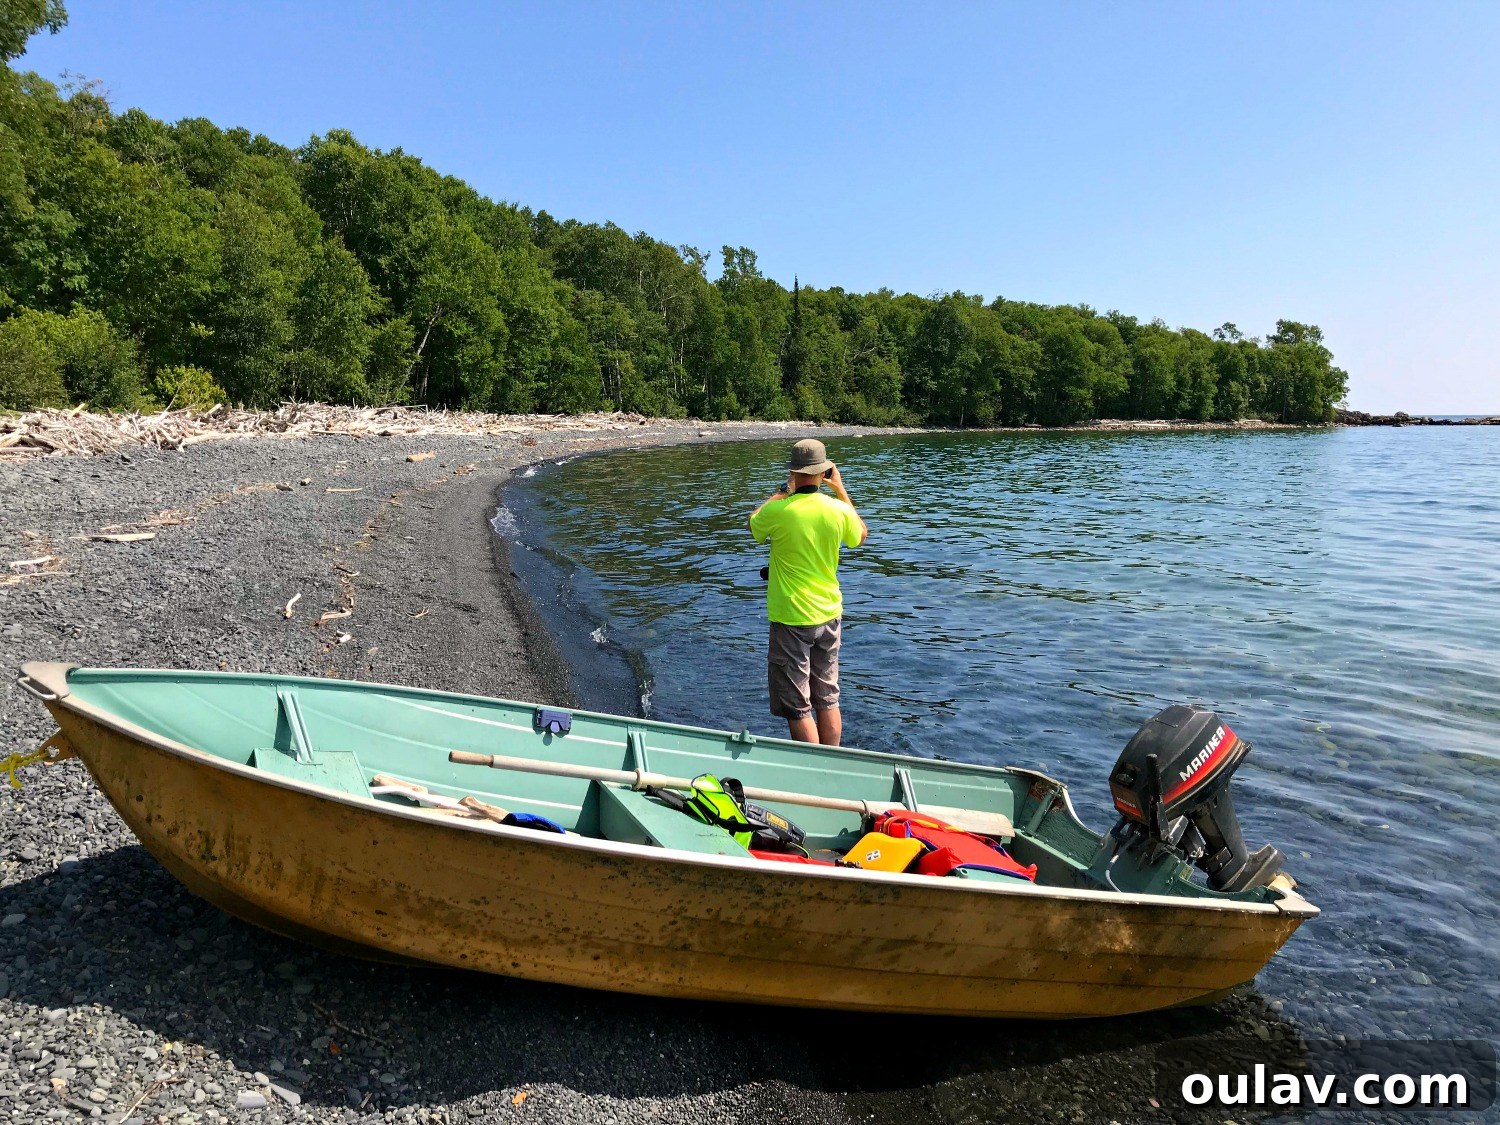
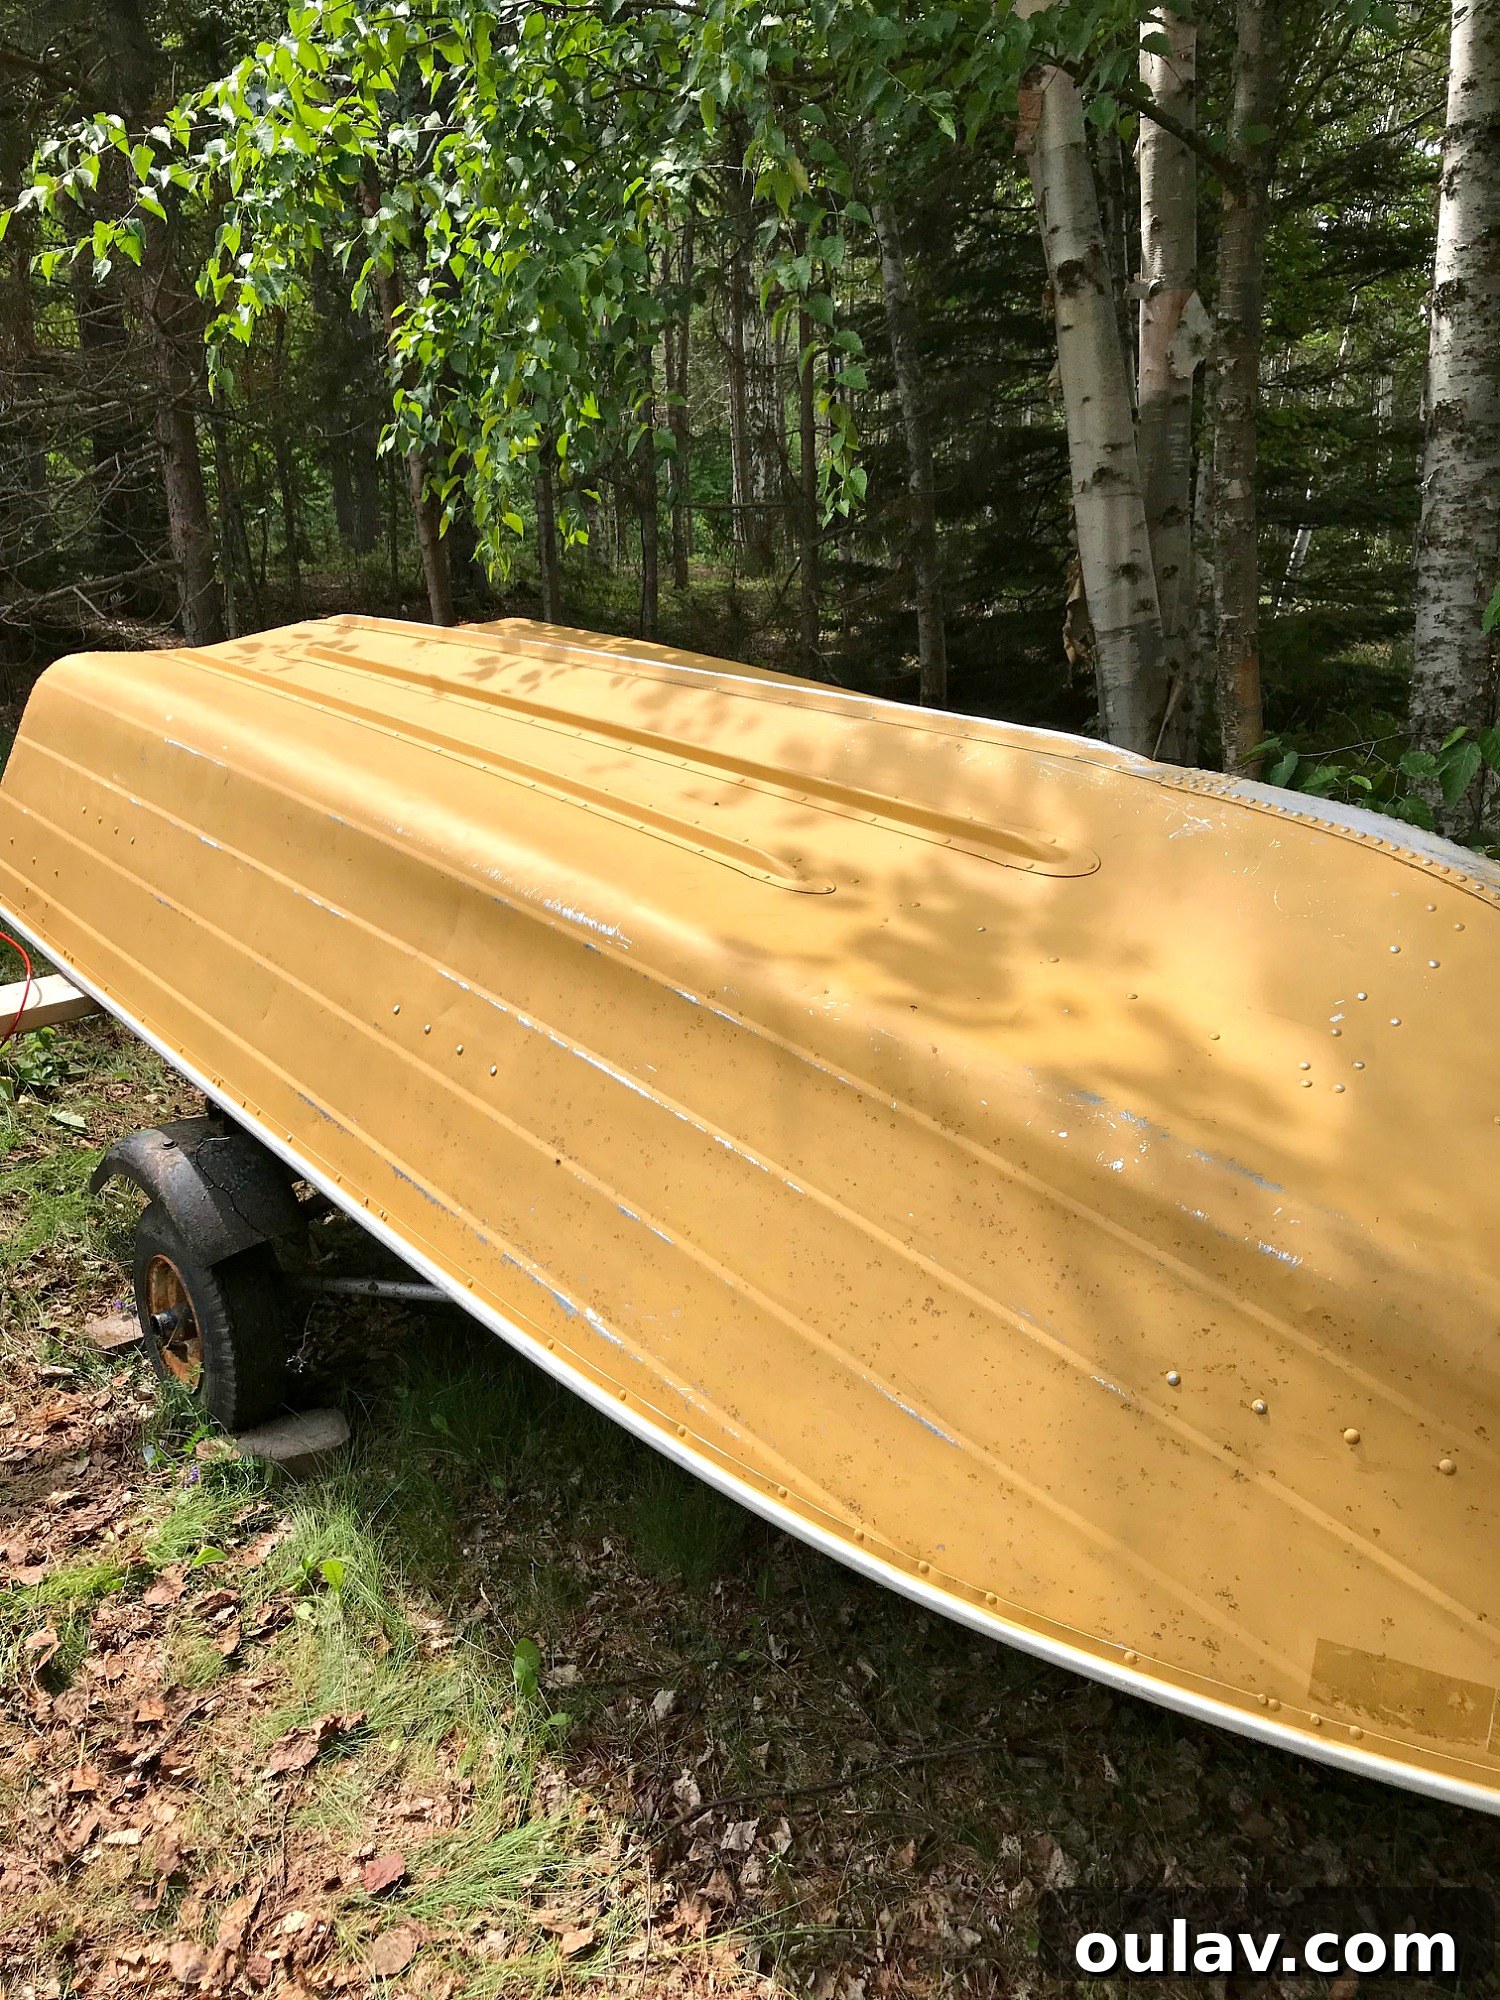
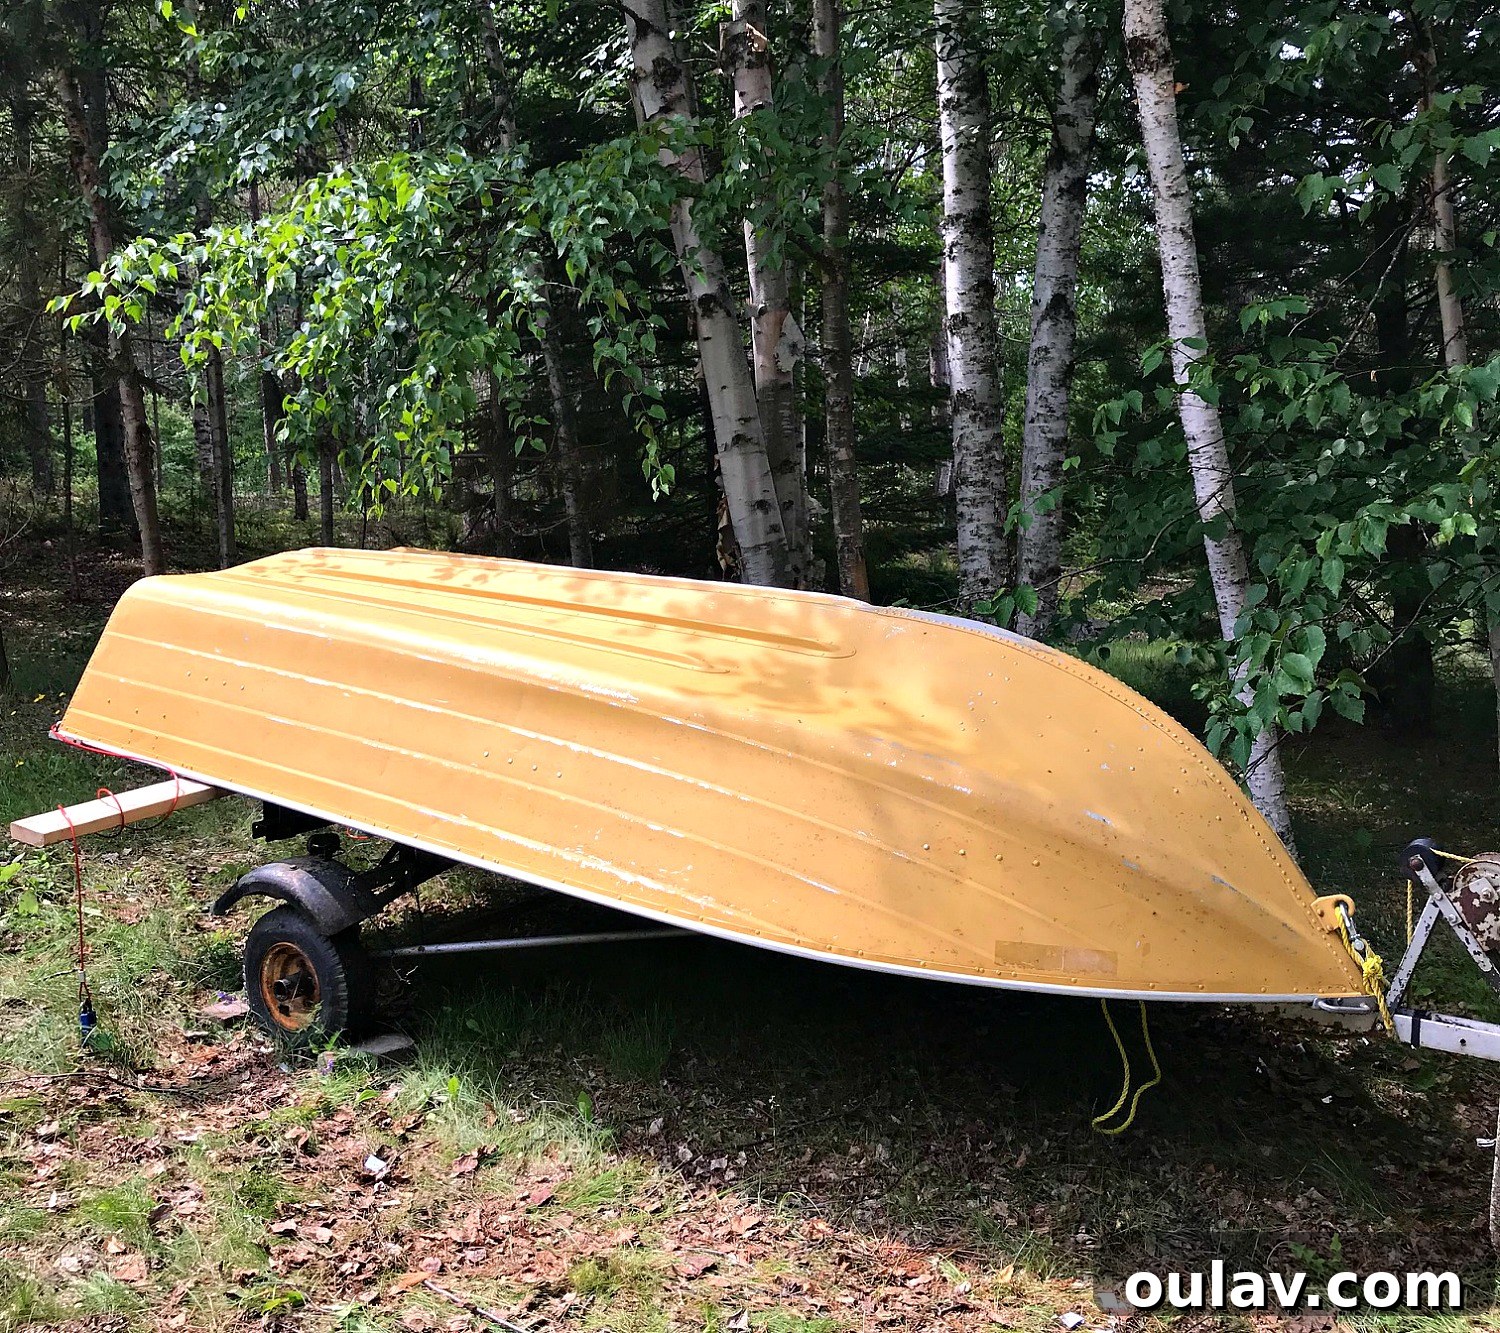
When my father-in-law first bestowed this boat upon us, he had already given it a unique character, painted with a medley of leftover paints he had on hand. The outcome was a charming, albeit accidental, vintage aesthetic: a sunny, somewhat faded yellow exterior complemented by a muted mint interior. It certainly had its own rustic appeal. However, boats, especially those used regularly, endure a significant amount of wear and tear. They are frequently dragged up onto rocky shores, scraped against trailers, and, as one of our experienced neighbors humorously put it, “we all trade paint.”
Given how much we’ve come to adore and utilize this little boat, I felt inspired to give it a fresh, personalized makeover. While it didn’t strictly *need* a new coat of paint in terms of structural integrity, there was a sentimental urge to refresh its appearance. My father-in-law’s original, impromptu paint job, despite its humble origins, had actually held up remarkably well, showing only minor signs of wear. This resilience demonstrated that expensive, marine-grade paint wasn’t necessarily a prerequisite for our specific usage (we always haul our boat out of the water and store it on land, preventing constant exposure to submersion). This realization freed me to explore more creative and accessible painting solutions, paving the way for its exciting transformation.
The Boat: A Vision in Turquoise
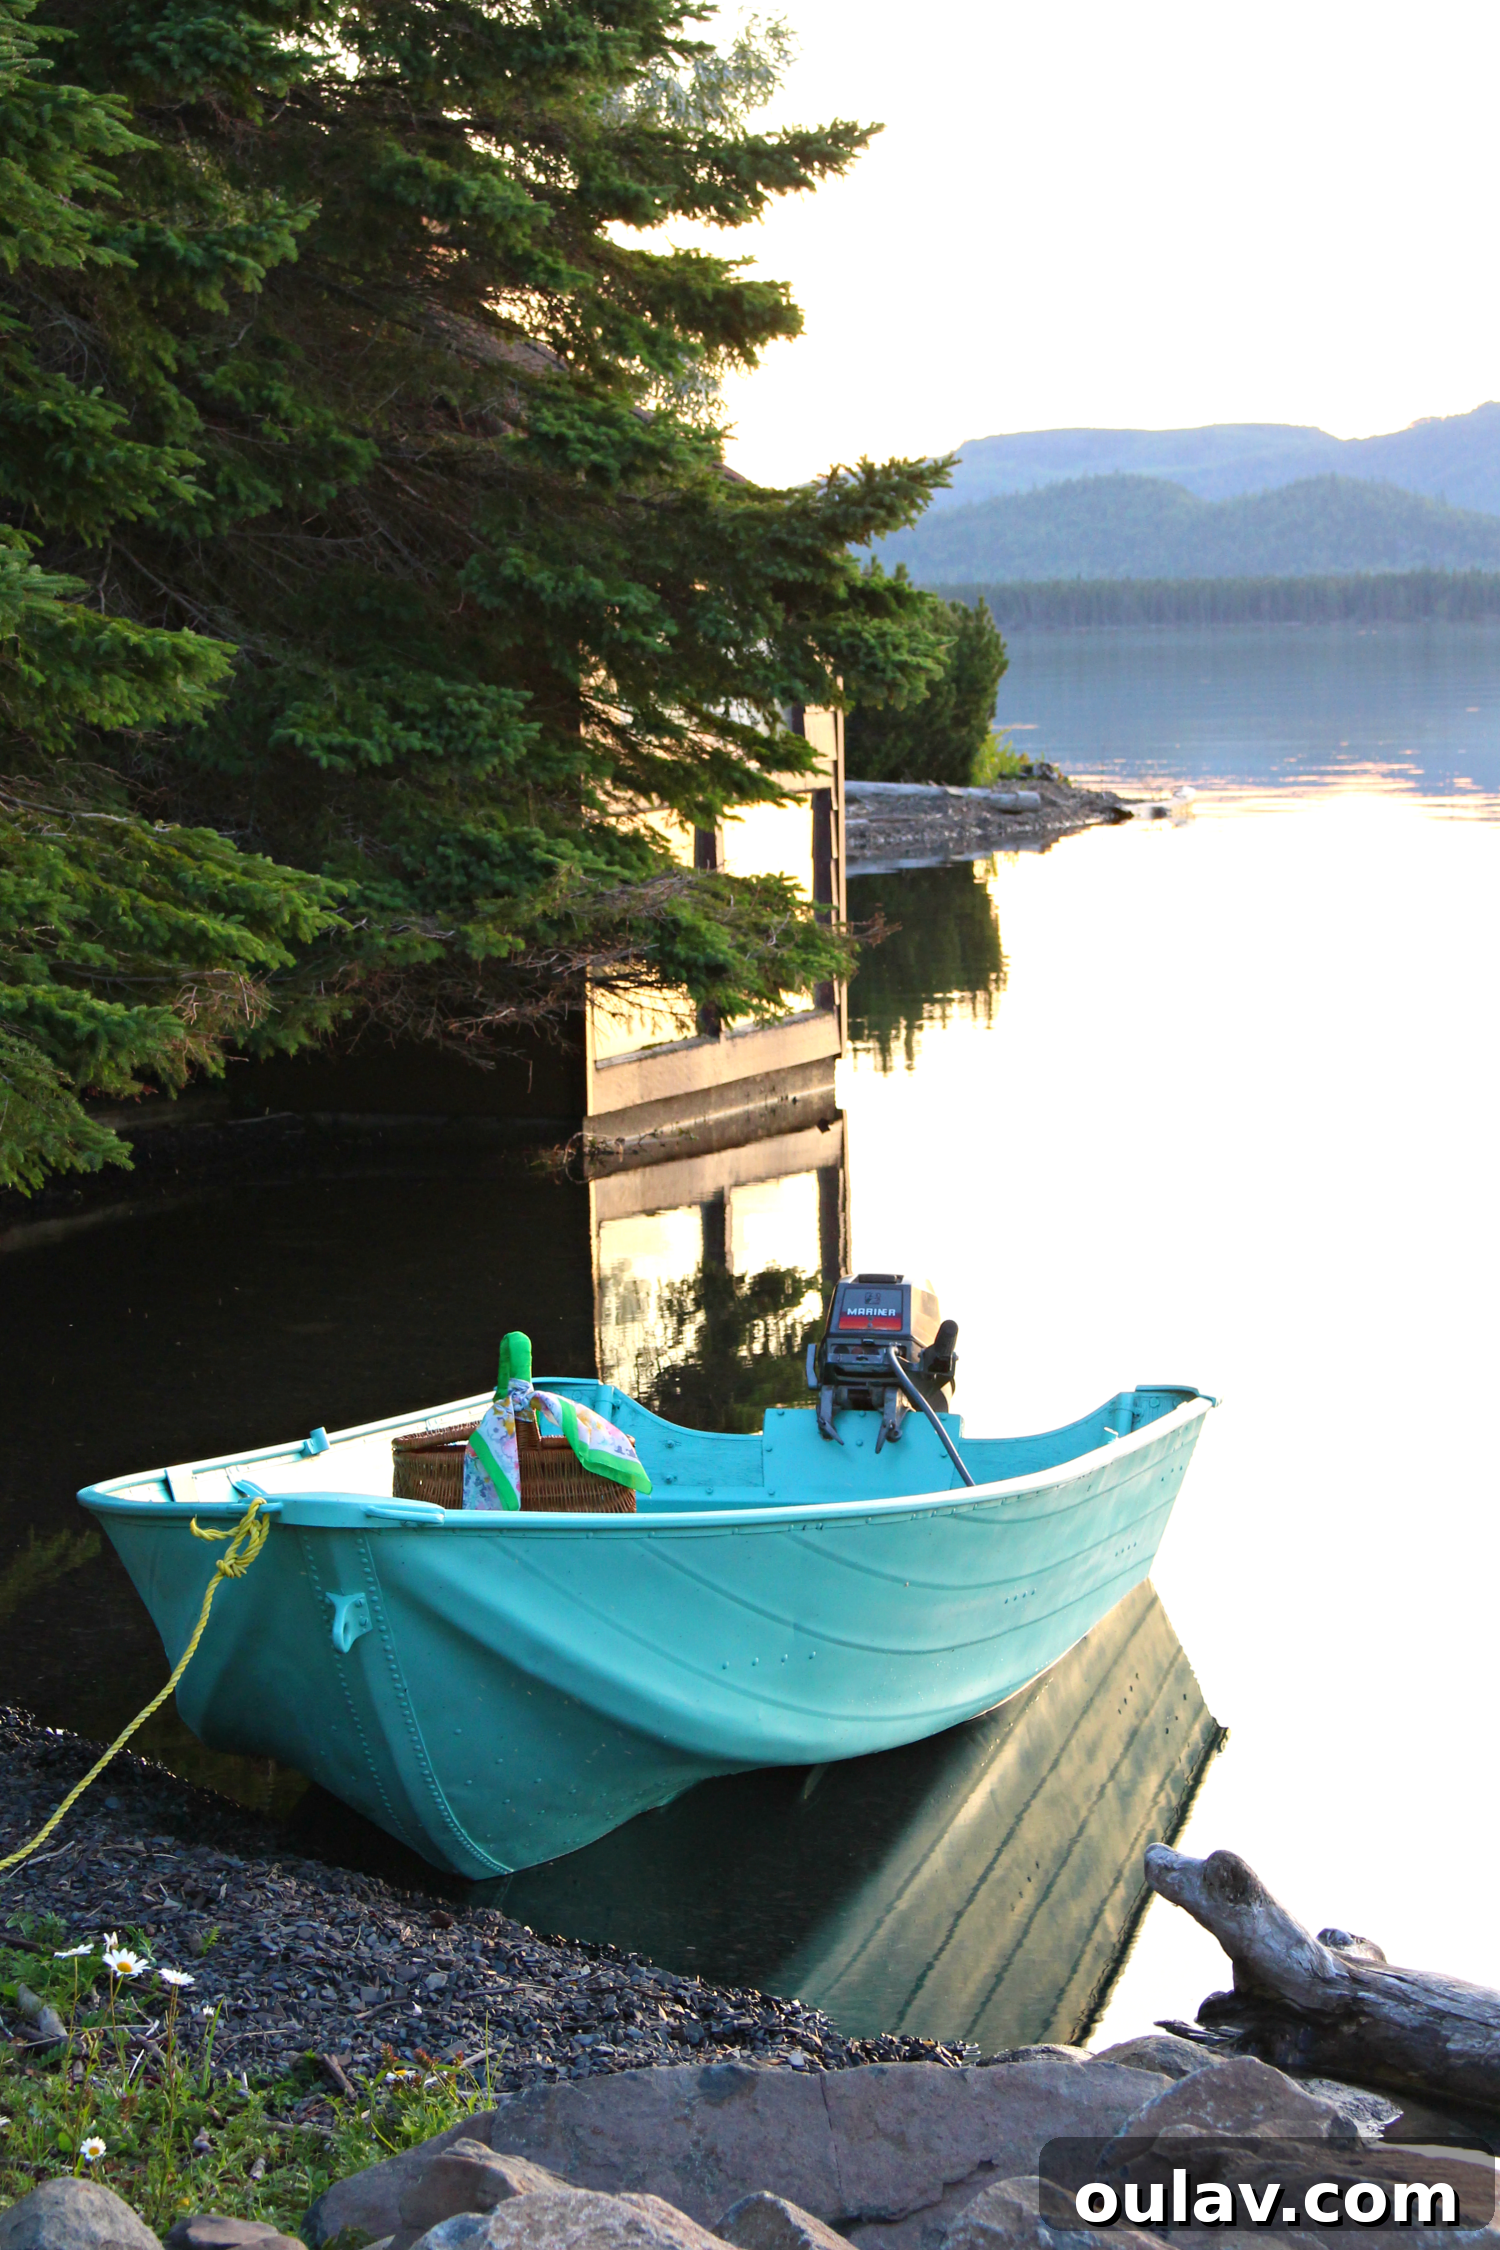
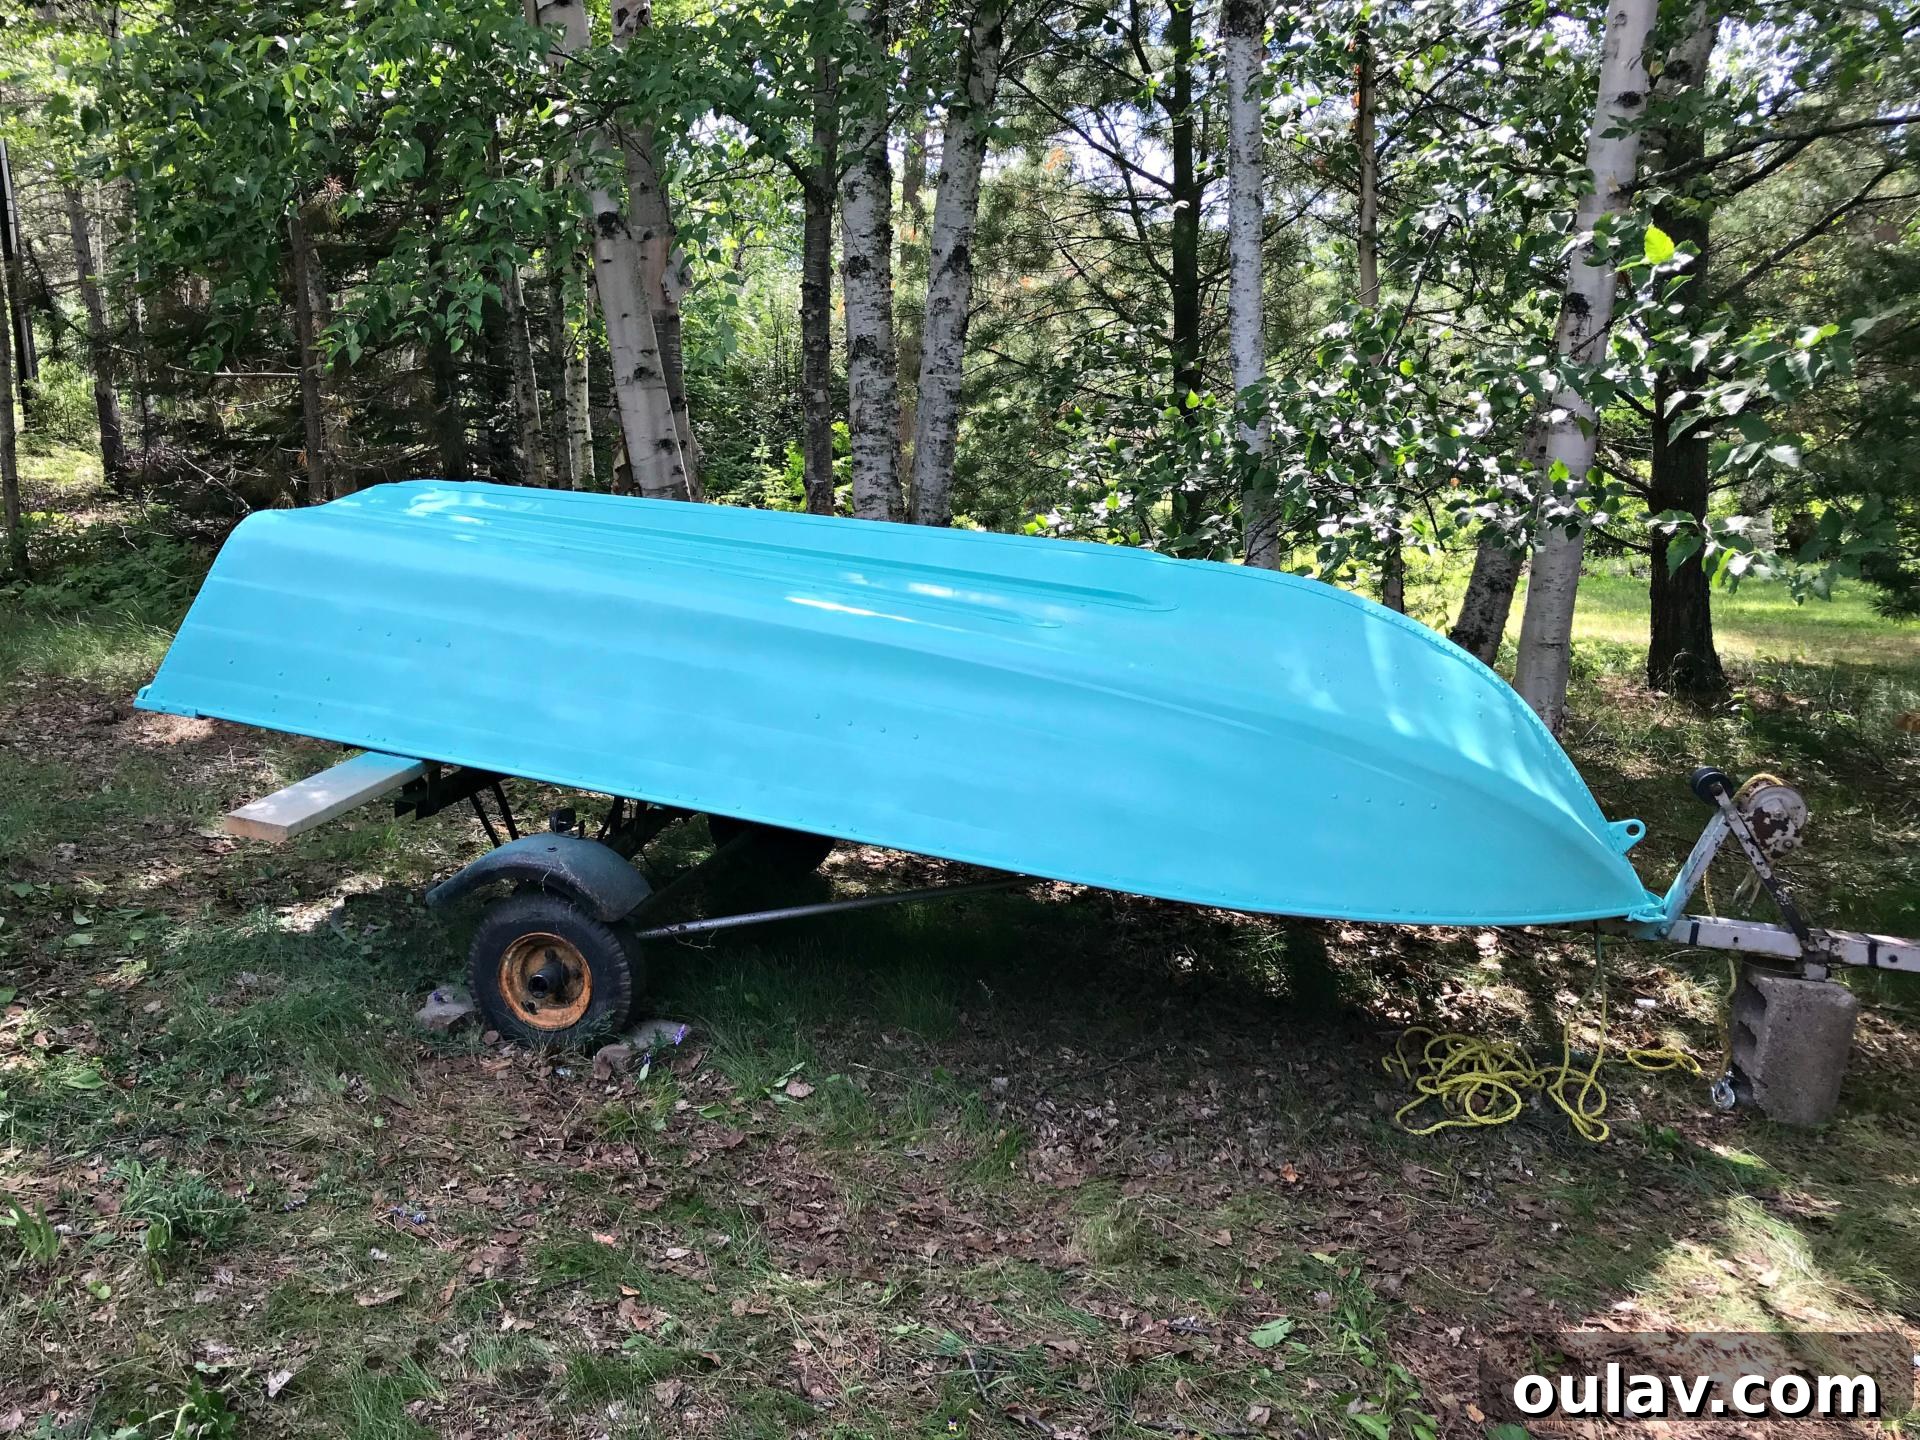
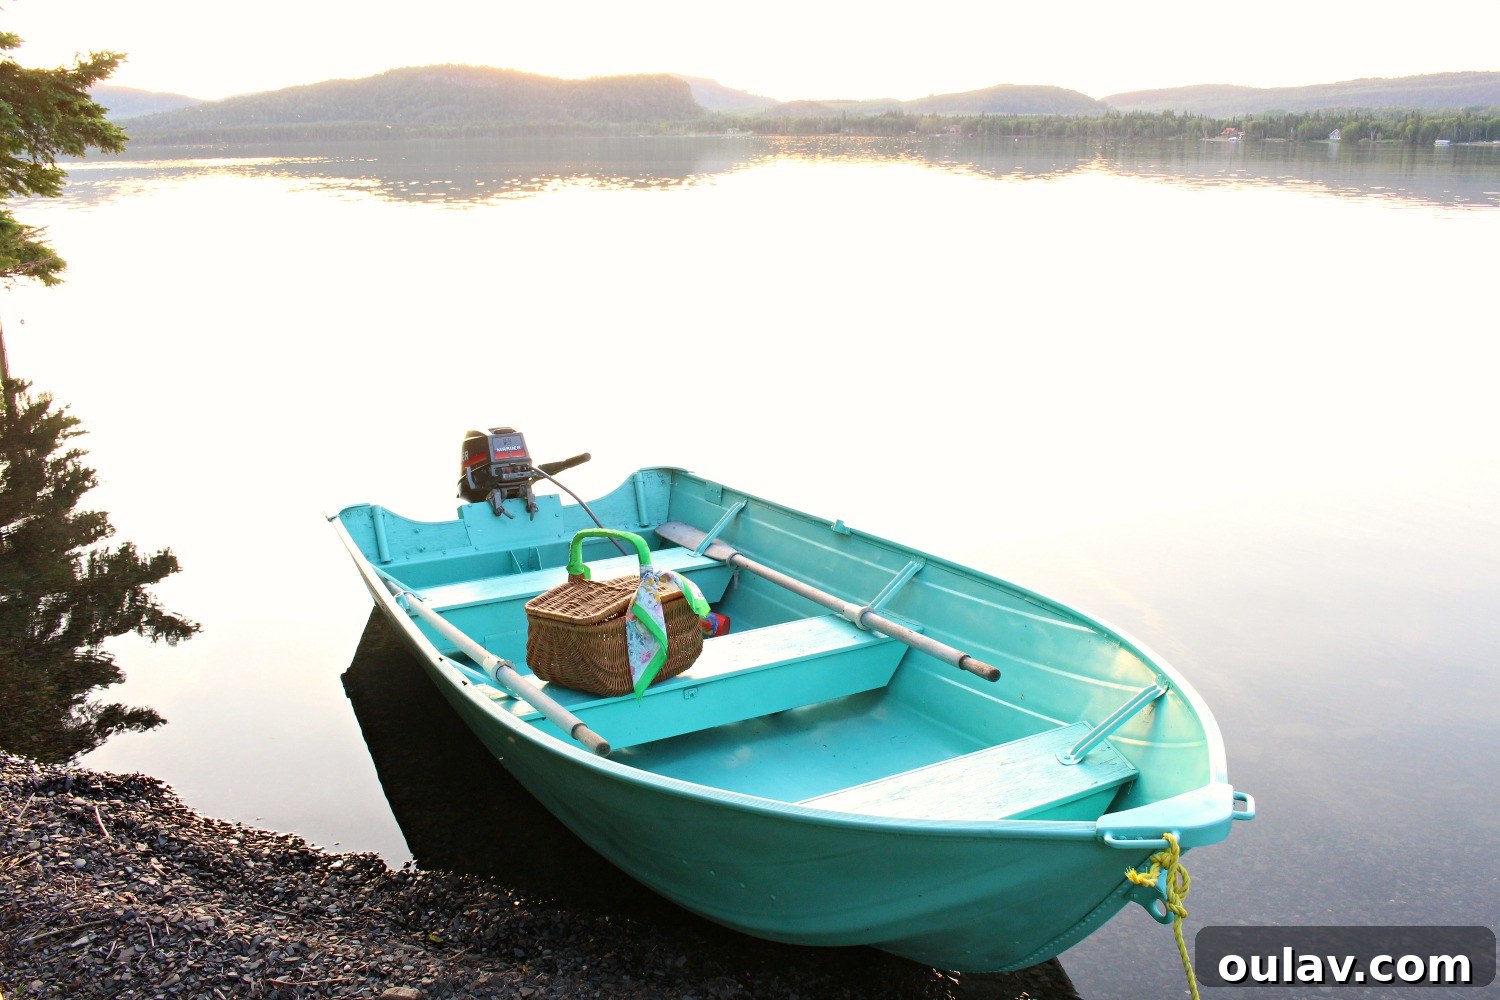
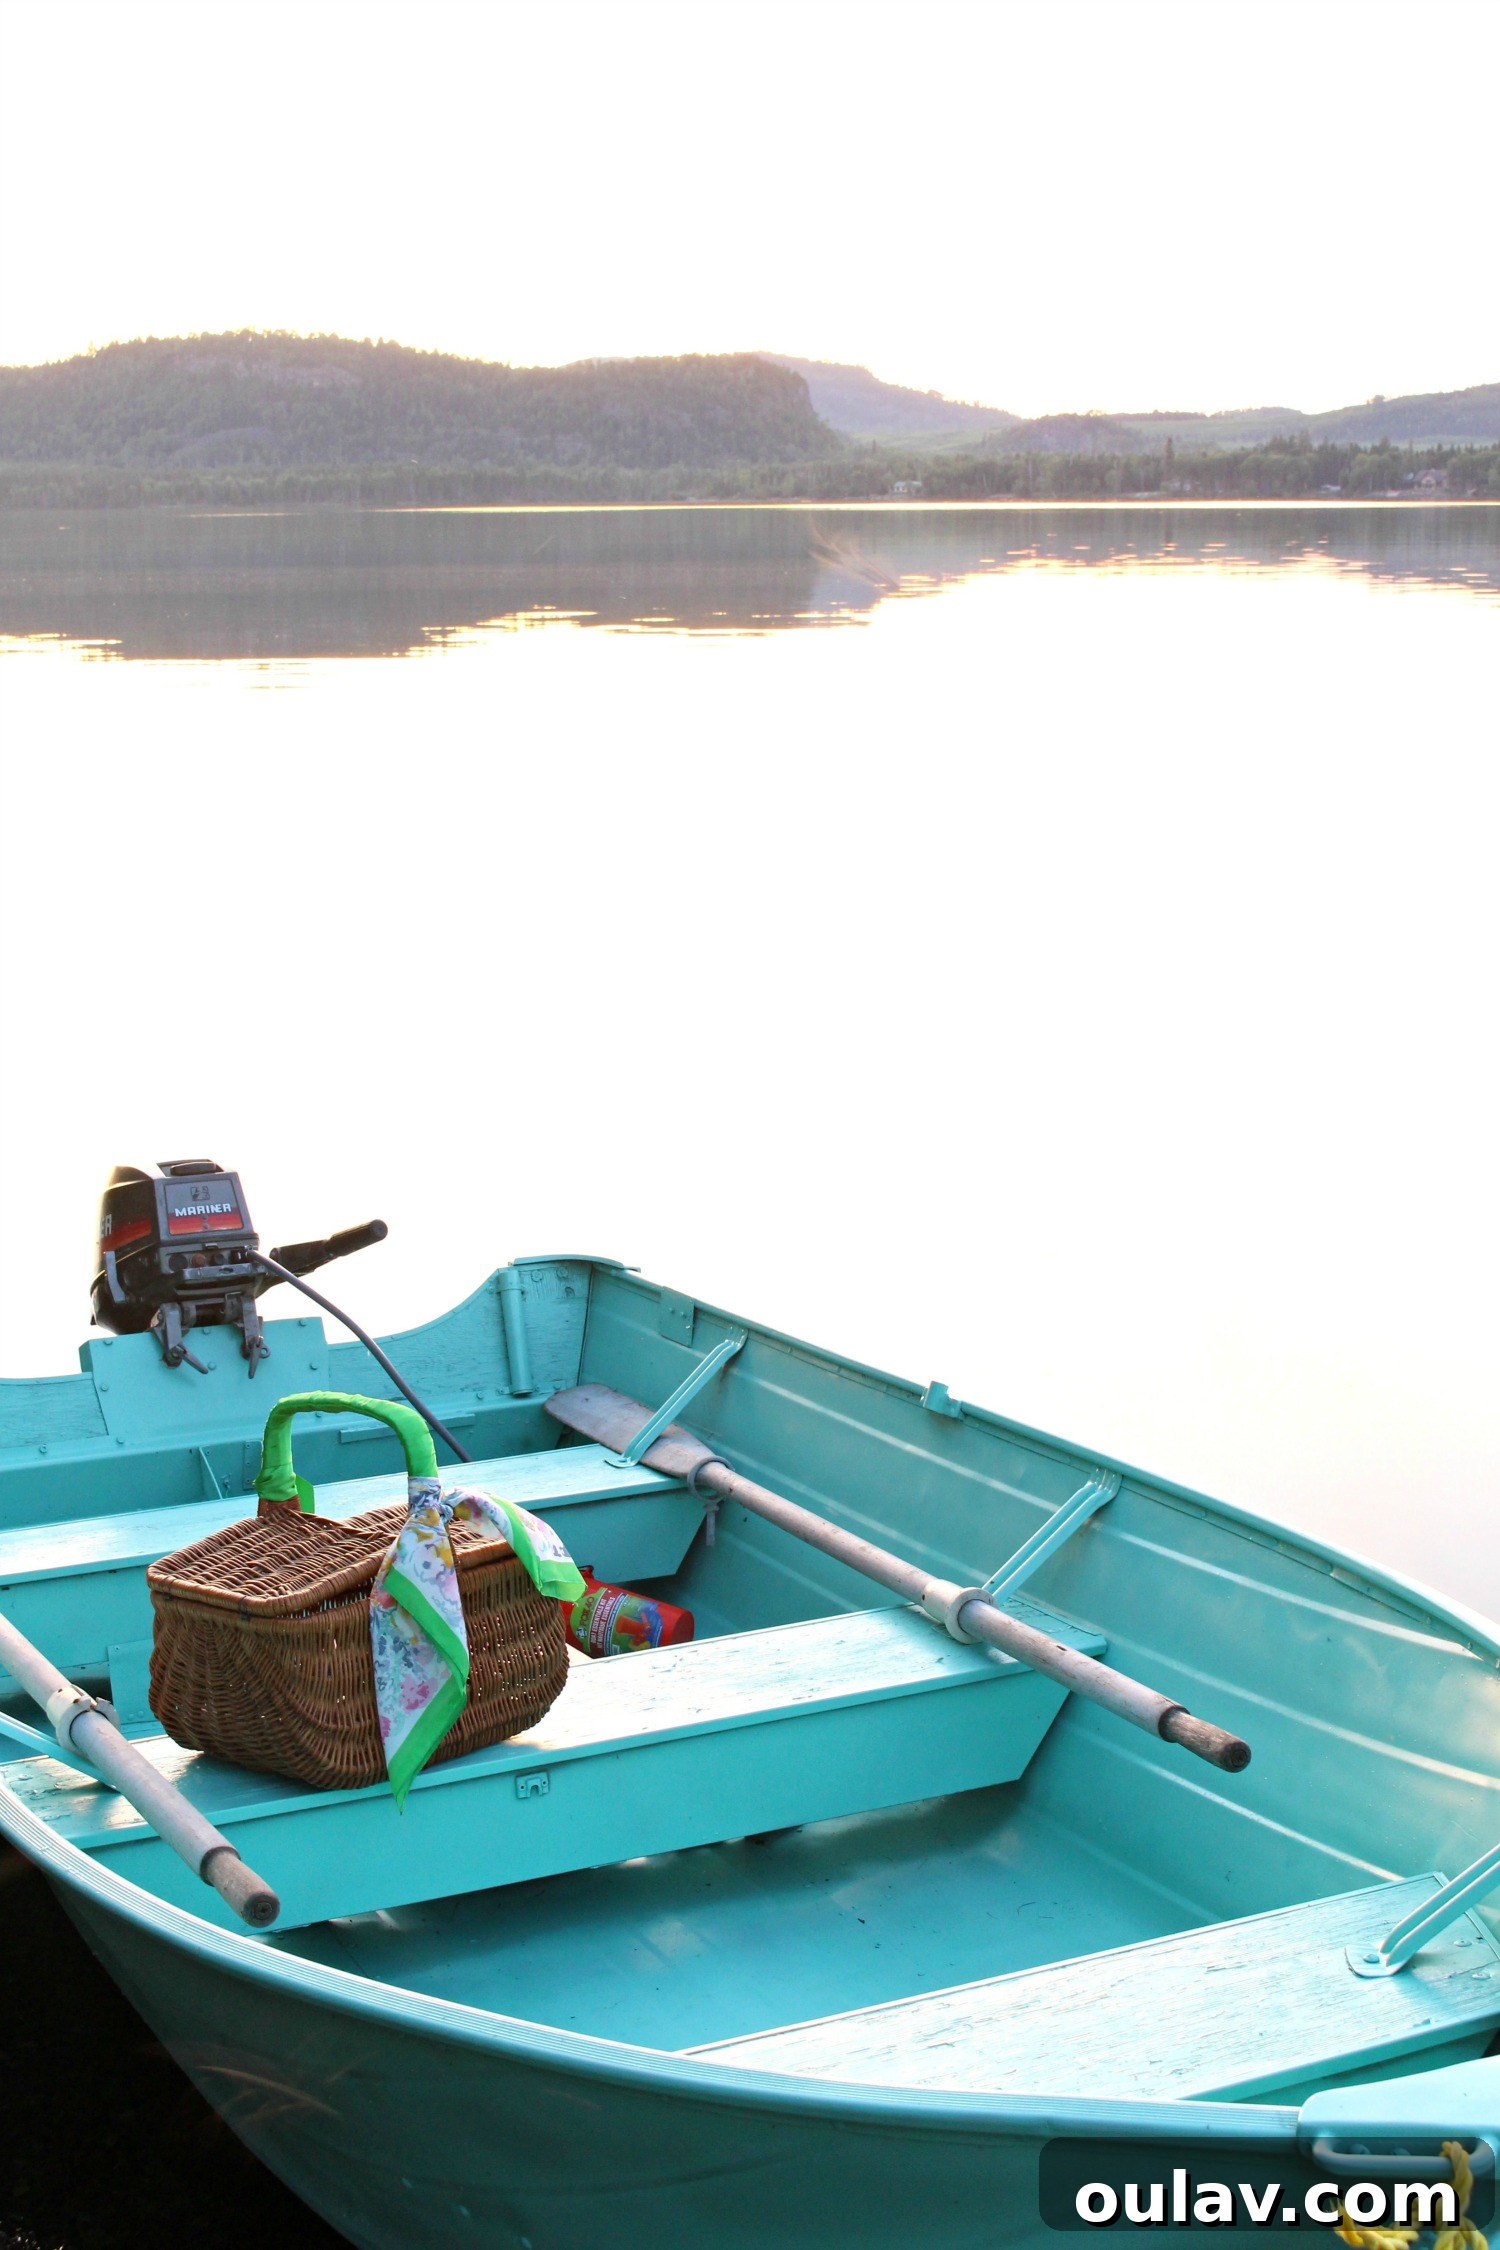
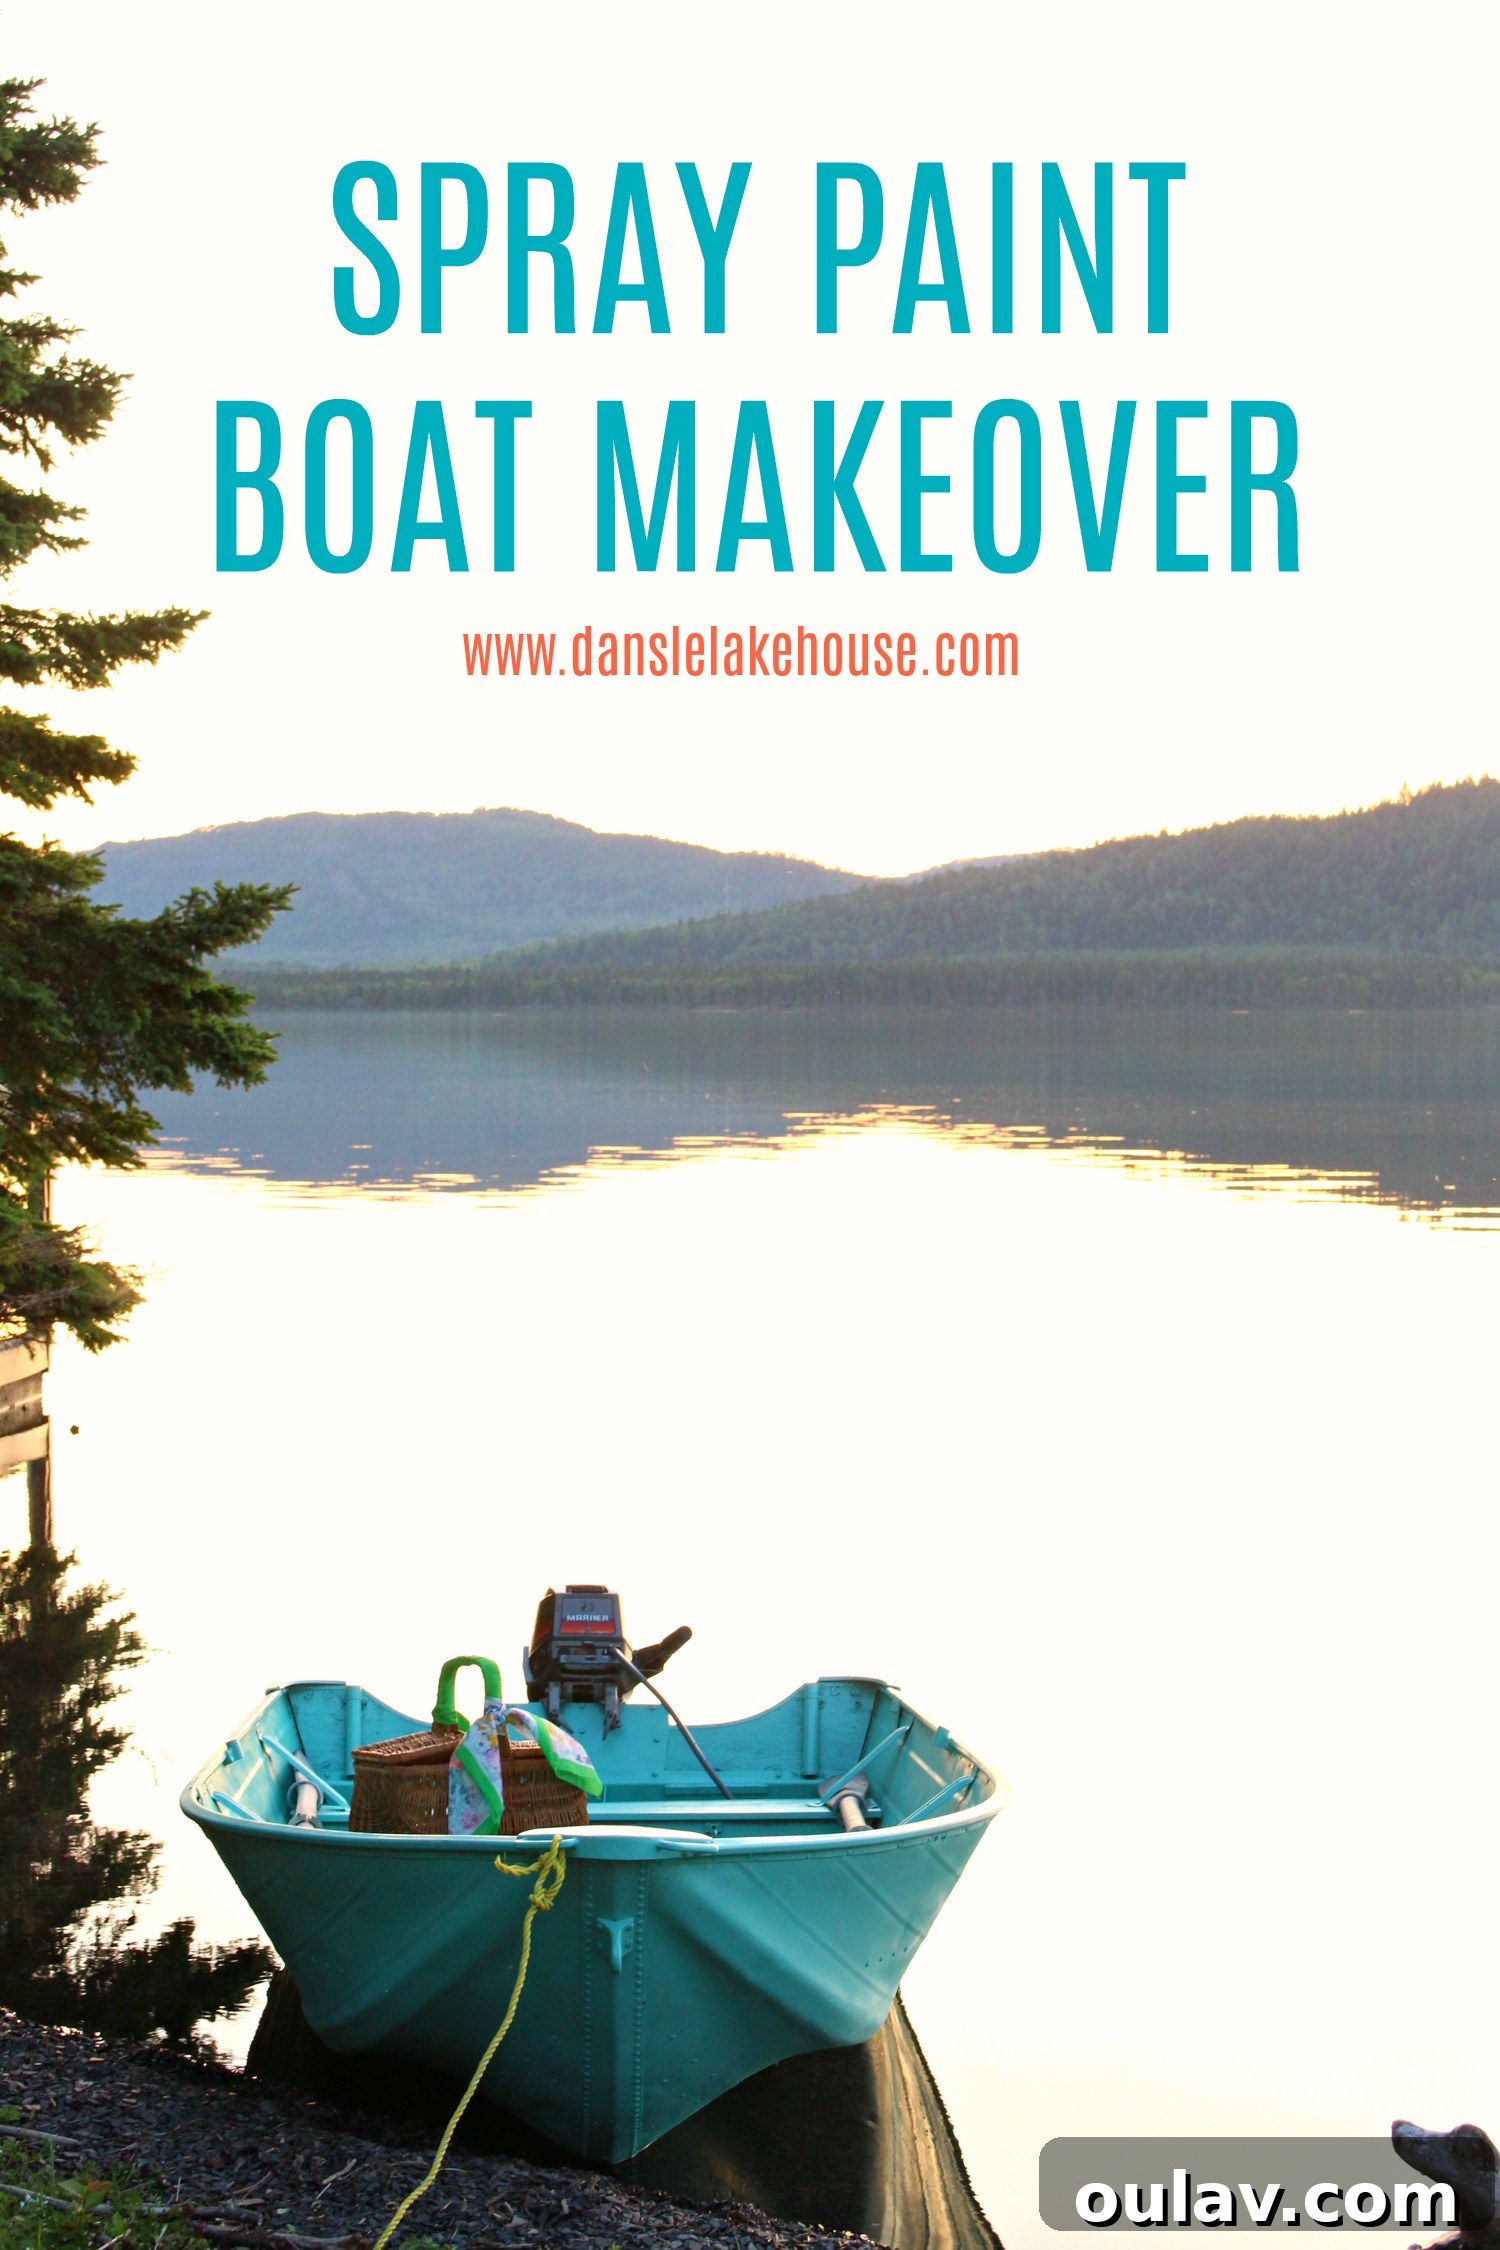
Considering that our boat spends its off-water life proudly parked on our lawn, I decided to choose a color that would not only stand out but also tie into our existing home aesthetics. My inspiration? Our vibrant front door! Why not, right? With its new, captivating aqua paint job, the boat now looks utterly charming as it rests on our property. You might even recall this specific shade of aqua from a previous project – I used it to give a pair of kitchen stools a stylish update. This consistent color choice brings a cohesive and joyful pop of color to our outdoor spaces, transforming a functional item into a delightful statement piece.
How to Paint an Aluminum Boat: A Step-by-Step Transformation
Knowing that our boat is destined for a life of active use and inevitable rough-and-tumble adventures, I made a practical decision: to paint the entire vessel, inside and out, in the exact same captivating shade of turquoise. This simple choice offers immense benefits, primarily the ease of touch-ups. Should any chips or scratches occur, I can effortlessly make repairs without the worry of overspray or color mismatch. Initially, I agonized over countless color combinations – navy exterior with an aqua interior, aqua exterior with a crisp white interior, teal interior with an aqua exterior, and dozens more permutations. Ultimately, the elegant simplicity of “aqua everything” won out, proving to be the perfect choice for both aesthetics and functionality. Here’s a detailed look at how I achieved this stunning transformation:
Essential Supplies for Your Boat Painting Project:
- Sanding pad (specifically designed for removing loose paint from metal surfaces)
- Biodegradable boat soap, old rags, and/or a sturdy scrub brush
- Shop vac and/or a hand broom and dust pan
- Pressure washer or a reliable garden hose with a spray nozzle
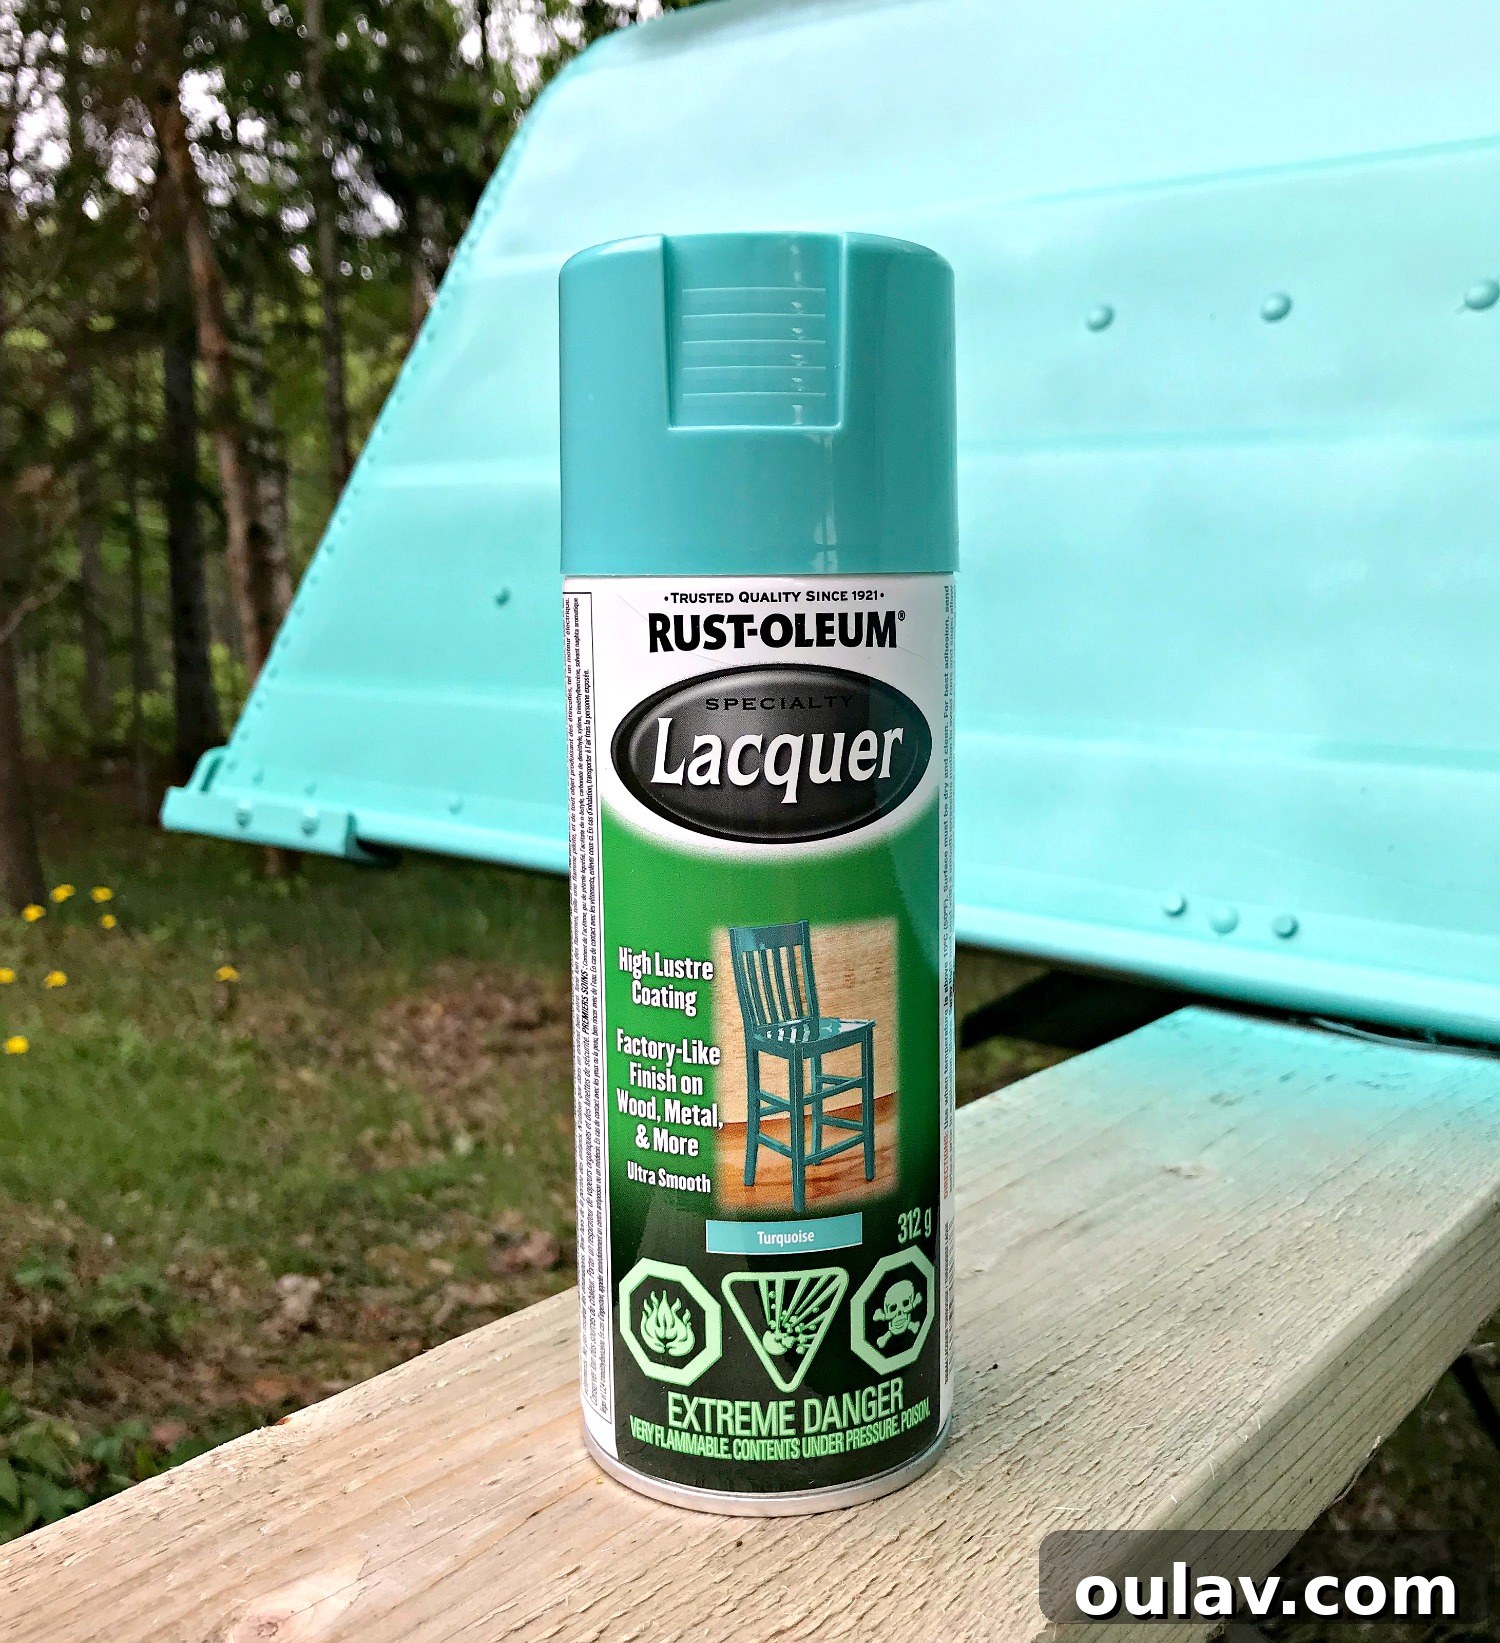
- Rust-Oleum Specialty Lacquer Spray in Turquoise (the star of our show!)
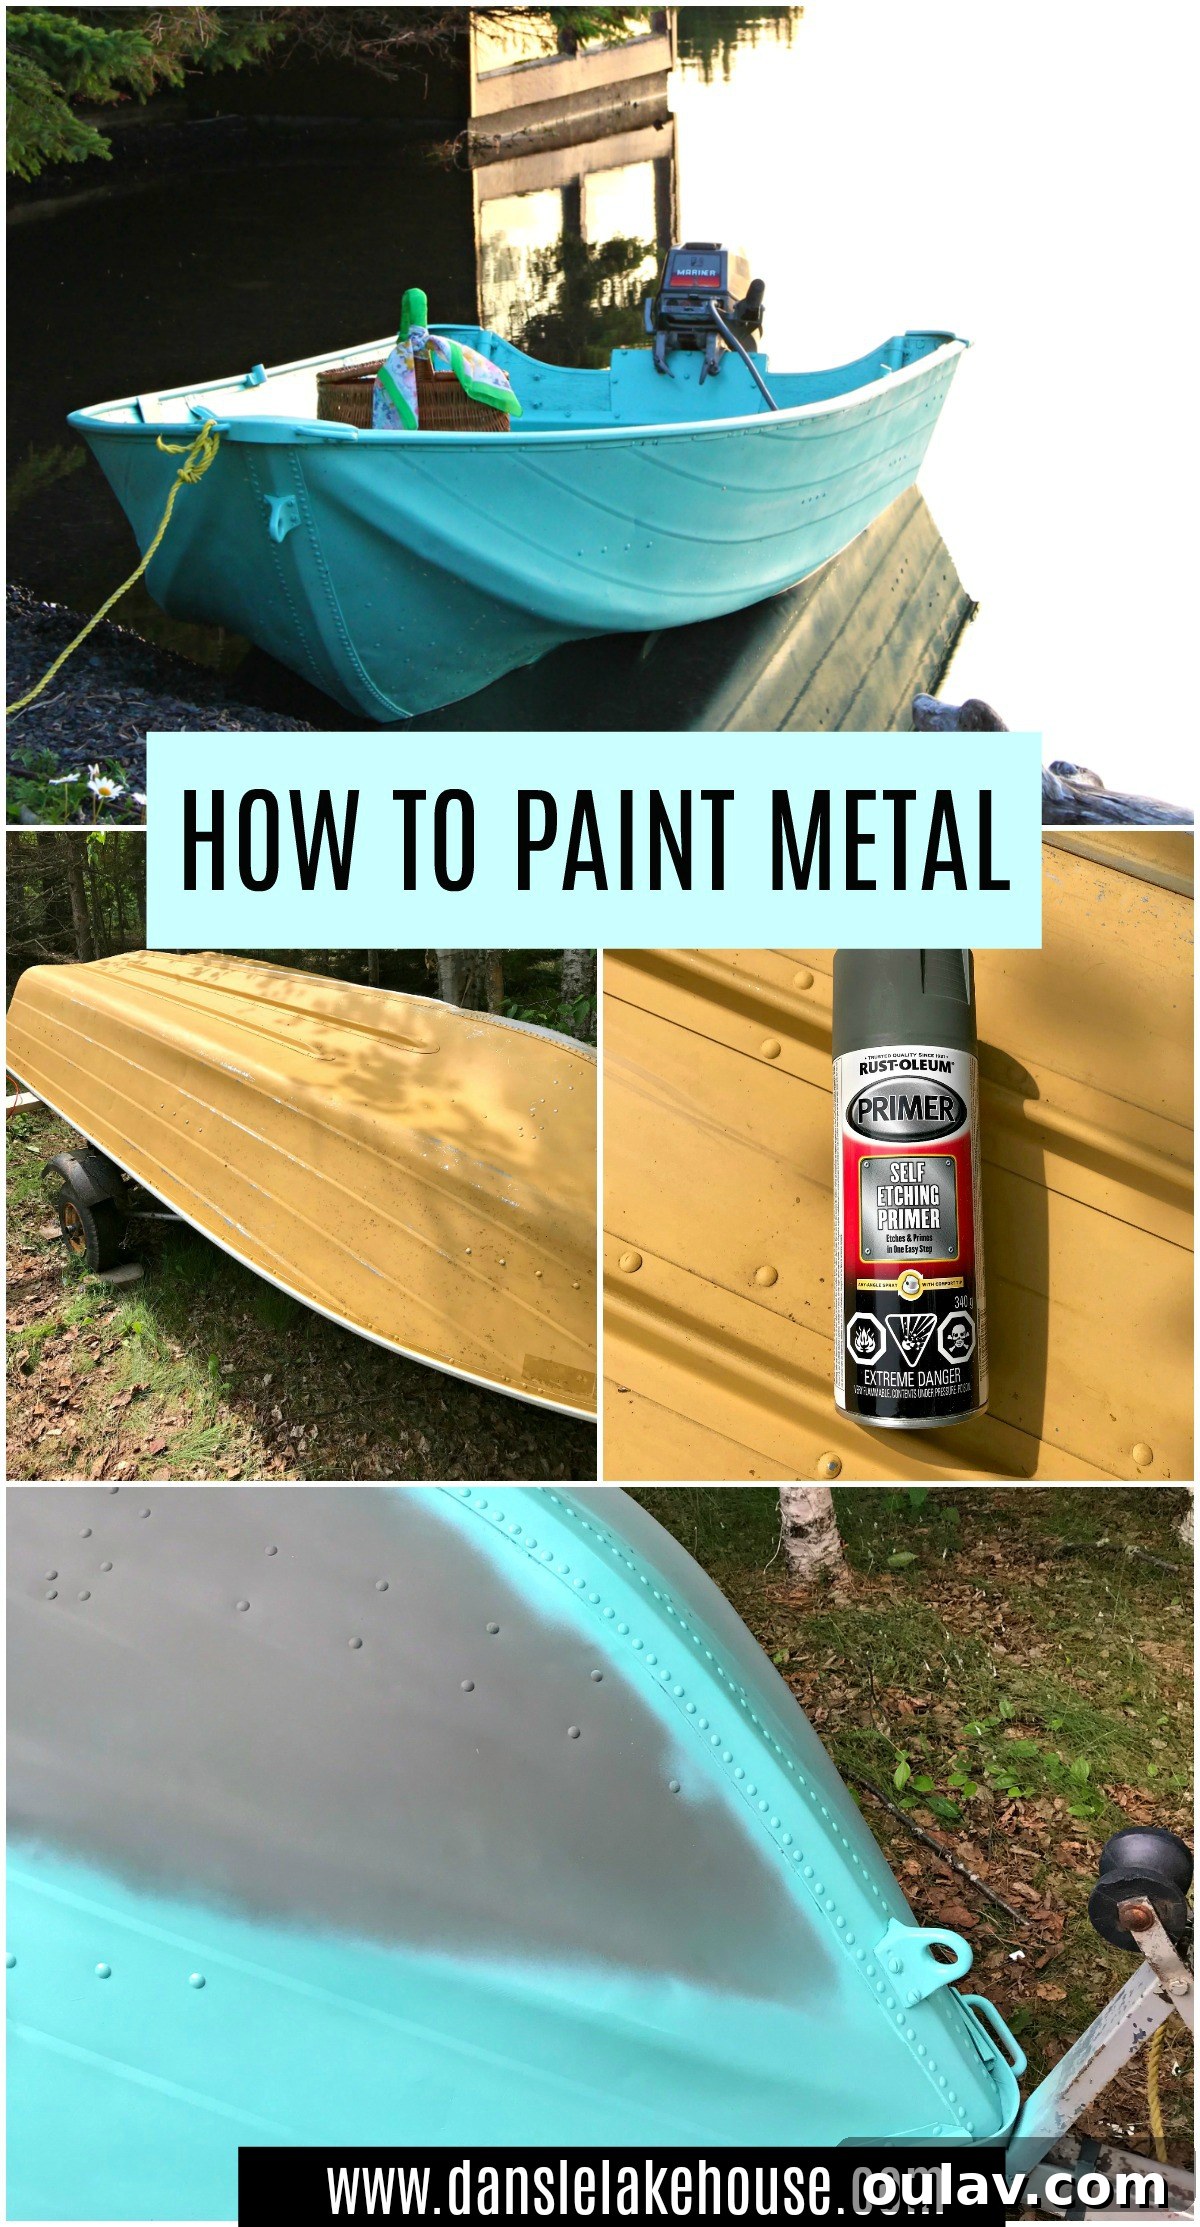
- Rust-Oleum Self-Etching Primer (crucial for metal adhesion)
Stage 1: Exterior Preparation and Painting
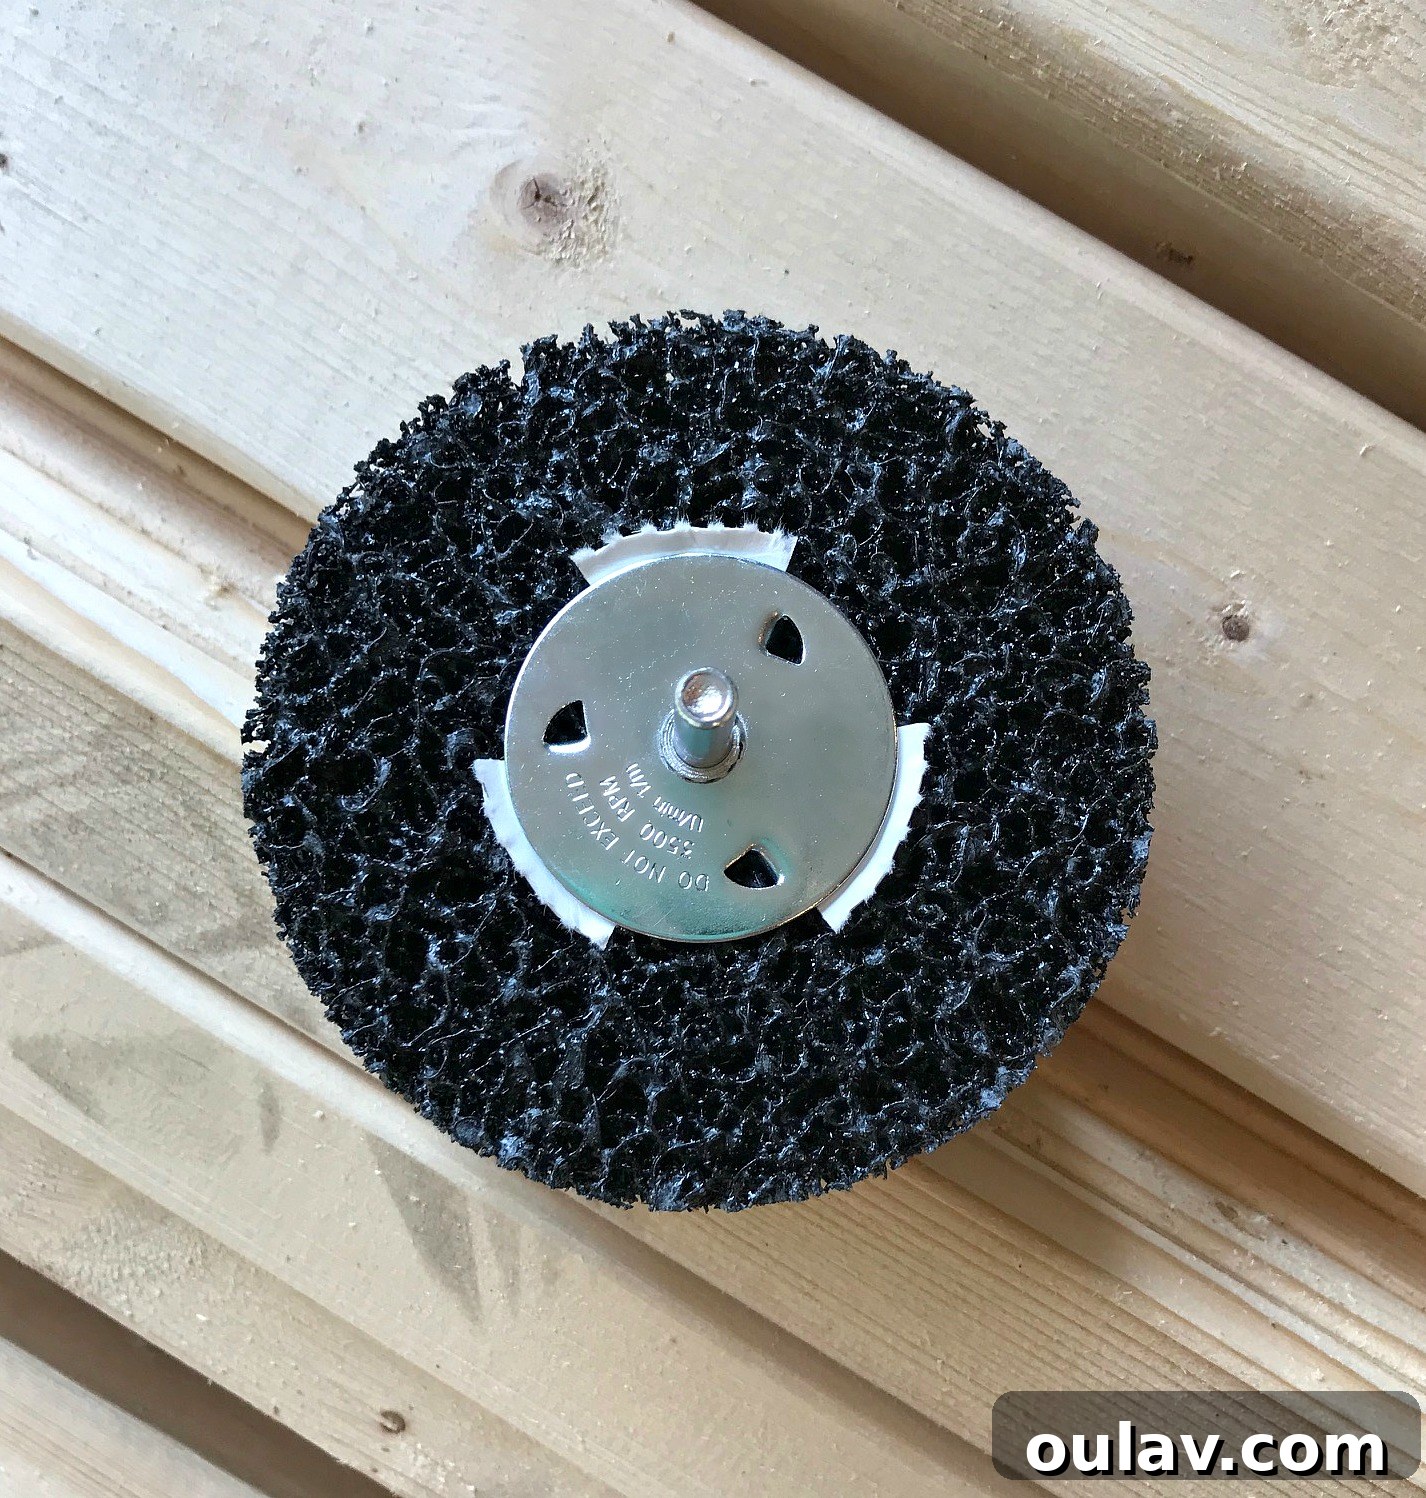
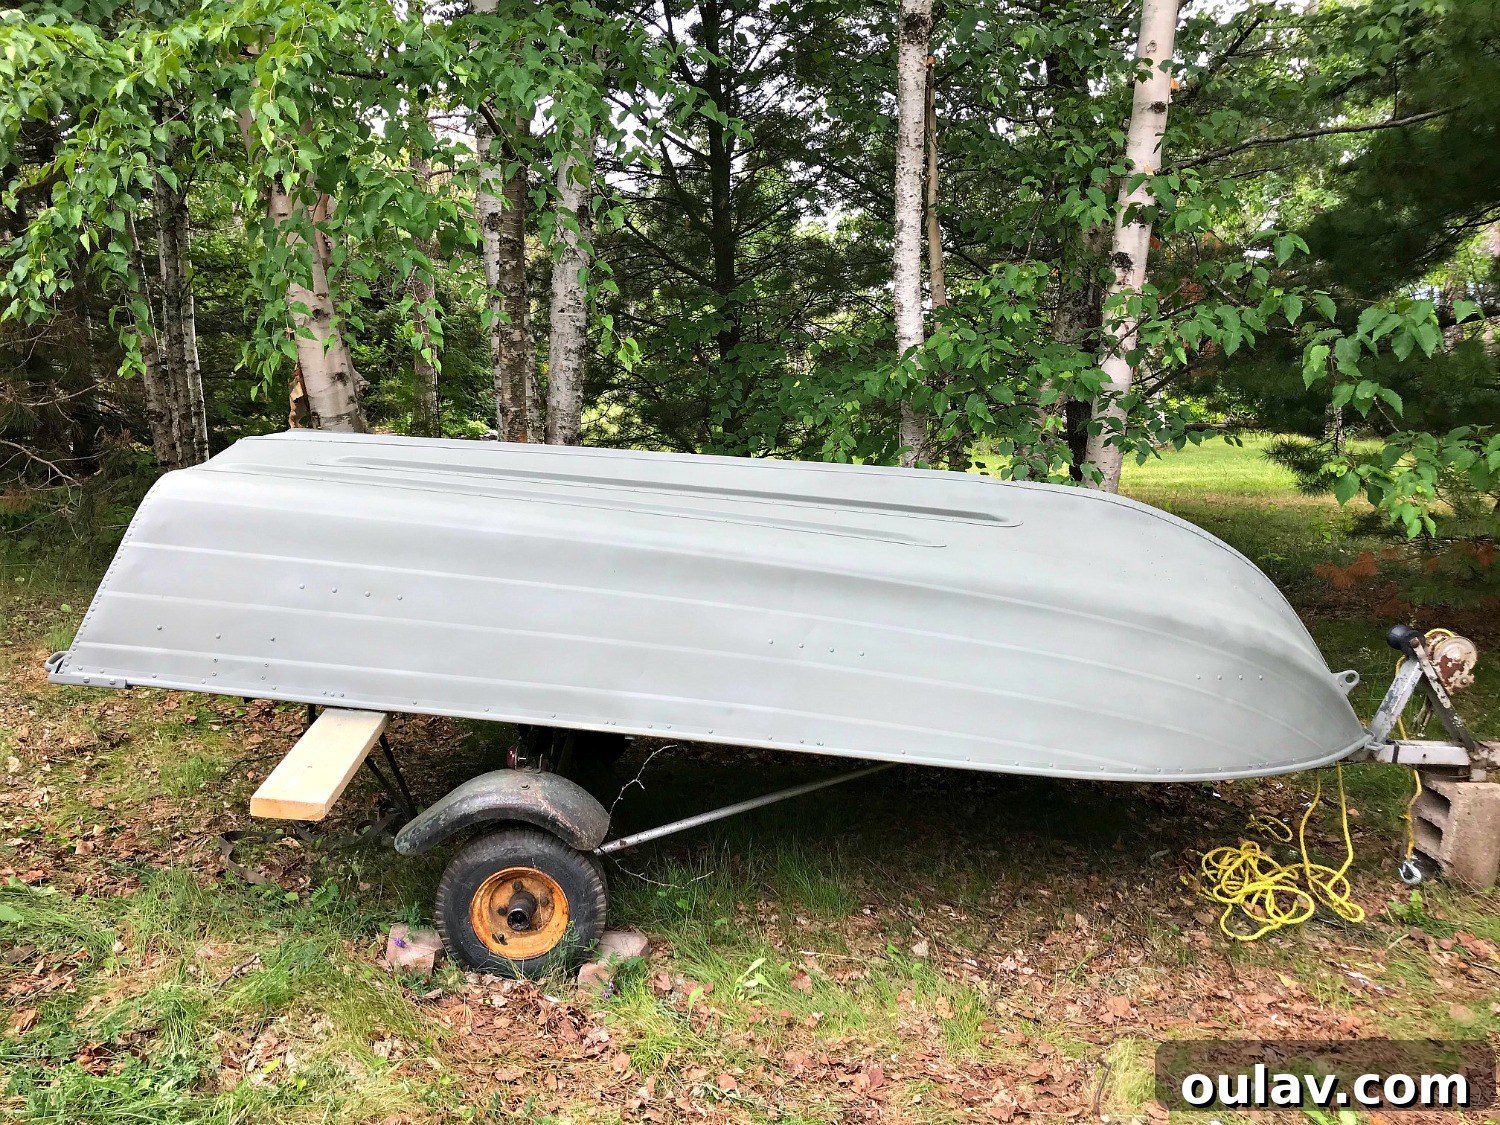
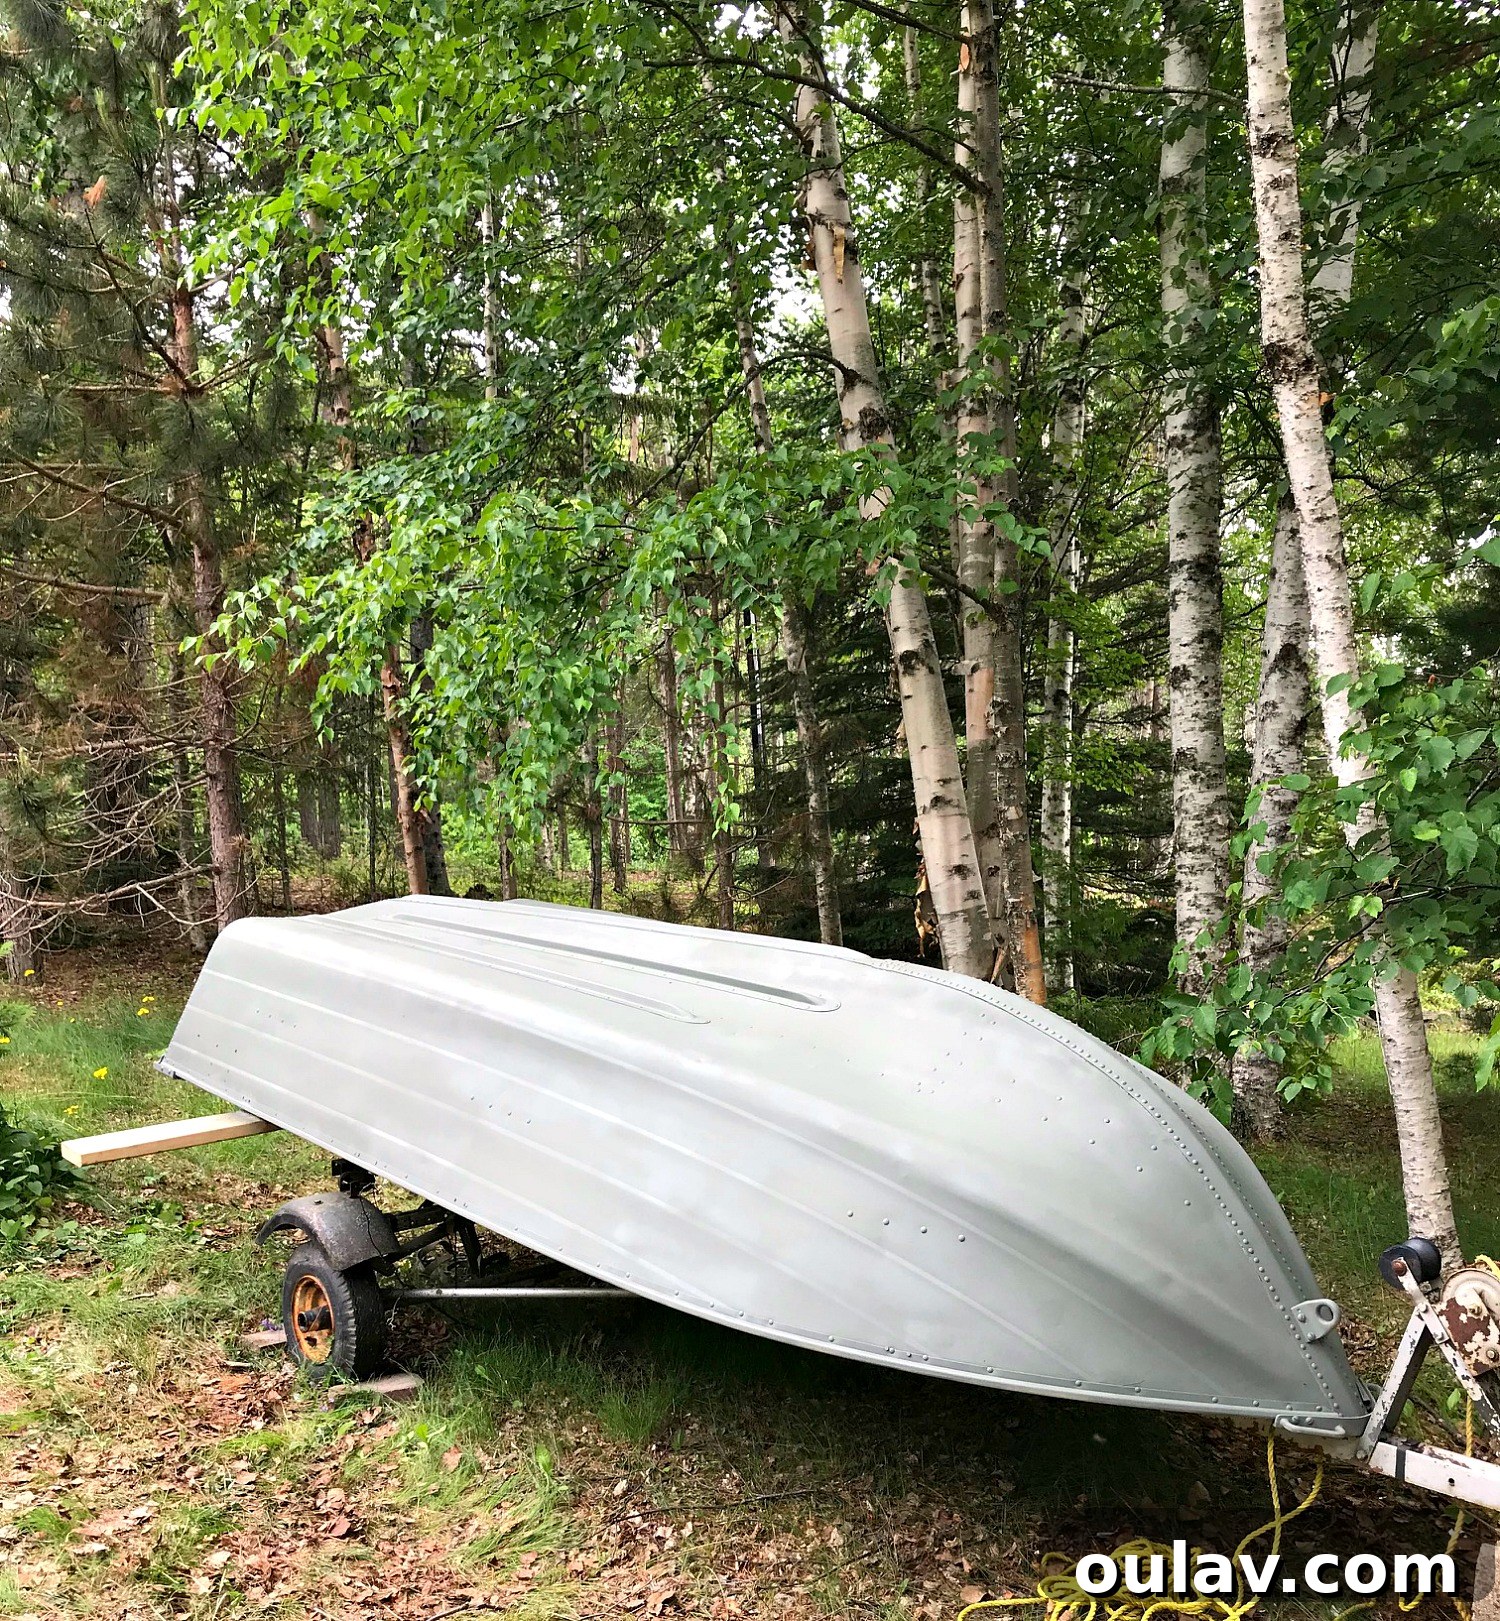
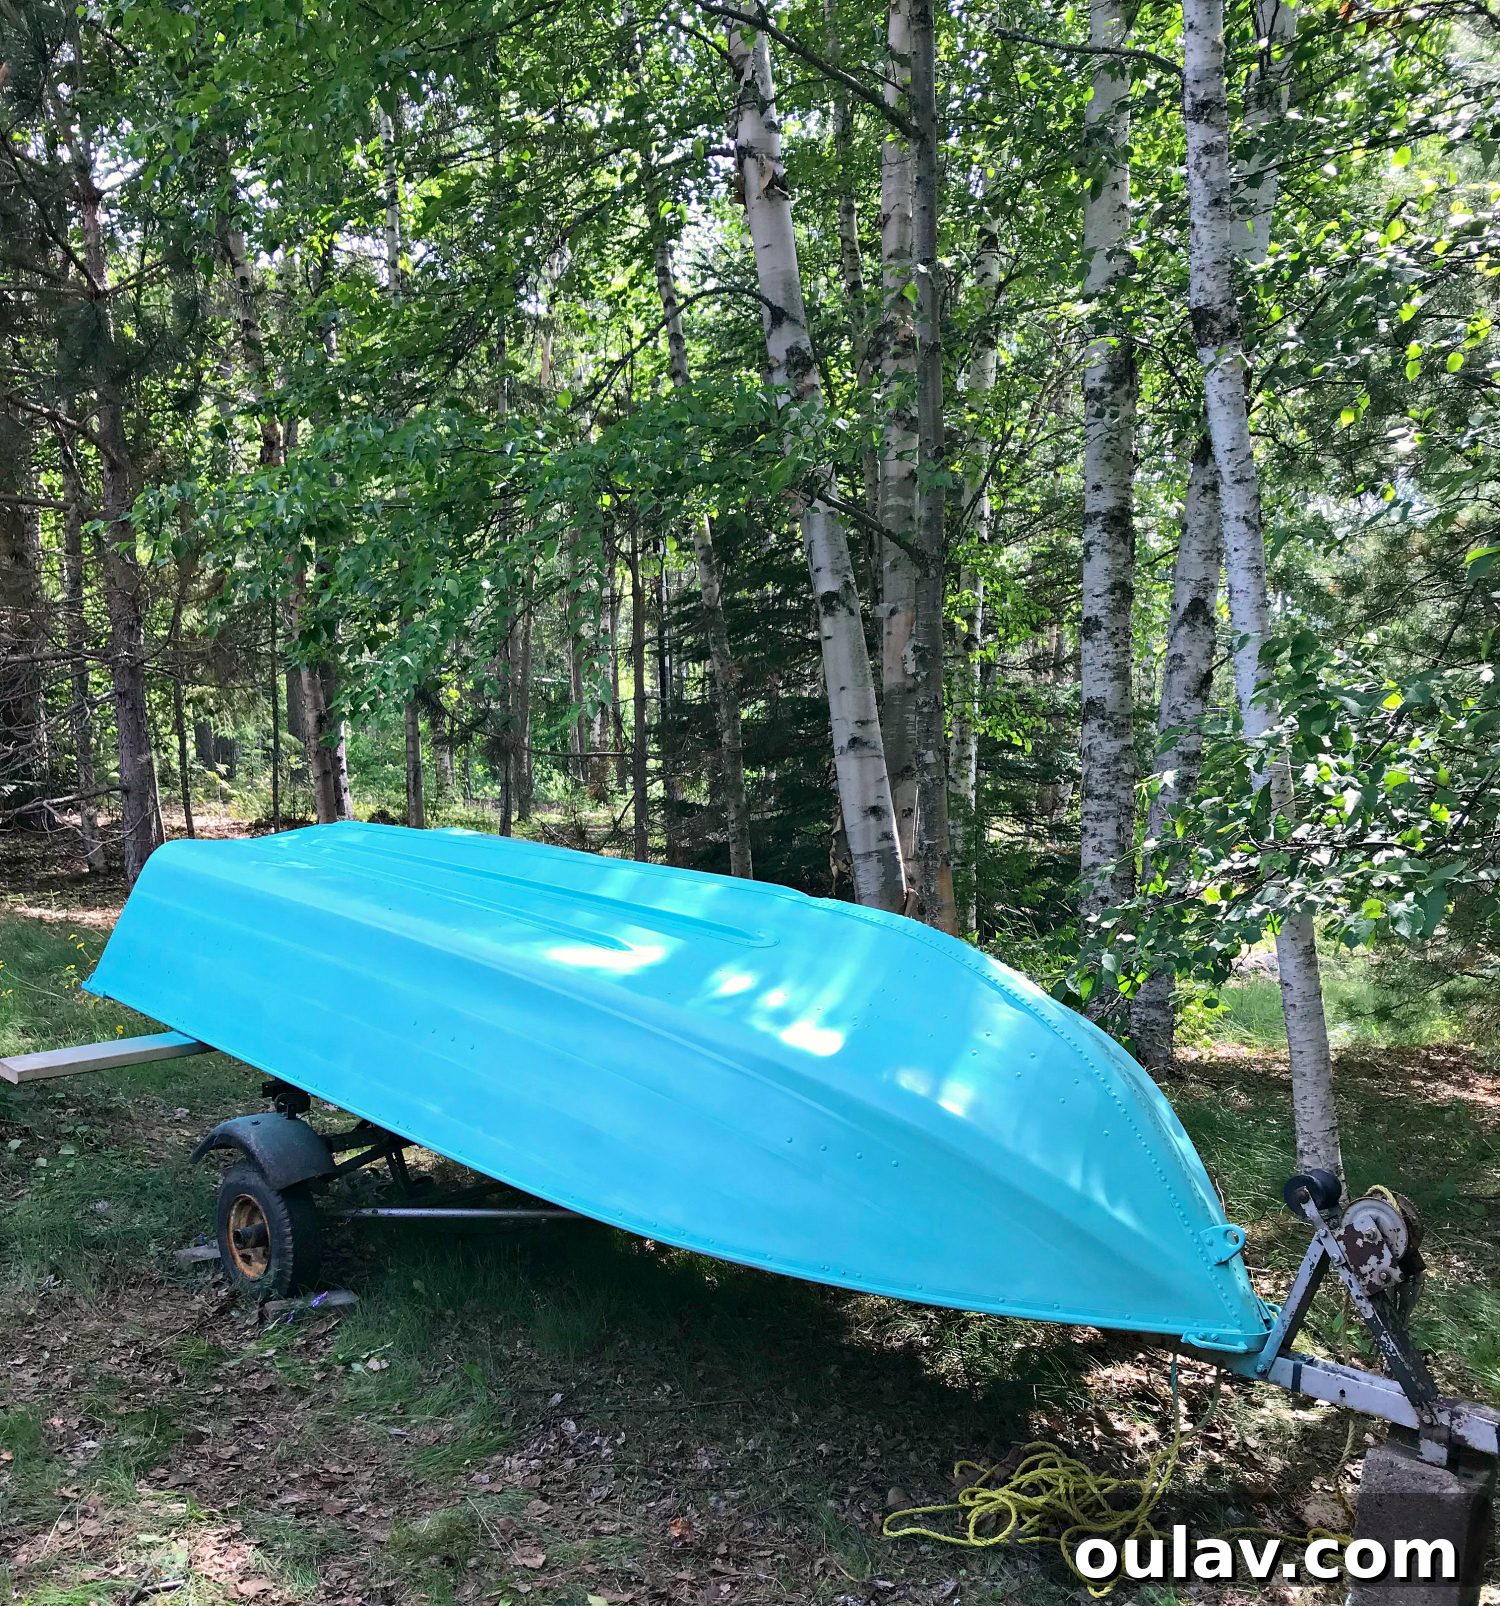
I strategically approached this project in stages, beginning with the exterior of the boat, ensuring it was perfectly prepped and painted before flipping it to tackle the interior. The first crucial step was a thorough cleaning and preparation of the exterior. I started by attaching a specialized sanding pad to my drill – a fantastic find from the automotive section, designed to effectively remove old paint and smooth surfaces on vehicles. This tool proved invaluable for stripping away loose, flaking paint and any stubborn, dried-on algae that had accumulated over time.
Once the sanding pad had done its work, I followed up with a comprehensive wash. While many biodegradable boat soaps are specifically formulated to tackle algae and other lake-specific grime, a good quality household detergent can also suffice. The goal here is to remove any residual dust, dirt, or oils that could impede paint adhesion. I concluded this deep-cleaning phase with a powerful pressure wash, ensuring every nook and cranny was spotless. Afterward, I allowed the boat to dry completely for an entire day, ensuring no moisture remained to interfere with the painting process.
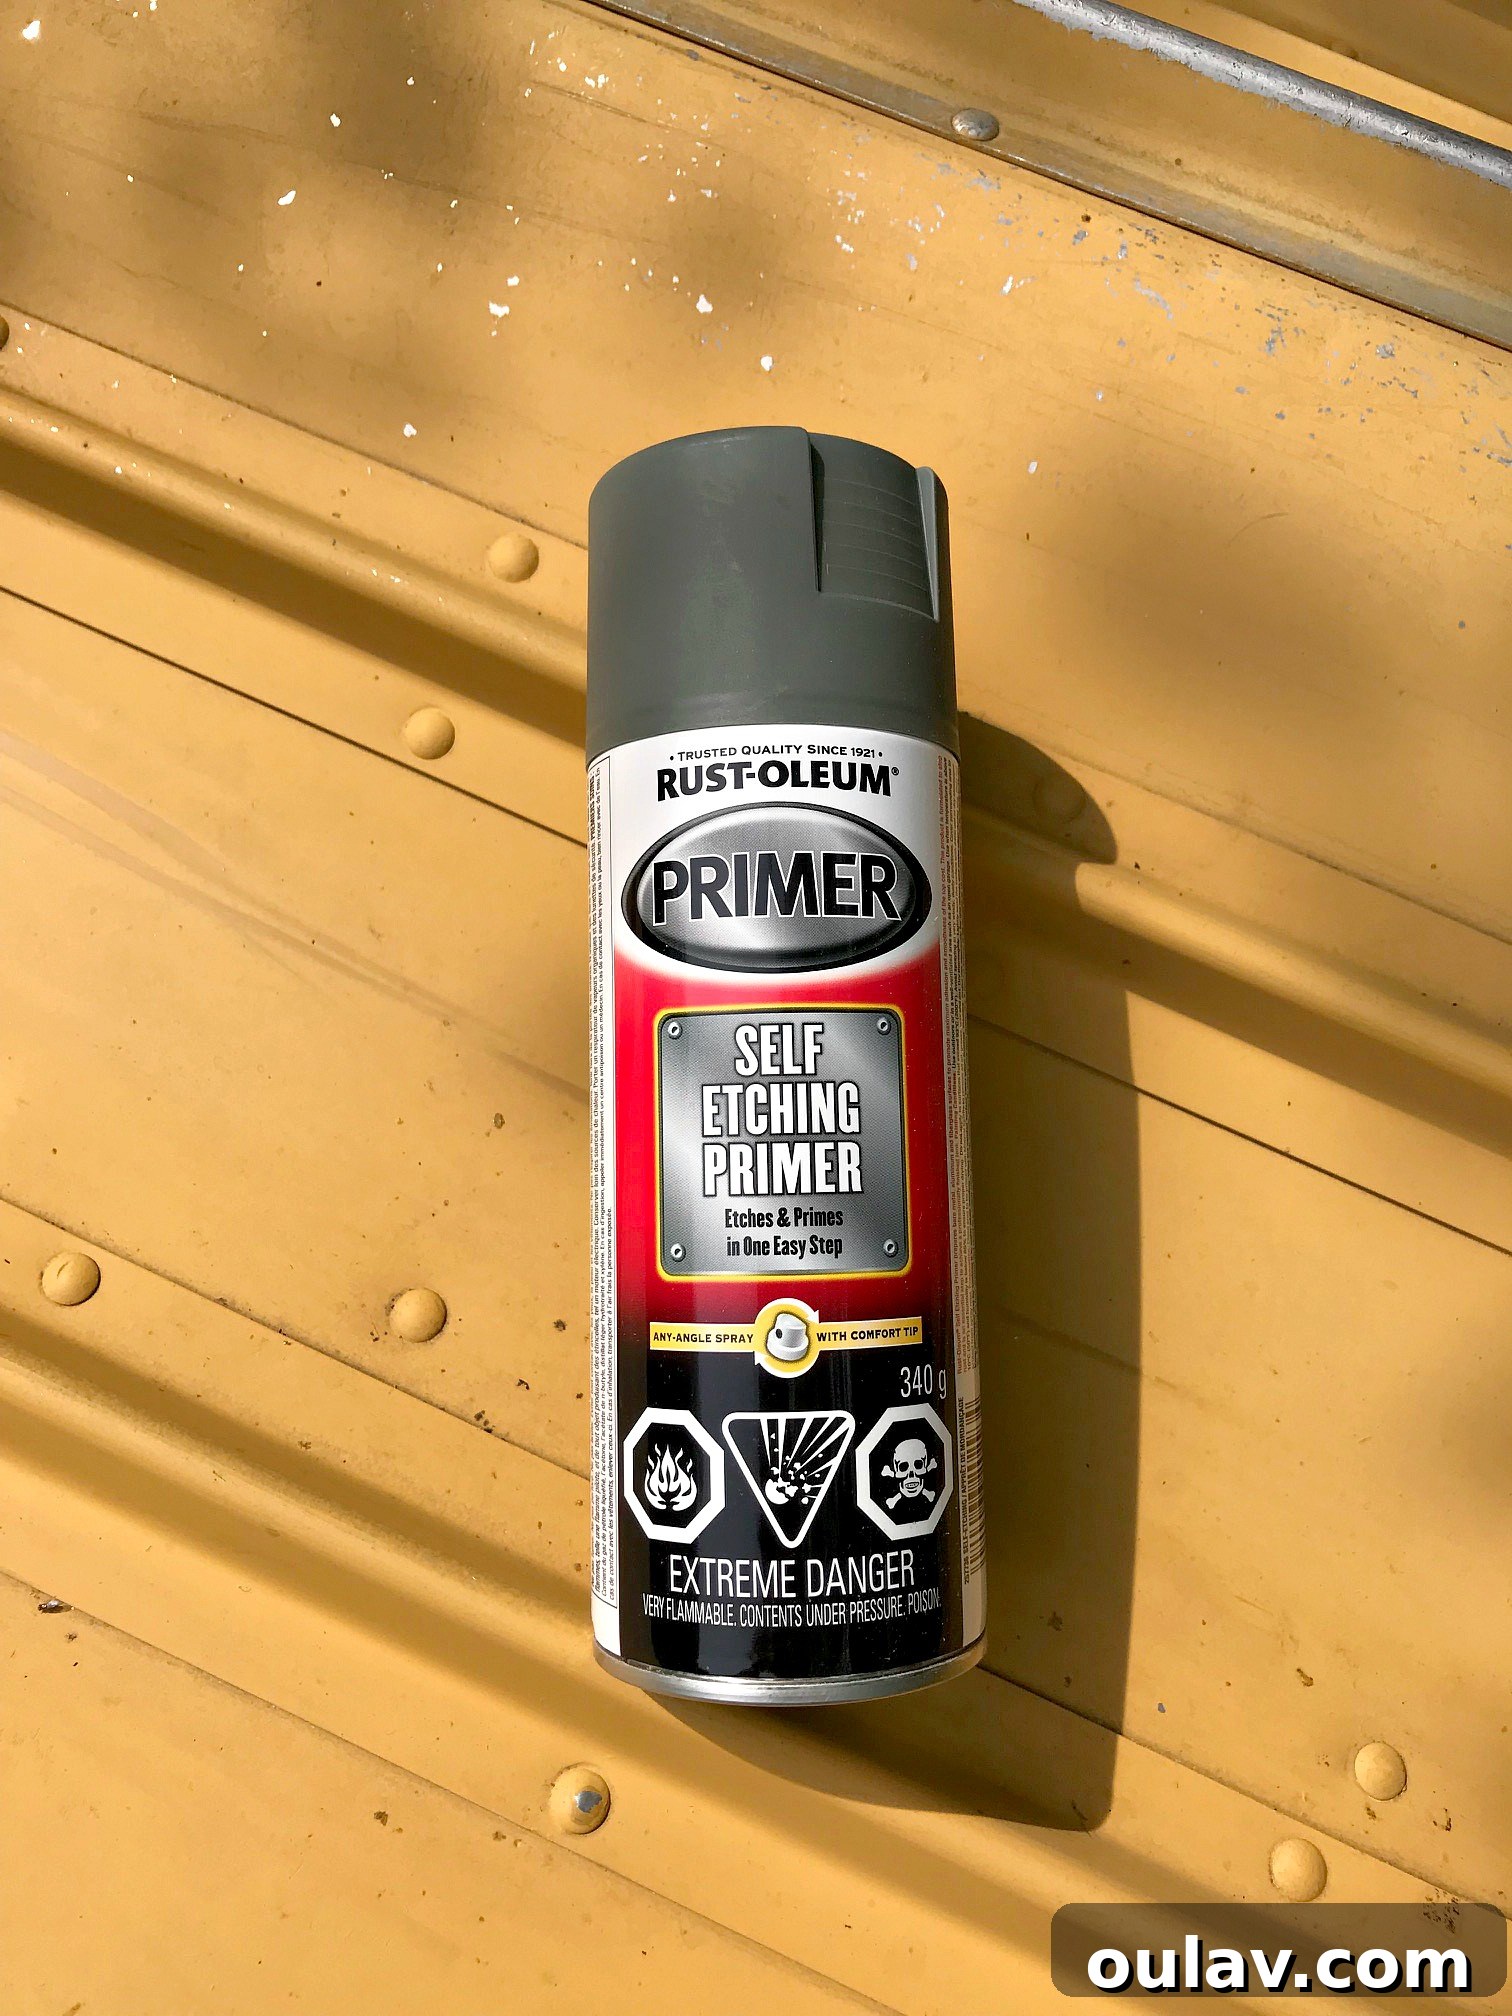
With the boat meticulously clean and dry, it was time for the primer. I opted for Rust-Oleum Self-Etching Primer, a fantastic choice for aluminum as it creates a strong bond for the topcoat. Working from the bottom of the boat upwards, I applied the primer in smooth, even strokes. The beauty of this particular primer is its incredibly fast drying time – it’s ready for a topcoat in just half an hour! This efficiency meant that the entire exterior of the boat could be primed and painted within the span of a single sunny day, a truly amazing feat for such a project.
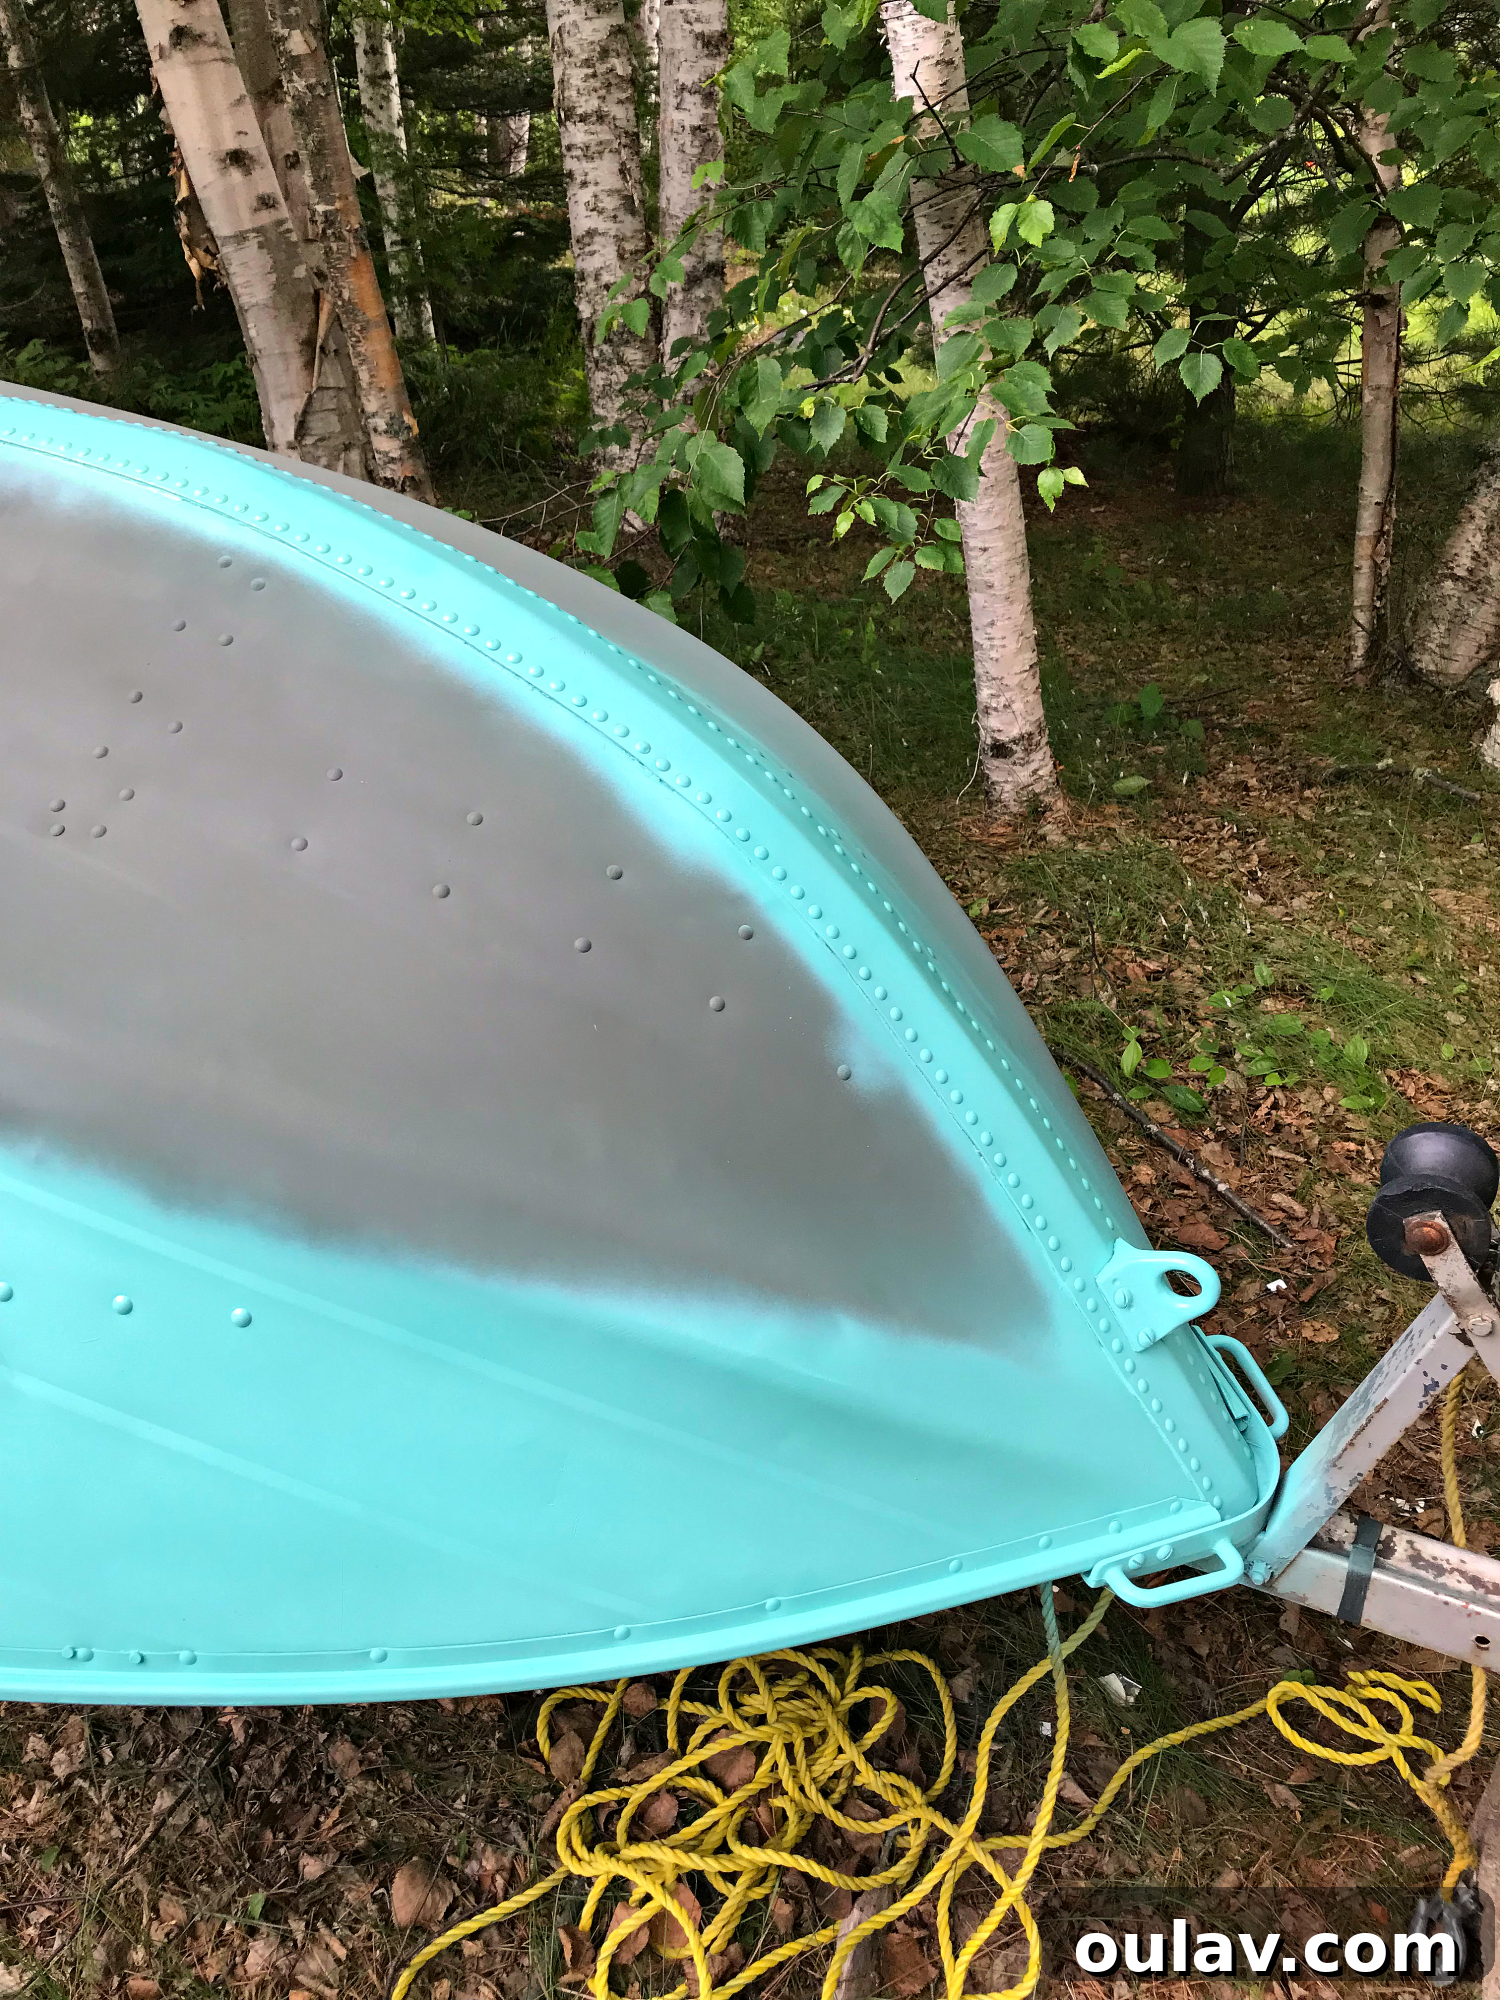
Once the primer had properly dried, it was time for the star of the show: my vibrant turquoise lacquer. Following the same technique as with the primer, I worked from the bottom up, applying the paint in smooth, even strokes. A crucial tip for achieving a professional finish, especially with spray paint, is to apply multiple, thin coats rather than attempting one thick coat. Thin coats dry faster, reduce the risk of drips and runs, and ultimately provide a more durable and even finish. Patience in this stage truly pays off, building up the color layer by layer to achieve that deep, consistent turquoise hue.
Stage 2: Interior Preparation and Painting
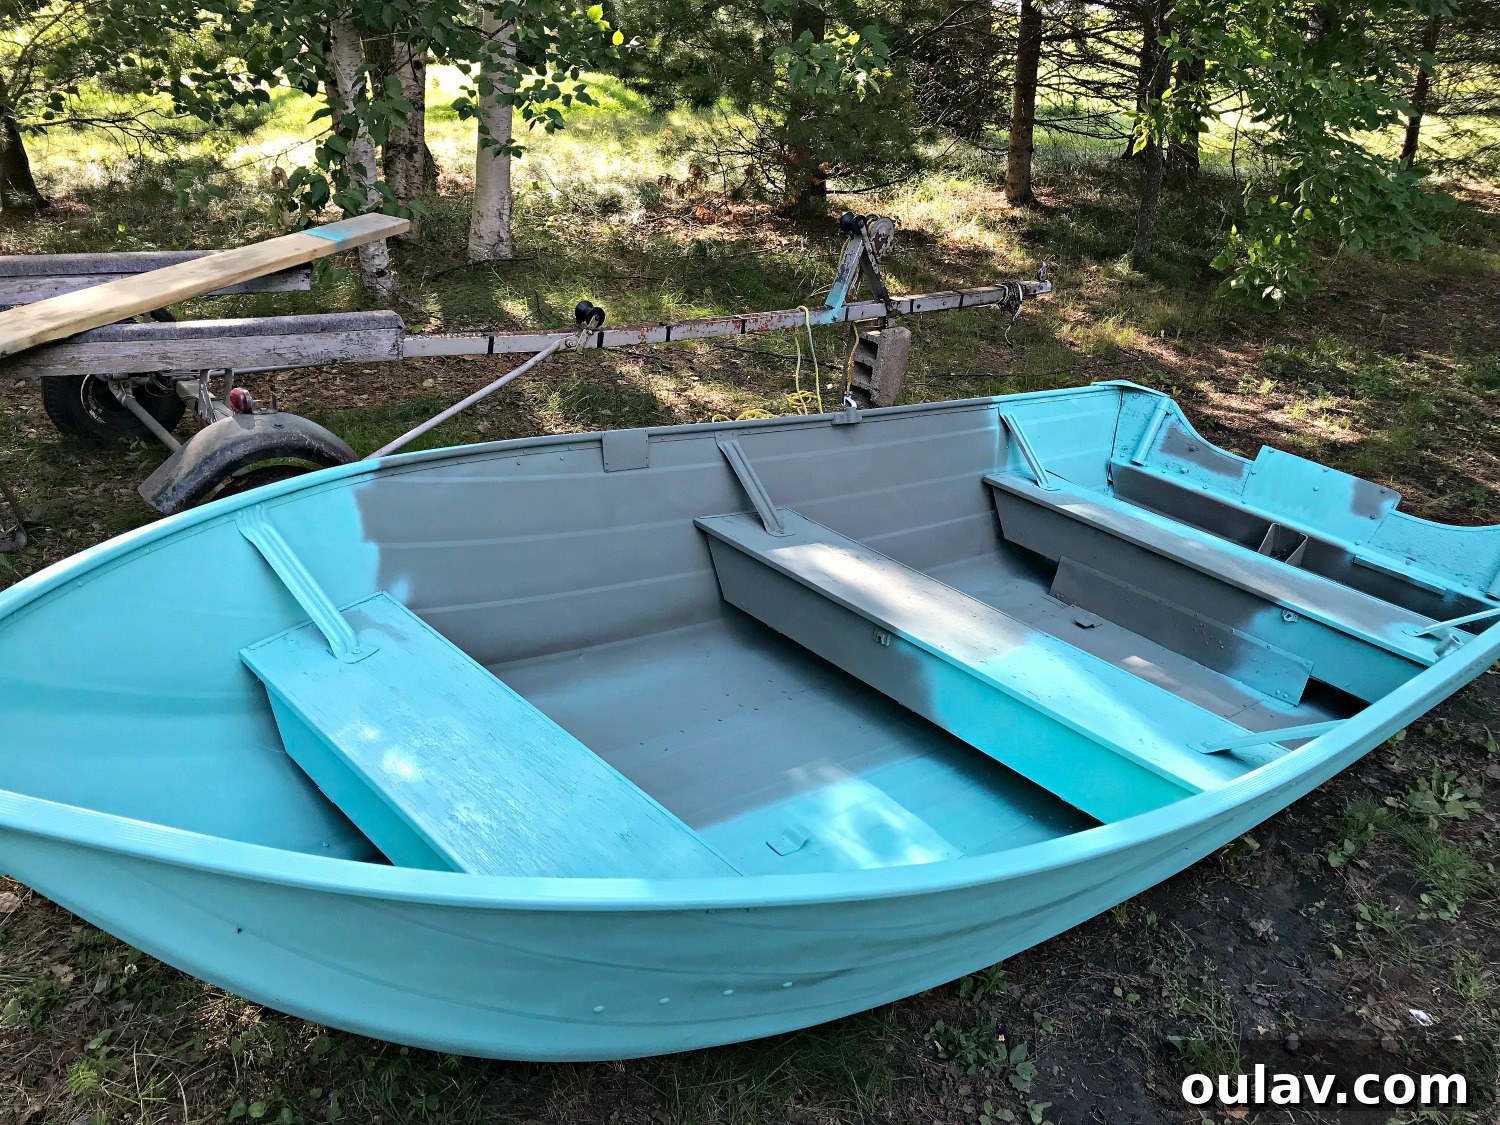
After completing the exterior, I allowed the boat to cure for a few days in the sun before carefully flipping it over onto its trailer. This curing period is essential to ensure the paint fully hardens and adheres, minimizing the risk of damage during handling. The interior required its own dedicated preparation. I began by using a shop vac to meticulously remove all debris that had settled inside – everything from leaves and sand to cobwebs. The interior also demanded extensive scrubbing and some light sanding to remove any loose, flaking paint and to create a smooth surface for new paint adhesion. Unlike the exterior, I opted not to use a pressure washer for the interior, particularly because the boat’s seats are made of wood. A pressure washer can force too much water into wood, significantly delaying drying time and potentially causing damage. My goal was a thorough, yet gentle, cleaning.
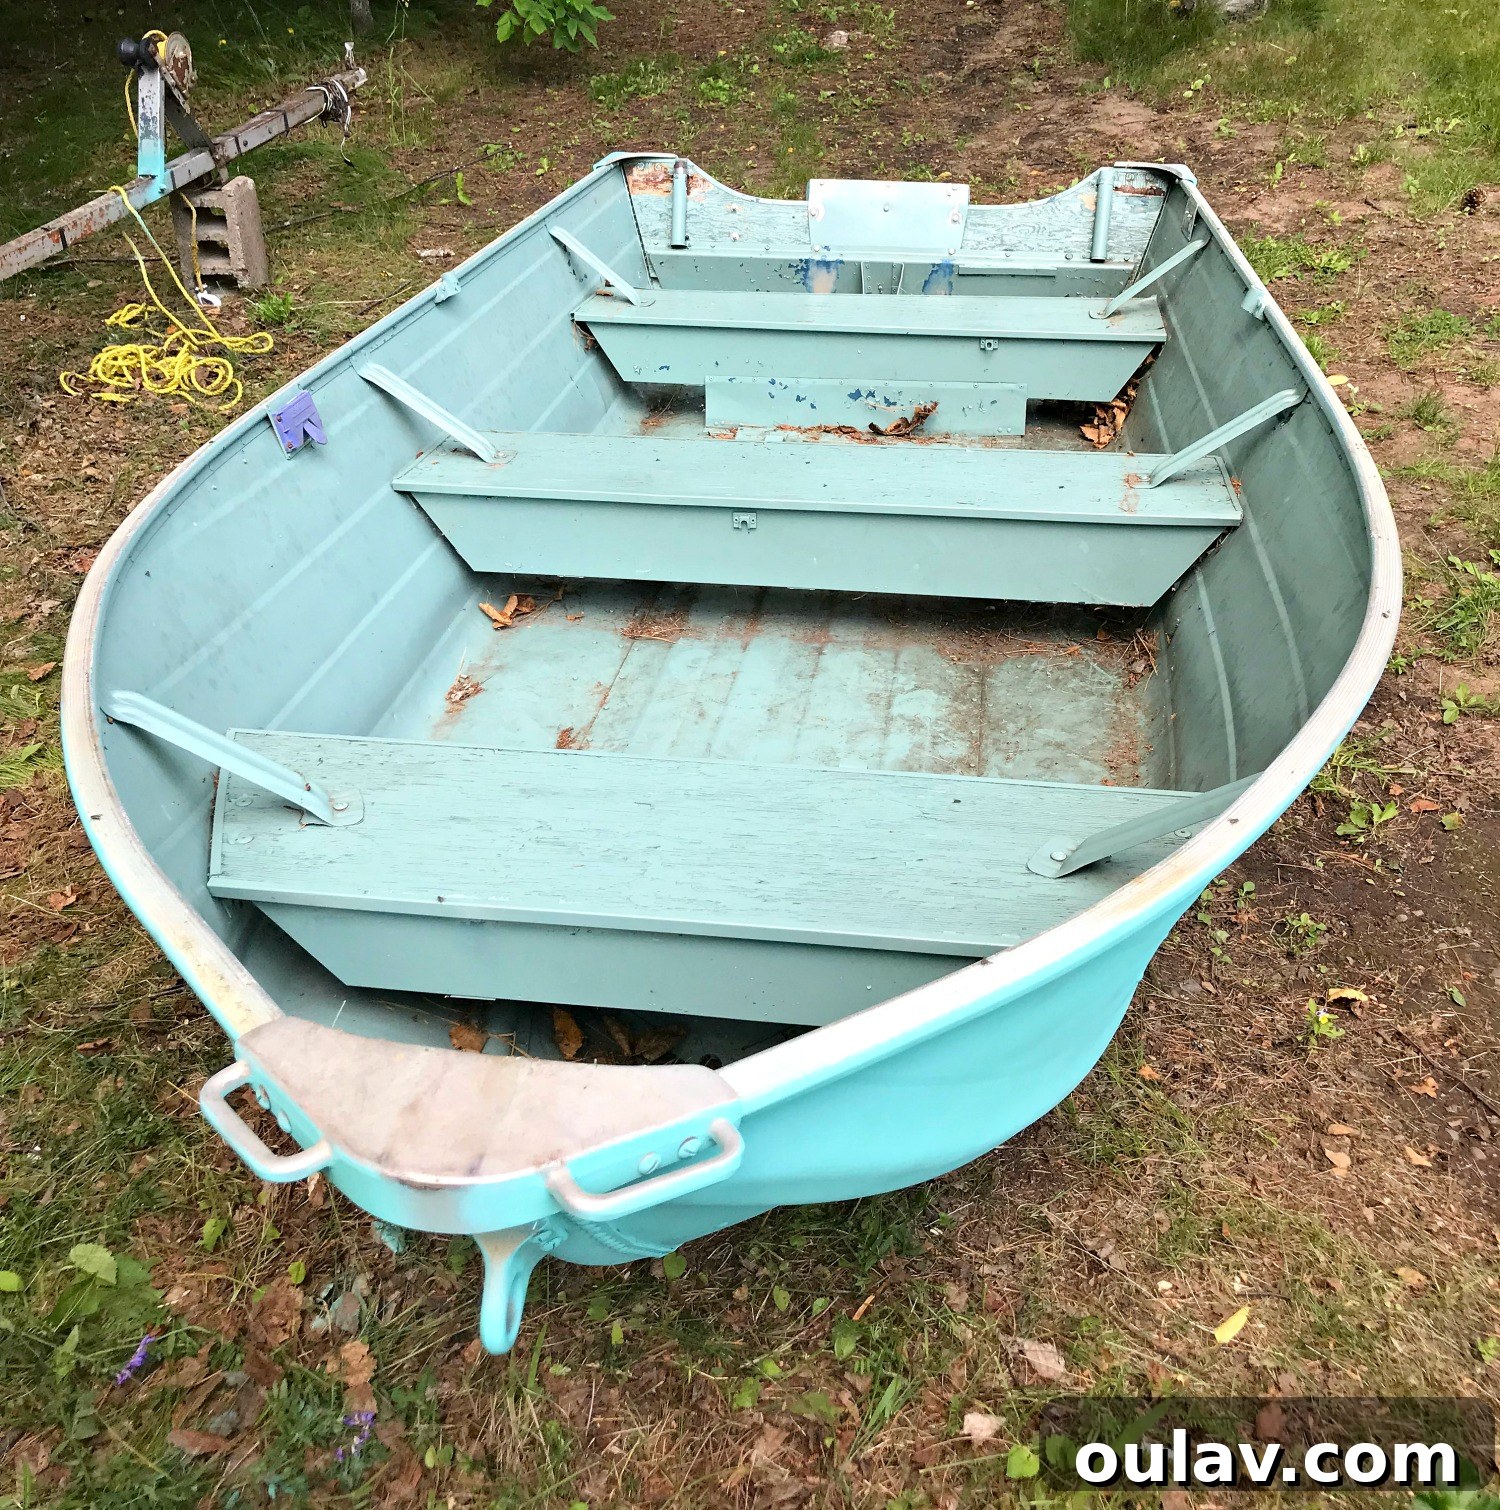
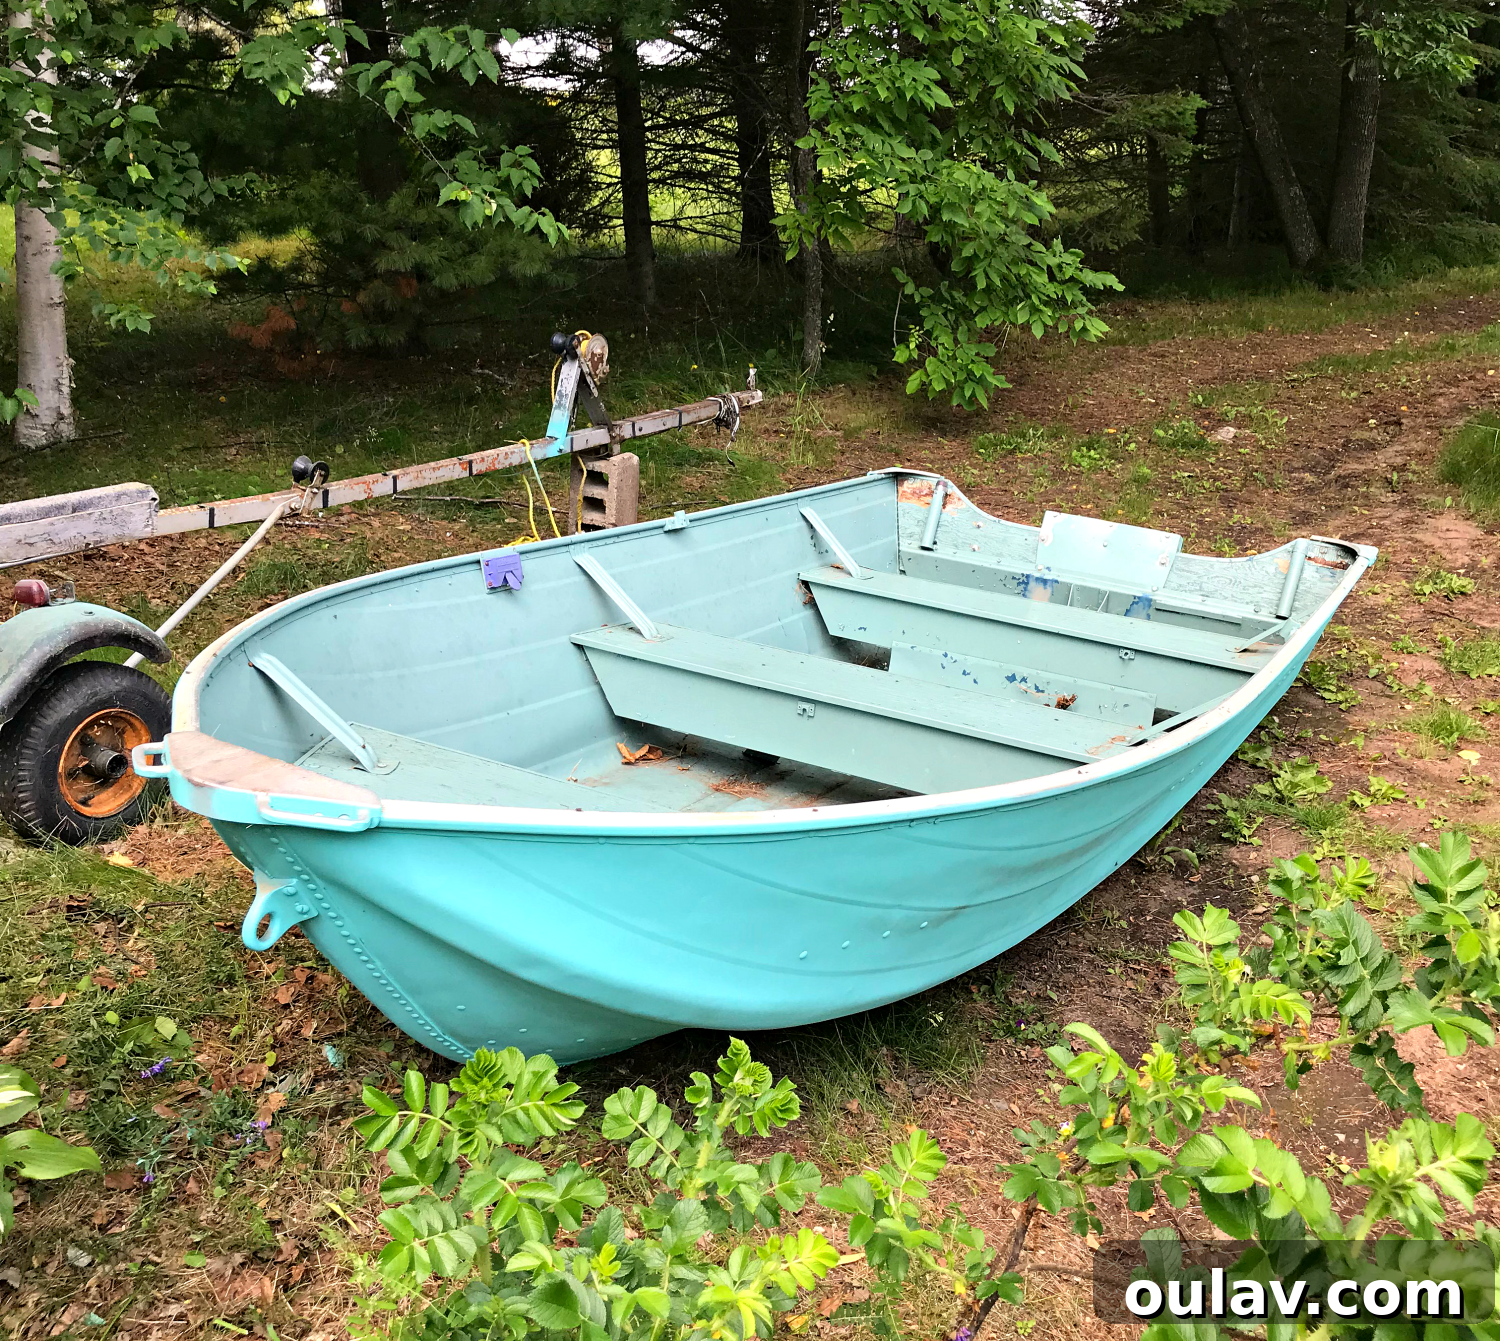
Once the interior was spotlessly clean, I allowed it to dry overnight, taking the precaution of covering it with a tarp to protect against any unexpected overnight rainfall. One recurring frustration throughout this project was the constant battle with debris floating into the wet paint, especially in our windy lakeside environment. Keeping my shop vac close at hand became a necessity for quick clean-ups. The following morning, with the interior fully dry, I began applying the primer in small, manageable sections. After the primer had dried, I moved on to the lacquer, carefully ensuring that I overlapped with the exterior paint job to create a seamless finish and avoid any unpainted gaps. This stage was quite time-consuming and admittedly tiring, but the satisfaction of seeing the interior transform into a cohesive extension of the exterior was well worth the effort. I managed to complete this entire phase in one dedicated afternoon, fueled by determination and the promise of a stunning finished product.
Curing, Durability, and Lasting Beauty
After completing the interior, I let the entire boat cure in the sun for several days, always remembering to cover it with a tarp each night to shield it from rain or dew. This extended curing period is vital for the paint to achieve maximum hardness and durability. A few days later, eager to test our handiwork, we took the boat for its maiden voyage, launching and dragging it up and down some sandy shores. To our delight, the paint held up perfectly, showing no signs of chipping or peeling! This initial test confirmed the robustness of our chosen products and method.
However, we are realistic about the life of a hardworking boat. It will inevitably encounter wear and tear from being dragged over rocks and trailers, and as our neighbor wisely remarked, it will “trade paint” with other boats. This is precisely why my all-aqua paint job is so ideal for this project. The uniform color allows for incredibly easy touch-ups. Any future chips or dents can be seamlessly repaired without the hassle of masking off contrasting colors or worrying about overspray. While a stenciled exterior or a contrasting interior might have been fun, the practicality and simple maintenance of this single-color approach make it the perfect, enduring choice for our beloved, hardworking little boat. We anticipate it will remain a bright, cheerful aqua for many years to come.
Final Thoughts on Paint Quantity
In total, I used approximately 12 cans of primer and 18 cans of lacquer for this project. This quantity was partly influenced by the incredibly windy conditions typical of where I live on Lake Superior, which can lead to more overspray. Naturally, the exact number of cans you’ll need will largely depend on the size of your specific boat and the environmental conditions during your painting process. It’s always a good idea to purchase a few extra cans to ensure you don’t run out mid-project.
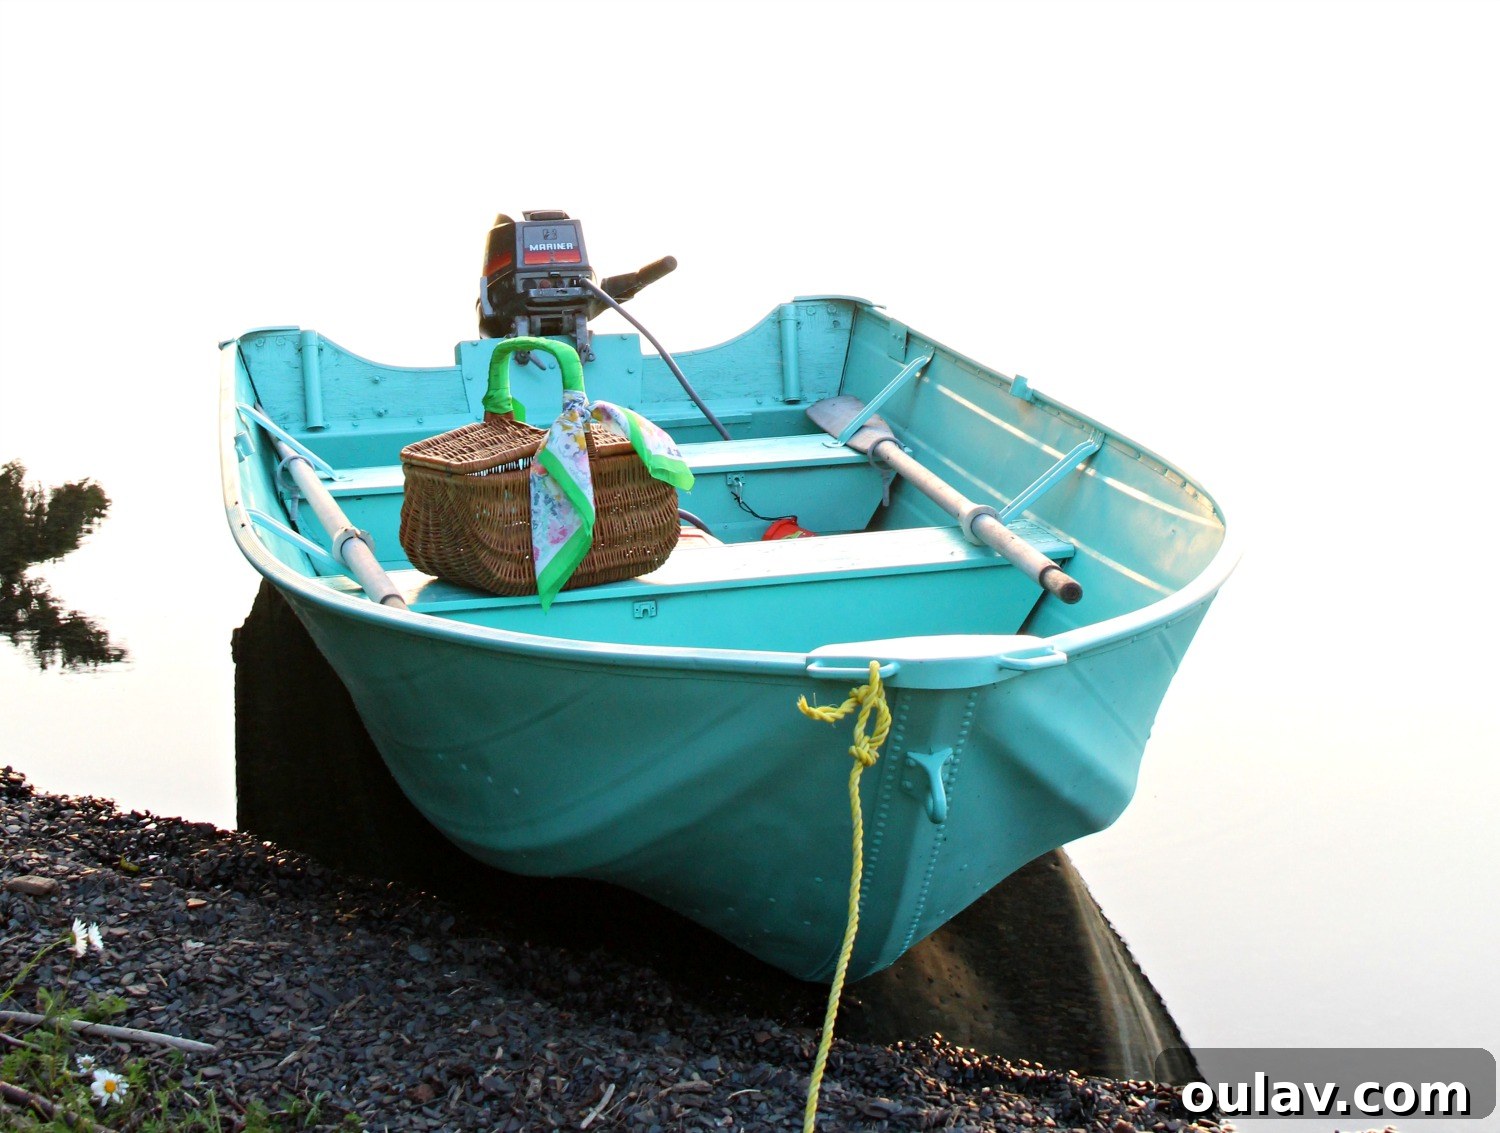
I am absolutely thrilled with our turquoise boat makeover! If our boat were to remain moored in the water all summer long, I would undoubtedly have had to invest in specialized marine-grade paint for prolonged underwater protection. However, for a boat like ours – which enjoys its time on the lake but is consistently hauled out and stored onshore – using a high-quality paint designed to adhere robustly to metal proved to be the perfect and most practical solution. This project truly transformed an old, utilitarian vessel into a vibrant, cherished part of our lakeside life, proving that a DIY approach can yield stunning and durable results.
Be sure to delve deeper into the project by checking out my detailed post on the official Rust-Oleum blog. And for those ready to embark on their own metal painting adventure, here’s where you can find more information on that outstanding self-etching primer and the vibrant turquoise lacquer that made this transformation possible. Happy painting!