
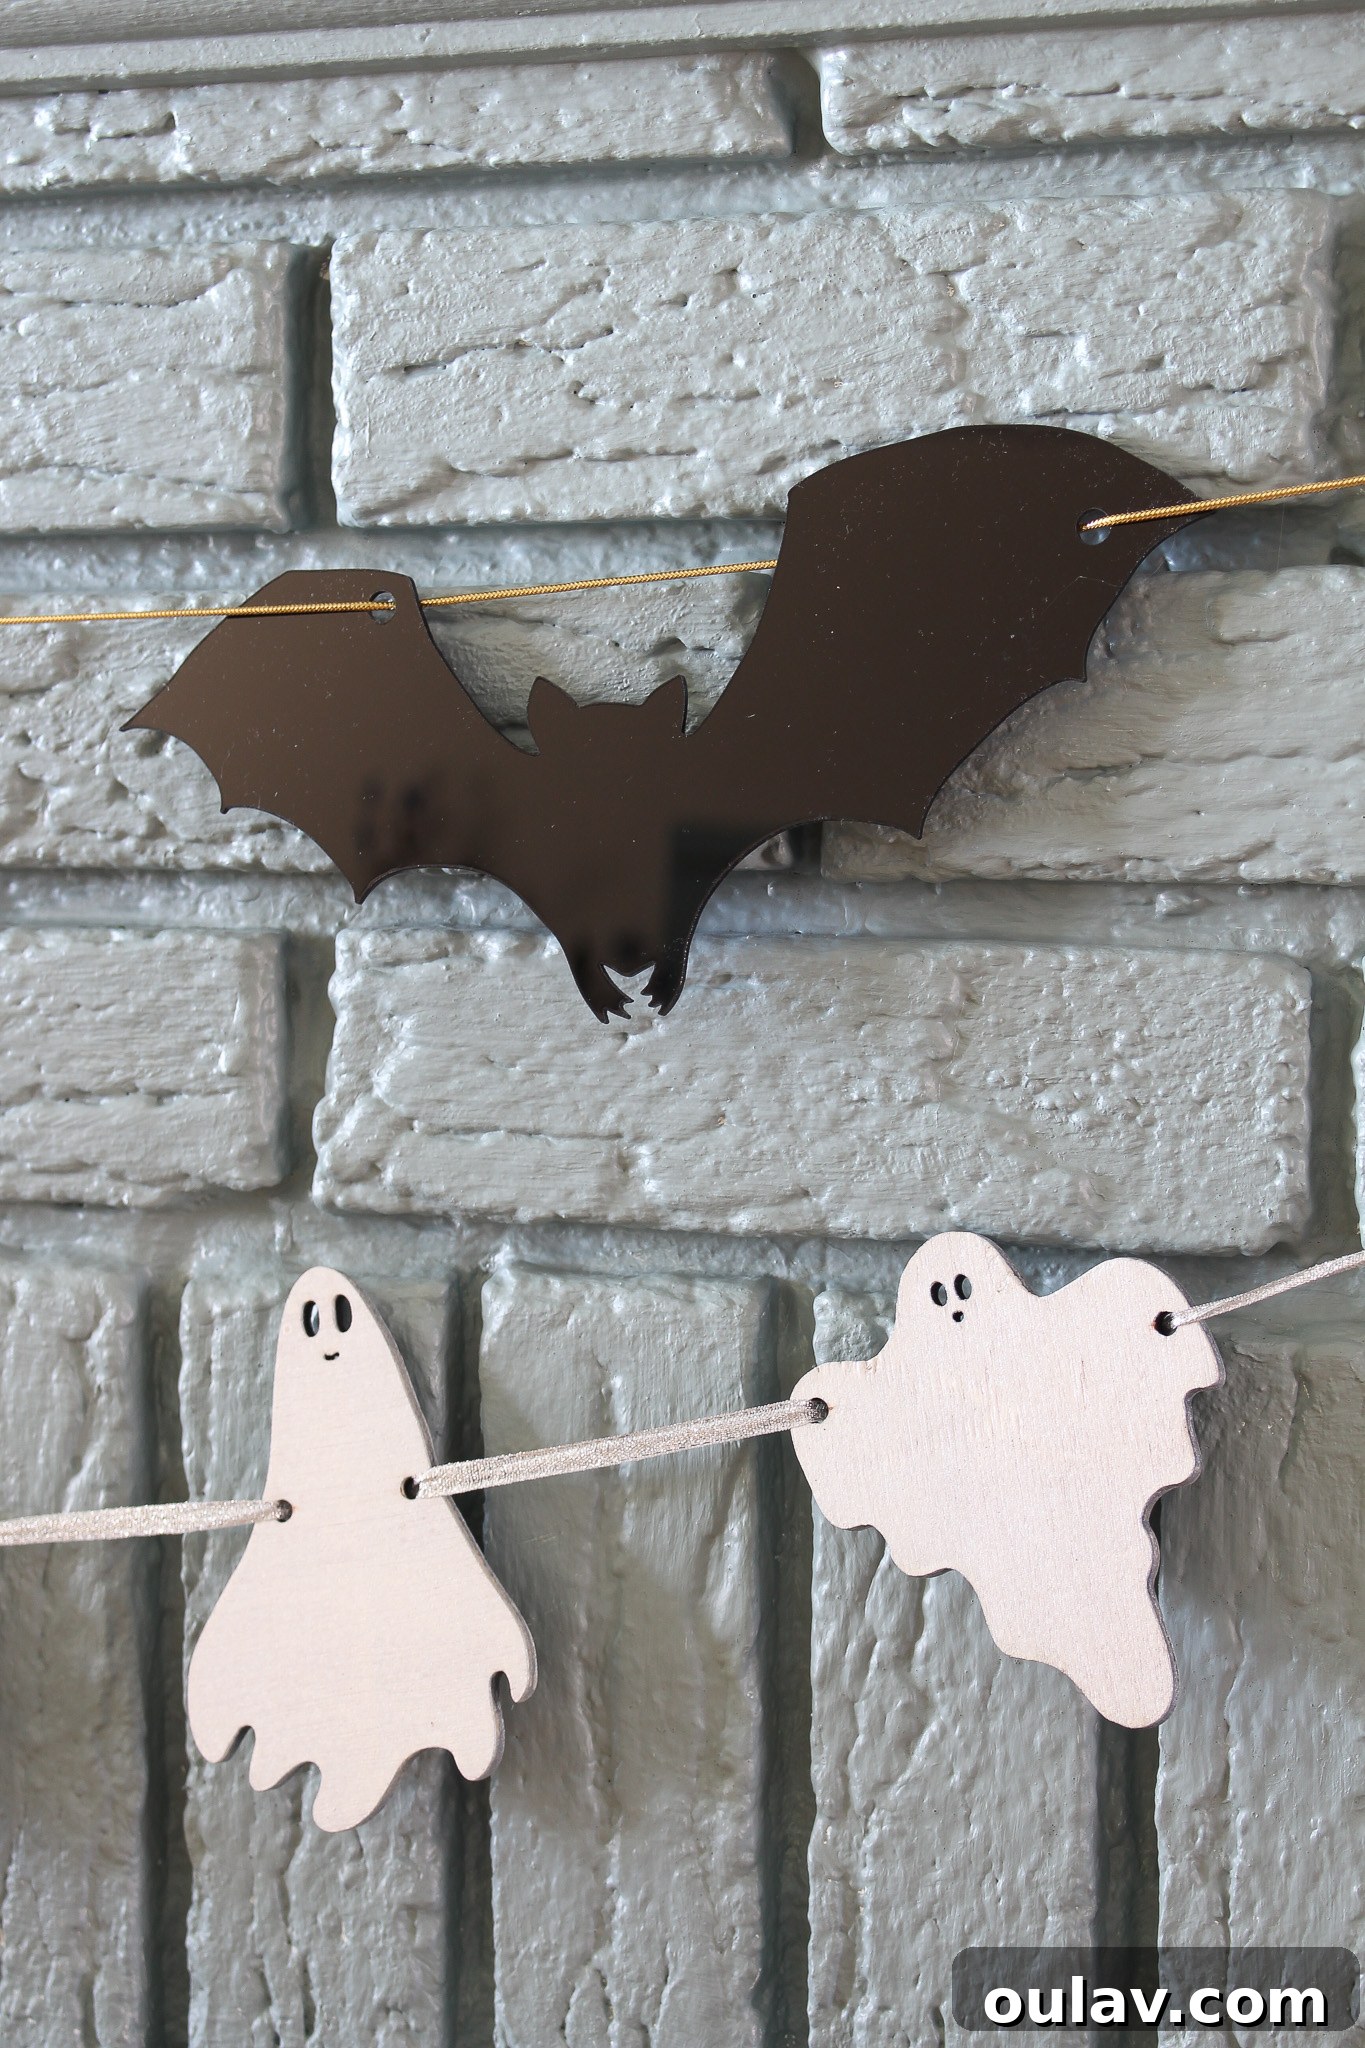
As Halloween approaches, it’s time to infuse our homes with that perfect blend of spooky charm and creative flair. We recently showcased our enchanting DIY Ghost Garland, a project my husband and I crafted with joy. Today, we’re thrilled to unveil its shadowy counterpart: a sleek, black acrylic DIY bat garland, designed to perfectly complement the ghostly spirits. This captivating project, much like its spectral siblings, was brought to life using our versatile xTool M1 Laser Engraver and Laser Cutter. While this guide might not offer the same exhaustive step-by-step detail as our ghost garland tutorial, we’re providing you with all the essentials: free bat design files for your personal use, alongside the precise material thickness and cut settings we found most effective. For those eager to delve deeper into the capabilities of our laser machine, our detailed review of the xTool M1 offers comprehensive insights into its operation and potential. Get ready to transform ordinary acrylic sheets into an extraordinary piece of Halloween decor that’s both modern and delightfully eerie.
Crafting your own Halloween decorations not only adds a unique, personalized touch to your home but also allows for endless creativity. This DIY bat garland project is a fantastic example, offering a sophisticated yet simple way to elevate your seasonal decor. The precision of the xTool M1 ensures professional-looking results, making it an accessible craft for both beginners and experienced makers. Imagine a swarm of elegant black bats, silhouetted against a softly lit mantelpiece or fluttering gracefully in a window – it’s a subtle nod to Halloween’s mysterious side, moving beyond the traditional orange and black clichés. This project also serves as an excellent entry point for those new to laser cutting, providing a clear path to creating something truly special with minimal fuss.
Essential Supplies for Your Acrylic Bat Garland:
Gathering the right tools and materials is the first step towards a successful crafting project. For this stylish DIY bat garland, we rely on the precision and efficiency of the xTool M1 laser machine, along with a few other key items. Each component plays a vital role in achieving that crisp, professional finish. Here’s what you’ll need to transform simple sheets of acrylic into a captivating Halloween display:
- xTool M1 Laser Engraver and Laser Cutter: The heart of this project, offering both the power and precision needed for cutting intricate shapes from acrylic. Its user-friendly interface makes complex cuts surprisingly straightforward.
- xTool Smoke Purifier (optional but highly recommended): While optional if working in a highly ventilated outdoor space, this purifier significantly reduces fumes and particulates, creating a much safer and more comfortable indoor crafting environment, especially when working with materials like acrylic that can produce strong odors.
- xTool M1 Air Assist: This attachment is crucial for achieving clean cuts on acrylic. It directs a steady stream of air to blow away smoke and debris, preventing scorch marks and ensuring sharp, smooth edges on your bats.
- 1/16″ Black Acrylic 12×12 Sheets: The star material for our garland. This specific thickness provides durability without being too heavy, and the black color offers a striking, chic contrast for any Halloween display.
- Fine Tip Marker: Essential for sketching your initial bat designs on paper, allowing for detailed, precise outlines that will be converted into digital files.
- Paper: For your initial hand-drawn bat sketches. Plain white paper works best for clear scanning or photographing.
- Cord for Stringing: Choose a sturdy yet flexible cord that complements the black acrylic bats. A natural fiber cord can add a rustic touch, or a thin black cord can maintain a monochromatic, sleek aesthetic.
Having these supplies ready will streamline your crafting process and ensure you can move from design to finished garland with ease. Remember, quality tools and materials not only make the process more enjoyable but also contribute significantly to the beauty and longevity of your handmade decorations.
Access Your Exclusive Bat Cut Files Here:
To make your crafting journey even smoother, we’re delighted to offer our unique bat designs as free cut files for your personal use. These files are precisely what we used to create our stunning garland, ensuring you can replicate the look effortlessly. Simply sign up for our monthly newsletter below to gain instant access to these versatile SVG files. Our newsletter is also a fantastic resource for future DIY projects, exclusive tips, and inspiring craft ideas delivered straight to your inbox. Take the guesswork out of design and start crafting your perfect Halloween decor today!
[Sign up for our newsletter to get your free bat SVG files!]
Crafting Your Acrylic DIY Bat Garland: A Step-by-Step Guide:
Creating this elegant bat garland is a rewarding process, made surprisingly simple with the xTool M1. We’ll walk you through each step, from sketching your initial ideas to stringing your finished bats, ensuring you have all the information needed to successfully complete this captivating Halloween project. Remember, the beauty of DIY lies in the personal touch you add, so feel free to adapt these steps to your creative vision.
- Design Your Bats (or Use Ours!): Just as we did with our DIY ghosts, the process begins with a sketch. Grab your fine-tip marker and paper, and let your imagination take flight. Draw a few different bat shapes, experimenting with wing spans, body postures, and head angles. Consider varying sizes for a dynamic garland. If hand-drawing isn’t your forte, or if you prefer a quick start, remember you can sign up for our monthly newsletter above to instantly snag our pre-designed bat files. This allows you to jump straight into the digital conversion process.
- Convert Your Drawings to SVG Files: Once your bat sketches are perfected on paper, the next crucial step is digitizing them. We utilized the incredibly user-friendly and free PNG SVG Converter by Adobe. Simply take a clear photo of your drawings (or scan them), upload the PNG or JPG image to the converter, and it will magically transform it into an SVG (Scalable Vector Graphics) file. SVG files are essential for laser cutters because they define shapes using mathematical paths, allowing for precise scaling without loss of quality.
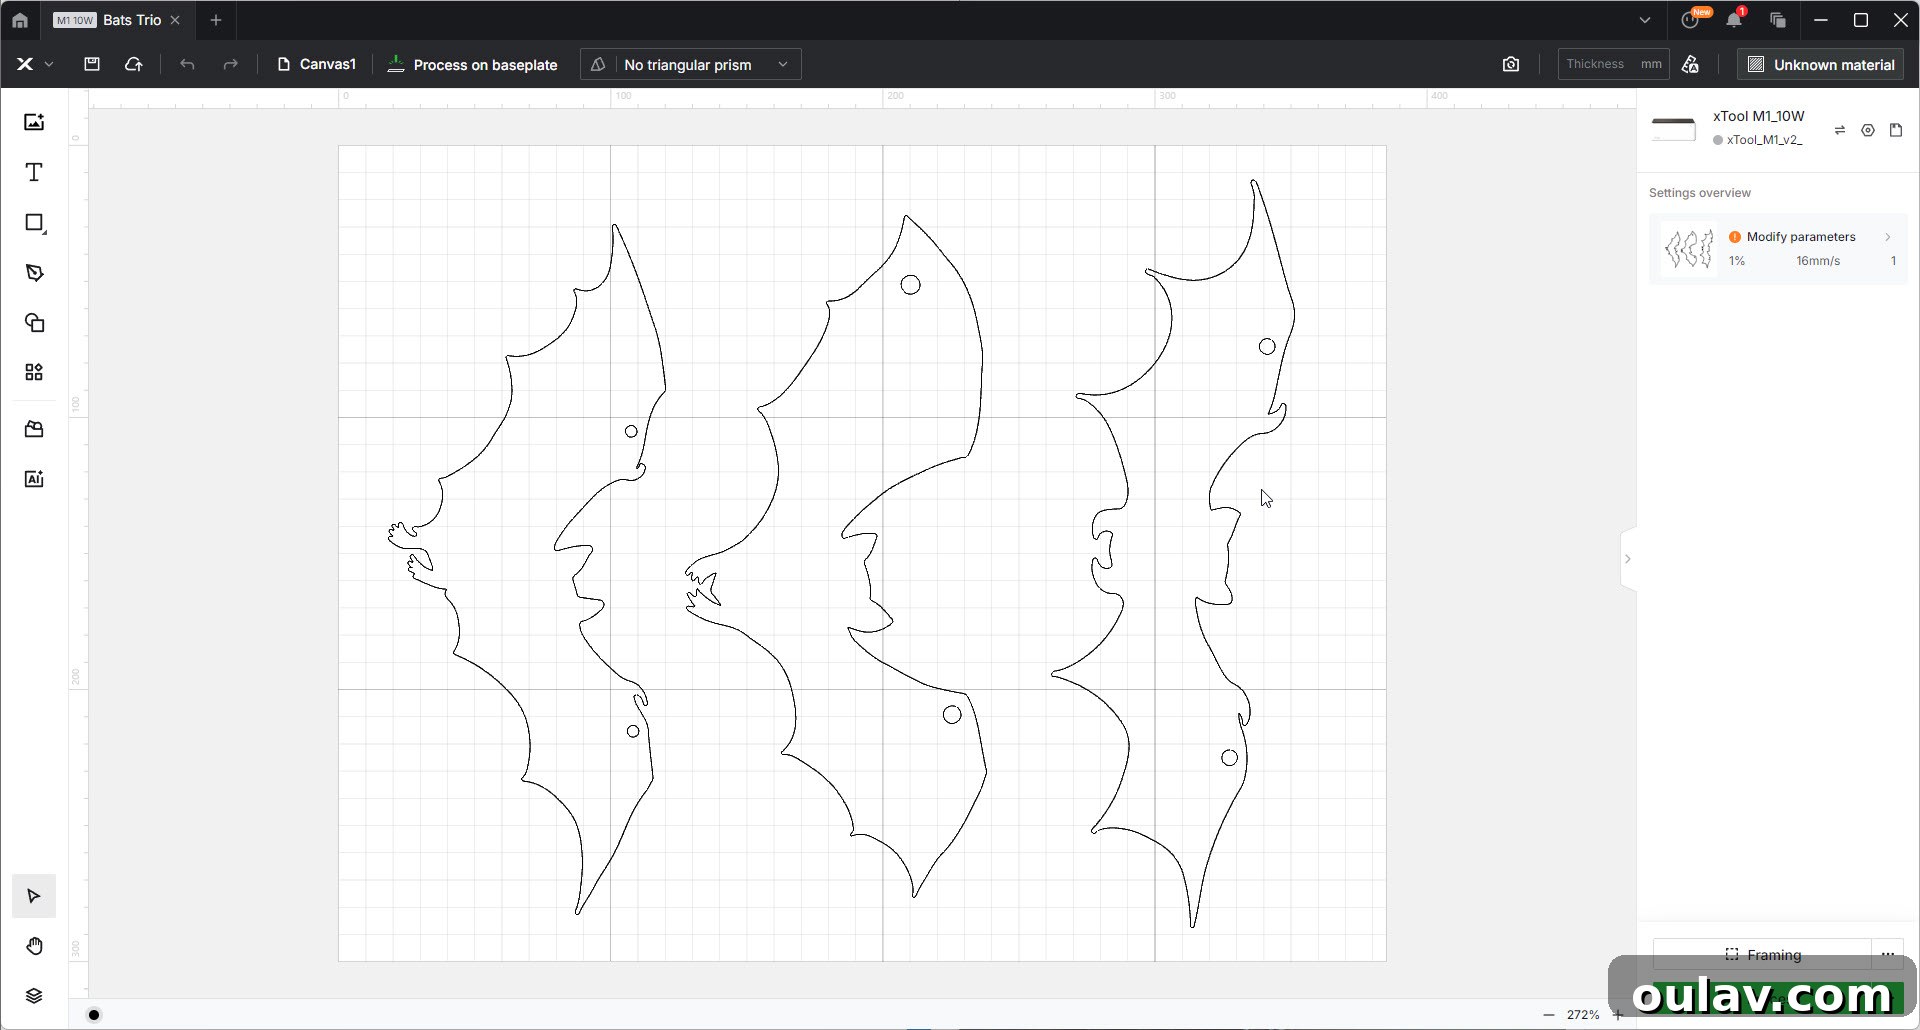
- Prepare Your Designs in xTool Creative Space: With your SVG files ready, open xTool’s Creative Space software. Import your bat designs. This is where you’ll refine them for laser cutting. An important design consideration for your garland is how the bats will hang. We added small, discreet holes along the wings of each bat. This strategic placement ensures they hang beautifully and evenly when strung. For a cohesive look, we focused on a central bat facing forward, flanked by two mirror-image designs on either side, creating a sense of balanced flight. This arrangement adds visual interest and a subtle narrative to the garland.
- Set Up Your xTool M1: Carefully place your chosen sheet of black acrylic inside the xTool M1. It’s vital to use risers to lift the acrylic slightly, allowing for proper airflow beneath the material and preventing scorching on your work surface. Double-check that the acrylic is flat and securely positioned. Close the lid, ensuring the safety interlock is engaged.
- Execute the Cut: Once everything is prepared in Creative Space and your material is loaded, it’s time to let the xTool M1 work its magic. Initiate the cutting process. The laser will precisely follow your SVG paths, creating perfectly shaped acrylic bats. This stage is mesmerizing to watch, as the machine meticulously cuts out each intricate detail.
- Assemble Your Garland: After the xTool M1 has completed its task and the acrylic has cooled, carefully remove the cut bat shapes from the sheet. You’ll find they pop out cleanly, thanks to the precision of the laser. Now for the satisfying assembly: simply slide your newly cut bats onto your chosen cord. The strategically placed holes make stringing quick and easy. You can experiment with spacing and arrangement to achieve your desired aesthetic.
With these steps, you’ll soon have a stunning, handmade acrylic bat garland ready to adorn your home. The durability of acrylic ensures your garland will be a cherished part of your Halloween decor for years to come, offering a stylish and sophisticated alternative to more traditional decorations.
Optimized Cut Settings for 1/16″ Black Acrylic 12×12 Sheets:
Achieving clean, precise cuts on acrylic is crucial for a professional-looking bat garland. Laser cutting can be a delicate balance of power, speed, and passes, and these settings can vary slightly depending on your machine’s calibration and the specific acrylic material. However, through our extensive testing with the xTool M1 and 1/16″ black acrylic sheets, we’ve found the following settings yield consistently excellent results. These parameters are designed to ensure smooth edges and complete cuts without excessive melting or charring:
- 90% Power: This high power setting ensures the laser penetrates completely through the 1/16″ acrylic on each pass. Acrylic requires significant power to cut cleanly, and 90% strikes a good balance for this thickness, minimizing the need for too many passes while preventing excessive heat buildup that could lead to melting or warping.
- 3 mm/s Speed: A relatively slow speed is essential when cutting acrylic. This allows the laser beam enough time to fully vaporize the material along the cut line, resulting in a crisp, clean edge. Rushing the cut with a faster speed can lead to incomplete cuts, requiring you to break the pieces apart, which can cause rough edges or even damage.
- 2 Passes: Using two passes, even with high power and slow speed, helps to ensure a completely severed piece and a smoother edge finish. The first pass does the primary cut, while the second pass refines the cut, clears any remaining material, and helps to create a polished look. This two-pass method is particularly effective for acrylic, as it mitigates the common issue of slight material adhesion after cutting.
Important Note on Testing: While these settings have worked perfectly for us, it’s always recommended to perform a small test cut on a scrap piece of your acrylic material before committing to your main project. Minor variations in acrylic composition or even environmental factors can sometimes necessitate slight adjustments. Your xTool M1 manual might also offer guidance on initial settings, which can serve as a baseline for your tests. Always ensure your air assist is properly engaged to minimize scorching and achieve the cleanest possible cut lines.
Working with Acrylic: Maximizing Safety and Efficiency with the xTool M1 Laser Engraver and Cutter:
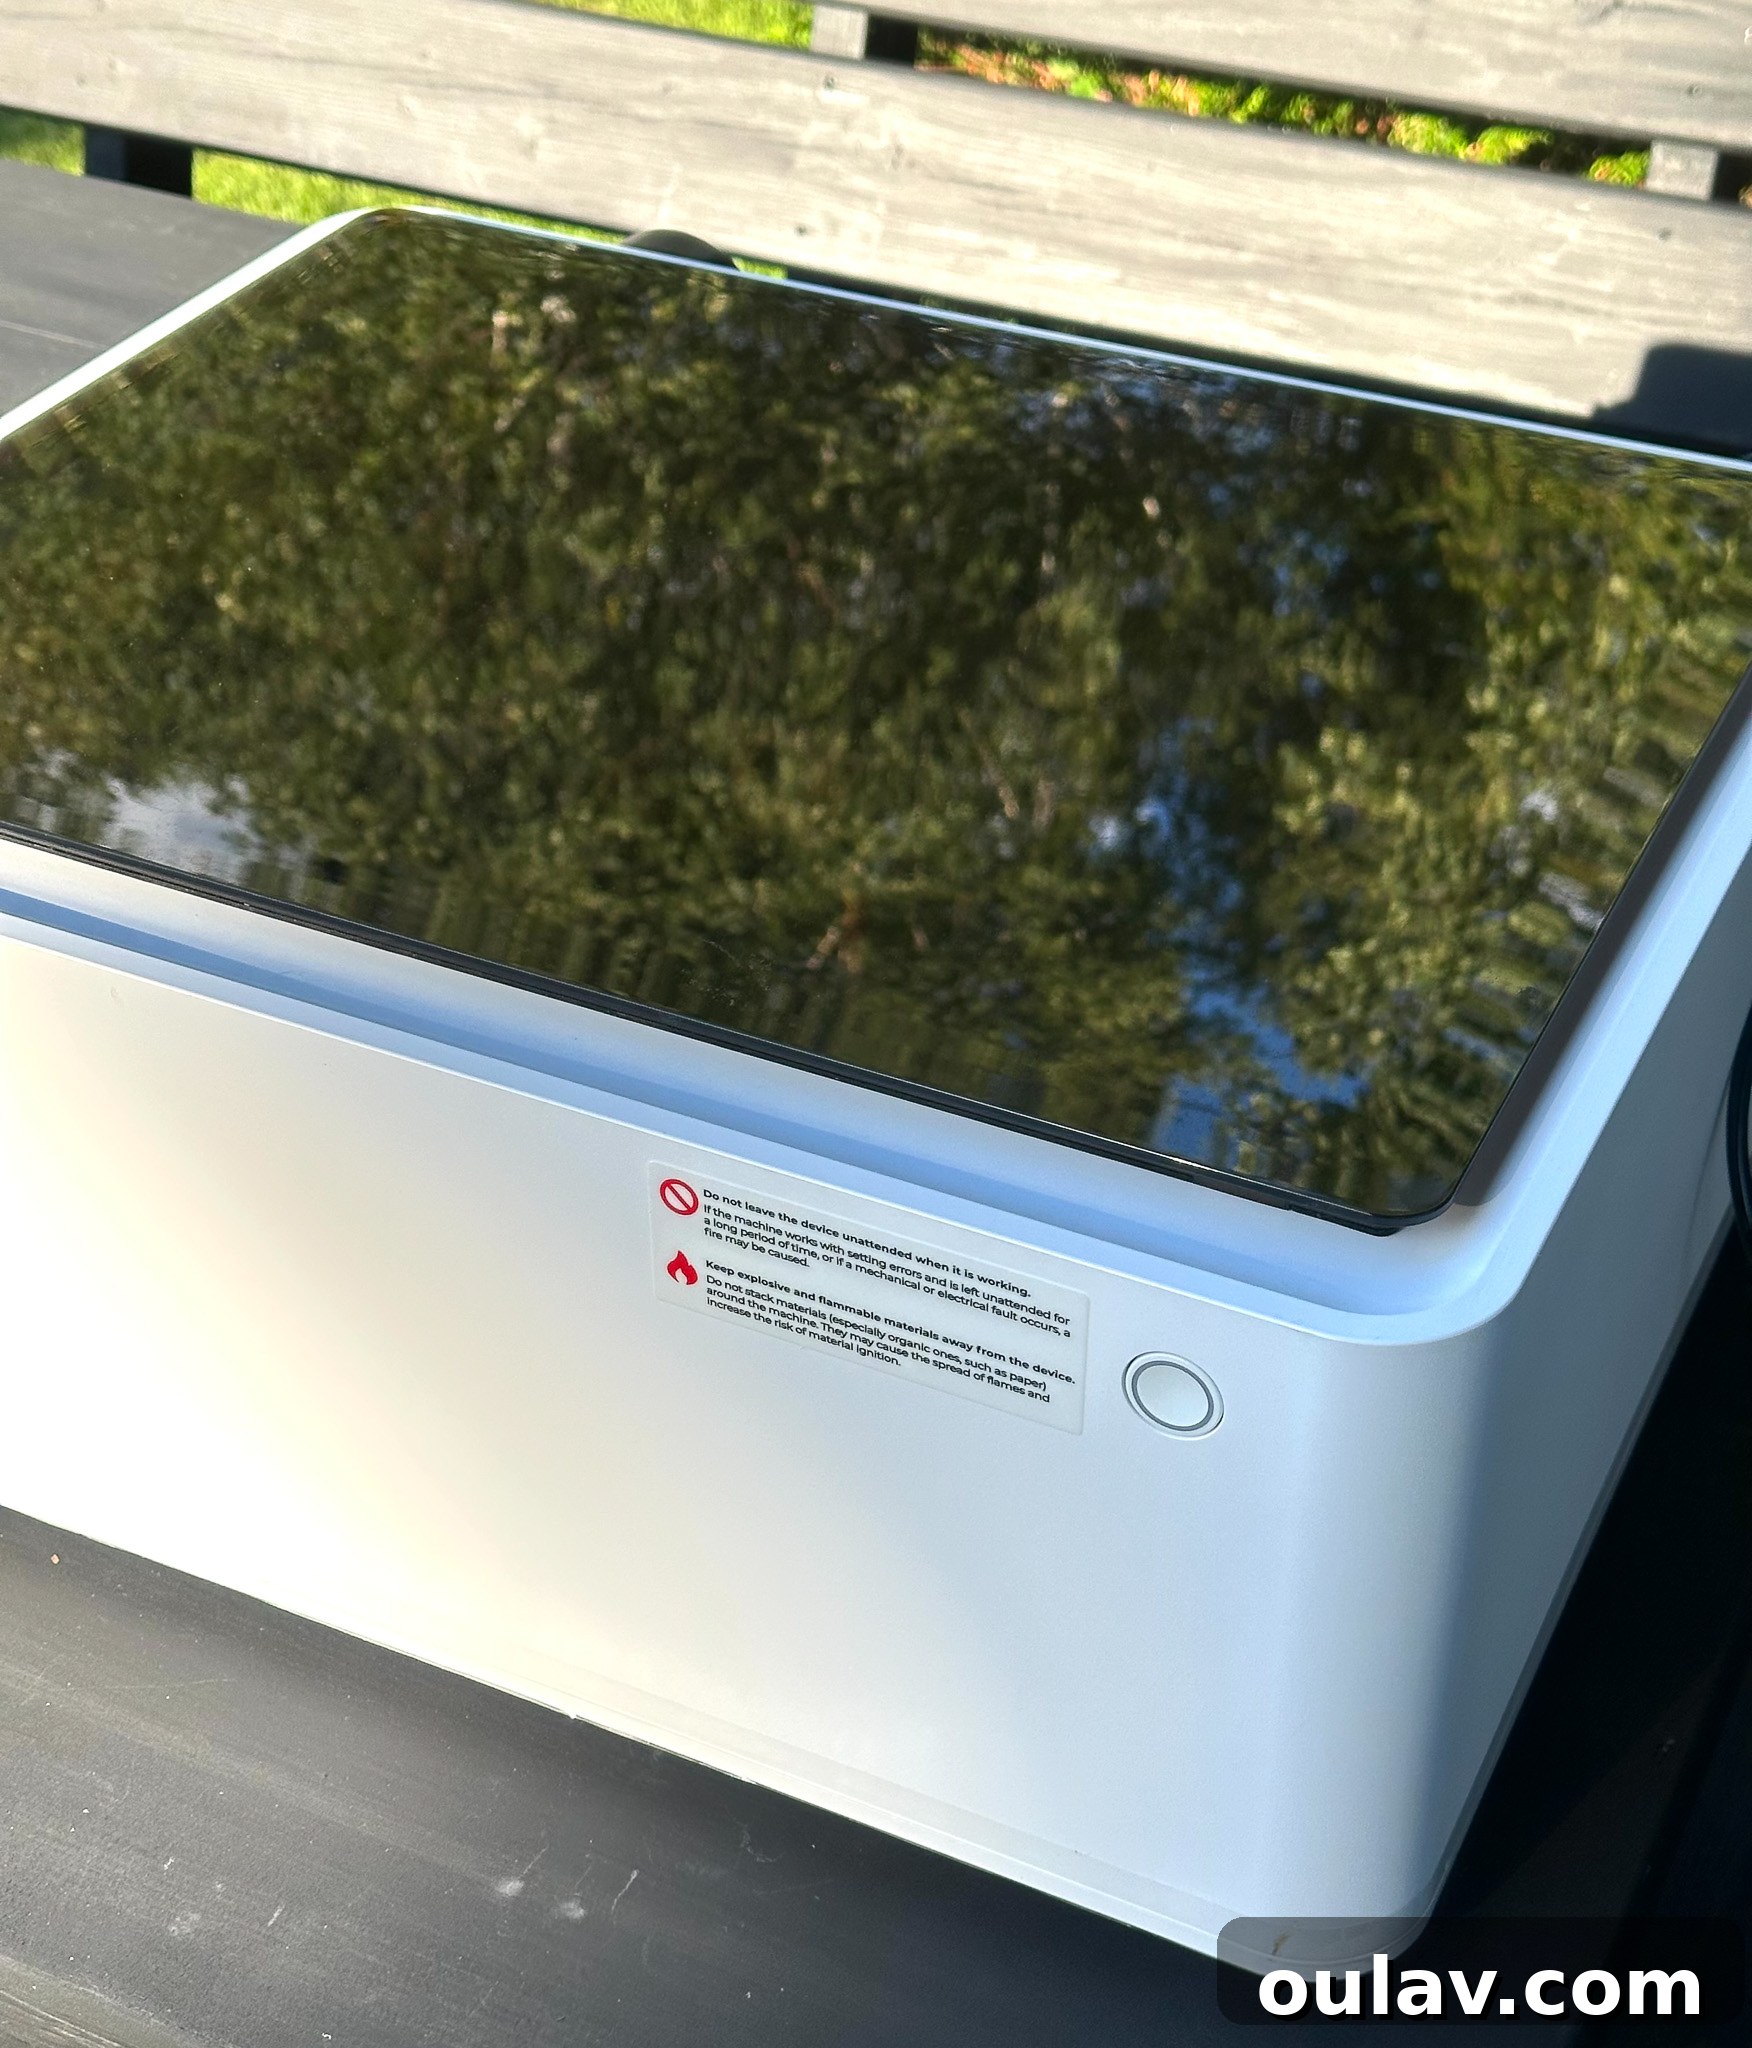
Using the xTool M1 Laser Engraver and Laser Cutter to cut acrylic can yield spectacular results, but it’s important to address a critical consideration: ventilation. I want to be completely transparent about my experience: cutting acrylic indoors, even with the aid of the xTool smoke purifier, produces fumes that I find to be quite strong and pungent. While the purifier significantly reduces harmful particles, the odor can still be noticeable and, for some, uncomfortable.
Prioritizing Ventilation: If you plan to cut acrylic regularly, establishing a well-ventilated workspace is paramount. This might involve setting up your xTool M1 near an open window with a powerful exhaust fan, or even investing in a more robust air filtration system. Fresh air circulation is key to dispersing the fumes and ensuring a pleasant crafting experience. Always err on the side of caution when it comes to air quality and personal health.
The Outdoor Advantage: My absolute favorite way to utilize the xTool M1, especially for materials like acrylic that produce stronger odors, is outdoors. This past summer, crafting on my deck with the xTool M1 was an absolute game-changer. The open-air environment completely eliminated any concerns about fumes, allowing for a much more enjoyable and worry-free creative session. We could comfortably operate the machine outside while sending our designs from inside the house – a fantastic convenience! However, it’s crucial to remember that despite the outdoor setting, a laser machine should never be left unsupervised. Always remain present and vigilant during operation to monitor for any potential issues, such as unexpected fires or material shifts, ensuring safety at all times.
Safety Best Practices for Acrylic: Beyond ventilation, always wear appropriate eye protection specifically designed for laser work. Keep a fire extinguisher or a bucket of water nearby as a precaution, though fires are rare with proper settings and supervision. Avoid touching the freshly cut acrylic immediately, as the edges can be hot. With proper planning and adherence to safety guidelines, cutting acrylic with your xTool M1 can be a wonderfully creative and productive endeavor, opening up a world of possibilities for your crafting projects.
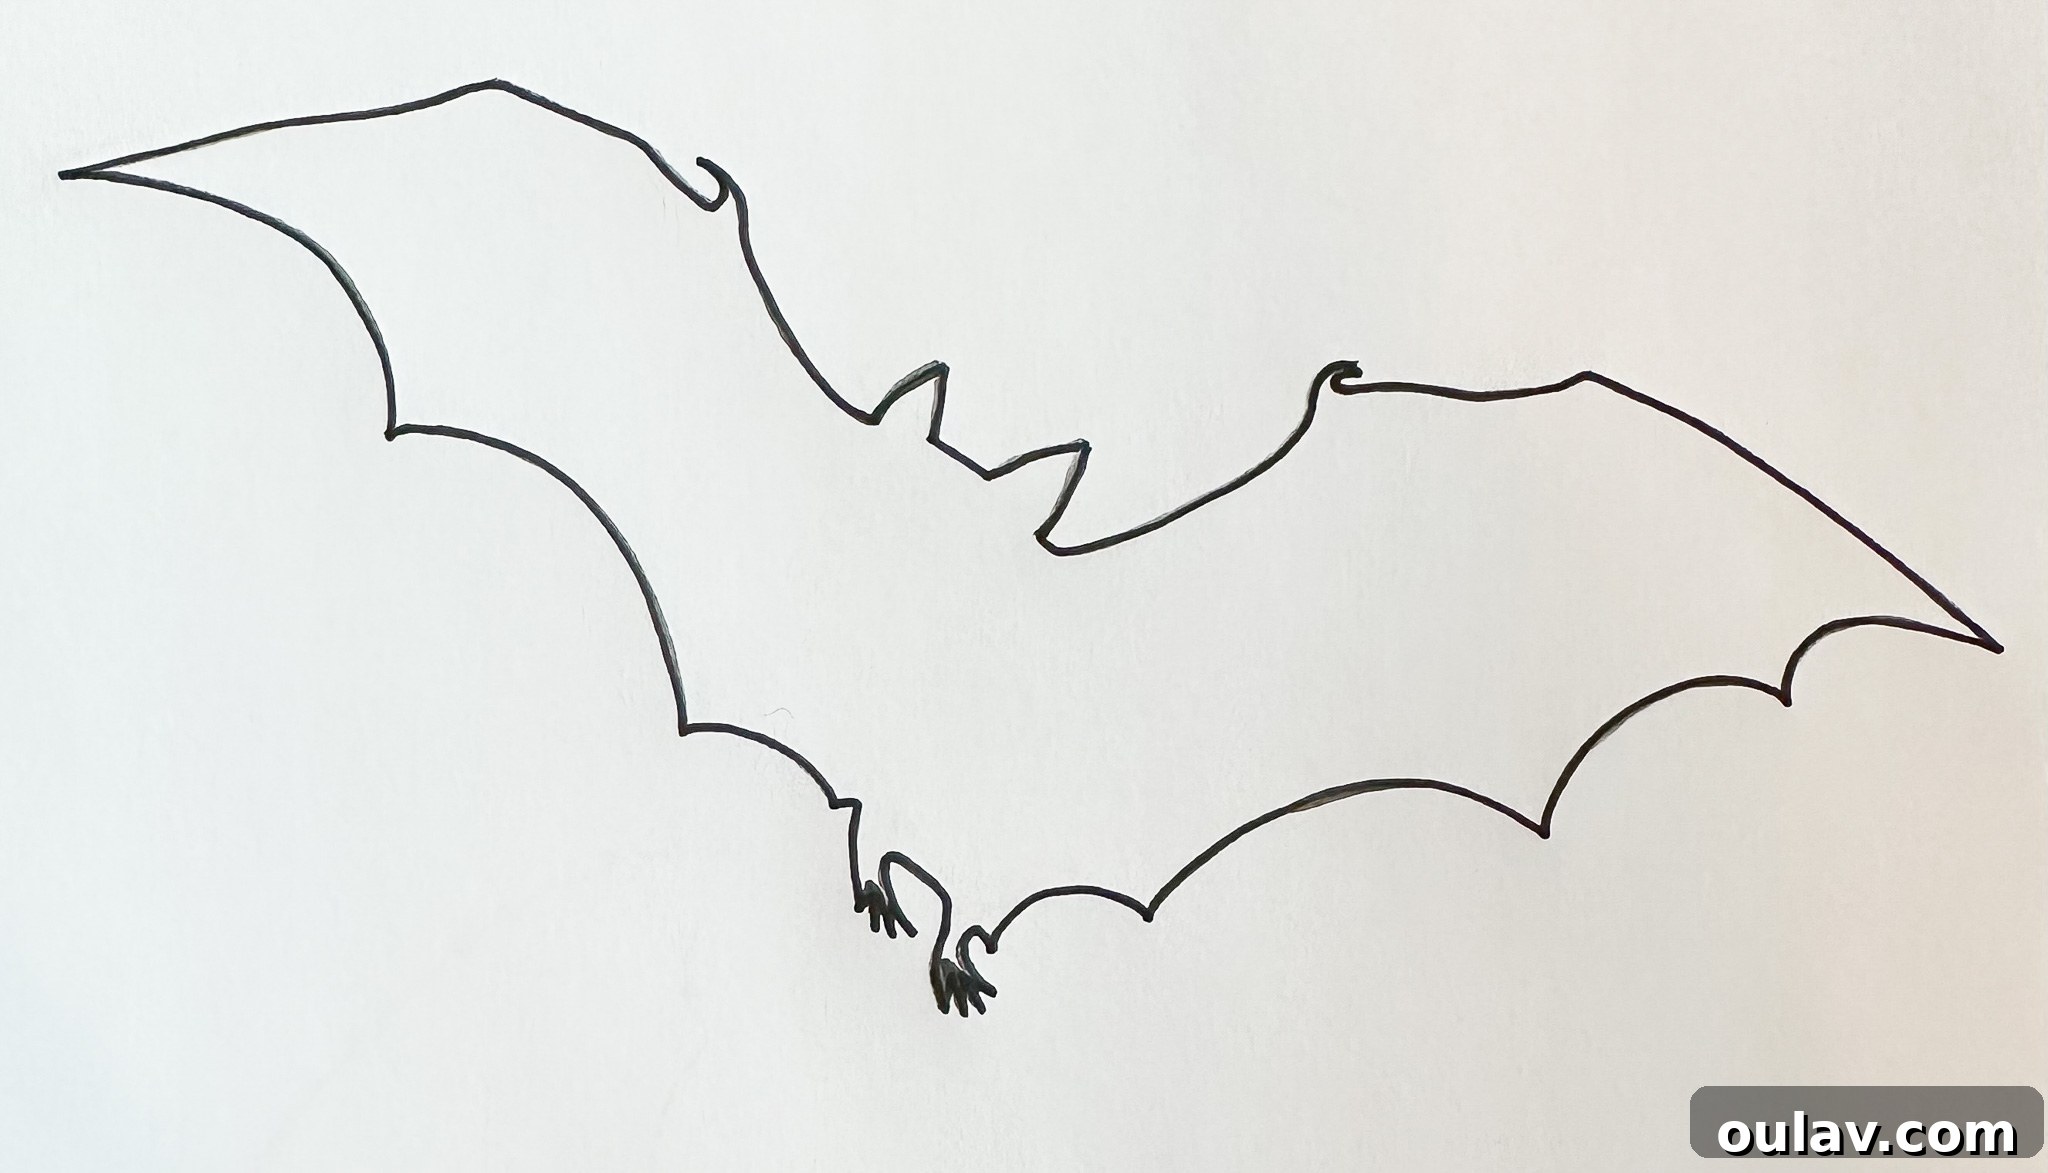
Transforming Your Artistic Vision: How to Convert a Drawing into an SVG File for Laser Cutting:
The journey from a hand-drawn sketch to a precisely laser-cut object is a fascinating one, and the conversion of your drawing into an SVG (Scalable Vector Graphics) file is a pivotal step. For this project, I found the free PNG SVG Converter by Adobe incredibly user-friendly and efficient. The process is straightforward: simply capture a clear photograph or scan of your drawing, then upload it to the converter. In moments, your raster image (like a PNG or JPG) is transformed into a vector graphic, ready for your xTool’s Creative Space. This accessibility empowers anyone to turn their unique artistic concepts into tangible creations.
Crucial Design Considerations for Laser Cutting: While converting drawings is easy, designing for laser cutting requires a keen understanding of the medium’s limitations and strengths. Here are some essential tips to ensure your designs translate flawlessly:
- Detail and Precision: Exercise caution when designing overly intricate or detailed silhouettes. A laser cutter, while incredibly precise, works by burning through material. Extremely fine details can be lost if the laser beam drifts even a millimeter off course. More critically, very tiny or thin elements within your design are susceptible to snapping, either during the cutting process or when handling the finished piece. Imagine delicate antennae or slender limbs on your bats – these could be too fragile.
- Scaling Up for Complexity: If your heart is set on including more elaborate details, the best strategy is to scale up your design. Larger designs provide more material around intricate areas, increasing their structural integrity and reducing the risk of breakage. What might be a fragile detail on a 2-inch bat could be perfectly robust on a 6-inch bat. This allows the laser to execute more complex cuts without compromising the final product’s durability.
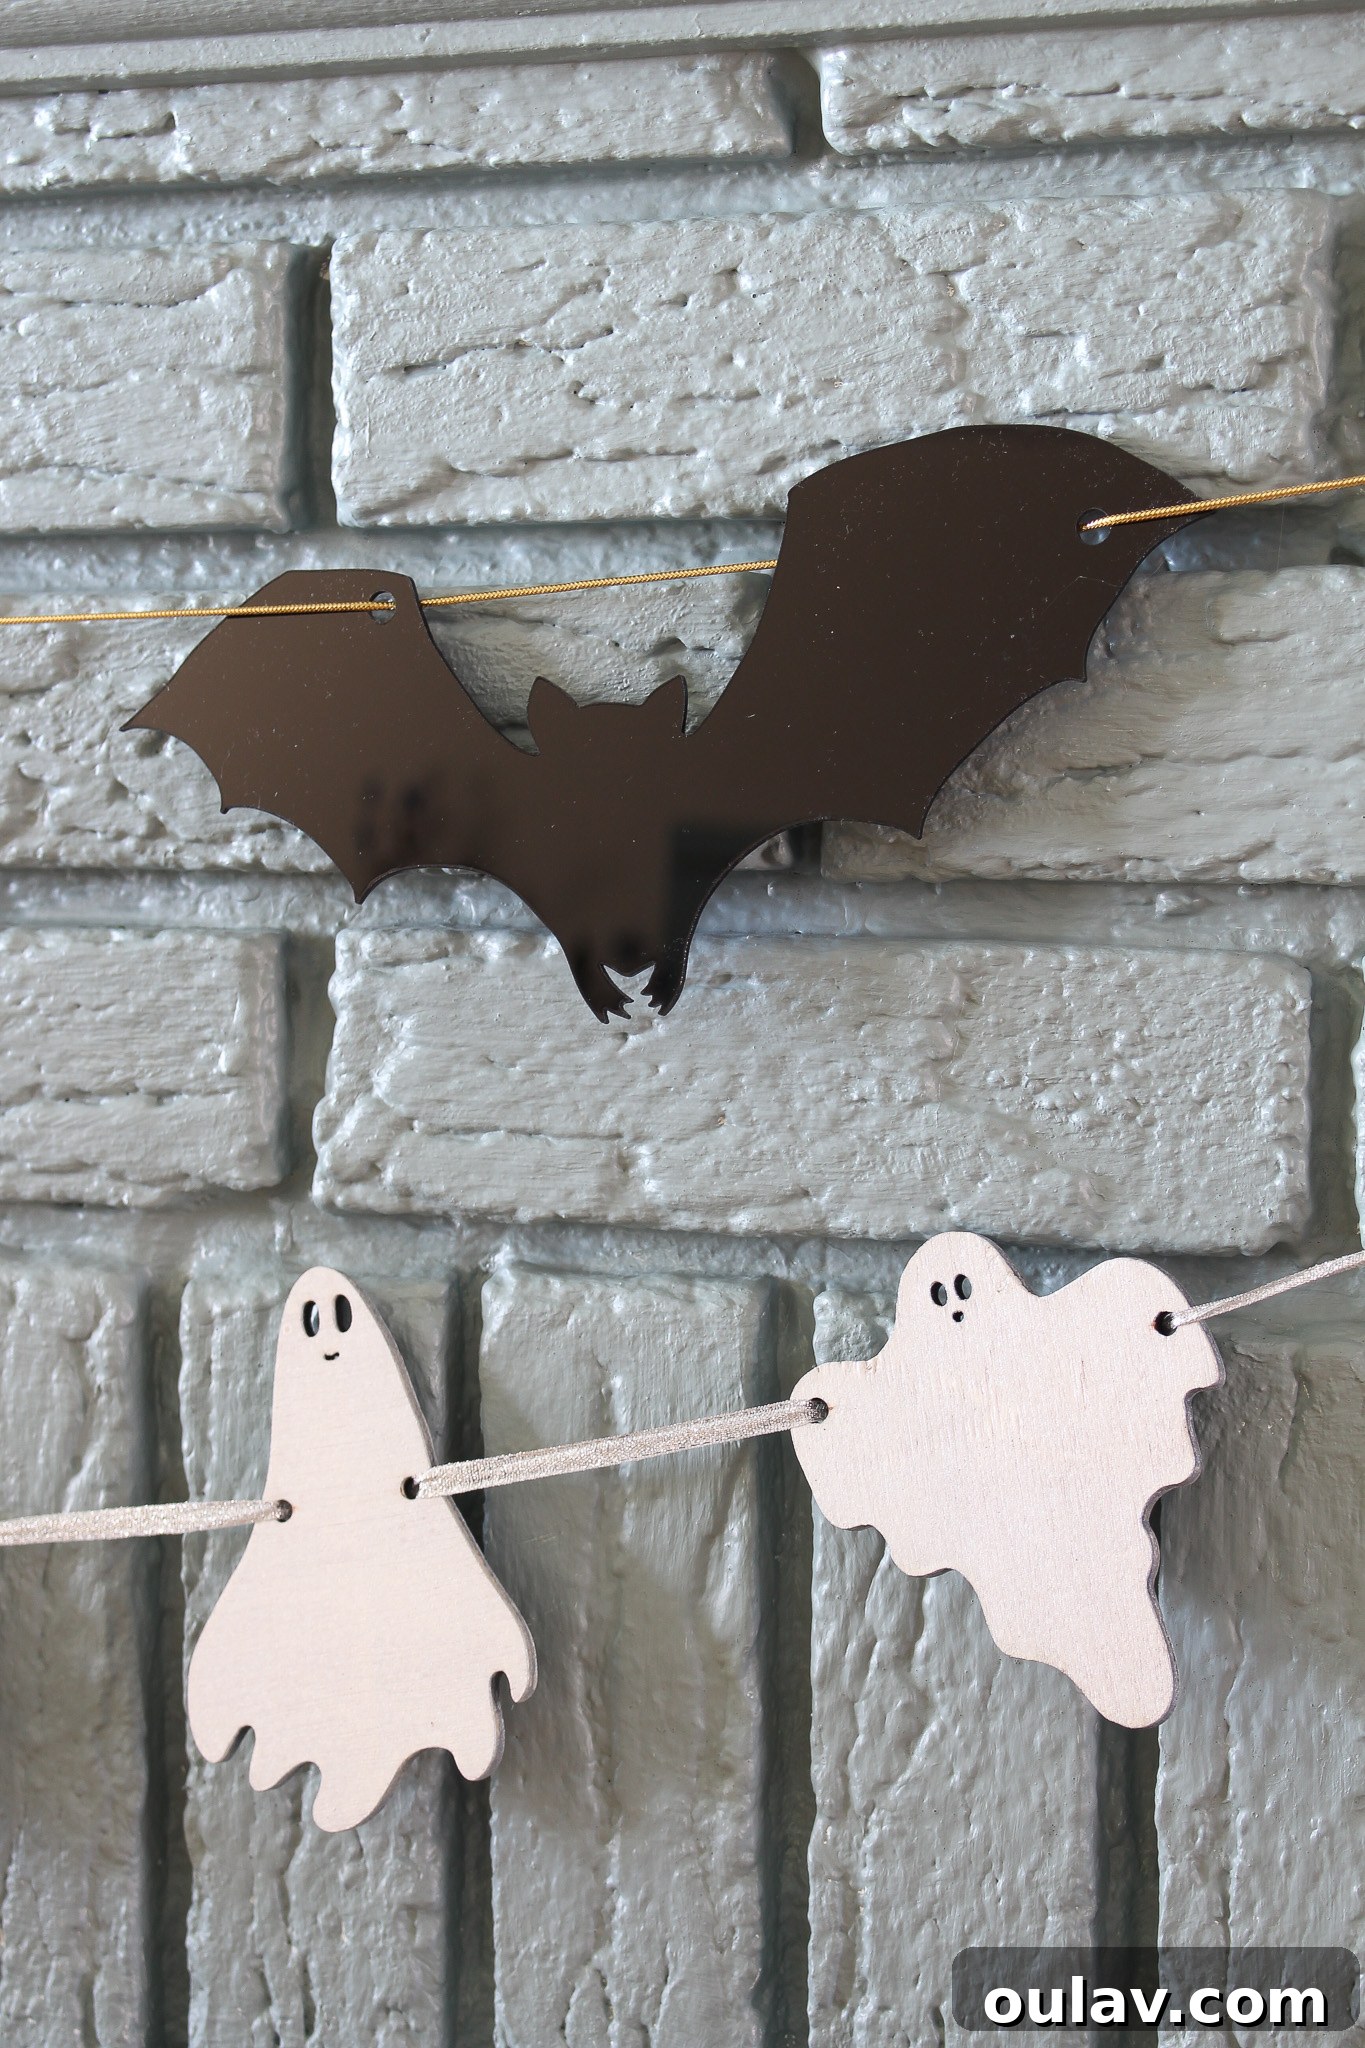
- The “Footsie” Lesson: In one of my bat designs, a tiny “footsie” didn’t cut perfectly, as you can observe in the images below. Yet, its matching pair on another bat turned out perfectly. This illustrates that occasional glitches can occur if a design is excessively small, detailed, or intricate. These aren’t failures of the machine but rather inherent challenges of pushing the boundaries of material and laser capabilities. It’s a valuable reminder to simplify where possible or account for potential imperfections in your design.
- Always Supervise: Regardless of the simplicity or complexity of your design, always supervise your xTool M1 as it operates. Watching the laser work allows you to catch any anomalies immediately, whether it’s an unexpected cut, a material shift, or a minor glitch in the design execution. This vigilance is key to ensuring both the quality of your finished product and the safe operation of your machine.
By keeping these tips in mind, you can maximize the potential of your xTool M1 and the SVG conversion process, turning almost any drawing into a stunning, laser-cut reality. It’s an empowering tool for makers, allowing for unparalleled customization and creativity in your projects.
The subtle imperfection on the bat’s footsie, visible in the photo above, highlights an important consideration for intricate designs. While the xTool M1 offers incredible precision, extremely small or fine details can sometimes be a challenge, as a slight laser deviation or material irregularity might affect the outcome. It’s a testament to the fact that even with advanced machinery, there’s always a delicate balance between design complexity and guaranteed flawless execution. Learning these nuances enriches the crafting experience, allowing you to refine your approach for future projects. Remember, consistency in material quality and diligent supervision are your best allies when pushing design boundaries.
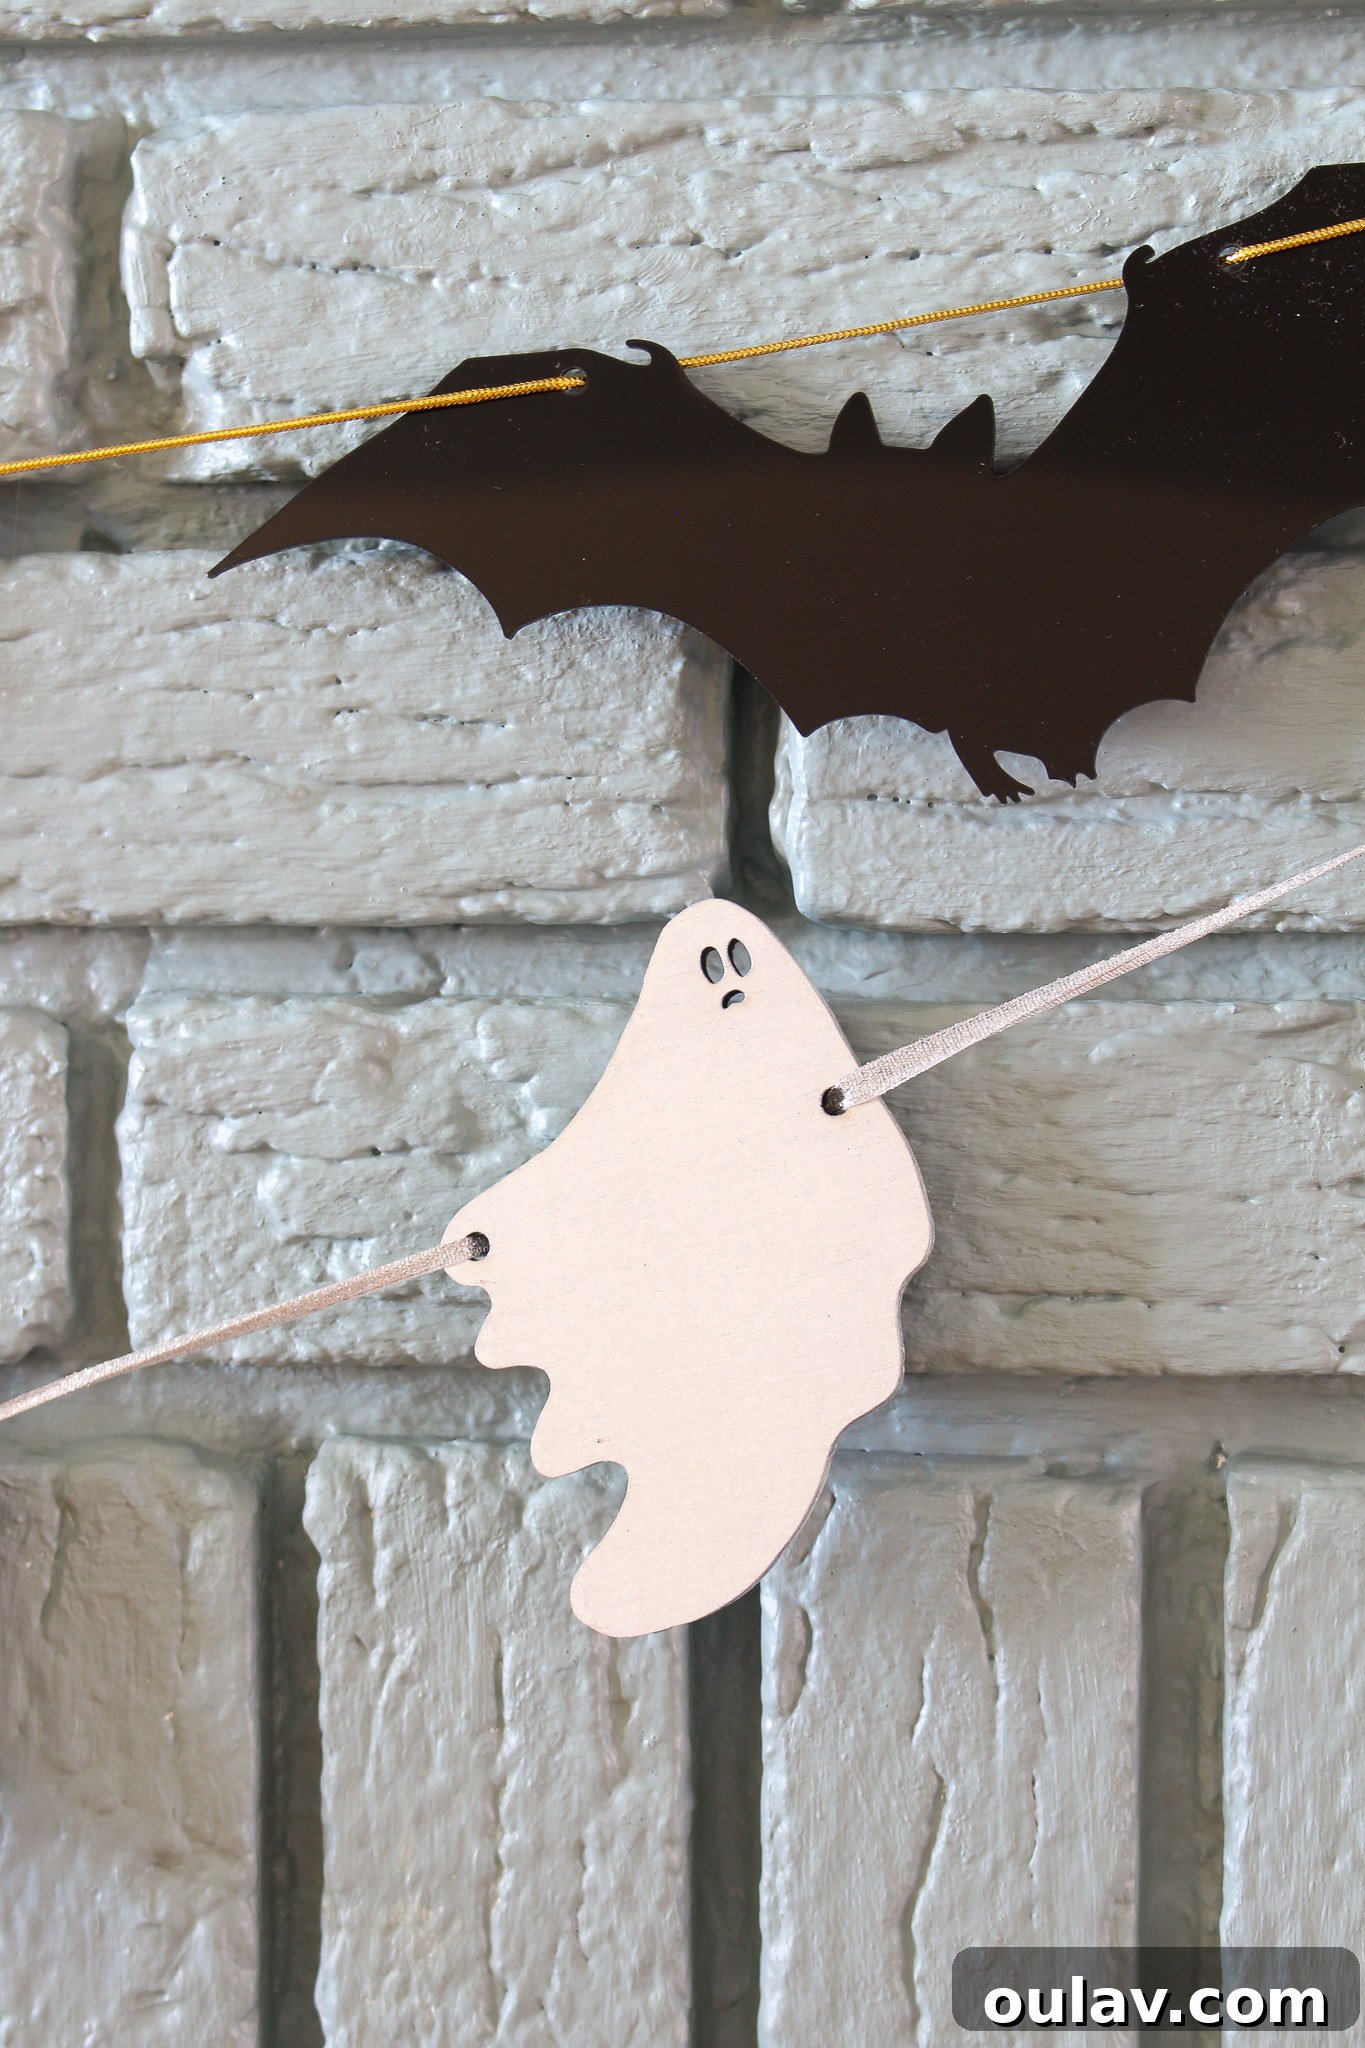
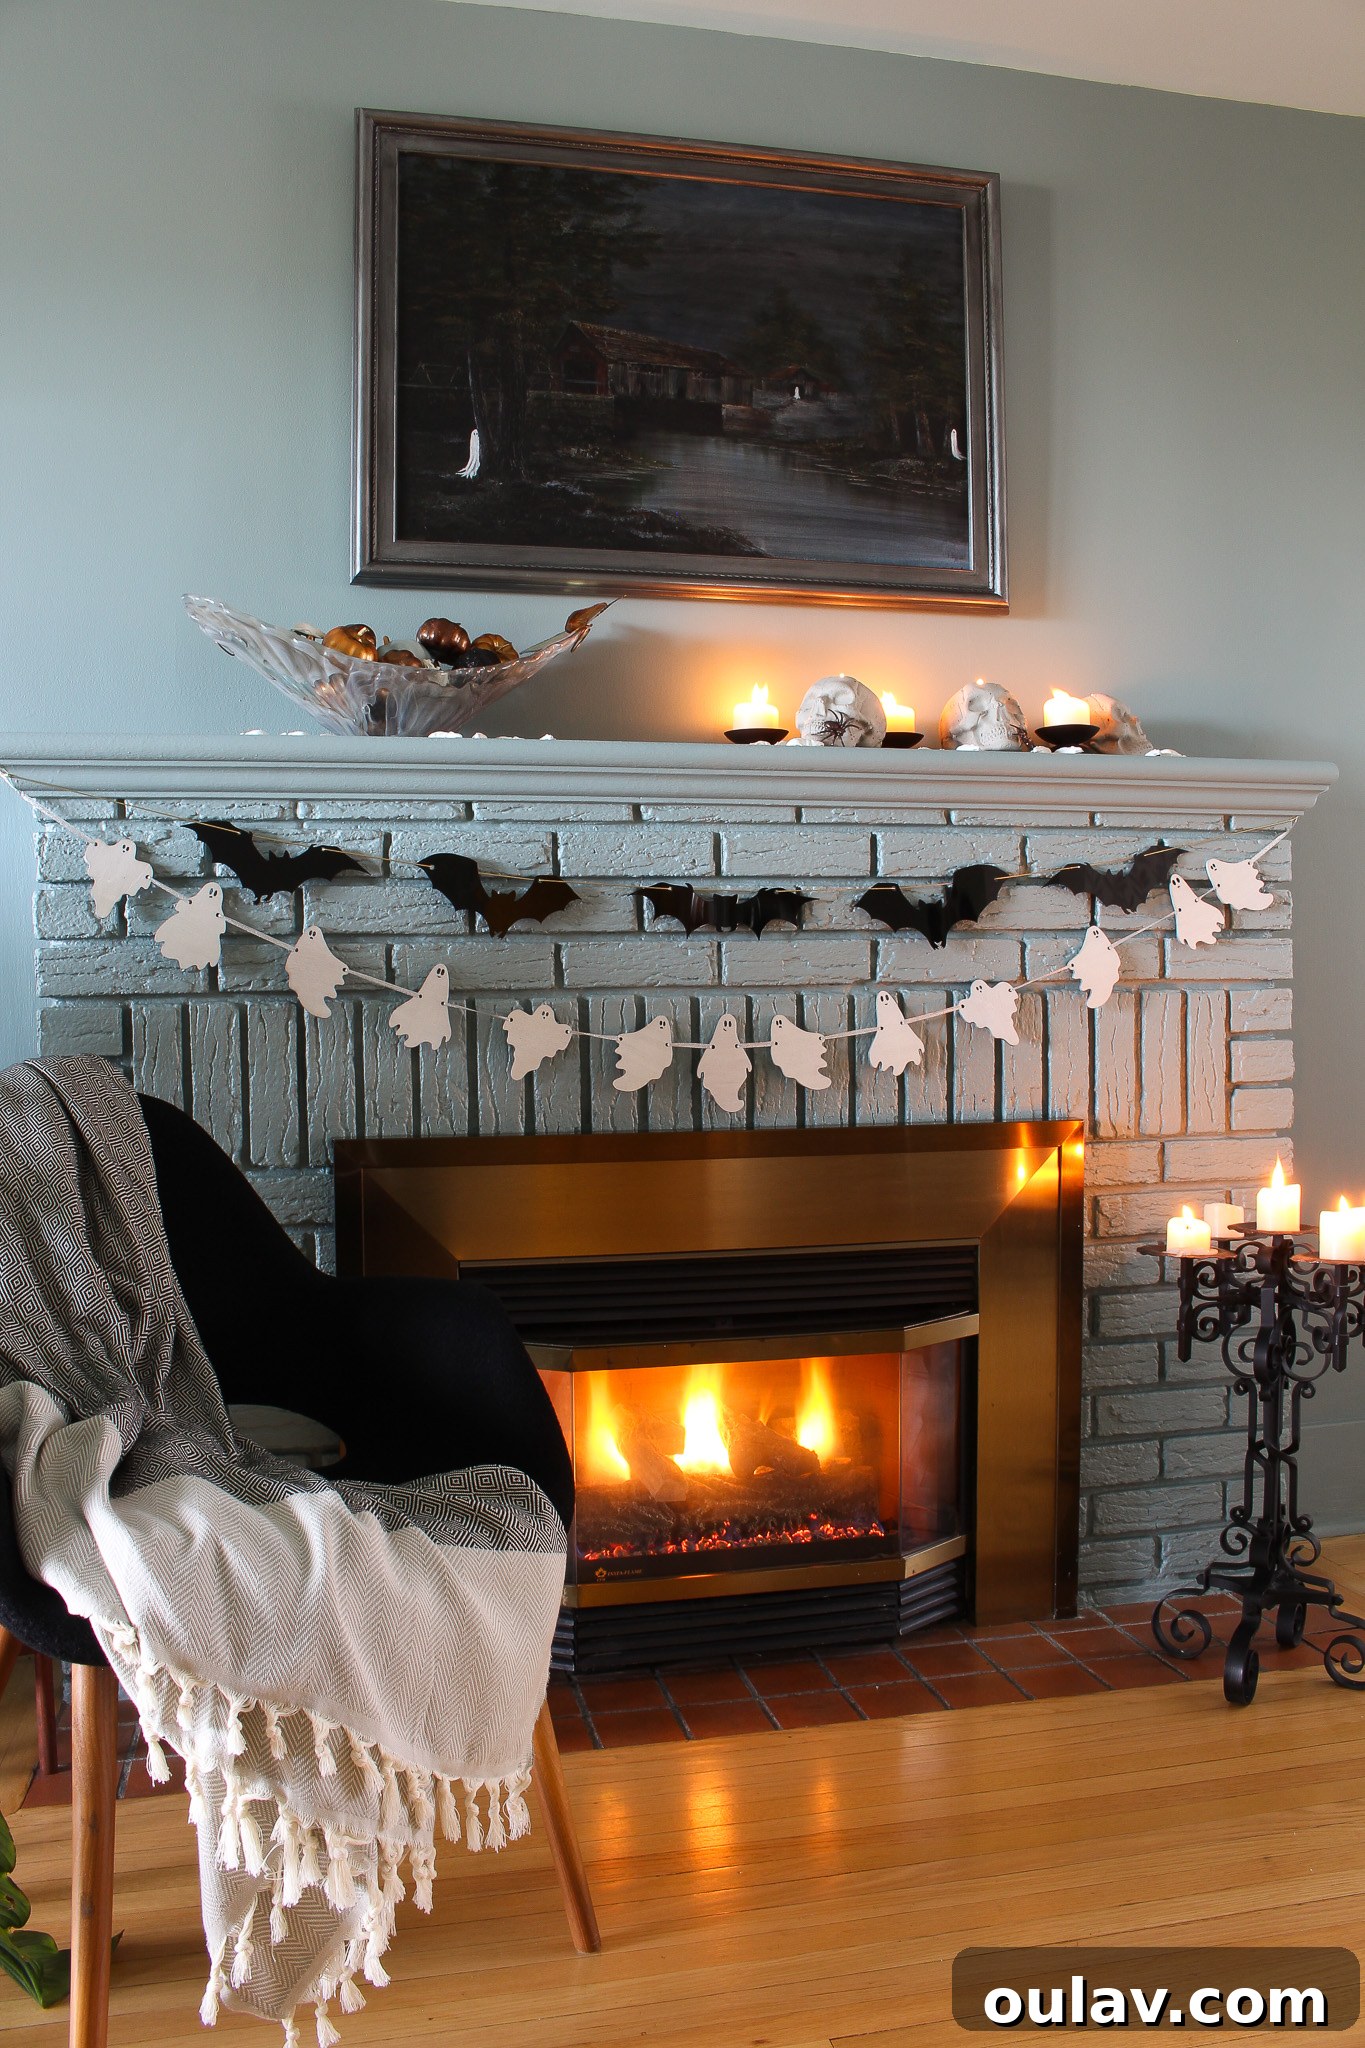
The Finished DIY Acrylic Bat Garland: Instant Halloween Elegance!
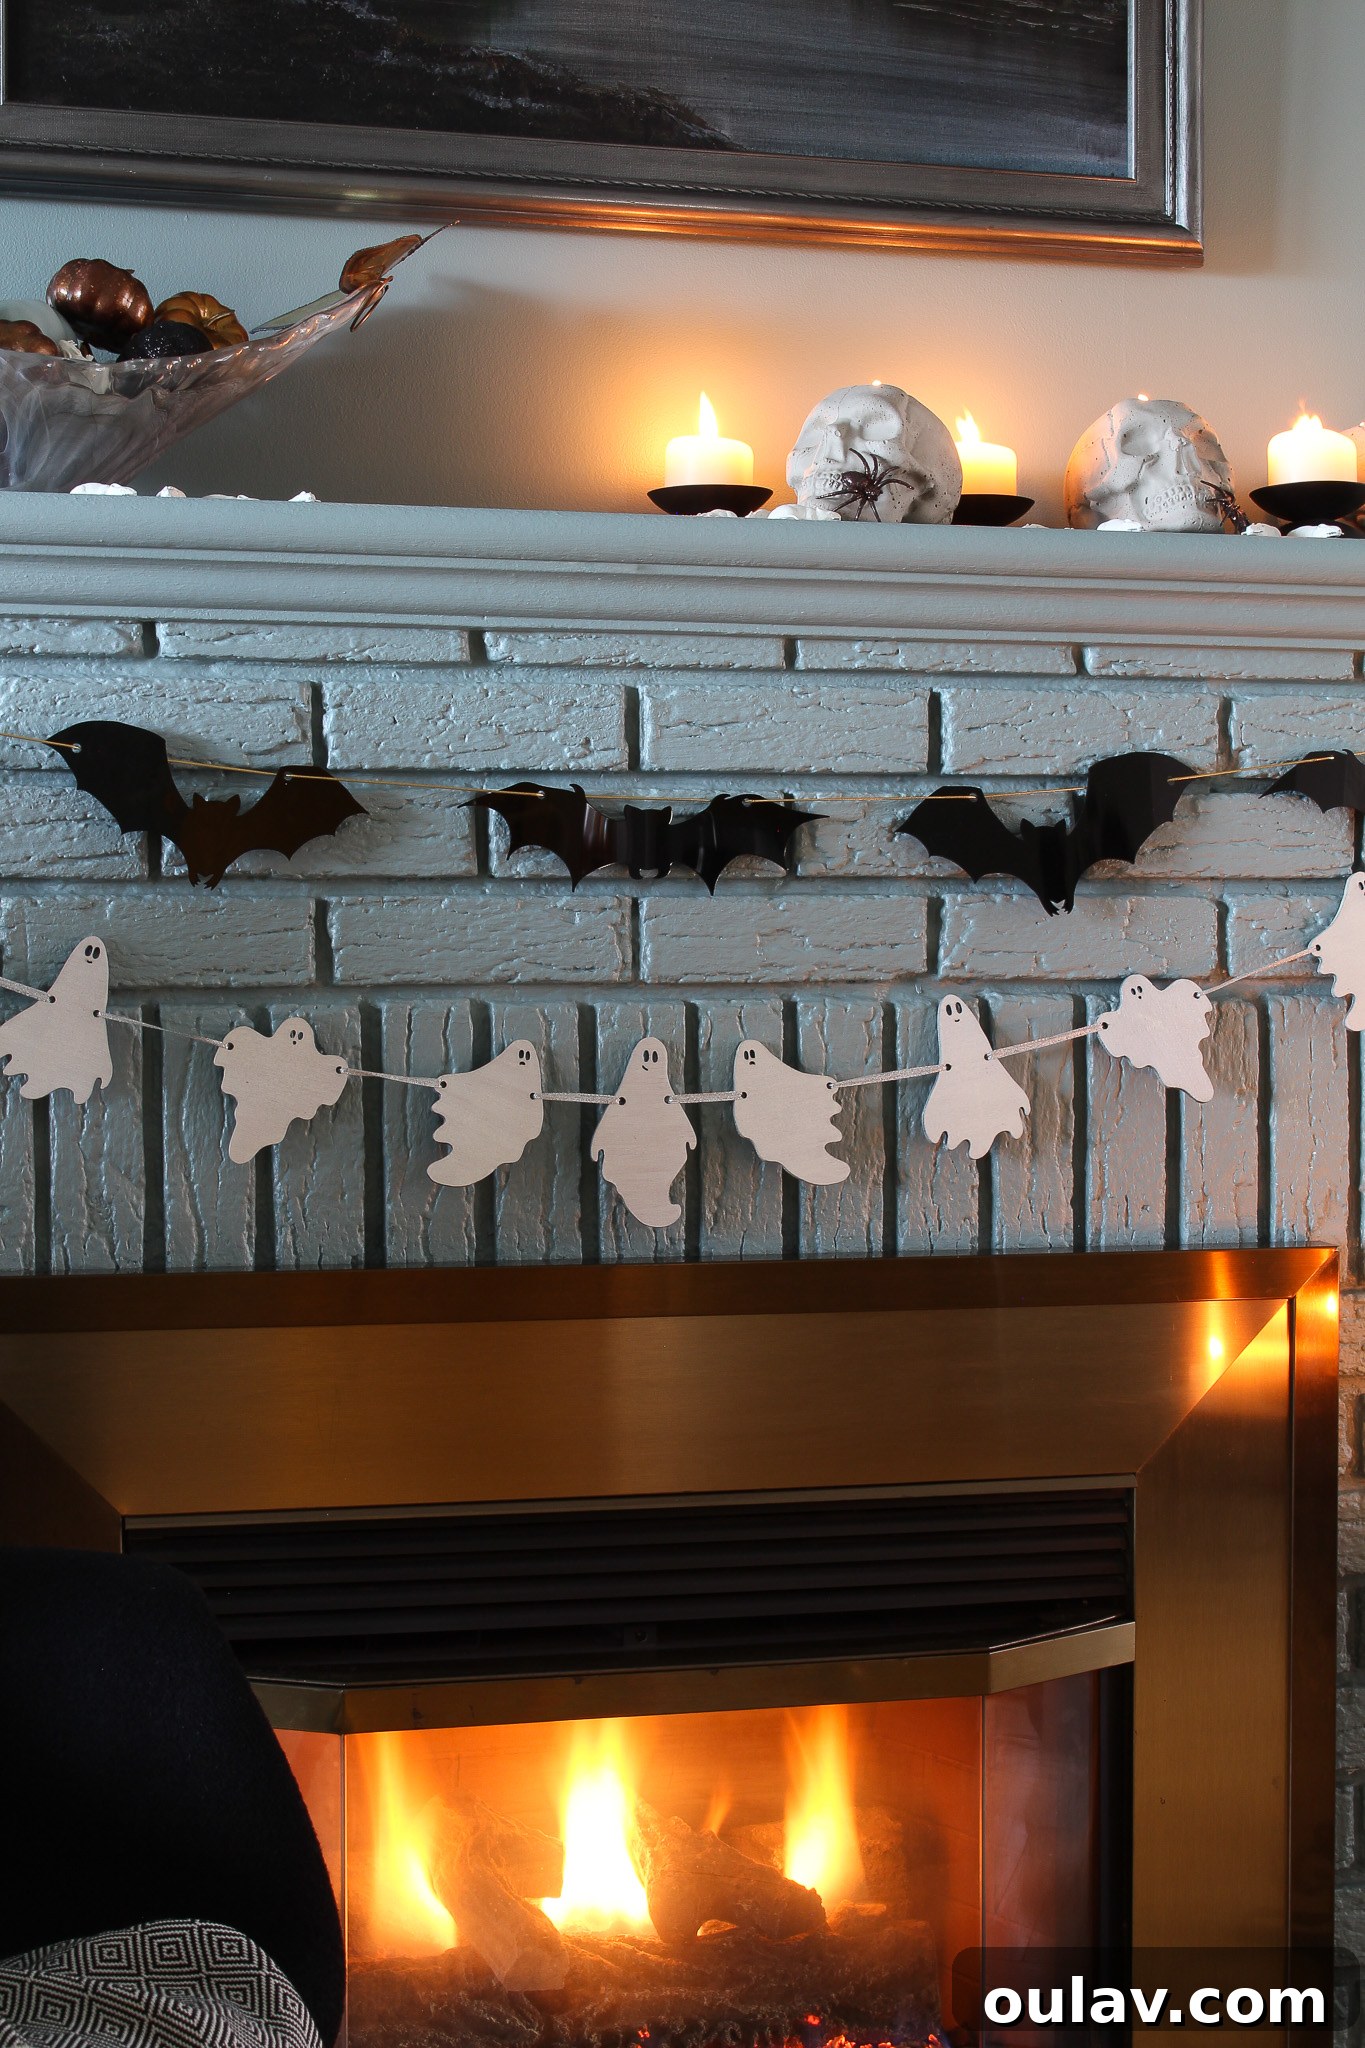
One of the most satisfying aspects of crafting with acrylic, especially when compared to materials like laser-cut plywood, is the minimal post-processing required. Unlike the plywood ghosts, which demanded cleaning, staining, sealing, and curing, our acrylic bats emerge from the xTool M1 ready for immediate use! This instant gratification is a huge bonus for busy crafters or anyone looking for quick yet impactful decor solutions. The sleek black finish of the acrylic is inherently elegant and requires no further embellishment, making it a perfect material for modern Halloween aesthetics.
Effortless Assembly: The assembly process for this garland couldn’t be simpler. Once all your bat shapes are precisely cut, all you need to do is slide them onto your chosen cord. For our garland, we opted for a cord from my existing craft stash, which had a lovely texture. This textured surface provided just enough friction to naturally hold the bats in place without the need for additional knots. They remained beautifully positioned along the garland, creating a fluid, flying effect.
Customization Opportunities: While we loved the minimalist look of the plain bats on the cord, the beauty of DIY is in its flexibility. You can absolutely customize your garland further! If your cord is smoother or if you prefer a more fixed arrangement, you can easily add small knots on either side of each bat to secure its position. Another delightful idea is to intersperse the bats with other decorative elements. Imagine adding colorful DIY felt balls in shades of orange, purple, or even white to create a playful contrast, or perhaps some tiny metallic beads for a touch of sparkle. The possibilities are truly endless, allowing you to tailor the garland to your specific Halloween theme or personal style.
This finished DIY acrylic bat garland is not just a decoration; it’s a testament to the power of modern crafting tools like the xTool M1, enabling stunning, chic, and durable Halloween decor with unprecedented ease. It’s a piece that will undoubtedly draw compliments and become a cherished part of your seasonal display for years to come.
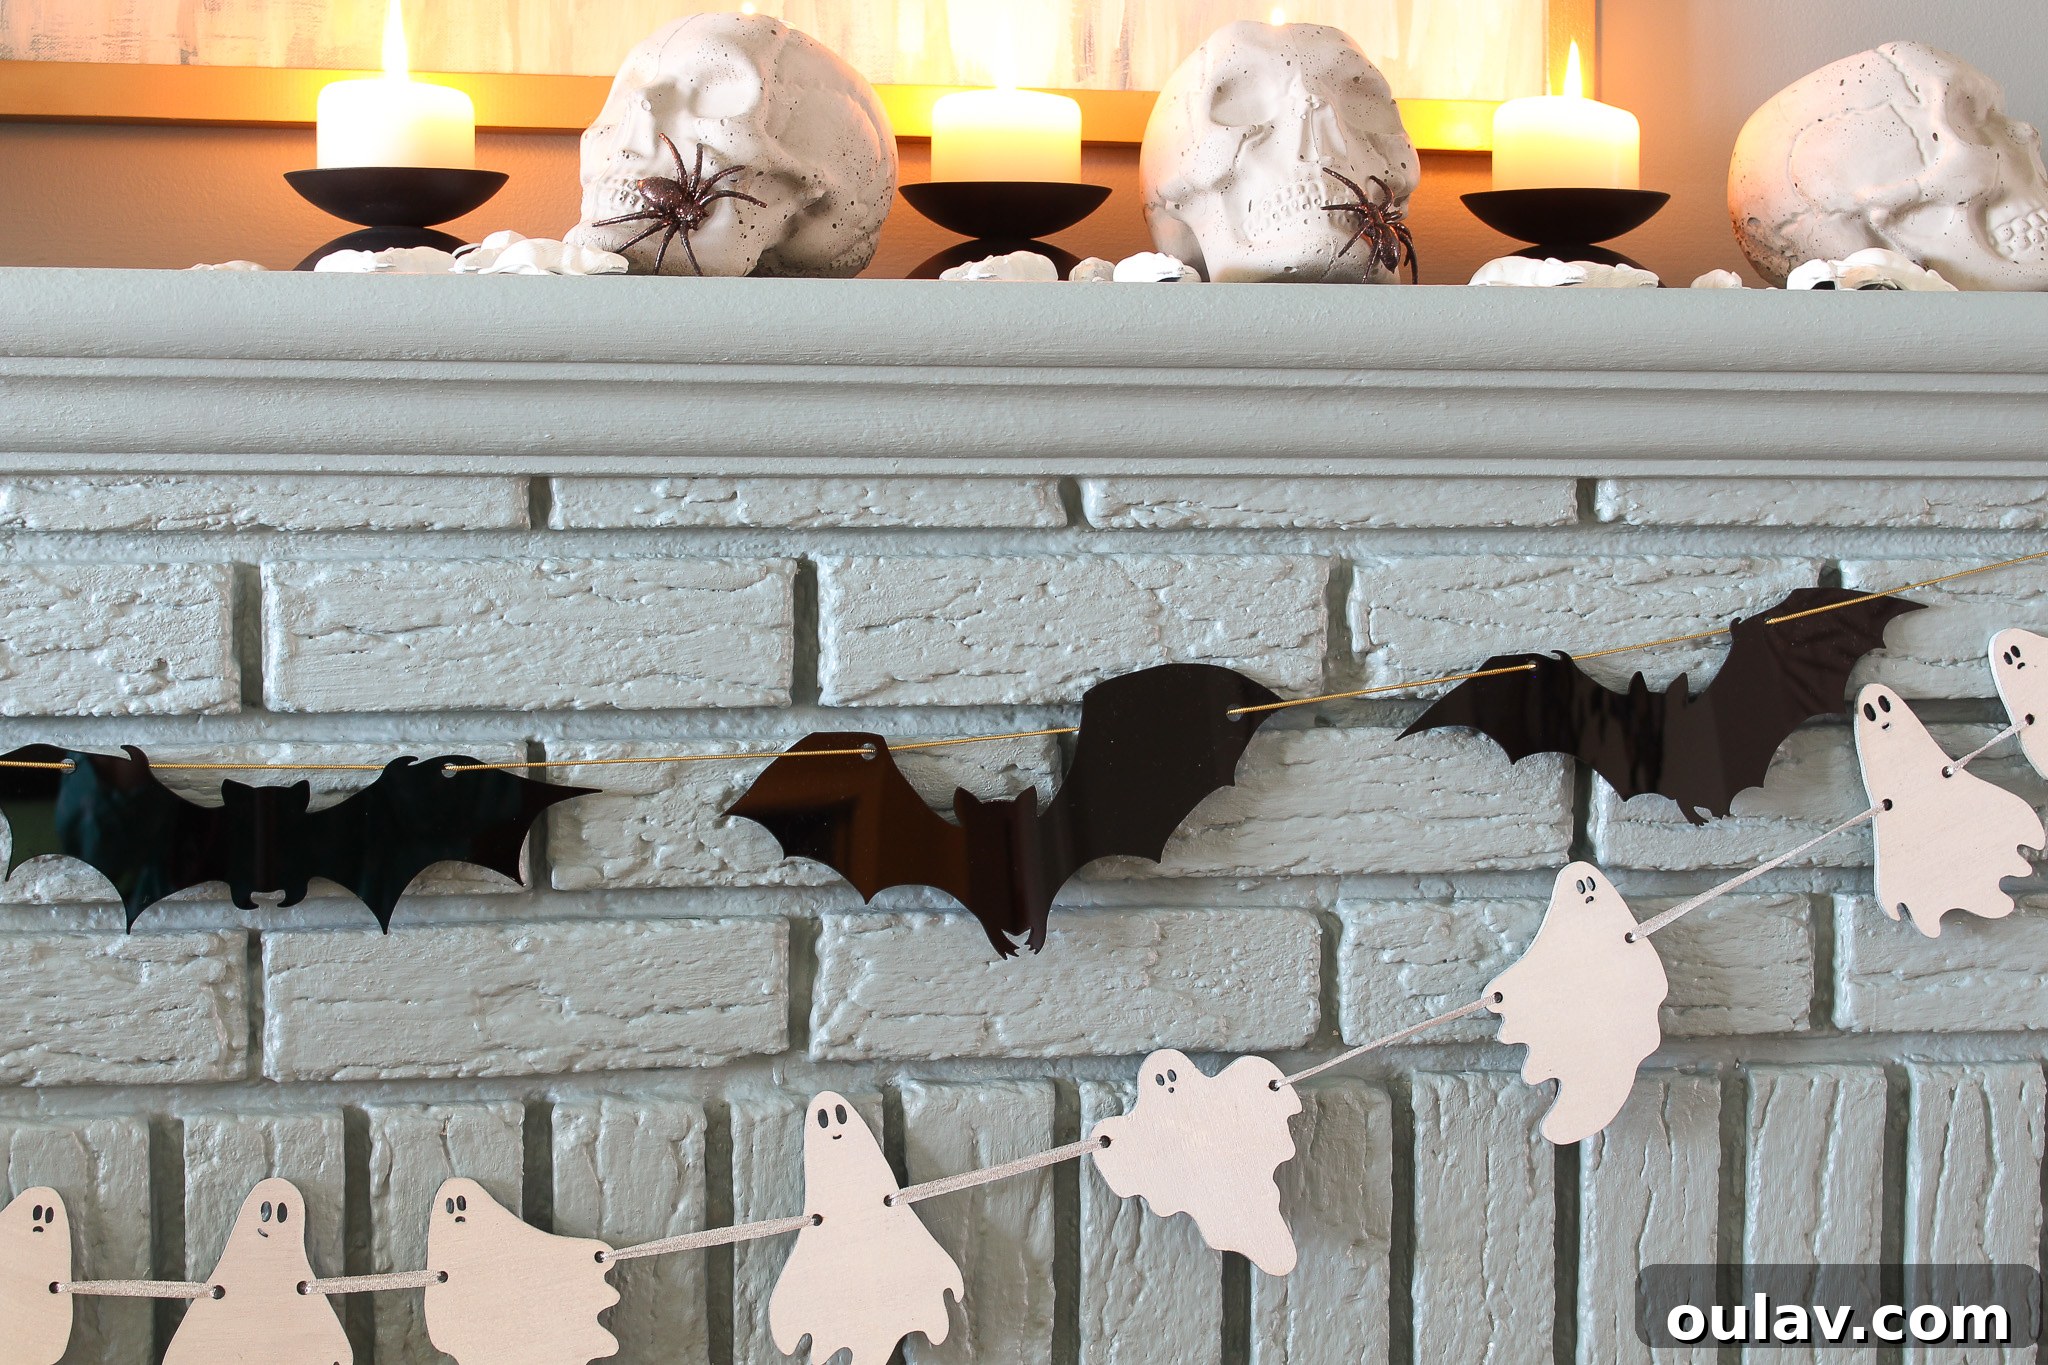
Creating a Captivating Halloween Mantel: Combining DIY Crafts for Modern Spookiness:
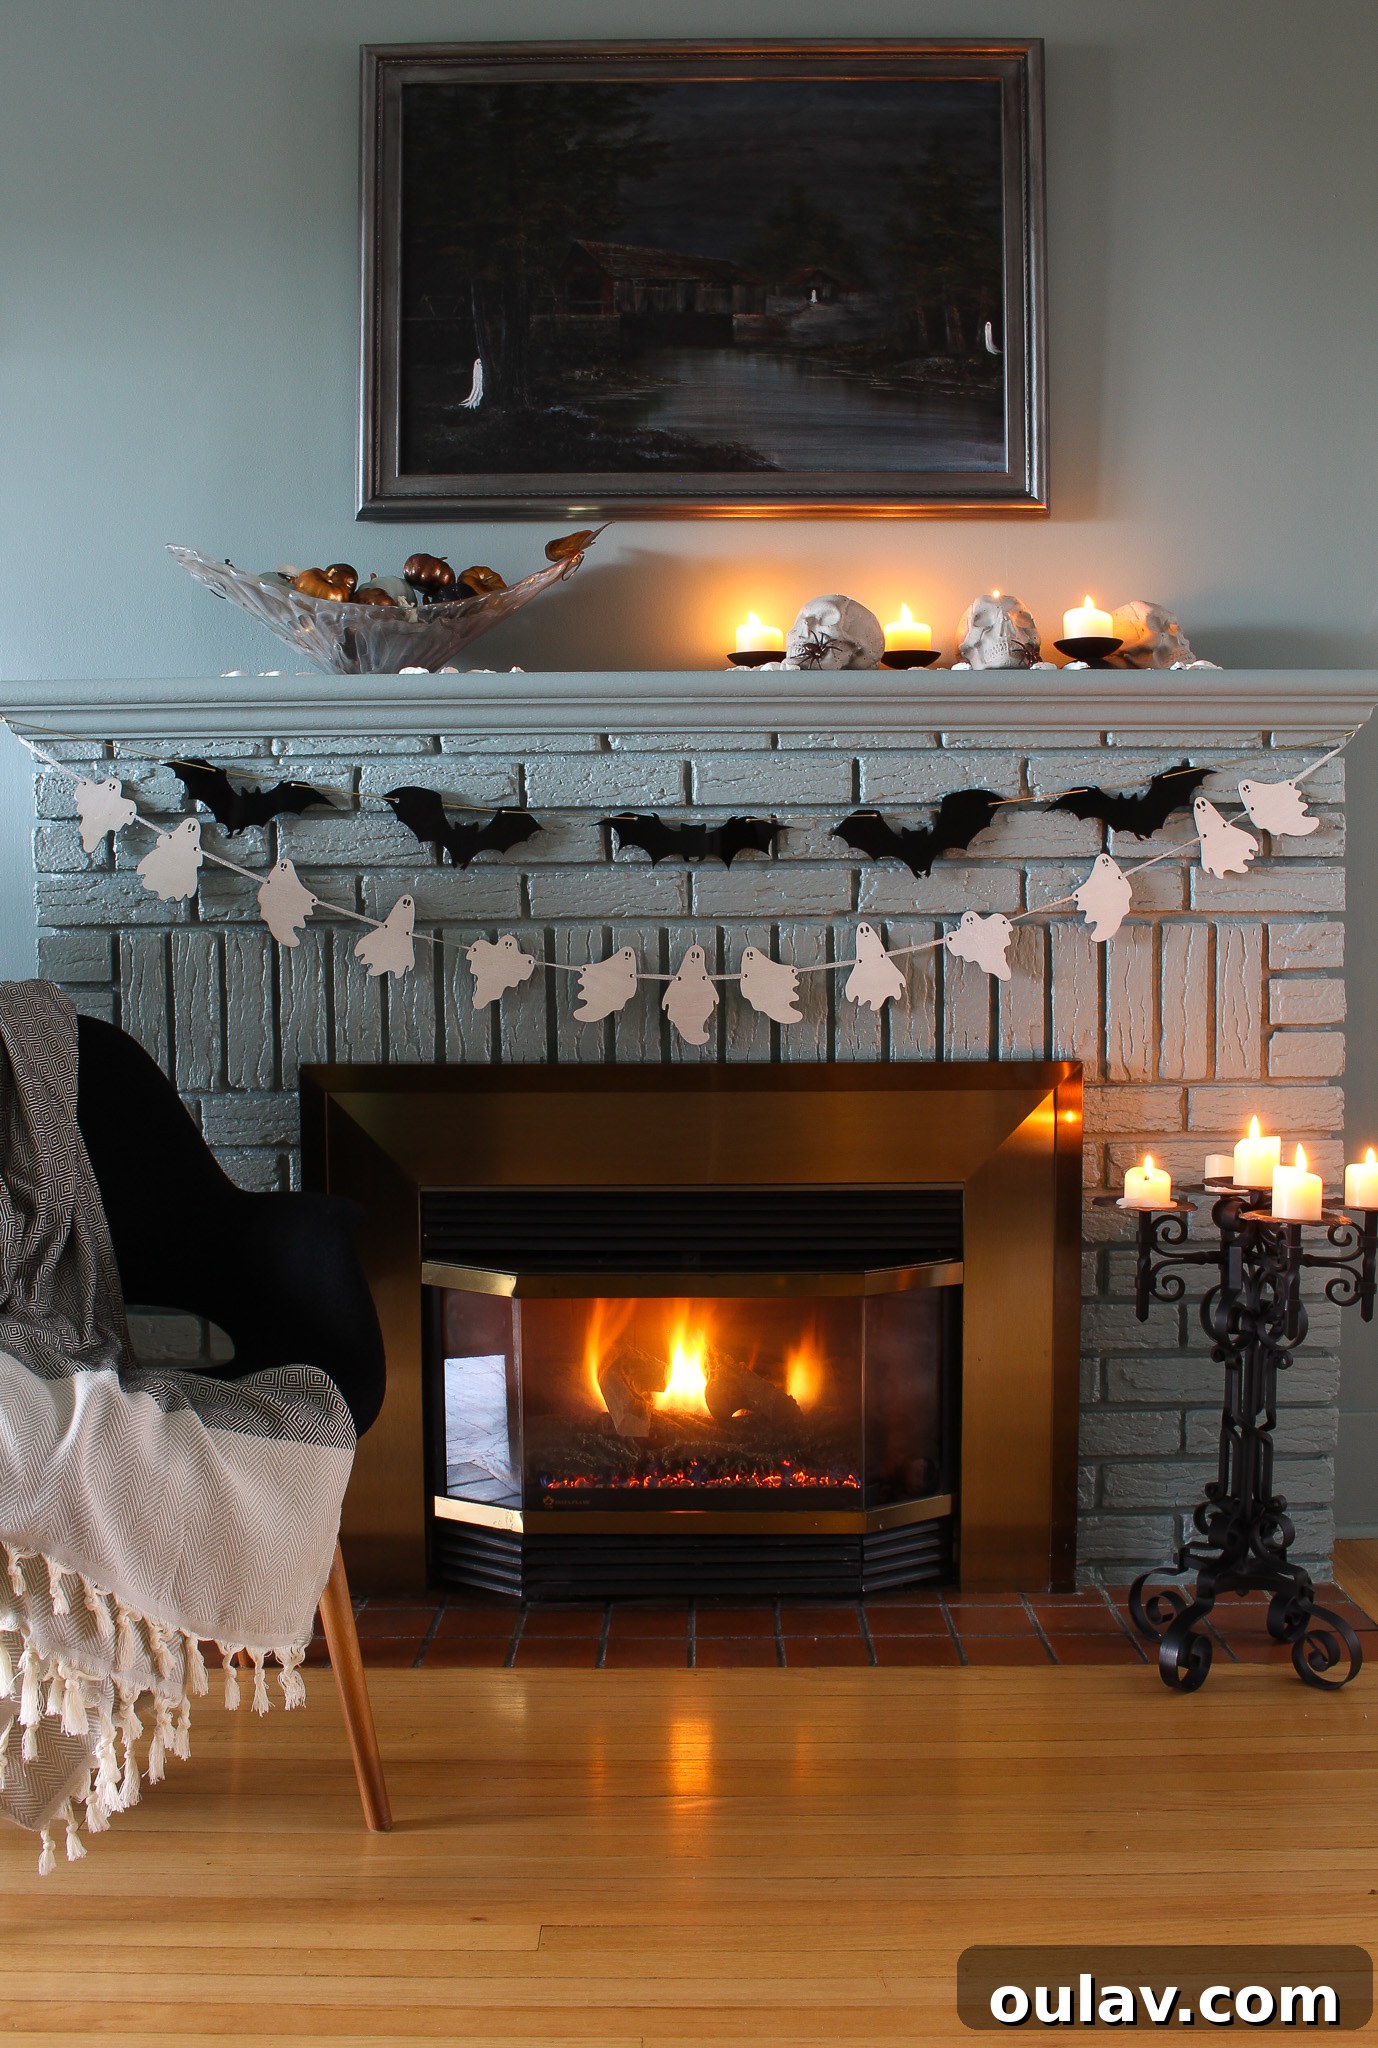
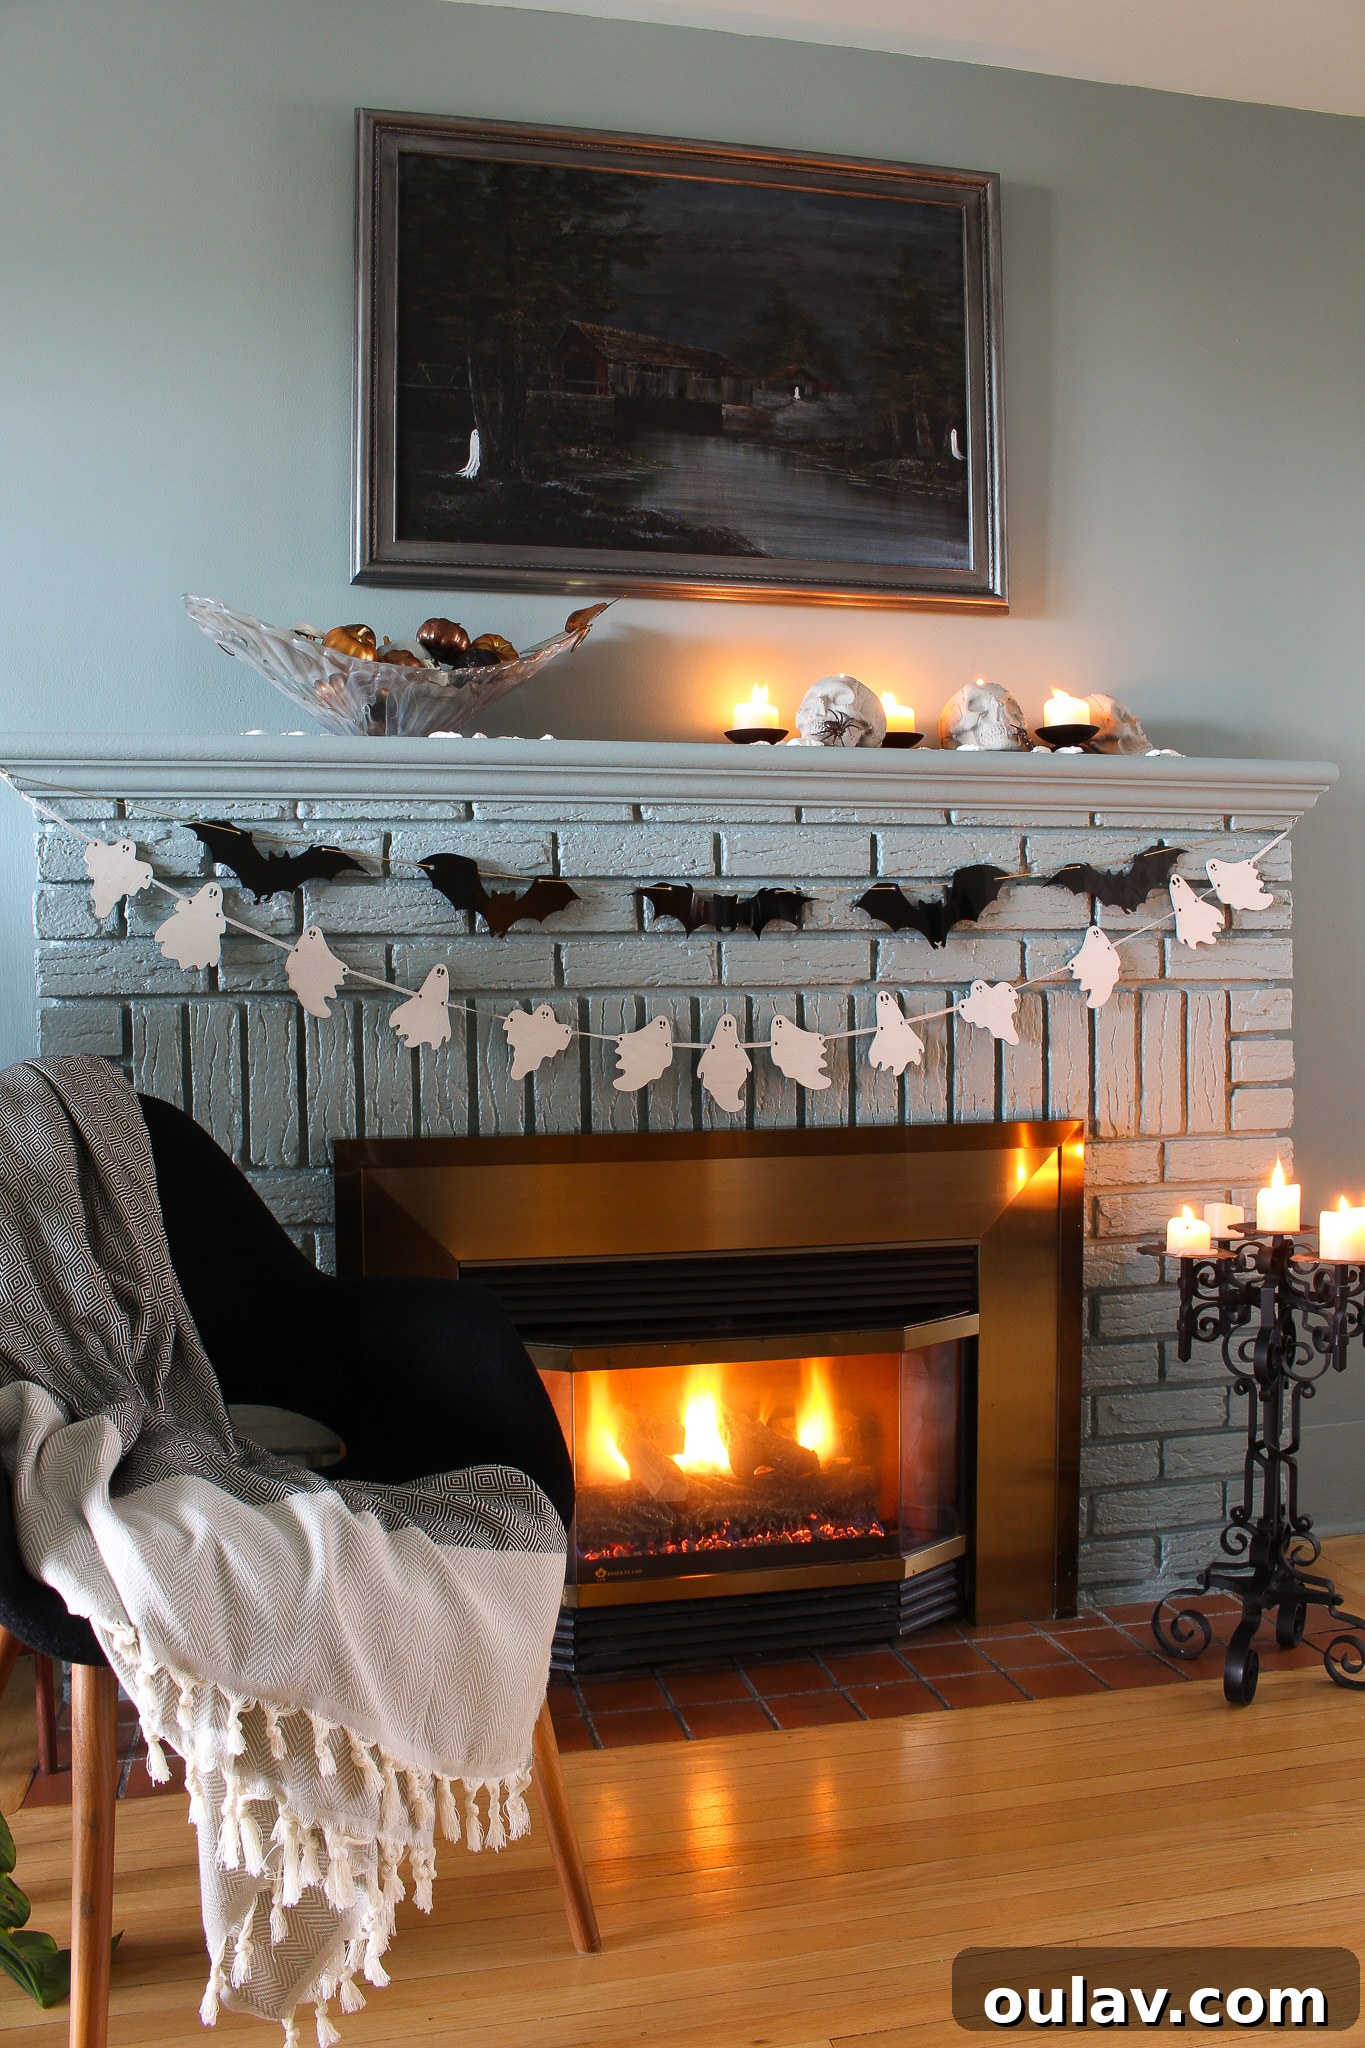
There’s immense joy in watching a collection of handmade decorations come together to form a cohesive and enchanting display. Our DIY Bat Garland is designed to integrate seamlessly into a wider Halloween decor scheme, elevating any space with its modern, chic aesthetic. For my Mom’s Halloween mantel, this bat garland perfectly complements the other handcrafted pieces, creating a truly unique and personalized autumn vignette. The end result is a mantelpiece packed with character, charm, and just the right amount of spooky sophistication.
A Symphony of Handmade Halloween: I absolutely adore how the DIY Bat Garland looks alongside our other creations. The crisp black acrylic provides a striking contrast and sophisticated edge when paired with the ethereal DIY Ghost Garland. The translucent quality of the ghosts juxtaposed with the opaque bats creates a dynamic visual narrative – a playful chase or a mysterious gathering. Further enhancing this scene are the rugged textures of our DIY Concrete Skulls, which ground the display with an earthy, slightly gothic feel. And finally, the whimsical and artful touch of the DIY Ghost Painting adds a layer of artistic depth and personality, making the entire arrangement feel curated and special. This blend of different materials and crafting techniques (laser cutting, concrete work, painting) showcases the versatility of DIY projects.
Personal Touches and Heirloom Decor: What truly makes this mantel extraordinary, beyond the bats and ghosts, is the inclusion of family heirlooms. Even the charmingly whimsical candelabra, a unique piece handcrafted by my grandpa, finds its perfect place within this modern Halloween setting. Incorporating items with personal history and sentimental value adds an unparalleled warmth and authenticity to your seasonal decor, transforming a simple display into a storytelling centerpiece. It proves that new, modern DIY crafts can beautifully coexist with treasured vintage pieces, creating a rich tapestry of styles and memories.
Achieving the Desired Aesthetic: The overall aesthetic we aimed for, and successfully achieved, is one of chic, subtly spooky elegance. It’s Halloween decor that’s sophisticated enough for adult tastes yet still possesses that classic festive spirit. The clean lines of the acrylic bats, the subtle glow from candles within the concrete skulls, and the gentle sway of the ghost garland all contribute to an atmosphere that is inviting, intriguing, and perfectly poised for the season. This mantel serves as inspiration, demonstrating how a thoughtful combination of handmade items can create a stunning and memorable Halloween display that is both personal and stylish.
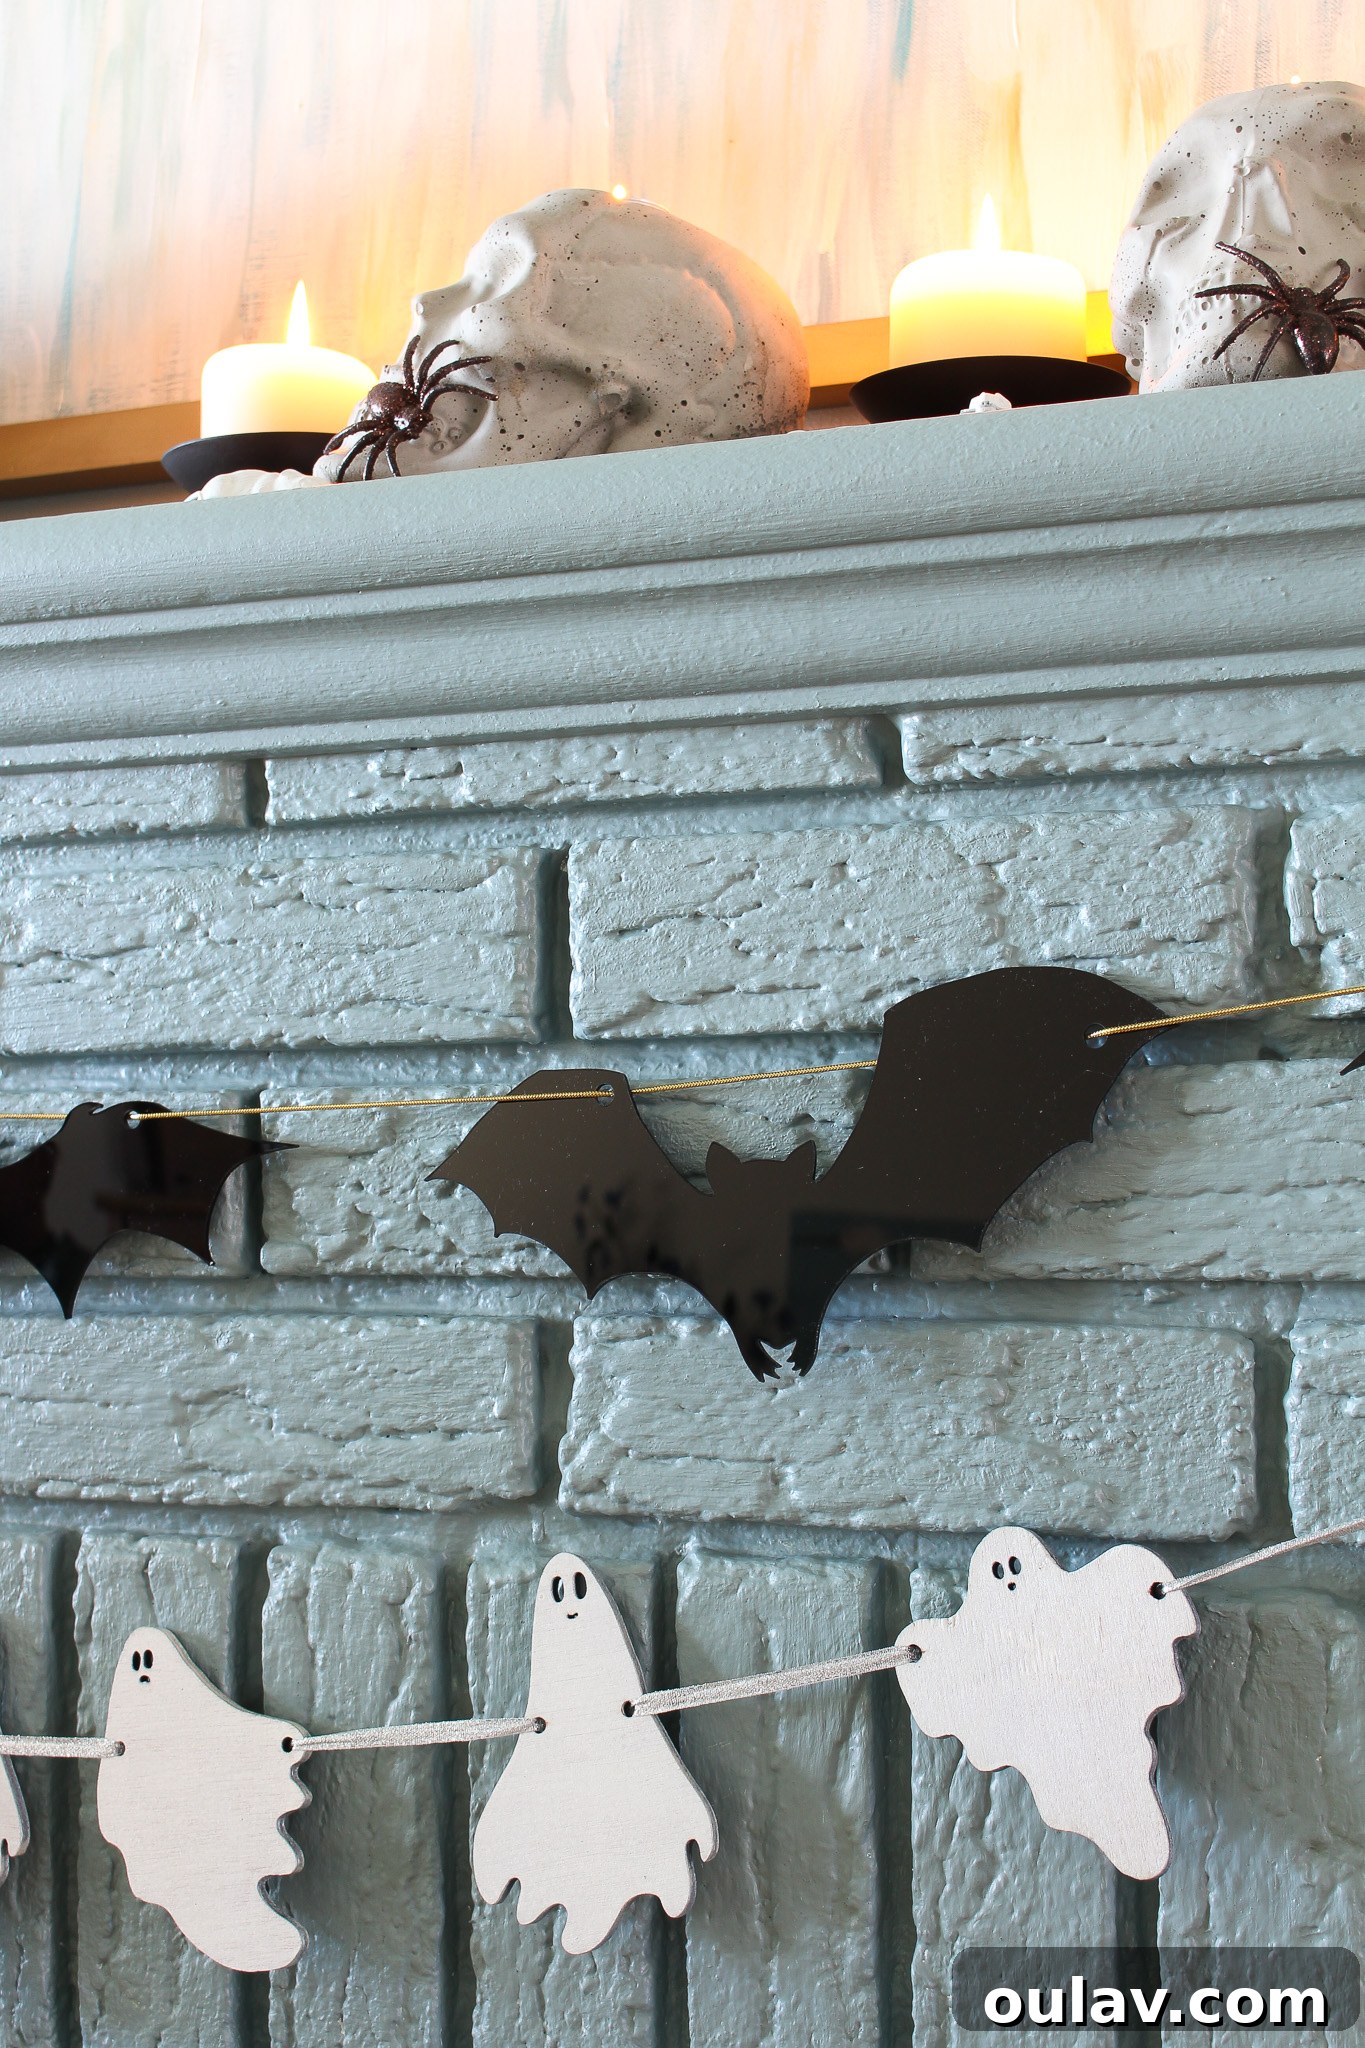
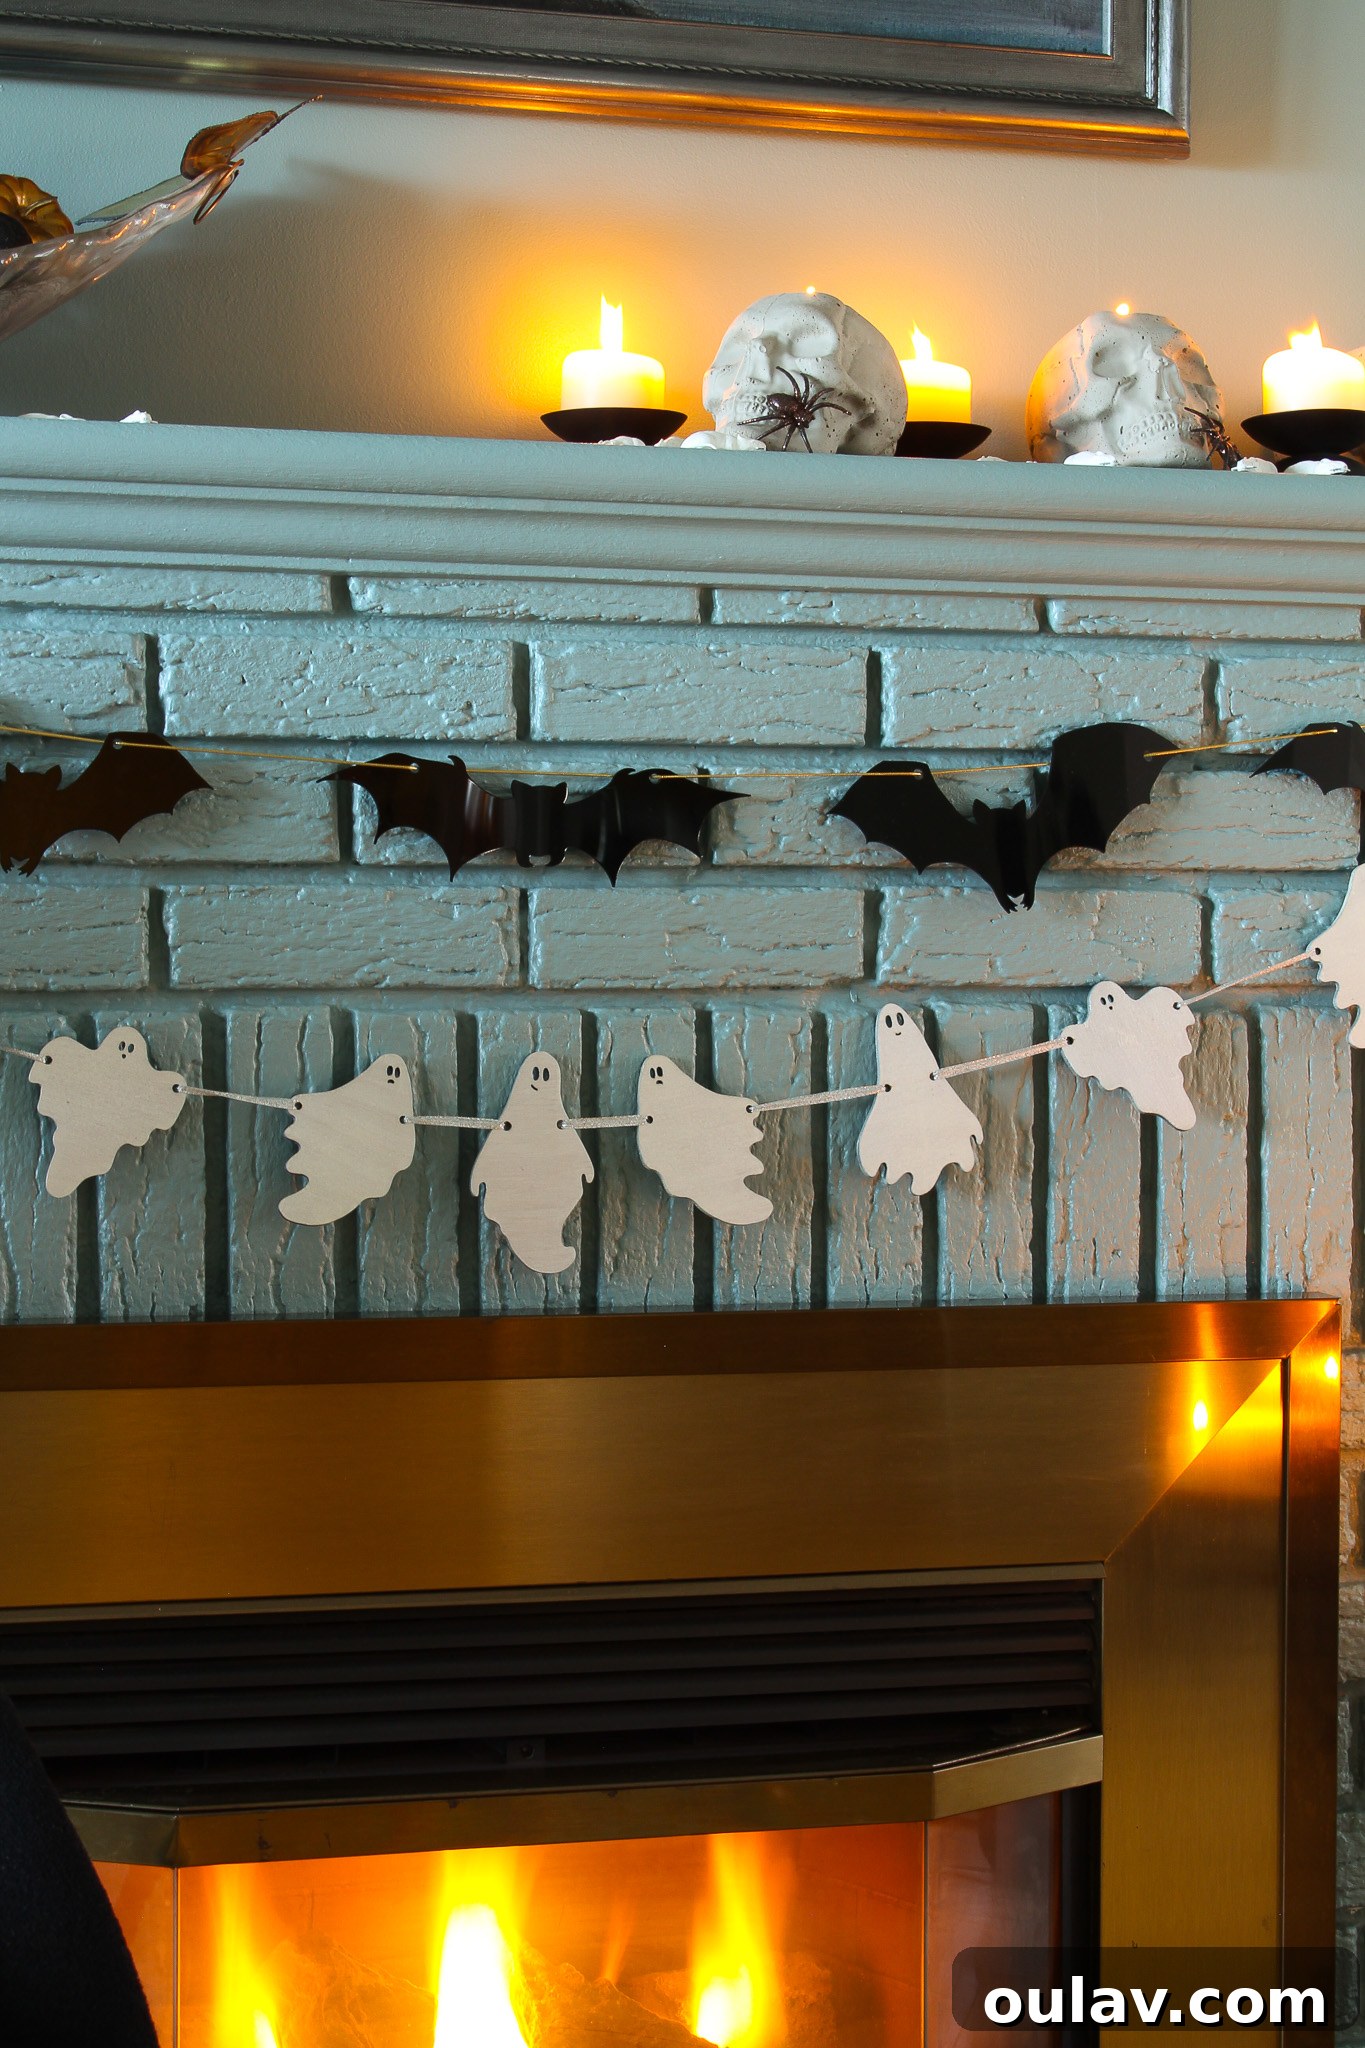
We hope this detailed guide inspires you to create your own captivating DIY Bat Garland using the incredible xTool M1. It’s a project that combines modern technology with classic Halloween charm, offering a fresh take on seasonal decorating. The ease of creation, coupled with the striking visual impact of the black acrylic bats, makes this a standout craft. Whether you’re enhancing your mantel, adorning a doorway, or adding a touch of spooky elegance to any corner of your home, this garland is sure to impress. Embrace the joy of handmade decor and let your creativity soar this Halloween!