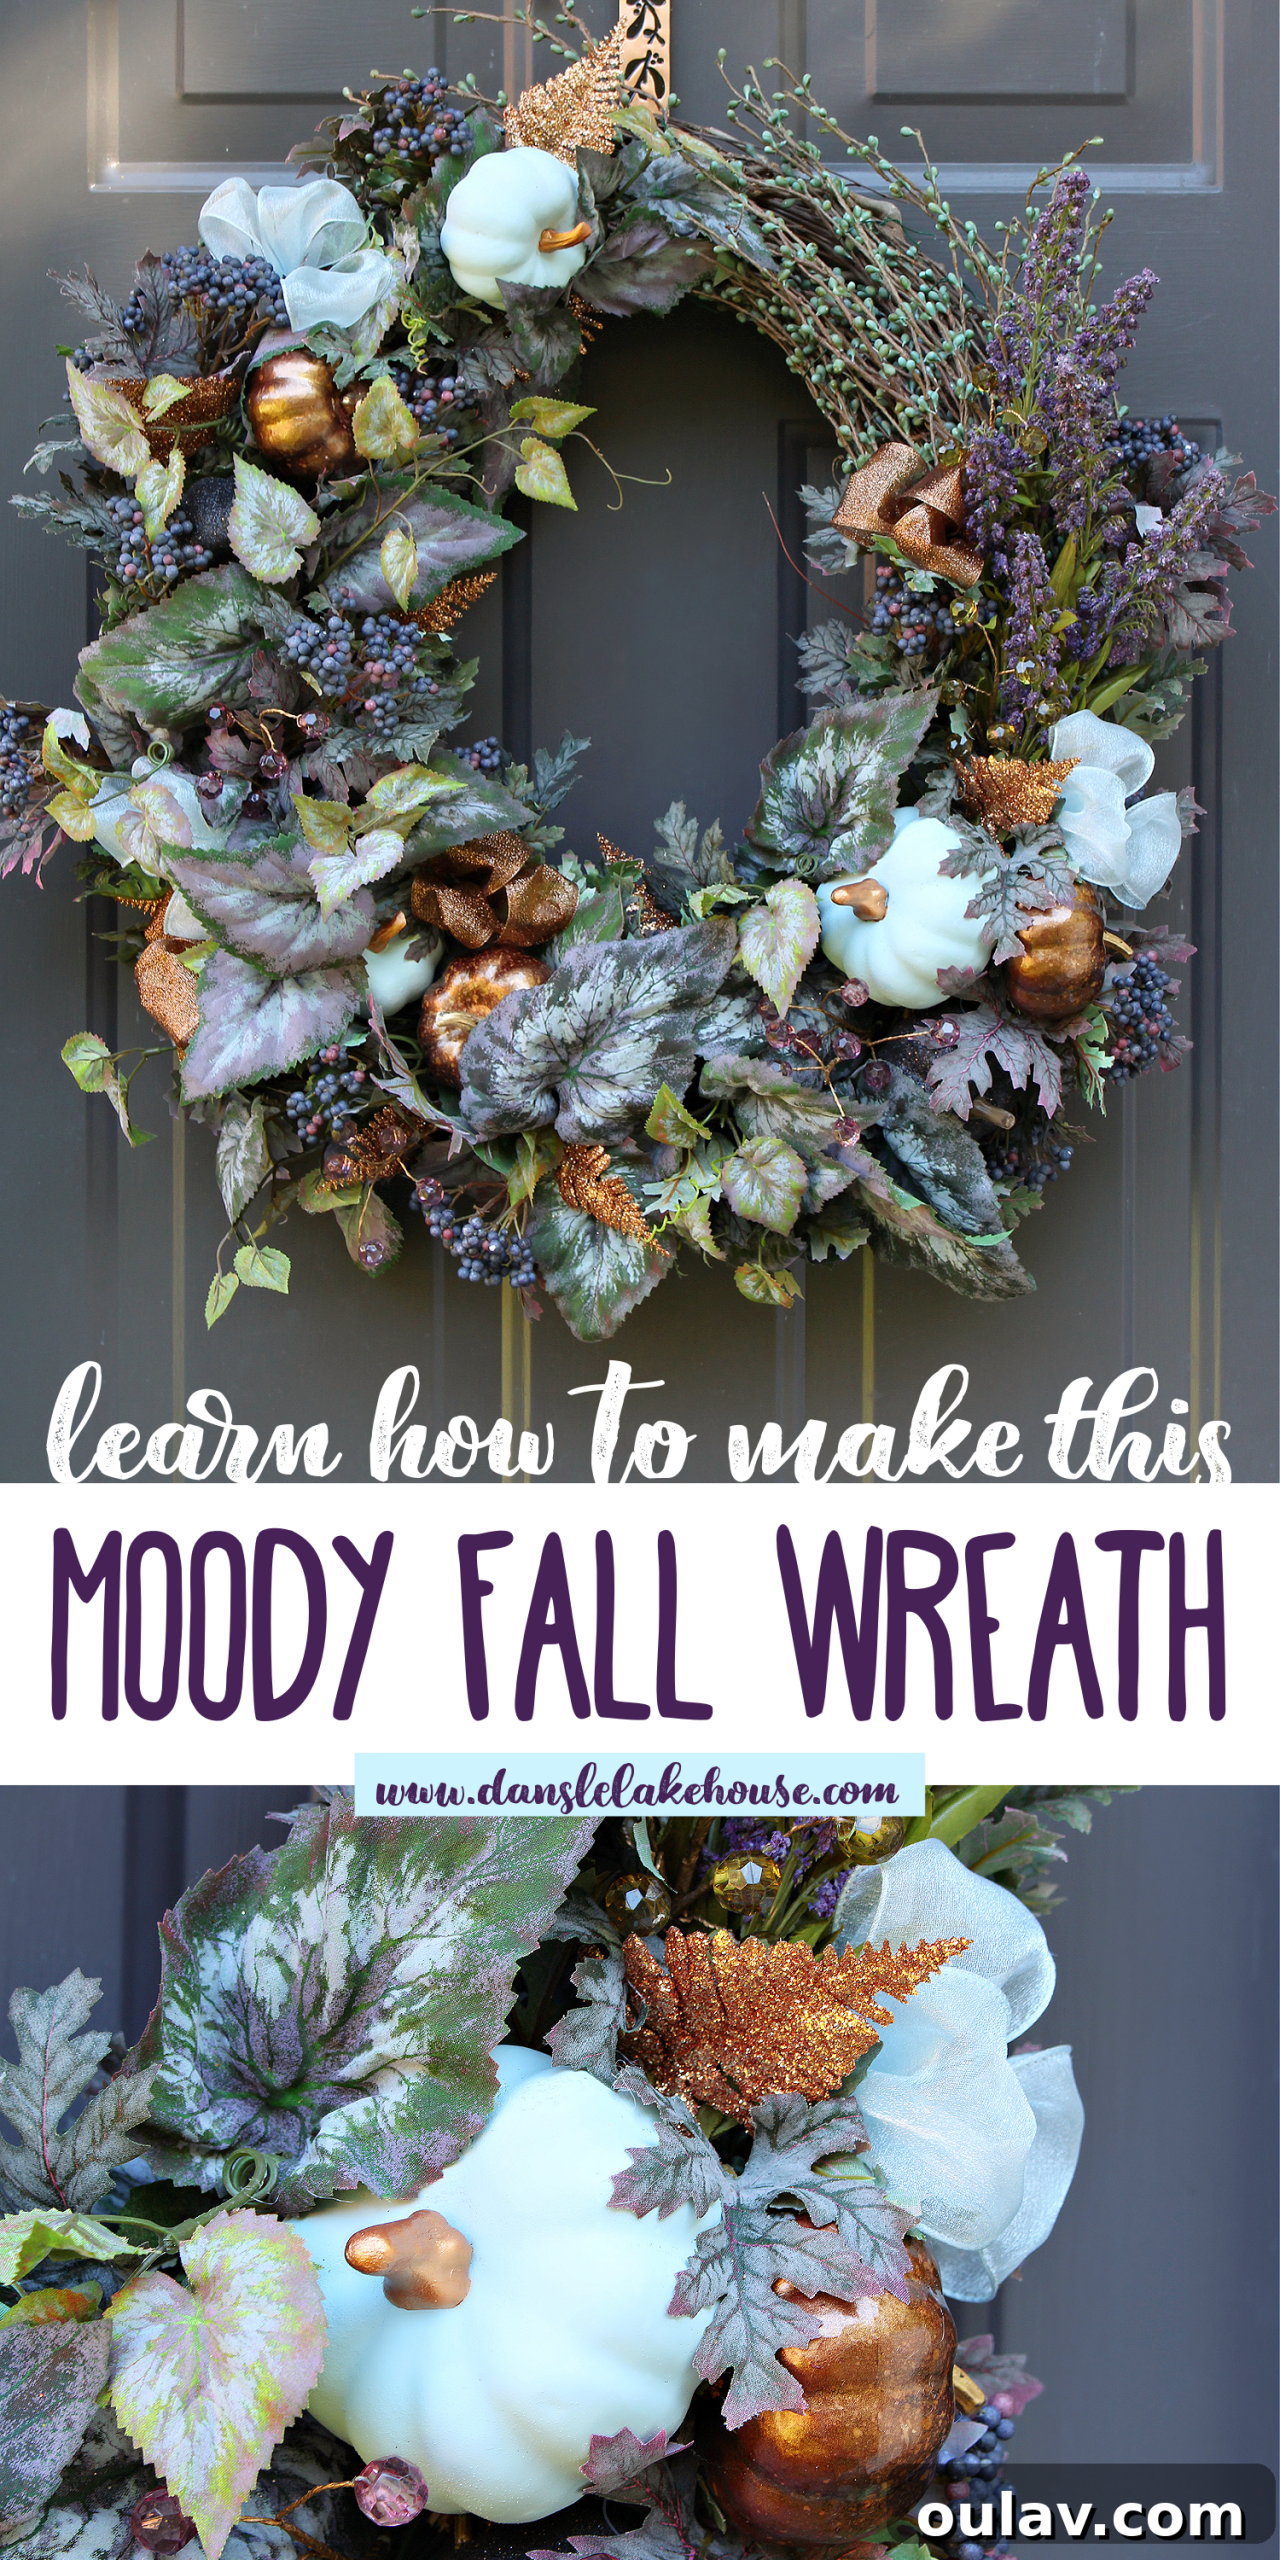
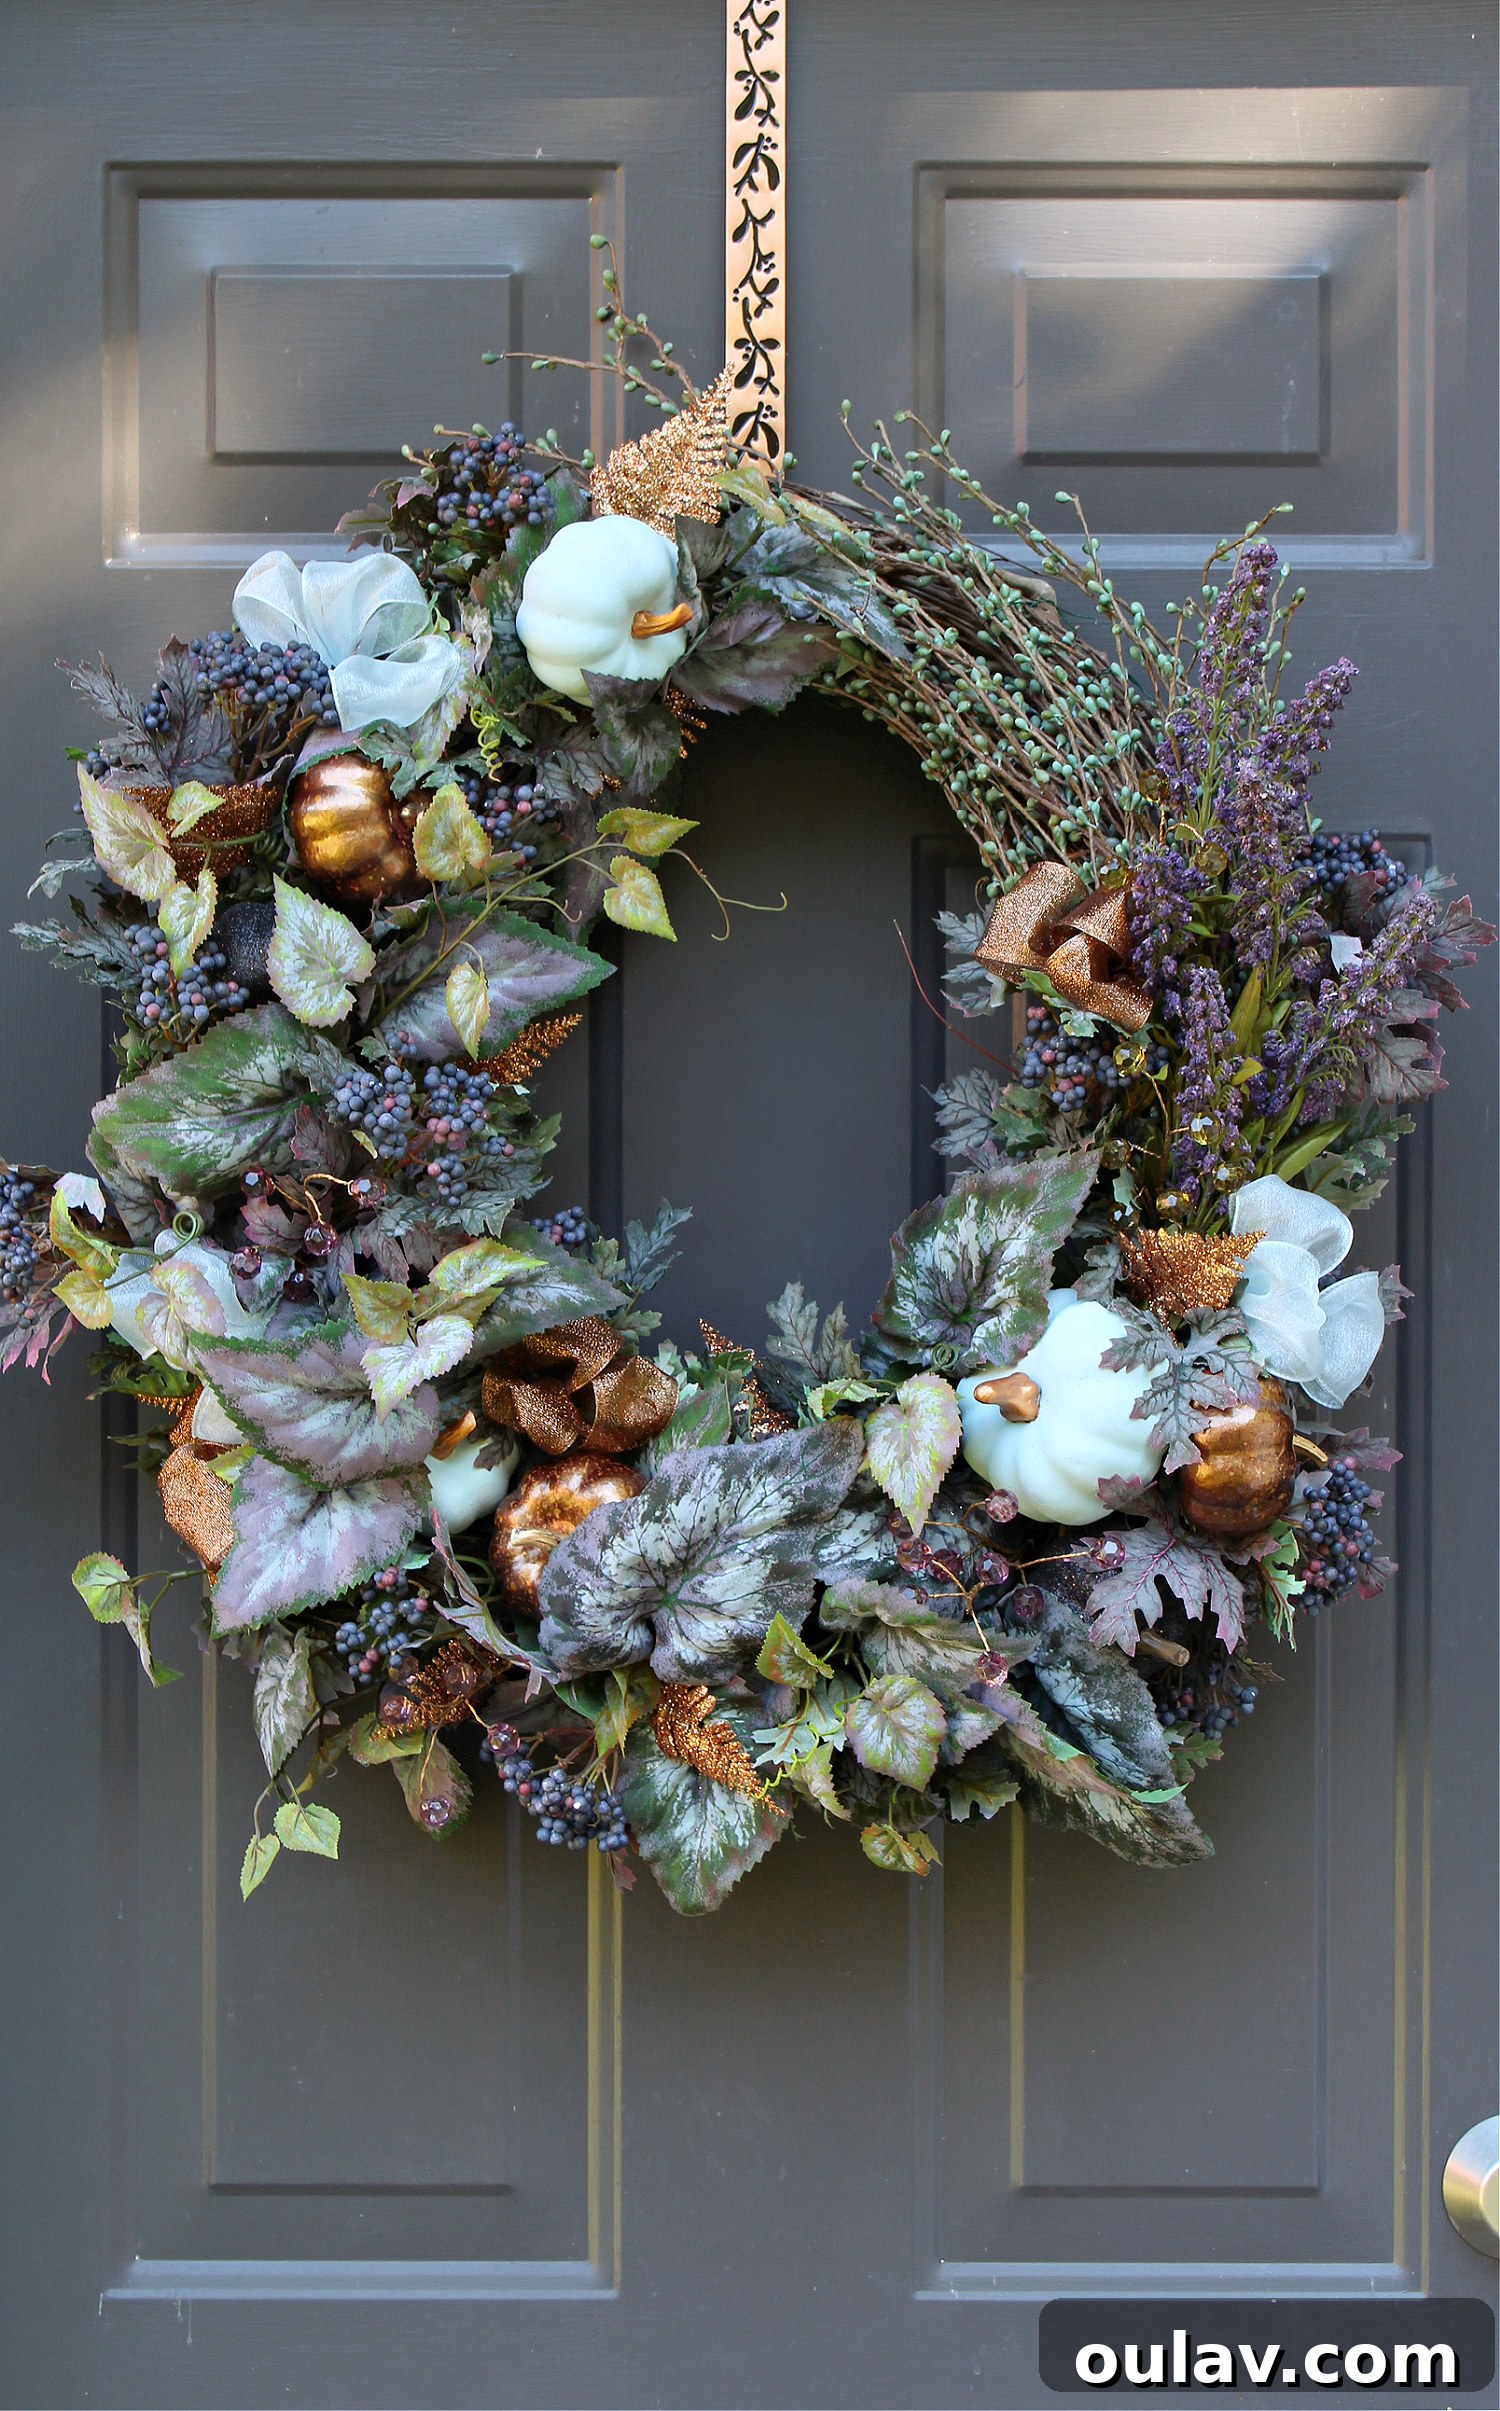
Welcome to a truly unique DIY project that blends the cozy charm of autumn with a hint of Halloween mystique: our enchanting “Falloween” wreath! This handmade creation stands apart with its sophisticated color palette, featuring serene pale blue/grey, shimmering copper, and rich purple, expertly accented with unexpected touches of sparkly black pumpkins. It’s a delightful fusion, perfect for those who appreciate a moody, elegant twist on traditional fall decor. As you explore this tutorial, you’ll discover how easy it is to create a captivating wreath that celebrates both the beauty of the harvest season and the spooky fun of Halloween, making it a conversation starter for any door or wall.
This particular wreath holds a deeply personal significance, born from a collaborative effort with my wonderful Mom. For too long, I’ve found myself struggling to utilize the extensive collection of craft supplies I inherited from my beloved grandmother, who passed away in the spring of 2021. Grandma was an incredibly creative soul, meticulously crafting beautiful pieces for sale for many years. When her home was emptied, I brought home a literal truckload of her carefully curated supplies—mostly an incredible array of floral picks and ribbons. Yet, the emotional weight of these items made it incredibly difficult to simply “use” them. My Mom and I spent two days diligently organizing everything into large, waterproof totes, which now reside in my basement. Every attempt to delve into those bins brought a wave of grief, leaving me in tears for hours as the familiar scent of her home still lingered. Storing these treasures, especially with a DIY blog, felt like a waste, but using them felt almost sacrilegious.
Knowing my struggle, my Mom stepped in, offering her support to help me overcome this emotional hurdle. With her by my side, sifting through the craft supplies my grandmother had so lovingly chosen felt a little easier, a shared journey of remembrance. I confess, tears still flowed freely that day, and even now, as I write this post, my eyes blur with emotion. My grandmother and I shared an incredibly close bond, our mutual love for vintage treasure hunting and creating beautiful things forming a cherished connection. We could spend hours on the phone, and I miss her dearly. However, I am profoundly grateful that I finally embraced these supplies to create this wreath. It brought forth a cascade of beautiful memories, and seeing it adorning my home brings a heartfelt smile to my face each day. Every floral pick on this wreath (with the exception of the pumpkins) was chosen by her, making it feel as though she crafted it especially for me. This experience has been so cathartic that my Mom and I have now planned to each create a winter wreath using Grandma’s stash, and I find myself genuinely looking forward to diving back into those bins, no longer with dread, but with anticipation and love.
Choosing Your Canvas: Wreath Bases and Found Treasures
When embarking on a DIY wreath project, the selection of your supplies is paramount, influencing both the final aesthetic and your budget. While I’ve done my best to link similar supplies on Amazon, many of the exact picks I used were likely acquired years ago from craft stores like Michael’s. Craft supplies, especially specialty floral picks, can quickly add up, even with a coupon. For budget-conscious crafters, I highly recommend exploring thrift stores, flea markets, or even your own backyard for unique finds. Natural foliage like dried flowers, pine cones, sturdy seed pods, and even feathers can create stunning, organic wreaths without breaking the bank. For example, my DIY chicken feather wreath is a testament to the beauty of repurposed natural materials.
I’ve personally started collecting intriguing long seed pods from ditches, eager to incorporate them into future wreath designs. Last week, my Mom and I gathered a massive bag of pine cones, ready for upcoming projects. While I missed the window to dry wild flowers this year, foraging for natural options is still an excellent way to supplement or entirely replace artificial picks, significantly reducing costs. Think about vibrant autumn leaves, interesting twigs, or even dried hydrangeas. Beyond the decorative elements, consider your wreath base. While I adore the rustic charm and versatility of grapevine wreaths—they’re fantastic for tucking in elements and offer a beautiful natural texture—other options include foam, wire, or straw wreath forms. Each offers a different foundation and aesthetic, so choose one that complements your vision and desired final look. My grapevine base was a lucky find from a local “Good Neighbor Shed” at the landfill, proving that treasures can be found in unexpected places.
For those opting for store-bought components like I did, a key design principle is to select a cohesive color palette. Aim for 3-5 complementary colors for a harmonized and professional finish. For this “Falloween” wreath, I deliberately chose a moody and sophisticated combination: rich purples, icy pale grey-blues, glittering coppers, and a subtle touch of mossy green. A few inky berries and those sparkling black pumpkins add crucial depth and a playful nod to Halloween, allowing this wreath to transition beautifully through the entire fall season, from early autumn through to the spooky festivities.
Essential Tools and Materials for Your DIY Fall Wreath
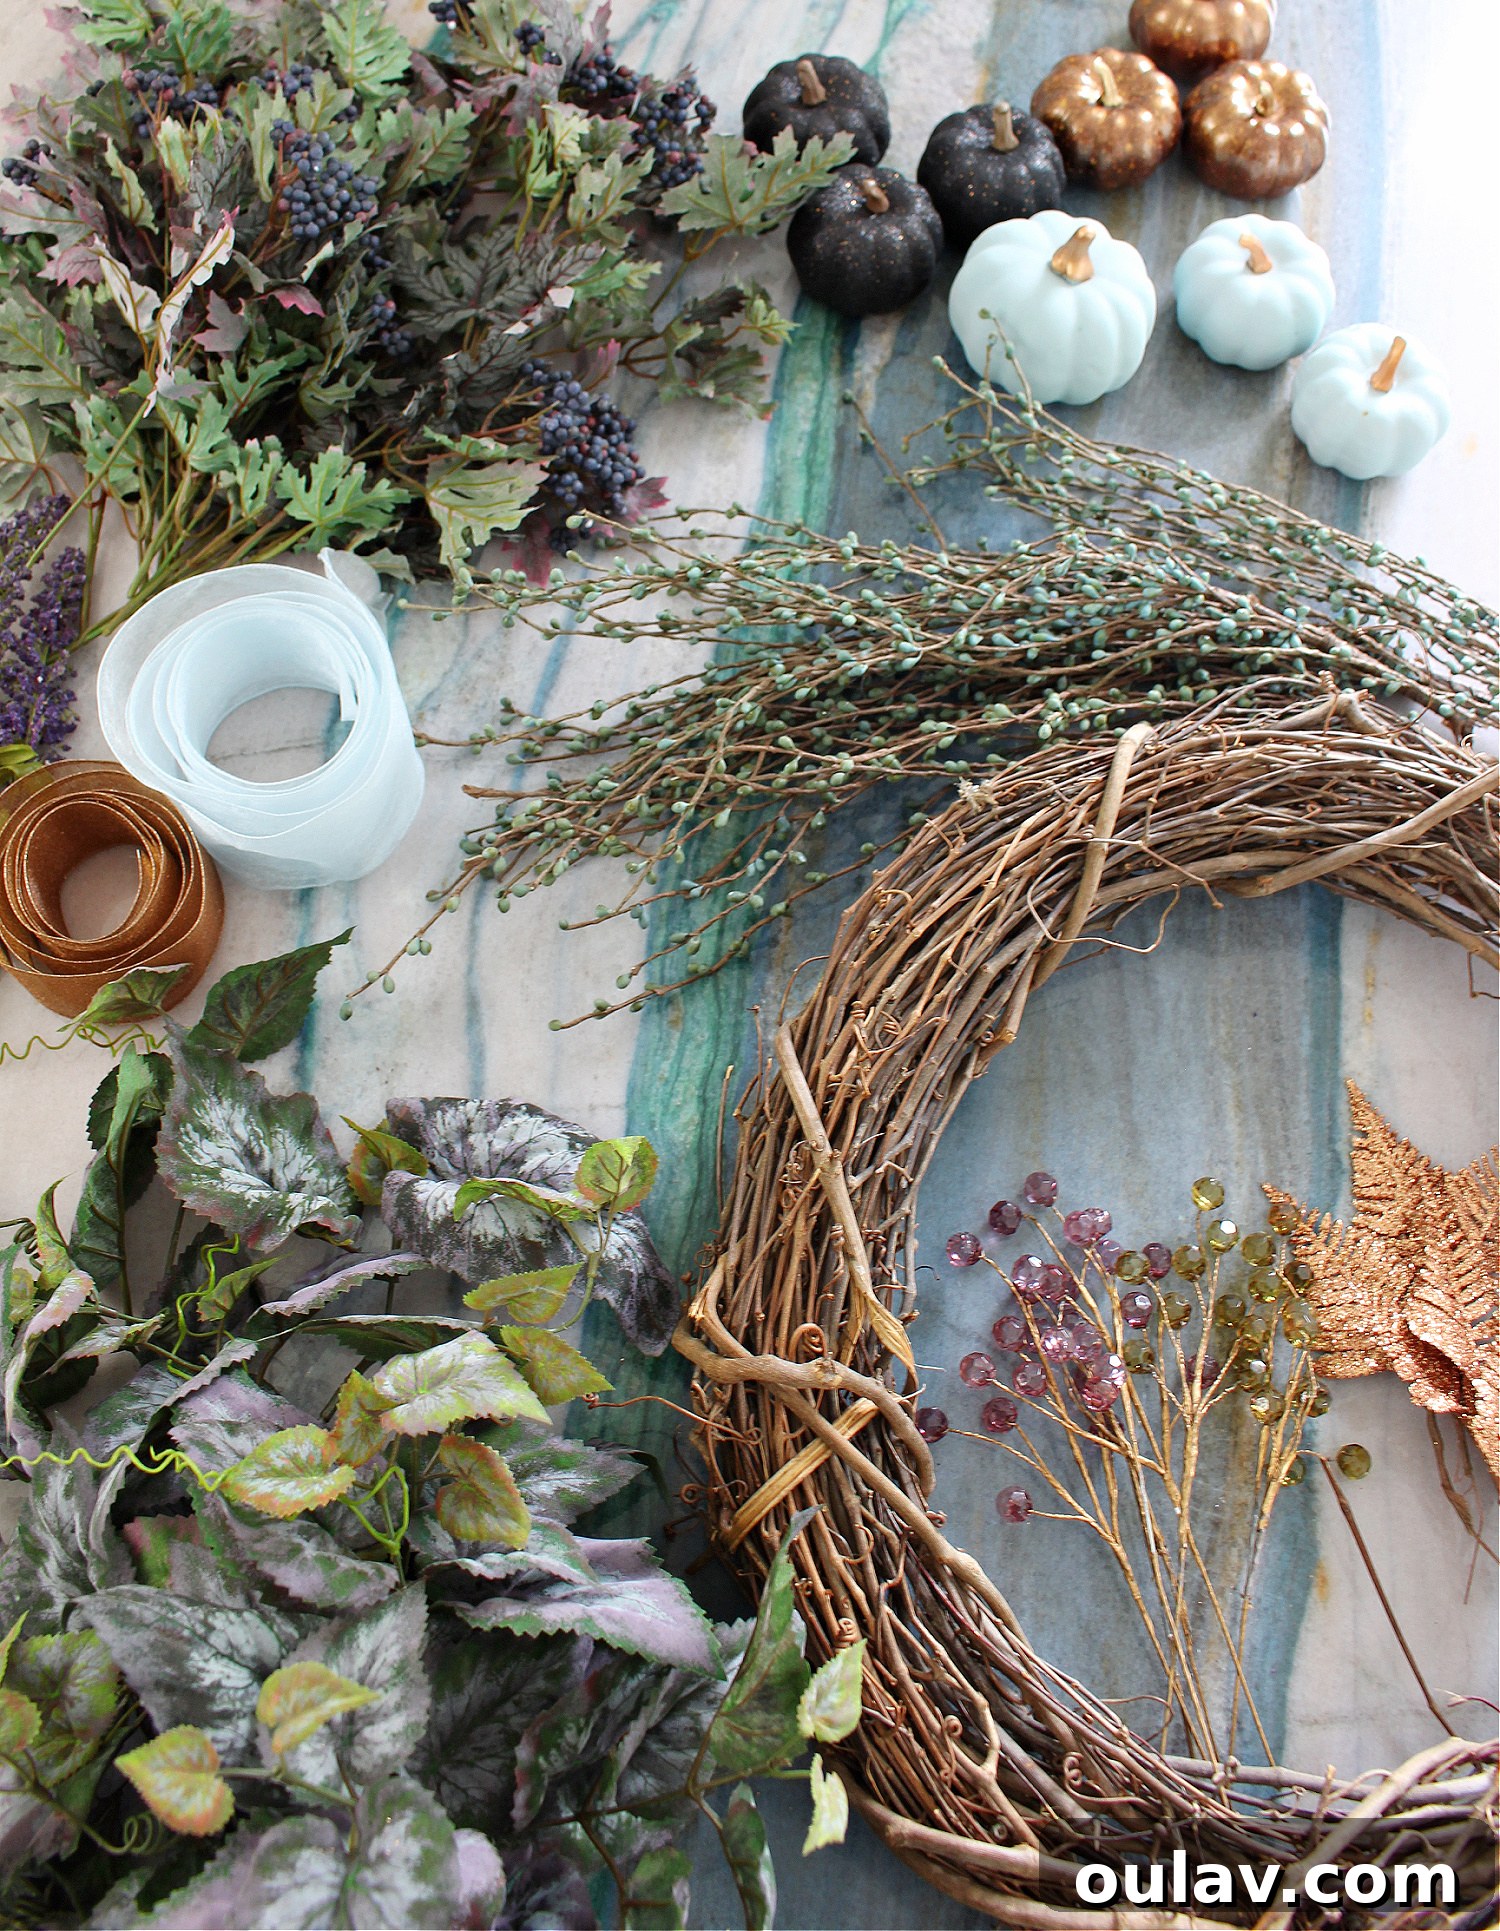
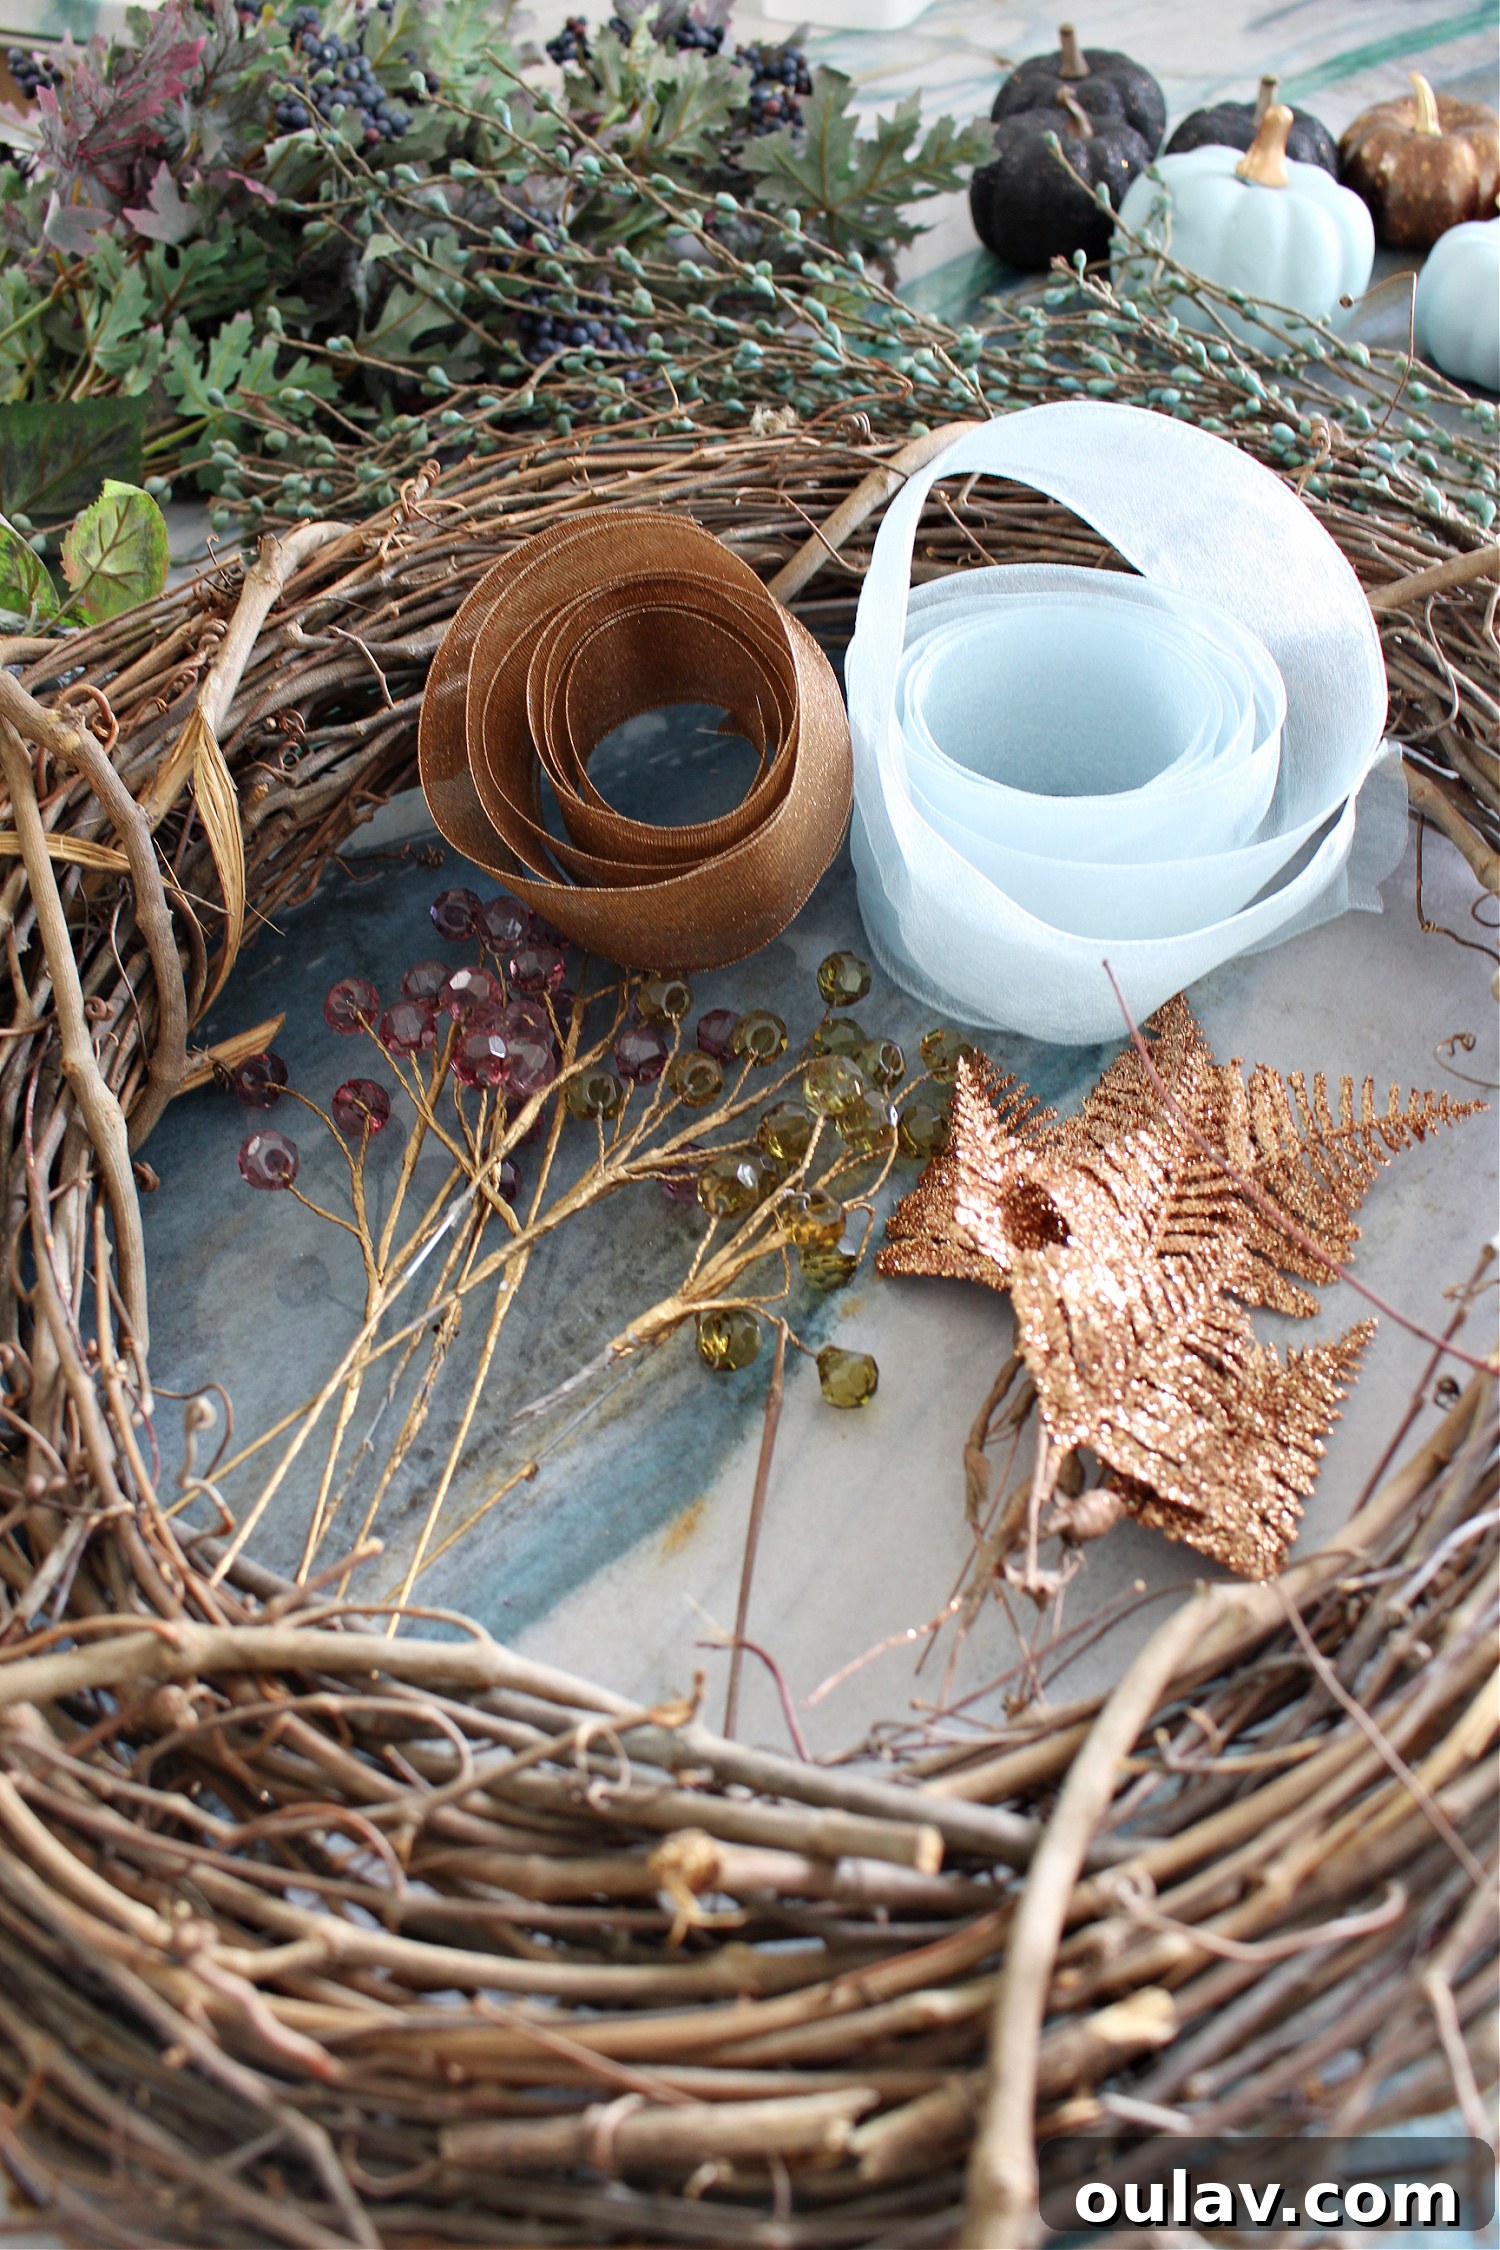
Gathering all your supplies before you begin makes the crafting process smoother and more enjoyable. Here’s a comprehensive list of what you’ll need to create your own enchanting “Falloween” wreath. Remember, many of these items can be substituted with similar finds or foraged natural elements, encouraging creativity and personalization.
- Grapevine wreath (mine is oval-shaped, a fortunate find)
- Wide ribbon scraps (any kind will do, but wired ribbon is particularly easy to shape and manipulate)
- Plastic pumpkins (my mini pumpkins came from Dollarama; these pumpkin picks are a cute alternative if you prefer pre-attached pumpkins)
- Rust-Oleum Chalked paint in Serenity Blue (optional, for painting pumpkins to match the palette)
- Copper craft or acrylic paint (optional, for adding metallic accents or painting pumpkin stems)
- Small paint brush (optional, if you’re painting pumpkins or other elements)
- 22 gauge craft or floral wire (essential for securing elements firmly)
- Wire cutters (a must-have for trimming floral wire and pick stems)
- Hot glue gun and glue sticks (for securing pumpkins and delicate accents, though wire is preferred for major elements)
- Autumn-themed floral picks (I’ve curated some similar picks here to help you get started)
Crafting Your “Falloween” Masterpiece: A Step-by-Step Guide
Creating a beautiful DIY fall wreath is a rewarding experience that combines artistic vision with simple techniques. While I’ll provide more intricate details below, here’s a quick and easy cheat sheet to guide you through the process. The fundamental principle is to work from the foundational layers forward, securing most of your picks to the wreath base using durable 22 gauge floral wire for longevity and potential repurposing.
- Begin by establishing a lush base layer of foliage and leafy picks to fill out the wreath. Secure these foundational elements firmly to the wreath using floral wire, ensuring they provide a robust backdrop for subsequent additions.
- Once your green base is in place, strategically position and glue your mini pumpkins to the grapevine wreath using a hot glue gun. Consider their arrangement for visual balance and impact.
- To enhance stability and create a natural, nestled appearance, apply a dab of hot glue to nearby leaves and press them against the pumpkins. This helps to secure the pumpkins even further within the foliage.
- Craft elegant ribbon bows from your chosen scraps. Once shaped, affix these bows to the wreath using floral wire, placing them where they complement the overall design.
- Conclude your wreath assembly by adding the delicate finishing touches, such as sparkling faceted berries and shimmering ferns, which introduce glamor and intricate detail to your festive creation.
Detailed Wreath Assembly: From Foundation to Flourish
Creating a truly stunning wreath involves careful planning and execution of each layer. Follow these expanded instructions to bring your “Falloween” vision to life, ensuring a beautiful and durable final product.
Building Your Base: The Leafy Foundation
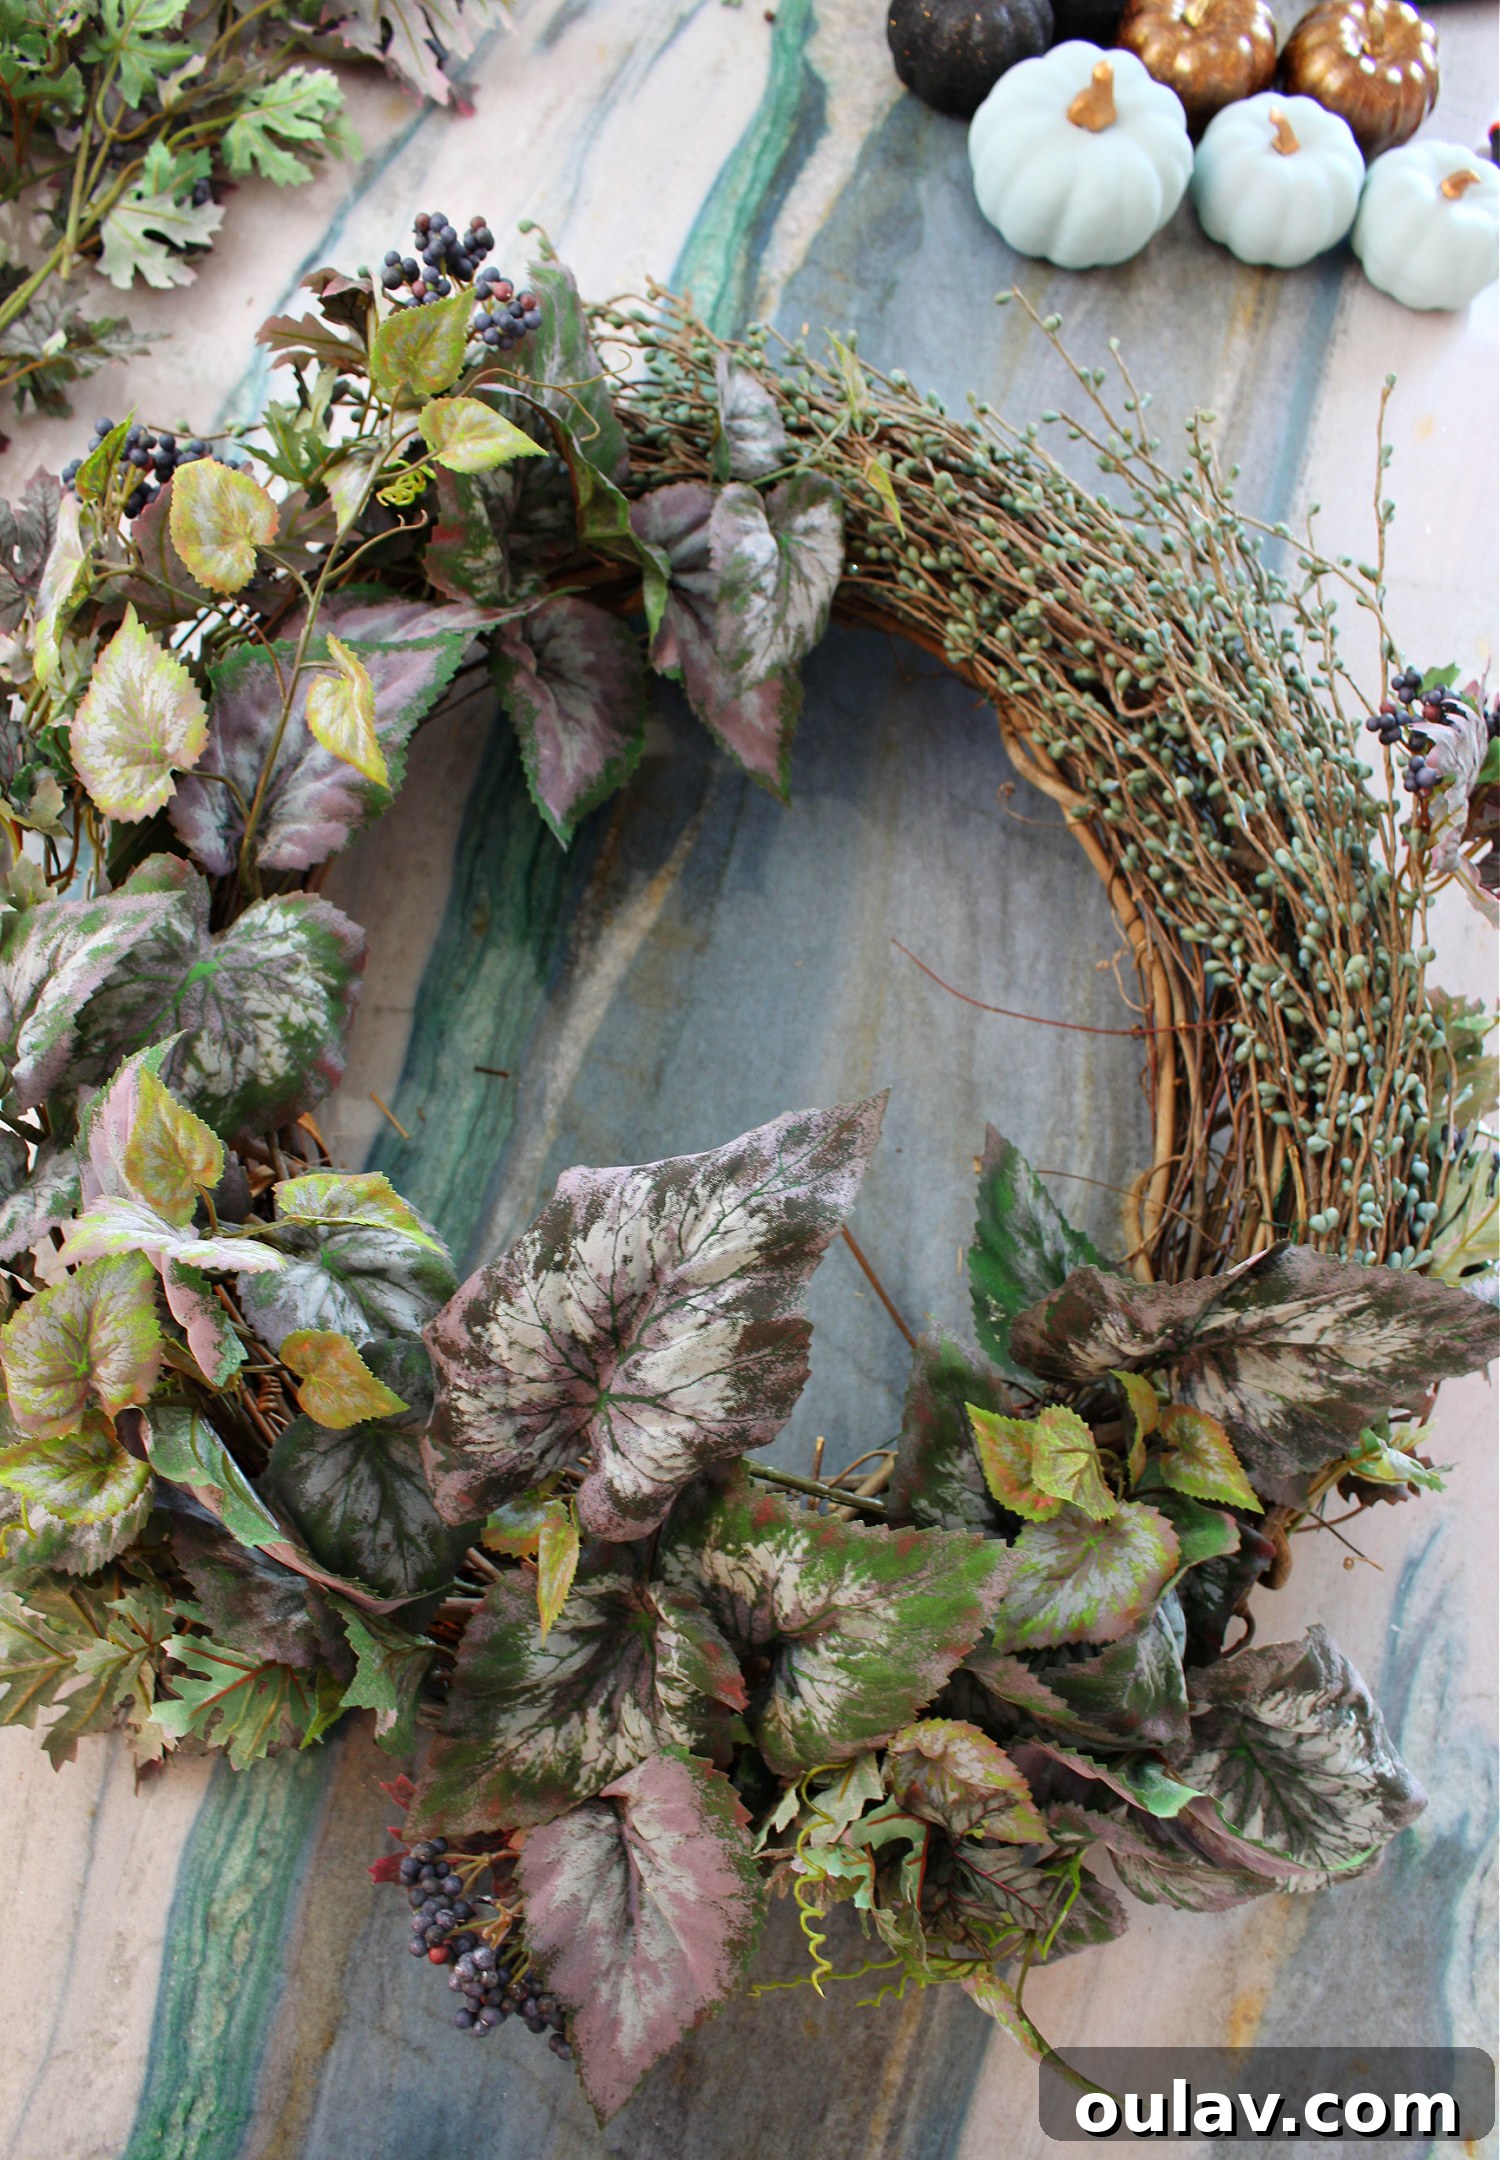
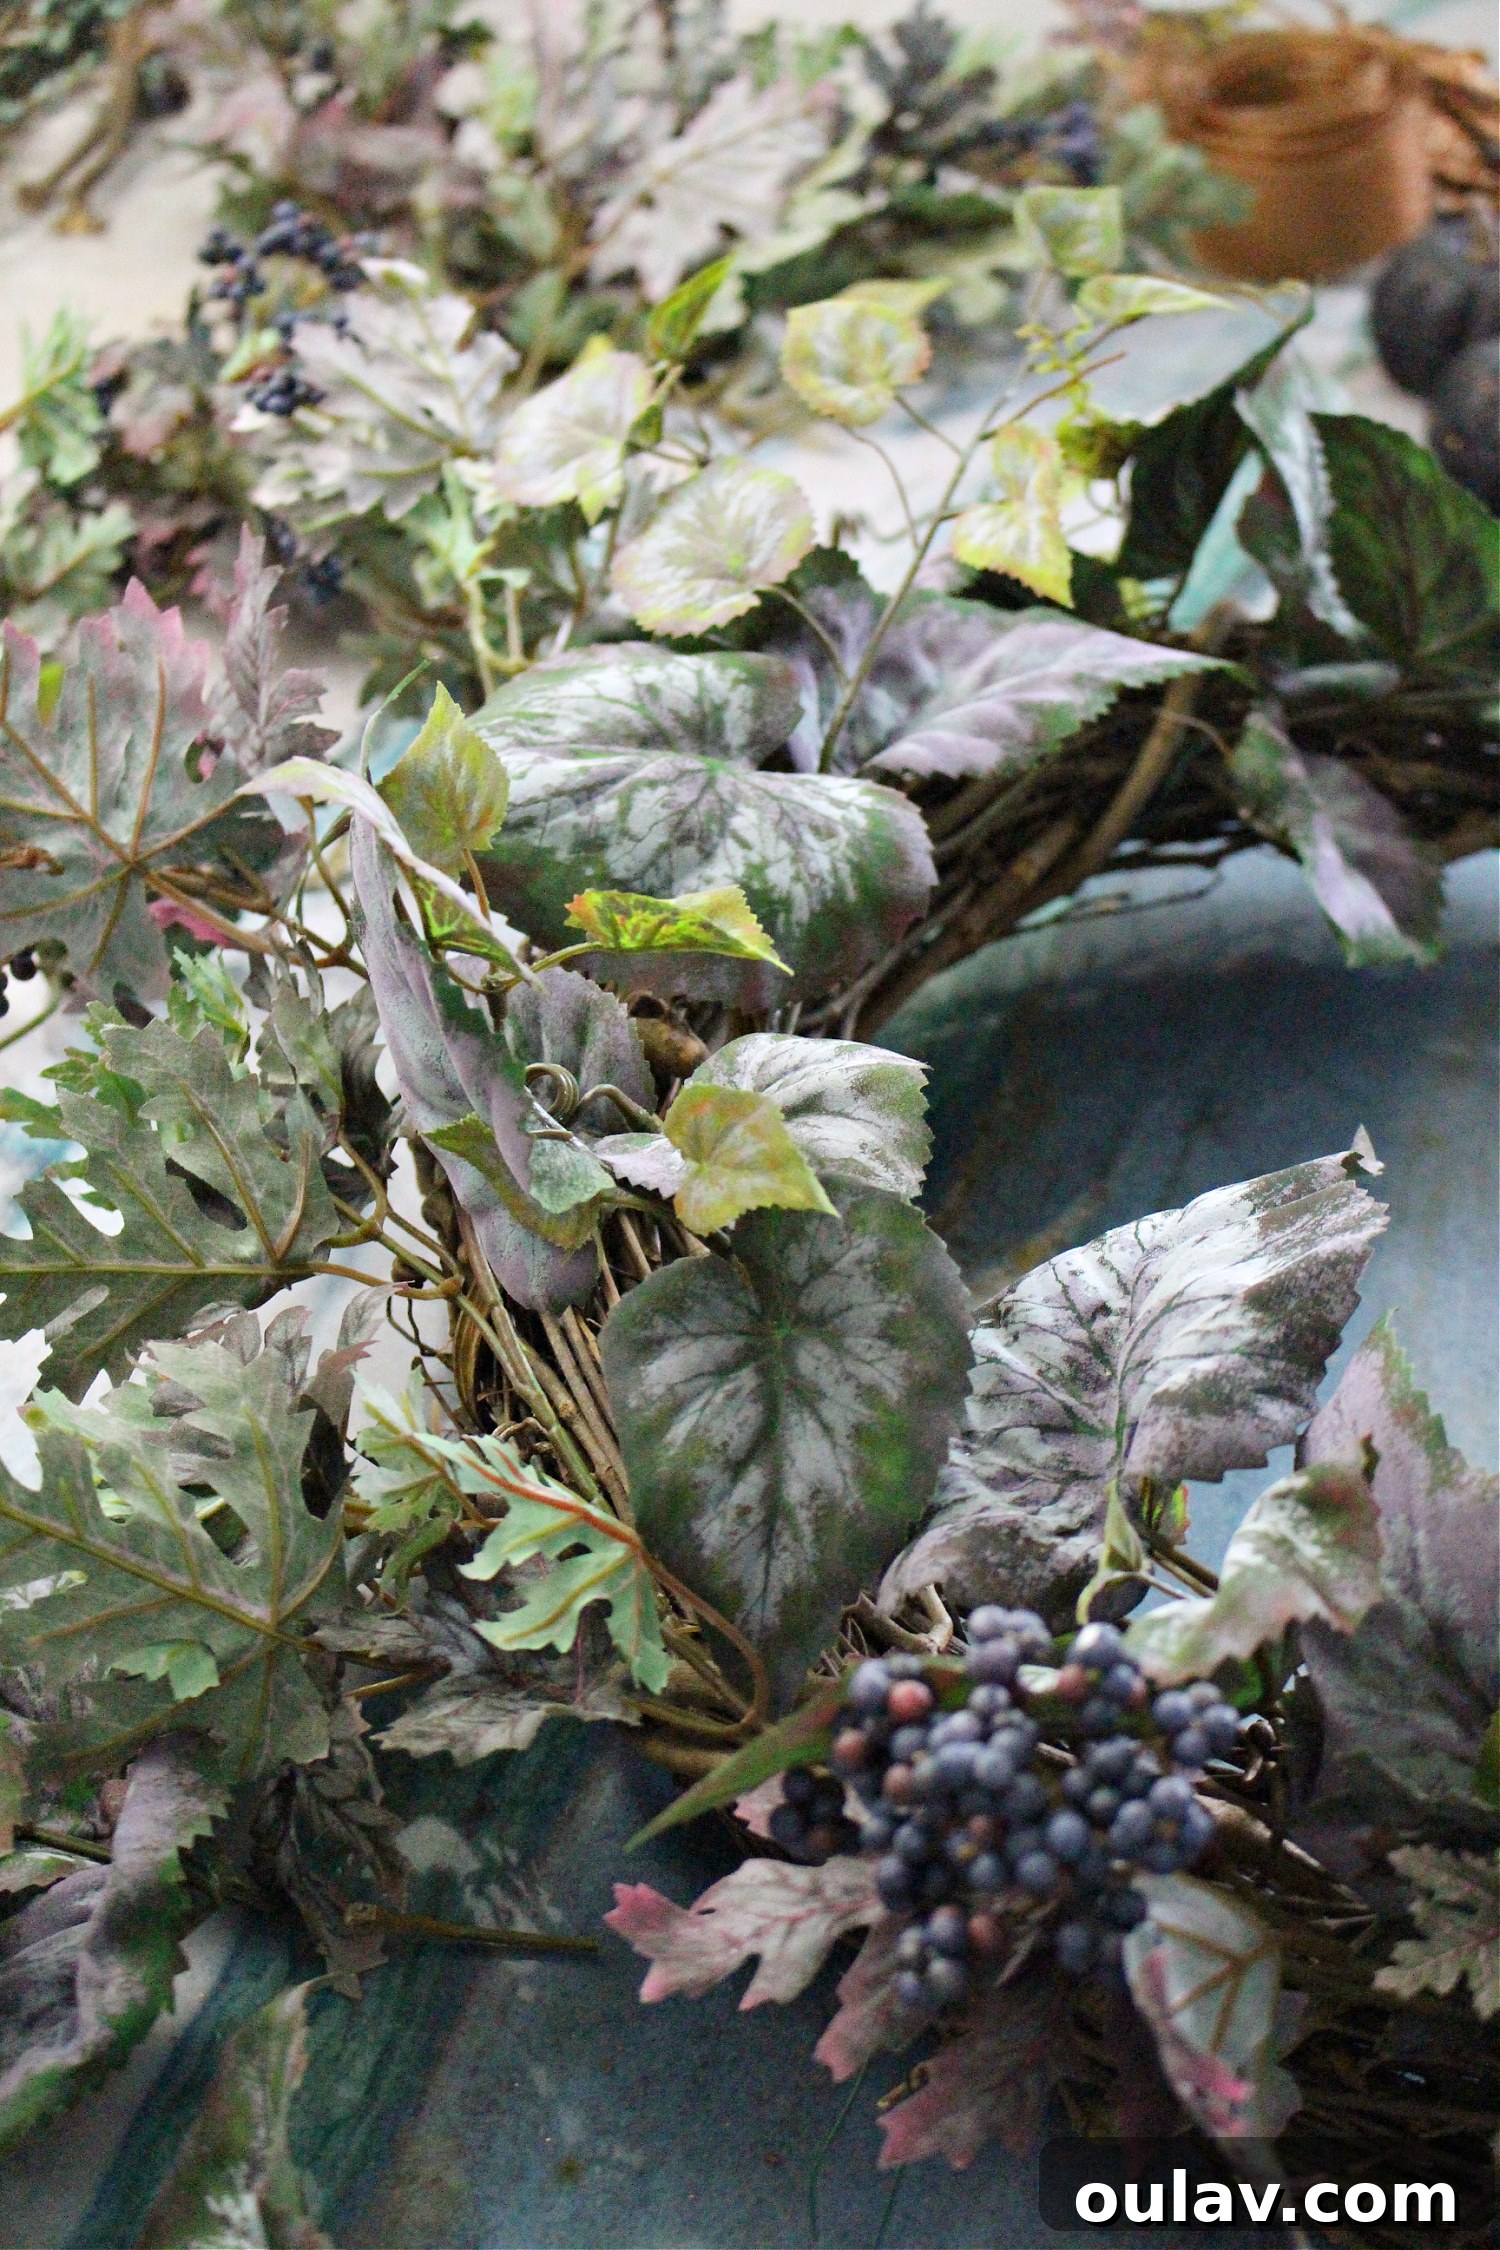
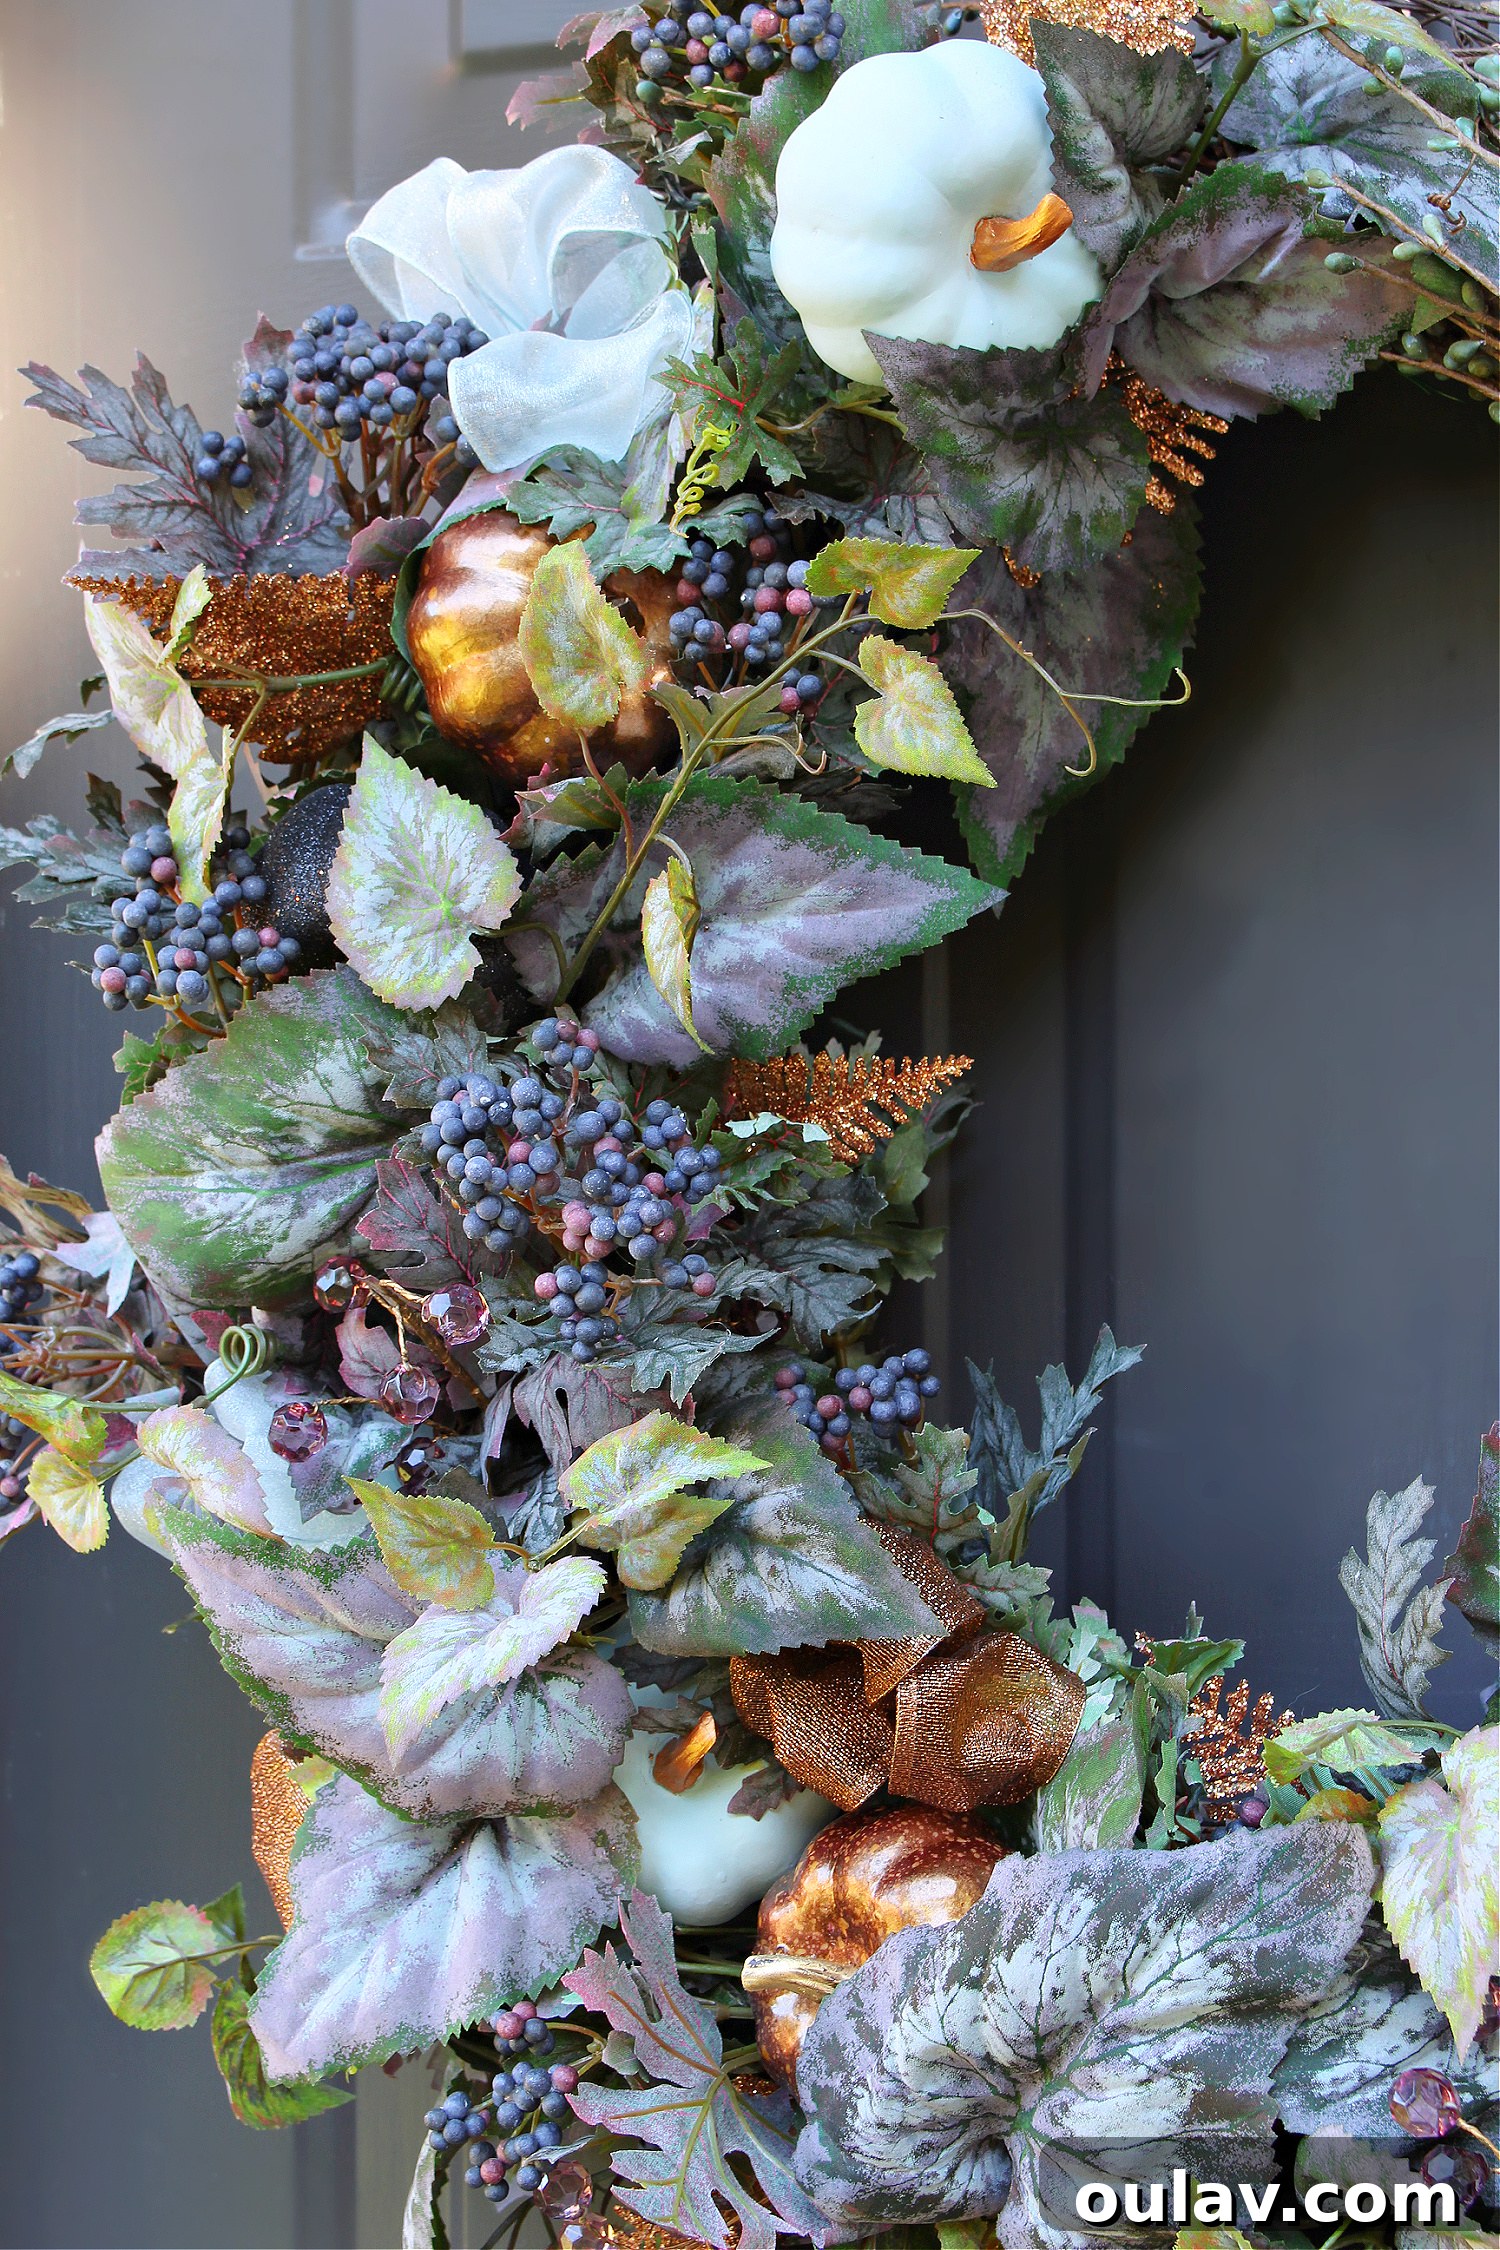
Our initial step involved affixing the leafier, fuller fall picks and berry clusters. These substantial picks serve as an excellent base, providing volume and a natural backdrop into which more “special” or delicate fall wreath elements can be nestled. We opted for an asymmetrical placement, carefully arranging them to achieve a balanced yet dynamic coverage across the majority of the grapevine wreath. Before making anything permanent, we “dry fit” this layer, positioning the picks without attaching them, and even snapped a photo to ensure we wouldn’t forget our ideal arrangement! Once satisfied, we used 22 gauge floral wire to securely attach each floral pick to the back of the wreath. It’s crucial to tuck the sharp ends of the wire back into the wreath form, ensuring a smooth and safe finish on the back, preventing scratches to your door or wall.
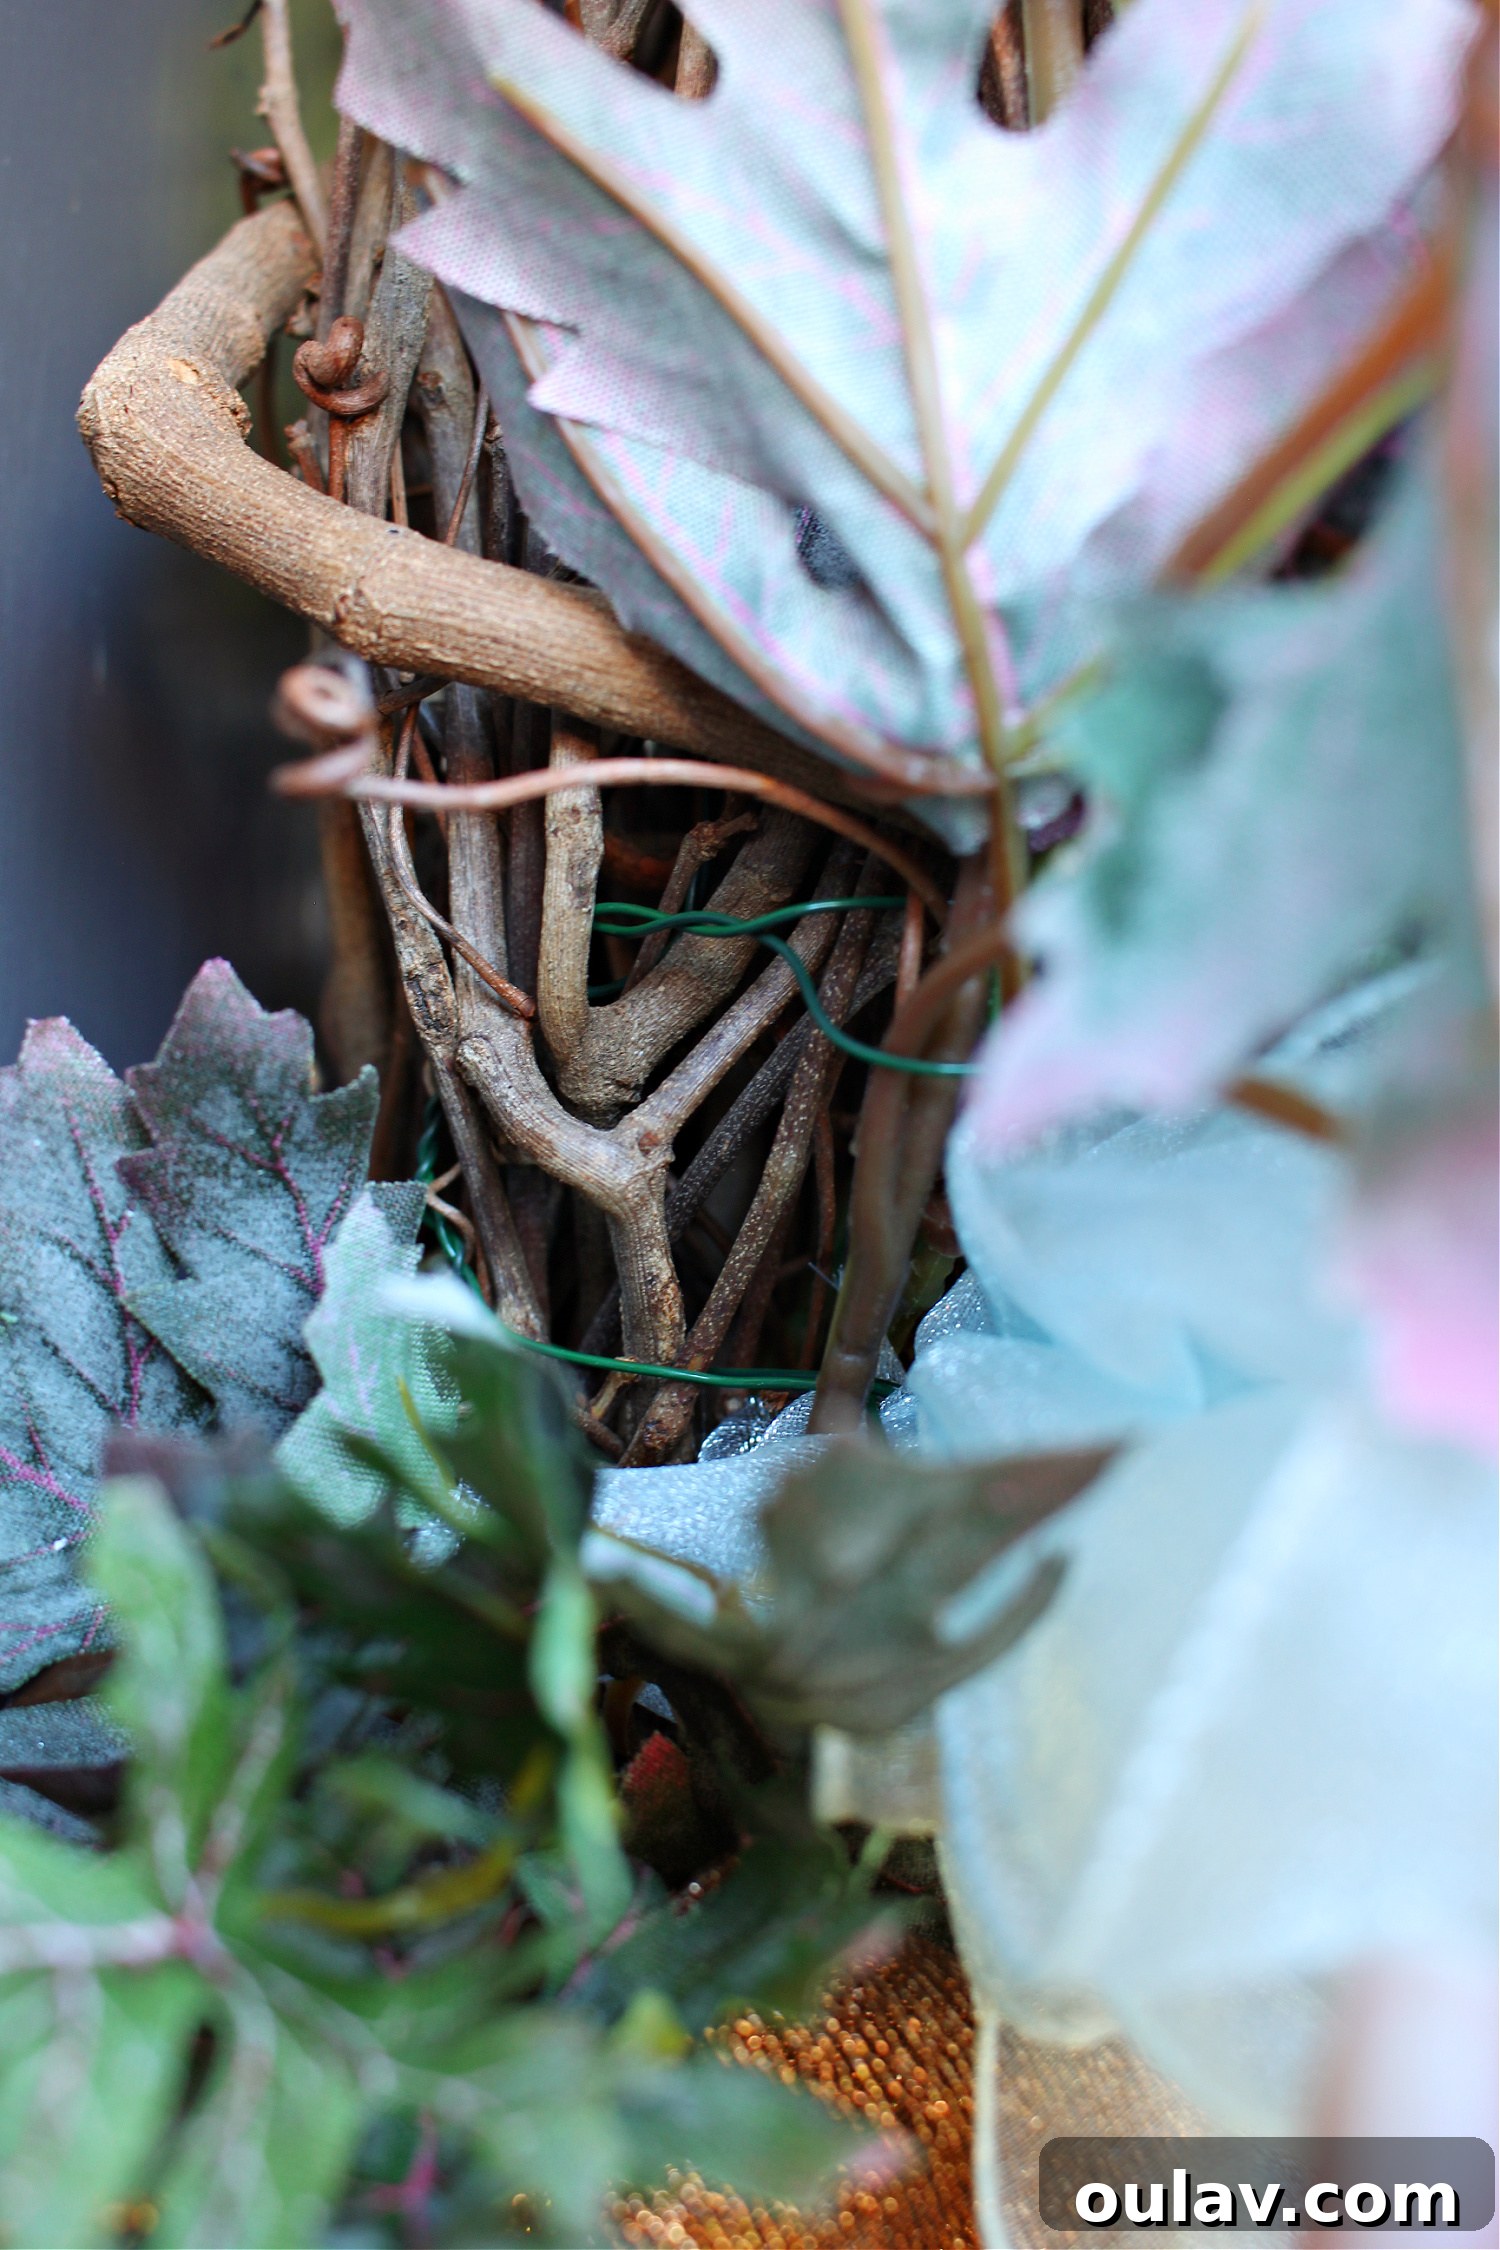
Grapevine wreaths are incredibly versatile for wreath making because their interwoven branches naturally allow you to tuck the ends of floral picks right into the weave. This means you often barely need wire, as the wreath itself does much of the work in holding elements in place. However, utilizing floral wire offers superior security, ensuring that your elements remain firmly attached, even through varying weather conditions. We deliberately chose wire over hot glue for the main structural elements for a few key reasons: it allows the wreath and individual picks to be easily repurposed in future projects, promoting sustainability and creativity. Furthermore, this wiring method proves significantly more secure and resilient in windy or damp outdoor conditions compared to hot glue, which can degrade or detach over time.
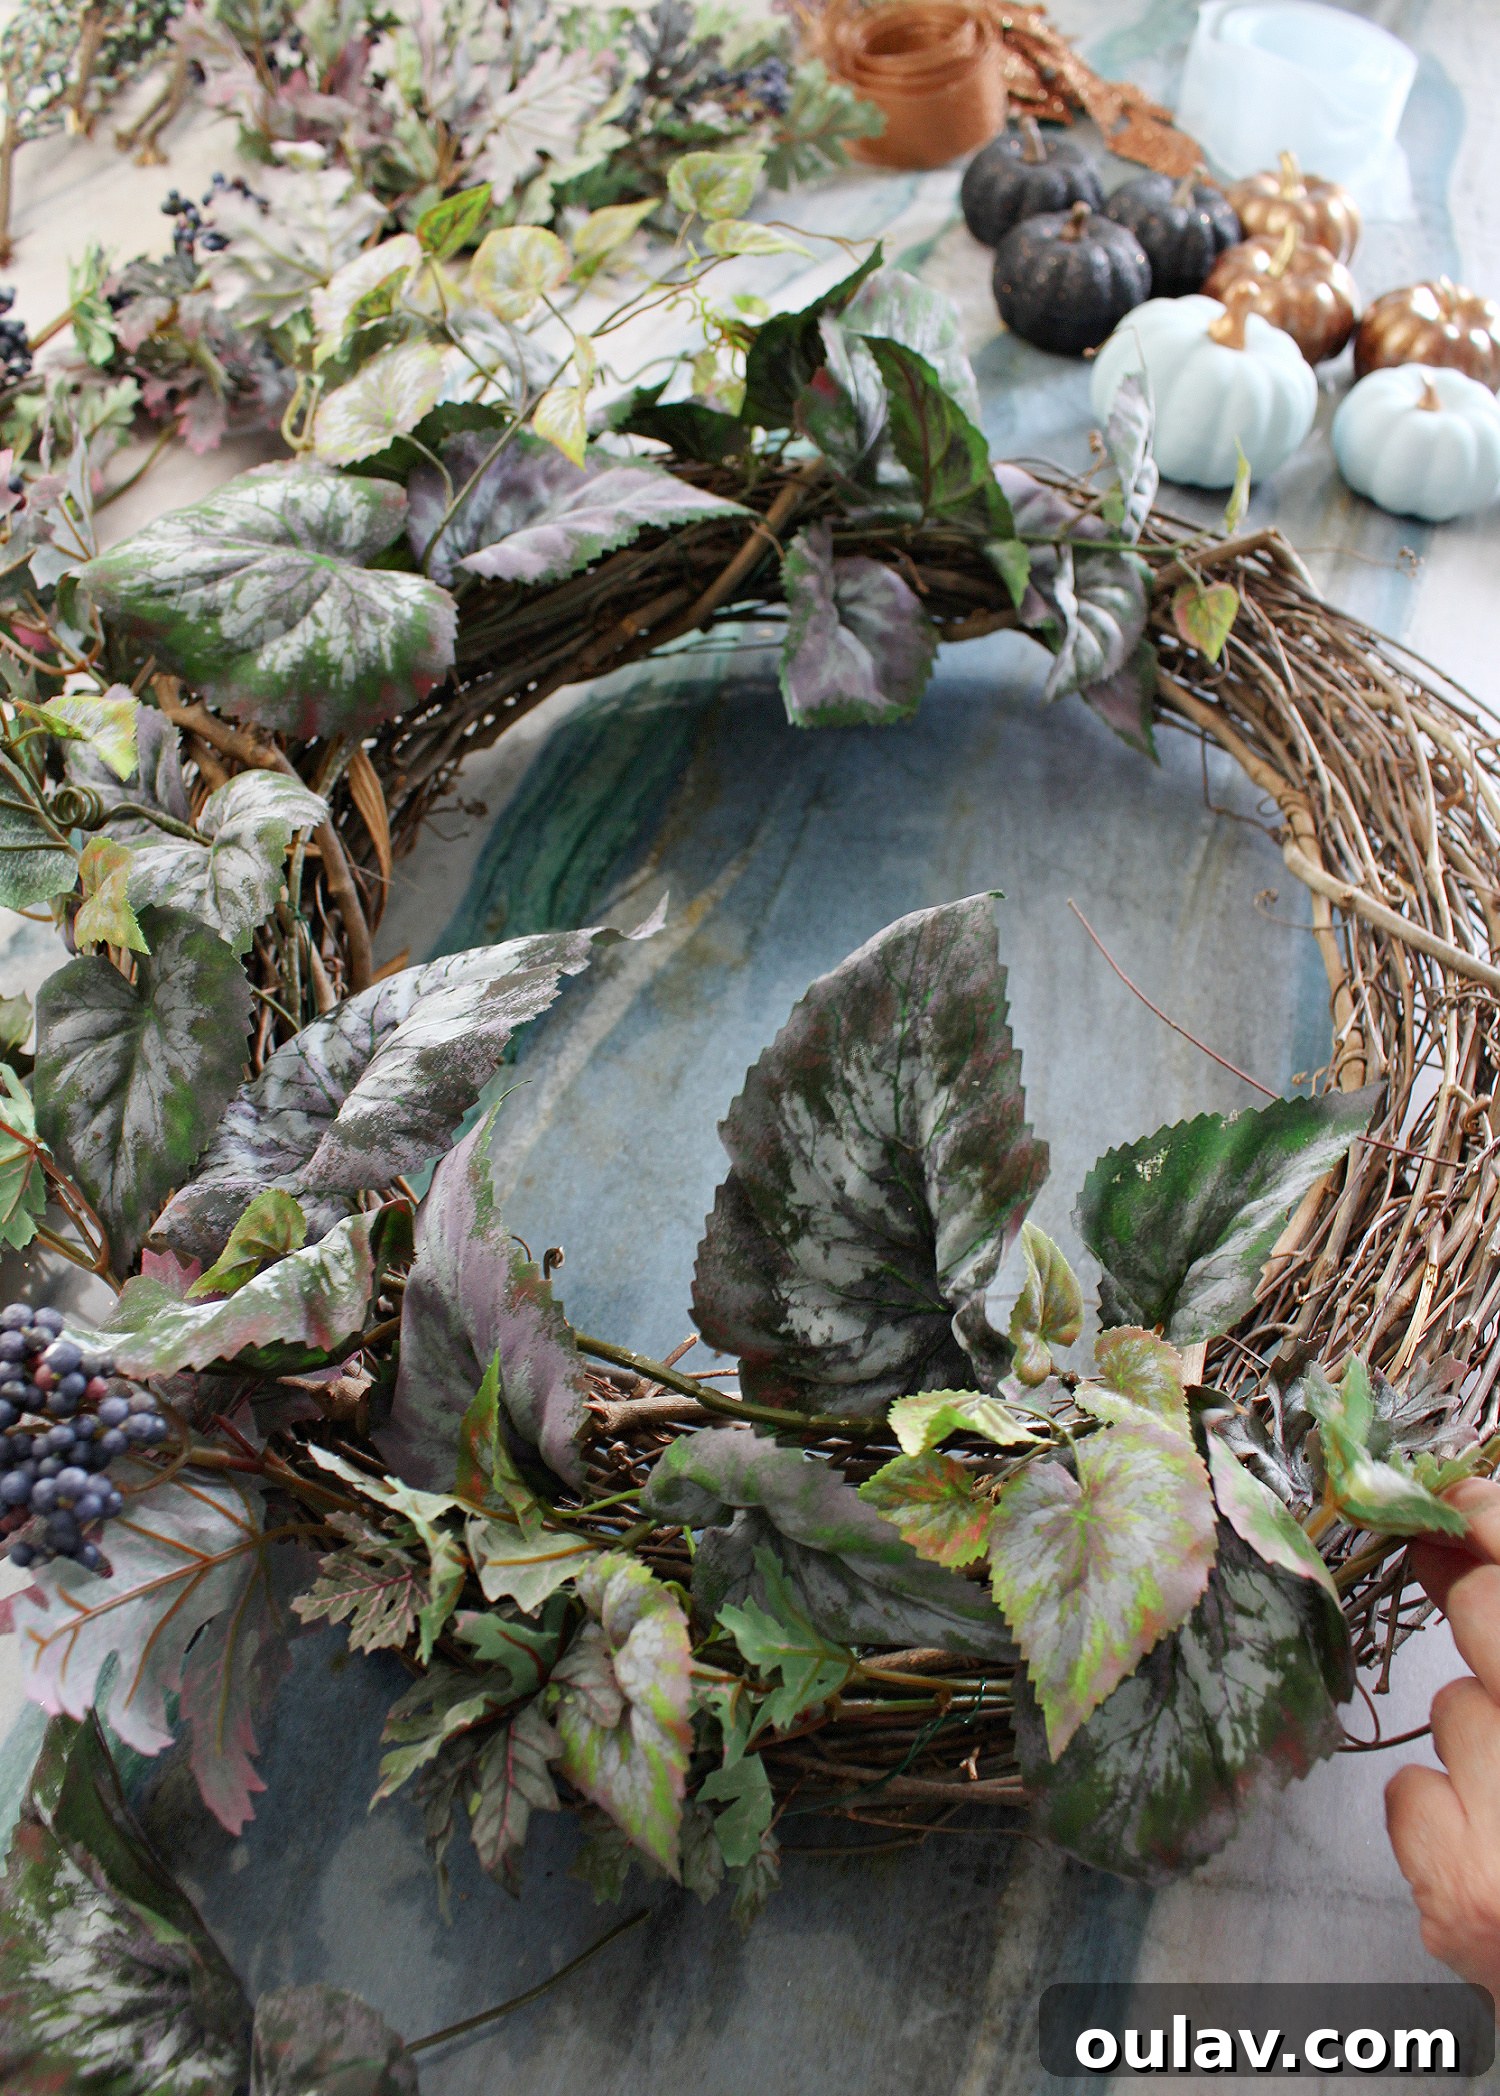
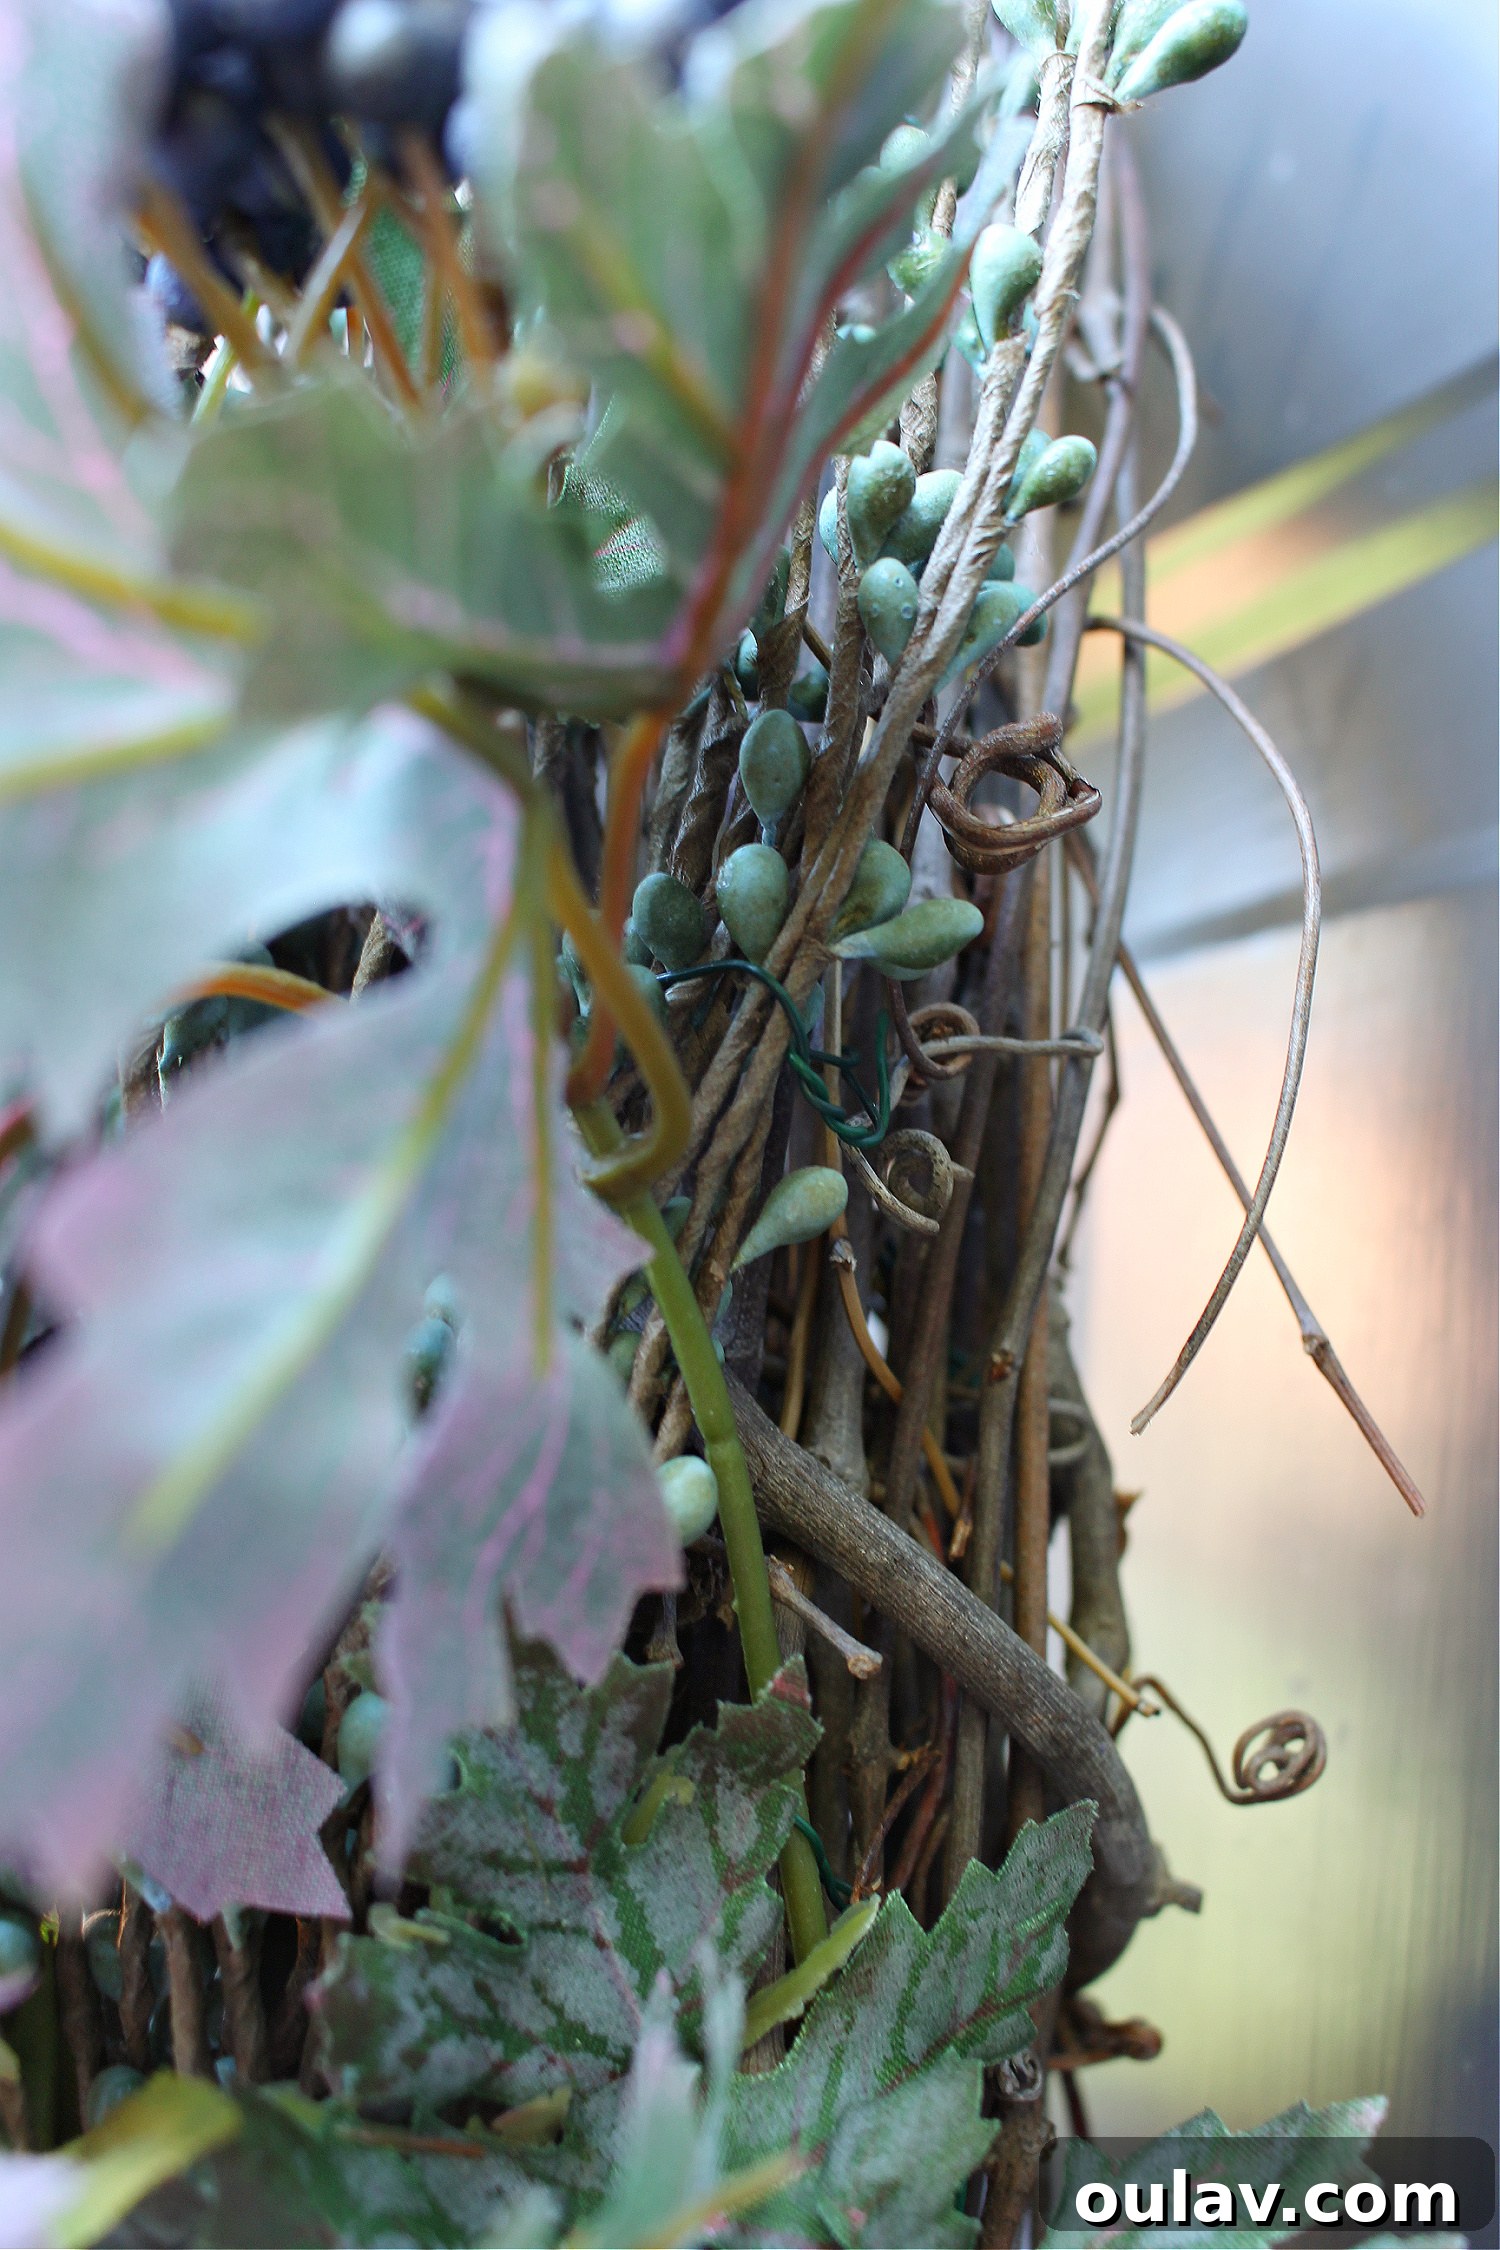
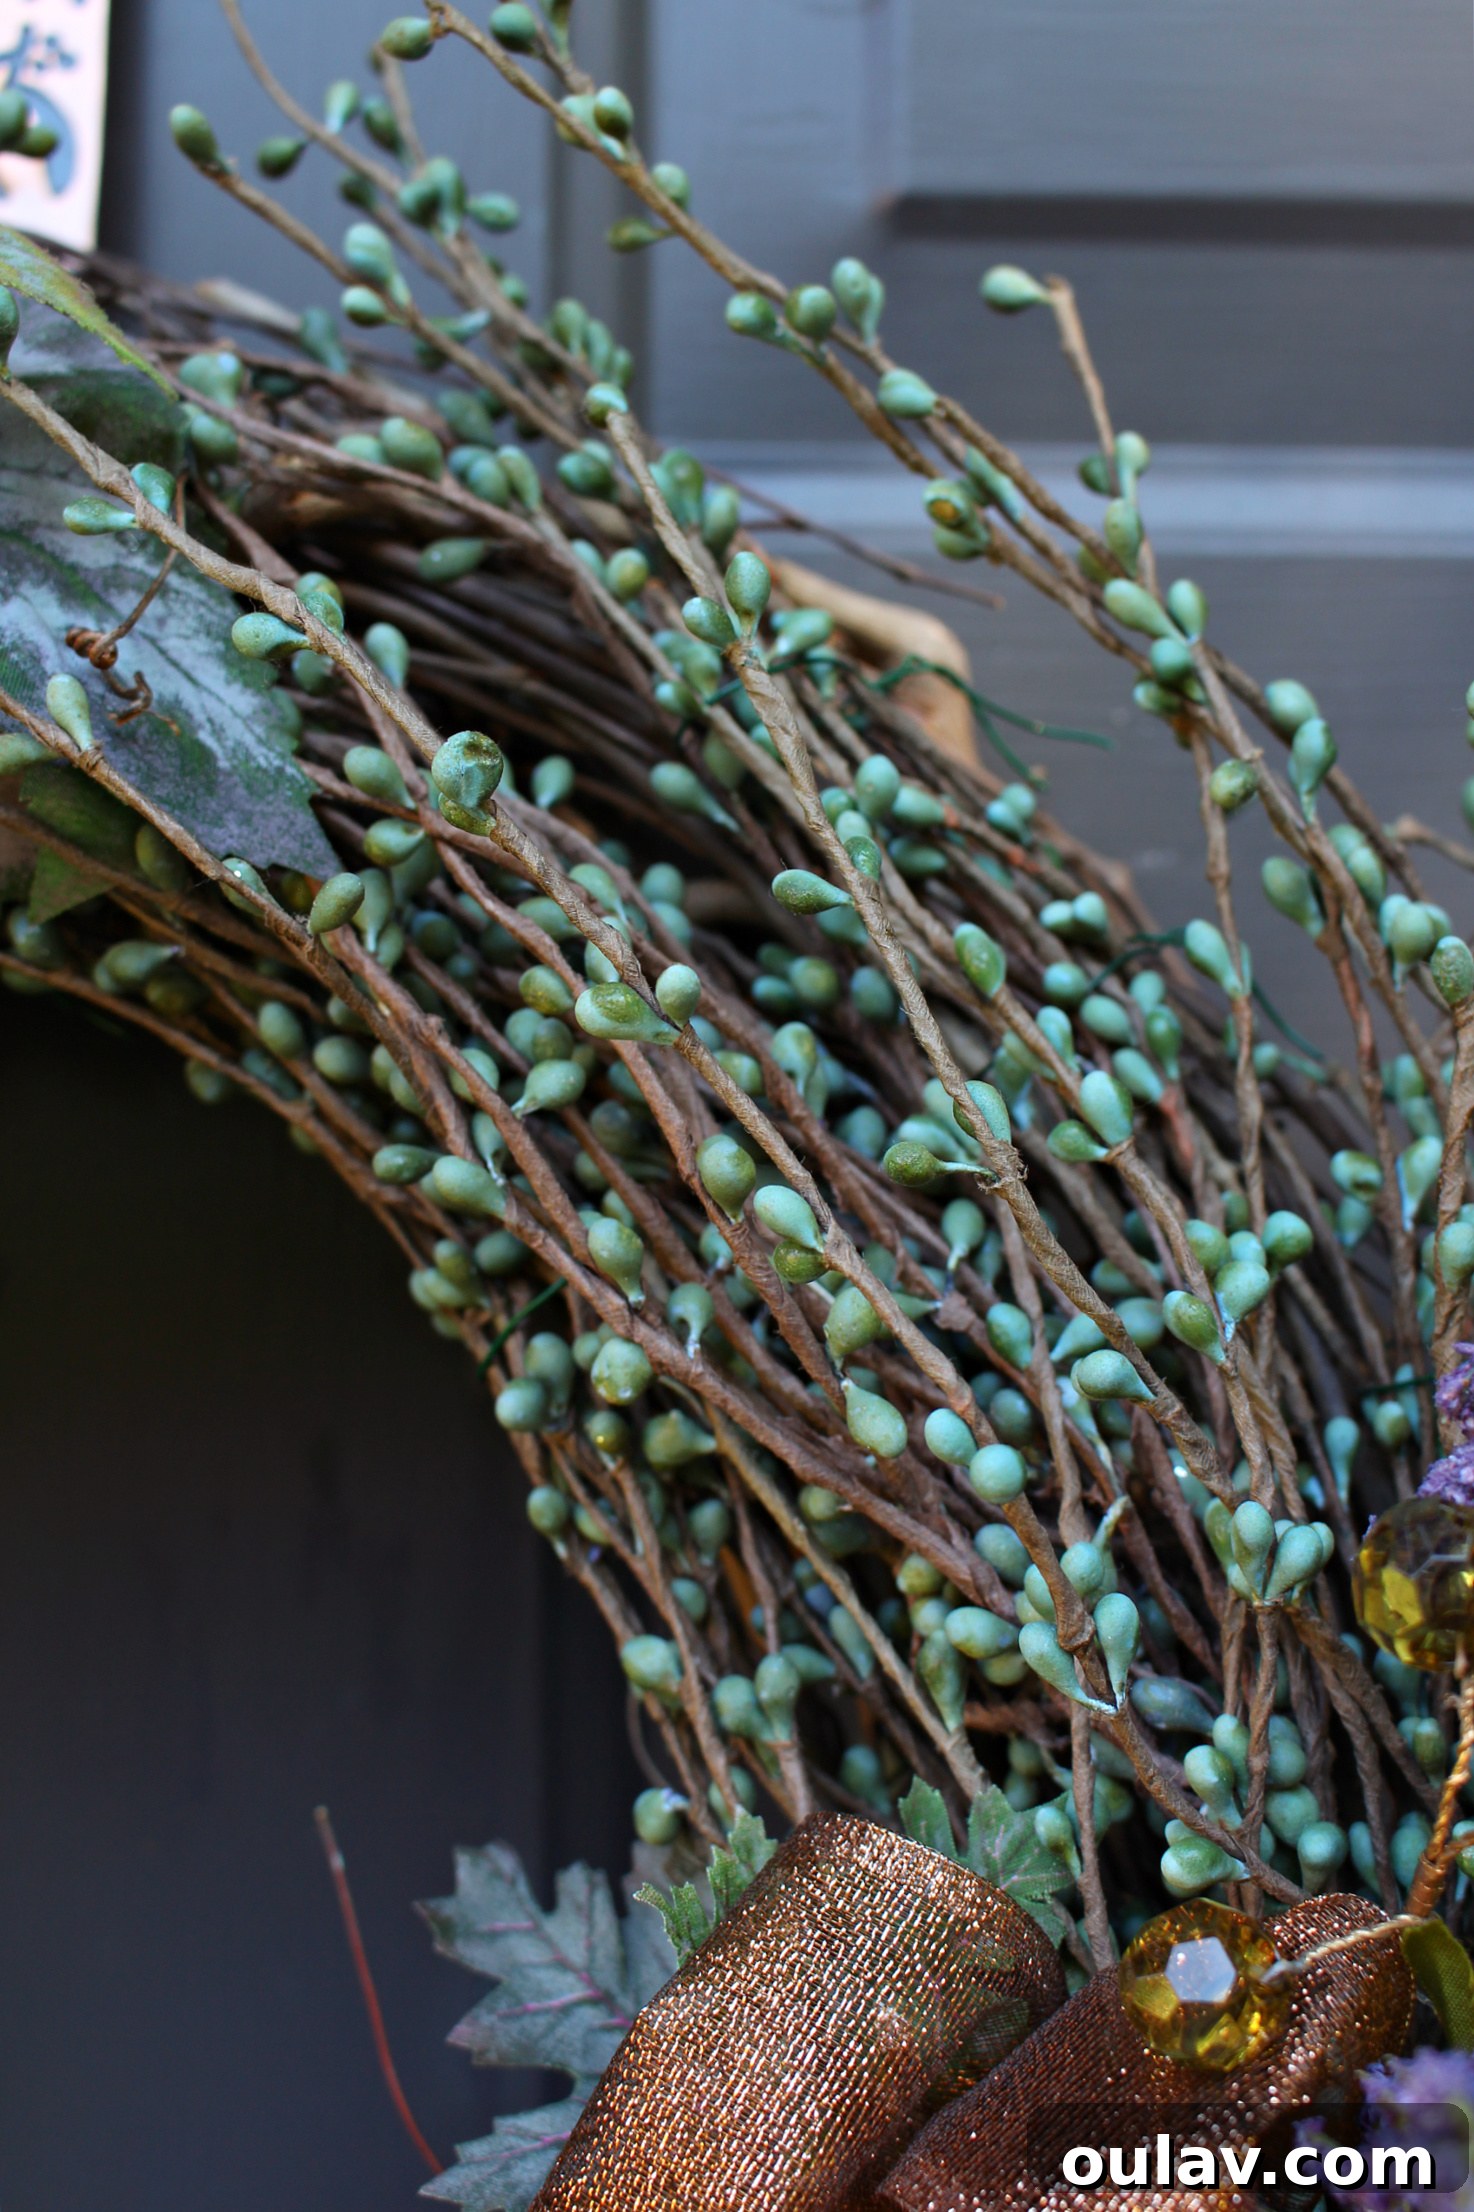
To add a dynamic visual interest and avoid a static look, we intentionally created an asymmetrical arrangement with those delicate pale green buds. Their pliable stems made it incredibly easy to form a graceful “spray” that extends naturally from one side of the wreath, contributing to the organic and modern feel of the design. This strategic placement ensures that the eye is drawn across the entire wreath, appreciating the careful balance of fullness and open space.
Adding Festive Flair: Securing Your Pumpkins
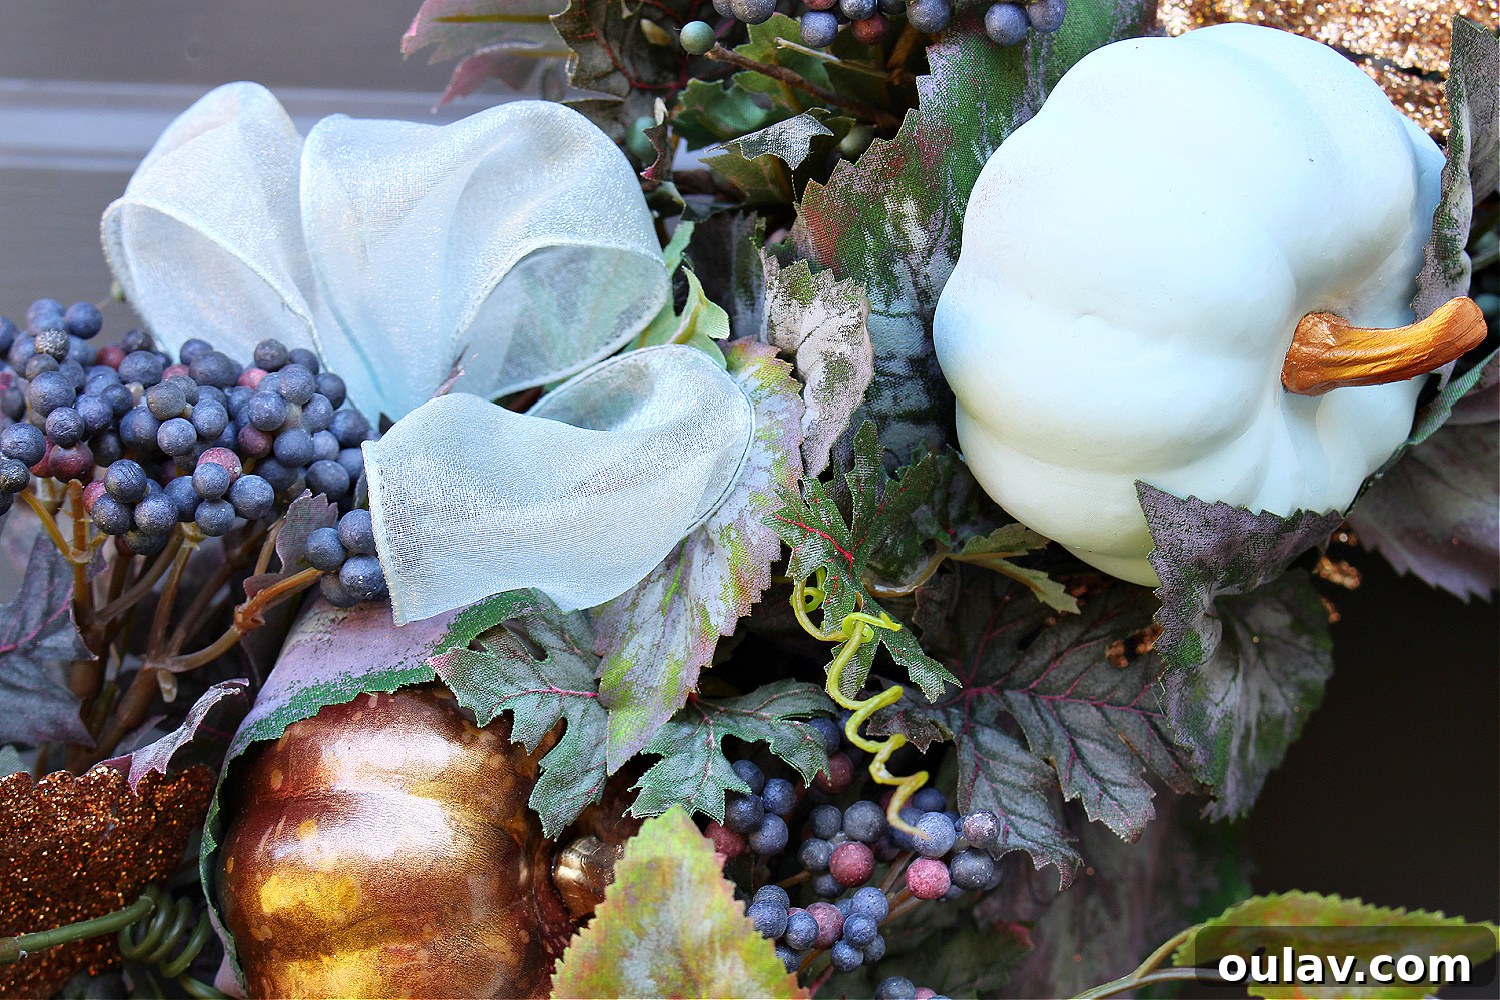
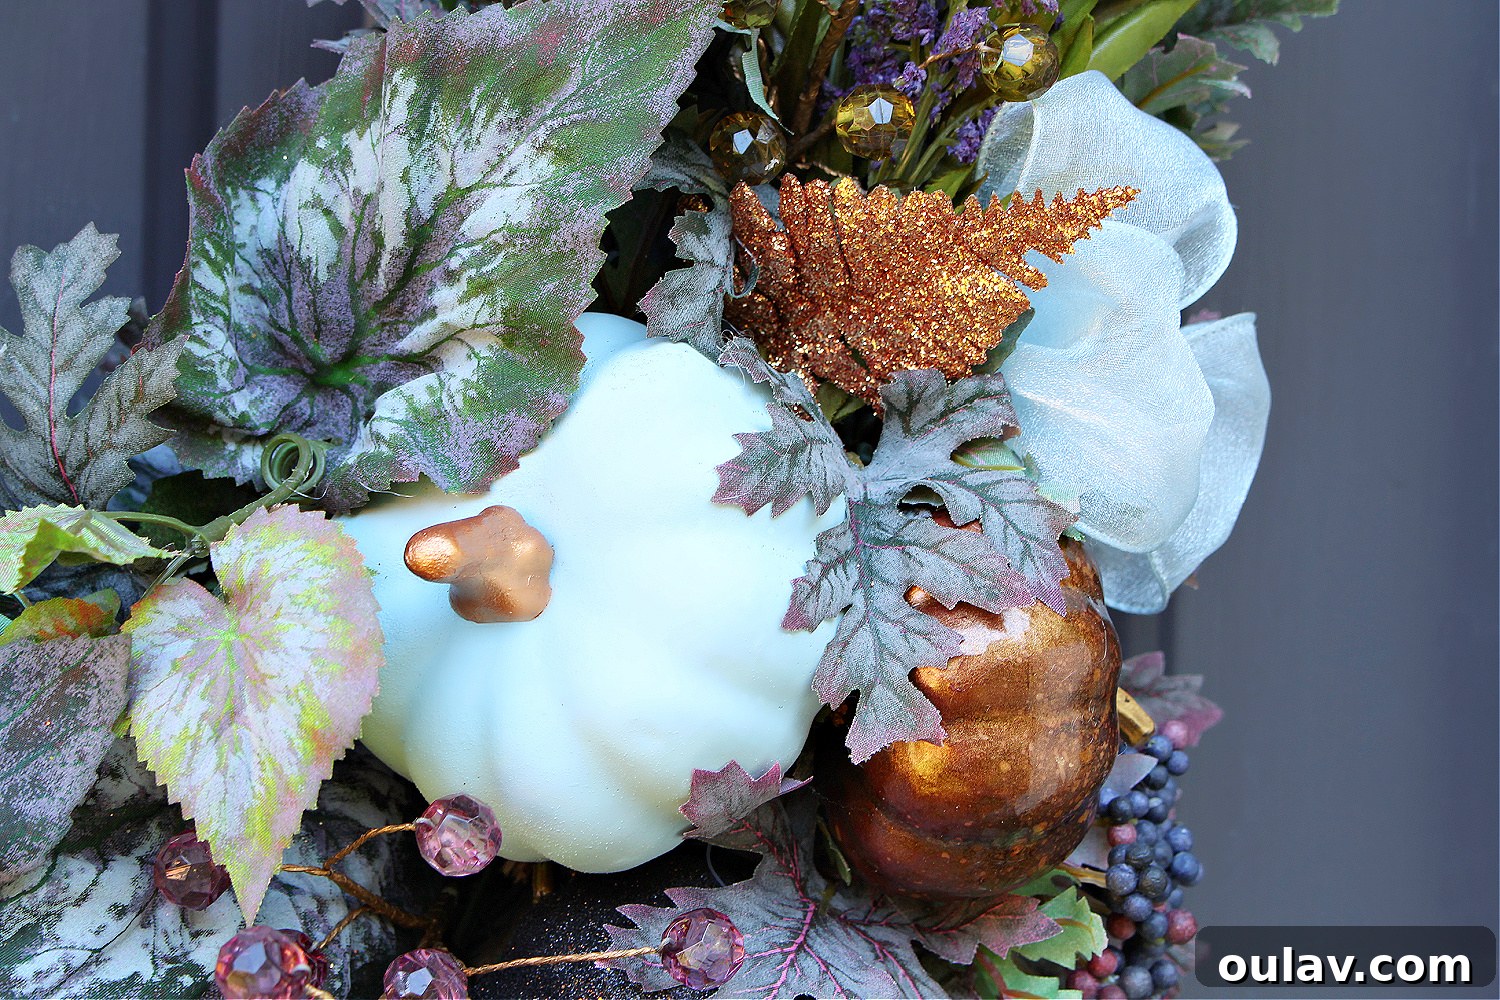
Once we were completely satisfied with the foundational placement of the leaves and berries, it was time to introduce the festive plastic pumpkins. Many of my mini pumpkins were sourced from Dollarama, with the striking copper and black ones already coming in their vibrant hues. The elegant grey/blue pumpkins, however, were transformed by a coat of Rust-Oleum Chalked paint in Serenity, perfectly matching our unique color palette. To further enhance their custom look, I painted the stems of these blue pumpkins with copper craft paint, creating a lovely metallic accent that ties into the overall design.
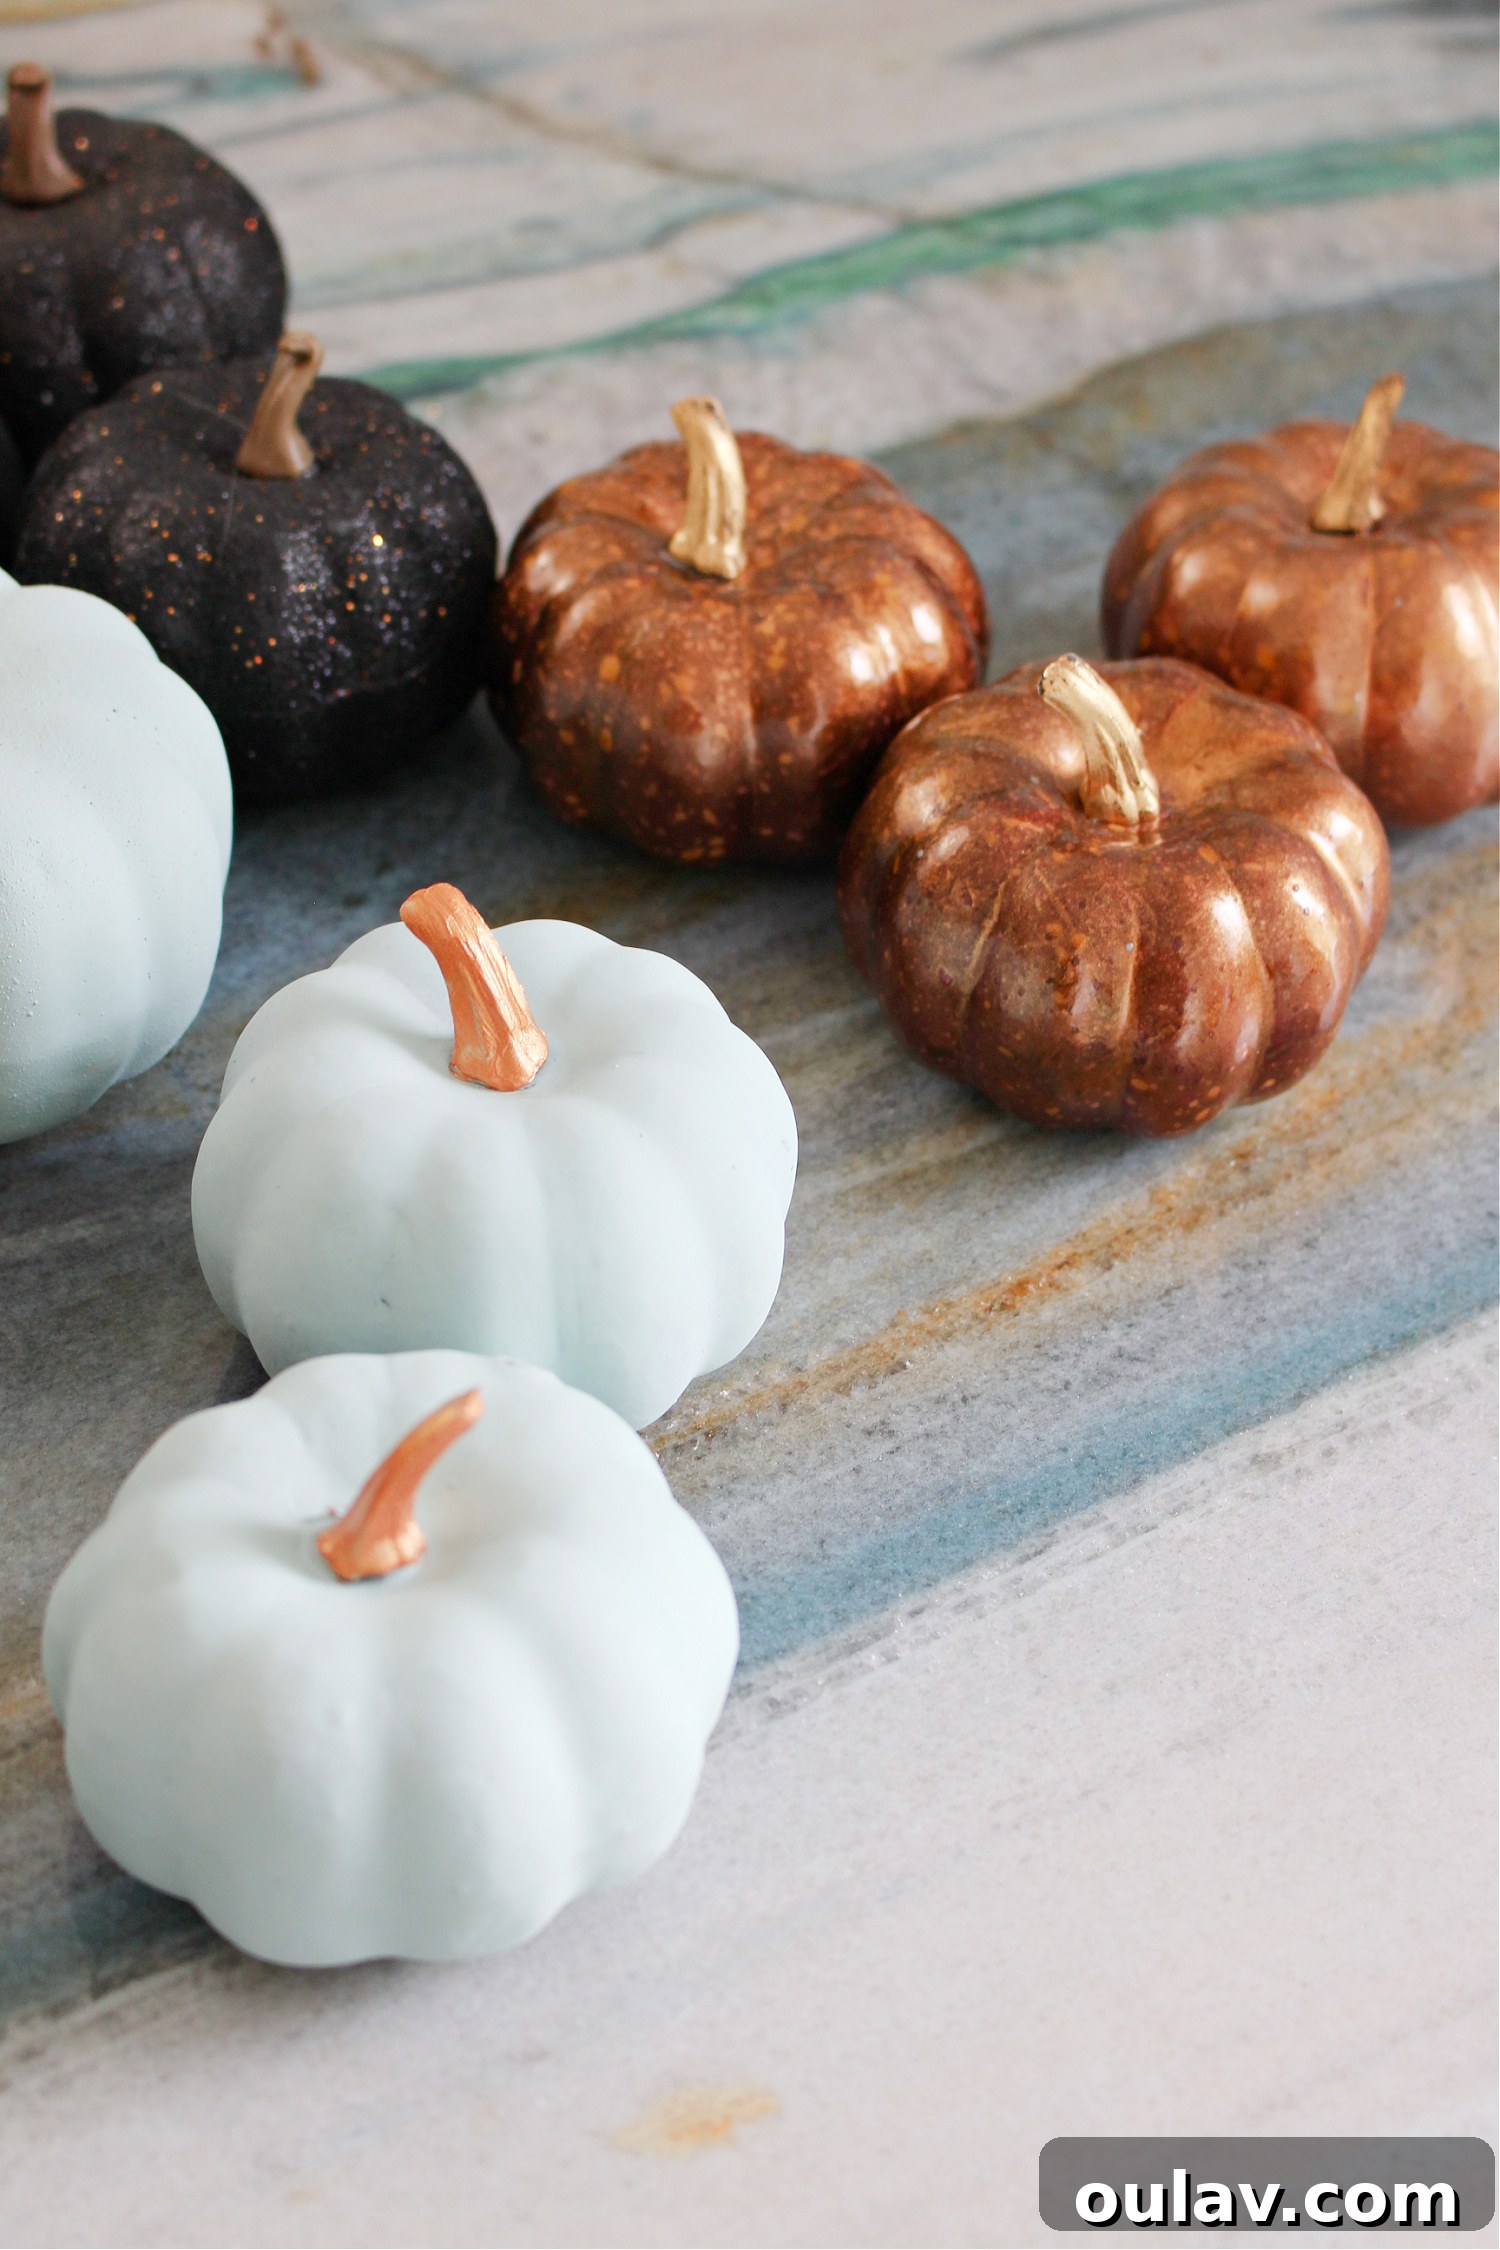
For attaching the pumpkins, I chose to use hot glue. This method works well for lighter, decorative elements like these mini pumpkins, especially when nestled within existing foliage. However, if you prefer to maintain the repurposing flexibility or need extra security, you can purchase pumpkins that come as pumpkin picks with wire stems. These can then be wired into the wreath form using the same method as the floral picks. When applying hot glue, work quickly but carefully, pressing the pumpkin firmly onto a sturdy part of the grapevine wreath. To further secure each pumpkin and make it appear more organically “nestled” into the leaves, I also applied hot glue to nearby leaves, pressing them gently against the pumpkin. This creates a more cohesive and natural look, ensuring the pumpkins feel integrated rather than just placed on top.
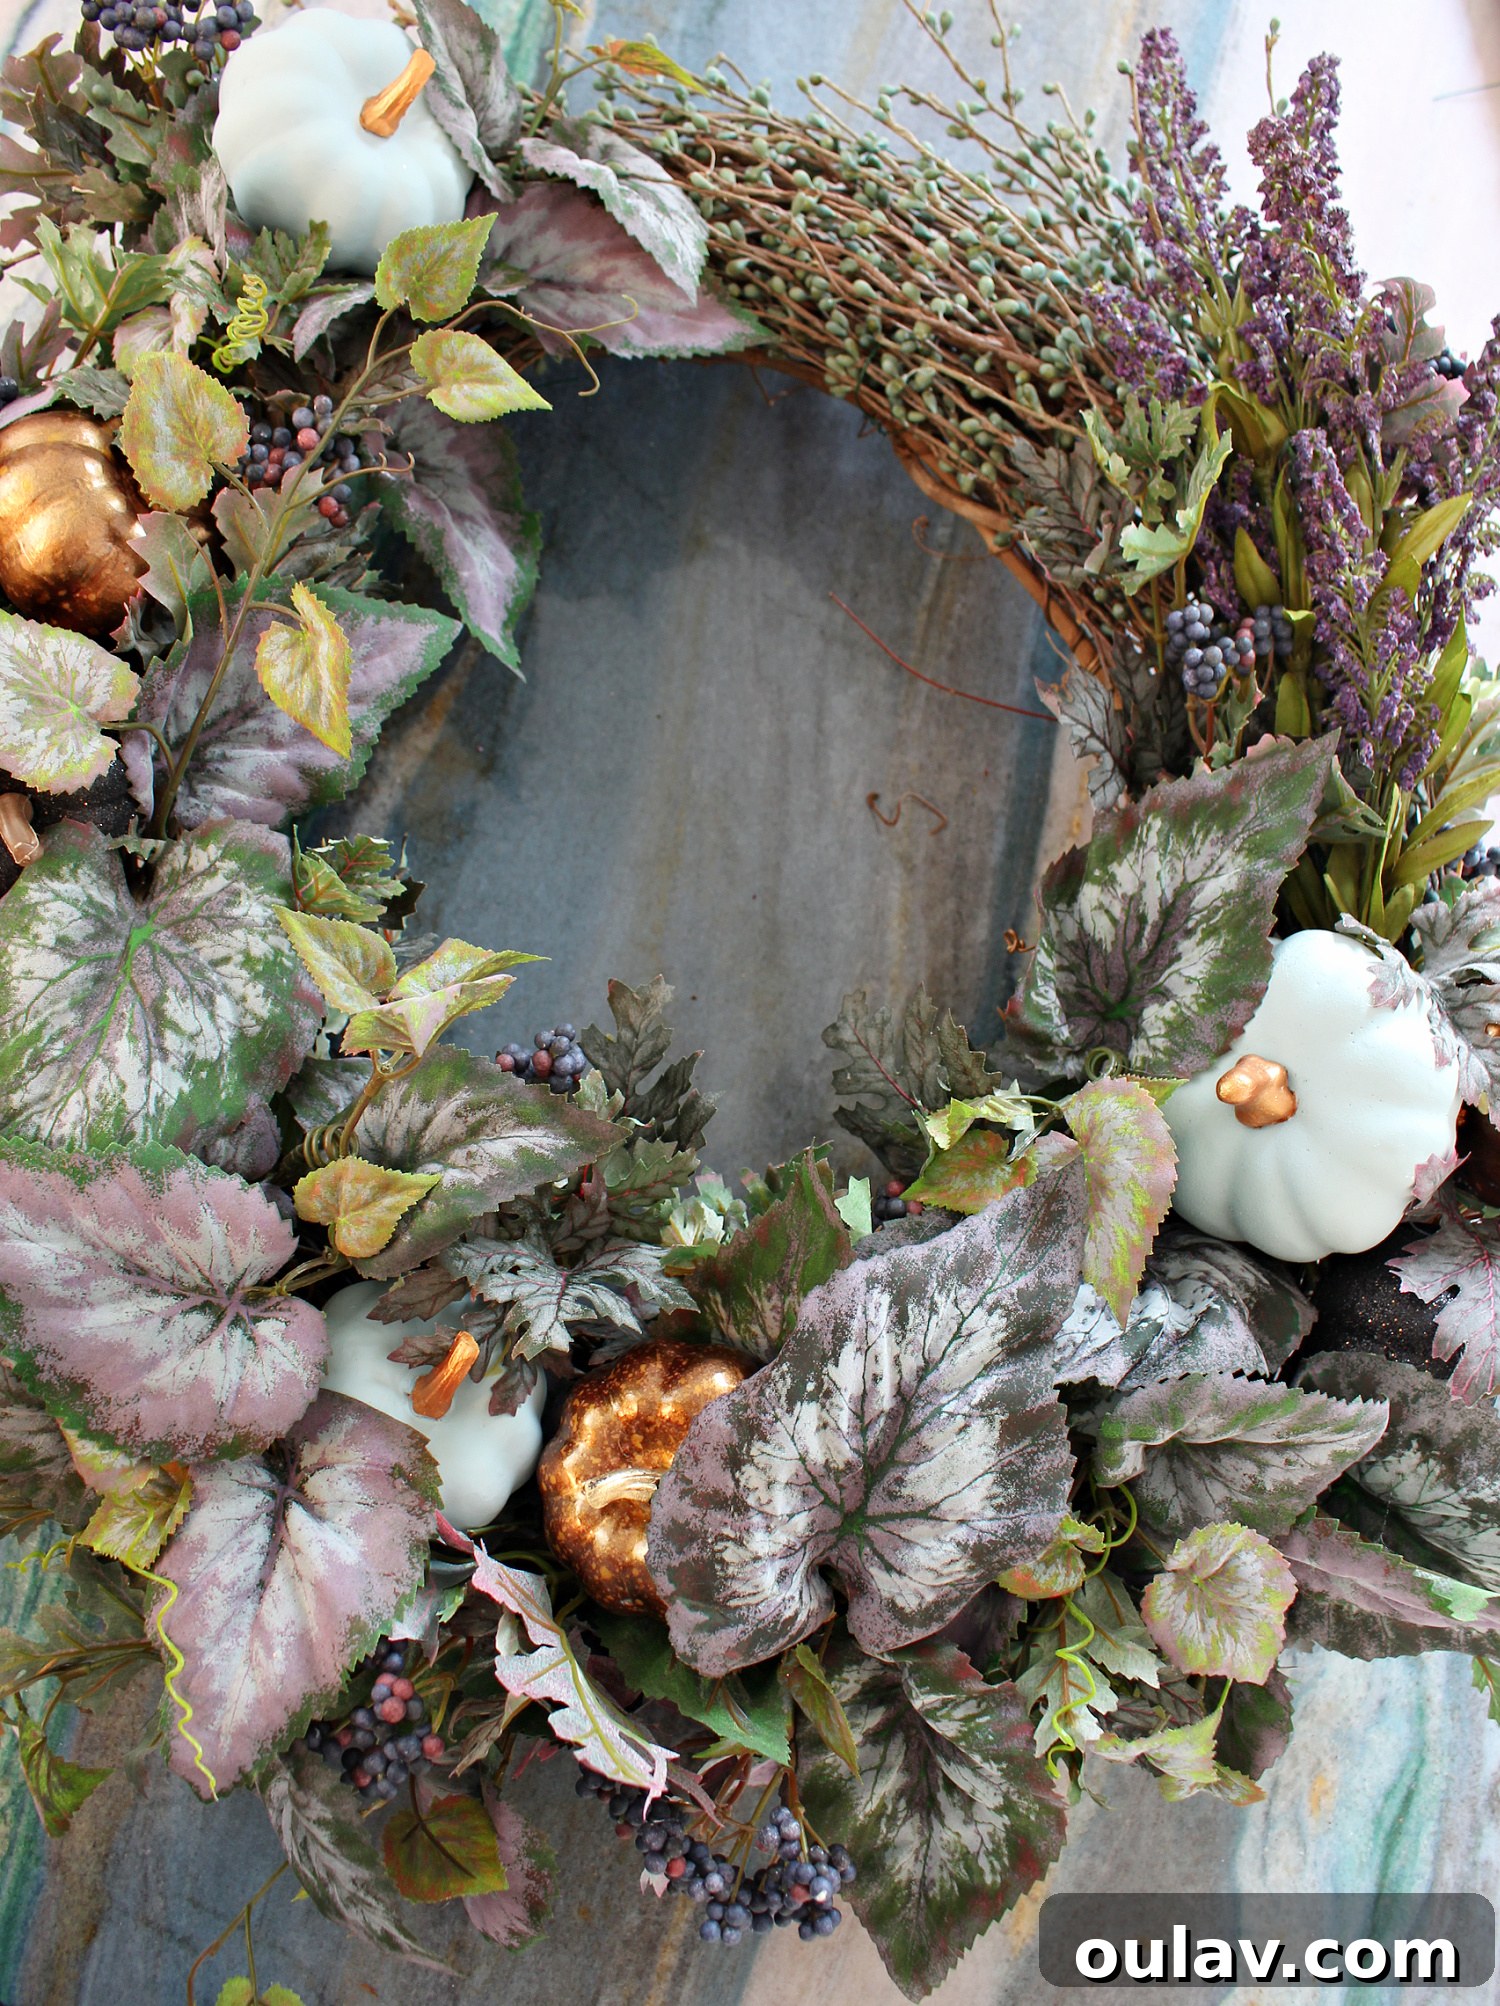
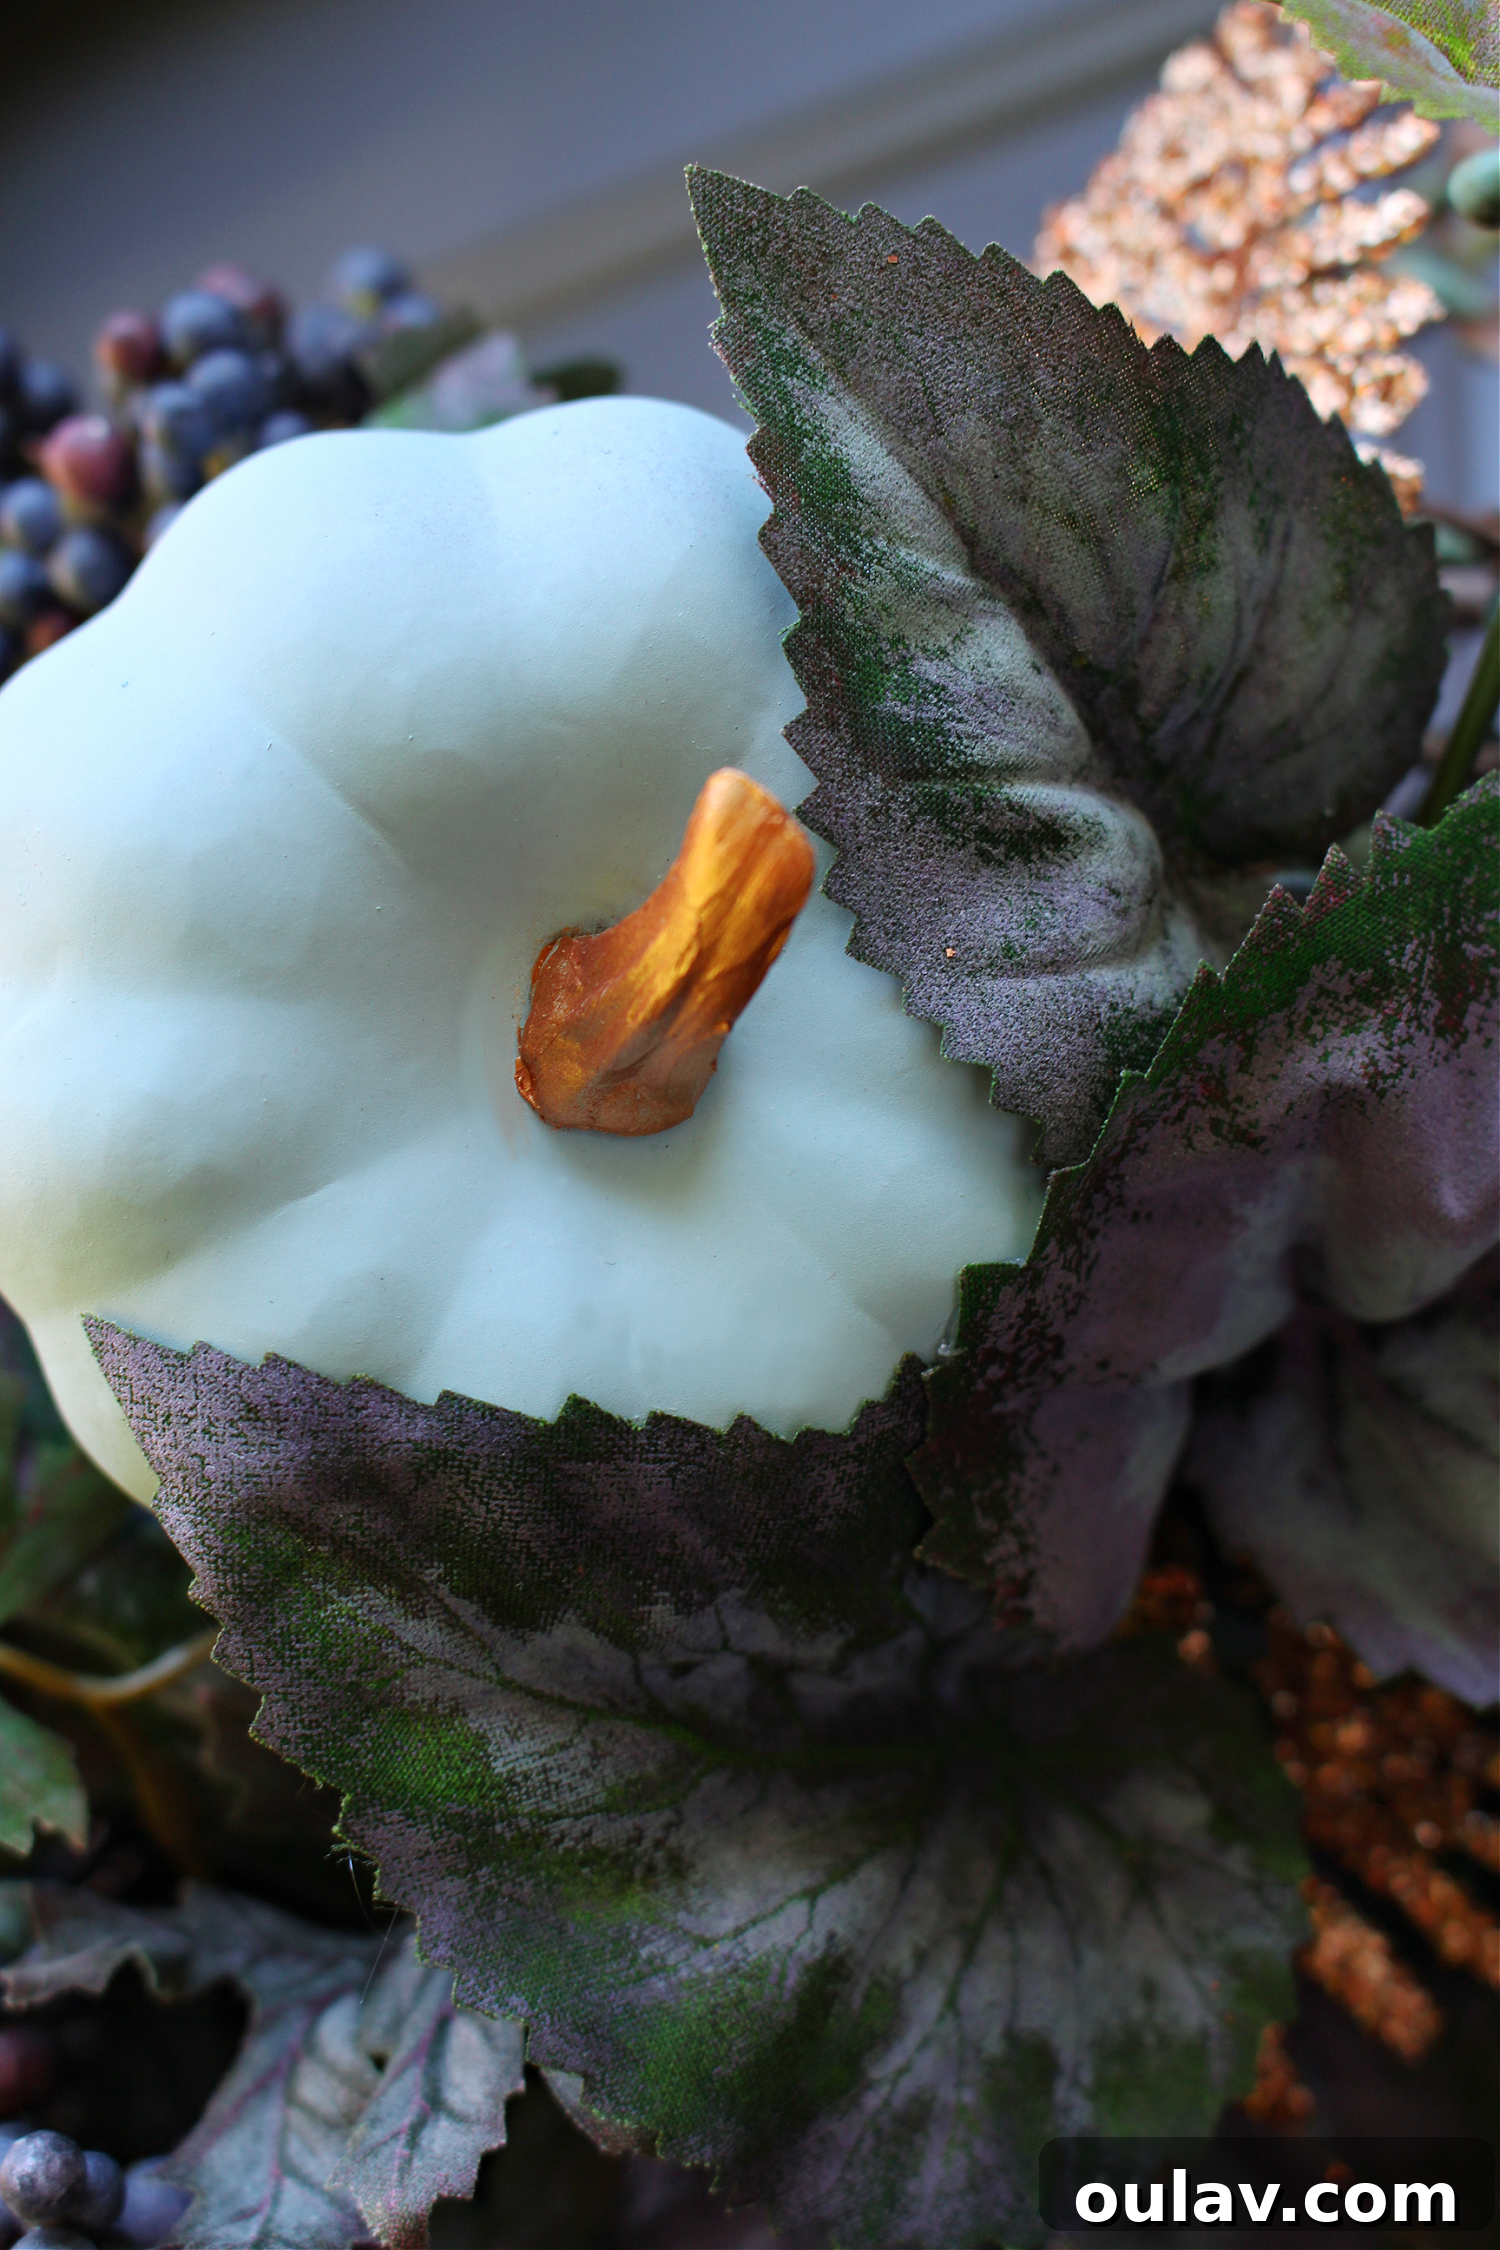
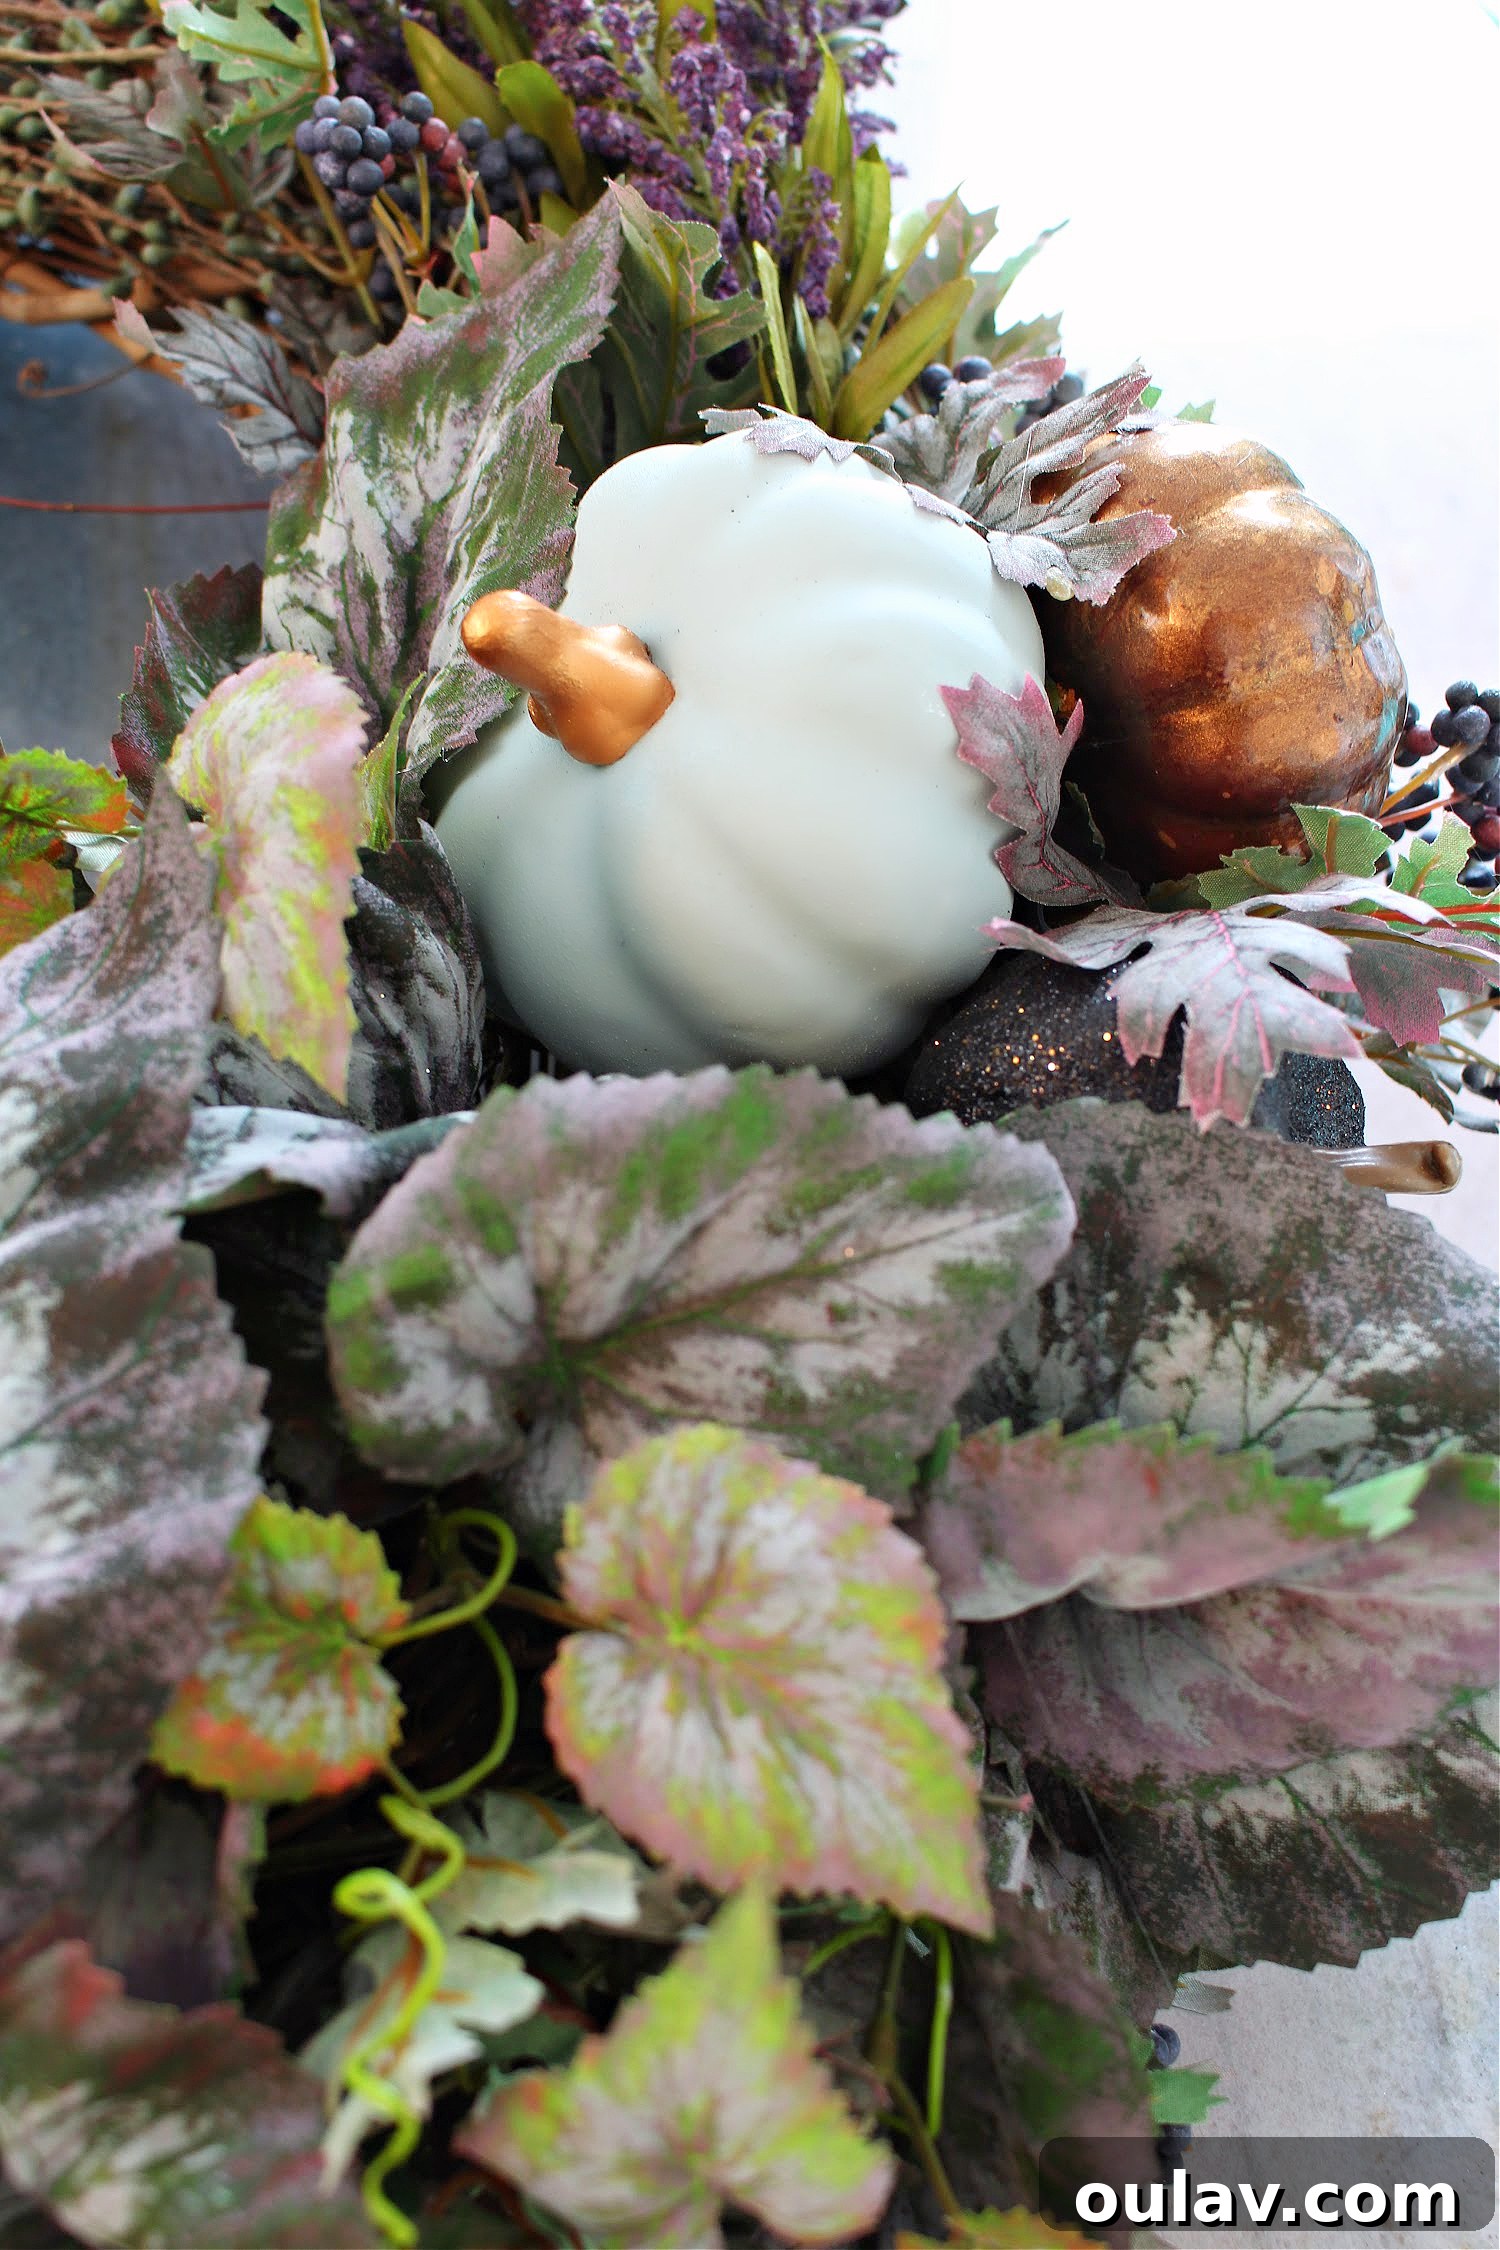
The combination of the strong hot glue adherence to the grapevine base and the additional support from surrounding leaves creates a very robust attachment for these decorative pumpkins. This layering technique is essential for achieving a full, professional-looking wreath where all elements appear intentionally placed and seamlessly integrated. The subtle interplay of the painted pumpkins with the natural and metallic elements truly elevates the “Falloween” theme, adding both whimsy and sophistication.
Elegant Accents: Crafting and Attaching Ribbon Bows
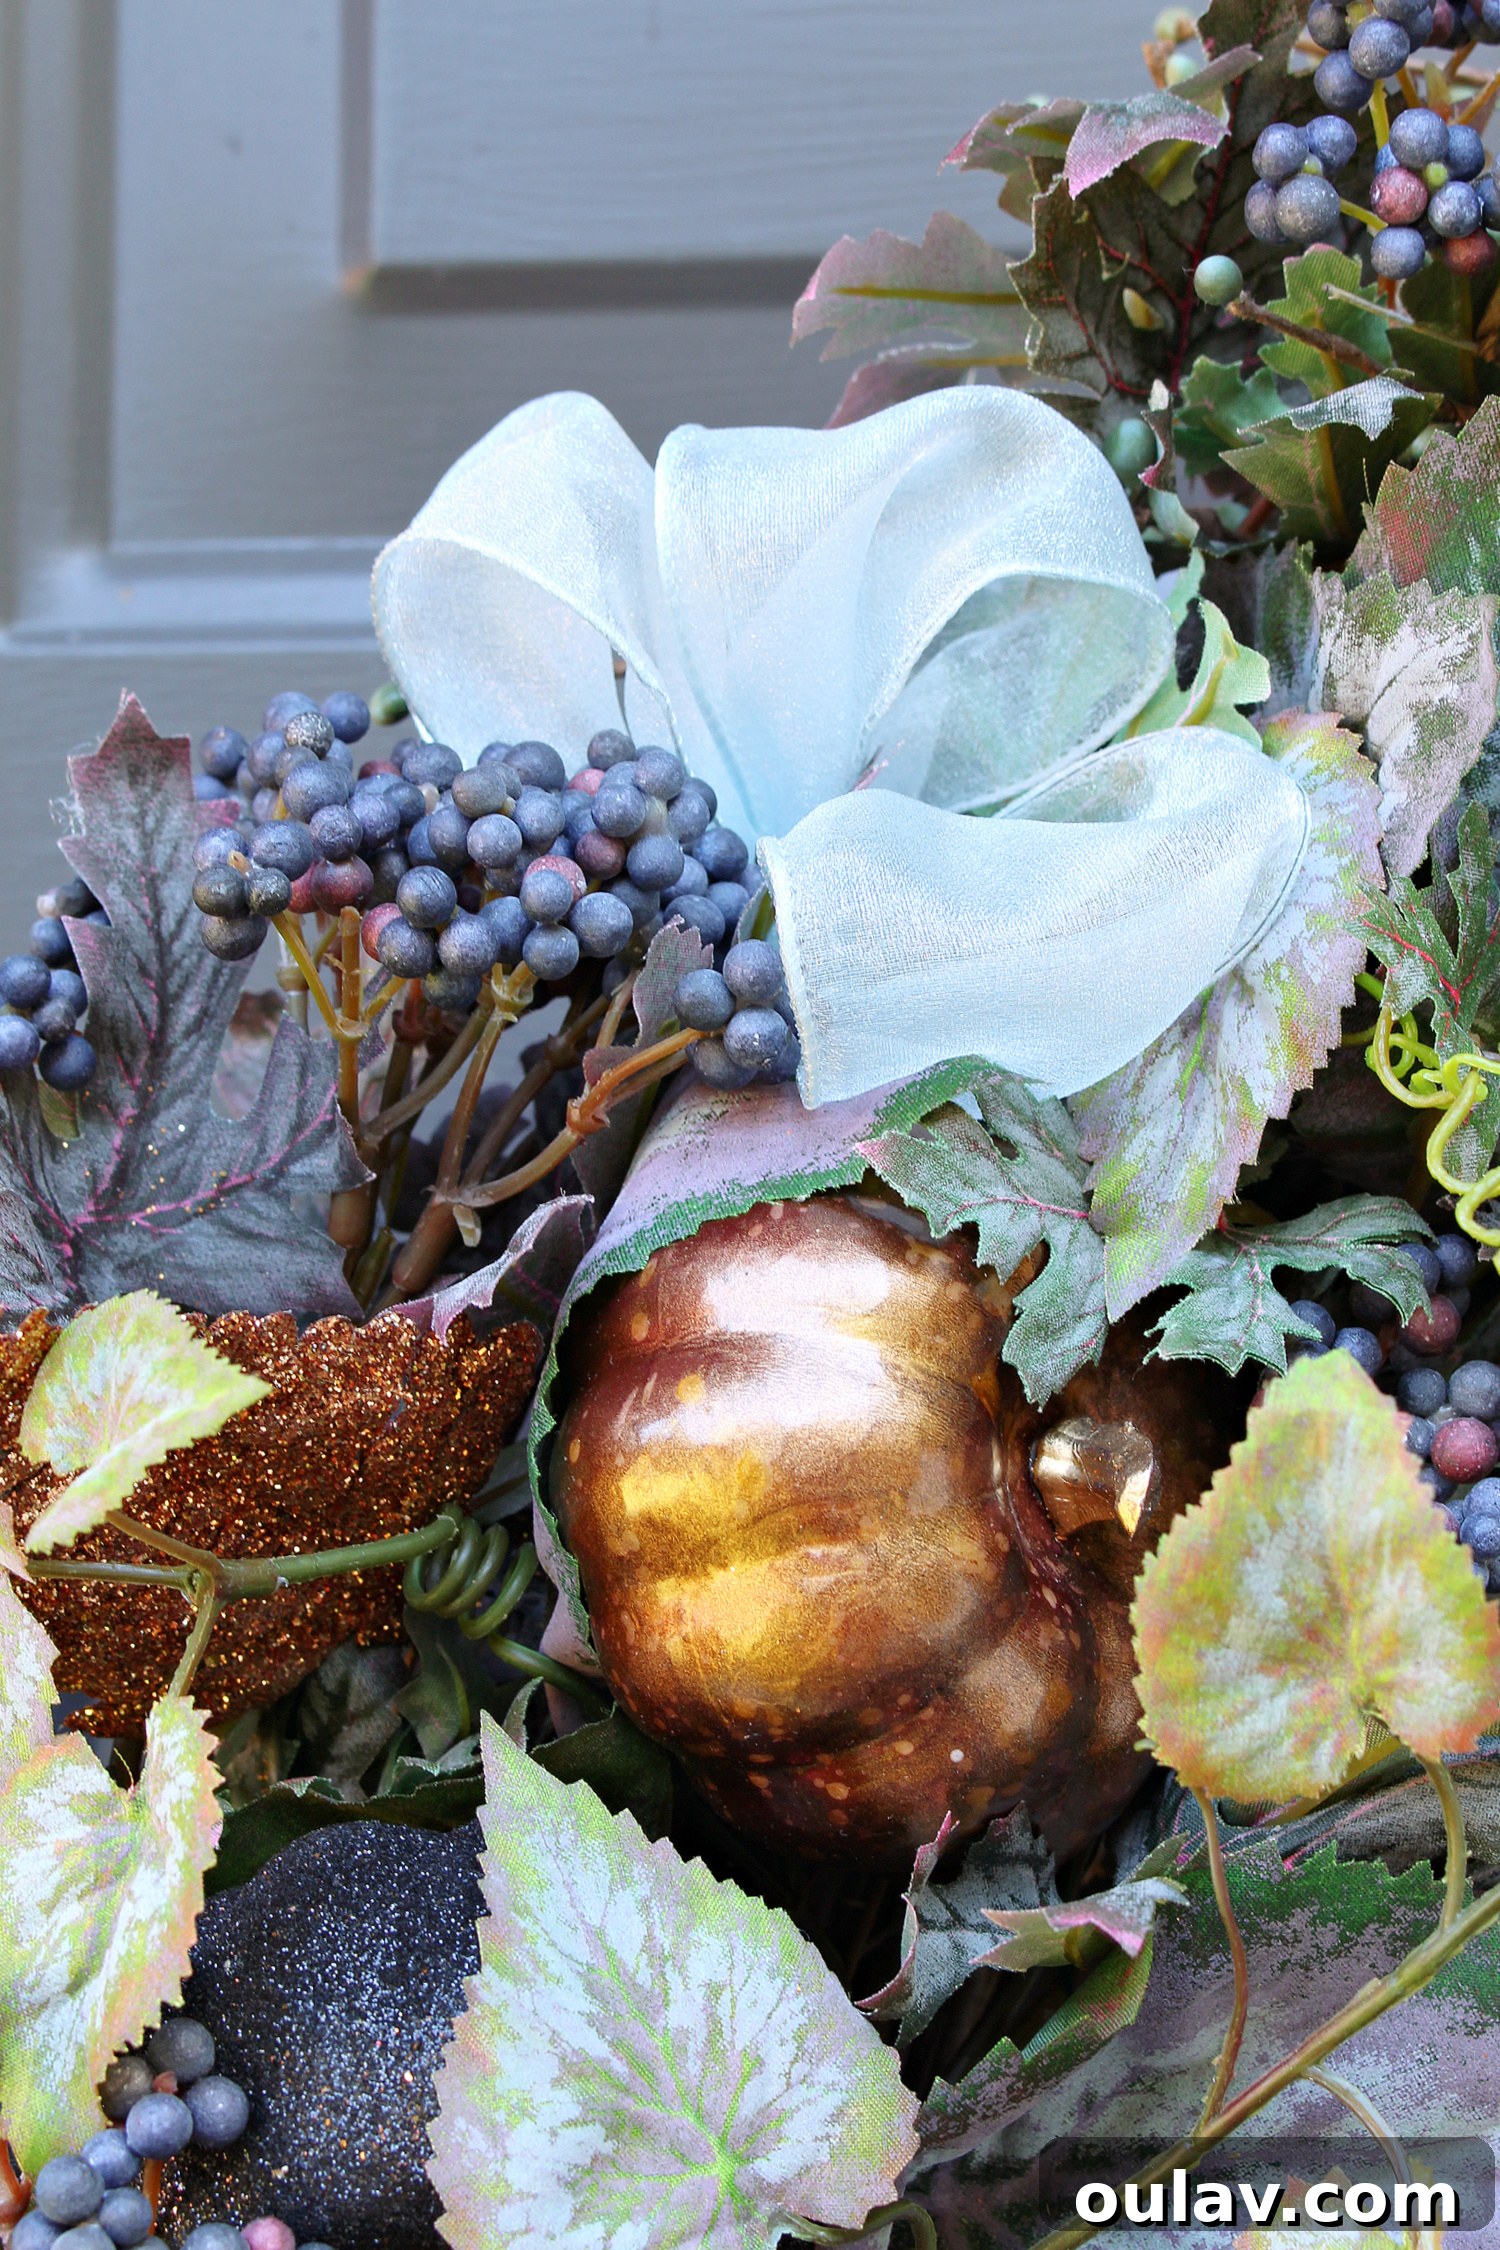
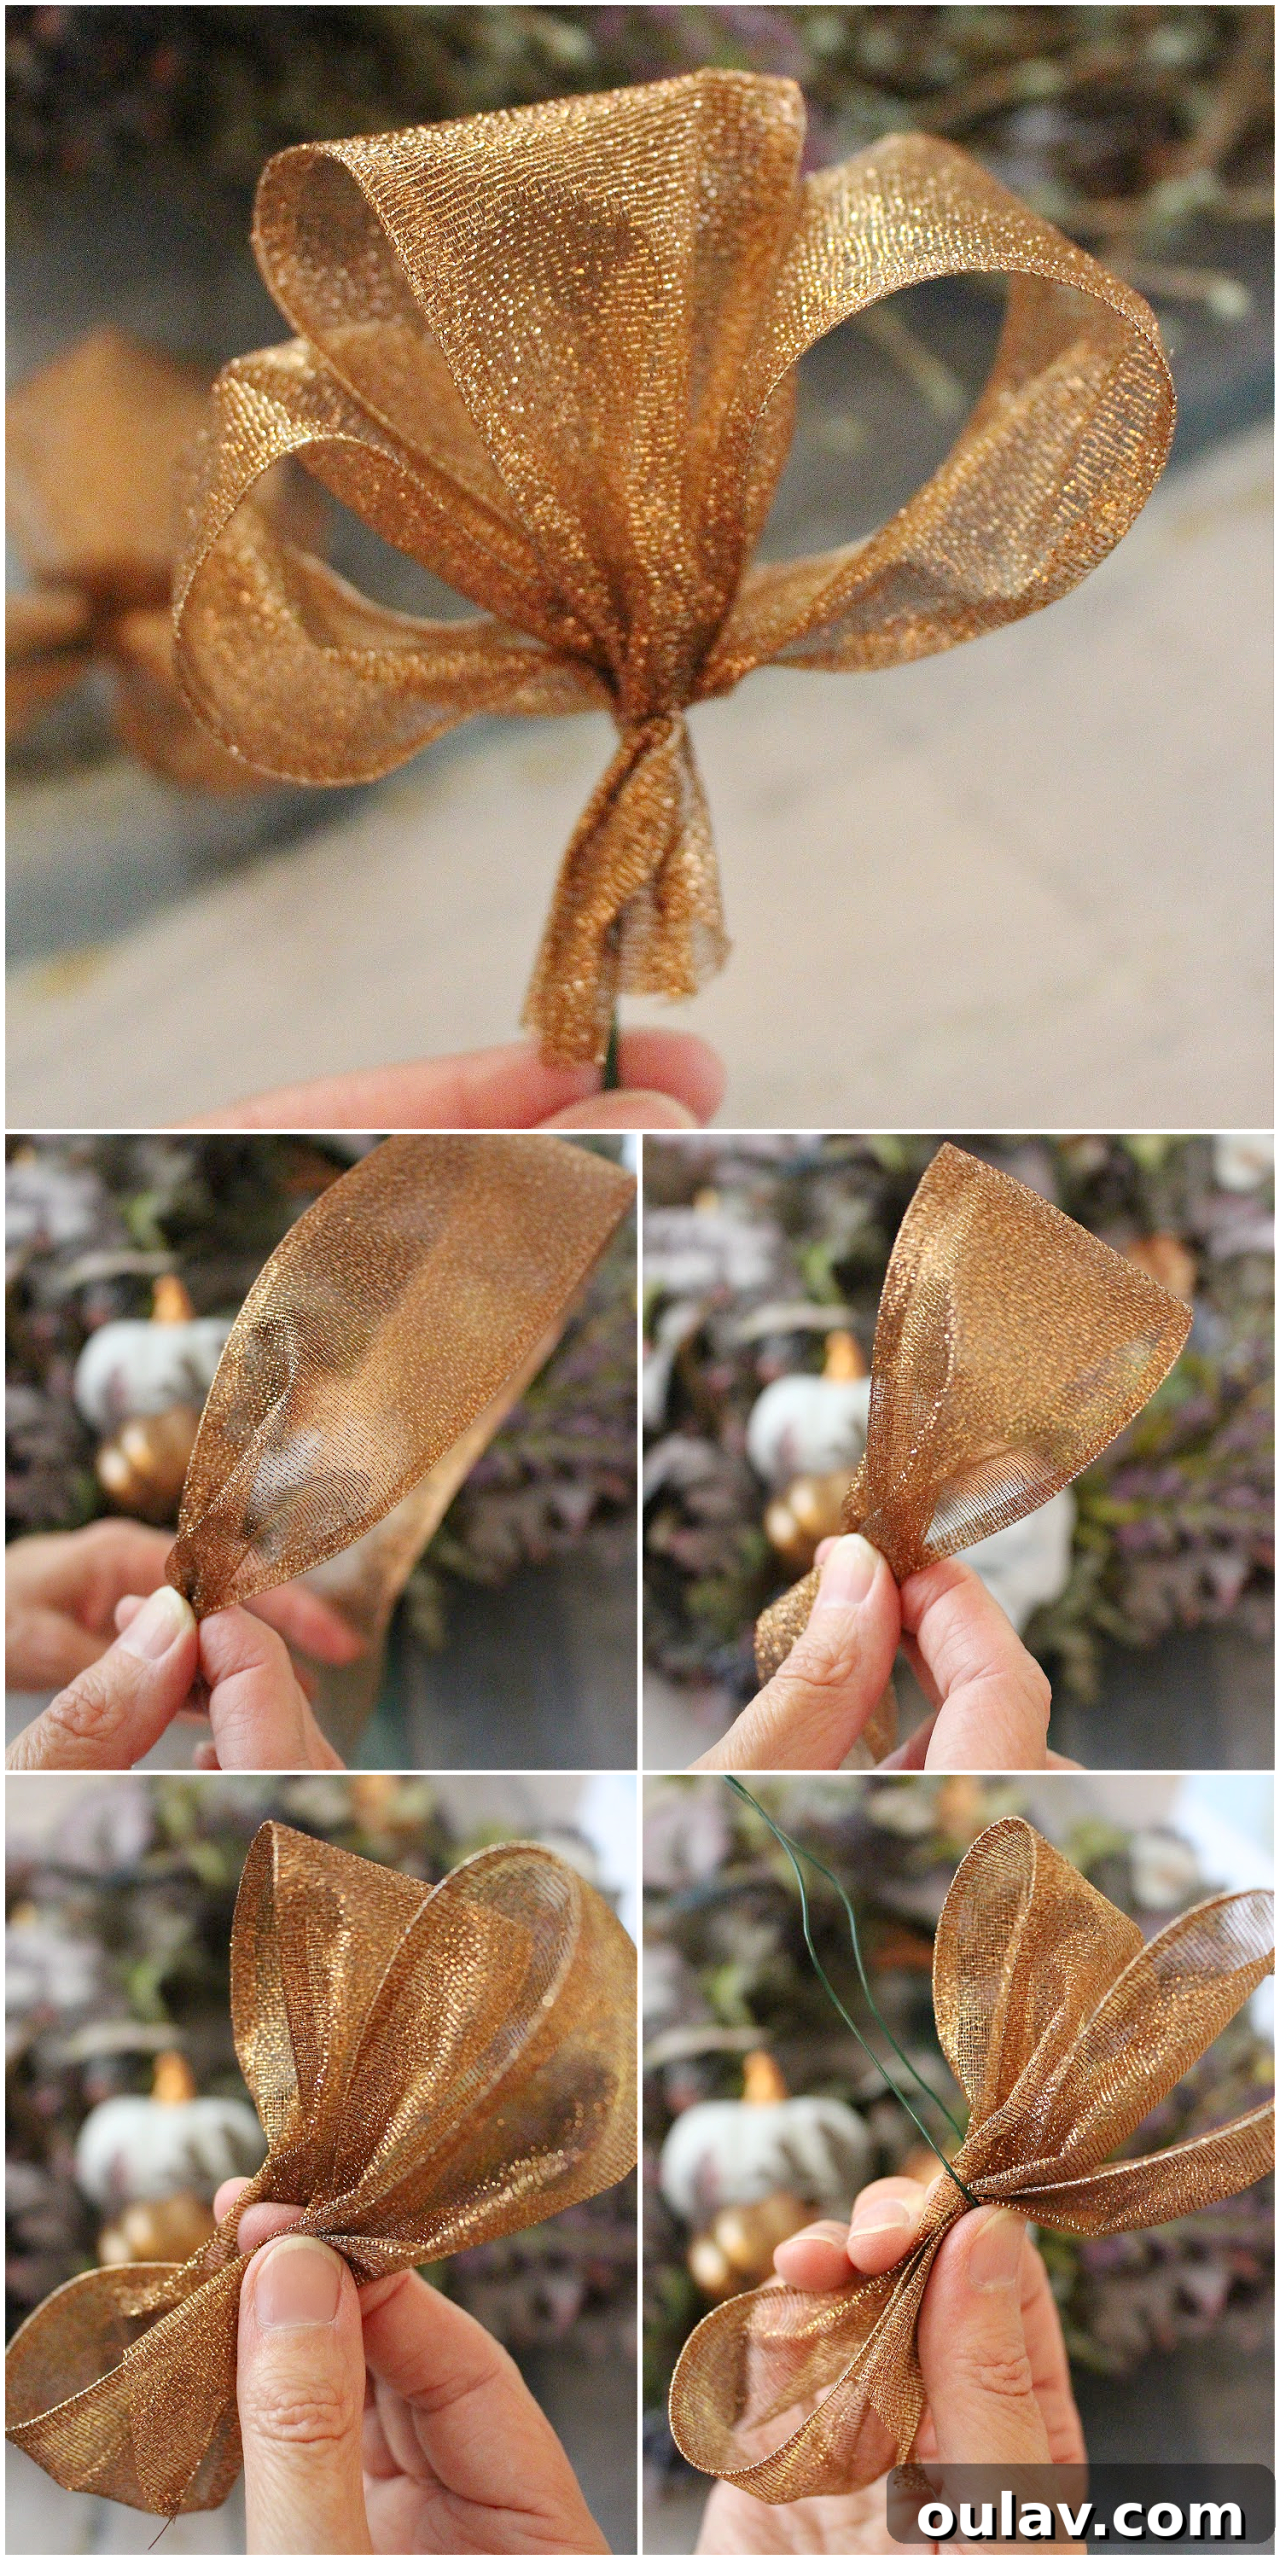
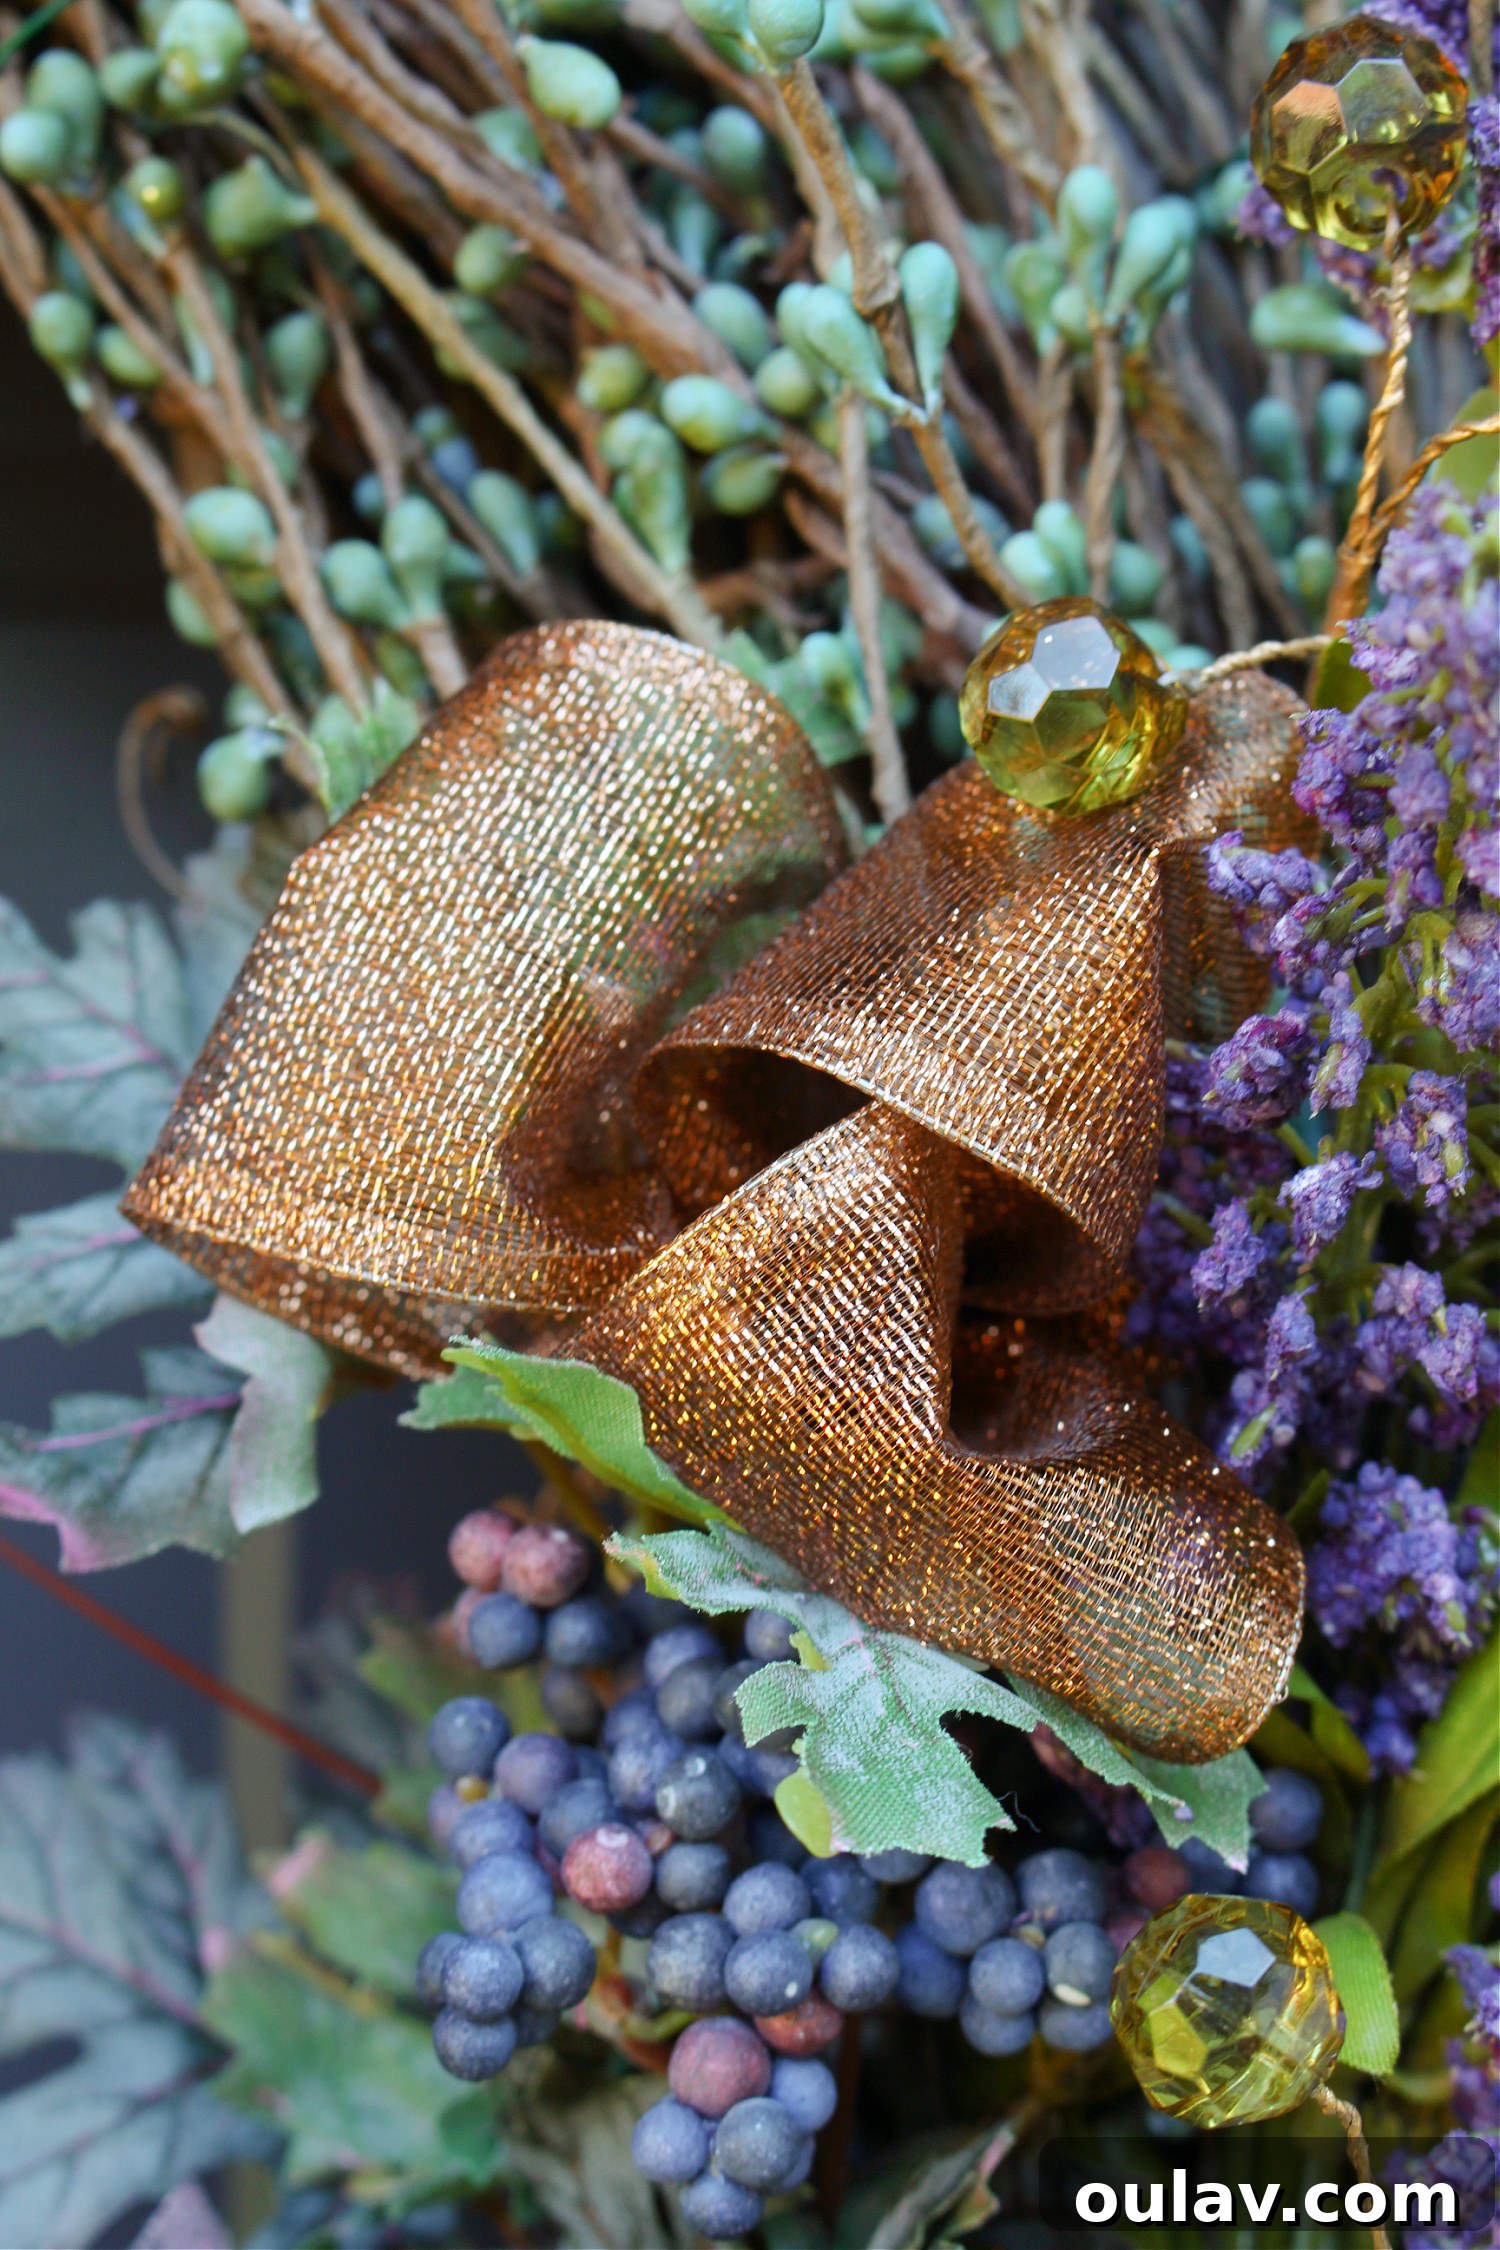
With the primary foliage and pumpkins in place, our next step was to introduce some soft, elegant texture with ribbon bows. We crafted very simple mini “bows” for the wreath, utilizing wired ribbon in two hues that perfectly echoed our pumpkin colors: a shimmering copper and a delicate sheer pale blue/grey. Wired ribbon is particularly excellent for wreath making because its embedded wire allows you to easily shape and hold the bow’s form, ensuring a neat and polished look that resists drooping over time. These small accents add a touch of refinement and help to further integrate the chosen color palette throughout the design.
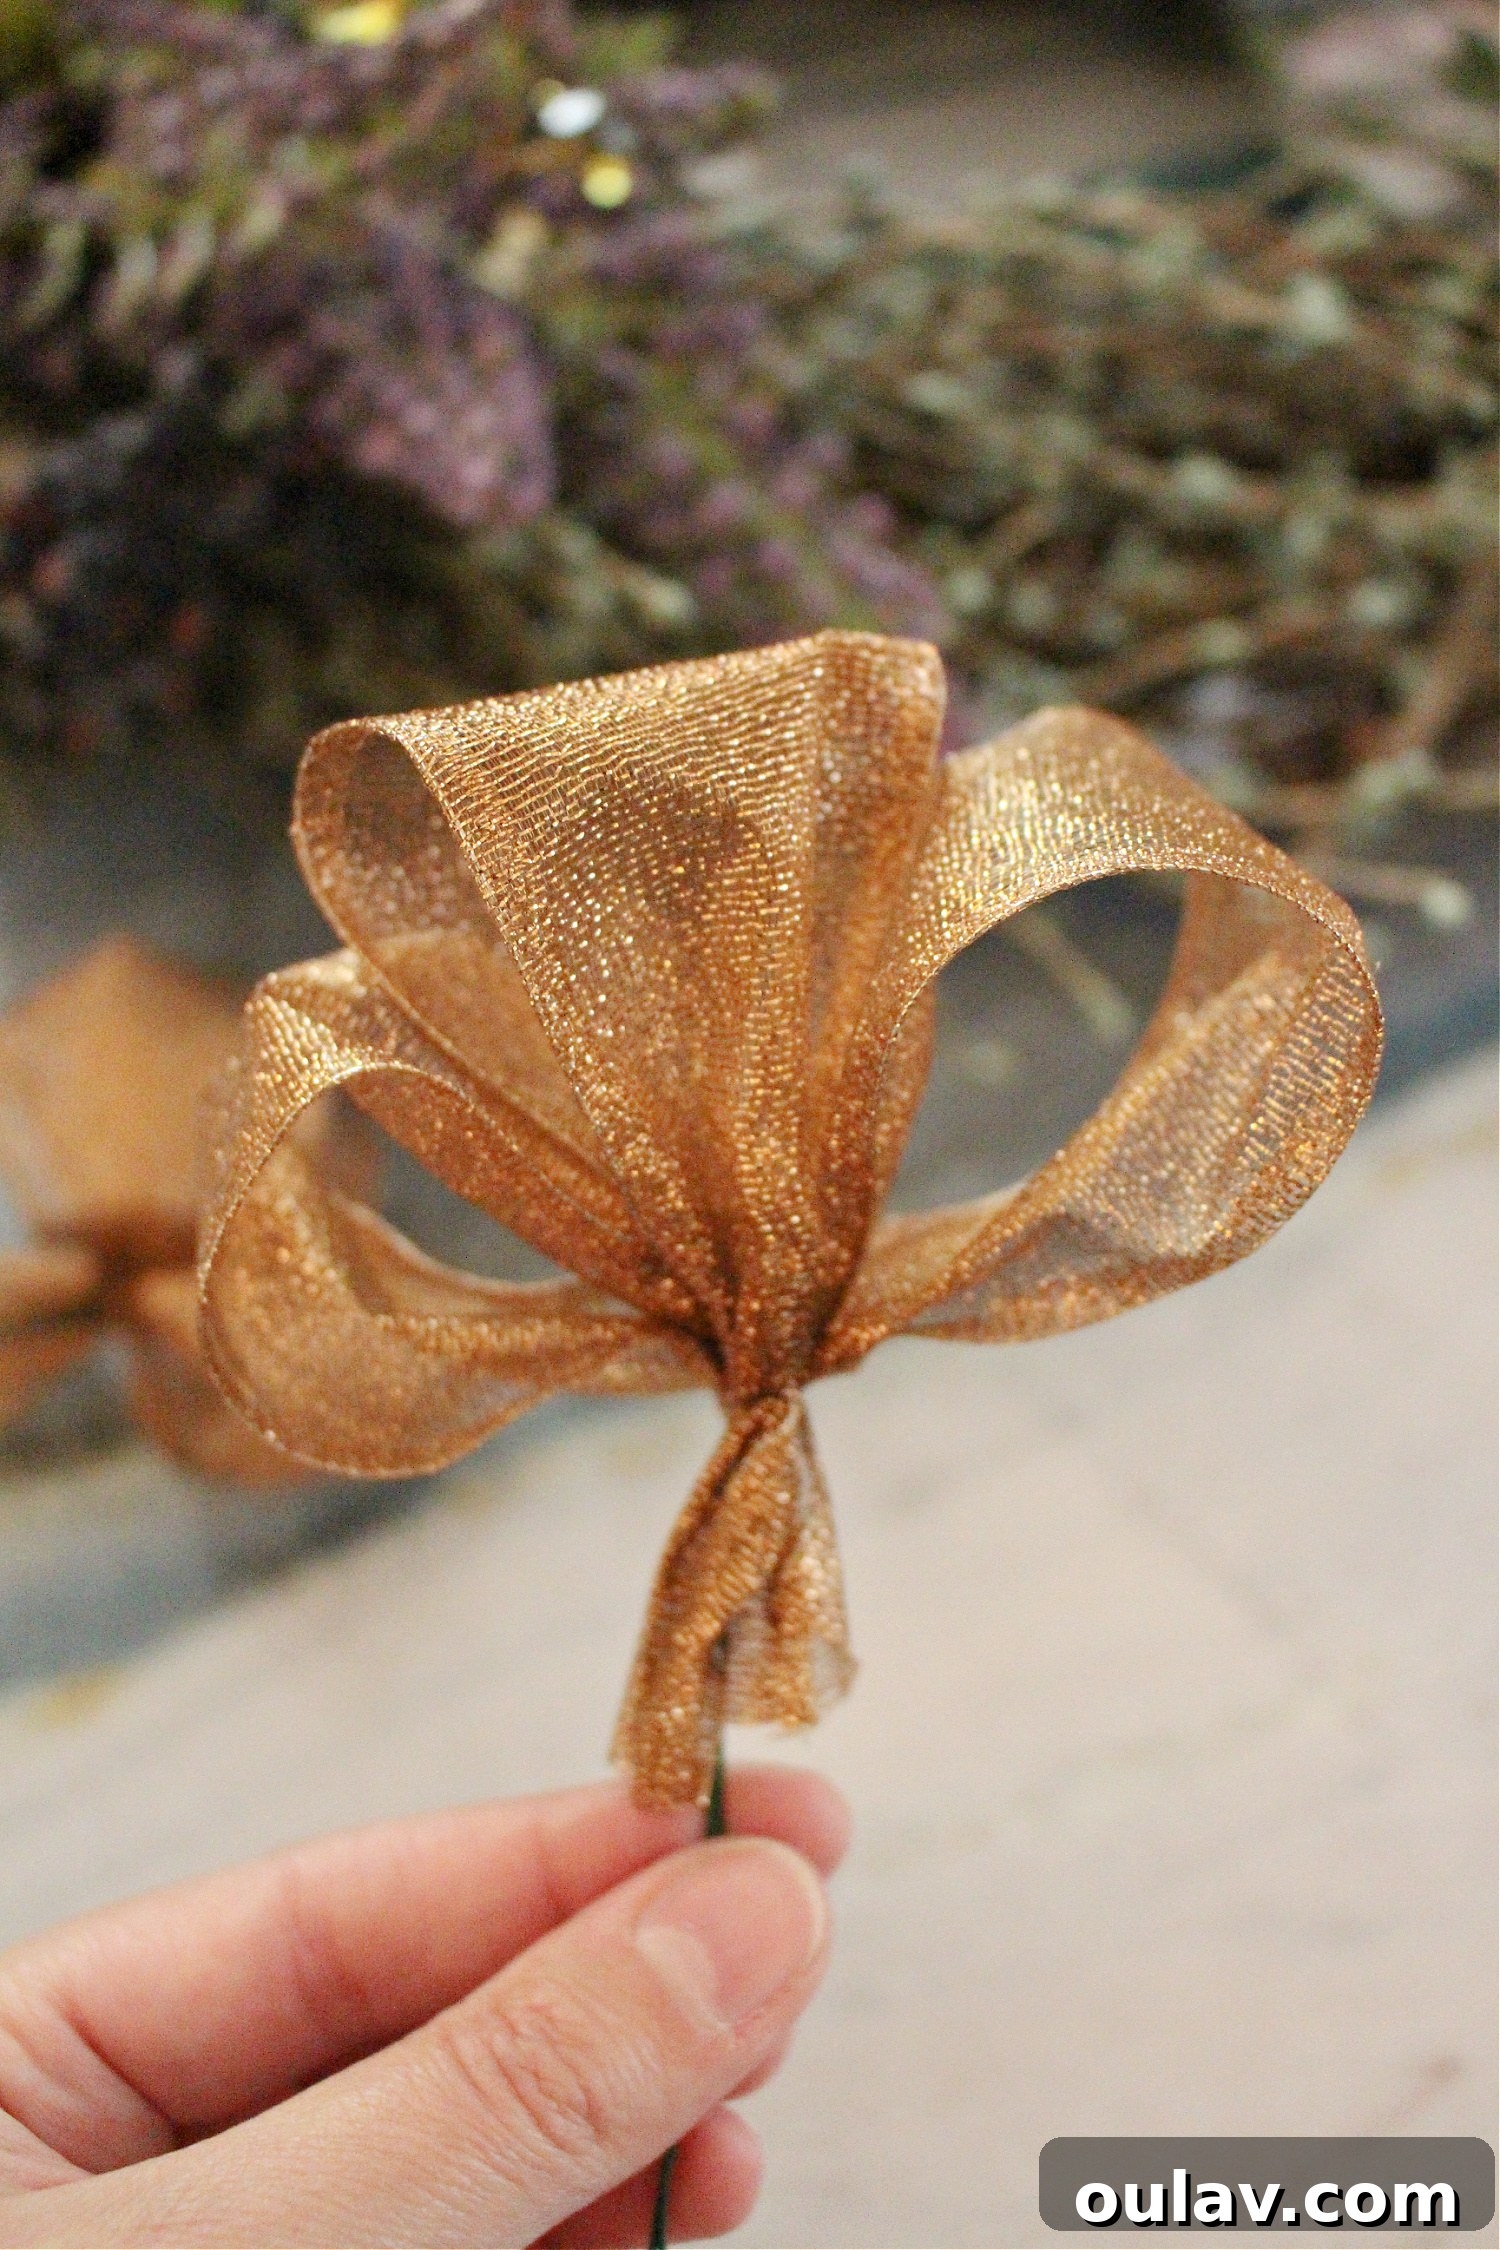
To create these effortless ribbon bows, take a piece of ribbon (the length will depend on your desired bow size) and loop it back and forth, gathering and pinching it firmly in the middle. You have complete creative freedom with size; this is a fantastic opportunity to use up any ribbon scraps you might have. Once you’ve created your desired number of loops, secure the center tightly with a piece of 22 gauge floral wire. Twist the wire securely at the back, leaving a few inches of wire extending from the bottom. This creates smaller loops on a “stick,” essentially, which can then be easily shaped into a beautiful bow and firmly nestled and wired into the grapevine wreath. The wire allows you to adjust the bow’s position and orientation until it perfectly complements the surrounding elements, ensuring it becomes an integral part of the wreath’s overall charm.
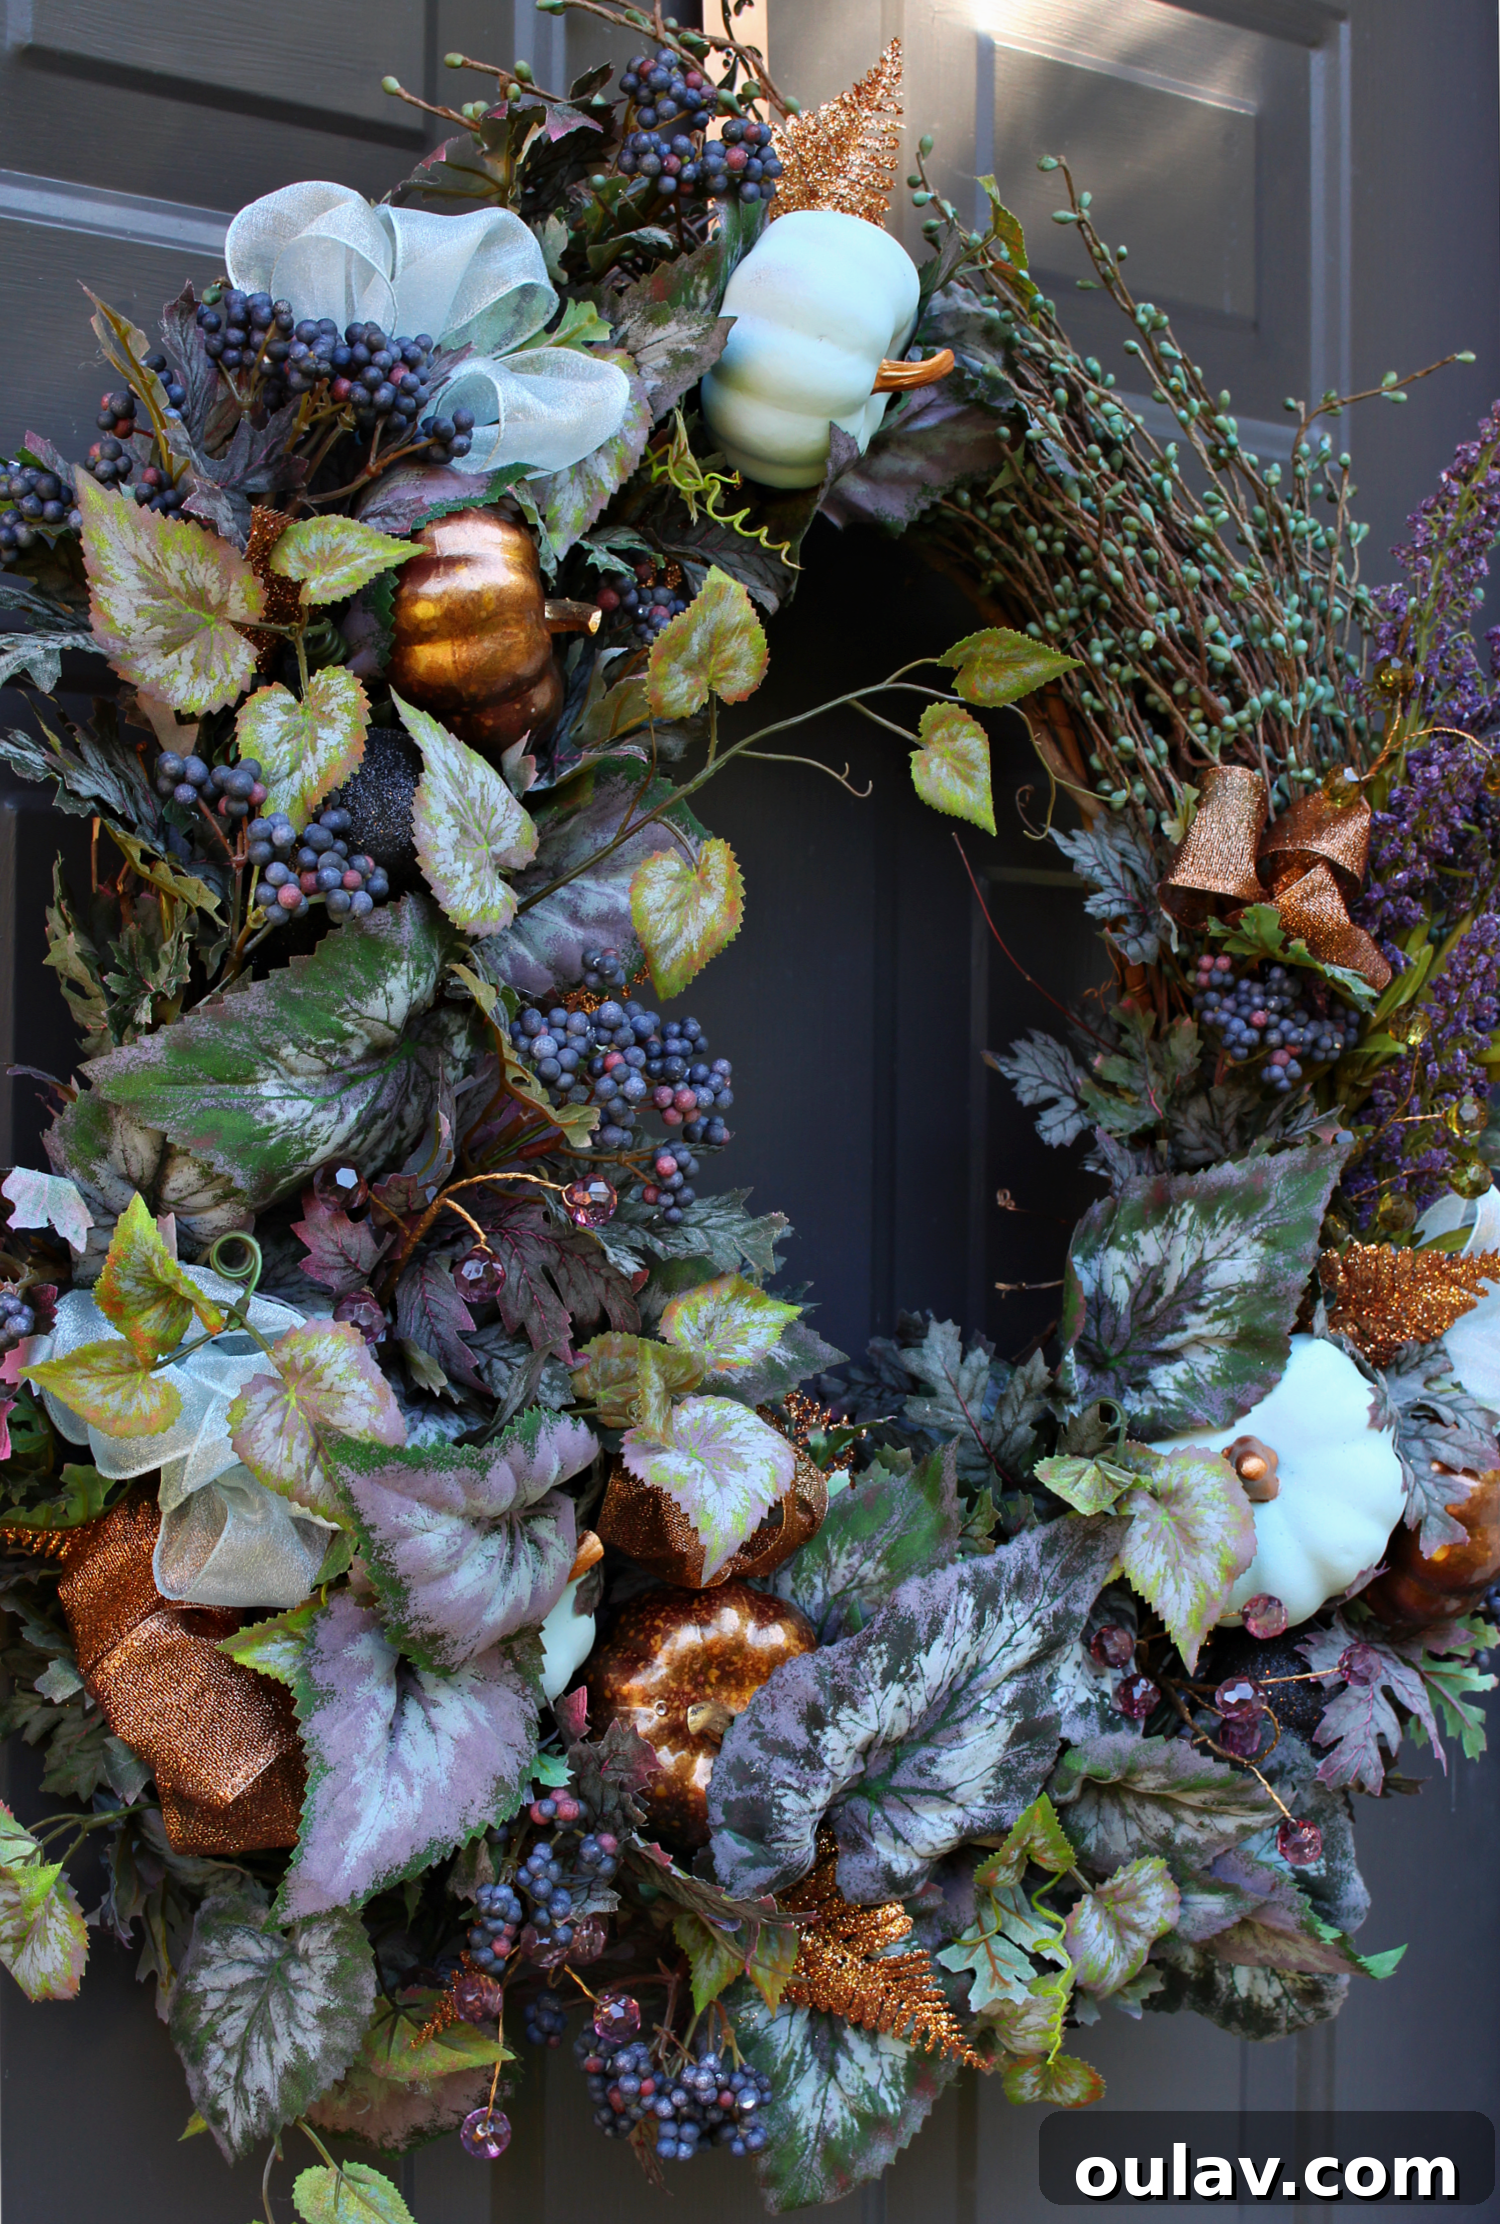
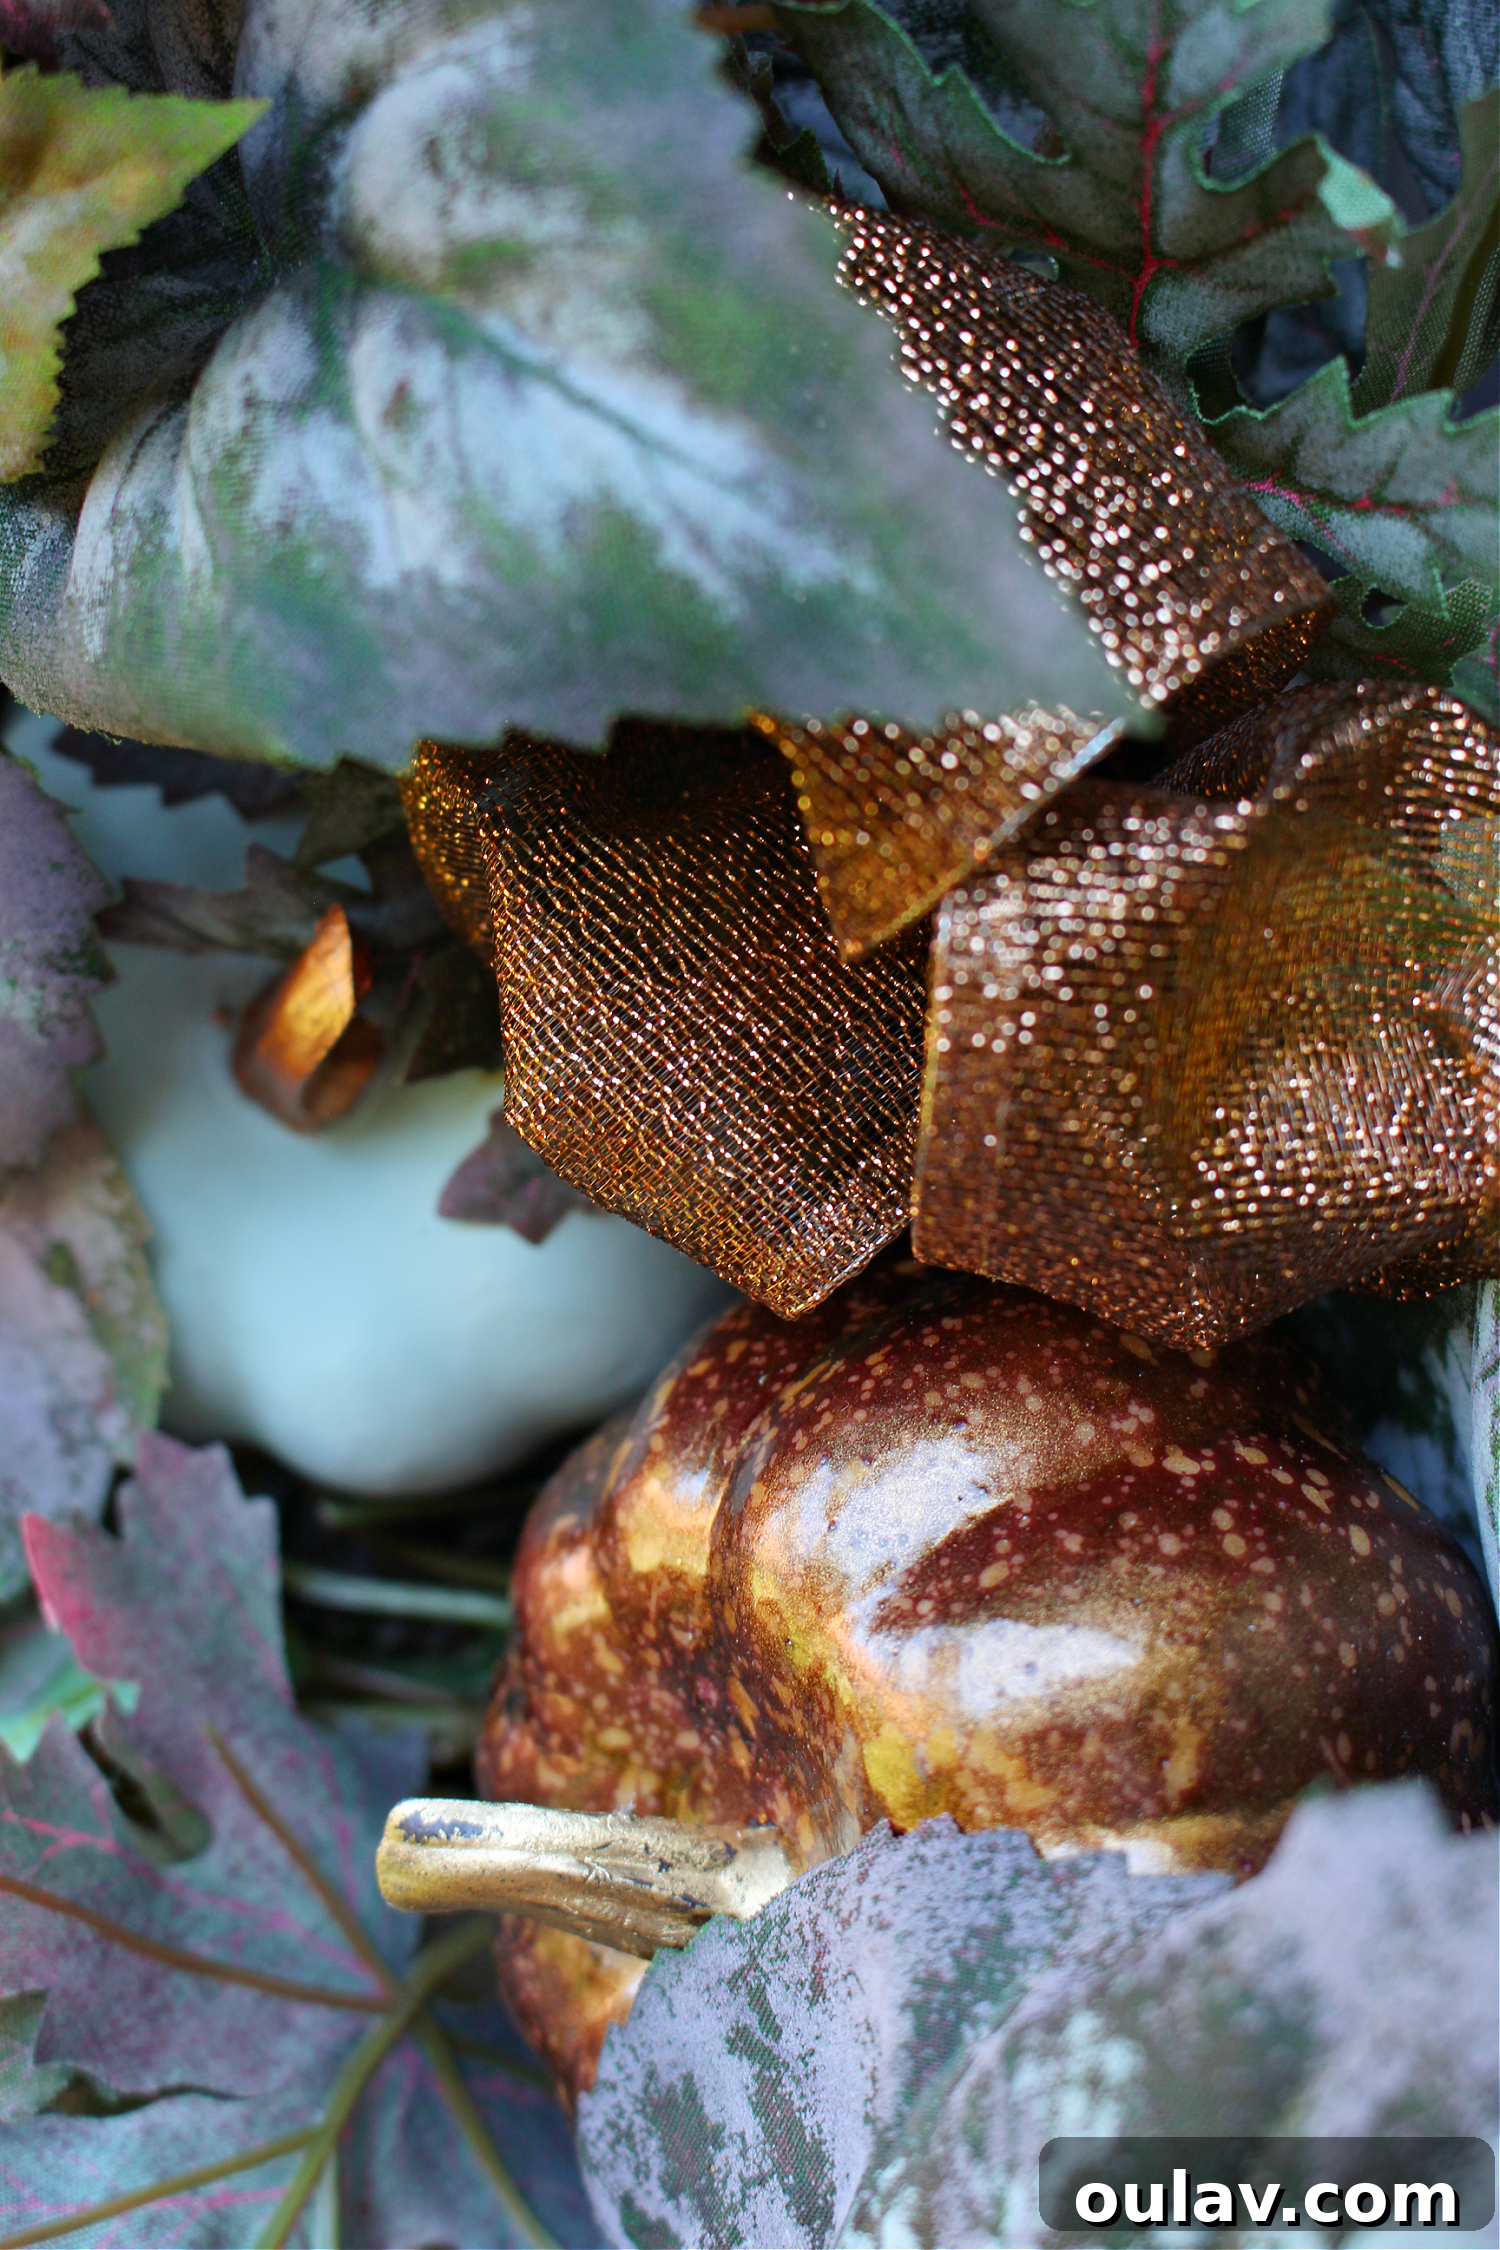
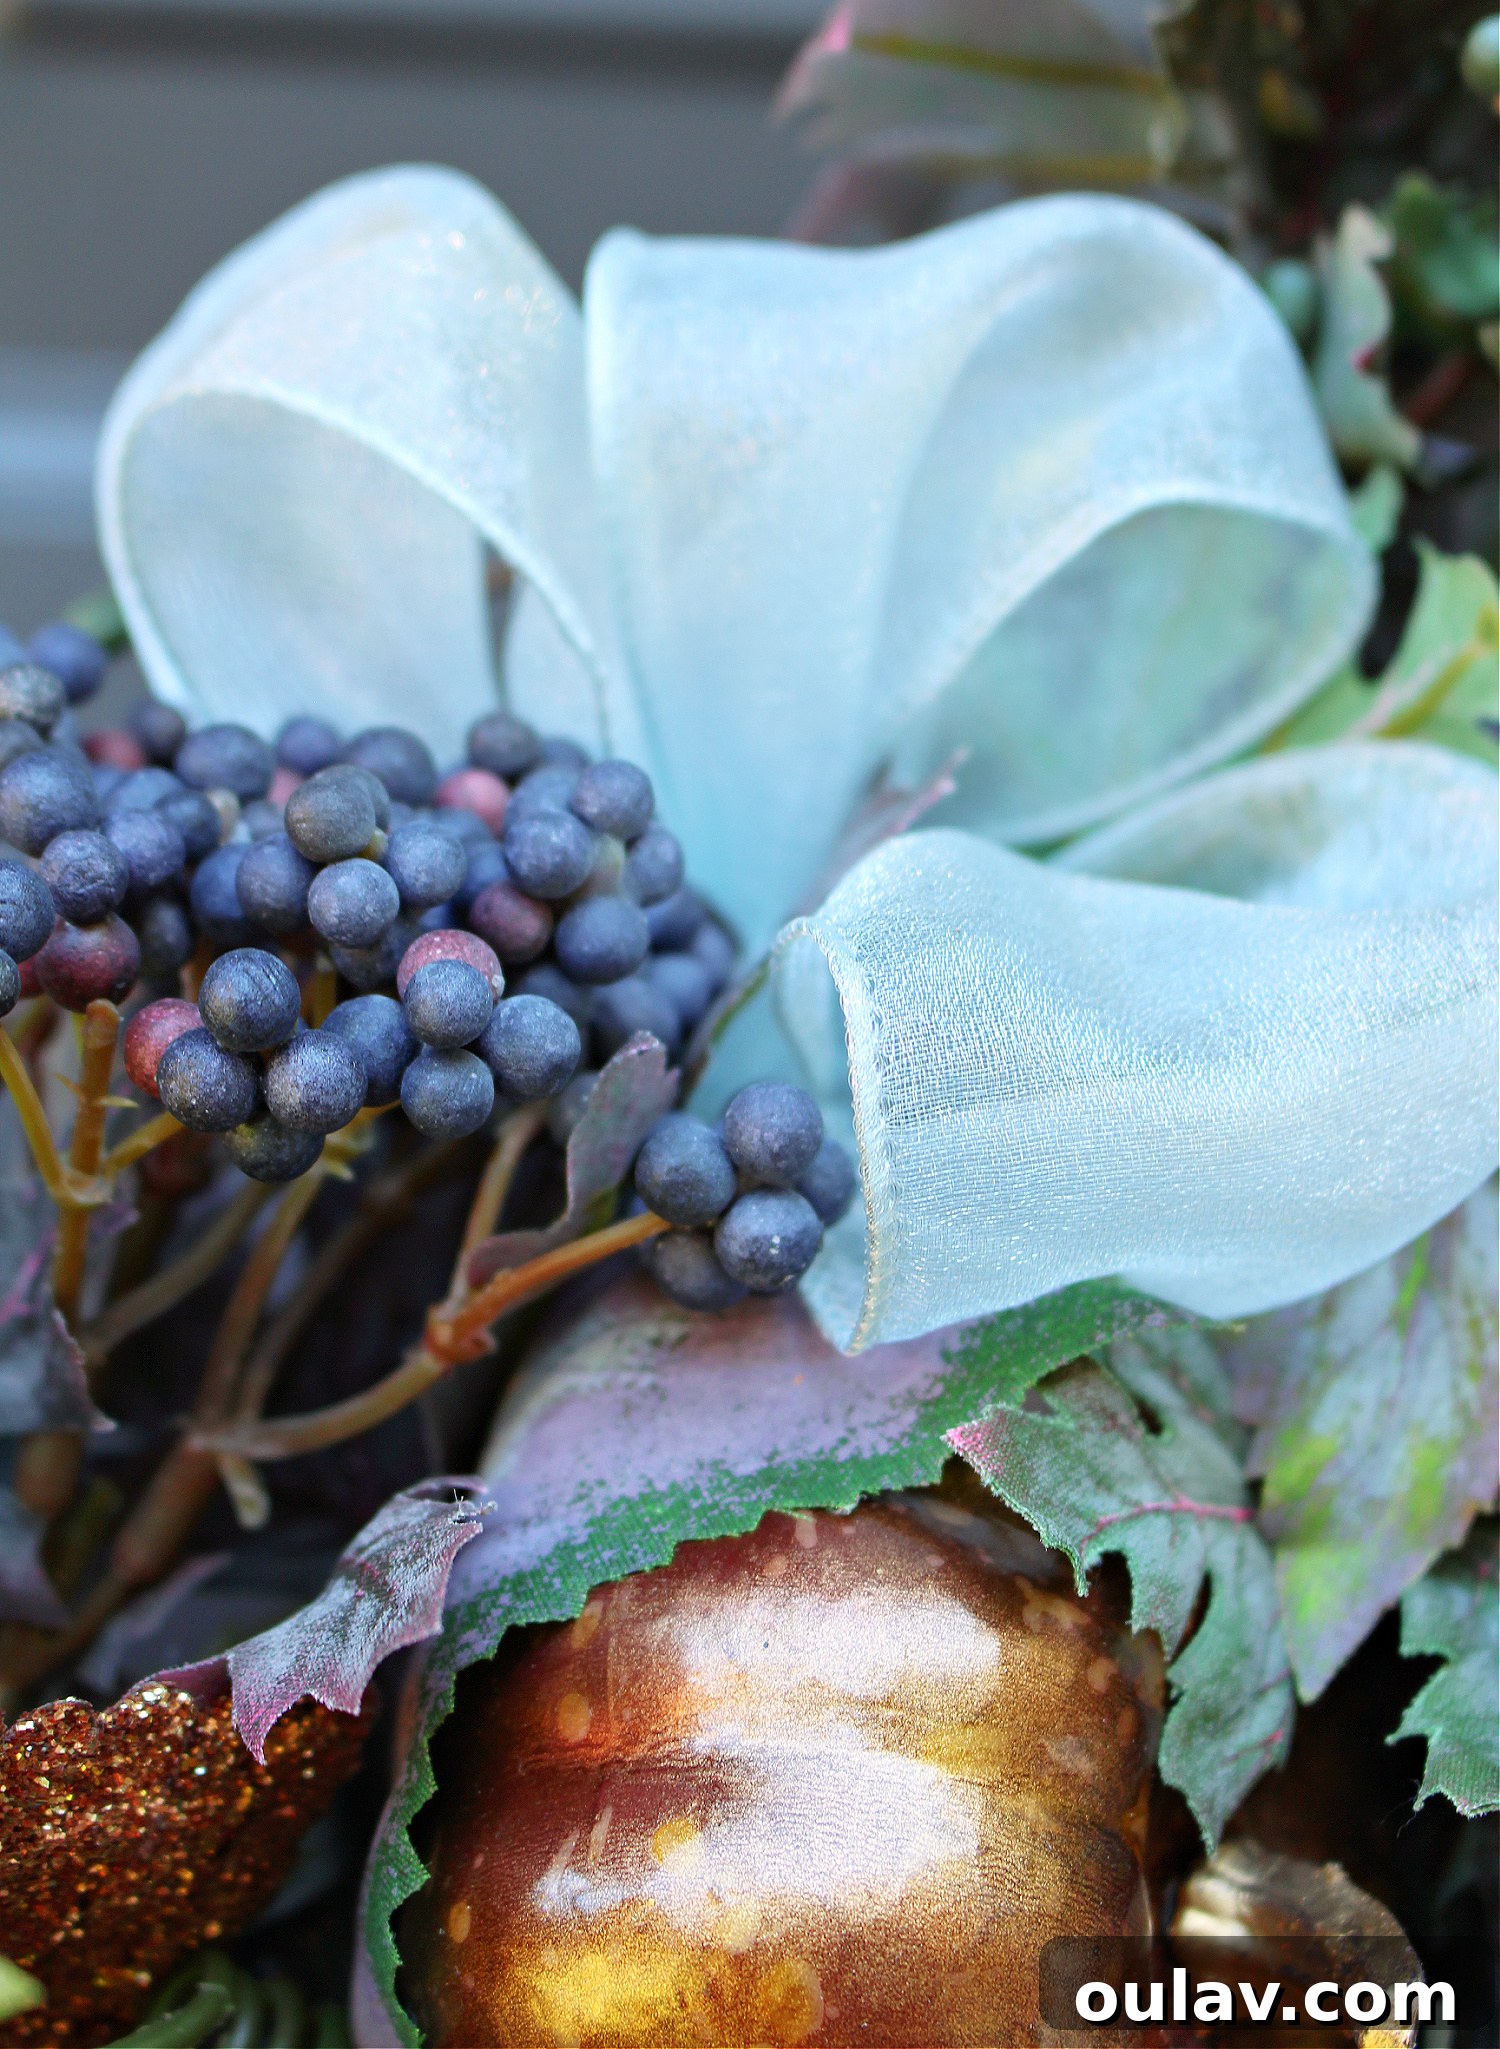
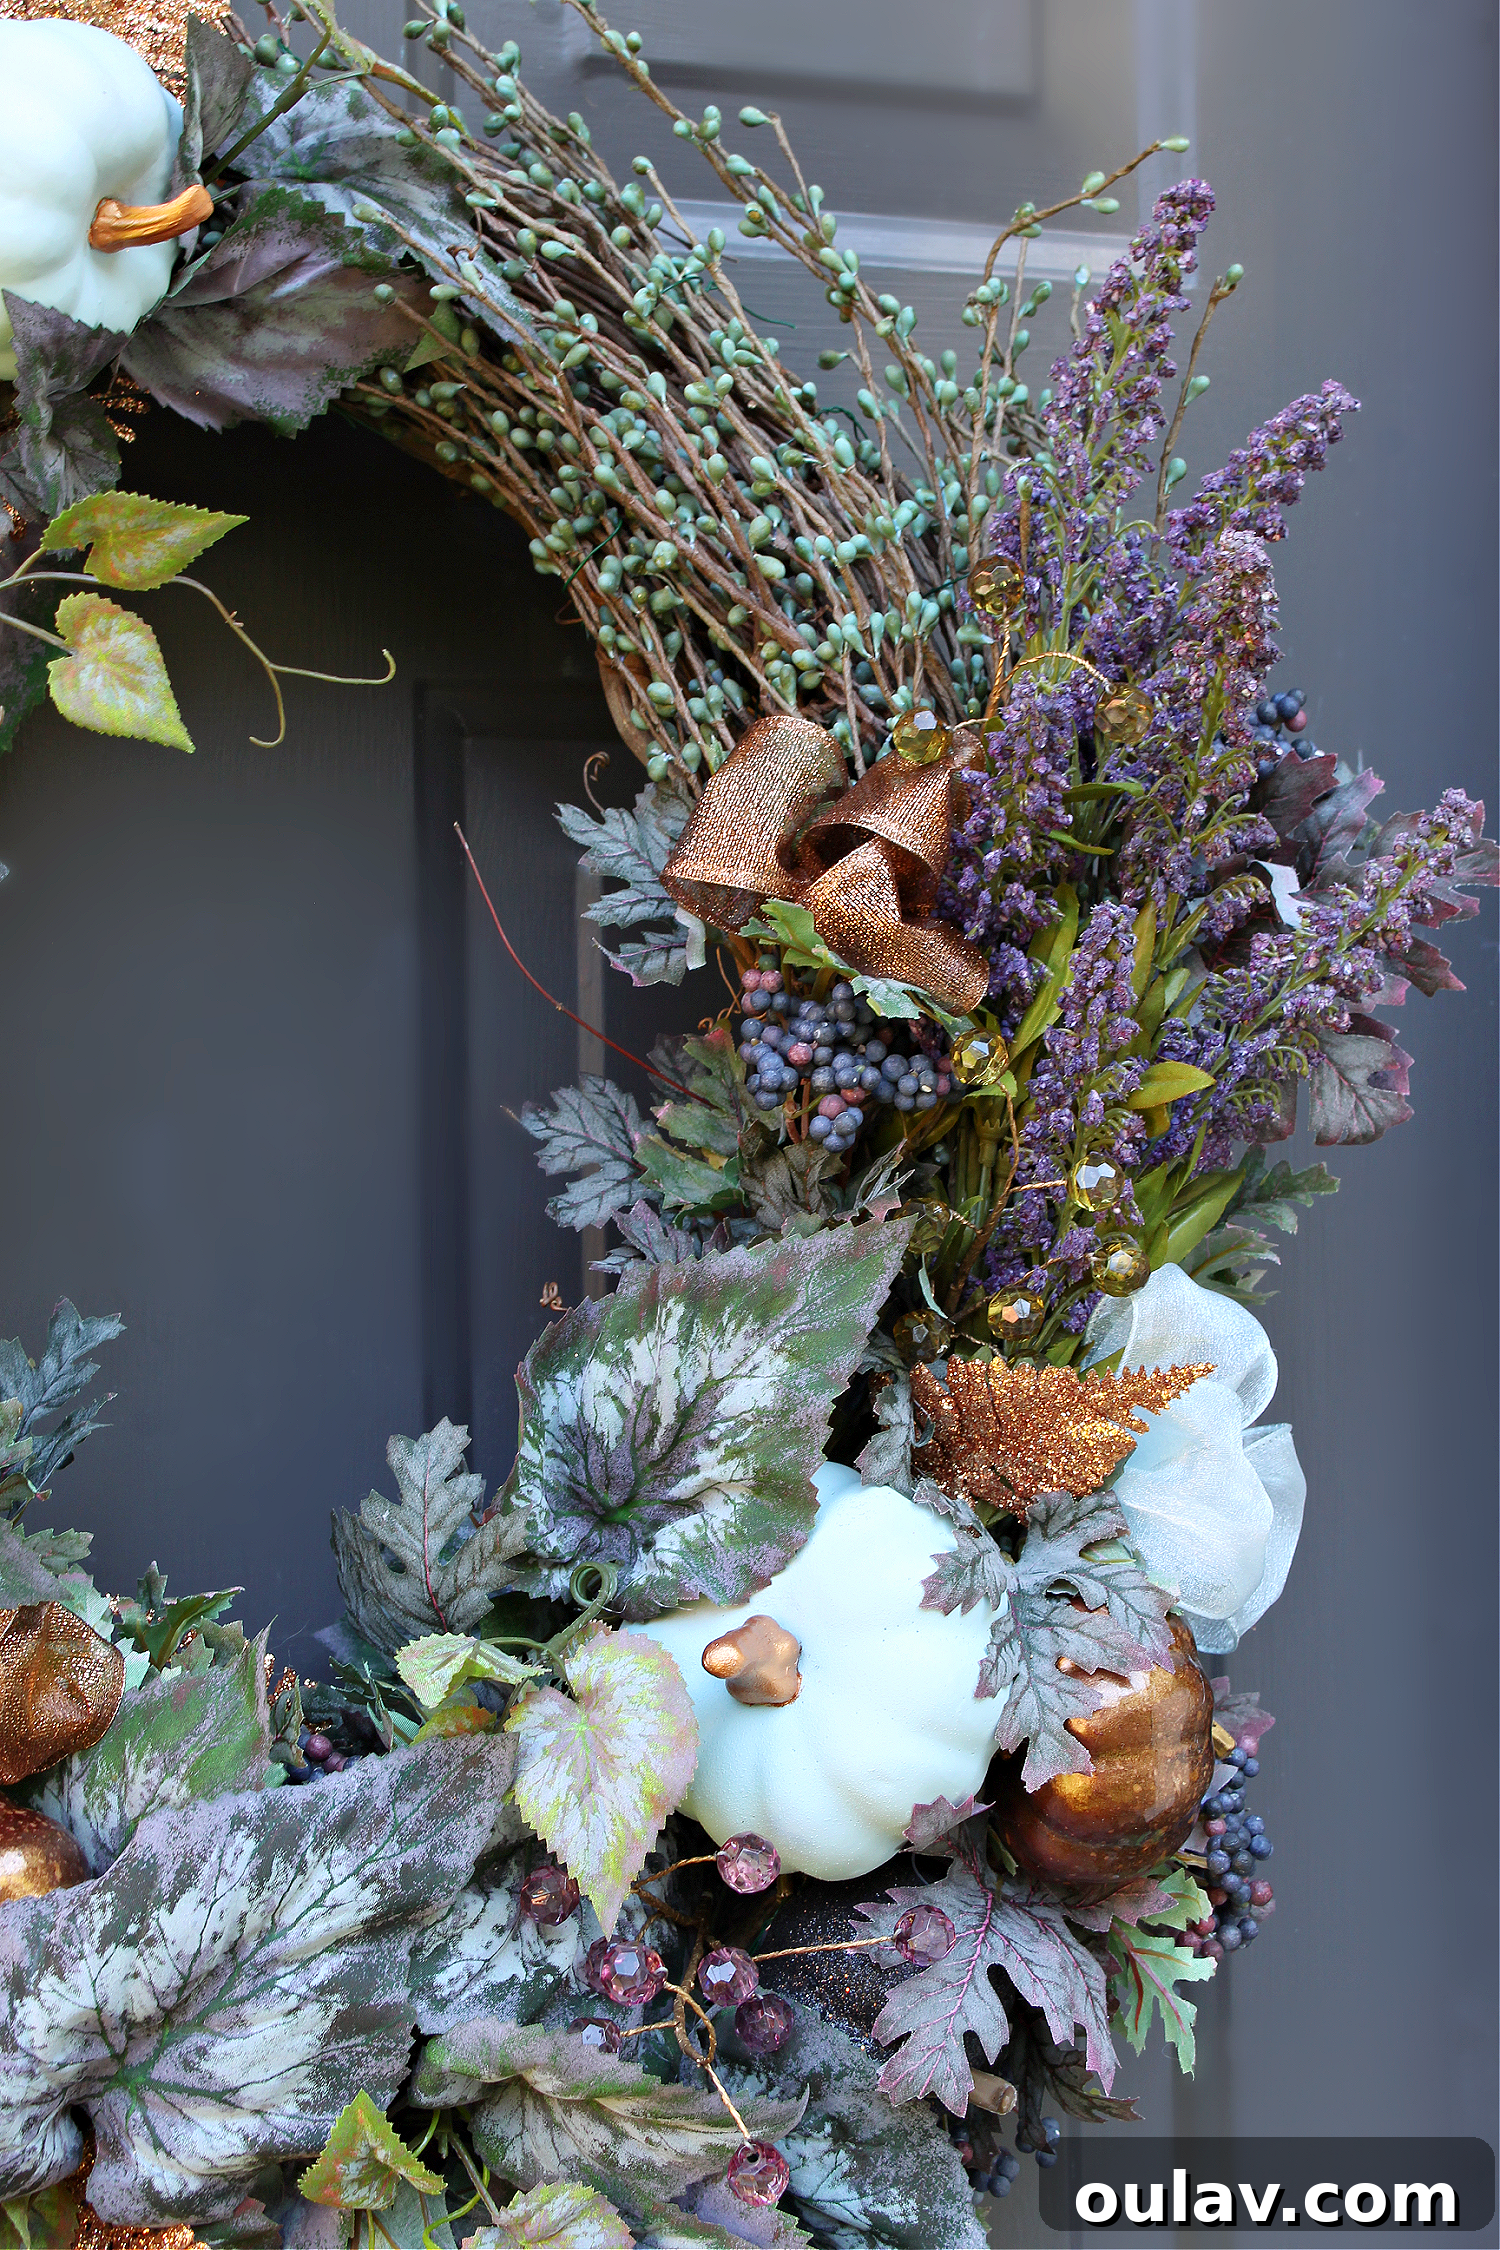
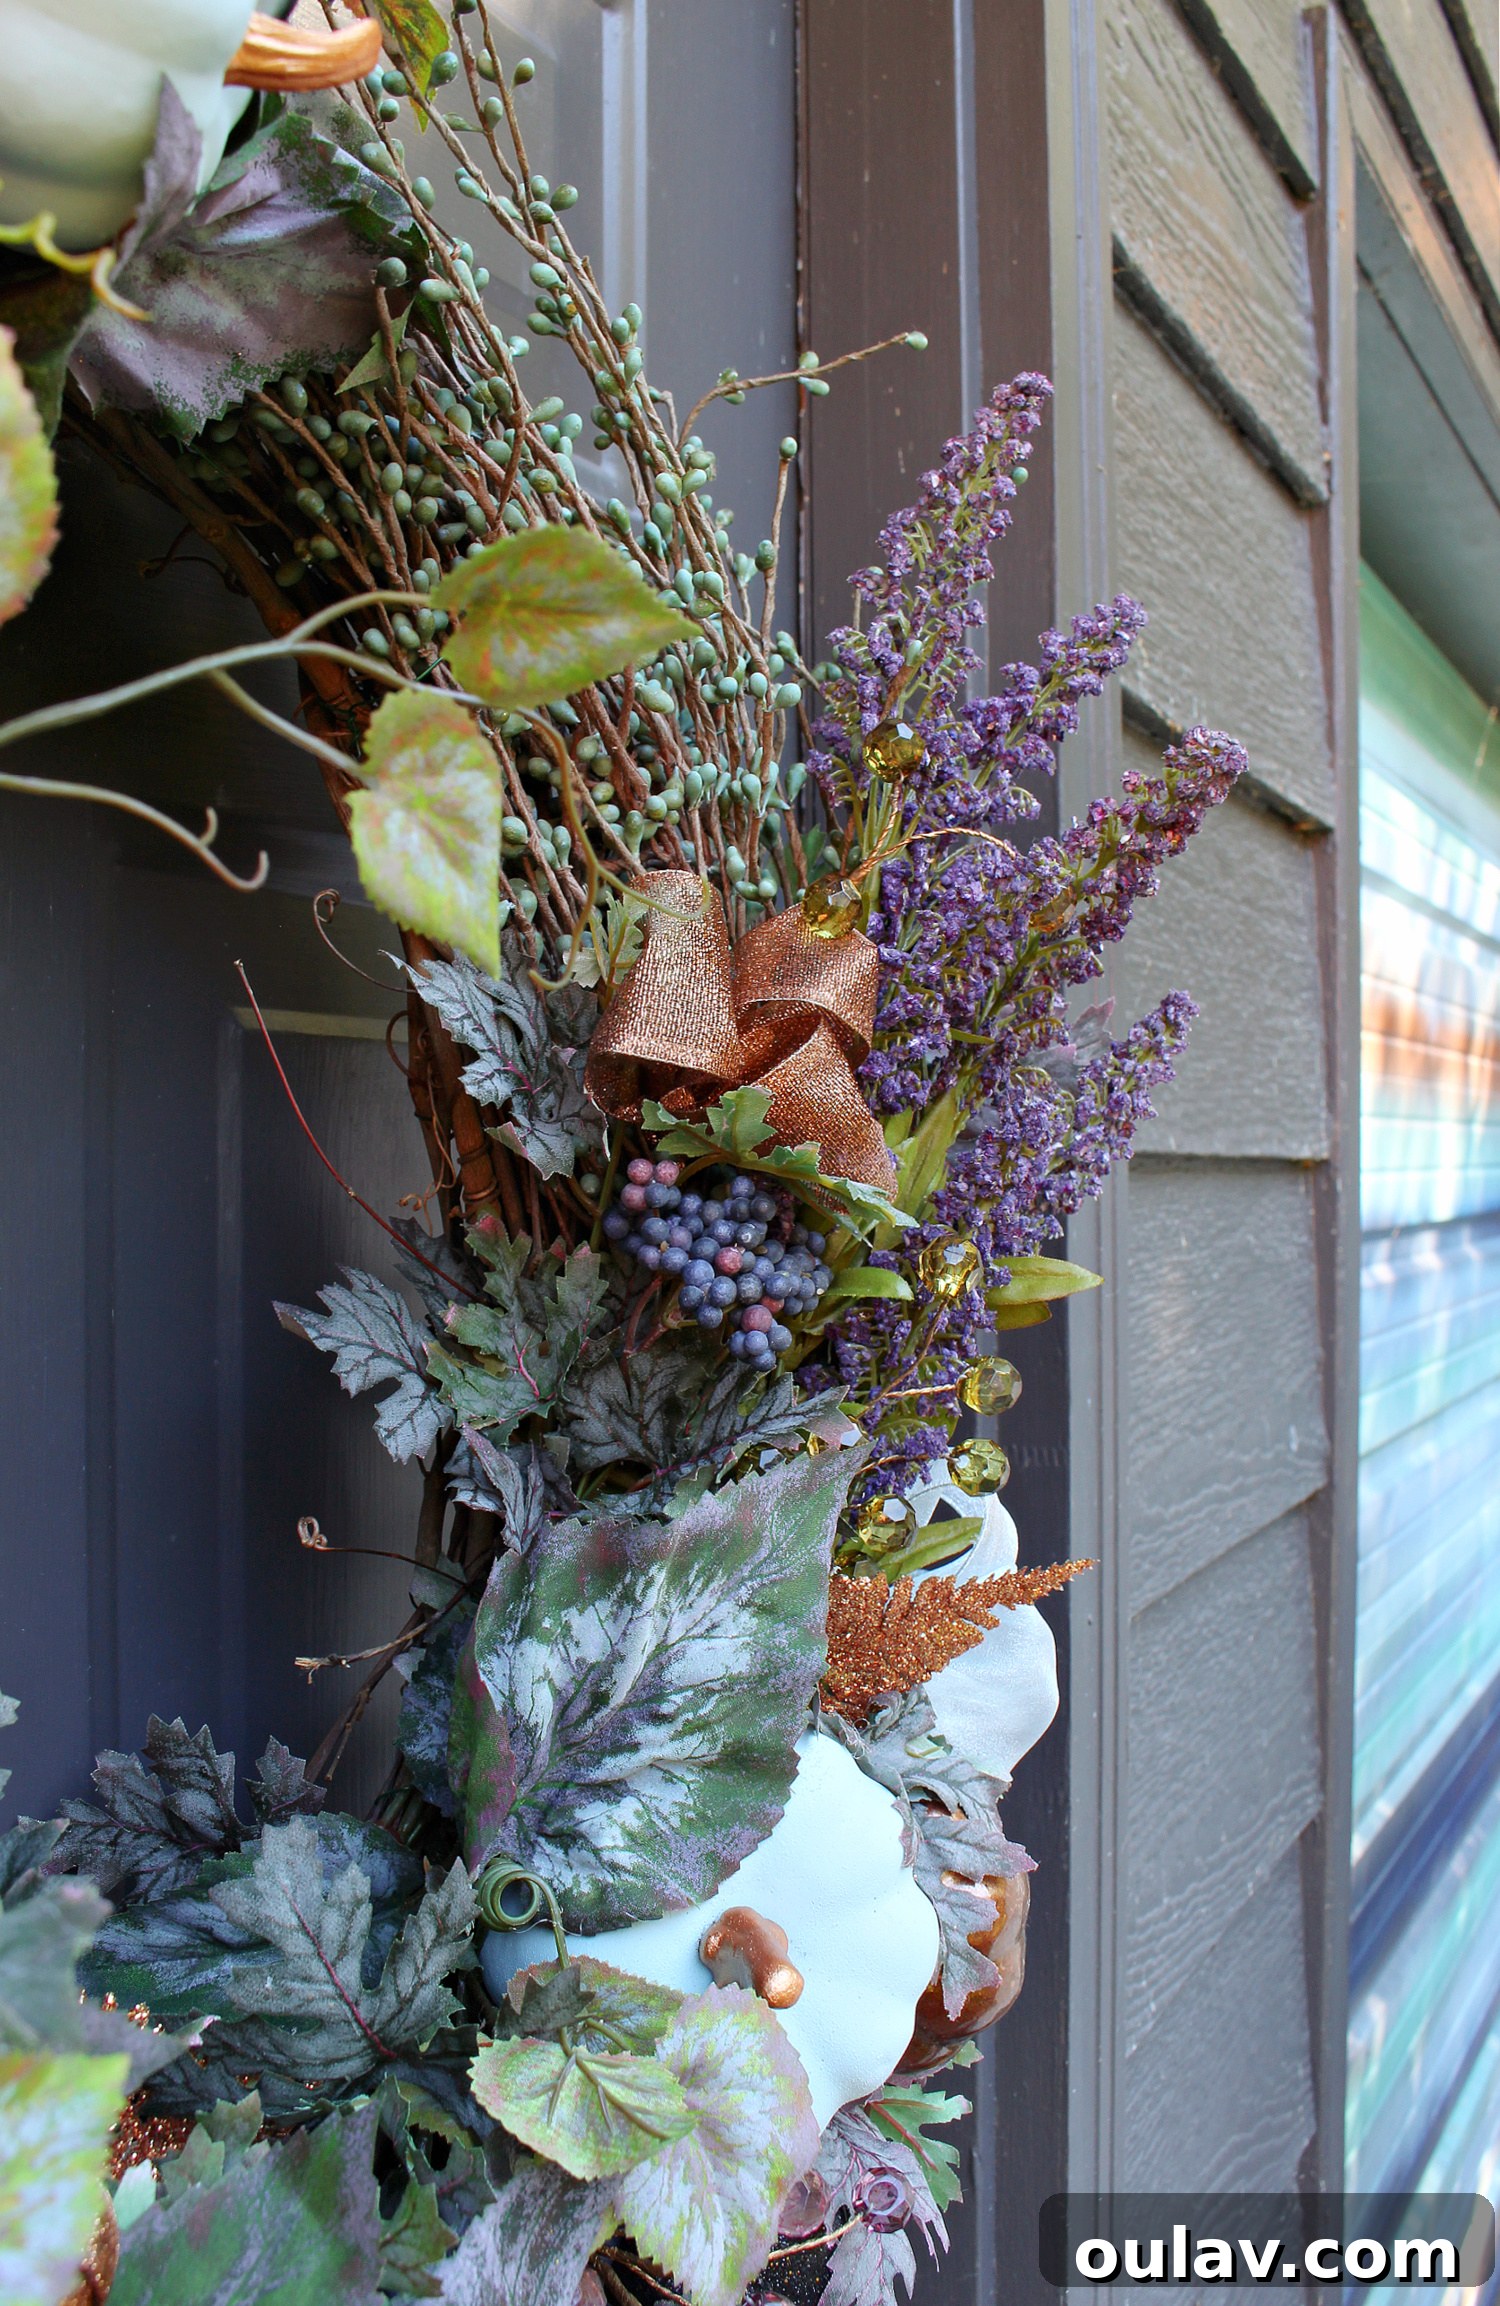
Here’s how the finished bows look, artfully nestled into the wreath, adding those essential touches of texture and color. We strategically placed them to break up the greenery and pumpkins, creating points of visual interest and enhancing the dynamic flow of the asymmetrical design. The sheer blue ribbon adds a subtle, almost ethereal quality, while the copper provides a warm, autumnal glow, perfectly balancing the “Falloween” theme.
The Grand Finale: Sparkling Details and Finishing Touches
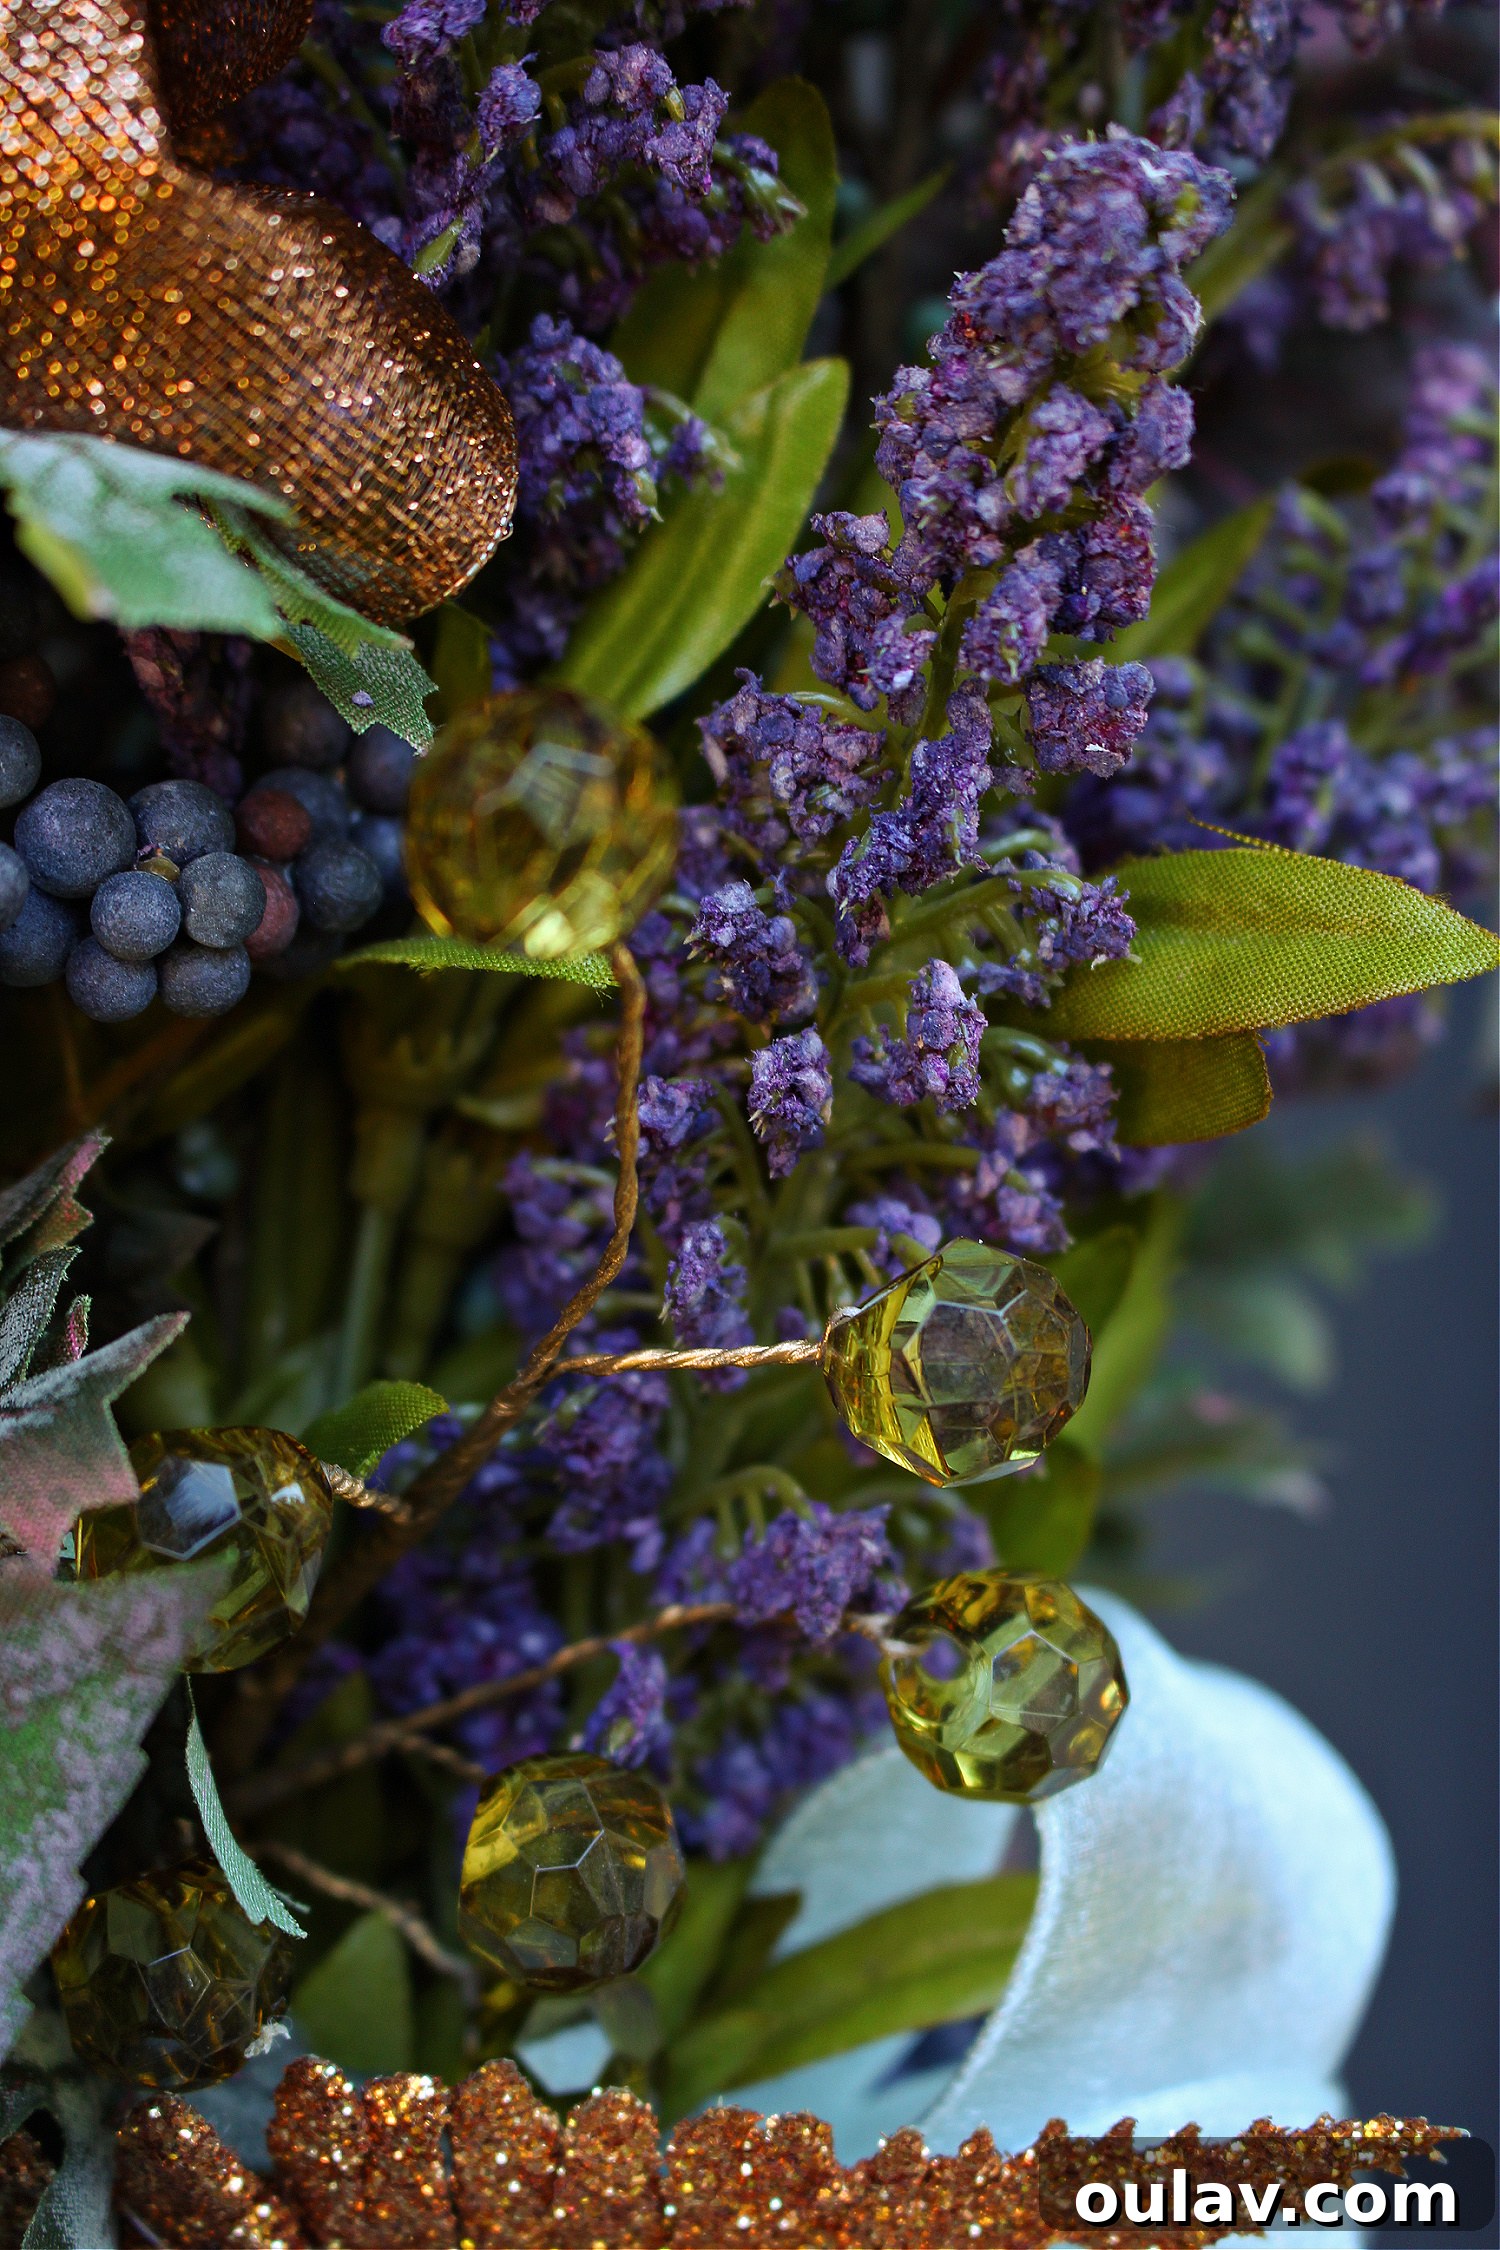
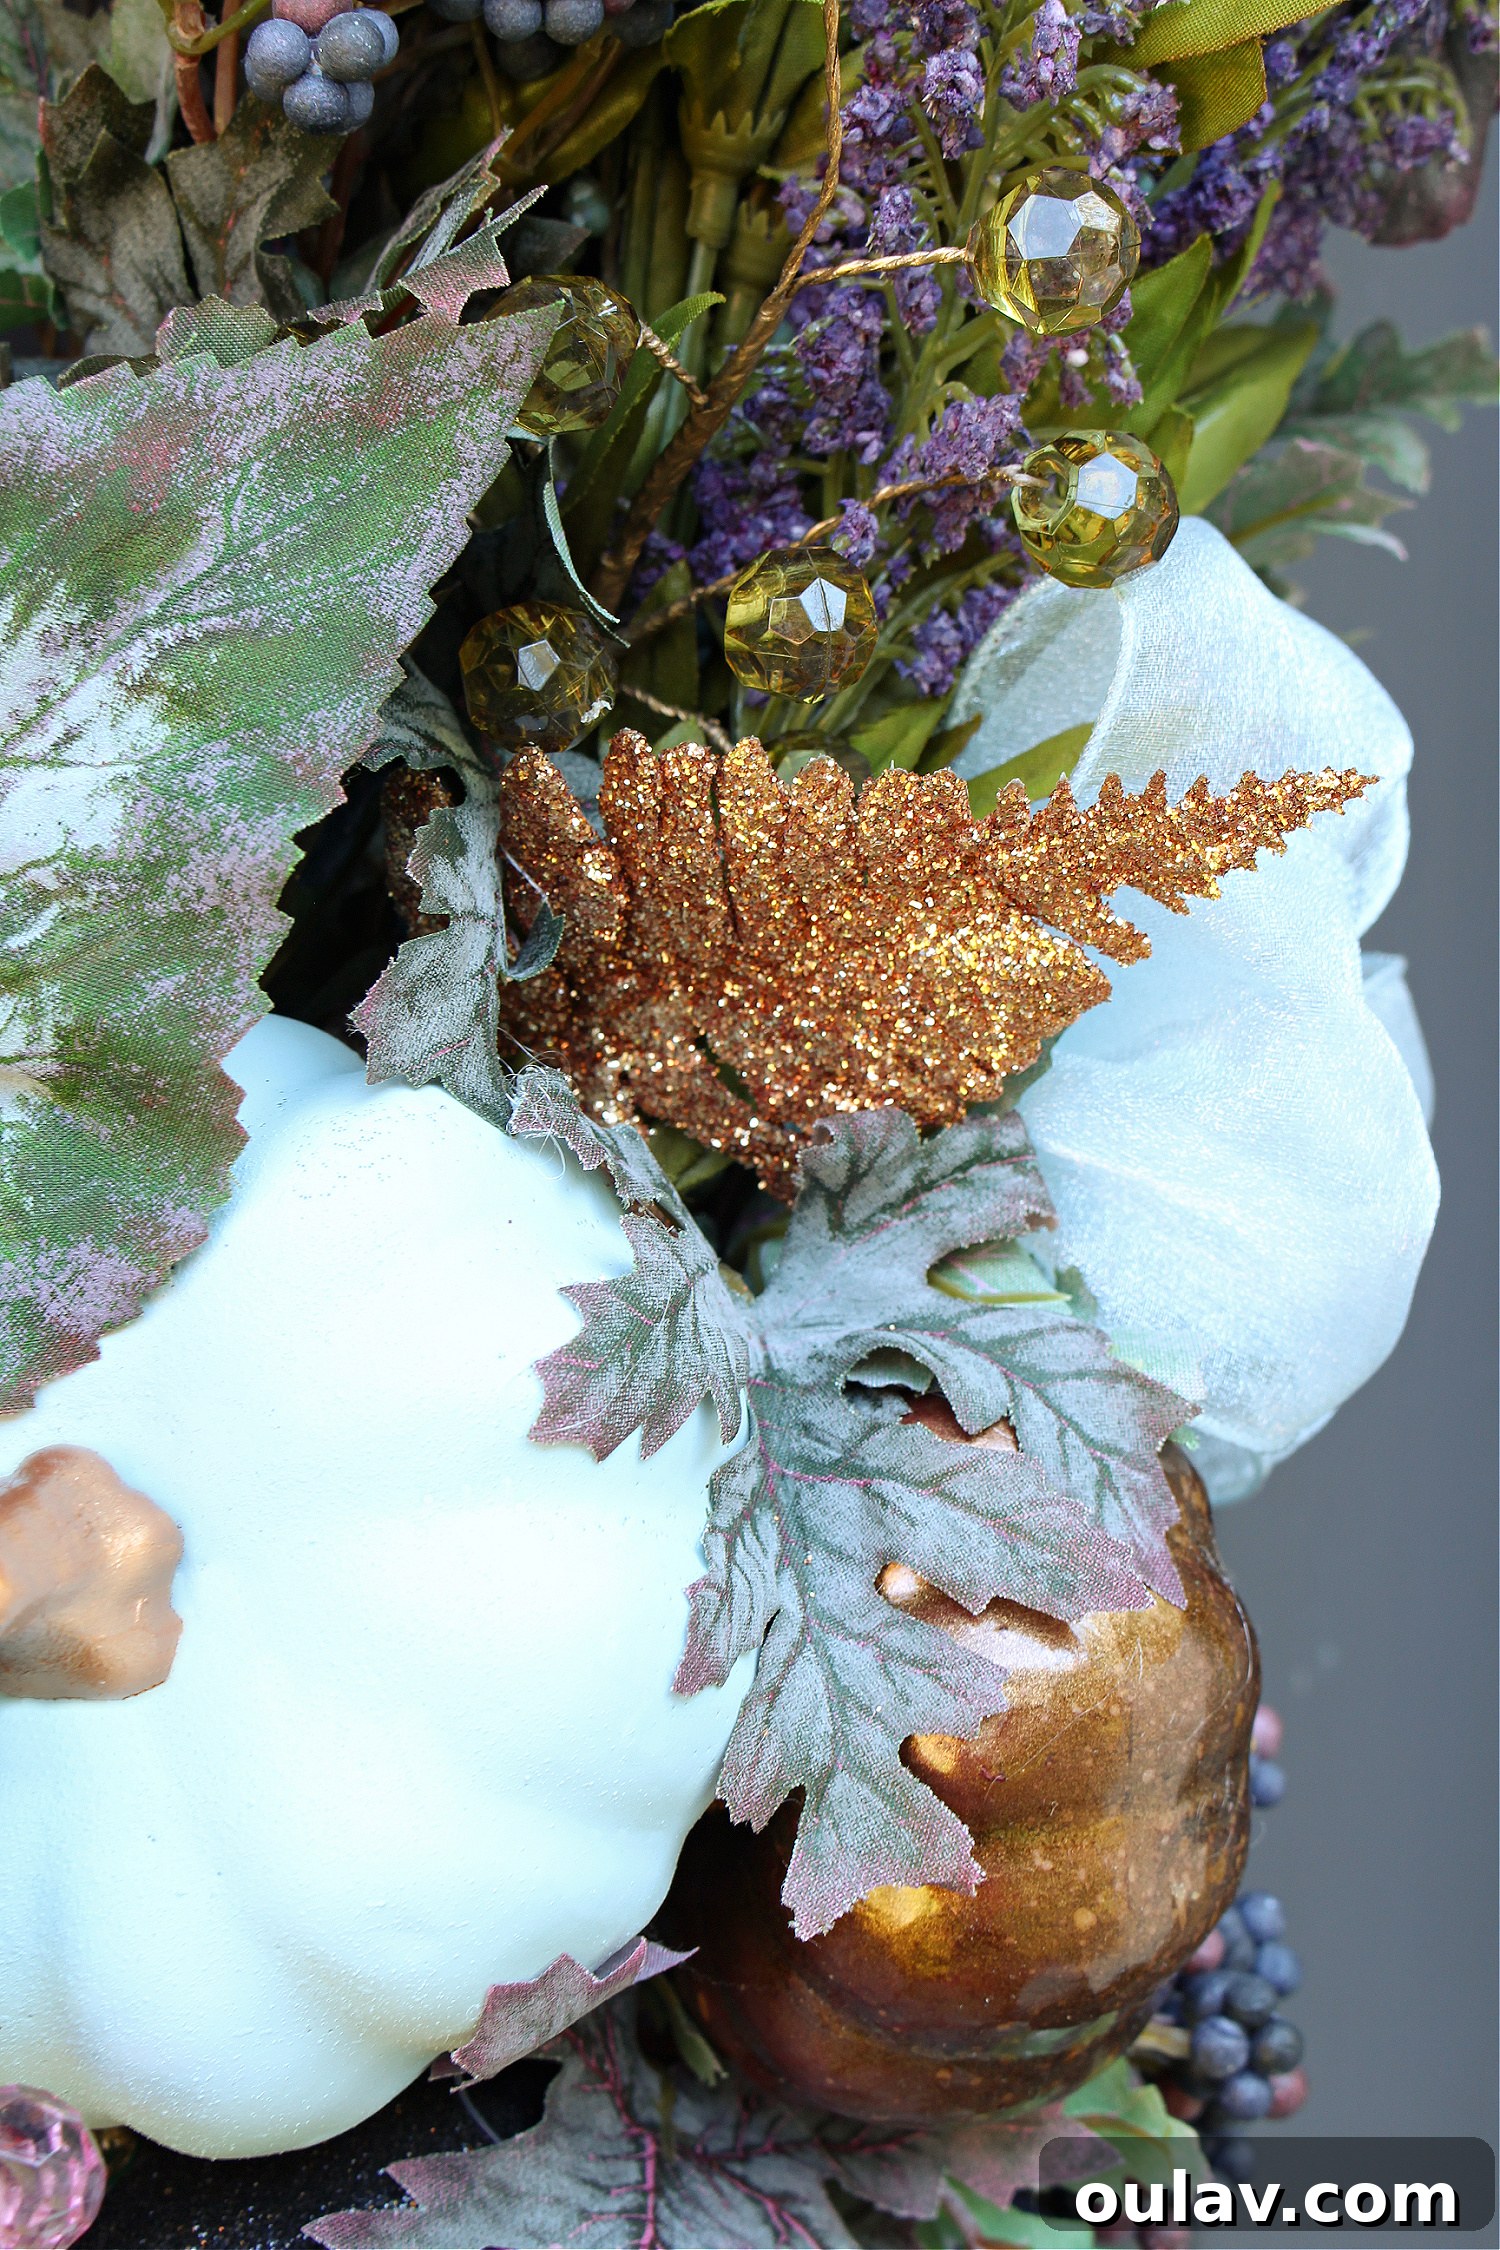
The final stage of wreath crafting is often the most satisfying: adding those special touches that elevate your creation from merely assembled to truly spectacular. For our “Falloween” wreath, we introduced faceted plastic “berries” and delicate, glittery ferns as the ultimate finishing touches. These elements provide crucial sparkle, depth, and a touch of glamor that completes the sophisticated aesthetic. The faceted berries catch the light beautifully, mimicking dewdrops or delicate jewels, while the subtle glitter on the ferns adds a festive shimmer without overpowering the moody color scheme. These small details are what give a handmade wreath its distinctive character and professional finish, making it truly unique and captivating.
Displaying Your Handcrafted Beauty: Hanging Your Wreath
Once your exquisite “Falloween” wreath is complete, it’s time to proudly display your handmade artistry. I opted for a charming copper door hanger, a lucky thrift store find that perfectly complements the metallic accents in the wreath (here’s a similar one available online). These hangers simply slip over the top of your door, offering an elegant and damage-free way to present your wreath. Alternatively, you can easily create a sturdy hanging loop directly on the wreath itself. To do this, take a piece of your 22 gauge floral wire, thread it through the back of the grapevine wreath at the top, twist the ends together securely to form a loop, and then tuck any sharp wire ends back into the wreath. This creates an invisible hanger that can be placed over a standard hook, nail, or screw on your door or wall. Whichever method you choose, ensure the wreath is securely fastened, especially if it will be exposed to the elements, so it can be admired throughout the season.
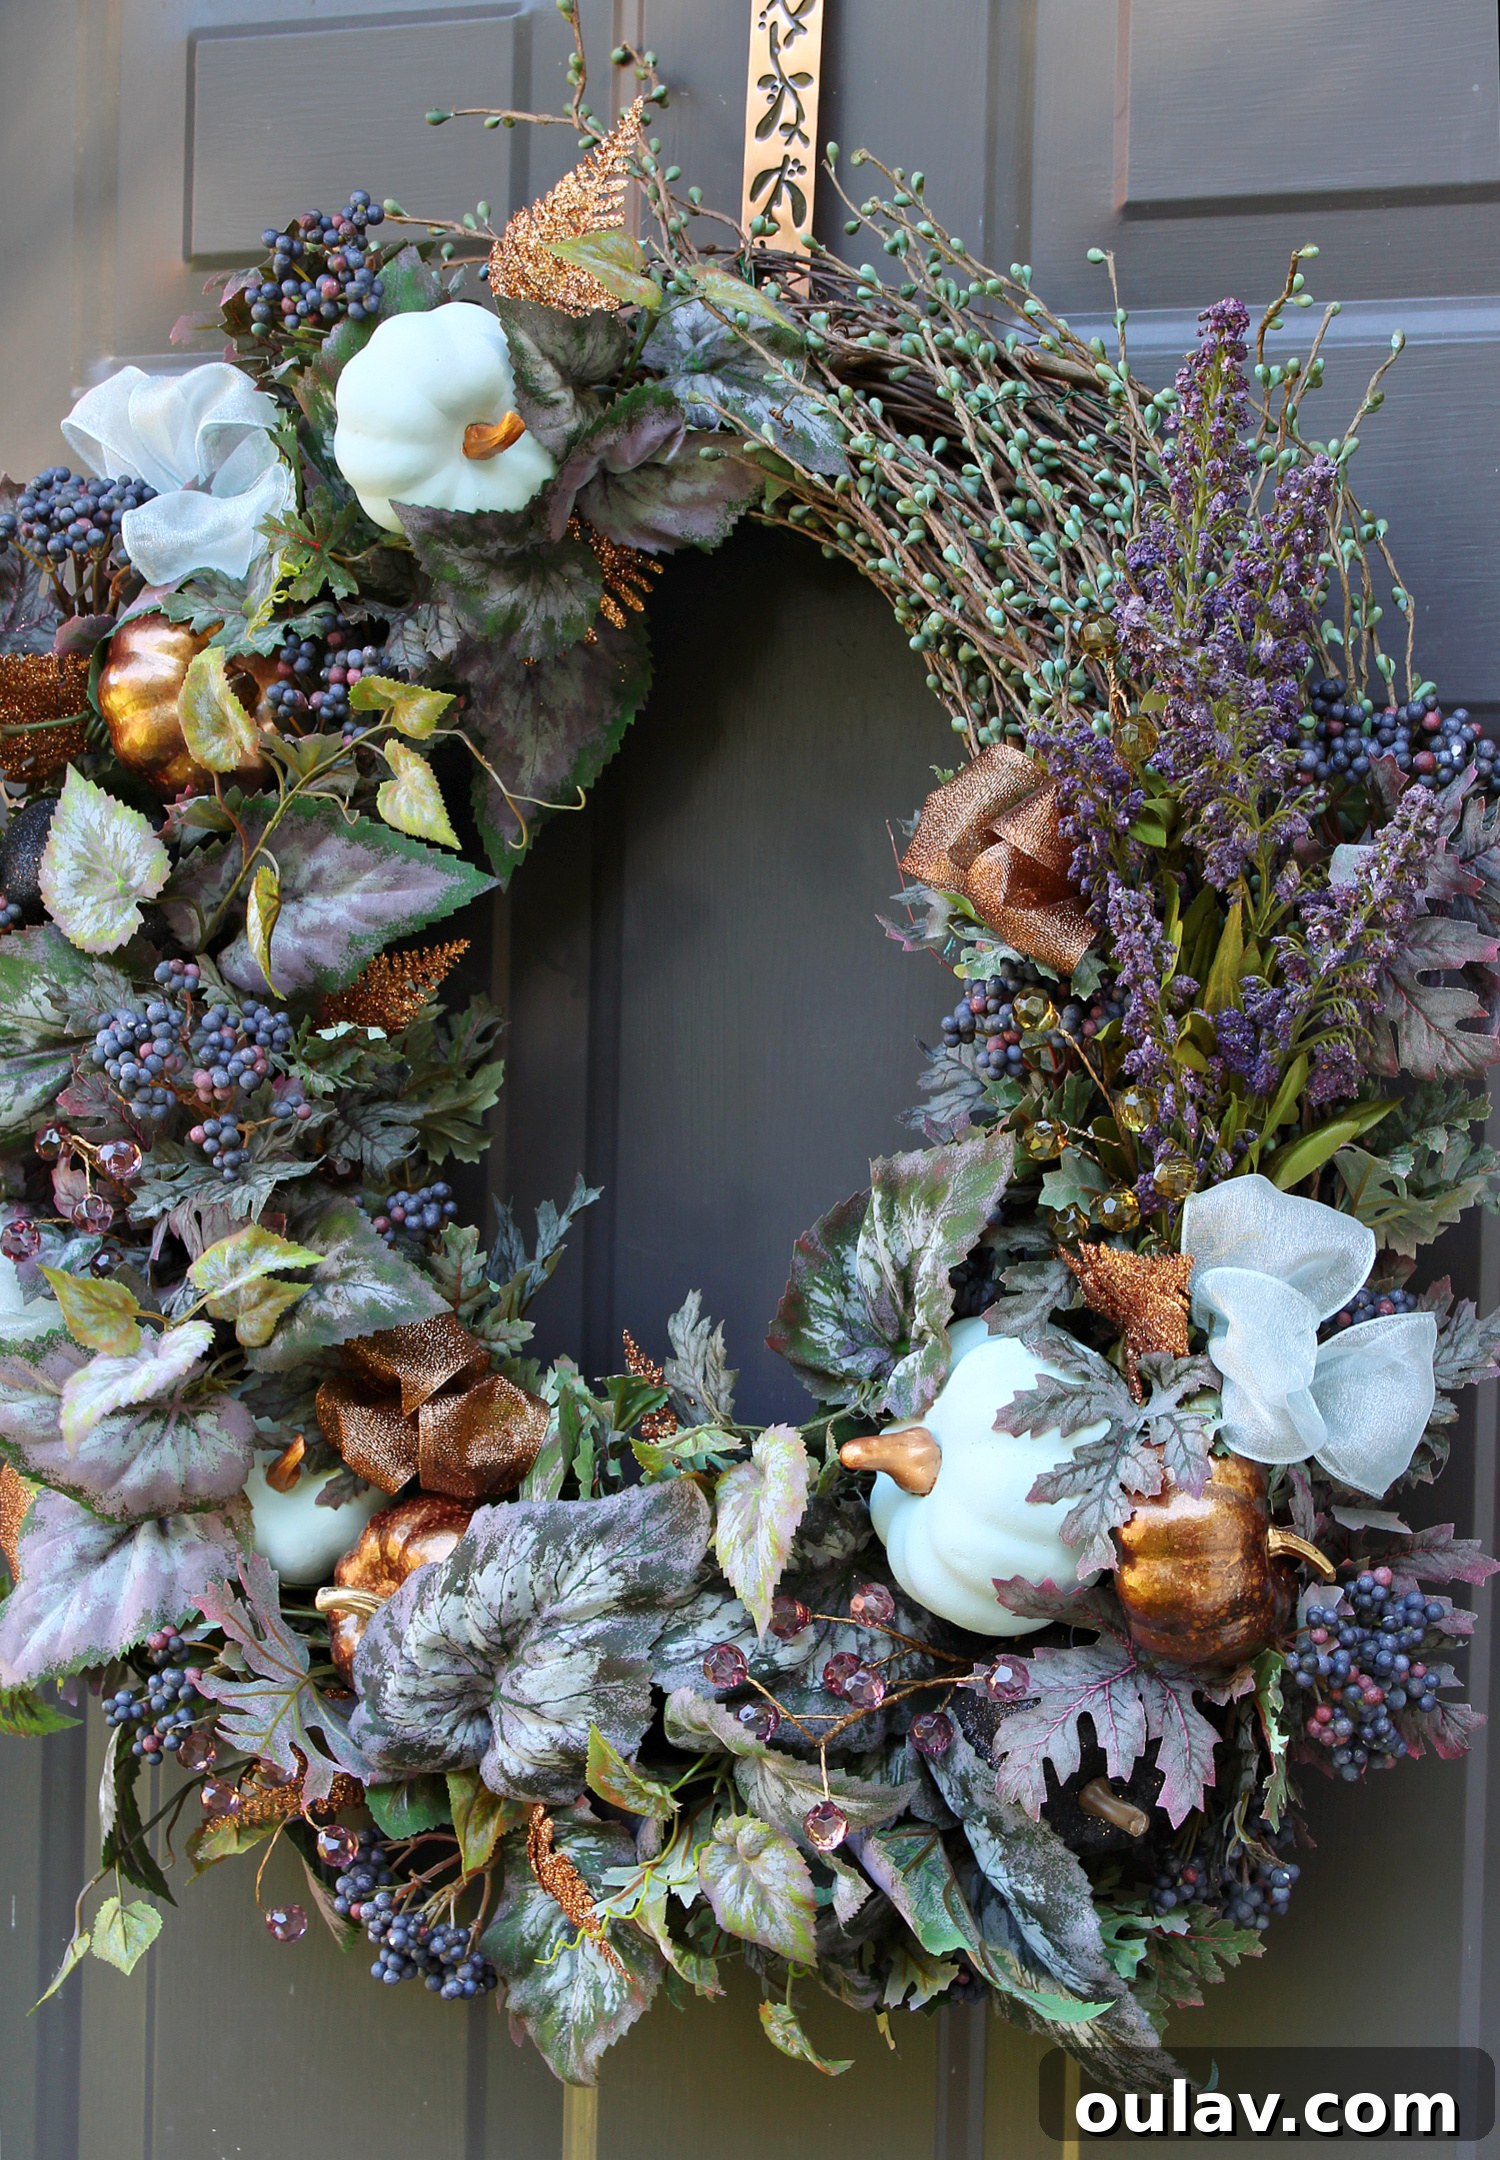
I truly hope this DIY fall wreath tutorial inspires you to create your own personalized autumn masterpiece! I’ve always found immense joy in having a welcoming wreath on my garage door, which is where this “Falloween” creation is proudly displayed and where these photos were taken. Whether I’m pulling into the driveway in my car, heading straight into the garage, or navigating a three-point turn in my larger truck (which, alas, won’t fit!), the wreath on the garage door is invariably the very first thing I see upon returning home. It shimmers in the morning sunlight or glitters under my headlights at night, a beacon of warmth and welcome. My DIY tinsel wreath, for instance, is absolutely phenomenal at creating a dazzling, inviting glow during the holidays. However, this particular wreath holds an extra special place in my heart, as it is a tangible reminder of my Mummu, my beloved grandmother. I am genuinely so glad I finally mustered the courage to delve into her cherished craft supplies and create something beautiful. It’s more than just a decoration; it’s a loving tribute, a connection to her enduring creative spirit, and a beautiful way to keep her memory alive in my home.
Preserving Your Masterpiece: Care and Storage Tips
To ensure your beautiful handmade “Falloween” wreath continues to bring joy season after season, proper care and storage are essential. Since this wreath is made with artificial elements, it’s relatively low maintenance. For minor dust, a gentle dusting with a soft brush or a quick blast with a can of compressed air will suffice. If any elements become slightly dislodged, a dab of hot glue or a bit of floral wire can quickly secure them back into place. When the fall season concludes, carefully remove your wreath from its display location. Store it in a cool, dry place away from direct sunlight, which can cause colors to fade over time. A large, sturdy storage box or a specialized wreath storage container is ideal. You might also consider wrapping it loosely in tissue paper or a soft sheet to protect delicate elements from crushing or dust accumulation. By taking these simple steps, your handcrafted wreath will remain vibrant and intact, ready to welcome you home for many autumns to come.
Embrace the Craft: Your Next Creative Journey Awaits!
The journey of creating this “Falloween” wreath has been more than just a DIY project; it has been a testament to the healing power of creativity and the profound connection we can feel to those we love through shared passions. Whether you’re drawn to the unique color palette, the blend of autumnal and Halloween themes, or simply the joy of making something beautiful with your own hands, I encourage you to embark on your own wreath-making adventure. Allow yourself the freedom to experiment with colors, textures, and designs. Embrace the process, from foraging for natural treasures to meticulously placing each element. The beauty of handmade decor lies not just in the final product, but in the memories made, the skills honed, and the personal story woven into every loop and leaf. So gather your supplies, find your inspiration, and create a welcoming masterpiece that reflects your unique style and brings warmth to your home this fall.
Don’t Forget to Pin This Inspiring Falloween Wreath Tutorial!