
Craft Your Own Dazzling DIY Retro Tinsel Wreath: A Step-by-Step Guide
My personal aesthetic is a delightful dance between two distinct styles: the serene, organic textures of a coastal Mid-Century Modern (MCM) vibe, and the playful, vibrant spirit of straight-up kitschy retro design. Instead of picking a side, why not embrace both? This year, I decided to craft not one, but two unique wreaths to celebrate these contrasting yet complementary tastes. First, there was my earthy boho wreath, adorned with delicate feathers and rich velvet leaves, offering a touch of natural elegance. And then, there’s this absolute showstopper: a bold turquoise DIY tinsel wreath that instantly transports you back to a simpler, more colorful time.
This retro-inspired tinsel wreath isn’t just a pretty face; it’s a testament to the magic of budget-friendly crafting. It took mere minutes to assemble, cost less than $10, and radiates an undeniable charm that I simply adore. The retro vibes are strong with this one, and it brings a smile to my face every time I see it. The inspiration struck during a visit to Dollarama when a shimmering cascade of turquoise tinsel caught my eye. Serendipitously, I had just discovered some fantastic battery-operated lights that perfectly blended MCM aesthetics with a Mooi light vibe. I knew instantly that these two elements were destined to be paired, creating a holiday decoration that was both unique and wonderfully nostalgic. While Dollarama tinsel might be a little less plush than its more expensive counterparts from craft stores, its affordability was unbeatable. More importantly, it held up beautifully during the crafting process, losing hardly any pieces, which assures me it will be a cherished part of my holiday decor for years to come.


Why Choose a DIY Tinsel Wreath? The Allure of Retro Charm and Simplicity
In a world often leaning towards minimalist and understated holiday decor, a vibrant tinsel wreath offers a refreshing burst of color and personality. Opting for a DIY approach to a retro tinsel wreath provides numerous advantages:
- Unbeatable Affordability: As proven by my under-$10 creation, tinsel wreaths are incredibly budget-friendly, especially when sourcing materials from dollar stores or discount retailers.
- Speed and Simplicity: This project is perfect for crafters of all skill levels, from beginners to seasoned DIY enthusiasts. You can achieve a stunning result in a matter of minutes, making it ideal for last-minute decorating or a quick craft session.
- Customization at Its Best: While turquoise is my chosen shade, the beauty of a DIY wreath lies in its endless customization possibilities. Choose tinsel in any color, add ornaments that match your unique style, and truly make it your own.
- Nostalgic Appeal: Tinsel evokes a sense of nostalgia for many, reminiscent of classic holiday decorations from decades past. A retro tinsel wreath brings that heartwarming, vintage charm right to your doorstep or living space.
- Durability and Reusability: Despite its playful appearance, a well-made tinsel wreath can be stored and reused year after year, offering excellent value and reducing waste.
Essential Supplies for Your DIY Retro Tinsel Wreath
Gathering your materials is the first exciting step in bringing your vision to life. Here’s what you’ll need to create your own fabulous tinsel wreath, complete with tips for selecting the best items:
- Wreath Form:
- A sturdy base is crucial. I often reuse a grapevine wreath form, which is incredibly versatile for various projects. However, if you’re purchasing new, consider a straw wreath or a foam wreath. These provide a solid, even surface that makes attaching tinsel a breeze. Don’t forget to check thrift stores; they’re often brimming with old wreaths that can be upcycled for just a dollar or two! For a truly innovative approach, you can even transform a humble pool noodle into a fantastic wreath base.
- Tinsel:
- The star of the show! I found my vibrant turquoise tinsel at Dollarama for an incredible price. When selecting tinsel, consider the desired fullness; some are denser and fluffier than others. If you’re looking for something with extra pizzazz, this tinsel looks incredibly cool with its iridescent sheen. Plan for at least 2-3 strands for a standard-sized wreath to ensure good coverage.
- Battery-Operated String Lights:
- To add that magical twinkle! My MoonBright cotton ball battery-operated string lights were a Dollarama find, but fear not, you can easily find similar options online. Battery lights are perfect as they allow your wreath to be displayed anywhere without needing an outlet. Consider warm white lights for a classic glow or cool white for a more modern sparkle.
- Sparkly Ornaments (Optional, but highly recommended):
- These add an extra layer of sparkle and depth, especially when nestled within the tinsel. Look for small, lightweight glitter ball ornaments in coordinating or contrasting colors. Dollar stores are a treasure trove for these!
- Twist Ties:
- Your secret weapon for secure attachment. These flexible ties are perfect for securing both lights and tinsel without visible bulk. Floral wire or even hot glue (for less visible spots) can also work.

How to Create Your Easy DIY Tinsel Wreath: A Step-by-Step Guide
Creating this eye-catching tinsel wreath is surprisingly simple, proving even easier than the DIY boho wreath I shared previously. Let’s dive into the process:
Step 1: Preparing Your Wreath Form
Start with your chosen wreath base. As mentioned, I frequently repurpose my trusty grapevine wreath, which has served as the foundation for countless projects, including my DIY agate slice wreath, my whimsical “Ghost” rat wreath, and my charming aqua gradient pumpkin wreath. Any circular form will work, but for beginners or if buying new, a straw or foam wreath might offer a slightly smoother wrapping experience for the tinsel. If you’re using an older wreath, give it a quick brush down to remove any dust or debris.
Step 2: Attaching the Battery-Operated Lights
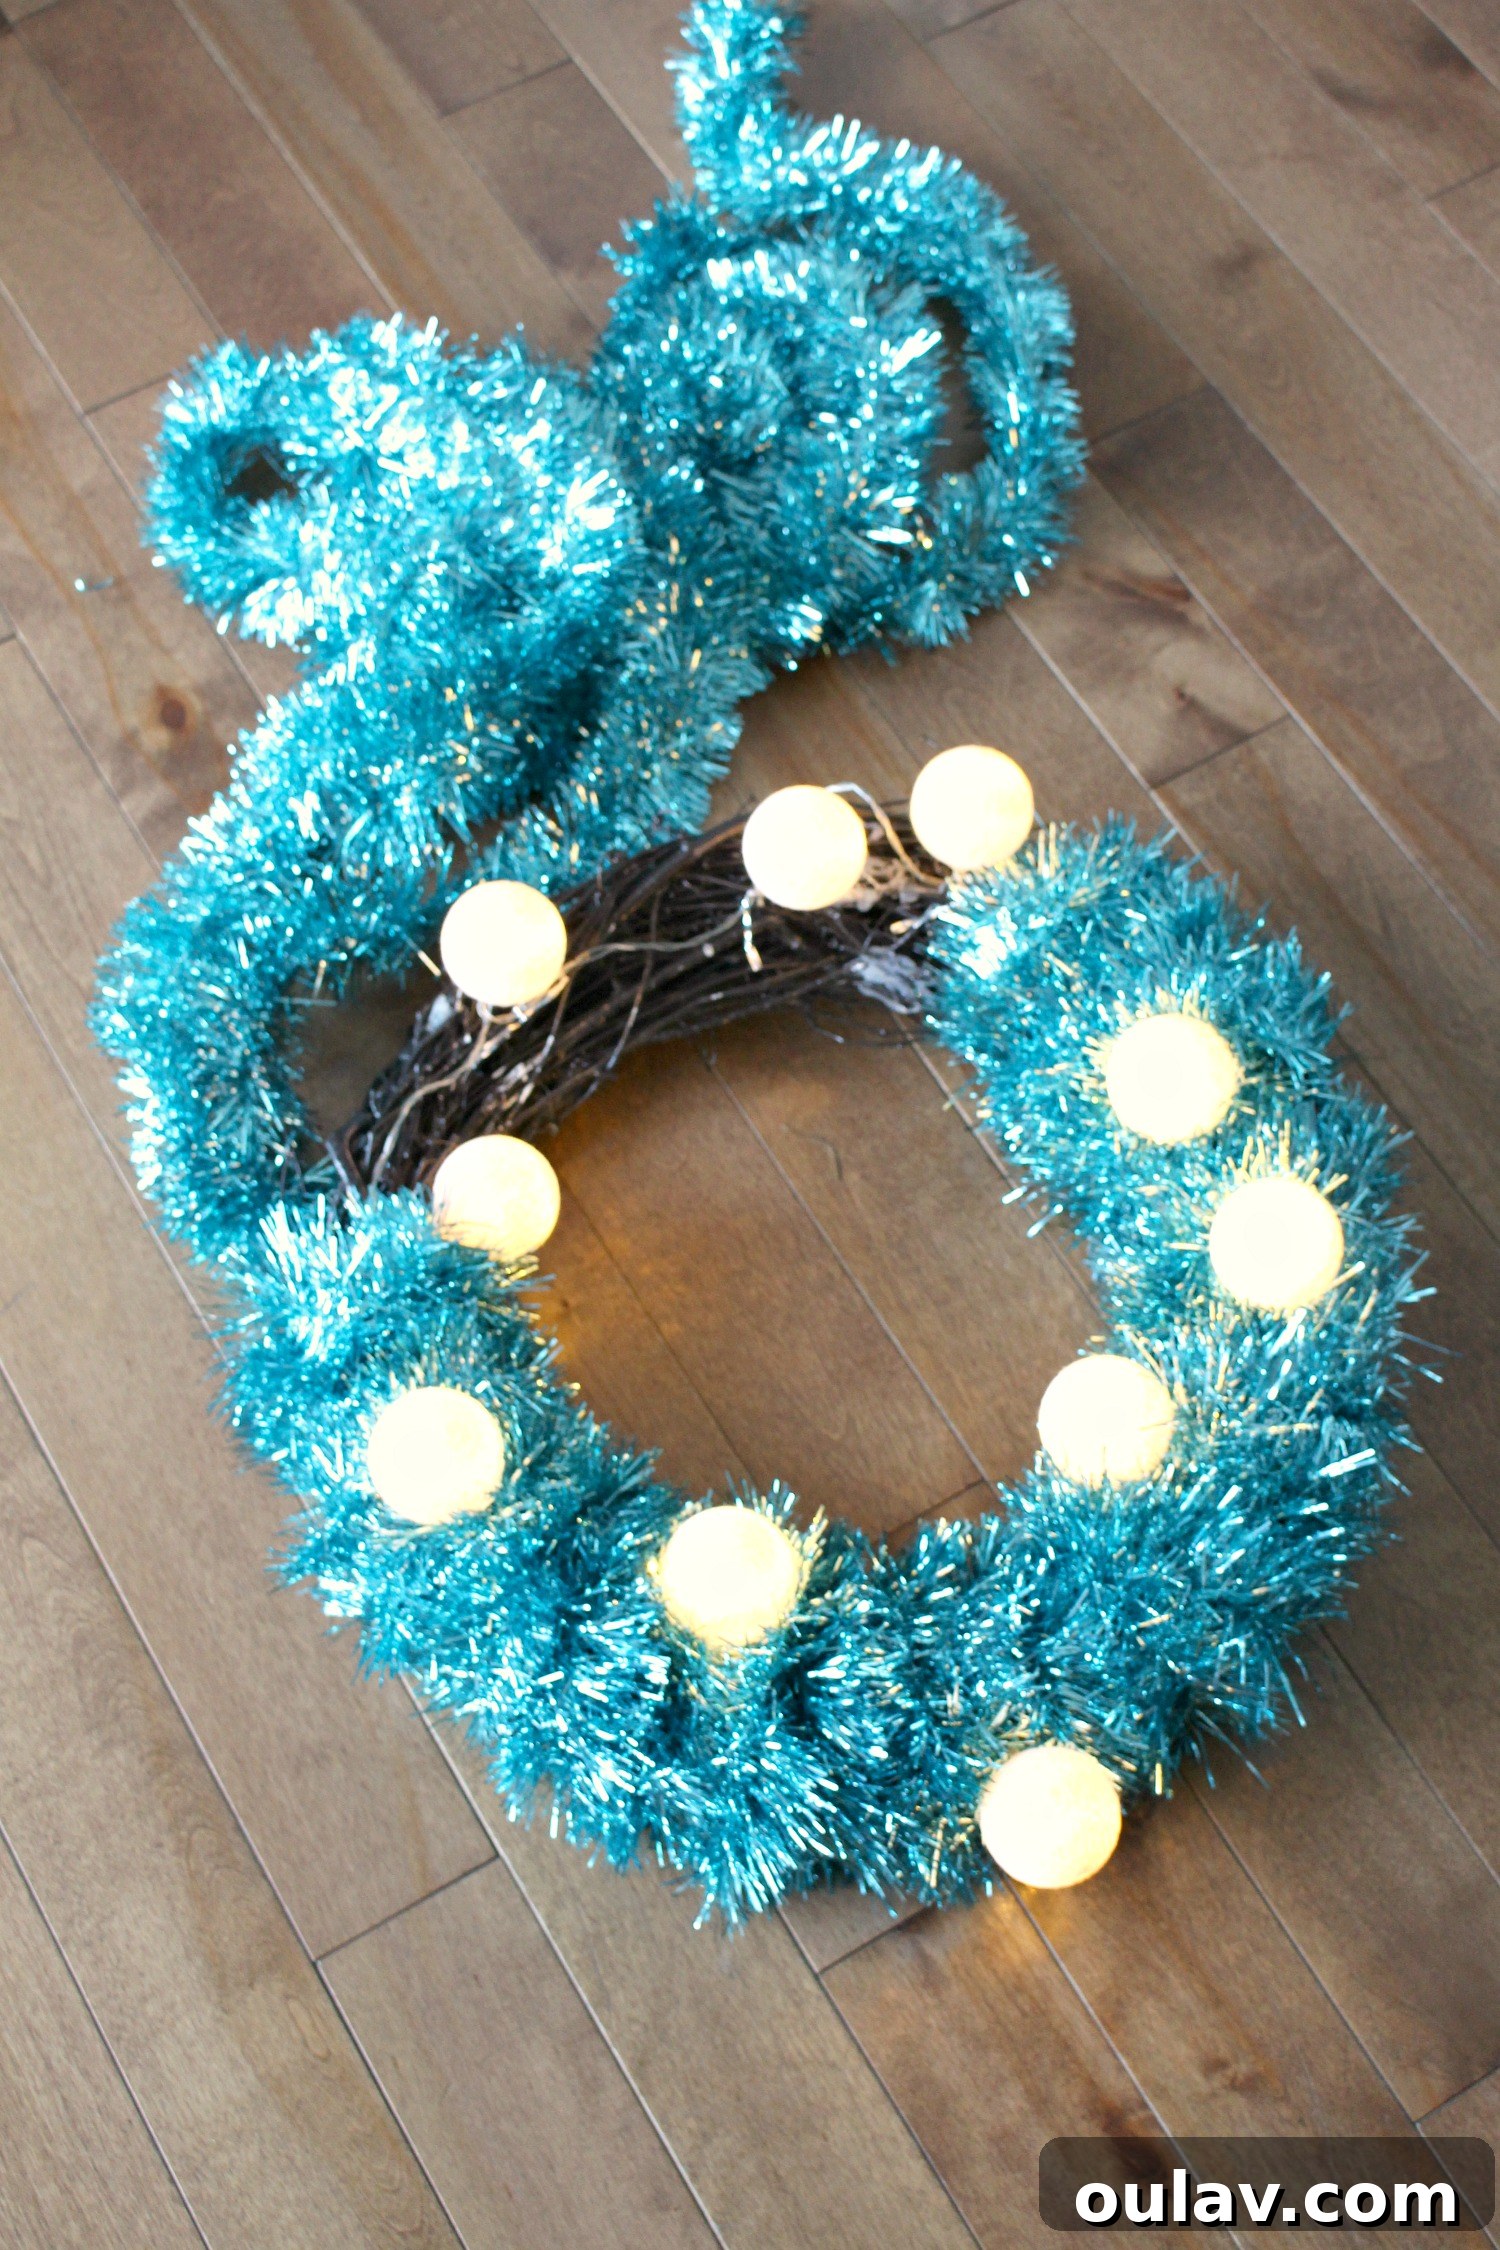
Before you introduce the tinsel, you’ll want to secure your string lights. Begin by finding a discreet spot for the battery pack – ideally at the bottom or back of the wreath. Using twist ties, carefully wrap the string lights around your wreath form, distributing them as evenly as possible. The goal is to ensure the lights’ wire is snugly affixed to the wreath base, as the tinsel will later cover and conceal the cord, leaving only the illuminated bulbs to peek through. If you’re working with a foam wreath, you can also use a small amount of hot glue or even push pins to secure the light strand in place.
Step 3: Wrapping the Tinsel
Now for the fun part! Take one end of your tinsel strand and secure it firmly to the back of the wreath form using a twist tie. This starting point will be hidden, so don’t worry about perfection here. Begin to wrap the tinsel around the wreath base, working your way around the circle. Each strand of tinsel typically covers about a quarter of a standard-sized wreath, but this can vary depending on the size of your wreath, the length and thickness of your tinsel, and how densely you choose to wrap it. For a fuller, more luxurious look, overlap your tinsel slightly more generously. When you reach the end of your first tinsel strand, secure it with another twist tie at the back of the wreath. Continue this process with additional strands until your entire wreath form is covered in glorious, shimmering tinsel. Remember, the fluffier the tinsel, the better it will conceal any underlying wires or the battery pack.
Step 4: Adding Sparkly Ornaments and Finishing Touches
This is where you can add that extra layer of magic! I grabbed some sparkly, plastic ornaments – dollar store finds from years ago, which you might remember from my A-frame ornament stand project. Using twist ties, I carefully secured them to the grapevine wreath, tucking them just beneath the tinsel. The inherent fluffiness of the tinsel is a huge advantage here; it effortlessly hides all the mechanics, including the twist ties and even the battery pack for the lights, creating a seamless, polished finish. Experiment with placement: cluster ornaments in one area, or scatter them evenly for a balanced look. This step allows for immense personalization, so let your creativity shine!


Styling Your Retro Tinsel Wreath: Where to Display Your Masterpiece
Once your DIY tinsel wreath is complete, it’s time to find the perfect spot for it to sparkle! Its vibrant turquoise hue pairs exceptionally well with my turquoise front door – creating a cohesive and strikingly inviting entrance. Honestly, it’s almost enough turquoise for me, but let’s be real, can one ever have too much turquoise?


Beyond the front door, consider these styling ideas:
- Interior Focal Point: Hang it above a fireplace mantel, transforming your living room into a festive haven. Its retro charm will complement both contemporary and vintage interiors.
- Wall Art: Use it as a vibrant piece of wall art in an entryway or dining room. The reflective quality of the tinsel adds texture and light.
- Mirror Accent: Drape it over a large mirror, allowing the sparkle to multiply and illuminate the room.
- Window Decor: Hang it in a window for passersby to enjoy, creating a warm and welcoming glow from the outside.
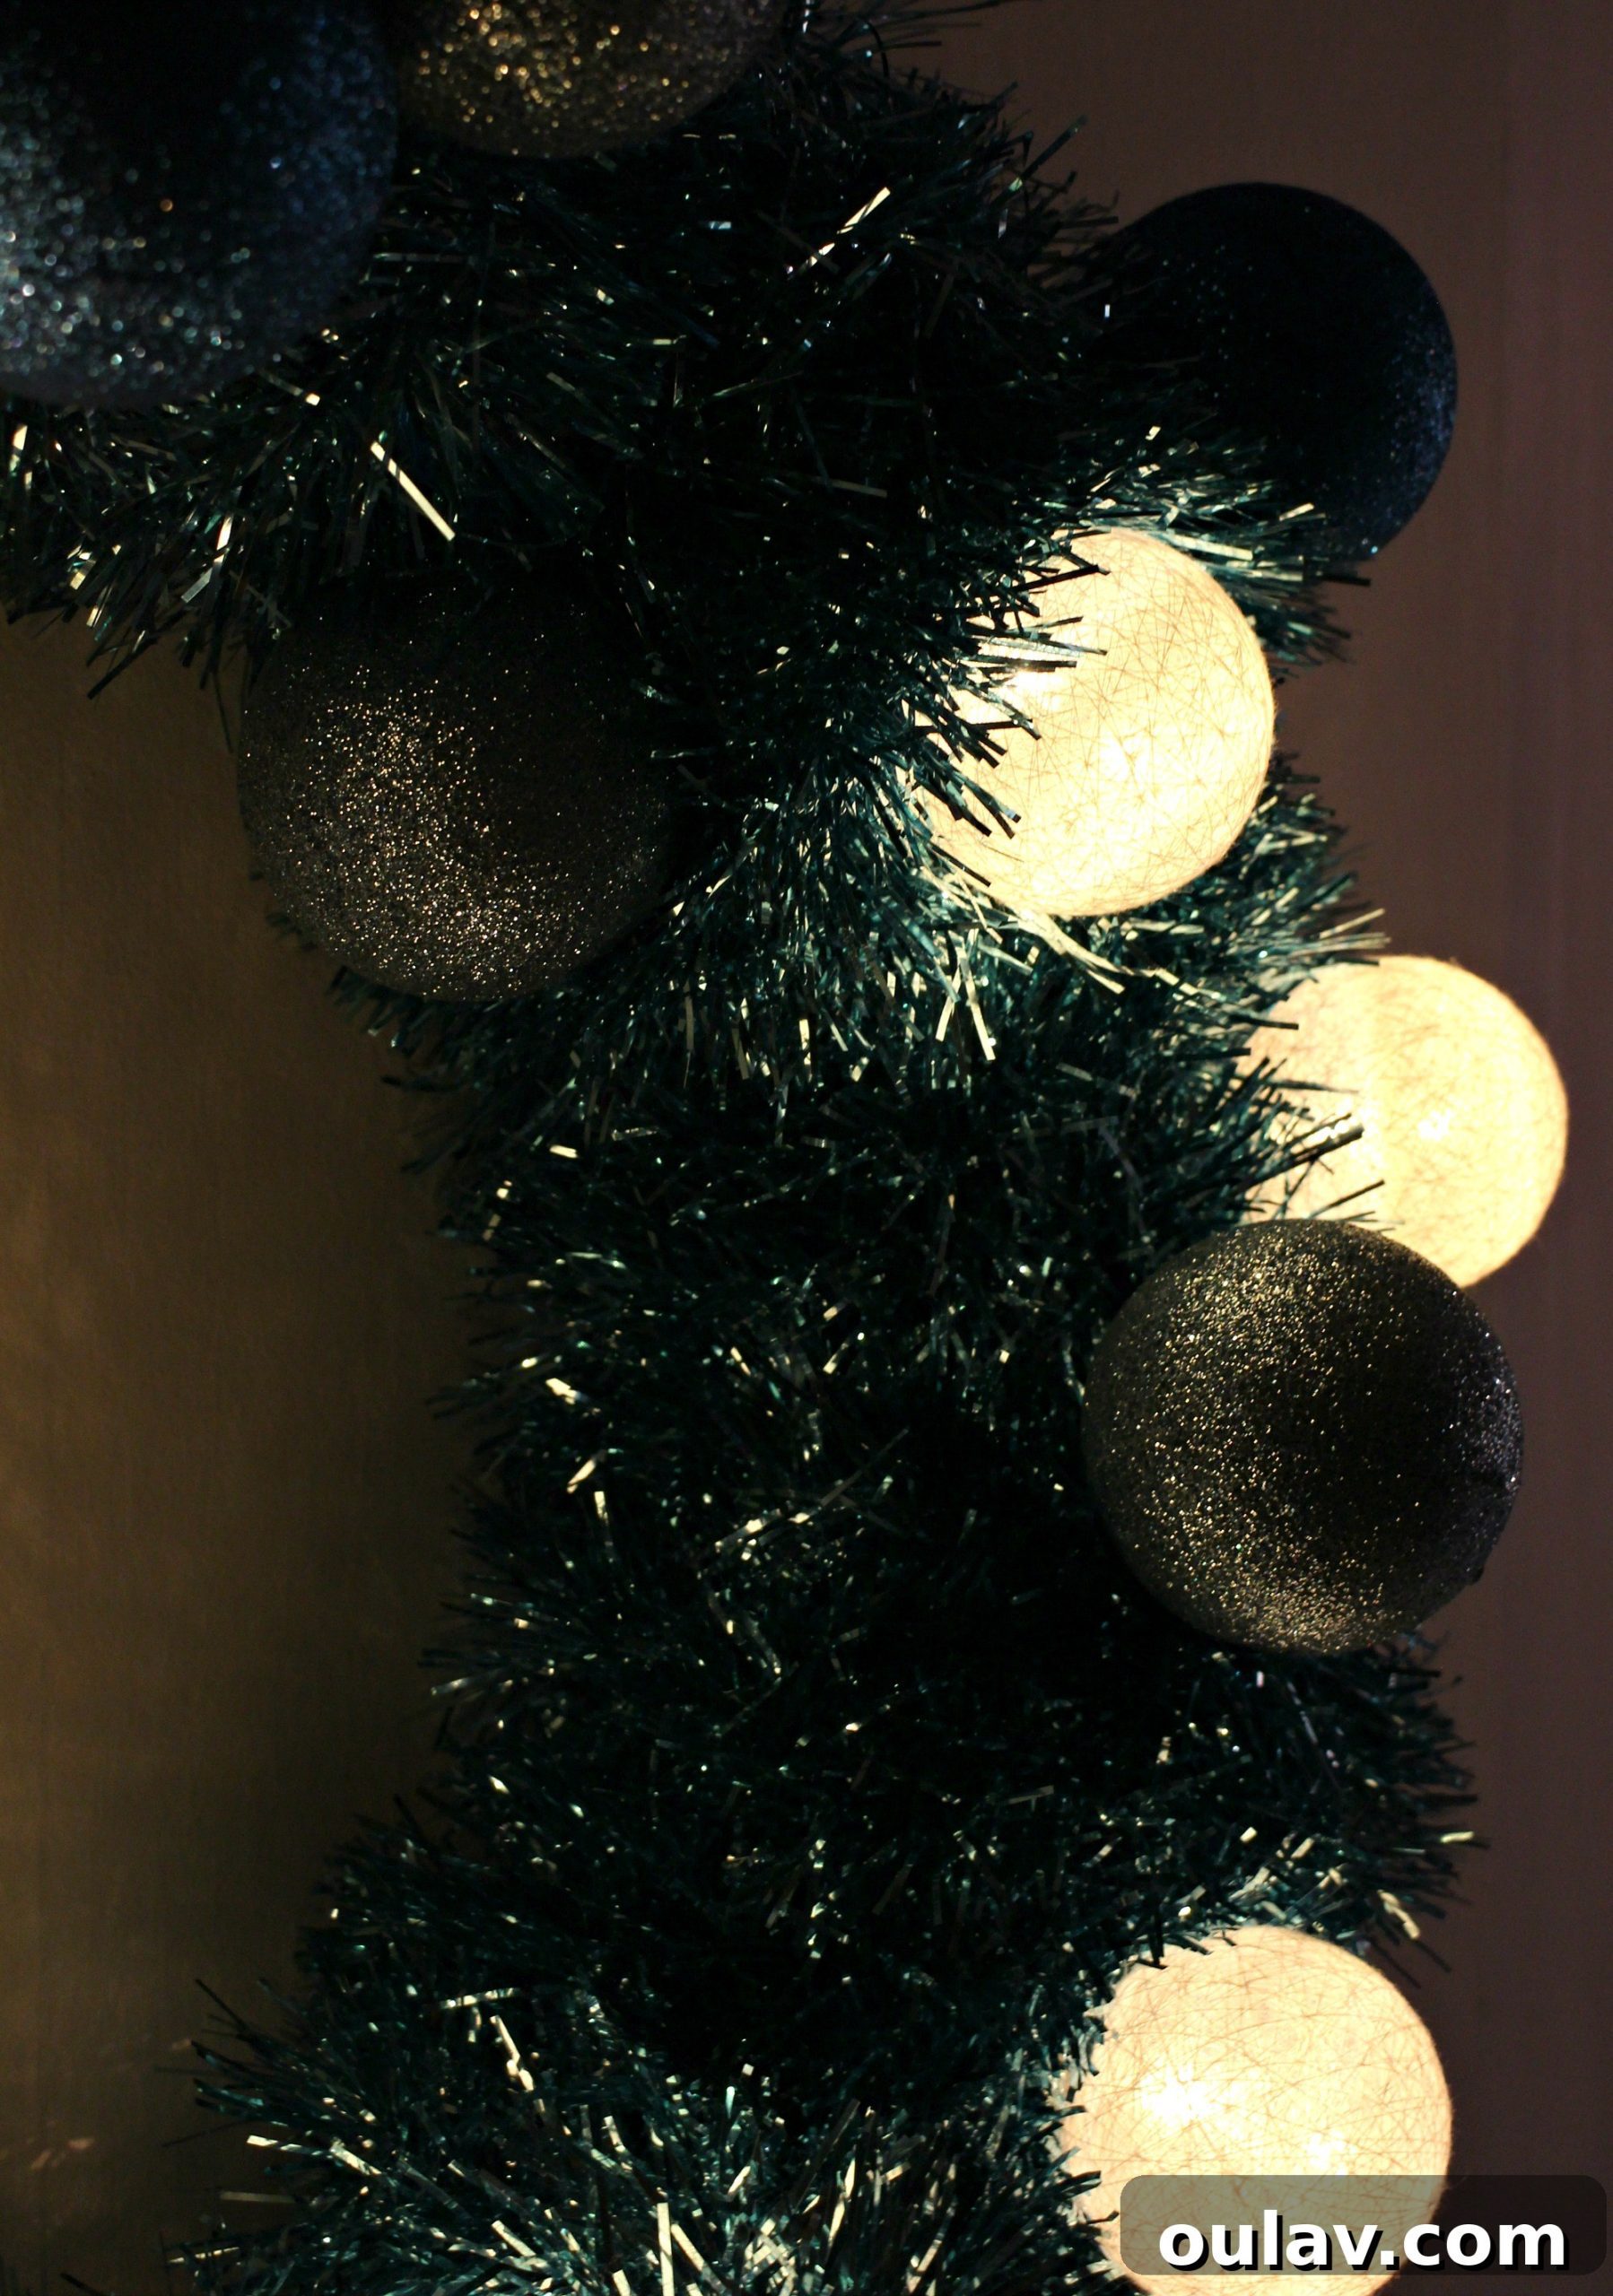
The true magic of this wreath comes alive at night. The battery-operated lights twinkle through the tinsel, making the glittery balls sparkle like crazy. There’s something incredibly comforting and welcoming about coming home to this shimmering display after a long day. It’s a small detail that makes a big impact on the overall holiday atmosphere.
Longevity and Care for Your Handmade Tinsel Wreath
One of the best aspects of this DIY tinsel wreath is its potential for long-term enjoyment. To ensure your creation remains vibrant and festive for many seasons to come, consider these simple care tips:
- Gentle Handling: Tinsel, especially the more affordable varieties, can be delicate. Handle your wreath with care to prevent excessive shedding or tangling.
- Strategic Storage: When the holidays are over, store your wreath in a clean, dry place. A large plastic bag or a dedicated wreath storage box can protect the tinsel from dust and crushing, helping it retain its fluffiness. Consider wrapping the wreath gently in tissue paper before placing it in storage to further safeguard the tinsel and ornaments.
- Battery Removal: Always remove the batteries from the string lights before storing to prevent corrosion and prolong the life of your lights.
- Minor Repairs: Should a twist tie come loose or an ornament shift, a quick re-attachment is usually all that’s needed. Keep a few extra twist ties on hand for easy fixes.
With minimal effort, your retro tinsel wreath will continue to bring joy and sparkle to your home year after year, becoming a cherished part of your holiday traditions.


DIY vs. Buy: Pre-Made Retro Wreath Inspiration
While the joy of crafting your own unique piece is unmatched, I understand that sometimes time is of the essence, or you might simply prefer a ready-made option. For those who love the retro tinsel aesthetic but prefer the “BIY” (Buy-It-Yourself) route, here are a few inspiring finds:
- You can find this simple turquoise tinsel wreath for around $40, offering a classic look without the DIY effort.
- For a wreath that’s already decked out with extra sparkle, consider this tinsel wreath already bedazzled with glittering ornaments, saving you a step in the embellishment process.
And for my fellow turquoise-loving friends who want to take their retro holiday decor to the next level, have you seen this spectacular Turquoise Christmas Tree? Imagine the possibilities!

Embrace the Sparkle: Your Next Favorite DIY Project
In conclusion, creating a DIY tinsel wreath is an incredibly rewarding project. It’s not just about saving money; it’s about infusing your home with personality, nostalgia, and a touch of handmade charm. The process is straightforward, the materials are accessible, and the end result is a vibrant, sparkling decoration that captures the essence of retro holiday joy. Whether you’re drawn to its affordability, its quick assembly, or its undeniable vintage appeal, this retro tinsel wreath is a fantastic way to add a unique, festive touch to your decor. So, gather your supplies, put on some festive tunes, and get ready to craft your own dazzling centerpiece. You’ll love the retro vibes it brings!