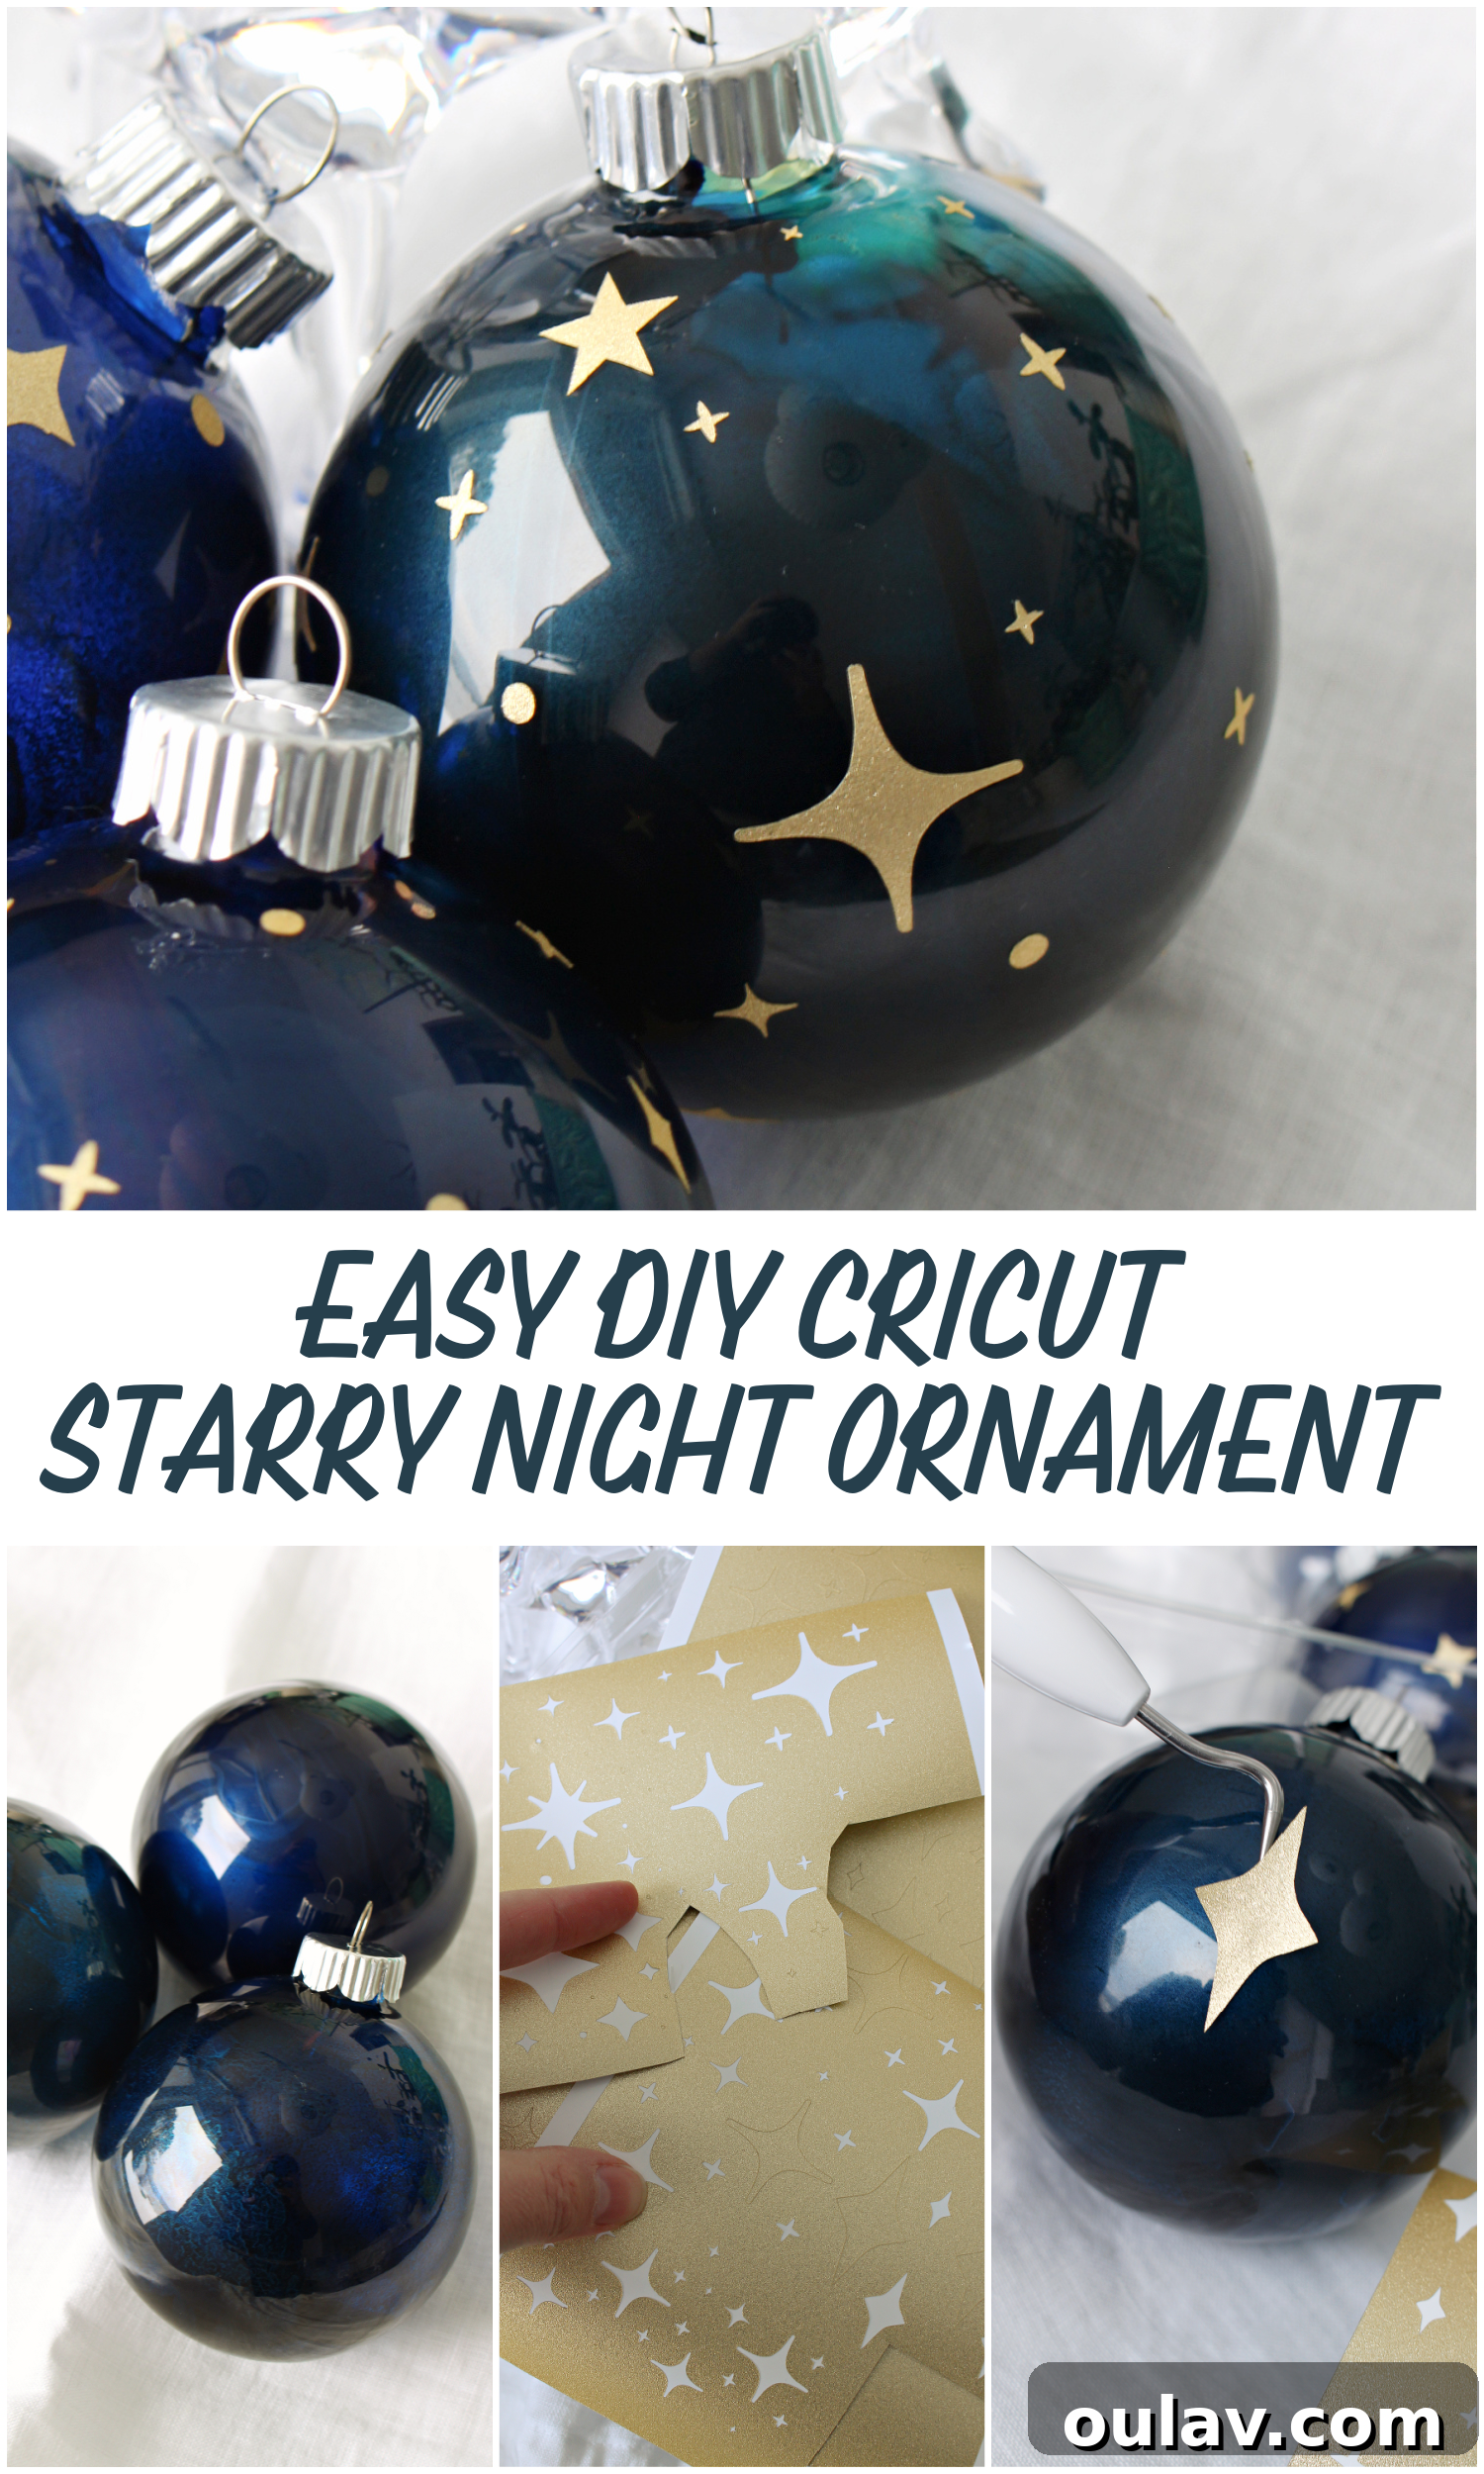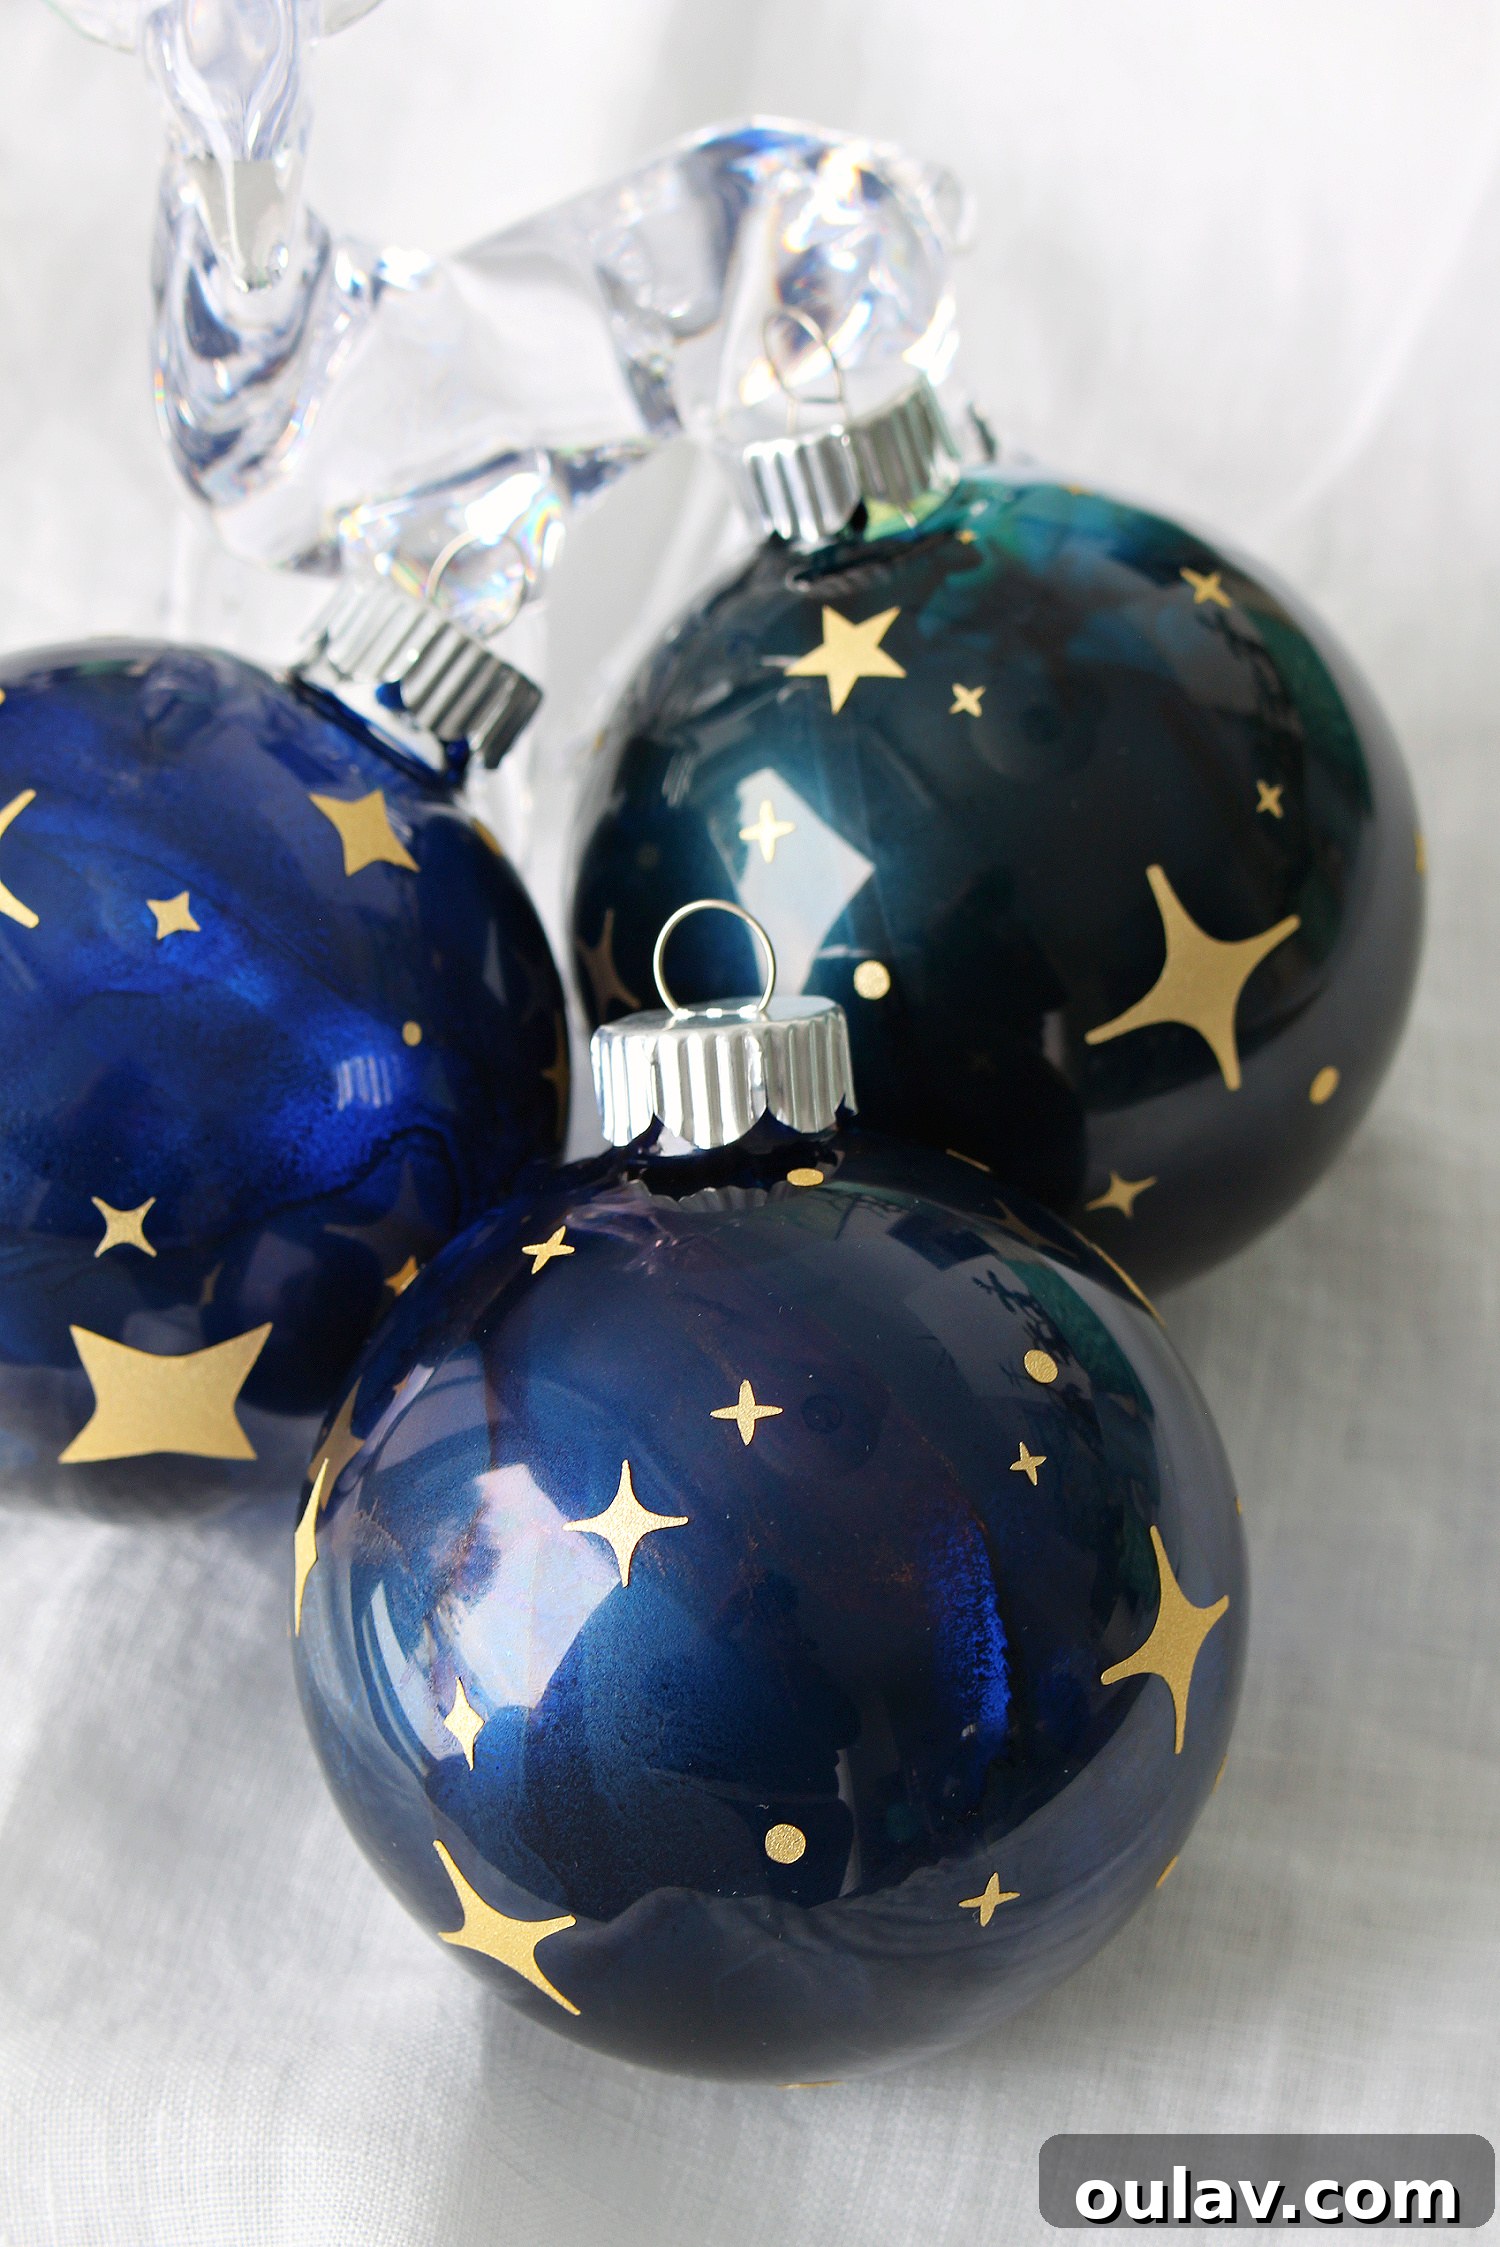
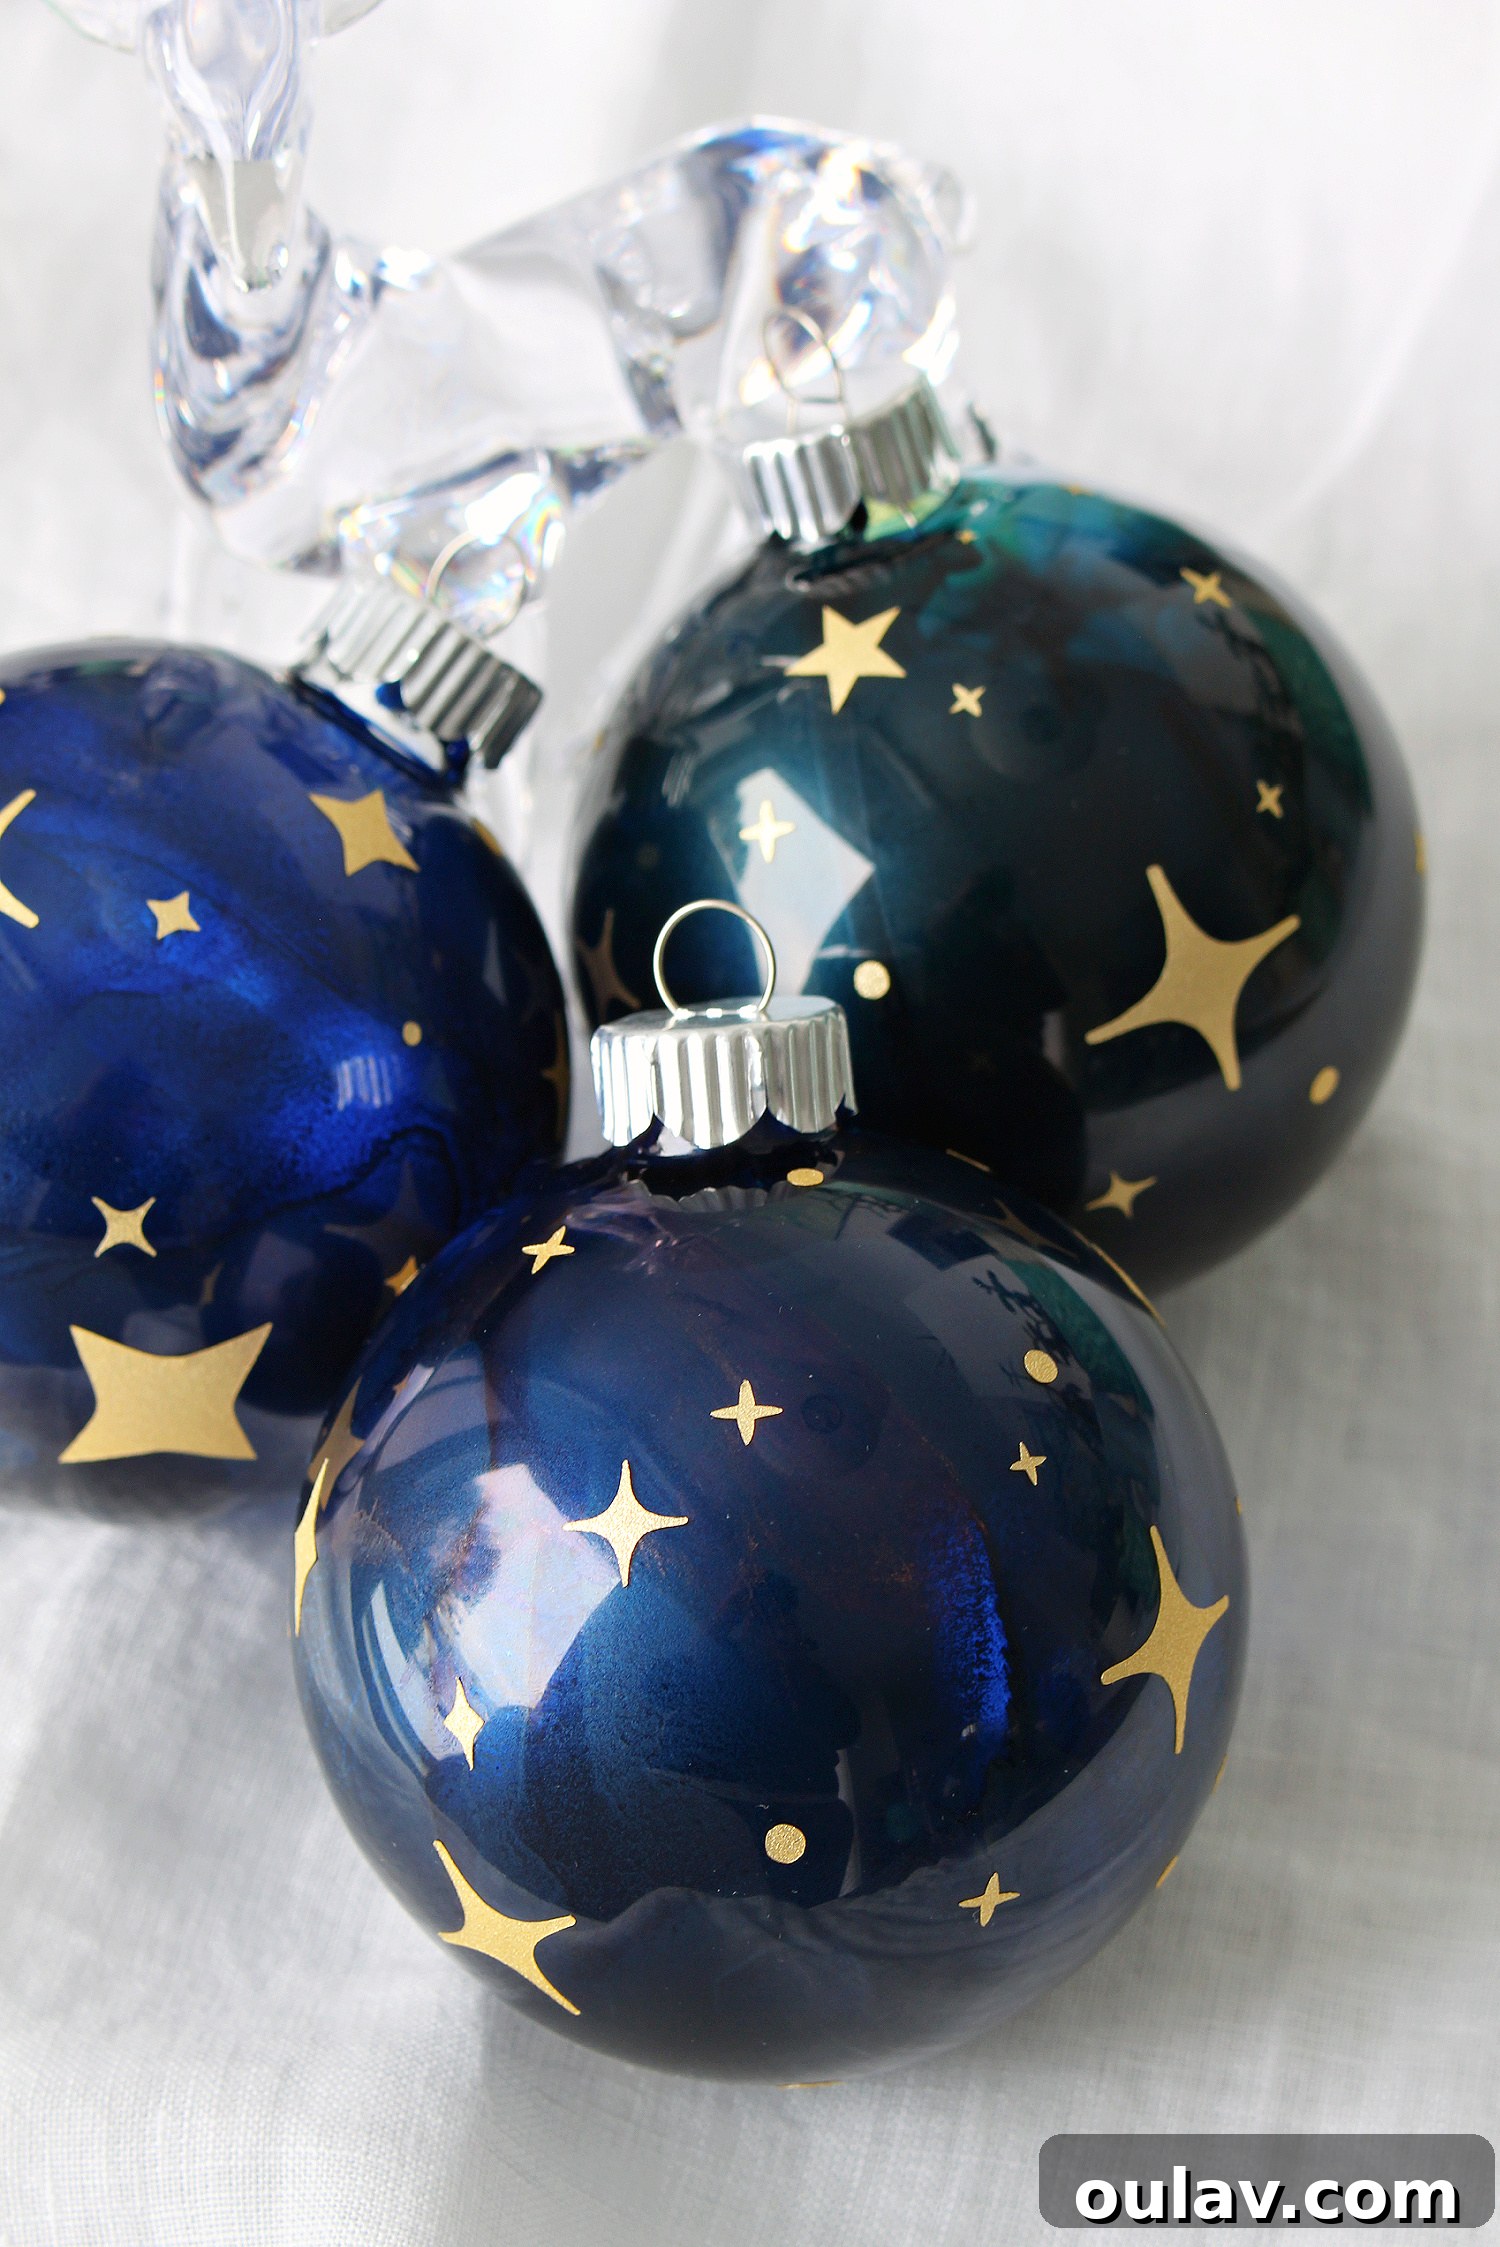
There’s an undeniable magic in handmade holiday decorations, and few things capture the spirit of the season quite like a custom ornament. While immersed in the creative process of crafting vibrant, jewel-toned DIY alcohol ink ornaments (you can see the full technique in action on this YouTube video), a brilliant idea sparked: an easy-to-create DIY Starry Night ornament! This enchanting concept is tailor-made for specific themes, like my Mom’s captivating new Midsummer Night’s Dream Christmas tree theme, or even the popular Taylor Swift Inspired “Midnights” tree theme that I’ve previously shared. Beyond these inspirations, this celestial ornament would look absolutely stunning on any blue, gold, silver, or jewel-colored Christmas tree, adding a touch of sophisticated sparkle. The beauty of DIY ornaments lies in their boundless customization; you can effortlessly adapt the alcohol ink colors and star designs to perfectly complement your personal holiday decor and tree theme. Let’s embark on this creative journey to craft truly unique and mesmerizing ornaments that will glow brilliantly on your tree for years to come.
The Allure of Handmade Christmas Ornaments
There’s something deeply satisfying about adorning your Christmas tree with ornaments you’ve made yourself. Each handcrafted piece tells a story, carrying a unique charm that mass-produced decorations simply can’t replicate. DIY Christmas ornaments offer an unparalleled opportunity to infuse your personal style and creativity into your holiday decor. Whether you’re aiming for a whimsical, rustic, elegant, or modern aesthetic, the possibilities are truly endless. Crafting your own ornaments also allows for complete control over color palettes, materials, and themes, ensuring your tree perfectly reflects your vision. Furthermore, making ornaments can be a wonderfully relaxing and rewarding activity, a perfect way to unwind during the busy holiday season, or even a delightful project to share with family and friends. These personalized touches transform a simple tree into a cherished centerpiece, sparking conversations and creating lasting memories for everyone who gathers around it.
Crafting Your Own Starry Night Ornaments: A Step-by-Step Guide
Gathering Your Starlight: Essential Supplies
Before you dive into creating your celestial masterpieces, ensure you have all the necessary tools and materials at hand. Having everything ready will make the crafting process smooth and enjoyable.
- Clear Ornaments: I opted for classic glass ornaments, which offer a beautiful, translucent base. However, for a quicker start, you can purchase pre-colored indigo ornaments to skip the first step of inking. Both glass and plastic clear ornaments work wonderfully.
- Alcohol Inks: These vibrant inks are the key to achieving that mesmerizing, deep-sky effect. I primarily used Indigo and Mermaid (teal) shades. This convenient 3-pack includes both of these colors, perfect for creating a beautiful gradient. Feel free to experiment with other blues, purples, or even black for a truly dramatic night sky.
- Hair Dryer: A hair dryer is invaluable for speeding up the drying process of the alcohol inks, allowing for quicker layering and preventing colors from muddling.
- Cricut Joy Smart Vinyl (Permanent) – Shimmer Gold: This shimmering gold vinyl will bring your stars to life, adding a magical sparkle against the deep background. The “Smart” variety is ideal for Cricut Joy users, as it can be cut without a mat.
- Cricut Joy: This compact cutting machine is perfect for cutting intricate star shapes with precision, making your ornaments look professionally finished.
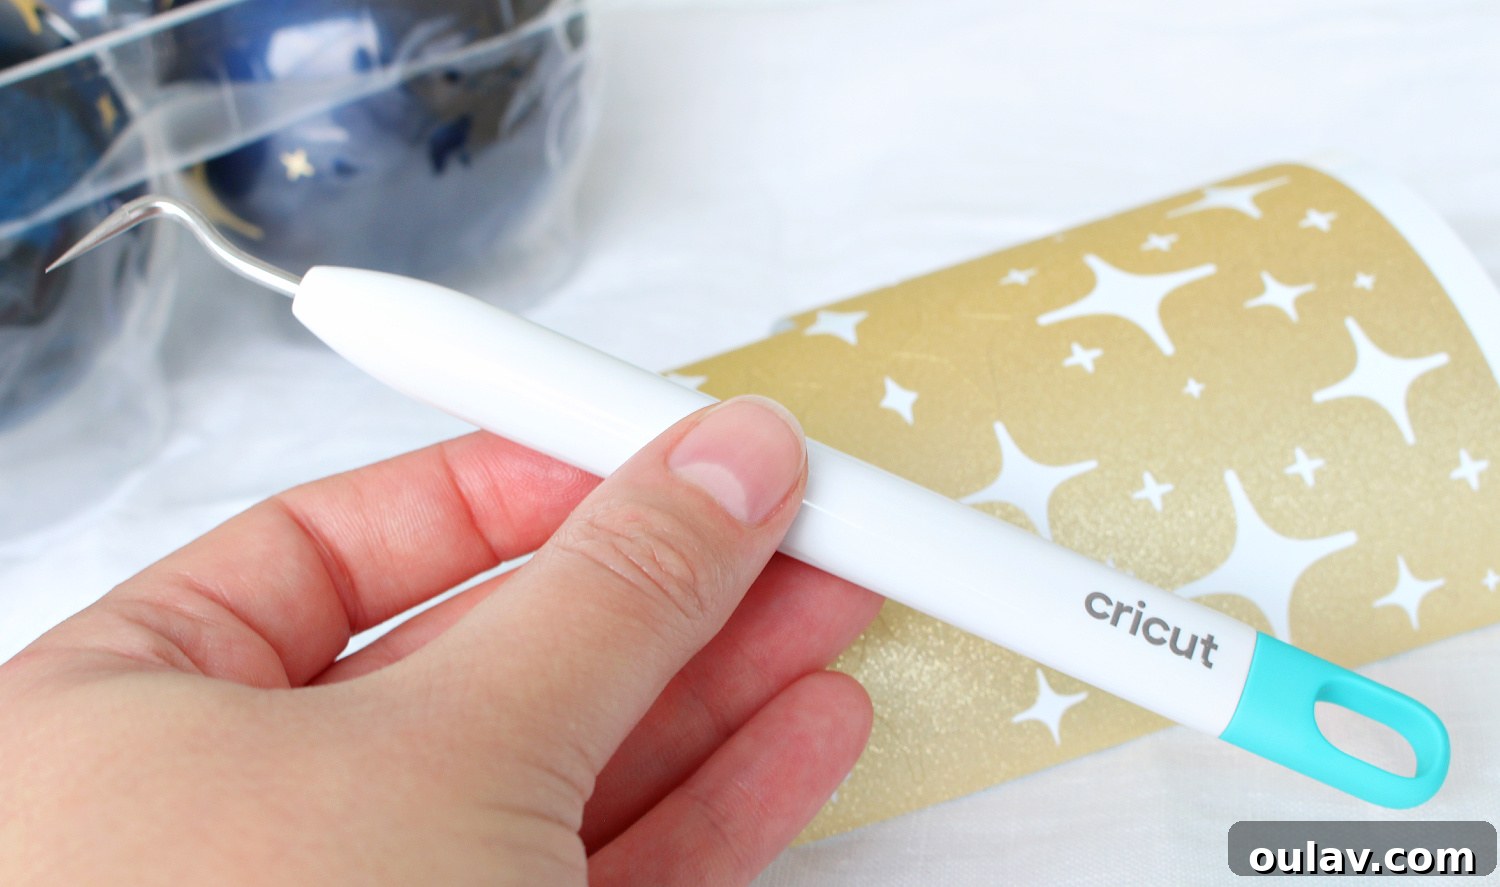
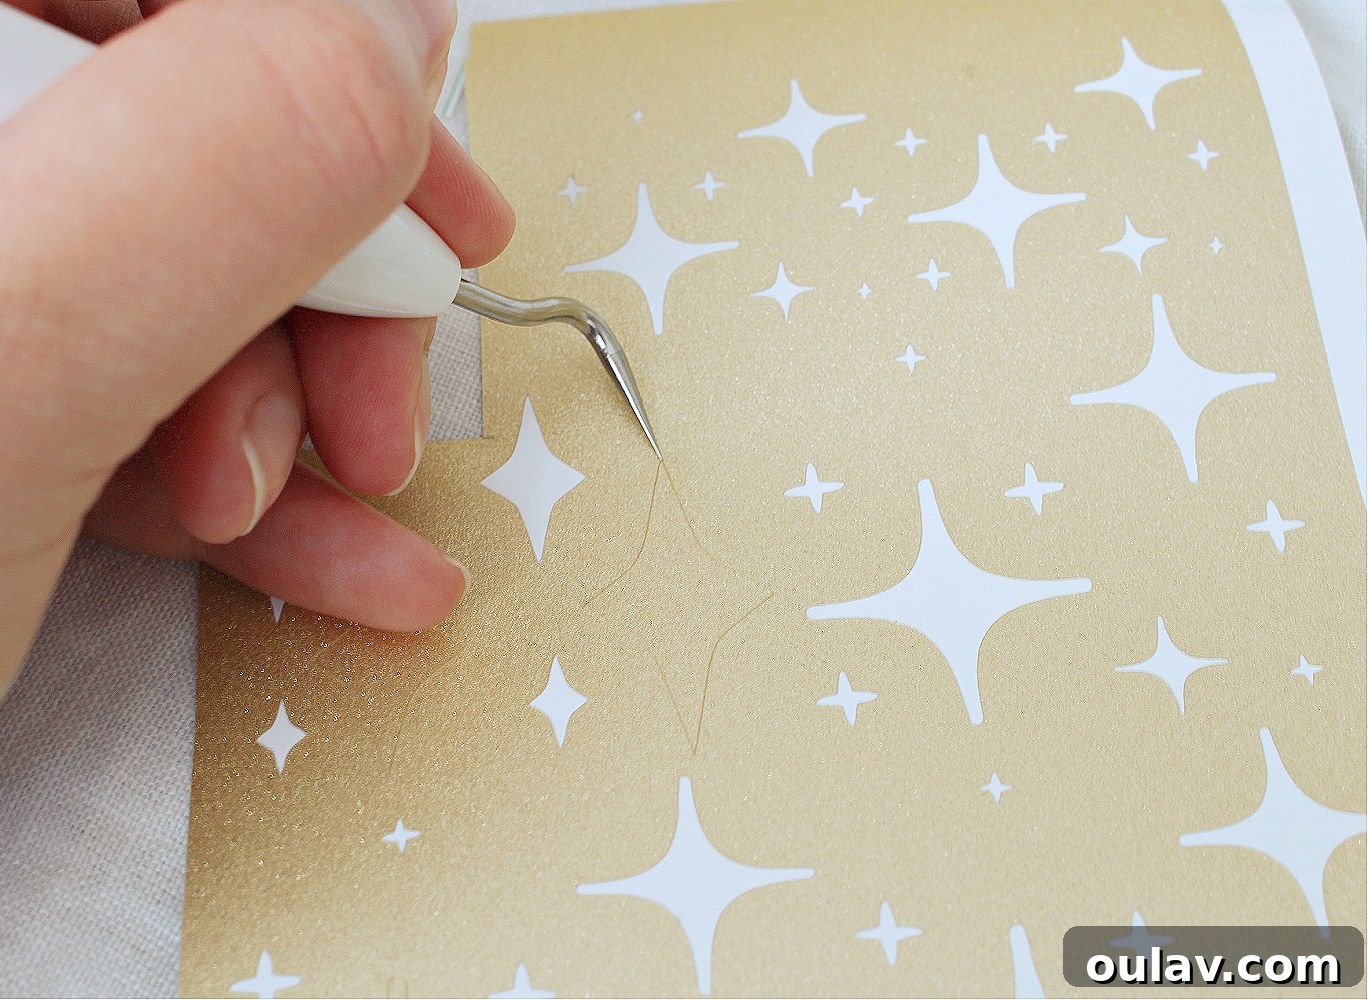
- Cricut Weeder Tool: An essential tool for carefully peeling and placing delicate vinyl designs onto your ornaments without damage.
Step 1: Infusing the Midnight Sky with Alcohol Inks
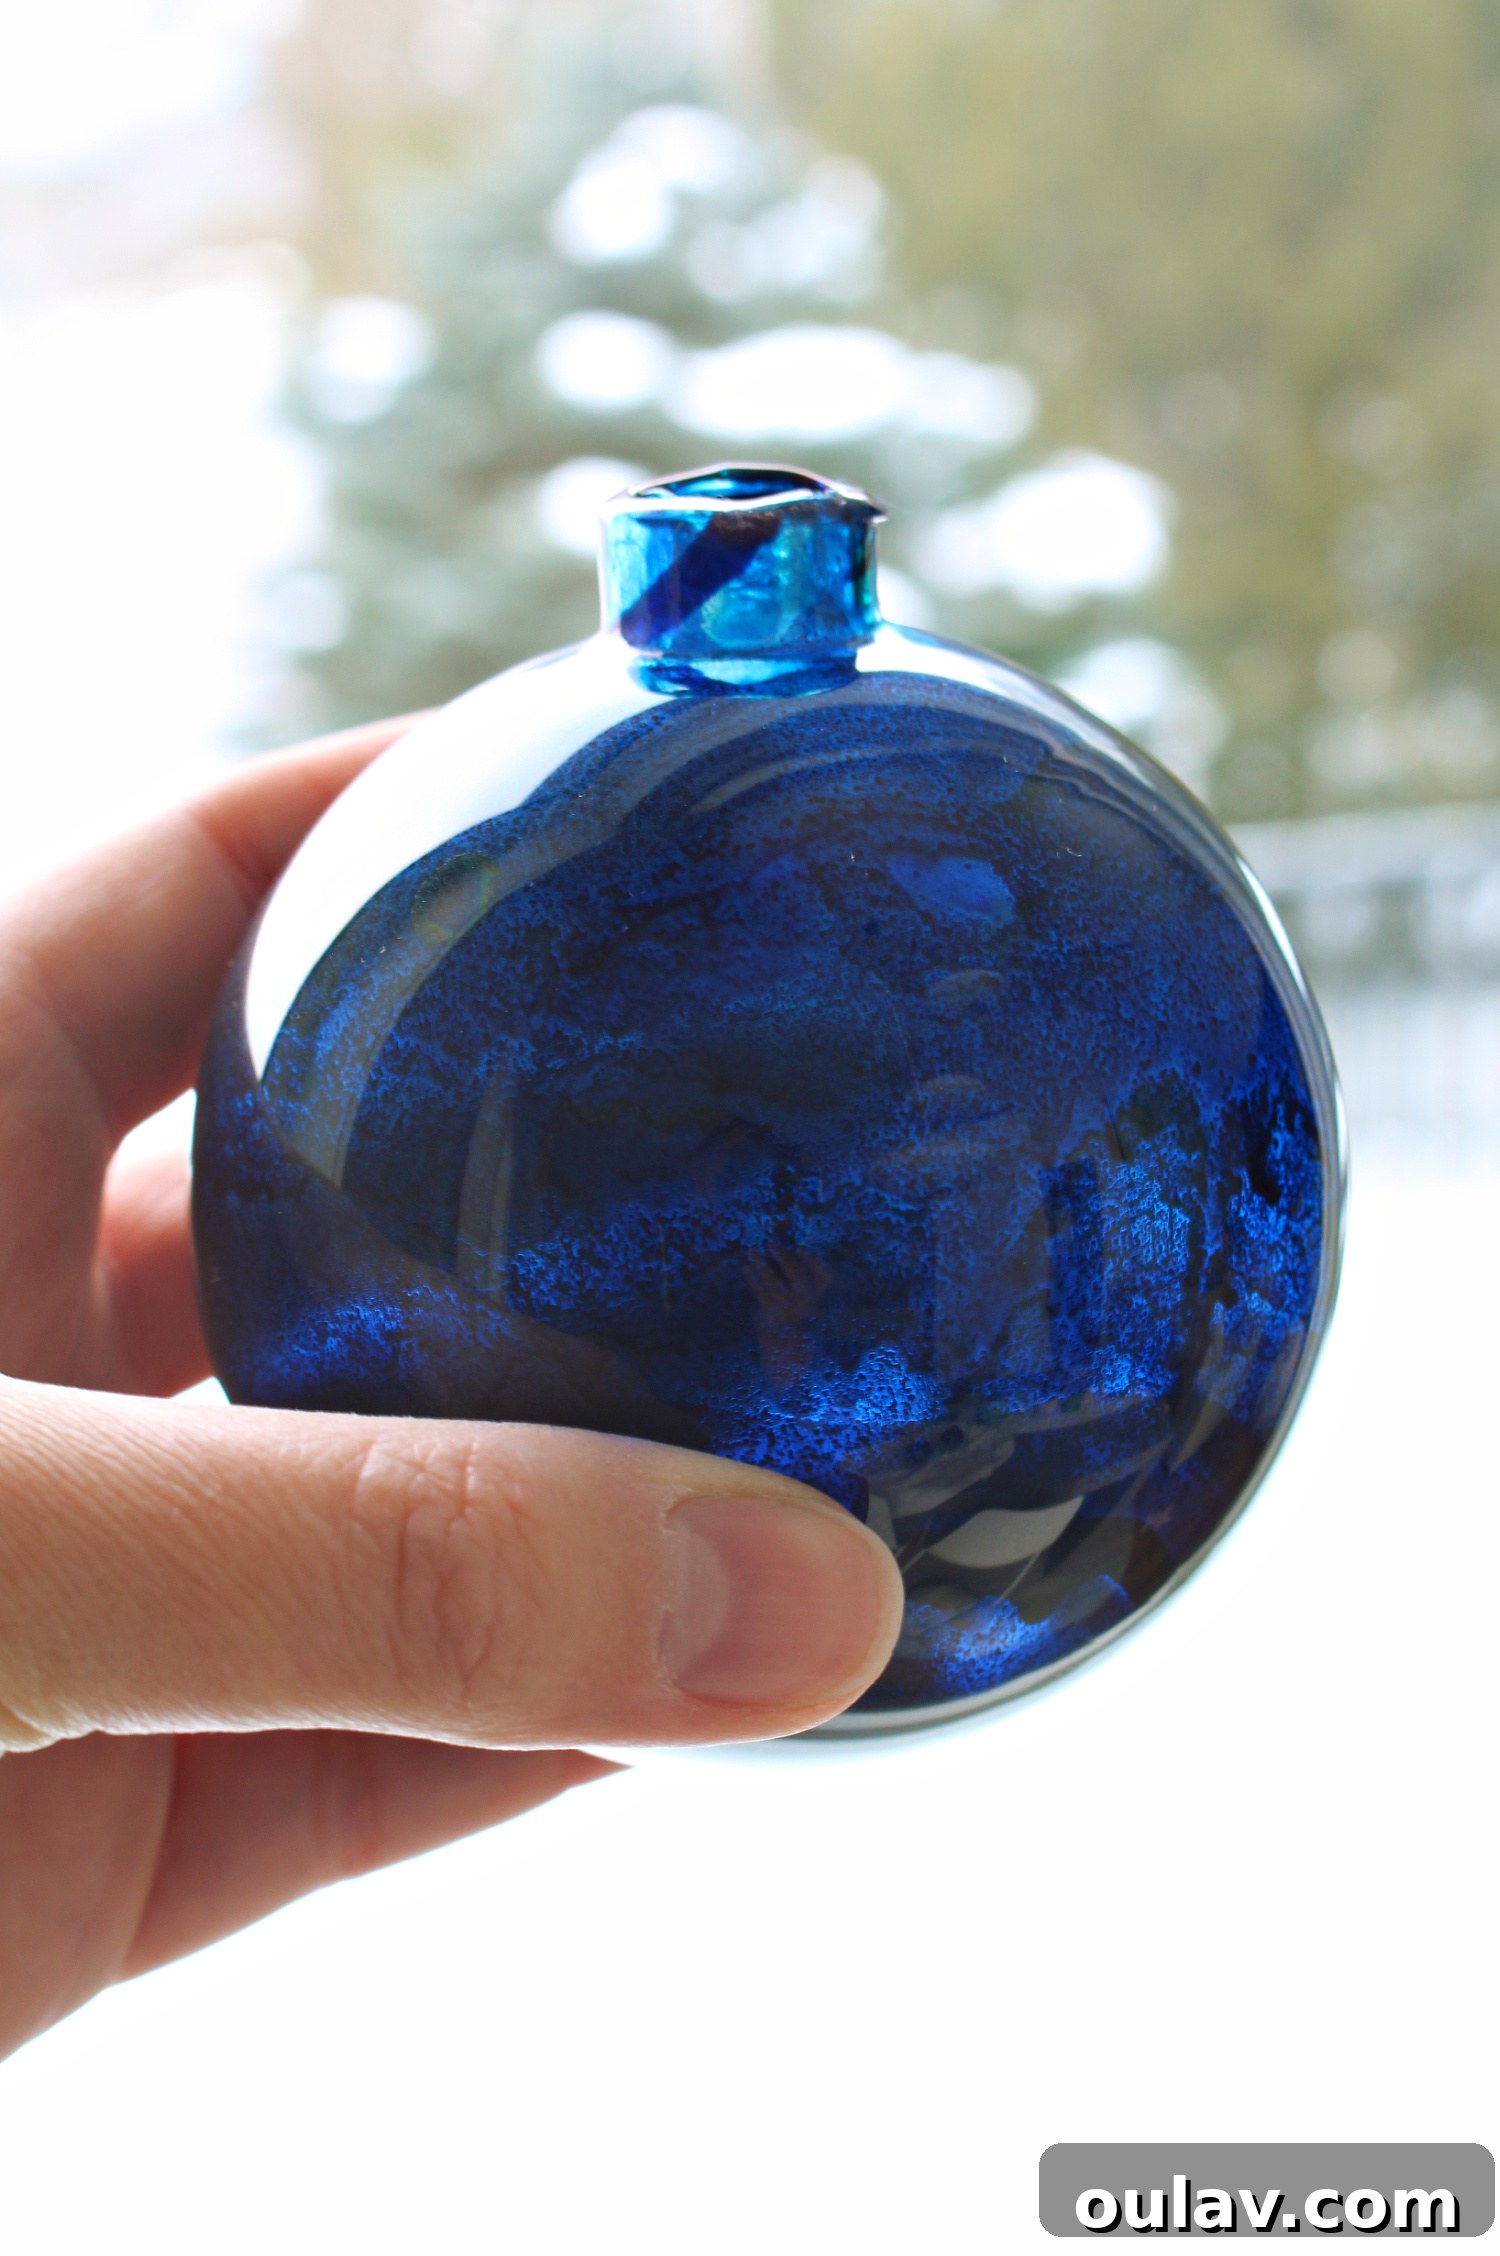
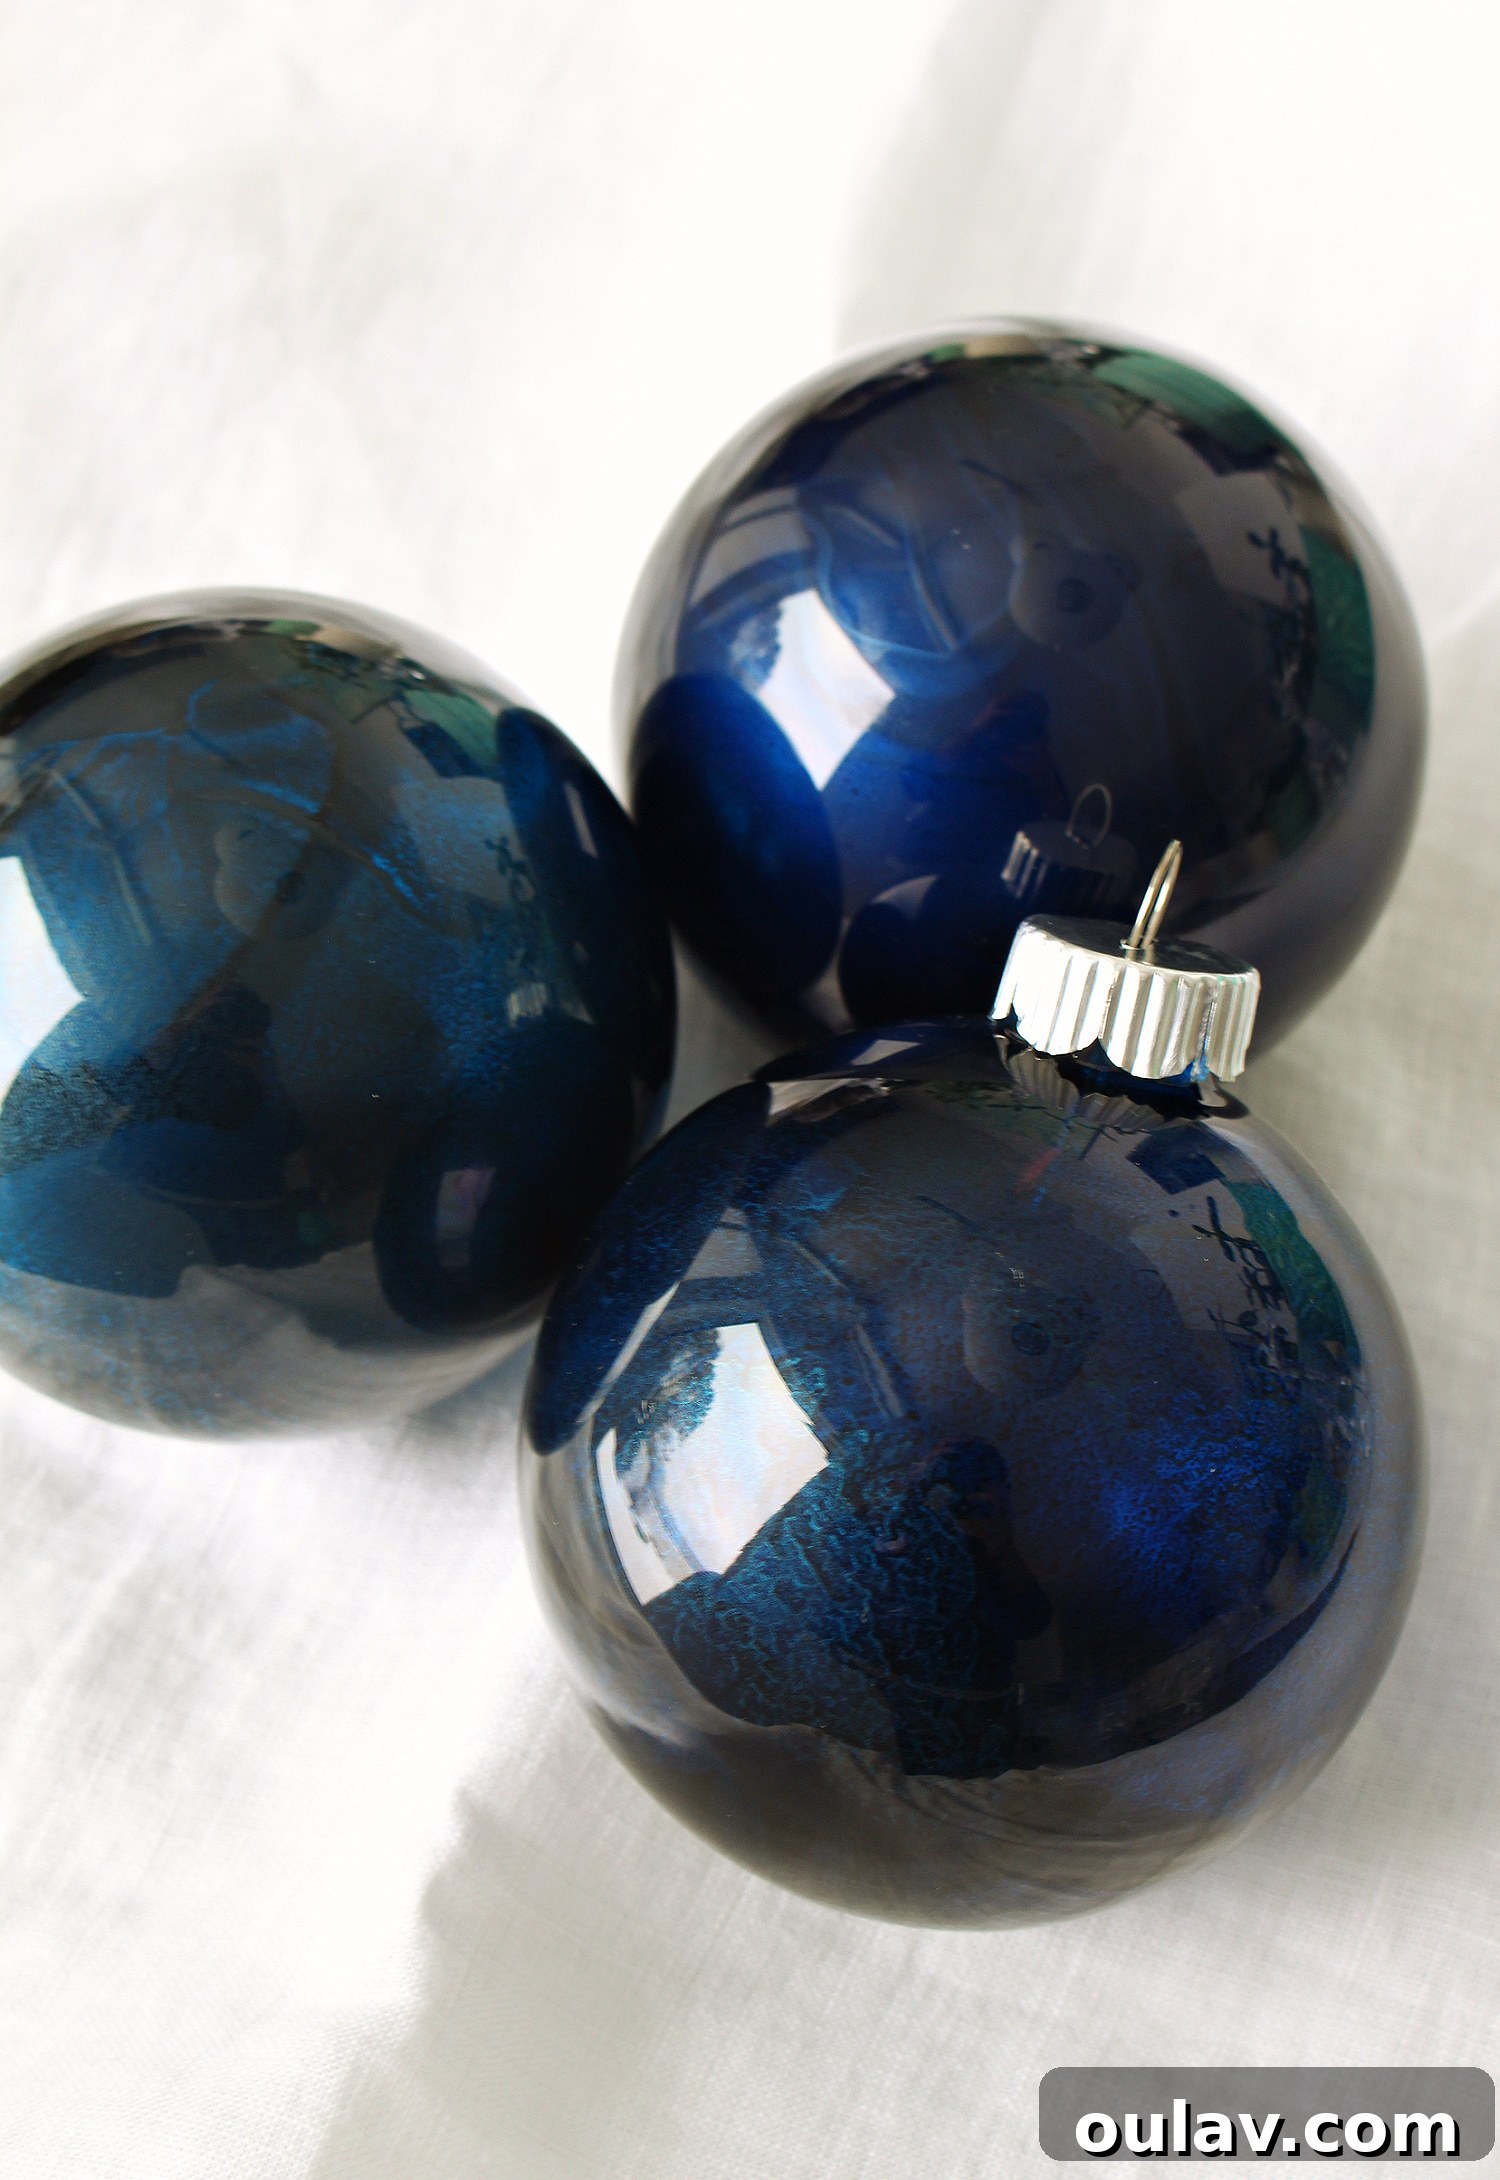
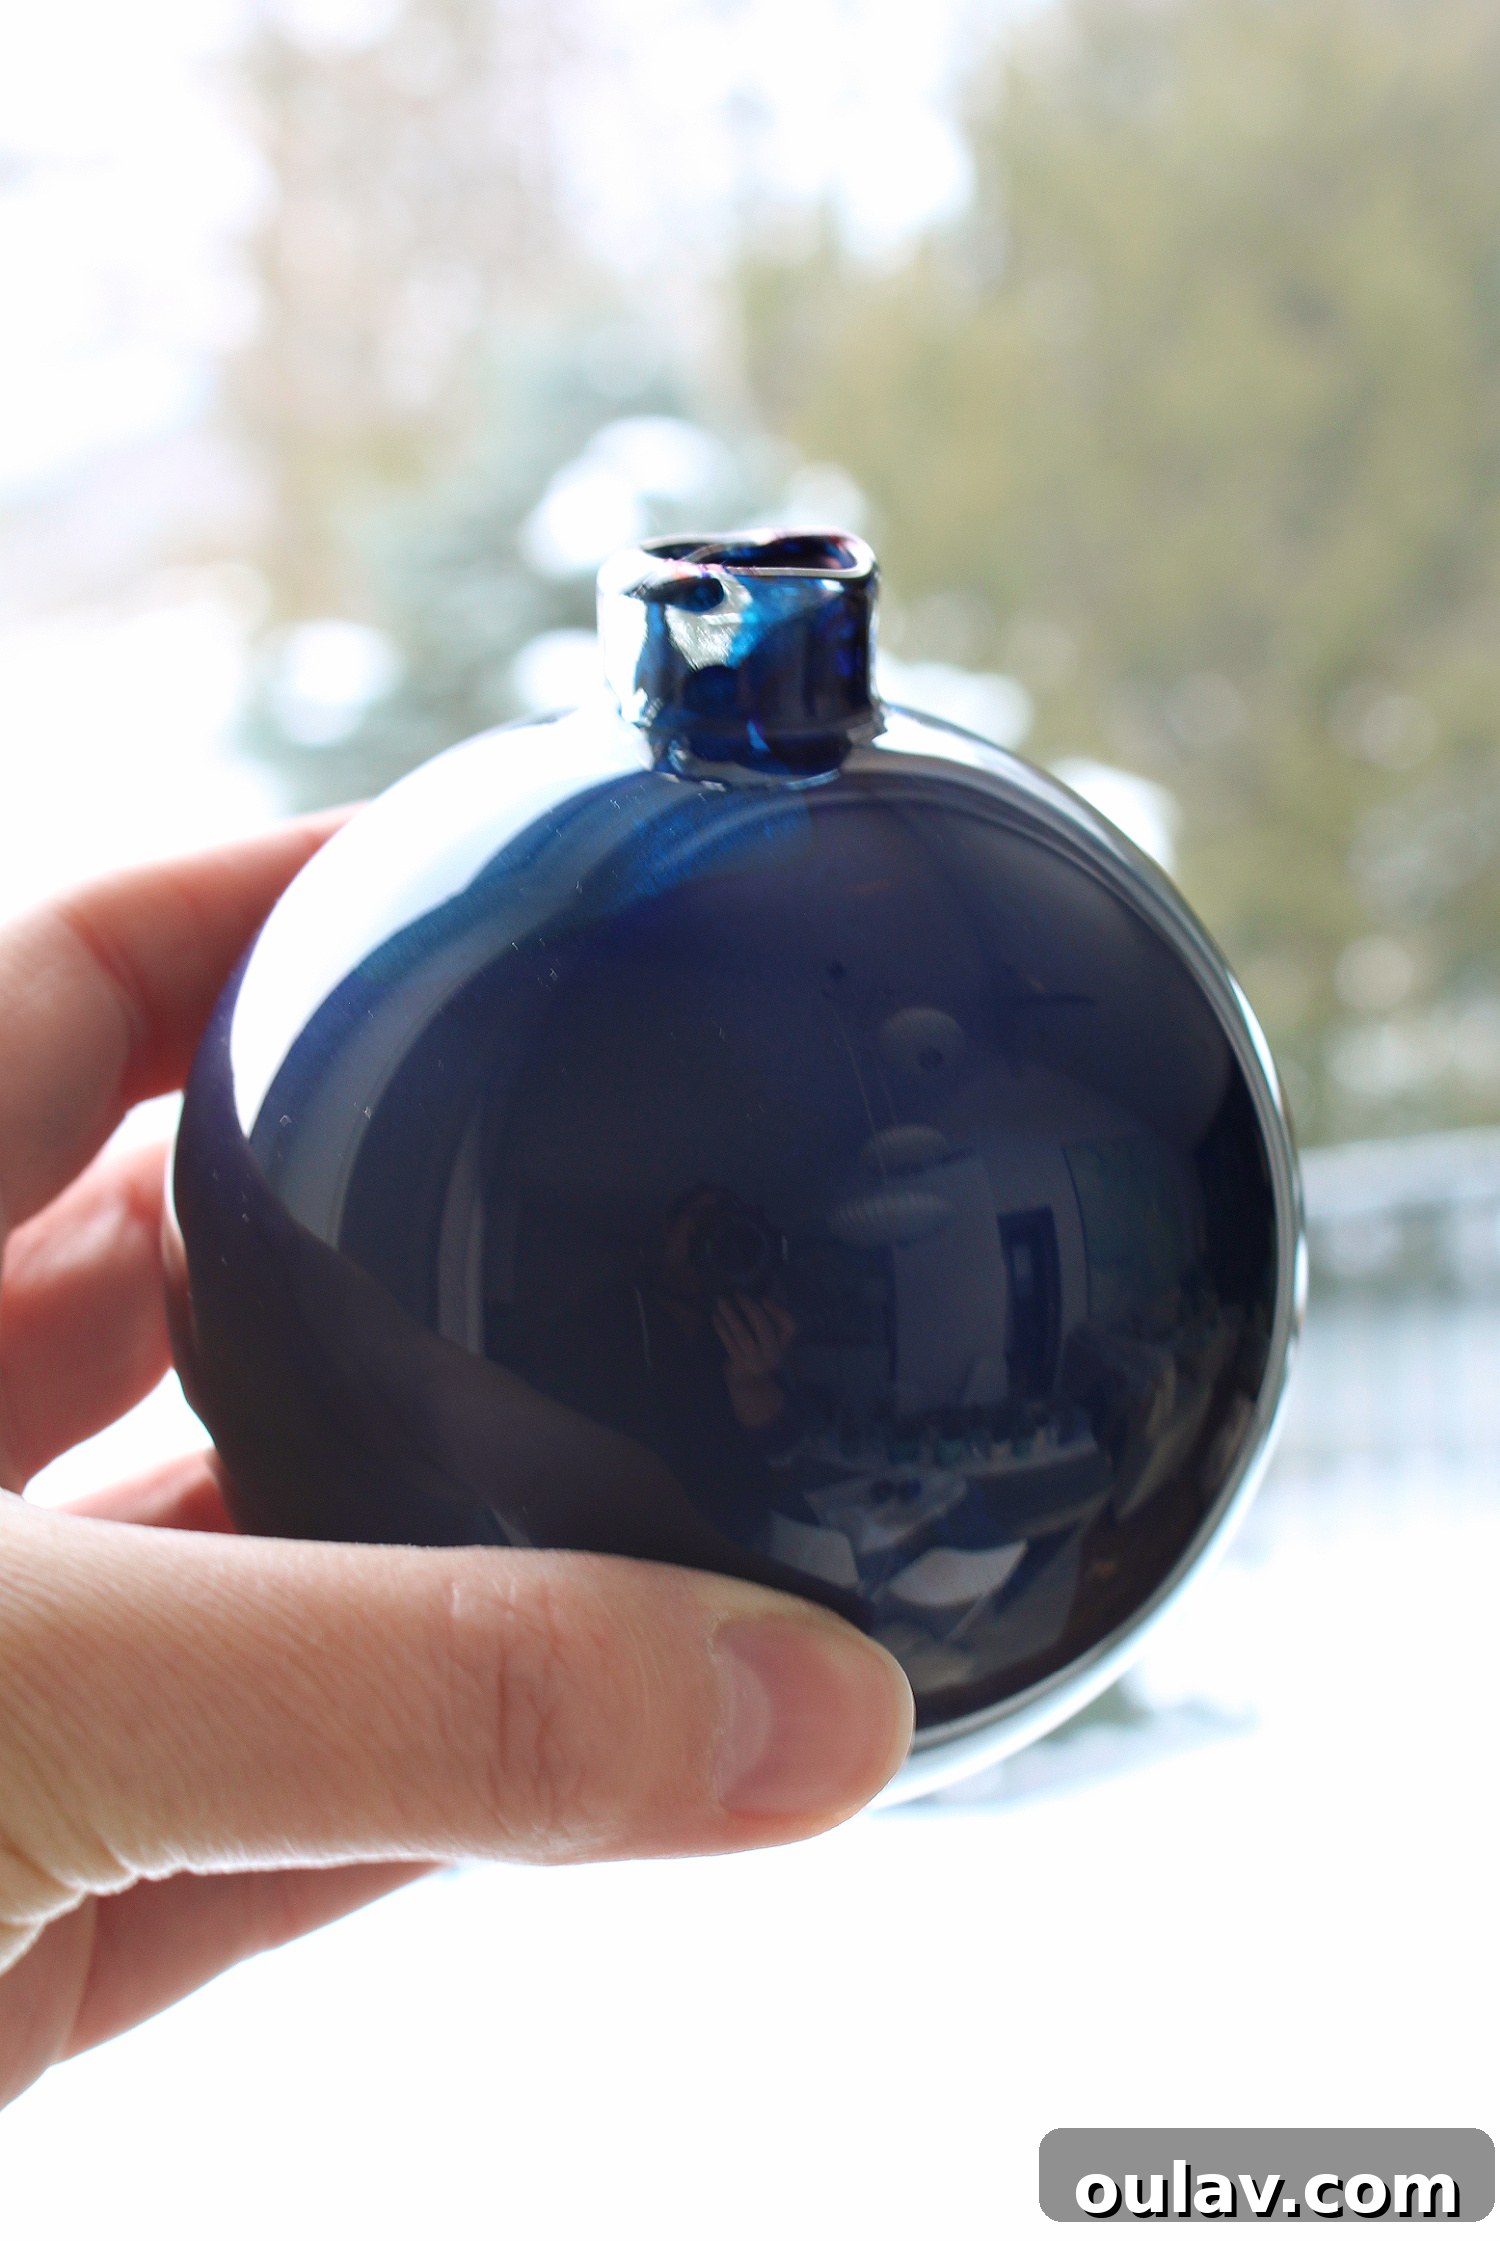
The foundation of our Starry Night ornament is a stunning, deep blue background, achieved with the fluid beauty of alcohol inks. I began by creating several alcohol ink ornaments, following my detailed tutorial (you can find the comprehensive guide on how to make alcohol ink ornaments here). For these specific ornaments, I focused on a rich collection of inky blues, predominantly using Indigo alcohol ink, complemented by touches of teal (Mermaid) to add depth and variation. The process involves dropping the inks directly onto the ornament and allowing them to spread and blend, often with the gentle assistance of a hairdryer or by simply swirling the ornament. This technique creates organic, cloud-like patterns that mimic the ethereal qualities of a night sky. Don’t be afraid to experiment with different color combinations; adding a hint of purple or even a darker black can create an even more dramatic and profound depth. I initially wanted to incorporate black alcohol ink for an ultra-dark effect, but alas, the lid proved to be quite stubborn!
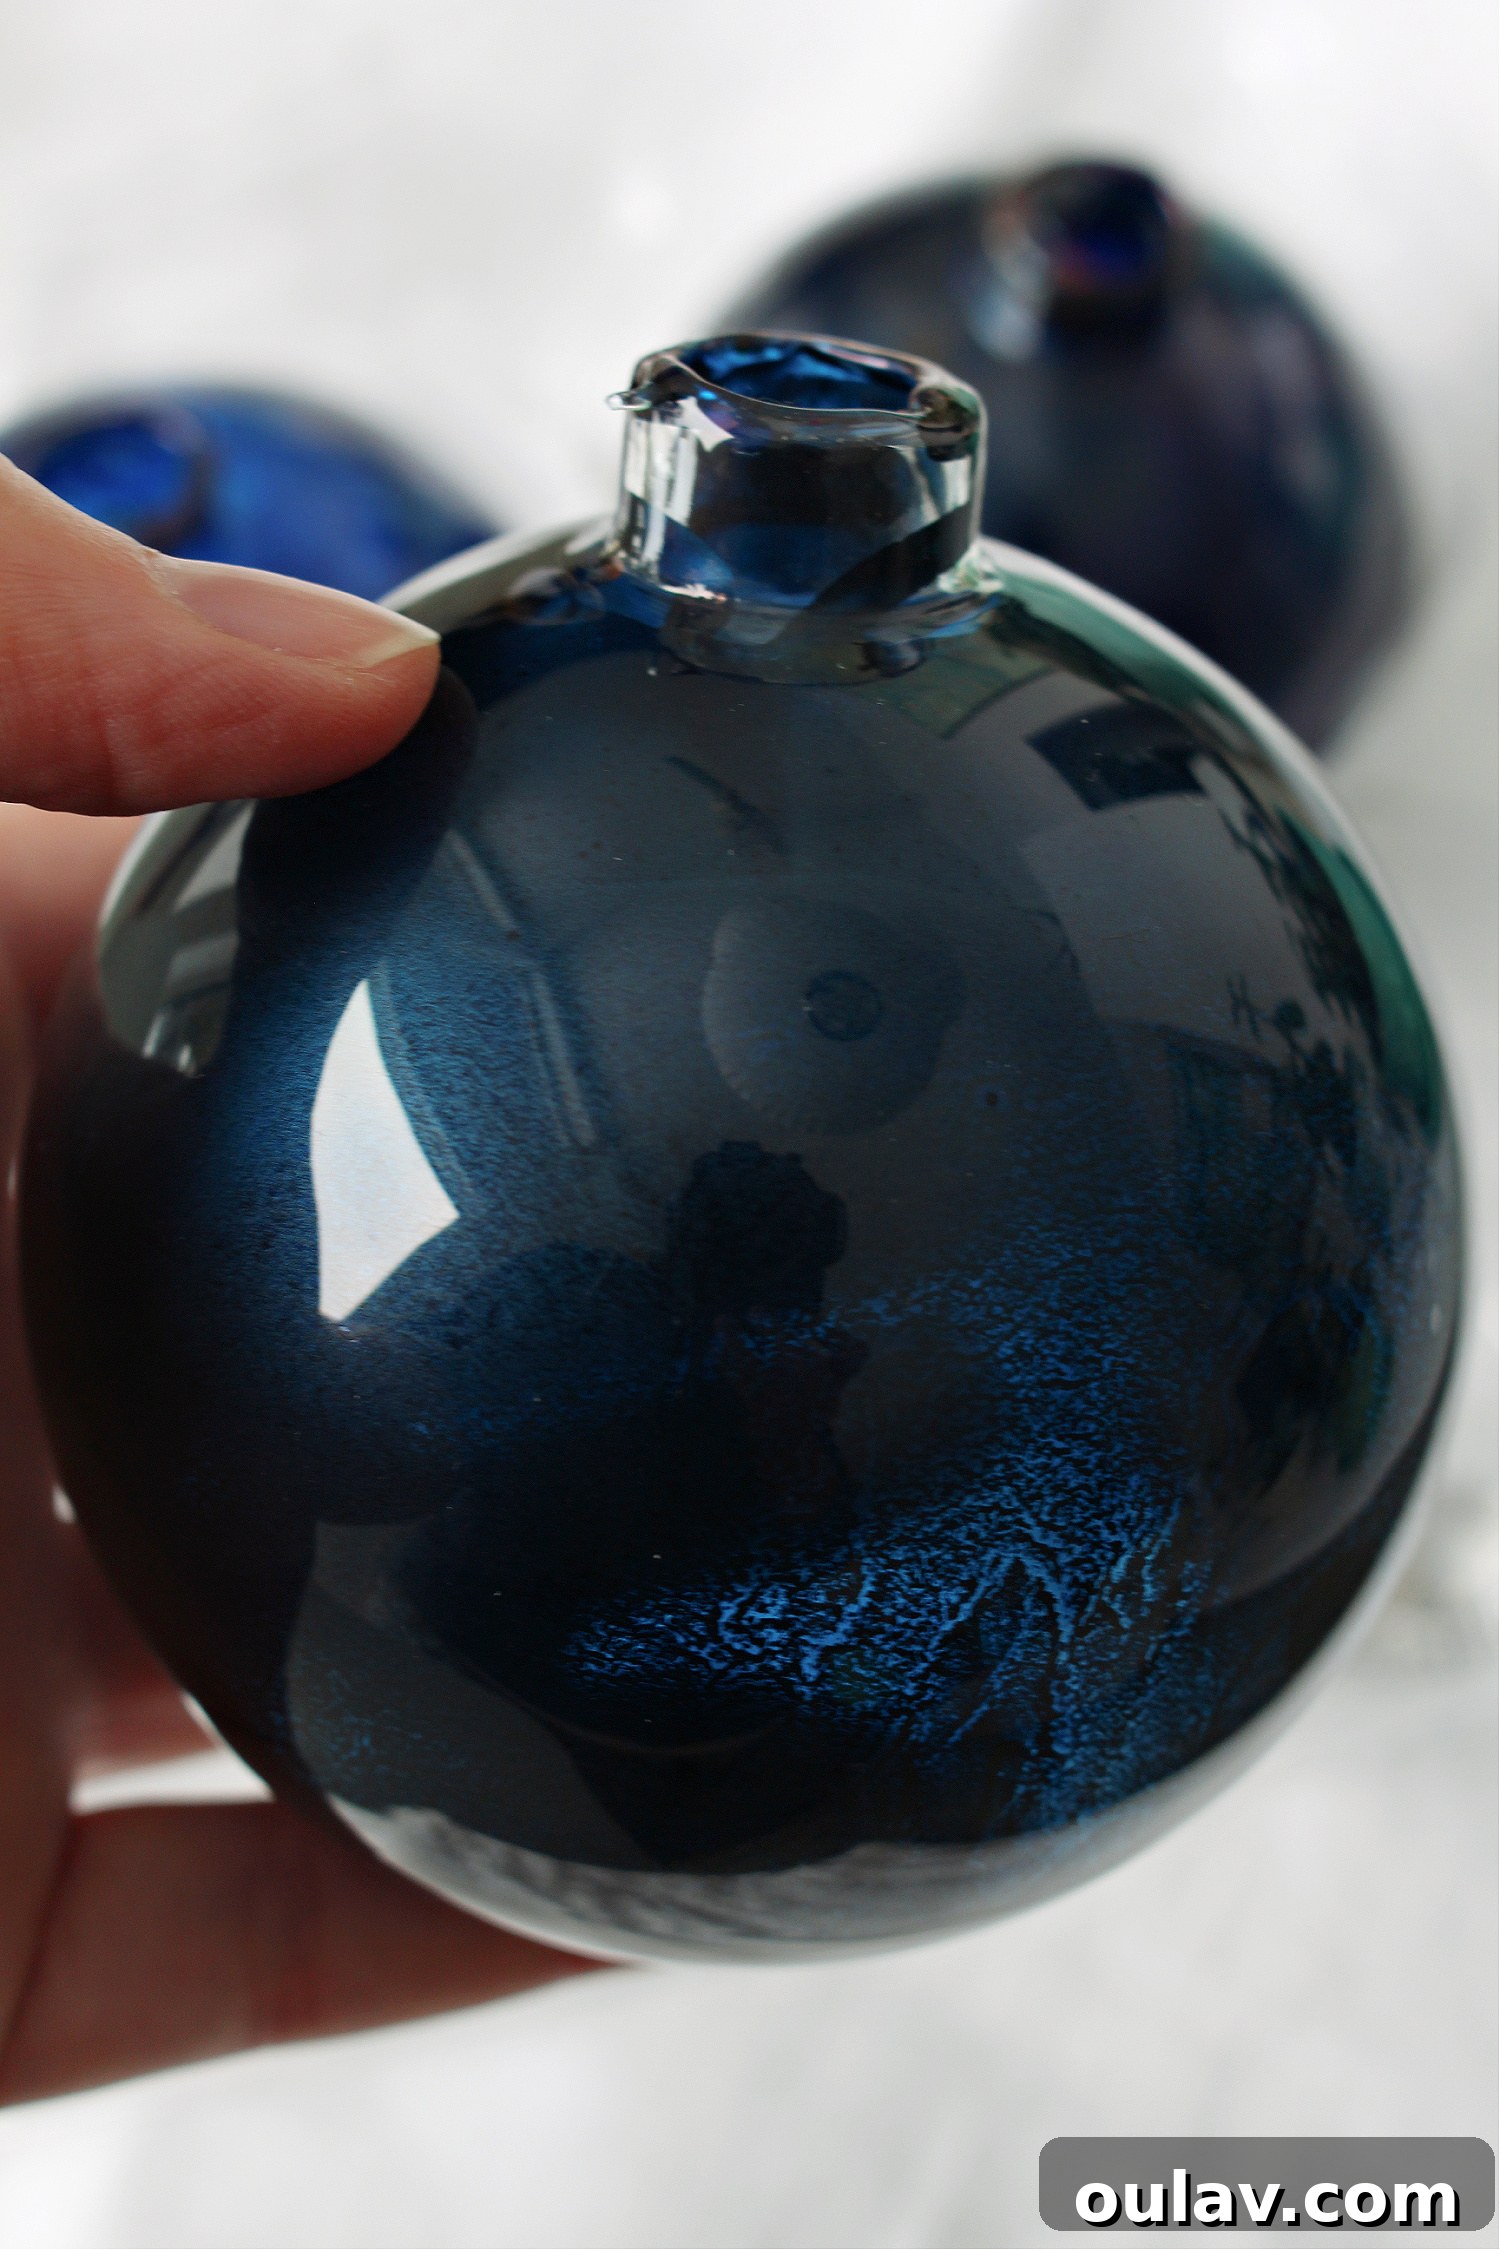
As I worked, I explored different opacities, crafting some ornaments with a delicate, sheer finish that allows light to pass through beautifully, and others with a deeply opaque coverage that holds its color intensity. The anticipation of seeing how these varied finishes will glow and shimmer under the Christmas tree lights is truly exciting! While the alcohol ink method yields stunning results, there are alternatives if you prefer a different approach. You could start with already colored indigo ornaments, saving yourself a step. Alternatively, for a completely different look, you can coat the inside of clear glass or plastic ornaments with a variety of materials you might already have on hand, such as acrylic paint, glitter, or even nail polish. The goal is to create a rich, dark backdrop for your twinkling stars, so choose the method that best suits your comfort level and available supplies.
Step 2: Illuminating the Night with Golden Stars
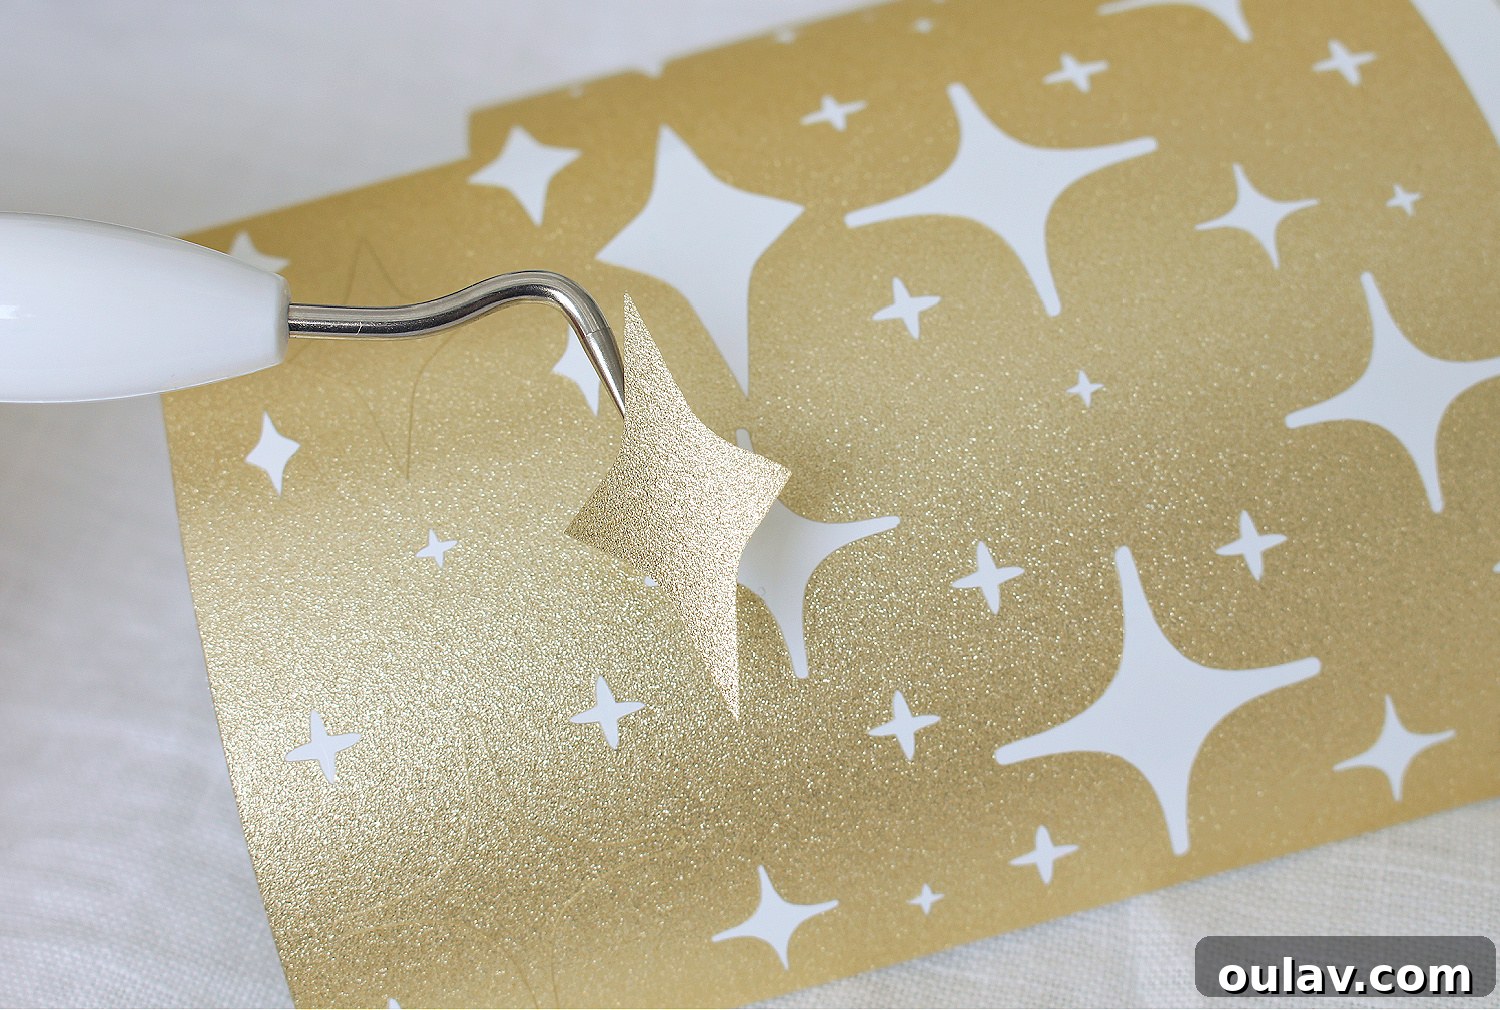
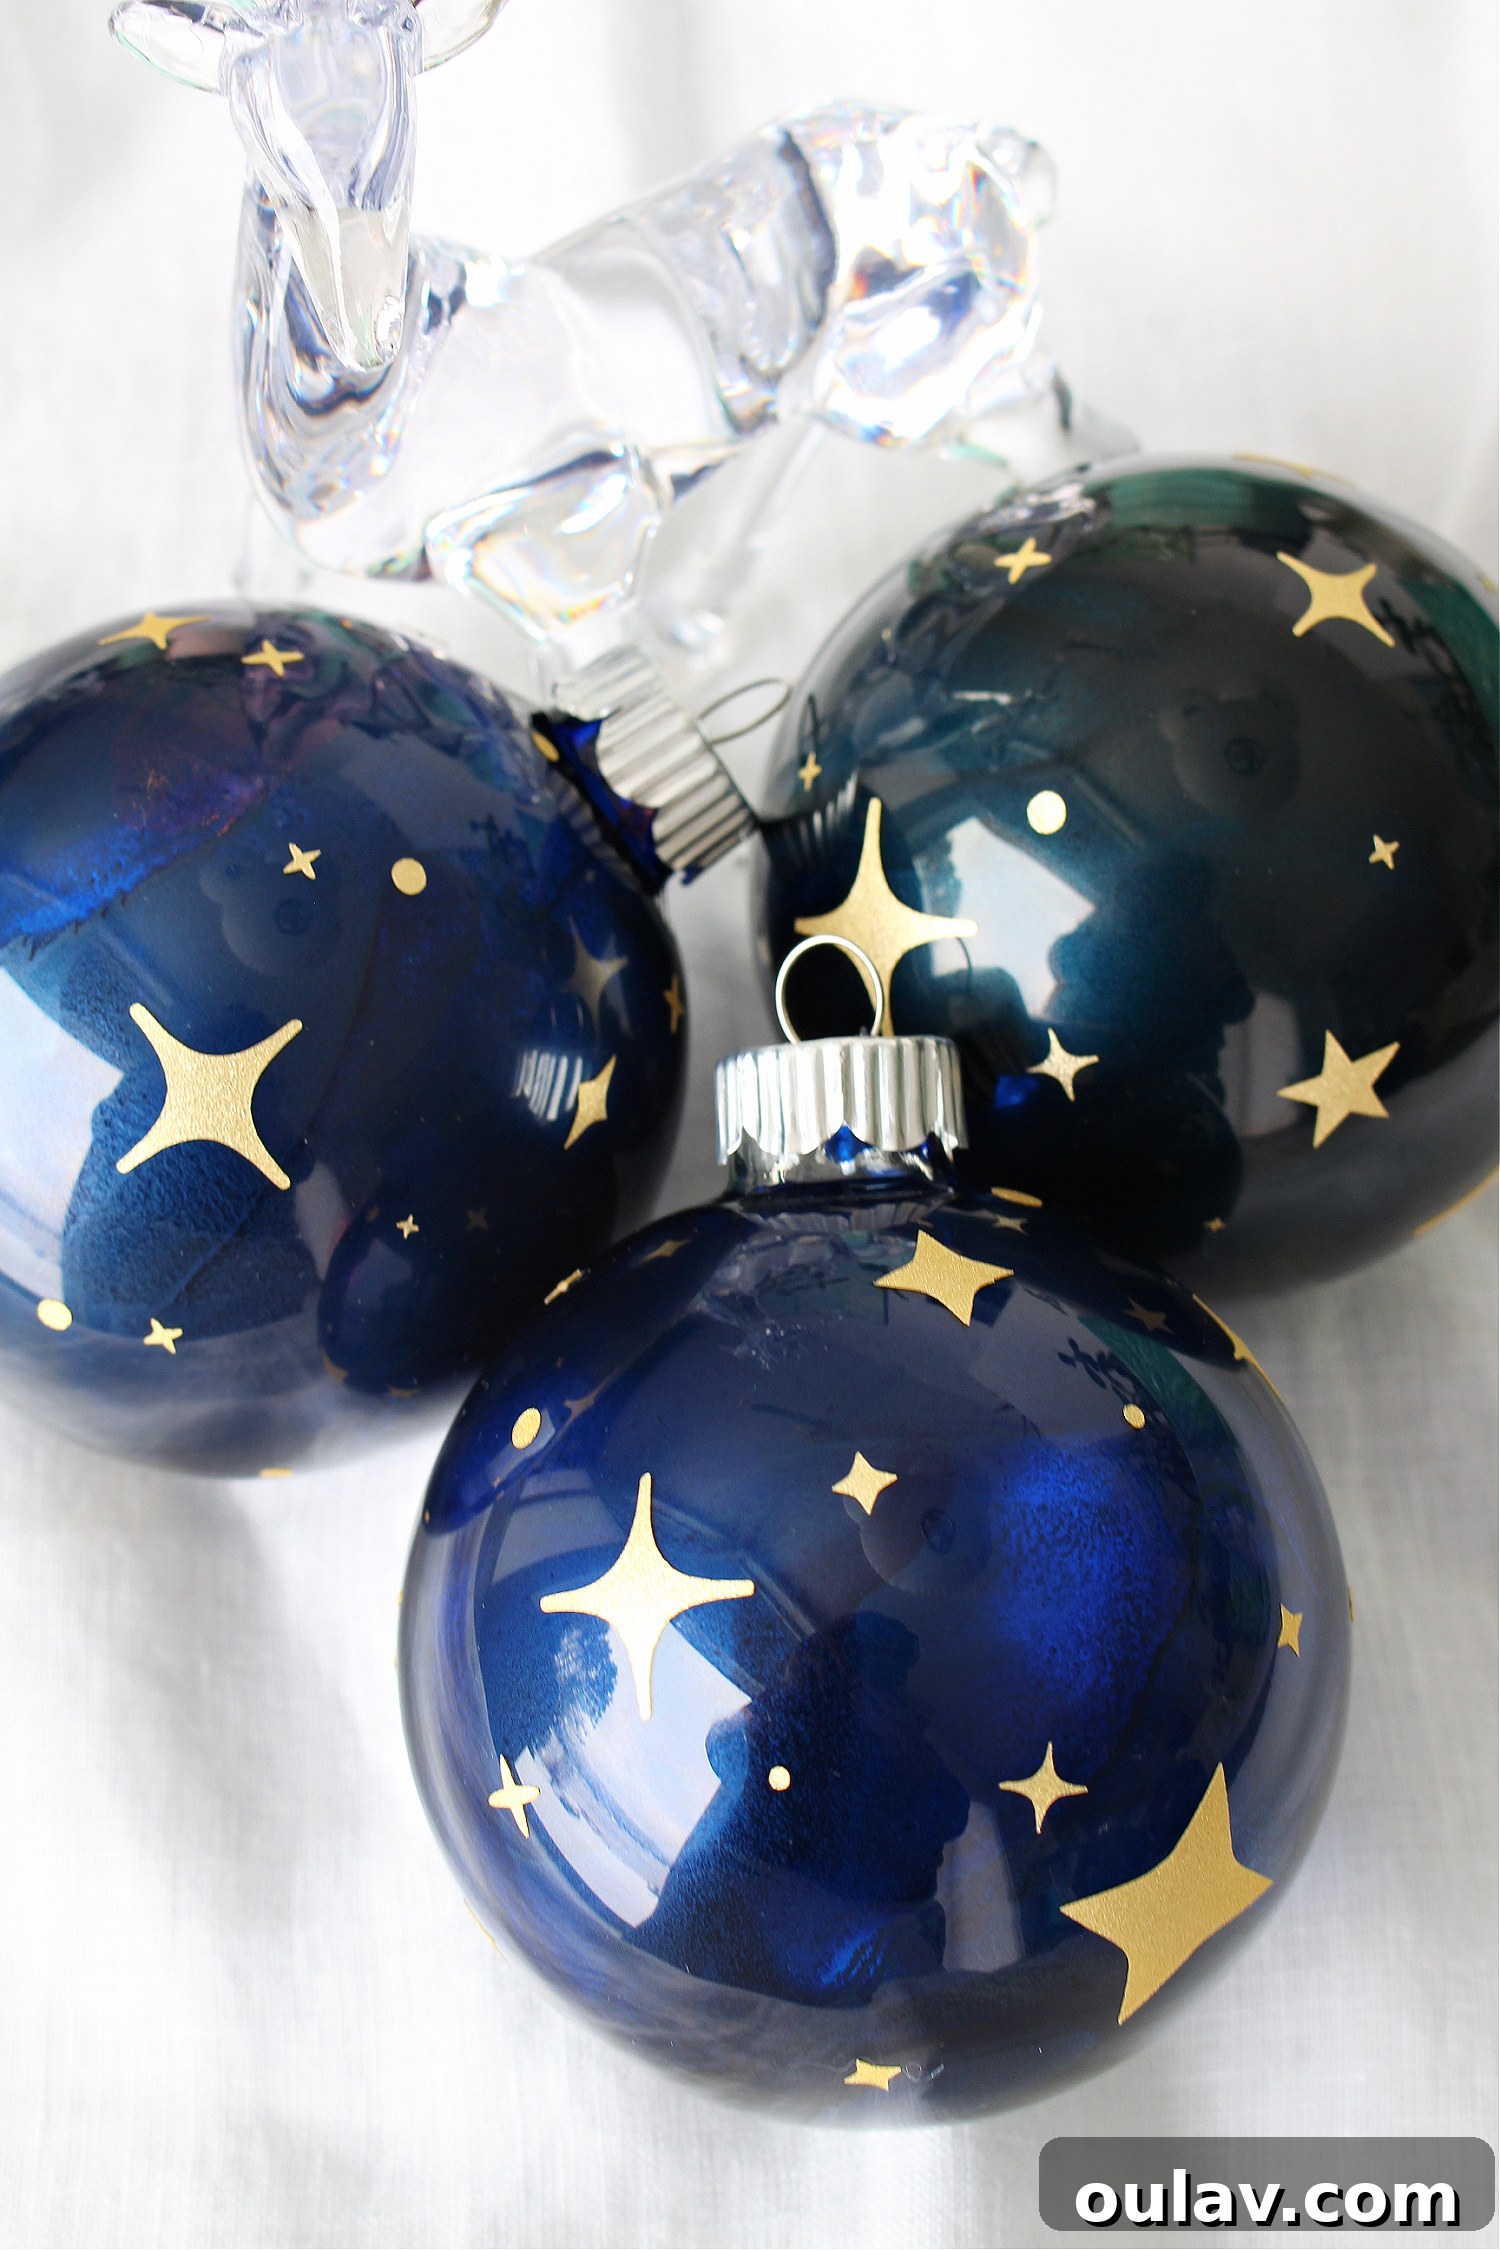
With our midnight sky backgrounds complete and dry, it’s time to bring in the stars! For this step, I utilized my faithful Cricut Joy to cut out a celestial array of stars in various shapes and sizes from a beautiful, glittery gold permanent vinyl. When designing the star layout, I confess that in hindsight, I wish I had been more strategic, creating more organized arrangements. This would have allowed me to use the negative space, or leftover vinyl design, for another project, perhaps even a reversed ornament. Instead, I focused on fitting as many stars as possible onto the vinyl sheet, mixing up the styles and sizes. To enhance the magical, whimsical feel of a true starry night – and avoid any accidental resemblance to a 4th of July celebration – I also sprinkled in some tiny circles among the stars, adding to the organic randomness of the celestial design.
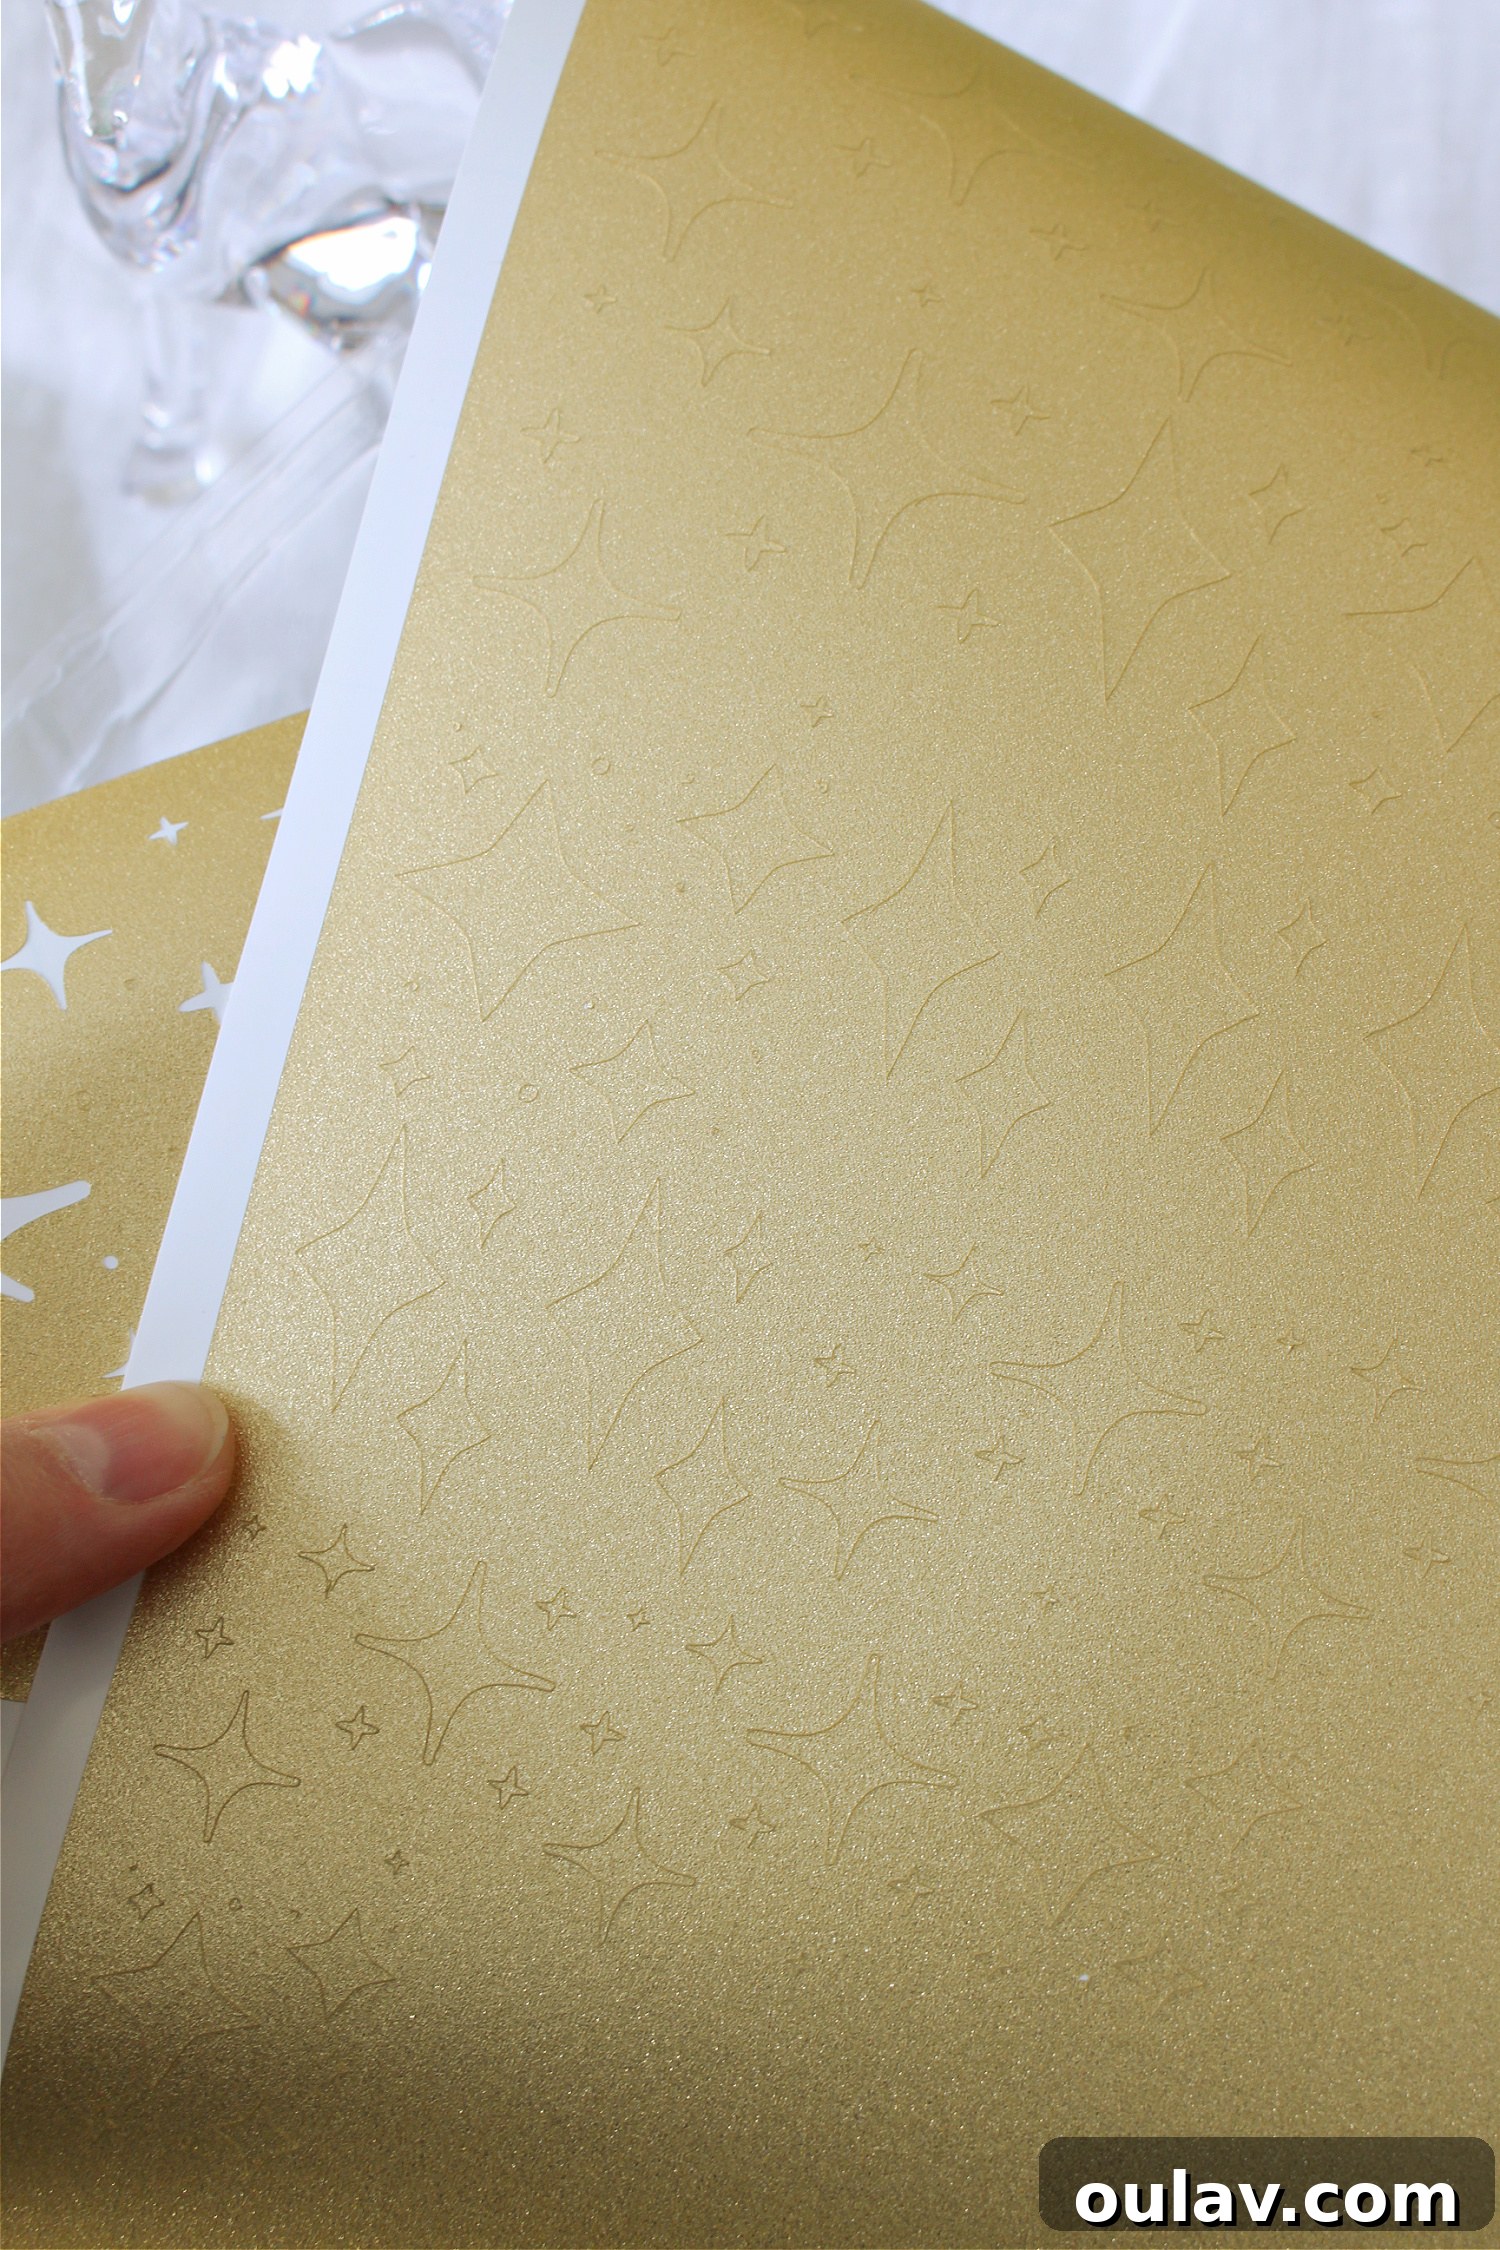
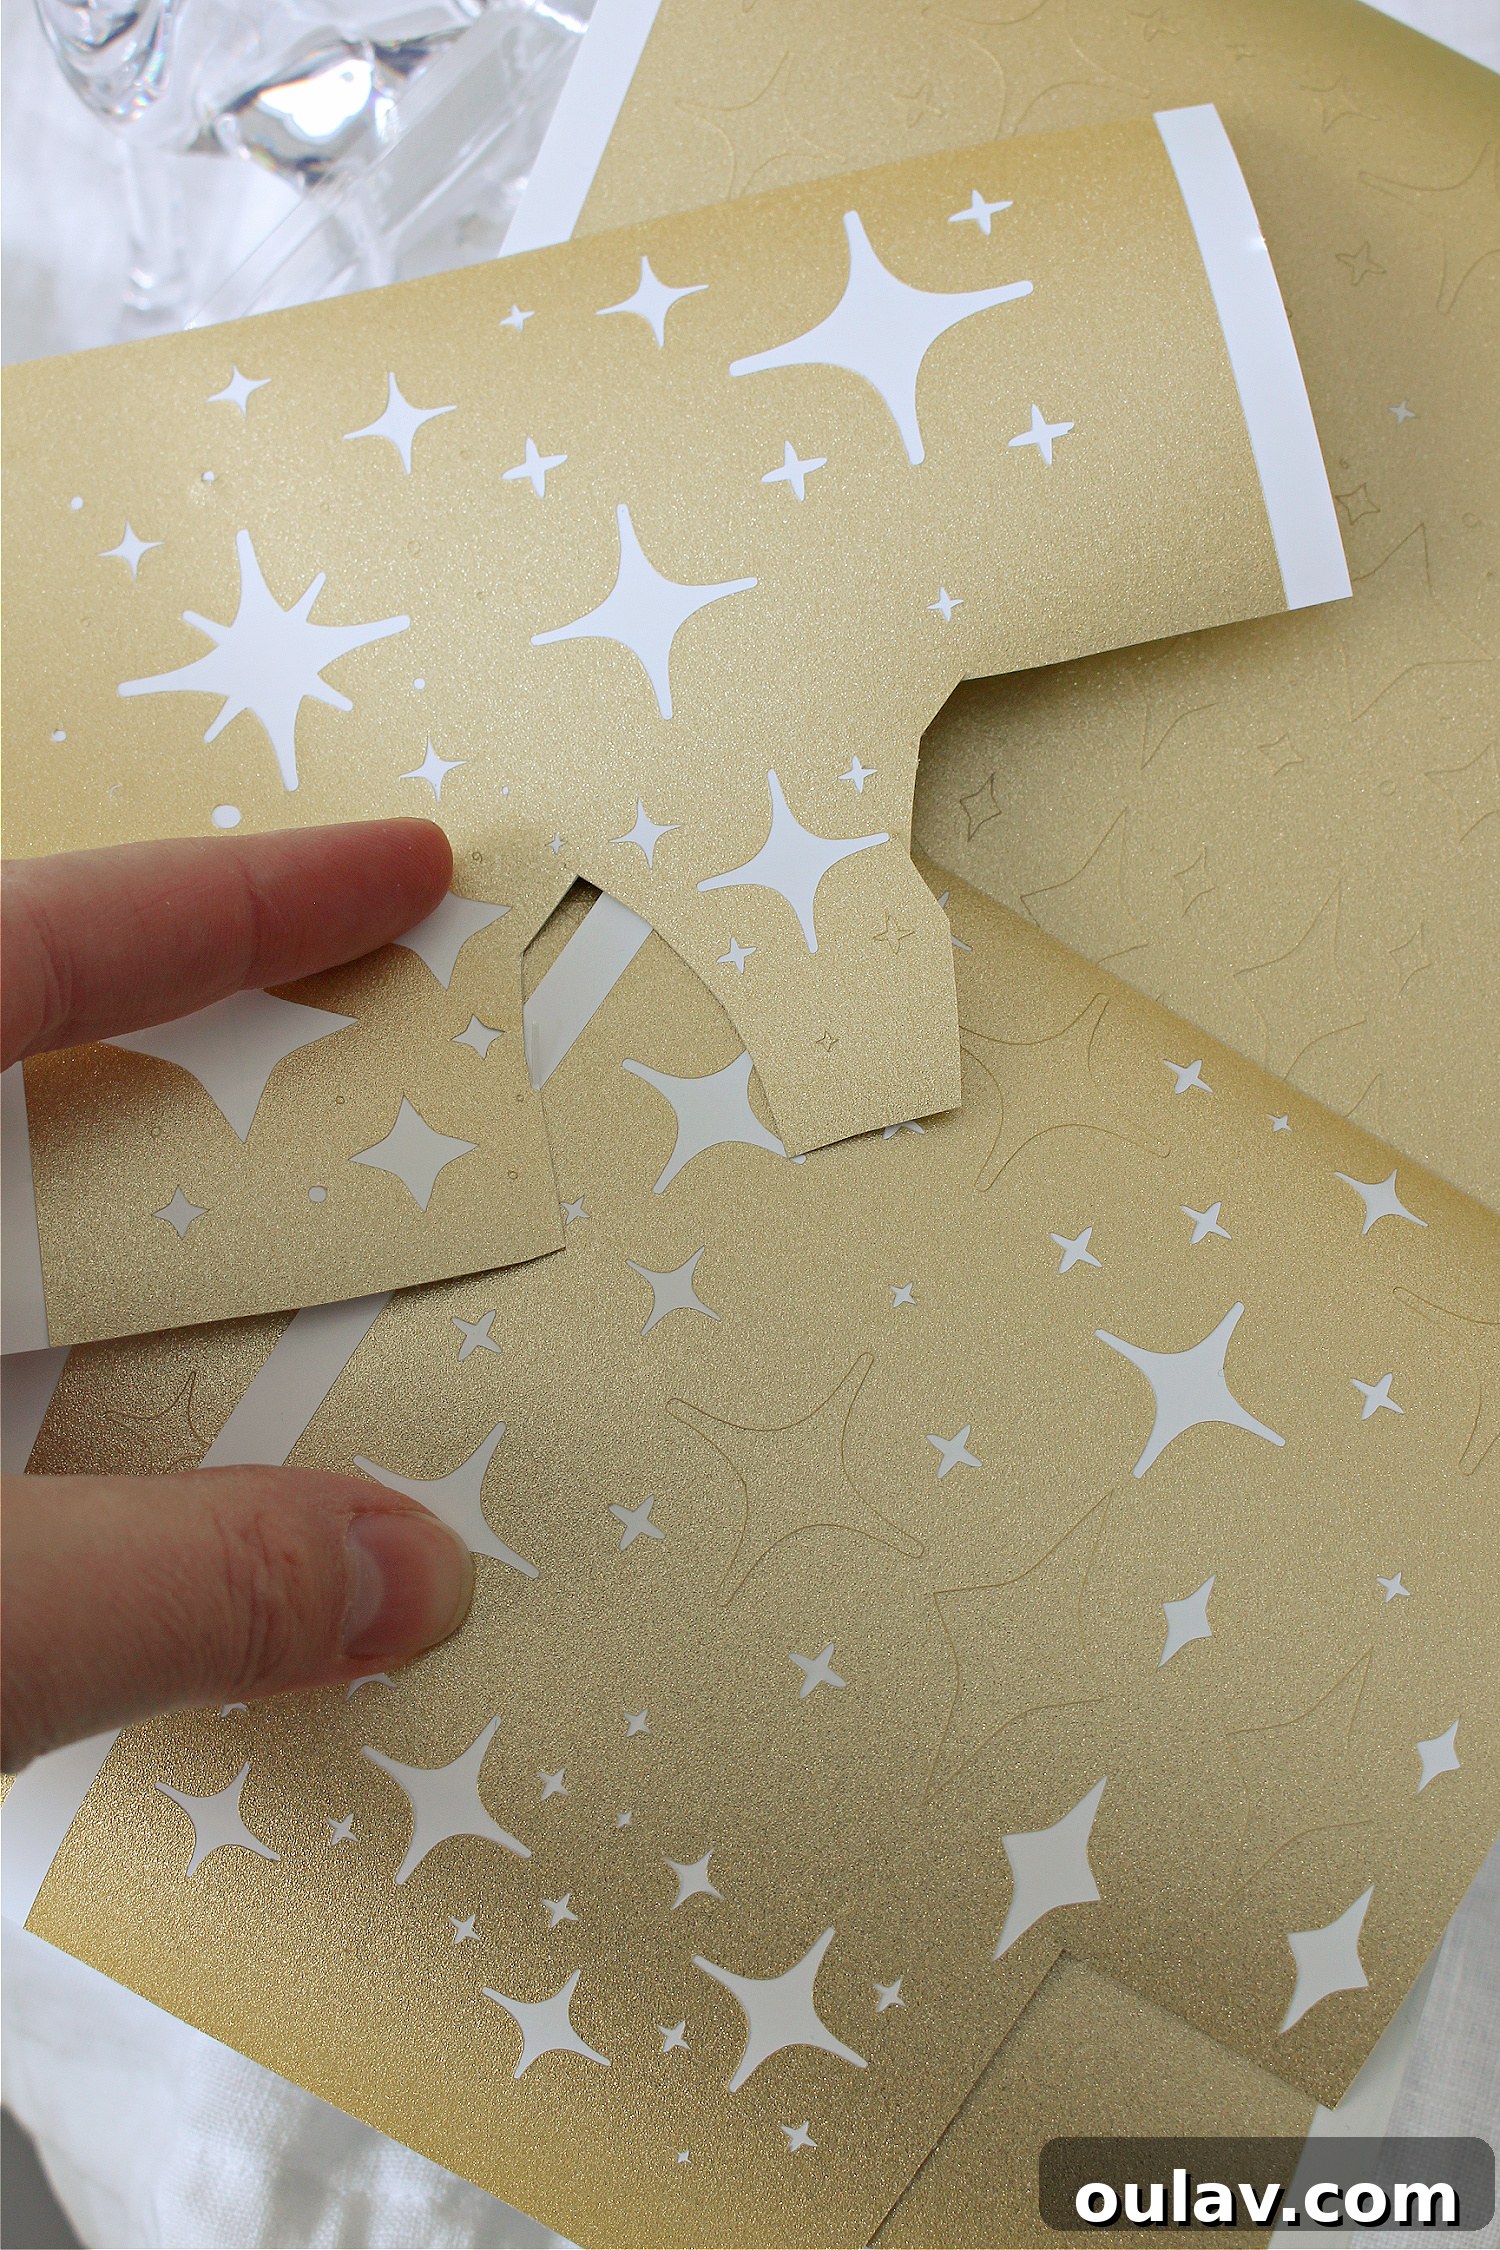
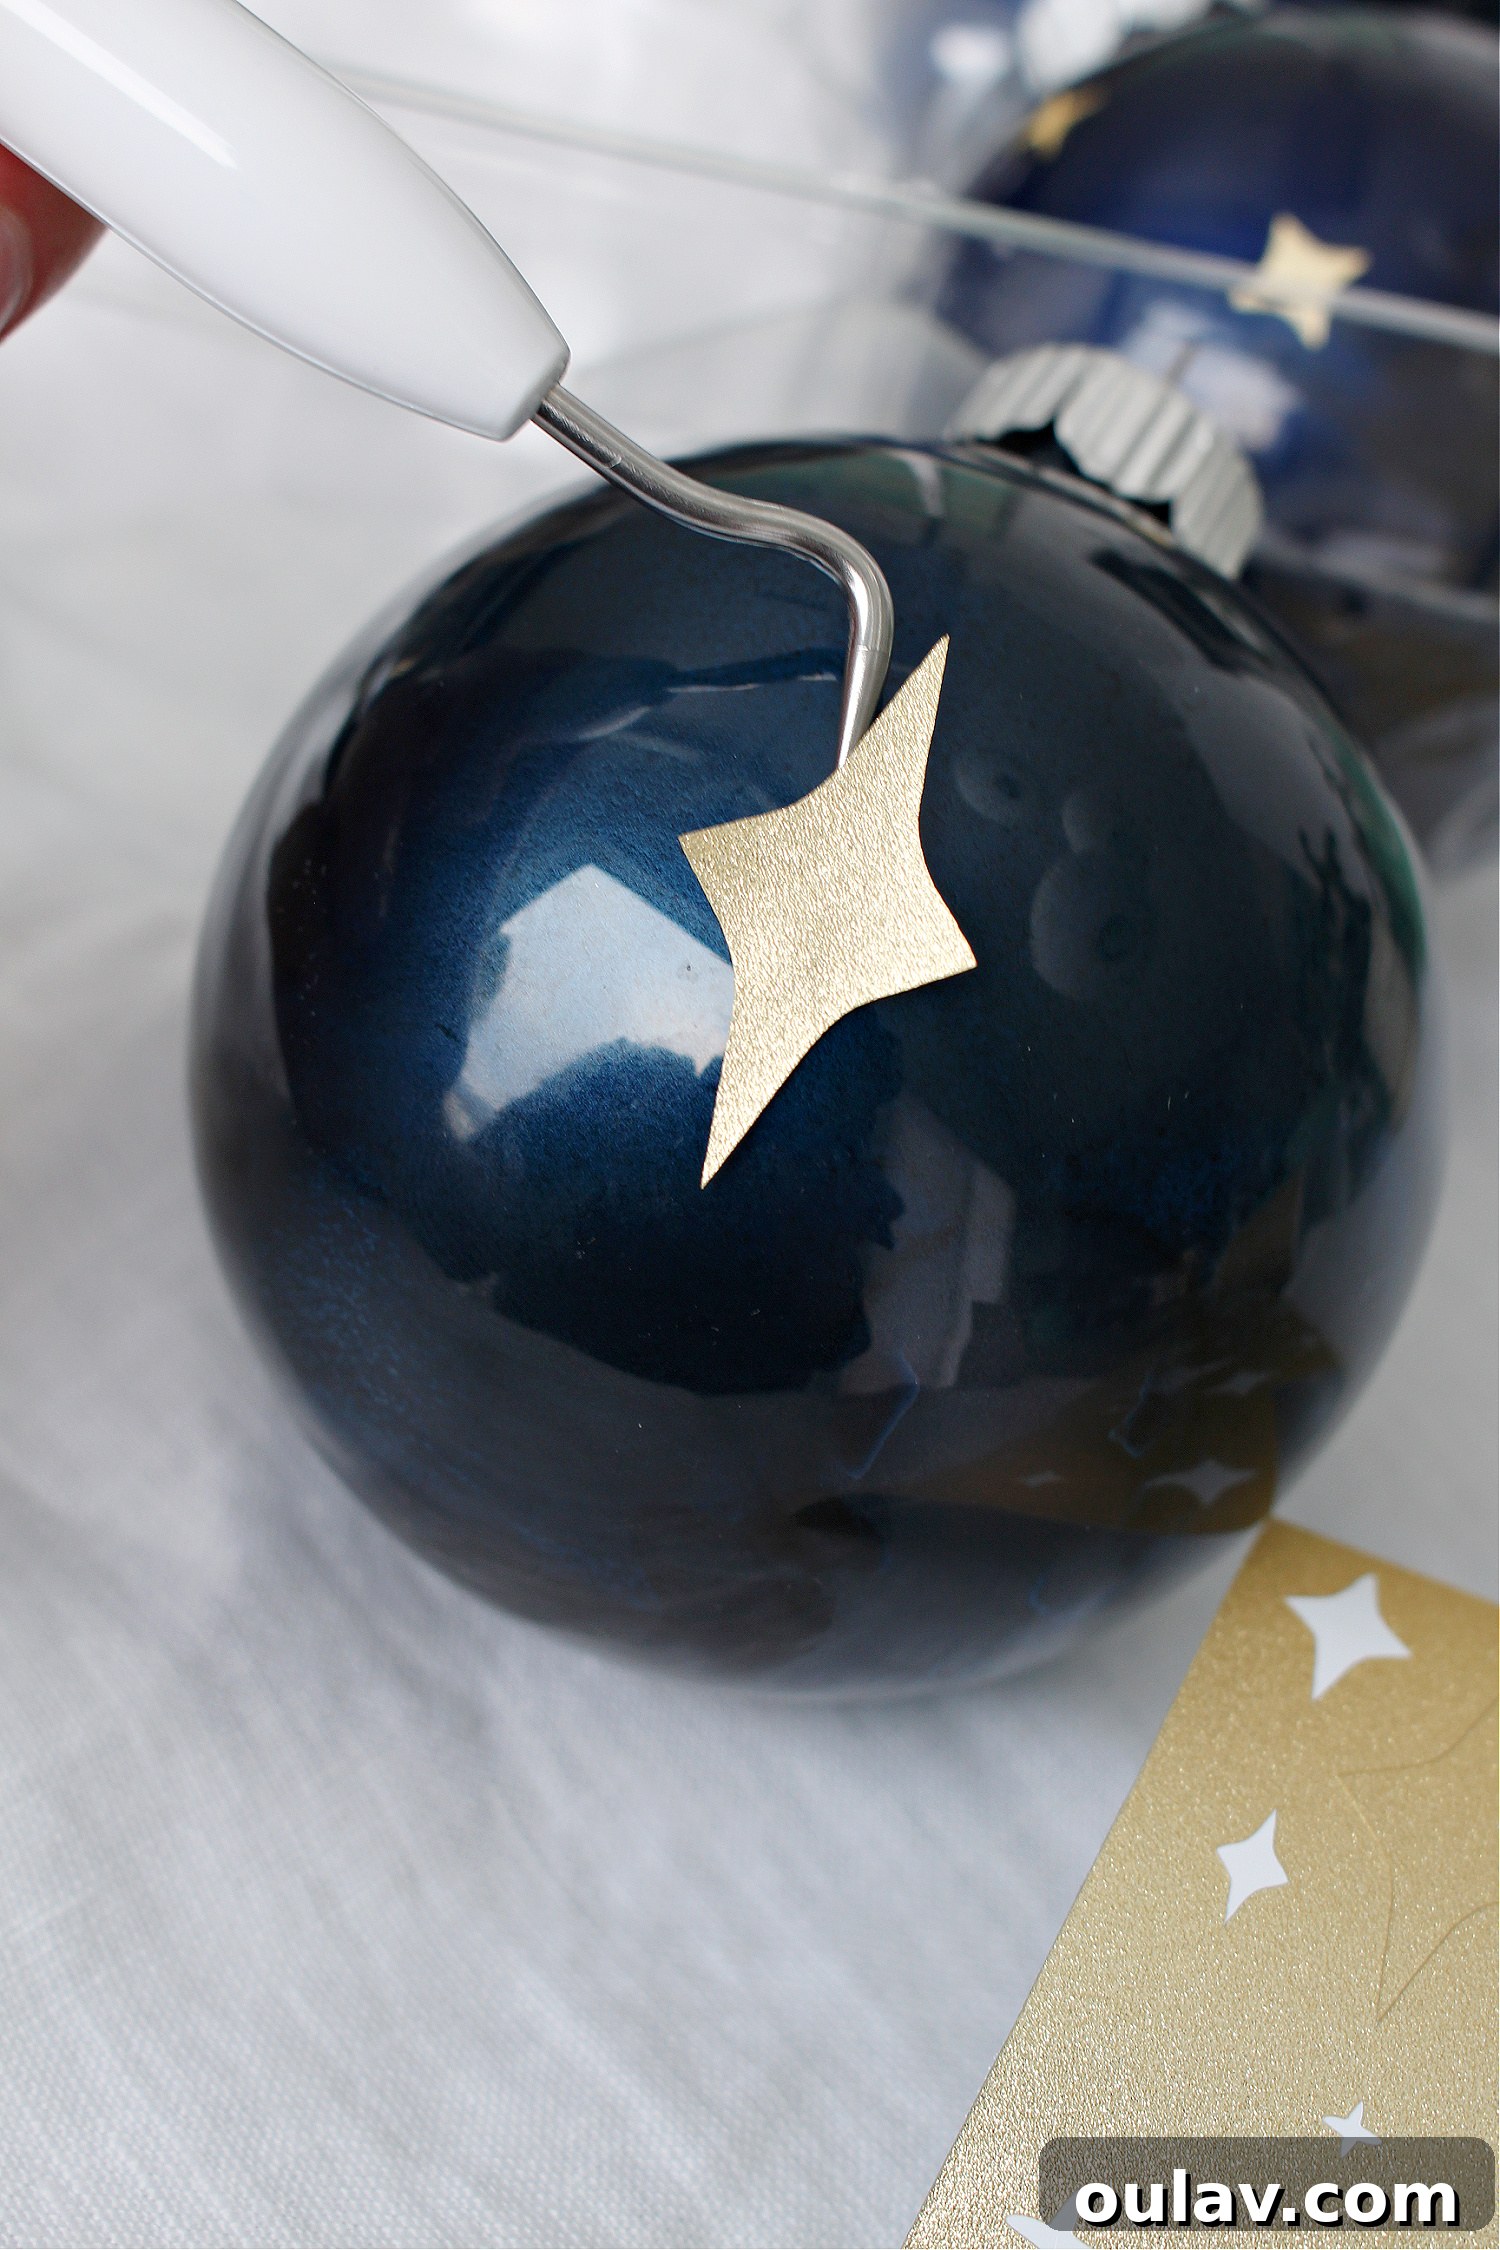
Typically, when working with Cricut designs, transfer tape is an essential tool used to “pick up” and precisely apply intricate vinyl cutouts (you can see that technique in action here). However, for these DIY starry night ornaments, I found a more direct approach to be just as effective and perhaps even quicker for individual small elements. I simply used my trusty weeder tool to gently peel up the edge of each individual star from the vinyl backing. Once lifted, I then randomly applied each star directly to the prepared alcohol ink ornaments. The key here is to take your time, gently pressing down and smoothing out the vinyl with your fingers or the weeder tool once you are satisfied with the star’s placement. This method allows for spontaneous placement, creating a truly organic and scattered starry effect, much like looking up at the night sky. The permanent shimmer gold vinyl adheres beautifully and creates a dazzling contrast against the deep blues, making each star truly pop.
No Cricut? No Problem! Alternative Starry Solutions
Don’t have a Cricut machine? No worries! You absolutely can still create these gorgeous starry night ornaments using a variety of accessible alternatives. The beauty of DIY lies in its flexibility, and there are several fantastic ways to achieve that twinkling star effect without needing a cutting machine. One simple and effective option is to purchase pre-made star stickers. Look for metallic or glittery star stickers in various sizes from craft stores or online retailers. They are incredibly easy to apply – simply peel and stick them onto your prepared alcohol ink ornaments. You can arrange them in a dense cluster or a sparse scattering, depending on the look you desire. These often come in sheets and can be found in gold, silver, or iridescent finishes.
Another truly brilliant idea, courtesy of my Mom (and one I’m still tempted to try myself!), involves using small rhinestones. You can find tiny, inexpensive dollar store rhinestones or opt for something slightly more elaborate like these adhesive flat-back rhinestones, which often come in sheets. Applying these individual rhinestones with a tiny dab of craft glue (like E6000 or a strong clear-drying adhesive) will create an incredible, twinkling night sky effect. The facets of the rhinestones will catch the light, mimicking distant stars with a dazzling, three-dimensional sparkle. For an even more unique look, consider using small glitter pieces or microbeads, carefully applied with a thin line of glue or Mod Podge, then sprinkled on and allowed to dry. You could even use a fine-tipped metallic paint pen to hand-draw tiny stars or dots if you have a steady hand. Each of these methods offers a unique texture and shimmer, proving that you don’t need specialized equipment to create stunning, personalized holiday decor. The most important thing is to enjoy the creative process and let your imagination shine!
Showcase: Your Starry Creations on the Tree
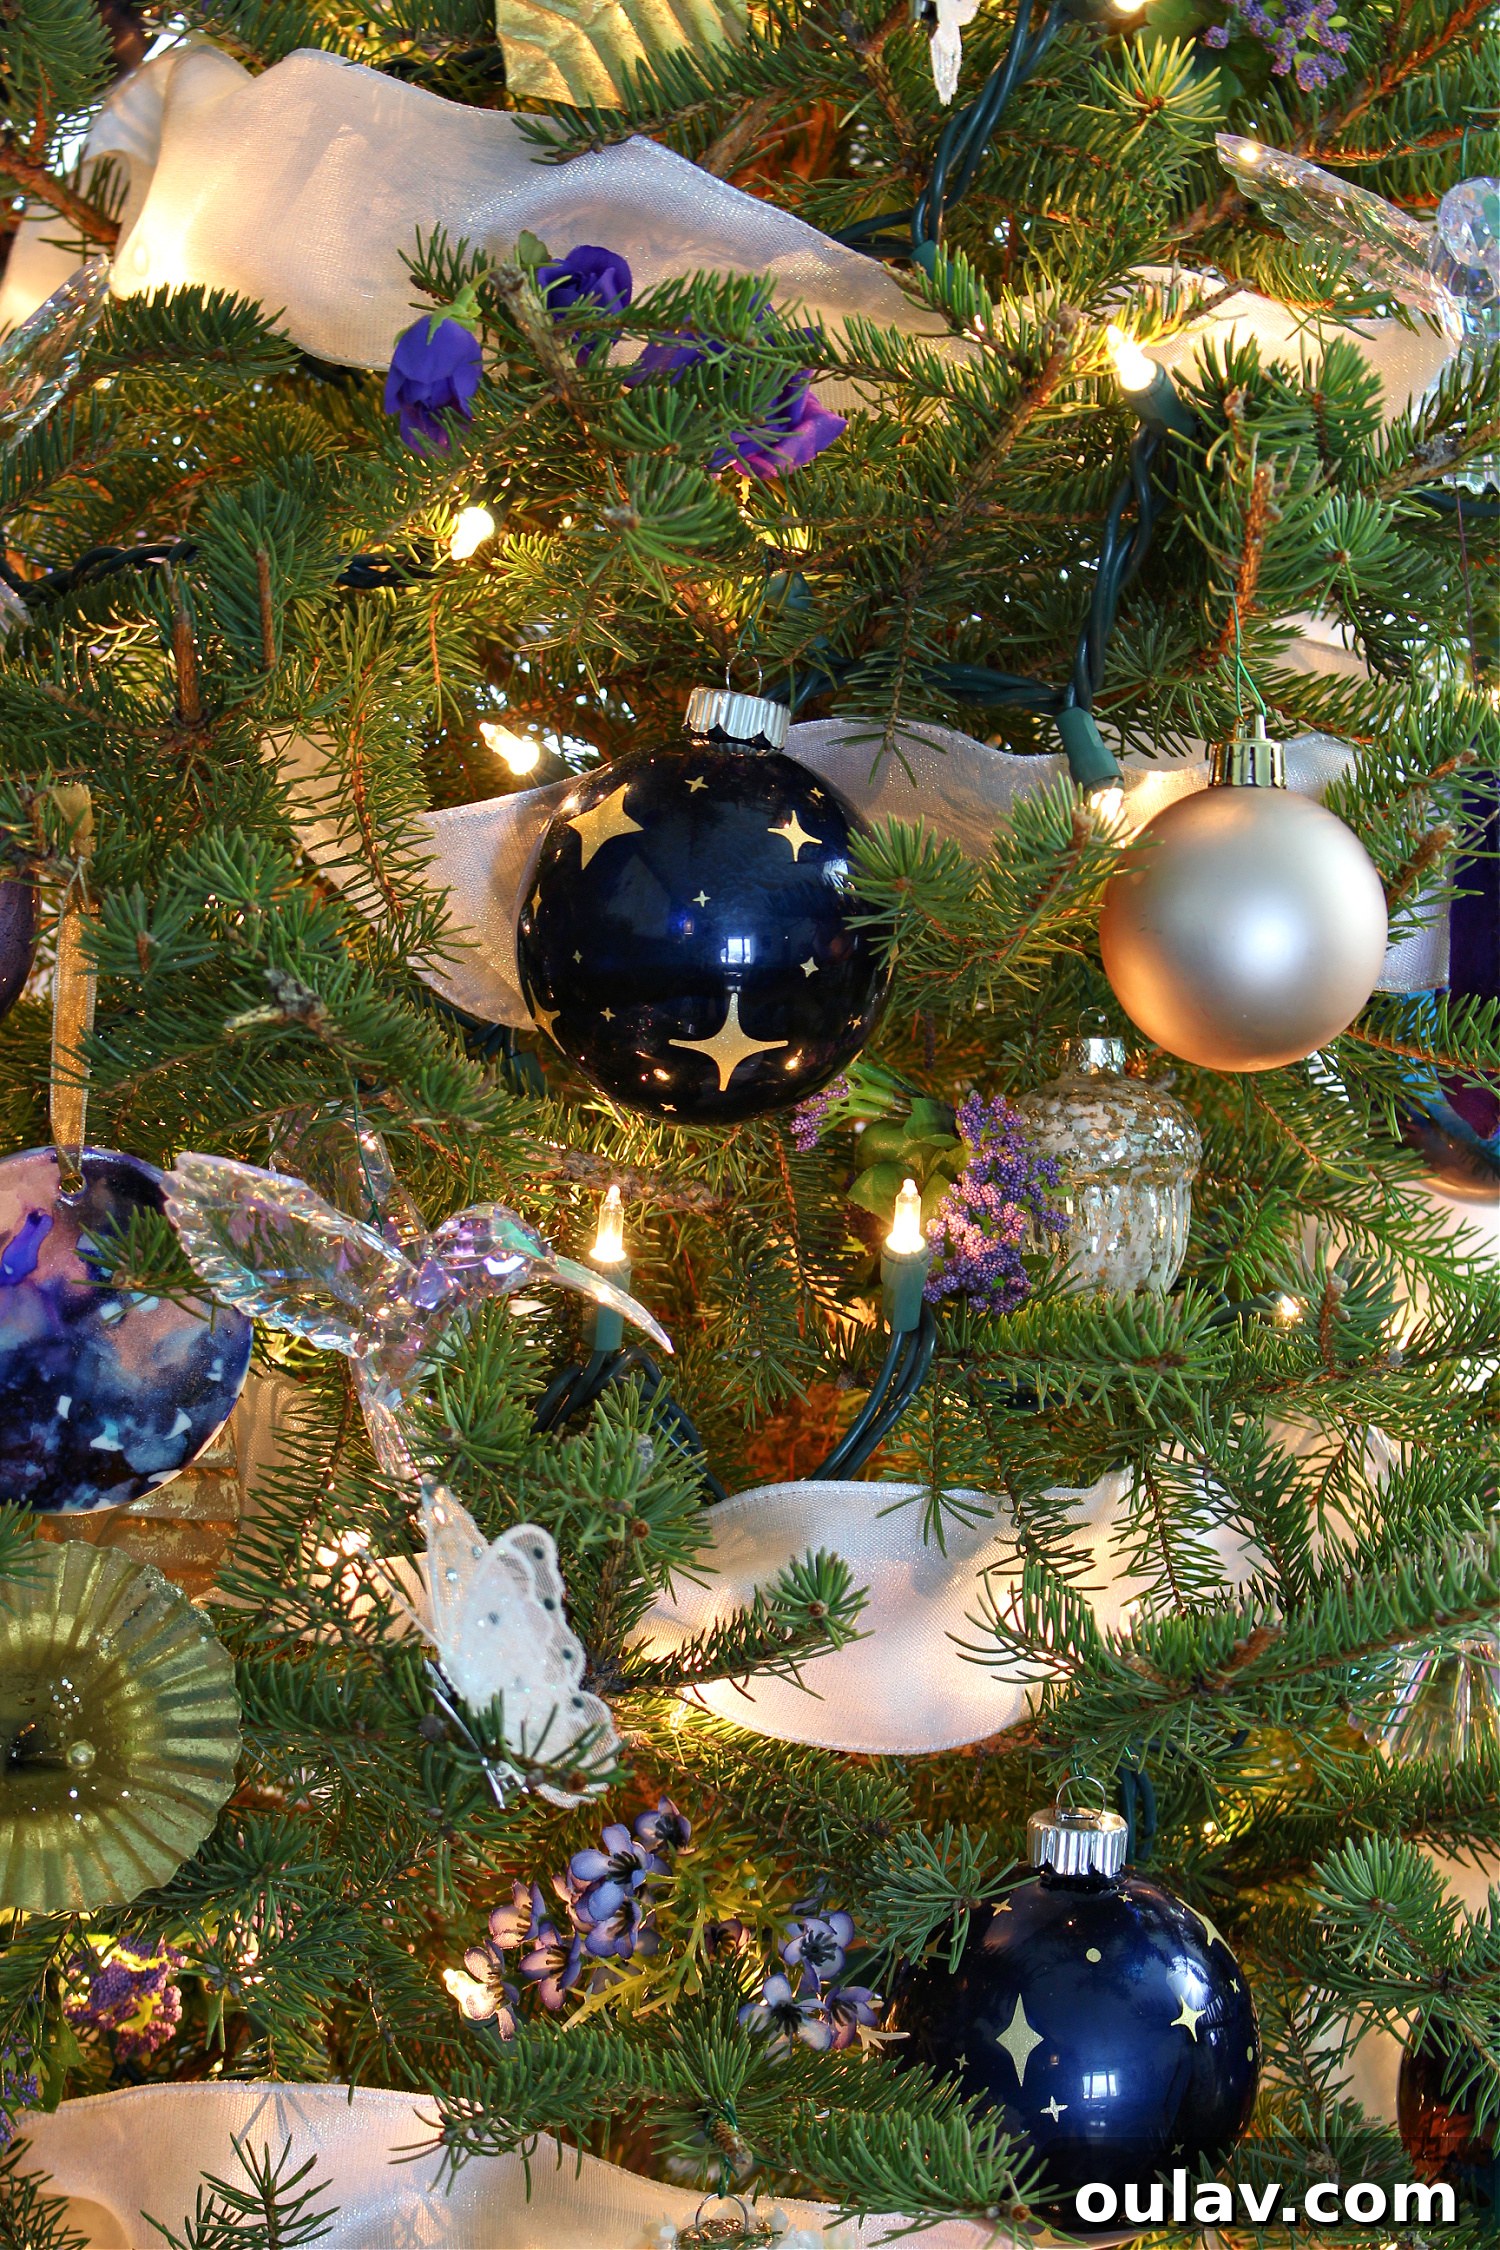
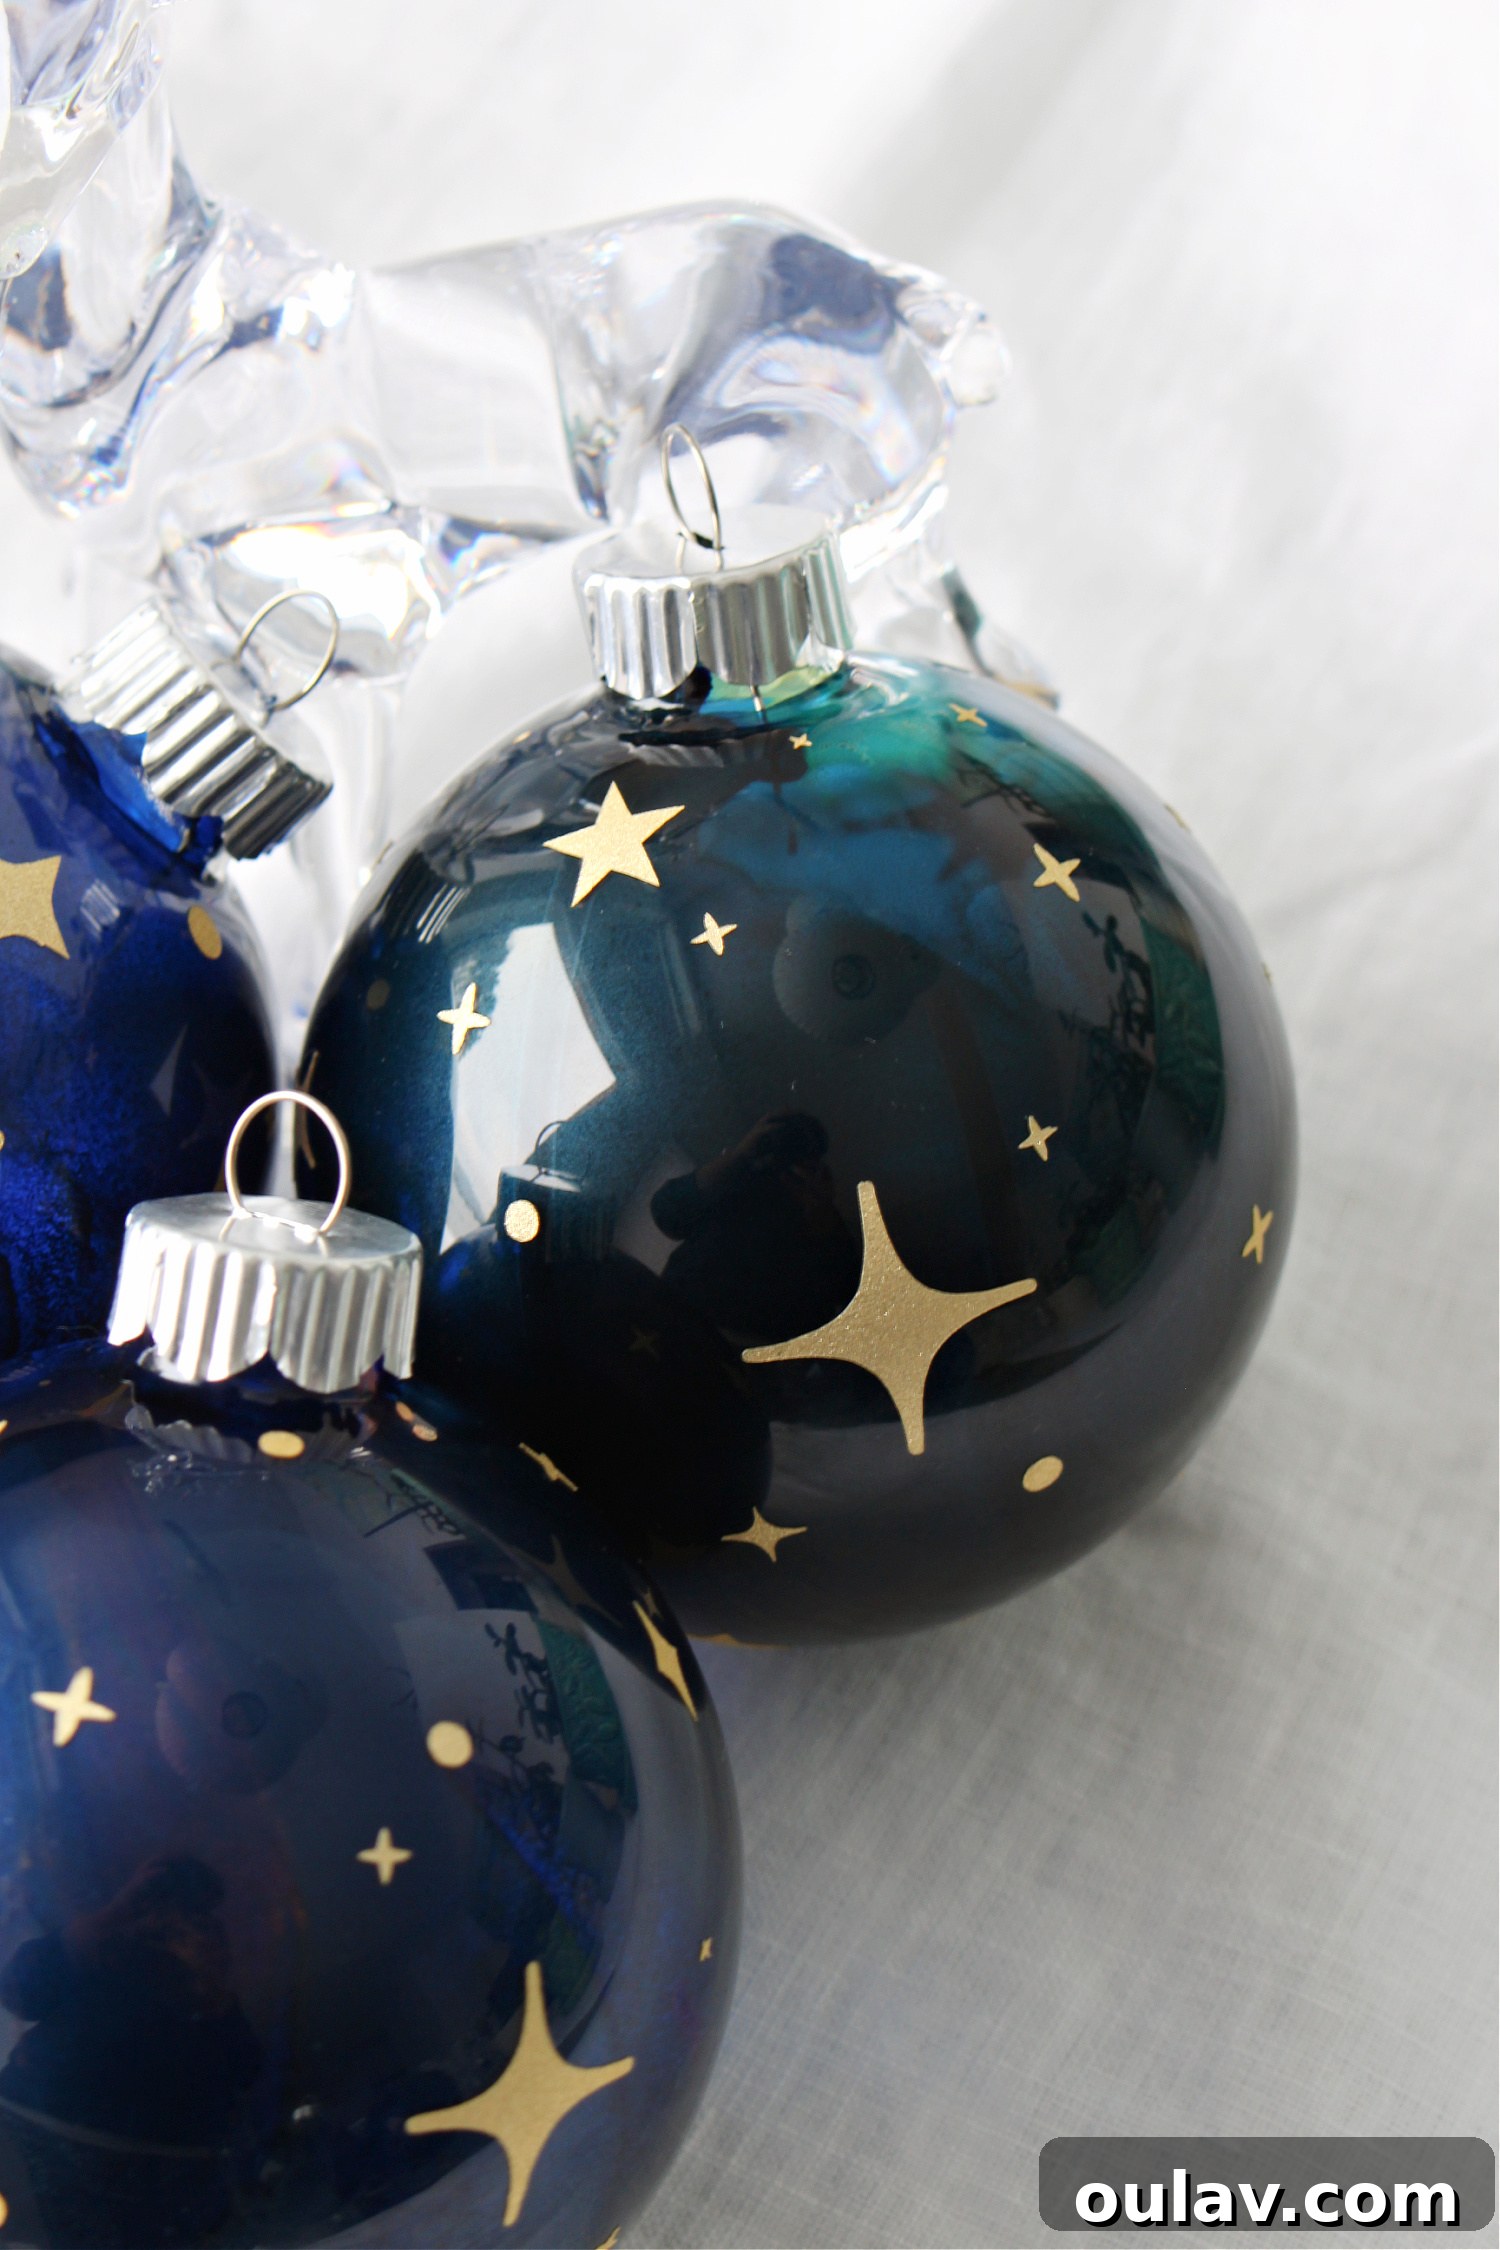
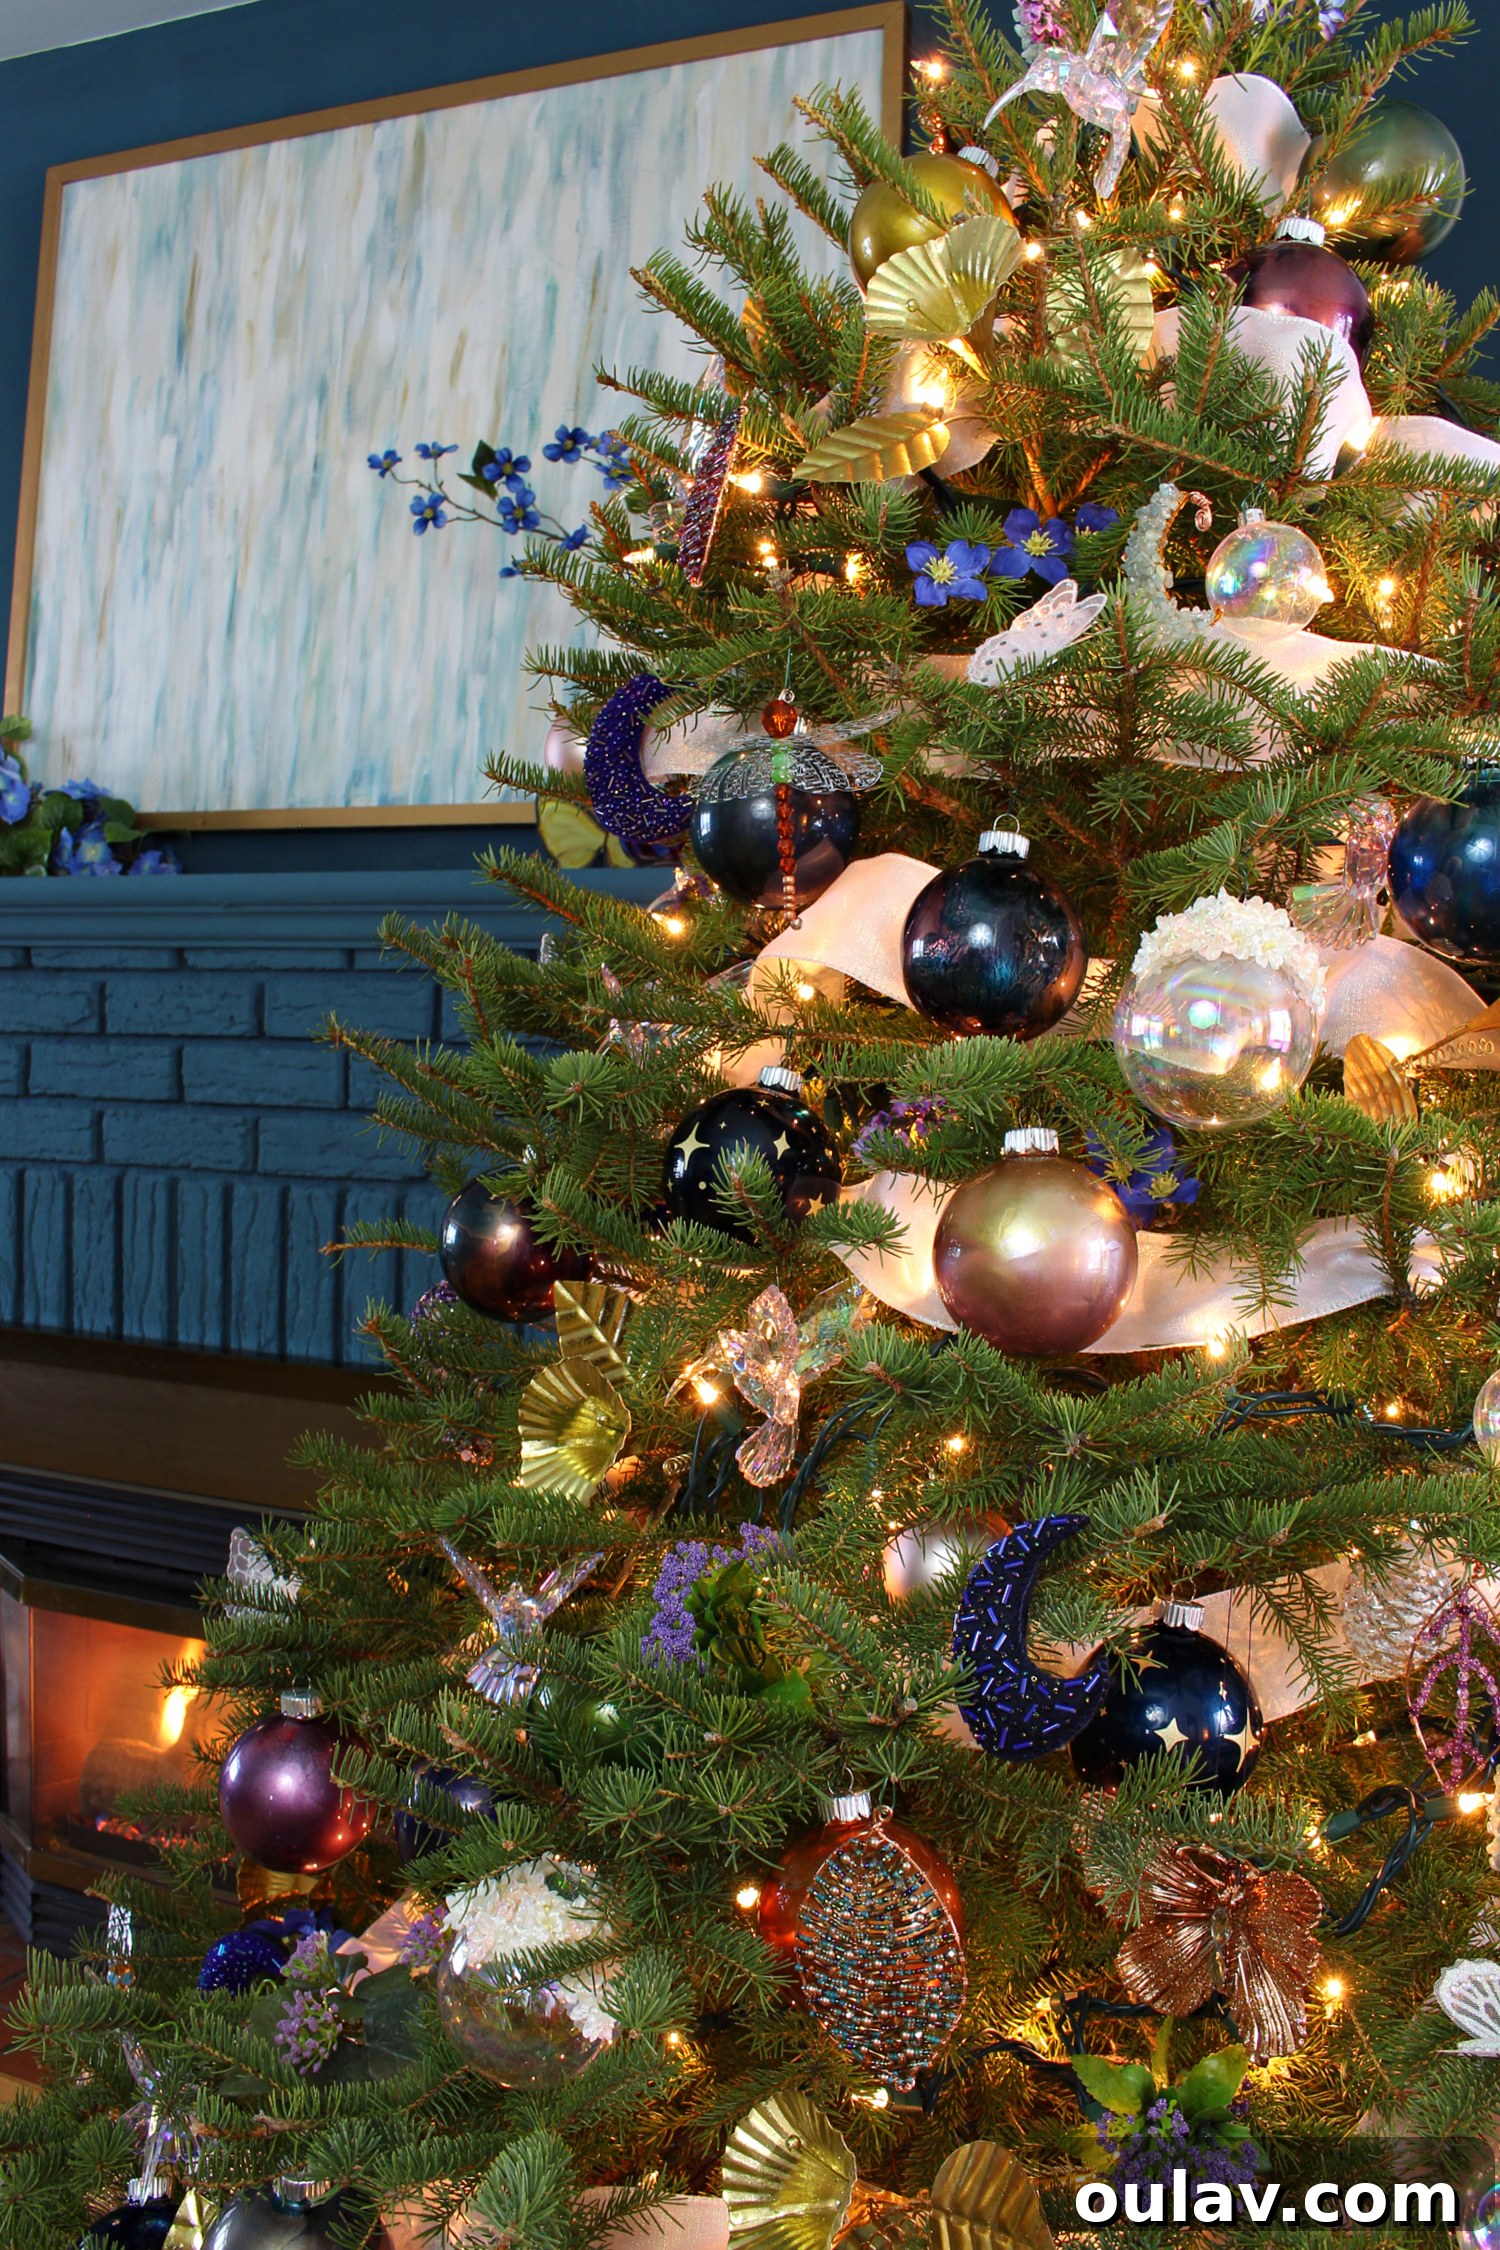
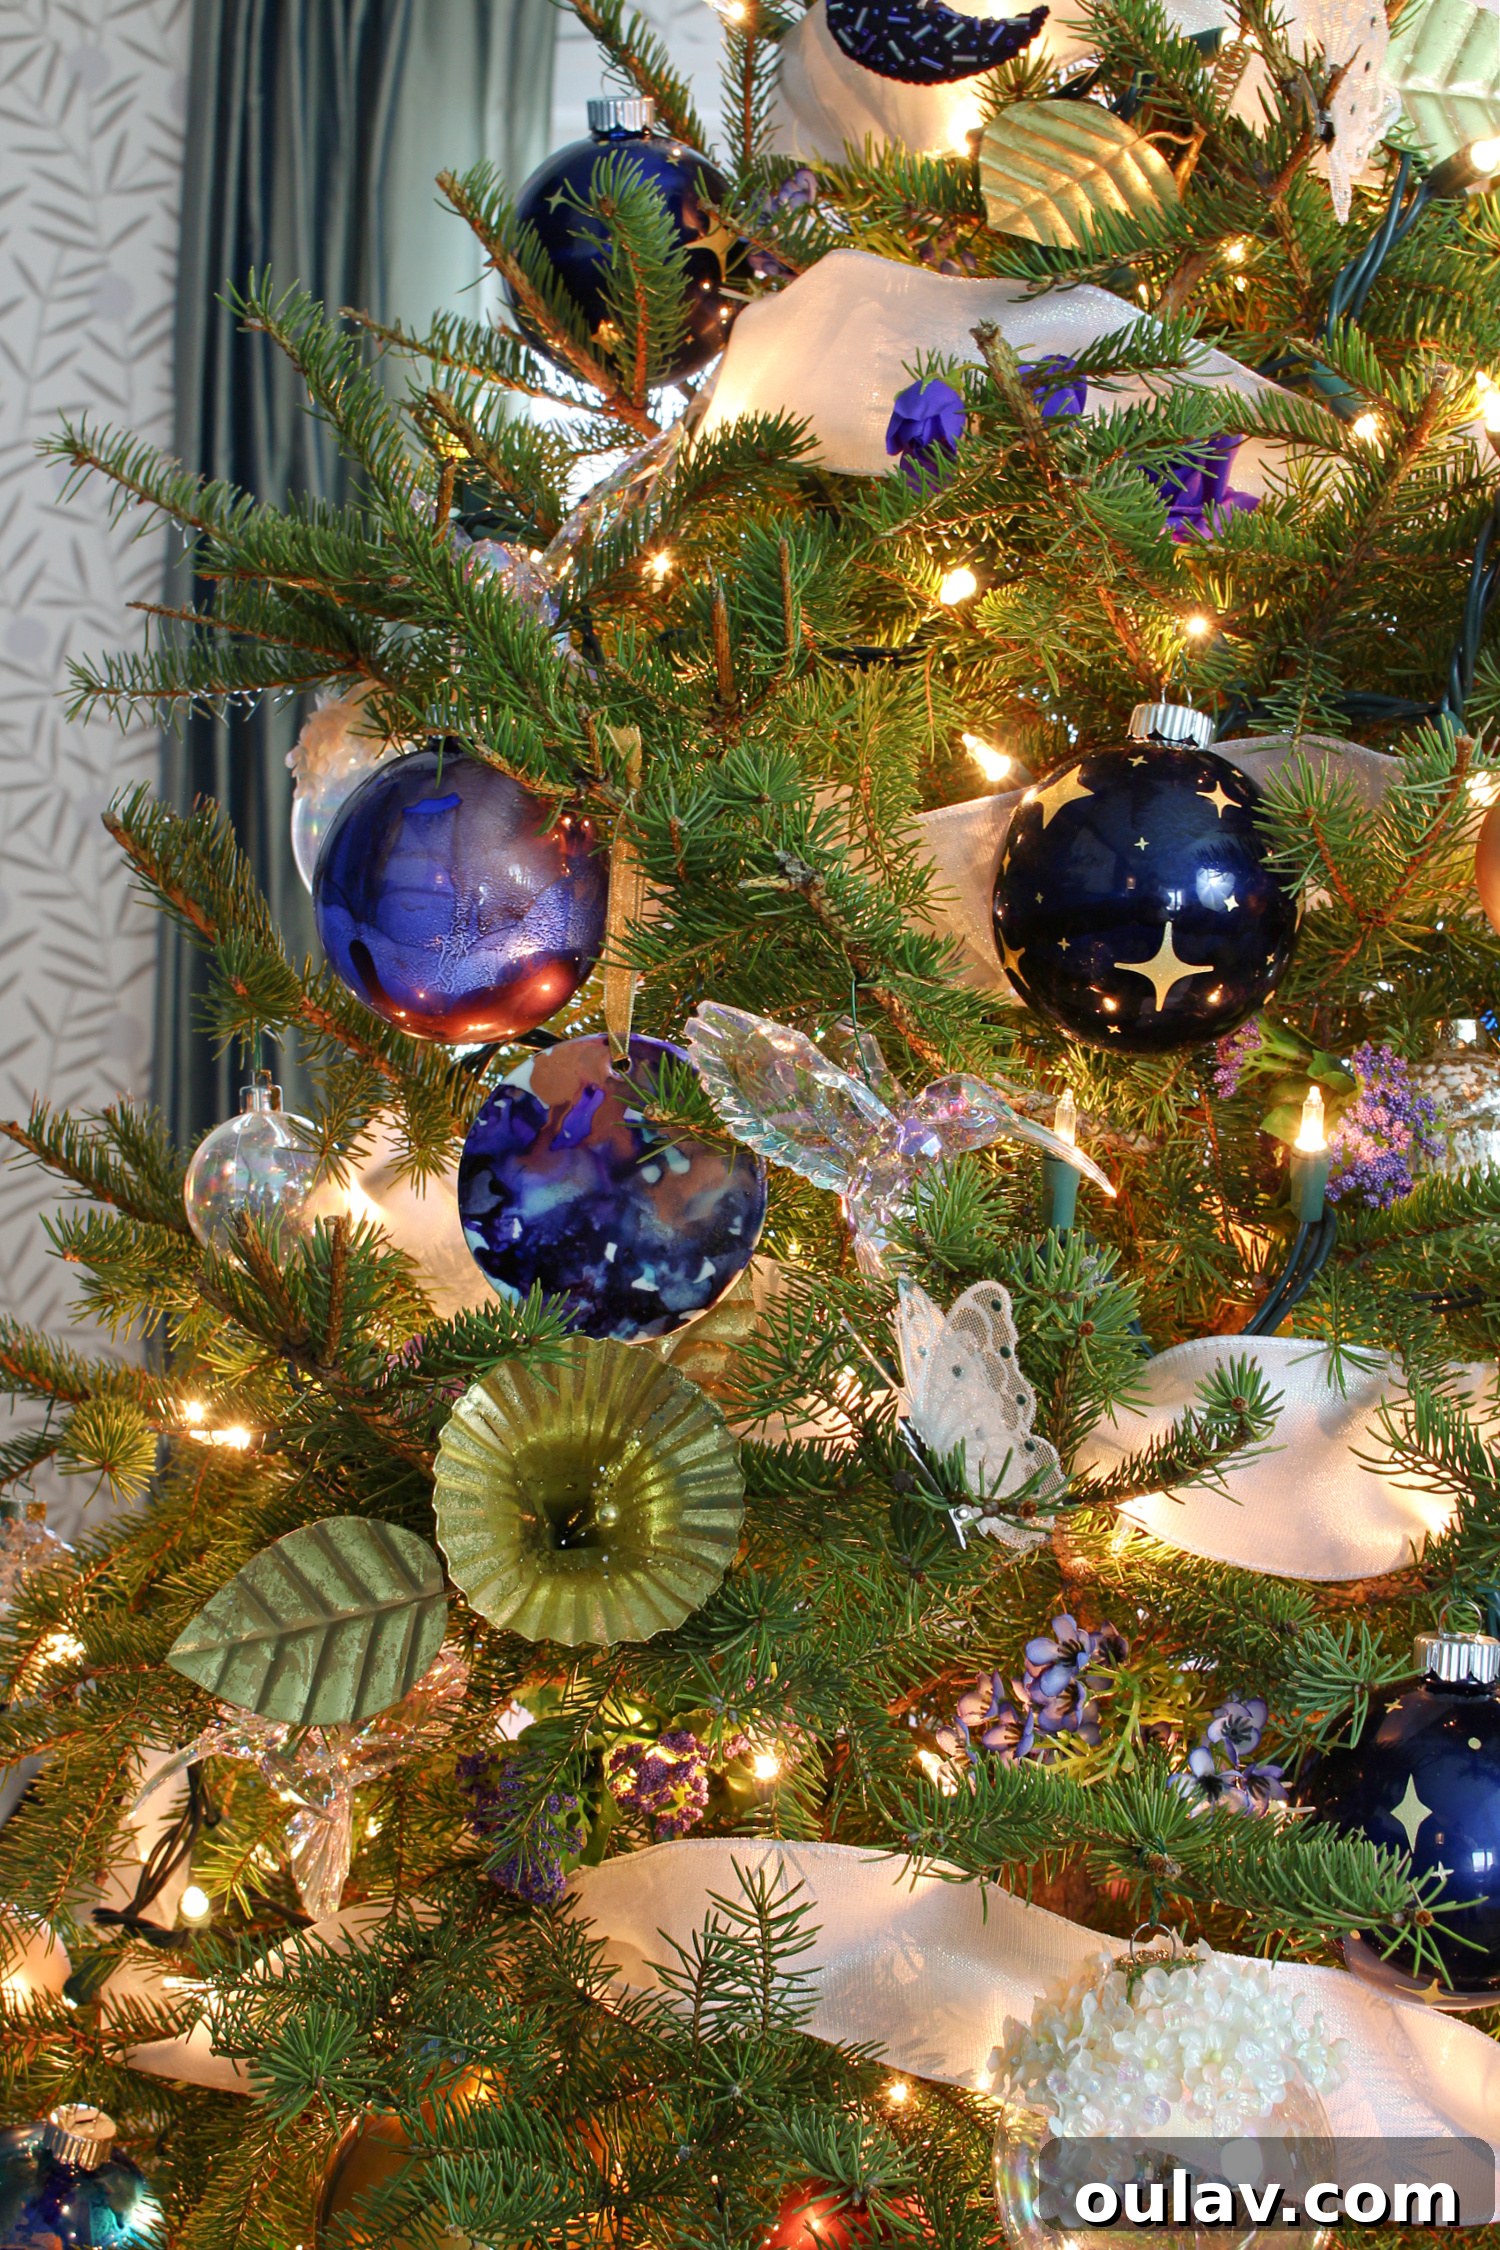
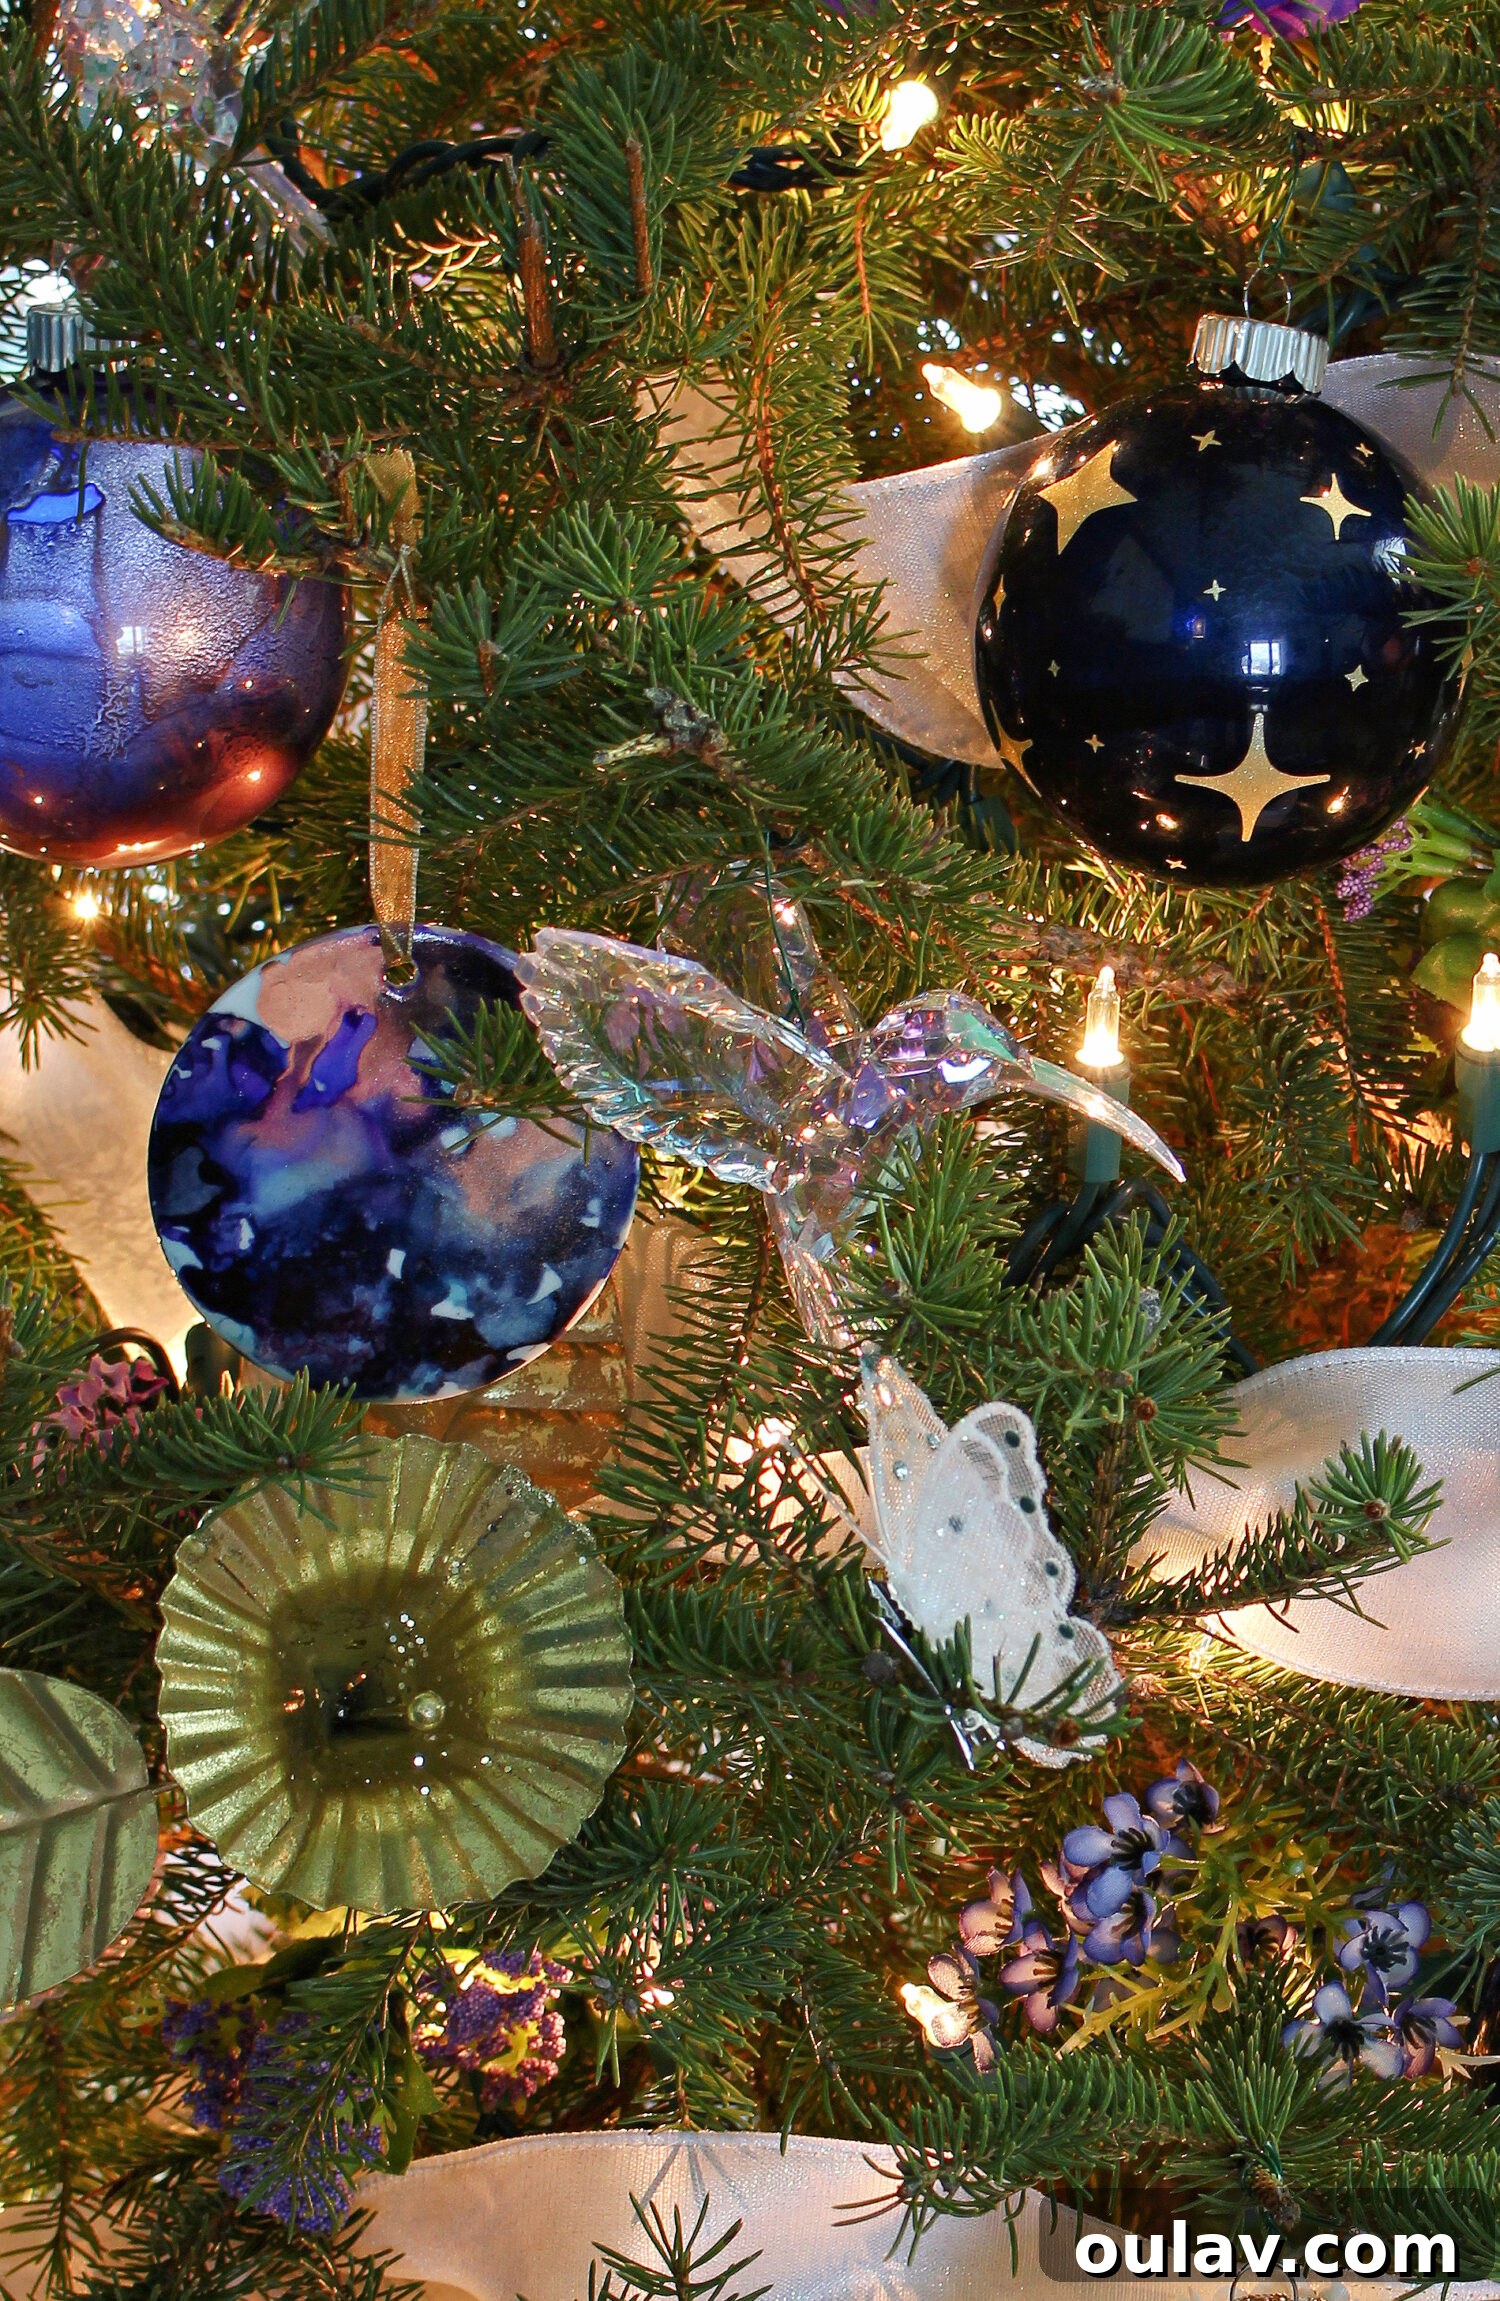
Once your DIY starry night ornaments are complete and the glue has fully dried, it’s time for the most rewarding part: hanging them on your Christmas tree! The transformation is truly magical. Imagine these deep blue, shimmering ornaments nestled among the branches of your tree, each gold star catching the twinkling lights. Here’s a glimpse of how this DIY starry night ornament idea looks on my Mom’s enchanting Midsummer Night Dream Christmas tree. The dark background of the ornaments creates a stunning contrast against the vibrant colors and lights of the tree, allowing the golden stars to truly pop and shine. They perfectly complement the whimsical and dreamlike aesthetic, adding a touch of celestial elegance that ties the entire theme together beautifully. Whether your tree is adorned with jewel tones, soft pastels, or classic holiday colors, these handmade starry ornaments will undoubtedly become a cherished part of your festive display, drawing admiring glances and adding a unique, personal sparkle to your seasonal decor.
Conclusion: A Glimmering Touch to Your Holiday Decor
Crafting these DIY Starry Night ornaments is a delightful way to add a deeply personal and exquisitely beautiful touch to your holiday decorations. From the mesmerizing swirls of alcohol ink creating a midnight canvas to the sparkling precision of golden stars, each step is an opportunity for creative expression. These ornaments are not just decorations; they are tiny works of art that capture the magic of the night sky, bringing a sense of wonder and elegance to your Christmas tree. Whether you’re drawn to the fantastical charm of a Midsummer Night’s Dream theme, the contemporary sparkle of a Midnights-inspired tree, or simply wish to enhance your existing blue, gold, or jewel-toned decor, these handmade treasures are perfectly versatile. They also make thoughtful and cherished gifts for loved ones, carrying the warmth and effort of a handmade present. So gather your supplies, let your creativity flow, and prepare to illuminate your home with these unique, sparkling emblems of the holiday season. The joy of creating something beautiful with your own hands is truly one of the greatest gifts of all.
P.S. Don’t Forget to Pin for Later!
Loved this DIY project? Make sure to save it for future reference or to inspire your friends and family! Pin this image to your favorite Christmas decor or DIY craft board on Pinterest so you can easily find it when you’re ready to create your own enchanting Starry Night ornaments.