Mastering Cold Frame Gardening: A Beginner’s Journey to Cultivating Success
As January arrives, bringing with it the crisp air and often a blanket of snow, many experienced gardeners are already knee-deep in planning their spring and summer harvests – a valuable lesson I learned the hard way. While the ground outside might be frozen, now is precisely the time to kickstart your gardening aspirations. Last year, my foray into vegetable and herb gardening began with a late start and a fair share of mishaps. Yet, despite numerous setbacks and moments of doubt, I ultimately cultivated a surprising amount of produce. This journey, filled with trials and triumphs, has equipped me with invaluable insights into what works and what doesn’t. Today, I’m excited to share my updated cold frame garden bed experience, detailing the lessons learned and offering practical advice for fellow gardening enthusiasts, particularly those just starting out. I invite all seasoned green thumbs to offer their wisdom and correct my rookie mistakes!
My Unexpected Journey into Gardening: More Than Just Dirt and Weeds
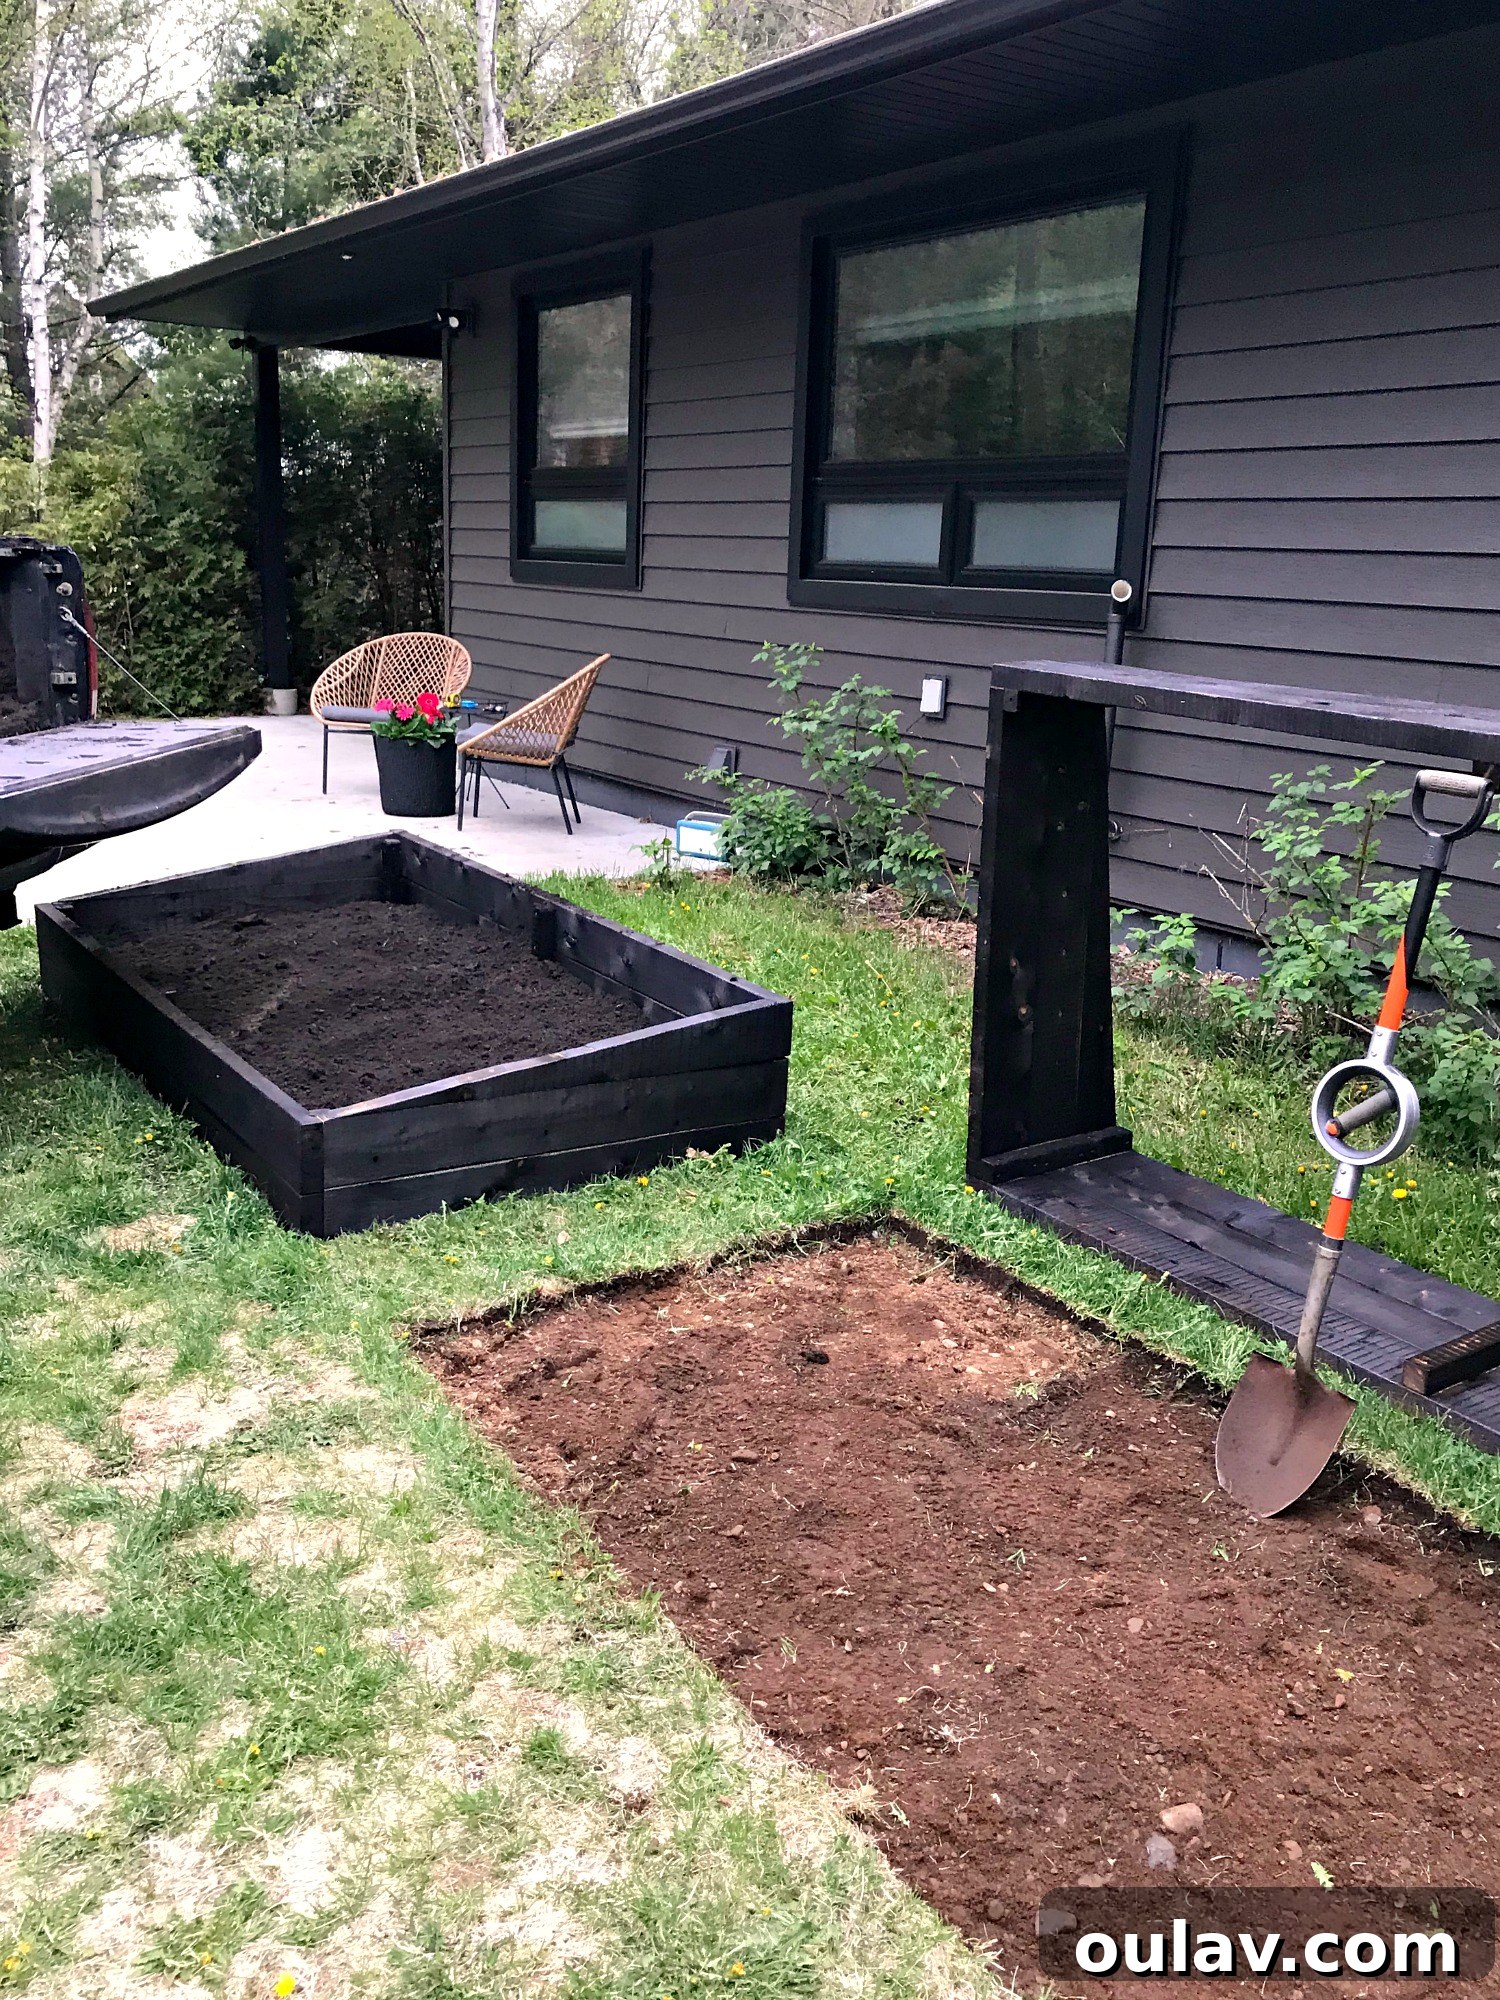
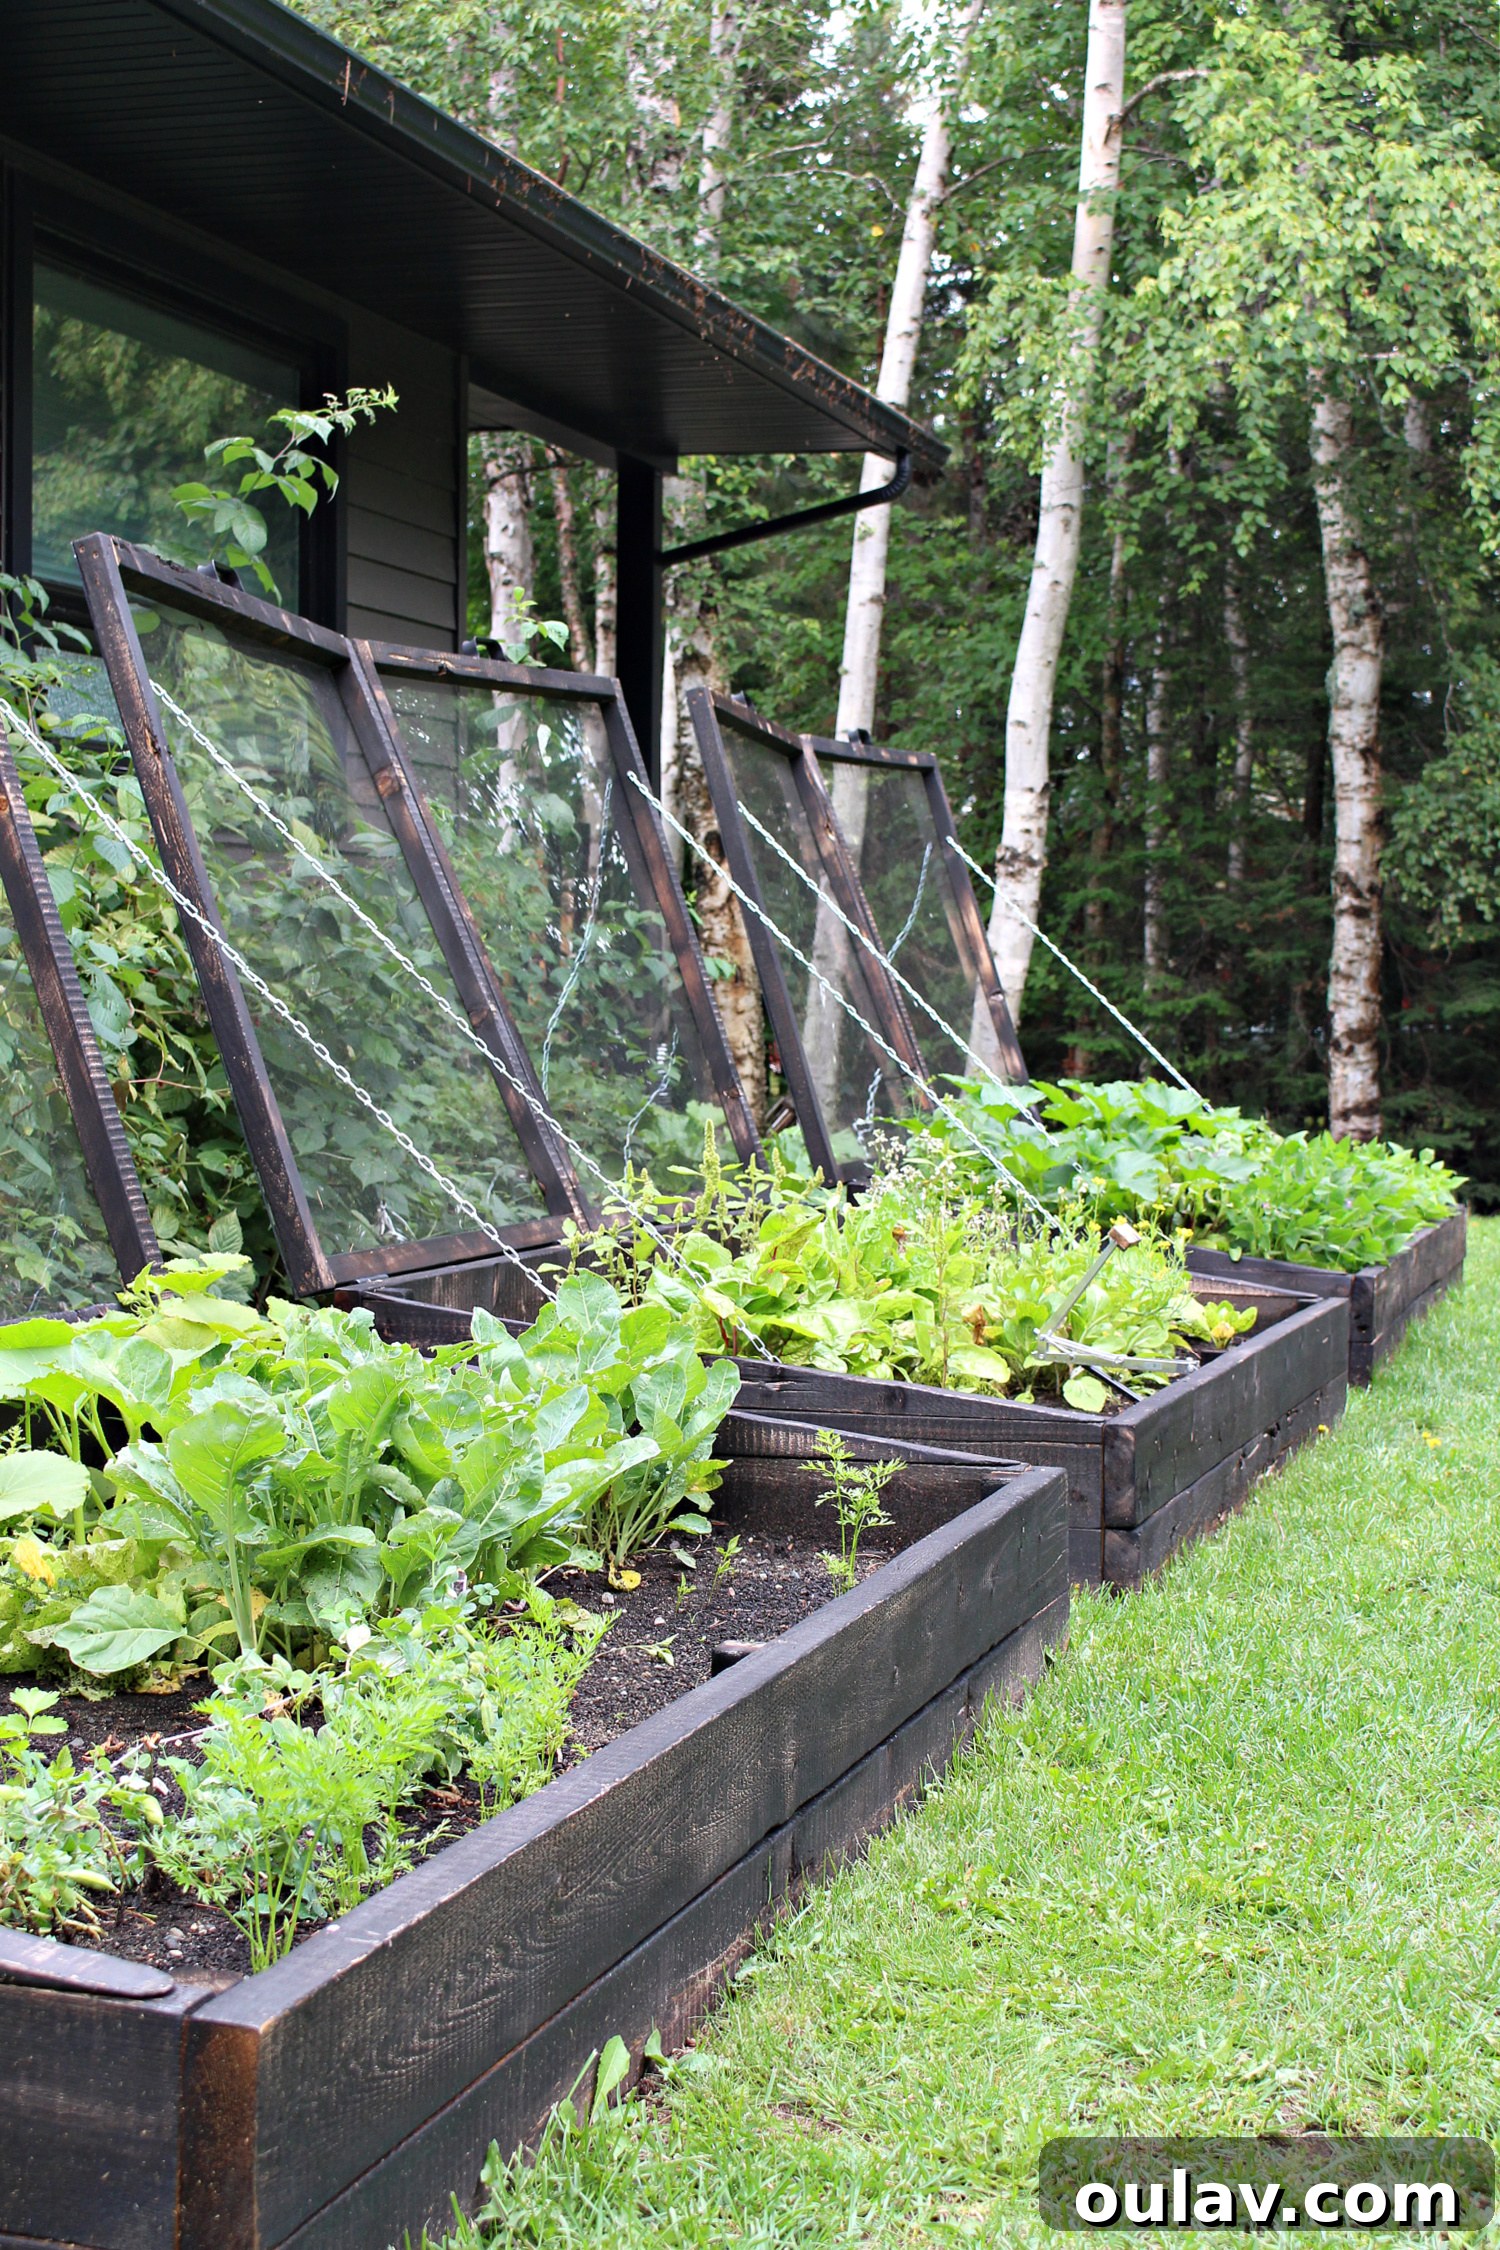
Let’s be honest, my initial experience with gardening was far from love at first sight. Building the cold frames and designing their aesthetics was an absolute joy for me – I even experimented with charring the wood, which was a creative delight! That’s where my fun meter peaked. However, once the arduous task of shoveling in copious amounts of soil began, my enthusiasm quickly waned. The physical labor was gruelling, and the reality of gardening felt infinitely less glamorous than the planning stages.
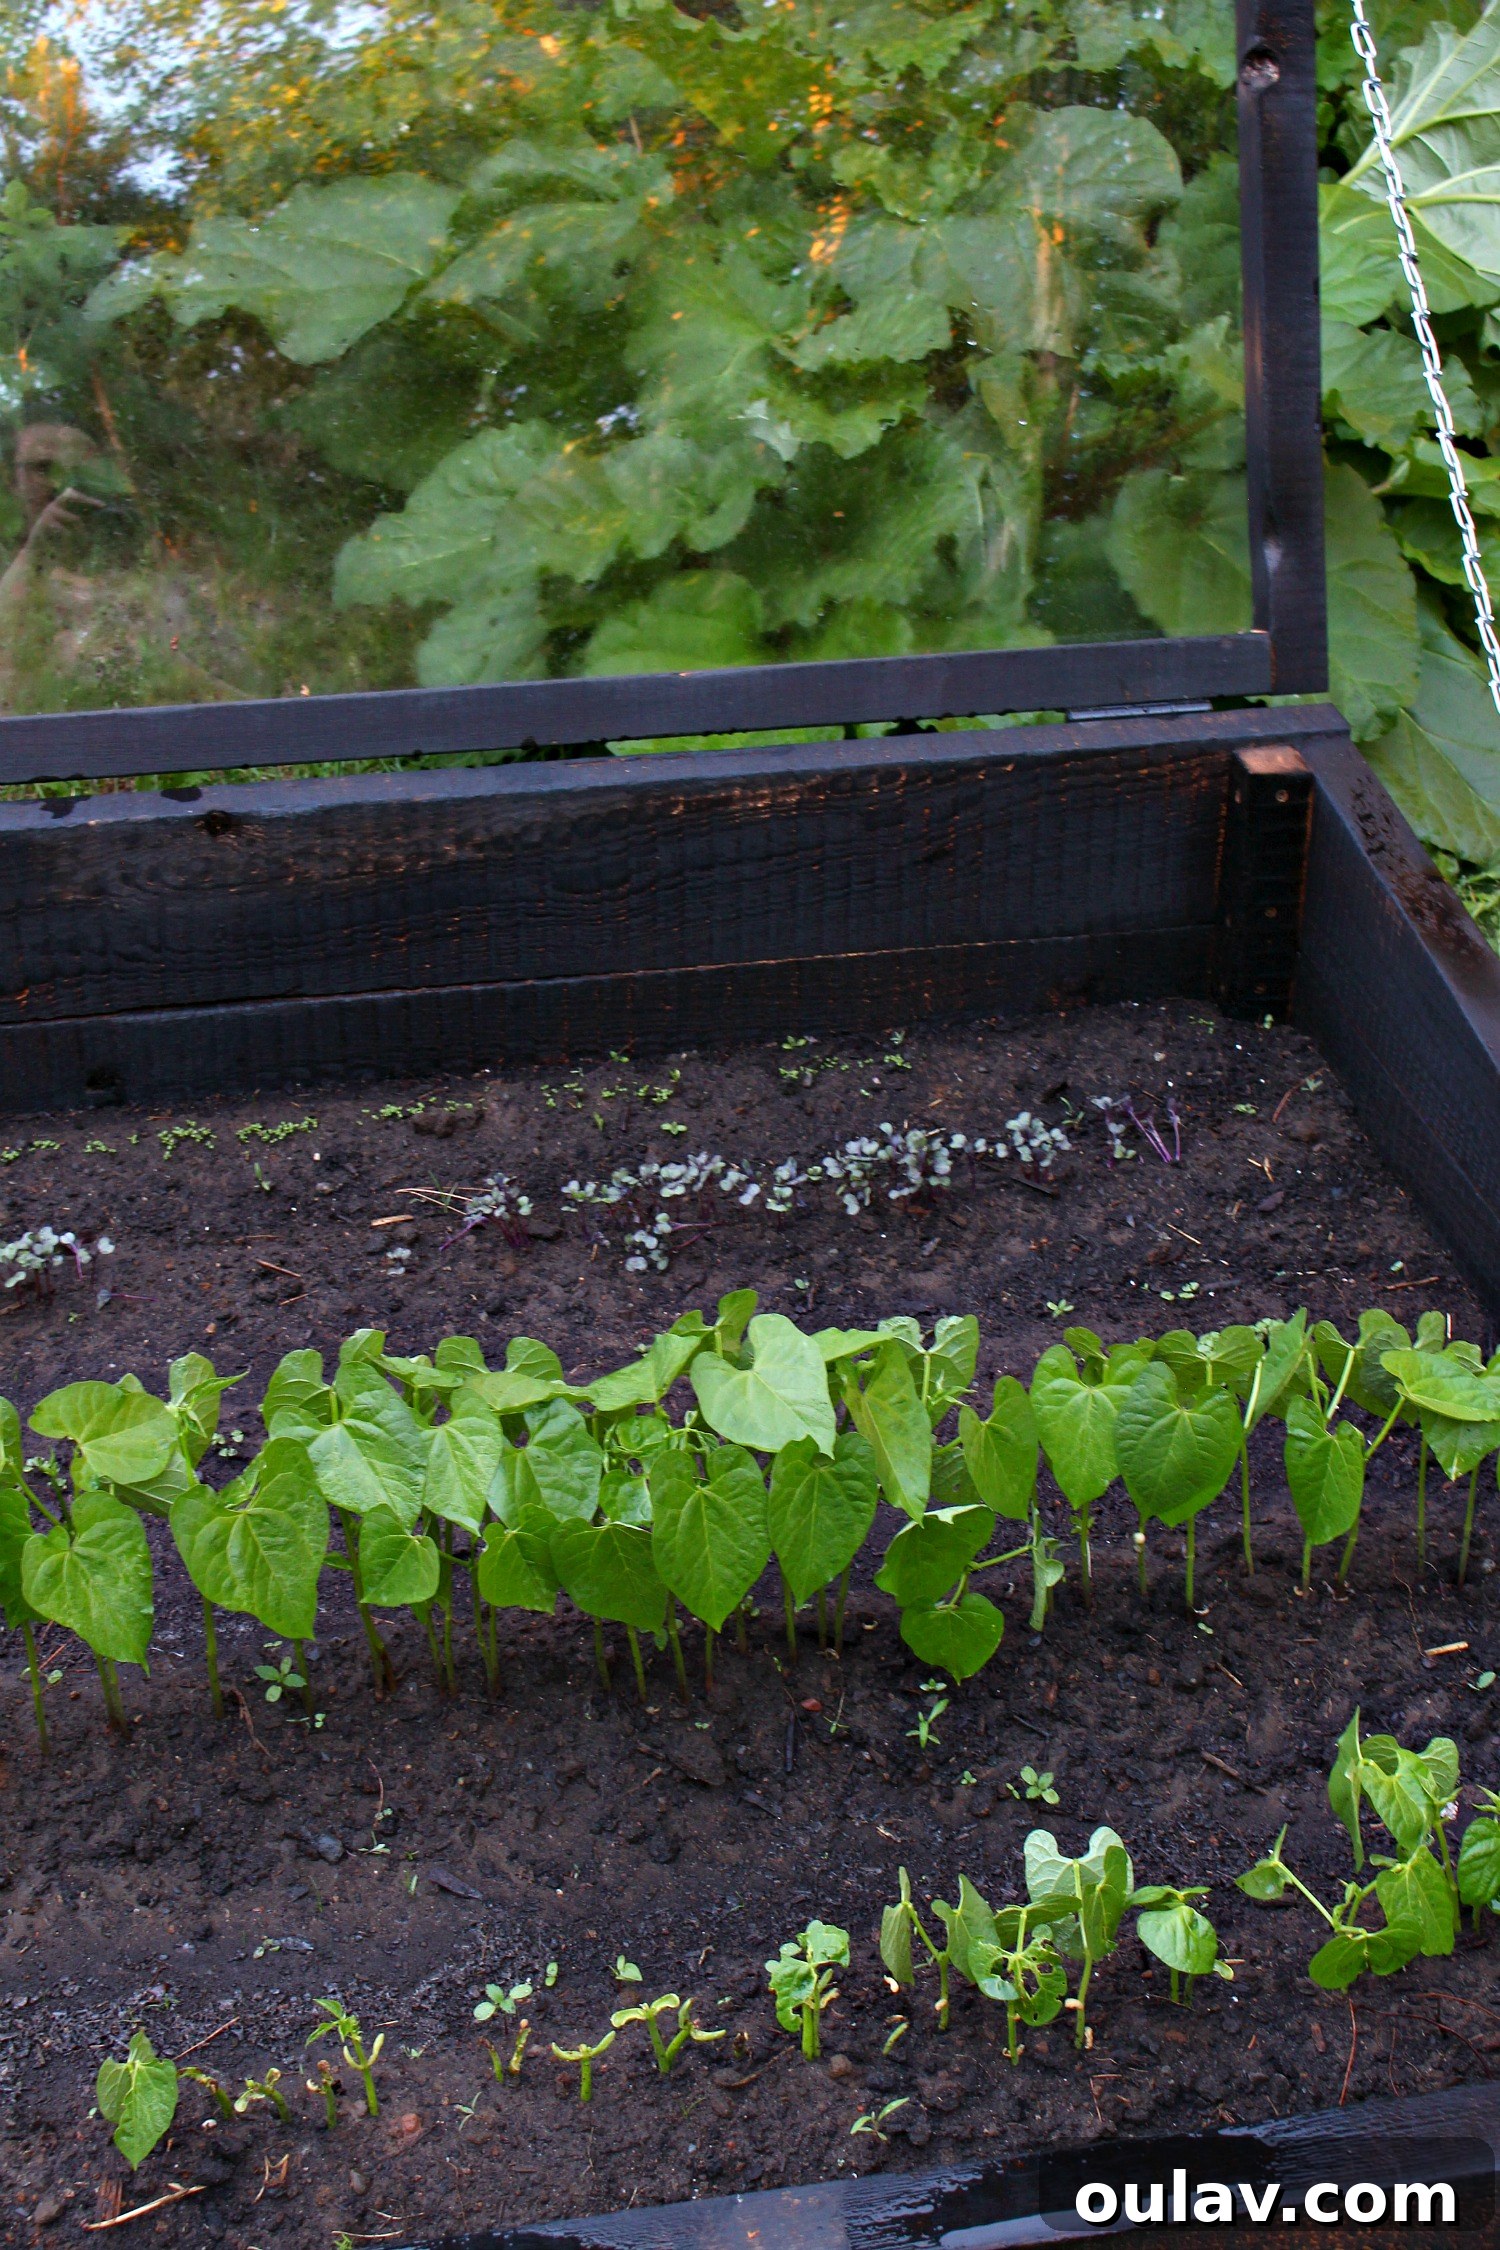
A tiny spark of pride flickered when I witnessed the first delicate leaves emerge from the seeds I had planted. But this fleeting joy was soon overshadowed by a series of immediate flops. Many of my carefully sown seeds simply refused to sprout, or quickly succumbed to unknown ailments, leading to significant disappointment.
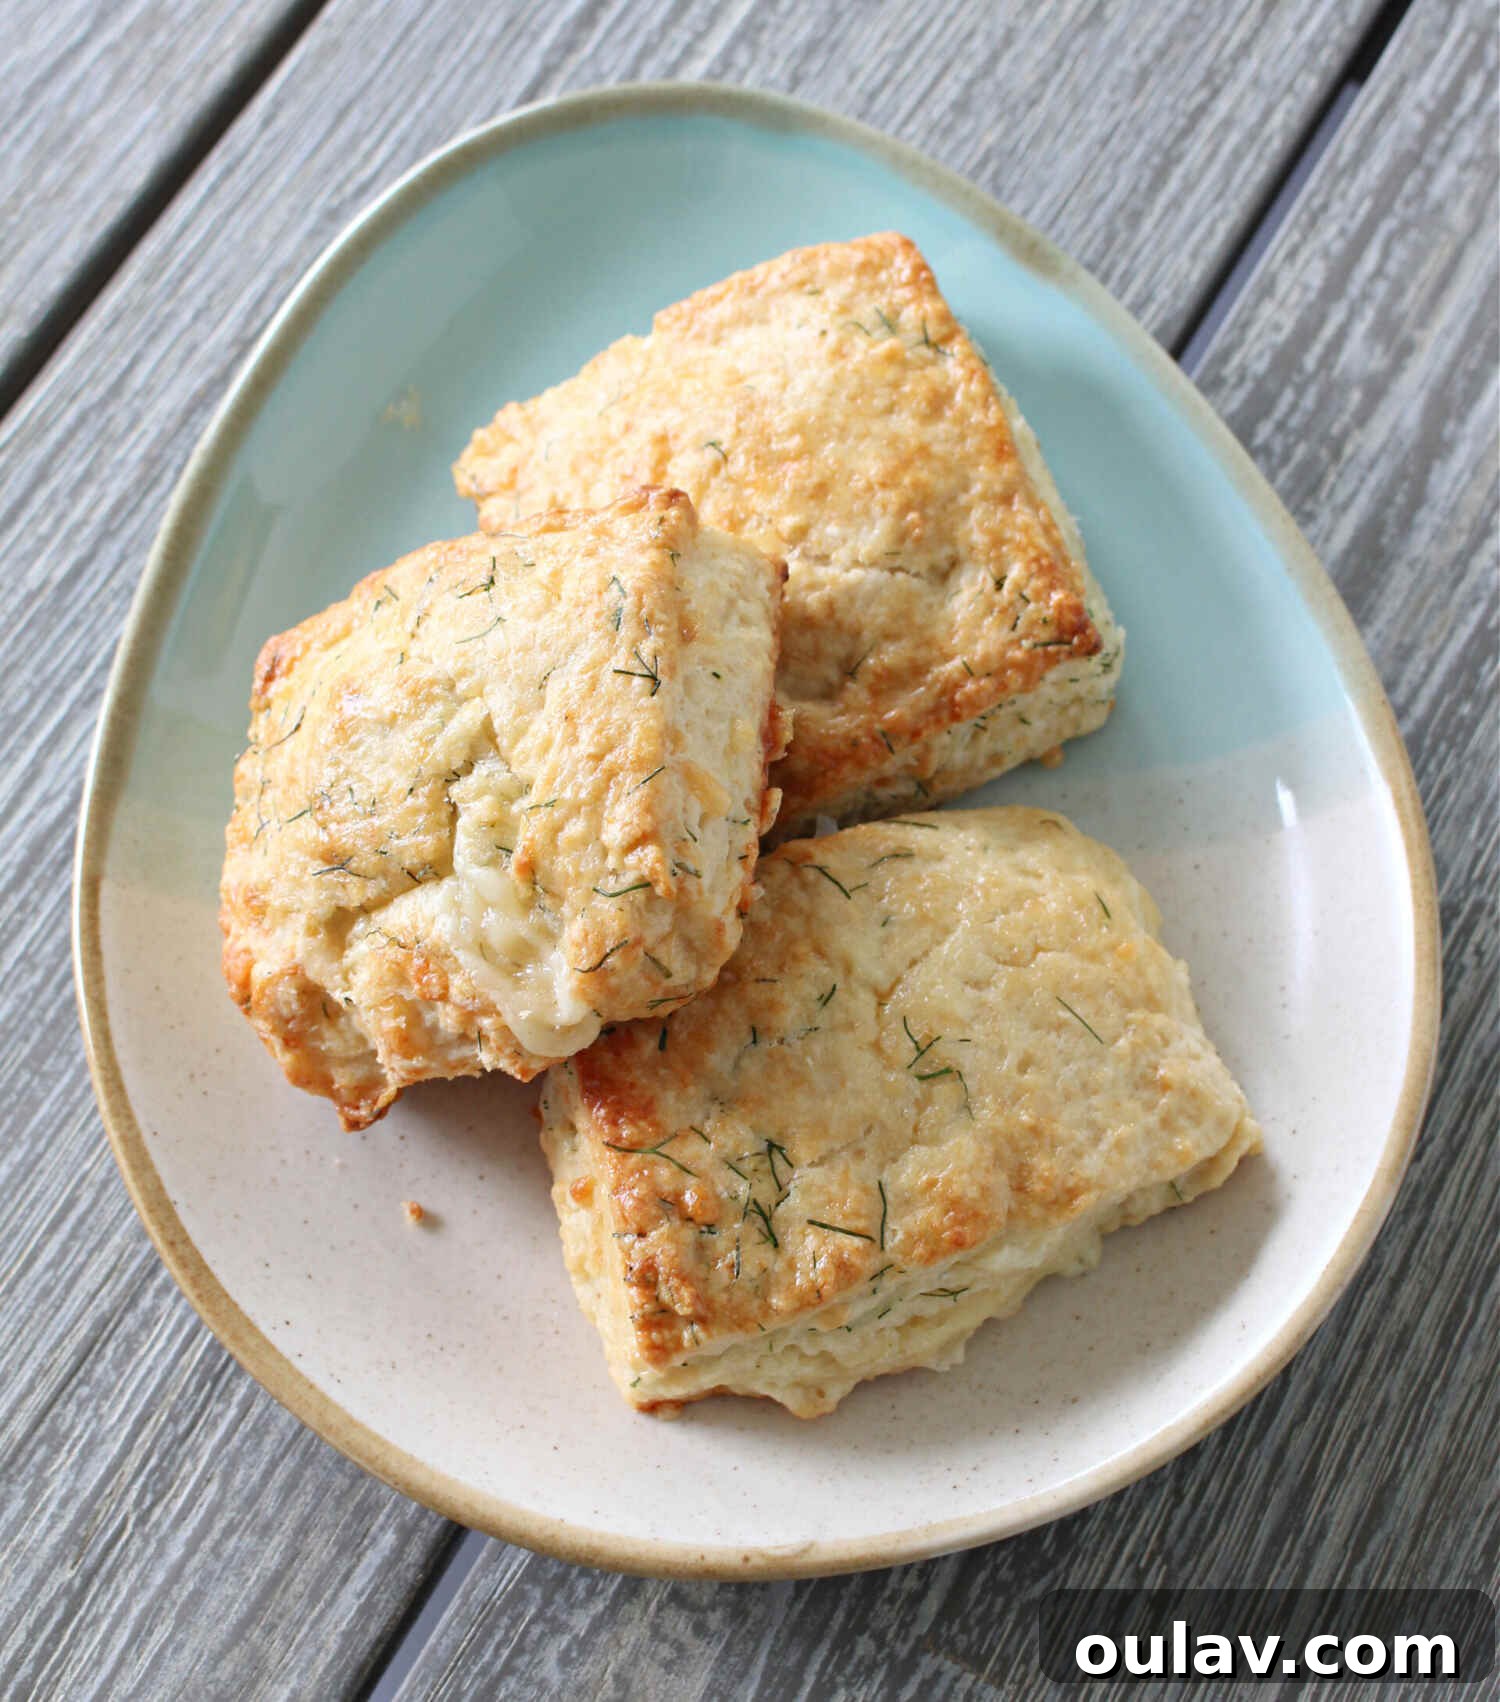
So, why didn’t gardening immediately click with me? For one, I don’t possess a natural “green thumb.” The entire project felt like an uphill battle. My aversion to touching bugs, the tedious chore of weeding, and the consistent frustration when plants failed to thrive all contributed to my initial dislike. Despite purchasing several highly-rated gardening books, I found myself with zero interest in delving into the intricate details of horticulture. Yet, amidst these challenges, a profound sense of accomplishment resurfaced when we finally harvested delectable produce. Serving a side dish of beans I had grown myself, or baking savory dill and cheese scones (find the recipe here) with fresh dill from my garden, brought an unexpected burst of pride and satisfaction.
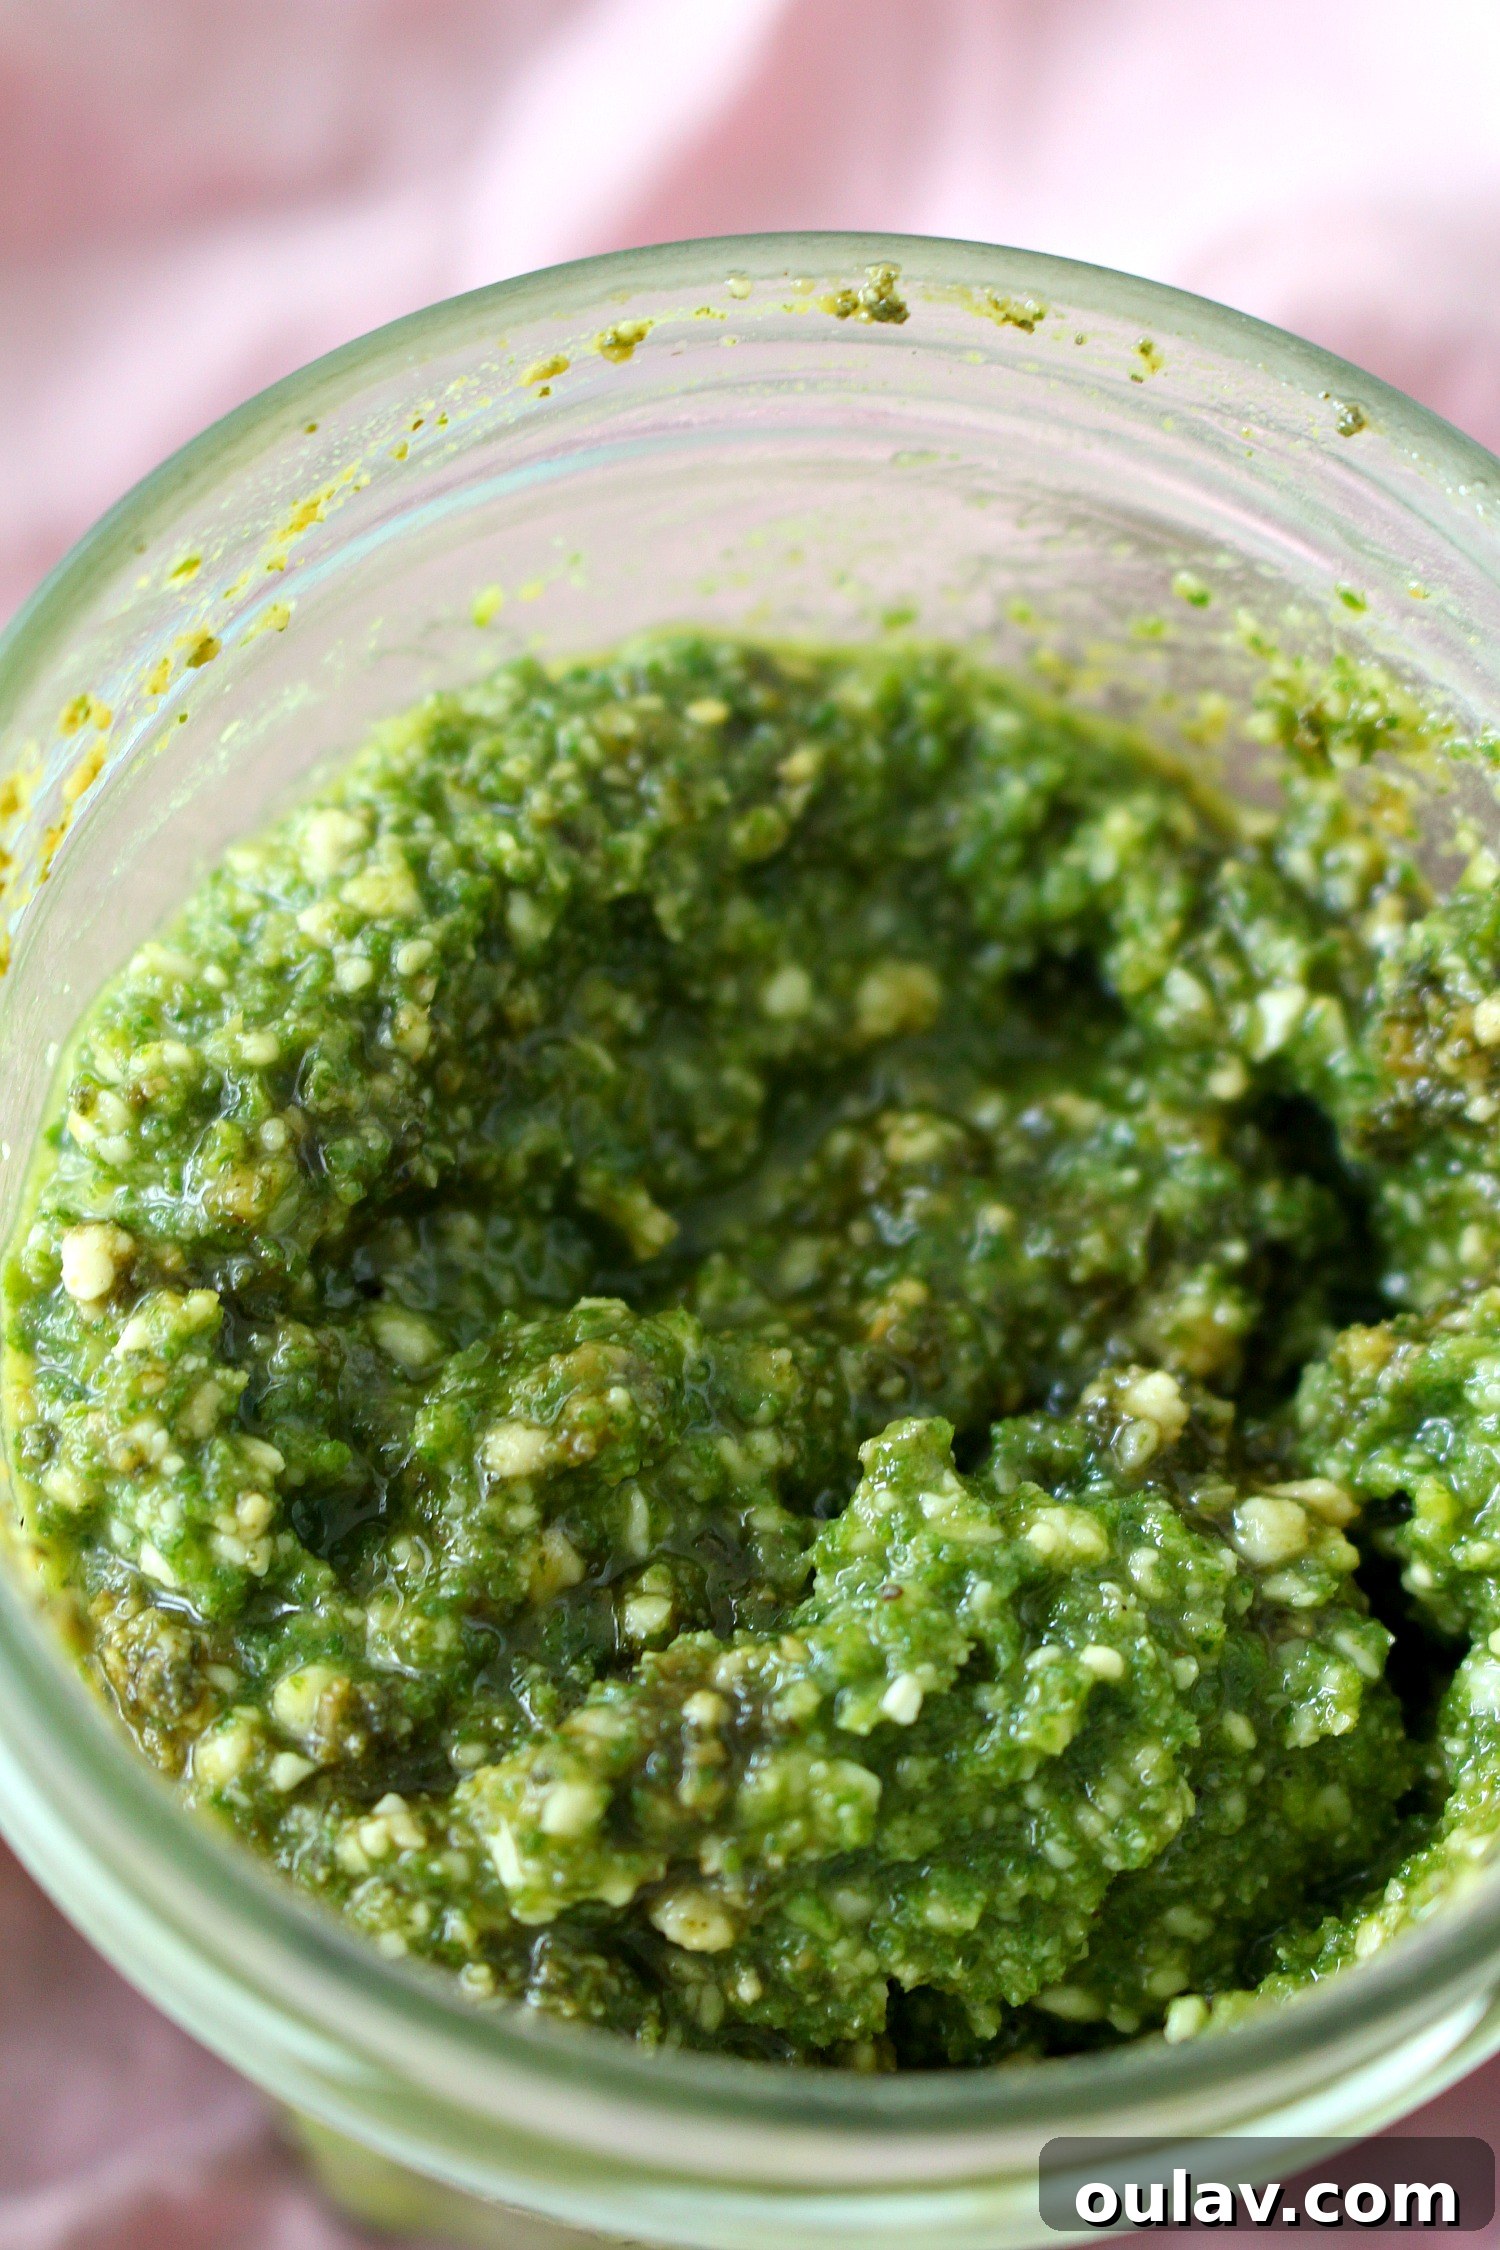
This feeling was amplified when I recently shared my easy sage pesto recipe, made with homegrown sage. The taste of fresh herbs and vegetables, harvested directly from the garden, is a revelation compared to store-bought varieties (dill, in particular, tastes infinitely better when fresh!). While gardening hasn’t yet become a beloved hobby for me, the undeniable quality and superior flavor of homegrown produce are compelling reasons to continue. It may not be saving money just yet, but the long-term goal is to cultivate a steady, high-quality source of food for our table.
A Detailed Look: What I Planted and How It Grew in My Cold Frames
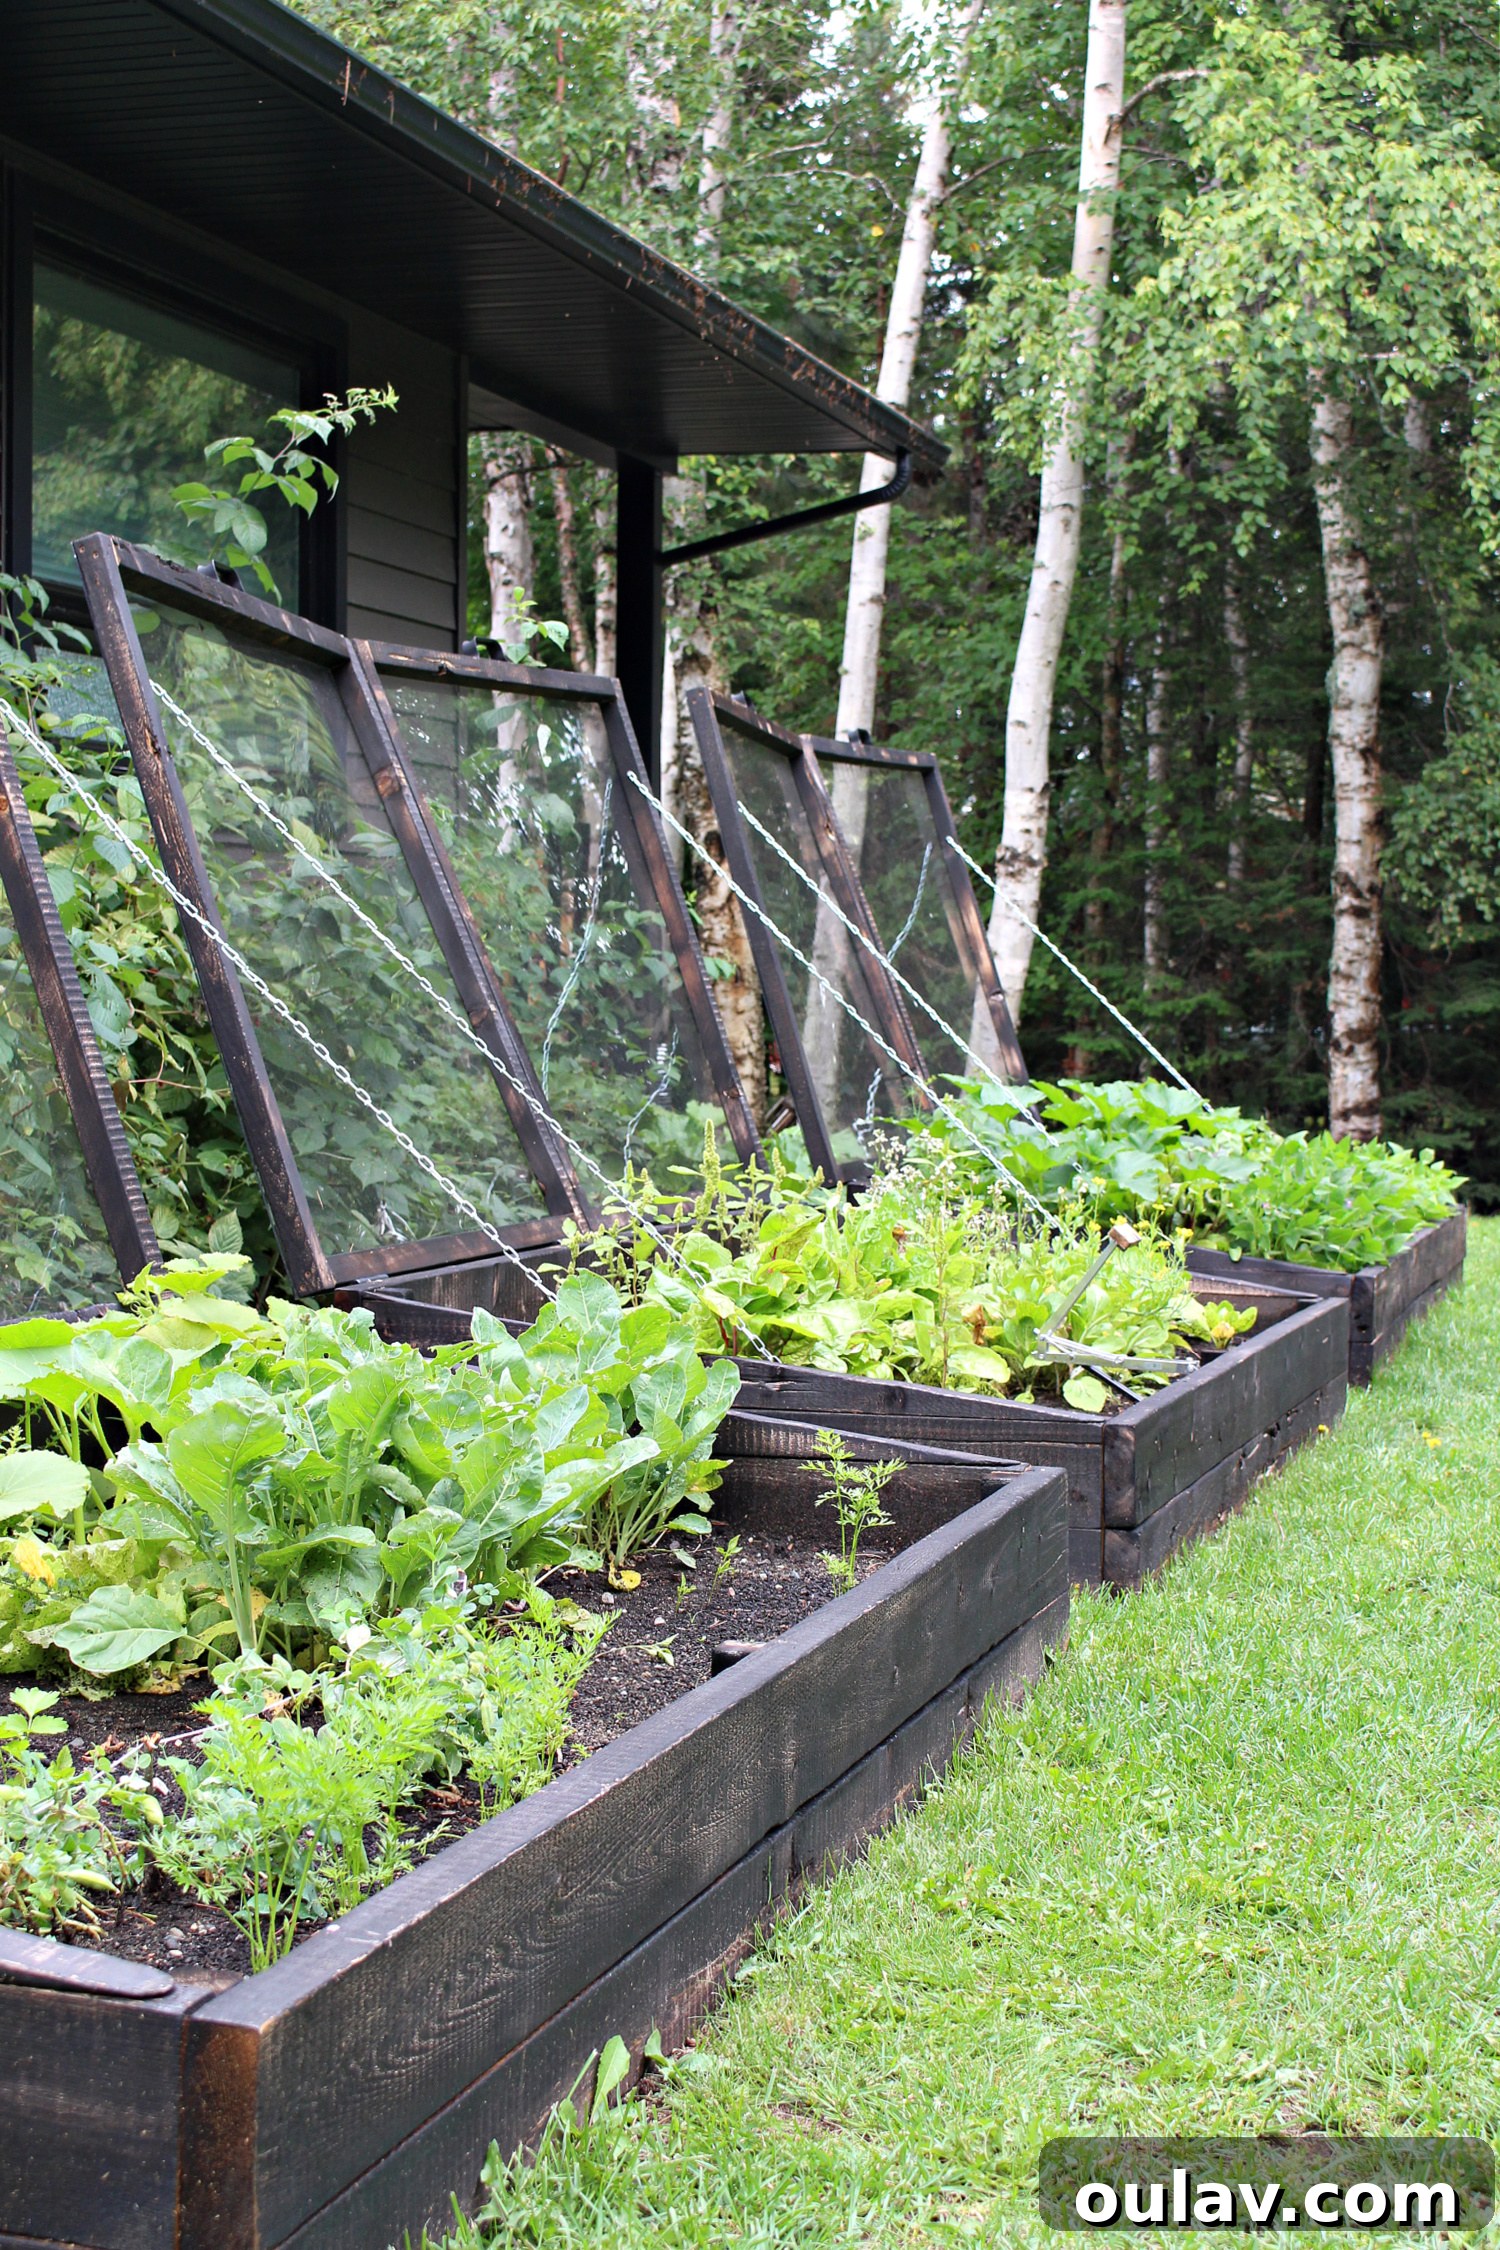
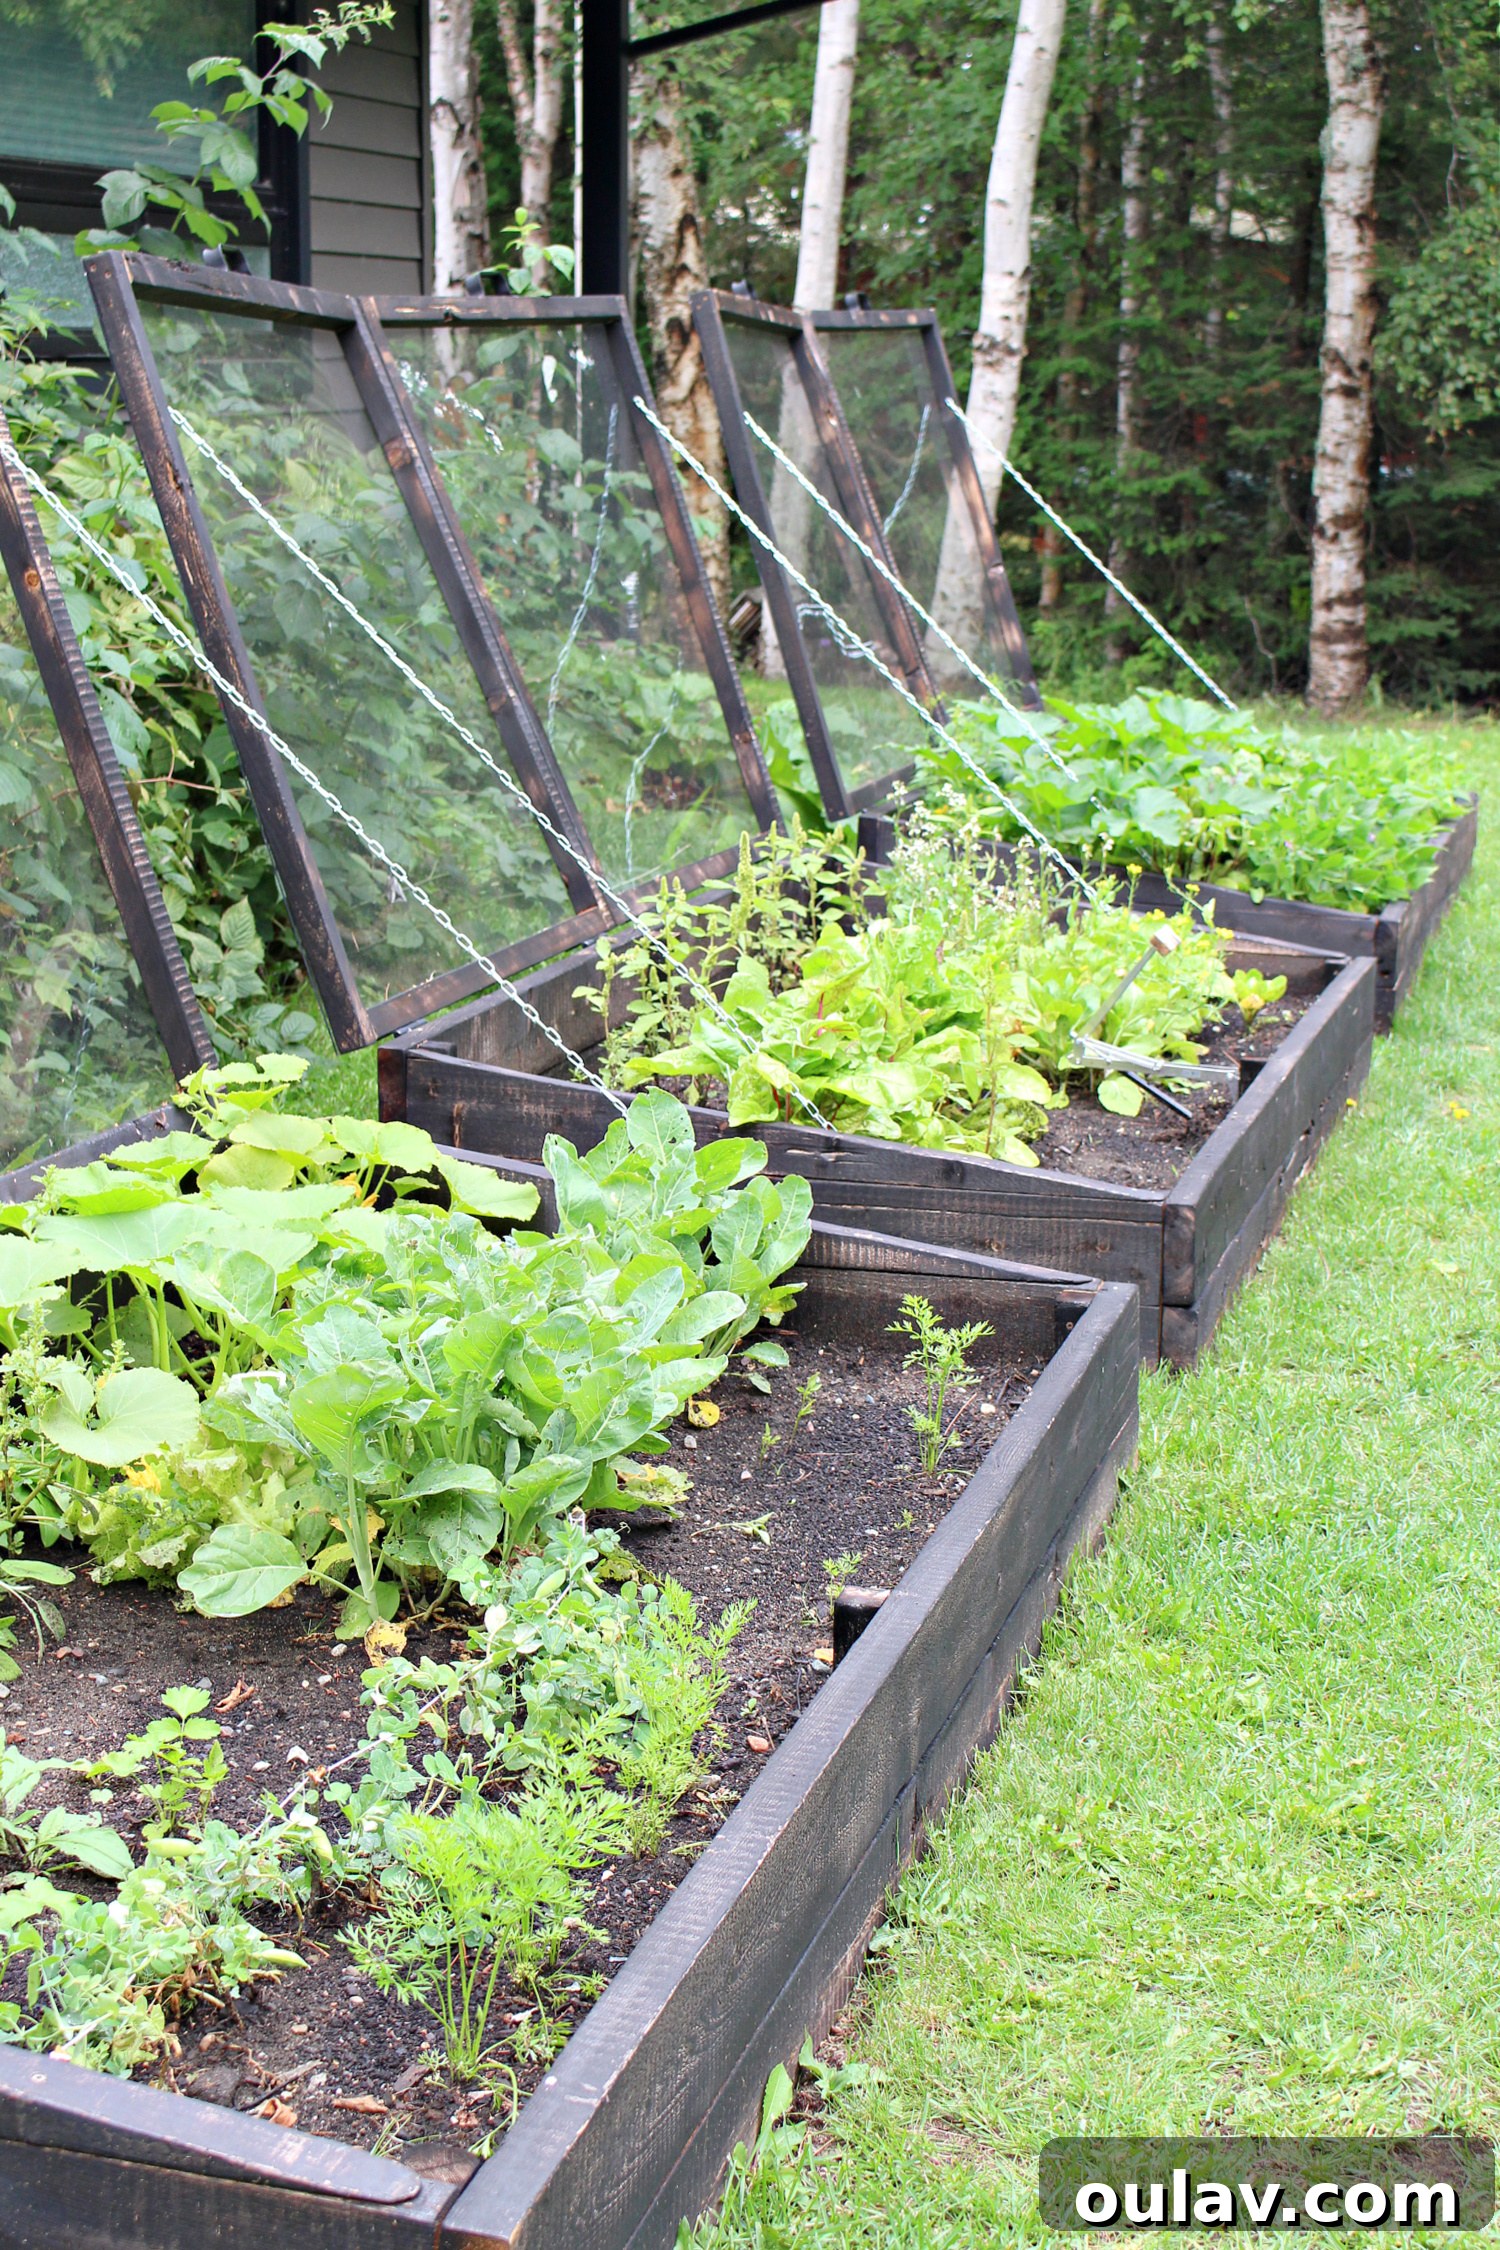
Last season, my cold frame garden beds were an experimental playground, filled with a diverse array of vegetables and herbs. Understanding their performance, both good and bad, is crucial for improving future harvests. Here’s a breakdown of what I planted in each of my three cold frames and their general outcomes:
Left Hand Bed: An Overview of Growth
- Sage: (Yes) Grew successfully, providing a consistent supply for culinary use.
- Crown Pumpkin: (Sorta) Produced some fruit, but not as robustly as hoped, potentially due to late planting or insufficient space.
- Parsnips: (No) Completely failed to thrive, possibly due to soil conditions or heat stress.
- Carrots: (Sorta) Grew, but yielded small and somewhat stunted roots, indicating a need for better soil depth or consistent moisture.
- Drunken Woman Lettuce: (Yes) A surprising success, yielding tender leaves consistently.
- Mache Corn Salad: (Yes) Grew vigorously, providing a delicate and flavorful addition to salads.
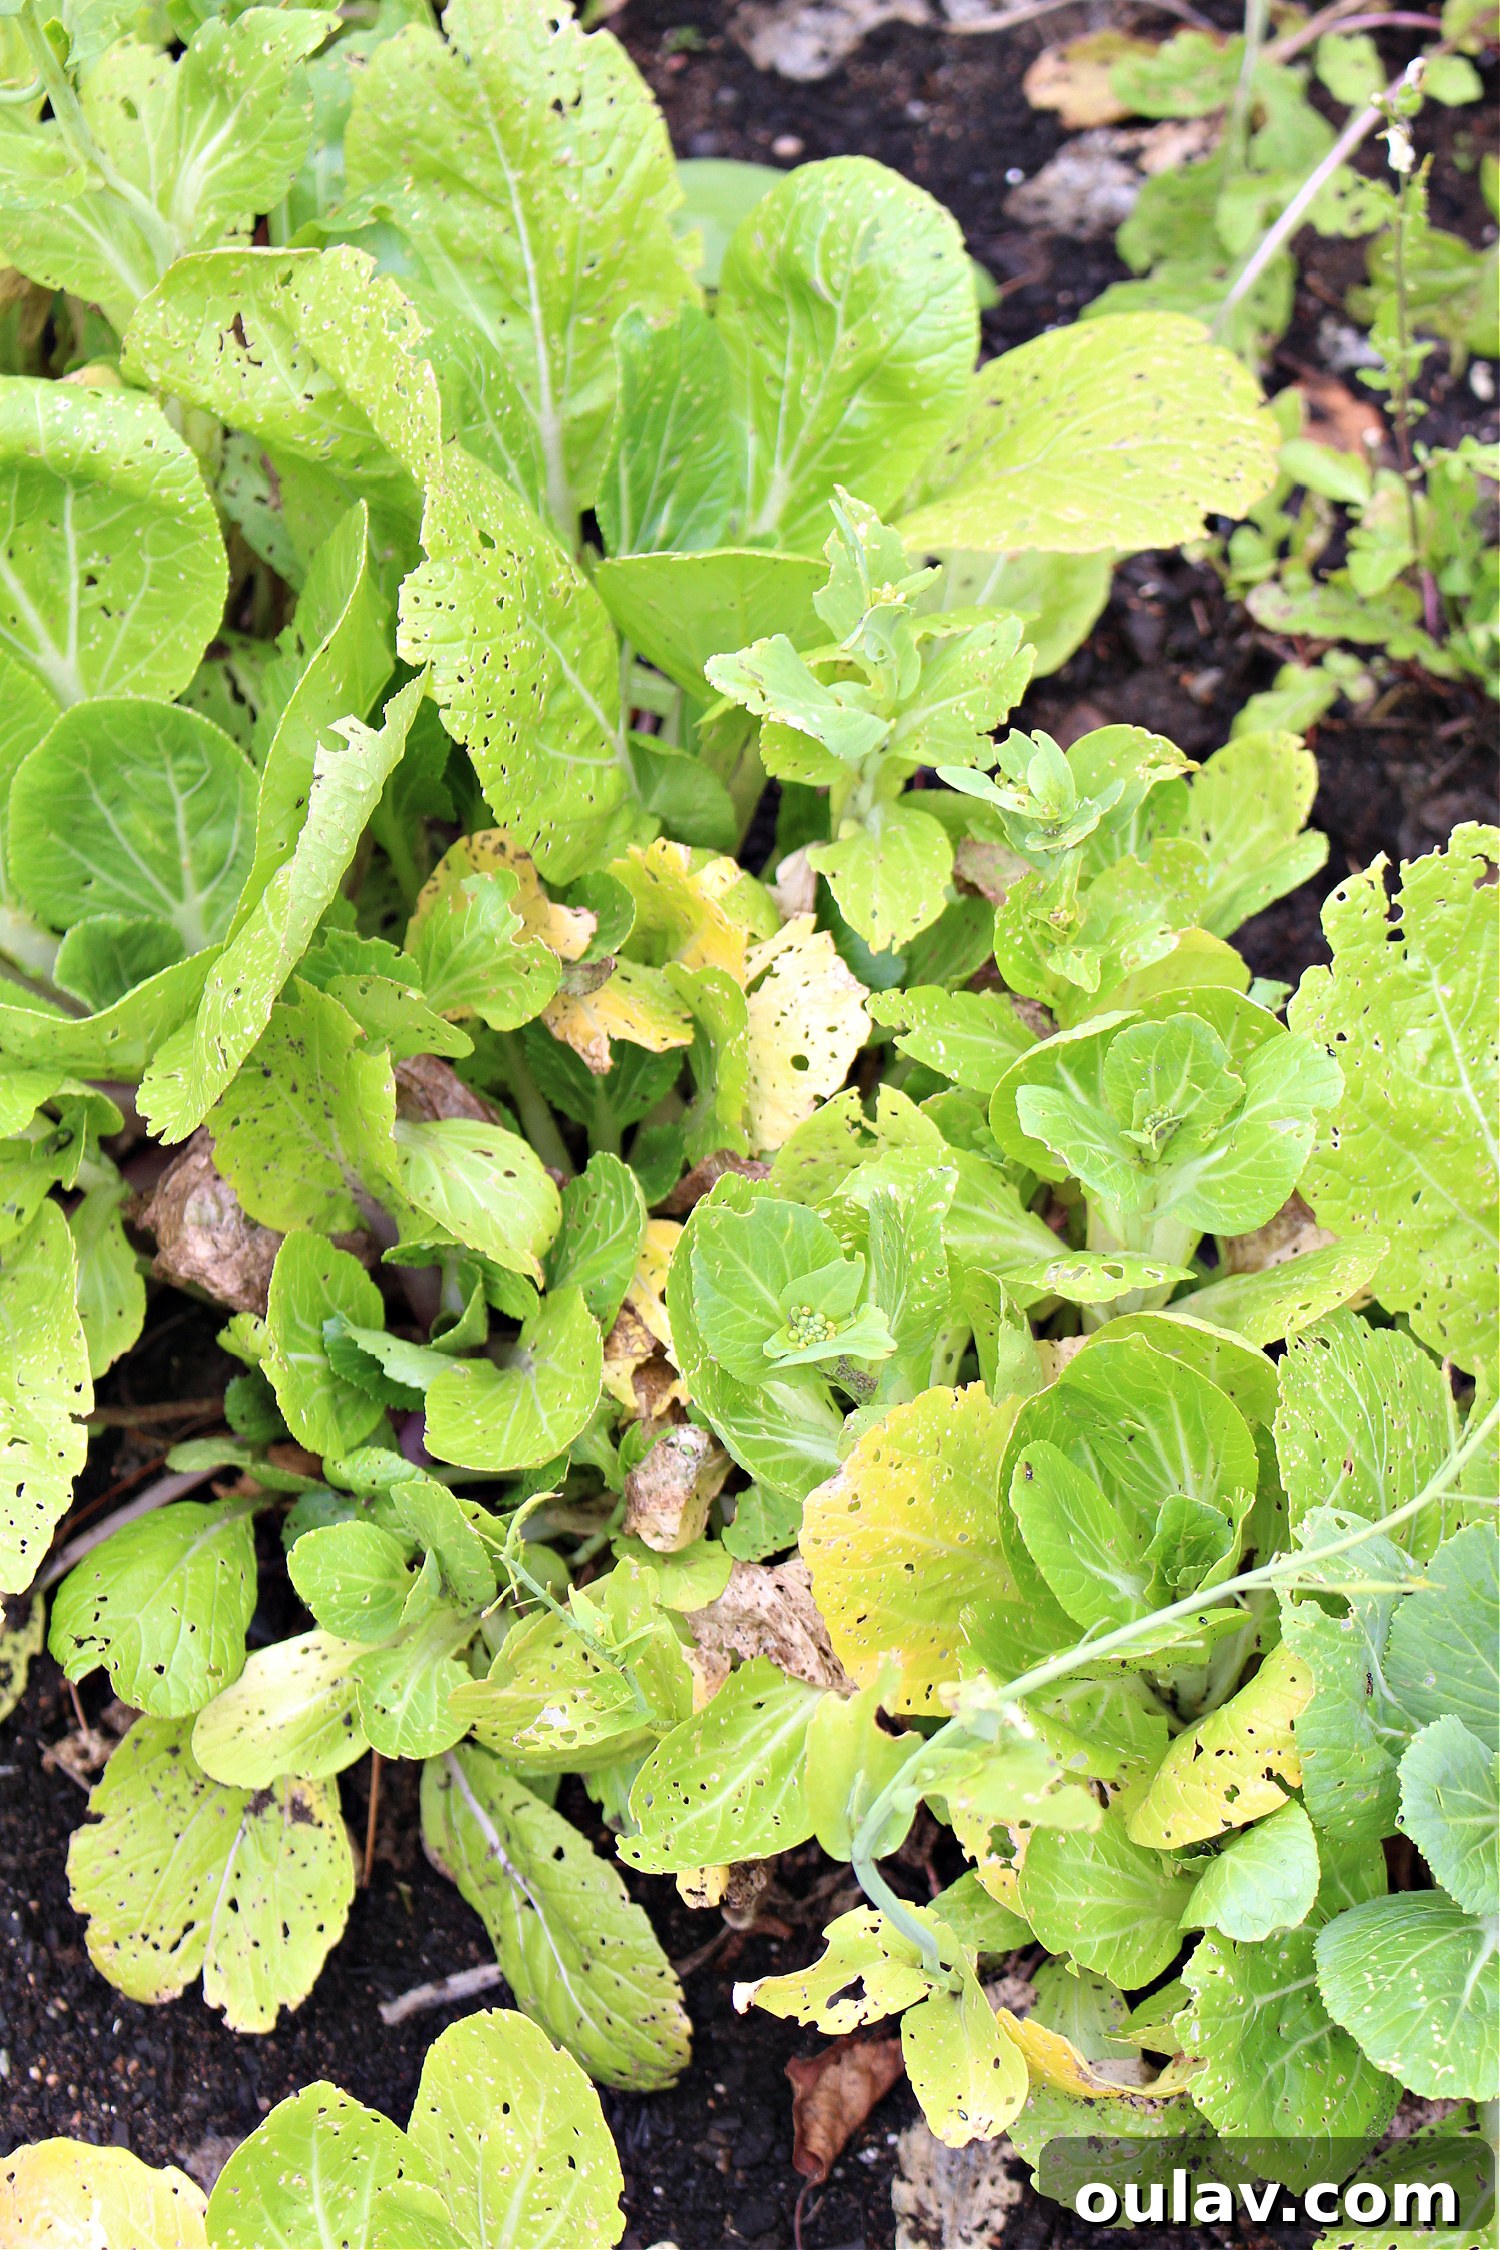
- Bok Choy: (Sorta) Initially grew well, but suffered significant damage from pests.
- Cauliflower: (No) Did not grow at all, suggesting it might be too sensitive to the cold frame environment or specific soil needs.
- Peppers: (No) Zero growth, likely due to insufficient heat or a very short growing season.
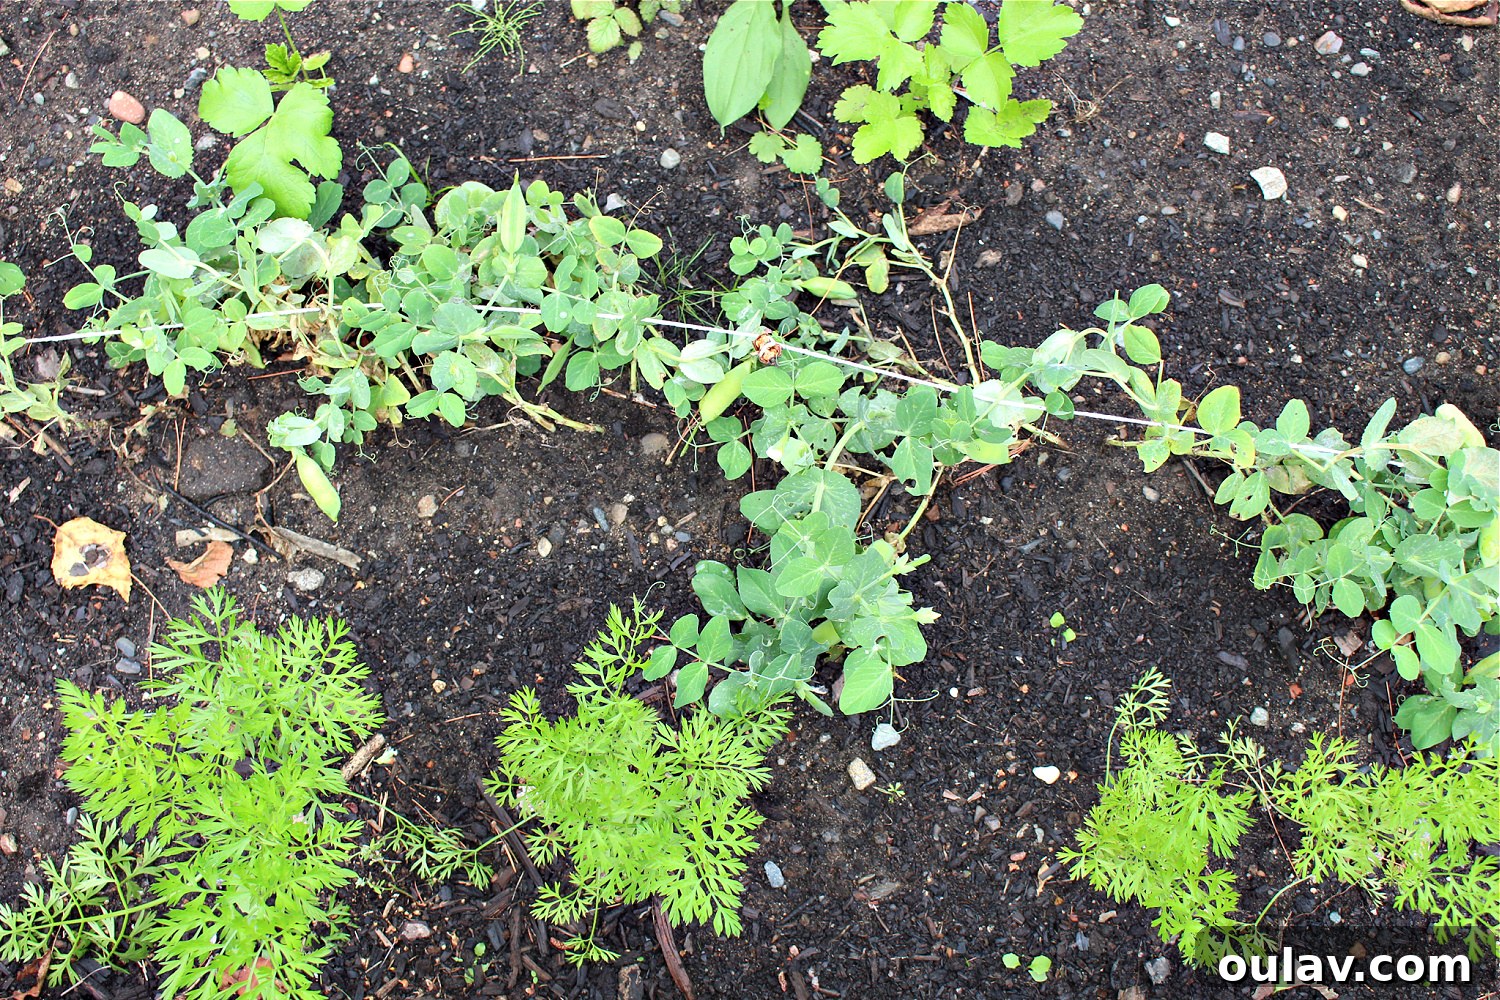
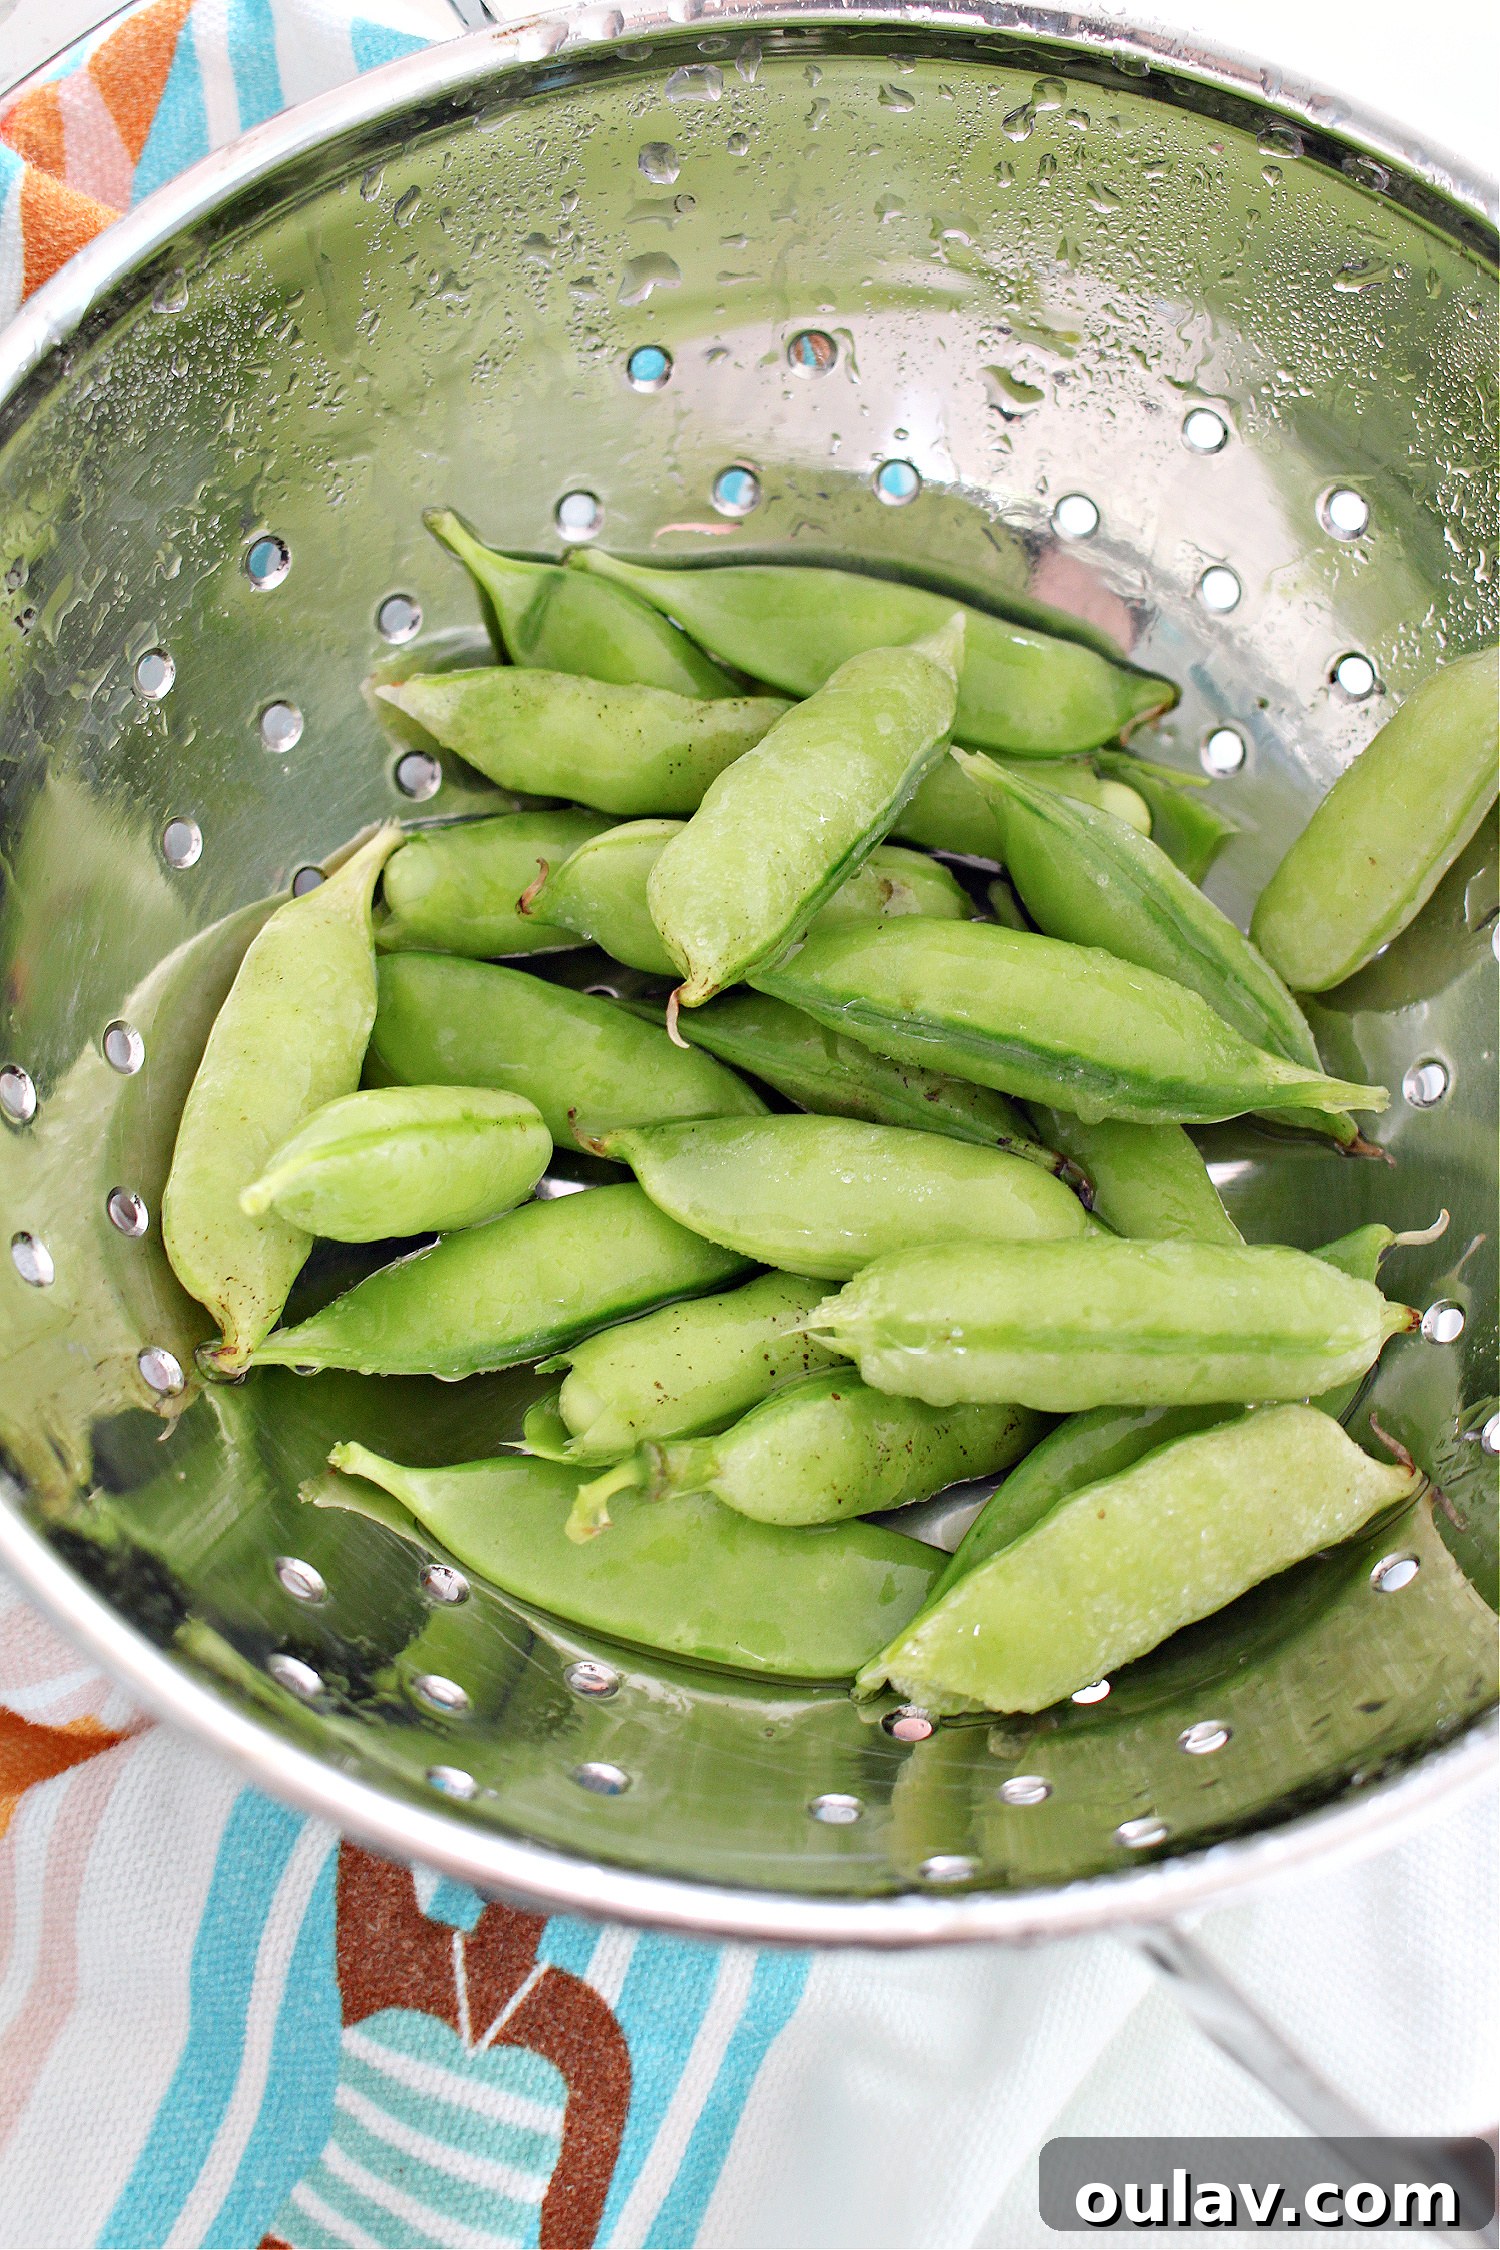
- Peas: (Sorta) Produced a small harvest, but could have been more prolific with better support or earlier planting.
Middle Bed: Varied Results and New Learnings
- Summer Savoury: (Sorta) Grew modestly, enough for some use but not abundant.
- Land Cress: (Sorta) Similar to savoury, it grew but didn’t flourish.
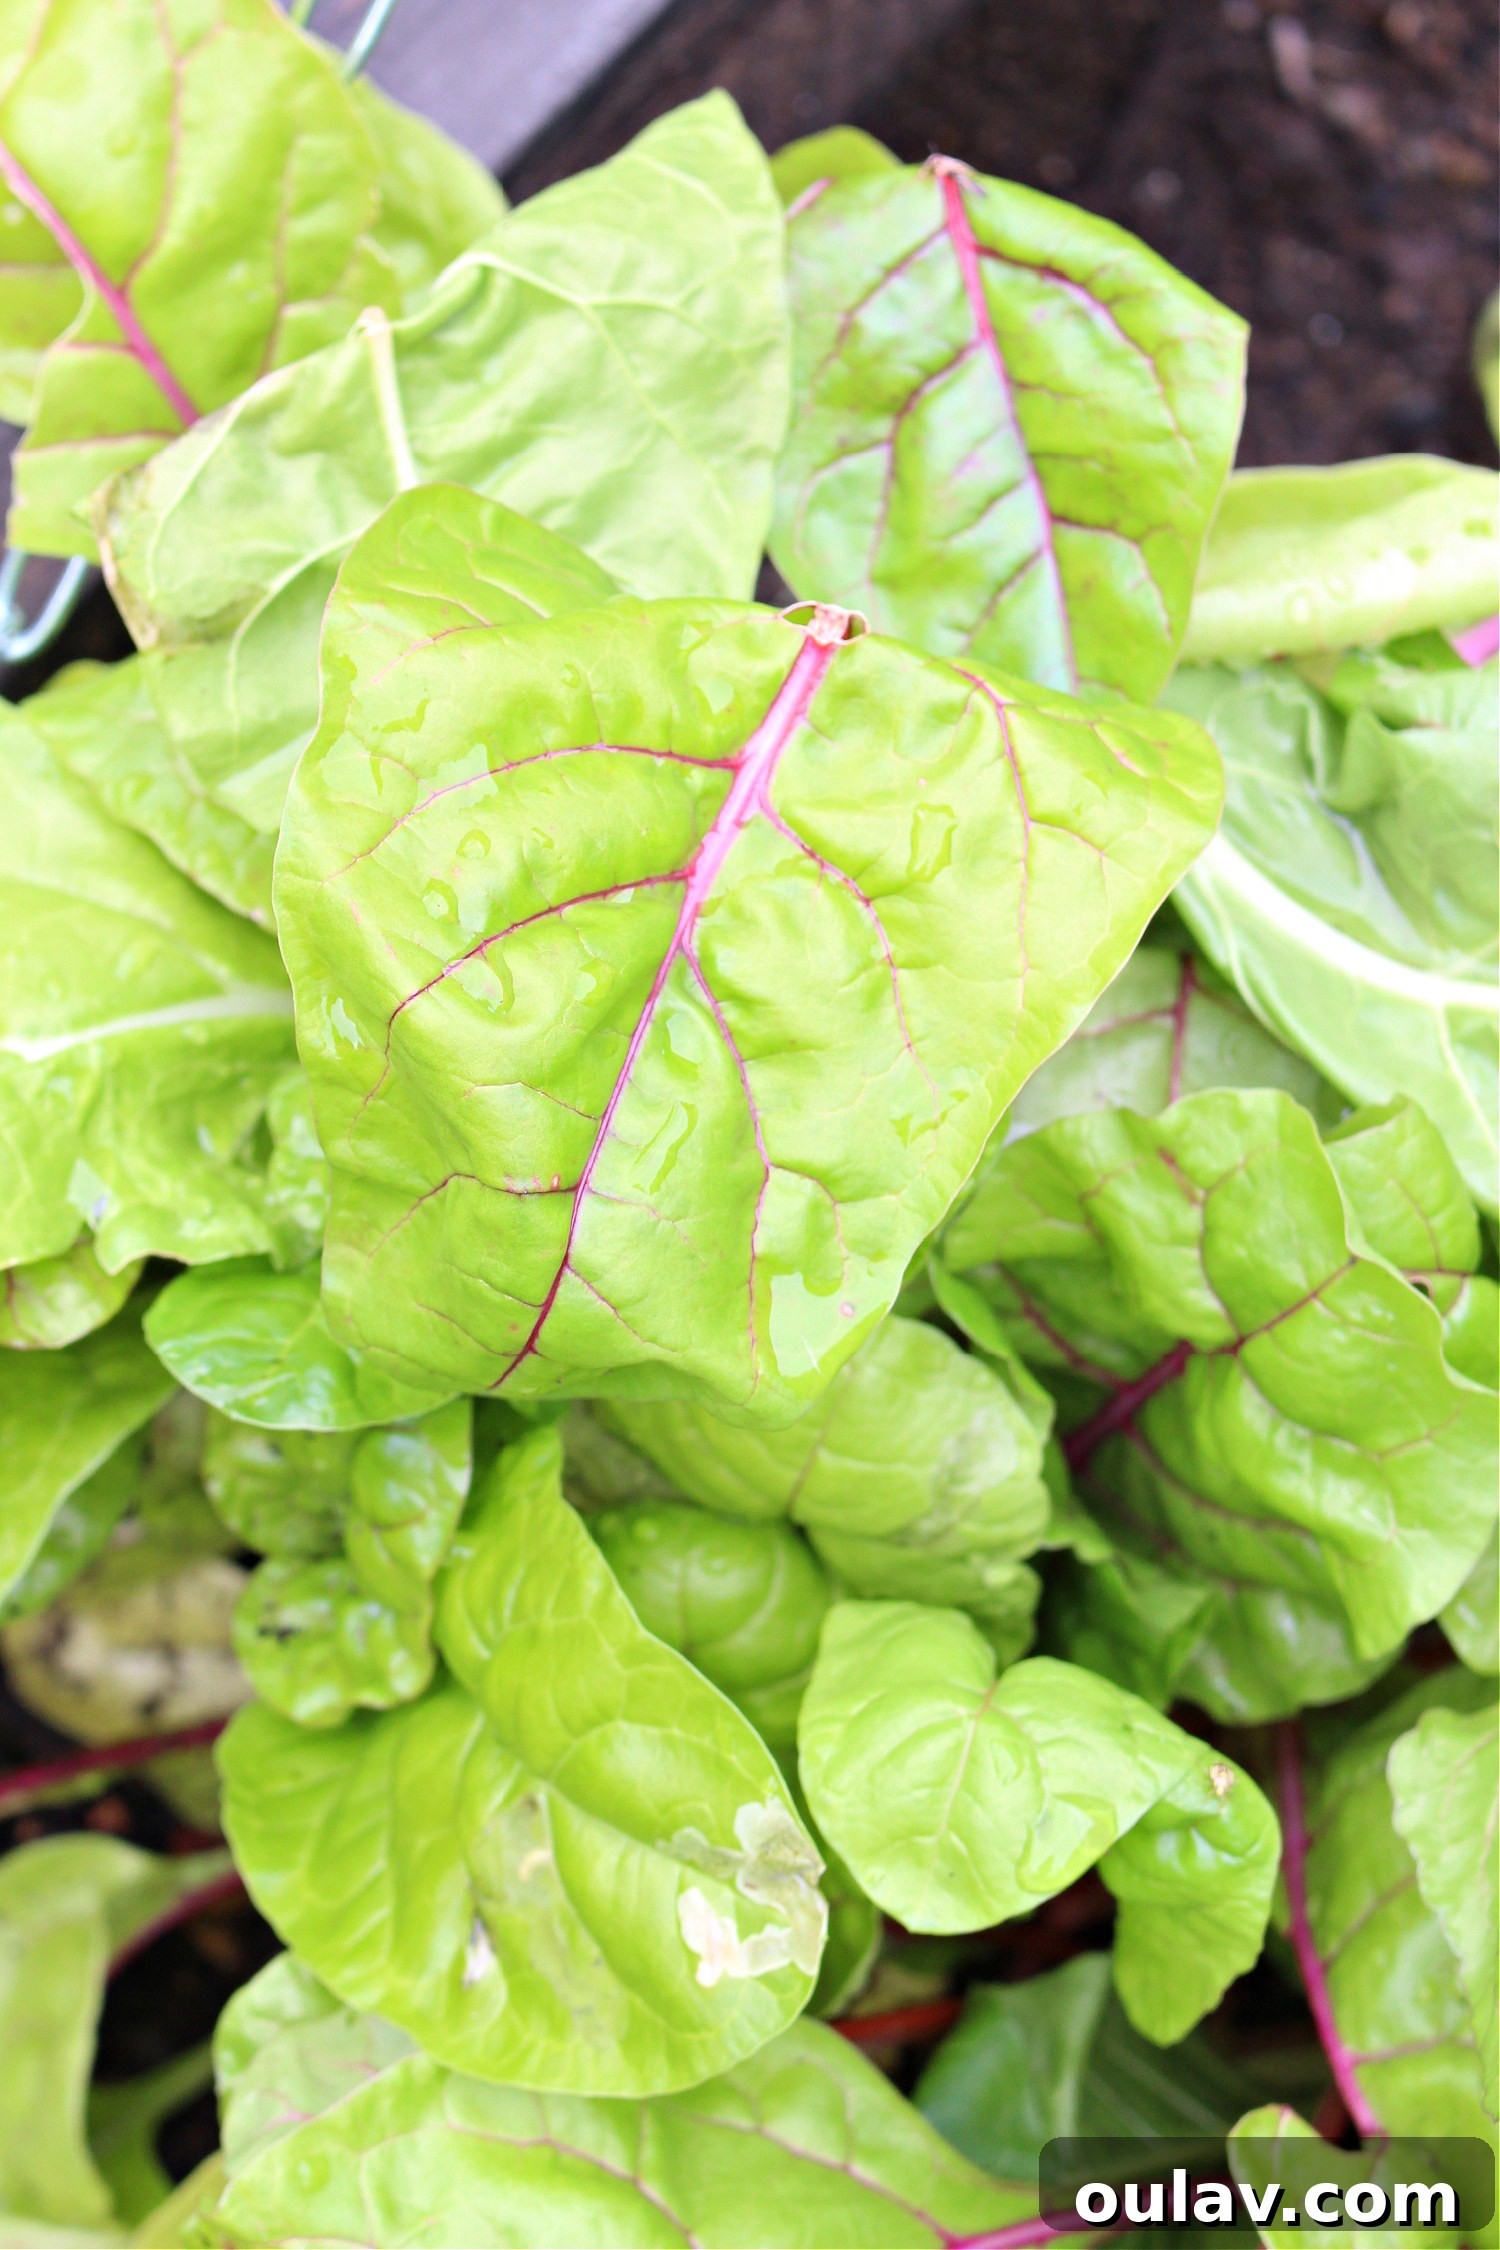
- Rainbow Chard: (Yes) A definite triumph, resilient and prolific, yielding beautiful, vibrant leaves.
- Potato: (No) Completely failed, likely needing more space and different growing conditions than a cold frame provides.
- Strawberry: (No) No success with strawberries, they didn’t establish themselves.
- Winter Thyme: (Sorta) Slow and limited growth, perhaps not ideal for the cold frame’s early heat.
- Ice Bred Arugula: (Sorta) Grew initially, but quickly became a target for pests.
- Arugula: (Sorta) Similar to Ice Bred Arugula, bugs loved it more than I did.
- Bok Choy: (Sorta) Another casualty of pest infestations, despite initial growth.
- Golden Berry: (No) No signs of growth.
Right Hand Bed: Highlights and Misses
- Dill: (Yes) A resounding success, providing an abundance of fresh, aromatic dill.
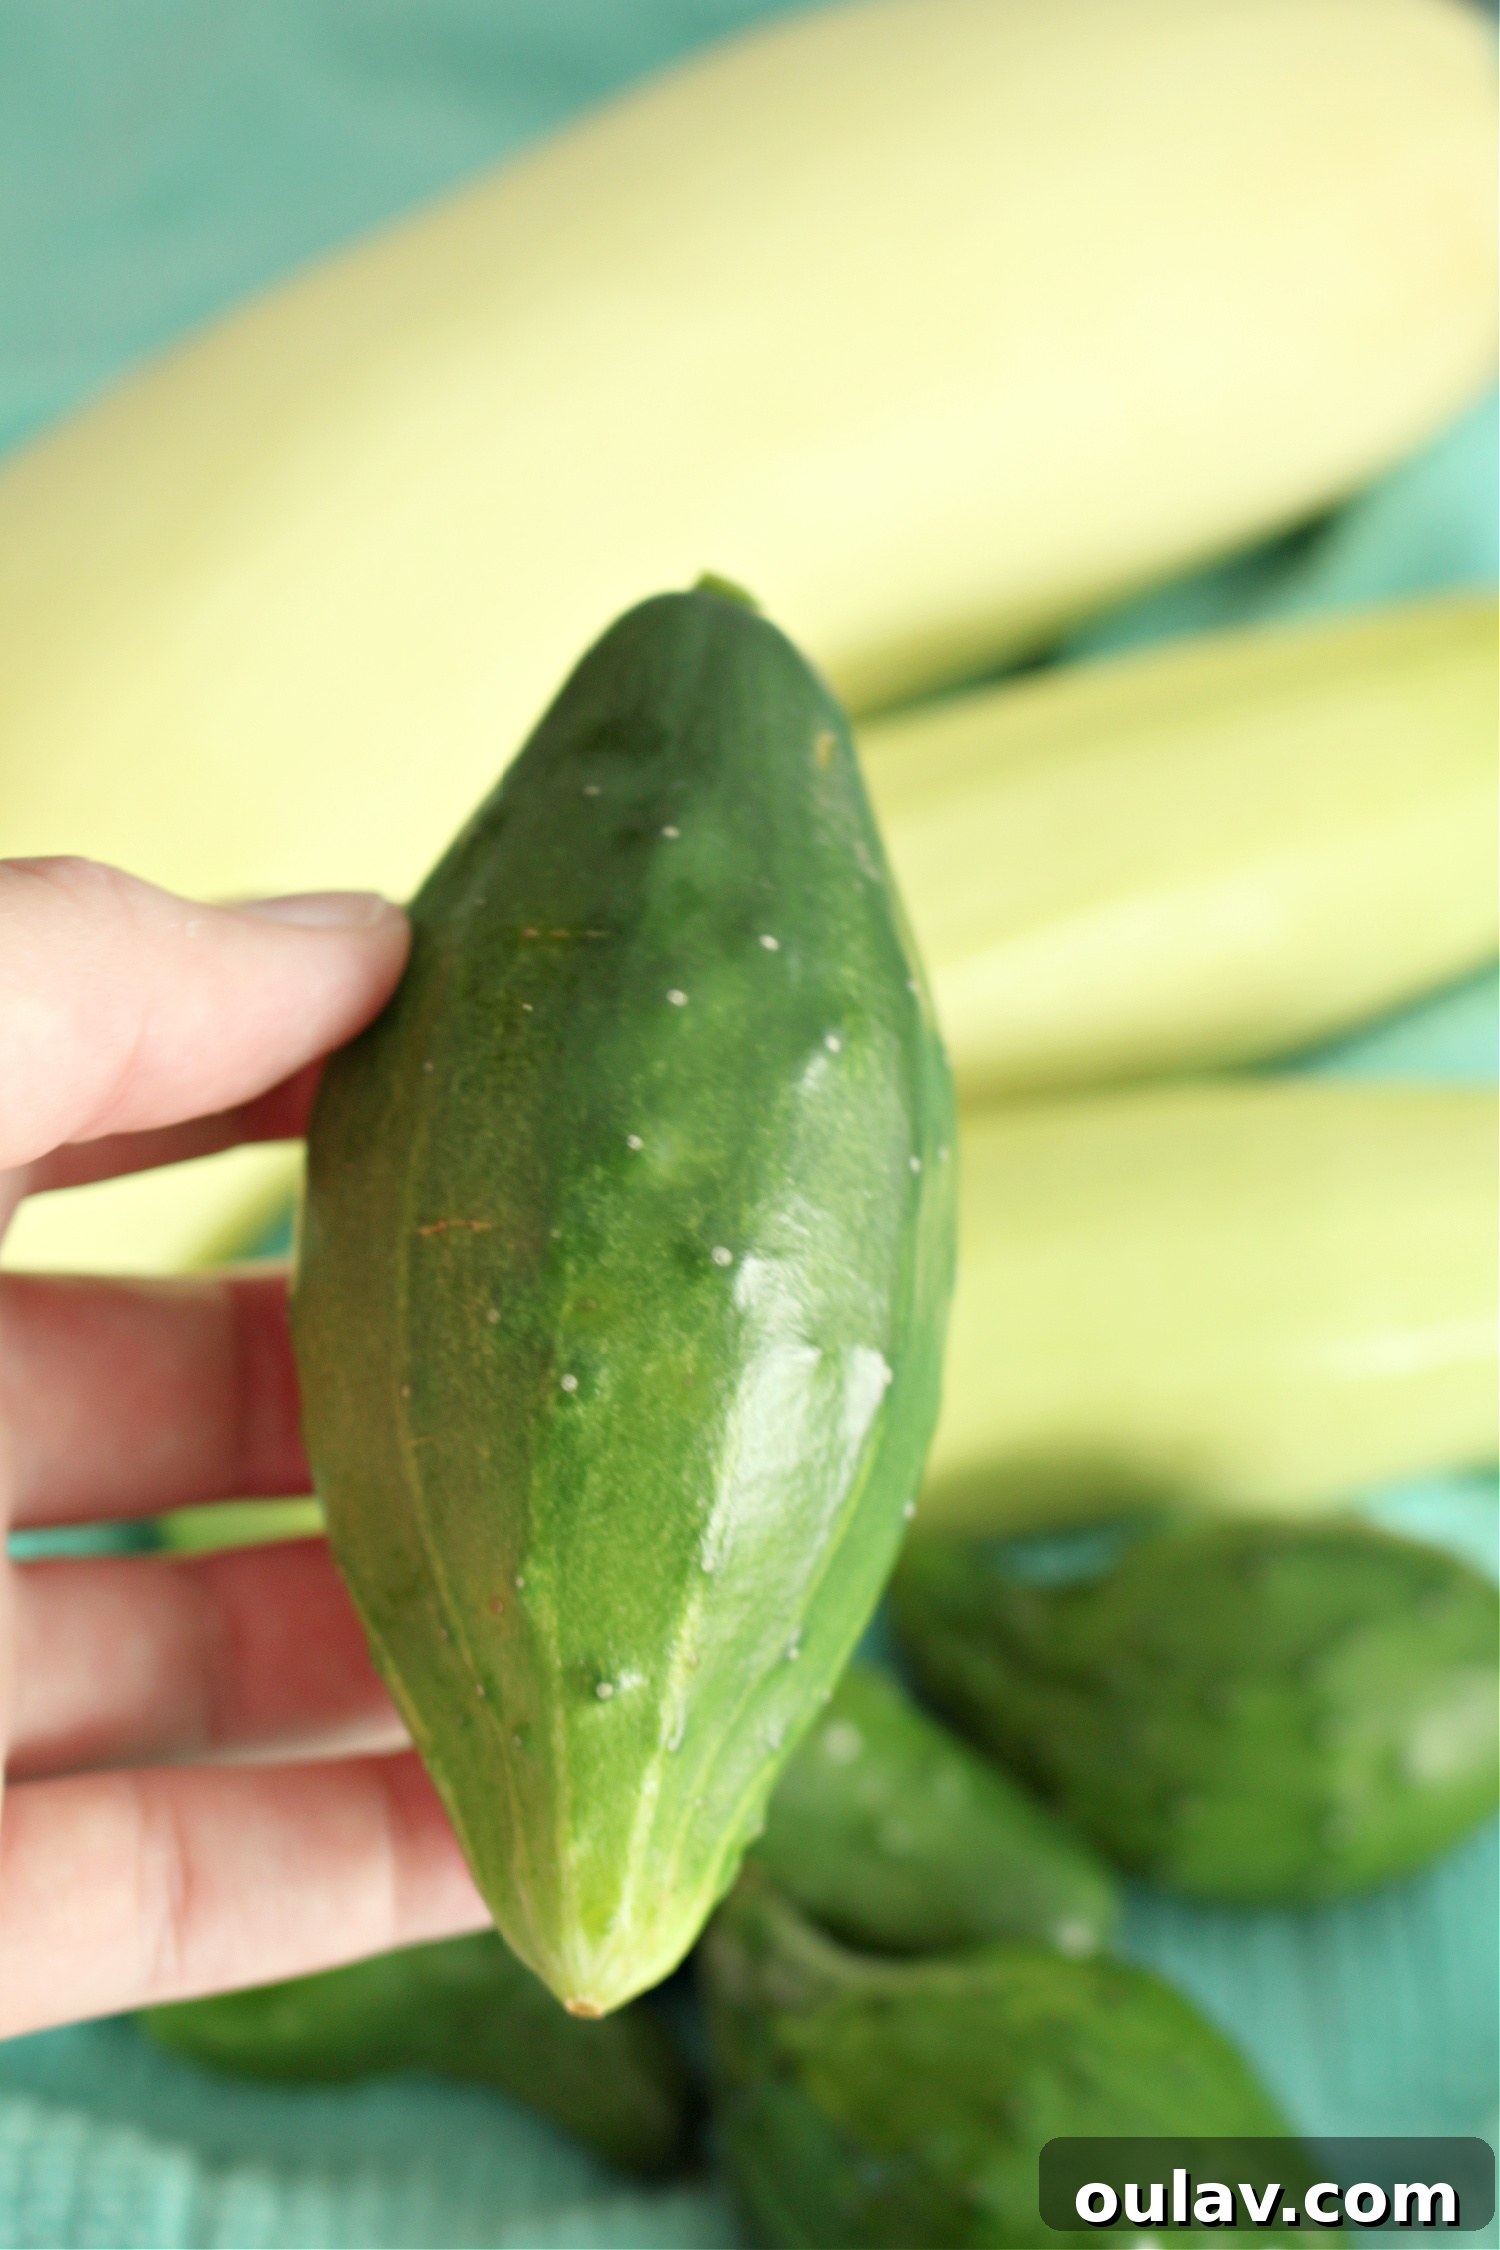
- Space Master Cucumber: (Yes) Produced well, though some fruits were stunted.
- Palestinian Kusa Summer Squash: (Yes) Surprisingly prolific and delicious, even when hidden by foliage.
- Beets: (No) Did not grow at all, suggesting specific soil or temperature requirements were not met.
- Dry Bean Black Turtle Beans: (Yes) Highly successful, yielding a substantial harvest.
- Mint: (Sorta) Grew, but its spread was limited, possibly due to seed disruption.
- Red Cabbage: (No) No growth to report.
- Napolento Basil: (Sorta) Grew slowly and in small clumps, likely needing more consistent warmth.
- Bush Bean Black Valentine: (Yes) Excellent performance, producing a hearty crop.
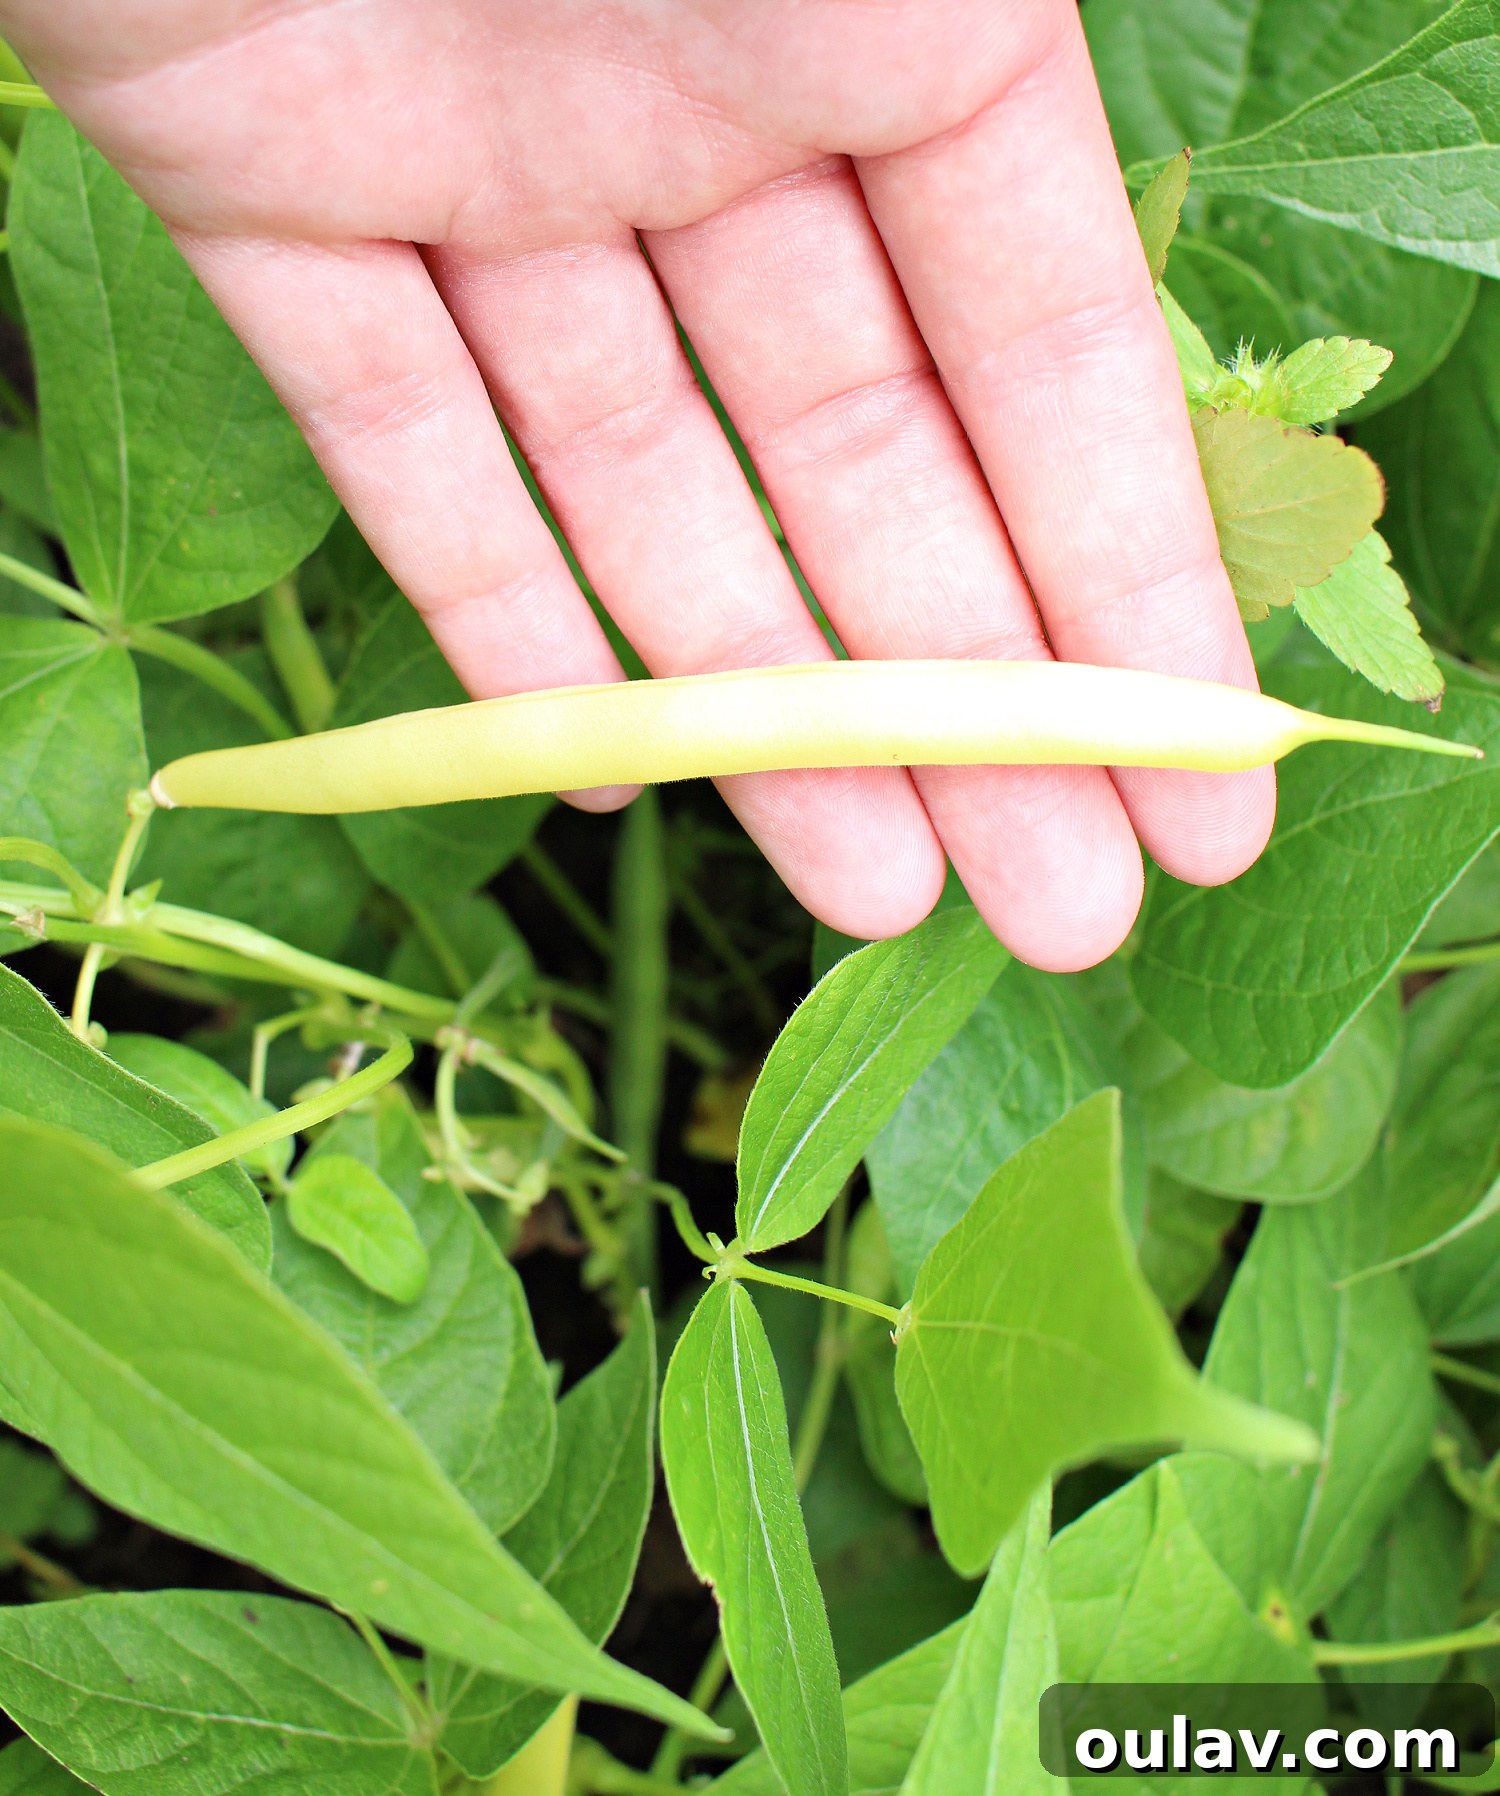
- Bush Bean Gold Rush: (Yes) Another star performer, yielding many tasty yellow beans.
Cultivating Success: What Thrived in My Cold Frame Garden Beds
As evident from the detailed list, my first year was a significant learning curve, marked by considerable failures. However, understanding what truly flourished is key to refining my approach. I was particularly successful with the following:
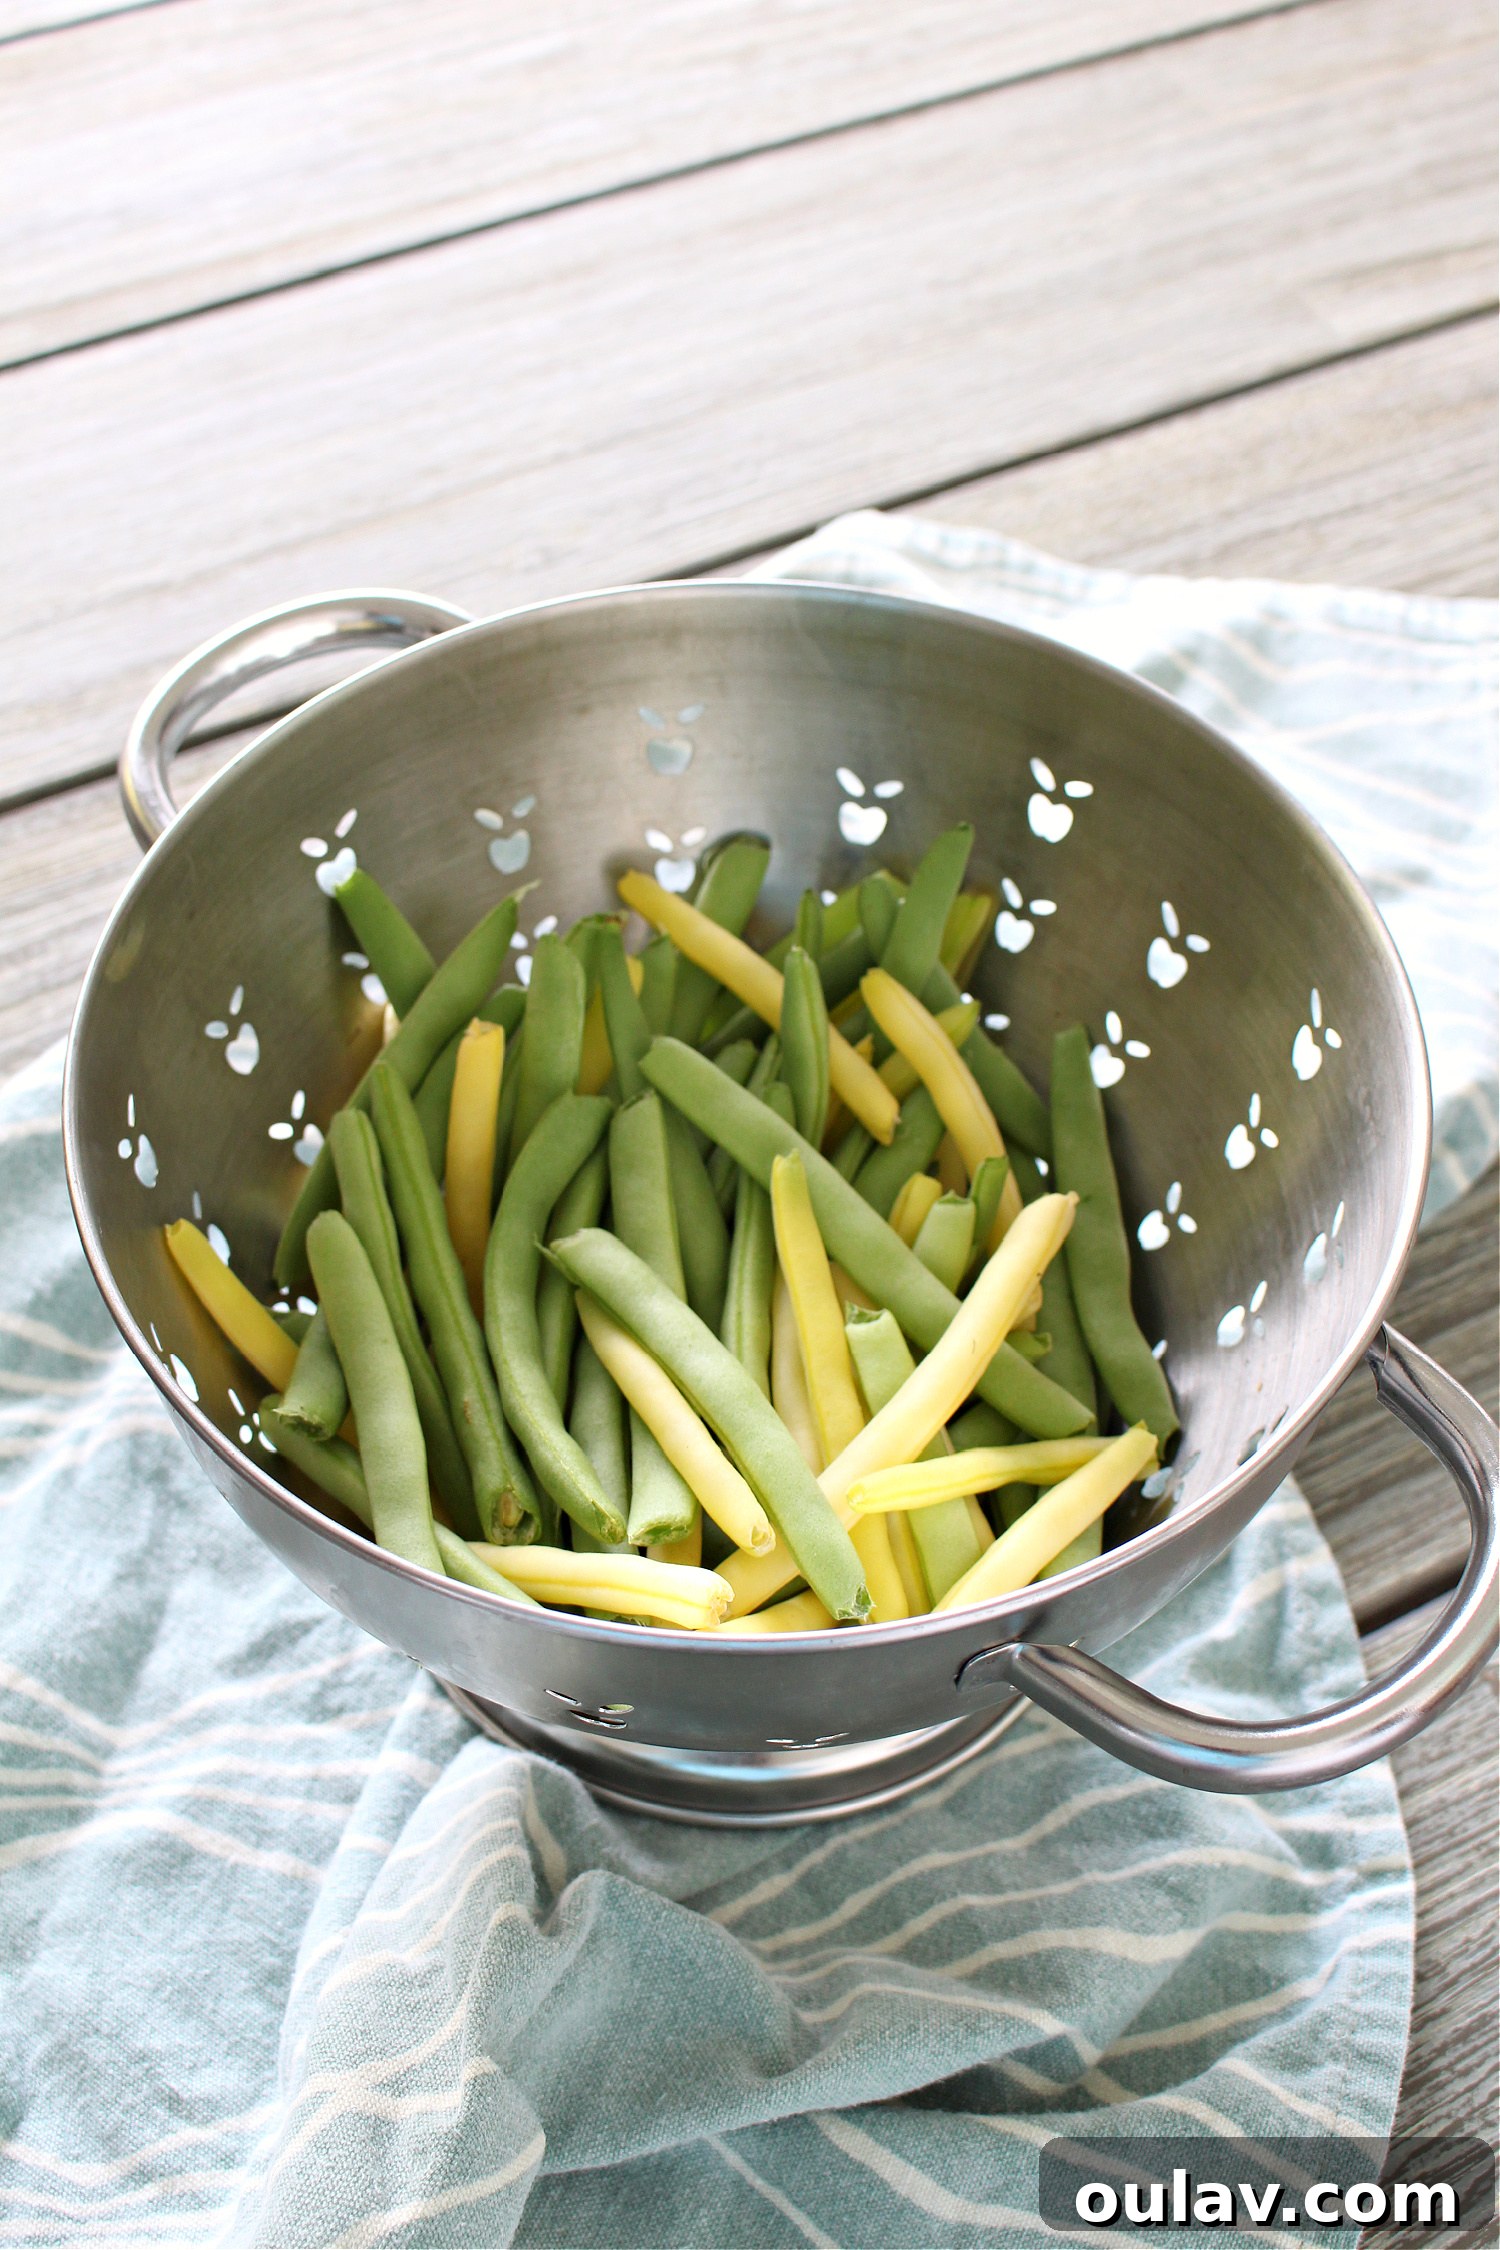
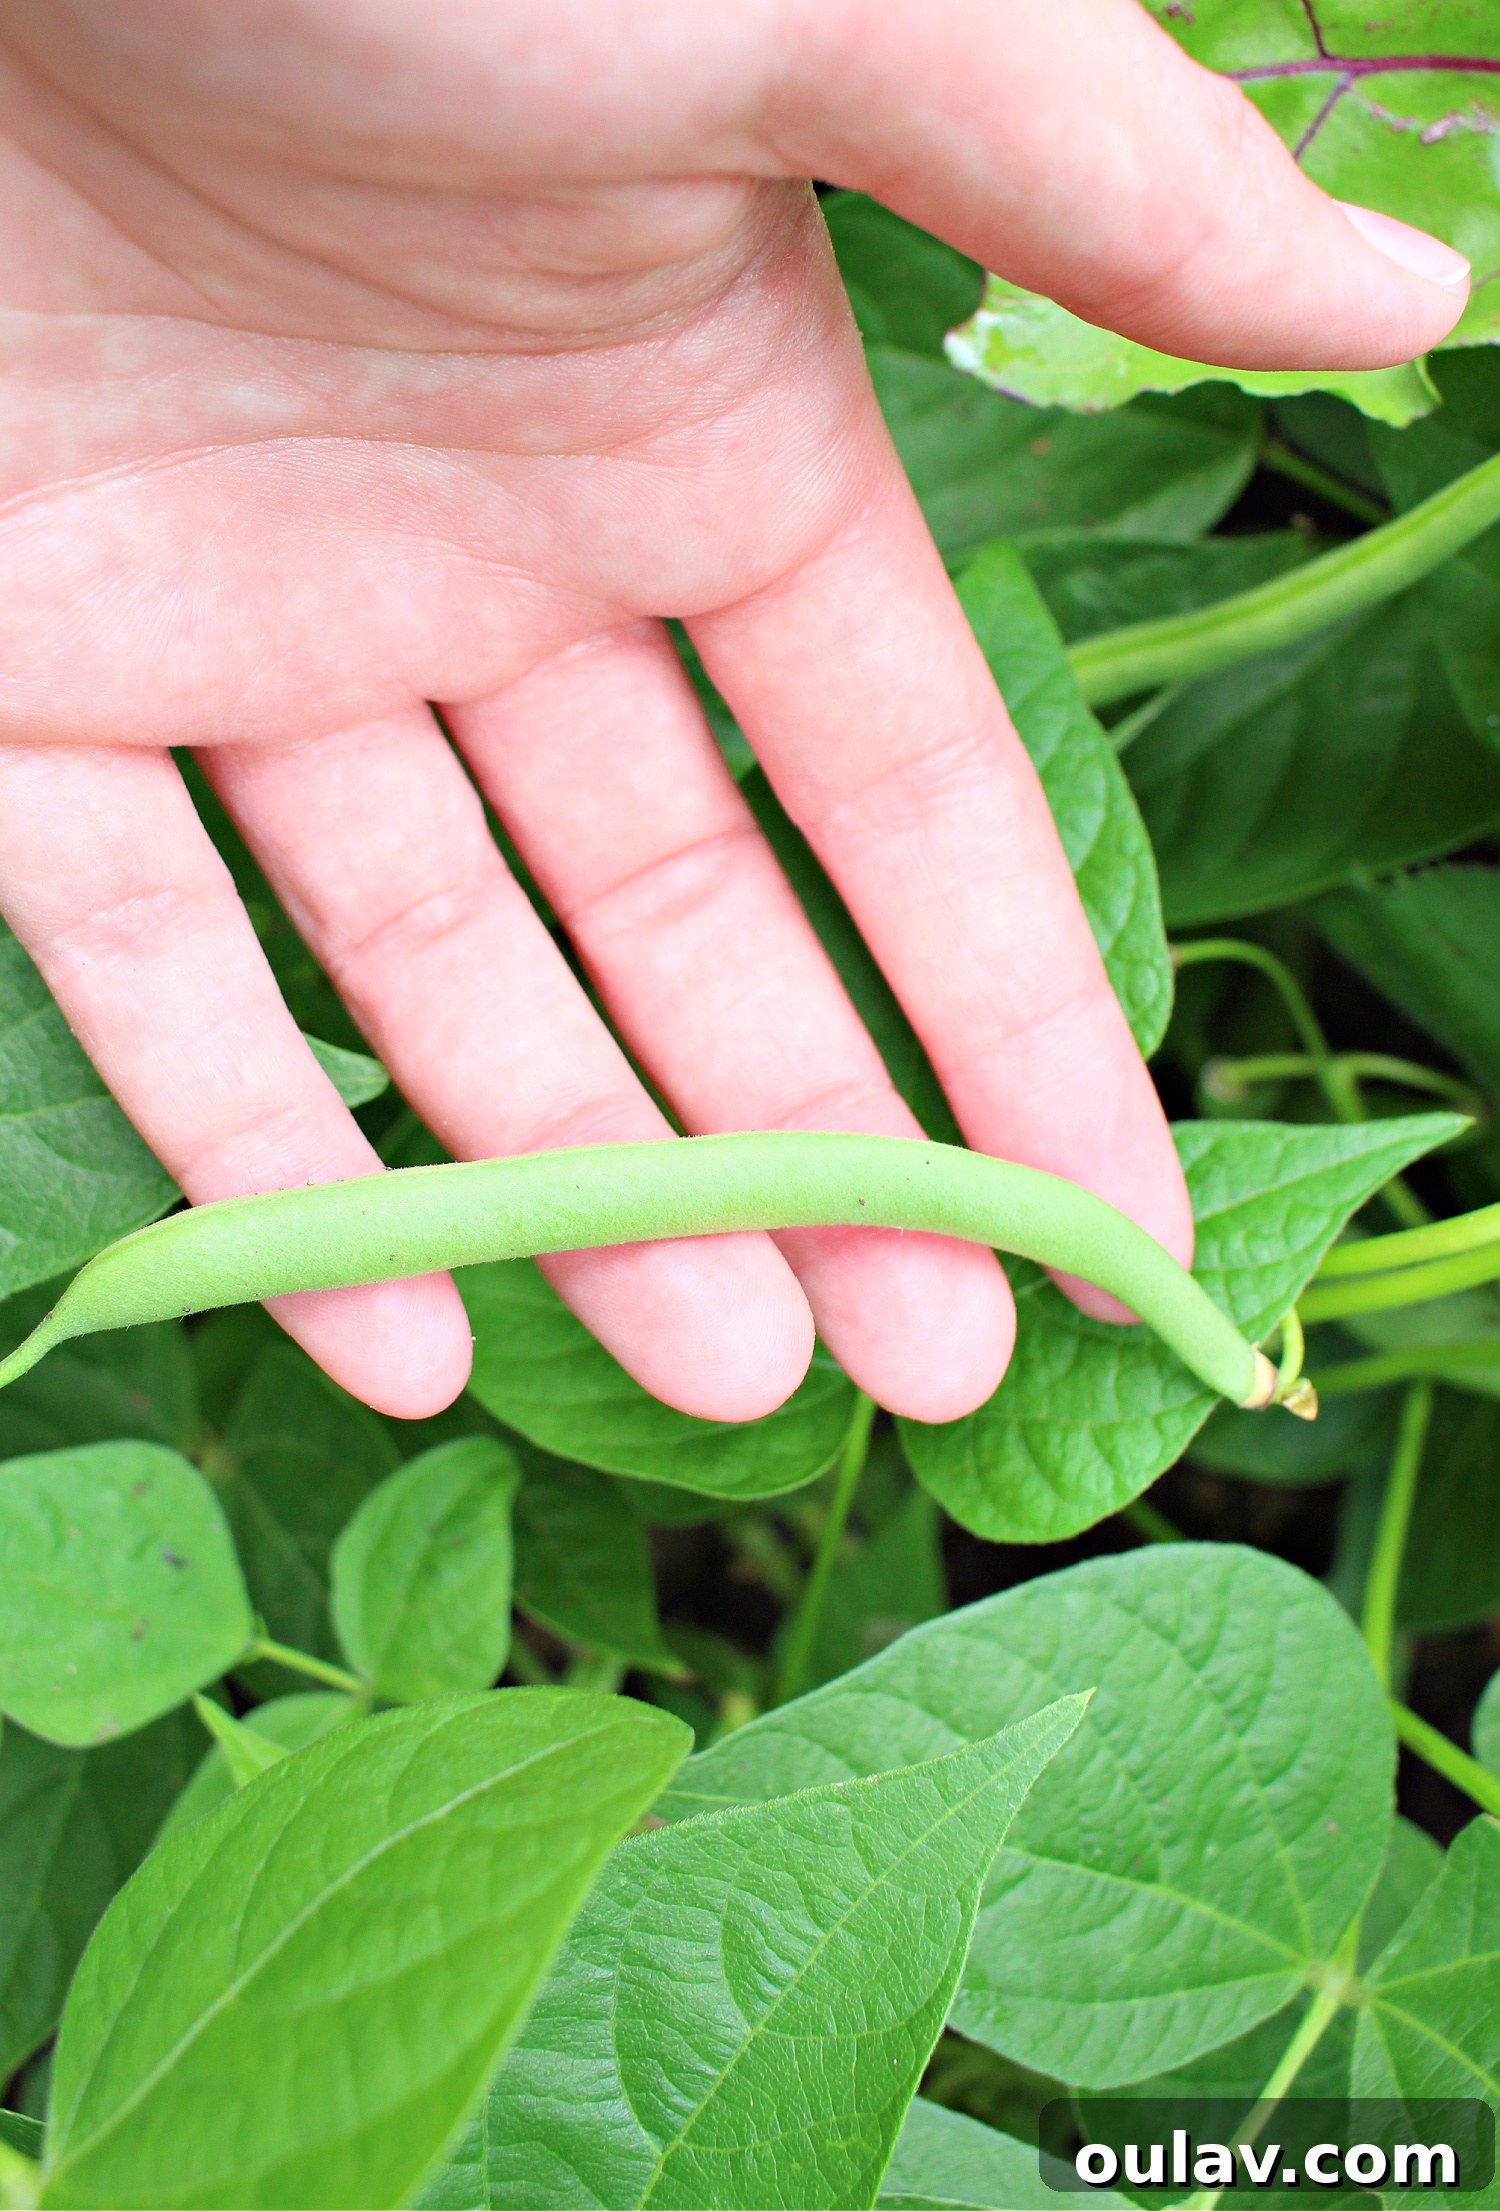
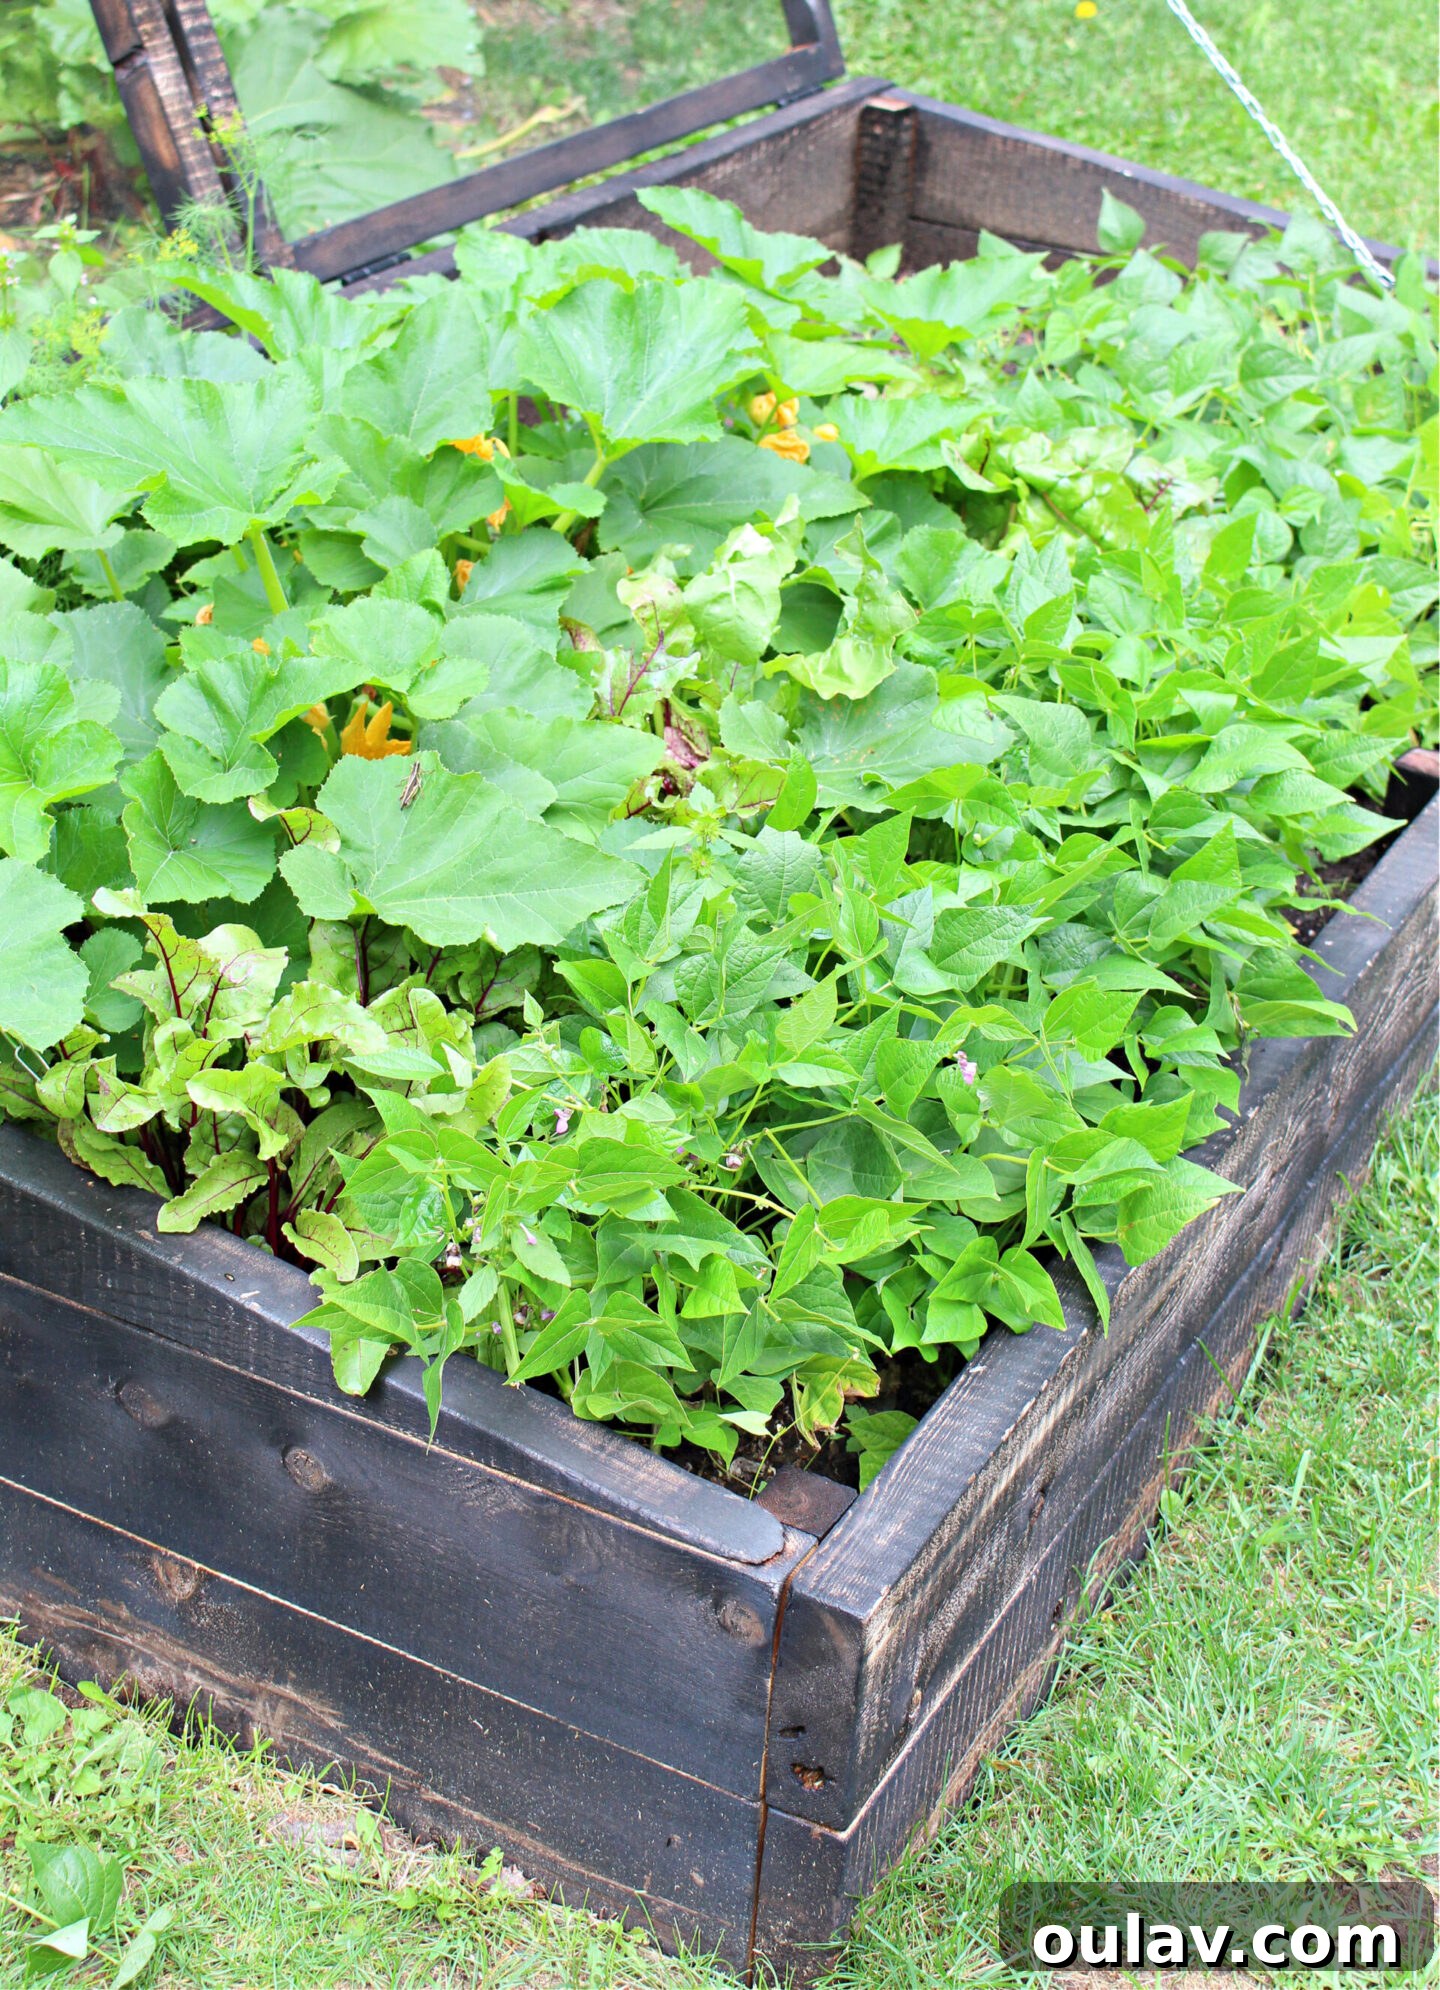
- Beans (all varieties): These were the undeniable superstars! All types of beans – Black Turtle, Black Valentine, and Gold Rush – grew exceptionally well, producing abundant harvests. They required minimal space and effort, making them incredibly rewarding.
- Squash (Palestinian Kusa Summer Squash): This variety of squash was a pleasant surprise. Despite its tendency to hide among the leaves and grow quite large, the yield was delicious and plentiful. I will certainly be growing this again.
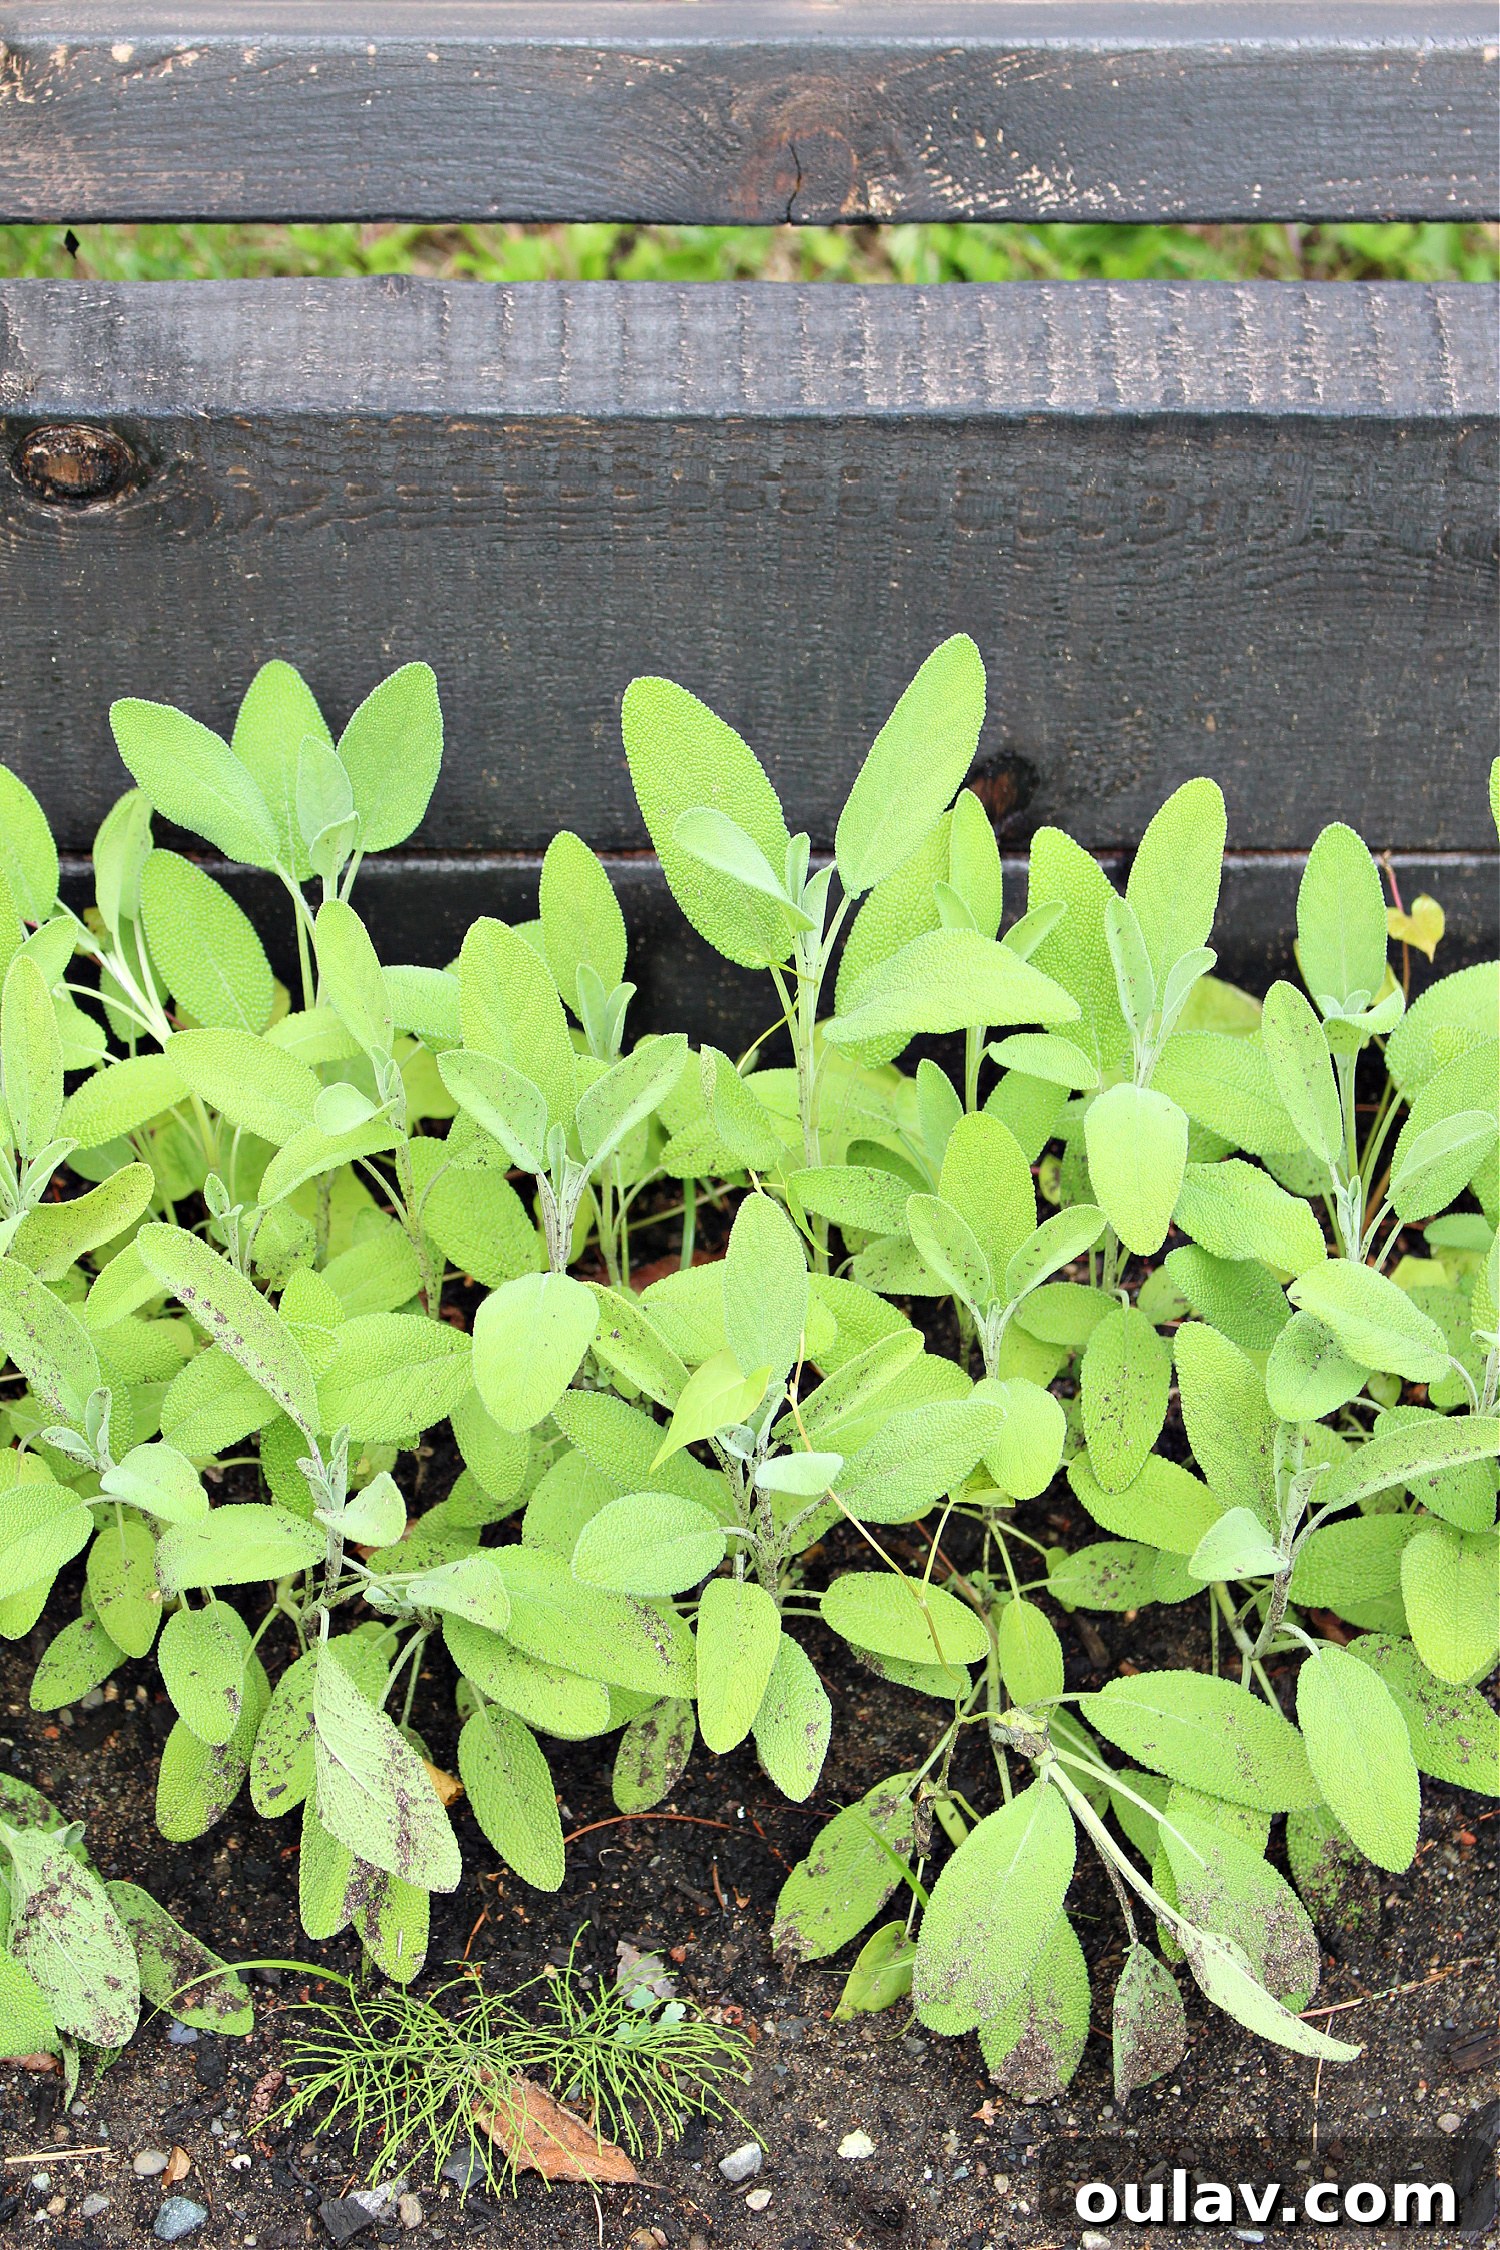
- Sage: A resilient and flavorful herb, sage thrived in the cold frame, providing fresh leaves for cooking throughout the season.
- Dill: Another herb that performed wonderfully, offering a continuous supply of its delicate, aromatic fronds.
- Rainbow Chard: This leafy green was a standout. Not only did it grow vigorously, but it also proved to be highly resistant to pests, which was a huge advantage when other greens were being decimated.
- Lettuces (Drunken Woman Lettuce) and Arugula: While these greens technically grew well, they unfortunately became prime targets for various insects. The taste, however, was exceptional when I managed to harvest them before the bugs did.
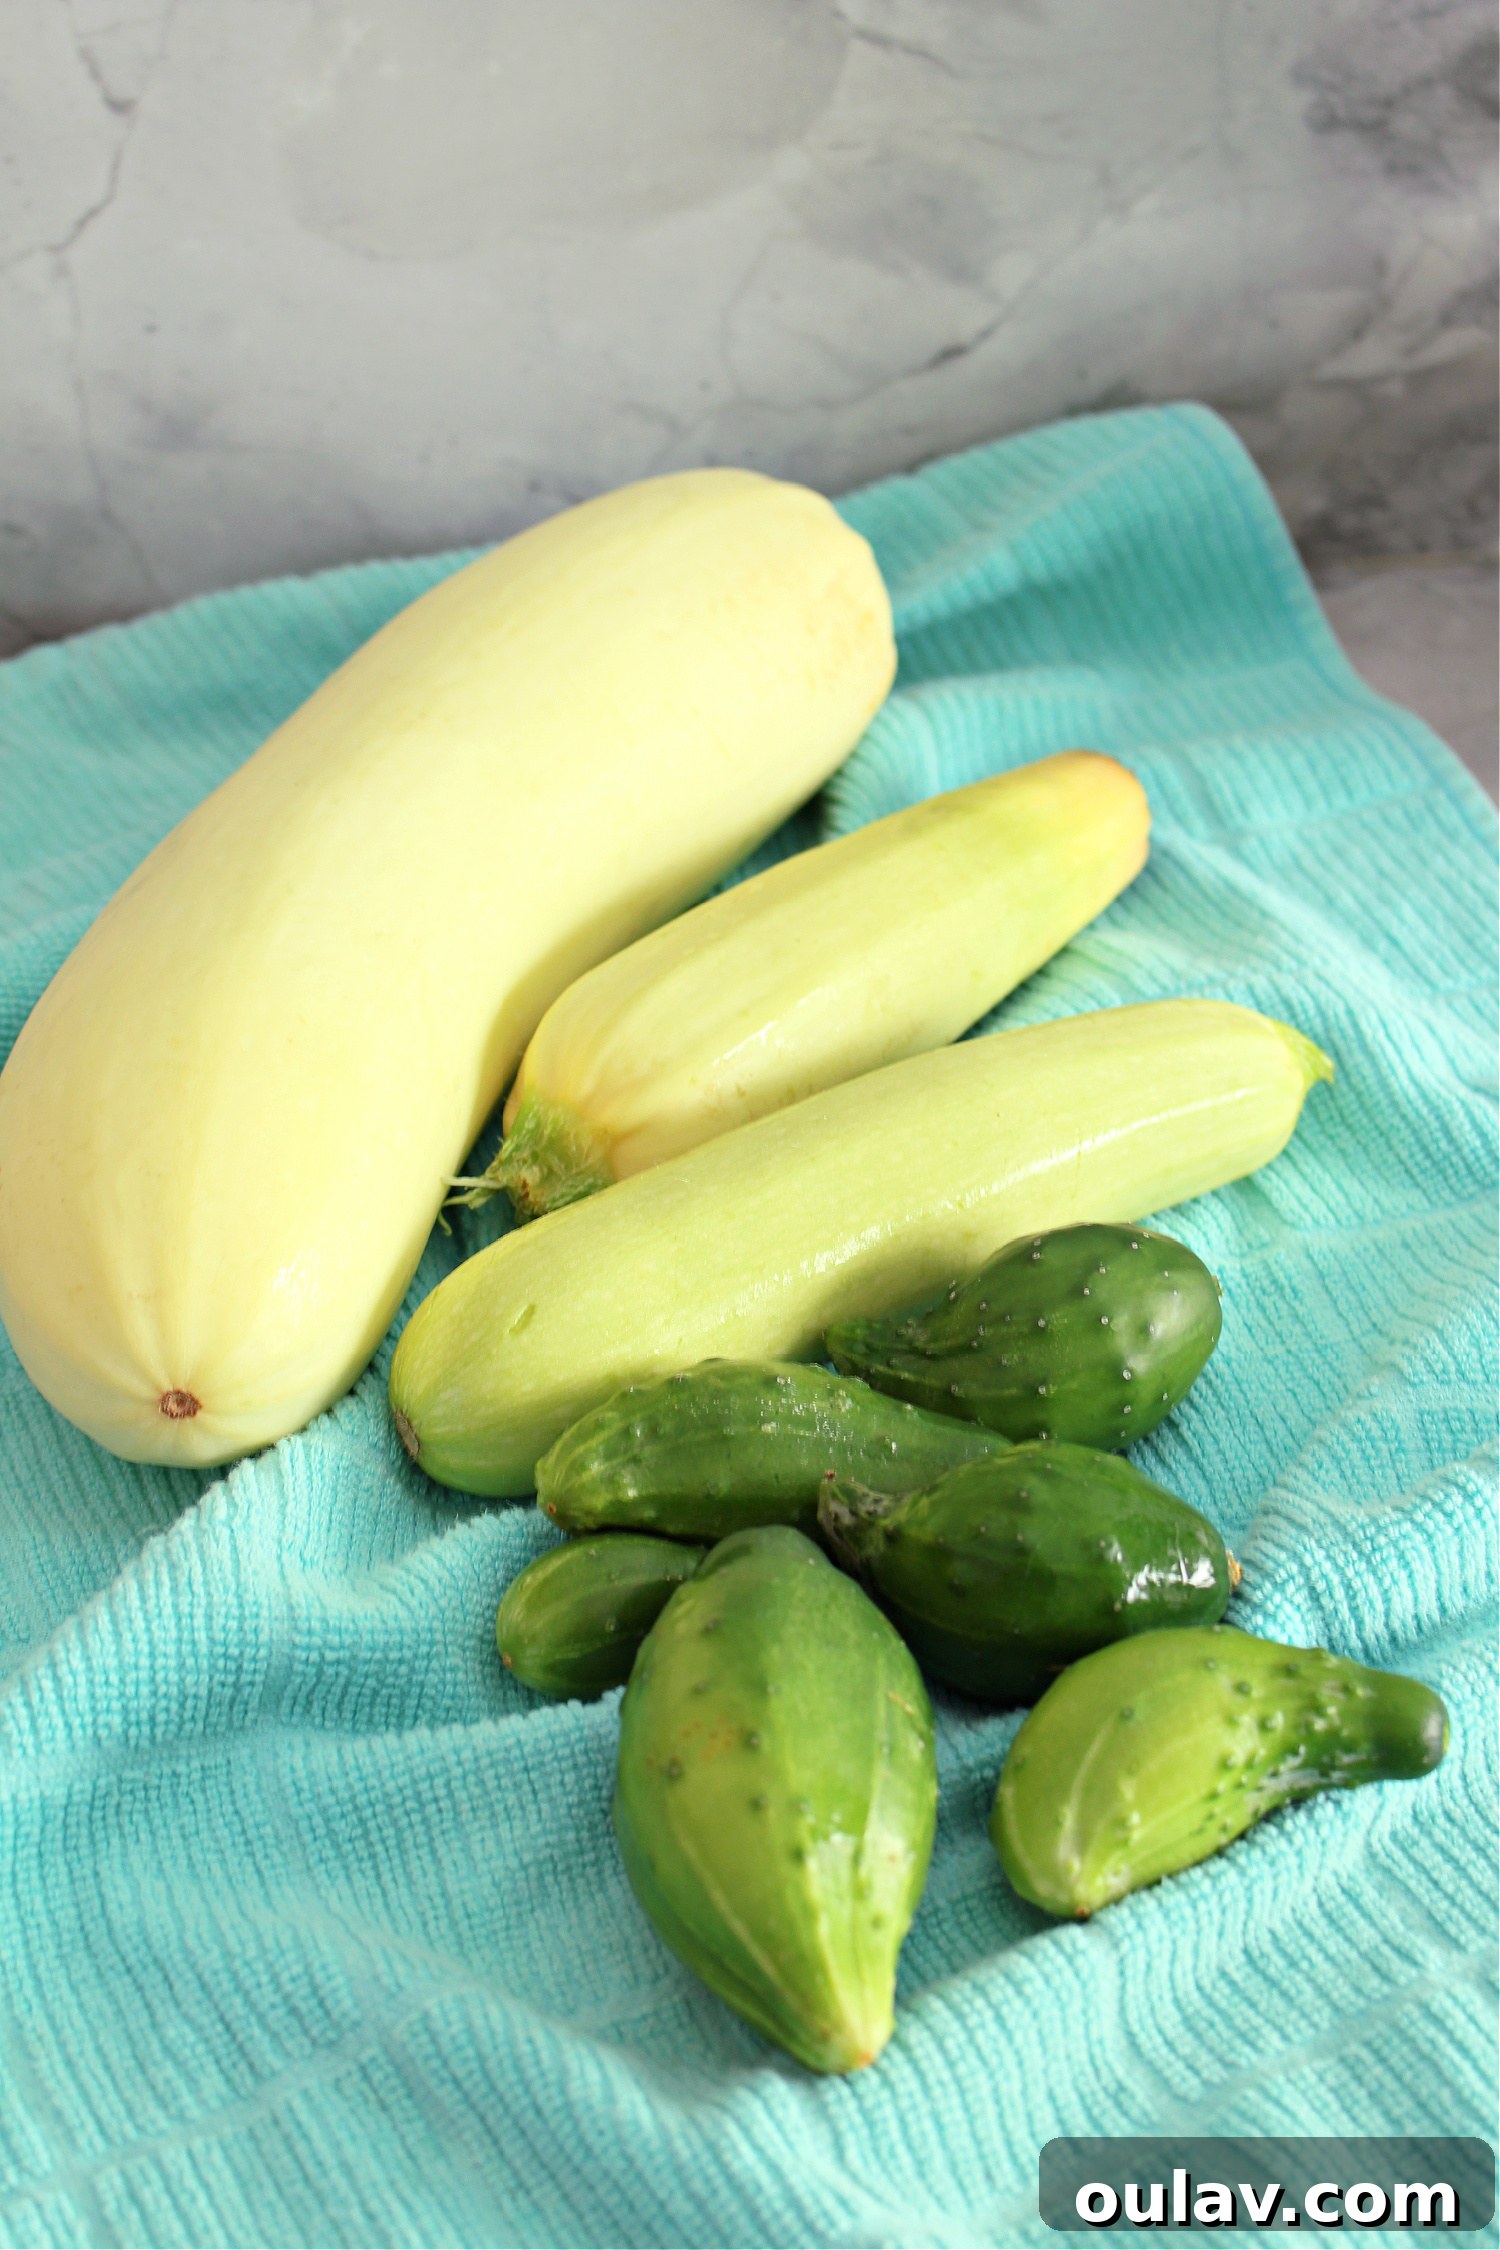
The Palestinian Kusa Summer Squash was particularly intriguing. It had a habit of camouflaging itself within the dense foliage, only to reveal giant, perfectly ripe fruits upon closer inspection. Its delicious flavor and resilience make it a top contender for this year’s planting list.
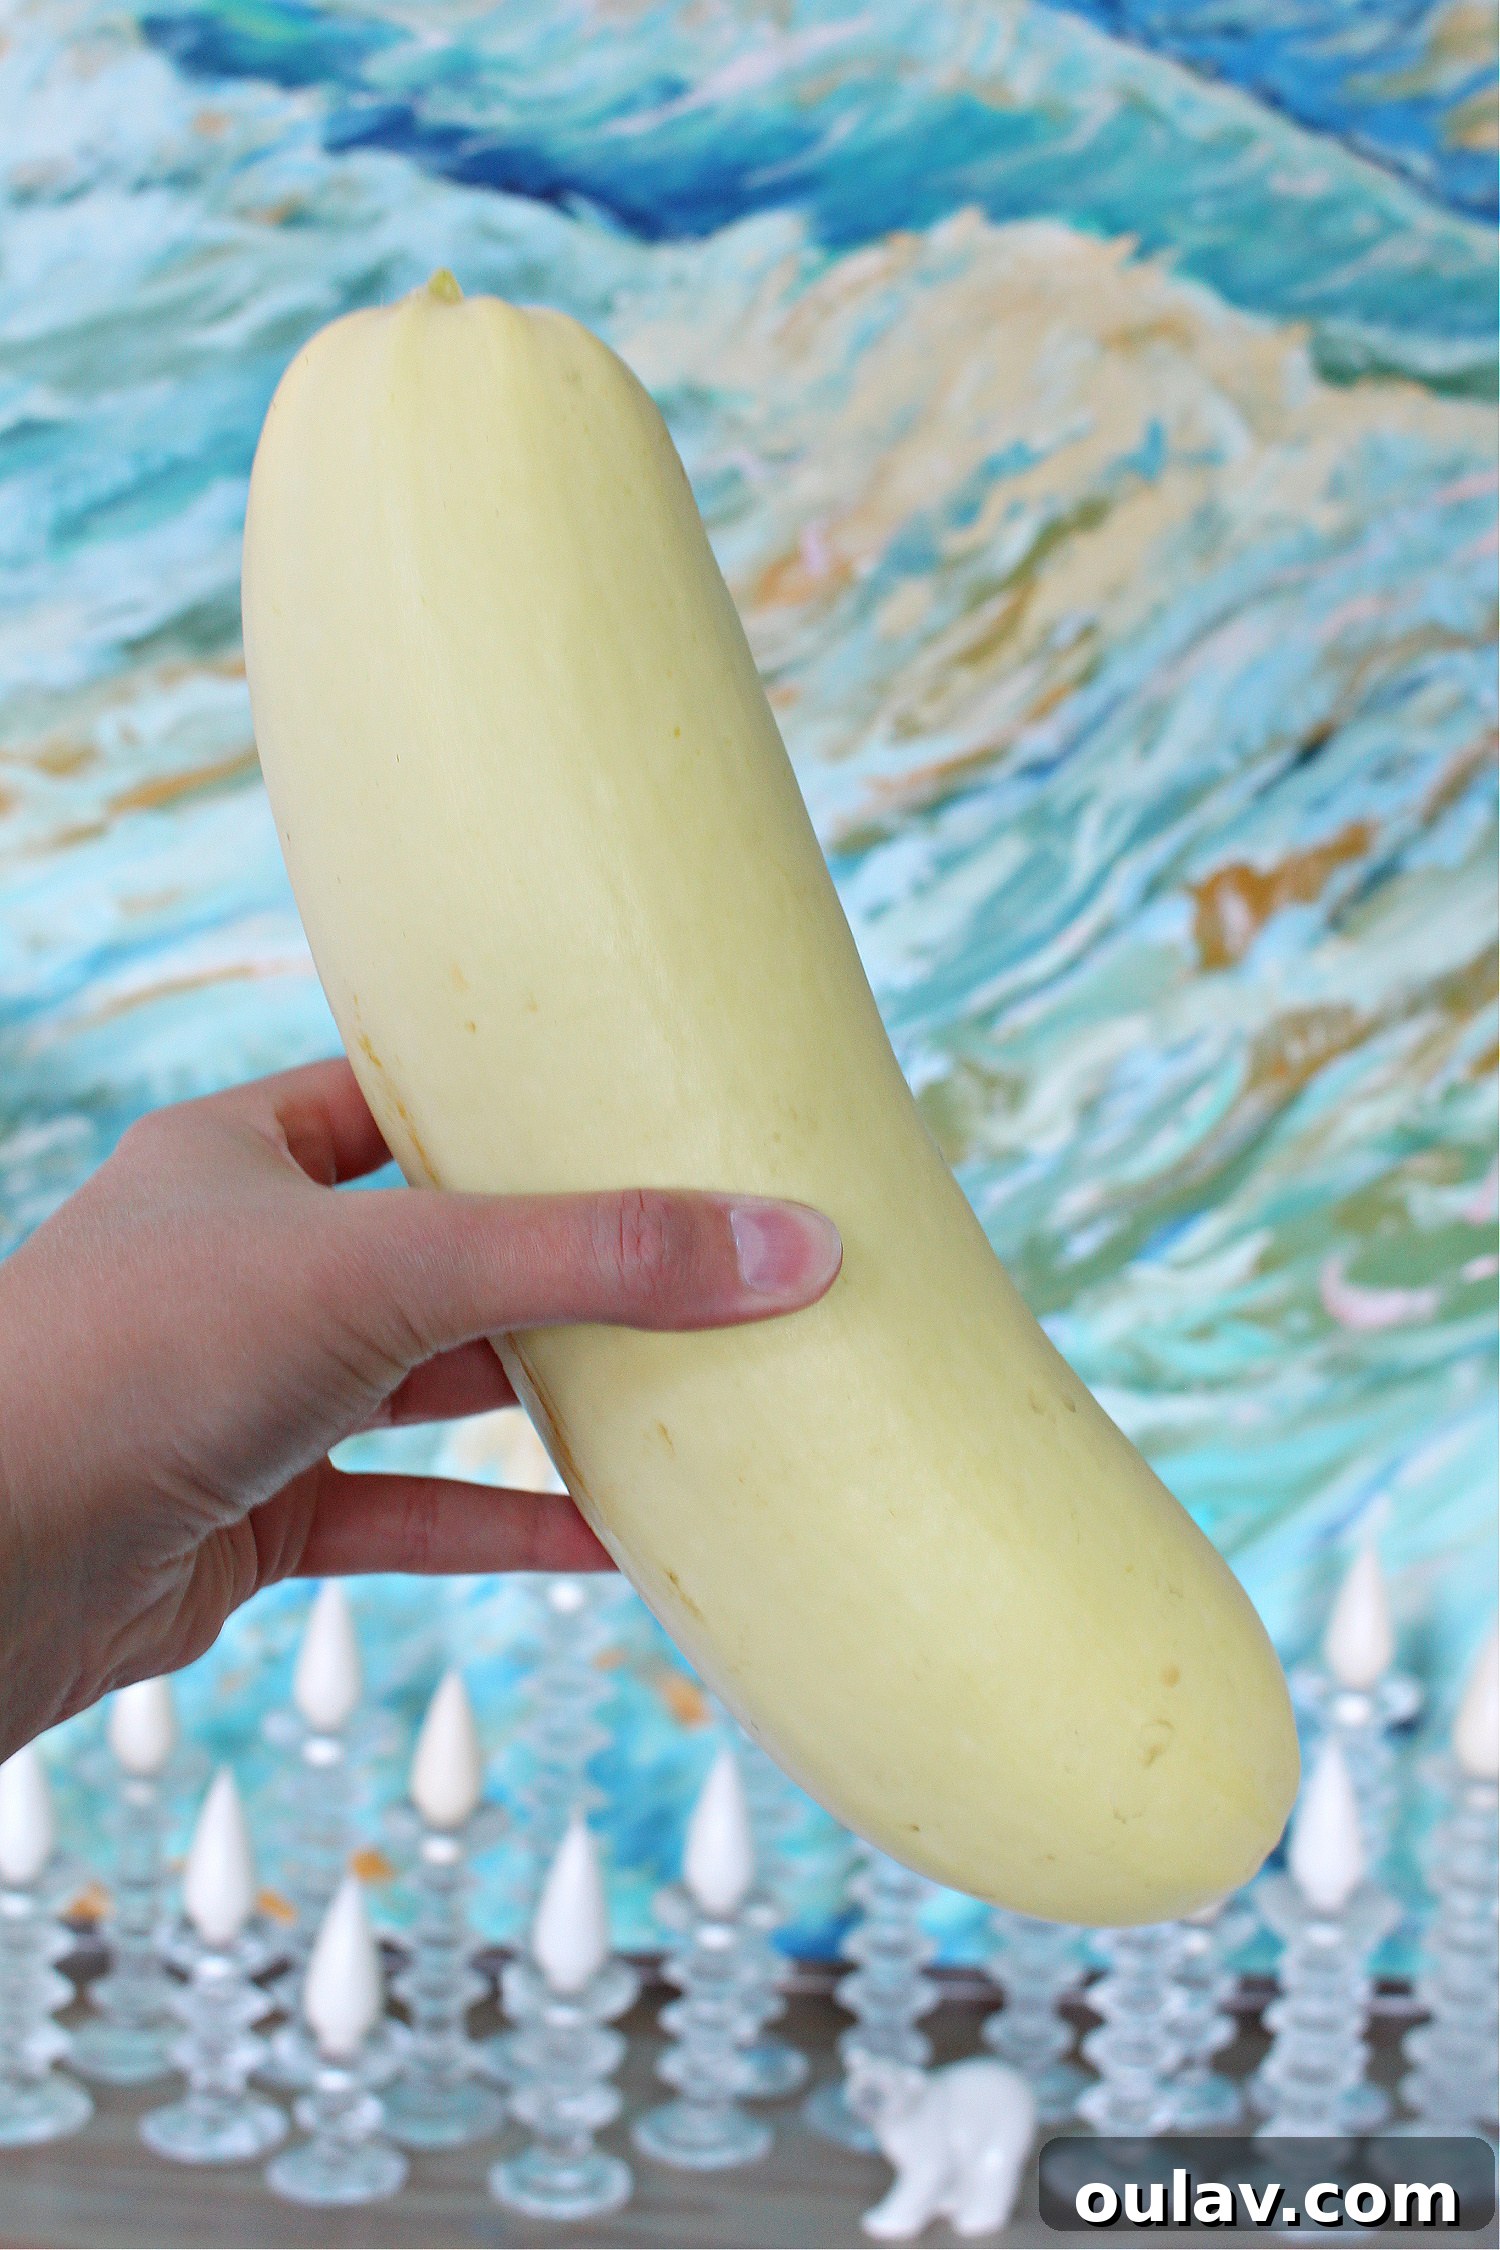
Rainbow Chard quickly became my favorite leafy green for the cold frame. While other greens like arugula and bok choy faced constant battles with pests, the chard remained largely untouched, consistently providing healthy, vibrant leaves for salads and cooking.
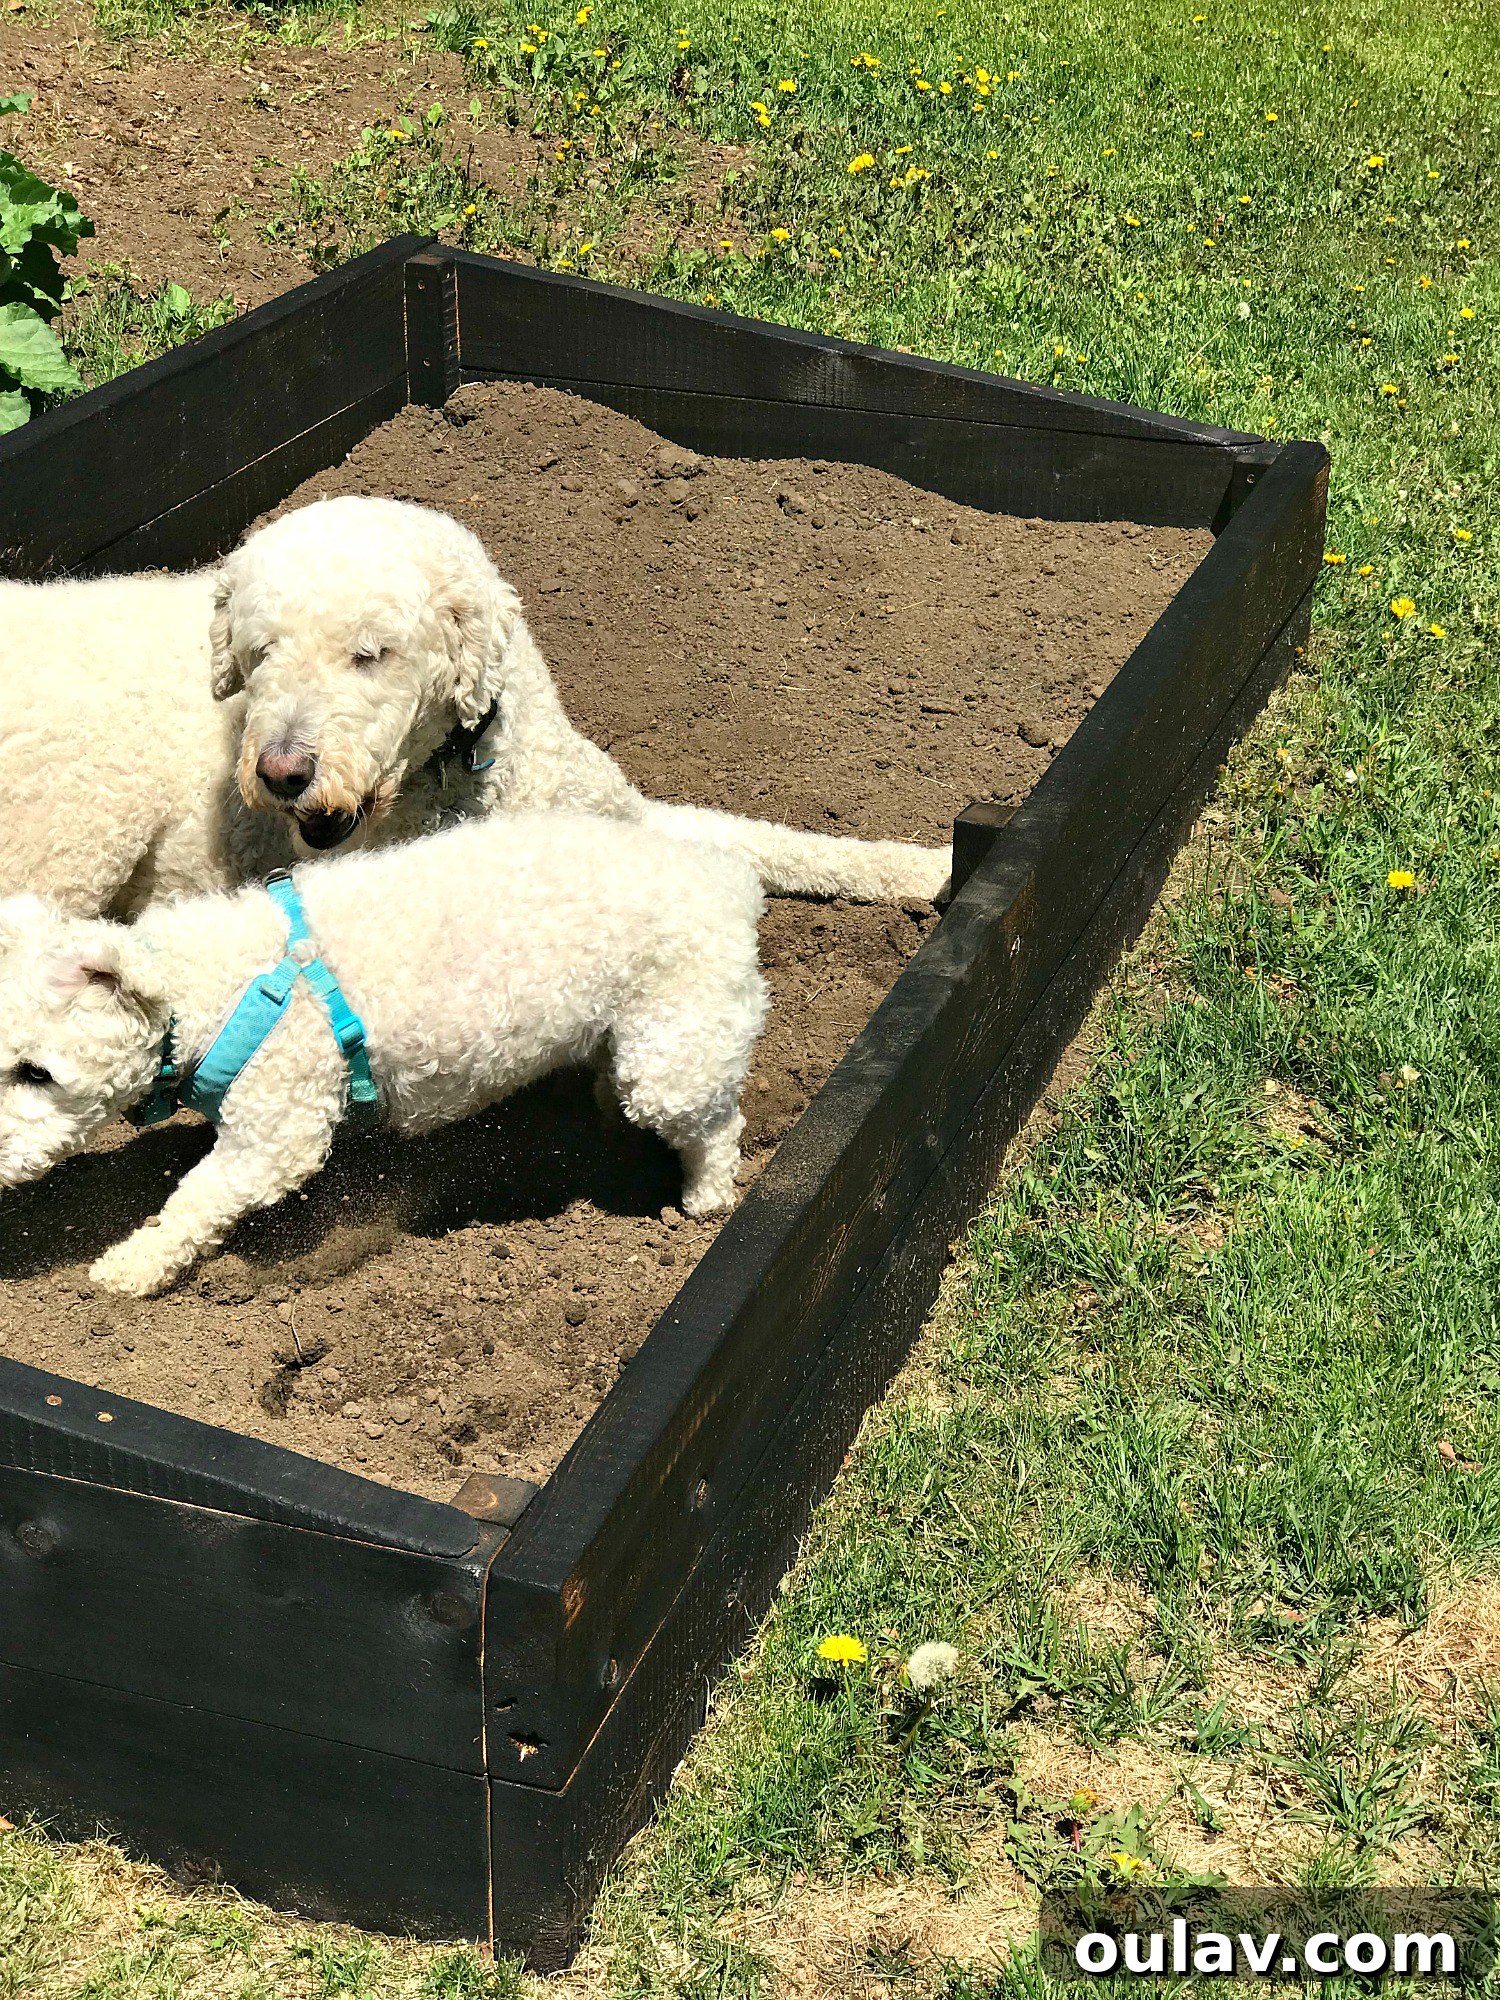
My furry assistant, Szuka, inadvertently helped replant some of my herb seeds before the cold frame lids were properly secured! However, despite this minor chaos, dill, basil, and sage proved to be quite robust and produced well. Given my love for incorporating fresh herbs into almost every dish, I’m committed to significantly expanding my herb garden this year.
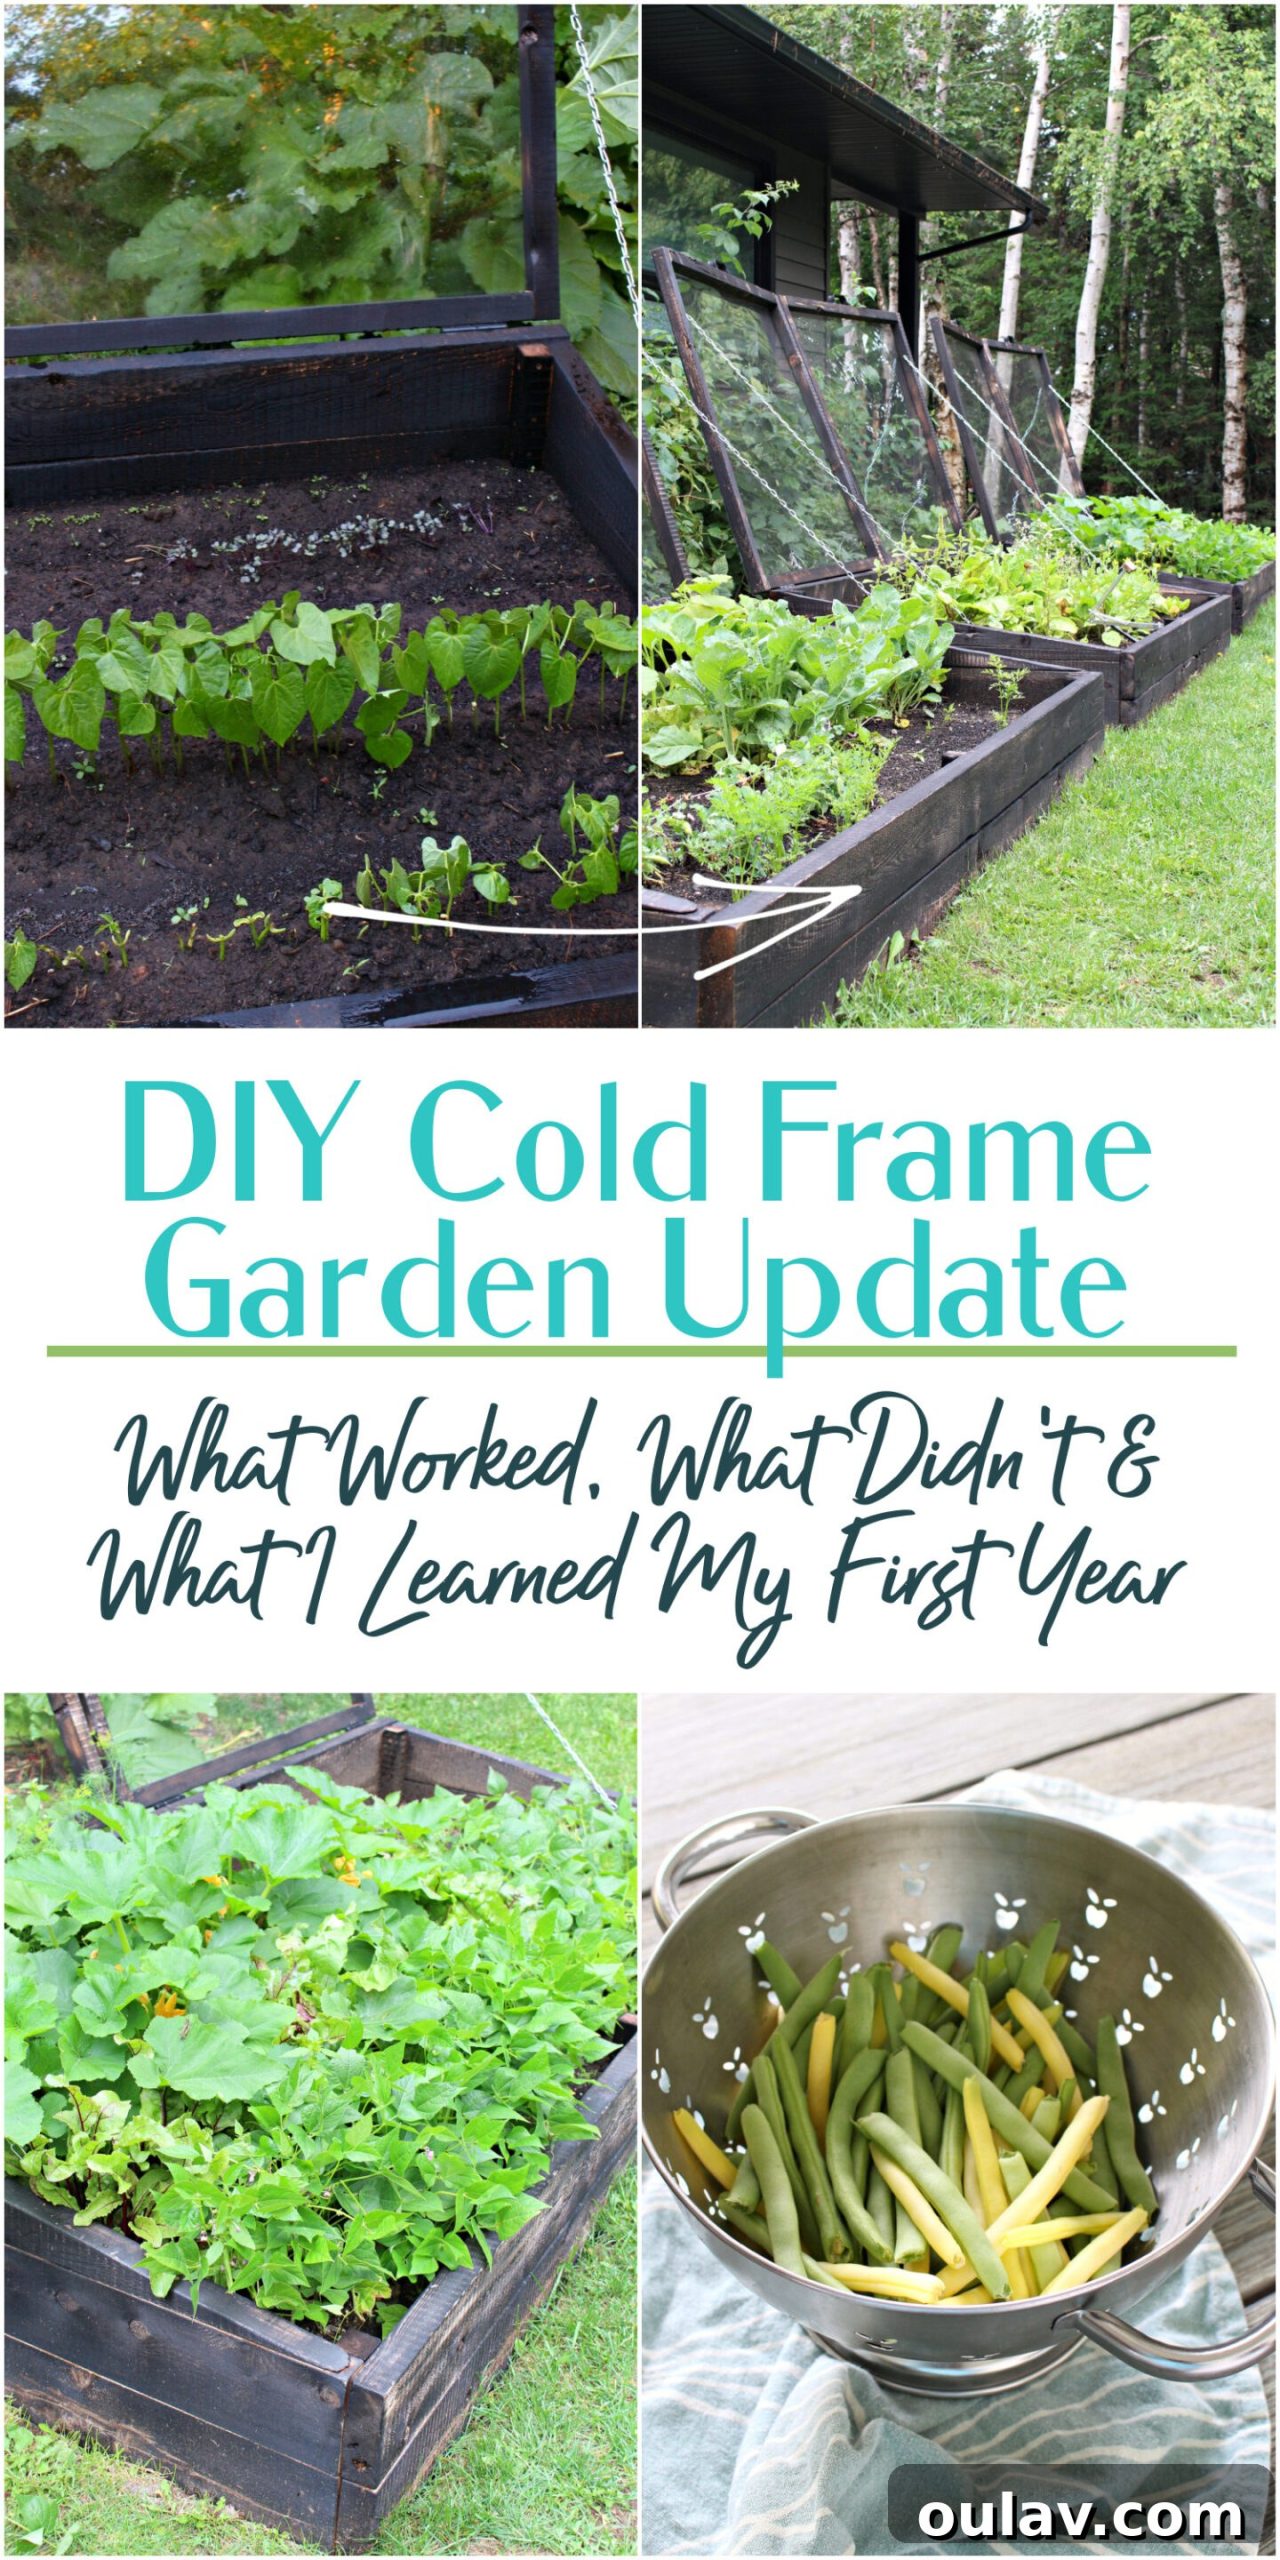
The sheer joy of harvesting beans was unexpected. They were not only space-efficient and easy to grow, but also incredibly tasty. I particularly favored the yellow variety for their ease of spotting among the foliage. It was astonishing how many beans a few small rows yielded – bowls upon bowls, harvested for weeks! This success has definitely cemented beans as a staple for future cold frame plantings, and I plan to dedicate more rows to them this season.
Navigating the Middle Ground: Crops with Mixed Results
Some plants presented a more nuanced outcome, growing to some extent but not achieving full potential or facing specific challenges:
- Cucumber: The cucumbers did grow, but they were slow to mature, often stumpy, and ran out of time before reaching their full size and yield. This indicates they might need a longer growing season or more consistent warmth and nutrients.
- Mint: While mint typically grows robustly, my success was limited. This was largely due to my dog, Szuka, inadvertently scattering the seeds, resulting in sparse growth. Proper containment will be essential next time.
- Basil (Napolento Basil): This variety grew slowly and formed only tiny clumps. Basil generally thrives in consistent warmth, so temperature fluctuations within the cold frame or insufficient sunlight might have been factors.
- Thyme (Winter Thyme): Similar to basil, thyme also grew slowly and did not produce a significant yield. It might require more specific light or soil conditions than it received.
- Arugula and Bok Choy: These greens showed excellent initial growth, promising a bountiful harvest. However, they quickly became prime targets for pests, which decimated a large portion of the plants. Effective pest management is crucial for these crops.
- Peas: Peas did grow well and produced pods, but the overall yield was not substantial enough to make them a highly productive crop for the space they occupied.
- Carrots: My carrots were small and slow-growing, with only a few reaching a desirable “carrot size.” The silver lining was that my chickens absolutely adored the leafy tops, so nothing went entirely to waste. This points to the need for deeper, looser soil and possibly better seed selection for the cold frame.
Complete Failures: What Didn’t Grow At All
Perhaps the most frustrating part of a new gardening season is when promising crops simply refuse to grow. In my cold frames, some of the more interesting and highly anticipated plants sadly yielded nothing:
- Blue Pumpkins: They did sprout but developed too late in the season, freezing before they could mature. This highlights a critical timing issue for long-season crops.
- Potatoes: No growth whatsoever. Potatoes demand specific soil conditions, space, and hilling practices that might not be conducive to a standard cold frame setup.
- Cauliflower: Despite hopes for this cool-season crop, it failed entirely. This could be due to heat stress, inadequate nutrients, or incorrect planting times.
- Peppers: These heat-loving plants did not thrive, likely needing more consistent high temperatures than my cold frames provided, especially early in the season.
- Parsnips: Similar to potatoes, parsnips require loose, deep soil to develop their roots, which was not adequately provided in my initial setup.
- Golden Berry: No signs of life from these seeds, suggesting they might require a different climate or longer germination period.
- Strawberries: These perennial fruits did not establish themselves, indicating they might prefer different growing conditions or require a specific propagation method.
- Red Cabbage: Another cool-season crop that failed to grow, possibly due to pest pressure or environmental stress.
Rectifying My Cold Frame Gardening Woes: Essential Tips for Next Season
My first year of cold frame gardening was a masterclass in trial and error. Based on these experiences, I’ve developed a clearer strategy for the upcoming season. First, I will prioritize planting more of the crops that demonstrated success. Second, I will make tough decisions about crops that consistently struggled, perhaps abandoning them or seeking more suitable varieties for my specific cold frame environment and climate zone. My initial approach of ordering seeds “willy-nilly” based on whim was enjoyable but ultimately inefficient; this year, I’ll pay closer attention to what thrives in my gardening zone. Starting earlier, improving soil quality, and diligently managing the internal temperature of the cold frames are also top priorities. Additionally, I’ll be actively researching natural and organic methods for pest control. For anyone venturing into cold frame gardening, here are my hard-won tips:
Tip #1: Proactive Planning and Early Supply Acquisition
The importance of securing your gardening supplies early cannot be overstated, a lesson I learned firsthand during the recent global pandemic. The surge in gardening enthusiasm led to severe shortages of materials like lumber in many areas, including mine. Essential components for my cold frame lids, such as Lexan, saw a dramatic price increase and dwindling supply. Furthermore, critical tools like automatic lid openers, which are pivotal for effective temperature regulation, faced extensive backorders. Gardening, much like cooking, relies heavily on precise timing. Don’t make my mistake of deciding to garden at the last minute. Begin rounding up all necessary supplies – especially seeds, which can sell out quickly – well in advance. Early preparation ensures you have everything on hand when the ideal planting window opens, preventing delays that can impact your entire growing season. This foresight allows you to build your cold frames or prepare your beds with ample time, setting you up for success rather than frustration.
Tip #2: Invest in Superior Soil Quality
As a novice gardener, my initial approach to soil was rudimentary: I used basic topsoil delivered by the truckload and mixed in some general fertilizer. While it provided a foundation, it was far from optimal. I’ve come to understand that the quality of your soil is paramount to plant health and productivity. This year, my focus will be on significantly enriching my cold frame soil. I recall my great-uncle, a truly successful vegetable gardener, consistently using products like Miracle-Gro, which clearly yielded impressive results for him. I am considering similar commercial soil amendments or, more sustainably, dedicating myself to composting. Composting not only enriches the soil with vital nutrients but also improves its structure, drainage, and water retention, creating an ideal environment for roots to thrive. A healthy soil ecosystem translates directly into healthier, more productive plants, reducing the need for chemical interventions later on.
Tip #3: Embrace Automatic Lid Openers for Temperature Control
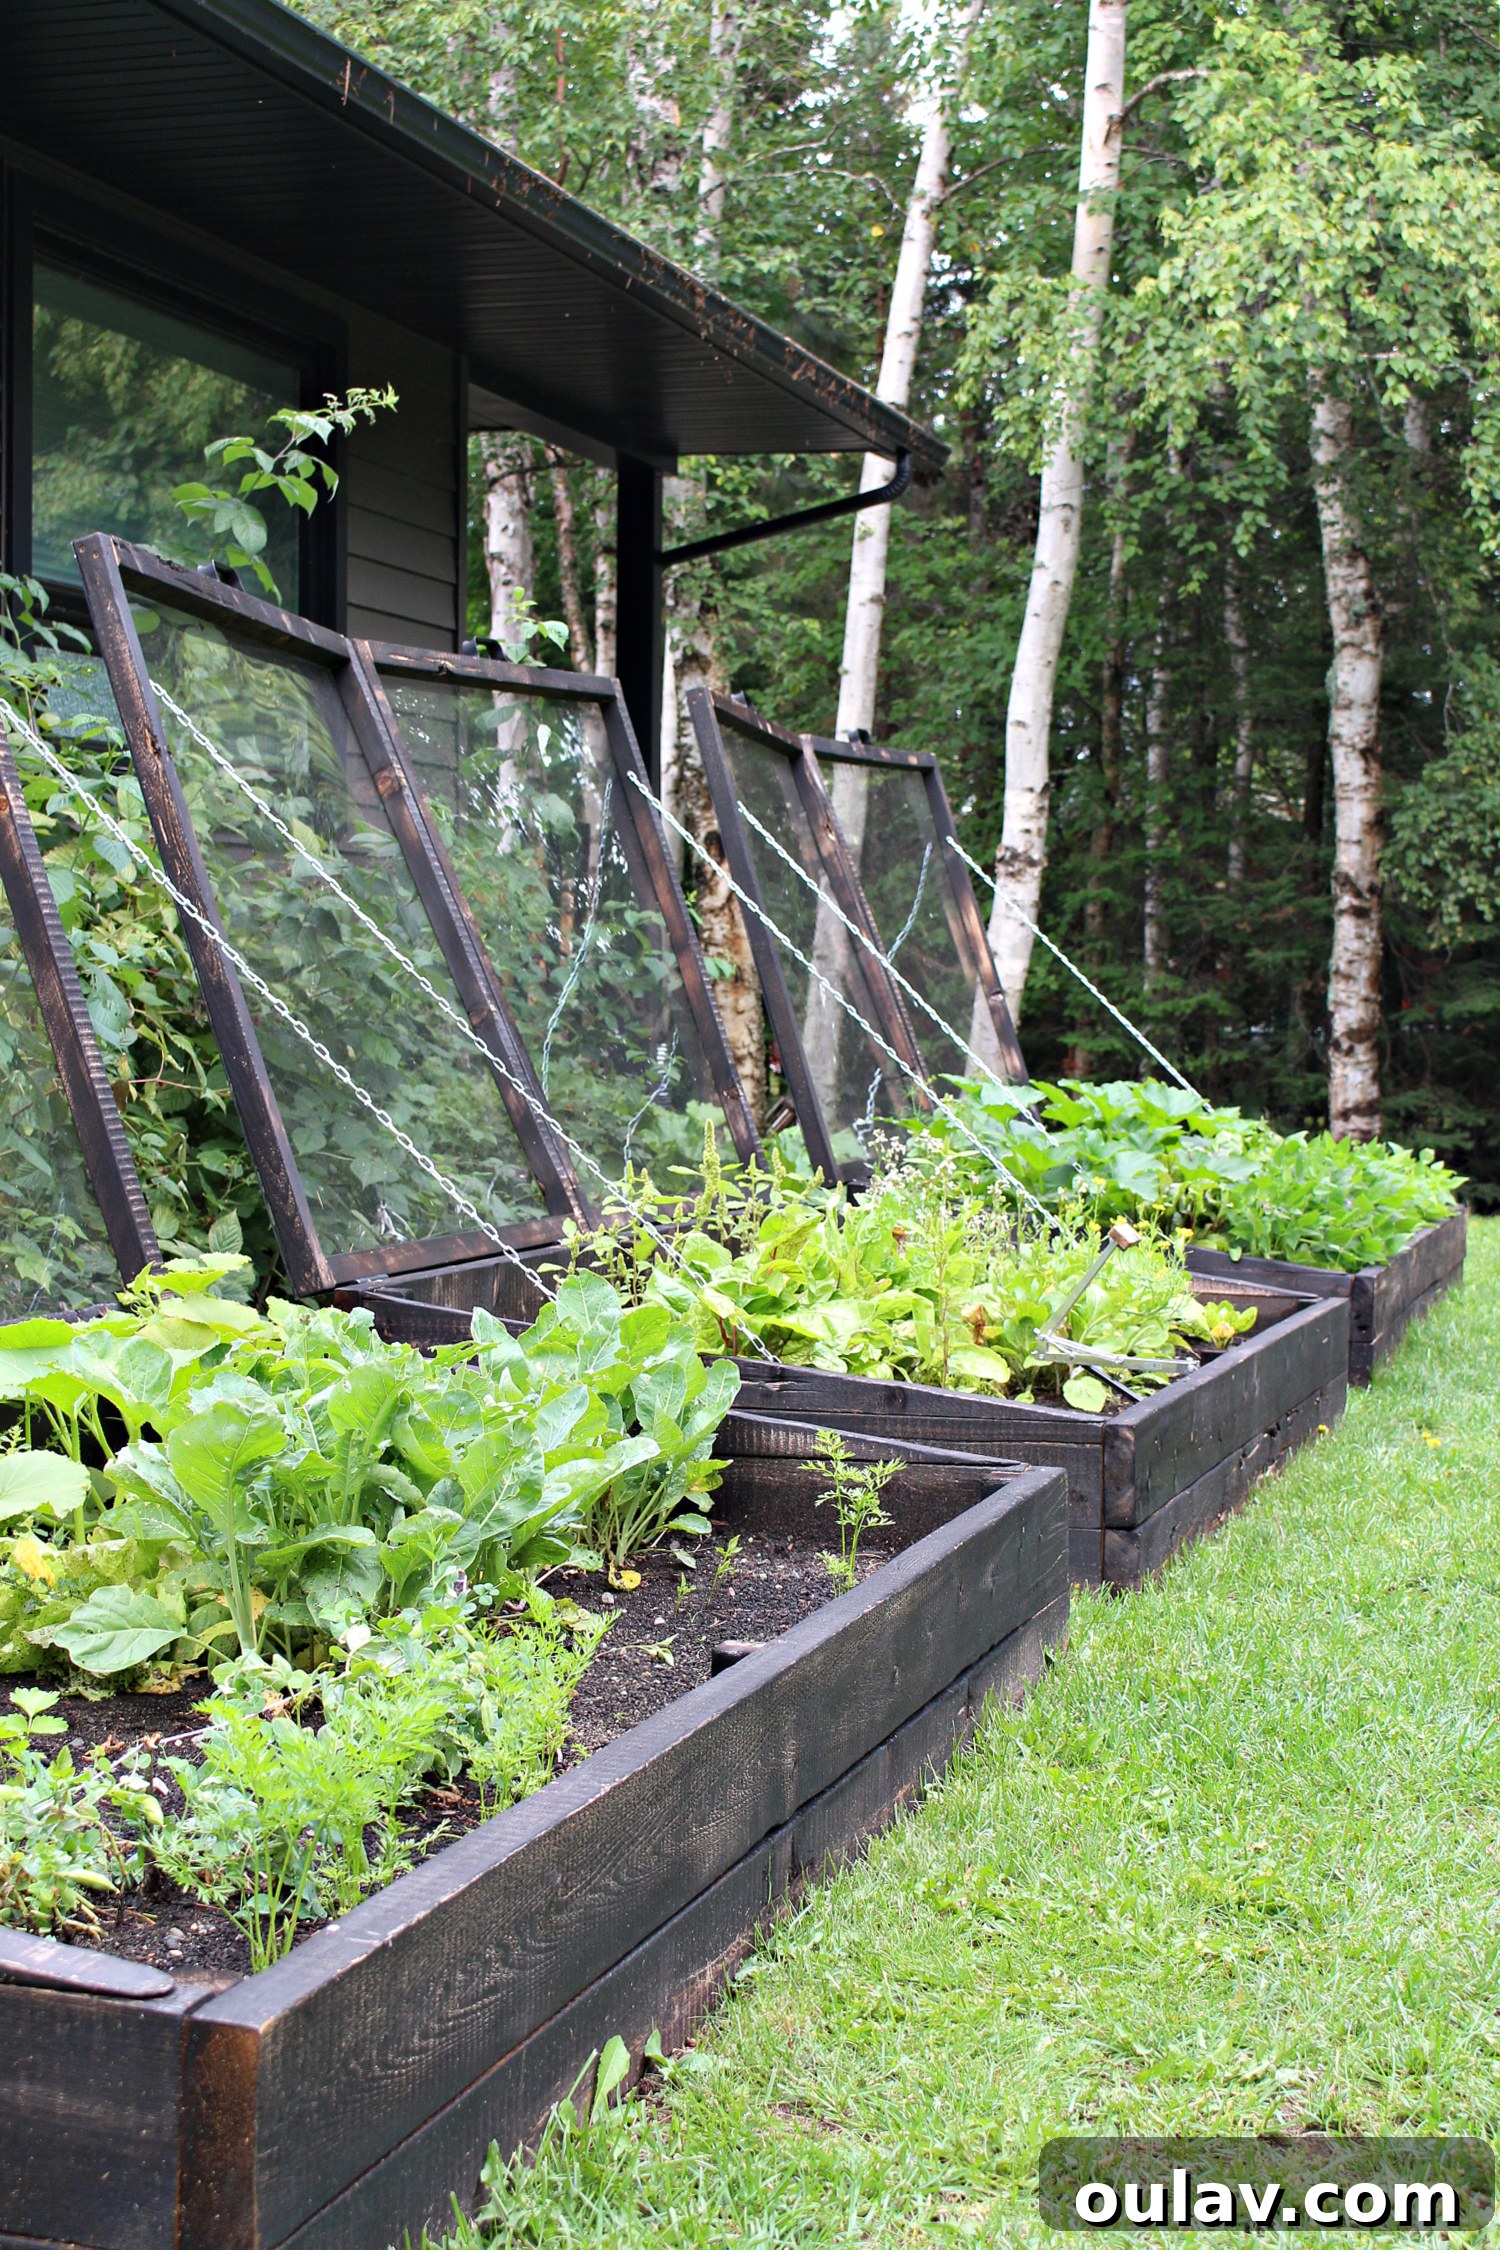
By the time I finished building my DIY cold frame garden beds, the weather had already turned quite warm. Crucially, the automatic lid openers we had ordered were severely backordered. This delay proved detrimental, as I suspect I inadvertently “cooked” some of my tender young seeds and seedlings due to excessive heat buildup under the Lexan lids. I also likely underestimated the amount of water needed; the greenhouse effect created by the lids can lead to rapid evaporation and intense heat, requiring diligent moisture monitoring. Now, with the cold frames constructed and automatic openers in place, I am far better equipped. These devices are invaluable, allowing me to leverage the early spring warmth to start seeds much sooner, while also ensuring proper ventilation and preventing overheating as temperatures rise. They automatically open and close the lids based on temperature, removing the need for manual intervention and safeguarding your plants from extreme conditions.
Tip #4: Develop a “Plan B” for Managing Summer Heat and Plant Growth
Once we realized that our cold frame garden beds were effectively “cooking” our plants under the closed lids during peak daytime temperatures, we resorted to manually leaving them fully open during the day and closing them at night. This manual process, however, was inconvenient and prone to error. For the upcoming season, I plan a significant upgrade: constructing a second set of lightweight, hooped lids covered with mesh. This “Plan B” will serve multiple purposes. Firstly, the mesh will act as a barrier, protecting our precious crops from hungry animals, a common nuisance for any gardener. Secondly, it will provide essential ventilation during the hottest parts of summer, preventing heat buildup while still offering some protection. Thirdly, the mesh design will allow natural overnight showers to reach the plants, reducing the need for manual watering. Furthermore, some of my crops quickly outgrew the shallow cold frame lids, making this alternative, taller cover essential for accommodating taller plants like tomatoes or peppers. Stay tuned for this exciting upgrade to my cold frame system this spring!
Tip #5: Never Underestimate the Power of Pests
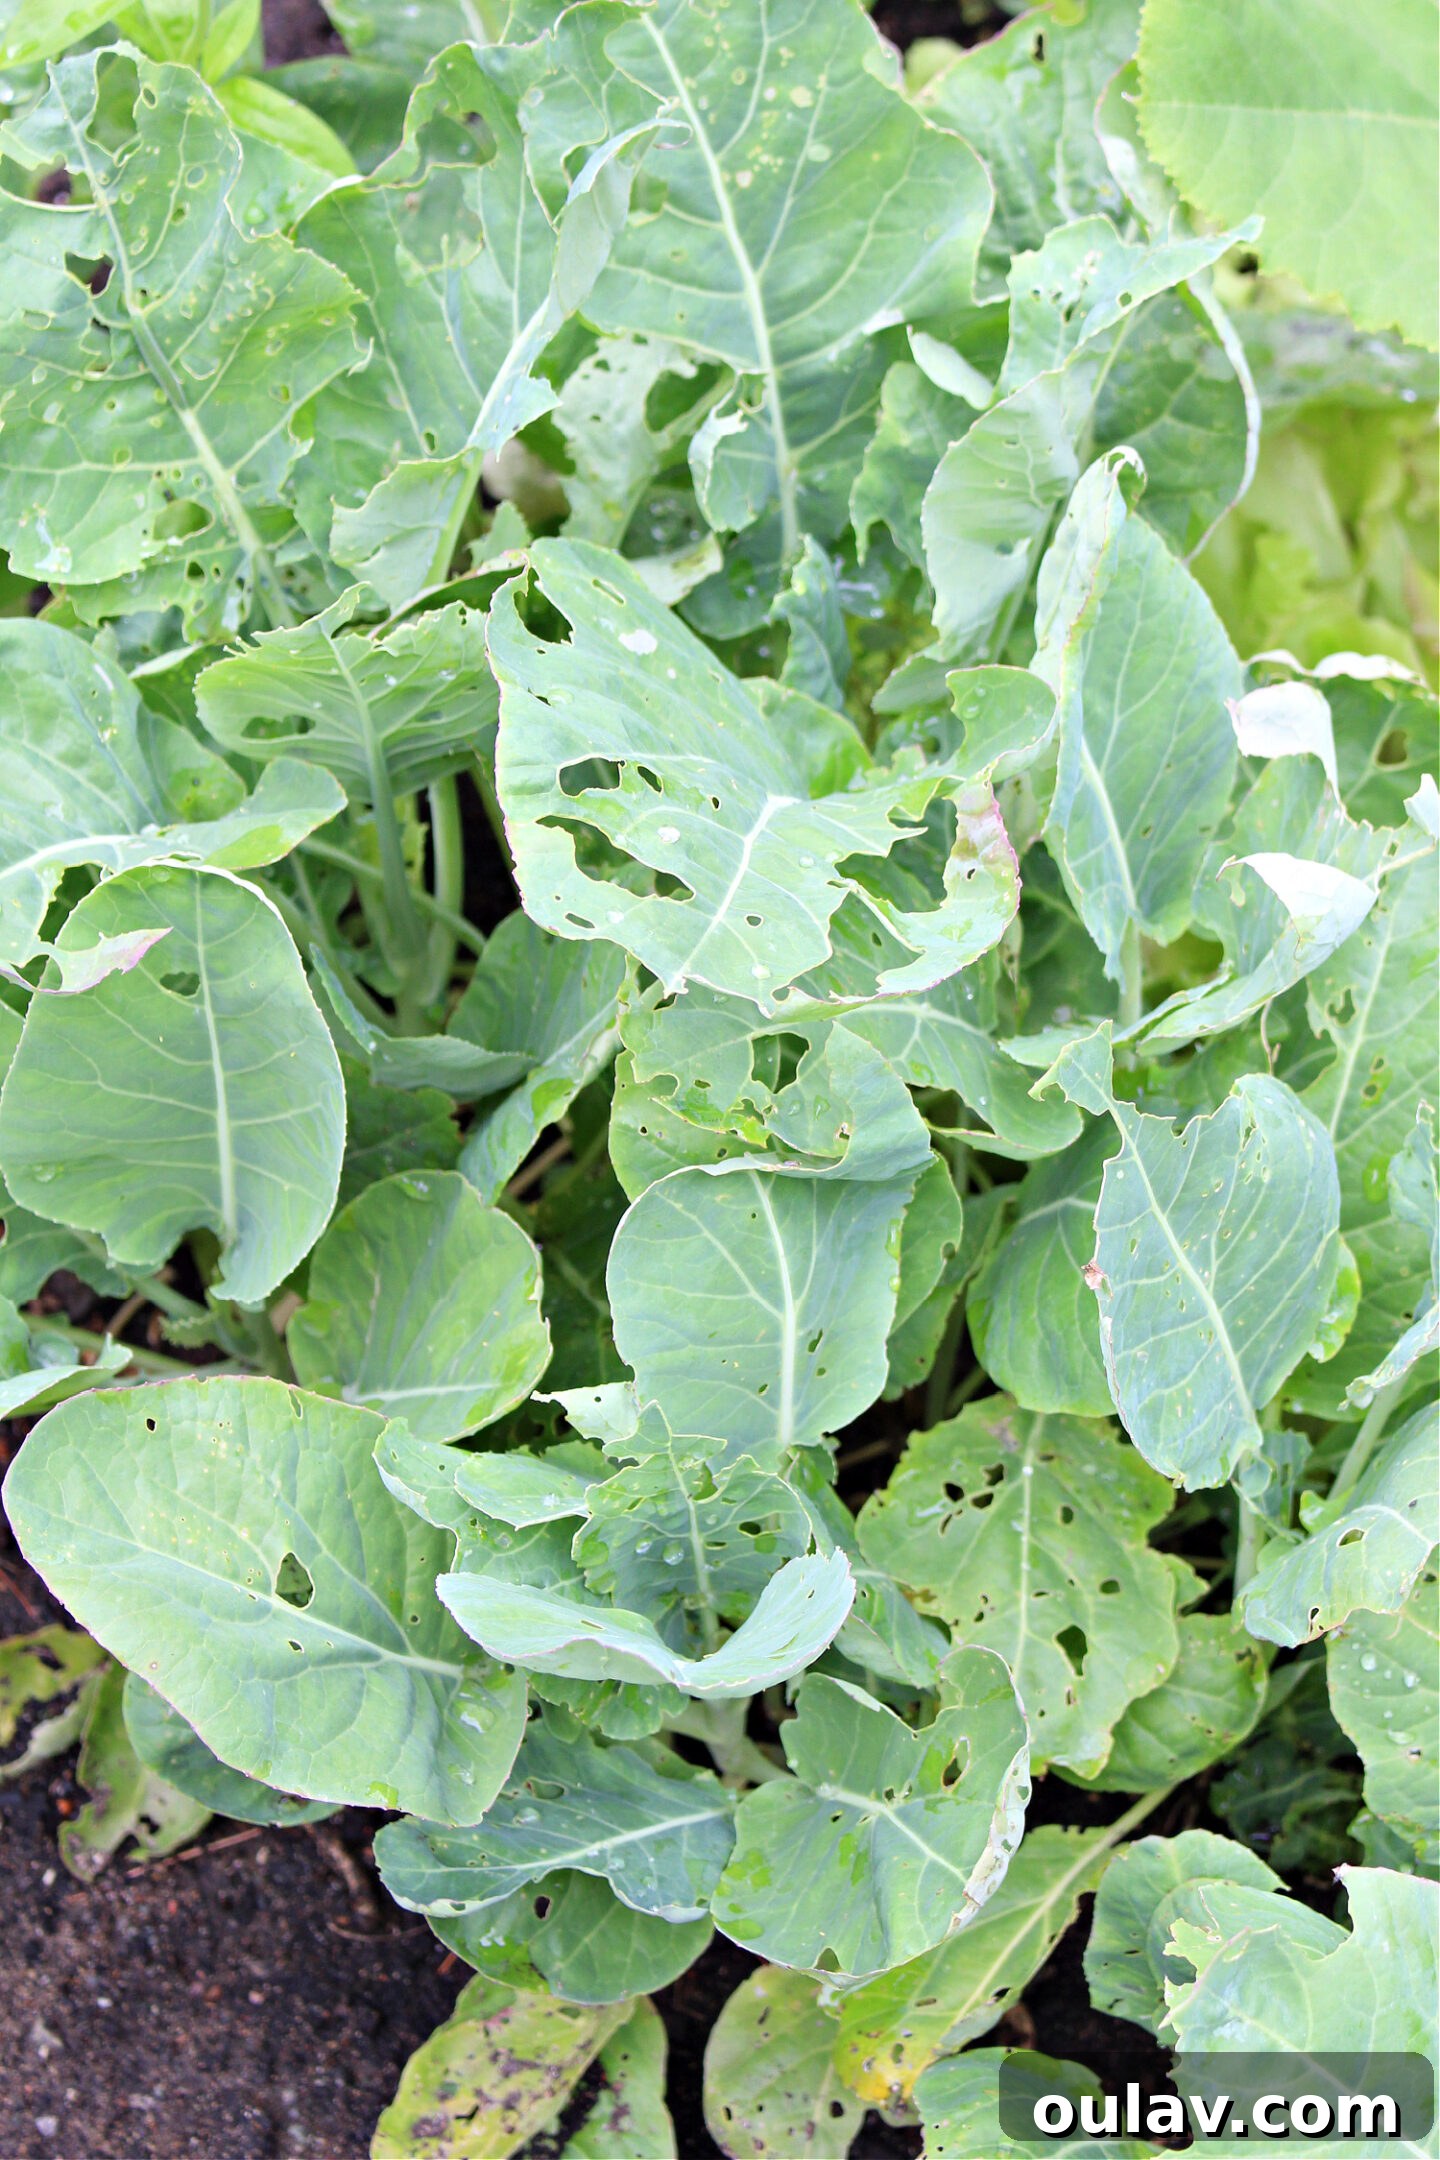
Naively, I held the “stupid idea” that bugs wouldn’t be a significant issue beneath the protective Lexan lids of my cold frames. I was gravely mistaken. Various “wormy things,” likely caterpillars or slugs, quickly decimated several of my crops. They showed a particular fondness for bok choy, making quick work of its tender leaves, while surprisingly leaving the chard almost entirely untouched. This experience taught me that cold frames, while offering protection from harsh weather, do not inherently deter pests. This year, implementing a proactive pest management strategy is high on my agenda. I am actively researching a variety of natural and organic pest control options, including companion planting, introducing beneficial insects, using organic insecticidal soaps, or deploying physical barriers. Regular inspection of plants will also be crucial for early detection and intervention, ensuring my crops have a fighting chance against unwelcome visitors.
Tip #6: Embrace Resilience and Don’t Be Discouraged by Failure
One of the most comforting pieces of advice I received from seasoned gardeners was simply: “Sometimes things just don’t grow.” This simple truth was a huge relief, reminding me that even experienced hands face failures. Whether it’s bad seeds, unfavorable weather, or sheer bad luck, not every plant will thrive. Instead of letting failures deter me, I’ve decided to view them as valuable learning opportunities. This year, I plan to meticulously track which seed companies produced the best results and prioritize ordering from them again. My initial scramble for seeds, buying from “a LOT of different places” because many were sold out, likely contributed to inconsistent quality. Cultivating a garden is an ongoing experiment, and resilience is a gardener’s most vital tool. Every season offers new lessons, and every setback provides an opportunity to refine techniques and try again with renewed determination.
Tip #7: Maintain Detailed Gardening Notes and Observations
My initial garden planning included a detailed sketch of the beds – which I promptly forgot to consult once planting began, leading to some confusion about what was where! However, aside from that minor oversight, I diligently kept notes on what grew well, what struggled, and what failed entirely. This practice proved invaluable when planning for the current season, allowing me to make more informed decisions about seed ordering and plant placement. Without these notes, I’m certain I would have forgotten the nuances of last year’s performance. Moving forward, I will enhance this practice by tracking planting dates, germination rates, specific pest issues, soil amendments used, watering schedules, and harvest yields. Keeping a detailed gardening journal is like building a personal knowledge base. It allows me to systematically track progress, identify patterns, understand what strategies work best in my specific environment, and build upon past successes. This meticulous record-keeping is crucial for truly “growing” as a gardener and continuously improving my yields year after year.
Cultivating Continuous Growth: Final Thoughts on My Cold Frame Gardening Journey
My journey into cold frame gardening has been a testament to the fact that gardening is rarely a straight path to perfection, especially for a beginner. It’s an evolving process filled with moments of frustration and profound satisfaction. From the joy of designing the garden beds to the challenge of combating pests, each step has offered invaluable lessons. While I may not yet call myself a passionate gardener, the taste of homegrown dill, the abundance of fresh beans, and the resilience of rainbow chard have firmly rooted my commitment to continuing this endeavor. By learning from last year’s mixed results, strategically choosing crops, enriching the soil, diligently managing temperature and pests, and meticulously keeping notes, I am optimistic about achieving even greater success this season. Cold frame gardening offers a unique opportunity to extend the growing season and cultivate fresh produce, even in challenging climates. For anyone considering embarking on this journey, remember to embrace the learning process, celebrate the small victories, and never be afraid to get your hands dirty. Happy gardening!
Don’t Forget to Pin For Later: Essential Cold Frame Gardening Tips!