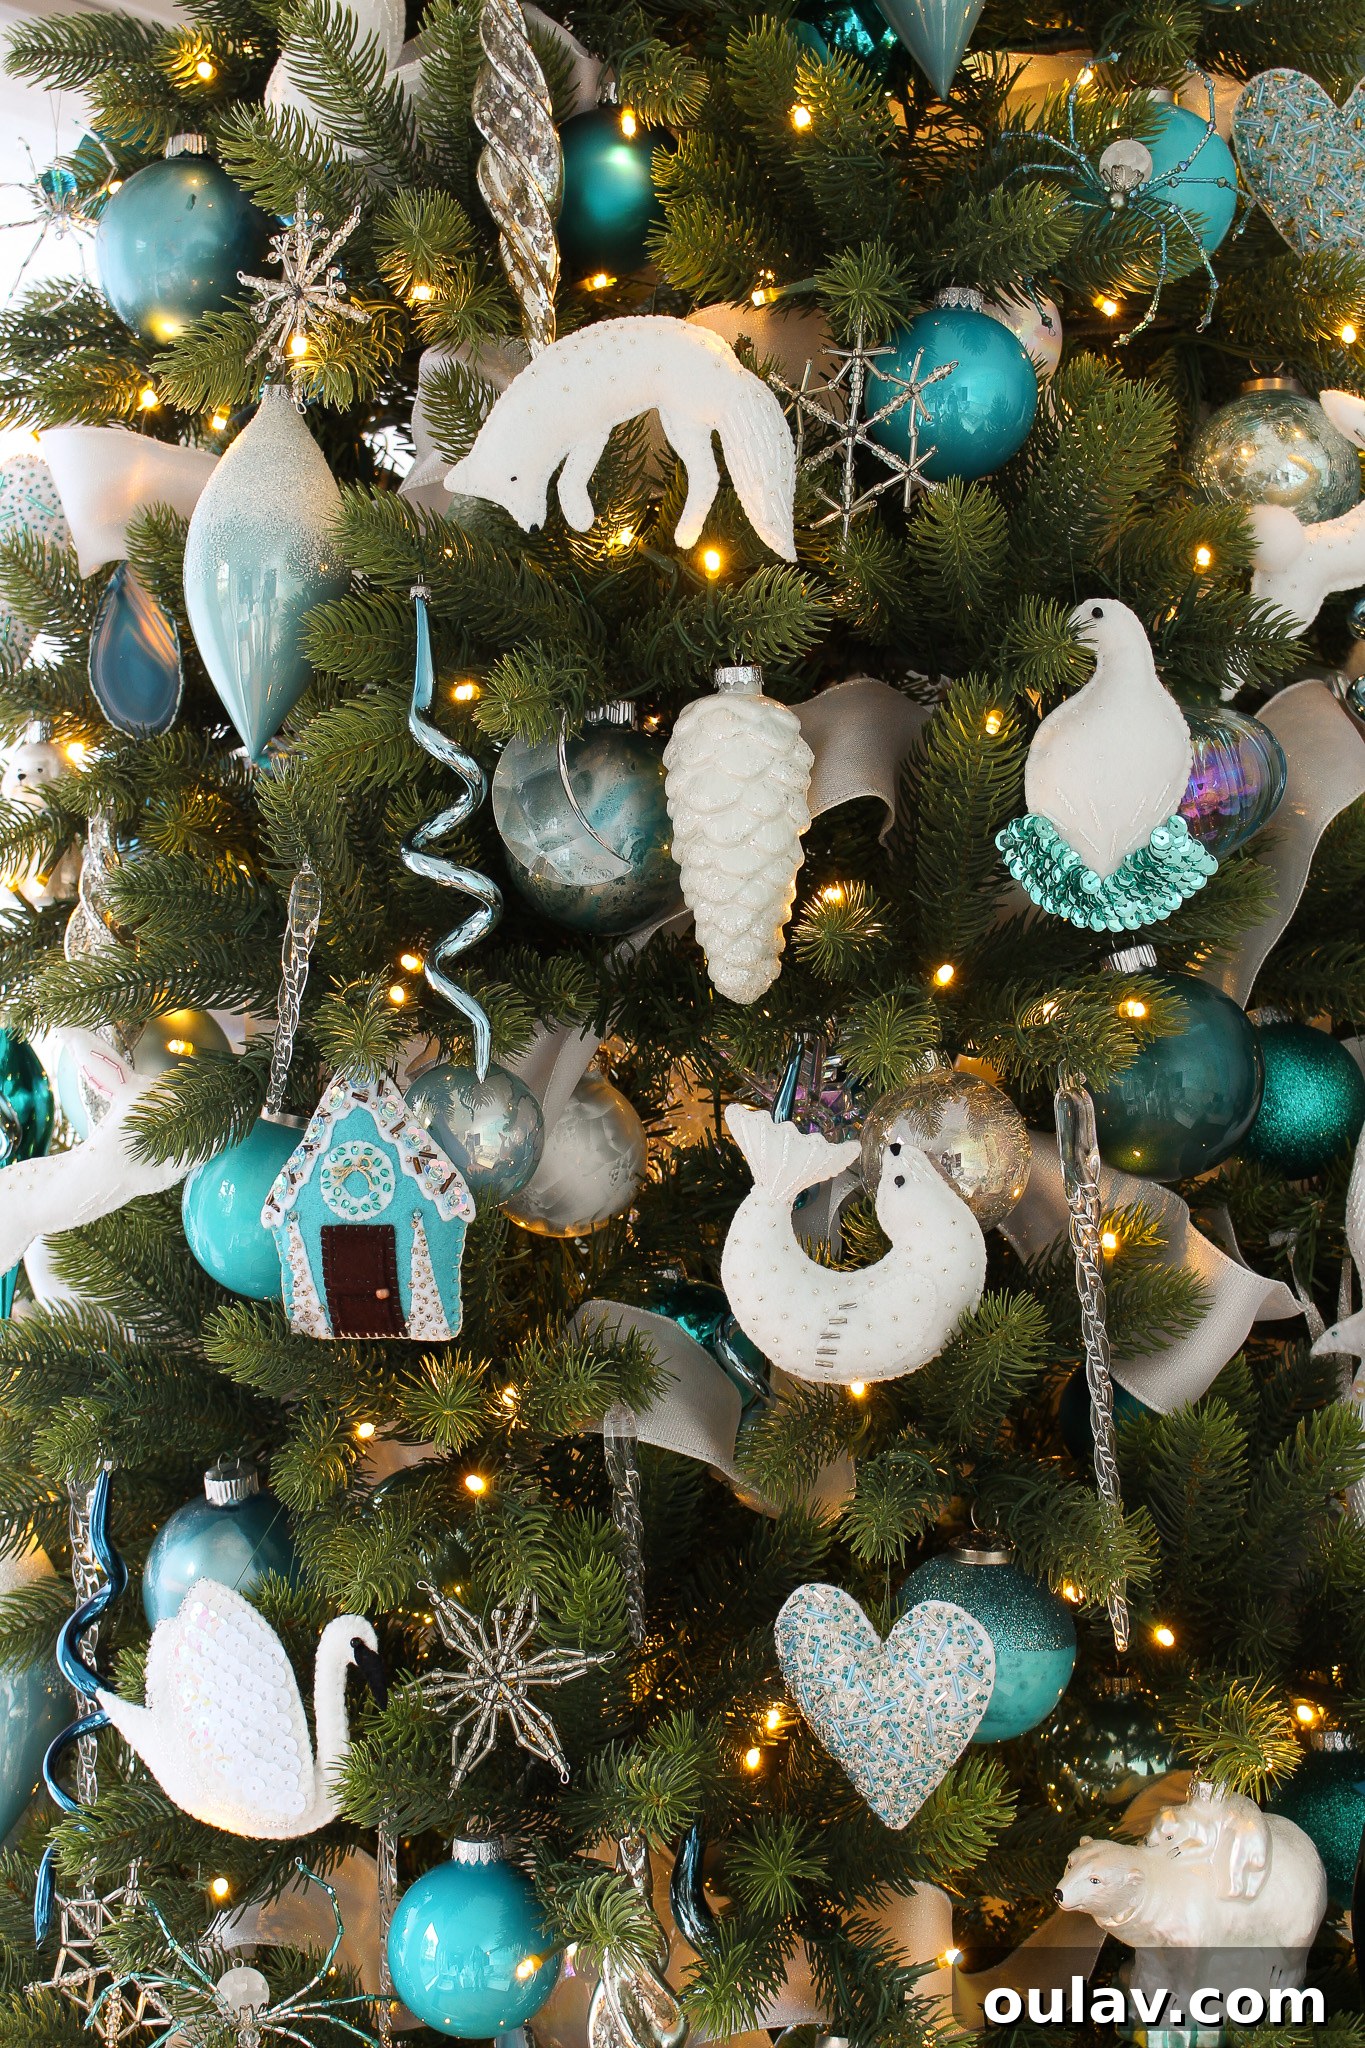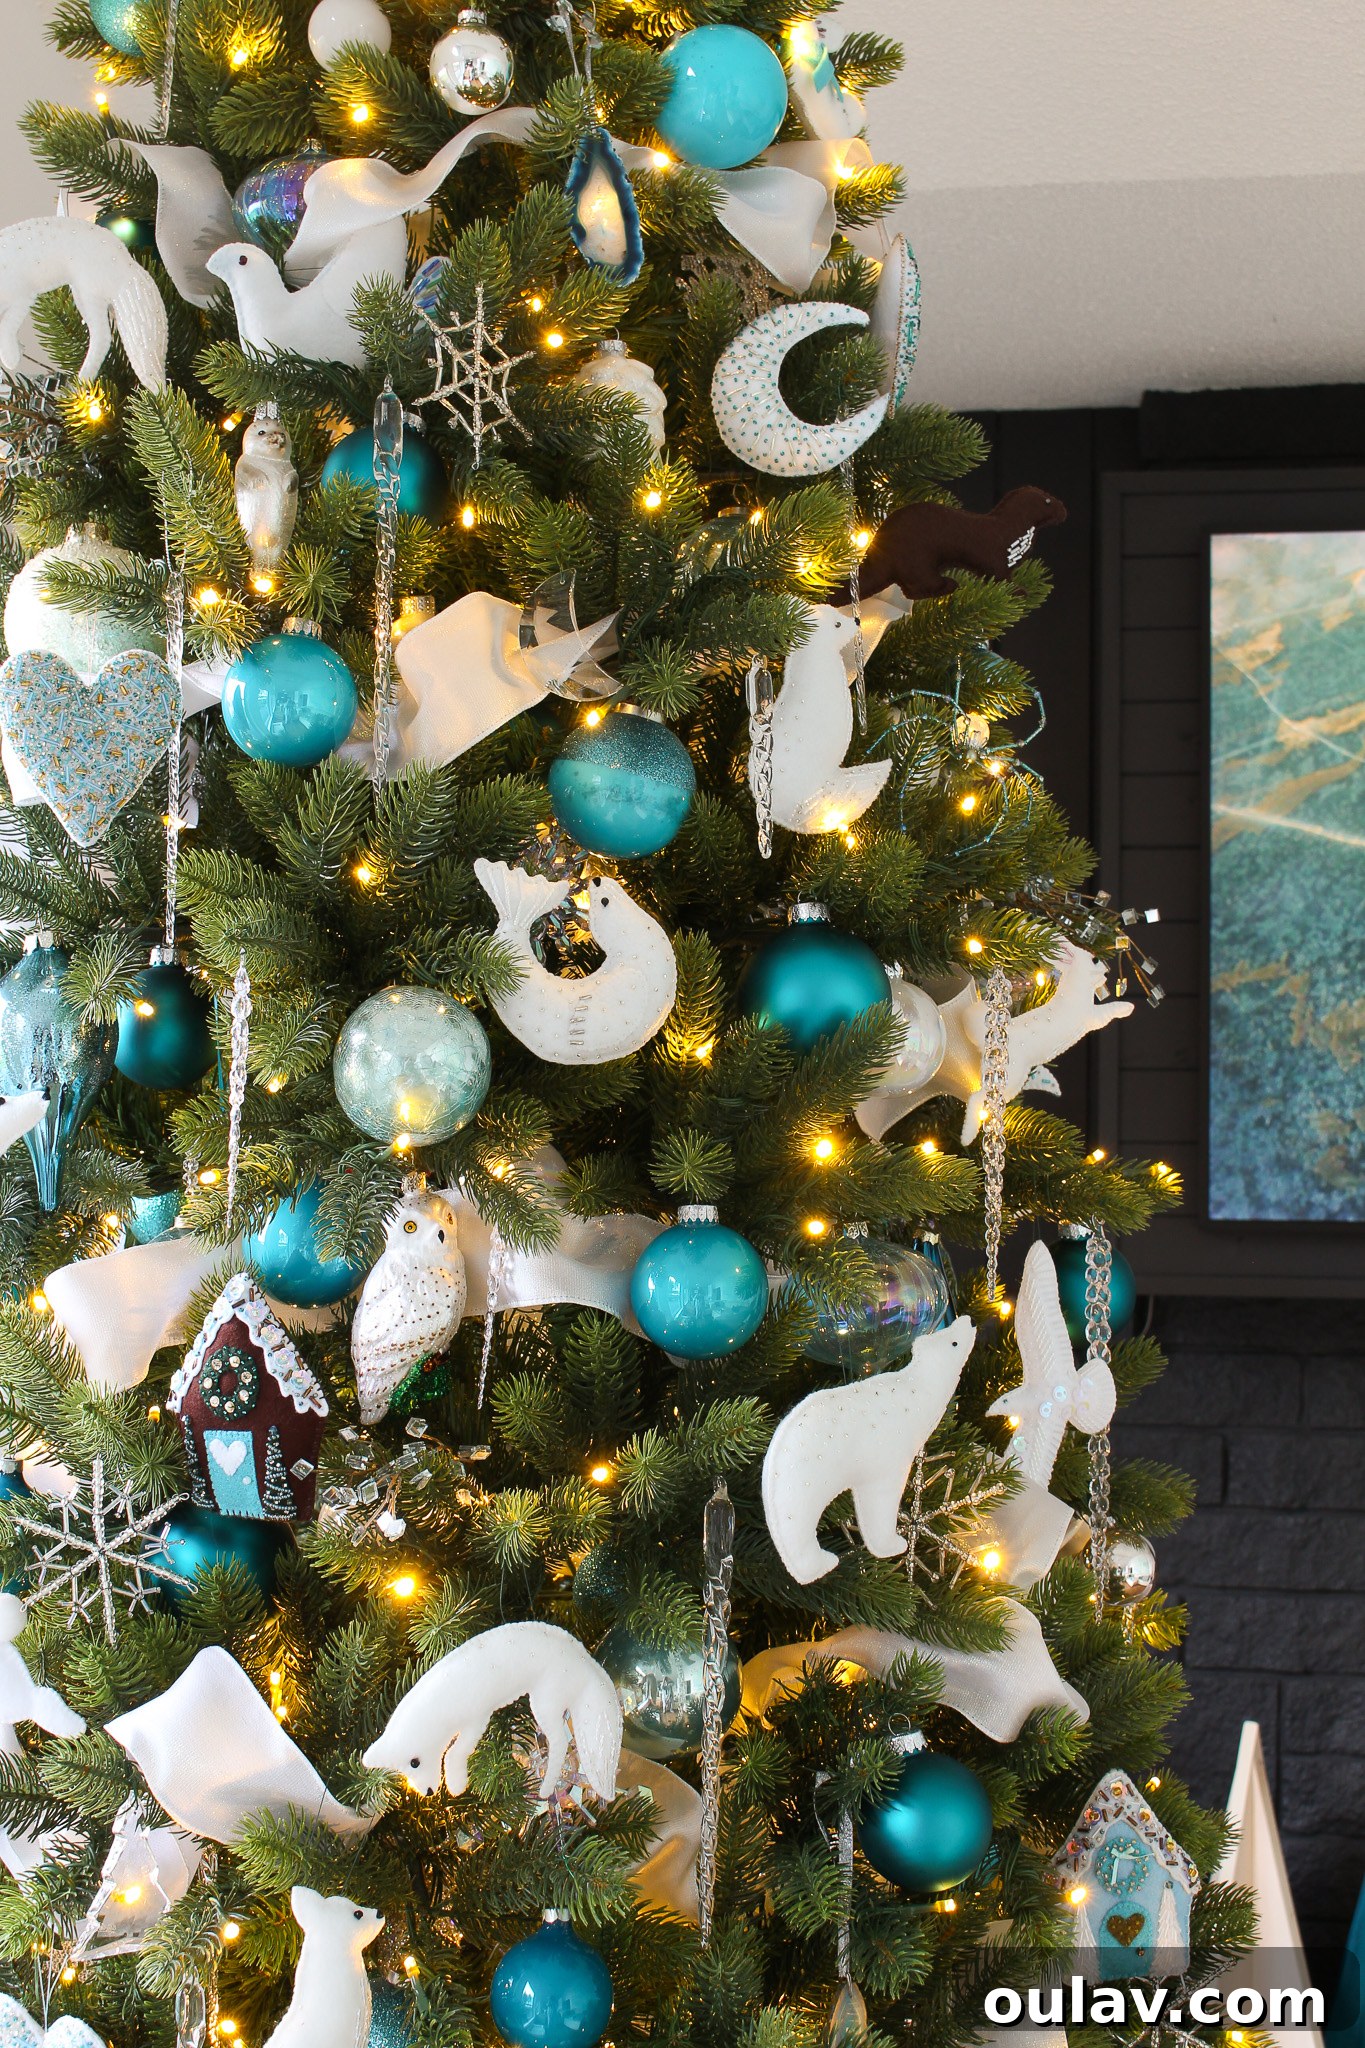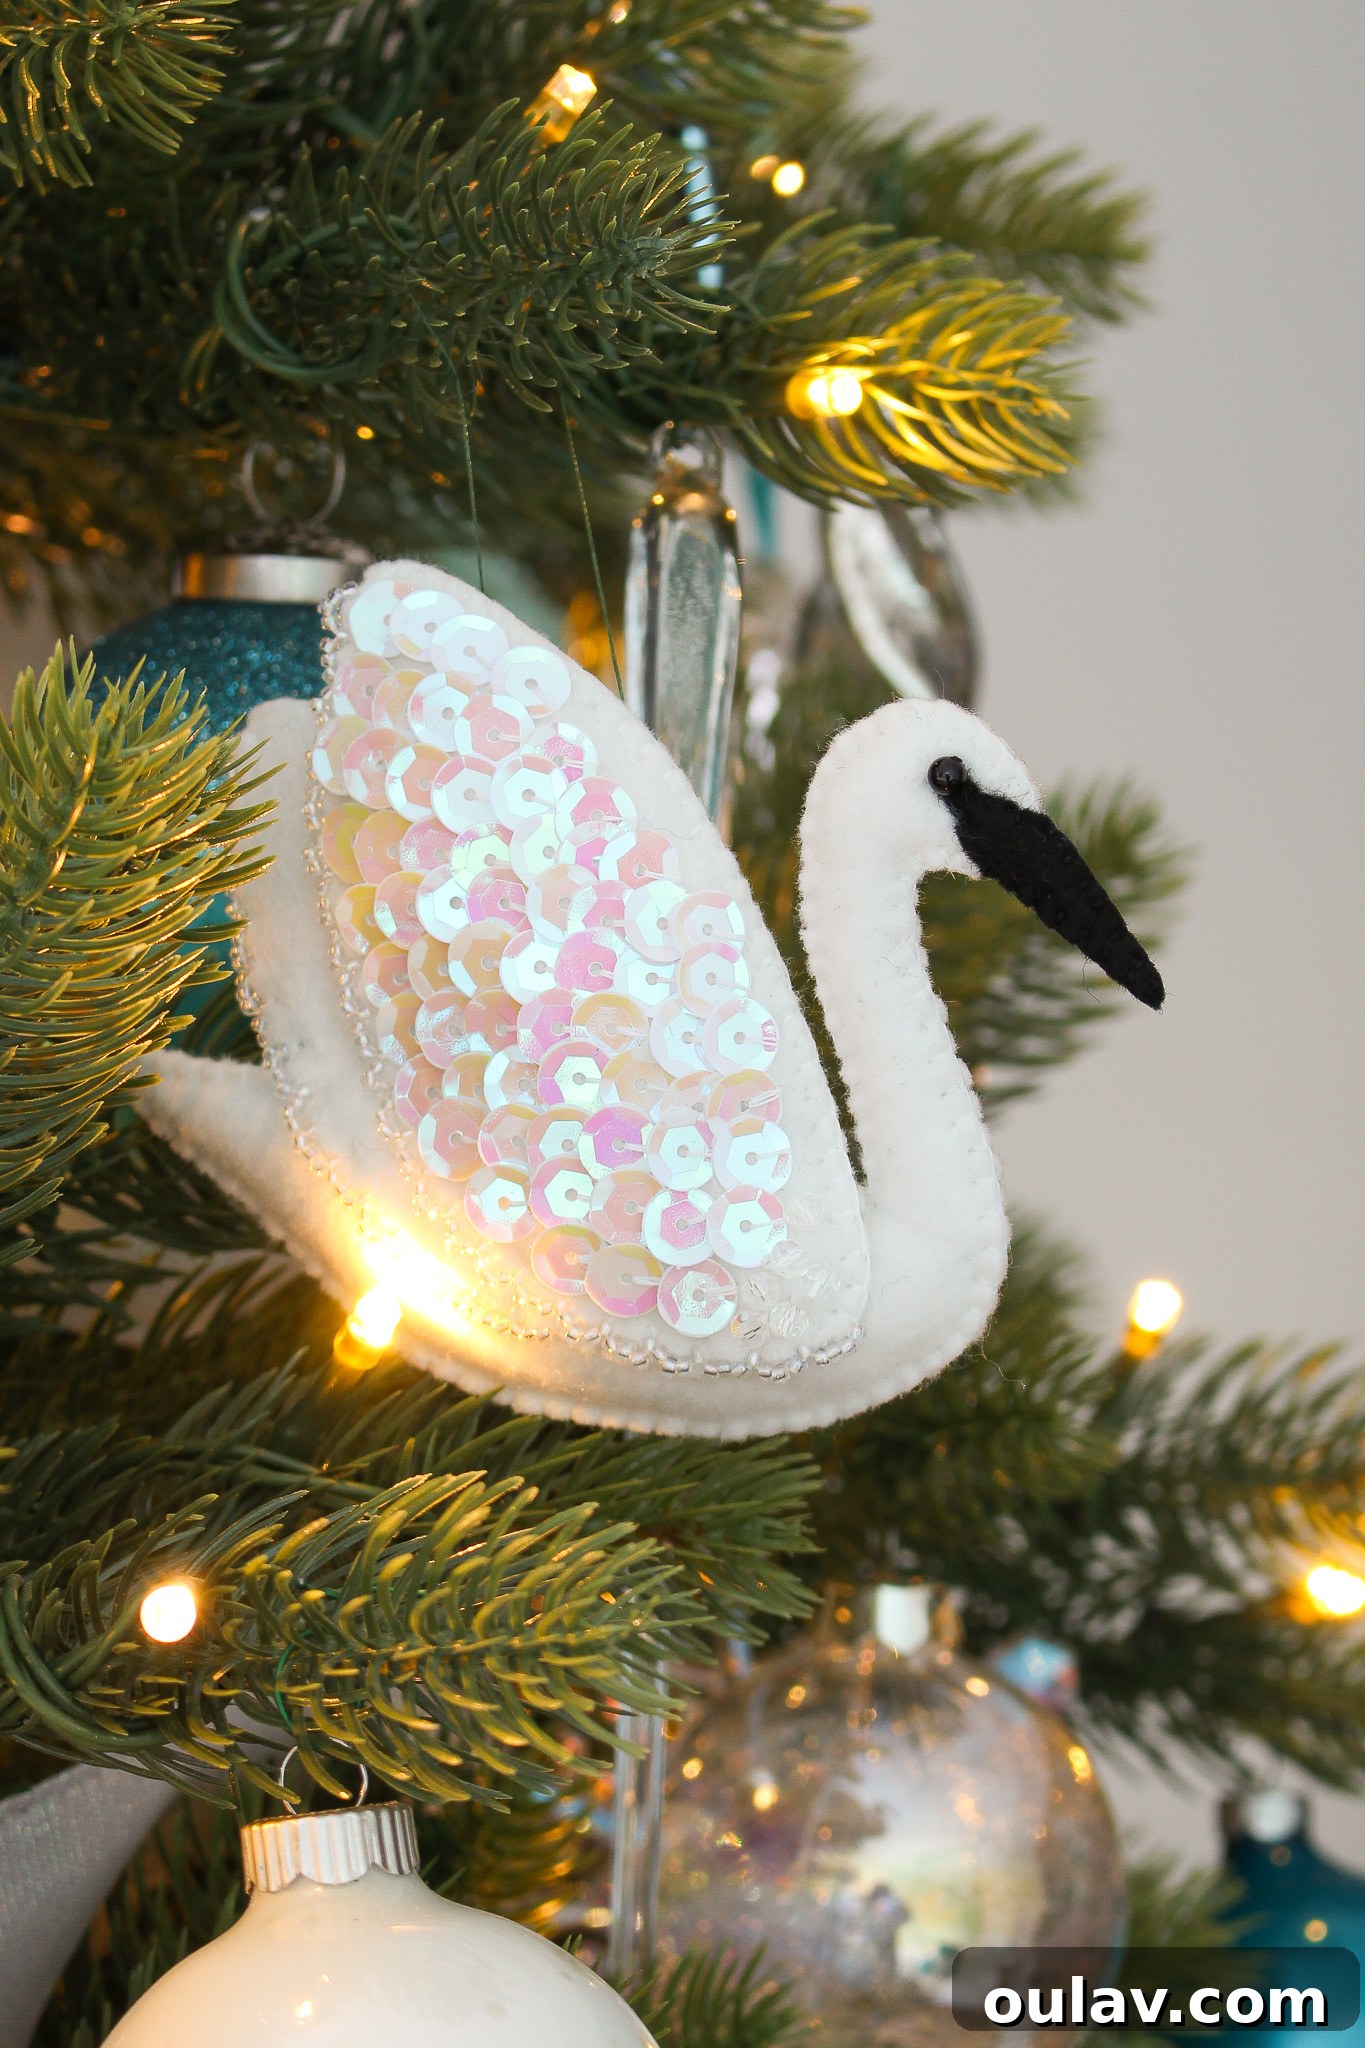
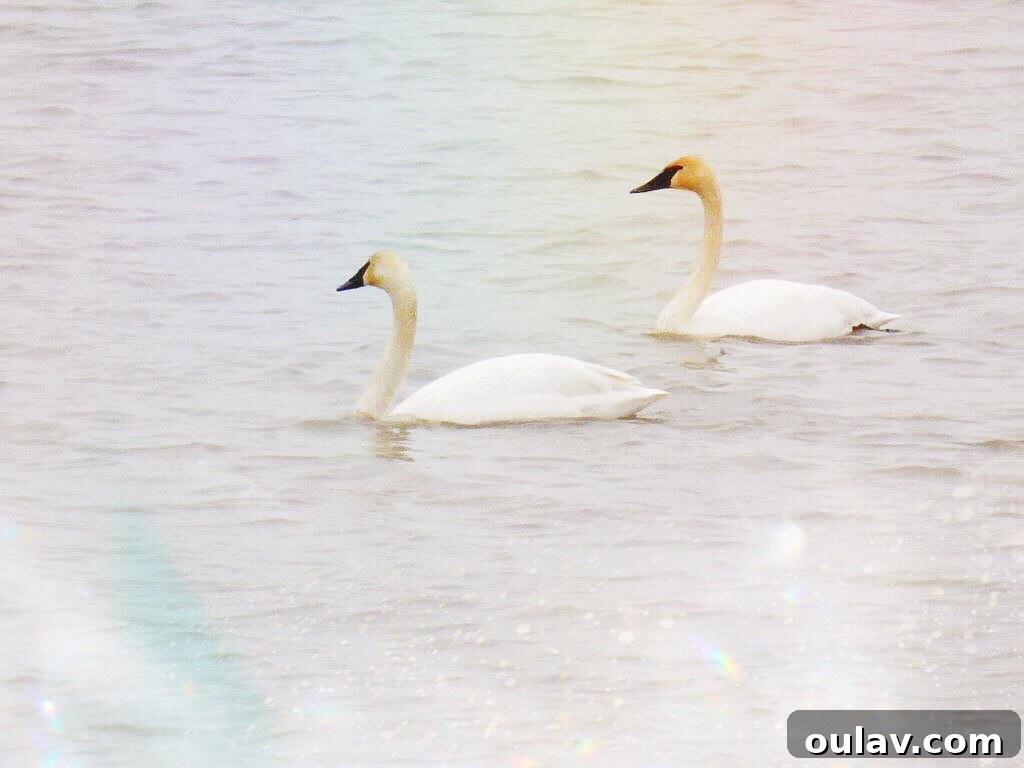
There’s a special kind of magic in crafting something beautiful with your own hands, and this DIY felt swan ornament project is no exception. Inspired by the graceful swans that frequent our tranquil bay each year, this newest design offers a charming way to bring a piece of nature’s elegance into your home. Each spring, we’re serenaded by their surprisingly robust honking as their flock grows, gracing our shores before continuing their journey. While they may only be seasonal visitors in nature, now you can invite these magnificent creatures to adorn your Christmas tree year after year, transforming fleeting beauty into a lasting treasured ornament. With our comprehensive digital pattern and accompanying video tutorial, creating your own felt swan is a delightful and rewarding experience, perfect for crafters of all skill levels.
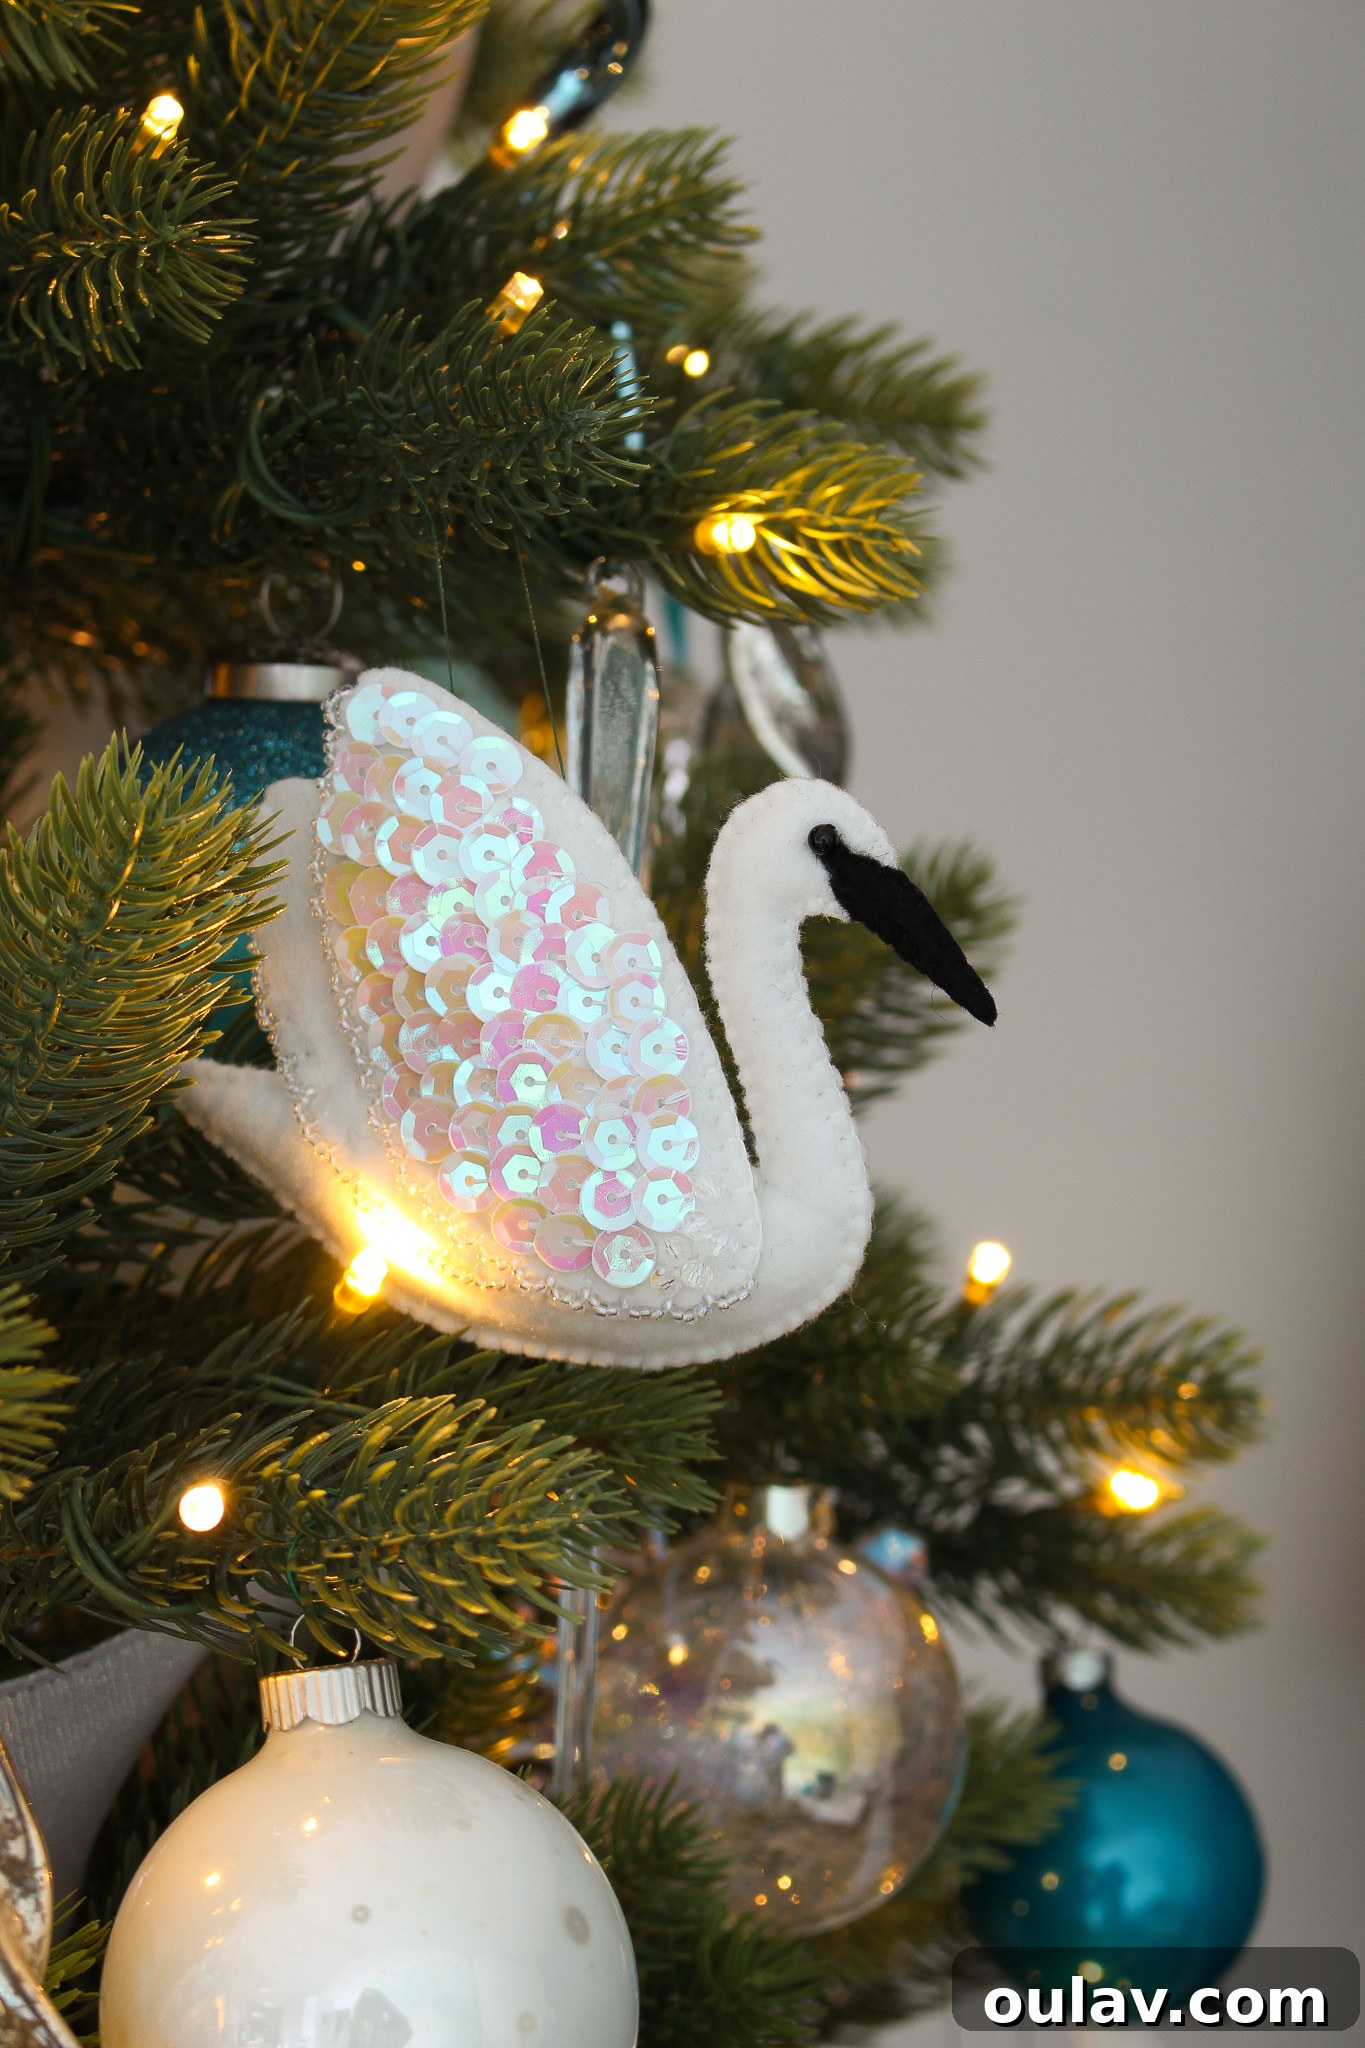
The annual arrival of swans is a highly anticipated event. Their majestic presence and serene glides across the water are a source of constant wonder. Though we wish they’d stay and perhaps even hatch their adorable cygnets right here, their migratory patterns mean they eventually move on. Occasionally, we are lucky enough to spot a pair with a couple of lanky teenage swans taking an overnight rest before their long journey south in the fall. This pattern allows you to capture that serene beauty and recreate it in a tactile, personal way, ensuring the swans can ‘spend’ every winter on your festive tree.
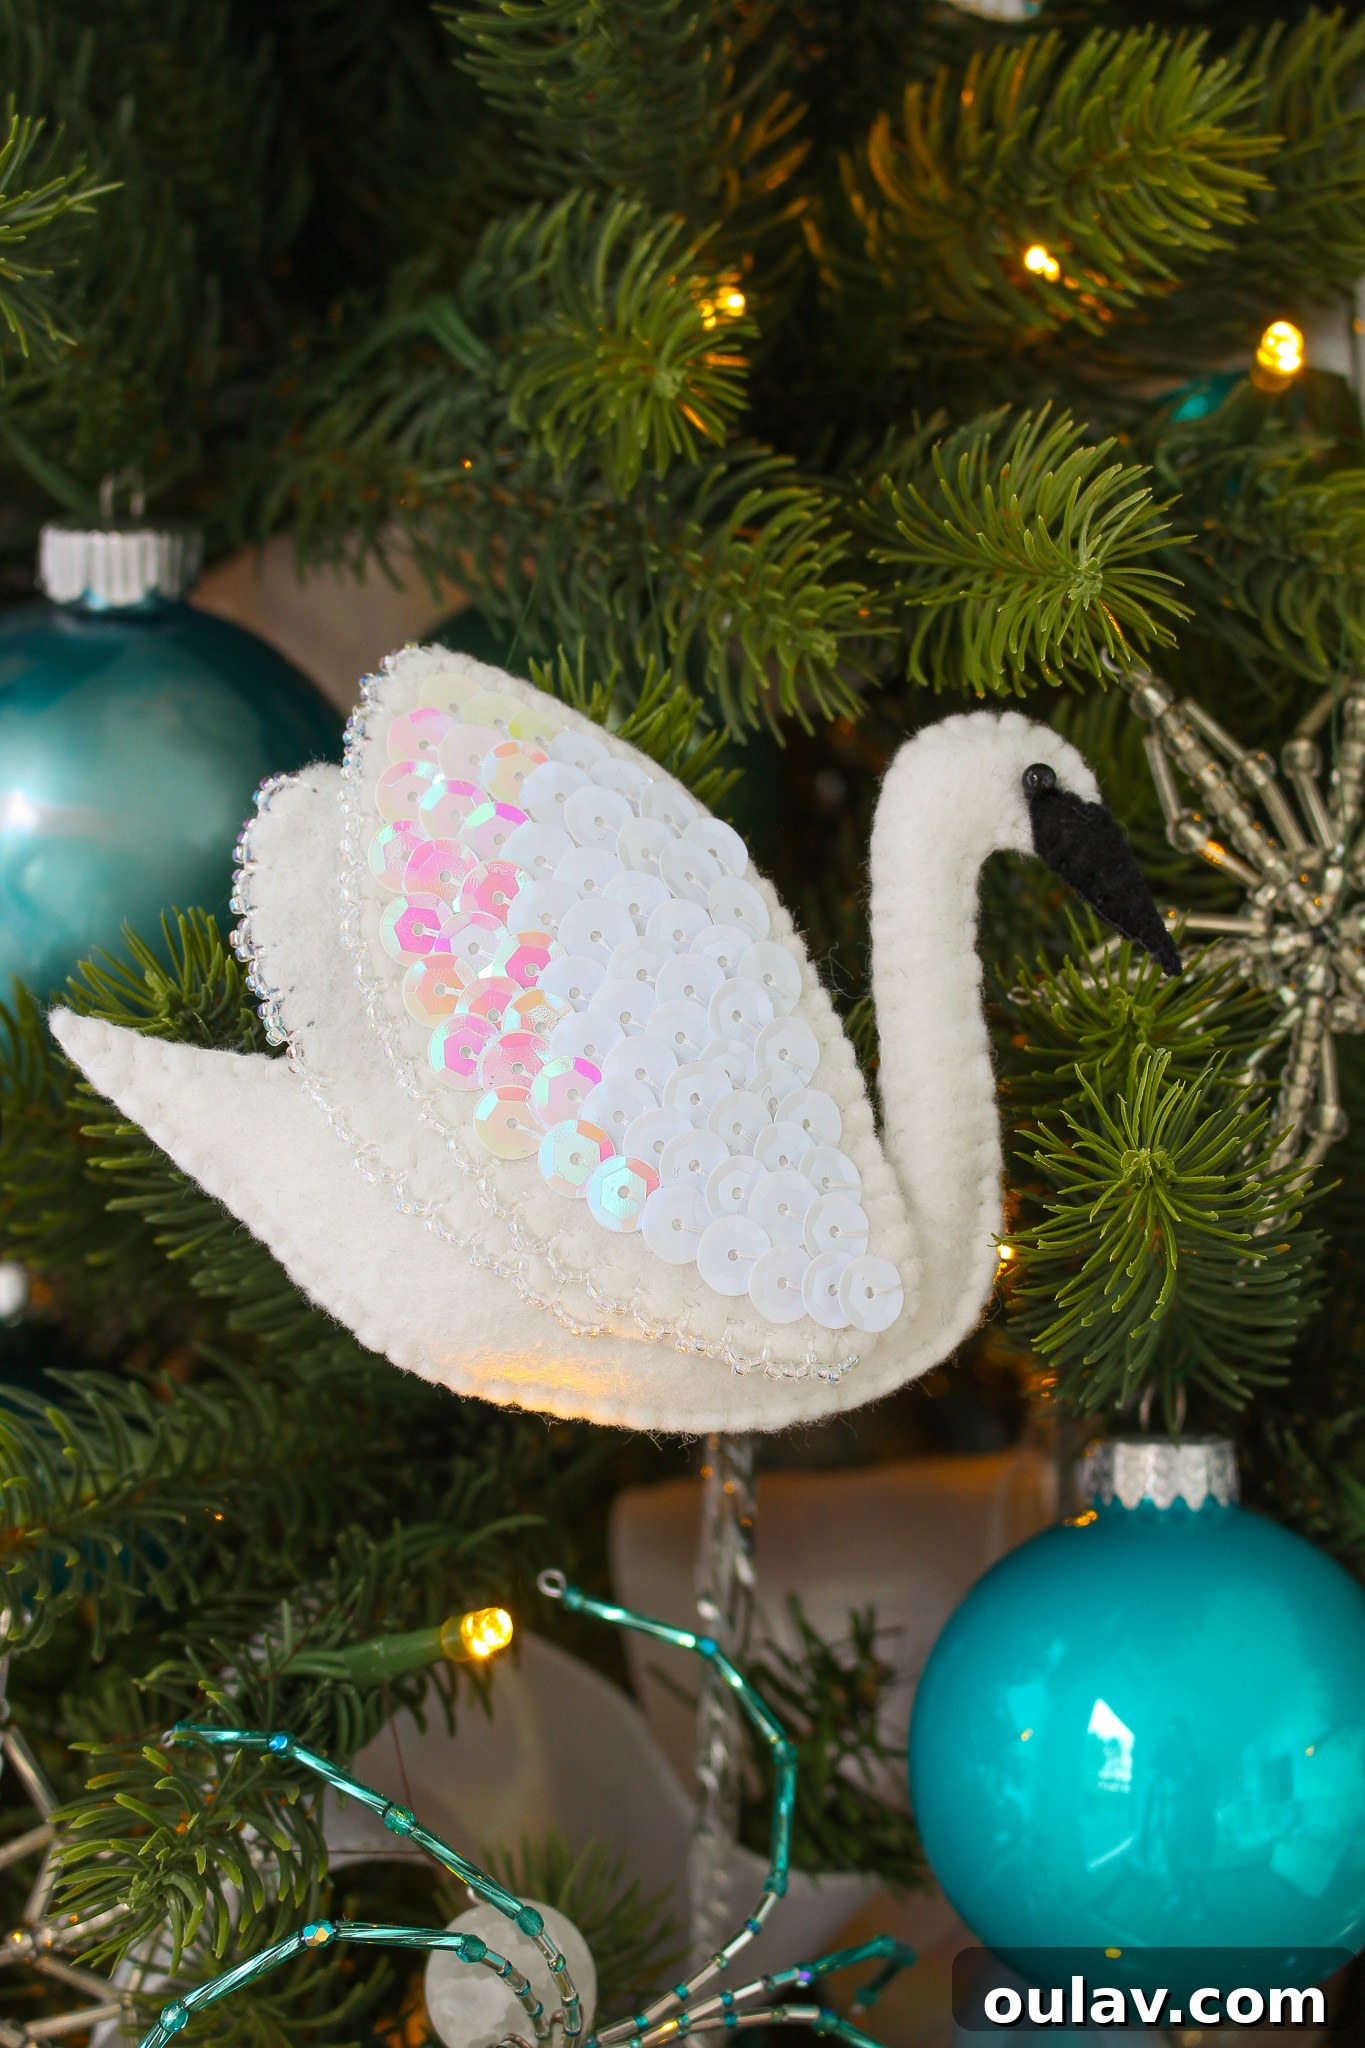
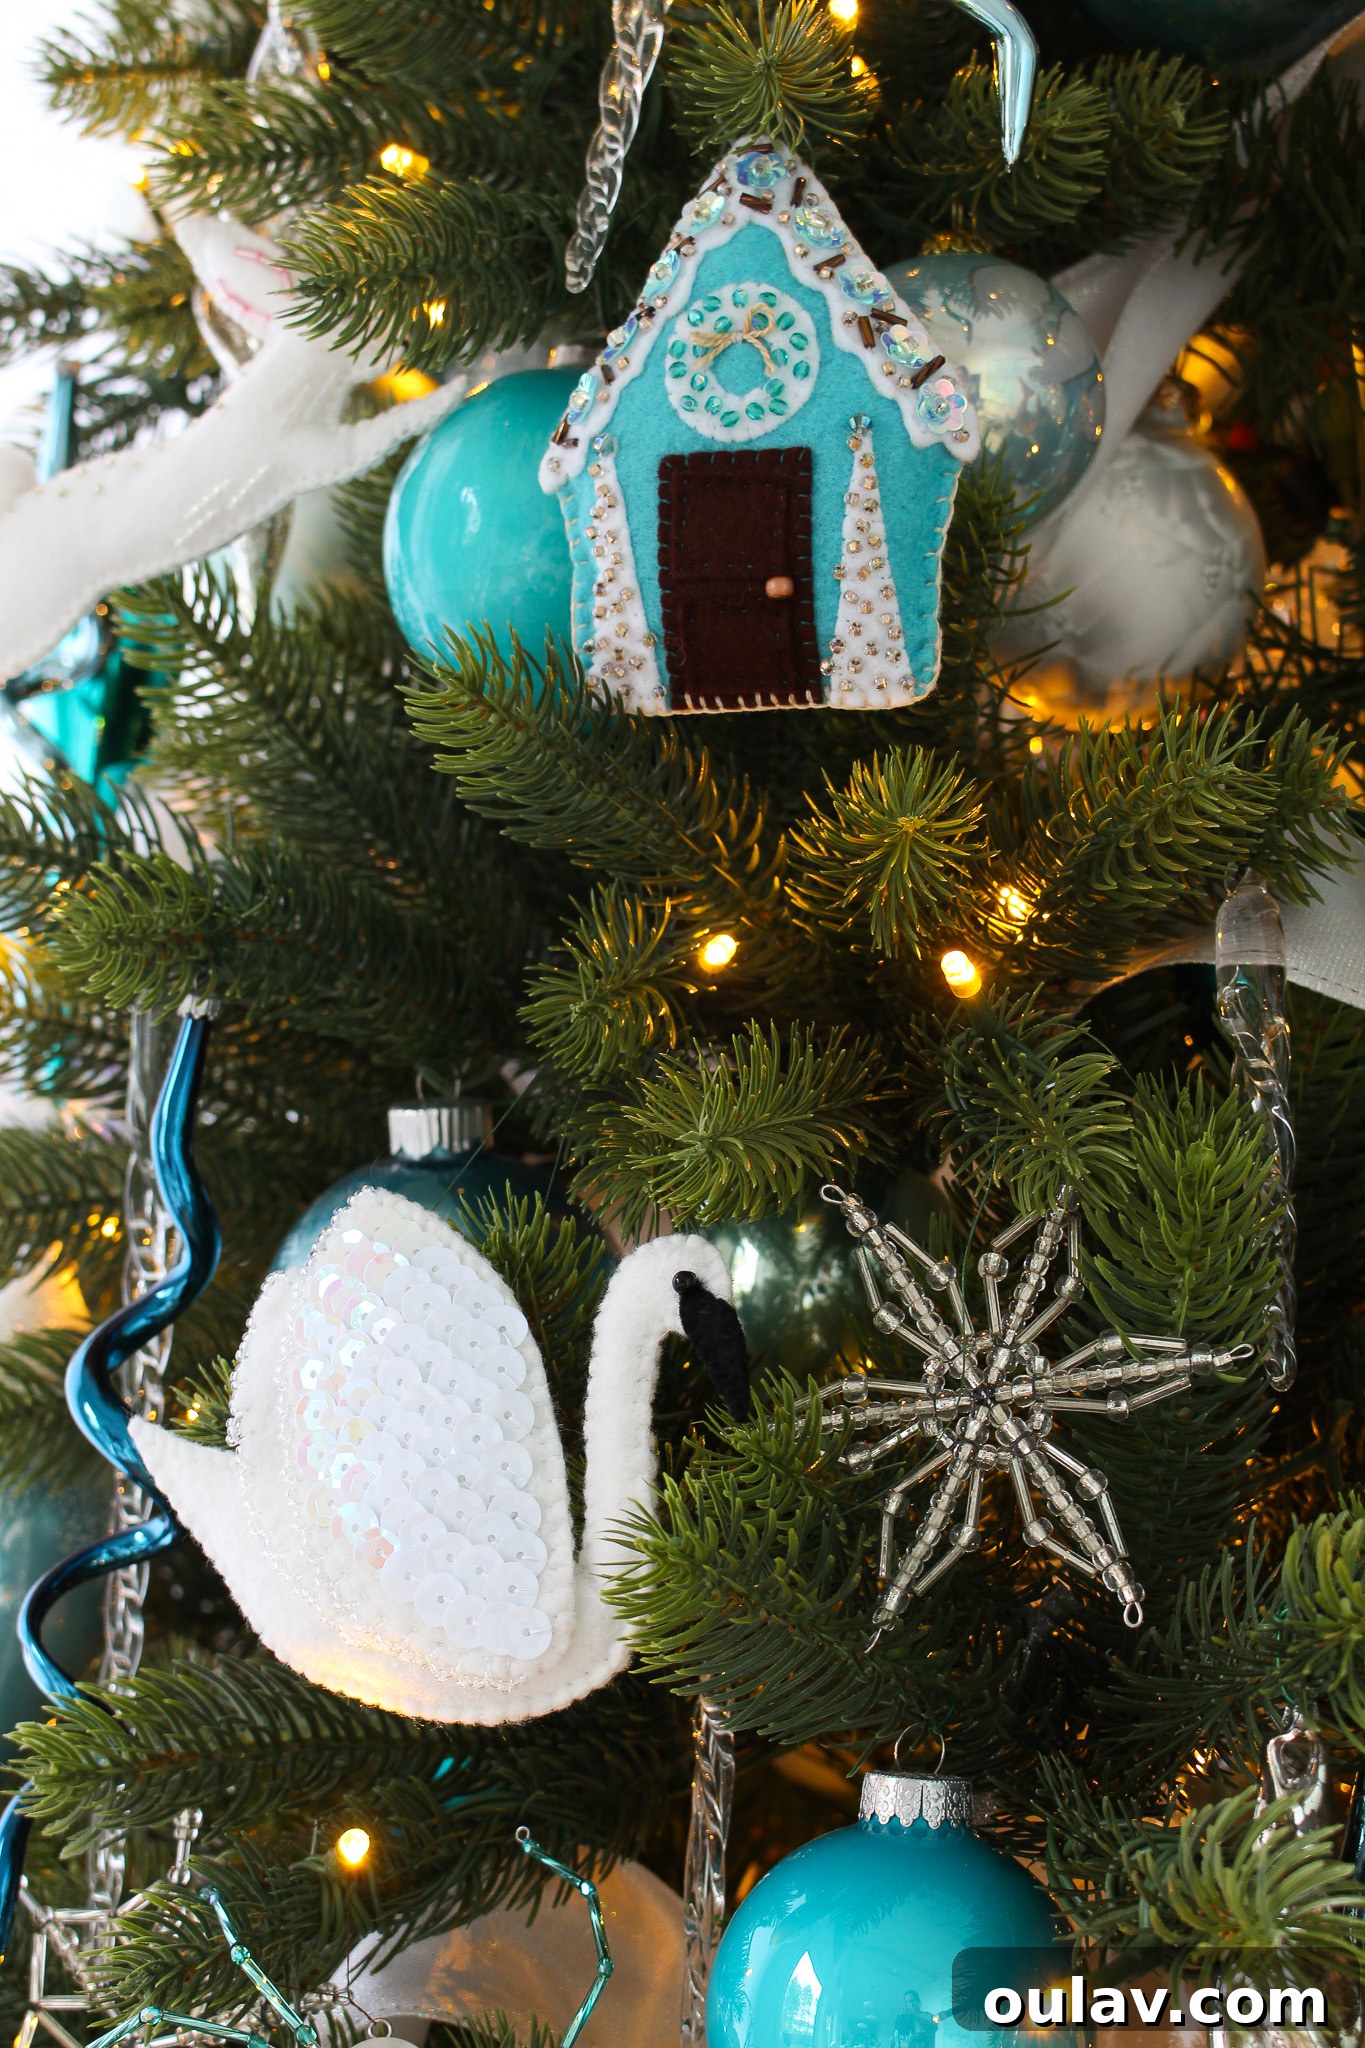
Imagine the joy of hanging these handmade beauties amongst your cherished holiday decorations! Each stitch imbues the ornament with a piece of your creativity and affection, making it far more meaningful than any store-bought item. This project is not just about making an ornament; it’s about embracing the slow craft movement, finding tranquility in the rhythm of hand-sewing, and creating heirlooms that tell a story. Let’s gather our materials and embark on this wonderful crafting journey to create a truly unique Christmas keepsake.
Essential Supplies for Your Felt Swan Ornament
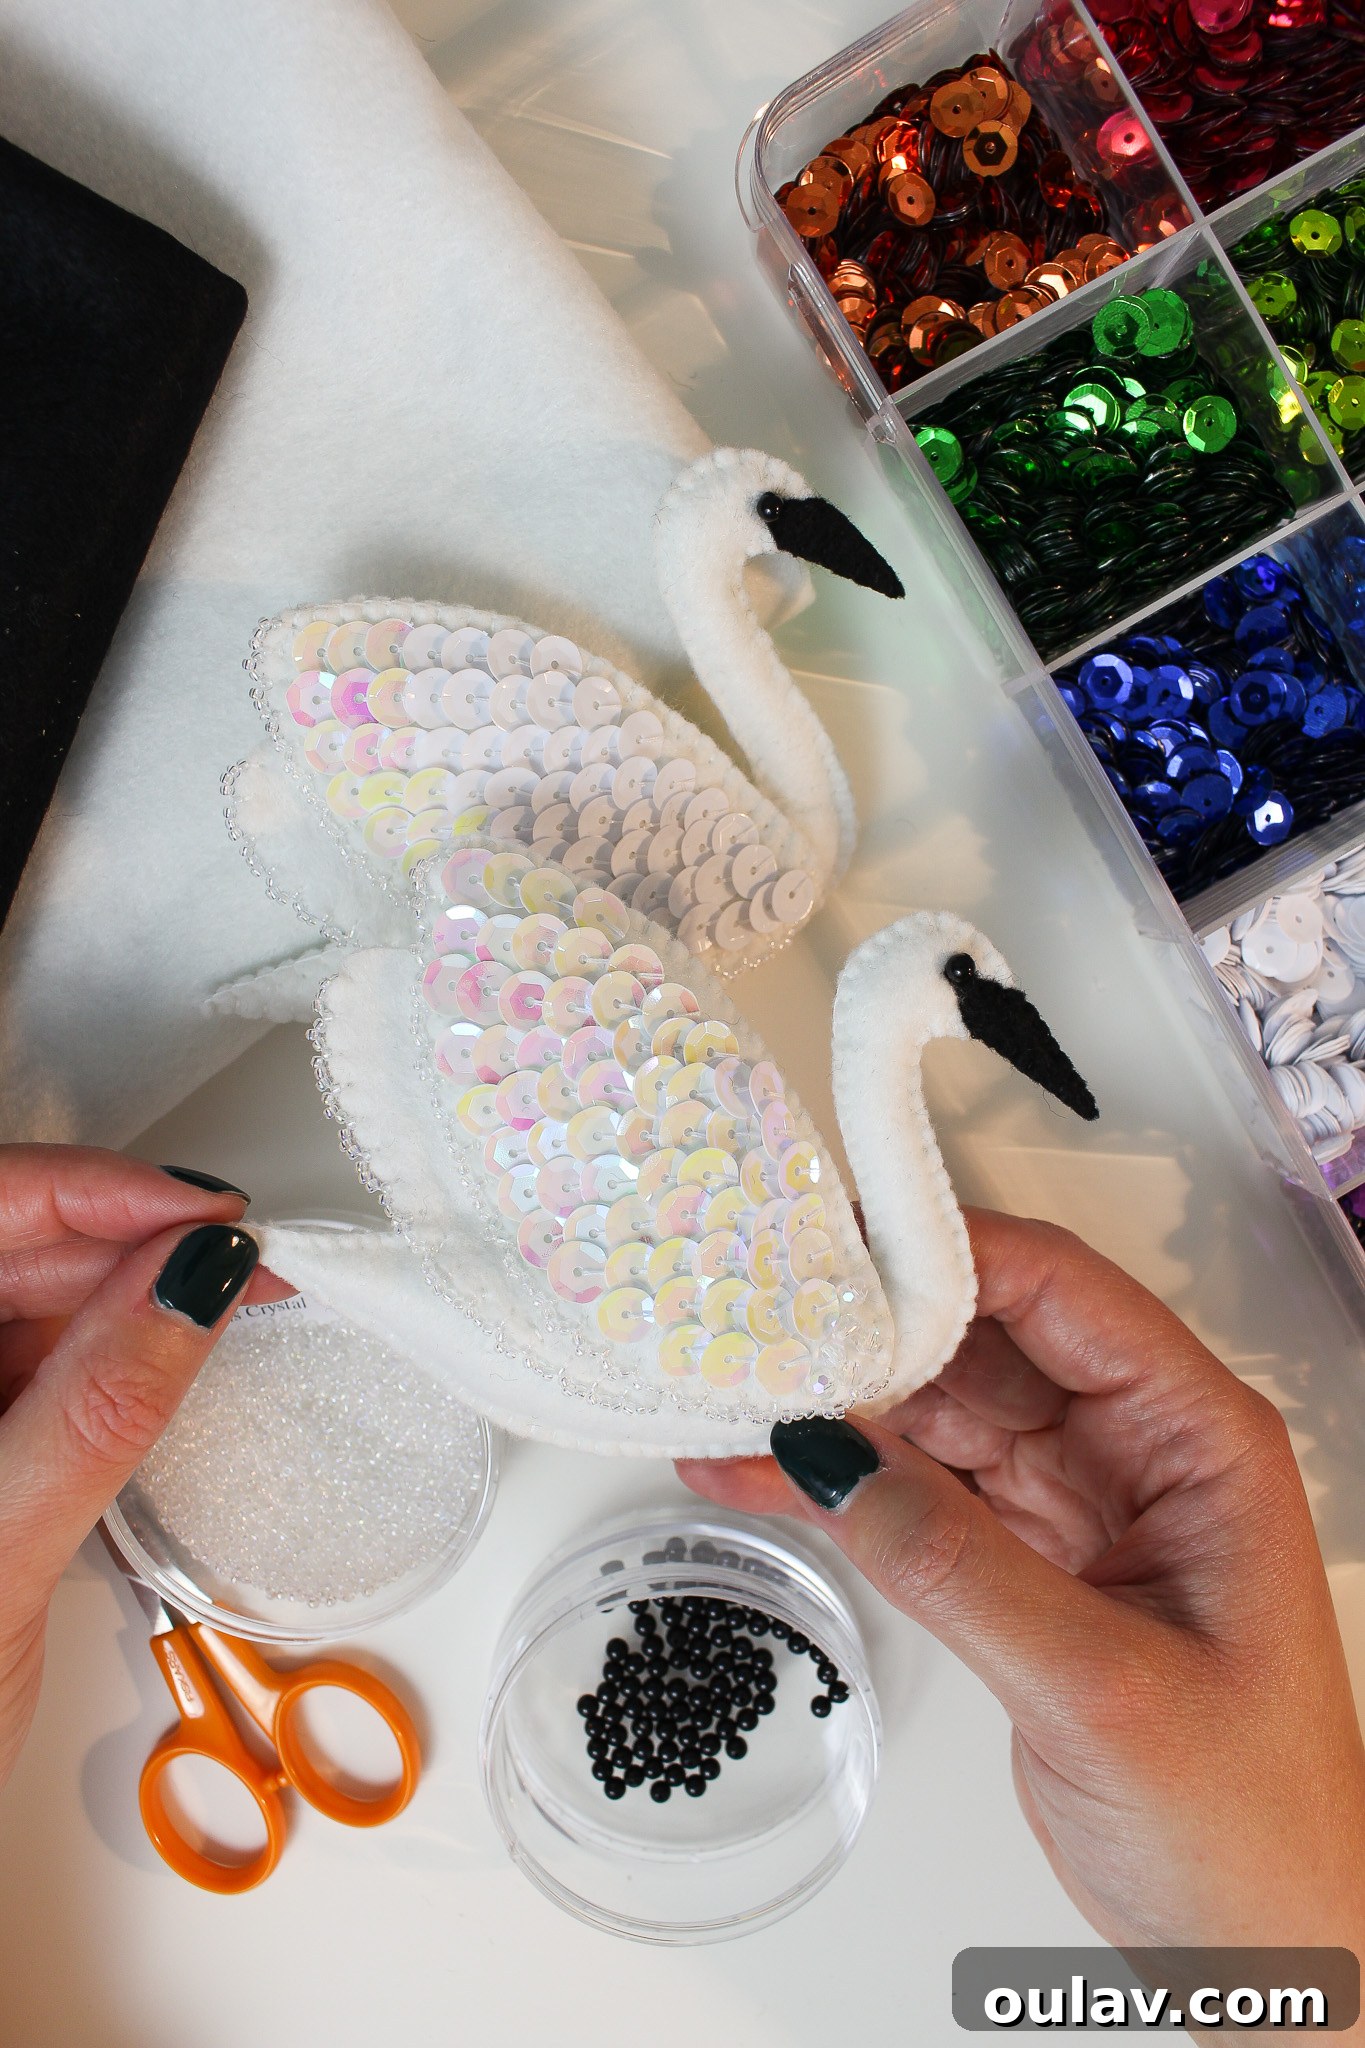
Creating your elegant felt swan ornament requires a few key materials. We’ve carefully curated a list to ensure you achieve the best results, but remember, crafting is also about creativity and resourcefulness! Feel free to adapt where possible, using what you might already have on hand.
- My Felt Swan Ornament Digital Pattern: This is your blueprint for success, providing all the necessary shapes and sizes for a perfectly proportioned swan.
- Soft White Felt: Opt for a high-quality, soft felt rather than the stiff, rigid craft felt. Soft felt drapes beautifully, is easier to sew, and gives your ornament a more luxurious, plush feel.
- Soft Black Felt: Essential for the swan’s distinctive beak. This convenient set includes both white and black felt, ideal for this project.
- White Thread: For stitching the main body and wings. We highly recommend Coats & Clark Hand Quilting Thread. Its fine yet strong nature makes it perfect for both delicate beading work and robust construction.
- Green Heavy Duty Thread (optional): For a sturdy and aesthetically pleasing hanging loop that blends with a Christmas tree.
- Black Thread: Specifically for neatly stitching the beak and attaching the eye bead, ensuring these details stand out.
- 3 mm Black Bead: This tiny bead brings your swan to life, serving as its expressive eye.
- White Sequins: To add a beautiful, shimmering texture to the swan’s wings, mimicking delicate feathers.
- Faceted Glass Beads (optional): For an extra touch of sparkle and dimension on the wings. Seed beads or other small decorative beads can also be used.
- Poly-fil or Wool Batting/Stuffing: To give your swan ornament its soft, three-dimensional form. You might even repurpose stuffing from an old pillow!
- Beading Needle: Its slender design is perfect for threading tiny beads and sequins.
- Hand Sewing Needle: A standard needle for general sewing of the felt pieces.
- Short Fabric Scissors: Essential for precise cutting of felt shapes, especially intricate curves.
- Printer: To print your digital pattern.
- Fine Tipped Sharpie + Printer Paper OR Gypsy Quilter Freezer Paper OR Stick N Stitch Self Adhesive Wash Away Stabilizer: These are different options for transferring your pattern to felt, each with its own advantages, detailed below.
- Stuffing Tool (optional): A handy tool for evenly distributing stuffing into small areas, though a fine-tipped sharpie or chopstick can also work.
For more general DIY felt ornament supply suggestions, you can find a curated list here. Please remember, you do not need to acquire every single item on this list. For instance, if you prefer, you can skip the beading entirely and add embroidered details using threads you already own. Old pillows can be an excellent source of stuffing, or you can use felt/fabric scraps for a more eco-friendly approach. A simple fine-tipped Sharpie works wonderfully for tracing and can even double as a stuffing tool if you’re looking to minimize purchases. Making DIY felt animal ornaments can be an incredibly economical and accessible craft; we’ve linked all the specific tools and materials used in our tutorial, but encourage you to adapt based on your existing supplies and budget.
Utilizing Your Felt Swan Ornament Pattern: A Guide to Transfer Methods
Our felt swan ornament pattern is designed for ease of use, delivered as a digital download so you can begin crafting immediately. It’s scaled to standard 8.5 x 11″ paper, making it universally printable on any home printer. Once printed, you have several excellent methods for transferring the pattern onto your felt, each offering unique benefits.
- Printer Paper Method: This is the most straightforward and budget-friendly approach. Simply print the pattern onto ordinary printer paper, carefully cut out each shape using your fabric scissors, and then trace these paper templates onto your chosen felt with a fine-tipped permanent marker. Be sure to cut *inside* the marker lines to ensure a clean finish and accurate sizing.
- Freezer Paper Method: For a more precise transfer that avoids drawing directly on your felt, freezer paper is an excellent choice. Print the pattern onto the dull side of the freezer paper. Cut out the shapes, then iron the glossy side of each paper piece onto your felt. The heat creates a temporary adhesive bond, allowing you to cut around the sturdy template with great accuracy. Once cut, the freezer paper peels off cleanly, leaving no marks. This method is particularly recommended for this swan pattern as it doesn’t have internal bead markings, allowing for perfectly crisp edges.
- Wash Away Stabilizer Method: This method offers the ultimate in precision and stitch guidance. Print the pattern directly onto the stabilizer. Roughly cut out the shapes (leaving a small border), then stick these self-adhesive pieces onto your felt. You can then cut precisely along the lines on the stabilizer, or even sew directly through it. Once your cutting is complete, the stabilizer can be dissolved with water, leaving only your perfectly cut felt pieces. This method is fantastic for intricate details and can simplify the cutting process significantly.
For this specific felt swan pattern, where we haven’t marked any spots for beading directly on the pattern (unlike some of our other felt ornament designs), the freezer paper method emerges as a highly recommended option. It offers a cleaner cut and a more stable template than simply tracing, and it’s less involved than using wash-away stabilizer if you don’t need to sew *through* the pattern lines. However, all three methods are viable, so choose the one that best suits your comfort level and desired precision.
Pattern Usage Rights:
Please note: this pattern is copyright protected and is intended solely for your PERSONAL USE ONLY. It is not licensed to be shared online, used for commercial purposes, or sold. We appreciate your understanding and respect for our creative work, which allows us to continue bringing you new and exciting DIY projects.
Step-by-Step Guide: How to Make Your DIY Felt Swan Ornament
Ready to bring your graceful felt swan to life? Follow these detailed steps for a truly enchanting handmade ornament:
- Begin by printing out my felt swan ornament pattern. Ensure it’s scaled correctly for accurate sizing.
- If using plain paper: Carefully cut out all of the paper shapes. Place them on your felt and trace neatly around each one with a fine-tipped permanent marker.
- Using your short fabric shears, precisely cut out all the felt shapes. For the cleanest edges, cut just inside the marker lines.
- If using Freezer Paper or Wash Away Stabilizer: First, cut out the pattern shapes from your chosen transfer material. Then, either iron the freezer paper onto the felt or stick the stabilizer to the felt.
- Next, cut out the felt shapes, carefully following the pattern lines on your transfer material with your short fabric shears.
- At this point, if you used freezer paper or wash away stabilizer, gently remove the template from your felt pieces.
- Now, thread a beading needle with white thread for the embellishment steps:
- Stitch beautiful rows of white sequins or faceted glass beads along the front piece of the wing (the smaller felt piece). This creates a delicate, feathered effect.
- Using a secure blanket stitch, sew together the front and back pieces of the wing, focusing only along the top curved edge.
- Continue sewing along the bottom curve of the top wing piece, employing a decorative edge beading stitch (if desired) to add extra sparkle, but leave the very bottom edge open for stuffing.
- Gently stuff the wing with a small amount of poly-fil or wool batting, just enough to give it a soft, plump shape without overstuffing.
- Sew the wing closed along its bottom edge using a simple, neat running stitch.
- Replicate the decorative edge beading stitch along the bottom edge of the back wing piece for a cohesive look.
- Set the completed wing aside for later attachment.
- Switch to a hand sewing needle for assembling the main body:
- Begin sewing together the front and back of the swan body using a sturdy blanket stitch, starting at the intricate head shape.
- As you sew, carefully stuff the head shape with poly-fil. Continue to stuff and sew the body, working your way around the perimeter, gradually filling the form.
- Repeat this process of sewing a section and then stuffing, until the entire swan body is fully stuffed and completely sewn closed.
- Once the bird is entirely sewn closed, tie off your thread with a secure knot, bury the loose end within the felt, and trim any excess.
- Position the wing onto the swan body. Tack it securely to the swan’s side by stitching along the bottom edge of the wing with a running stitch.
- Flip the ornament over and use a whipstitch to further secure the wing at the back, ensuring it stands upright and maintains its elegant posture.
- Still using a hand sewing needle, switch to black thread for the beak and eye:
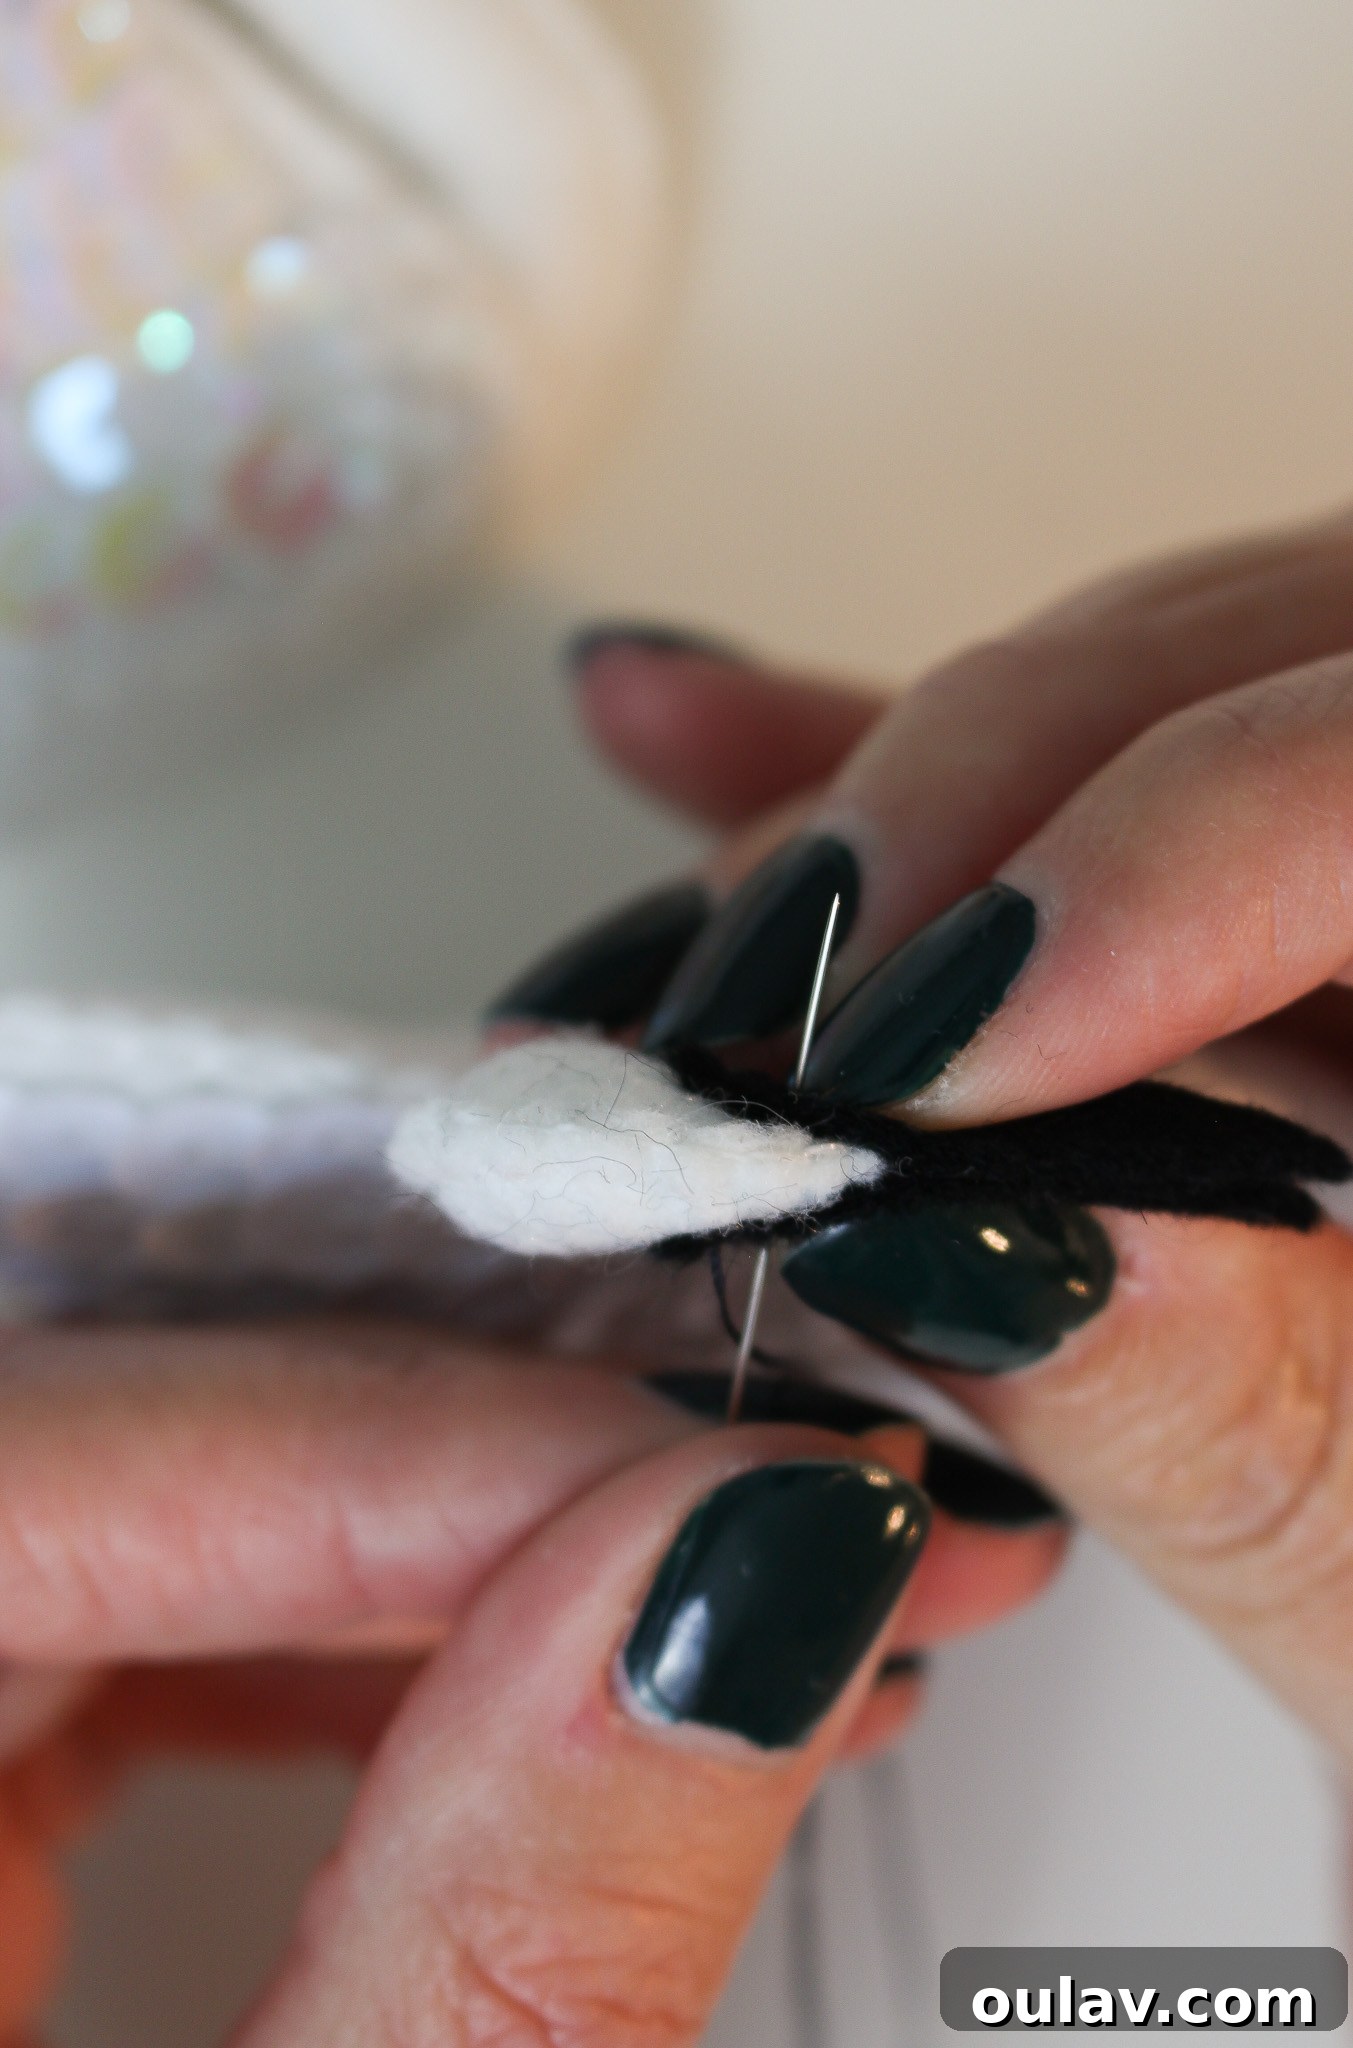
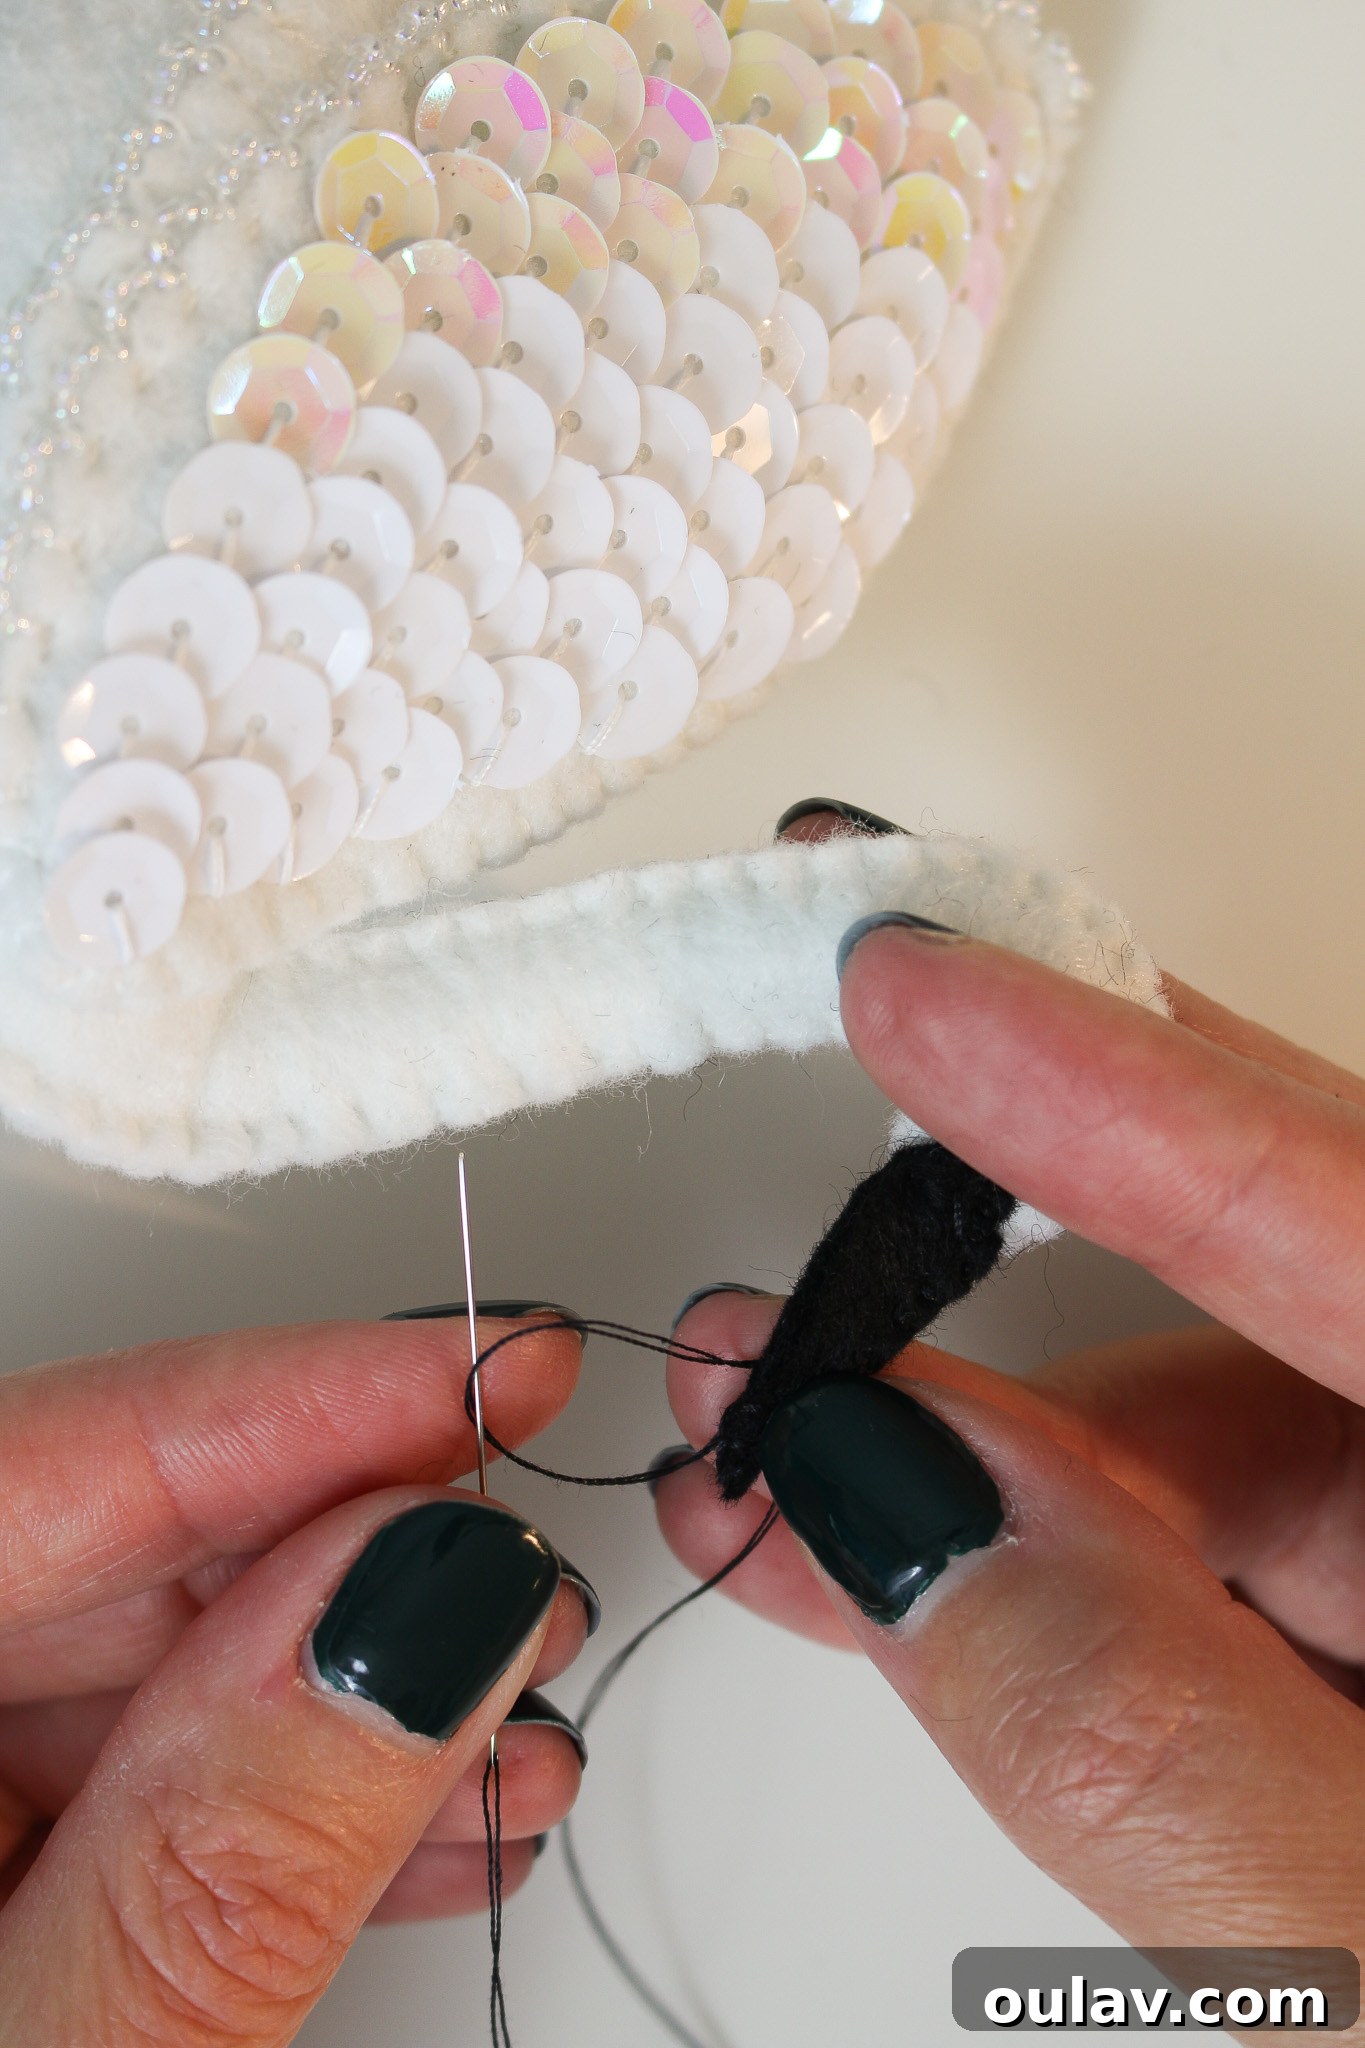
- Match the two black felt beak pieces (they are mirror images) and position them at the “snoot” end of the swan’s head. Stitch the front beak piece onto the swan’s head at a few anchor points to ensure alignment.
- Then, hold the back beak piece in place and continue to stitch both beak pieces onto the head simultaneously with each pass of the needle.
- Next, sew along the entire perimeter of the beak with a very small blanket stitch to securely close and define its shape.
- Finally, stitch on the 3mm black bead for the eye, knot the thread securely, and bury the thread end under the black felt before trimming.
- Still using a hand sewing needle, switch to green thread (or your preferred hanging thread) for the final touch:
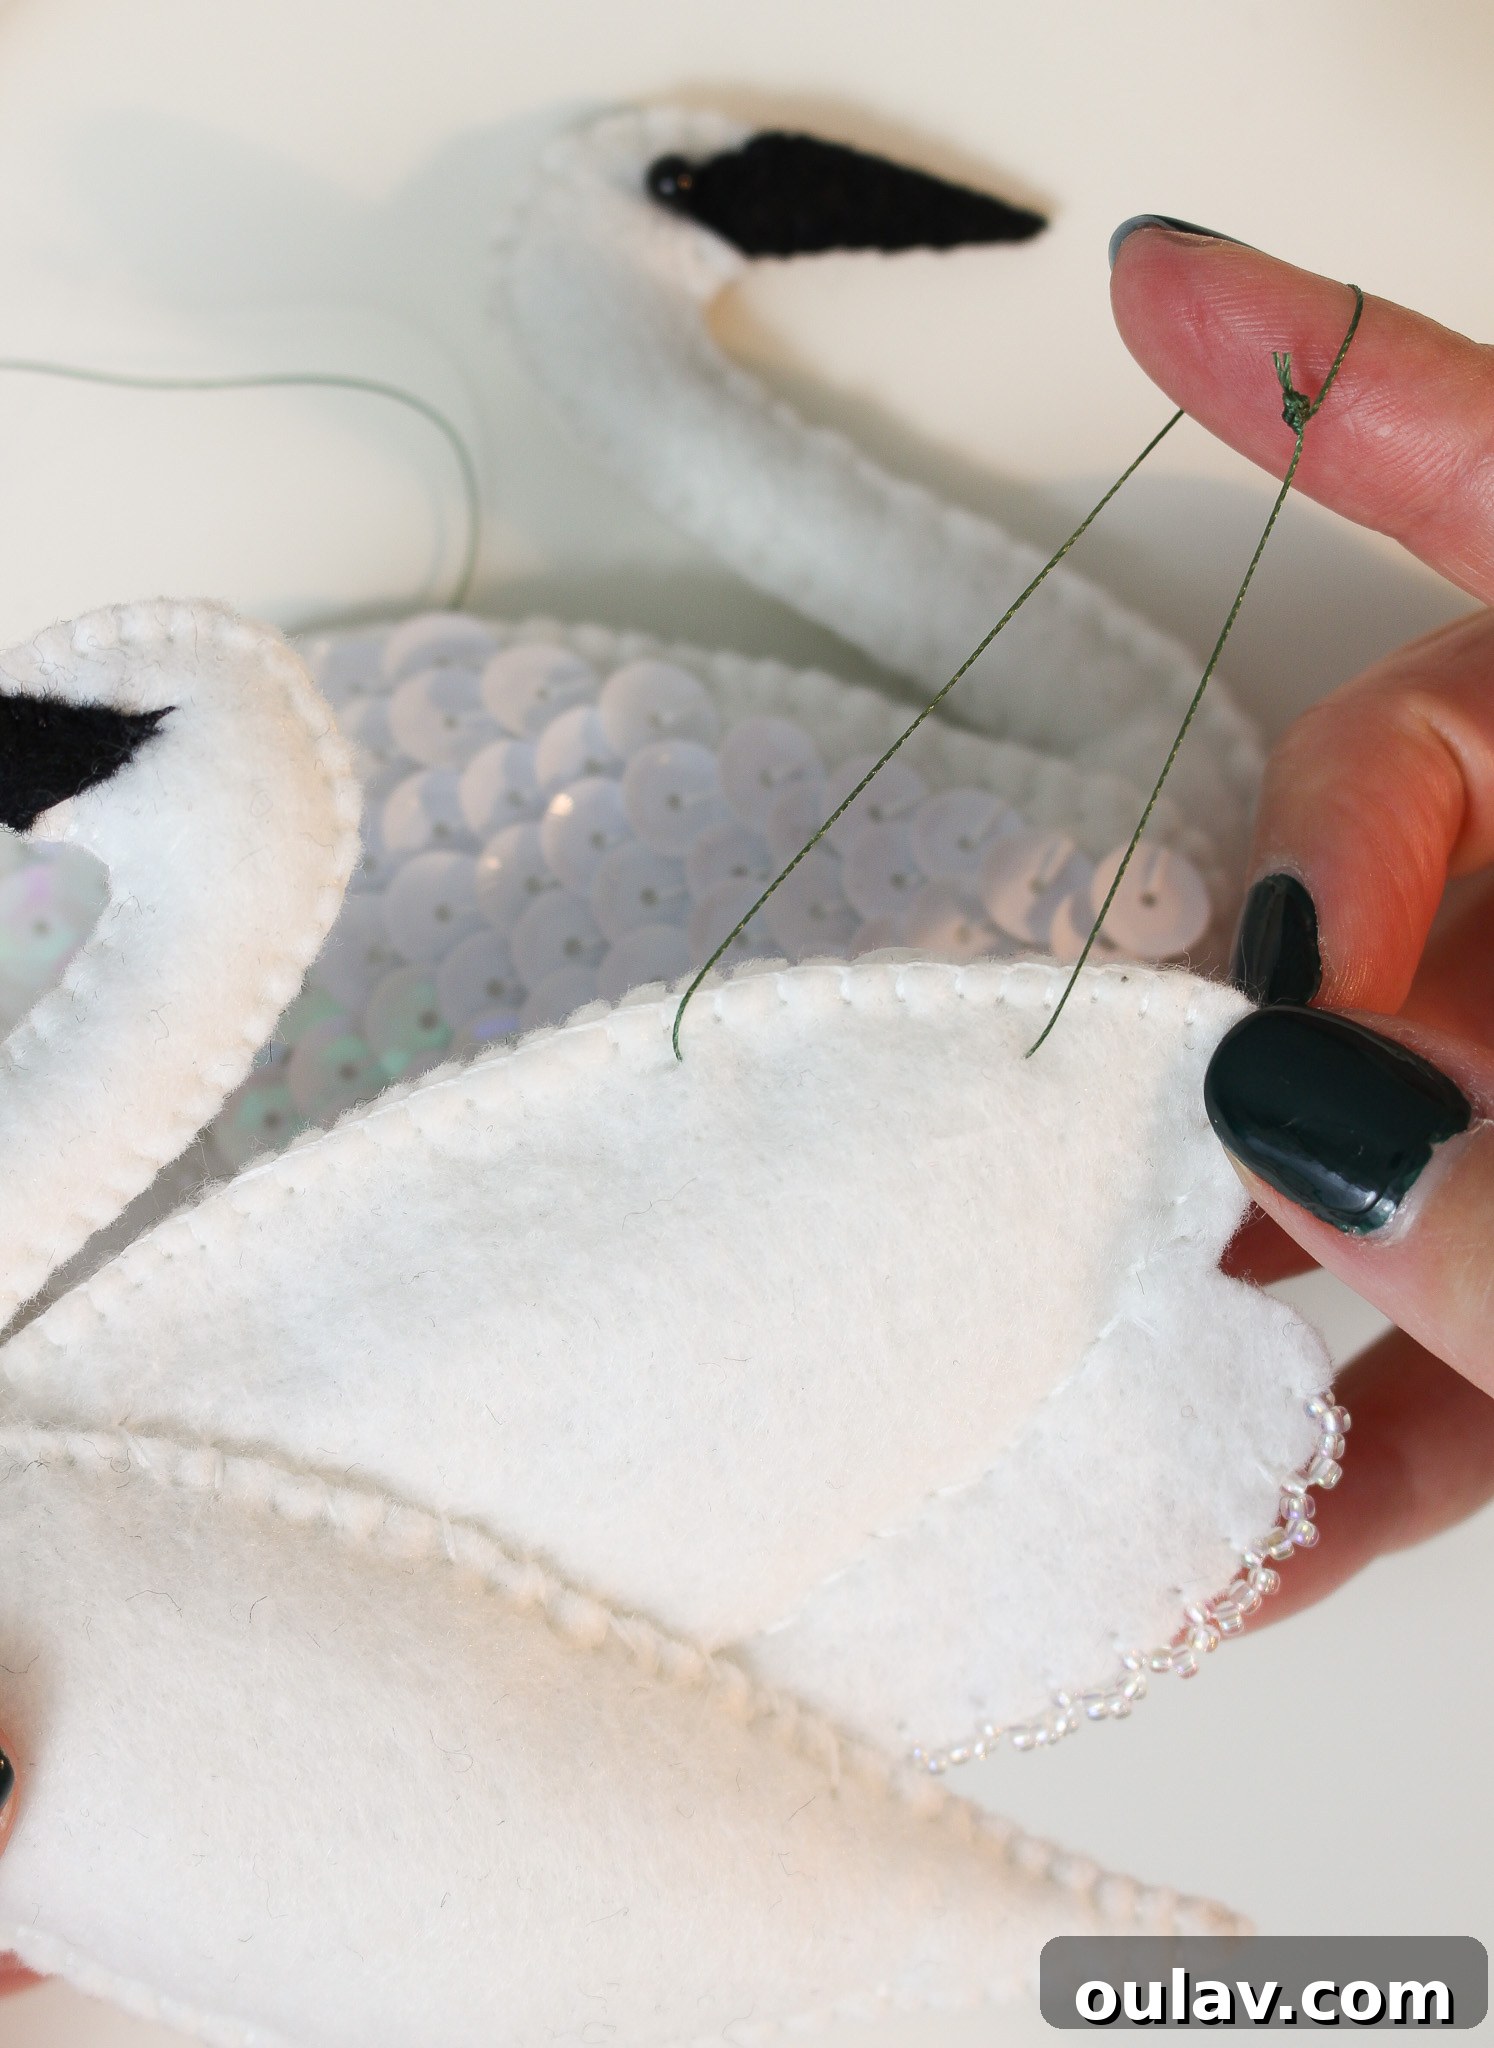
- To create a hanging loop, use your needle to thread a length of green heavy-duty thread across the back of the swan.
- Form a loop with the thread, creating a hanger, and secure it firmly with a knot.
Felt Swan Video Tutorial:
Detailed Tutorial: Crafting Your Felt Swan Christmas Tree Ornament
Let’s dive deeper into each stage of creating your beautiful felt swan ornament, with additional tips and visual guidance to ensure a perfect finish.
Cutting Out the Pattern & Transferring to Felt
Start by printing your swan felt ornament pattern. As previously discussed, for this particular design, we highly recommend using the freezer paper method for pattern transfer due to its precision and clean results. Once your pattern is transferred, carefully cut out all the felt pieces using your sharp fabric shears. Precision here is key to a well-formed ornament, so take your time, especially around curves and smaller details. Remove any templates used once all pieces are cut.
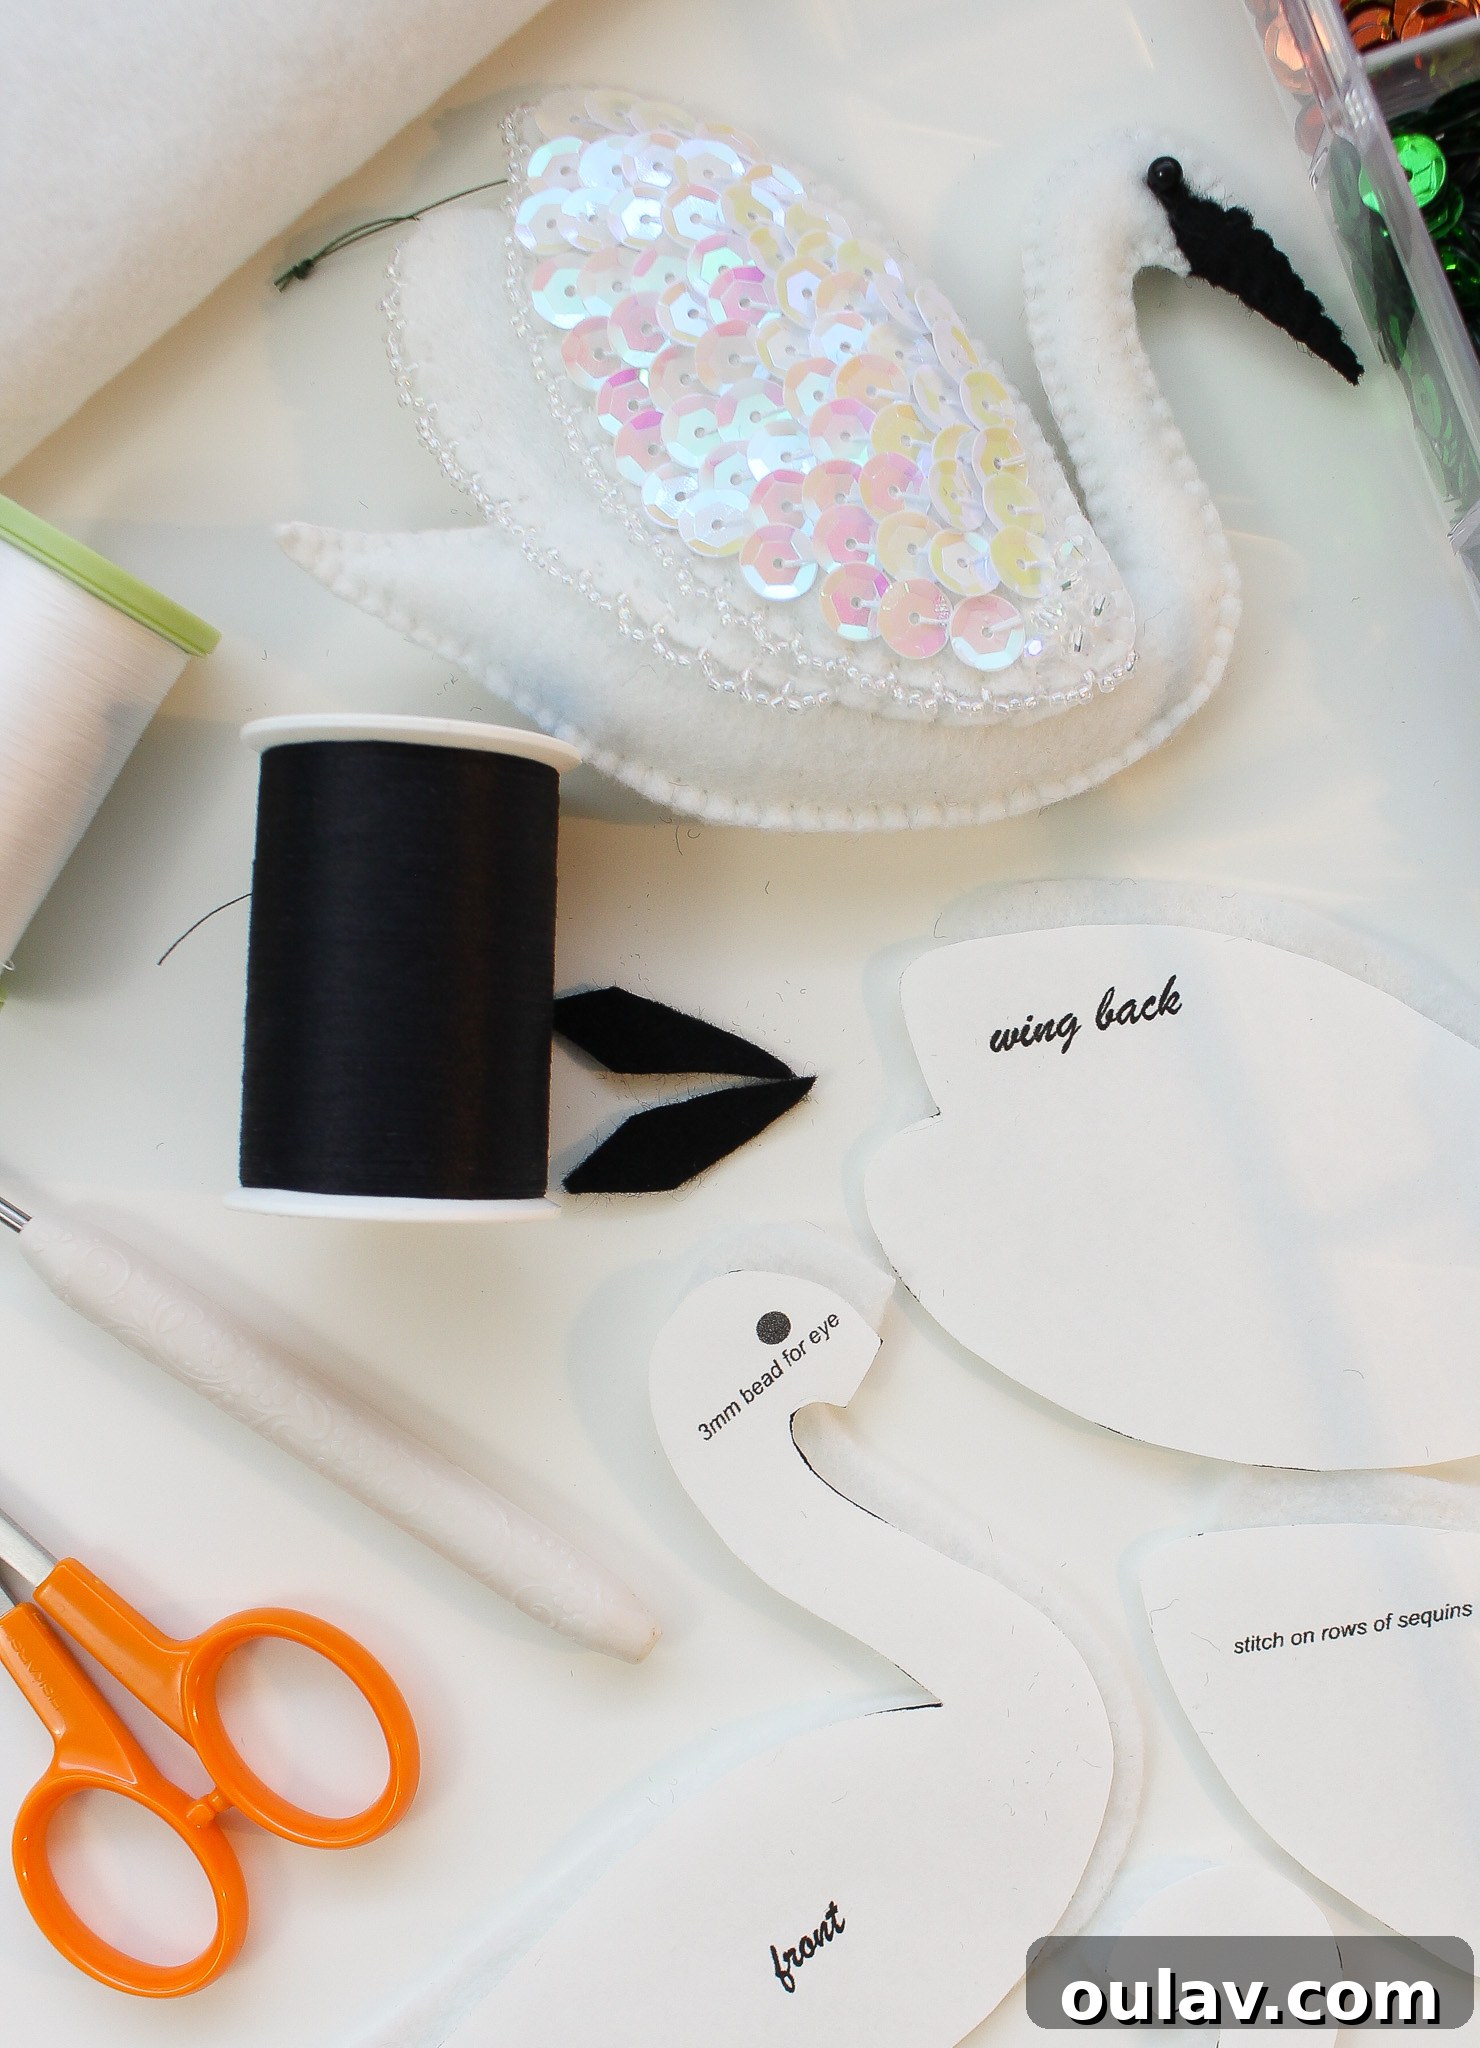
Stitching Sequins or Beads onto the Wing Front
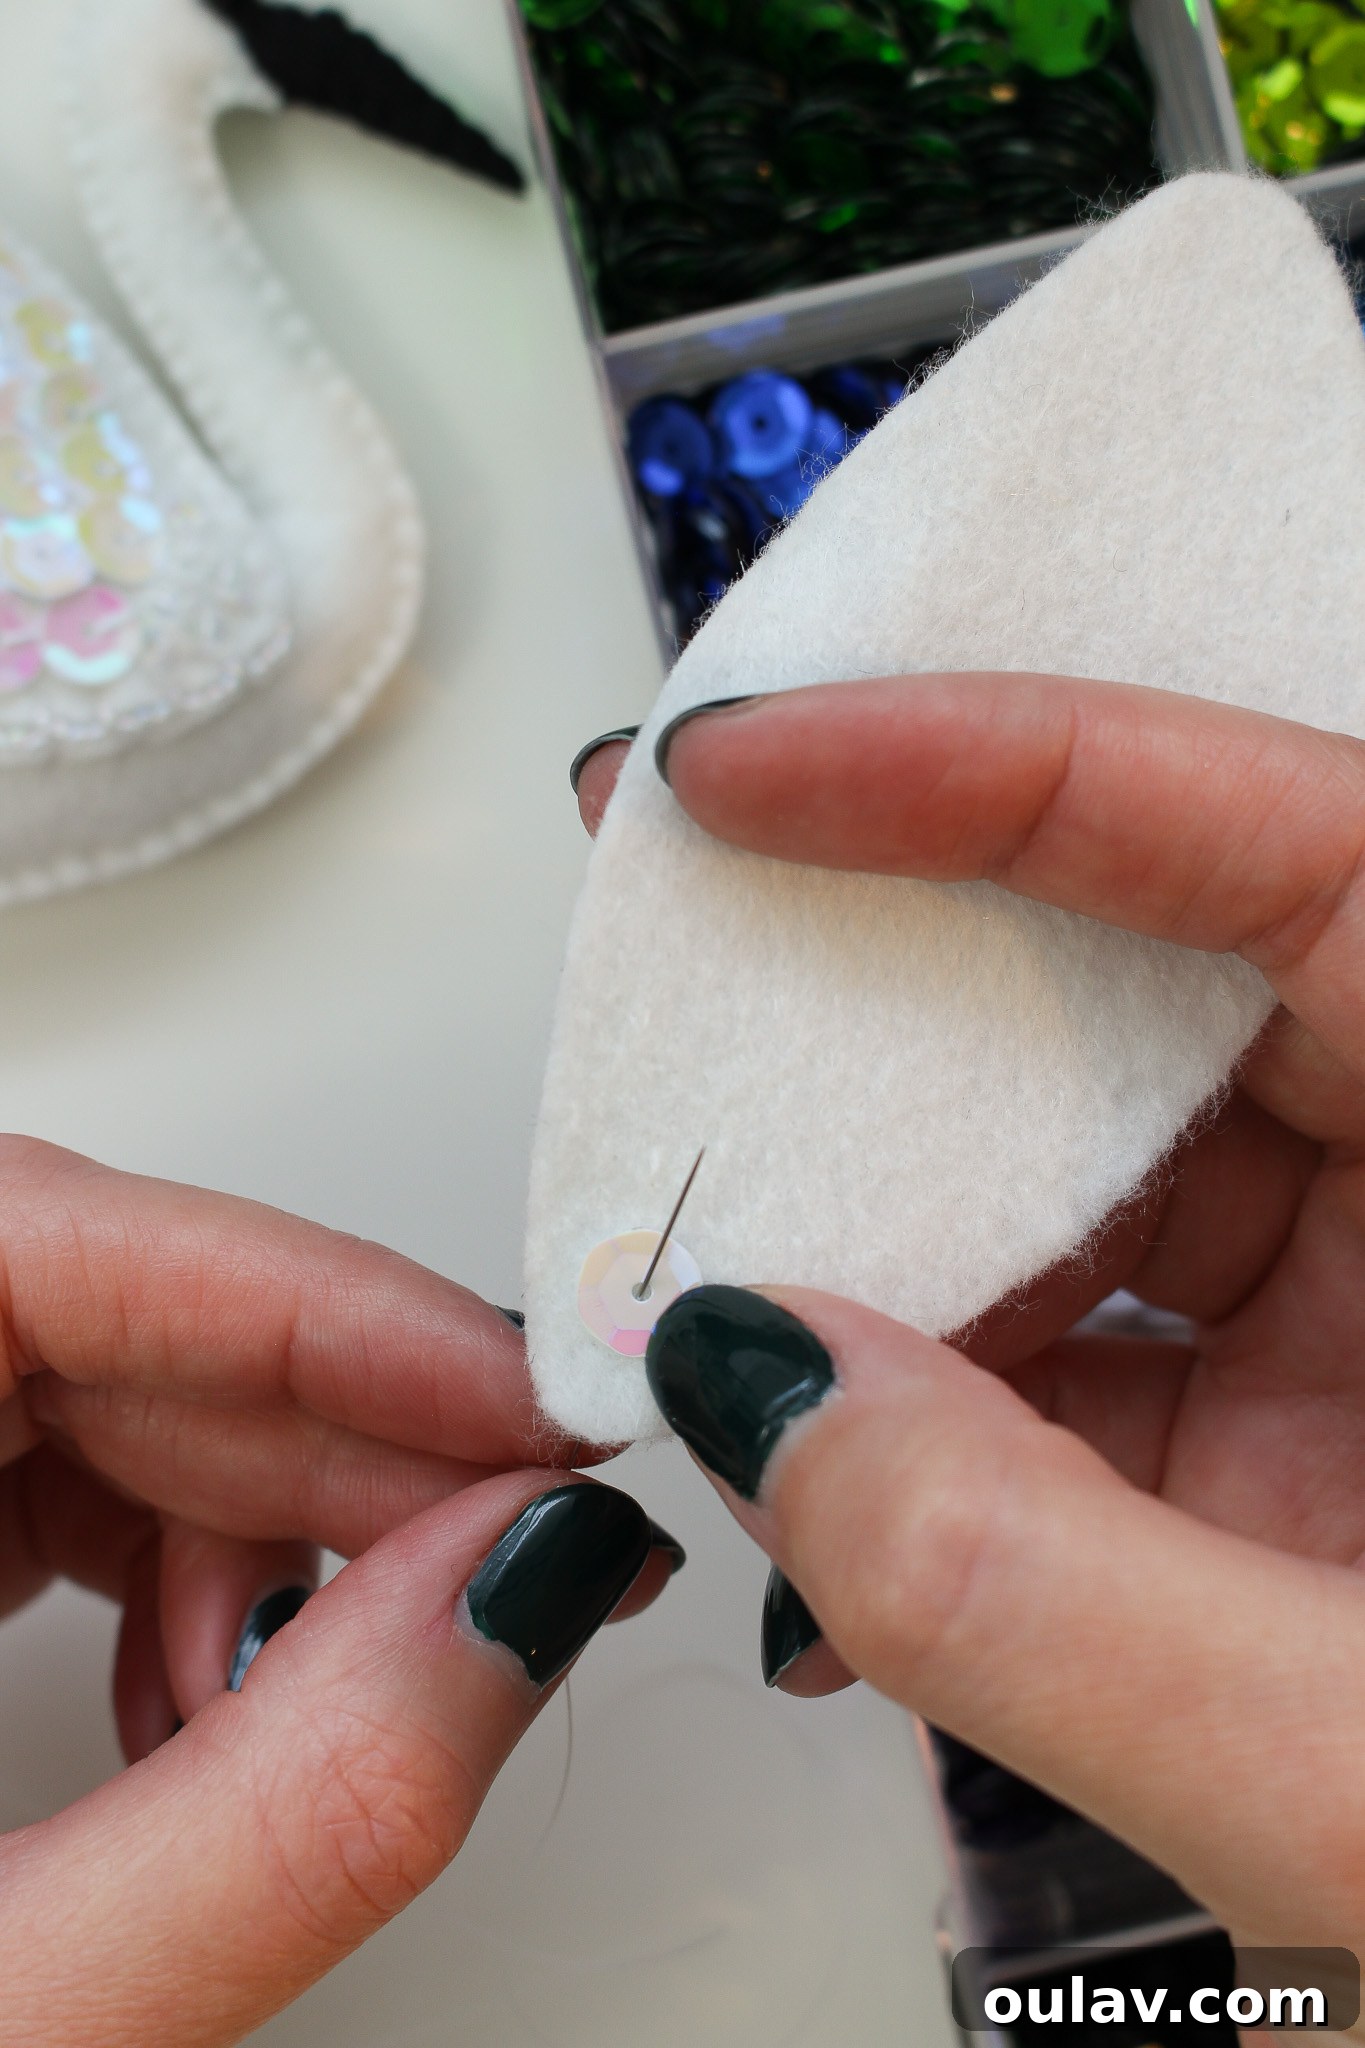
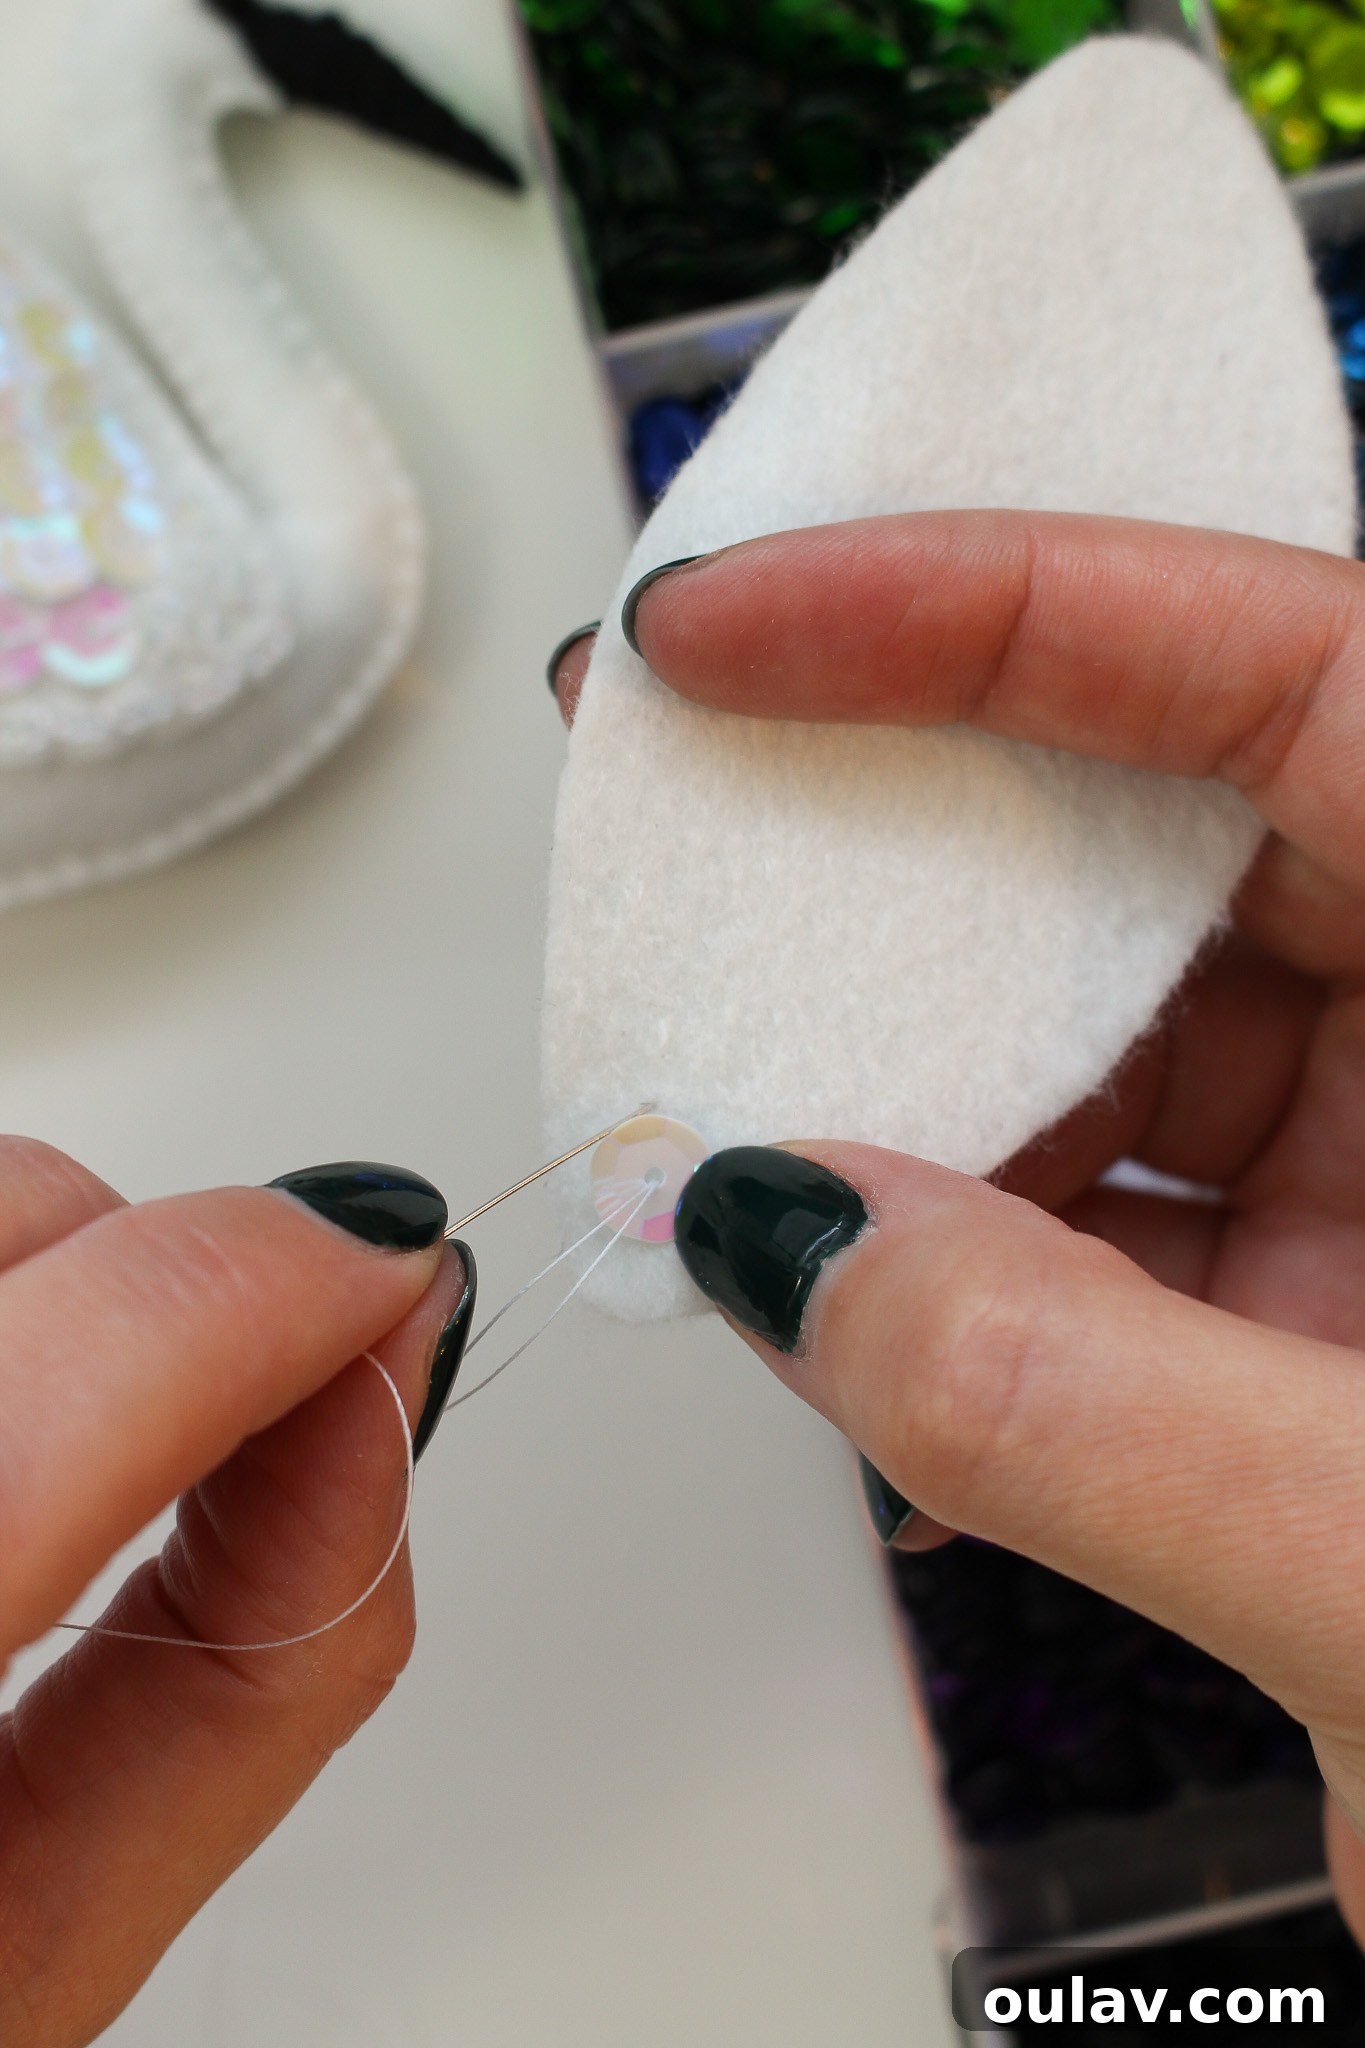
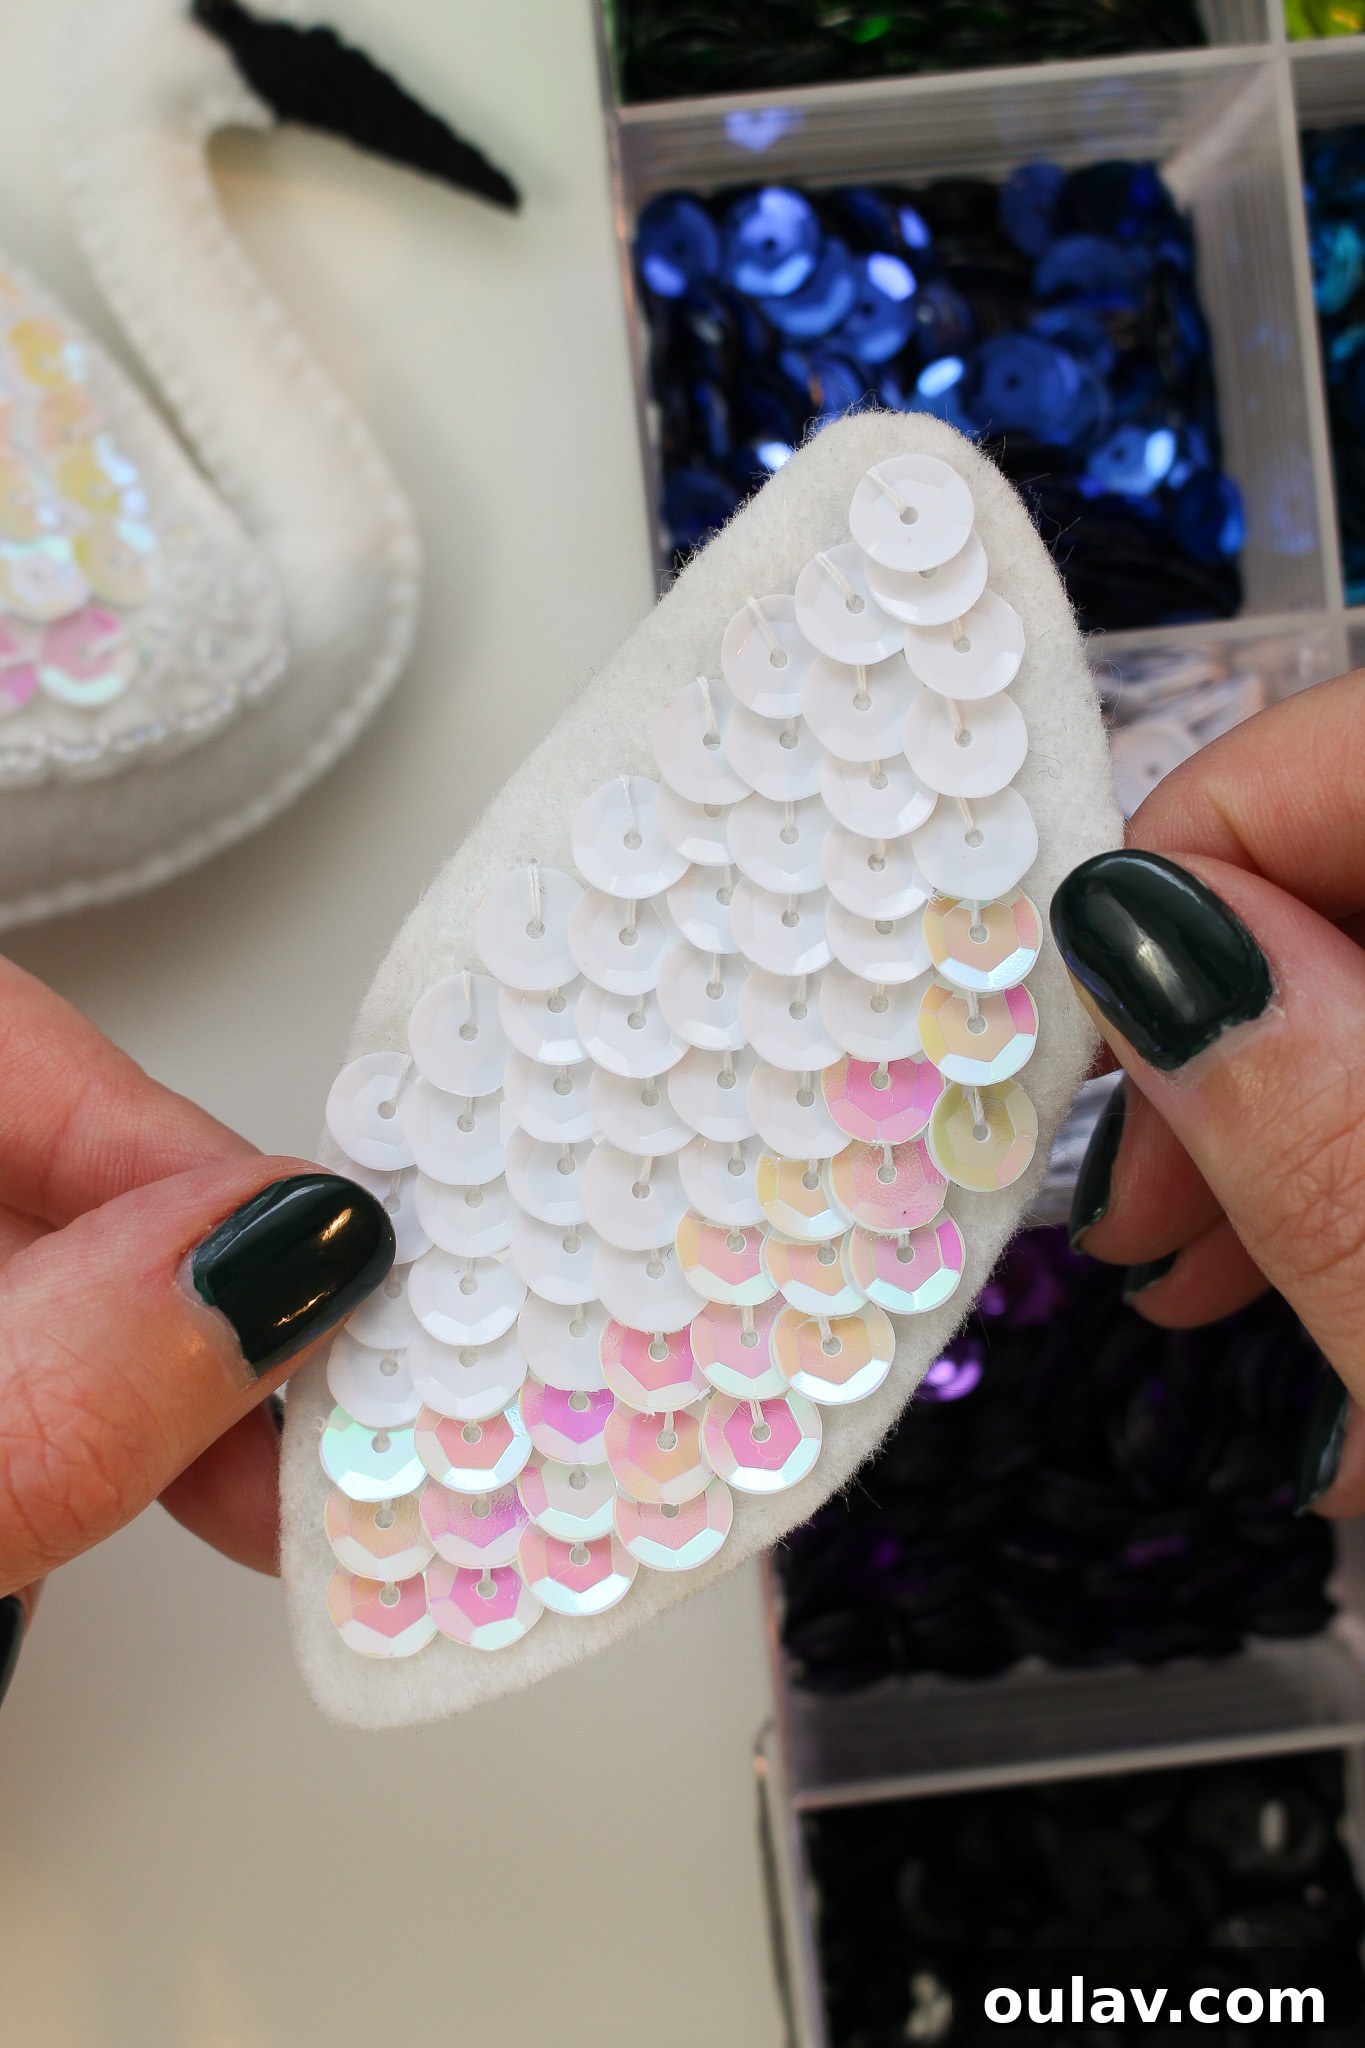
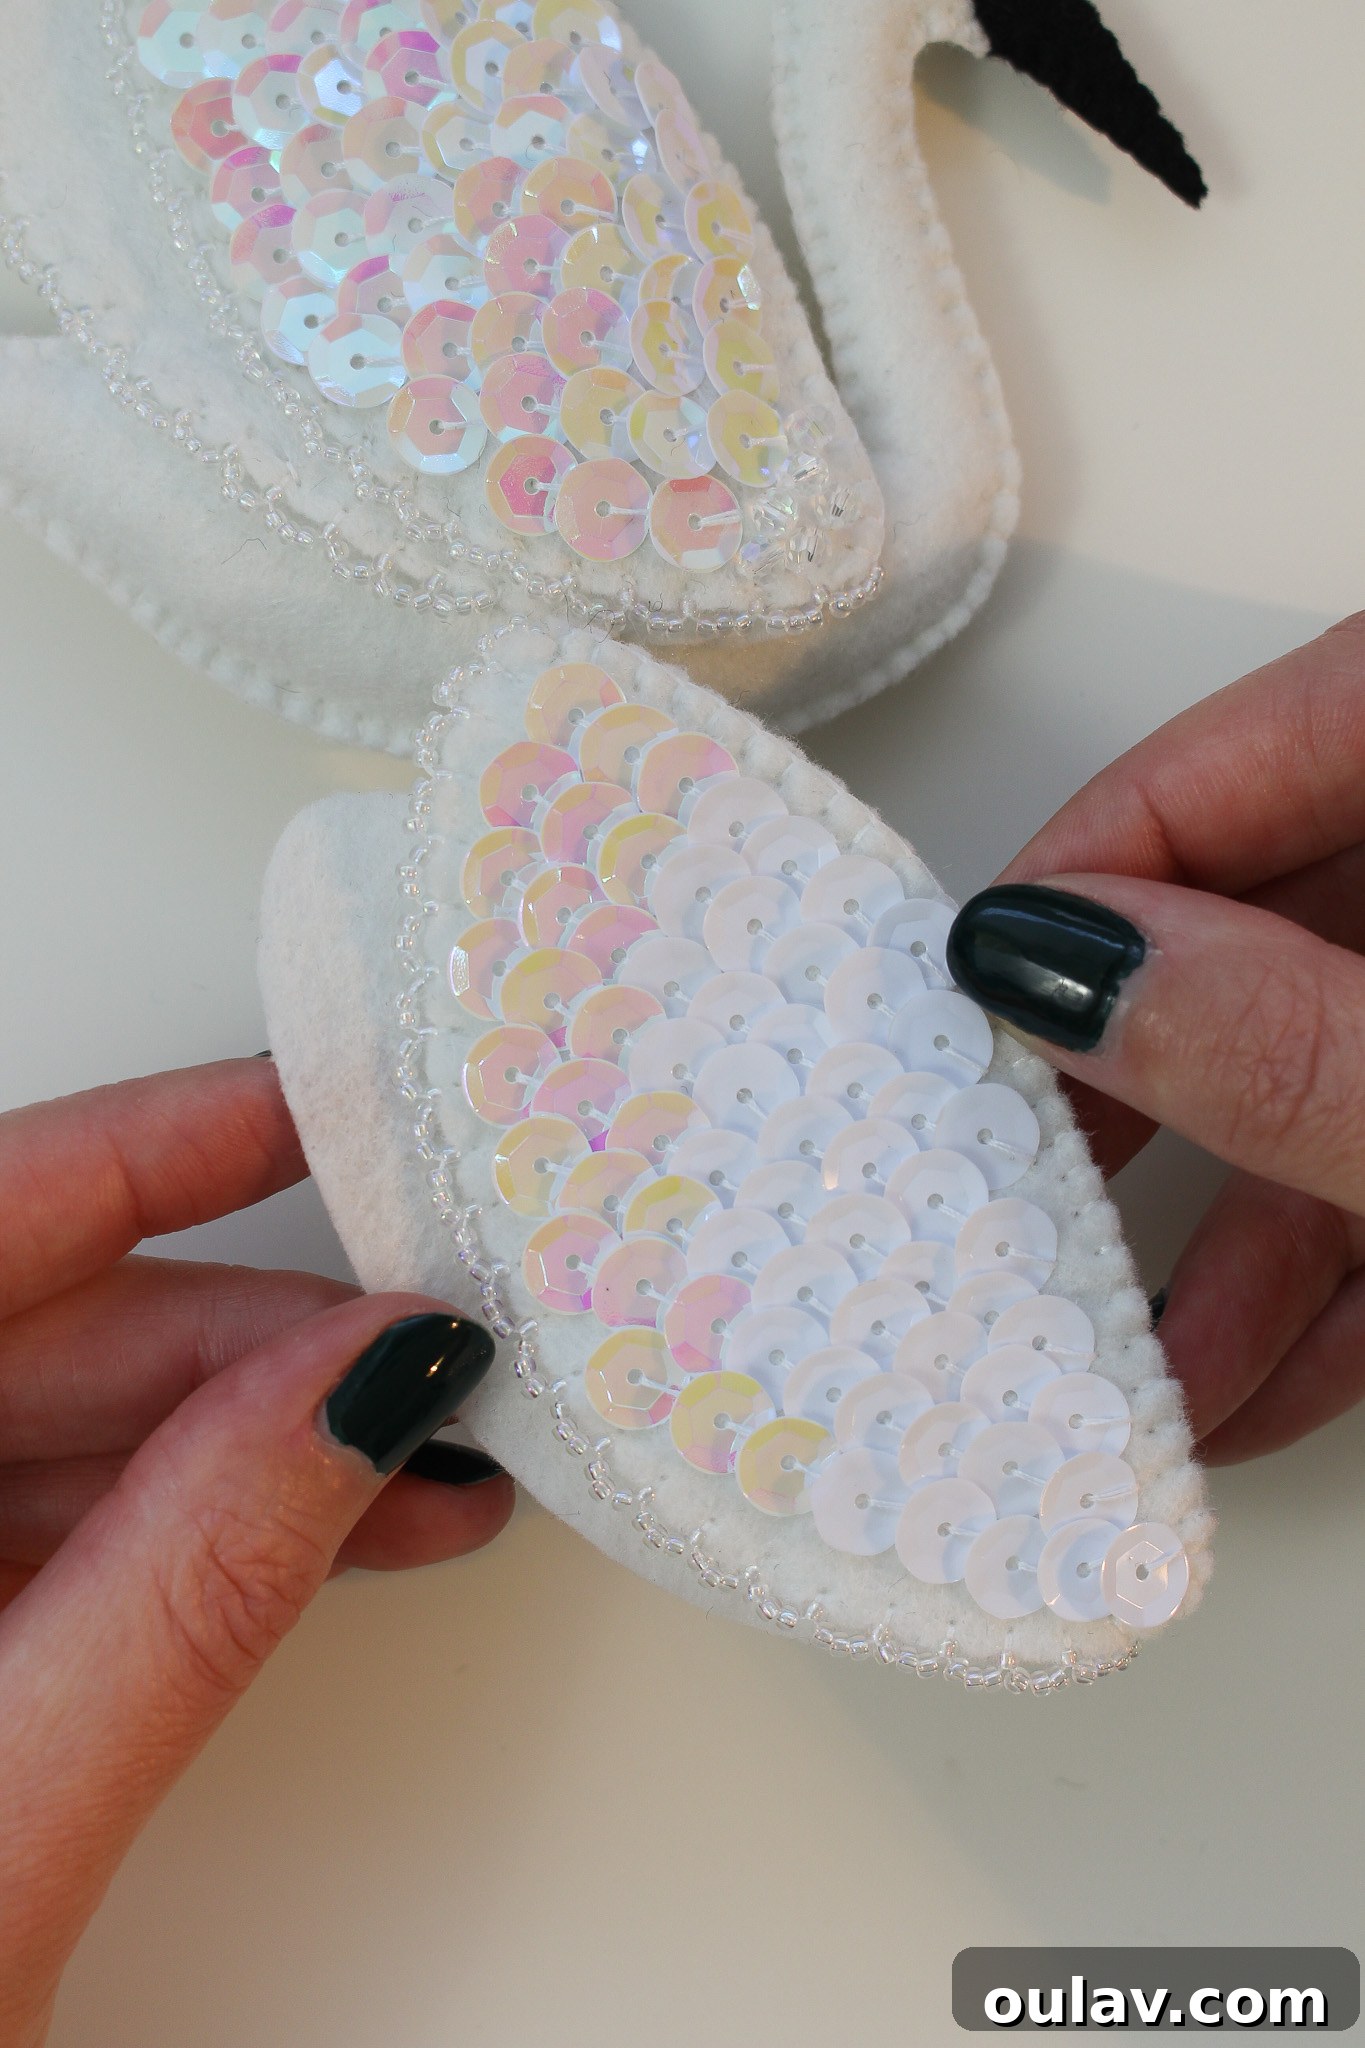
The very first step in assembling your swan is to embellish the front of the wing. This is crucial to do now, as it allows all your tiny sequin and bead stitches to be neatly hidden inside the wing once it’s sewn together, resulting in a flawless finish. Refer to our video tutorial (linked above) for a visual demonstration on stitching beads and sequins. The basic technique involves positioning a sequin, bringing your needle up through its center hole, and then pushing it back down at the top edge of the sequin where it meets the felt. Continue this process, overlapping each subsequent sequin slightly to conceal the previous thread stitch. For added security and to avoid excessive knotting, I typically stitch a row of sequins, tie a knot to secure that row (without cutting the thread), and then proceed to the next row. This method helps to maintain tension and prevents beads from coming loose. Remember, this is your swan, so personalize it! You can create dense rows of sequins, sprinkle them sparsely, or even combine them with tiny faceted glass beads for varying textures and sparkle, as I did on one of my prototypes.
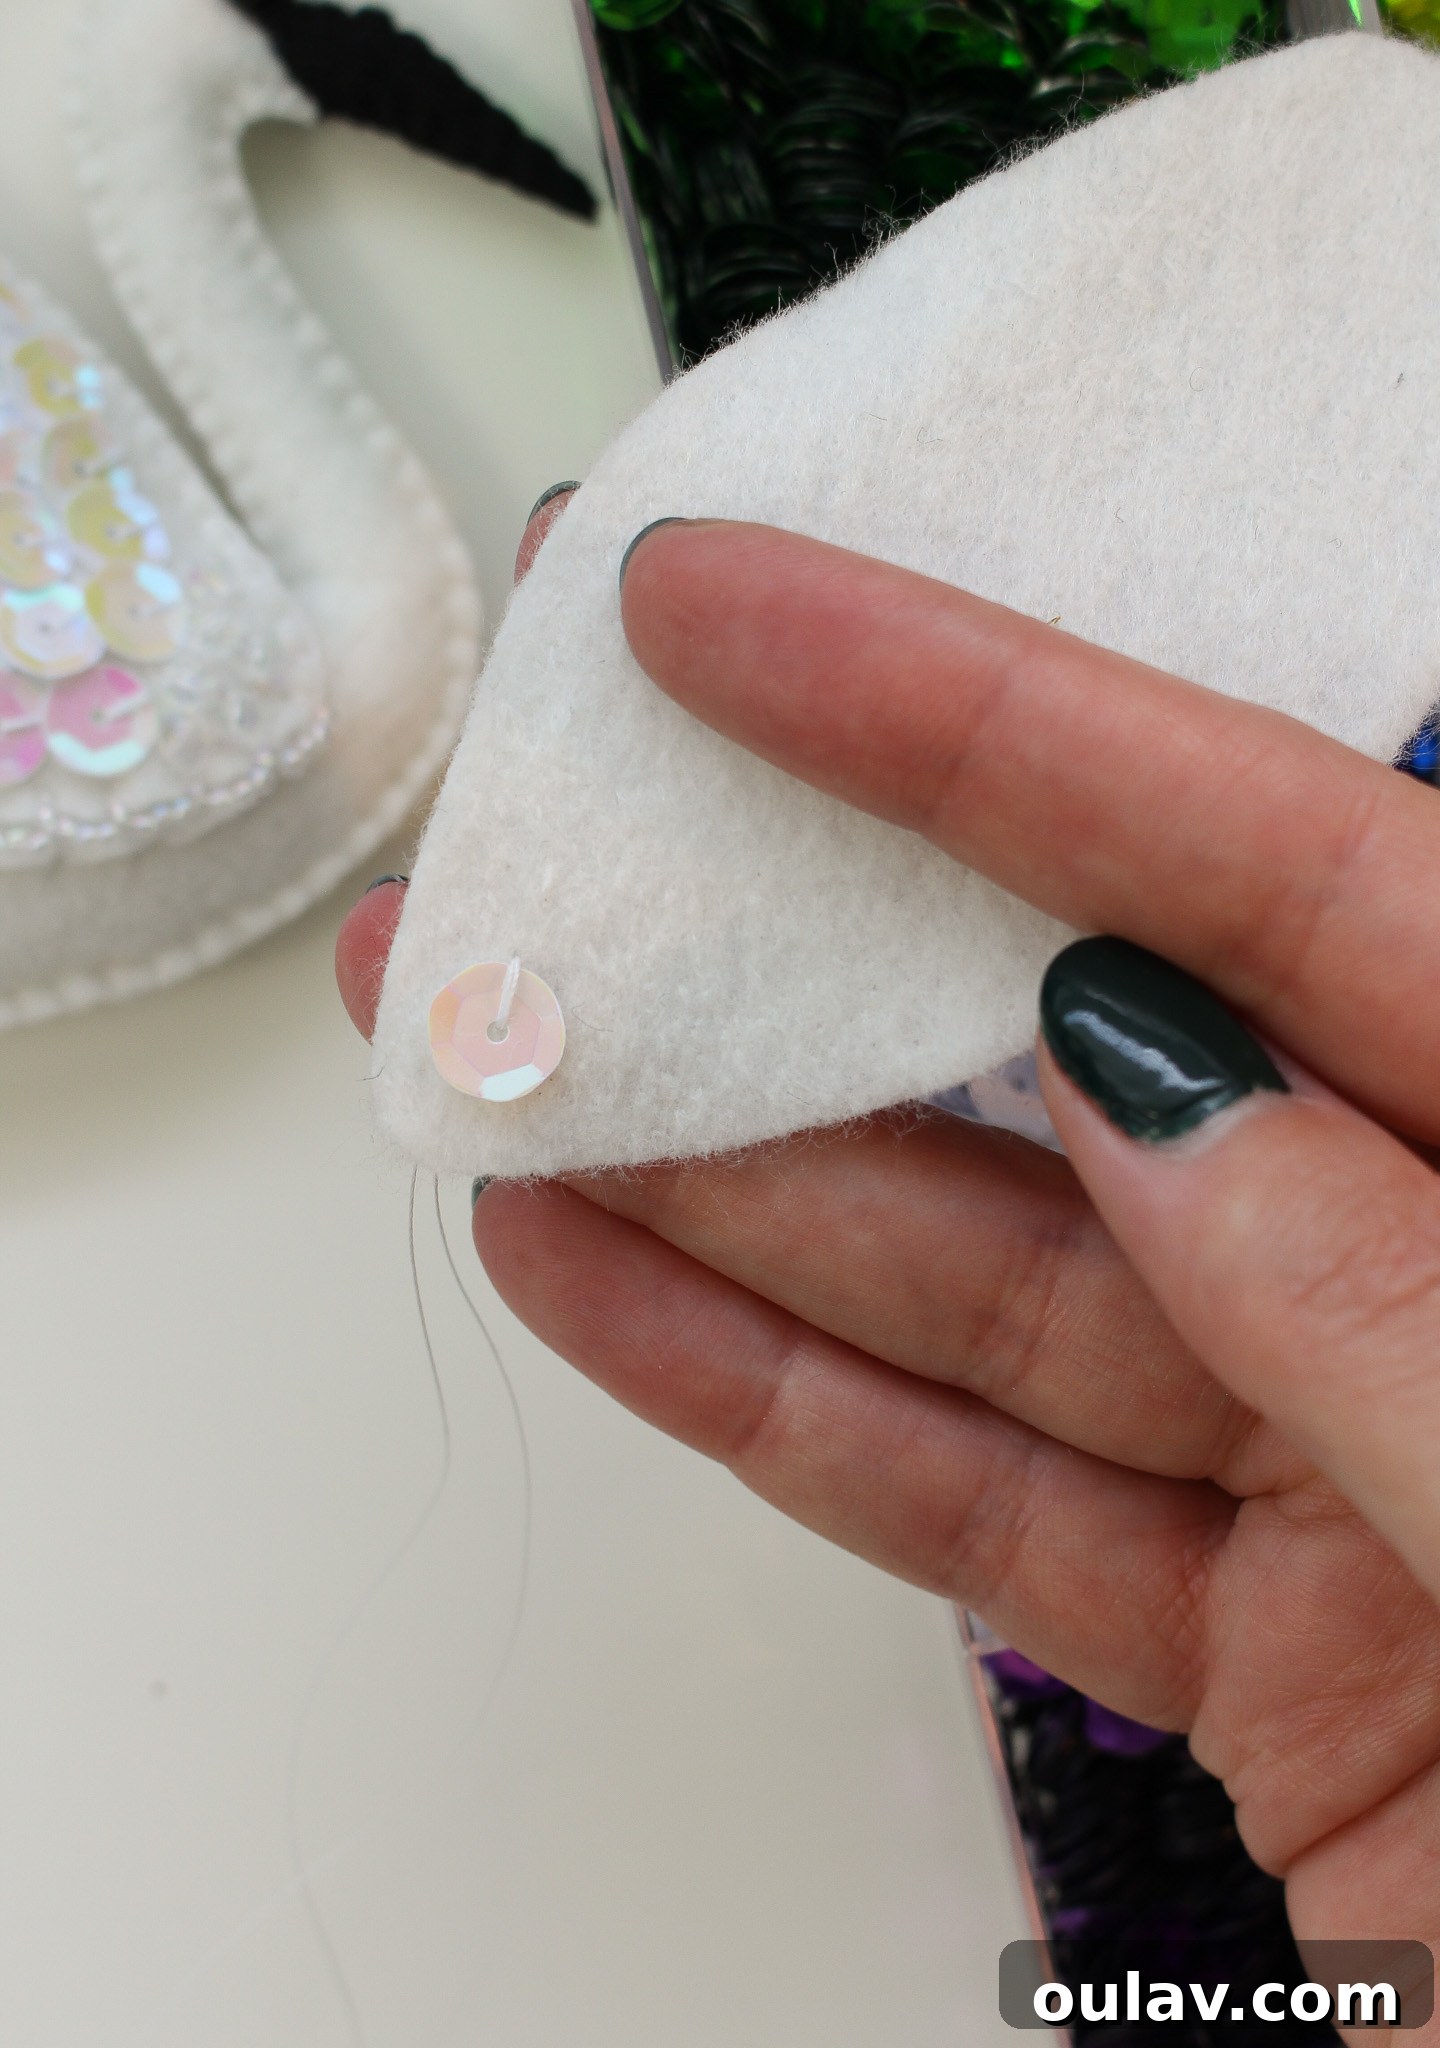
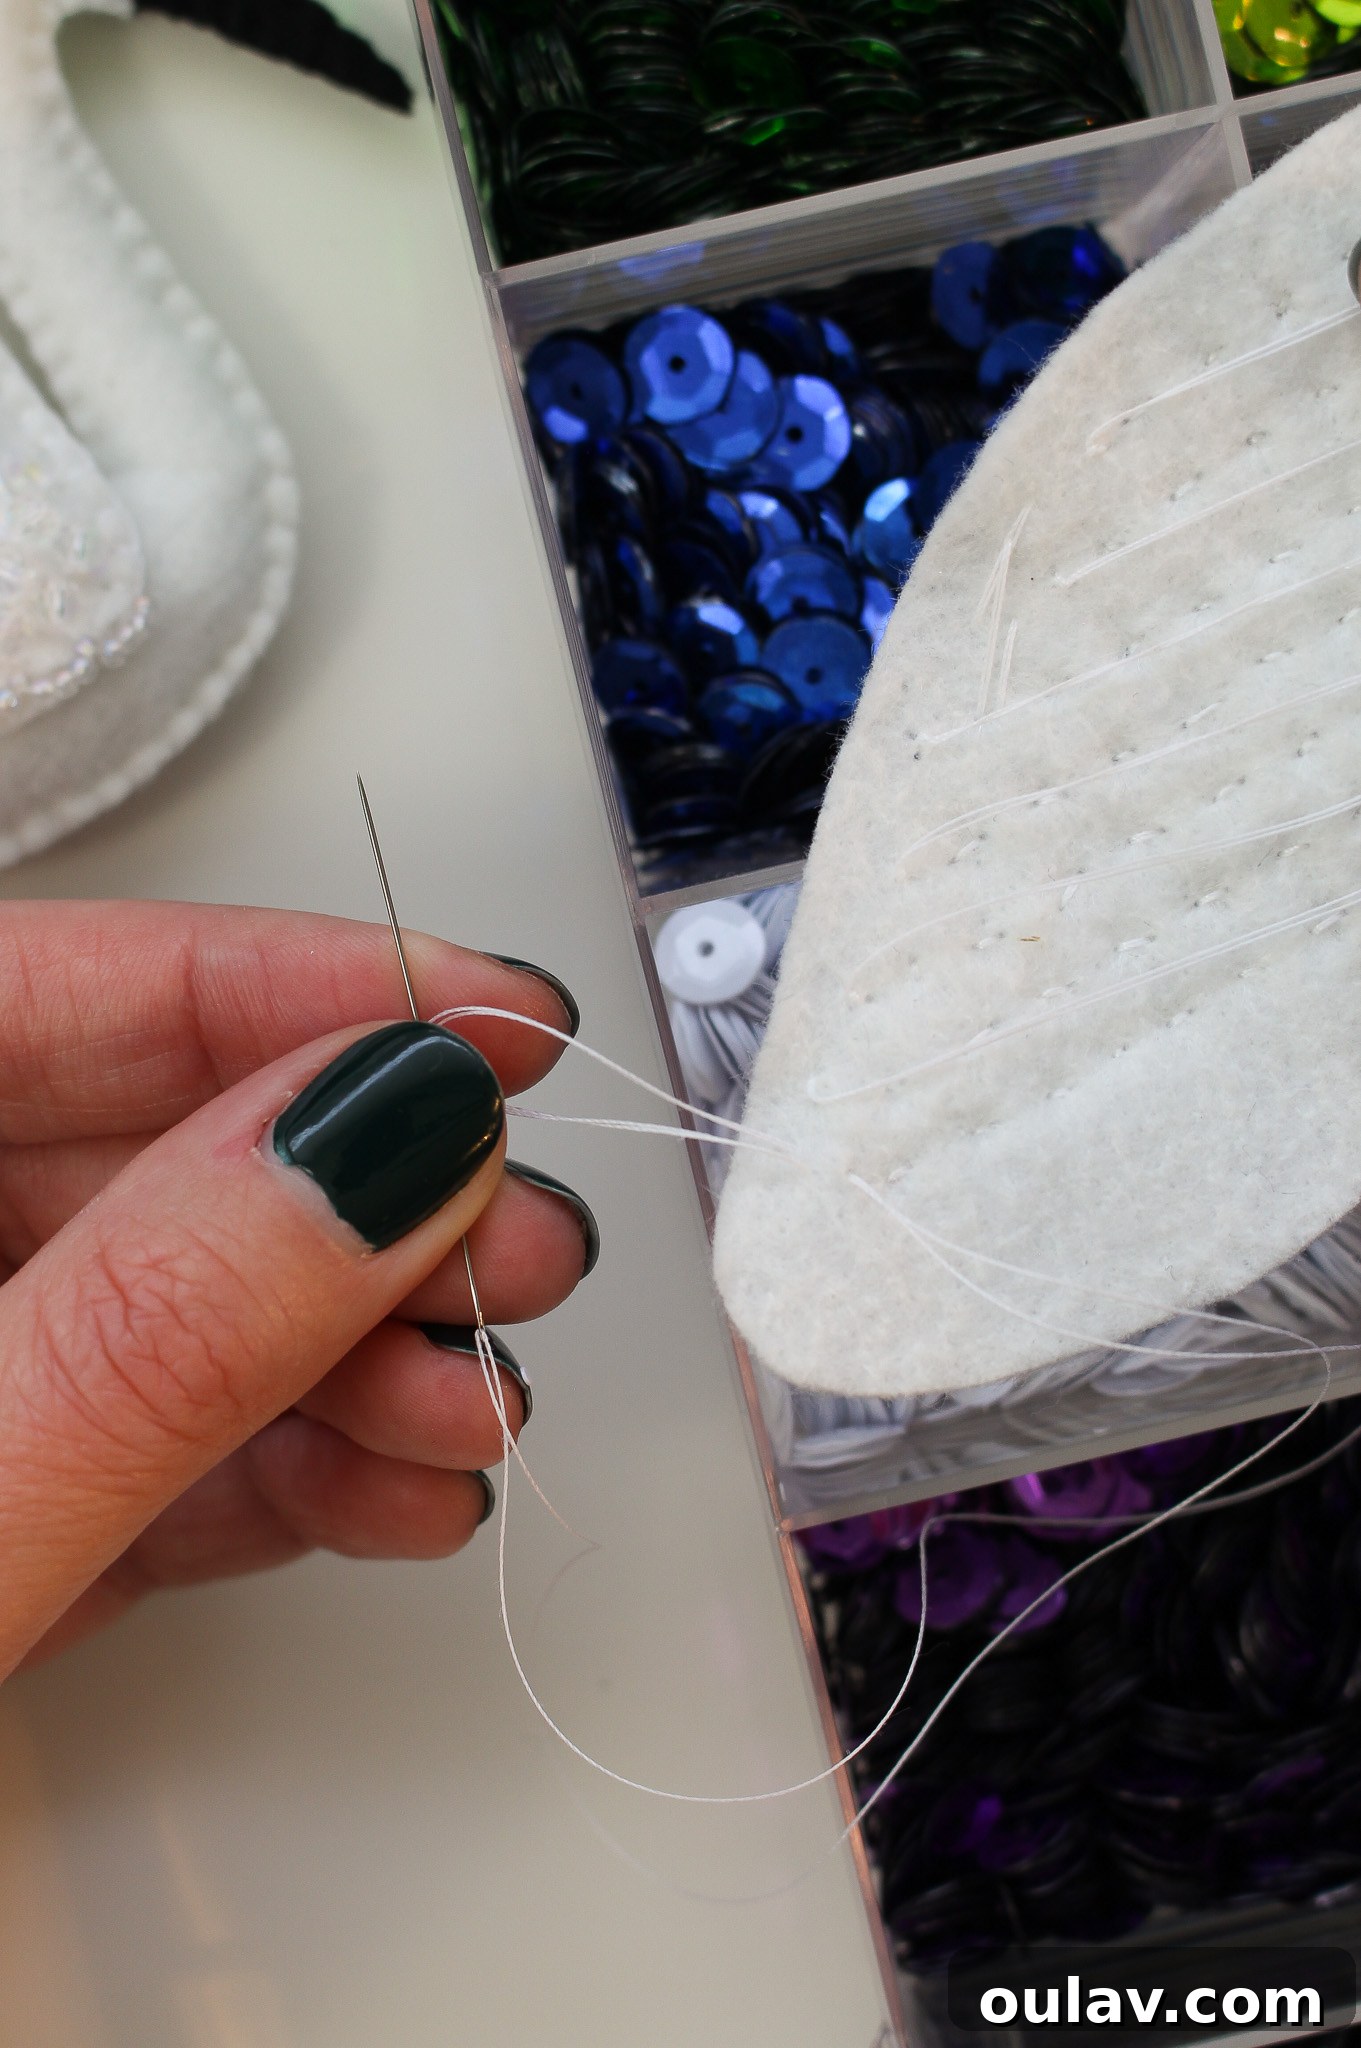
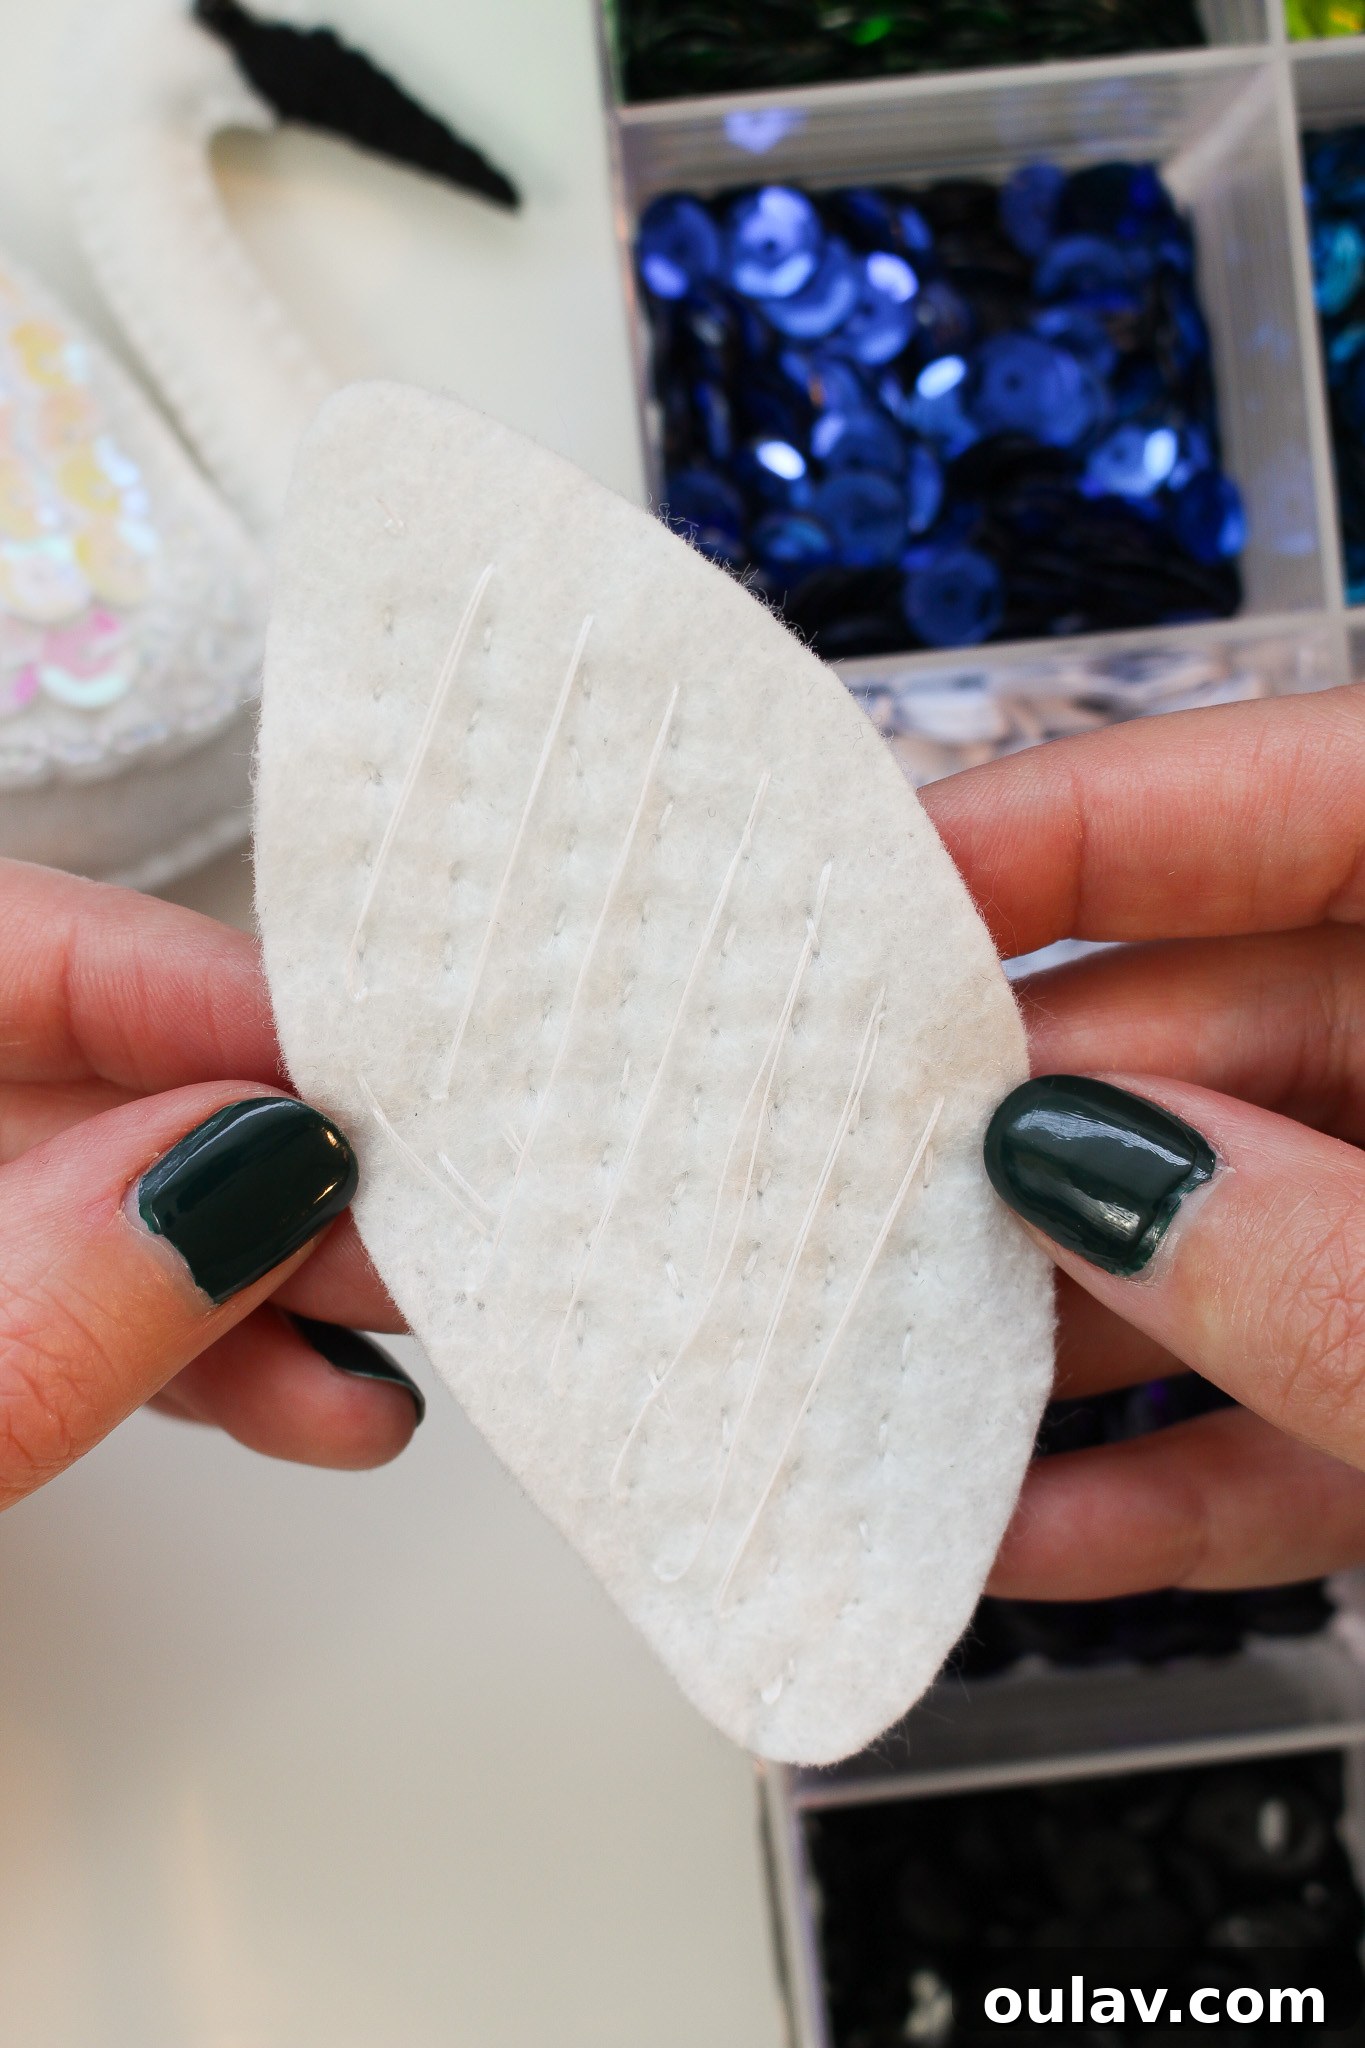
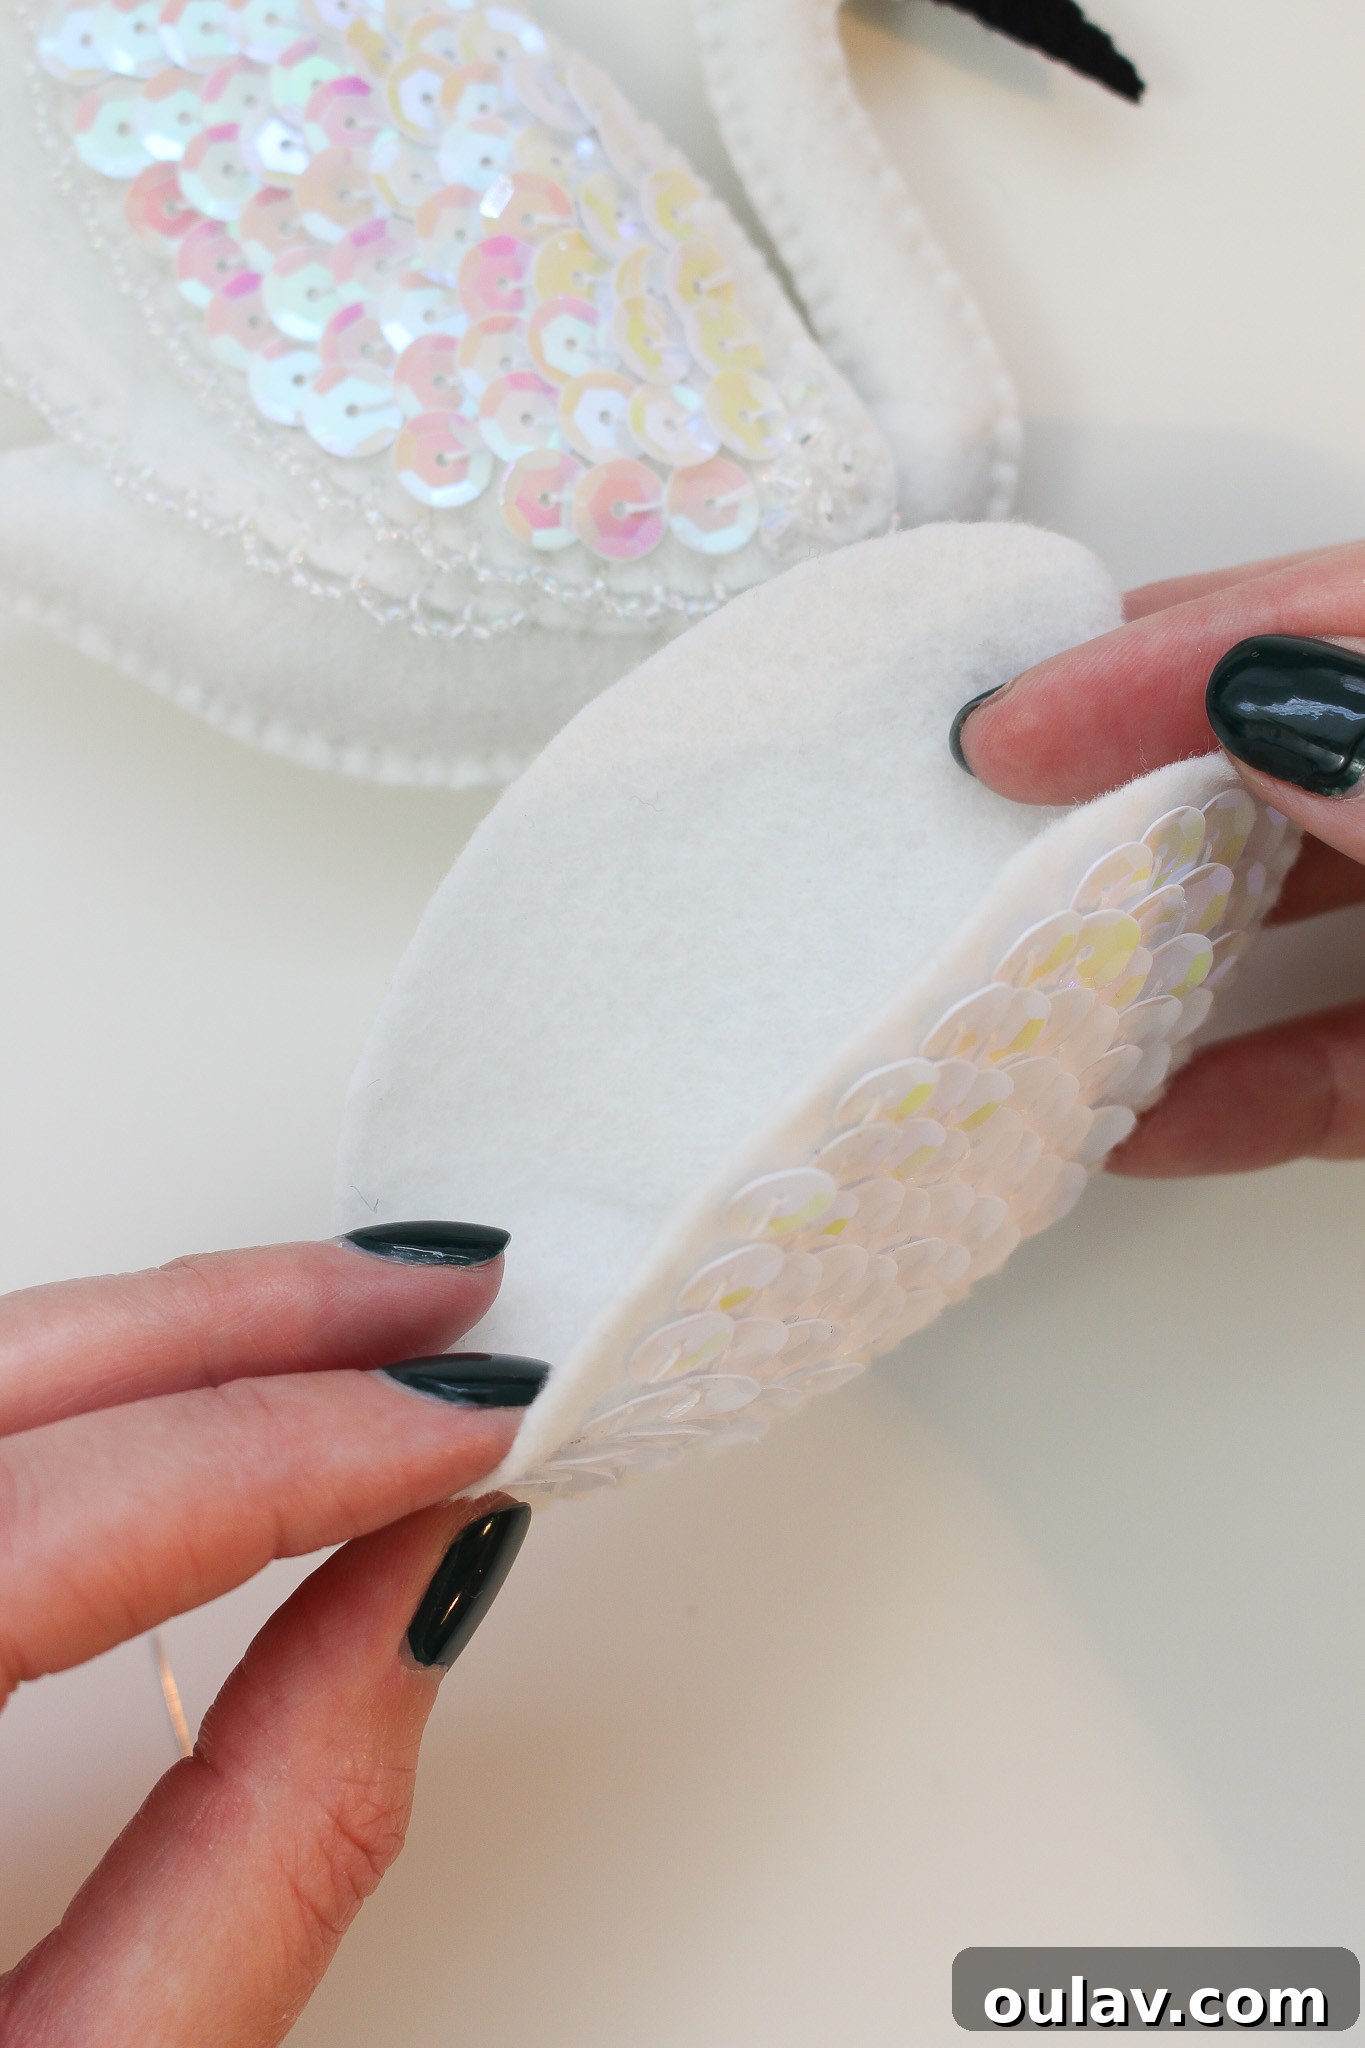
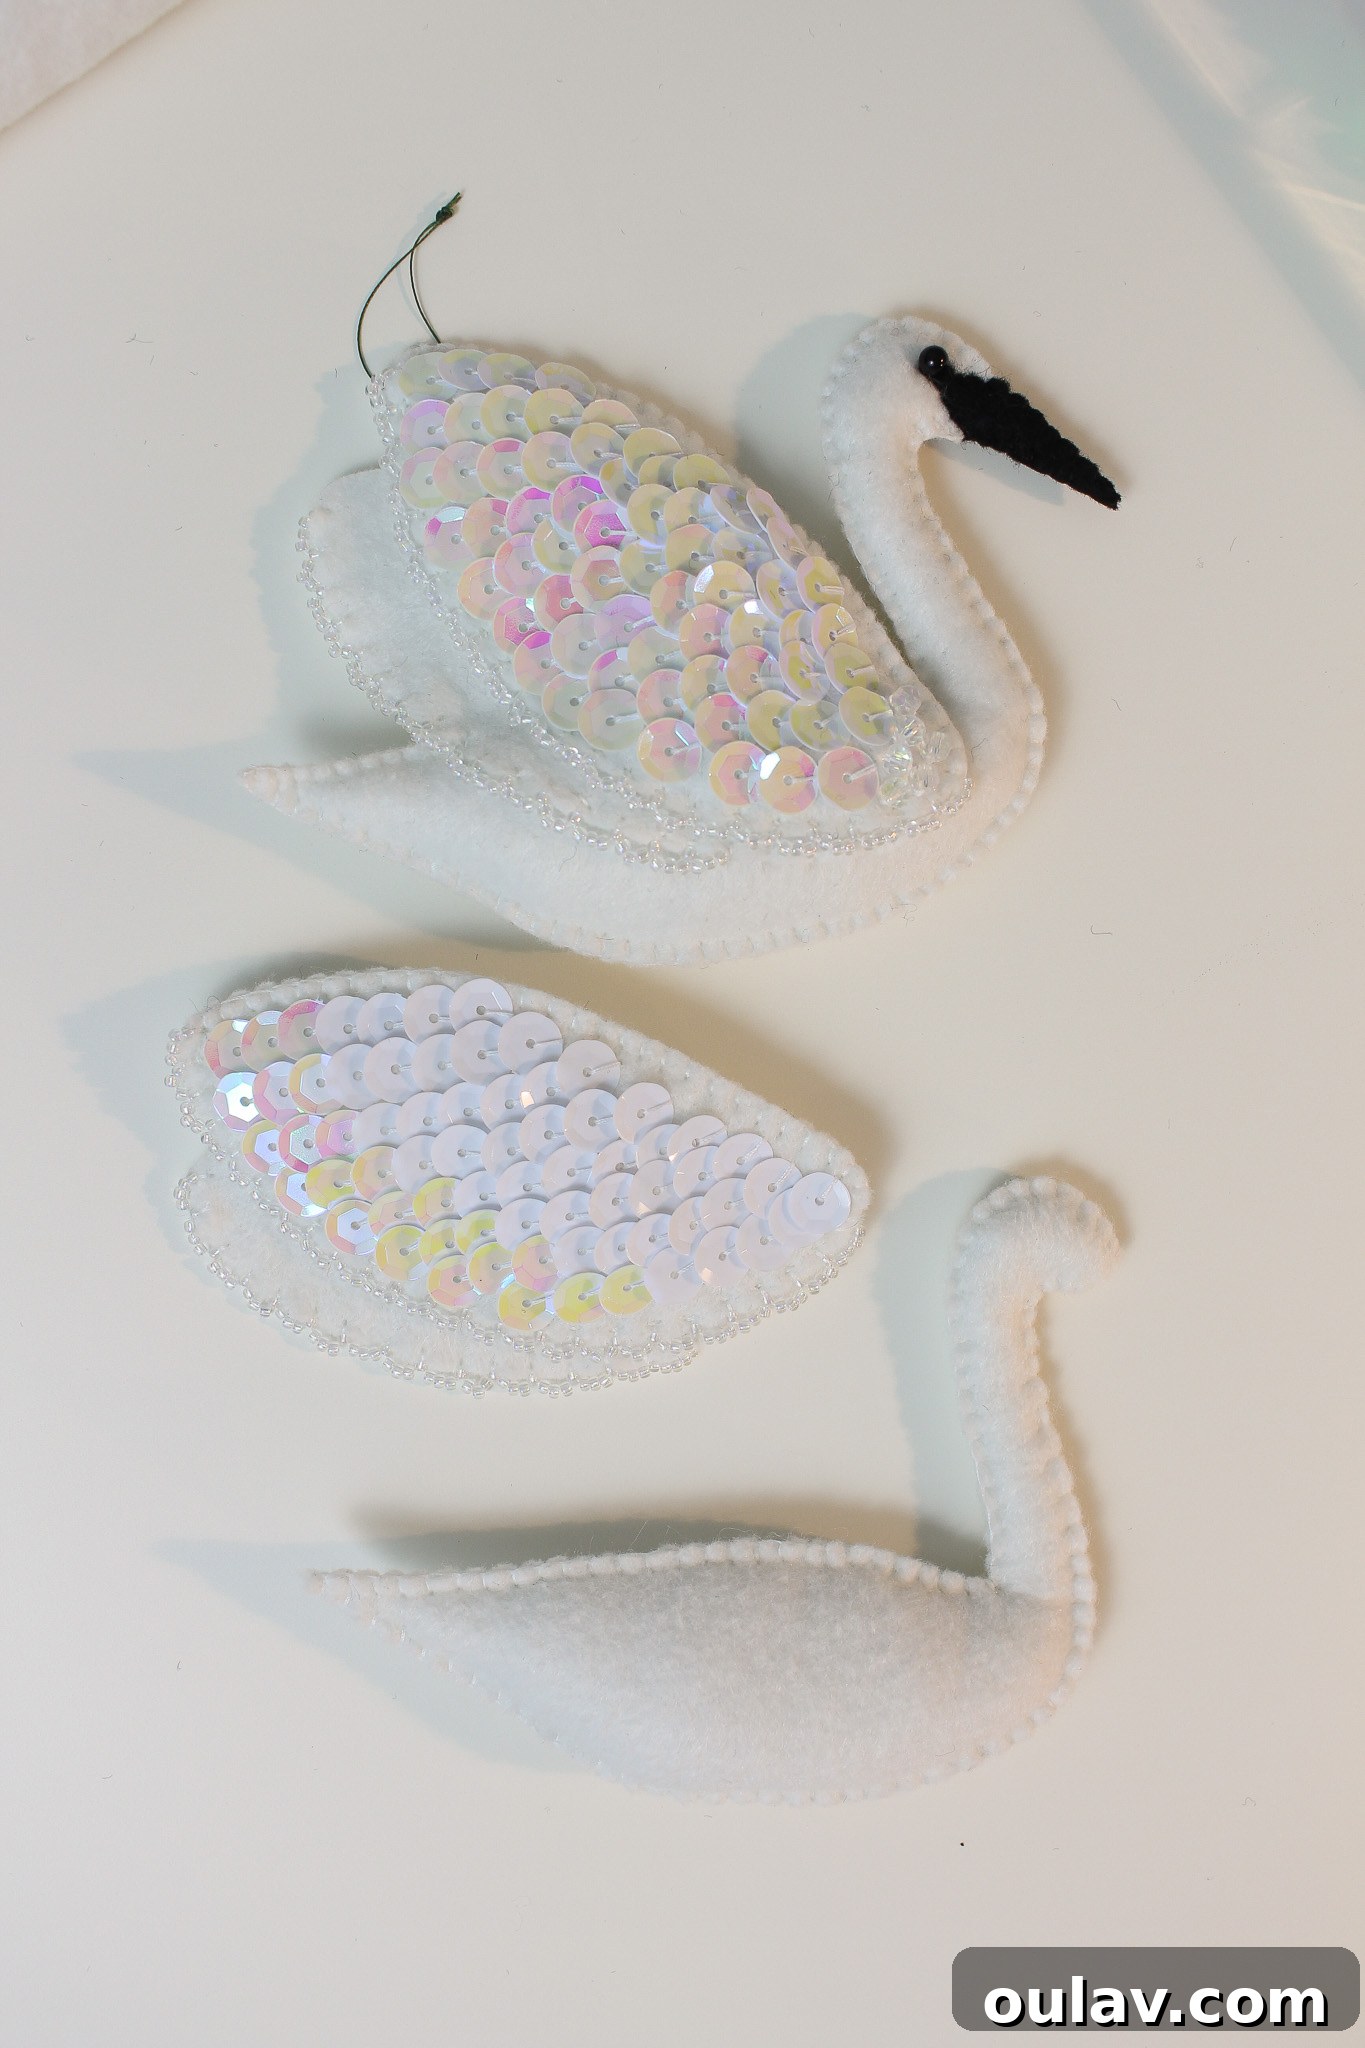
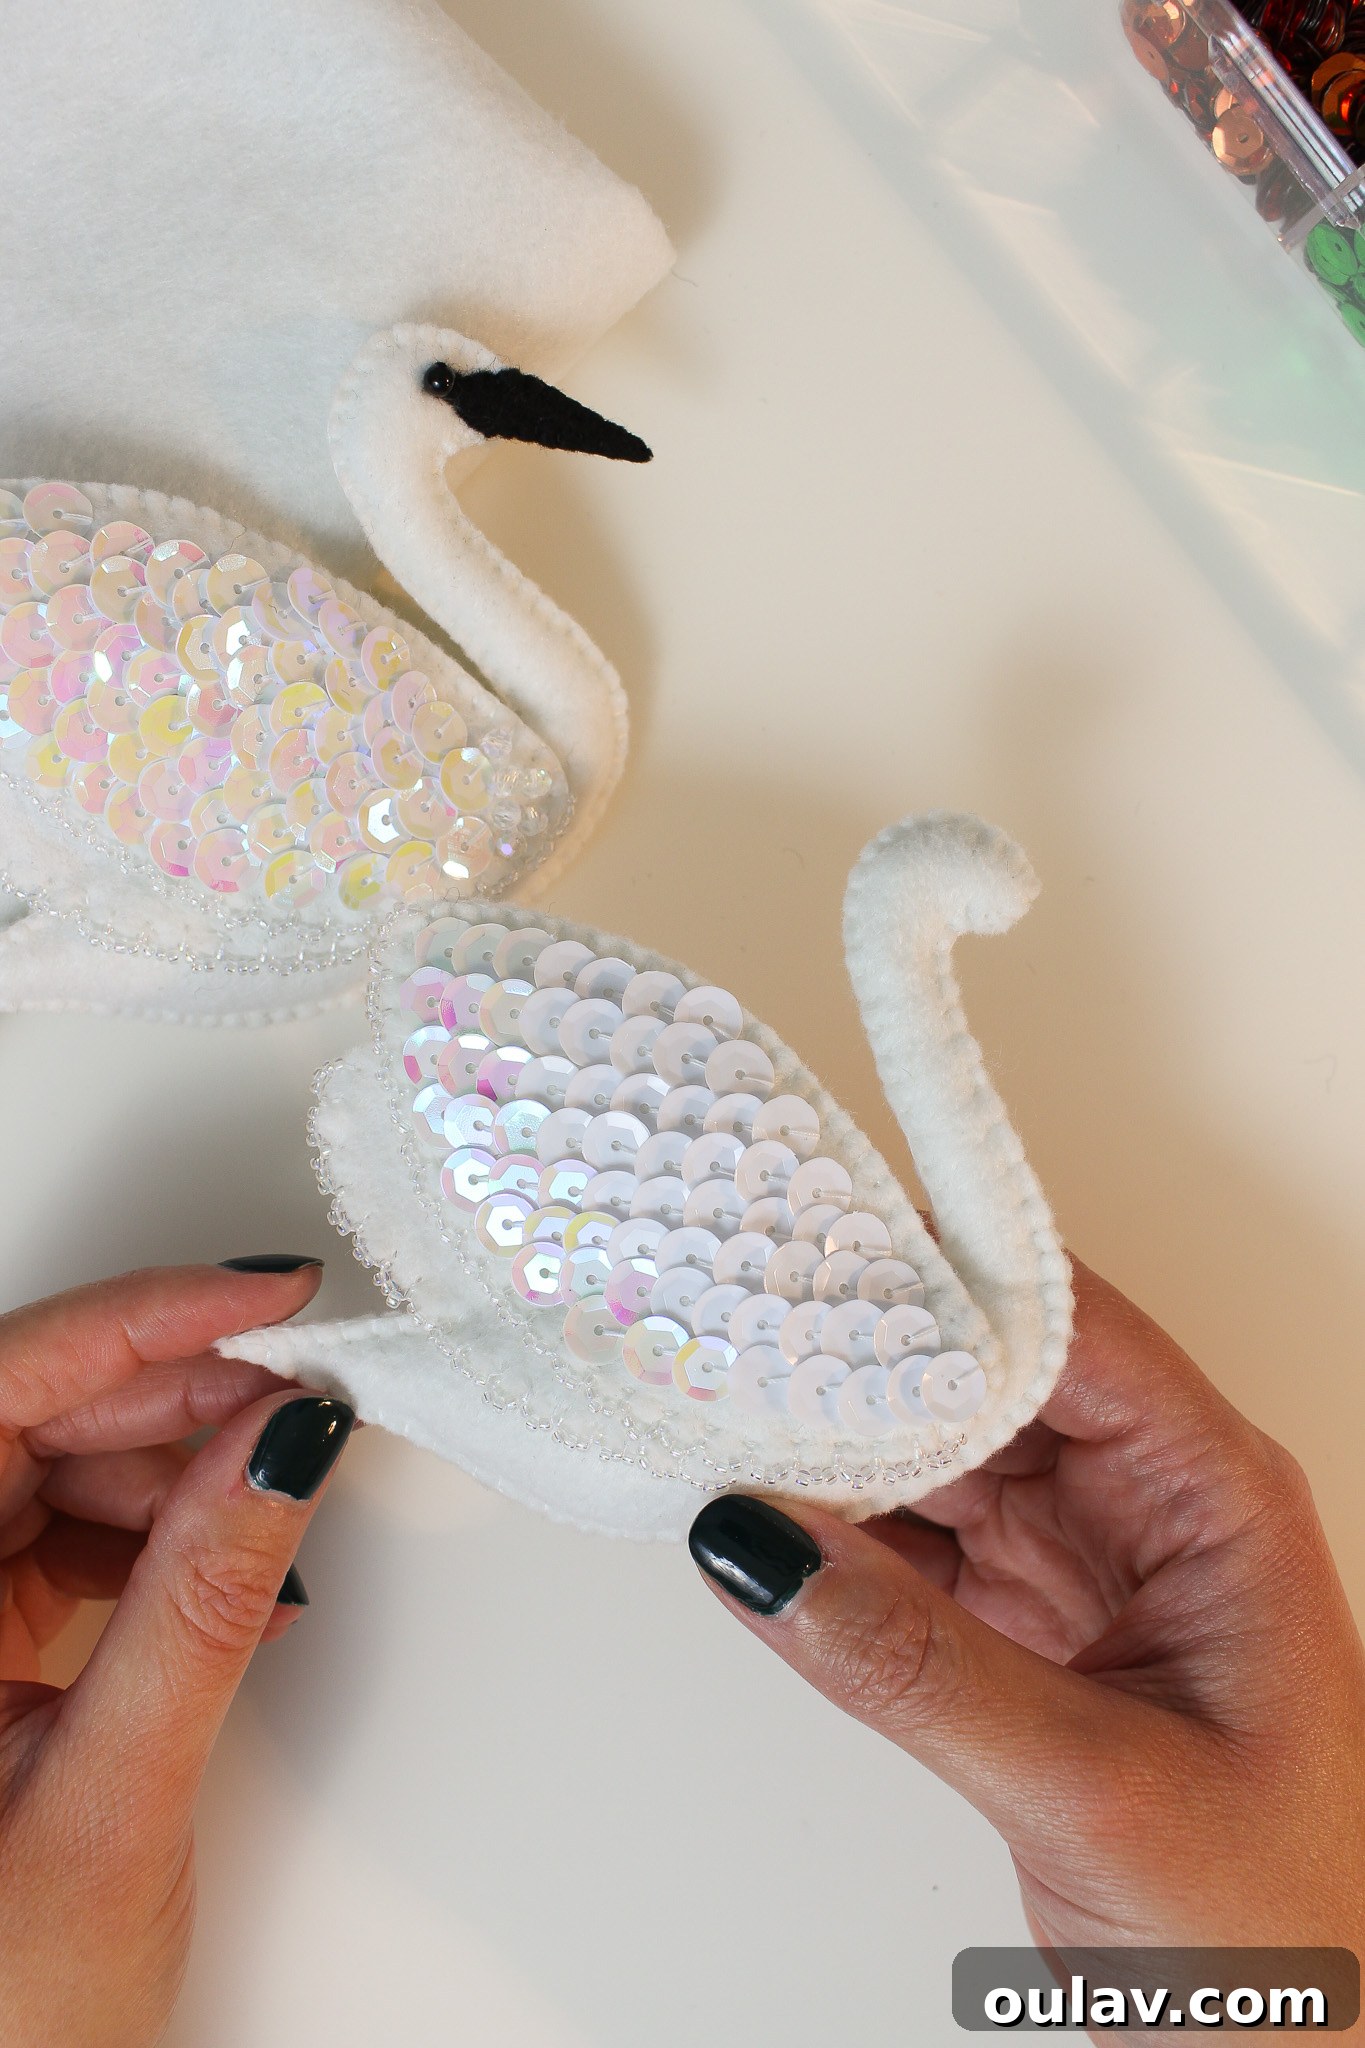
Upon completing the sequin or beadwork, here’s how the front and back of the wing should appear. Notice how the front sparkles while the back remains clean:
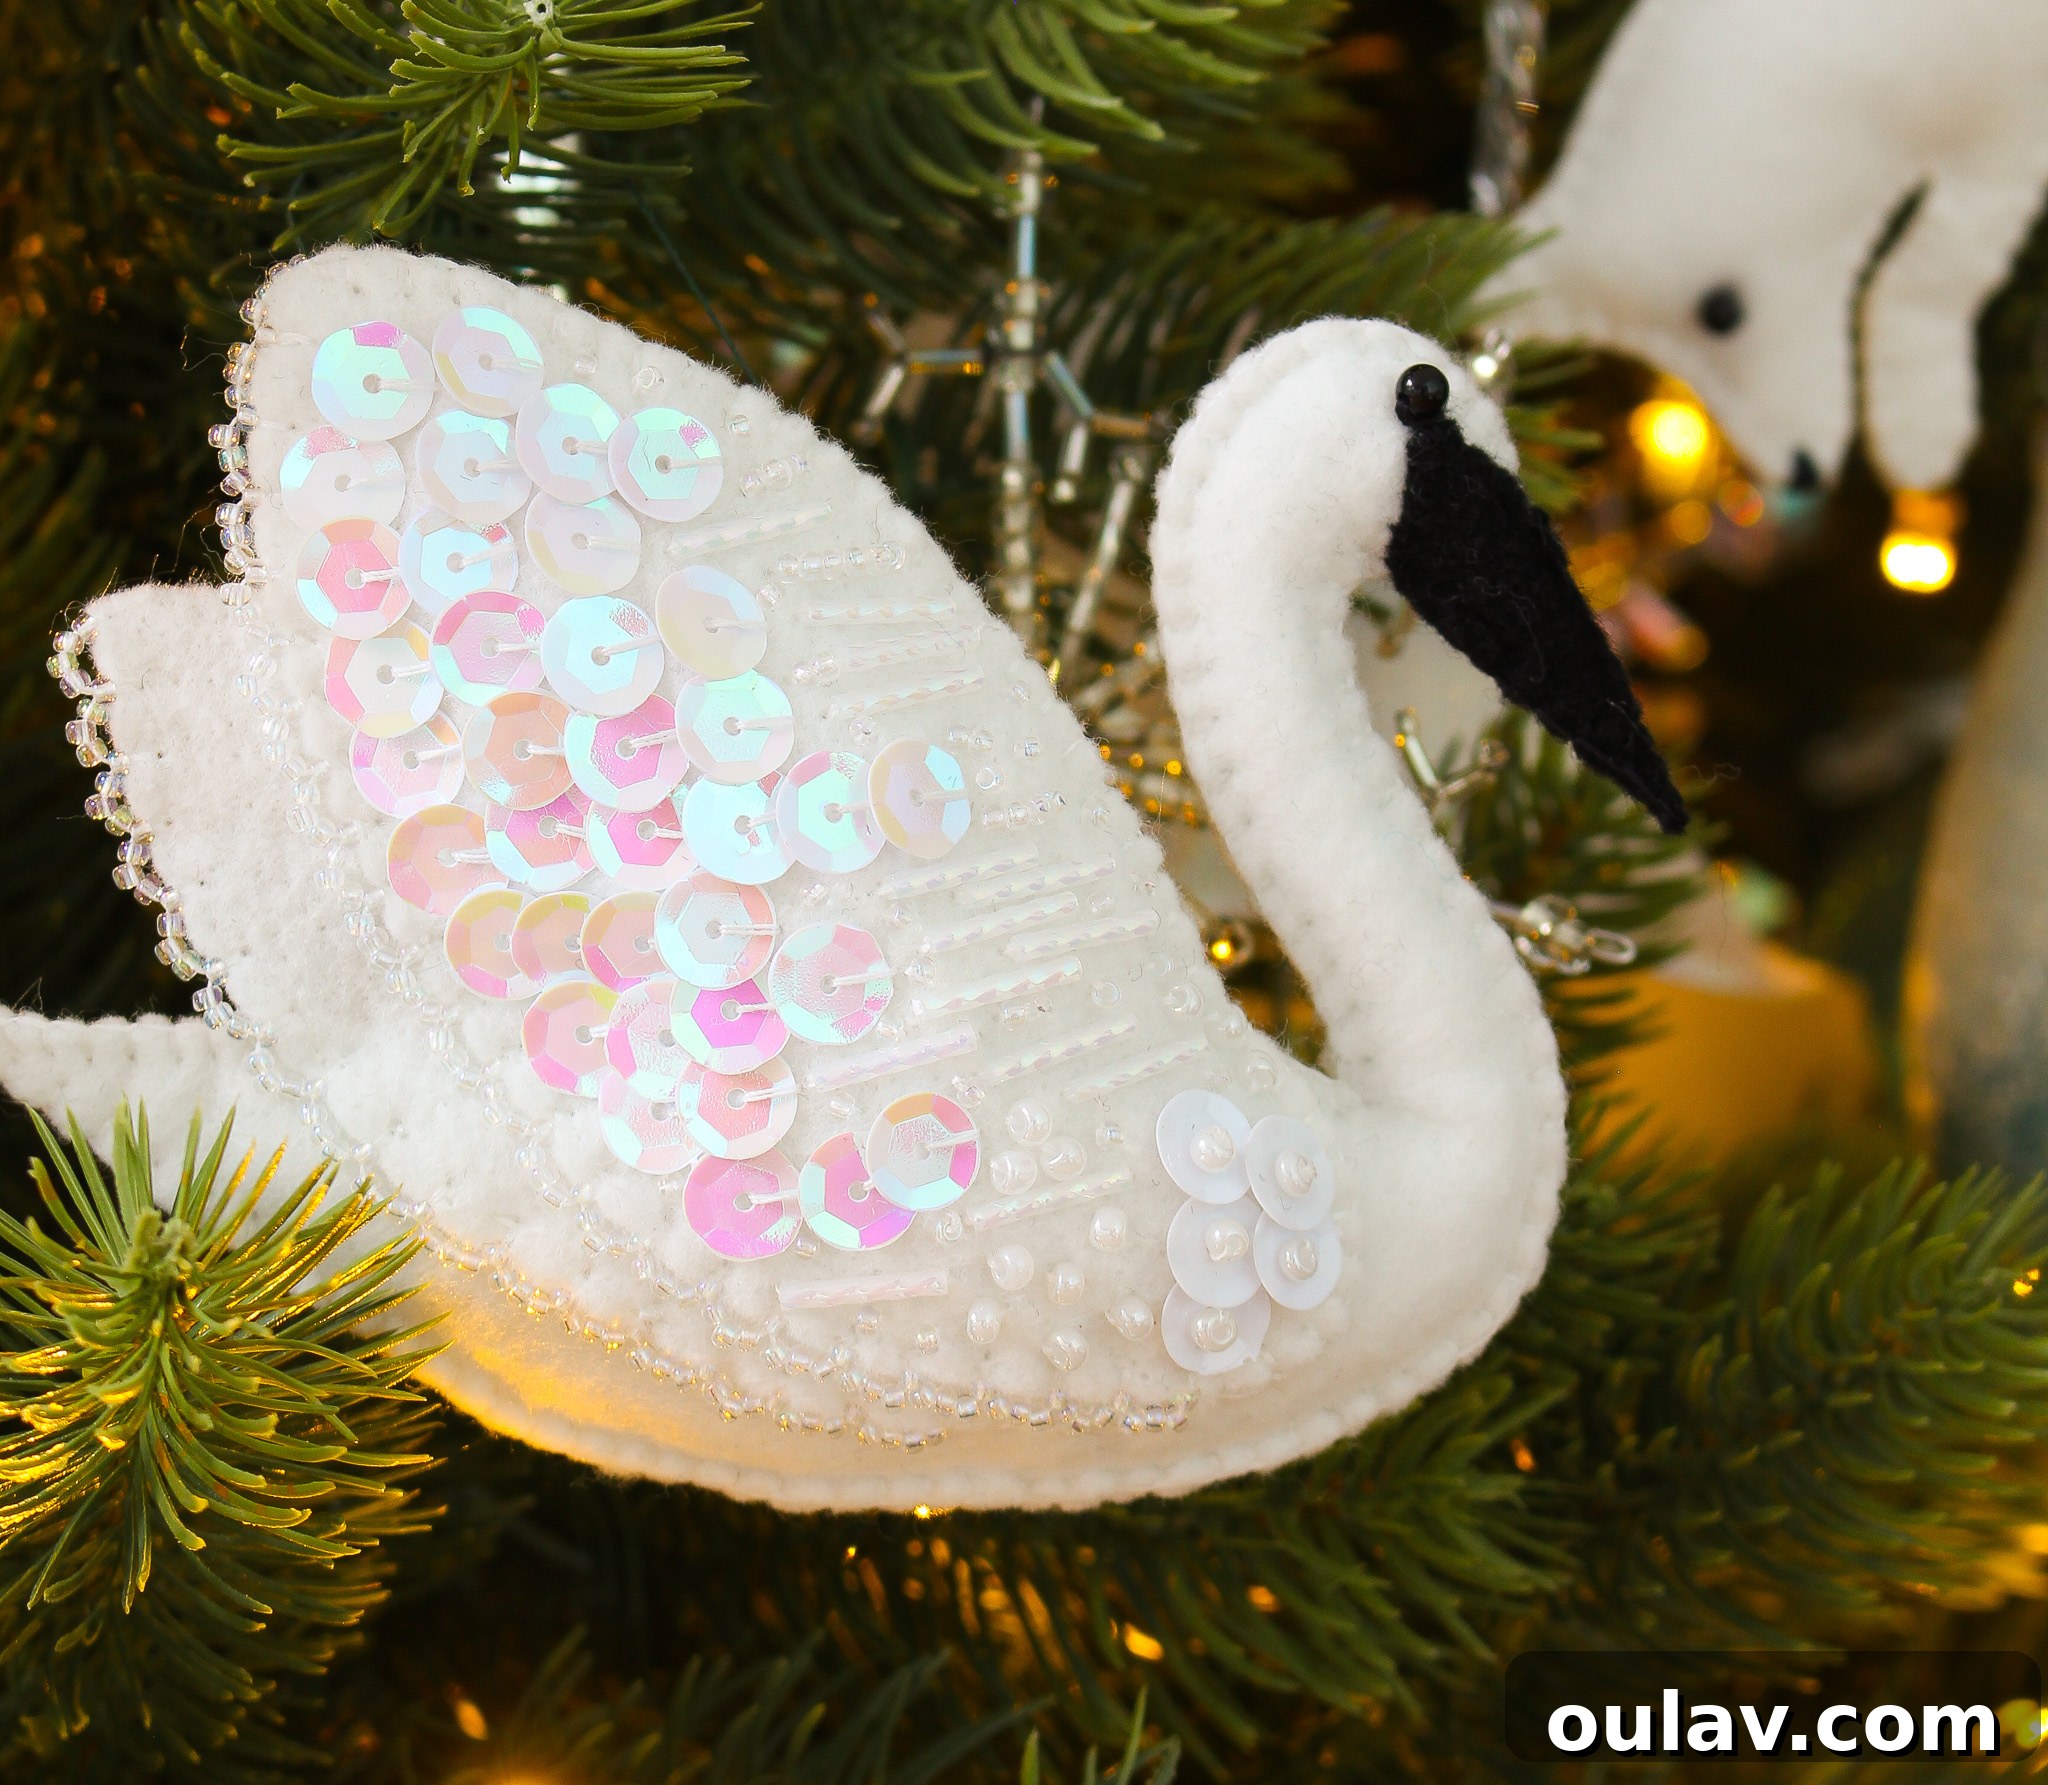
Below is a glimpse of one of my early prototypes (hence the slightly different beak design). This image illustrates the beautiful variation you can achieve with beadwork on the wing front, showcasing how different bead types and arrangements can dramatically alter the final look. Feel free to experiment!
How to Stitch on Beads + Sequins:
Sewing Together Wing Front and Wing Back – Top Edge Only
With your wing front now dazzling, it’s time to begin its construction. We’ll start by joining the wing front and wing back along their top, curved edge using a robust and decorative blanket stitch. It’s advisable to already be using a beading needle if you plan on adding further embellishments. Our video tutorial provides a thorough demonstration of the blanket stitch. To initiate a blanket stitch, bring your needle up through the front felt piece only, create a loop, then pass the needle through both felt layers and then through the created loop. This forms your first secure stitch. Continue by bringing the needle up through both layers of felt, creating another loop, and passing the needle through it. Maintain even spacing and tension for a neat, consistent edge. This stitch not only joins the pieces but also creates a lovely finished border.
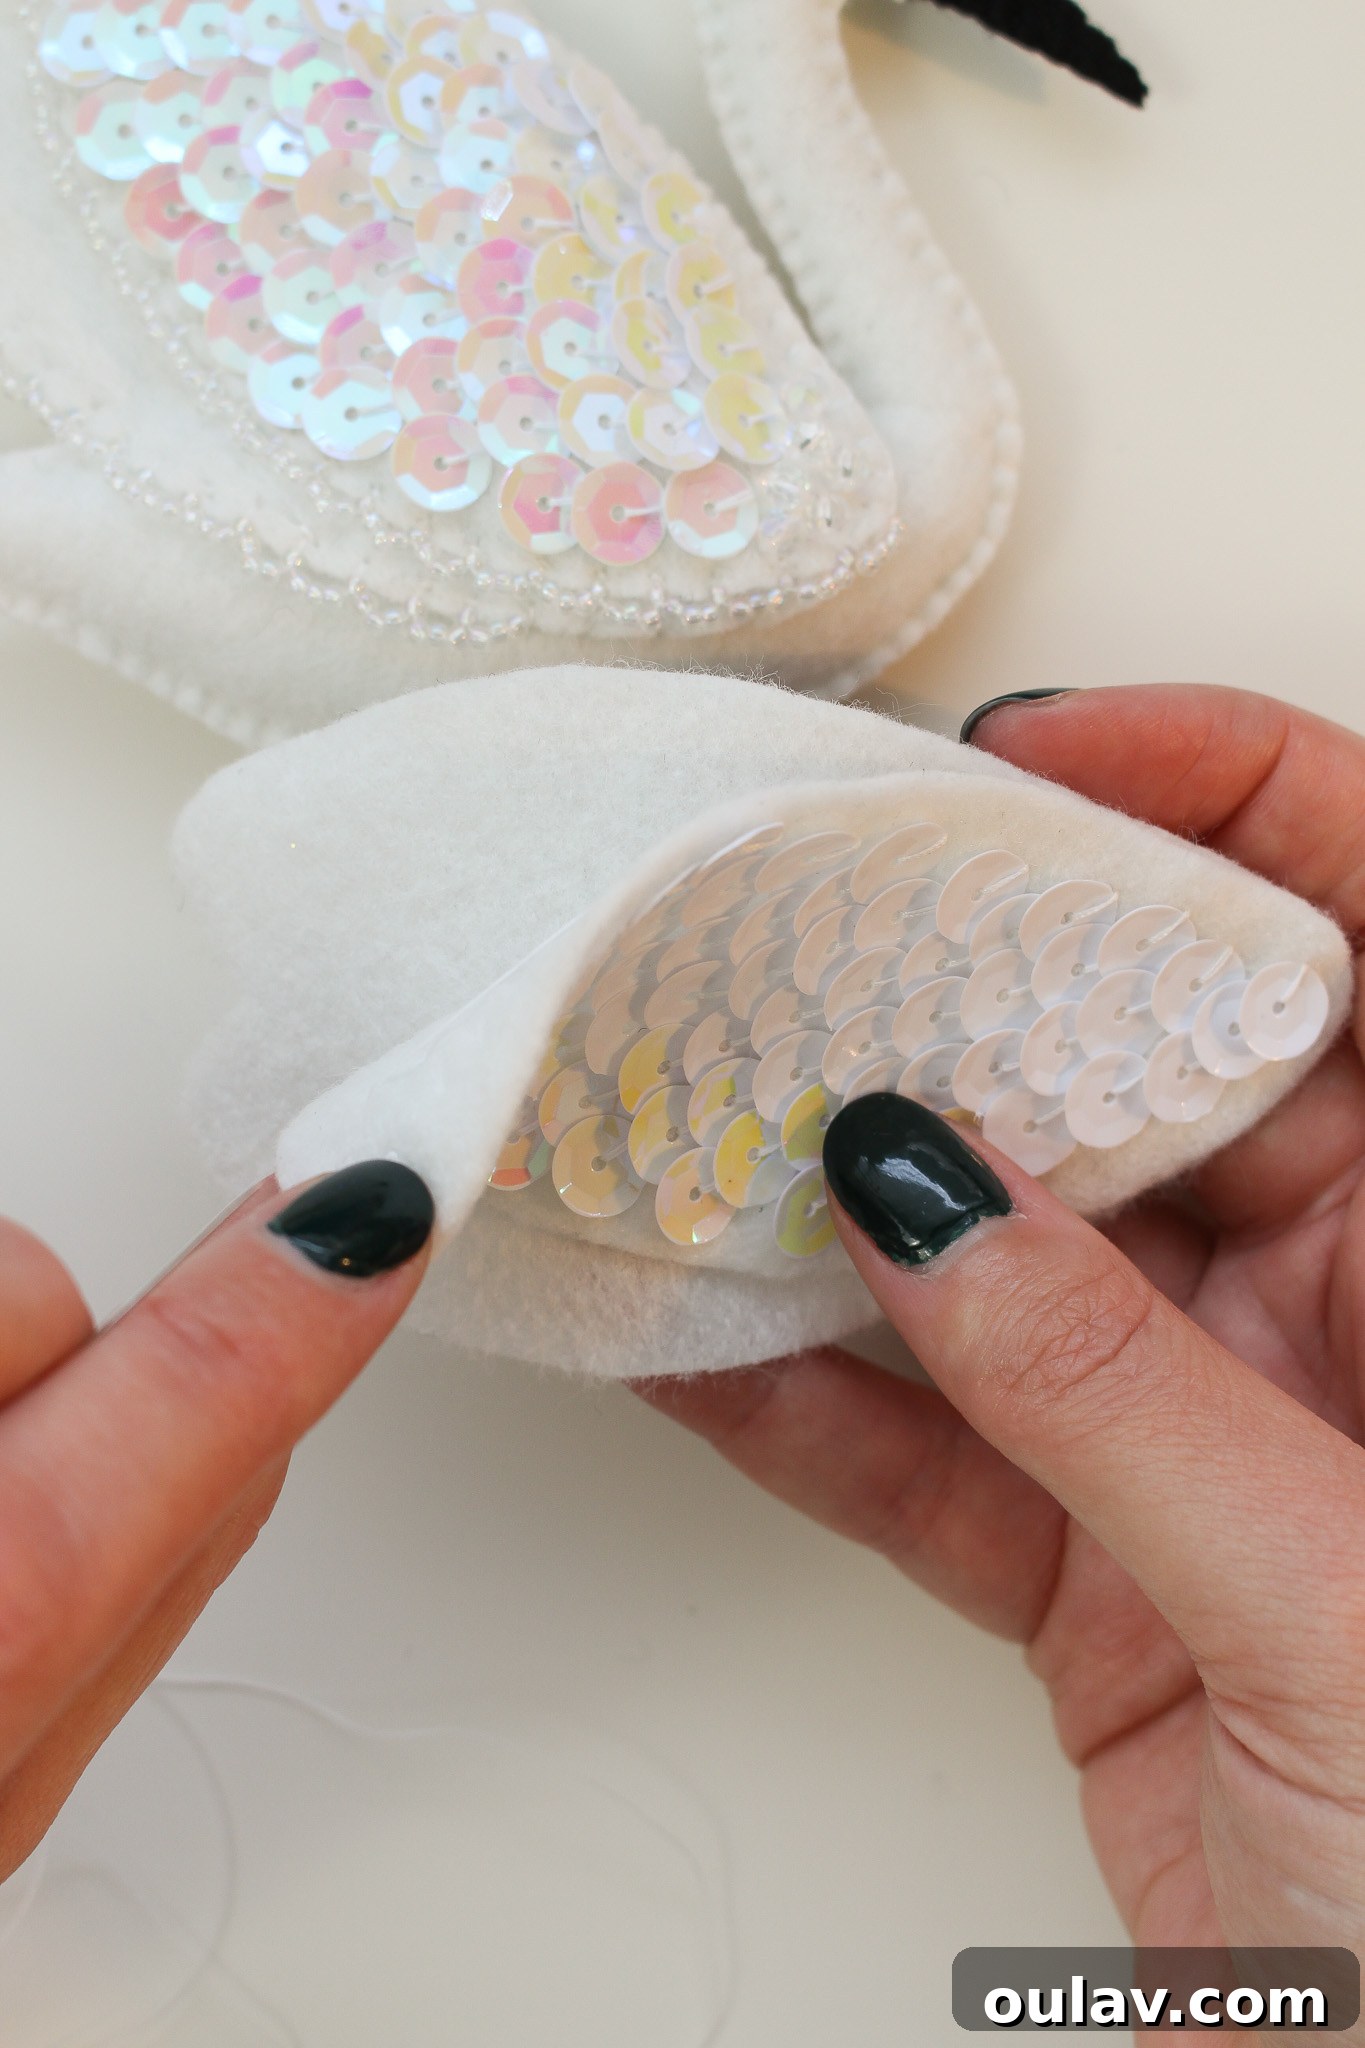
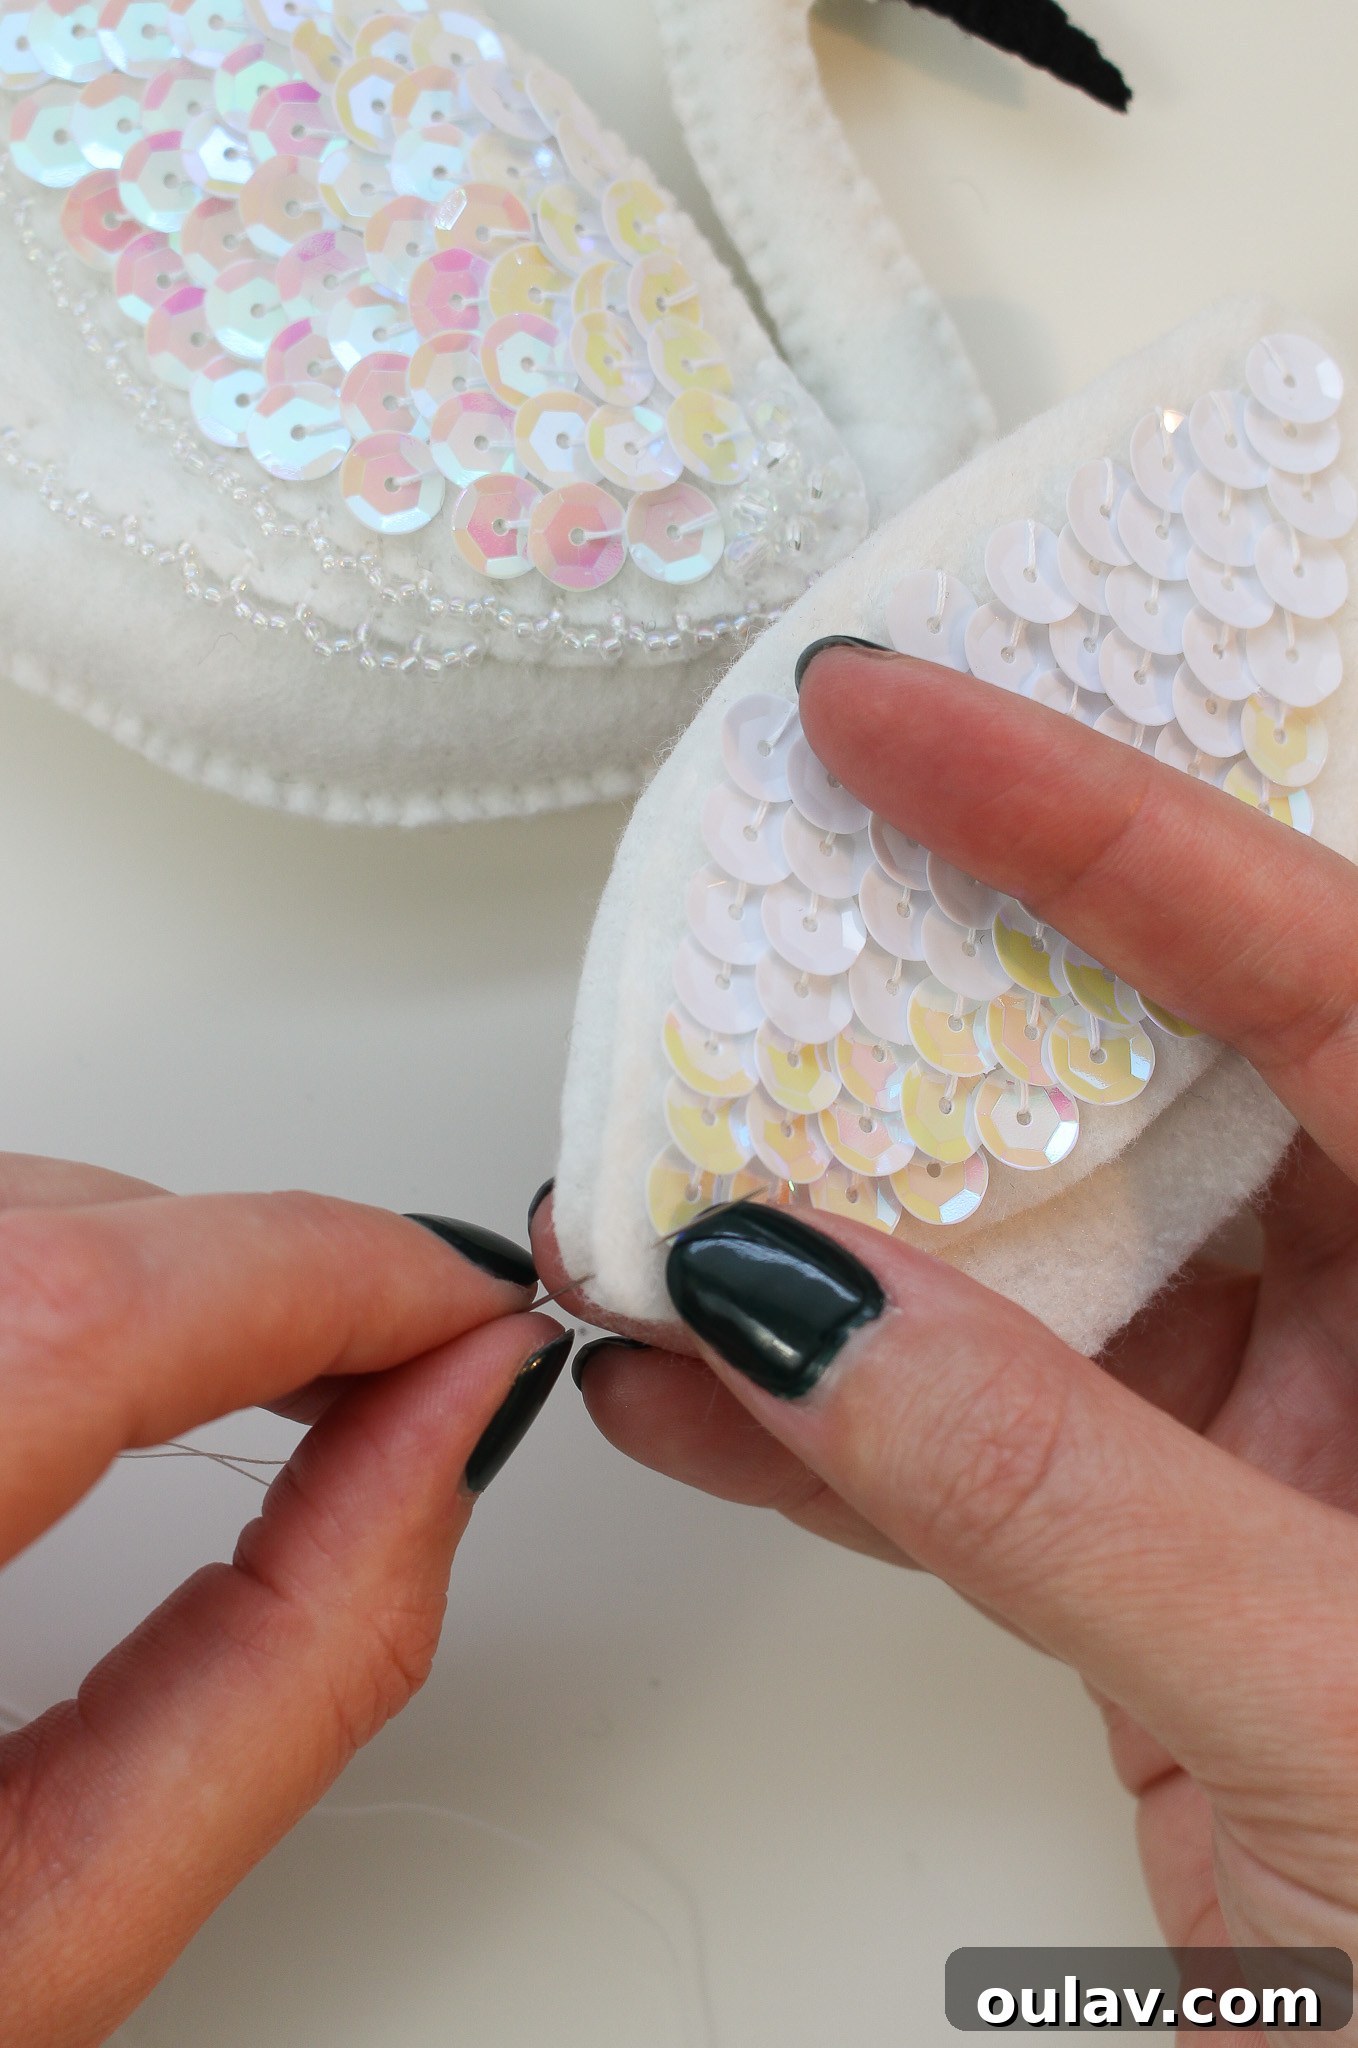
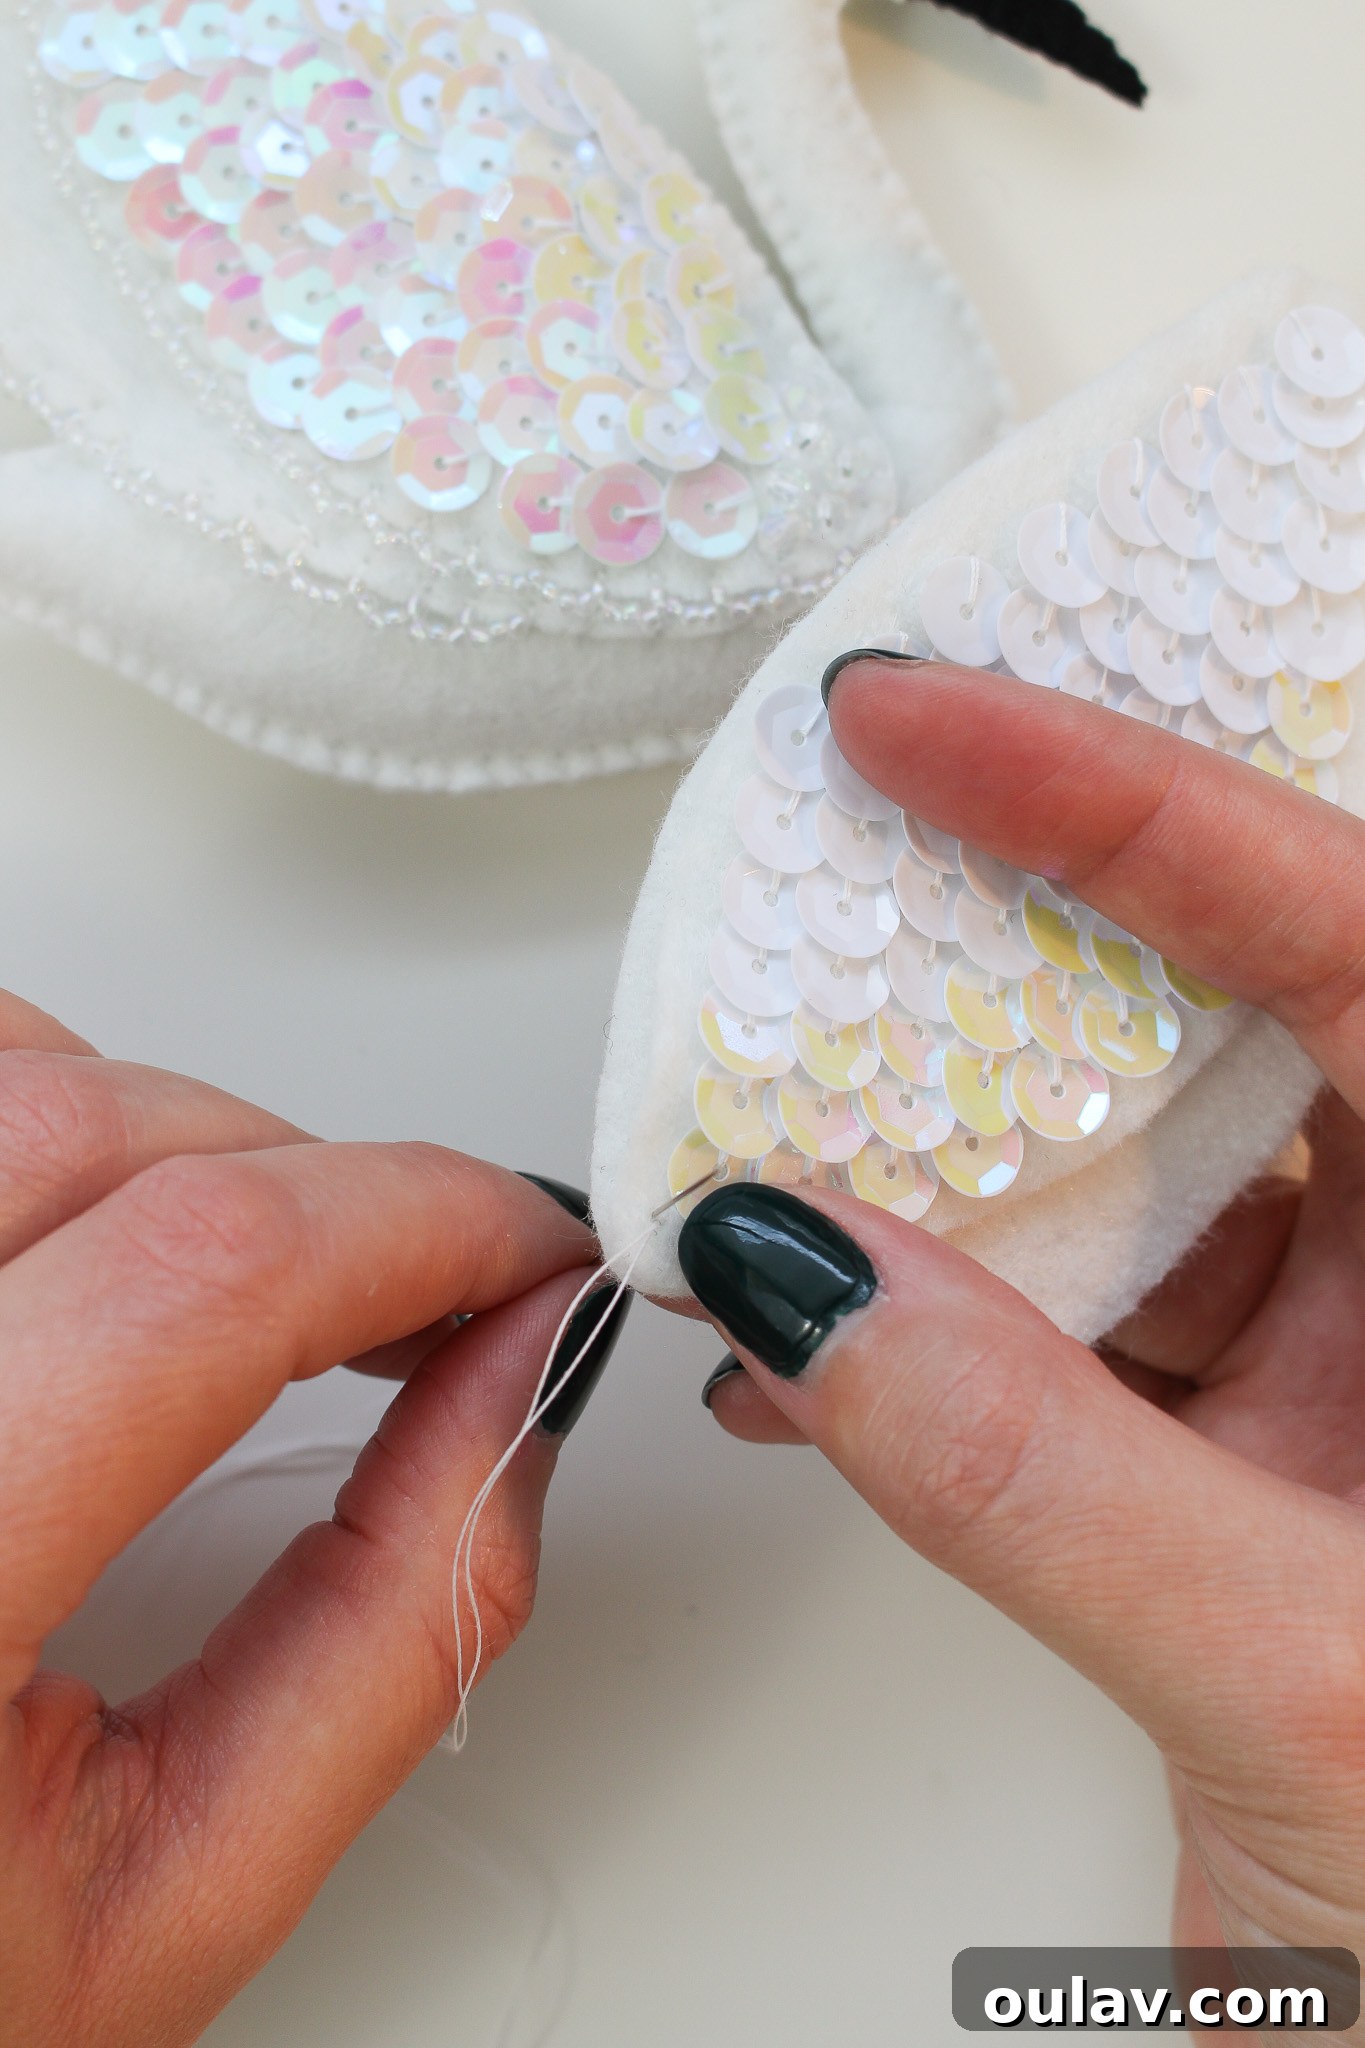
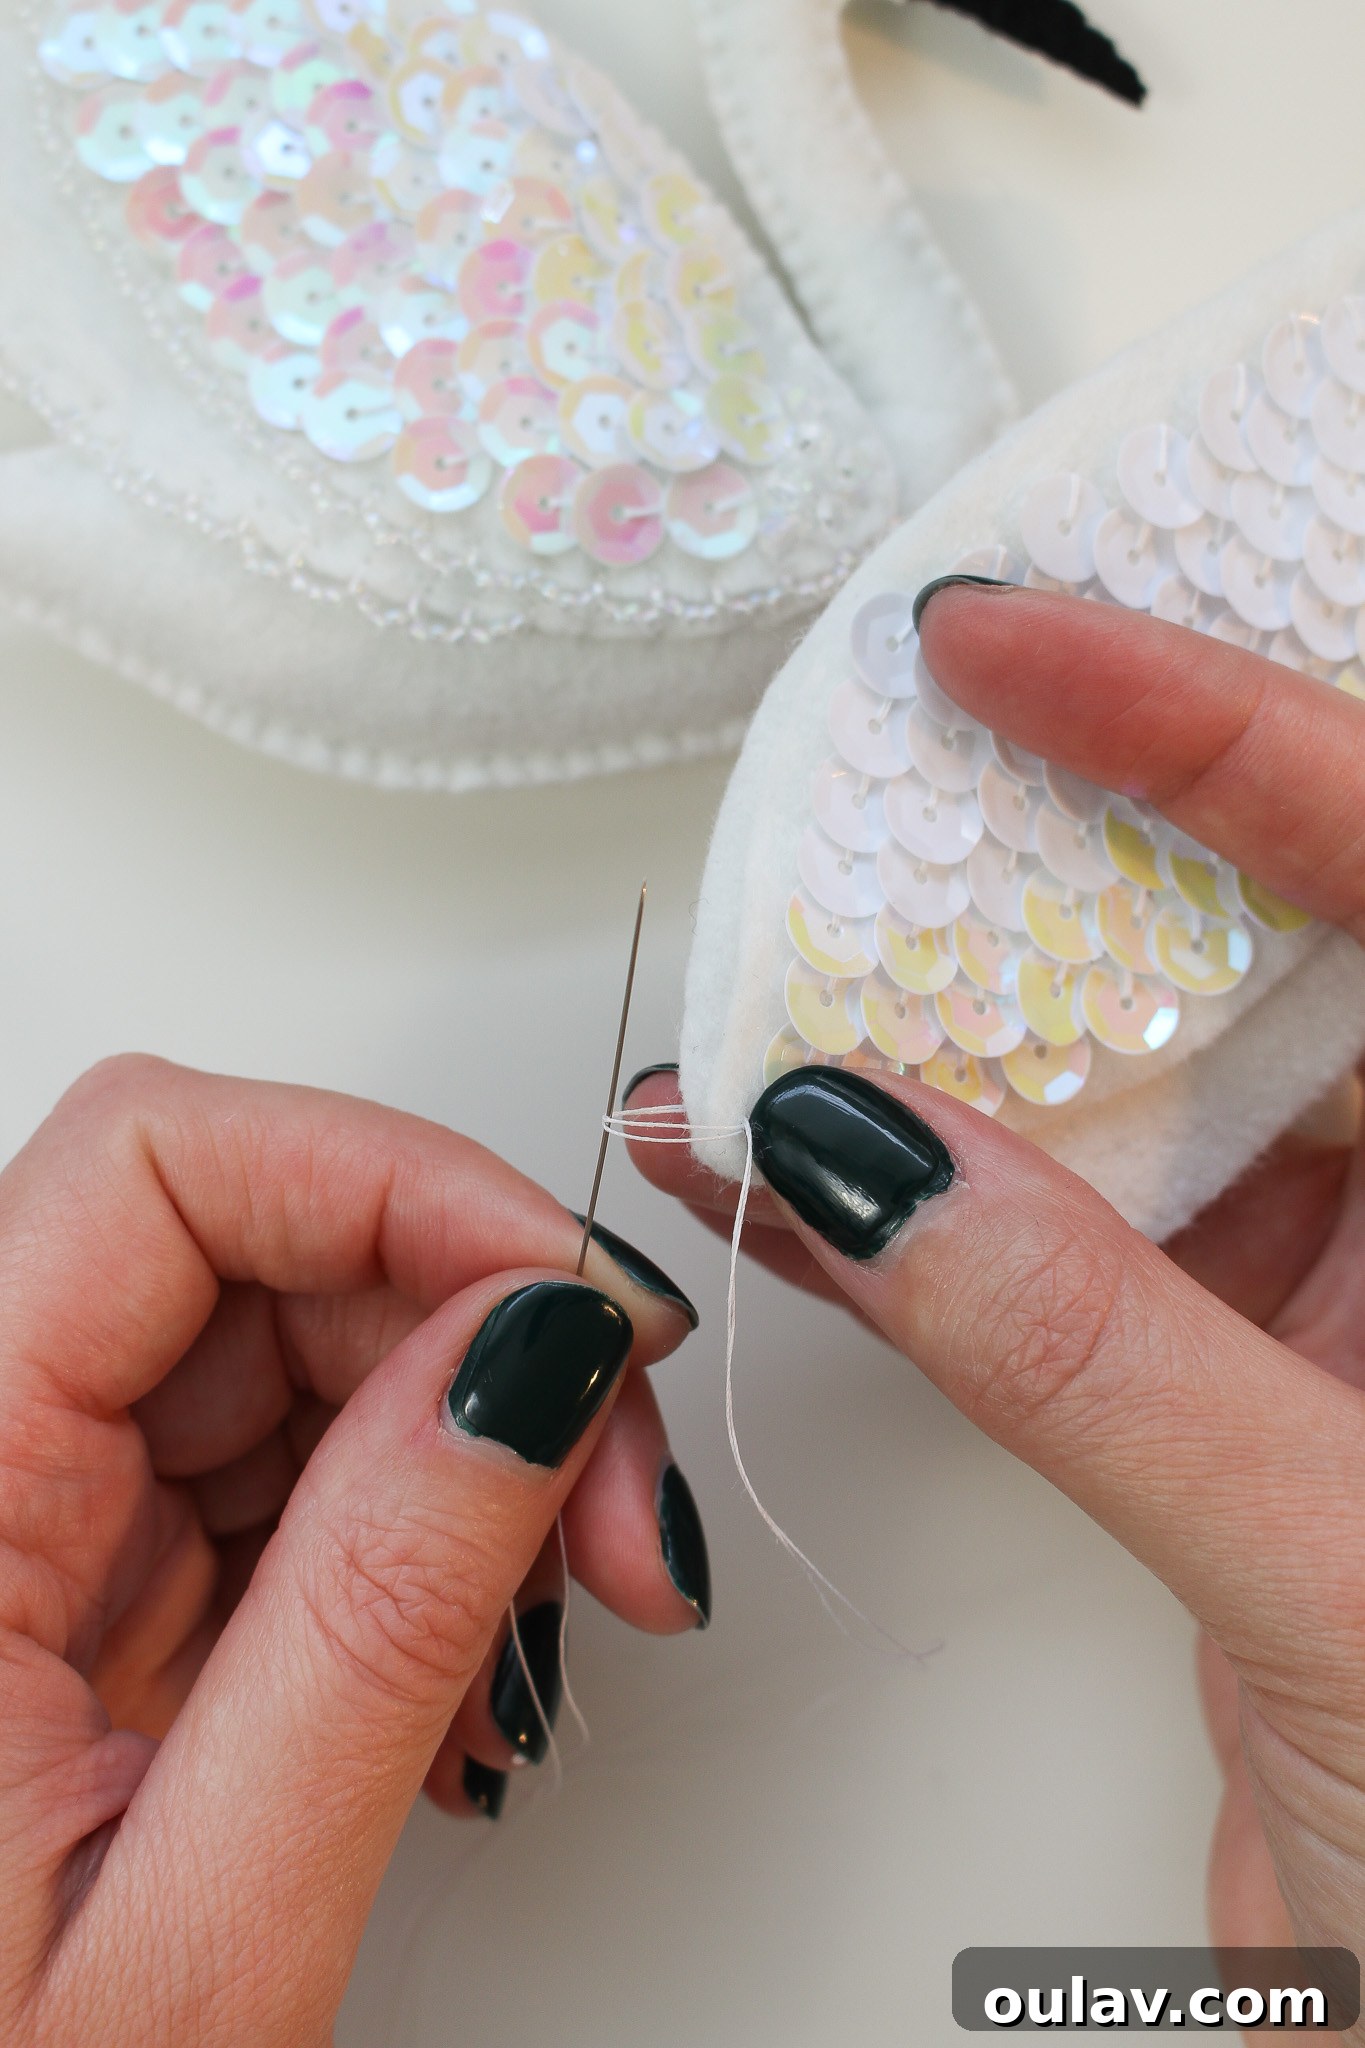
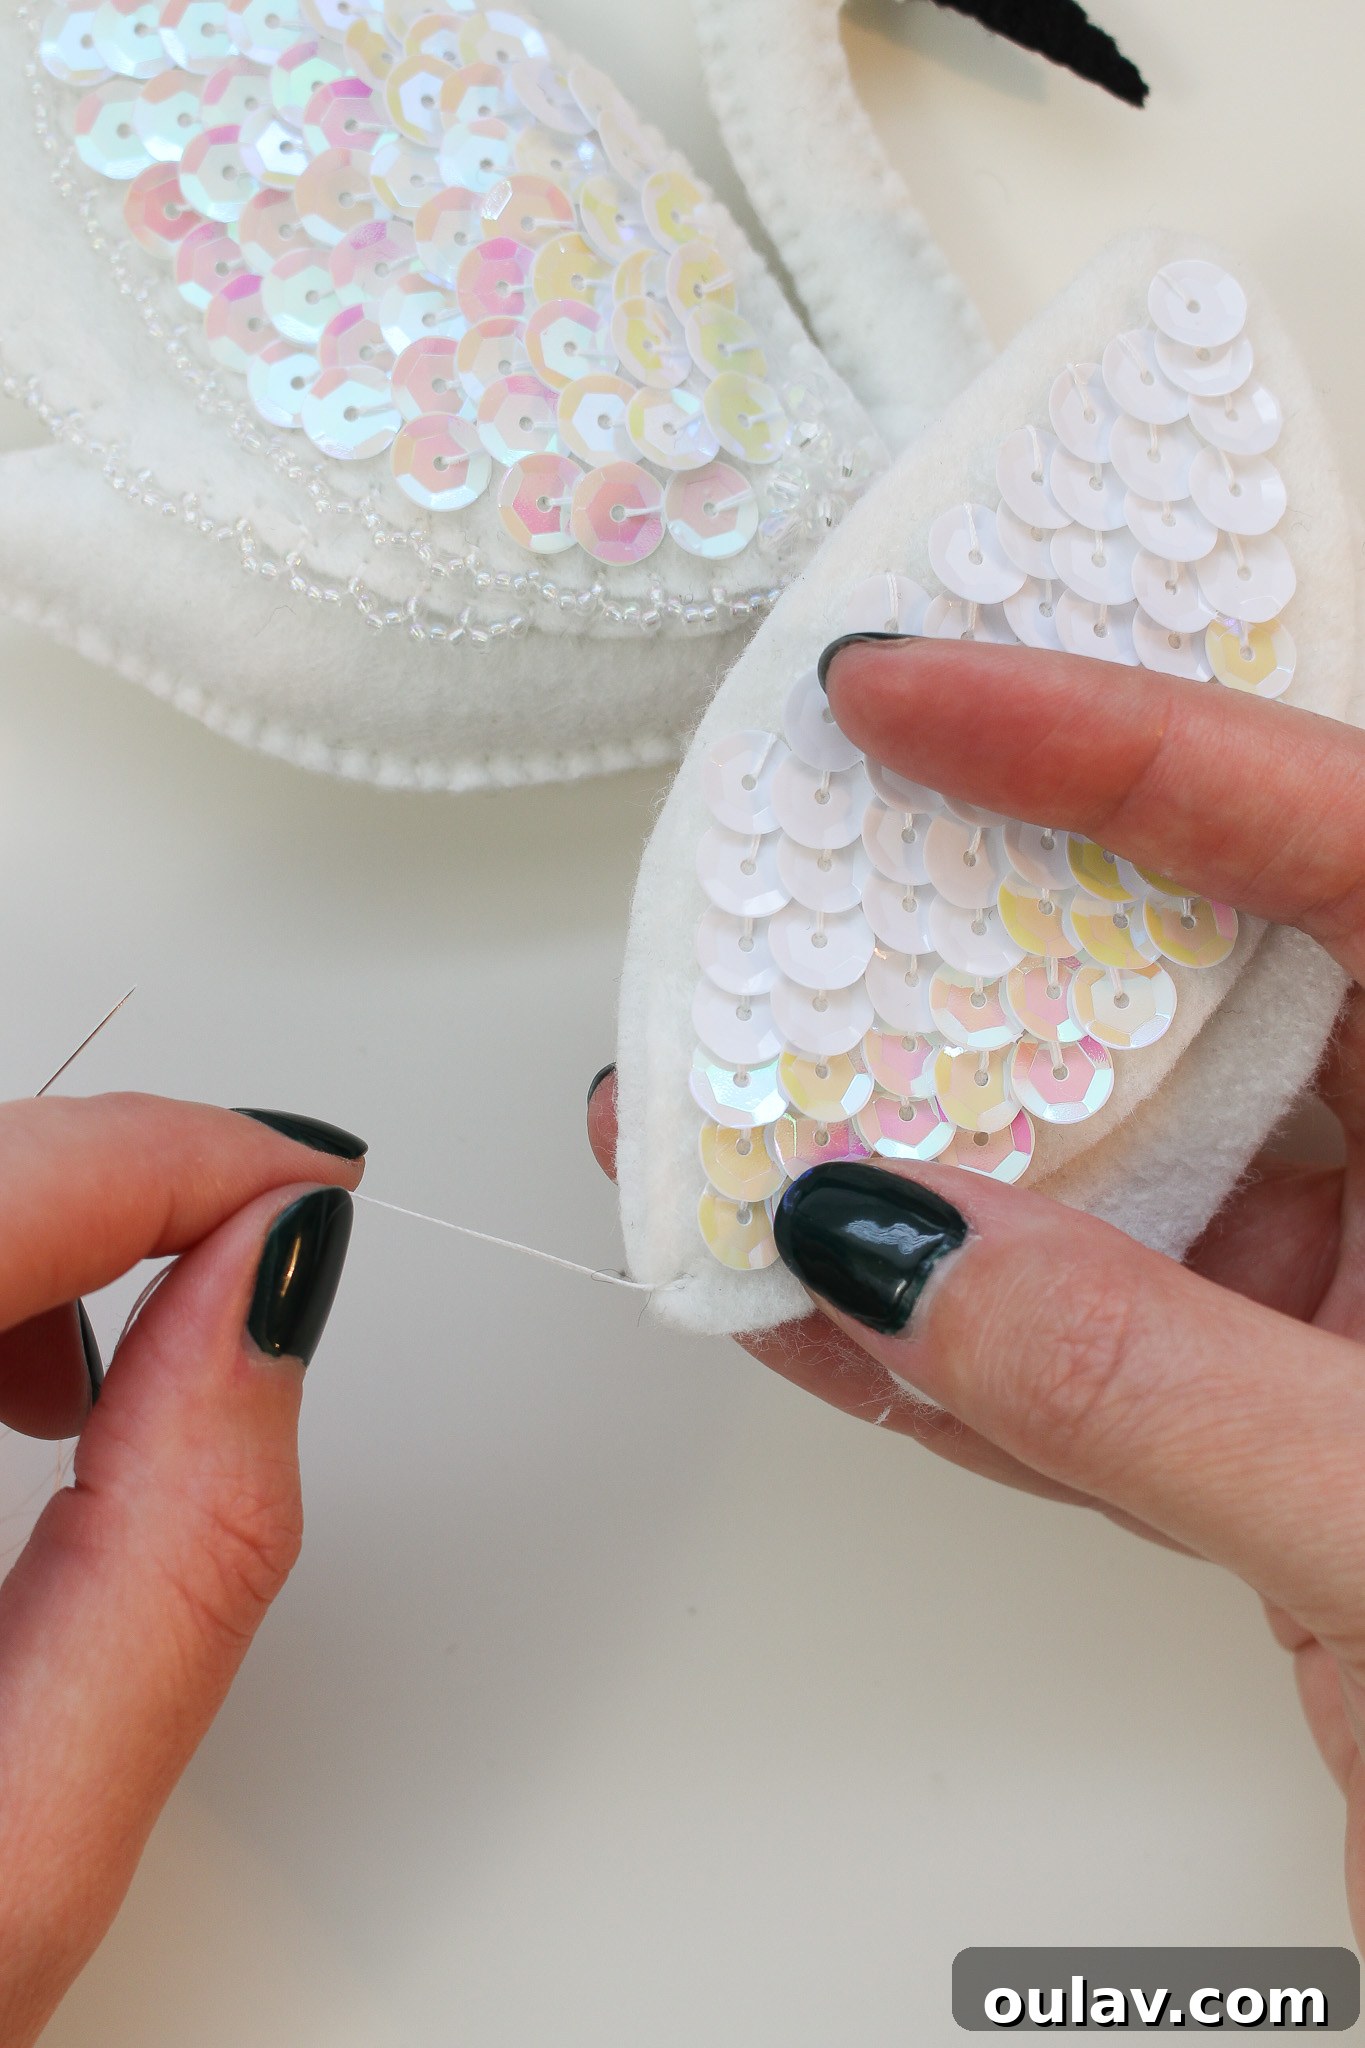
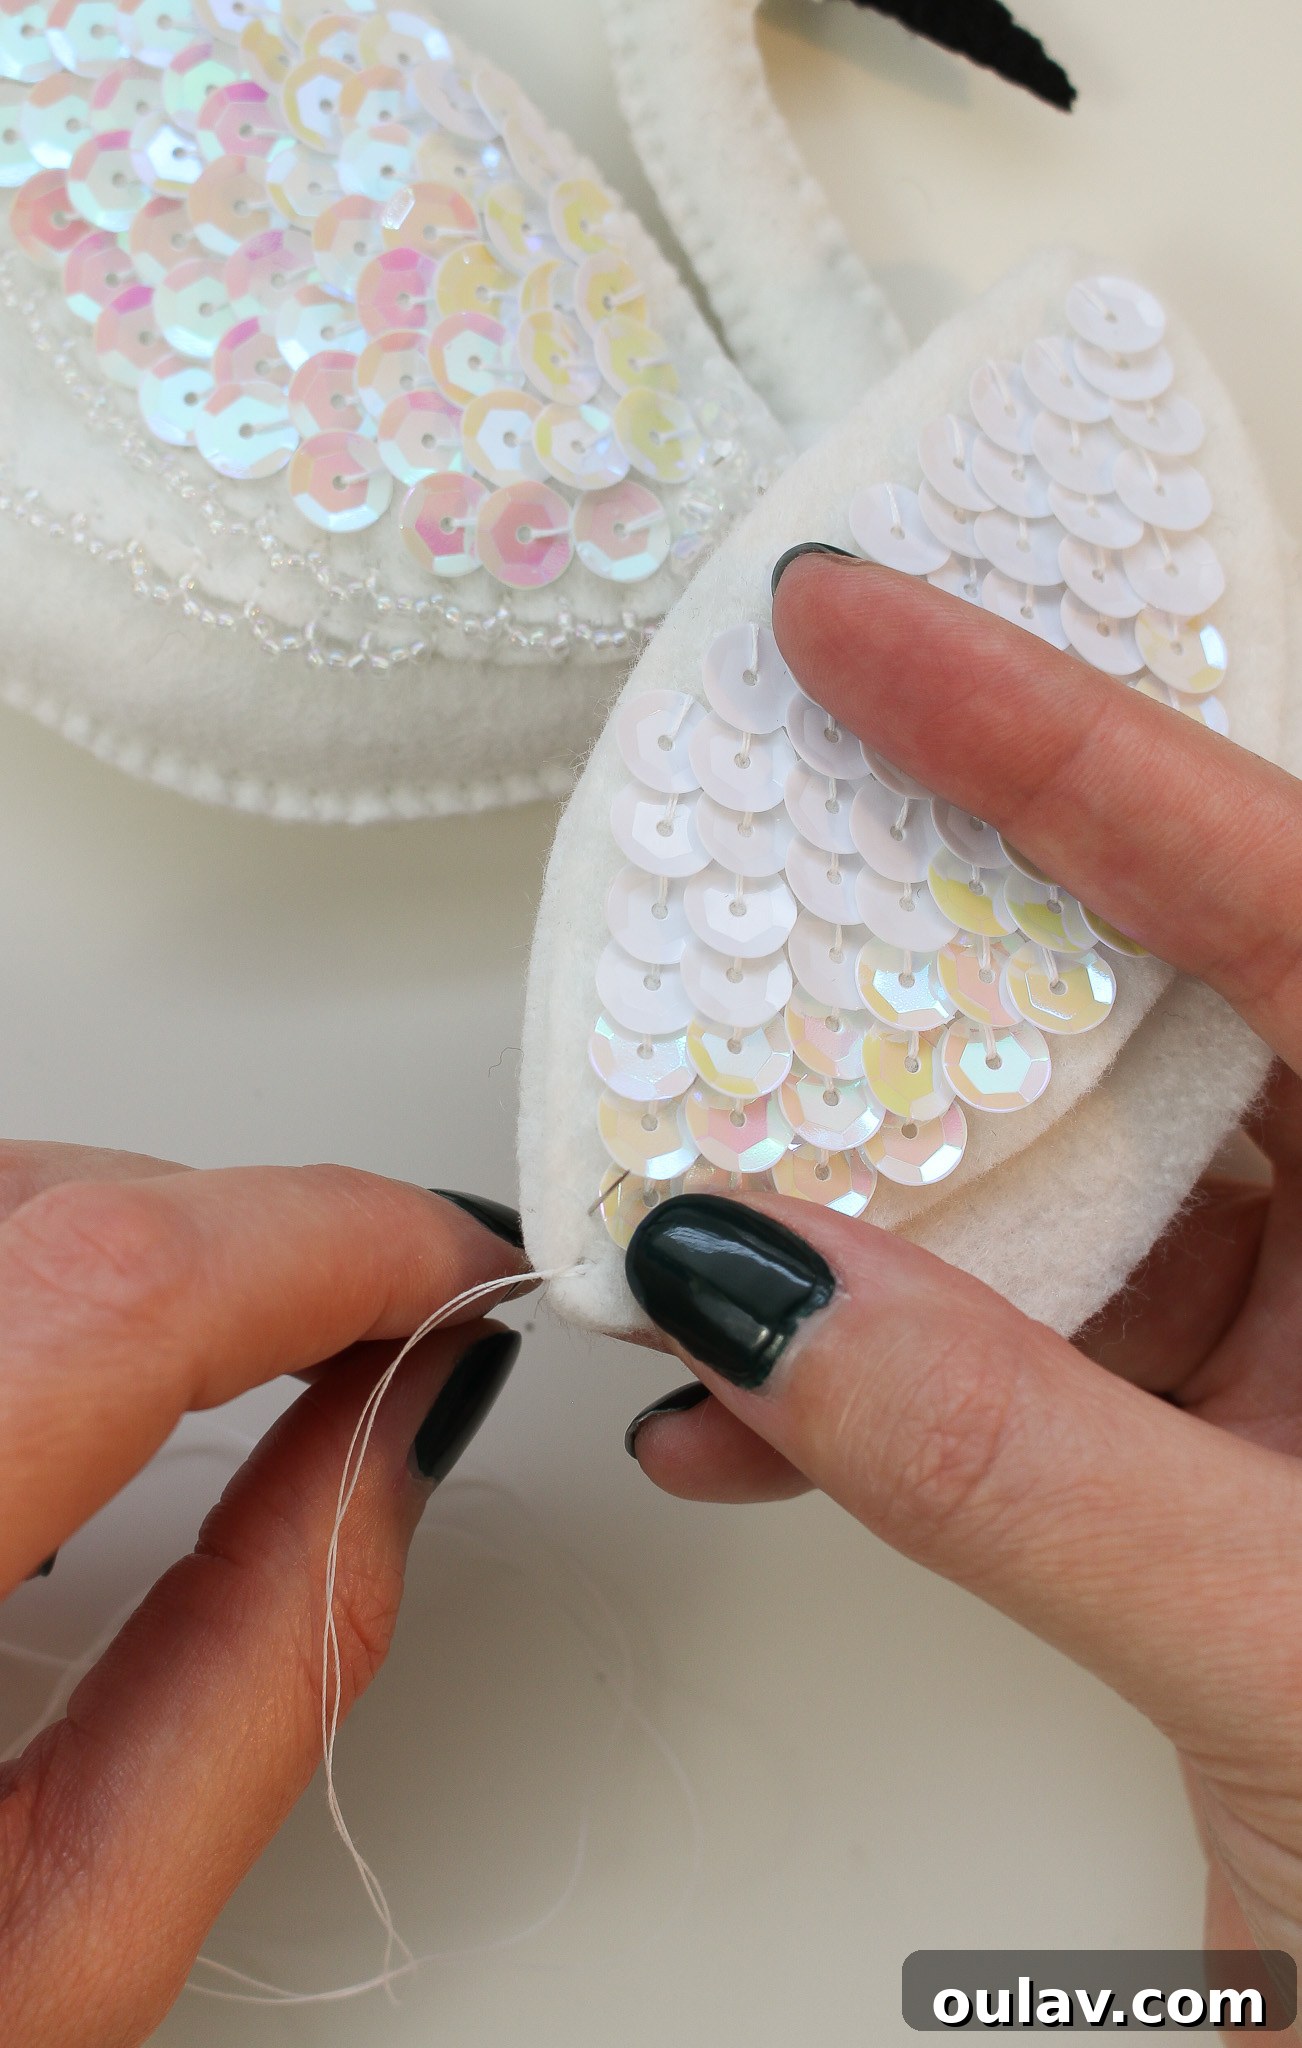
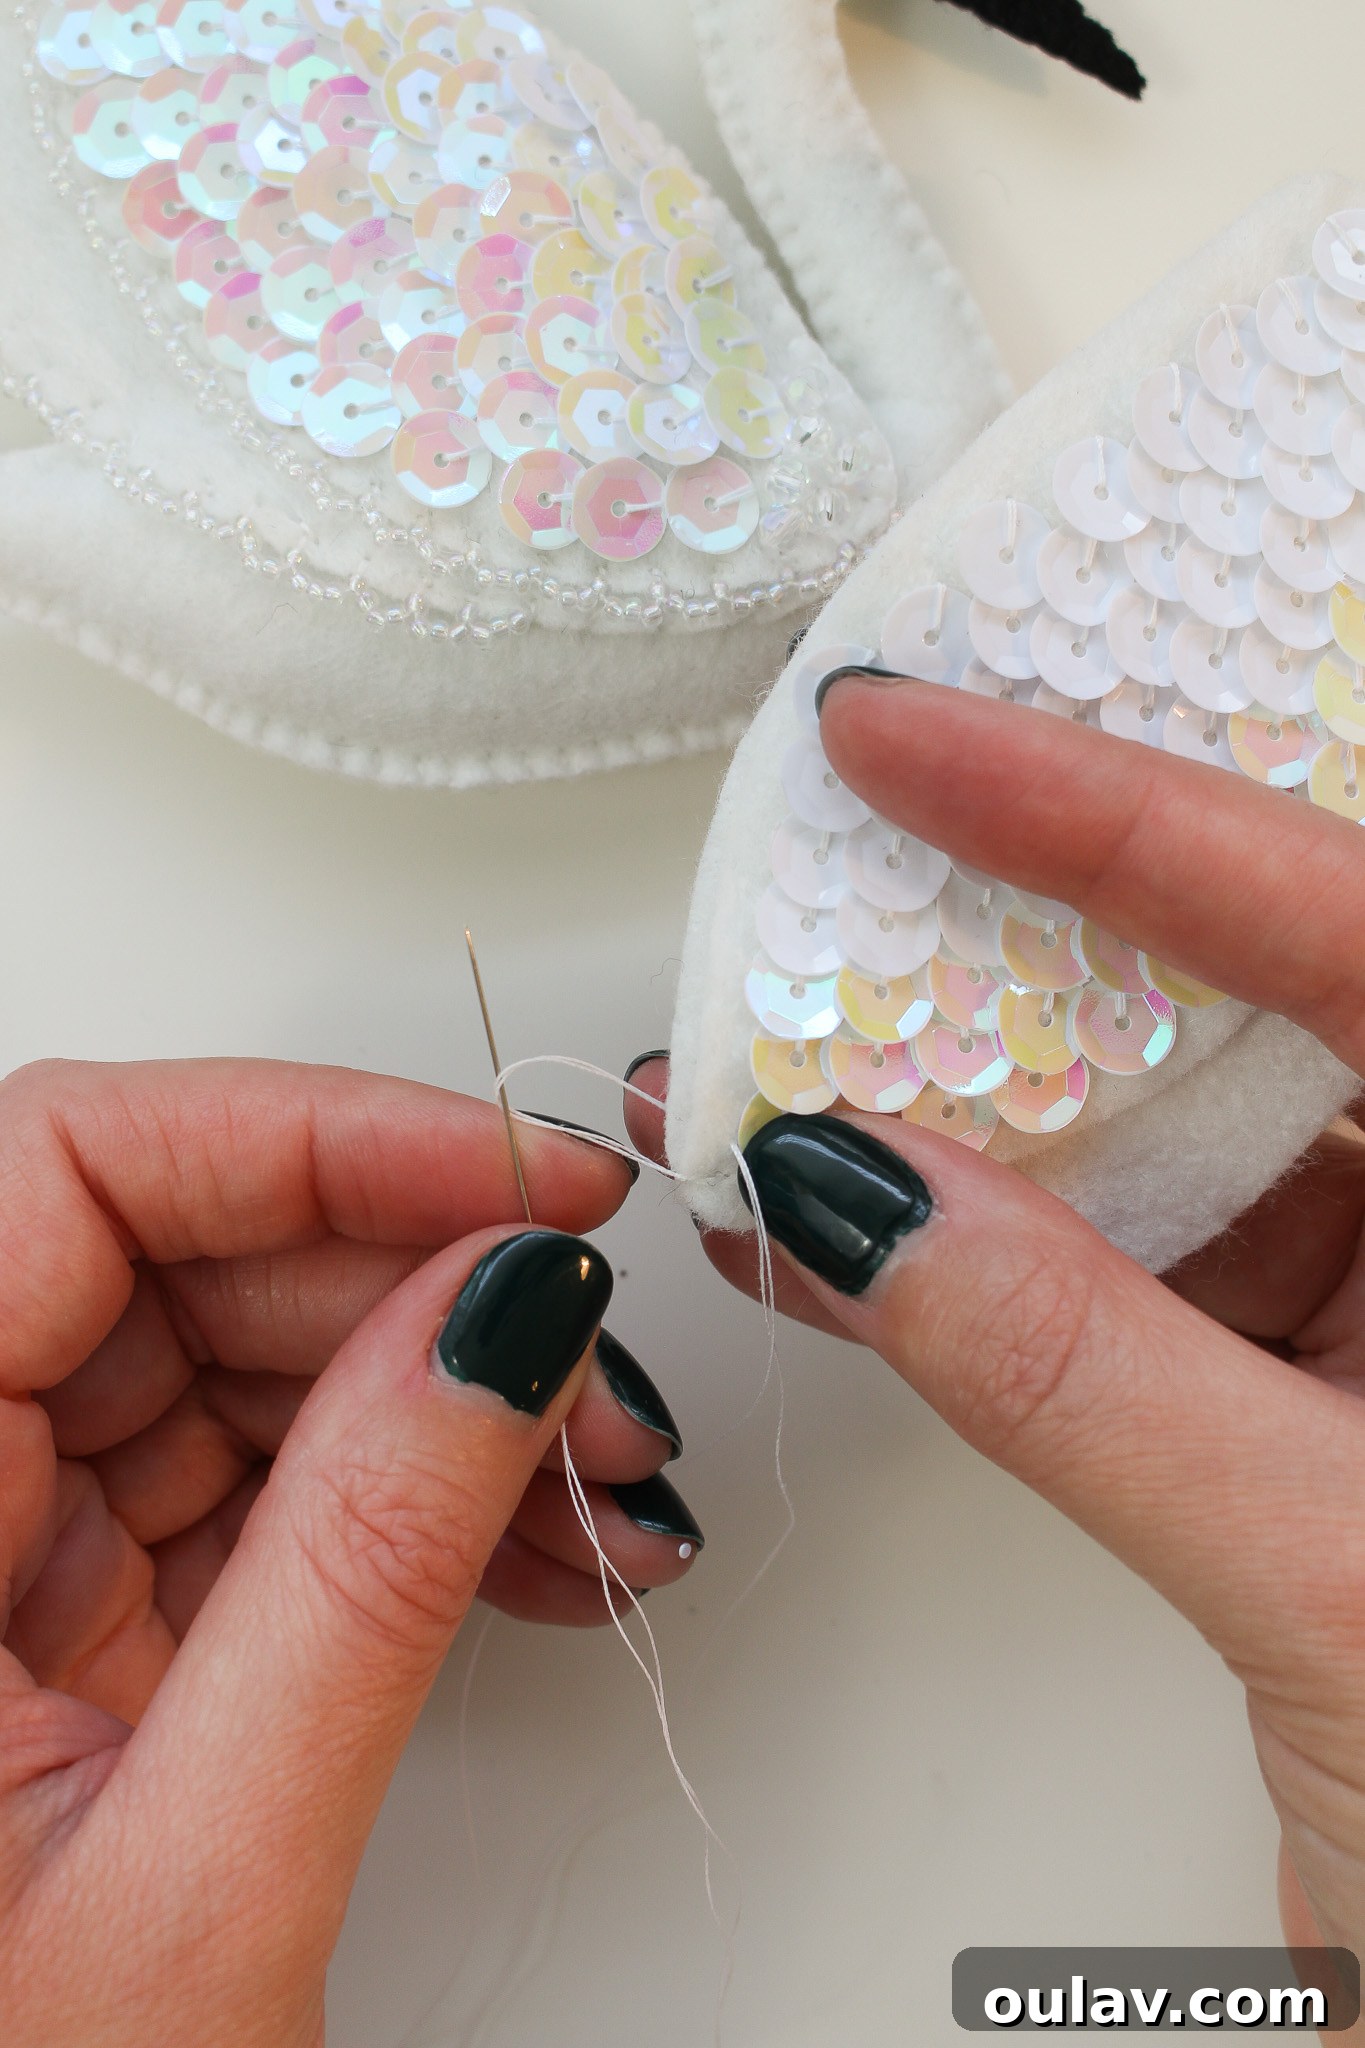
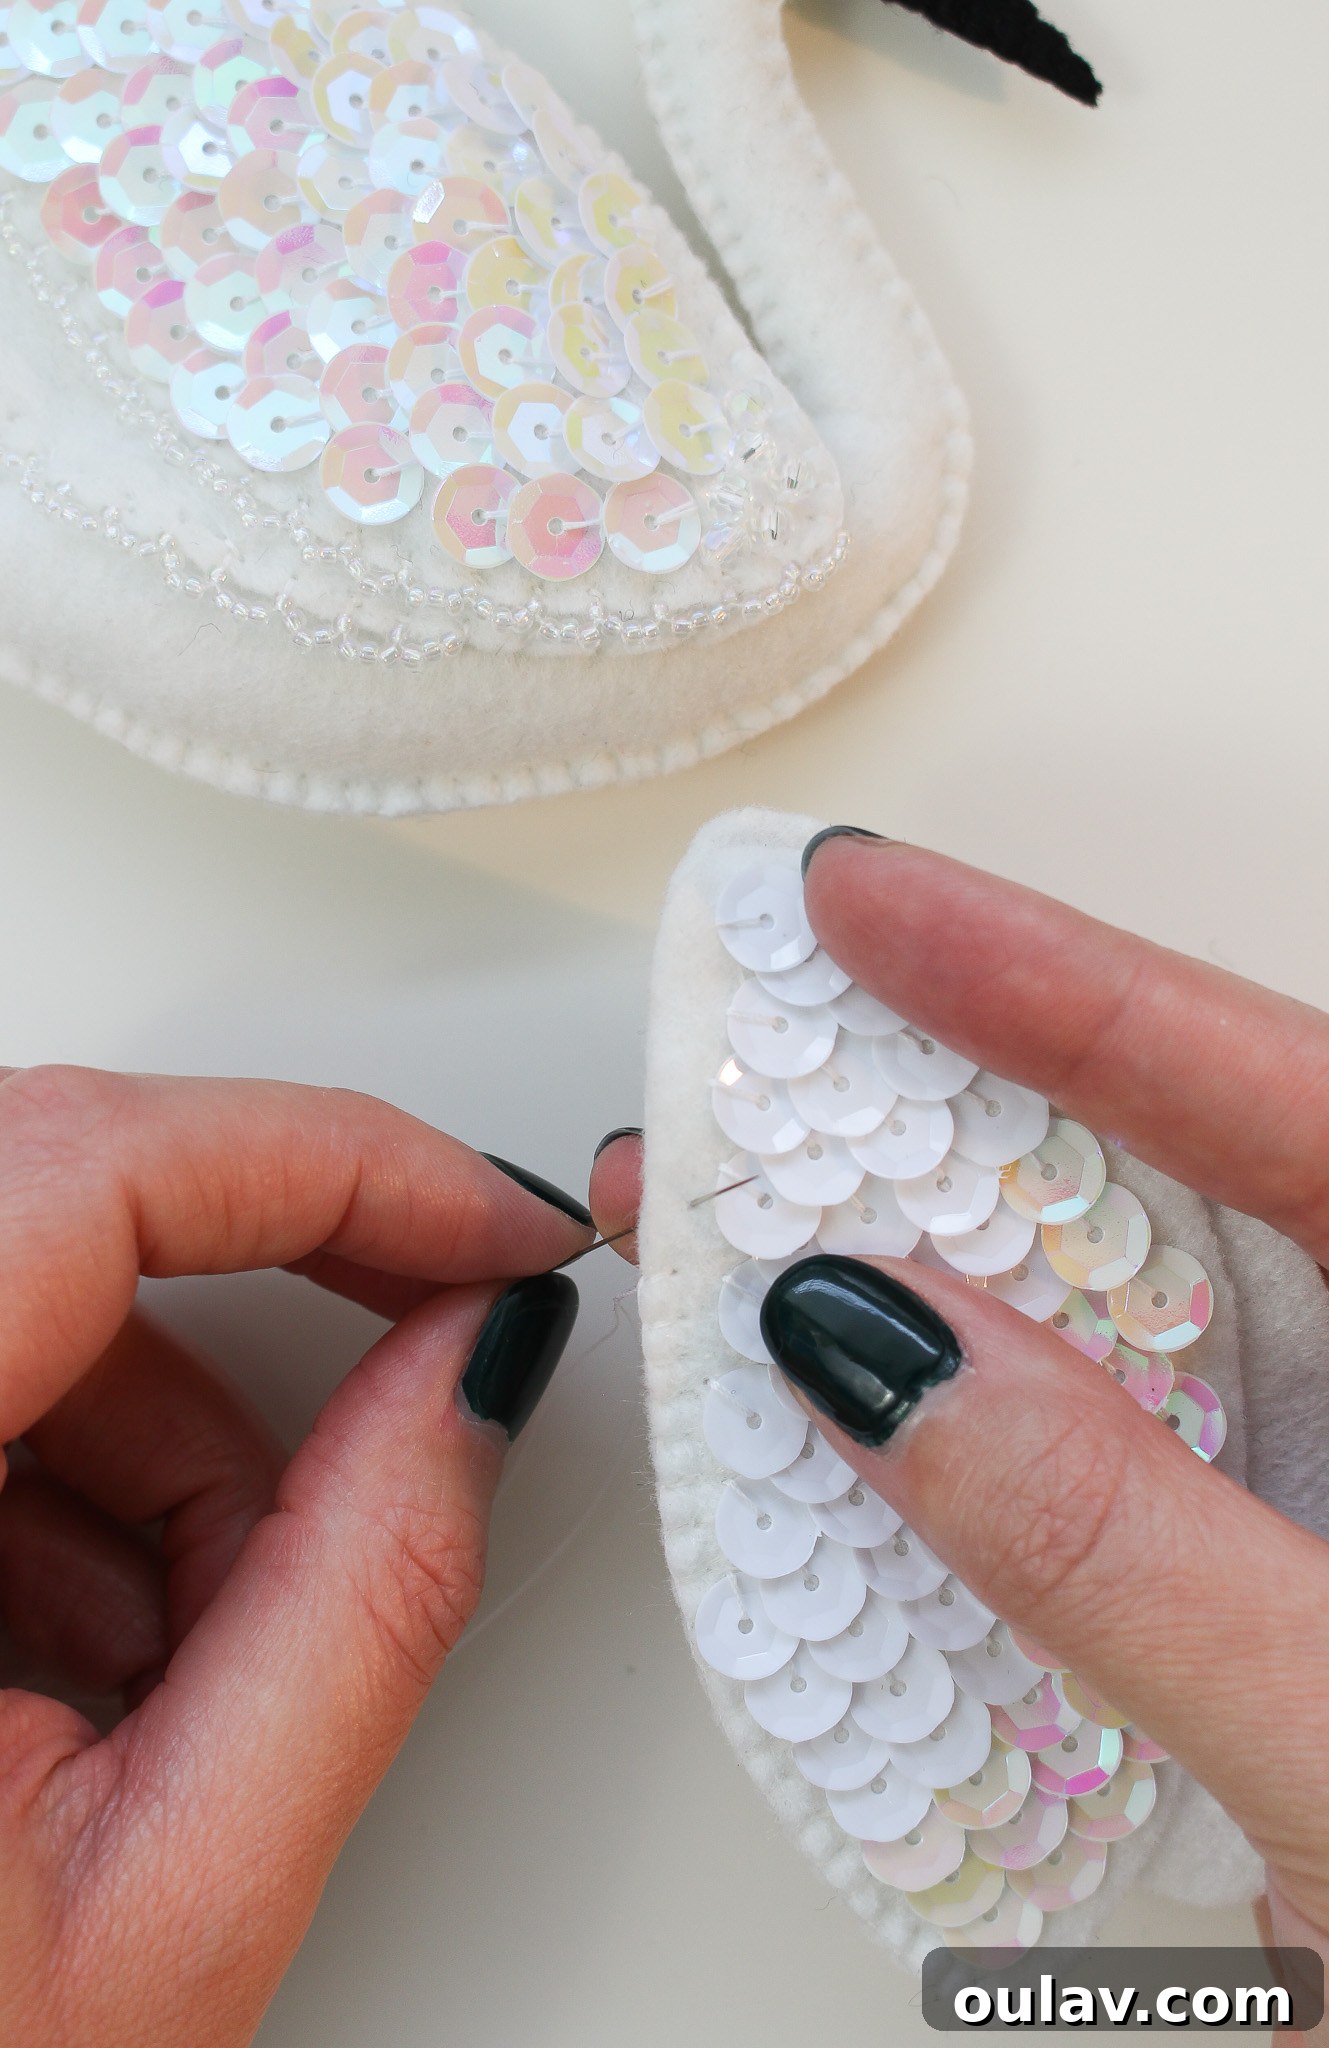
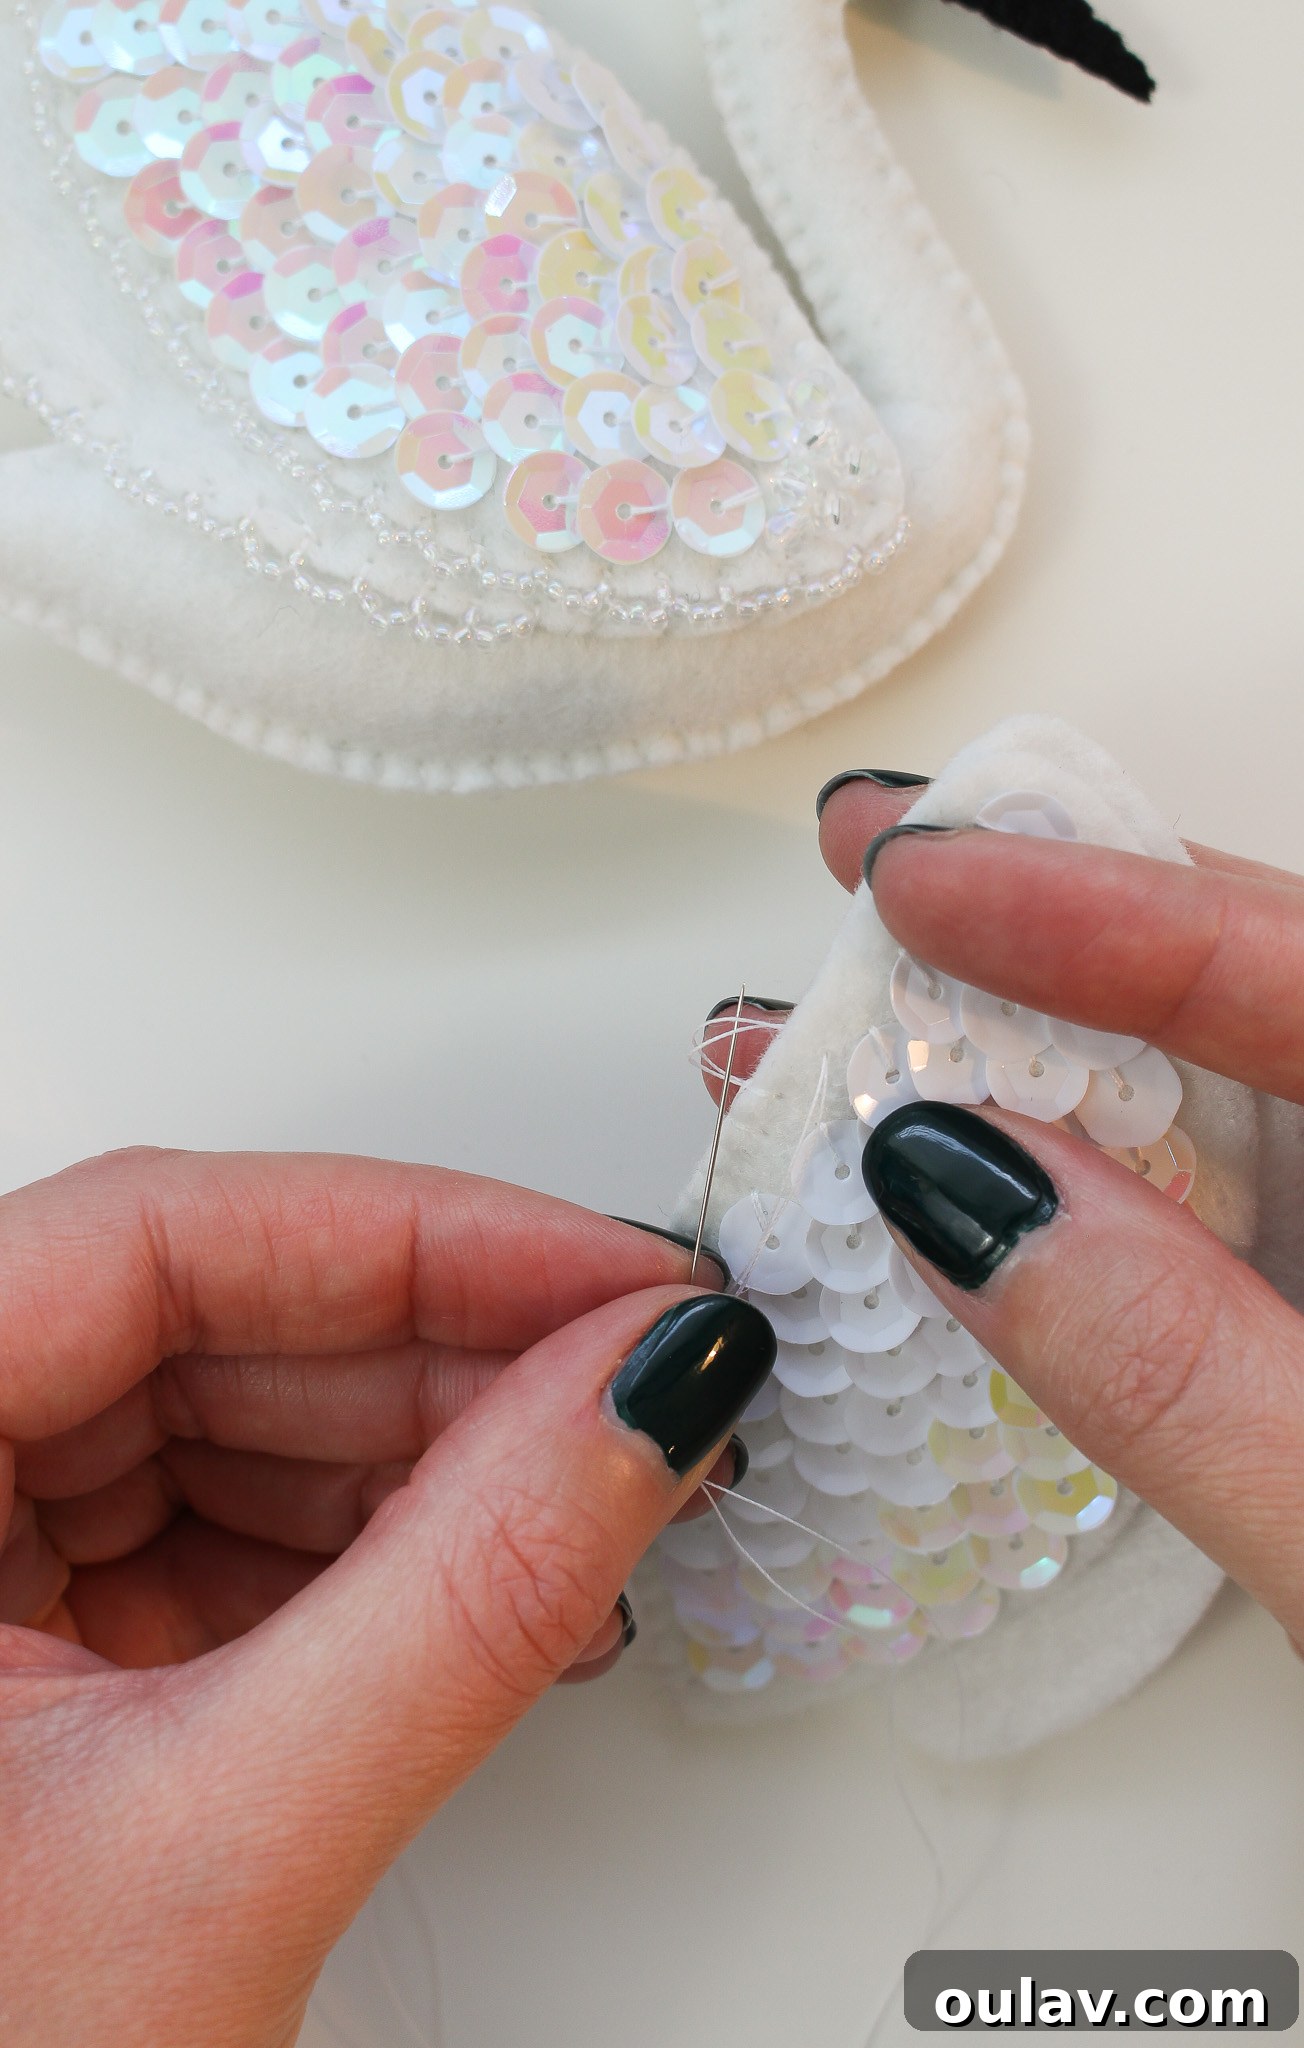
How to Sew Felt Ornaments Closed with a Blanket Stitch:
Edge Beading the Wing Front and Back
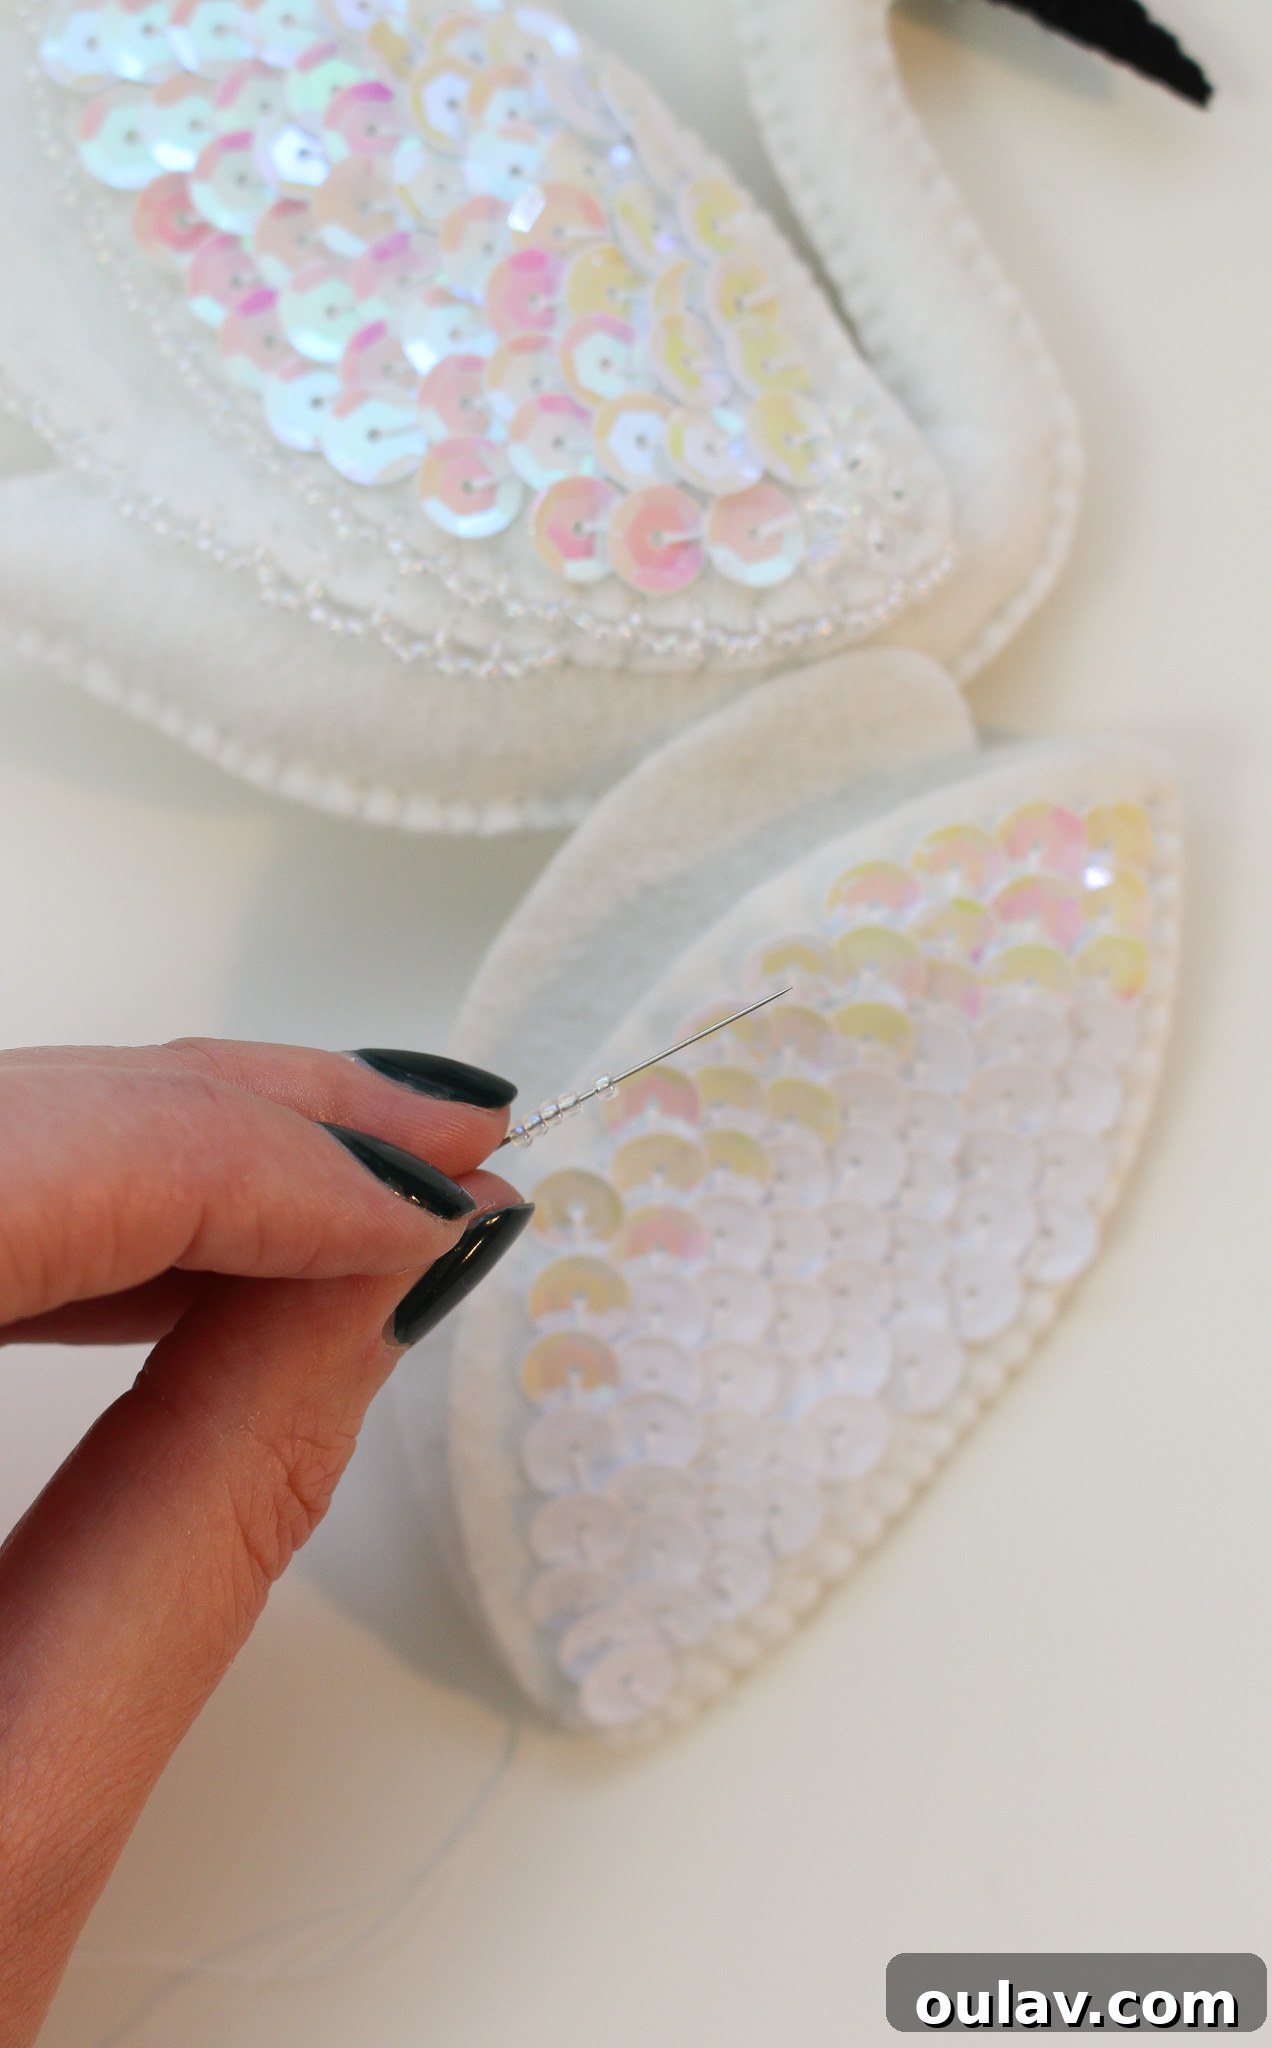
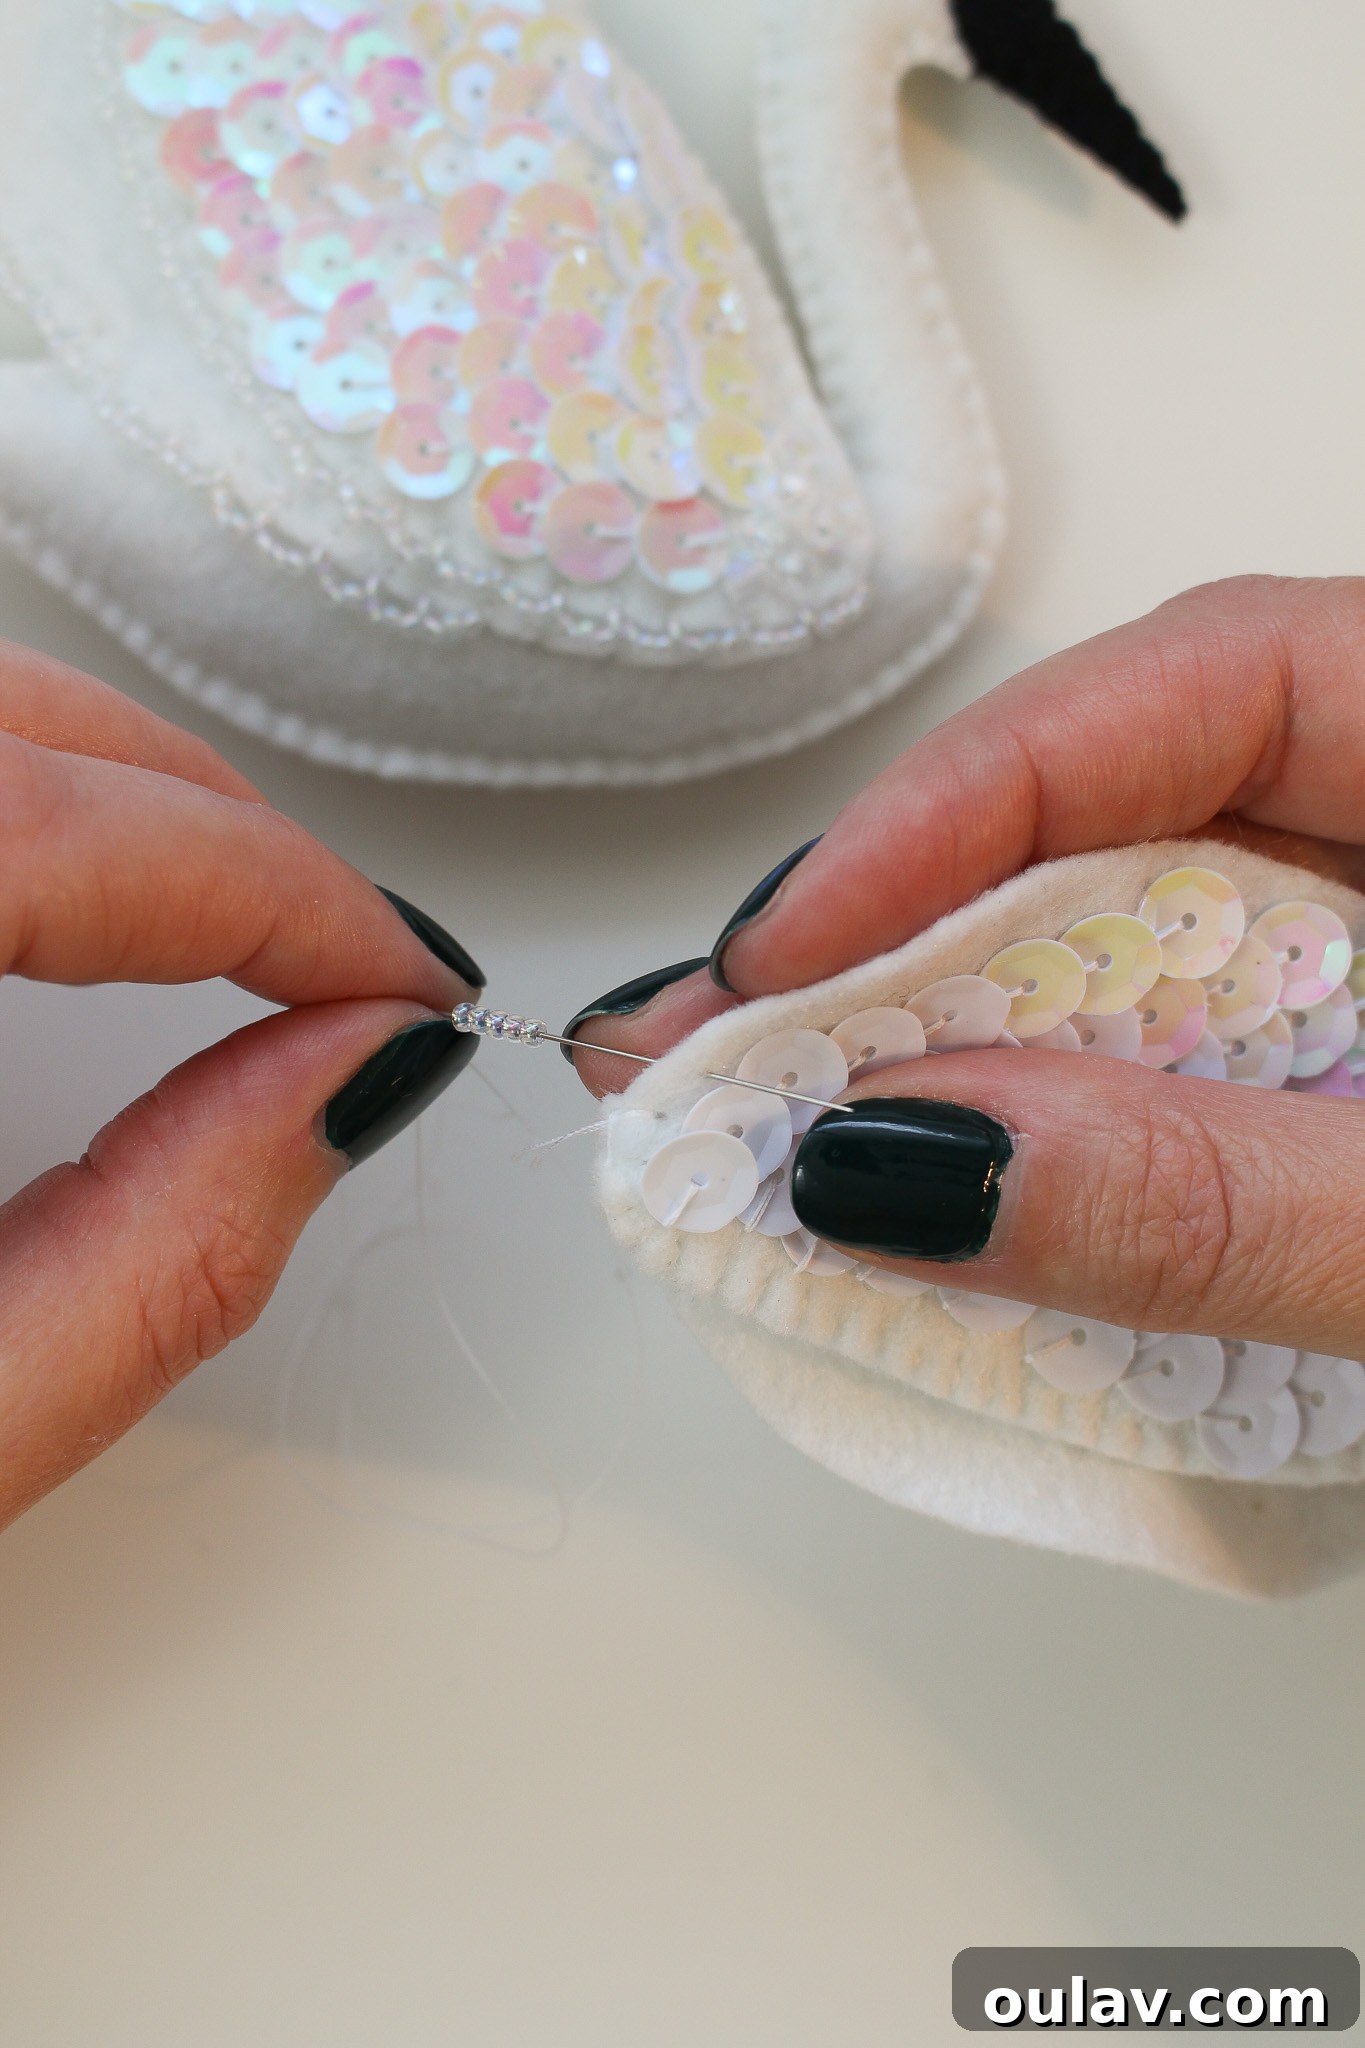
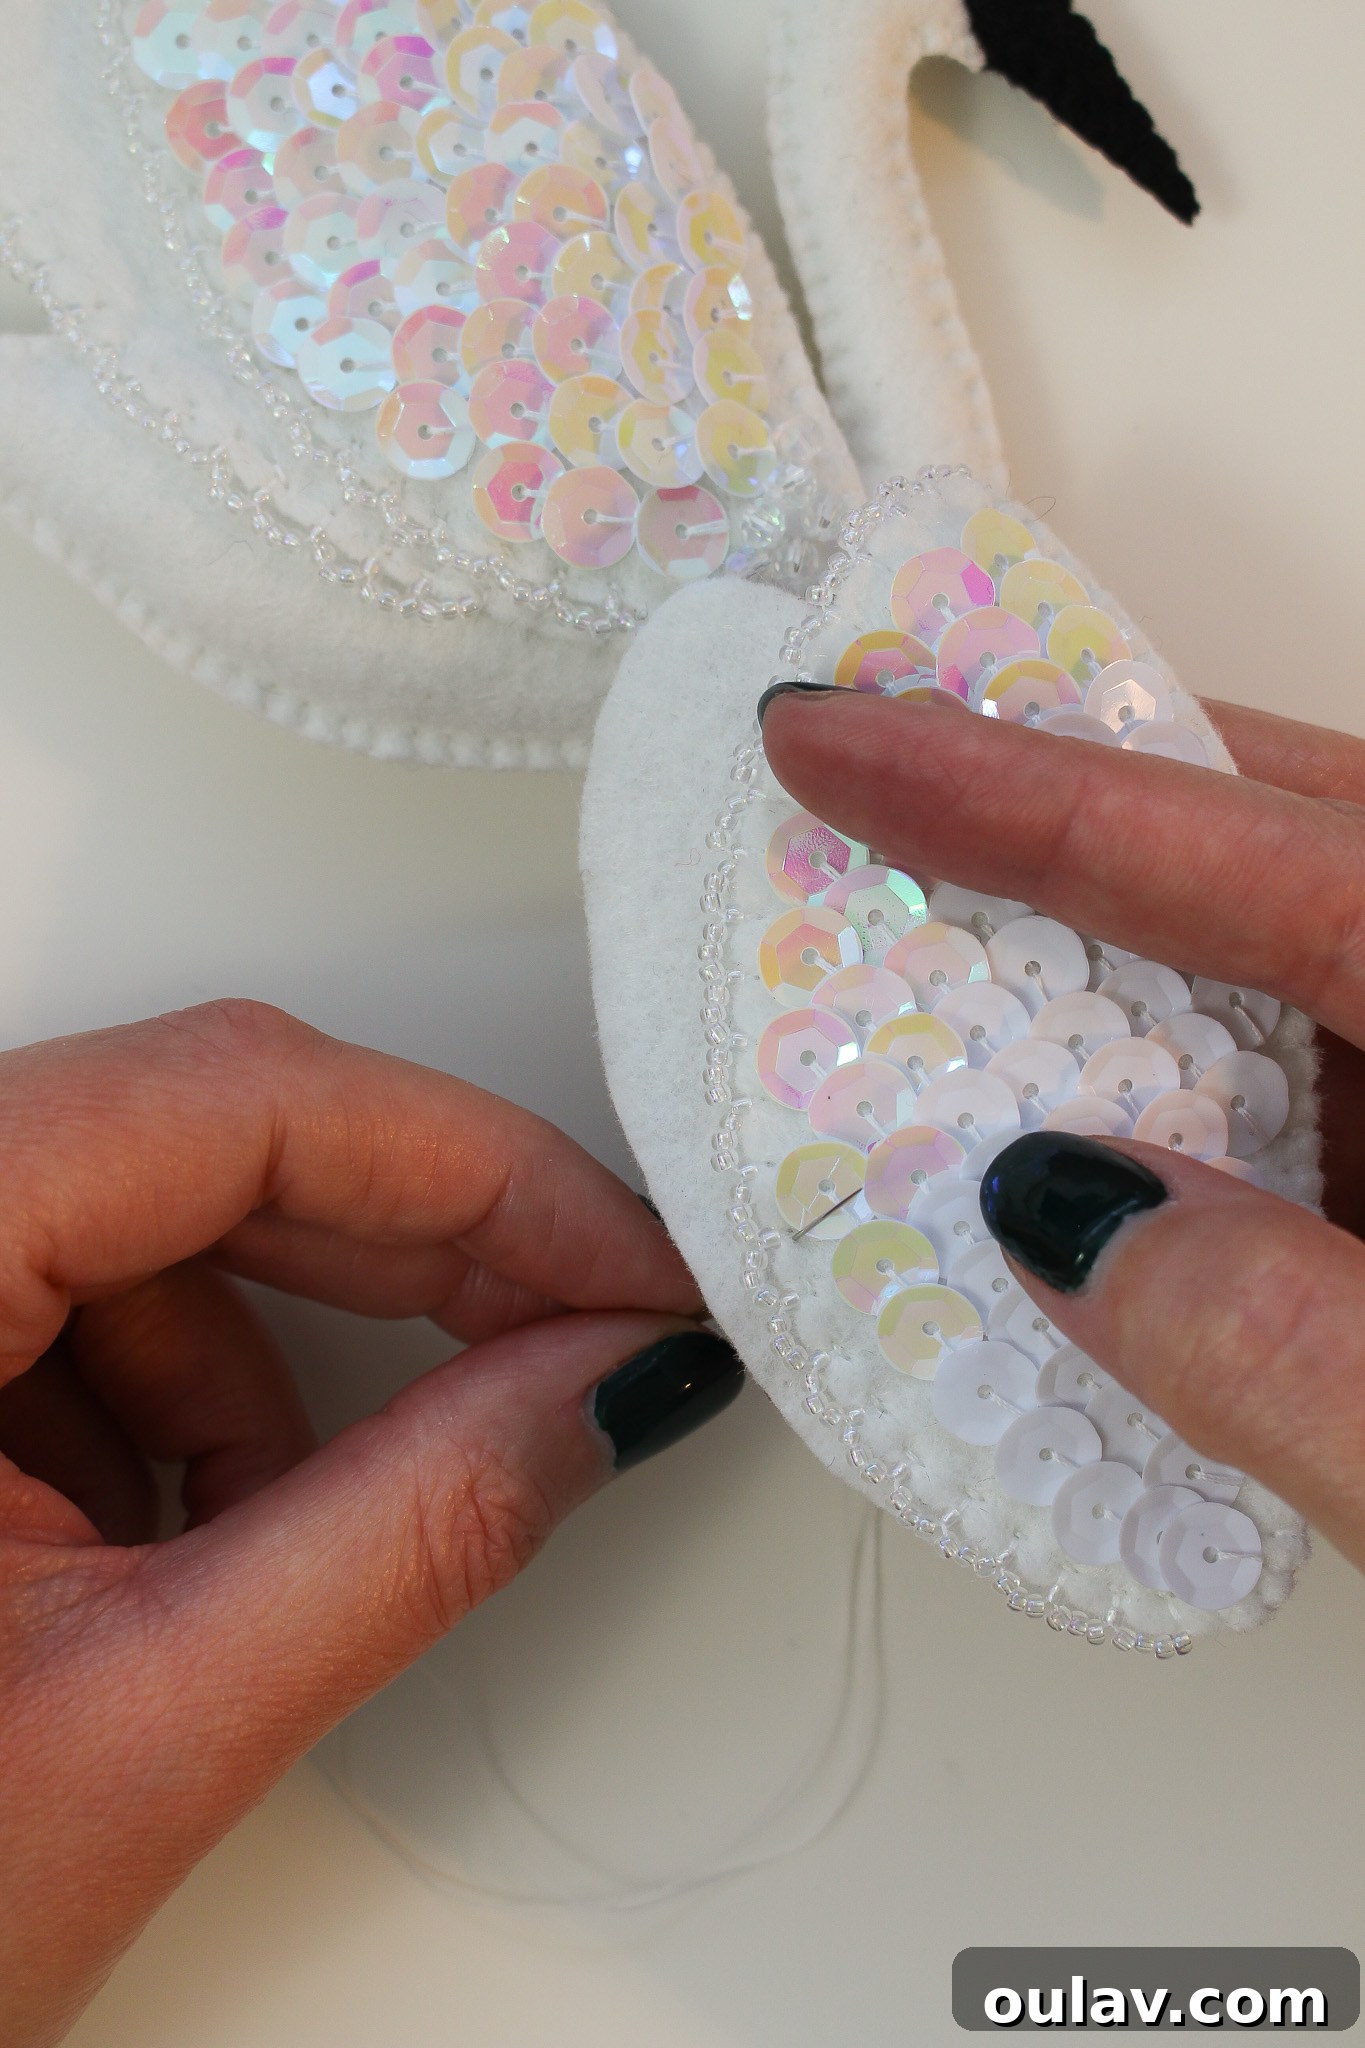
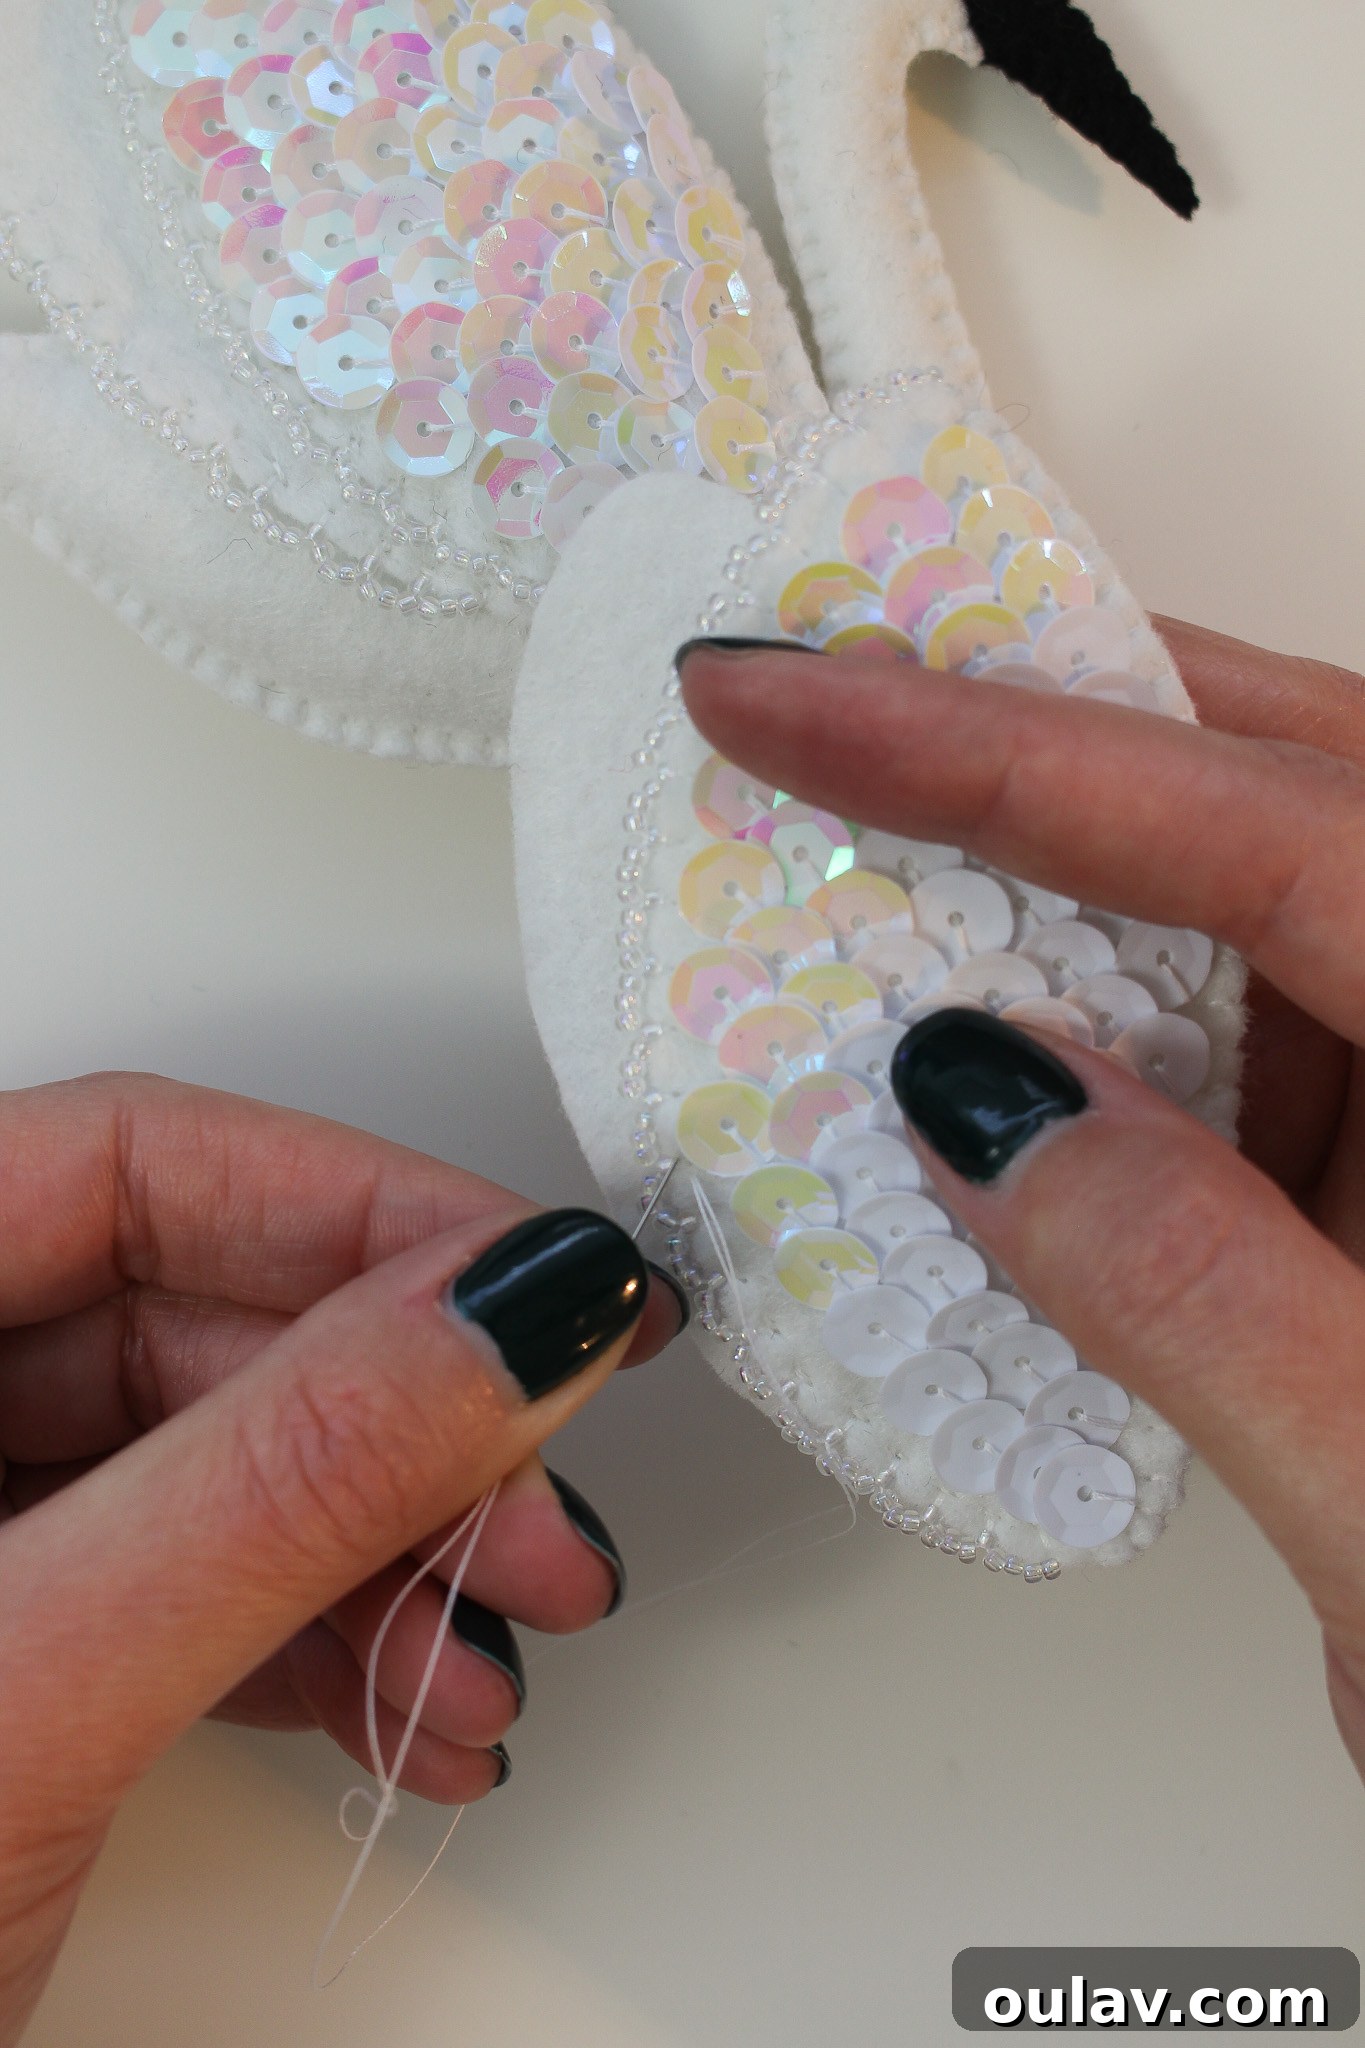
After successfully sewing the top edges of the wing, it’s the perfect time to add some delicate edge beading. If you’ve been using a beading needle, you can seamlessly transition to this step without changing tools. The edge beading on this swan ornament is specifically designed to mimic the delicate, wispy ends of feathers, adding a subtle sparkle and intricate detail. While it beautifully enhances the ornament, if you’re a beginner or pressed for time, this step is entirely optional – your swan will still be lovely without it. To perform the edge beading (also demonstrated in the video tutorial above), thread on 5 small seed beads. Bring your needle up through the back of the felt (the front piece of the wing only, not both layers yet), and then push it back down through the last seed bead you just added. Then, thread on 4 more seed beads and repeat the process. This technique creates a beautiful, continuous beaded edge that resembles a blanket stitch, but with beads integrated into each loop. At this stage, ensure you are only stitching onto the front felt piece of the wing; do not join the two wing pieces together along the bottom edge yet.
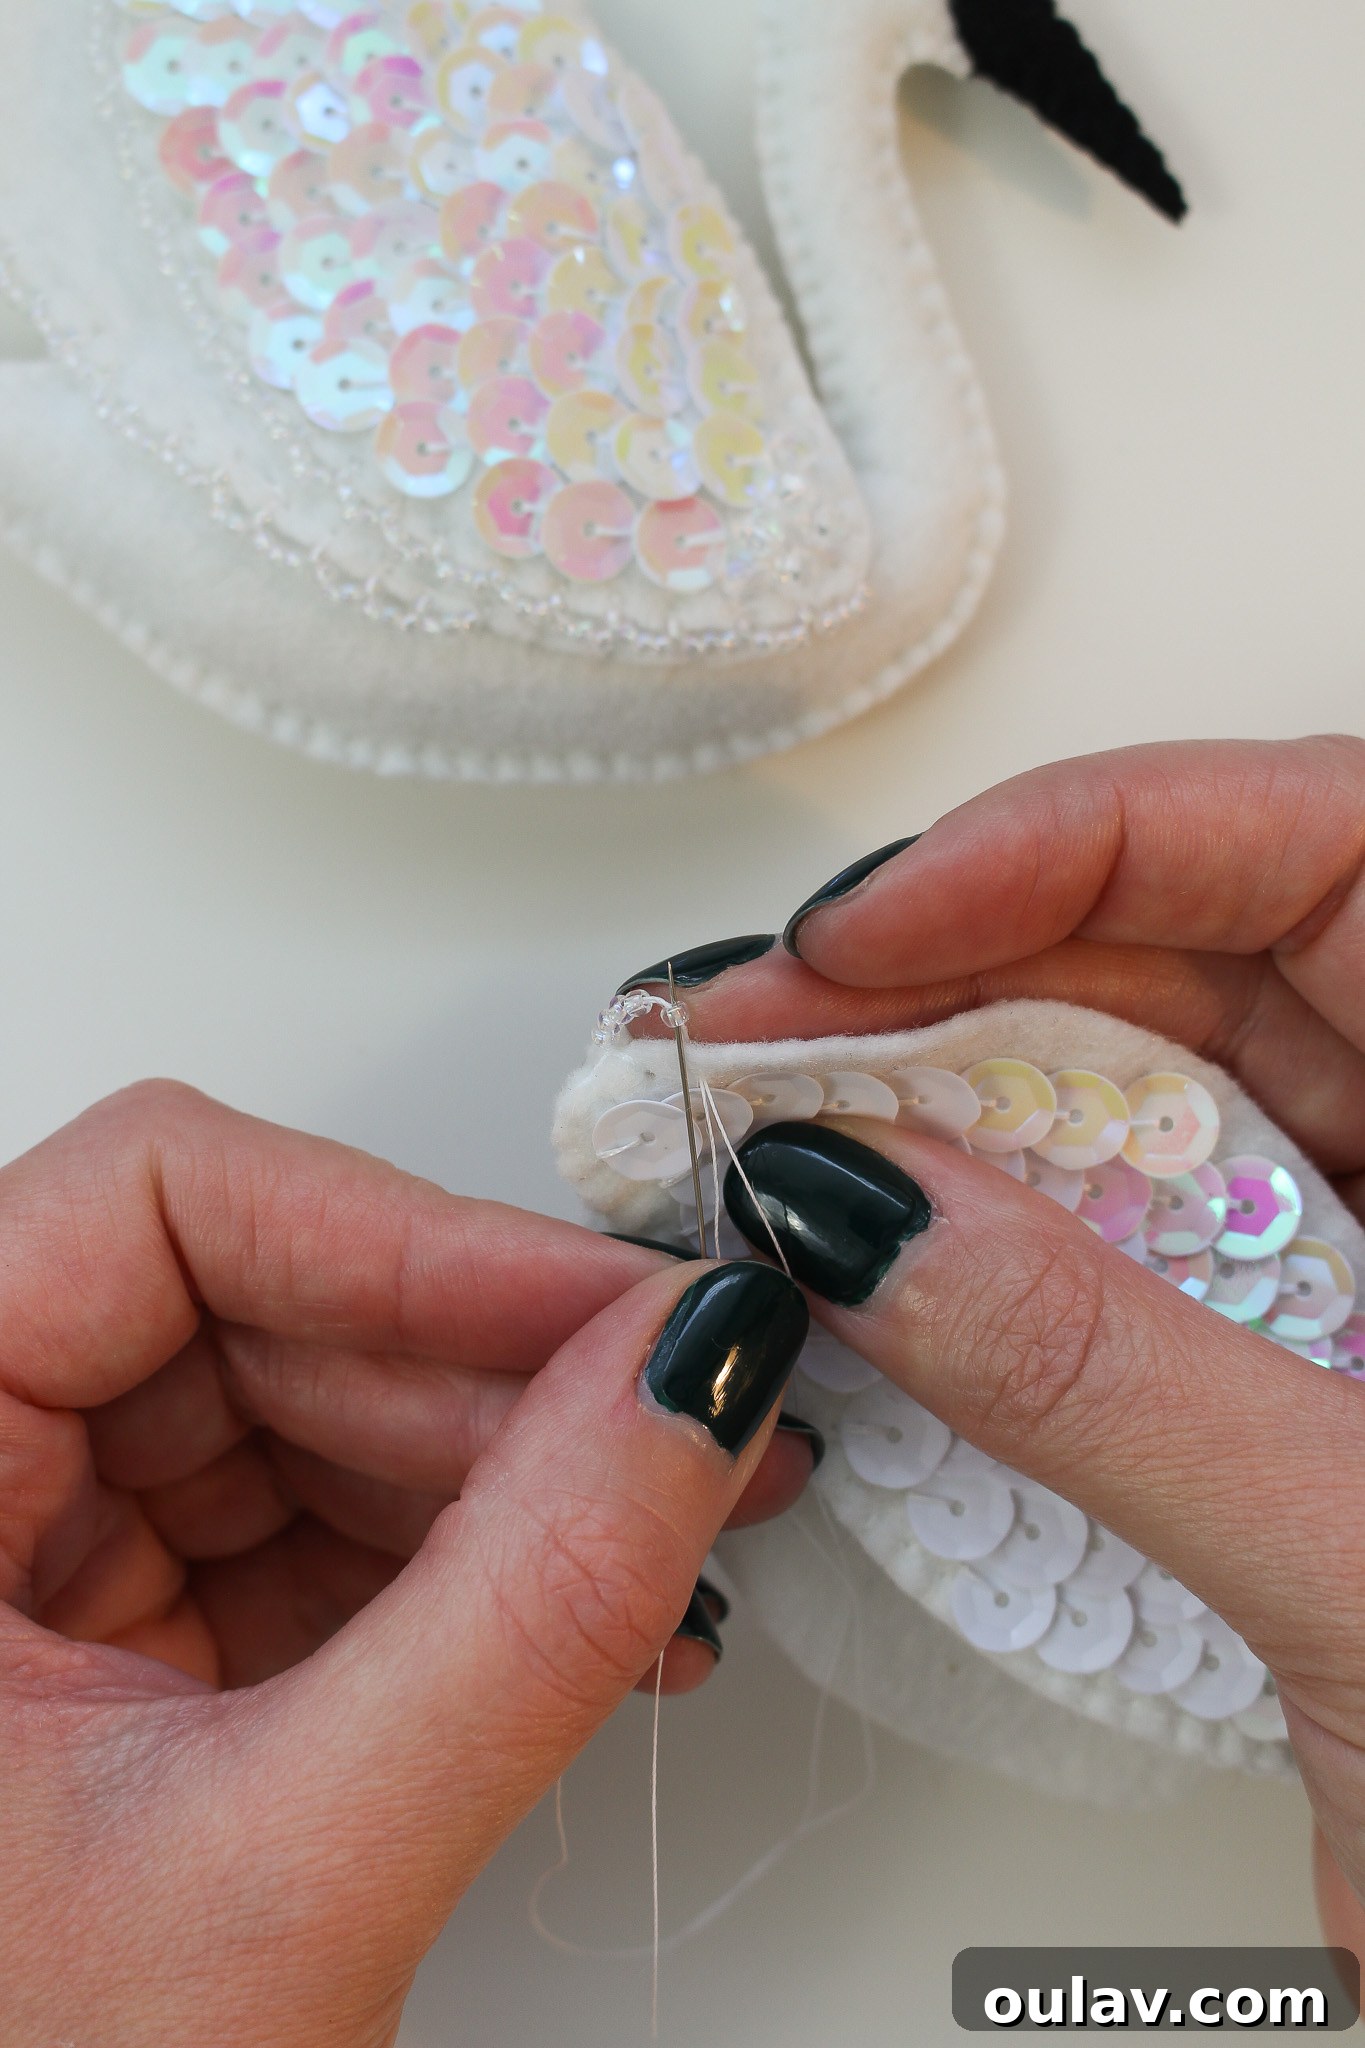
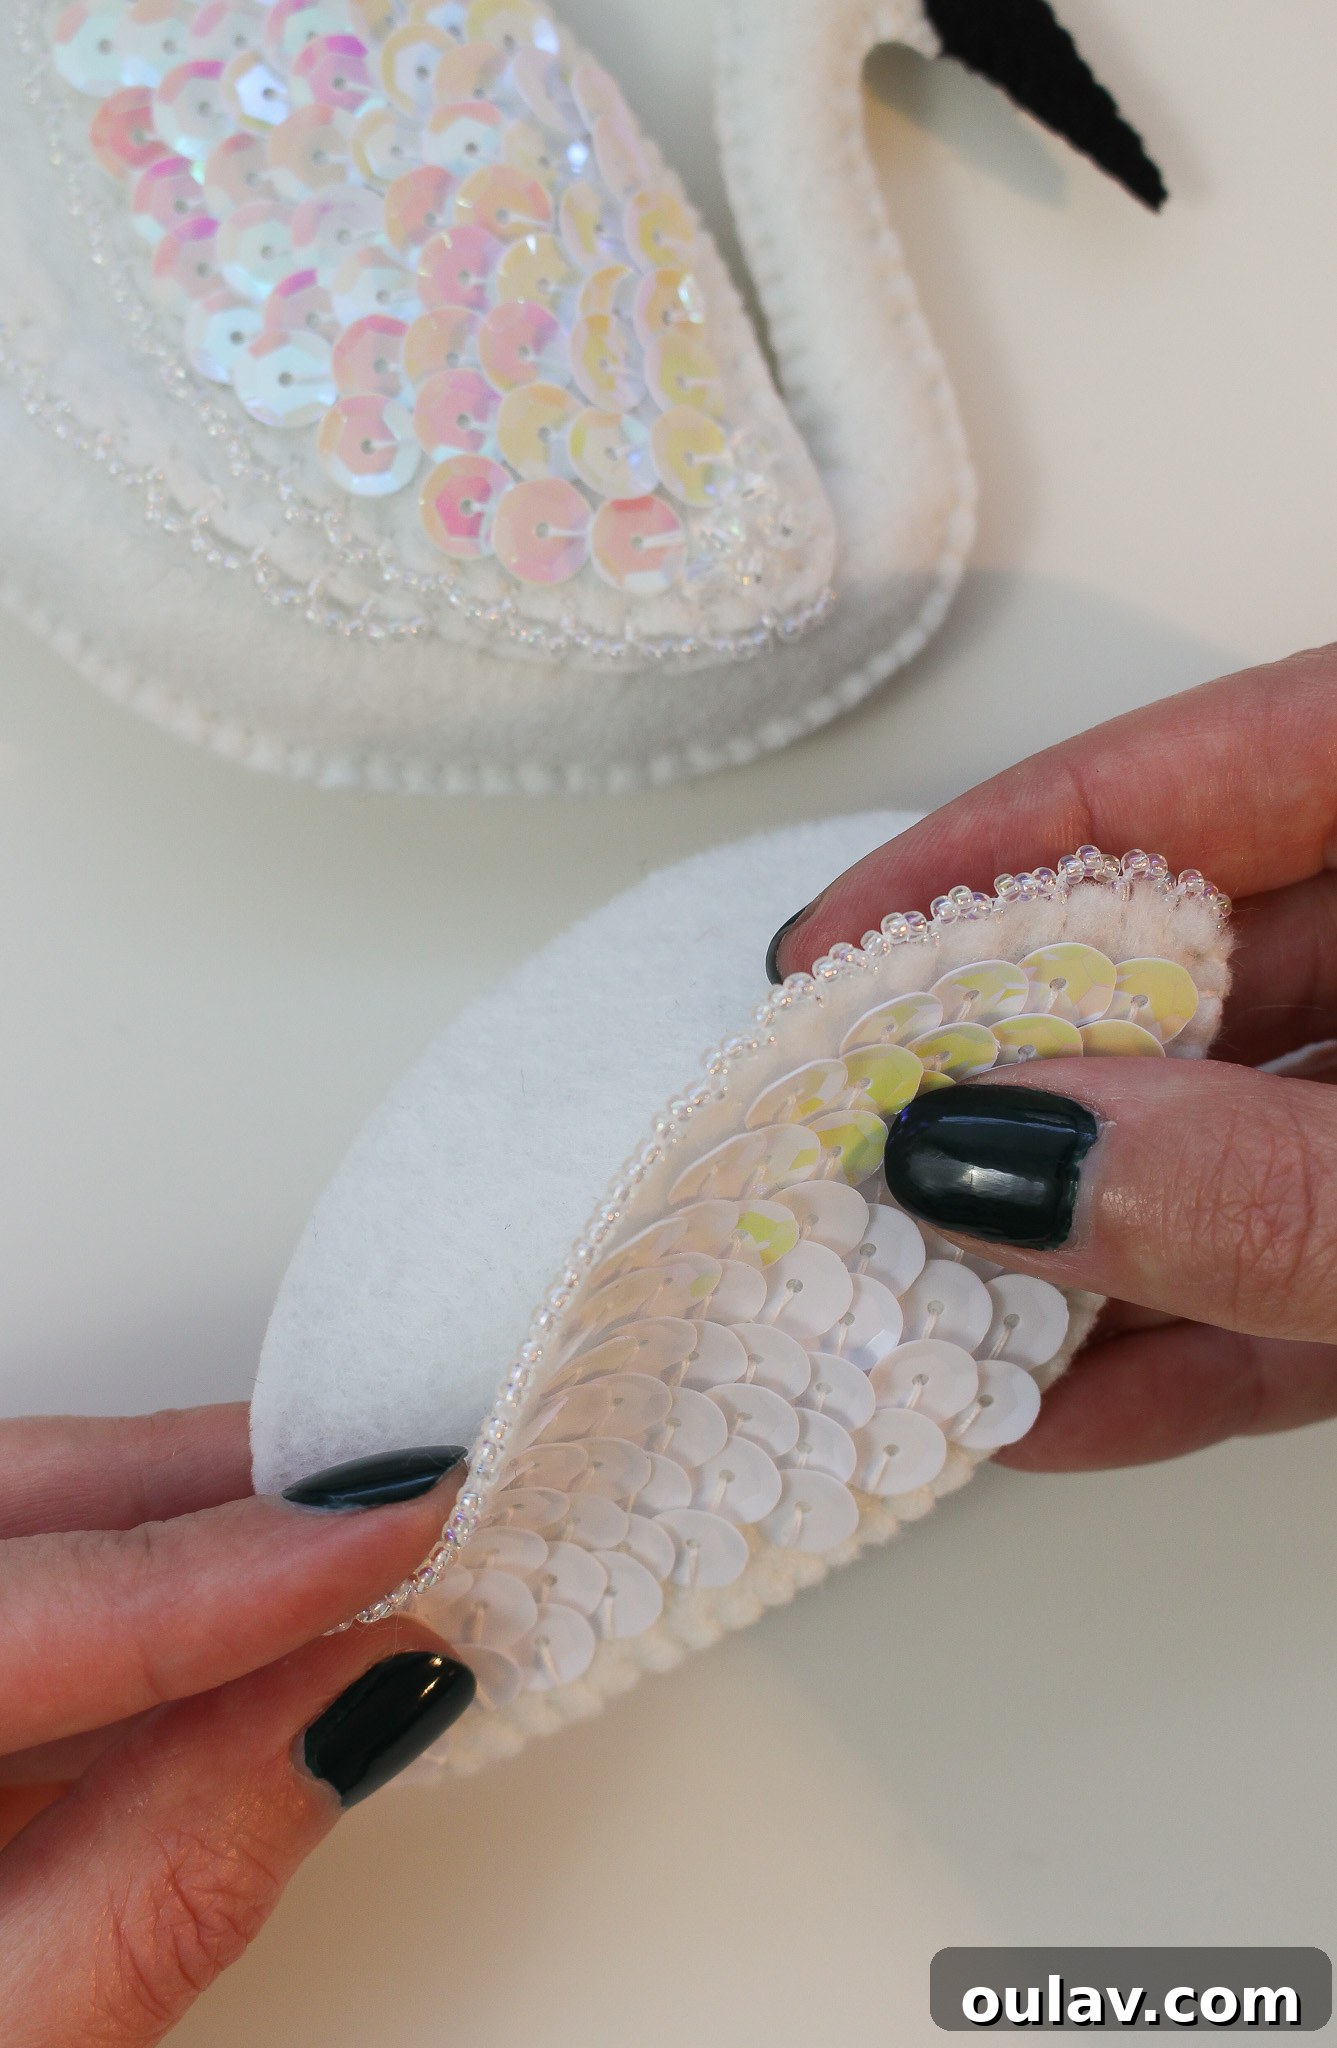
Stuffing and Sewing the Wing Closed
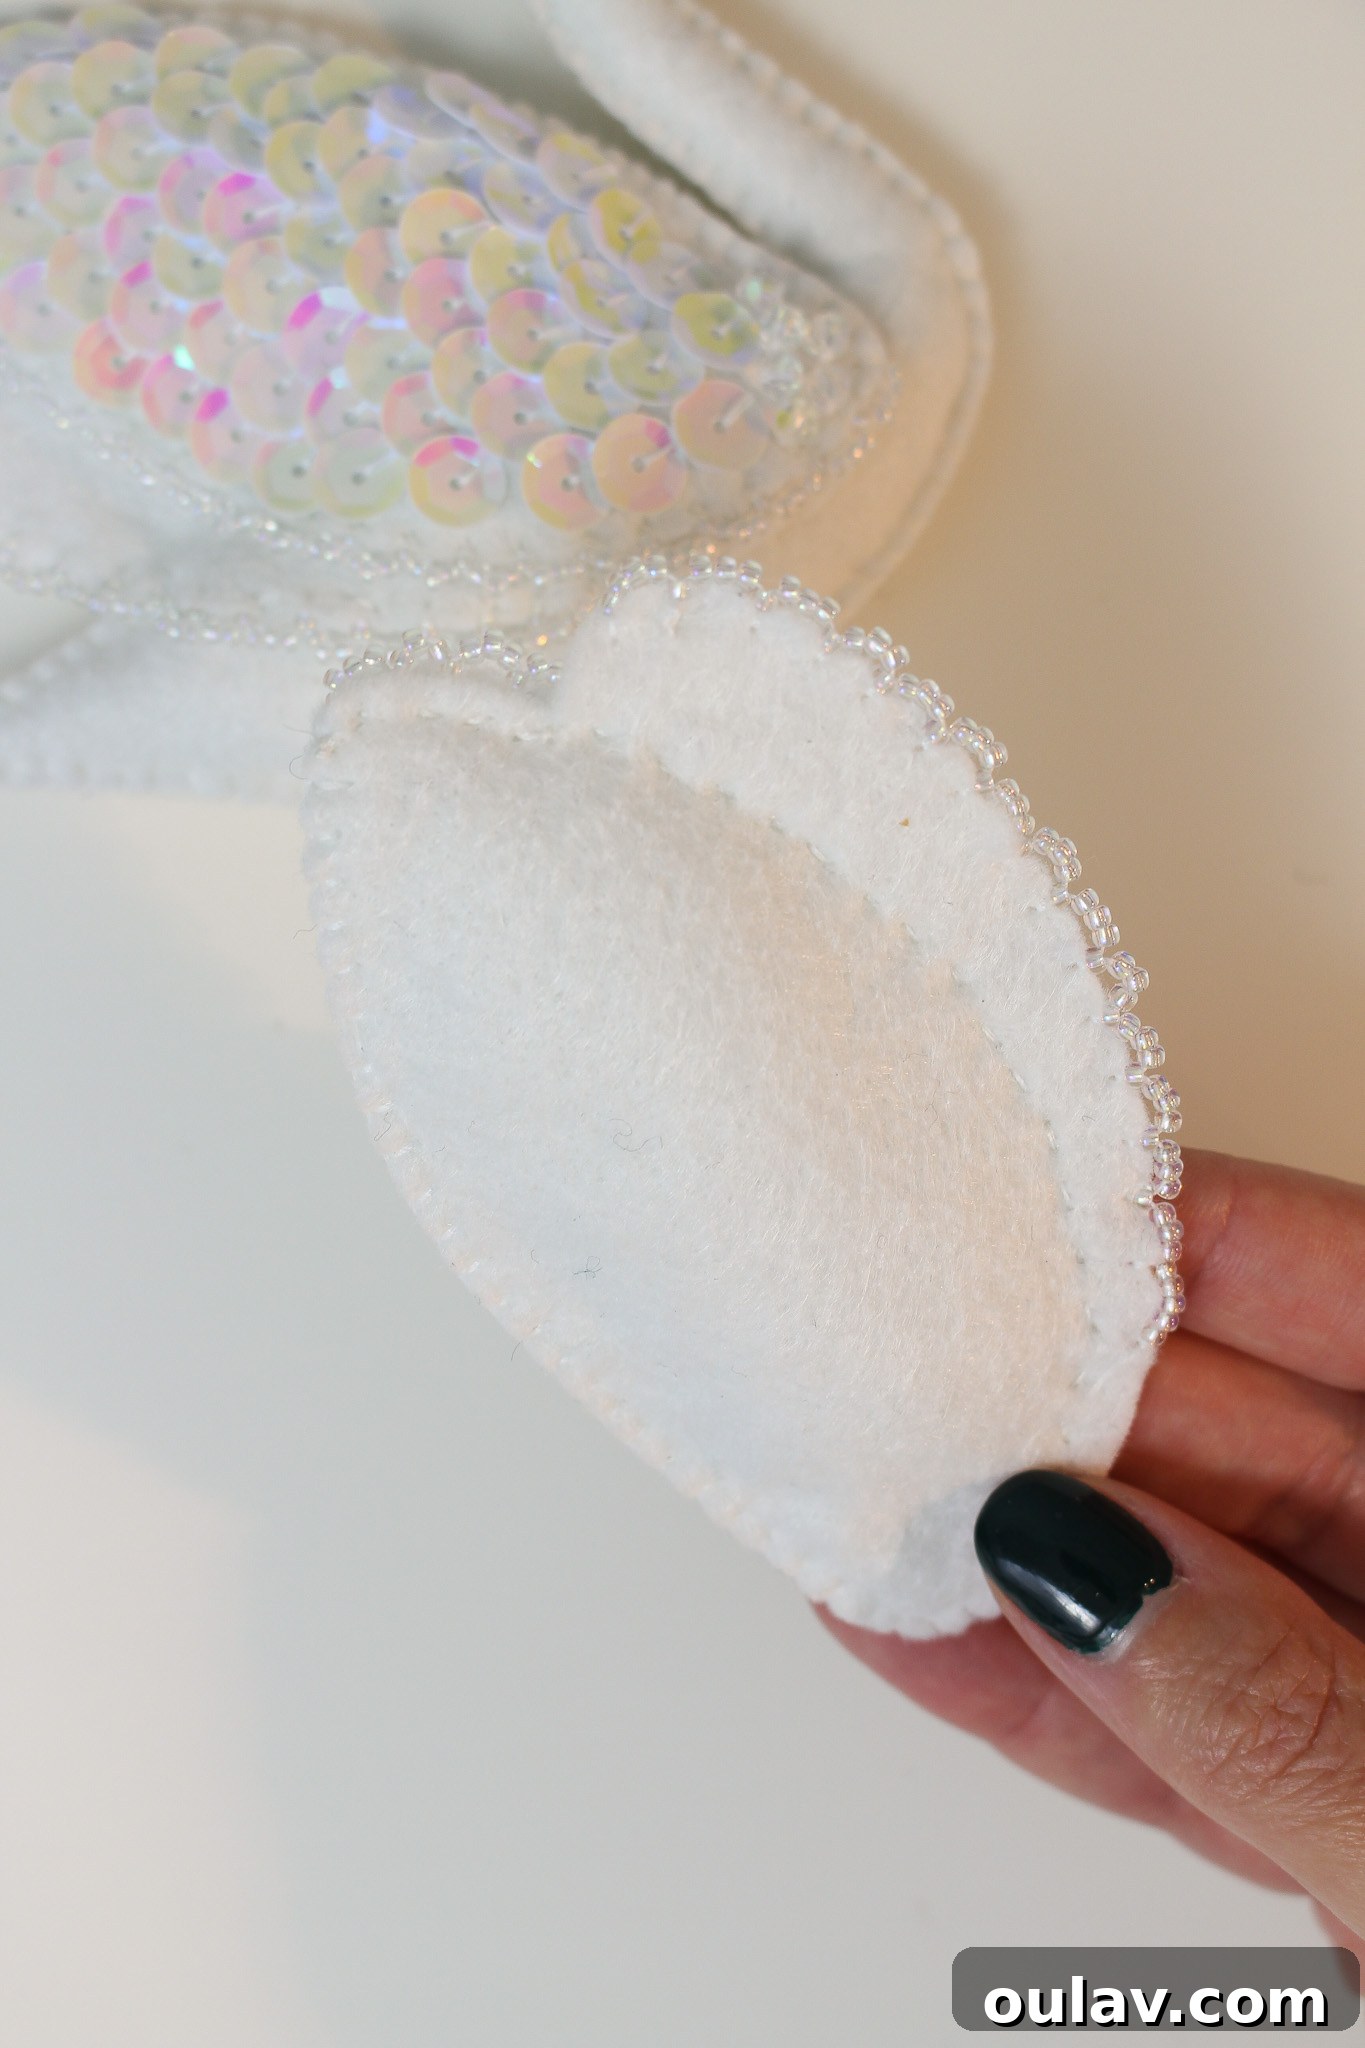
With the edge beading (if you chose to include it) complete, it’s time to give the wing its elegant form. Carefully insert a small amount of batting into the wing. The goal here is to provide just enough stuffing to give it a gentle curve and prevent it from flopping, rather than making it overly plump. Use a stuffing tool or even the blunt end of a sharpie to gently push the batting into place. Once adequately stuffed, close the remaining open edge of the wing. I recommend using a simple running stitch for this, sewing through both layers of felt close to where your edge beading (if any) concludes. This stitch is effective for closing seams neatly and discreetly. If you chose to add edge beading to the back of the wing as well, now is an ideal time to do so, replicating the steps described above, or you could have done it earlier in the process.
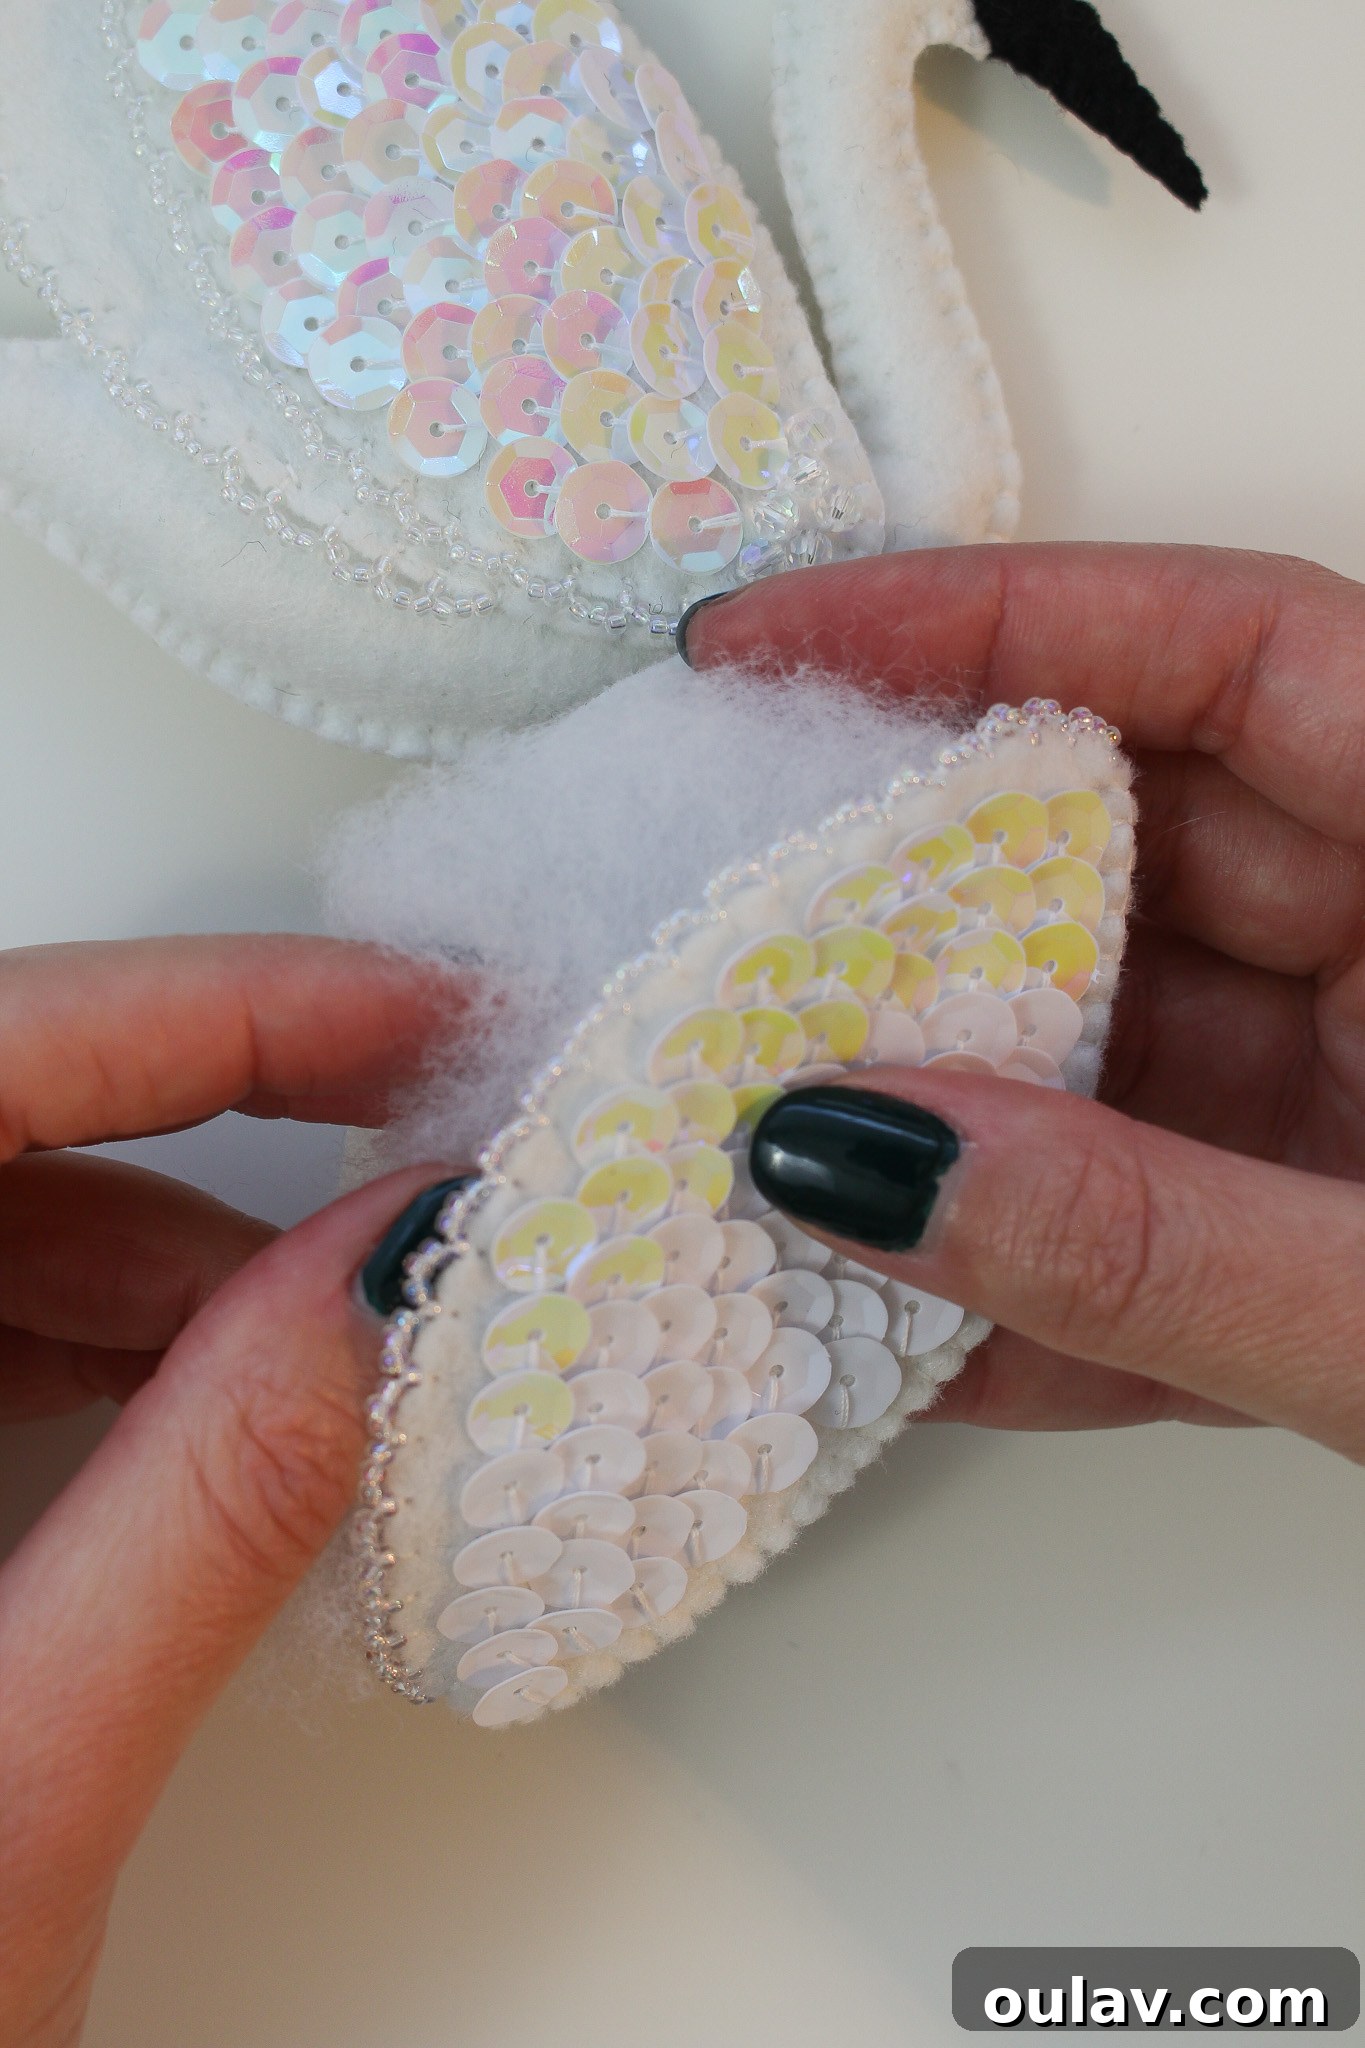
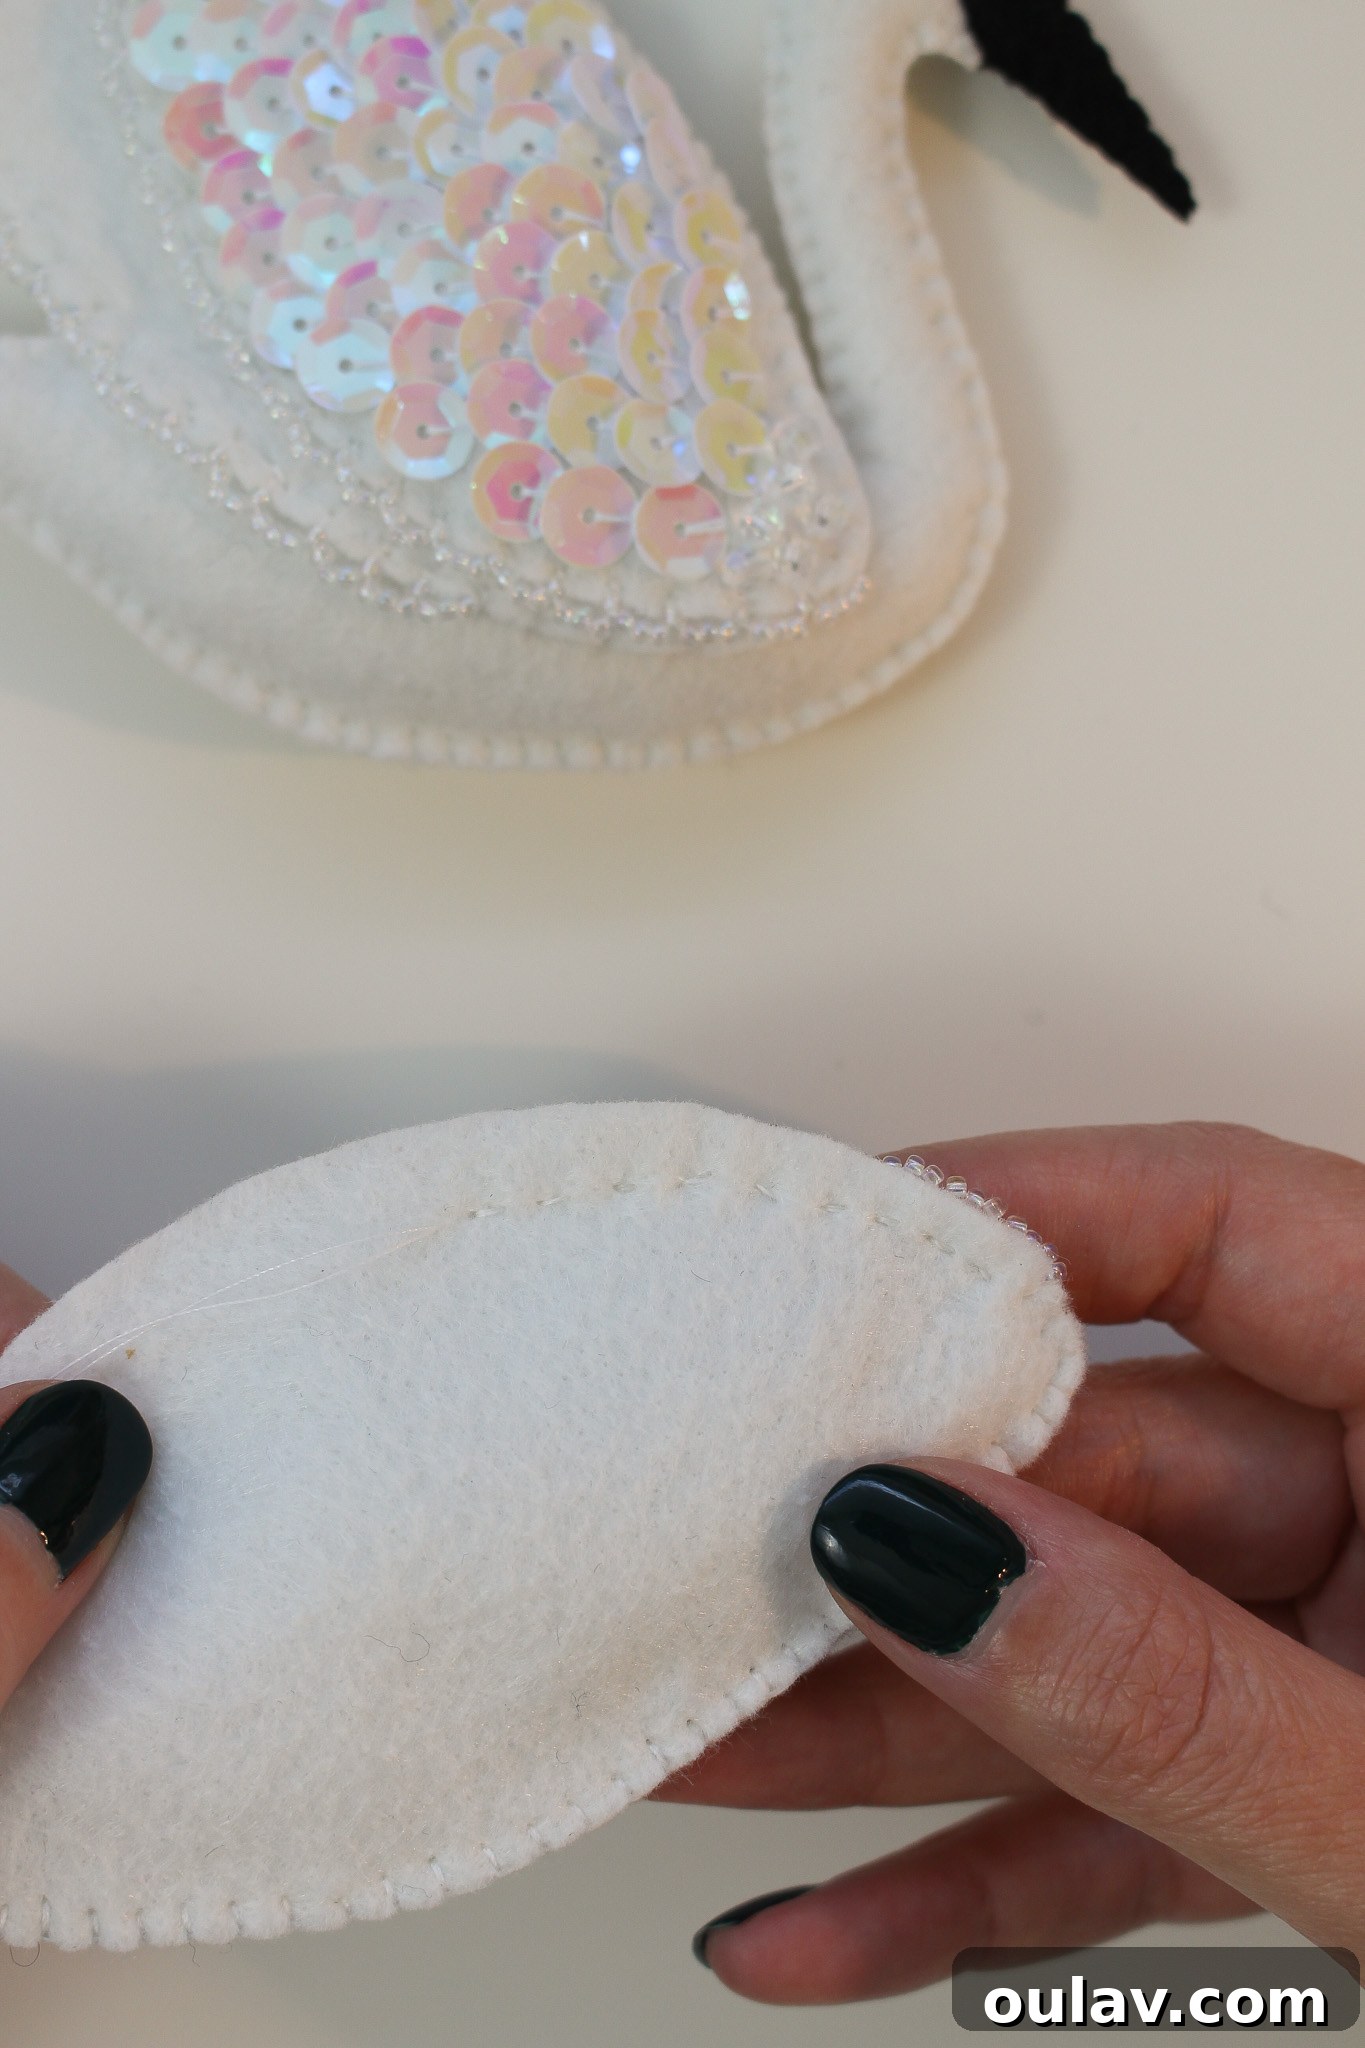
At this stage, your wing is complete and ready. Here’s a visual of the perfectly formed and adorned felt swan wing:
Stuffing and Sewing Together the Swan Body
Now, set your beautiful wing aside and turn your attention to the main body of the swan. Using a blanket stitch, begin sewing together the front and back pieces of the swan body. I find it most effective to start at the head, as this area can be a bit trickier to stuff evenly. Sew a short section, then gently insert poly-fil or wool batting into that section, using a stuffing tool to ensure an even distribution and avoid any lumps. Continue this rhythmic process: sew a bit, stuff a bit, and repeat, working your way around the entire body. This method ensures that the ornament is consistently filled and maintains its graceful shape. Keep going until the entire swan body is fully stuffed to your desired plumpness and completely sewn closed with neat, even stitches. Knot the thread securely and bury the end for a clean finish.
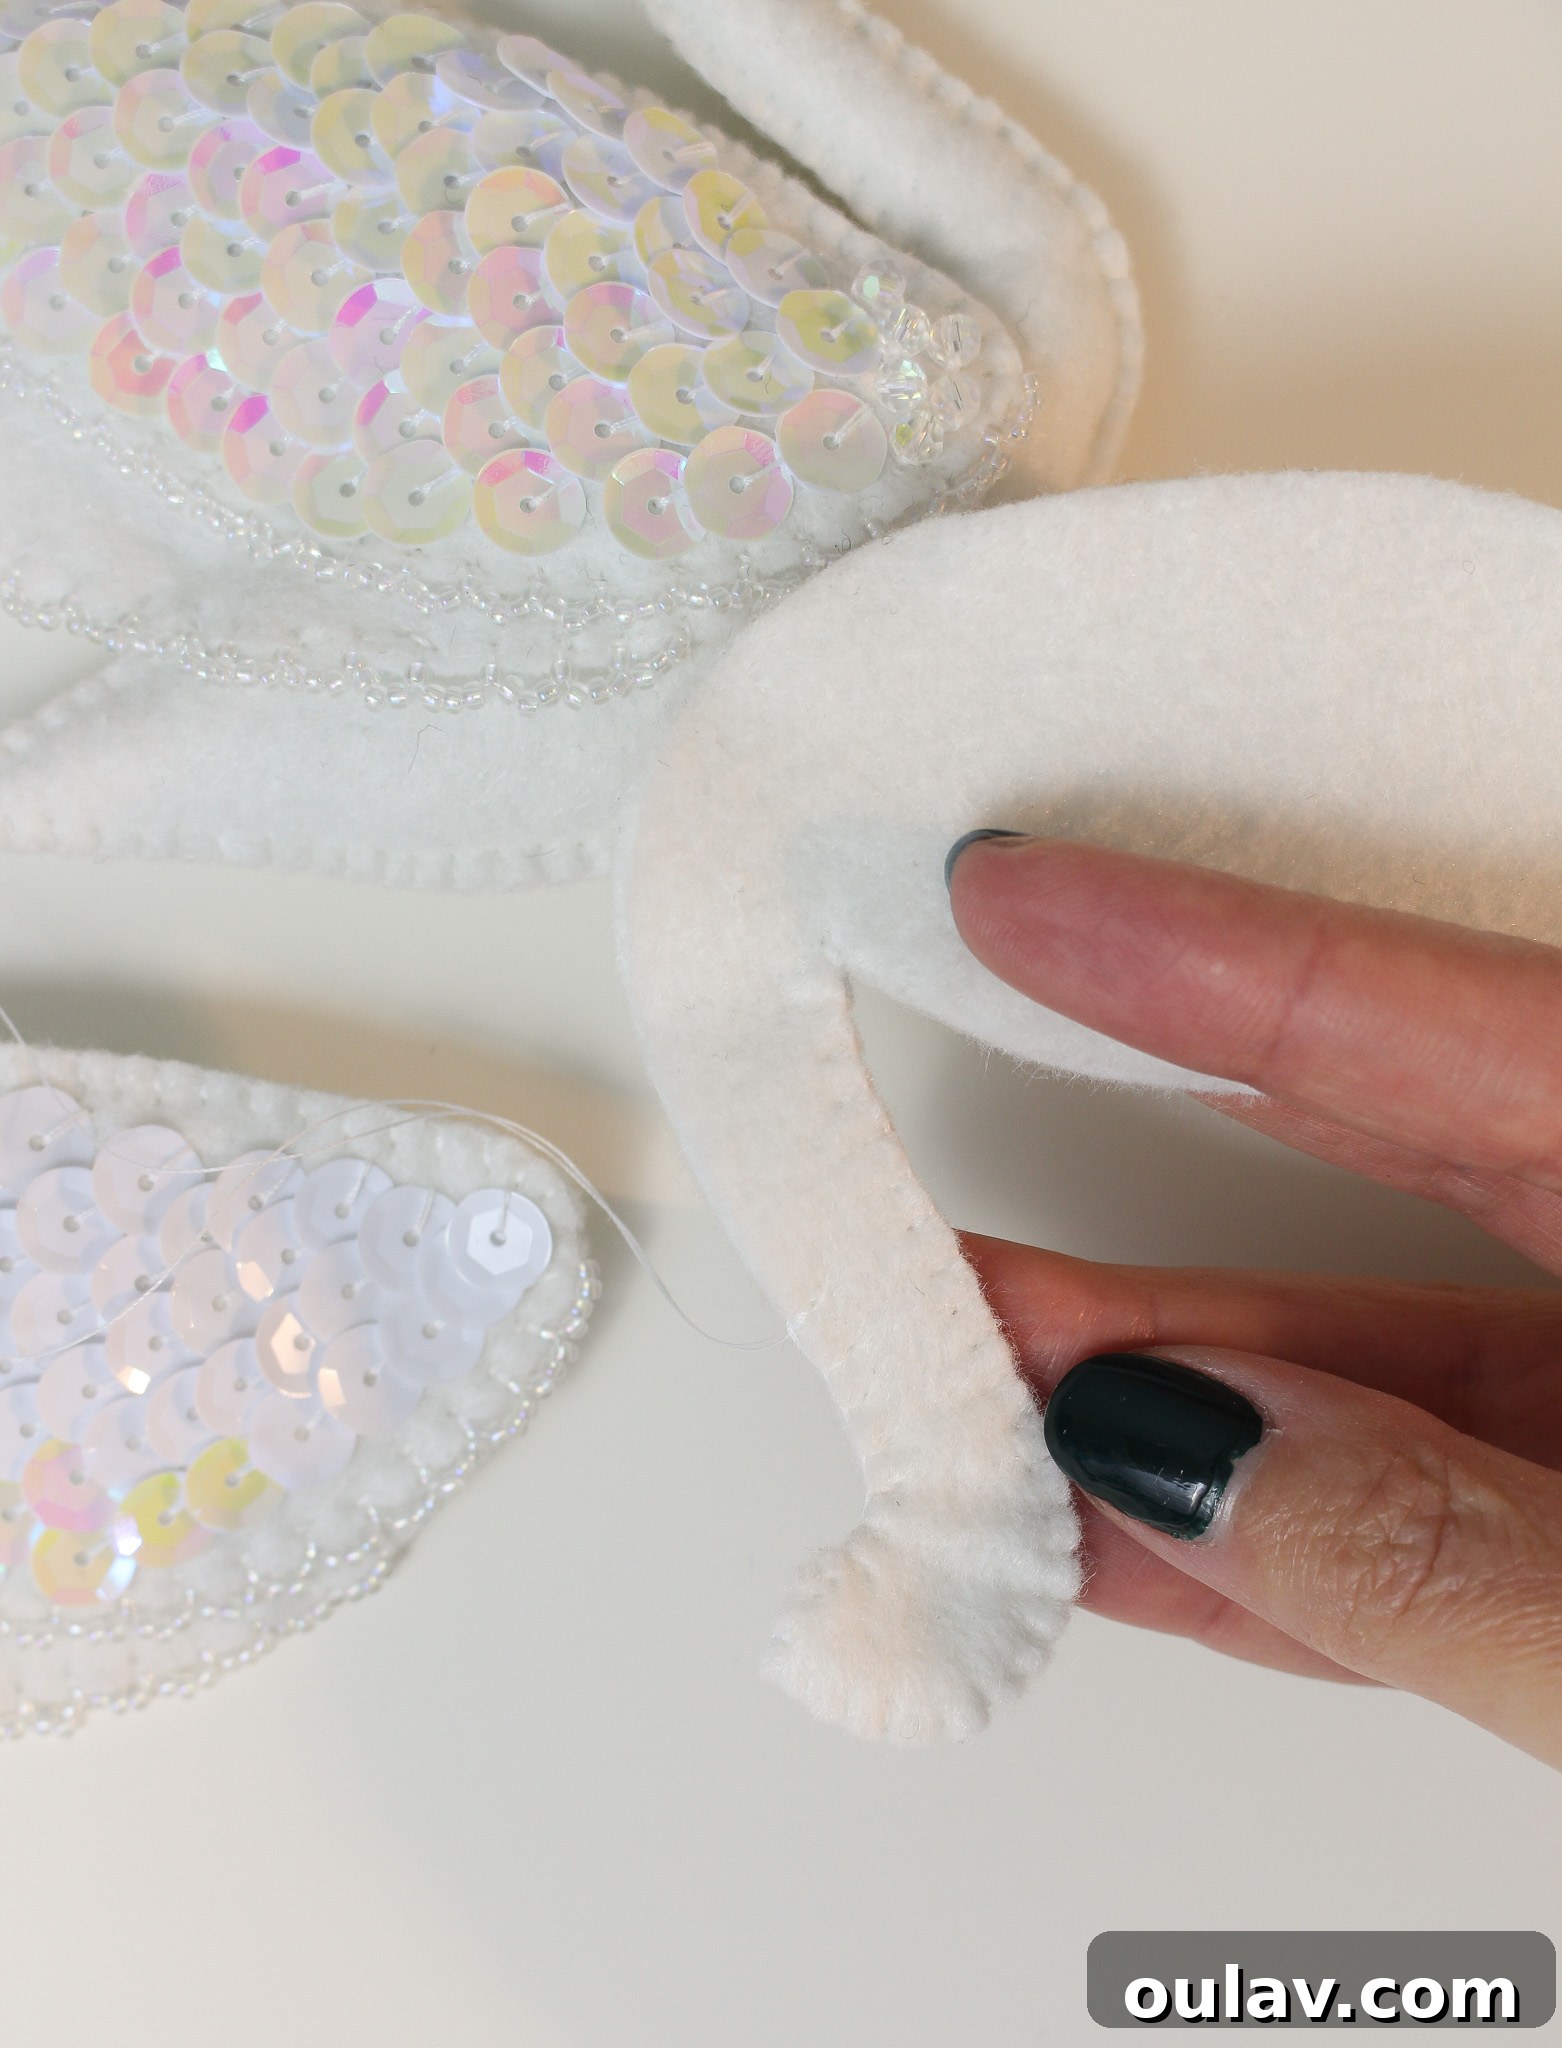
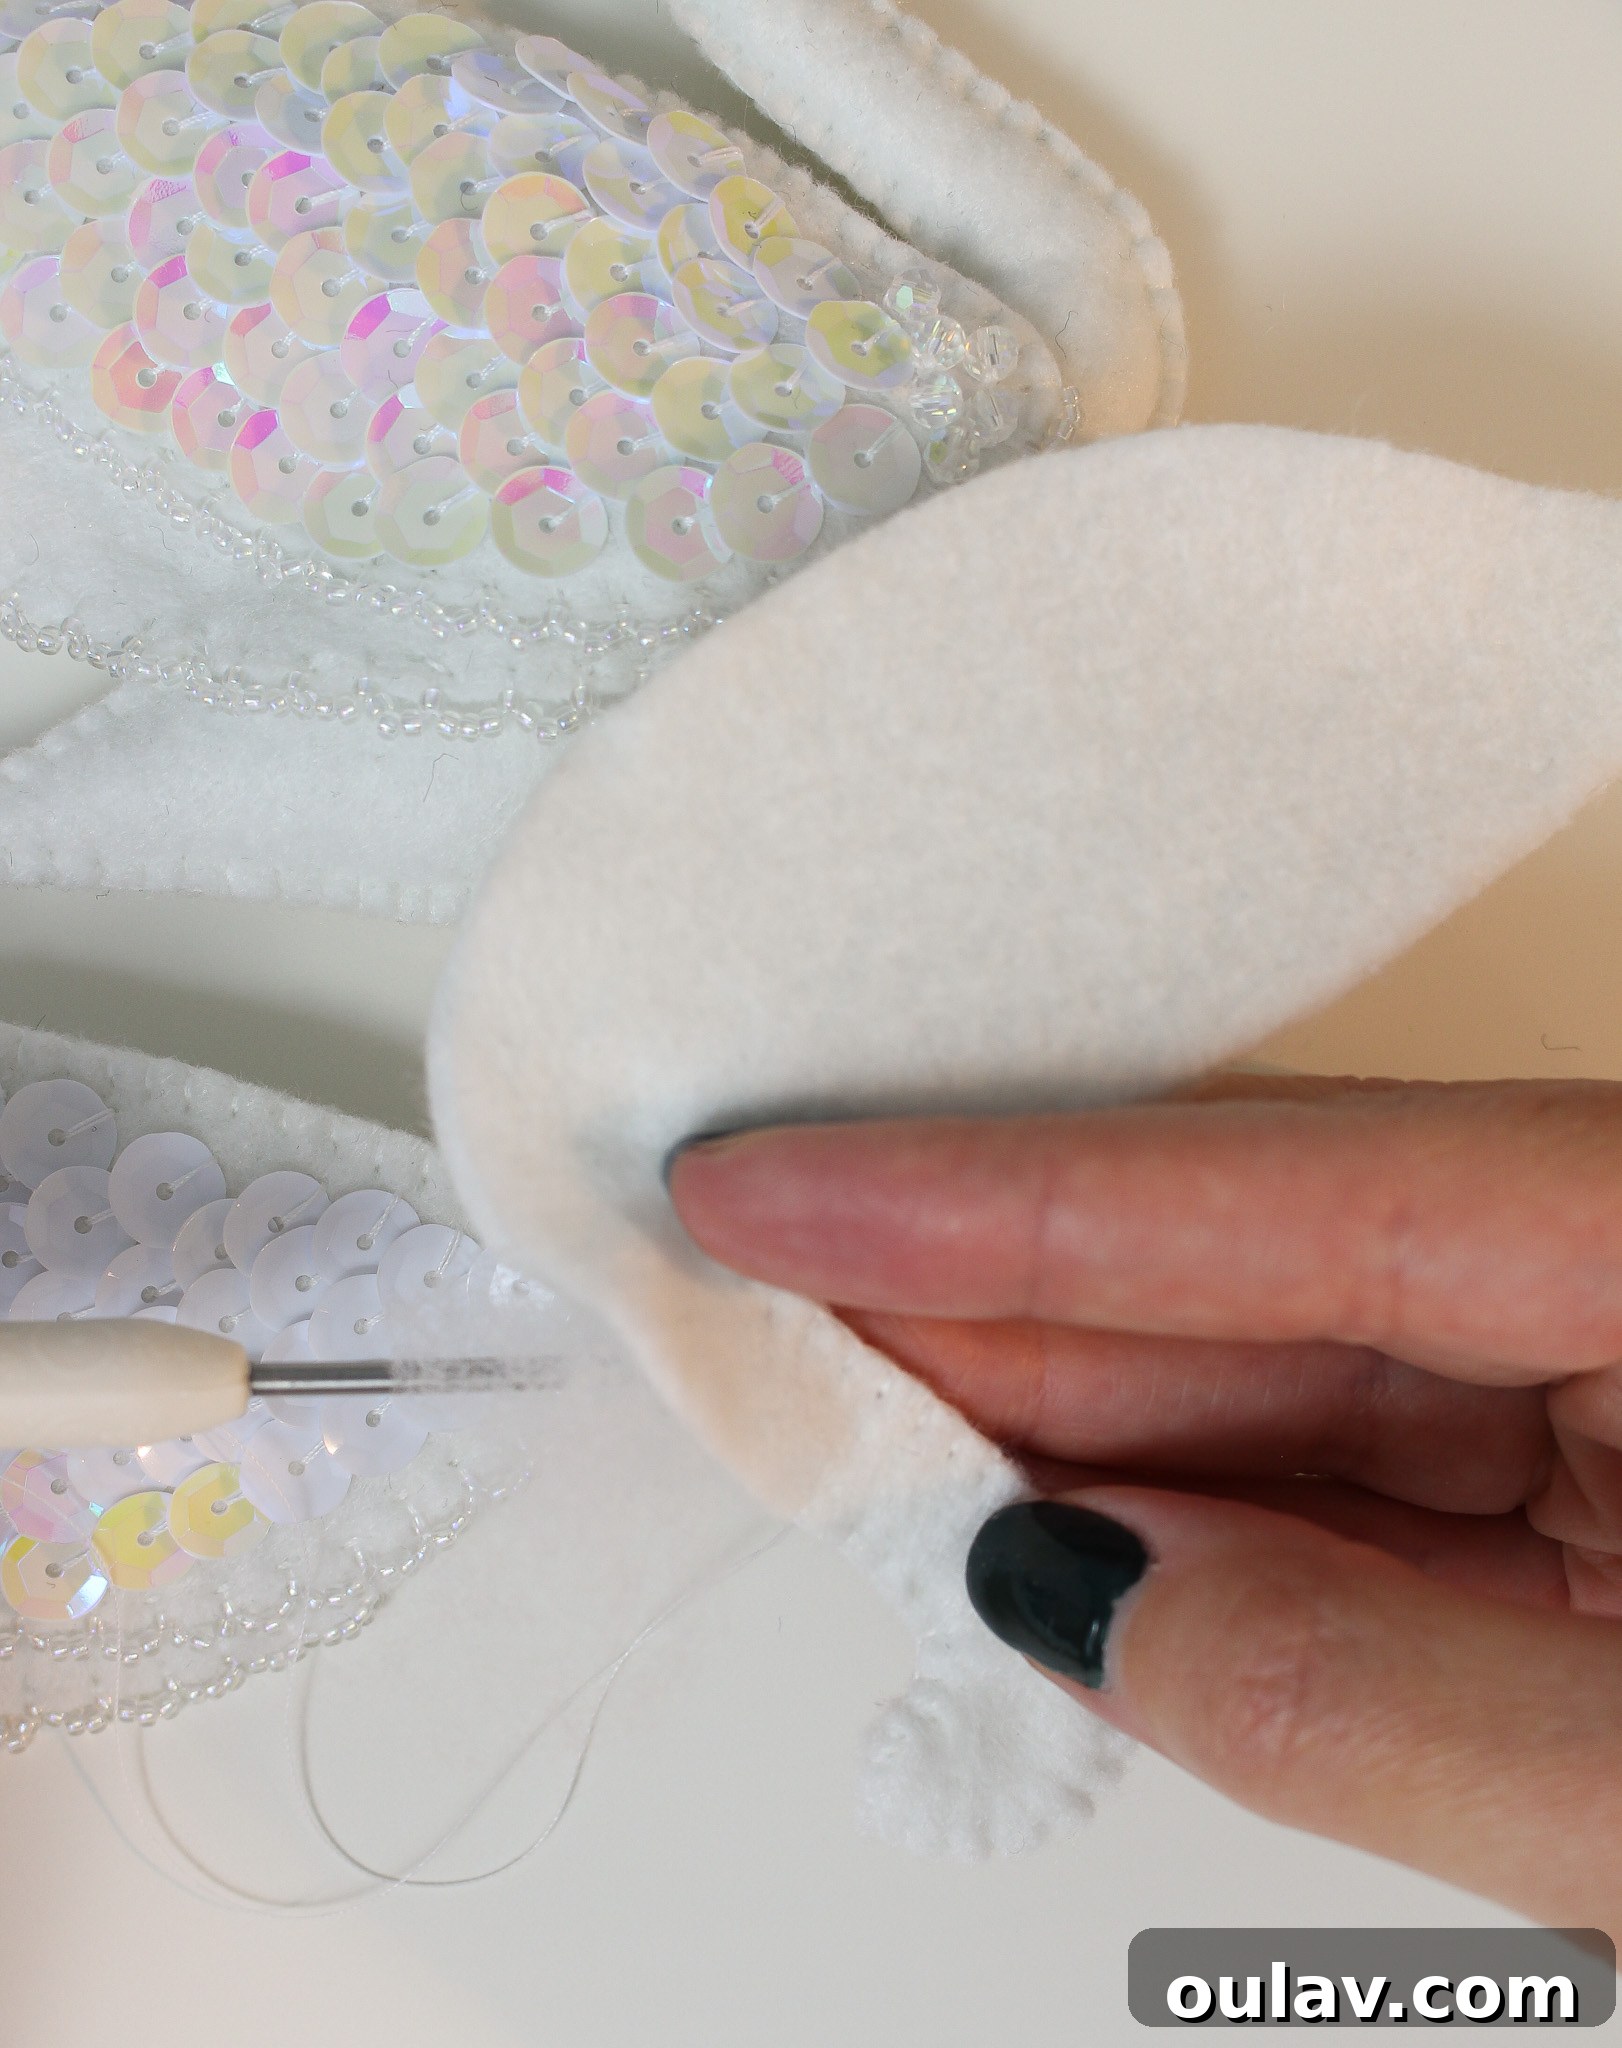
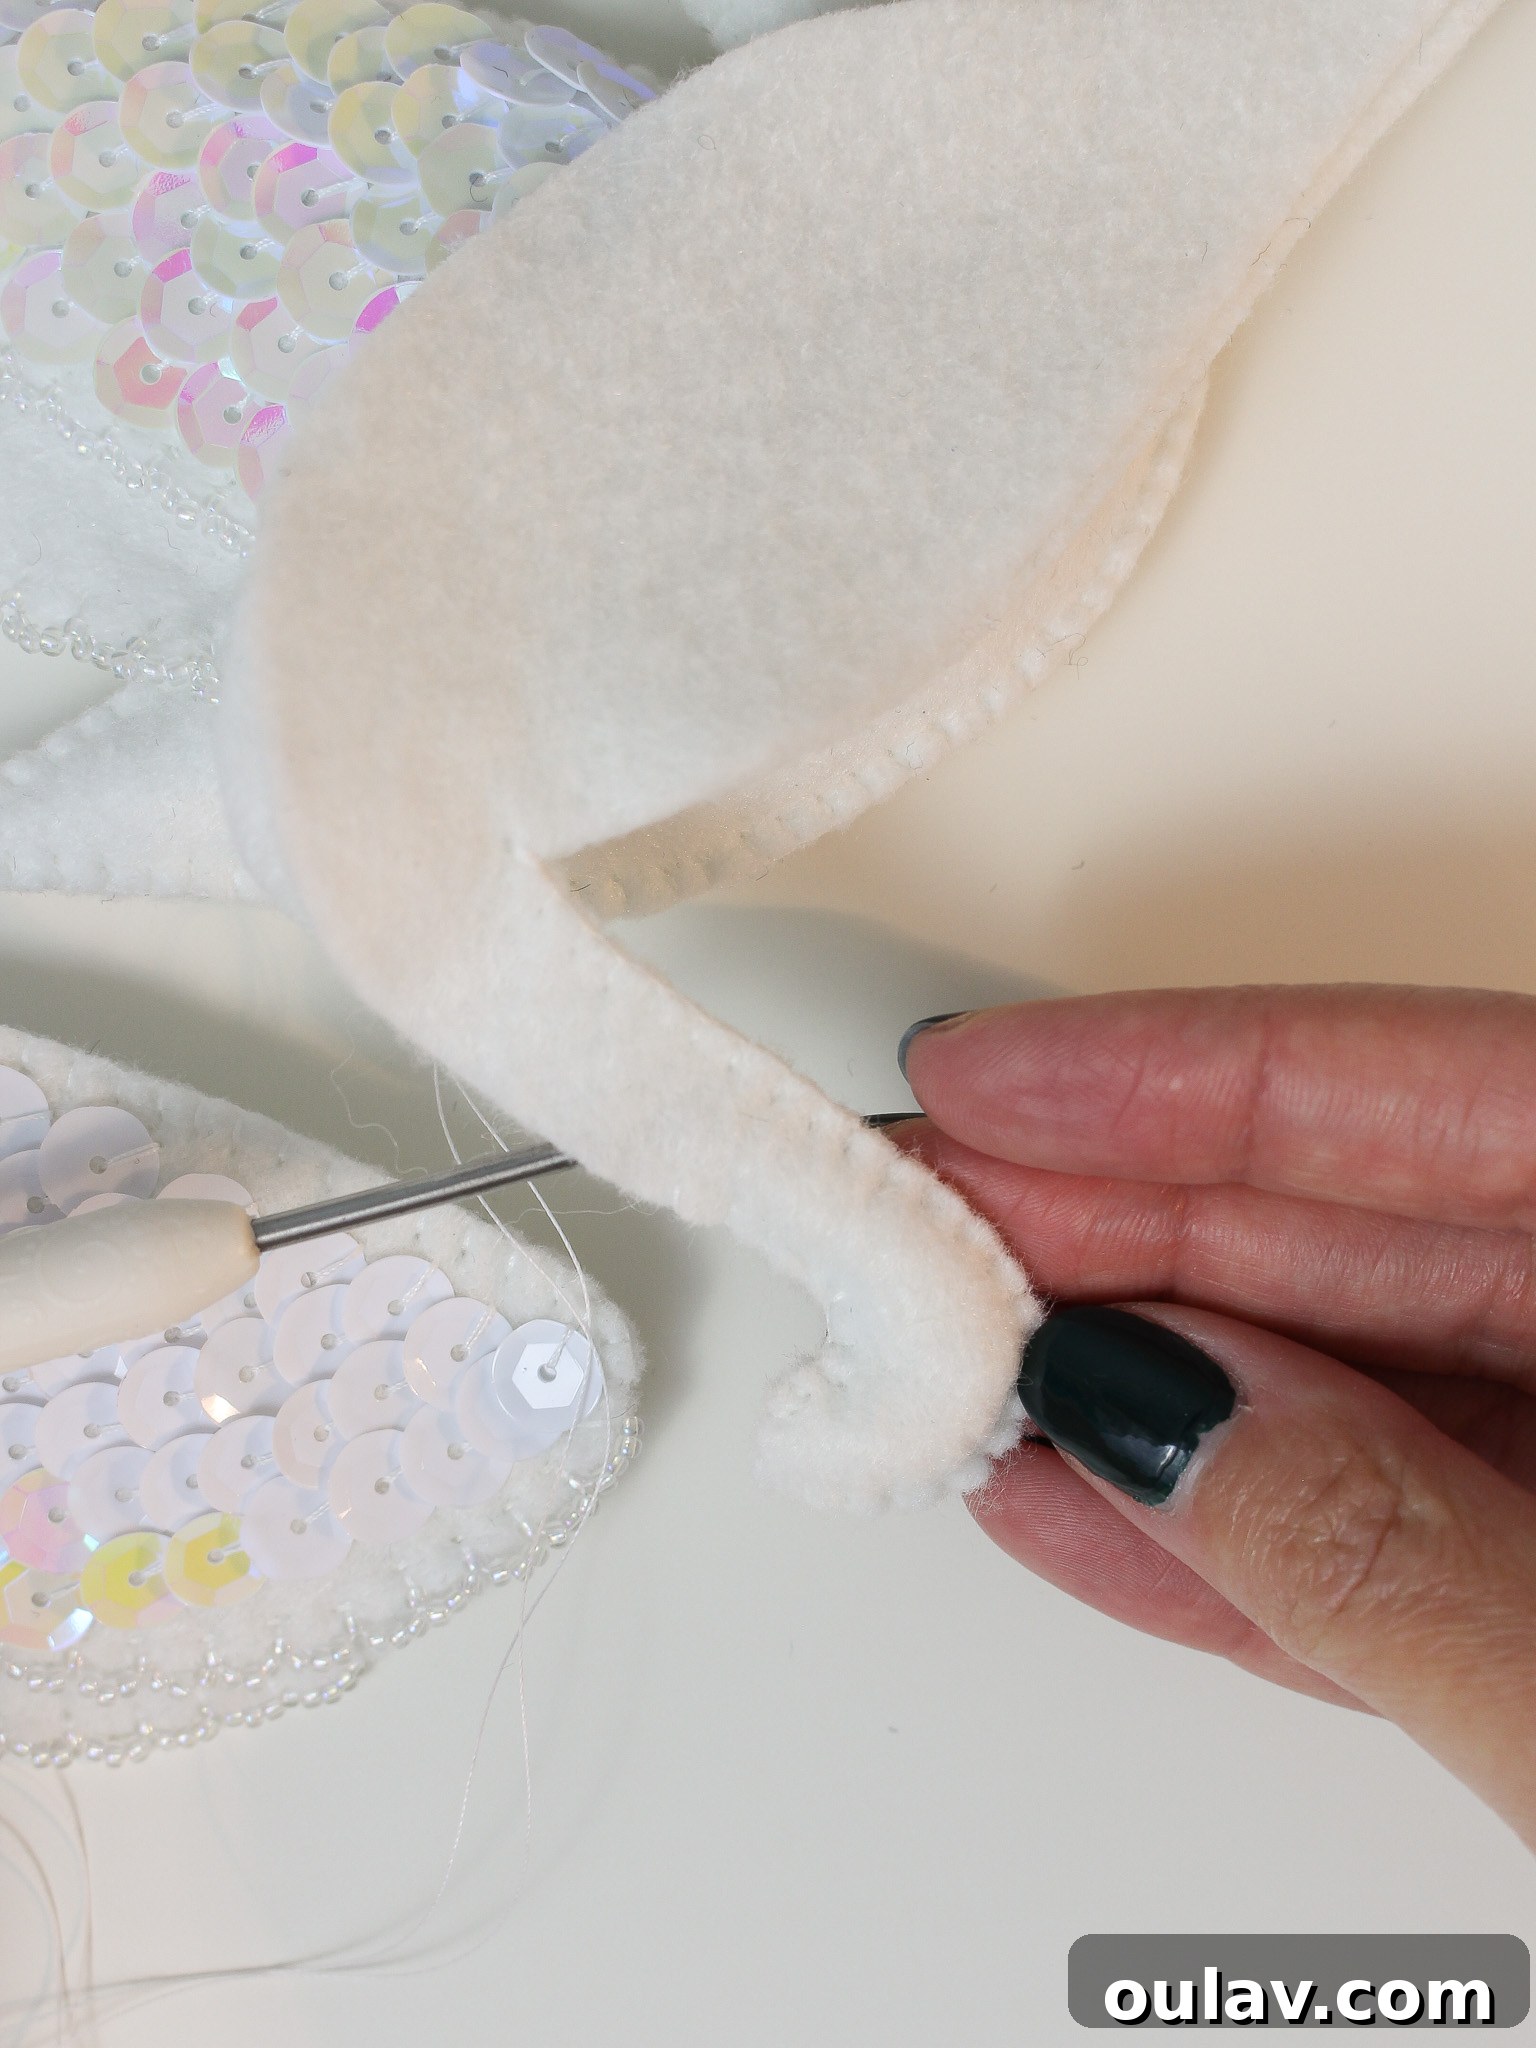
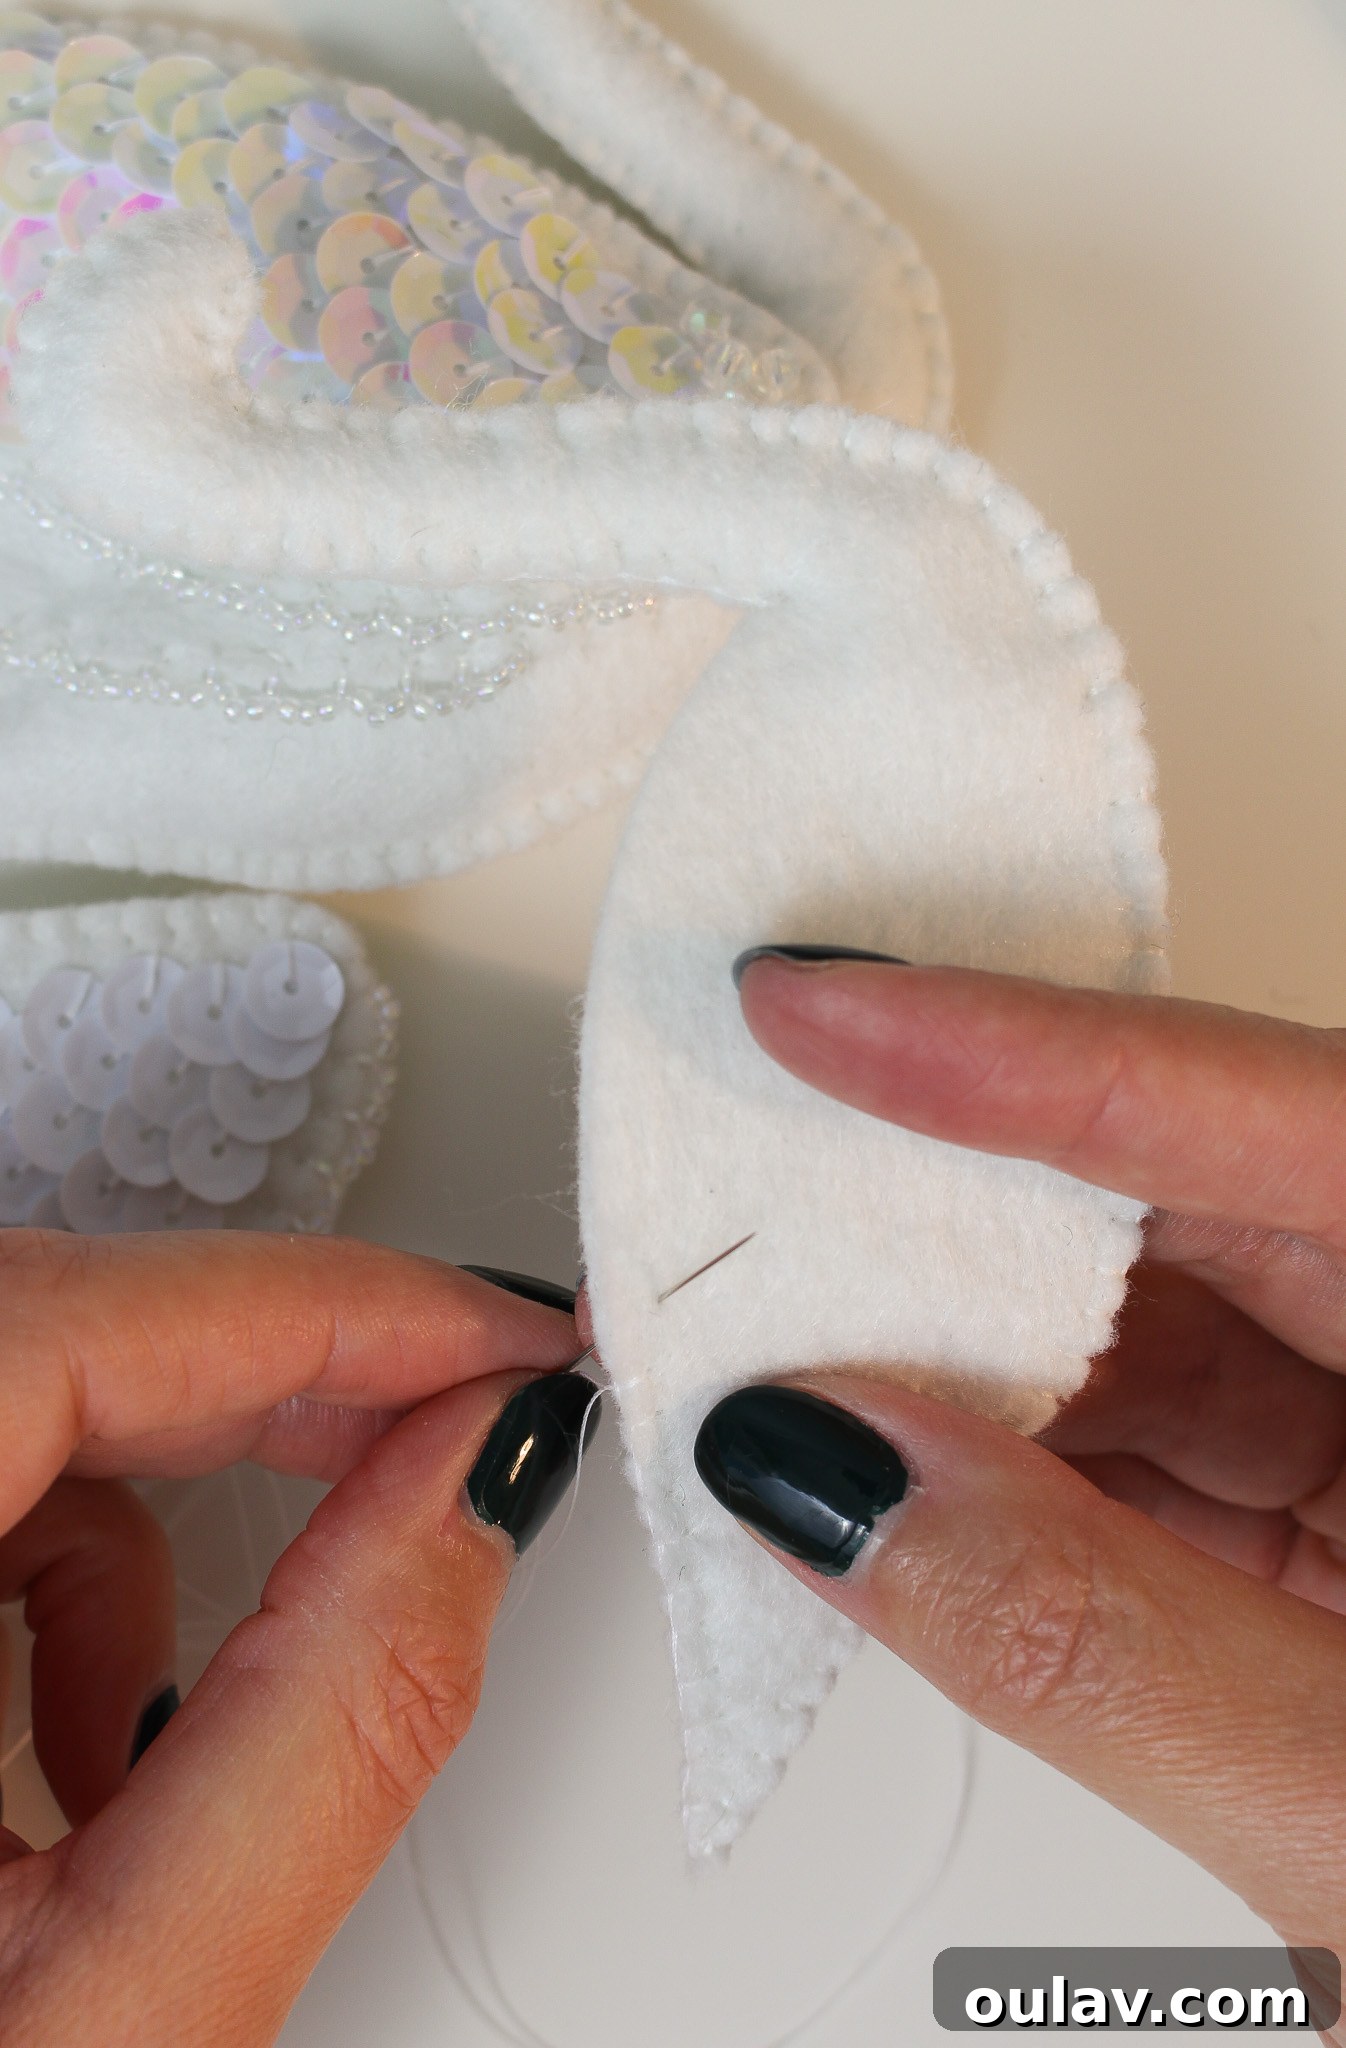
Stitching the Wing onto the Swan Body
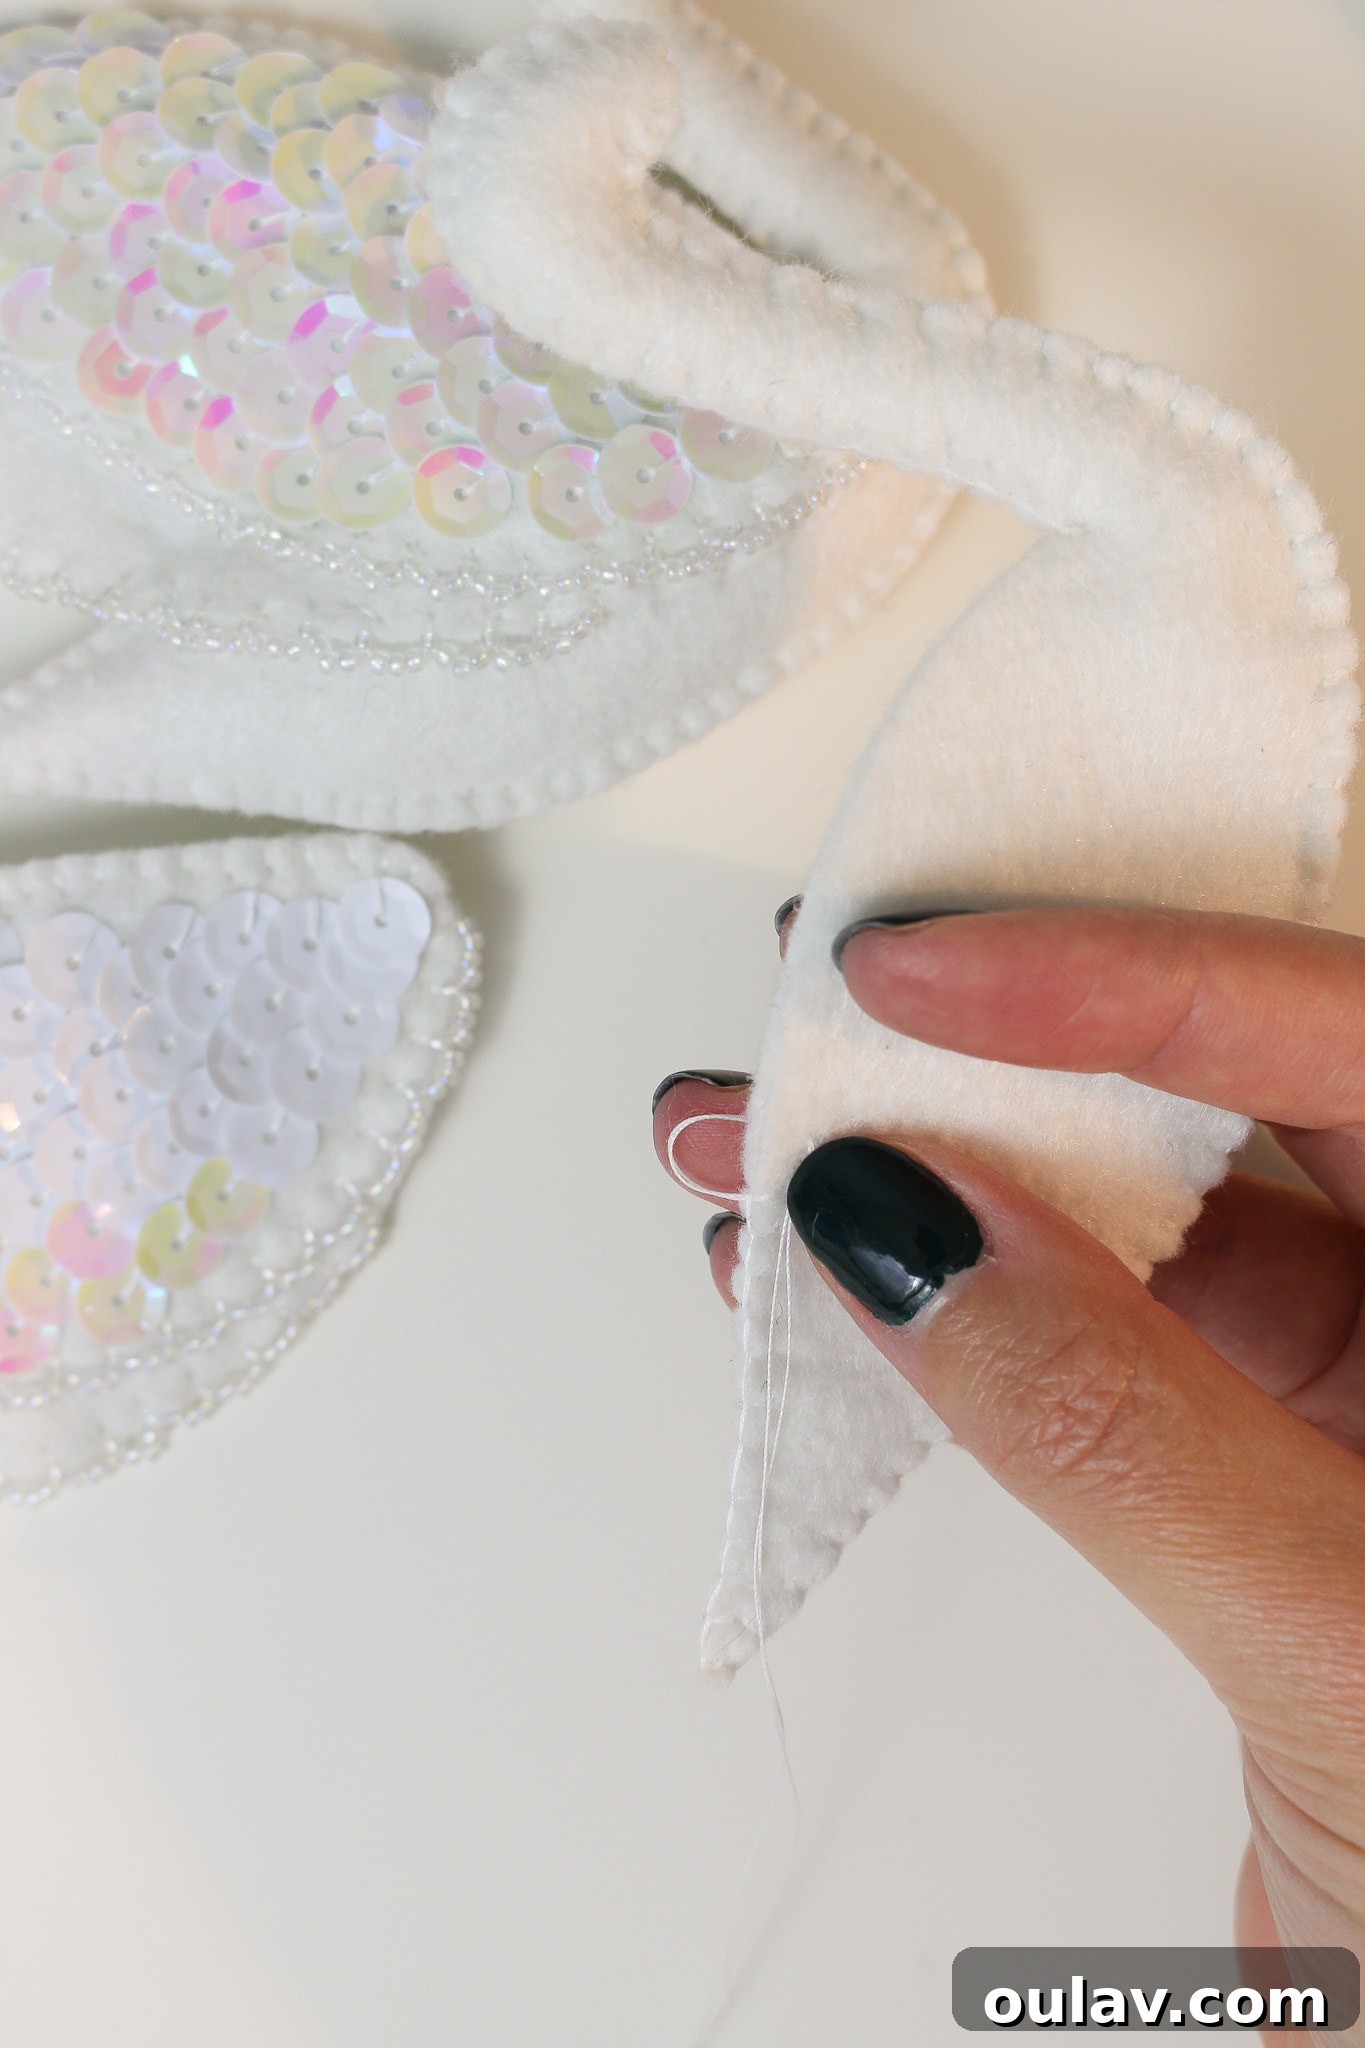
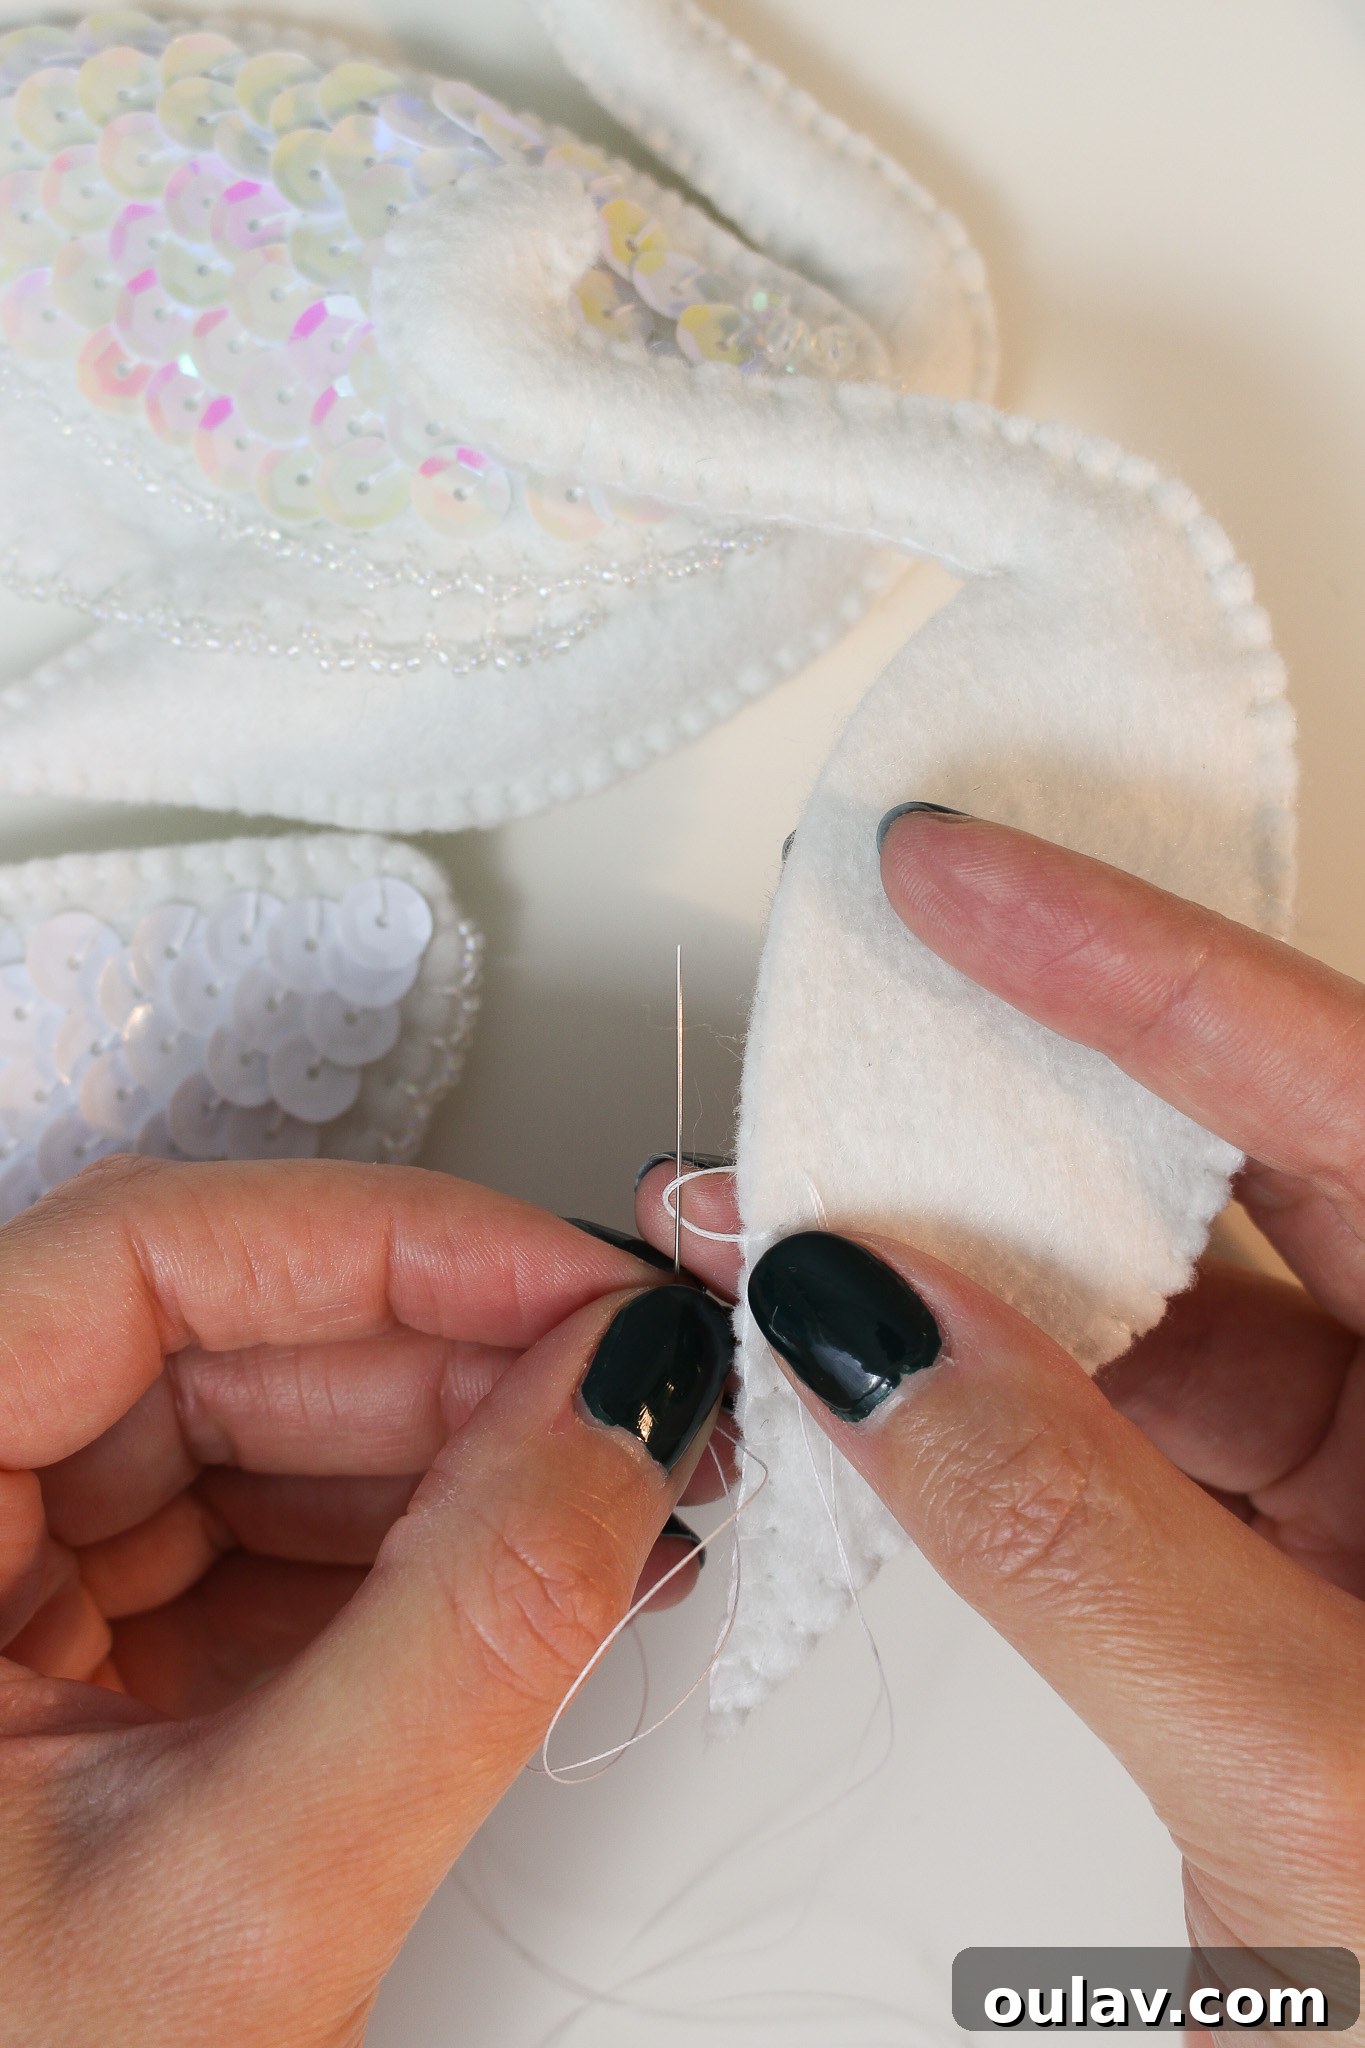
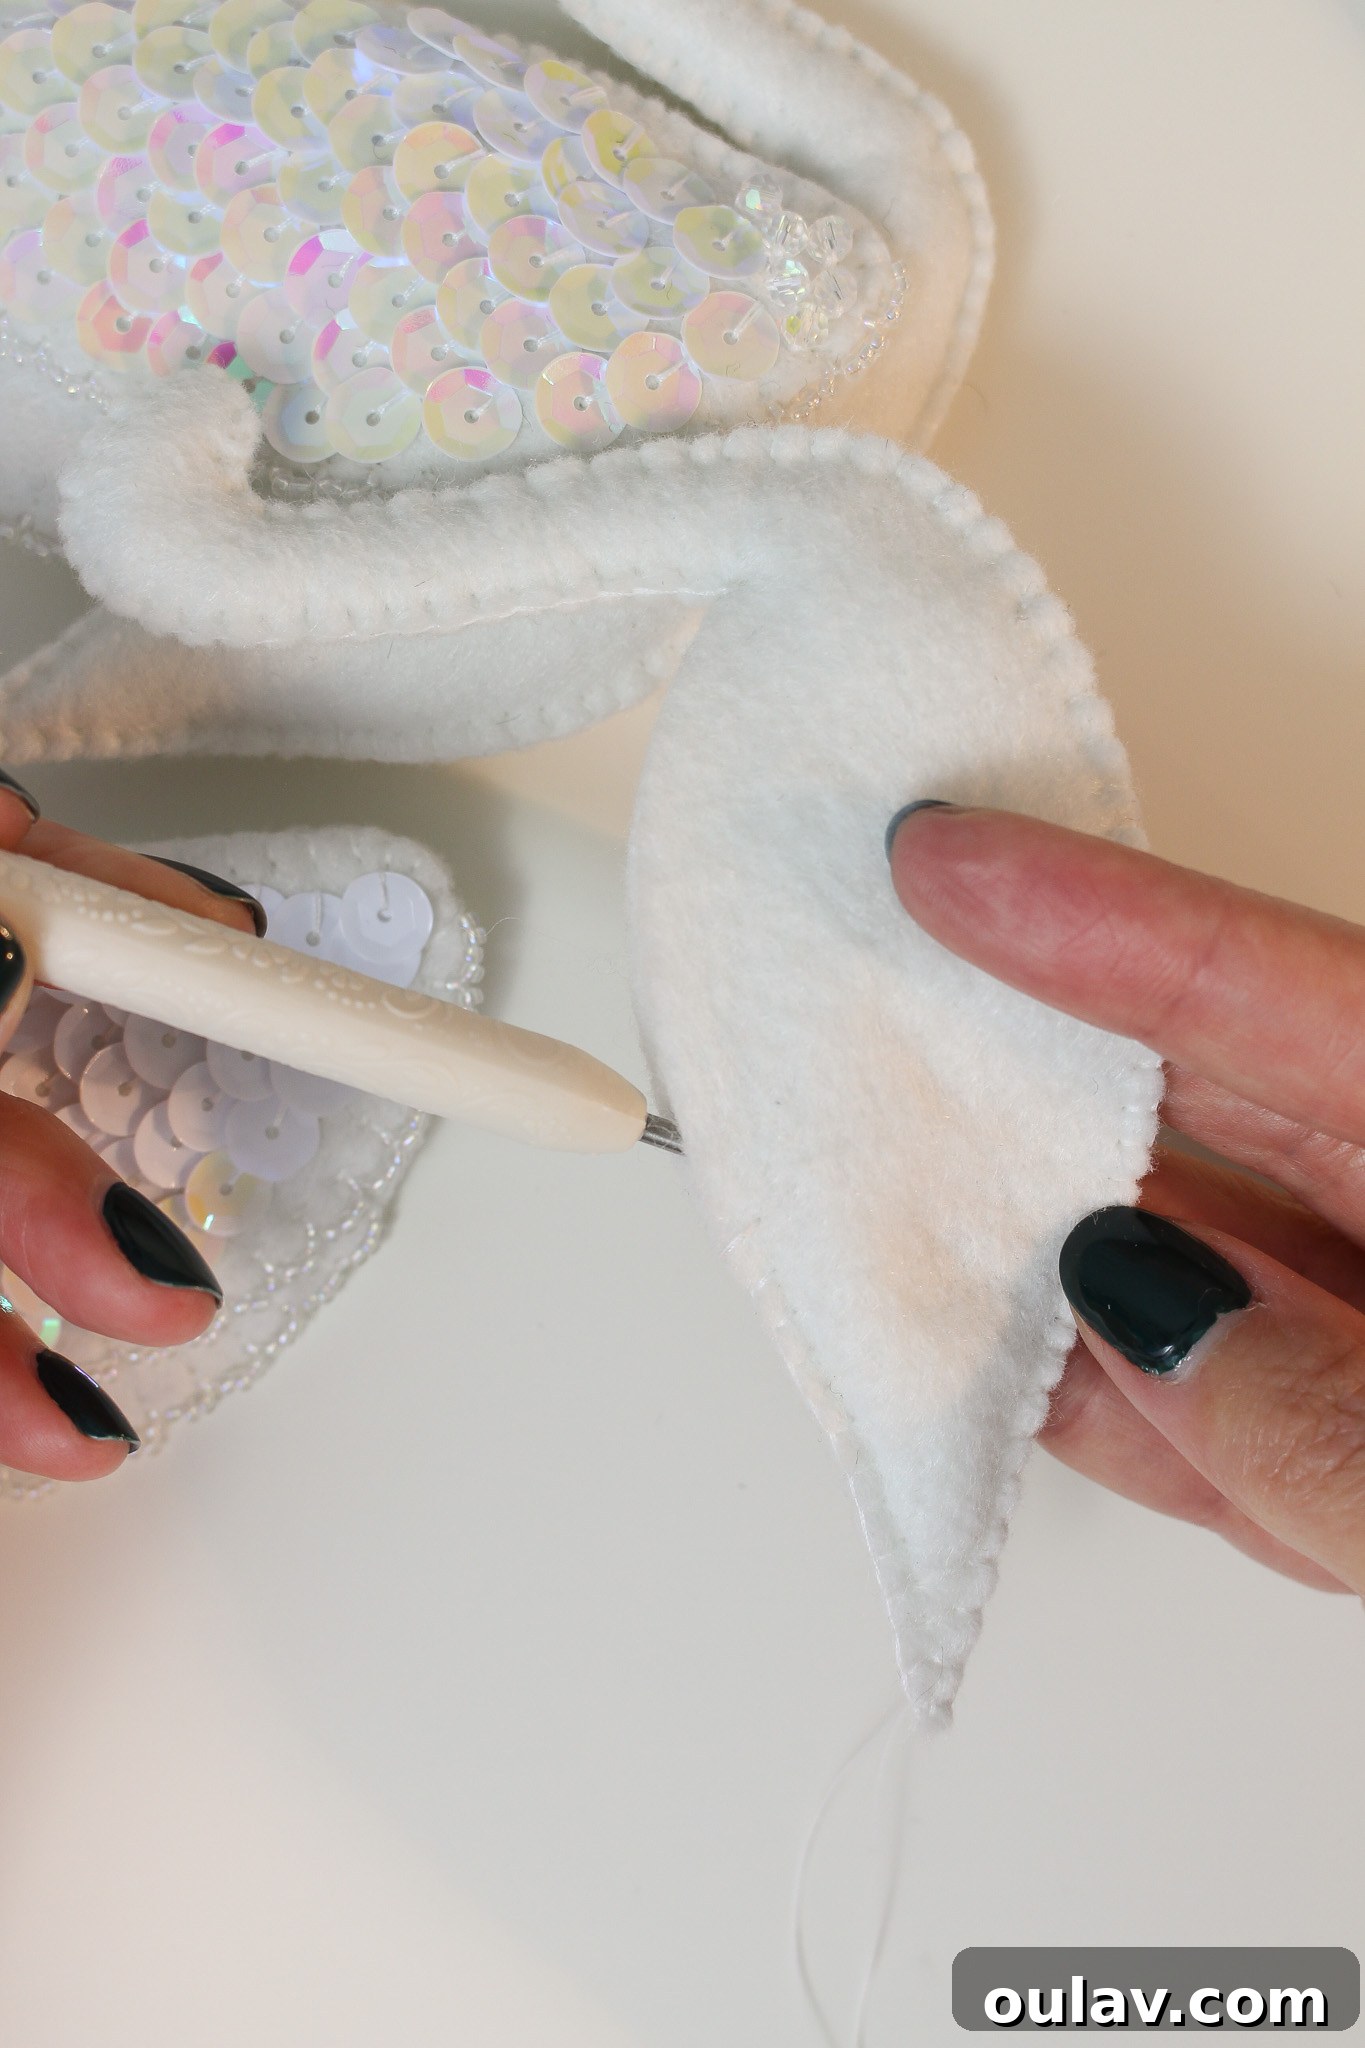
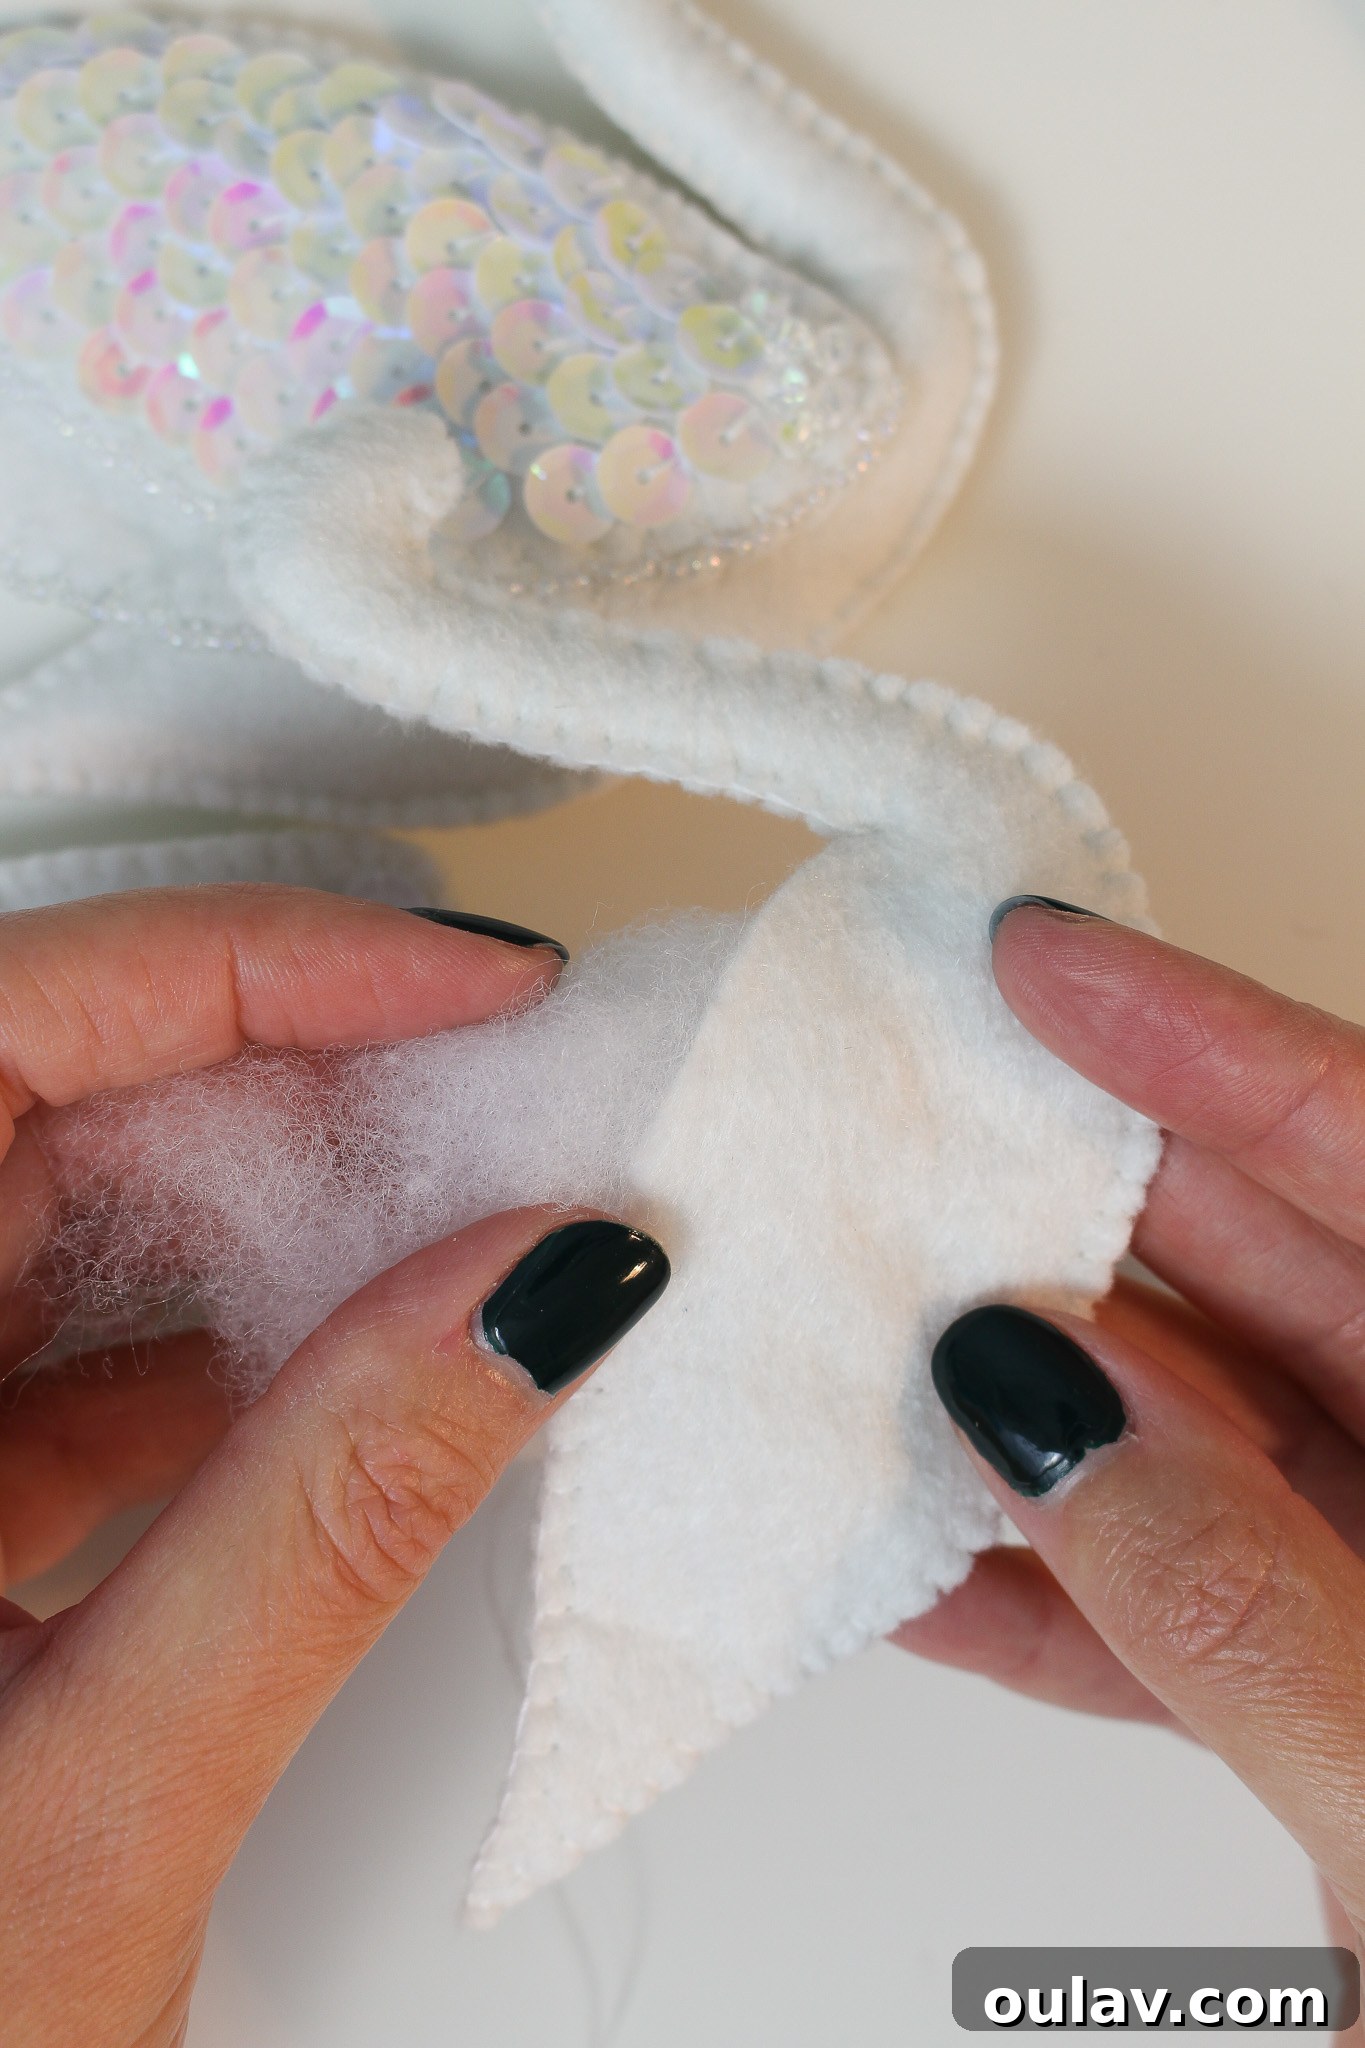
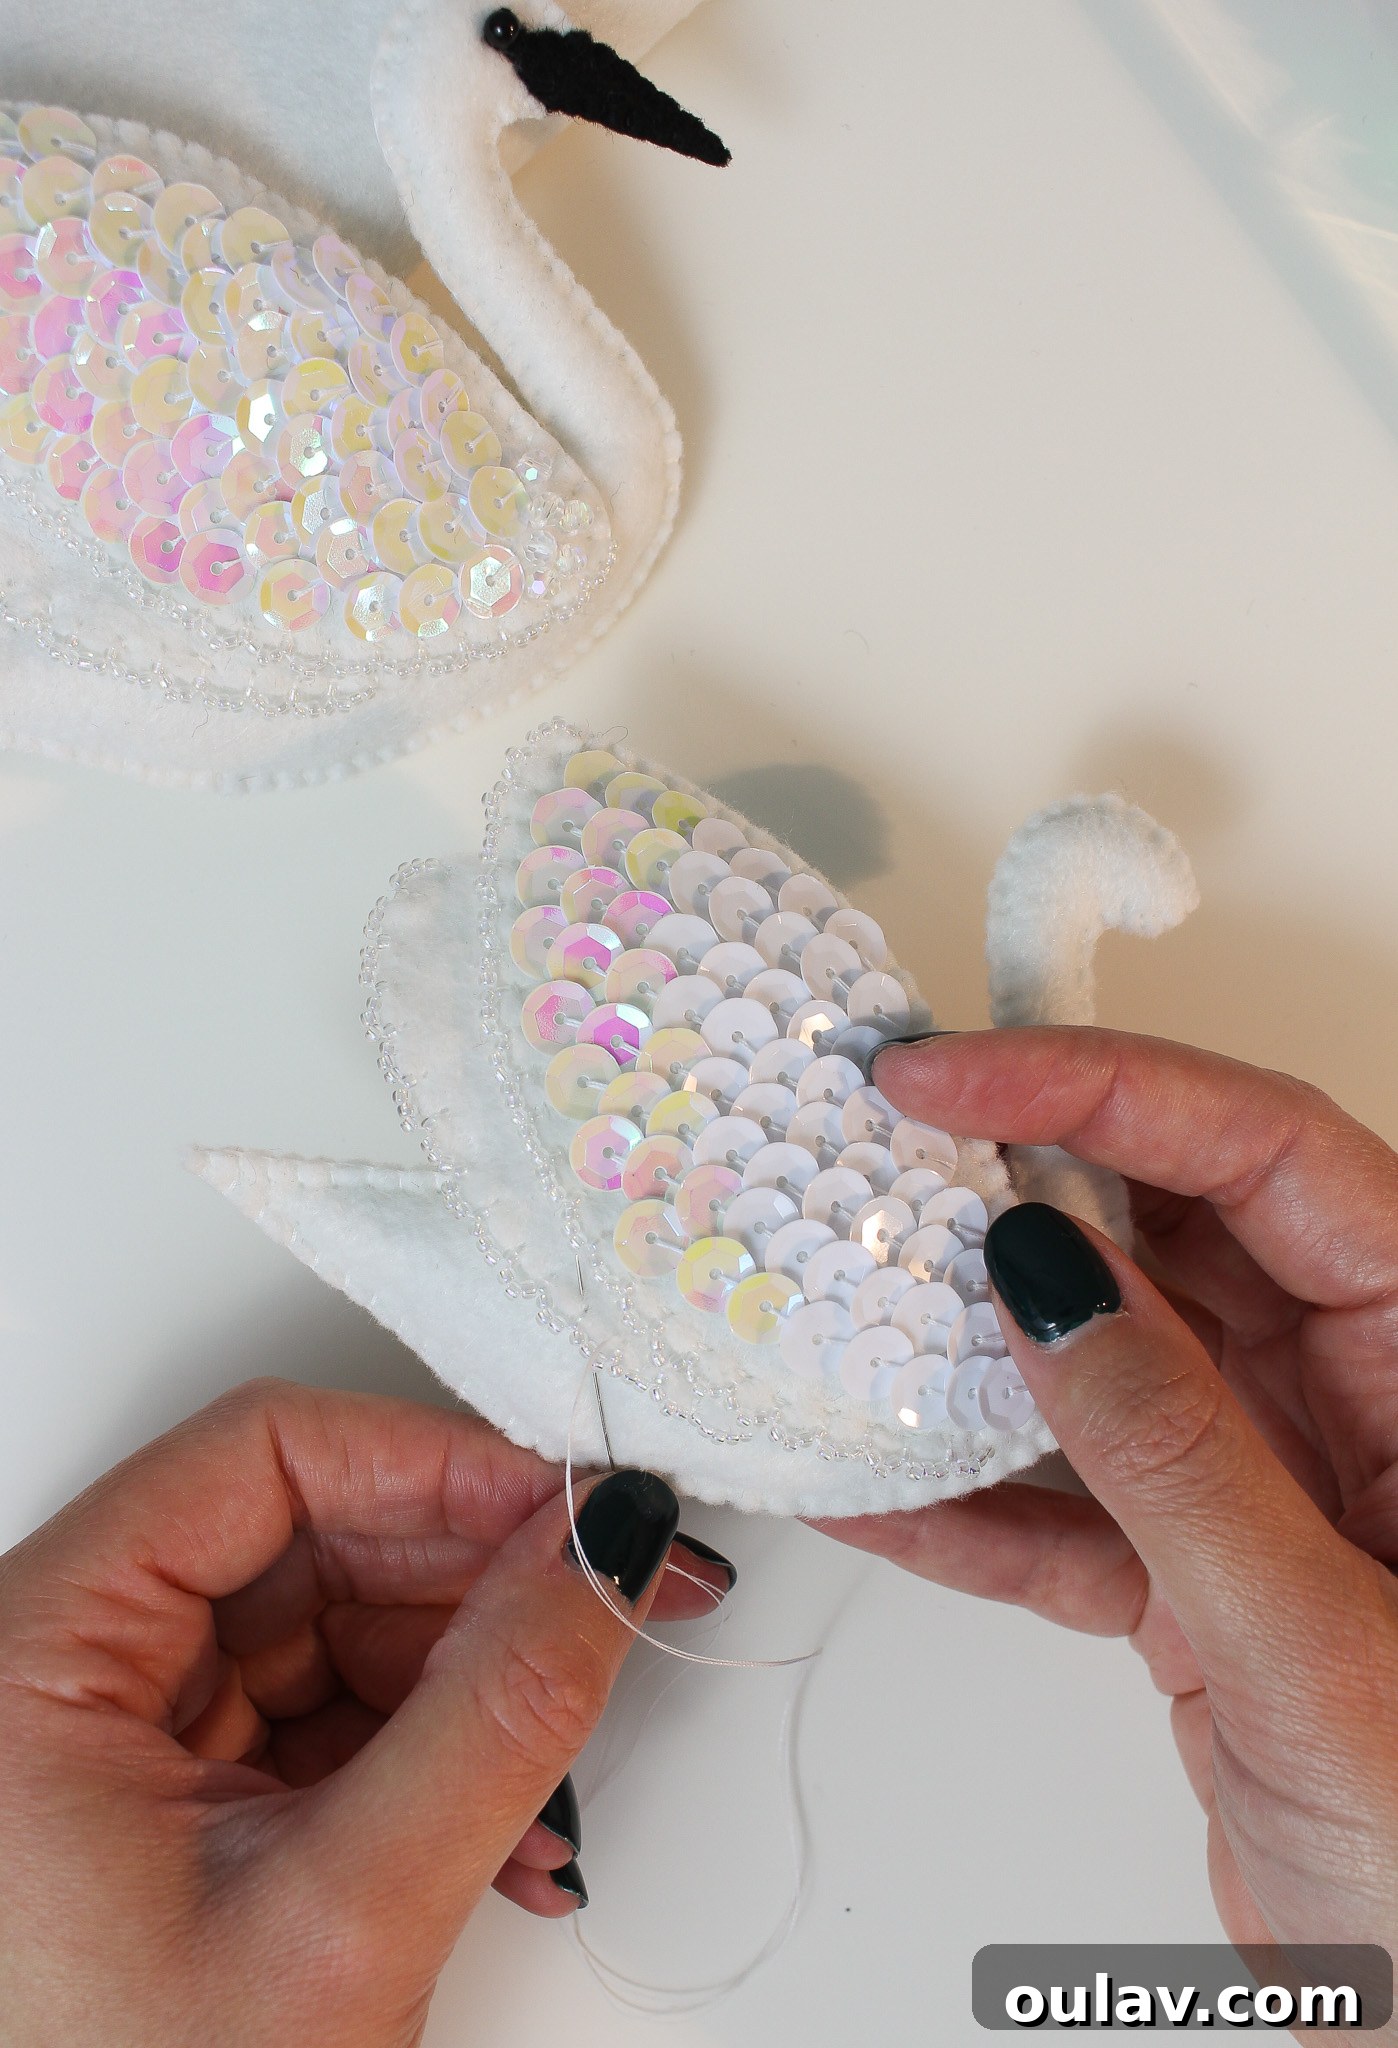
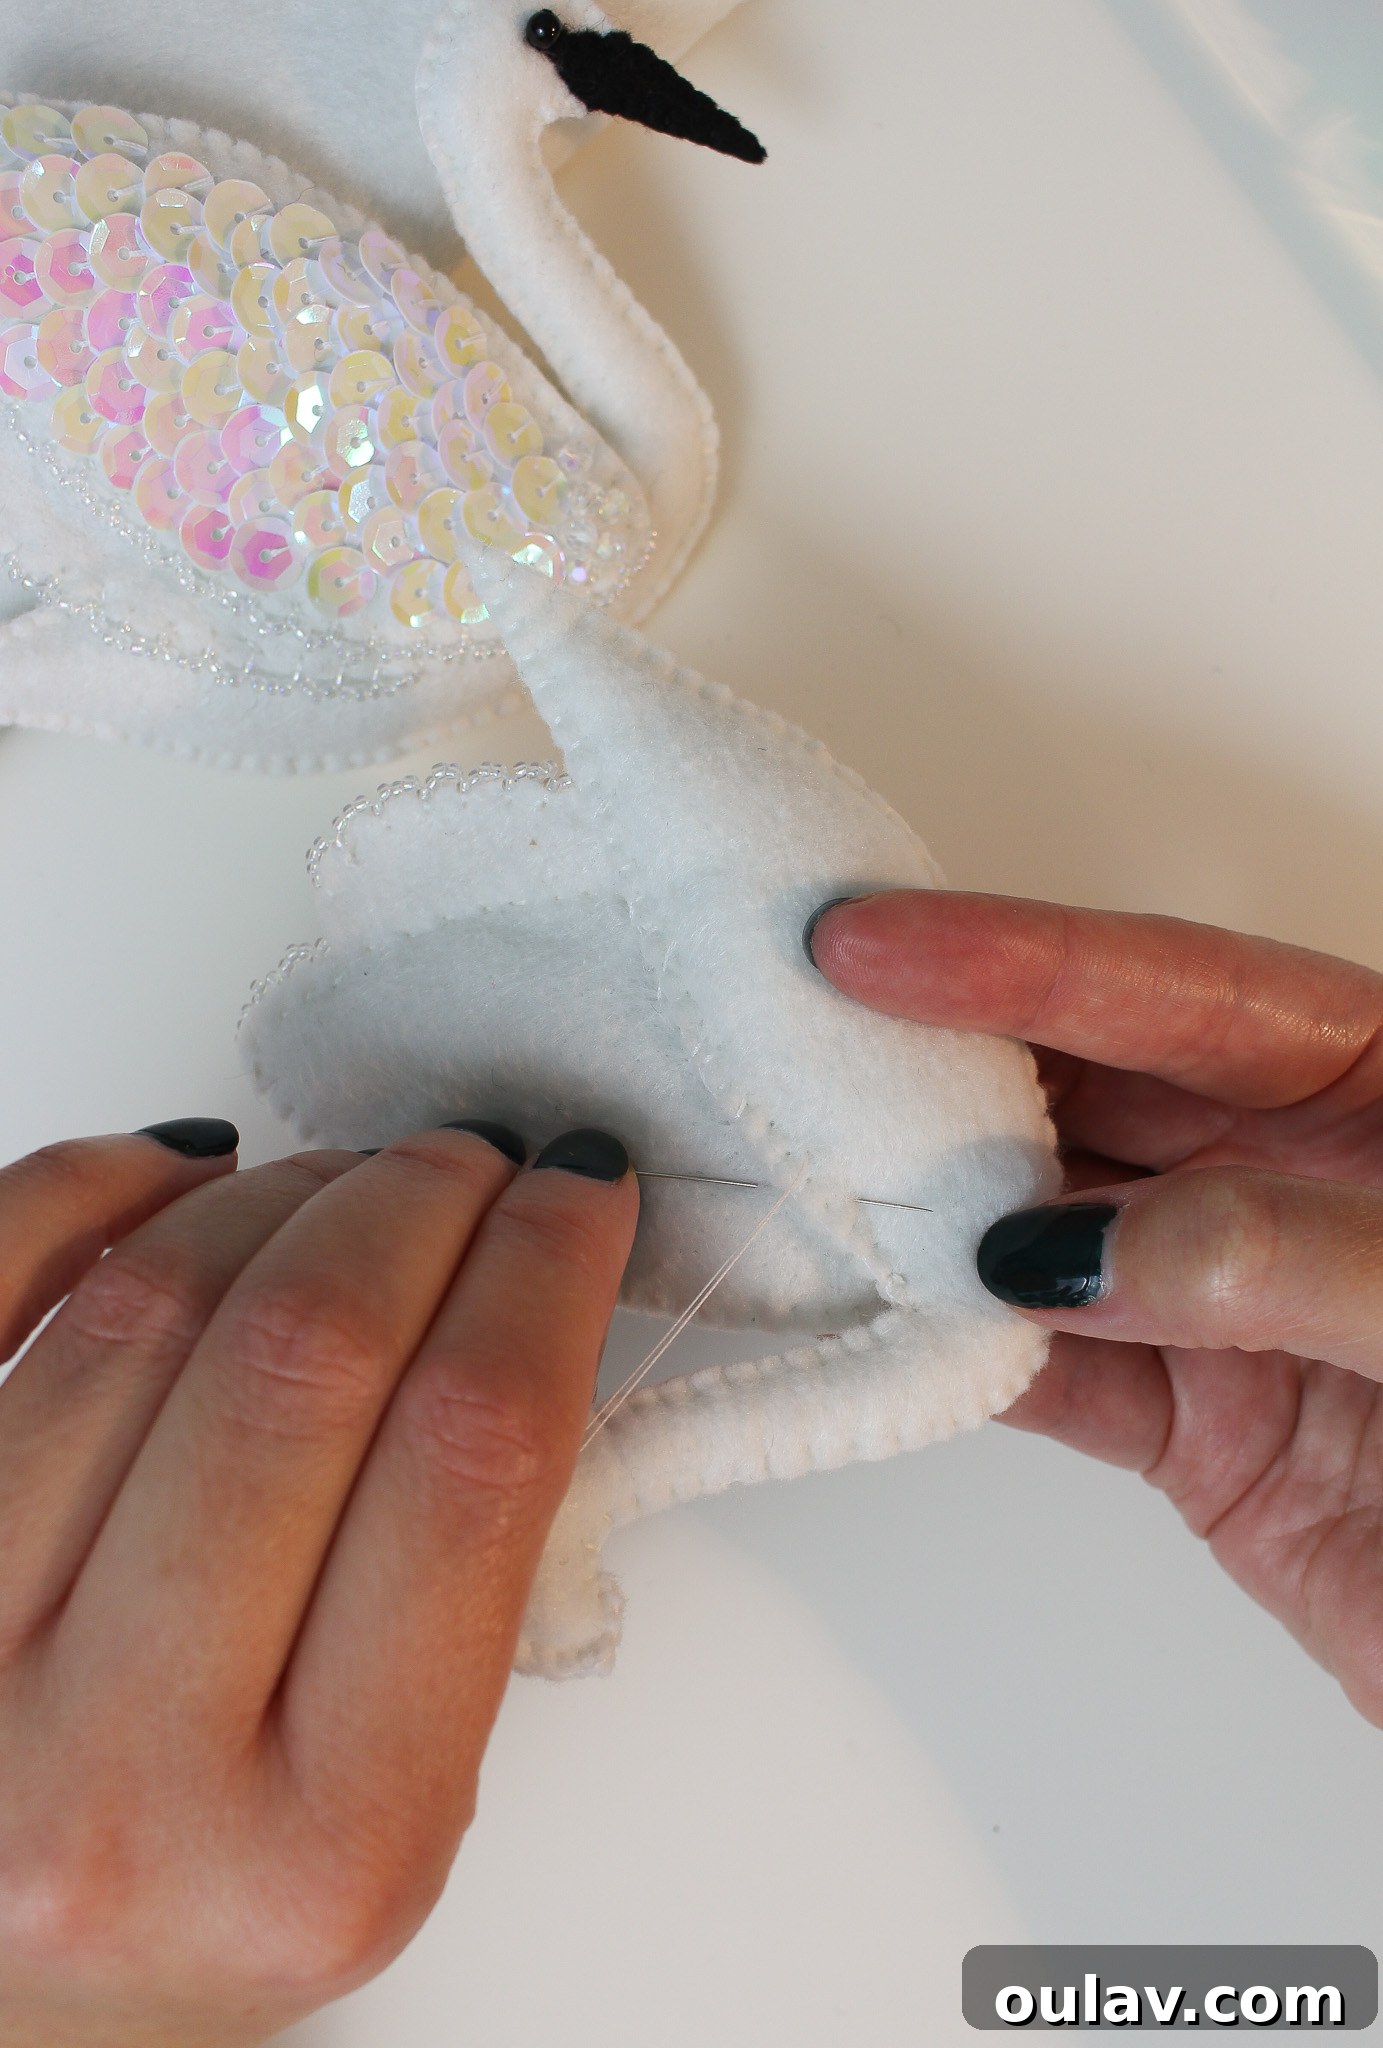
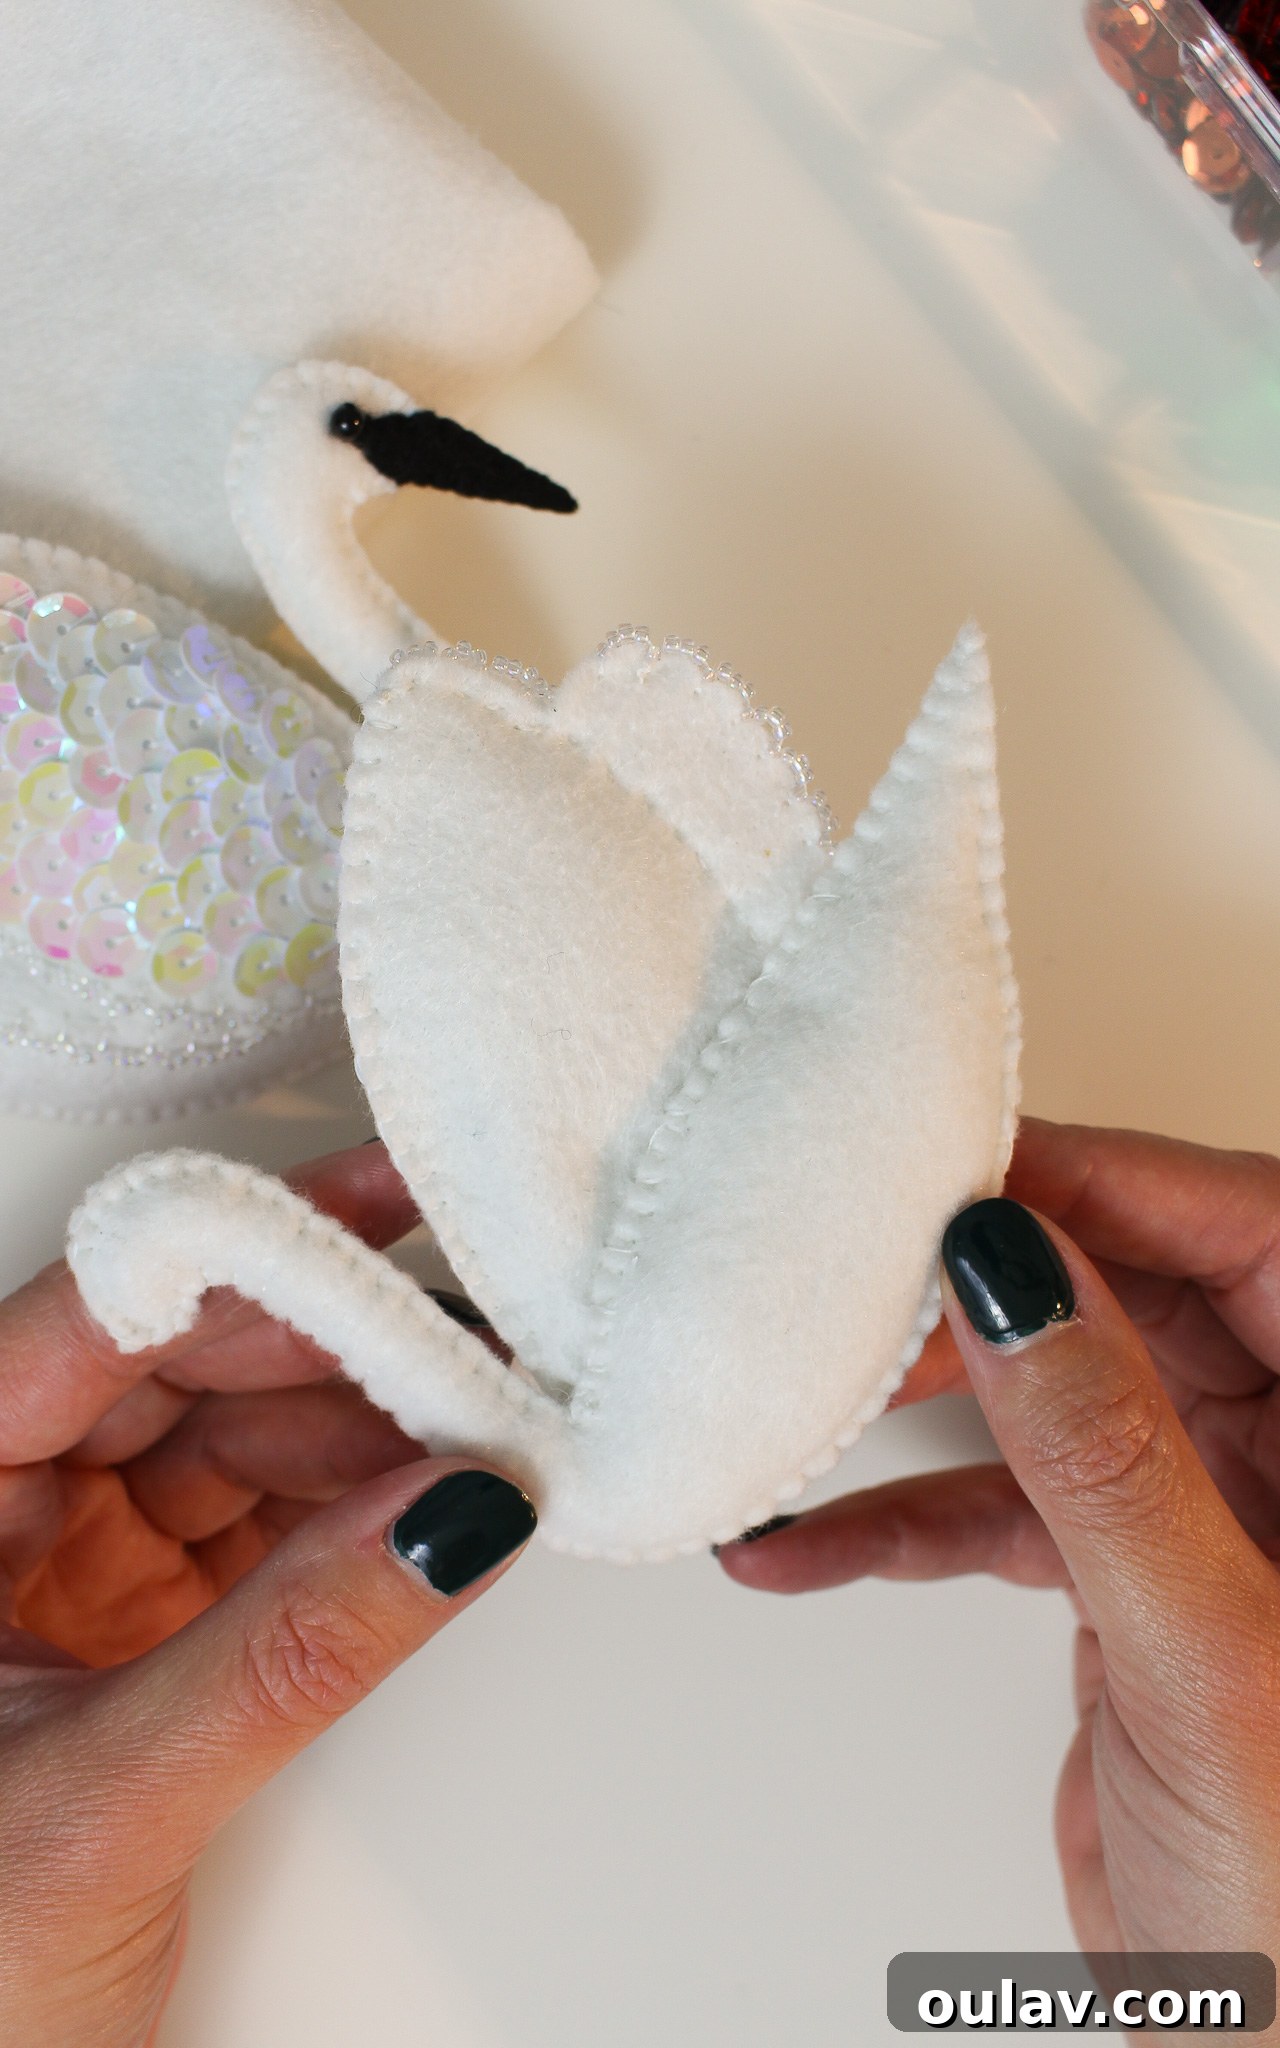
With both your swan body and wing now stuffed and beautifully formed, it’s time to bring these two components together. Position the wing onto the side of the swan body, ensuring it sits elegantly and naturally. Begin by sewing along the front, along the bottom edge of the wing, gently tacking it to the body with small, discreet running stitches. The goal here isn’t to bear heavy loads, but rather to ensure the wing maintains its desired position and shape. Once the front is secured, flip the ornament over. Using a whipstitch along the back edge of the wing, further secure it to the body. This additional stitching will help the wing stand nice and erect, giving your swan a lifelike and poised appearance. Ensure all stitches are tight enough to hold the wing firmly without distorting the felt.
Sewing on the Beak and Eye
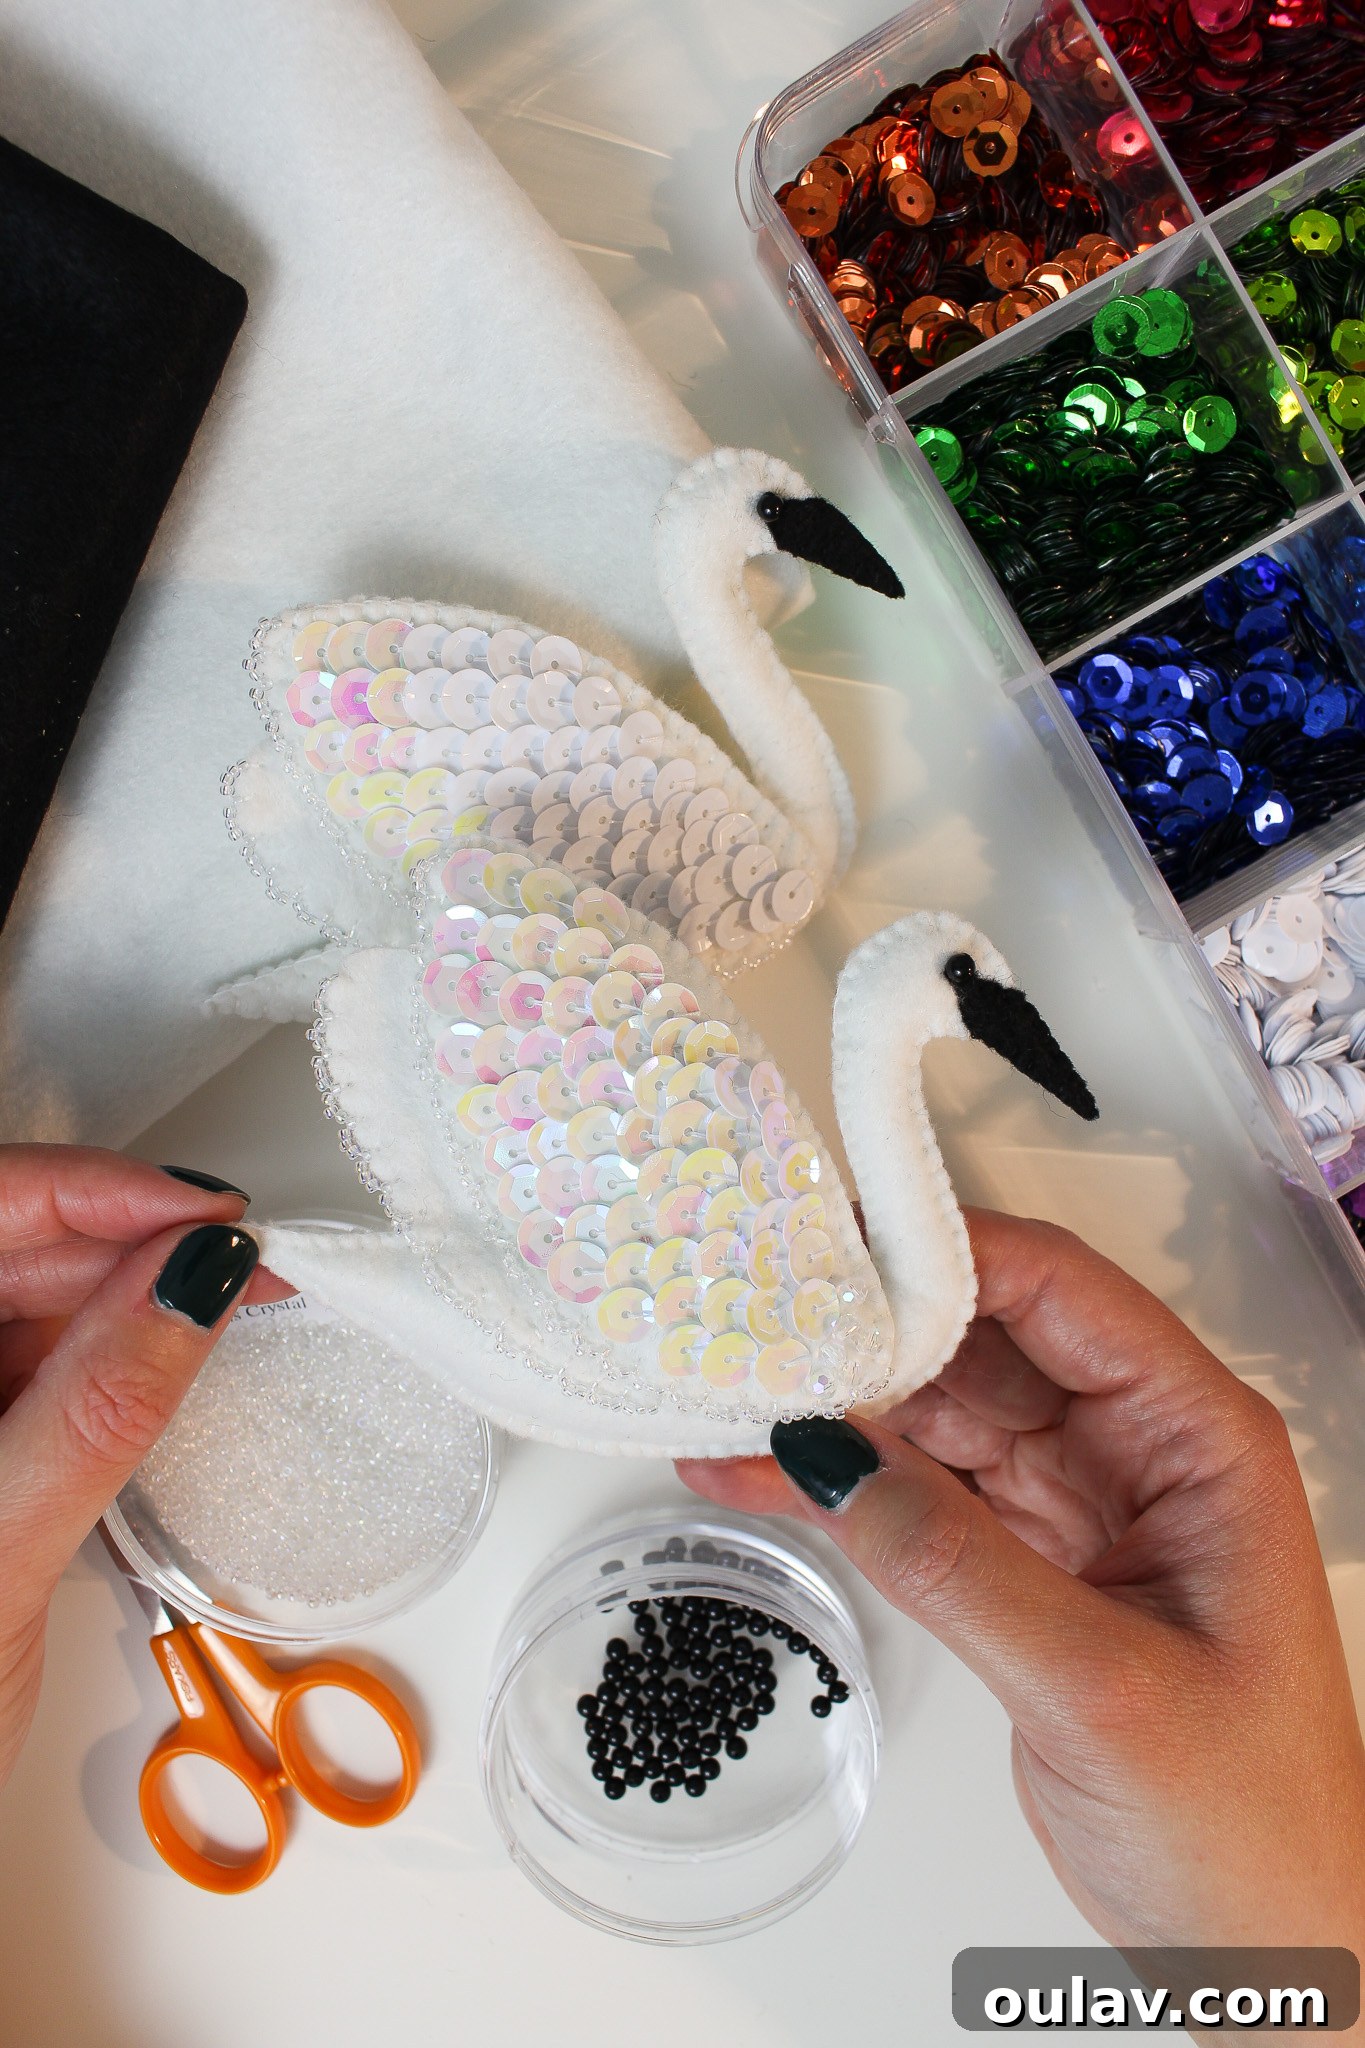
The final, delicate details that truly bring your swan to life are its beak and eye. Take your two black felt beak pieces, which are mirror images, and carefully align them at the ‘snoot’ end of the swan’s head. To ensure perfect alignment and a pleasing aesthetic, I find it easiest to first tack the front beak piece onto the head with a few quick, temporary stitches. This allows you to adjust its position until it looks just right. Once satisfied, hold the back beak piece in place. Now, stitch both beak pieces onto the head simultaneously, passing your needle back and forth through all three layers (front beak, head, back beak) along the edges. After they are securely attached to the head, use tiny, neat blanket stitches along the entire perimeter of the beak to seal it closed and give it a crisp, defined outline. Finally, stitch on the small 3mm black bead for the eye. Position it carefully to give your swan a gentle, observant gaze. Secure the thread with a knot at the back, then bury the remaining thread end under the black felt of the beak before trimming for a completely invisible finish.
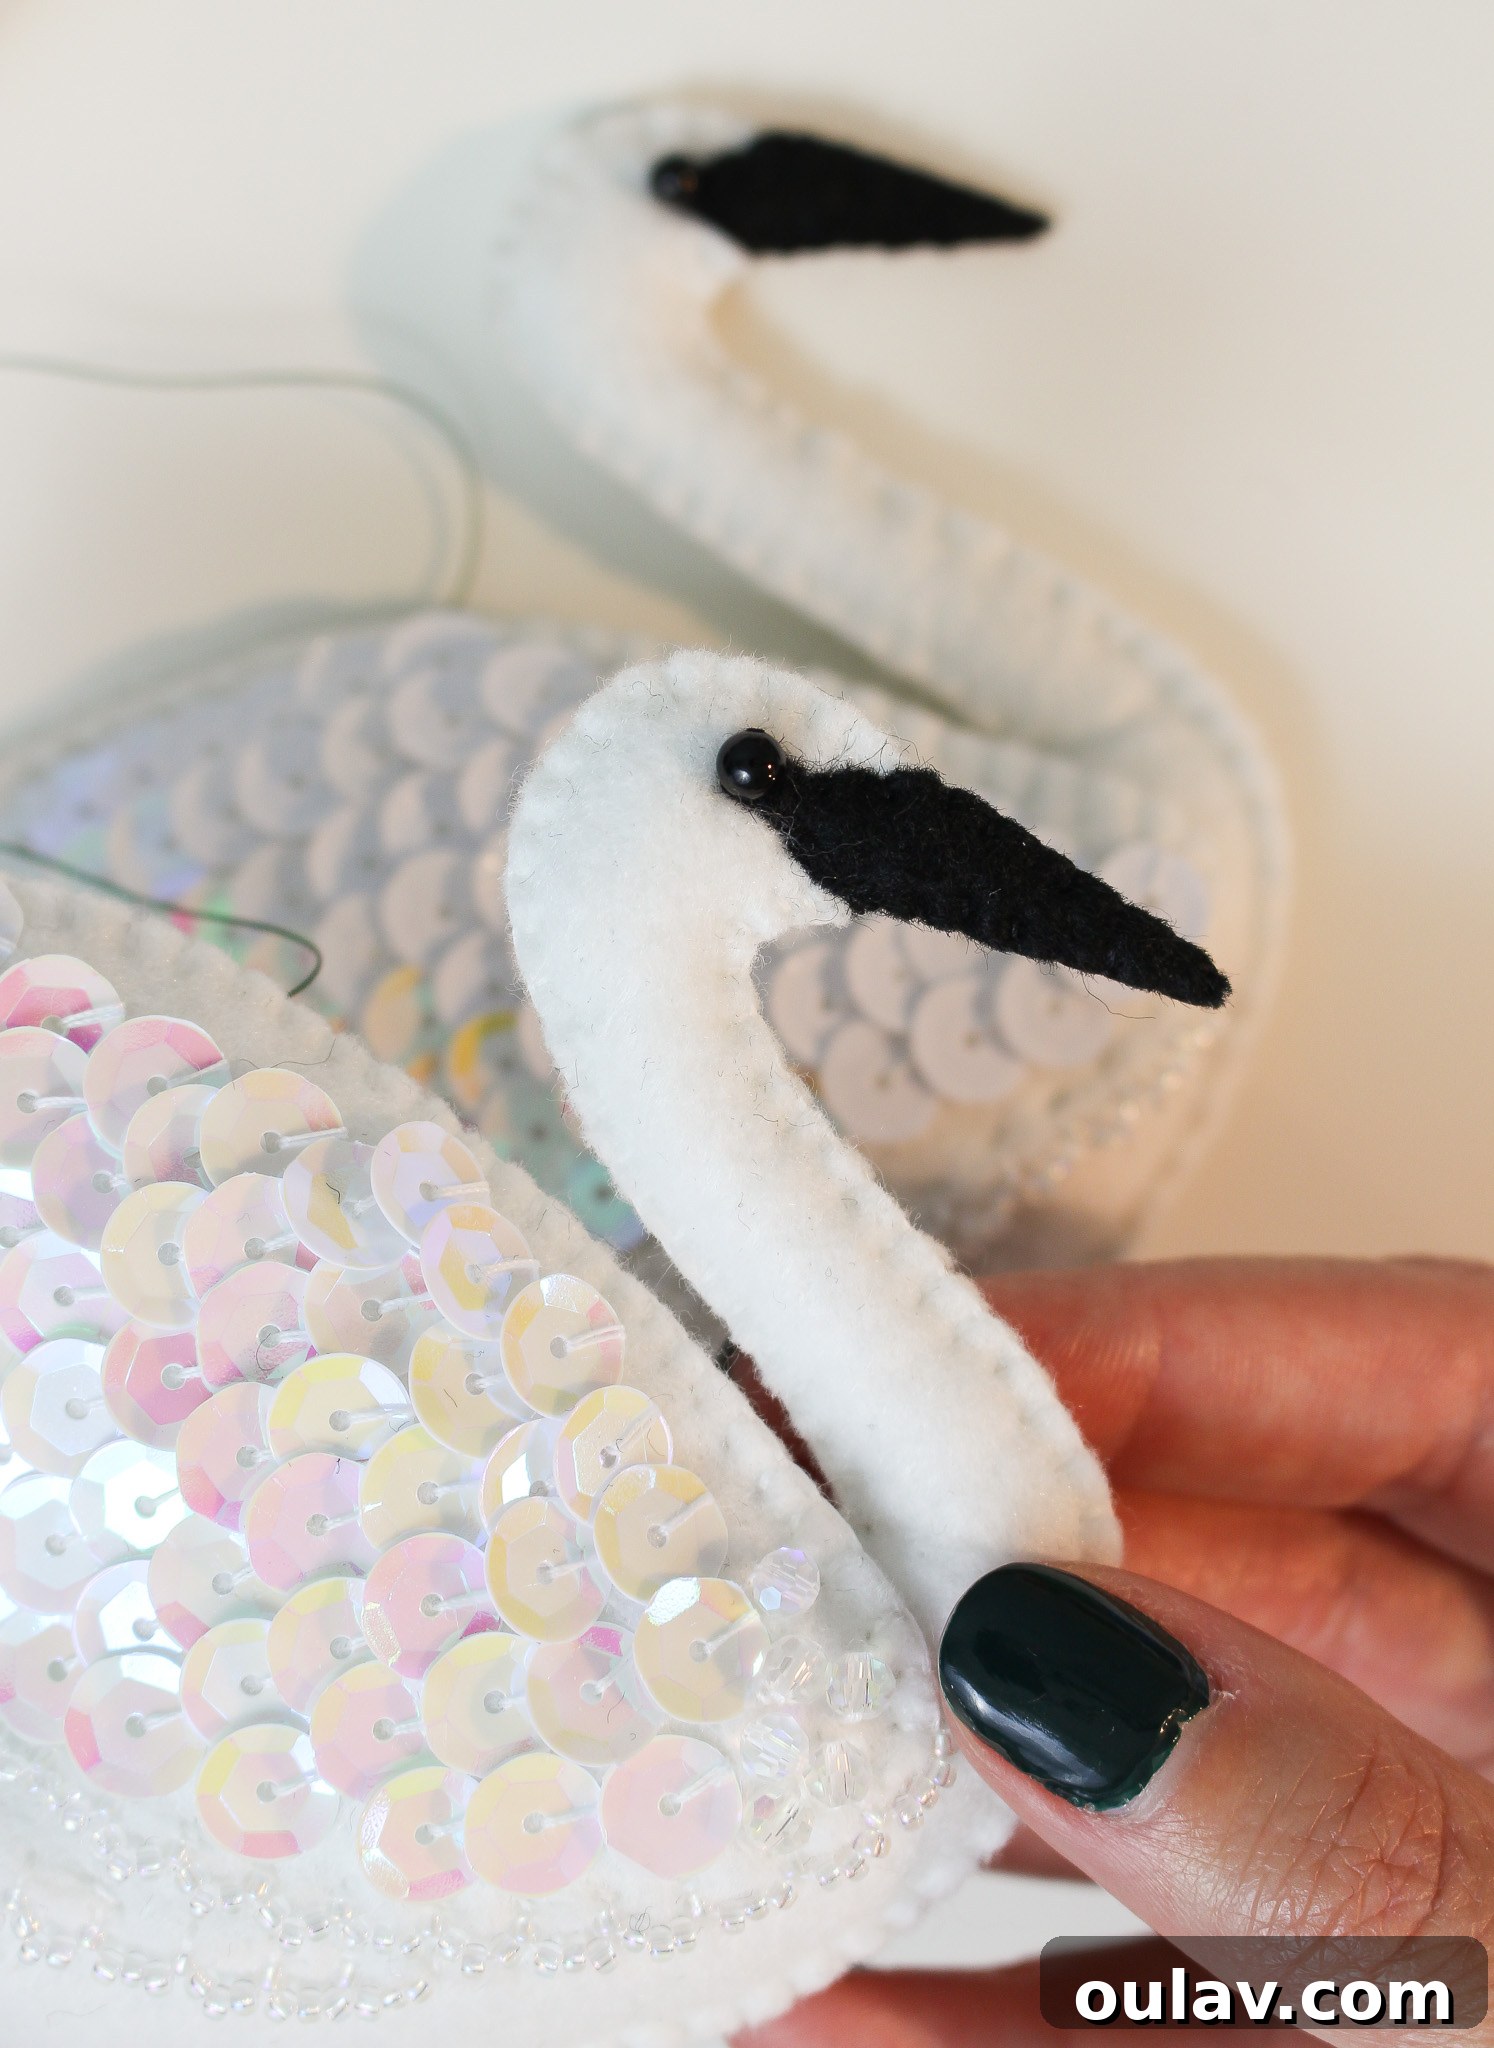
Adding a Thread for Hanging
The very last step to complete your magnificent felt swan Christmas ornament is to add a sturdy hanging loop. Using your hand sewing needle and a length of green heavy-duty thread (or any color that complements your holiday decor), carefully string the thread across the back of the swan, ensuring it’s centered and balanced. Form a neat loop with the thread, bringing the ends together, and secure it firmly with a double knot. Trim any excess thread close to the knot. And just like that, your exquisite, handmade felt swan is ready to take its place of honor on your Christmas tree, bringing joy and a touch of nature-inspired elegance to your holiday celebrations!
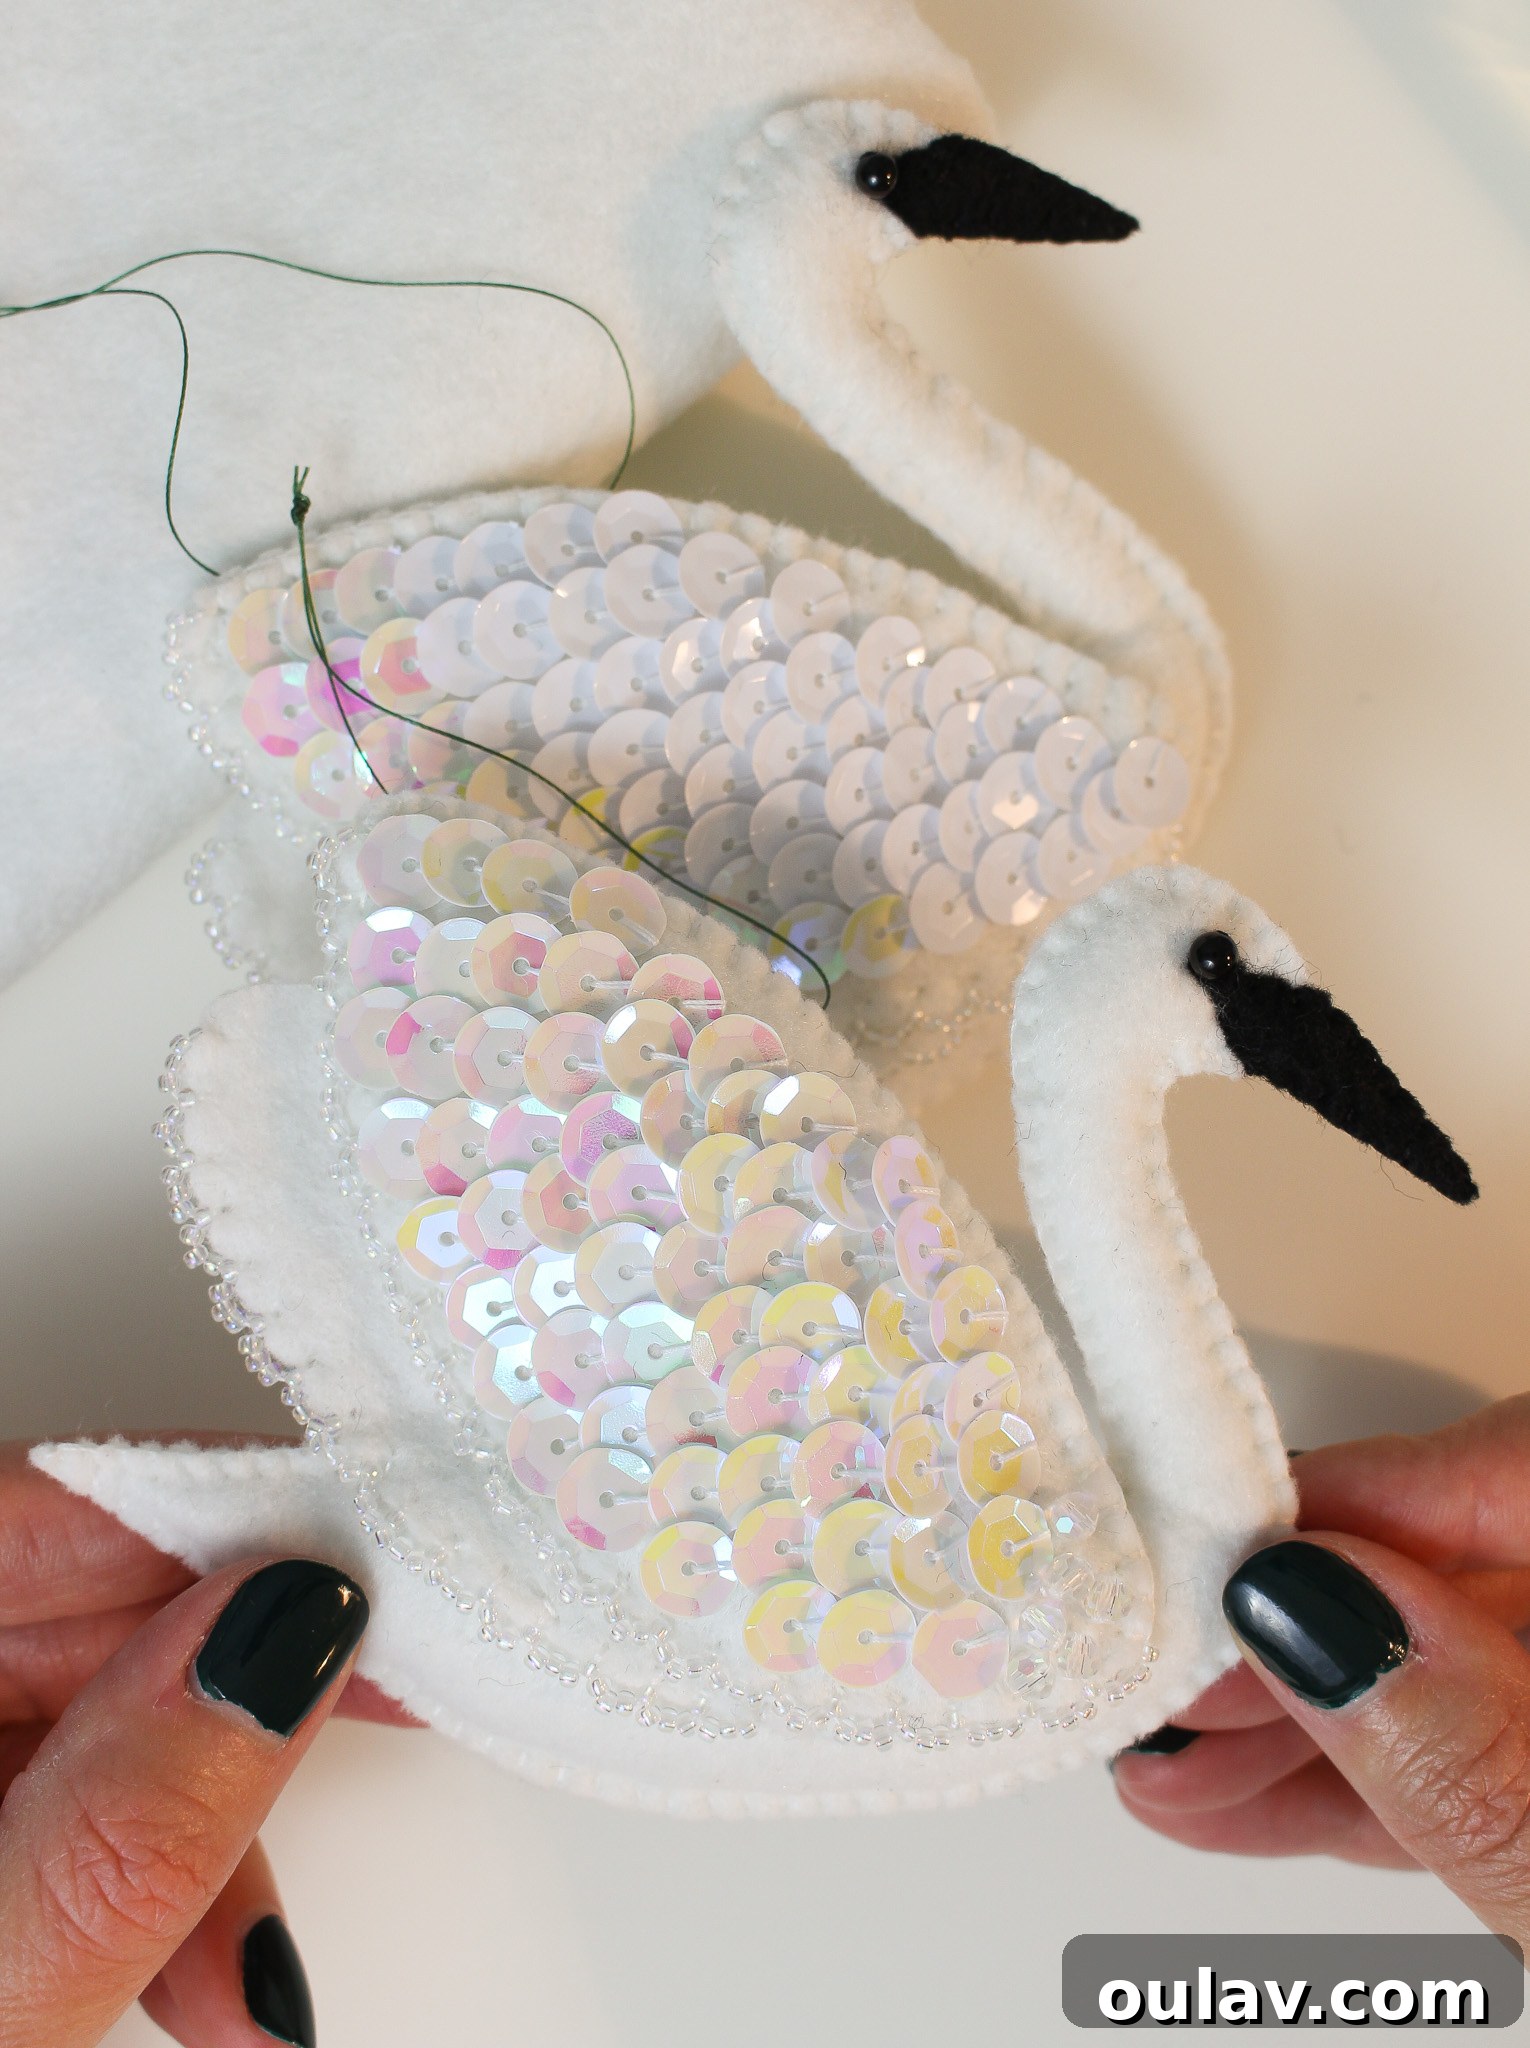
Your Finished DIY Felt Swan Ornament: A Masterpiece of Handmade Charm
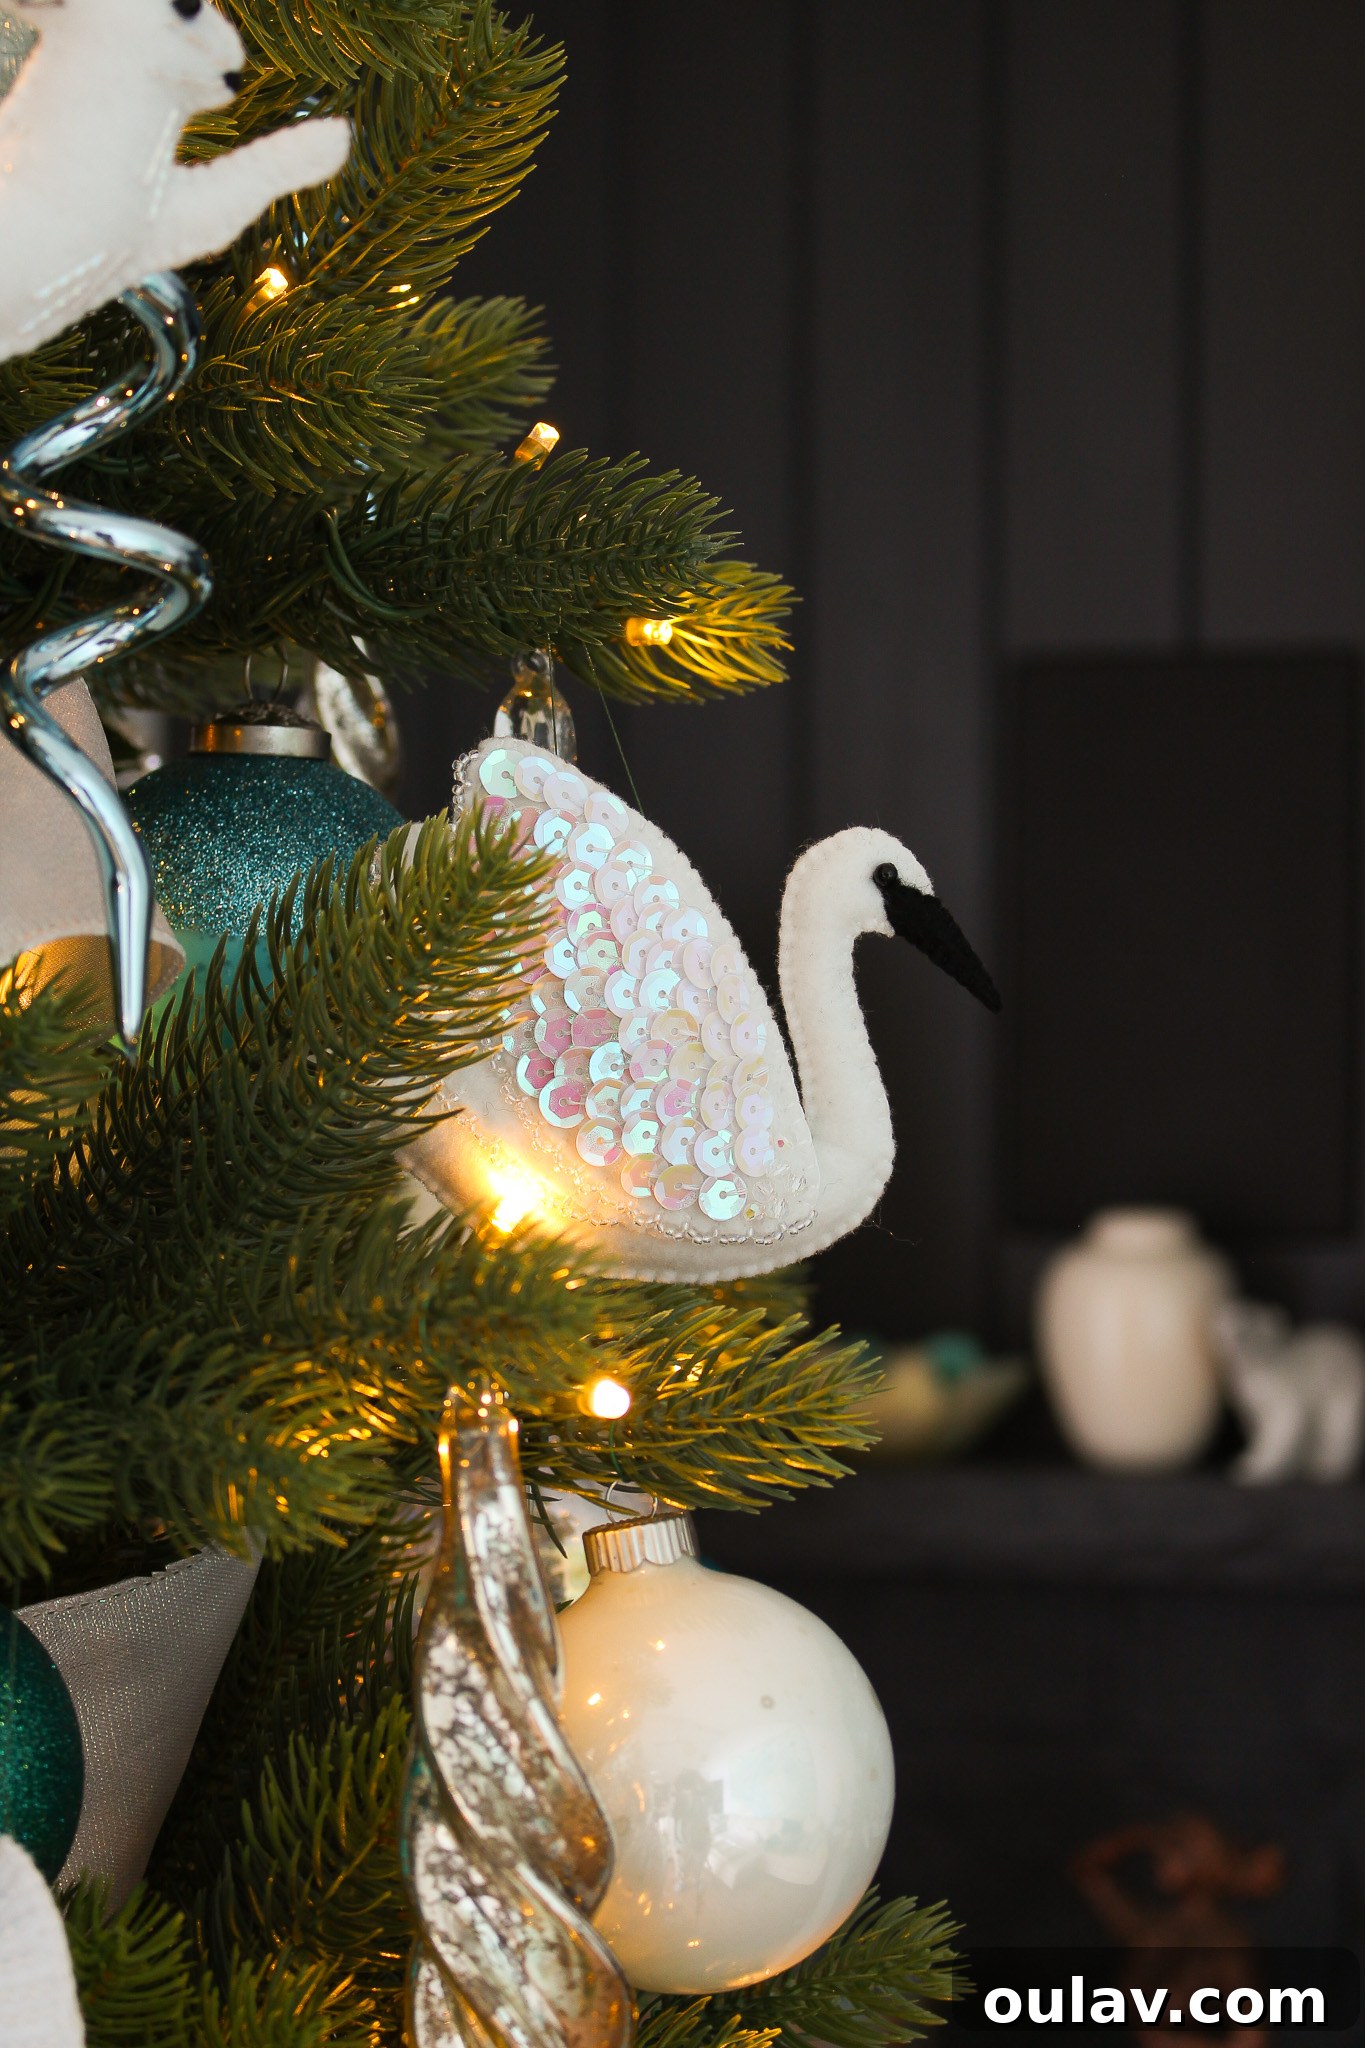
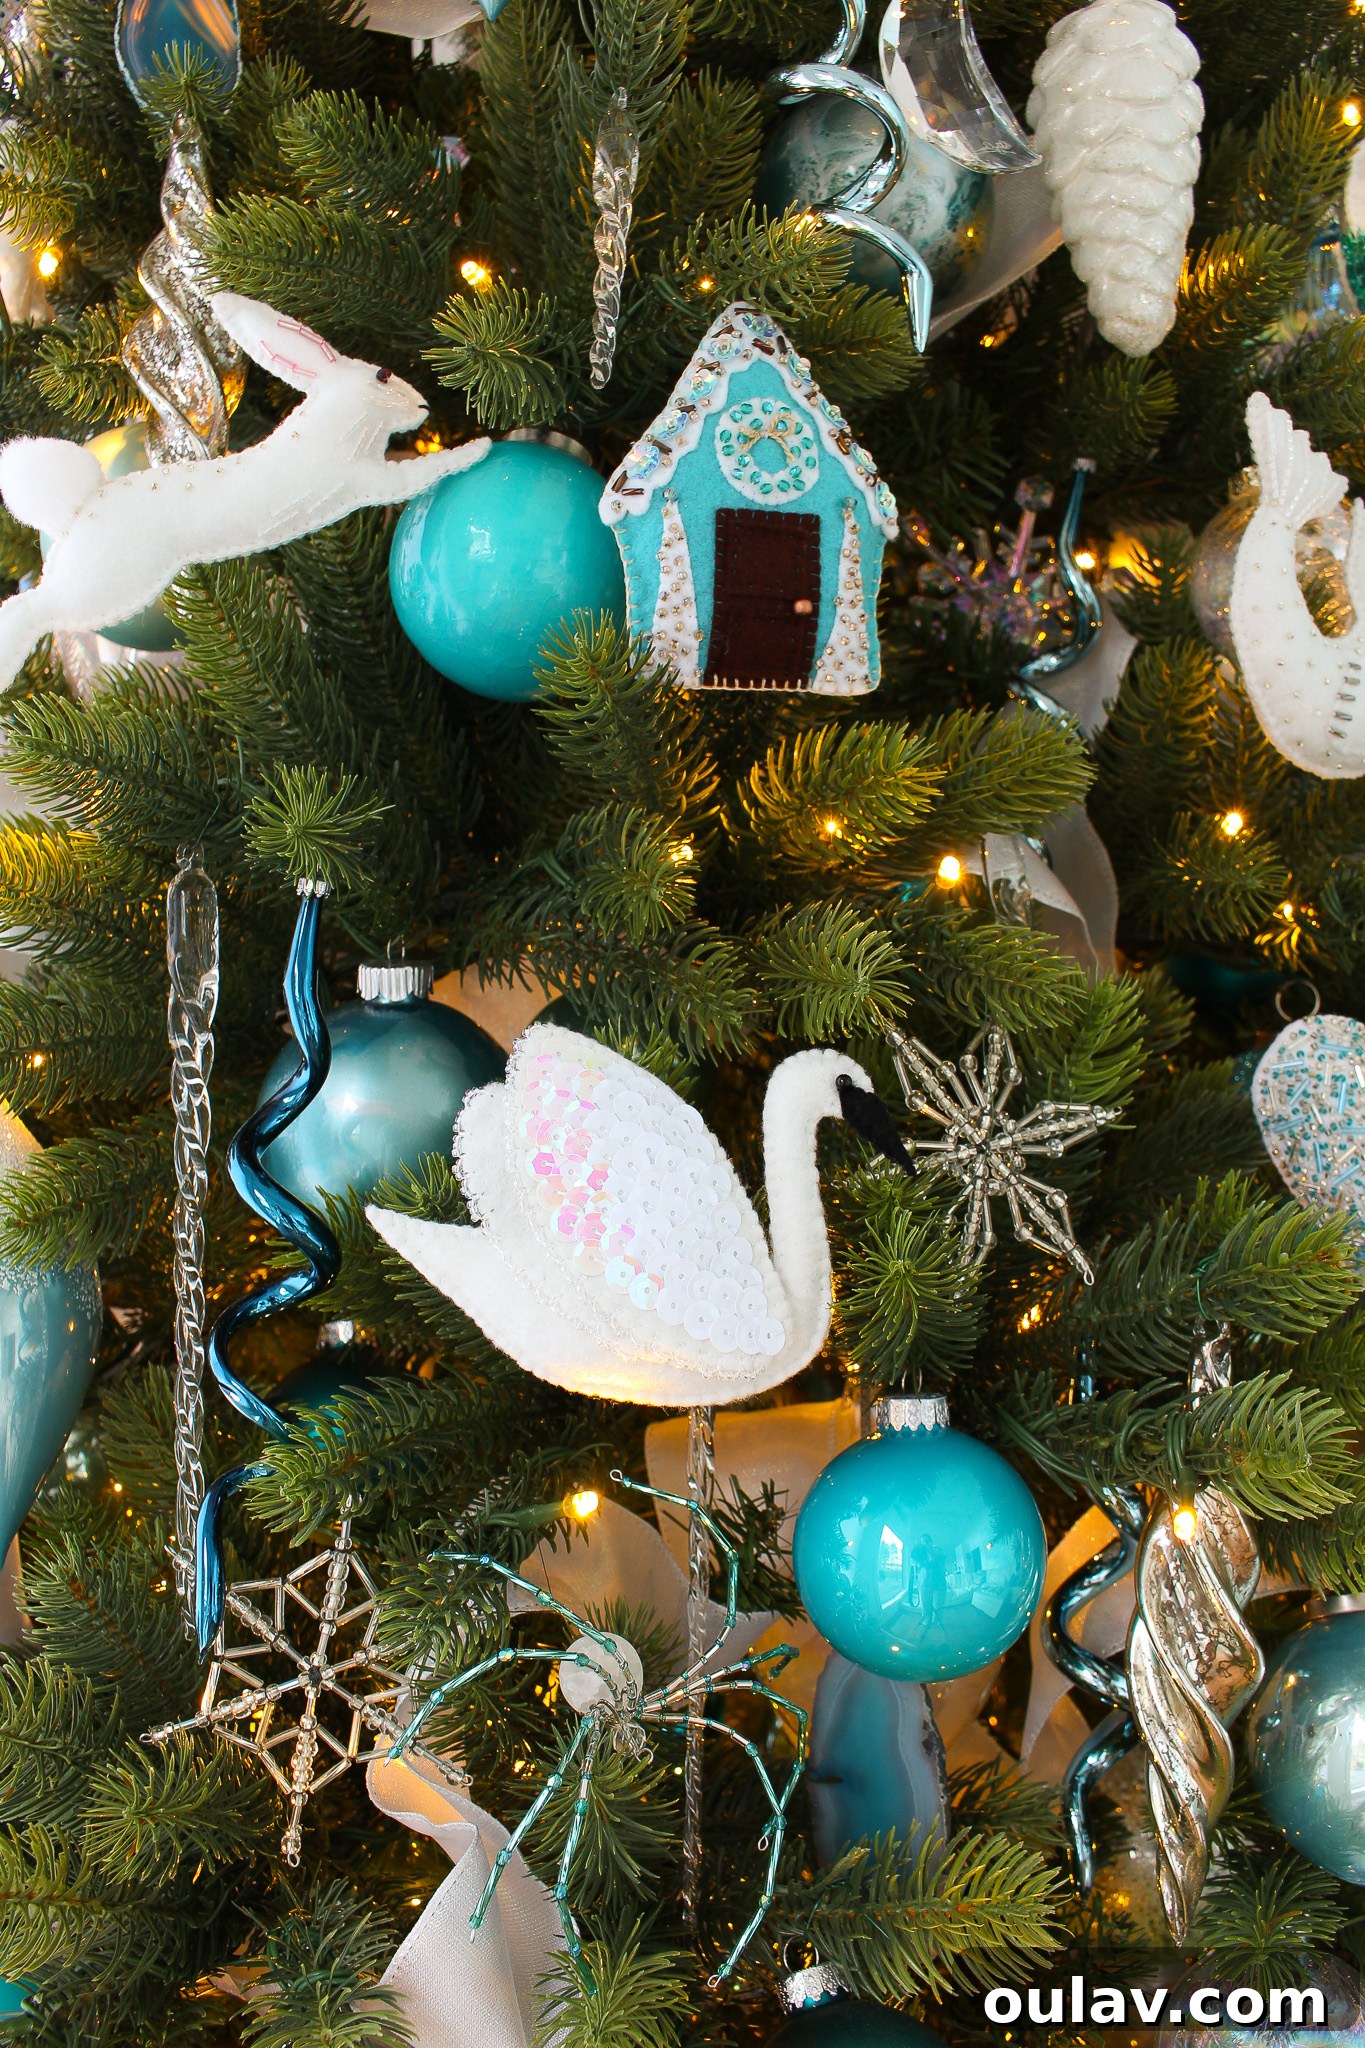
Congratulations! You have successfully crafted a truly unique and enchanting felt swan ornament. This isn’t just a decoration; it’s a testament to your creativity, patience, and love for handmade treasures. Each shimmering sequin, every carefully placed stitch, and the gentle curve of its neck tells a story of dedication and artistry. Hang it proudly on your Christmas tree, use it as a thoughtful handmade gift, or even display it year-round as a charming reminder of nature’s beauty and the joy of crafting. Your felt swan, with its elegant form and delicate details, is sure to become a cherished part of your holiday traditions for years to come. Enjoy the beauty you’ve created!
Explore More DIY Felt Ornament Tutorials & Patterns:
If you’ve enjoyed crafting this beautiful felt swan, you’ll be delighted to explore our other unique designs! Find all of my DIY felt ornament patterns here, and check out these additional blog posts for a wide array of inspiring tutorials. Each pattern offers a new opportunity to personalize your holiday decor or create heartfelt gifts, bringing the warmth and charm of handmade crafts into your home.
- DIY Felt Seal Ornament Tutorial (with pattern)
- DIY Felt Fox Ornament Tutorial (with pattern)
- DIY Felt Polar Bear Ornament Tutorial (with pattern)
- DIY Felt Bunny Ornament Tutorial (with pattern)
- DIY Felt Ptarmigan Bird Ornament Tutorial (with Pattern)
- DIY Felt Gingerbread House Ornament Tutorial (with pattern)
- DIY Beaded Felt Moon Ornament Tutorial
- DIY Beaded Felt Heart Ornament Tutorial
- DIY Felt Cookies Ornaments Tutorial (with pattern)