
Craft Your Own Irresistible DIY Catnip Cat Toys: A Step-by-Step Guide
There’s nothing quite as rewarding as crafting something special for a beloved pet. Today, I’m thrilled to share a fun and surprisingly simple sewing project: creating your very own DIY catnip stuffed cat toy! This journey wasn’t without its humorous mishaps and learning curves, but the end result is a delightful, cat-approved creation that will bring joy to your feline companion.
Our inspiration for this project comes from a very special feline named Wido Piddy. Her story began many years ago when, as a tiny, scraggly stray kitten, she found her way into my Handy Hubby’s childhood home. He and his father welcomed her with open arms, and some 15 years later, this resilient cat continues to charm everyone she meets with her sweet disposition.
Meet Wido Piddy: Our Feline Inspiration
Despite her age, Wido Piddy’s petite stature often leads people to believe she’s still a kitten – an eternal kitten, if you will! She now enjoys a comfortable life in my father-in-law’s woodworking shop, sharing her space with another friendly cat and several canine companions. This past spring, we noticed Piddy began excessively grooming herself, pulling out tufts of her beautiful fur. Concerned for her comfort and well-being, I decided to embark on a mission to create a soothing, stimulating DIY catnip cat toy just for her.
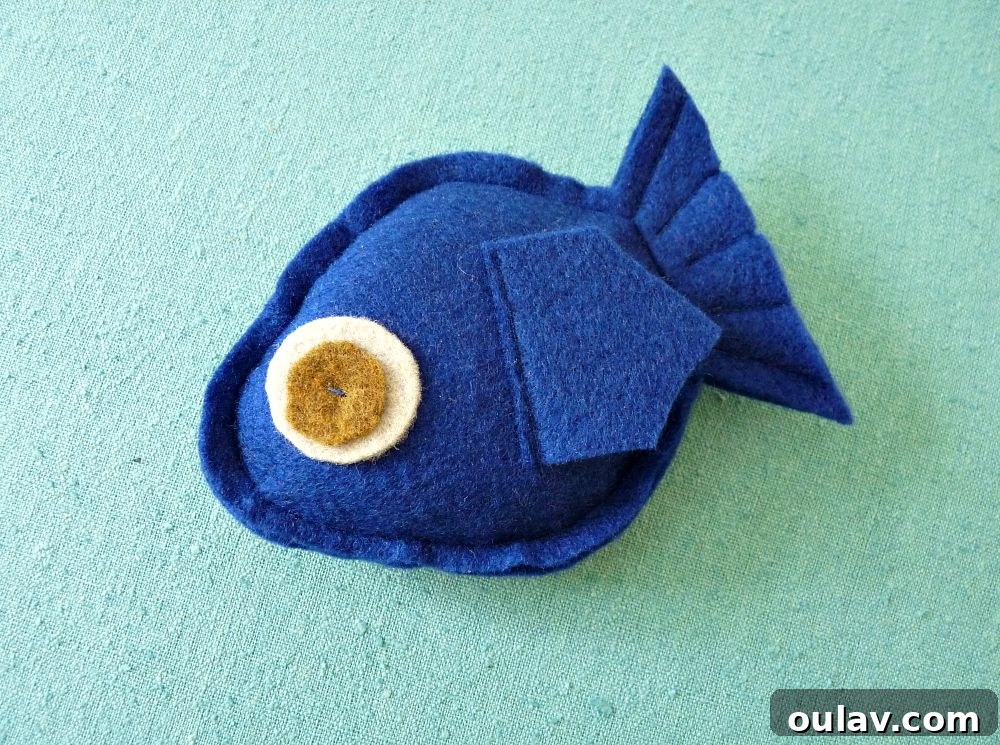
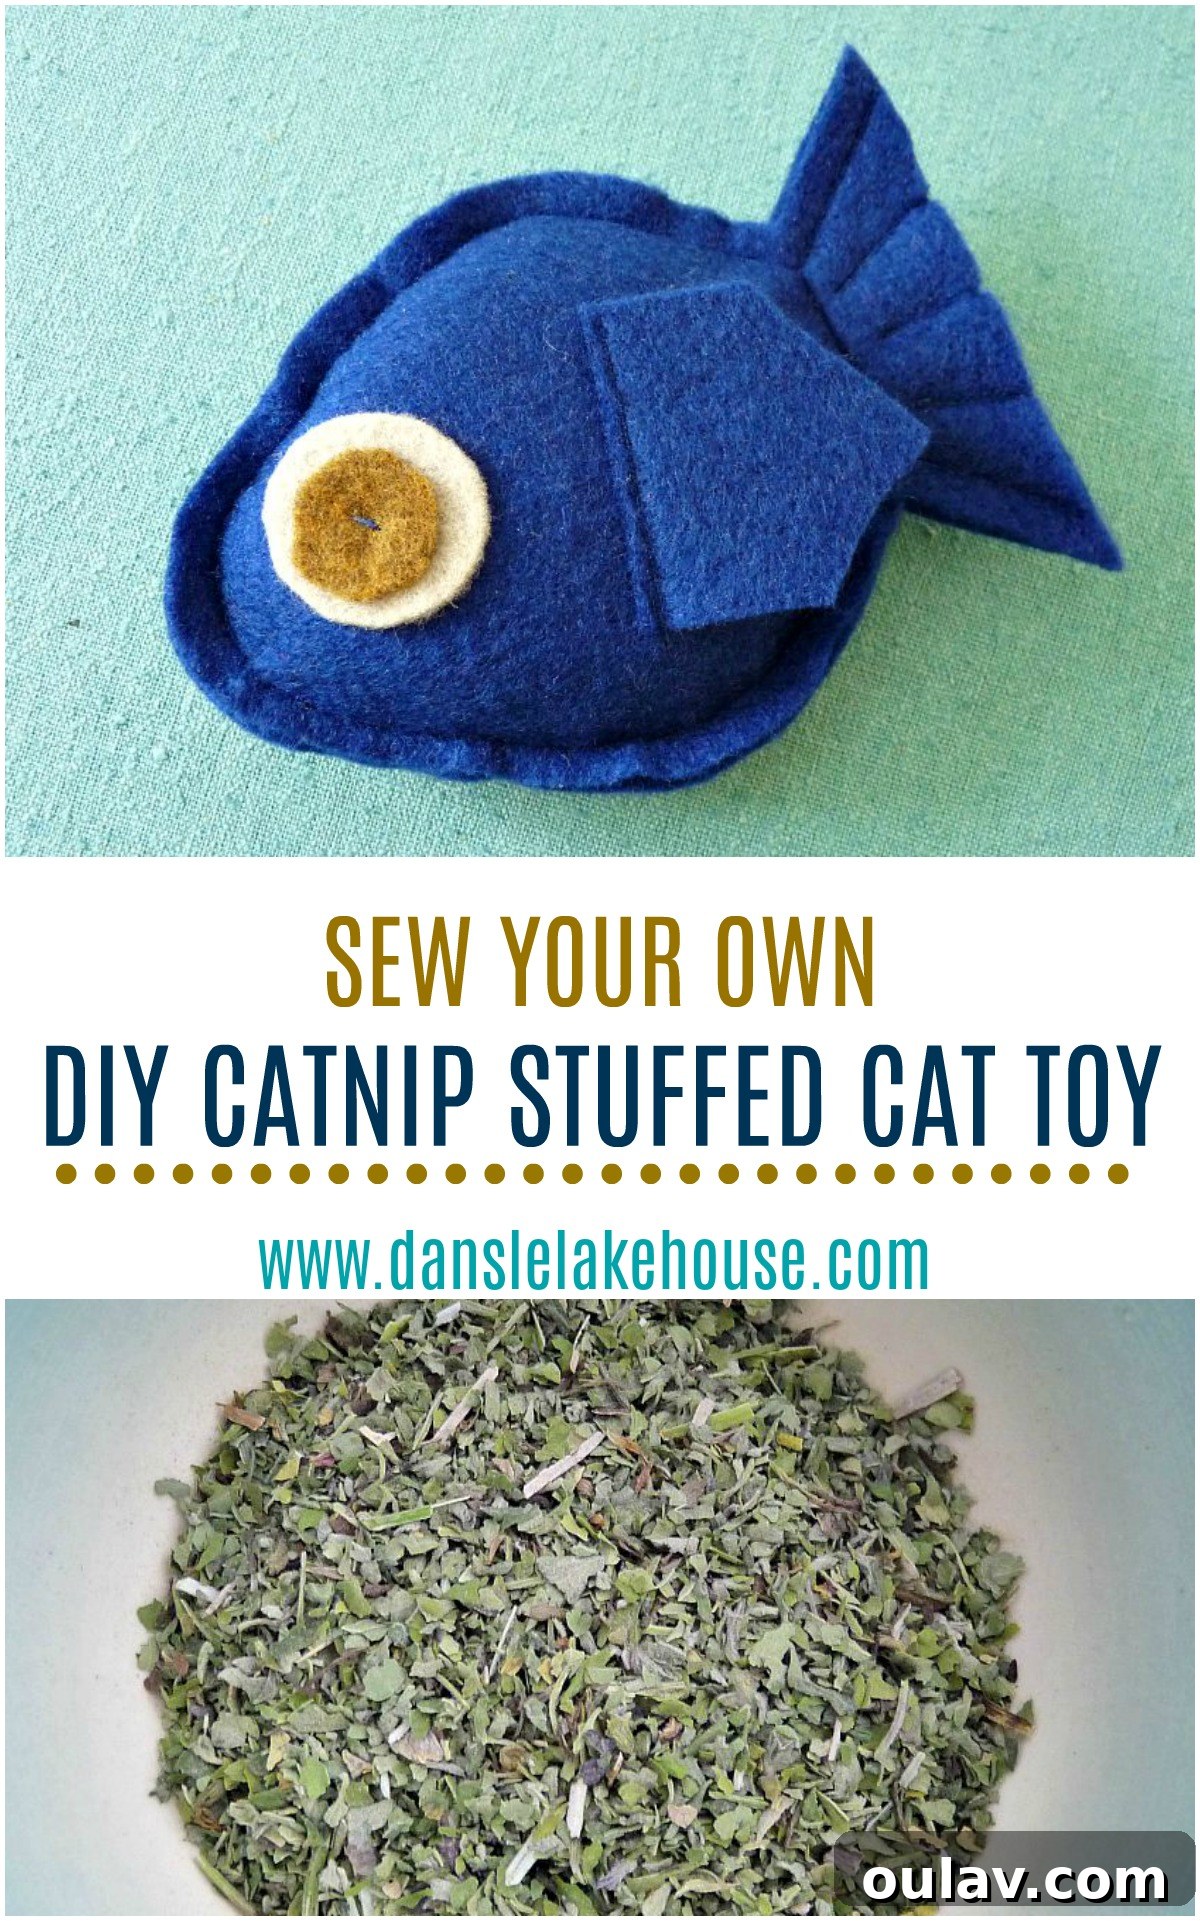
The journey to the perfect catnip toy was a delightful, if sometimes frustrating, afternoon project shared with my Mom. We experienced a few “DIY fails” along the way, which we’ll humorously recount. But ultimately, our persistence paid off, resulting in this adorable, handmade catnip-stuffed fish toy:
If you’re eager to jump straight to our triumphant design, feel free to skip ahead to DIY Cat Toy Version Three: The Winner!. Otherwise, join us as we explore the trials and triumphs of crafting the ultimate catnip toy.
The Journey to the Perfect Homemade Catnip Toy: Learning from Our Attempts
Crafting for our pets often involves a bit of experimentation. Our goal was simple: create a durable, appealing, and catnip-packed toy for Wido Piddy. What we quickly learned was that material choice and shape complexity play a huge role in the success of a handmade cat toy. Let’s delve into our first two attempts.
DIY Cat Toy Version One: The Ambitious Cowboy
For our initial foray into DIY cat toys, we began with enthusiasm and a vision for a unique design. We decided to create a toy from a whimsical cowboy-patterned fabric – specifically, my favorite cowboy fabric! The idea was to make something sturdy and fun, a small cowboy ready for adventure.
Supplies for Version One:
- Scrap Fabric (our cowboy print)
- Fusible interfacing (for added strength)
- Thread
- Catnip (approx. 10-20 grams)
- Sewing Machine
- Hand Needle
- Scissors
Step-by-Step Instructions for the Cowboy Toy:
The first step involved careful cutting. I meticulously cut out one of the lone cowboys from the fabric, ensuring a half-inch seam allowance around the intricate shape. For the back, I cut a corresponding cowboy shape from a plain, color-coordinating cotton fabric. My Mom wisely suggested using fusible interfacing to give the toy extra durability against sharp kitty claws, so I cut two matching pieces of interfacing and ironed them onto the wrong sides of our fabric pieces according to the instructions. With the interfacing applied, our two cowboy shapes were ready for the sewing machine.
Next, we pinned the fabric pieces with their right sides facing each other. We then carefully sewed along the edge, maintaining our half-inch seam allowance, but leaving a small opening under the horse’s belly. This opening was crucial for turning the toy right side out and for stuffing it later. Once the edges were sewn, we tied off the thread and snipped small notches into the curved edges. This technique is essential for ensuring that the curves lie smoothly and the shape is well-defined once the toy is inverted.
The real challenge began when it was time to turn the tiny cowboy right side out. This seemingly simple step turned into a twenty-minute wrestling match, leading me to question why I hadn’t simply bought a five-dollar cat toy! The intricate, small shape combined with the added stiffness from the interfacing made it an arduous task. But eventually, with the help of a small spoon to poke and prod every tiny limb and corner into place, I triumphed!
With the cowboy finally right side out, it was time for the good stuff: catnip. I carefully stuffed the toy with loose catnip, pausing periodically to ensure it was evenly distributed into the legs, head, and tail. Once it was plump and packed full, the small opening at the bottom was meticulously hand-sewn shut. Ta-da! Our very first DIY catnip stuffed cat toy was complete.
DIY Cat Toy Version Two: The Debatable Mouse (or Parsnip?)
After the laborious process of creating the cowboy, we were determined to find a simpler approach. Learning from our first attempt, we decided to experiment with a less intricate shape and opted to forgo the interfacing altogether, hoping for an easier crafting experience.
Supplies for Version Two:
- Scrap Fabric (cotton)
- Thread
- Catnip (approx. 10-20 grams)
- Sewing Machine
- Hand Needle
- Scissors
Step-by-Step Instructions for the Mouse Toy:
This time, I cut out a simple “mouse” shape from a piece of scrap cotton fabric. The less complex outline promised a smoother process. We sewed the edges much like before, leaving an opening, and after snipping the curves, turning it right side out was indeed significantly easier. Things were progressing fairly smoothly, although it was still fiddly work due to the small scale.
Then came a rather amusing debate between my Mom and me: was it a mouse, a rat, or, as my Mom insisted, a parsnip? She was ready to declare it a root vegetable, sew a few leaves on top, and call it a day. But I held my ground, convinced we could bring the mouse vision to life. After a spirited discussion, we conceded to adding a braided string tail, some tiny whiskers, and a pair of beady eyes to definitively transform our ambiguous shape into a proper mouse.
It’s a mouse, dammit! And so, our second DIY catnip stuffed cat toy was complete – a charming, albeit slightly controversial, little creature.
DIY Cat Toy Version Three: The Ultimate Felt Fish – THE WINNER!
Despite our efforts, the cowboy felt too stiff and complex, and the “mouse” was, well, questionable. Slightly dejected by our earlier creations, but confident that Piddy wouldn’t judge their aesthetic quality as long as they contained the irresistible “good stuff,” I started idly fiddling with some felt earmarked for a different project. That’s when inspiration struck: felt!
Felt, I realized, would be an absolute game-changer for a cat toy. Its unique properties eliminate the need to turn the toy right side out because it doesn’t fray. This means we could simply sew the shape directly onto the right side of the fabric, making the entire process faster, easier, and less frustrating.
Supplies for the Winning DIY Catnip Stuffed Cat Toy:
- Felt sheets (various colors for fish, eyes, fins)
- Catnip (approx. 10-20 grams)
- Sewing machine (optional, can be hand-sewn)
- Hand Needle
- Thread (matching or contrasting)
- Scissors
Step-by-Step Instructions for the Felt Fish Toy:
- Cut the Fish Body: Start by cutting out a simple fish shape from two pieces of felt. Keep the shape relatively straightforward for ease of sewing and stuffing.
- Prepare Embellishments: Cut out pairs of smaller and larger circles from contrasting felt colors to create the eyes. Then, cut out small fin shapes from another piece of felt.
- Attach Eyes: Using a hand needle and thread, hand sew the felt eye pieces onto one side of the fish body. A few simple stitches will secure them in place, adding character to your fish.
- Attach Fins: While the two fish body pieces are still separate, position the felt fin at the base of the fish where you’d like it to be. Use your sewing machine (or hand stitch) to attach the fin to one of the fish body pieces. This makes it easier to incorporate the fin neatly into the seam.
- Sew the Body: Pin the two felt fish sides together, making sure the fin is sandwiched neatly inside. Sew around the entire edge of the fish using your sewing machine, but remember to leave the tail section open. This opening is where you’ll stuff the catnip.
- Stuff with Catnip: Tie off your threads securely. Now, carefully stuff the fish body with the loose catnip. Gently work the catnip into all parts of the fish, ensuring it’s plump and appealing to your cat. Leave the tail section empty for decorative stitching.
- Close and Decorate: Once the body is fully stuffed, use your sewing machine or hand needle to sew the open tail section shut. For a finishing touch, you can add some decorative stitching on the tail, creating the illusion of scales or movement.
SUCCESS! This final DIY catnip stuffed cat toy turned out to be incredibly adorable and, more importantly, a huge hit with Wido Piddy. The entire process was dramatically faster – we’re talking minutes, not hours – and so incredibly easy compared to our previous attempts.
Beyond its cuteness (it certainly looks infinitely better than the “rat/turnip” and the stiff cowboy!), felt offers fantastic versatility. If you don’t own a sewing machine, you can easily create this toy using a simple blanket stitch around the edges, as felt is very forgiving. For those using felted wool (rather than synthetic felt), you could even needle felt intricate designs or subtle details onto a simple shape, adding another layer of personalization.
Catnip Essentials: Sourcing and Usage Tips
Catnip (Nepeta cataria) is a fascinating herb that can bring immense joy and playful energy to many cats. Its active compound, nepetalactone, triggers a euphoric response in roughly 70-80% of felines, making it an ideal ingredient for stimulating homemade toys. Knowing how to source and use it effectively is key to a successful DIY catnip cat toy project.
Where to Find Quality Catnip:
I was fortunate enough to find high-quality, loose-leaf catnip at a local shop that specializes in teas. However, if local options are scarce, online retailers like Amazon are excellent resources. This particular listing on Amazon appears to offer a good deal for bulk catnip, which is perfect for multiple toys.
How Much Catnip to Use:
For all three of our experimental toys, I used approximately 50 grams of catnip in total. The precise amount you’ll need will, of course, depend on the size and quantity of the toys you plan to make. For smaller toys or if you want to conserve your catnip, consider mixing it with some soft batting or polyester fiberfill. Many store-bought catnip toys use a combination of filling, with some boasting 100% catnip while others have a blend.
Observe and Adjust:
It’s always a good idea to observe your kitty’s reaction to the catnip. Some cats are highly sensitive and can go “totally batty” with just a small amount, while others might need a more concentrated dose to experience its full effects. You might need to test out different ratios of catnip to batting to find the perfect potency for your cat without overstimulating them.
Storage and Freshness:
To keep your catnip potent, store it in an airtight container in a cool, dark place. Over time, catnip can lose its aroma and effectiveness, so using fresh catnip for your homemade toys will yield the best results.
Tips for Creating Safe and Durable Homemade Cat Toys
When crafting for your feline friend, safety and durability should always be top priorities. Here are a few additional tips to ensure your DIY catnip cat toys are both fun and long-lasting:
- Choose Safe Materials: Always opt for non-toxic, pet-safe fabrics and embellishments. Felt, cotton, and wool are generally excellent choices. Avoid fabrics that fray excessively or have loose threads that could be ingested.
- Secure All Elements: If adding eyes, whiskers, or other small details, ensure they are very securely sewn on. Avoid using small buttons, beads, or plastic parts that could detach and become a choking hazard. Embroidery is often a safer alternative for facial features.
- Strong Stitching: Use strong thread and reinforce all seams, especially if your cat is a rough player. Double stitching around the edges and a tight hand-sewn closure for the stuffing opening will help the toy withstand enthusiastic chewing and batting.
- Consider Cat Personality: Does your cat love to bunny-kick their toys? Make sure the toy is robust enough for vigorous play. If they’re more of a gentle nudger, lighter materials might be fine.
- Rotate Toys: To keep interest high and extend the life of your homemade catnip toys, rotate them out every few days. Store unused catnip toys in an airtight container to keep the scent fresh.
- Cleaning: Most fabric cat toys can be hand-washed gently with mild, pet-safe soap and air-dried. Ensure they are completely dry before returning them to your cat.
Conclusion: The Joy of Handmade Gifts for Your Feline Friends
Our journey to create the perfect DIY catnip stuffed cat toy was filled with lessons, laughter, and ultimately, success. From the complex cowboy to the debatable mouse, we learned that sometimes, the simplest design, like our winning felt fish, is the most effective and enjoyable to make. Creating something with your own hands for your beloved pet is a uniquely fulfilling experience.
Not only do homemade cat toys offer a cost-effective alternative to store-bought options, but they also allow for complete customization and the peace of mind that comes from knowing exactly what materials are in your cat’s toys. We hope this comprehensive guide inspires you to grab some felt, catnip, and your sewing supplies to craft a special, irresistible treat for your own furry companion. Happy sewing, and may your cat enjoy endless hours of catnip-induced bliss!