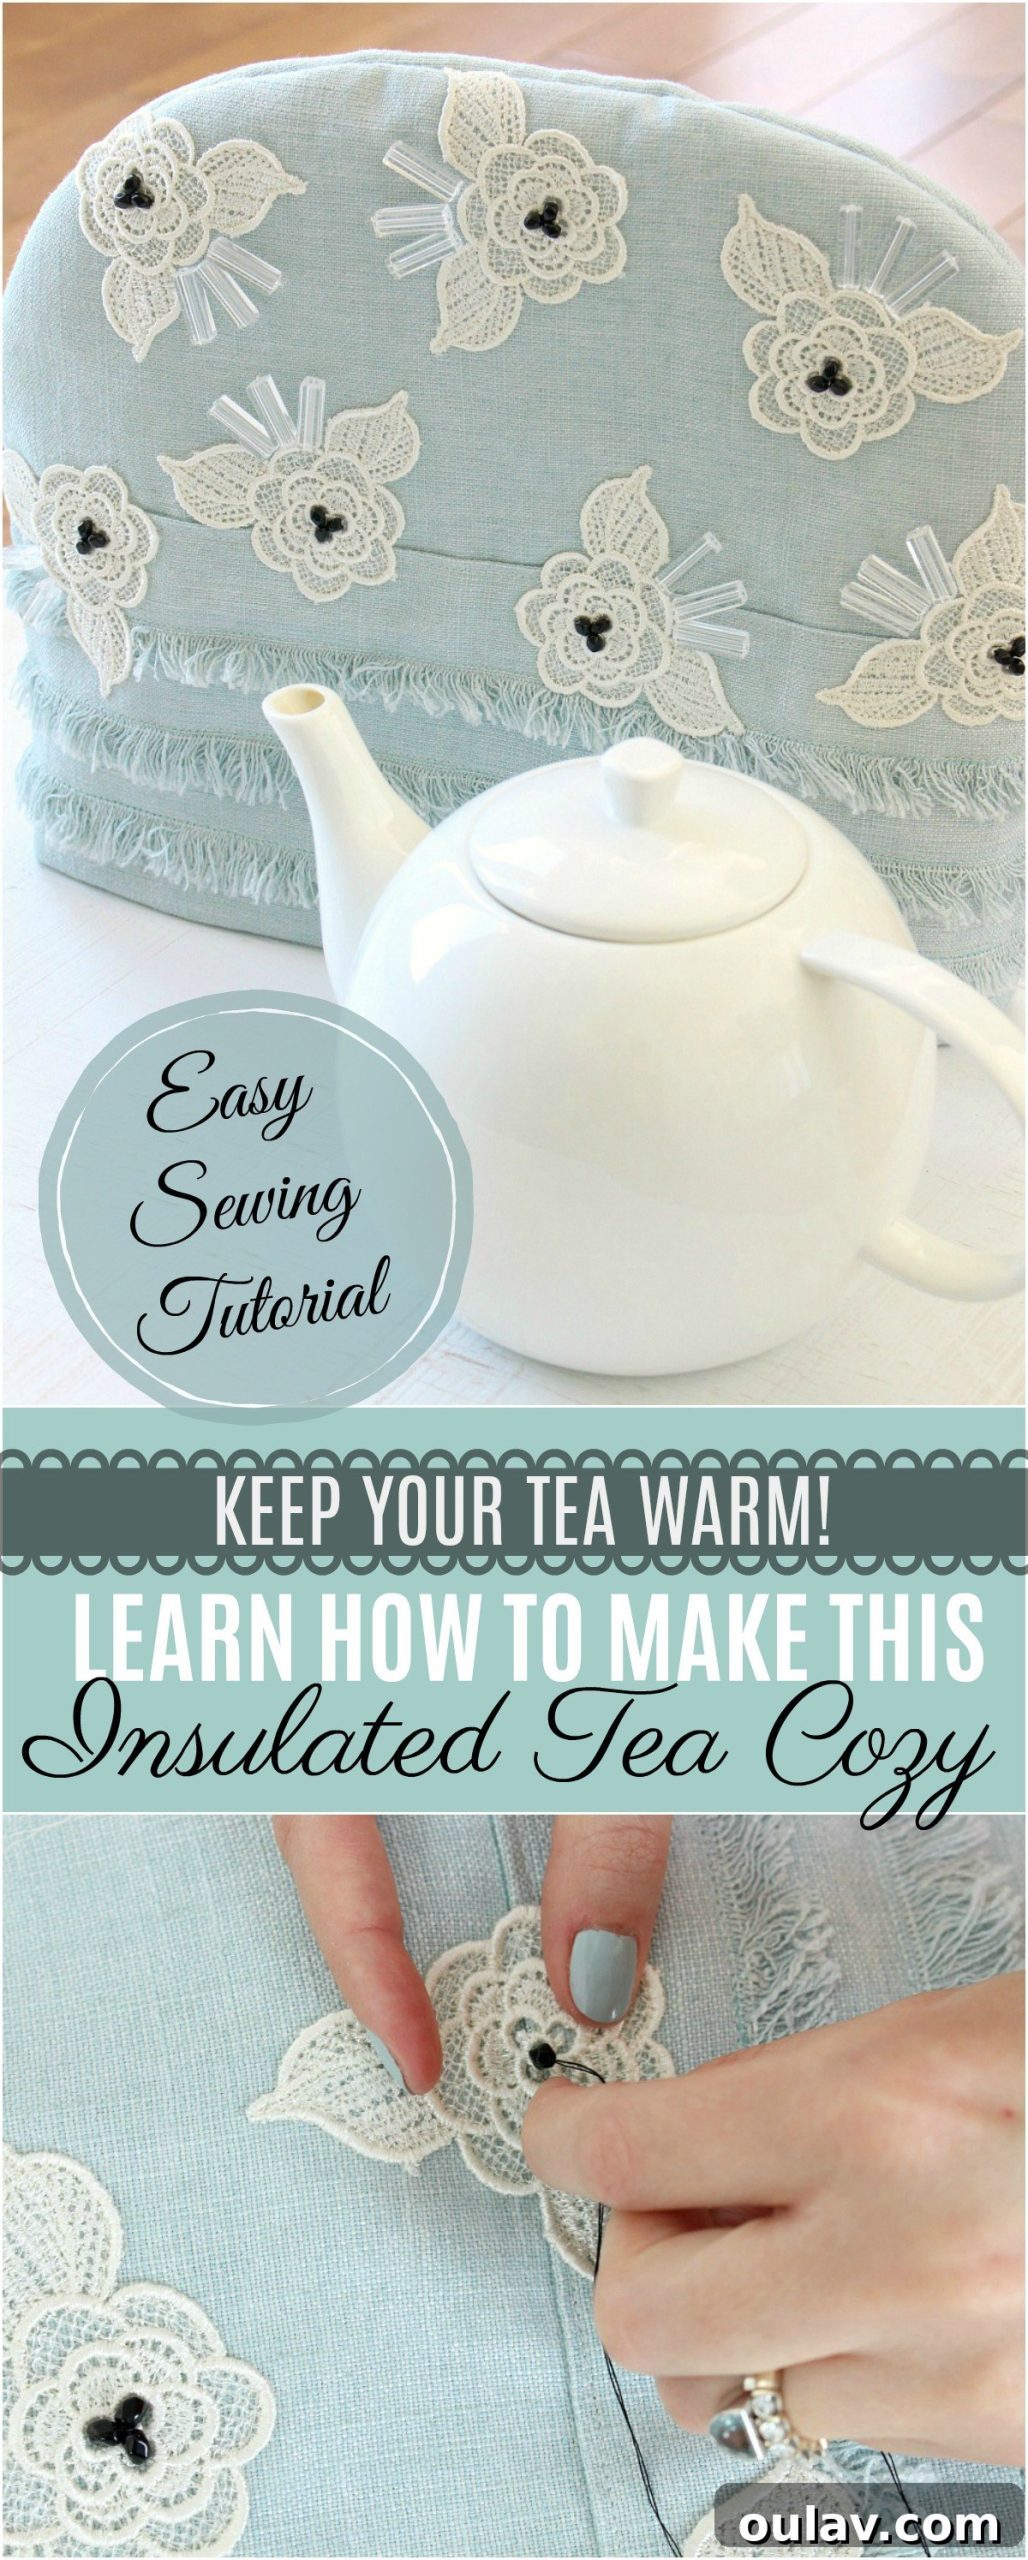
As winter’s crisp embrace reluctantly gives way to the first hints of spring, a unique weather phenomenon often blesses our lakeside haven: sparkling open water juxtaposed with shores still blanketed in fresh, glistening snow. This magical, fleeting combination creates the perfect backdrop for quiet moments of reflection and appreciation. It’s during these special windows of time that I find immense joy in brewing a comforting pot of tea and settling into my favorite spot on the sofa to watch the serene lake. It’s also an excellent opportunity for some unexpected wildlife viewing – occasionally, you might even spot an otter playfully floating in on a rogue chunk of ice.
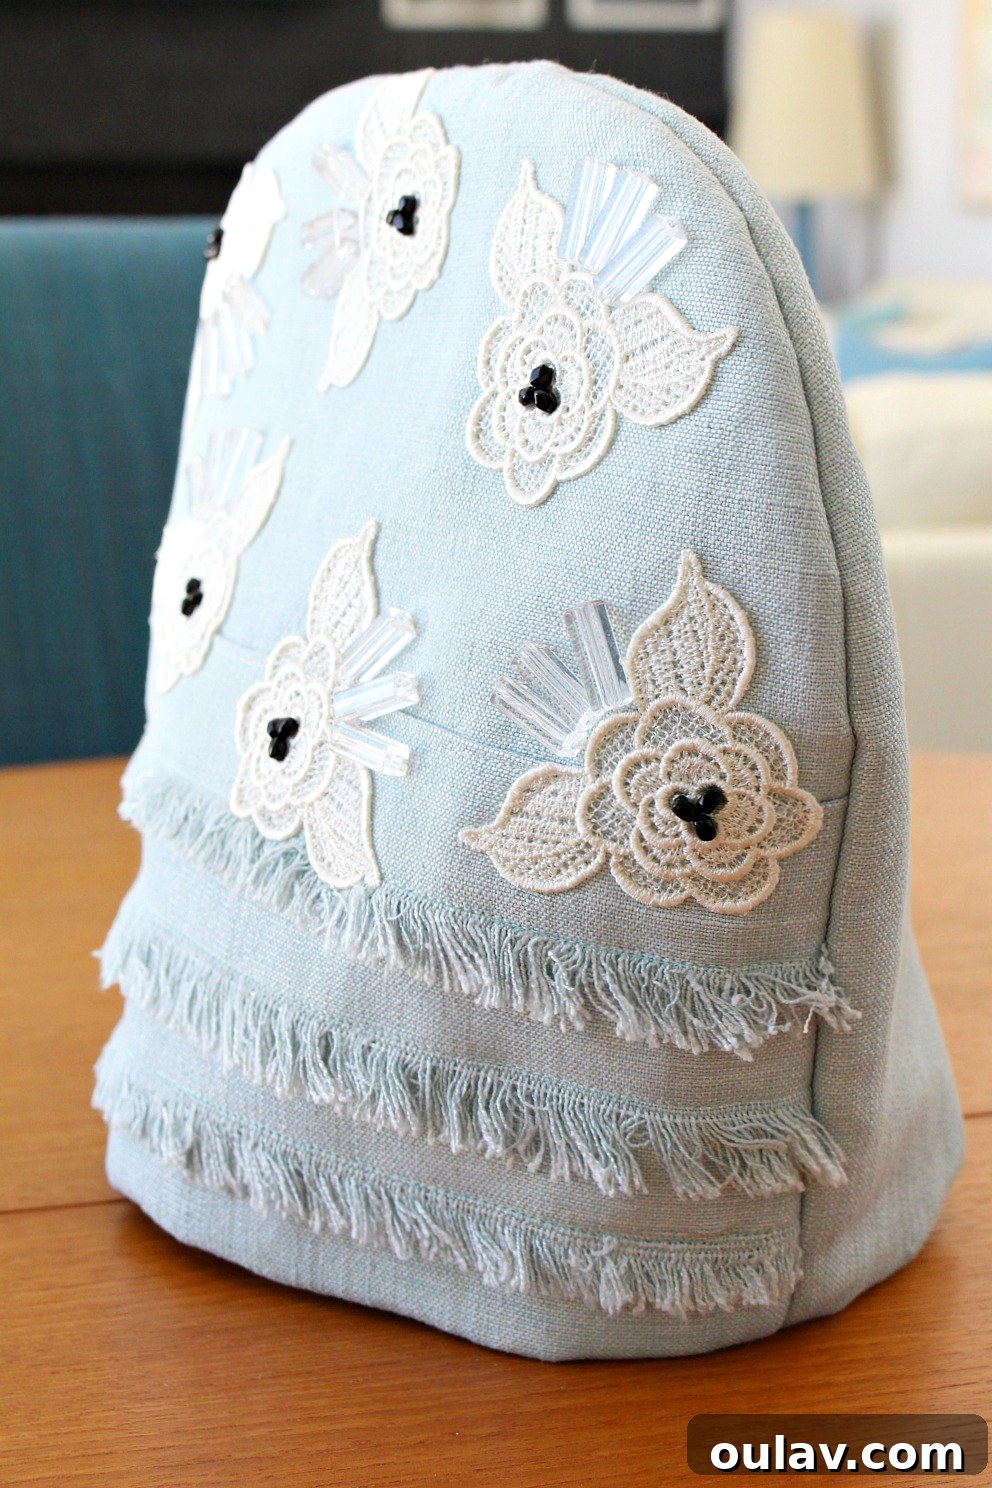
While my appreciation for these tranquil scenes was complete, one element felt conspicuously absent from my ideal spring routine: a beautiful, insulated tea cozy. A proper tea cozy is more than just a cover; it’s an invitation to linger longer, to savor each warm sip without rush, extending those cherished moments of peace. This realization sparked a delightful crafting project, perfect for those lingering chilly days. I happened to have some exquisite lace appliques, a treasured gift from my Mummu, and after successfully creating that charming DIY doily pillow, I envisioned incorporating similar lace elements onto a serene blue linen fabric. Initially, the rose-shaped appliques felt a touch too traditional, a little “frilly” for my contemporary taste. However, the addition of contrasting black glass beads, paired with modern, lucite-inspired tube beads, utterly transformed the design. Suddenly, the aesthetic shifted, evoking a sophisticated, Delpozo-inspired elegance. The process of meticulously adding each bead was incredibly relaxing, a meditative practice that brought the design to life. I absolutely adore how the finished DIY tea cozy turned out! It perfectly blends comfort, warmth, and a touch of modern artistry. Allow me to guide you through the process of sewing and embellishing your very own custom tea cozy.
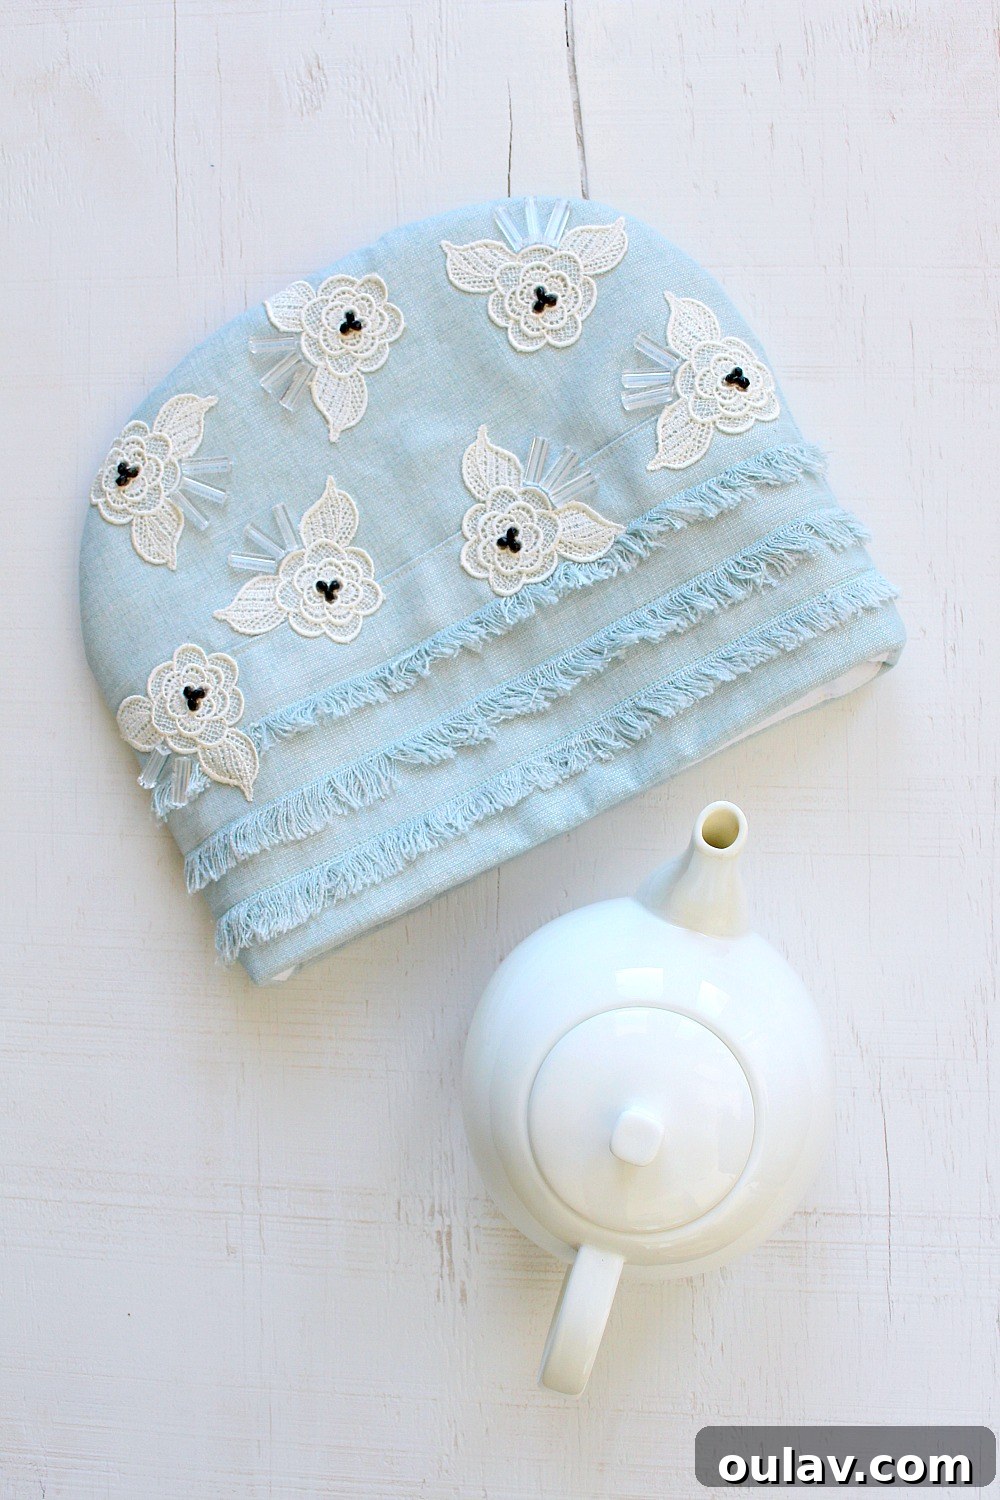
Why Every Tea Lover Needs a DIY Tea Cozy: The Art of Savoring
For connoisseurs of tea, the perfect brew is a ritual, a moment of comfort and quiet indulgence. A crucial part of this experience is maintaining the tea’s optimal temperature, allowing you to truly appreciate its delicate flavors and aromas from the first pour to the last drop. This is precisely where a high-quality tea cozy becomes an indispensable accessory. Beyond its primary function of insulation, a handmade tea cozy adds a personal touch of charm and elegance to your kitchen or living space. It transforms a simple teapot into a statement piece, reflecting your unique style and appreciation for handcrafted items. Imagine hosting an afternoon tea, where your guests are not only treated to perfectly warm beverages but also admire a beautifully embellished tea cozy that sparks conversation and admiration. This project not only equips you with a functional item but also allows you to express your creativity, making it an ideal gift for fellow tea enthusiasts or a delightful treat for yourself.
Crafting Your Own Beaded Lace Tea Cozy: Supplies You’ll Need
Before embarking on this rewarding sewing adventure, gather all your materials. Quality supplies will ensure your tea cozy is both beautiful and durable, designed to last through countless tea times. Here’s a comprehensive list:
- Linen or Cotton Fabric: Choose a high-quality, durable fabric that complements your home decor. Linen offers a lovely drape and subtle sheen, while cotton is versatile and easy to work with. Consider this linen similar to mine for a refined look.
- Lace Flower Appliques: These delicate embellishments add a touch of vintage charm and elegance. Select appliques that resonate with your personal style. Explore various lace flower appliques here.
- Large Tube Beads: These beads, especially those with a modern, lucite-like appearance, can add a contemporary edge to traditional lace. While finding exact matches can be tricky, these elegant brass tubes offer a sophisticated alternative.
- Black Glass Beads: Small, sparkling glass beads add a wonderful contrast and depth, making your embellishments truly pop. Find high-quality black glass beads here.
- Beading Thread: A strong, thin thread specifically designed for beading will ensure your embellishments are secure and durable.
- Beading Needle: These needles are much finer than standard sewing needles, making them ideal for passing through tiny bead holes and delicate lace. A reliable beading needle can be found here.
- Sewing Machine + Thread: Essential for quickly and efficiently assembling the main structure of your tea cozy. Matching thread to your main fabric is key.
- Heat Bond Iron-On Adhesive: This adhesive is fantastic for securing appliques before stitching, ensuring they stay perfectly in place. Grab your Heat Bond adhesive for a seamless application.
- Cotton Batting: This fluffy layer provides the critical insulation that keeps your tea warm. Using multiple layers enhances warmth.
- Interfacing: Adds stiffness and structure to your fabric, particularly useful for making beading easier and ensuring the cozy holds its shape. Explore various types of interfacing here.
- Cotton Material for Lining: A soft, durable fabric for the interior of your tea cozy, protecting the batting and providing a neat finish.
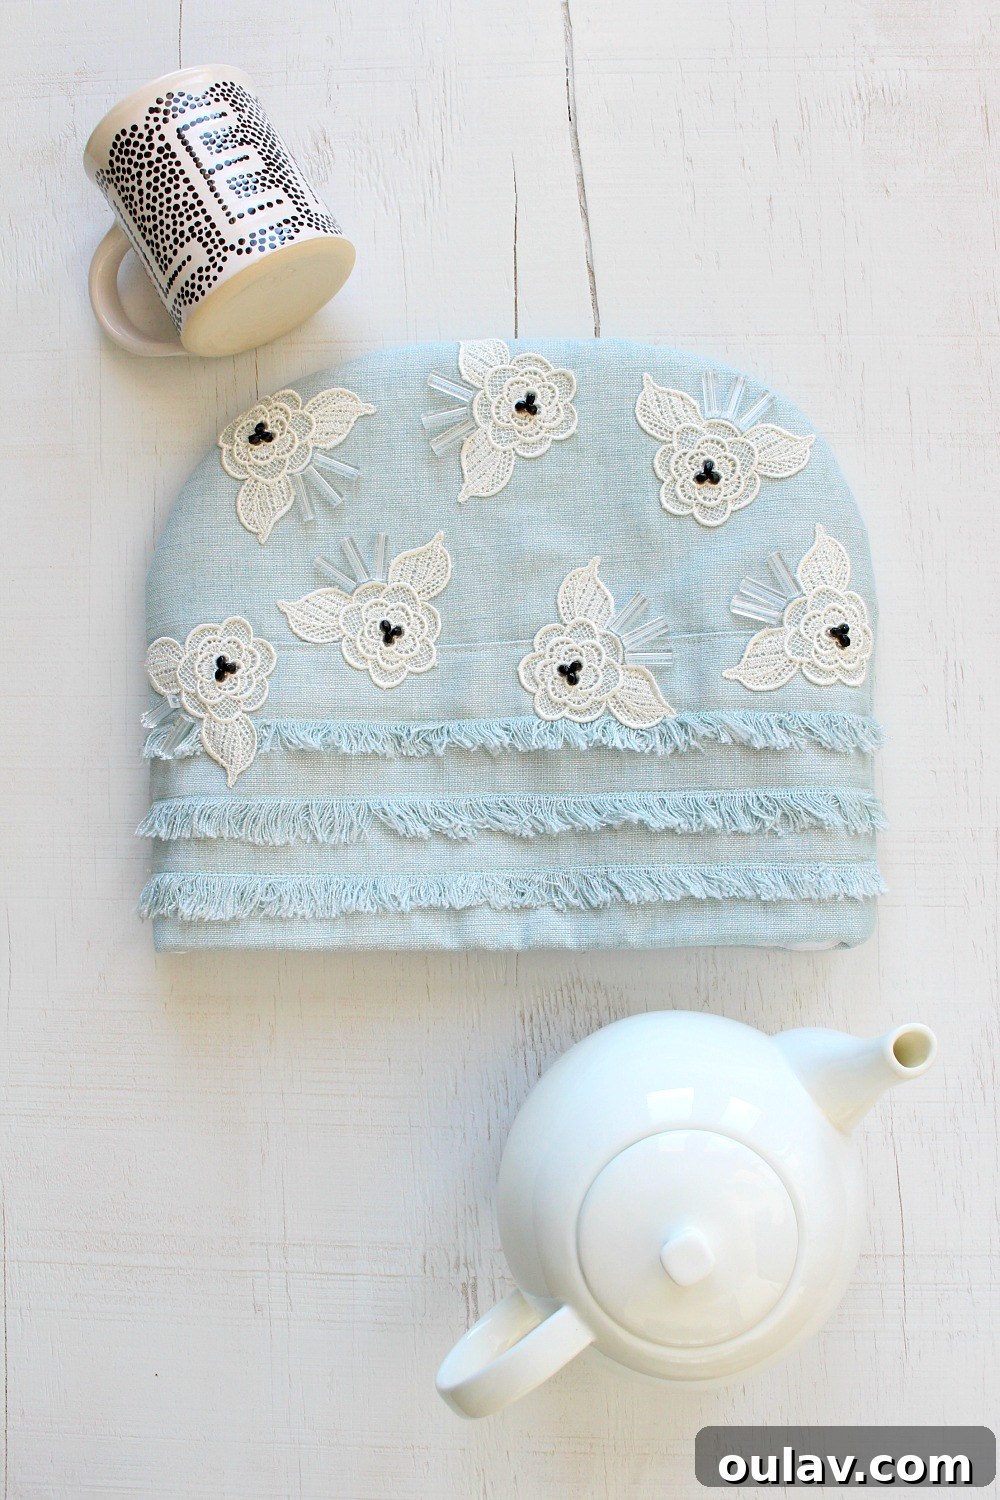
Step-by-Step Guide: Crafting Your Elegant Beaded Lace Tea Cozy
Embark on this creative journey to make a tea cozy that is both functional and a work of art. Follow these detailed steps for a successful outcome.
Step 1: Determine the Perfect Size for Your Teapot
The foundation of a well-fitting tea cozy lies in accurate measurements. If you already have a tea cozy that fits your teapot perfectly, you can simply measure its dimensions. However, if starting from scratch, take a flexible tape measure and drape it loosely over your teapot, from the table surface, over the highest point of the lid, and back down to the table on the other side. Do this both across the spout and handle, and from front to back, to get a comprehensive sense of the required width and height. Remember to add a little extra allowance – about an inch or two – to account for the thickness of the batting and interfacing layers that will provide insulation. It’s always easier to slightly trim down excess fabric than to try and expand a cozy that’s too small.
Step 2: Prepare and Cut Your Fabric Pieces
Using the measurements from Step 1, it’s time to cut your fabric. You’ll need to cut out two identical semi-circle shapes (or a dome-like shape that covers your teapot) from three different materials: your chosen main fabric (like blue linen), your lining fabric, and your woven interfacing. Additionally, you will cut four layers of cotton batting. For precision, you might want to create a paper pattern first, ensuring both sides are perfectly symmetrical. When cutting, remember to include a generous 5/8″ seam allowance around all edges. This extra margin provides flexibility during sewing and ensures your tea cozy will be roomy enough. It’s always a good practice to cut slightly larger, as fabric can be easily trimmed down if needed, but rarely can it be expanded.
Step 3: Add Structure with Interfacing to the Front Panel
The main linen fabric, while beautiful, can sometimes be too soft or flexible, especially when adding intricate beadwork. To provide necessary stiffness and support for your embellishments, we recommend sewing a layer of woven interfacing to the back of what will be your tea cozy’s “front” piece. This additional structure makes handling the fabric and affixing beads much simpler and helps the cozy maintain its elegant shape. If your chosen fabric is already quite stiff, or if you plan to skip the embellishment step, you may opt to omit the interfacing.
Step 4: Embellish the Front Panel with Trim and Appliques
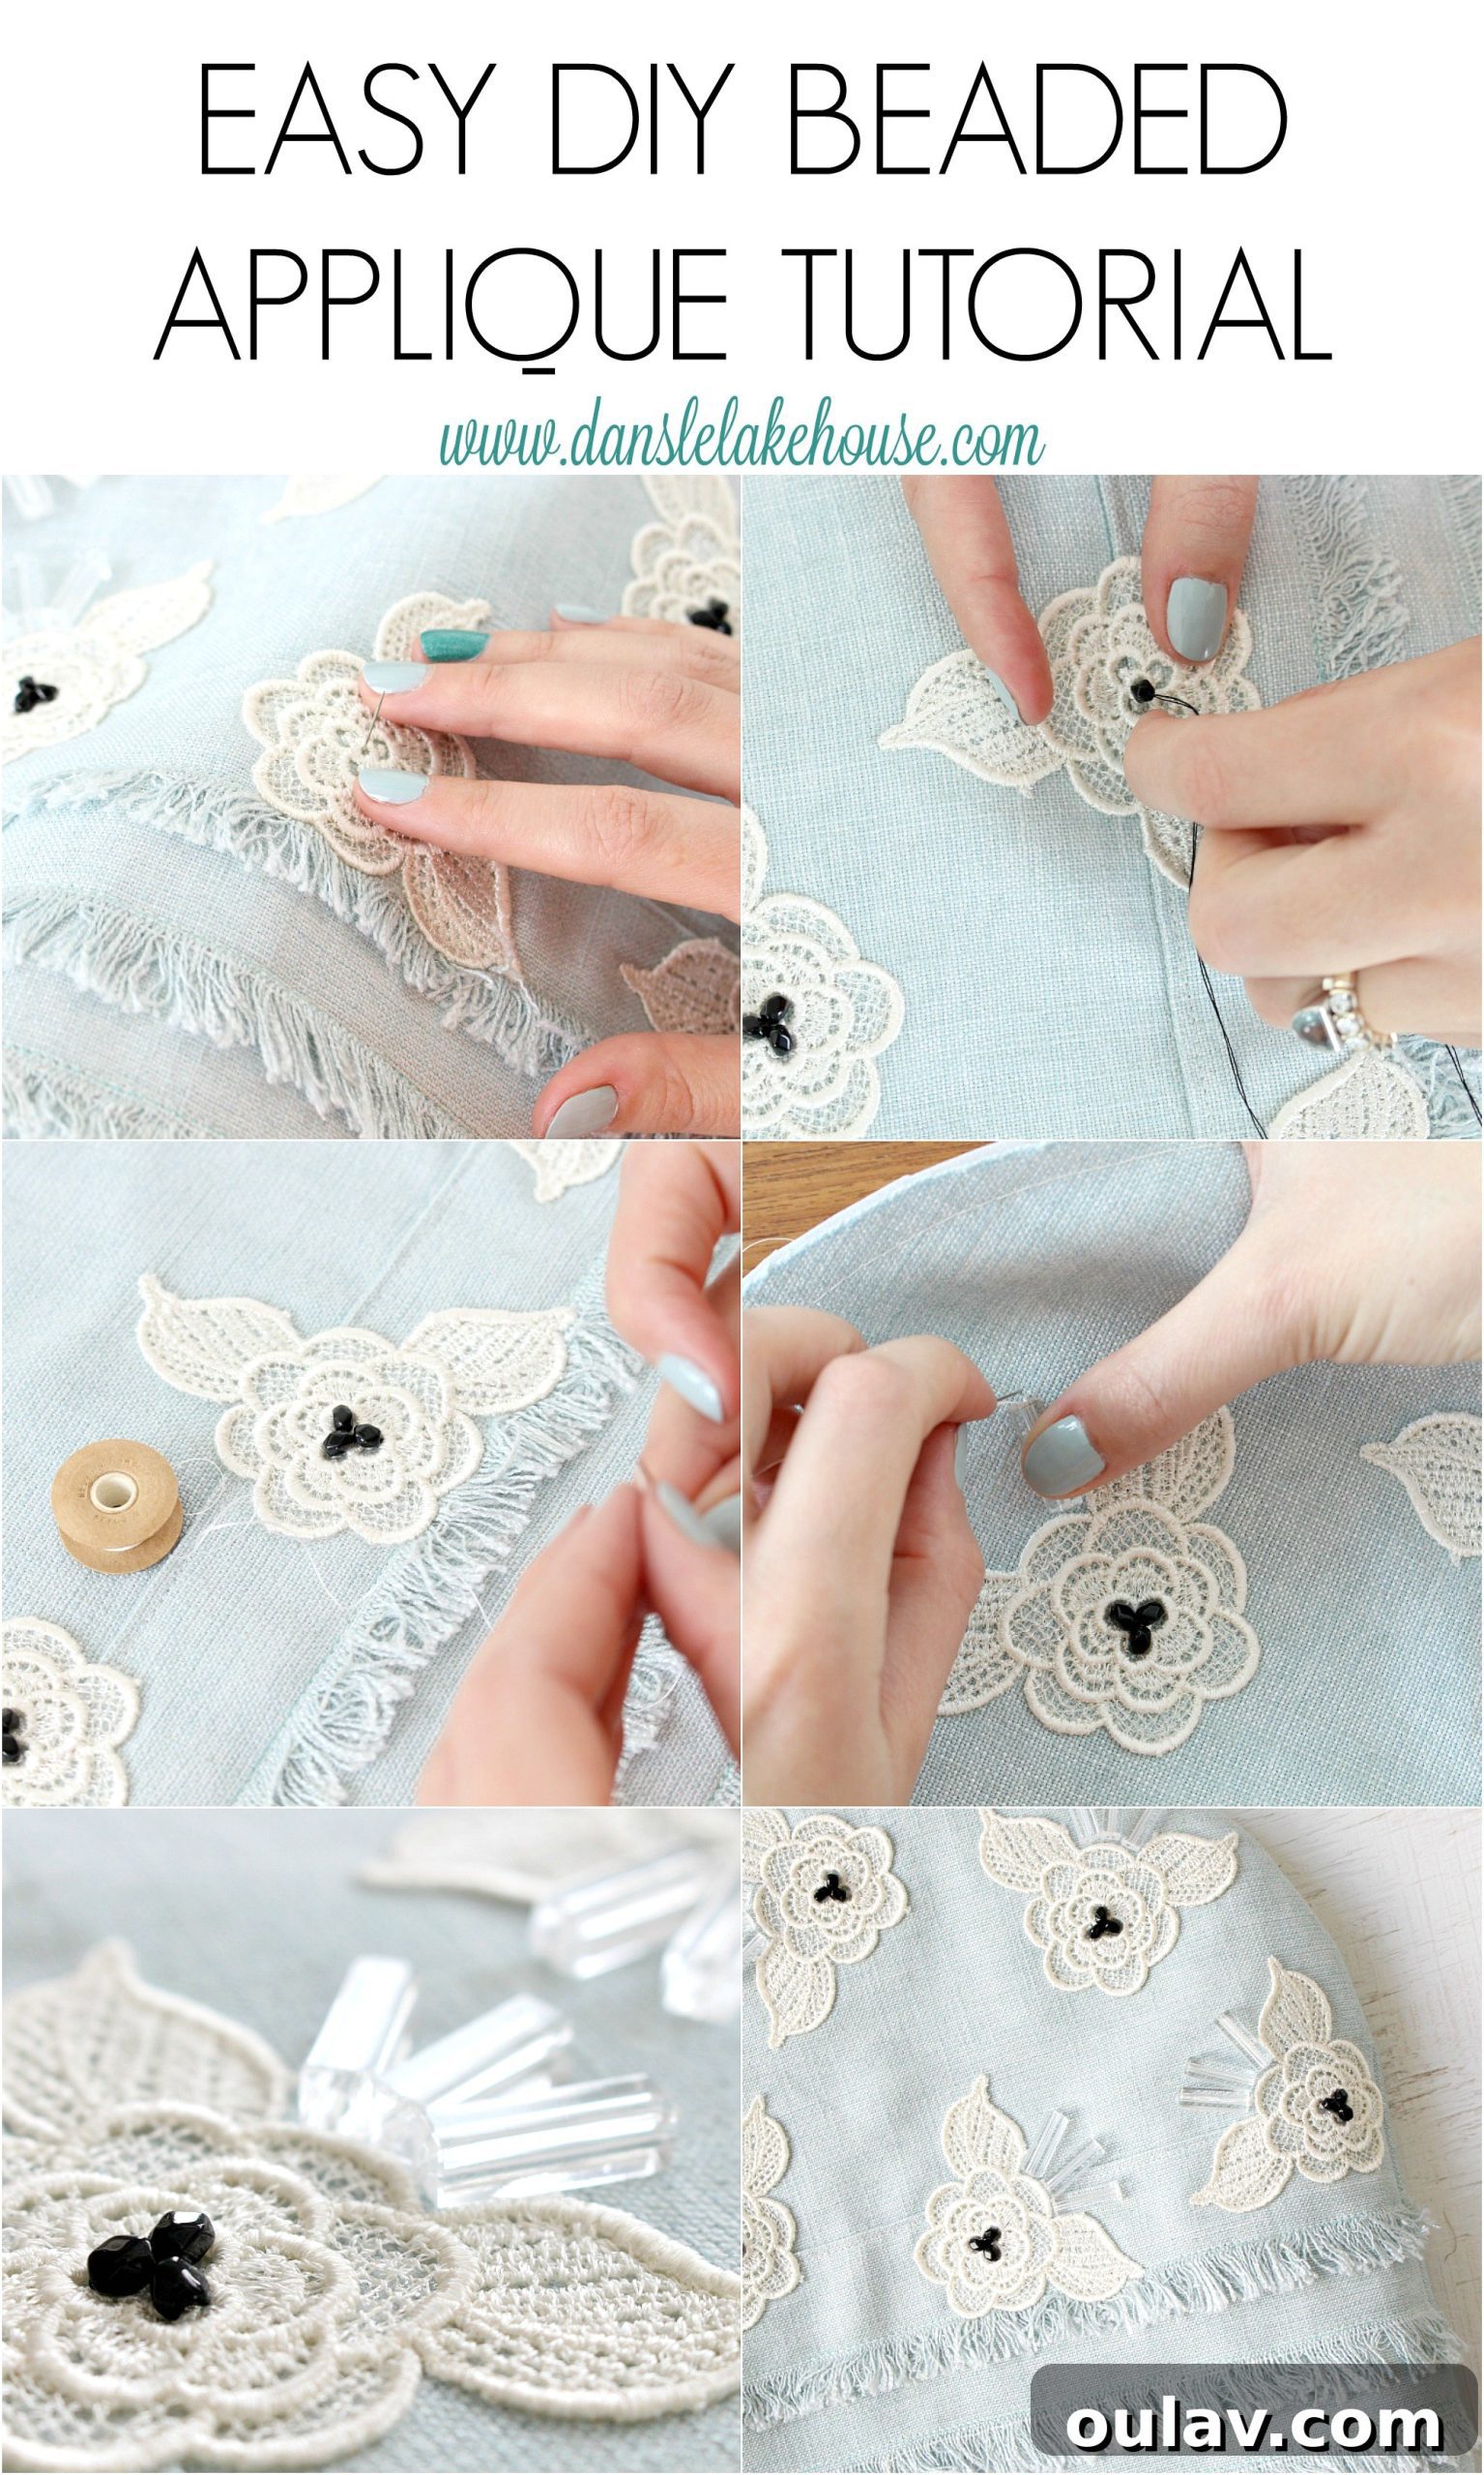
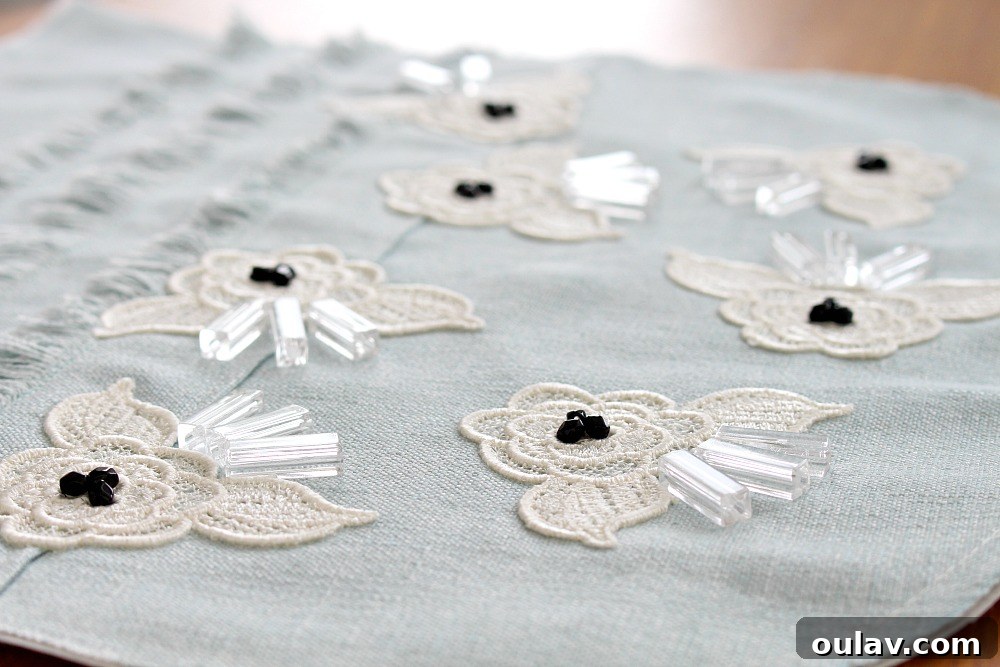
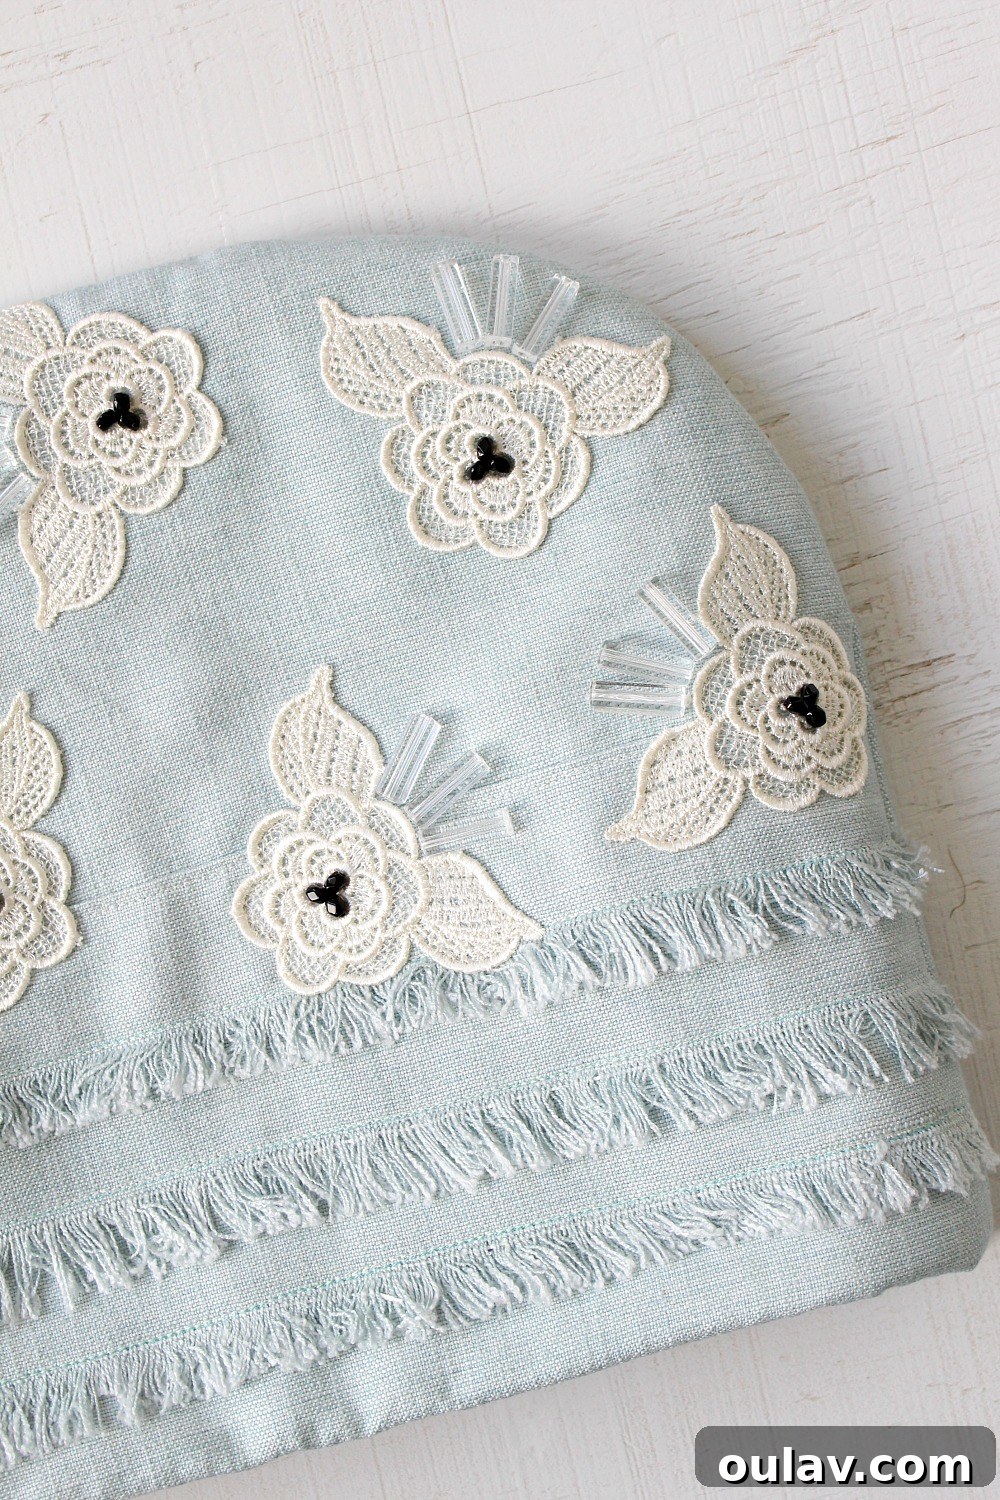
This is where your tea cozy truly begins to take on its unique character. Before assembling the main body, it’s crucial to apply all your decorative elements to the “right” side of the front fabric panel. This allows you to hide the raw edges of any trim or appliques within the seams later on. For the fringe, simply cut strips of your main fabric and allow the edges to fray naturally for a soft, rustic look. Fold over one edge of each strip and sew it down neatly. For the lace appliques, employ the same Heat Bond iron-on adhesive used in the DIY doily pillow project. Refer to that tutorial for valuable tips on using iron-on adhesive effectively. After adhering the appliques, secure them further by running a careful row of stitching around the edges of the lace roses with your sewing machine. This step provides durability and a polished finish. Then, it’s time for the captivating beadwork.
Step 5: The Art of Beading: Adding Sparkle and Dimension
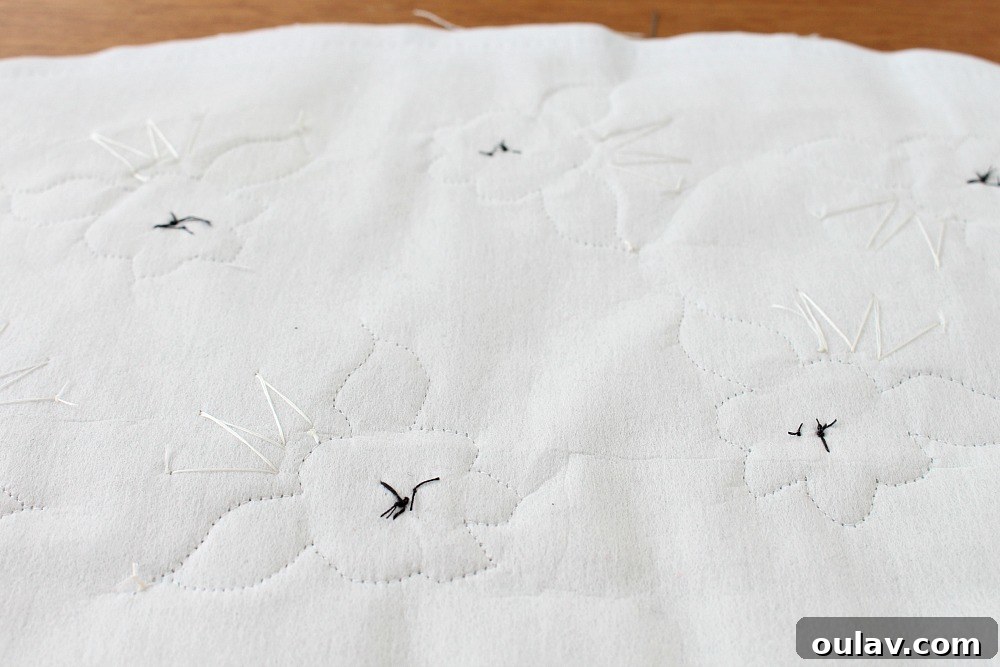
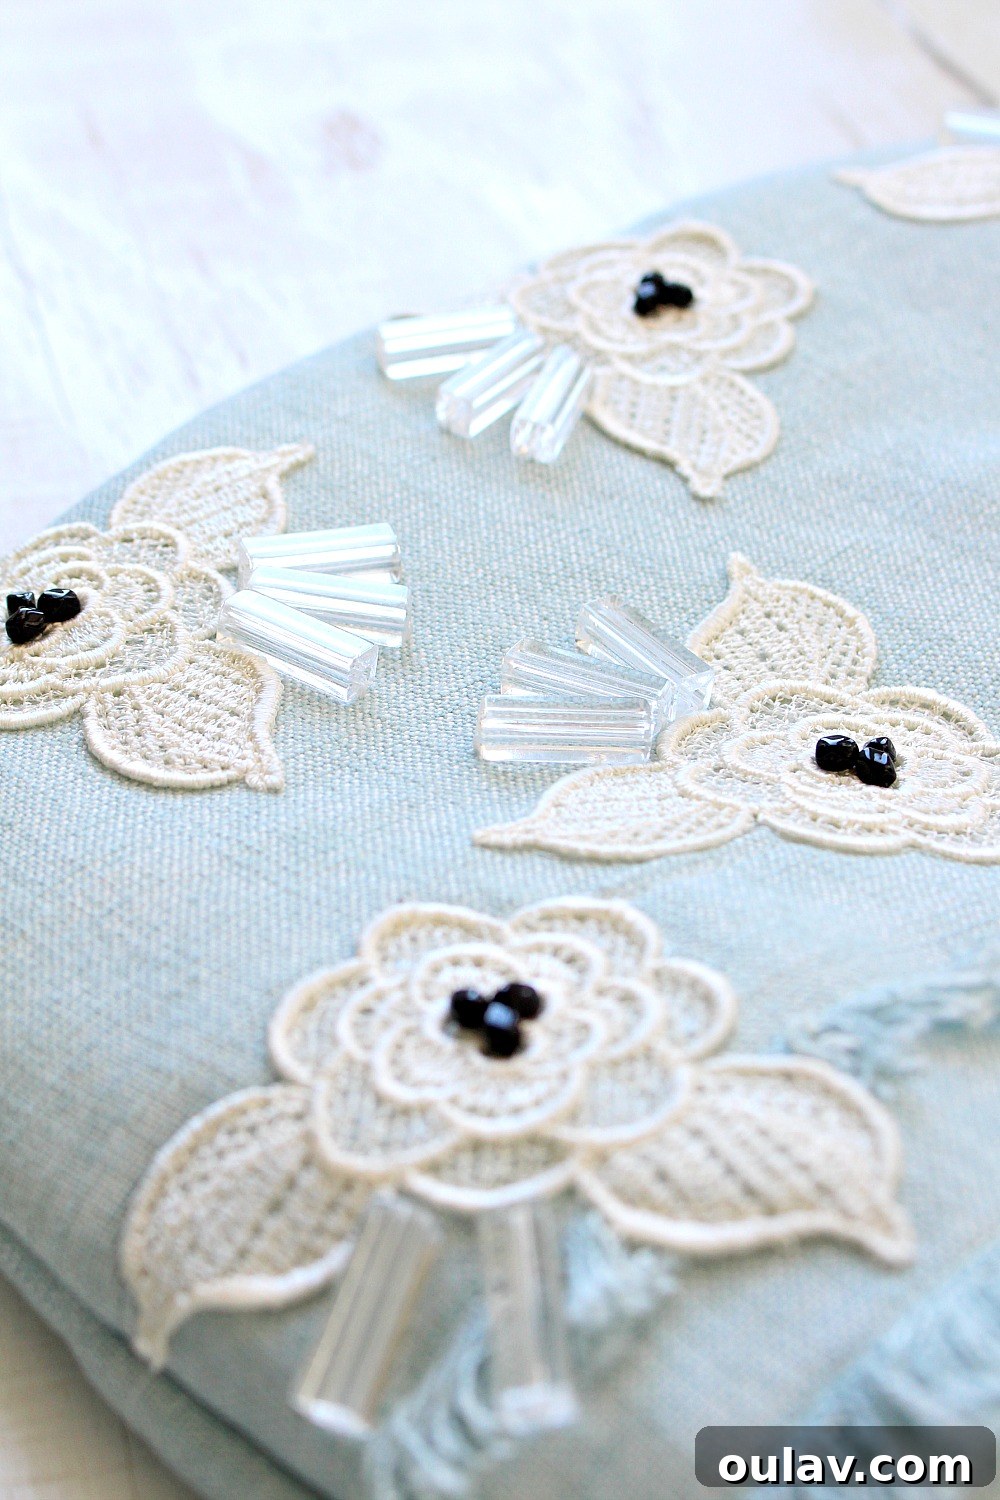
With your appliques securely in place, the beading begins. Using beading thread and a fine beading needle, carefully affix the black glass beads to the center of each lace rose. Then, arrange the longer plastic tube beads, fanning them out from the center to create an appealing, modern design. To ensure your beads are securely attached, start by knotting your beading thread at the back of the fabric, making sure the knot is snug and hidden. Pull the thread through to the front, thread one bead onto the needle, and then carefully pass the thread back through the fabric to the other side. Repeat this process for each bead. For added security and to prevent the thread from showing through, after every cluster of three beads, tie a fresh knot at the back of the fabric and begin a new length of thread for the next section of beading. This method keeps your beadwork neat and prevents a single thread from unraveling multiple beads if it snags. The subtle sparkle and texture of the beads will elevate your tea cozy from a simple cover to a truly luxurious accessory.
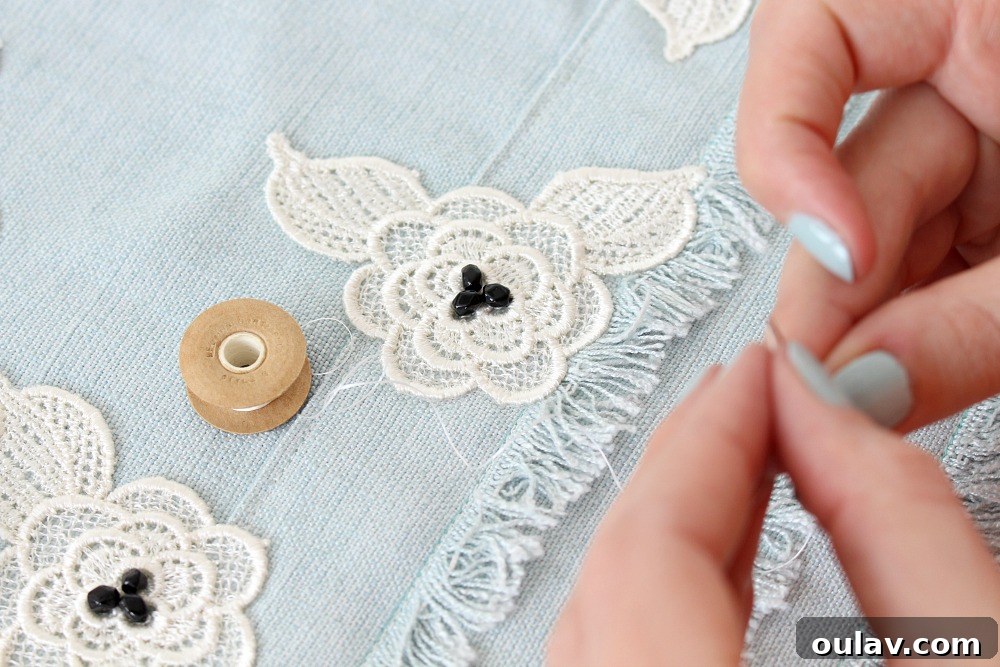
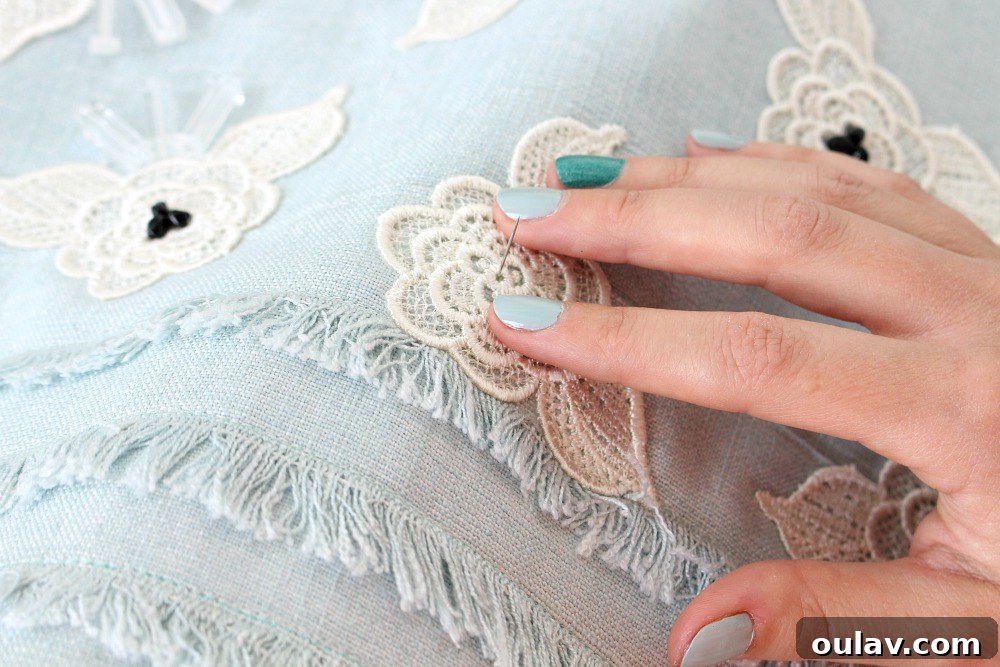
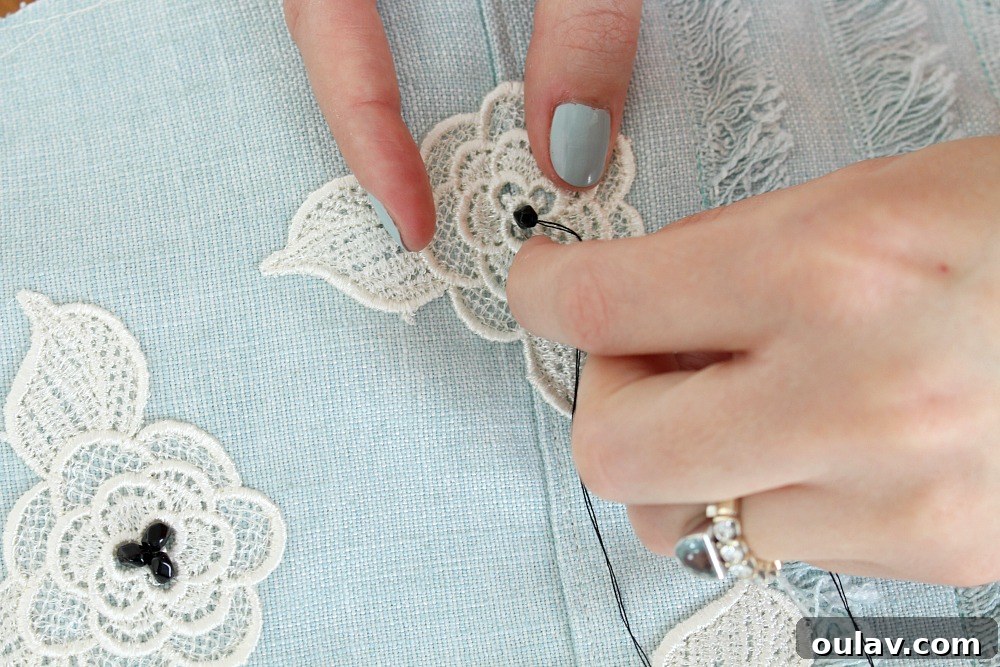
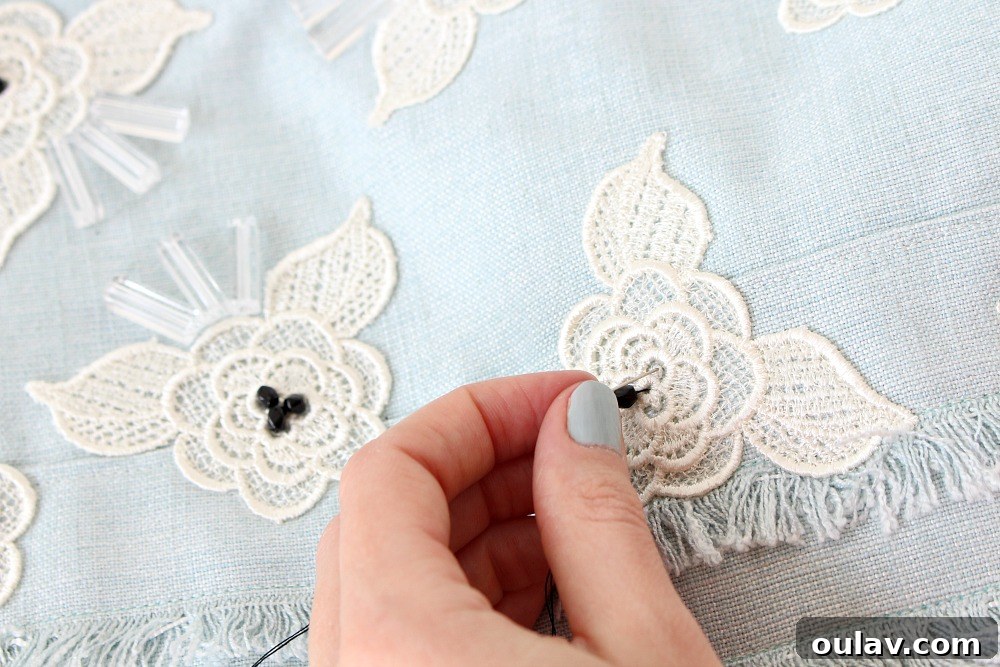
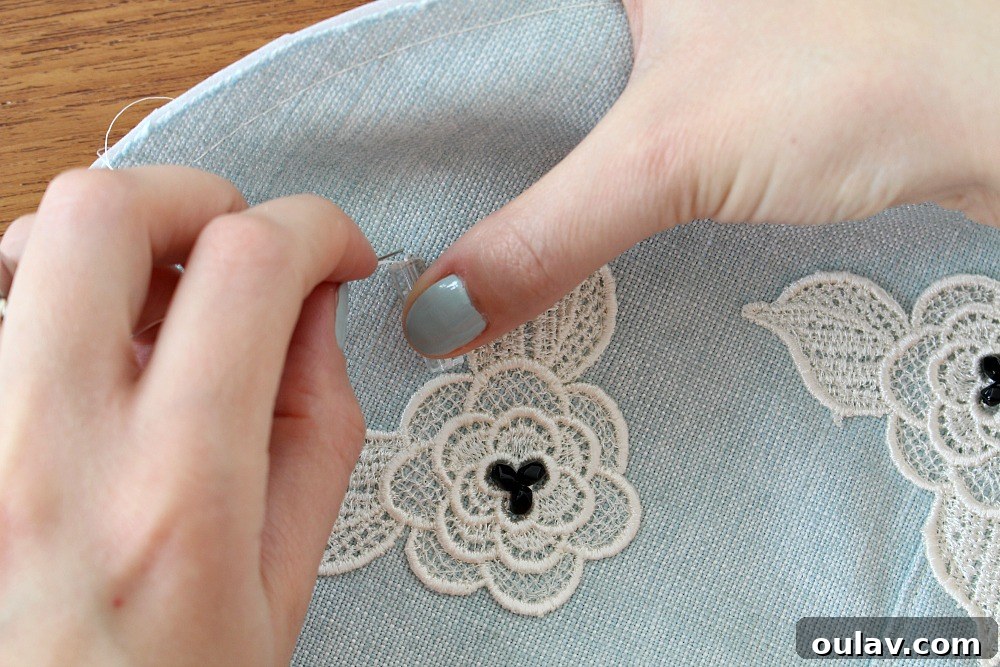
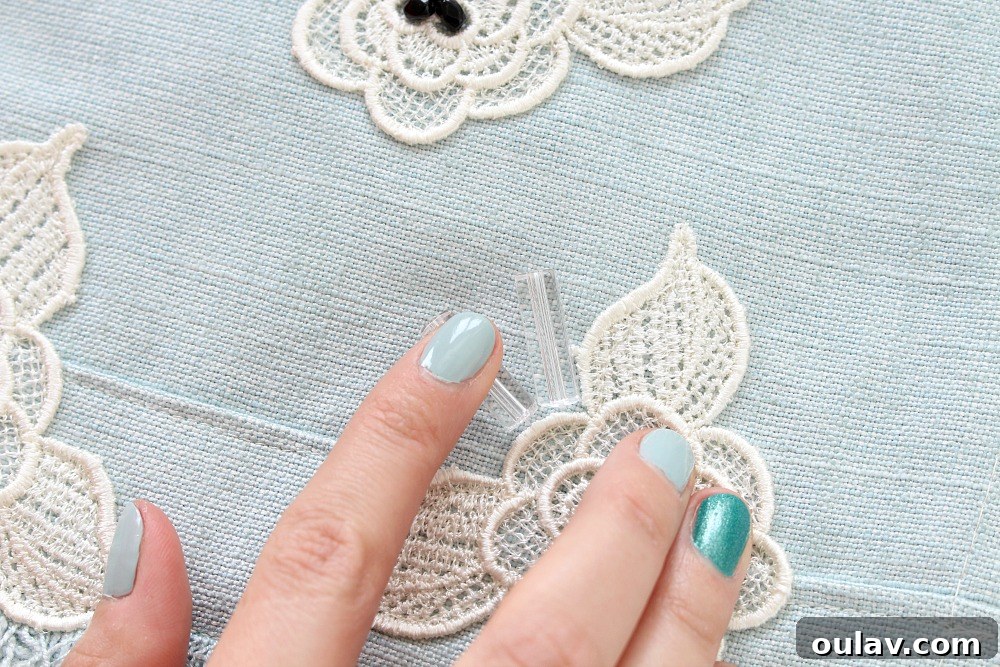
Once all the appliques and beadwork are meticulously completed, you’ll notice the various threads and knots on the back of the fabric. Rest assured, these will be completely concealed by the batting and lining layers, ensuring a neat and professional finish once your DIY tea cozy is fully assembled.
Step 6: Layering for Optimal Warmth with Batting
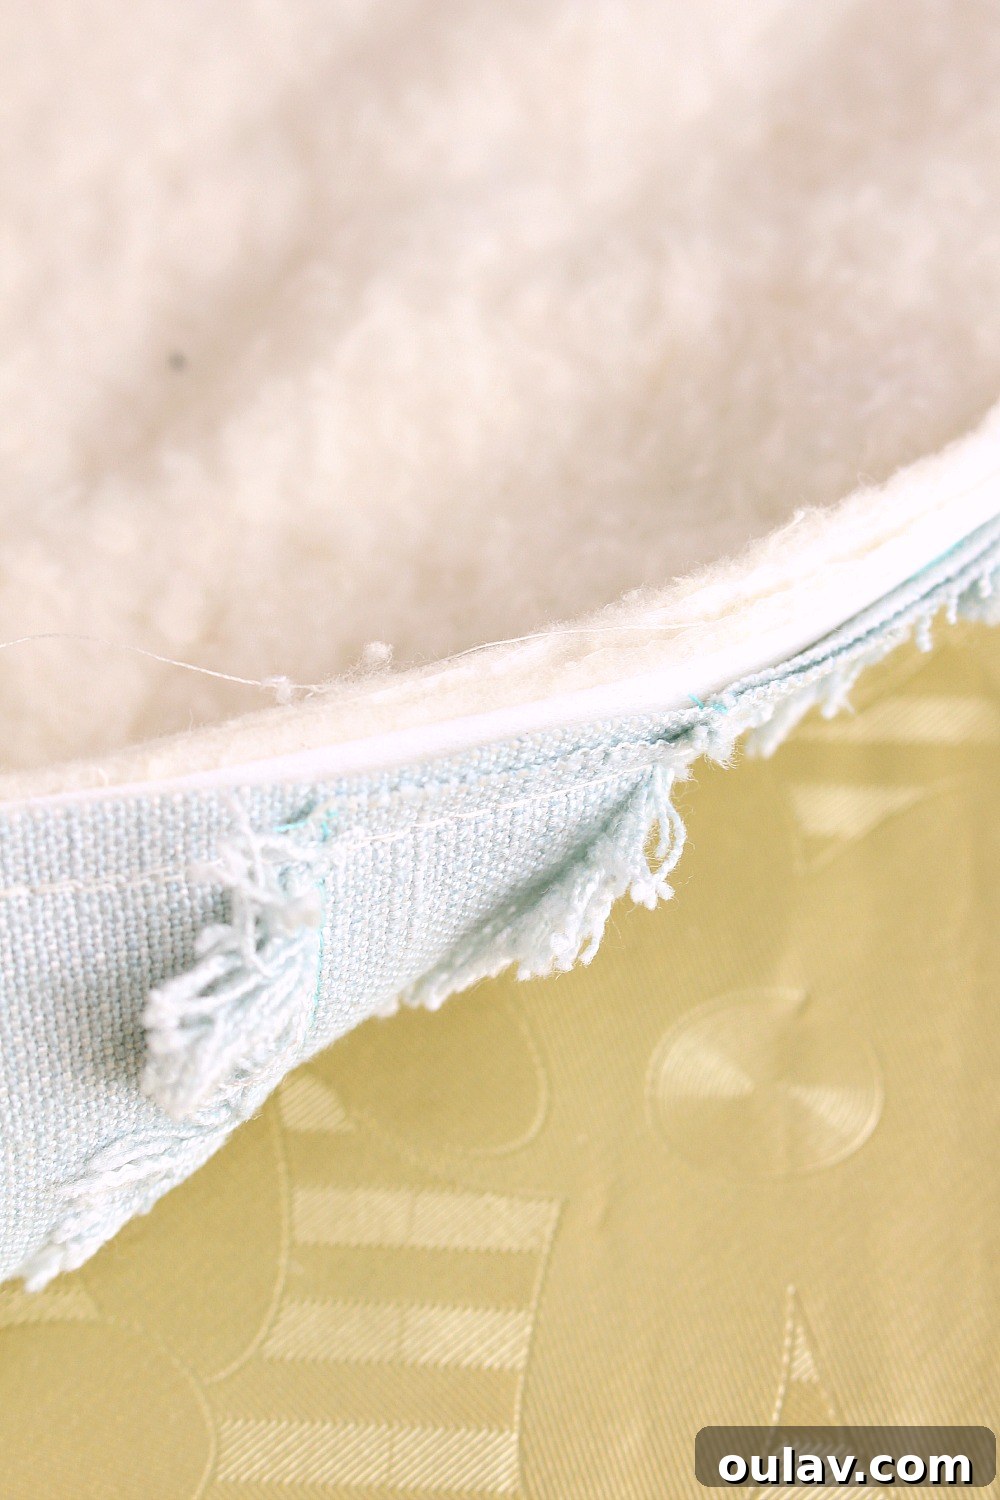
Now, to ensure your tea stays wonderfully warm, it’s time to incorporate the insulating layers. Take two layers of cotton batting and carefully sew them onto the back of each of your main linen fabric pieces (both the front, embellished piece, and the plain back piece). While a single layer of batting offers decent insulation, using two layers will significantly enhance the tea cozy’s ability to retain heat, keeping your tea piping hot for longer. Stitch these layers securely in place, perhaps with a simple quilting stitch, to prevent them from shifting during subsequent steps.
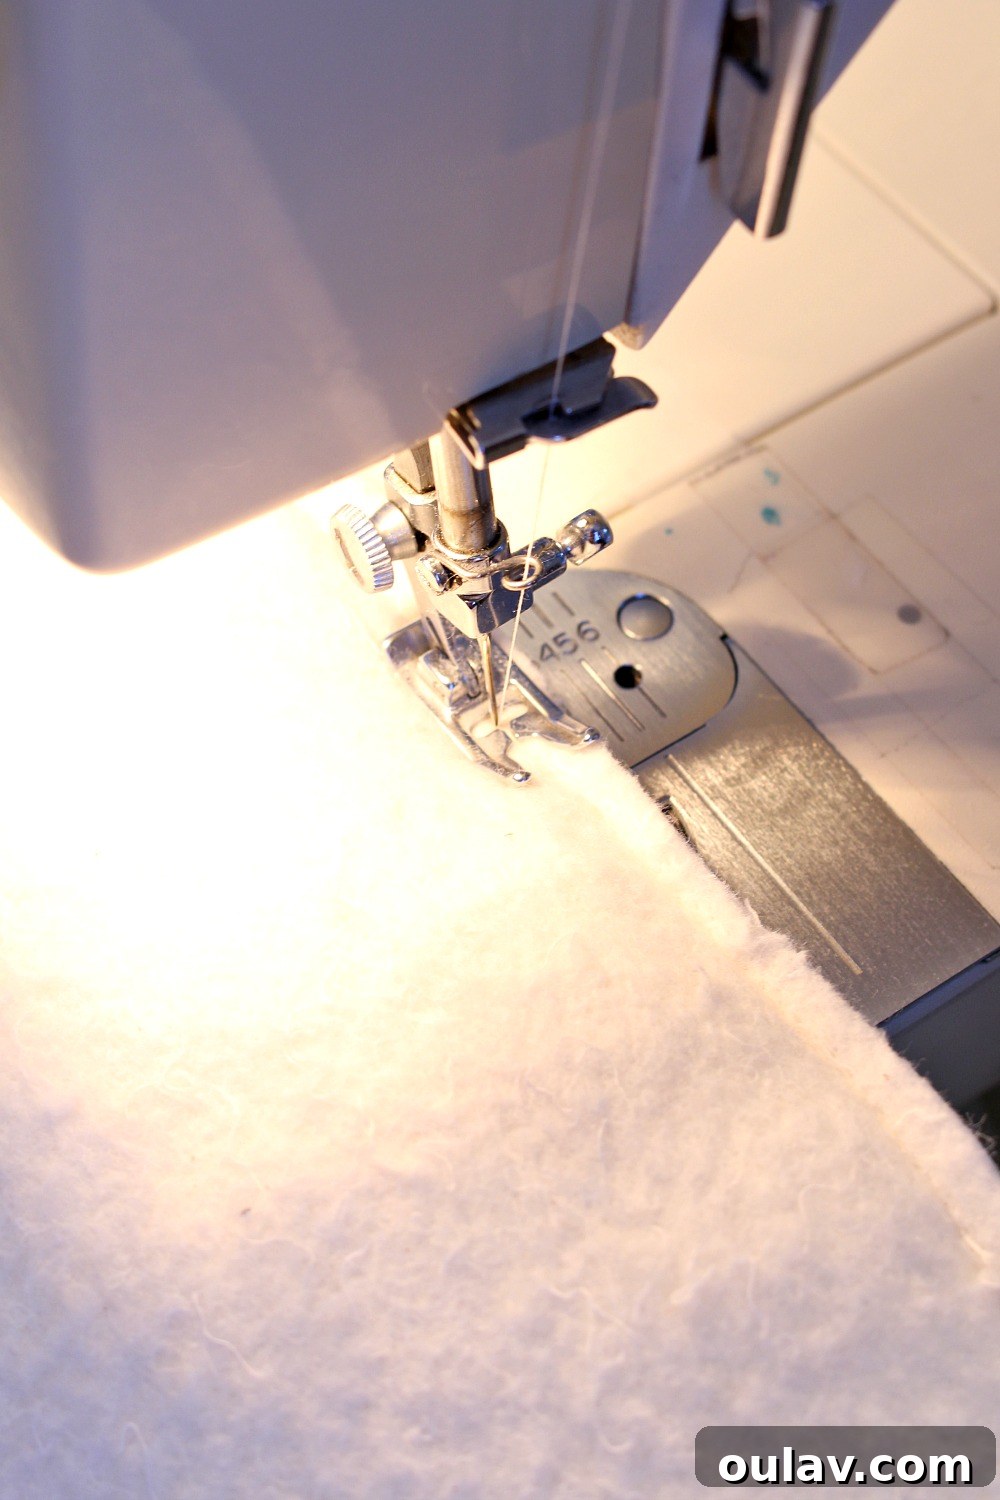
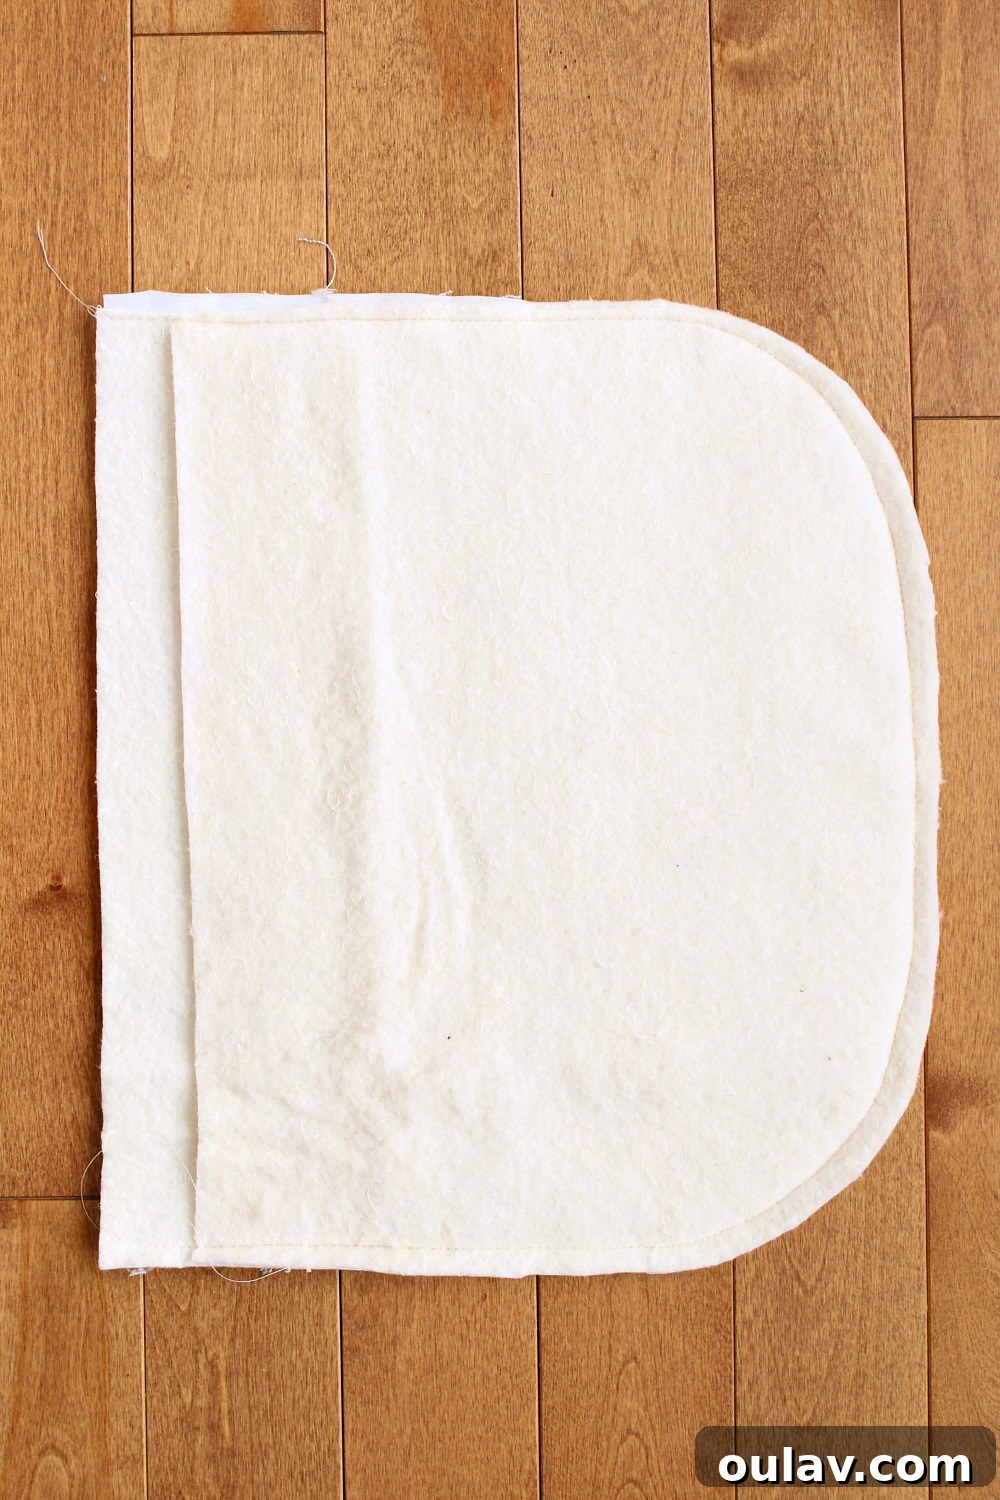
Here’s a closer look at that neatly layered “sandwich” of batting and fabric, ready to provide superior insulation:
Step 7: Assemble the Outer Shell of the Tea Cozy
With your batting layers secured, it’s time to construct the outer shell. Place the front and back main fabric pieces (each with its batting layers attached) right sides together, meaning the “good” embellished linen sides are facing each other. Using your sewing machine, stitch along the curved top edge and down the sides, following your designated seam allowance. It’s crucial to leave the flat bottom edge completely open at this stage. Once sewn, carefully trim any excess fabric and batting close to your stitch line, especially around the curved edges. This reduces bulk and ensures a smoother finish when the cozy is turned right side out.
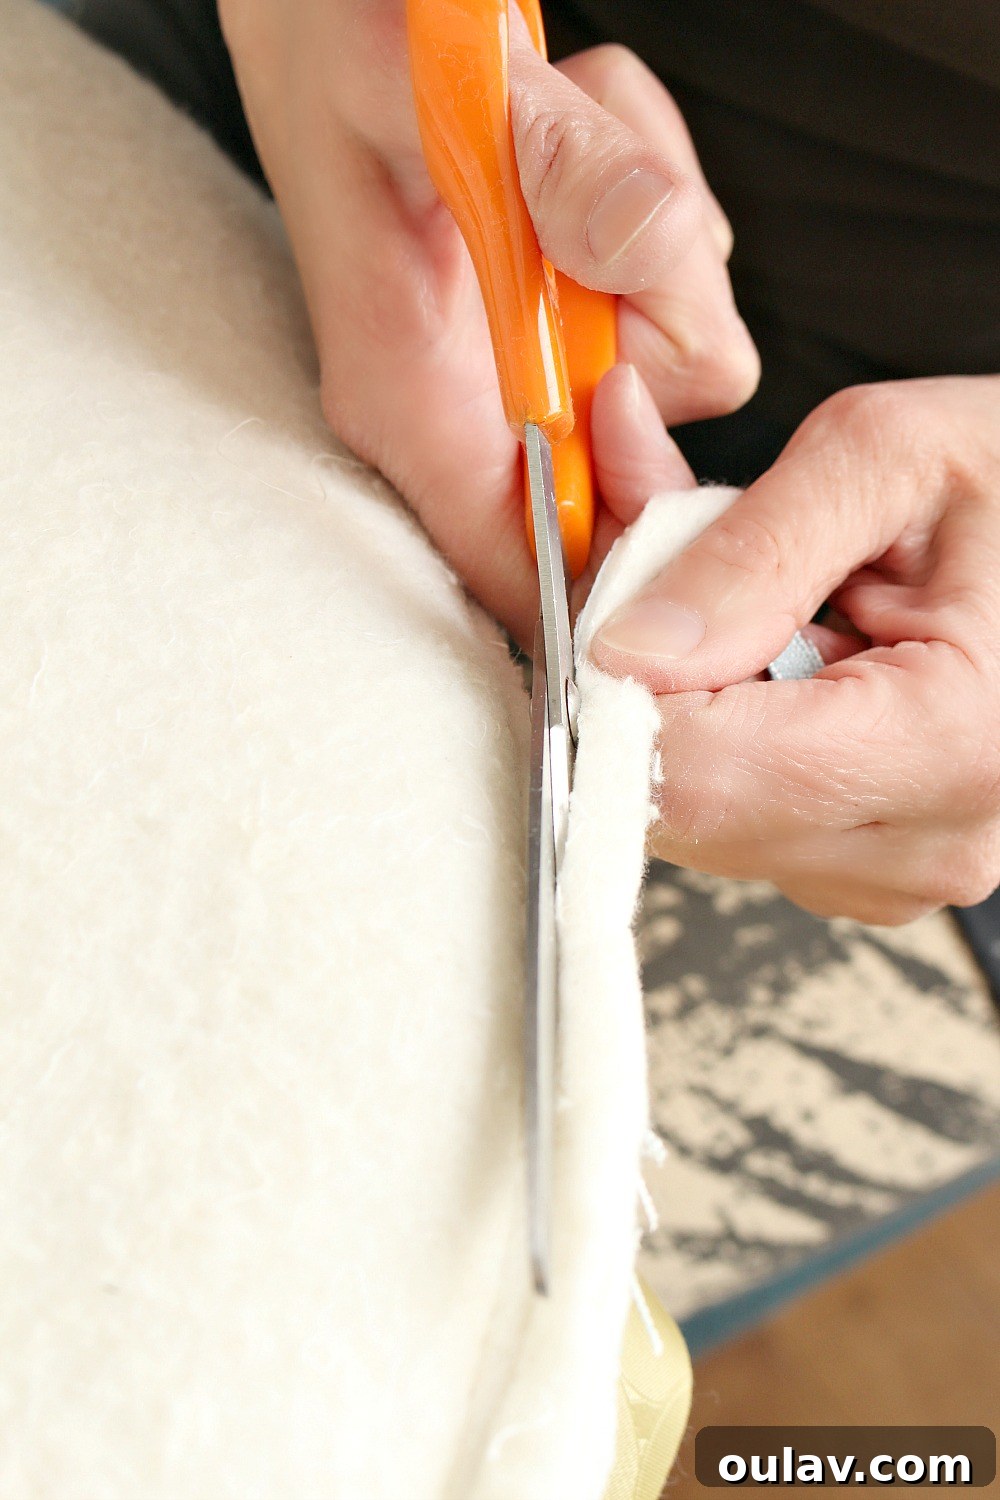
Step 8: Clip the Curves for a Perfect Shape
To ensure your tea cozy achieves a beautifully smooth, rounded dome shape when turned right side out, you’ll need to clip the curves. Make small, V-shaped cuts into the seam allowance along the entire top curved edge of the fabric and batting layers. Be careful not to cut through your stitch line! These clips allow the fabric to spread and lie flat, preventing puckering and creating that desirable circular contour.
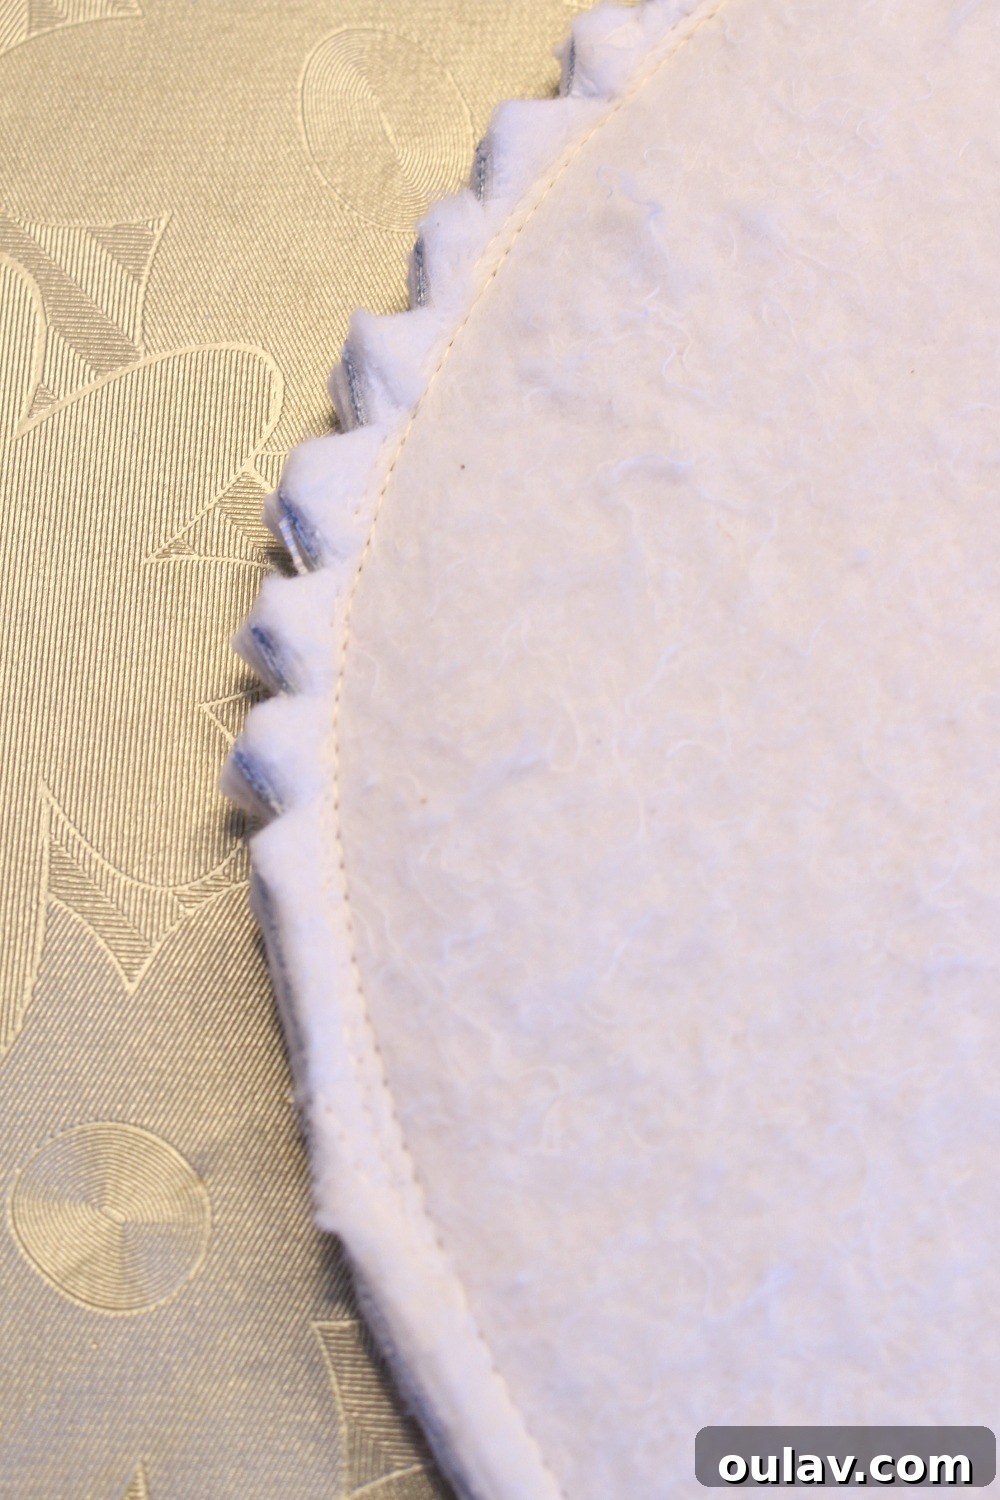
Step 9: Construct the Inner Lining
Now, turn your attention to the lining. Take your two lining fabric pieces and place them right sides together. Sew along the curved top edge and down the sides, just as you did with the outer shell. However, for the lining, you will leave a small opening (about 2-3 inches) along the curved top edge – this will be essential for turning the entire tea cozy right side out later. And, once again, leave the entire bottom edge open.
Step 10: Seamlessly Attach the Lining to the Tea Cozy
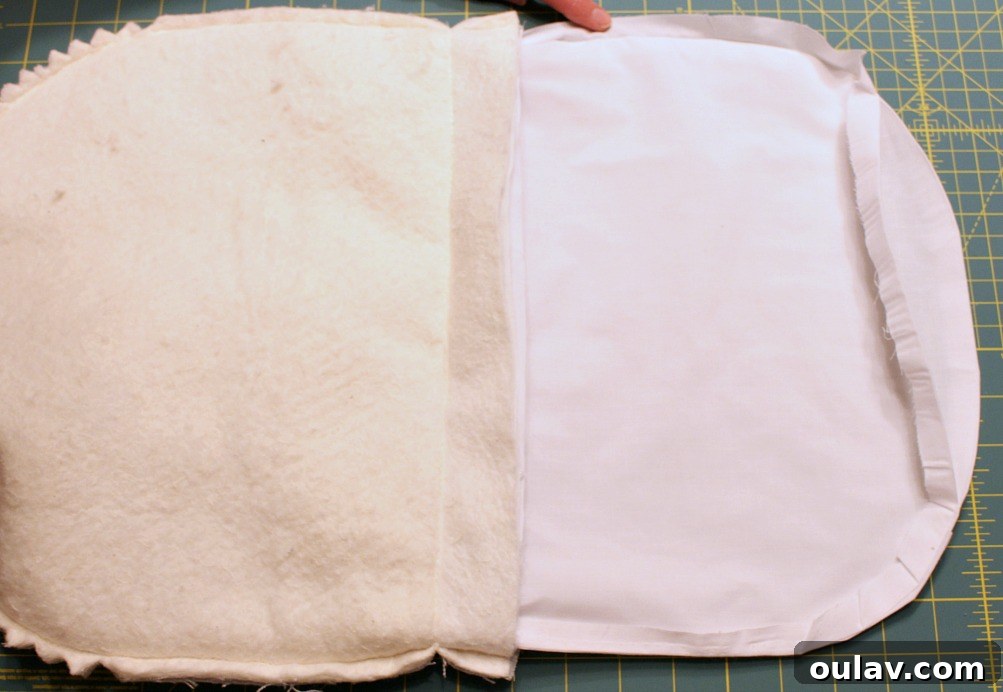
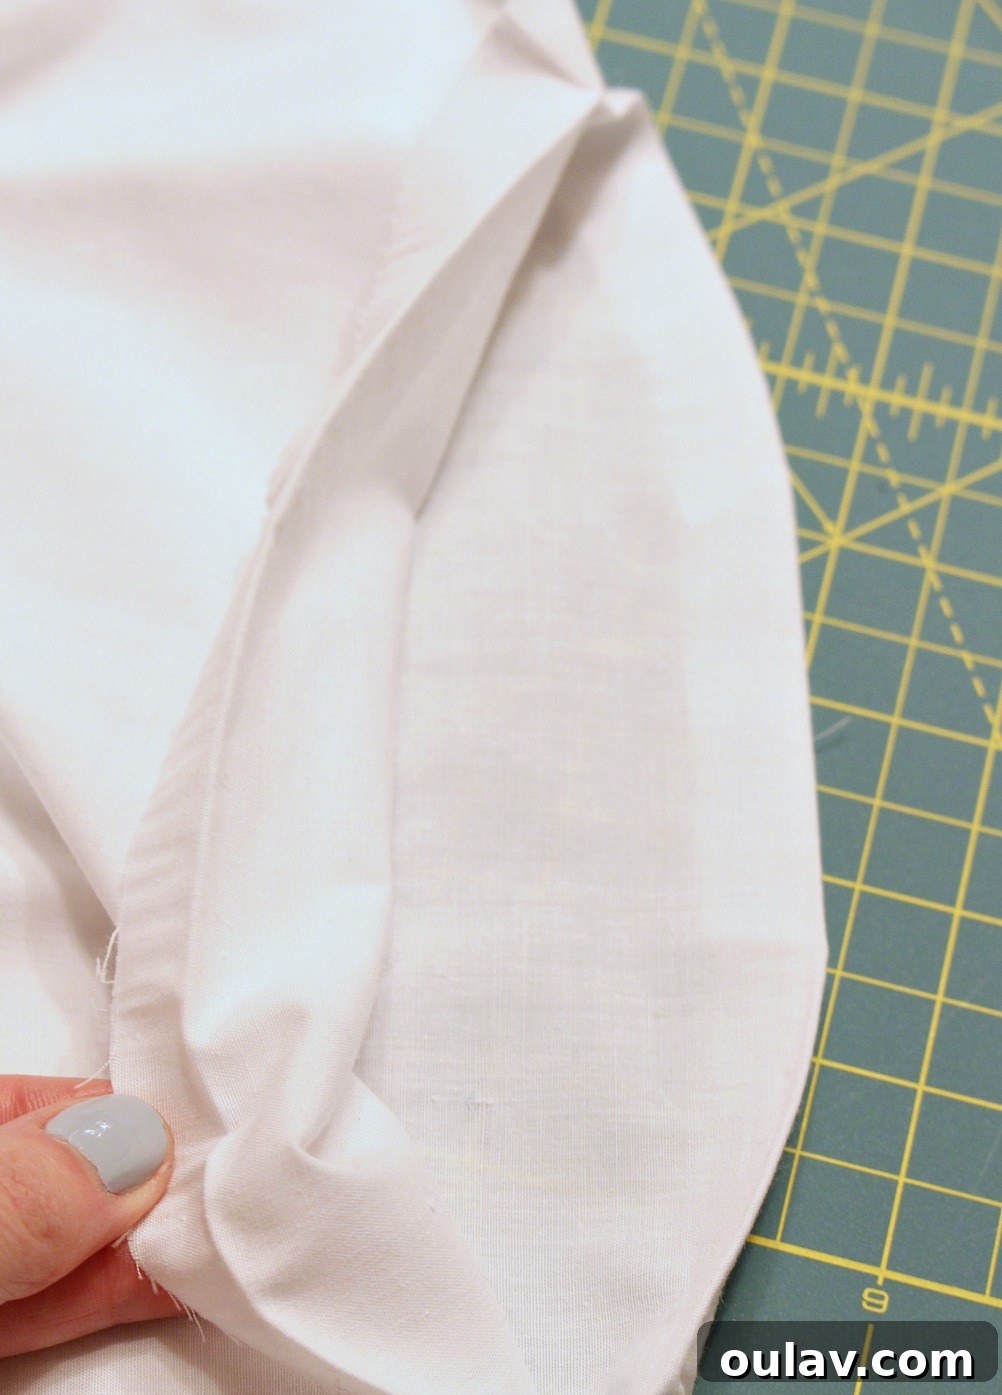
This step brings everything together. Keep your outer tea cozy shell inside out (right sides facing inward). Now, take your lining (still with its right sides facing inward and the small opening at the top) and nestle it *inside* the outer tea cozy shell. Arrange them so that the “good” finished side of the lining fabric is touching the “good” finished side of the outer tea cozy (the blue linen). Essentially, you are placing the right side of the lining against the right side of the tea cozy. Align the bottom raw edges of both pieces carefully and sew them together all the way around. This stitch will connect the outer shell and the lining, forming a complete unit.
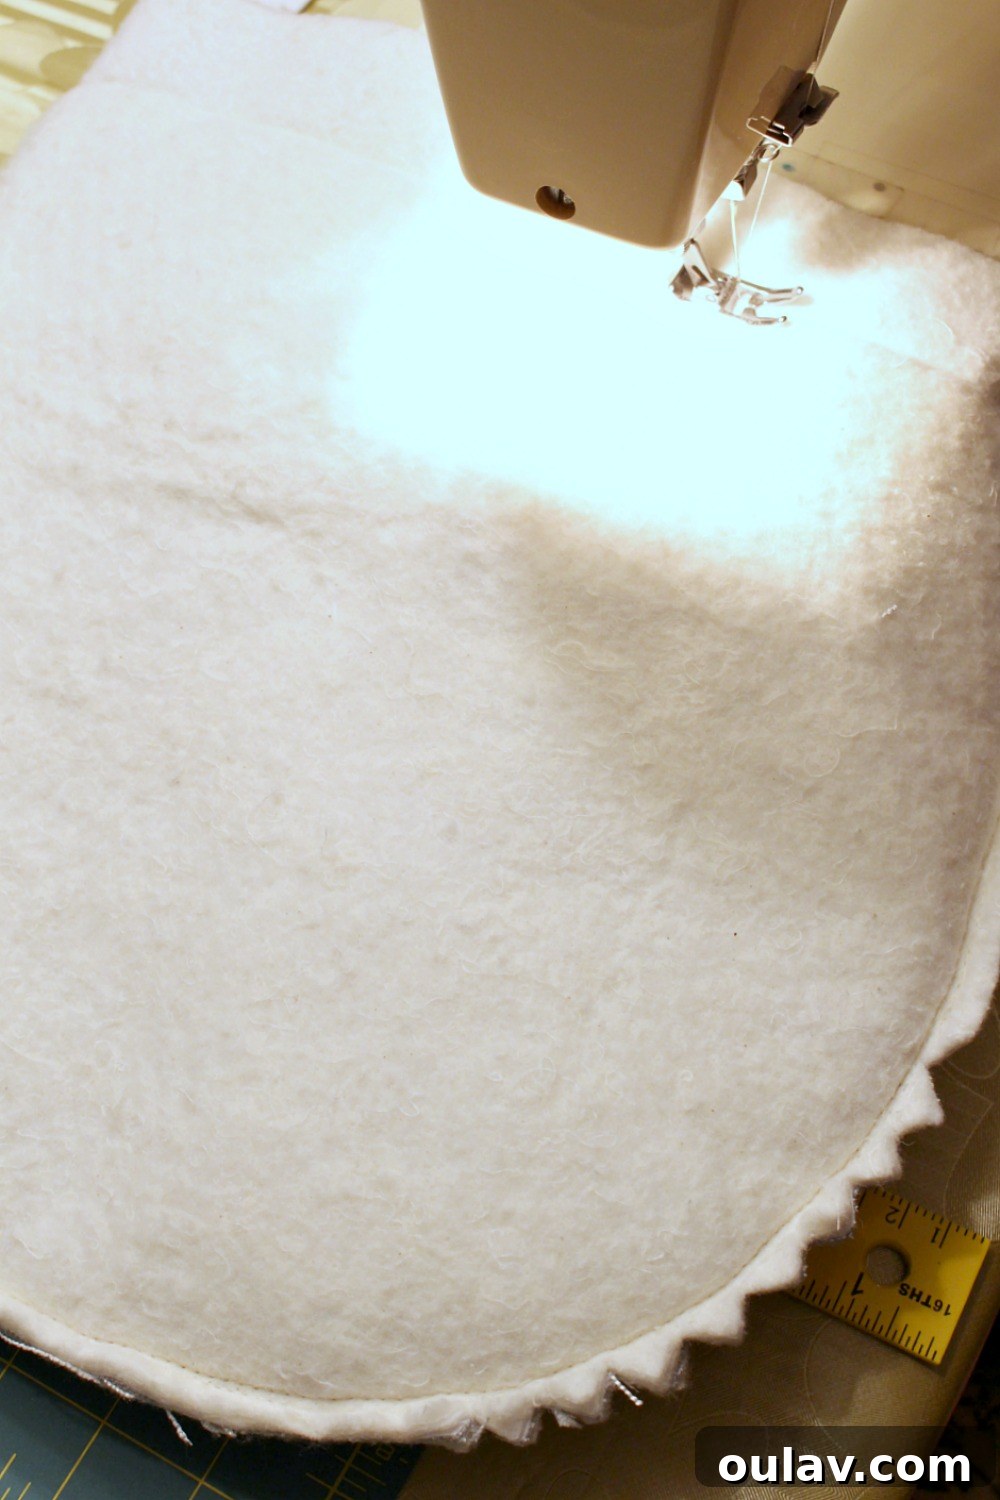
Once the lining is sewn to the tea cozy at the bottom and pulled straight out, here’s how it will look. Notice that the small opening at the top of the lining’s curve is still open:
Step 11: Turn the Tea Cozy Right Side Out
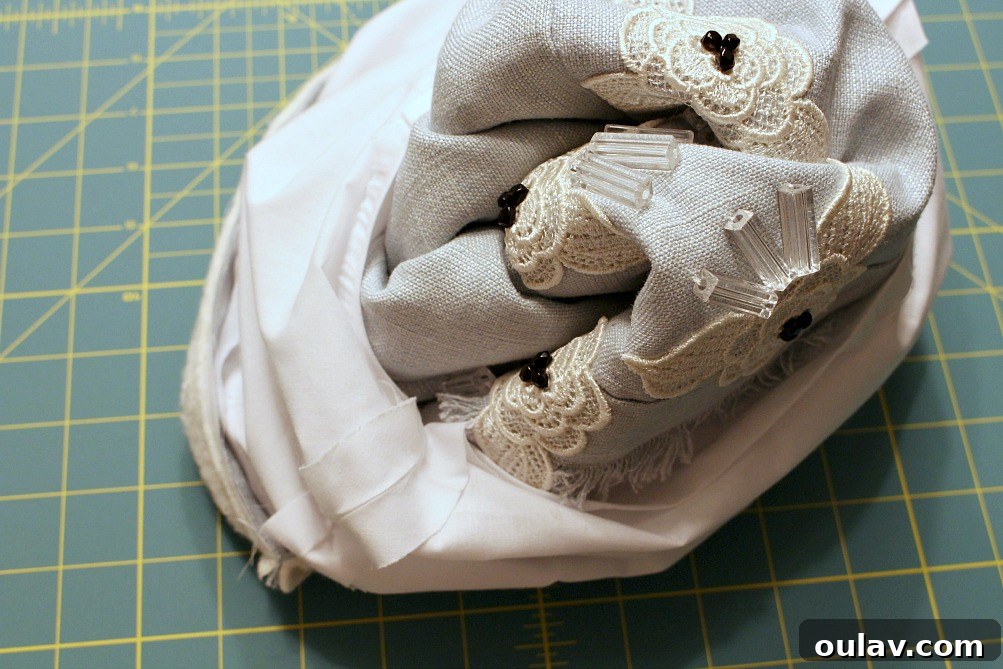
This is a truly satisfying moment! Through the opening you left in the top curved edge of the lining, carefully pull the entire tea cozy right side out. Gently push out all the seams and curves to ensure a smooth, well-formed shape. You’ll see your beautiful exterior fabric and elegant embellishments come to life.
Step 12: Secure the Lining for a Clean Finish
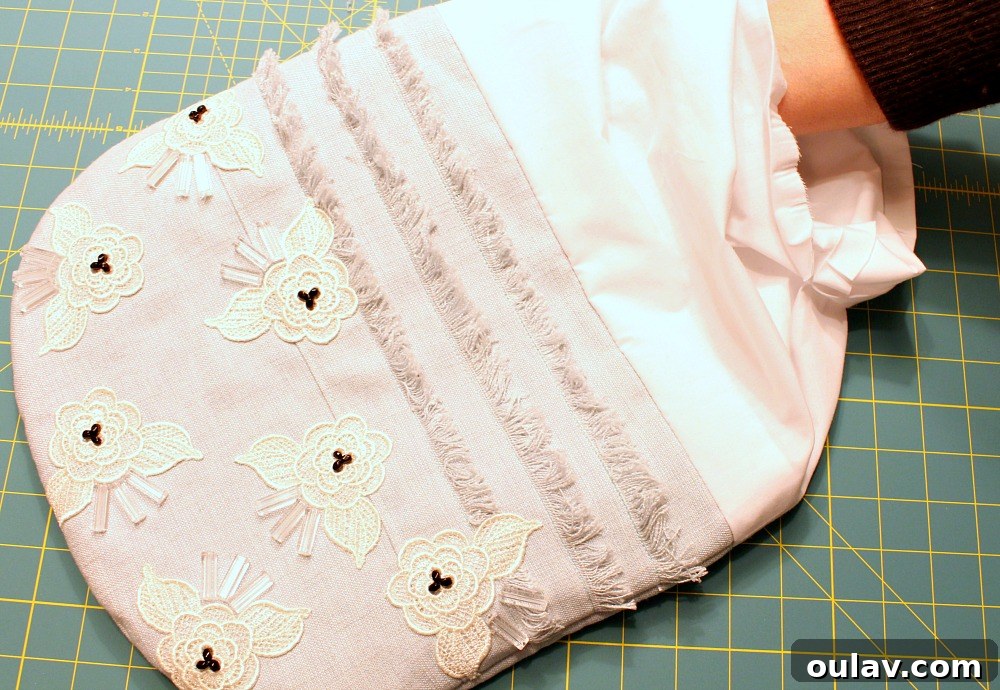
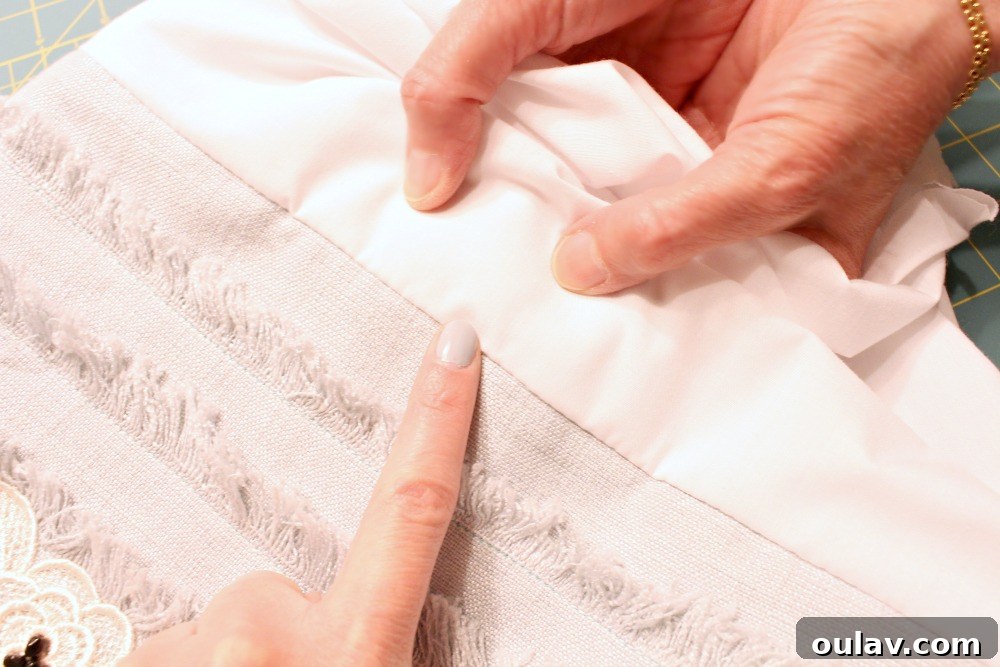
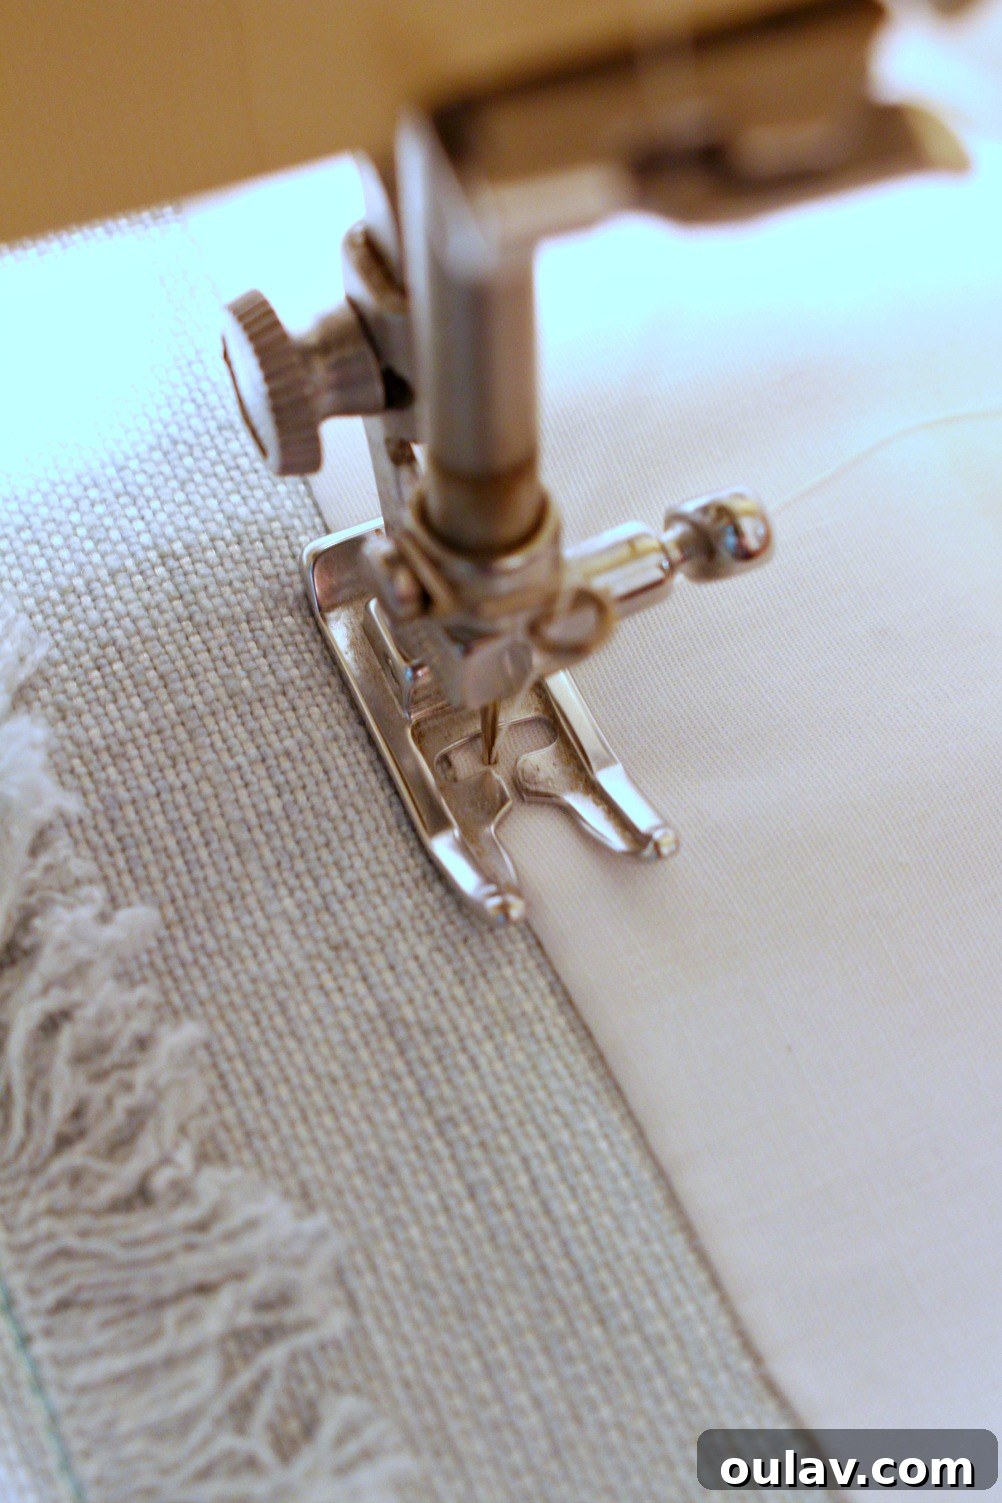
You’re very close to a finished DIY tea cozy! At this point, the lining might feel a bit loose inside the outer shell. To prevent it from sliding out or bunching up at the bottom, we recommend an optional but highly beneficial step: sewing down the edge of the lining to the tea cozy. You can achieve this by top-stitching along the bottom edge where the outer fabric meets the lining. This additional row of stitching helps keep the lining flat, neat, and perfectly integrated into the cozy, contributing to its overall professional appearance and longevity.
Step 13: Close the Final Opening
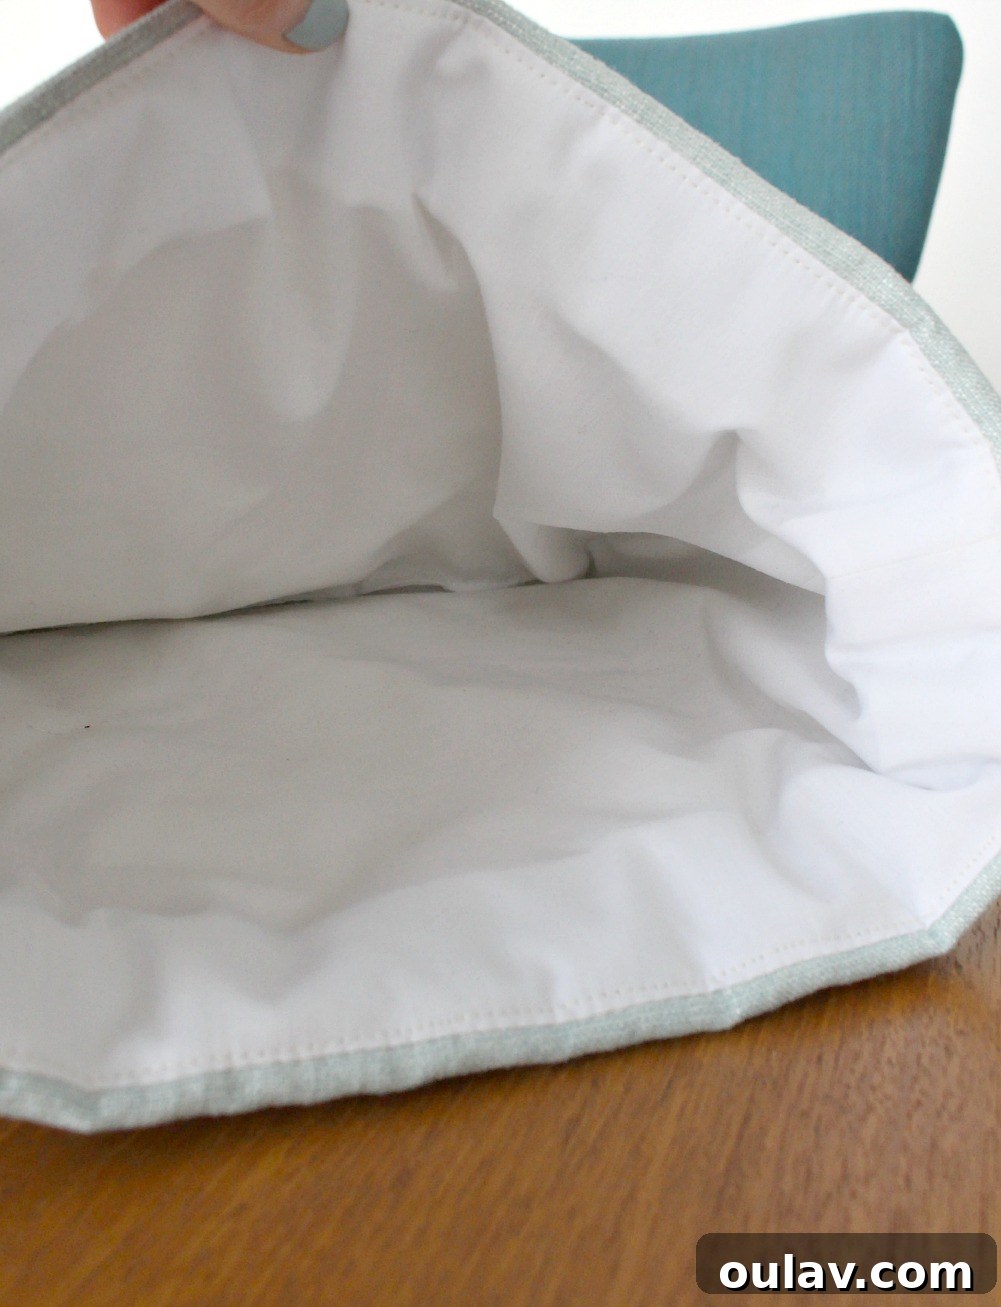
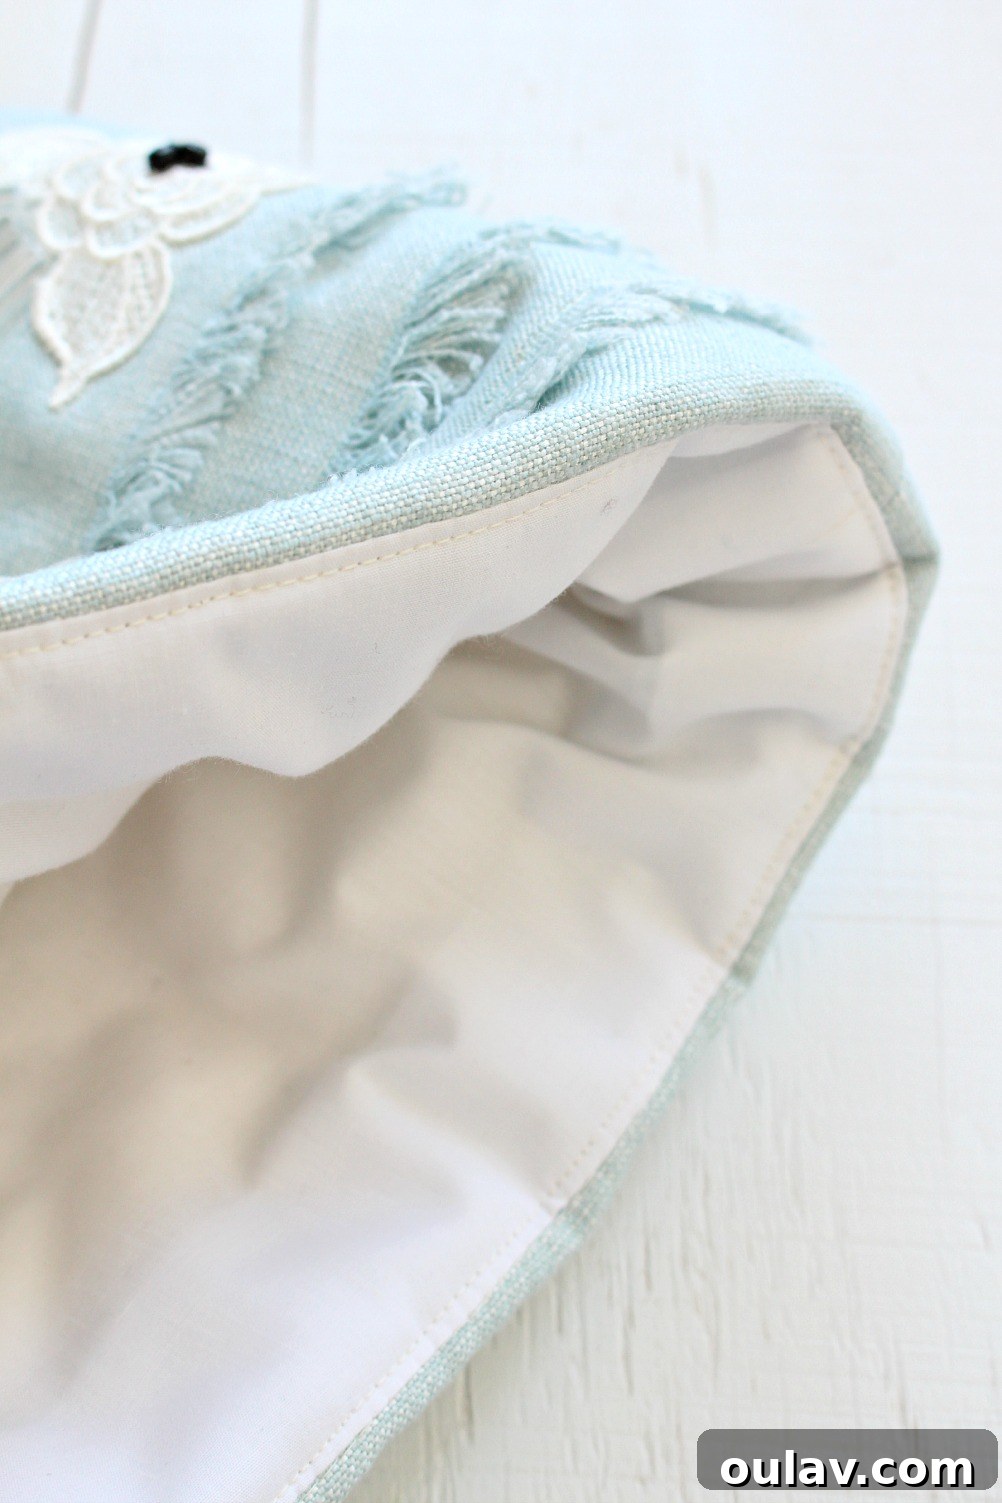
The very last step is to close the opening you deliberately left in the lining. You can do this quickly and efficiently with your sewing machine, or if you prefer a nearly invisible finish, use a hand-stitching technique like a ladder stitch. Once closed, your lining is complete, and your tea cozy is ready! Here’s a peek at the perfectly finished interior:
The Finished DIY Tea Cozy: A Masterpiece of Comfort and Style
And there you have it! Your beautifully crafted DIY tea cozy is now complete. All the intricate embellishments and insulating batting are cleverly hidden by the neat lining, creating a seamless and professional finish. This exquisite, insulated tea cozy is now perfectly poised to keep your pot of tea wonderfully piping hot, ensuring every cup is as warm and inviting as the first.
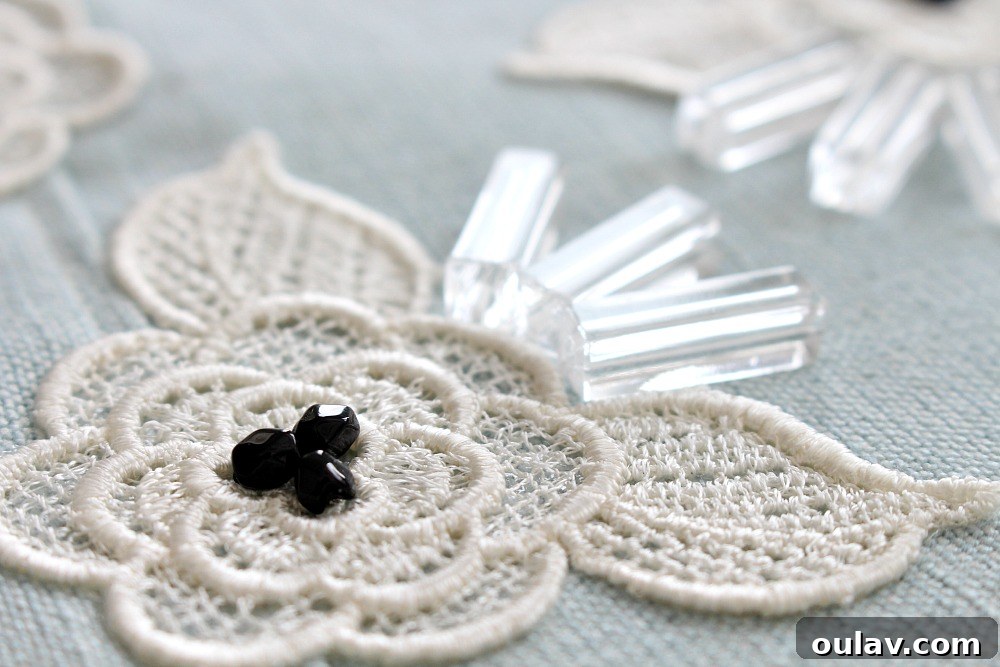
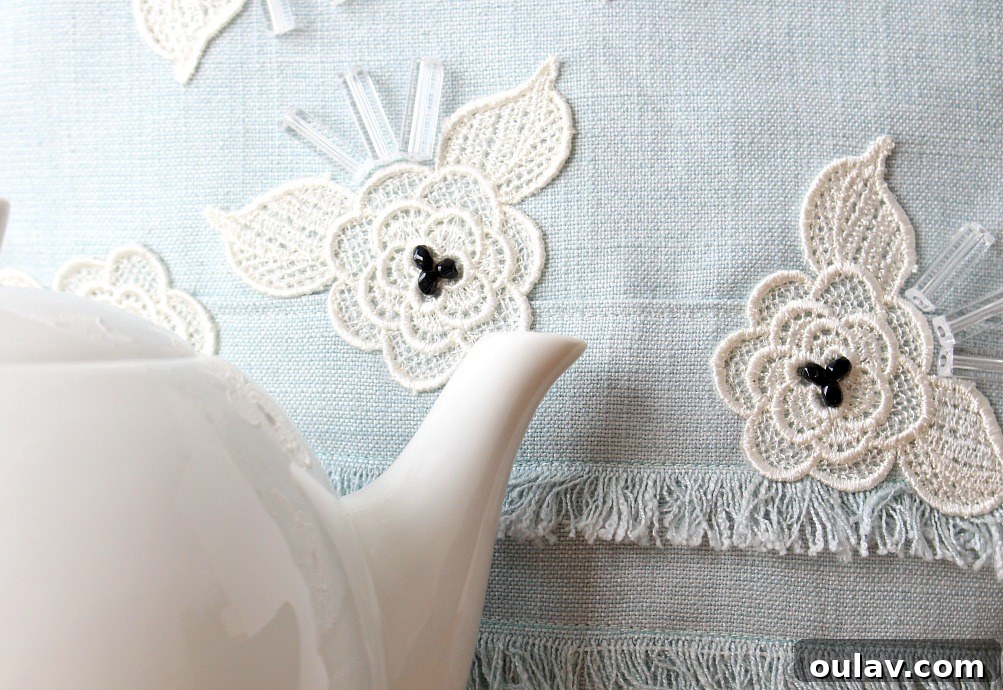
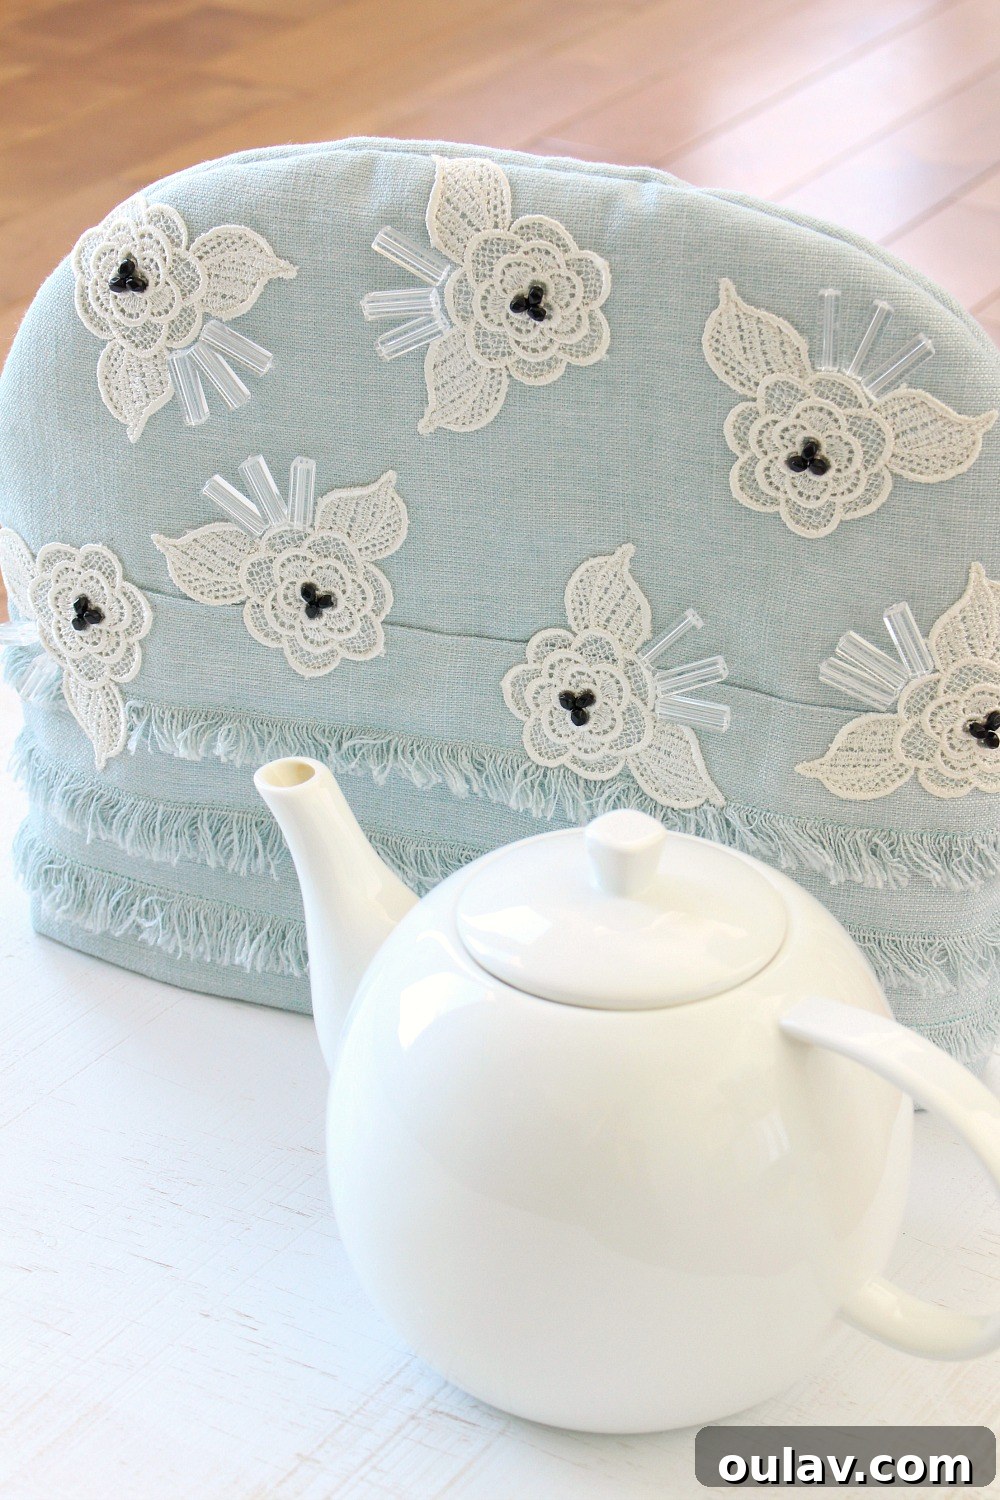
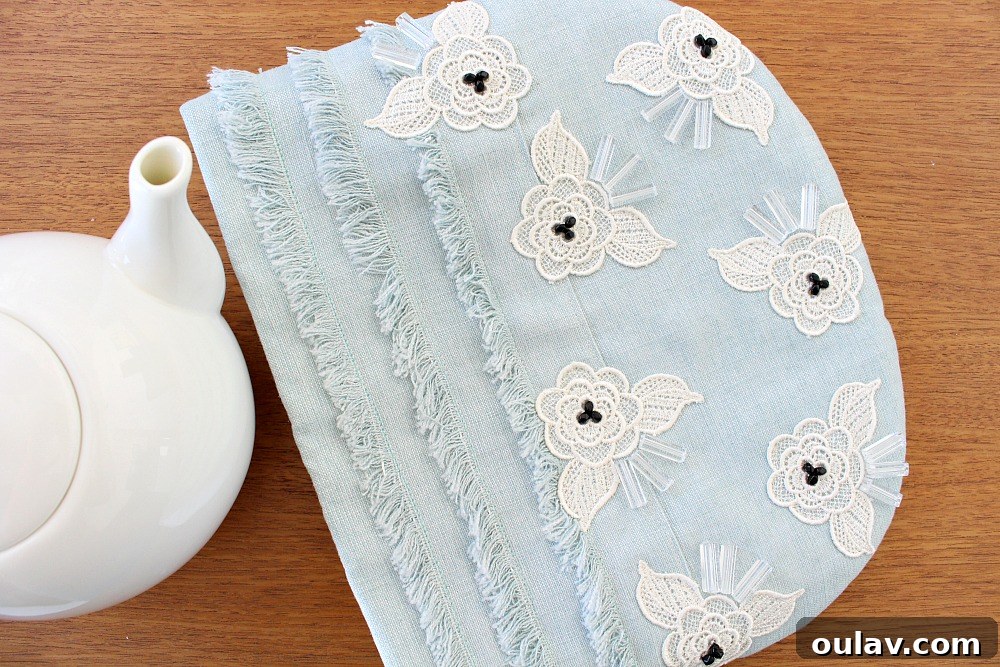
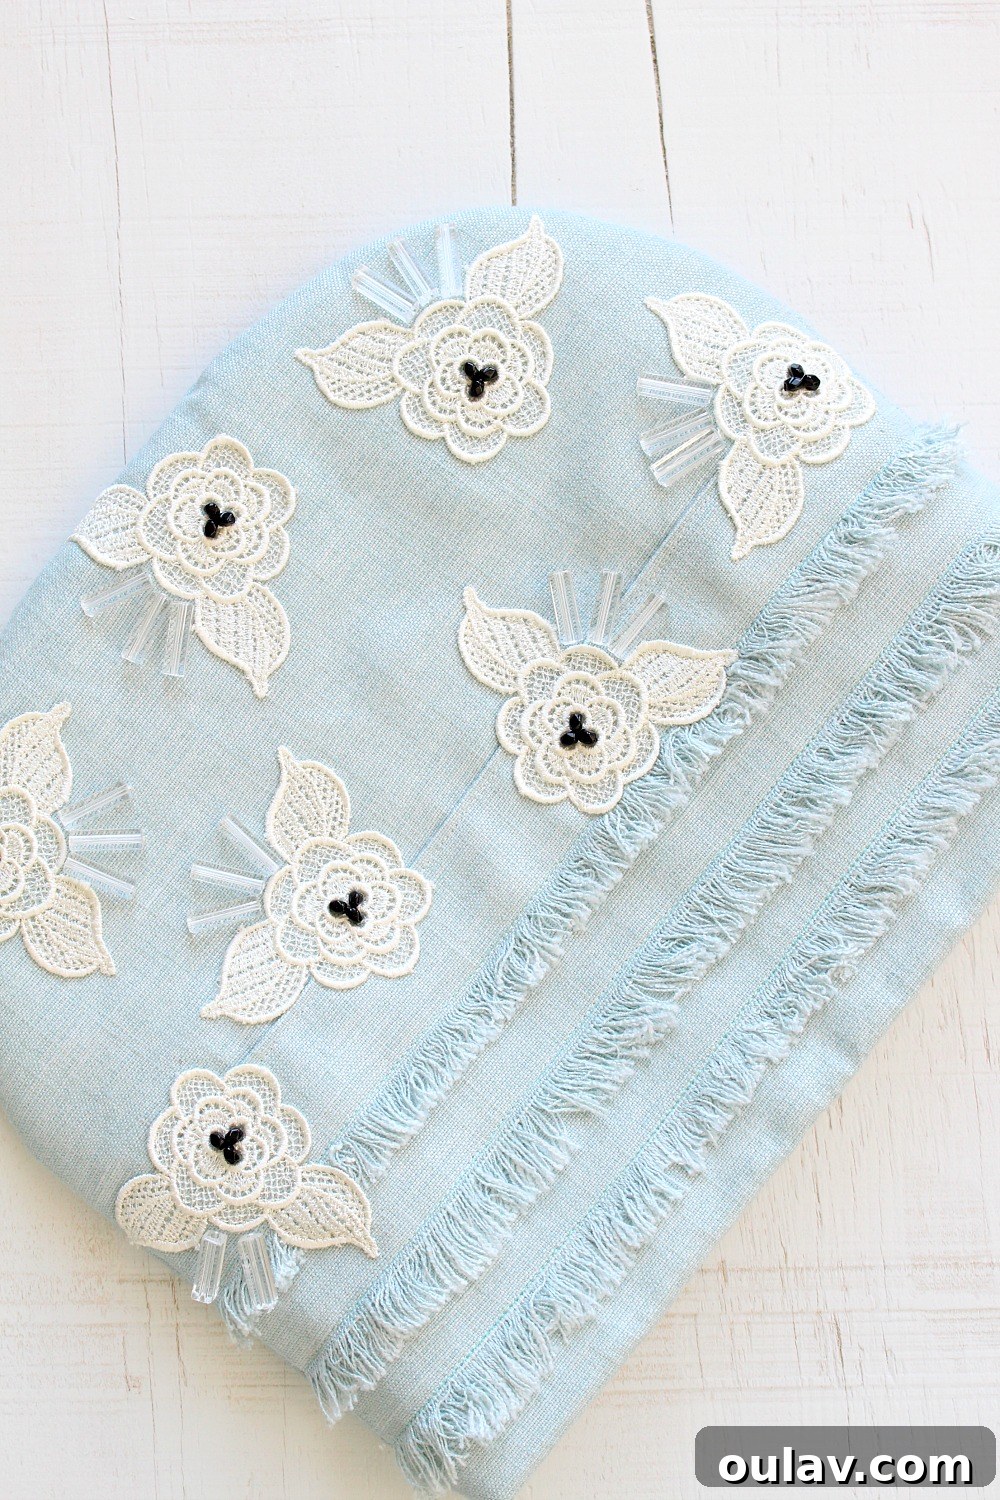
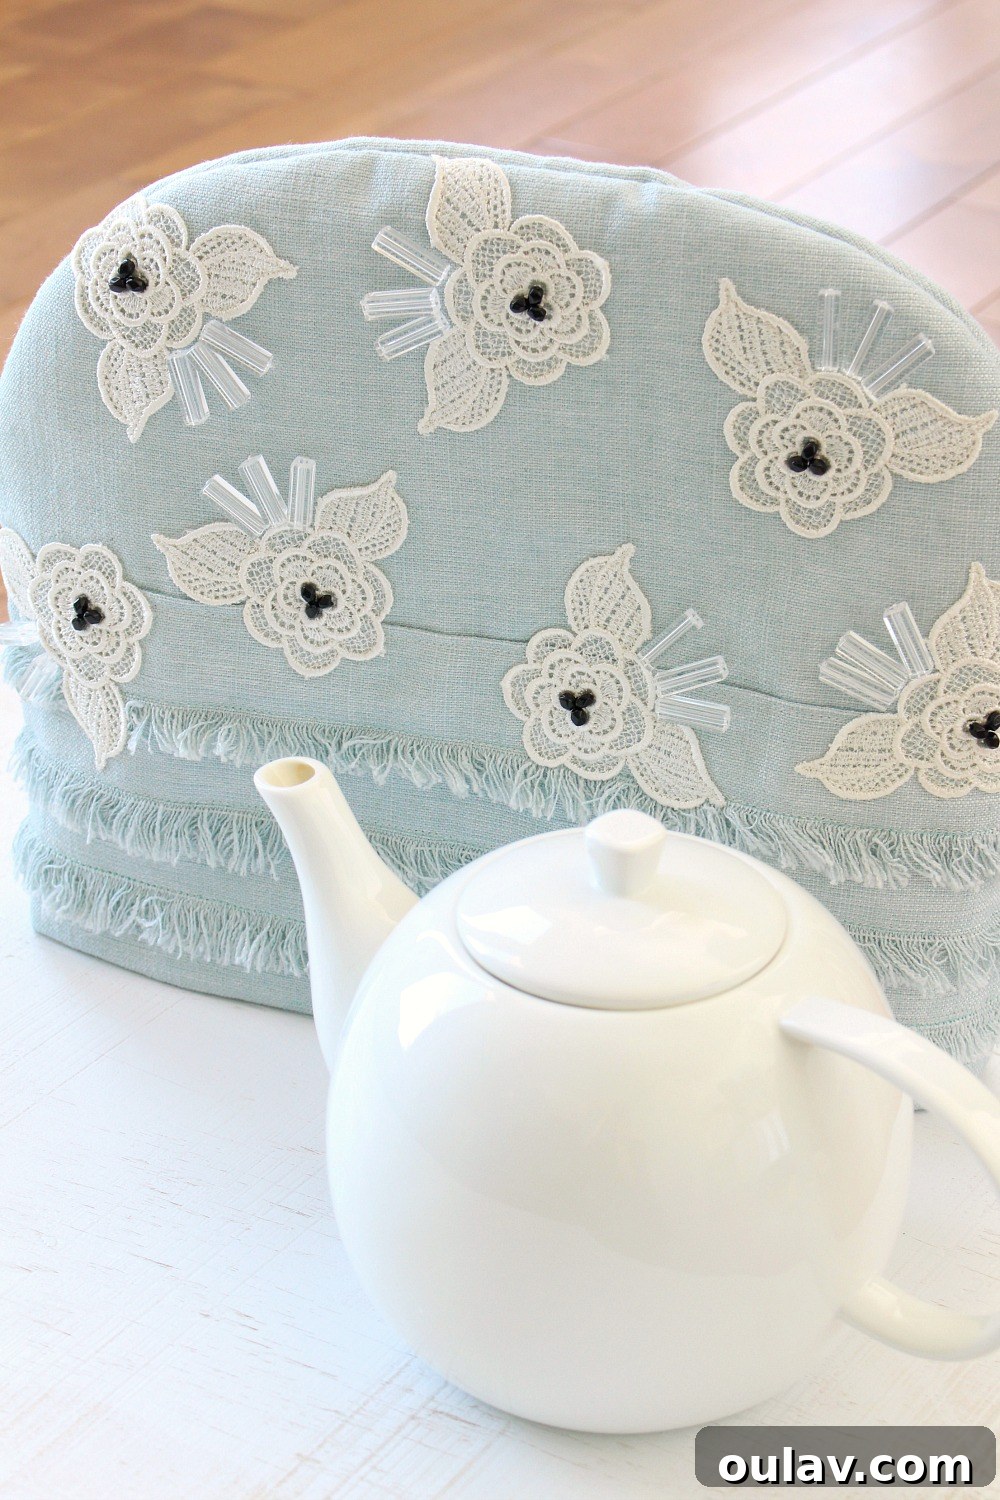
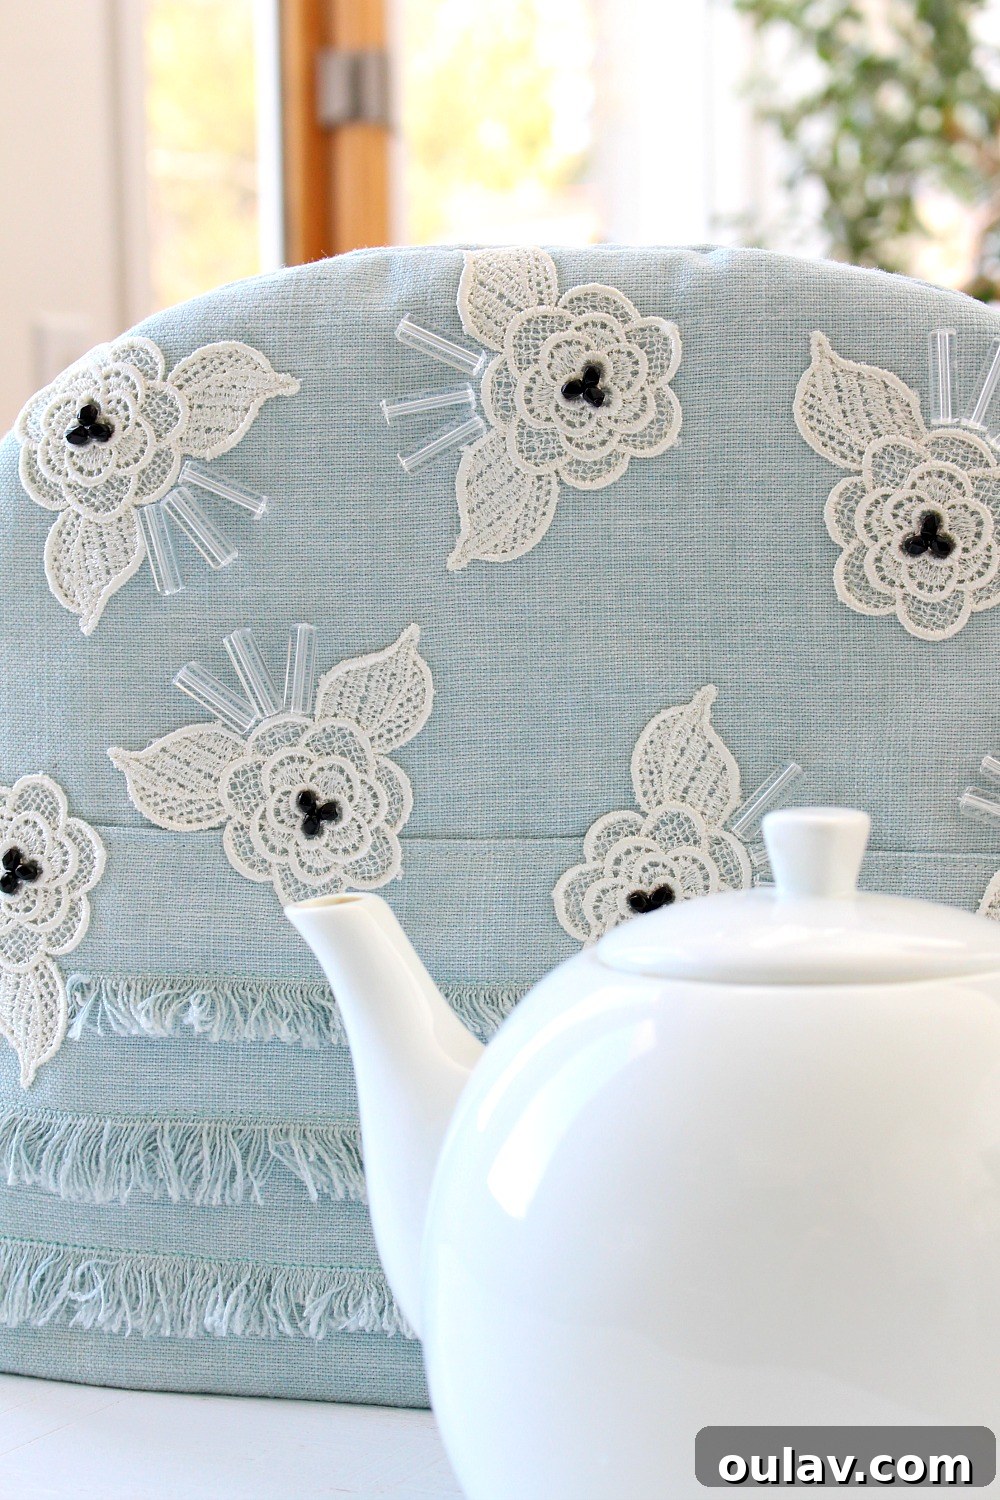
I must say, this DIY tea cozy turned out incredibly charming! The delicate pale blue linen with its subtle sheen creates an inviting aesthetic that perfectly complements any tea setting. It feels wonderfully cozy and fits my teapot like a glove, providing that essential warmth. The carefully placed beads add just the right amount of sparkle, transforming an ordinary afternoon cuppa into a moment of refined pleasure. Given the intricate beadwork and lace appliques, it’s best to hand wash this beautiful handmade tea cozy to preserve its delicate embellishments and ensure its longevity. This project truly embodies the joy of crafting, producing a functional item that is also a cherished piece of home decor.
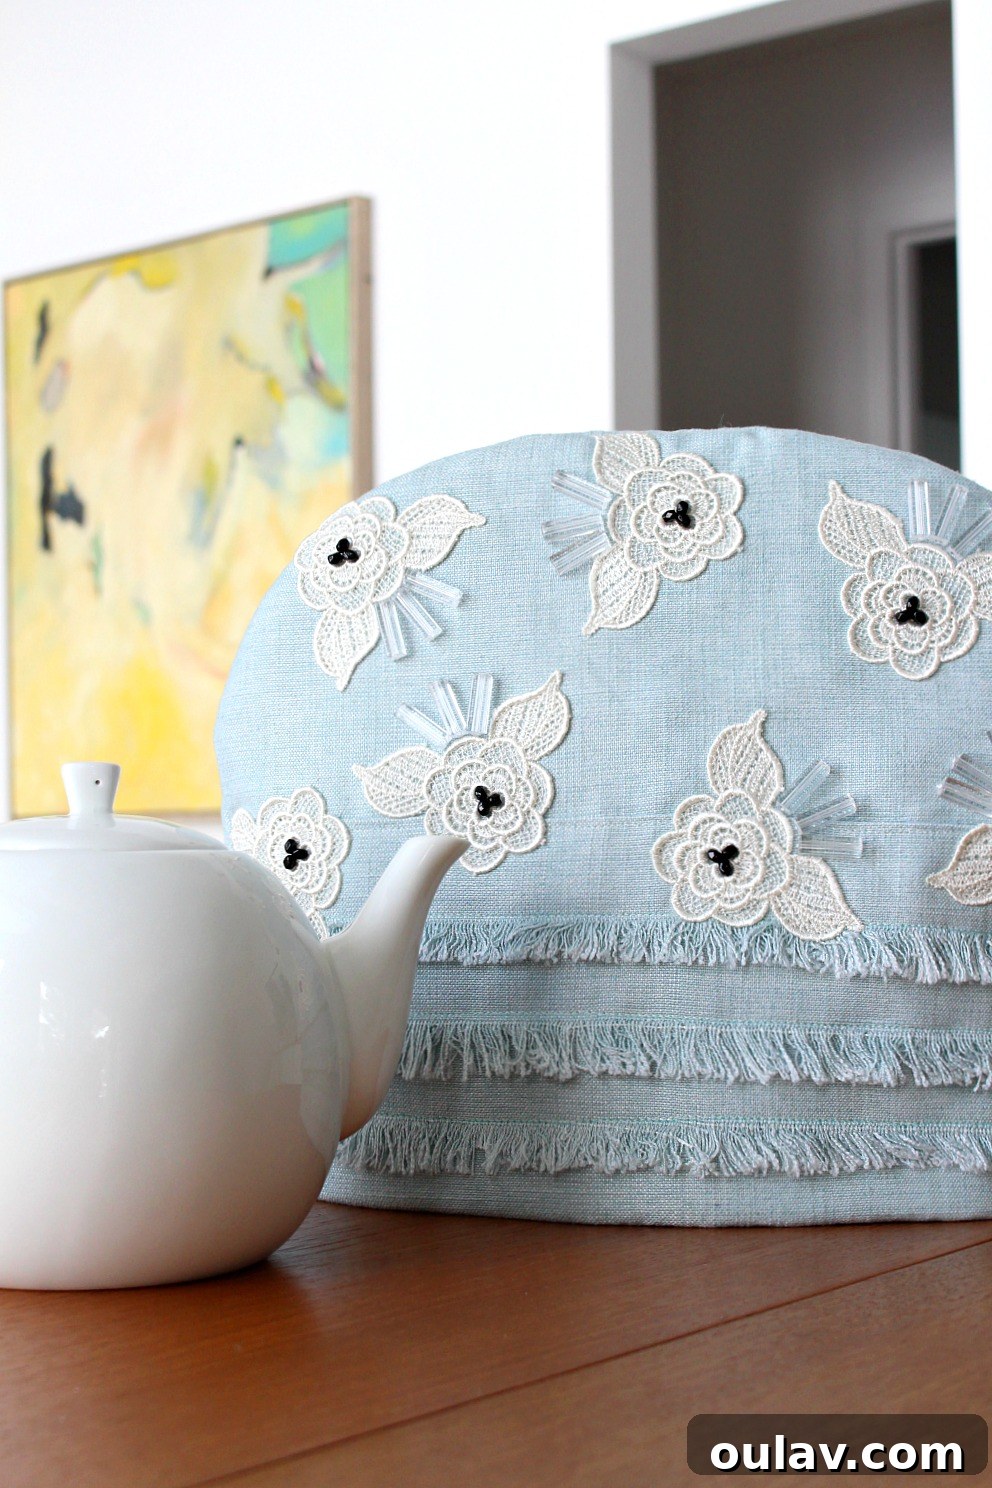
And here it is, with the teapot nestled perfectly inside, ready to keep your favorite brew warm and inviting:
P.S. Don’t Forget to Pin for Later!
Loved this tutorial and want to revisit it later or share it with fellow craft enthusiasts? Pin these images to your favorite Pinterest boards and spread the inspiration for creating beautiful, functional home accessories!