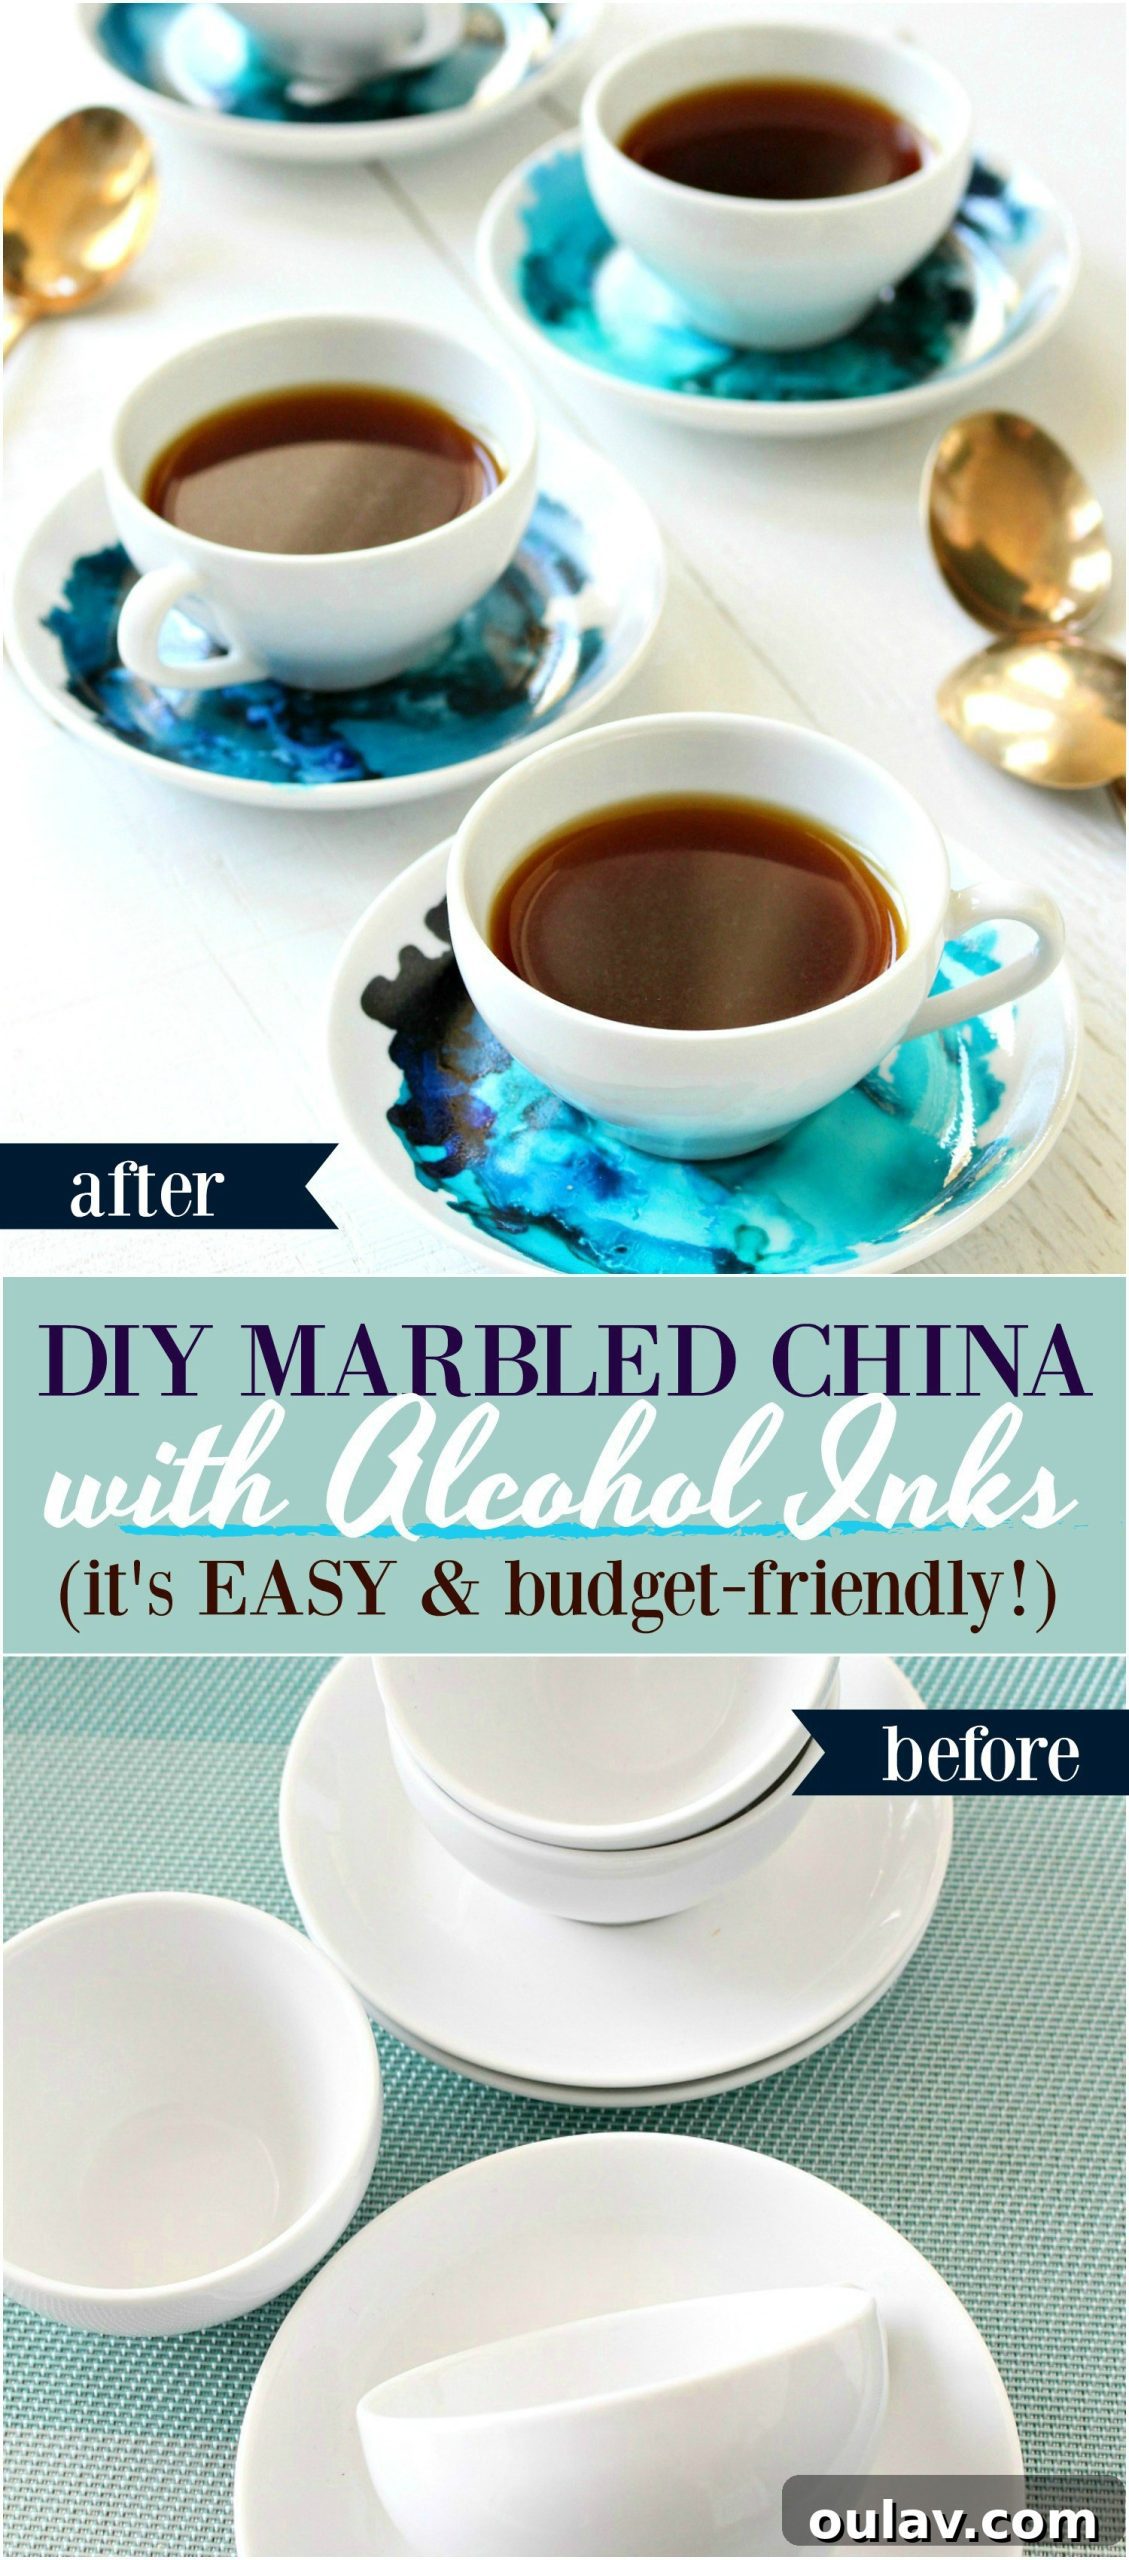
Unlock a world of vibrant creativity and transform mundane ceramics into stunning works of art with the captivating medium of alcohol inks. If you’ve ever admired the mesmerizing swirls and fluid designs of marbled art, you’re in for a treat. Today, we’re diving deep into the fascinating realm of using alcohol inks on ceramics and china, a project that is not only incredibly satisfying but also surprisingly easy for artists of all skill levels. Forget those plain, unloved thrift store finds; we’re about to give them a breathtaking new lease on life, infusing them with unique patterns and brilliant hues that reflect your personal style.
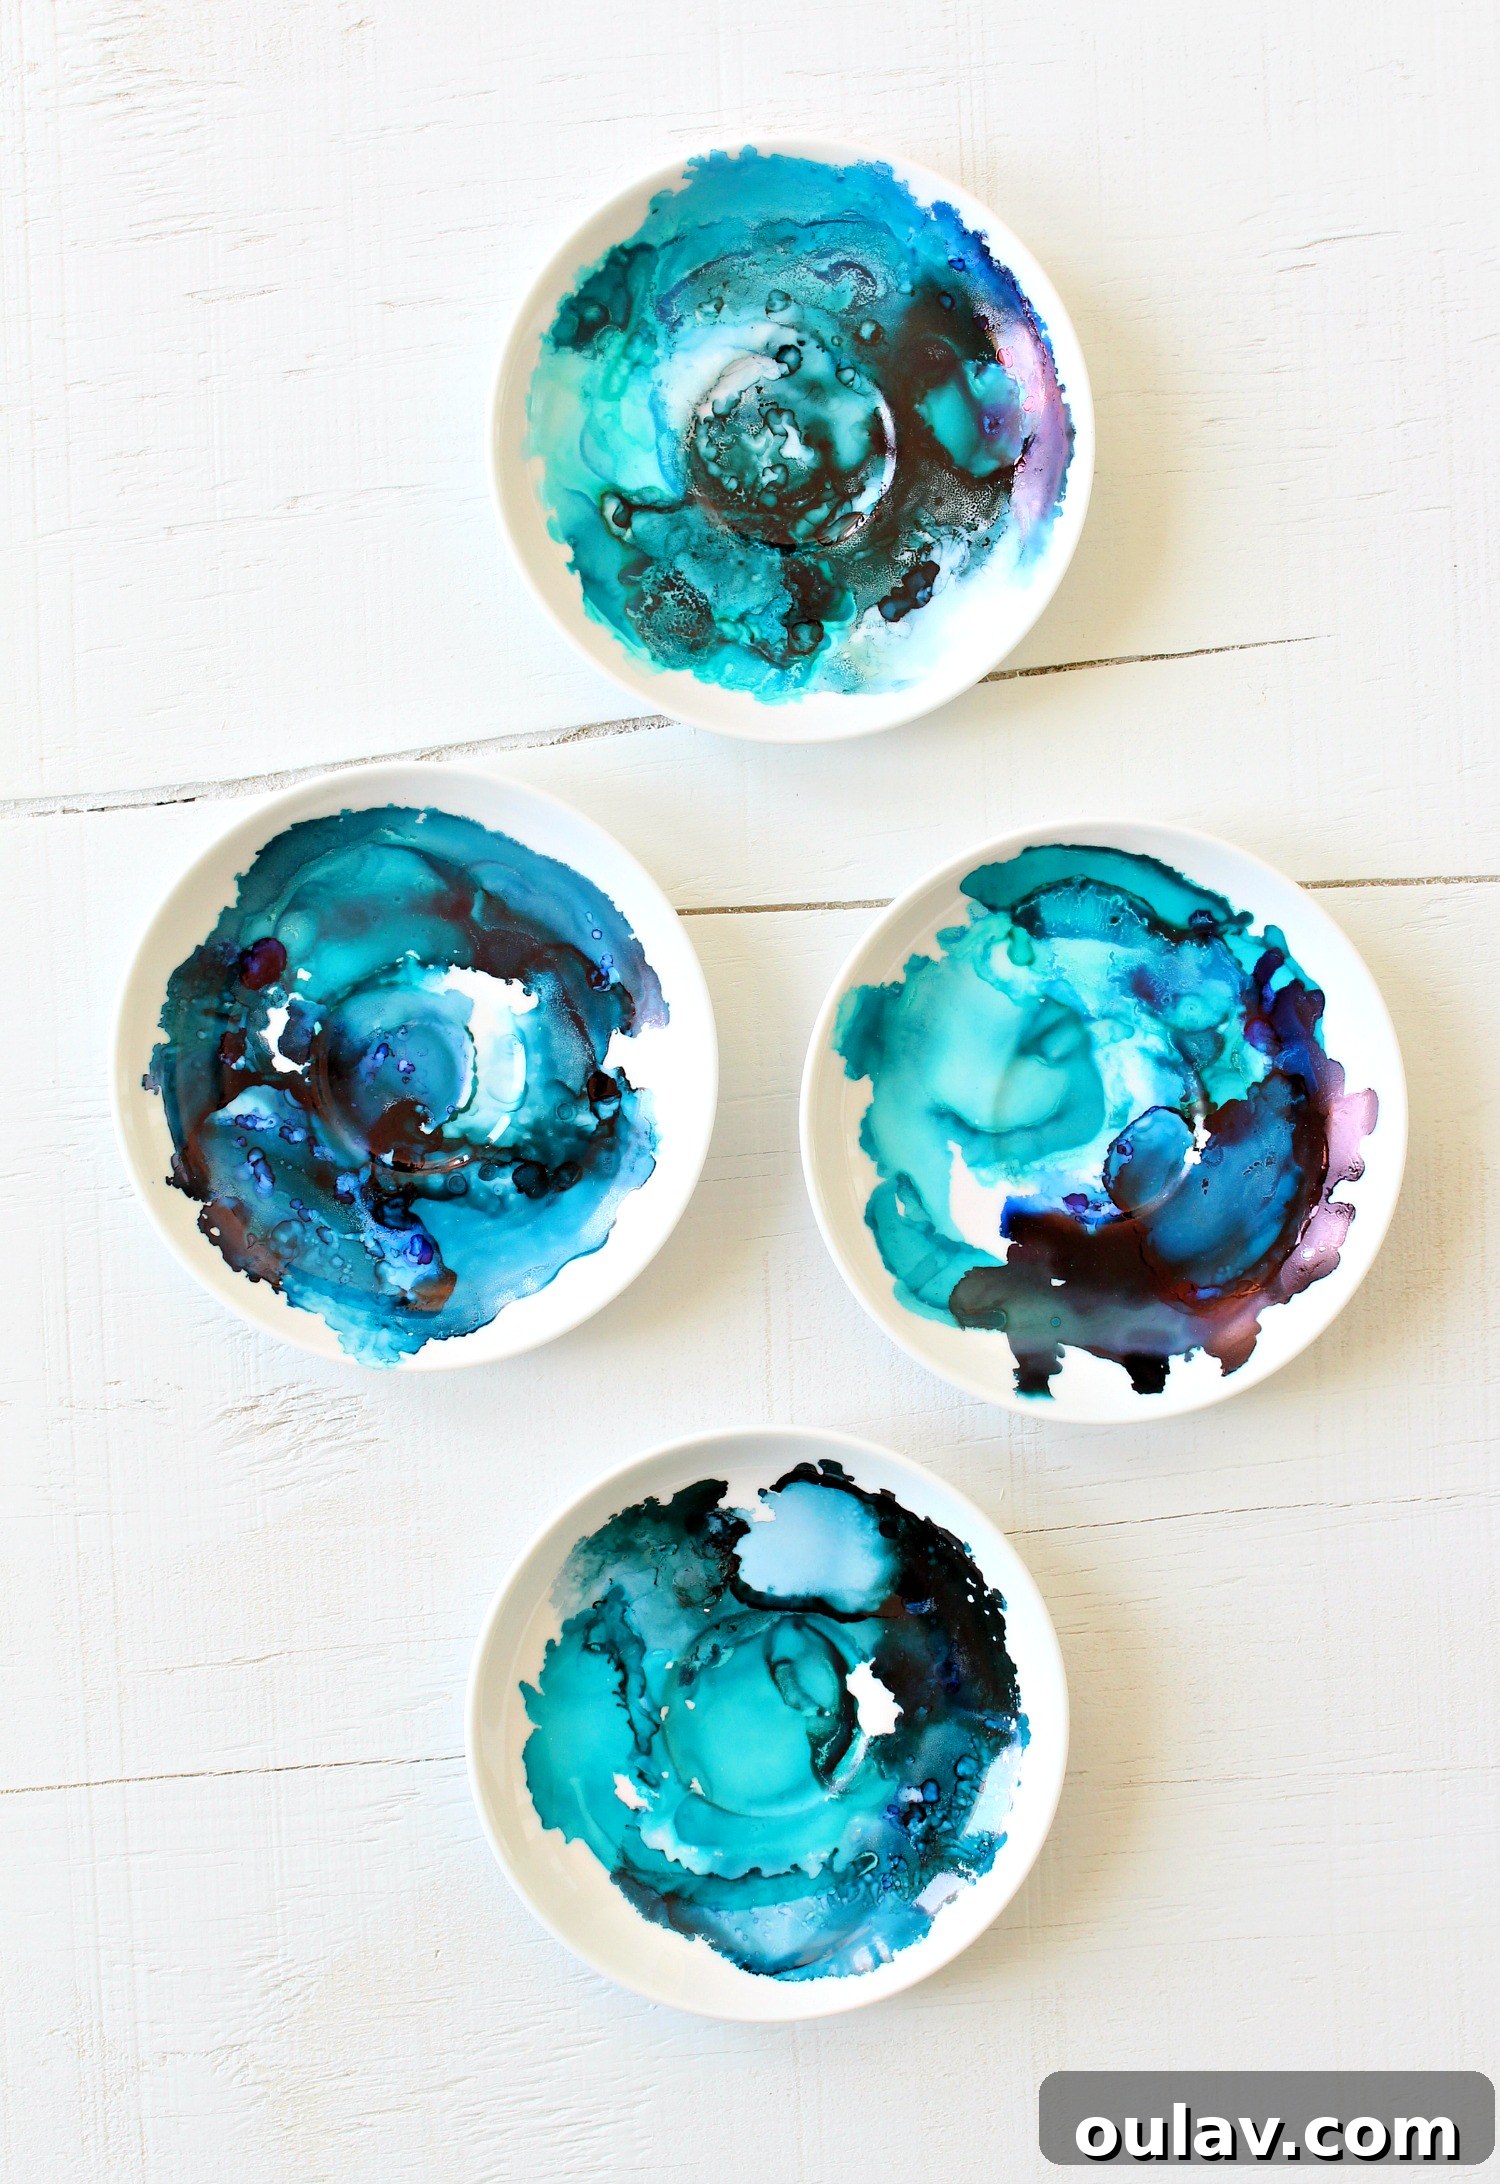
Alcohol inks, with their concentrated pigments and fast-drying nature, are an absolute dream to work with on non-porous surfaces. This makes glazed ceramics and delicate china the perfect canvas for achieving those coveted abstract, organic, and marbled effects. Imagine a simple white saucer morphing into a swirling galaxy of blues and teals, or a forgotten vase blossoming with a vibrant, painterly finish. The possibilities are truly endless, allowing you to personalize home decor items, gifts, or simply elevate your everyday surroundings with bespoke beauty.
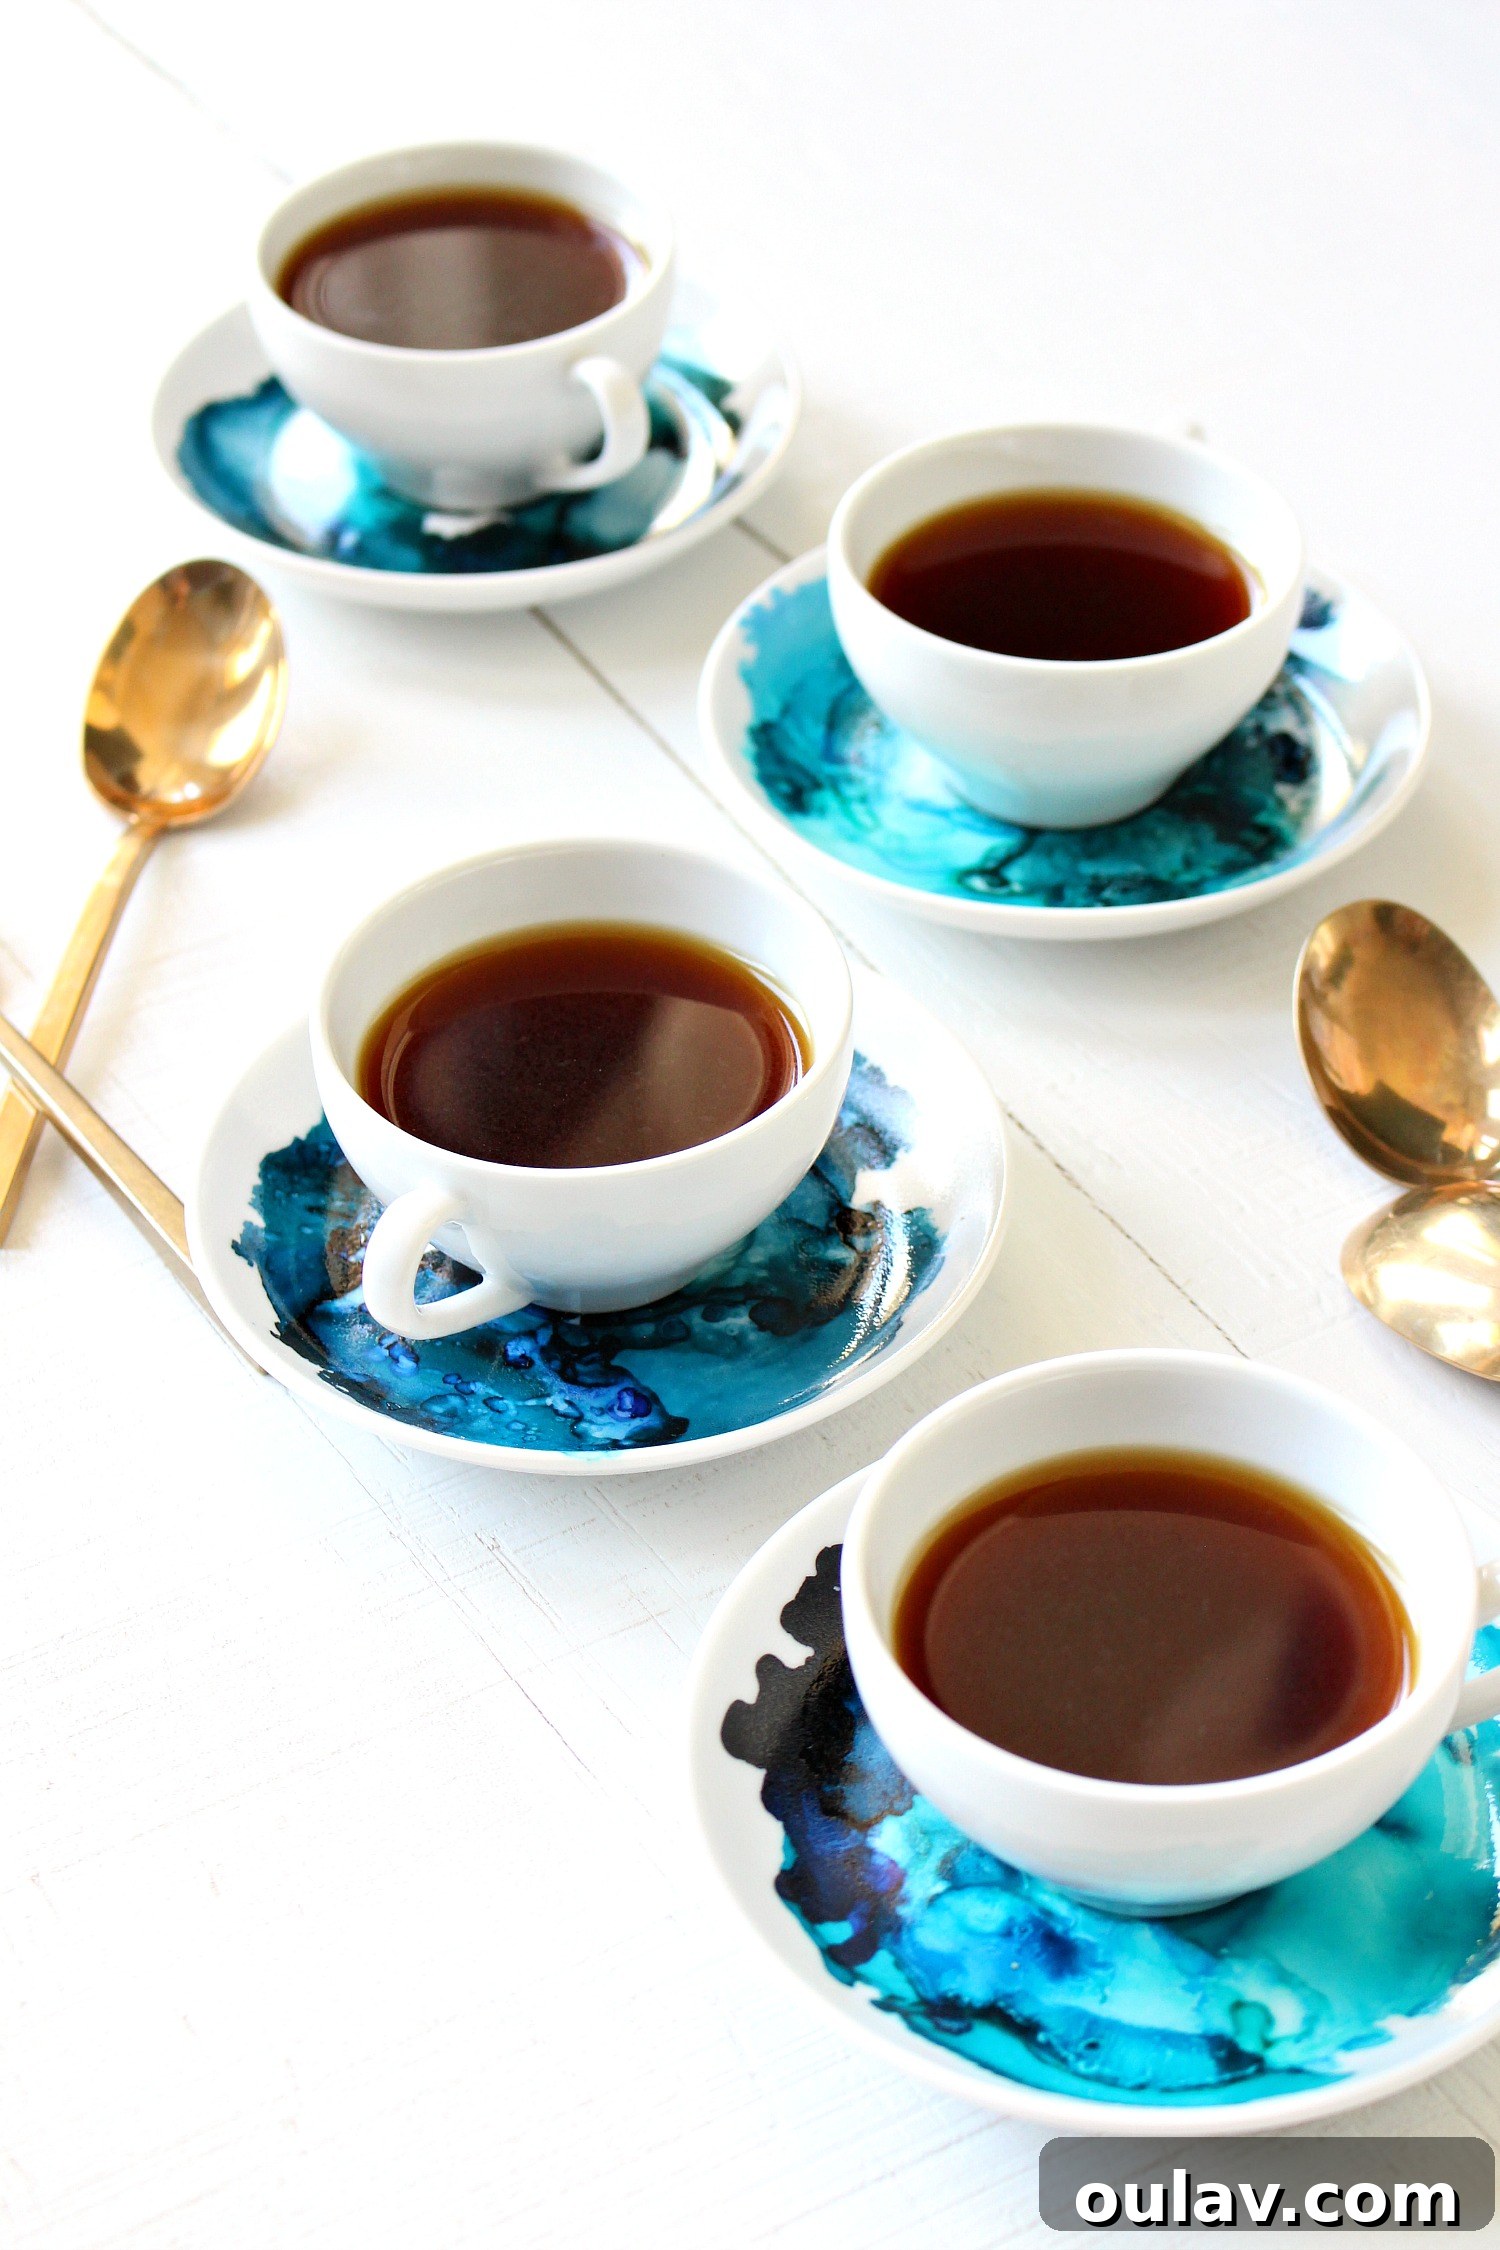
One crucial point to remember from the outset is that alcohol inks are generally not considered food-safe. This means that while you can adorn plates, bowls, or mugs, the decorated areas should avoid direct contact with food or beverages. However, this limitation opens up a vast array of creative solutions! Think of decorating the underside of clear glass plates, the exterior of vases, the handles or outside bottoms of mugs, or purely decorative items like trinket dishes and wall art. When properly sealed, these alcohol ink masterpieces are remarkably durable and can withstand regular hand washing, ensuring their beauty endures for years to come. Let’s embark on this artistic journey and discover how to master the art of alcohol ink on ceramics.
Choosing Your Canvas: Finding the Perfect Ceramic Pieces for Alcohol Ink Art
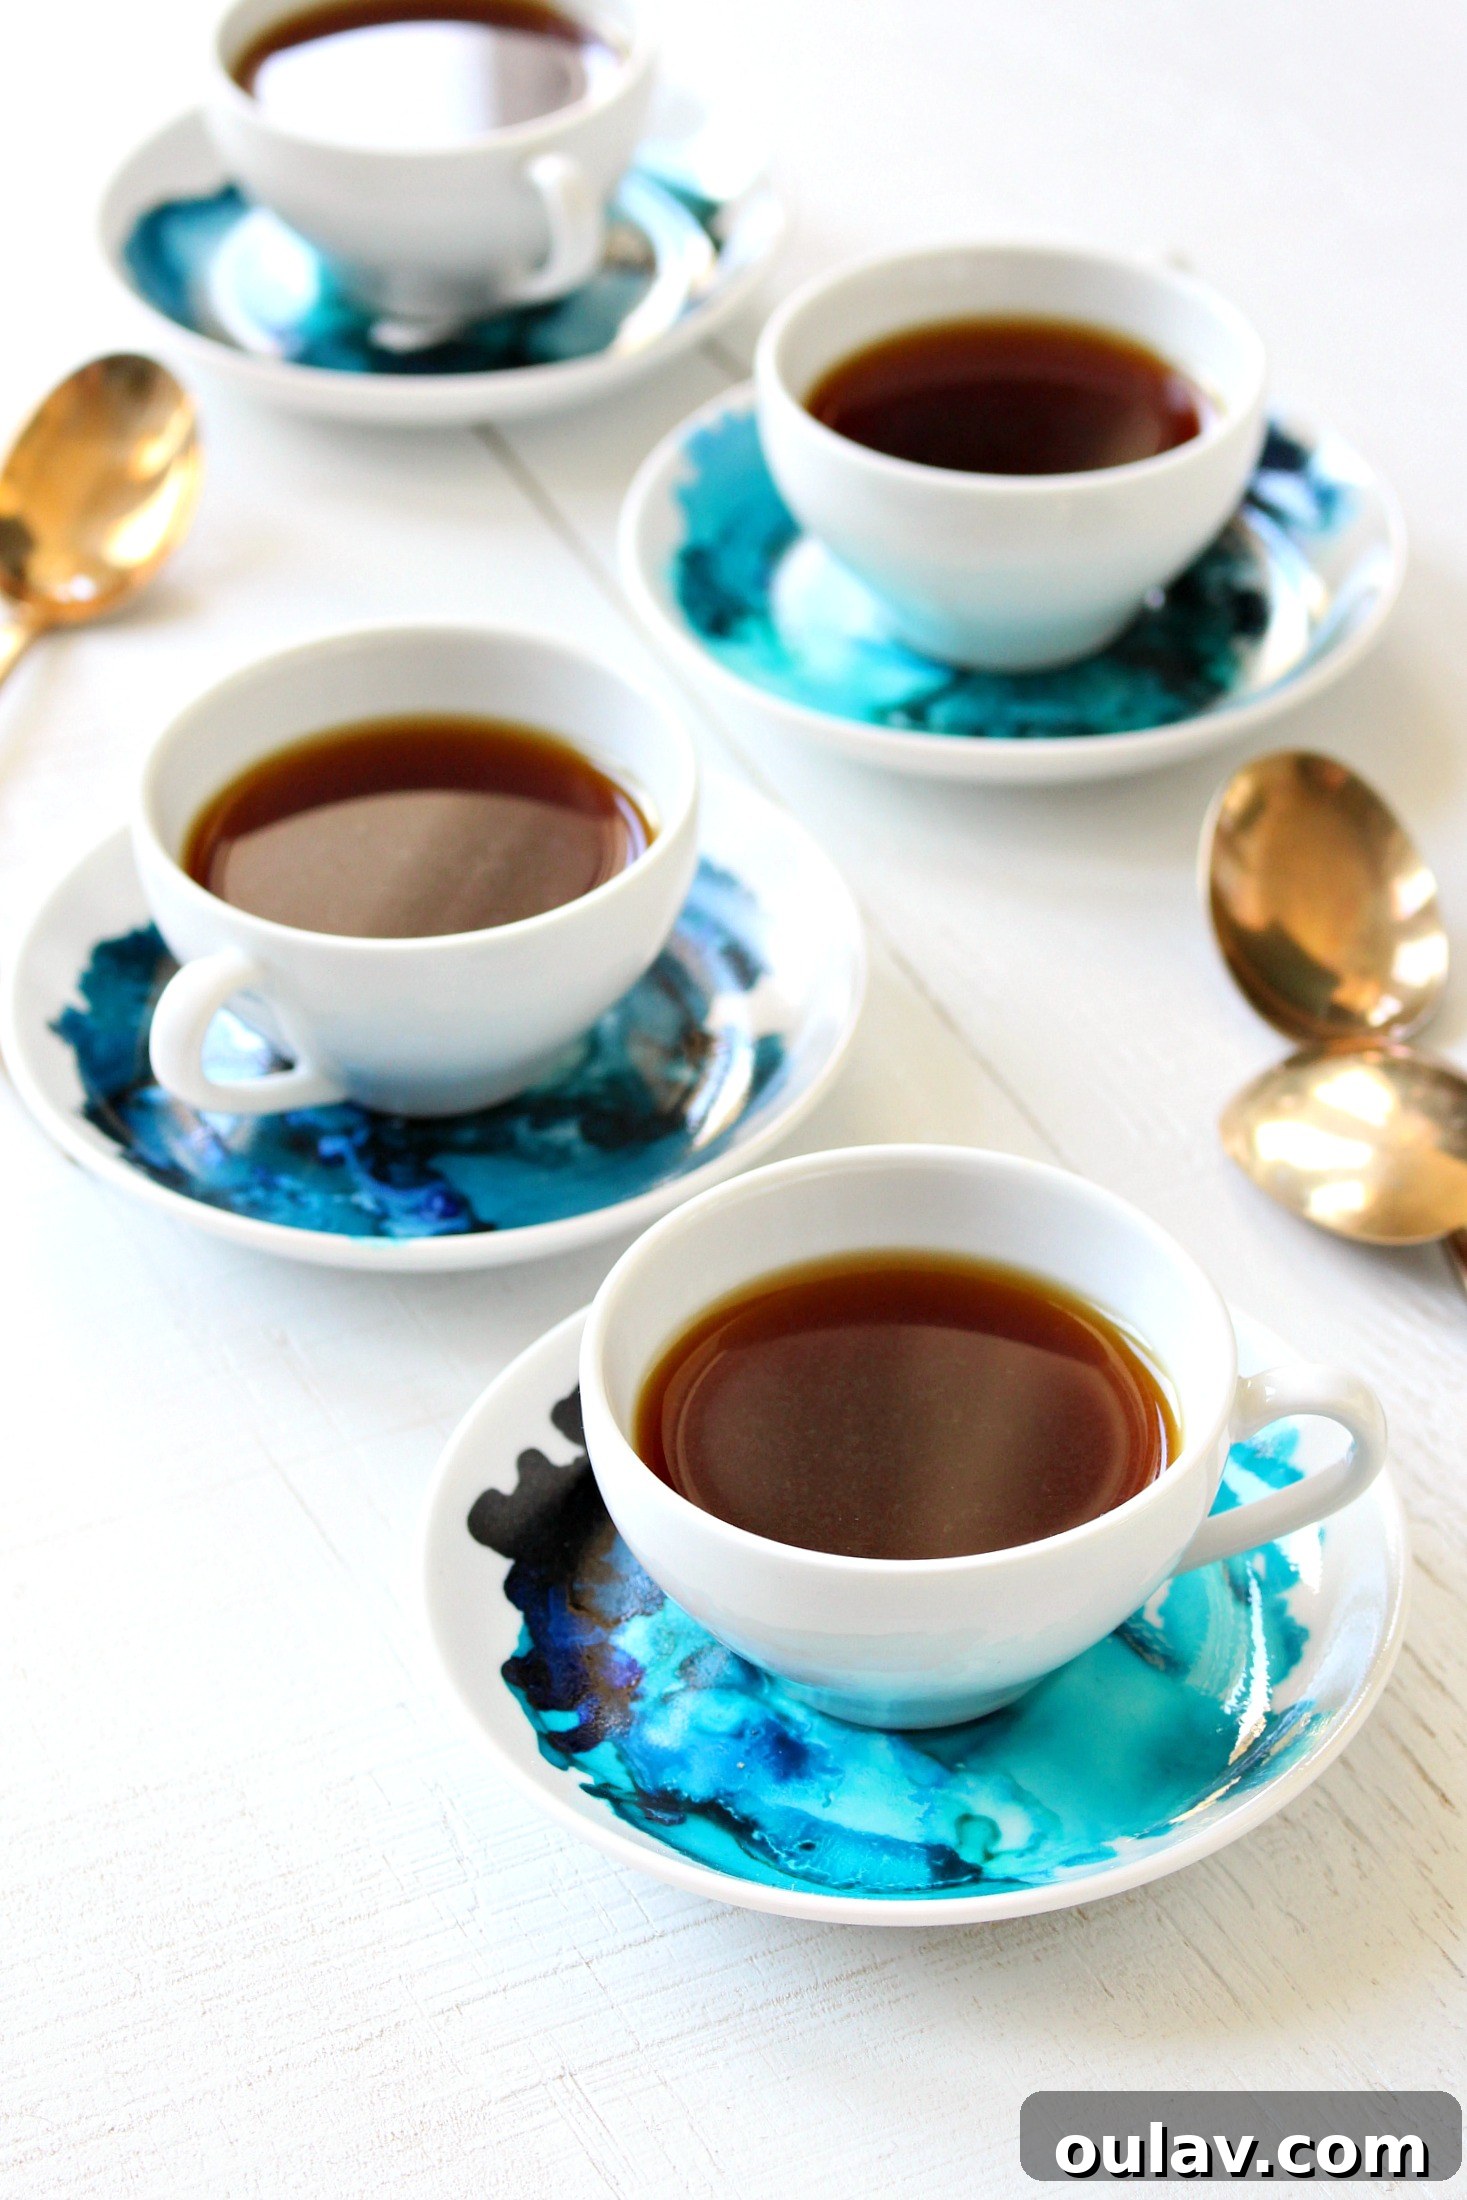
The beauty of this DIY project often begins with a treasure hunt. Many overlooked pieces of plain china or ceramic, once deemed too simple or outdated, hold immense potential. My own journey into ceramic upcycling began with a modest espresso set I discovered at a local thrift store. It was plain, yes, but its clean lines and classic form spoke to me. While some might appreciate its minimalist aesthetic, I knew it craved a splash of color, a vibrant transformation that only alcohol inks could provide. For me, life’s motto often involves adding more turquoise or teal, and this set was the perfect candidate.
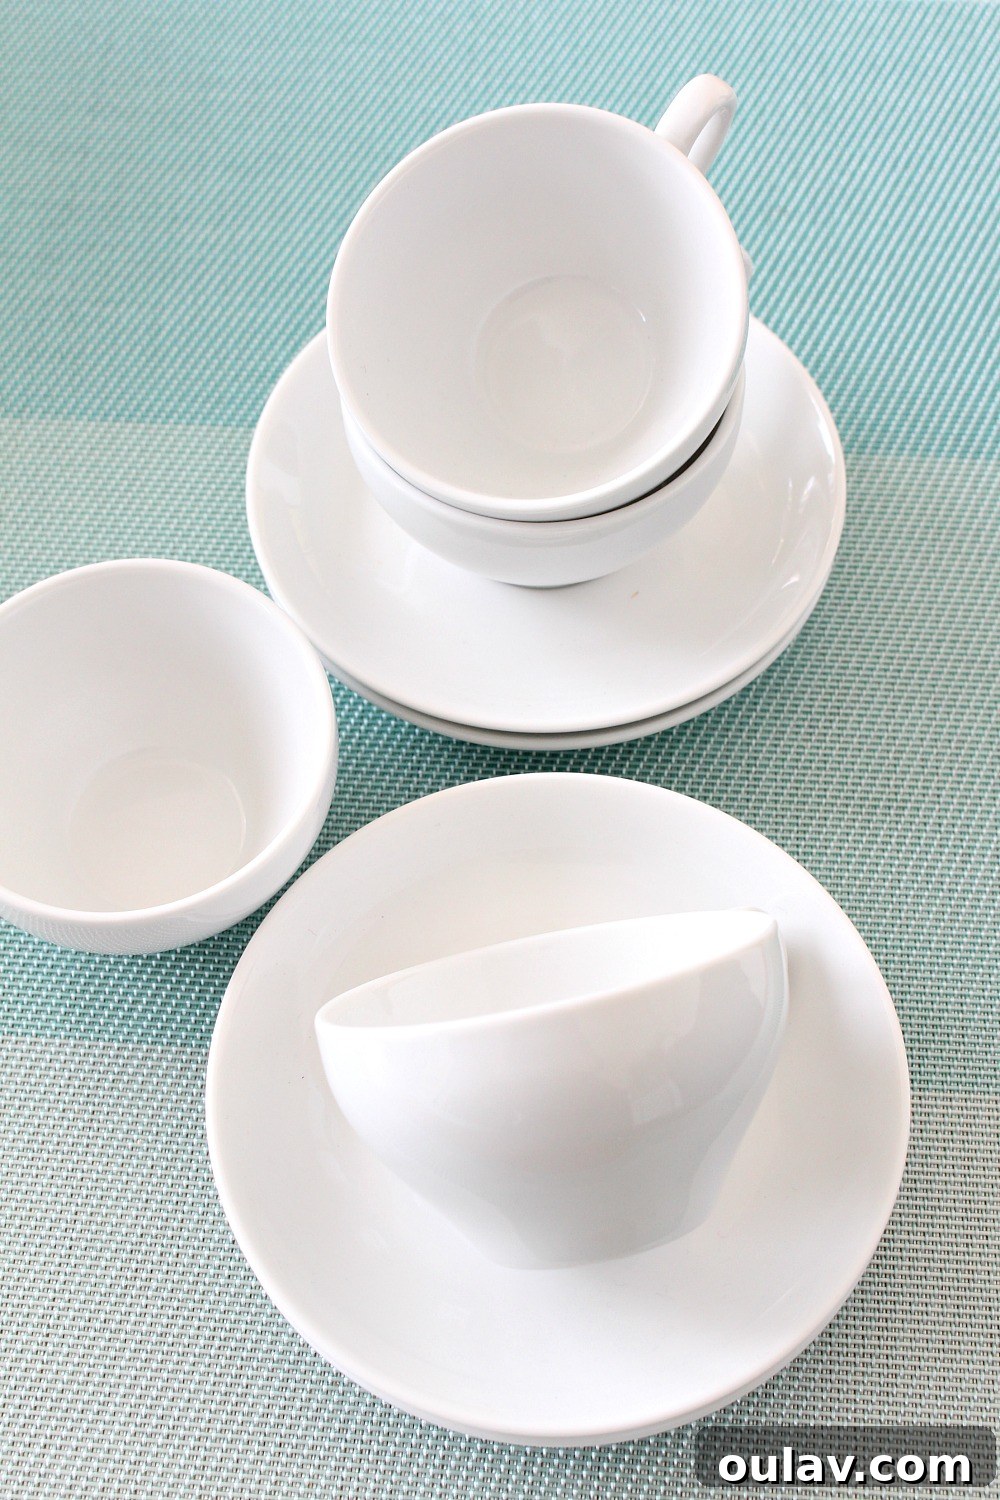
When selecting your ceramic canvases, prioritize glazed surfaces. The smooth, non-porous finish of glazed pottery, porcelain, or bone china allows the alcohol inks to flow and blend beautifully, creating those signature marbled and fluid effects. Unlike porous bisque pottery, which absorbs the inks quickly and can lead to less defined results, glazed surfaces give you more time to manipulate the colors and achieve intricate designs. Look for items with smooth, unbroken surfaces free from chips or cracks, as these can interfere with the ink’s flow and adhesion.
Considering the food-safety aspect, the small saucers of my espresso set were ideal. They are simply too tiny to hold any food items like cookies or pastries, making them a safe and suitable area for alcohol ink application. This thoughtful placement ensures the decorative element enhances the piece without compromising safety. Beyond saucers, consider other excellent options for non-food-contact decoration:
- Vases and Planters: Adorn the entire exterior with swirling patterns to create stunning centerpieces.
- Decorative Plates and Wall Hangings: Transform plain plates into artistic displays.
- Mug Handles or Bases: Add a pop of color to the outer handles or the non-contact bottom surface of mugs.
- Trinket Dishes and Jewelry Holders: Create personalized catch-alls for small items.
- Picture Frames and Lamp Bases: Infuse existing decor with custom designs.
- Coasters: While not for direct food contact, sealed coasters can add flair to your living space (ensure they are properly sealed against moisture).
The key is to think creatively about where the inks will go, ensuring any areas that might come into contact with food or drink remain untouched. This strategic approach allows you to fully enjoy the artistic freedom of alcohol inks while maintaining practical usability for your ceramic pieces.
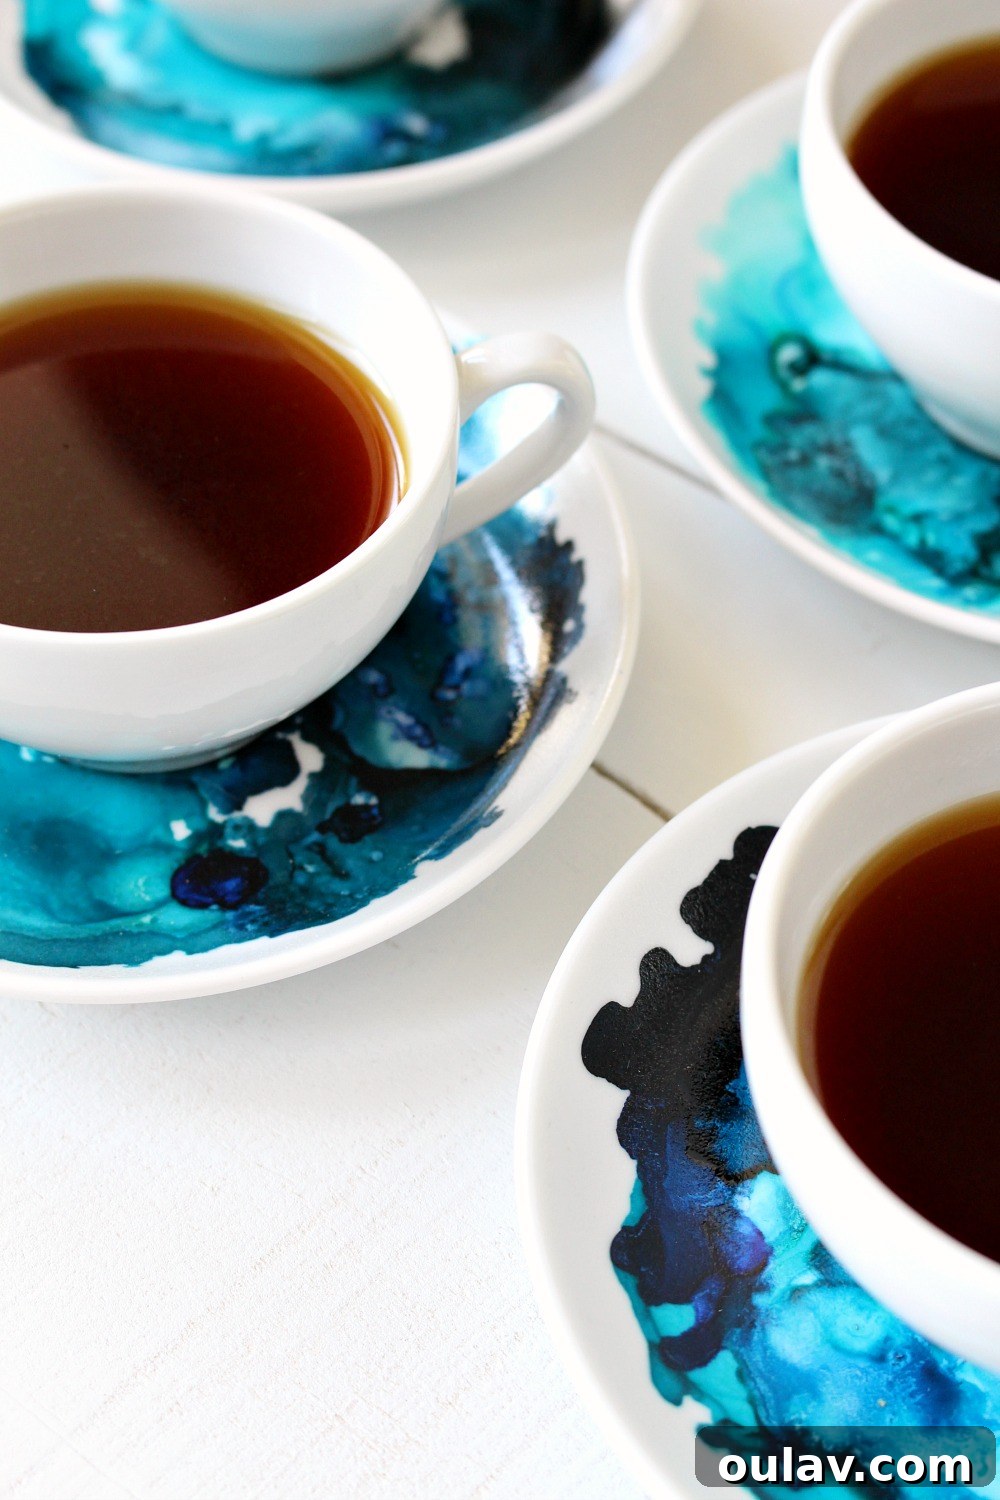
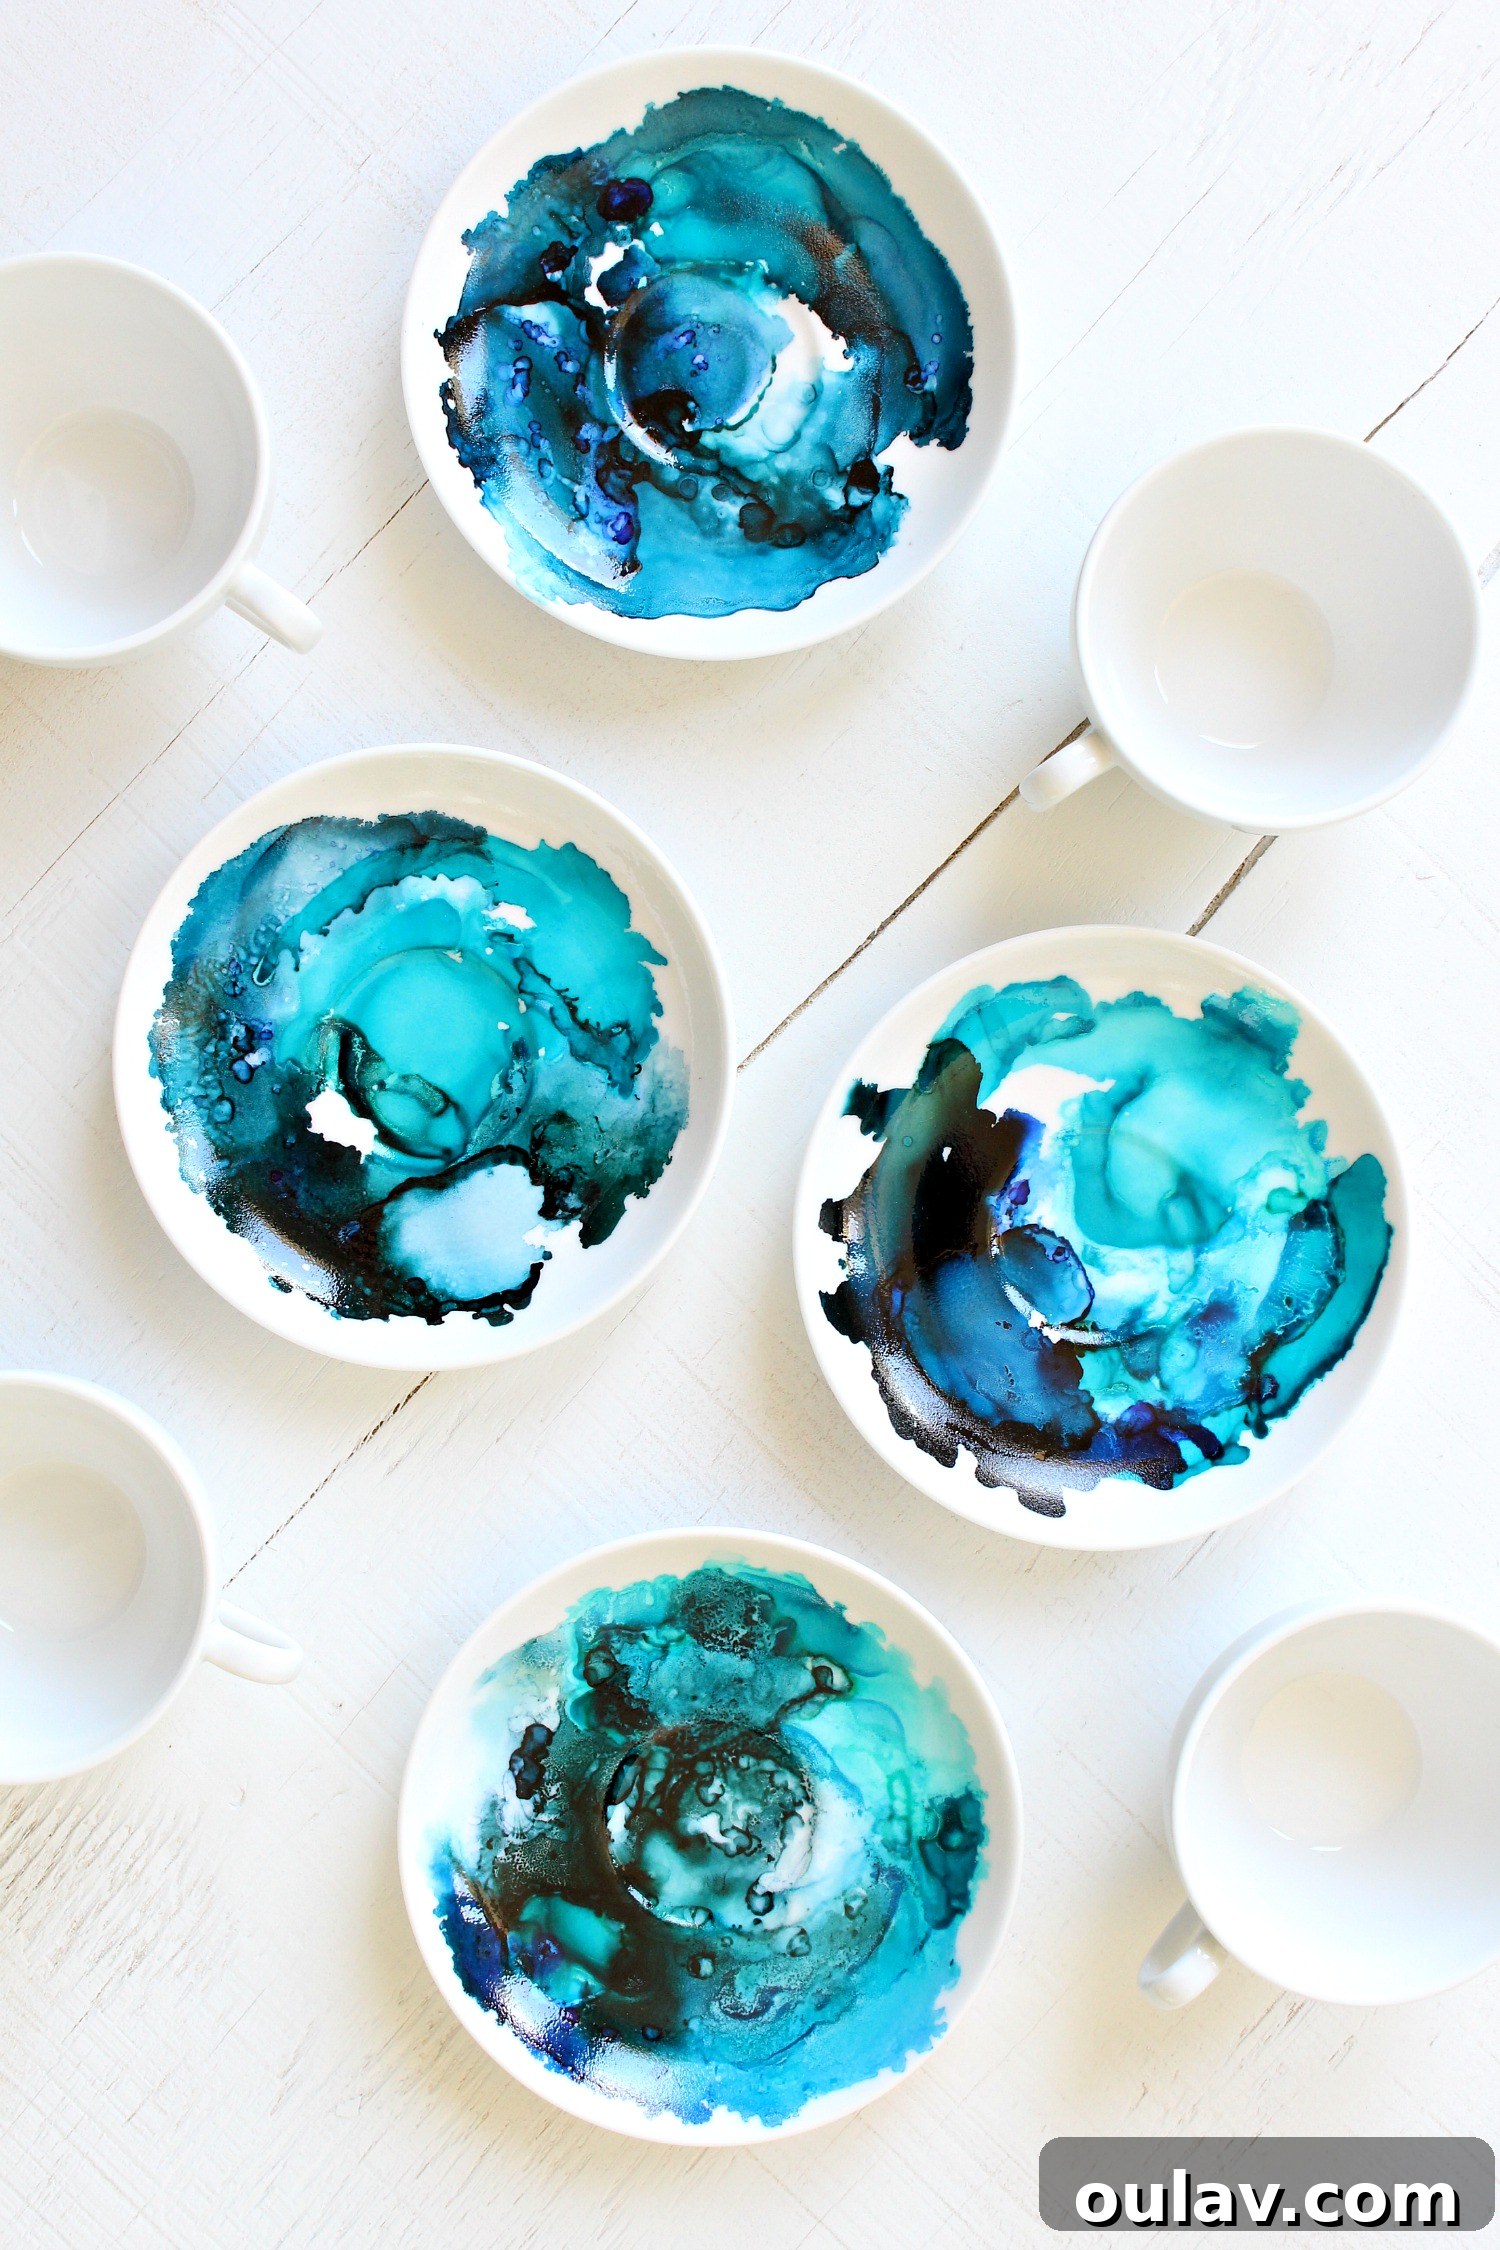
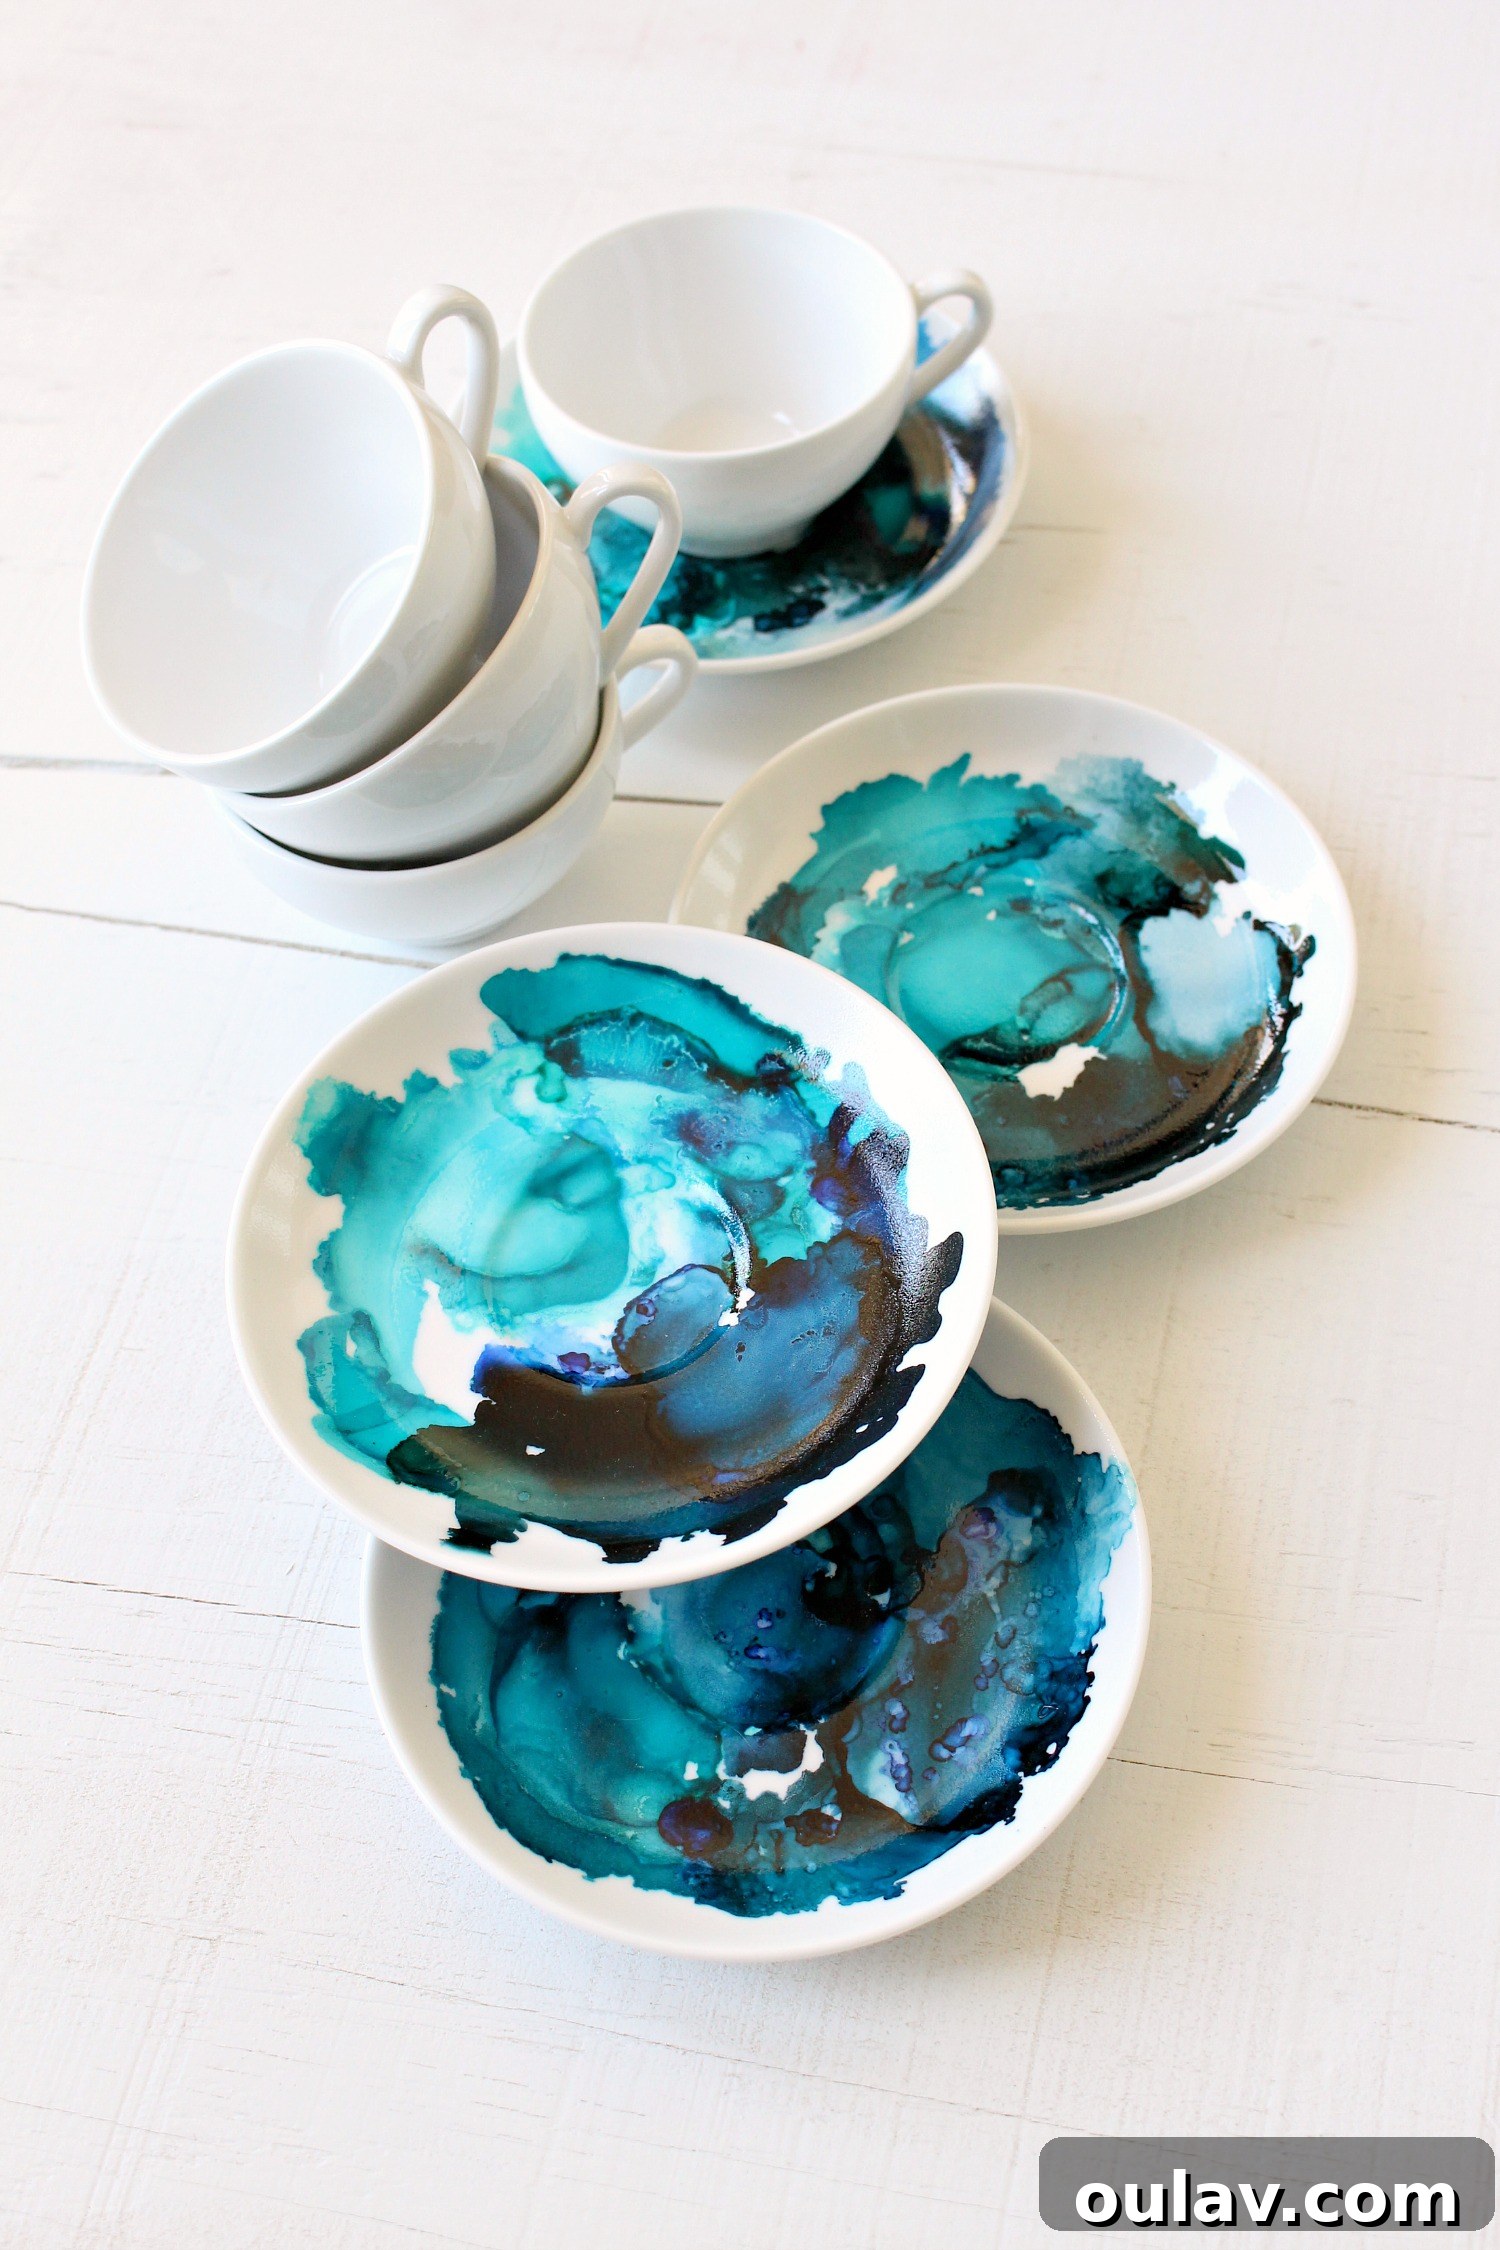
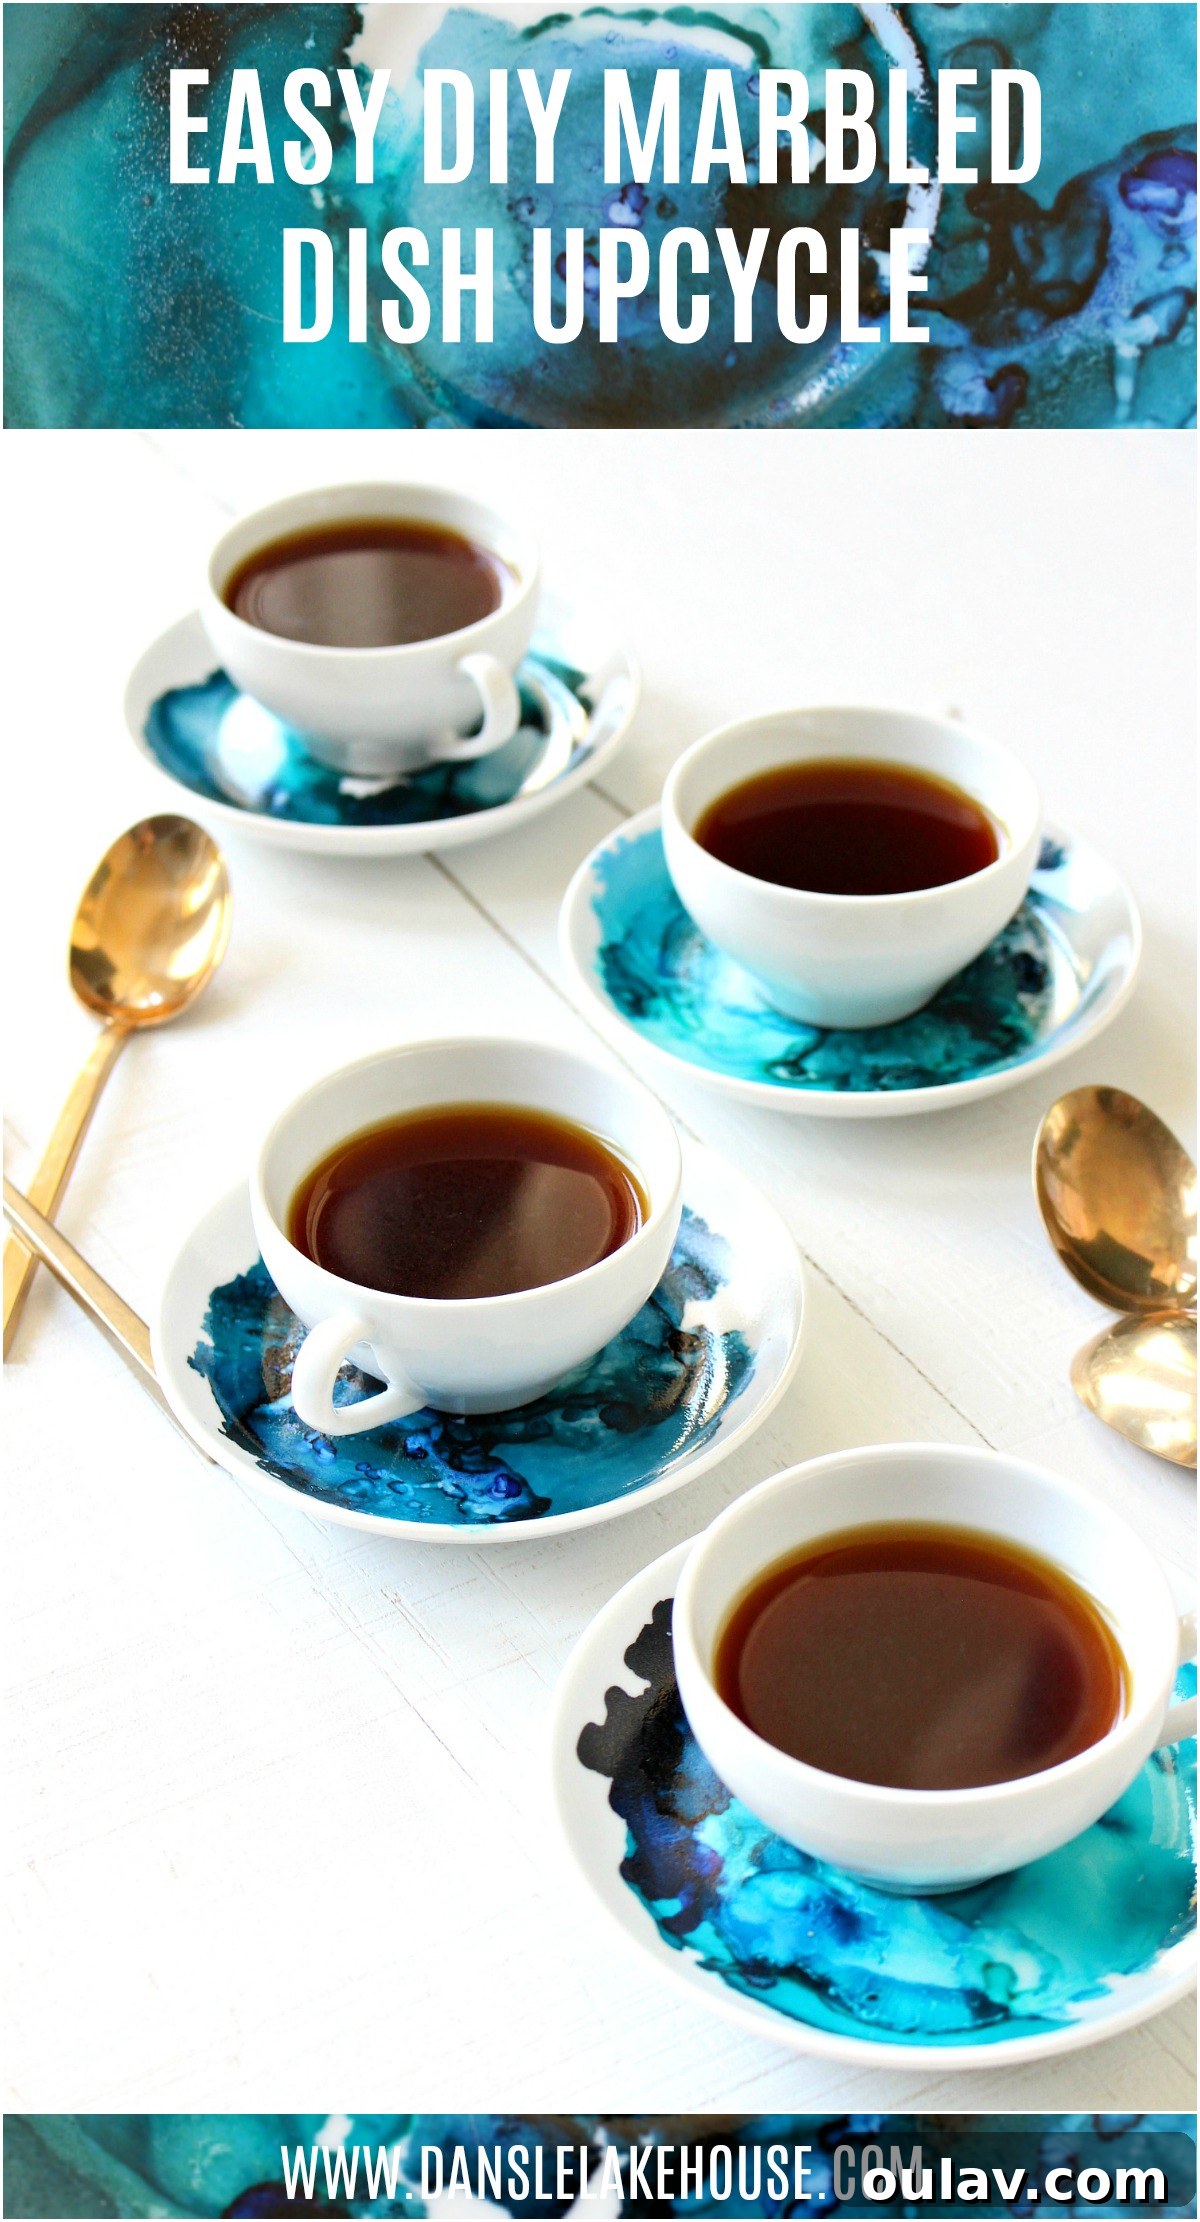
I am absolutely captivated by the vibrant, inky designs that blossomed on my previously plain espresso set. The swirling patterns, rich depth, and brilliant interplay of colors have transformed them into truly unique pieces. If you’re as intrigued as I was, get ready to unleash your inner artist. Here’s everything you’ll need to embark on your own alcohol ink ceramic adventure, along with some crucial pointers for success.
Essential Supplies for Alcohol Ink on Ceramics:
Gathering your materials is the first step towards creating your stunning alcohol ink masterpieces. Having everything at hand will ensure a smooth and enjoyable creative process.
- Alcohol Inks: These concentrated, dye-based inks are the star of the show. I personally used two 3-packs, specifically this set (featuring Mariner-Indigo, Mermaid, and Teakwood for those beautiful blues and greens) and another set called Lakeshore. Experiment with different brands and color palettes to find what truly inspires you.
- Alcohol Blending Solution: This specialized solution is essential for diluting the inks, creating stunning blending effects, and encouraging the inks to spread and react on the ceramic surface. It’s truly magical for achieving those fluid, organic patterns. Find it here: Alcohol blending solution.
- Rubbing Alcohol (91% or higher isopropyl alcohol): Your best friend for clean-up and corrections! Keep a bottle handy to easily wipe away mistakes and start fresh.
- Plain White China or Glazed Ceramic Items: As discussed, choose smooth, non-porous surfaces. A beautiful starting point could be a pretty set like this.
- Paper Drinking Straws: These are surprisingly effective tools for directing the ink and creating delicate wisps and swirls. A cost-effective way to get great movement. Grab some here: Paper drinking straws.
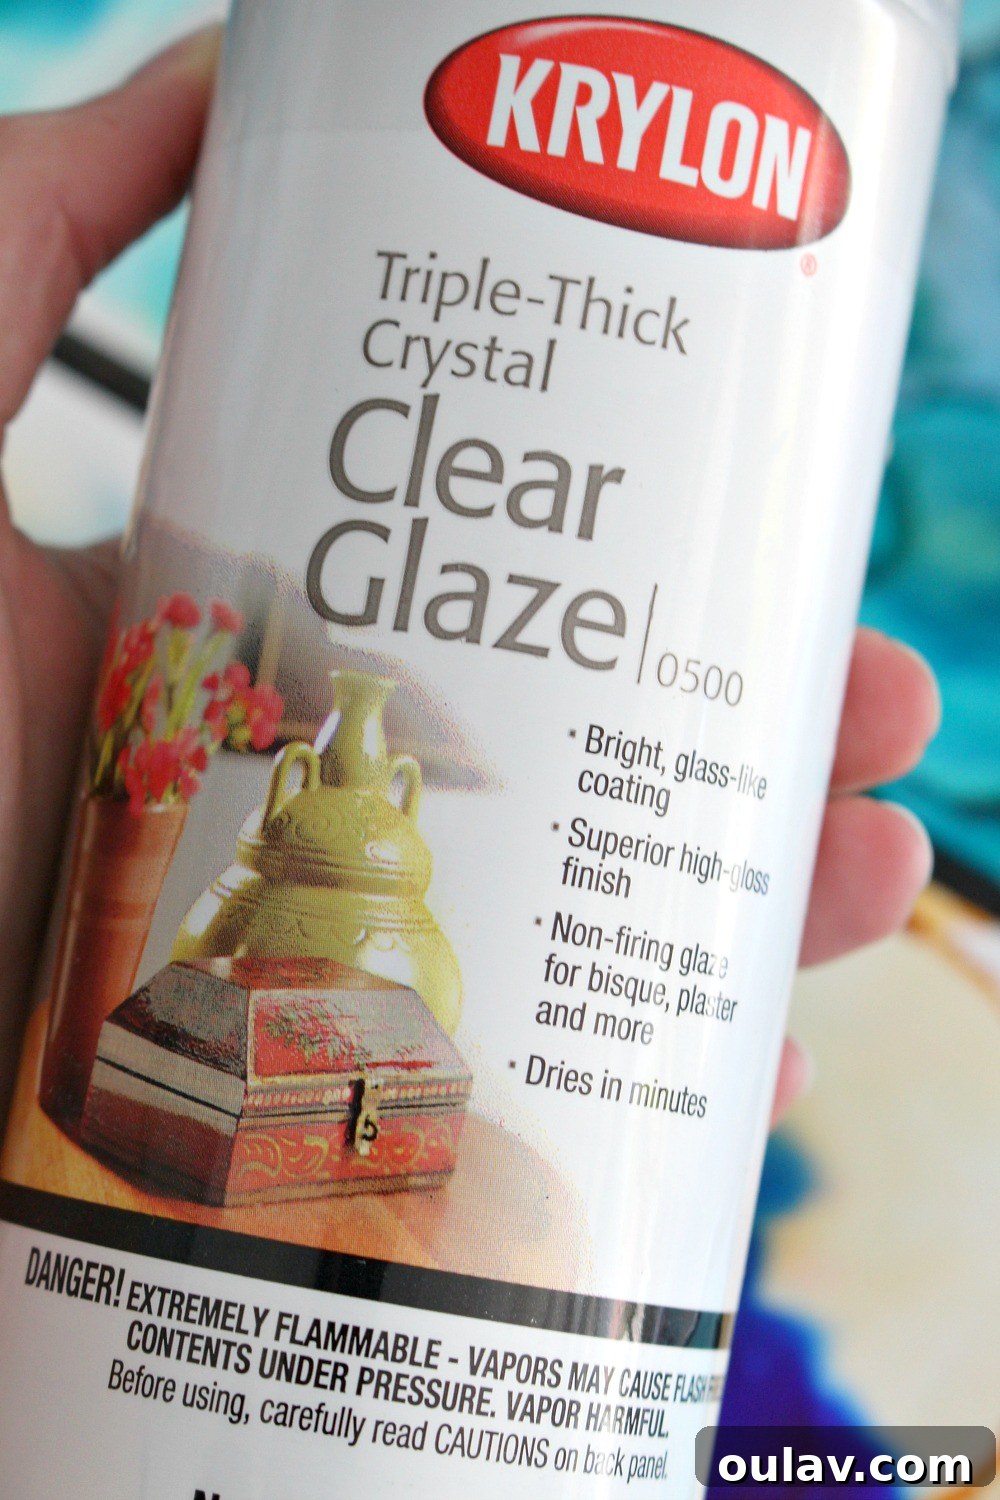
- Krylon Clear Glaze (or similar clear acrylic sealer): Crucial for sealing your finished artwork, protecting it from wear, and making it hand-washable. While it might seem like overkill for purely decorative items, it provides an excellent layer of durability, especially for pieces you intend to use regularly. Get your sealer here: Krylon clear glaze.
- Rubber Gloves: Alcohol inks can stain skin, so protecting your hands is a must.
- Drop Cloth or Protective Surface Covering: A large piece of cardboard, newspaper, or even a cut-open garbage bag (as I used!) will prevent inks from staining your workspace.
- Paper Towels or Cotton Pads: Essential for dabbing excess ink, cleaning up spills, and wiping away designs for a fresh start.
Step-by-Step Guide: Creating Marbled Magic with Alcohol Ink on Ceramics
The technique for creating beautiful swirls and marbled effects on ceramics is wonderfully straightforward, building upon basic alcohol ink art principles. If you’re new to alcohol inks, don’t worry – it’s incredibly forgiving and easy to learn. Here’s how to achieve those stunning designs:
1. Prepare Your Workspace and Ceramic Piece
Begin by setting up your protected workspace. Lay down your drop cloth or garbage bag to cover your table completely. Put on your rubber gloves to prevent staining. Ensure your ceramic piece is clean, dry, and free of any dust, grease, or fingerprints. A quick wipe with rubbing alcohol and a paper towel can help ensure optimal adhesion of the inks.
2. Initial Ink and Blending Solution Application
Working on one ceramic piece at a time, start by dropping a few spots of your chosen alcohol inks onto the glazed surface. Don’t overload it; a few drops are sufficient to begin. Immediately follow with a few drops of alcohol blending solution directly onto or around the ink spots. The blending solution will react with the inks, causing them to spread, bloom, and create beautiful, organic patterns.
3. Manipulating the Inks for Movement and Swirls
This is where the magic happens!
- Using a Straw: Hold a paper drinking straw close to the ink and gently blow. Directing your breath allows you to push the inks around, creating delicate tendrils, sweeping lines, and intricate swirls. Experiment with blowing softly for subtle movement or more firmly for dramatic sweeps.
- Tilting and Swirling: For flat items like saucers, you can also pick up the ceramic piece and gently tilt and swirl it. Gravity will help spread the inks, allowing them to flow and merge in mesmerizing ways. Combine this with the straw technique for maximum control and variation.
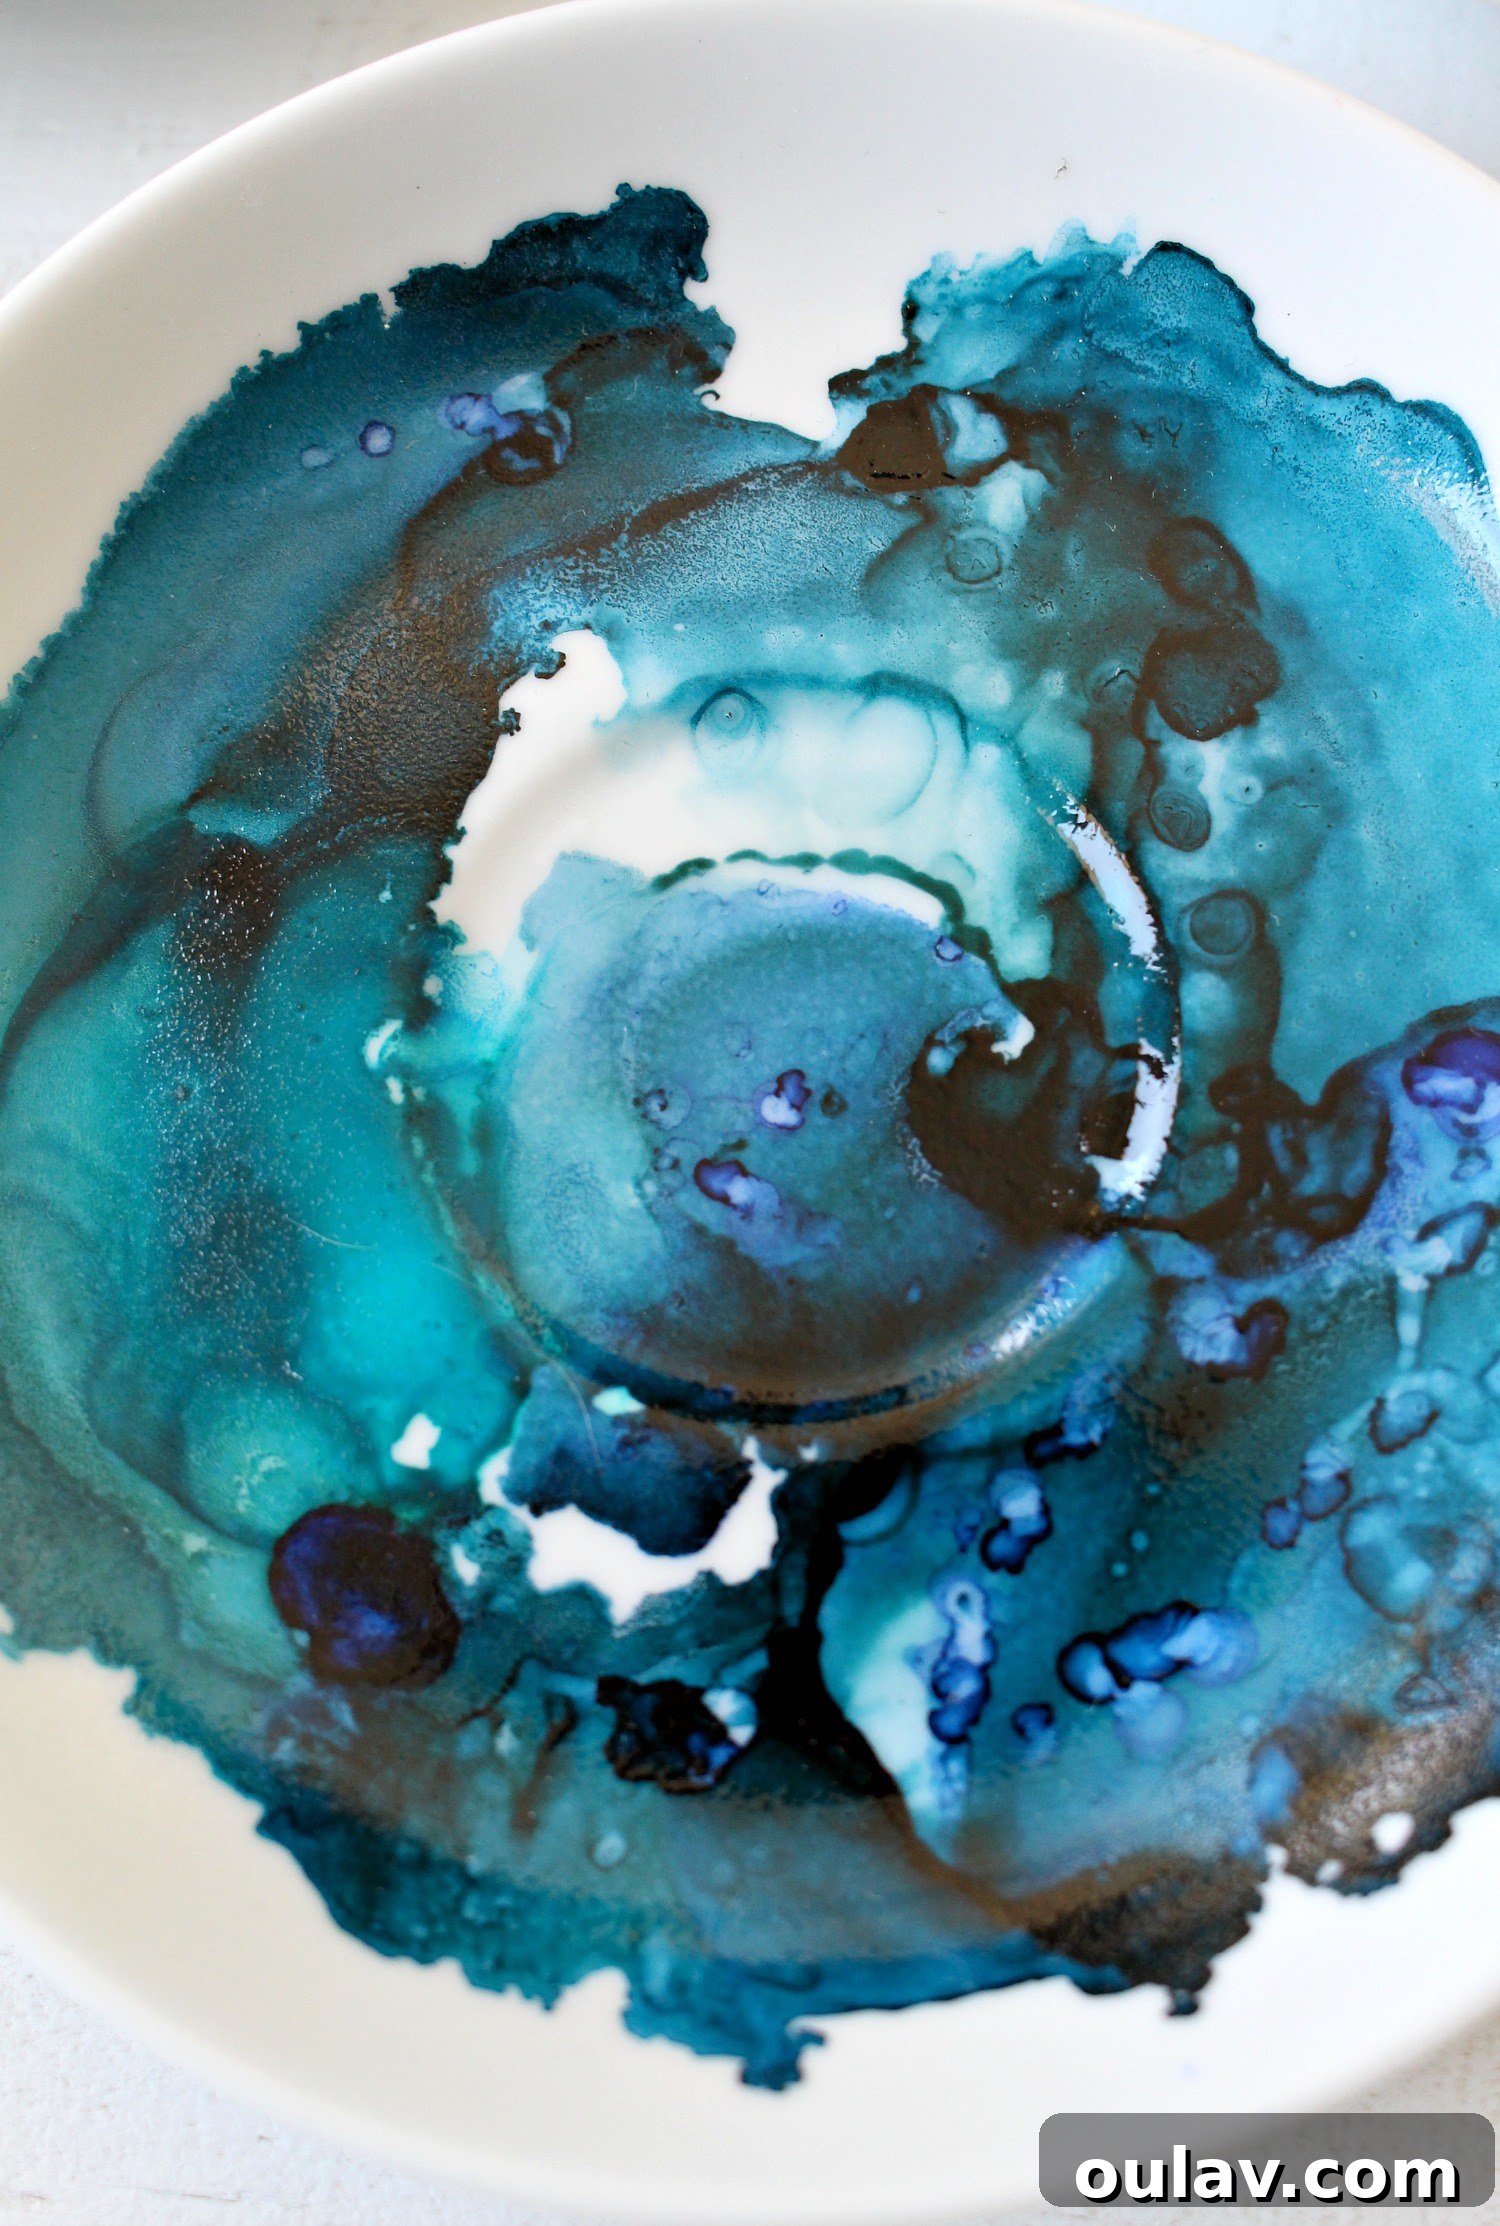
- Layering Colors: To add depth and complexity, introduce additional drops of different colored inks and more blending solution as the initial layer is still wet. Watch how the colors interact, push each other, and create new shades and transitions. For my espresso set, layering shades of blue and teal resulted in that wonderfully inky effect with incredible visual interest.
Remember, there’s no right or wrong way; embrace the spontaneity of the inks. This fluid medium often creates its own beauty, making it perfect for any skill level.
4. Experimentation and The Forgiving Nature of Alcohol Inks
One of the most liberating aspects of working with alcohol inks on non-porous surfaces is the ability to correct mistakes. If you don’t like a design, or if the inks settle in a way you didn’t intend, don’t despair! Before the ink completely dries (which happens relatively quickly), simply dampen a paper towel or cotton pad with rubbing alcohol and wipe the ink away. This will give you a clean slate, allowing you to start fresh as many times as you need. I certainly took advantage of this feature, experimenting and refining my designs multiple times until I achieved the look I envisioned. This forgiving quality makes the process incredibly fun and, dare I say, addictive!
5. Sealing Your Alcohol Ink Creation for Longevity
Once you are completely satisfied with your design and the alcohol ink has thoroughly dried (this usually takes just a few minutes), it’s time to seal your masterpiece. Sealing is a crucial step that protects your artwork, enhances its durability, and makes it hand-washable.
- Preparation for Sealing: Place your decorated ceramic pieces on a sheet of cardboard or an old newspaper in a well-ventilated area, preferably outdoors.
- Applying the Glaze: Hold the Krylon clear glaze spray can about 8-10 inches away from the ceramic and apply several thin, even coats. Avoid applying one thick coat, as this can lead to drips or an uneven finish. Multiple thin coats provide better protection and a smoother appearance.
- Drying Time: Allow each coat to dry for a few minutes before applying the next. Once all coats are applied, let the sealed pieces dry undisturbed for at least 24 hours. This allows the glaze to fully cure and harden, ensuring maximum protection for your alcohol ink art. While some might consider a clear glaze overkill for a simple espresso saucer, I believe in creating DIY projects that are built to stand the test of time, and this sealing step ensures that durability.
Beyond the Espresso Set: More Alcohol Ink Ceramic Project Ideas
After experiencing the sheer joy and stunning results of marbling my espresso set, I couldn’t stop there. The addictive nature of alcohol inks led me to find another plain ceramic piece in need of a makeover: a simple white tea bag holder. For this, I opted for a more subdued, monochromatic swirl, demonstrating the versatility of the medium to create both vibrant and subtle designs.
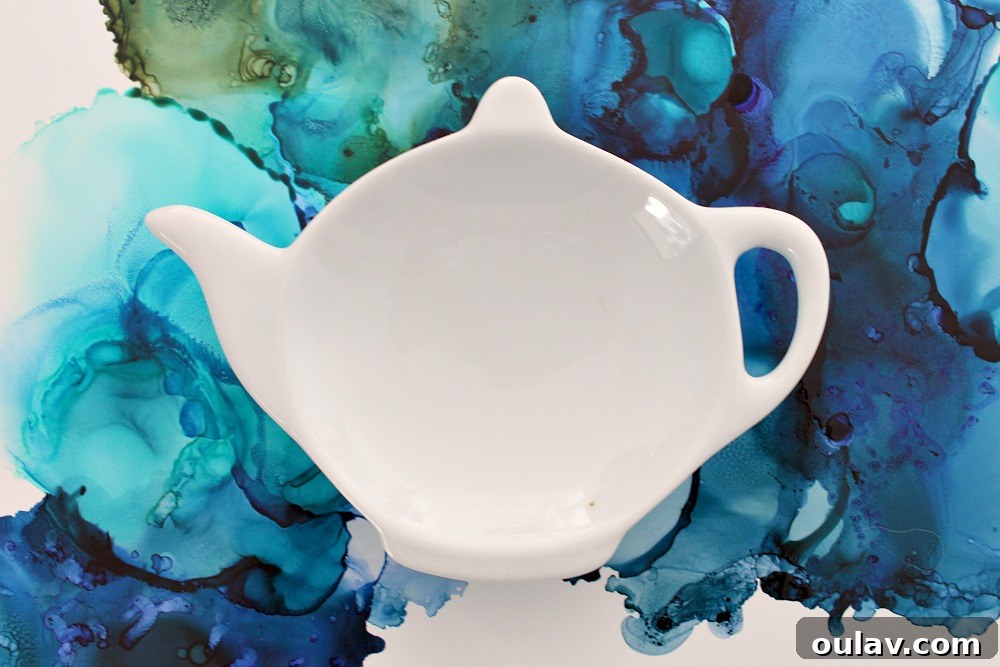
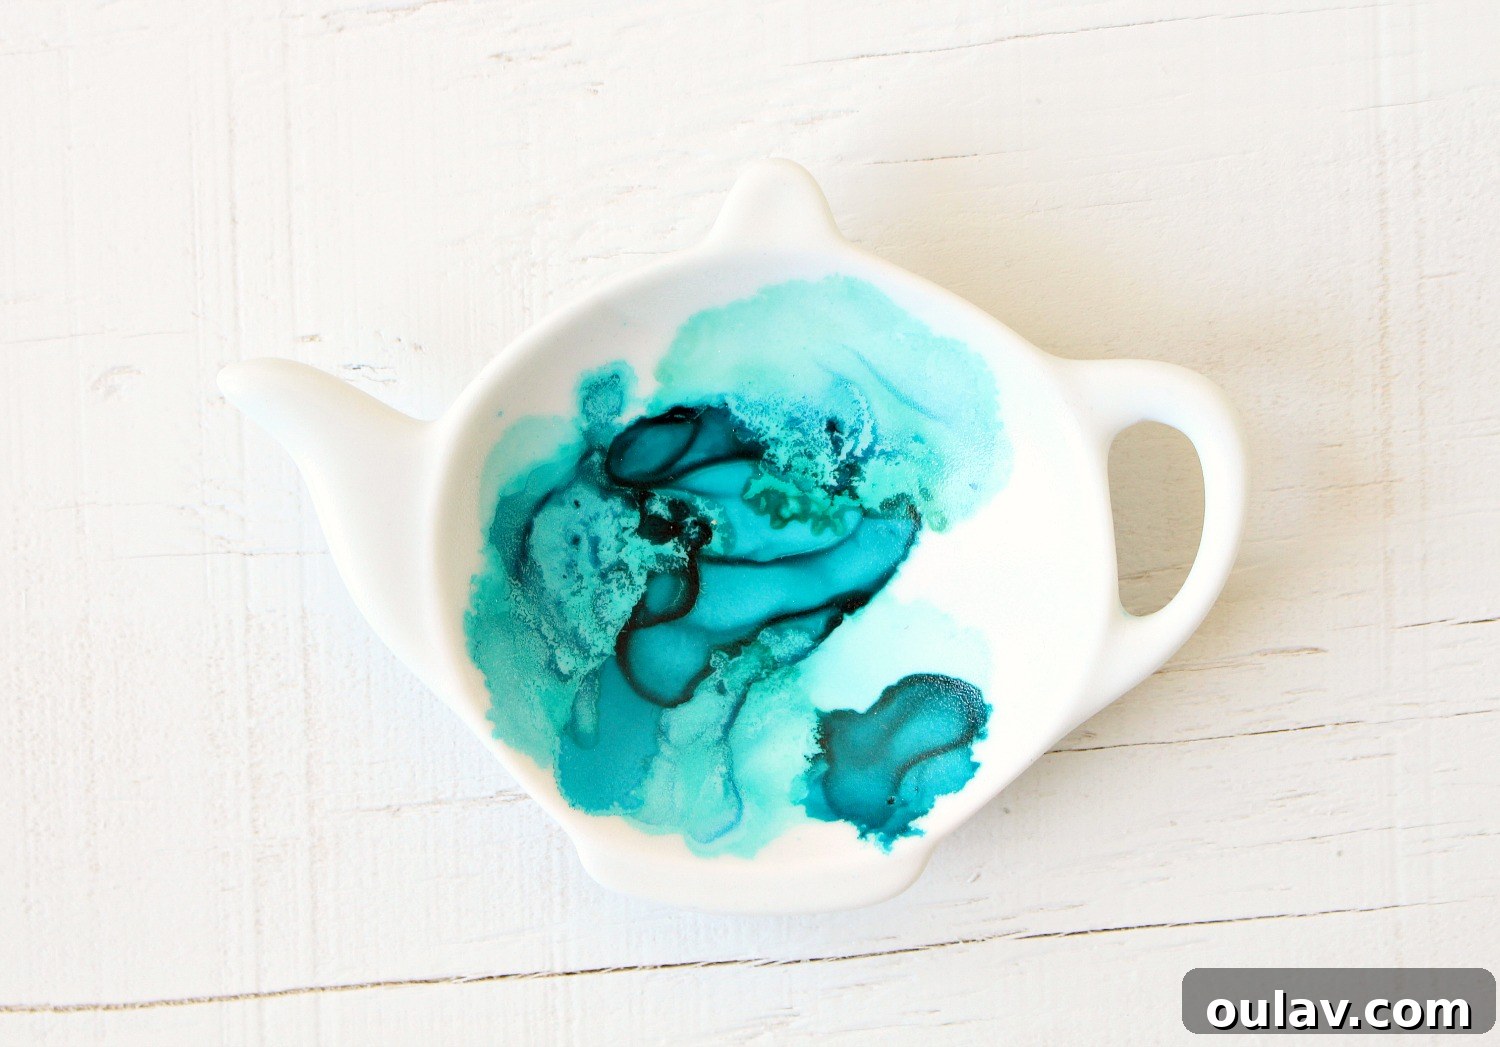
The beauty of alcohol inks on ceramics extends far beyond coffee sets and tea bag holders. Consider these additional project ideas to continue your artistic exploration:
- Decorative Tiles: Create stunning mosaic-like wall art or unique backsplashes (for decorative purposes only).
- Small Vases or Bottles: Transform ordinary glass or ceramic vases into vibrant statement pieces for flowers or purely decorative displays.
- Trinket Dishes: Personalize small dishes for jewelry, keys, or other odds and ends.
- Picture Frames: Embellish plain ceramic or glazed wooden picture frames with abstract patterns.
- Coasters: While not food-safe, sealed alcohol ink coasters can add a pop of color and personality to your living space.
- Flower Pots: Give terracotta or glazed planters a unique, custom look.
Tips for Success and Maintaining Your Alcohol Ink Creations
To ensure the best results and longevity for your alcohol ink ceramic art, keep these tips in mind:
- Work in a Ventilated Area: Alcohol inks and blending solutions have strong fumes. Always work in a well-ventilated space or outdoors.
- Wear Gloves: As mentioned, inks can stain. Gloves are your friend!
- Cleanliness is Key: Ensure your ceramic surface is impeccably clean before applying inks to prevent any repelling or unevenness.
- Less is More (Initially): Start with small amounts of ink and blending solution. You can always add more, but it’s harder to remove excess once it’s spread.
- Embrace Imperfection: Alcohol inks are fluid and organic. Part of their charm lies in their unpredictable nature. Let go of perfection and enjoy the process.
- Practice Makes Perfect: Don’t be afraid to experiment on inexpensive or discarded ceramic pieces first to get a feel for how the inks behave.
- Gentle Hand Washing: Once sealed, your alcohol ink ceramics can be hand washed with mild soap and water. Avoid abrasive scrubbers or harsh detergents, which could damage the sealed surface over time. Not suitable for dishwashers.
- Avoid Direct Sunlight: While the sealer provides protection, prolonged exposure to direct sunlight can potentially fade alcohol inks over time. Consider placement for decorative items.
I truly hope this guide inspires you to rescue those bland china or ceramic pieces from the depths of a thrift store, or even to reimagine items already in your home. Give them a new lease on life, infusing them with your unique artistic vision using the magic of alcohol inks. This project is not just about decorating; it’s about transforming, creating, and finding joy in the simple act of making something beautiful with your own hands. I eagerly await seeing the incredible creations you’ll bring to life!
Pin for later: