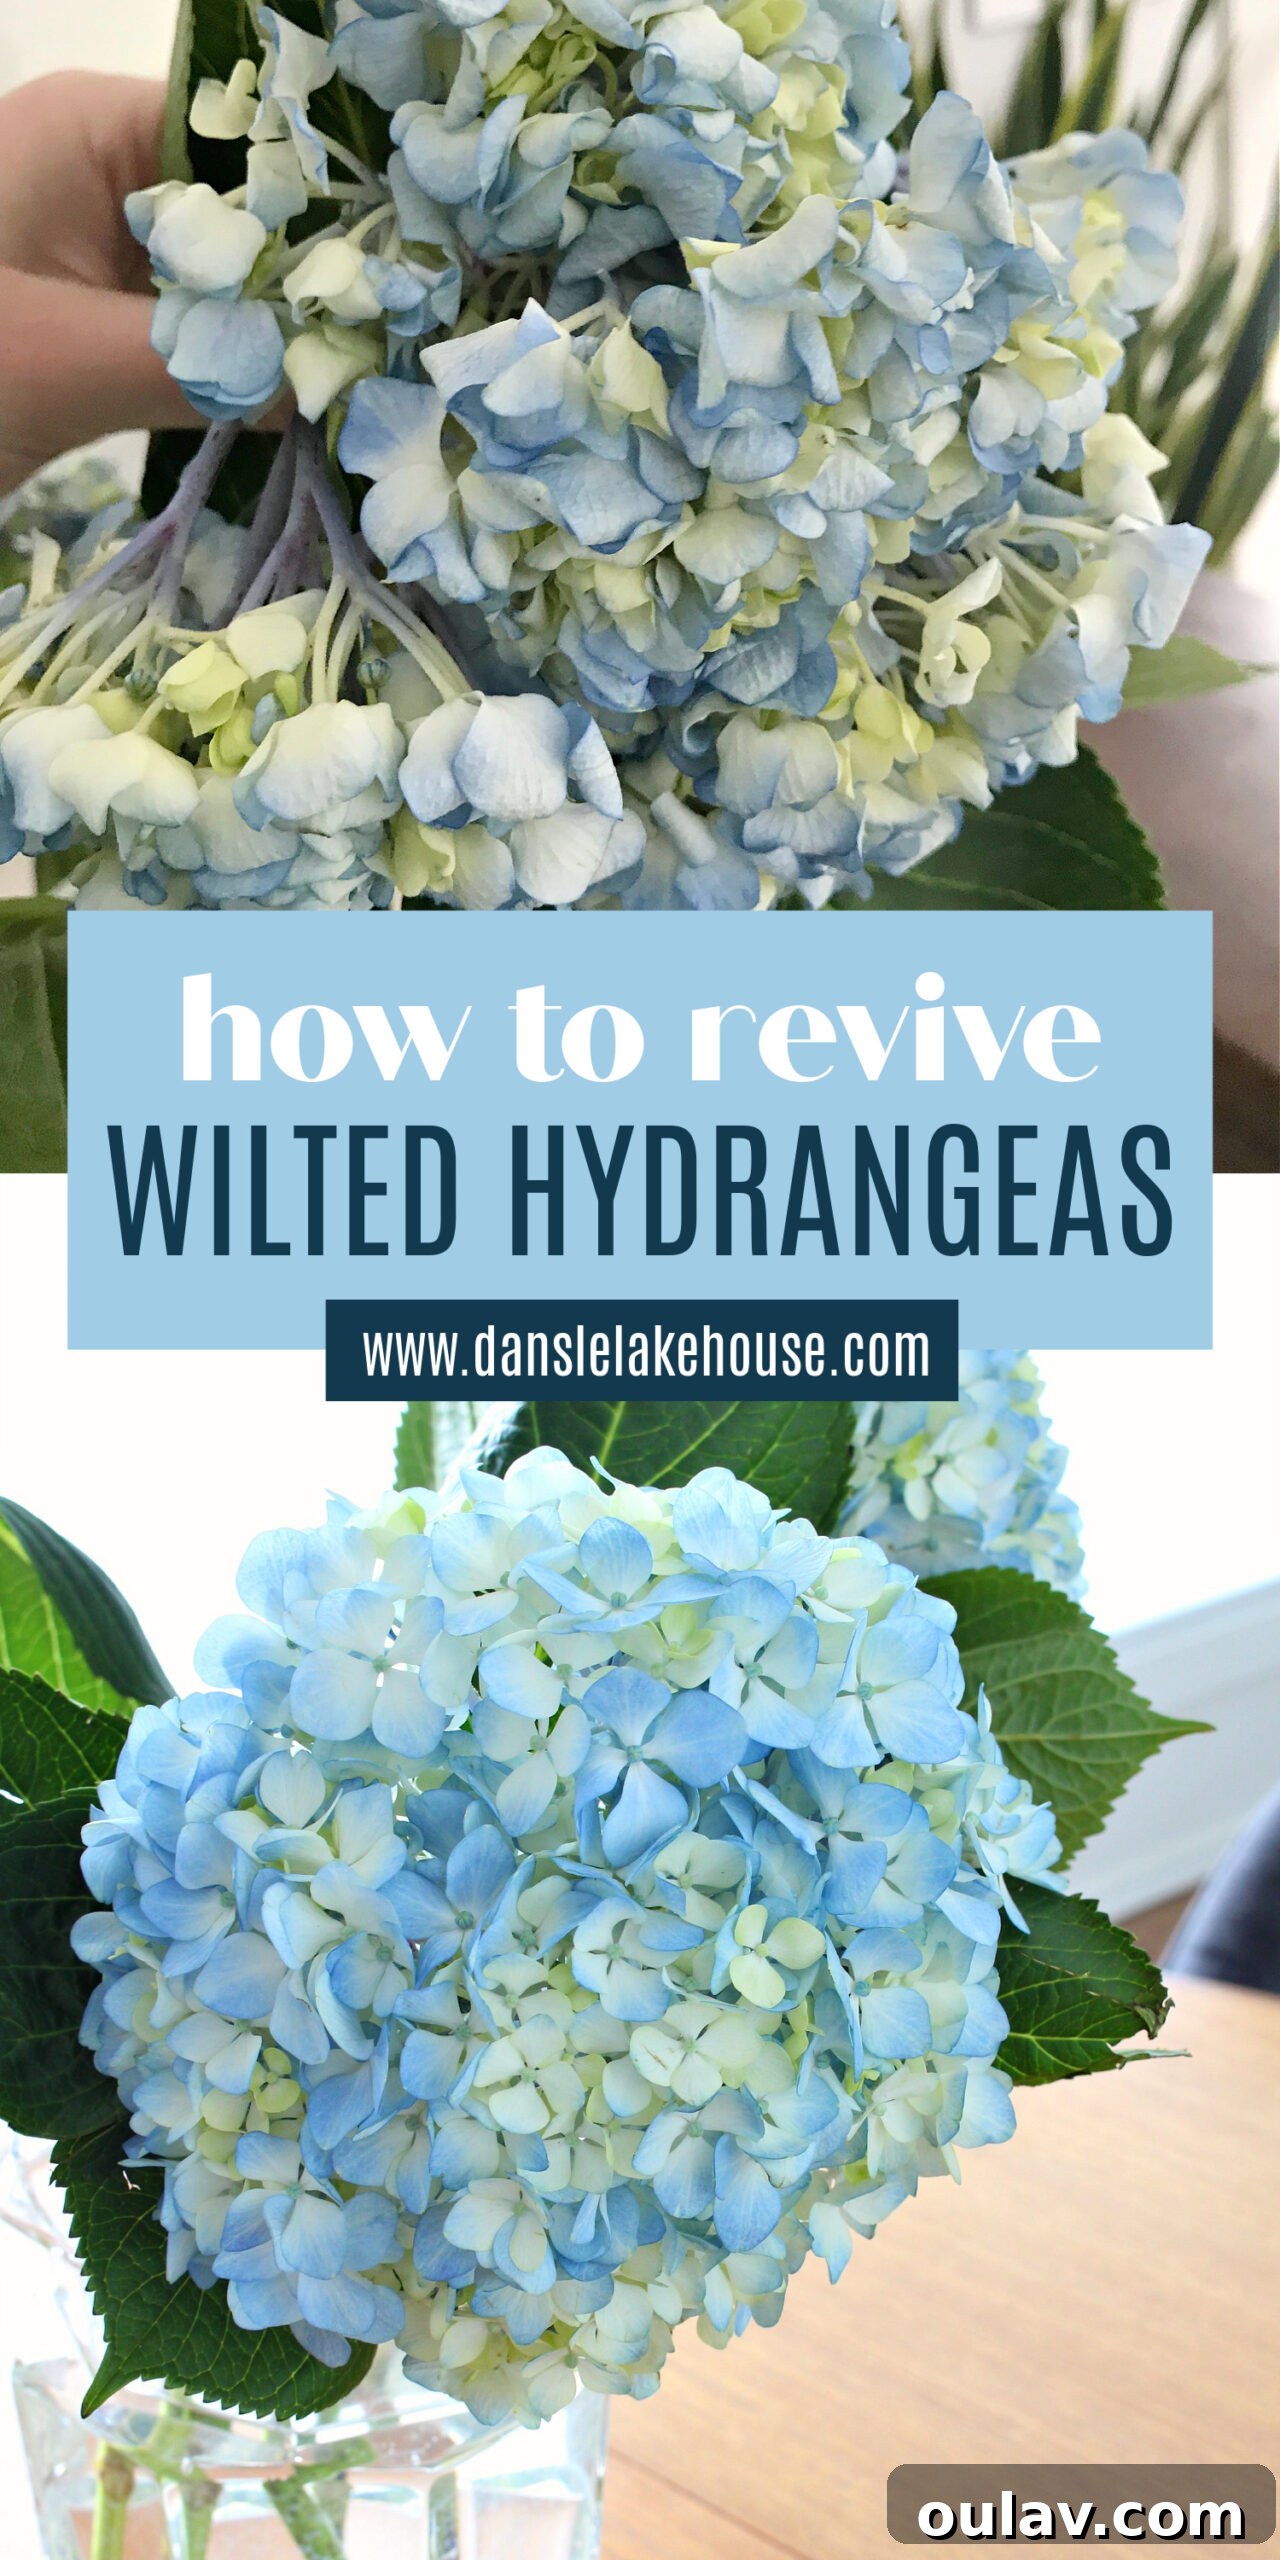
The Ultimate Guide to Reviving Wilted Hydrangeas: A Simple Hack That Really Works!
There’s nothing quite as disheartening as bringing home a beautiful bouquet of hydrangeas, only to find them drooping sadly within hours or a day. We’ve all been there! That moment of excitement turns into frustration as those vibrant blooms begin to wilt, despite being placed in a fresh vase of water. This common struggle led me on a quest to find a genuine solution, moving past countless unproven “hacks” found online. After purchasing what I thought were fresh grocery store hydrangeas that almost immediately lost their vitality, I dove deep into researching “how to revive wilted hydrangeas” and put various suggestions to the test. To my surprise, many popular tips – such as fully submerging the entire flower head in water – proved utterly ineffective. However, through persistent experimentation, I discovered one powerful method that truly brought my hydrangeas back to life. Today, I’m thrilled to share this foolproof technique with you, so you can transform your wilted beauties into stunning, vibrant displays once more!
Understanding Your Hydrangeas: Why They Wilt So Easily
Hydrangeas are undeniably gorgeous, but their tendency to wilt quickly can be baffling. It turns out, their unique physiology makes them particularly susceptible to dehydration, even when seemingly well-hydrated. Unlike many other cut flowers, hydrangeas possess woody stems, which can be less efficient at absorbing water compared to softer stems. More critically, these woody stems can exude a sticky, milky sap shortly after being cut. This sap, along with air bubbles, can quickly clog the plant’s delicate vascular system, essentially creating a blockage that prevents water from traveling up to the thirsty blooms and leaves. This is precisely why you might find your hydrangeas wilting even when they’re sitting in a vase full of fresh water – the water simply can’t reach the parts of the flower that need it most. Understanding this fundamental issue is key to appreciating why certain revival methods succeed where others fail.
The Disappointing Truth About Common Revival Methods
Before stumbling upon the truly effective method, I, like many others, explored a multitude of widely circulated “hacks” that promised to revive wilted hydrangeas. Unfortunately, most of these proved to be utterly disappointing. One common suggestion involves fully submerging the entire hydrangea bloom, head and all, into a basin of water for several hours. The theory is that the flower will absorb water directly through its petals. While some plants can absorb moisture this way, for hydrangeas suffering from stem blockage, this method typically offers only a temporary, superficial perk-up, if any. The root cause – the clogged stem – remains unaddressed, meaning the wilting quickly returns. Other less effective tips often overlook the critical need to clear the stem’s vascular pathways. These attempts highlight the importance of understanding the underlying botanical reasons for wilting, rather than just treating the symptoms. It was through this trial-and-error that the single, effective solution truly shone through.
Before & After: Witnessing the Transformation
When my hydrangeas first began to wilt, they presented a truly sad sight. The vibrant petals had lost their firmness, drooping heavily and losing all their former glory. It was hard to believe these were the same flowers I had admired just a few hours prior. The initial images capture the extent of their distress, serving as a poignant reminder of how quickly these beautiful blooms can decline without proper intervention. But prepare to be amazed, as the subsequent images will showcase the dramatic and utterly satisfying transformation that is possible with the right technique.
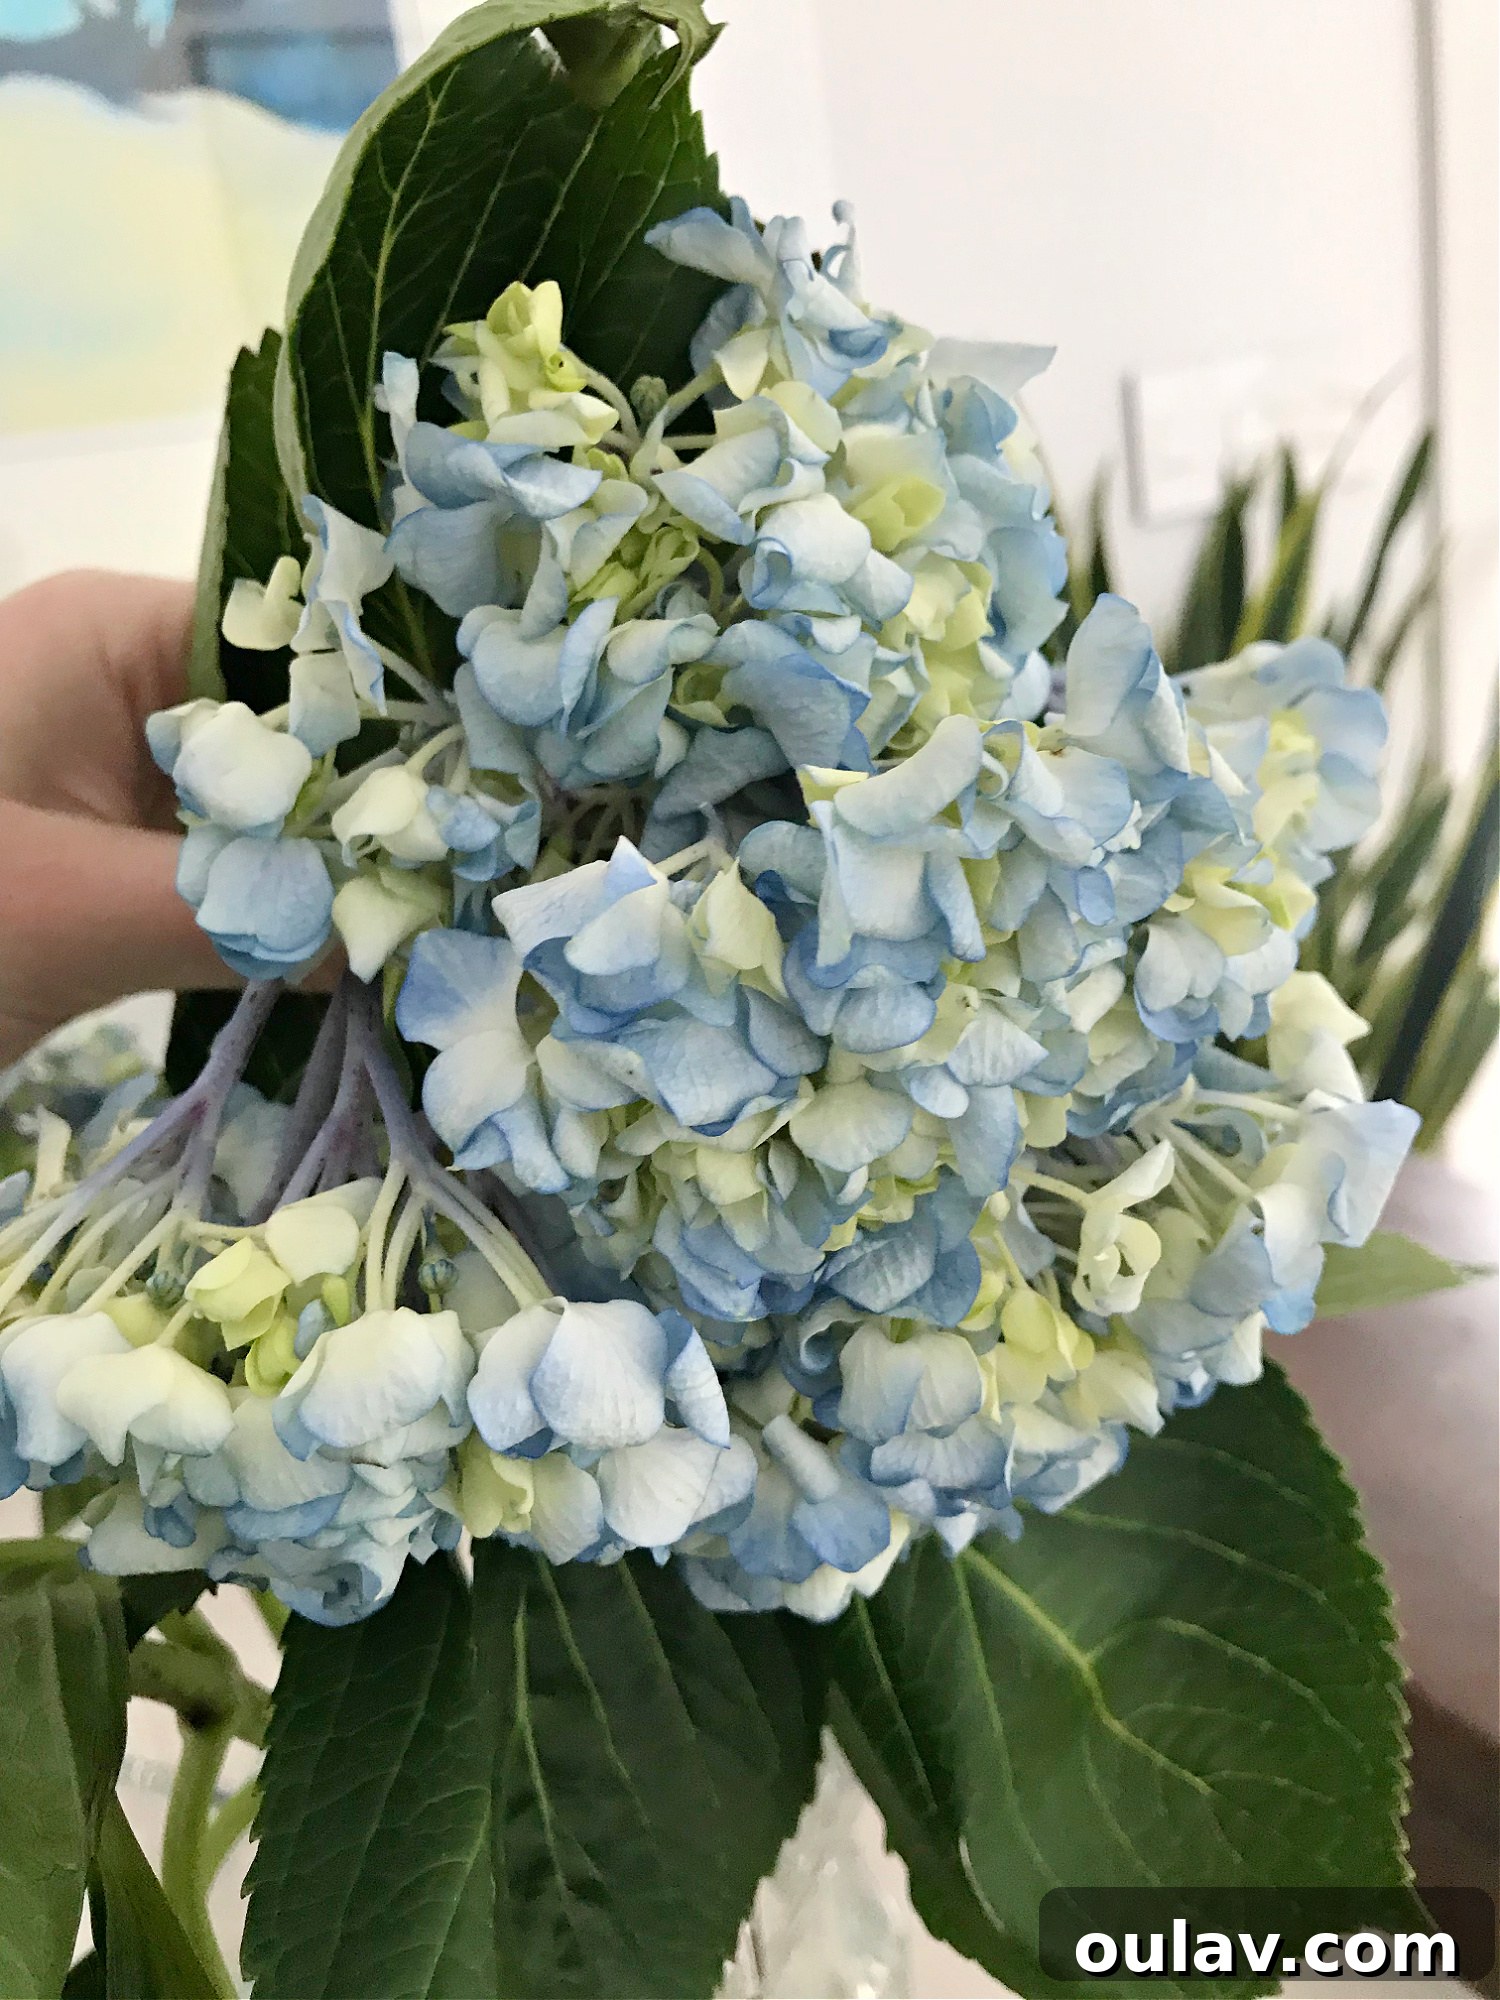
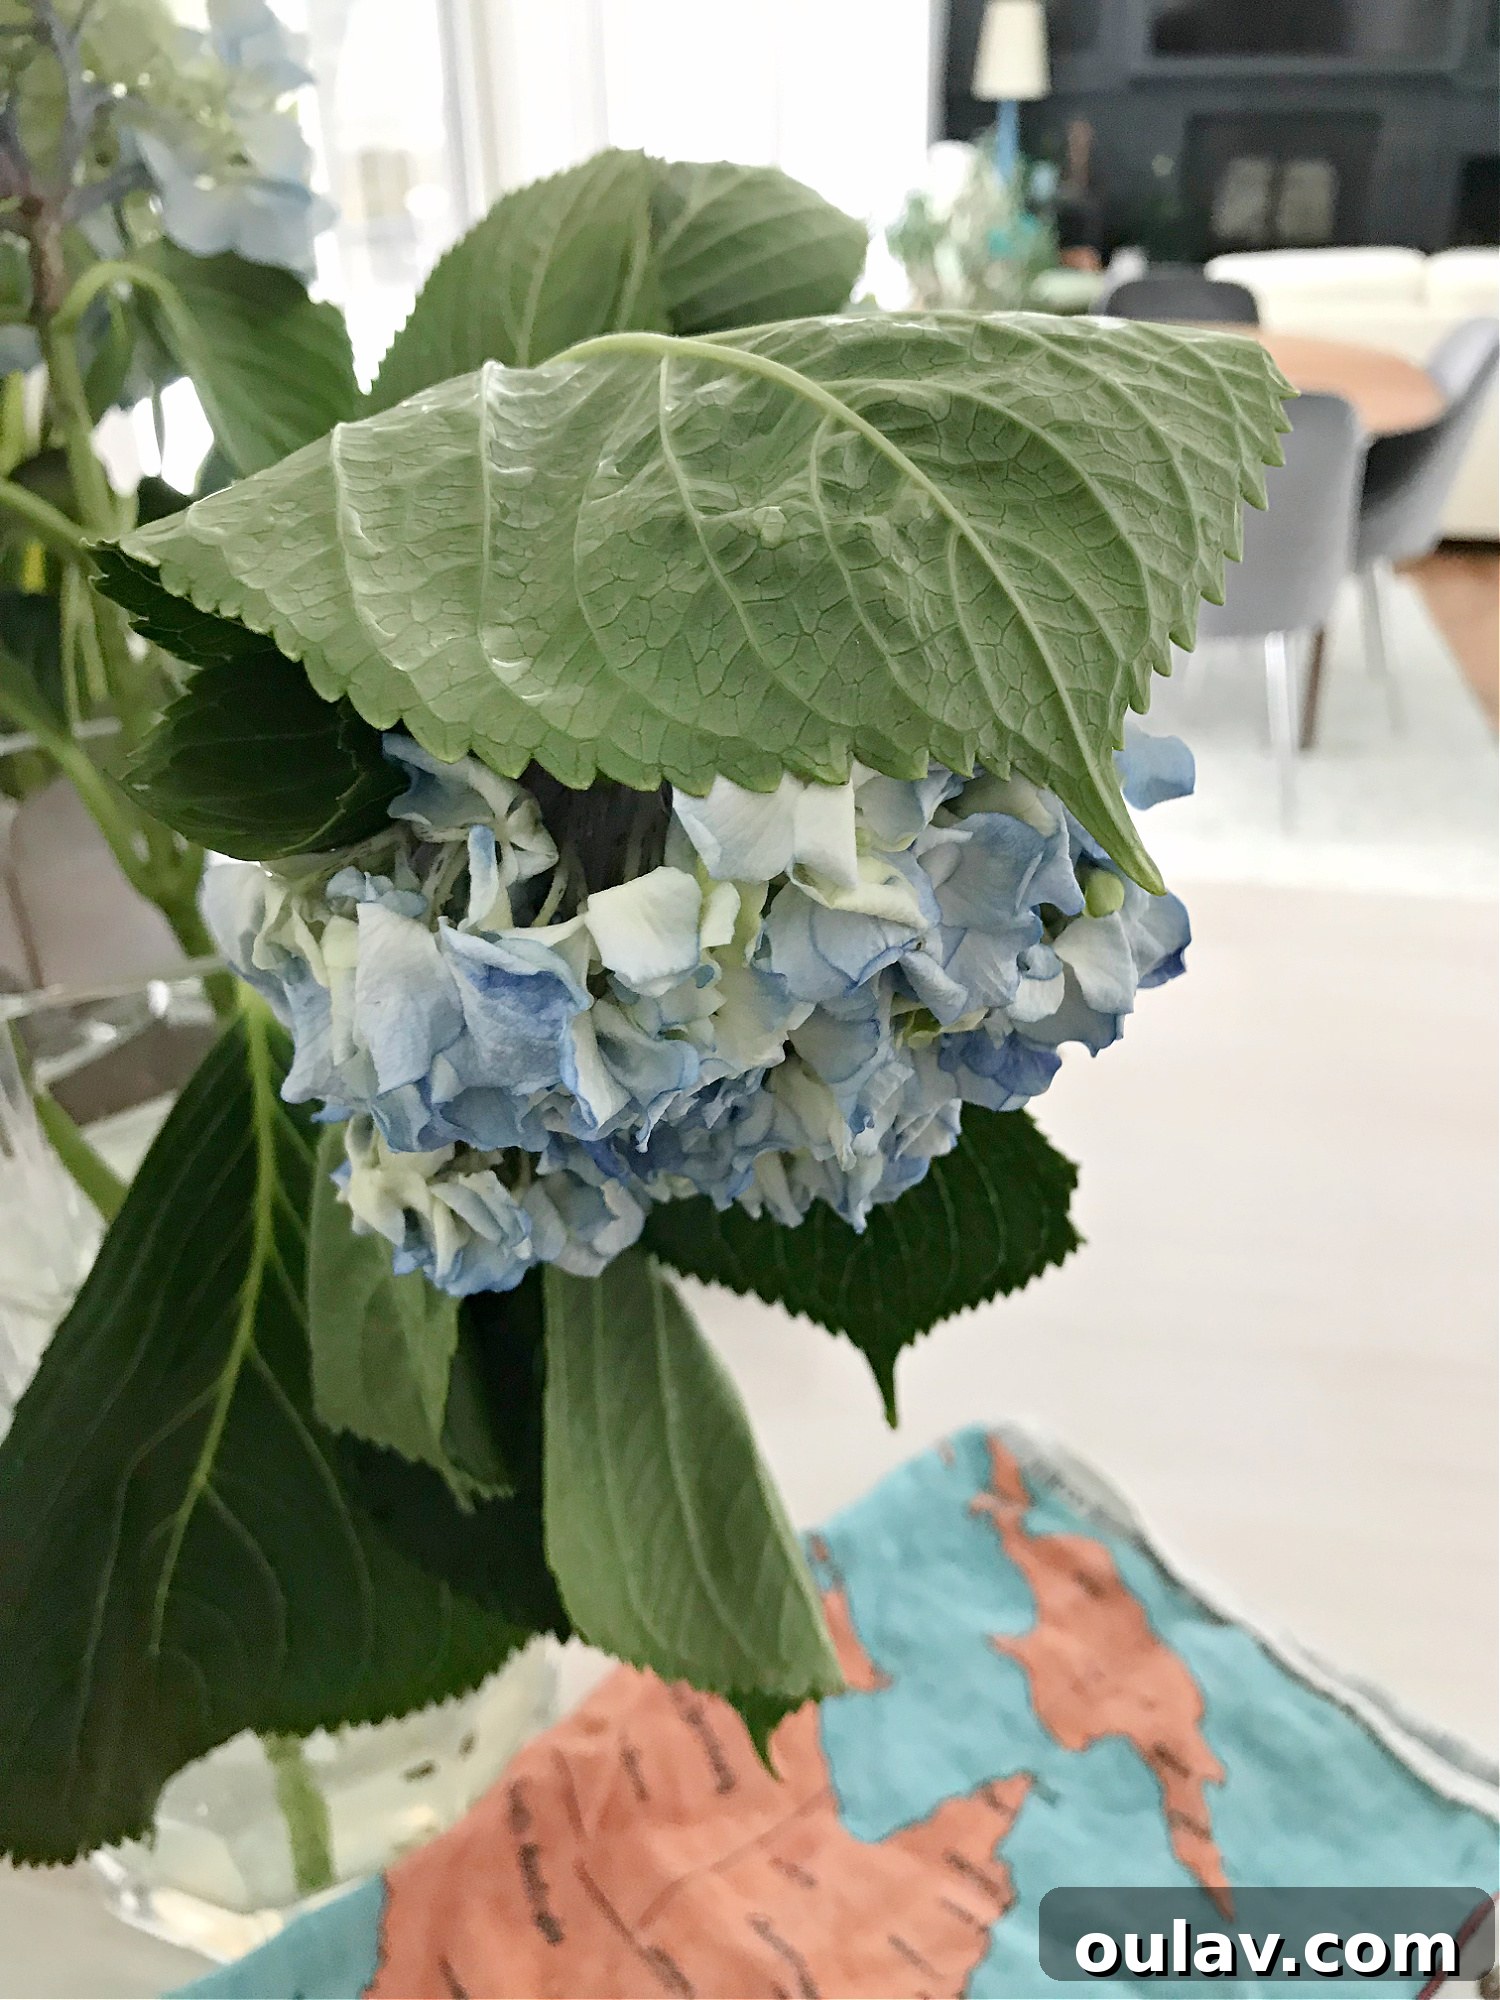
The pictures above depict the dismal state of my hydrangeas just before I applied the revival technique. Yet, within a mere hour of following the steps outlined below, these very same blooms were completely perked up, standing tall and proud once again. It was nothing short of miraculous! While I am certainly no flower expert (as anyone who knows my struggles with keeping houseplants alive can attest, haha!), this experience taught me invaluable lessons about the specific needs of hydrangeas. The method I discovered directly addresses the core issues of woody stems and sap blockages, allowing these magnificent flowers to drink freely again. Below, you’ll find the detailed, step-by-step instructions that yielded such incredible results.
The Proven Method: How to Revive Wilted Hydrangeas in 7 Simple Steps
This is the only method I found that truly worked to revive my wilted hydrangeas. The results are swift and dramatic, turning sad, drooping flowers into vibrant, fresh blooms in about an hour. Pay close attention to each step, as they are all crucial for success. This process focuses on clearing the stem’s vascular system, enabling optimal water absorption.
Step-by-Step Guide to Hydrangea Revival:
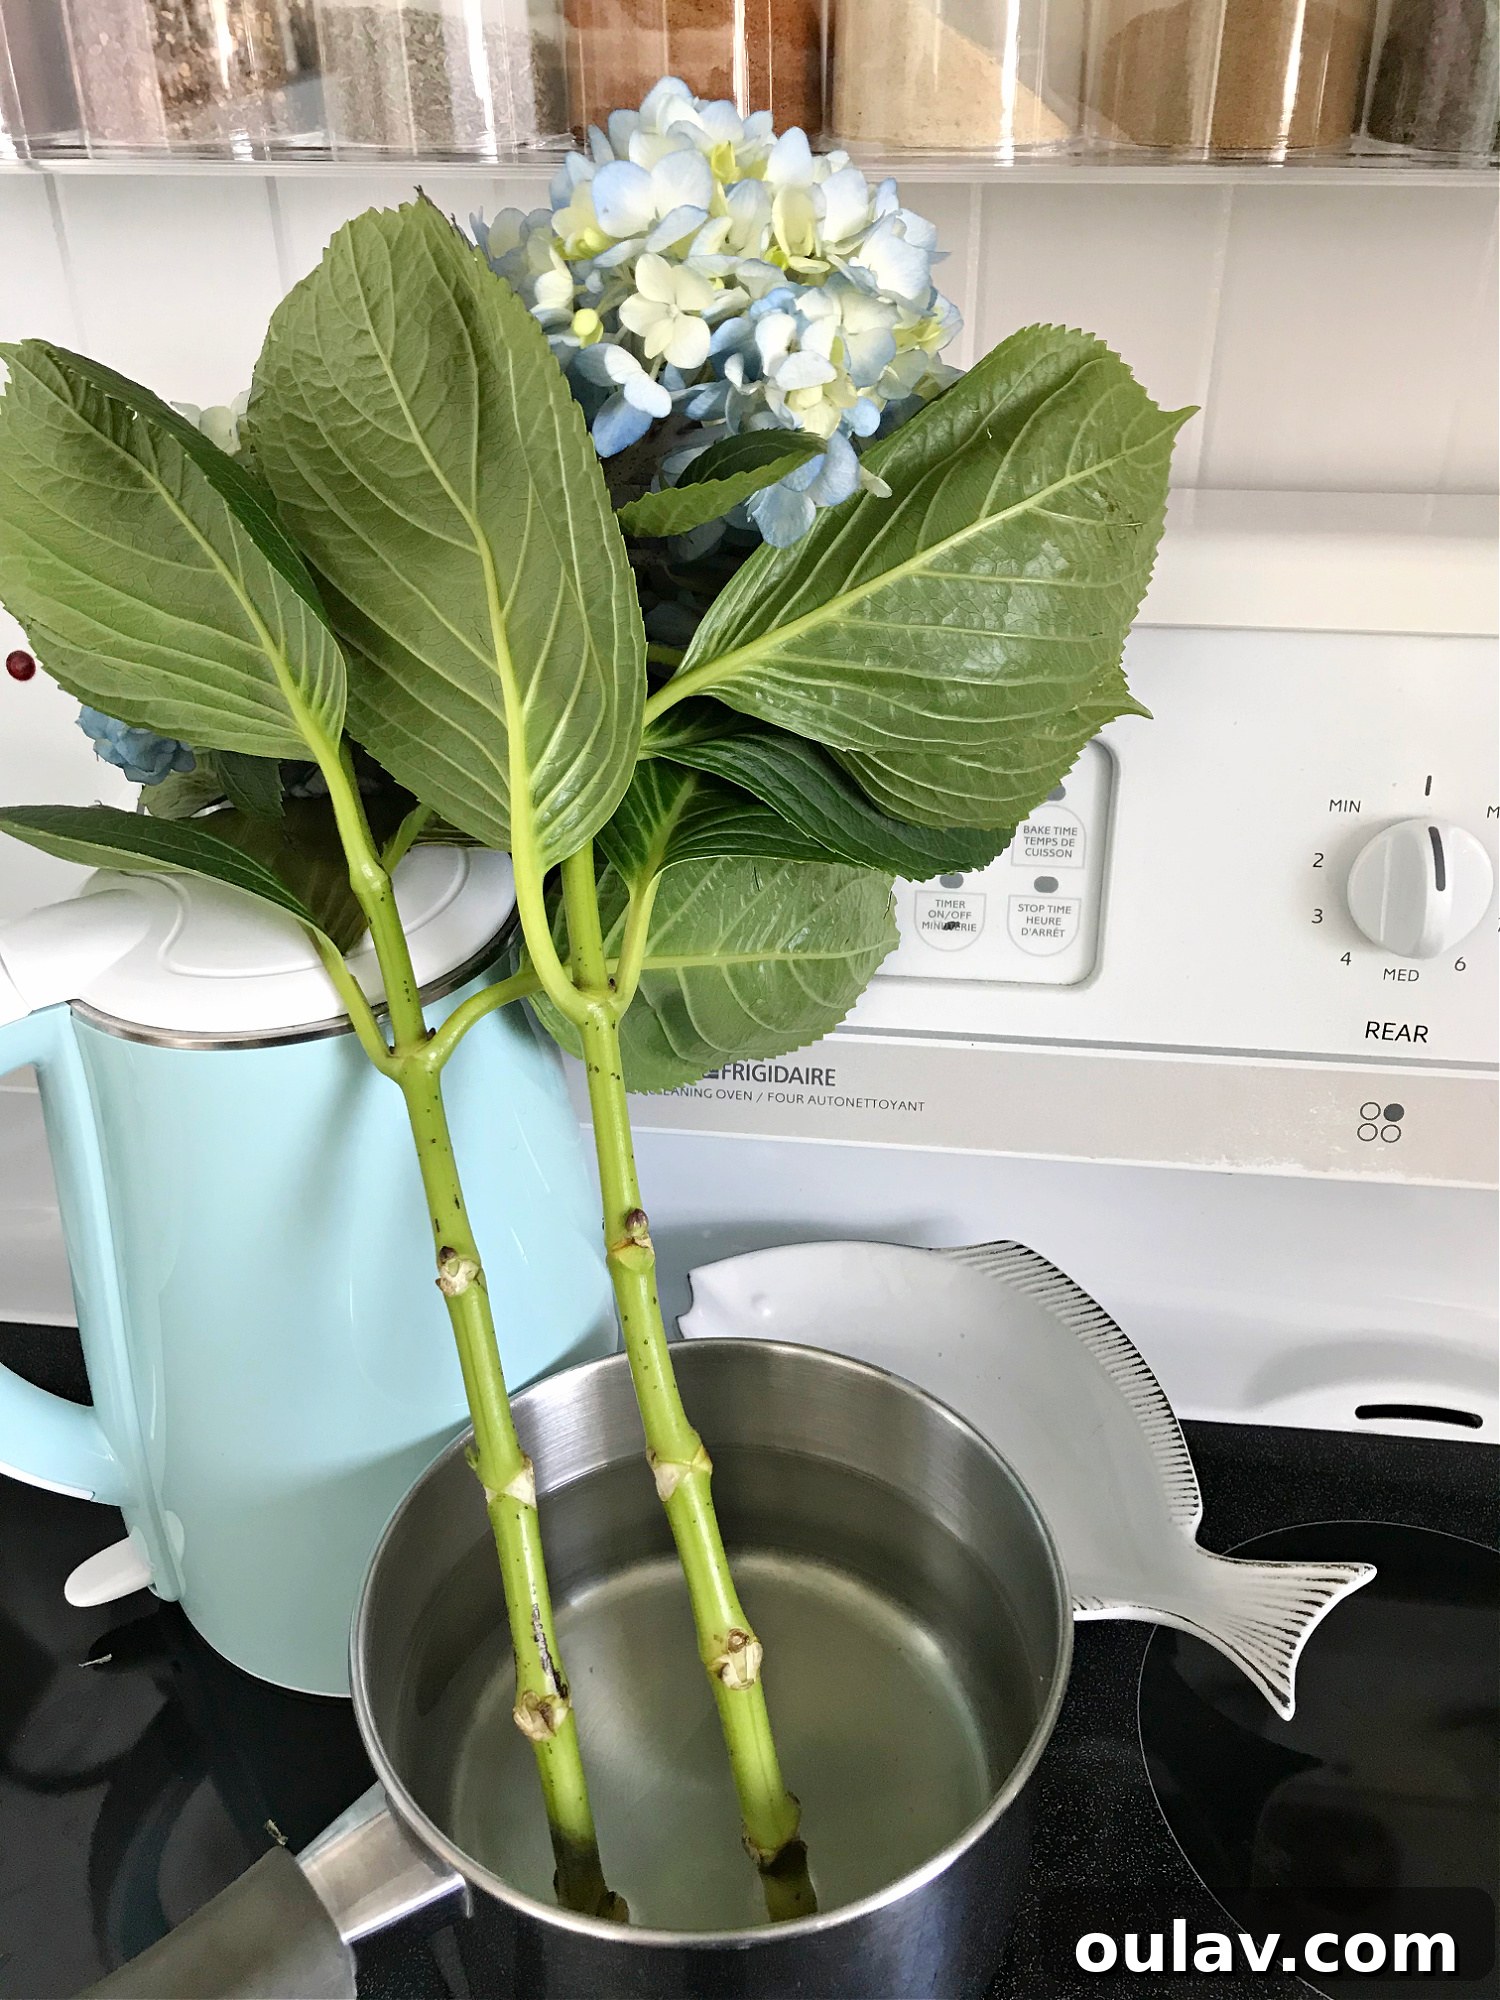
- Prepare Warm Water: Begin by boiling a few cups of water in a kettle or a pot. Once it reaches a rolling boil, remove it from the heat and allow it to cool for just a minute or two. You want the water to be very hot, but not scalding, as extremely boiling water can damage the stem cells. The heat is essential for two reasons: it creates a vacuum effect within the stem, encouraging immediate water uptake, and it helps to dissolve any sticky sap or air bubbles that might be clogging the vascular tissues.
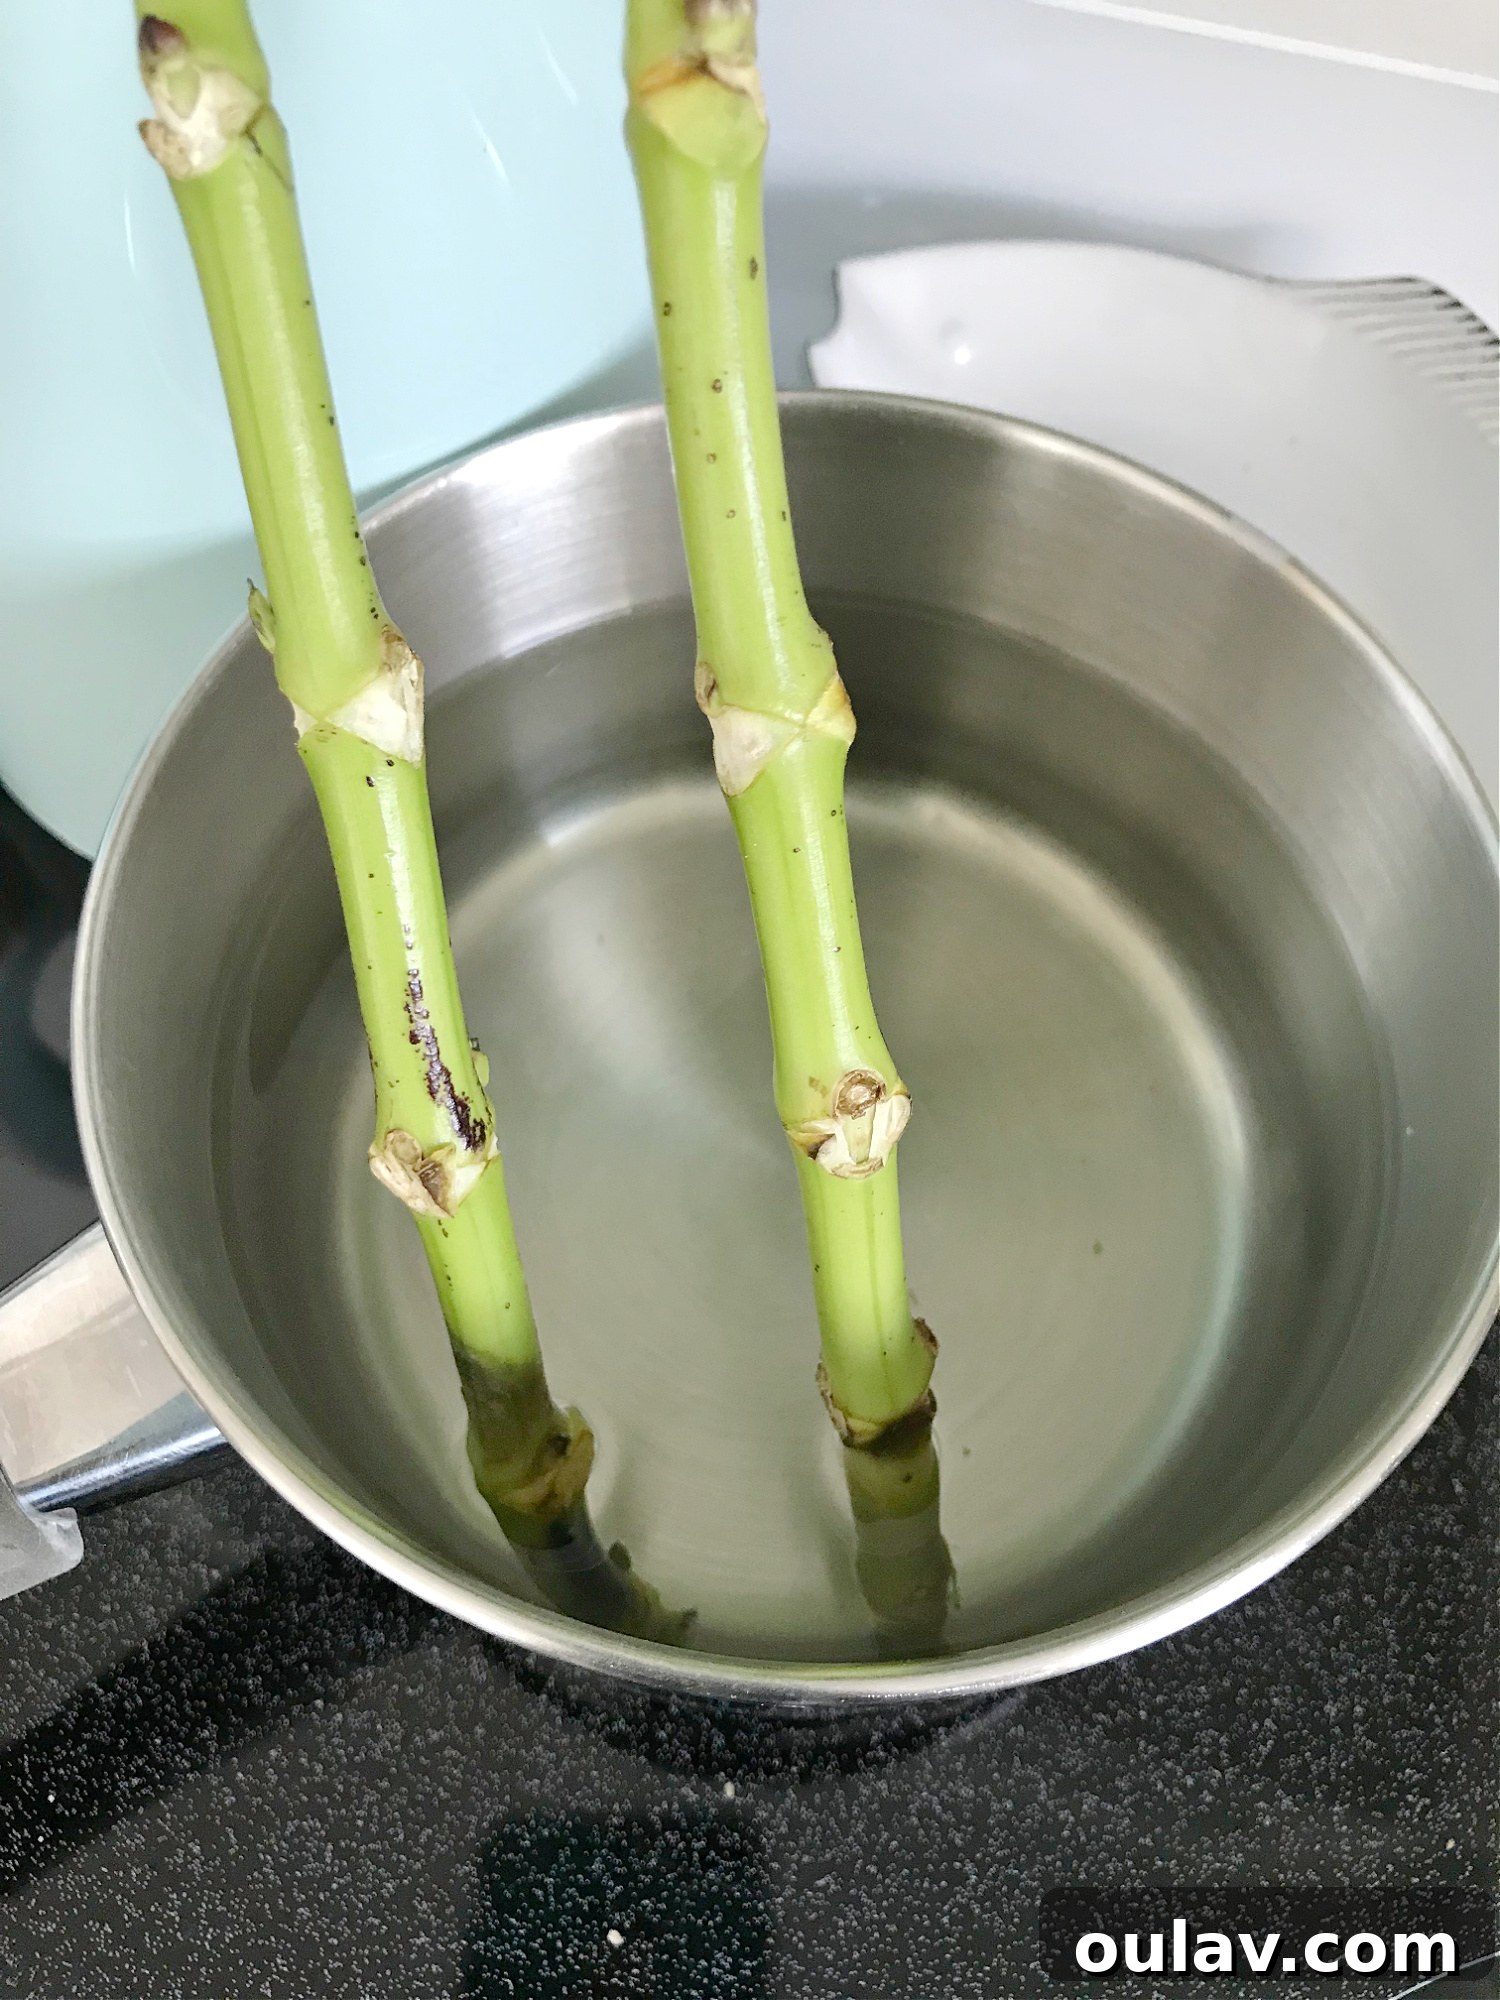
- Make Clean, Angled Cuts: Using a very sharp knife, carefully cut the bottom of each hydrangea stem at a steep angle (at least 45 degrees). It’s crucial to use a sharp knife rather than scissors, as scissors can crush the delicate water-conducting vessels within the stem, further impeding water absorption. An angled cut provides a significantly larger surface area for water intake, maximizing the plant’s ability to drink. Make sure these cuts are clean and precise.
- Add an Optional Slit for Enhanced Absorption: For an extra boost in water uptake, you can make a small, vertical slit (about half an inch long) directly up the center of the newly cut stem. This creates additional pathways for water to enter the stem, which can be particularly beneficial for very woody or severely wilted hydrangeas. While optional, this step can often accelerate and improve the revival process.
- Place Stems in Warm Water: Immediately after cutting, place the freshly cut stems directly into the still-warm, previously boiled water. Ensure that only the cut ends of the stems are submerged – you don’t need to put the entire flower or leaves into the hot water. The warm water acts quickly to clear blockages and initiate the rehydration process effectively.
- Allow Time for Rehydration: Let the hydrangeas sit in the warm water for approximately one hour. During this time, you will observe a remarkable transformation. The hot water treatment, combined with the fresh cuts, allows the stems to rapidly absorb water. You should begin to see the blooms gradually perk up, regaining their firmness and vibrant appearance. It’s truly fascinating to watch this revival happen in real-time.
- Transfer to Fresh Vase Water: Once your hydrangeas have fully revived and are standing tall and firm, carefully remove them from the warm water. Transfer them immediately to a clean vase filled with fresh, cool water, preferably mixed with a good quality floral food. This ensures they continue to receive optimal hydration and nutrients in their permanent display location.
- Maintain Freshness with Daily Misting: To prolong the life and freshness of your revived hydrangeas, make it a habit to gently mist their petals and leaves once per day. Hydrangeas are known for absorbing moisture through their foliage, so this extra step helps to prevent future wilting and keeps them looking vibrant for longer periods. Use a fine mist spray bottle for best results.
The Science Behind the Success: Why This Method Works
The remarkable effectiveness of this revival method isn’t just a happy accident; it’s rooted in basic plant physiology. As previously mentioned, hydrangeas have woody stems and produce a sticky sap, especially after being cut. This sap, along with air embolisms that can enter the stem, acts as a barrier, preventing water from being drawn up through the xylem (the plant’s internal water transport system) to the leaves and flowers. This blockage is the primary reason for wilting, even in a vase of water.
The warm water treatment plays a crucial role here. When the freshly cut stems are placed into hot (but not boiling) water, several things happen simultaneously. Firstly, the heat helps to dissolve the sticky sap that clogs the vascular tissues, effectively clearing the pathways. Secondly, the hot water creates a slight pressure difference, helping to expel any air bubbles that might have entered the stem, further opening up the xylem. This “thermal shock” also encourages the stem to immediately draw up water more vigorously. The angled cut, made with a sharp knife, is equally vital as it maximizes the surface area for water absorption and prevents the crushing of water-conducting vessels, which can happen with dull scissors. The optional slit further enhances this surface area, providing additional channels for rapid rehydration. By addressing the root cause of the wilting – the clogged stems – this method ensures that the hydrangeas can efficiently absorb the water they desperately need, leading to their rapid and dramatic revival.
Proof of Revival: The Aftermath
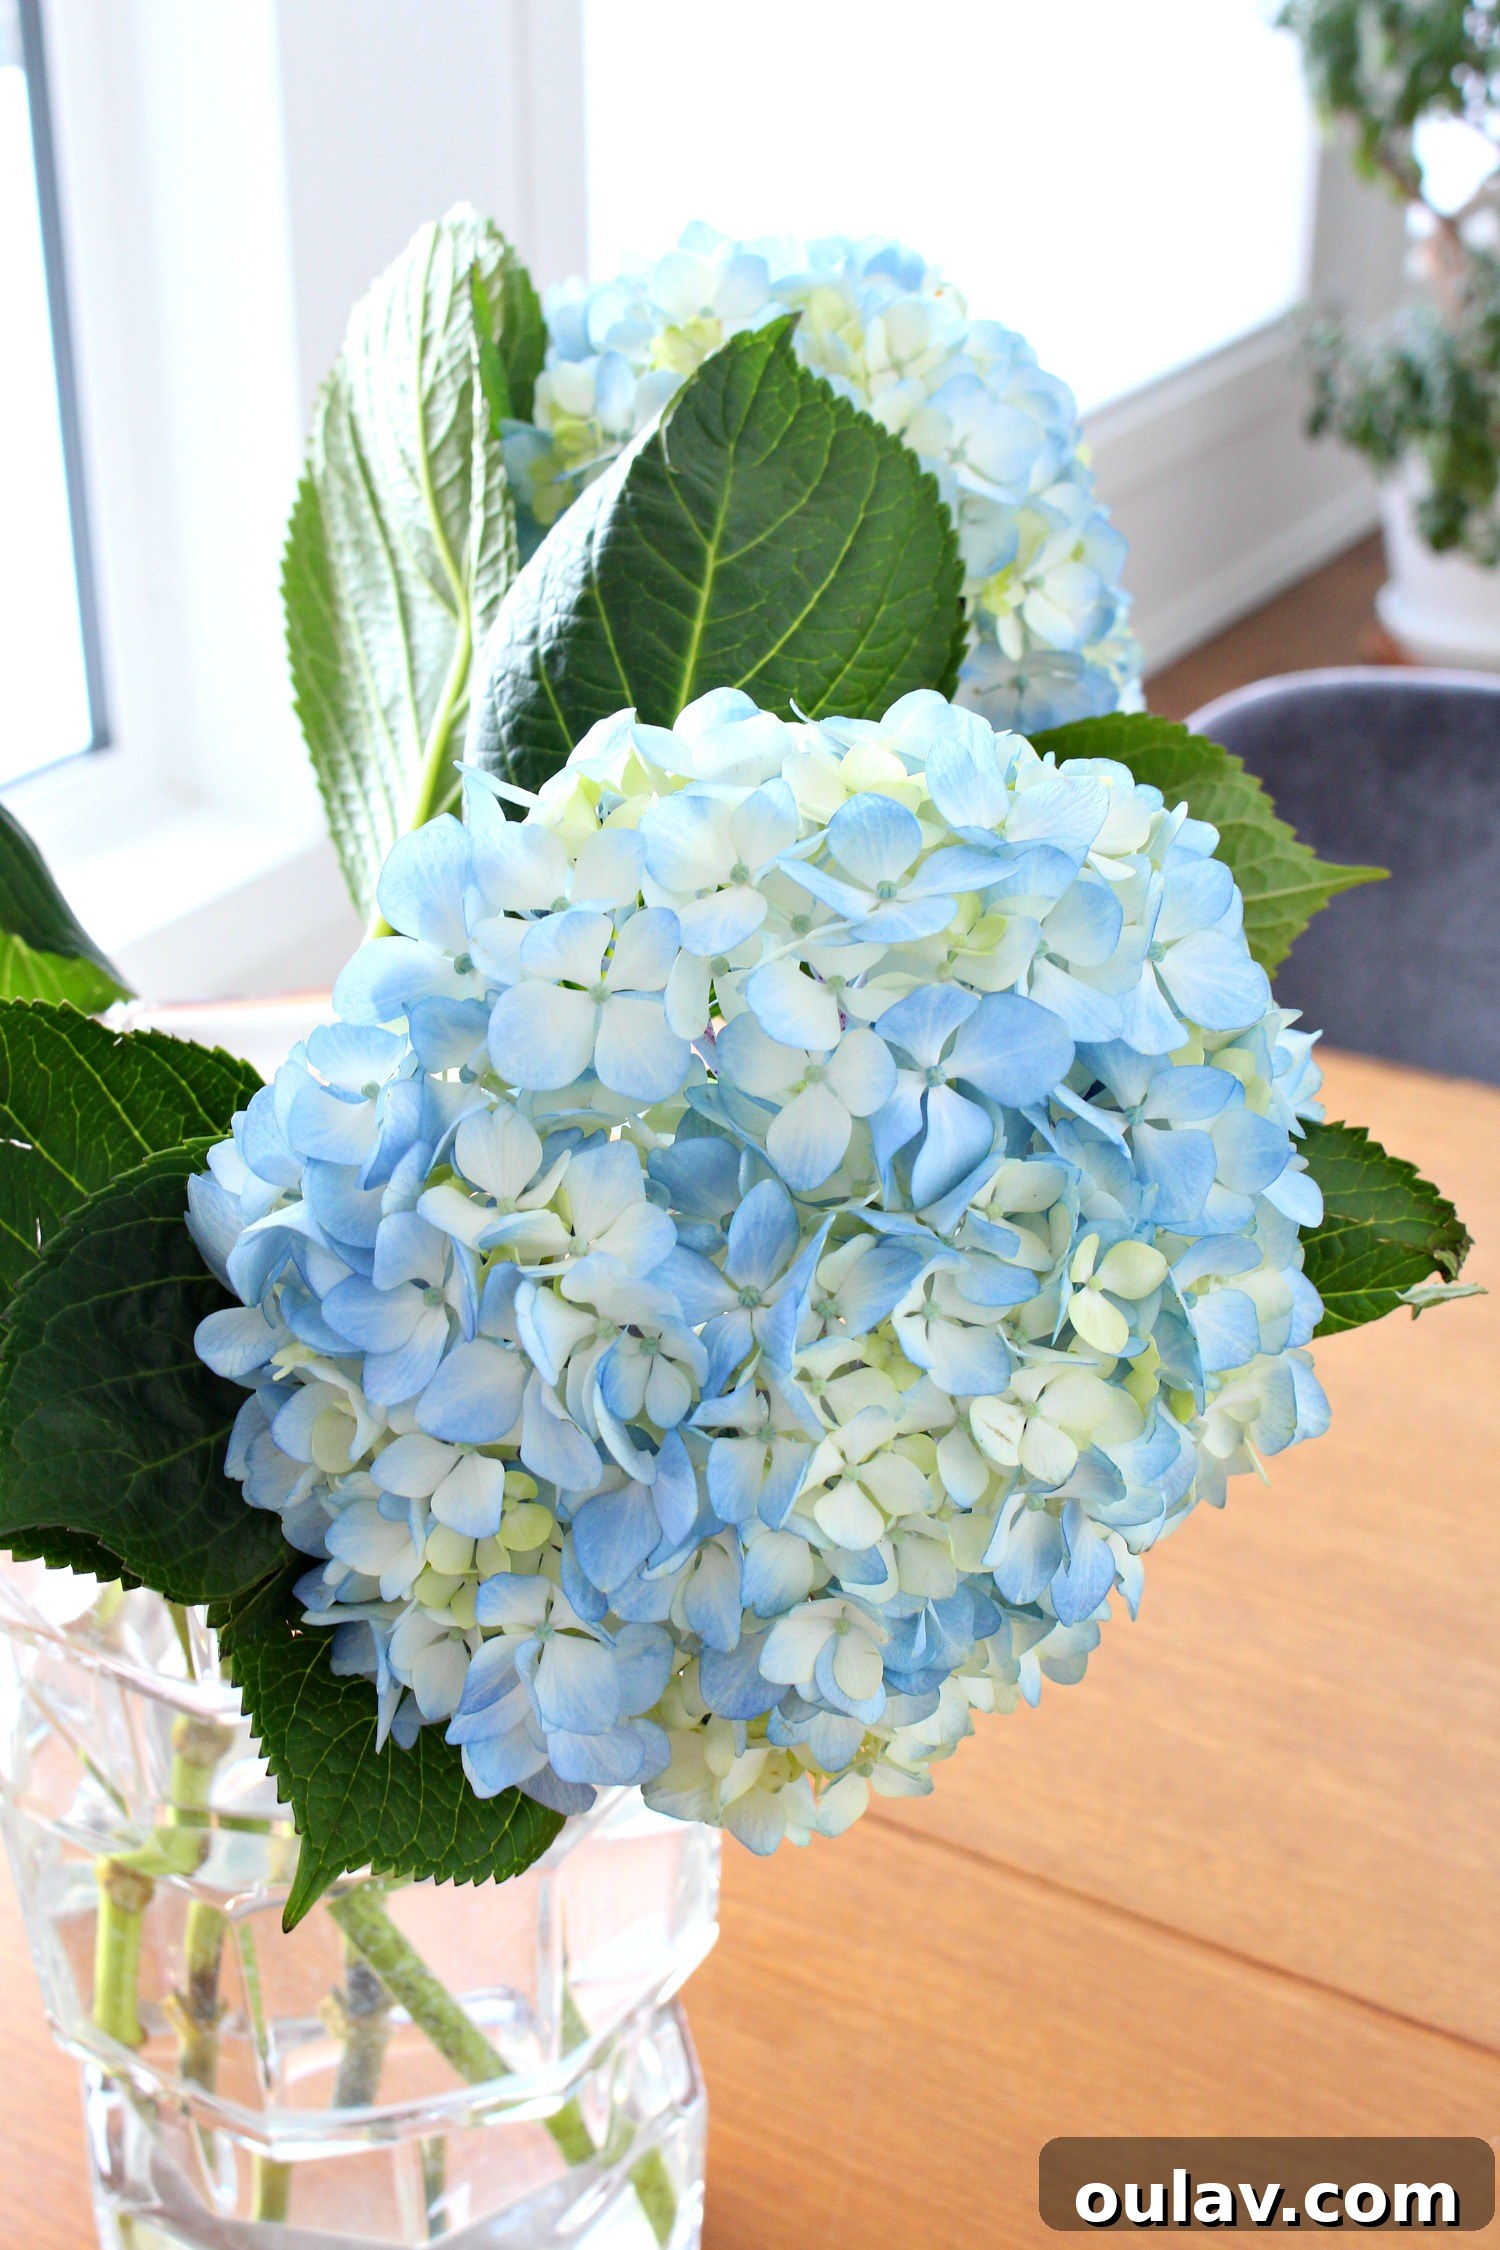
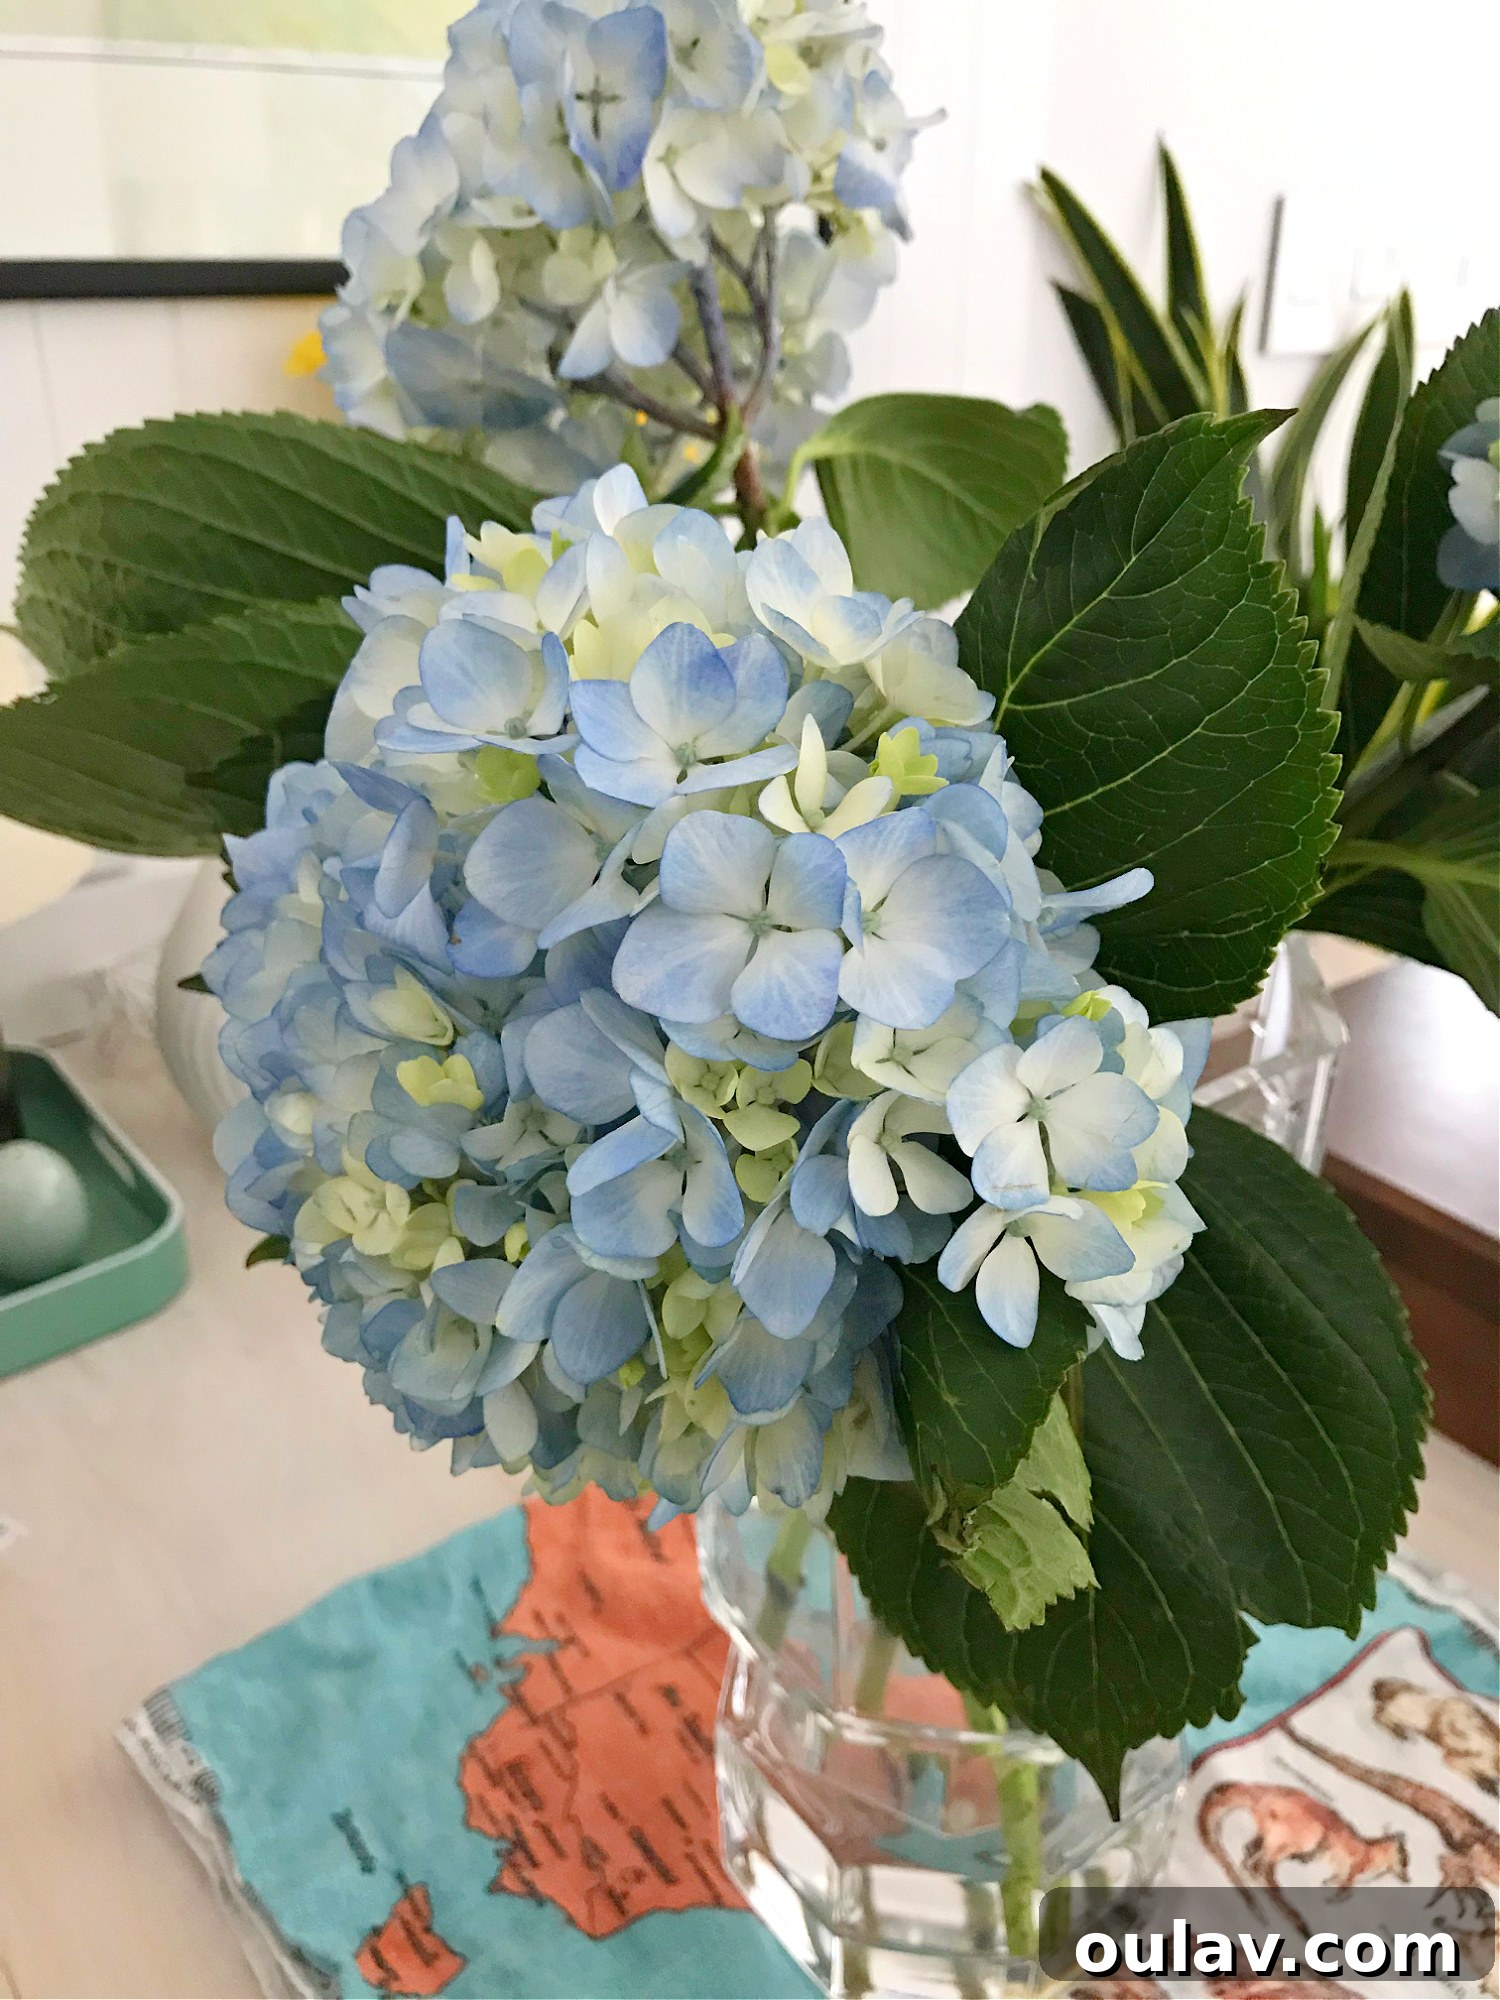
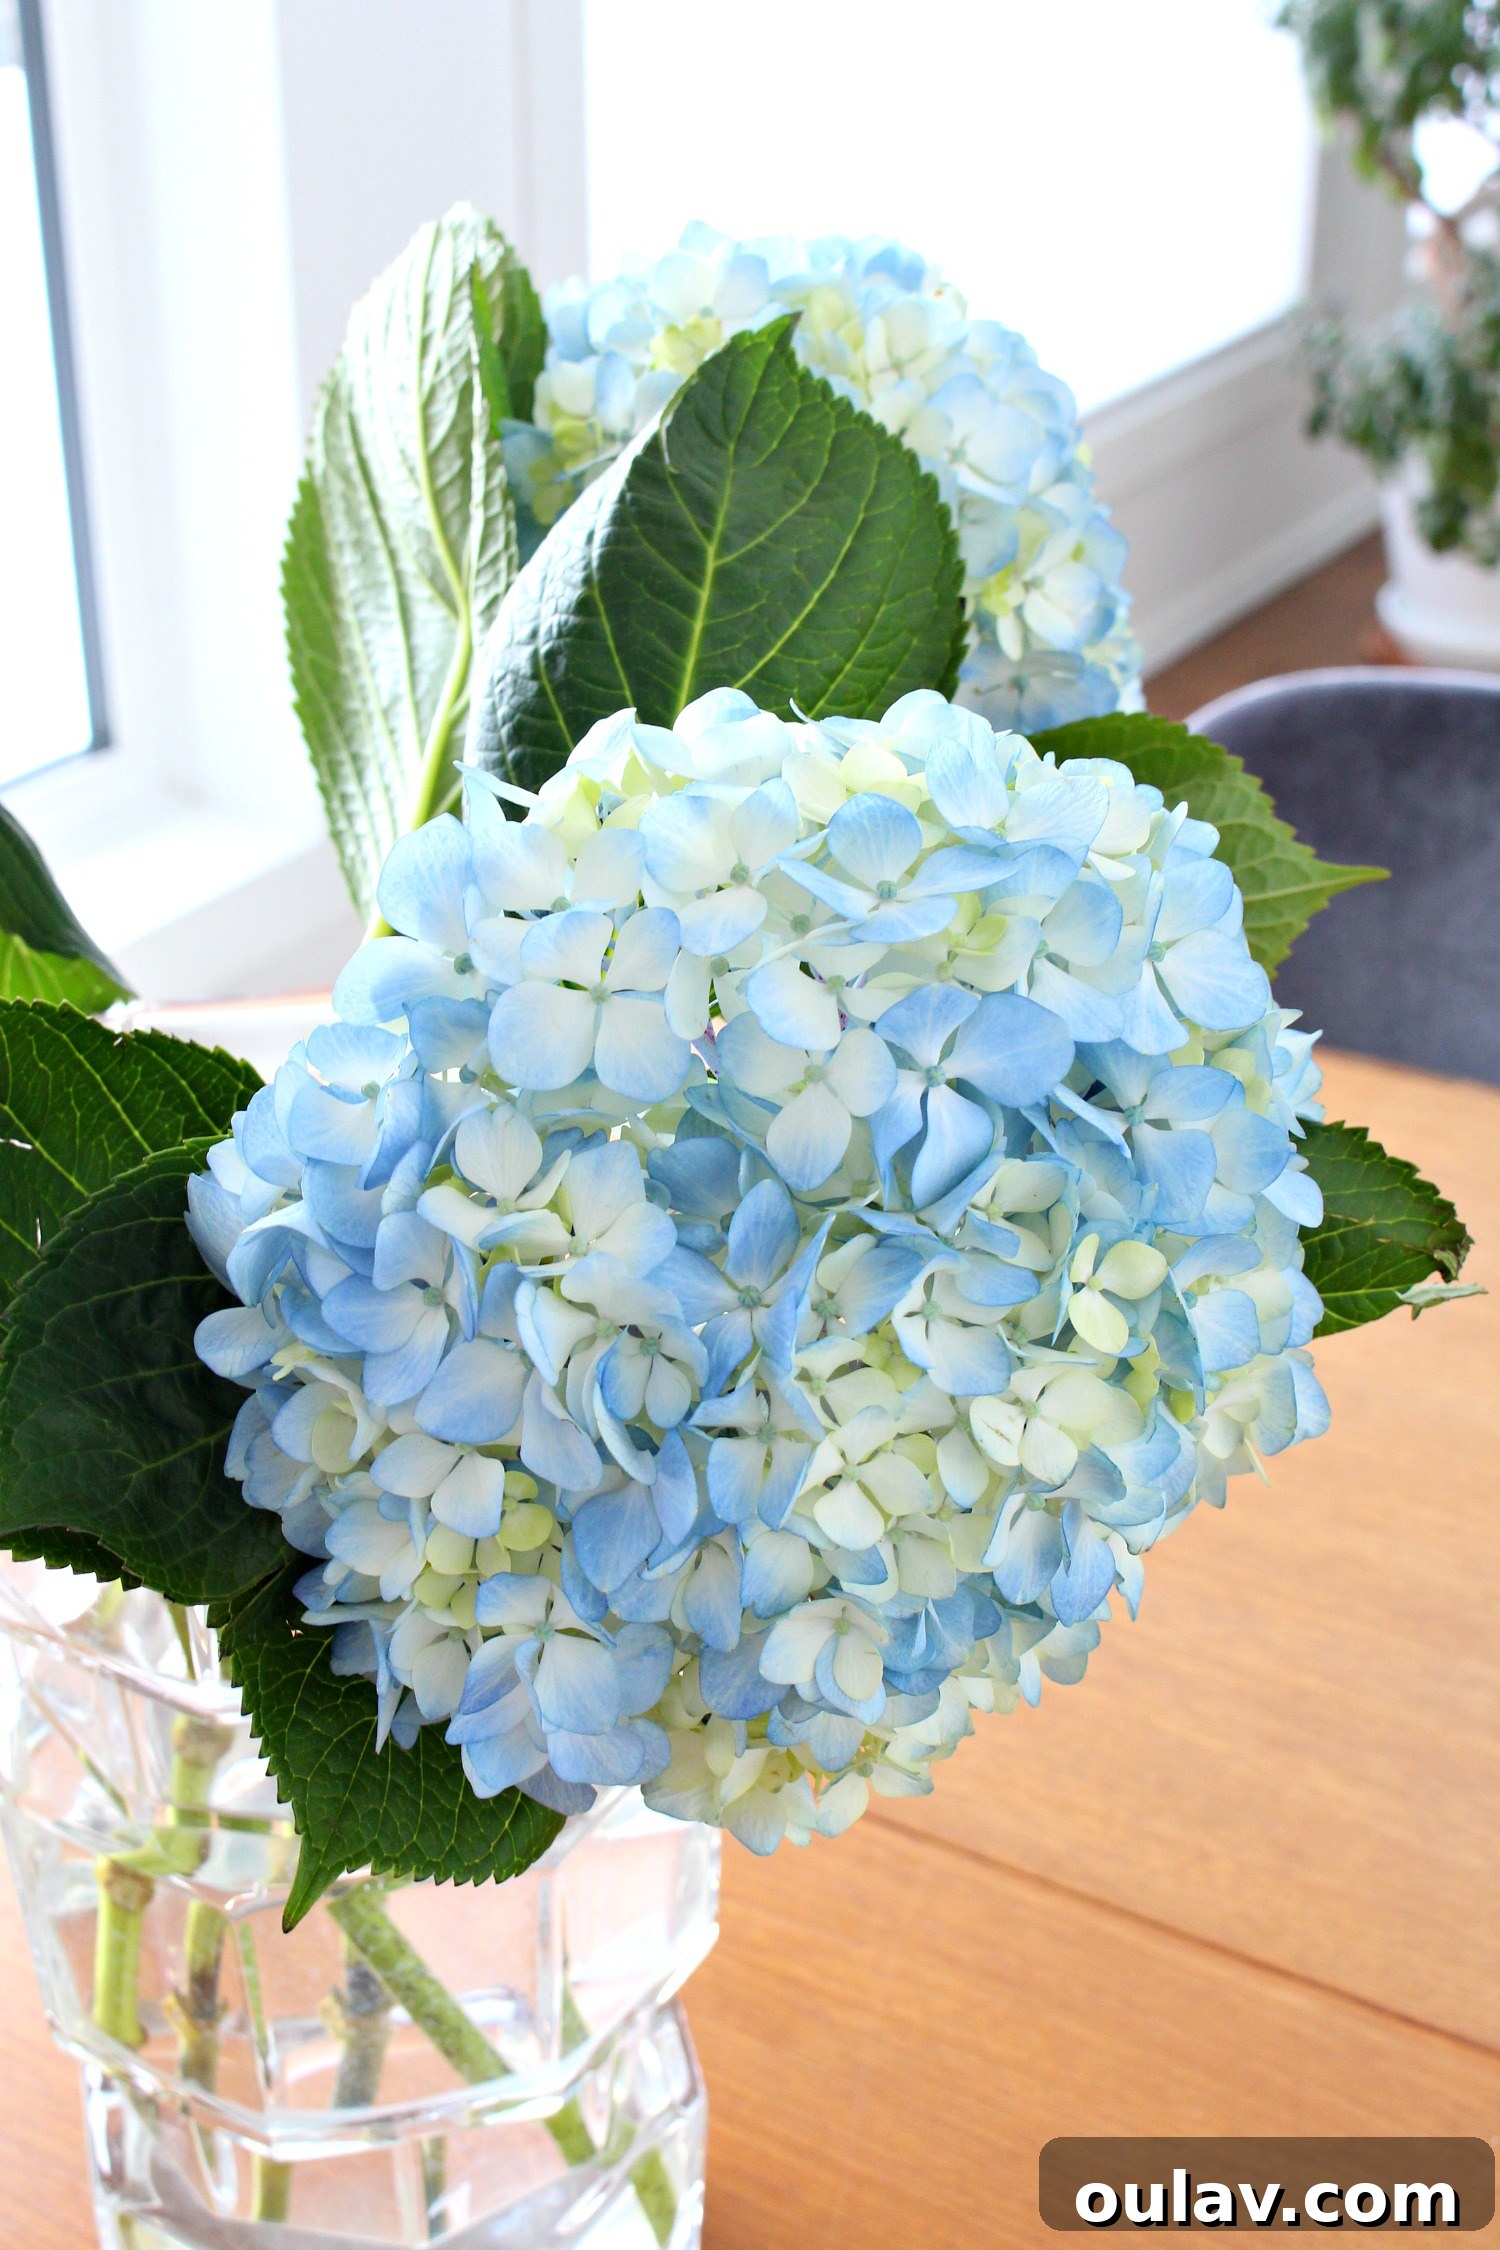
I genuinely wish I had thought to film the entire process! After trying a few different methods that utterly failed to produce any noticeable improvement, my expectations were low for this technique as well. Consequently, I didn’t think to document every step. Imagine my absolute surprise and delight when, just an hour later, I returned to the kitchen to find my hydrangeas completely transformed, looking as fresh and vibrant as if they had just been picked! The sight was truly astonishing, especially considering how desperately wilted they had been just moments before. This dramatic turnaround solidified my belief in this simple yet incredibly effective hack. It’s a testament to the power of understanding a flower’s specific needs and addressing them directly.
Beyond Revival: Tips for Long-Lasting Hydrangea Freshness
While this revival method is incredibly effective, prevention is always better than cure. By adopting a few simple practices, you can significantly extend the life and freshness of your cut hydrangeas, minimizing the chances of them wilting in the first place.
- Choosing Your Hydrangeas Wisely: When purchasing hydrangeas, carefully inspect the blooms and foliage. Look for flowers that feel firm and turgid, with no signs of browning on the edges of the petals or drooping leaves. Avoid any bunches that already show signs of wilting, even if slight, as they may have been dehydrated for too long.
- Immediate Stem Preparation: As soon as you bring your hydrangeas home, don’t just plop them into a vase. Recut the stems at a sharp angle (again, with a sharp knife) under running water if possible. This prevents air bubbles from entering the newly exposed vascular tissue. Also, remove any leaves that would fall below the waterline in your vase. Submerged leaves will decompose, contaminating the water and promoting bacterial growth, which can further clog stems.
- Proper Vase and Water: Always use a clean vase to prevent bacteria from immediately tainting your water. Fill it with fresh, cool water and add a floral food packet. Floral food provides essential nutrients and contains antibacterial agents that help keep the water clean and the stems clear, maximizing water absorption. Change the water and re-cut the stems every two to three days.
- Optimal Placement: The environment where you place your hydrangeas plays a huge role in their longevity. Keep them away from direct sunlight, which can rapidly dehydrate them. Avoid placing them near heat sources like radiators, fireplaces, or even electronics, as well as in drafty areas, which can also accelerate water loss through transpiration. A cool, stable environment is ideal.
- Consistent Misting: As mentioned in the revival steps, hydrangeas love humidity and can absorb moisture through their petals and leaves. A daily misting with a fine spray bottle will keep them hydrated and fresh, supplementing the water absorbed through their stems. This is especially important in dry indoor environments.
Common Hydrangea Problems and Solutions
Beyond wilting, hydrangeas can sometimes present other issues, most of which are related to their high water demands. If you notice petal browning, it might be a sign of prolonged dehydration or fungal issues, exacerbated by a weak stem system. Yellowing leaves, particularly on lower parts of the stem, often indicate nutrient deficiency (which floral food can help with) or inconsistent water supply. By implementing the revival technique and following the preventative care tips, you’re not just fixing a wilted bloom; you’re establishing a holistic approach to keeping your hydrangeas healthy and beautiful for as long as possible.
Final Thoughts and Encouragement
I sincerely hope that this comprehensive guide empowers you to tackle those disappointing wilted hydrangeas with confidence. This easy, scientifically-backed hack has consistently revived my sad blooms, transforming them into vibrant centerpieces in under an hour. There’s no longer any need to throw away seemingly lost flowers! Give this method a try, and I promise you’ll be amazed by the results. Share your success stories and enjoy the renewed beauty of your hydrangeas.
P.S. Don’t Forget to Pin for Later!
Help others discover this life-saving hydrangea hack by pinning this guide to your favorite gardening or flower care boards on Pinterest. Share the secret to everlasting hydrangea beauty!