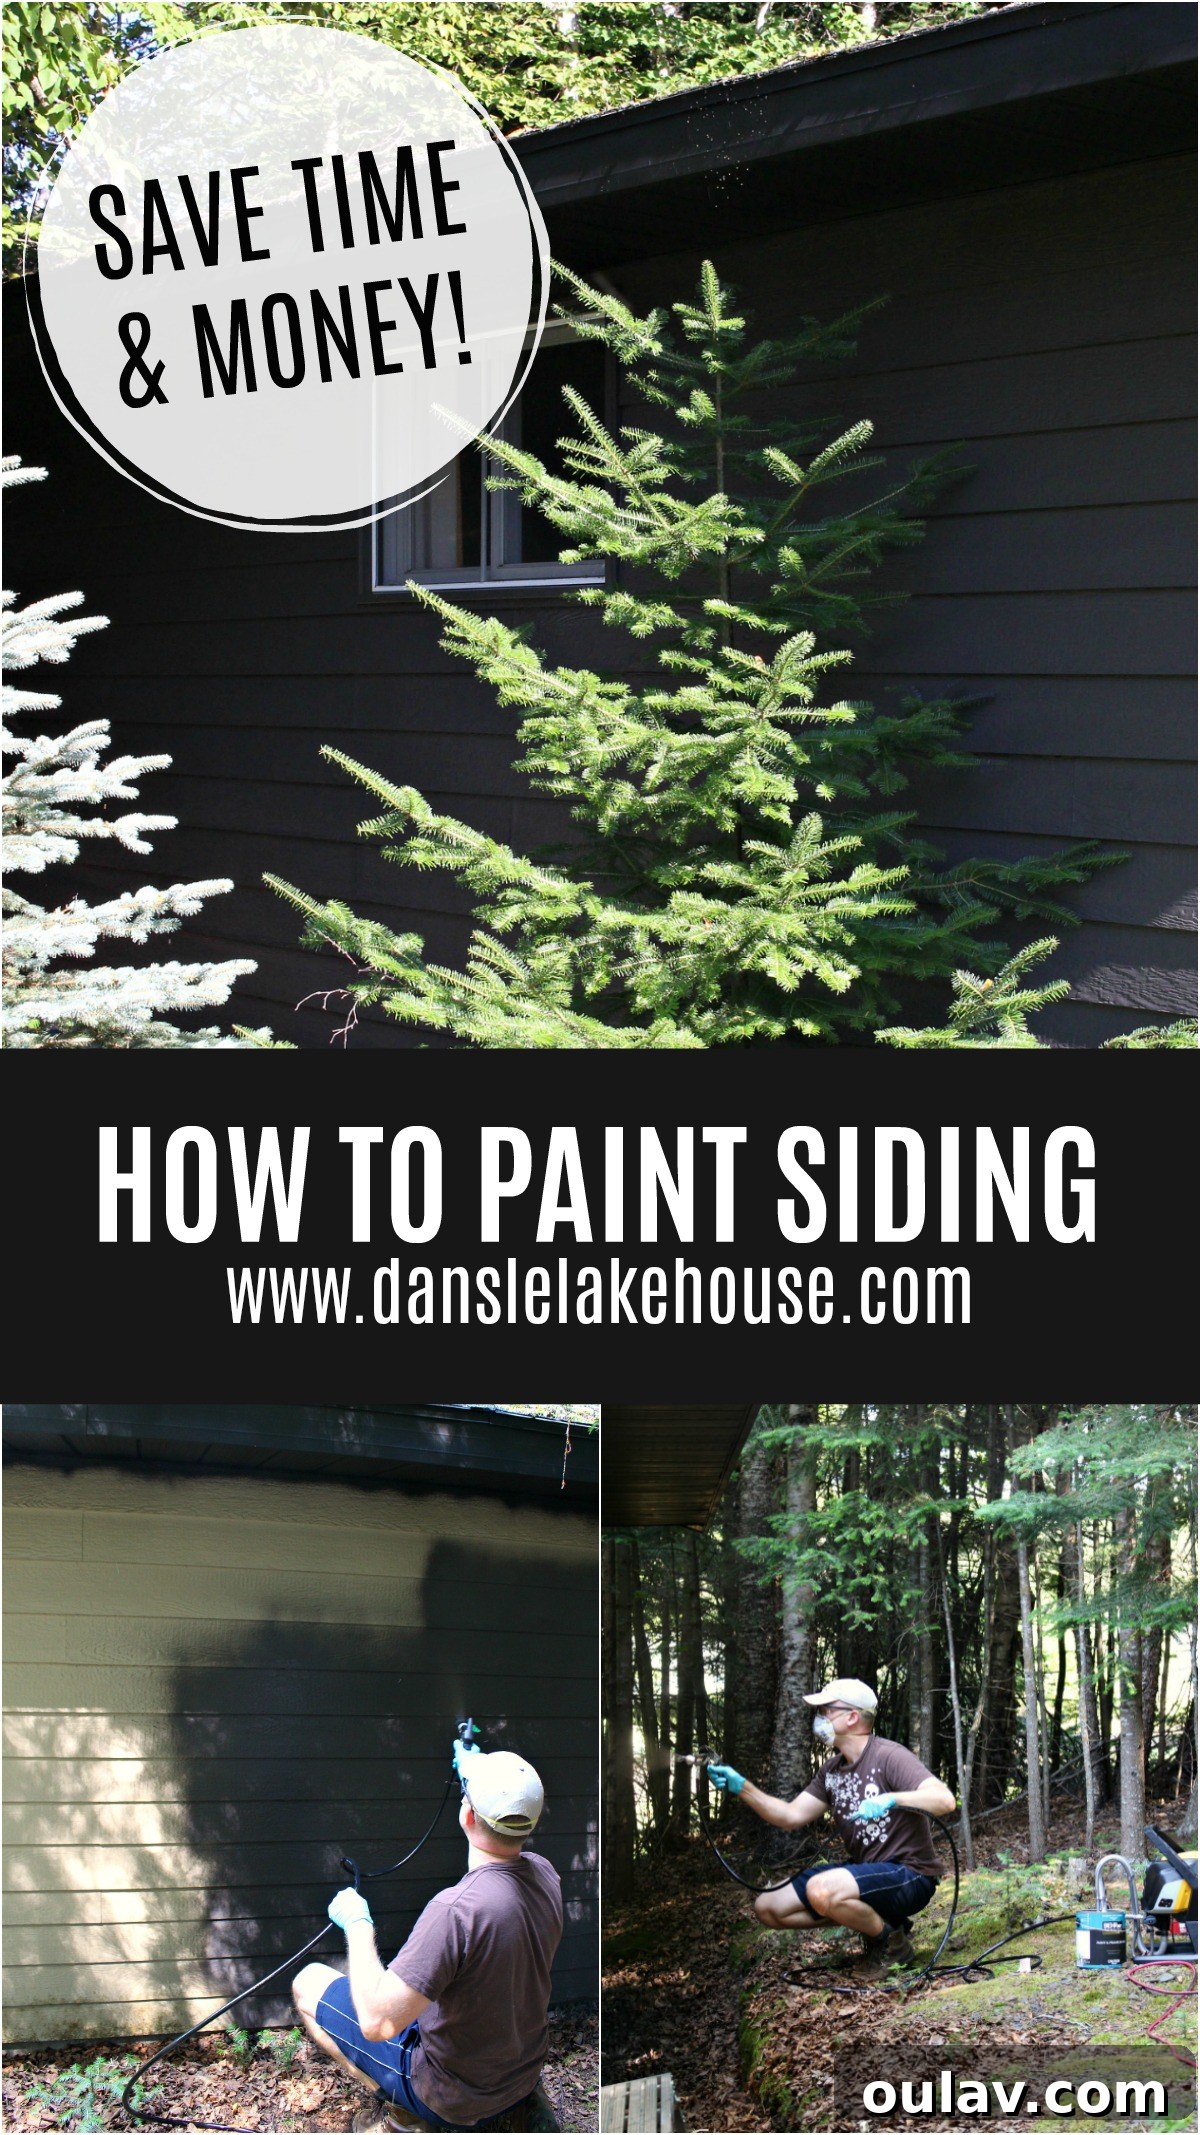
Welcome back to our ongoing journey of transforming the garage! If you’ve been following along, you’ve witnessed the dramatic changes taking shape, from the striking DIY garage mural to the crisp, dark soffit and fascia. Now, it’s time to tackle the main event: giving the garage siding a much-needed refresh. This critical step not only revitalizes the building’s appearance but also ensures it harmonizes perfectly with our home’s new aesthetic. In this comprehensive guide, we’ll delve into the process of painting siding with a paint sprayer, highlighting the incredible efficiency and flawless finish offered by tools like the Wagner Control Pro 150.
Revitalizing Your Garage: Why Siding Paint Matters
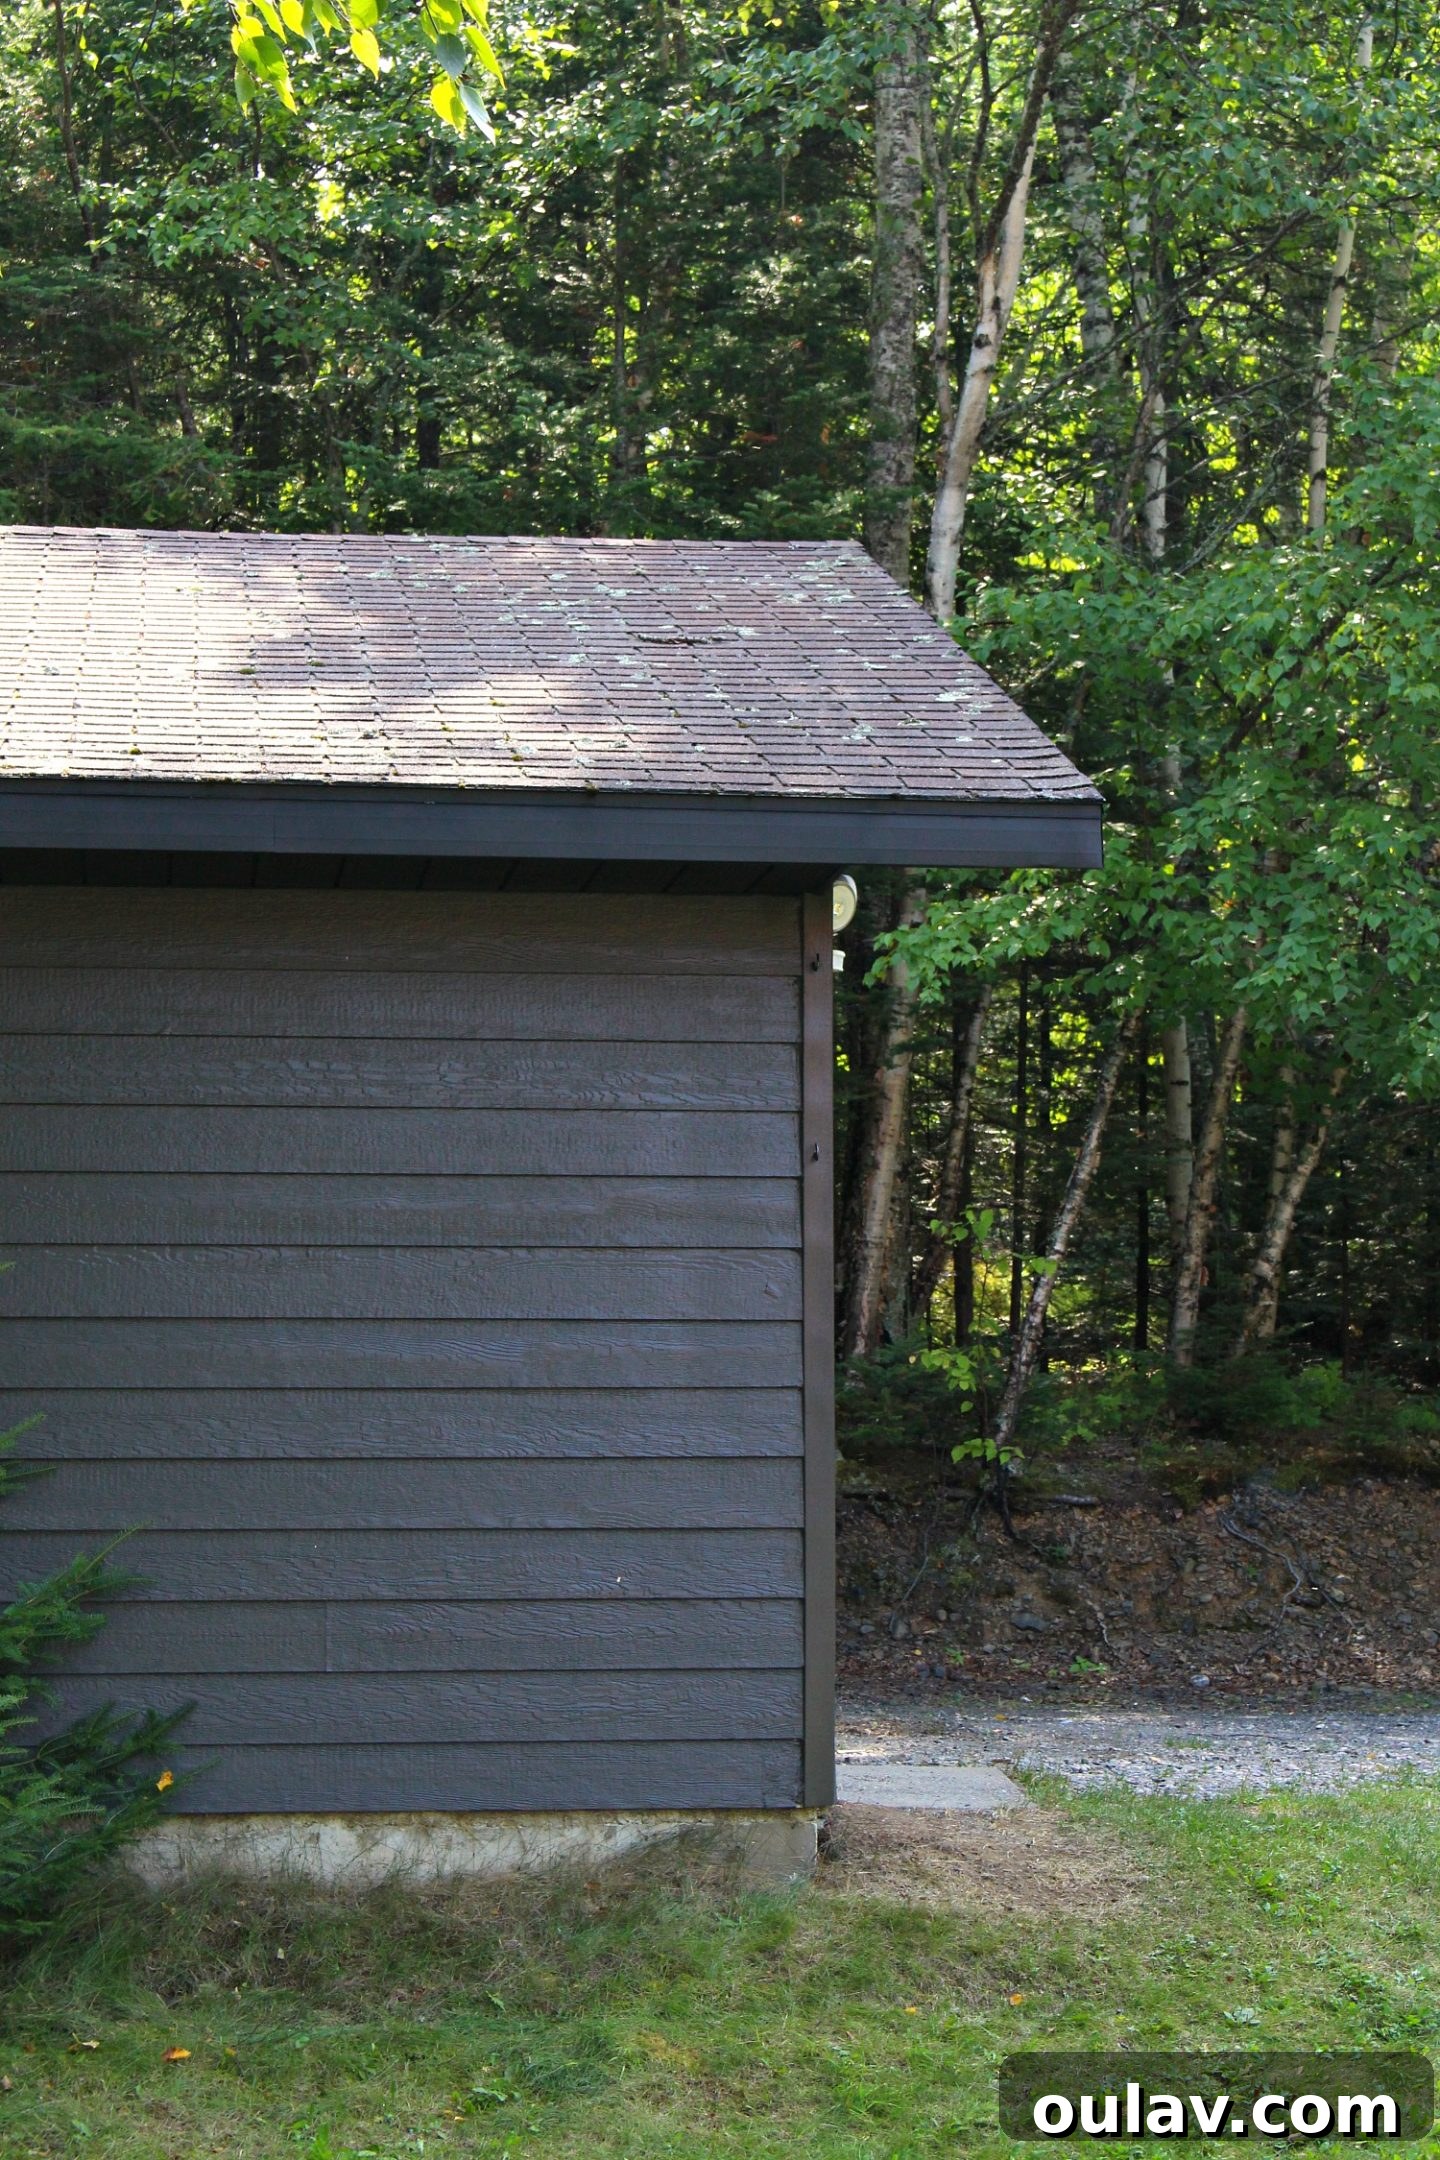
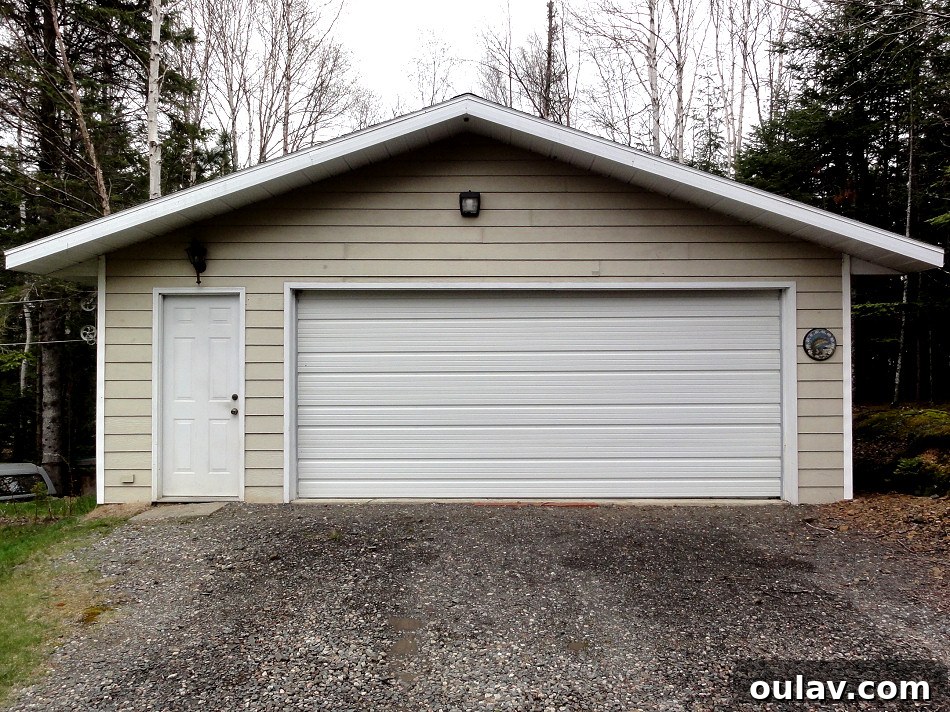
Our garage siding, a composite fiberboard likely similar to HardiePlank, was showing its age. It was grungy, marred by various imperfections, and perhaps most crucially, its outdated color simply didn’t align with the sophisticated grey/brown palette chosen for our soon-to-be-installed house siding. Painting your garage siding is more than just a cosmetic upgrade; it’s a strategic home improvement project that offers numerous benefits:
- Enhanced Curb Appeal: A fresh coat of paint instantly elevates the look of your entire property, making it more inviting and modern.
- Protection Against Elements: High-quality exterior paint provides a protective barrier against moisture, UV rays, and temperature fluctuations, extending the lifespan of your siding.
- Seamless Integration: Matching your garage’s exterior to your home creates a cohesive and polished look, enhancing overall architectural harmony.
- Increased Property Value: Well-maintained and visually appealing exteriors can significantly boost your home’s market value.
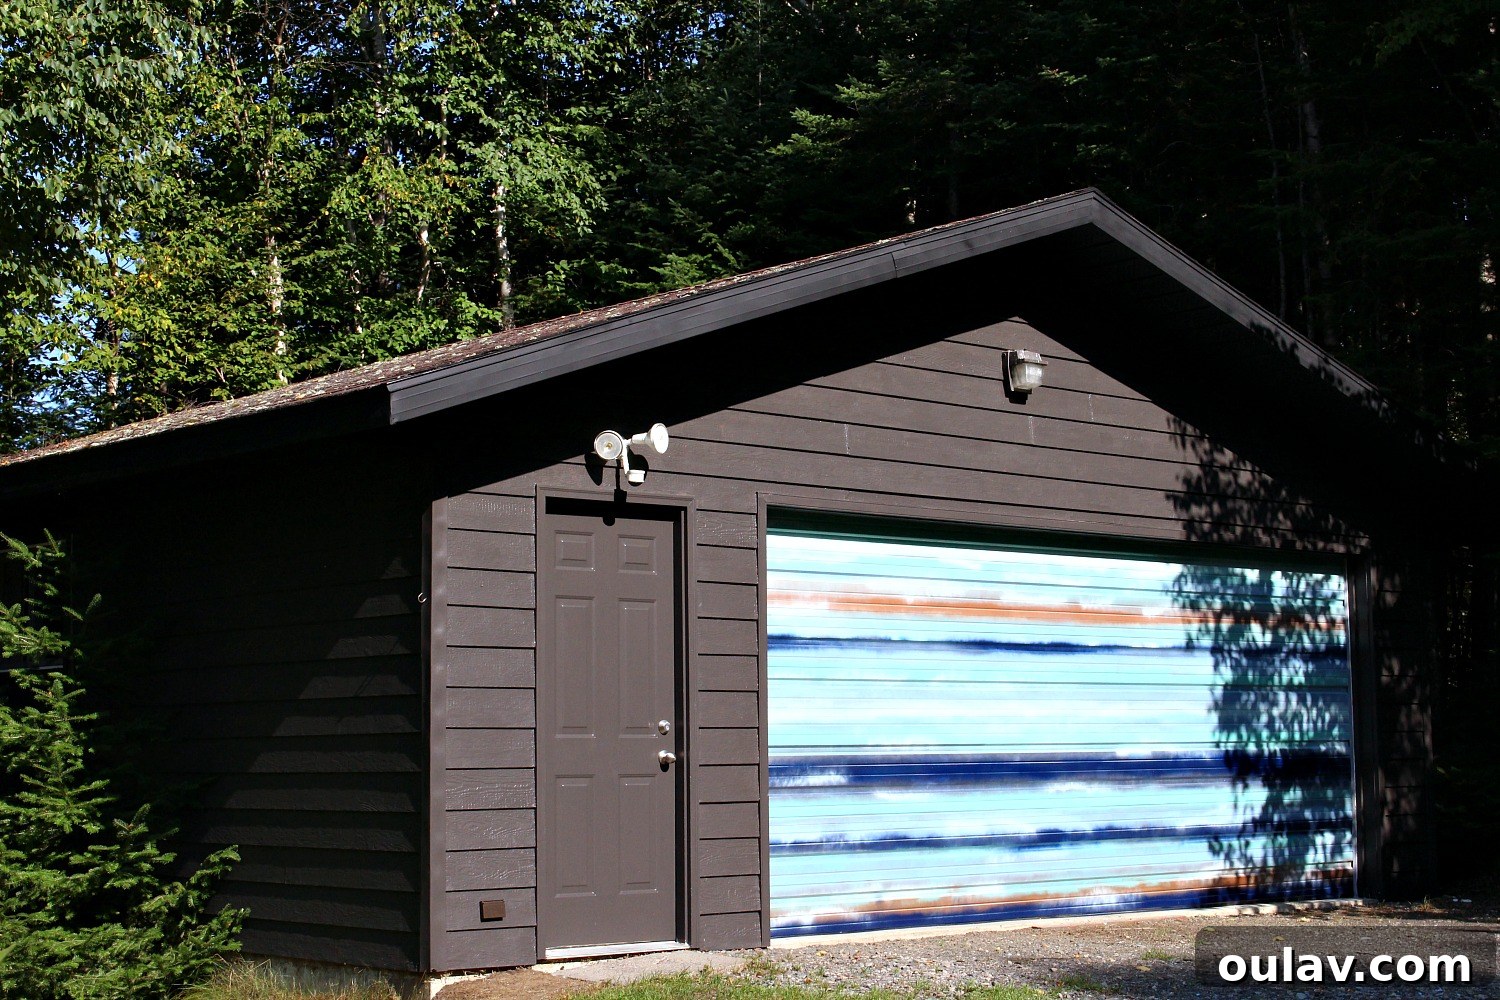
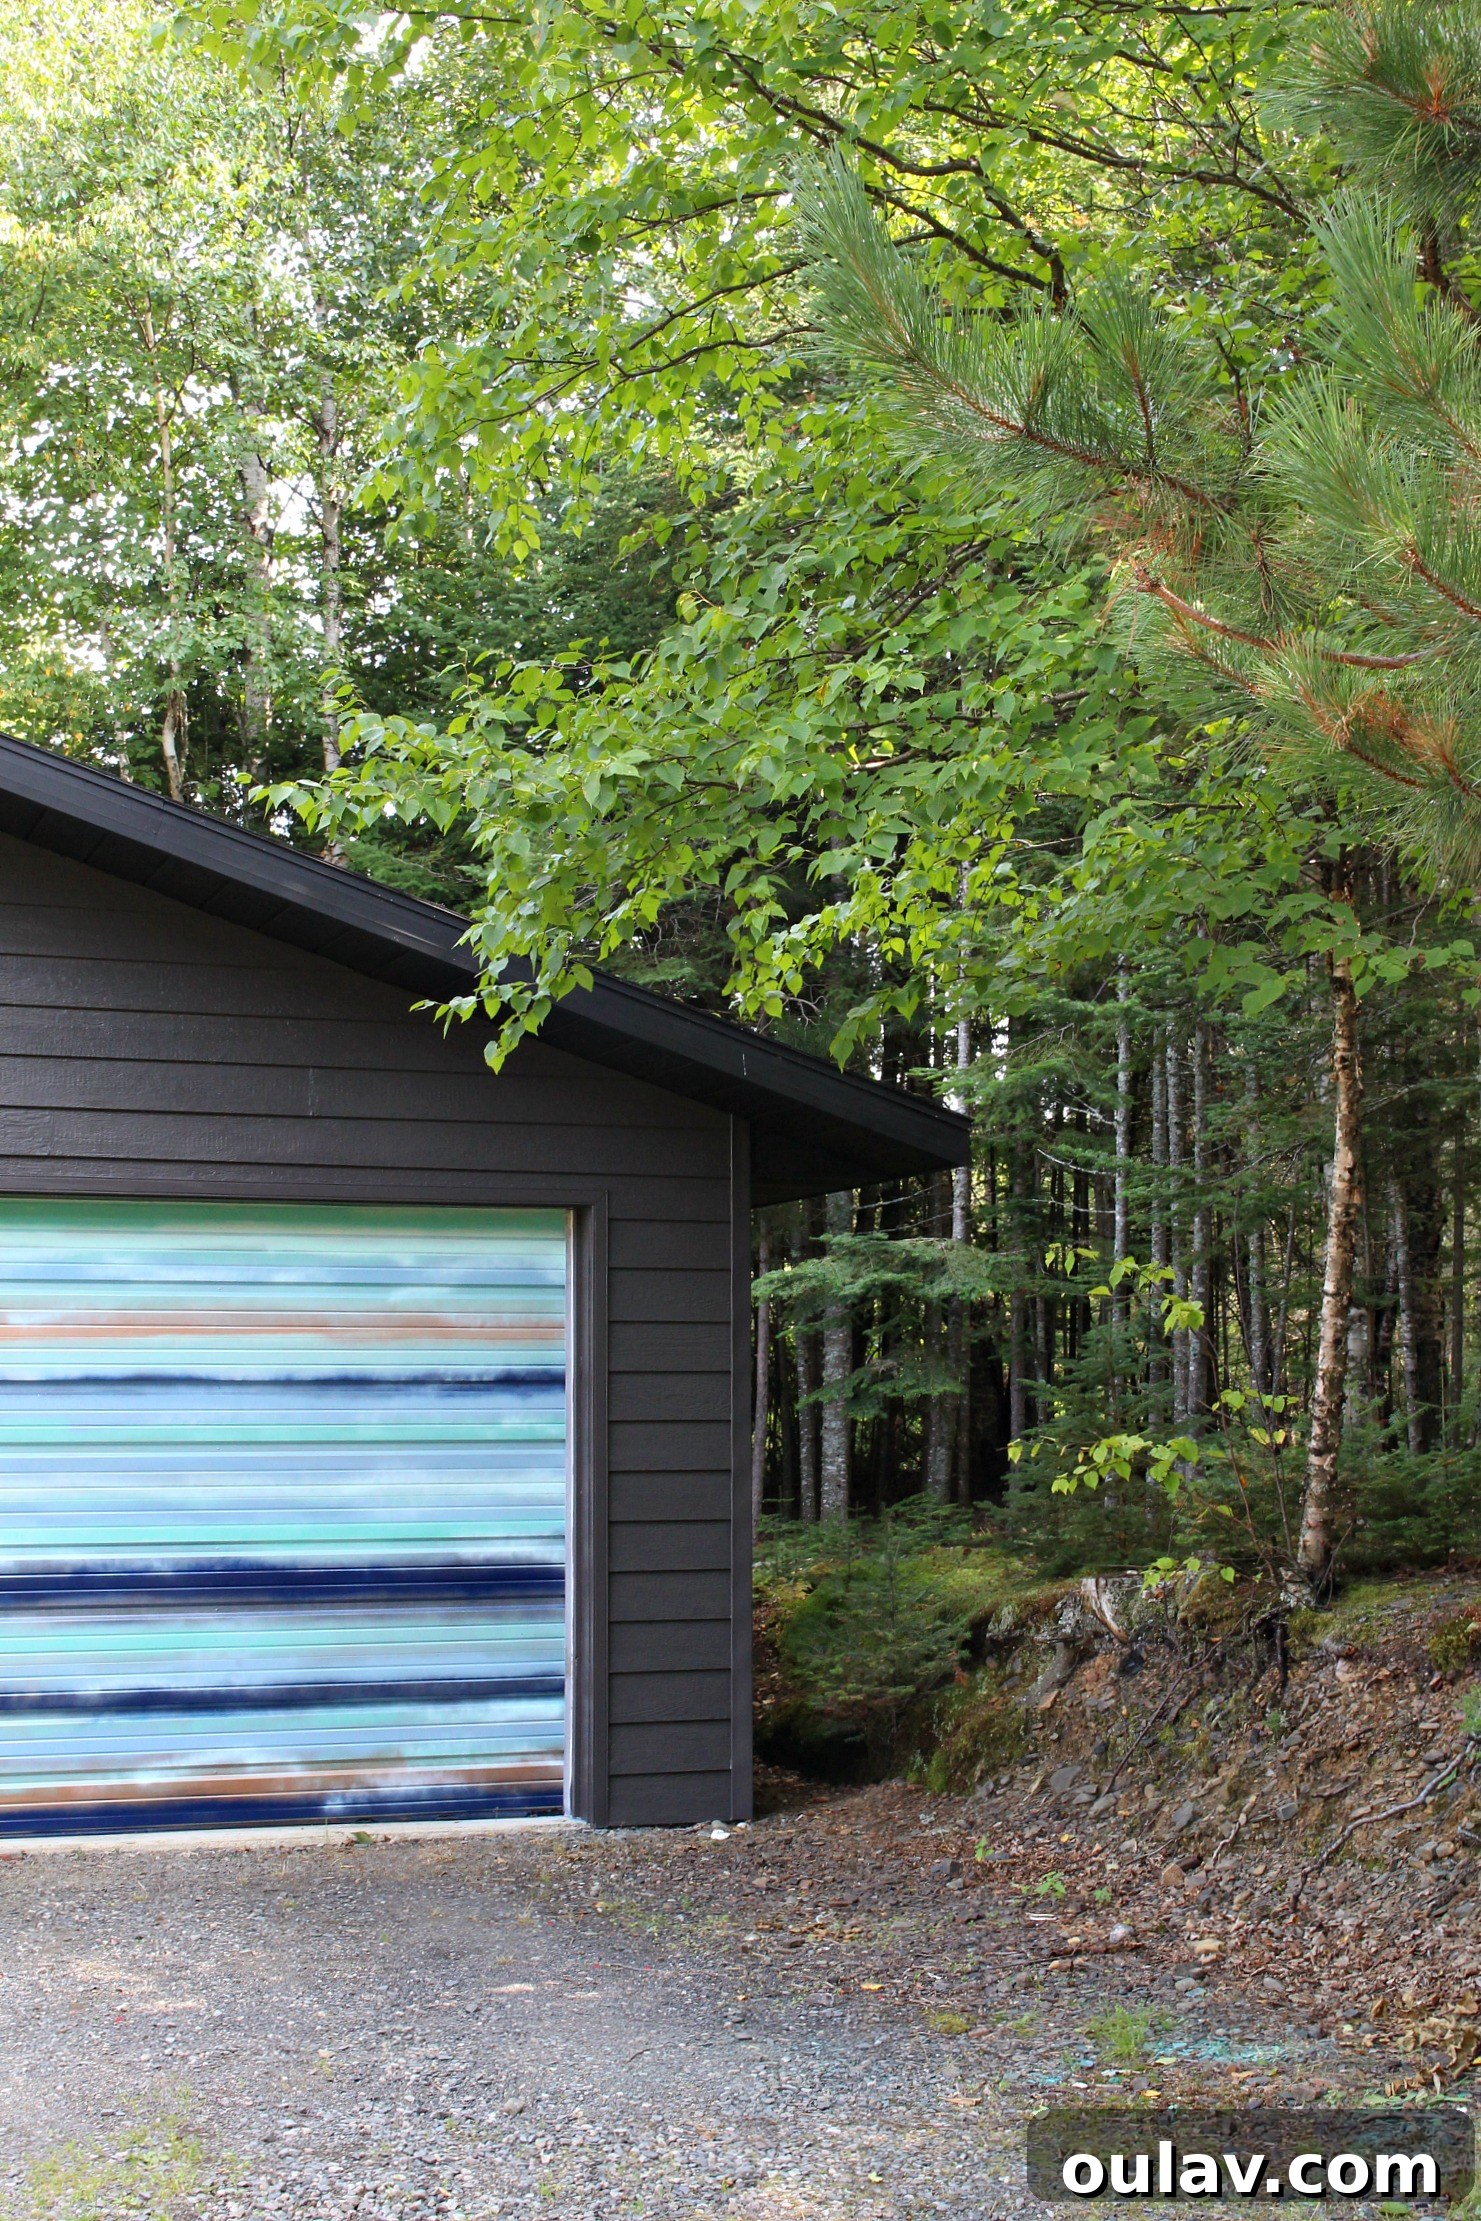
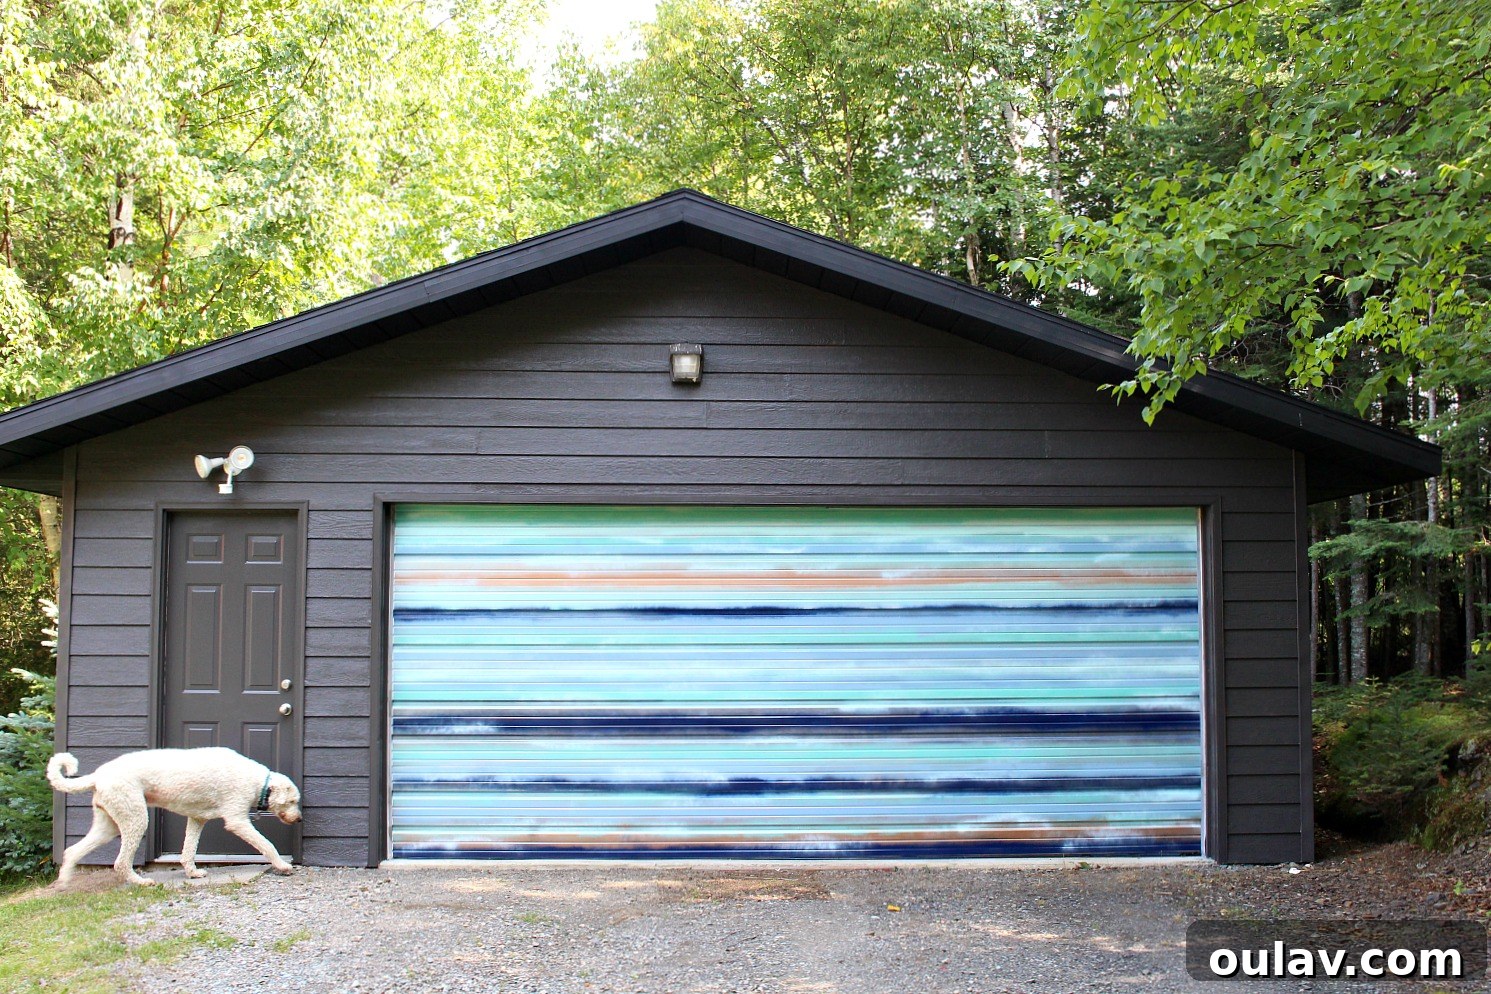
With the garage’s soffit and fascia already painted a deep black, and the coastal-inspired mural complete, painting the siding was the logical next step to unify the vision. While we opted to meticulously brush the front siding by hand – a three-inch angled brush and an afternoon of patience were essential to protect the delicate mural from any overspray – the real game-changer came with tackling the two side sections.
The Game-Changer: Painting Siding with a Paint Sprayer
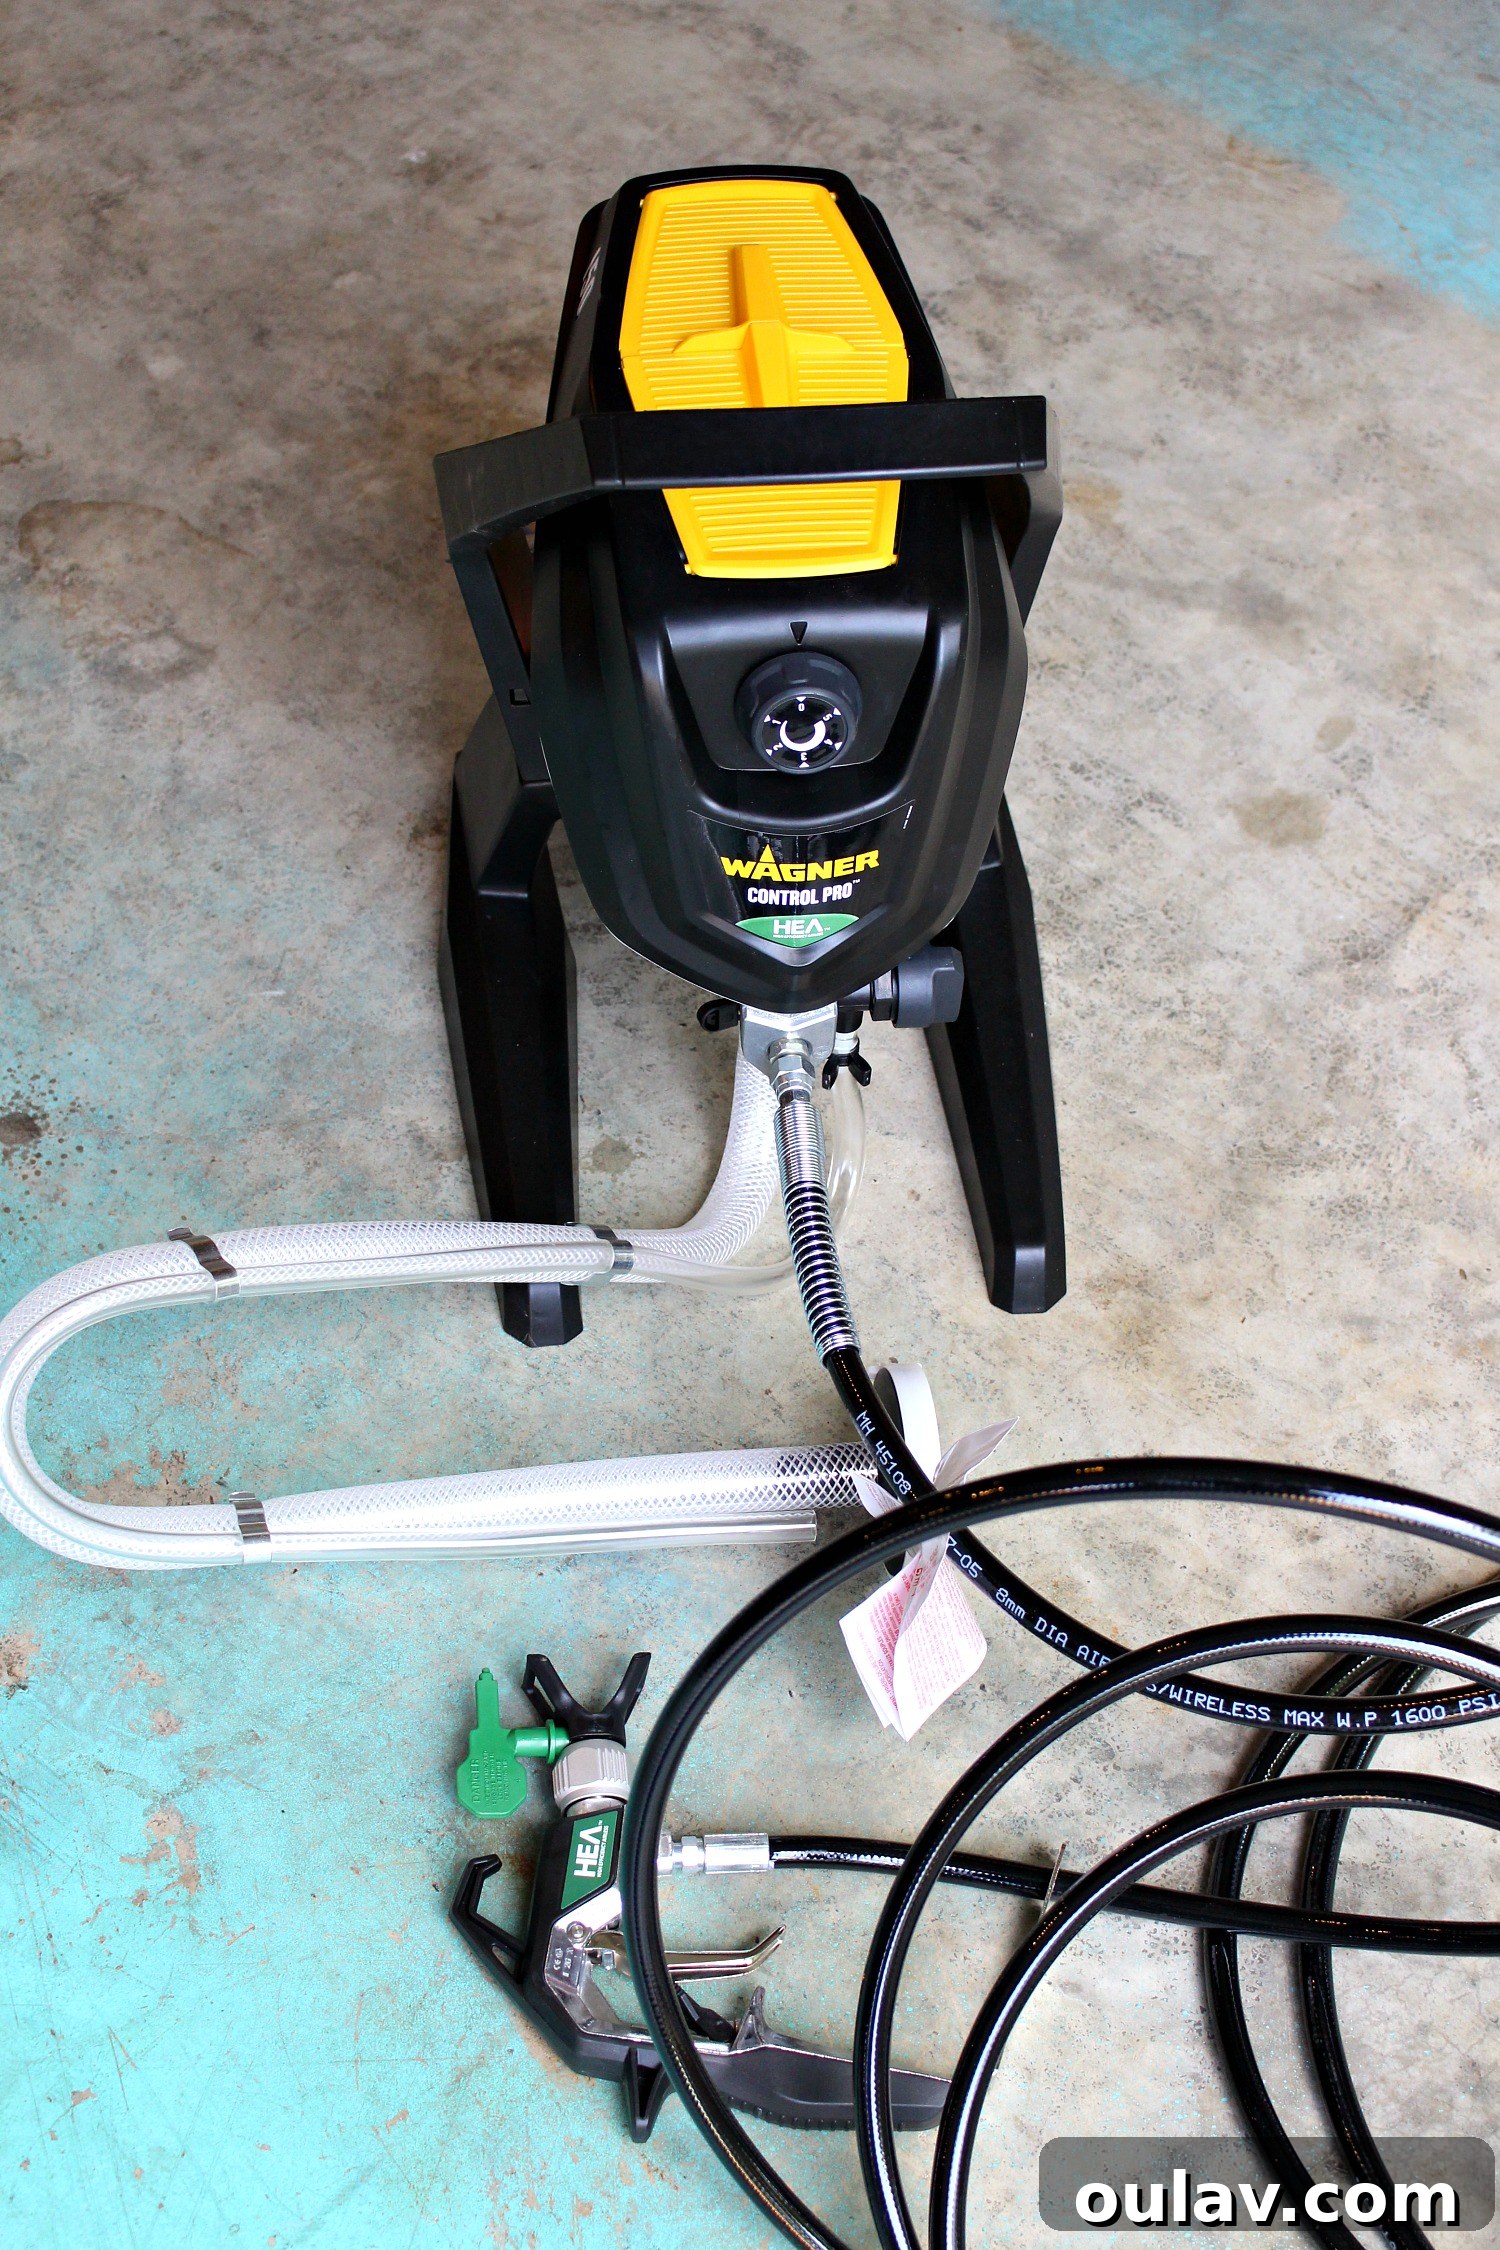
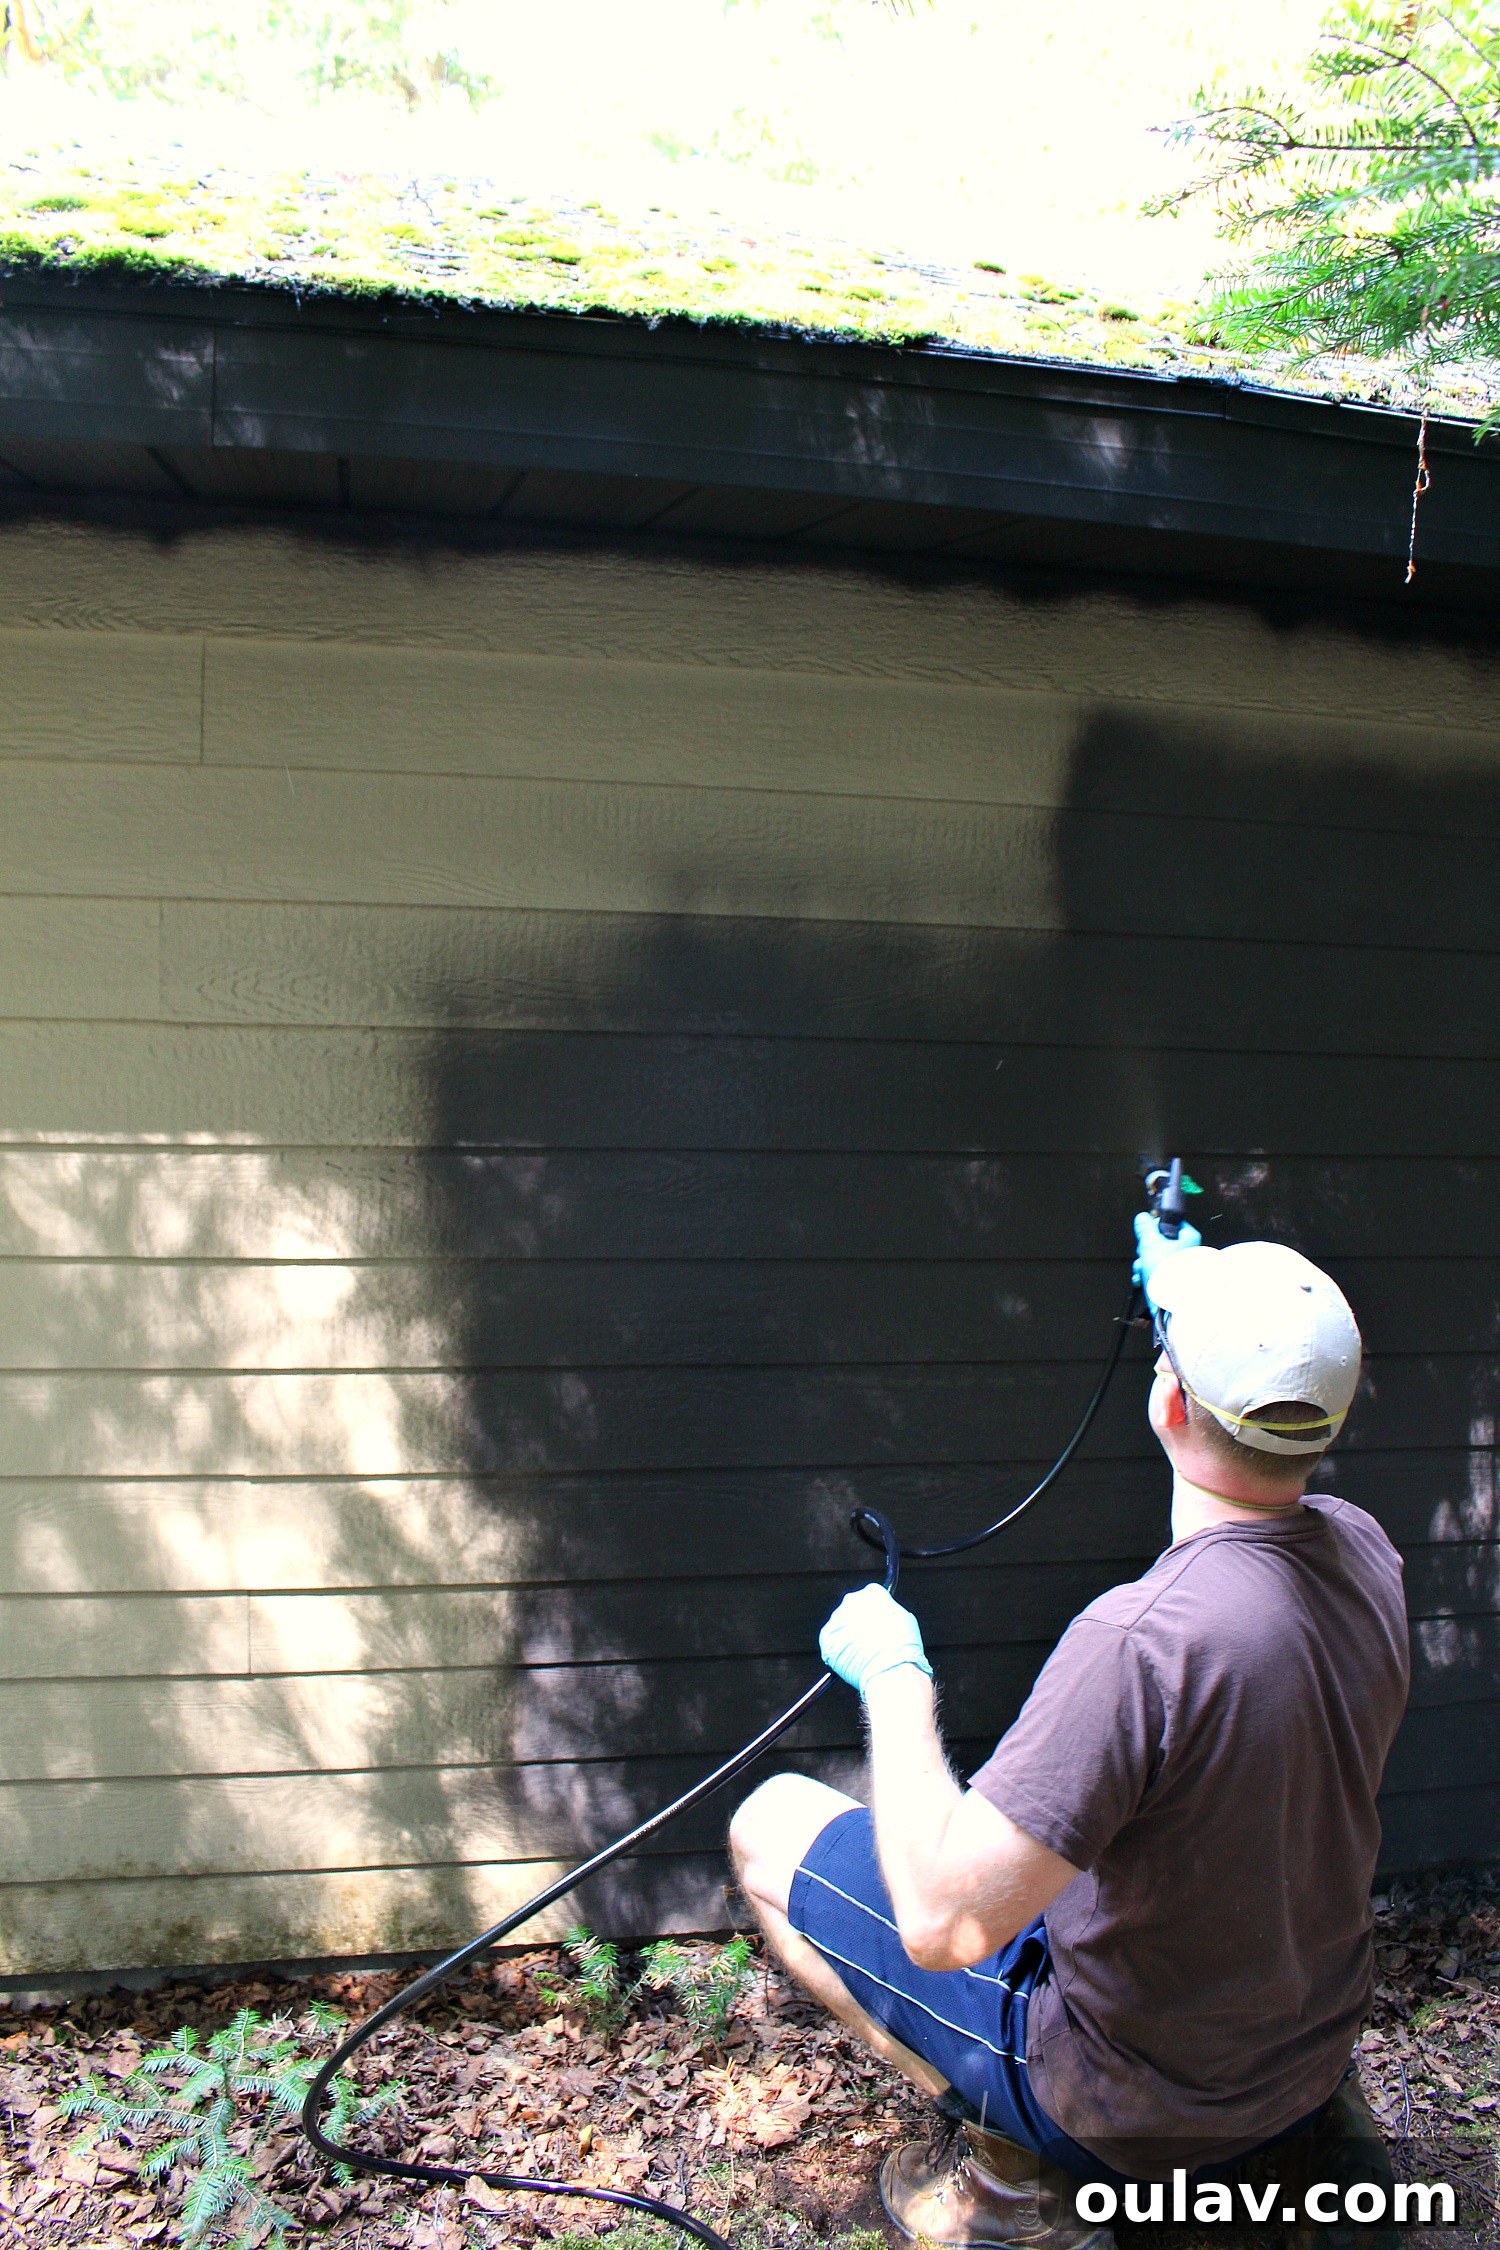
For the larger side sections of the garage, we turned to the Wagner Control Pro 150, and the results were nothing short of astonishing. The transformation in speed and ease of application was truly remarkable. While hand-brushing offers precision, a quality paint sprayer delivers unparalleled efficiency and a consistently smooth finish, especially on expansive surfaces like siding. I had anticipated it would be quicker, but I wasn’t prepared for just how dramatically it would accelerate the process. If you caught the glimpse in my Instagram stories, you’d know that an entire side of the garage was coated in roughly ten minutes. This incredible speed saved us at least two full days of laborious hand-painting.
Mastering the Wagner Control Pro 150: A Detailed Review
The Wagner Control Pro 150 is designed for homeowners and DIY enthusiasts looking for professional results without the complexity of traditional airless sprayers. Its High-Efficiency Airless (HEA) technology is a standout feature, reducing overspray by up to 55% compared to conventional airless sprayers. This not only minimizes paint waste but also makes for a cleaner, more controlled application experience, which is particularly beneficial when working near sensitive areas or trying to conserve paint.
Setting up the Control Pro 150 is refreshingly straightforward. It arrives with all the necessary components, making it accessible even for those new to paint spraying. Instead of the common recommendation to thin paint for sprayers, we opted for Behr’s thinnest exterior paint, which proved to be an excellent choice. The sprayer handled it beautifully, delivering fantastic coverage and allowing us to achieve a solid, even coat in most areas with just a single pass. This is a testament to the sprayer’s efficient design and the quality of the HEA tip.
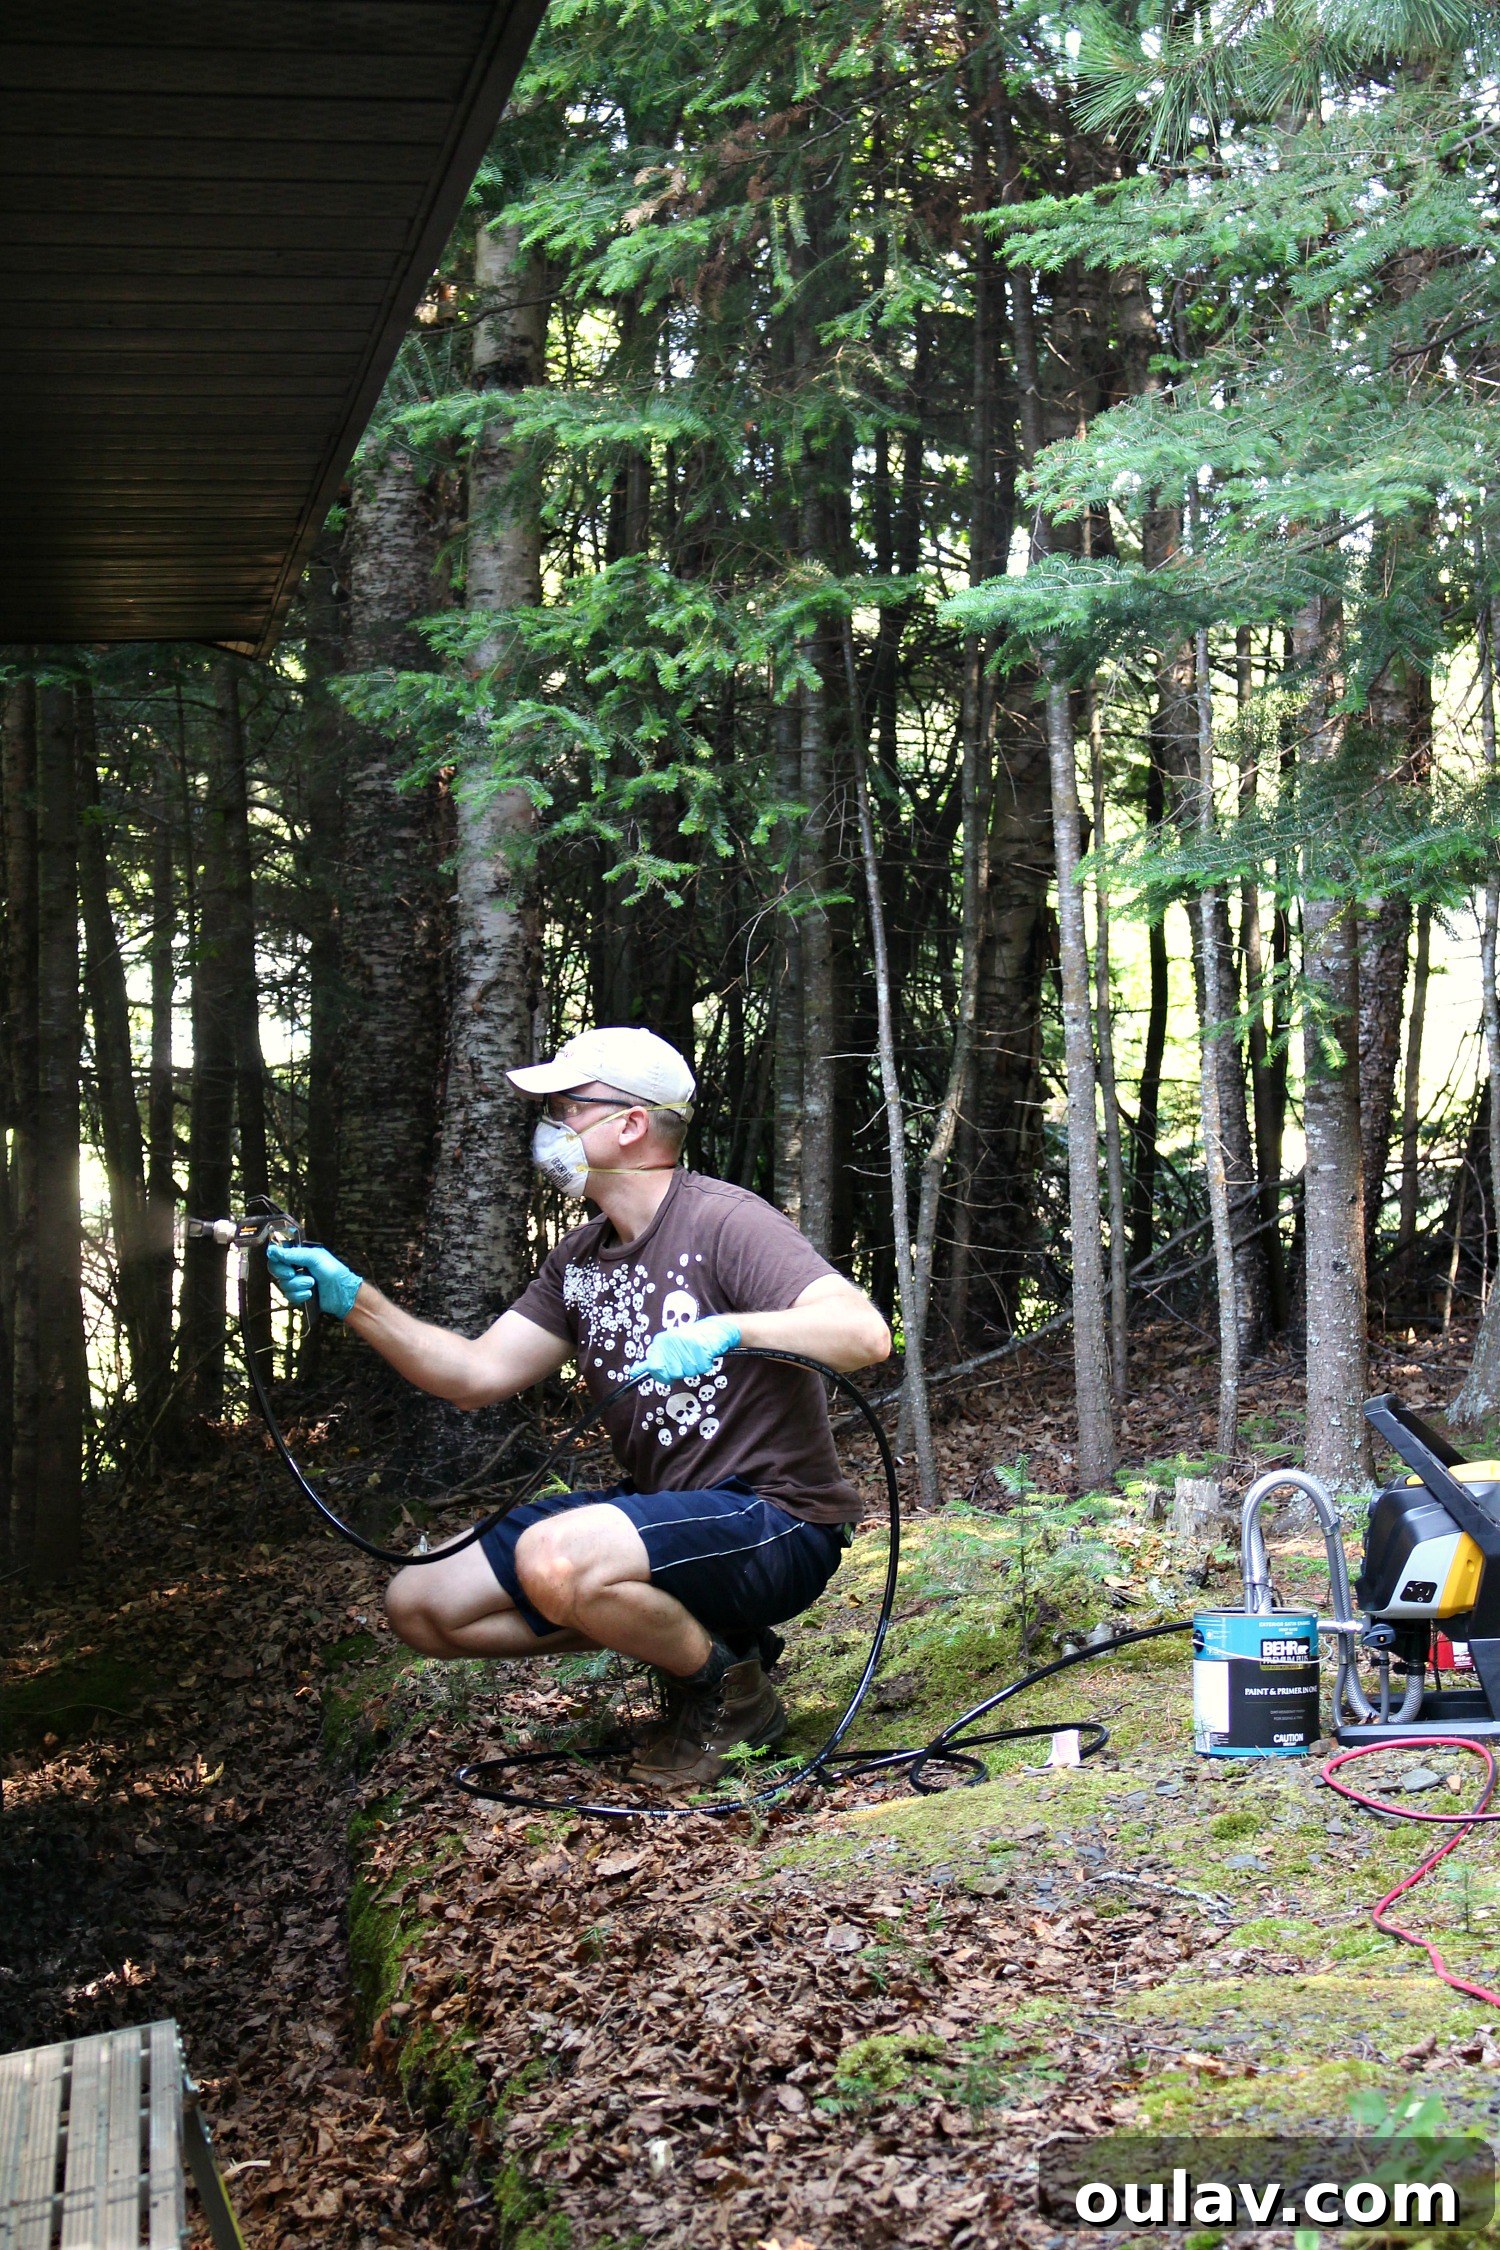
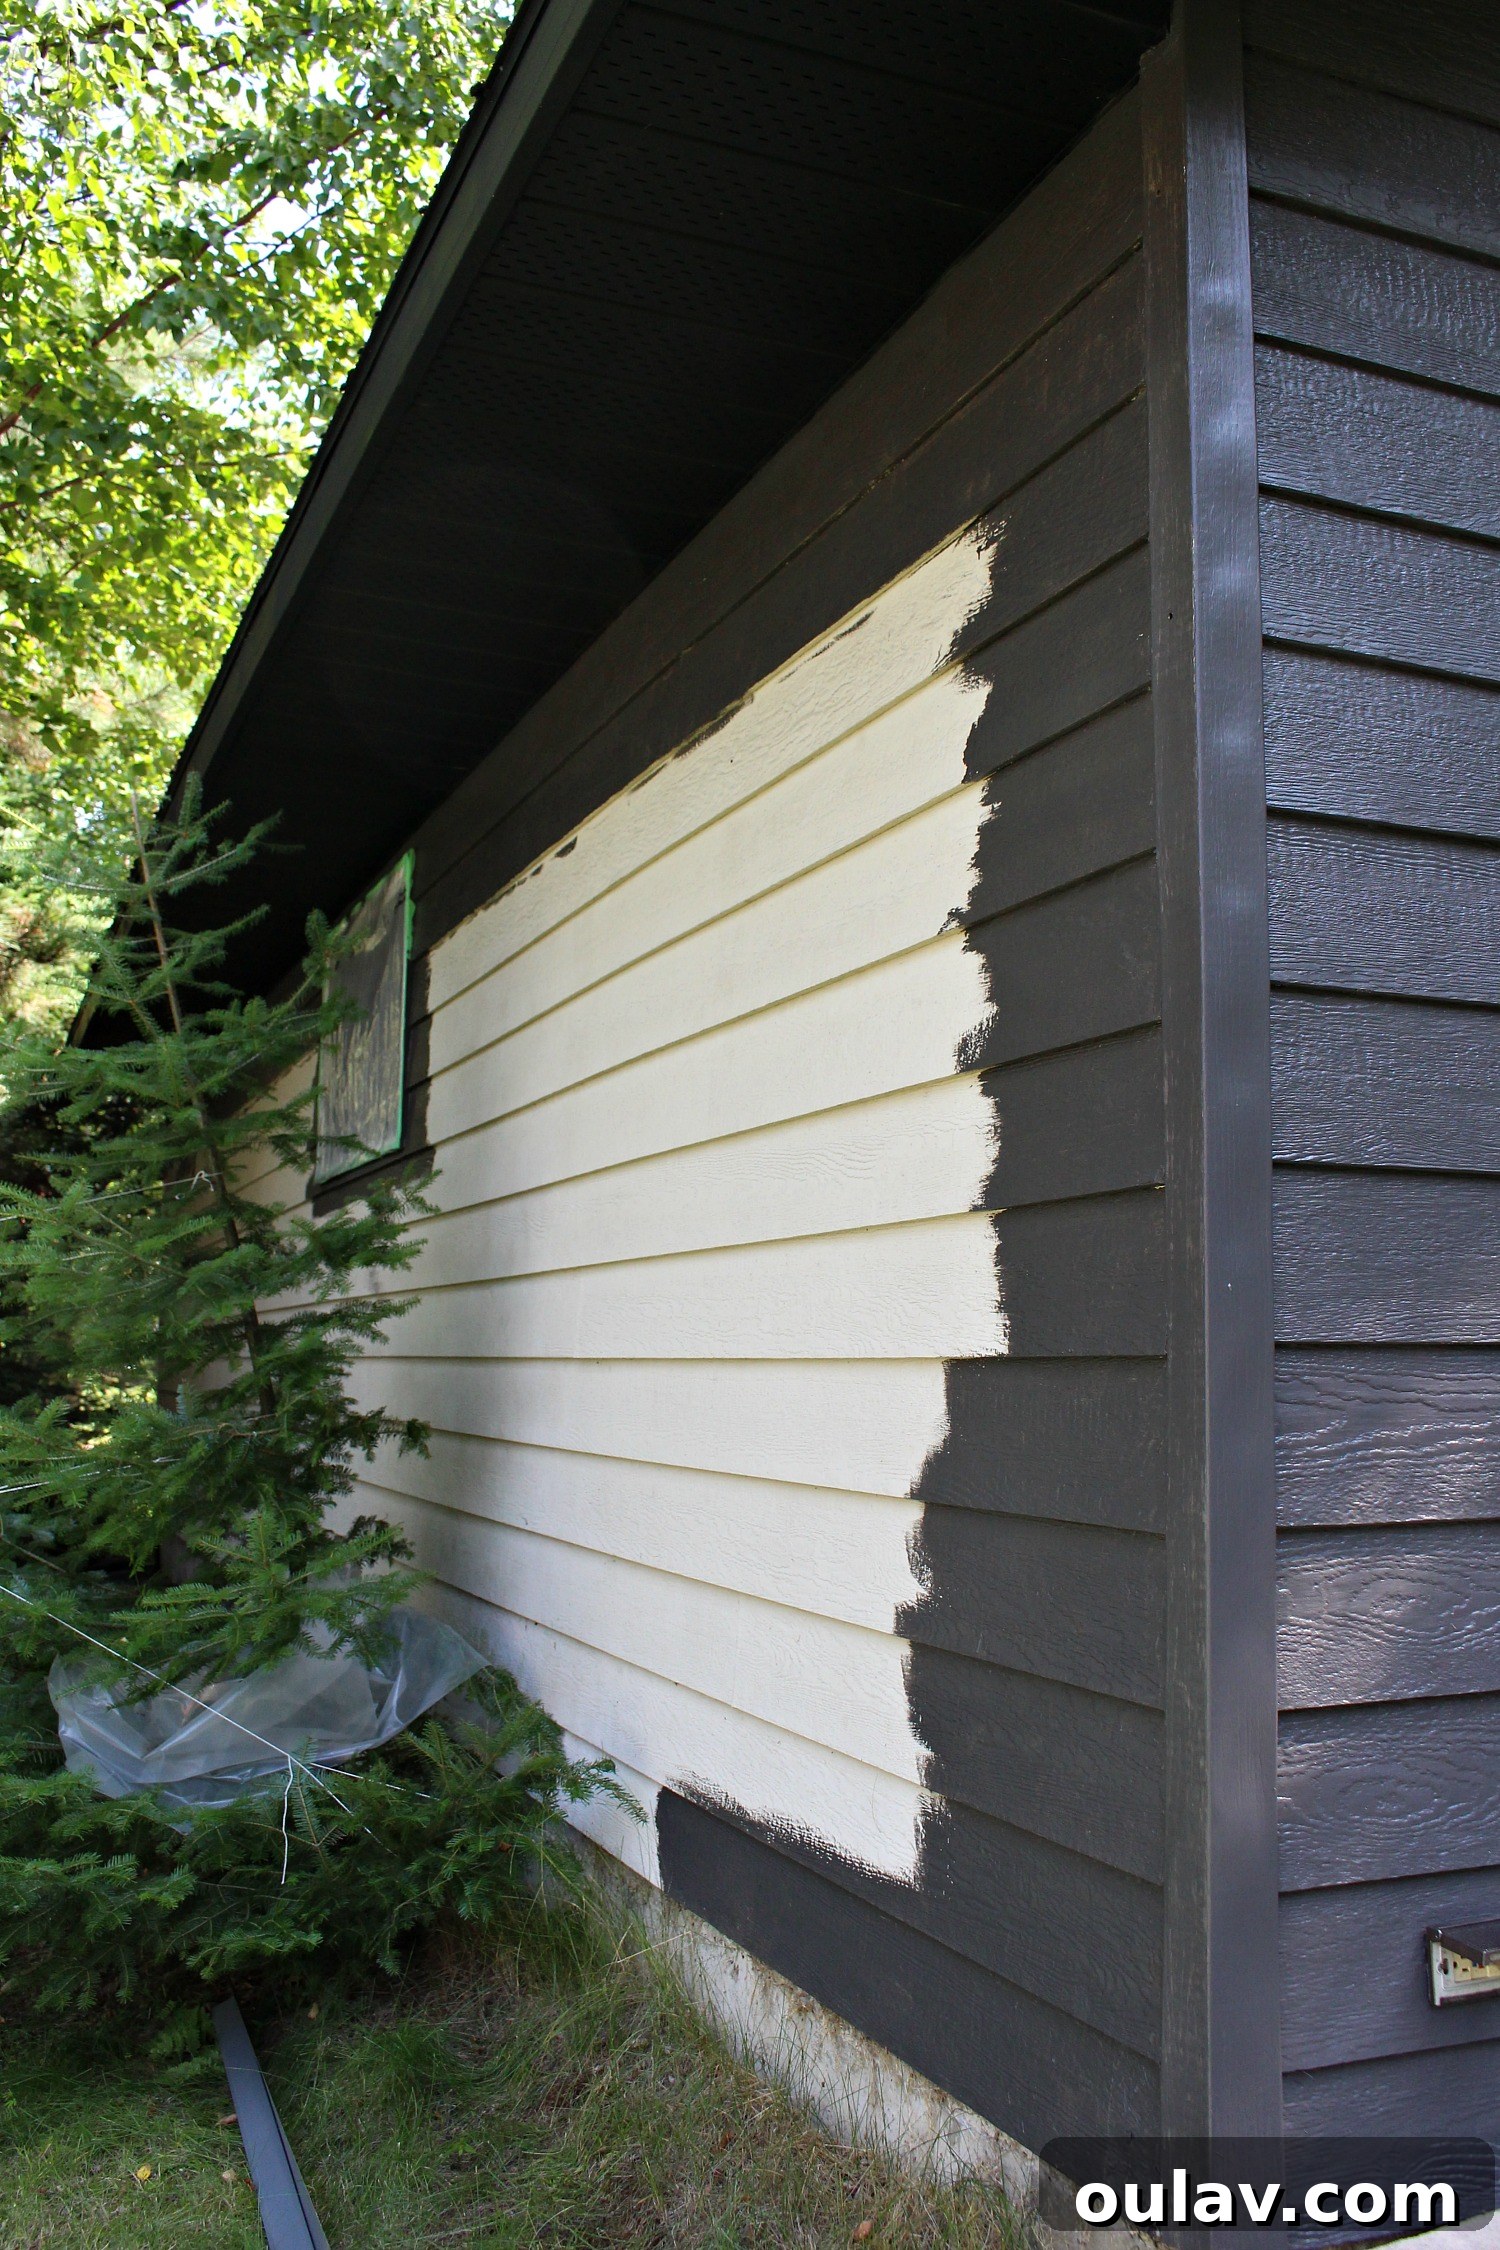
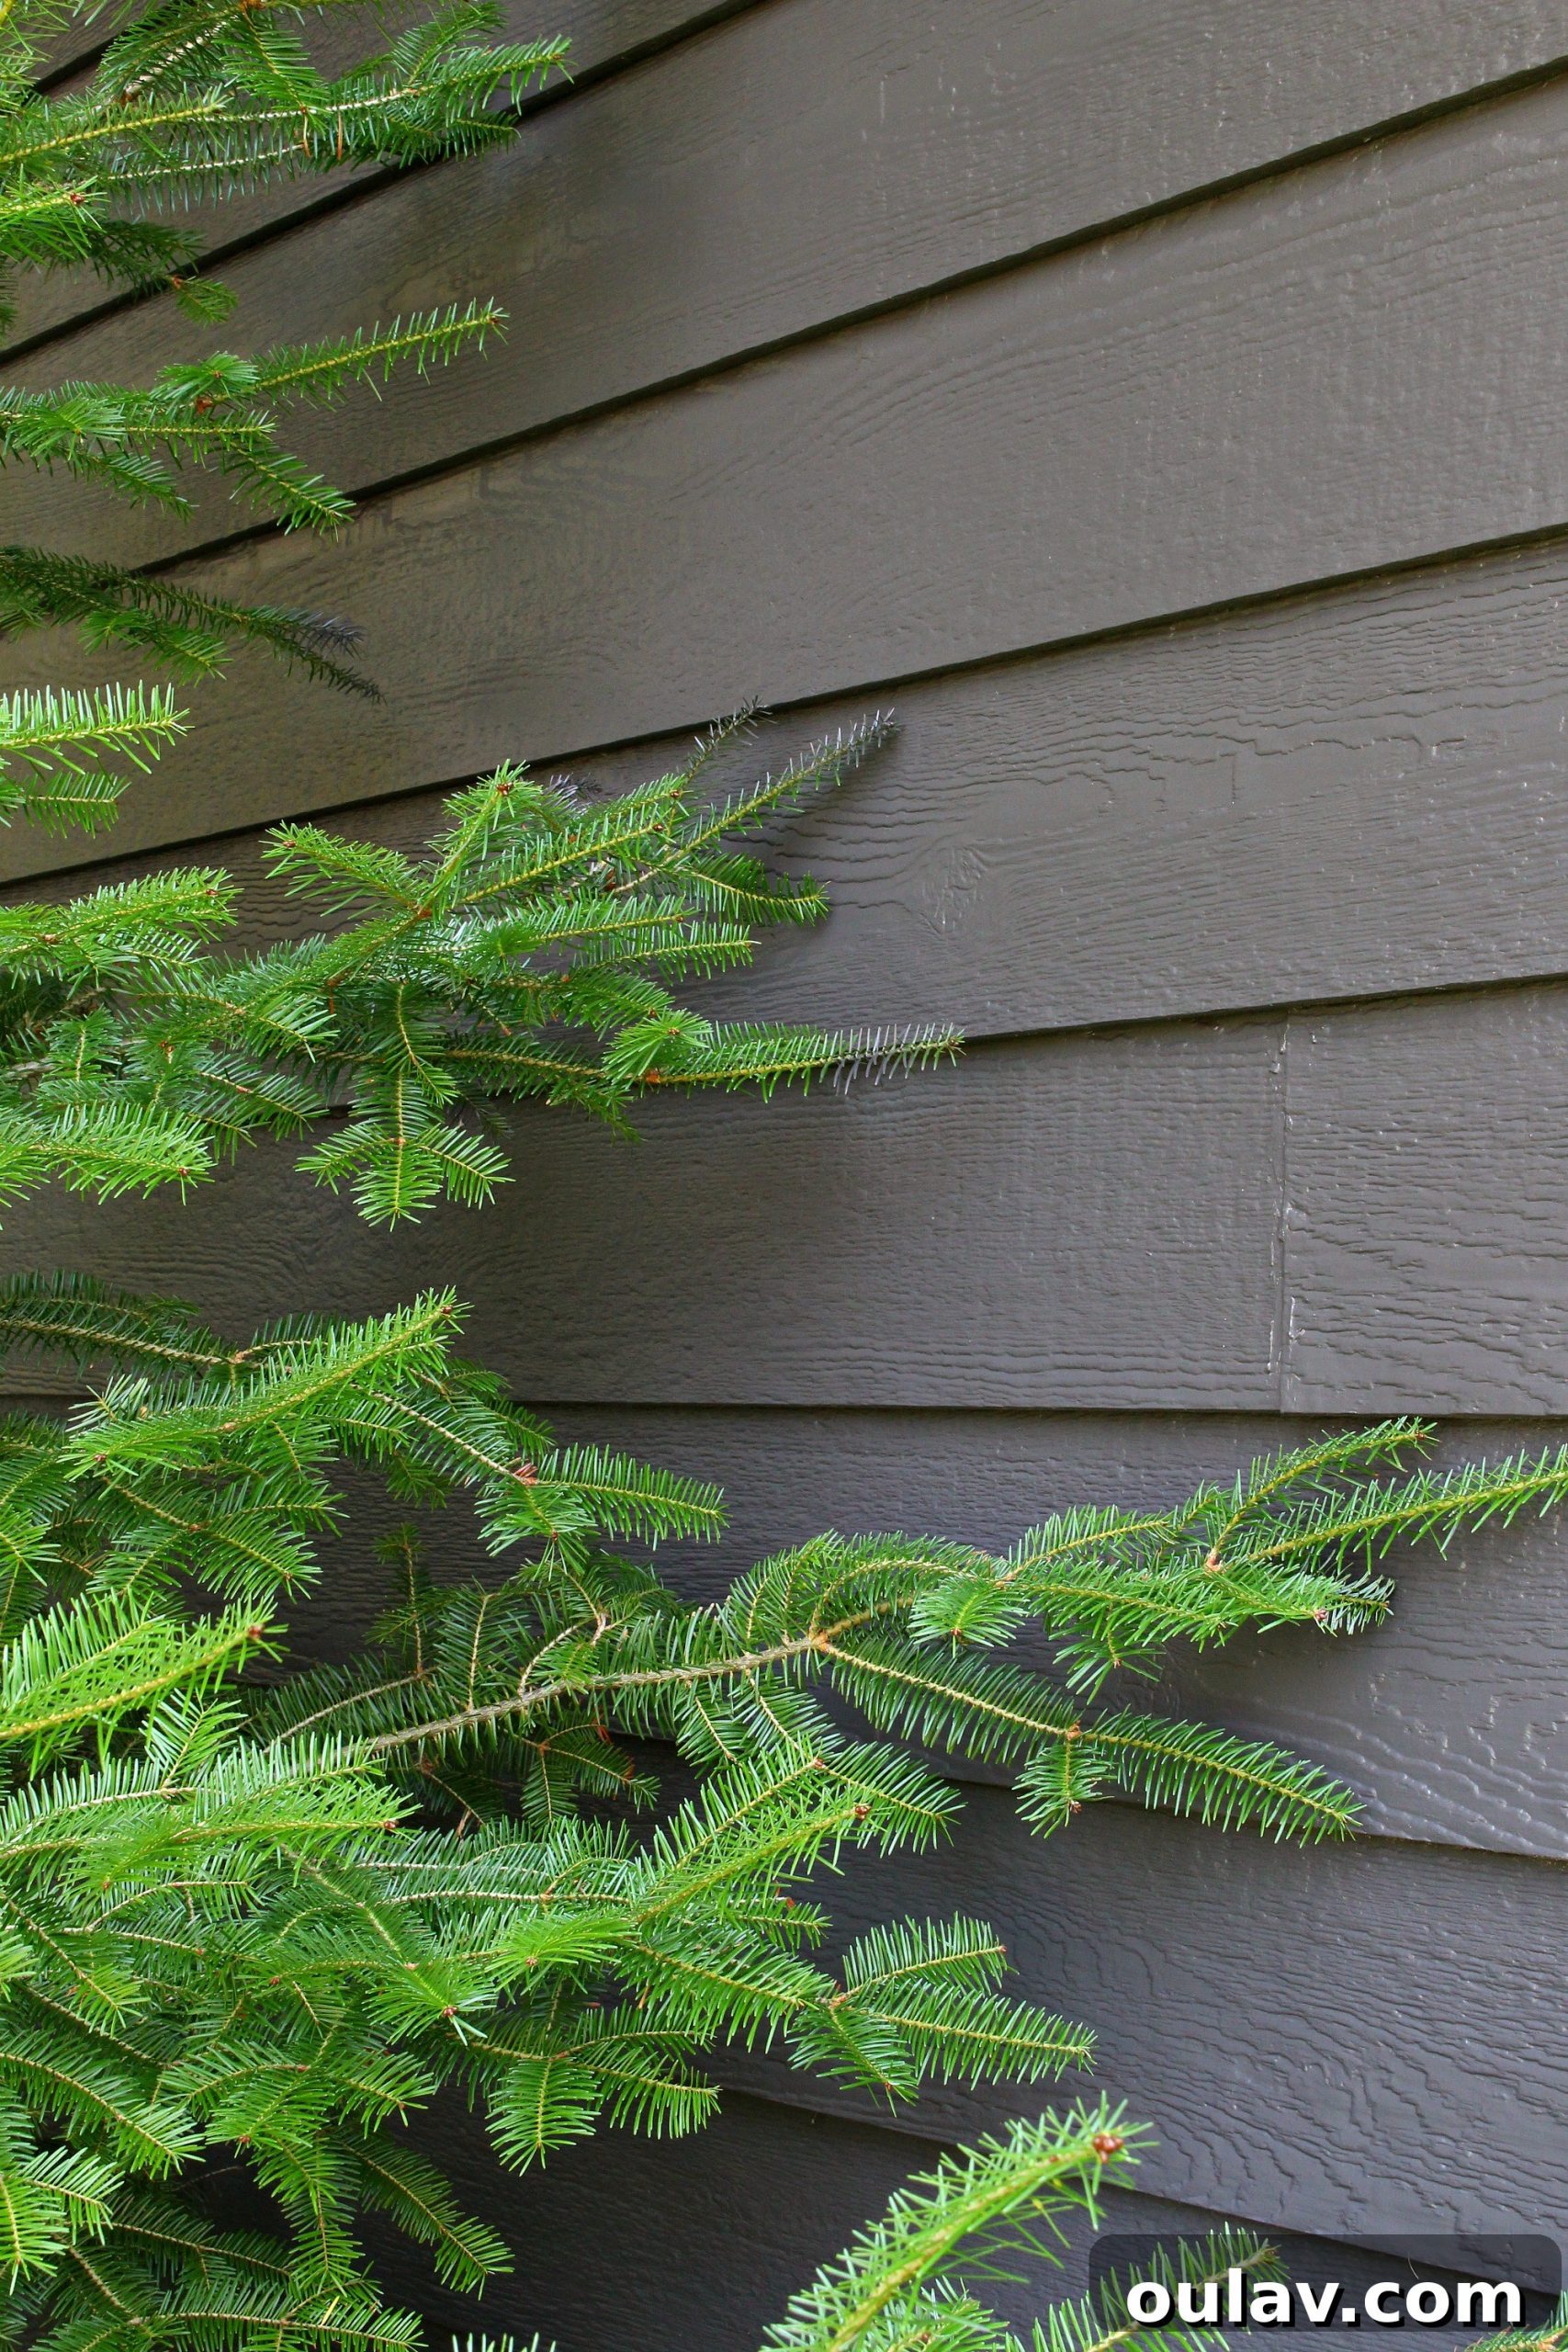
However, as with any specialized tool, there’s a learning curve and specific techniques to master. While painting large, flat areas of siding, one crucial tip we discovered was to ensure thorough coverage of the bottom edge of each plank. This type of siding often has a slight overlap or lip that can be missed if you’re spraying straight on. Our solution was simple: crouch down slightly and angle the paint spray upward, ever so gently. This subtle adjustment ensures that the underside of each plank is fully coated, preventing unsightly stripes or uneven finishes that might otherwise become apparent later.
Preparation is Key: Ensuring a Flawless Finish
Even with the most advanced paint sprayer, proper preparation is the bedrock of a successful painting project. Skimping on prep work can lead to frustrating touch-ups, poor adhesion, and a less-than-professional finish. Here’s how we approached the preparation for our garage siding:
1. Cleaning the Siding
Before any paint could touch the surface, the old, grungy siding needed a thorough cleaning. Years of accumulated dirt, grime, and mildew can compromise paint adhesion. We used a power washer on a gentle setting, combined with an appropriate exterior cleaner, to remove all surface contaminants. For stubborn spots, a stiff brush and elbow grease were employed. Allow ample drying time – typically 24-48 hours – to ensure the siding is completely dry before painting.
2. Repair and Priming
Inspect your siding for any cracks, holes, or damaged sections. These should be repaired with an exterior-grade caulk or filler and sanded smooth once dry. While the Behr paint offered excellent coverage, we made sure to prime the metal garage doors with a dedicated metal primer before applying the same siding color. Priming is a crucial step, especially when switching colors dramatically or painting over challenging surfaces, as it promotes adhesion and ensures a more uniform topcoat.
3. Masking and Protection
While the Wagner Control Pro 150 is designed to reduce overspray, it’s still essential to protect surrounding areas. We meticulously taped off the window frames using painter’s tape and plastic sheeting. For the newly painted black soffit and fascia, instead of taping the entire length, we developed a clever technique: we sprayed only up to the second-to-last piece of siding, then quickly finished the very top edge with a brush. This allowed us to avoid time-consuming masking of the entire soffit and fascia. This strategy worked well due to the similarity between the dark soffit and dark siding color. However, if you’re painting a dark surface below a white soffit, comprehensive taping and protection are highly recommended to prevent any errant paint droplets.
4. Protecting Obstacles and the Environment
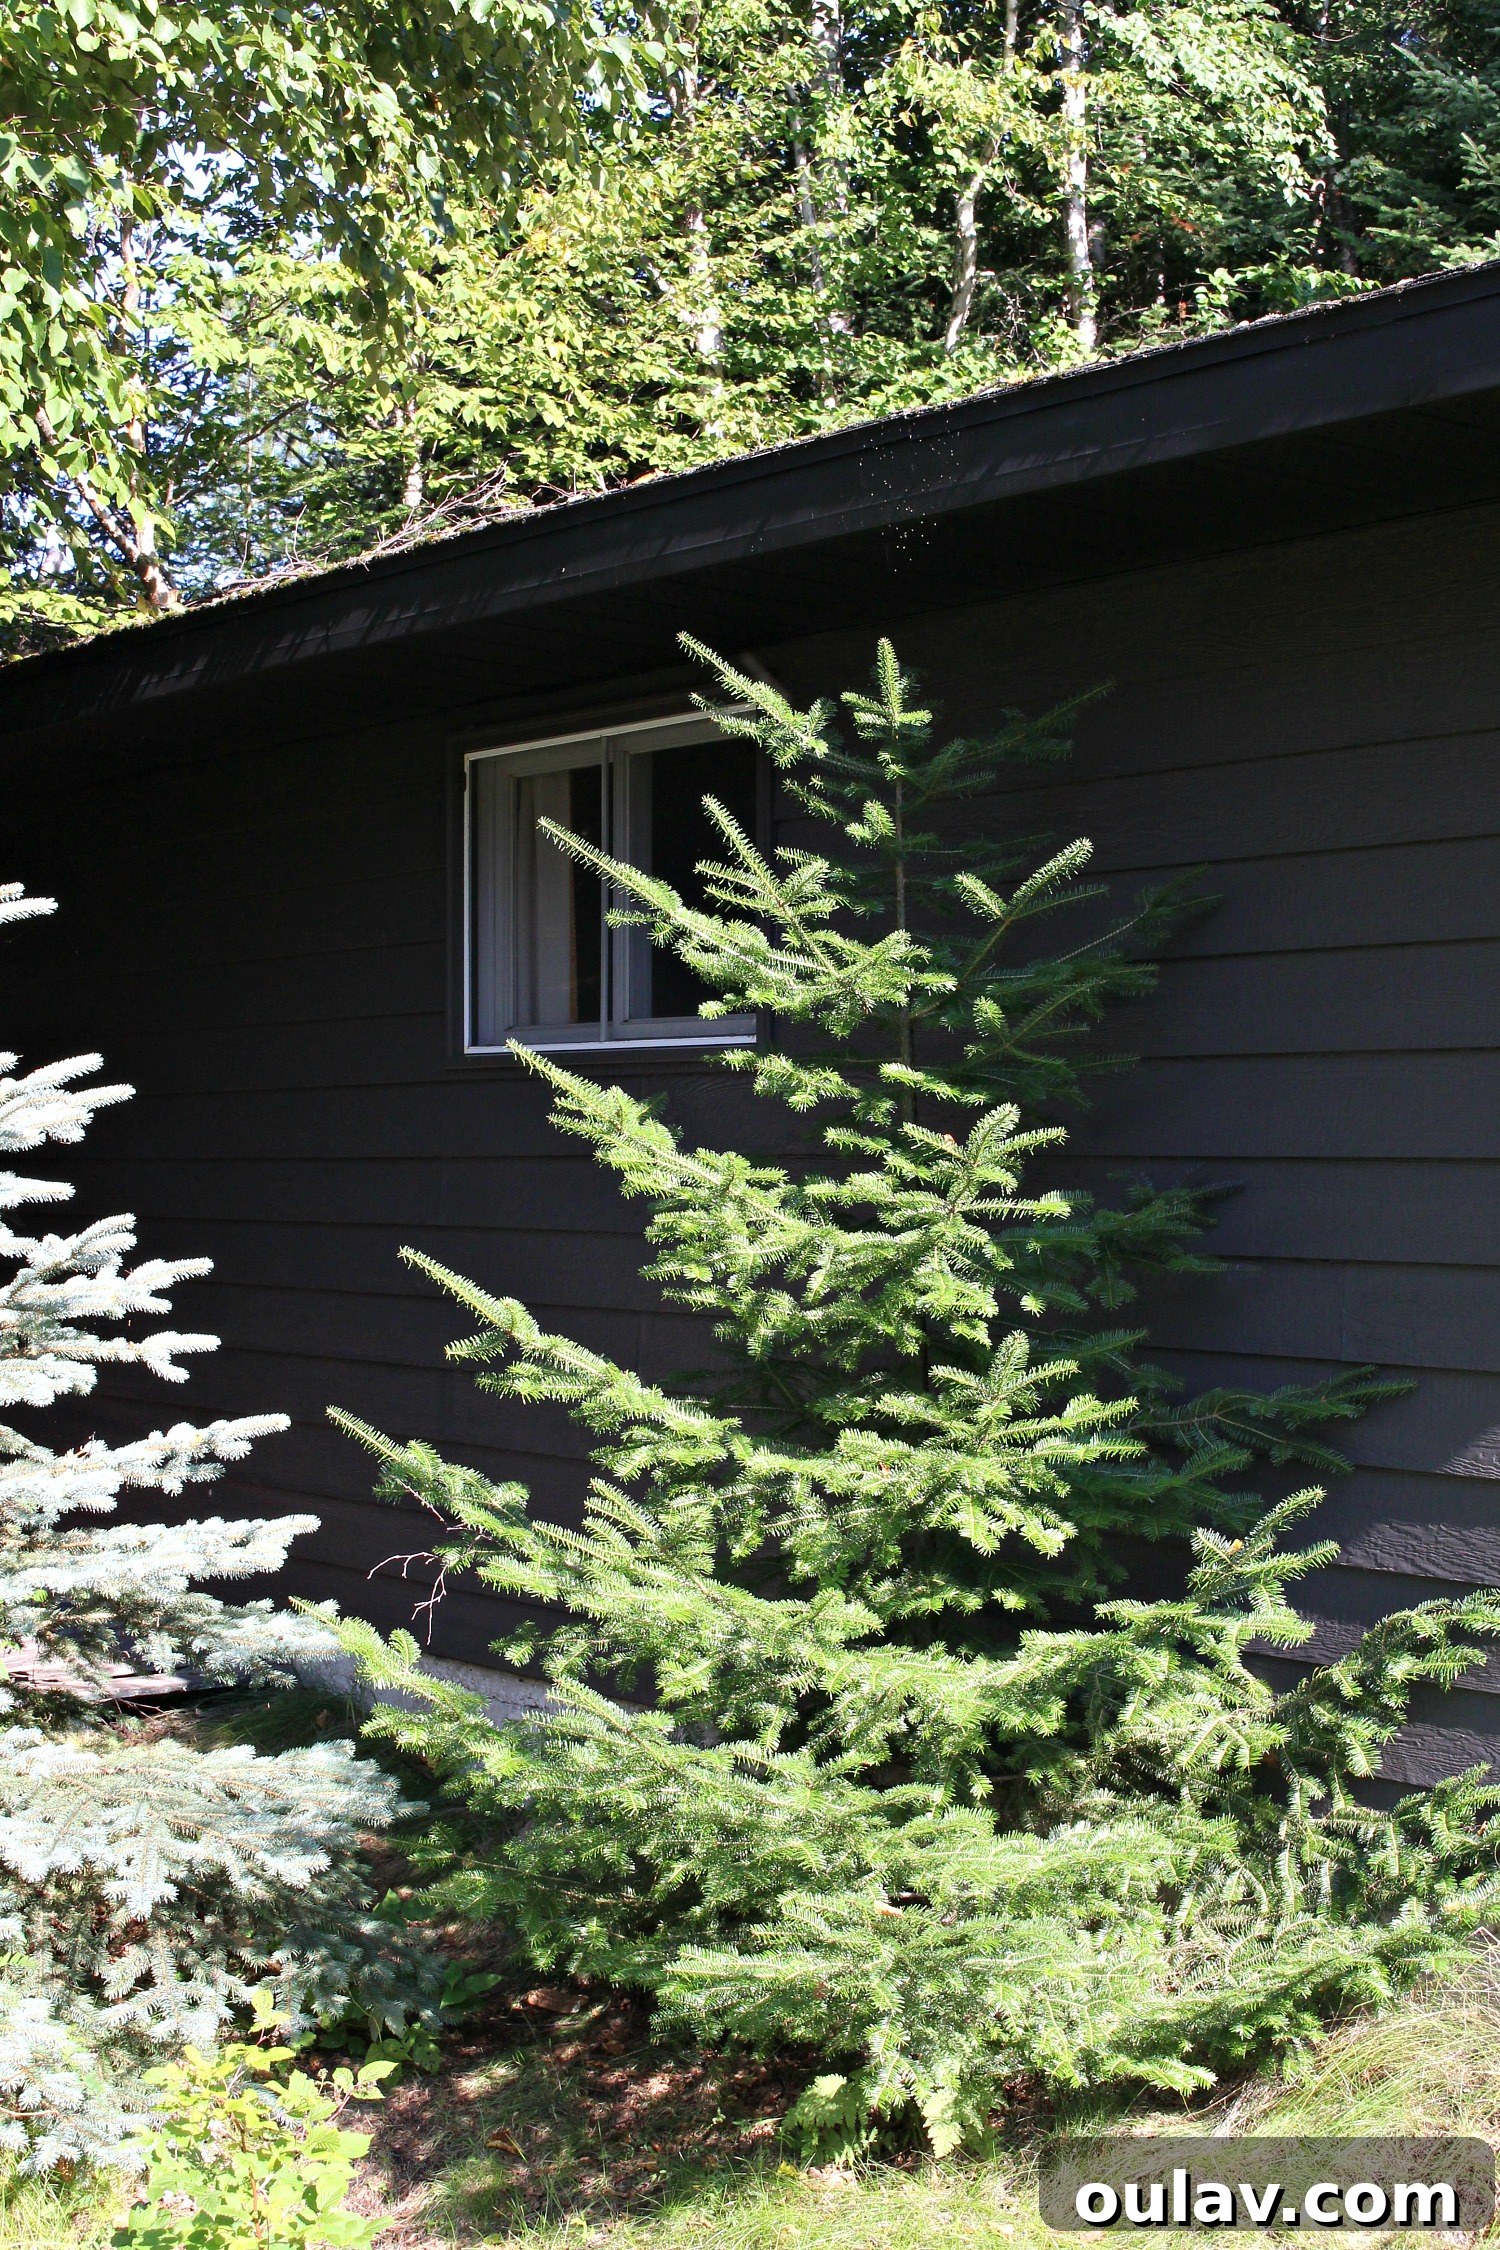
On one side of our garage, a troublesome tree grew a little too close for comfort. My husband wanted to remove it, but my love for trees led to an alternative solution: a “jury-rigged” system of ropes and a large sheet of vapor barrier. This allowed us to gently pull the tree branches back and shield them from paint, ensuring the tree’s safety while still getting a clean paint job on the siding behind it. Always consider the wind direction when spraying; calm days are ideal to minimize drift. Remember, even with reduced overspray, you’ll want to protect plants, vehicles, and anything else in the immediate vicinity with tarps or drop cloths.
5. Safety First
Working with paint sprayers requires essential safety precautions. Always wear safety glasses or goggles to protect your eyes from paint particles. A dust mask or, preferably, a respirator is crucial to avoid inhaling paint fumes and atomized paint. Long sleeves and gloves are also recommended to protect your skin. Ensure good ventilation in your work area.
Achieving the Perfect Finish: Color Matching and Aesthetic Impact
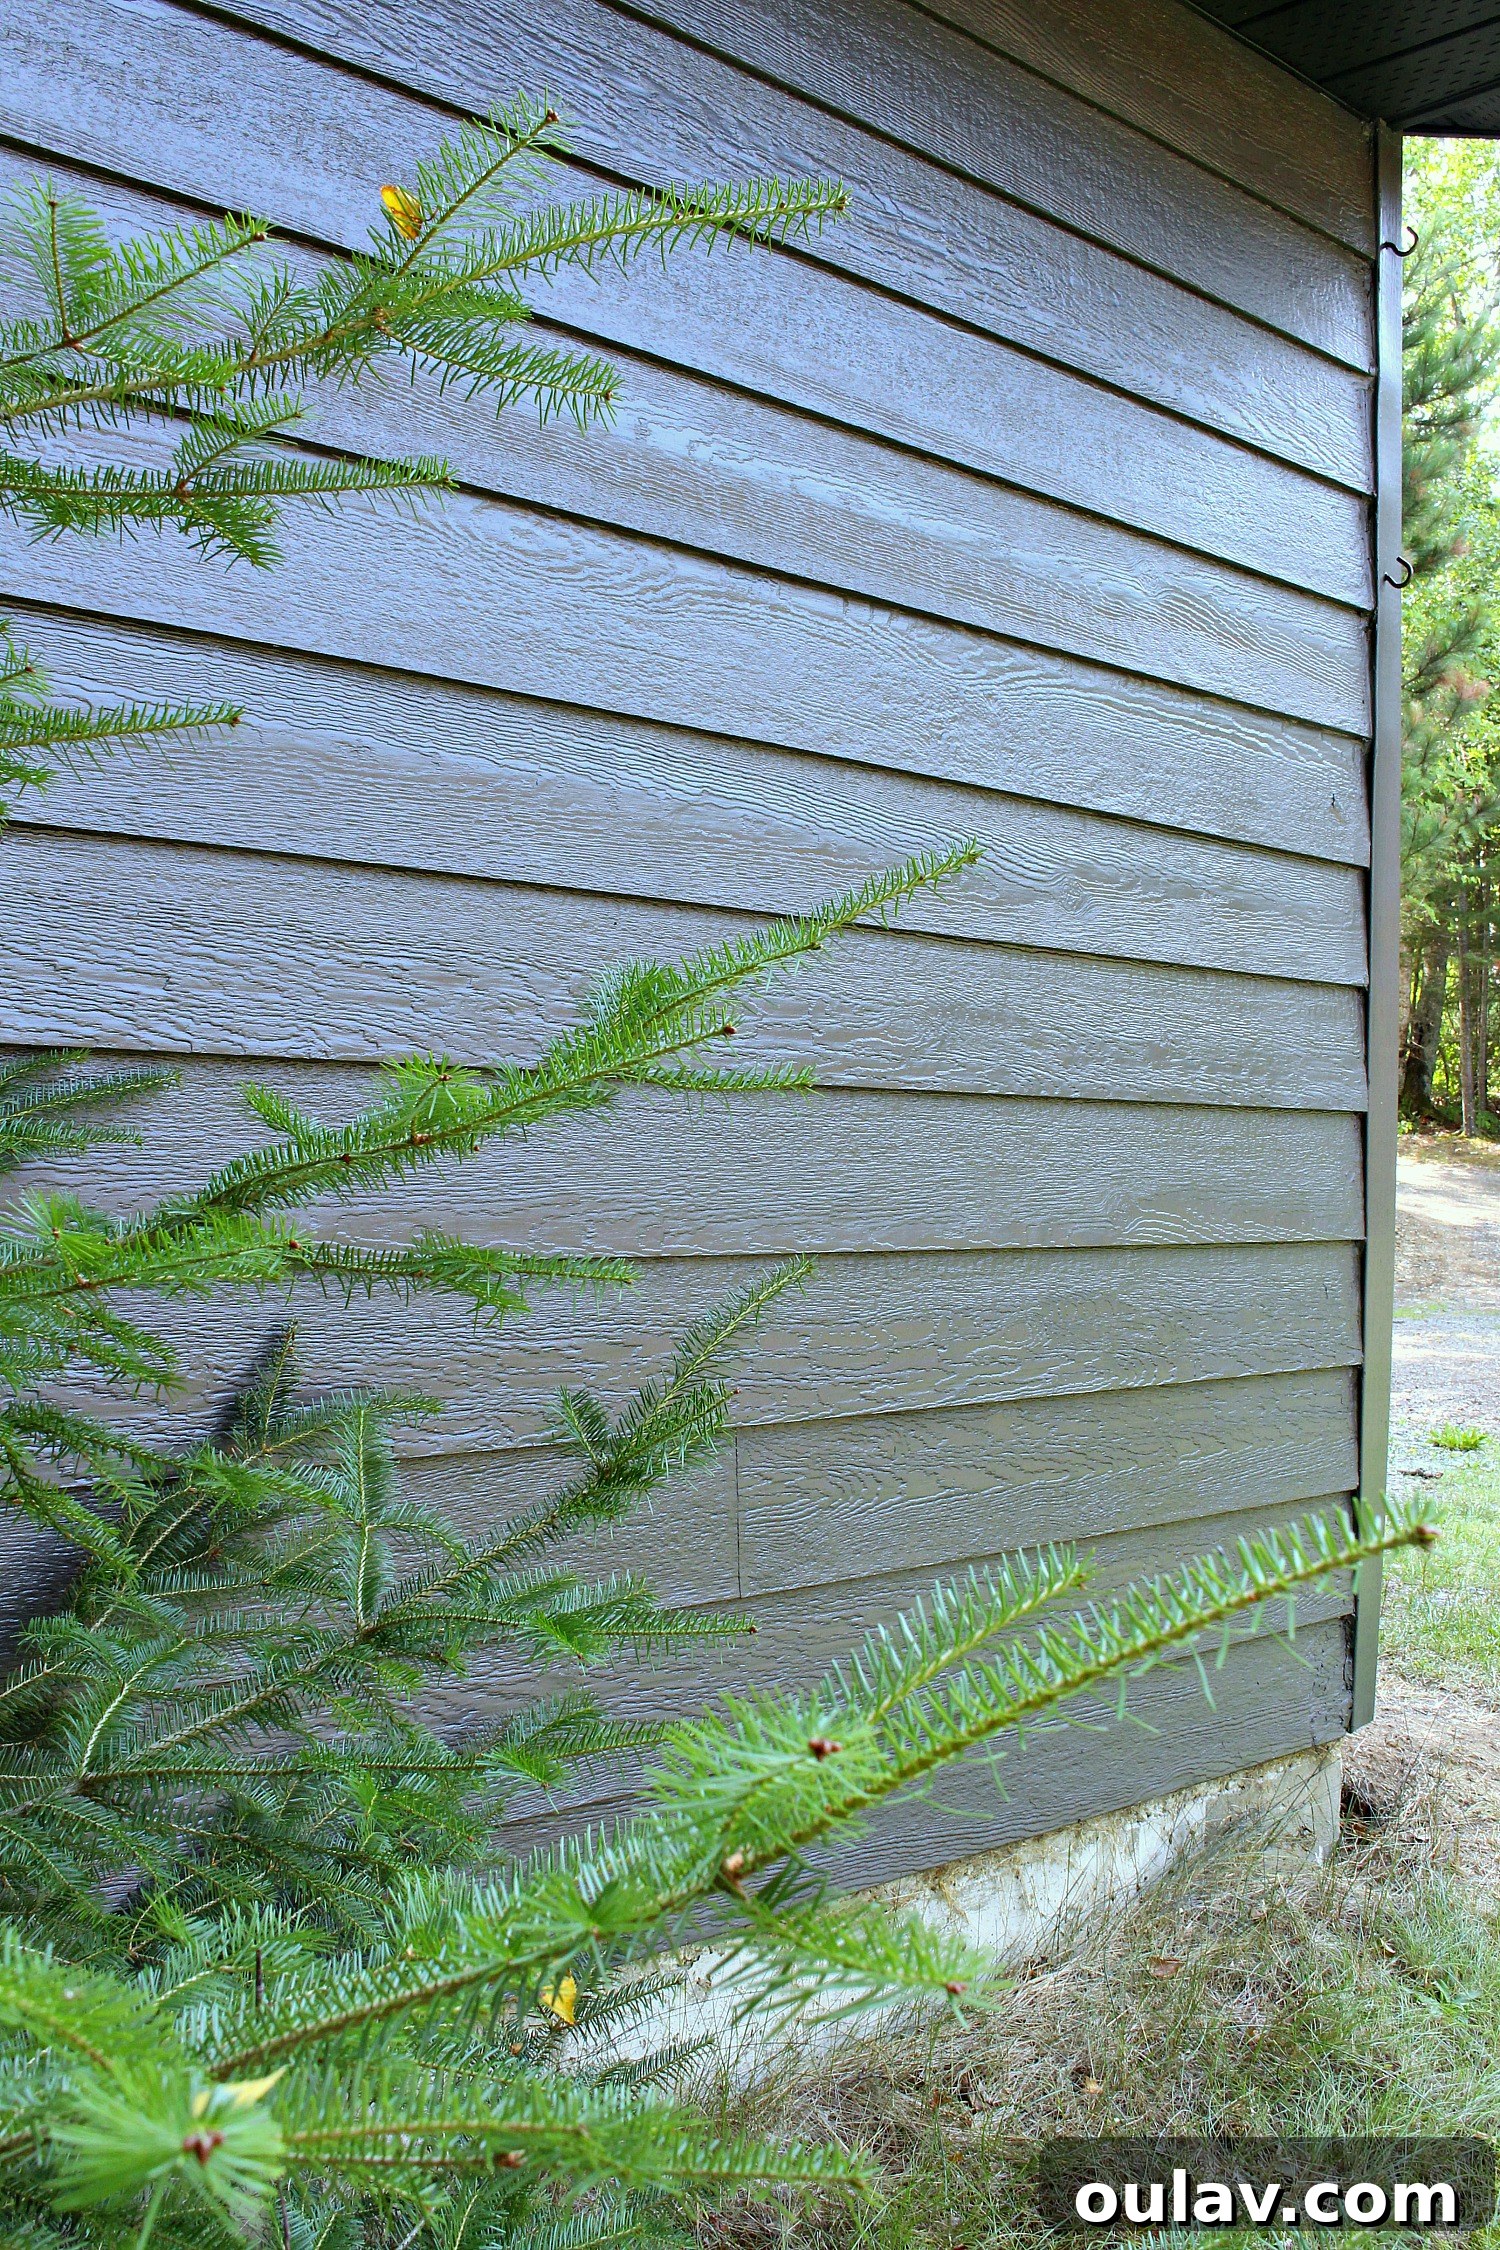
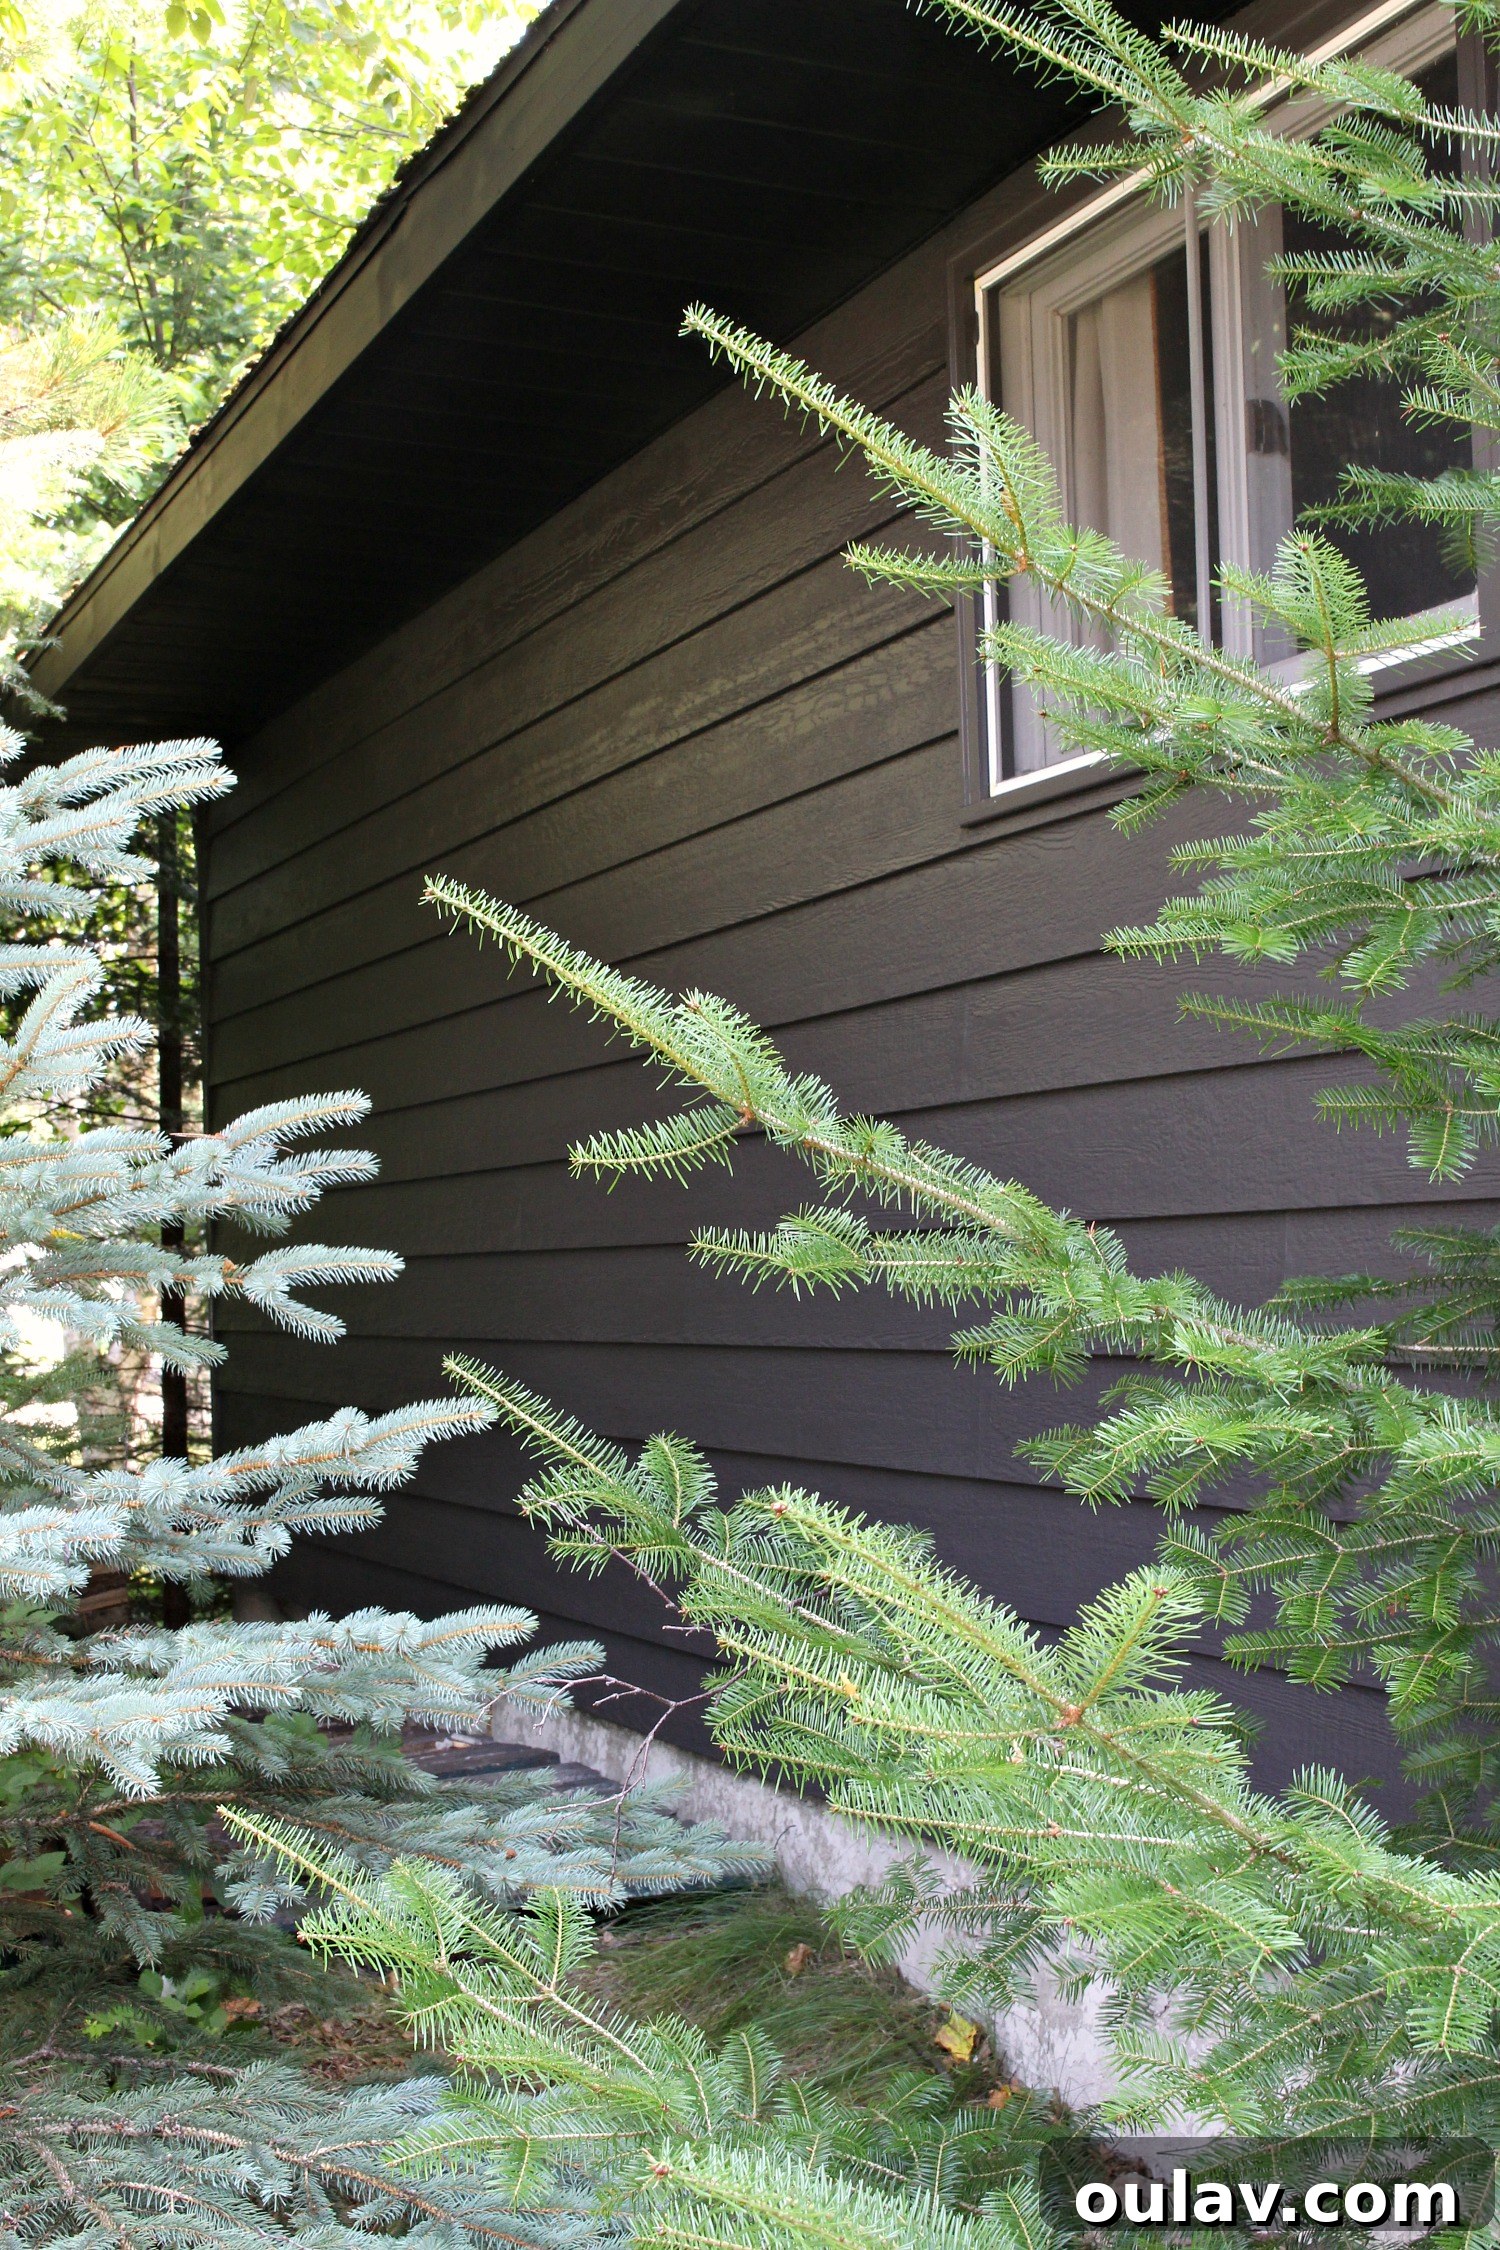
The ultimate goal of this garage makeover was not just to paint, but to achieve a harmonious and sophisticated look that complements our home. Choosing the right color was paramount. Our new house siding features a unique grey/brown hue with a shimmery topcoat that reflects light differently depending on the surroundings. On the lakeside, it appears cool grey, while on the forest side, it leans more brown.
To accommodate this chameleon-like quality, I chose a cooler grey for the lakeside stone facade and a slightly chalkier brown, Cloverdale Storm CA211, for the garage. When holding the paint chips against the siding sample, this shade appeared perfect. We eagerly await the full installation of the new house siding to see how the colors truly interact in real life.
Despite a frustrating setback – our exterior renovation company made a major blunder and the windows were never ordered, pushing our already delayed project back another six weeks – it’s been incredibly rewarding to see the garage transformation unfold. The darker color choice has had an immediate positive impact, helping the garage recede into the wooded landscape, making it significantly less noticeable than its former light, grungy appearance.
Beyond the Siding: A Full Garage Transformation
While the siding is a massive step, the garage makeover isn’t entirely complete. We still have plans to install a gorgeous new copper ferry light, which will add a touch of rustic elegance. Additionally, we’re saving up for a new roof. I’m leaning towards a sleek black metal roof – the more affordable sheet metal option we prefer doesn’t come in a copper shade to match the house. Although the existing shingles look rough due to moss, they aren’t curling, which means we can still squeeze a little more life out of them before the big roof replacement project.
Before and After: Witness the Transformation
Sometimes, words aren’t enough to capture the true essence of a transformation. Take a look at the striking before and after images to fully appreciate the impact of this garage makeover, particularly the refreshed siding.
Final Thoughts and Recommendations
Our experience unequivocally confirms that using a high-quality paint sprayer like the Wagner Control Pro 150 is the superior method for painting exterior siding. The speed, efficiency, and professional-grade finish it provides are unmatched by traditional brushing. While there’s a small investment in learning the technique and cleaning the equipment (which, frankly, takes twice as long as the painting itself!), the time and effort saved are invaluable, making it a worthwhile tool for any serious DIY home improver.
A huge thank you to Wagner for providing the ControlPro 150 for this project. My decision to reach out for a collaboration stemmed from a firm belief in the efficiency of paint sprayers for siding, and all opinions expressed here are genuinely my own. If you’re considering a similar exterior refresh, I wholeheartedly recommend exploring the benefits of a paint sprayer. It truly revolutionizes the painting process.
Don’t miss out on the other exciting phases of this budget-friendly garage makeover. Be sure to check out these related posts for more DIY inspiration and detailed guides:
- DIY Garage Mural with Coastal Vibes
- How to Paint Soffit and Fascia