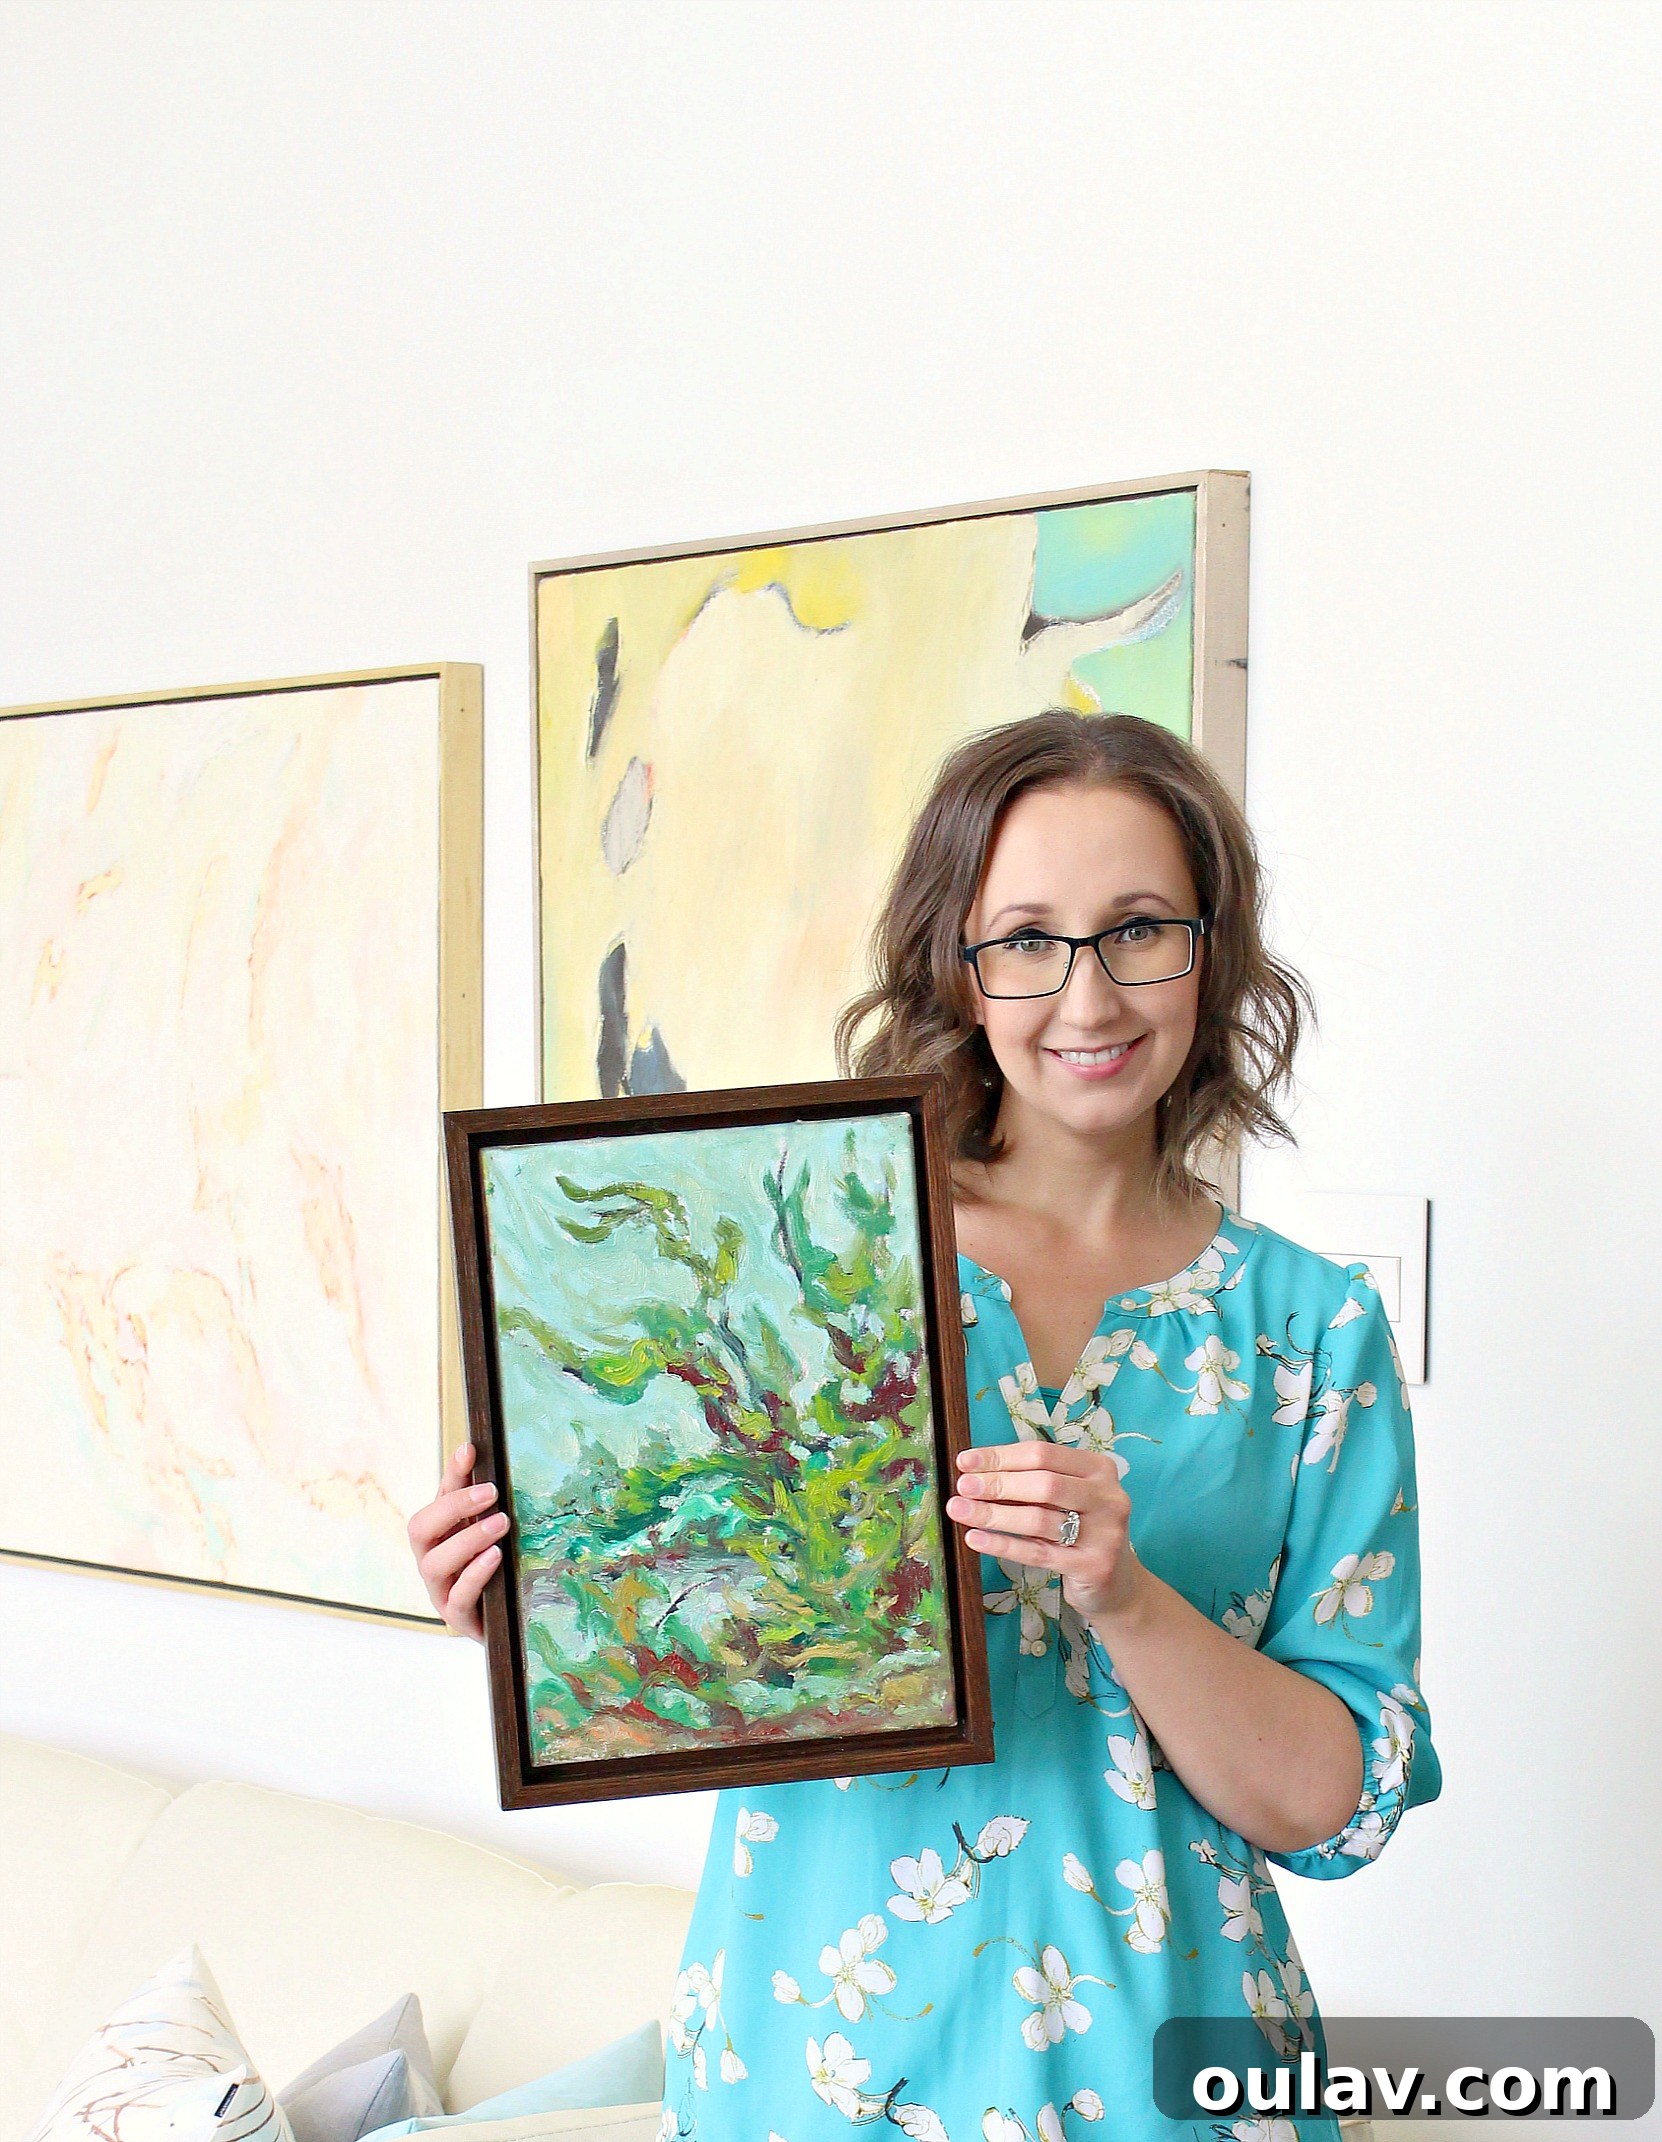
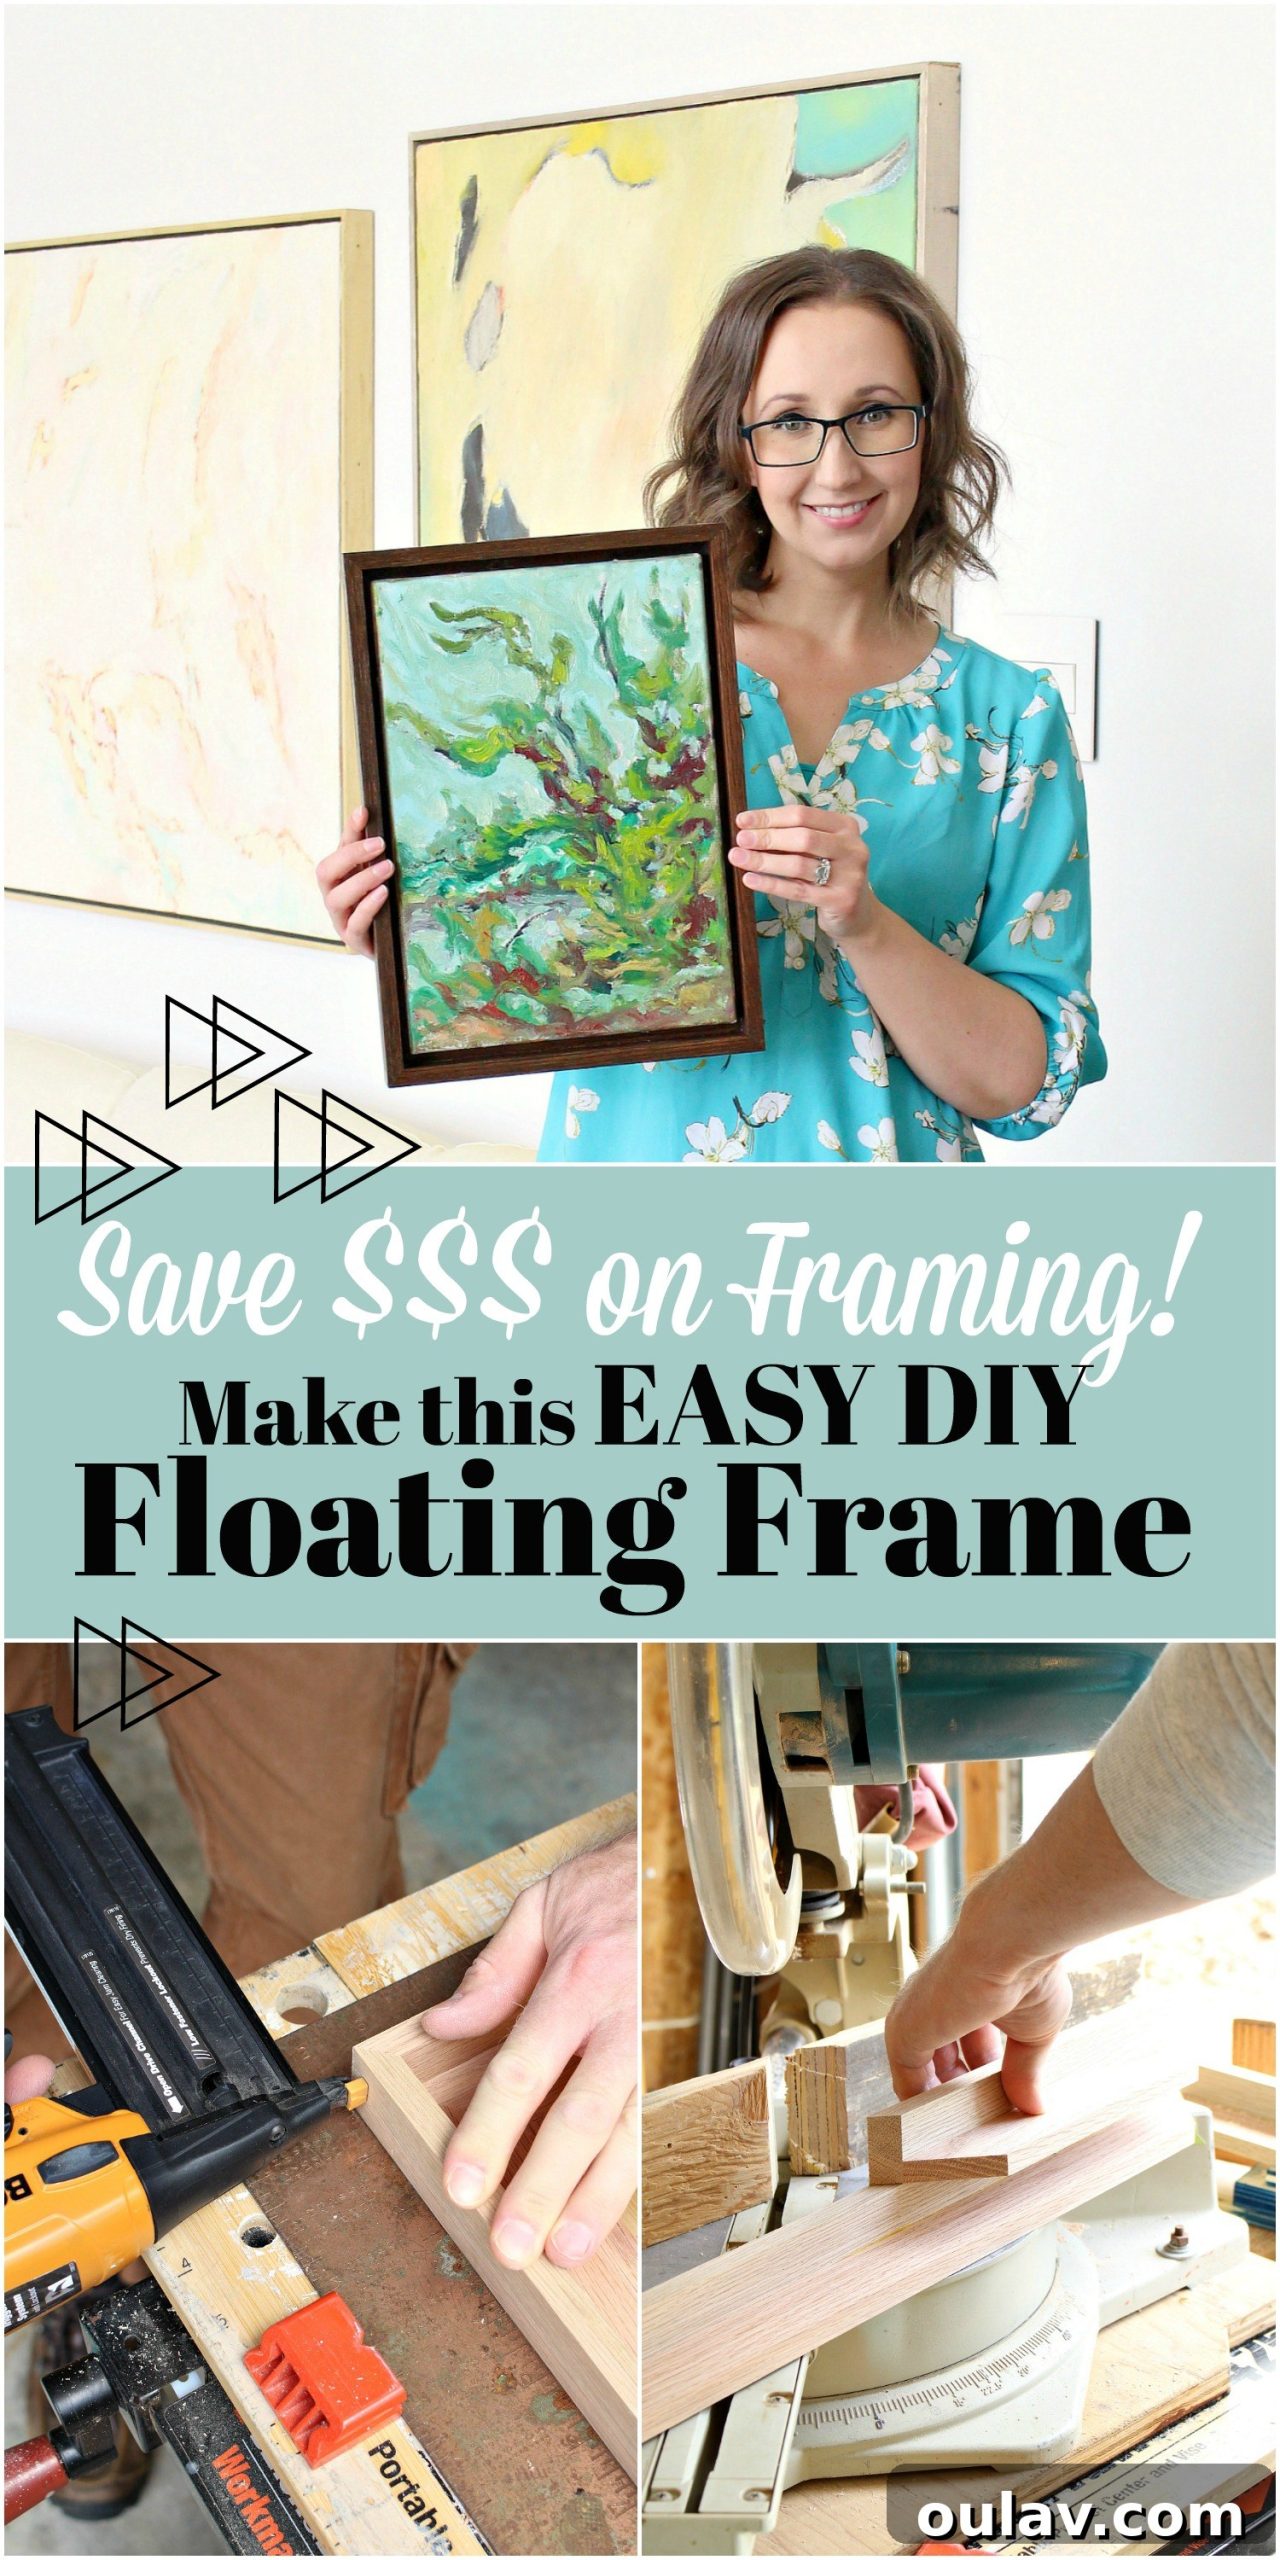
If you’ve ever dreamed of showcasing your cherished artwork with a gallery-worthy display but hesitated at the steep prices of professional framing, then prepare to unlock the secret to elegant, affordable presentation. This comprehensive guide will walk you through creating your very own DIY floating frame, a clever design that gives the illusion your artwork is suspended within its borders. It’s a sophisticated framing technique that elevates any piece, making it appear professionally mounted without the hefty cost.
A floating frame distinguishes itself by leaving a deliberate, even gap between the edge of the artwork and the inner rim of the frame. This subtle separation creates a captivating visual effect, making your canvas art appear as if it’s gracefully “floating” within its encasement. Not only does this add depth and dimension, but it also ensures that the entire artwork, including its edges, remains visible and undisturbed. It’s the perfect solution for canvases where the painted edges are an integral part of the artwork or for those who simply prefer a clean, minimalist aesthetic.
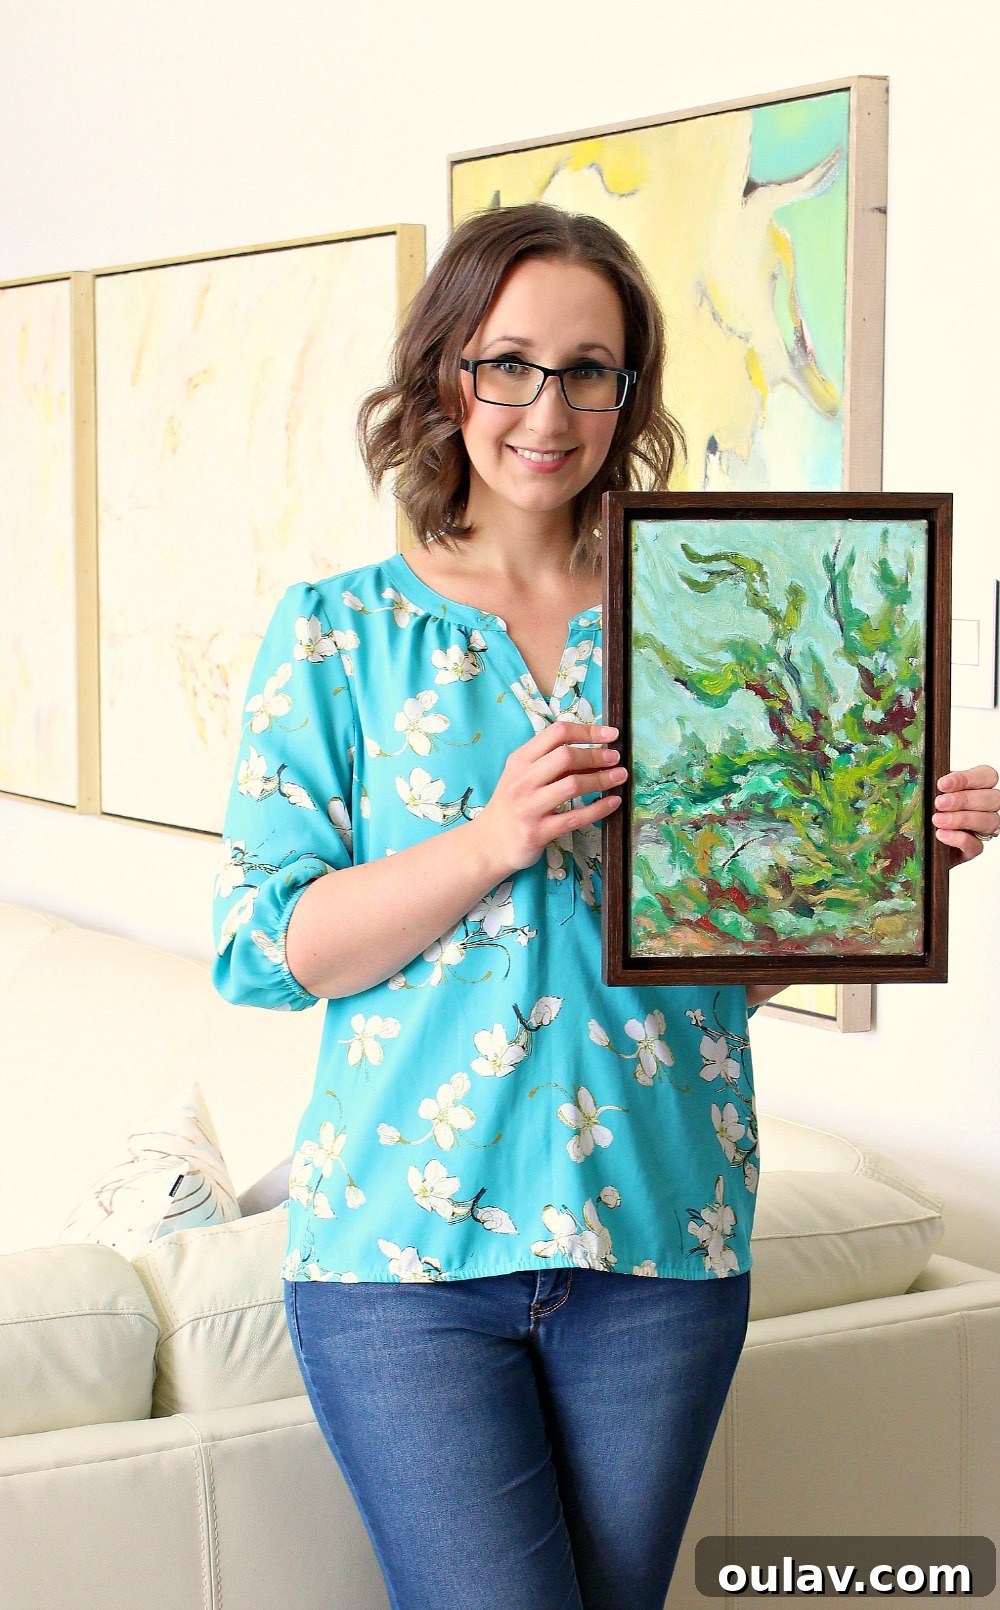
Why Choose a DIY Floating Frame? The Benefits of Custom Art Framing
Beyond the undeniable aesthetic appeal, opting for a DIY floating frame offers a multitude of advantages:
- Significant Cost Savings: Professional custom framing can be prohibitively expensive. By building your own, you drastically cut down on labor costs, paying only for materials. This makes high-end framing accessible on a budget.
- Customization to Your Exact Needs: No more compromising on frame size, material, or finish. You have complete control to tailor the frame to your artwork’s precise dimensions and your home’s decor style. Want a specific wood tone? A unique gap size? It’s all within your control.
- A Sense of Accomplishment: There’s immense satisfaction in creating something beautiful with your own hands. Displaying art in a frame you built yourself adds a personal touch and a story to your decor.
- Highlighting the Artwork: The minimalist design of a floating frame ensures that the focus remains entirely on the art itself, rather than a bulky or ornate frame. It provides a clean boundary that enhances the art without competing with it.
- Versatility: While perfect for canvas art, the principles of a floating frame can be adapted for various types of flat art mounted on rigid boards, offering a versatile solution for different creative projects.
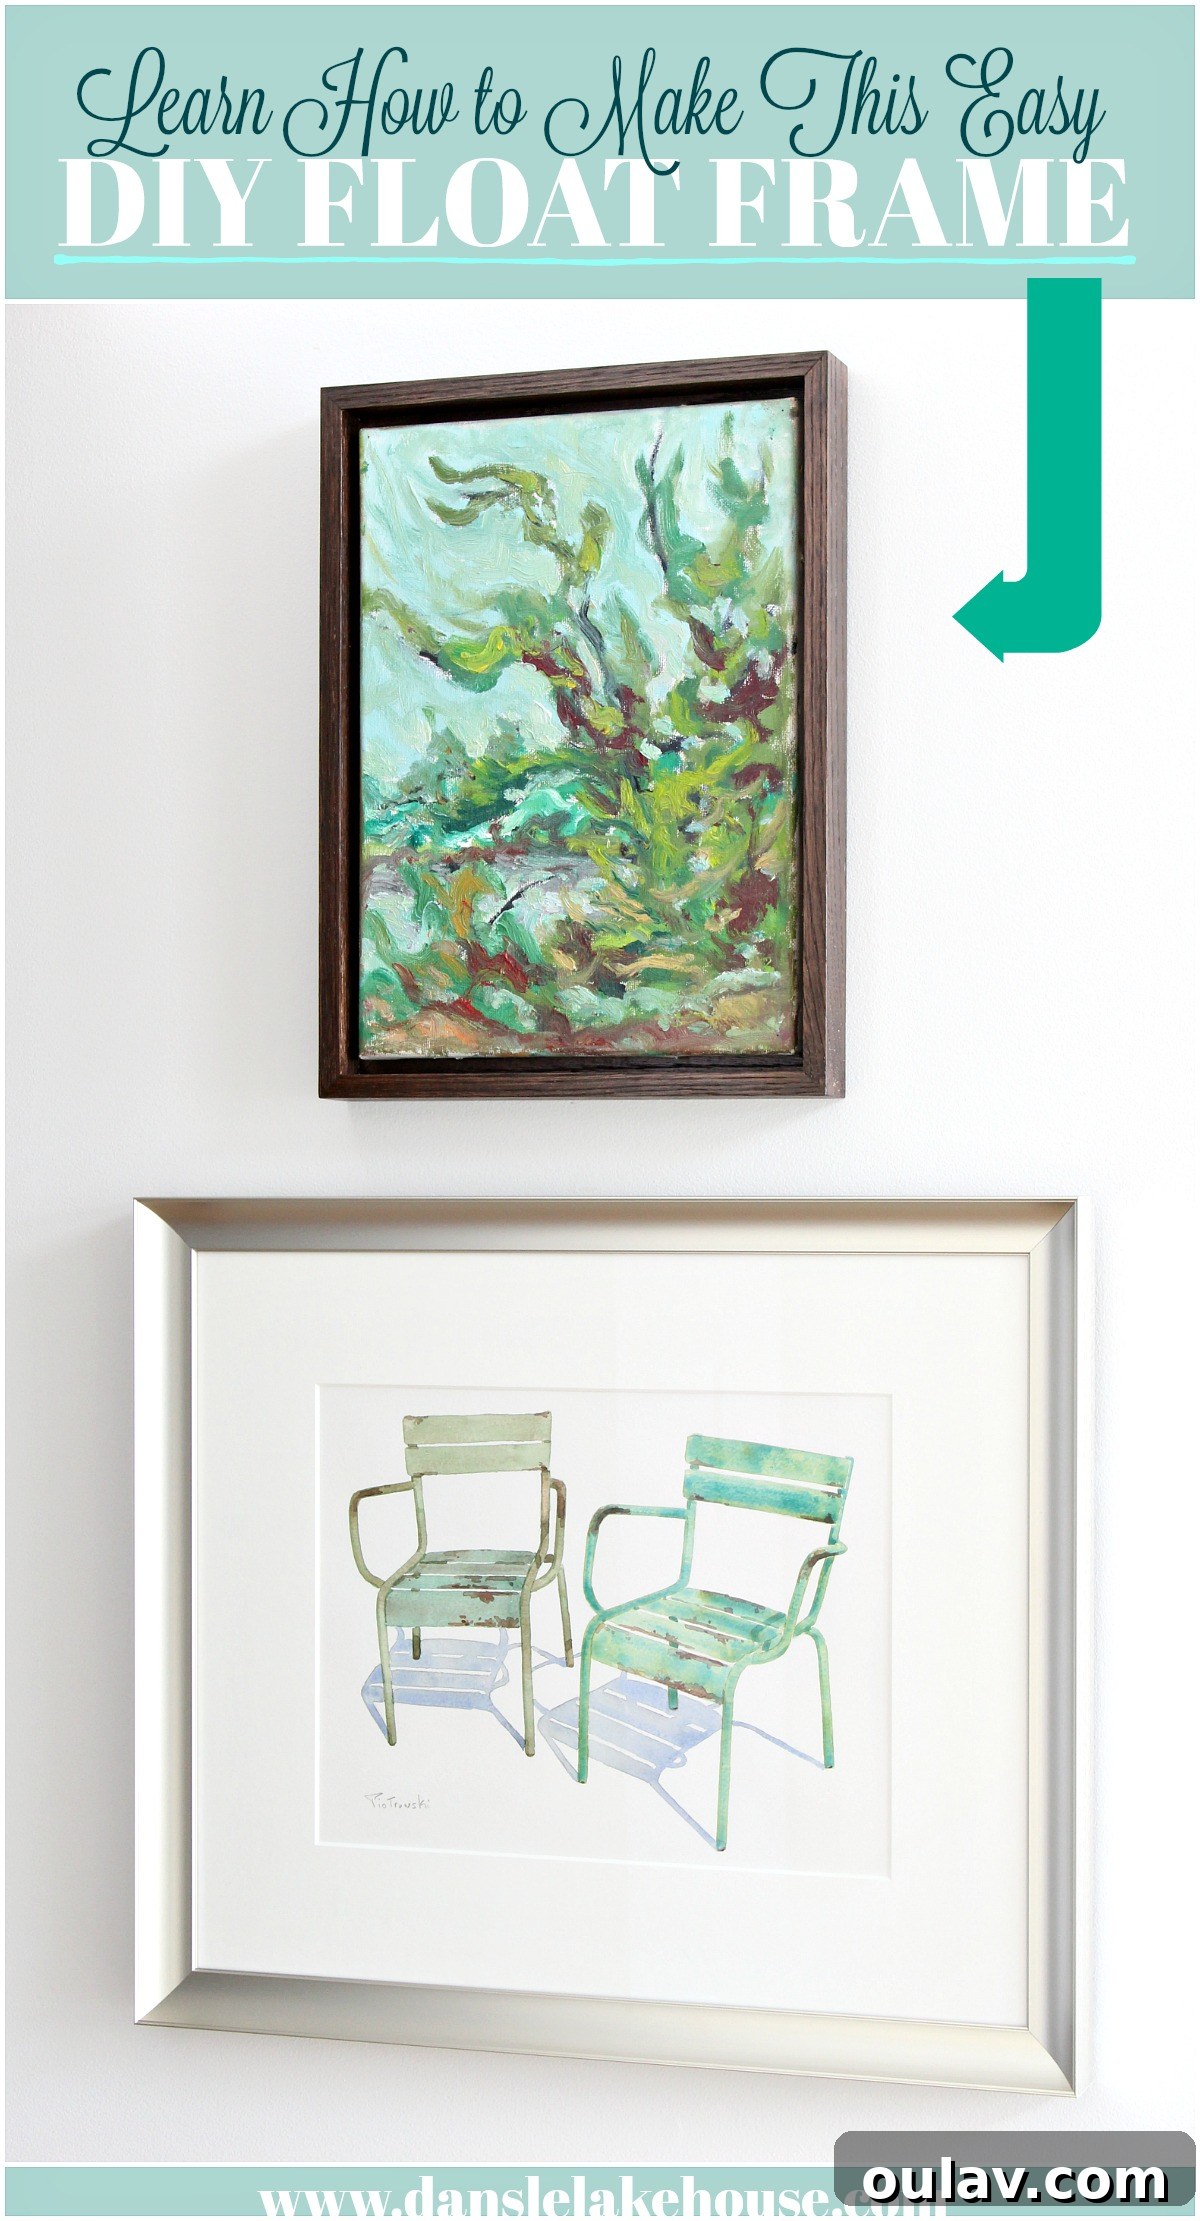
The Inspiration: A Treasured Painting and a New Perspective
Before the Transformation:
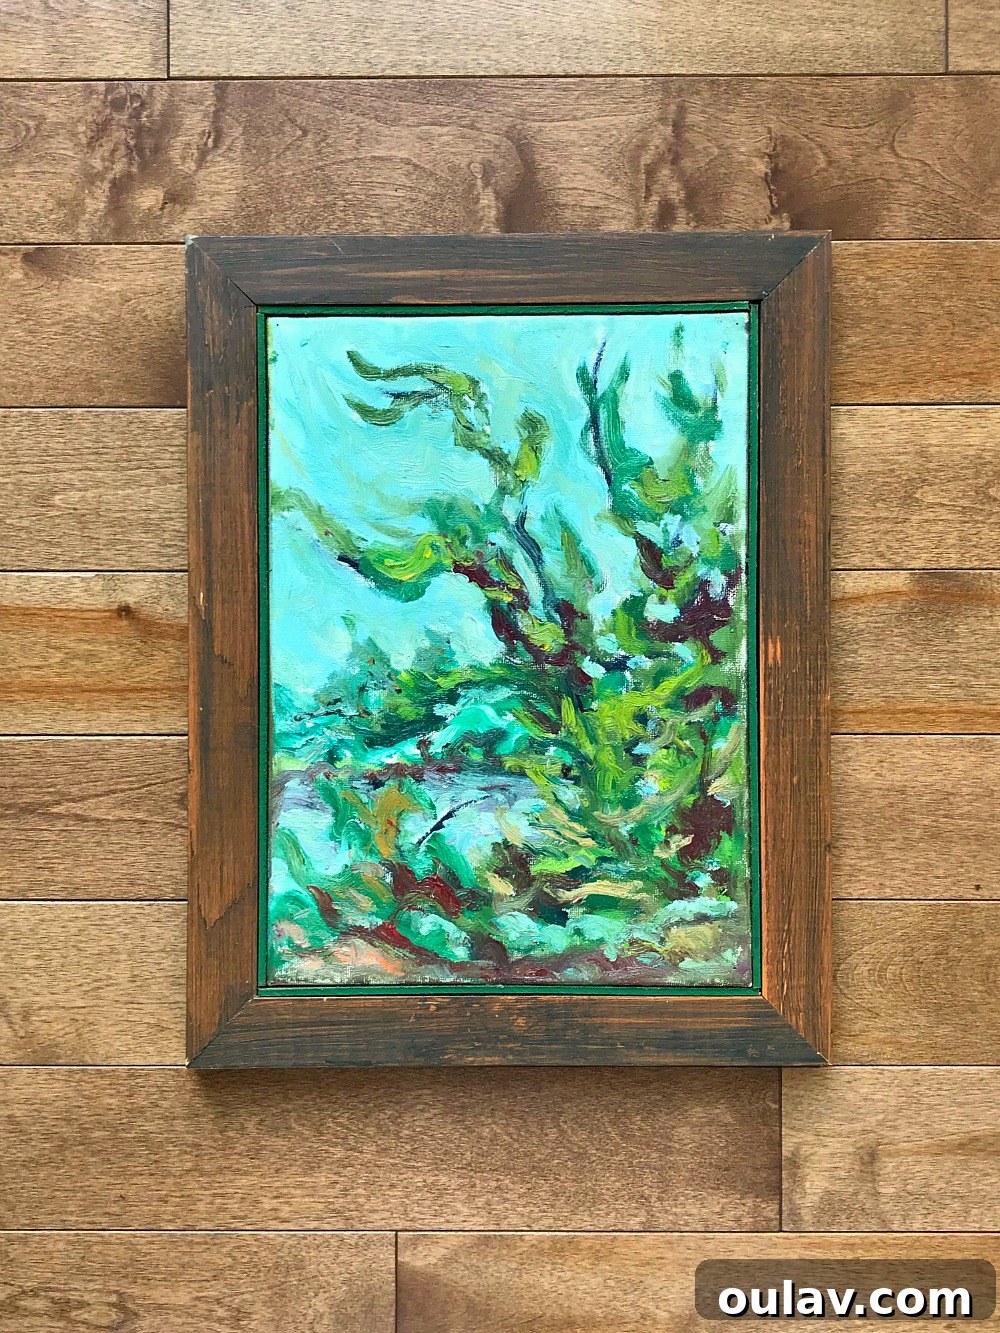
Every DIY project often begins with a story, and this floating frame is no exception. Recently, my husband received a deeply sentimental painting from his mother. It was a piece created by his late grandfather, a talented artist whose work graces many walls in our family lakehouse. This particular painting was originally intended as a gift years ago, making its recent arrival even more poignant after his passing this year.
While we deeply cherish every frame his grandfather crafted for his own artwork, this specific piece arrived with a frame that, while rustic, didn’t quite harmonize with our home’s aesthetic. Its rough, unrefined wood detracted from the delicate beauty of the painting, pulling attention away from the art itself. We faced a dilemma: honor the original frame or allow the beautiful painting to truly shine. After much consideration, and knowing his grandfather had used simplified floating frame styles in the past, we decided to embark on a DIY project.
Our goal was to create a modern floating frame that would not only complement the artwork but also subtly pay homage to the rich wood tones his grandfather favored. We chose red oak, stained to a dark walnut, ensuring a timeless and elegant presentation that respects both the artist and the art.
Essential Supplies for Your DIY Floating Frame Project
Gathering the right materials is the first step towards a successful custom wood frame. Here’s what you’ll need for this easy DIY floating frame tutorial:
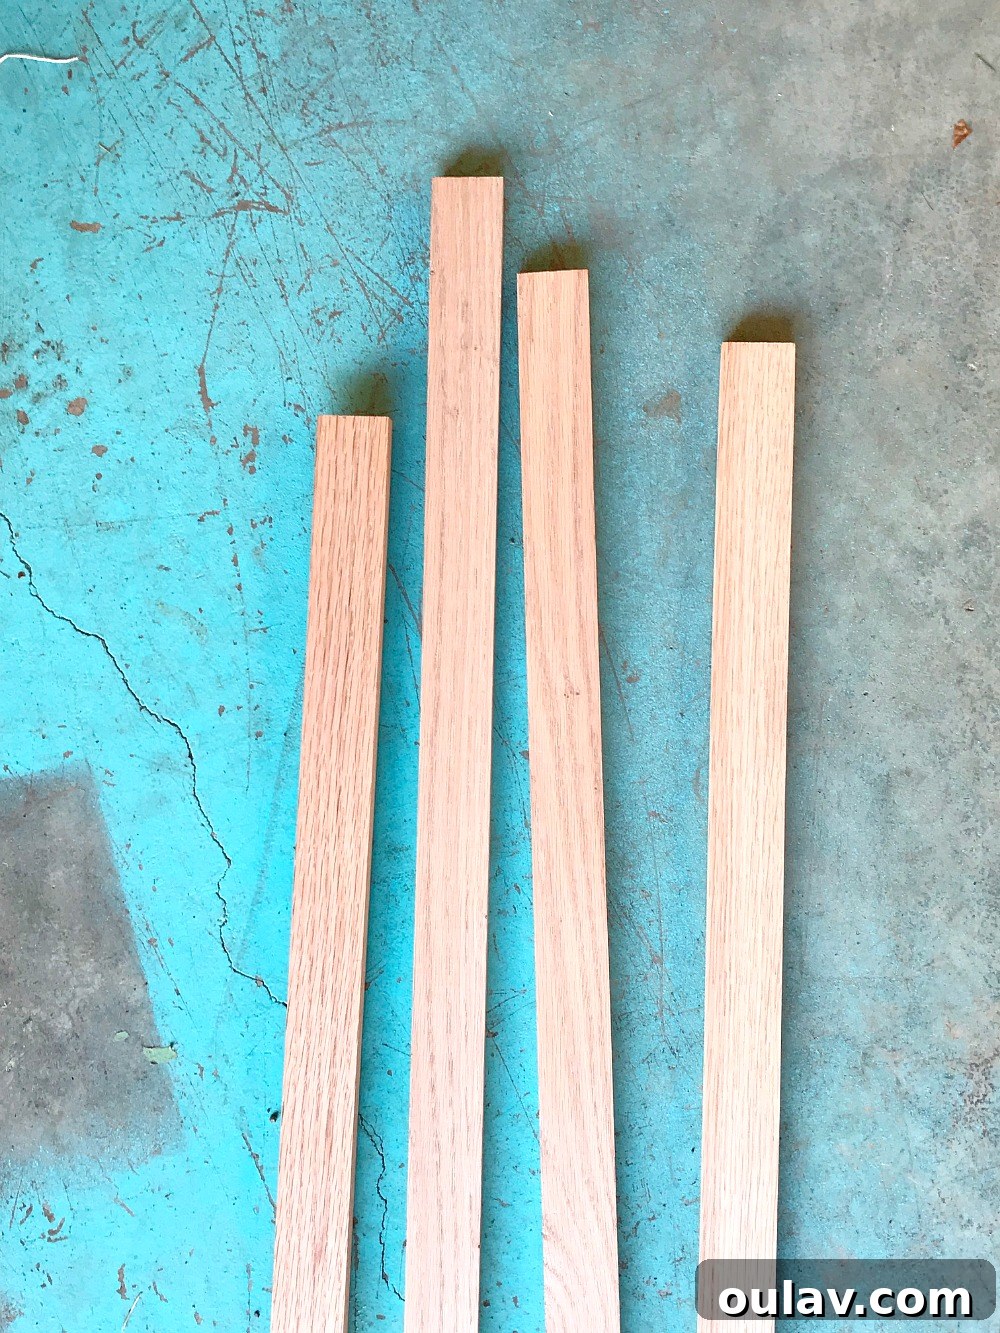
- Kiln-Dried Lumber: We highly recommend using red oak, sized 1-3/4″ x 1/2″. Kiln-dried wood is crucial as it’s stable and less prone to warping or developing irregularities over time, ensuring a long-lasting, professional finish for your picture frame.
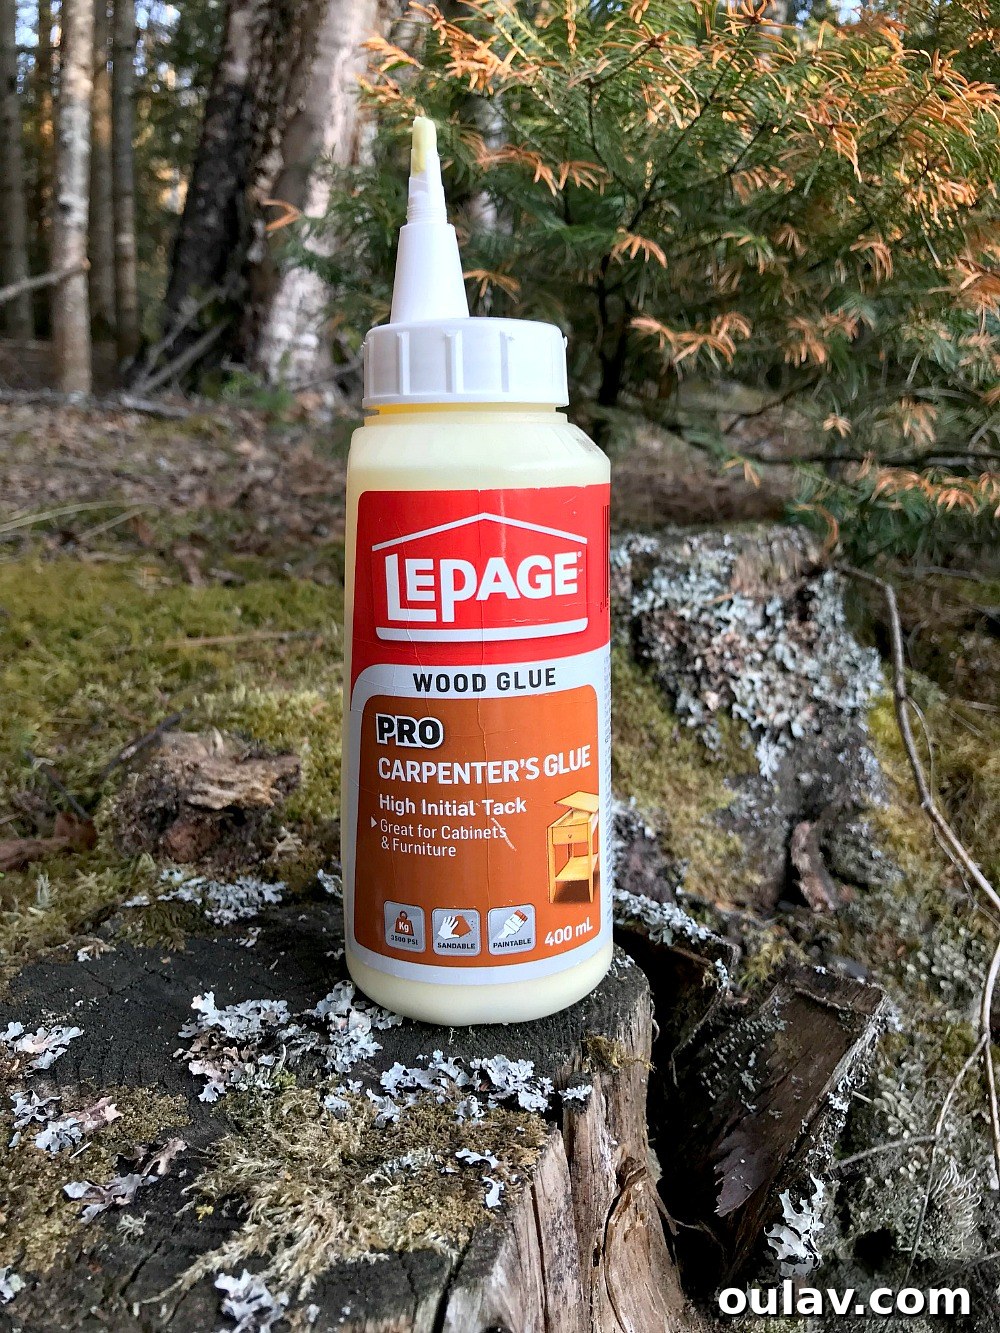
- Wood Glue: A strong adhesive is vital for secure joints.
- Wood Filler: Essential for concealing nail holes and imperfections for a seamless look.
- Wood Stain (Optional): To achieve your desired wood tone. We used Saman brand water-based stain in Dark Walnut for a rich finish.
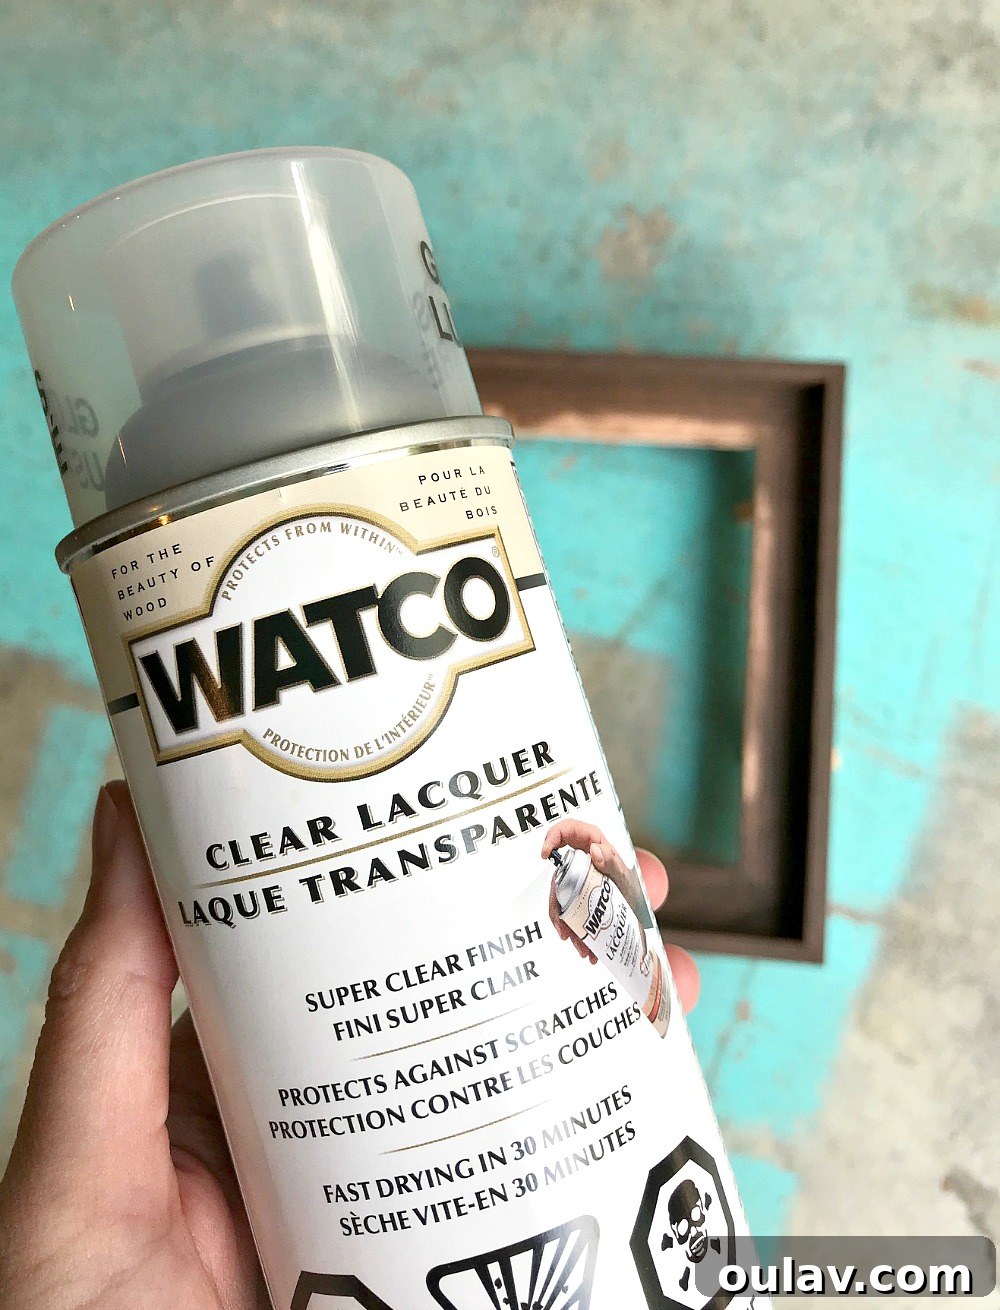
- Wood Varnish / Preferred Clear Coat (Optional): For protection and enhanced finish. We opted for Watco clear lacquer for its ease of use and beautiful luster.
- Air Nailer and Compressor: Or, for a simpler alternative, consider these handy corner clamps for holding joints while glue dries.
- Miter Saw: For precise 45-degree angle cuts. A more budget-friendly miter box can also be used.
- Sandpaper: Various grits for smoothing wood and filler.
- Measuring Tape and Pencil: For accurate measurements.
- Framing Square: To ensure perfect 90-degree corners.
Step-by-Step Guide: How to Build Your Easy DIY Floating Frame
Creating a beautiful floating frame is a rewarding project that’s more straightforward than you might think. Follow these detailed steps to construct your own custom art frame.
Step 1: Selecting and Preparing Your Kiln-Dried Lumber
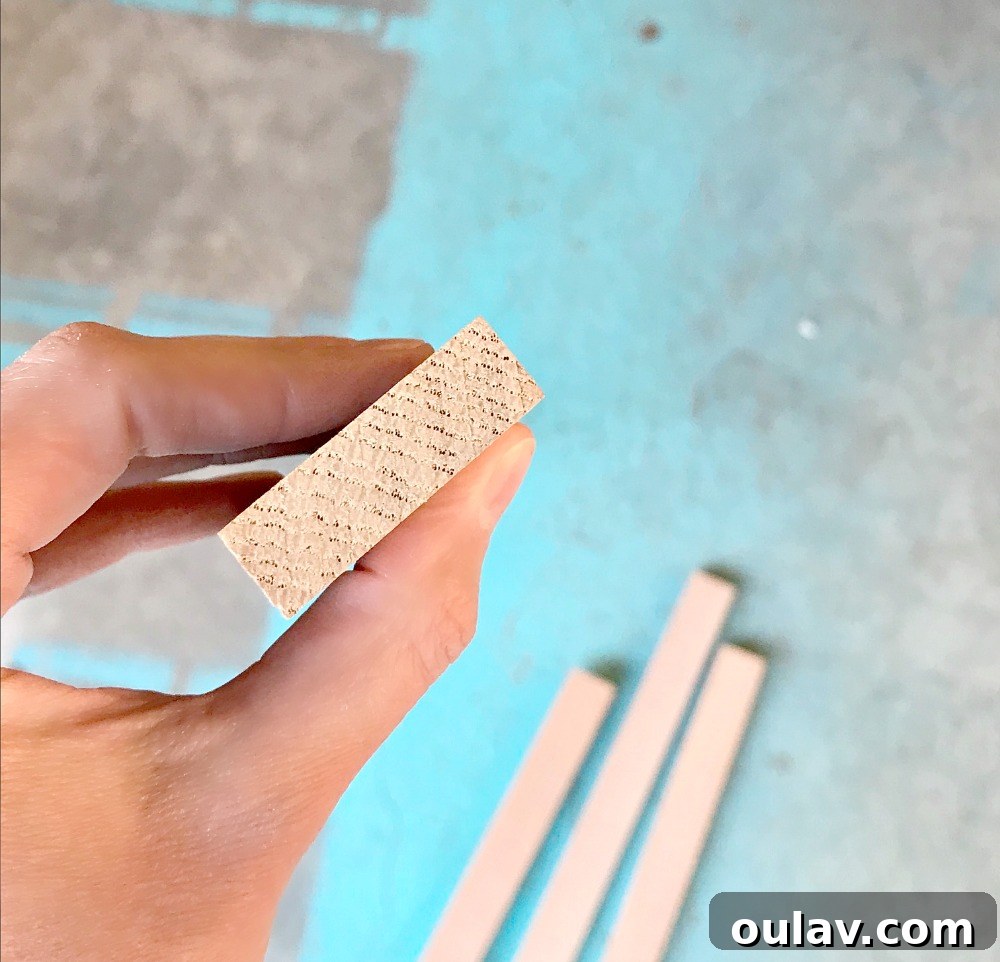
The foundation of any good frame is quality wood. For this project, we selected red oak boards measuring 1-3/4″ x 1/2″. When purchasing lumber, whether from a large retailer like Lowe’s or a local lumberyard, always specify “kiln-dried wood board” to ensure you get material less prone to warping and imperfections compared to standard construction-grade lumber. This stability is key for a precise and durable floating frame. Carefully inspect each board for straightness and any significant defects before purchasing.
Step 2: Crafting the “L” Shaped Profiles for Your Frame
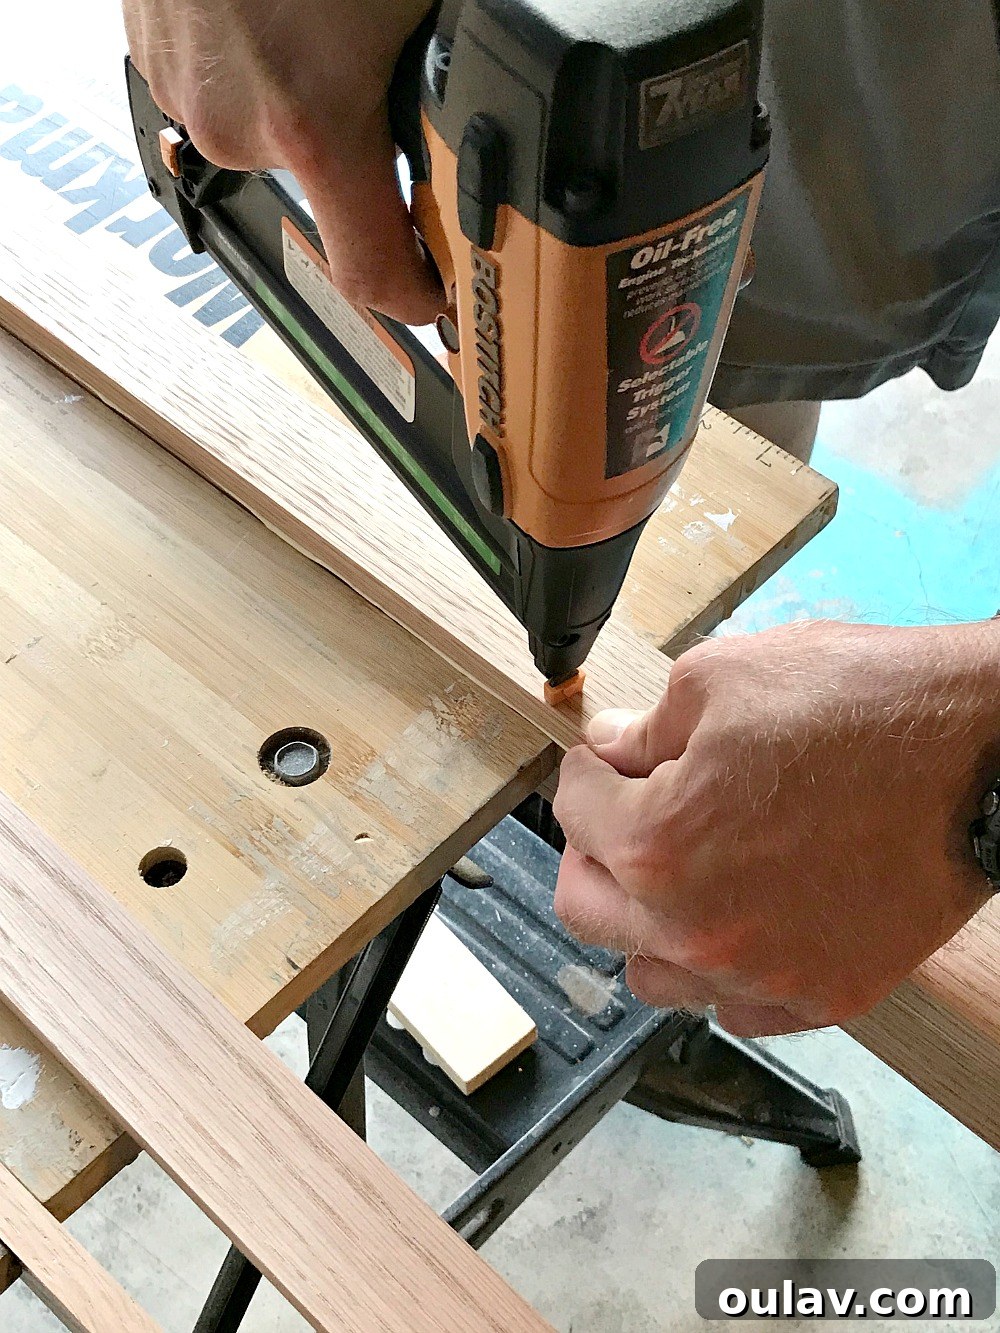
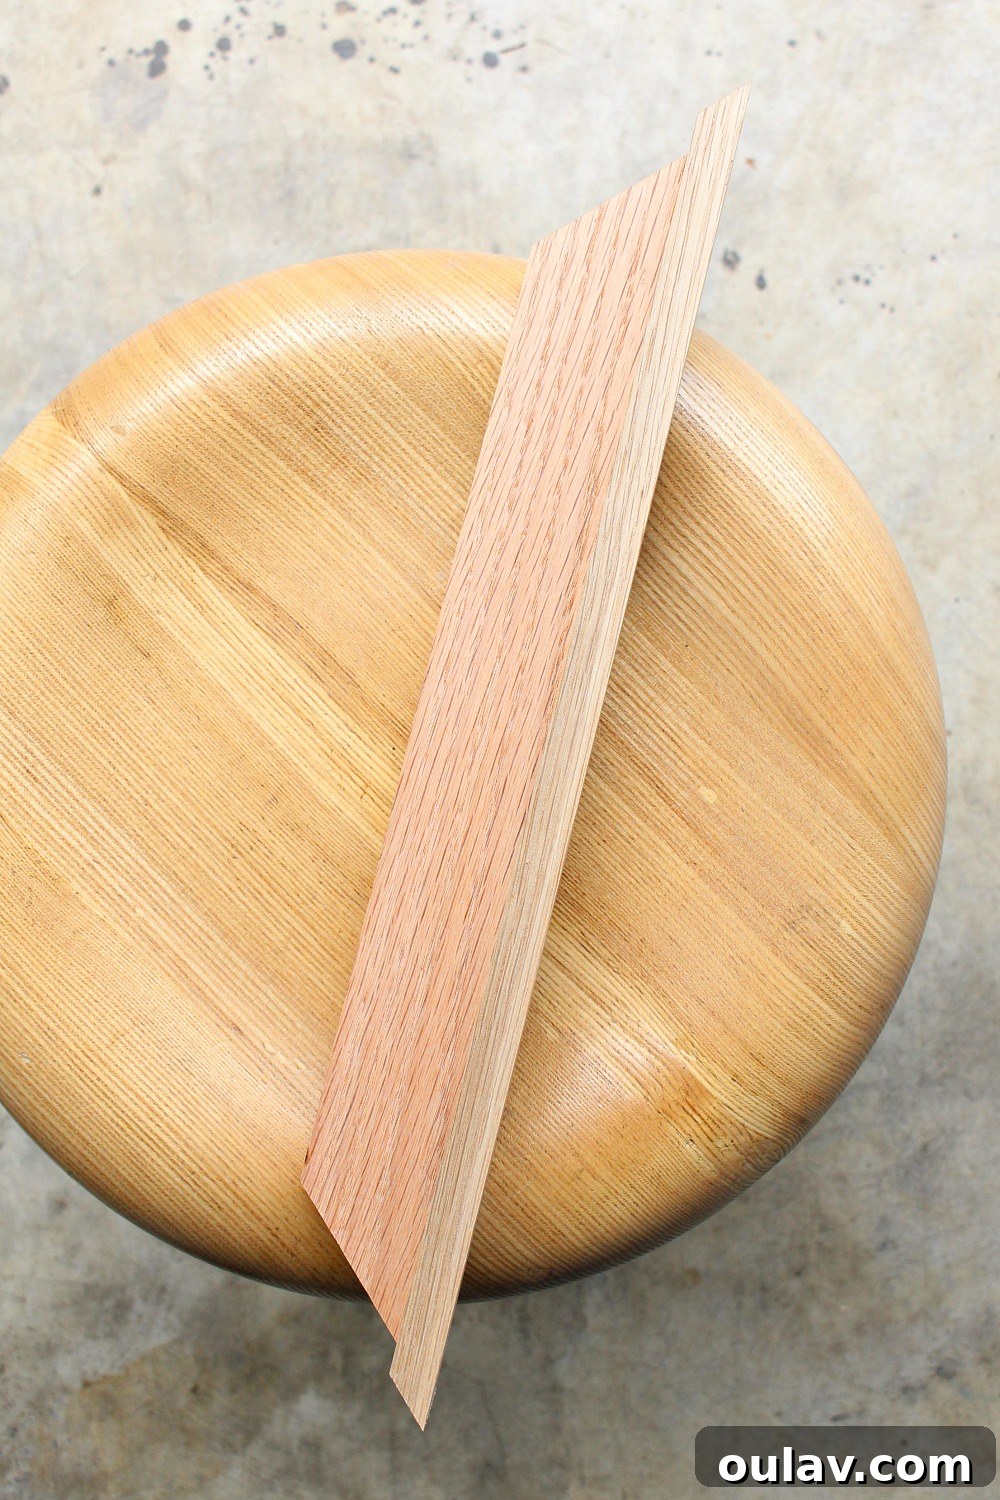
The distinctive “L” shape is what creates the floating effect for your artwork. To achieve this, you’ll join two boards along their lengths using a butt joint. This means one board will be attached perpendicularly to the face of another. Begin by applying a thin, even bead of high-quality wood glue along the thin edge of one board. Carefully align the second board against the glued edge, ensuring it forms a perfect 90-degree angle. Use an air nailer to secure these pieces together, carefully spacing nails to hold the joint firmly while the glue dries. If you don’t have an air nailer, C-clamps or specialized framing clamps can achieve the same result, just ensure even pressure. Any excess glue that squeezes out can be easily scraped off later once dry, so don’t worry about perfection at this stage.
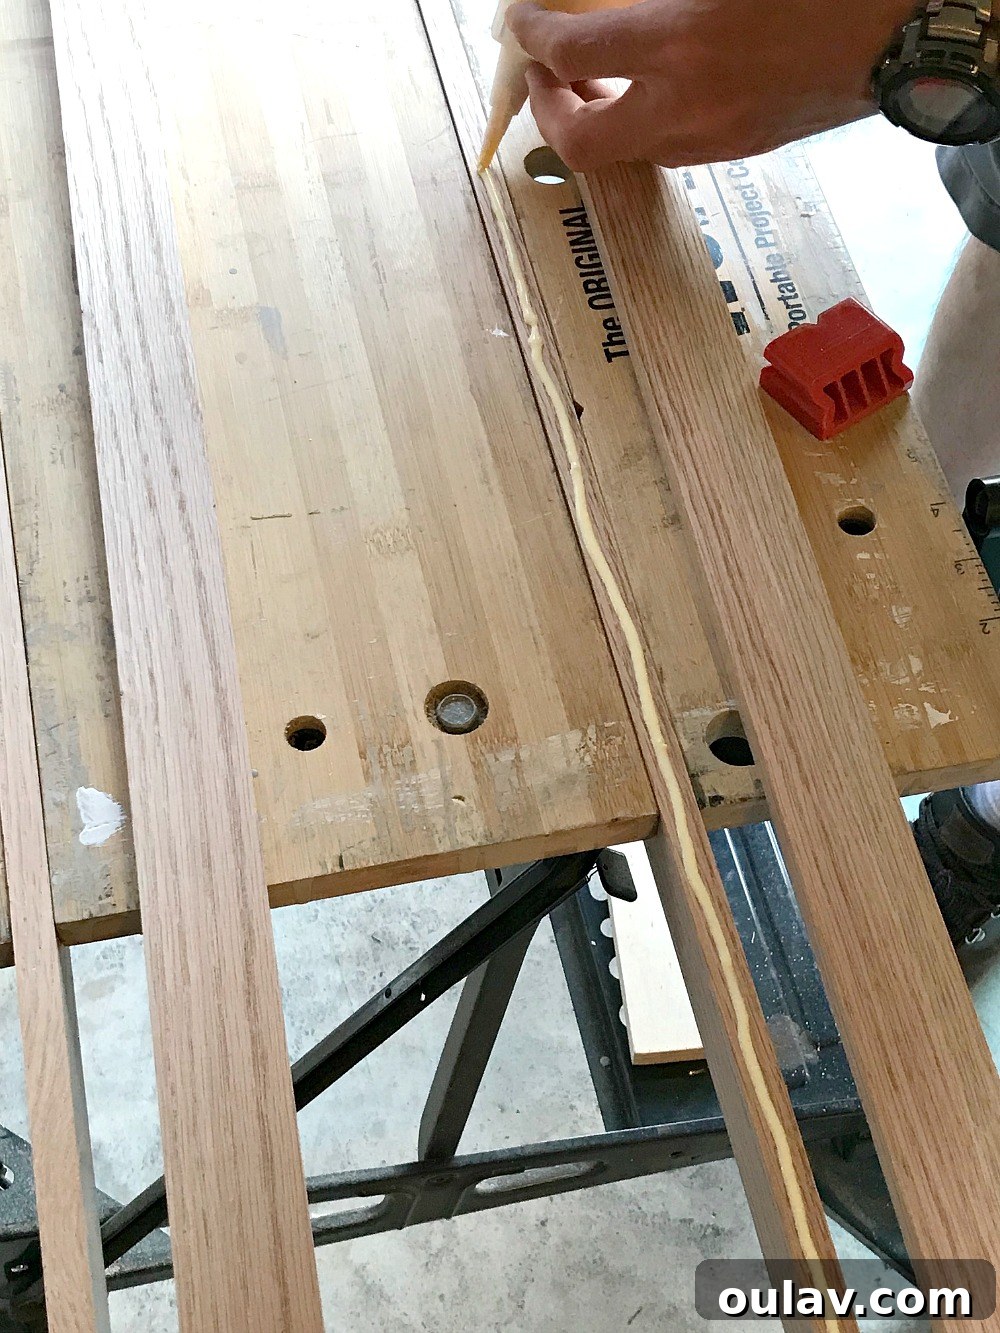
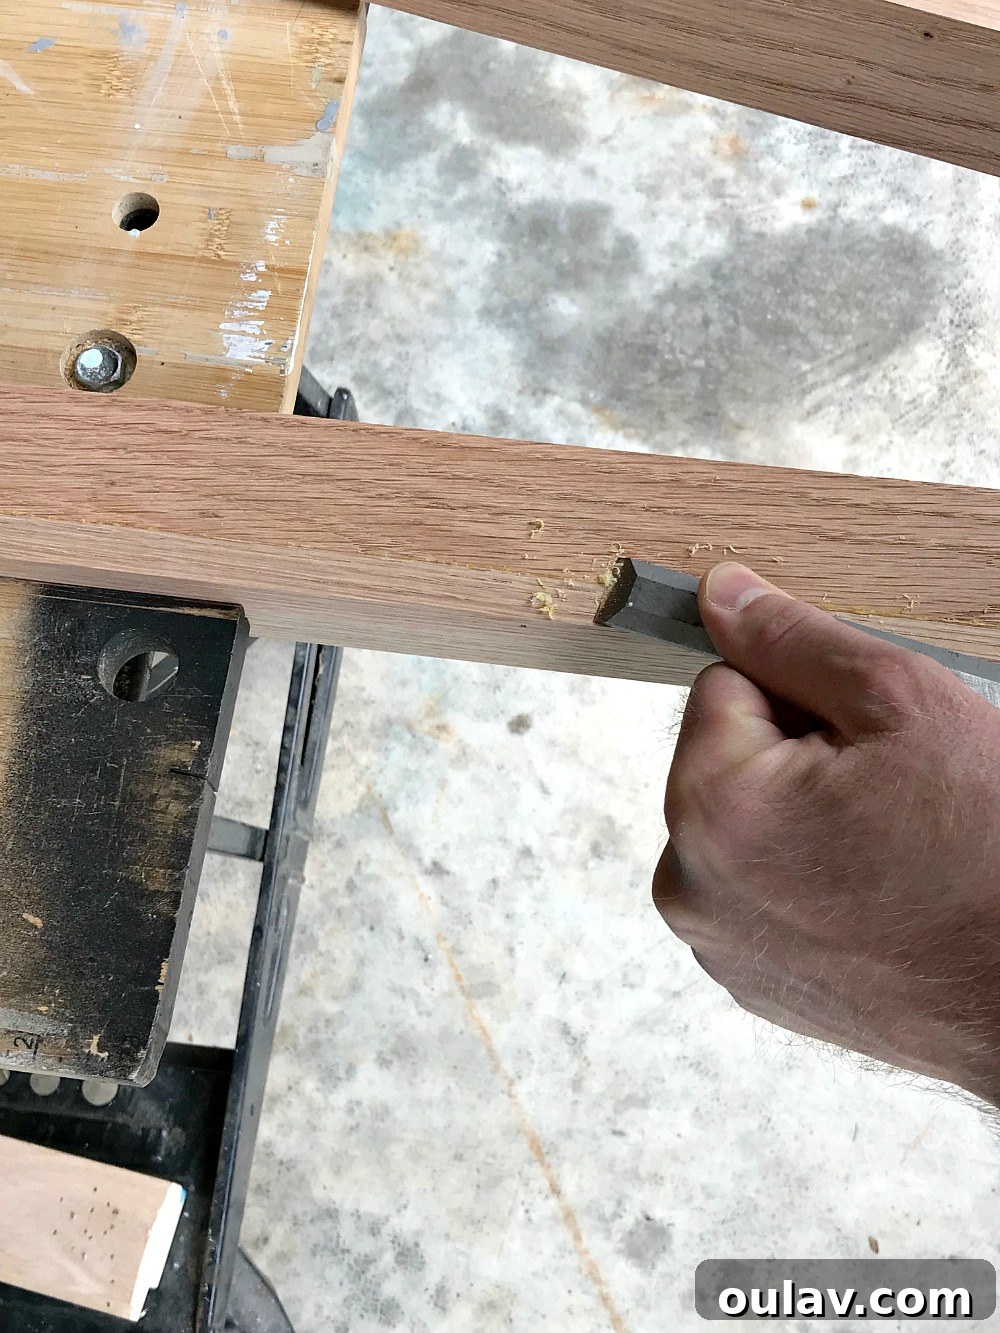
Once dry, any excess wood glue can be scraped away cleanly.
Step 3: Measuring Your Artwork and Determining Frame Dimensions
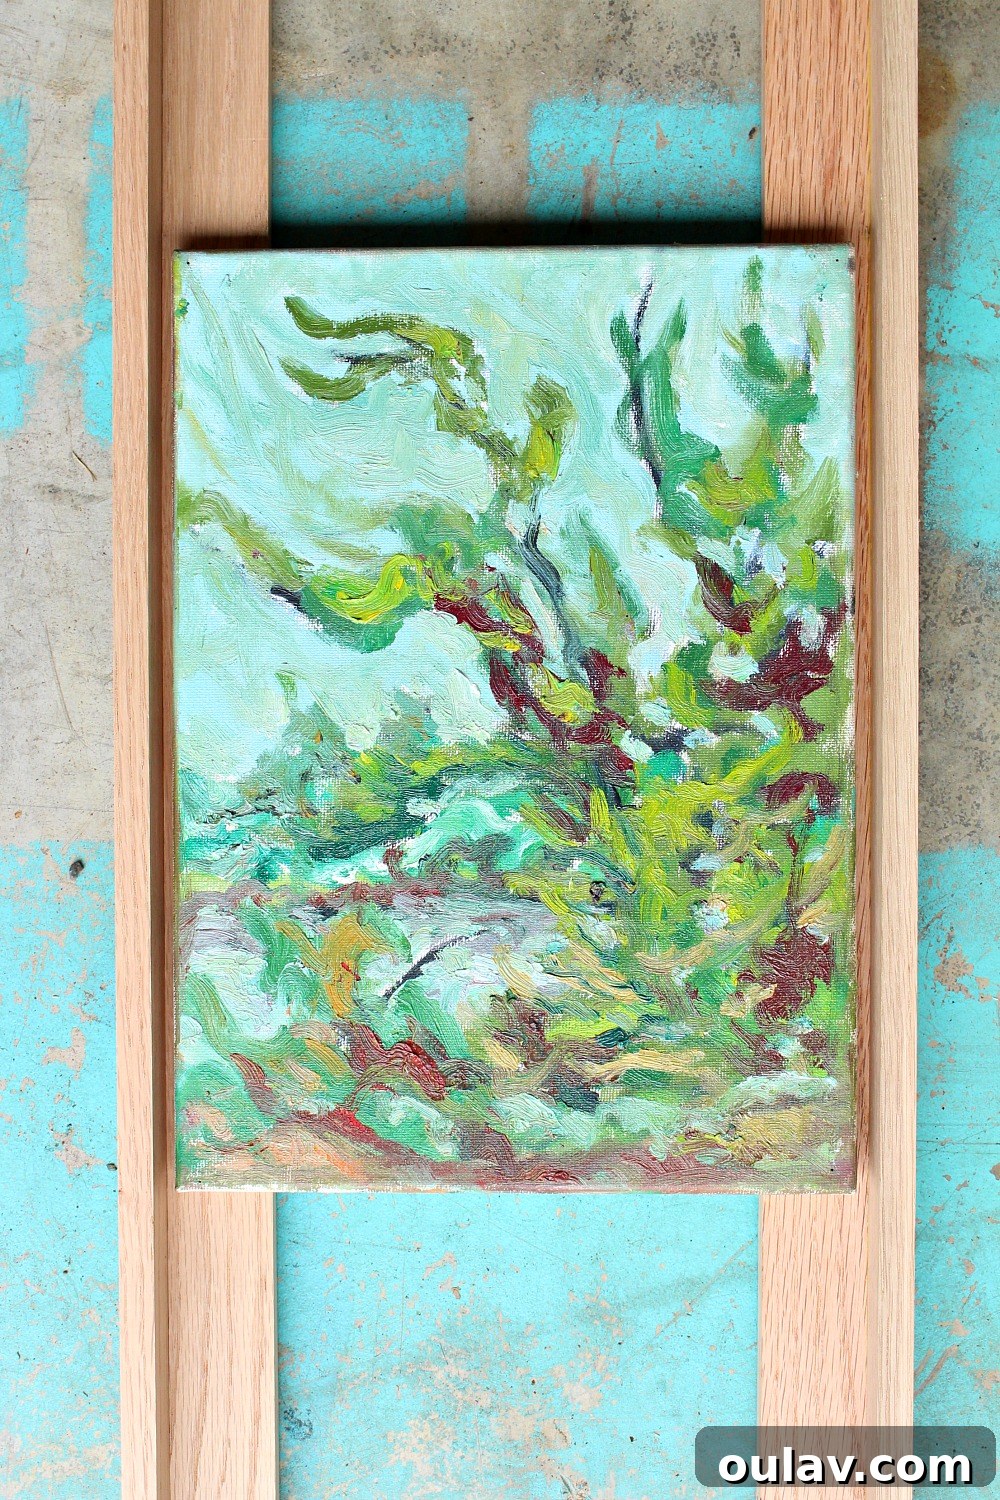
With your two long “L” shaped pieces ready, it’s time to measure for your frame. Lay your artwork (canvas, panel, etc.) on a flat surface. Position the “L” shaped profiles around it, experimenting with the desired gap size between the artwork and the inner edge of the frame. This gap is entirely a matter of personal preference, but typically ranges from 1/8 inch to 1/2 inch. Once you’ve determined your ideal gap, precisely measure the outer dimensions of the “L” shaped profiles that will enclose your artwork. Remember, your final frame will be slightly larger than your artwork to accommodate this floating space. Carefully note down these precise measurements for the four sides of your frame – two long and two short.
Step 4: Precision Cuts with a Miter Saw
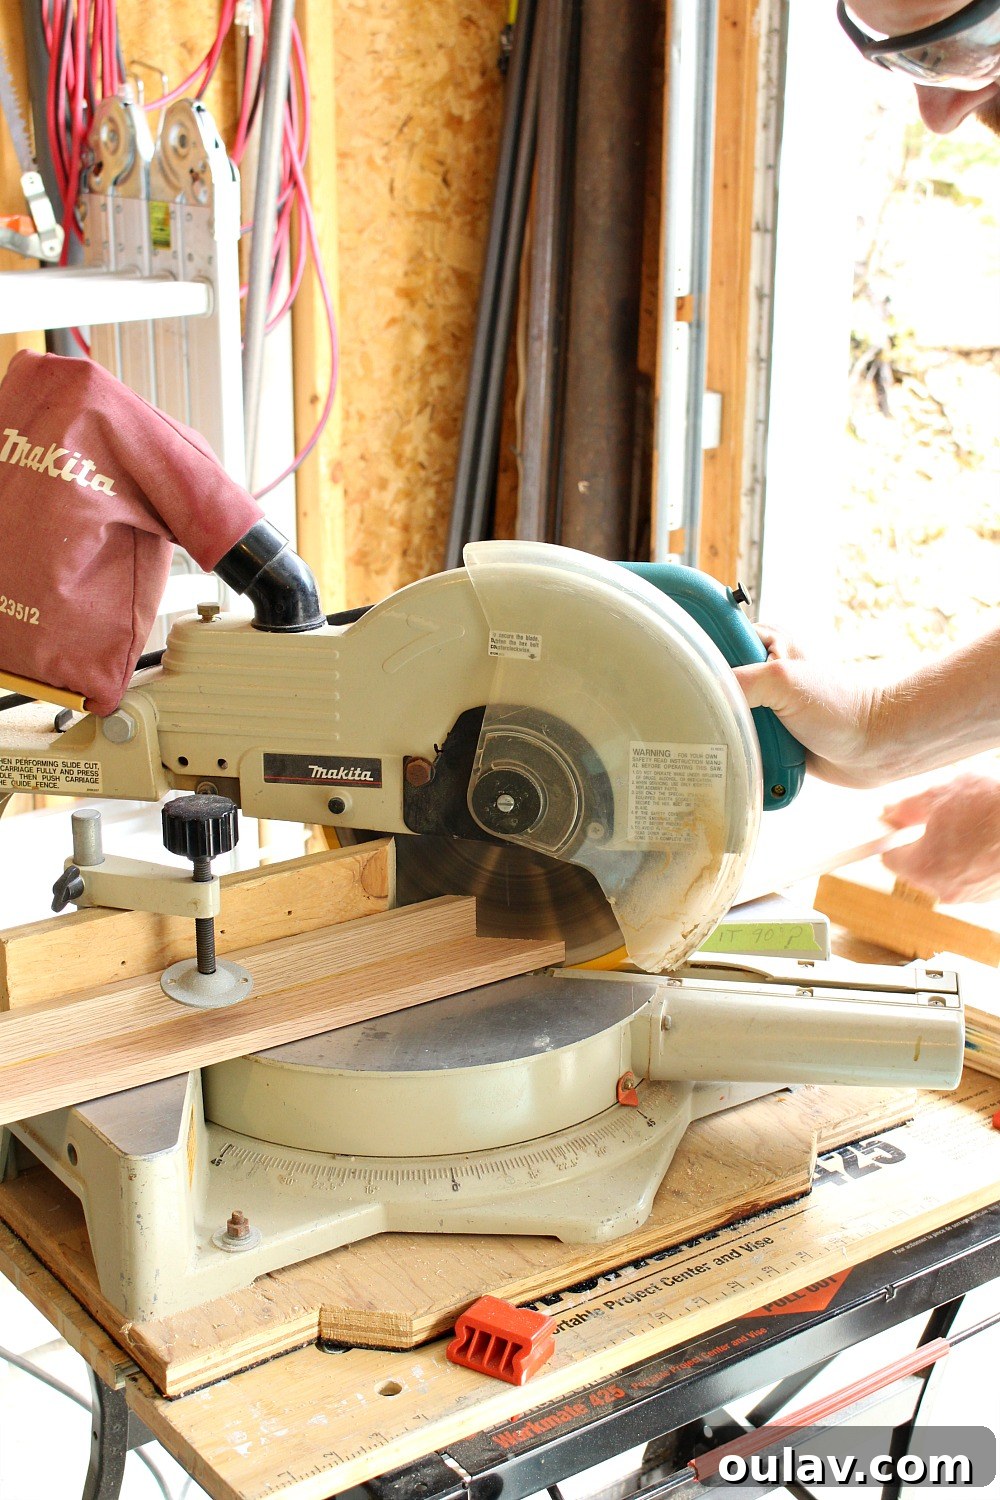
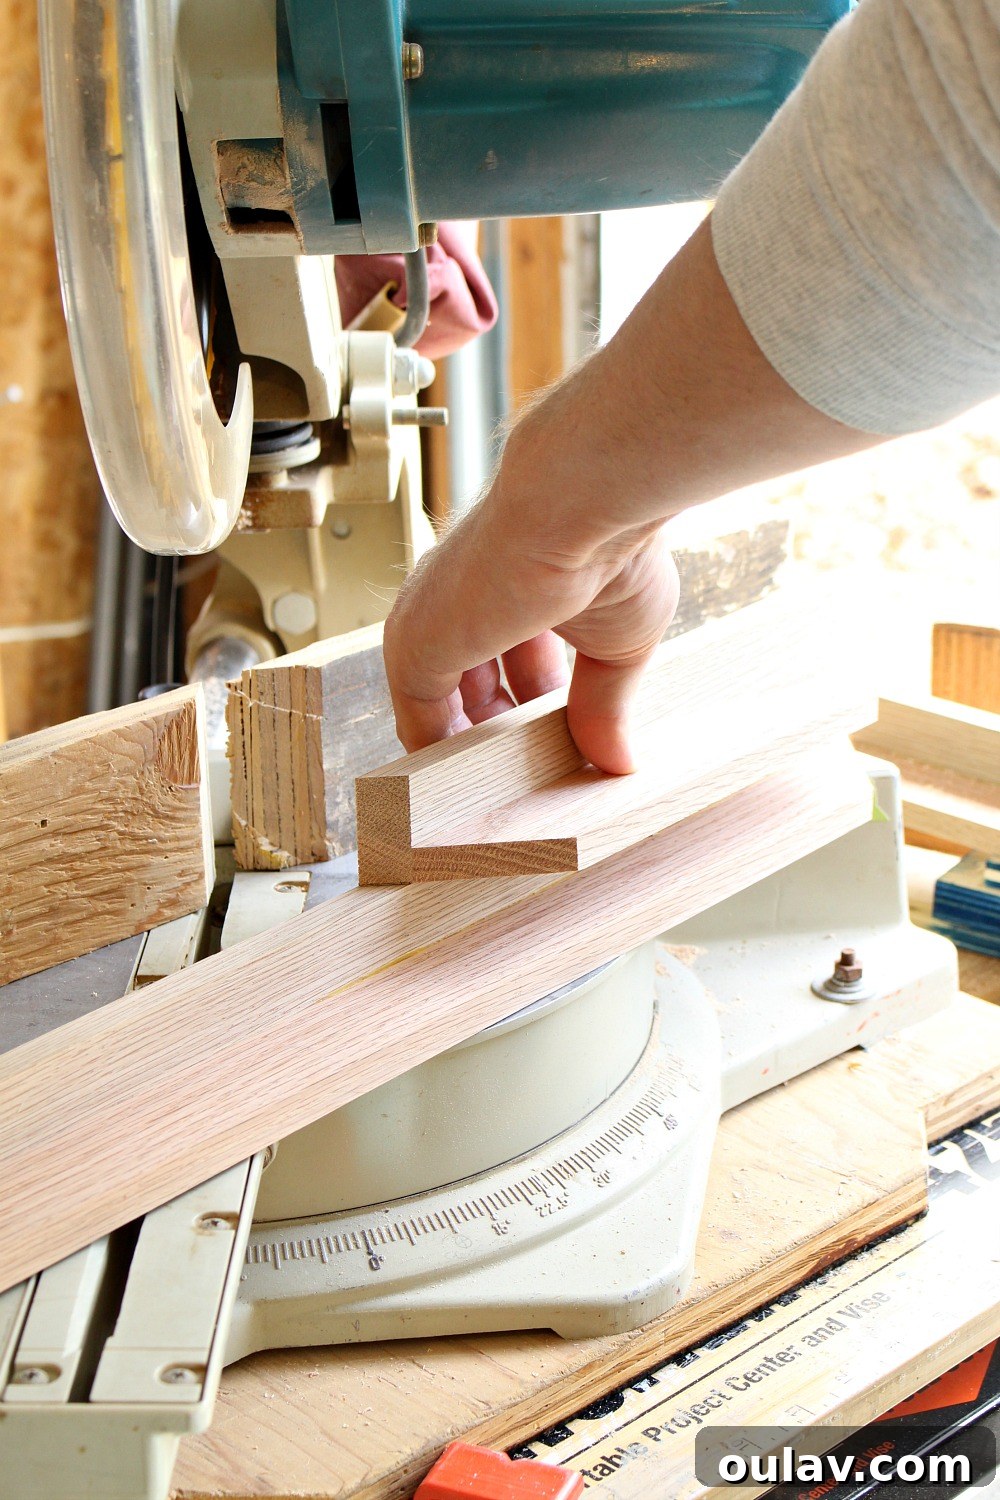
Accuracy is paramount in this step to ensure tight, seamless corners. Using a miter saw (or a miter box for a more manual approach), cut the four lengths of your “L” shaped profiles. Each cut must be an inside 45-degree angle. This means the longest edge of your cut will be on the outside of the frame, and the shortest edge will be on the inside, creating a perfect corner when joined. For consistency, especially with the opposing sides, it’s an excellent practice to cut one piece and then use it as a template to mark and cut its matching parallel piece. This helps to eliminate any potential discrepancies from tape measure readings, ensuring perfectly matched lengths and crisp mitered corners. Remember the golden rule: “Measure twice, cut once,” as you can always trim a piece shorter, but you can’t add material back!
Use one cut piece as a template to ensure exact matching lengths for opposing sides.
Step 5: Assembling the Frame Corners
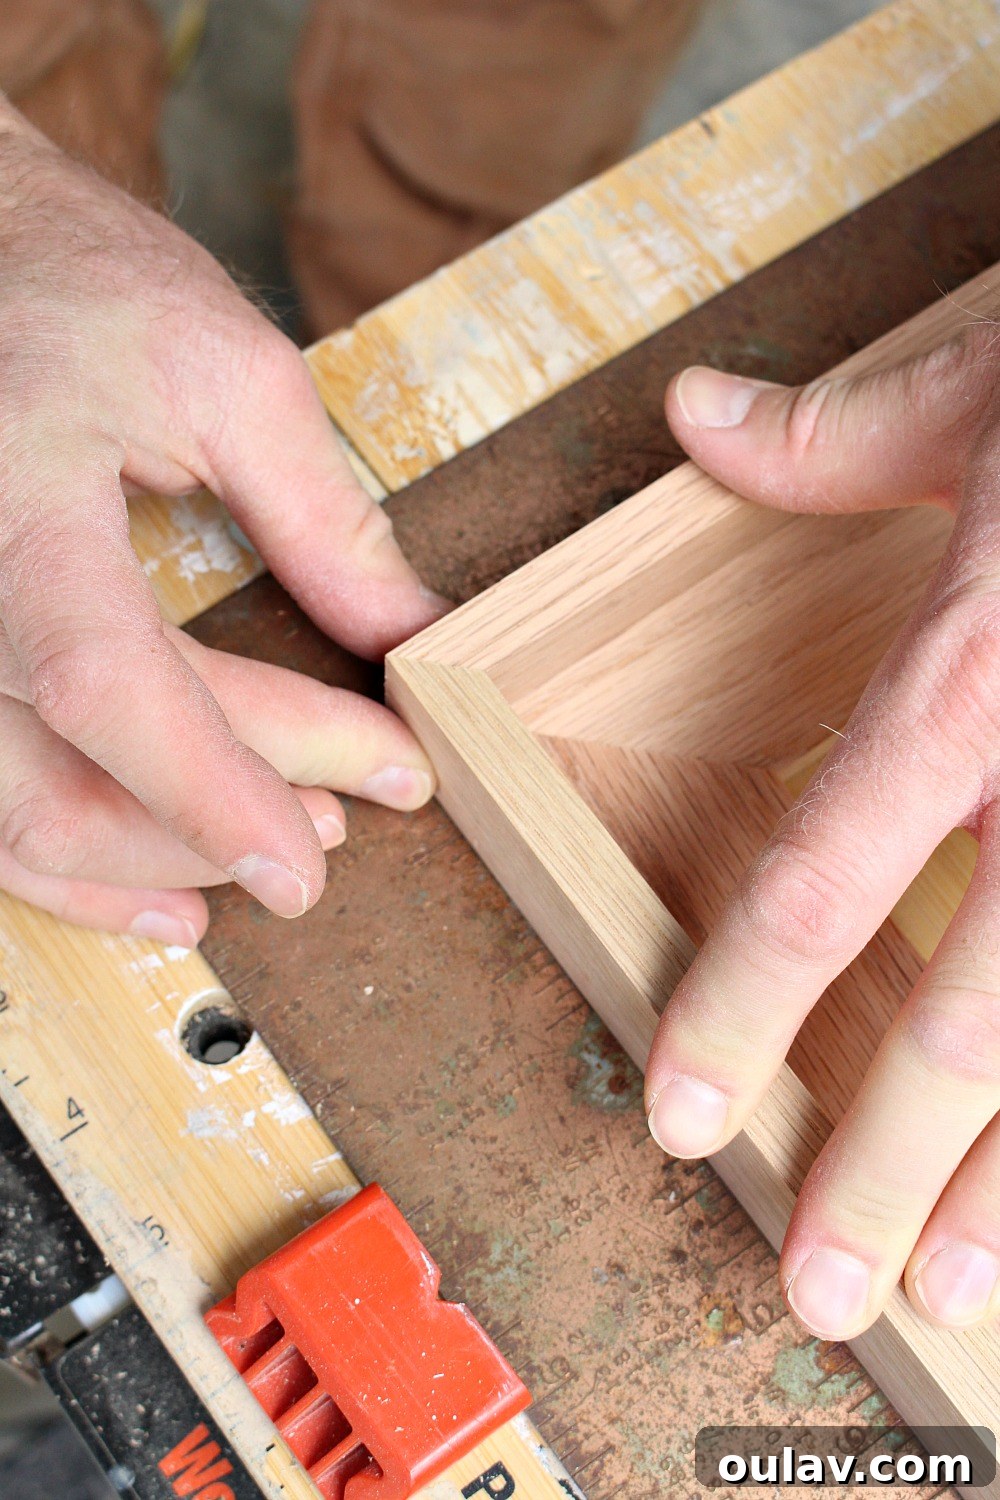
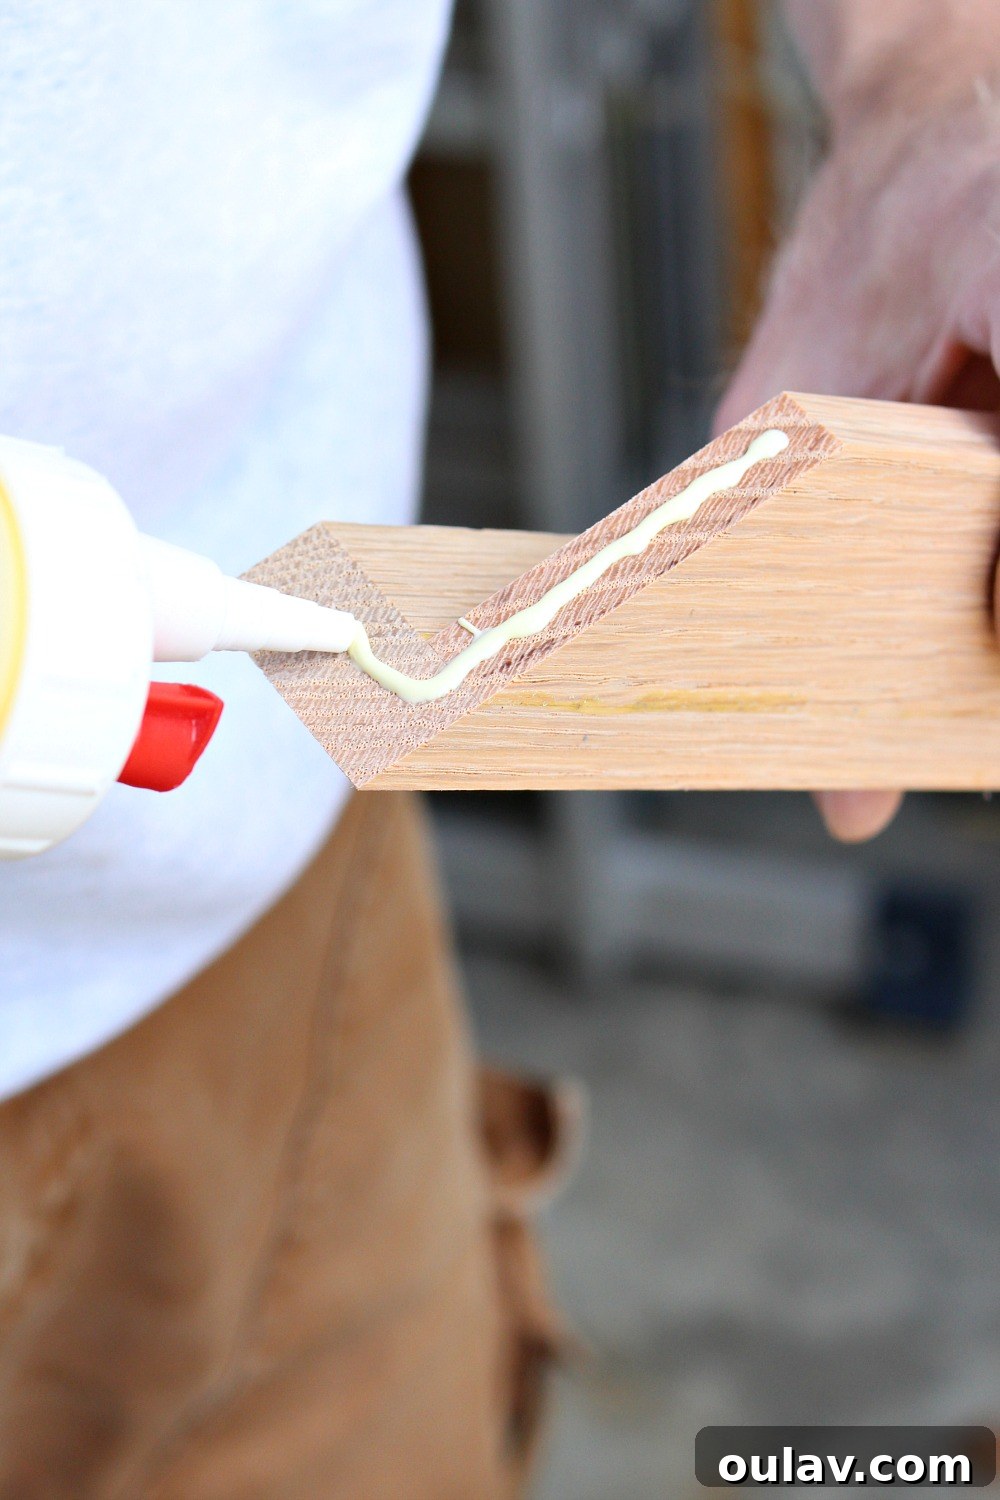
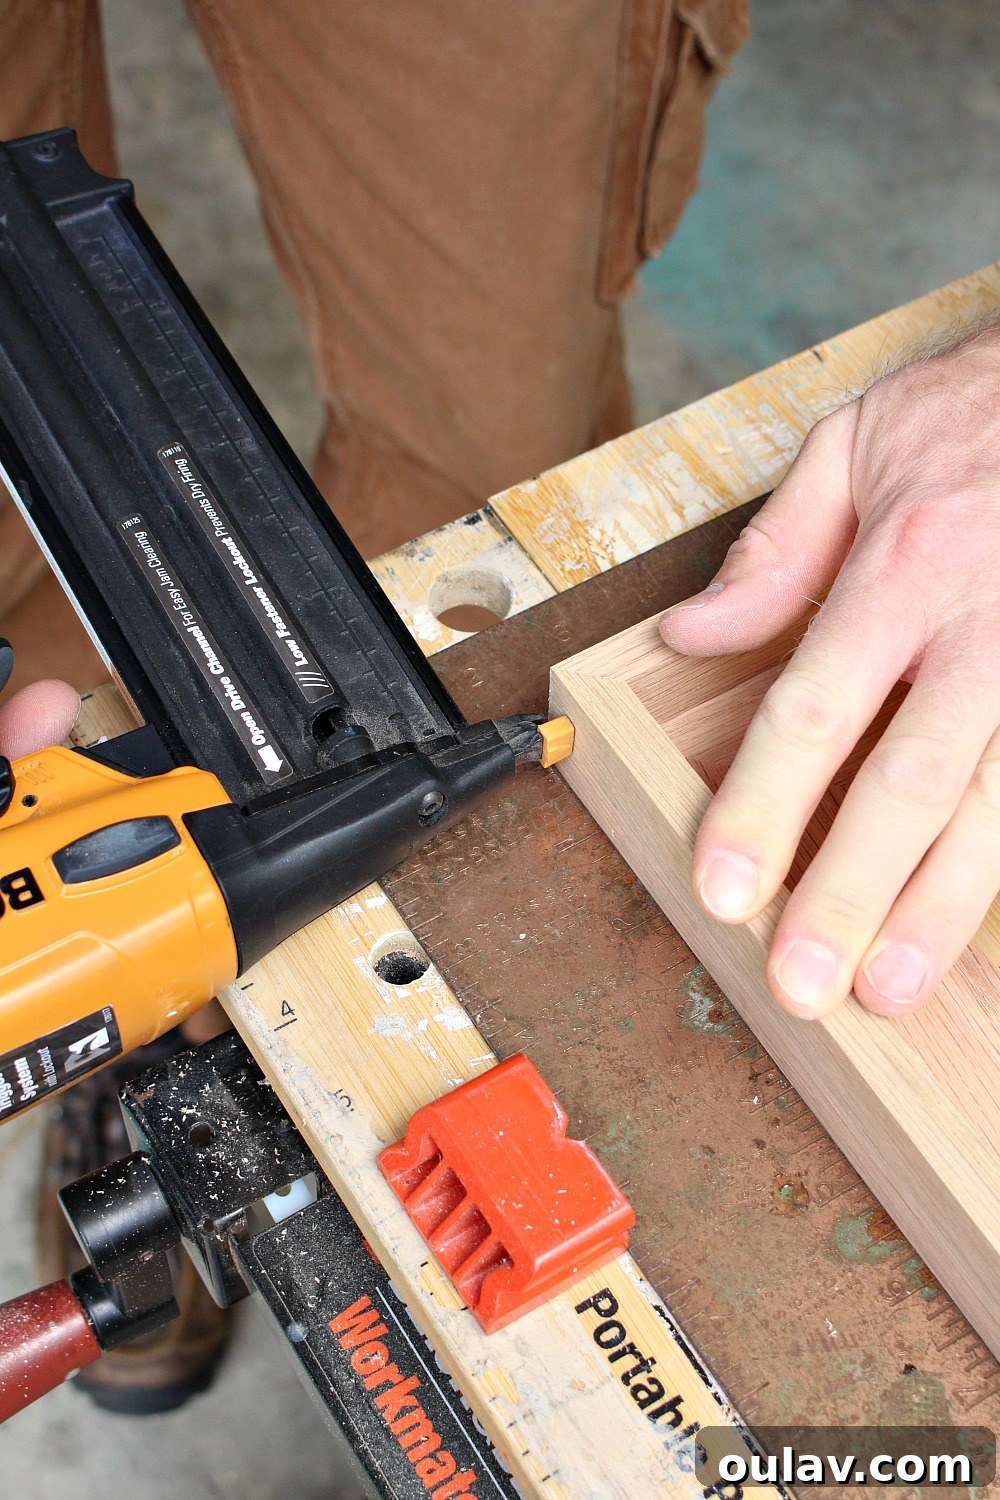
With all four sides precisely cut, it’s time for the dry fit – a crucial step before applying any glue. Arrange your four “L” shaped pieces into a rectangle on a flat, clean surface, bringing the mitered corners together. Carefully inspect each joint to ensure they fit snugly and perfectly. Use a framing square to verify that all corners form a true 90-degree angle. This dry fit allows you to identify and correct any minor imperfections in your cuts before committing to glue. Once you’re satisfied with the fit, apply a generous but even amount of wood glue to each mitered edge. Bring the corners together, using your framing square to maintain perfect alignment. Secure the joints with an air nailer, driving nails carefully through the outer edge of the frame into the adjoining piece. The nails primarily serve to hold the frame firmly in place while the wood glue sets and dries completely, forming a durable bond. Alternatively, specialized corner clamps can provide excellent pressure and alignment during the drying process.
Apply wood glue generously to each mitered joint.
Nail the corners to secure the frame while the glue dries.
Step 6: Finishing Touches: Sanding and Filling
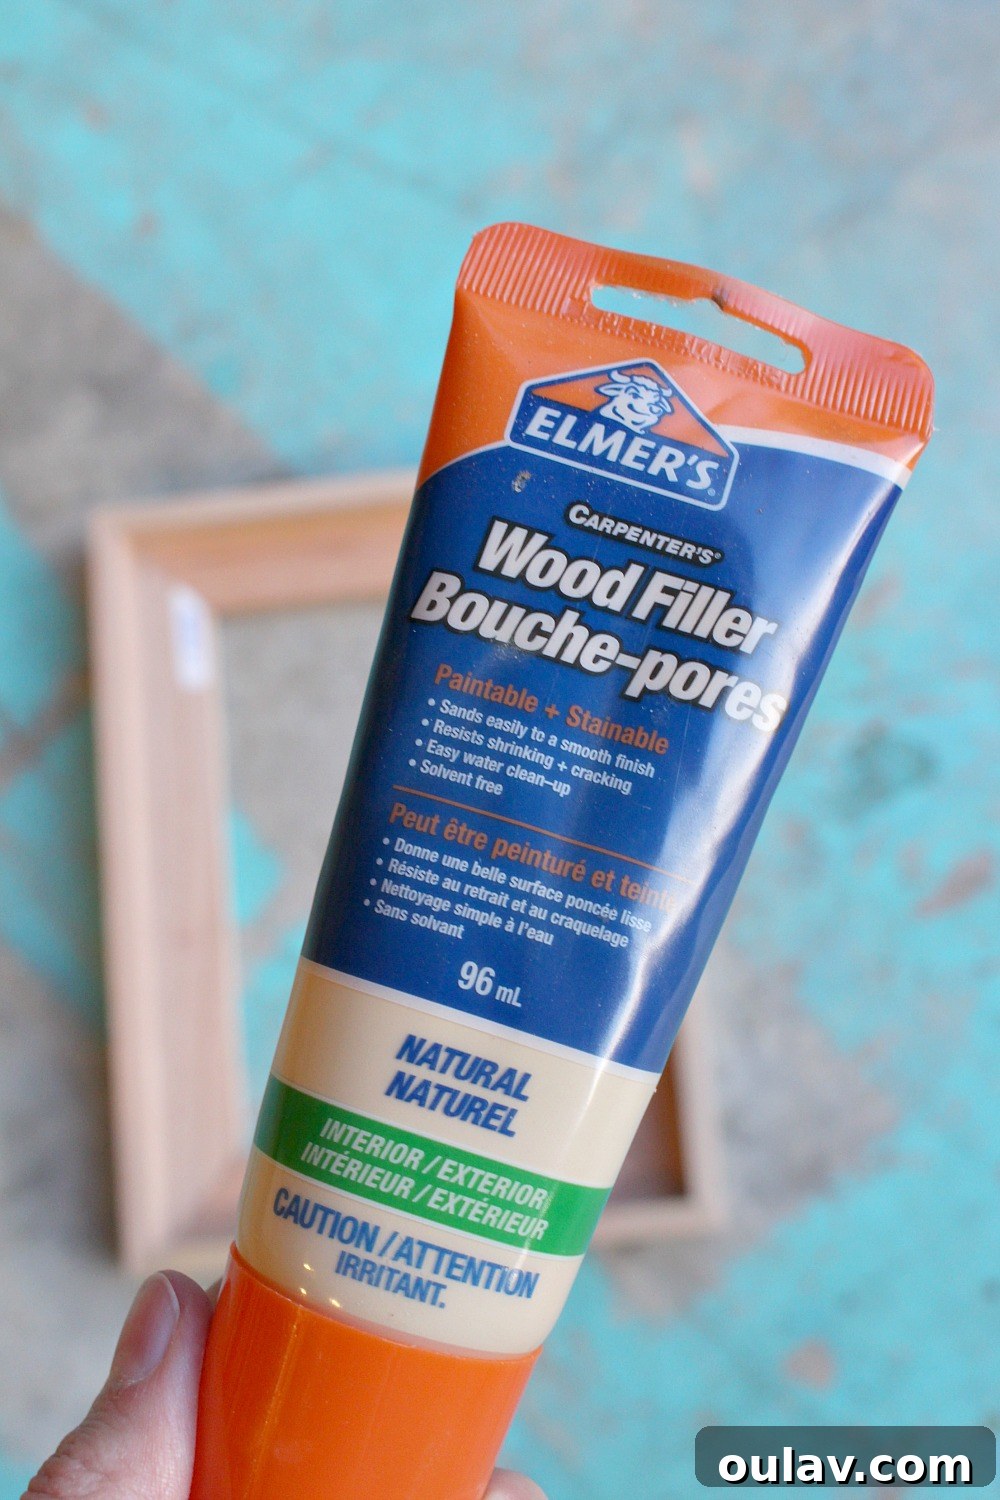
Once the glue has fully cured, it’s time to refine the frame’s surface. Begin by using wood filler to meticulously fill all nail holes. Apply the filler slightly proud of the surface, allowing for shrinkage as it dries. Follow the manufacturer’s instructions for drying times. After the filler is completely dry, use fine-grit sandpaper (around 120-180 grit initially, followed by 220 grit) to sand the filled areas smooth and flush with the wood. Take this opportunity to lightly sand the entire frame, removing any rough edges, stray glue marks, or minor imperfections. This crucial step ensures a flawless surface, ready for staining or painting, and is key to achieving a professional-looking custom picture frame.
Step 7: Staining or Painting Your Custom Frame
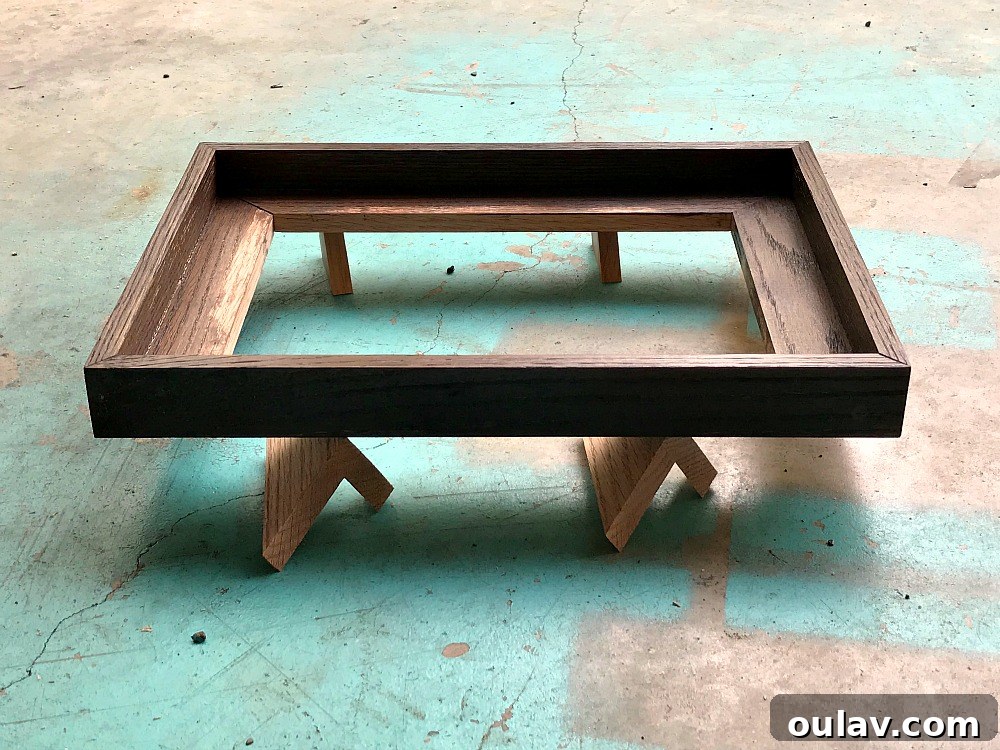
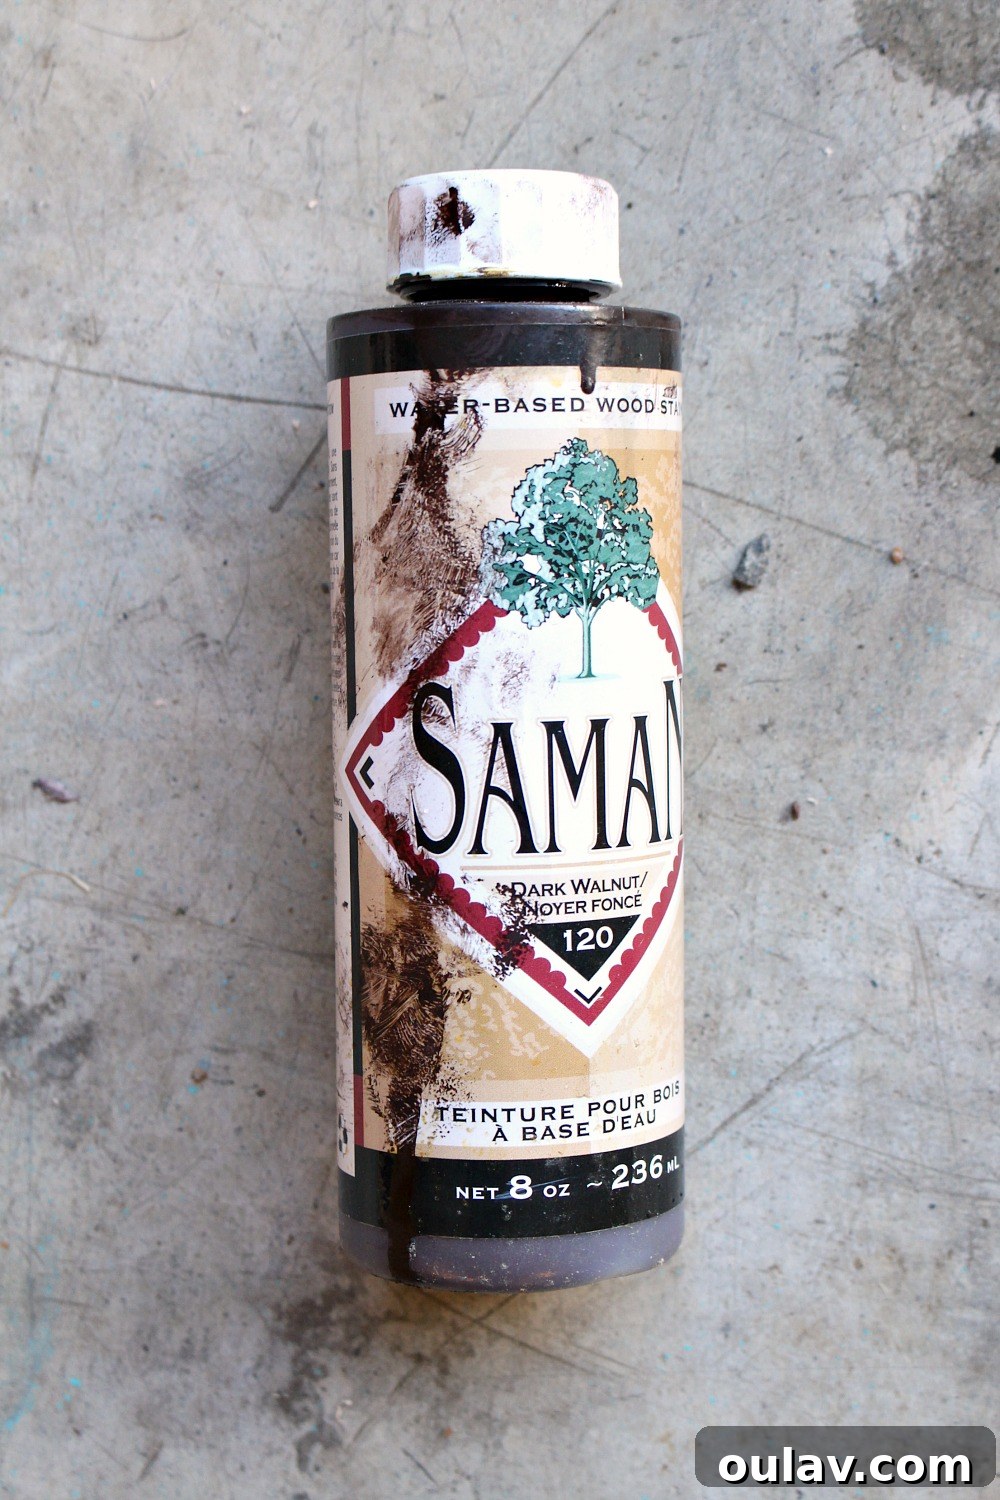
This is where your floating frame truly begins to take on its character. You have several options here: stain, paint, or a natural clear coat. For our red oak frame, we chose a Saman brand water-based wood stain in Dark Walnut, which produced a rich, deep hue with just one light application. Always test your chosen stain or paint on a scrap piece of the same wood to ensure you achieve the desired color. Apply the stain or paint evenly, following the grain of the wood. Use leftover “L” shaped pieces or small blocks to prop up the frame, allowing all surfaces to dry without sticking. If saving money is a priority, repurpose leftover paints or stains from previous projects, or purchase small sample pots. Even a simple clear coat on the natural wood can be stunning, allowing the inherent beauty of the grain to show through.
Step 8: Applying a Protective Clear Coat
The final step in finishing your DIY floating frame is to apply a protective clear coat. This not only enhances the wood’s natural beauty or the stain’s depth but also provides crucial protection against moisture, dust, and wear. We are particularly fond of Watco brand spray lacquer for its ease of application and beautiful, durable luster. Apply several thin, even coats, allowing adequate drying time between each as recommended by the manufacturer. A clear coat will truly bring out the professional quality of your custom art frame.
Step 9: Mounting Your Artwork in the Floating Frame
Once your clear finish has completely dried and cured, it’s time to marry your artwork with its new frame. Carefully position your painting or canvas within the frame, ensuring the desired “floating” gap is even on all sides. From the back of the frame, secure the artwork by driving small nails or screws through the inner lip of the frame and into the stretcher bars of the canvas. Be mindful of the length of your fasteners to avoid penetrating through the front of your artwork. Alternatively, offset clips or Z-clips can be used for a more reversible mounting method. Once your artwork is securely fastened, attach your preferred picture hanging hardware to the back of the frame. Consider using D-rings with picture wire for easy leveling, or a sturdy sawtooth hanger for smaller pieces.
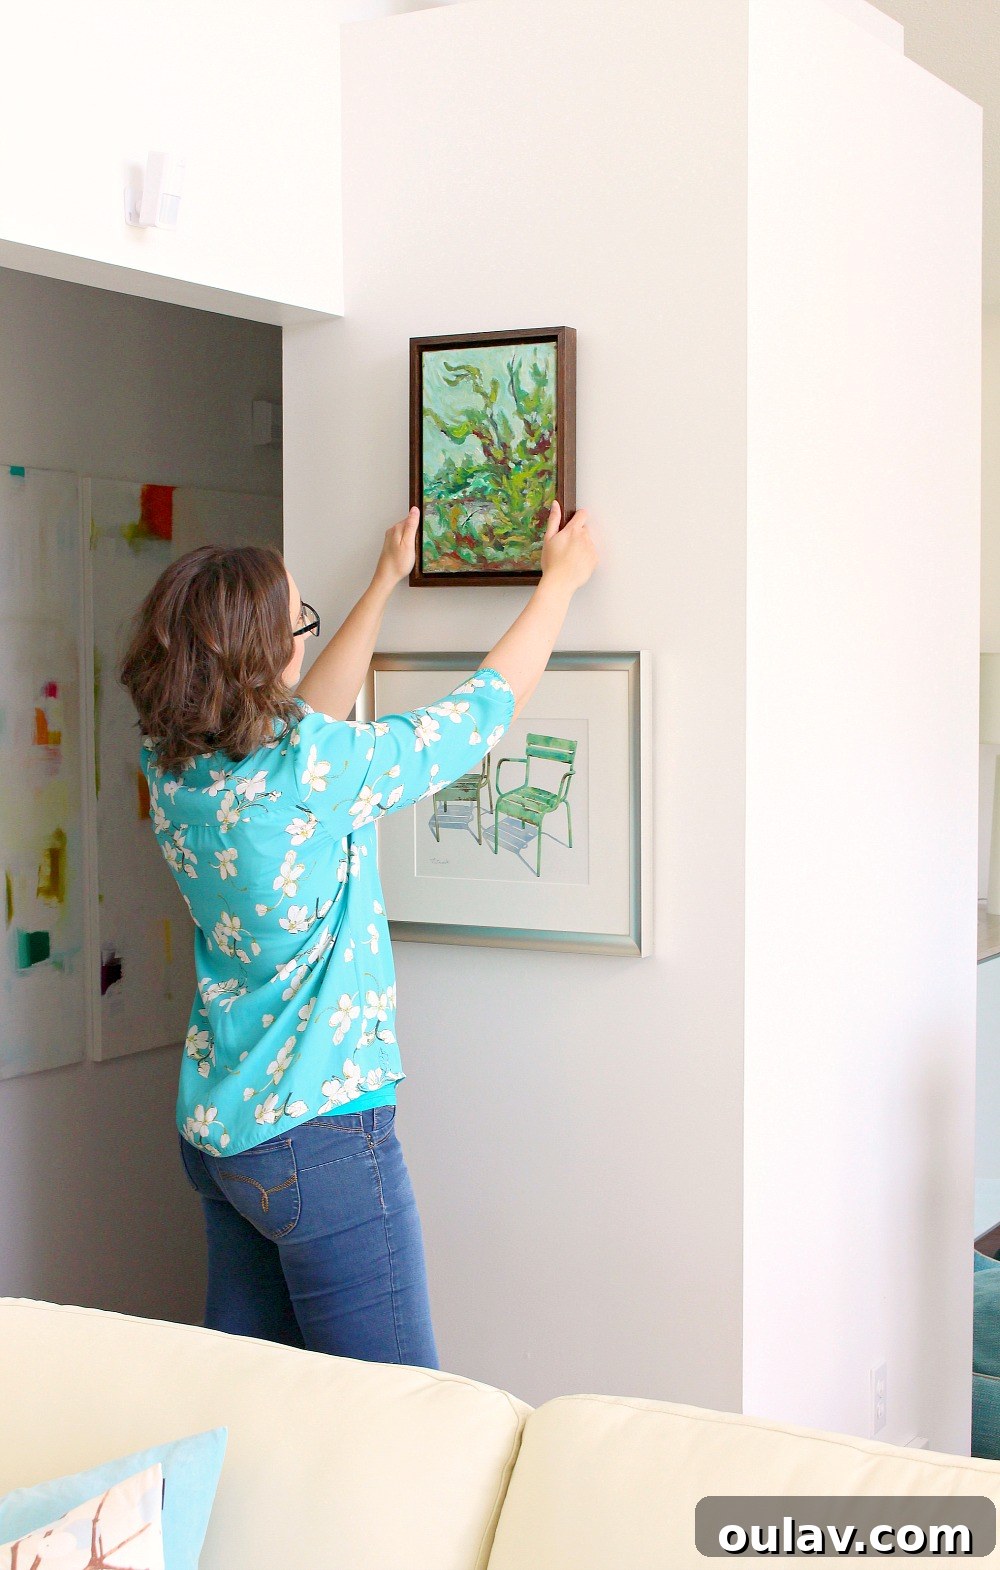
Admire Your Masterpiece: The Finished DIY Floating Frame
And there you have it! Your stunning, custom-built DIY floating frame is complete. Honestly, the most challenging part of this entire project might just be finding the perfect spot on your already art-filled walls! The transformation from a simple canvas to a gallery-worthy display is truly remarkable, all achieved with your own hands and at a fraction of the cost of professional framing services.
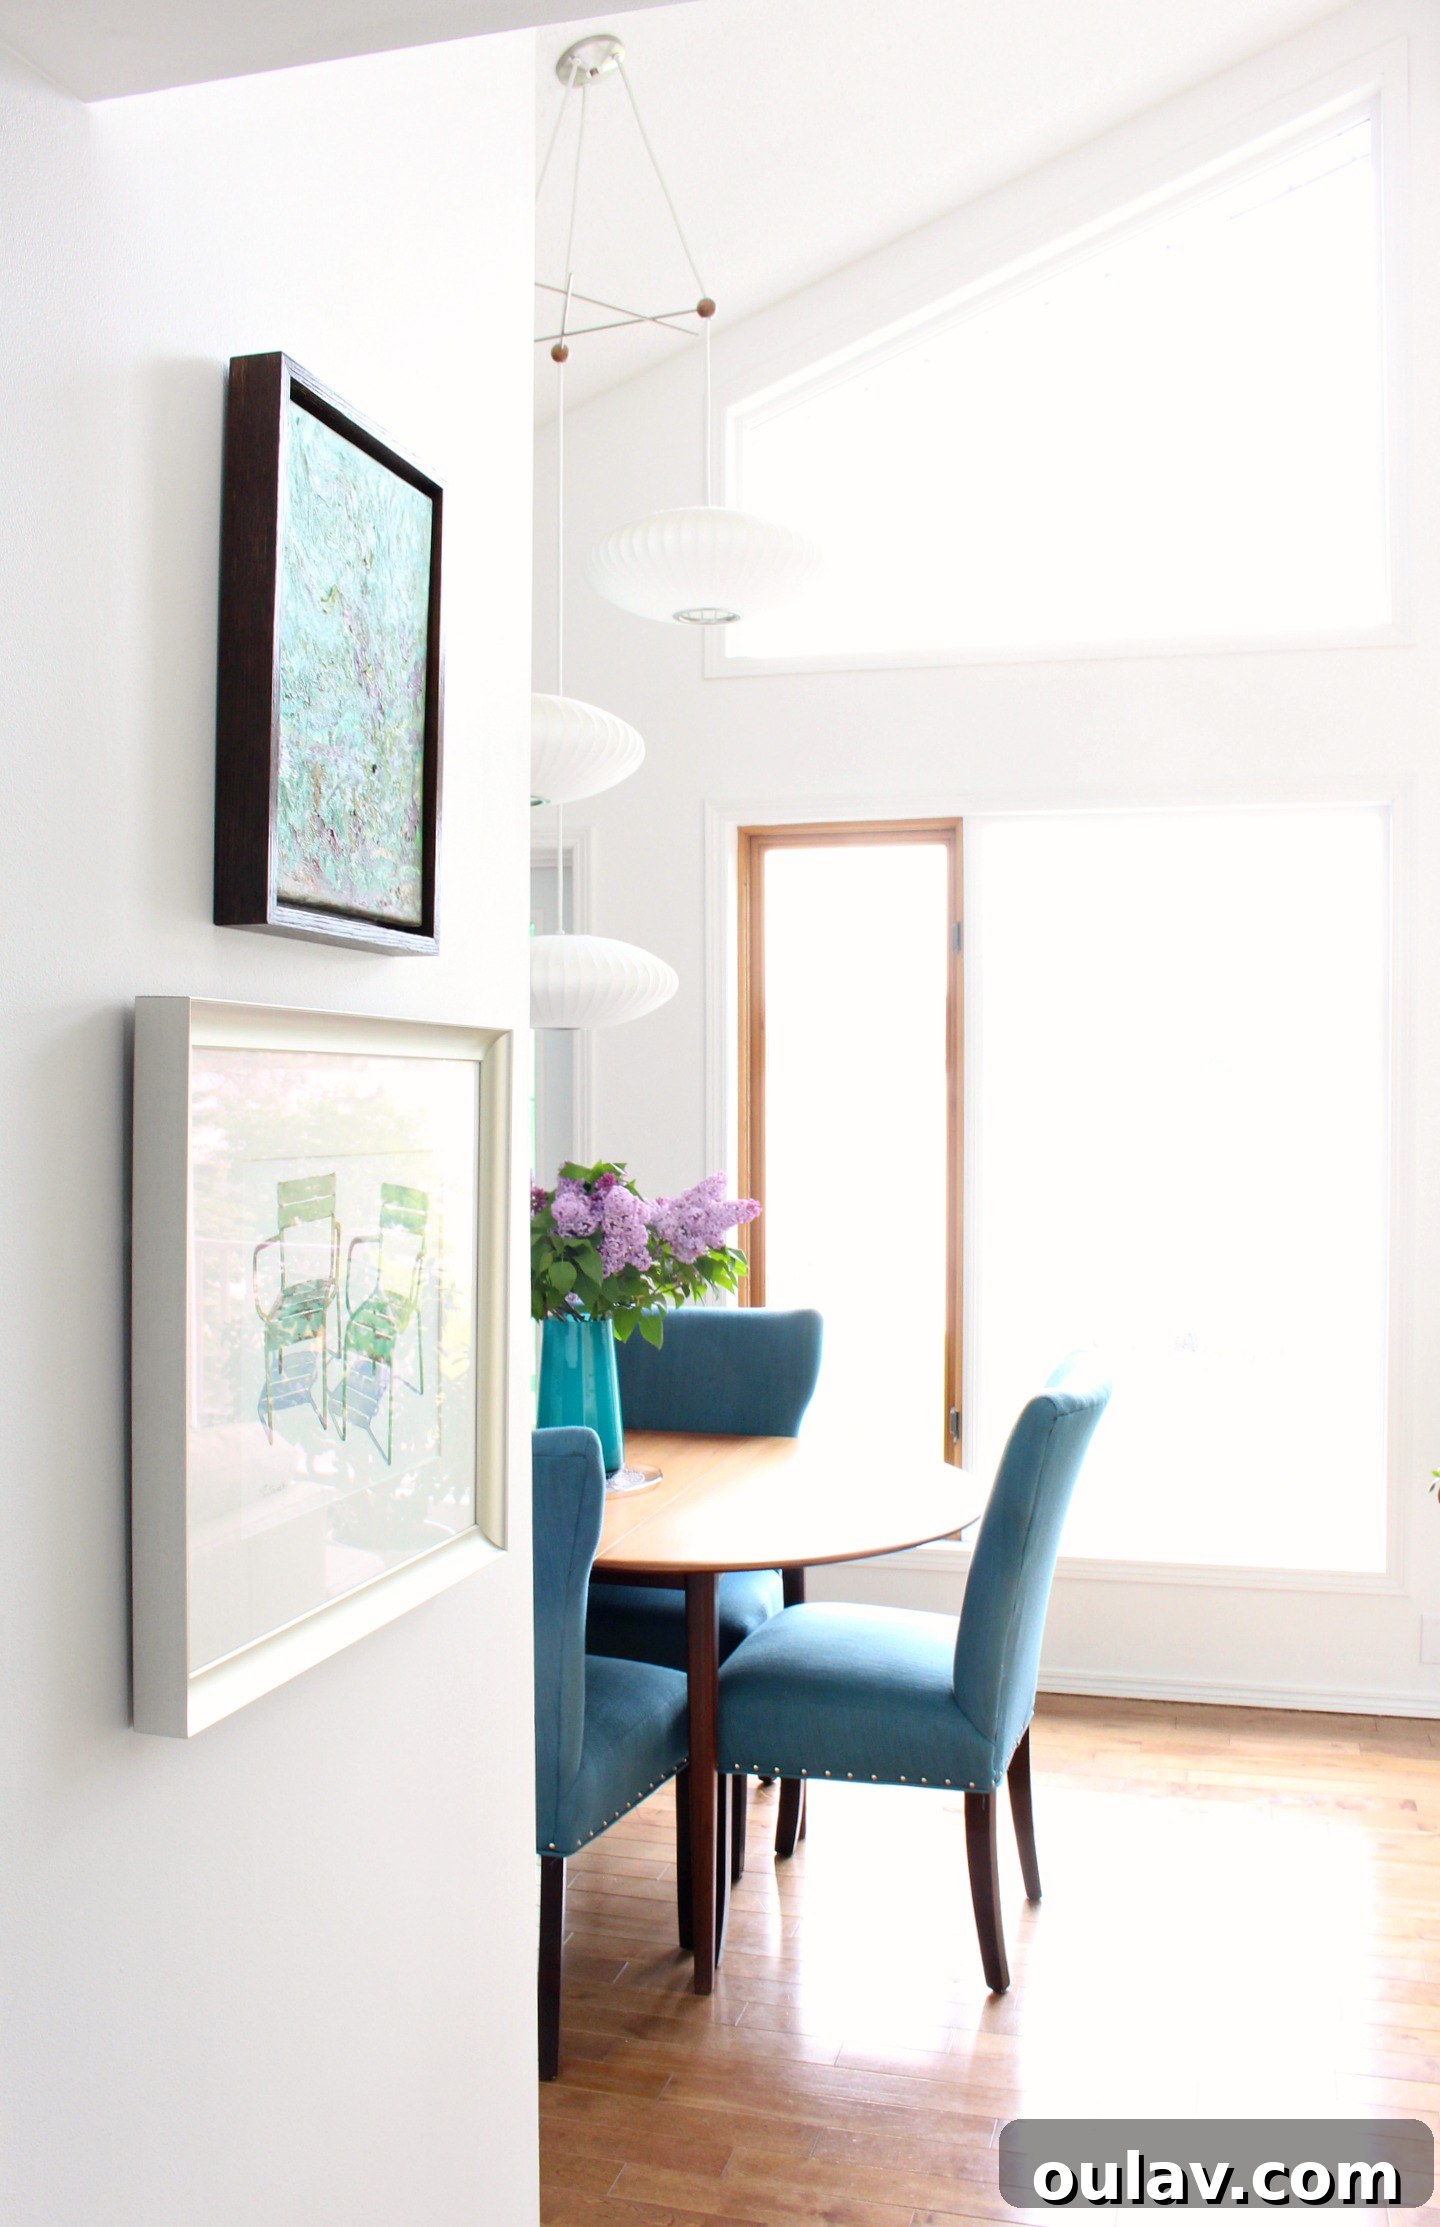
The sleek lines and thoughtful spacing of a floating frame bring a contemporary elegance to any room. It allows the artwork to breathe and become a focal point, enhancing its visual impact without overwhelming it. This project not only saves you money but also empowers you to take control of your home decor, adding personalized touches that reflect your style and effort.
Elevate Your Home with Custom DIY Framing
Embarking on DIY framing projects like this floating frame opens up a world of possibilities for decorating your home affordably and stylishly. Whether you’re framing a new painting, refreshing an old one, or creating a series of custom pieces, the skills you gain here are invaluable. Stay tuned for more DIY framing adventures and home decor transformations. Make sure to follow me on Instagram, where I frequently share behind-the-scenes glimpses and mini-makeovers in my Stories, offering inspiration for your next creative endeavor.