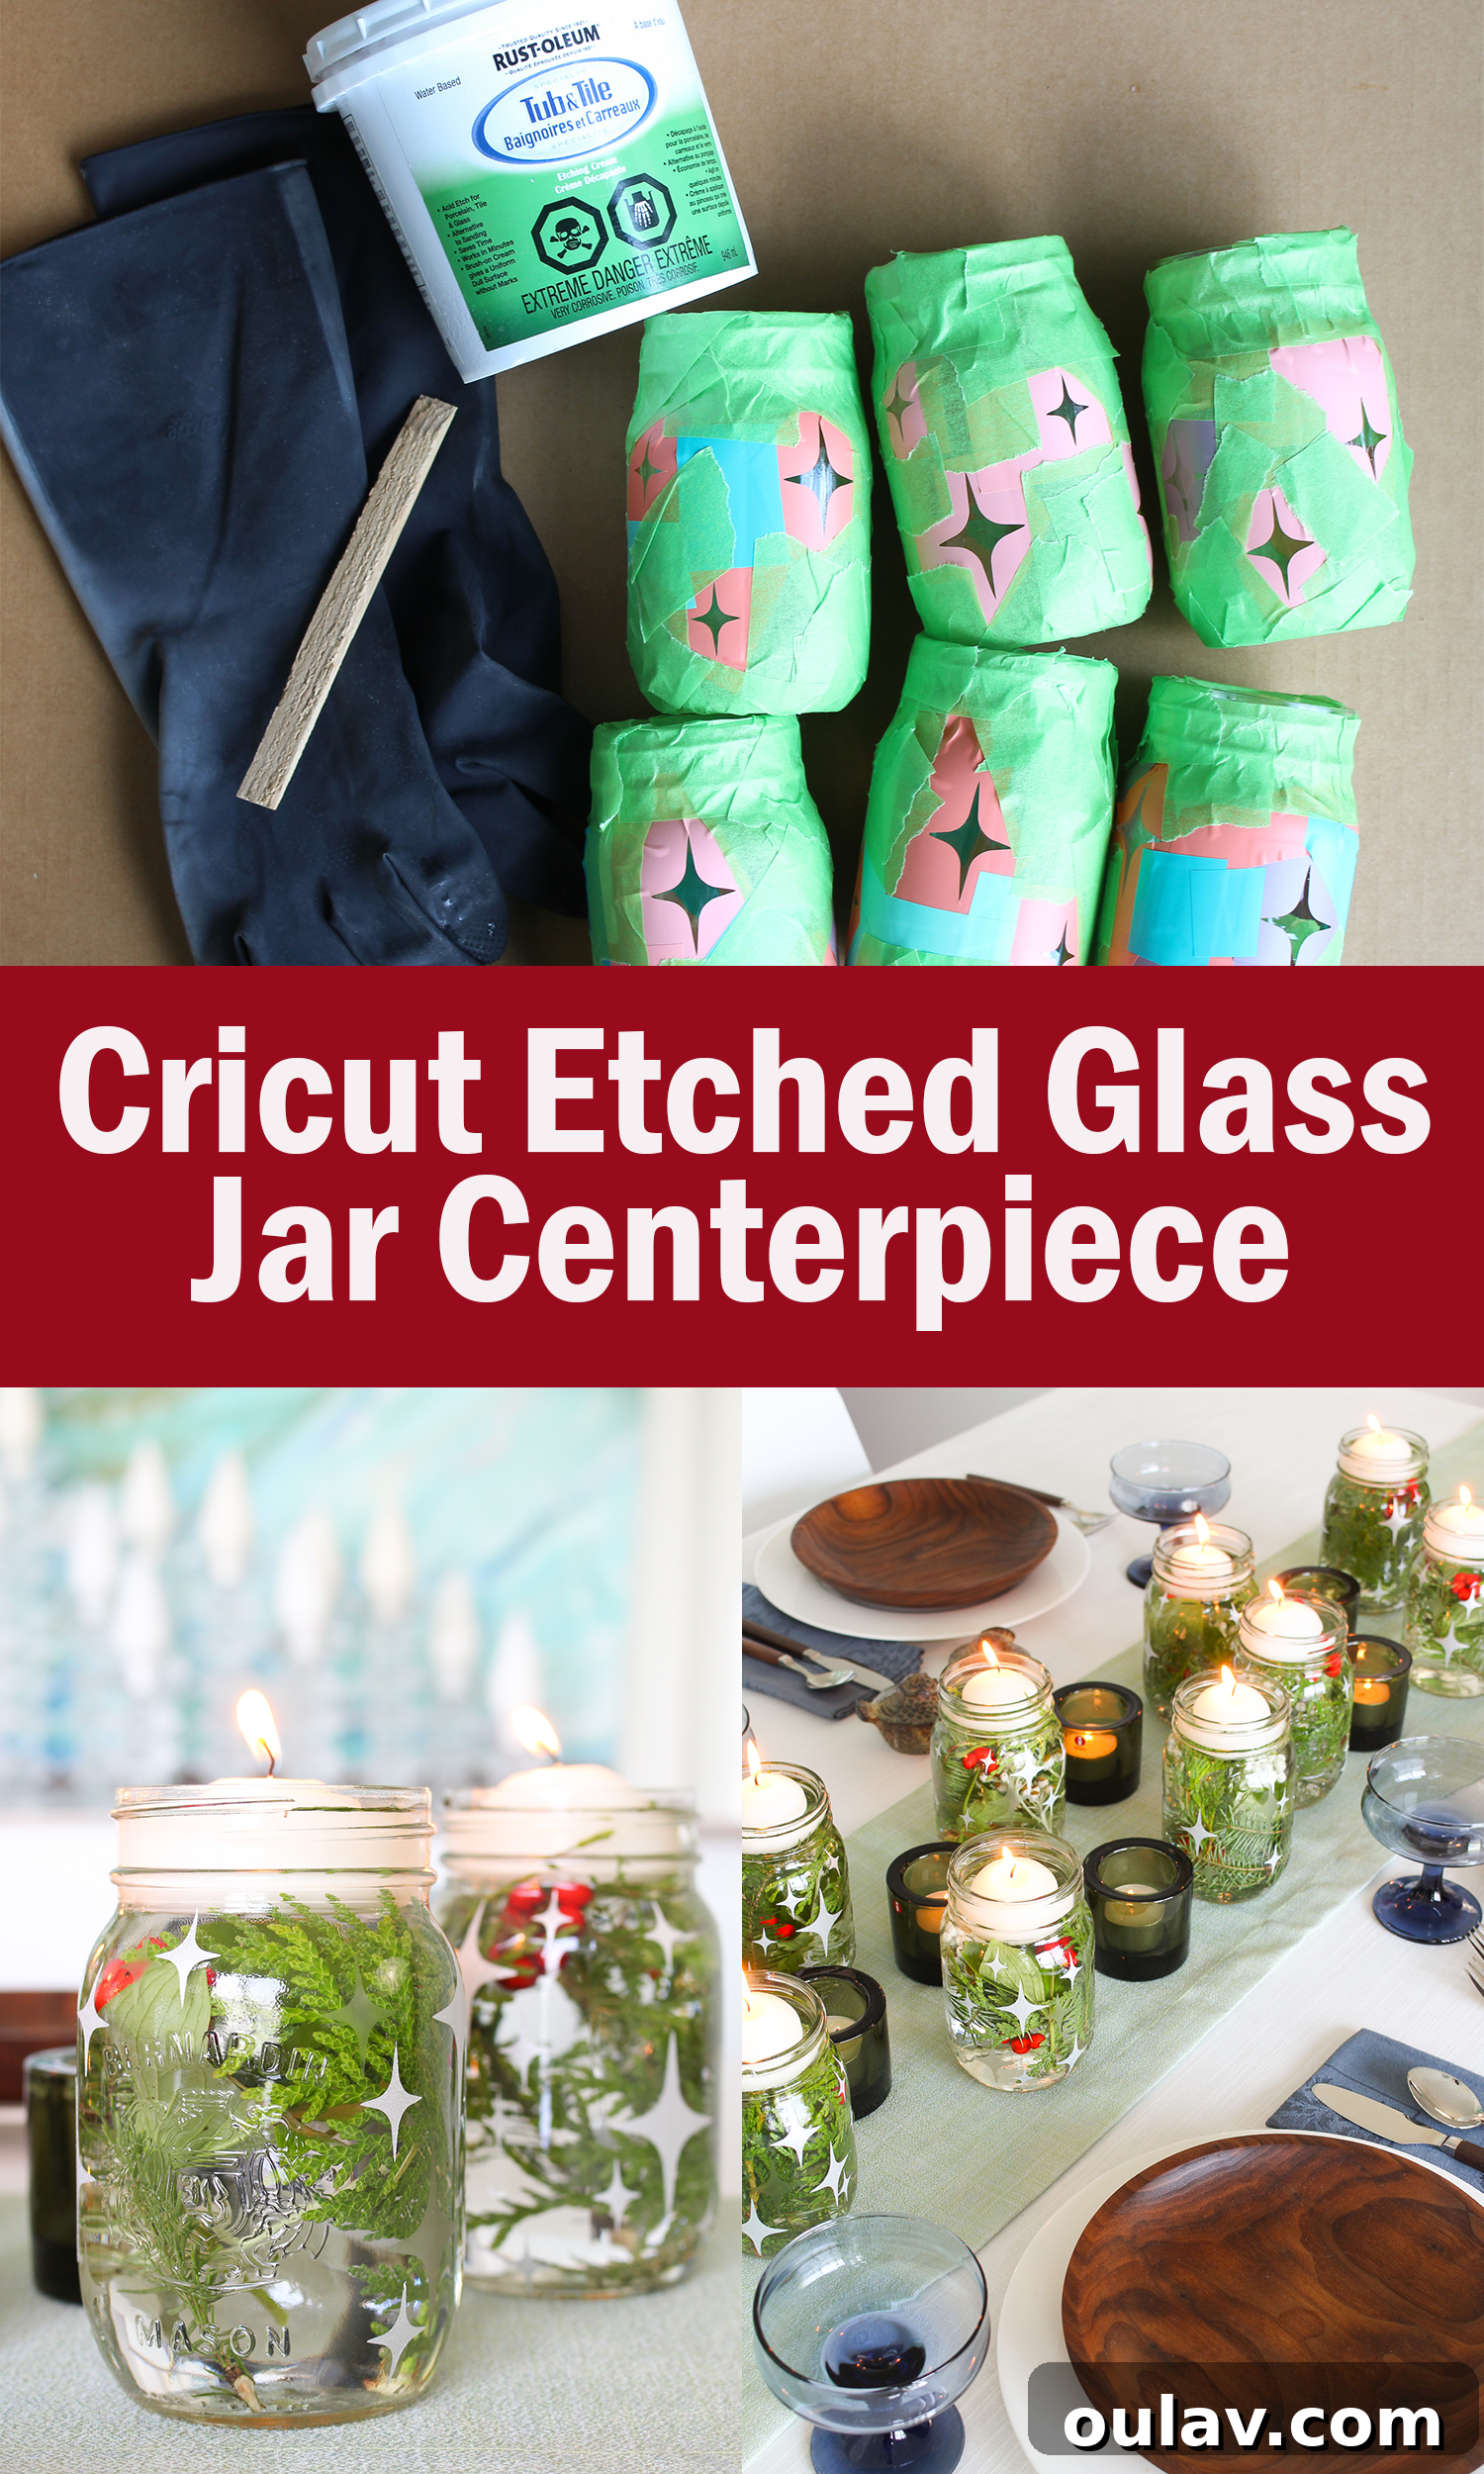
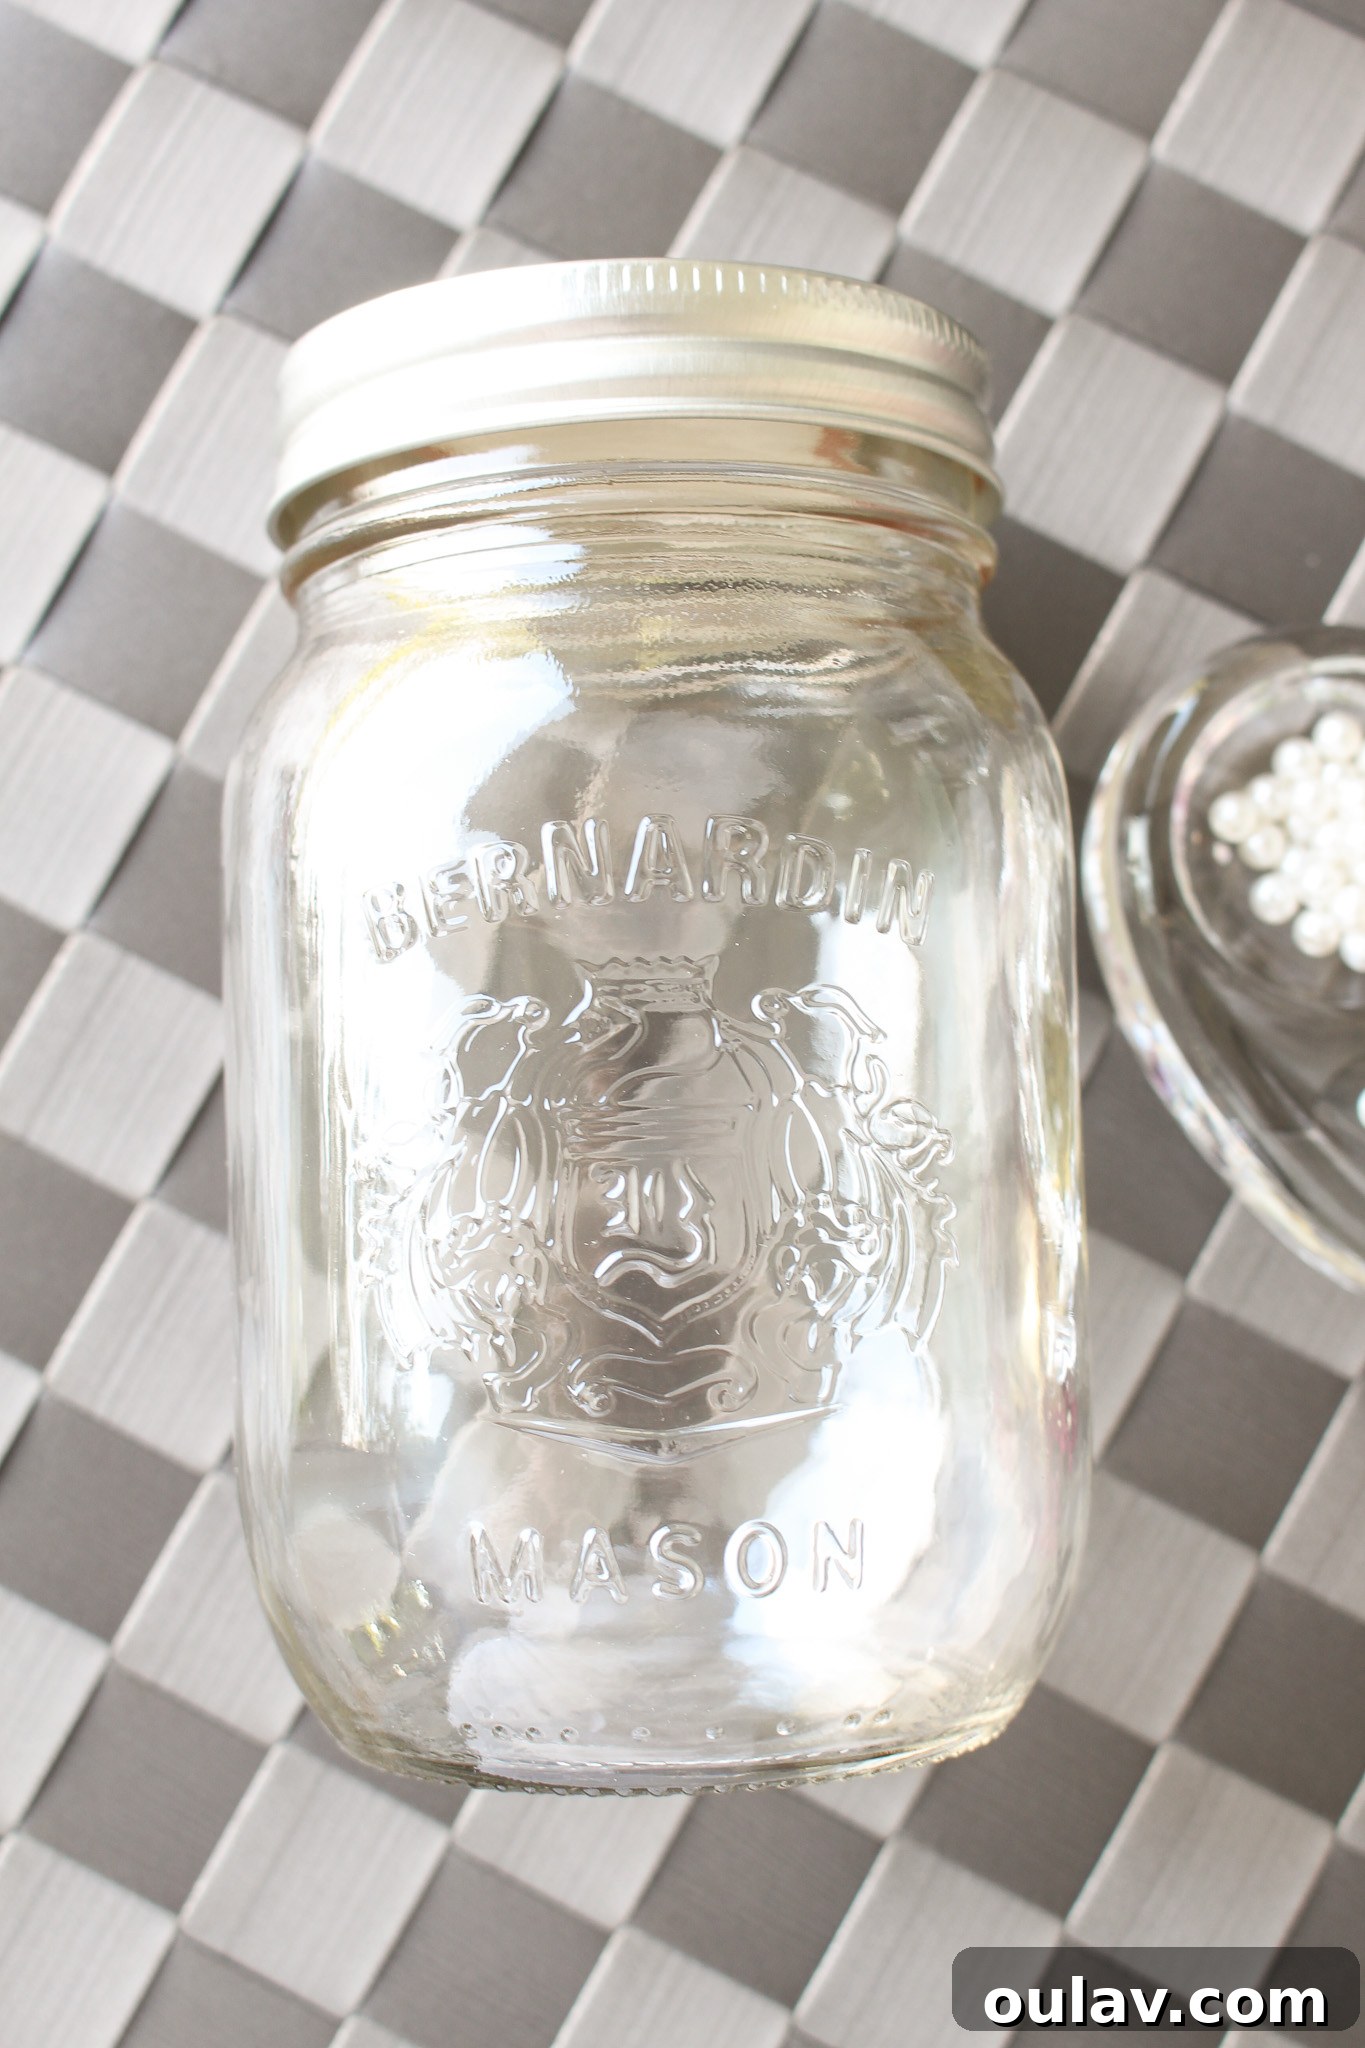
Transform ordinary glass jars into captivating, personalized decor with this enchanting Cricut etched glass mason jar centerpiece tutorial! Whether you’re aiming for a cozy holiday ambiance, a sparkling winter tablescape, or simply a charming piece of year-round home decor, this DIY project offers a delightful blend of creativity and sustainability. While a Cricut machine can certainly streamline the stencil-making process, it’s absolutely not a prerequisite for achieving stunning results. This versatile craft allows you to upcycle common glass jars—like those saved from pasta sauce, pickles, or even small yogurt containers—giving them a beautiful second life and preventing waste. Smooth-sided jars are ideal for etching, providing a flawless canvas for your designs. For this particular project, I opted for elegant 500ml Bernardin Mason jars, but feel free to choose any size that inspires you. The beauty of this craft lies in its adaptability, allowing you to tailor it perfectly to your aesthetic preferences and the materials you have on hand.
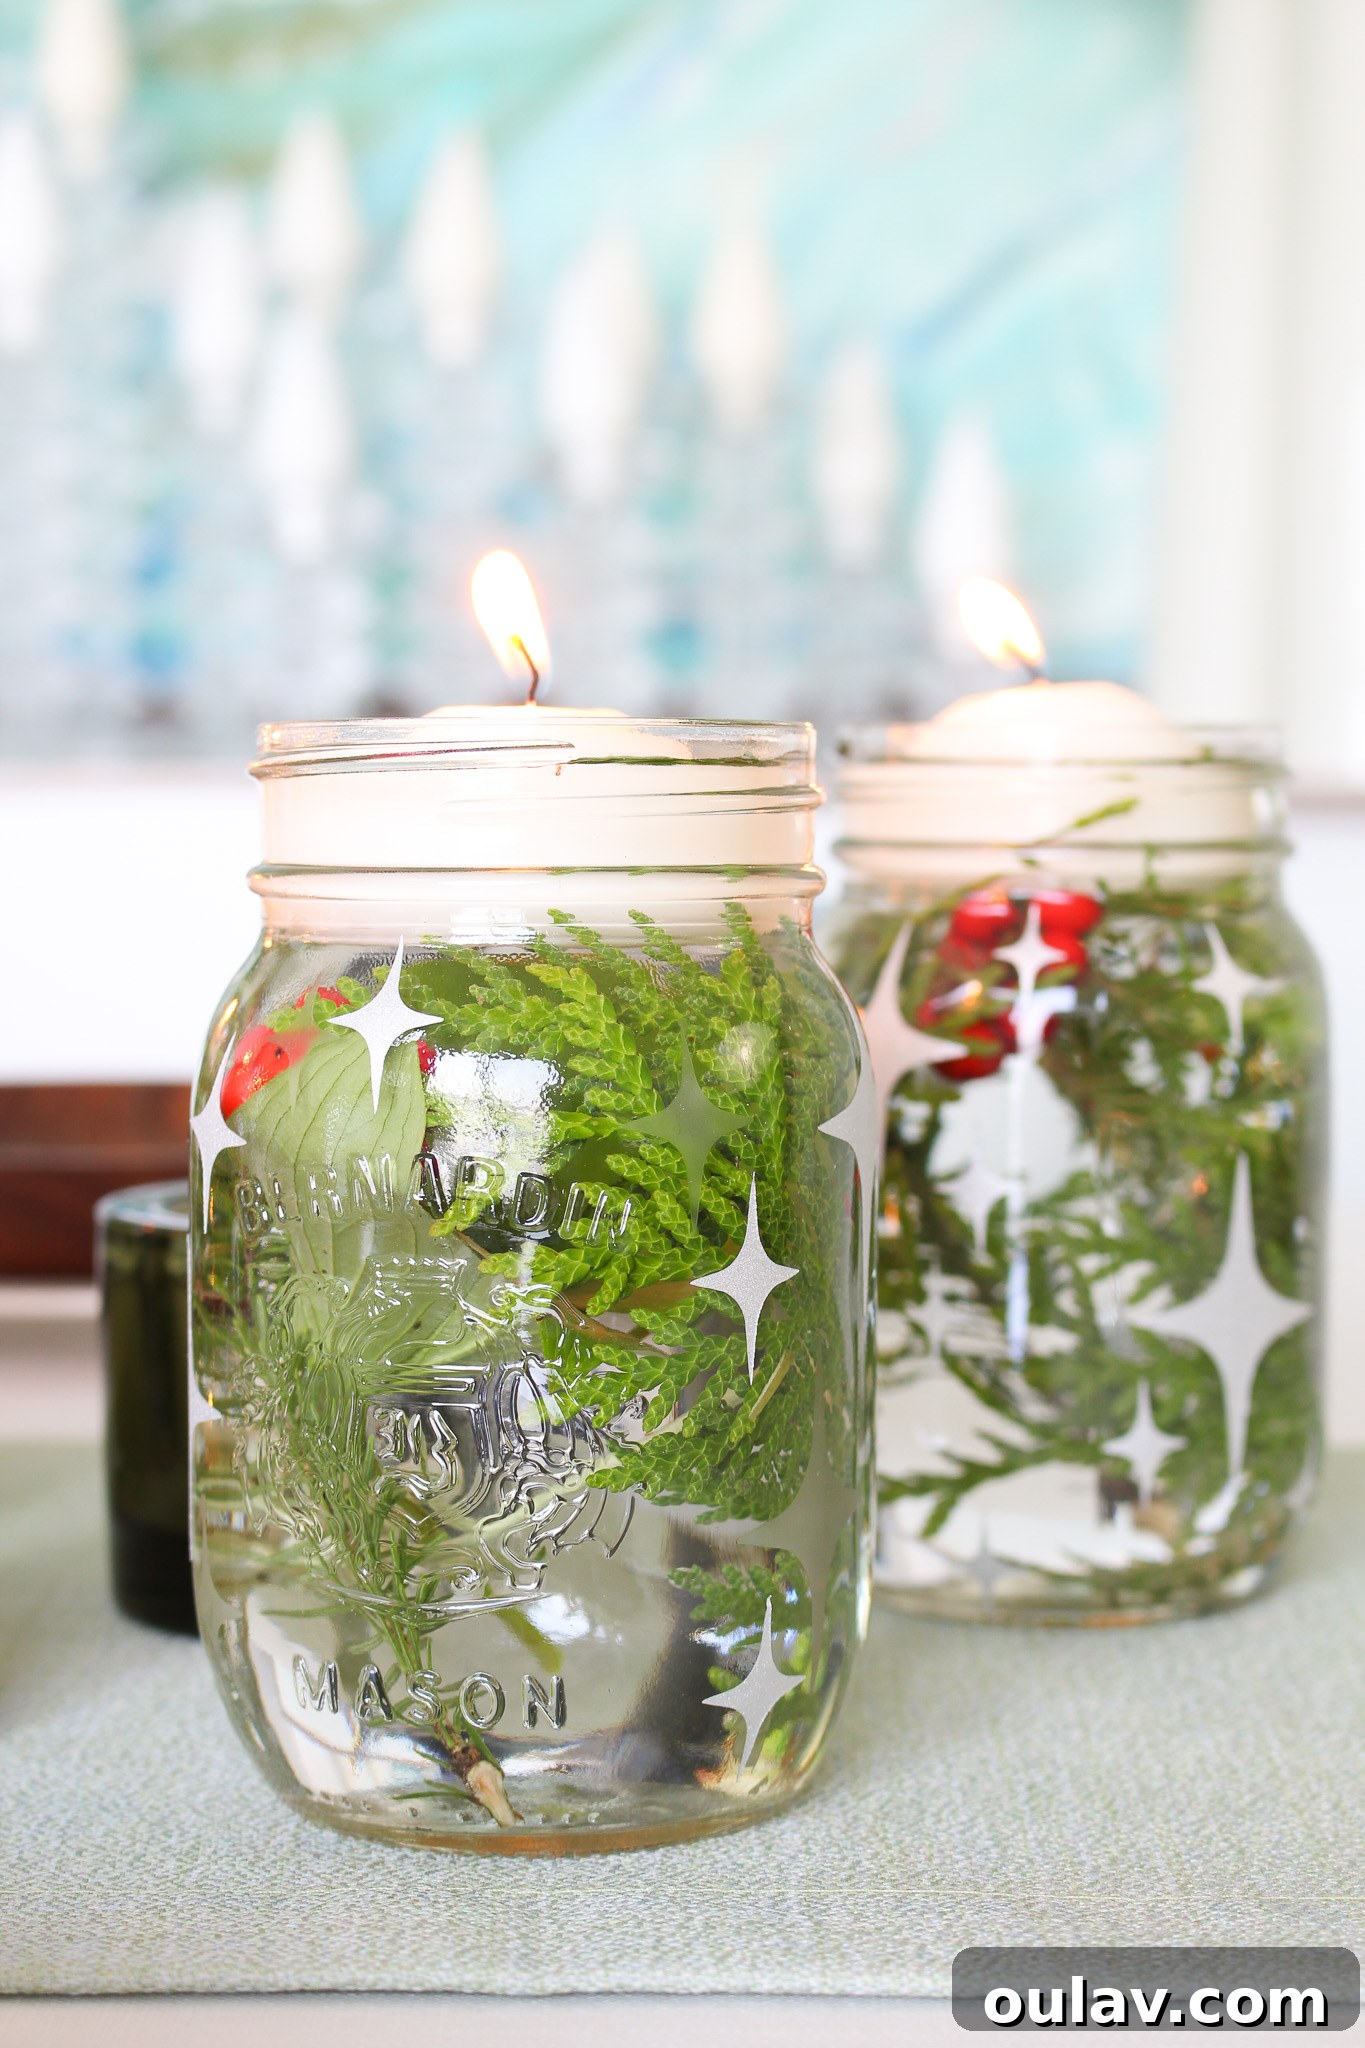
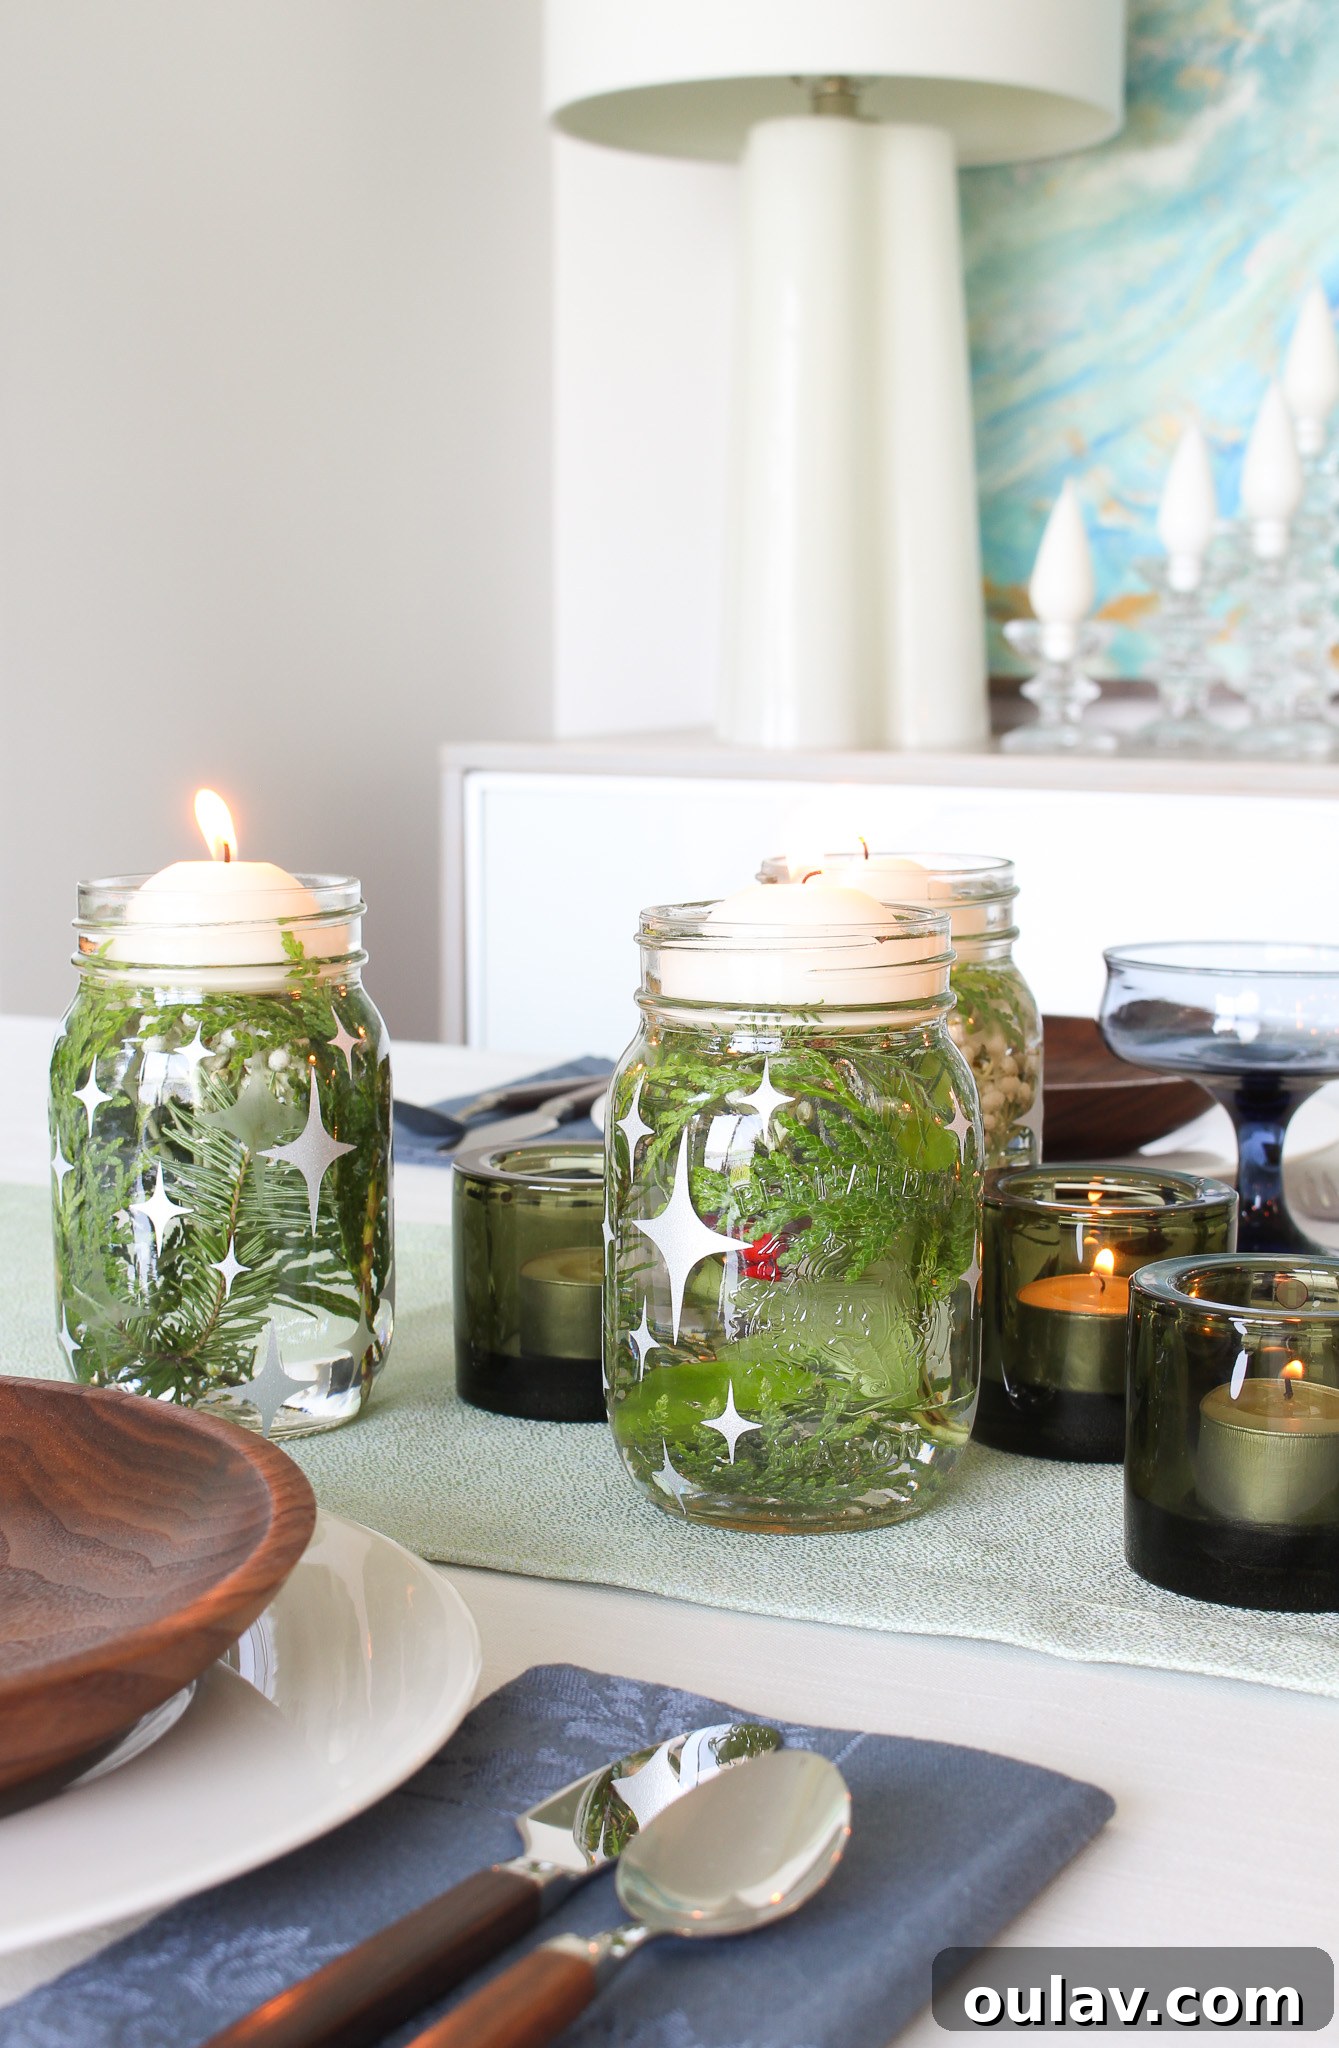
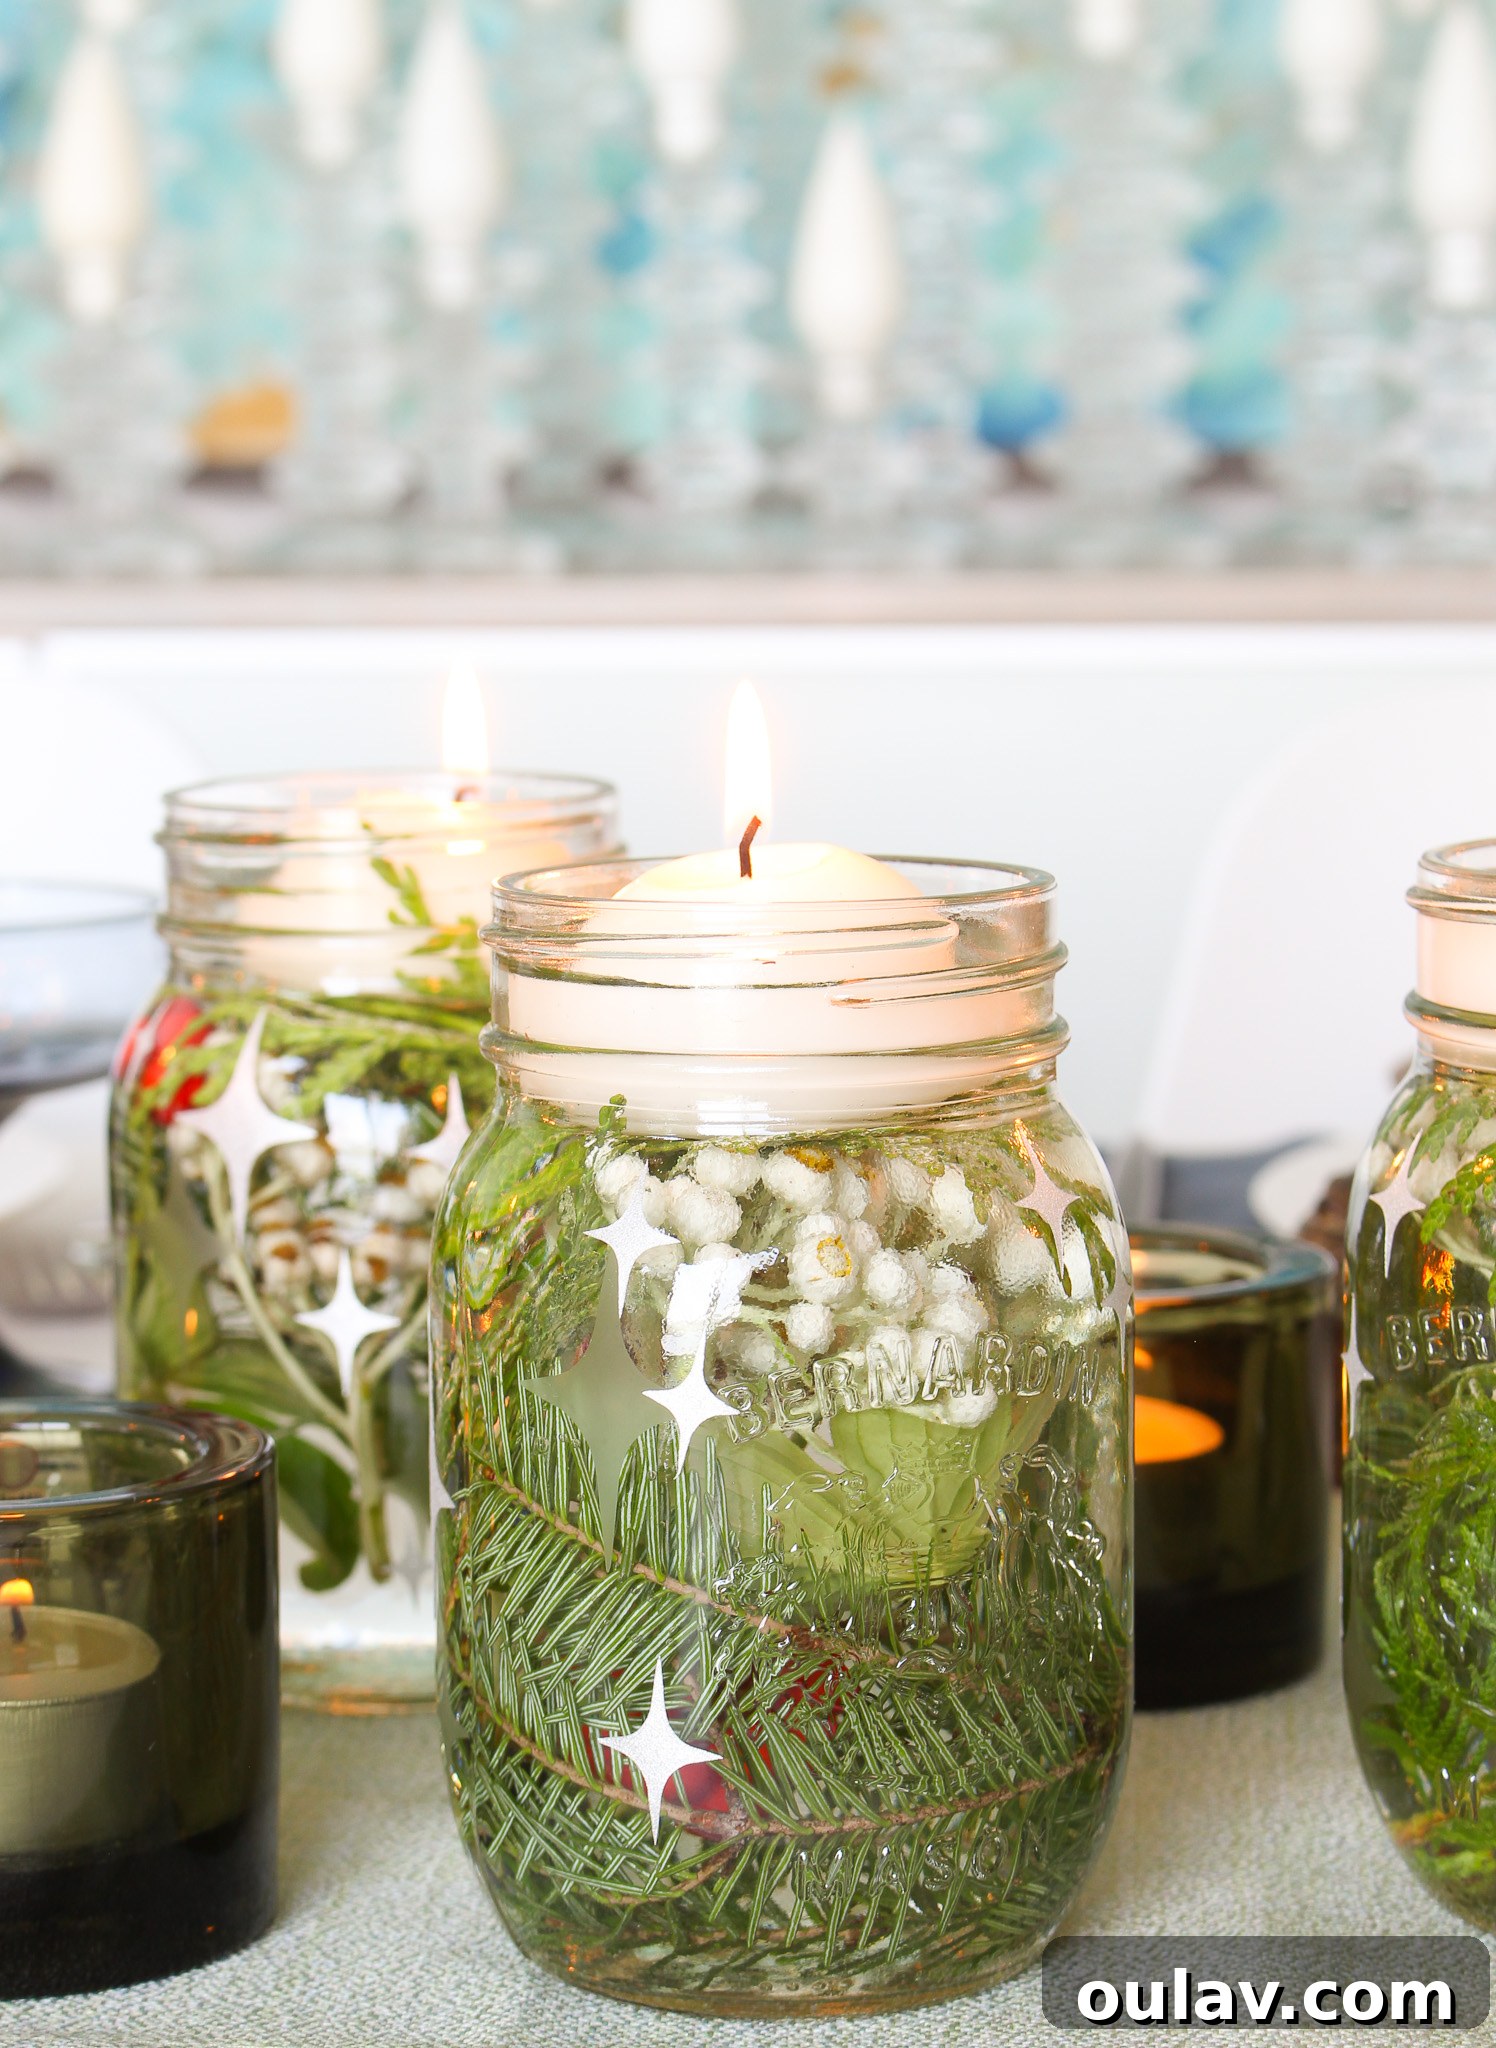
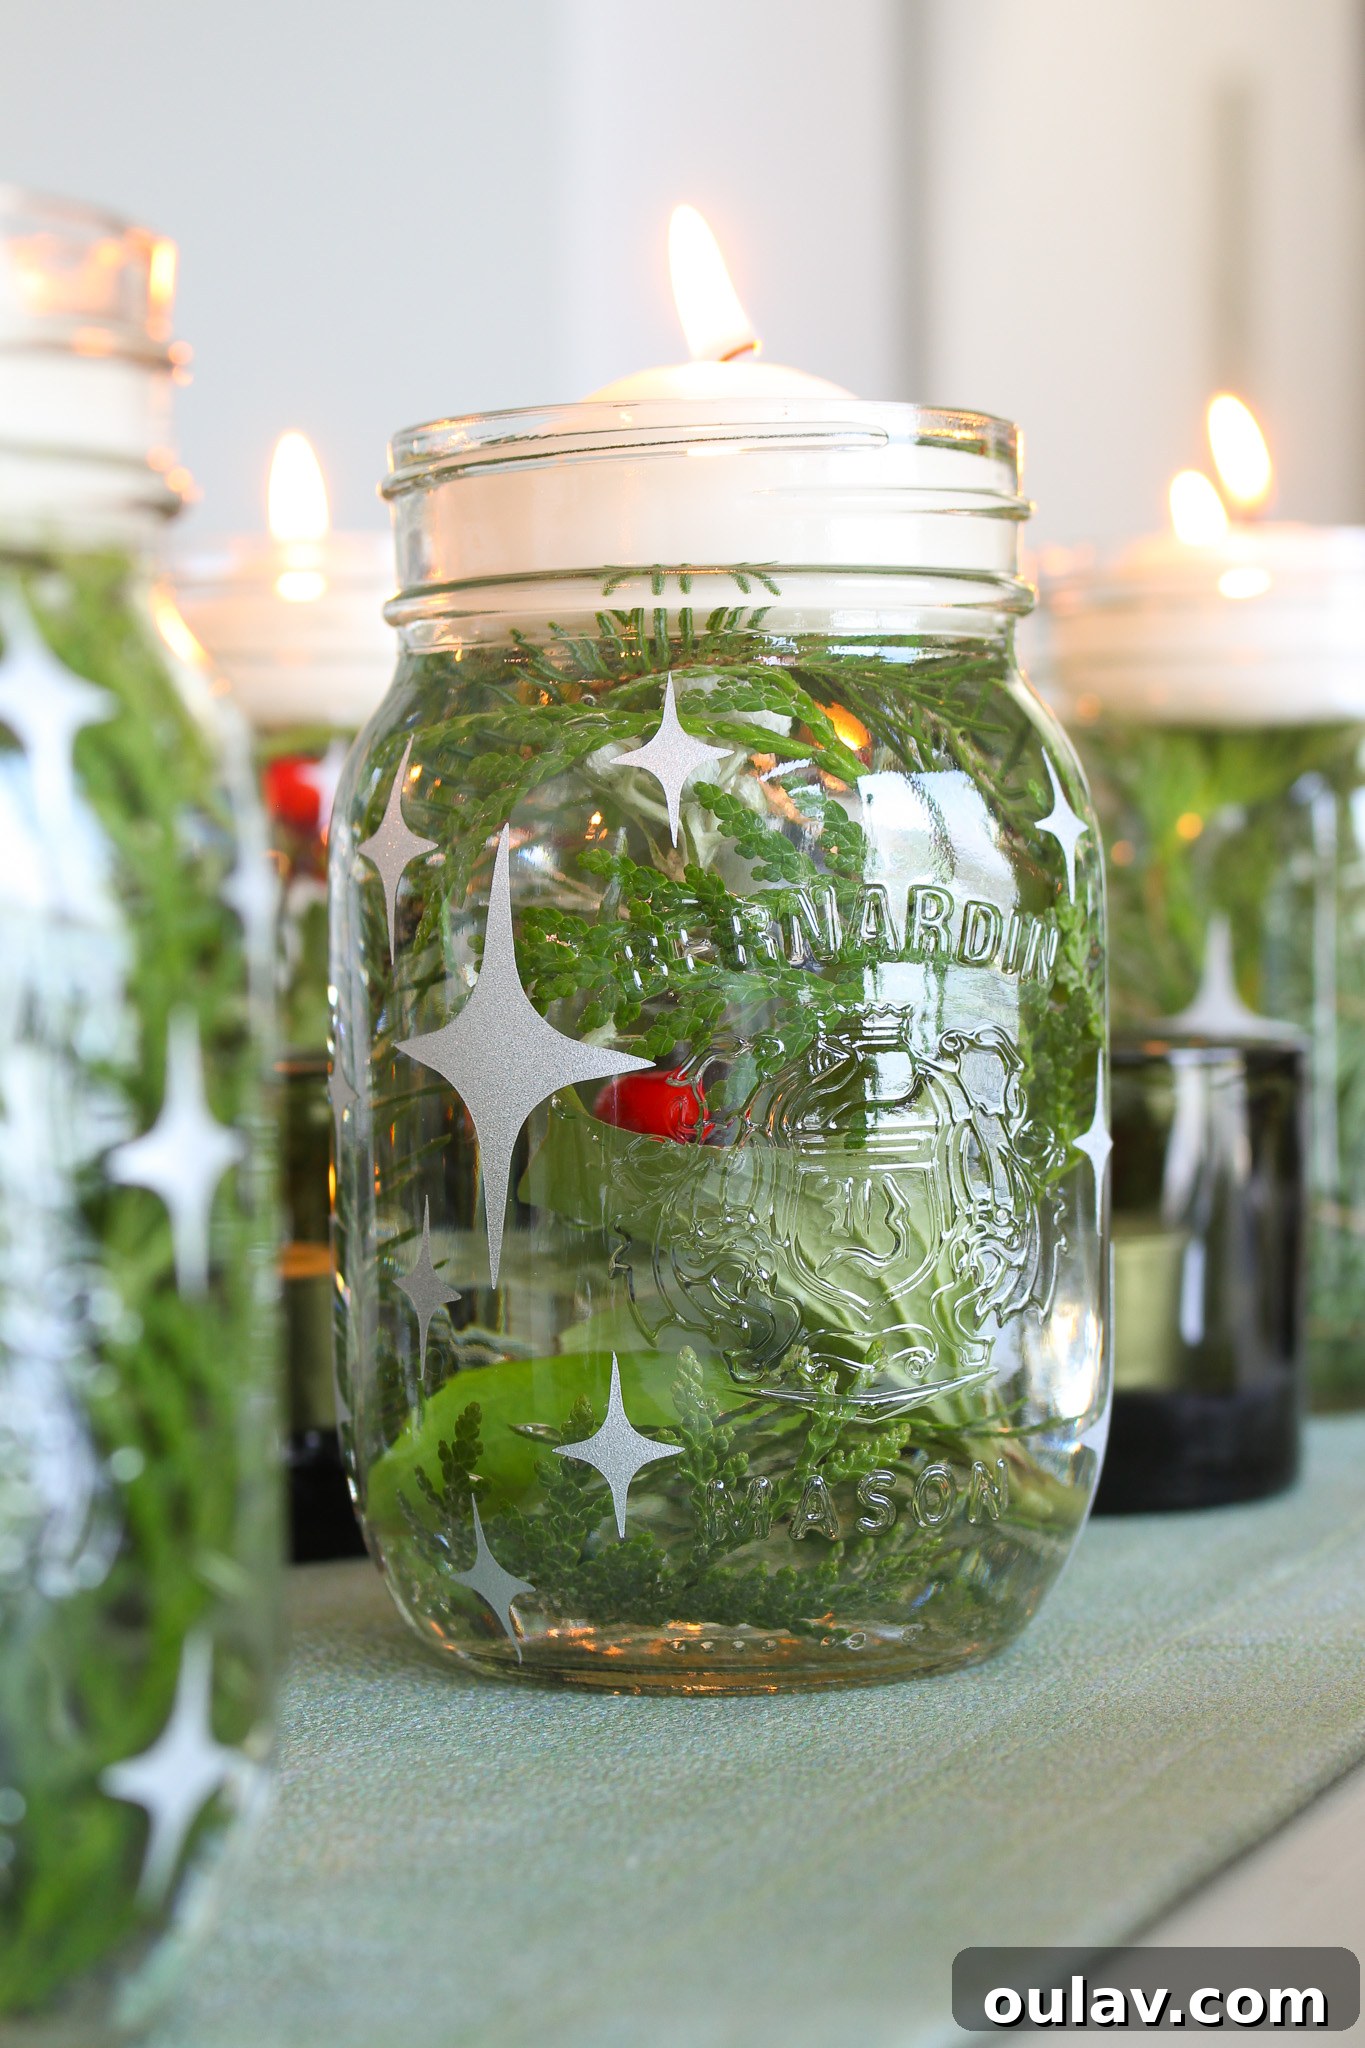
To infuse an extra layer of magic and sparkle, I complemented the subtle etched designs with glittering vinyl stars crafted using my Cricut machine. This combination adds a wonderful depth and dimension to the finished centerpiece, catching the light beautifully. However, the design possibilities are truly endless! You can choose to use either the glass etching, the vinyl stars, or both. For those without a cutting machine or who prefer a quicker embellishment, readily available store-bought stickers—perhaps in a metallic or glitter finish—can provide a similar dazzling effect. Imagine delicate etched snowflakes paired with shimmering star decals, or a simple etched monogram brought to life with a pop of colorful vinyl. This flexibility ensures that anyone, regardless of their crafting experience or tool collection, can create a truly unique and eye-catching display. The joy of DIY lies in making it your own, and this project offers ample opportunity for personal expression.
Essential Supplies for Your Etched Glass Masterpiece
Gathering your materials is the first exciting step in any DIY project. For this etched glass mason jar centerpiece, precision and safety are paramount, so ensure you have all these items ready. Many of these can be found around your home or at a local craft store, making this an accessible and enjoyable craft.
- Glass Jars (e.g., 500 ML Mason Jars): While I used 500ml Bernardin jars, any smooth-sided glass jar will work beautifully. Consider the size based on what you plan to fill them with and where you’ll display them. Upcycled jars should be thoroughly cleaned and dried.
- Glass Etching Cream*: This is the key ingredient for creating the frosted effect on your glass. Brands like Armor Etch are popular, but alternatives exist. Ensure it’s designed specifically for glass.
- Thick Rubber Gloves: Essential for protecting your hands from the etching cream, which contains mild acids. Never work with etching cream without proper hand protection.
- Safety Glasses or Face Shield: Eye protection is critical to prevent accidental splashes of etching cream from reaching your eyes. Prioritize your safety above all else.
- Vinyl Stencils and/or Glittery Star Stickers**: Whether you cut your own stencils with a Cricut or purchase pre-made designs, these will define your etched patterns. The glittery stickers are an optional embellishment for added sparkle.
- Rubbing Alcohol: Used to meticulously clean the glass surface before applying stencils, ensuring the etching cream adheres evenly and produces a crisp design.
- Paper Towel: For cleaning jars, applying alcohol, and carefully removing excess etching cream.
- Painter’s Tape: Crucial for masking off areas you don’t want etched and for securing your stencils tightly to the curved surface of the jars.
- Wood Stir Stick or Cheap Paintbrush: For safely and evenly applying the etching cream to your stencil openings. Choose one you don’t mind discarding or dedicating to crafting.
- Foraged Cedar Branches, Berries, etc…: These natural elements provide a beautiful, organic touch to your finished centerpiece. Pinecones, small ornaments, or even fairy lights are also wonderful options.
- Floating Candles: These add a magical glow to your centerpiece. Make sure to check the diameter to ensure they fit comfortably in your chosen jars (under 2 inches is generally suitable for most standard mason jars).
*A smart tip for beginners or those stocking up: this comprehensive glass etching kit often includes the etching cream, protective gloves, an applicator brush, painter’s tape, and even some charming wintry stencils. At the time of writing, it was available for under $12, making it a highly cost-effective option compared to purchasing each item separately, especially if you don’t already have these basic crafting supplies on hand. Investing in a kit can save both time and money, allowing you to dive straight into the creative process.
Choosing and Crafting Your Stencils for Glass Etching
The stencil is where your design comes to life, dictating the patterns that will be permanently etched into your glass jars. The versatility of stencils allows for endless customization, from simple geometric shapes to intricate festive motifs.
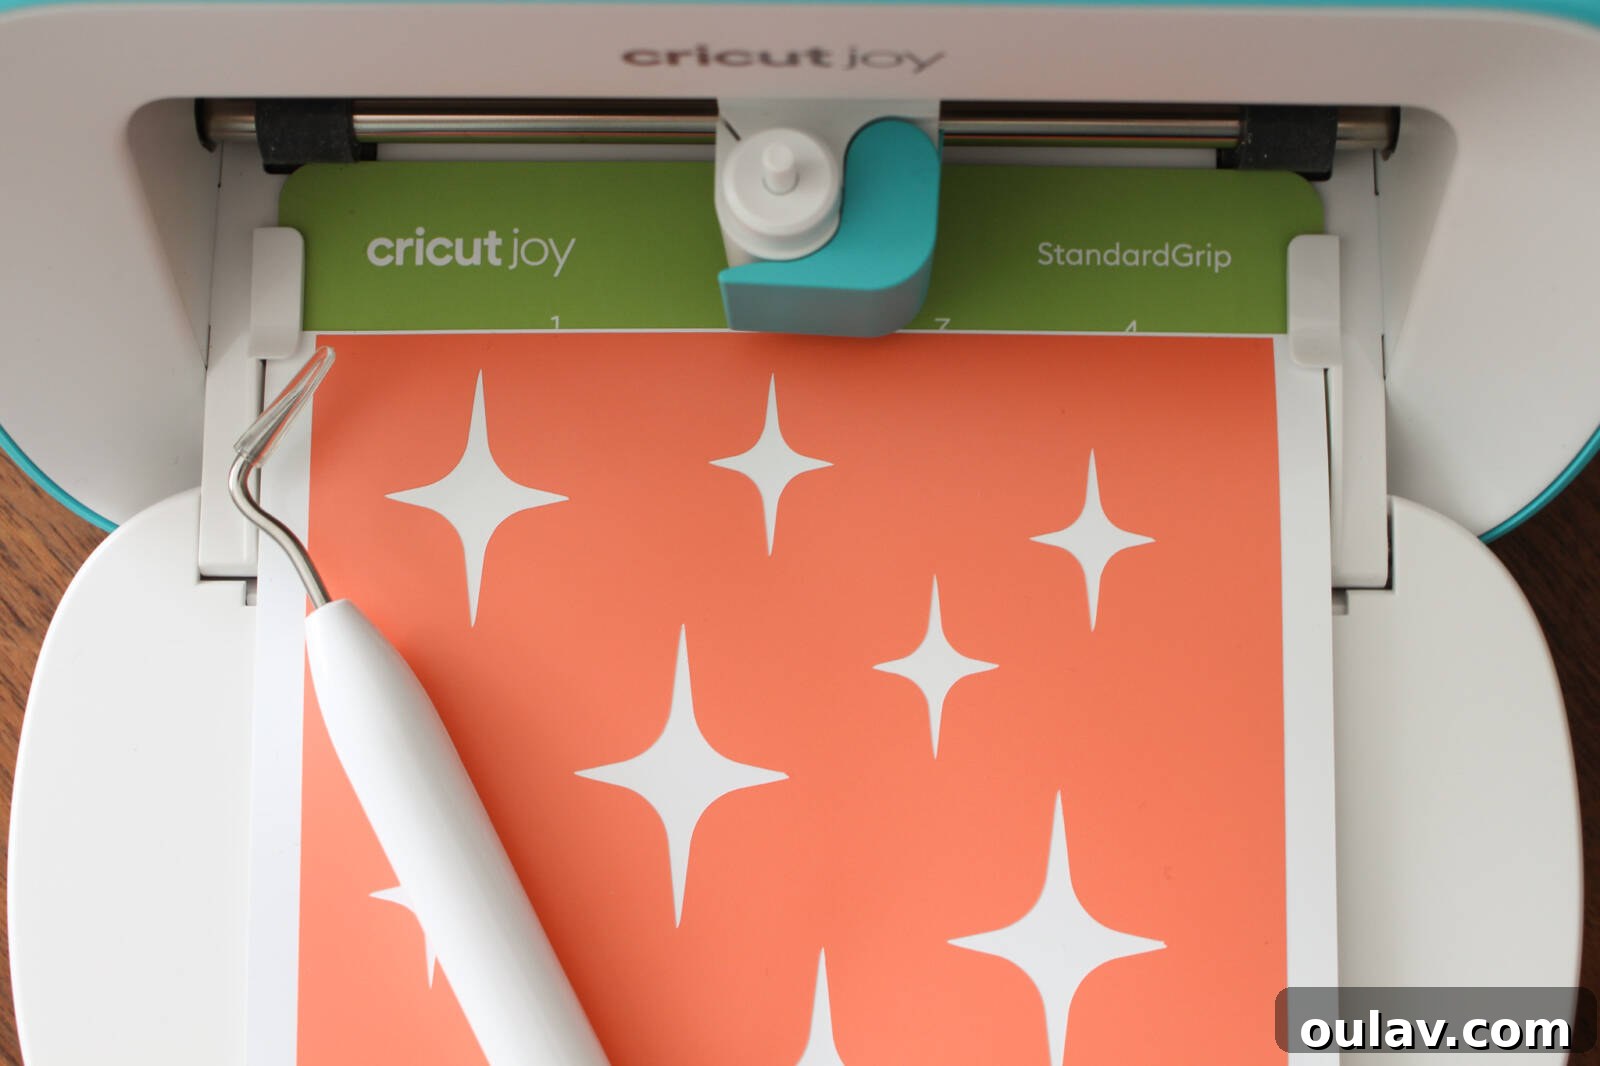
**For this project, I leveraged my trusty Cricut Joy to design and cut my own custom stencils using removable vinyl. This method offers unparalleled creative freedom, allowing you to craft unique stars, snowflakes, monograms, or any pattern your heart desires. When using a Cricut, ensure you select removable vinyl, as it adheres well enough to prevent bleed but peels off cleanly without leaving residue. If you don’t own a Cricut, fret not! There are many fantastic pre-made options available. Brands like Armor Etch produce ready-to-use glass etching stencils – click here for an example of their high-quality, adhesive stencils. For a truly wintry and festive alternative to stars, consider beautiful snowflake stencils, which evoke a serene and elegant aesthetic perfect for the colder months. And if the idea of adding stick-on sparkle appeals to you, but you’re not going the Cricut route, these rhinestone stick-on stars offer a stunning, cool mid-century modern (MCM) vibe that is both sophisticated and eye-catching. No matter your choice, a well-placed stencil is the secret to a perfectly etched design.
Unconventional Alternatives: What Else Can Be Used to Etch Glass?
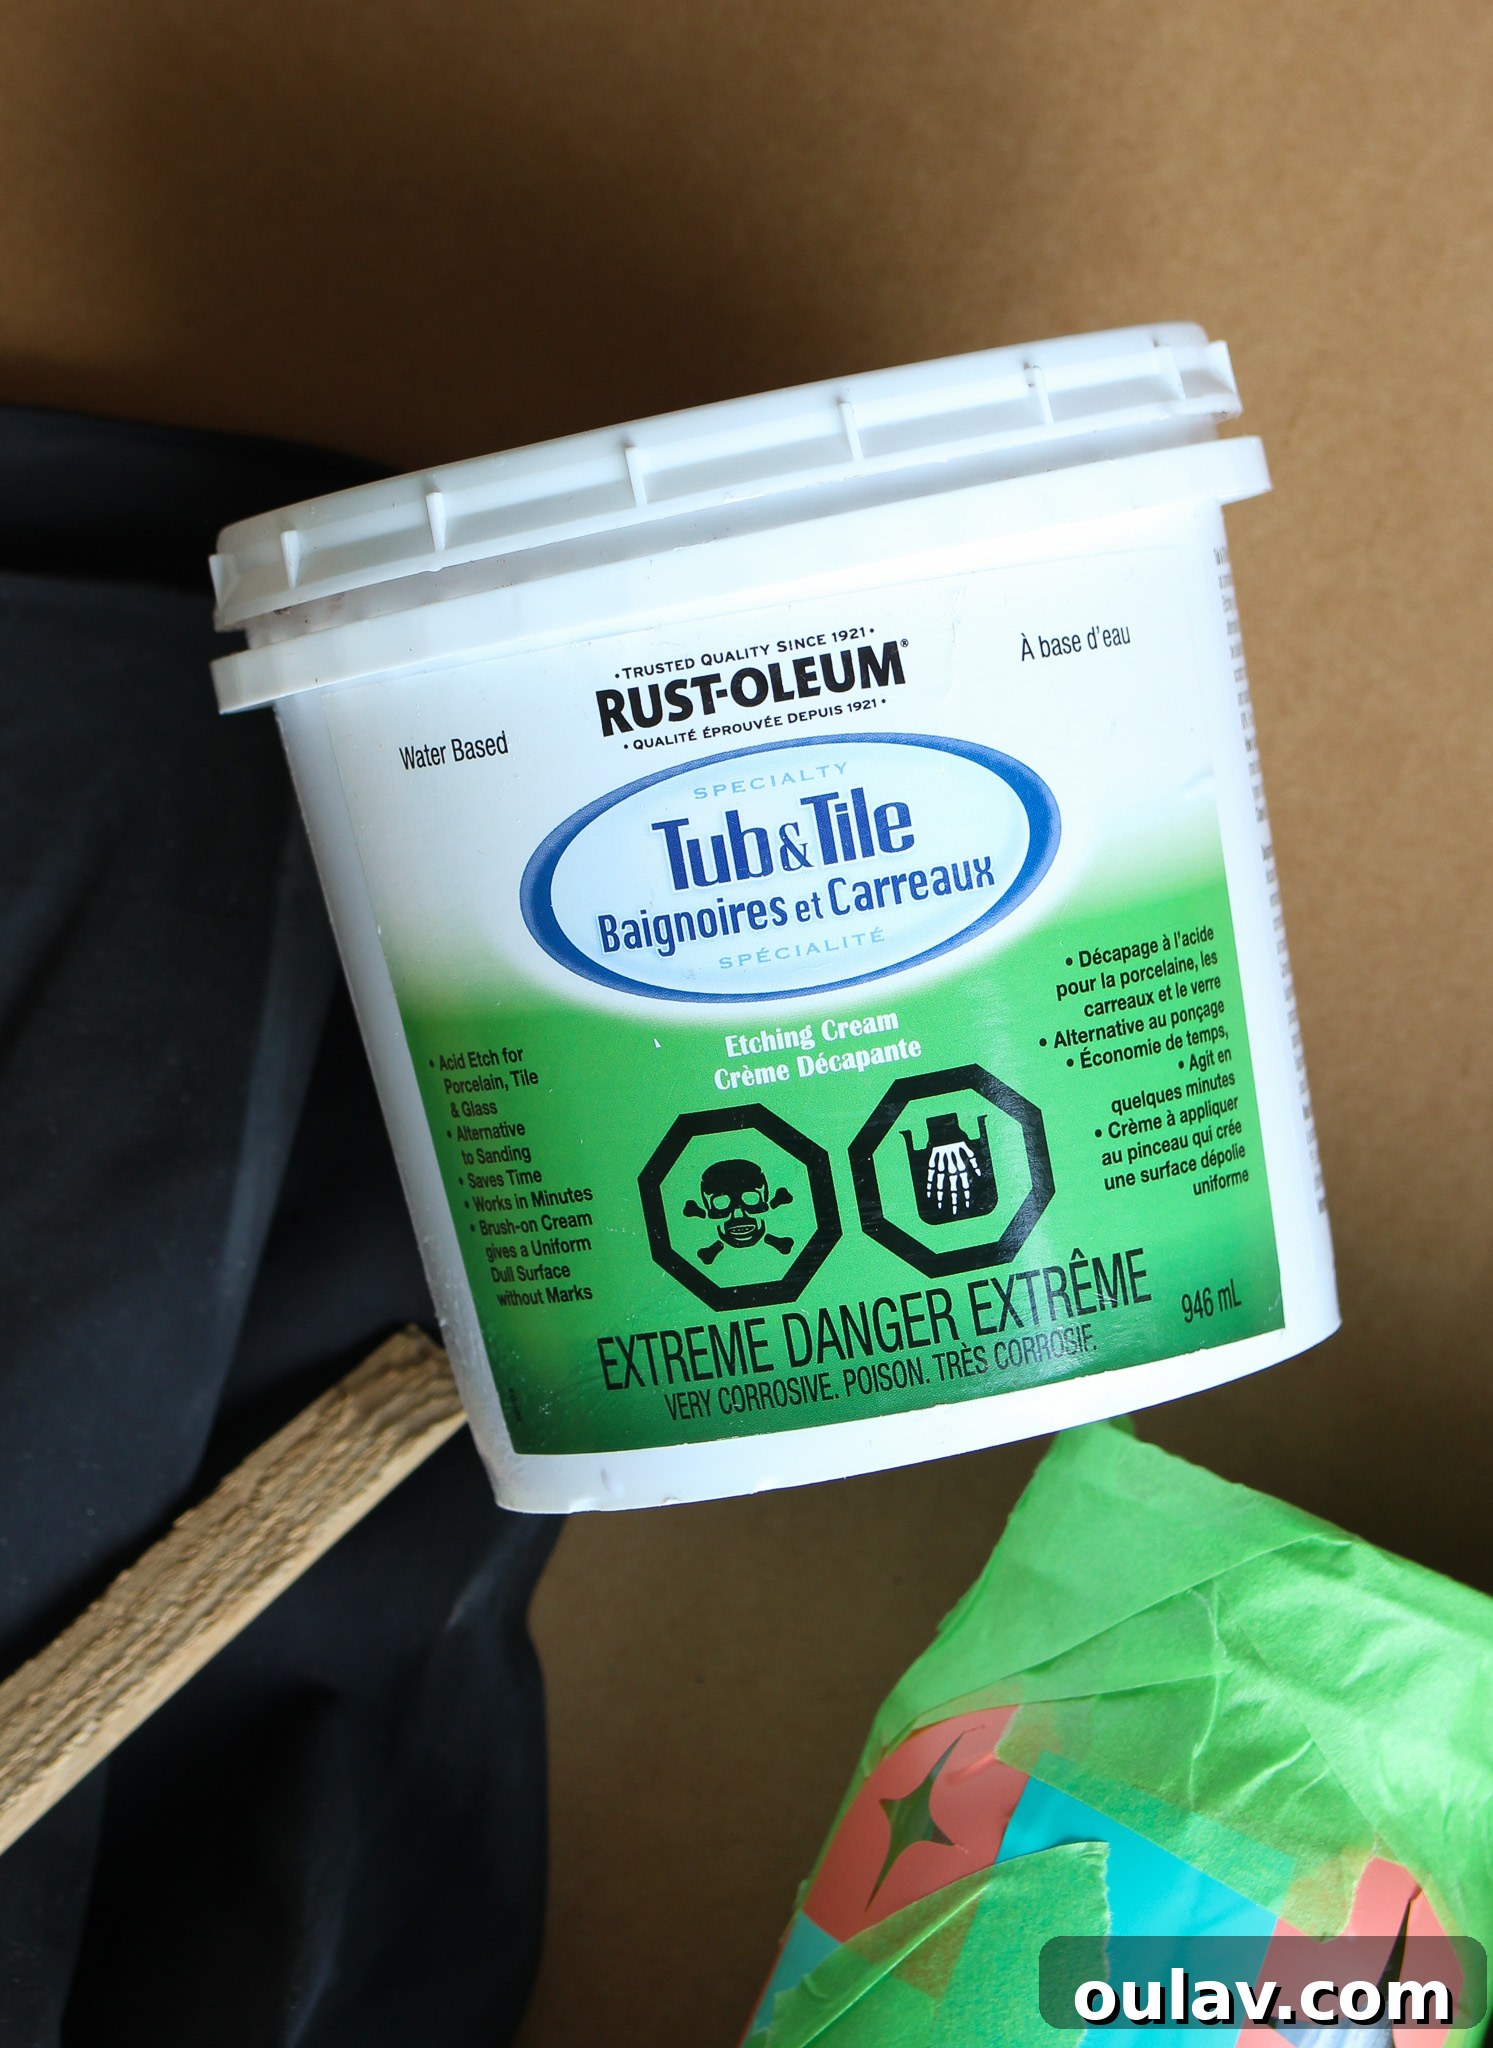
Sometimes, getting your hands on specialized glass etching cream can be a challenge, especially in smaller towns or during peak crafting seasons. But don’t let that deter your creative spirit! If you find yourself in a bind and can’t locate traditional Armor Etch Glass Etching Cream (or any specific brand for that matter) at your local hardware or craft store, there’s a resourceful alternative: Rust-Oleum Tub & Tile etching cream. While primarily designed for removing the finish from porcelain, tile, and glass surfaces as a preparation for refinishing (in lieu of sanding), its acidic properties make it surprisingly effective for achieving beautiful etched designs on glass. I personally relied on this method when traditional etching cream was nowhere to be found, and it performed admirably for this glass etching craft. A word of caution: this product often comes in larger tubs. If you’re purchasing a significant quantity, consider organizing a craft night with friends! It’s a fantastic way to share the supplies, costs, and creative fun, ensuring none of the product goes to waste. Always remember to read the product instructions carefully and conduct a small test patch on an inconspicuous area of your glass to ensure desired results and compatibility.
Step-by-Step Guide: How to Etch Stars onto Glass Jars
Creating your etched glass centerpiece is a straightforward process, but attention to detail at each step will ensure a professional and beautiful finish. Follow these instructions carefully, especially concerning safety, to achieve stunning results.
- Prepare Your Jars: Begin by thoroughly cleaning the entire outside surface of your glass jars with rubbing alcohol and a clean paper towel. This crucial step removes any oils, fingerprints, or residue that could interfere with the etching process, ensuring a crisp, even etch. Allow the jars to air dry completely before proceeding.
- Create or Apply Stencils: If using a vinyl cutting machine like a Cricut, design and cut your desired star shapes or other patterns. Remember to use removable vinyl for your stencils. Alternatively, purchase pre-made stencils. Carefully apply your vinyl stencils to the clean, dry glass, pressing firmly to remove any air bubbles and ensure a tight seal around the edges of your design.
- Mask Off Unwanted Areas: Once your stencils are in place, use painter’s tape to meticulously cover all exposed glass surfaces that you do not want etched. Ensure there are no gaps or wrinkles in the tape, creating a protective barrier around your stencil. This prevents the etching cream from bleeding into unintended areas.
- Prioritize Safety: Before handling the etching cream, prepare your workspace. Lay down newspapers or a protective mat to shield your work surface from accidental spills. Don your thick rubber gloves and safety glasses (or face shield). Work in a well-ventilated area to minimize exposure to fumes.
- Apply Etching Cream: Using a wood stir stick or a cheap paintbrush, apply a generous, thick, and even layer of the glass etching cream directly over the exposed areas within your stencils. Do not spread it too thin, as this can result in an uneven or faint etch. Aim for a consistent, opaque coating.
- Allow to Dwell: Let the etching cream sit on the glass for approximately 20 minutes. This duration allows the chemical reaction to properly frost the glass. Avoid touching or disturbing the jars during this time.
- Remove and Rinse: After 20 minutes, carefully use paper towels to scrape off the excess etching cream from the stenciled areas. Dispose of the cream-laden paper towels safely according to the product’s instructions. Then, under running water, thoroughly rinse the jars to remove any remaining residue of the etching cream. Be careful not to let the cream touch un-etched glass as you rinse.
- Dry and Embellish: Allow the jars to air dry completely. Once dry, carefully peel off the vinyl stencils and painter’s tape. At this point, you can apply your glittery vinyl stars (if using) or other stick-on embellishments to add extra sparkle and dimension to your design.
- Fill with Nature’s Bounty: Fill the bottom of your jars with foraged finds such as cedar branches, festive berries, pinecones, or other seasonal natural elements. A small amount of water can be added if your filler requires it (e.g., fresh greens).
- Add a Floating Candle: Carefully place a floating candle on top of the water (if used) or directly on your natural fillers. Light the candle to bring a warm, inviting glow to your stunning new centerpiece.
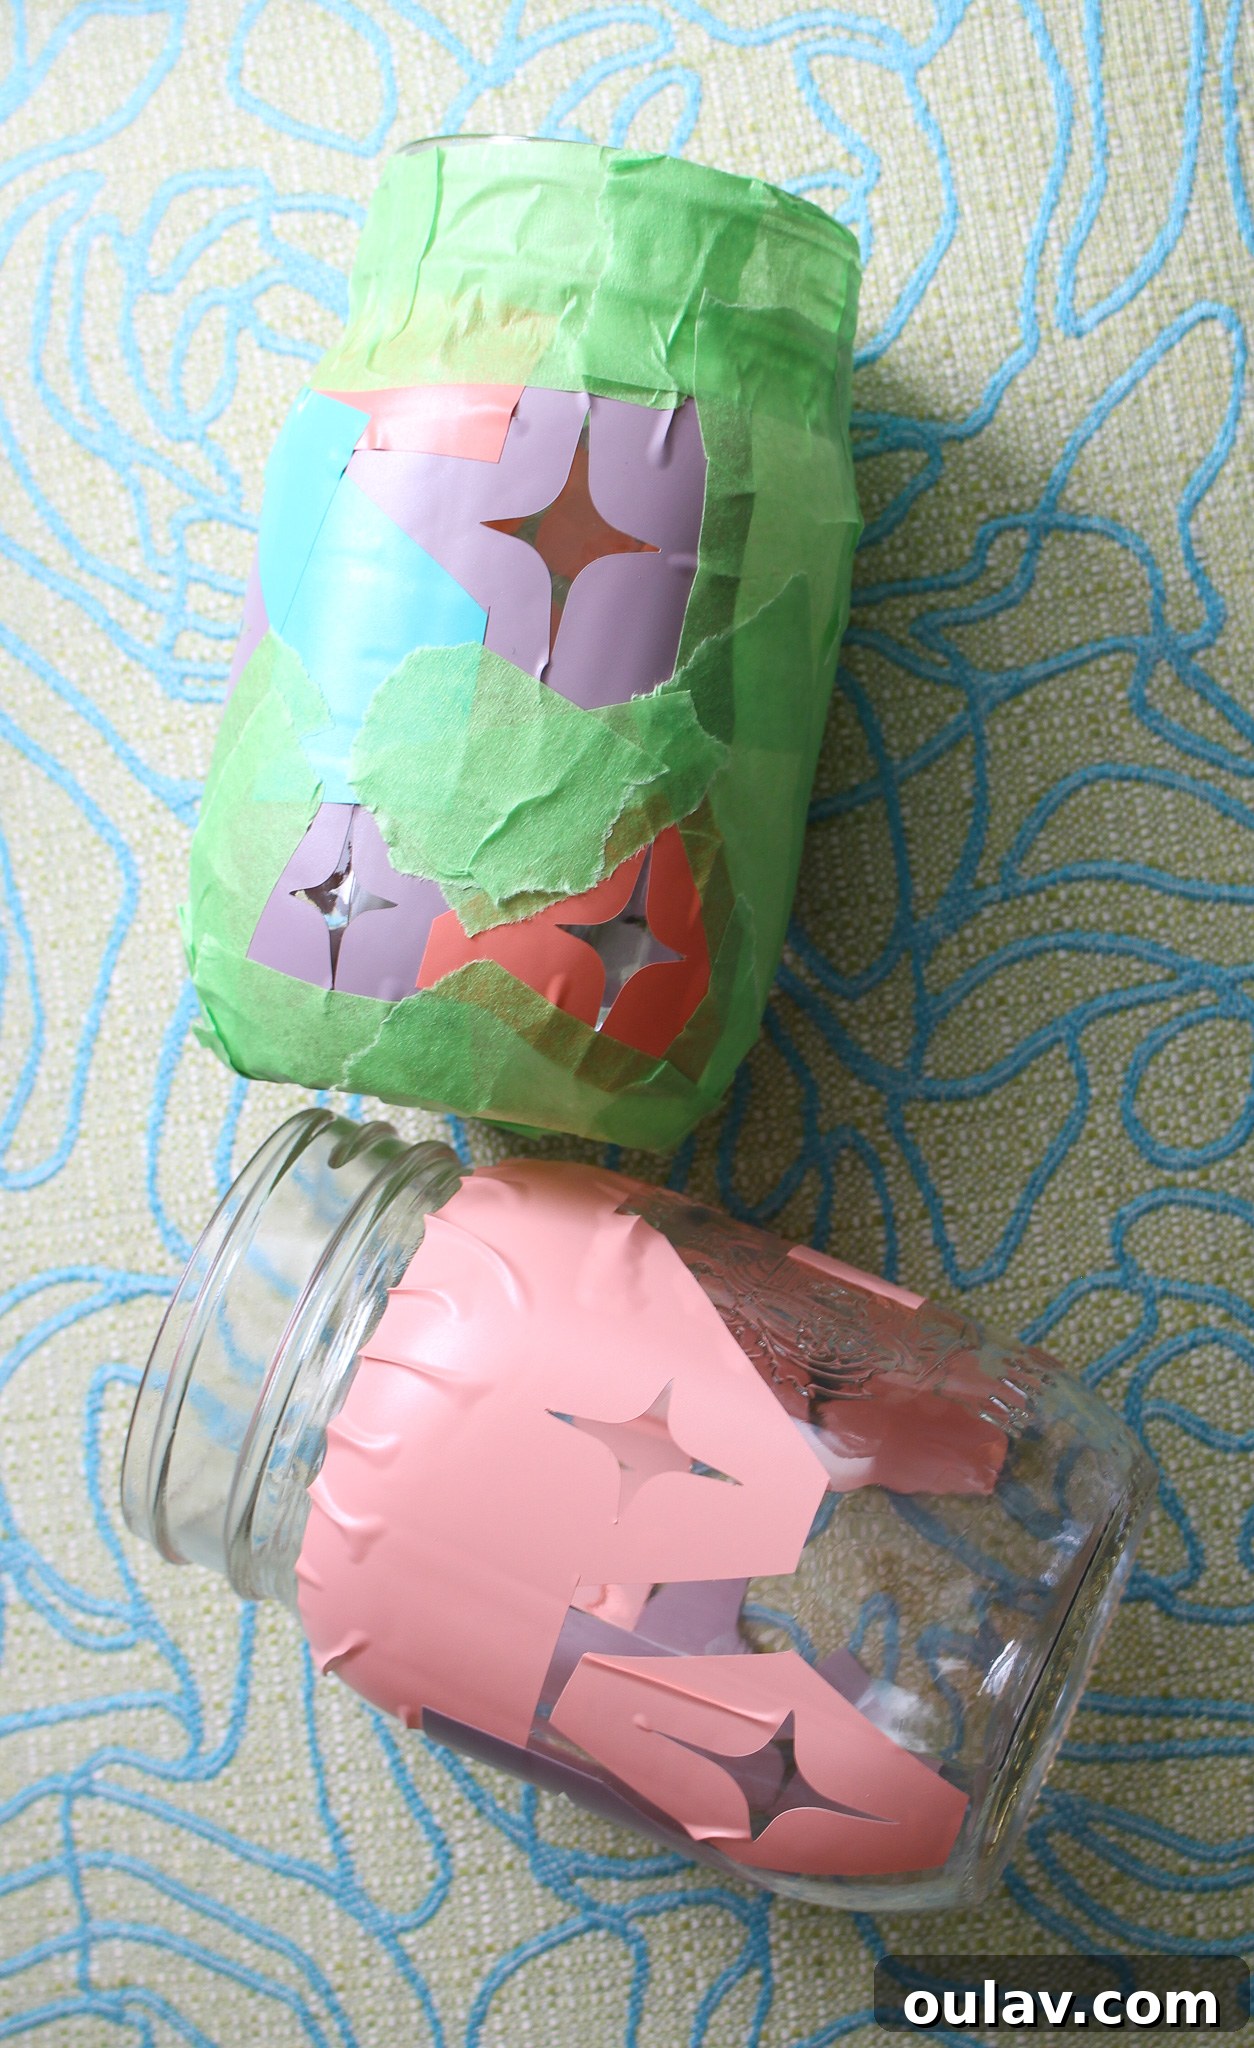
A smart tip for those using a Cricut: if you’re thoughtful during your design and cutting process, the inner part of your cut-out stencil (the actual star shape, for instance) can become the vinyl star you later apply to the jar! This saves material and ensures a perfect match between your etched and vinyl elements. Sadly, I wasn’t thinking ahead during my initial creation, but you can learn from my oversight, LOL. When crafting stencils with Cricut products, always ensure you’re using removable vinyl. Its adhesive is strong enough to prevent the etching cream from seeping under, yet gentle enough to peel away without damaging the glass or leaving a sticky residue. Due to the inherent curve of glass jars, I found it more effective to cut my stencils into smaller, manageable sections. This allowed them to wrap more smoothly around the circumference of the jar. I then meticulously filled any remaining gaps with painter’s tape, ensuring a completely sealed area where the etching cream would be applied, resulting in clean, crisp etched lines.
It bears repeating: please exercise extreme caution when working with glass etching cream. This chemical solution is designed to alter glass surfaces and can etch other materials, including countertops, tabletops, and even your skin. Always protect your work surfaces with ample newspaper or a dedicated crafting mat. Furthermore, diligently protect your skin by wearing thick rubber gloves and work in a very well-ventilated area to avoid inhaling any fumes. Safety first ensures a successful and enjoyable crafting experience.
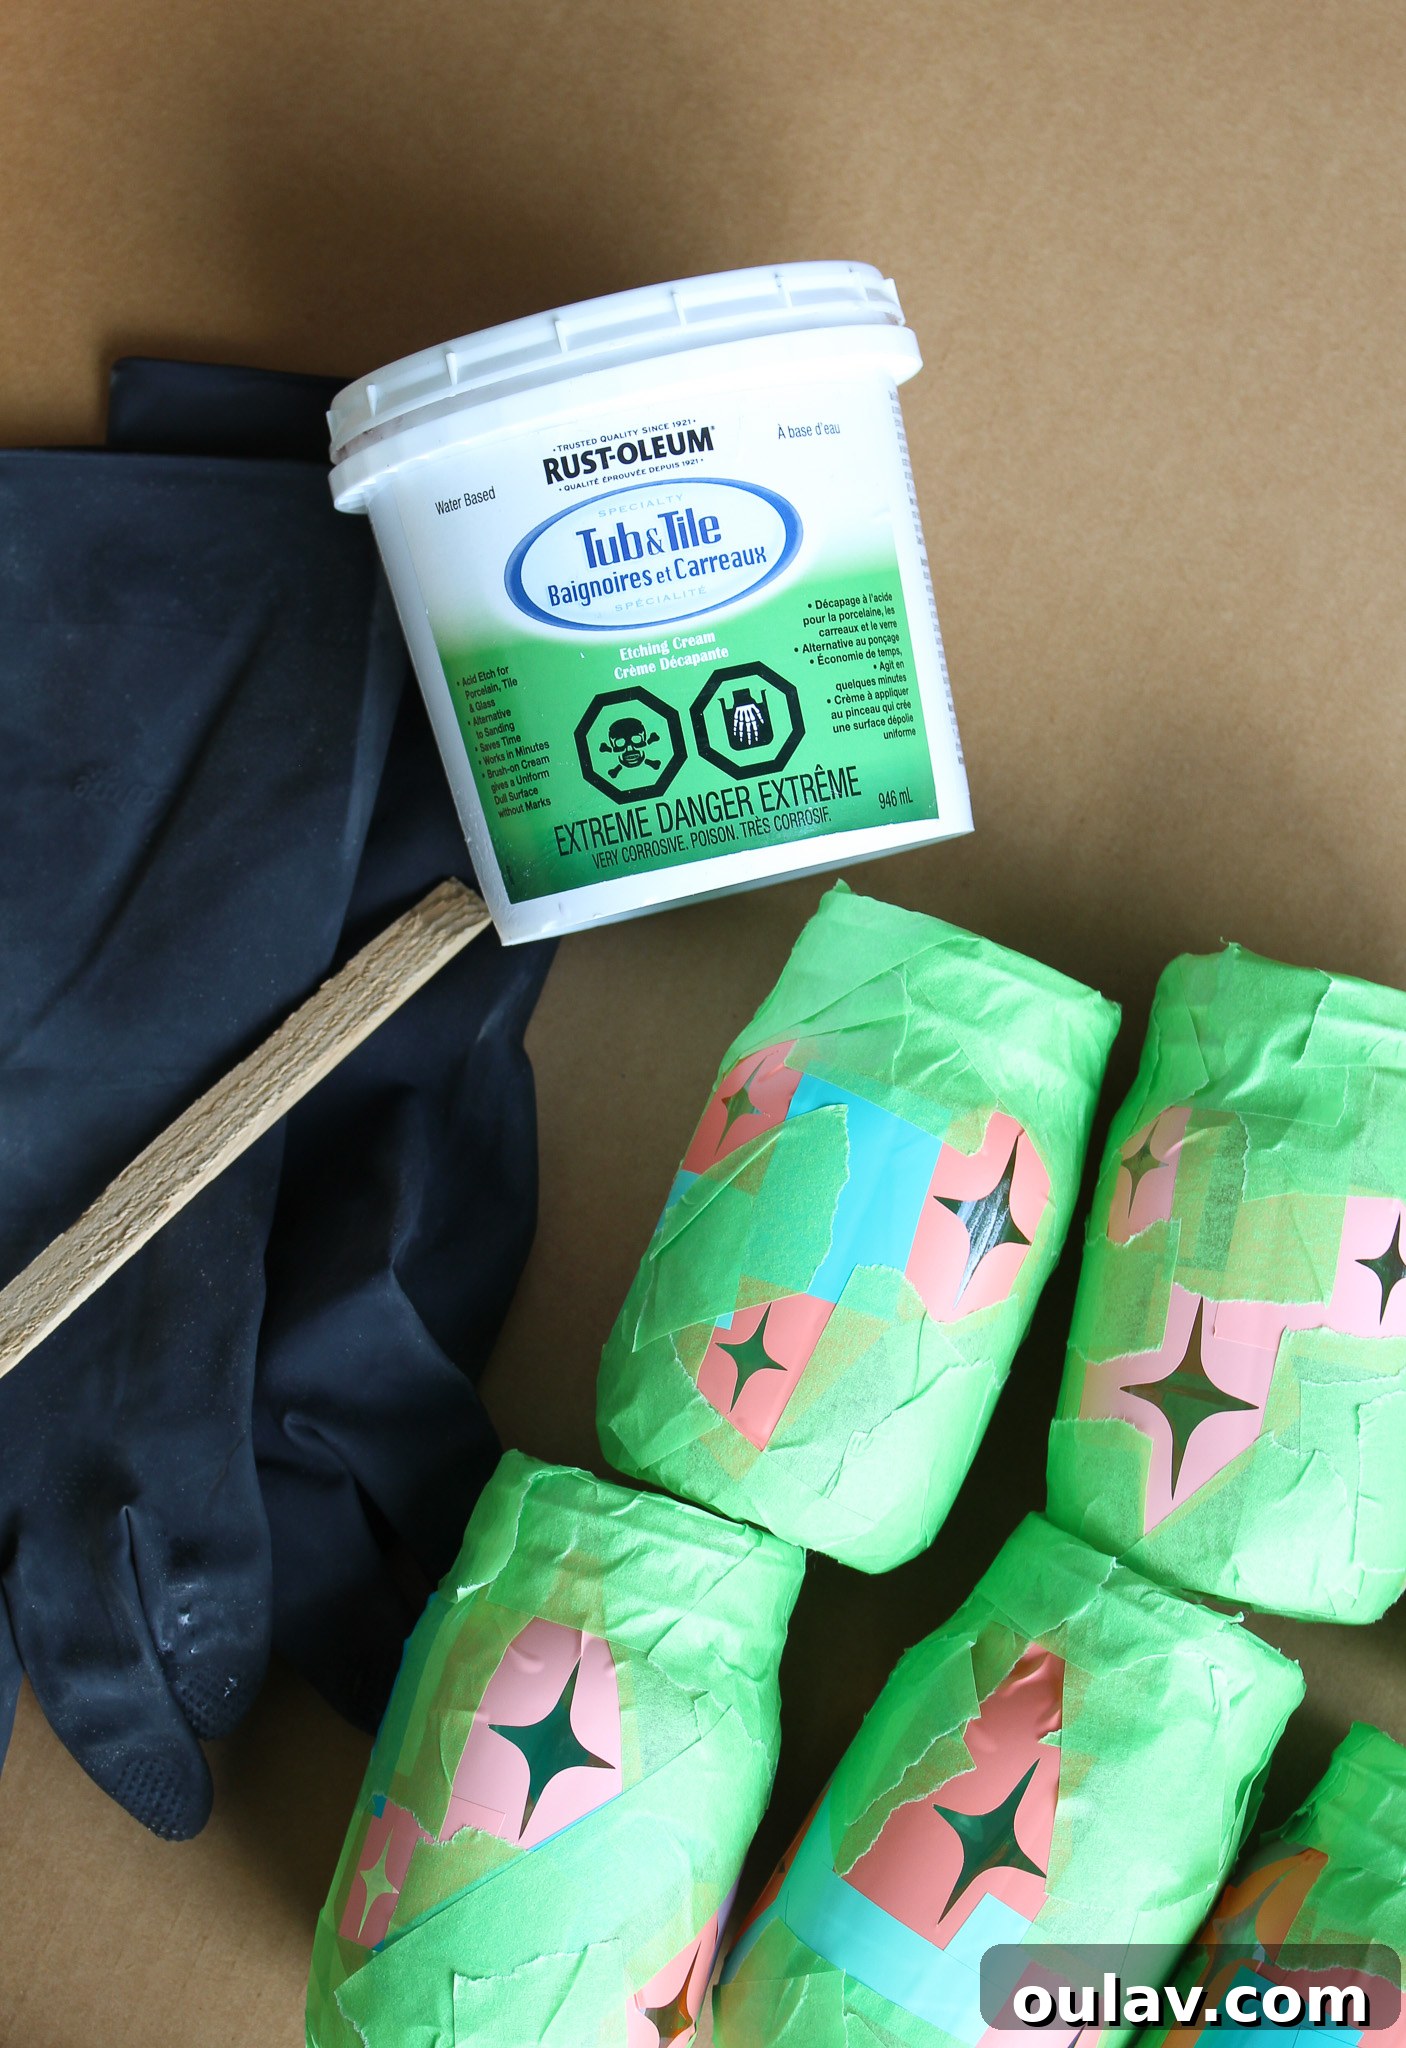
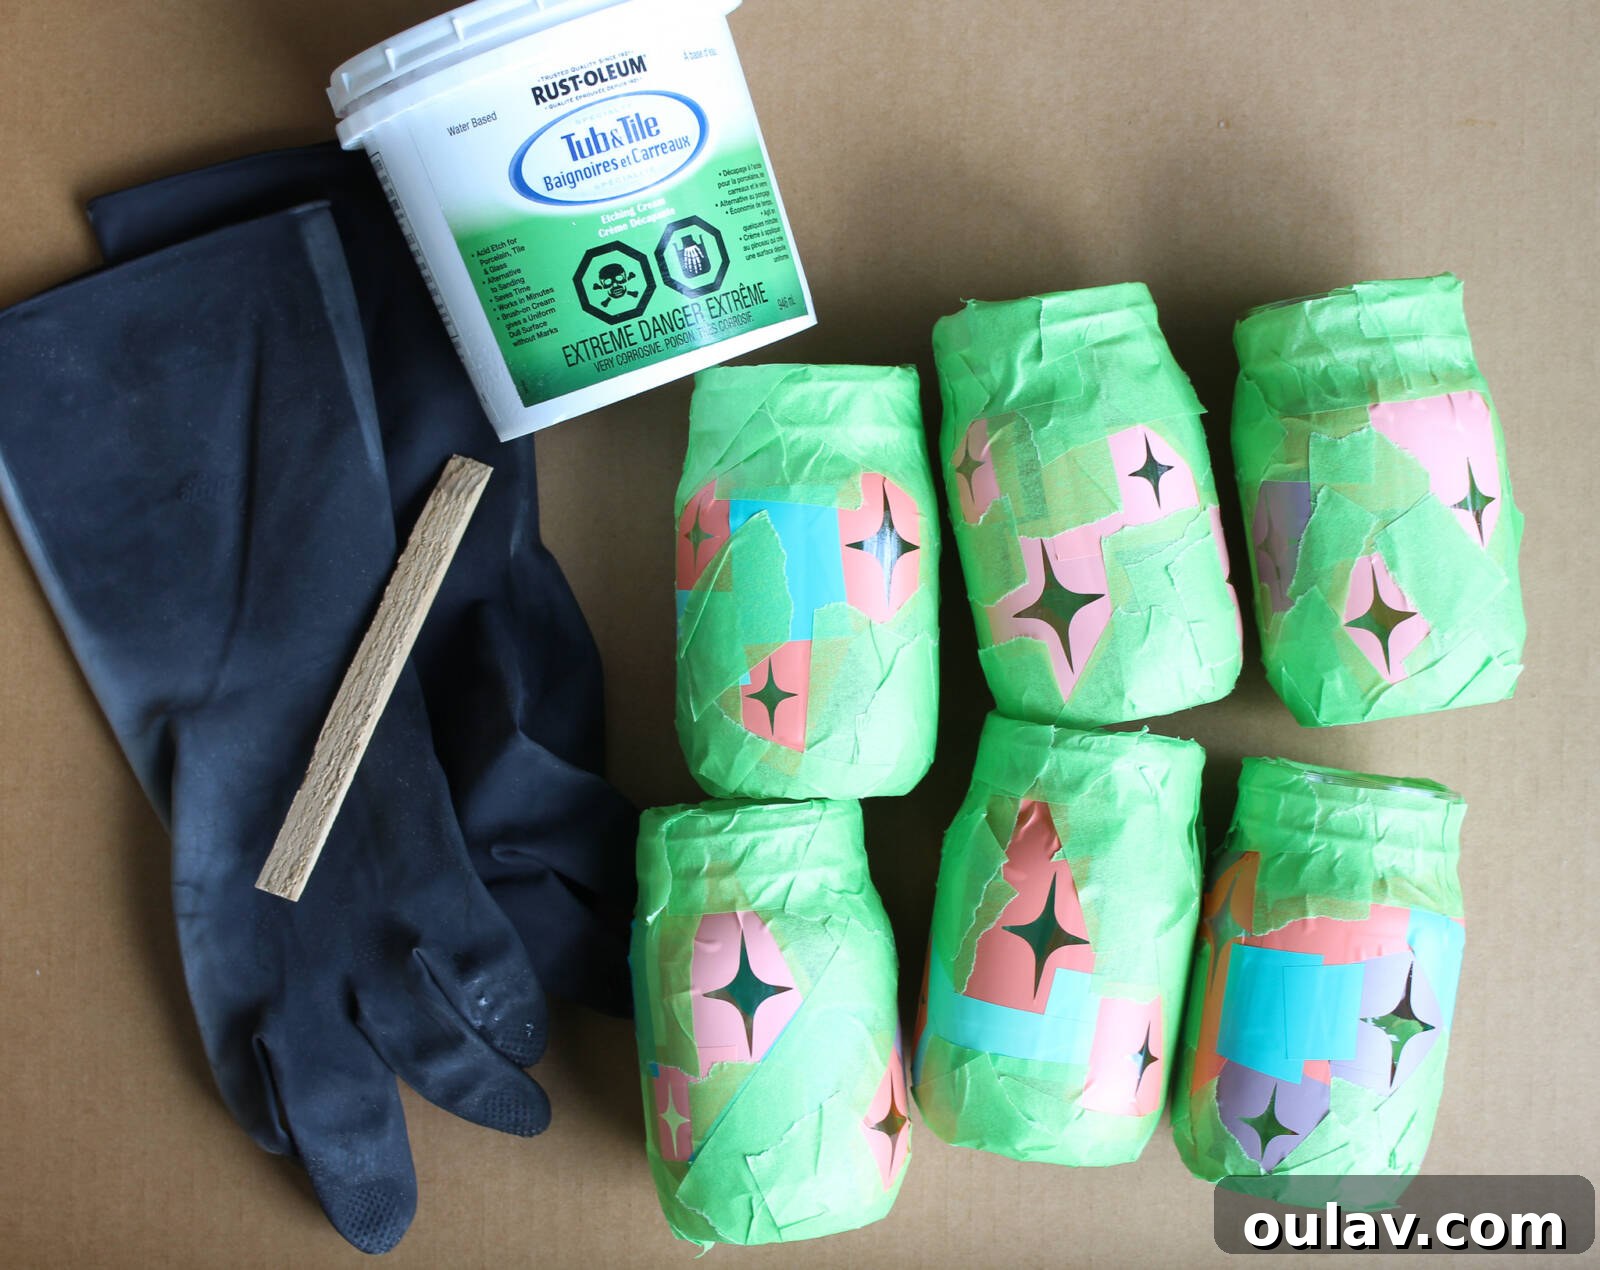
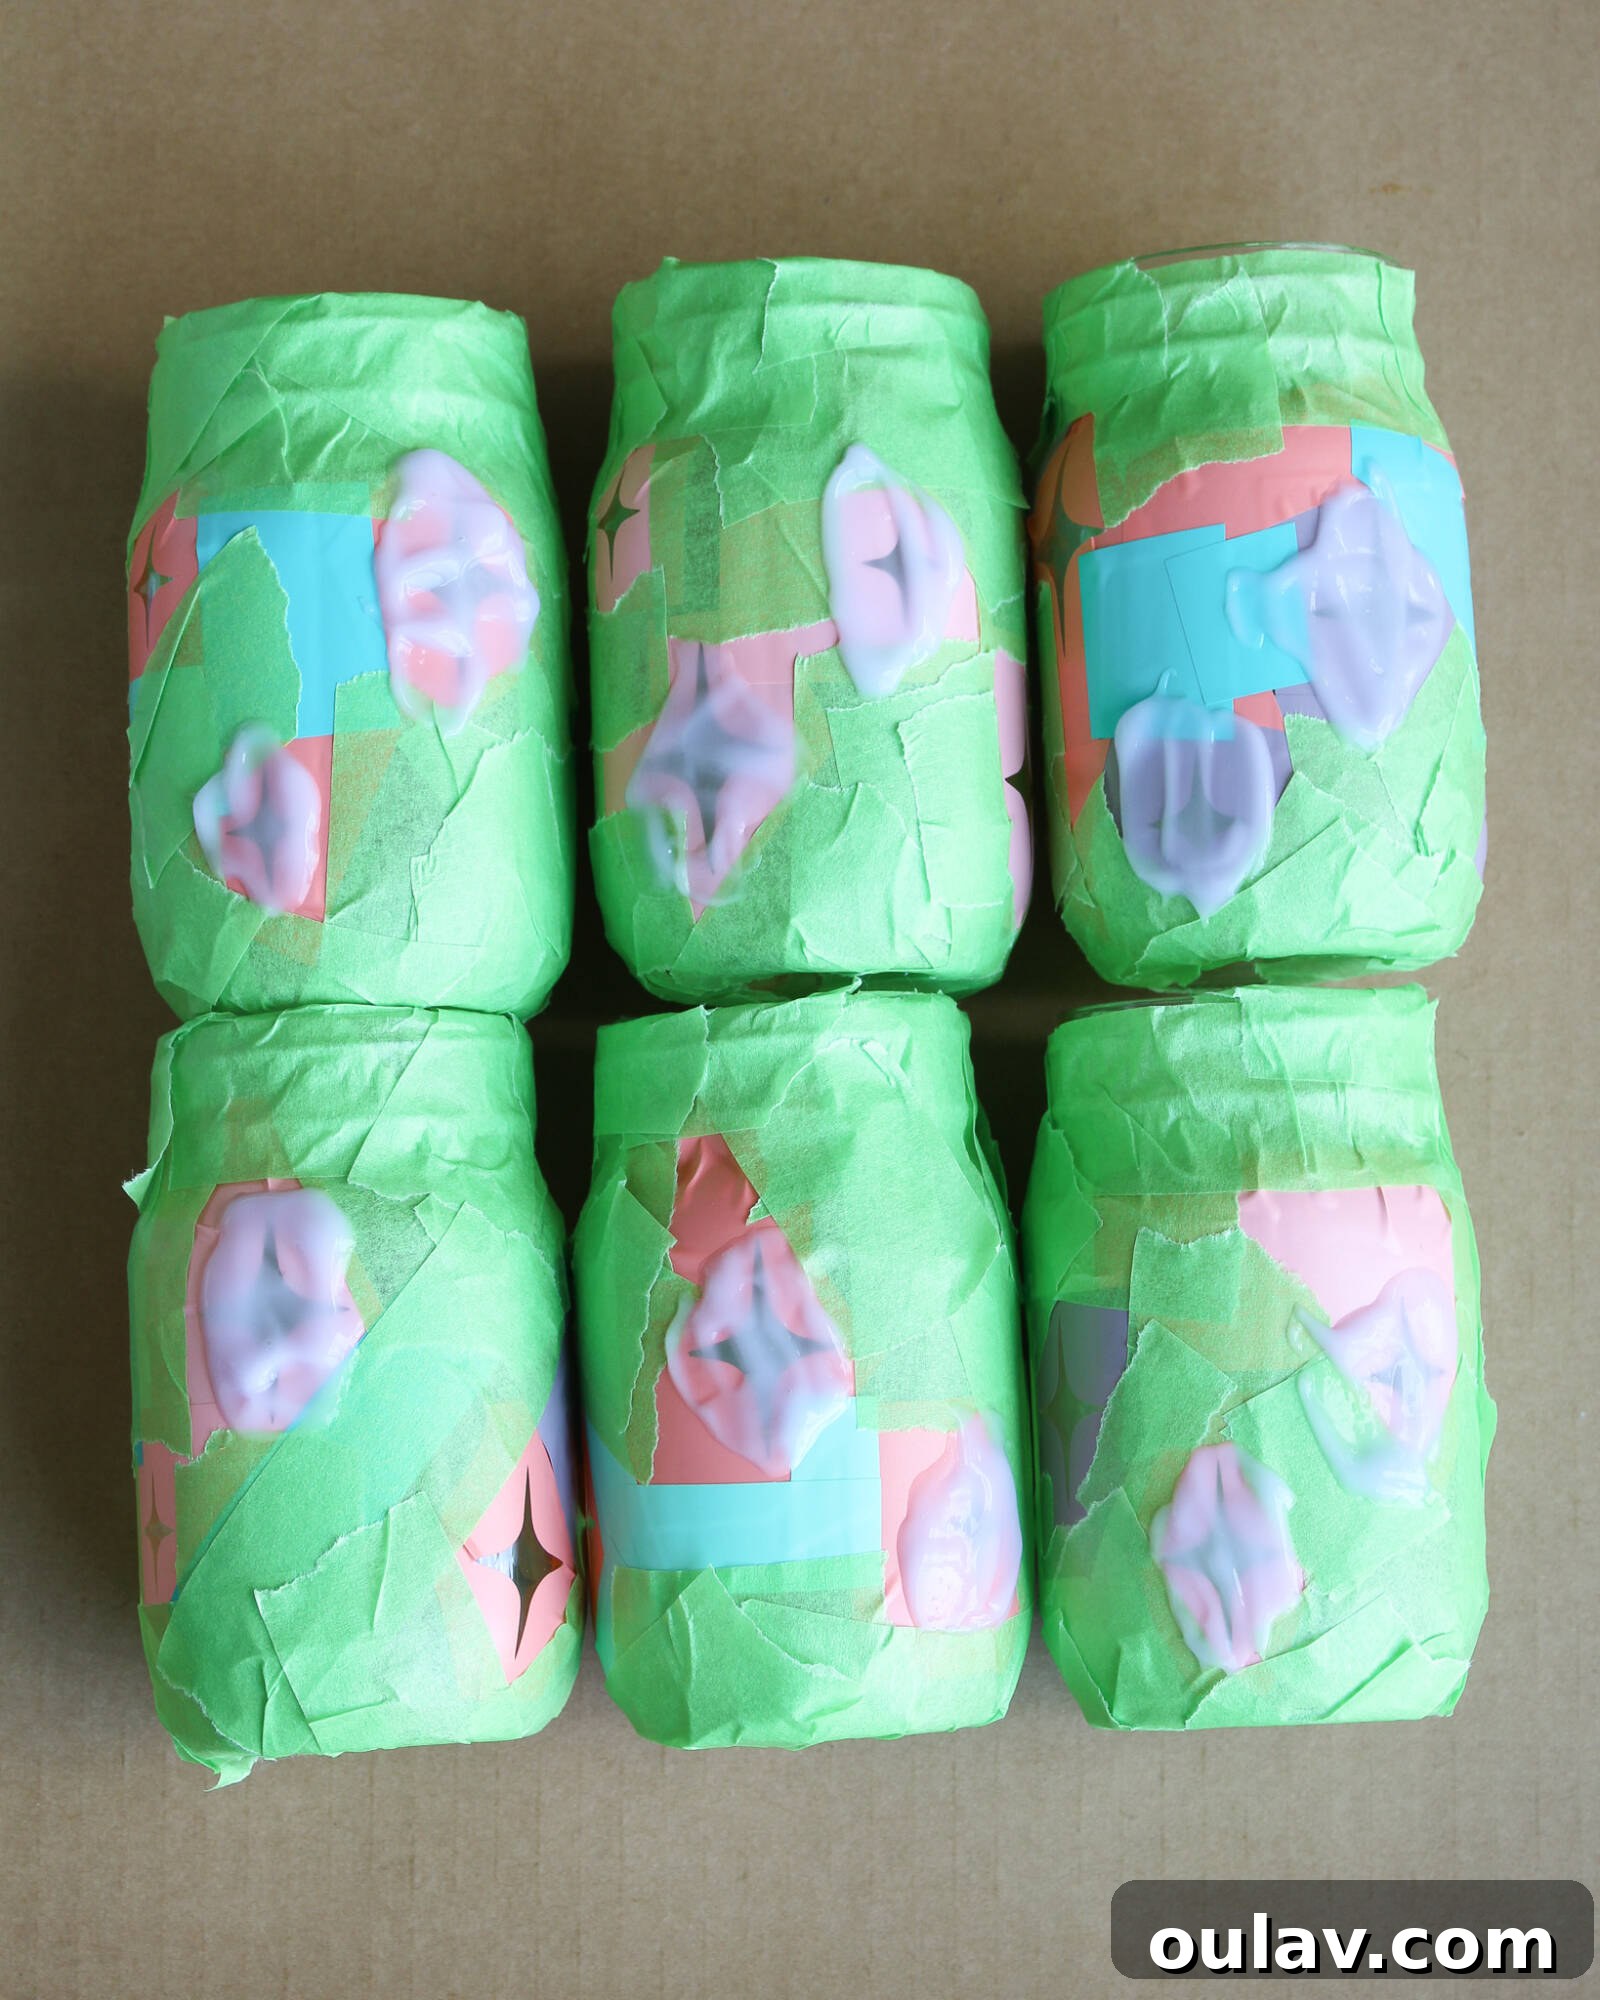
Given that the jars are round and the etching solution has a slightly drippy consistency, I found it most practical and effective to lay my jars flat on my protected work surface. This allowed me to work on one side at a time, ensuring a controlled application and preventing the cream from running or creating uneven spots. Gravity is a factor here, so working horizontally helps achieve that perfectly crisp etched design.
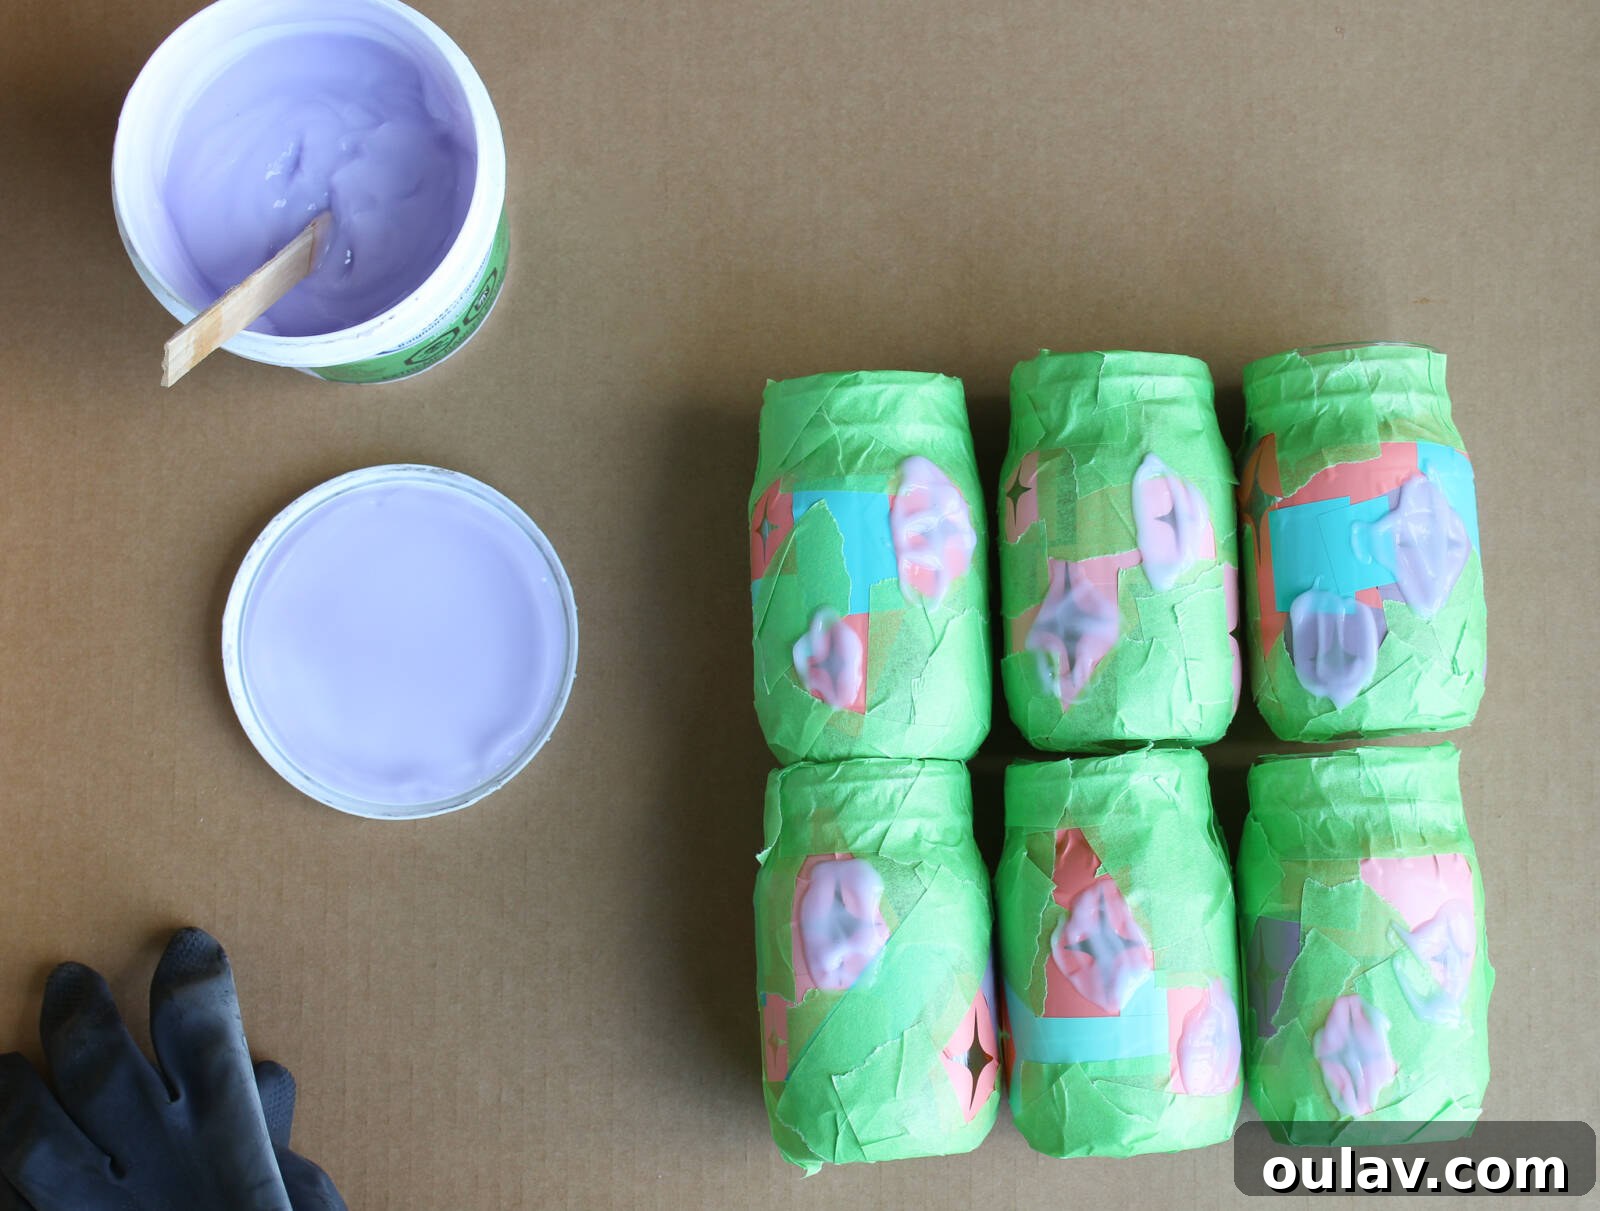
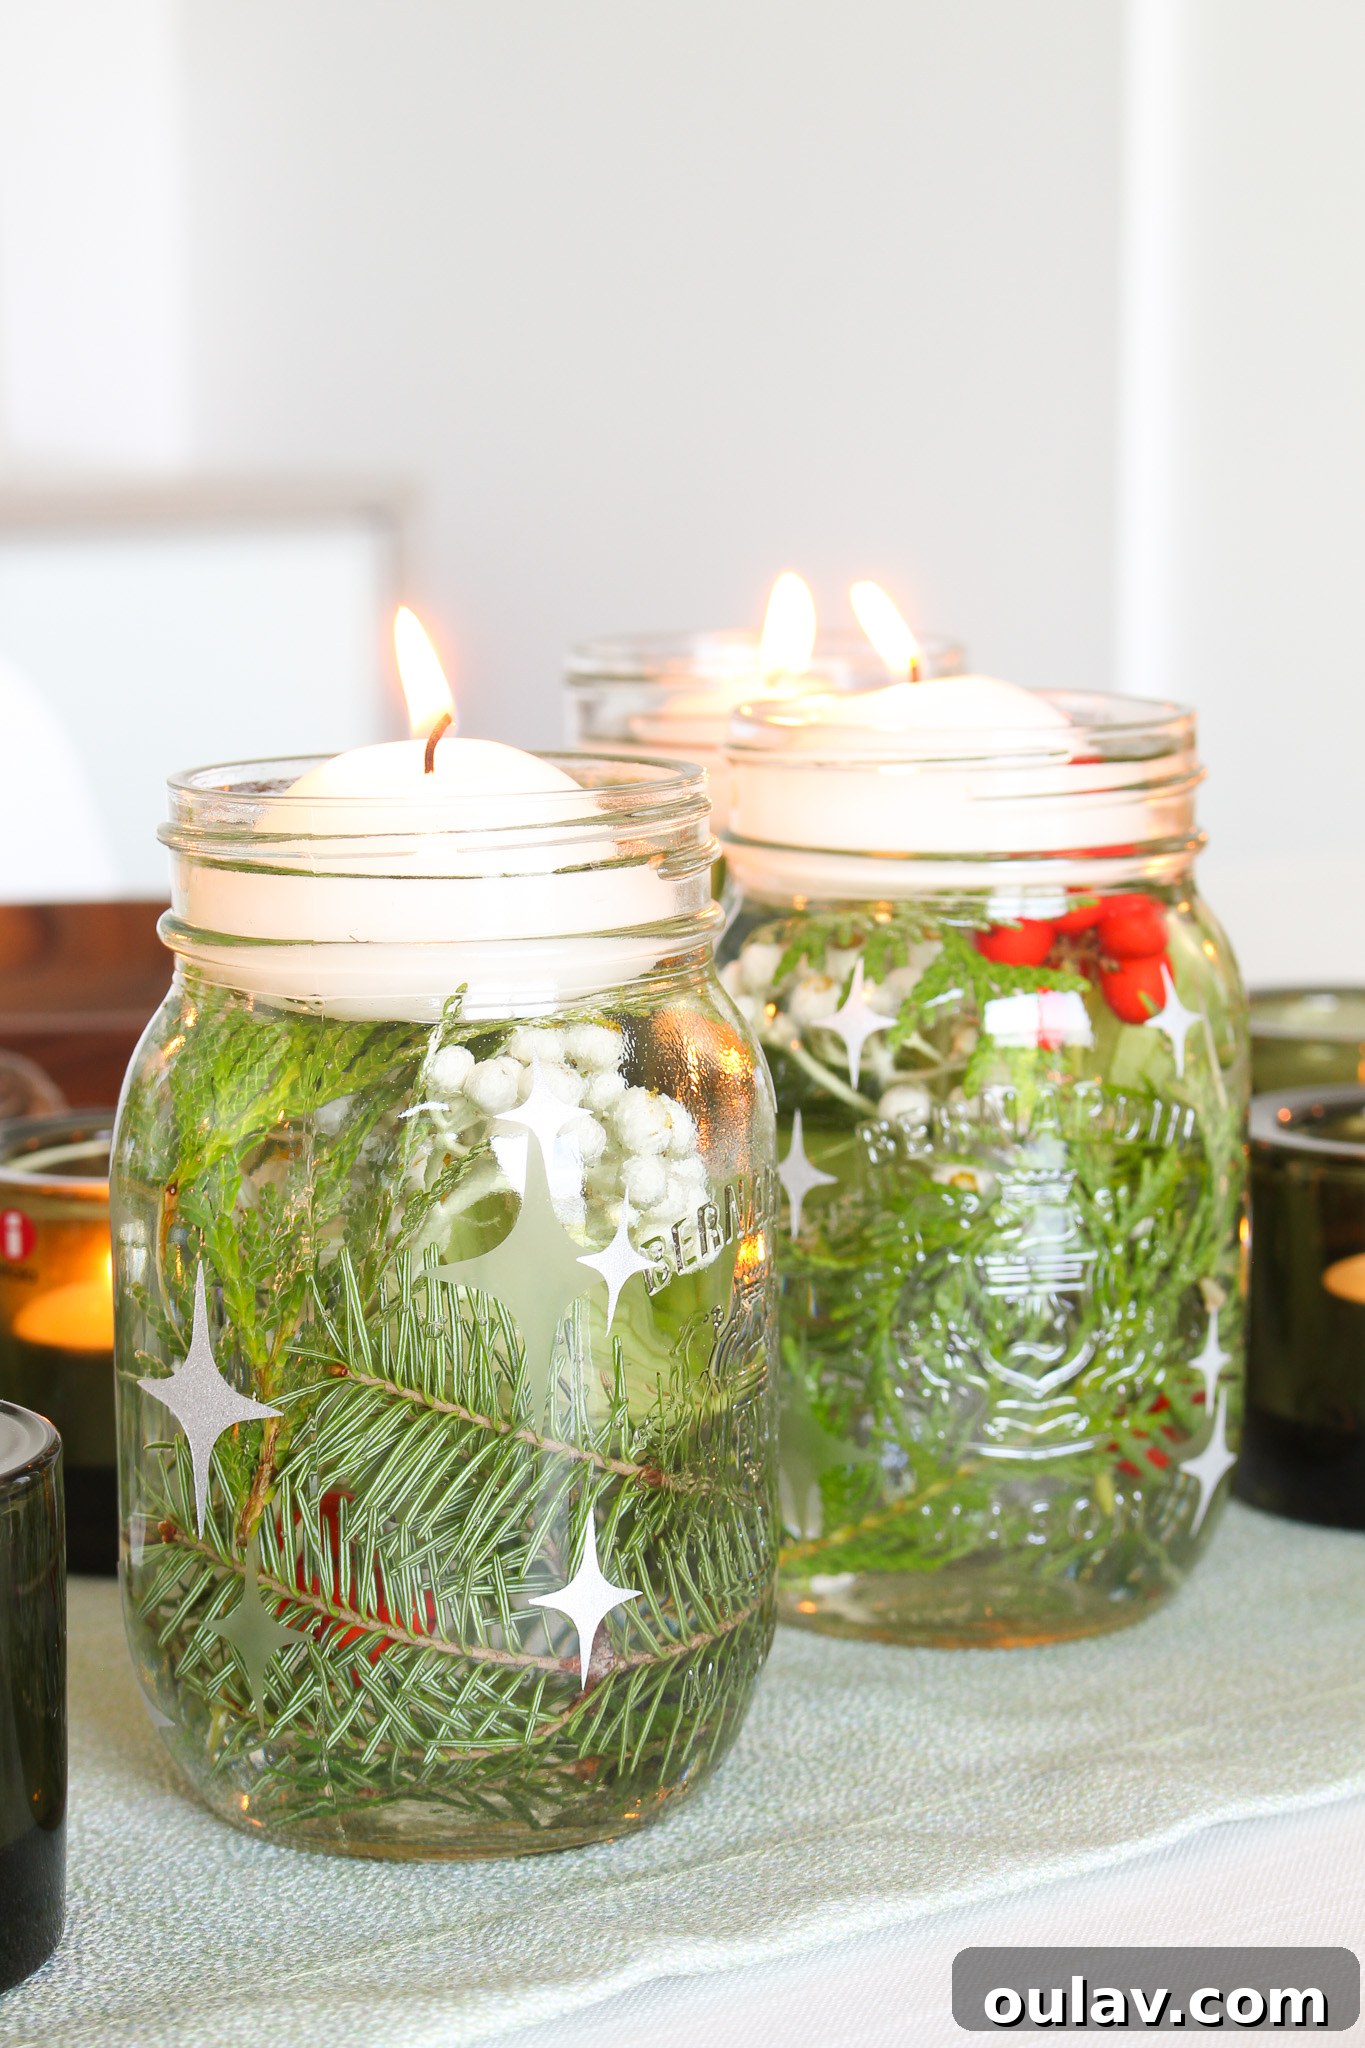
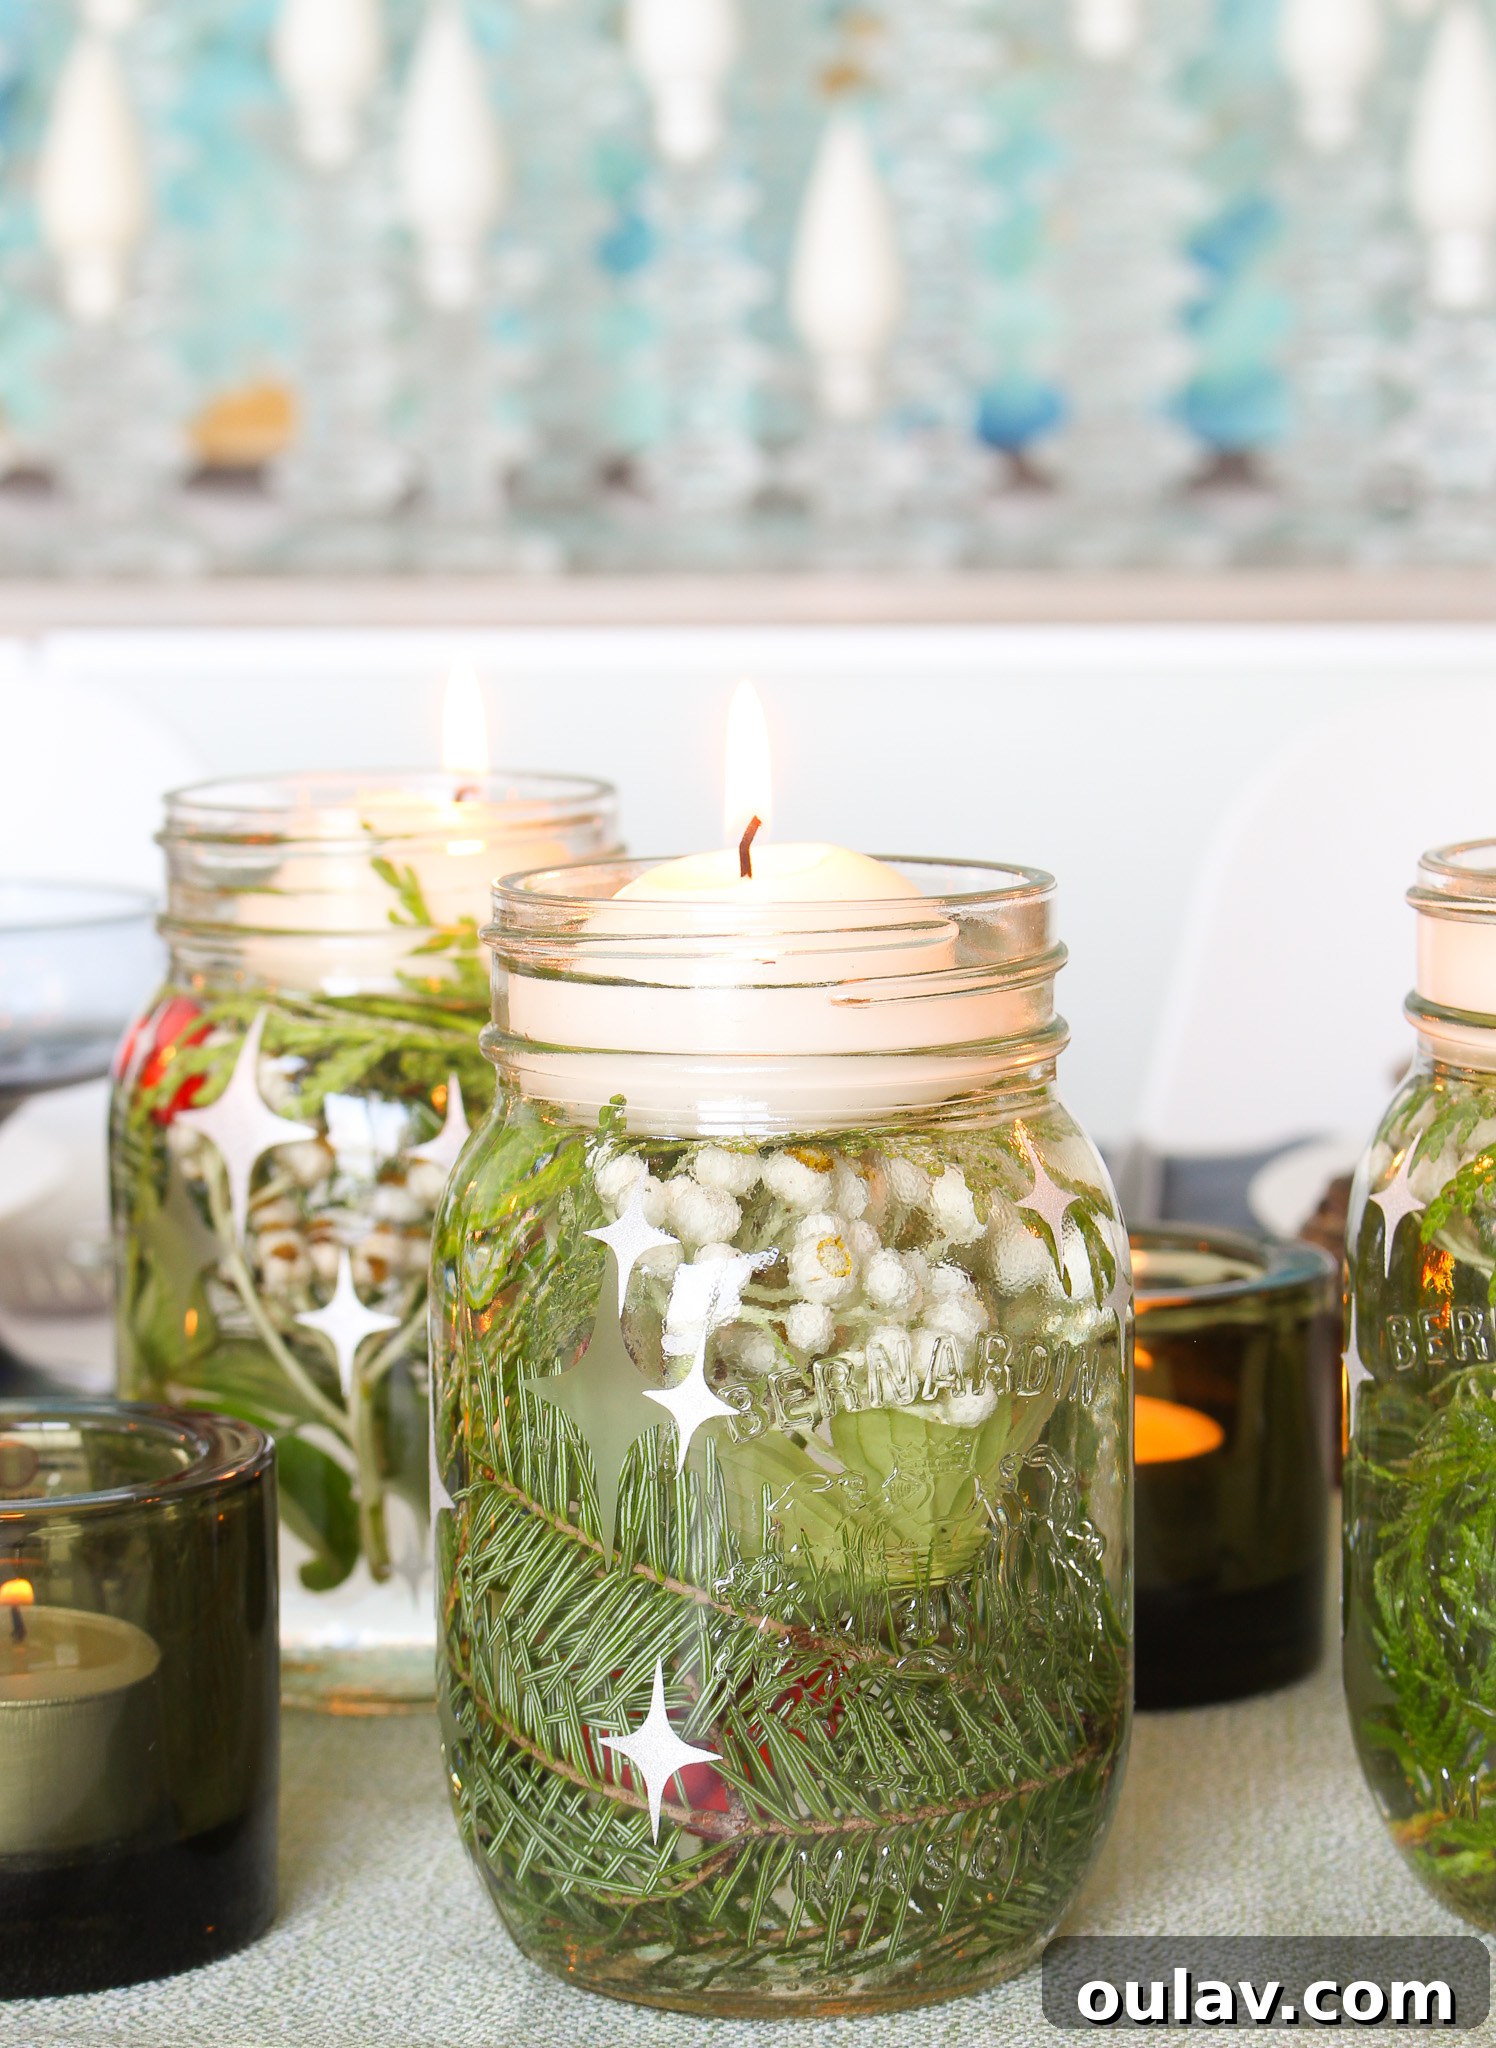
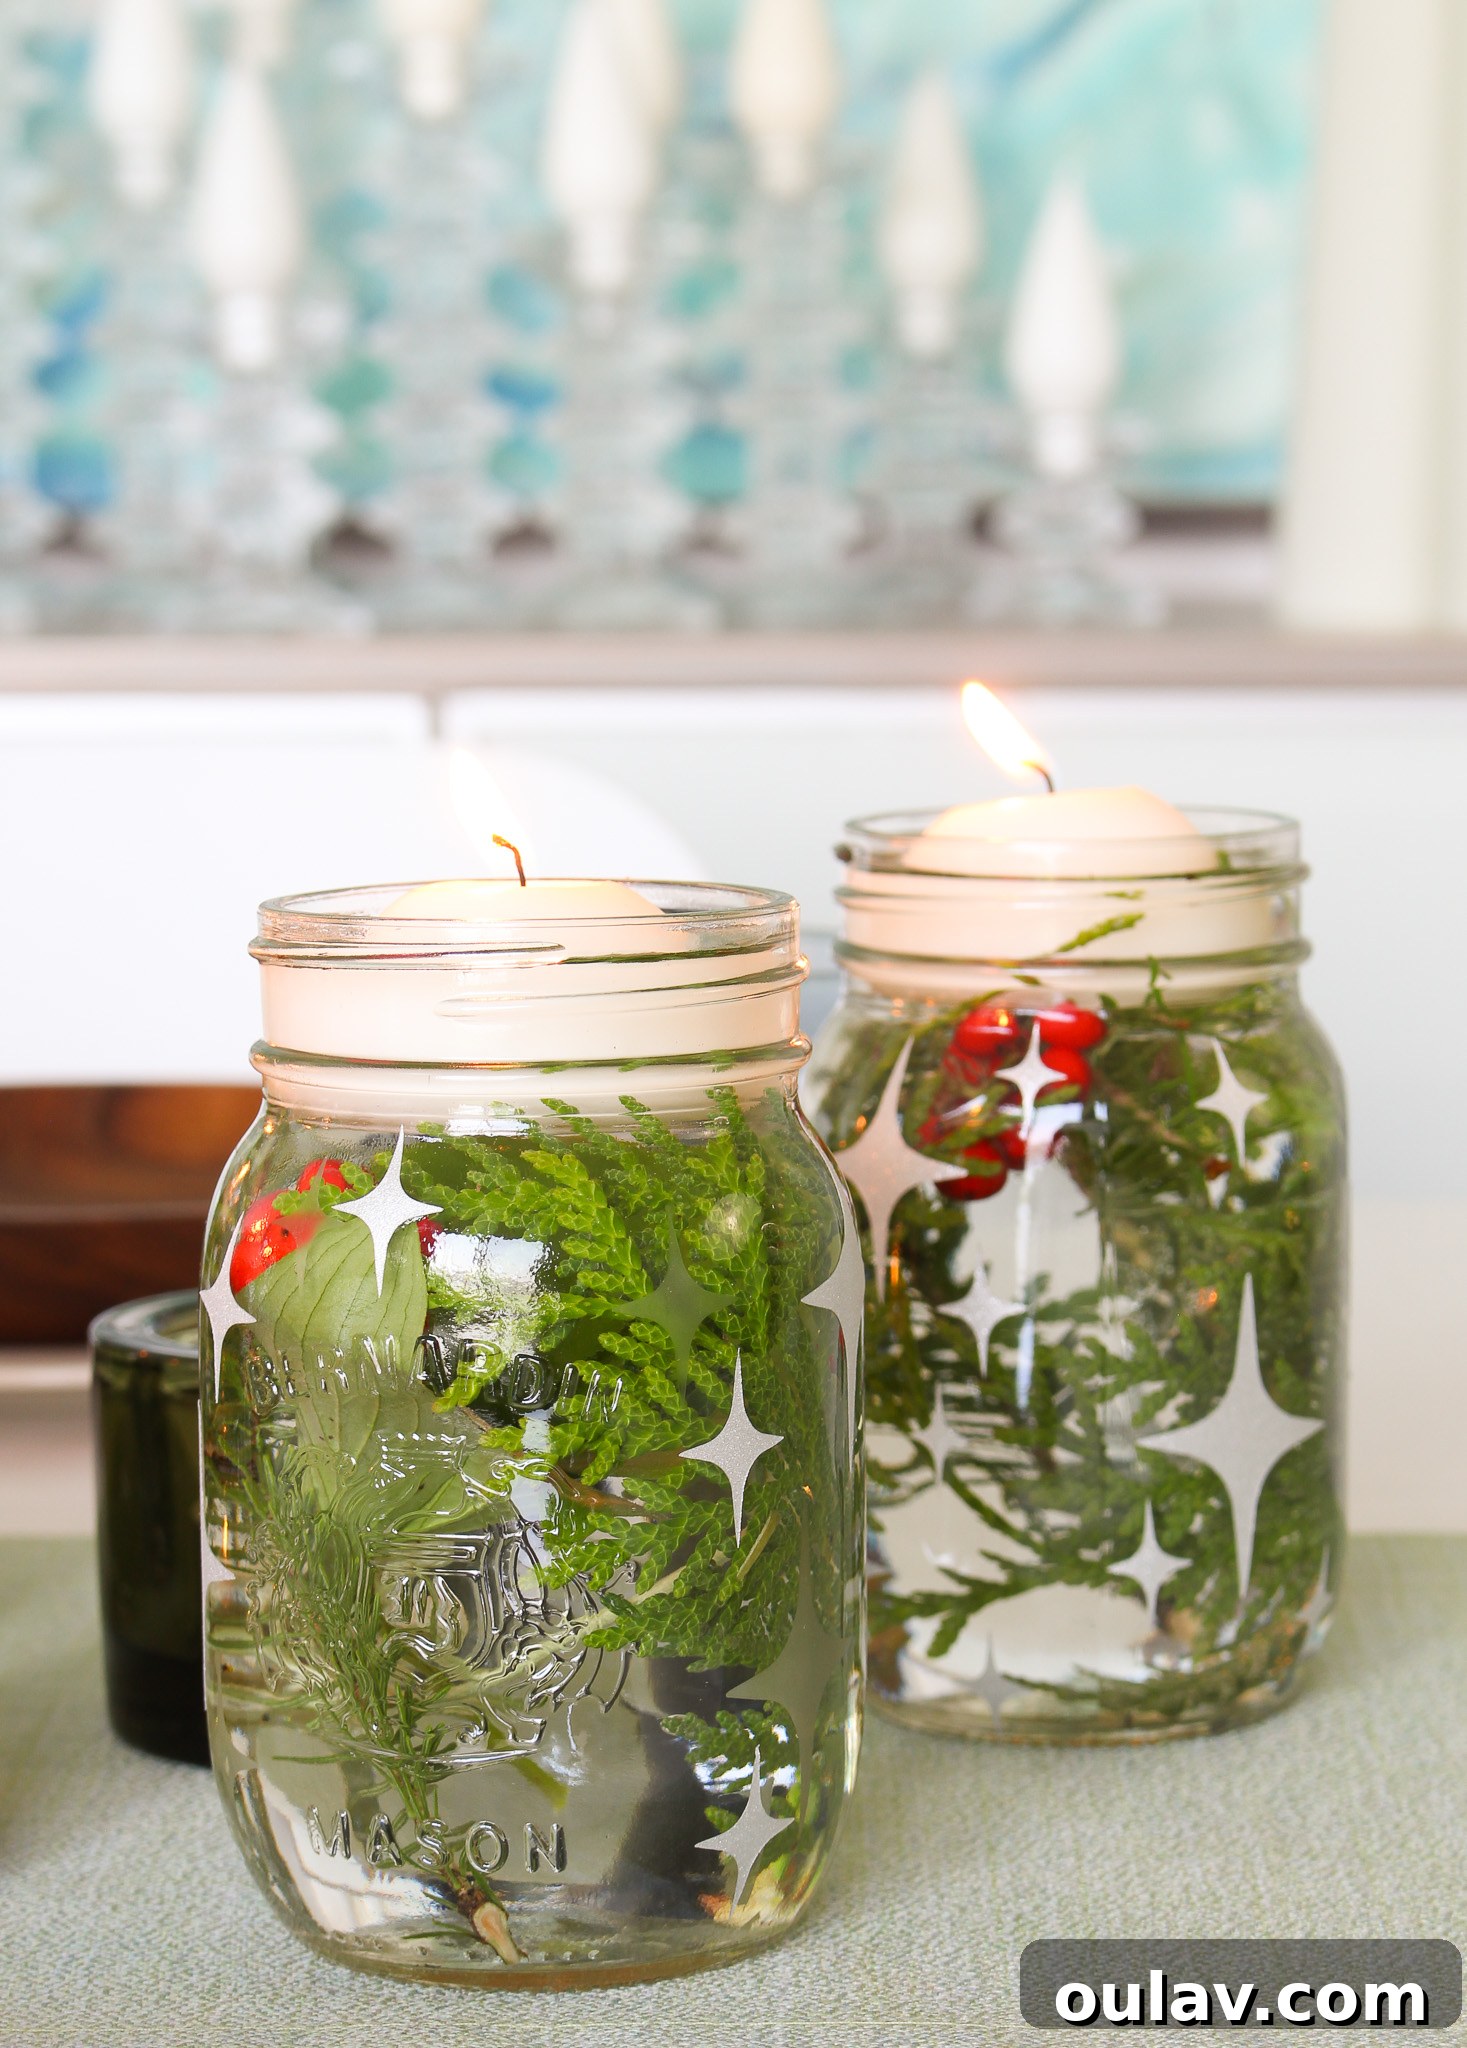
It’s worth noting that in photographs, the subtle beauty of the etched stars can sometimes be overshadowed by the more prominent vinyl stars, especially if they are glittery or metallic. However, in real life, the etched details are wonderfully subtle yet distinctly noticeable, offering an elegant frosted effect. If you prefer a more pronounced etched look, consider adding more etched stars or creating a denser pattern than I did for this project. The beauty of etching is its delicate, almost ethereal quality, which adds a sophisticated touch. You can observe the clear distinction and delicate beauty of the etched details most clearly in the photo below, where the light catches the frosted glass just right, revealing the intricate patterns.
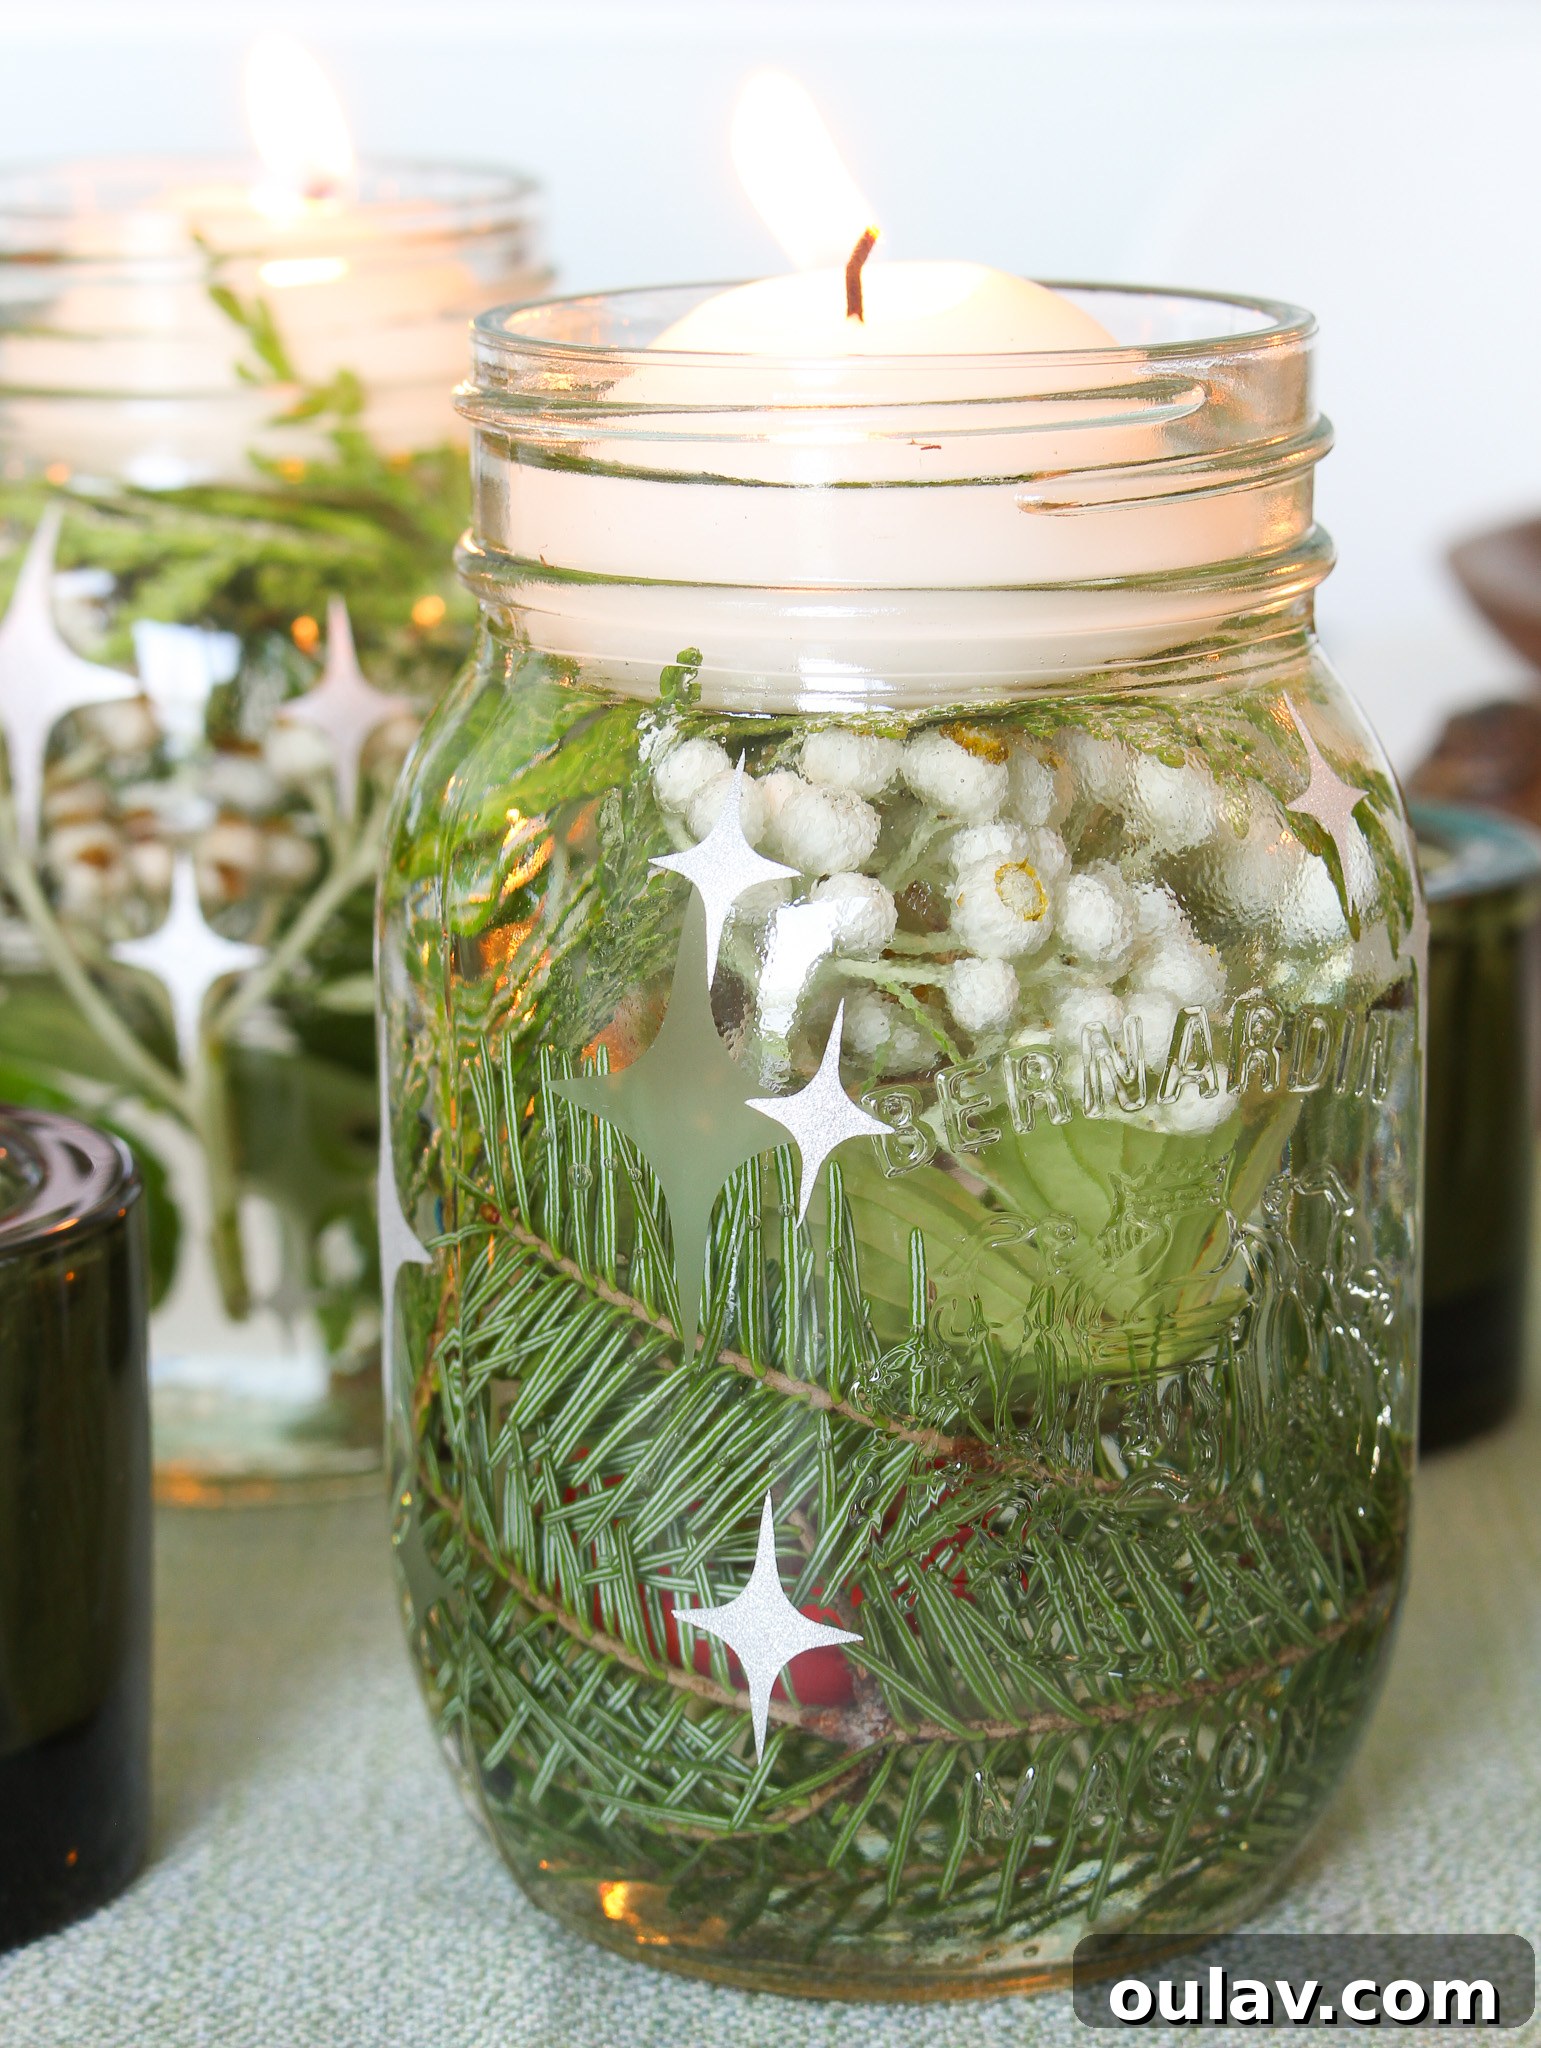
The Finished Etched Glass Mason Jar Centerpiece: A Touch of Winter Magic
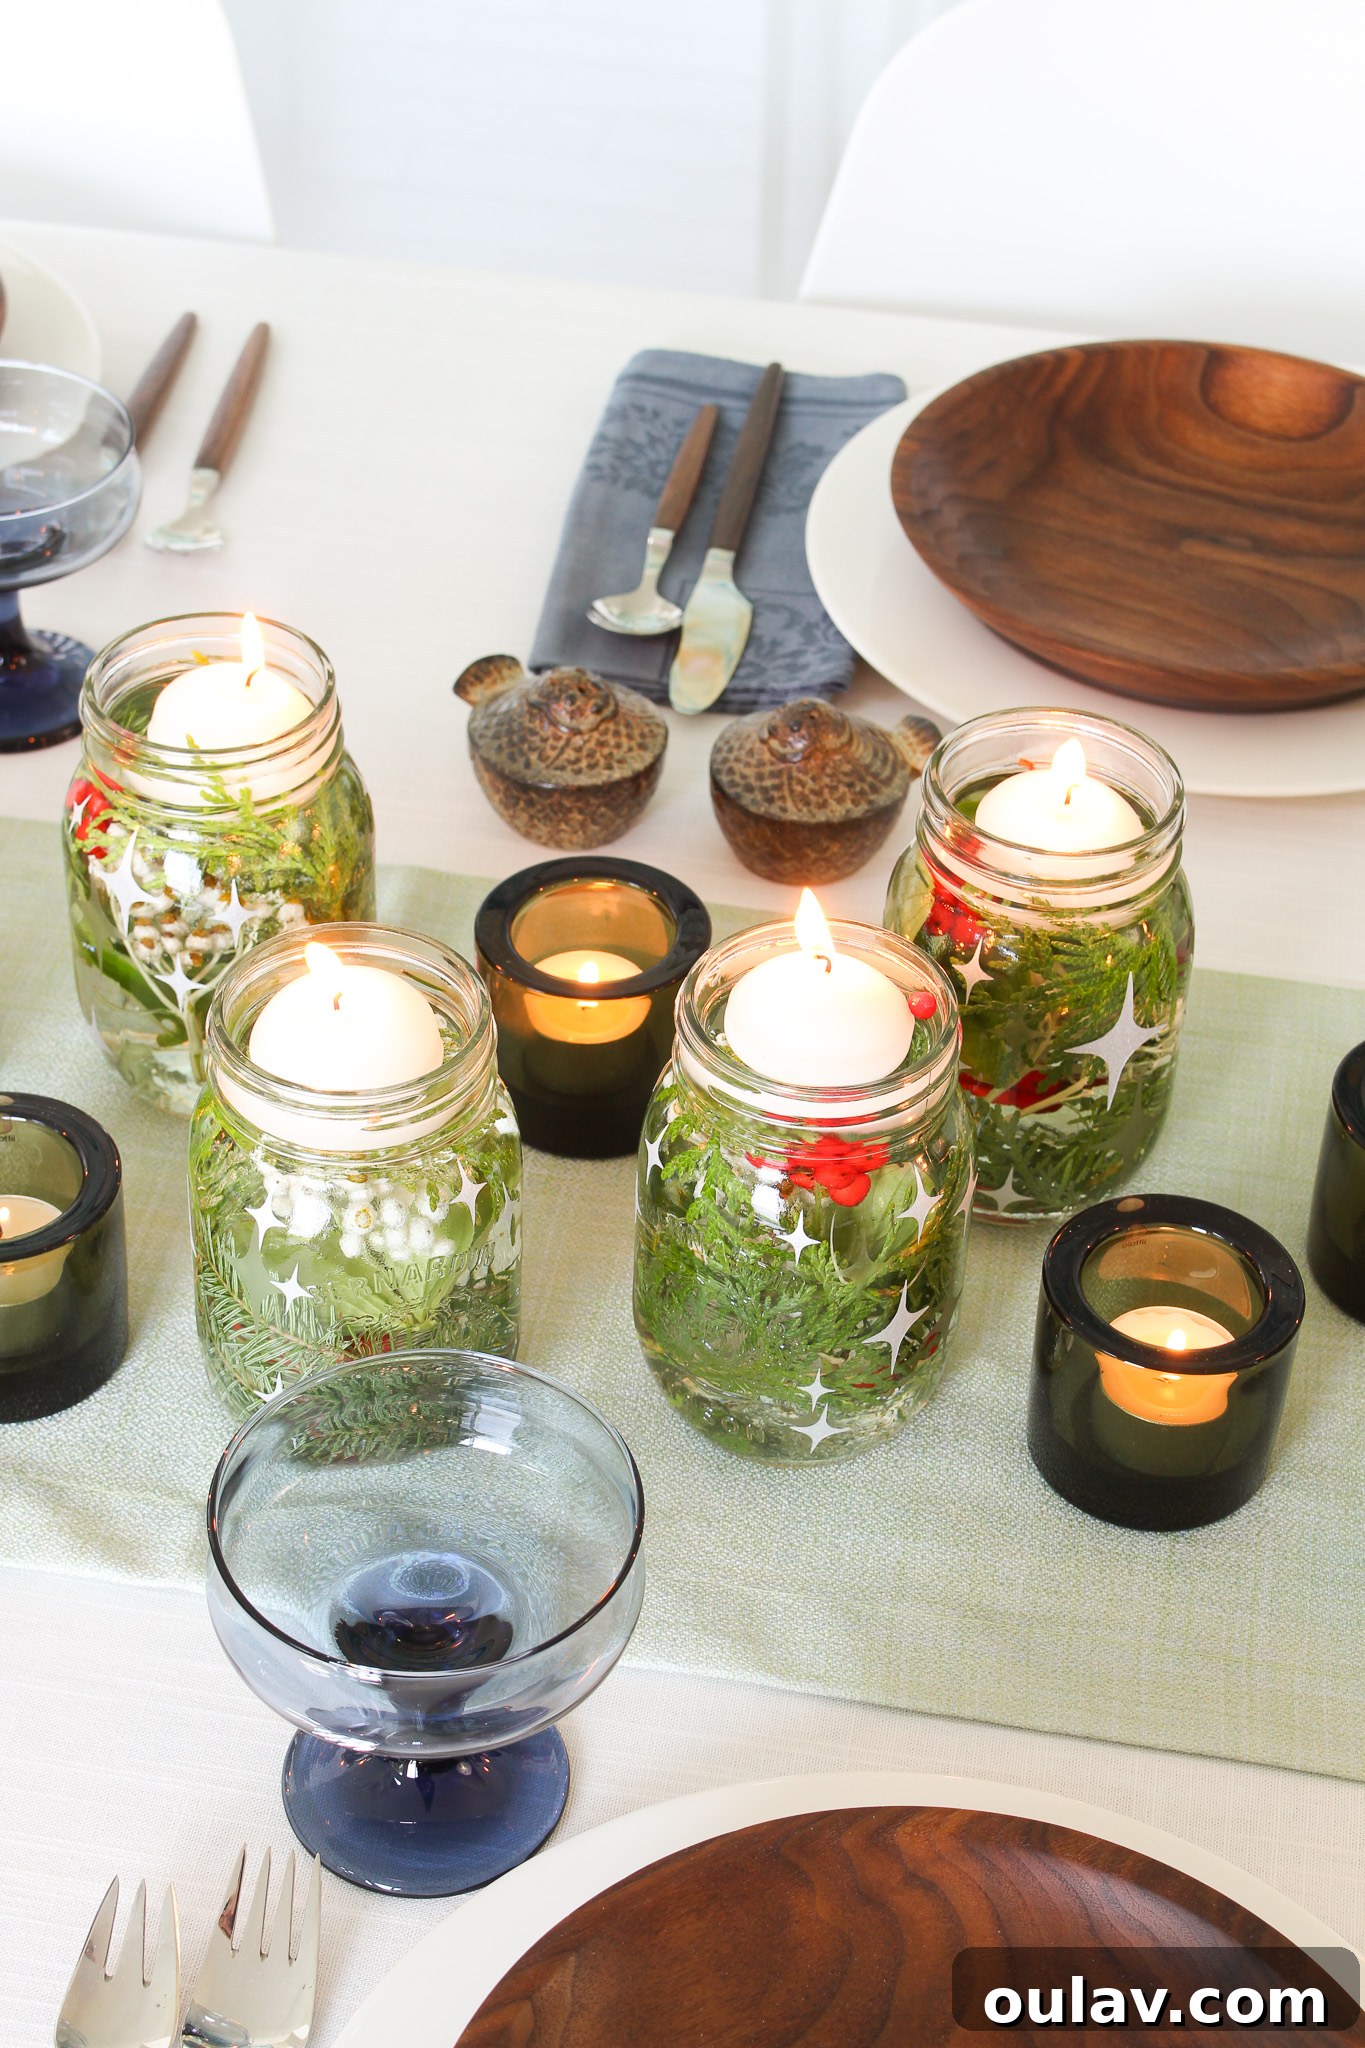
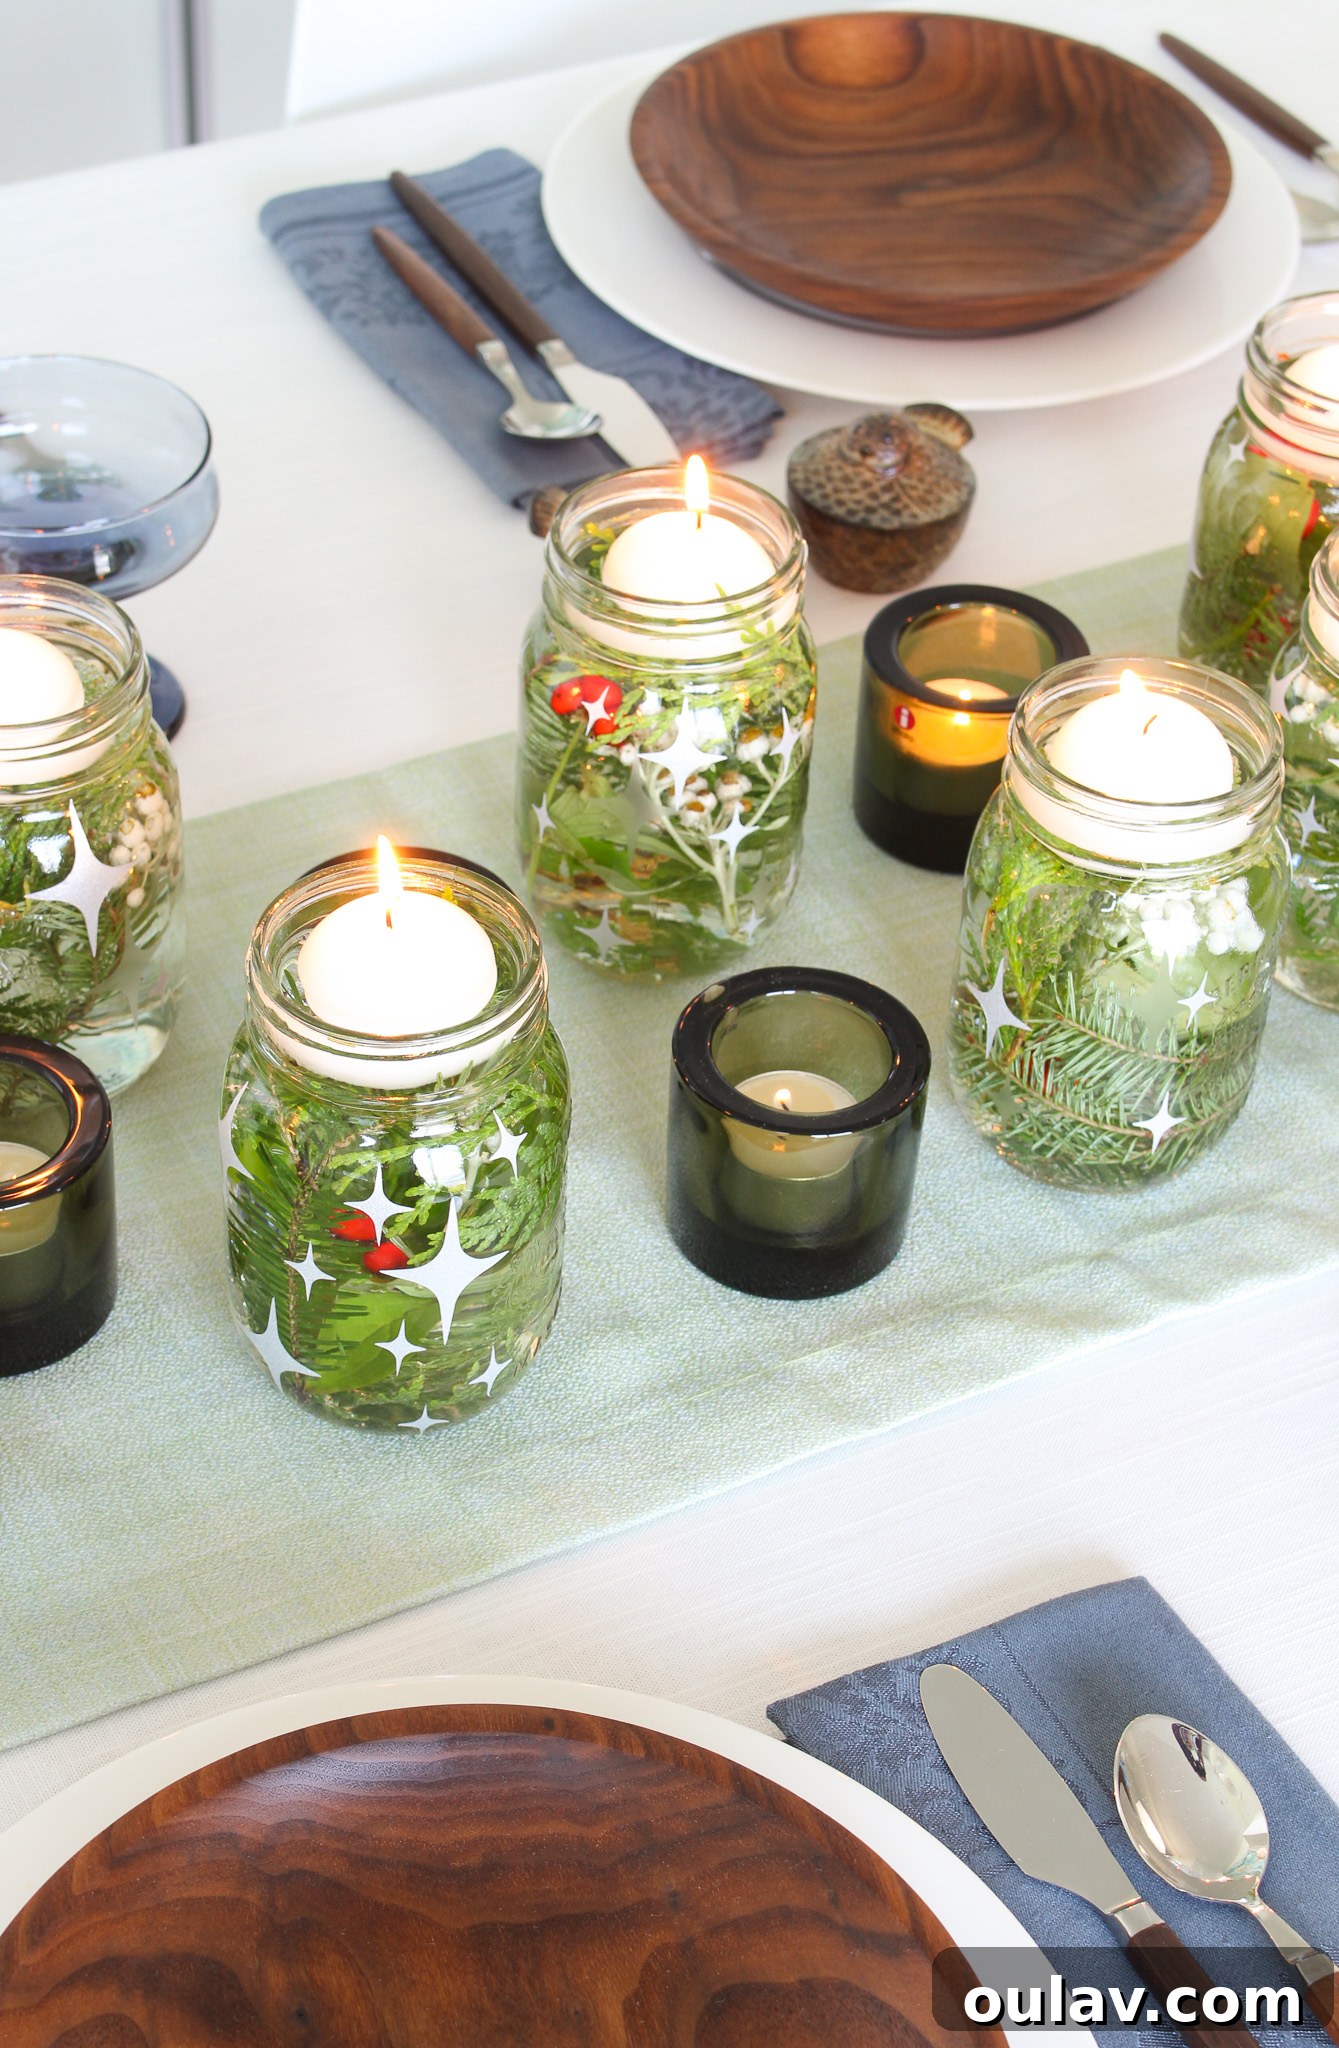
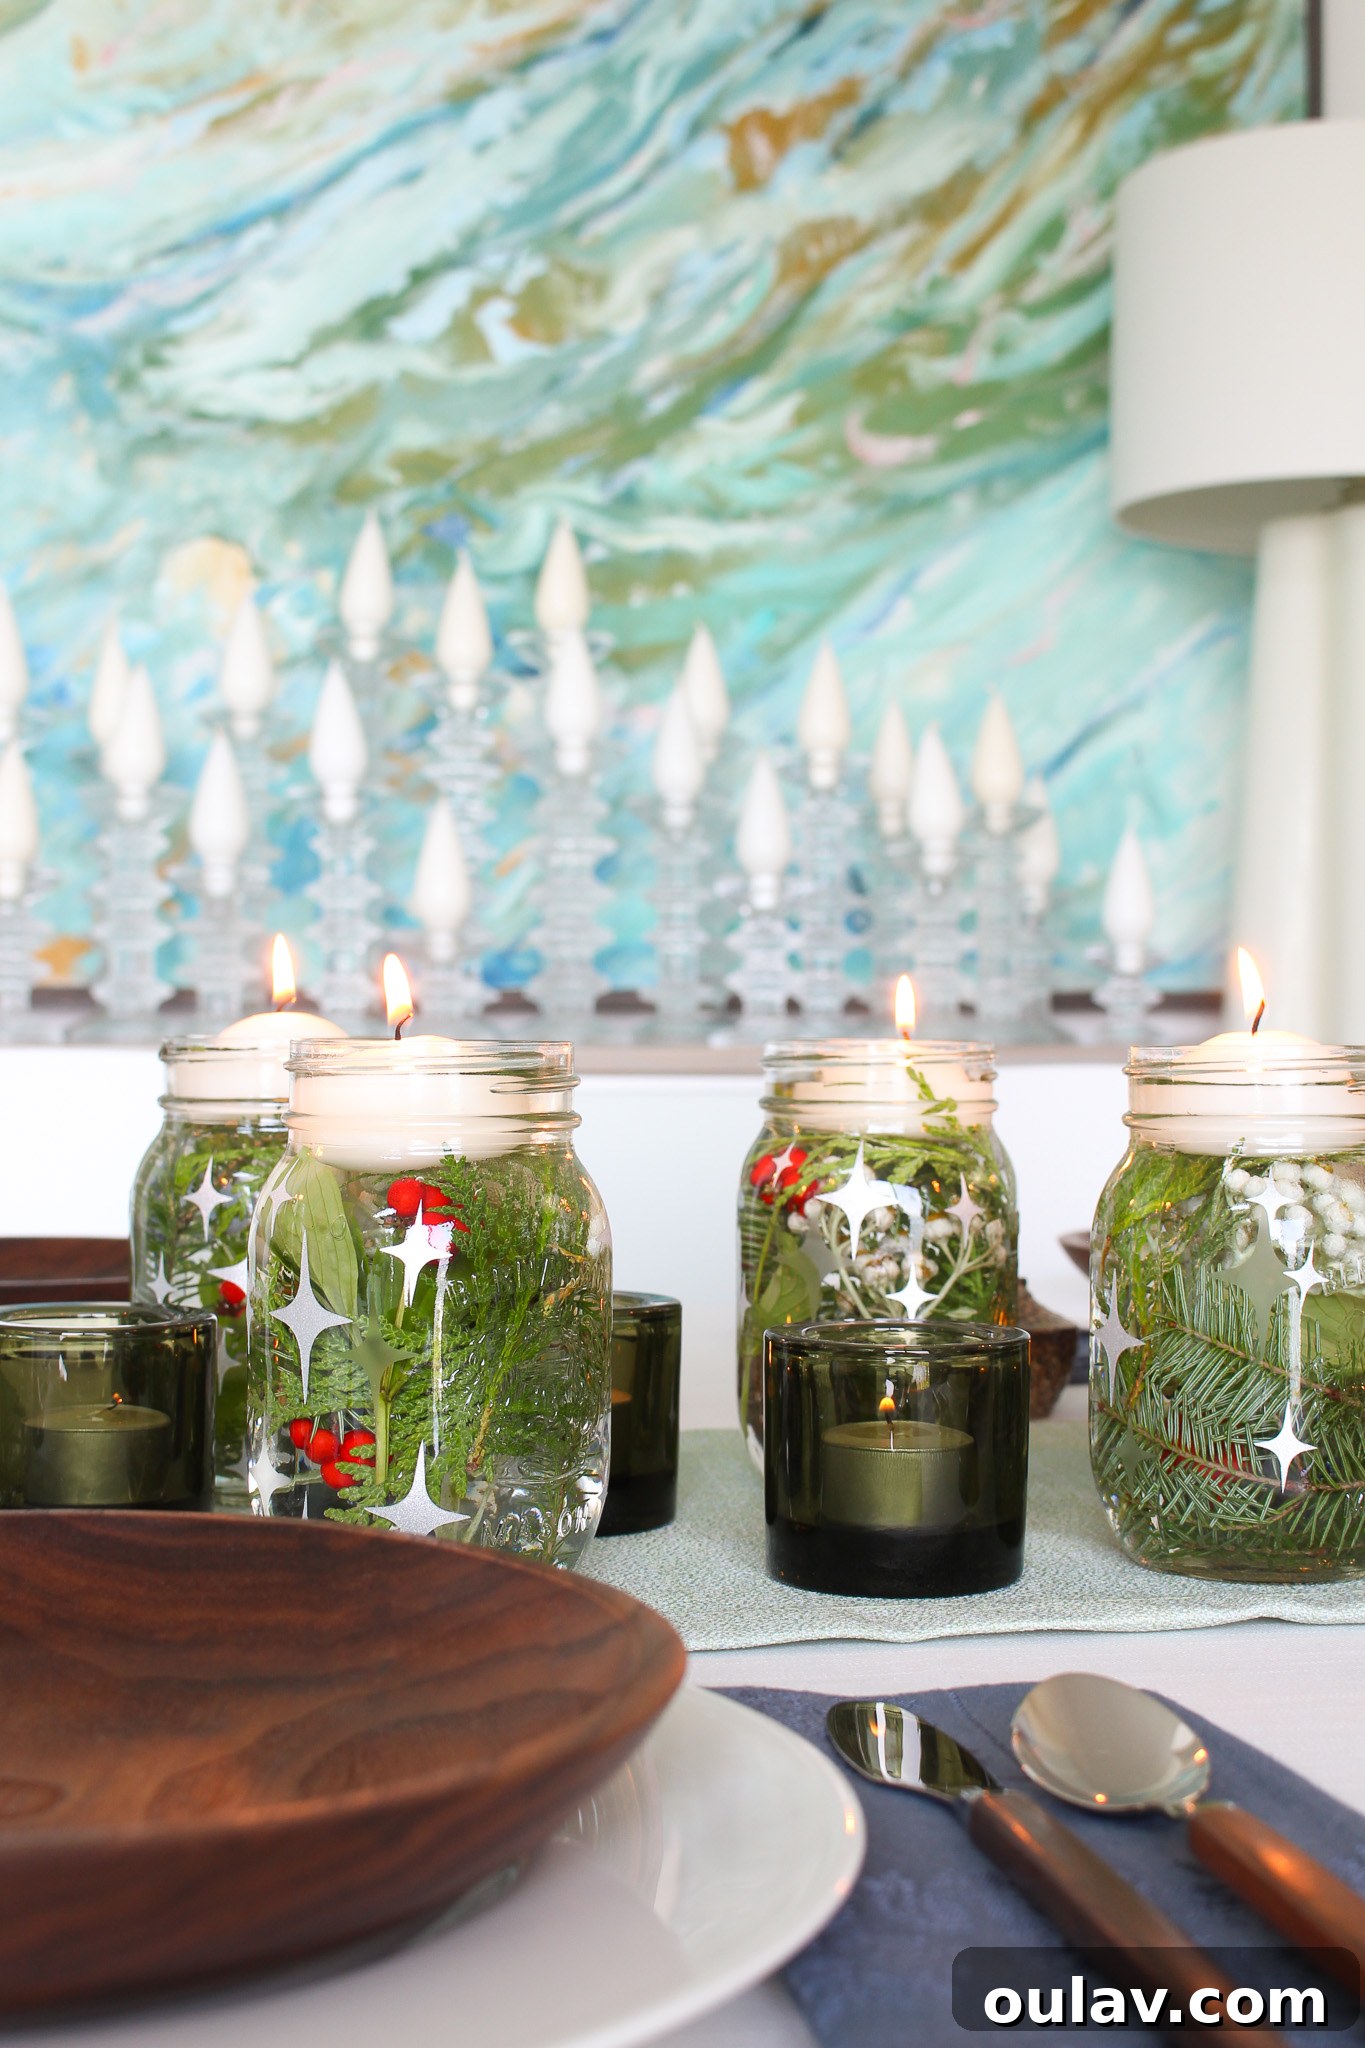
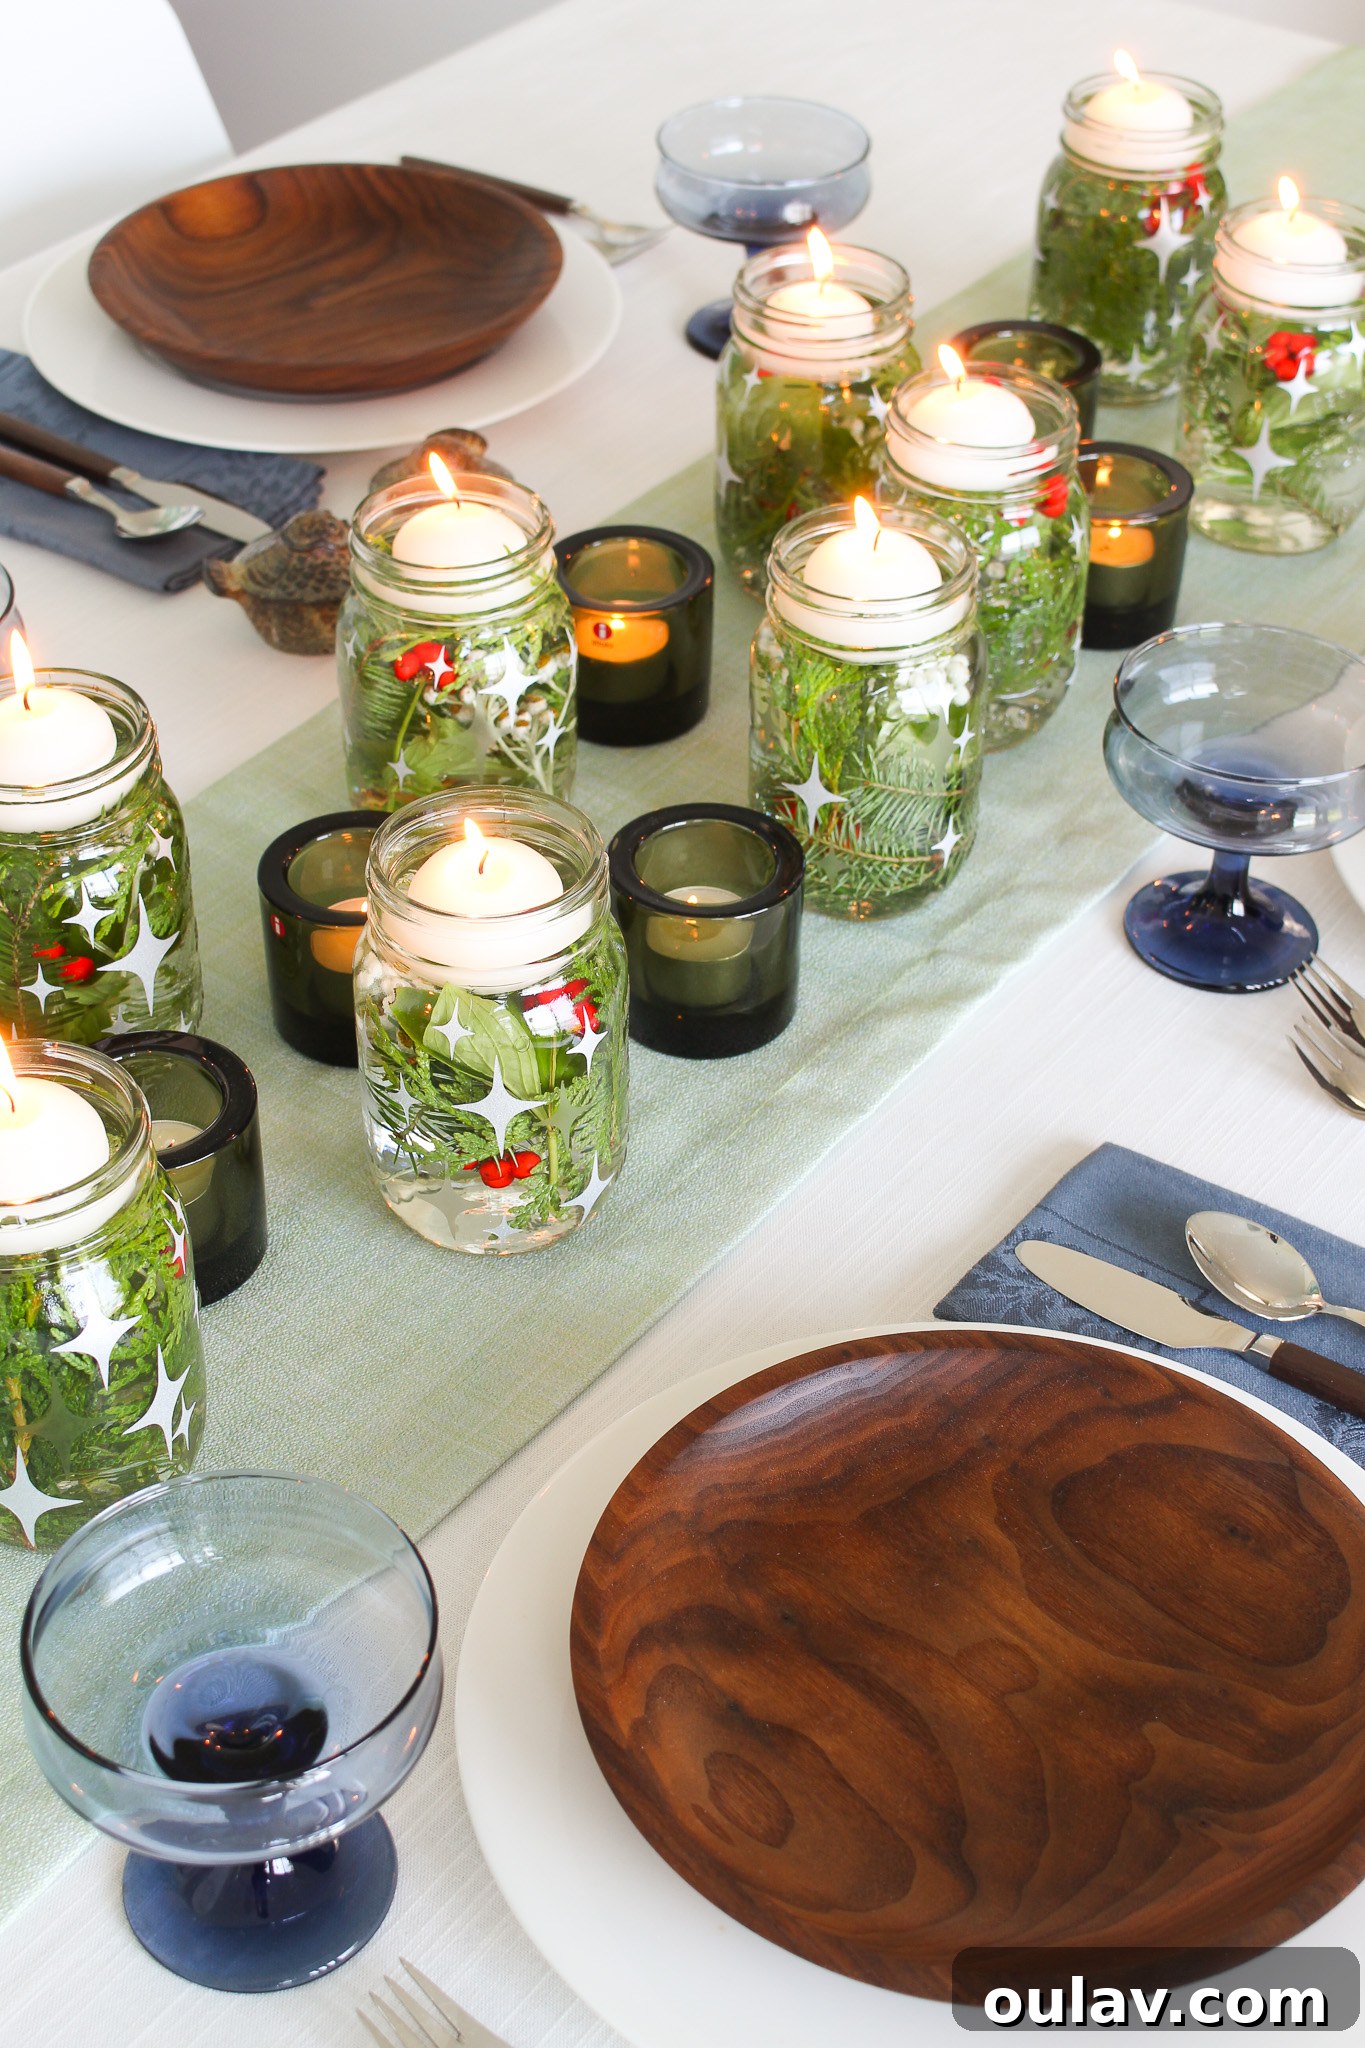
I am absolutely thrilled with how the finished Cricut etched glass mason jar centerpiece turned out! This journey into glass etching was a rewarding experiment, adding a unique, frosted elegance to the jars. However, if you prefer to bypass chemicals entirely, you can certainly achieve a beautiful centerpiece by solely applying the vinyl stars. This makes the project even more kid-friendly and accessible for crafters of all ages. I particularly adore these nature-filled jars, especially when paired with my walnut salad plates and vintage mid-century walnut flatware. The combination creates a beautiful “earthy meets mid-century” vibe that resonates deeply with my personal style – a harmonious blend of organic elements and classic design. I simply scavenged around my yard for charming jar contents like cedar sprigs and winter berries, topped them with a splash of water, and added an adorable floating candle. These etched glass jars are not just cute; they’re incredibly versatile, perfect for any wintry holiday celebration or simply to cast a warm, inviting glow during those long, dark winter nights ahead. They transform everyday moments into something truly special and serene.
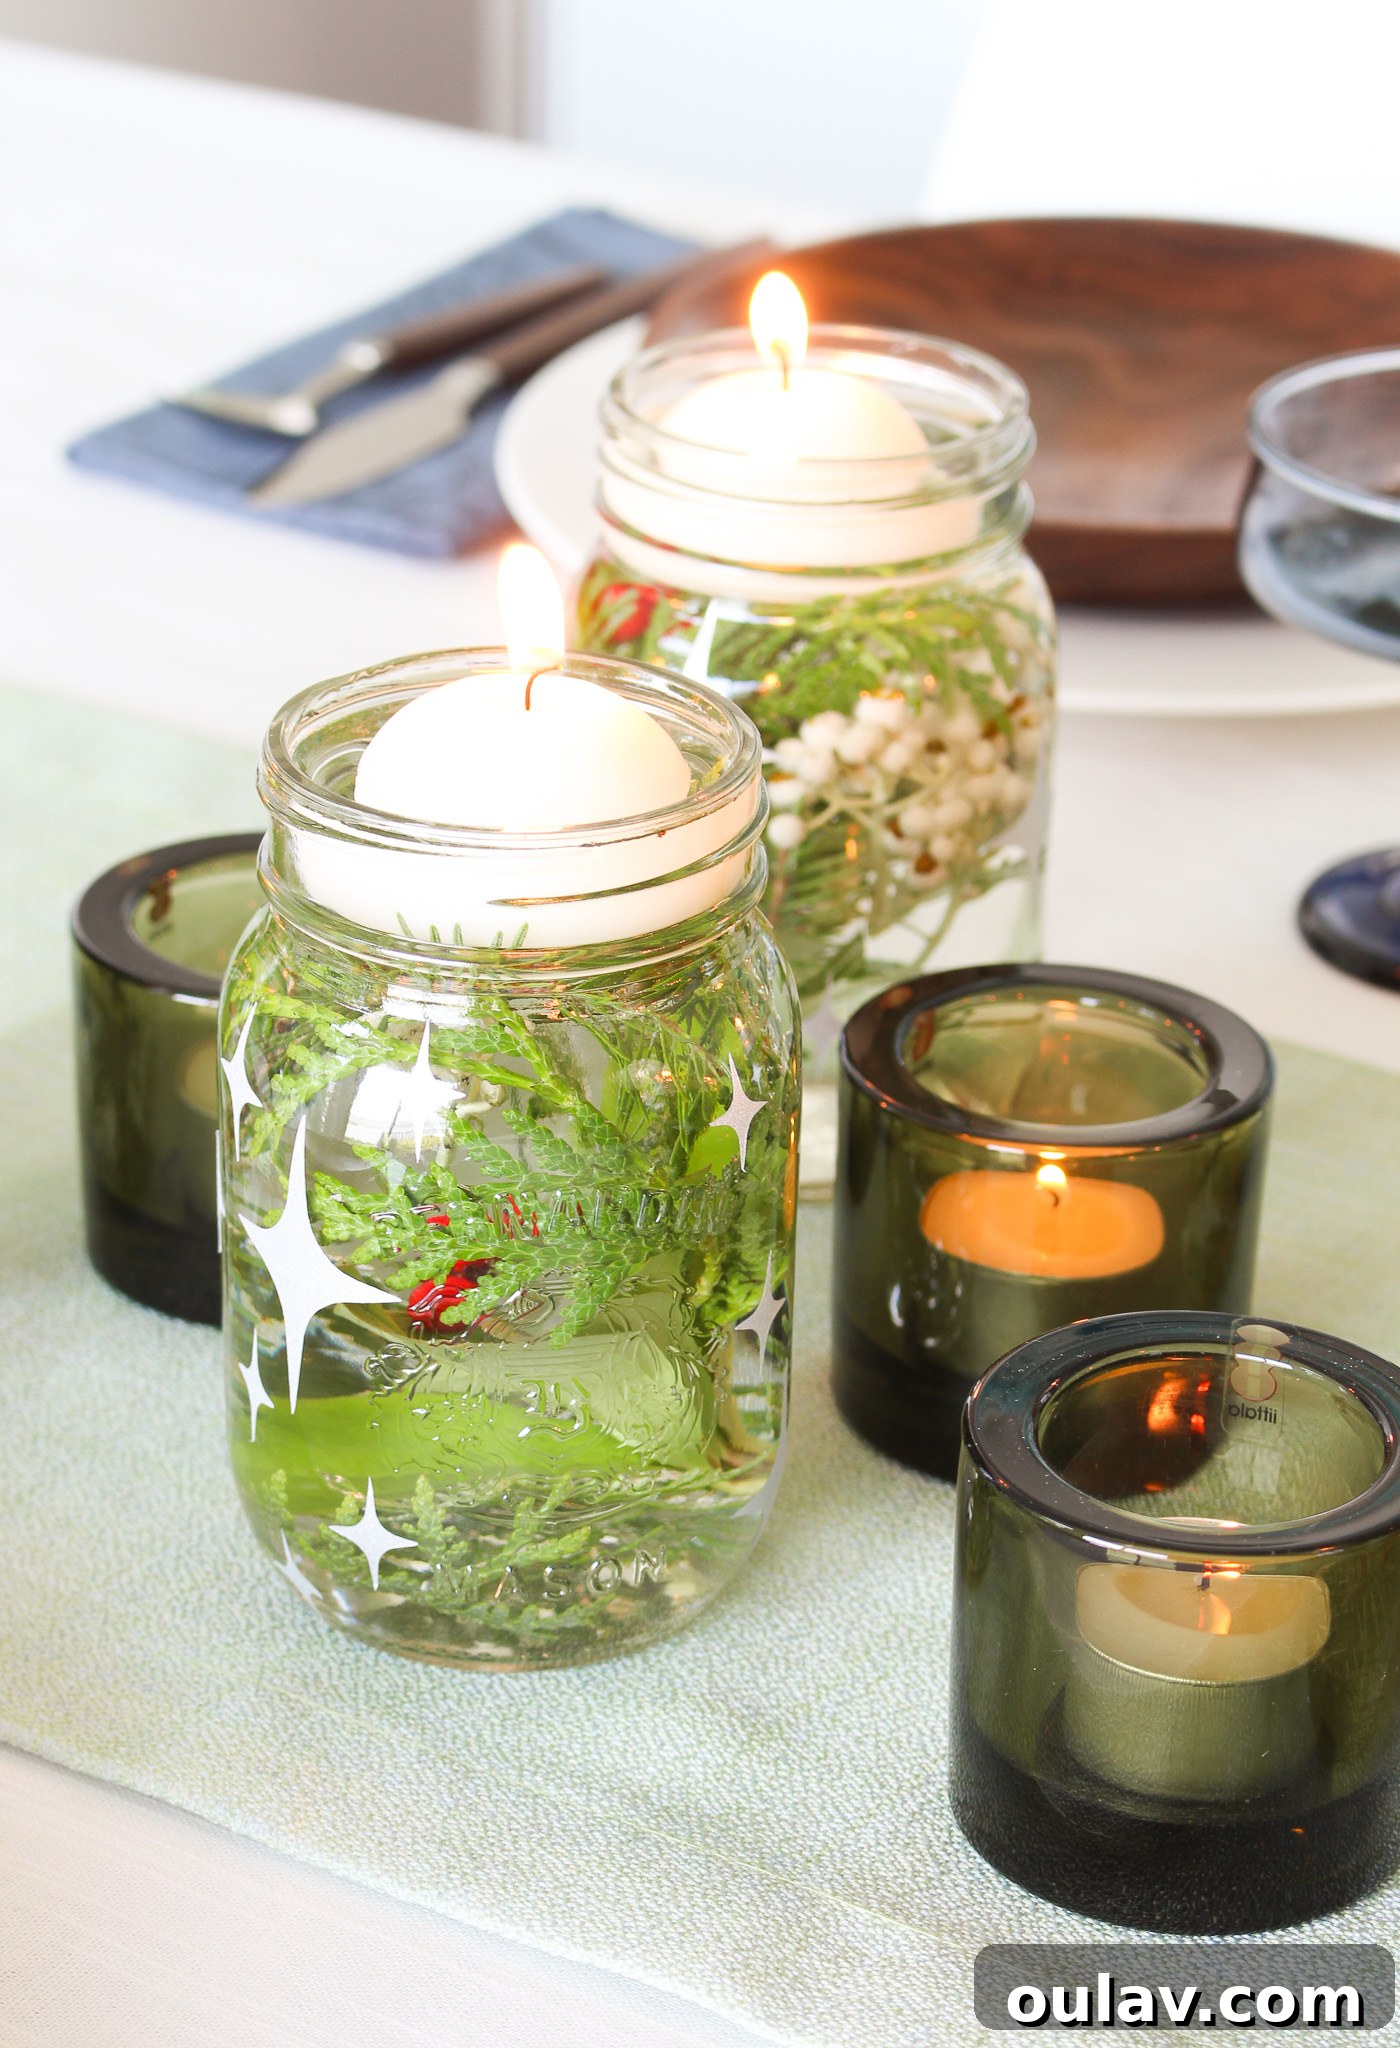
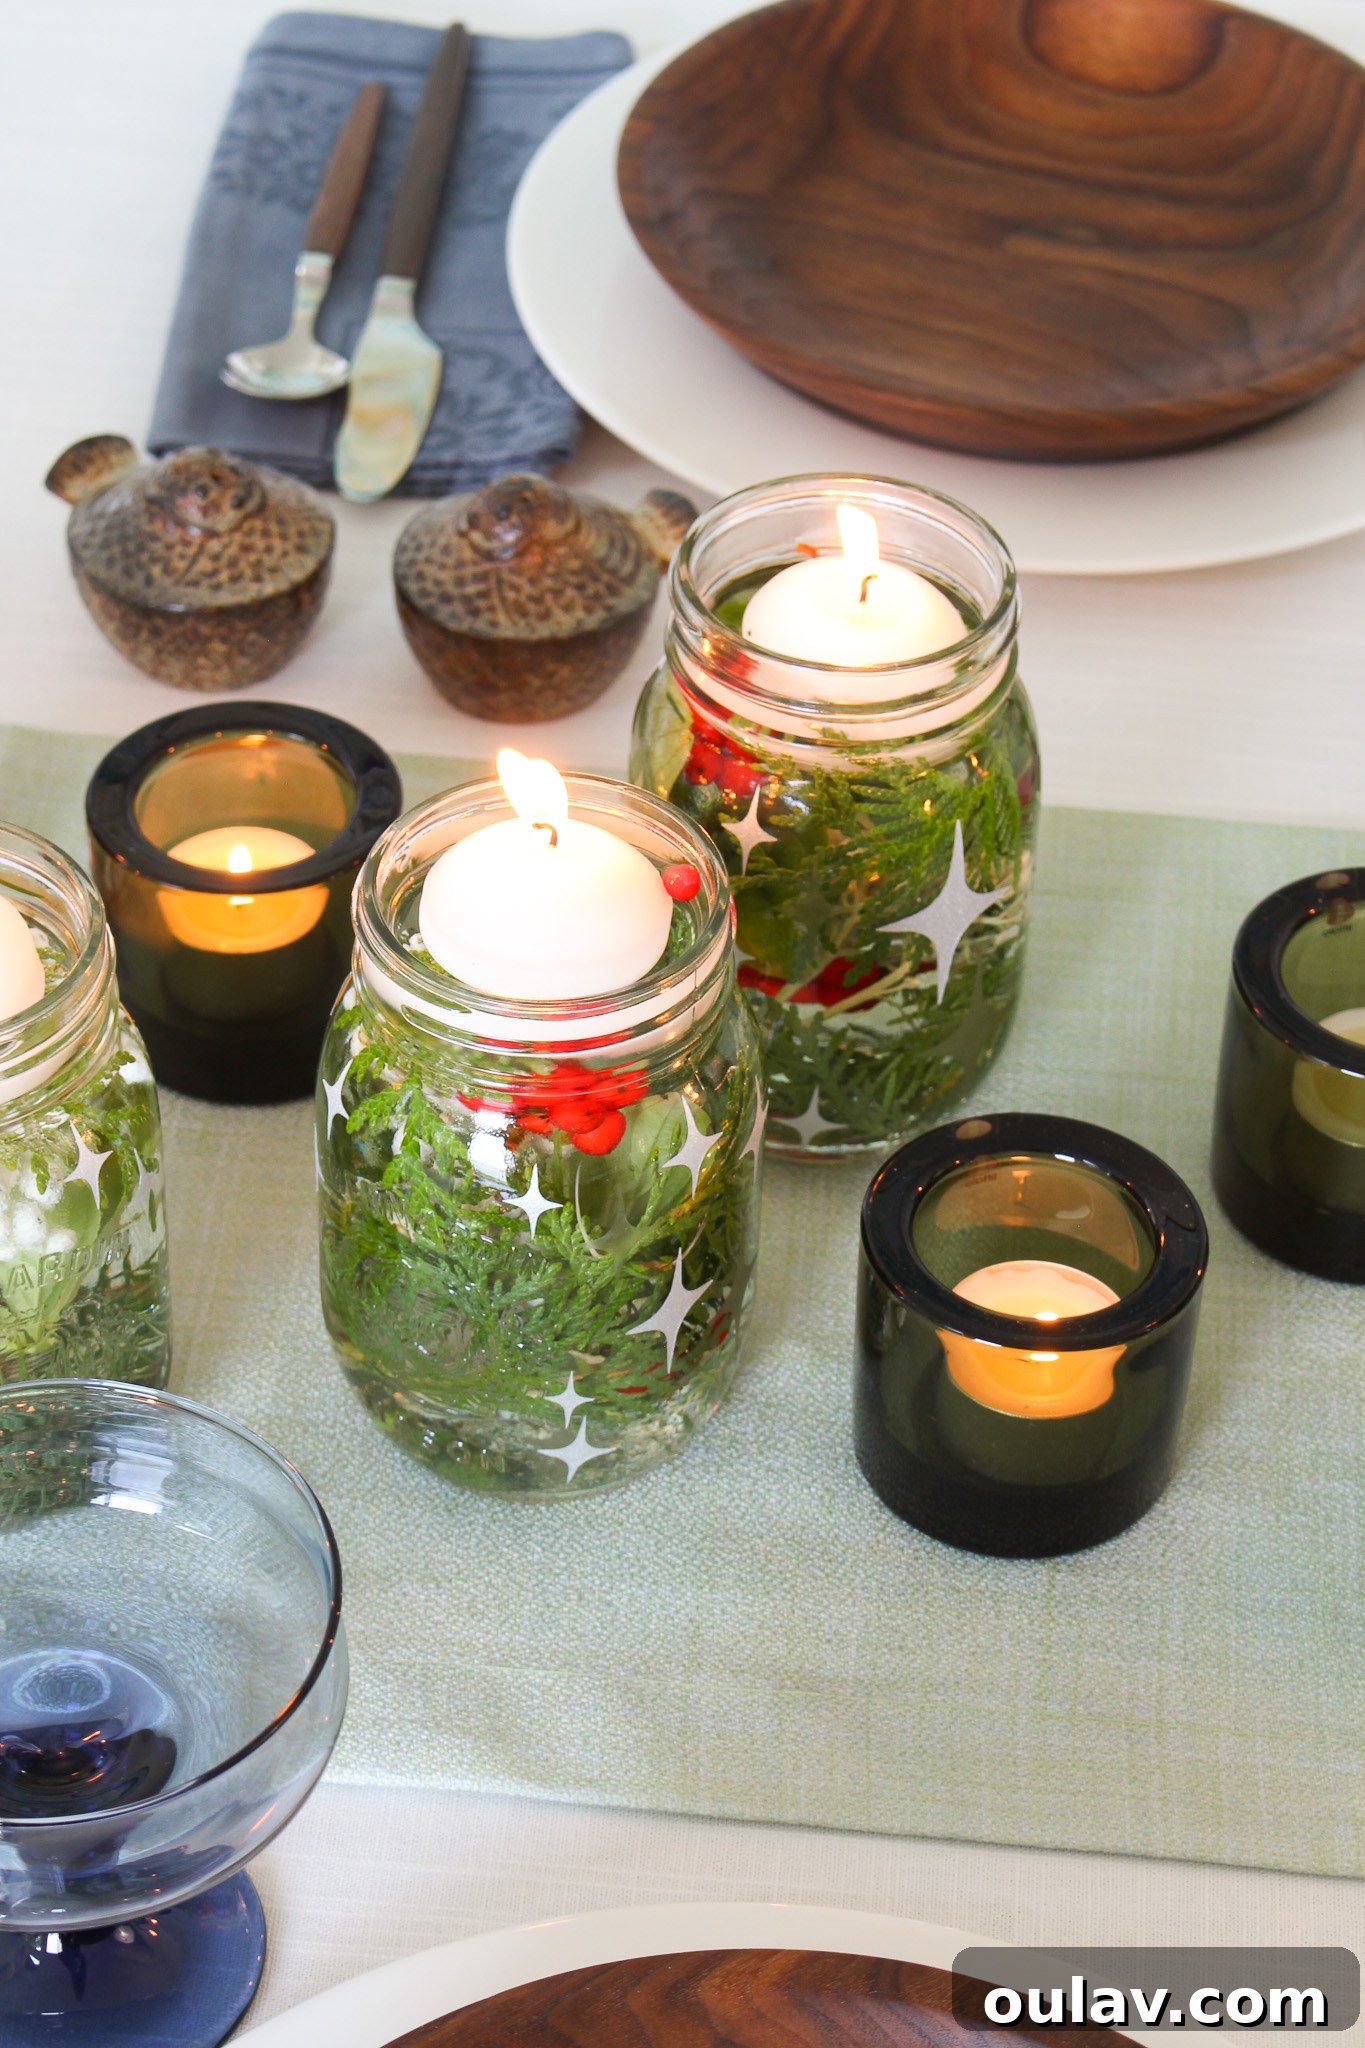
Beyond being a charming Christmas mason jar centerpiece, the timeless design of these etched jars makes them incredibly adaptable for a variety of festive occasions. Imagine them gracing your table for a serene Winter Solstice gathering, celebrating the return of light with their gentle glow. Or picture them as sophisticated accents for a sparkling New Year’s Eve tablescape, ushering in new beginnings with a touch of handmade elegance. Their understated beauty ensures they complement a wide range of decor styles, making them a truly versatile addition to your seasonal decorations.
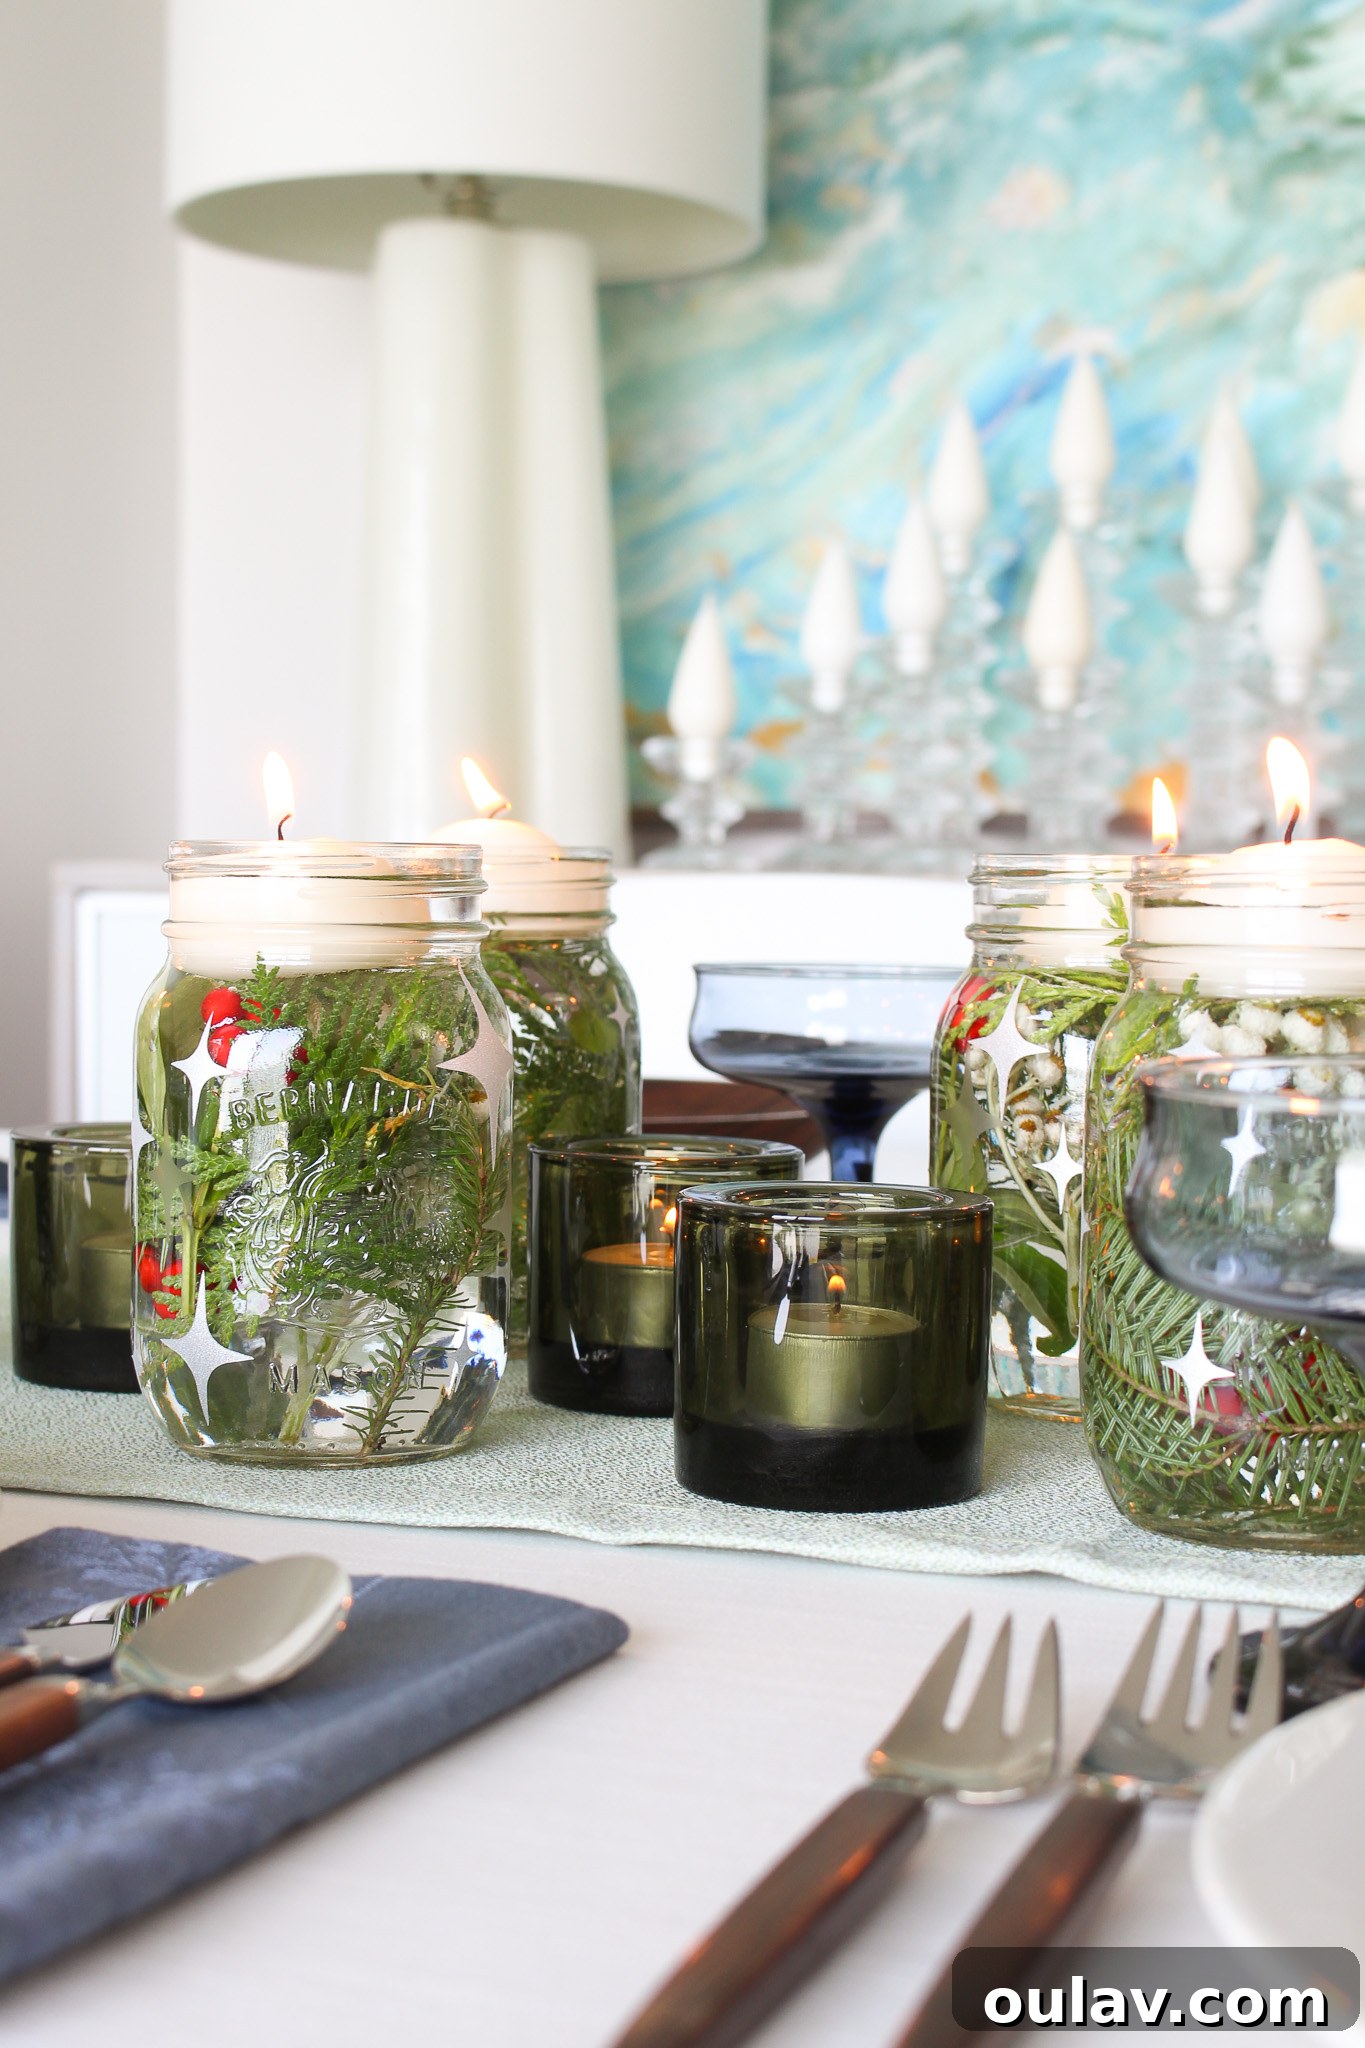
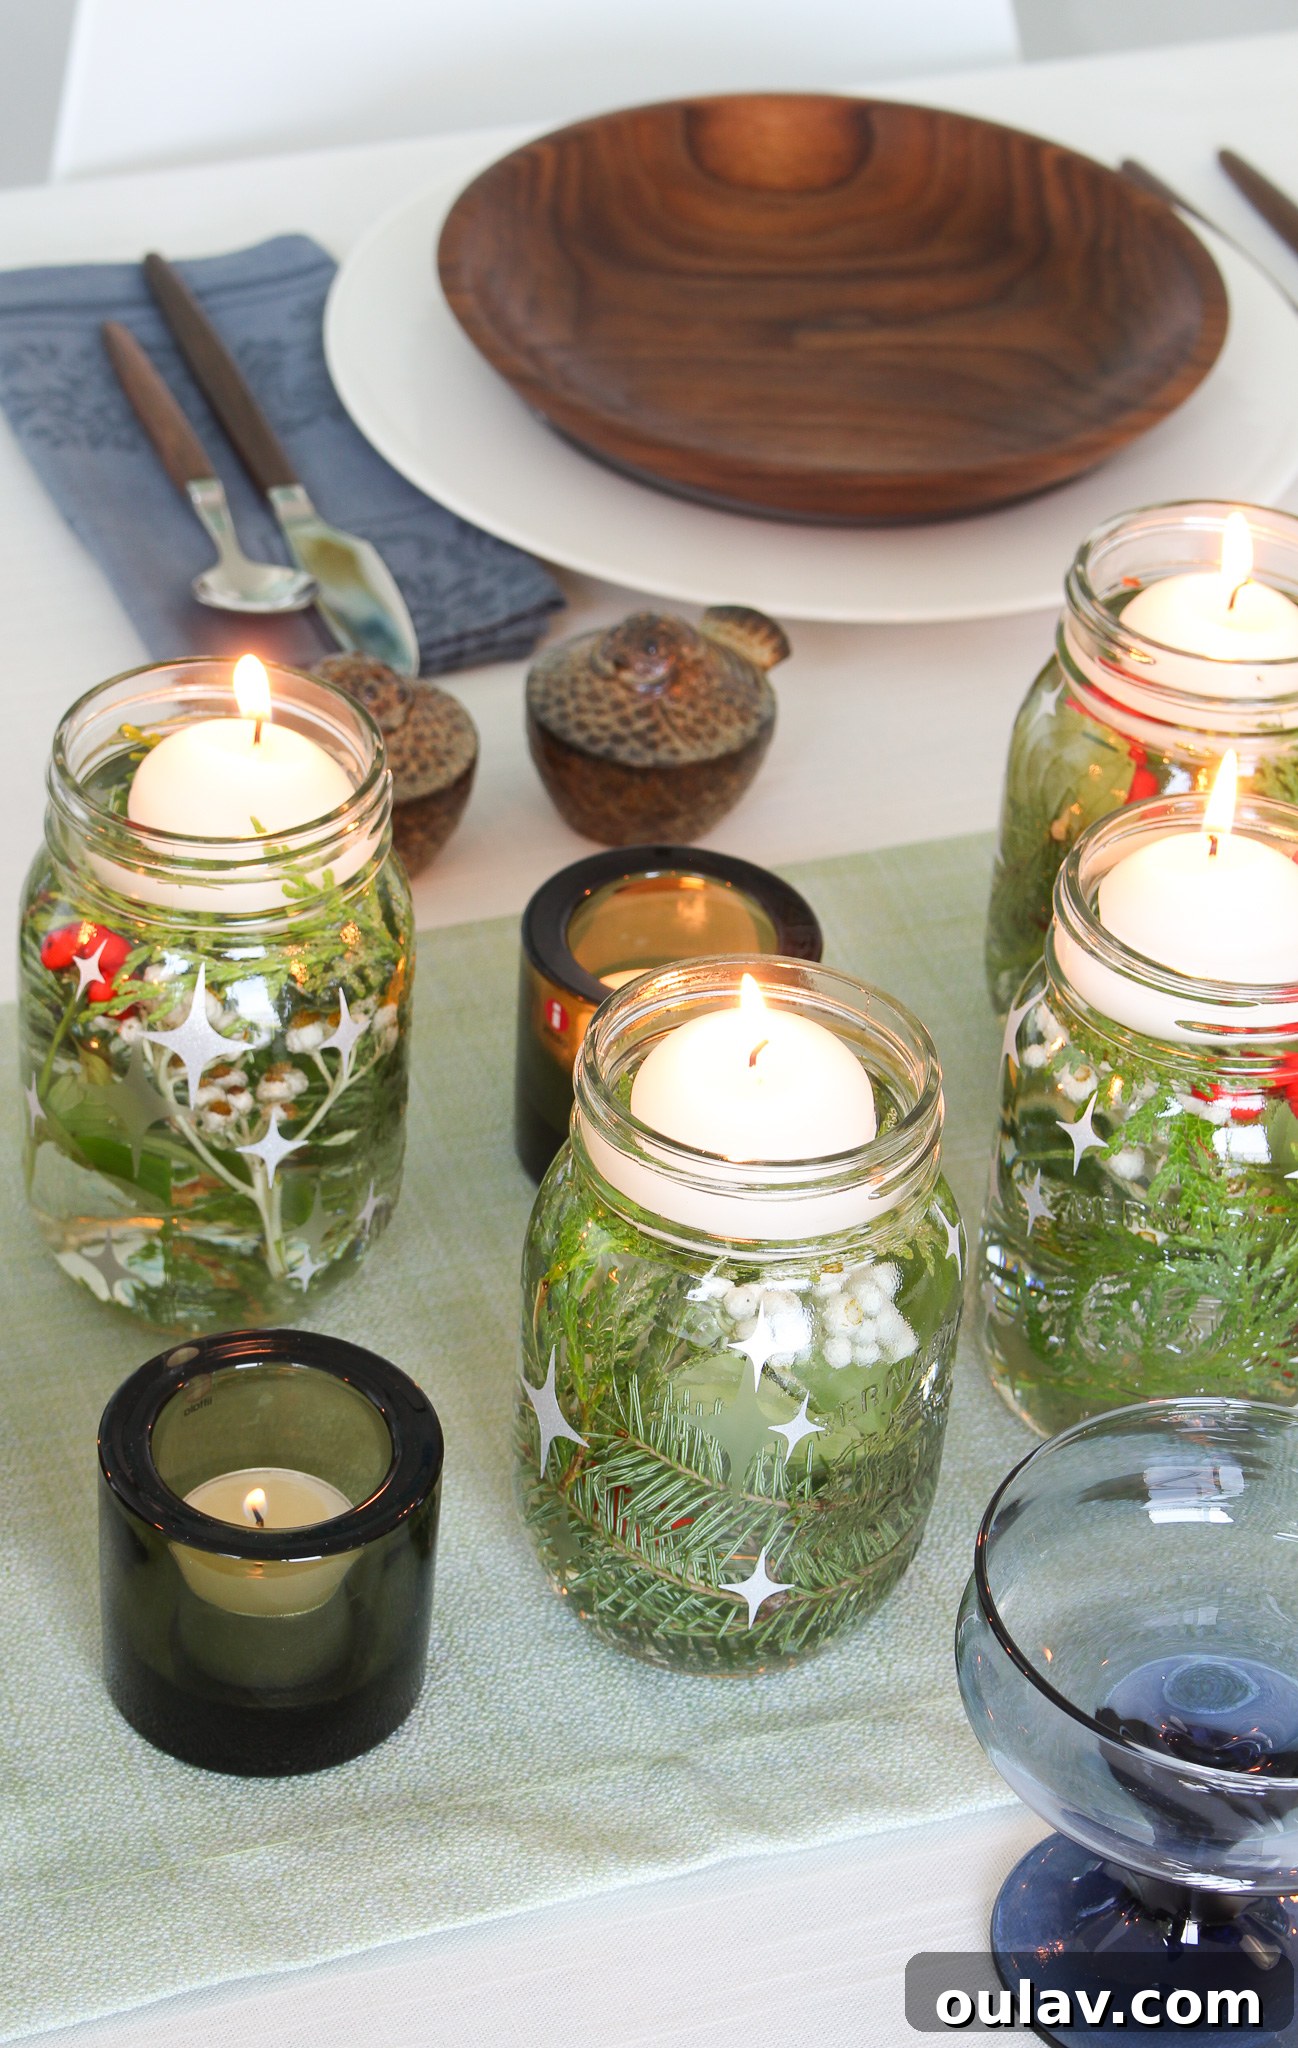
For those eager to explore even more creative possibilities for filling your mason jar centerpieces, I highly recommend checking out additional inspiration. The beauty of these jars lies not only in their etched designs but also in the dynamic contents you choose to display within them. For instance, consider this delightful cranberry snow centerpiece idea, which perfectly captures the essence of winter with vibrant red berries and a frosty white base. Beyond cranberries, think about layering different textures and colors: small river stones, fragrant potpourri, fairy lights, faux snow, or even miniature ornaments can transform your jars to suit any season or theme. The possibilities are truly endless, allowing you to continually refresh your decor with minimal effort and maximum impact.
P.S. Don’t Forget to Pin for Later!
If you’re anything like me, you love collecting beautiful and inspiring craft ideas for future projects. This Cricut etched glass mason jar centerpiece is a truly versatile and elegant DIY that you’ll want to remember for many seasons to come. Whether you’re planning your festive decor for the next Winter Solstice, adding a special touch to your Christmas celebrations, or designing a sparkling tablescape for New Year’s Eve, these jars are a perfect fit. Be sure to save this tutorial to your favorite crafting boards on Pinterest so you can easily find it when you’re ready to create your own stunning etched glass decor. Happy crafting!