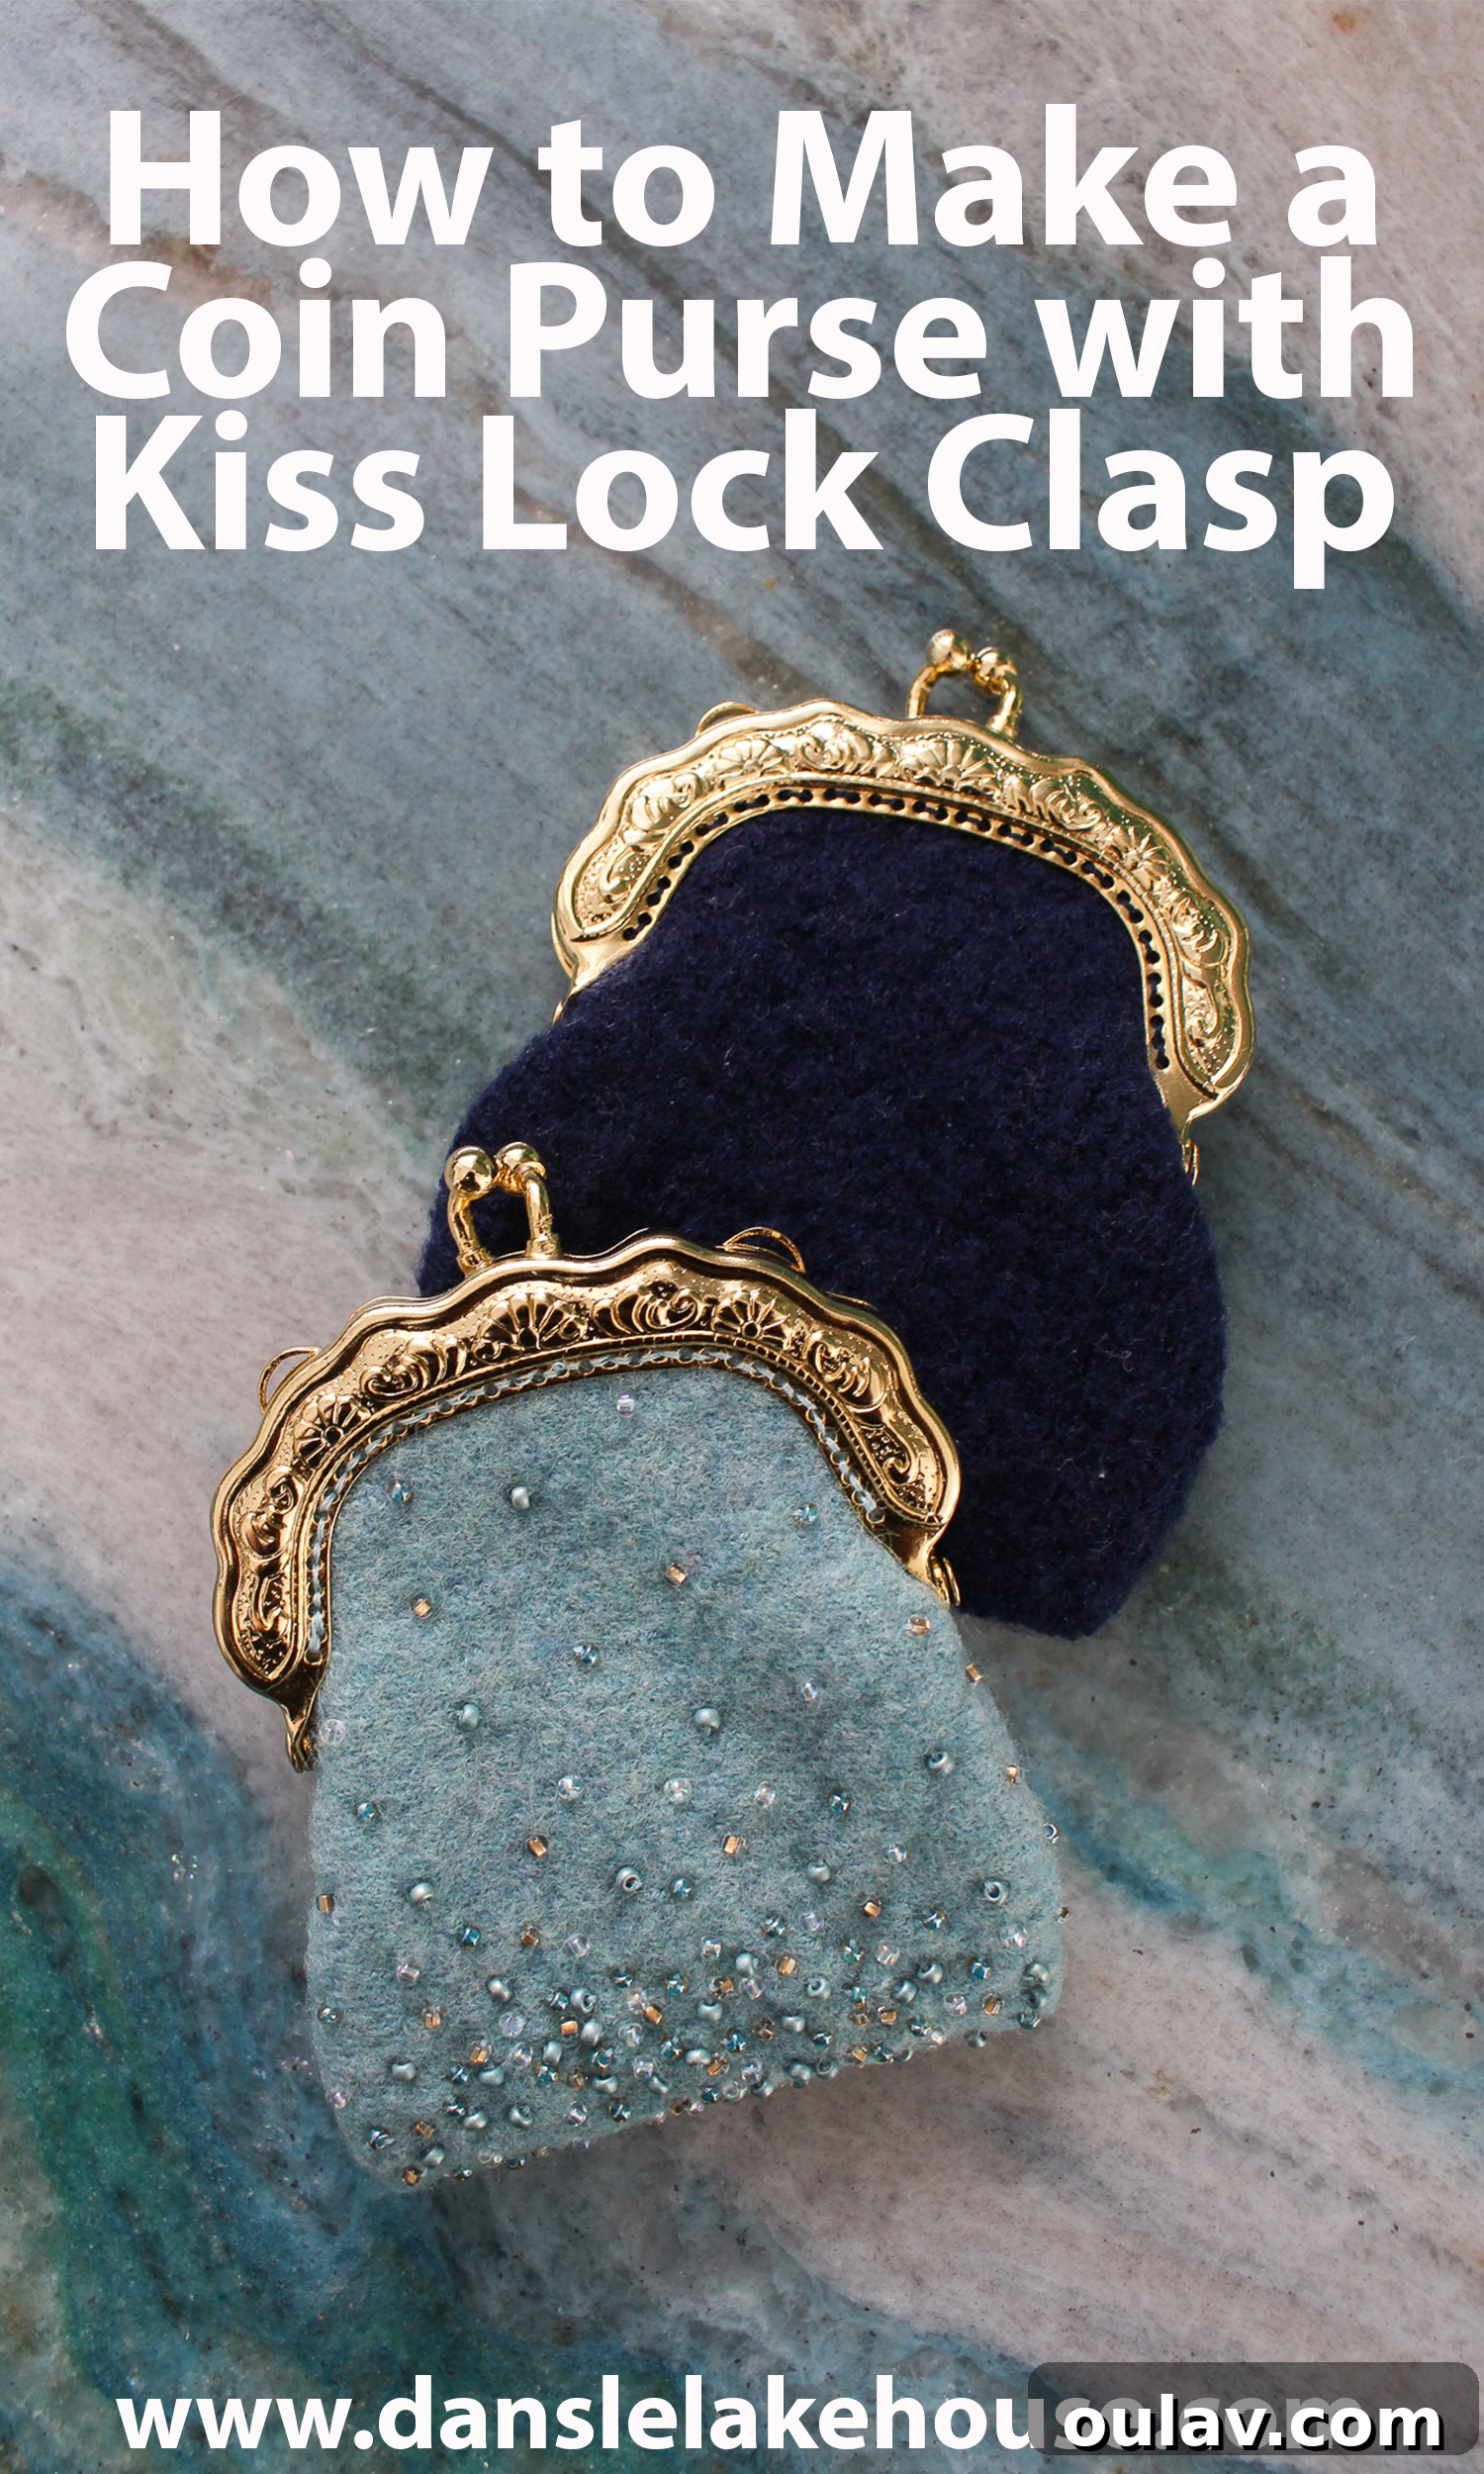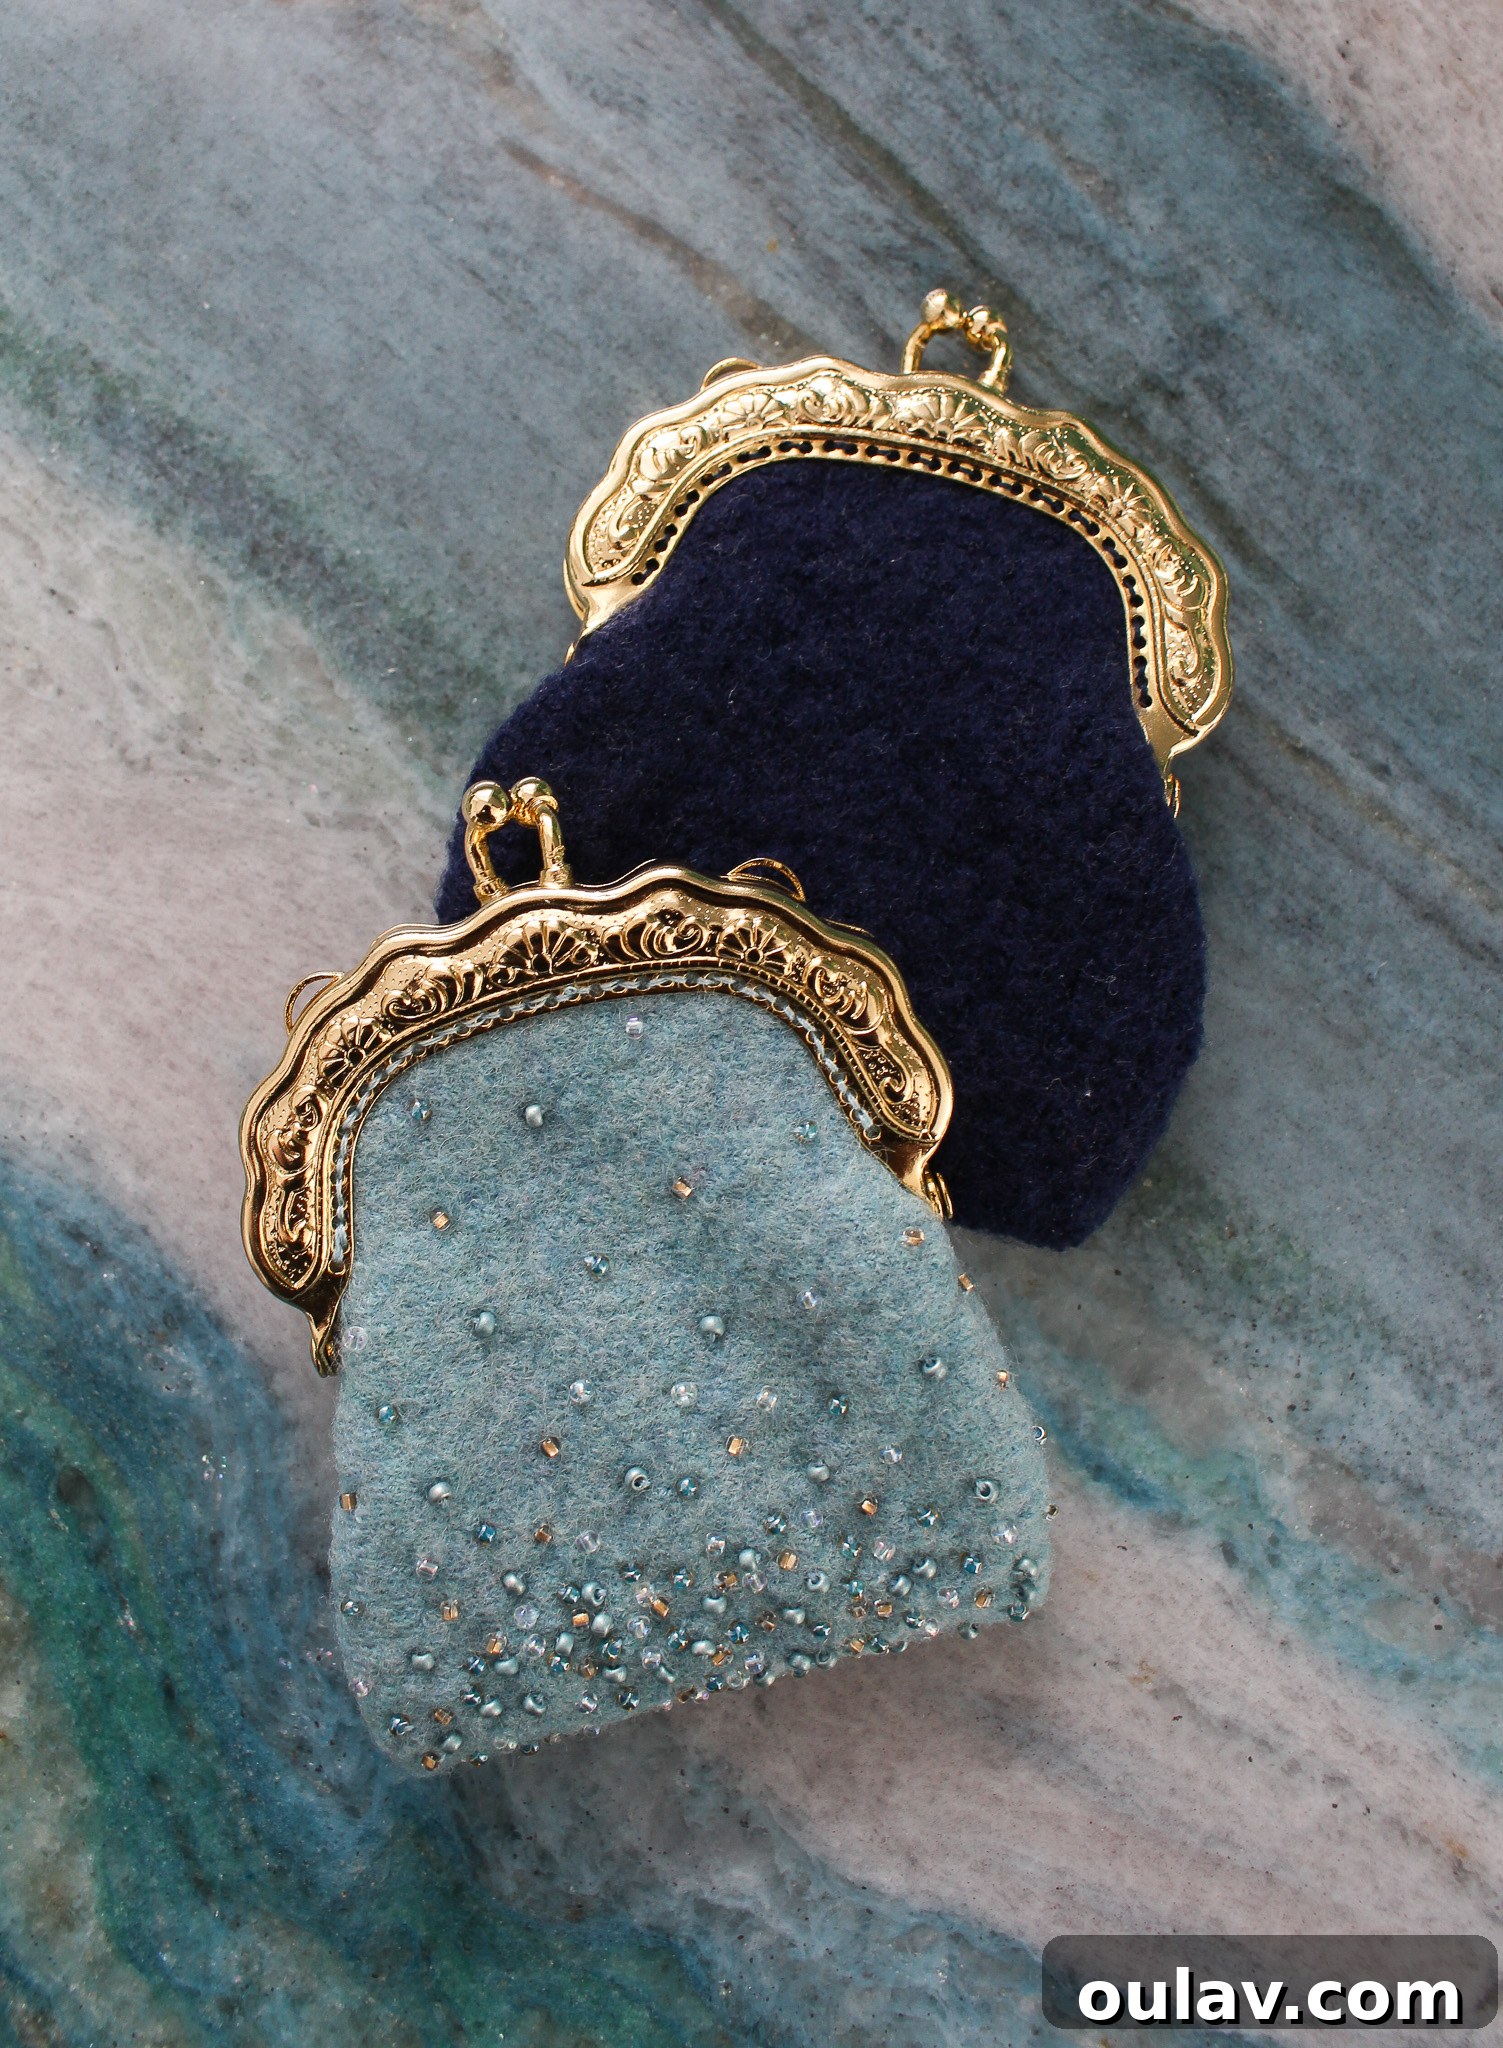
Craft Your Own DIY Beaded Felt Coin Purse with a Classic Kiss Lock Clasp
For those who cherish the joy of creating beautiful, functional items by hand, this tutorial is a true delight. While many of us adore crafting beaded felt ornaments for festive seasons, there’s immense satisfaction in making something practical and timeless. Today, we’re venturing into season-less beaded felt craft ideas, focusing on an exquisite project: a DIY beaded felt coin purse featuring an elegant kiss lock clasp. What makes this project even more special is its sustainable heart – we’ll be upcycling shrunken wool sweaters from thrift shops, transforming forgotten garments into cherished accessories. So, instead of discarding a sweater that accidentally met the dryer’s wrath, let’s craft with it!
This comprehensive guide offers both a condensed overview and incredibly detailed, step-by-step instructions, complete with illustrative photos, ensuring you can confidently create your own unique coin purse. Whether you’re a seasoned crafter or looking for an engaging new project, prepare to be inspired to bead, sew, and transform ordinary materials into something extraordinary.
Why Embark on This DIY Coin Purse Journey?
Crafting your own coin purse offers a myriad of benefits beyond just having a new accessory. It’s an opportunity for creative expression, a step towards sustainable living, and a chance to make truly personalized items. Imagine creating a unique gift for a loved one, tailored precisely to their style. This project allows you to breathe new life into materials, reducing waste and embracing the principles of upcycling. Furthermore, the satisfaction of saying “I made this!” every time you reach for your change is priceless. A handmade coin purse isn’t just a container for coins; it’s a small piece of art, a testament to your creativity and skill, and a conversation starter.
Deciphering the Charm of Kiss Lock Purse Clasps
The star of our project, beyond the beautiful felt work, is the timeless kiss lock clasp. These charming metal frames, often referred to as kiss clasps or kissing locks, are more than just functional closures; they add a touch of vintage elegance and sophistication to any small bag. My personal clasps for this project were tiny, rescued from my Mom’s vast craft stash, proving ideal for neatly corralling my headphones (yes, I’m dating myself with corded headphones!). However, the beauty of kiss lock clasps lies in their incredible versatility. They come in a vast array of sizes and styles, making them suitable for an endless list of projects, from small coin purses and eyeglasses cases to stylish makeup bags and even elegant evening clutches.
While the fundamental mechanism of two interlocking metal knobs remains consistent, the method of attaching the clasp to your fabric can vary slightly between brands and designs. Many, like the ones highlighted in this tutorial, feature small holes along the frame, designed specifically for easy hand-stitching. This particular design simplifies the attachment process significantly. Therefore, while we’ll demonstrate precisely how we chose to sew this DIY coin purse with a kiss lock clasp, consider this a flexible guide filled with practical hacks and inspiration. The overarching goal is to ignite your passion for embellishing felt and to encourage you to think beyond traditional ornaments, exploring the vast potential of beaded felt in new, exciting ways!
Essential Supplies for Your Beaded Felt Coin Purse
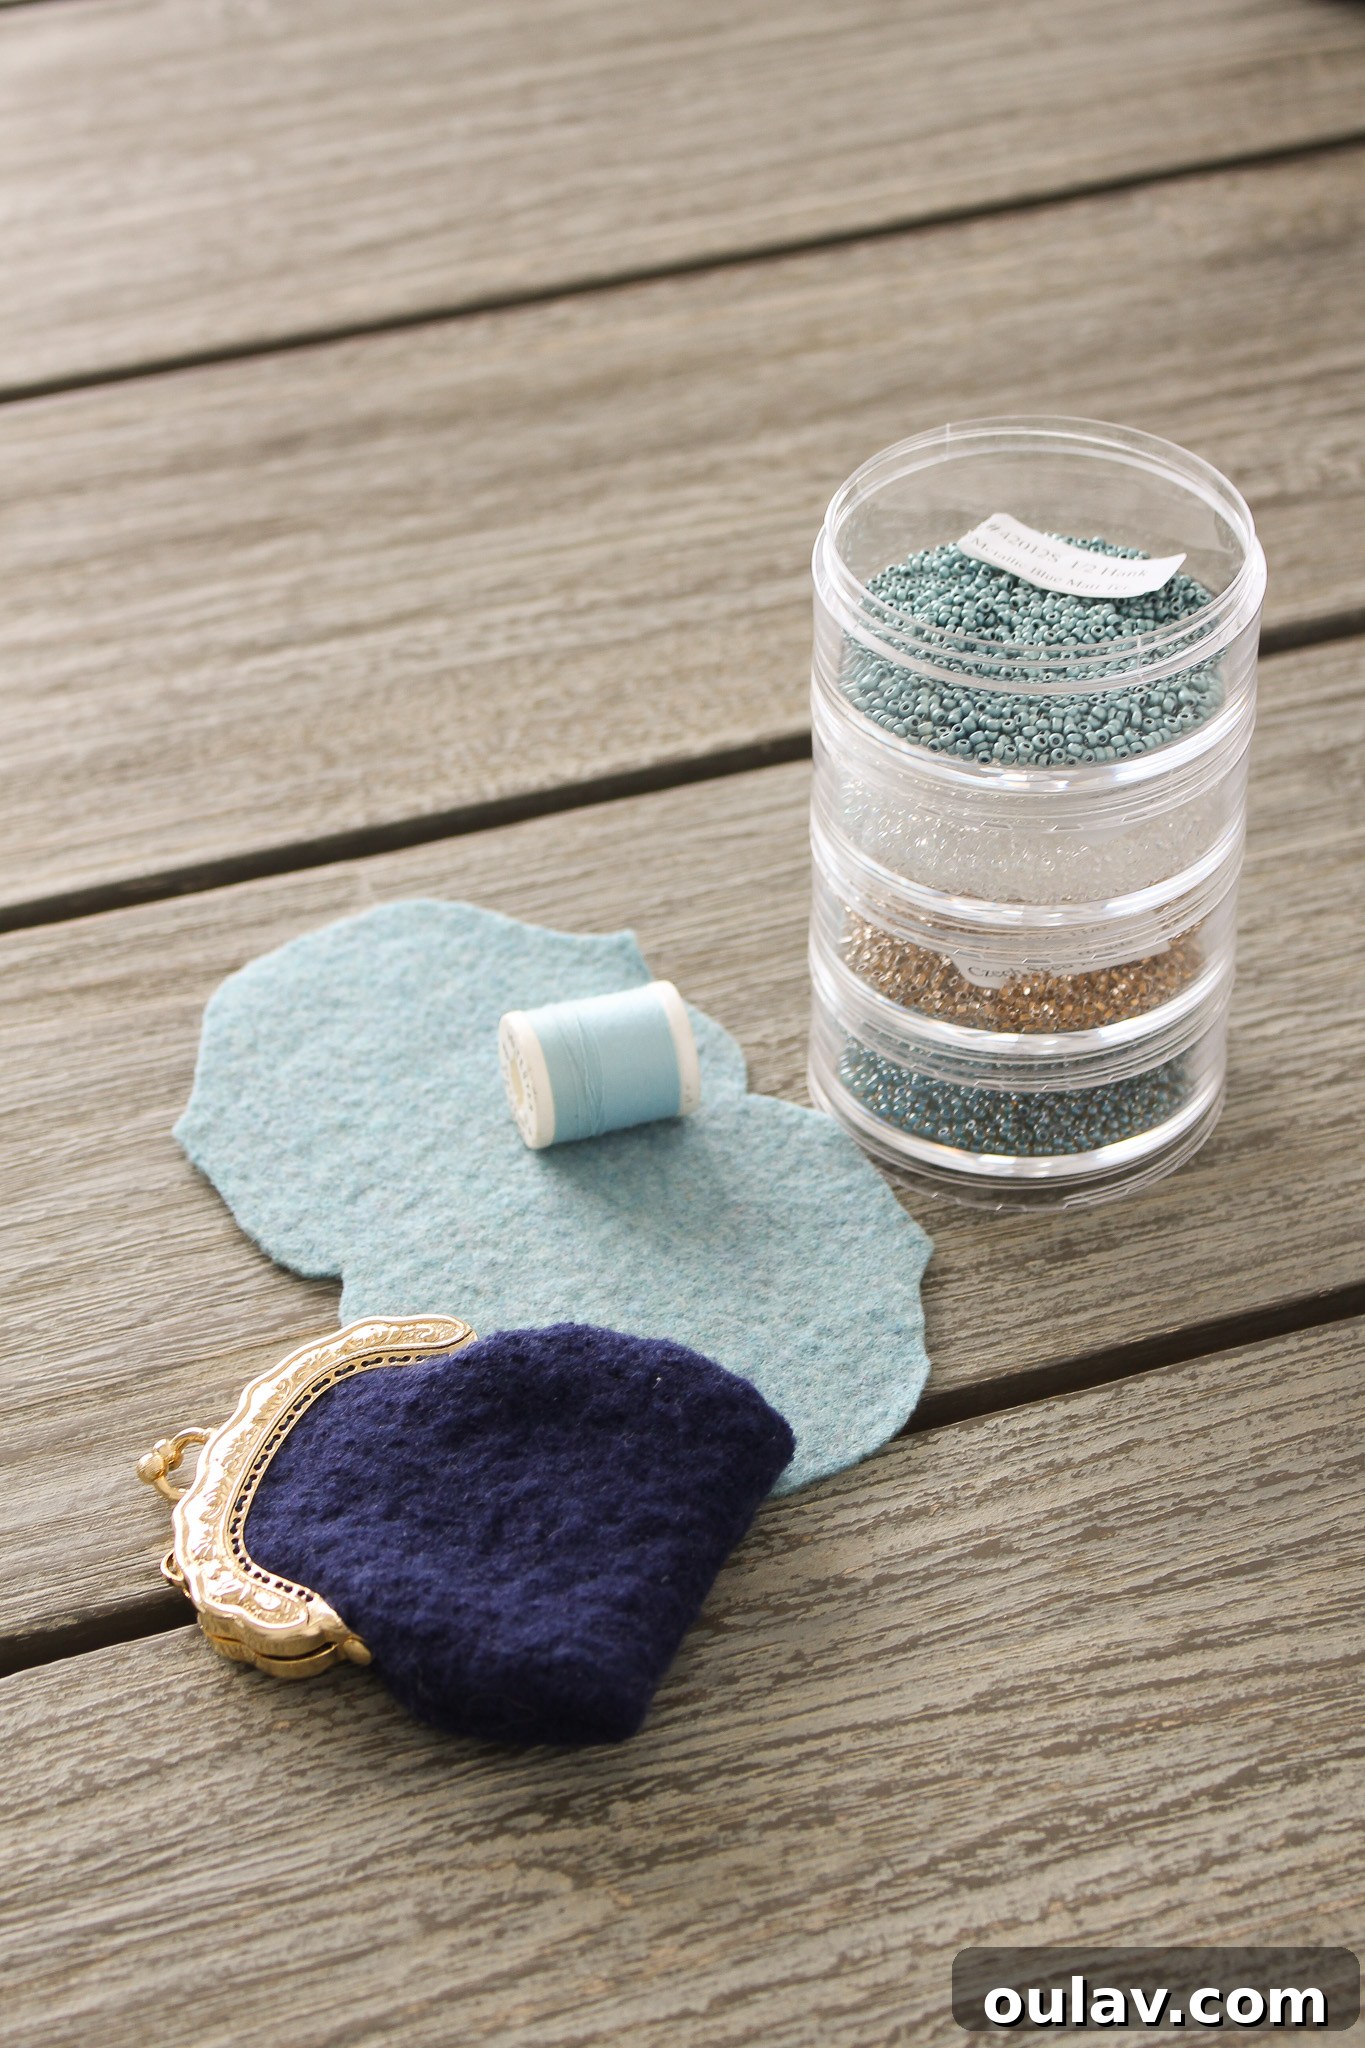
Gathering your materials is the first exciting step in any craft project. For this DIY beaded felt coin purse, you’ll need a mix of standard sewing supplies and a few specialized items. Remember, creativity often thrives on resourcefulness, so feel free to adapt and substitute where appropriate!
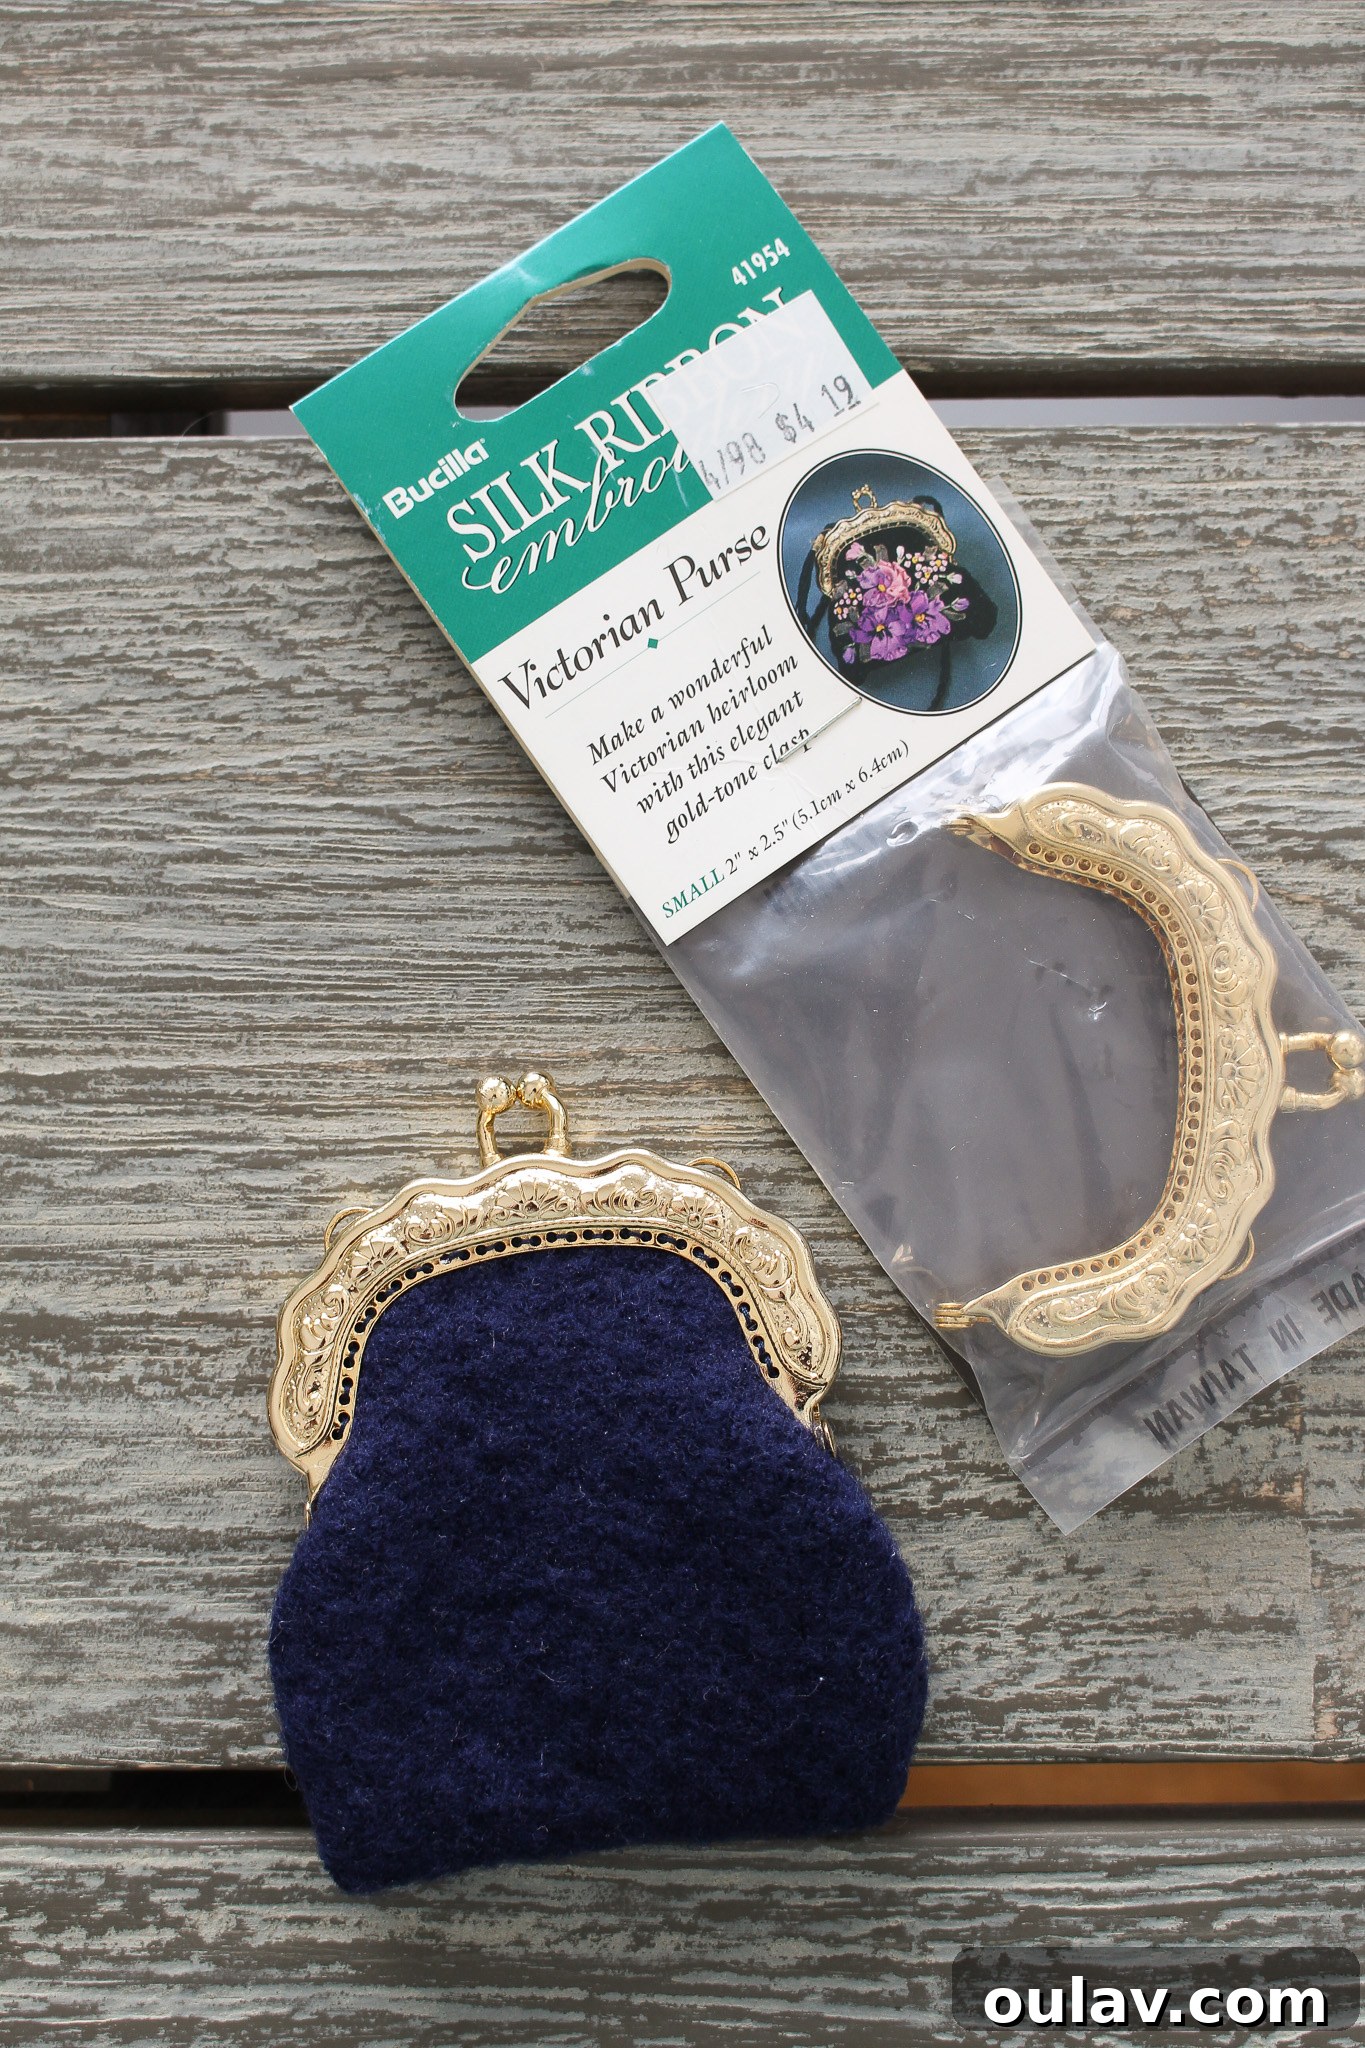
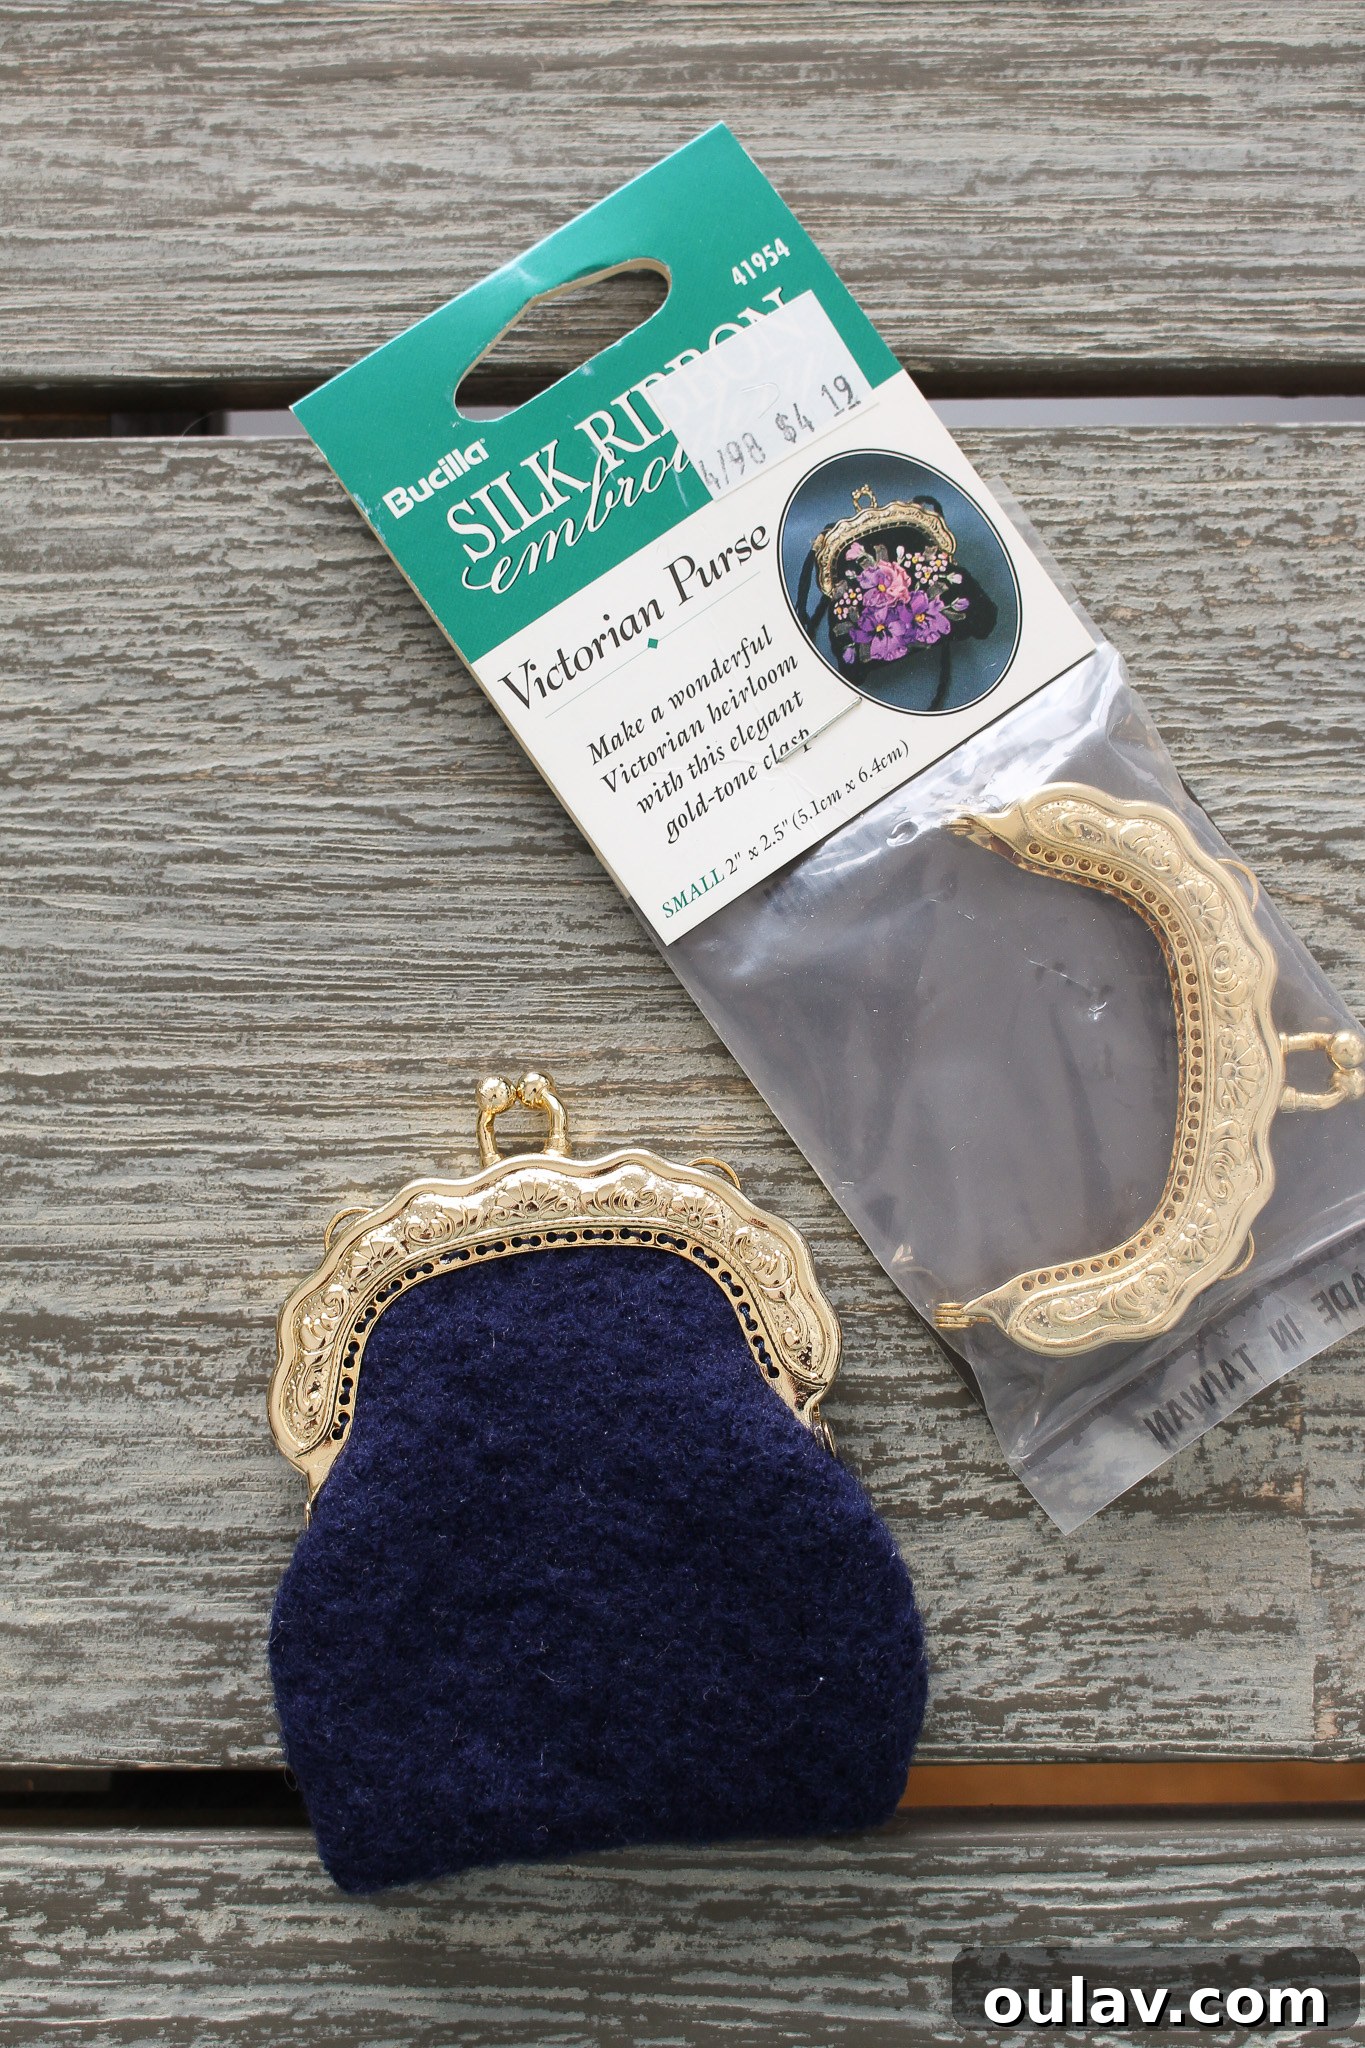
- Kiss Lock Clasp: Mine measures 2″ x 2.5″, which is a great size for a standard coin purse. Look for clasps with pre-drilled holes for easier attachment.
- Felt Fabric: The star of our upcycling mission! I repurposed 100% wool sweaters that had been accidentally shrunken. If you don’t have shrunken sweaters, a high-quality 100% merino wool felt option is an excellent alternative for its durability and luxurious feel.
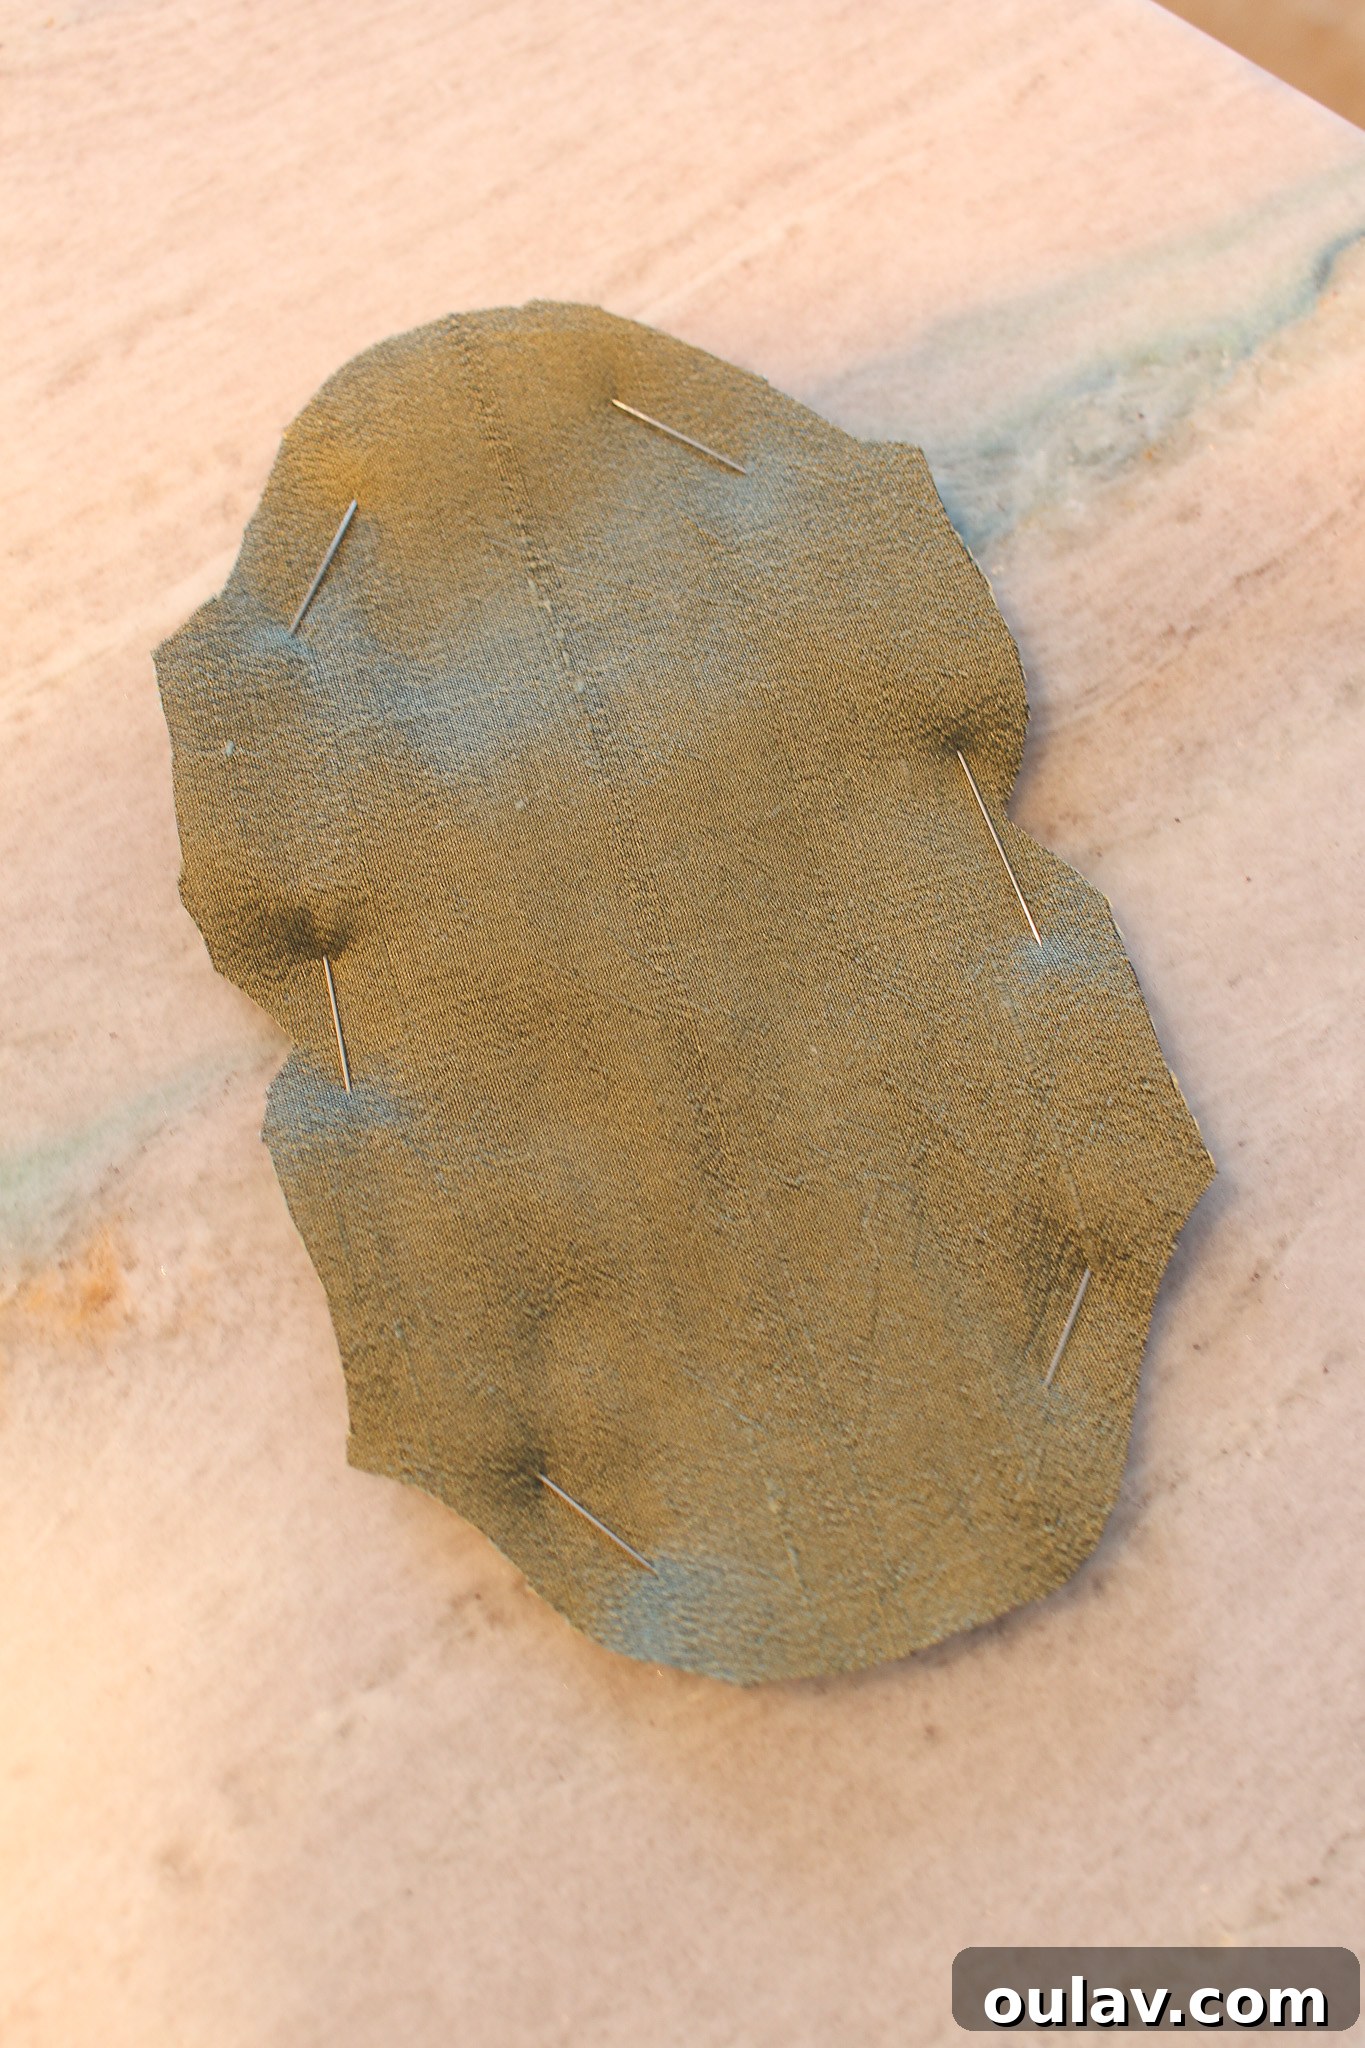
- Lining Fabric: For a polished interior, a soft lining is key. I used silk scraps, with green silk from an old, worn-out pillow providing a beautiful contrast. Any lightweight, smooth fabric will work.
- Seed Beads: These tiny beads are perfect for adding intricate details and sparkle to your felt. Choose colors that complement your felt and lining.
- Beading Needle: Essential for working with small seed beads, these needles are extra fine and long.
- Hand Sewing Needle: A standard hand sewing needle for assembling the purse and attaching the lining.
- Coordinating Threads: You’ll need thread that matches your felt for general construction, and ideally, a finer thread that matches your beads for beading.
- Small Fabric Scissors: Sharp, precise scissors are crucial for clean cuts, especially on felt and small pattern pieces.
- Paper for Template (optional): If your clasp doesn’t come with a template, you’ll need paper to create your own pattern.
The Art of Upcycling: Preparing Your Wool Felt
One of the most satisfying aspects of this project is transforming a seemingly ruined item into something new and beautiful. Shrunken wool sweaters are a crafter’s hidden gem, offering a dense, durable felt fabric that’s perfect for this type of purse. The process of “felting” a wool sweater essentially means shrinking it deliberately and permanently, causing the fibers to interlock tightly. If you’re using a shrunken sweater from a thrift store, it likely has already undergone some felting. To ensure a complete and stable felted fabric, I recommend washing the sweater again in hot water and then tossing it in the dryer on a hot setting. This further agitates and shrinks the fibers, resulting in a robust, non-fraying material that’s ideal for sewing without needing to hem edges.
If you don’t have an accidentally shrunken sweater, don’t worry! You can achieve similar results with new 100% wool felt from a craft store. Look for high-quality wool felt, as it holds its shape better and offers a superior finish compared to synthetic felts. Once your wool felt is prepared, whether upcycled or new, it’s ready to be transformed into your unique coin purse.
Step-by-Step Tutorial: Crafting Your DIY Beaded Felt Coin Purse
Let’s dive into the detailed process of assembling your charming new coin purse. Follow these steps carefully for the best results.
1. Create Your Pattern and Cut Your Fabric
Your kiss lock clasp kit might come with a pre-made template, which simplifies this step significantly. If not, don’t fret! You can easily create your own paper template by tracing around the clasp and adding a small seam allowance (about 1/4 inch or 0.5 cm) around the edges where the fabric will meet the clasp. This allowance is crucial for a neat finish.
Once your template is ready, carefully trace it onto your prepared felt fabric. Precision here ensures a symmetrical purse. Using sharp fabric scissors, cut out the felt shape. Remember, for my felt, I upcycled two shrunken wool sweaters, thoroughly washing them in hot water and drying them to ensure full felting. Next, trace and cut out an identical shape from your chosen lining material. This will give your purse a clean, finished interior.
2. Embellish Your Felt (Beading, Embroidery, etc.)
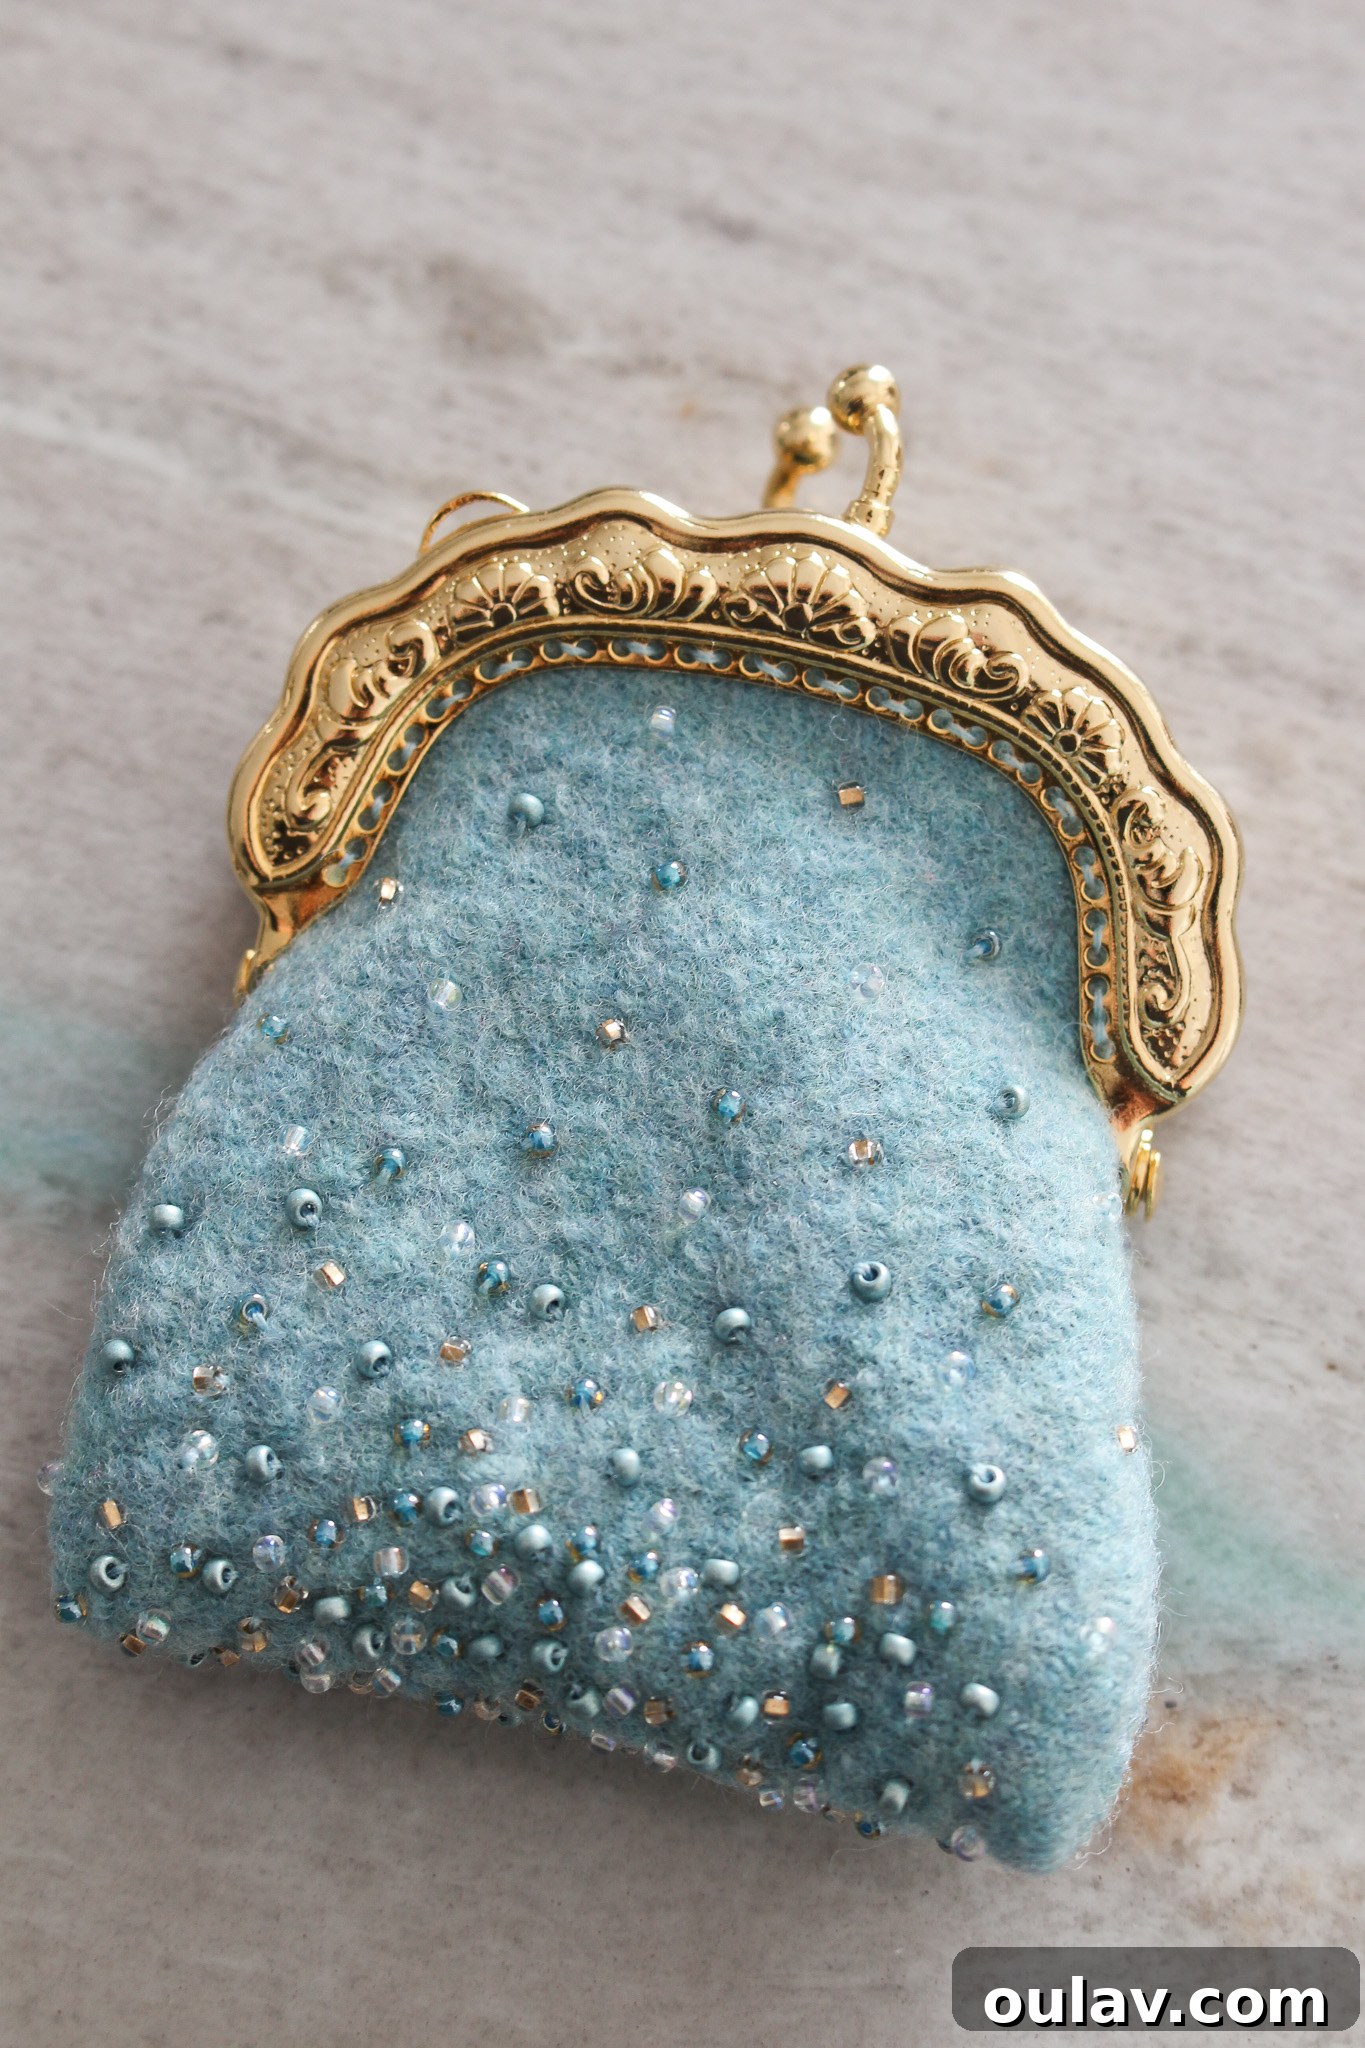
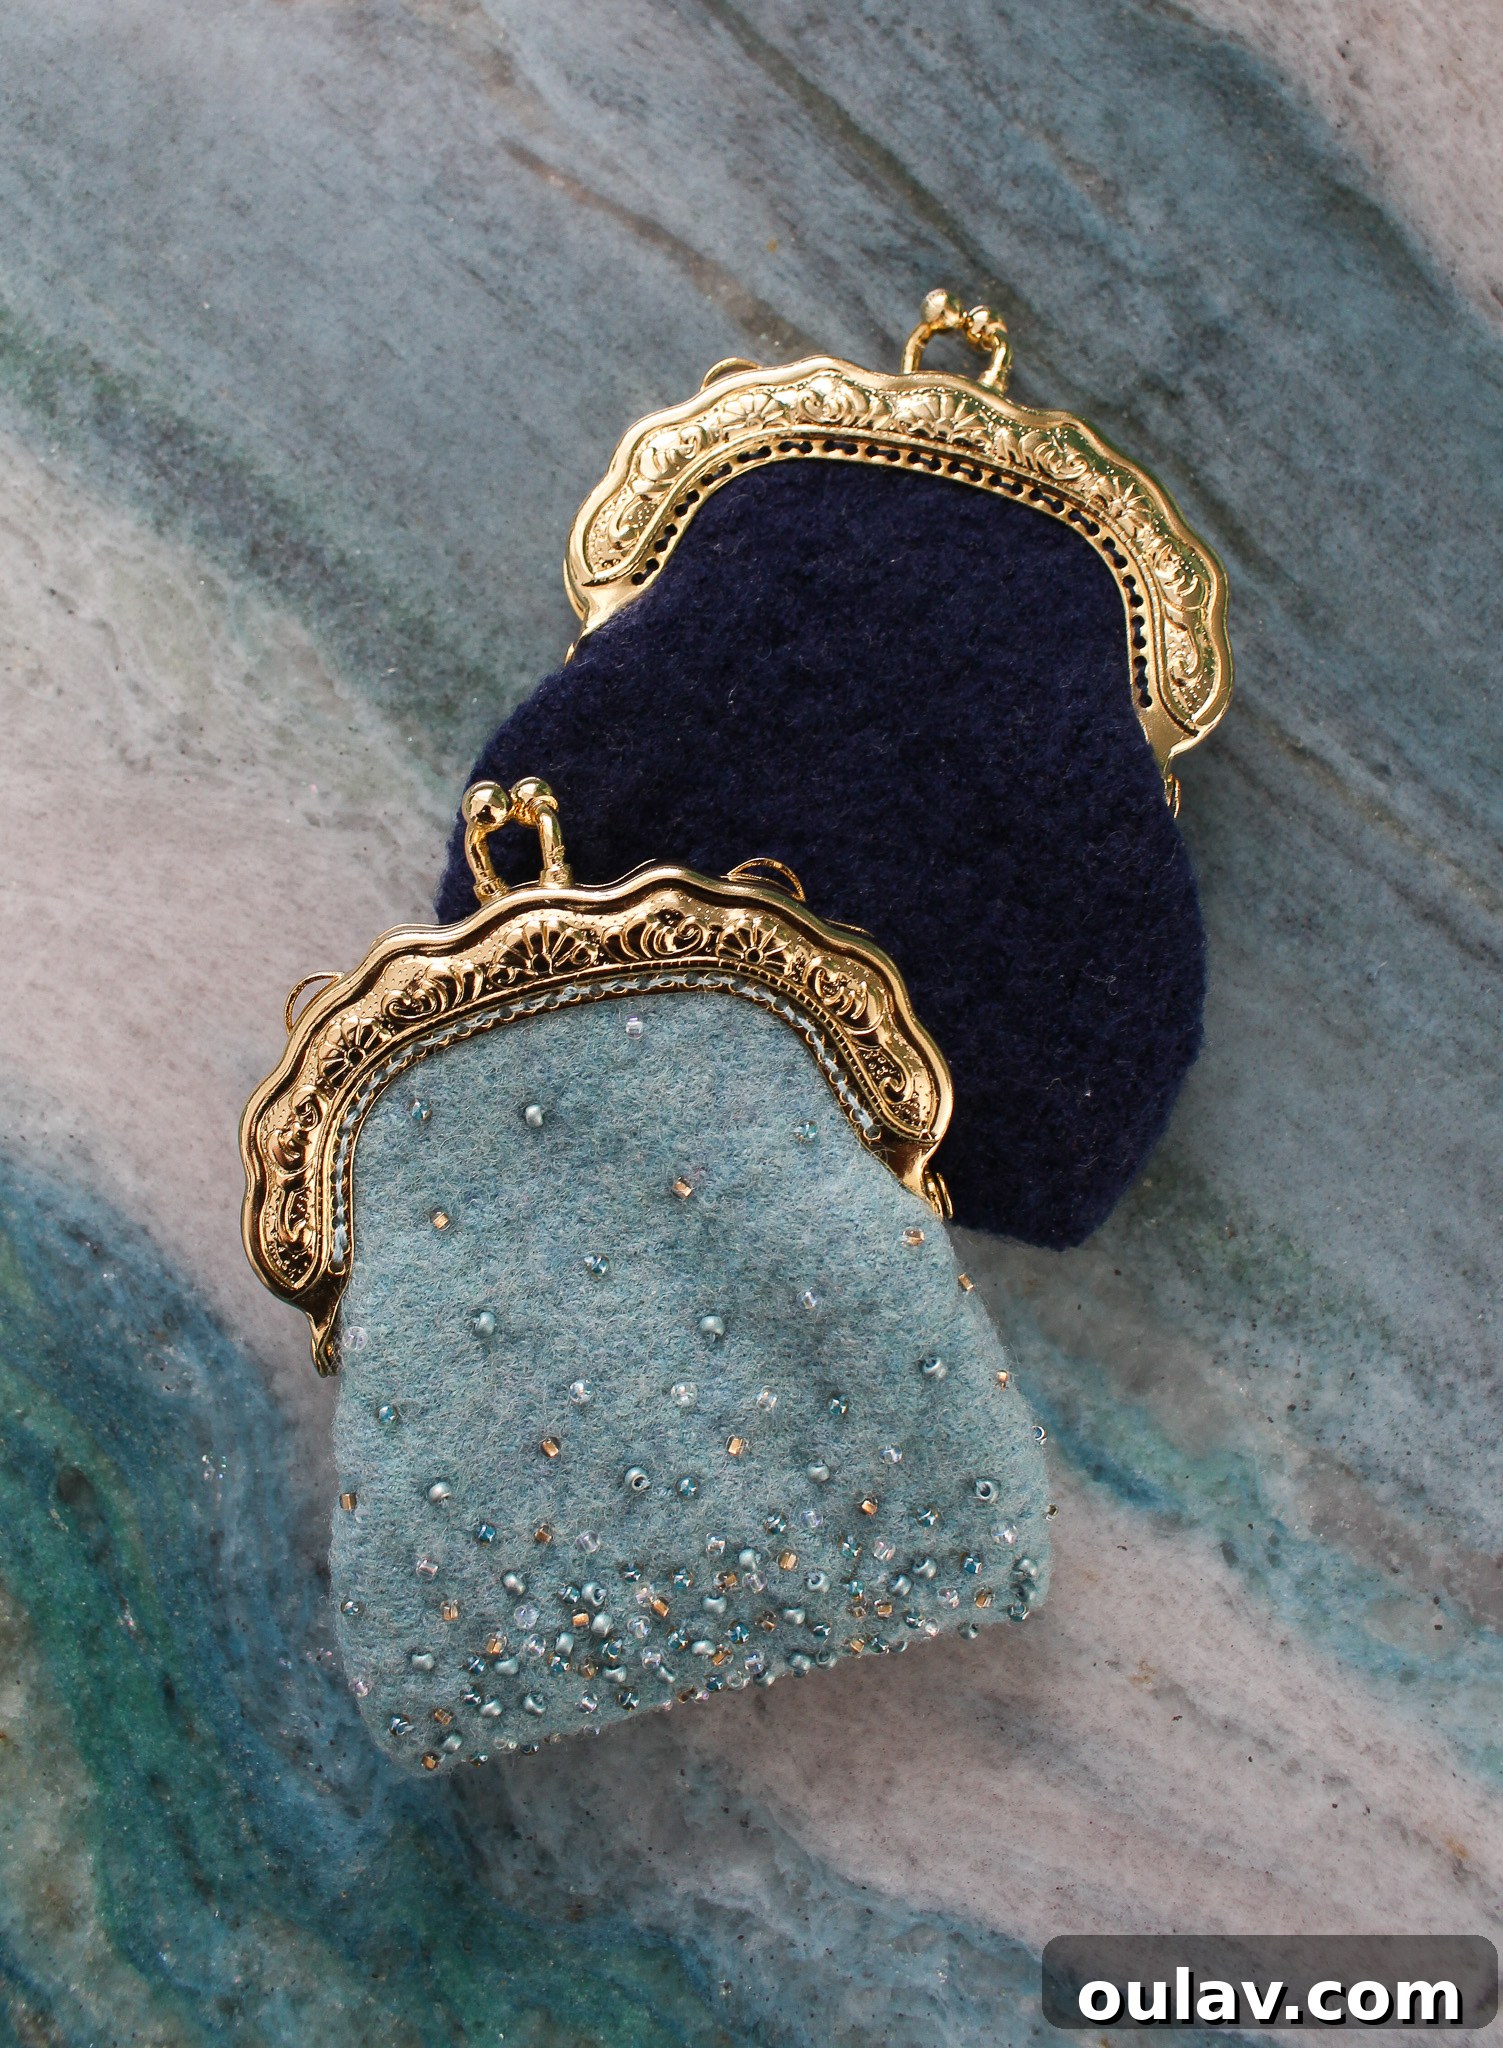
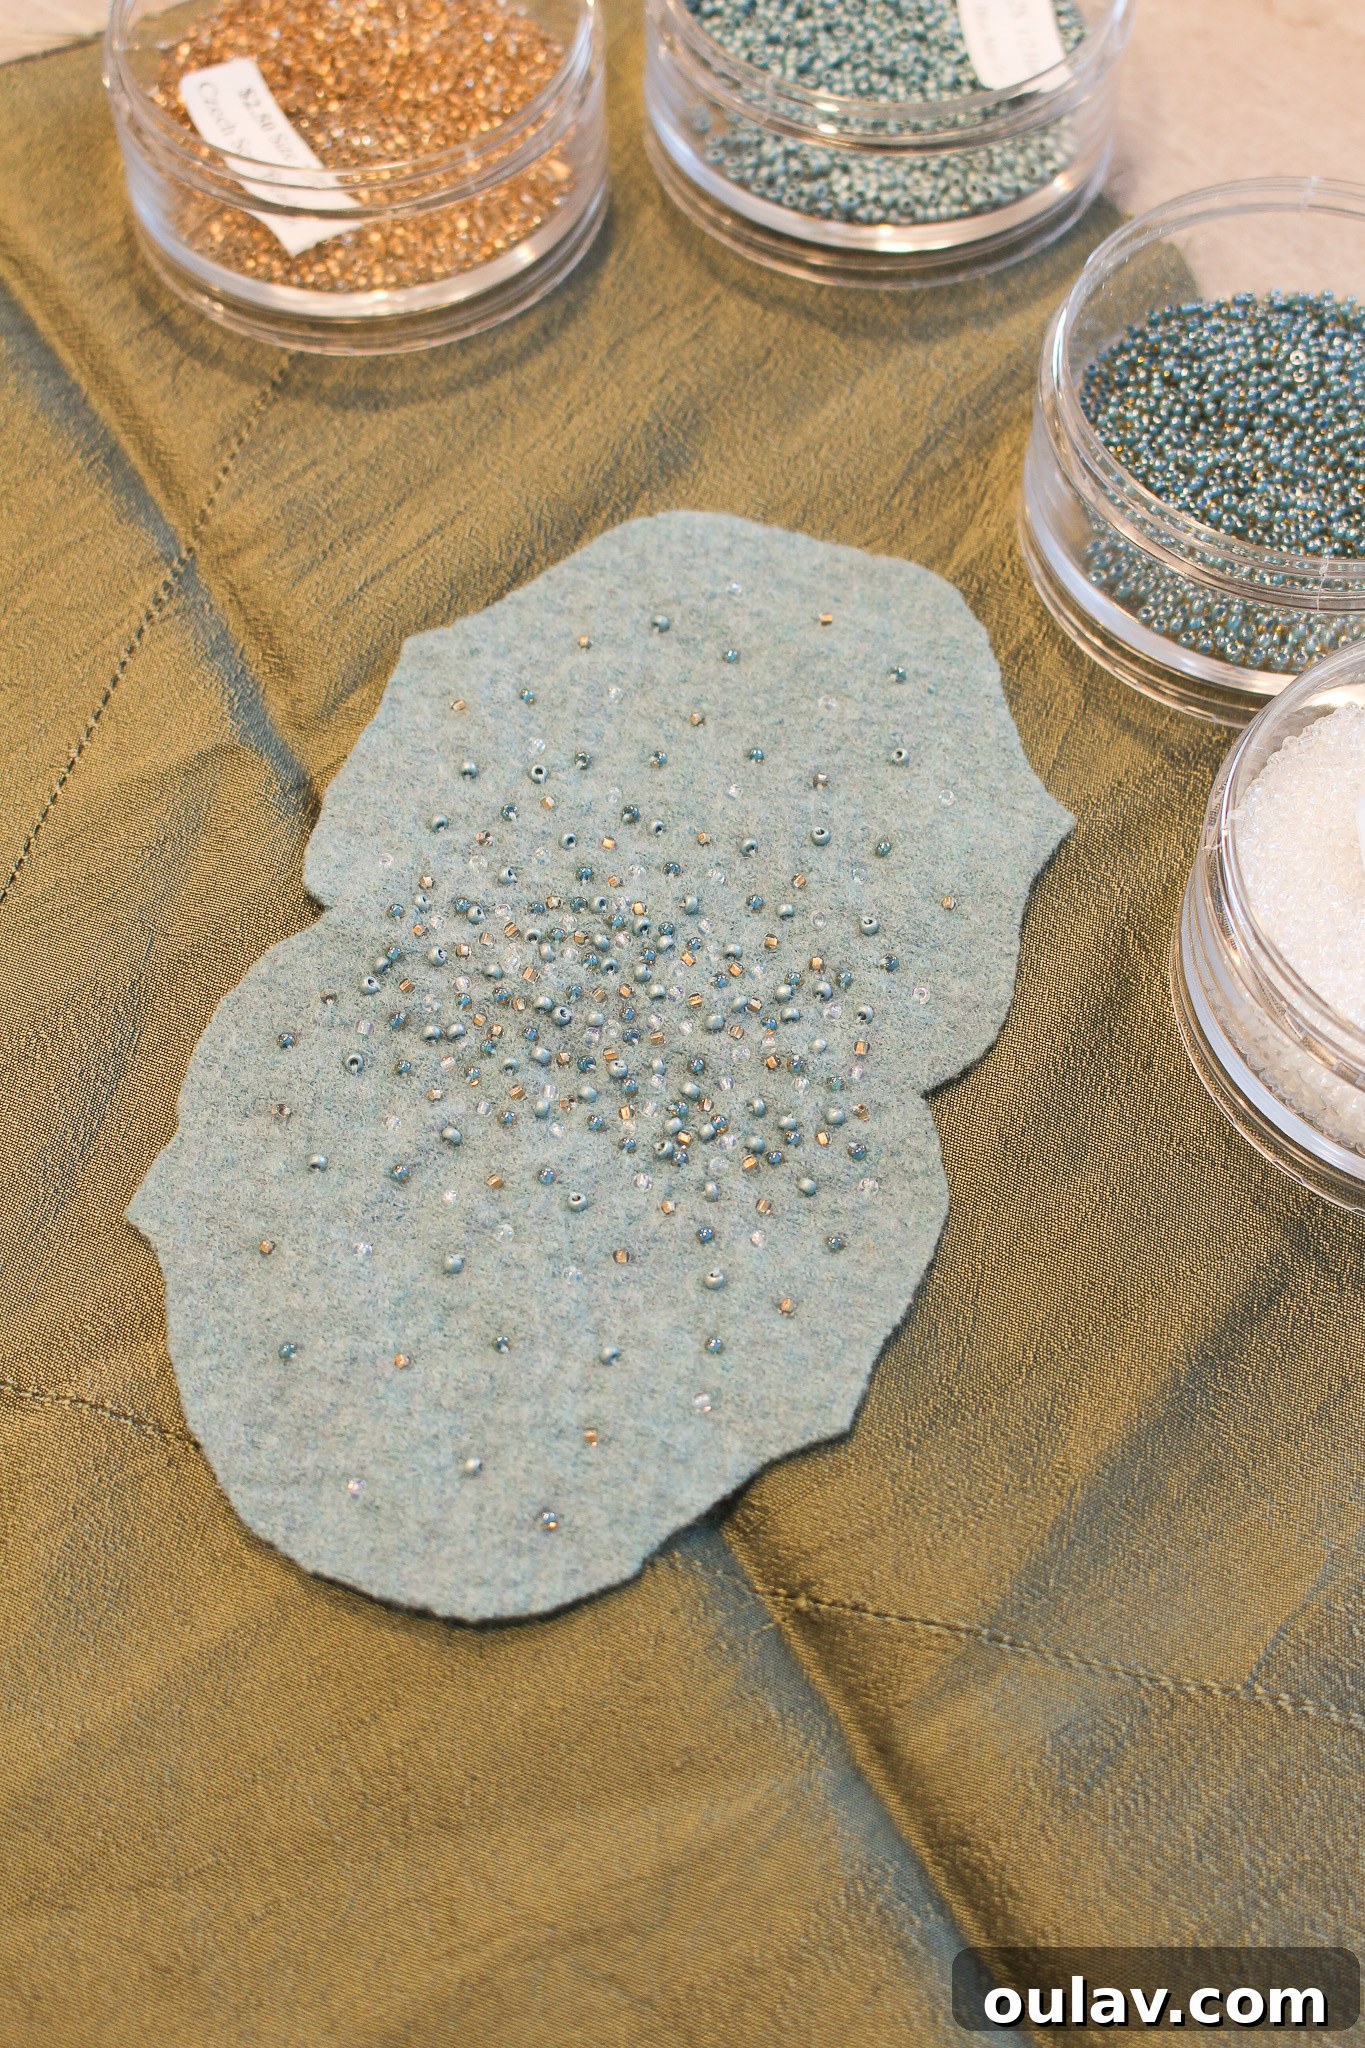
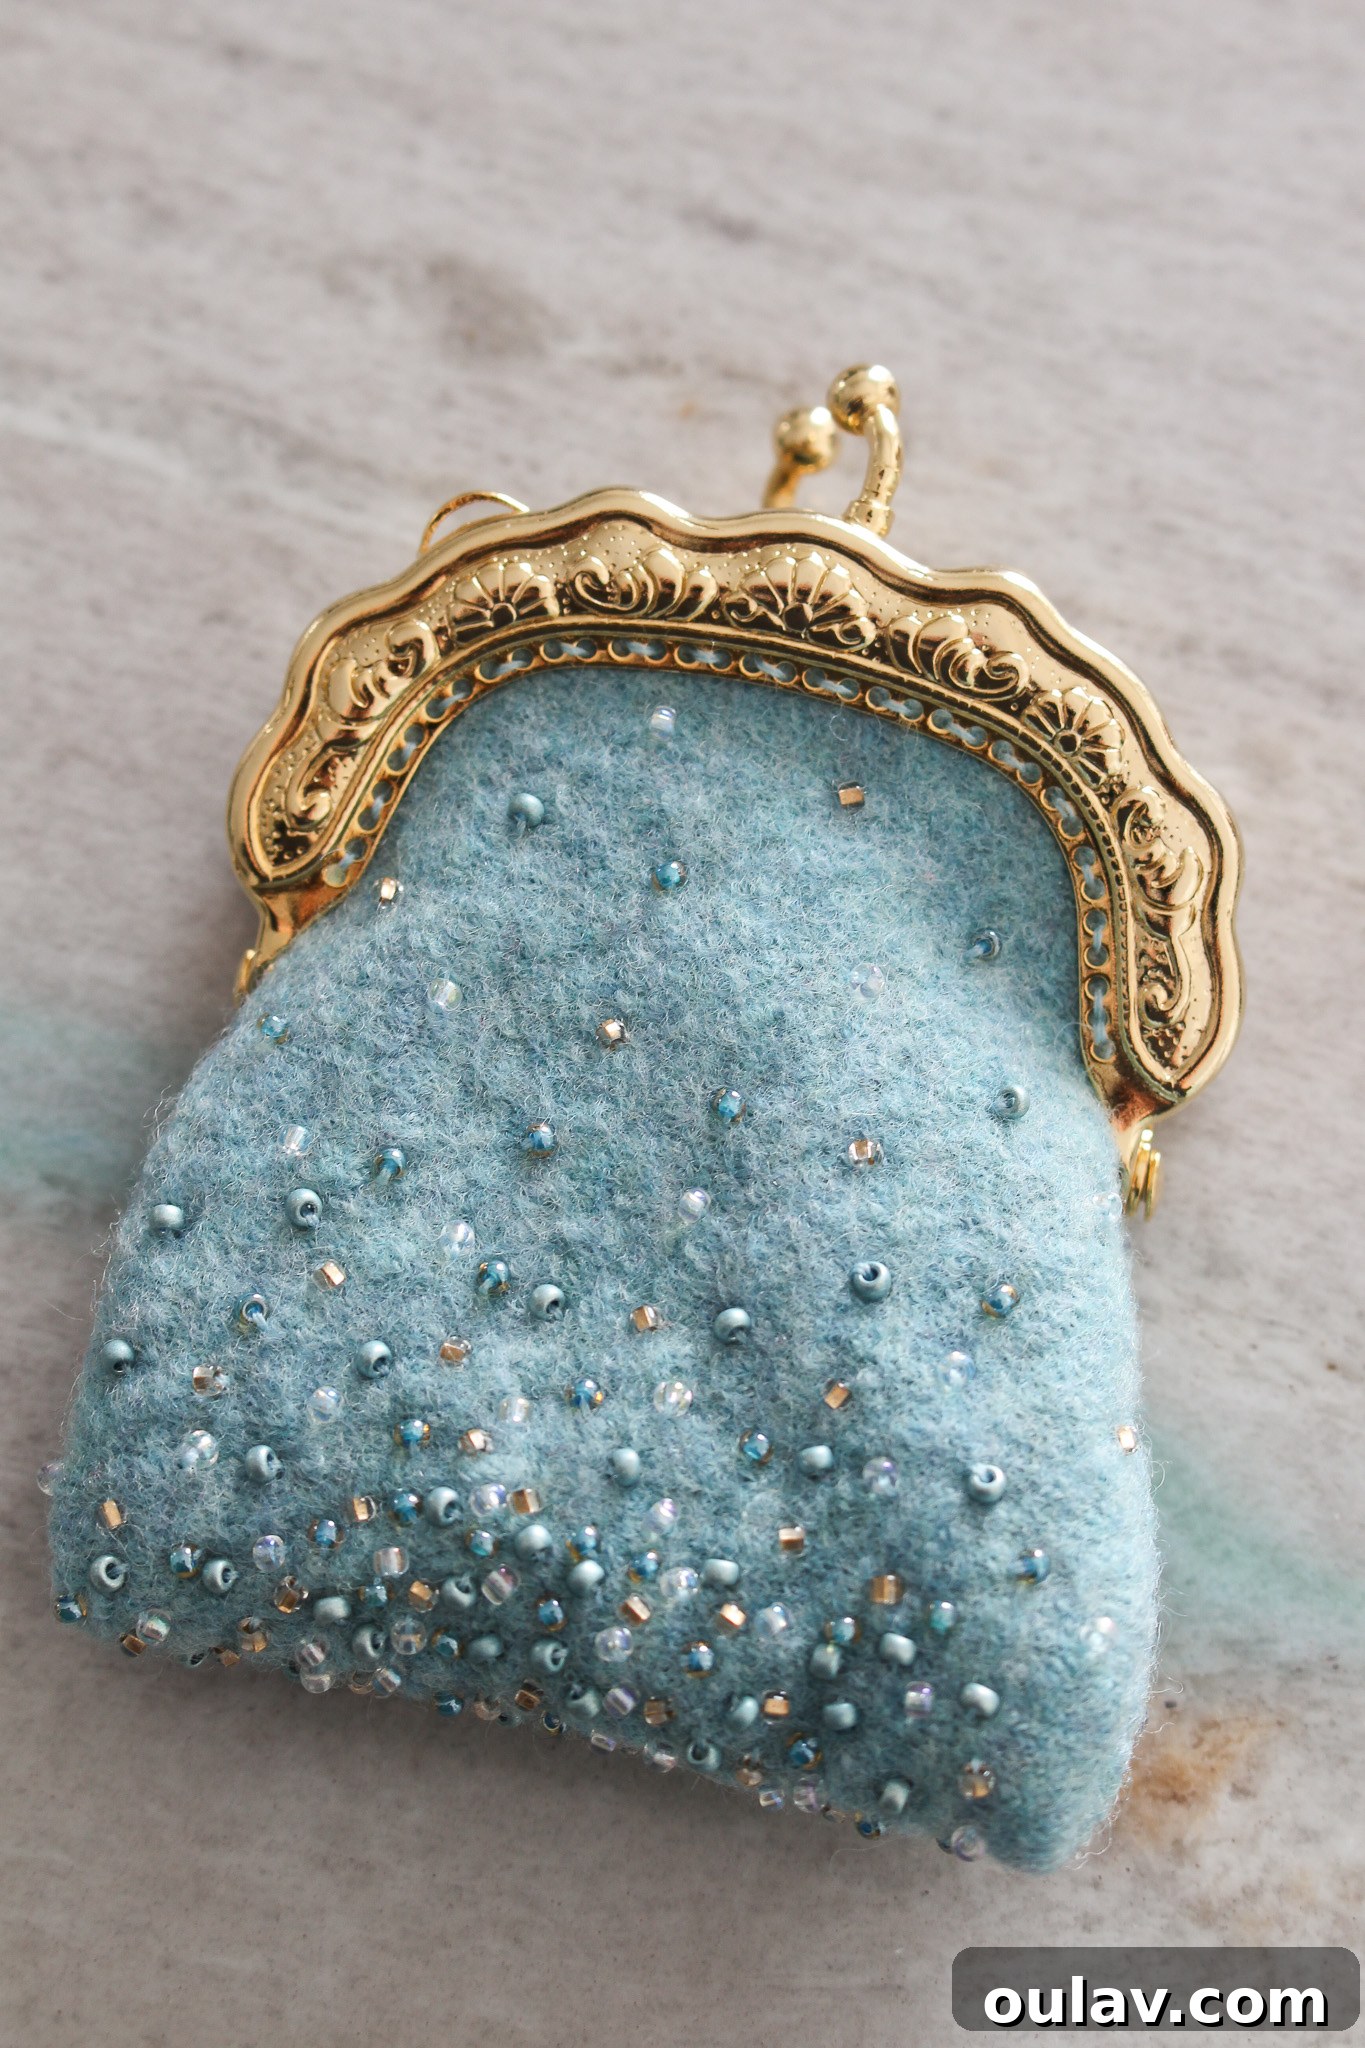
This is where your coin purse truly comes to life! Before assembly, take the time to bead or decorate your felt however you like. I stitched on a delicate scattering of seed beads, creating a subtle shimmer. When beading, it’s essential to be strategic about placement. Keep your beads away from the seam allowance and, crucially, the area where the clasp will be stitched. This ensures your stitches remain neat and the clasp attaches securely without interference from the beads. You could also experiment with embroidery, needle felting designs (like this needle felting technique for wool), or even fabric paint for unique embellishments.
3. Prepare the Lining and Assemble the Body
To ensure a beautifully tidy interior with no visible raw seams, we’ll sew the lining and felt together using a “good sides facing” method. Place the decorated felt piece and the lining piece with their “good” (right) sides facing each other. Stitch them together around the top curved edge, leaving a small opening of about 1-2 inches (2.5-5 cm) along one of the straight edges. This opening is vital for turning the purse right side out later. Use a small, neat stitch, either by hand or machine, following the curve of your pattern.
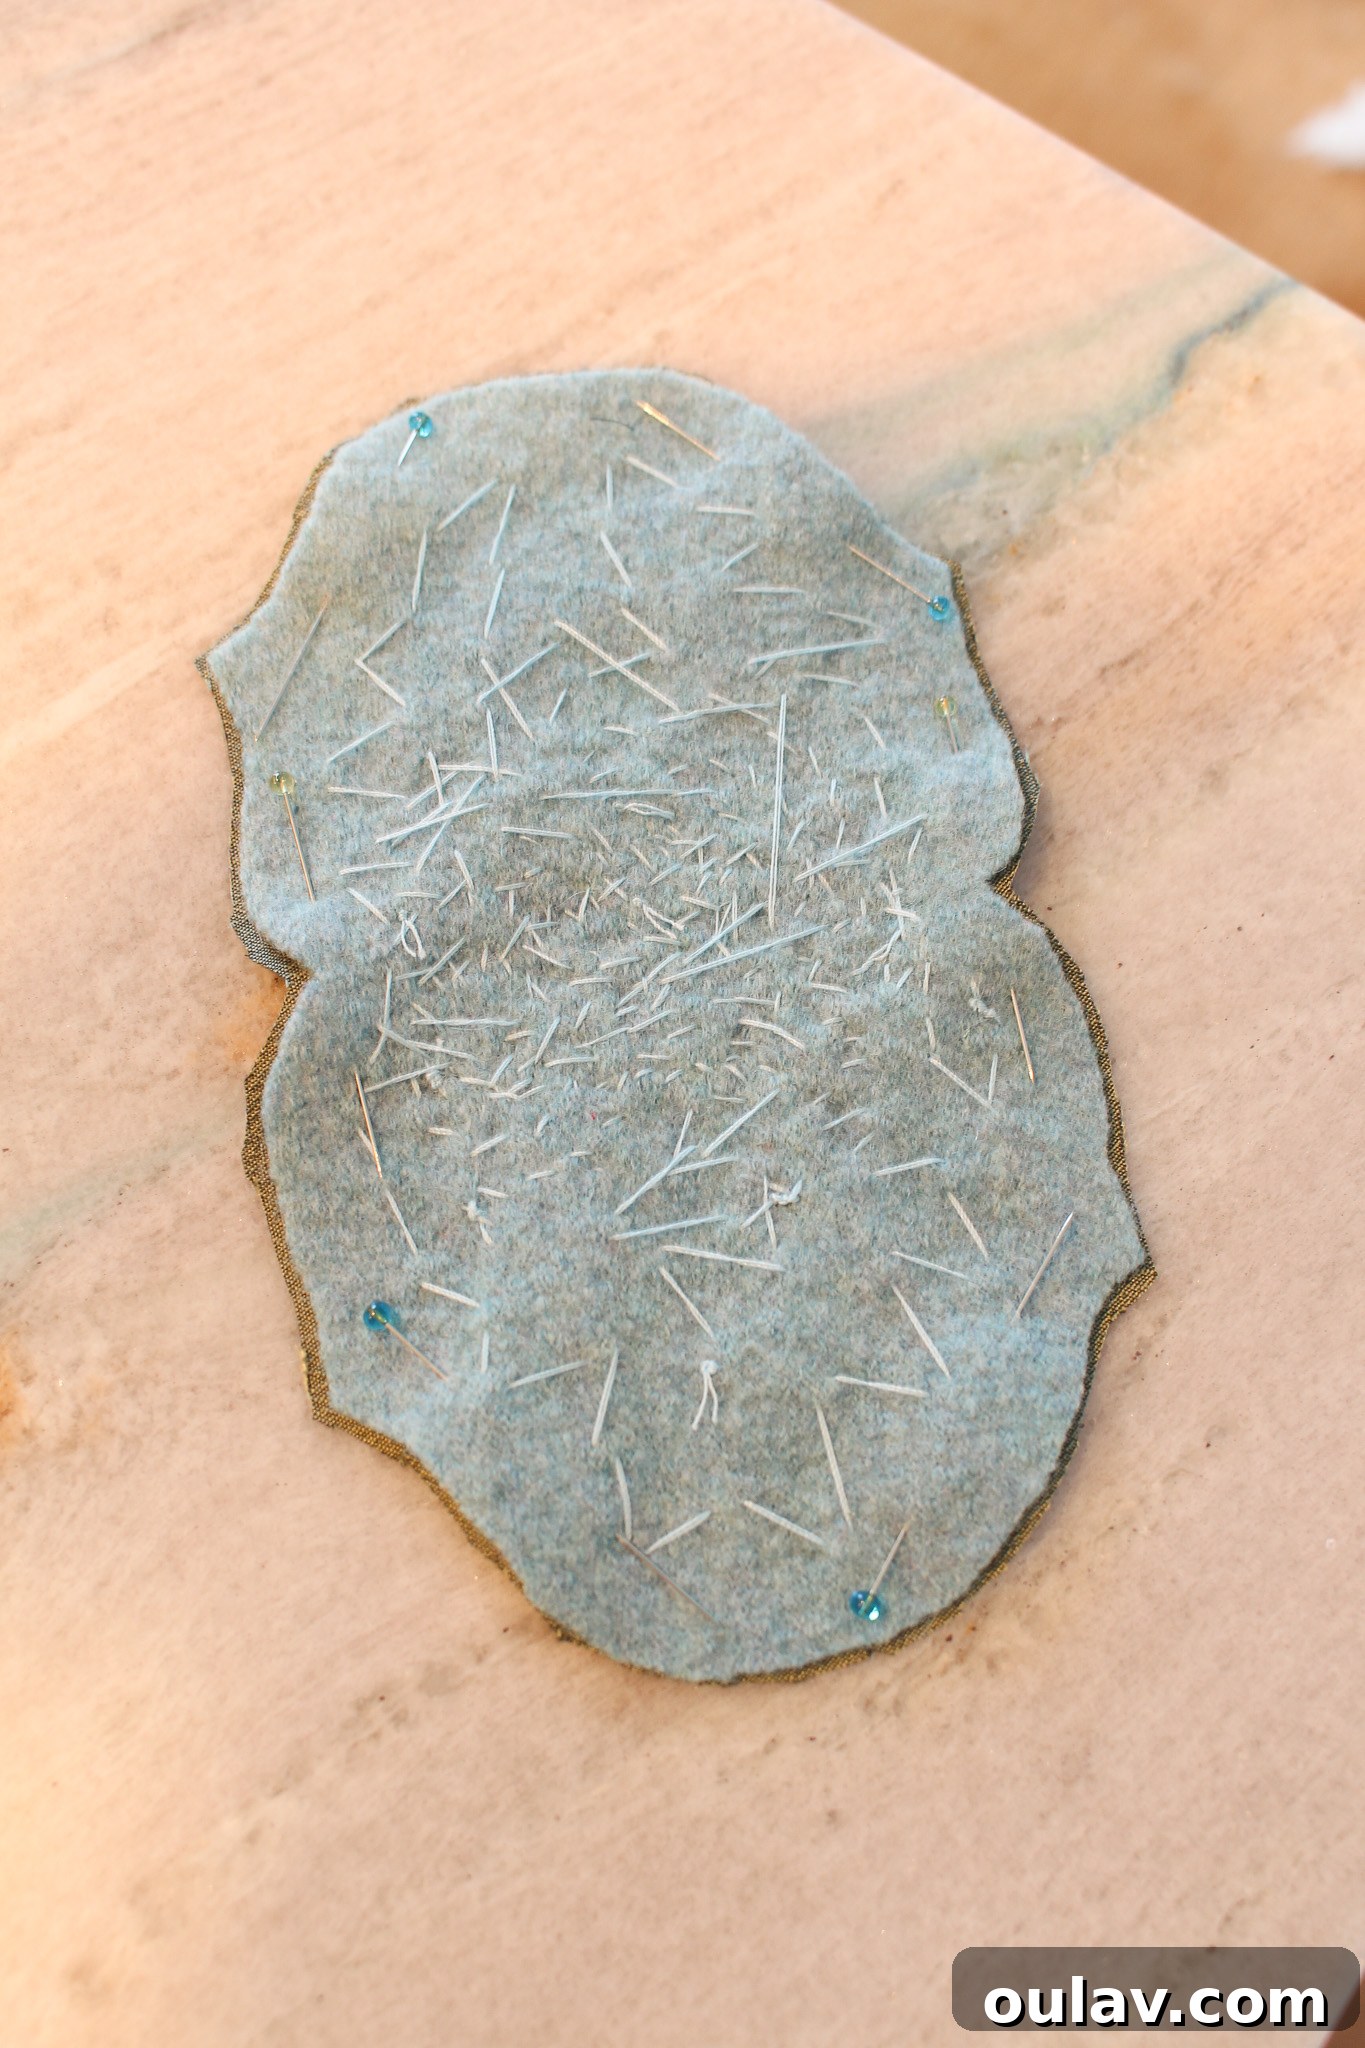
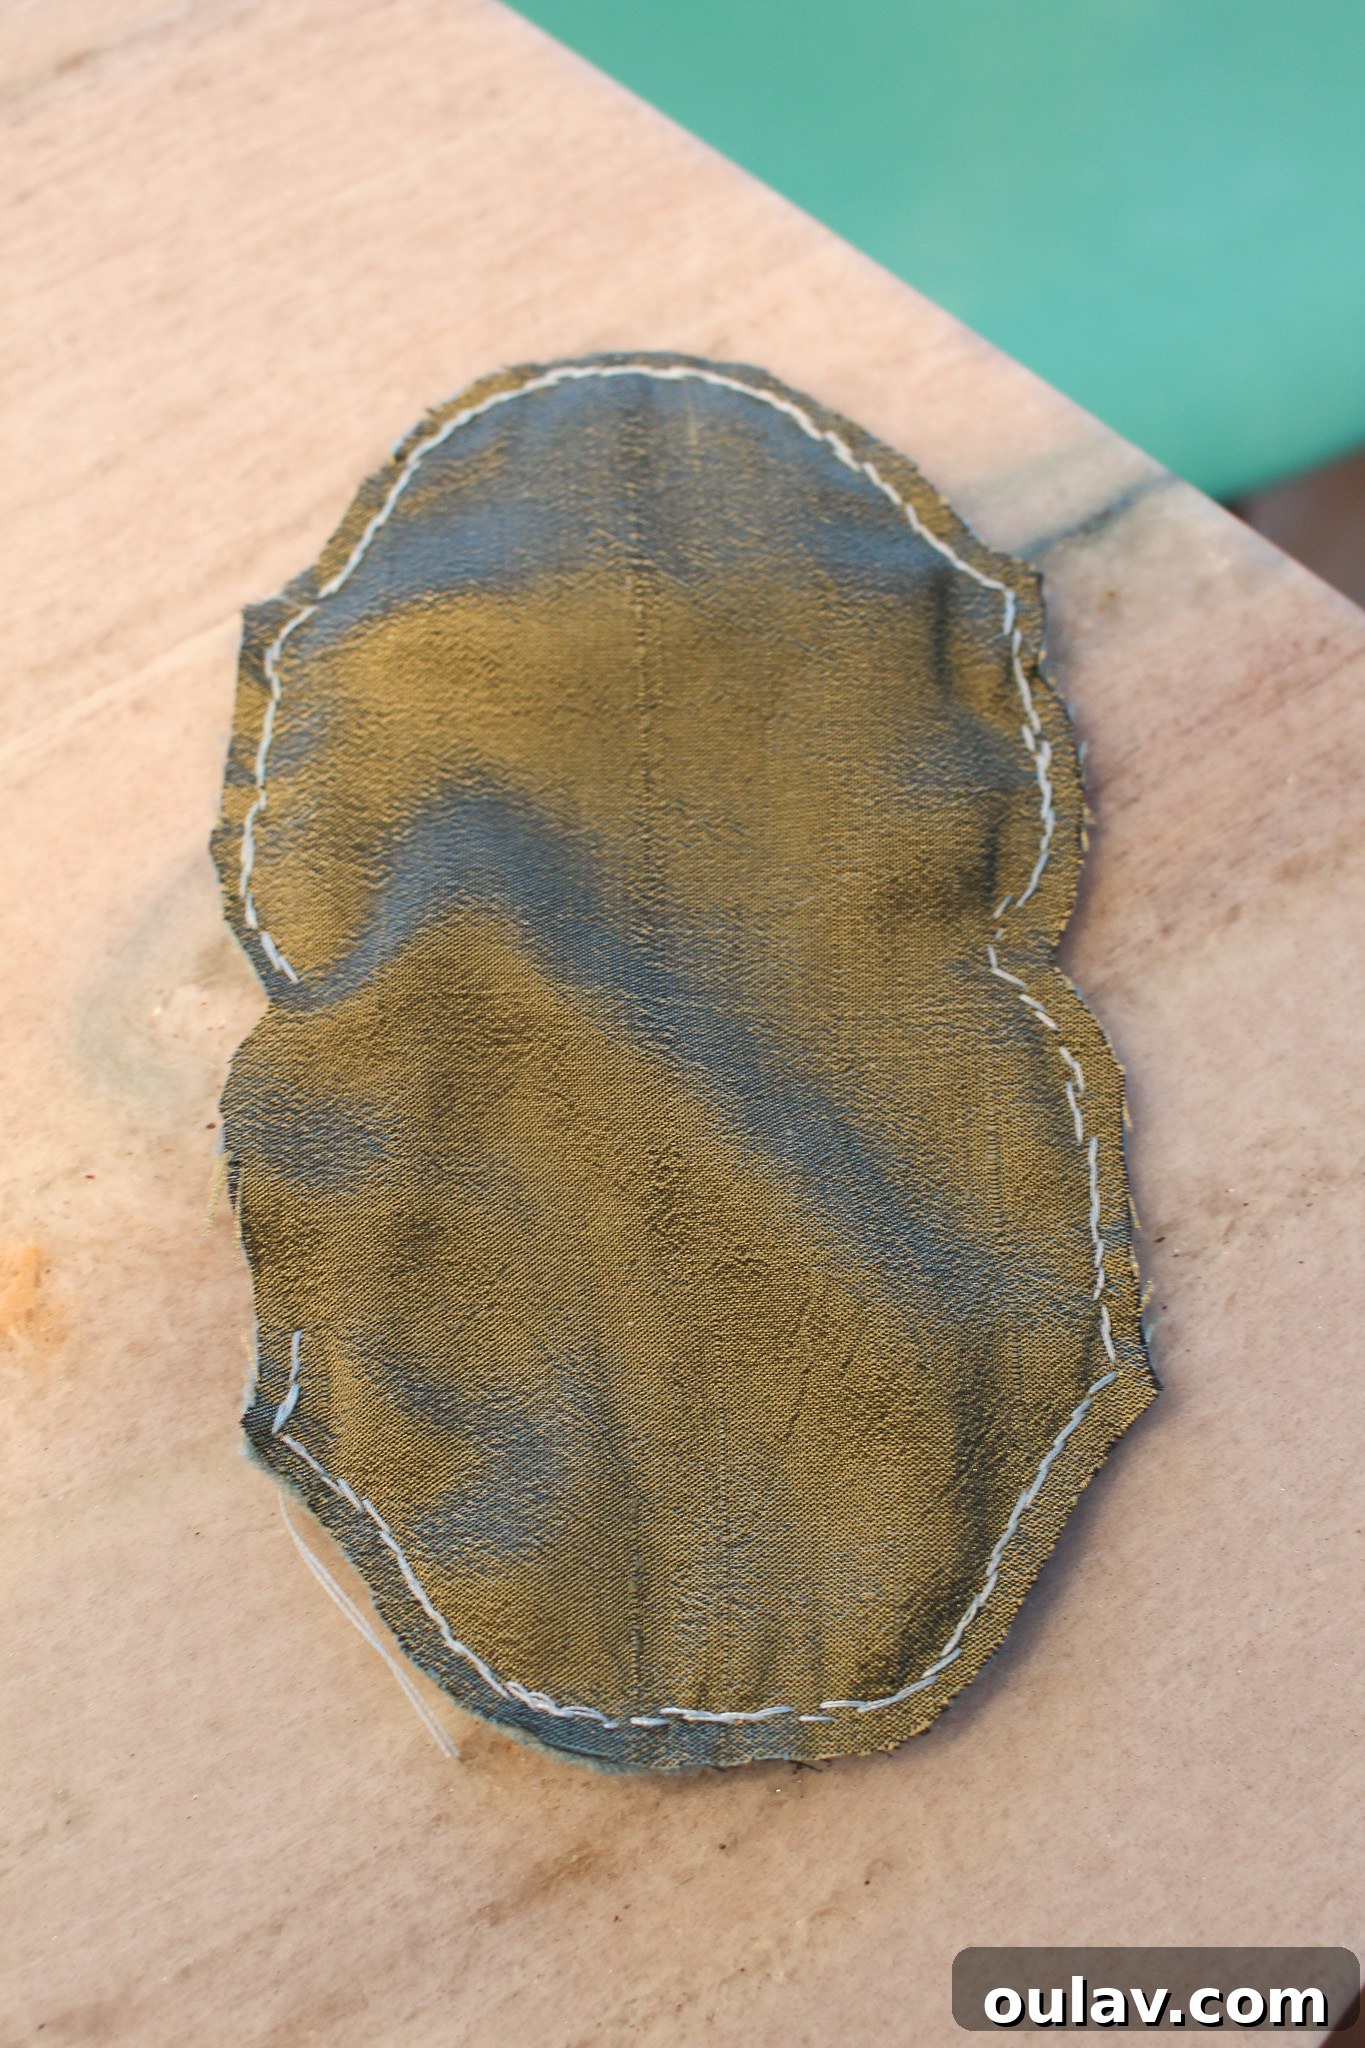
4. Turn and Close the Opening
Carefully turn the entire piece inside out through the small opening you left. Gently push out the curves so the felt and lining lie smoothly. Once turned, the “good” sides of both fabrics should be facing outwards, and the seam where they join will be neatly hidden. Now, hand stitch the small opening closed using an invisible stitch (like a ladder stitch or slip stitch) for a flawless finish. This method ensures that no raw edges or stitches are visible inside the coin purse, providing a professional and elegant look. While there are various ways to line a small purse, this technique offers a straightforward and highly effective approach.
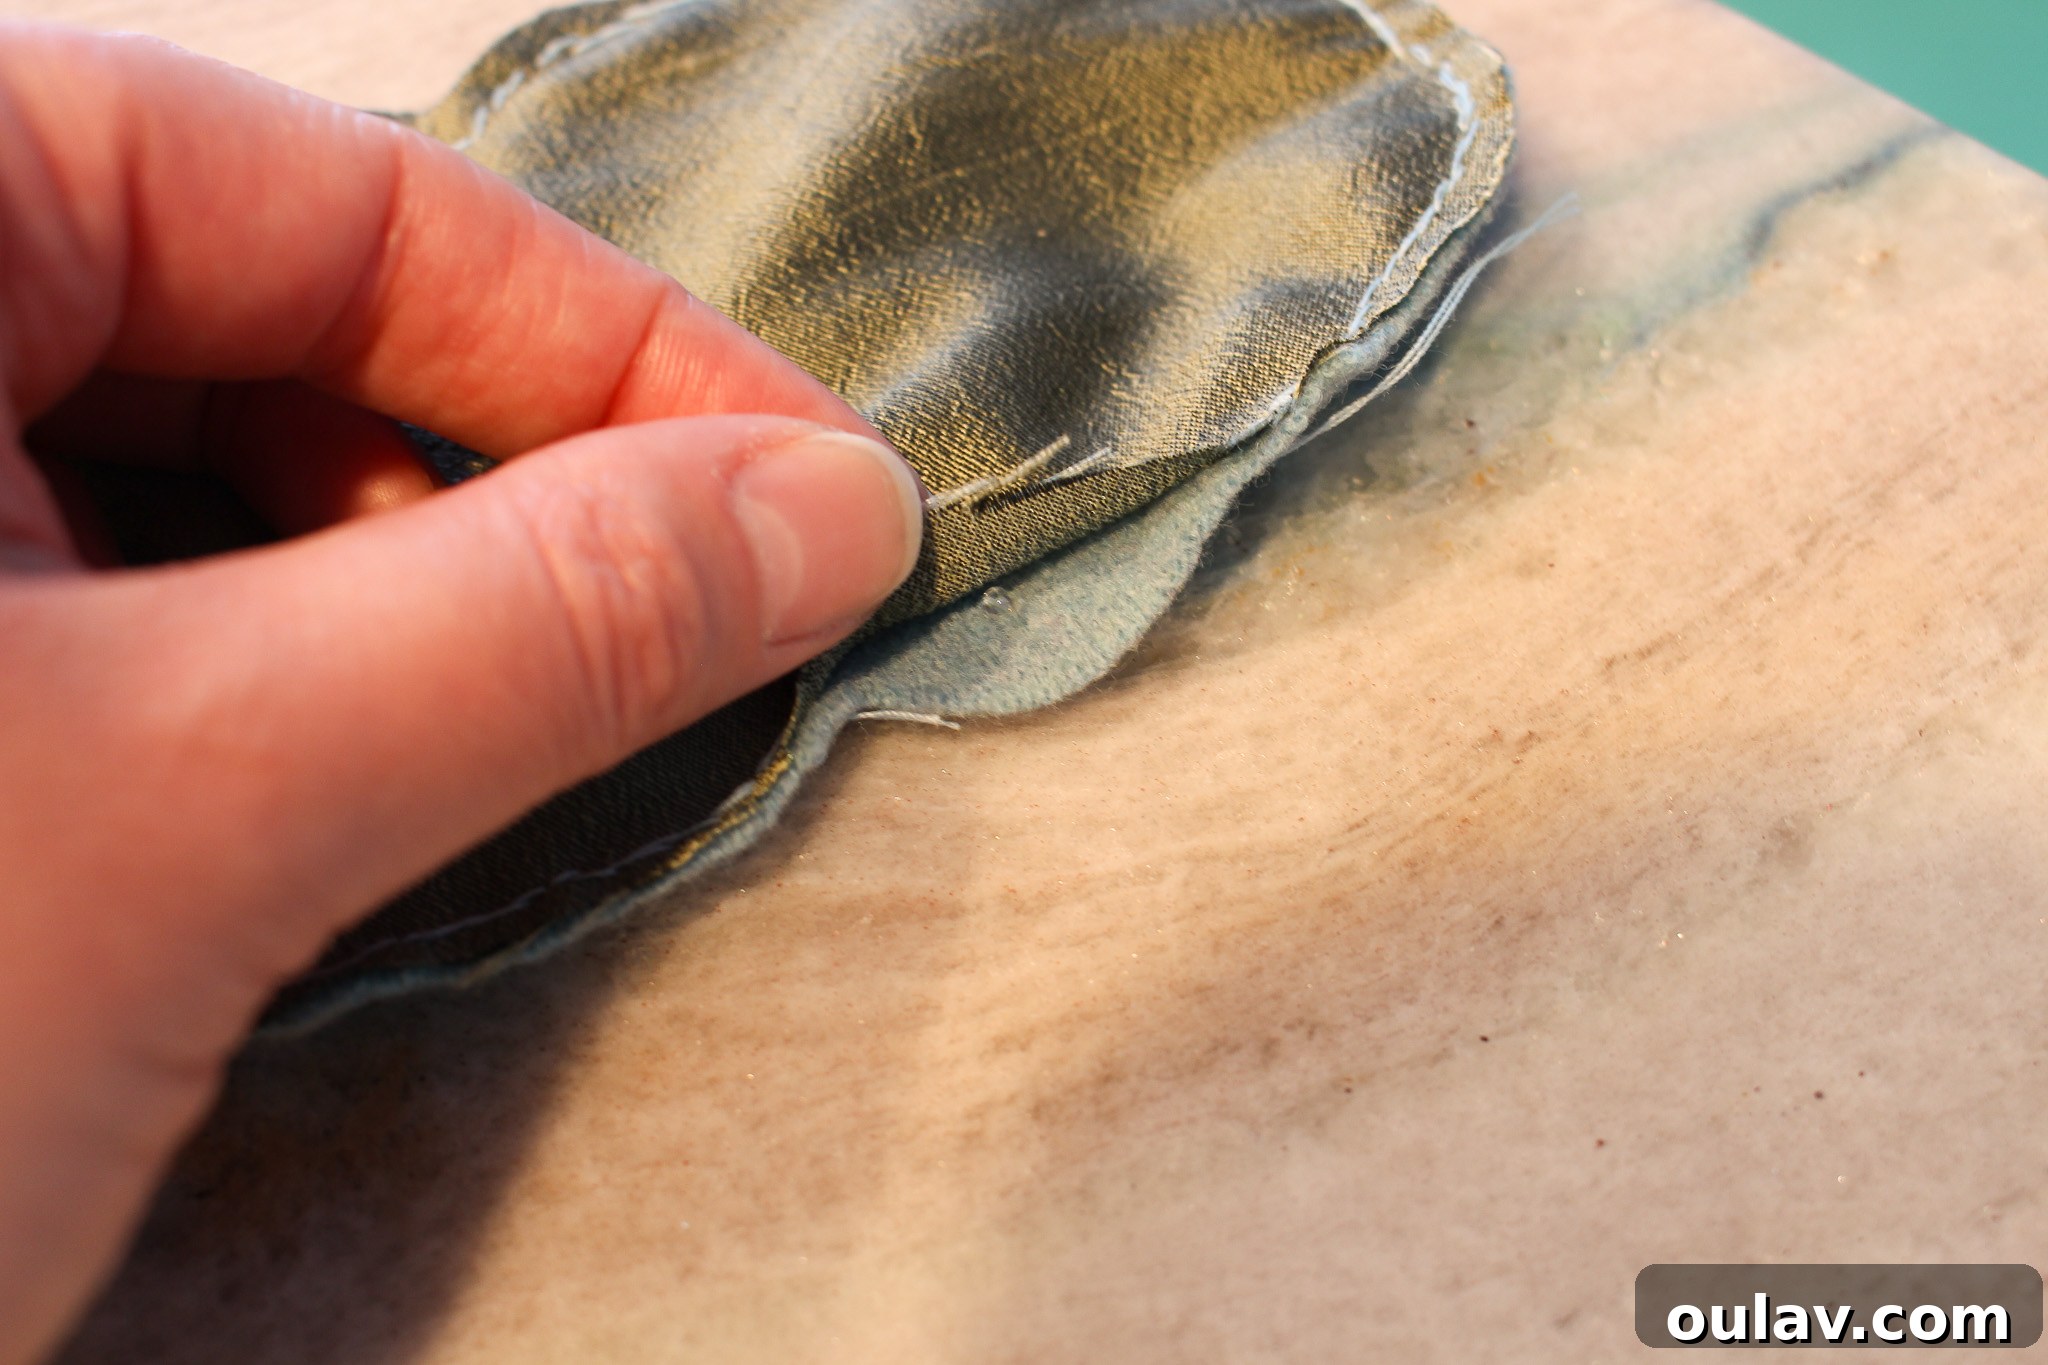
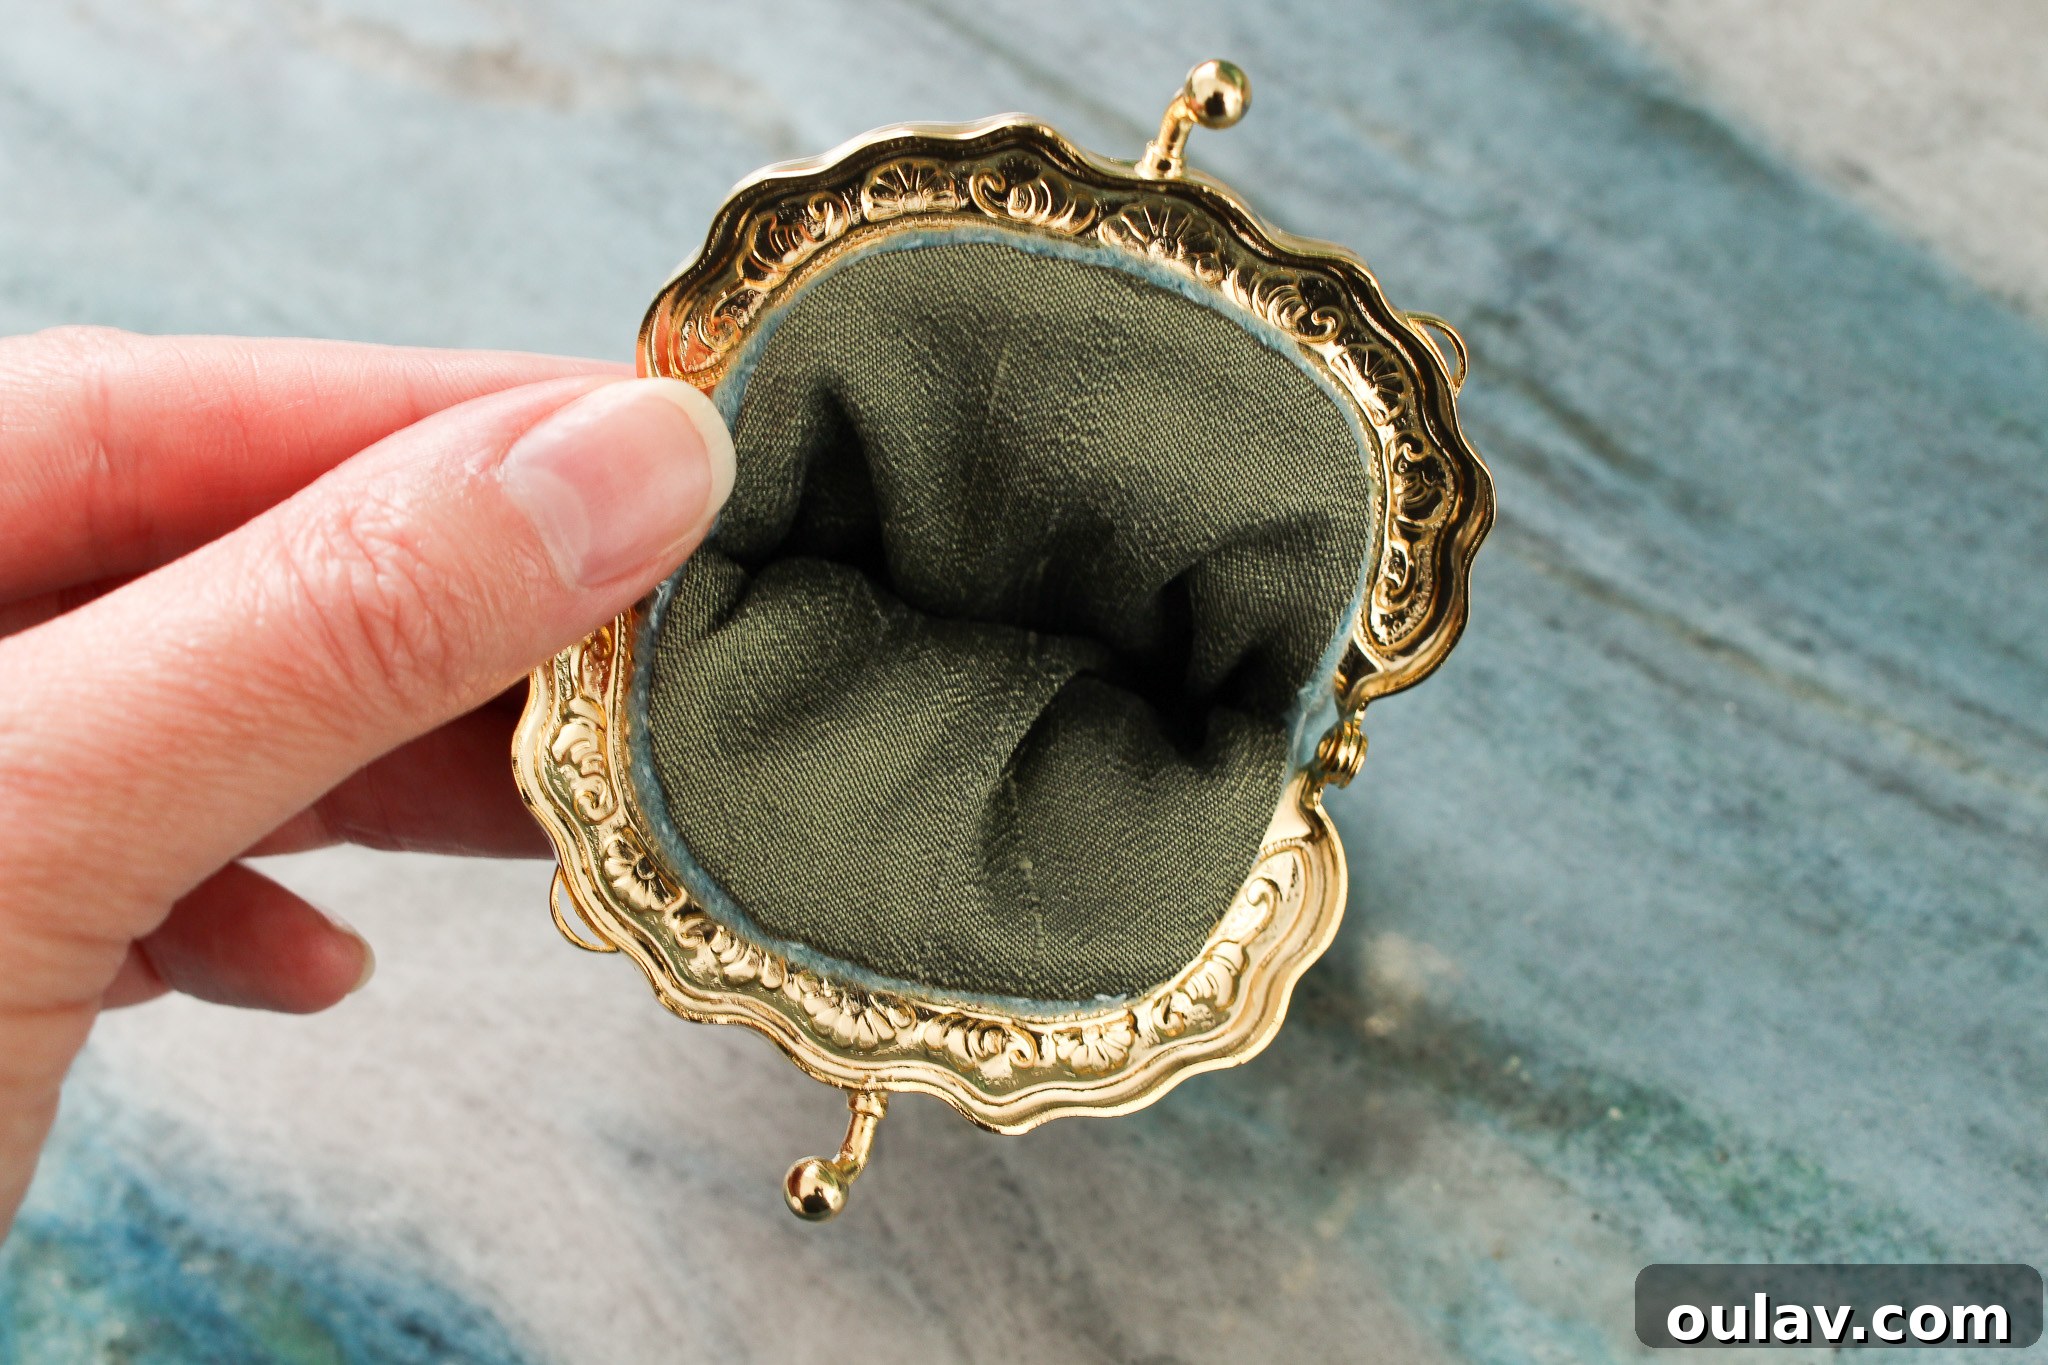
This clever technique means you won’t see any unsightly seams or raw stitching inside your finished coin purse. It’s an easy yet effective method for a polished interior.
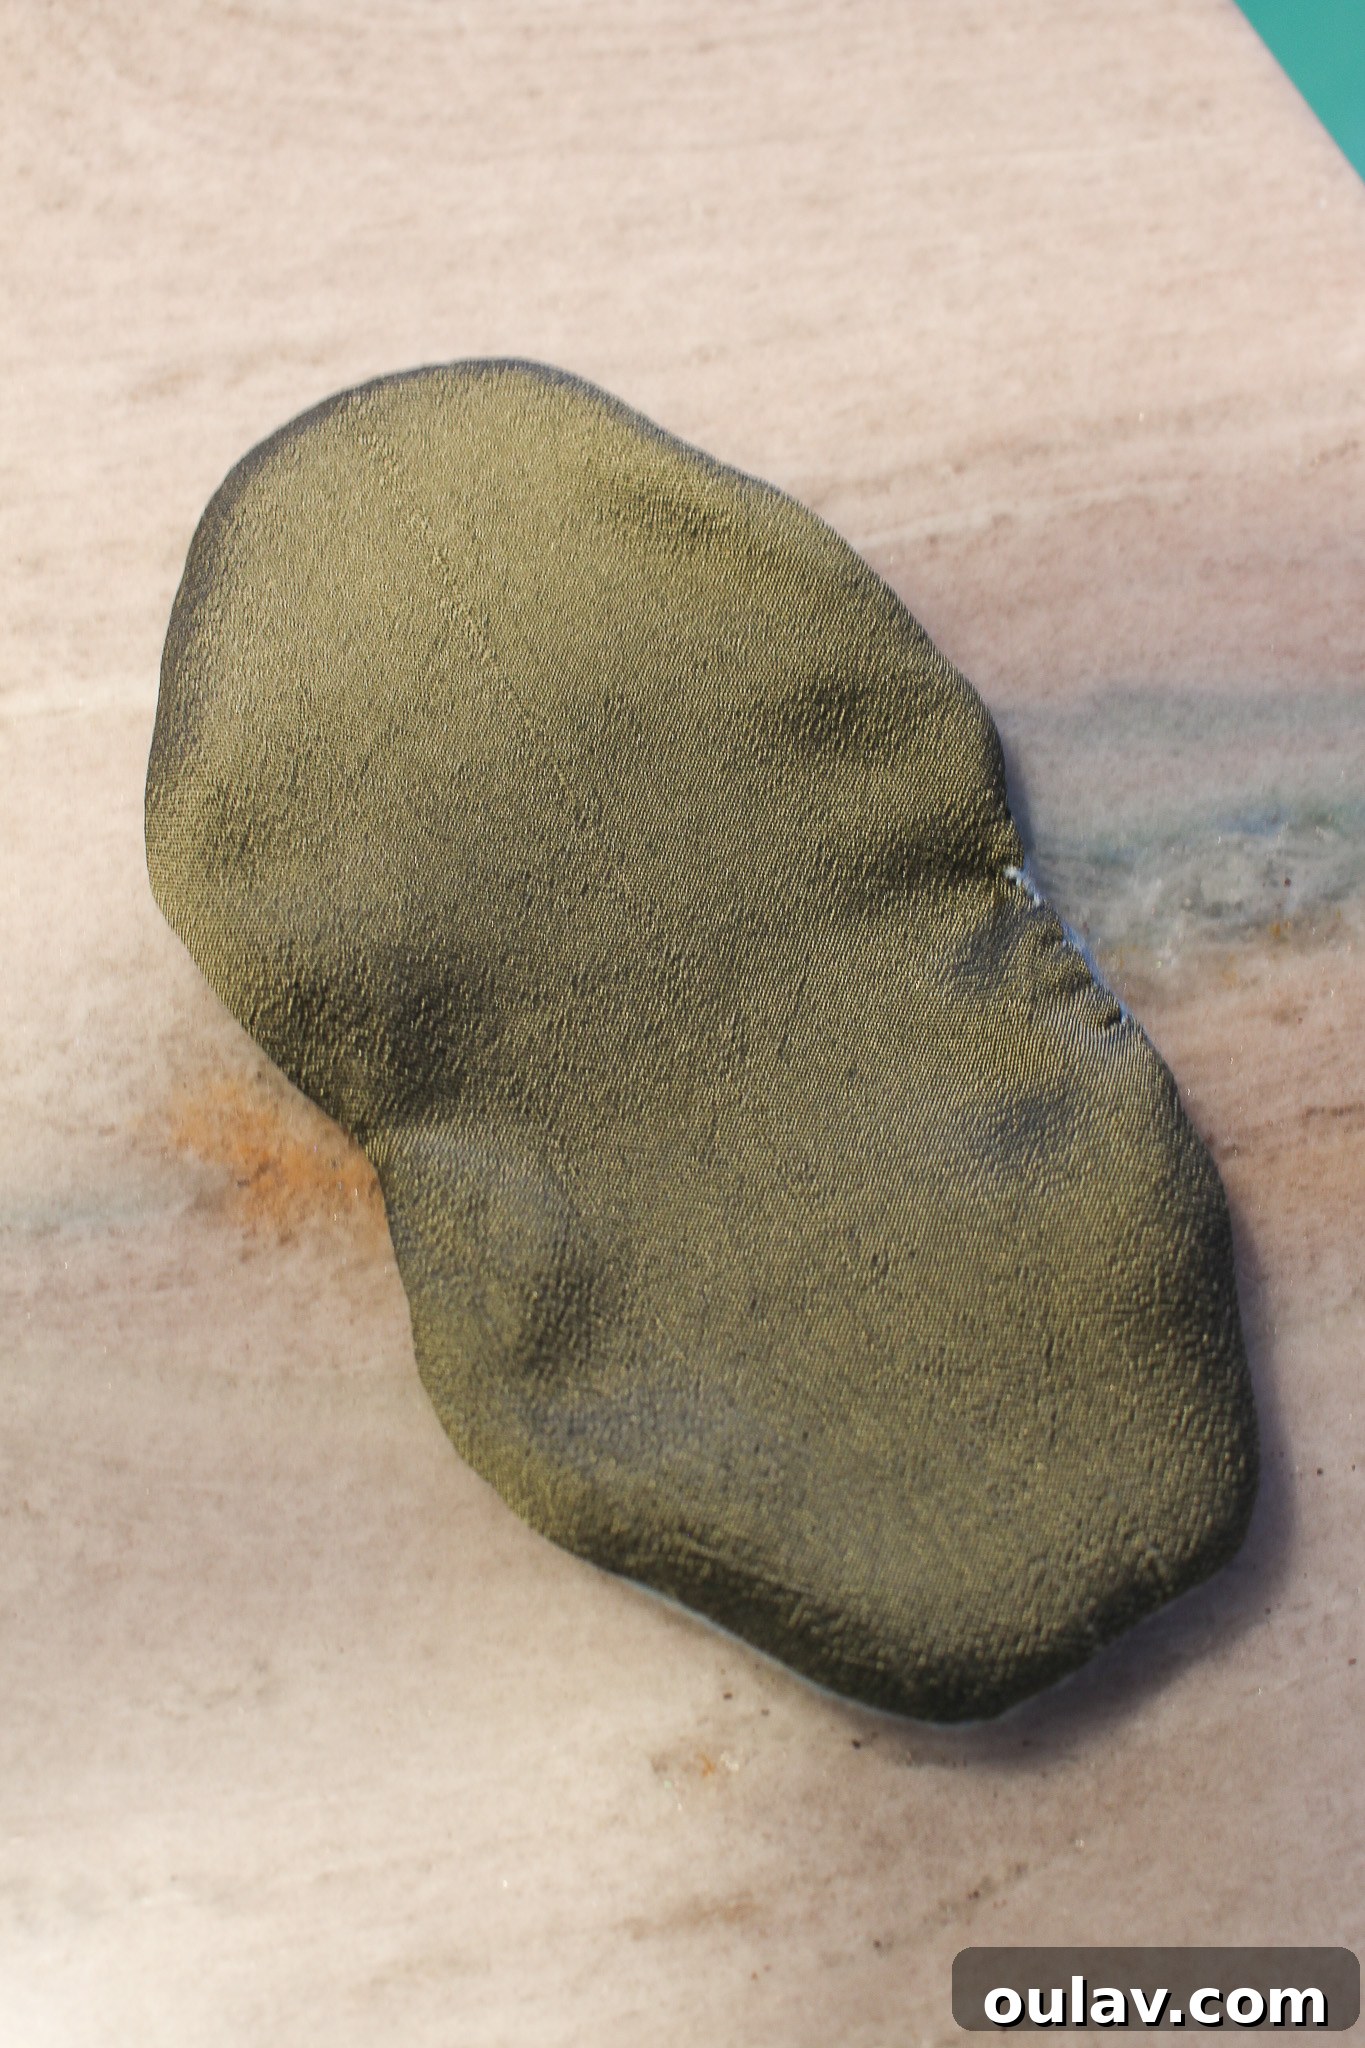
5. Stitch the Side Seams
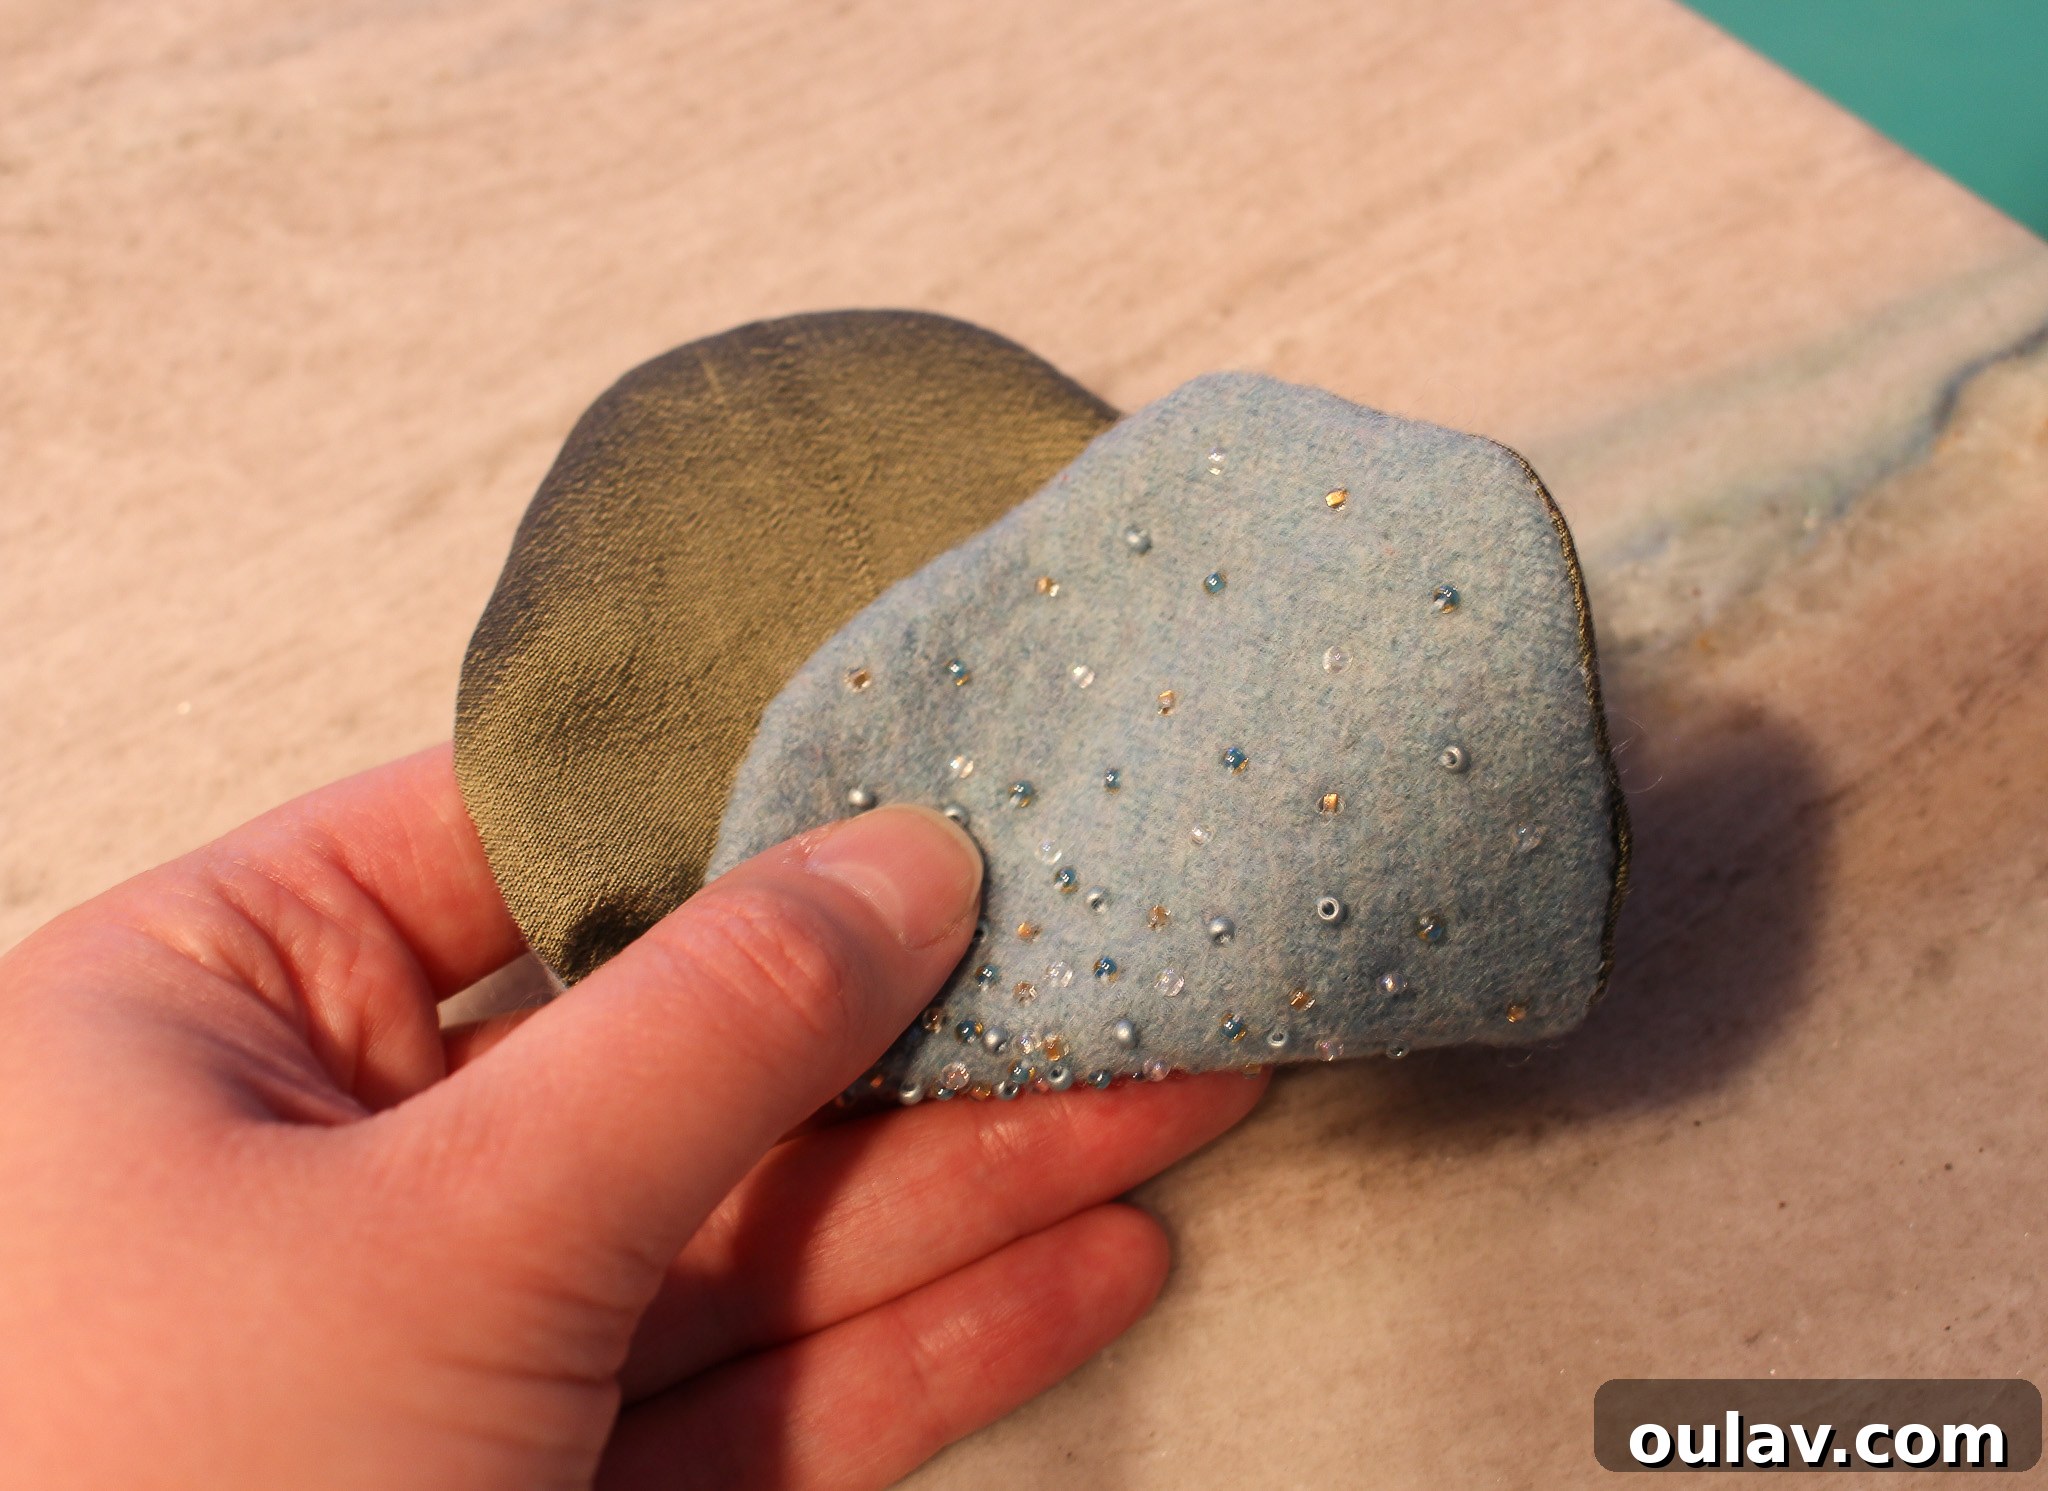
Now, fold the combined felt and lining piece in half, with the “good” sides facing each other. This will bring the two side edges together. Carefully stitch these sides closed. We used a simple “X” stitch, going back and forth across the sides to securely pull them closed. A neat backstitch or whip stitch would also work beautifully, creating a sturdy seam that will hold the shape of your purse.
6. Attach the Kiss Lock Clasp
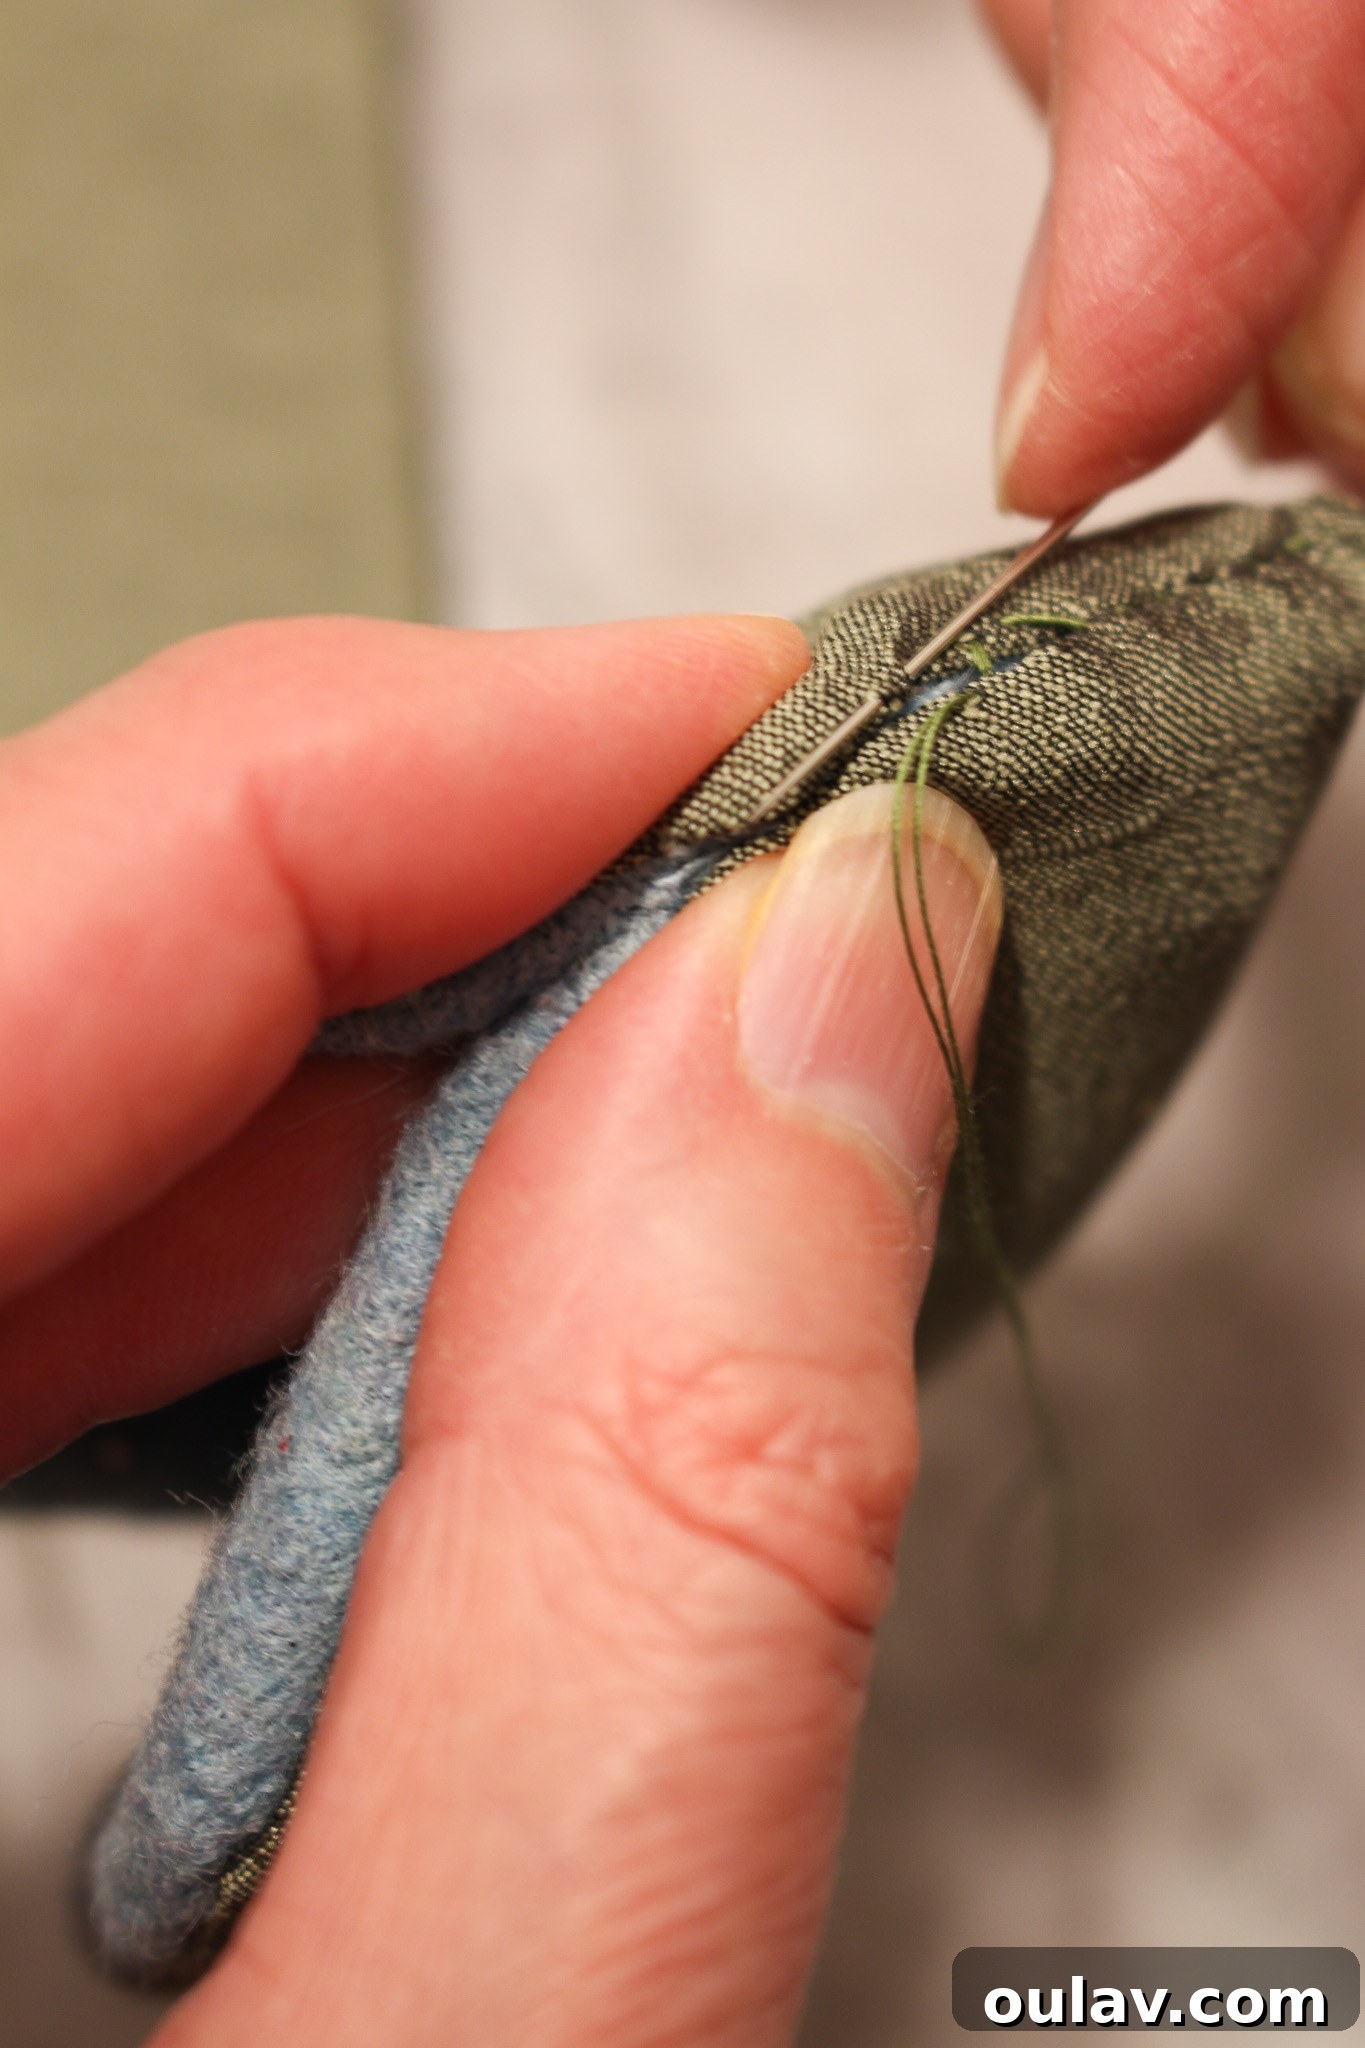
For the final, satisfying step, it’s time to attach the kiss lock clasp. Turn your assembled coin purse right side out again. Carefully align the opening of the purse with the frame of the clasp. Most modern kiss clasps, and certainly the style we recommend, come with pre-drilled holes along the frame, making attachment incredibly straightforward. Using your hand sewing needle and a strong thread that closely matches your felt, stitch the coin purse to the clasp. Pass your needle through the holes in the clasp and then through the felt of your purse, making sure to catch both the felt and the lining for added security. Stitch firmly and consistently around the entire clasp opening. This method creates a very secure attachment and, by using matching thread, the stitches become almost invisible. If you’re shopping for kiss clasps, this style with readily available holes is highly recommended for its ease of use. Here’s an example of a clasp with holes; it’s a common construction method, but always double-check product descriptions before ordering, as some clasps attach differently.
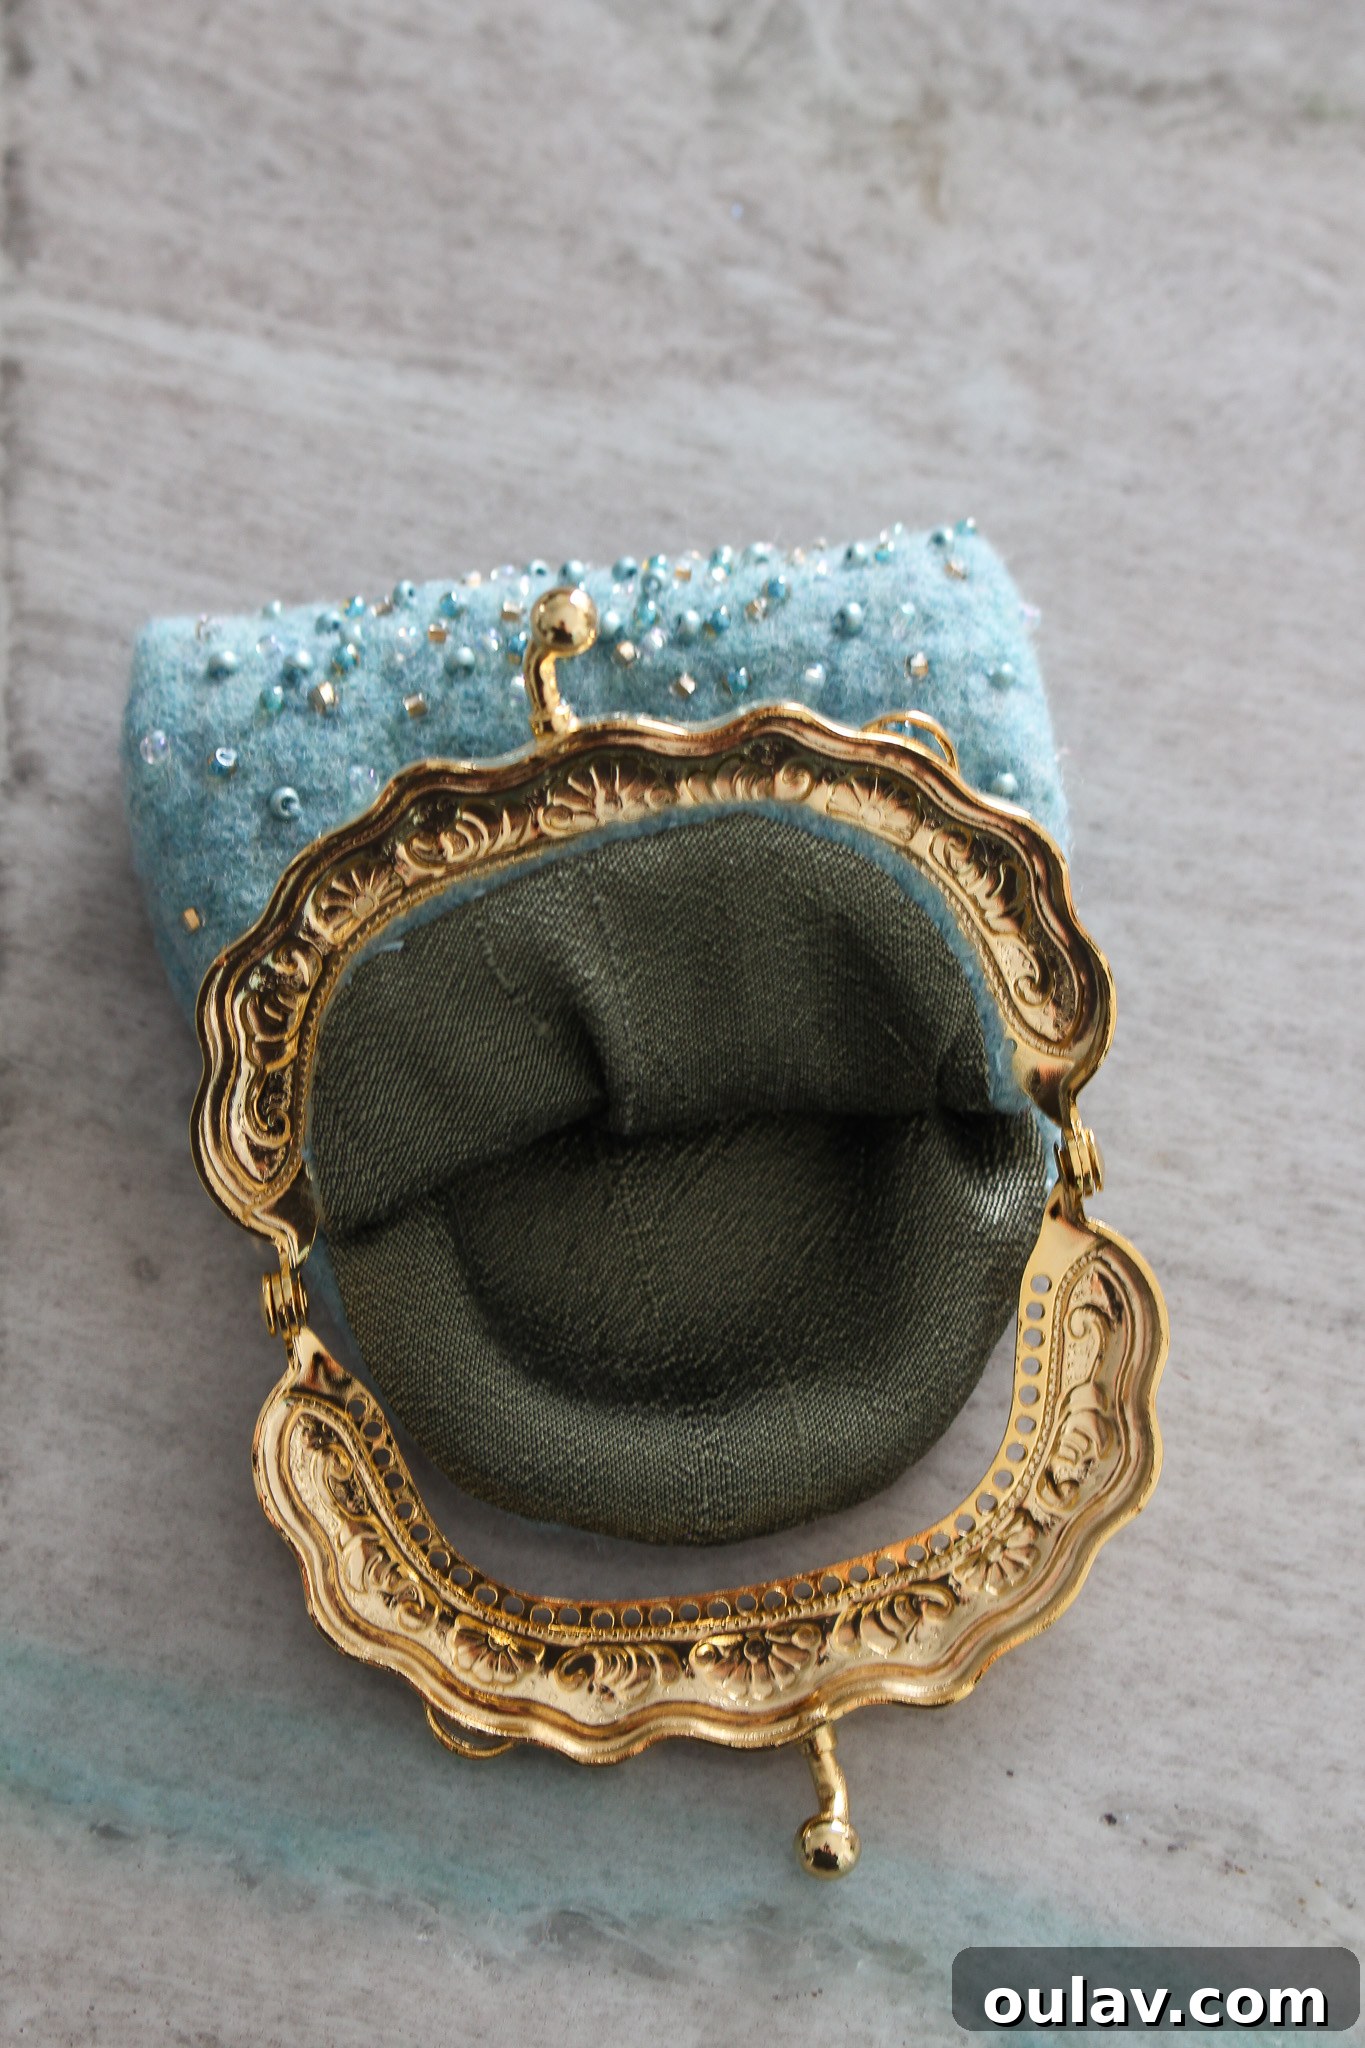
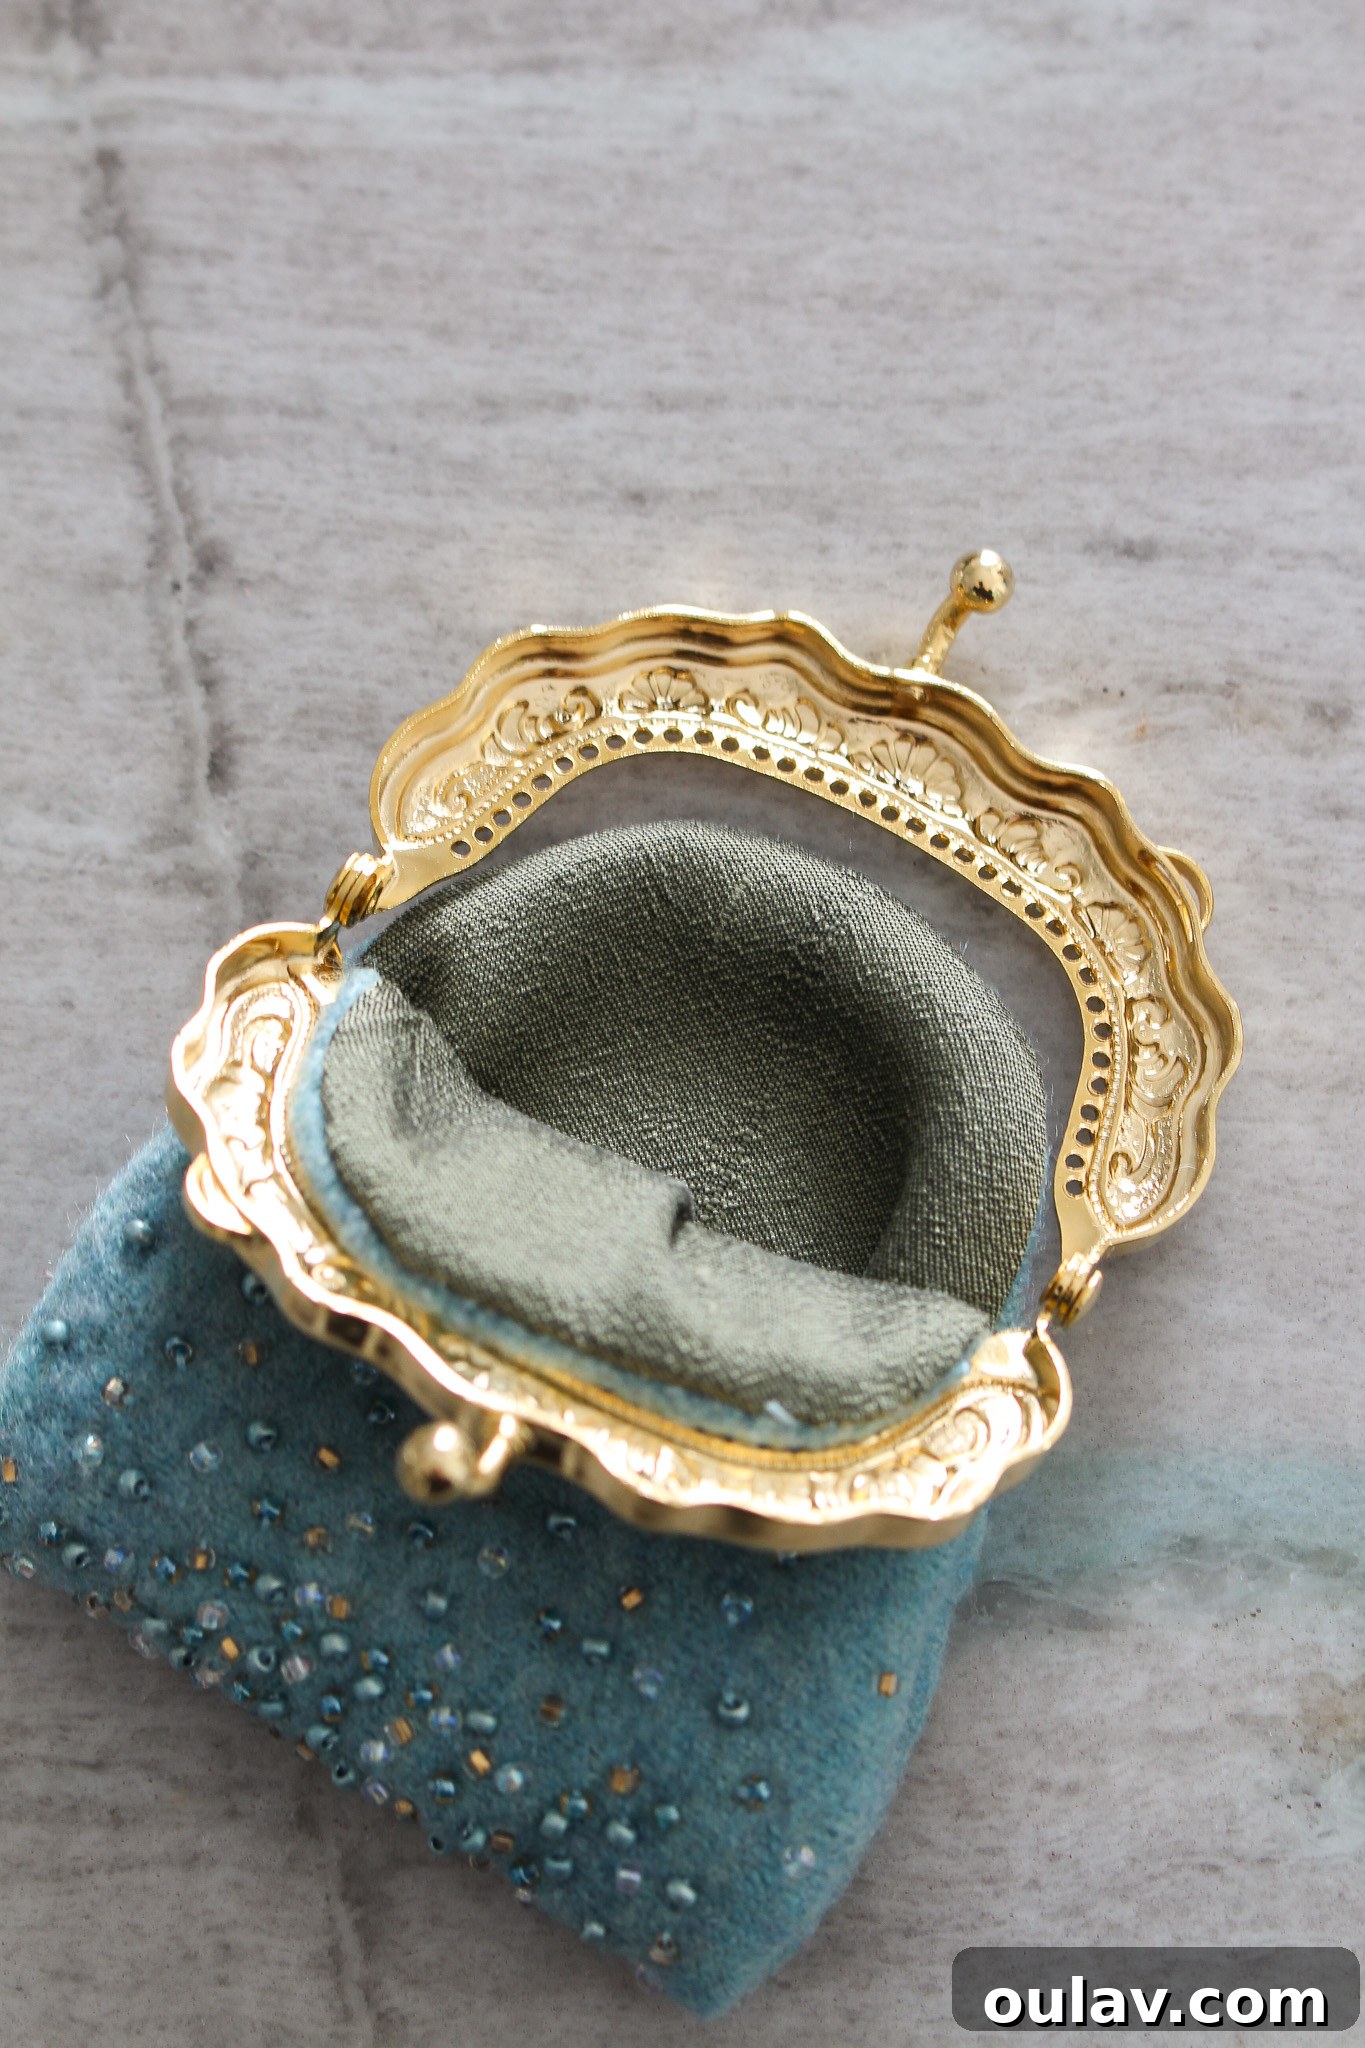
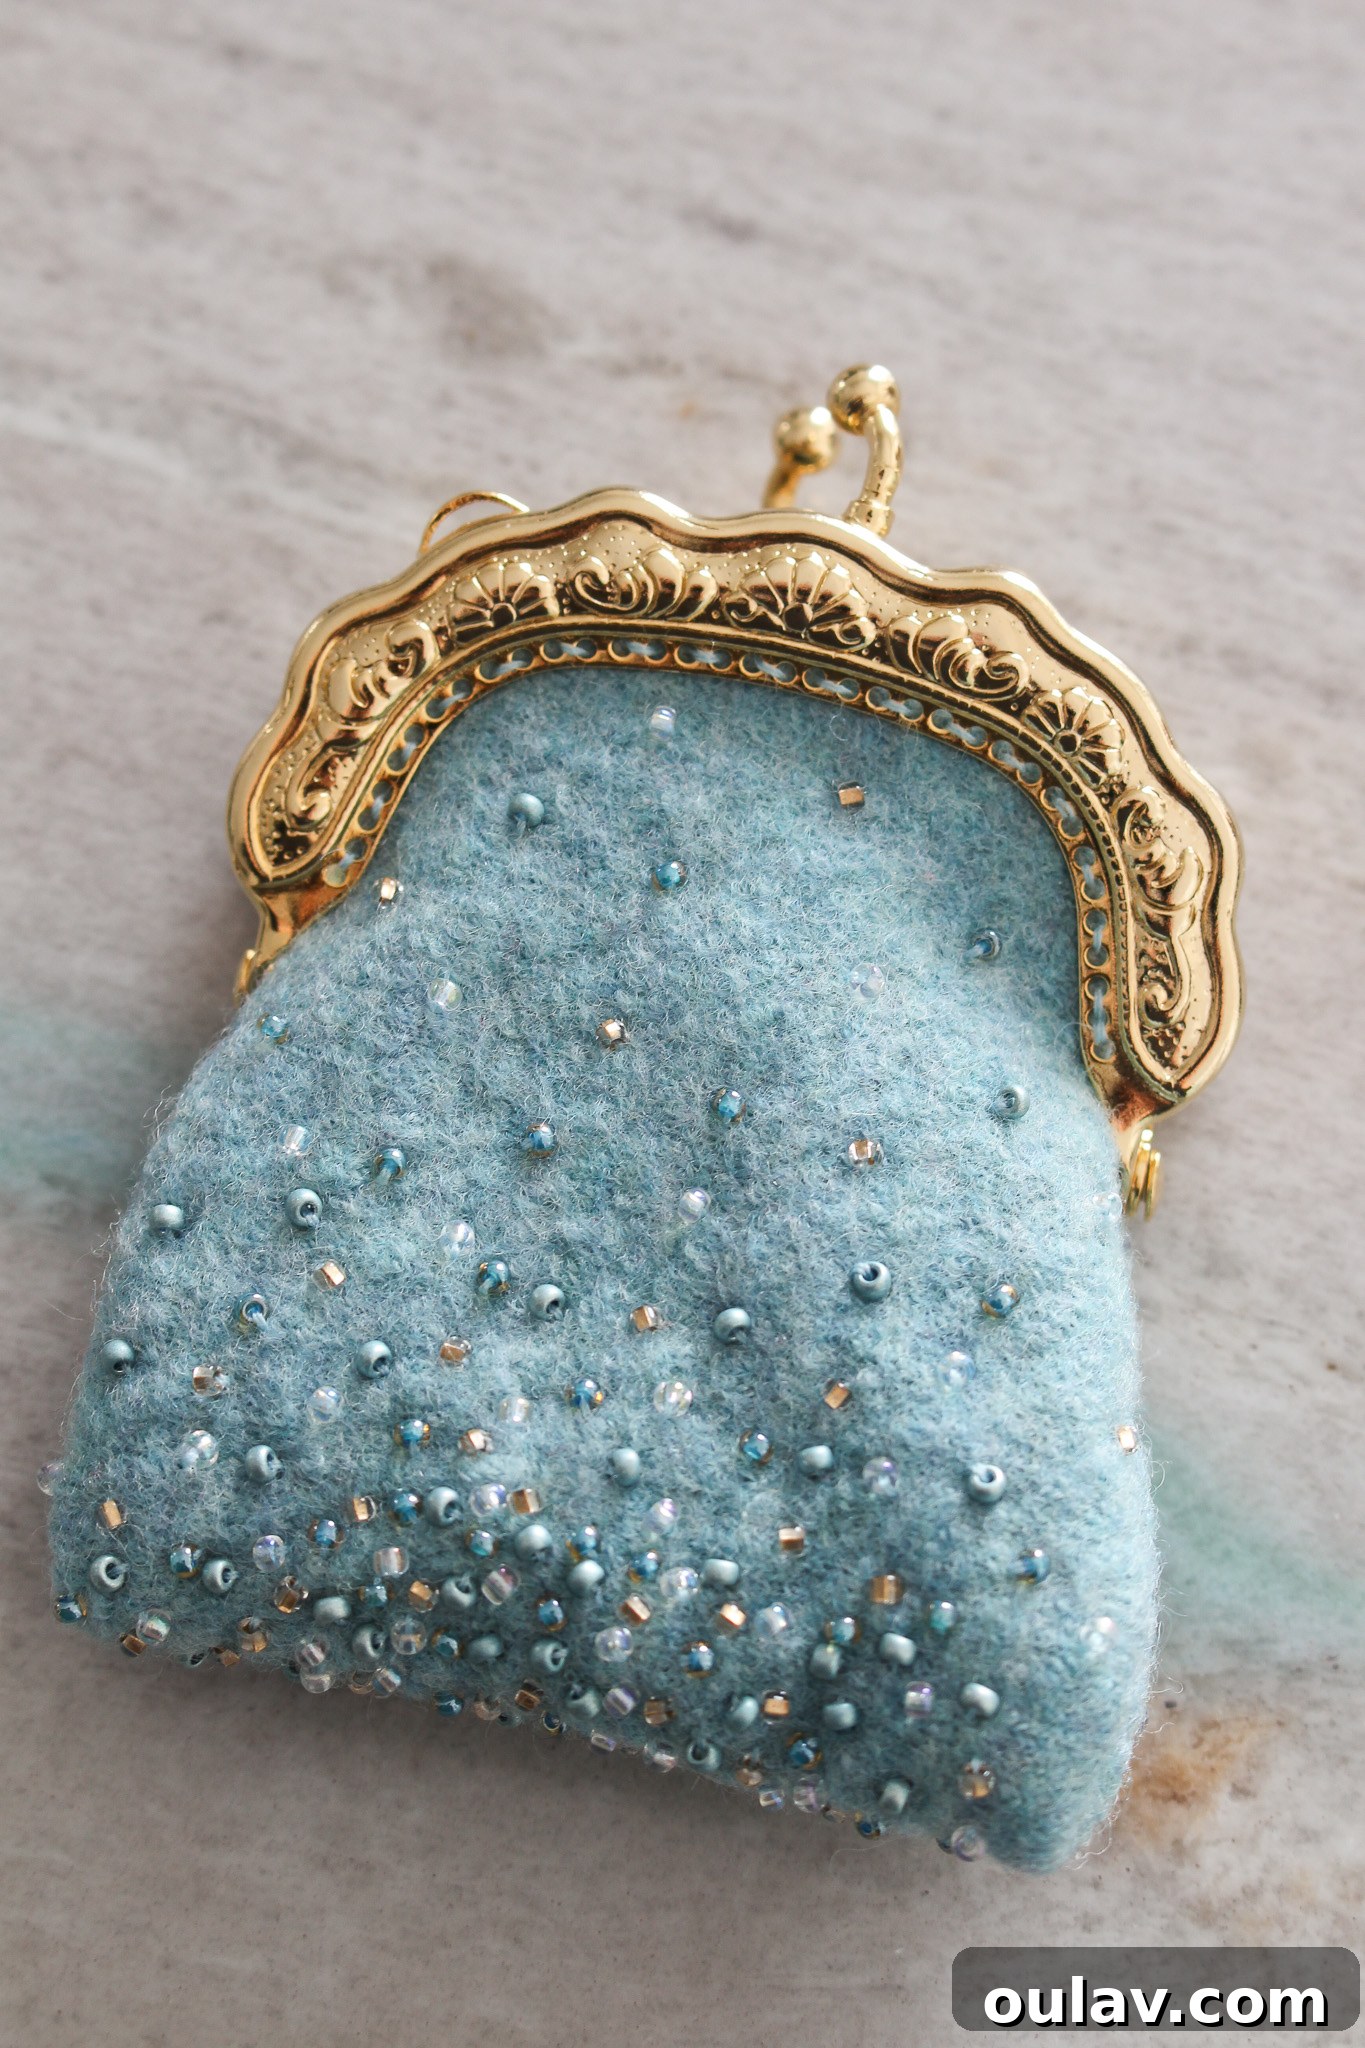
Your finished coin purse is now securely attached to its clasp, and when you peek inside, you’ll see only minimal signs of construction, a testament to your careful craftsmanship.
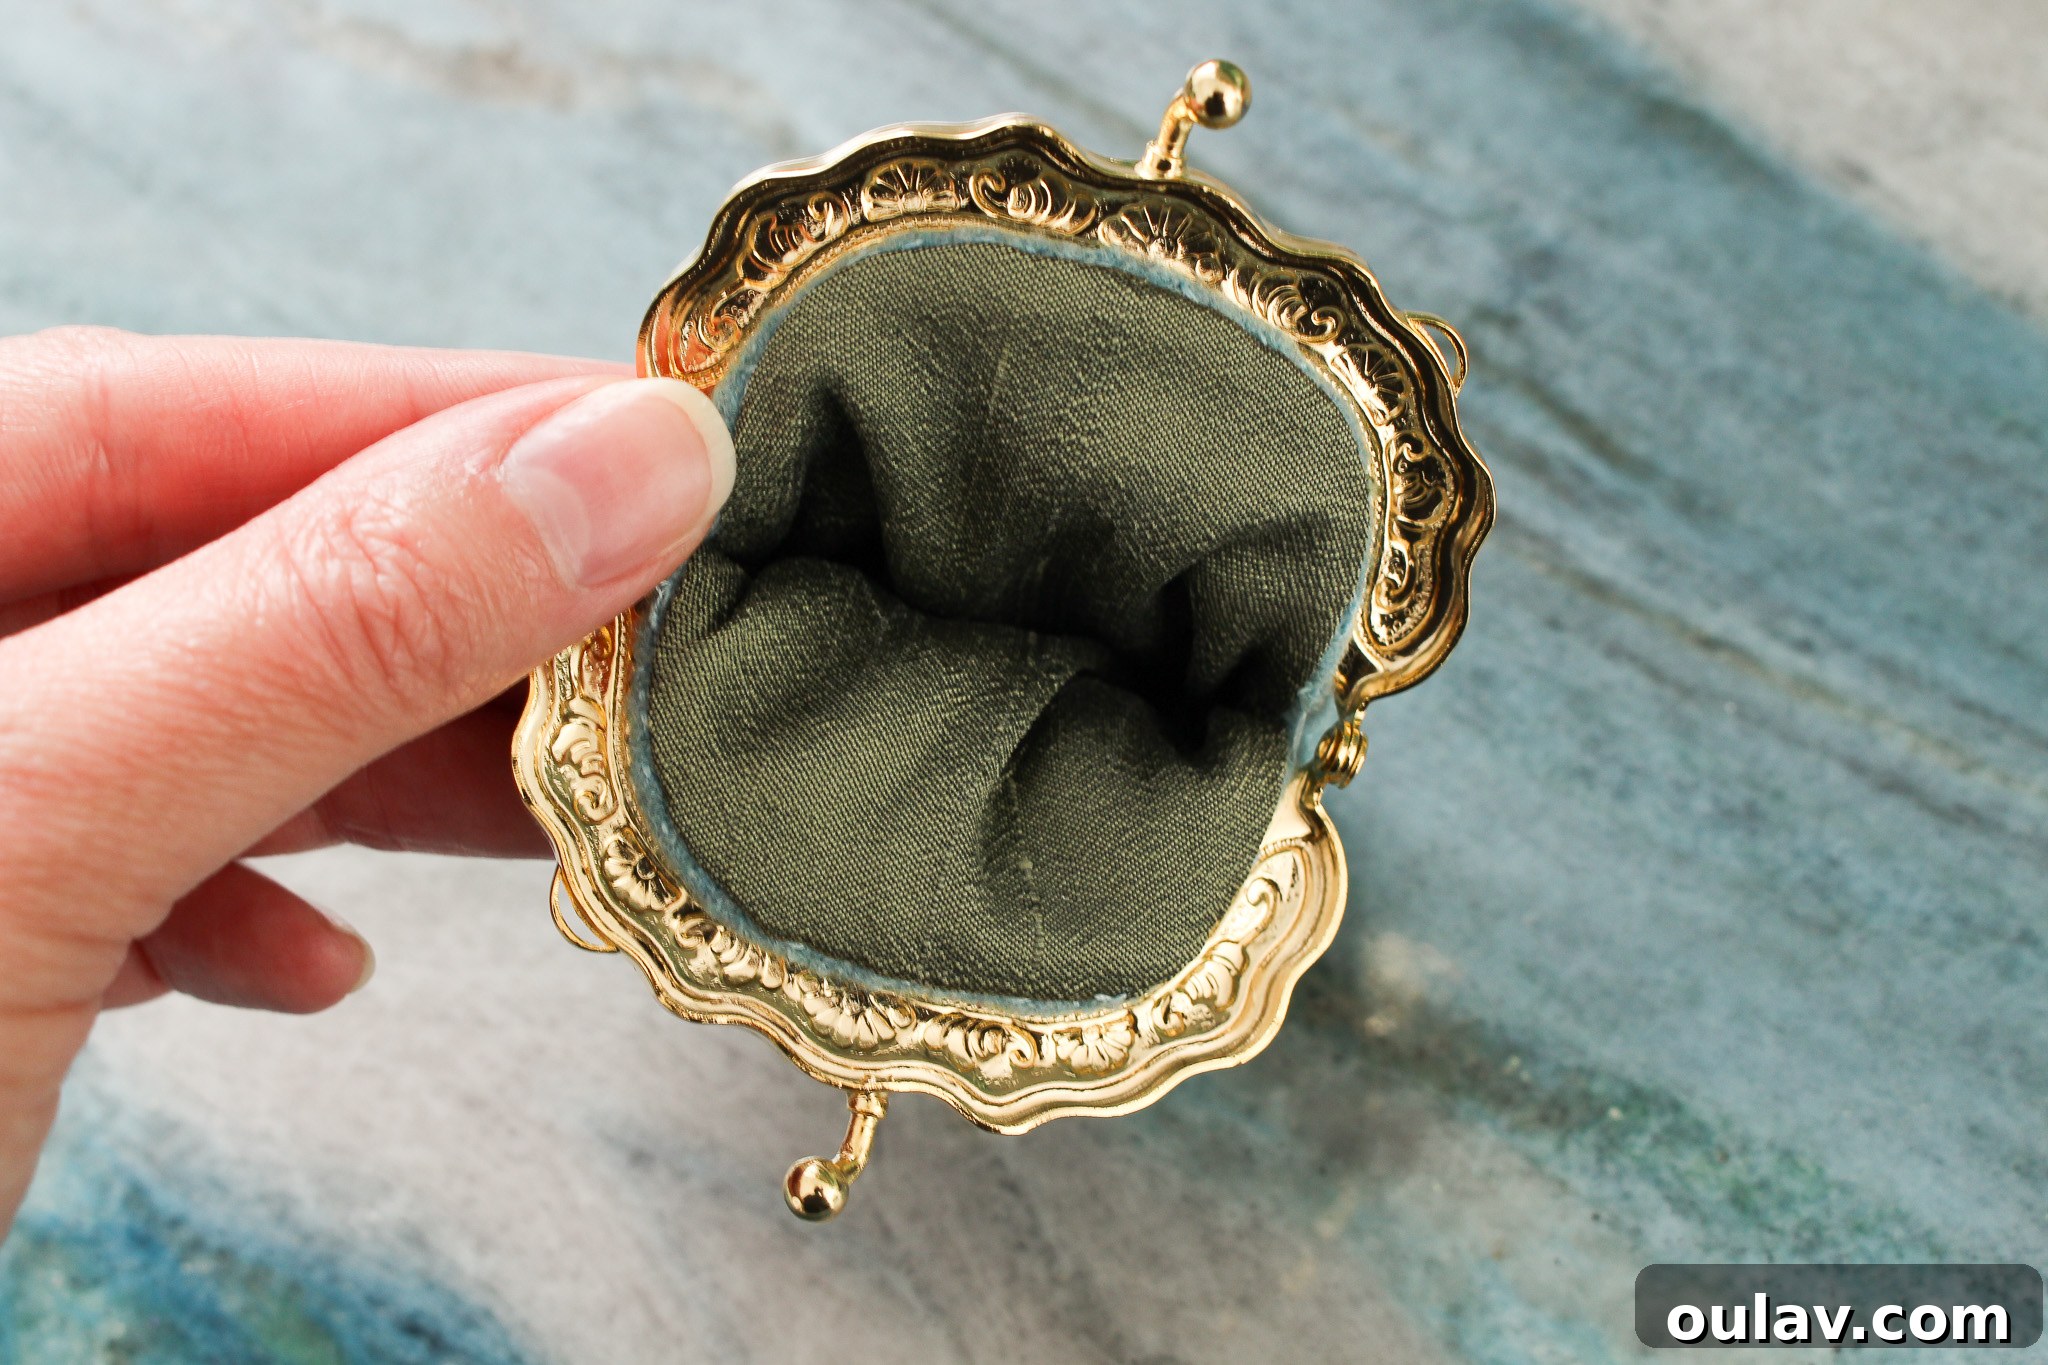
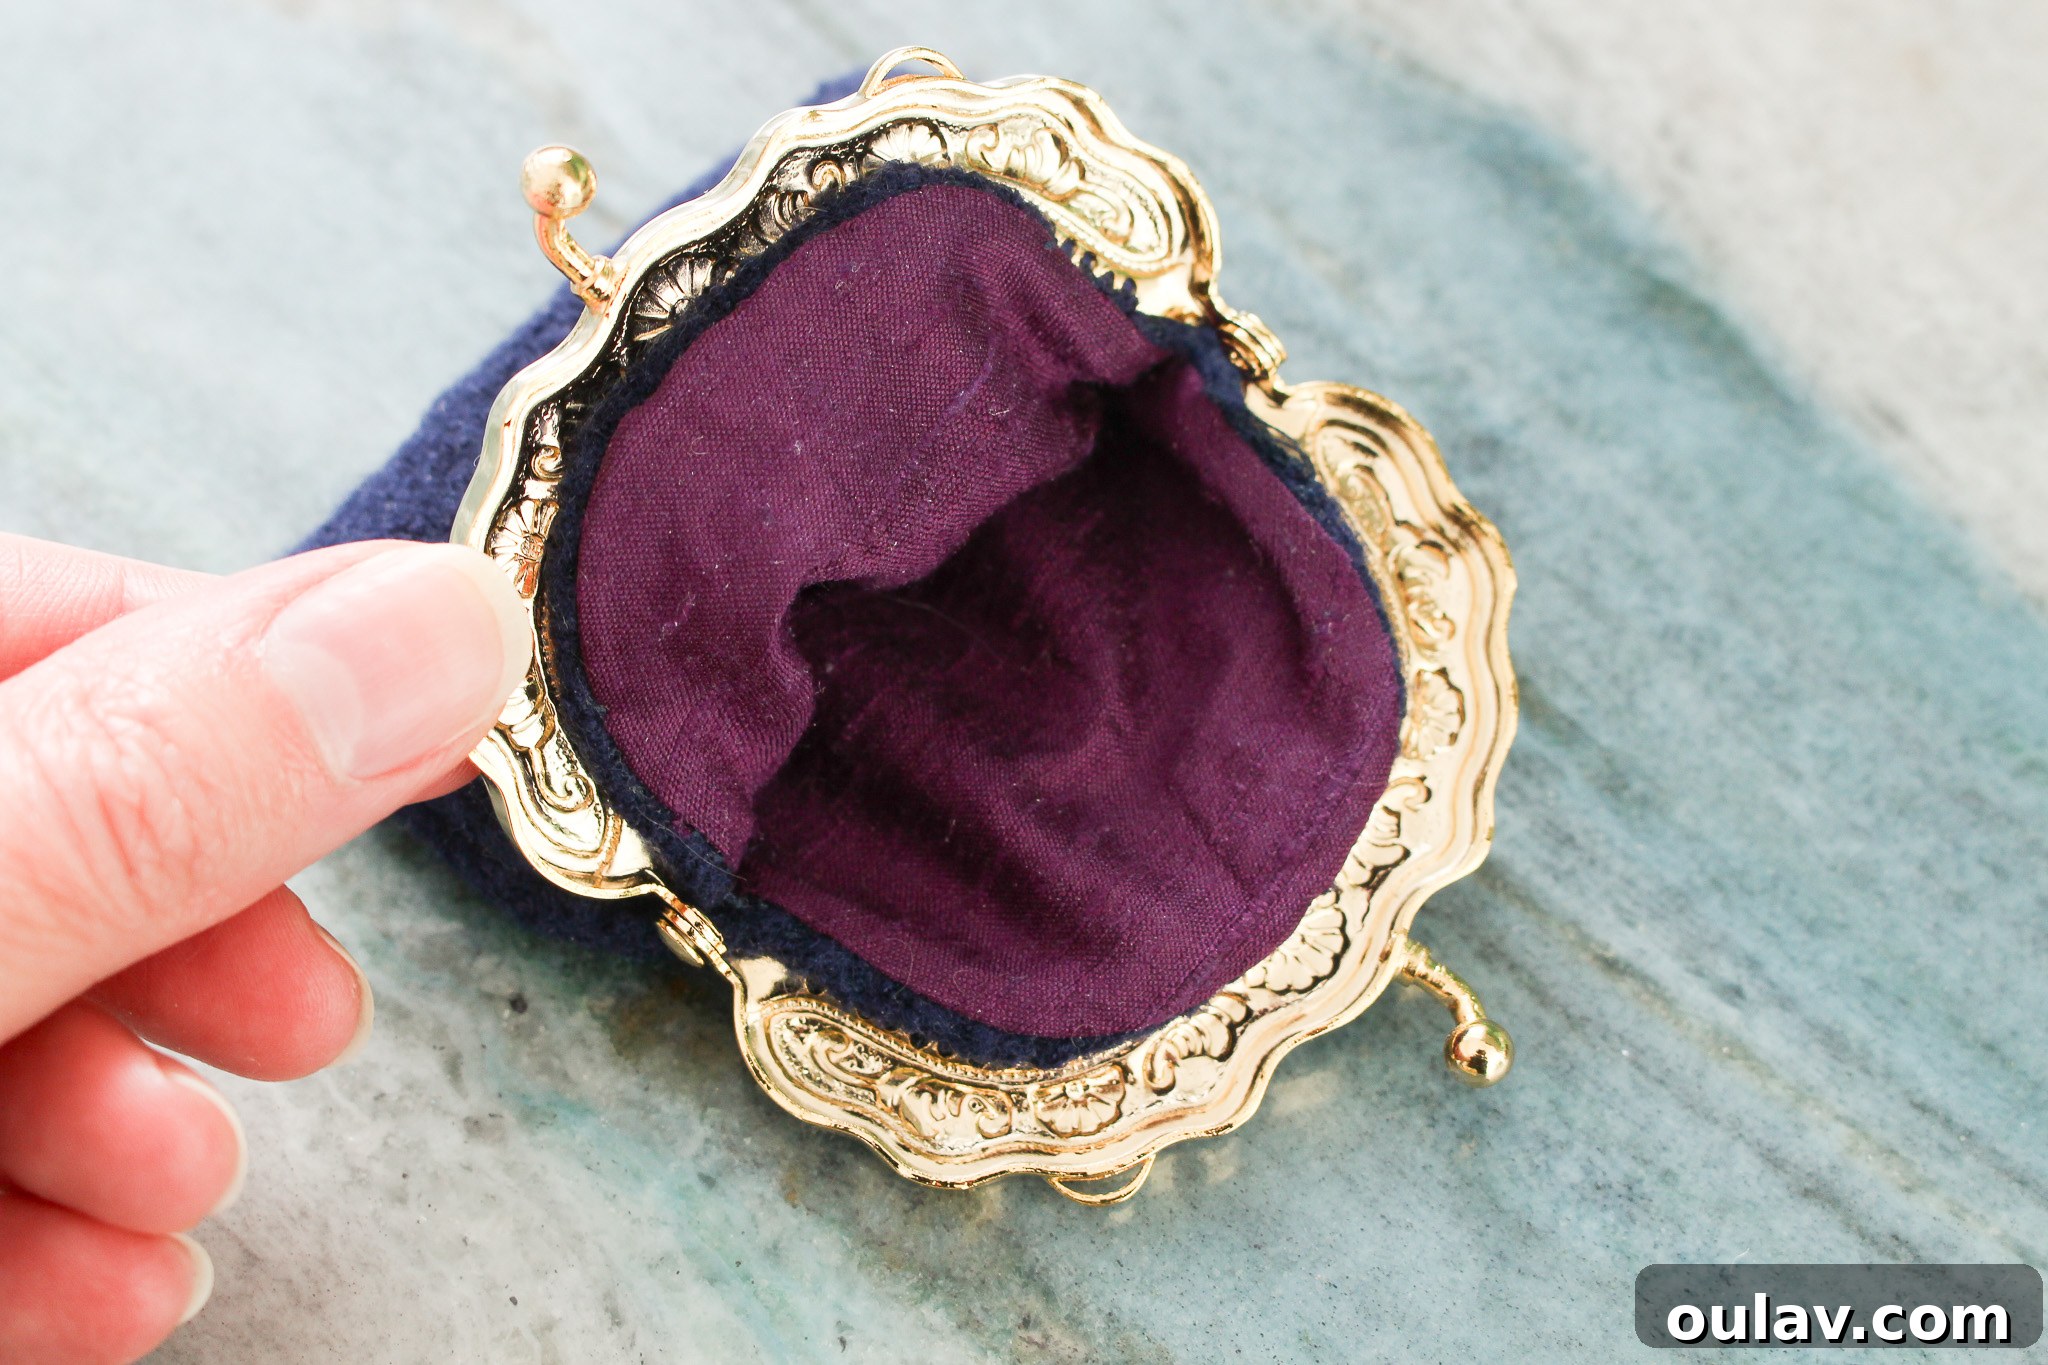
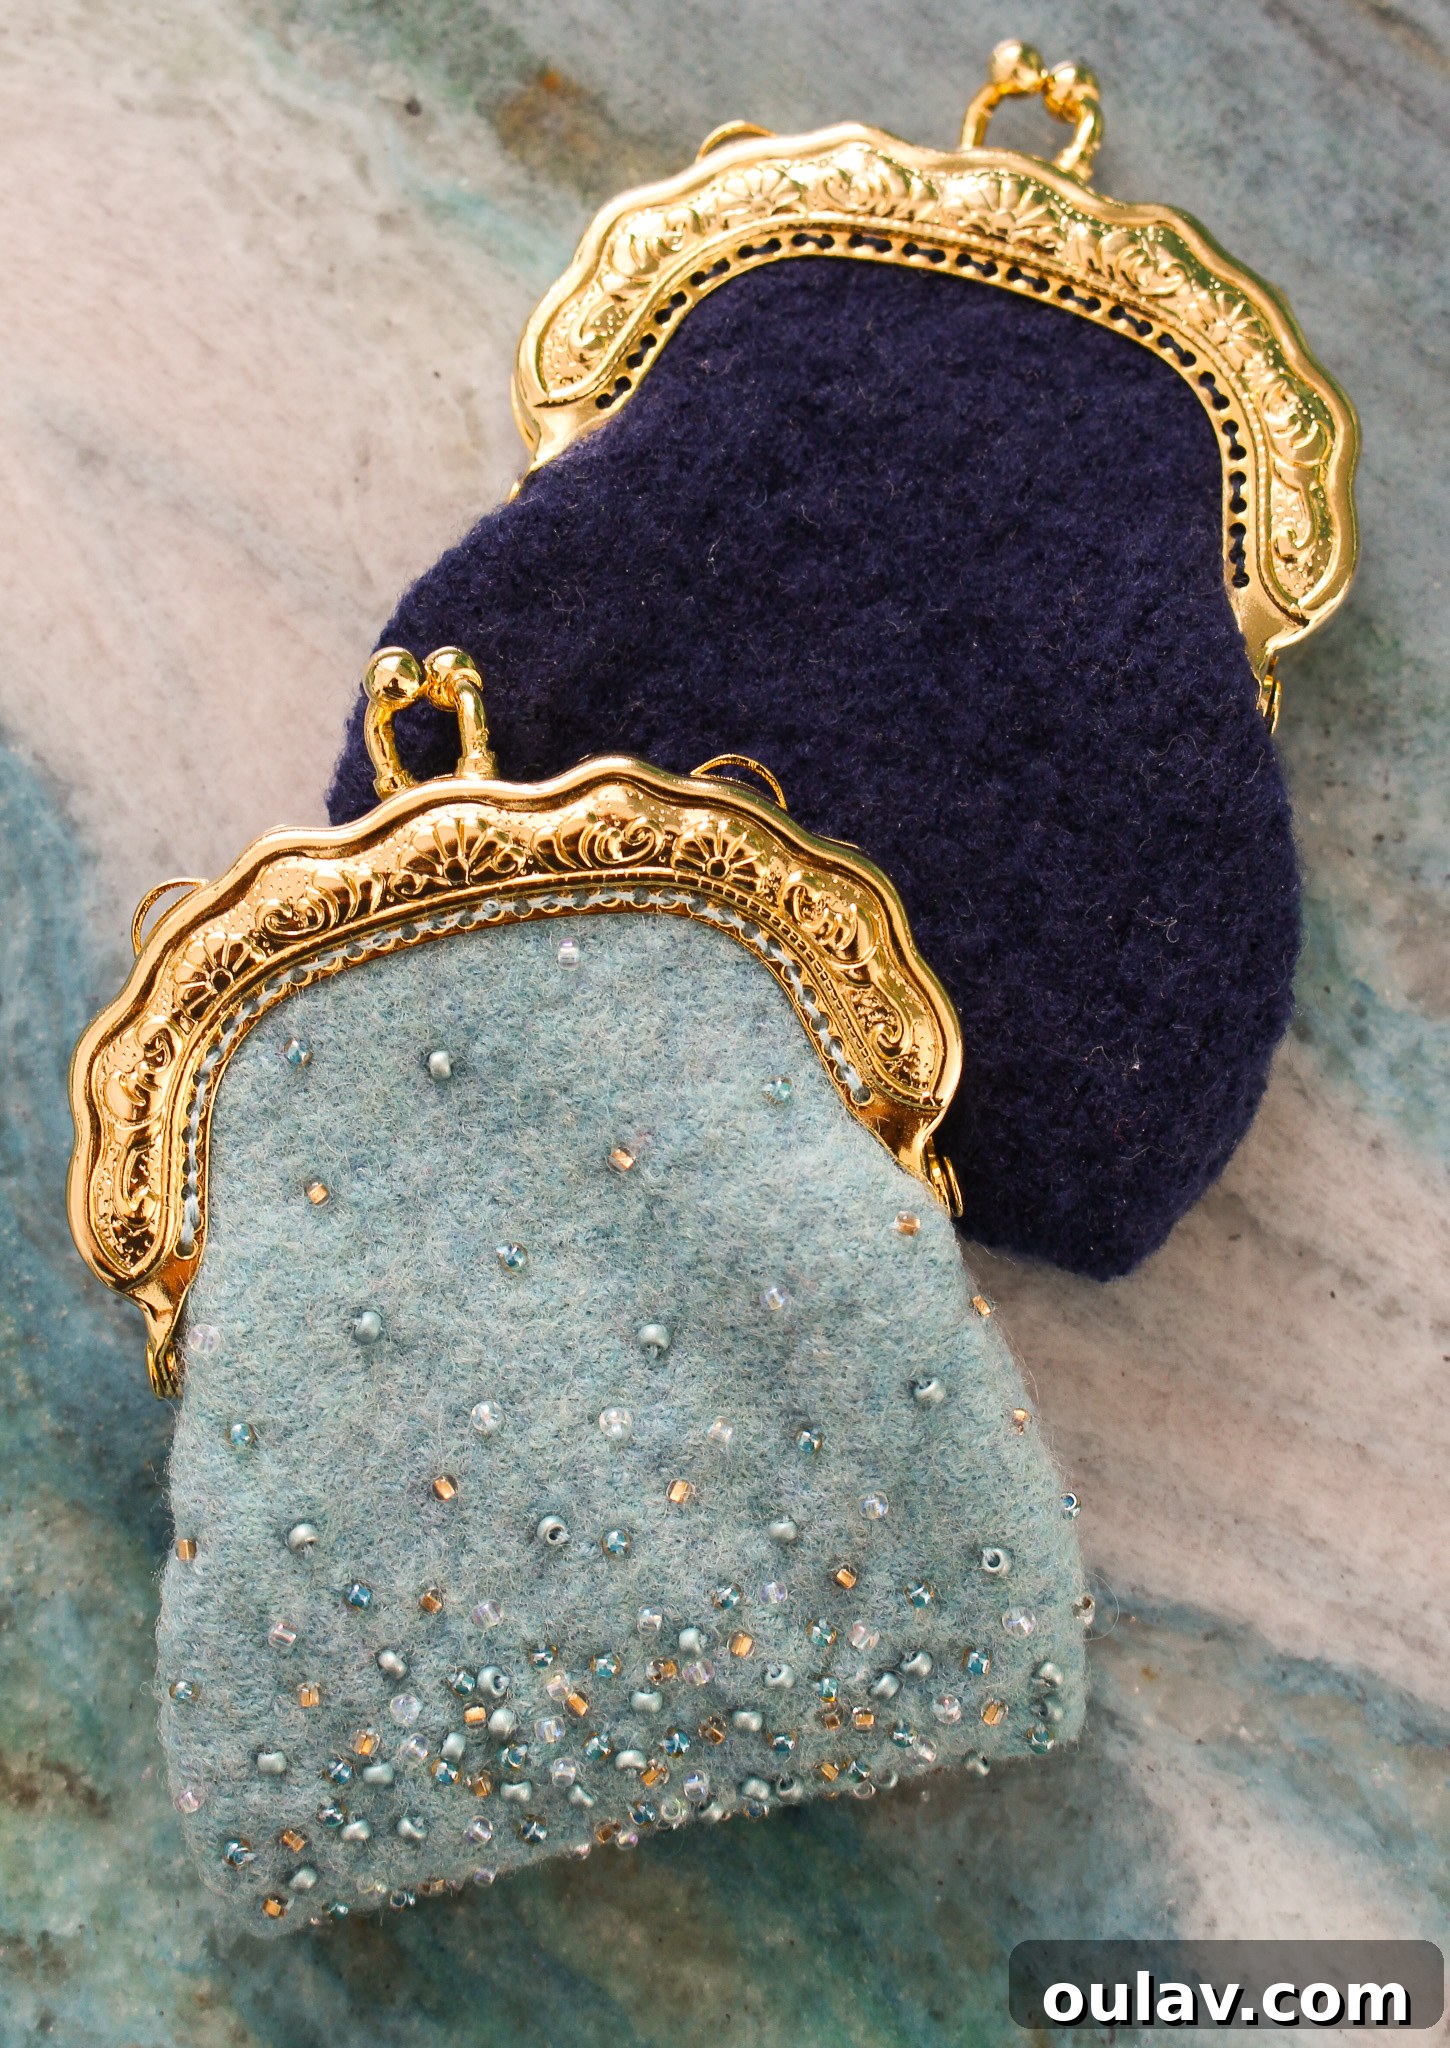
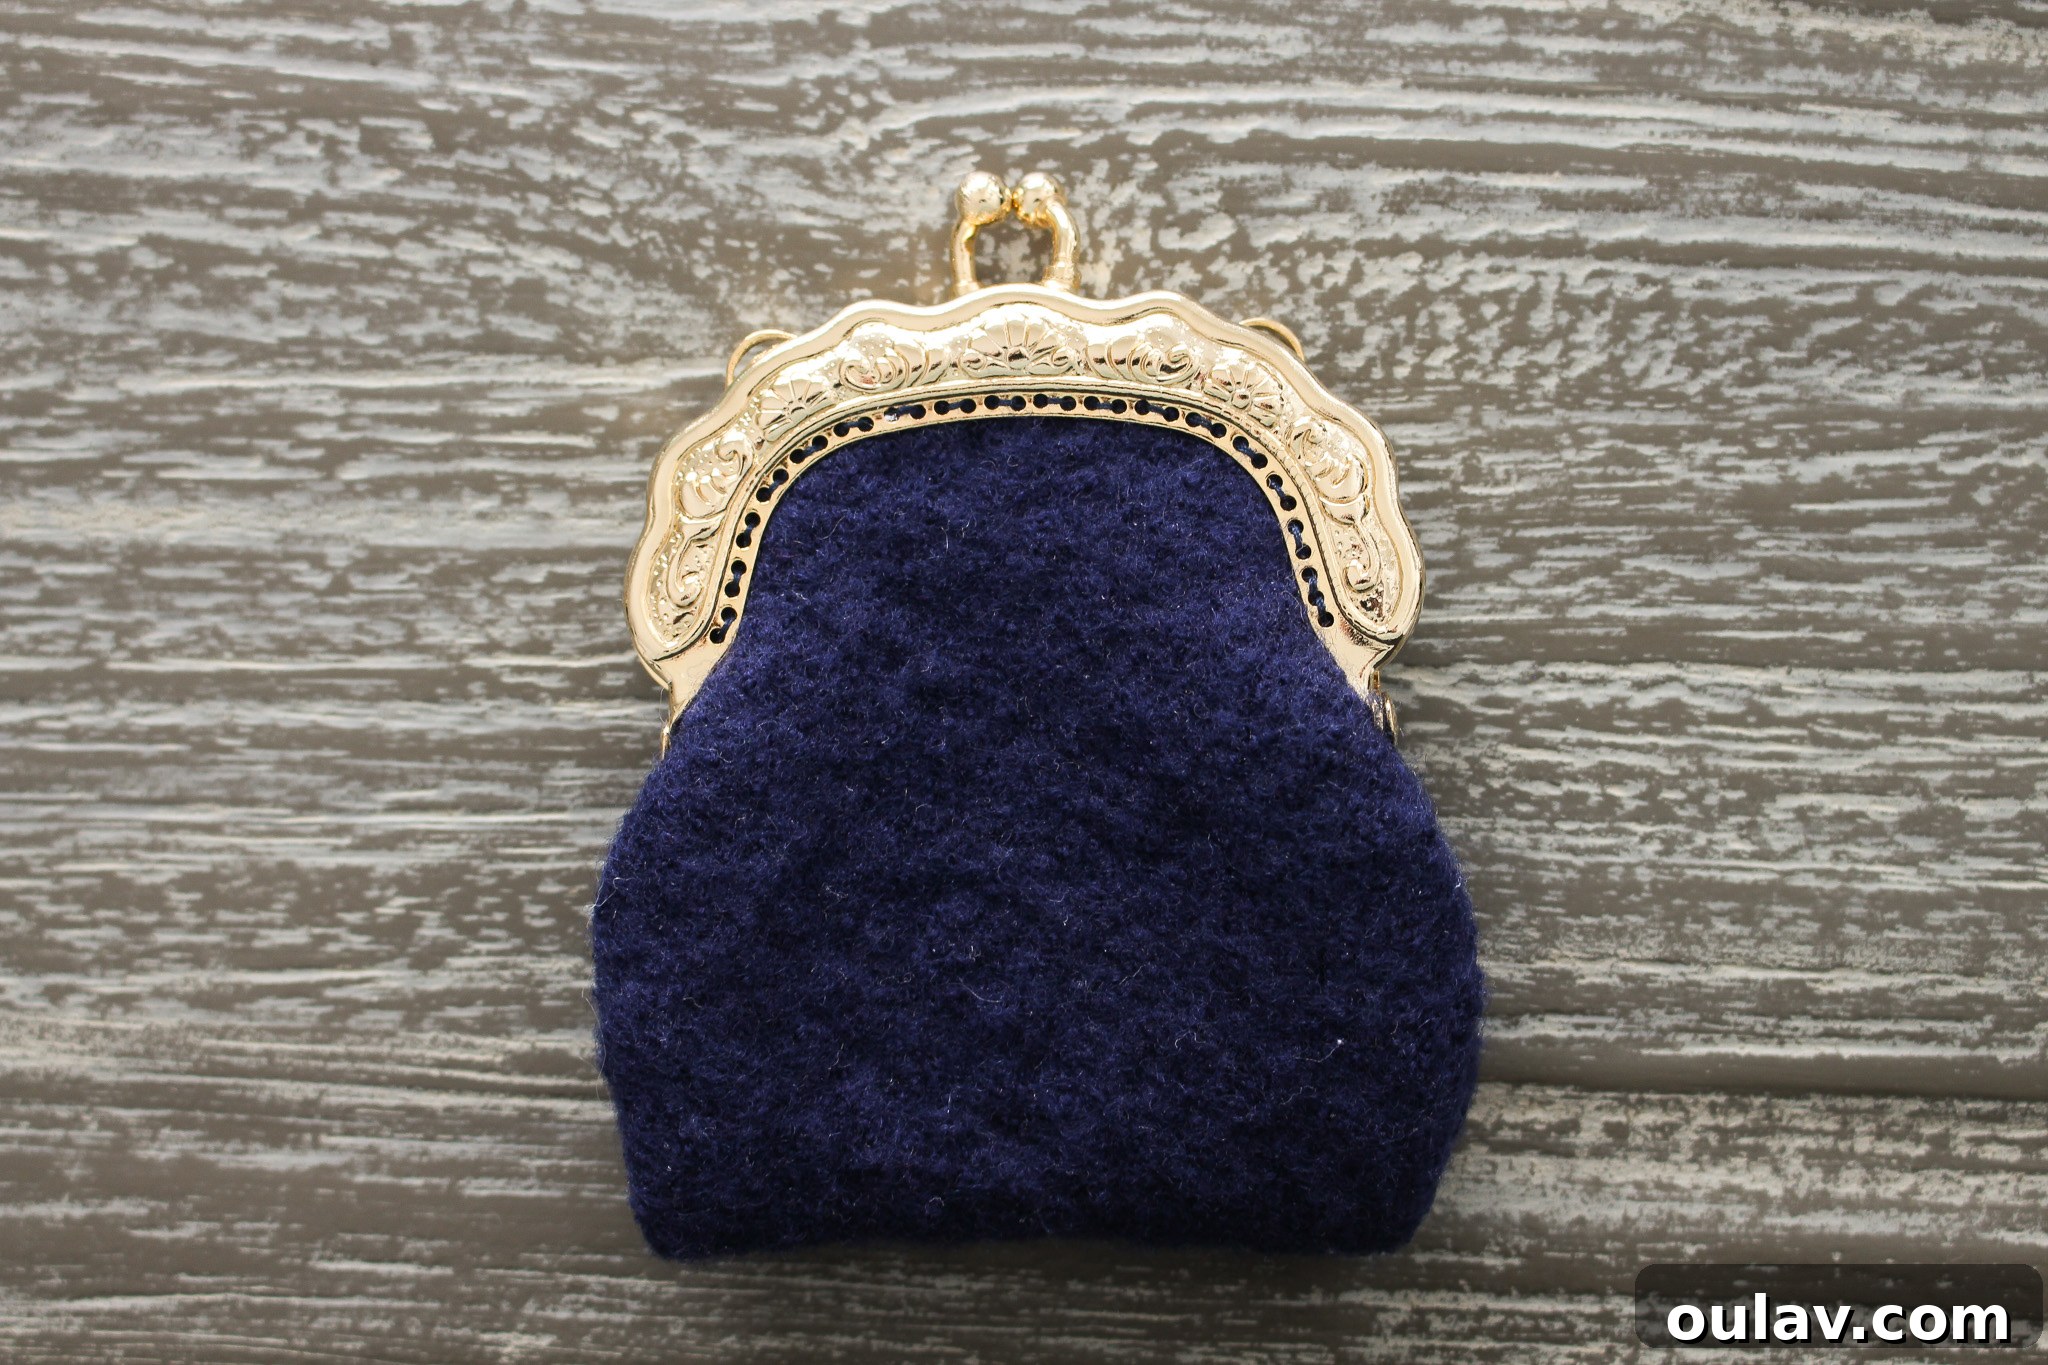
The beaded version is undeniably cute, but the plain blue felt one we made is equally adorable and surprisingly chic. Sometimes, less is more, especially if you prefer a more durable, embellishment-free accessory. Don’t limit yourself to beads; consider embroidering intricate patterns onto the wool felt or creating charming needle-felted designs for a textured look. And remember, the beauty of this DIY project lies in its adaptability – you can customize this coin purse in virtually any size or shape to suit your specific needs or stylistic preferences.
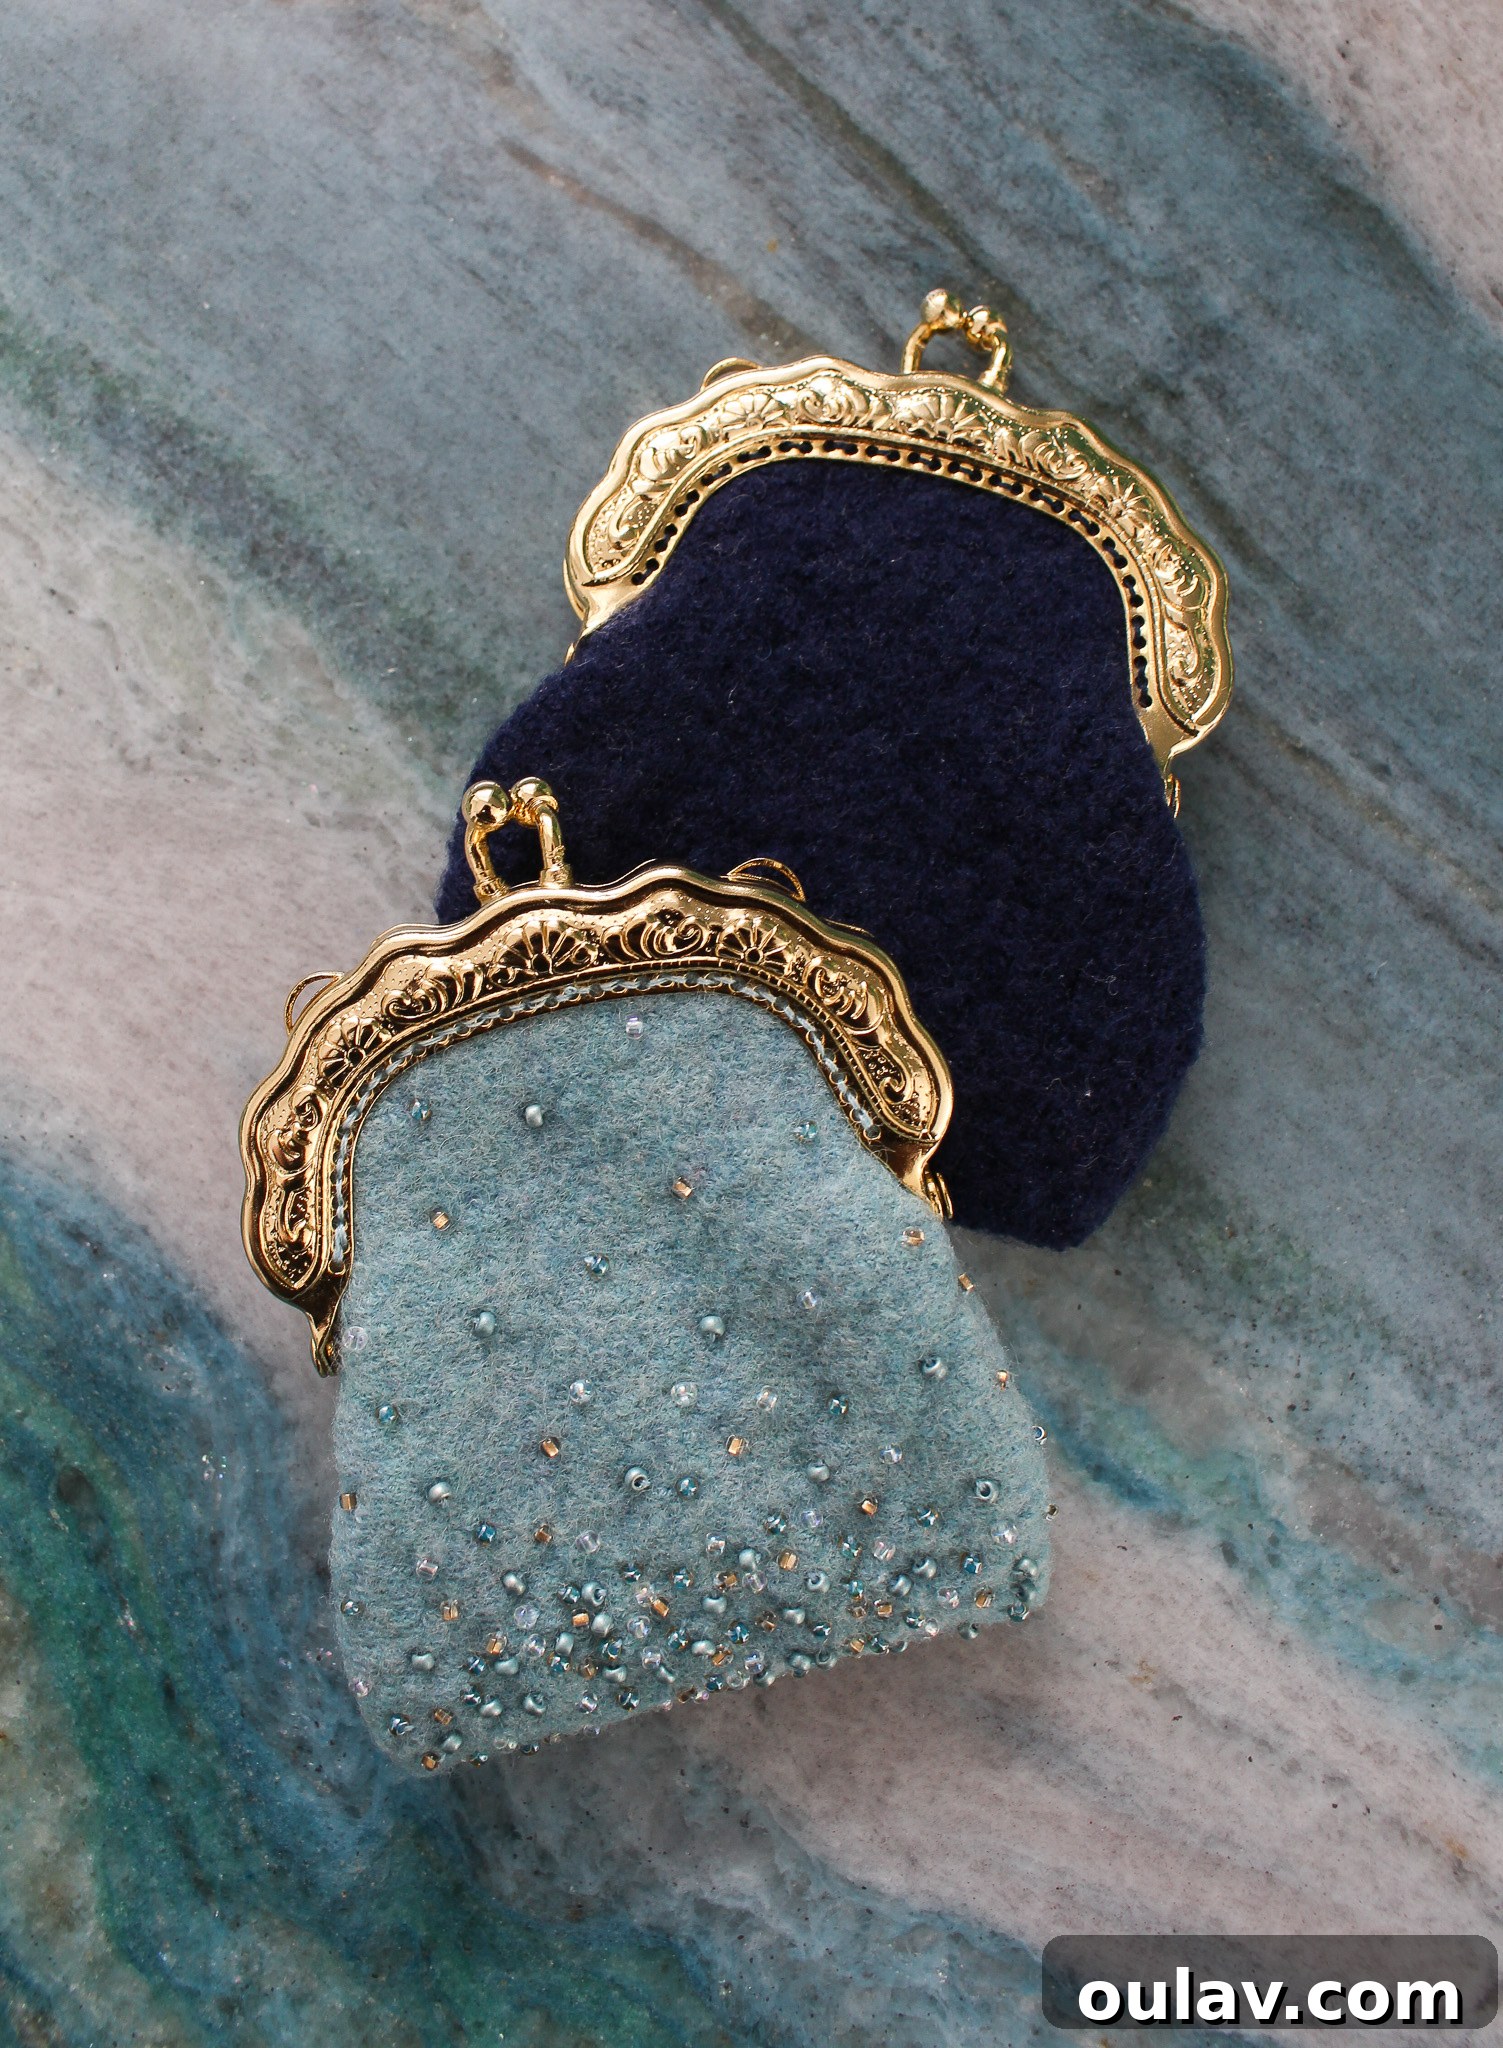
Beyond Coins: Versatile Uses for Your Kiss Lock Purse
A small coin purse with a kiss lock clasp is incredibly versatile. While perfect for loose change, it can also serve numerous other functions. Use it to store earbuds, jewelry while traveling, small trinkets, lip balm, or even as a chic way to organize small items in a larger handbag. Its compact size and secure closure make it an ideal little pouch for almost anything precious you want to keep organized and safe.
Understanding the Kiss Lock Clasp: A Timeless Mechanism
A Kiss Lock Clasp, often also known as a Kiss Clasp or Kissing Locks, is a distinctive and utterly charming mechanism designed to securely close a purse or bag. It relies on a sturdy metal frame, typically featuring two small metal knobs or balls at the top. When shut, these knobs overlap each other, “kissing” or snapping together to lock the purse closed. This unique closure method not only provides security but also adds a significant aesthetic appeal. It’s a truly timeless clasp, gracing everything from delicate antique coin purses of bygone eras to sleek, modern handbags of today. You’ll encounter a vast array of styles, ranging from elegantly minimalist and contemporary designs to intricately ornate, vintage-inspired pieces. Some clasps even come with integrated key chains or small loops, perfect for attaching a longer purse strap, allowing you to envision and create anything from a practical everyday pouch to a dazzling beaded evening bag.
Where to Source Your Perfect Kiss Lock Clasp
Finding the ideal kiss lock clasp for your project is easier than you might think. These popular purse frames are readily available at most well-stocked craft stores, fabric stores, and certainly online marketplaces like Etsy and Amazon. Many come in convenient multi-packs, which makes this project an excellent choice for a fun group craft night with friends or for creating a series of thoughtful, handmade gifts, perhaps even as unique bridesmaid tokens. The clasps I inherited from my Mom are likely three decades old, a testament to their enduring quality, but modern options are equally charming and diverse. Here are some fantastic examples to get you started:
- Mini Kiss Lock Clasp in Gold with a Key Ring Attached: Super cute and wonderfully similar to my vintage clasps, perfect for mini purses or keychains.
- Bronze Kiss Lock Multi-Size Pack: An excellent choice if you’re eager to experiment with different project sizes and styles.
- Silver Kiss Lock with Pearl Knobs: For a touch of classic elegance, these pearl-adorned clasps are simply exquisite.
Final Thoughts on Your Handmade Masterpiece
Creating your own DIY beaded felt coin purse with a kiss lock clasp is more than just a craft project; it’s an opportunity to create a functional piece of art that reflects your personal style. By embracing the principles of upcycling, you not only make a unique accessory but also contribute to a more sustainable lifestyle. The process, from preparing your felt to carefully attaching the clasp, is rewarding, resulting in a durable and beautiful item that you’ll cherish for years to come. Whether you keep it for yourself, gift it to a friend, or explore variations for other uses, this handmade purse is a testament to the charm and versatility of felt crafts. We hope this detailed tutorial empowers you to pick up your needle and thread and bring your own beaded felt creations to life!
P.S. Don’t Forget to Pin for Later!