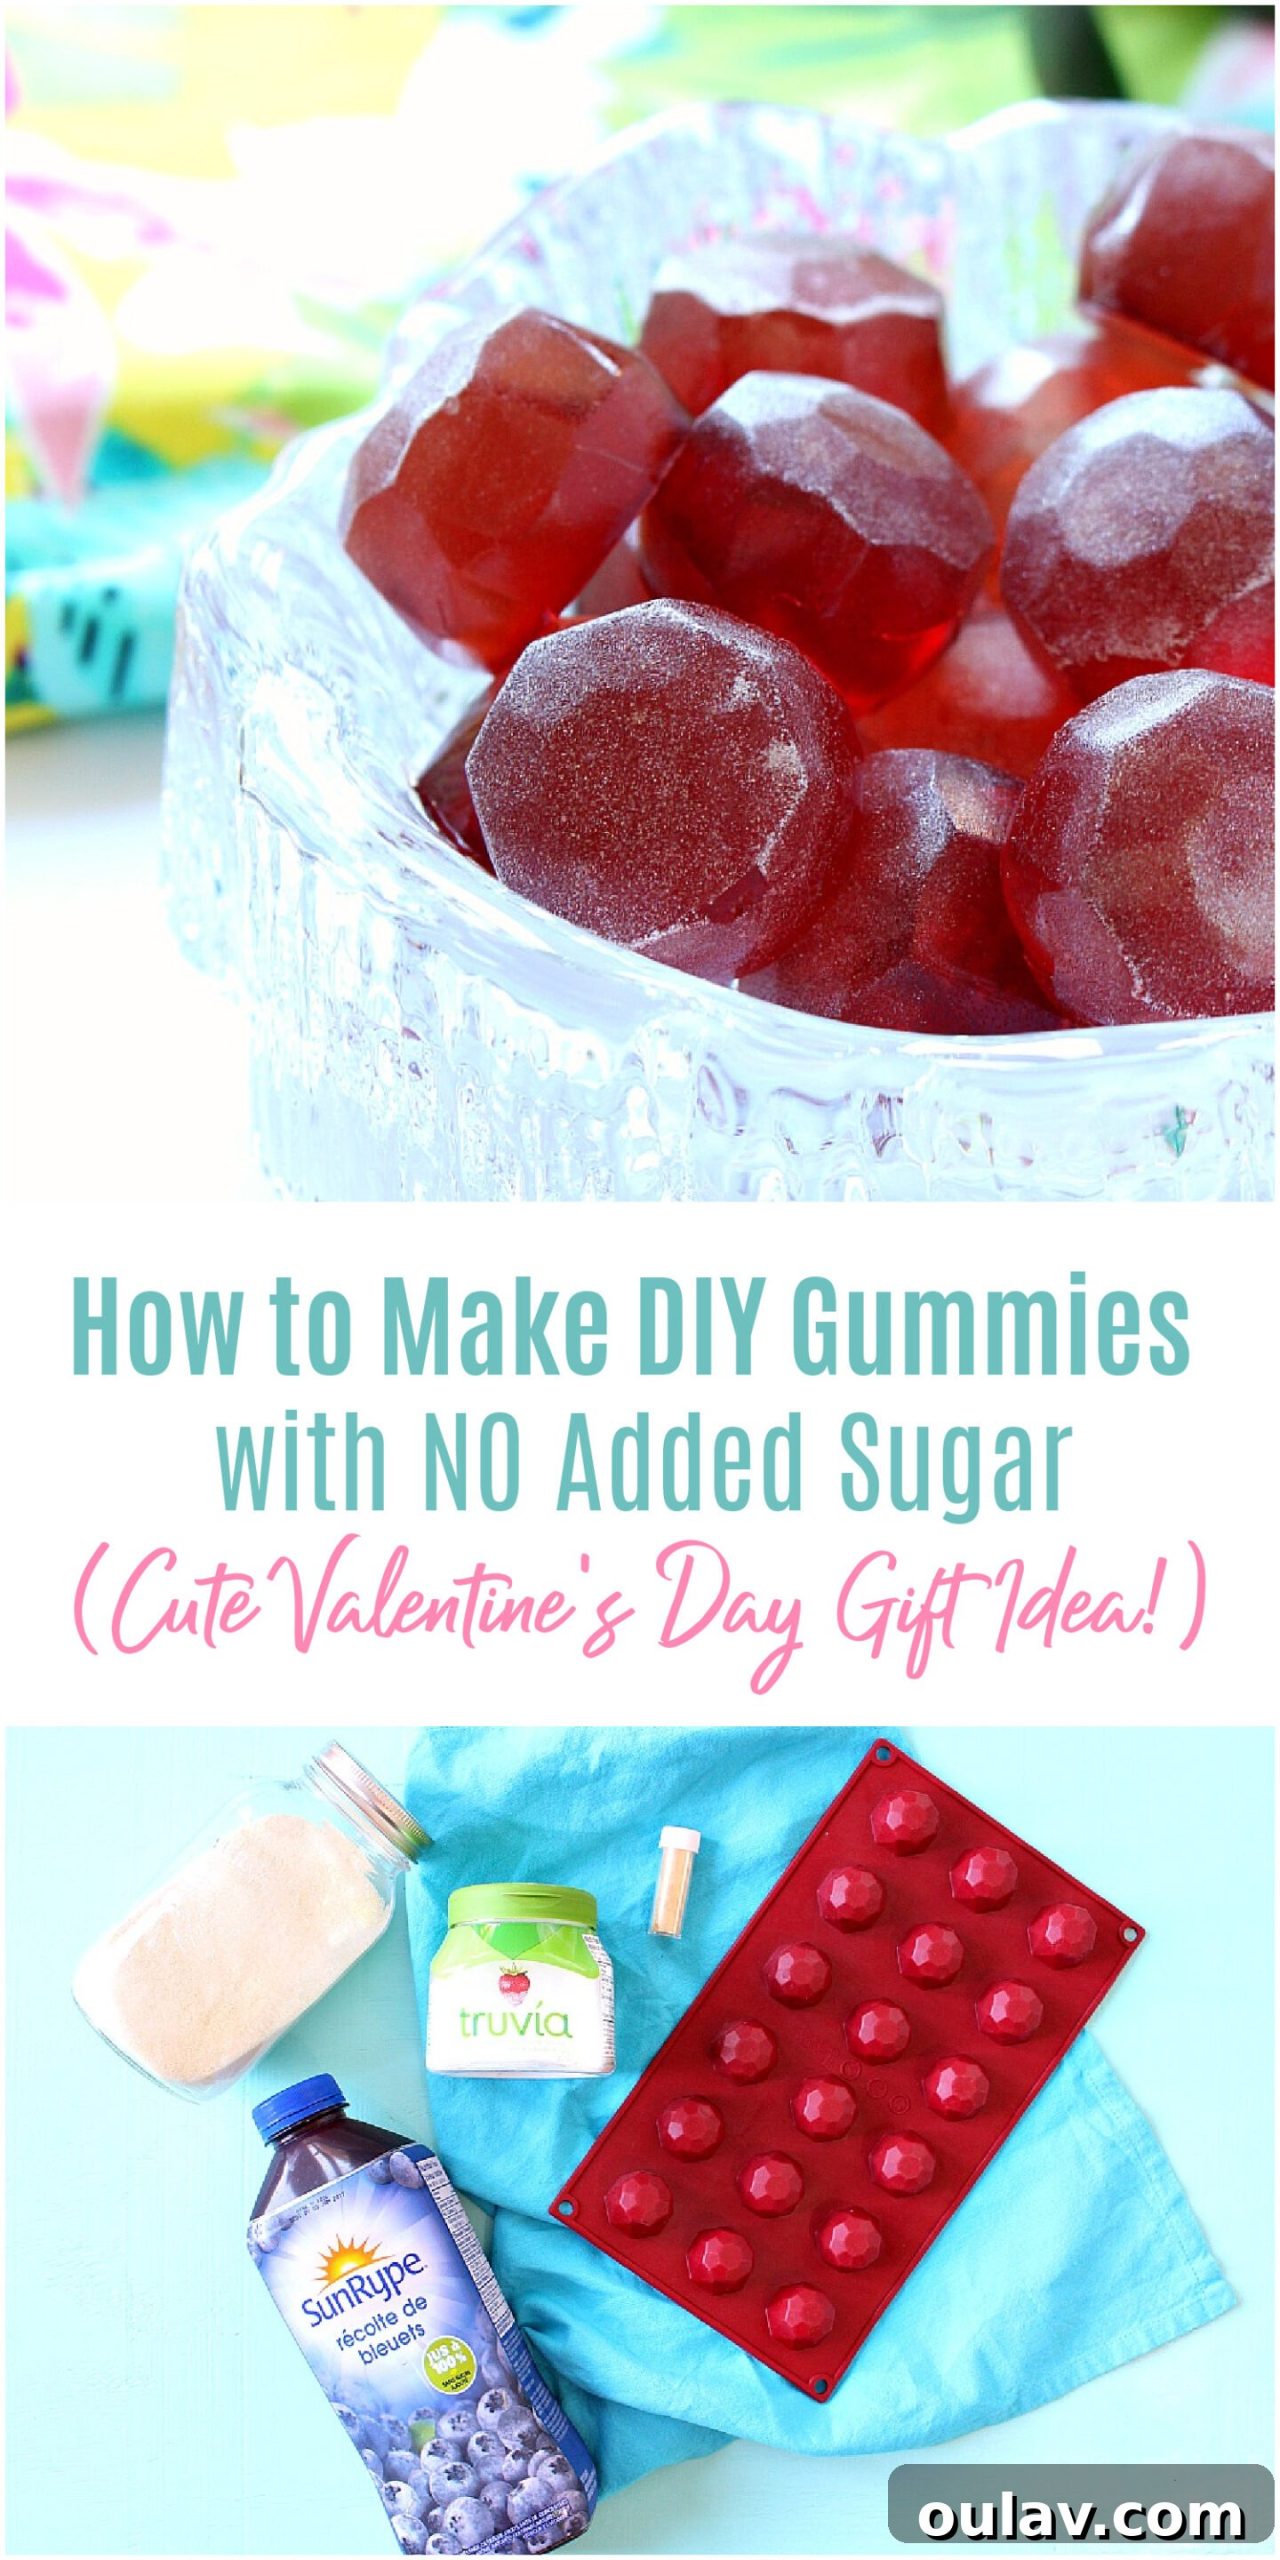
Mastering Homemade Sugar-Free Gummy Candies: A Delightful & Healthy Treat
In our constant pursuit of healthier lifestyles, finding snacks and desserts that satisfy our sweet cravings without the guilt of added sugars can be a challenge. While indulging in seasonal treats like pumpkin spice s’mores certainly has its place, there’s a growing desire for everyday options that are both delicious and nutritious. This quest led me to a truly exciting discovery: the wonderful world of homemade gummy candies with absolutely NO added sugar!
Imagine creating your own vibrant, chewy gummy treats, perfectly customizable and entirely free from processed sugars. It’s not just a possibility; it’s incredibly simple. Just take a look at these adorable, gold-dusted gemstone-shaped gummies I whipped up – they’re almost too pretty to eat, yet irresistible!
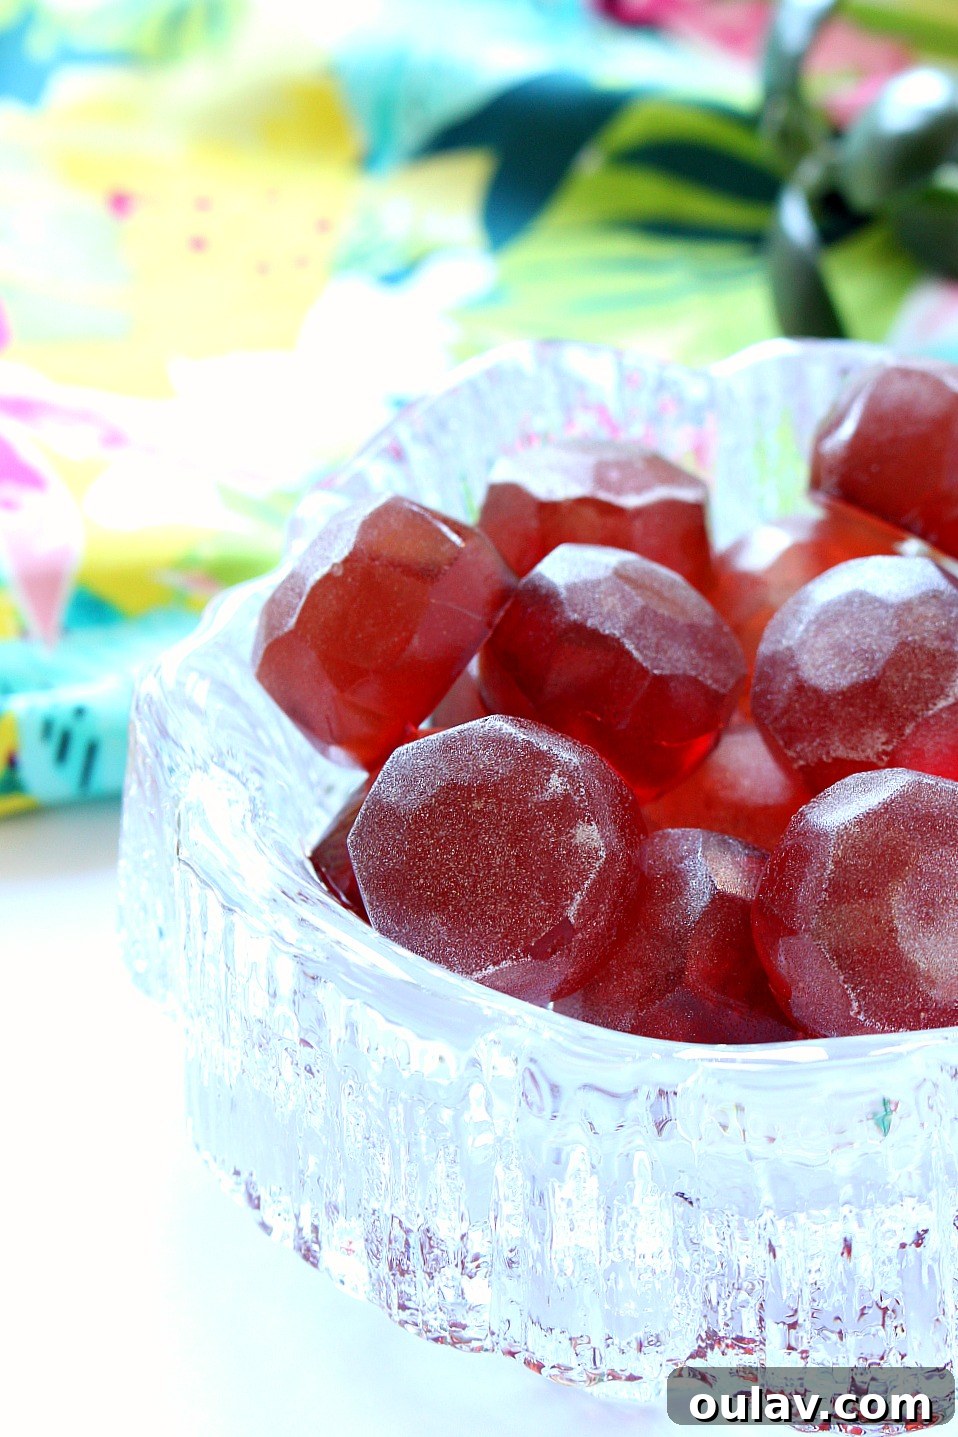
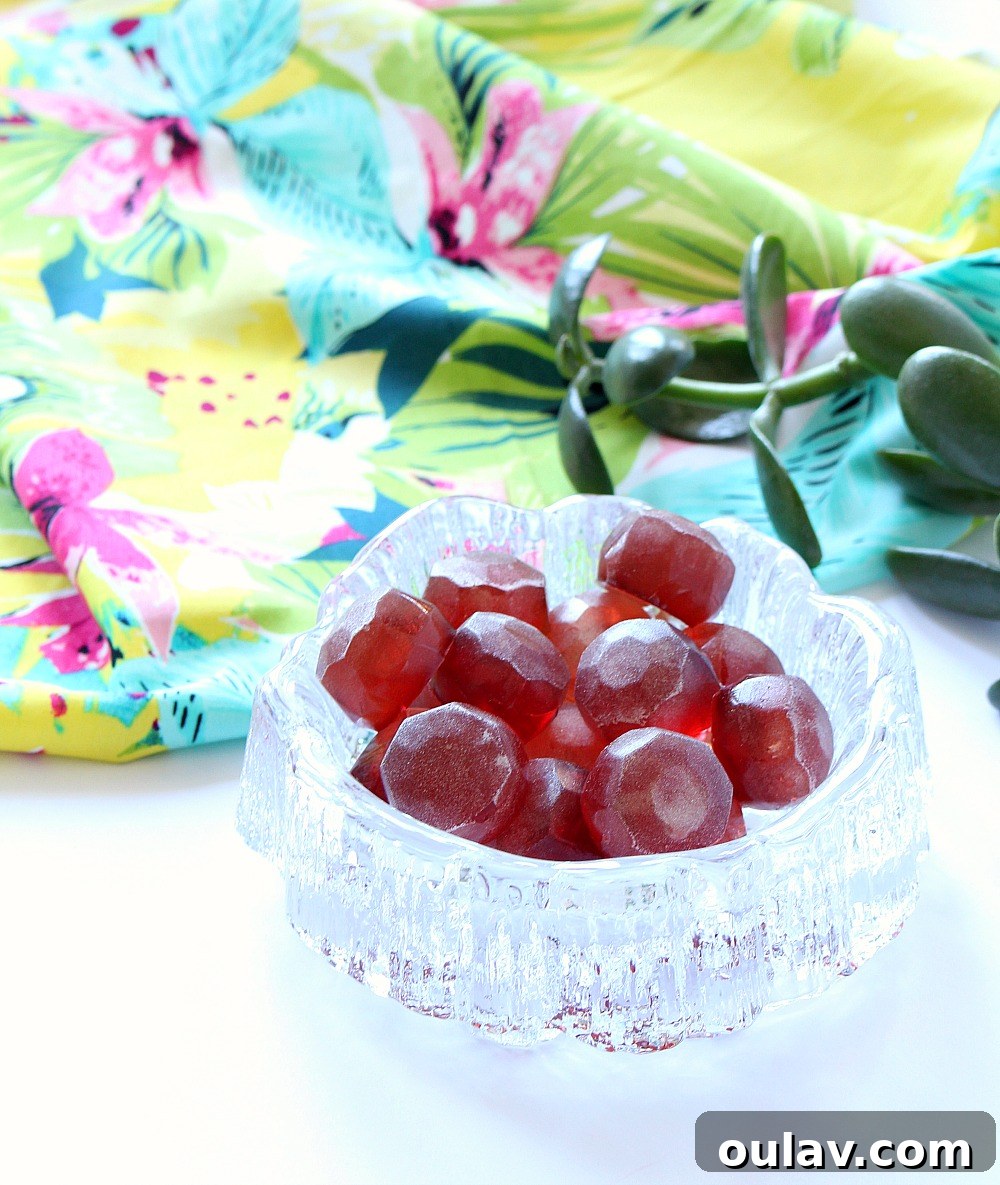
These homemade gummy candies prove that healthy can also be incredibly appealing and fun. They’re a fantastic way to enjoy a sweet treat without compromising your dietary goals, making them an ideal snack for children and adults alike.
Why Choose Homemade Sugar-Free Gummies?
The appeal of making your own sugar-free gummies extends far beyond just satisfying a sweet tooth. It’s about control, health, and a touch of culinary creativity. Store-bought gummies are notorious for being loaded with high-fructose corn syrup, artificial colors, and preservatives. When you make them at home, you dictate every ingredient, ensuring a truly wholesome and delightful treat.
- Health Benefits: By eliminating added sugars, you significantly reduce your sugar intake, which is beneficial for overall health, blood sugar management, and dental hygiene. Using real fruit juice provides natural vitamins and antioxidants.
- Complete Customization: The possibilities are endless! Experiment with a vast array of fruit juices, natural sweeteners, and even add beneficial supplements like collagen peptides. You can create gummies in any shape or size, tailoring them to your preferences or for special occasions.
- Fun & Engaging Activity: Making gummies is a simple and enjoyable project for the whole family. It’s a great way to introduce kids to healthy cooking and the magic of transforming simple ingredients into delightful snacks.
- Cost-Effective: While specialty sugar-free candies can be expensive, the ingredients for homemade gummies are relatively inexpensive, making this a budget-friendly option for healthy snacking.
- Transparency: You know exactly what goes into your body, free from hidden additives and mystery ingredients often found in processed foods.
The Essential Ingredients for Your DIY Gummy Adventure
The beauty of this recipe lies in its simplicity and minimal ingredient list. You likely have most of what you need in your pantry already!
What You’ll Need:
- 1 cup Fruit Juice: I opted for blueberry, which gave these gummies a beautiful hue and subtle sweetness. When selecting your juice, it’s crucial to choose 100% fruit juice with no added sugars or artificial colors. Remember, the quality of your juice directly impacts the flavor and health benefits of your gummies.
- 1 tablespoon Unflavored Gelatin: This is the magic ingredient that gives gummies their characteristic chew. I personally recommend Great Lakes brand for its quality. Gelatin is a powerhouse, offering benefits for skin, hair, nails, and gut health.
- 1 tsp Stevia (optional): If your chosen fruit juice isn’t sweet enough for your liking, a small amount of a natural sweetener like stevia can be added. Truvia is a reliable option. Other alternatives include erythritol or monk fruit, but always check labels for purity.
- Silicone Mold (optional, but highly recommended): Silicone molds are perfect for creating fun shapes and making unmolding a breeze. This is the gem mold I initially used, though it sold out. You might try this link for a similar alternative. There’s a vast selection of shapes available, from classic gummy bears to intricate designs.
- Small Whisk: Essential for thoroughly dissolving the gelatin and sweetener.
- Small Metal Pot: For warming the fruit juice on the stovetop.
- Edible Gold Dust (totally optional): For an extra touch of elegance and visual appeal.
A Critical Note on Fruit Juice Selection: When choosing your fruit juice, always skim the ingredients to ensure there isn’t any pineapple, mango, or papaya juice present. These specific juices contain enzymes (bromelain in pineapple, papain in papaya) that will prevent the gelatin from setting properly, resulting in a liquid or mushy consistency. If you absolutely wish to use these juices, you must boil them first to deactivate the enzymes before proceeding with the recipe. Furthermore, always watch fruit juice labels for any sneaky added sugars and artificial colors, as these defeat the purpose of making truly healthy, sugar-free gummies.
Step-by-Step Guide: Crafting Your Perfect Sugar-Free Gummies
This recipe is incredibly straightforward, making it perfect for beginners. Follow these simple steps to create your delightful homemade gummies:
- Warm the Fruit Juice: Pour 1 cup of your chosen fruit juice into a small metal pot. Place it on the stove over low to medium heat. Allow the juice to warm up gently. The goal is for the juice to be warm, even steaming slightly, but definitely not boiling. Boiling can alter the juice’s flavor and potentially affect the gelatin’s setting properties.
- Dissolve the Gelatin: Once the fruit juice is warm, gradually sprinkle 1 tablespoon of unflavored gelatin over the surface. As you sprinkle, continuously whisk the mixture until the gelatin is completely dissolved. It’s important to whisk well to prevent any clumps from forming, ensuring a smooth, consistent gummy texture.
- Add Sweetener (If Using): If you prefer a sweeter gummy, now is the time to add 1 teaspoon of stevia or your chosen natural sweetener. Whisk thoroughly until the sweetener is fully dissolved and integrated into the warm juice mixture.
- Prepare Your Molds: If you’re using a silicone mold, it’s helpful to place it on a cutting board or a small tray. This makes it much easier to transfer the filled mold to the refrigerator without spills. If you’re feeling fancy, you can use a small brush to dust the inside of your molds with edible gold powder for an extra special touch, as I did with my gemstone gummies.
- Pour into Molds: Carefully pour the warm gummy mixture into your silicone molds. For very small or intricate molds, a dropper or a small measuring cup with a spout can be useful for precision and to minimize mess. (Alternatively, if you want larger blocks of gummies, you can easily double the recipe and pour the mixture into small glass bowls, which works wonderfully for slicing into squares later.)
- Chill to Set: Transfer the cutting board with the filled silicone mold into the refrigerator. Allow the gummies to chill for at least a few hours, or until they are completely firm. The chilling process is crucial for the gelatin to fully set and achieve that perfect gummy consistency.
- Unmold and Enjoy: Once firm, gently pop the gummies out of their molds. And voila! You have gorgeous, perfectly shaped homemade gummy candies with NO added sugar. These little gems are not only delicious but also a beautiful testament to healthy snacking. As a self-proclaimed rock hound, I find these gemstone shapes particularly appealing!
Beyond the Basics: Tips, Tricks, and Flavor Innovations
This basic recipe is incredibly versatile, serving as a perfect launchpad for countless flavor combinations and creative experiments. While my own experimental batches often get devoured before I can capture their full glory – like an absolutely divine orange chocolate gummy that disappeared in mere minutes – here are some ideas to inspire your own gummy journey:
- Flavor Combinations: Don’t limit yourself to single-flavor juices. Try combining apple and cinnamon, raspberry and lemon, or even a hint of vanilla extract with cherry juice. Citrus juices like orange or grapefruit can add a refreshing zing, but remember to ensure they are pure, 100% juice without added sugar.
- Layered Gummies: For a visually stunning treat, create layered gummies. Simply make one batch, pour a thin layer into your molds, chill until just set (about 15-20 minutes), then prepare a second batch with a different colored juice and pour it over the first layer. Repeat for as many layers as you desire.
- Adding Nutritional Boosts: Consider stirring in unflavored collagen peptides for an extra protein boost, or a small amount of vitamin C powder (ensure it’s compatible with the other ingredients and doesn’t affect setting).
- Adjusting Texture: If you prefer a firmer gummy, you can slightly increase the amount of gelatin (e.g., 1.5 tablespoons for 1 cup of juice). For a softer, more jello-like consistency, reduce the gelatin slightly.
- Storage: Store your homemade sugar-free gummies in an airtight container in the refrigerator. They will typically last for up to a week, though they rarely last that long in my house!
- Troubleshooting: If your gummies don’t set, the most common culprits are using an enzyme-rich juice (pineapple, mango, papaya) without boiling it first, not using enough gelatin, or not chilling them for long enough. Double-check your measurements and ensure your juice doesn’t contain problematic enzymes.
The Joy of Healthy Snacking: A Conclusion
Making your own sugar-free gummy candies is a truly rewarding experience. It’s an easy, foolproof “recipe” that empowers you to take control of your snacks, offering a delicious, healthy, and customizable alternative to store-bought options. Whether you’re aiming to reduce your sugar intake, provide healthier treats for your family, or simply enjoy a fun kitchen project, these homemade gummies are an absolute winner.
I’ve loved experimenting with different liquids, methods, and flavor combinations, and I wholeheartedly encourage you to do the same. This simple guide is a fantastic starting point for anyone wanting to dive into the world of natural, homemade treats.
Have you ventured into making your own gummy candy before? Do you have any delicious recipes or innovative ideas I should try next? I’d love to hear your experiences and suggestions!
Don’t Forget to Pin This Recipe for Later!