
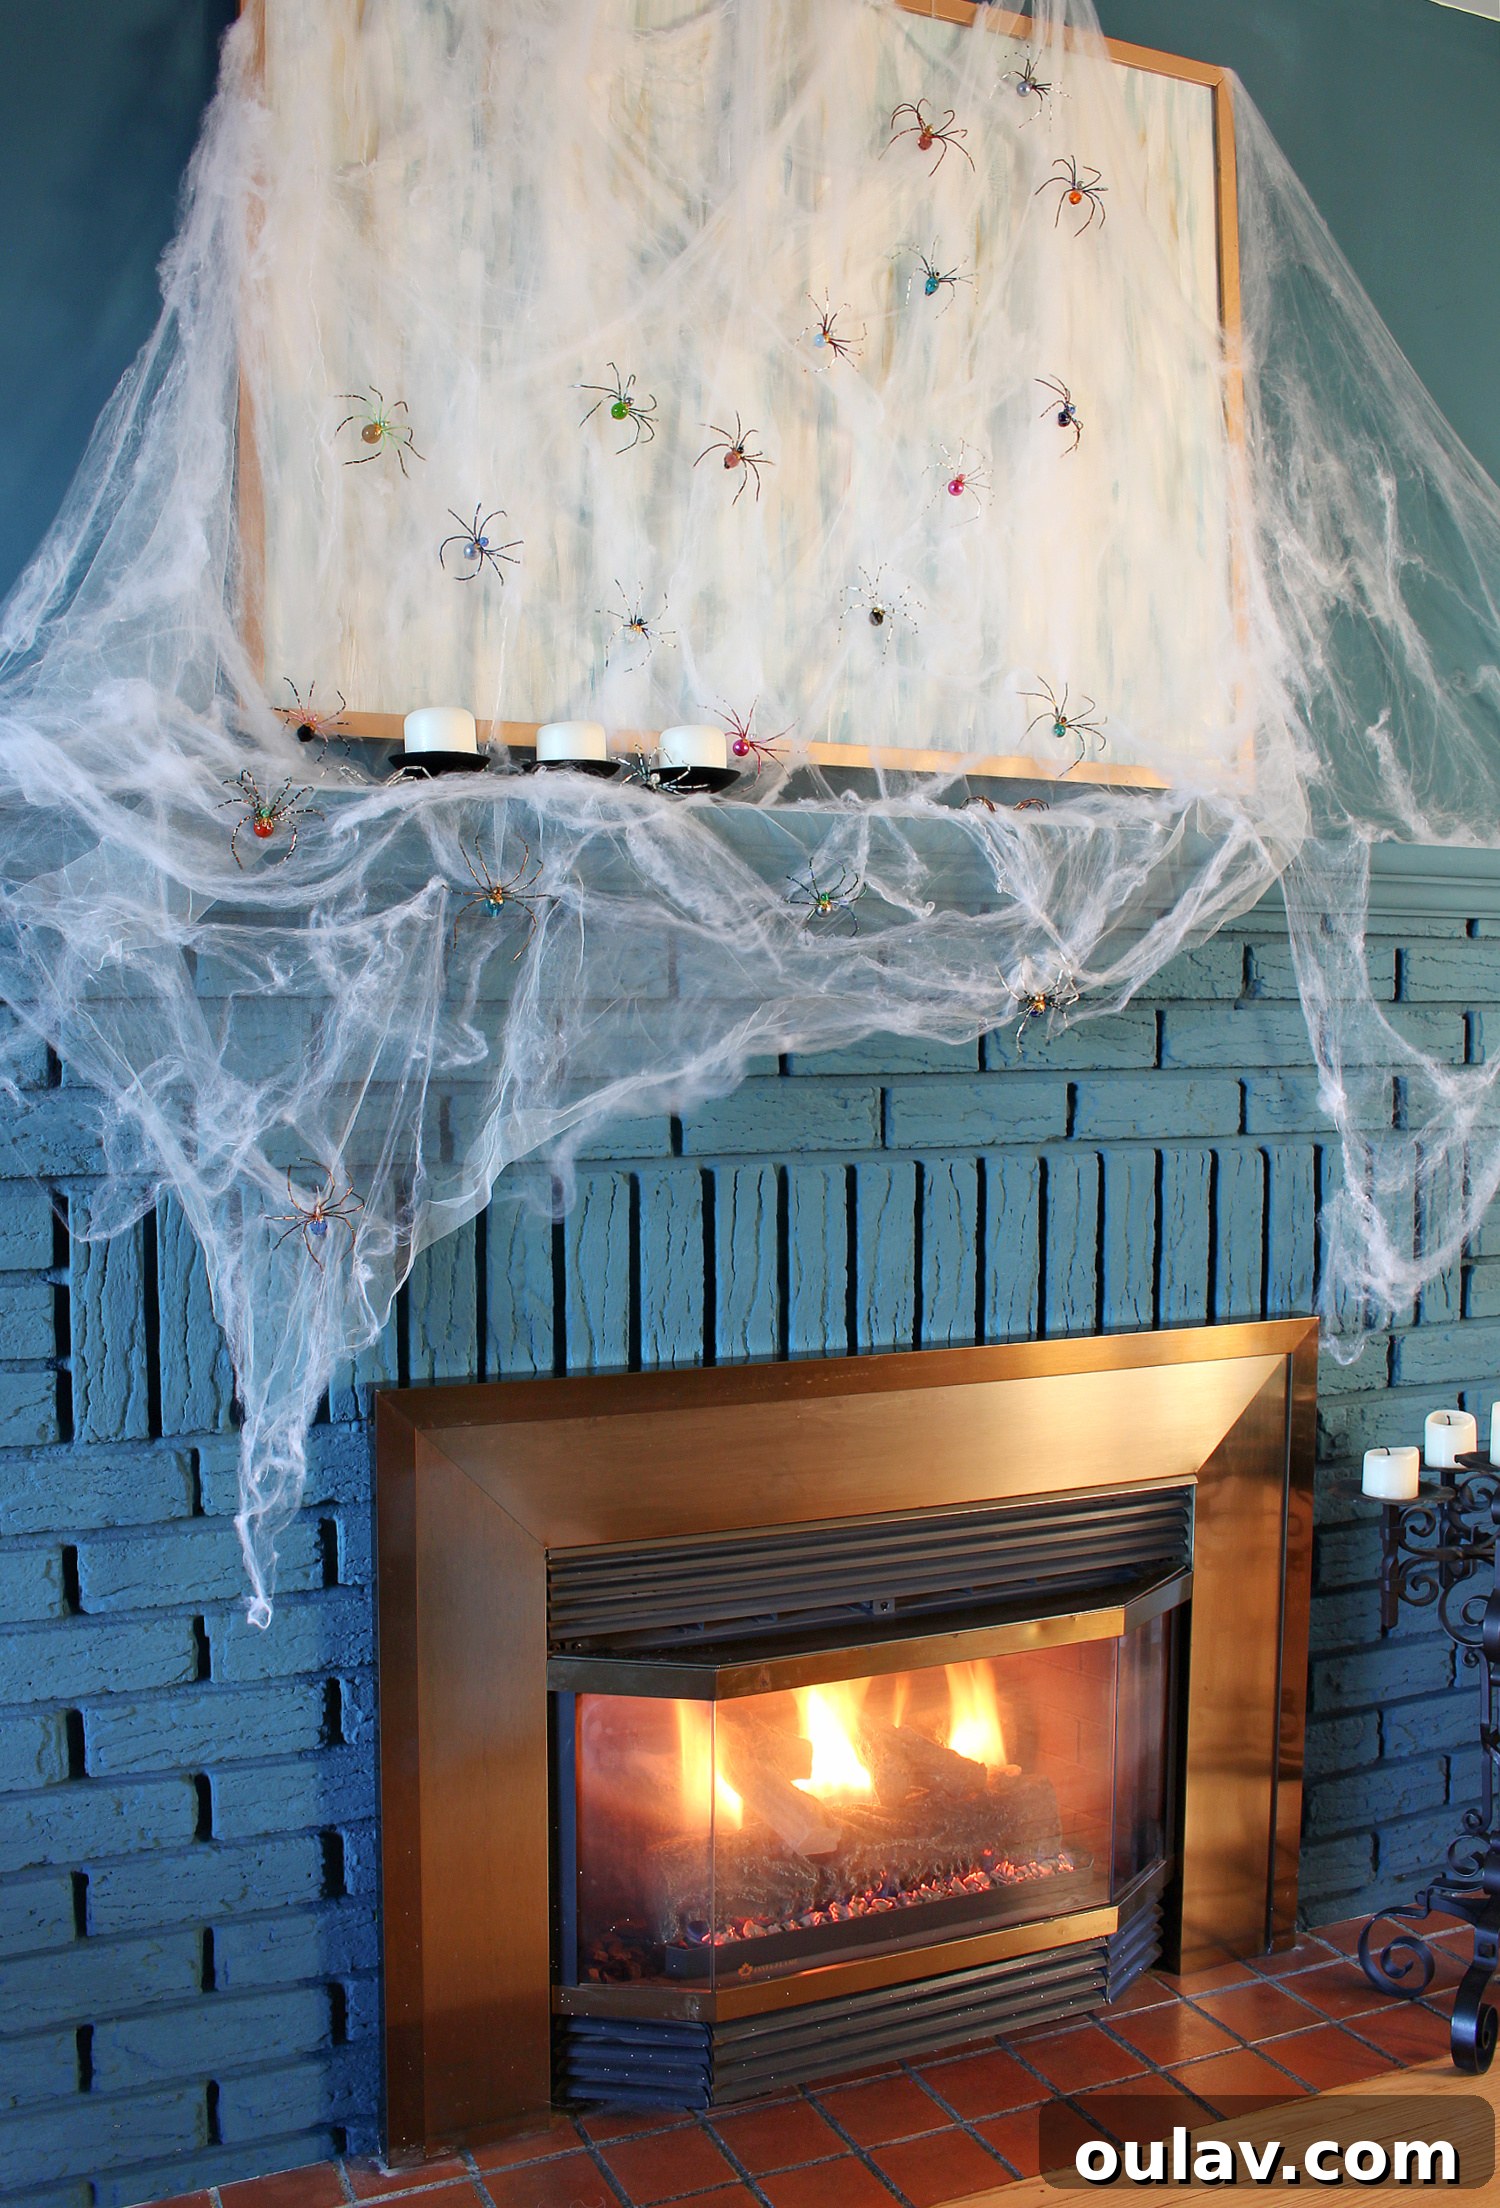
Get ready to transform your fireplace into a breathtaking focal point this spooky season with a truly unique DIY Halloween mantel. Forget generic Halloween decorations; we’re diving into a project so captivating, you might call it a “spider art installation” rather than mere seasonal decor. Featuring intricate DIY beaded spiders nestled among delicate webs, this elegant display promises to elevate your home’s Halloween aesthetic from simply spooky to stunningly sophisticated.
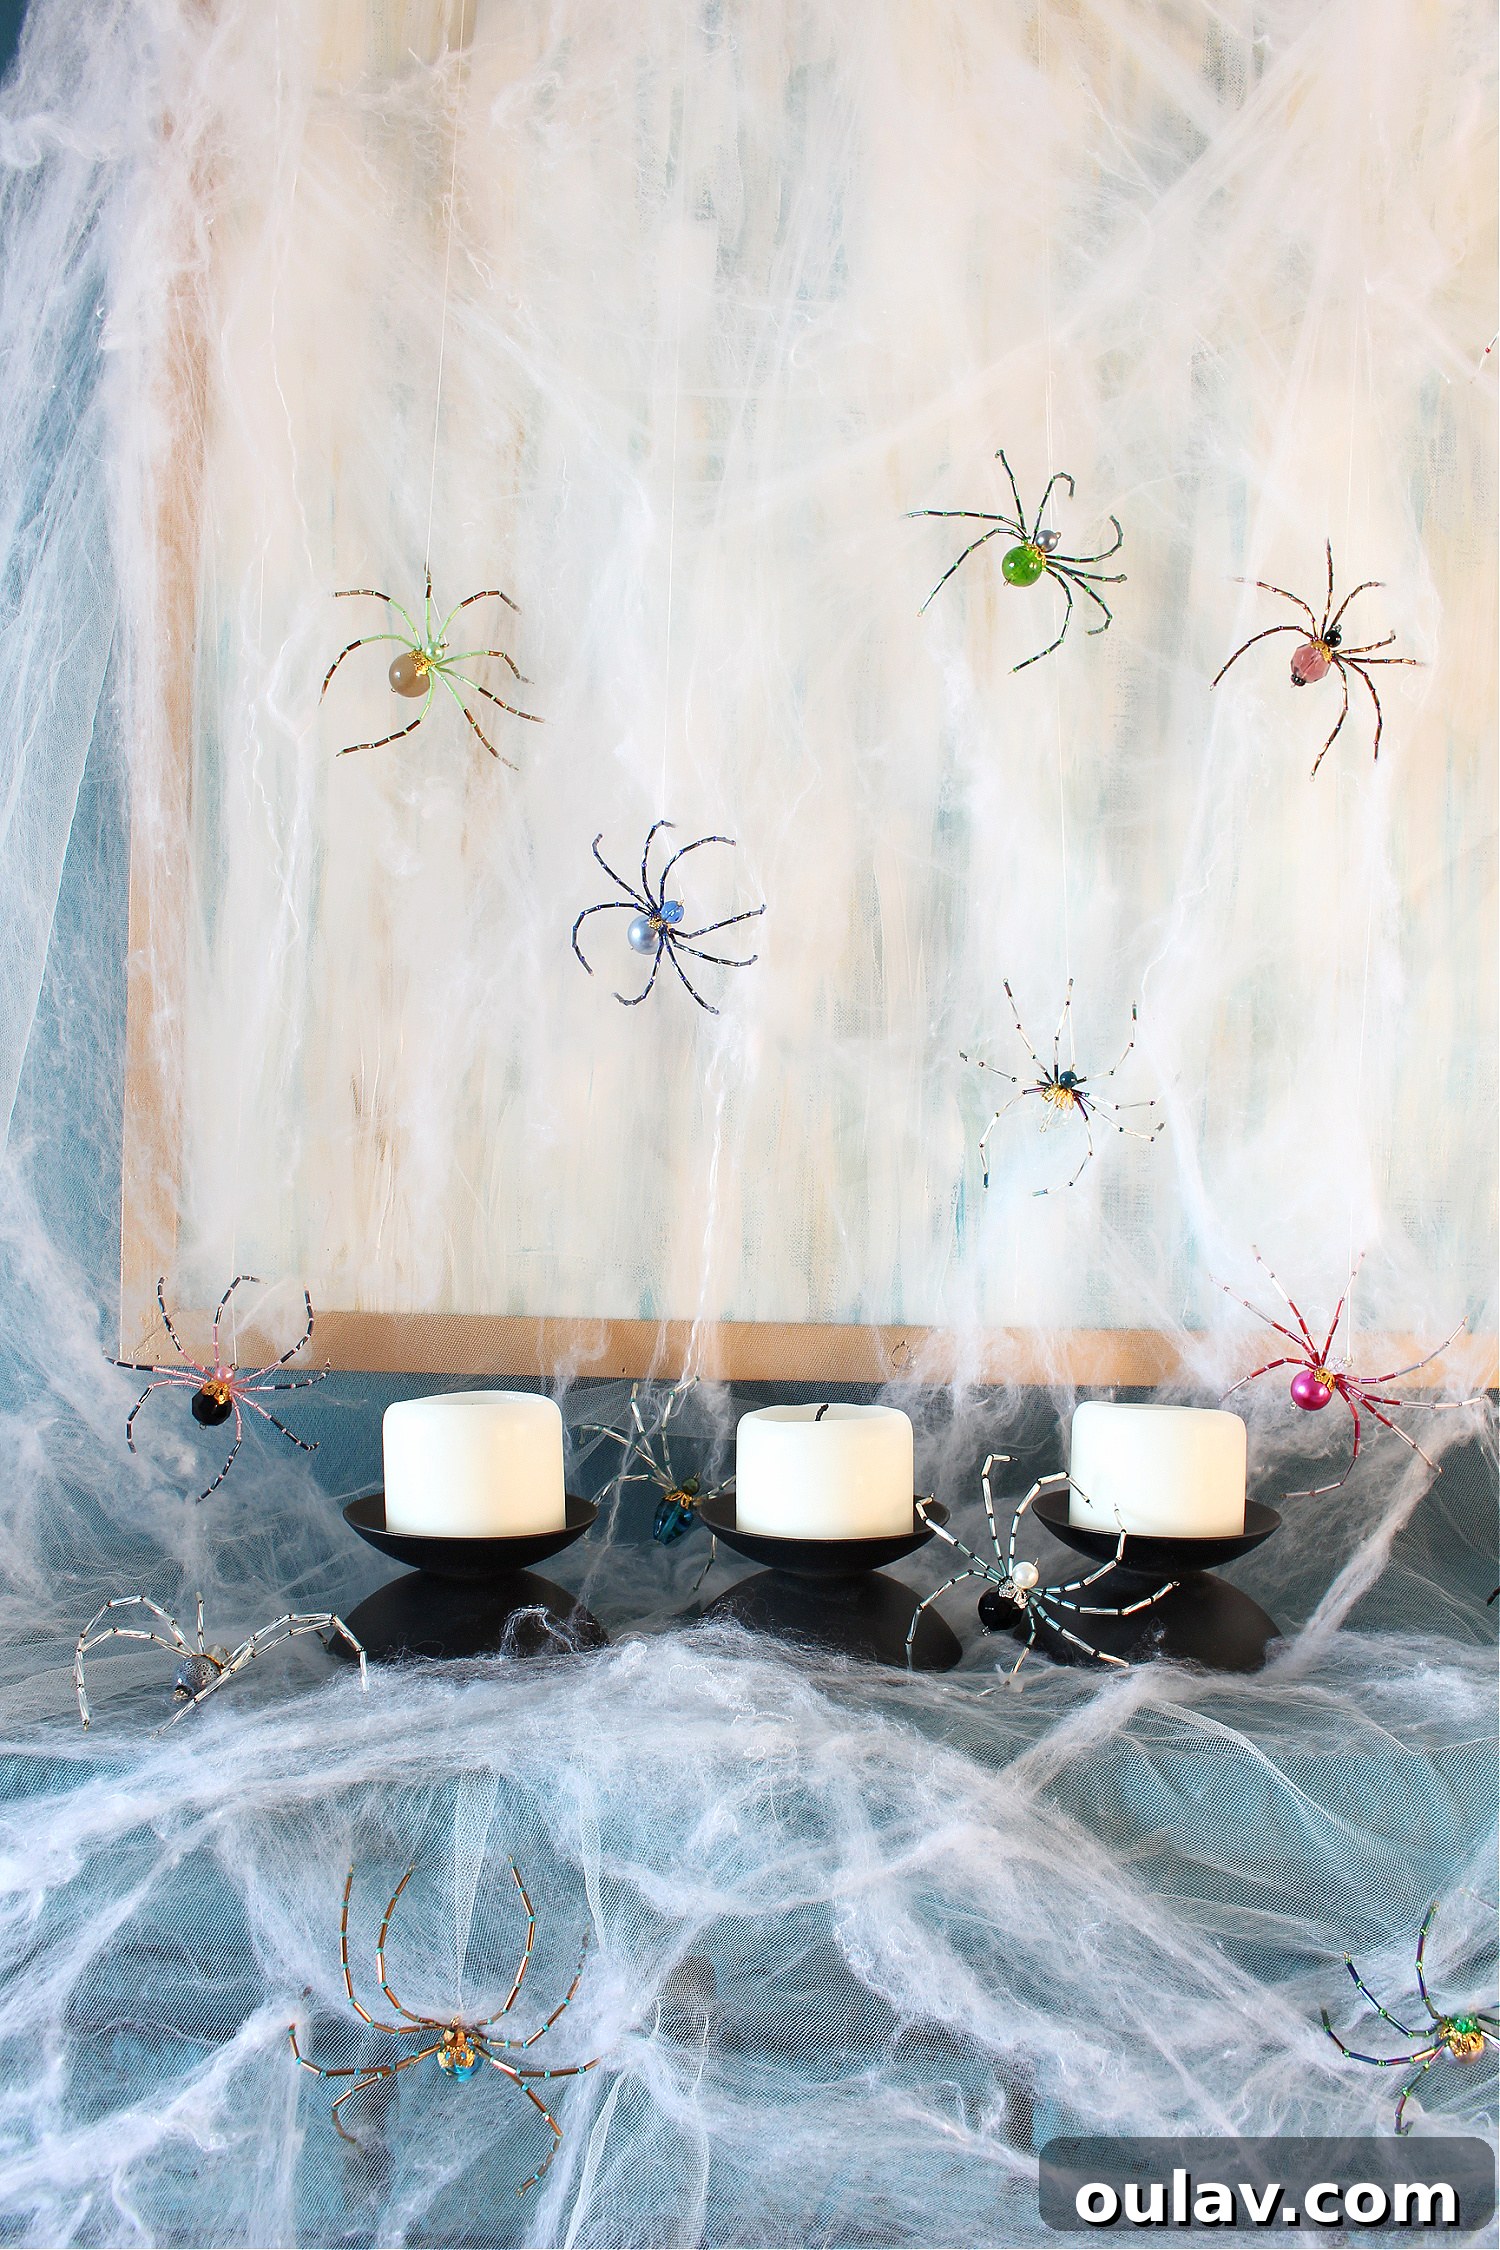
While I generally lean away from traditional Halloween decor, this year presented a golden opportunity for inspiration – all thanks to a delightful, albeit accidental, “spider factory” mishap! The backstory begins with my popular beaded Christmas spiders. For years, these sparkling creations were a cherished craft, and I still receive numerous requests to bring them back. Last January, I ambitiously set a goal to produce a thousand for the upcoming Christmas season. My initial focus was intense; I meticulously crafted 60 spiders within the first two days! However, as many crafters can attest, maintaining that level of focus for mass production can be challenging. Despite my best intentions, those initial 60 were the grand total. The dream of a thousand quickly fizzled, leaving me with a beautiful, yet abandoned, collection of jewel-toned, sparkling spiders.
Initially, a wave of disappointment washed over me. But then, gazing at the box brimming with these exquisite, unsold arachnids, a brilliant idea began to form. Why let these beauties collect dust? They were perfect for a unique Halloween transformation! Paired with some budget-friendly fake spider webs I salvaged from the local Good Neighbor Shed, my collection of beaded spiders found a new purpose. The result? This stunning spider-themed mantel decor, artfully arranged at my Mom’s house, proving that sometimes, the best creative endeavors emerge from unexpected places and even “failed” ventures.
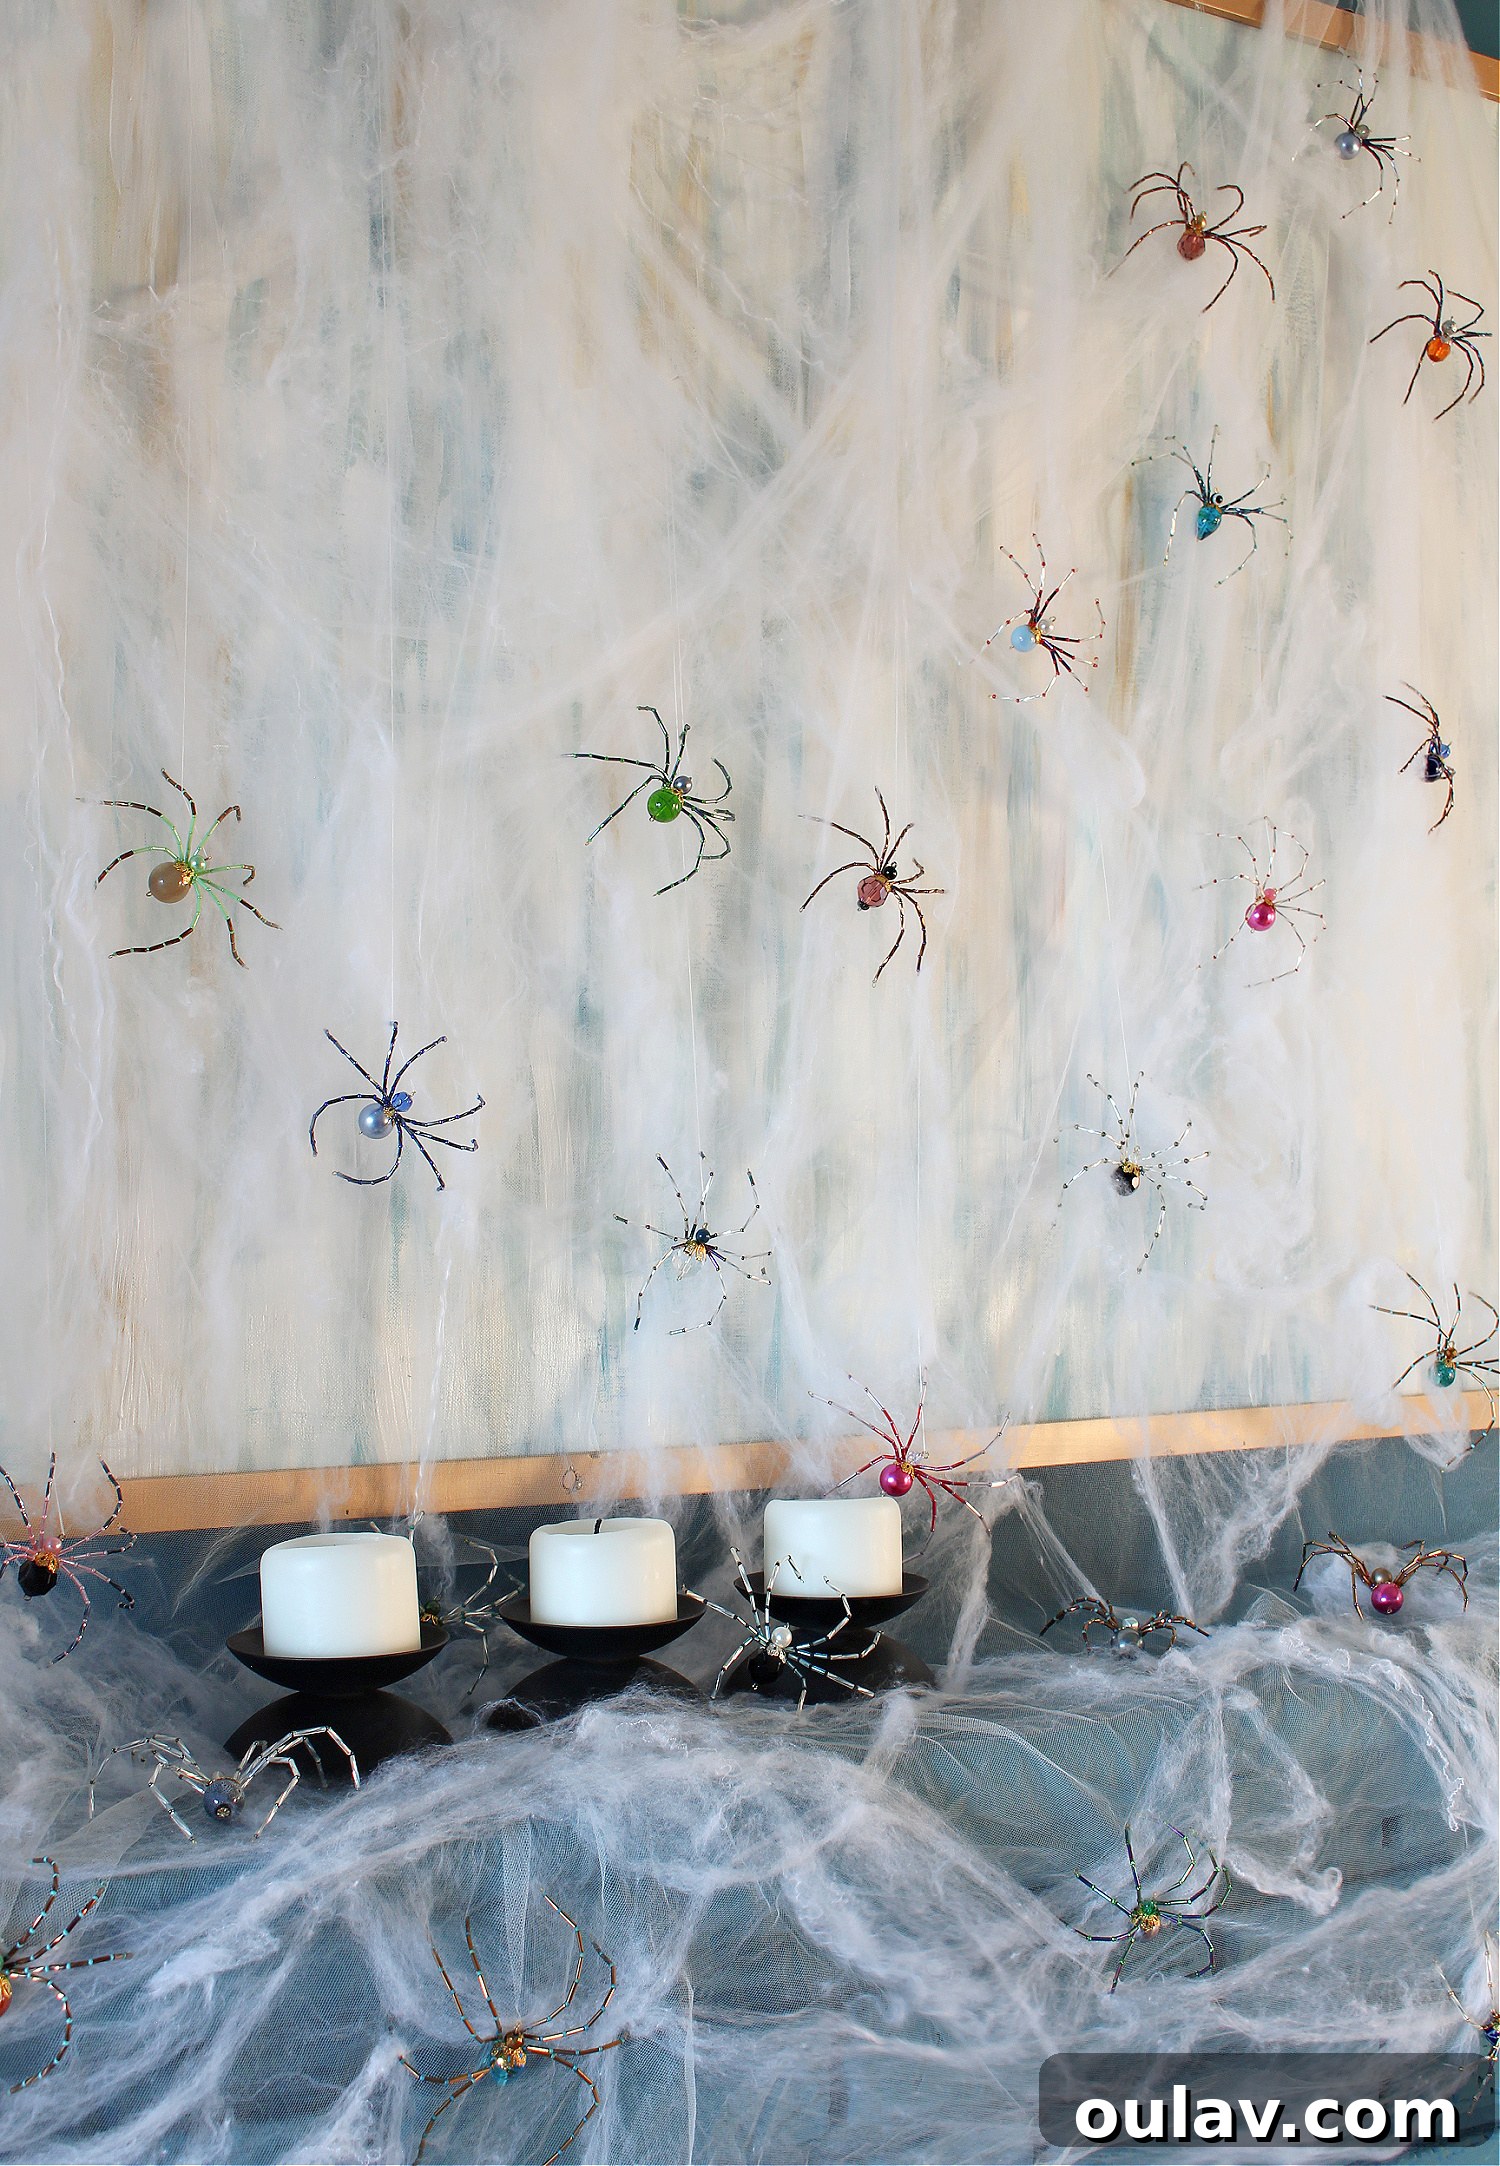
I couldn’t be happier with how this Halloween mantel transformation turned out. For a long time, I’ve wanted to incorporate my beaded spiders into Halloween decor, but they typically sold out so rapidly that I never had enough left over for my own seasonal displays. One memorable exception was a spider wreath crafted with a handful of orange and black beaded spiders a few years back. The success of this mantel has even sparked an idea for next year: perhaps a more elaborate spooky spider wreath, revisiting the webbing and spider arrangements in a new, captivating way.
My Mom, ever the gracious host for my creative projects, always enjoys seeing her seasonal mantel decor refreshed. Her fireplace has been the canvas for many of my designs, including last year’s cozy fall mantel. So, for now, these exquisite spiders, finally liberated from their box of creative shame, will preside elegantly above her fireplace, transforming a simple space into a conversation-starting piece of Halloween art. This project truly showcases how embracing unexpected turns in your creative journey can lead to truly beautiful and personal home decor.
Craft Your Own Enchanting DIY Halloween Spider Mantel
Inspired to create your own show-stopping spider web mantel decoration? This DIY Halloween mantel idea is surprisingly achievable and incredibly rewarding. Before you gather your materials, remember that crafting your own beaded spiders adds an extra layer of personal charm and elegance. If you’re interested in making the sparkling spiders featured in my display, I have a detailed tutorial available here. I’m also planning a video tutorial this year to address popular requests, so keep an eye out for that!
To embark on this creative journey and design a truly unique Halloween fireplace decor, here’s a comprehensive list of what you’ll need. This selection of materials ensures both aesthetic appeal and structural integrity for your spider art installation:
Supplies for Your Spider Web Halloween Mantel:
- Sheer, White Fabric: This forms the ethereal backdrop for your webs and spiders. Tulle is an excellent choice, providing a delicate, gauzy effect. Check local fabric stores for clearance deals or craft sections for various sheer options like organza or chiffon for different textures.
- Fake Spider Webs: The classic Halloween staple for creating a spooky, cobwebbed look. These are often inexpensive and widely available at dollar stores during the season (this is a similar option online). You’ll be surprised how much coverage you get from a small amount.
- Anchoring Hooks/Tape: Essential for securely hanging your fabric without damaging your walls. Clear 3M Command Hooks are perfect as they offer strong hold and clean removal, ideal for temporary seasonal decor.
- Spiders: The stars of your installation! My DIY beaded spiders add a touch of glamour. If crafting isn’t your preference, you can purchase a cute, sparkly bunch or opt for inexpensive black plastic spiders for a more traditional, spooky vibe.
- White Thread: Crucial for hanging your spiders discreetly and securely, making them appear to float or crawl naturally.
- Scissors: For cutting fabric, thread, and any packaging.
- Needle (Optional): Useful if you choose to sew some spiders directly to the tulle for added stability or specific positioning.
Step-by-Step Guide: How to Create a Spooky Spider Web Halloween Mantel
Crafting this stunning Halloween fireplace display is a methodical process that builds layers of texture and visual interest. Follow these steps to achieve a captivating spider art installation:
Step 1: Establishing Your Ethereal Base with Tulle
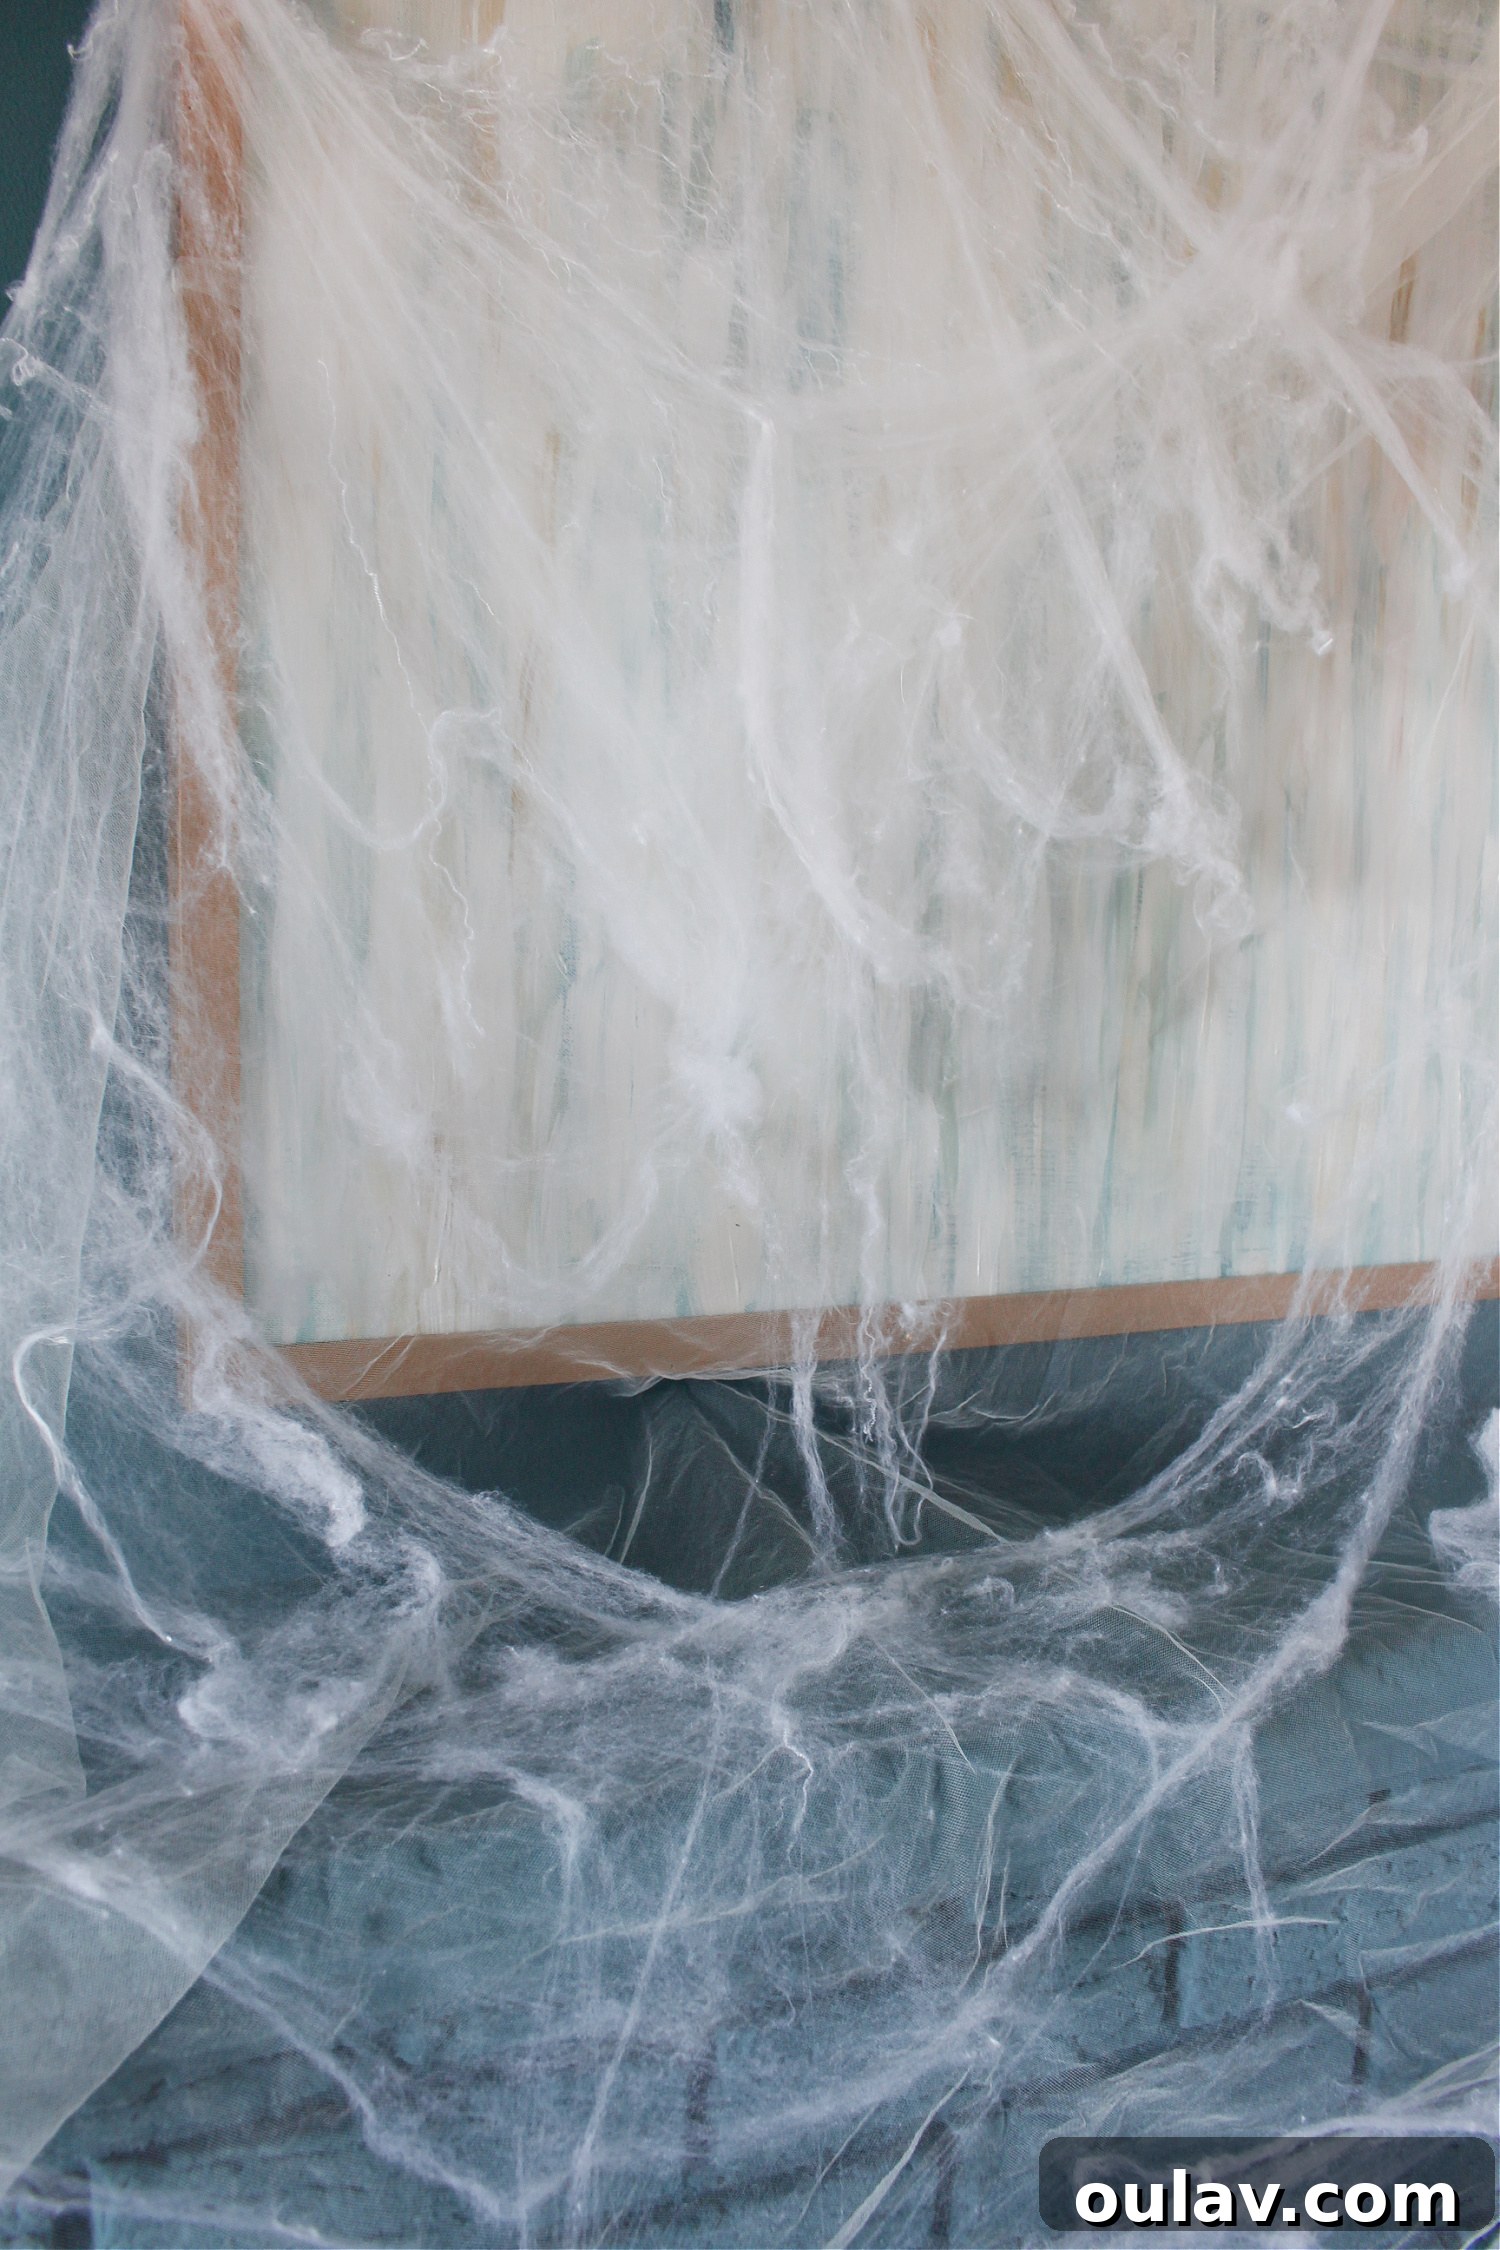
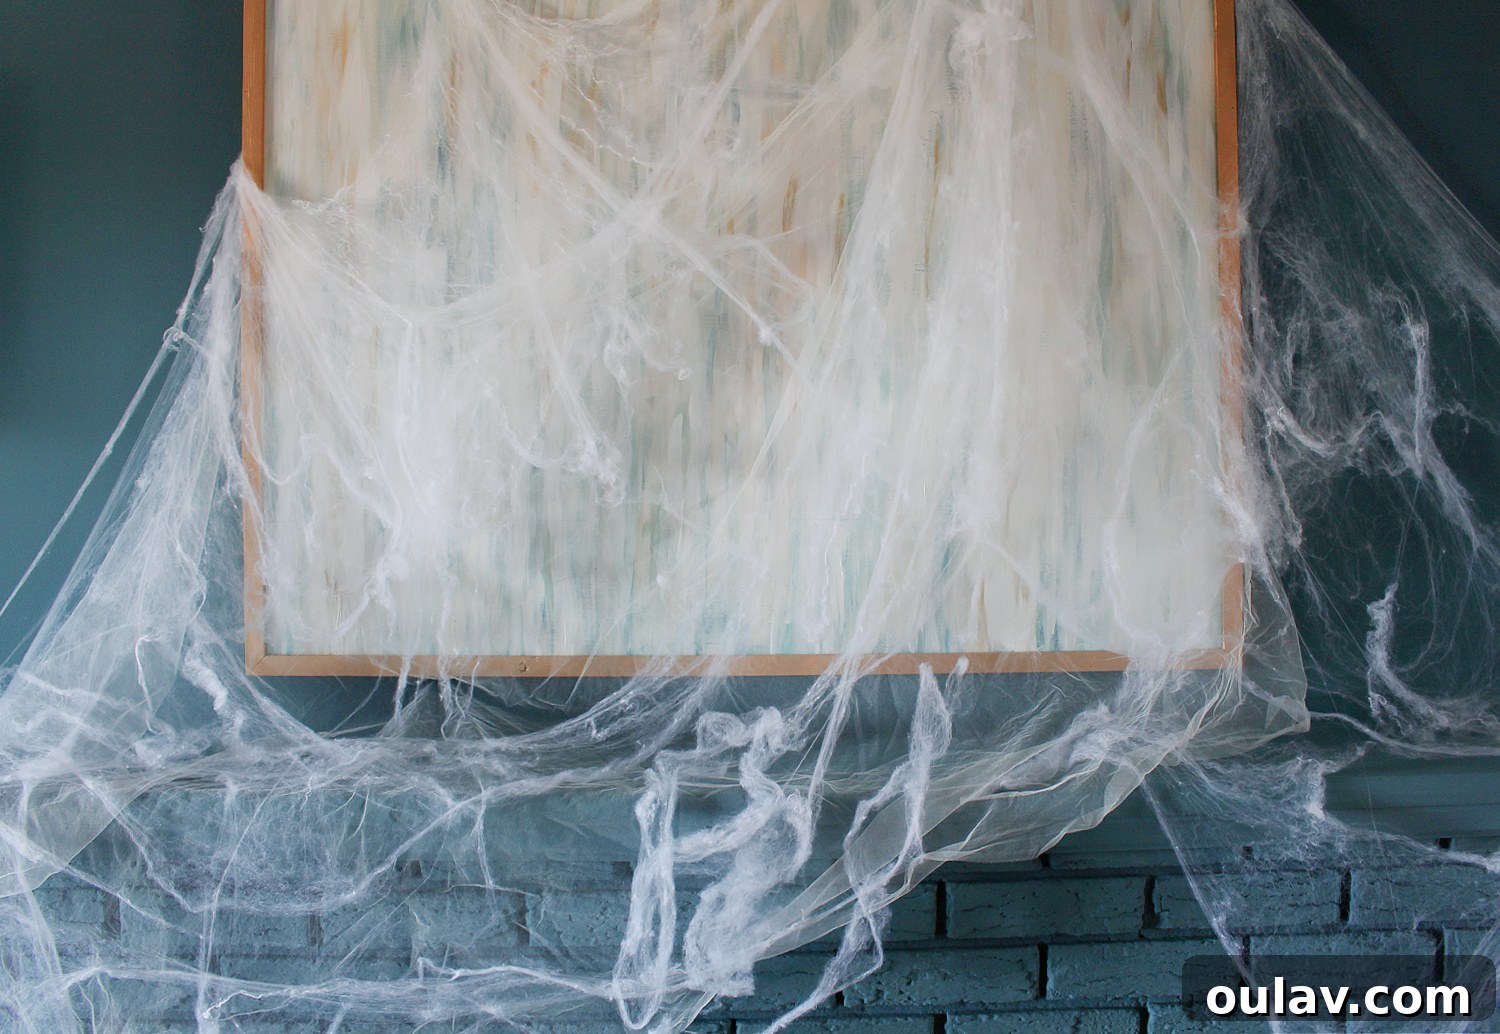
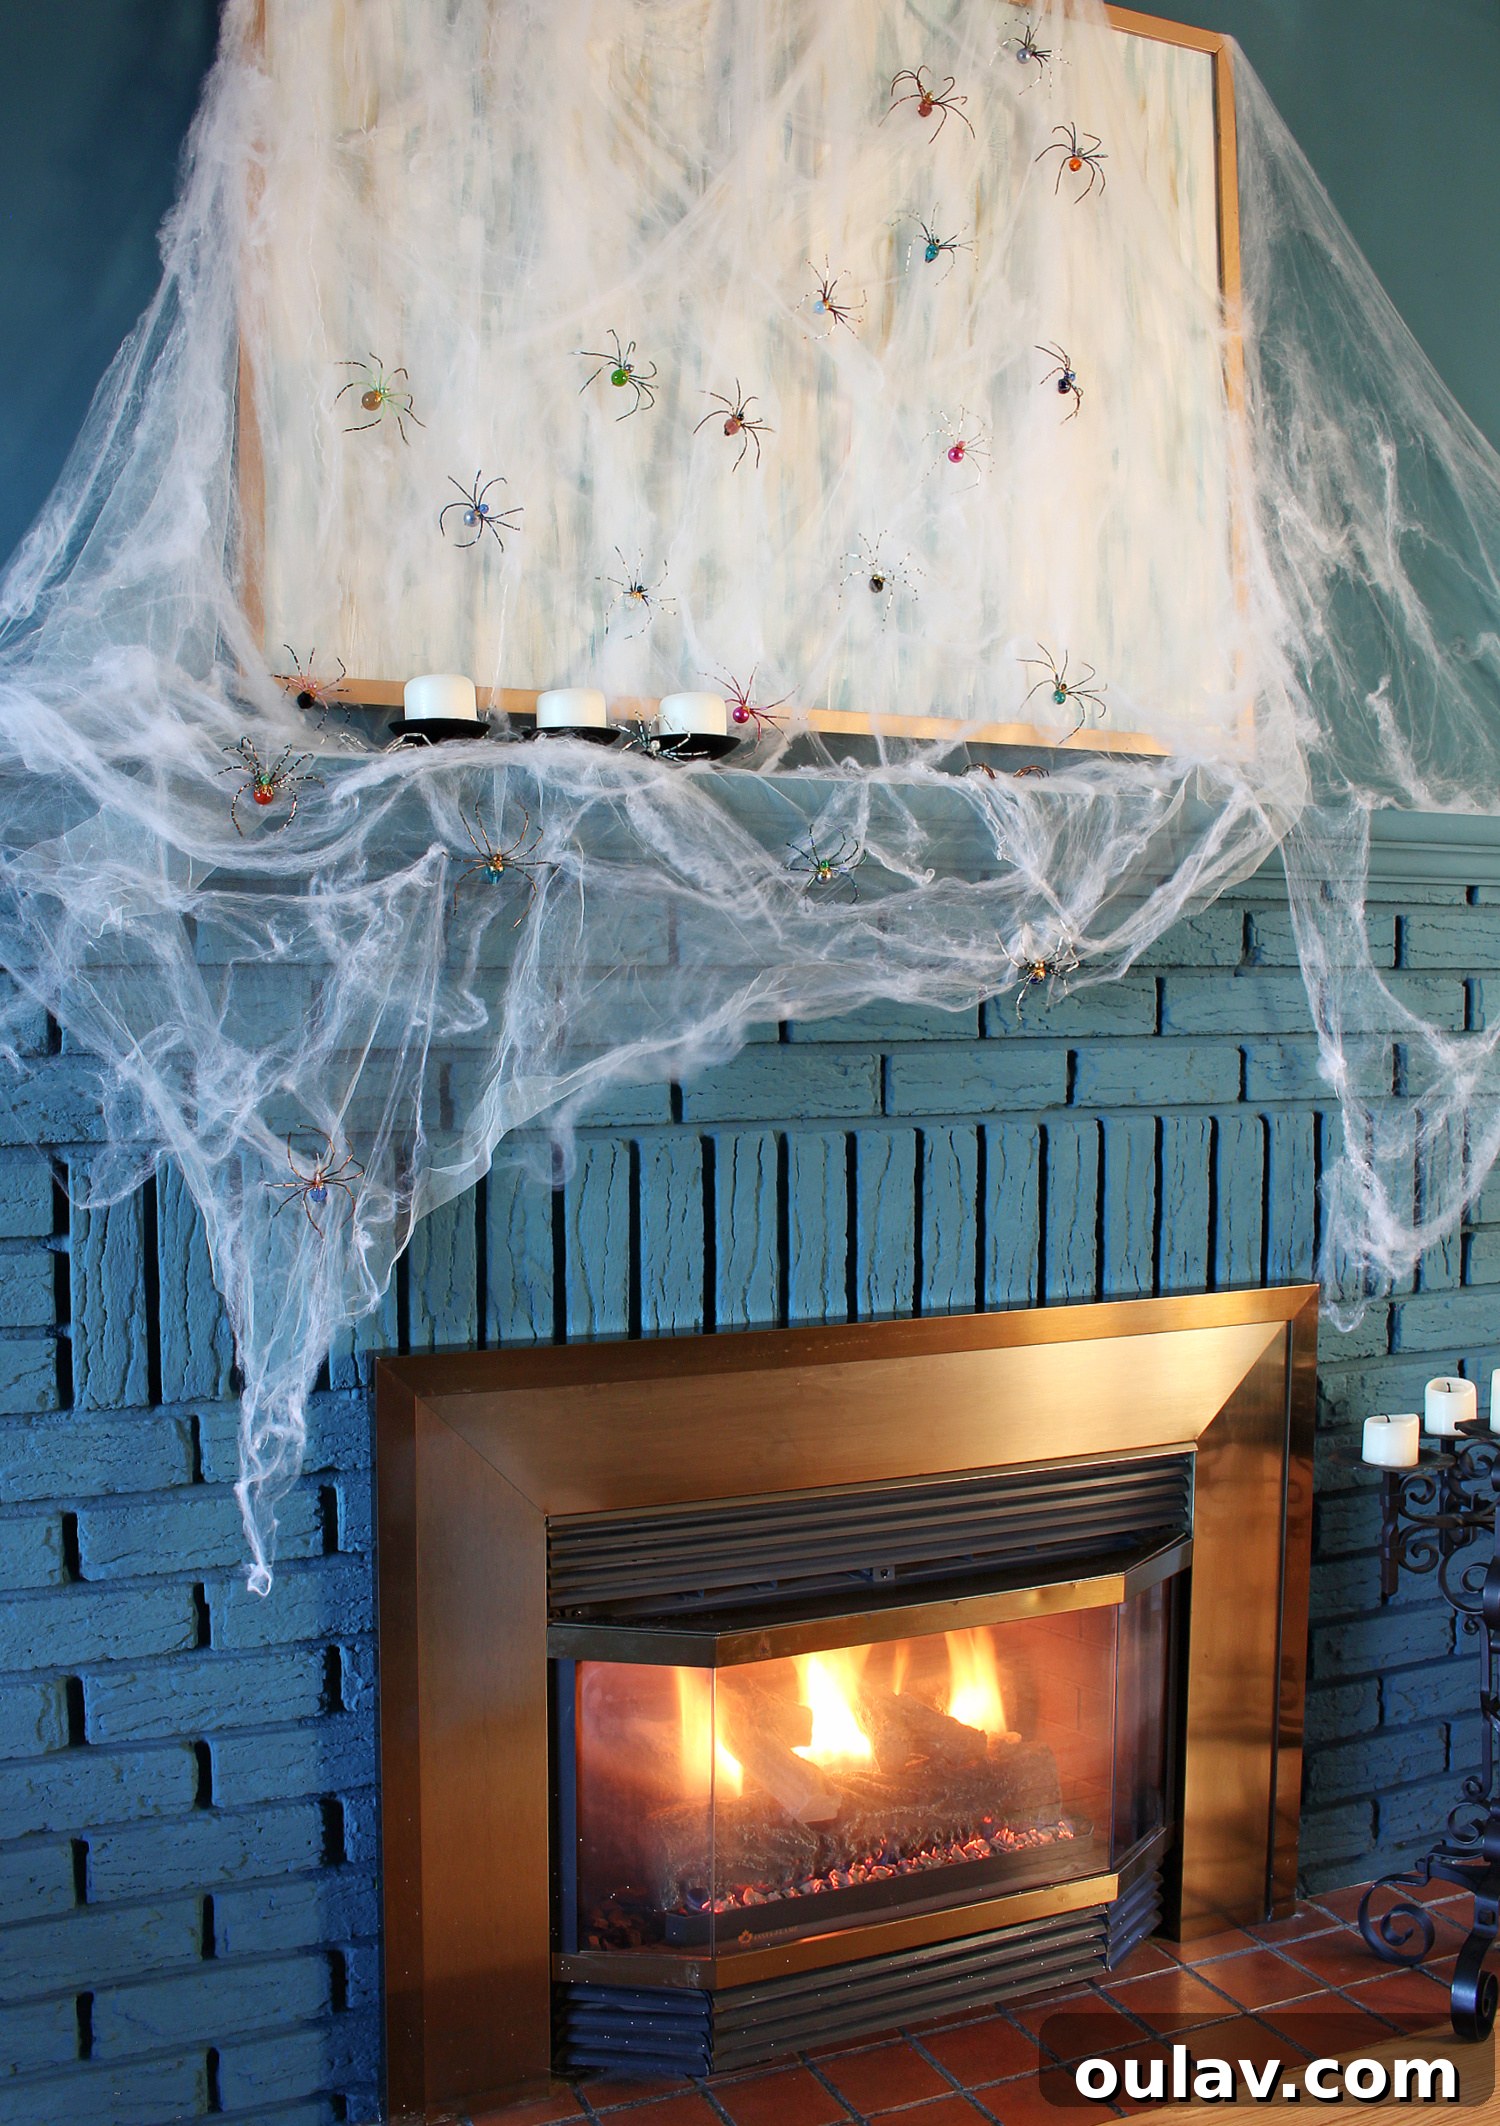
The first critical step involves creating a delicate, supportive backdrop for your spider webs and spiders. We began by anchoring a generous swath of sheer tulle fabric at strategic points where the wall meets the ceiling above the mantel. This creates an immediate sense of height and drama. For a damage-free installation, especially important in rented spaces or if you wish to avoid holes, utilize clear 3M Command Hooks. These hooks provide a strong, temporary hold and are easily removable. The tulle, as you can observe in the subsequent photos, peeks through the fake webbing, serving a dual purpose: it offers a vital surface for the delicate, often flimsy, fake webs to grip onto, preventing them from simply falling apart. Furthermore, it beautifully fills in any potential gaps with its sheer, gauzy texture, enhancing the overall ethereal and mysterious atmosphere of your DIY Halloween mantel.
Step 2: Draping and Distributing the Fake Spider Webbing
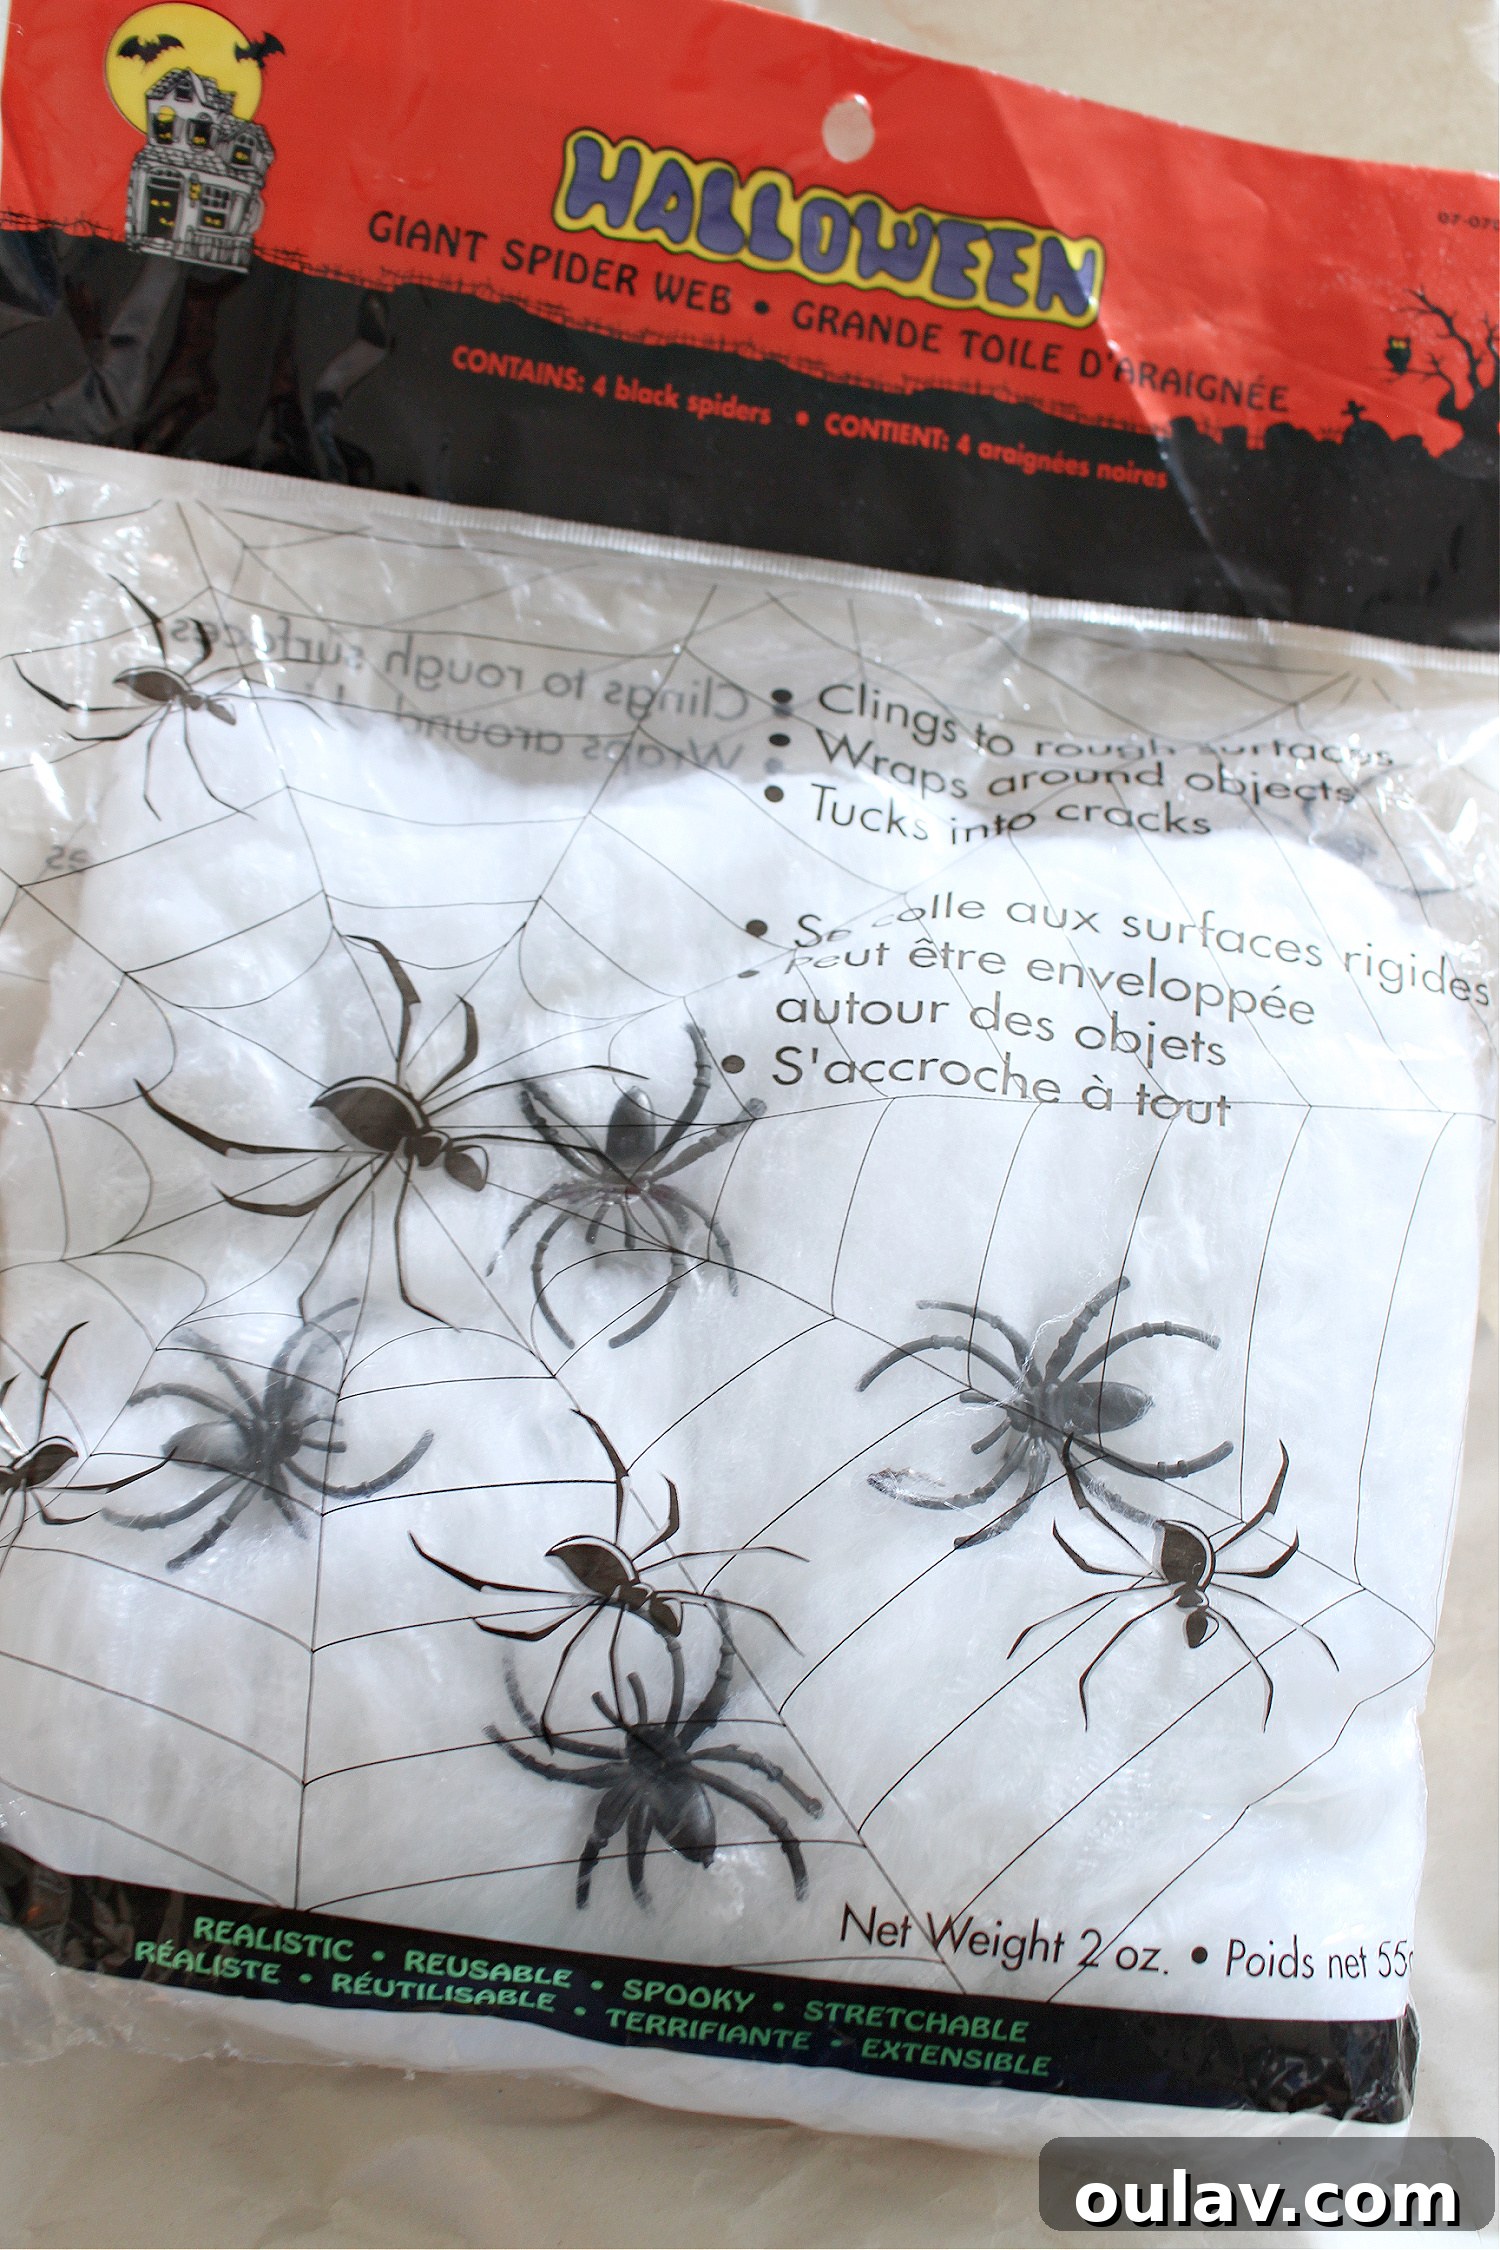
Once your tulle base is securely in place, it’s time to introduce the iconic spider webbing. Carefully unfurl and drape the fake spider webs, stretching them gently to create wispy, organic patterns. Wrap the webbing around the existing 3M hooks that hold the tulle, as well as any elements on your mantel, such as picture frames or decorative items. This helps integrate the webbing naturally into the decor. The nature of fake spider webbing is that it’s incredibly thin and prone to tearing, which is precisely why the underlying tulle is so essential; without a foundation to cling to, the webbing wouldn’t hold its shape or position effectively. It tends to fall apart easily on its own but adheres beautifully to the sheer fabric. In terms of quantity, I discovered two large bags of this giant spider web at a local landfill. For this entire cobwebbed fireplace mantel, I found that only about half to three-quarters of just one bag was sufficient to achieve a dense, yet delicate, effect. Remember, a little goes a long way when stretching it out for that authentic, sprawling cobweb look.
Step 3: Artfully Affixing Your Spiders
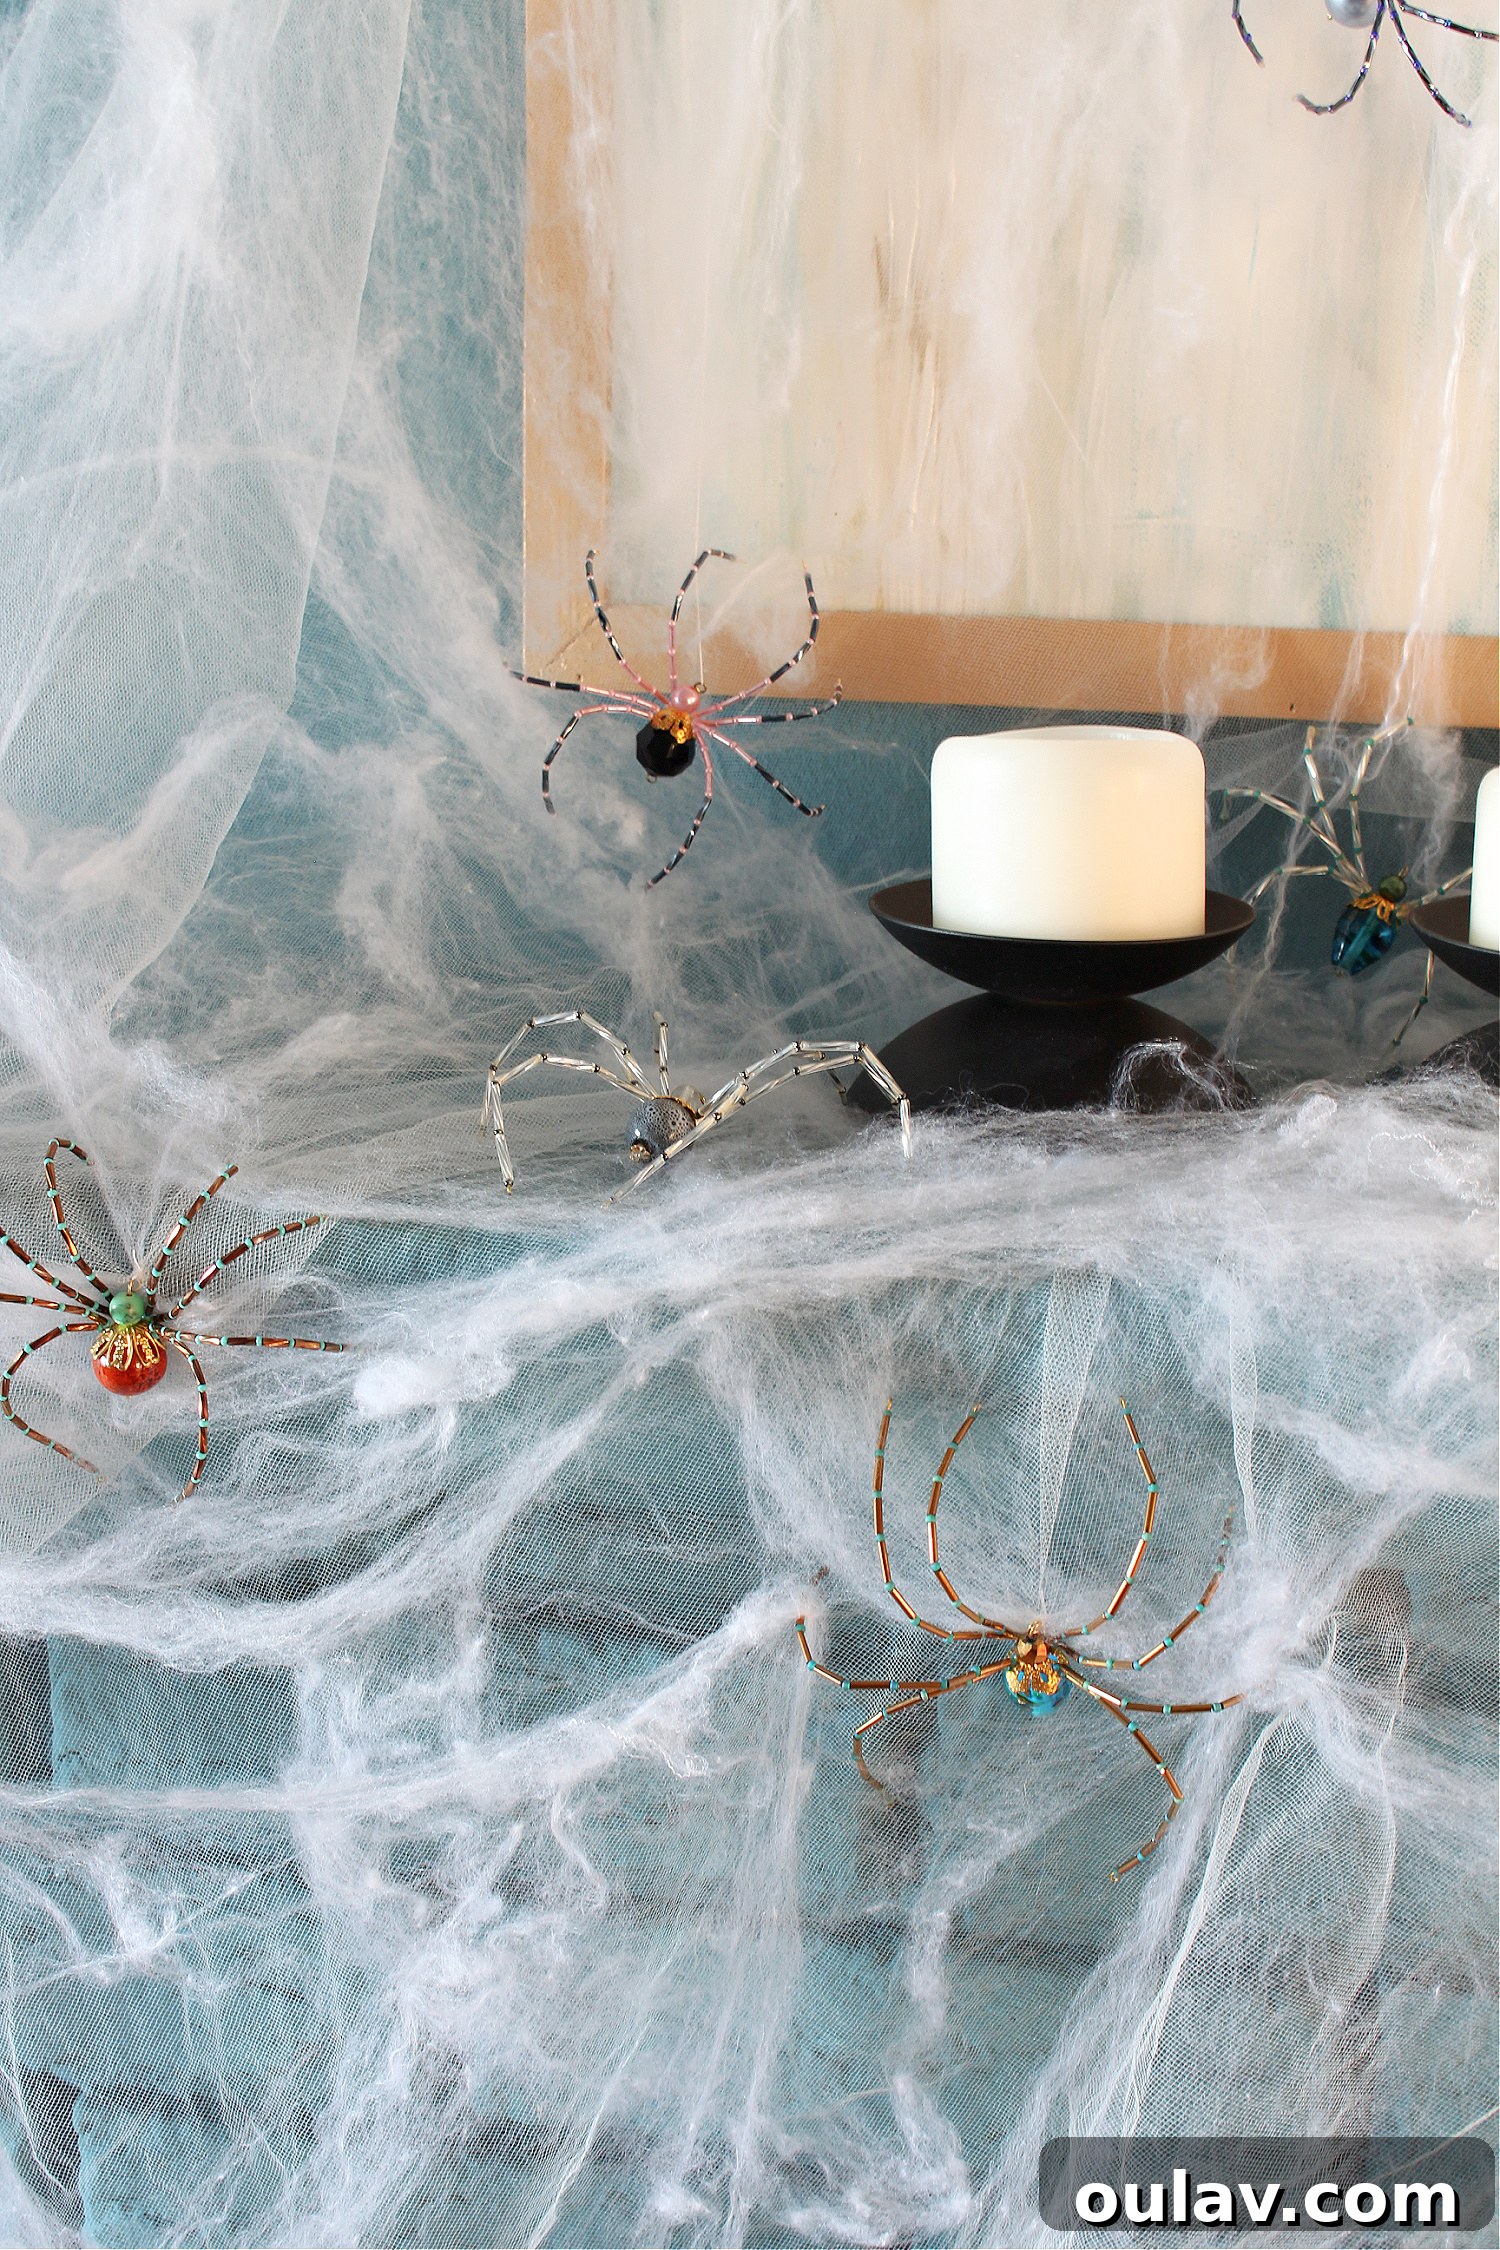
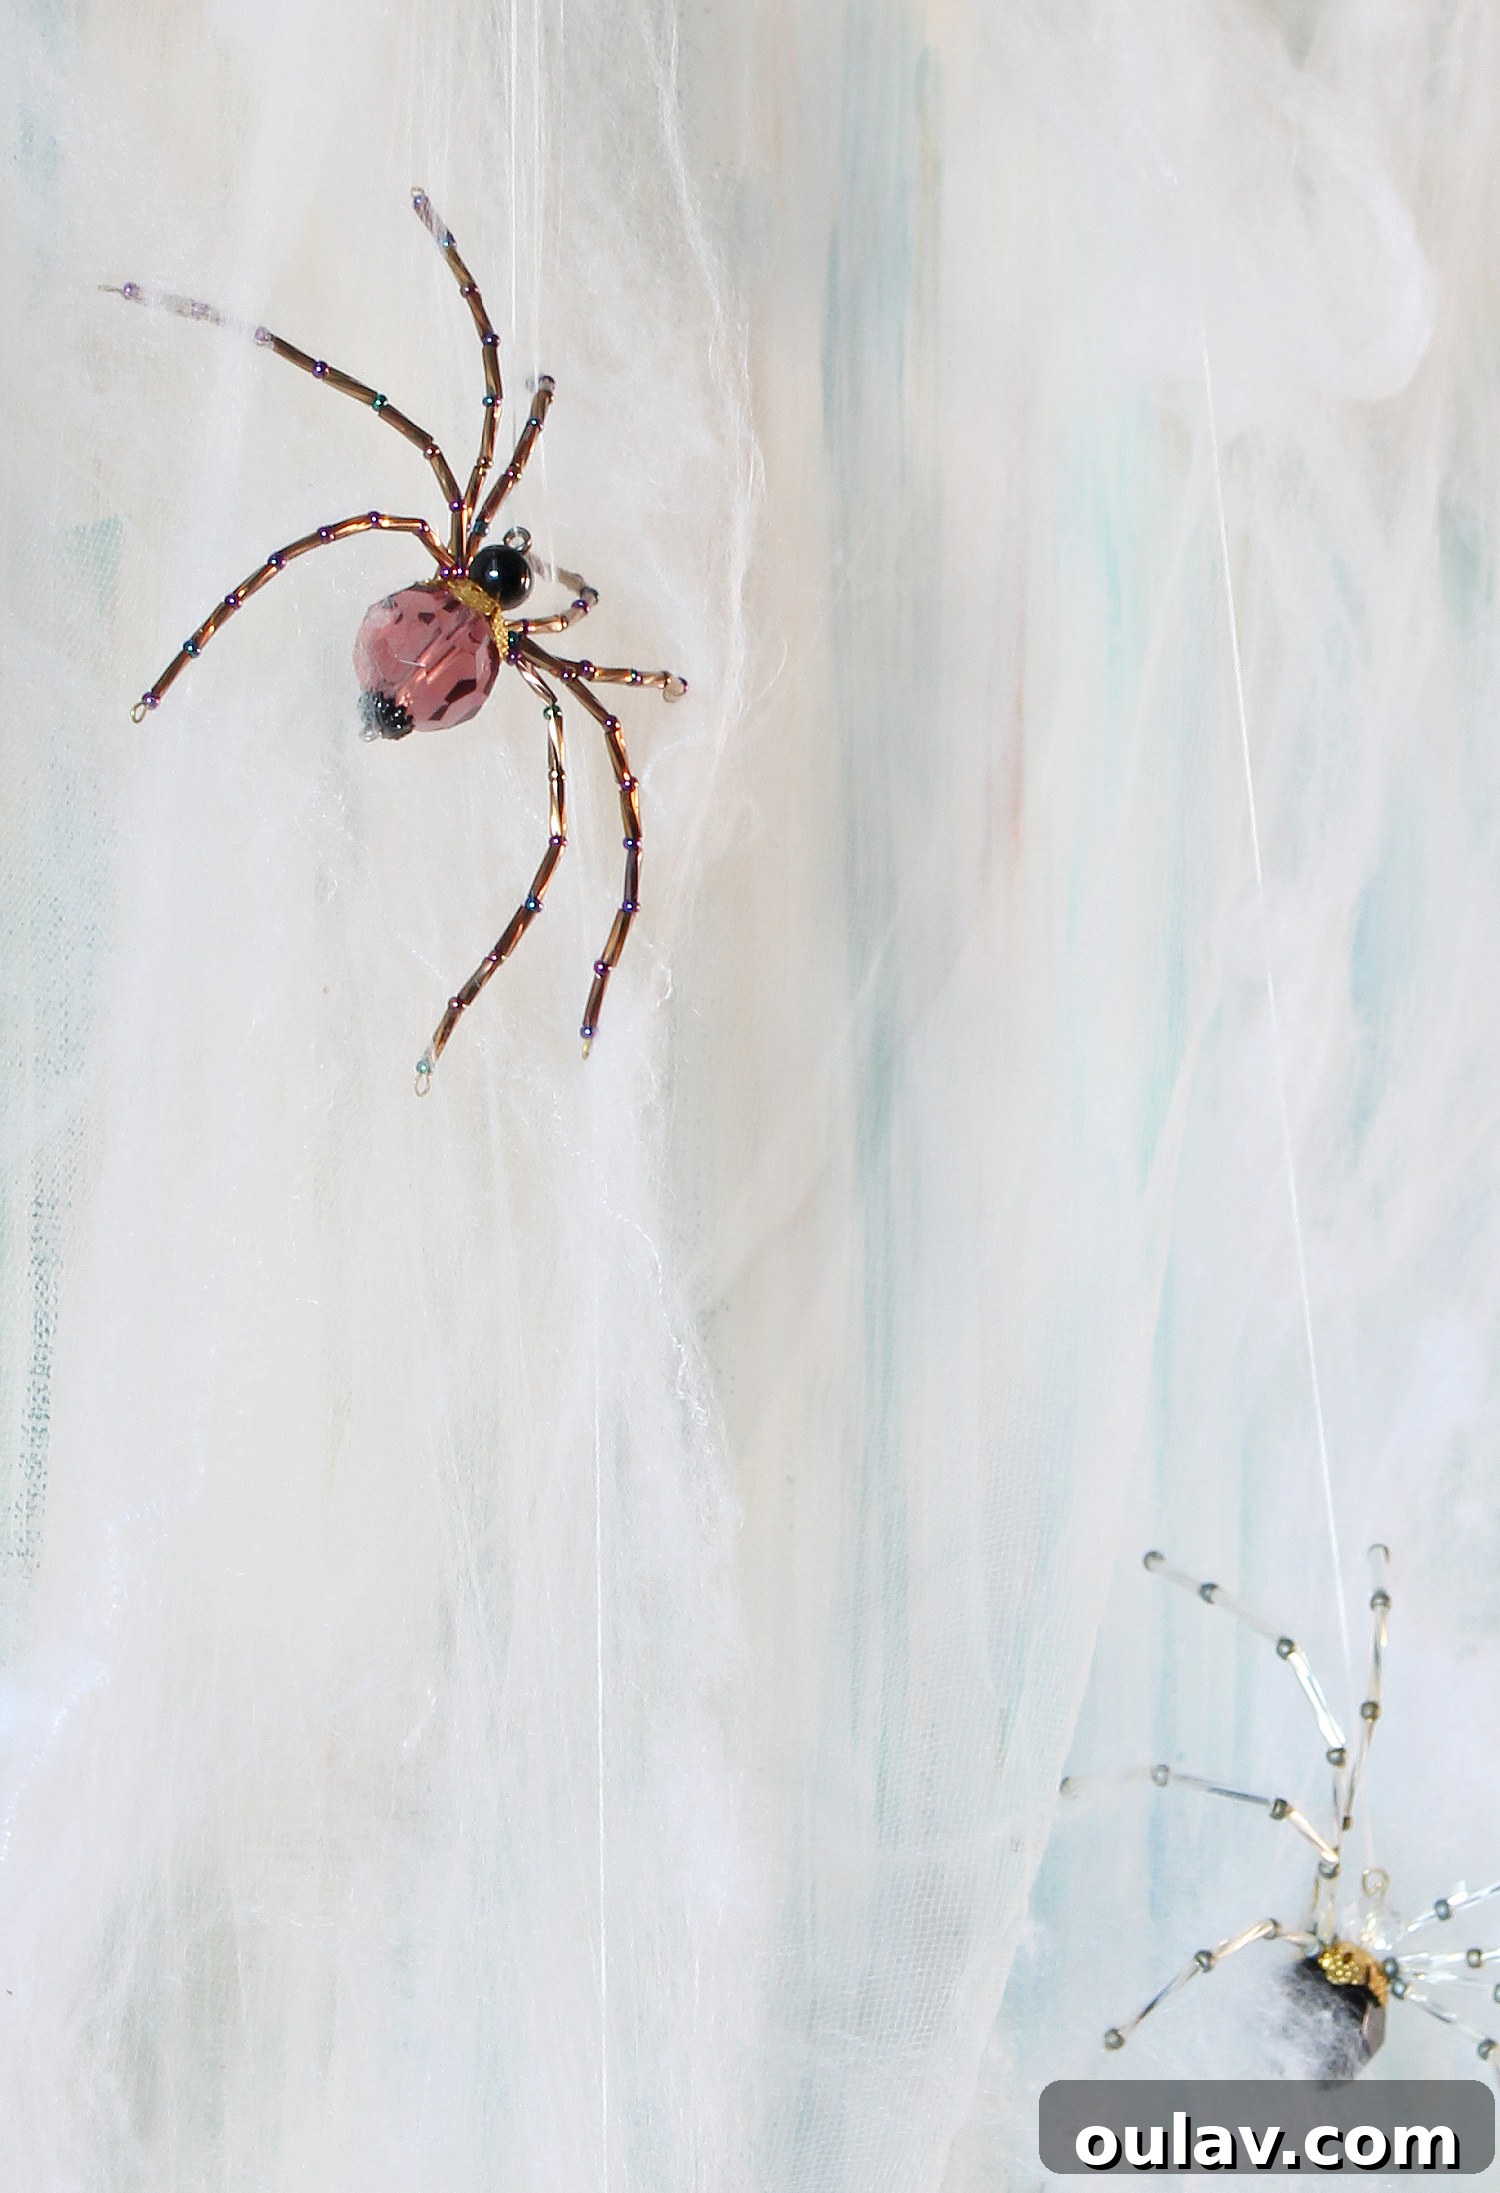
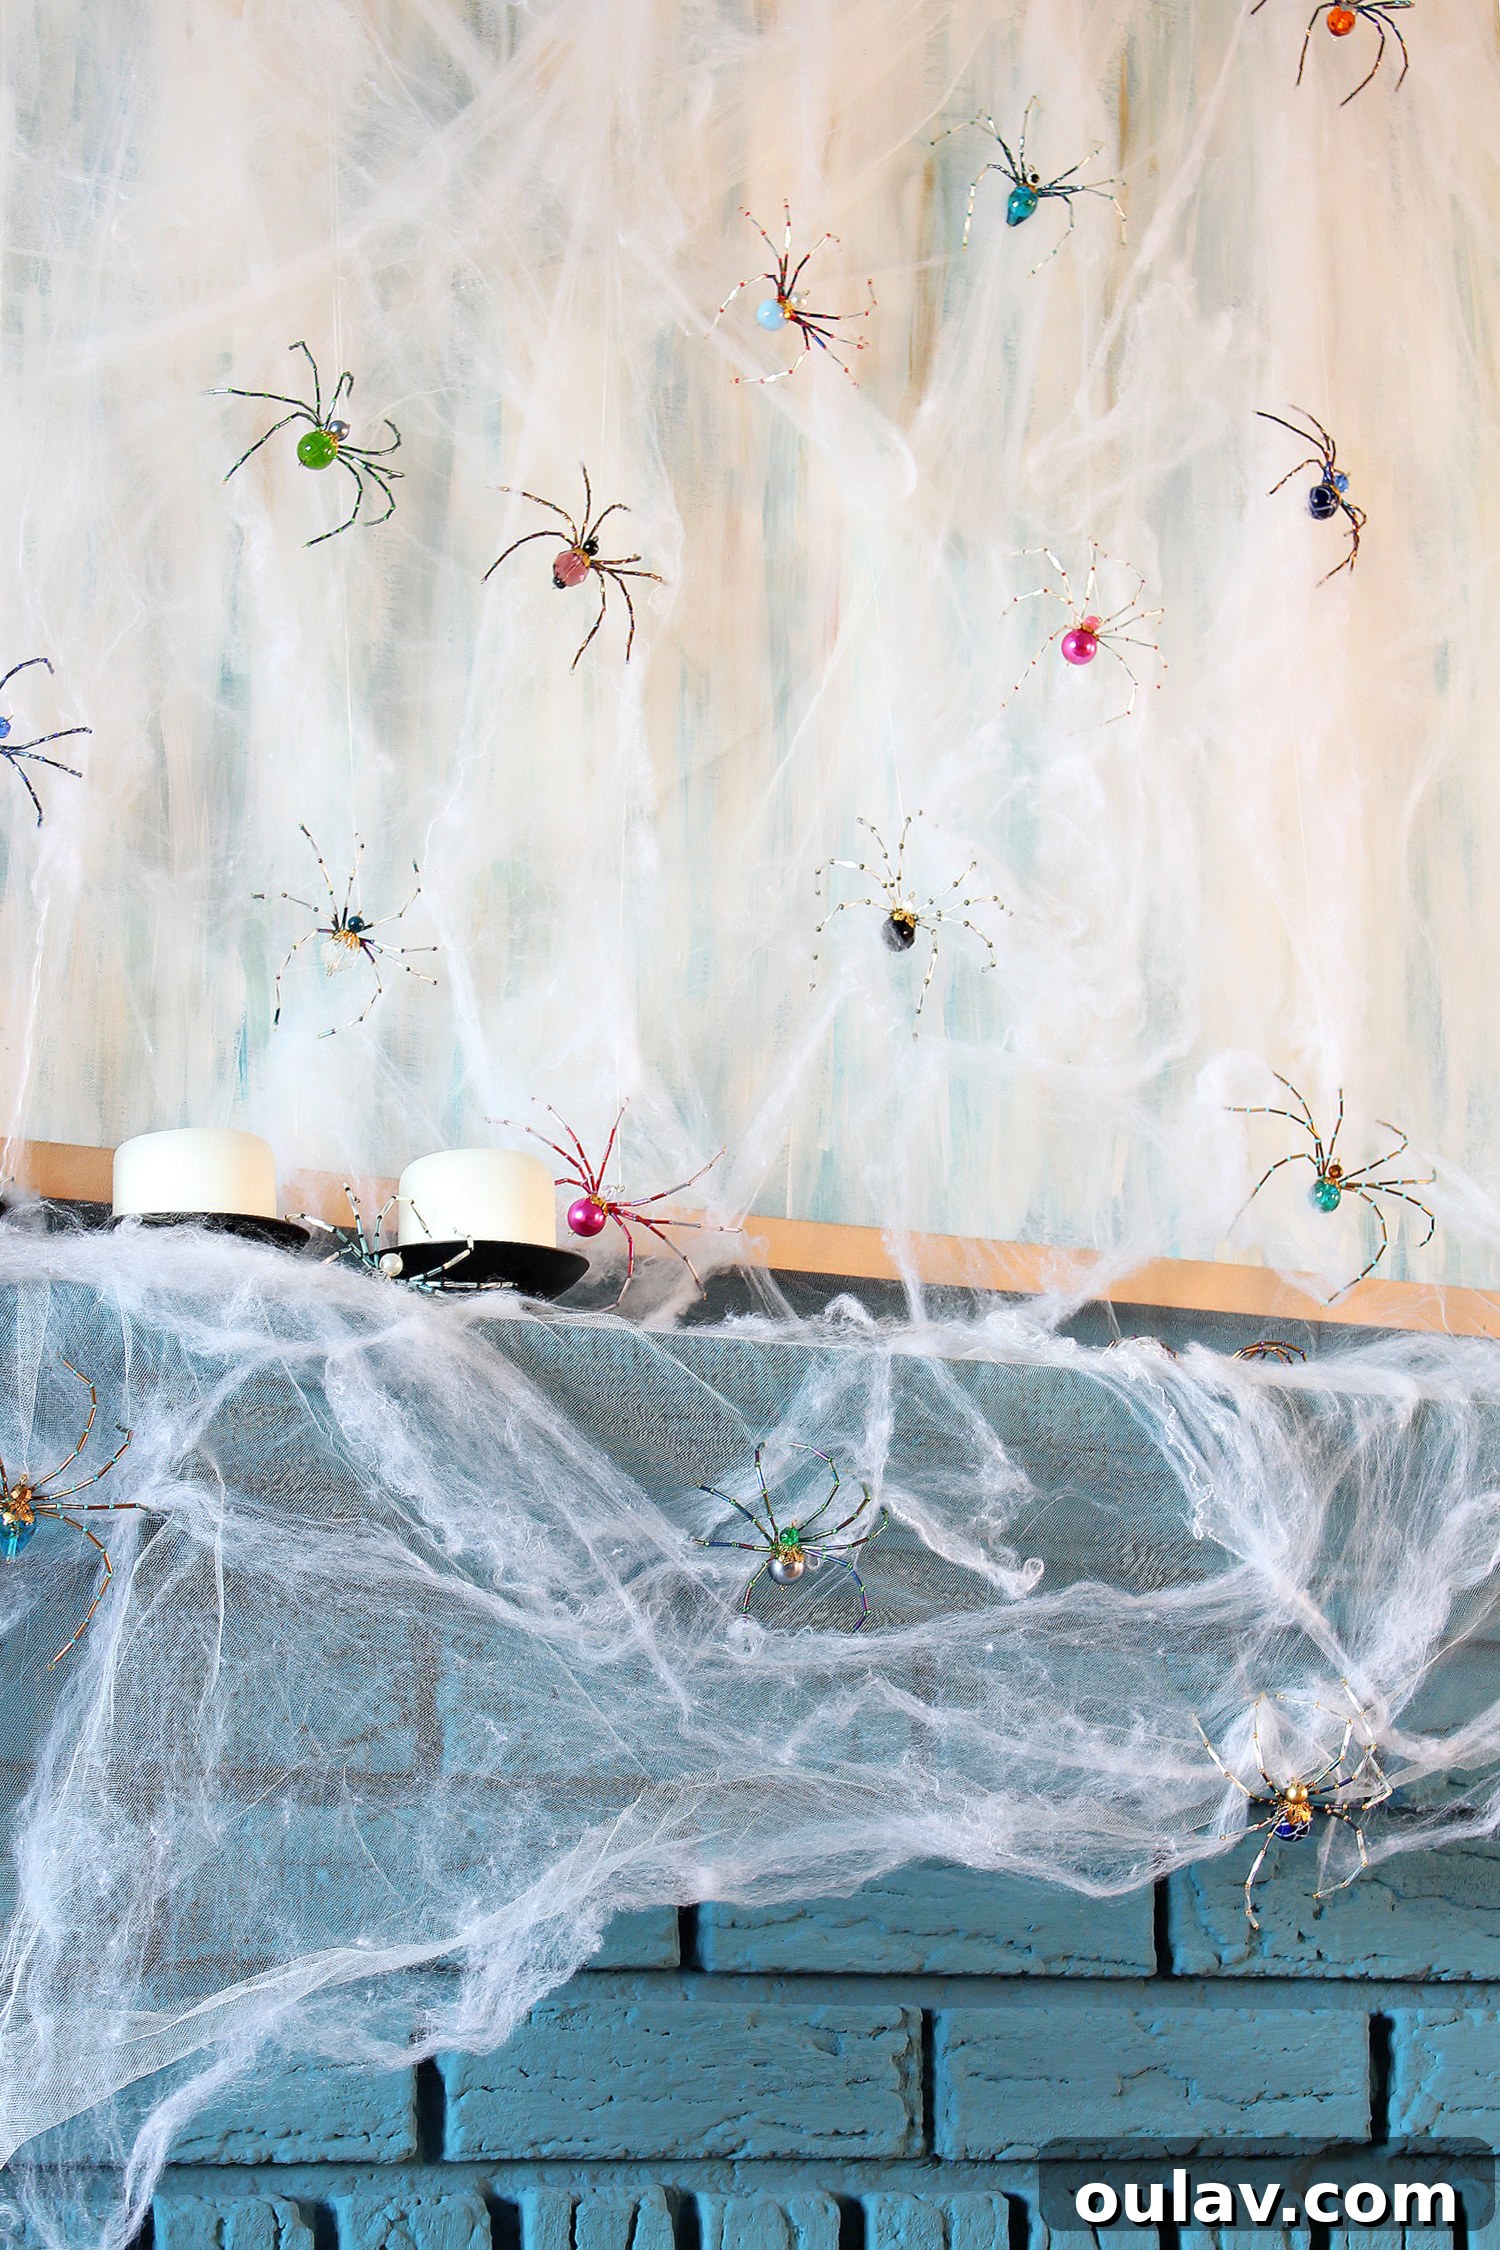
With the ethereal webbing in place – a process that, I’ll admit, can be a tad frustrating due to the peculiar feel of the material on skin – it’s time for the most exciting part: introducing your spiders! The key to a realistic and secure display lies in thoughtful attachment. Most of my beaded spiders are suspended using fine white thread. These threads are discreetly affixed under the webbing and tulle, often secured with additional small 3M hooks hidden from view, or even attached to the back of a wood painting frame above the mantel. Once hung, we gently tangled the spiders’ legs within the fake webbing. This creates a clever friction grip, making it appear as though the spiders are actively crawling and nestled into the webs, rather than merely dangling like ornaments. This method adds depth and movement to your spooky mantel ideas. While the majority are hung, a select few spiders were sewn directly to the tulle for specific positioning and a slightly different visual effect.
Step 4: Ensuring Stability and Achieving the Desired Aesthetic
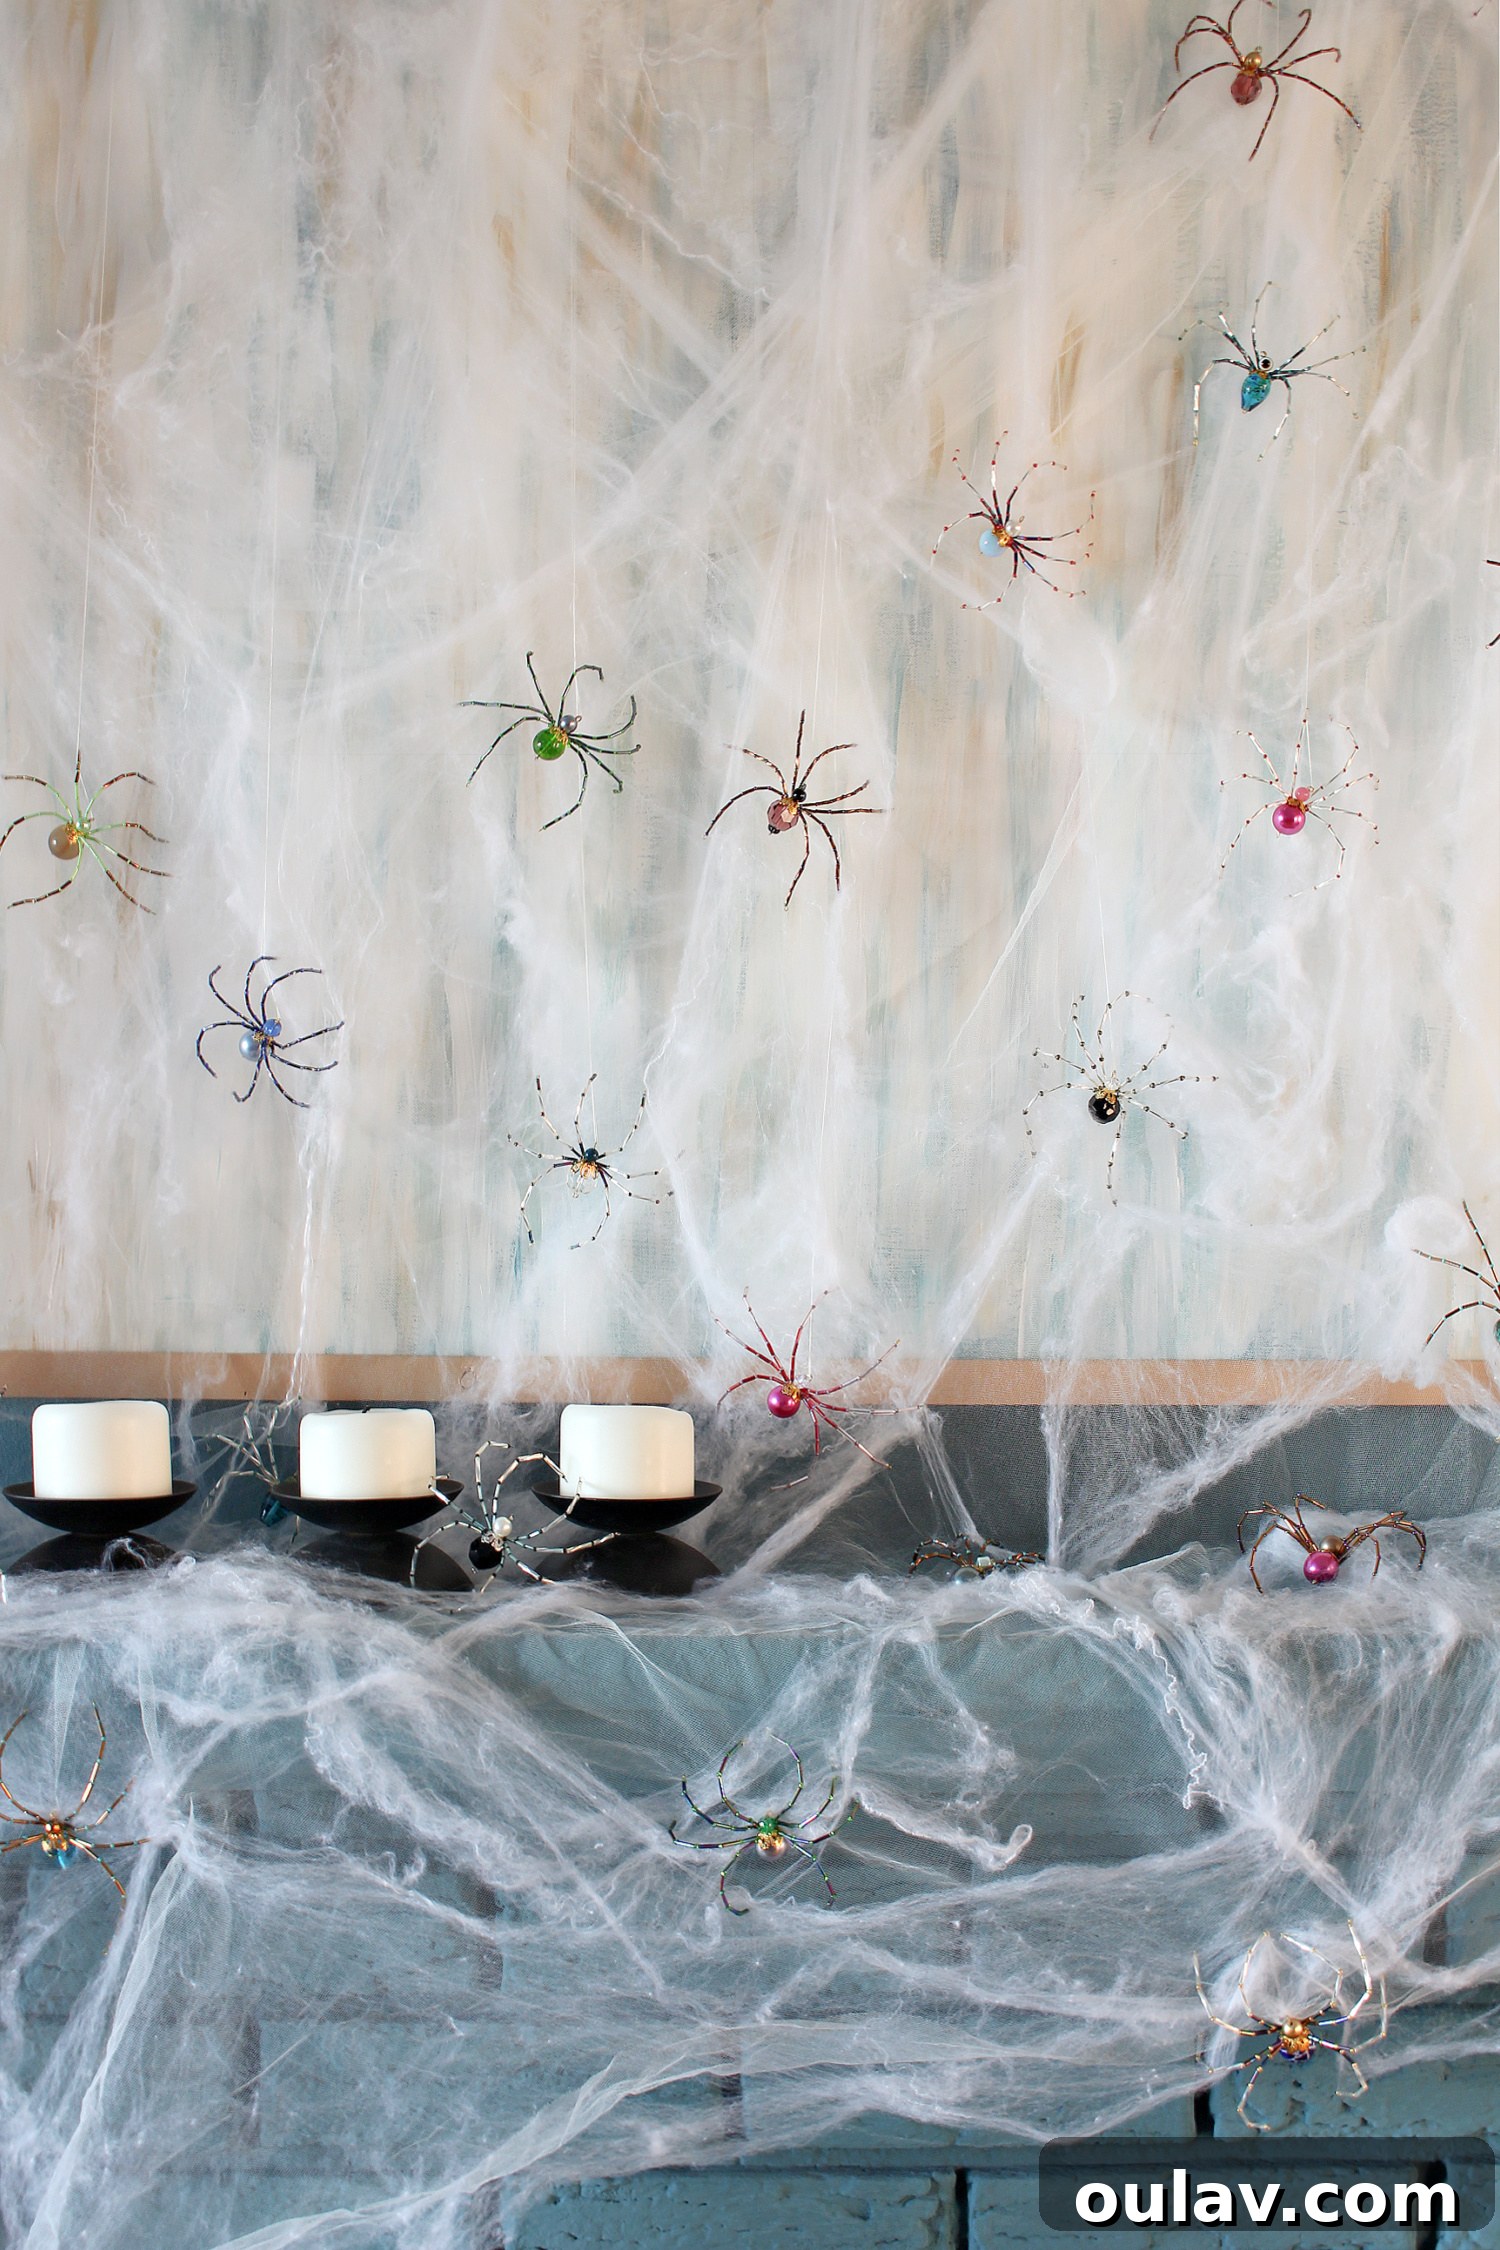
We strategically chose to hang most of the spiders using strings to prevent the tulle from bearing their entire weight. Attempting to sew too many spiders directly to the delicate fabric caused it to sag and pull, compromising the overall aesthetic. By allowing them to dangle from strings and gently rest on the tulle and webbing, we achieved a much more graceful and secure look. This method creates a layered effect, where some spiders appear to float, others to crawl. Fortunately, the gauzy nature of the tulle and the chaotic texture of the fake web material are excellent at camouflaging hooks and strings. Unless you inspect very closely, these supporting elements visually blur into the background, creating a seamless “spider art installation.”
For an intriguing visual, I chose to have my spiders appear to be “crawling up,” so the string originates from their heads. While not anatomically correct, it suited the upward movement I envisioned for this Halloween fireplace decor. For a different, perhaps more natural, effect, you could suspend the thread from their “little bums,” allowing the white thread itself to become an intentional, delicate part of the overall installation, mimicking strands of silk.
Step 5: Adding Finishing Touches and Prioritizing Safety
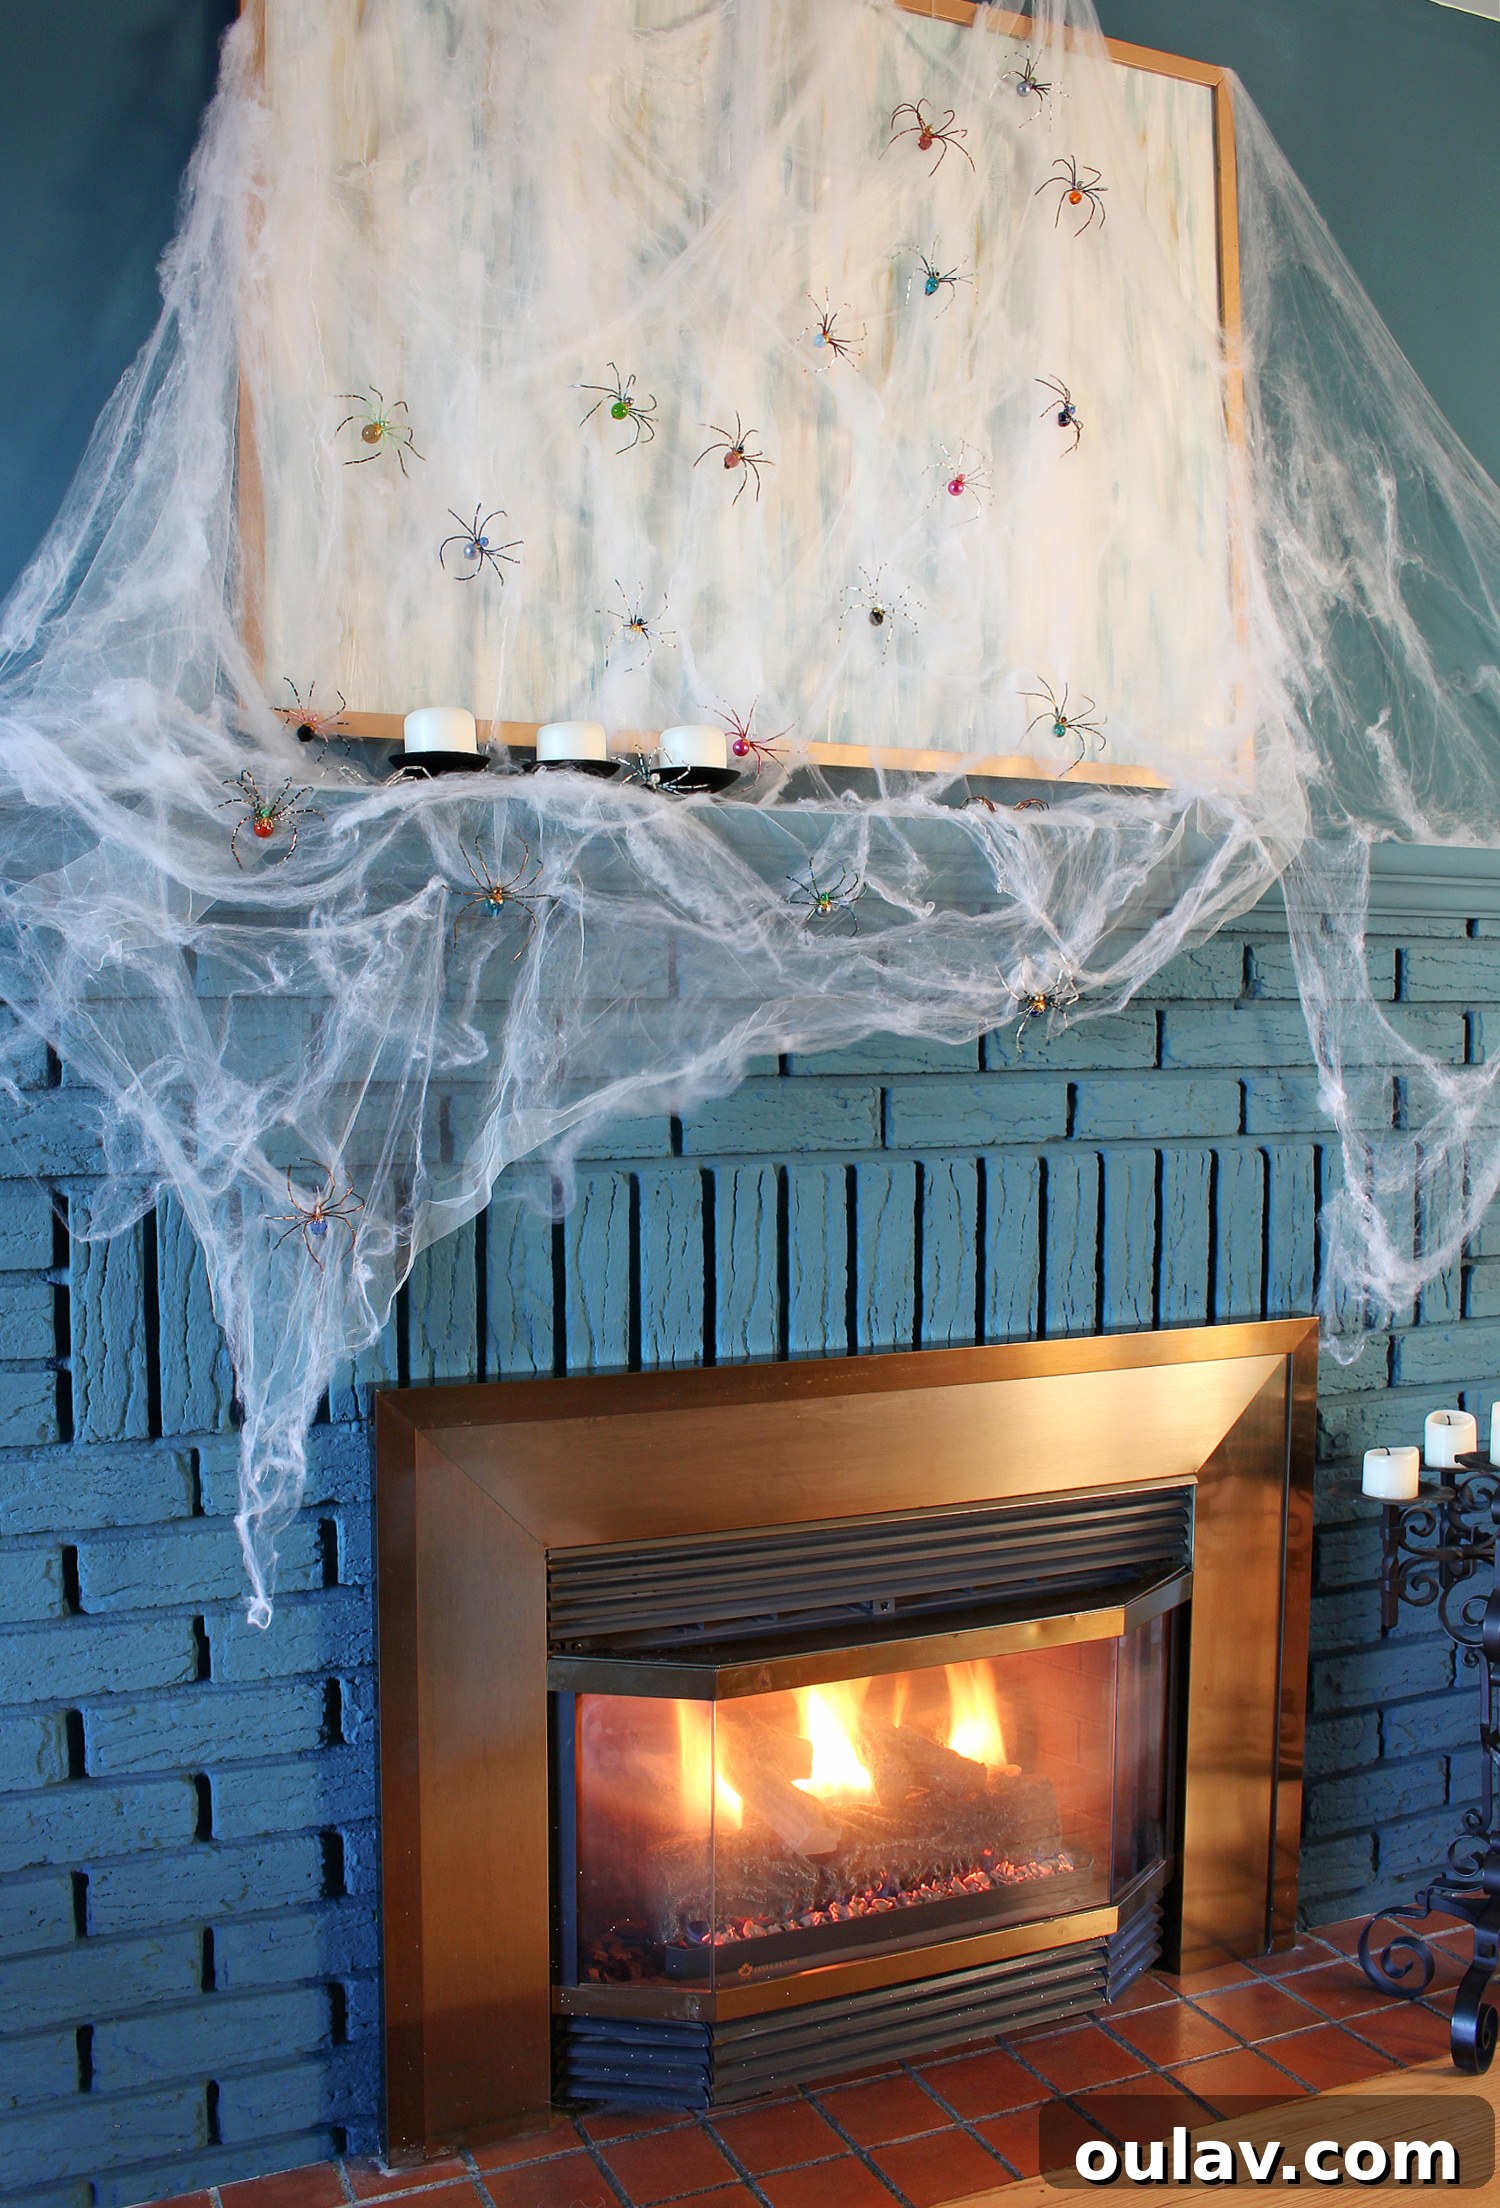
To complete the sophisticated look of this DIY Halloween mantel, we incorporated heavy metal candle holders and a striking candelabra beside the fireplace – the latter being a cherished piece welded by my grandfather. These elements are primarily for show, adding a touch of dark elegance and creating a beautiful contrast against the gauzy white of the webs. While we might add flameless candles later, for now, the stark black metal provides enough visual interest. It’s crucial to emphasize a paramount safety warning here: DO NOT light any open flames, including real candles or a natural gas fireplace, near this type of gauzy fabric and fake webbing. These materials are often highly flammable. The gas fireplace in the photos was only lit briefly for photographic purposes. Always exercise extreme caution with any live flame around decorative, lightweight fabrics.
Discover More Creative Halloween DIY Ideas
I genuinely hope this “spider art installation” has sparked your imagination and inspired you to create your own DIY Halloween mantel – or perhaps even a charming spider wreath for next year! Even though my initial attempts at mass production were cut short, I find immense joy in sharing projects like this and hearing how they’ve motivated you to craft something new. The best part is seeing how your finished projects, even if wildly different from mine, embody your unique creative spirit!
If you’re eager for more Halloween DIY crafts and spooky mantel ideas, explore some of my other popular tutorials:
- Craft a hauntingly beautiful DIY Concrete Skull Candle Holder for a touch of industrial gothic.
- Create an eerily charming DIY Ghost Rat Halloween Wreath that’s surprisingly easy to make.
- Add a touch of sparkle with these unique DIY Rhinestone Pumpkins – no carving required!
- Grow your own crystalline decor with a fascinating DIY Borax Crystal Skull.
- And for even more inspiration, discover a treasure trove of DIY HALLOWEEN CRAFTS & FALL DECOR PROJECTS HERE.
If your heart leans more towards the cozy ambiance of autumn, don’t miss the exquisite DIY Fall Wreath I shared earlier this week, featuring a unique pale blue, copper, and purple palette.