The joy of giving a beautifully wrapped gift is undeniable, but have you ever considered the environmental impact of all that glistening paper and plastic ribbon? In an era where sustainability is paramount, shifting towards eco-friendly alternatives is not just a trend, but a necessity. Imagine delighting your loved ones with a gift wrapped in paper that speaks volumes about your care for both them and the planet. This is precisely what DIY stamped wrapping paper offers: a charming, personalized, and sustainable solution to traditional gift packaging.
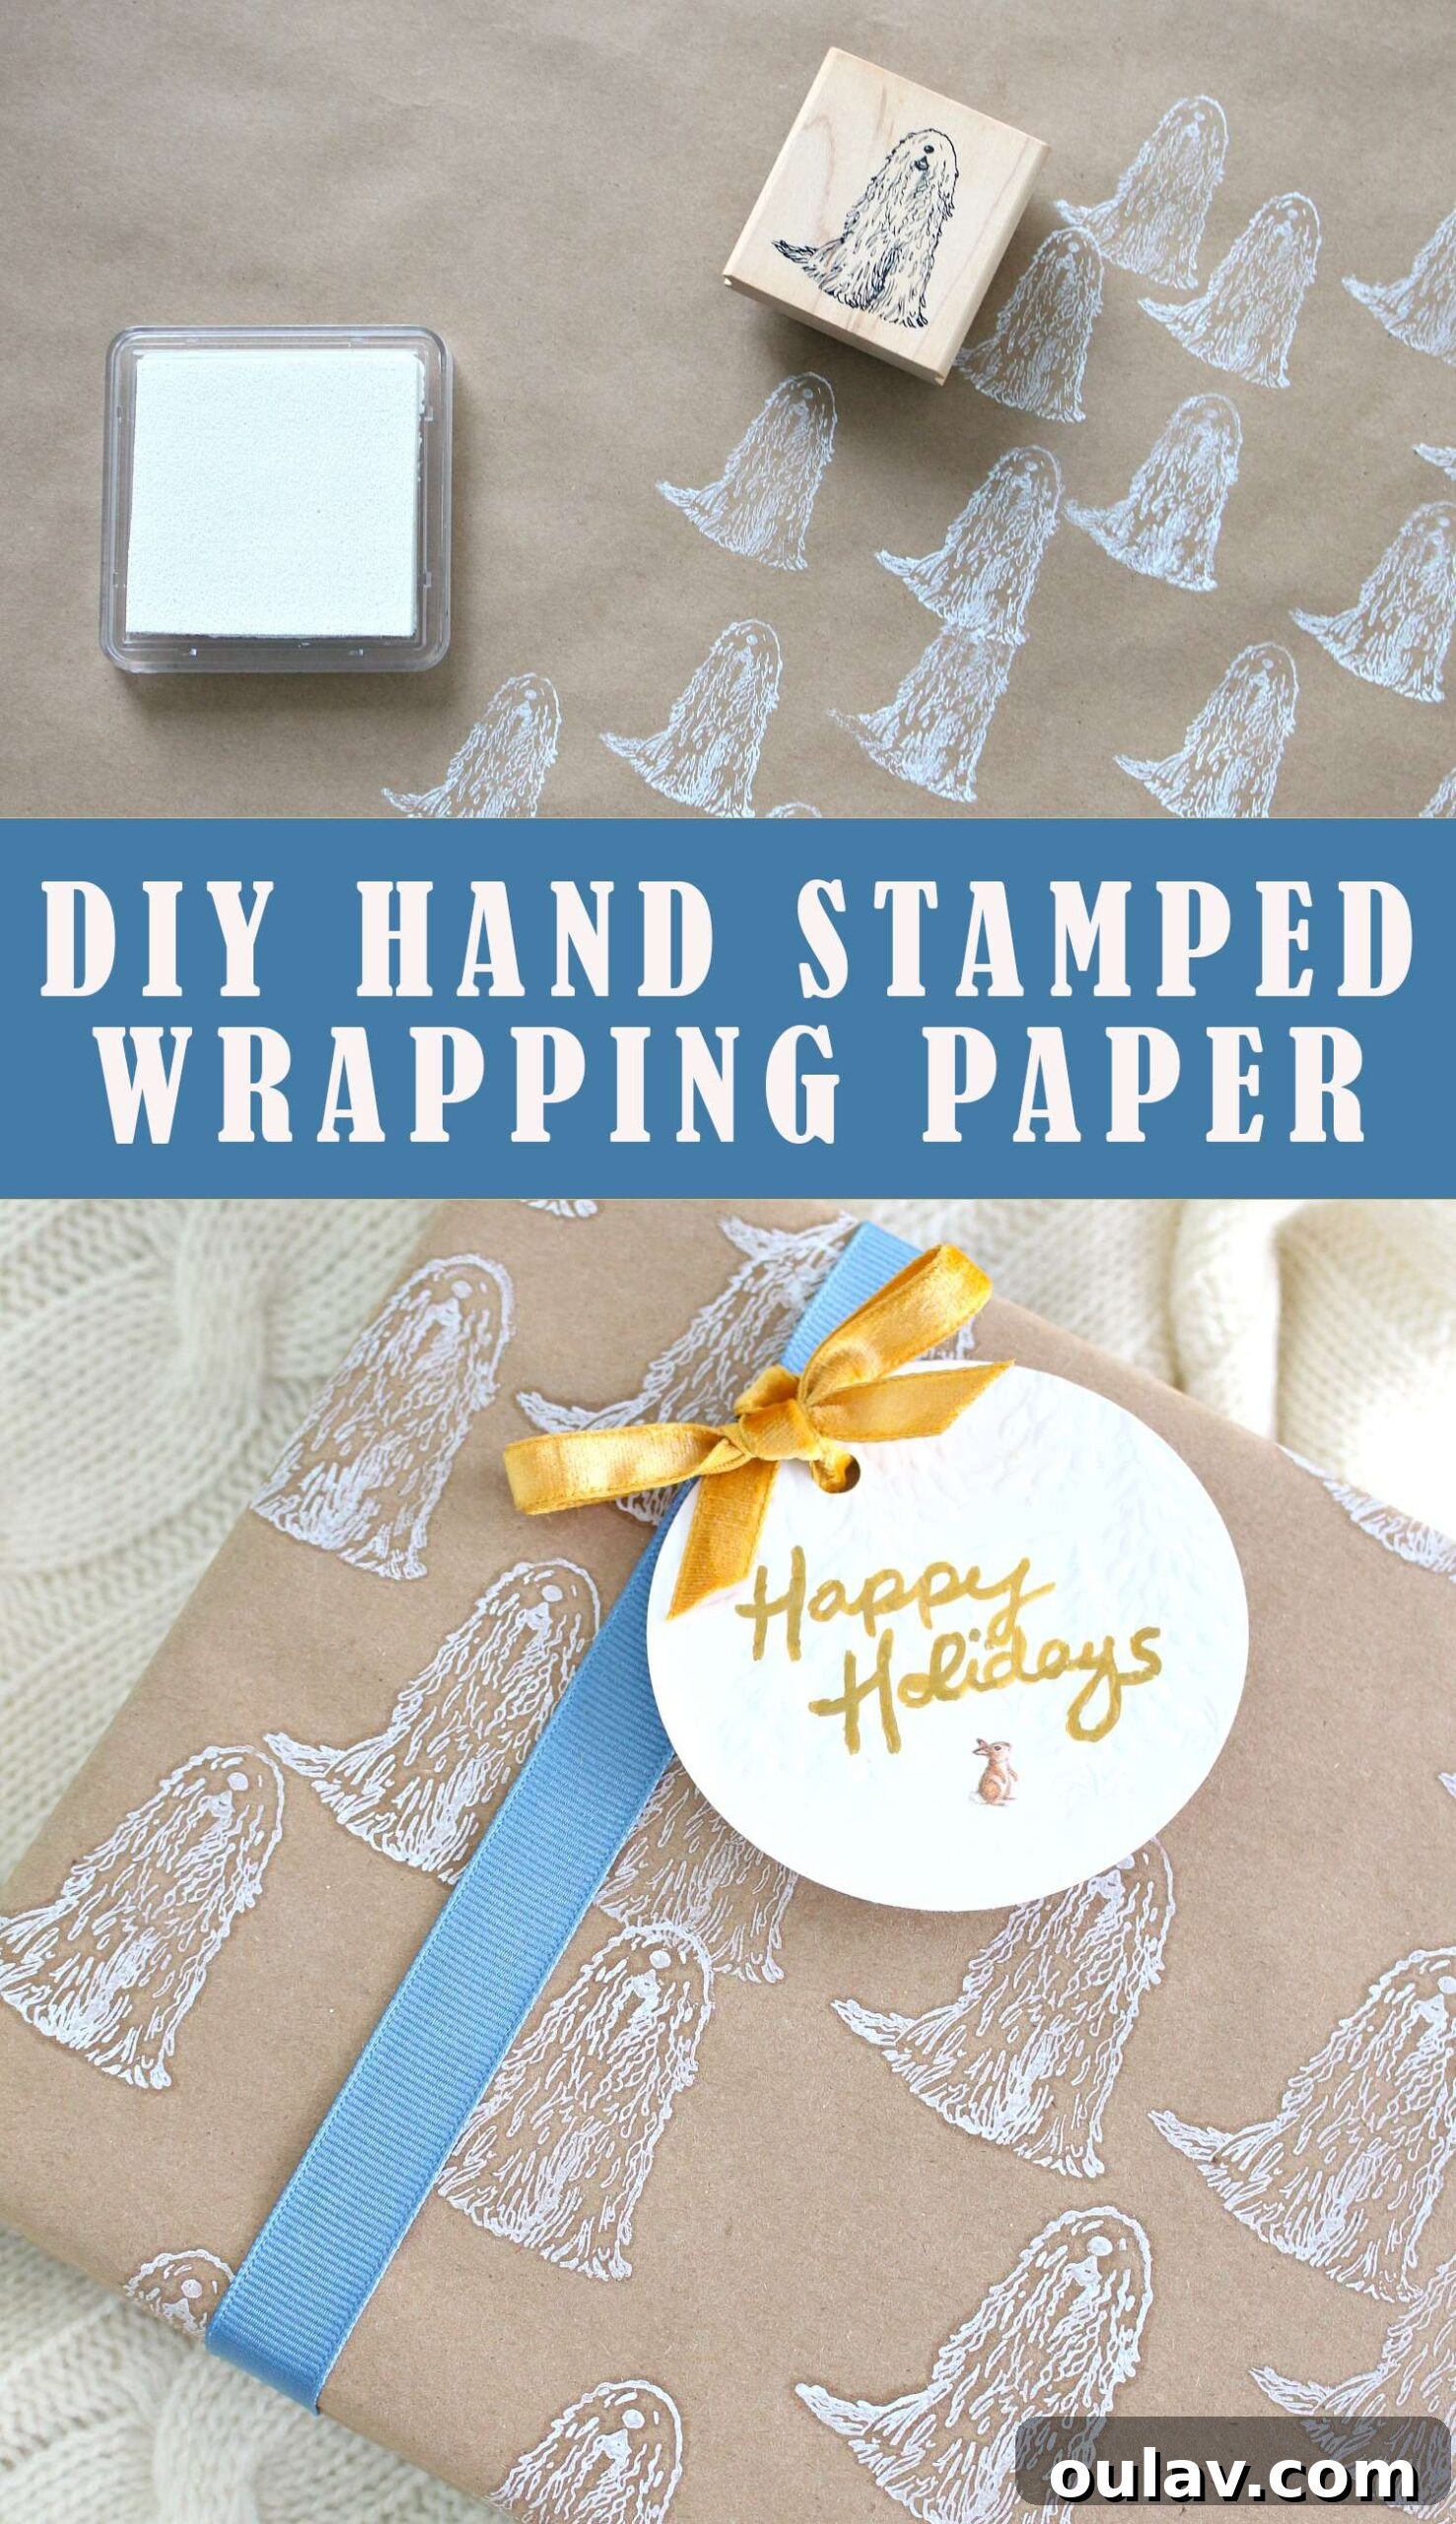
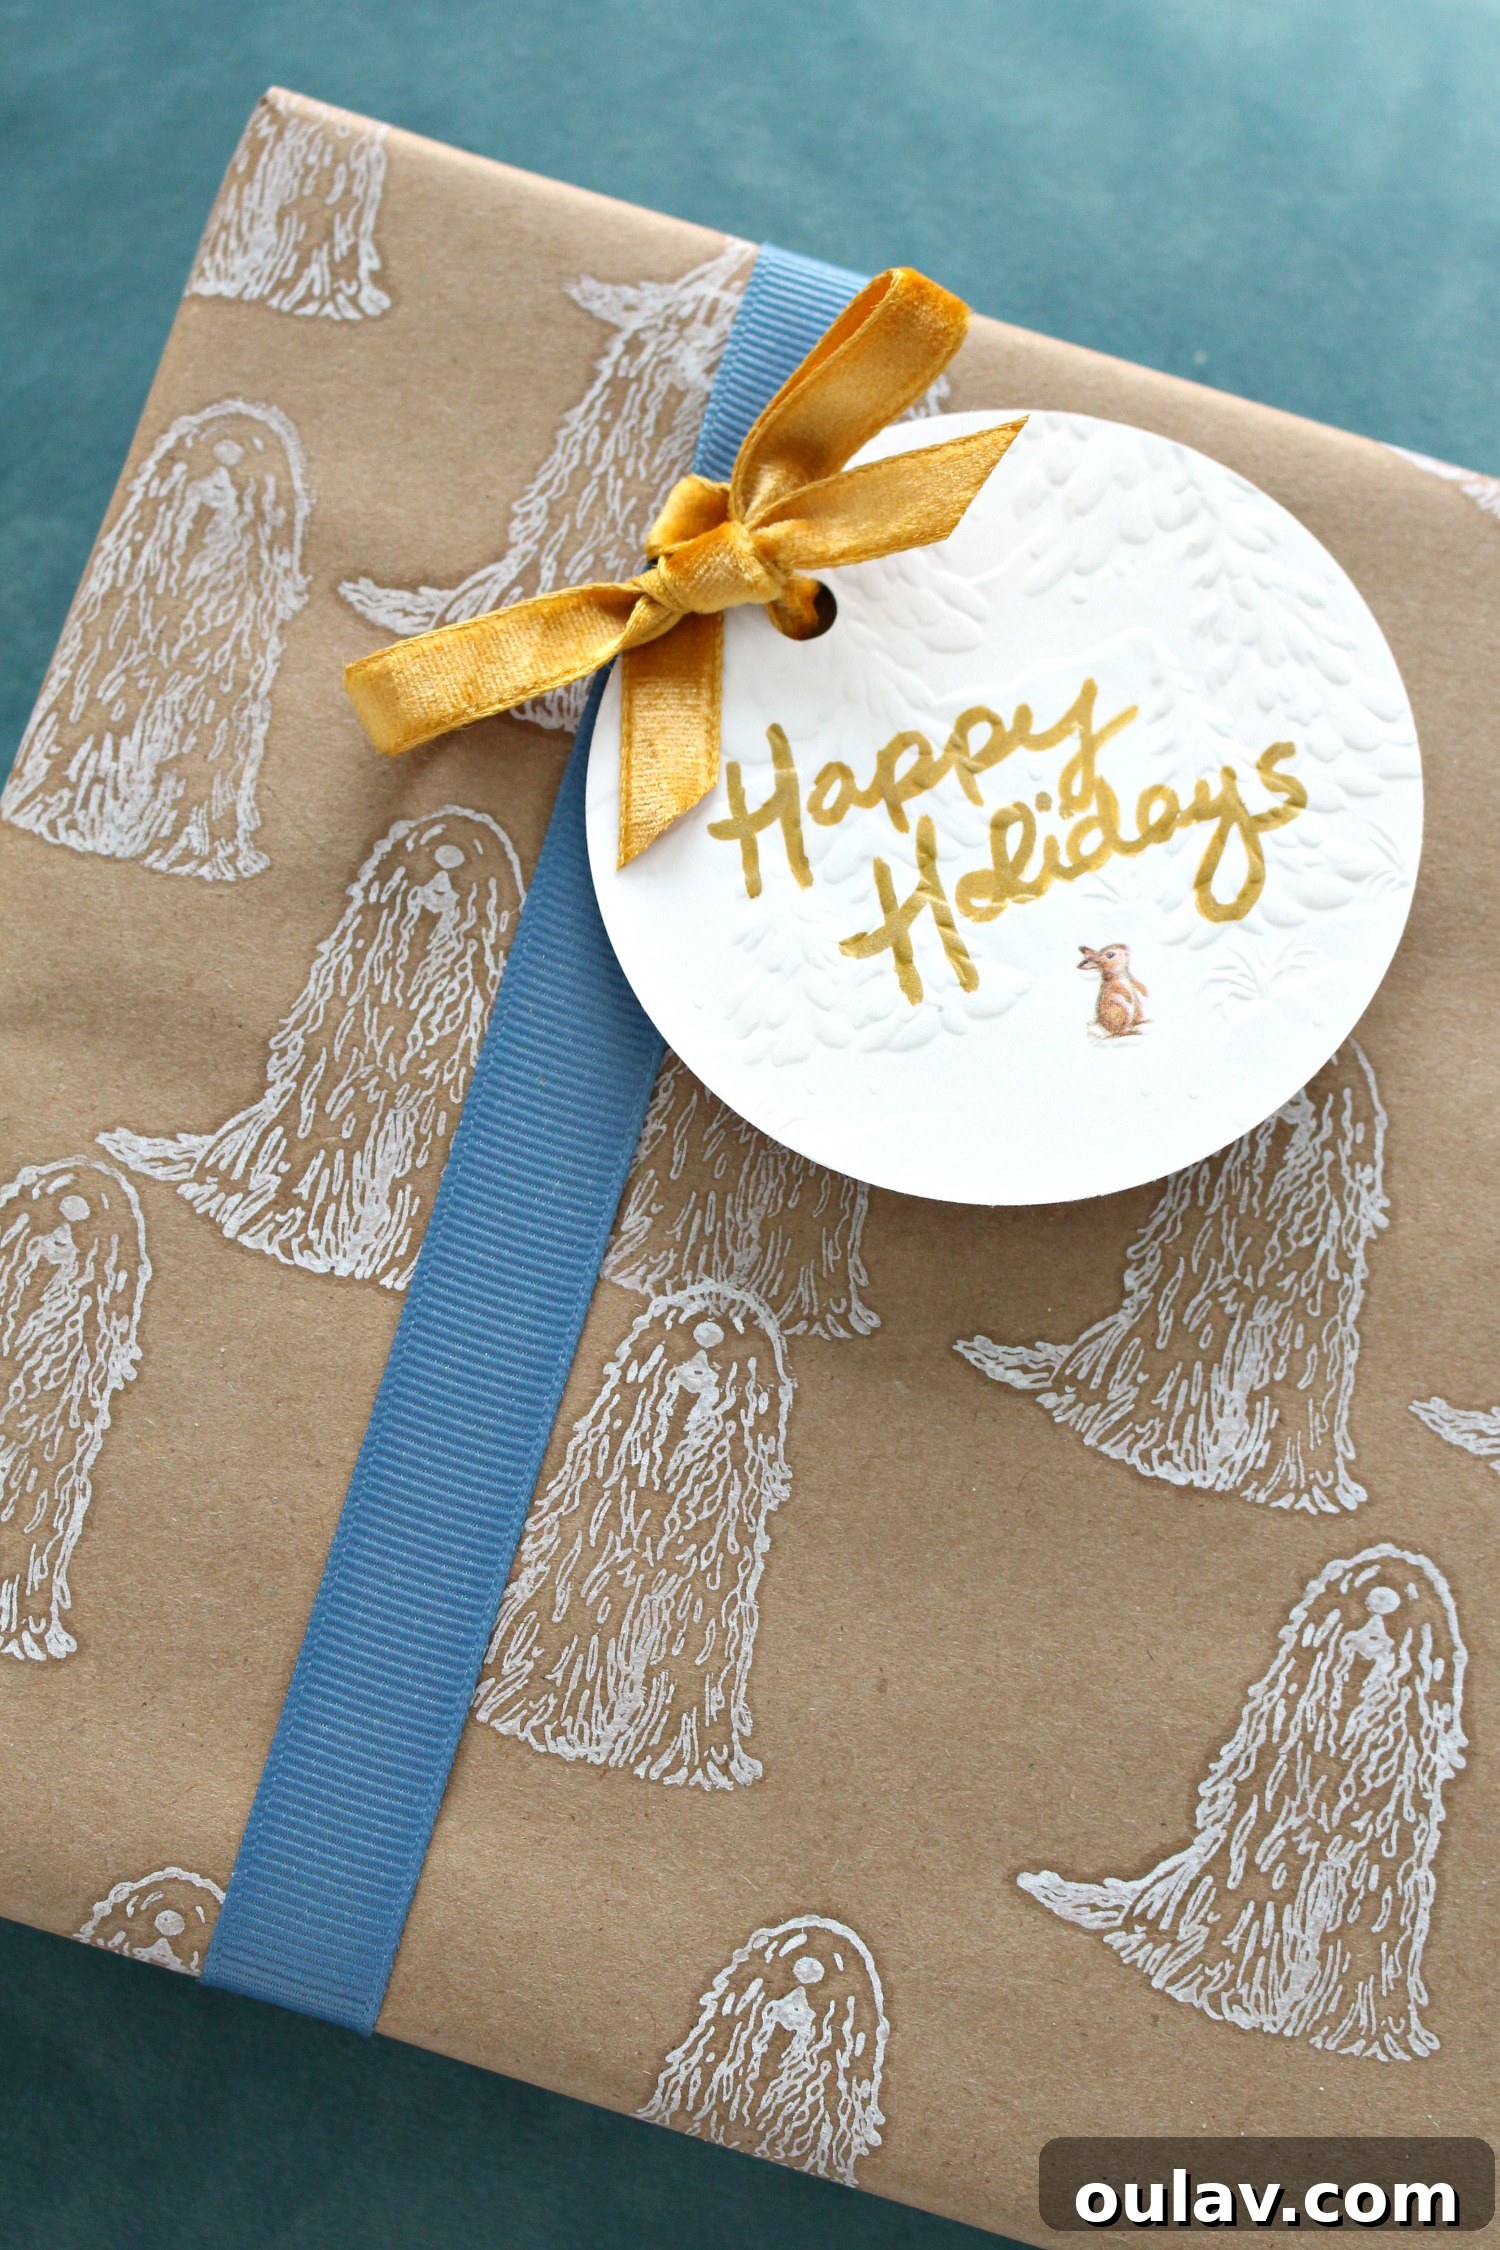
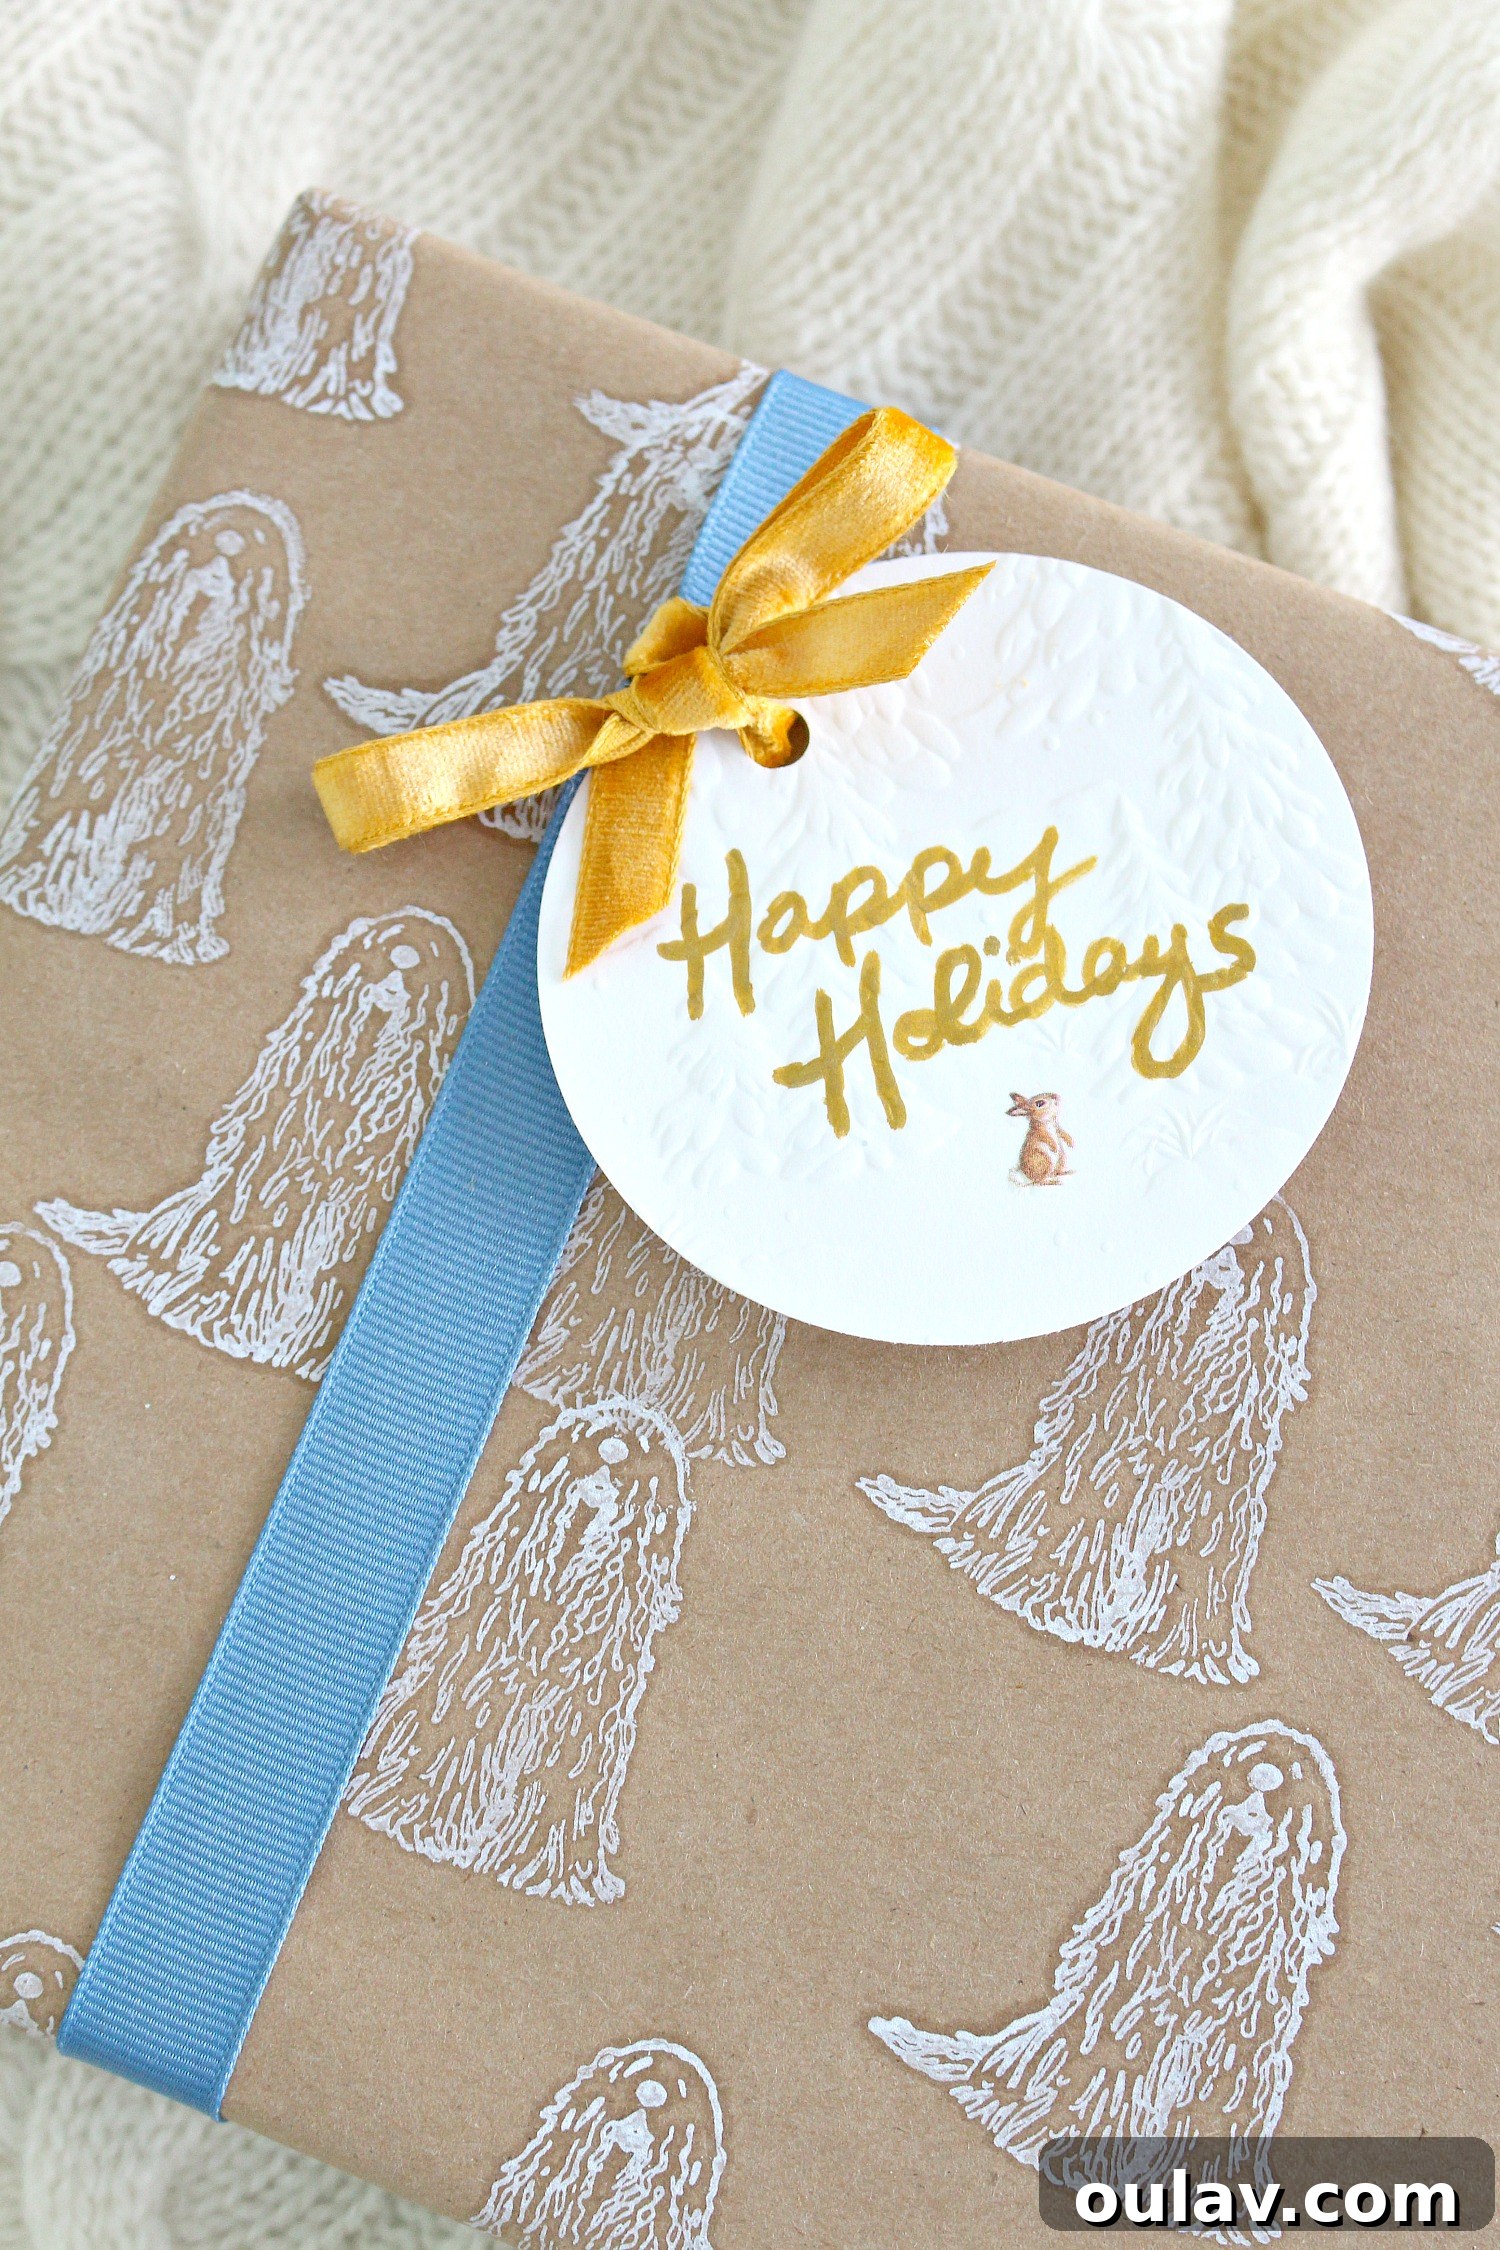
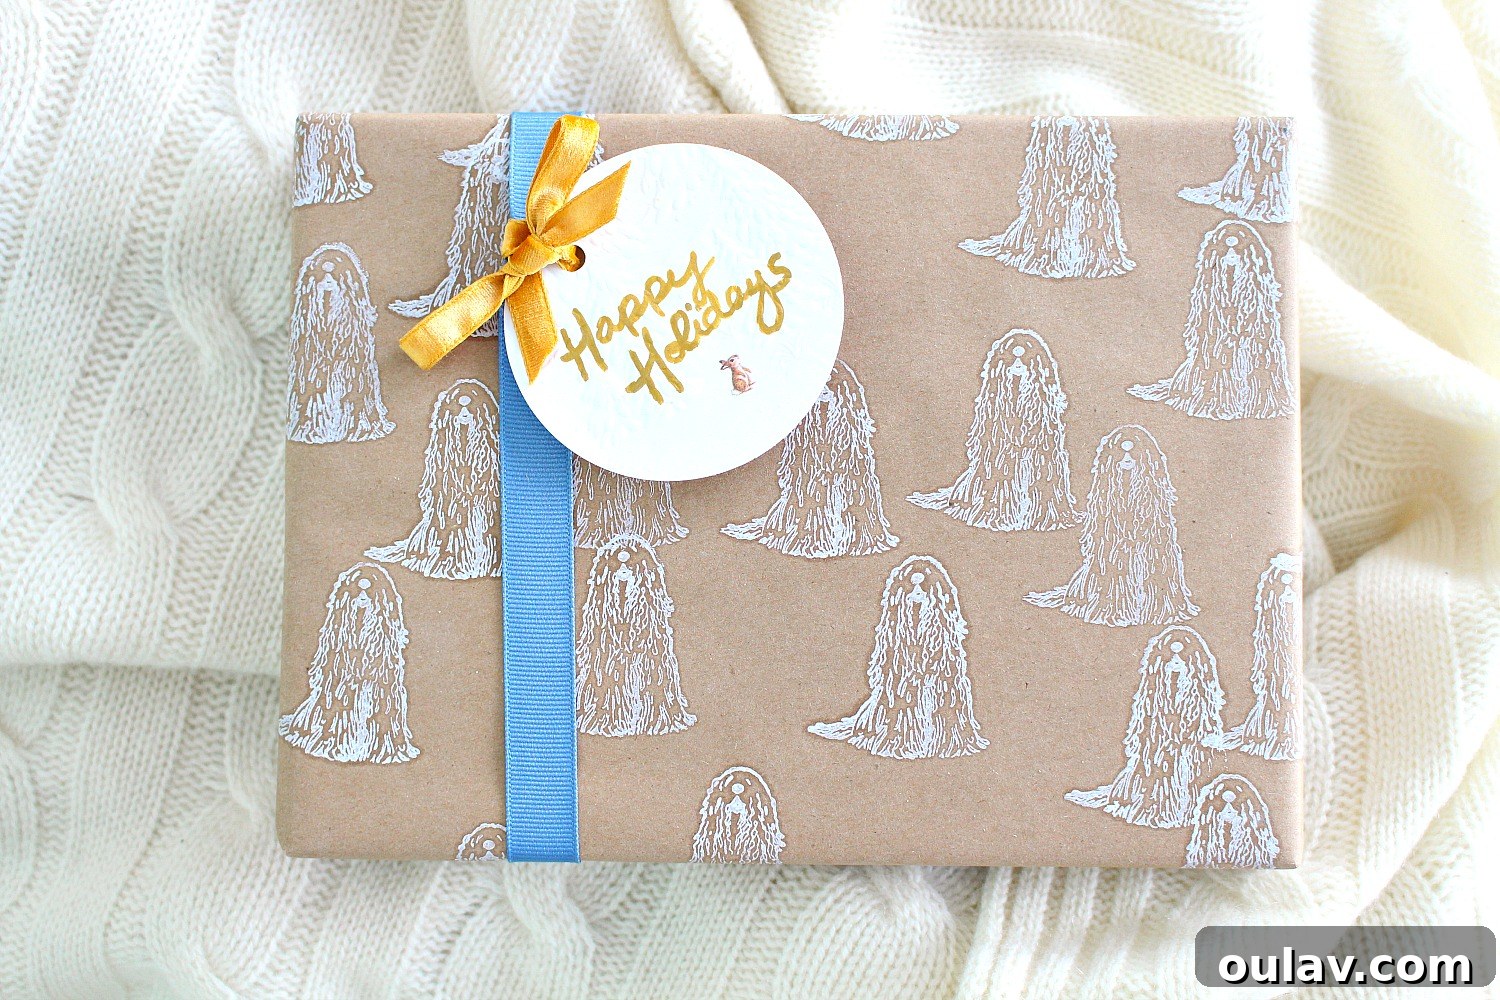
I’m still grinning thinking about this absolutely adorable Komondor-stamped wrapping paper – a truly charming and practical zero-waste gift wrapping idea! While many eco-conscious crafters suggest using brown recycled paper for its minimal environmental footprint, some DIY tutorials, unfortunately, recommend painting on it with acrylics. This, however, renders the paper un-recyclable, defeating its initial eco-friendly purpose. Through a bit of research, I learned that most ink is generally okay for recycling, as paper undergoes a de-inking process. However, it’s crucial to always check with your local recycling facility to understand their specific guidelines regarding what types of paper and ink are acceptable. If you’re an expert in this area and have additional insights, please share your valuable tips in the comments section below!
This project isn’t just about saving the environment; it’s about infusing your gifts with unique character and heartfelt effort. Instead of a generic store-bought wrap, you can create a custom design that resonates with the recipient’s personality or the occasion itself. Whether it’s a whimsical animal, a festive holiday motif, or a sophisticated geometric pattern, the possibilities are endless with a simple rubber stamp and a little creativity. Let’s dive into how you can create your own stunning, eco-conscious gift wrap that truly stands out.
Why Choose DIY Eco-Friendly Stamped Wrapping Paper?
Opting for handmade stamped wrapping paper goes beyond mere aesthetics; it’s a conscious choice that offers a multitude of benefits, making your gift-giving more meaningful and impactful.
- Unparalleled Personalization: Store-bought wrapping paper, while convenient, lacks the unique touch that handmade items possess. With a rubber stamp, you can create a design that perfectly reflects the recipient’s hobbies, favorite animals, a special inside joke, or the theme of the occasion. This level of personalization shows extra thought and effort, making the gift even more special before it’s even unwrapped. Imagine the delight of a dog lover receiving a present adorned with their favorite breed!
- Significant Environmental Benefits: This method championing zero-waste gift wrapping by utilizing recycled paper and repurposing materials. By choosing brown recycled paper, you’re directly reducing demand for virgin resources and lessening your carbon footprint. Furthermore, by crafting your own wrap, you avoid the plastic laminates, glitter, and synthetic dyes often found in conventional wrapping papers, which frequently render them un-recyclable.
- Cost-Effective Creativity: While high-quality, eco-friendly wrapping paper can sometimes be pricey, crafting your own stamped version is often far more economical. A roll of brown recycled paper is generally inexpensive, and rubber stamps can be reused countless times across various projects. You’re investing in reusable tools and sustainable practices rather than single-use, disposable items.
- A Fun and Rewarding Craft Project: Creating your own wrapping paper is a therapeutic and enjoyable activity. It’s a simple craft that doesn’t require advanced skills but yields impressive results. Whether you’re stamping casually or meticulously planning a pattern, the process itself is a delightful experience, and the satisfaction of seeing your finished, custom wrap is incredibly rewarding.
- Versatility for Any Occasion: The beauty of stamped wrapping paper lies in its adaptability. A festive holiday stamp makes it perfect for Christmas, while a whimsical animal or abstract design suits birthdays, baby showers, or anniversaries. You can easily switch out stamps and ink colors to match any event, ensuring your gift wrap is always appropriate and stylish.
Gather Your Eco-Friendly Crafting Essentials
Creating your own custom stamped wrapping paper is an incredibly simple process, requiring just a few basic supplies. The key is to select materials that align with your eco-friendly goals, ensuring your beautiful wrap is also kind to the planet. Here’s a detailed look at what you’ll need:
Supplies for (Komondor) Stamped Wrapping Paper:
- Brown Recycled Paper*: This is the cornerstone of your eco-friendly wrapping. Brown kraft paper, often made from recycled materials, offers a rustic, minimalist aesthetic that serves as a perfect blank canvas for your designs. Its natural texture beautifully complements the stamped patterns. Look for unbleached, uncoated options to maximize recyclability. Alternatives include repurposed newspaper or even old paper grocery bags cut open.
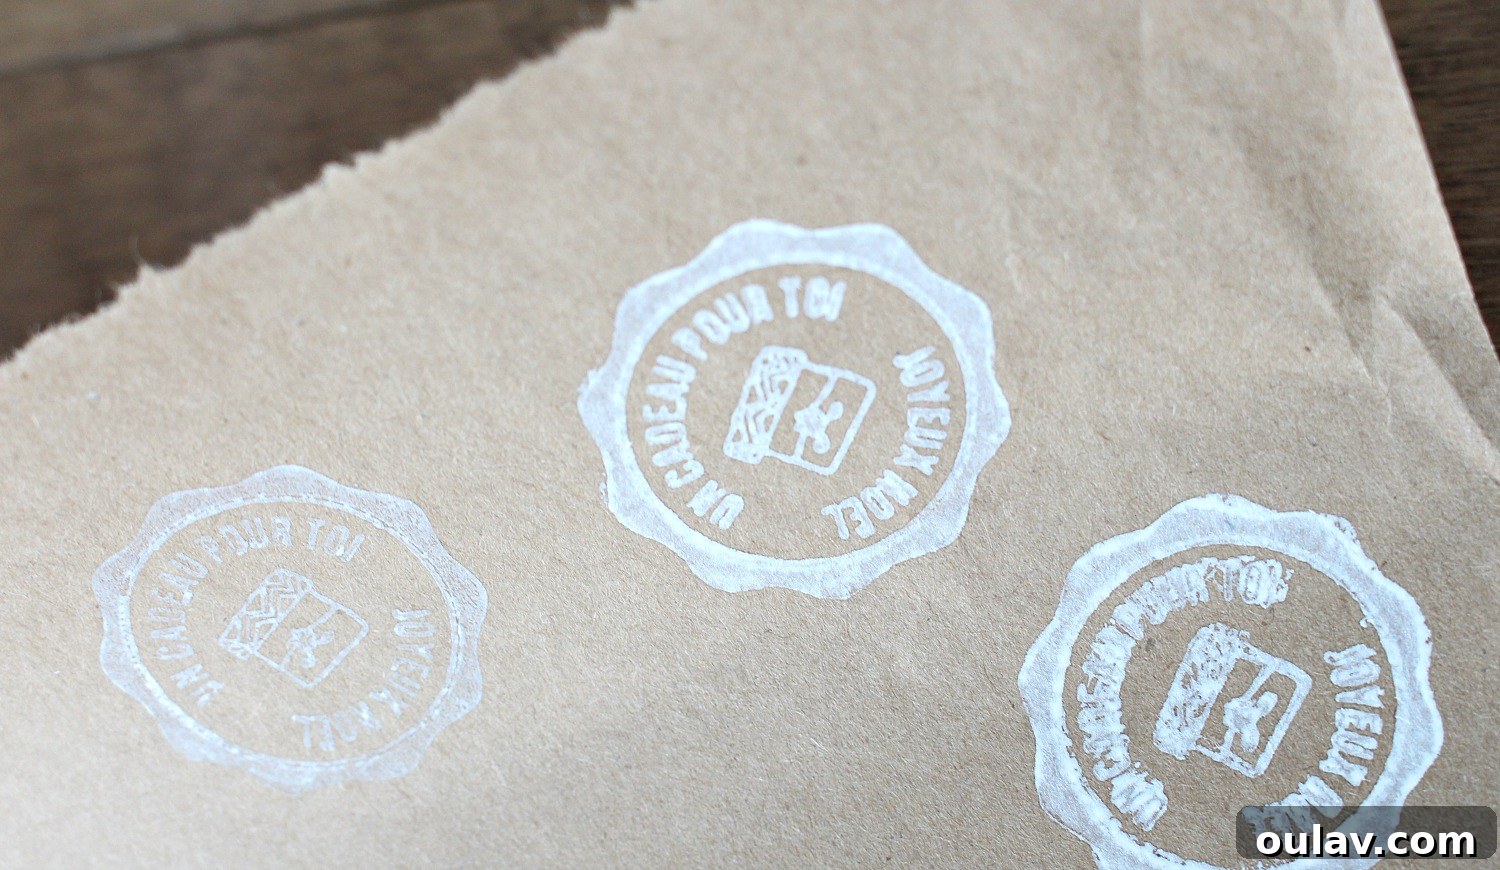
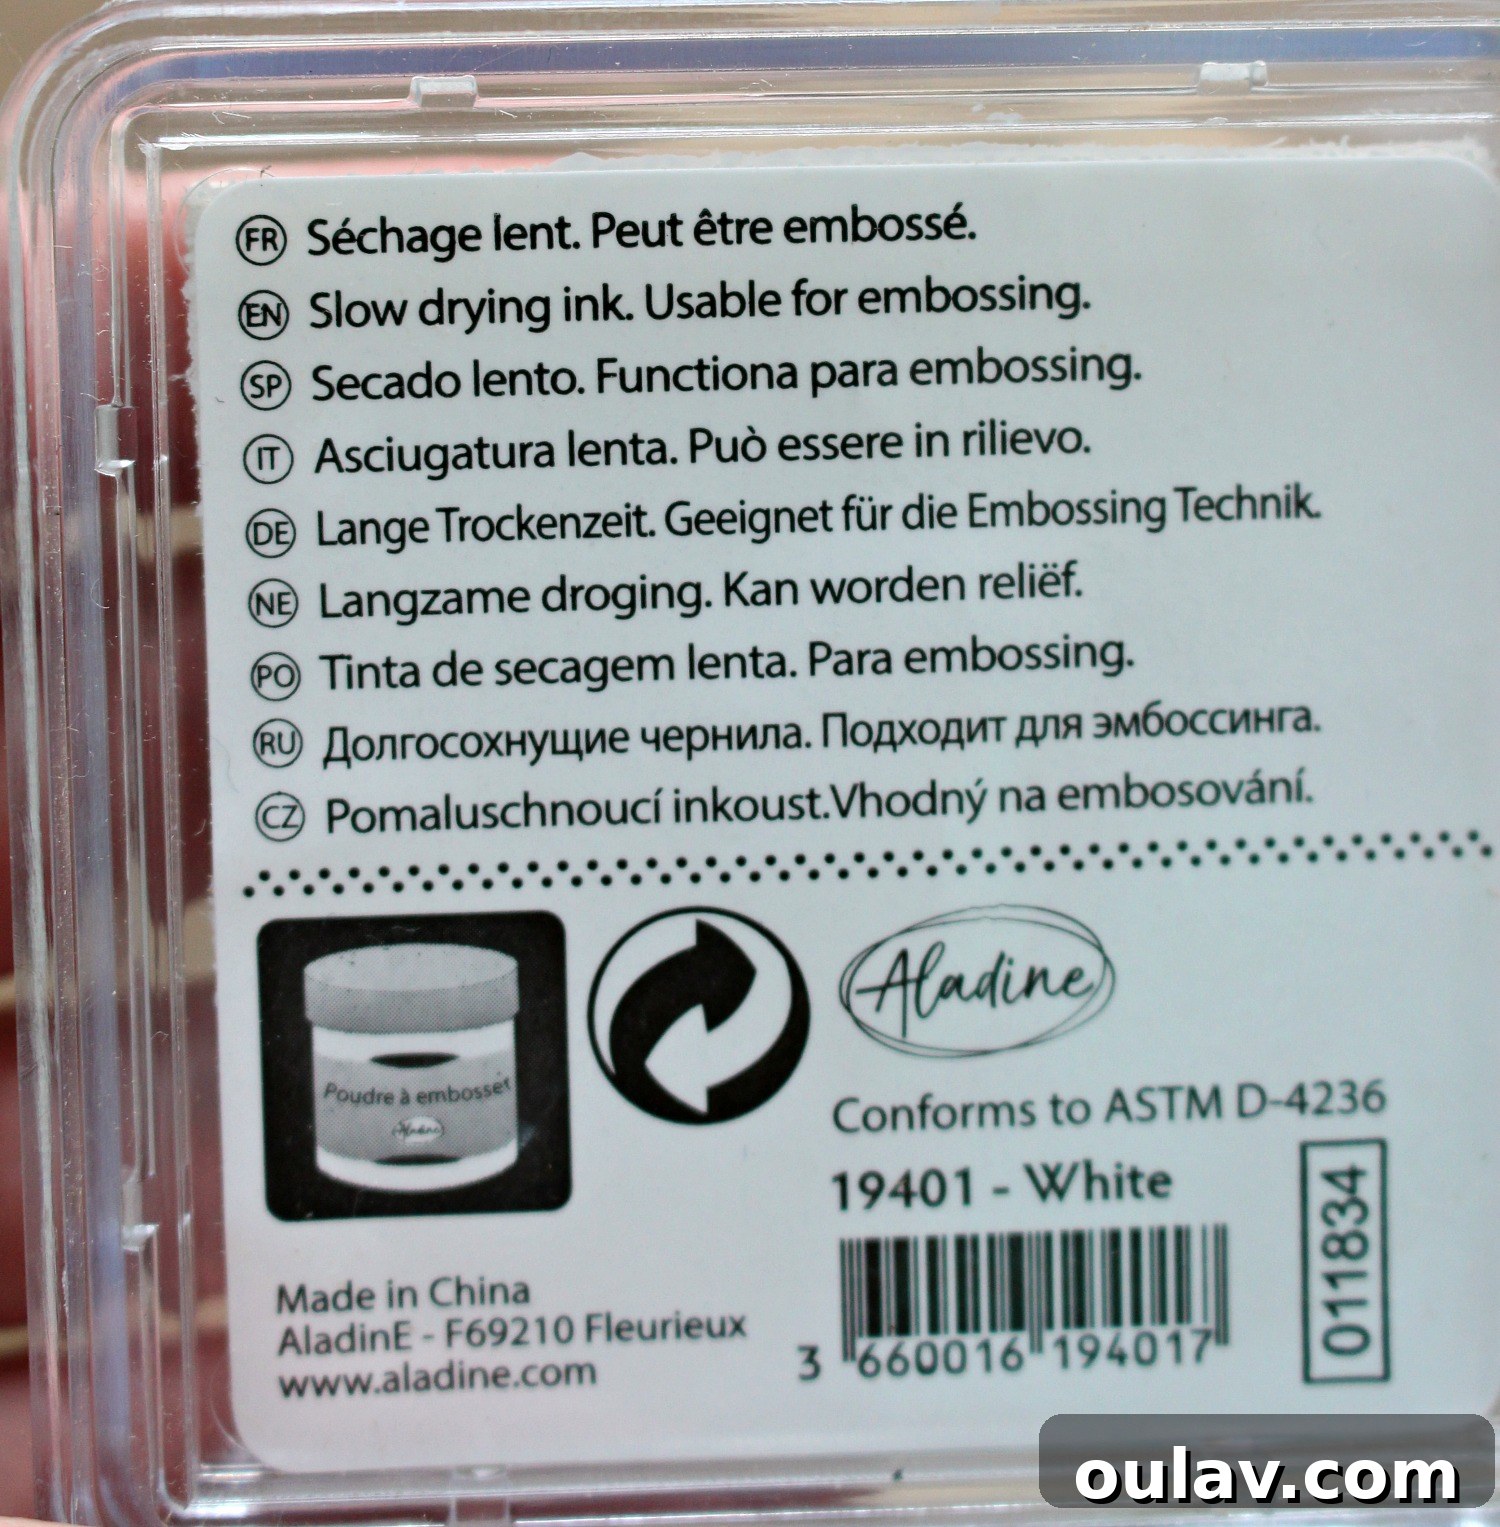
- White Ink Pad*: While any color ink can work, a white ink pad creates a striking contrast on brown paper, giving your design a sophisticated yet handmade look. Opt for water-based, pigment inks, as they are generally non-toxic and less likely to interfere with the paper recycling process compared to solvent-based alternatives.
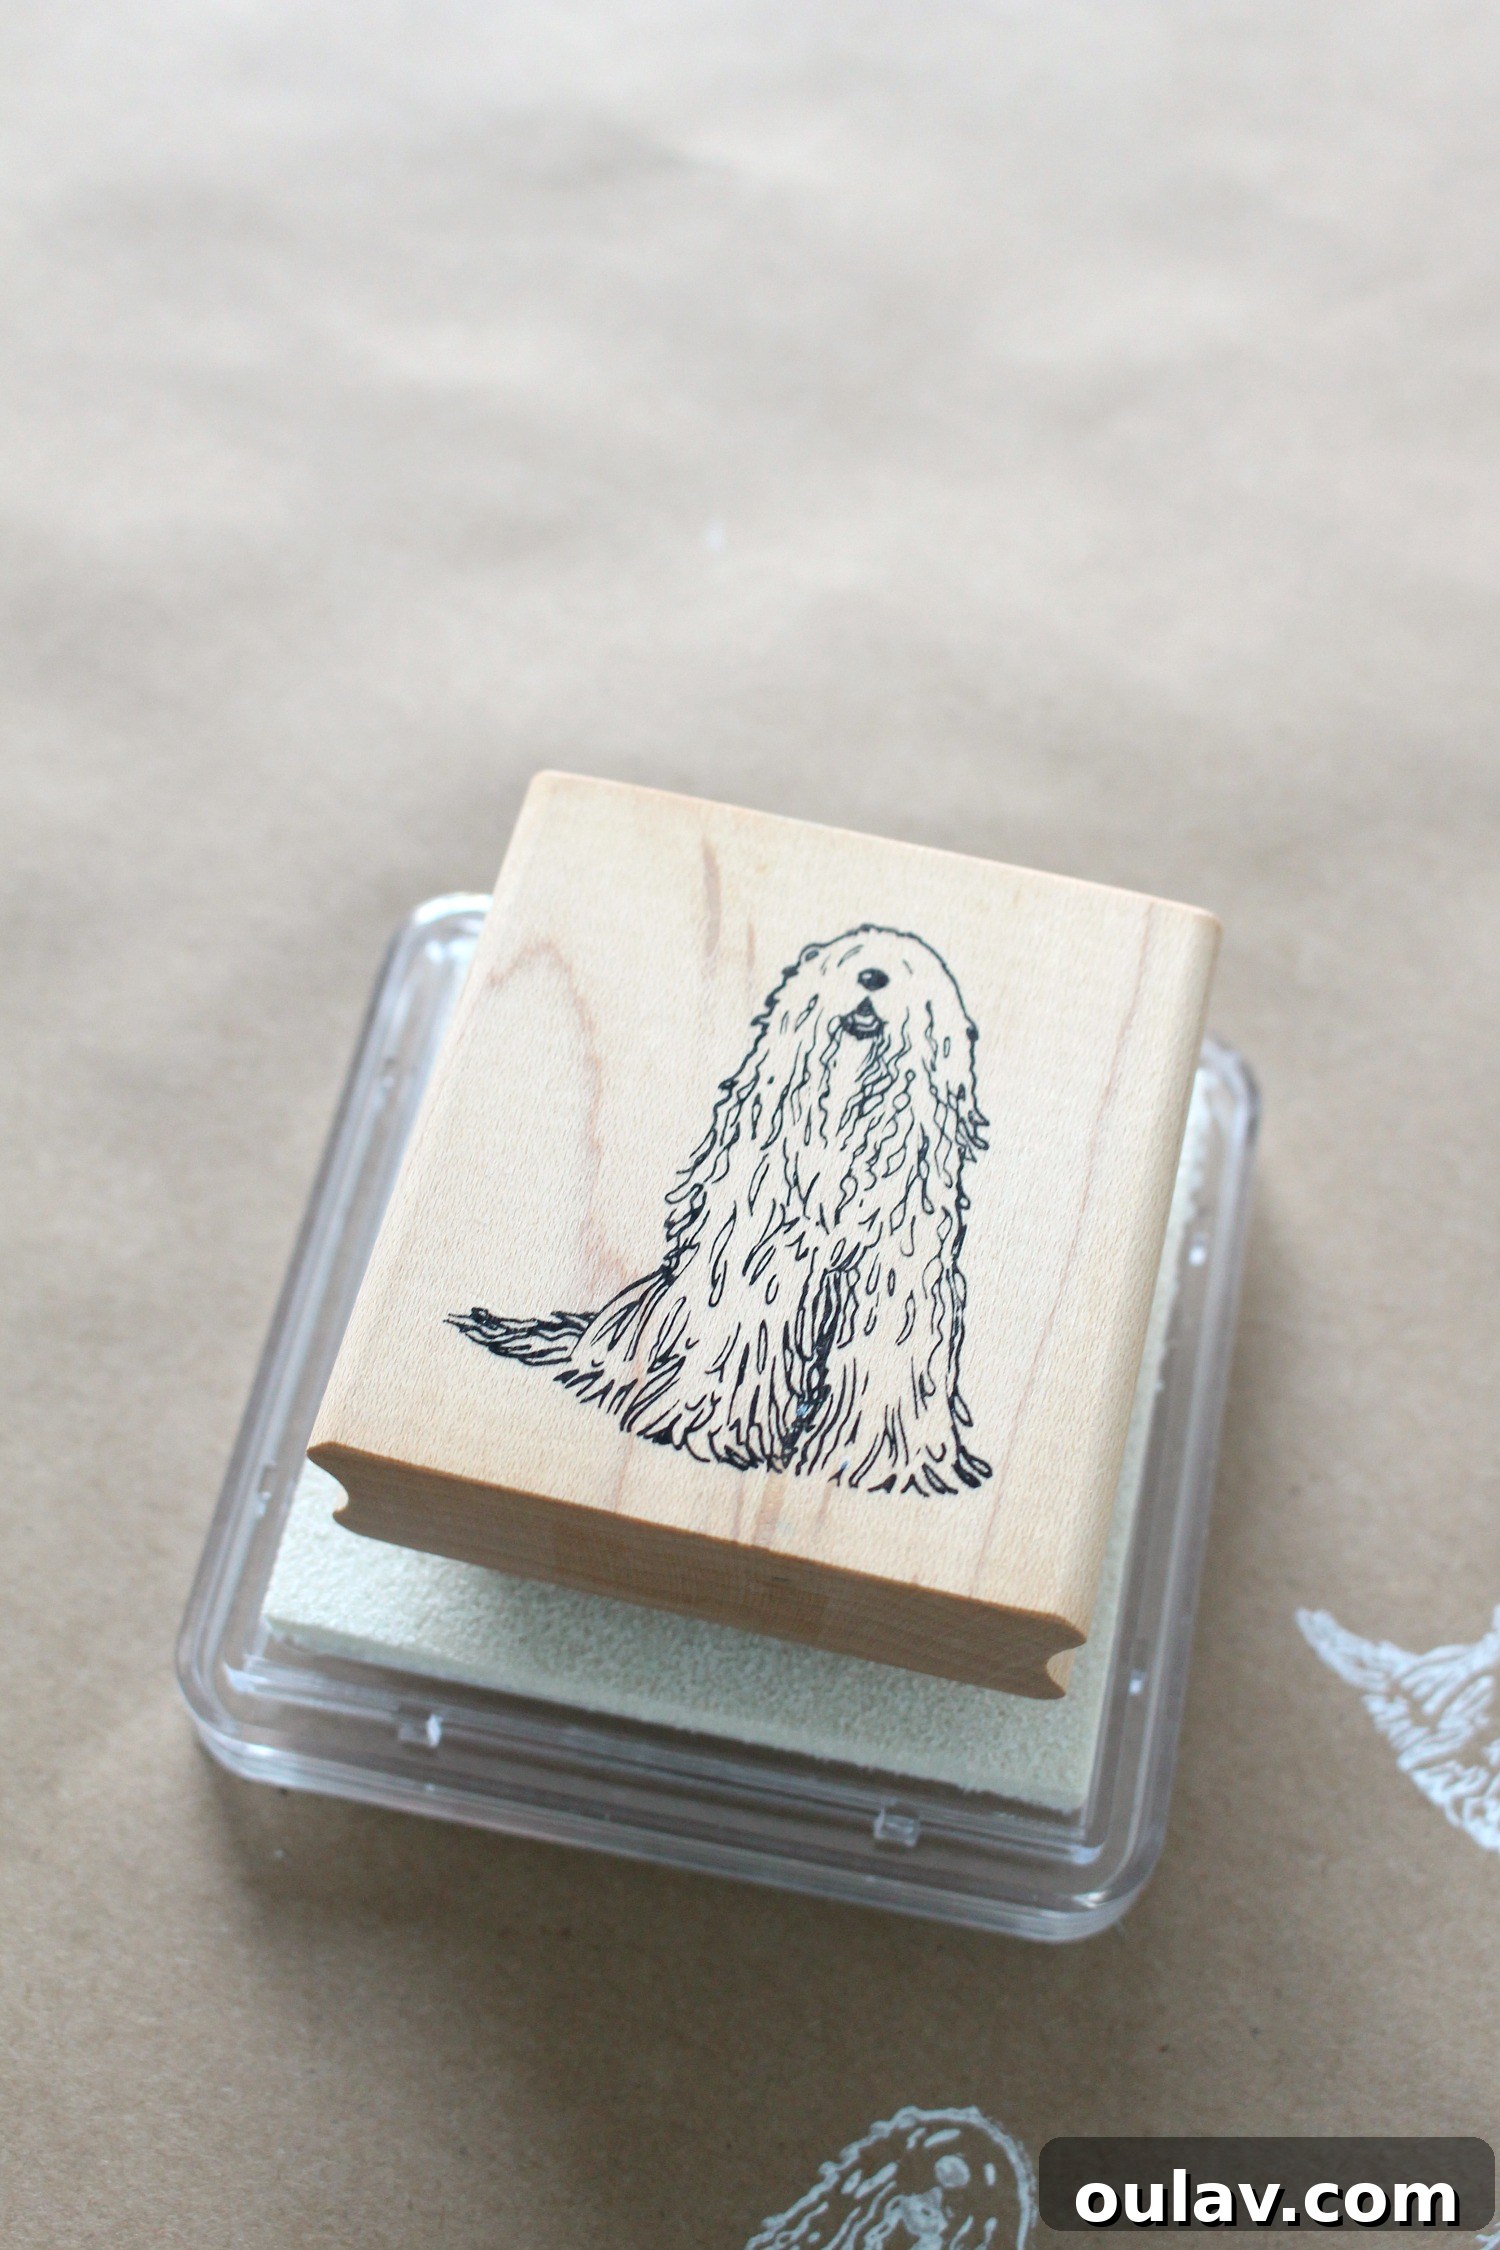
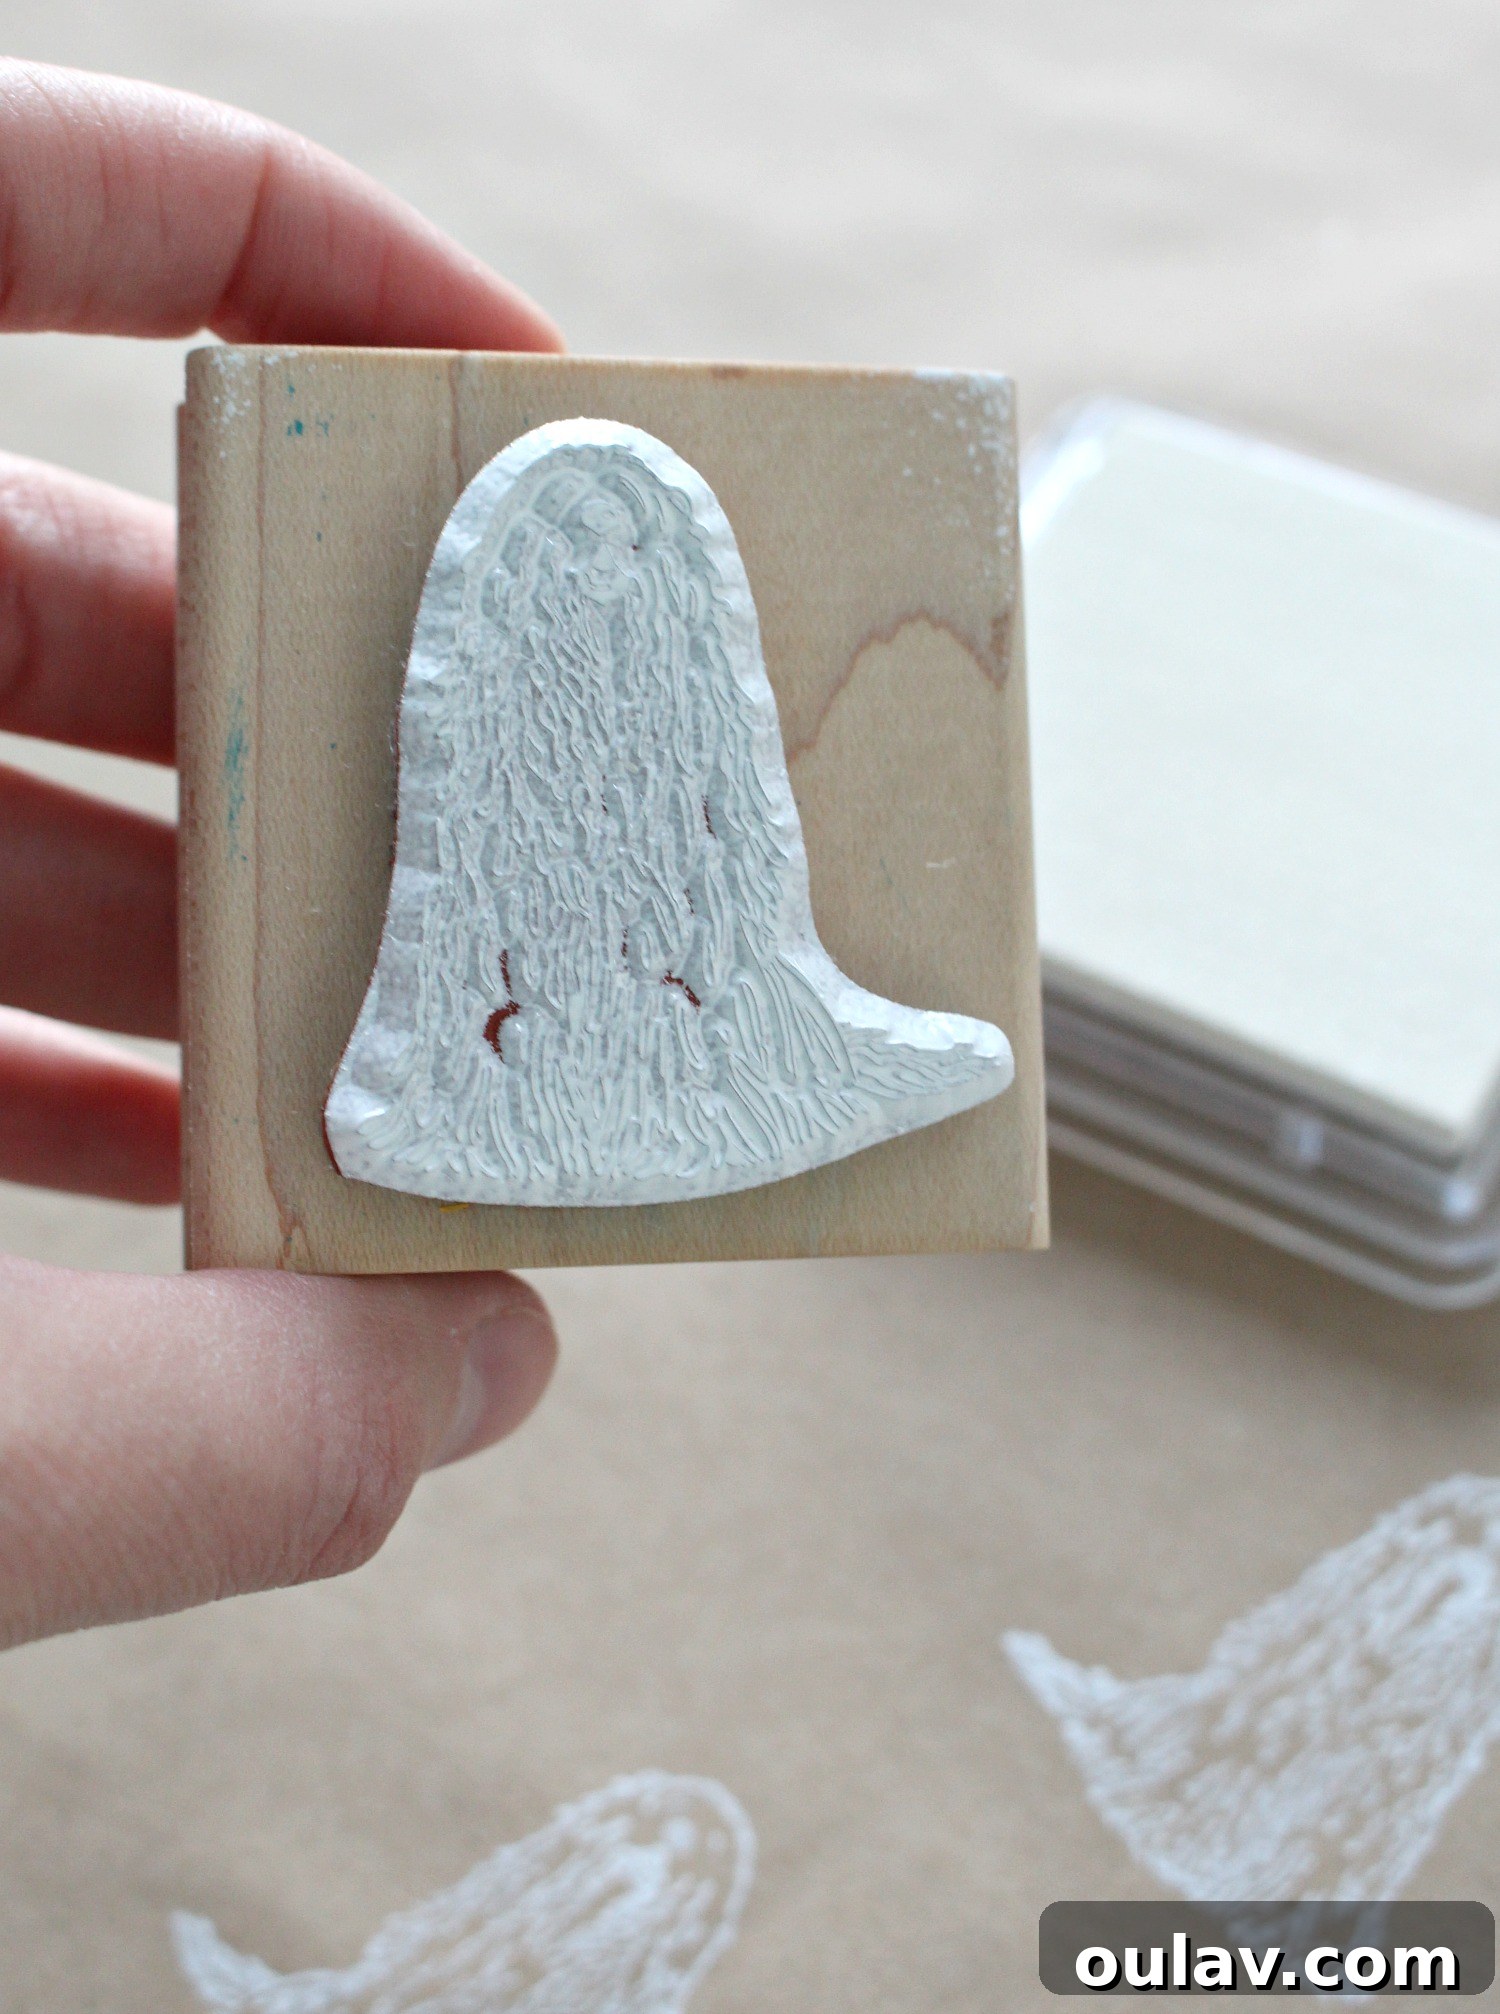
- Rubber Stamp: This is where your personalization truly shines! I used a charming Komondor stamp, which offered a unique and whimsical touch (you might remember it from this coaster project). However, the beauty of this project is its versatility. You can use any rubber stamp that suits your fancy – whether it’s a festive holiday design, a nature motif like this beautiful tree stamp, an animal, a monogram, or even something that represents an inside joke with the recipient. The key is to choose a design you love and that will transfer well onto paper.
- Fabric Ribbon Scraps: Instead of buying new ribbon, raid your craft stash or save ribbons from packaging, clothing, or previous gifts. Fabric scraps, jute twine, or even strips of old fabric can also be repurposed beautifully. These add a textural element and a pop of color without contributing to new waste.
- Old Holiday Cards: A fantastic zero-waste hack! Instead of discarding old greeting cards, birthday cards, or even random cards from real estate agents or dentists, repurpose them into unique gift tags. This not only declutters your home but also adds a sentimental and truly recycled element to your gift presentation.
- Large Fiskars Circle Paper Punch: A good quality paper punch, like my trusted Fiskars one, makes creating perfectly shaped gift tags from your old cards incredibly easy and consistent. While a circle punch is versatile, feel free to use other shapes like squares or ornamental designs.
- Single Hole Punch: Essential for punching a small hole in your repurposed gift tags, allowing you to thread ribbon or twine through them to attach to your beautifully wrapped present.
- Gold Pen/Marker: A touch of metallic sheen adds a luxurious finish. I’ve personally used this specific gold pen for five years, and it’s still performing perfectly, adding elegant script or simple drawings to my tags. Silver, white, or even black pens can also work wonderfully depending on your aesthetic.
*A wonderful company called Deserres once sent me a lovely holiday gift package which included some of these wrapping and craft supplies. The brown paper, ink pad, and an extra stamp (which I didn’t use for this particular project) were among the thoughtful goodies inside. Deserres offers an extensive range of craft supplies, but for convenience and wider availability, I’ve provided links to similar items on Amazon, as I couldn’t locate the exact products they sent me on their website.
Crafting Your Custom Stamped Wrapping Paper: A Step-by-Step Guide
Creating your own stamped wrapping paper is a wonderfully straightforward process. Follow these simple steps to achieve beautiful, personalized results:
- Prepare Your Workspace and Test Your Stamp: Before committing to your main wrapping paper, find a large, flat, and clean surface to work on. Lay down a protective sheet or old newspaper to catch any stray ink. Crucially, always test your rubber stamp on a scrap piece of paper first. This step allows you to gauge the amount of ink needed, the right pressure to apply, and how quickly to lift the stamp for a clean impression. It helps prevent errors on your main project.
- Unroll and Flatten Your Wrapping Paper: Carefully unroll your chosen brown recycled paper and lay it flat on your prepared surface. If the paper has a tendency to curl, you can place books or weights along the edges for a few minutes to help it relax and lie perfectly flat. A smooth surface ensures an even stamp application.
- Ink the Rubber Stamp Evenly: Gently but firmly press your rubber stamp directly onto the ink pad. The goal is to evenly coat the entire surface of the stamp’s design with ink. Avoid rocking the stamp, as this can lead to uneven inking. If your ink pad is smaller than your stamp, you might need to dab it in sections, ensuring full coverage.
- Apply the Stamp with Consistent Pressure: Once the stamp is thoroughly inked, carefully position it onto your wrapping paper. Place it straight down with even pressure across the entire stamp surface. Avoid sliding or twisting the stamp once it’s on the paper, as this will cause smudges and blur the image.
- Lift Quickly for a Smudge-Free Impression: After applying firm, even pressure, lift the stamp straight up and quickly from the paper. A swift, clean lift helps prevent the ink from smudging and ensures a crisp, clear image. Inspect your first few stamps to fine-tune your pressure and lifting technique.
- Repeat the Process: Re-ink your stamp for each new impression to ensure consistent color and clarity. Continue stamping across your paper, covering the desired area. You can choose to create a structured, repeating pattern or a more organic, random design.
Choosing Your Pattern: Repeating vs. Random
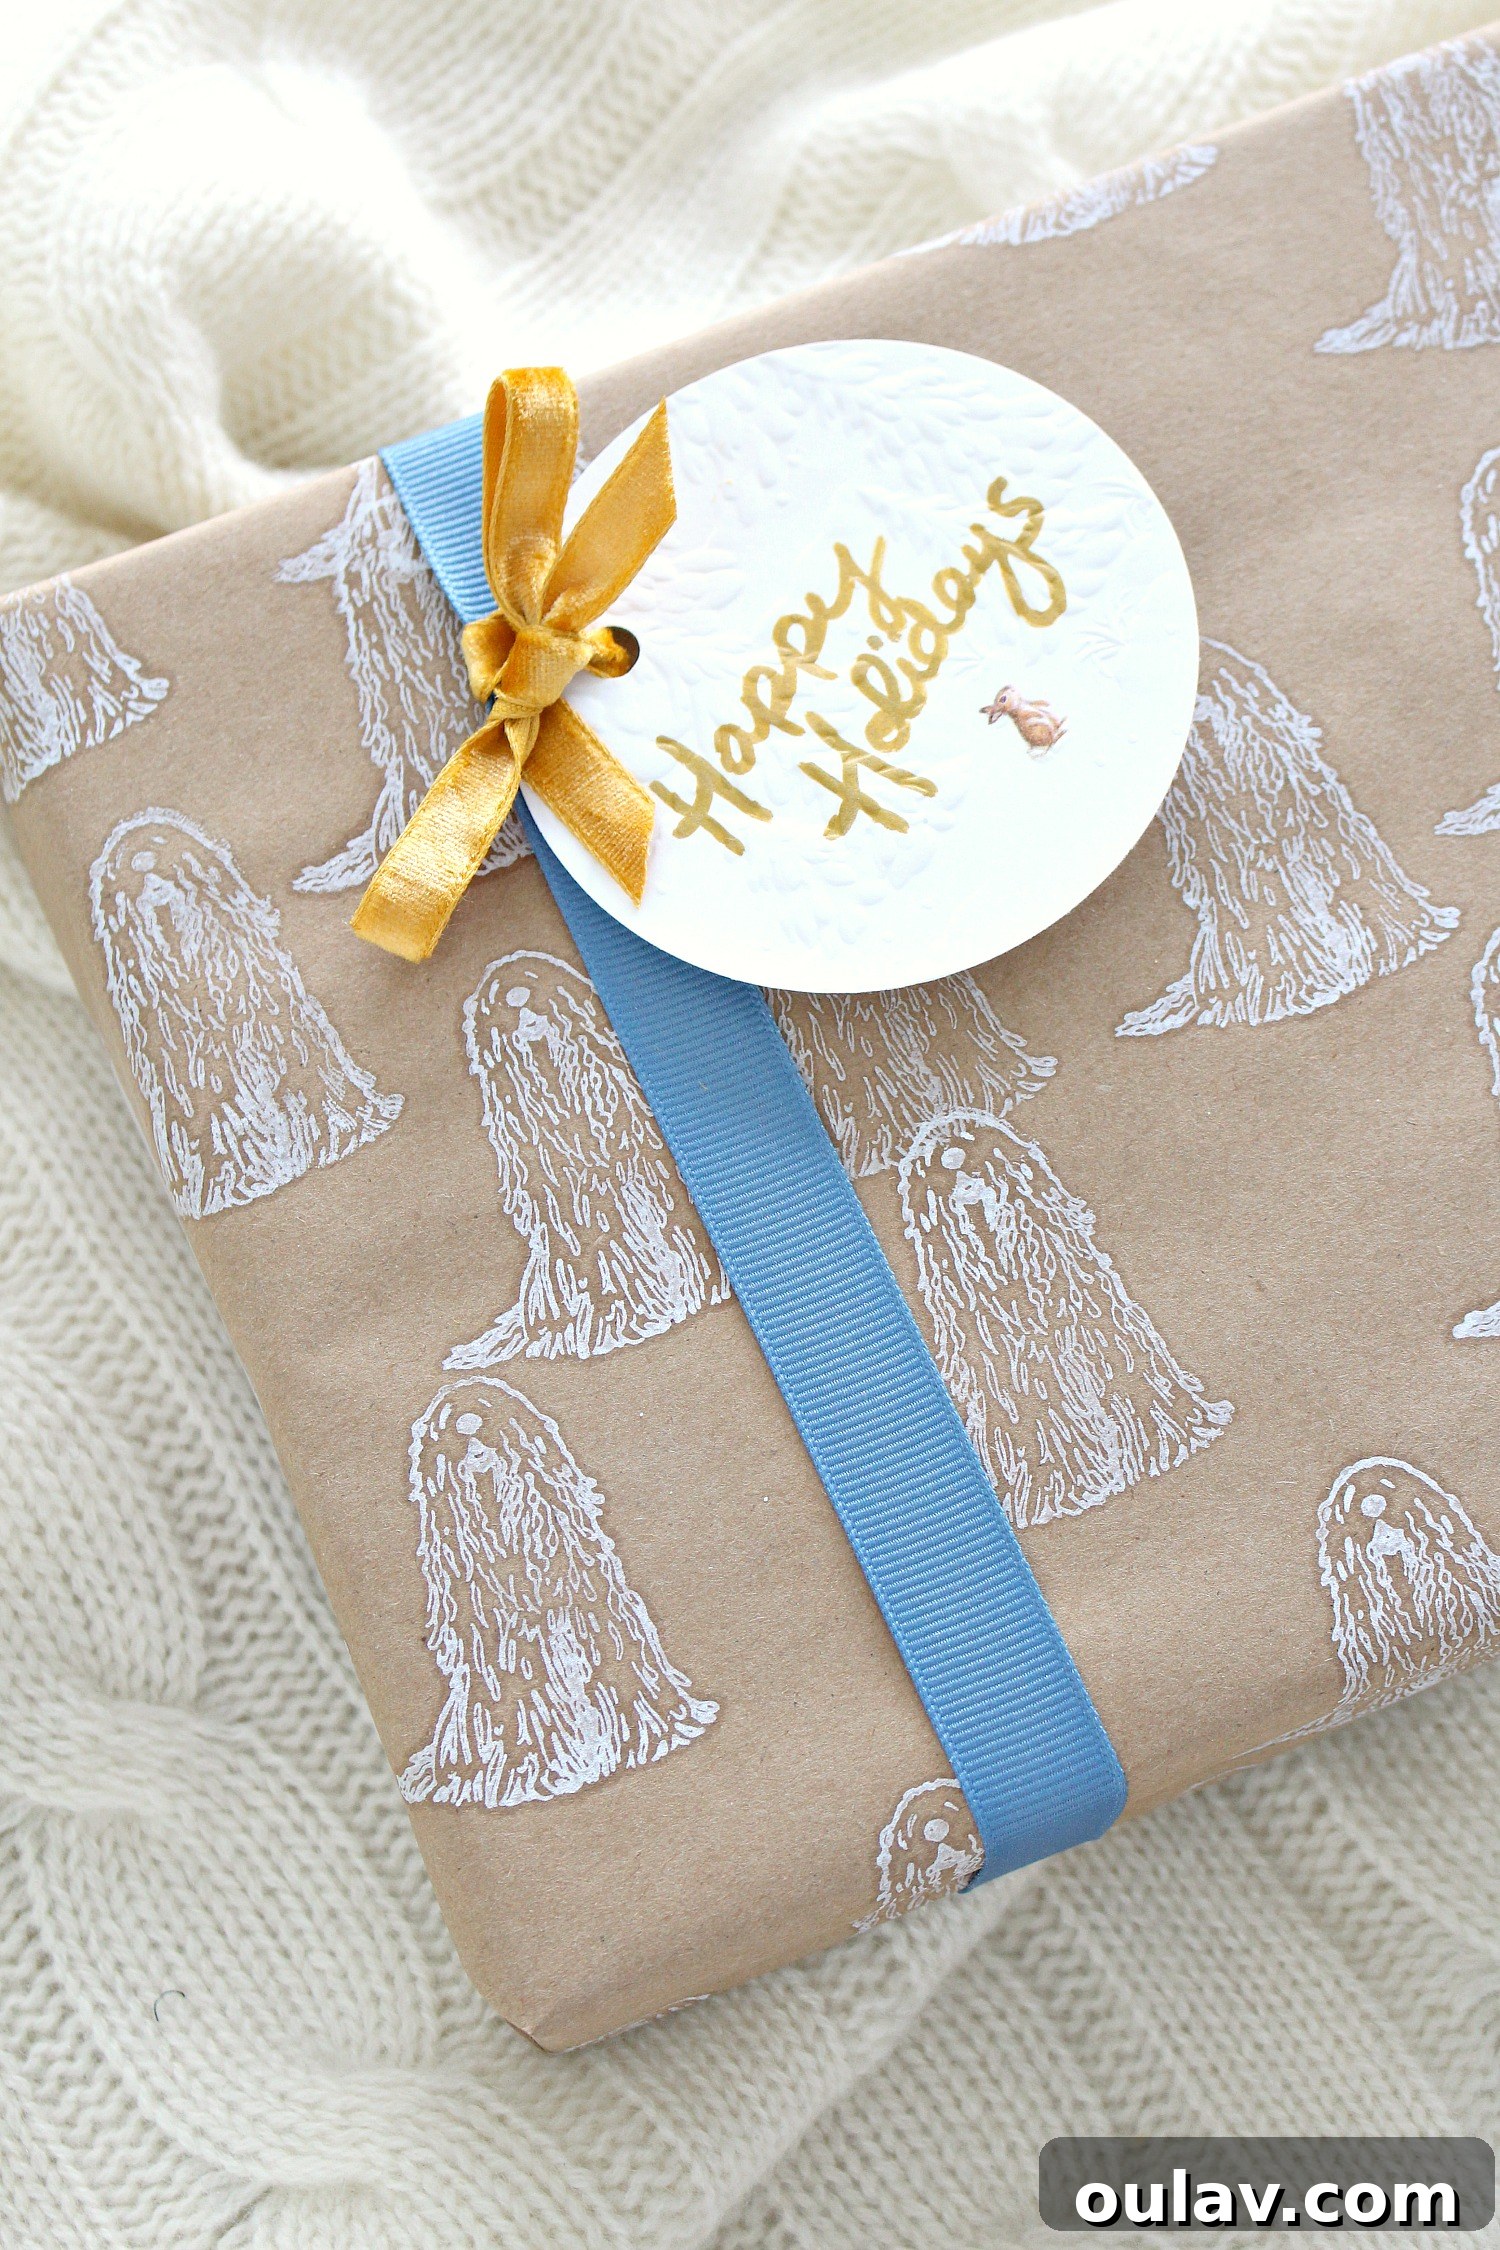
When it comes to designing your stamped wrapping paper, you have two main approaches: a repeating pattern or a random arrangement. Initially, I considered a perfectly spaced repeating pattern, but I quickly realized the potential for error and decided to embrace a more organic, random, and sometimes overlapping design. I’m incredibly pleased with how it turned out! The beauty of a random pattern is its forgiving nature – minor imperfections only add to its charm and handmade appeal.
For a perfect, crisp stamp, I always recommend testing the stamp on a scrap piece of paper beforehand to perfect the amount of ink and pressure required. I, however, tend to jump right in, and while some of my stamps turned out a little more faded than others, the overall effect is still wonderfully cute and took only a few minutes to complete. Don’t be afraid to let a little imperfection shine through; it adds to the authentic, homespun vibe of your DIY gift wrap.
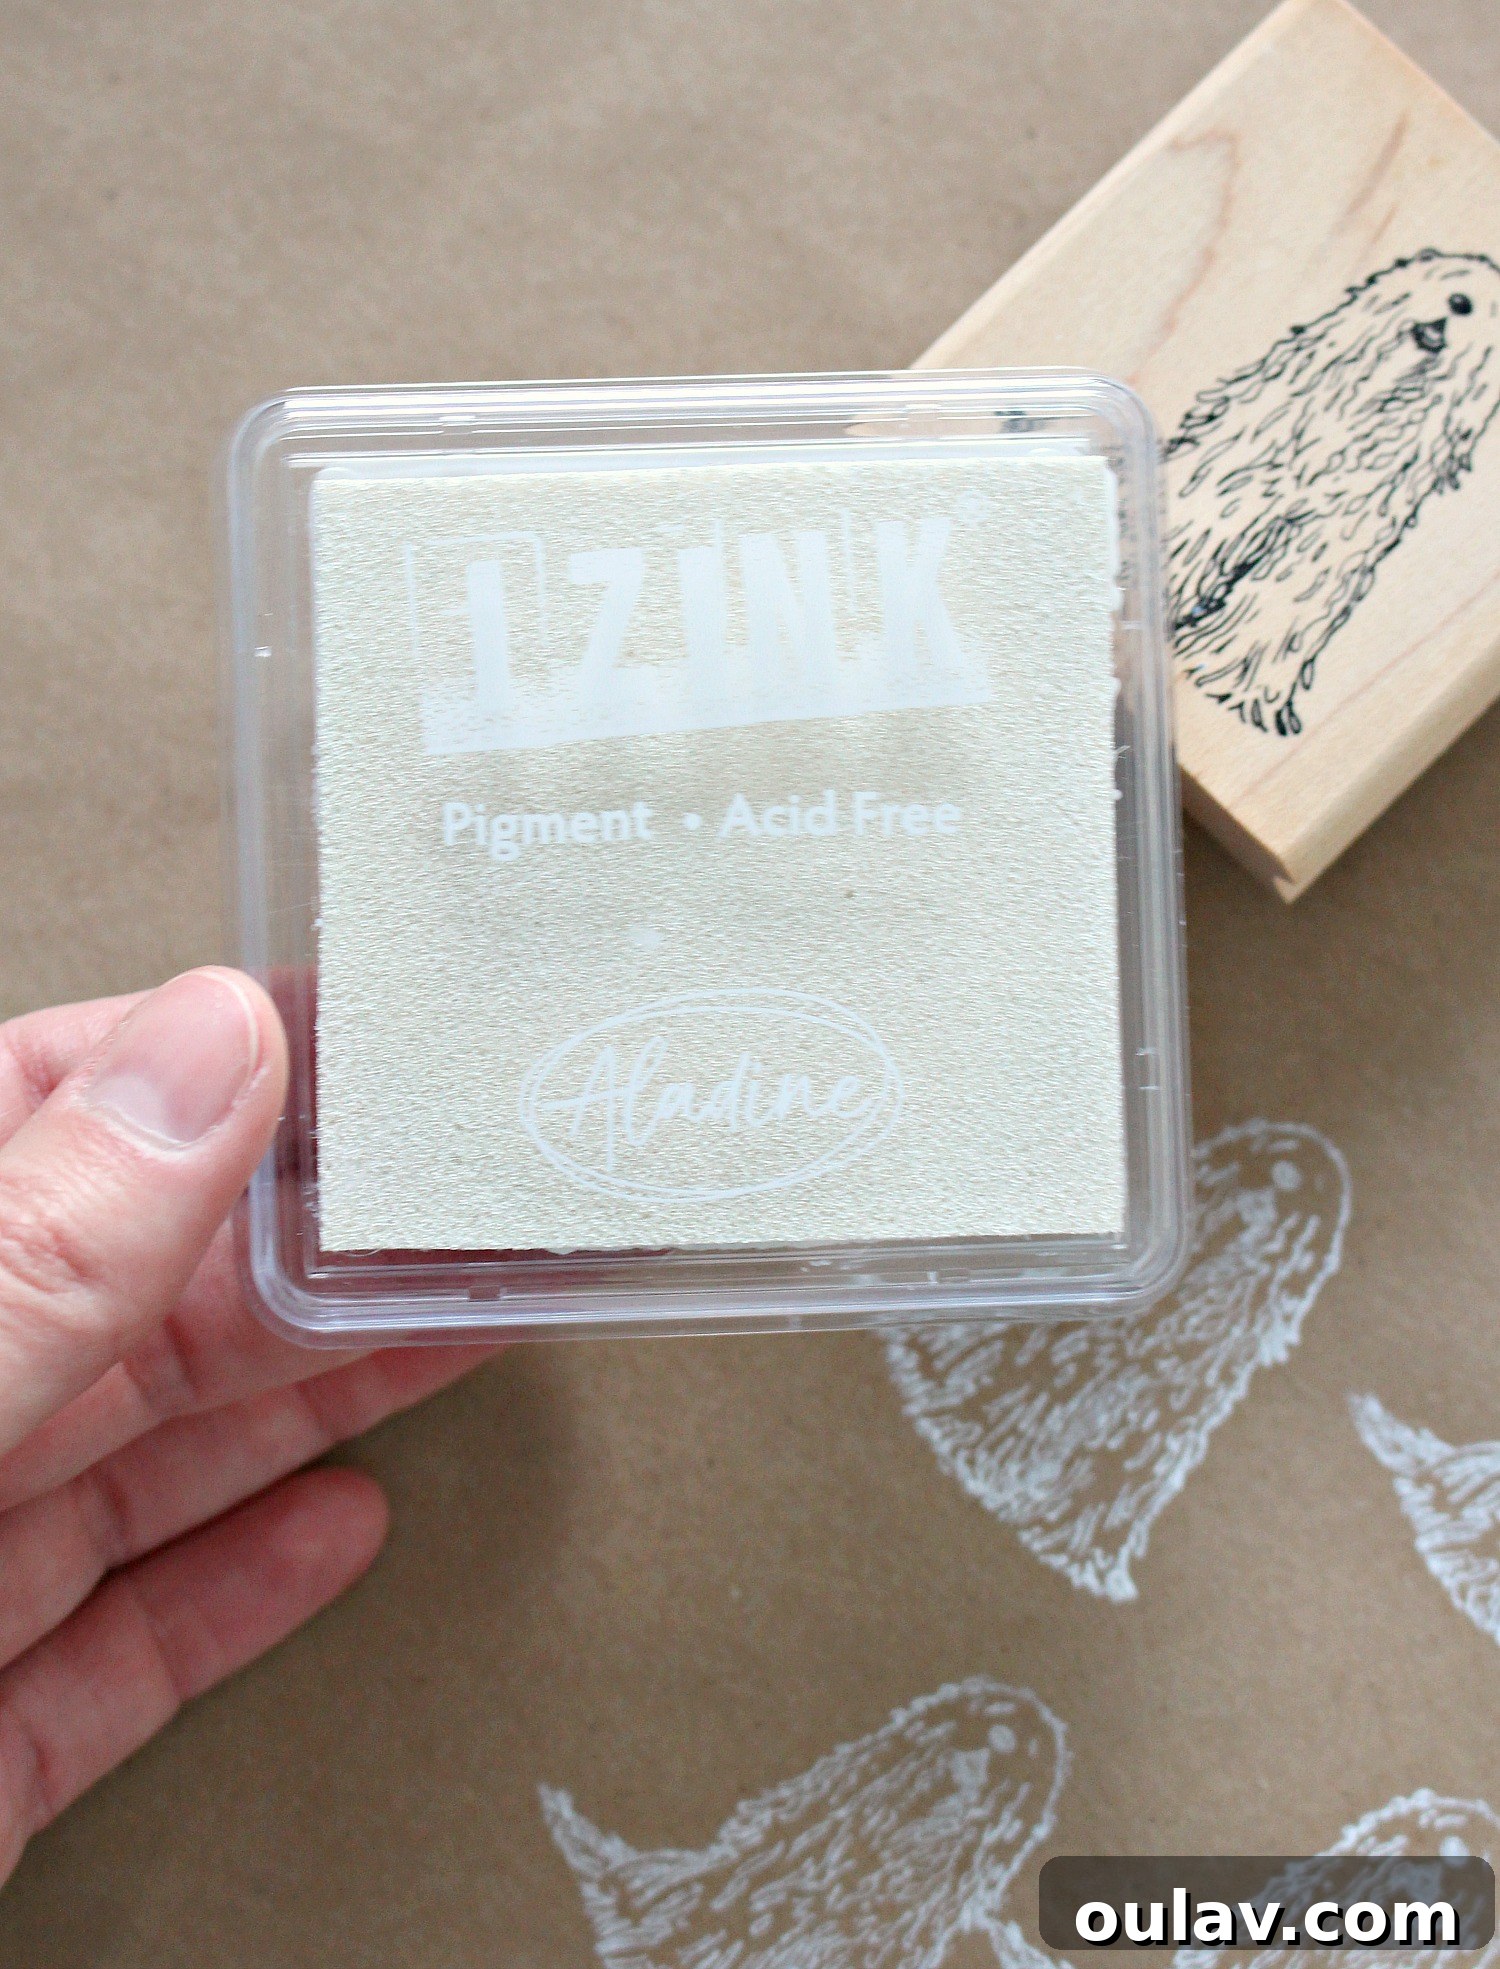
Ultimately, whether you opt for a precise repeating pattern or a playful random one, the key is to experiment and have fun. Each approach offers its own unique aesthetic. A repeating pattern can look clean and sophisticated, while a random, slightly overlapping design often feels more artistic and handmade. There’s no right or wrong way; it’s all about personal preference and the desired outcome for your custom gift wrap.
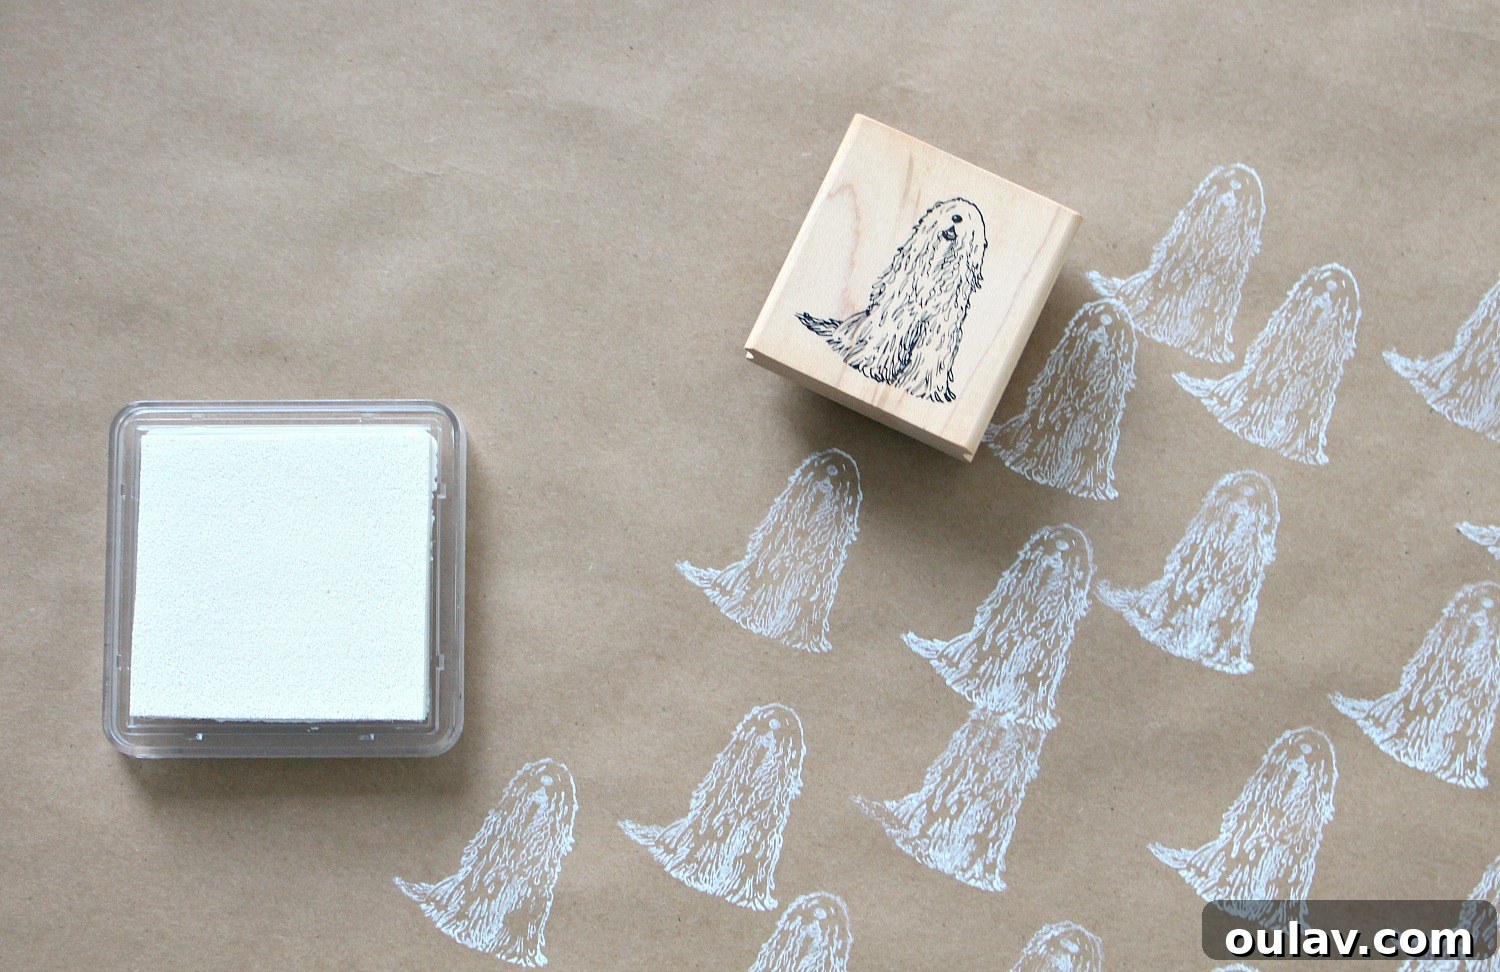
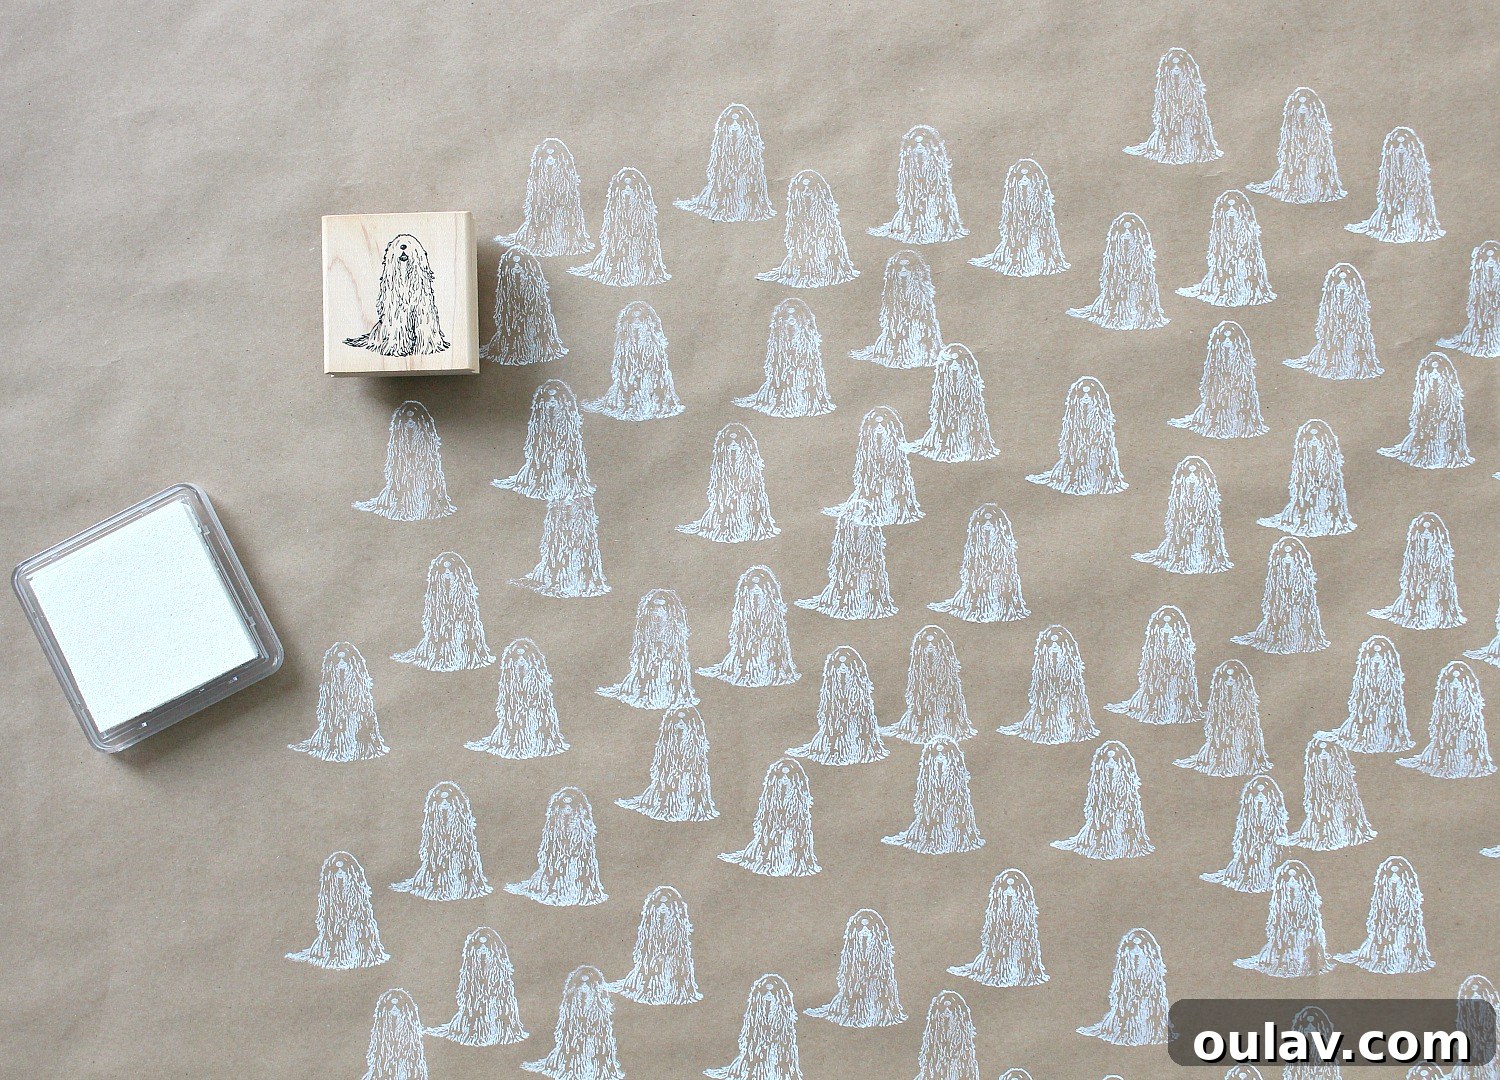
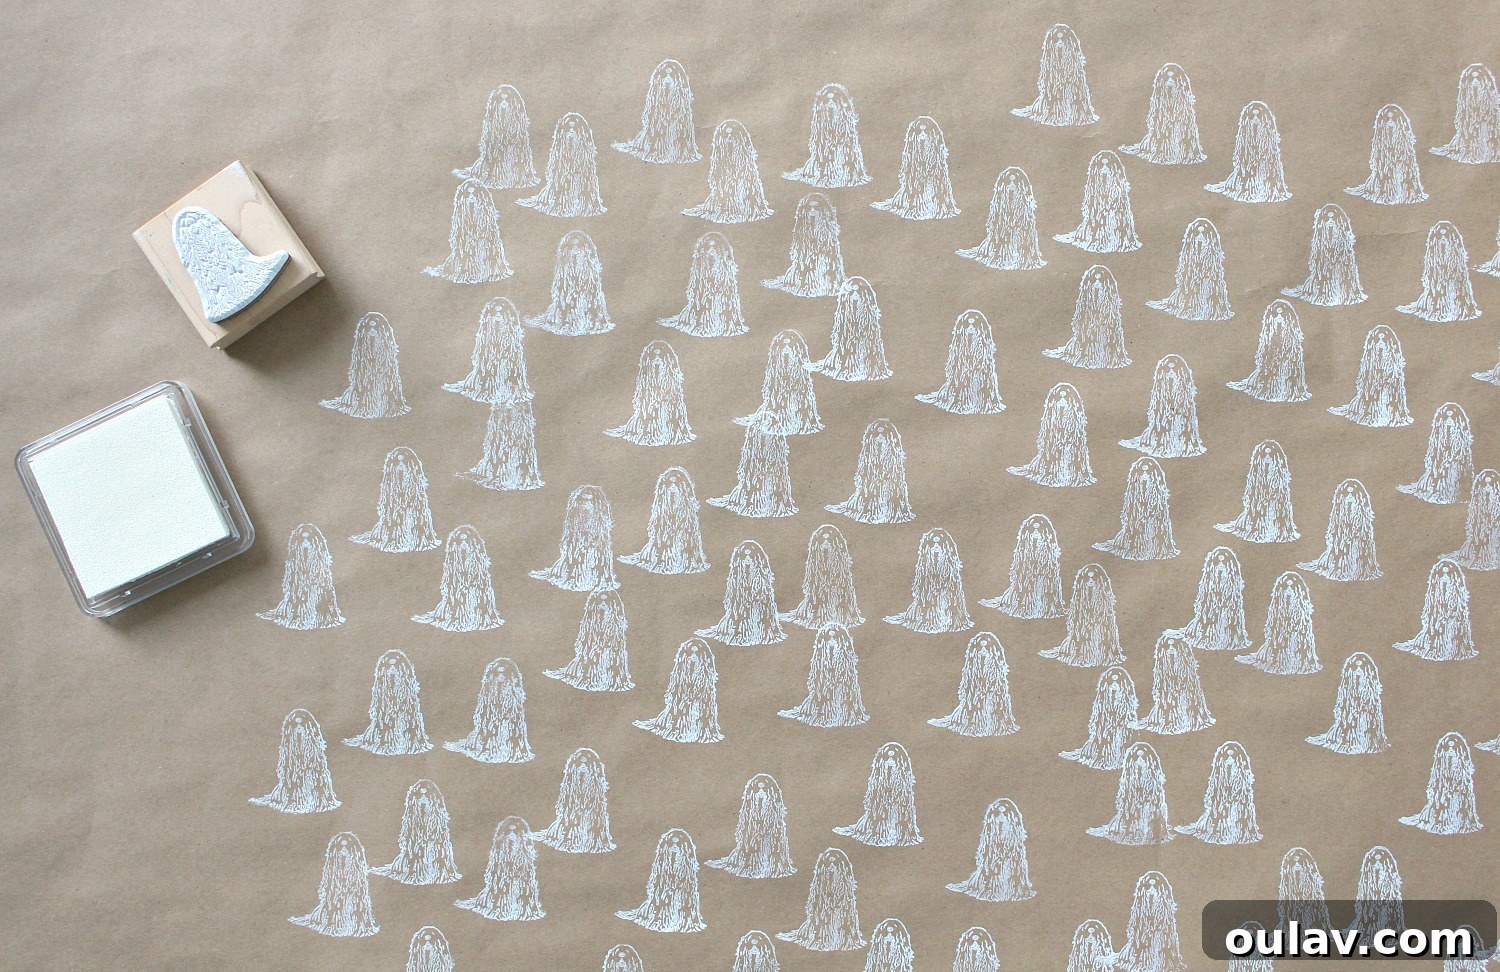
Remember, the goal is to evenly coat the stamp with ink and place it straight down on the paper with consistent pressure, then lift quickly for a nice, smudge-free stamp. With a little practice, you’ll be creating professional-looking custom wrapping paper in no time.
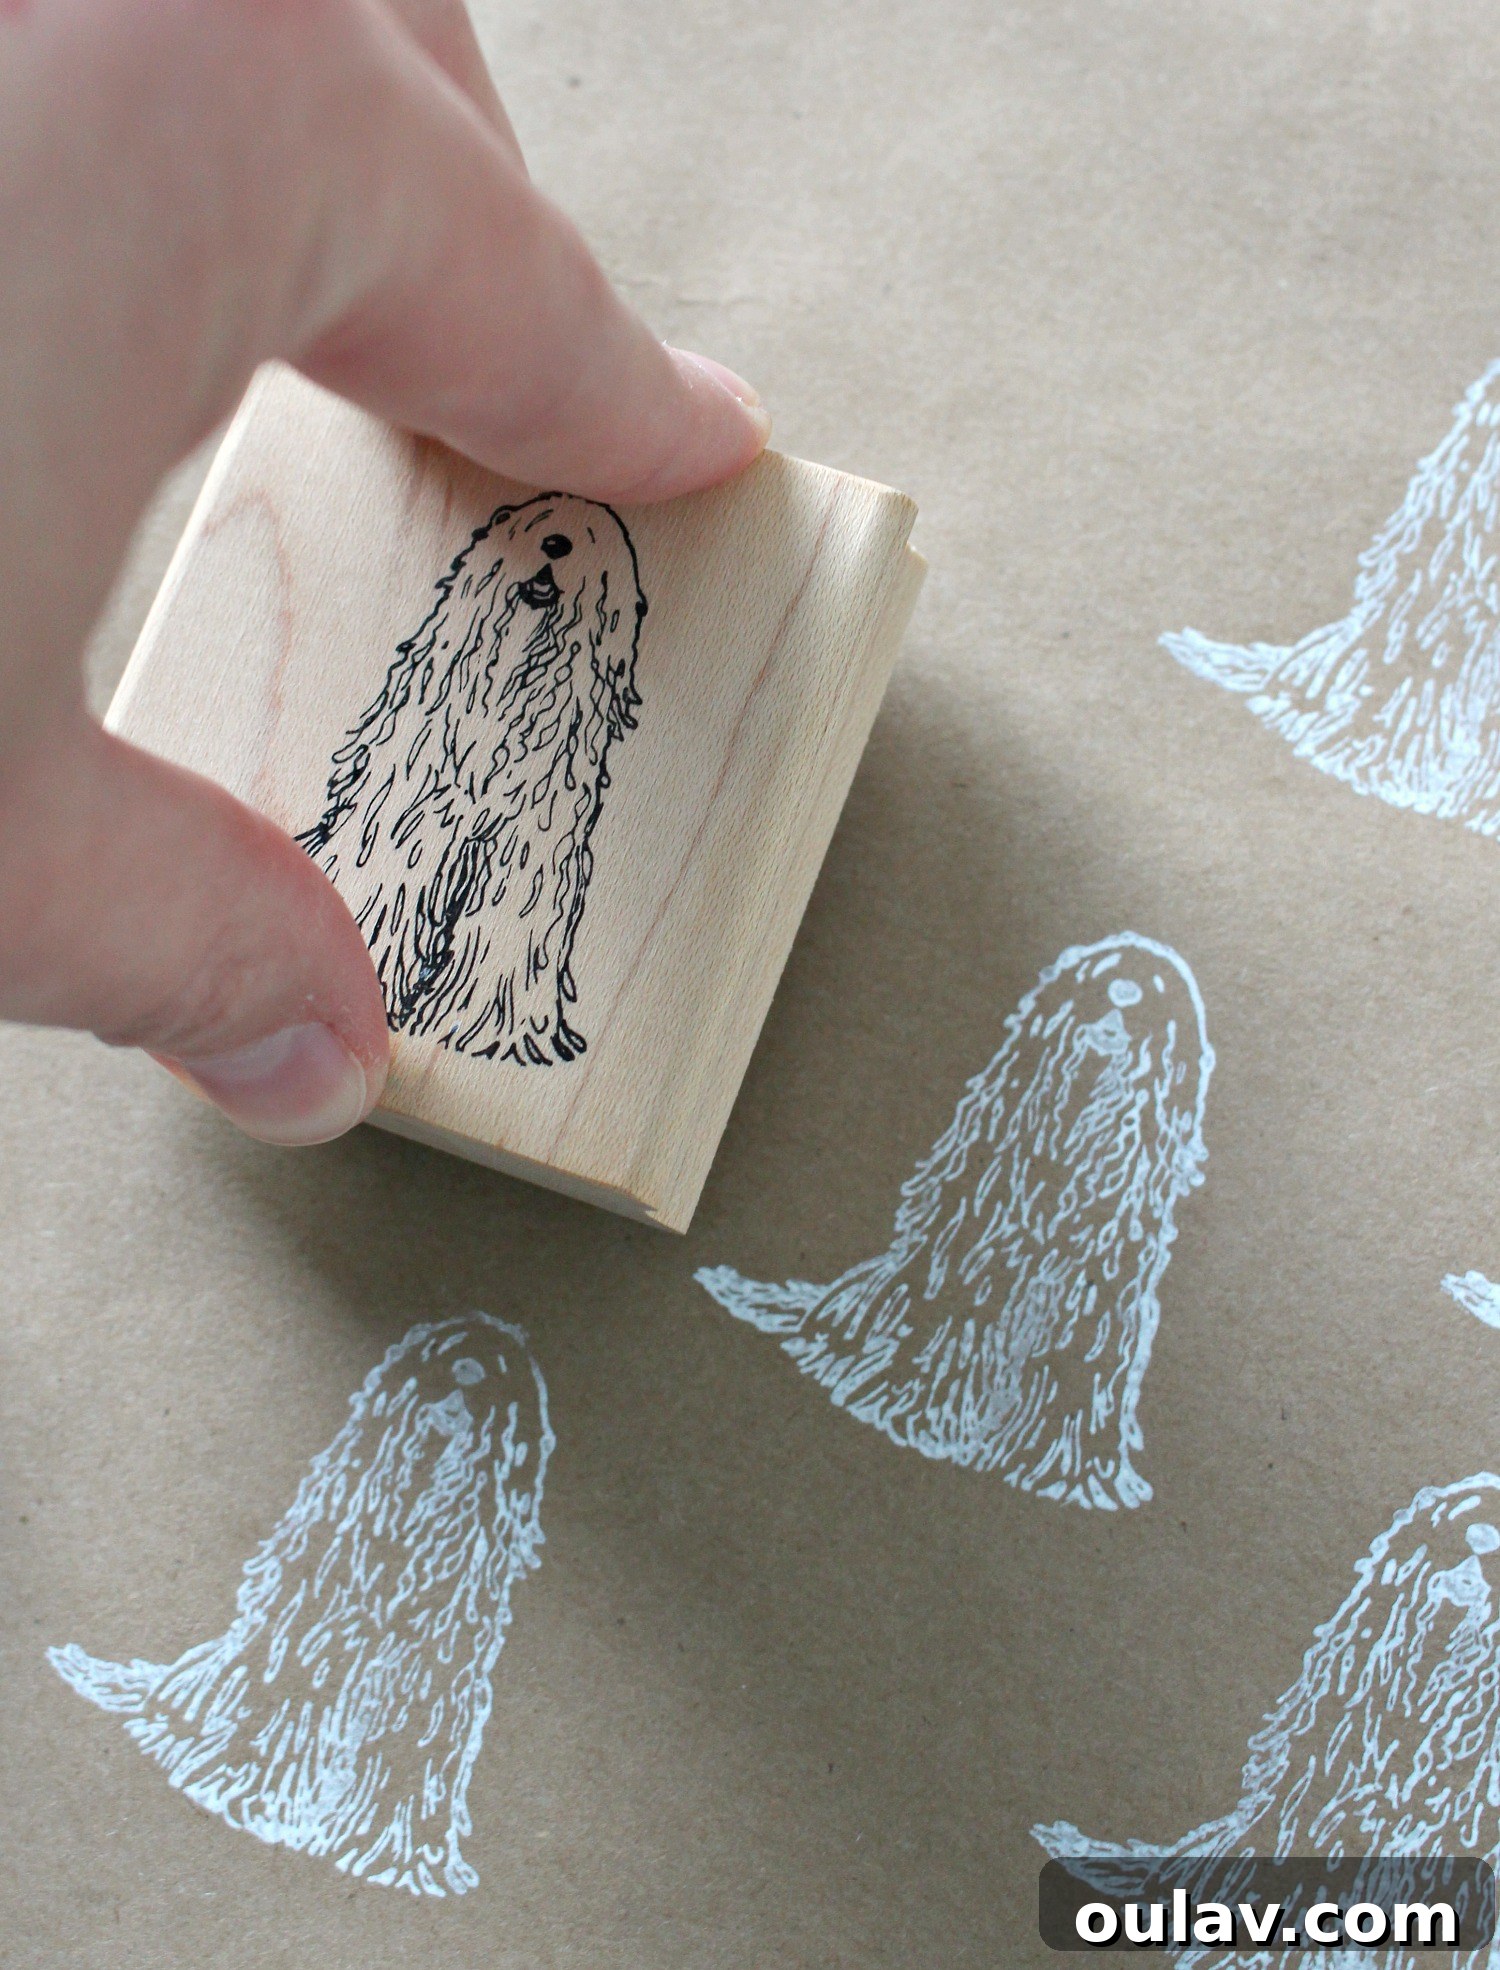
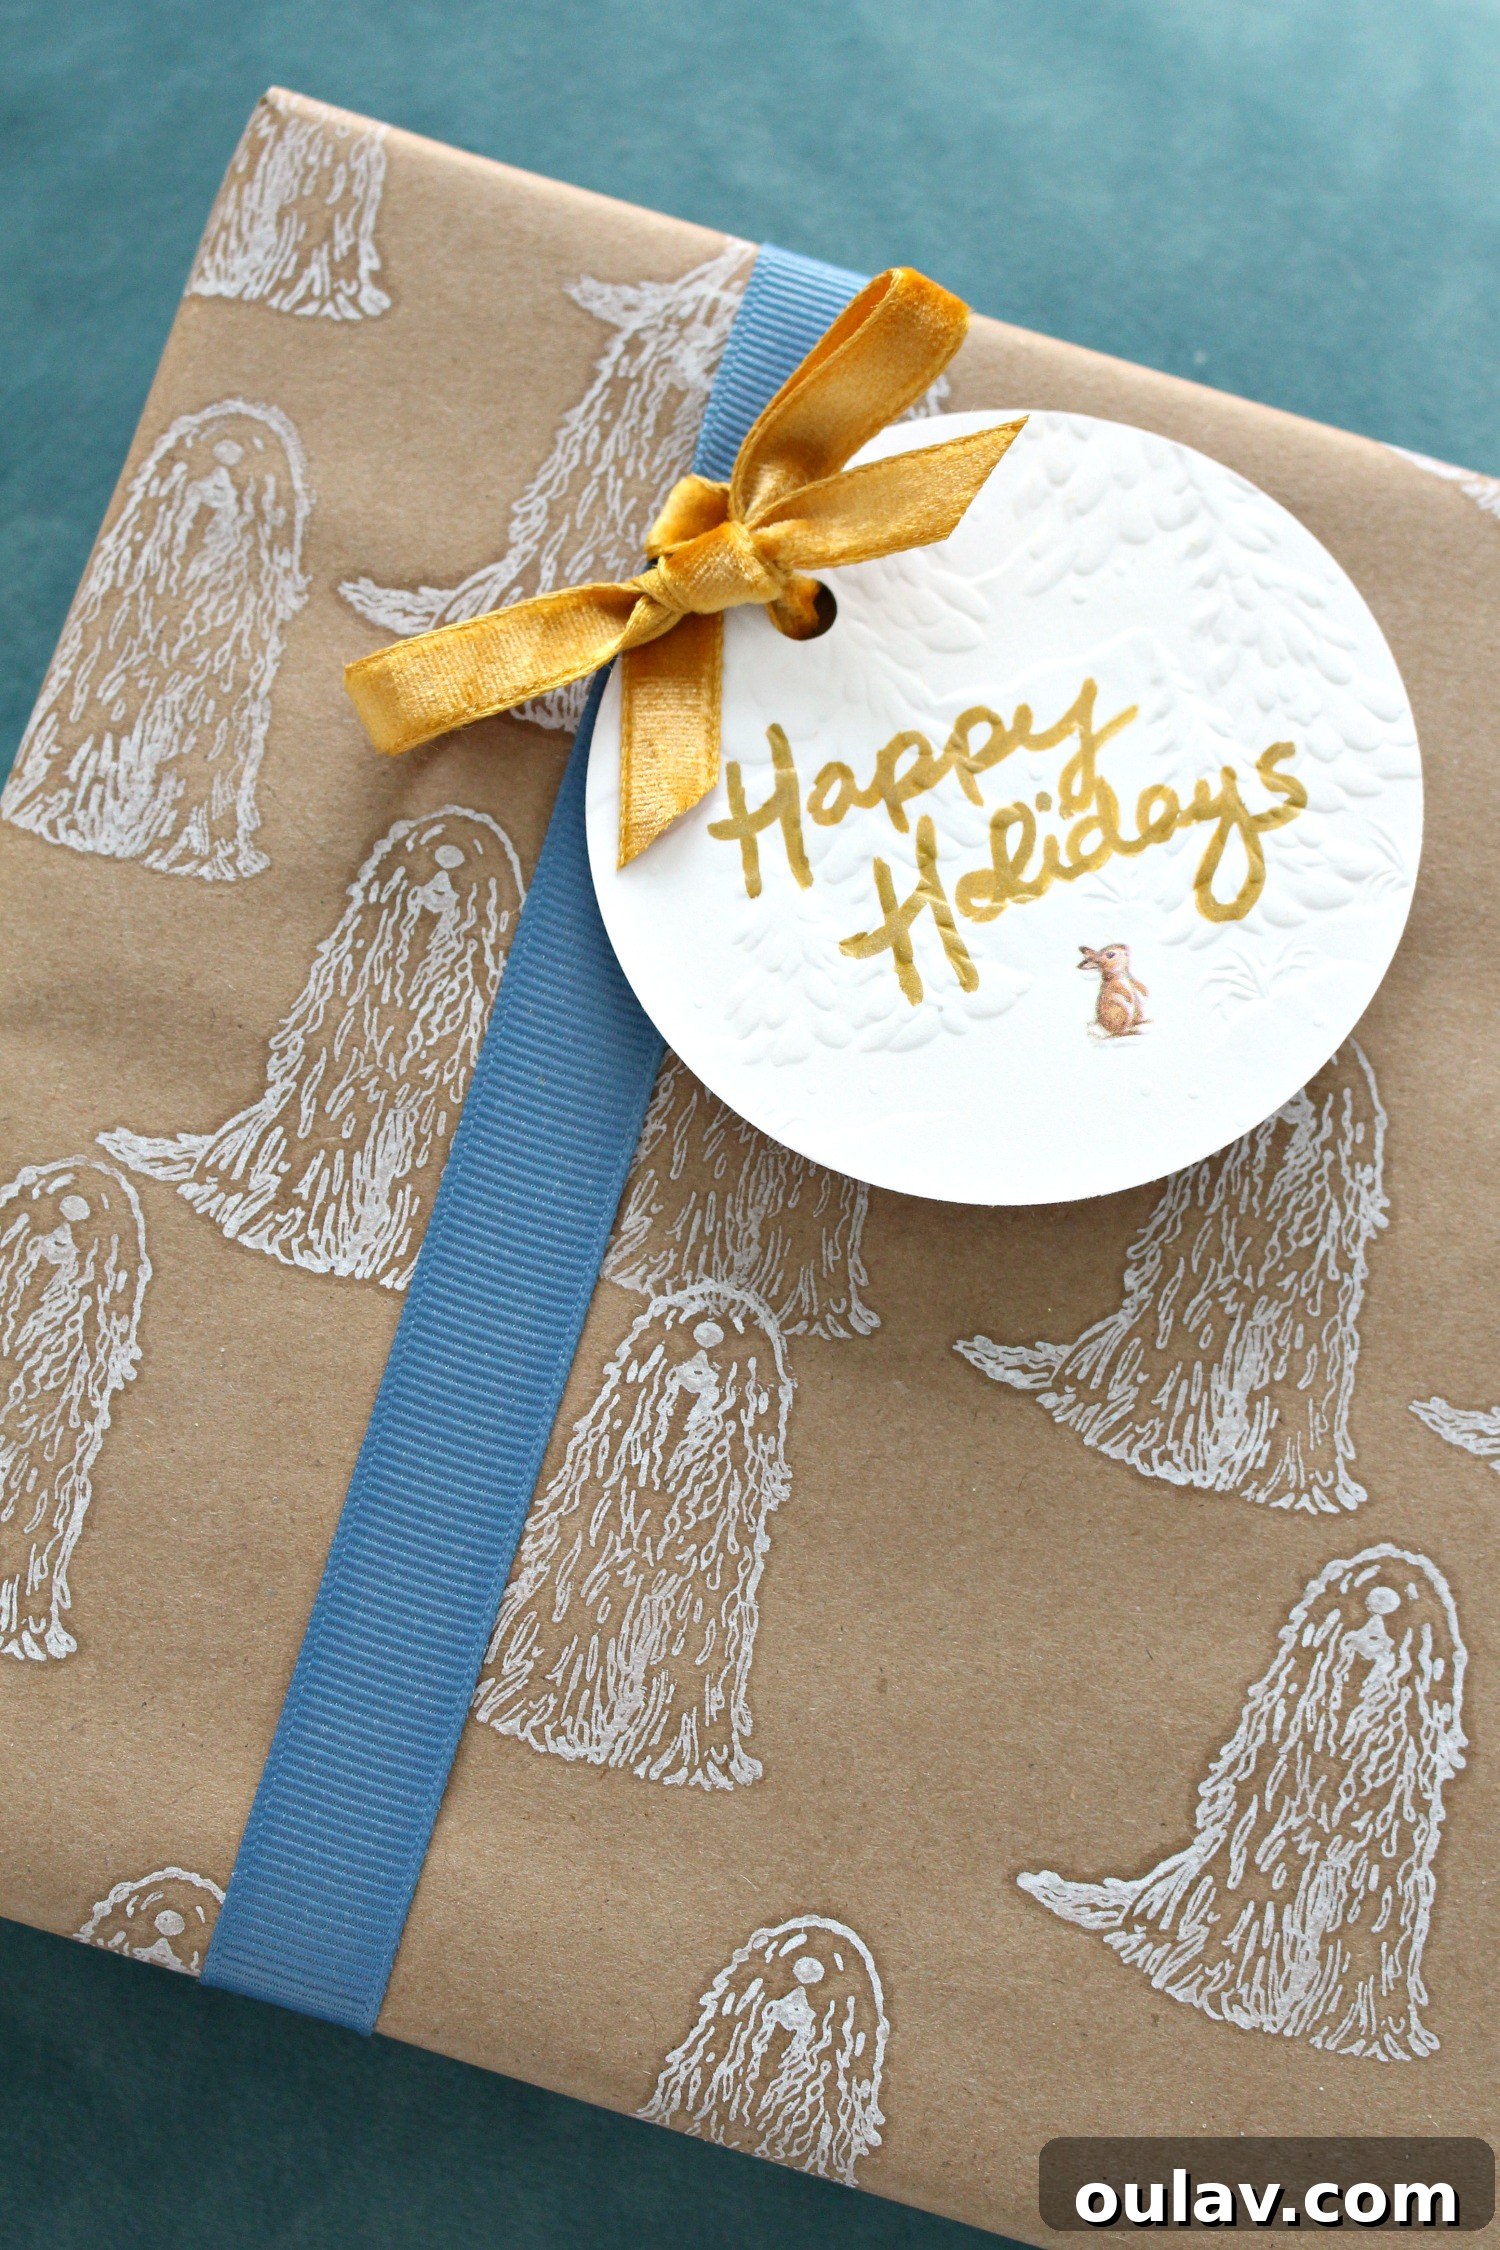
Look how incredibly cute these Komondors are! While perhaps only a small percentage of you will want Komondor-stamped paper, the true magic lies in the ability to use *any* stamp to create custom wrapping paper that perfectly suits the recipient’s interests and passions. Whether it’s cats, cars, flowers, or abstract art, your imagination is the only limit. I particularly love how the Komondors, with their distinctive dreadlocks, almost resemble tiny yetis at first glance – it gets funnier the longer I look at it! This element of surprise and whimsy is exactly what makes DIY wrapping paper so special.
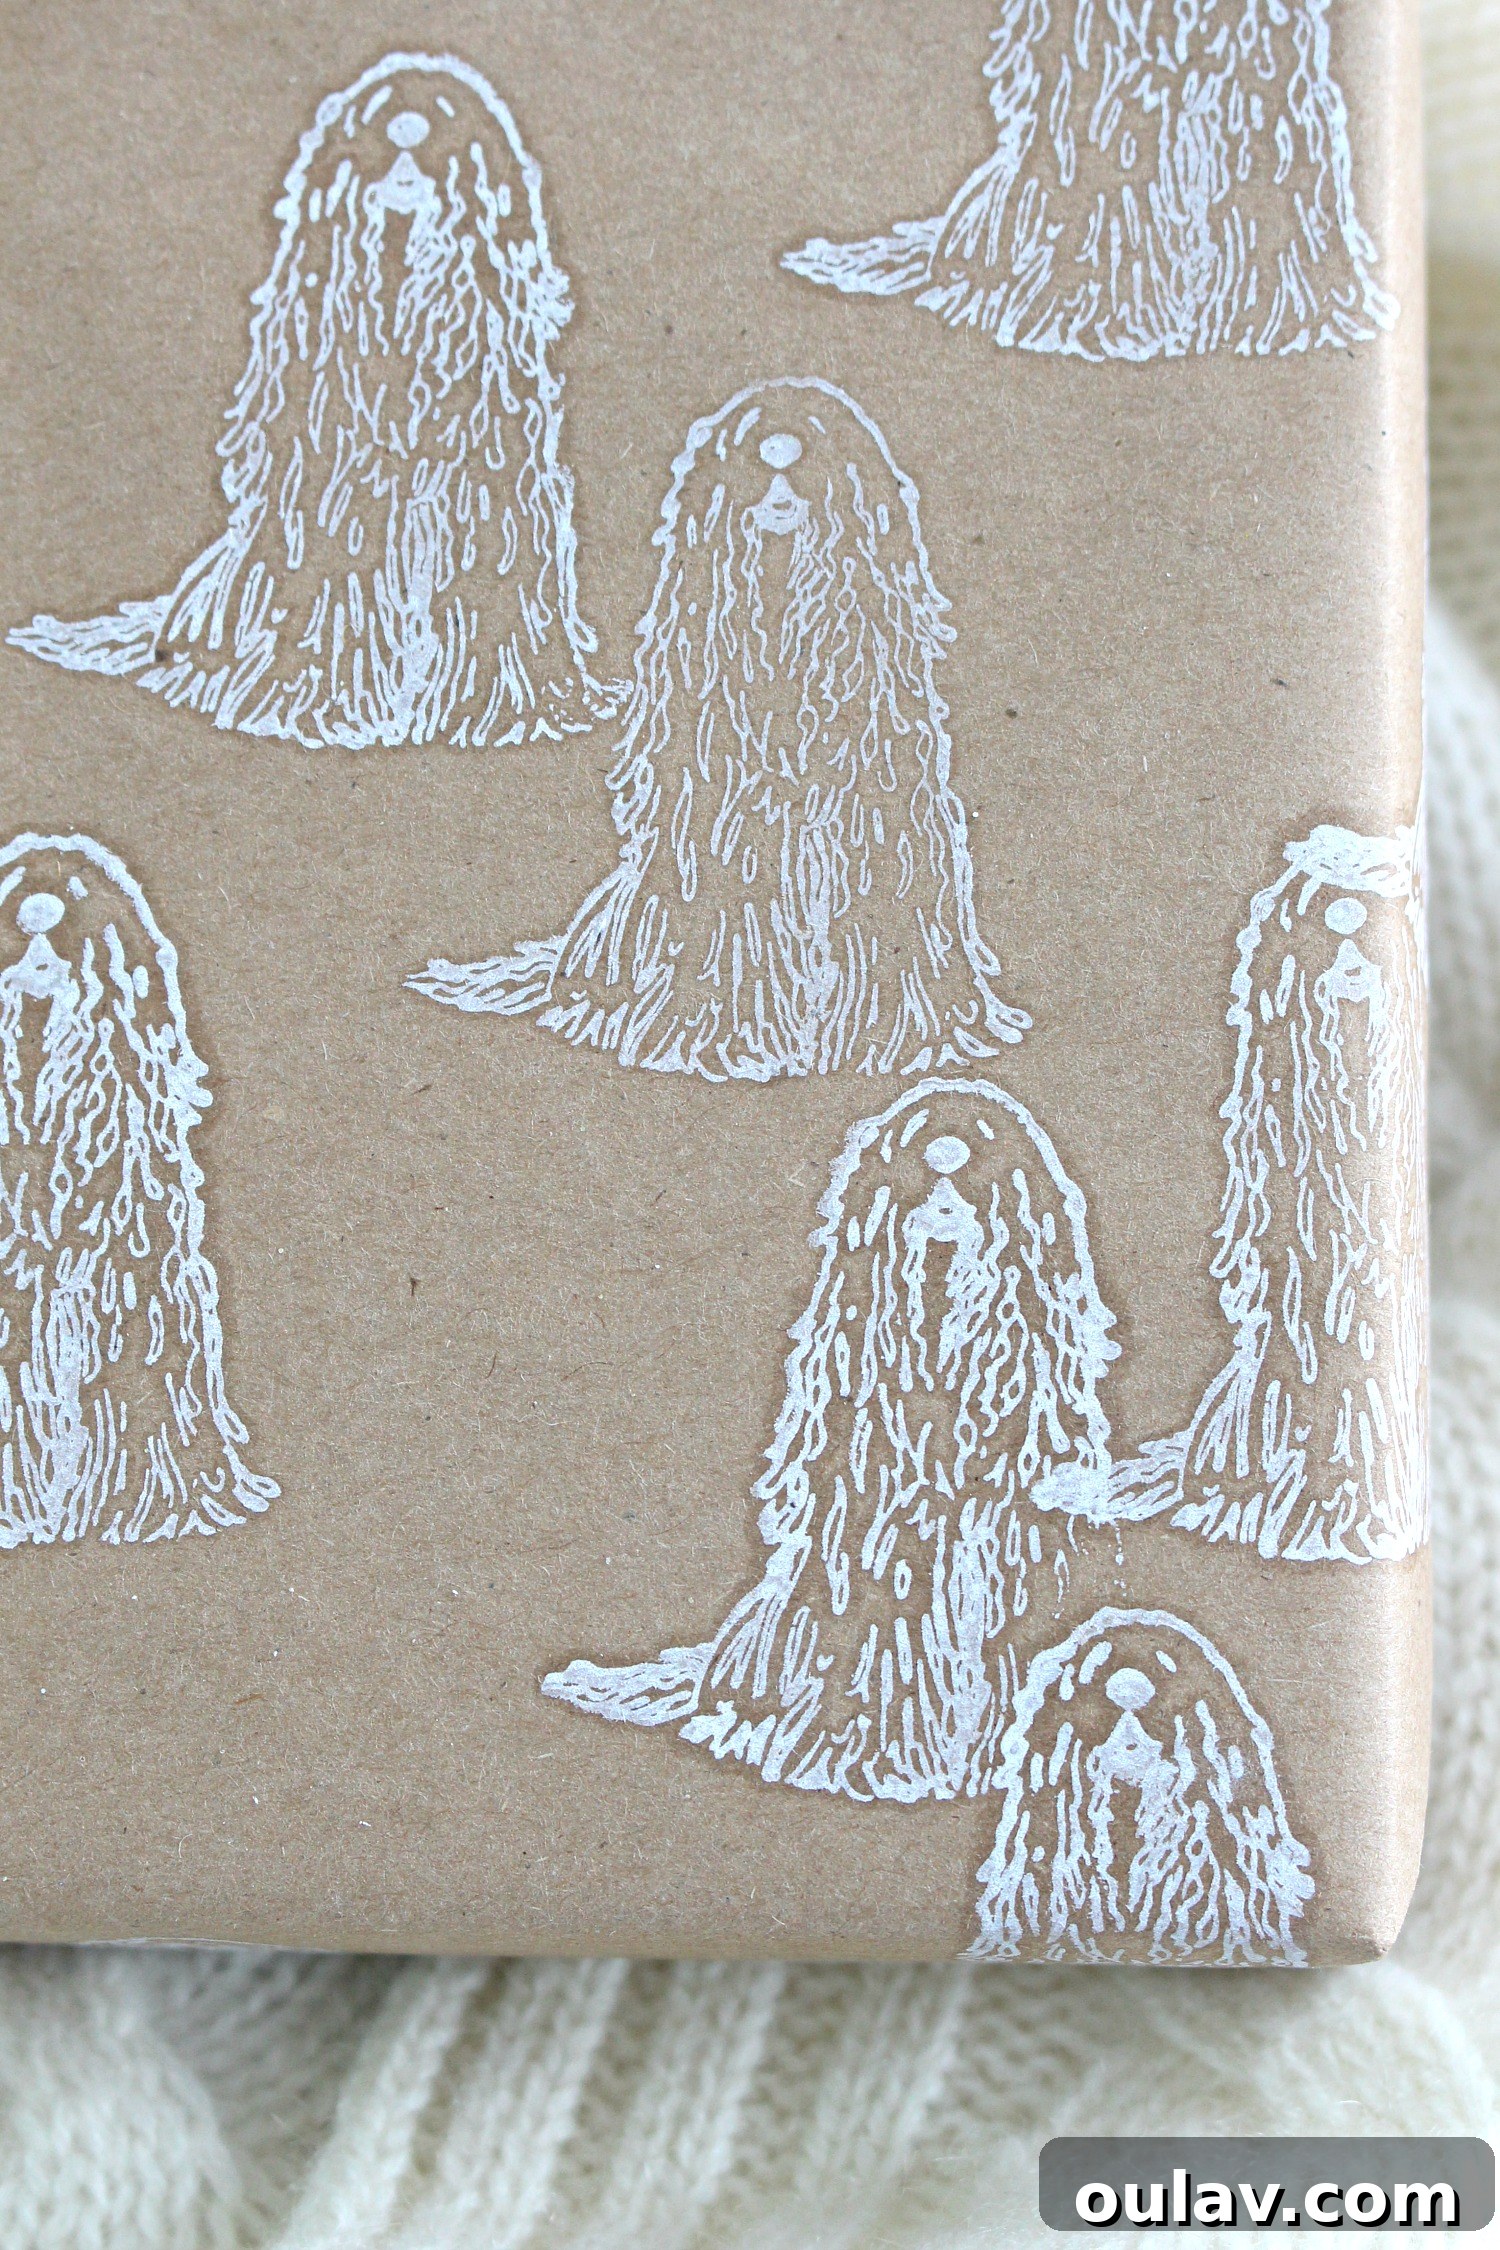
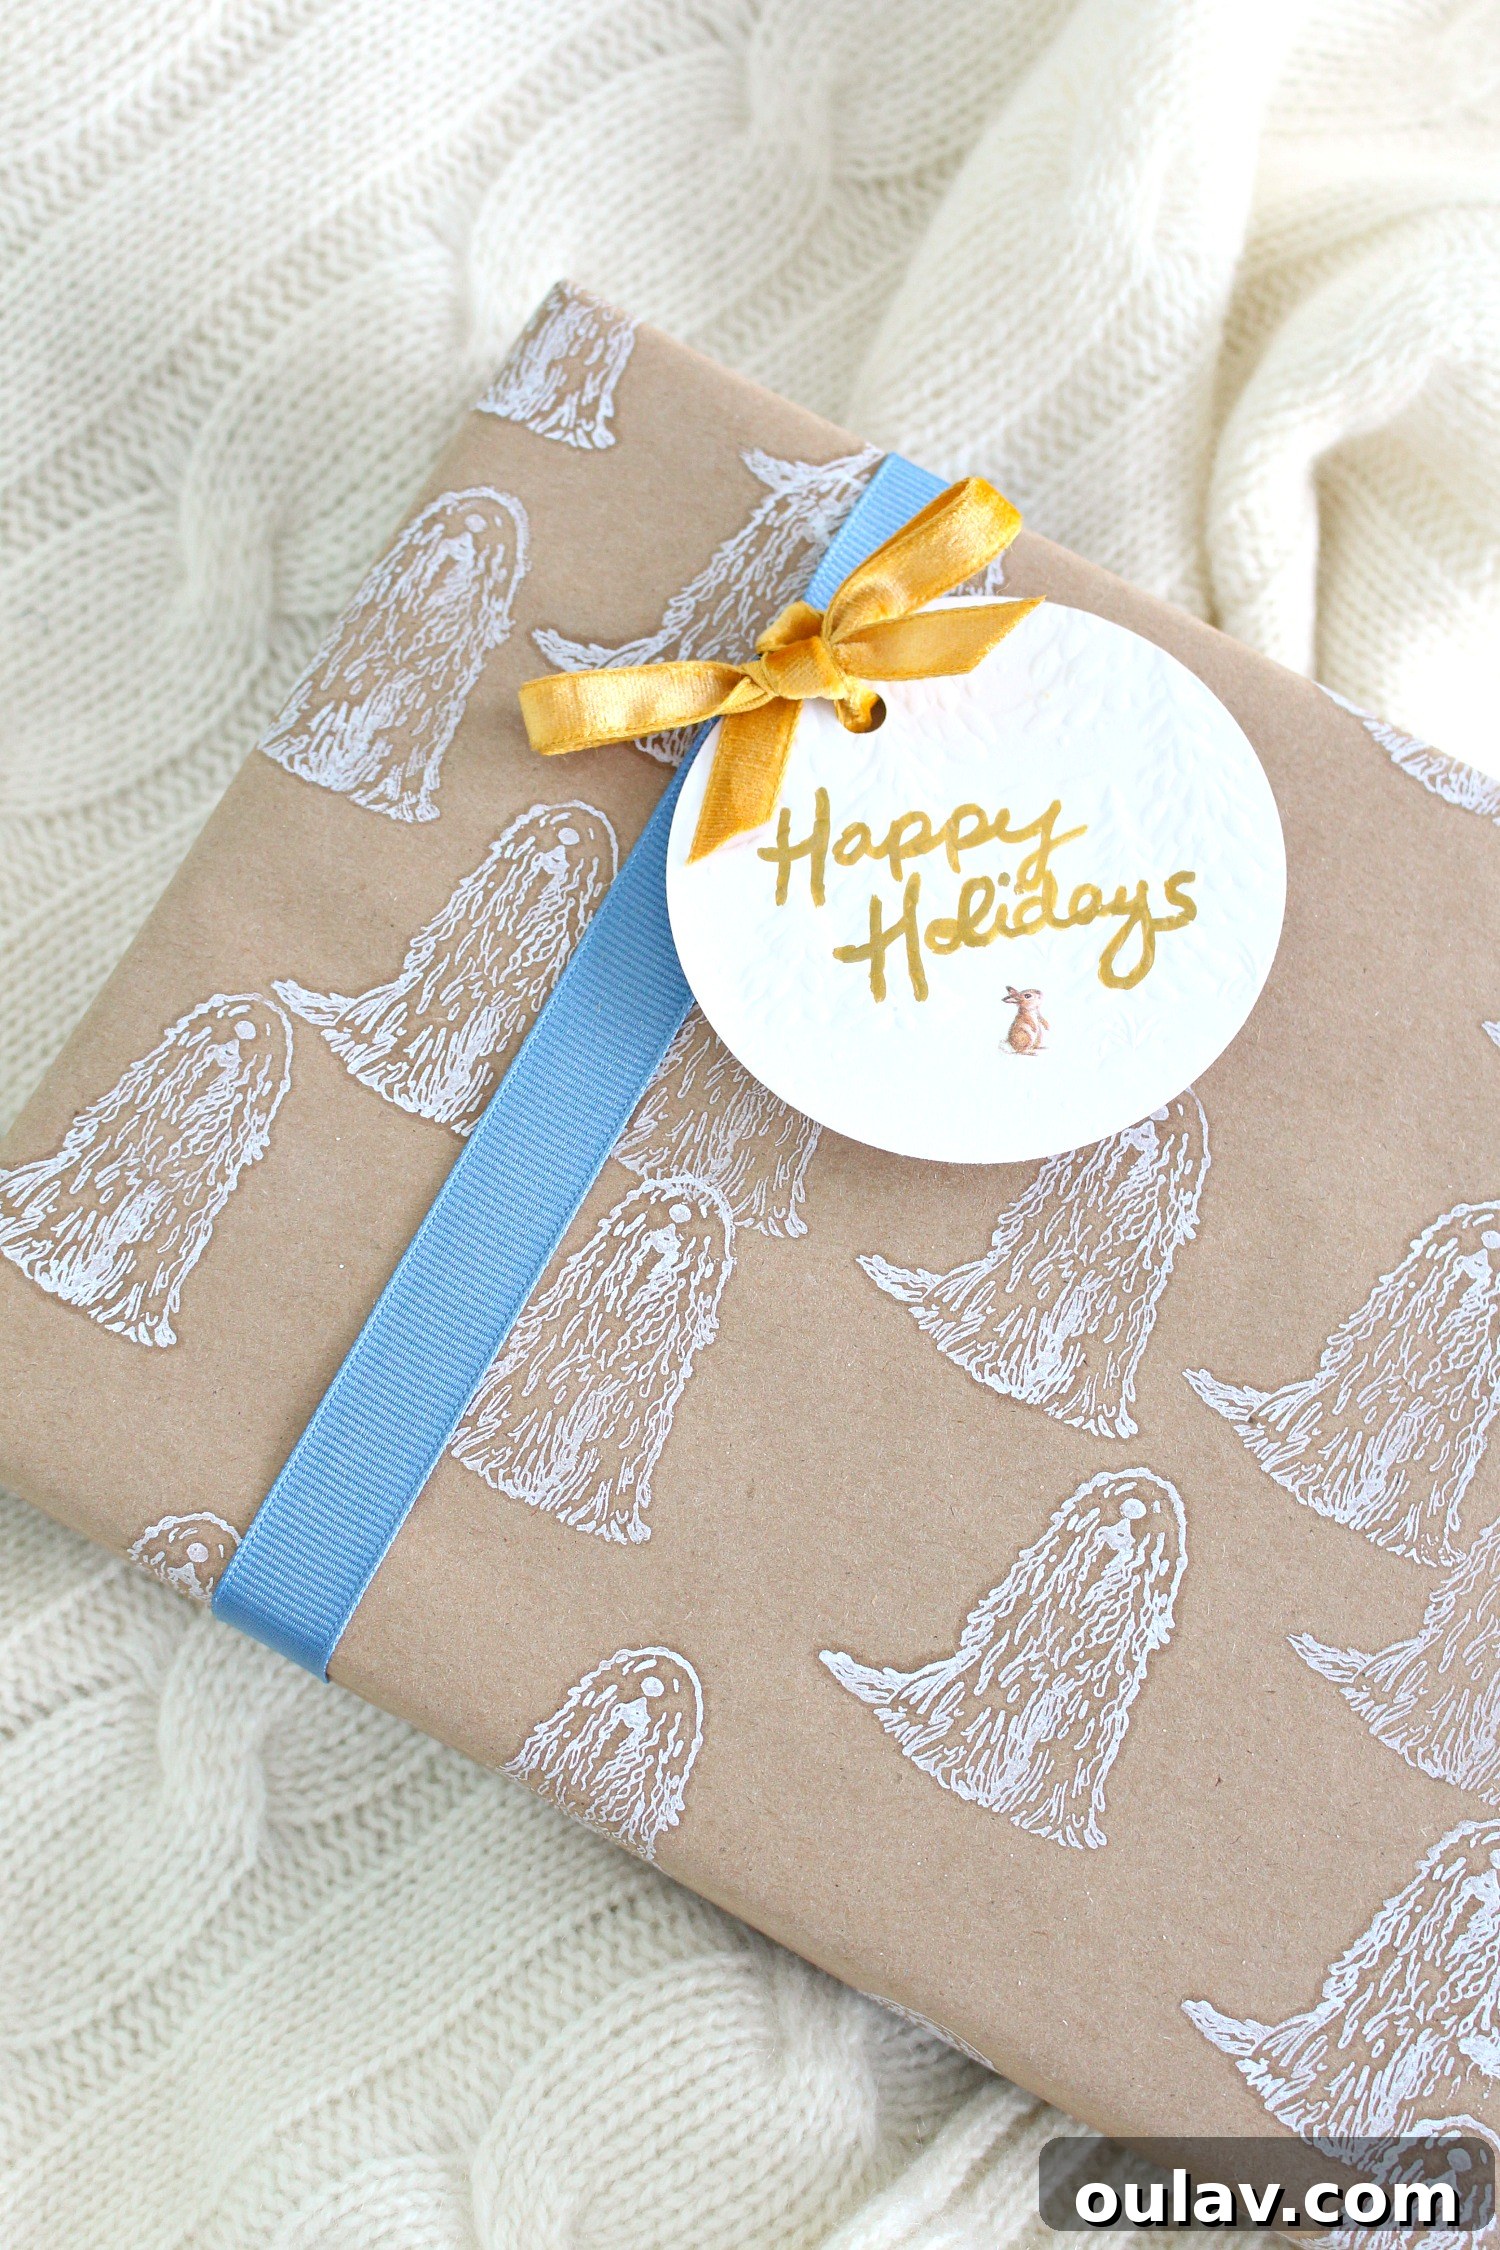
Ultimately, a little imperfection is not just acceptable but often desirable, as it significantly contributes to the unique, handcrafted, and homespun vibe of your project. It’s a testament to the care and effort you put into making something truly special, distinguishing it from mass-produced alternatives.
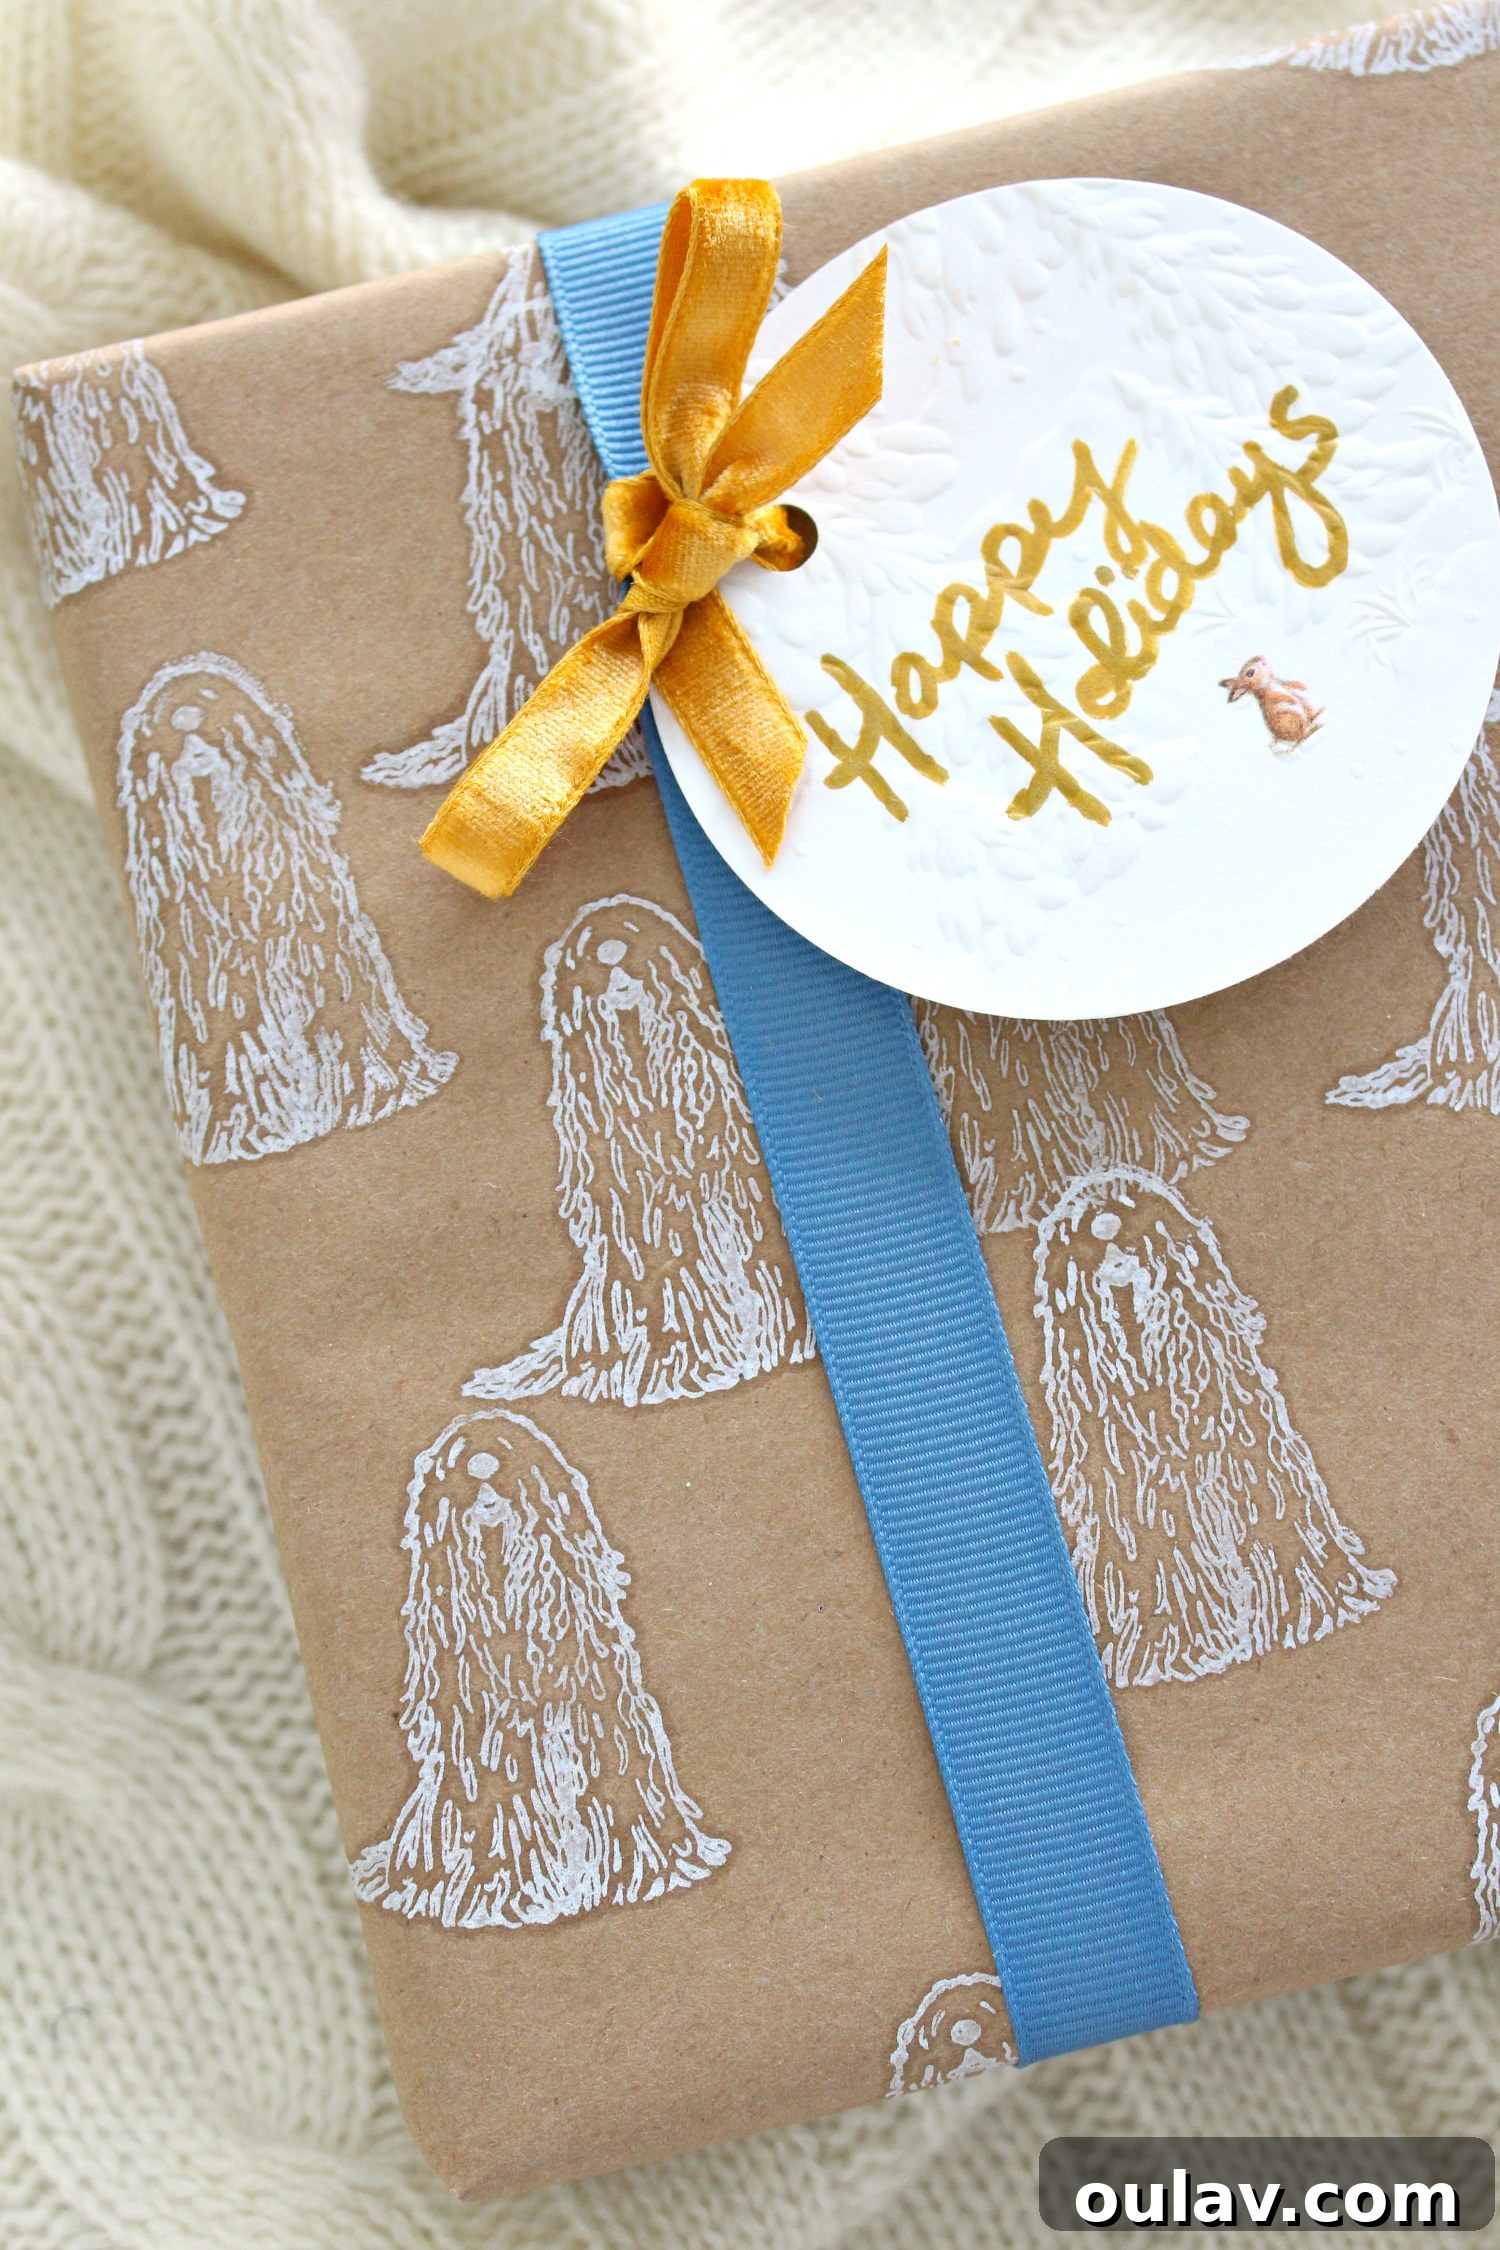
Top Off Your Eco-Friendly Gift Wrapping with Handmade Accents
Once your stamped wrapping paper has dried completely, it’s time to add the finishing touches that truly elevate your gift and reinforce its zero-waste credentials. These handmade accents not only enhance the visual appeal but also continue the theme of thoughtful repurposing.
Creating Charming Gift Tags from Old Cards
This is one of my favorite eco-friendly hacks! I’ve diligently saved a box of holiday and birthday cards that I no longer wish to keep – you know, those generic ones from your real estate agent, dentist, or even distant acquaintances. I’ve also been on a mission to declutter in 2020, even paring down my sentimental box of cards, letting go of those from people I’d rather not remember anymore. Instead of simply tossing them, I’ve discovered their incredible potential for reuse. I’ve been cutting these old cards into various shapes and using them as:
- Gift Tags: The perfect way to add a personal message.
- Cupcake Toppers: Small, festive decorations for treats.
- Garland: Stringing together various cut-outs for a whimsical decoration.
- New Cards: Gluing interesting sections onto blank cards to create unique, recycled greeting cards (just like I did with the alcohol ink project).
For this specific gift, I grabbed a particularly cute section from an old card, used my large Fiskars circle punch to cut it into a perfect circle, and then employed my single hole punch to create a small opening for the ribbon. Finally, I used my reliable gold pen to write a heartfelt message or the recipient’s name, adding a touch of elegance.
Selecting Sustainable Ribbons and Embellishments
By the time my stamped wrapping paper was dry and my custom gift tag was ready, it was time to wrap the present and delve into my scrap ribbon drawer for the ultimate finishing touch. I love saving ribbons from product packaging, old crafts, and even clothing items. These collected scraps are perfect for adding character to gift wrap, preventing them from heading straight to the landfill. For this gift, I unearthed a beautiful piece of gold velvet and a lovely blue grosgrain ribbon. The combination of these repurposed ribbons and the upcycled gift tag adds the perfect pop of color and texture, making the entire presentation cohesive, charming, and genuinely eco-friendly. Consider also using natural elements like dried flowers, a sprig of rosemary, or a cinnamon stick tied with jute twine for an even more rustic and sustainable appeal.
Embracing these small, thoughtful steps in gift preparation not only reduces waste but also enriches the entire experience of giving and receiving. Each element tells a story of care, creativity, and a commitment to a more sustainable lifestyle.
Unwrap Joy Sustainably: Your Next DIY Project!
Creating your own DIY eco-friendly stamped wrapping paper is more than just a craft; it’s a statement. It’s a way to express your creativity, show genuine care for your loved ones, and make a tangible difference for the environment. This simple yet effective method allows for endless personalization, turning every gift into a unique work of art before it’s even opened. From the satisfaction of stamping each pattern to the joy of repurposing old cards into charming tags, every step is infused with purpose and sustainability.
So, the next time you’re faced with the task of wrapping a gift, consider reaching for a rubber stamp and some recycled paper instead of conventional options. Embrace the charm of handmade imperfections and the quiet satisfaction of knowing you’ve chosen a path that’s both beautiful and responsible. Your recipients will surely appreciate the extra effort and the thoughtfulness behind their unique, eco-friendly present. Dive into this rewarding project and start creating memorable moments, one beautifully stamped gift at a time!
P.S. Don’t Forget to Pin for Later!
Loved this eco-friendly gift wrapping idea? Make sure to save it for future inspiration! Pin this project to your favorite DIY, craft, or sustainable living boards so you can easily find it whenever you need unique and thoughtful gift wrapping solutions.