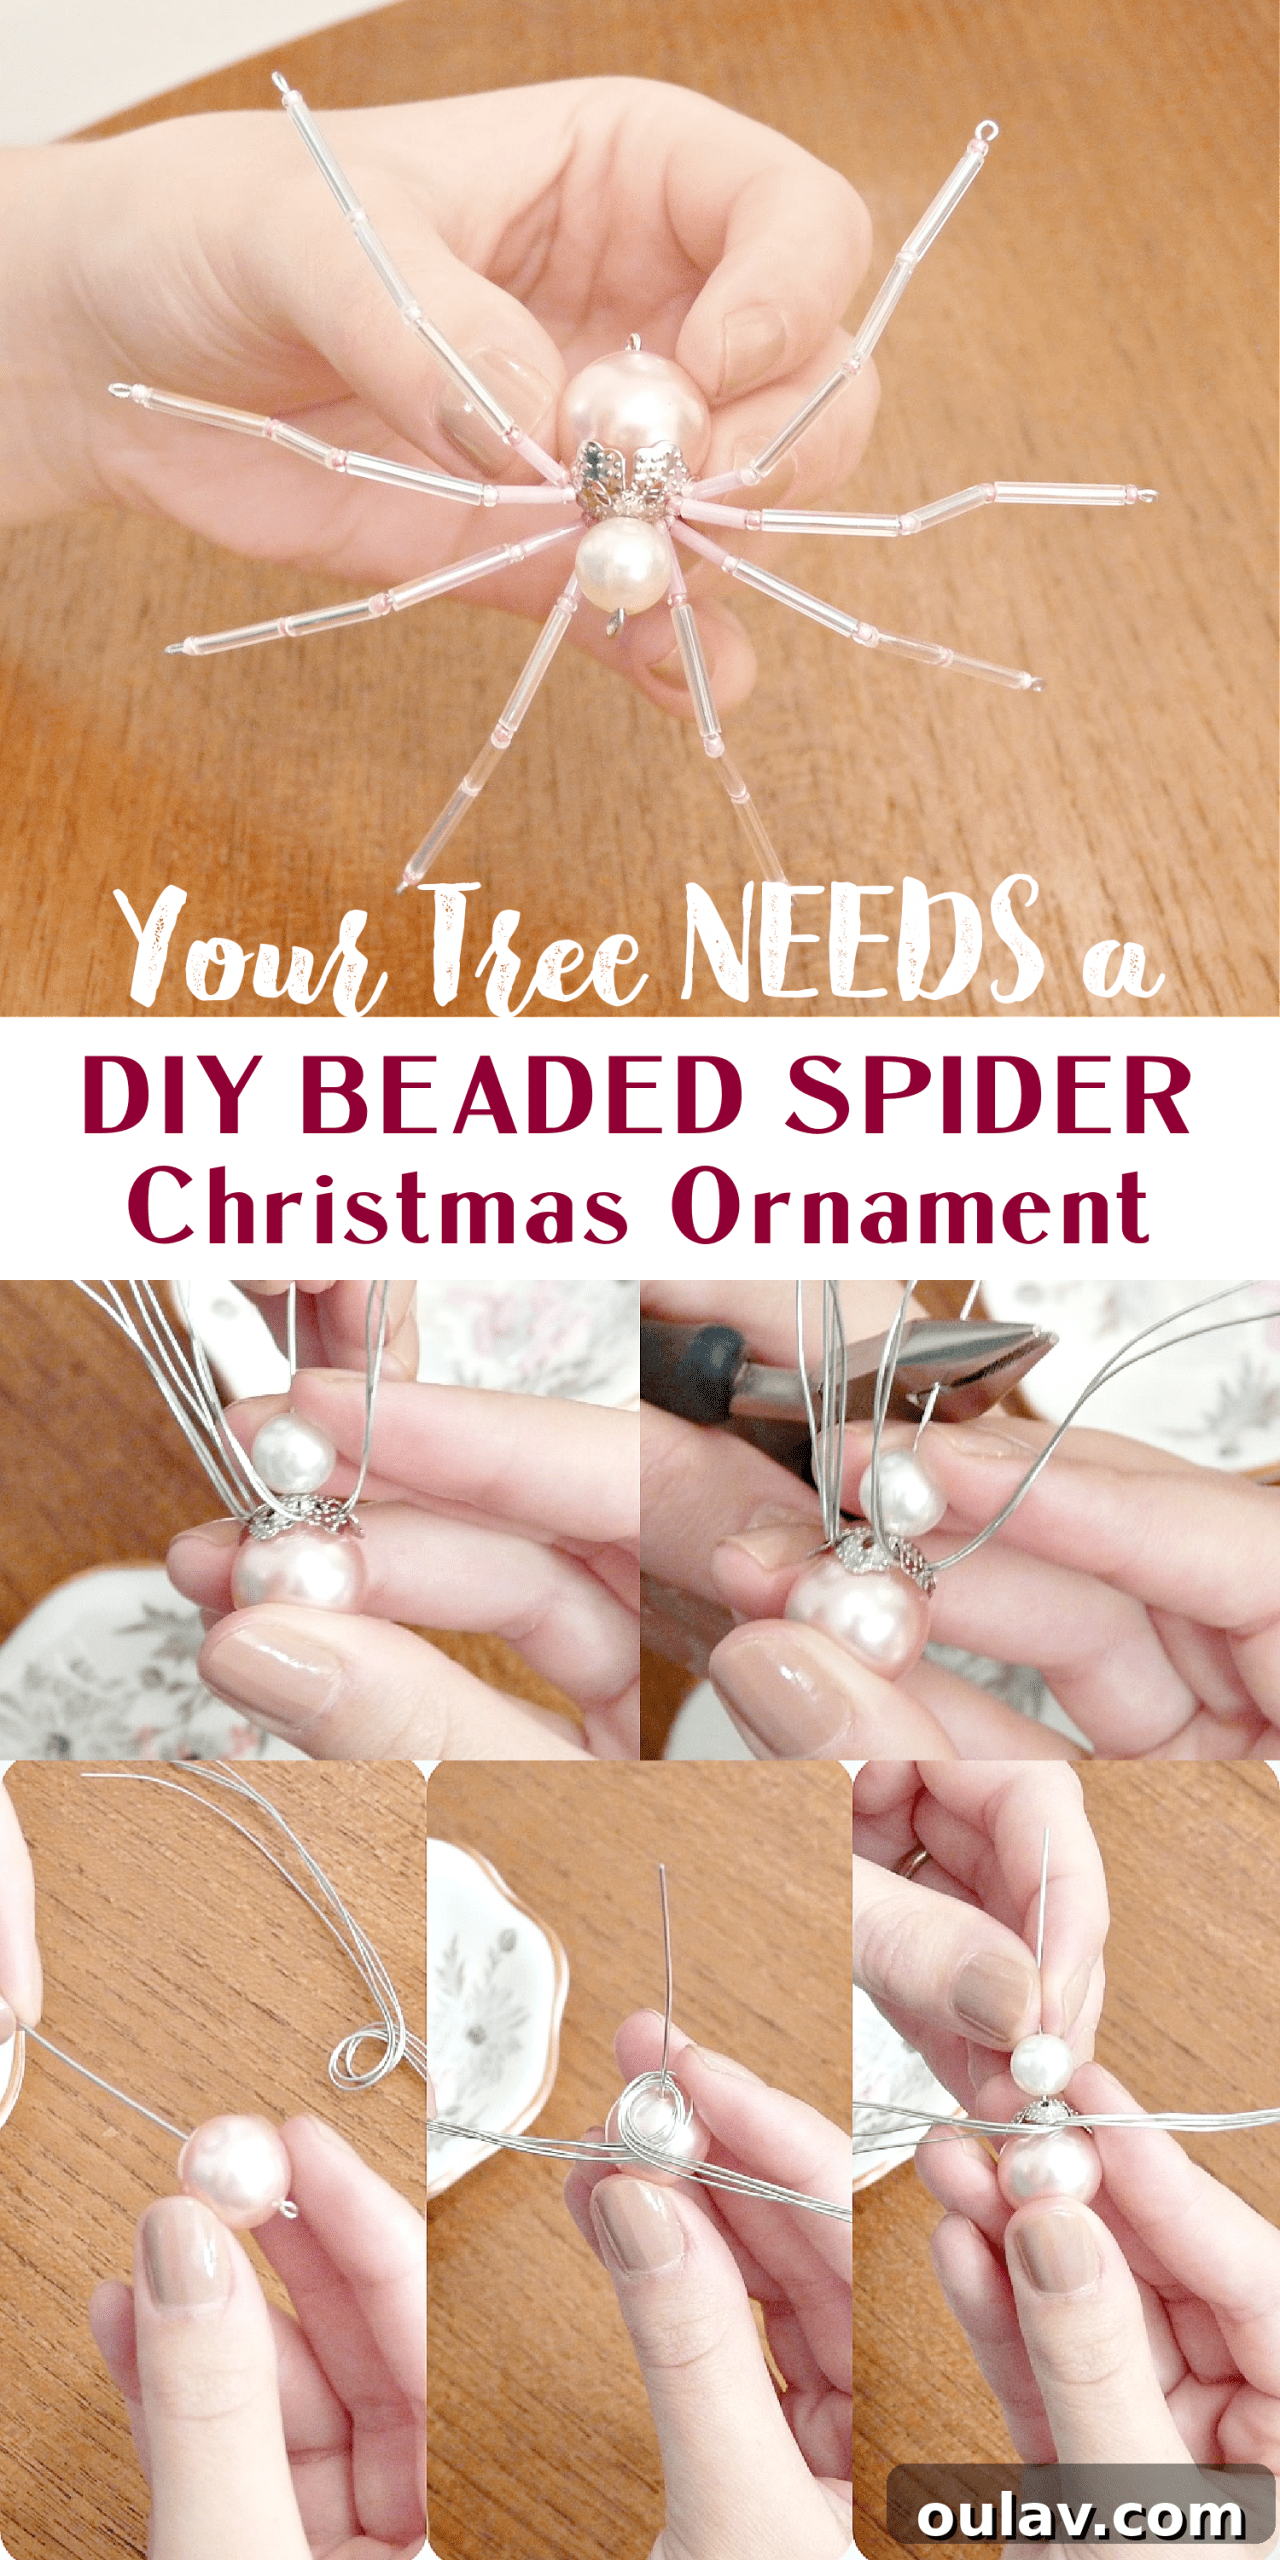
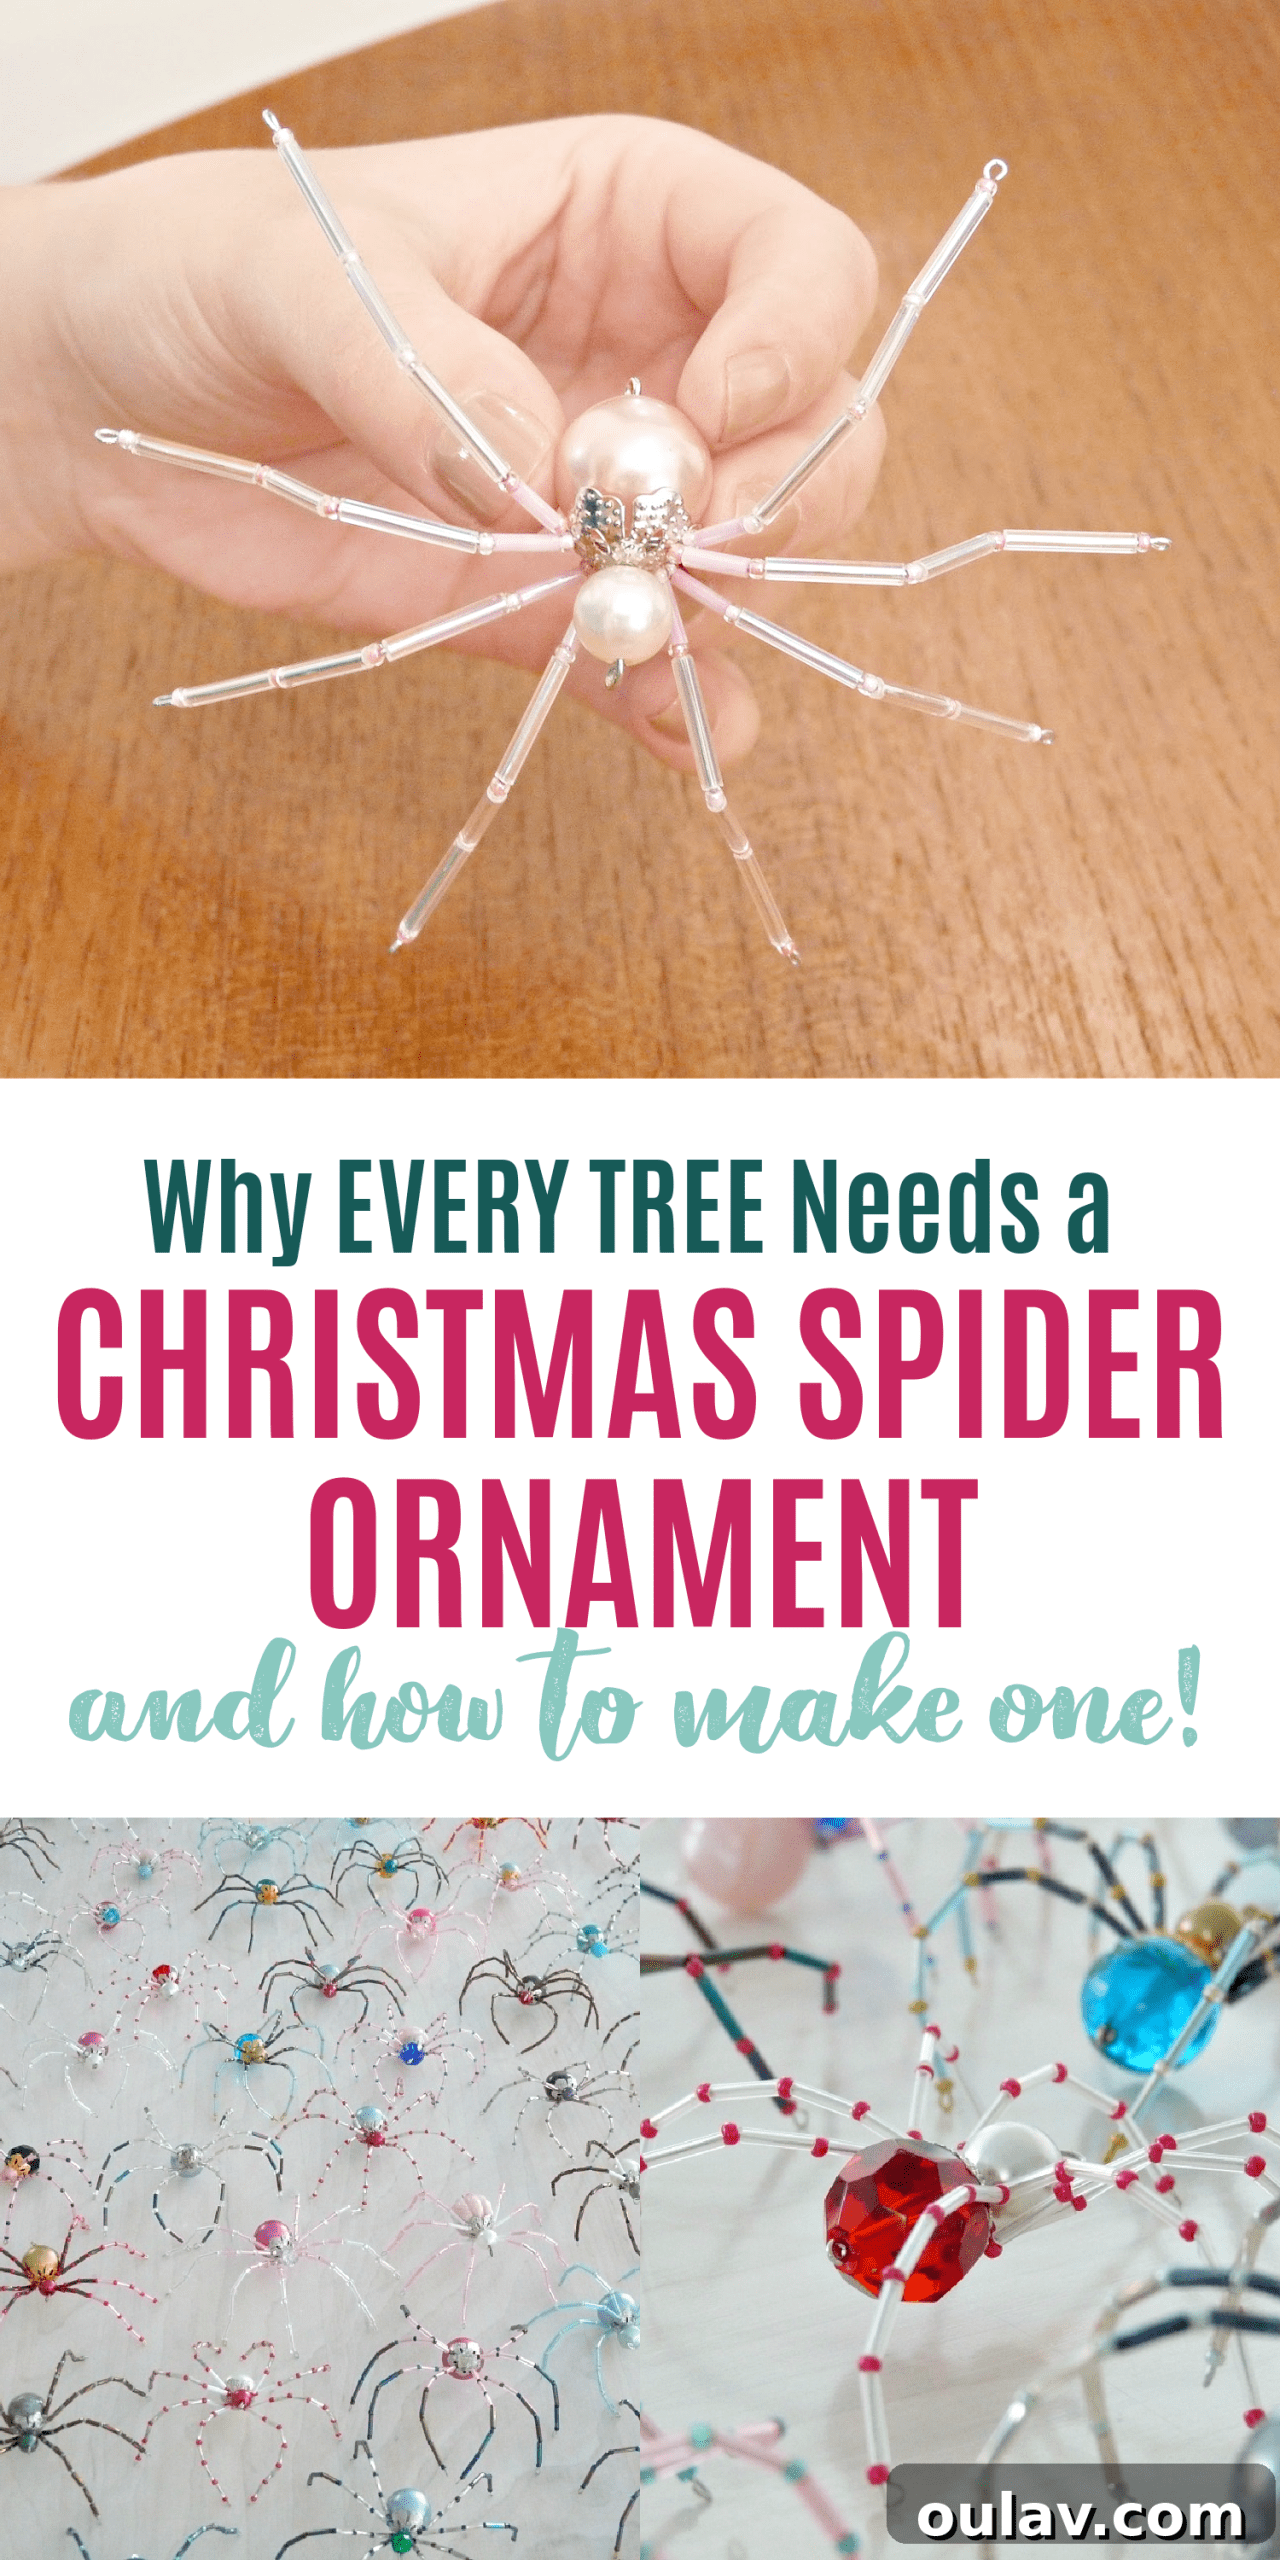
Are you ready to infuse a touch of magic and whimsy into your holiday decor this year? Discover the captivating tradition of the Christmas spider and learn how to create your very own enchanting **DIY beaded Christmas spider ornament**. Not only will you master a delightful crafting skill, but you’ll also uncover the fascinating legend behind this unique festive decoration. Join us as we guide you through a detailed tutorial, sharing our exclusive beaded spider pattern, and delve into “The Legend of the Christmas Spider” – a heartwarming tale also known as the Christmas spider poem or story. If you prefer a tangible guide to accompany your crafting journey, a printable PDF tutorial is available here. This comprehensive PDF boasts large, crystal-clear, **brand-new photography** and incredibly detailed, easy-to-follow instructions, ensuring your crafting experience is seamless and enjoyable.
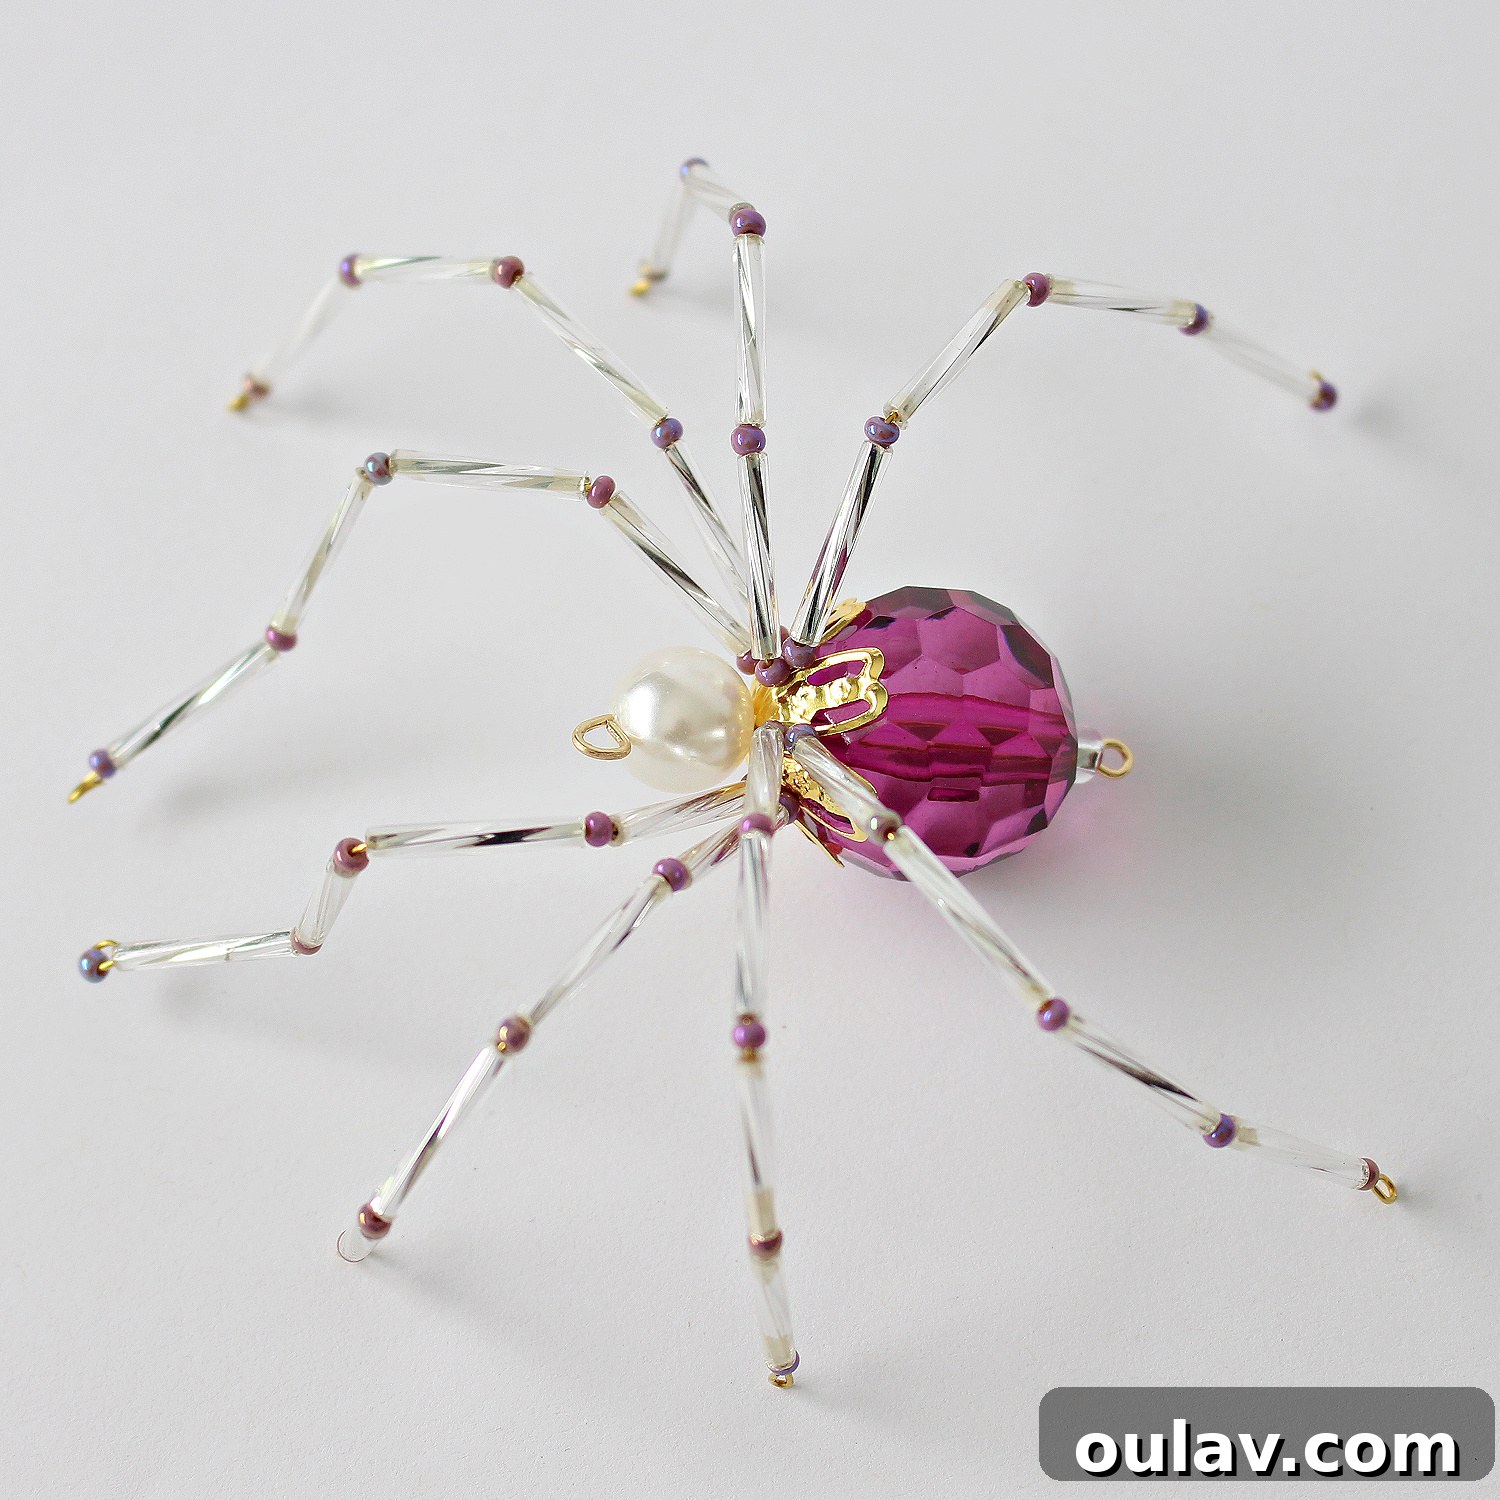
Enhance Your Crafting with a Premium Printable PDF Tutorial
*NEW for 2023!* For those who appreciate the convenience of a physical guide, we’ve launched an expanded 13-page printable PDF tutorial dedicated to crafting the perfect Christmas spider. This updated edition features stunning, large, and incredibly clear new photographs that illuminate every step of the process. Beyond the in-depth instructions, the PDF also includes a condensed 2-page printable version of the tutorial for quick reference, alongside the full, heartwarming Christmas spider origin story. For collectors or those seeking an instant addition to their holiday display, you can also purchase a handcrafted Christmas spider ornament directly from our shop (quantities are limited, so act fast!).
Once you unlock the secret to crafting these beautiful **DIY Christmas spider ornaments**, you’ll find yourself eager to create one for every loved one on your list! These exquisite beaded spider ornaments make a truly exceptional handmade gift topper, adding a personal touch to any present, or a charming, unique homemade stocking stuffer. Each spider is a tiny masterpiece, radiating sparkle and individuality. The beauty of handmade items means no two are ever exactly alike, making each a unique treasure.
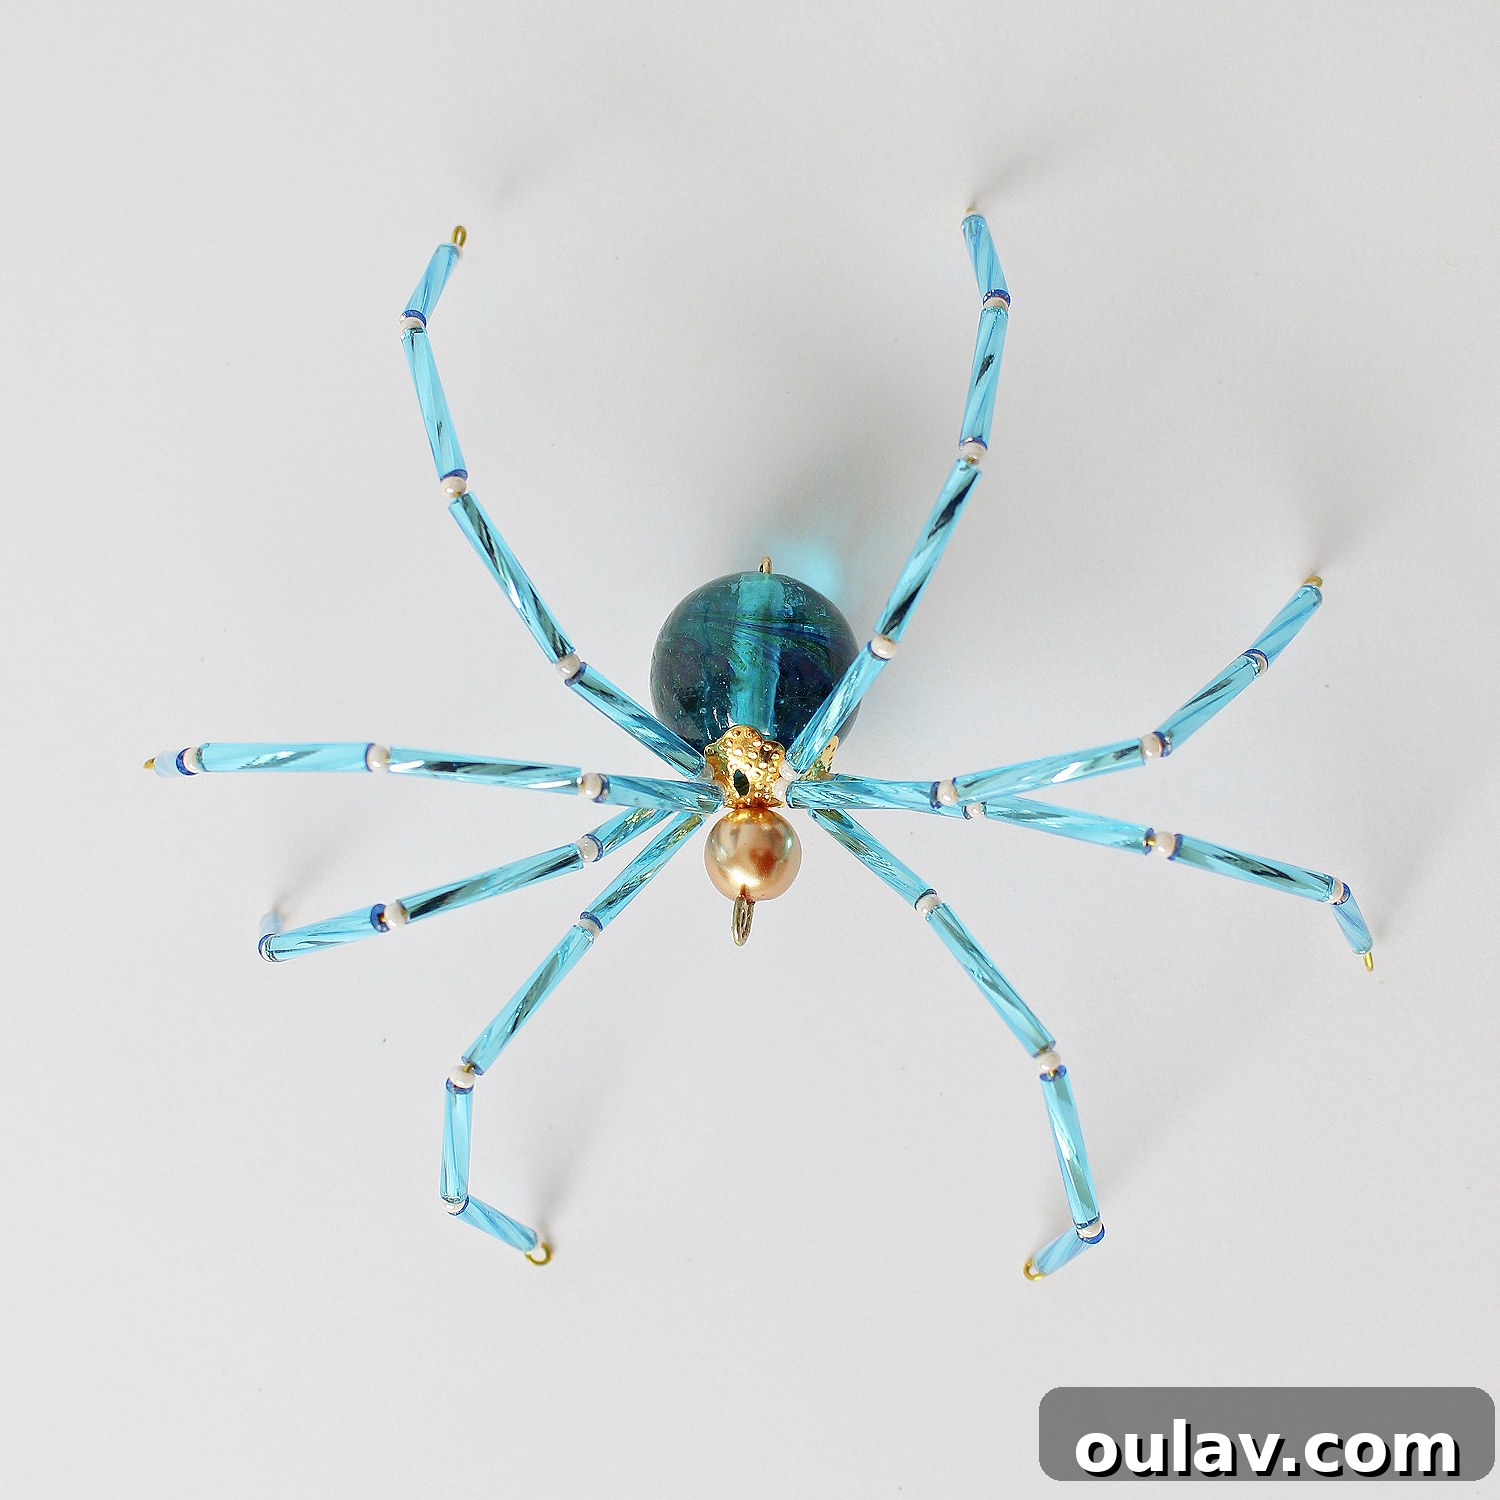
Unraveling the Mystique: The Christmas Spider Story
Perhaps you’re wondering, “What is the enchanting story behind the Christmas spider ornament?” Prepare to be captivated by a tale that weaves together generosity, good fortune, and the very origins of a beloved holiday tradition. This is the cherished narrative behind the **Christmas spider tree ornament** and the heartwarming reason why this sparkling arachnid deserves a special place on every Christmas tree.
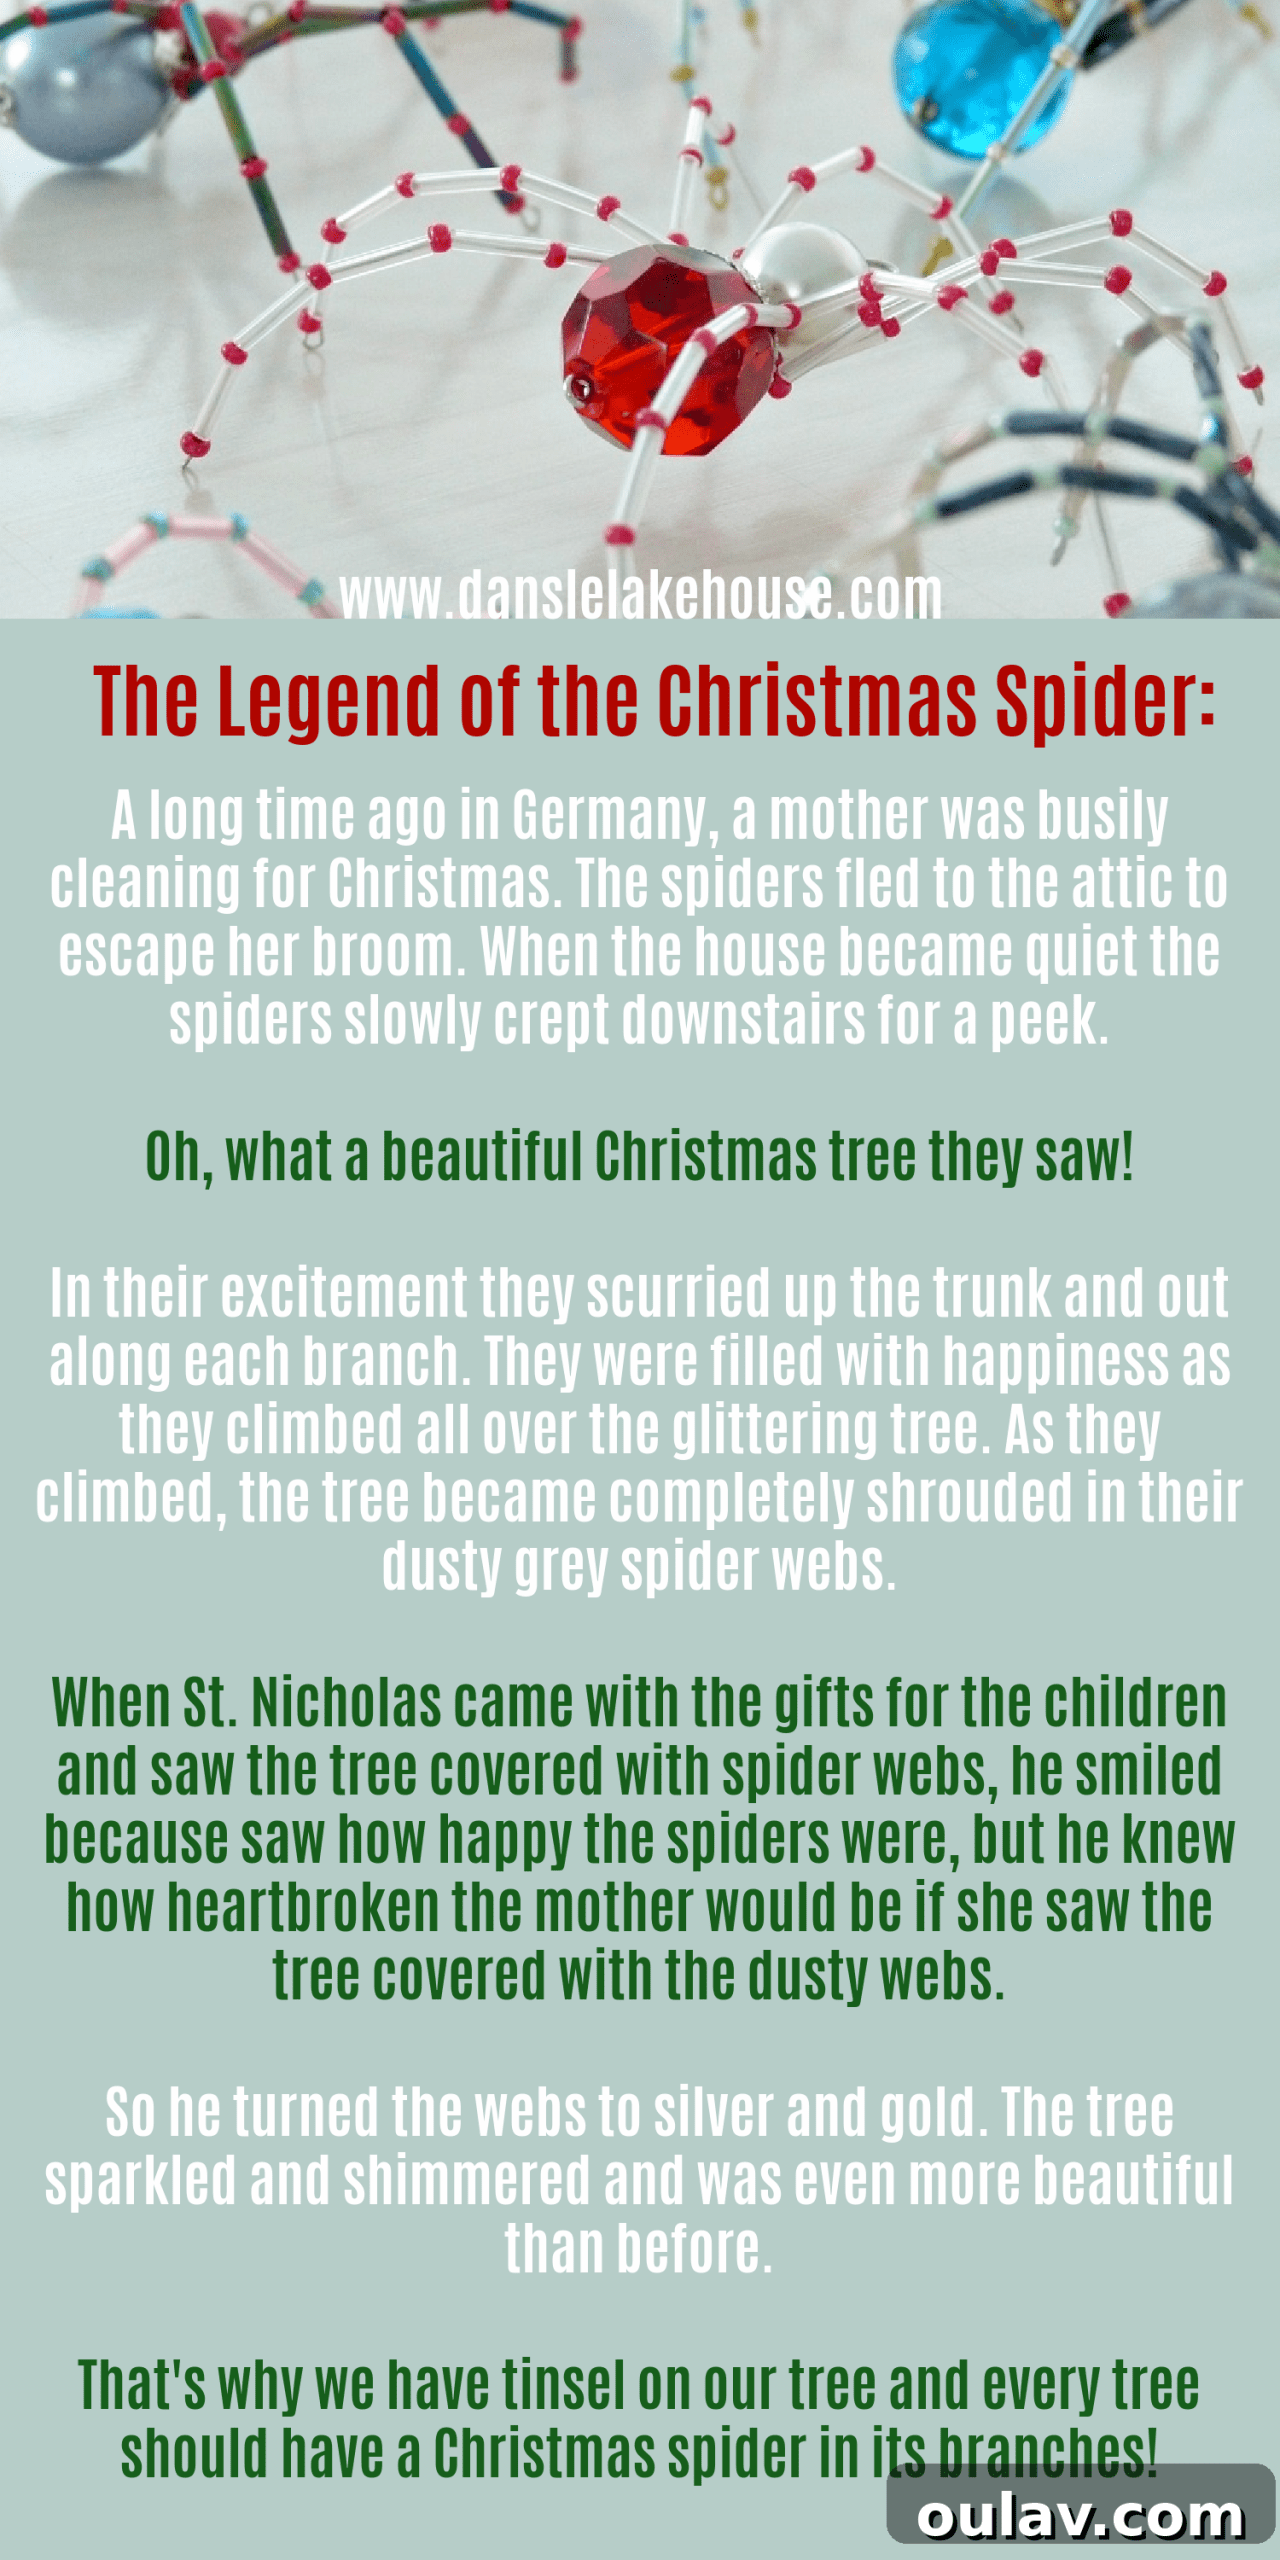
The Enduring Legend of the Christmas Spider: A Tale of Hope and Wonder
Centuries ago, in a quaint little cottage nestled in the heart of Germany, a diligent mother was meticulously preparing her home for the festive Christmas season. Every nook and cranny was scrubbed, every surface polished, and the air filled with the scent of pine and anticipation. To escape the vigorous sweep of her broom, the house spiders, who had peacefully coexisted with the family, scurried to the safety of the attic, patiently awaiting the return of quietude.
When the bustling sounds of cleaning finally subsided, a hush fell over the house. Curiosity, as it often does, began to stir among the spiders. Slowly, cautiously, they ventured downstairs, their tiny legs tapping softly, eager to catch a glimpse of the holiday magic that had unfolded.
And oh, what a breathtaking sight greeted their many eyes! A magnificent Christmas tree stood proudly in the parlor, adorned with candles, ornaments, and garlands. It sparkled with an almost ethereal glow, drawing the spiders in with irresistible allure.
Overwhelmed with joy and wonder, the spiders couldn’t resist exploring this glittering marvel. In their innocent excitement, they scurried up the sturdy trunk, out along each fragrant branch, and back again. They were filled with pure happiness as they danced and climbed all over the resplendent tree, leaving trails of their delicate, dusty grey webs in their wake. Before long, the beautiful Christmas tree became completely shrouded, from top to bottom, in a intricate lace of spider silk.
Later that night, as **St. Nicholas** (or in some versions, Santa Claus) arrived with a sleigh full of gifts for the awaiting children, he entered the parlor and paused. His eyes fell upon the tree, now completely covered in the spiders’ diligent handiwork. He smiled, understanding the innocent joy the little creatures had found in exploring the festive centerpiece. However, he also knew, with a pang of empathy, how heartbroken the mother would be to find her beautifully decorated tree hidden beneath a blanket of dusty grey webs on Christmas morning.
With a twinkle in his eye and a wave of his hand, St. Nicholas performed a small miracle. As if by magic, he transformed every single one of those dusty spider webs into shimmering strands of silver and gold. Instantly, the tree was alight with an even greater brilliance, sparkling and glimmering more beautifully than before. It was a vision of pure enchantment.
This wondrous transformation, according to the legend, is why we adorn our Christmas trees with glittering tinsel. More profoundly, it explains why tradition holds that every Christmas tree should have a special **Christmas spider** nestled among its branches – a symbol of good fortune, unexpected beauty, and the magic of Christmas.
~Author Unknown (and the story gracefully varies, sometimes featuring Santa Claus as the central benevolent figure)
Isn’t that a truly heartwarming and charming story? This legend adds such depth and meaning to what might initially seem like an unusual ornament. We highly recommend printing out this beautiful **Christmas Spider origin story** and gifting it alongside your handcrafted Christmas spider ornament. This way, your recipient will not only receive a unique, sparkling gift but also understand the special significance and wishes of good luck it carries. Having personally crafted and sold these delightful Christmas spider ornaments for many years, I can attest to the joy they bring. Today, I am thrilled to finally share my expertise and show you how to create your very own **DIY beaded Christmas spiders** – a craft that, if I may be biased, results in the most exquisite spider tree ornaments!
Gather Your Treasures: Essential Supplies for Making a Beaded Spider Tree Ornament
To embark on your journey of crafting a beautiful **beaded spider tree ornament**, gather the following high-quality materials. Choosing good supplies ensures your spider is not only stunning but also durable for years of enjoyment:
- Wire for Legs: Four pieces of sturdy 24 gauge wire, each approximately 8 inches long. This gauge offers a good balance of flexibility for shaping and stiffness to hold its form.
- Eye Pin for Body Structure: One eye pin, roughly 2 inches in length. Opt for a slightly lower gauge (thicker wire) for enhanced durability, as it forms the core of your spider’s body and hanging loop.
- Bead Cap: One elegant bead cap, perfectly sized to beautifully encase and secure your largest body bead. This adds a touch of sophistication and helps define the spider’s ‘head’ area.
- Large Body Bead: One prominent large bead, approximately 20mm in diameter, which will form the main body segment of your spider. Choose a bead with character – a vibrant color, a unique finish, or a sparkling facet – as this will be a focal point.
- Small Head Bead: One complementary smaller bead, around 8-10mm, for the spider’s head. This bead should sit snugly atop the bead cap and large body bead.
- Seed Beads: A selection of sparkling seed beads. These tiny beads are essential for creating the ‘joints’ and adding intricate detail to your spider’s legs.
- Bugle Beads: A variety of bugle beads. These elongated beads will form the main segments of the spider’s legs, offering a sleek and elegant appearance. Mix lengths and colors for unique effects!
For even more inspiration and specific recommendations on high-quality spider-making supplies, including an array of stunning beads in just the right sizes, I’ve curated a special list. Click here to explore our bead suggestions and elevate your spider crafting!


Essential Tools Required for Crafting Your DIY Christmas Spiders
You’ll be pleased to know that crafting these intricate spiders requires only a couple of basic tools, making this a very accessible and enjoyable craft:
- Needle Nose Pliers: Indispensable for bending wire, forming loops, and delicately handling small beads. Look for pliers with a fine tip for precision work.
- (Optional but Recommended) Wire Cutters: While needle nose pliers can often cut wire, dedicated wire cutters make the job much cleaner, faster, and preserve the integrity of your pliers.
Time Required to Create Your Beaded Christmas Spiders
One of the many charms of this craft is its efficiency! Once you’ve completed your first **beaded Christmas spider ornament** and grasped the technique, each subsequent spider will take no more than 15 minutes to create. This means you can easily make a personalized, sparkling ornament for everyone on your holiday gift list in just a single weekend, turning your home into a festive spider-making workshop!
Step-by-Step Guide: How to Make Beaded Christmas Spider Ornaments
Let’s dive into the fascinating process of creating your own dazzling Christmas spider. Follow these detailed steps to bring your miniature arachnid to life:
Step 1: Preparing the Spider Legs
Begin by carefully cutting all four pieces of 24 gauge wire for the spider’s legs to approximately 8 inches in length. Precision here isn’t critical, but consistency helps. Once you’re comfortable with the process after making your first spider, a great time-saving tip is to pre-cut a large batch of leg wires. Next, take all four wires together and gently wrap them around your finger (or a similarly sized cylindrical object). The goal is to create a soft, continuous loop in the center of the wires, ensuring they remain as neat and aligned as possible. Avoid creating sharp kinks or tight bends at this stage; a gentle curve is ideal.
 |
| Aim for a gentle loop in the wire, not a harsh kink or bend, to ensure smooth shaping later. |
Step 2: Assembling the Spider’s Body
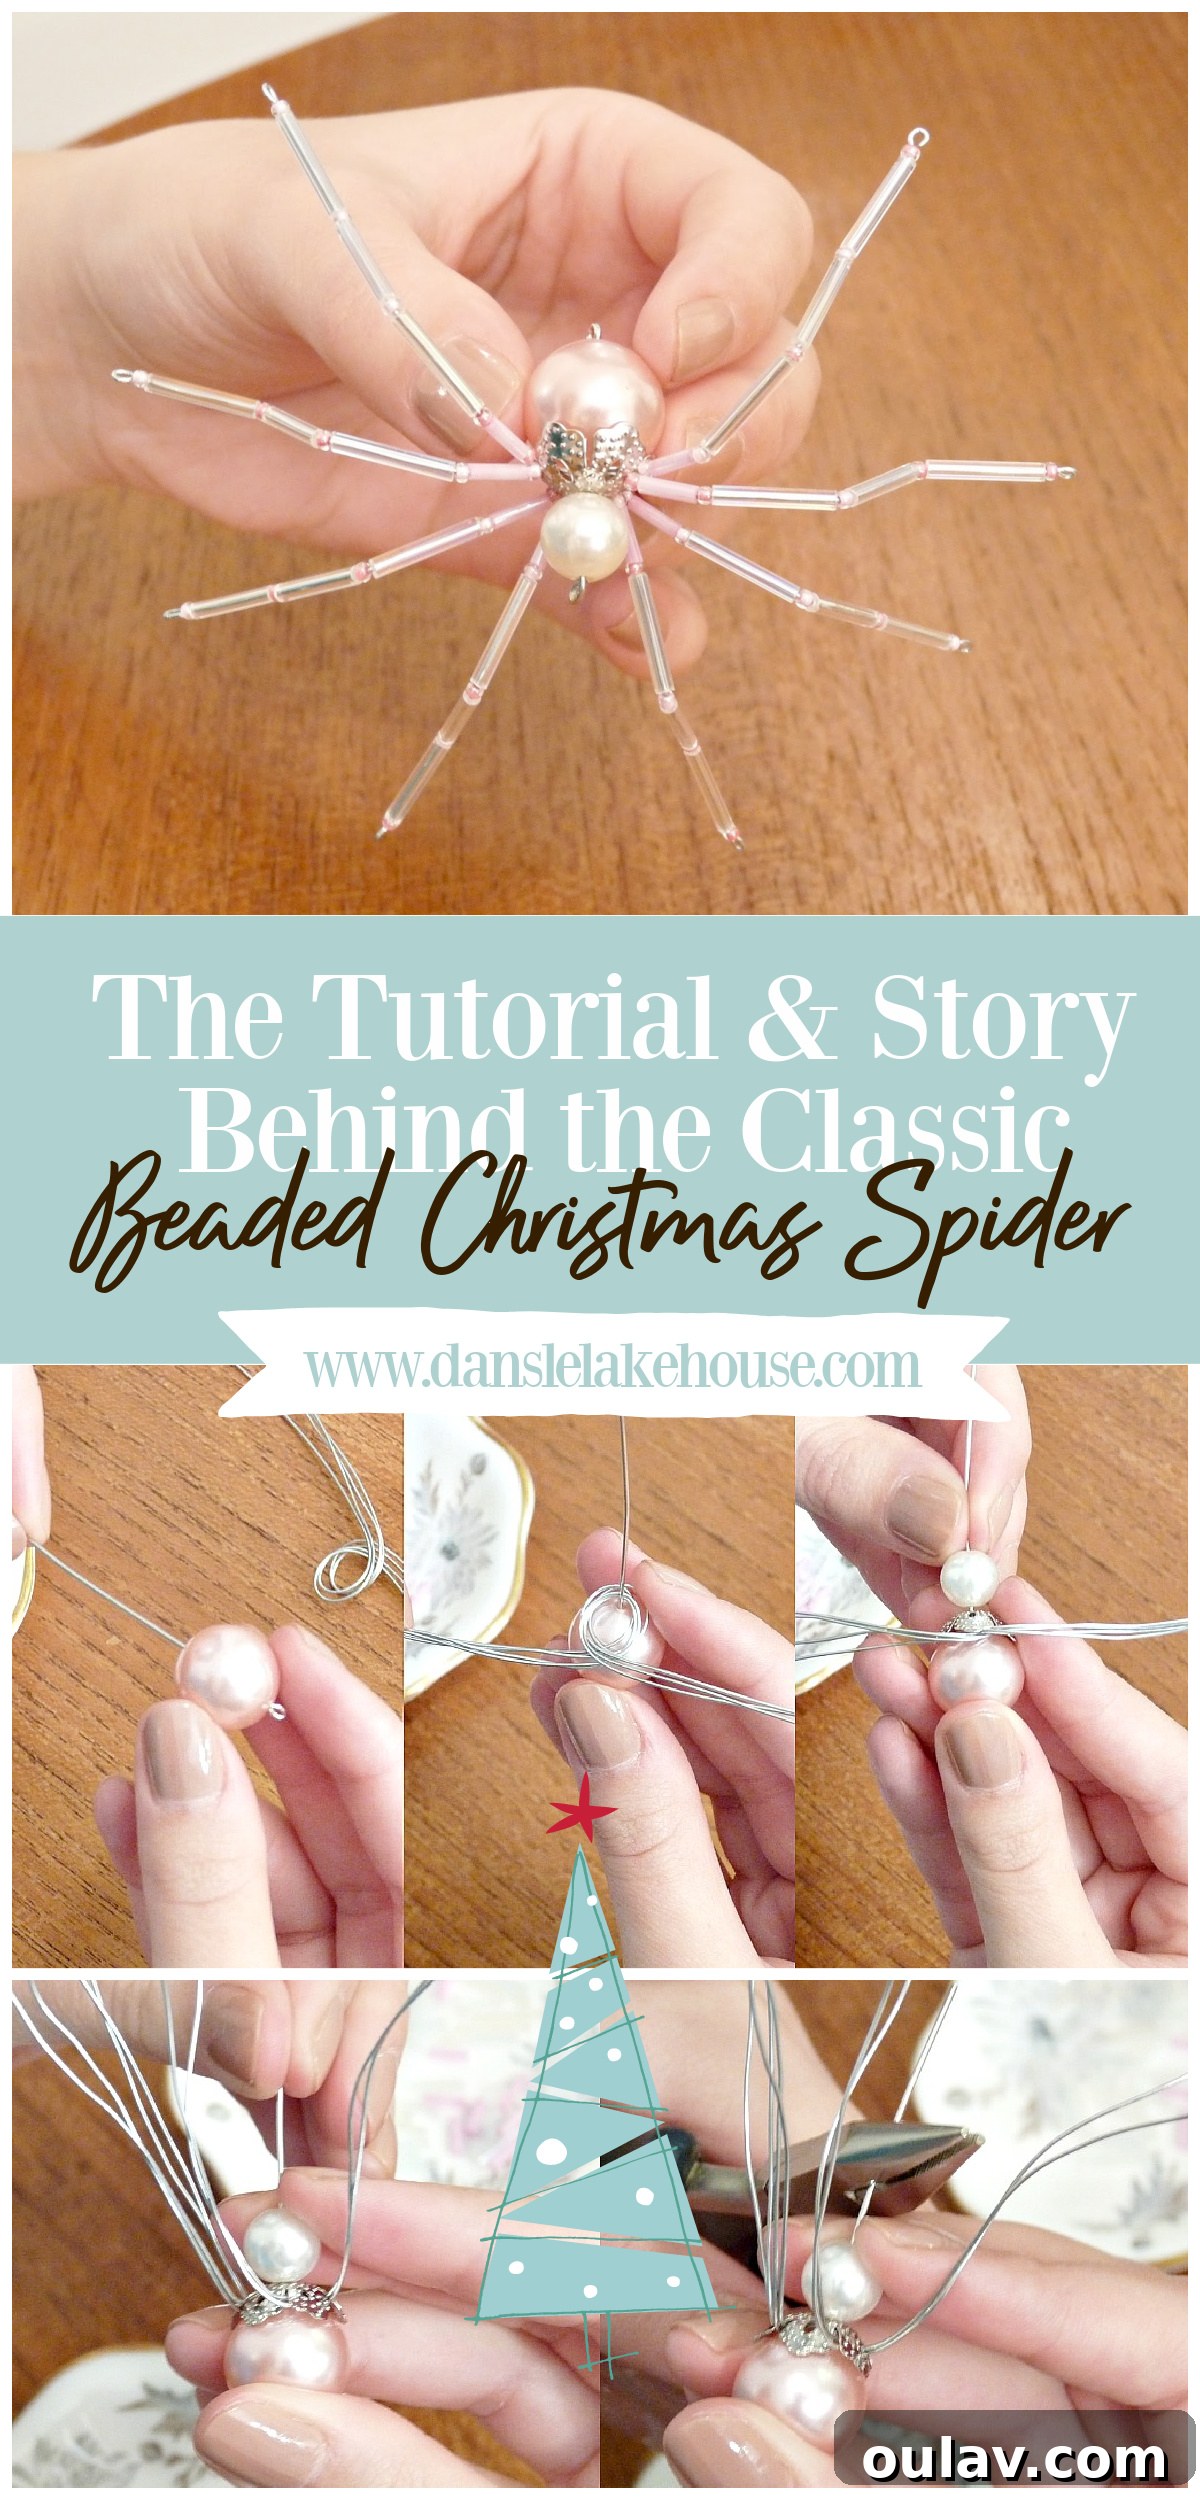
Now, it’s time to build the core of your spider. Take your eye pin and thread the following components onto it in this precise order: first, the large bead (this will be the spider’s main body); then, the bundle of looped wires you prepared in Step 1, ensuring the loop rests snugly against the large bead; next, place the bead cap over the wires; and finally, thread the smaller bead (which will serve as the spider’s head) onto the eye pin. This sequence creates a secure and aesthetically pleasing body structure.

Step 3: Securing the Body and Preparing for Hanging
Firmly hold the entire spider body assembly together. Take a moment to adjust the wires, fanning them out slightly from beneath the bead cap so they resemble the natural splay of a real spider’s legs. This initial positioning is key for shaping later. While maintaining this tight grip on the spider, use your needle nose pliers or wire cutters to trim the excess wire from the top of the eye pin. Leave just enough wire – approximately 1/4 to 1/2 inch – to comfortably form a loop for hanging your ornament. A strong, tight body is crucial for a durable spider.

Step 4: Creating the Hanging Loop
To fashion the hanging loop at the top of your spider’s head, you’ll employ a simple wire-bending technique. Begin by bending the remaining short piece of eye pin wire sharply in one direction, creating a small “L” shape. Then, using the tip of your needle nose pliers, grasp the very end of the wire and gently bend it back in the opposite direction, curving it around the pliers to form a complete, secure loop. Ensure the loop is closed neatly against itself to prevent the ornament from slipping off a hanger. For visual guidance, you can refer to similar loop-making techniques outlined in this post about DIY earrings and this post detailing a DIY pearl & chain necklace.

Step 5: Beading the Spider’s Legs
With your spider’s body securely assembled and its hanging loop formed, it’s time for the most decorative part: beading the legs! Take one of the eight leg wires. Begin by threading on a single seed bead, followed by a bugle bead, and then another seed bead. Continue this pattern – seed bead, bugle bead, seed bead – until the leg reaches your desired length. The “right” length is entirely subjective and depends on the aesthetic you prefer. For a classic look, you might use one short bugle bead followed by three longer bugle beads, interspersed with seed beads. The seed beads are crucial; they act as tiny “joints,” adding flexibility and definition to the legs while preventing the bugle beads from shifting too much. Once a leg is beaded, trim any excess wire, leaving about 1/4 inch, and create a small, tight loop at the end to secure the beads. It’s important not to bead the legs too tightly, as this can cause beads to break when bending the legs later. Conversely, don’t leave them too loose, or unsightly gaps may appear. You’ll quickly develop a feel for the perfect tension after crafting your first leg. Repeat this process for all eight legs.

Step 6: Shaping Your Spider’s Legs
After all the legs are beaded, your spider might resemble a charming, but perhaps slightly unkempt, octopus! This is where the artistry comes in. Take some time to carefully bend and shape each leg into graceful, realistic, or whimsical curves. This step is a delightful part of the creative process, allowing you to imbue your spider with personality. Use your fingers and needle nose pliers to gently sculpt the wire, giving each leg a distinctive bend and angle. Experiment with different poses until you achieve the desired dynamic and balanced look. A little fiddling will result in a beautifully posed spider ready for display.

And there you have it! A magnificent, shimmering **DIY beaded Christmas spider ornament** brought to life by your own hands. I promise, getting the hang of making these charming ornaments is genuinely easy and incredibly rewarding. Each one you create will be a testament to your creativity and a sparkling reminder of the beautiful Christmas spider legend.

Personalizing Your Arachnid Masterpiece: How to Make One-of-a-Kind Christmas Spider Ornaments
We truly hope you enjoyed this detailed tutorial on how to make **beaded DIY Christmas spiders** and feel inspired to try this delightful Christmas spider craft. The true magic lies in the endless possibilities for customization, allowing you to create truly **one-of-a-kind spiders**. My favorite method for achieving unique designs is by incorporating reclaimed beads from vintage jewelry. I love to scour yard sales, antique shops, and flea markets for intriguing old necklaces, bracelets, or earrings. Carefully disassembling these pieces yields a treasure trove of unusual beads – unique colors, unexpected textures, and fascinating shapes – that instantly elevate your spider’s character. I then mix these salvaged gems with fresh supplies from local bead shops, larger craft stores, or even dollar stores, blending old and new to craft truly distinctive pieces. Don’t be afraid to experiment with different bead materials like glass, acrylic, wood, or metal, and explore a spectrum of colors, from traditional reds and greens to iridescent blues, rich purples, or elegant silvers and golds. The combination of various bugle bead lengths and seed bead colors can dramatically alter the final look. For a burst of inspiration and to spark your imagination for countless color and style combinations for your own **Christmas spider ornaments**, be sure to click here and explore more ideas!

The Enduring Charm of a Handcrafted Christmas Tradition
Crafting these **beaded Christmas spider ornaments** is more than just a hobby; it’s a way to connect with a cherished tradition, infuse your holidays with personal charm, and create meaningful gifts. Each sparkling spider you make carries with it the beautiful legend of good fortune and unexpected blessings, making it a profound symbol to hang on your own tree or to share with friends and family. Imagine the delight of a loved one receiving a handmade ornament accompanied by the printed legend, explaining why this humble spider brings luck and joy to their home. This thoughtful gesture transforms a simple craft into a memorable heirloom, weaving stories and sparkling threads into the fabric of your holiday celebrations for years to come.
P.S. Don’t Forget to Pin this Sparkling Tradition for Later!
Loved this tutorial and the enchanting legend? Make sure to save it for future reference and share the magic with others! Pin this post to your favorite Christmas crafts or holiday decor boards on Pinterest so you can easily revisit the steps to make your own **DIY beaded Christmas spider ornaments** or share the heartwarming **Christmas spider story** with friends and family. Happy crafting, and may your holidays be filled with sparkle and good fortune!